


Stuntflyer
-
Posts
1,140 -
Joined
-
Last visited
Content Type
Profiles
Forums
Gallery
Events
Posts posted by Stuntflyer
-
-
4 hours ago, Erik W said:
The ratlines look great. How long did it take you to do the them?
Thank you, Erik! I'm embarrassed to say, but almost three days. The third day was spent getting the lines into some sort of uniformity. Some of the clove hitches needed tightening and some of the line lengths needed adjusting. Not a big deal, just time consuming.
Mike
-
-
Hey guys,
I apologize for redoing doing the last post three times. Still learning the new format.
")
Mike
- mtaylor, Dubz, Mirabell61 and 2 others
-
 5
5
-
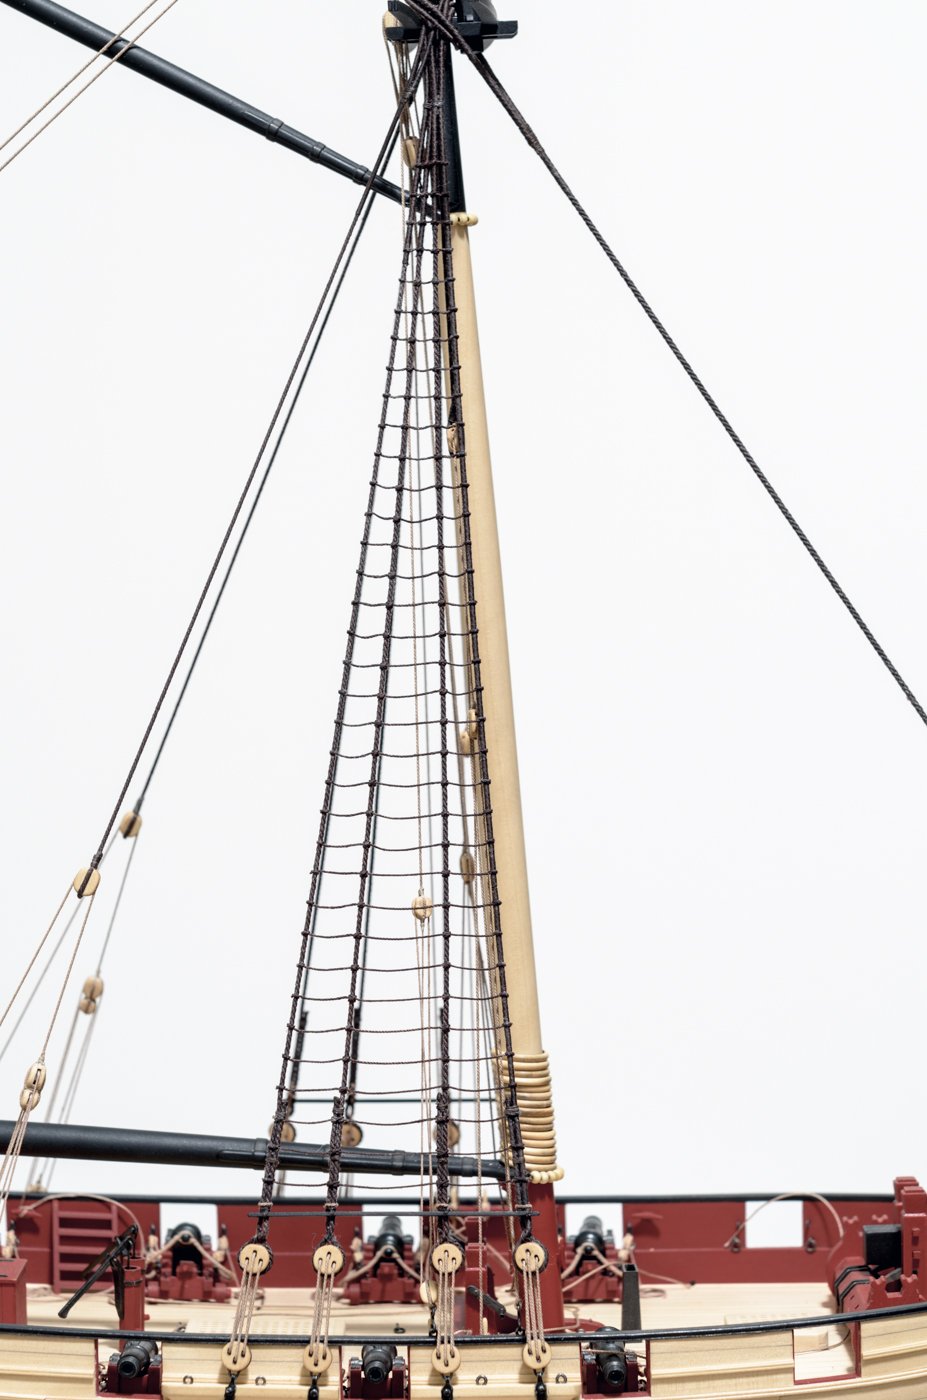
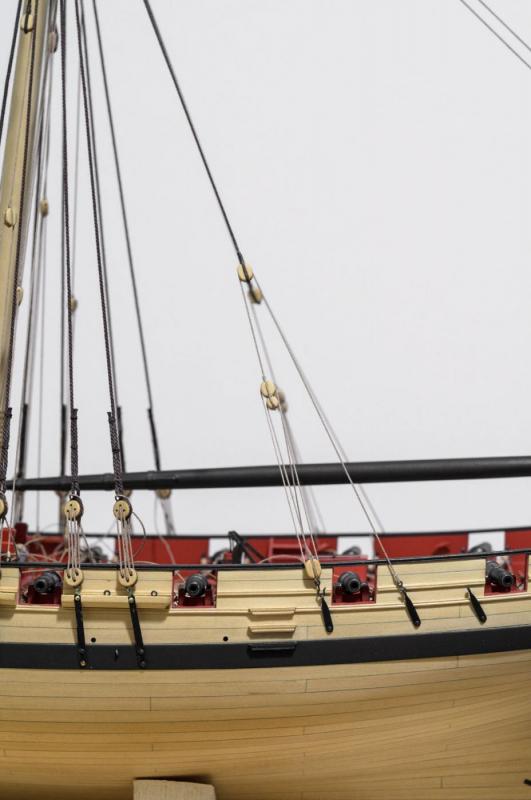
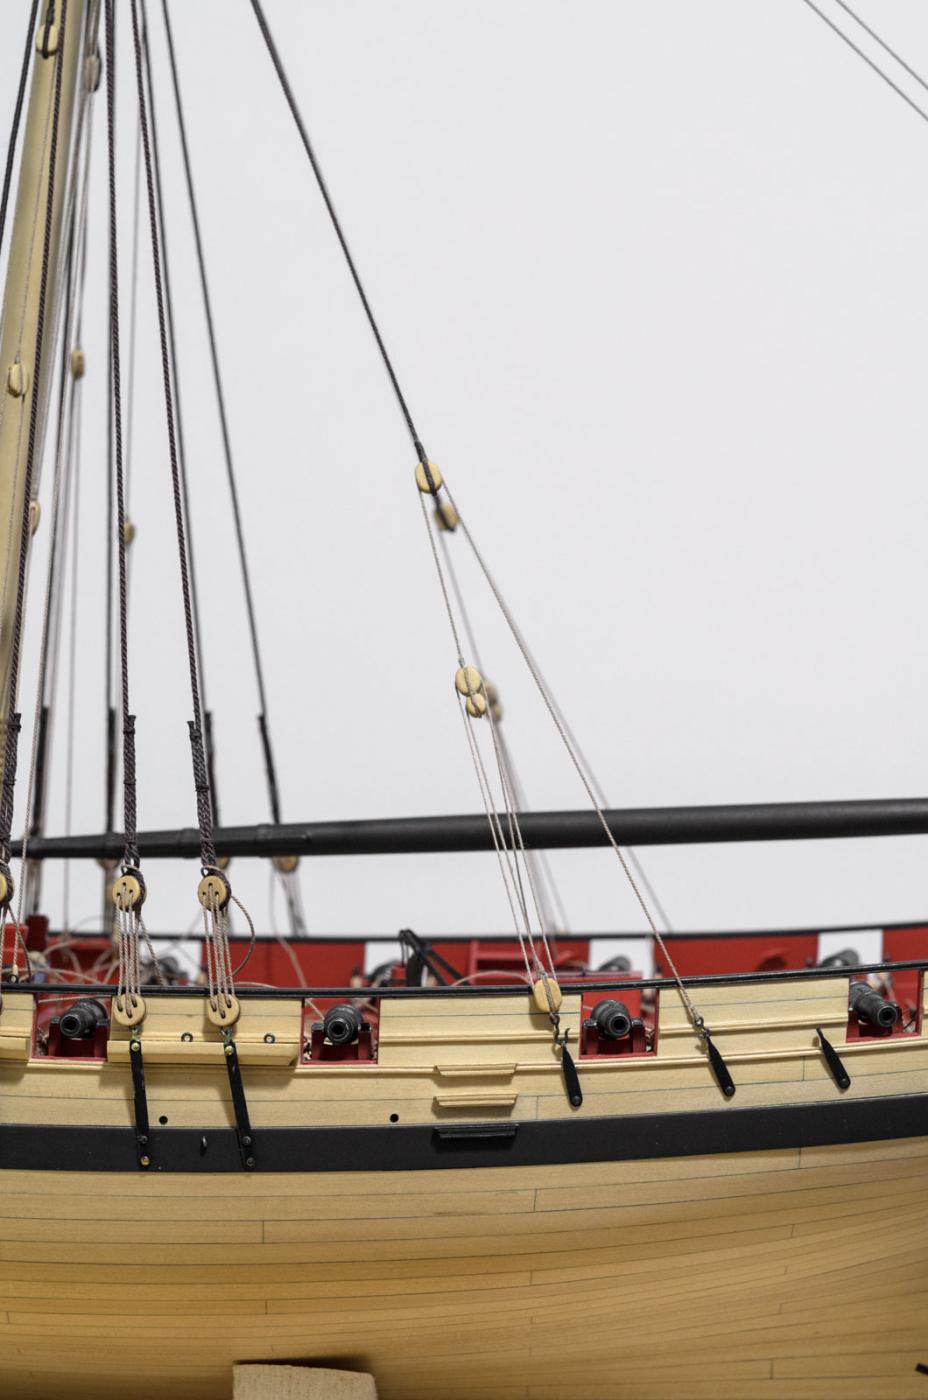
I've been tidying up a bit lately. Managed to get some paint on the chainplates, which are now ready for weathering. I just need to decide what look to go for. Most of the rigging needed some tightening up as well. The two eyebolts that secure the bobstay to the hull where moved forward to prevent the bobstay from interfering with the anchor hoisting. The eyebolts are now 1 1/4" from the stem. The original holes where filled and re-painted. The two ladders that were apparently not glued down securely and knocked off during the rigging process are now on the deck.
The thrill of the day, at least for me, was getting the starboard side ratlines completed. The shrouds where checked after every square knot and clove hitch was tightened to insure that there was no hourglass shape creeping in. I found this to be an very interesting process. I learned a lot and planning ahead definitely helps things go easier.
Hopefully this is what ratlines are supposed to look like. . .
Mike
-
Well done, Erik! If you want, as you do those final strakes on the upper belt, you can place a small block of wood on top of the bulkheads near the inside edge of the hull. This might help you get the clamp into a better angle. It also prevents any damage to the hull due to clamping directly onto it.
Mike
-
-
-
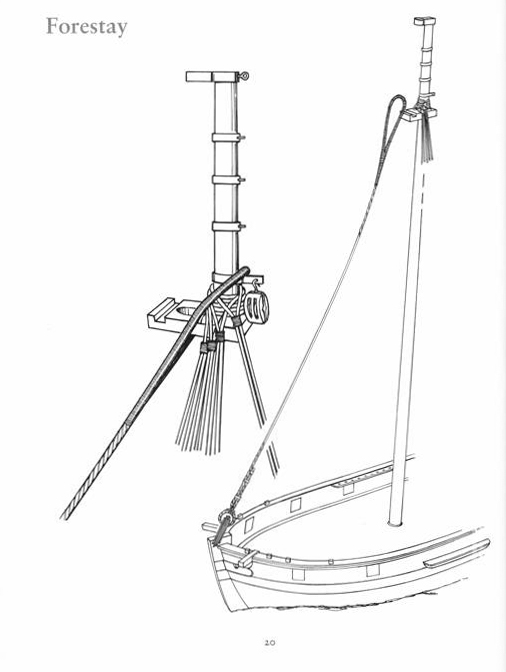
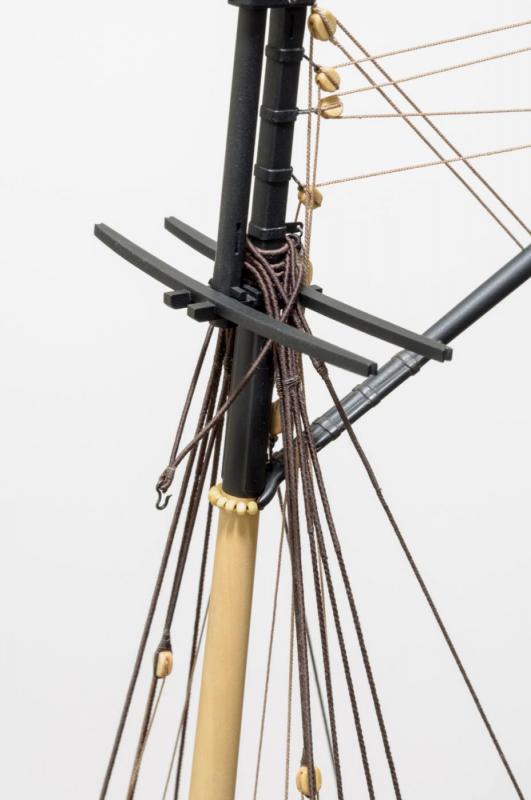
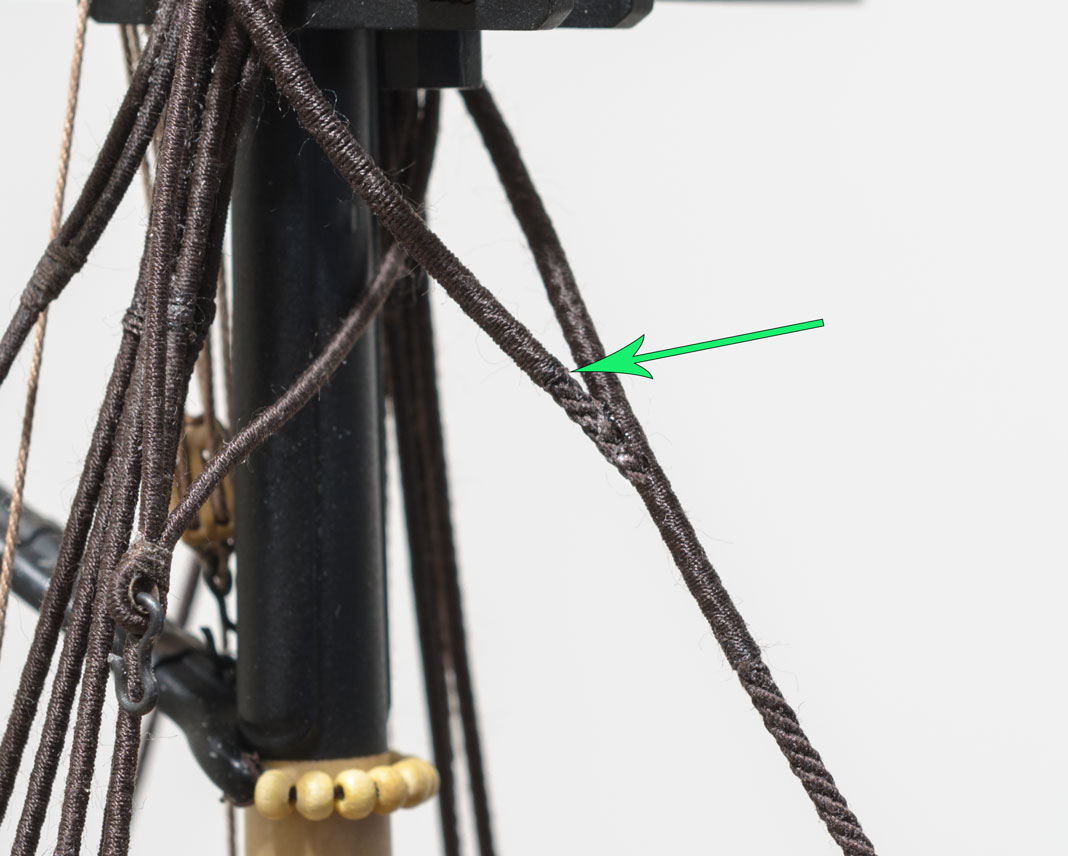
I finished the Forestay today. The rope is .054 Brown served with 50wt thread. To thin out the splice as much as possible I decided to include only one served end into the splice. To make this work I had to measure exactly how much length of serving would be needed. That turned out to be 4". The serving adds quite a bit to the thickness of the splice, so doing it this way reduces the overall thickness of the splice considerably.
Here you can see where the serving ends (as indicated by the green arrow) and where the beveled cut rope was glued to the served side.

As you can see, I didn't tighten anything up yet.
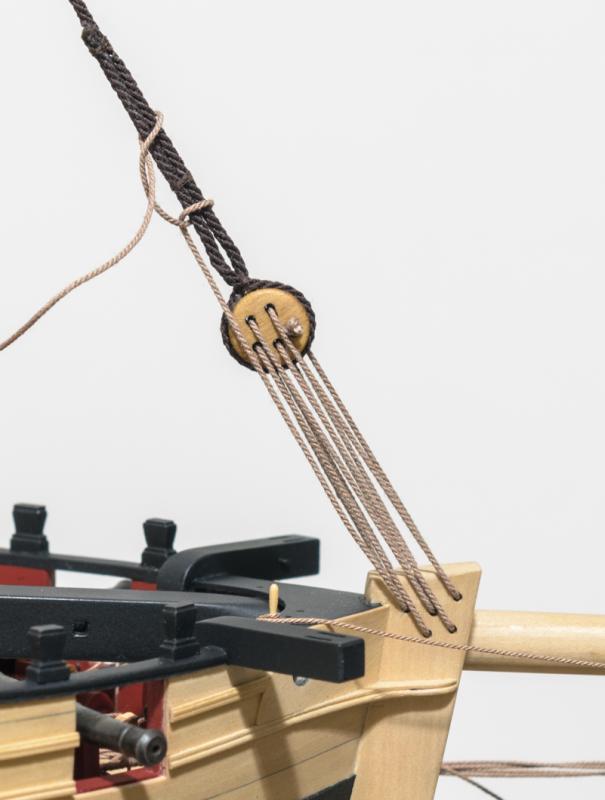
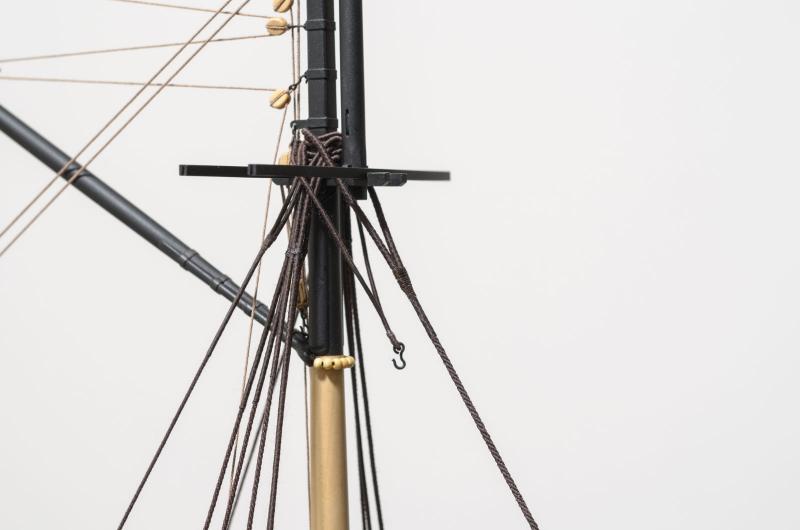
The gang of ropes turned out to be a bit too tight once the Forestay was added and it's crushing the ropes below it. I'm thinking that perhaps I should move it up as shown in "Rigging Fore-and-Aft Craft" Lennarth Peterson: The British Naval Cutter
Mike
-
The important thing to me was to have the gun port framing appear aligned correctly when viewed from the interior, since that will be visible. Every time I look at a photo of the exterior of the transom though, that just annoys me, as do the dozens of other little imperfections that only the builder usually notices.

I had the same issue with those two gun ports and framing alignment. You are not going to notice it once the interior is painted and details are added to that area of the ship. Once the lids are in place everything will look great, just like the rest of the ship.
Mike
-
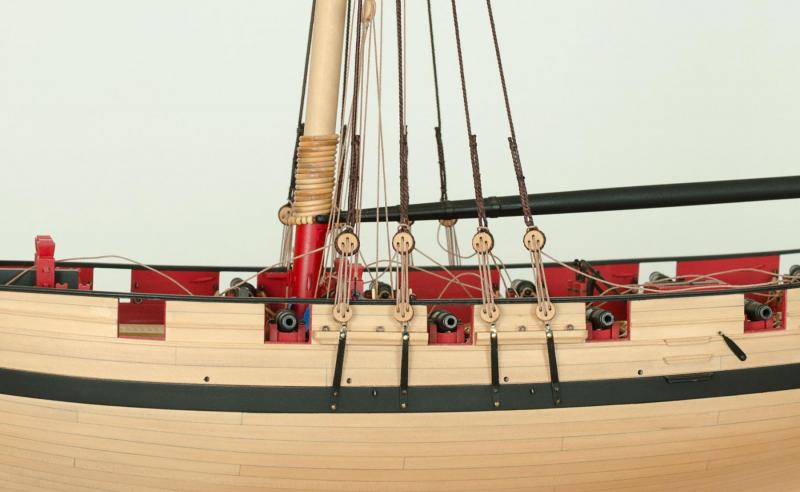
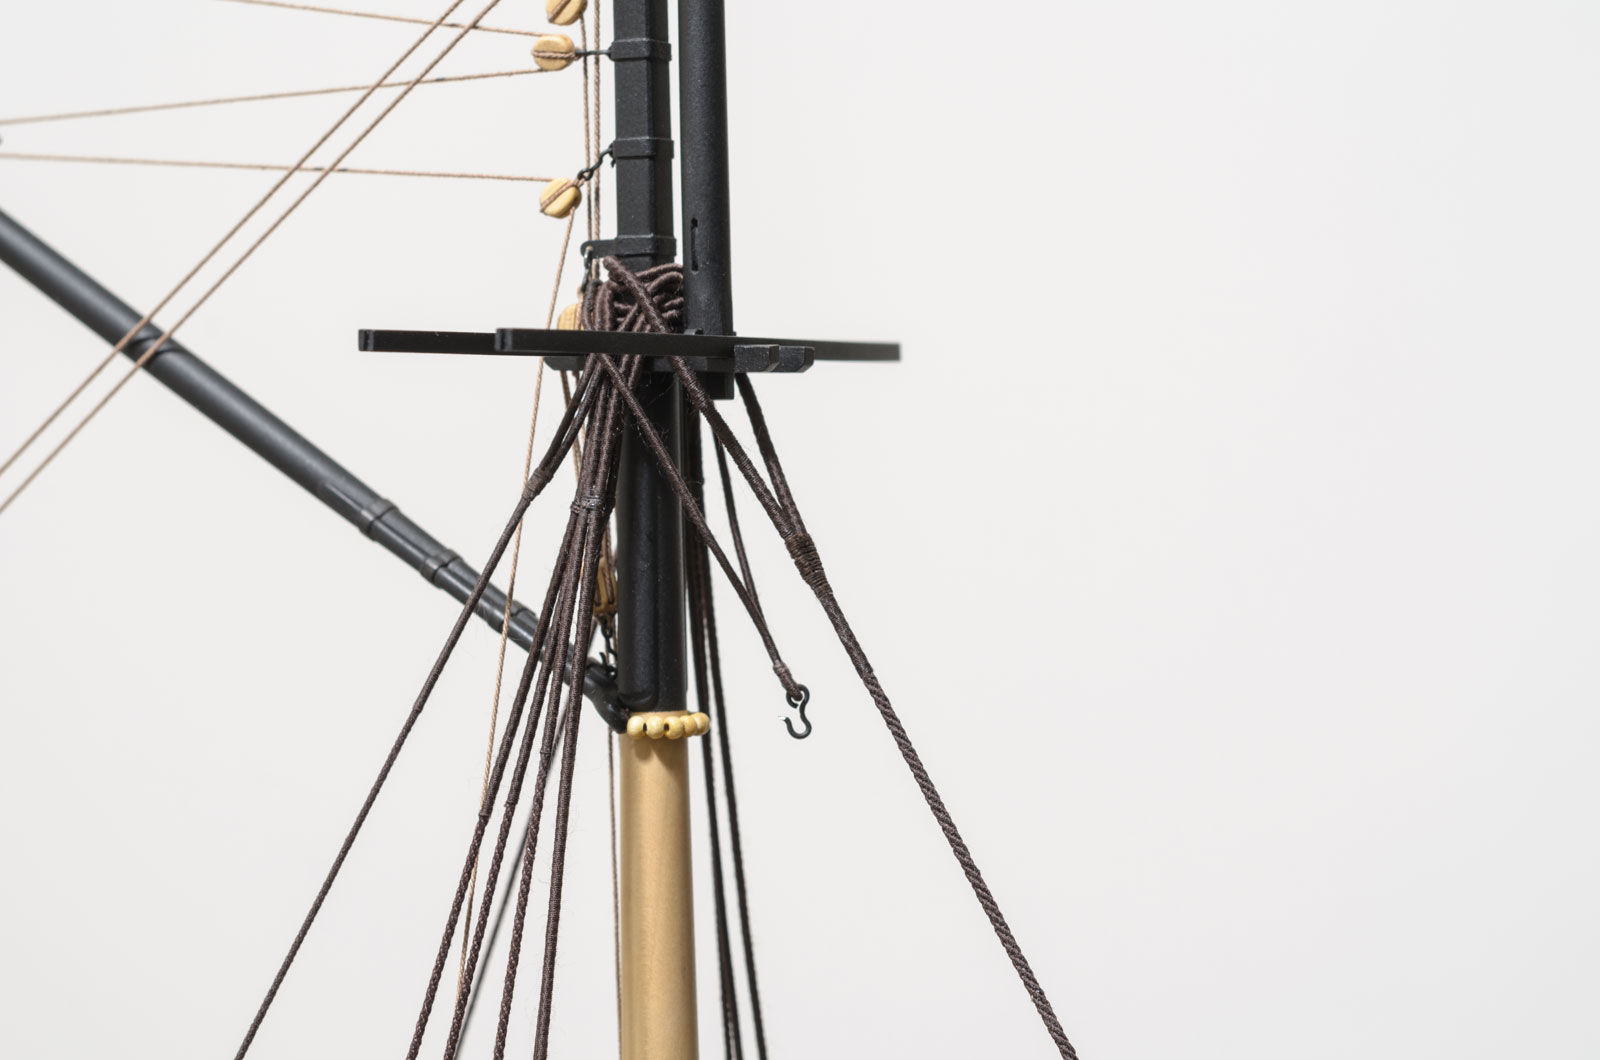
The sling is now completed. It is made from Chuck's .035 Dark Brown rope and served its entire length with 50wt thread. Adding the thimble and seizing it was straight forward. The rope length was measured so the bottom of the hook falls about 3/16" below the gaff. A small eye was seized to one end of the rope, while being careful to maintain the proper rope length. This was all done off the ship. After feeding the sling around the mast, the remaining end was inserted through the eye and the last intertwined eye was made when the sling was in position. Seizing the last eye proved to be quite tricky. The sling is short, so holding onto it while seizing the eye proved to be awkward. It took several tries before I managed to do it.
Mike
- Ryland Craze, wyz, Dharma66 and 26 others
-
29
-
-
-
Greg,
Actually, I think it was designed as a first time scratch build with some laser cut parts available for those that want them. The plan is highly detailed and as long as you follow the monograph or Chuck's build, then things can come together amazing well. So I would say that it is a very well designed ship.
Mike
-
-
Thank you all for the kind words, comments and "Likes".
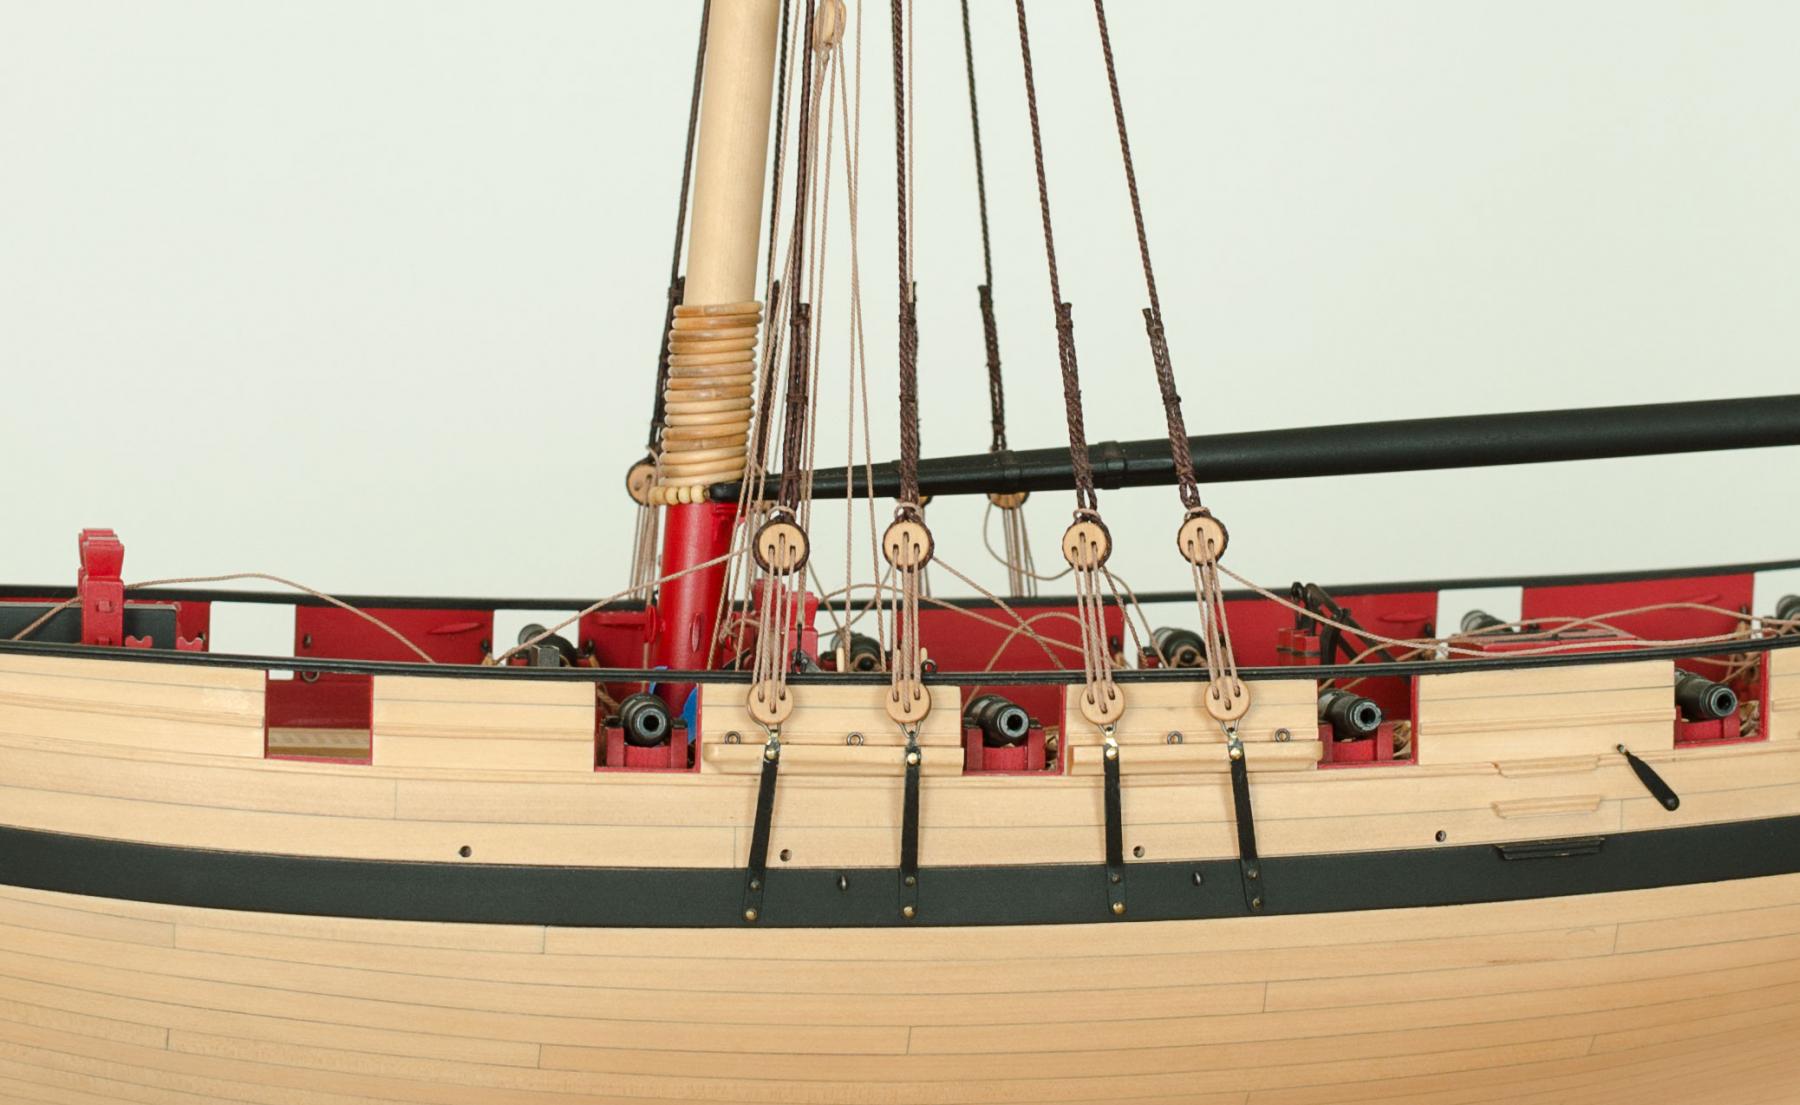
After a week off vacationing, I'm finally getting around to building again. I finished the lower backstay and tackle today. Next up is the sling and then the mainstay. After that I'm going to clean up some of the scratched paint work. At least that's the plan.
Mike
- Canute, Ryland Craze, Dubz and 20 others
-
23
-
Russ: I tend to agree with you. Things are moving around a bit, as you say. I'm going to wait until after the lower backstays and mainstay are completed before I start to tighten things up.
Druxey: Chuck's method does seem to work nicely once one gets the hang of it. Like everything here there is some learning to do. Next time I would like to try your method as I'm sure you have worked out all of the kinks.
Mike
- Jack12477, Ryland Craze, Canute and 2 others
-
5
-
Hello!
I managed to complete the shrouds today. "Turning in" the deadeyes required a few do overs and a test of my patience. The lanyards are not secured. I like to go back and look at things when my mind is fresh before committing. Next, I want to clean up the chainplates which is something I try not to look at since right now they look like c***.
Mike
-
I used a lot of clear dope when I was building airplanes and still have a few gallons on the shelf. Aero Gloss Clear "Nitrate" Dope was known to yellow over time. On the other hand, Sig Mfg had a product called "Butyrate" Clear Dope which won't yellow over time or shrink like some "Super Coat " clear dopes. It's still available over the internet.
Mike
-
-
-
Chuck,
If by Corel Photo, you mean Corel Photo Paint, this plugin might fix the lens issues that you are having. I believe it works as a stand alone program or as a plugin. Of course, there is always Photoshop where its "Camera Raw" plugin can be set up to do it automatically.
http://epaperpress.com/ptlens/
Mike
- Jack12477, Canute, AnobiumPunctatum and 3 others
-
6
-
Best wishes to everyone for a Healthy and Happy New Year!
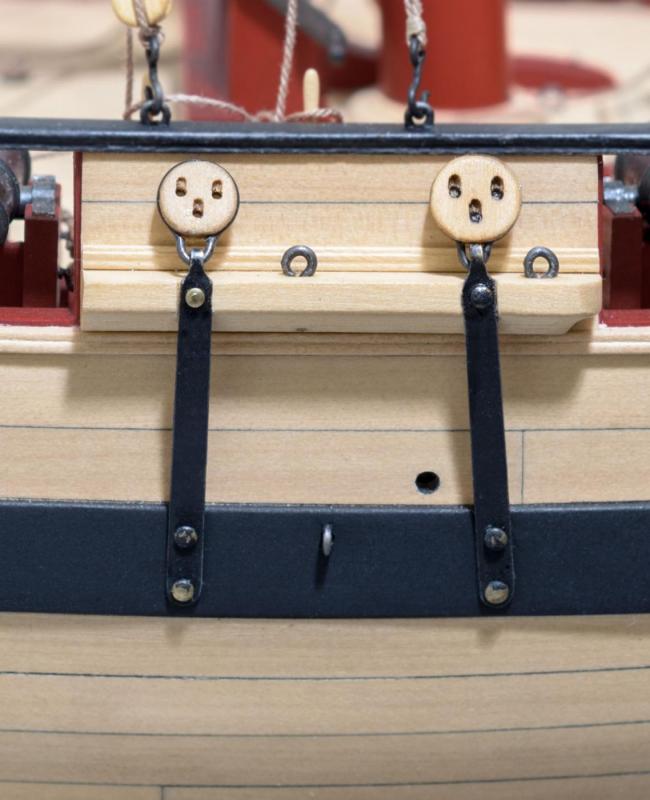
The Cheerful plans show 5.5mm deadeyes for the chainplates and shrouds. My eyes must have been playing tricks on me when I first measured them at 5mm. Now that I am trying to install the shrouds, I can see that they are too small and somewhat hard to work with. Chuck has suggested that I could replace them with 6mm ones that would be easier to rig. That's what I'm in the process of doing now. Hey! It doesn't get more exciting than this.
A while back when I was finishing up the paint work on the wales, I had decided not to paint and weather the chainplates. Something told me to hold off a bit or maybe I was just being lazy. Now that I'm scratching them up, I'm glad I waited.
With the first 6mm deadeye installed you can easily see the size difference.
Mike
-
I have seen the way Chuck did it, as described in his monograph, and it looks very nice.
Mike
- mtaylor, Canute, Ryland Craze and 3 others
-
6
-


HM Cutter Cheerful 1806 by Stuntflyer (Mike) - FINISHED - 1:48 scale
in - Build logs for subjects built 1801 - 1850
Posted
Well, I don't know how long it would take a more experienced modeler to do this. However, waiting those three days to see the final result felt more like a week.
Mike