


Kevin
-
Posts
6,613 -
Joined
-
Last visited
Content Type
Profiles
Forums
Gallery
Events
Posts posted by Kevin
-
-
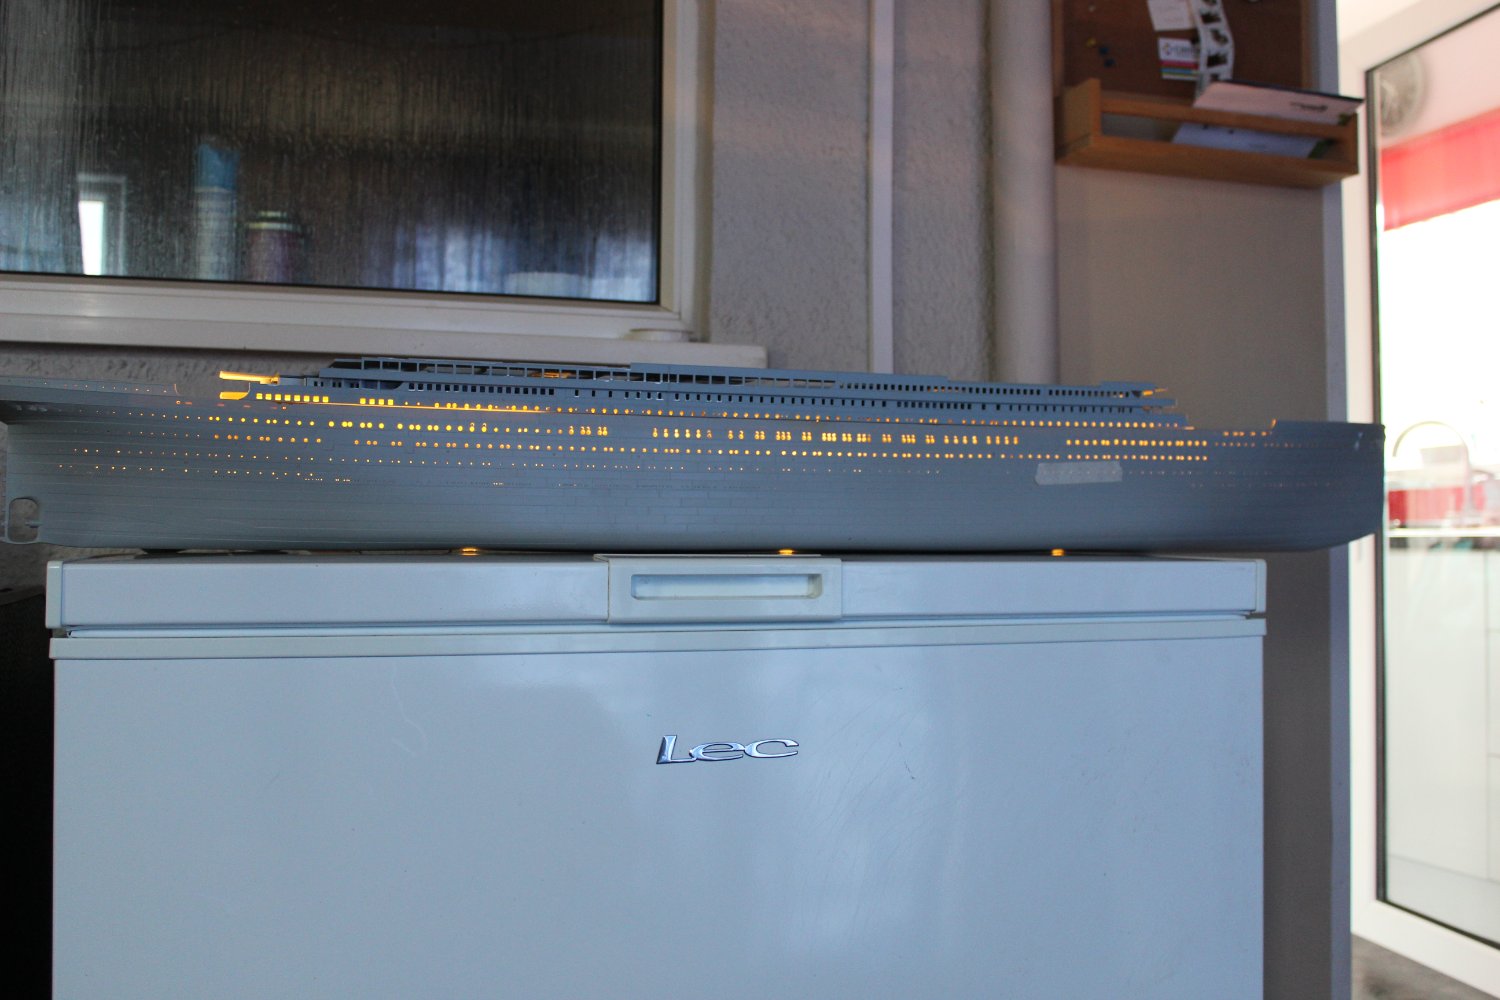
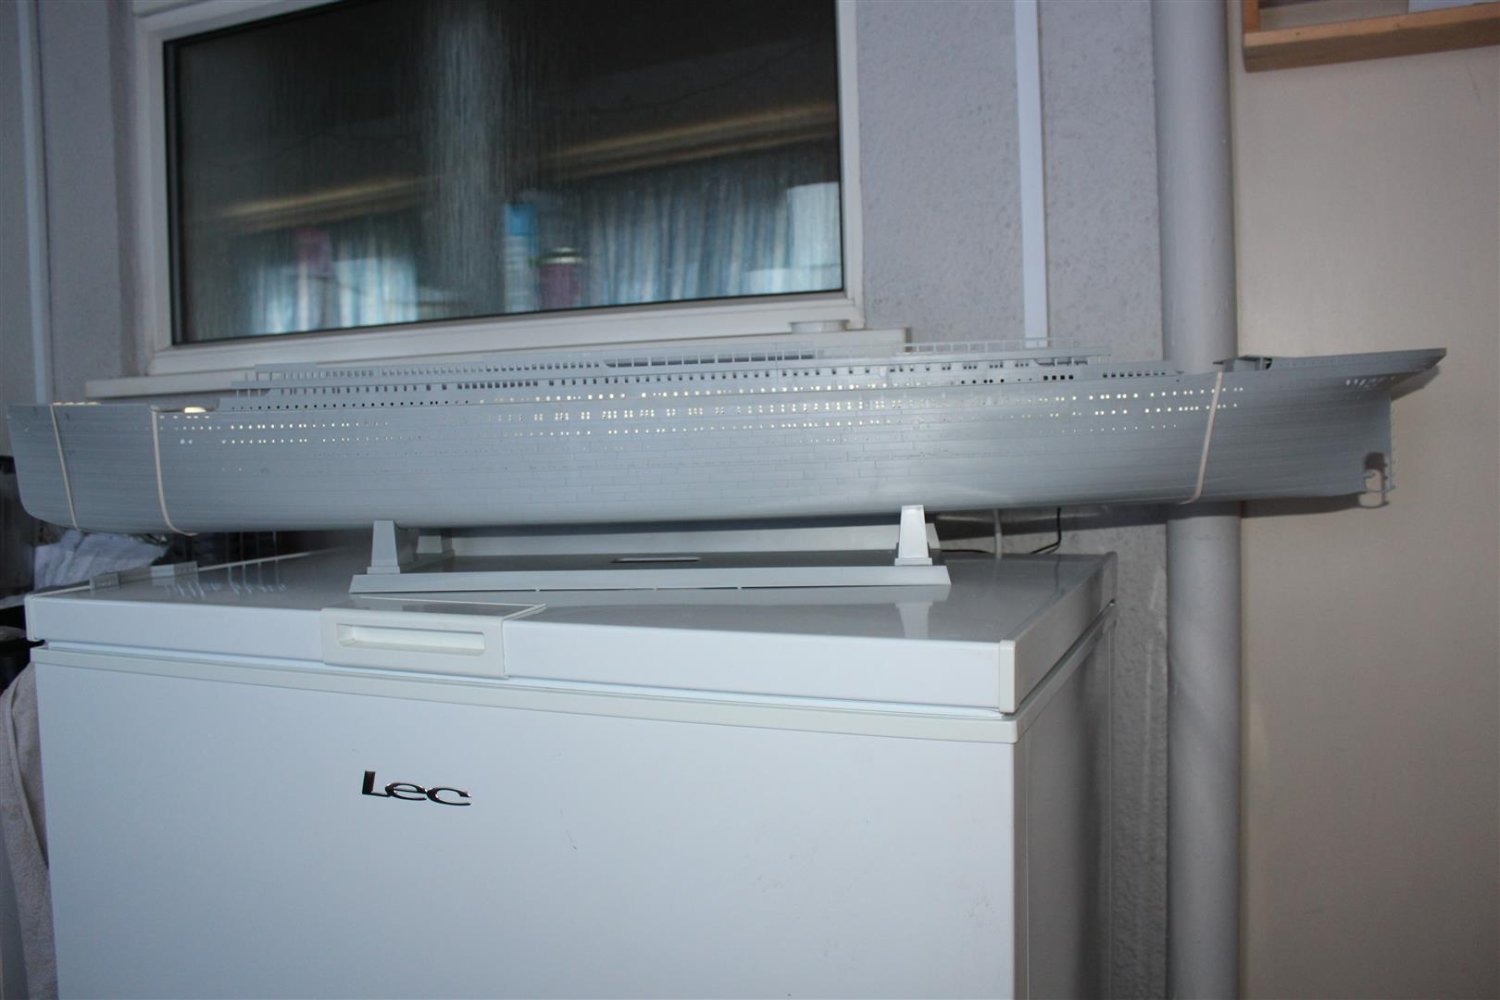
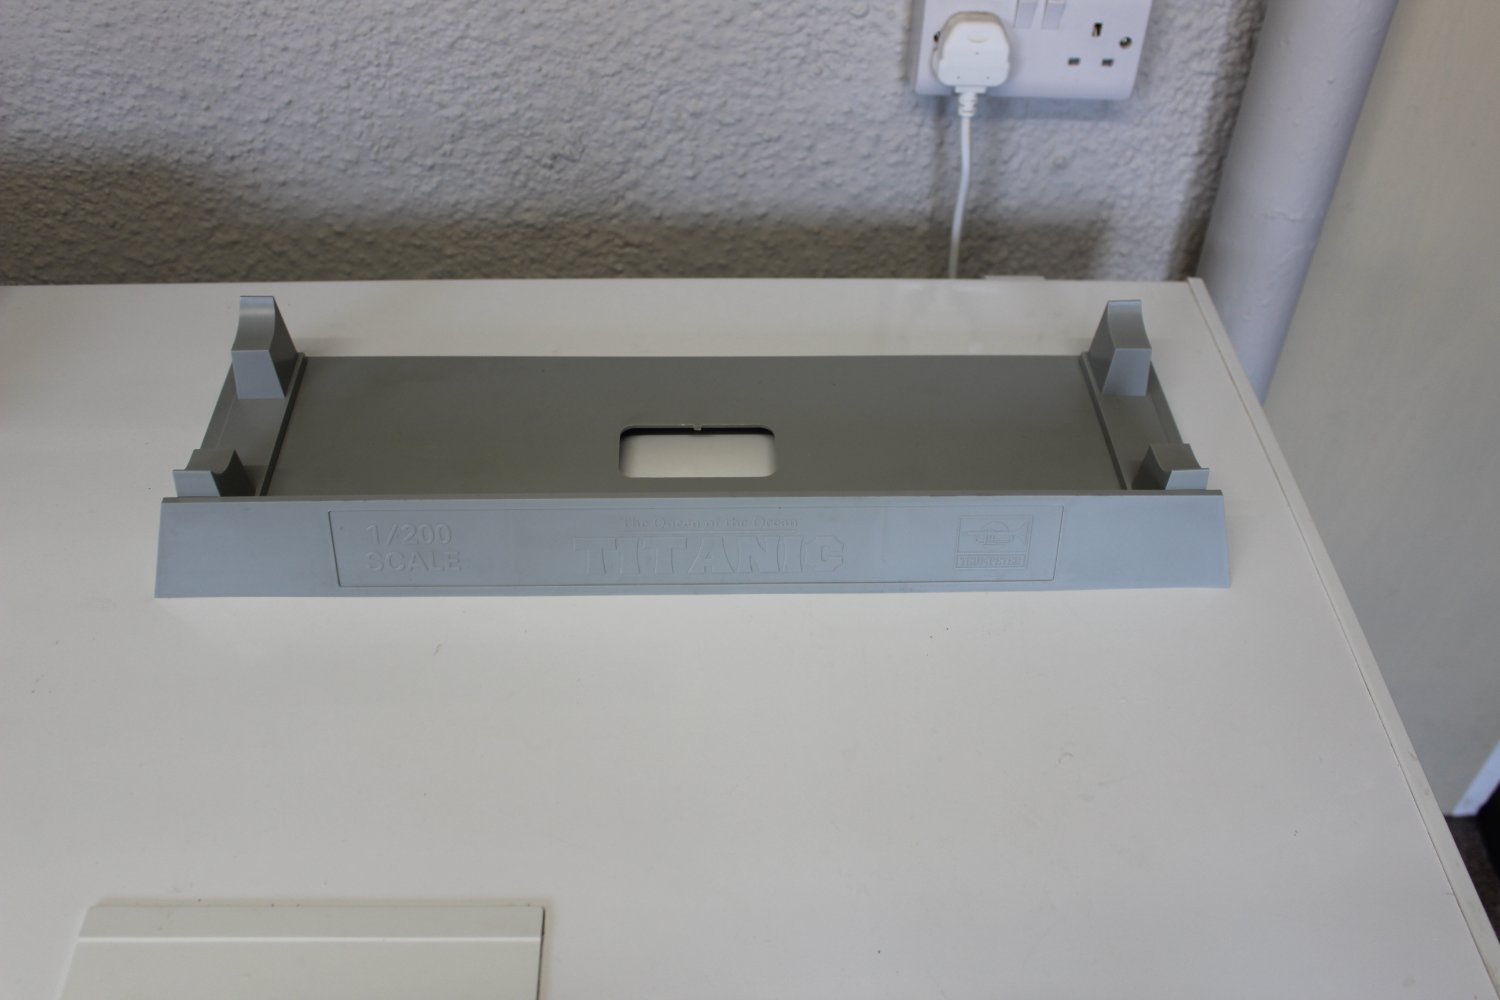
she looks great on the new stand
-
-
-
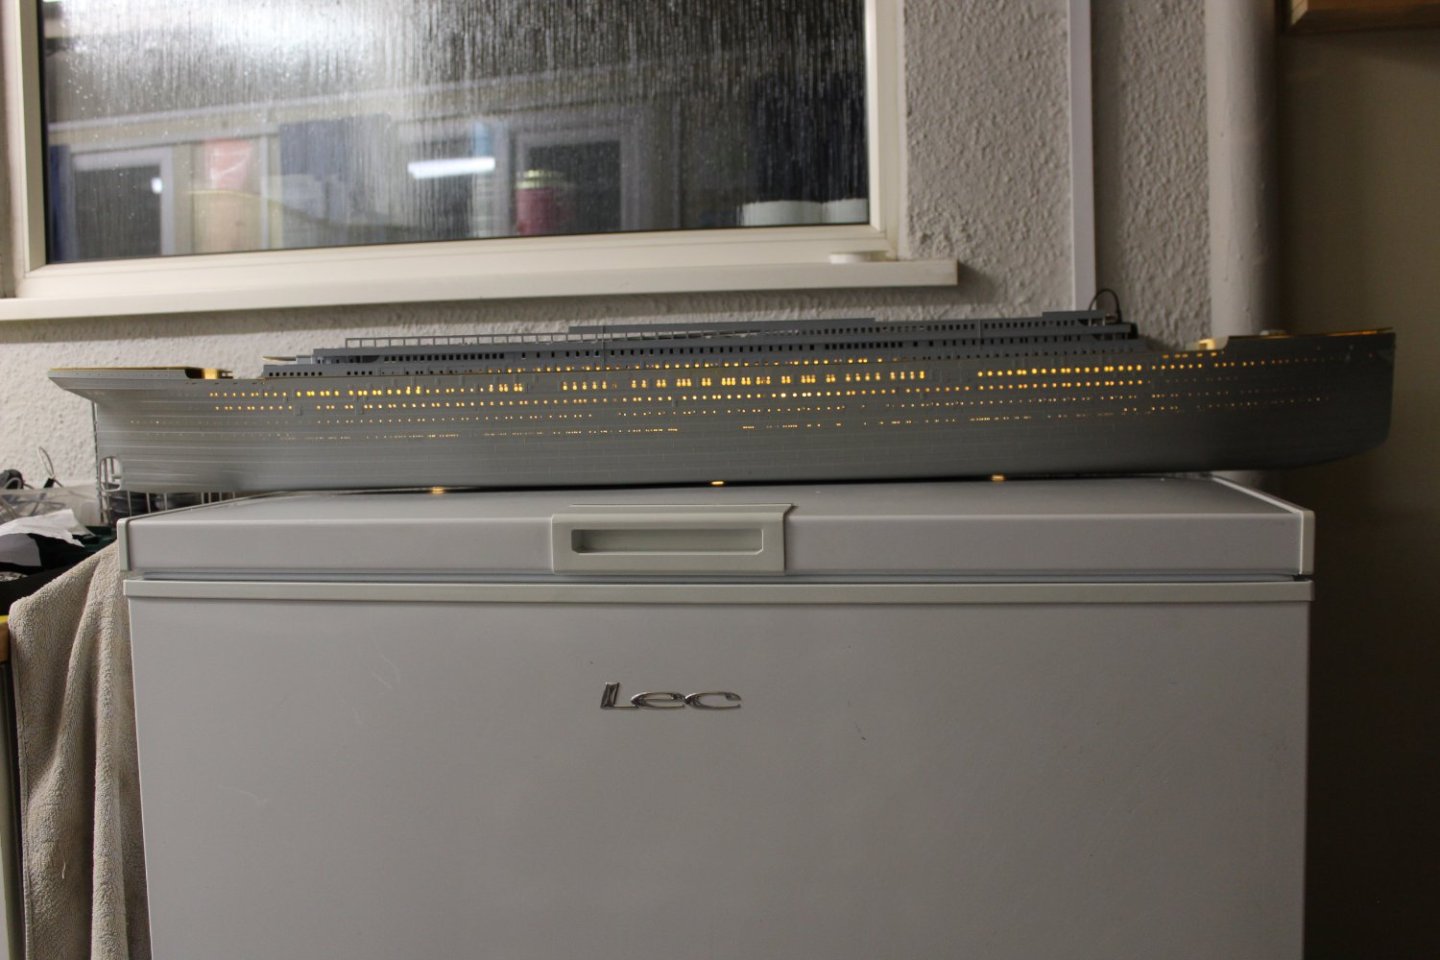
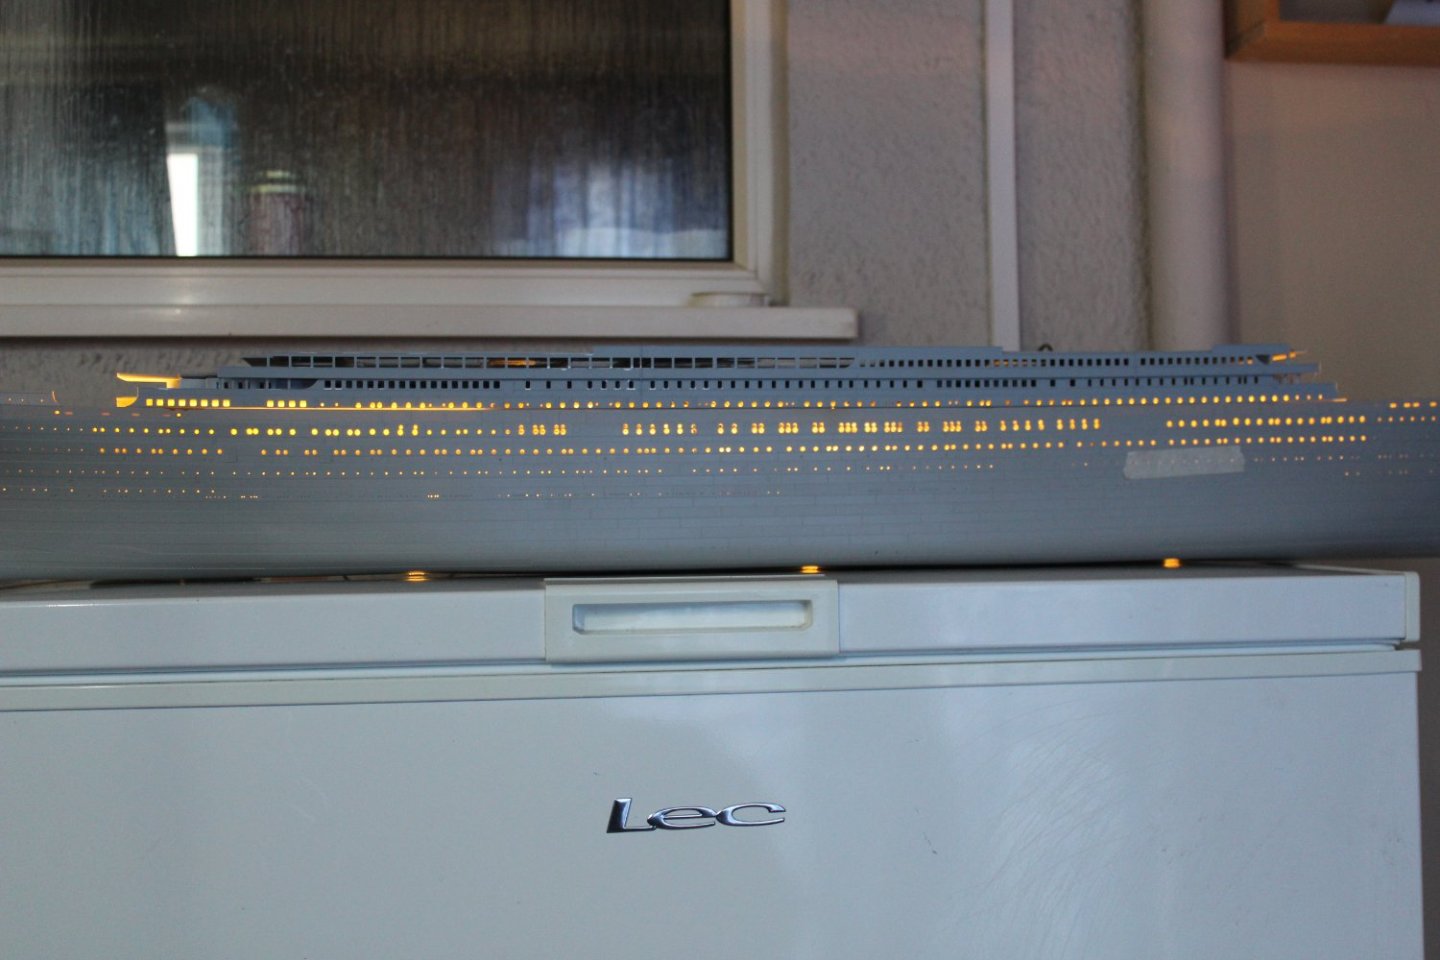
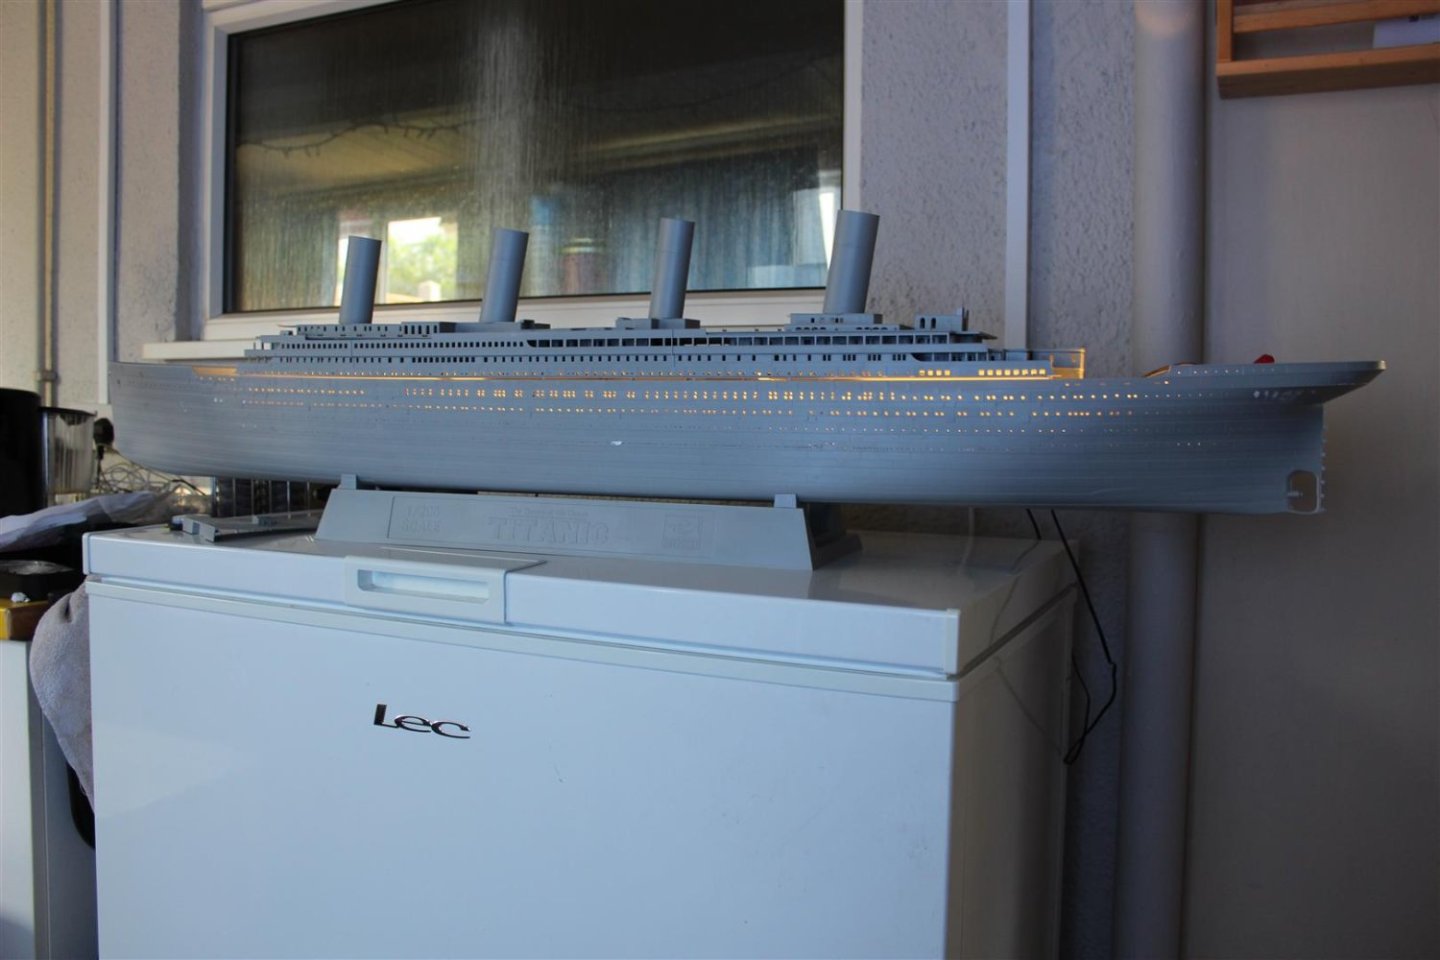
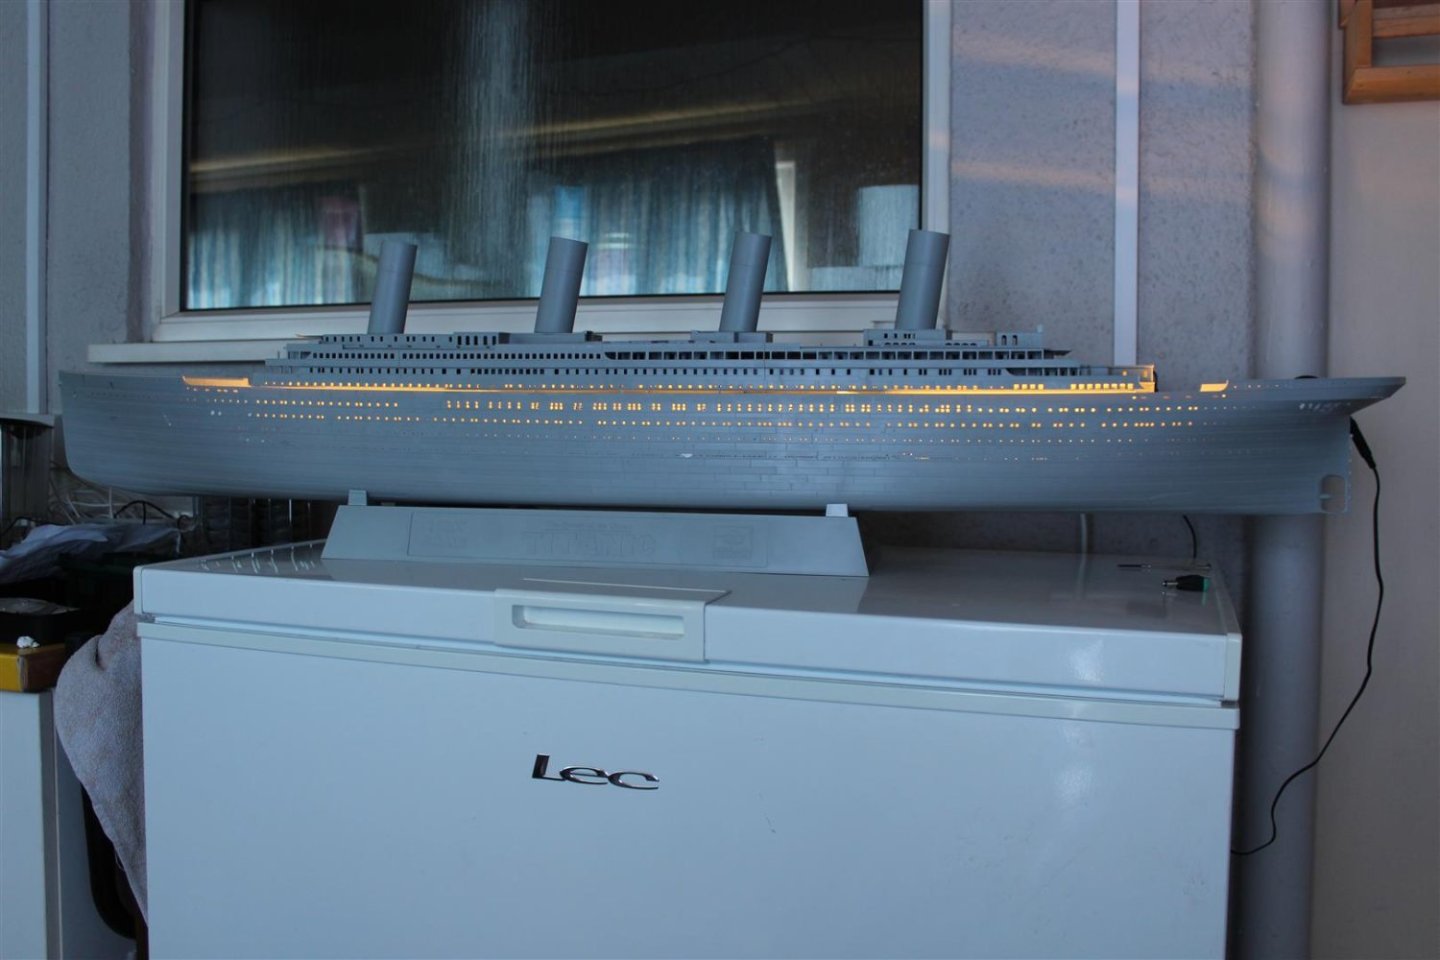
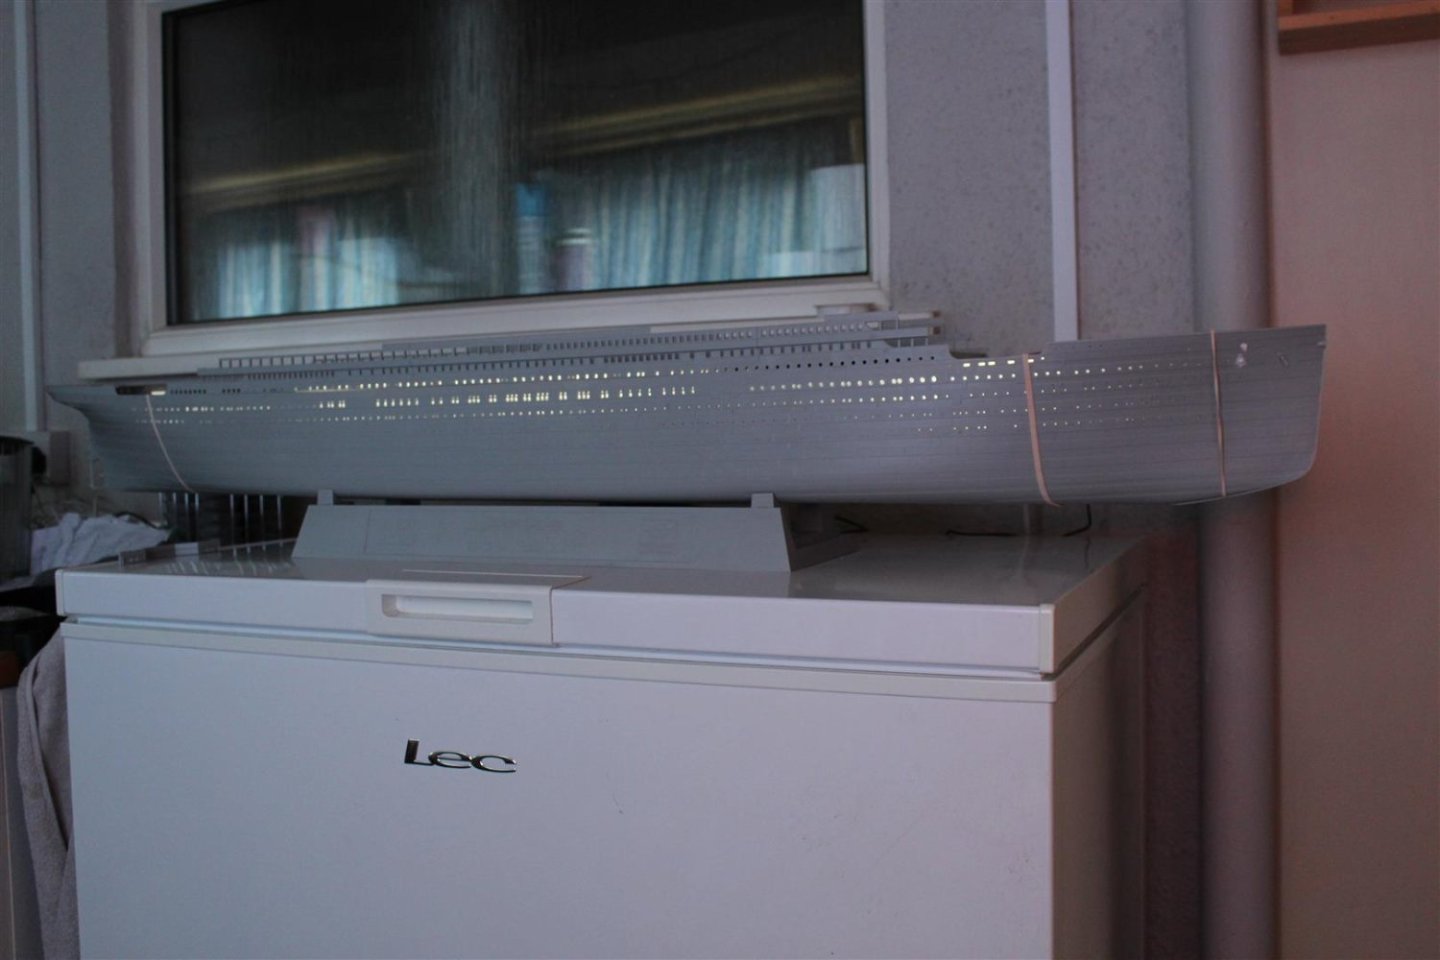
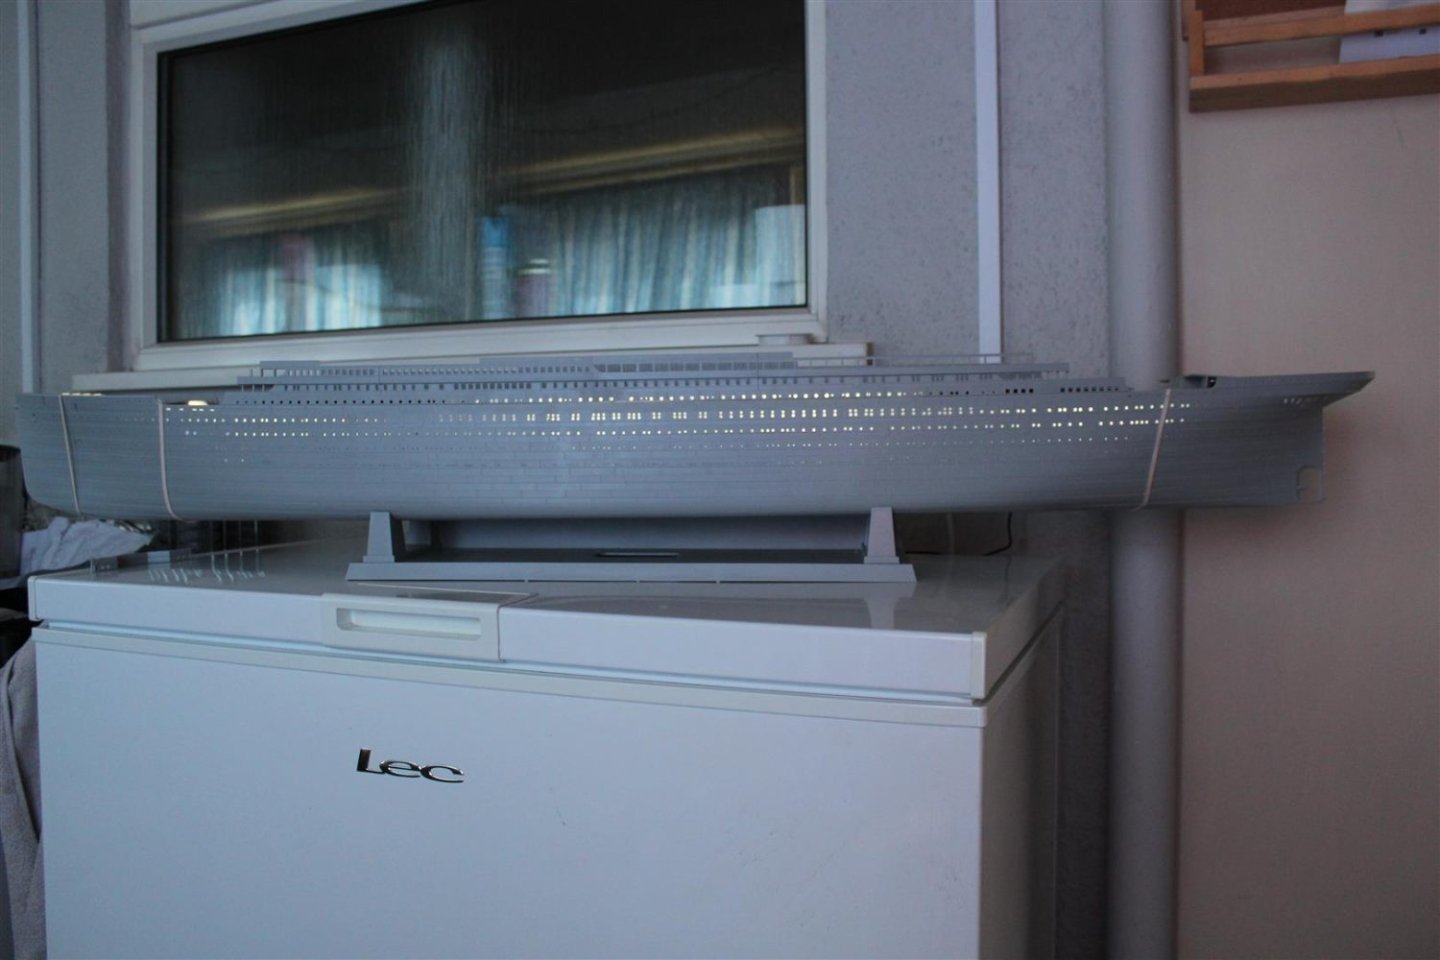
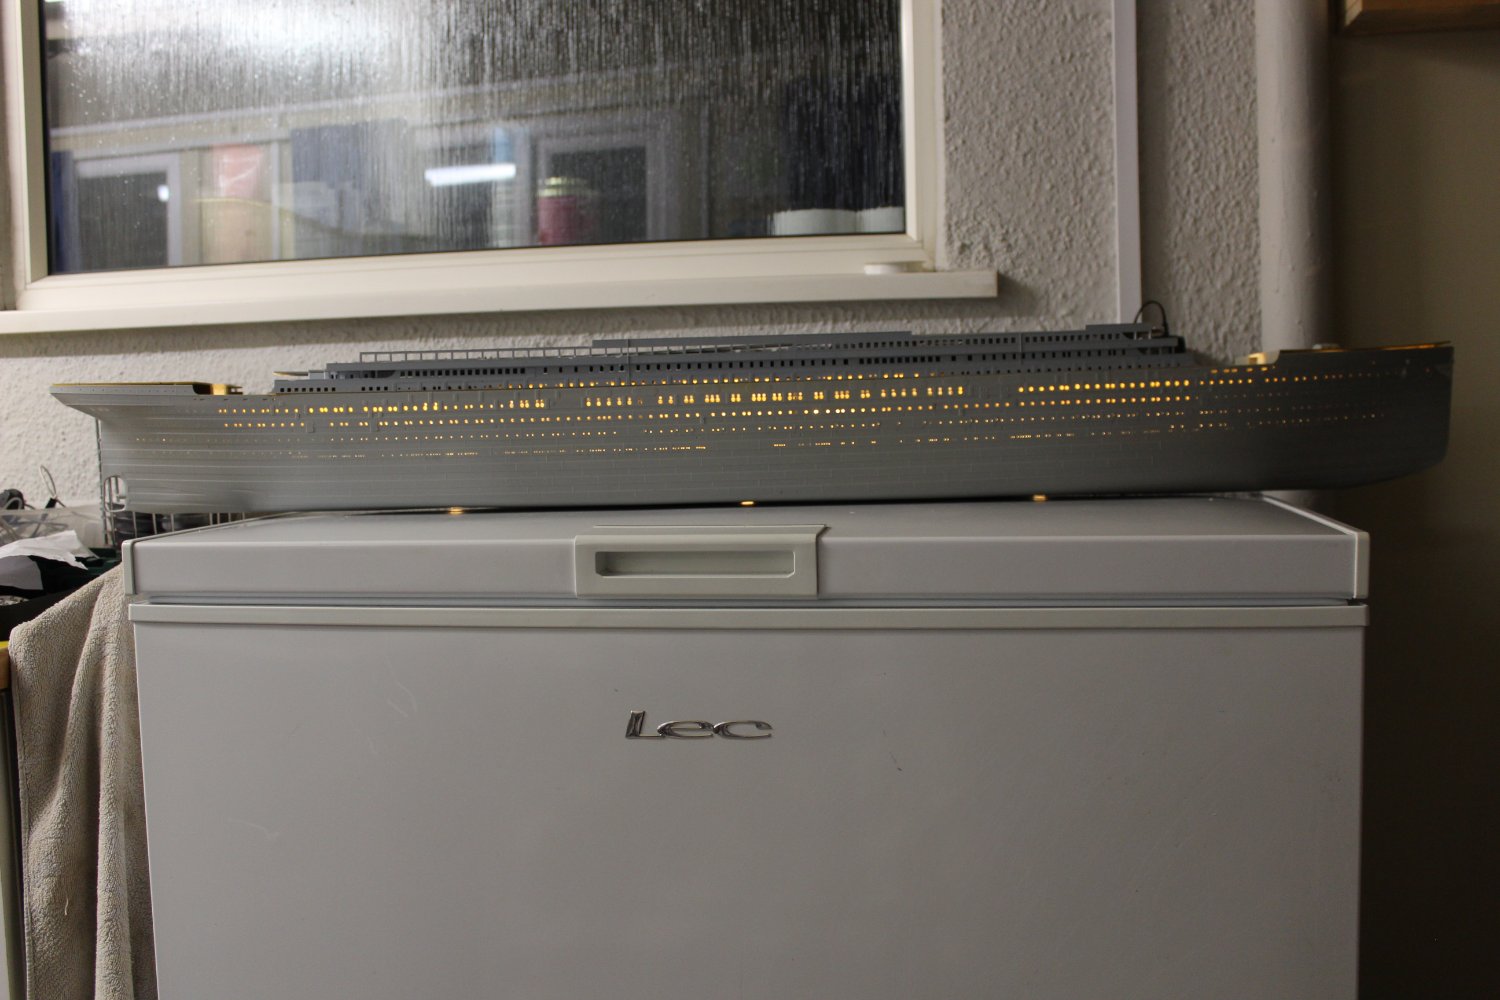
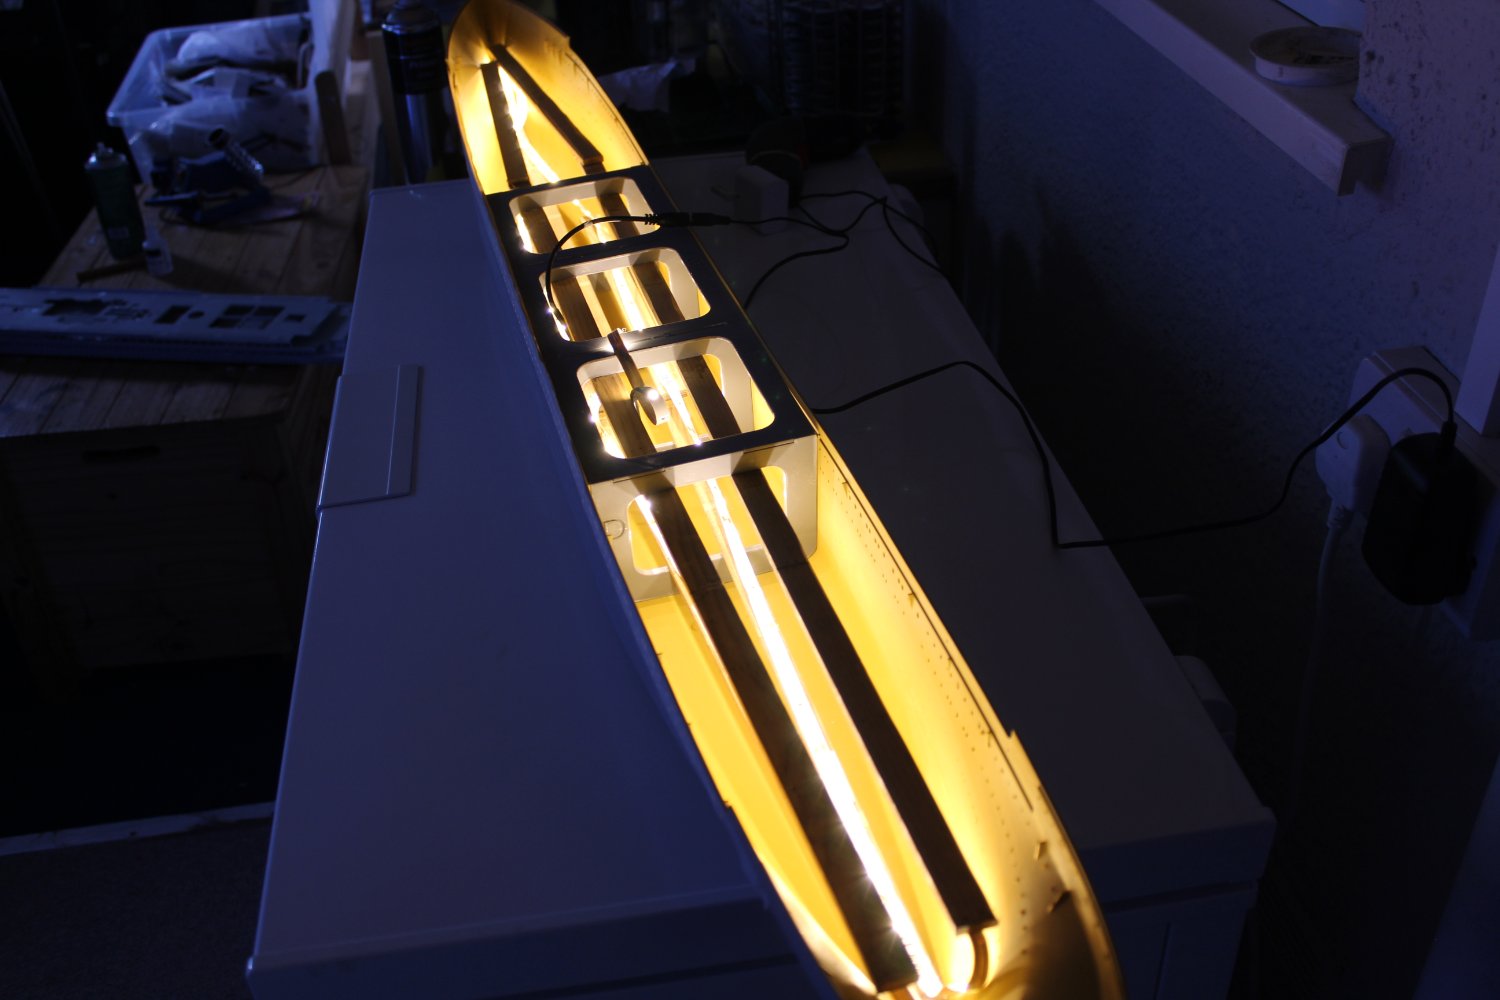
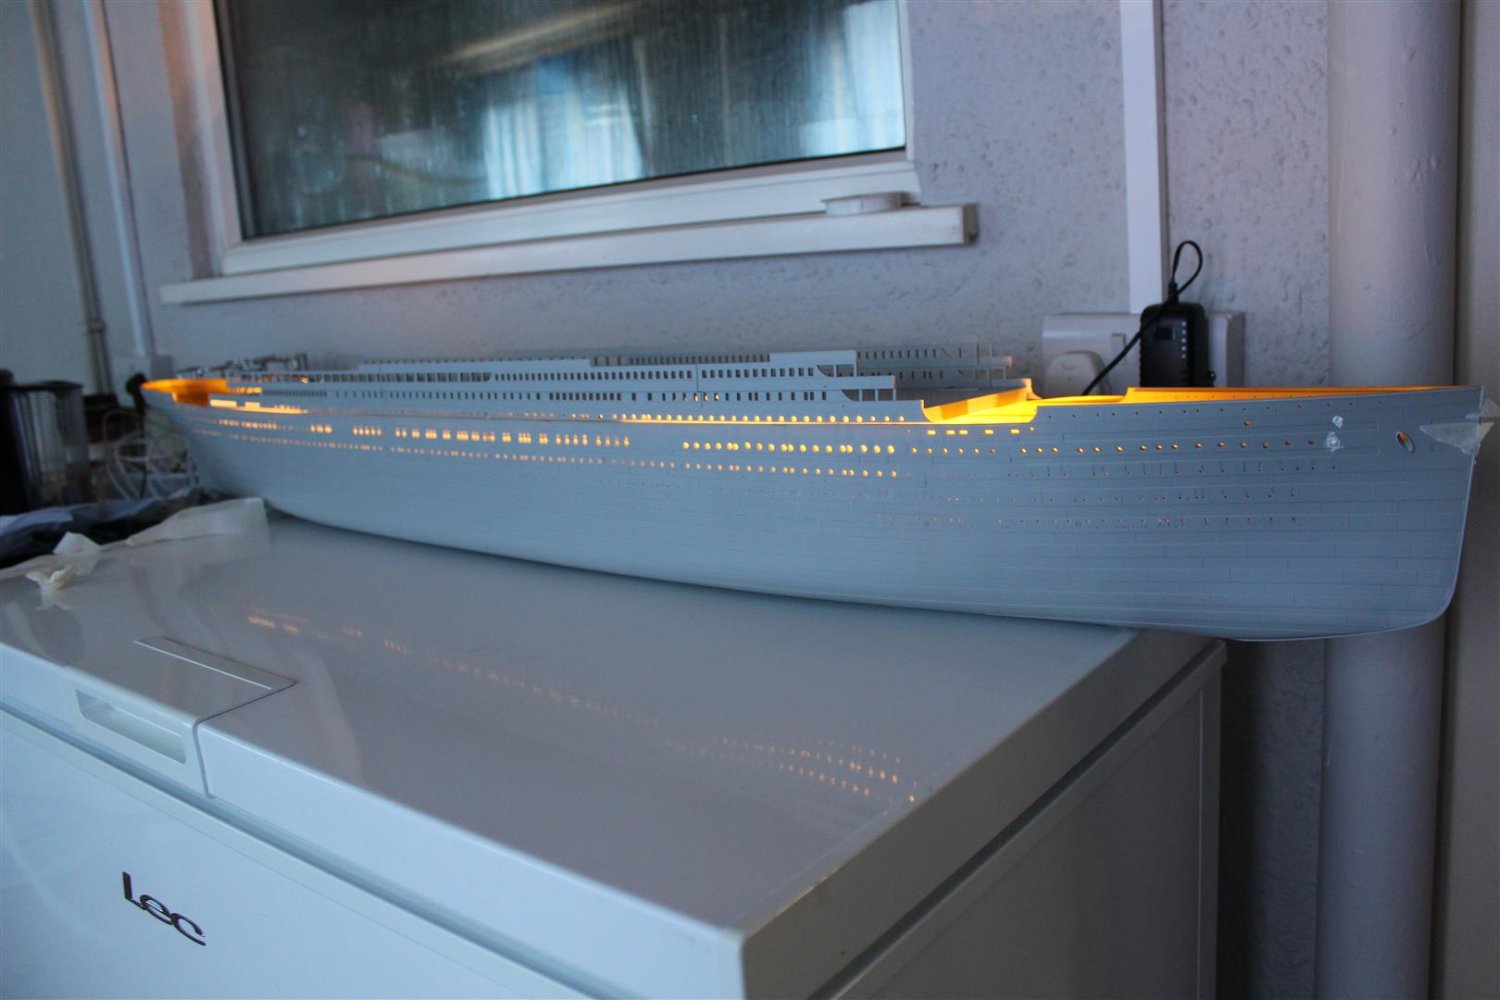
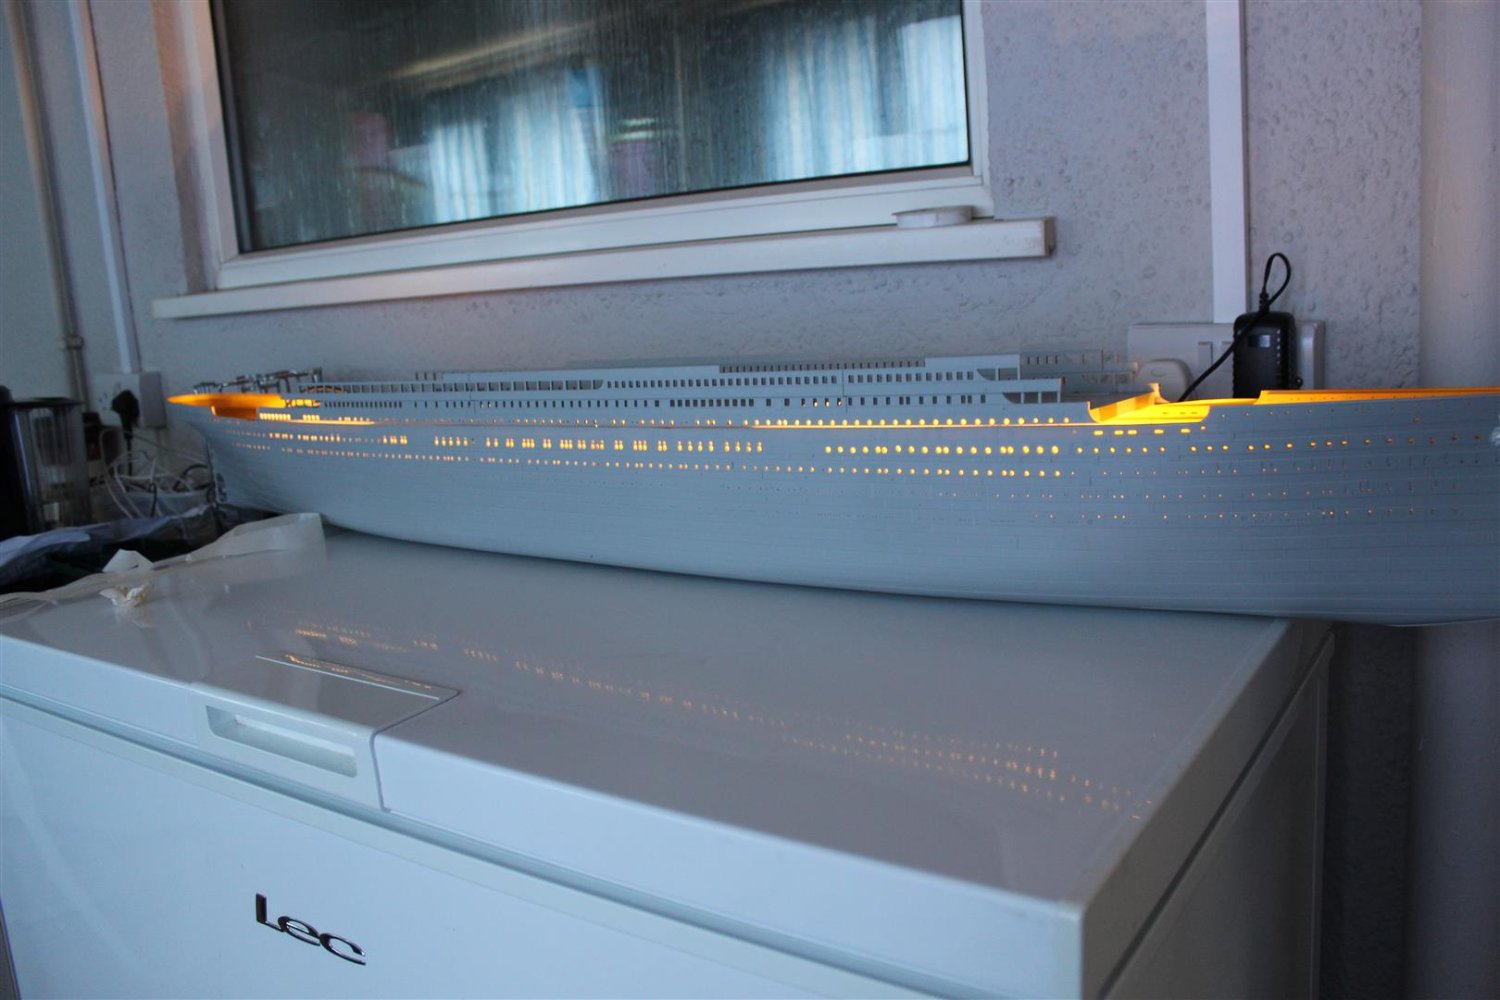
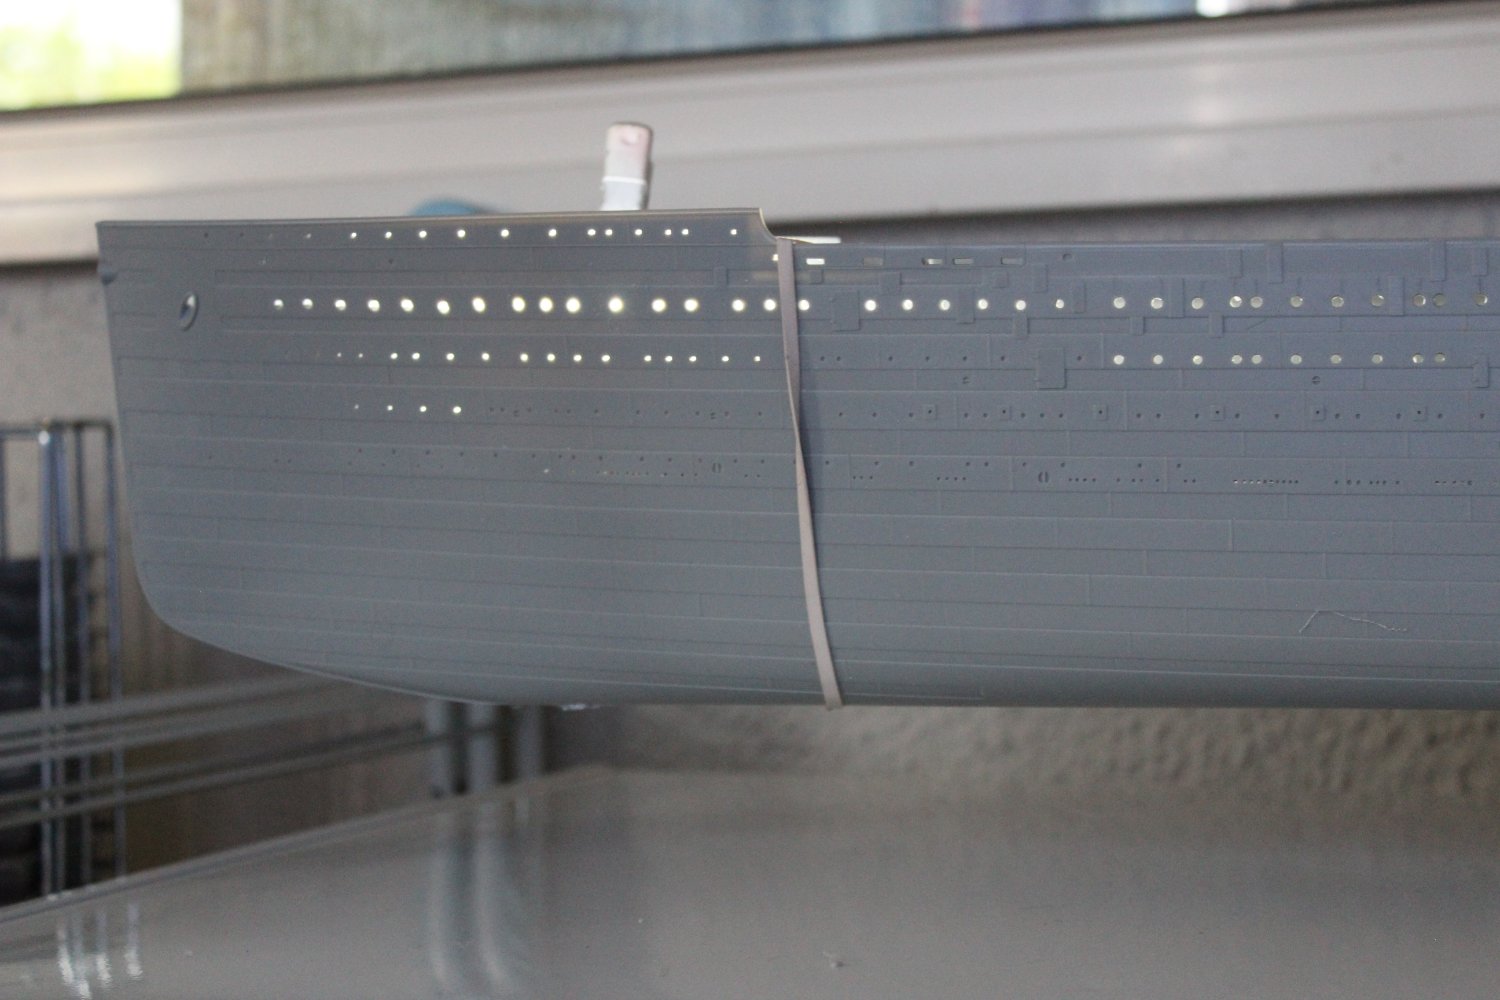
just put the build to bed for tonight, but got a slightly better photo of her with full hull lighting
-
16 minutes ago, scrubbyj427 said:
Looks good Kevin, this is a great project, you don’t see many HMHS Britannic models. I’ve been very tempted to do an Olympic 1911 with this kit.
Are you planing to do all the modifications to her promenade deck windows as well as B deck? I wonder if the aftermarket has anything to offer yet. Britannic was quite different from her two sisters
good afternoon, im not sure i will mess to much with the windows, but im not 100 sure what is involved, i will enclose the after well deck, and purchase the 5 crane sets from Shapeways, i may even splash out for the stern plate set, or attempt my own, other than that i could spend at least £1000 on upgrade sets which in all honesty will never been seen, the world needs vessels that are 100% correct, i personally dont know anyone who will ever see this build when complete (aprt from the wife) oh and me boi, but his social media friends are the same as mine
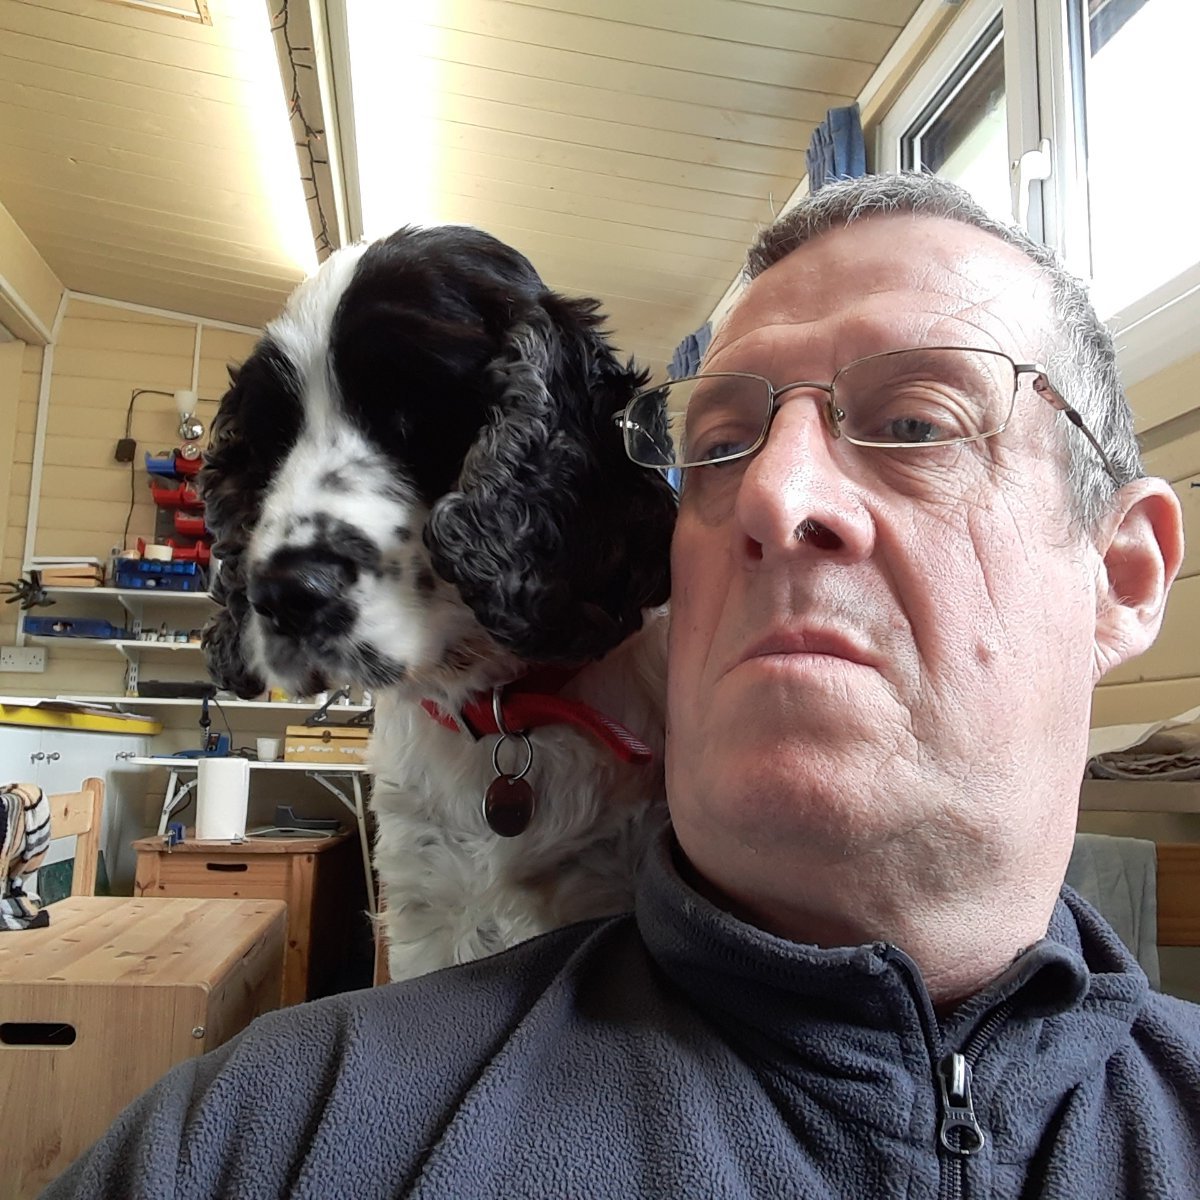
here he is telling me what to say to @chris watton

- mtaylor, chris watton, ScottRC and 7 others
-
 10
10
-
good afternoon everyone
Been a very strange couple of days here in the UK, with everything going on, European war, a fuel crisis, change of government and the the desth of out beloved Queen Elizabith II, but with the BBC news on in the background, to enable keeping up with events my builds carry on
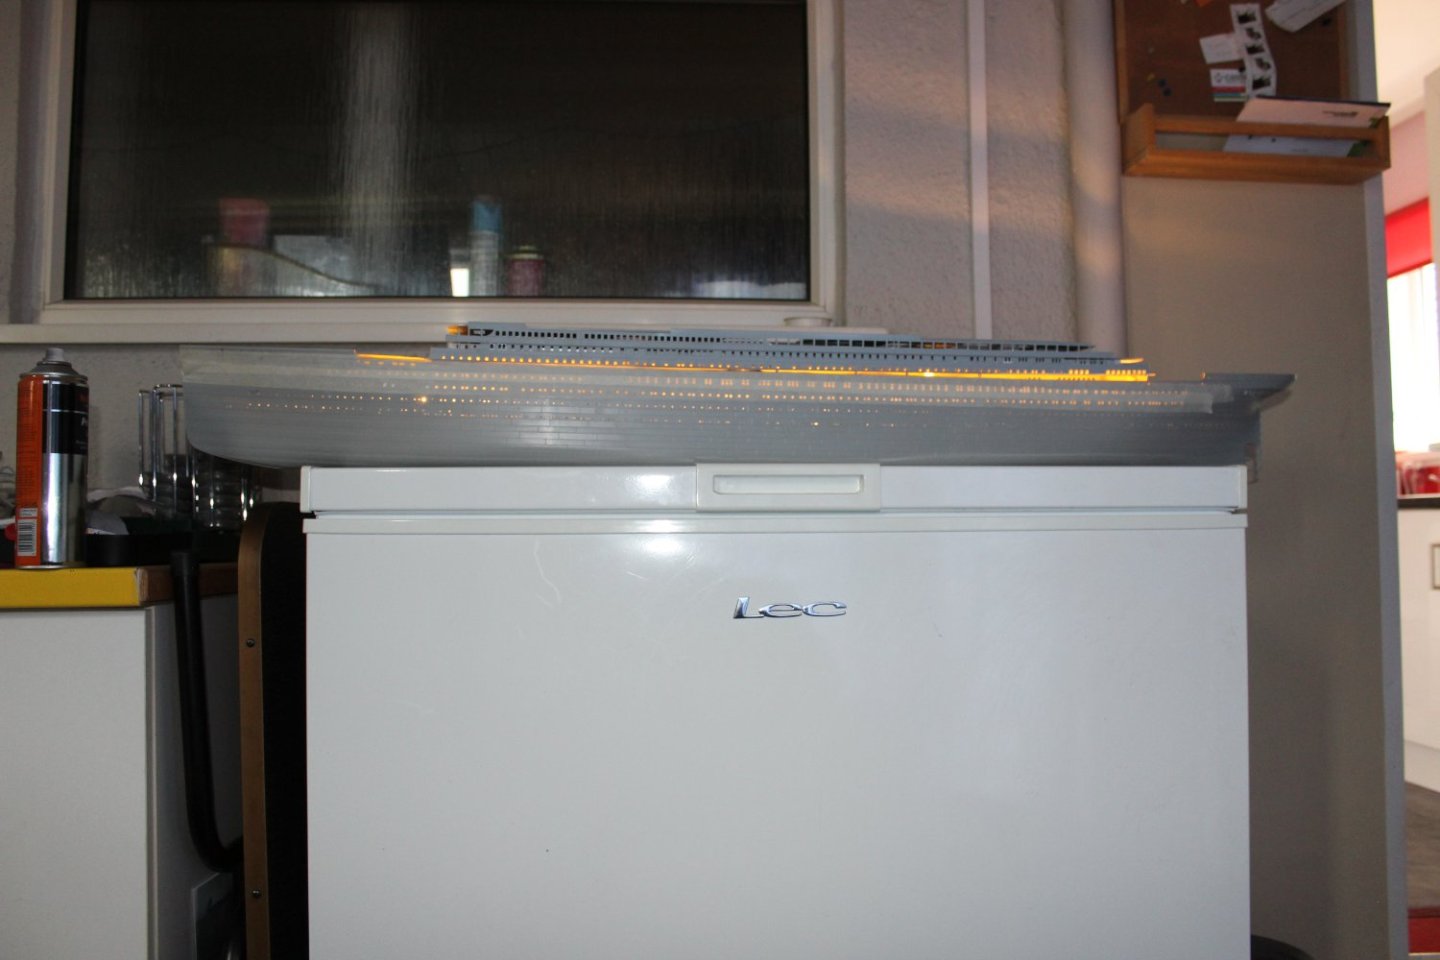
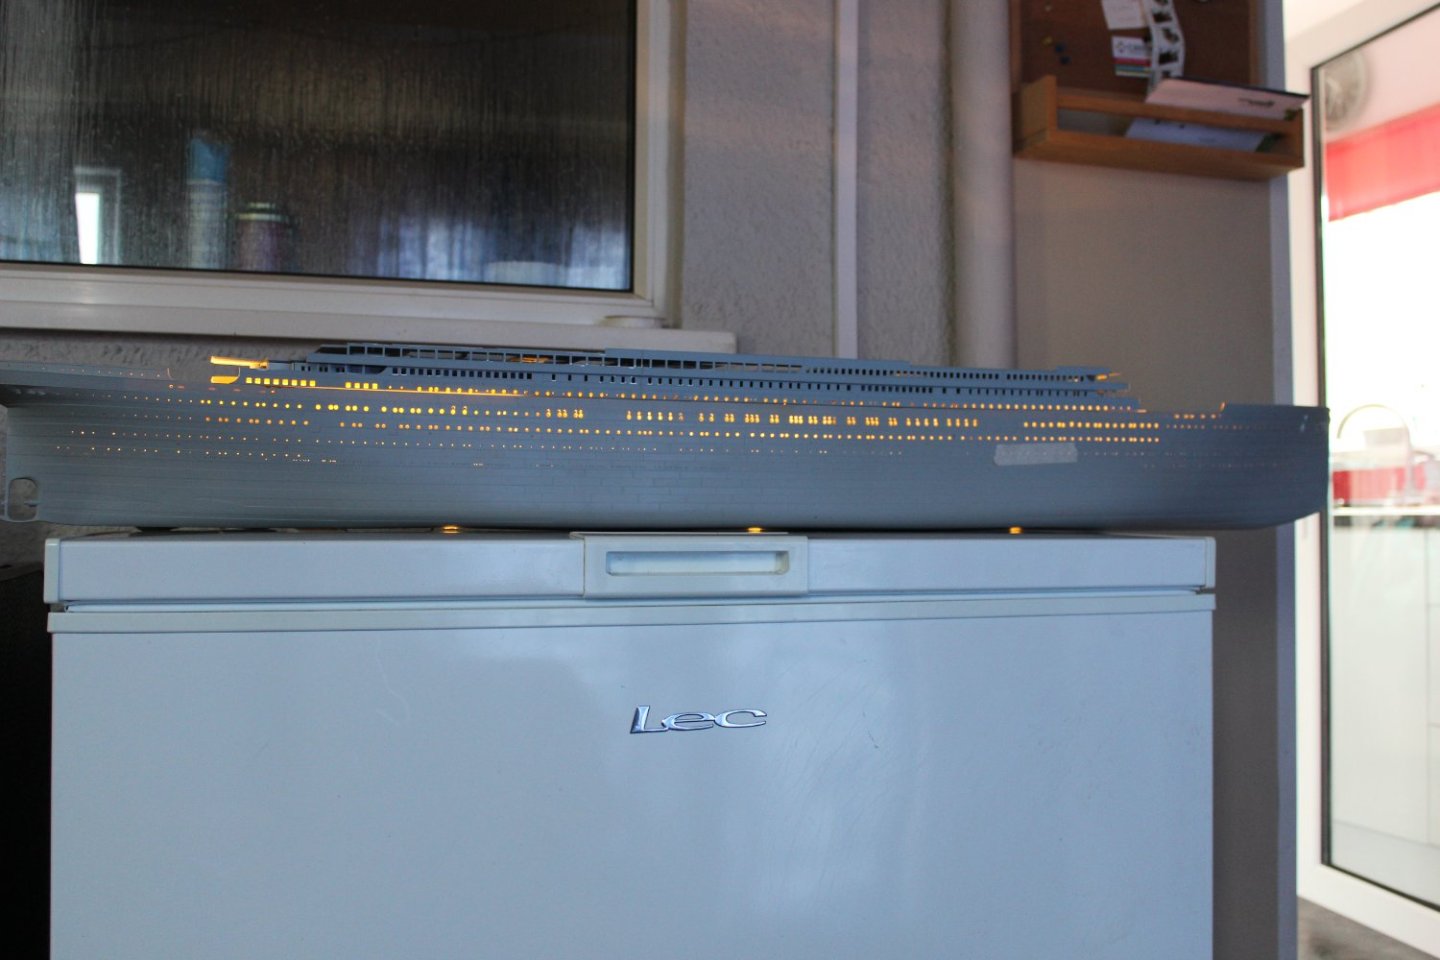
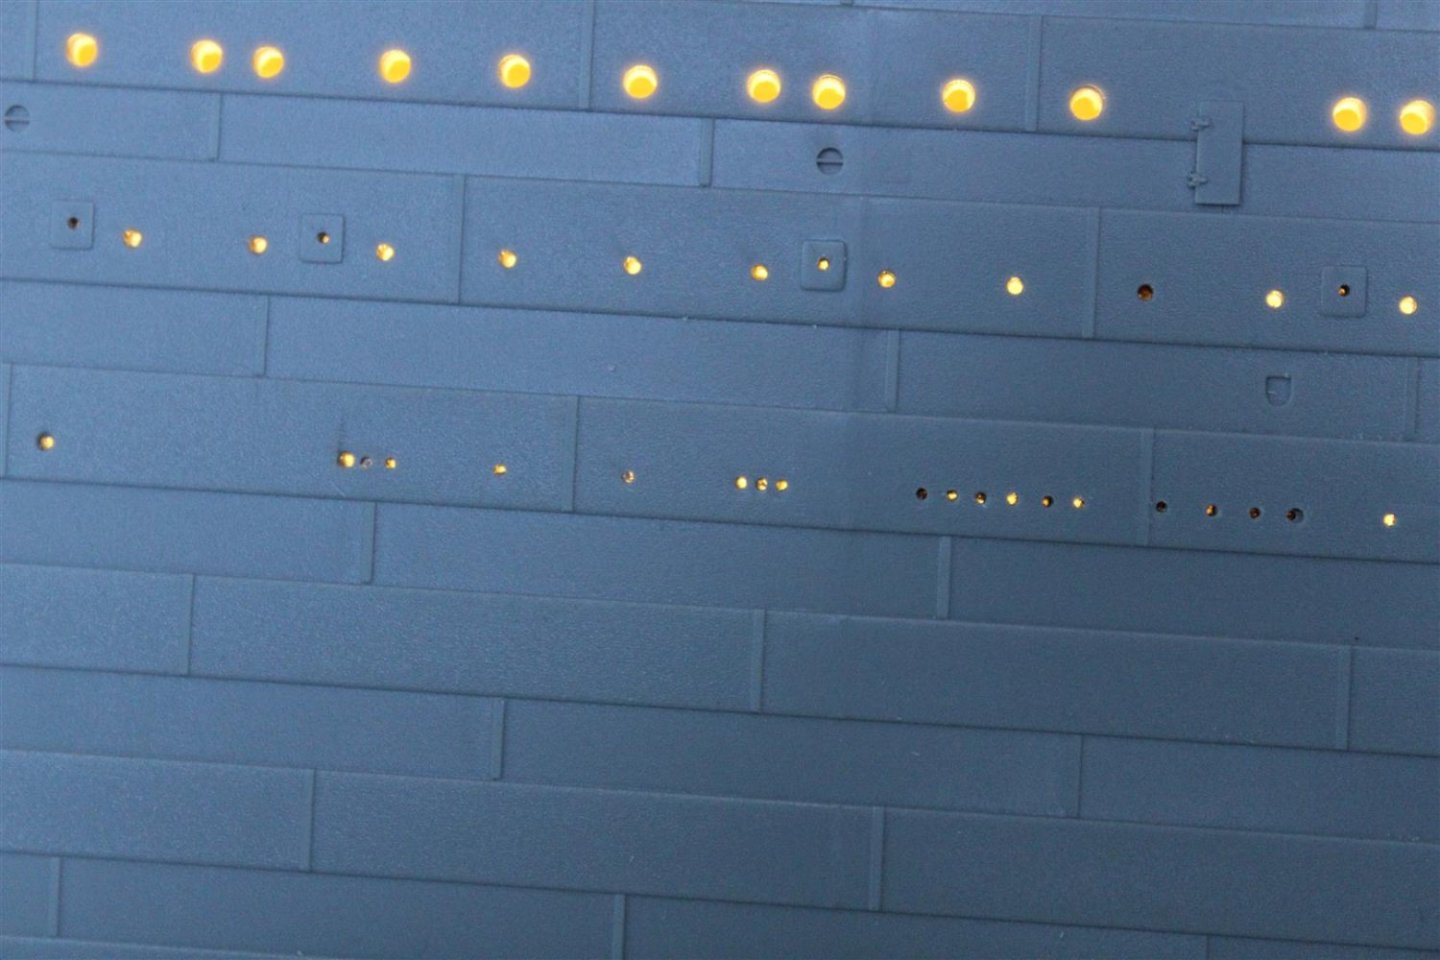
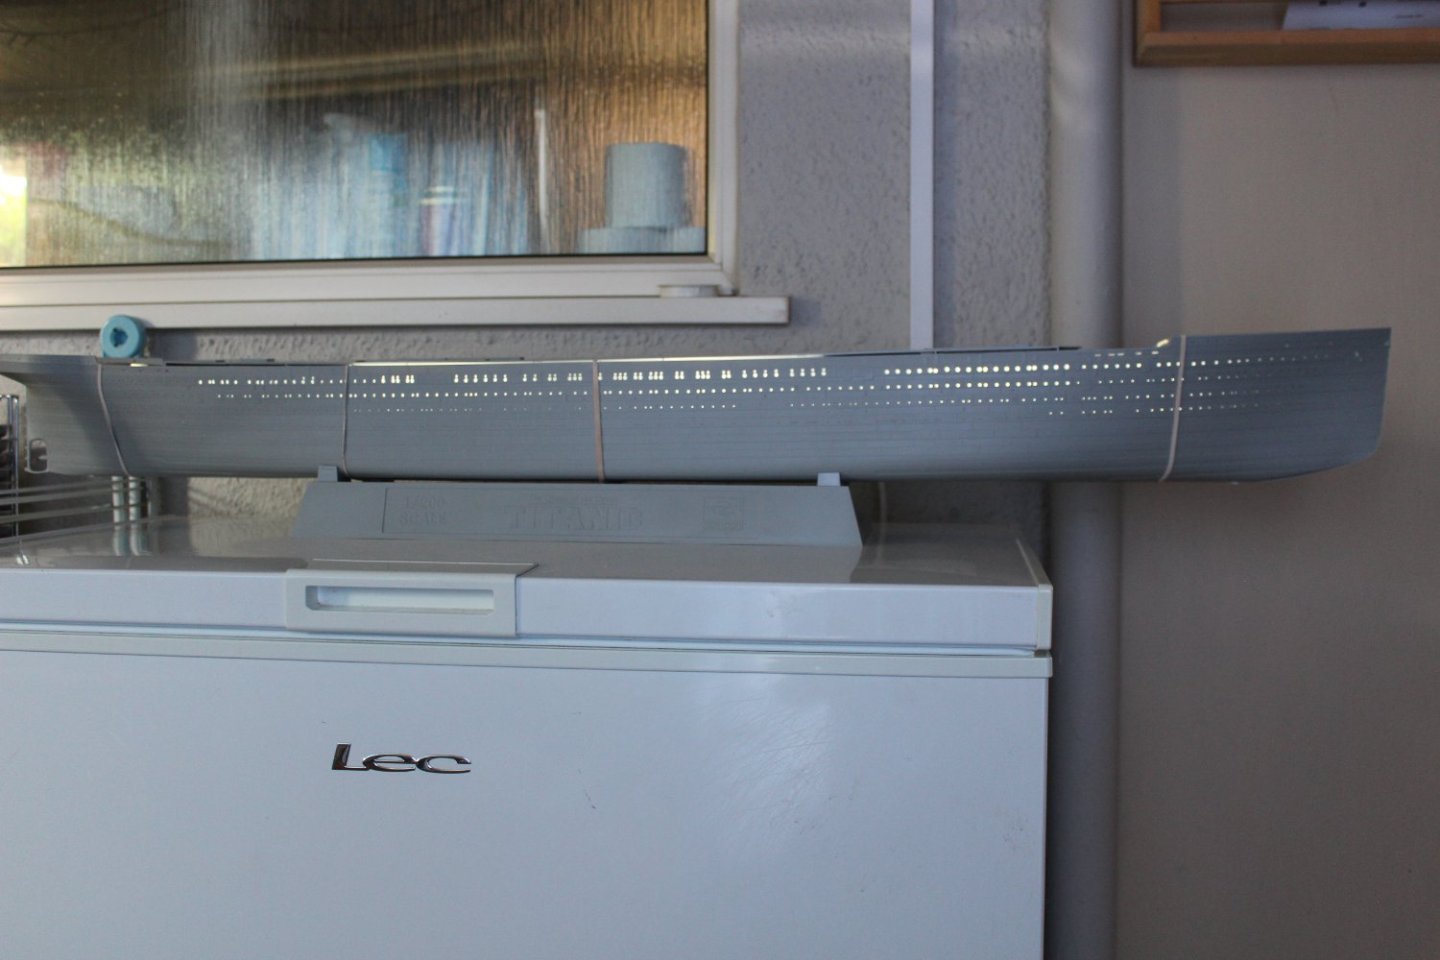
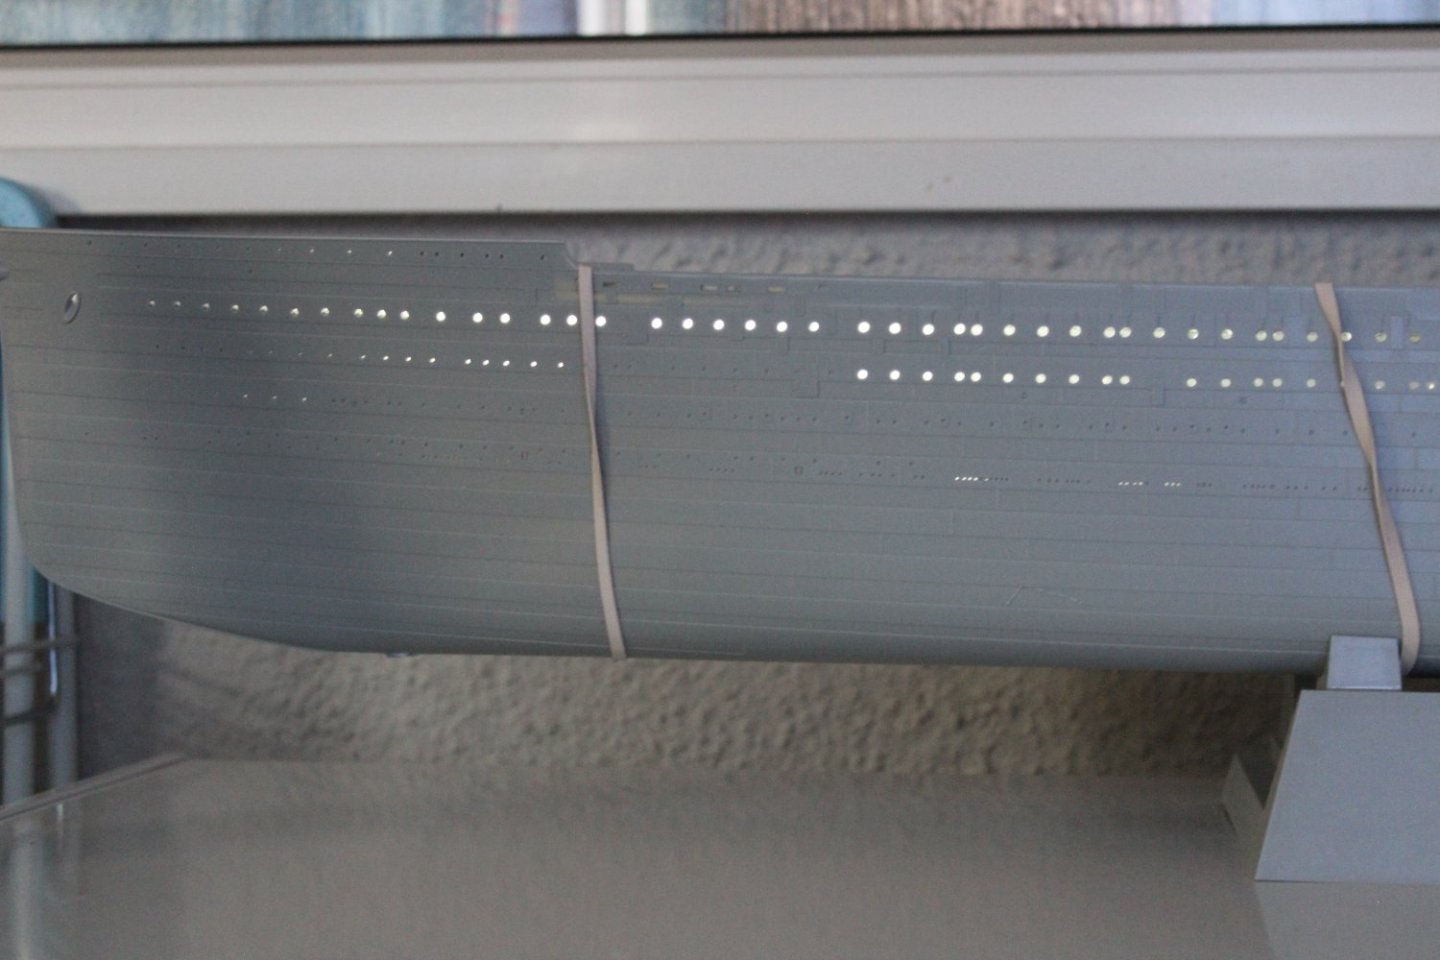
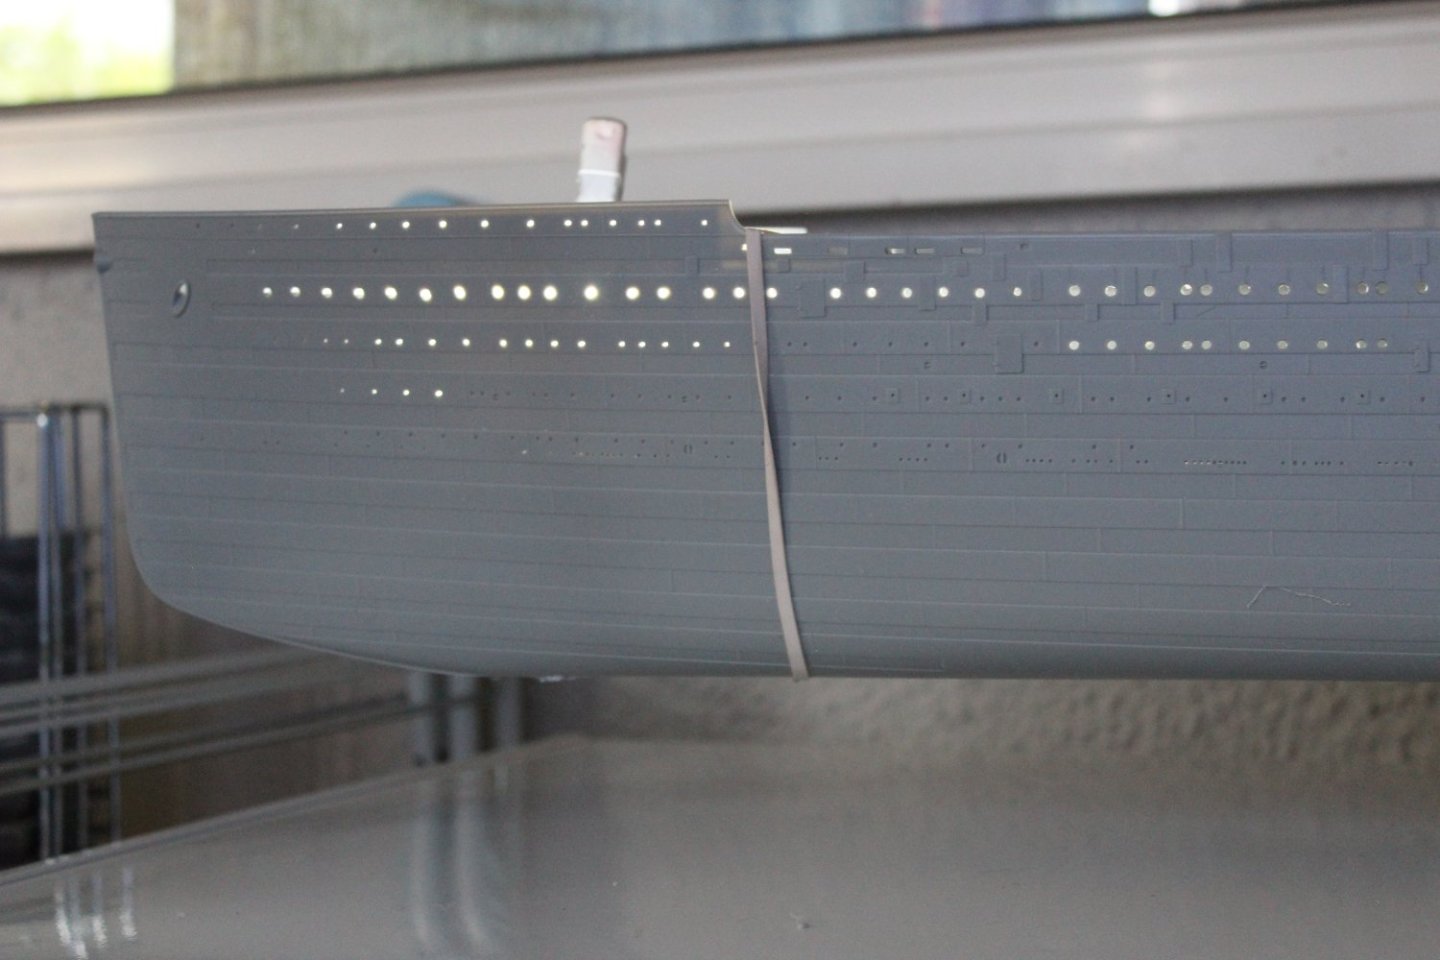
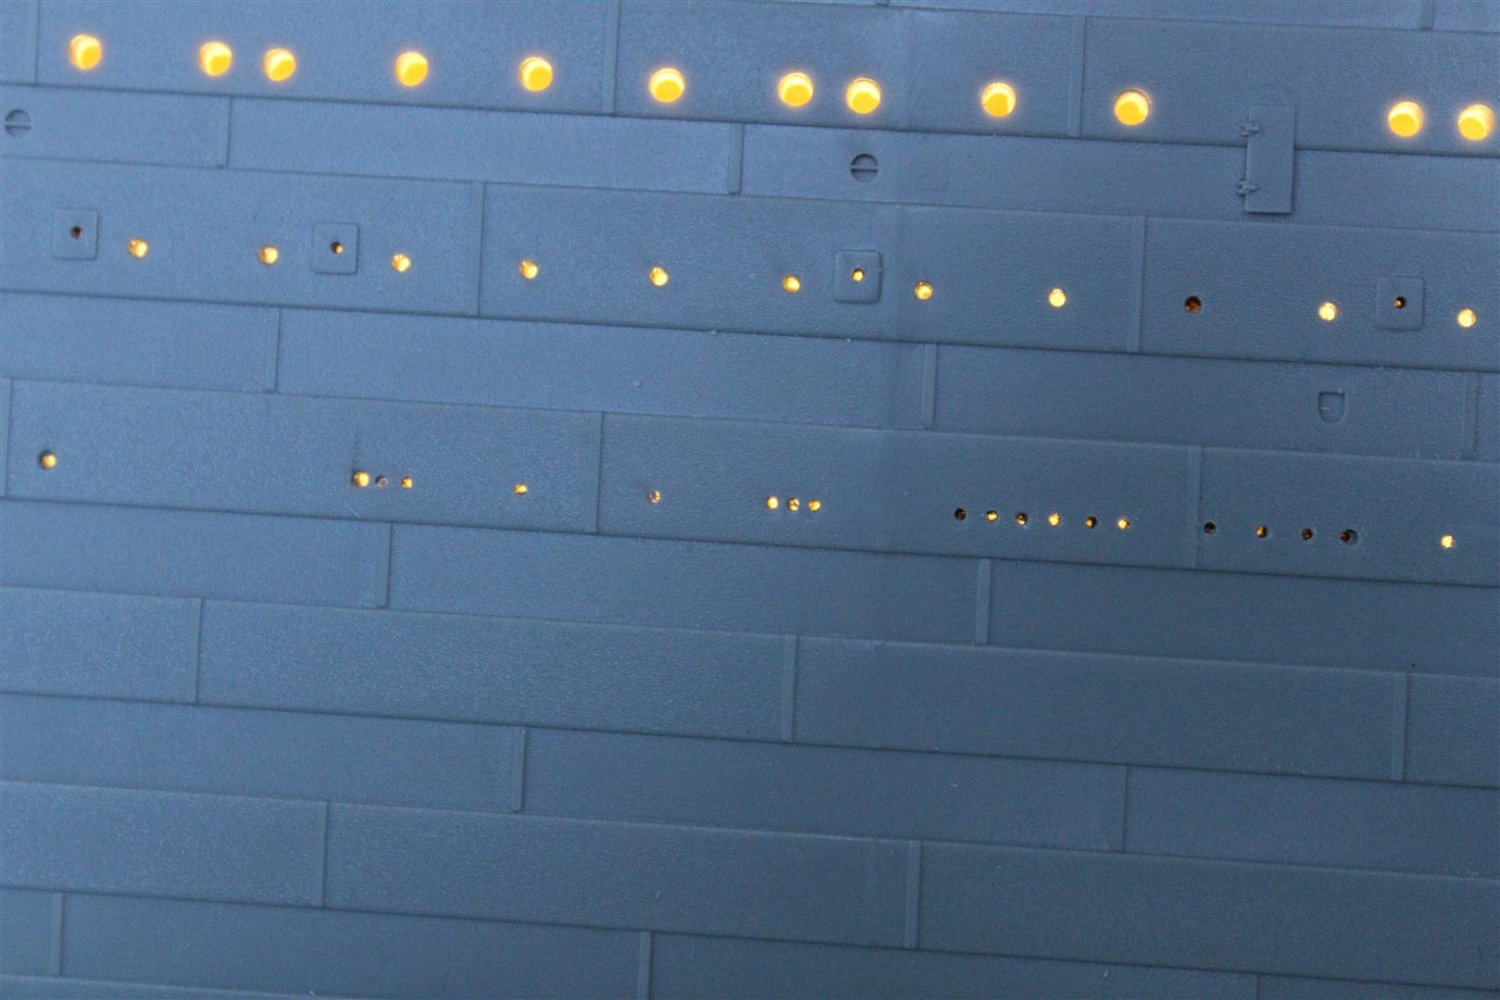
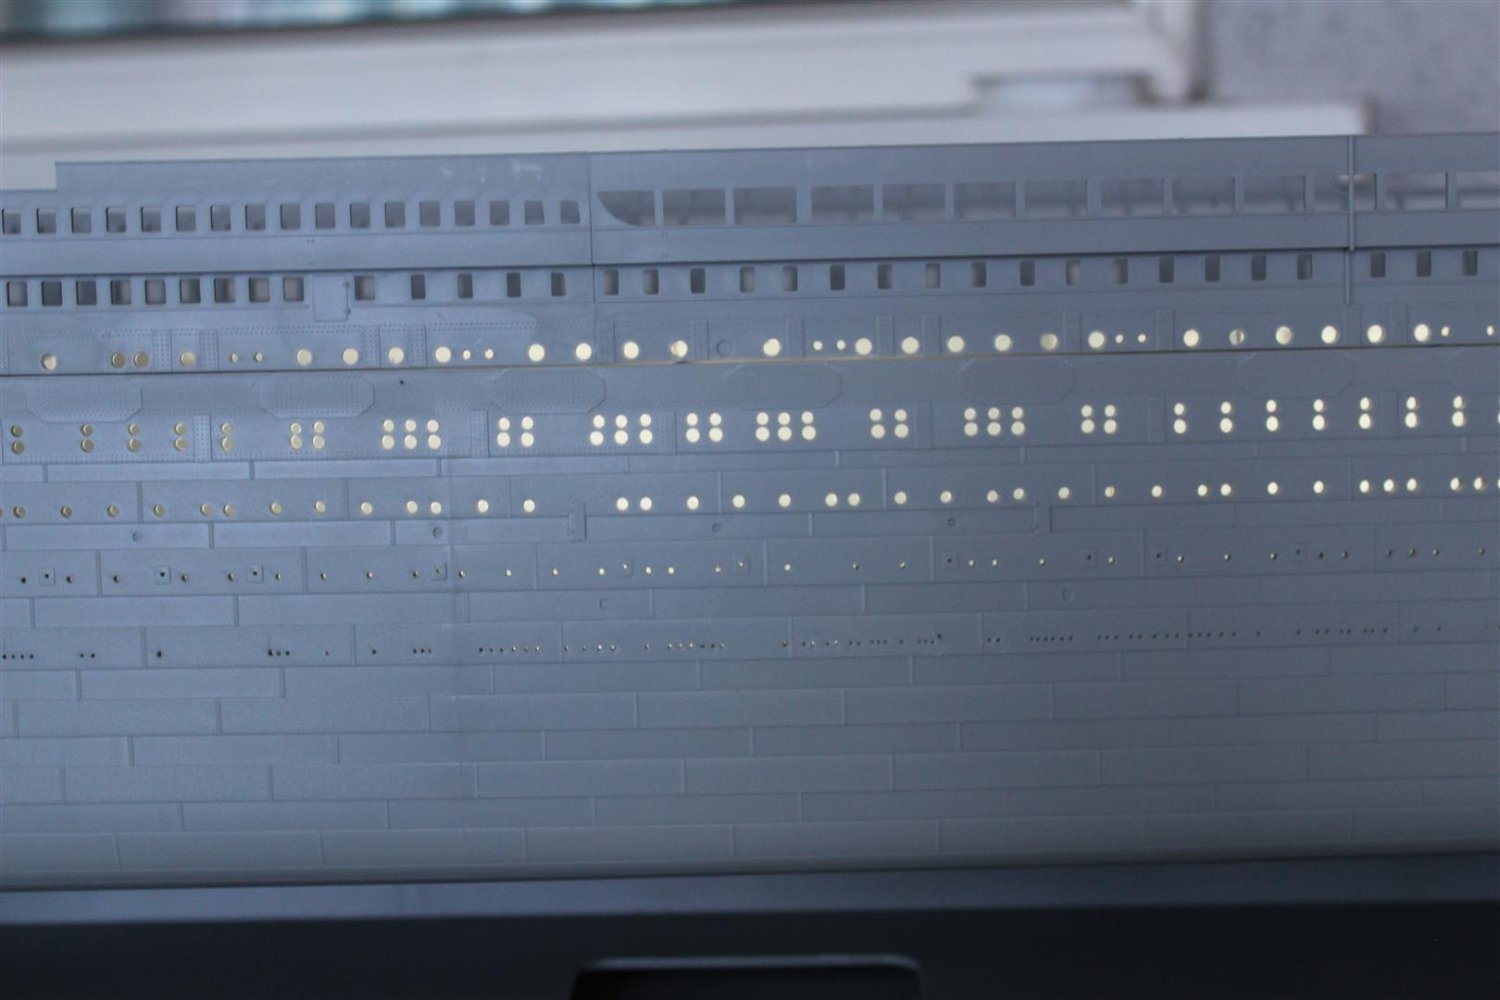
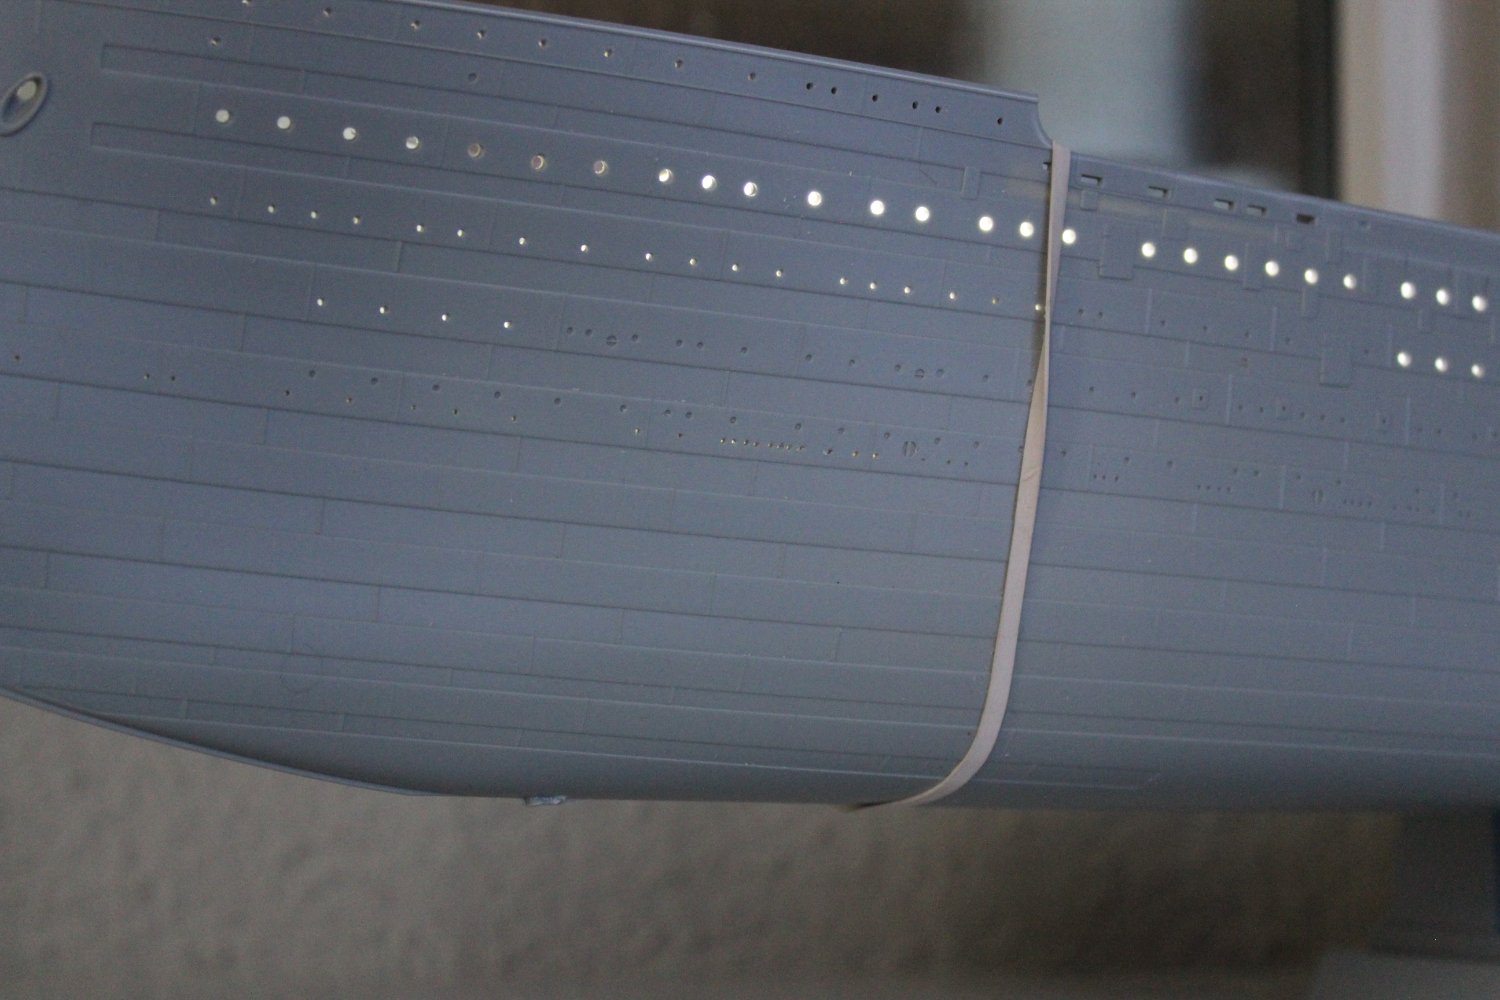
day 7 portholes complete and hull lighting sorted


- king derelict, Canute, mtaylor and 6 others
-
9
-
2 hours ago, yvesvidal said:
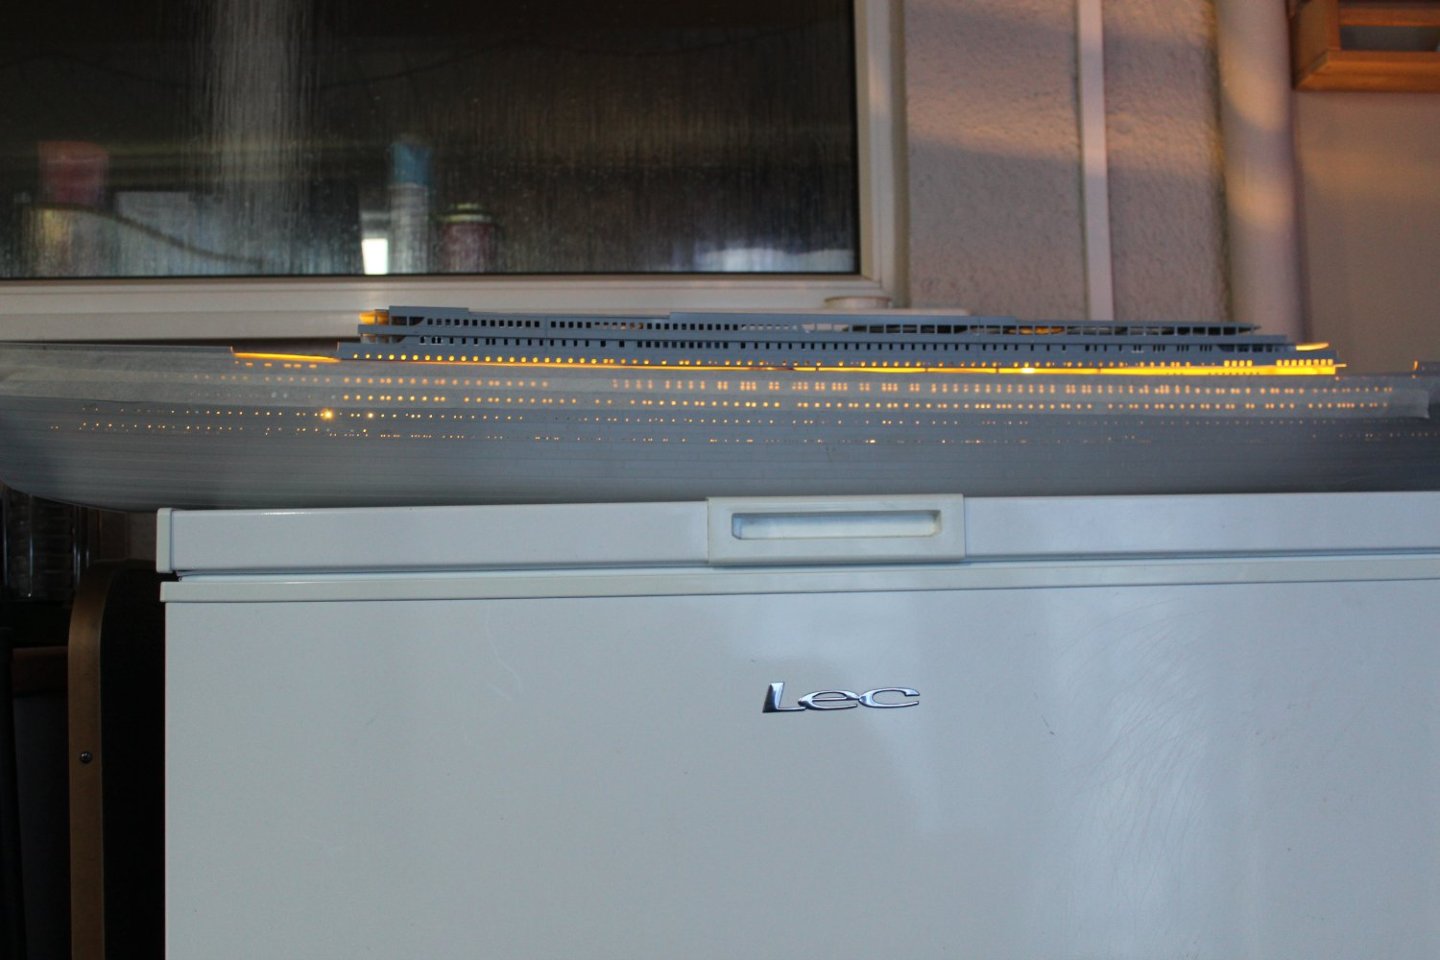
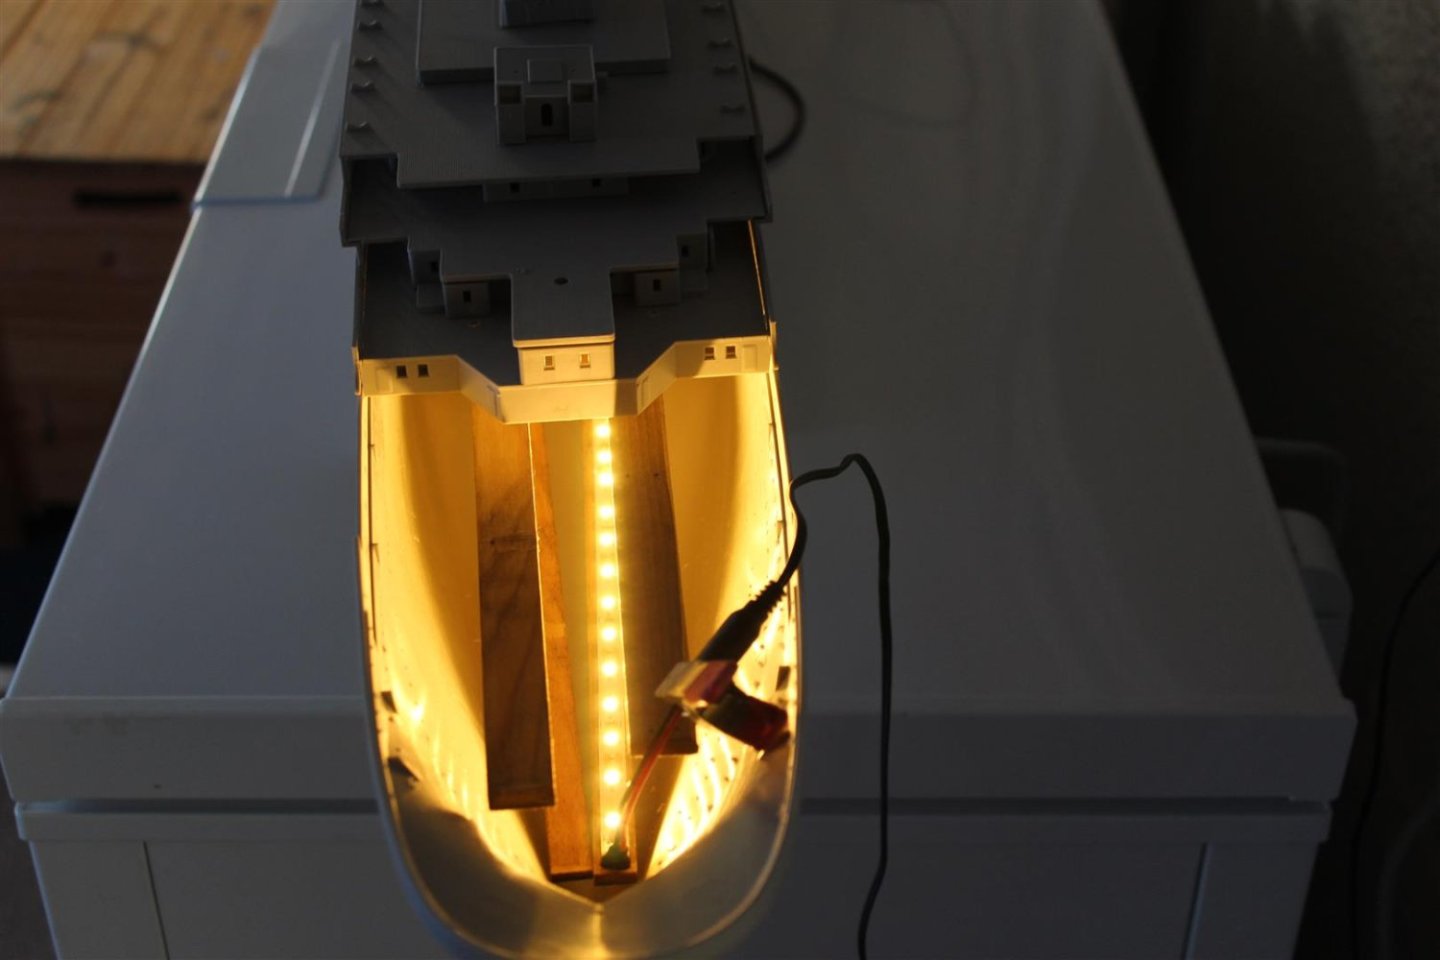
Kevin, excellent idea to paint the inside of the hull in yellow primer instead of black: It gives that nice warm light, instead of the modern blueish color obtained with LEDs. This Britannic is going to be Titanic.... 🙂
Yves
thank you it would be nice to say i built something i like
-
5 hours ago, hof00 said:
Hi Kevin,
Very nice!!
LED Strip Lighting is definitely the way to go!! 🙂
Are you planning the same for the superstructure?
Cheers and Regards,
Harry.
yes i will be doing everywhere, including funnel floods
-
good evening everyone
than you for comments and likes
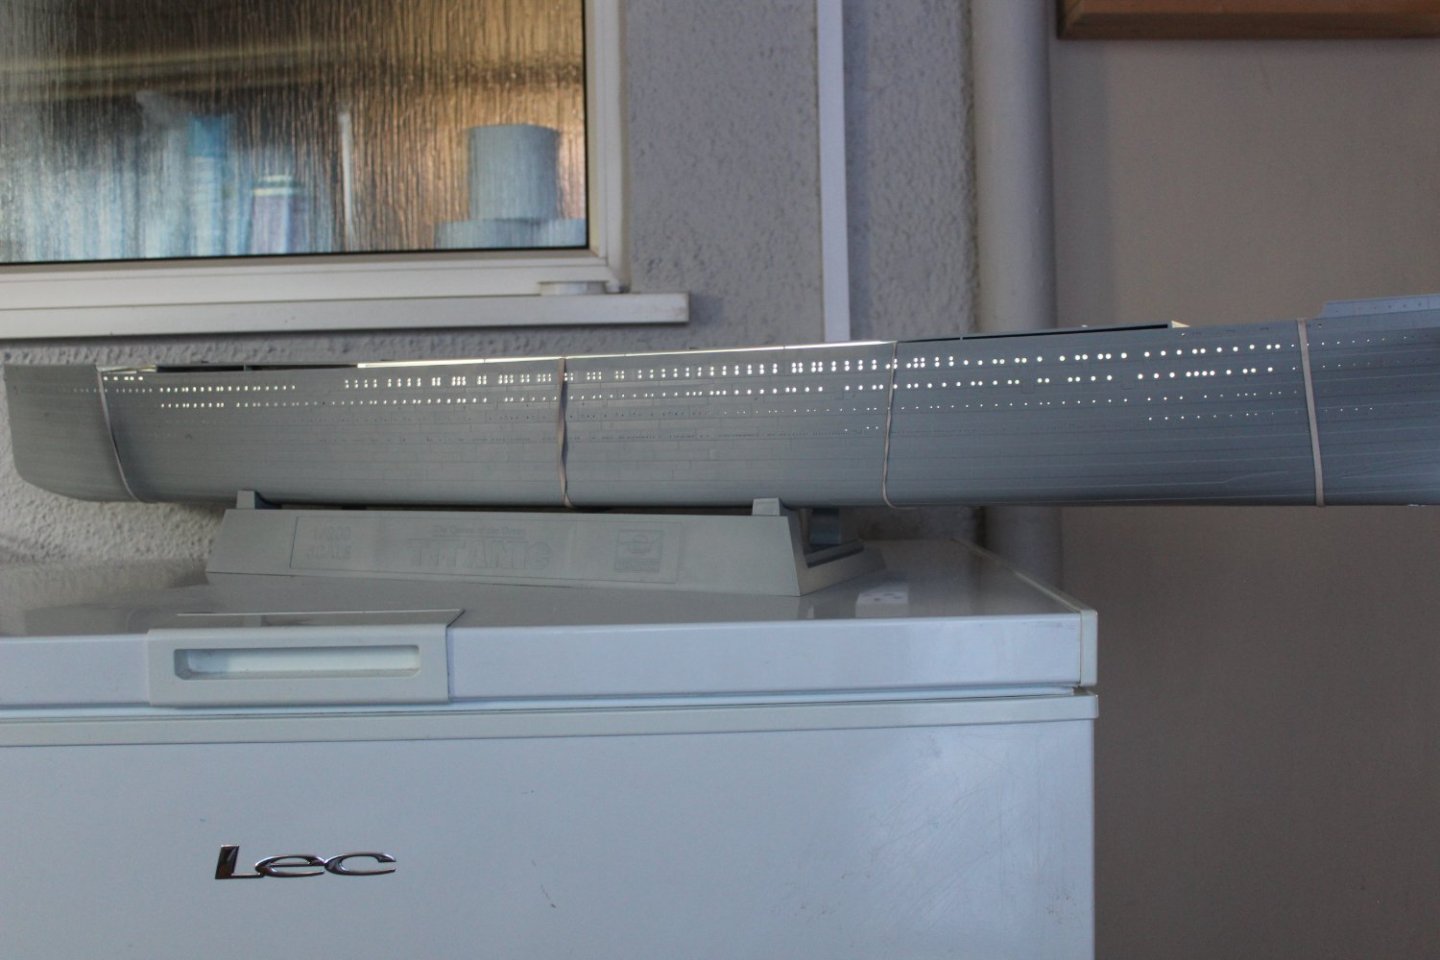
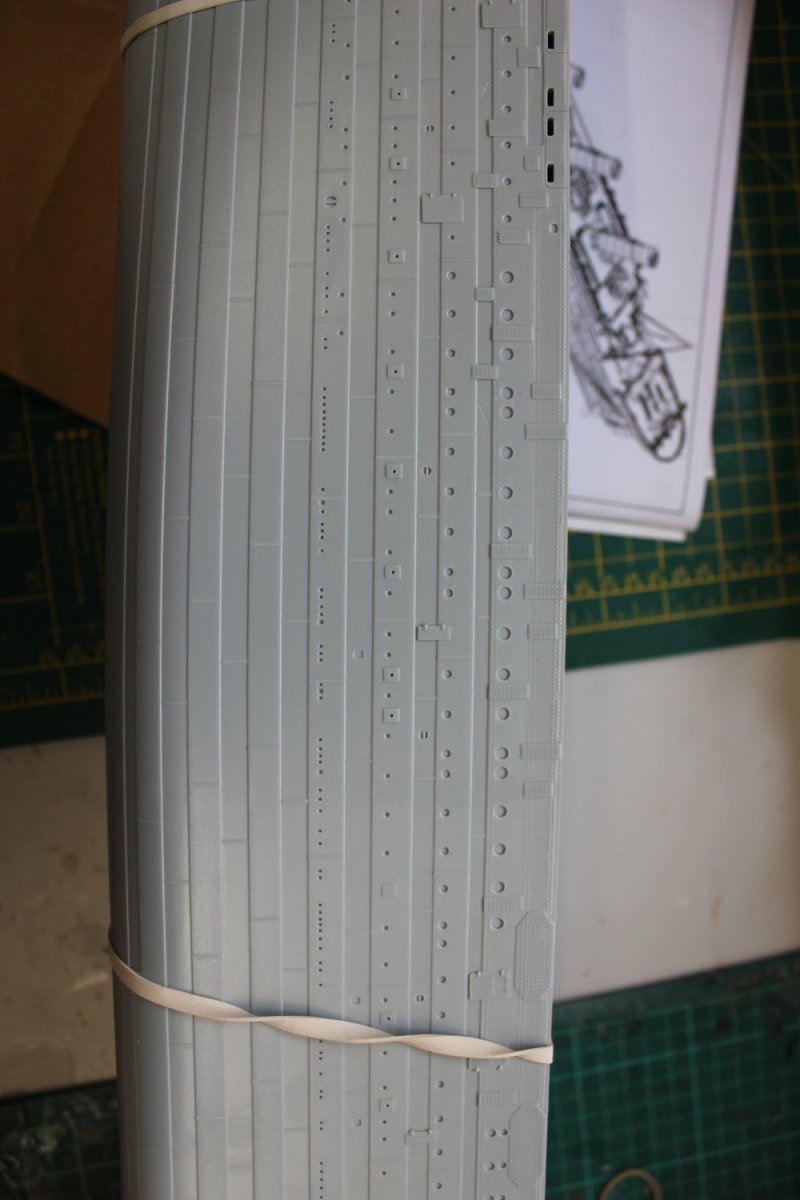
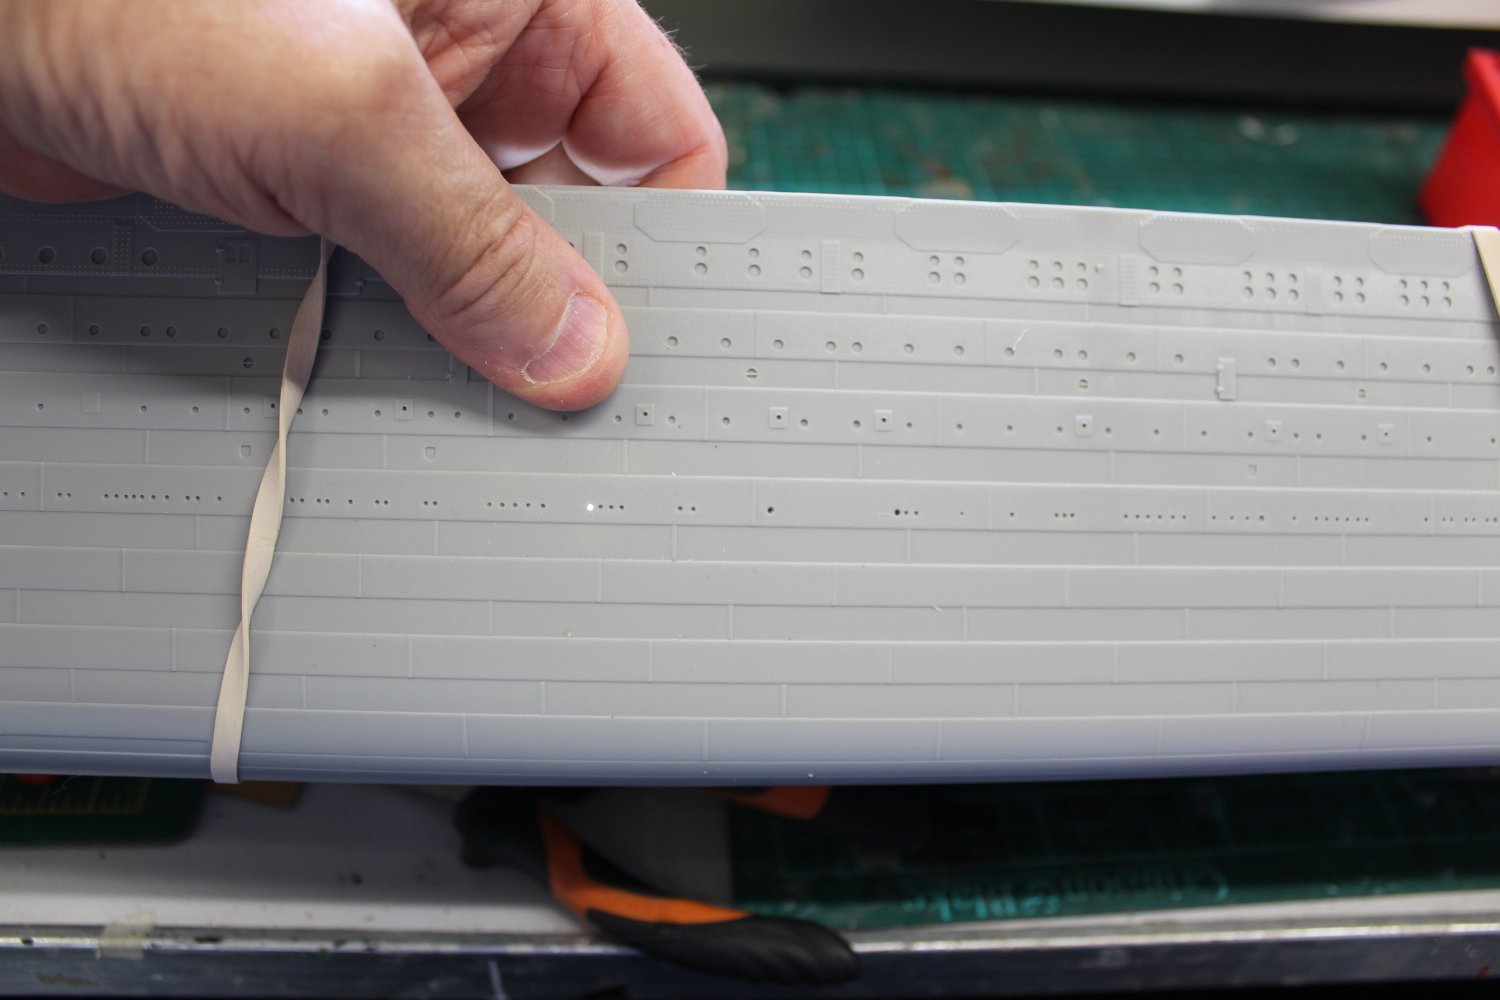
day 5 port side port holes done, another couple hudred left to do, trying to sort internal hull lighting
really pleased with myself completing the 0.6mm port holes, then i went and sanded the hull internally to get rid of the swarf, and it filled a lot of them in again, oh hum
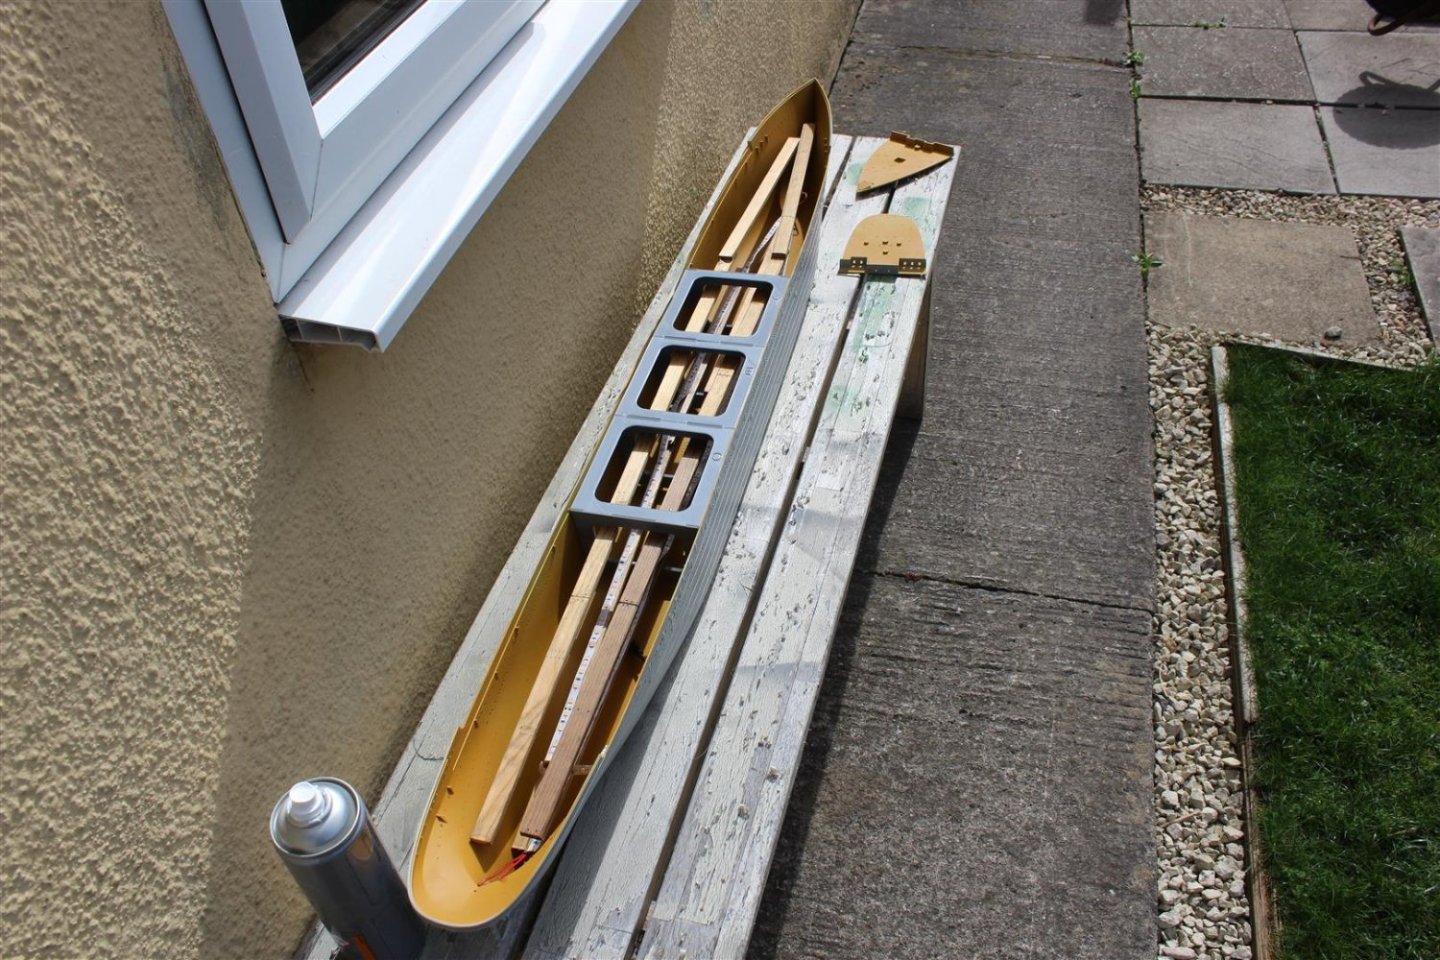
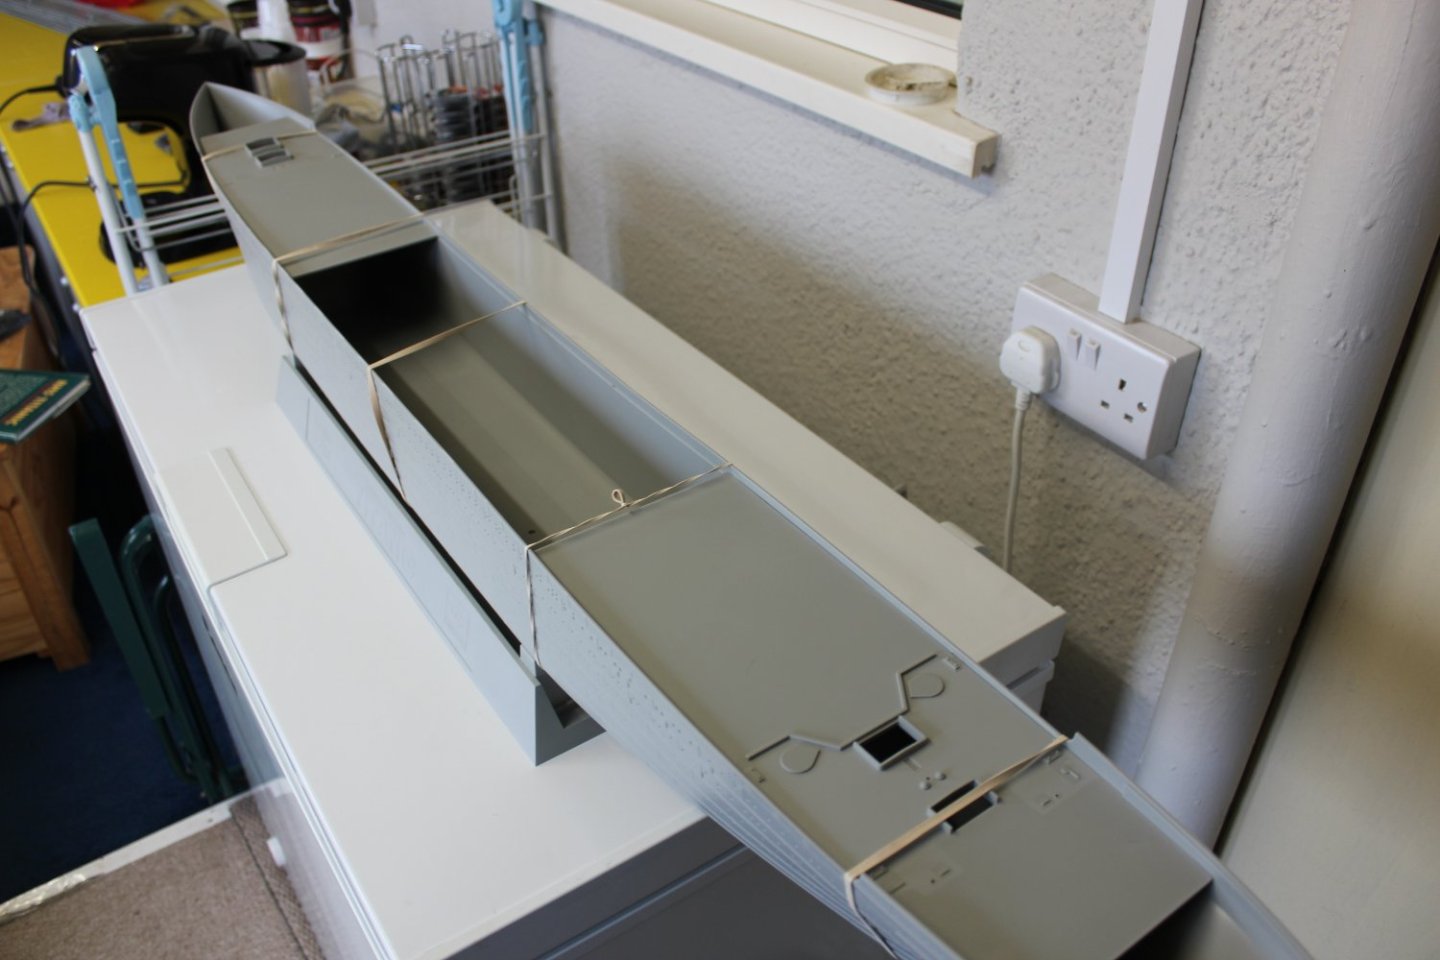
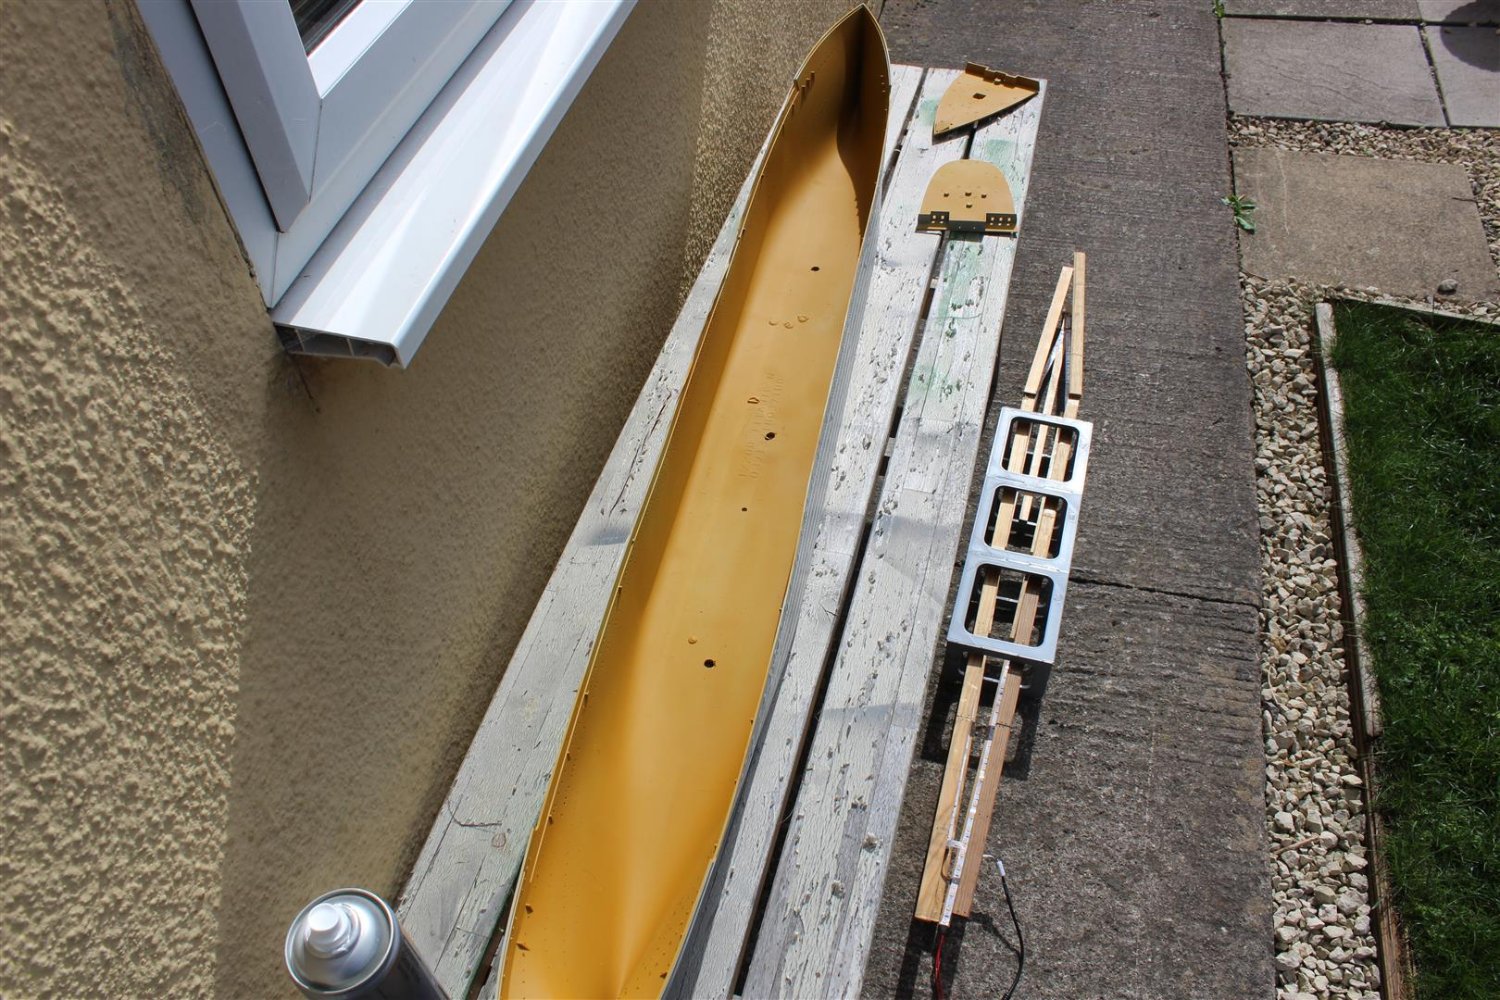
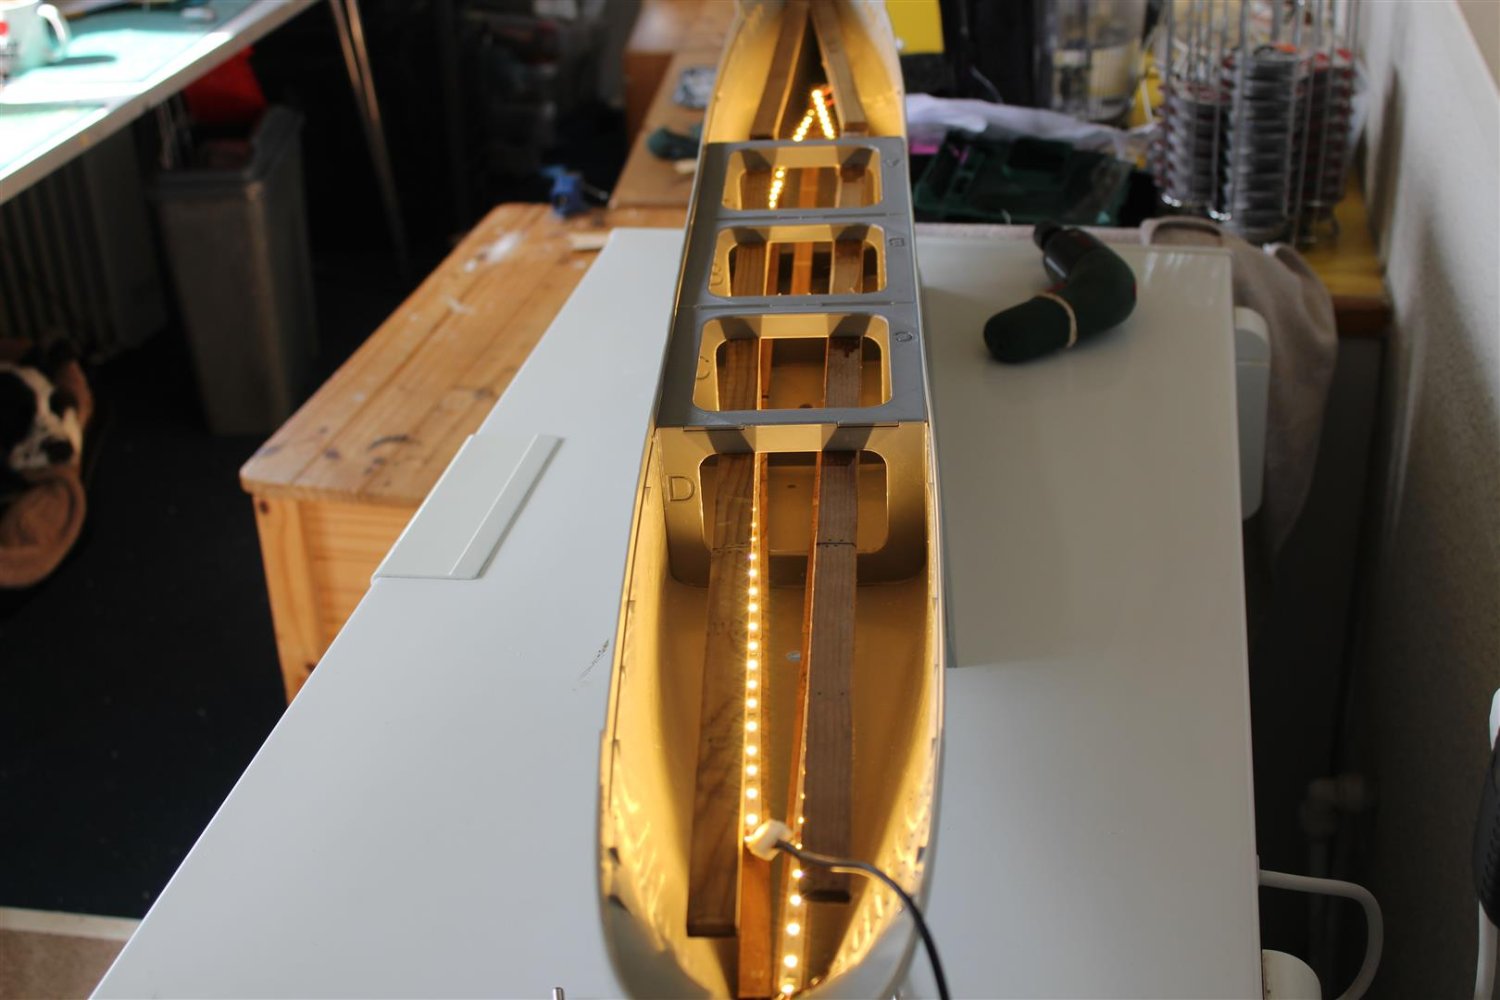
internal of the hull has been primed in a Halfords yellow primer,
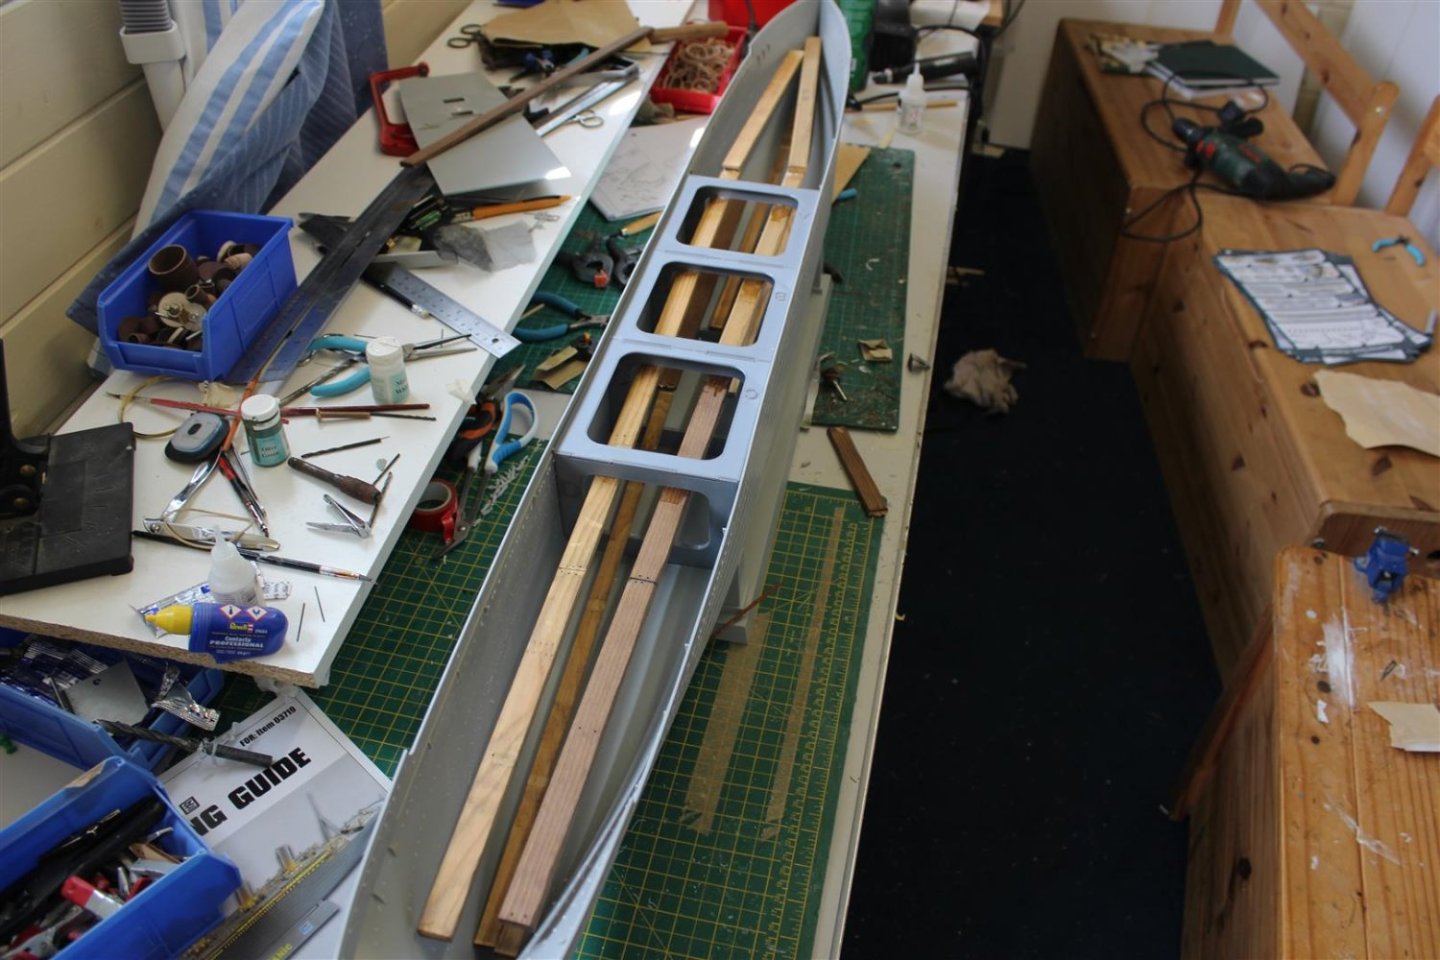
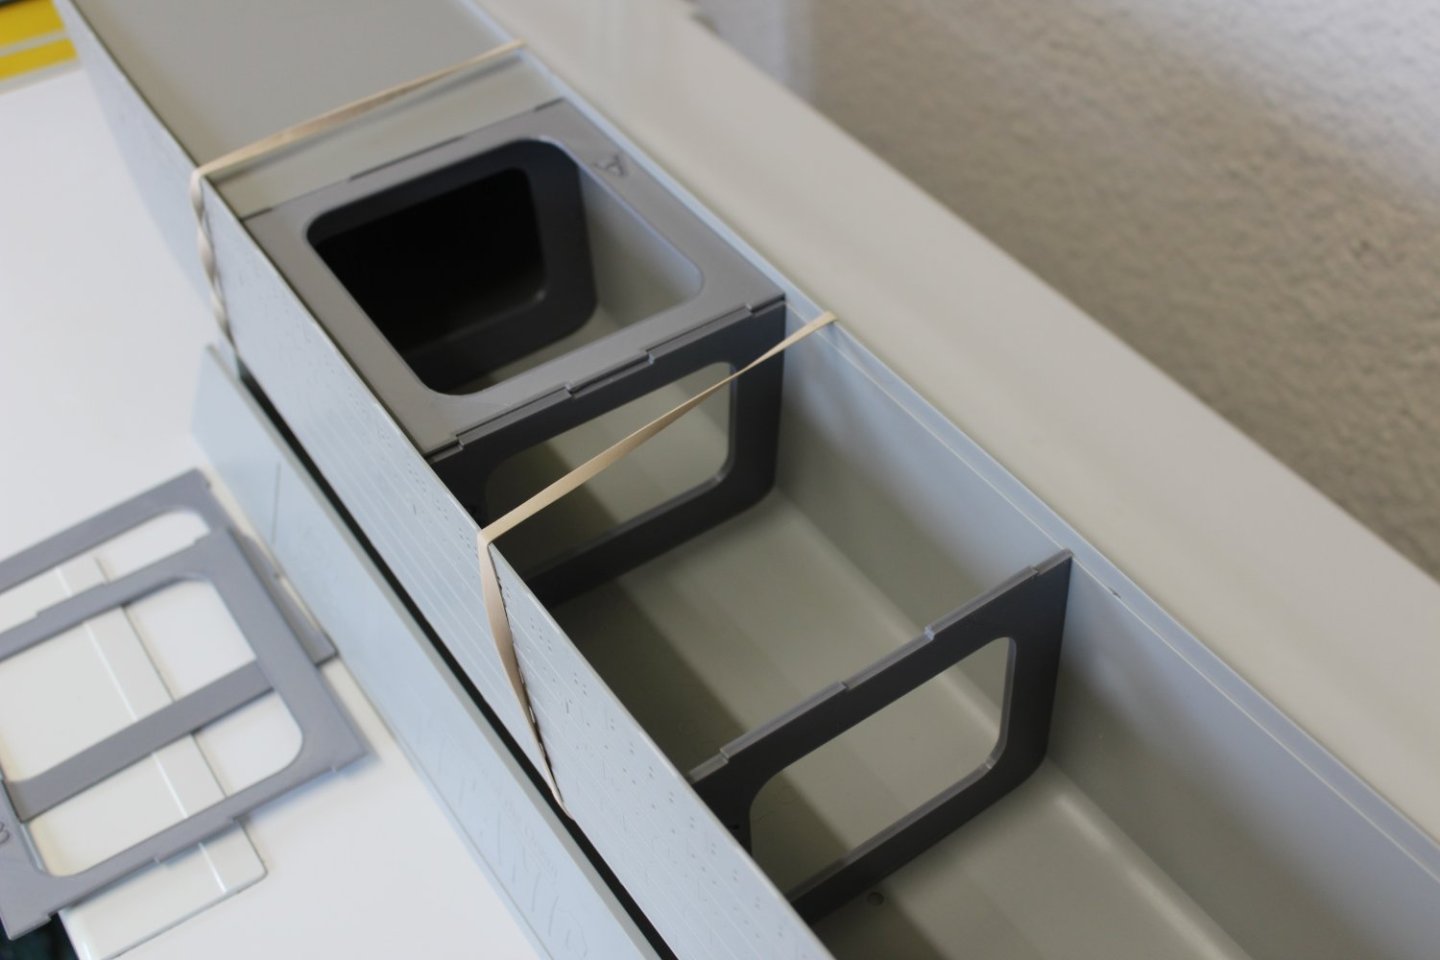
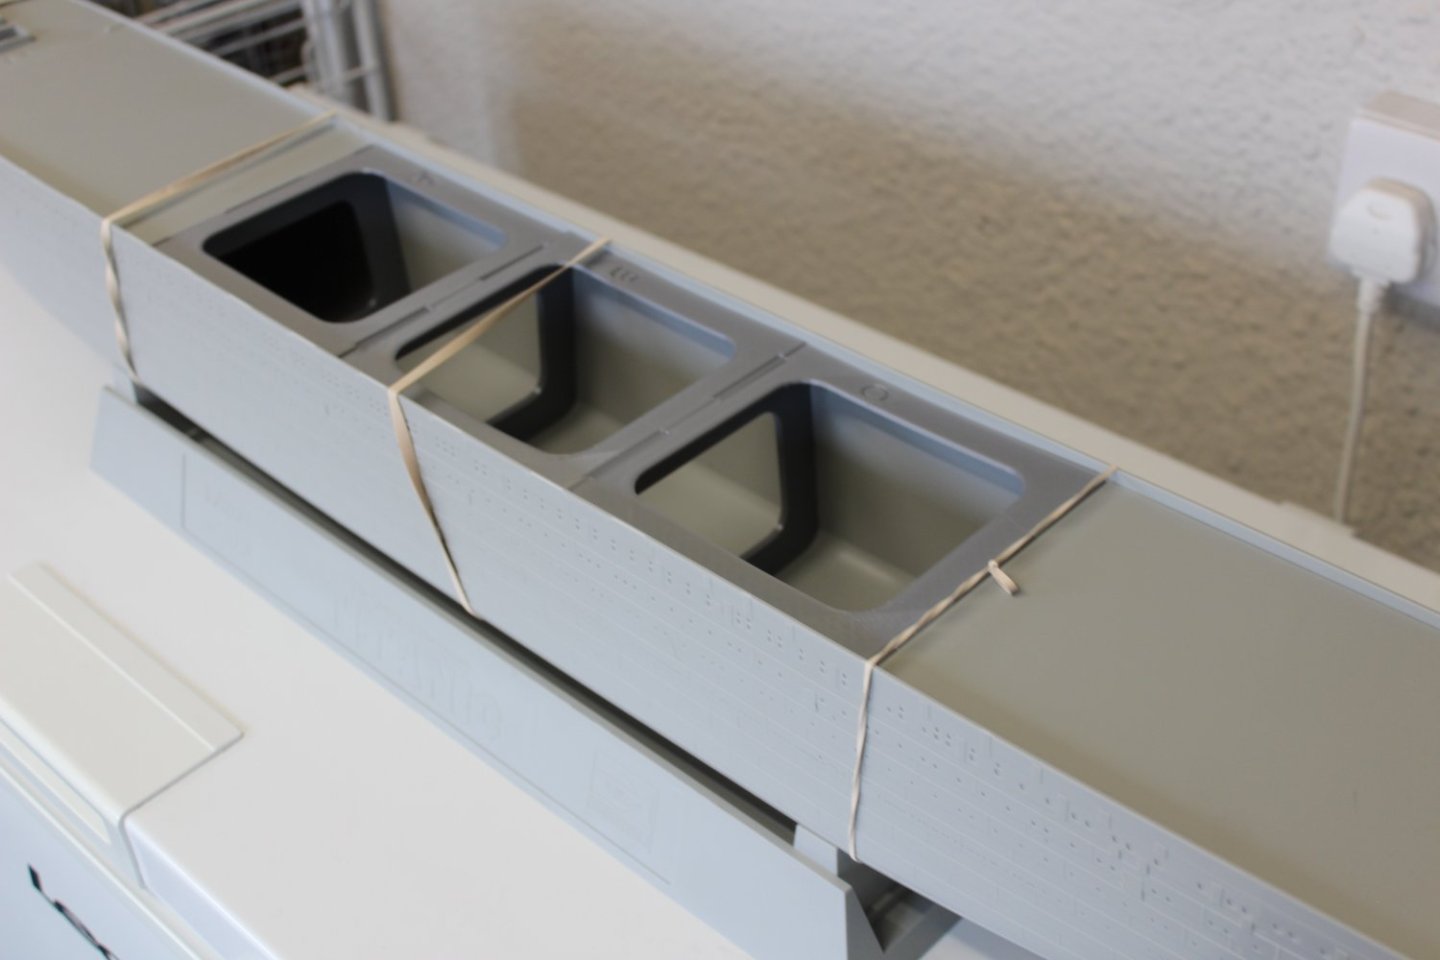
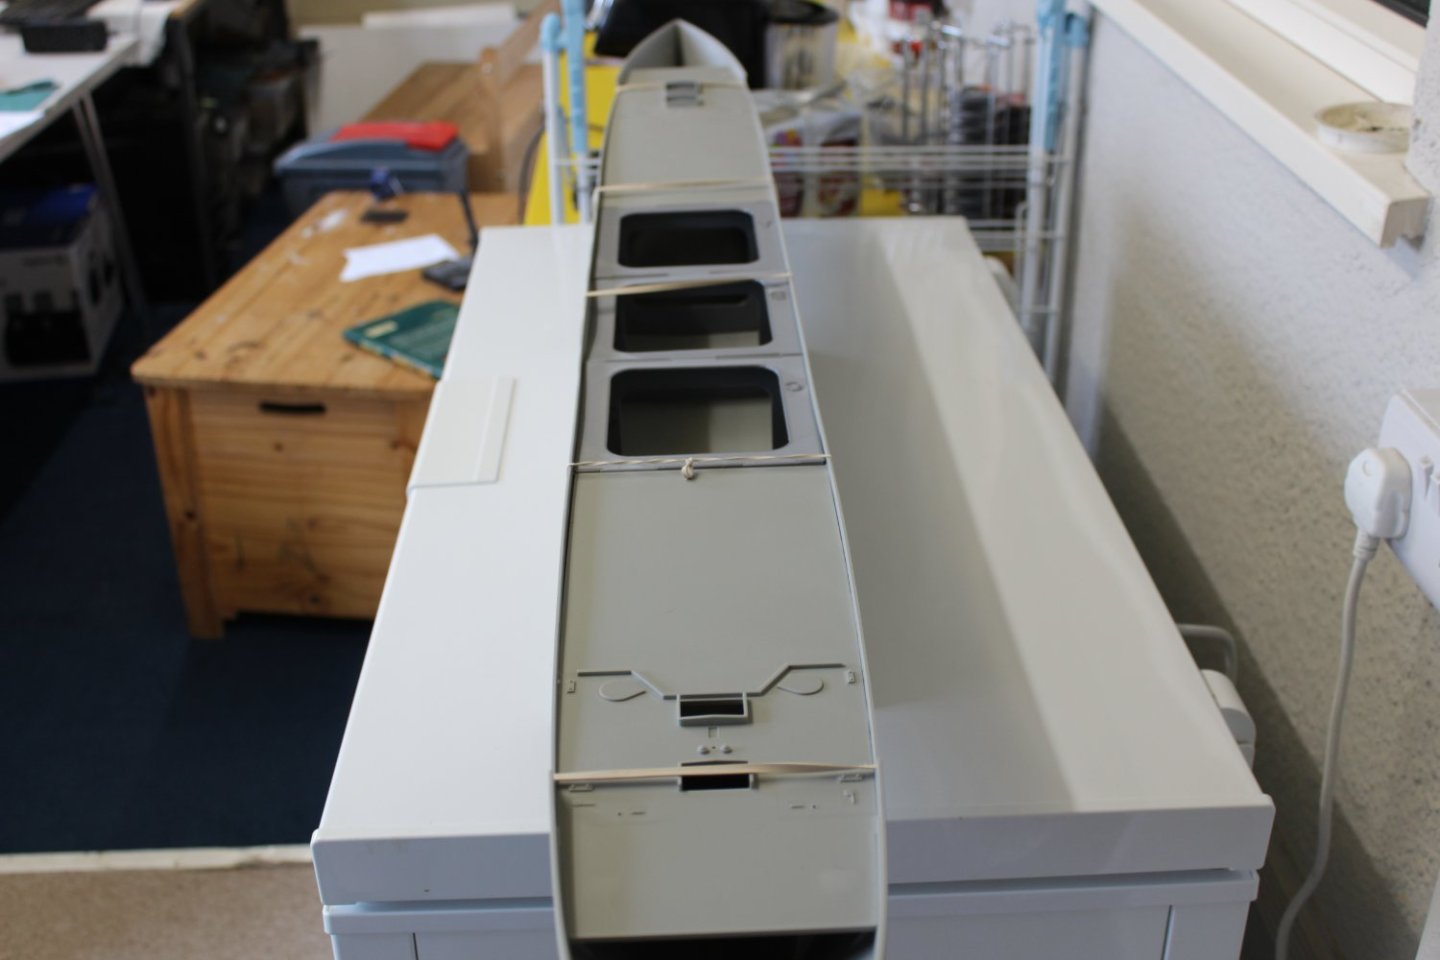
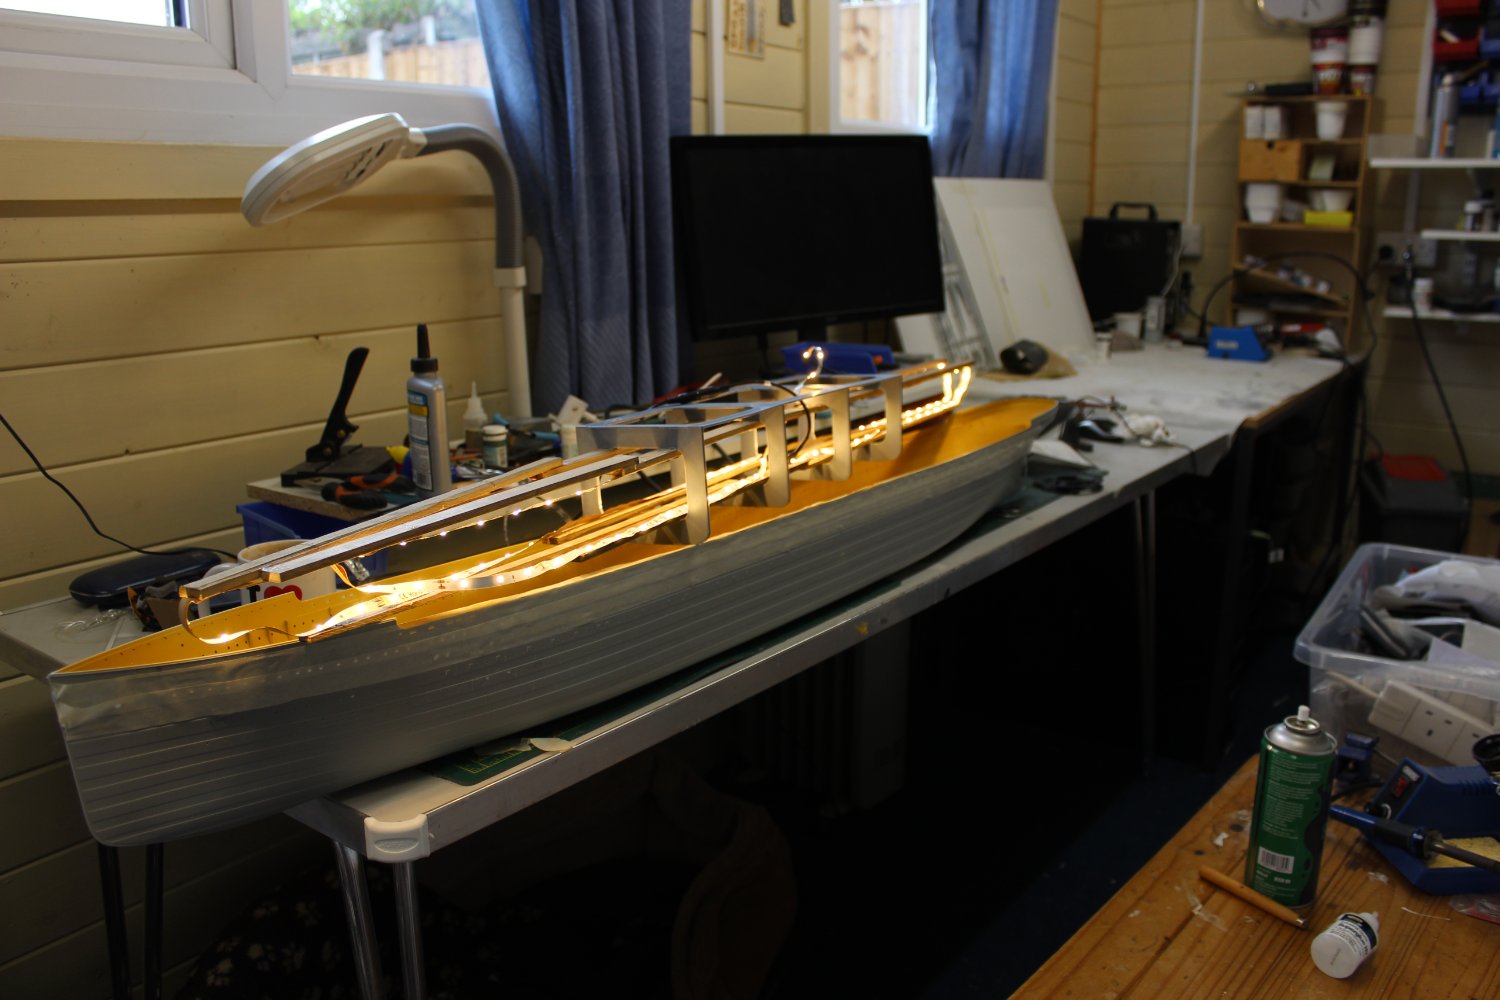
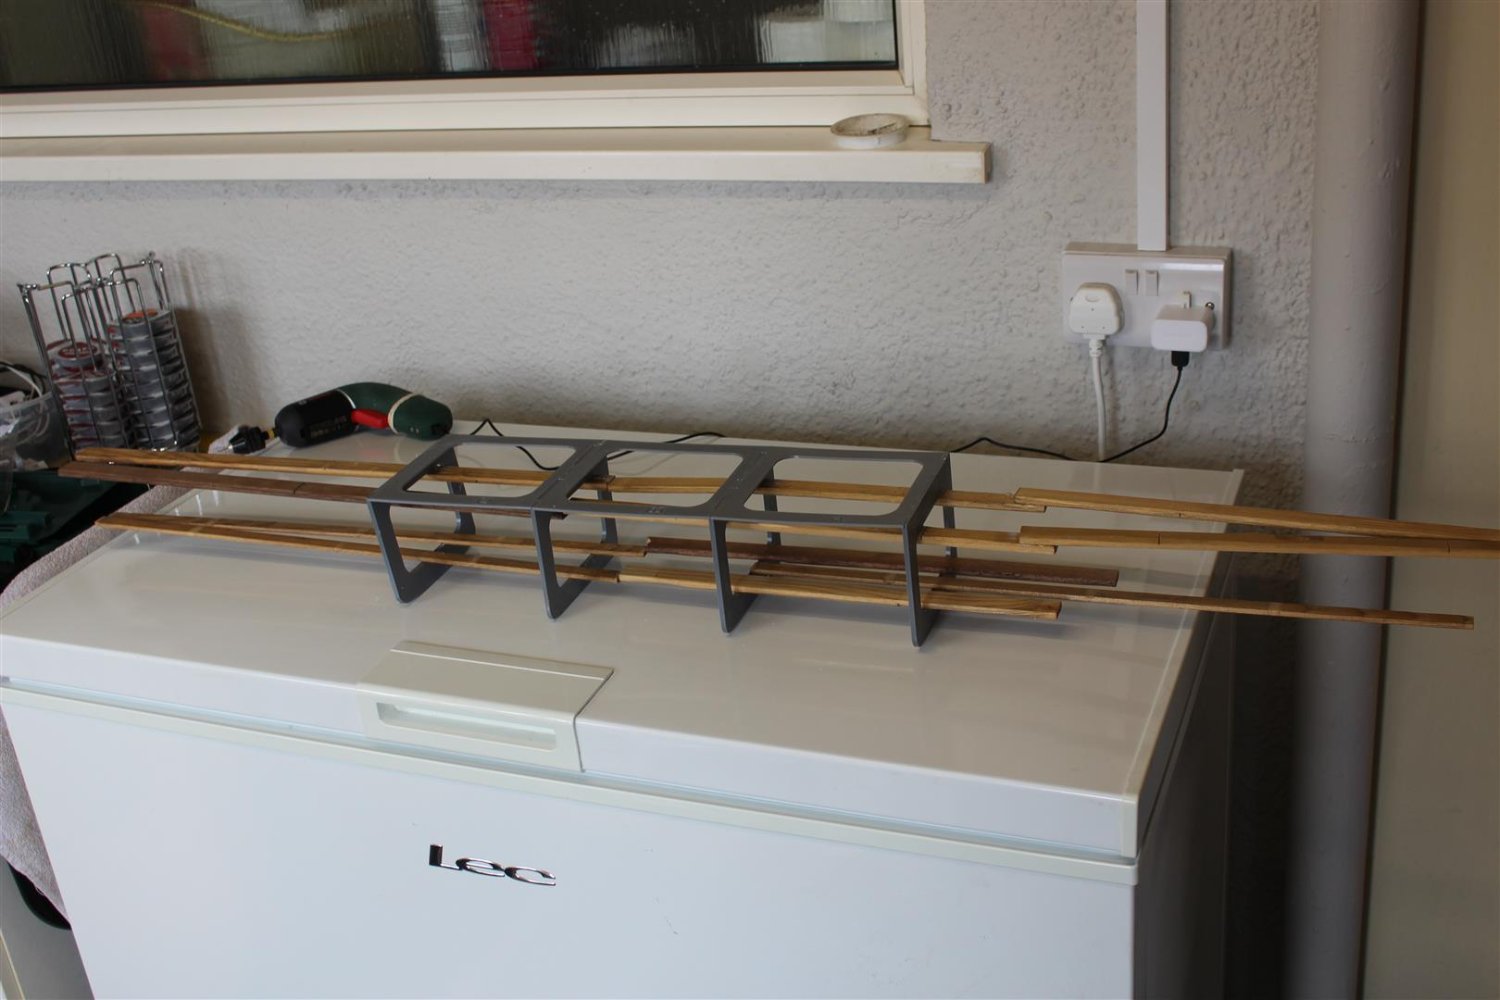
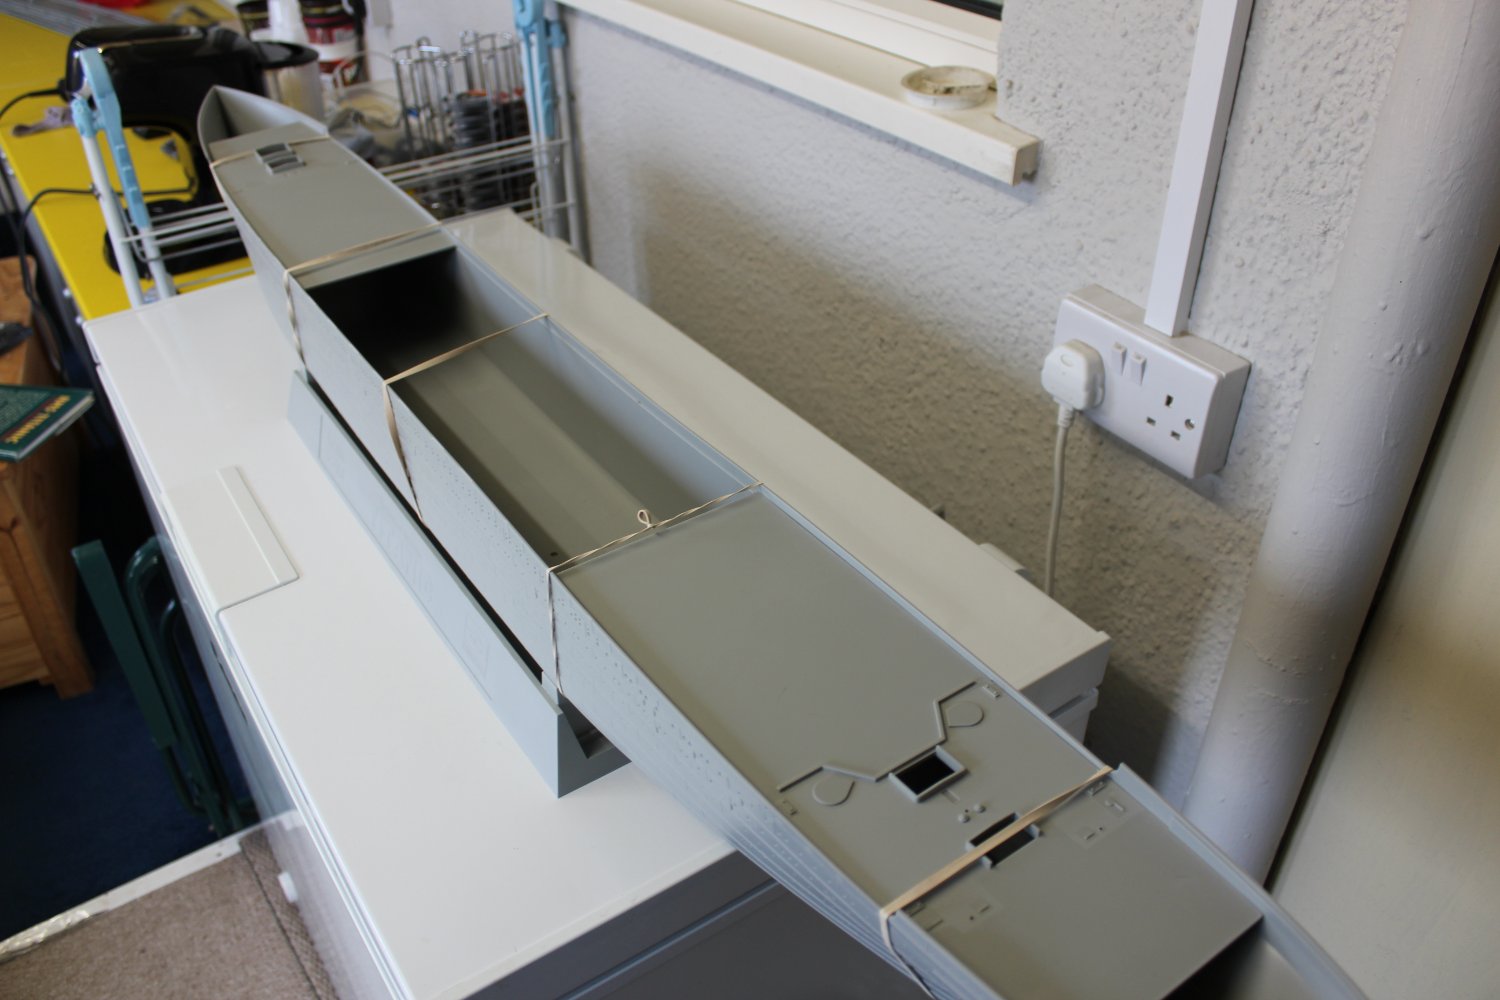
made a frame for the internal leds attached to the bulkhead frames, but once the decks either end are in place i wont be able to remove it, so i may adapt it to 3 sections and actually secure the fwd and after sections with a removable midships sections, another 2 strips at least are required as well
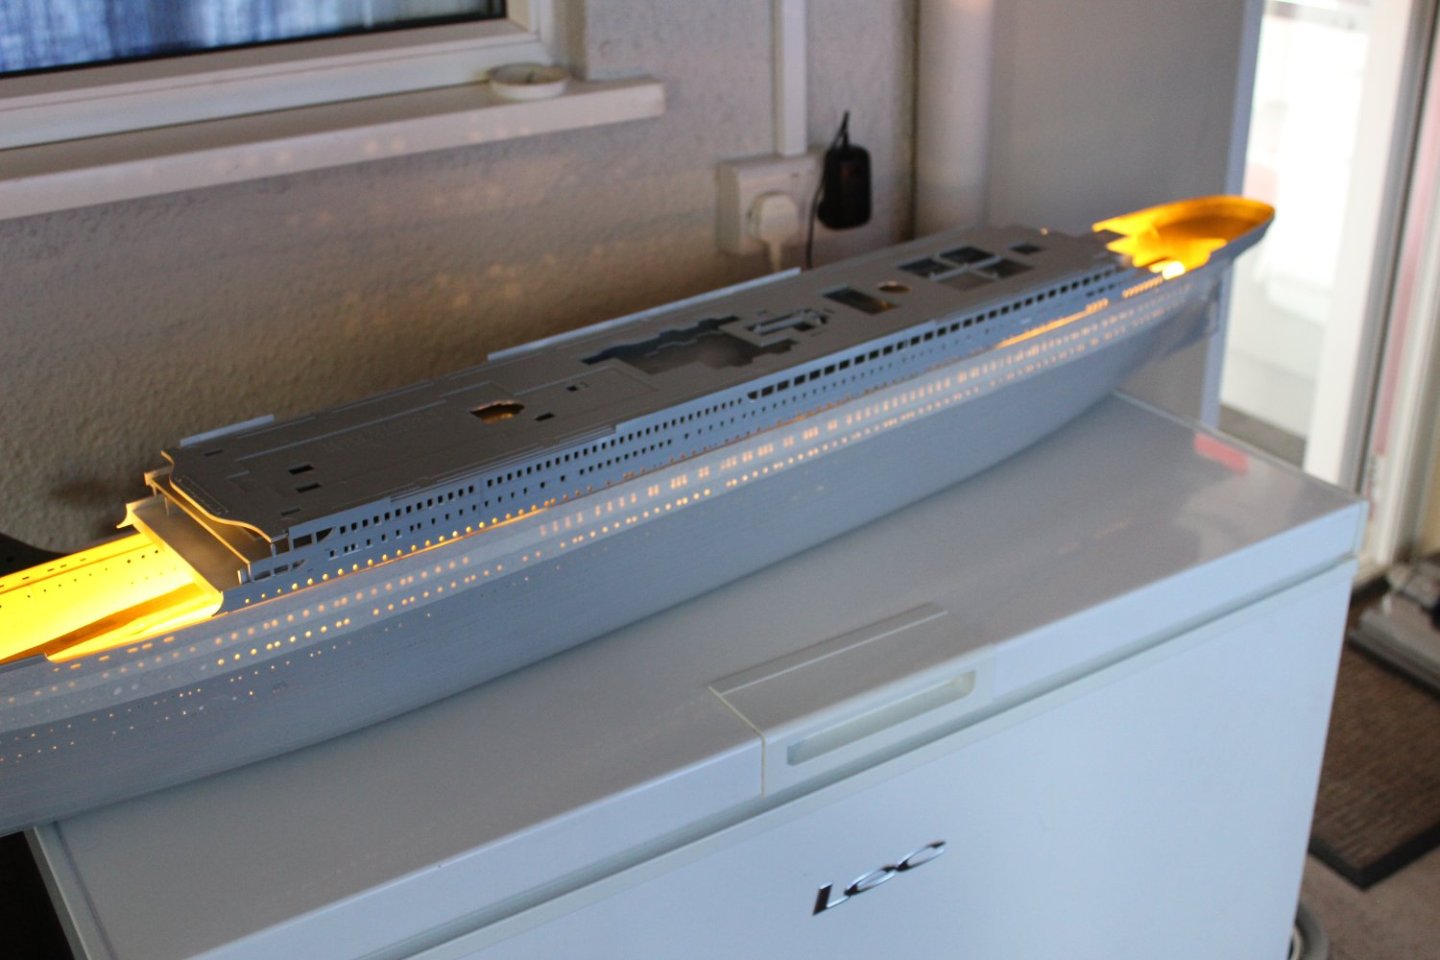
the light gap between the top superstructure and the hull is caused by a few locating lugs, the internal bulkheads which are not part of the kit cause it to sit to high, not any more as i cut them off
hull primed

wooden frame attached to the internal bulkheads, allows it to be removeable for now

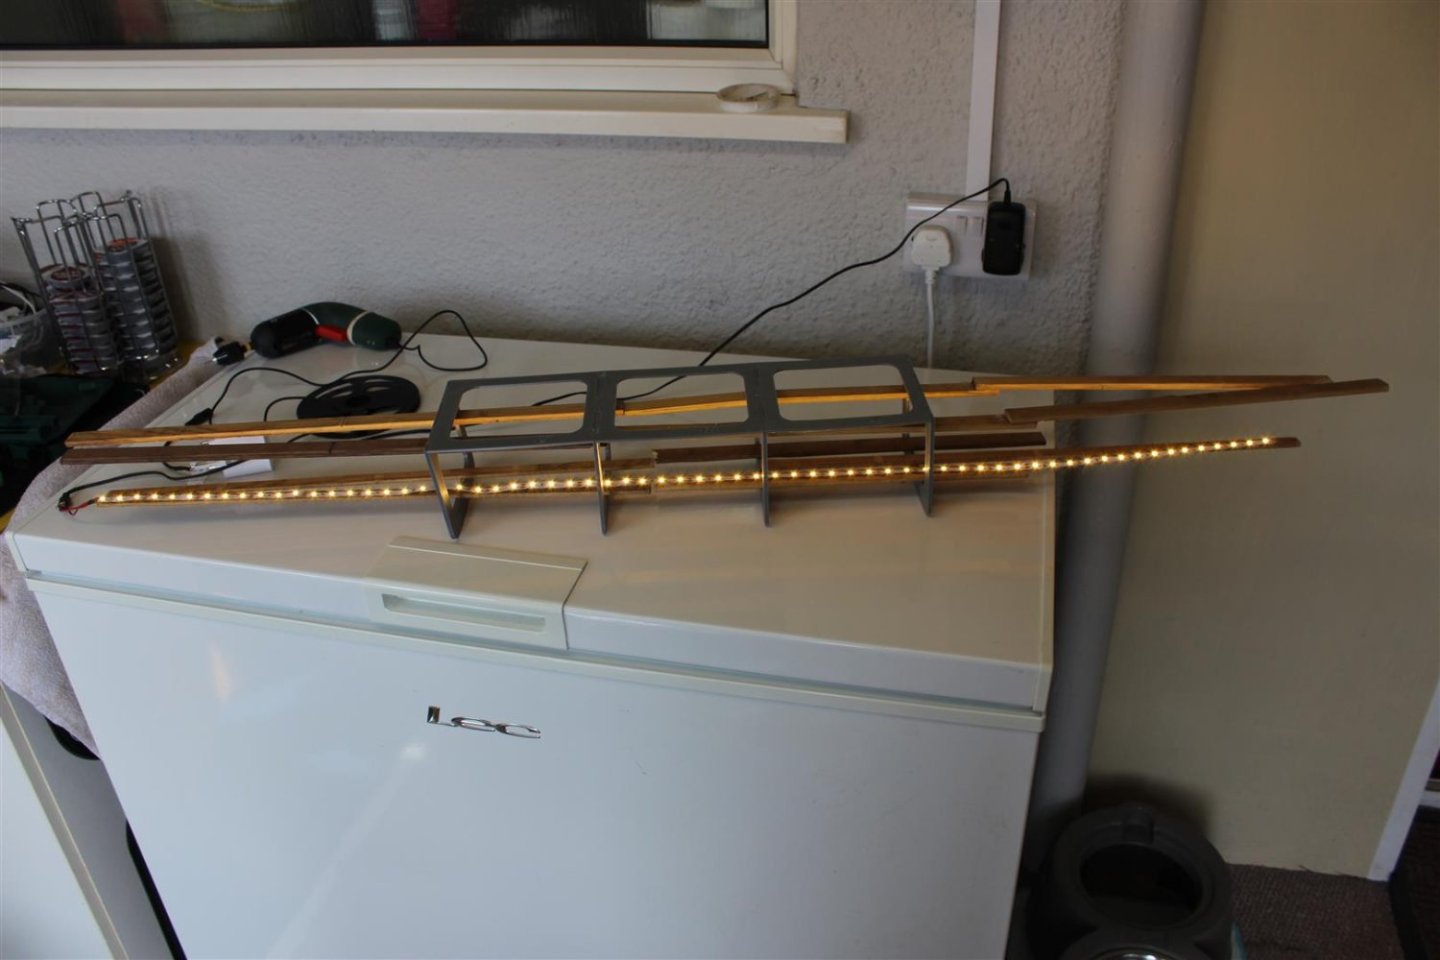

this light gap has now been eliminated, locating lugs were being hampered by the internal bulkheads
this with just two strips, another two planned


-
-
-
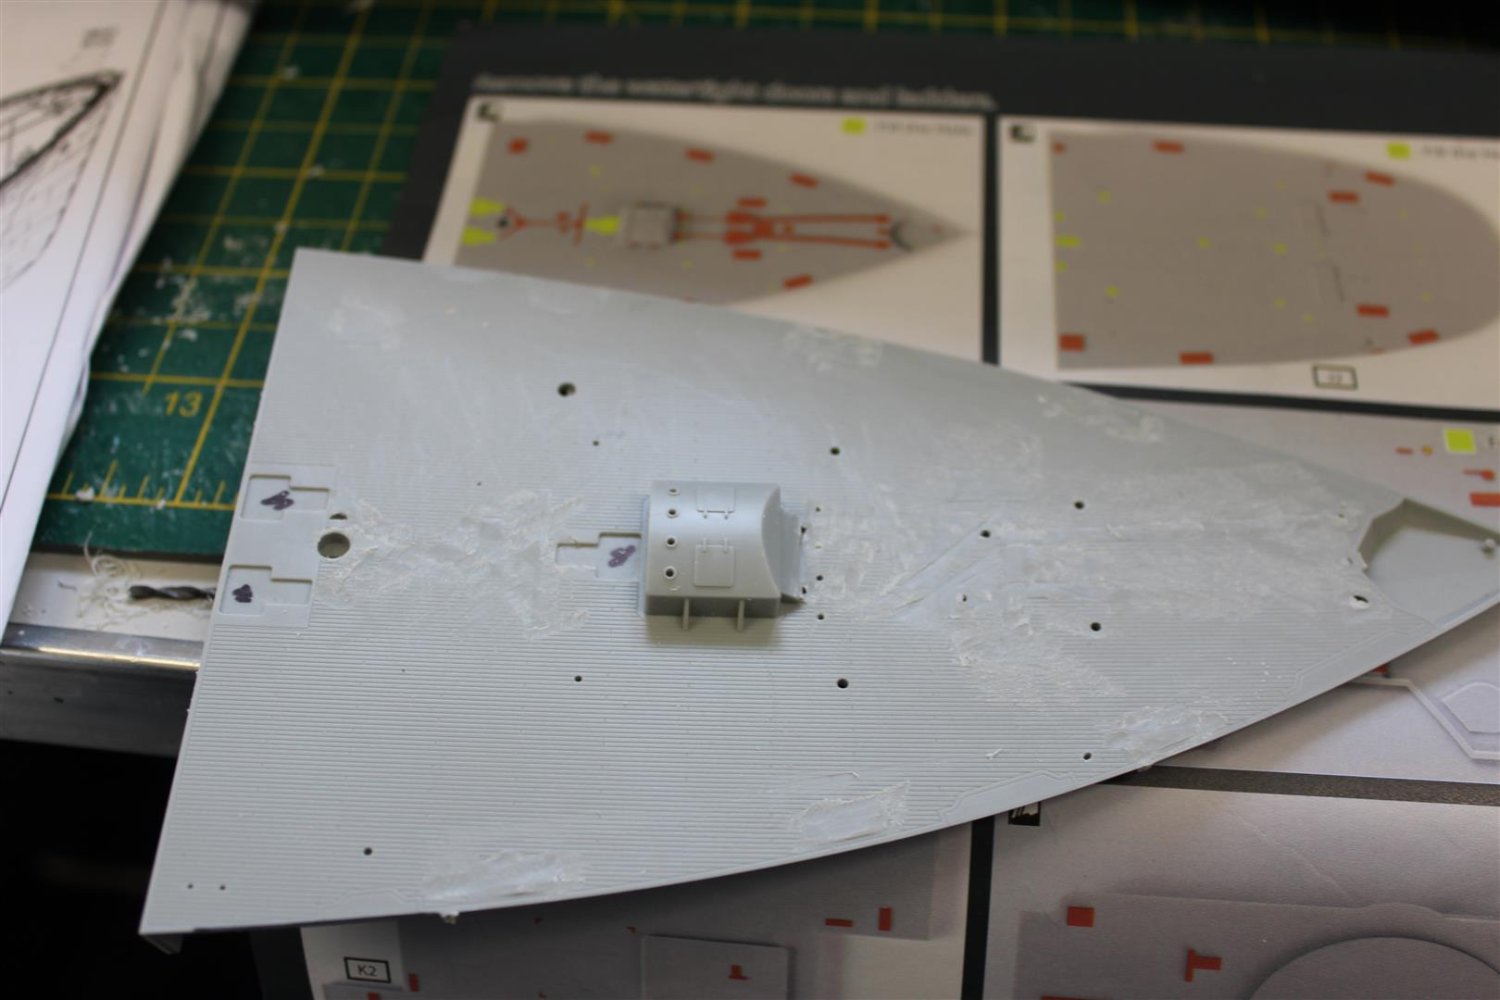
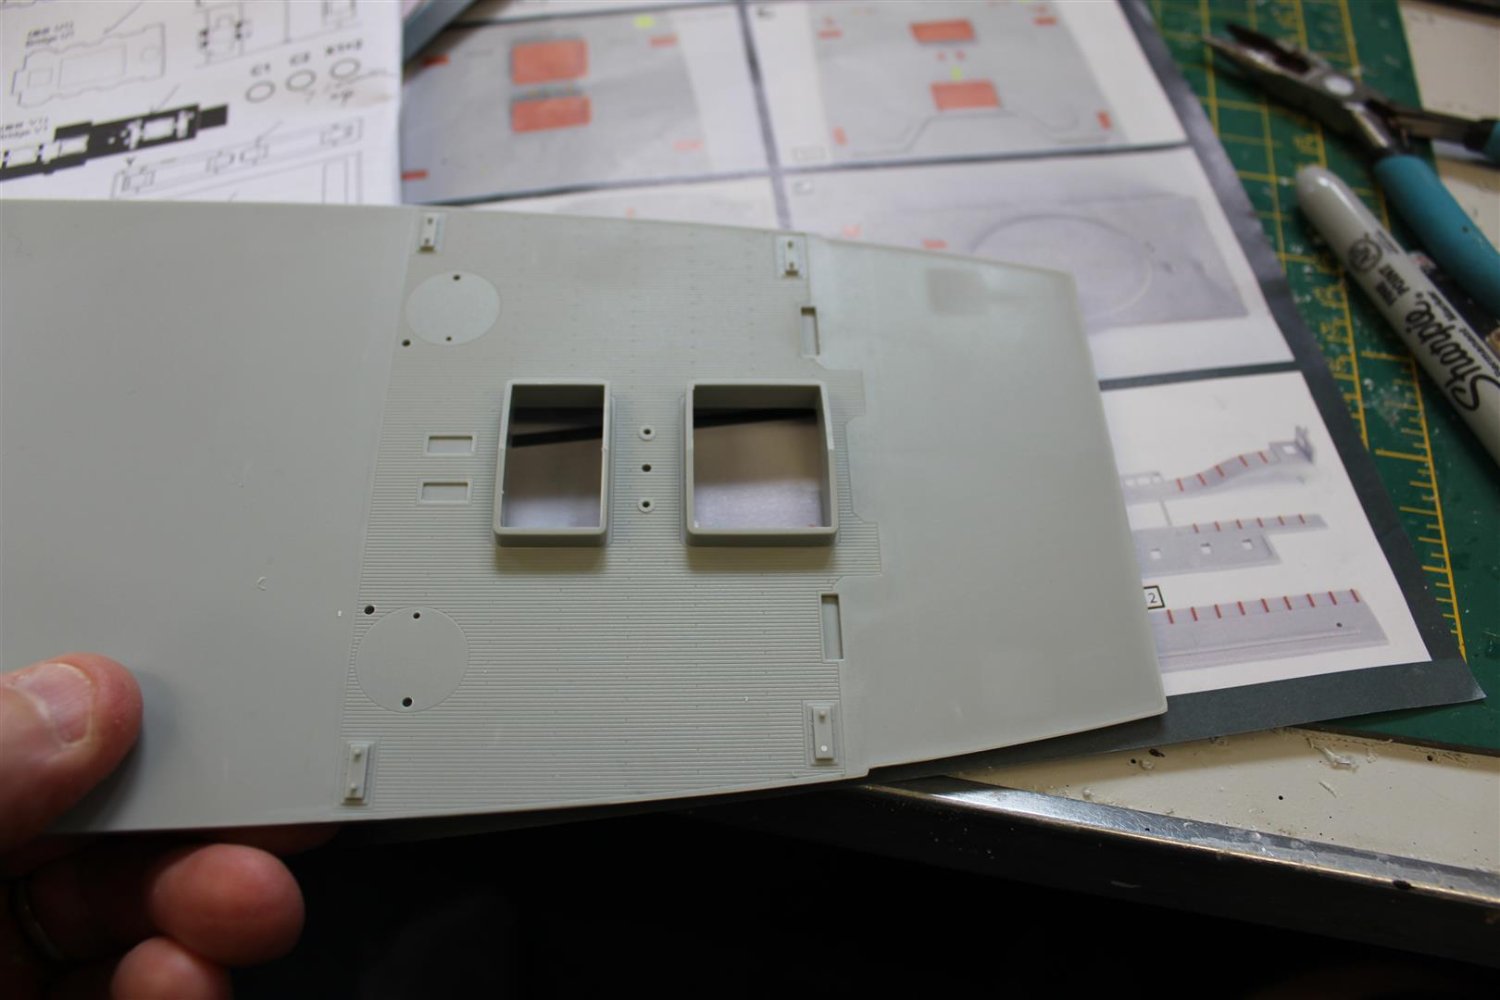
good evening everyone
thank you for comments and likes
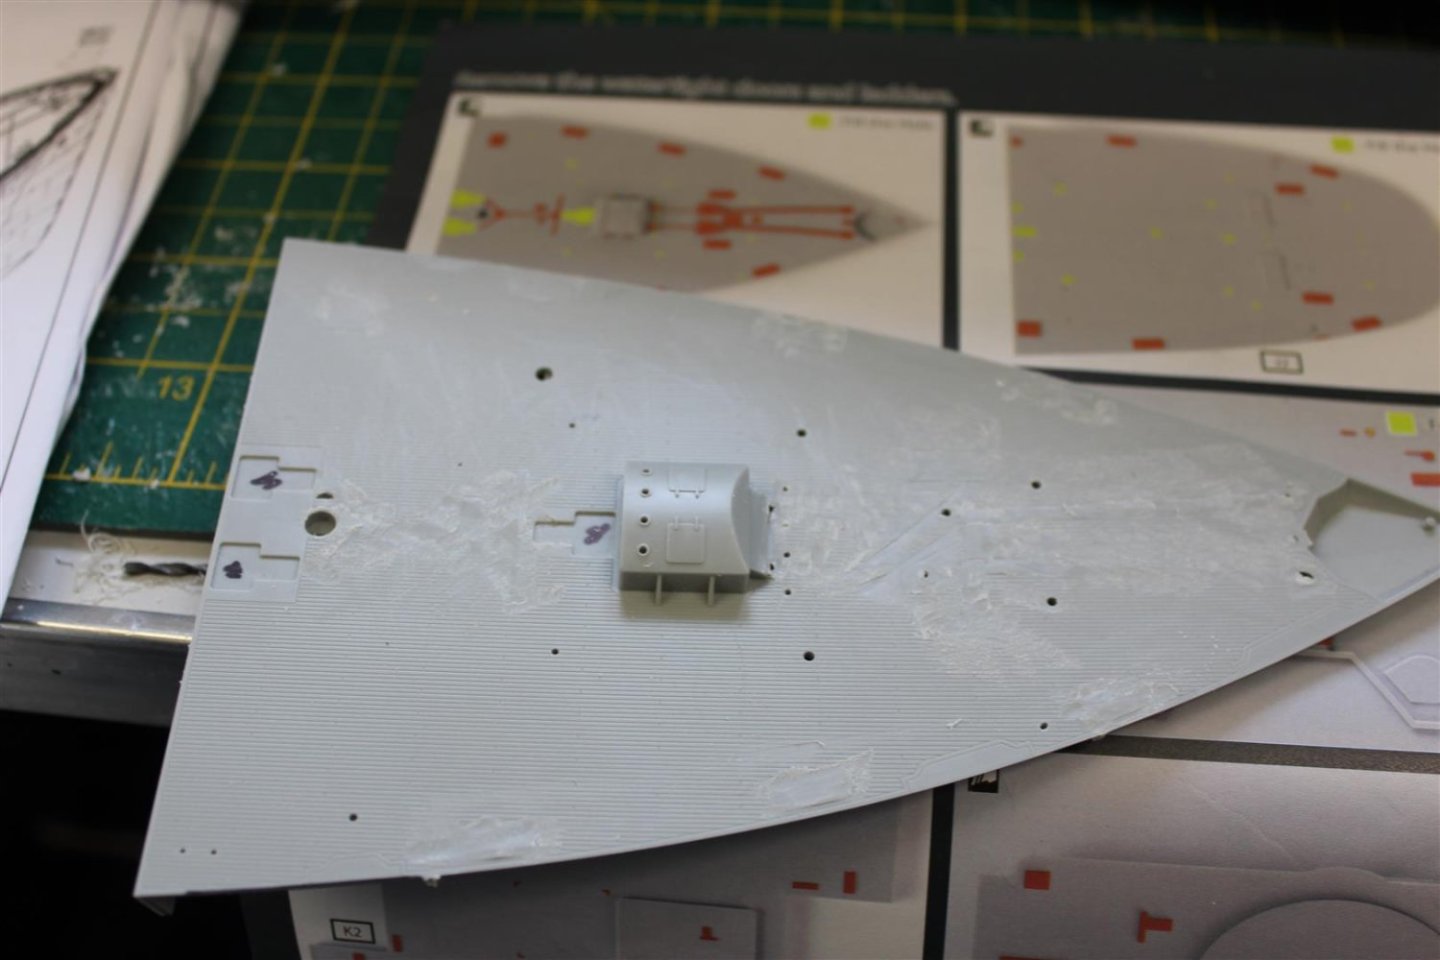
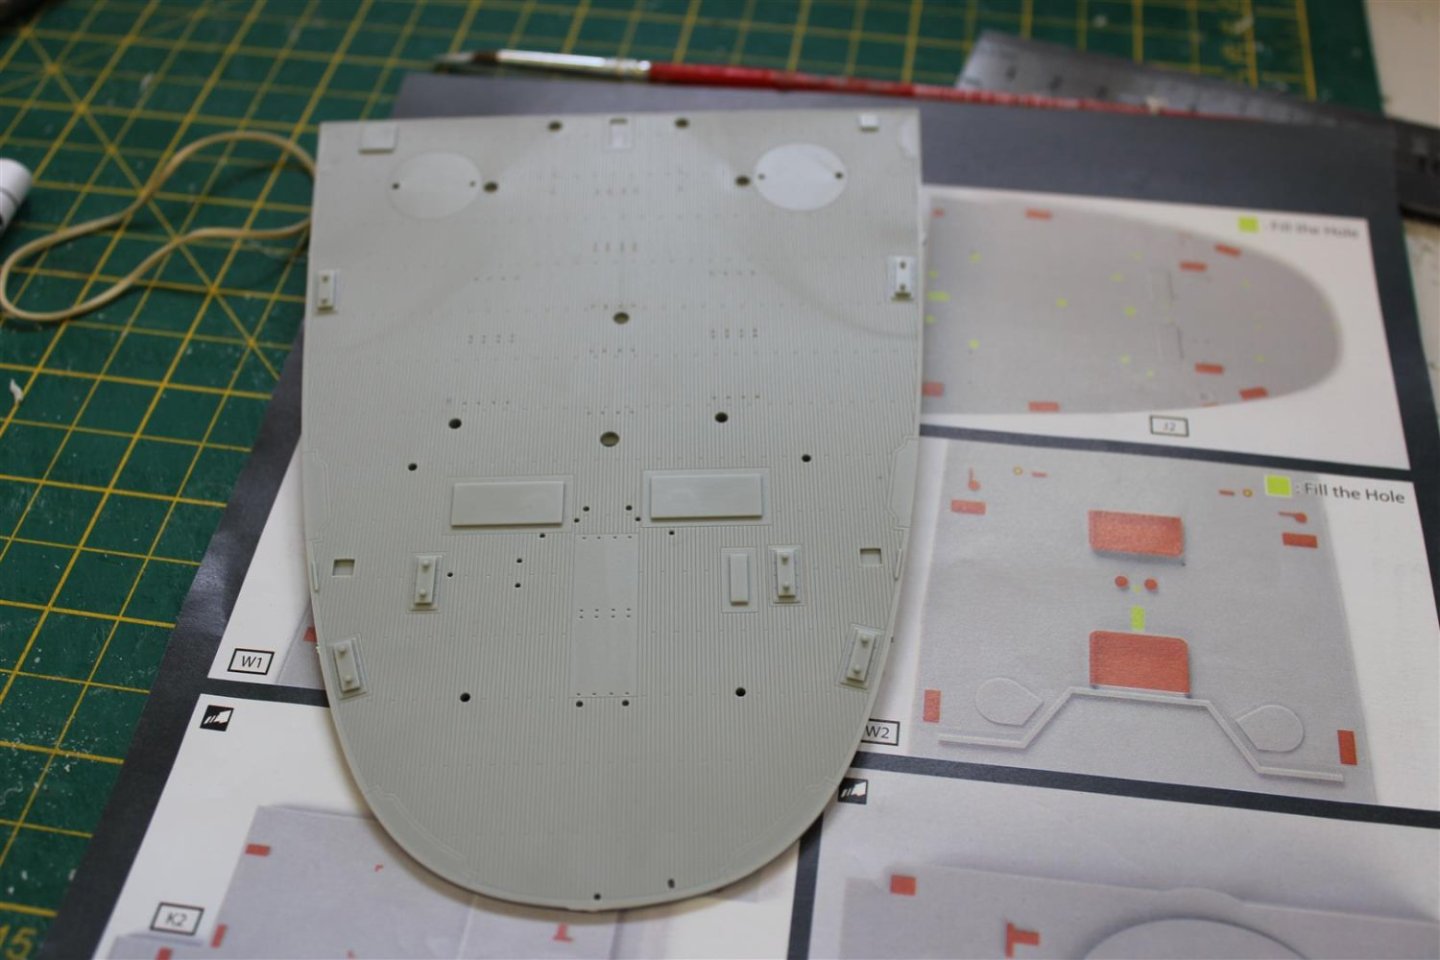
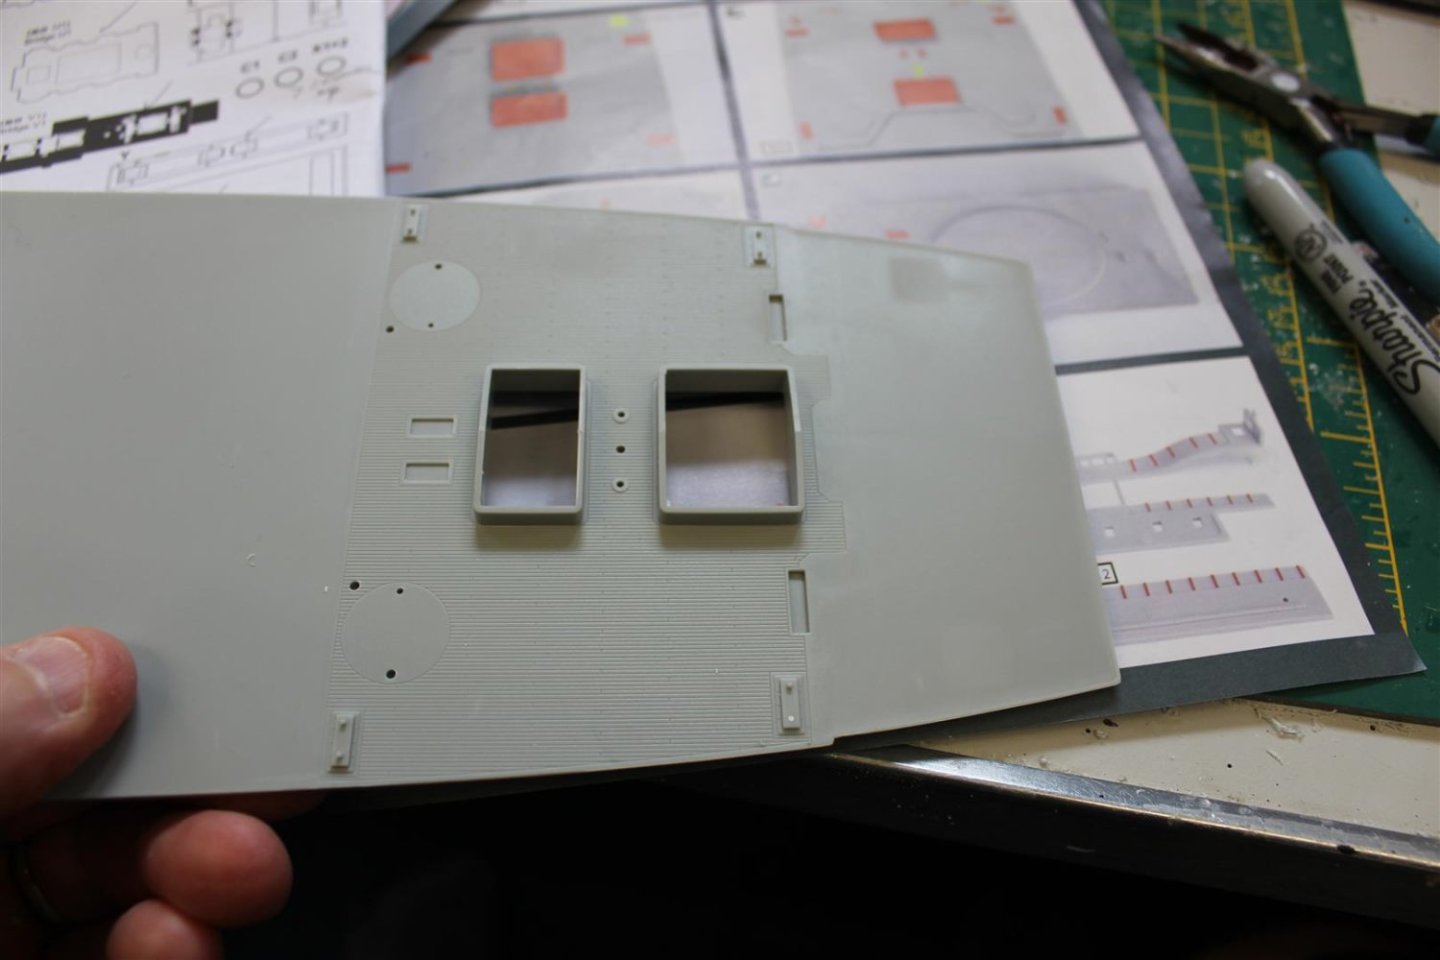
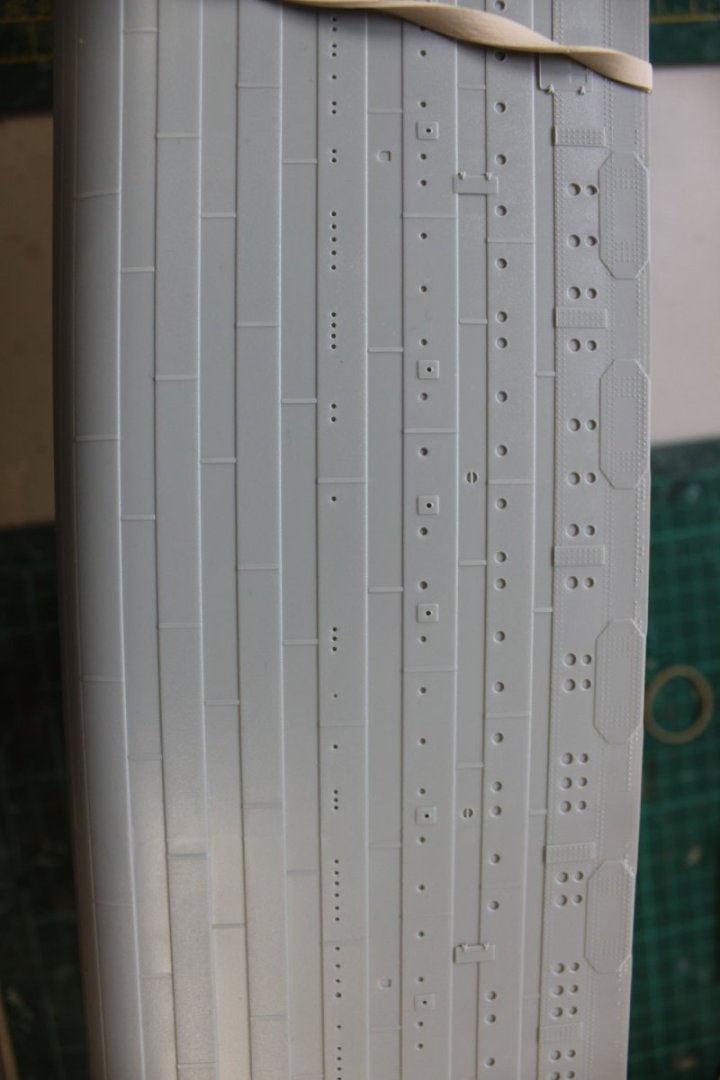
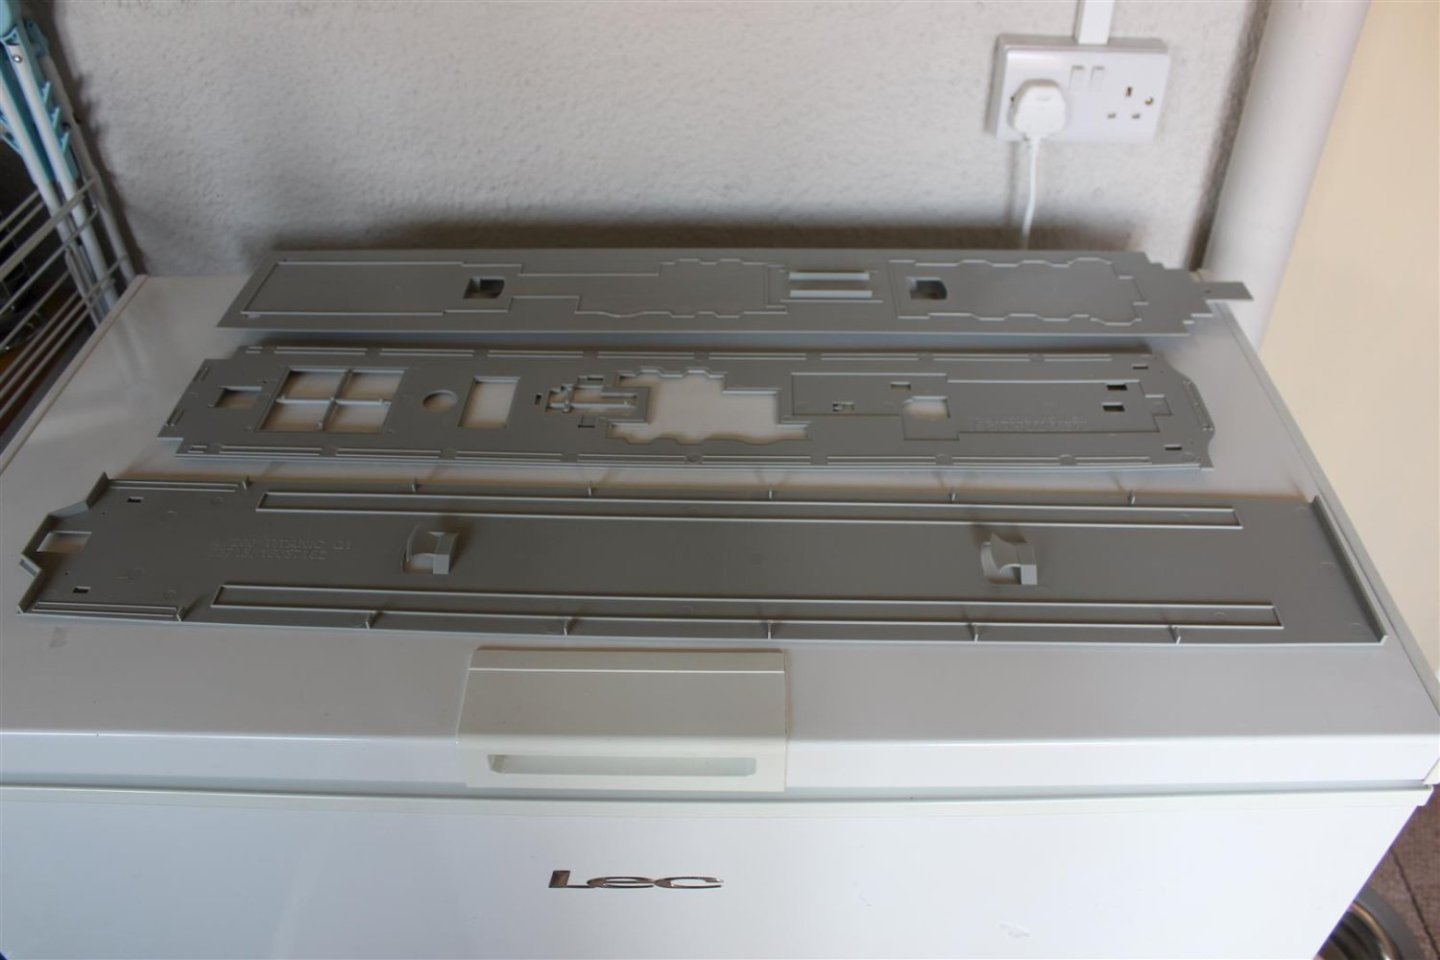
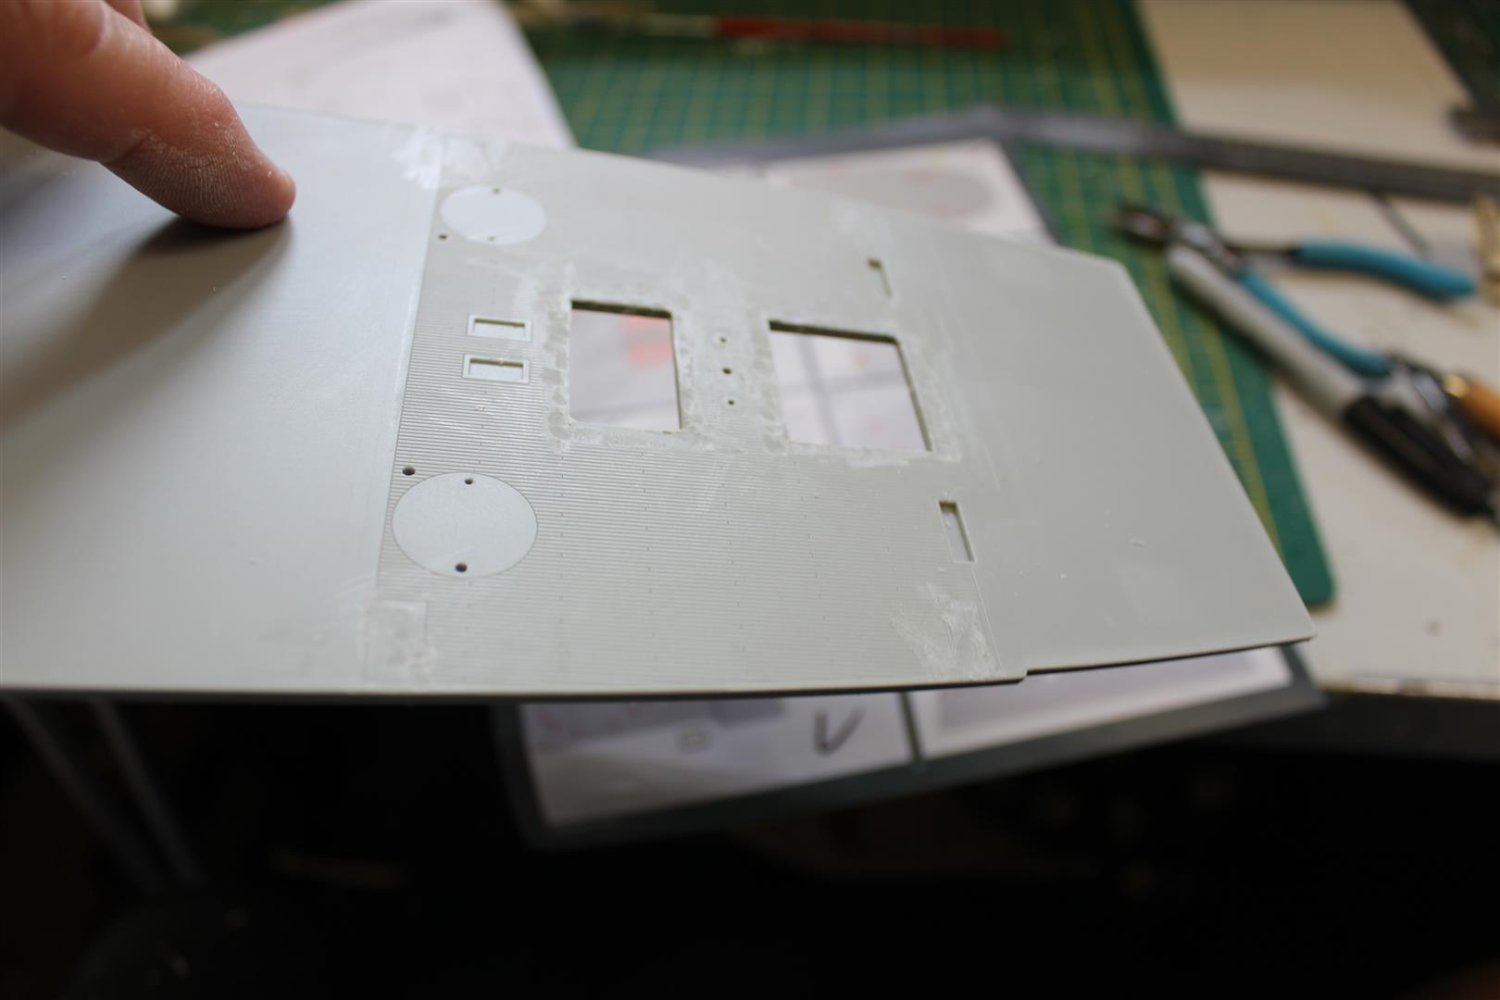
Day 4 Portholes, clearing raised detal prior to photoetch
thought the portholes would have been finished by now, but i have now run oput of .7mm drill bits
spent yesterday clearing the raised detail on all deck parts and filling in where stated in the KAMK1 instructions
this evening just place the hull parts on top to see the effect
hull work will not leap forward as my books of reference are in the post, with a mail strike


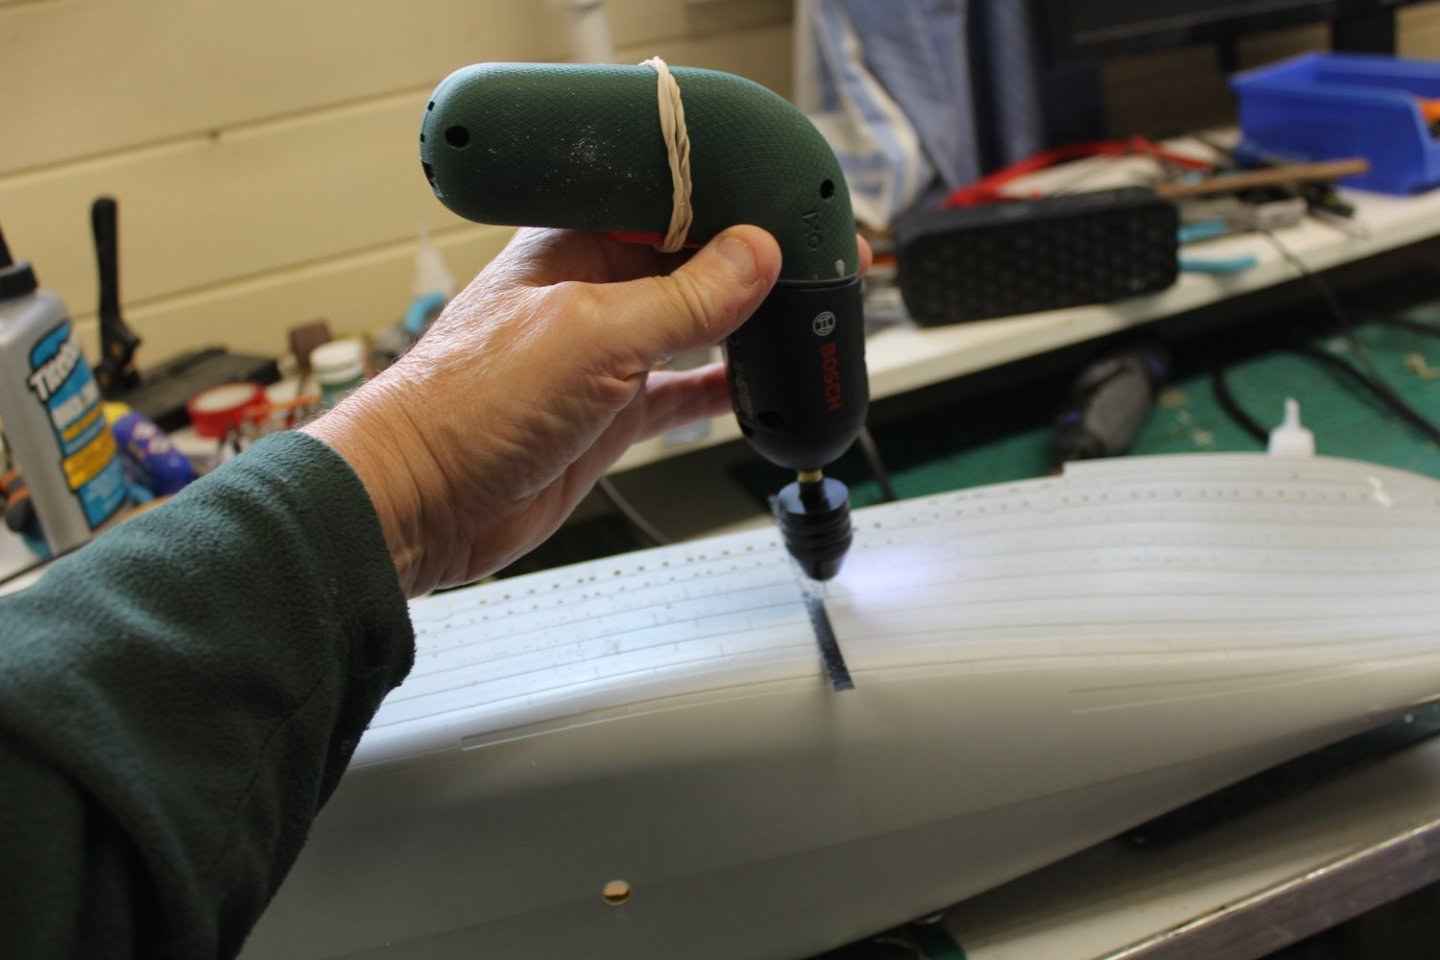
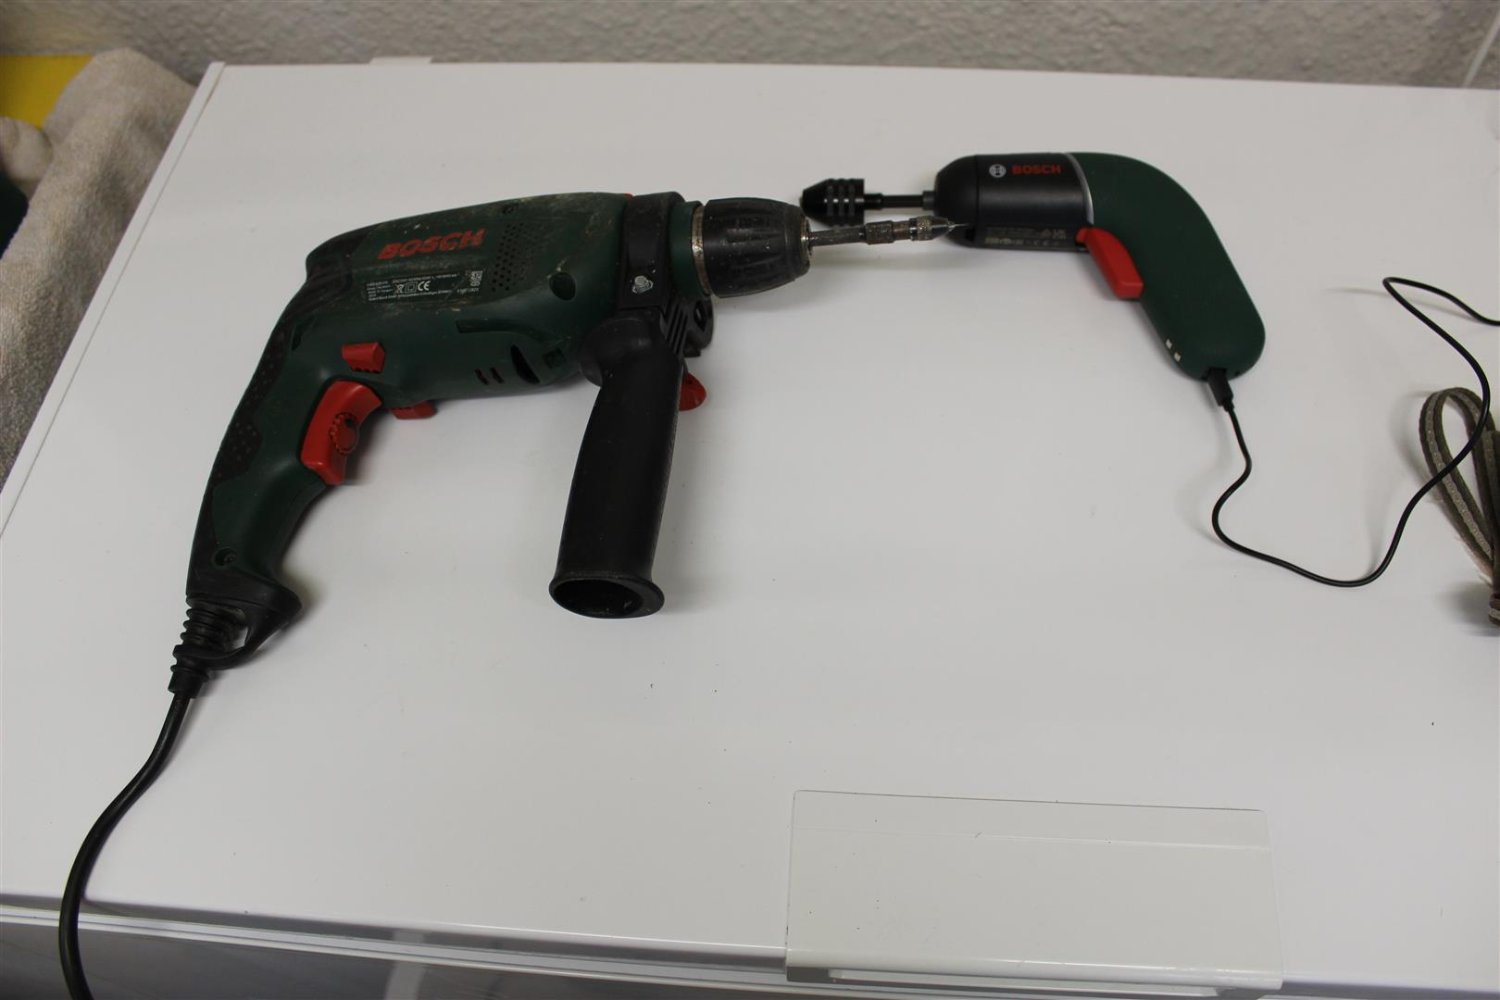
new drill
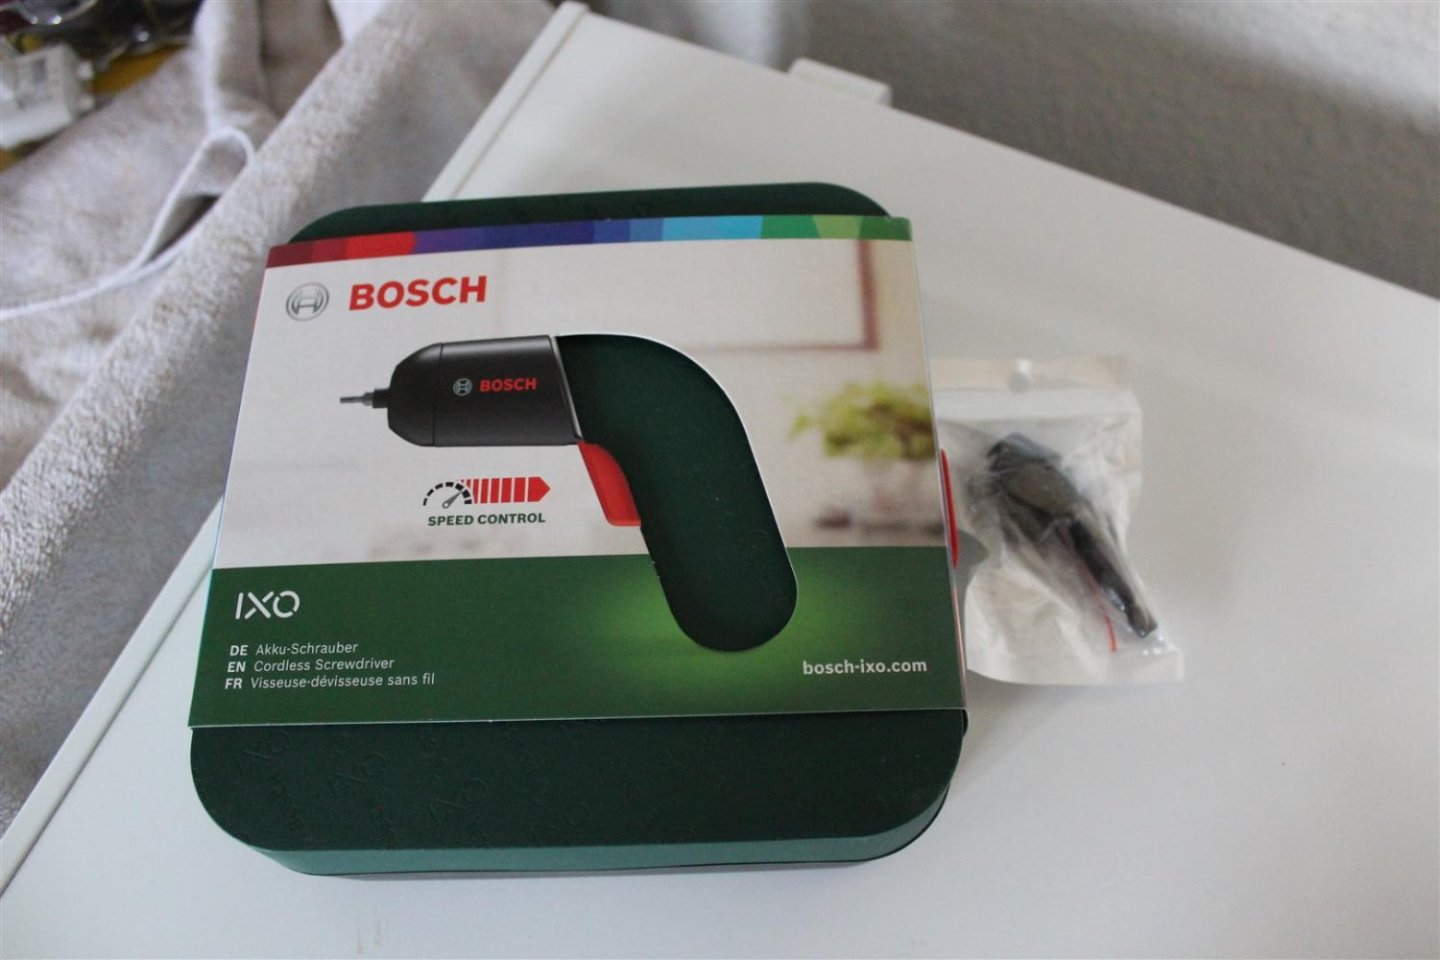
much easier than what i was using


-
from Facebook by NRG,


- thibaultron, Canute, mtaylor and 1 other
-
4
-
-
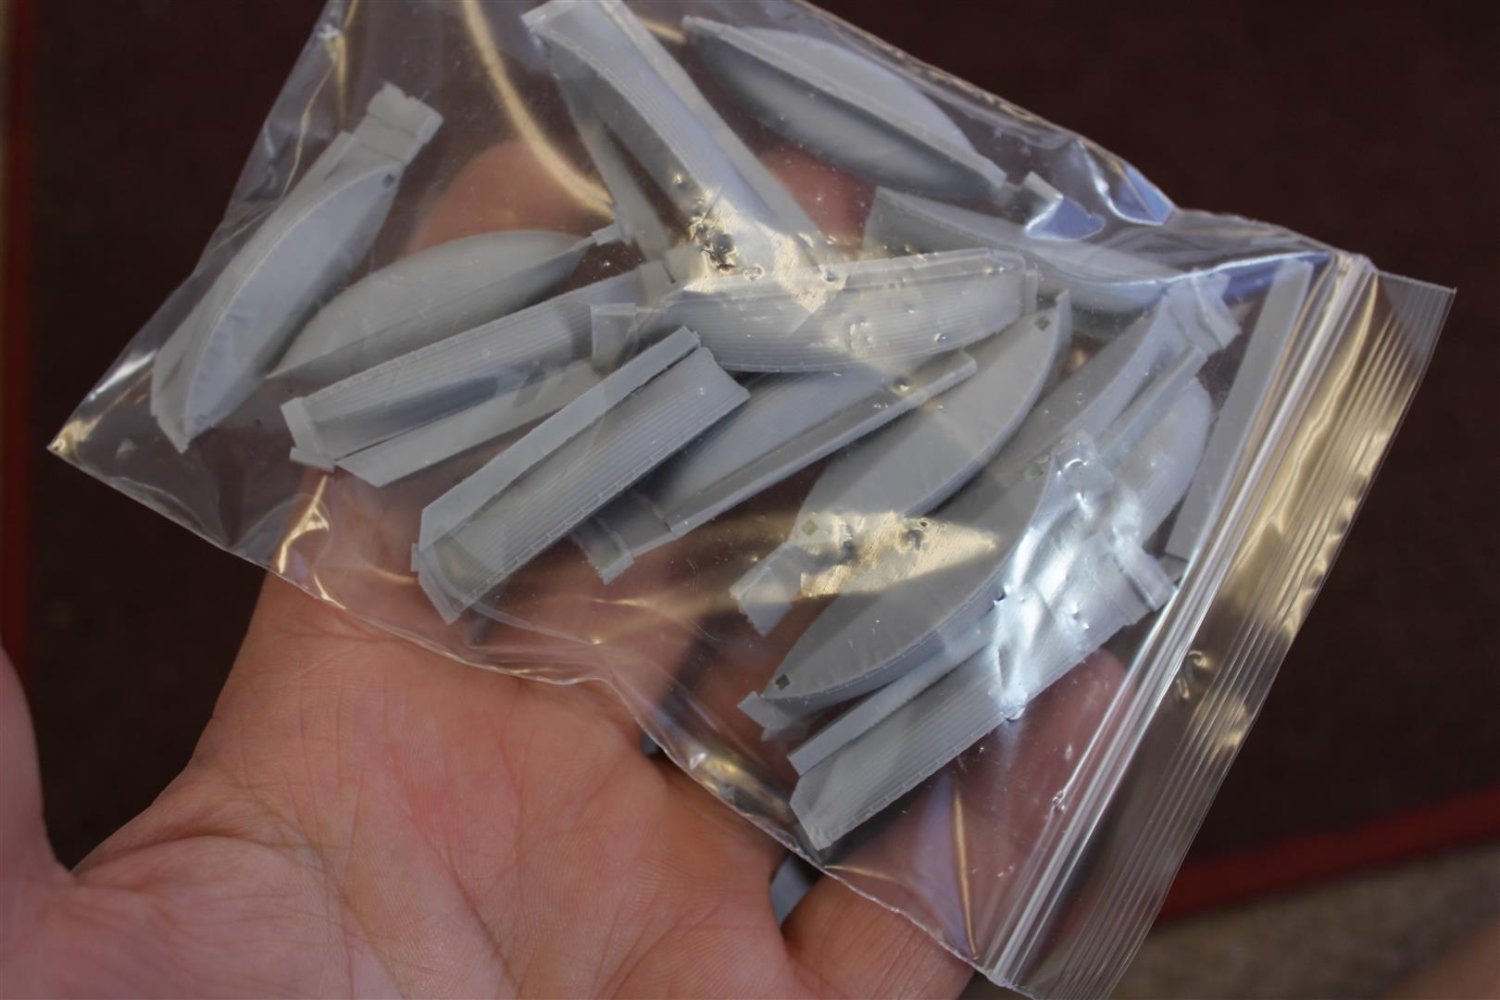
51 minutes ago, yvesvidal said:
This is starting to look very realistic. Also, it seems that between the parts supplied in the Trumpeter Kit and the PE add/on kit, you may have enough life boats to represent Britannic, correctly. This is a massive endeavor and I will be following your progress with awe and respect, Kevin.
Yves
the lighting being used is my winter dog walking beenie hat light, they are usefull for this at present
-
good afternoon everyone
Day 2 portholes
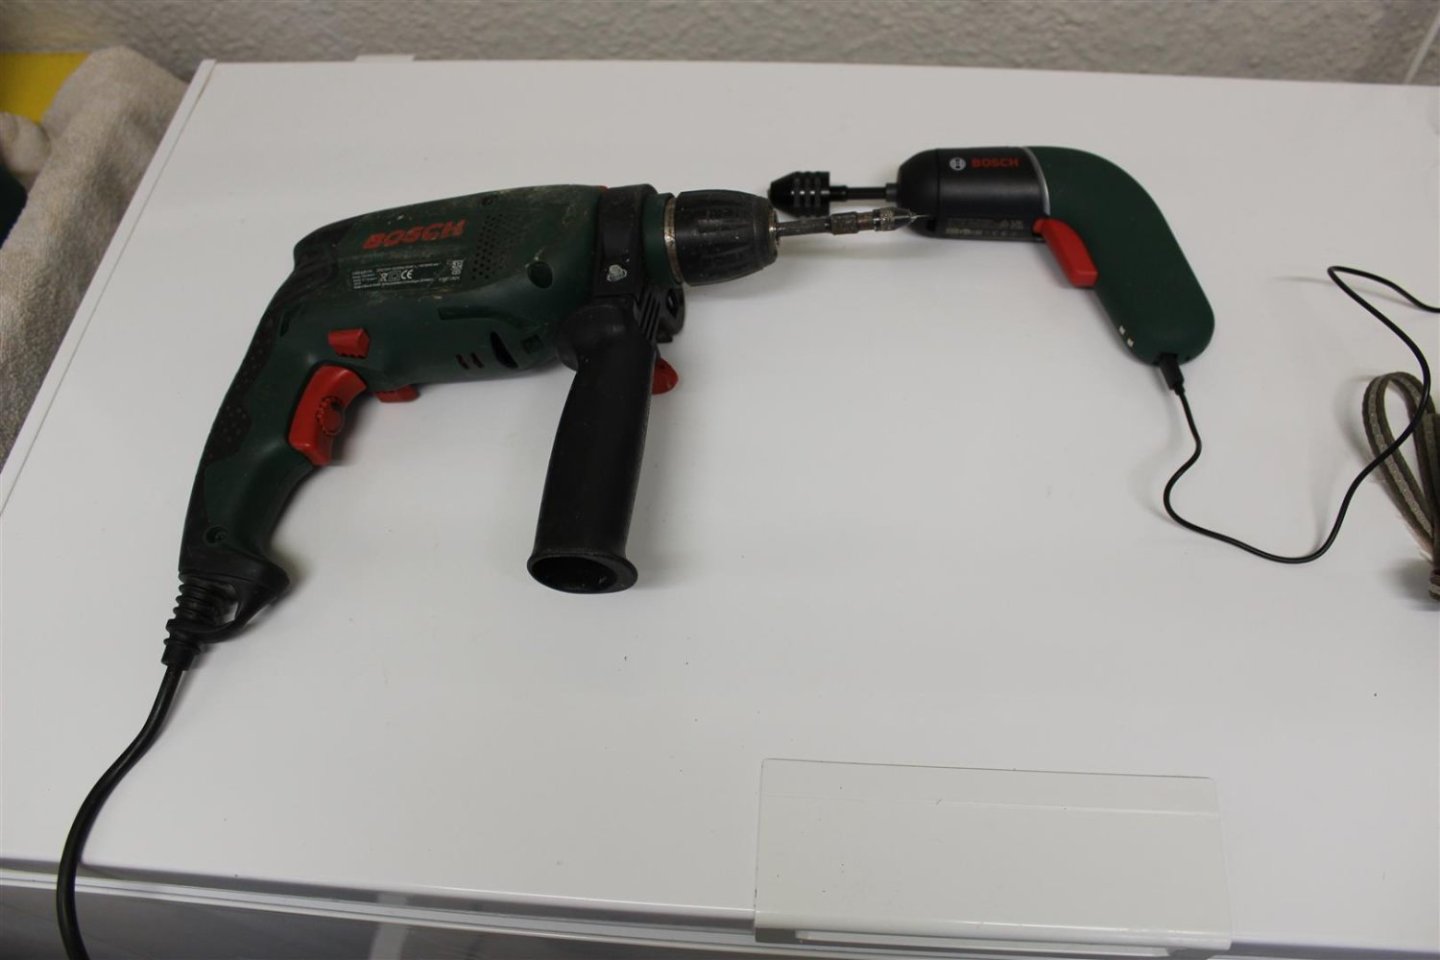
im so glad im not doing these by pin vice, but i am using a lot of 0.5mm drill bits with the pin vice in my power drill chuck, the drill has seen better days, the brearing creates a wobble at the drill bit end,
- realworkingsailor, hof00, mtaylor and 8 others
-
11
-
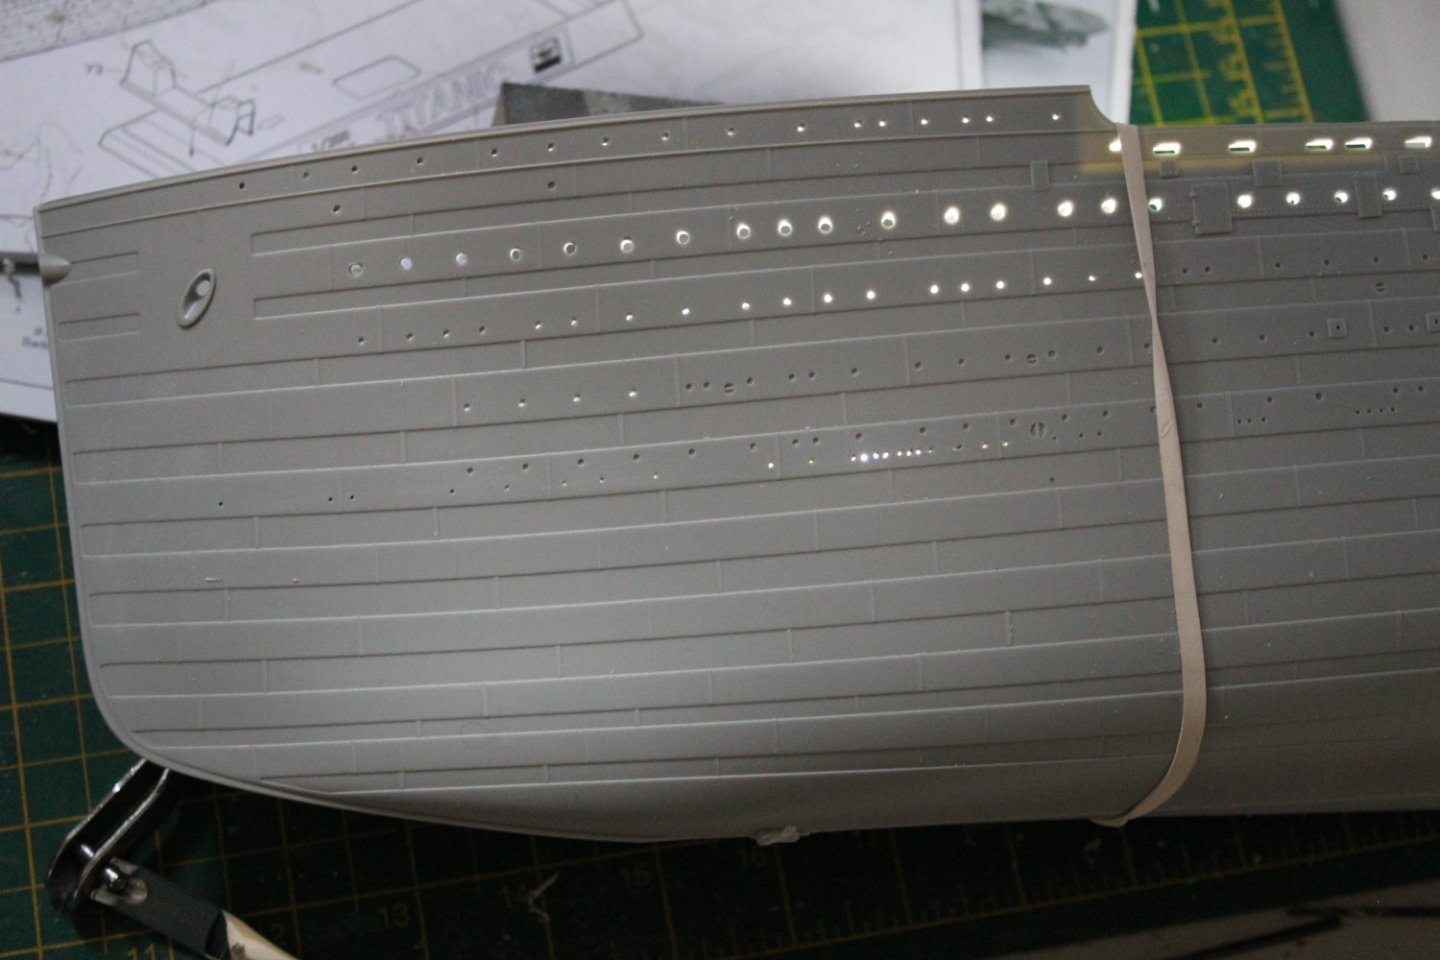
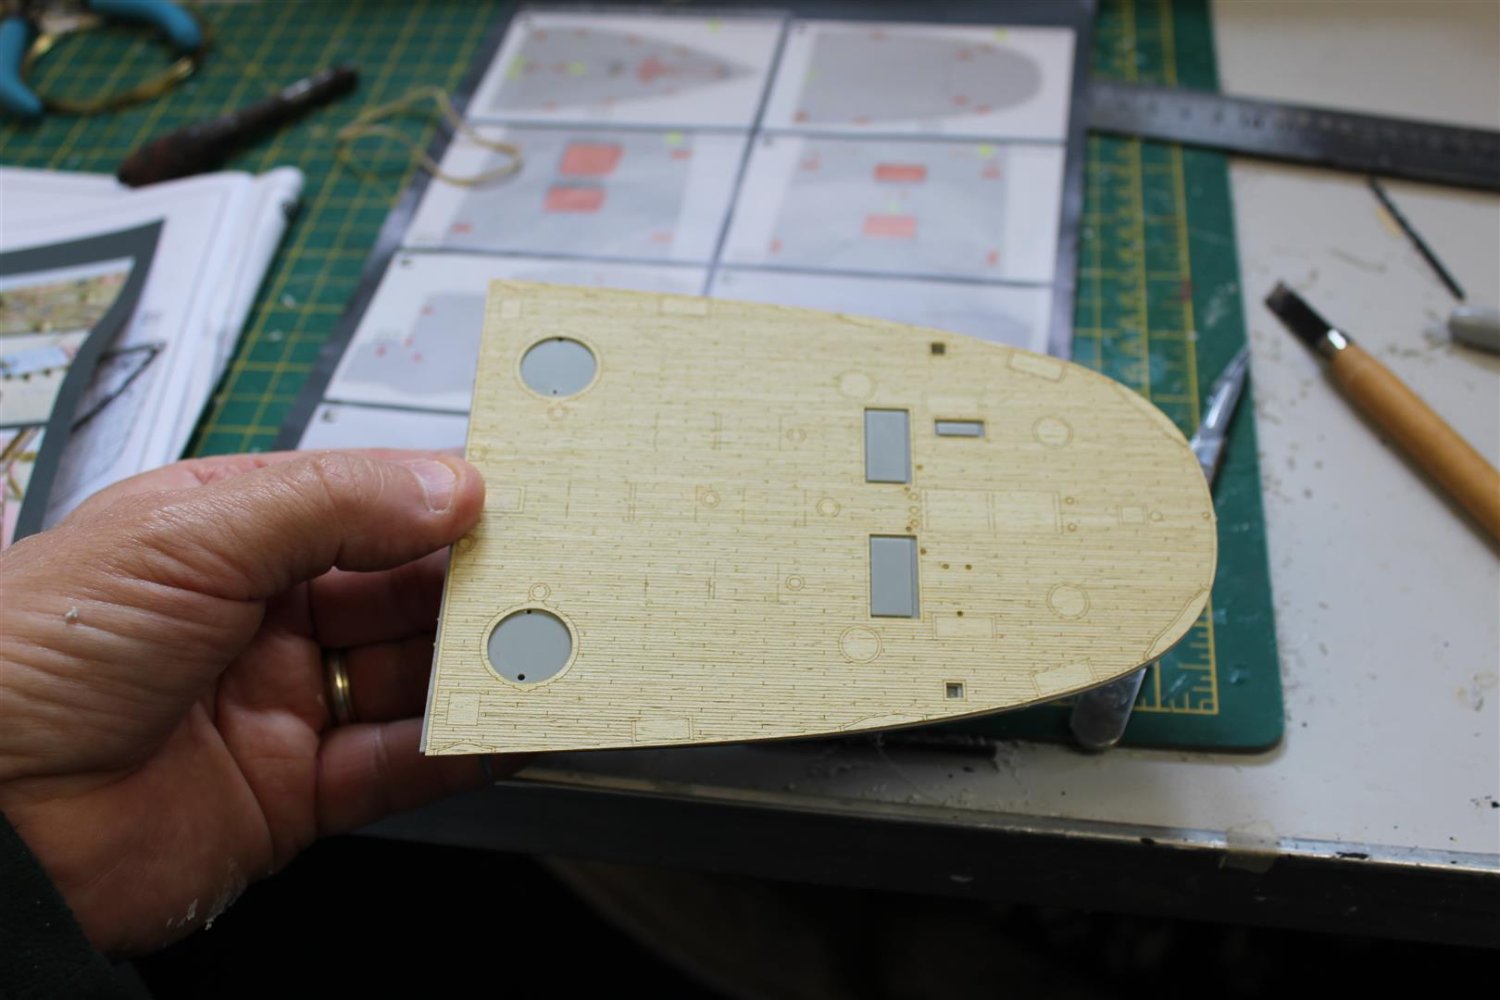
good evening everyone
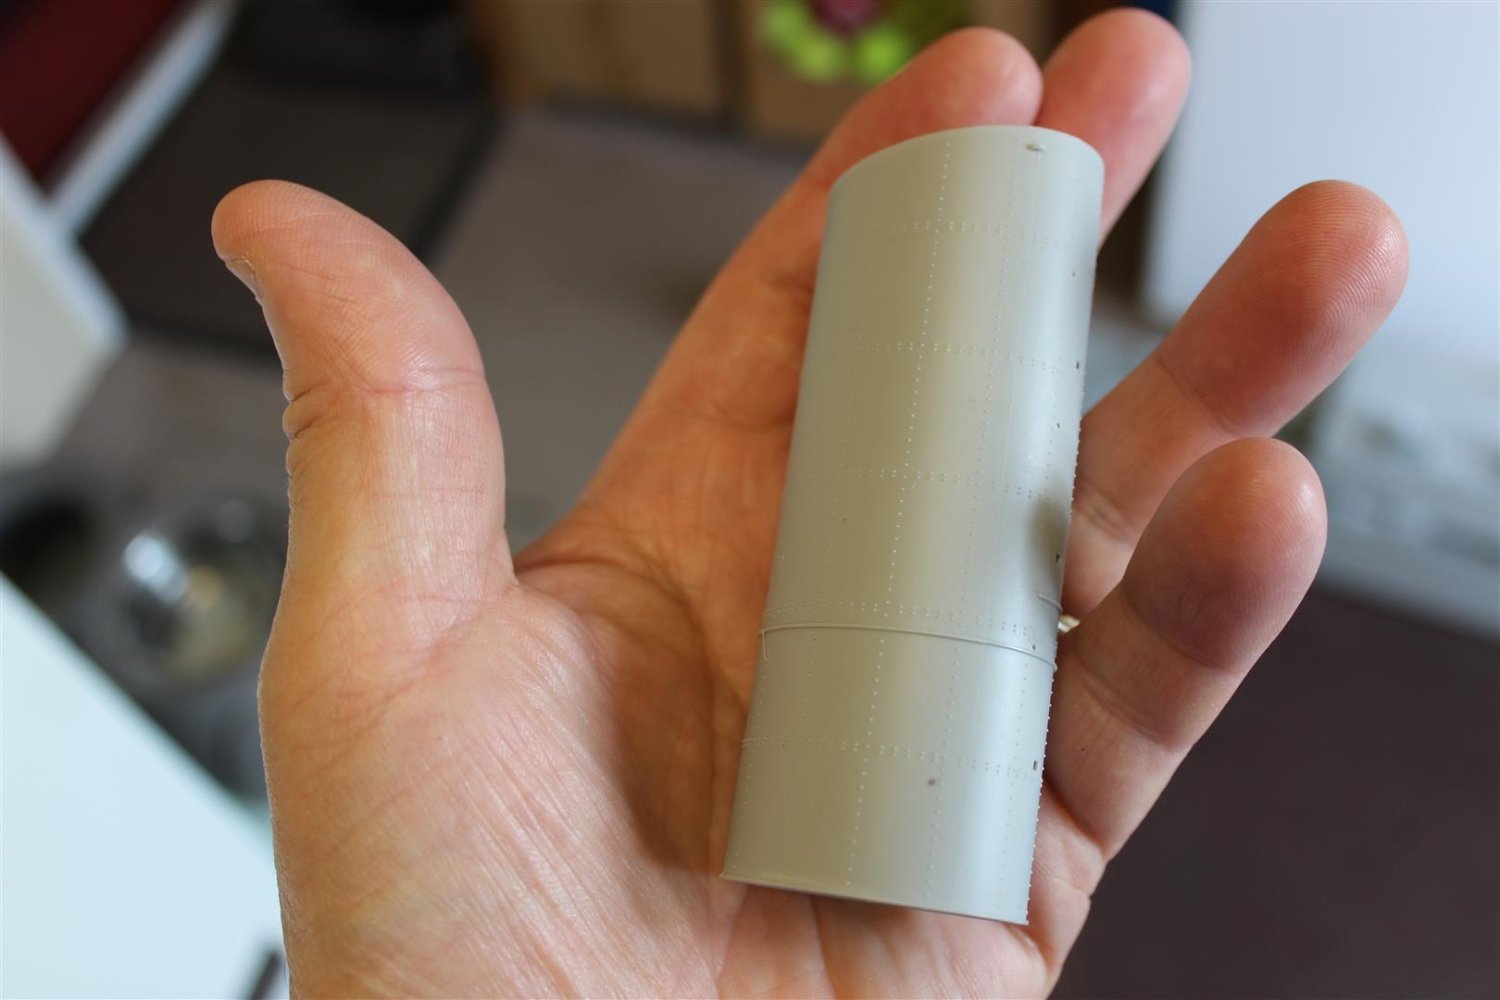
day 1 hull - portholes
i dont quite know how many portholes there are, but they seam to be taking a while to do. i was originally going to do them by pin vice, my hands were never going to manage that, so the electric variable speed power drill came into use, the pin vice was put into the chuck for the very small size drill bits
i may have undersized the holes by using 0.6, 1mm, 1.5 and 2mm

i placed a white led in the hull to see what effect im going to get and quite happy with the result

although not ready for this the kit i purchased from a friend also had a set of internal bulkheads to keep the shape right

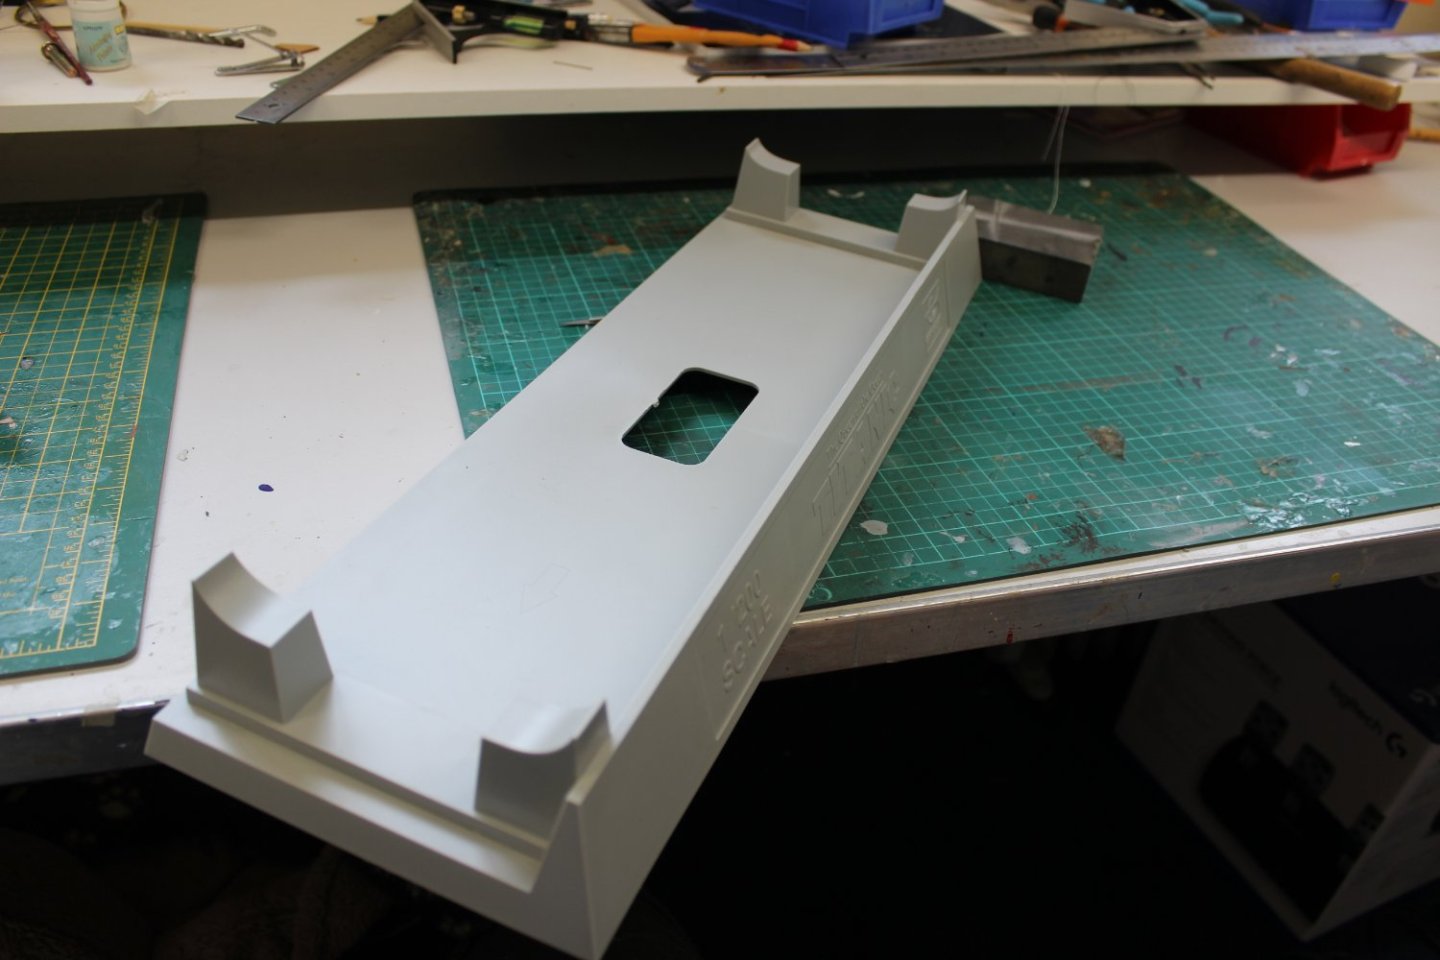
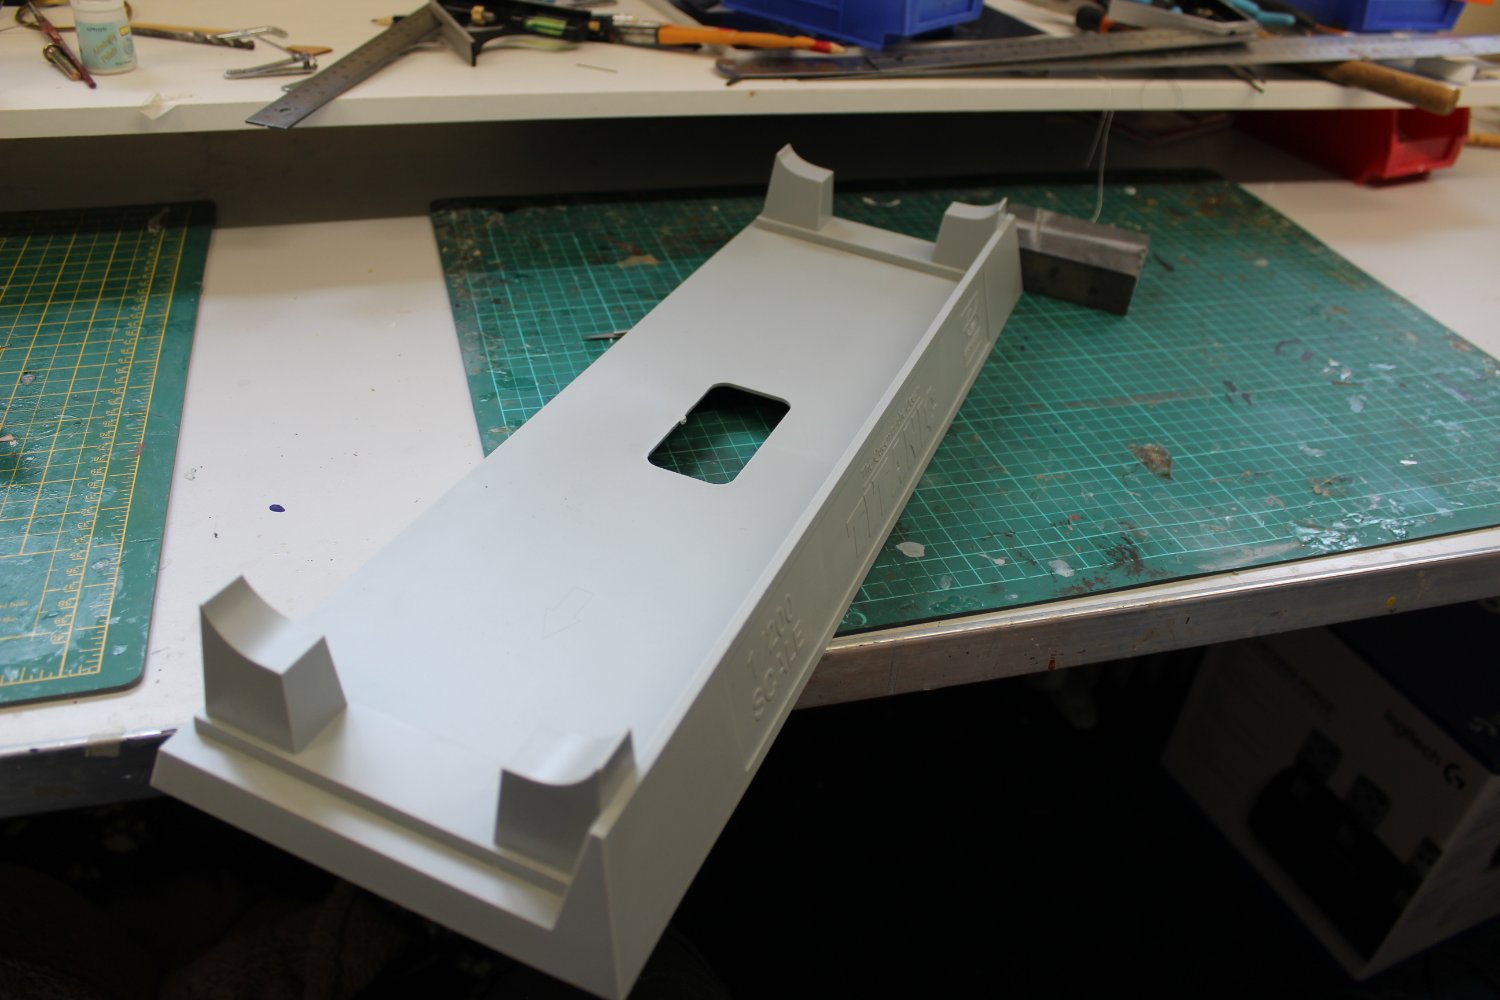
made the stand up, wrong name of course


-
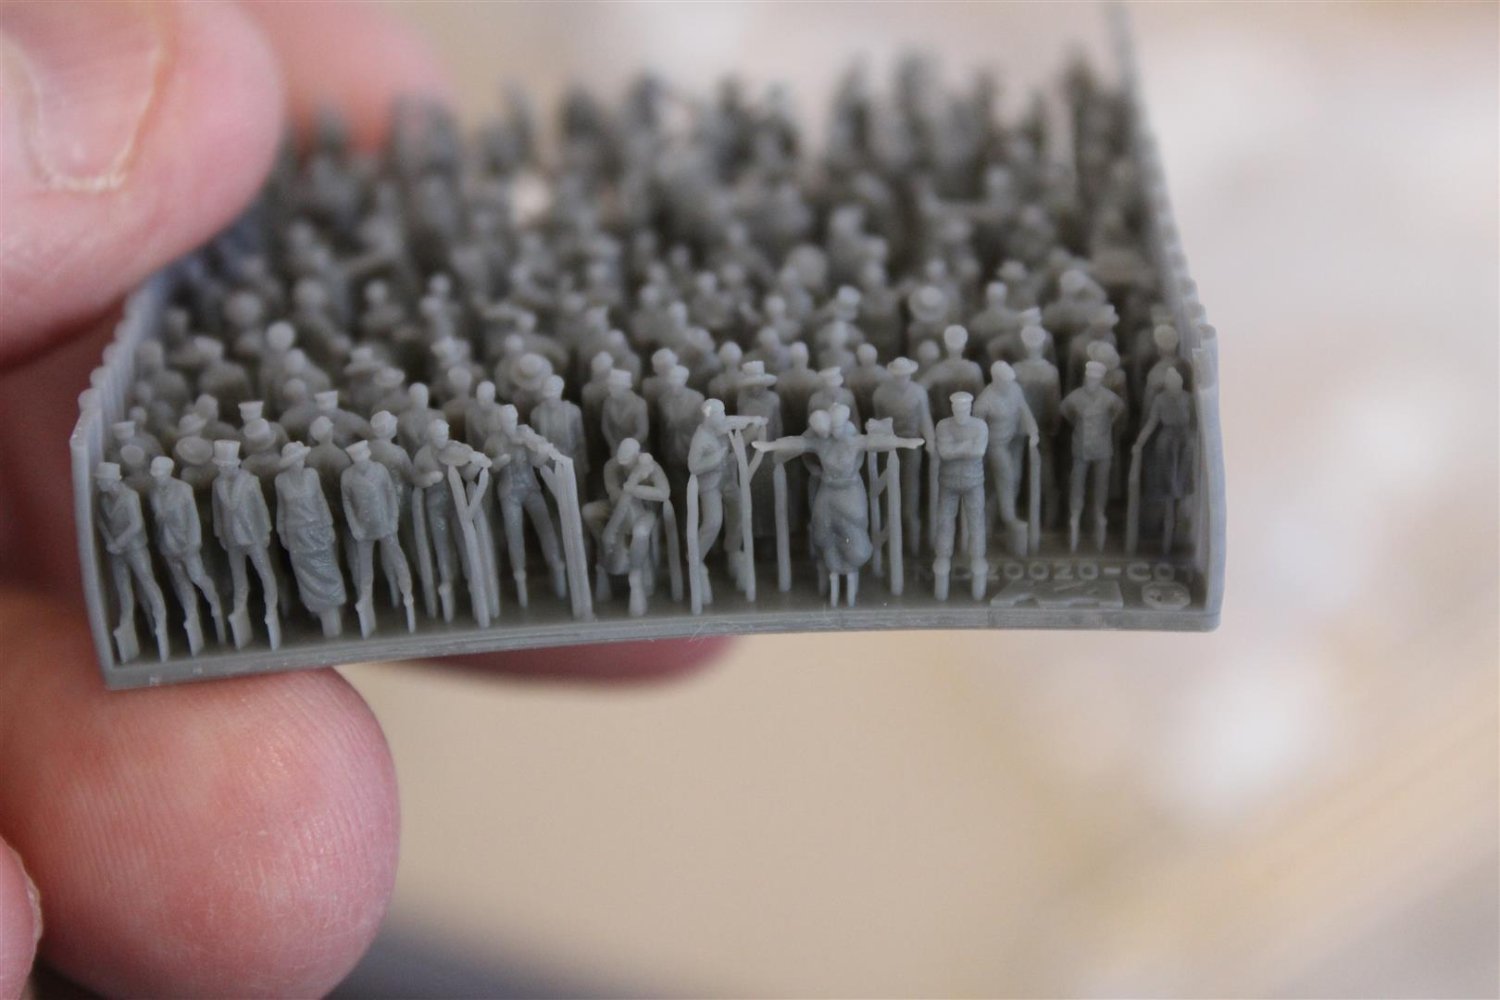
16 hours ago, Old Collingwood said:
This is going to be so Cooool - and just look at them 1/200 figures Wow.
OC.
i might just leave some paint out and see if they paint themselves
-
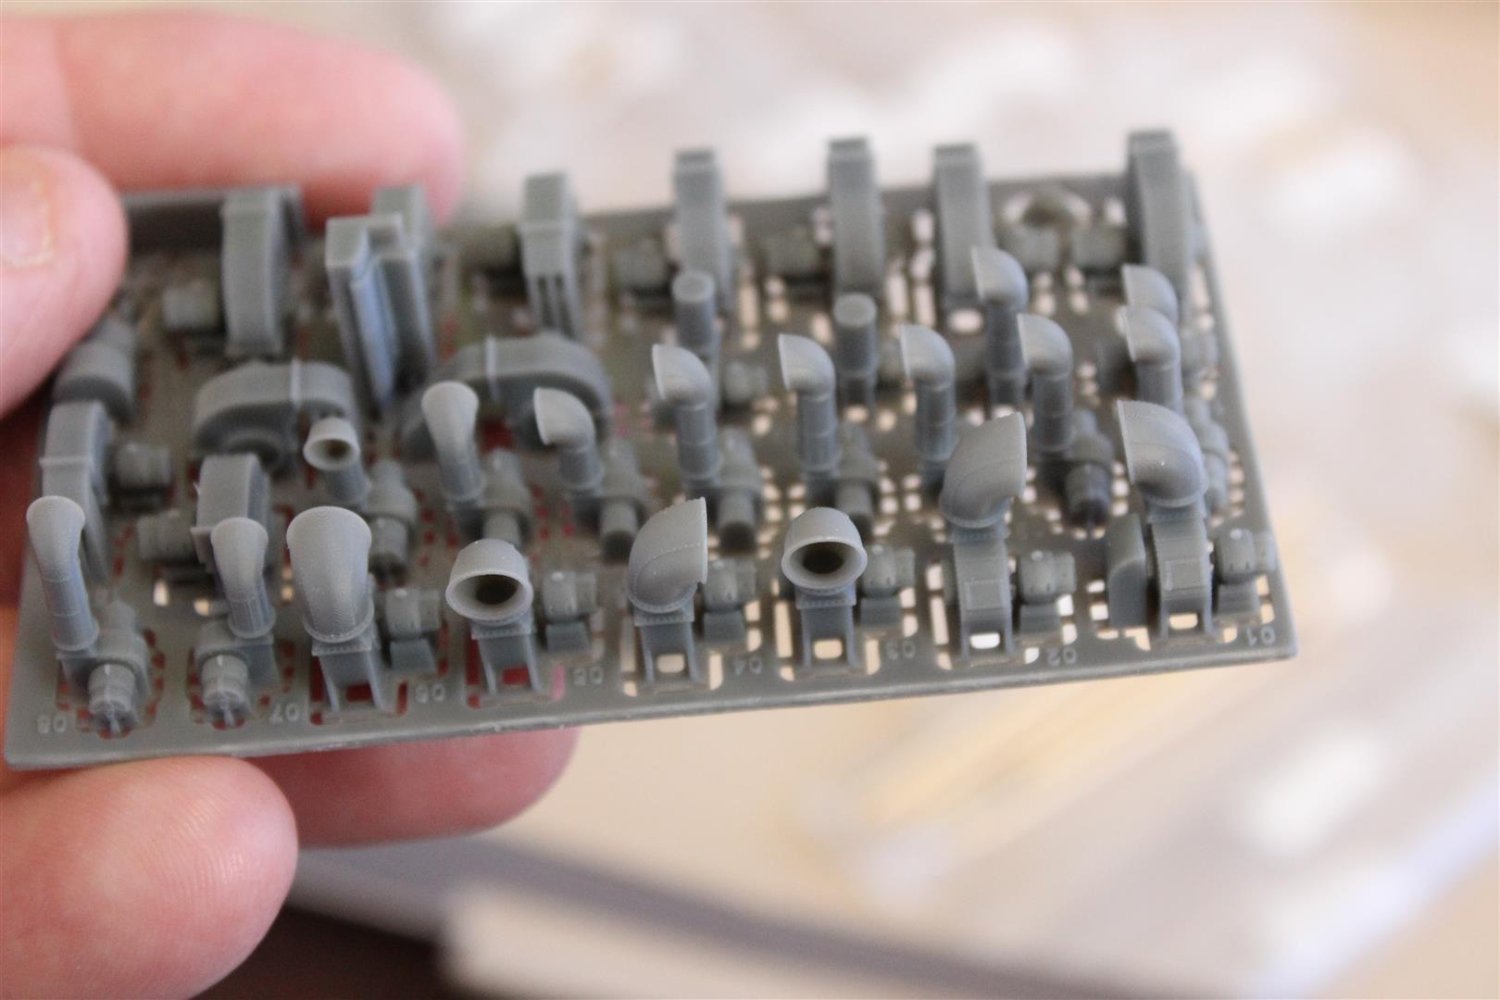
1 hour ago, Canute said:
Lots of PE, resin and 3D in that. I'm in on this one.
enjoy the ride Ken
-
59 minutes ago, mtaylor said:
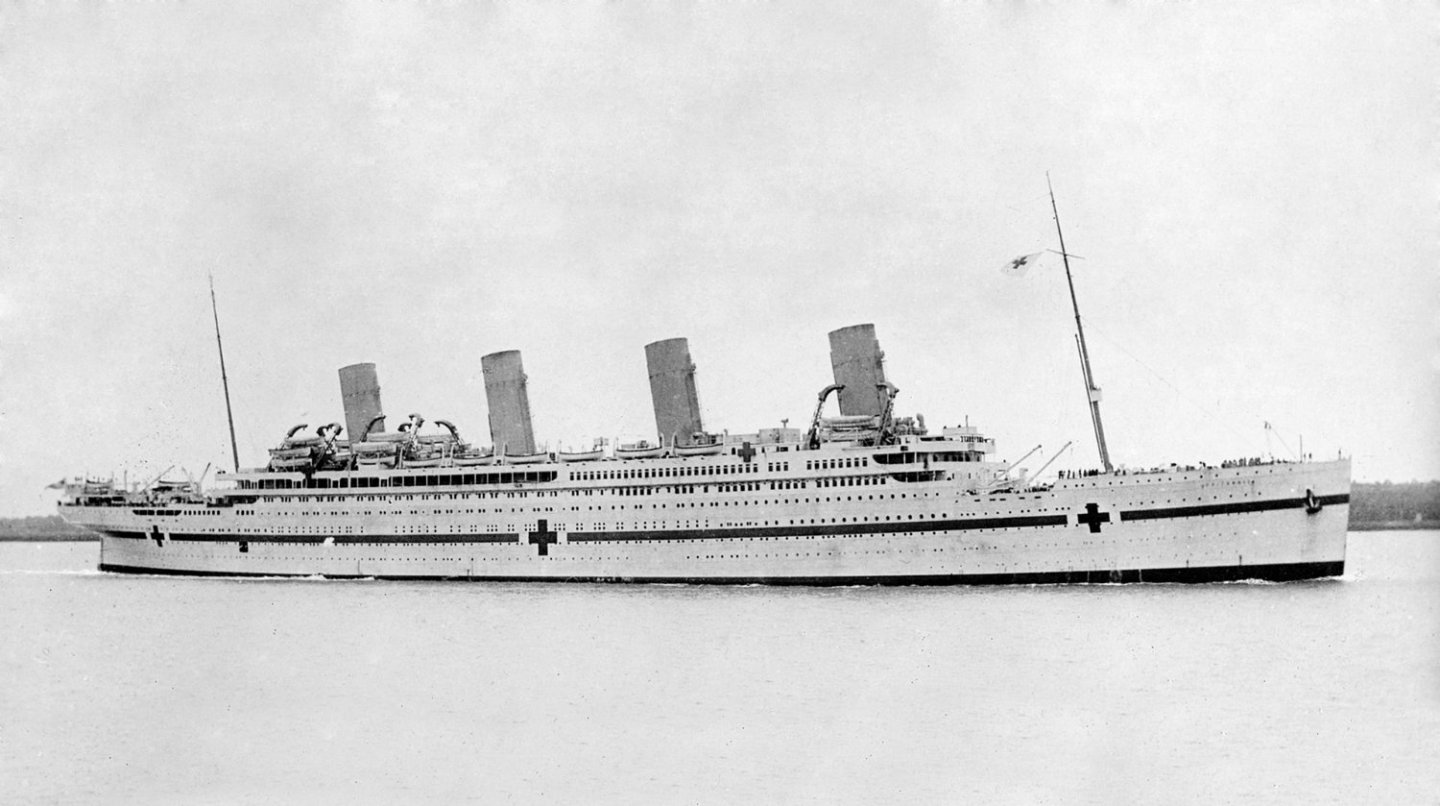
I believe this photo would come under the "fair use" doctrine. So it should be ok. An amazing photo.
i am seeing it everwhere now
- Canute, thibaultron and mtaylor
-
3
-
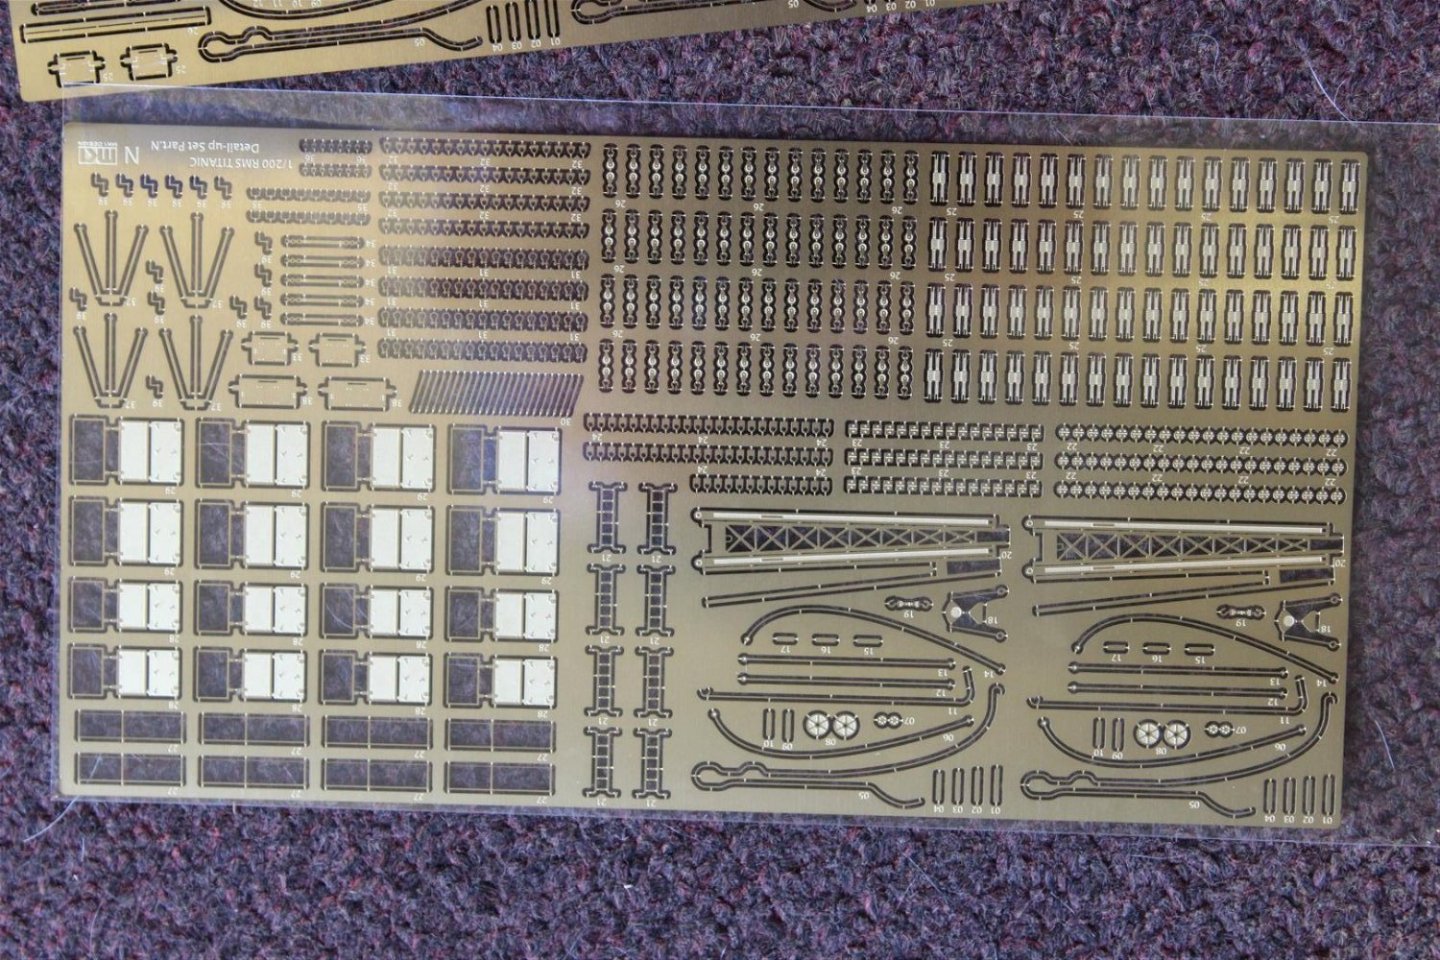
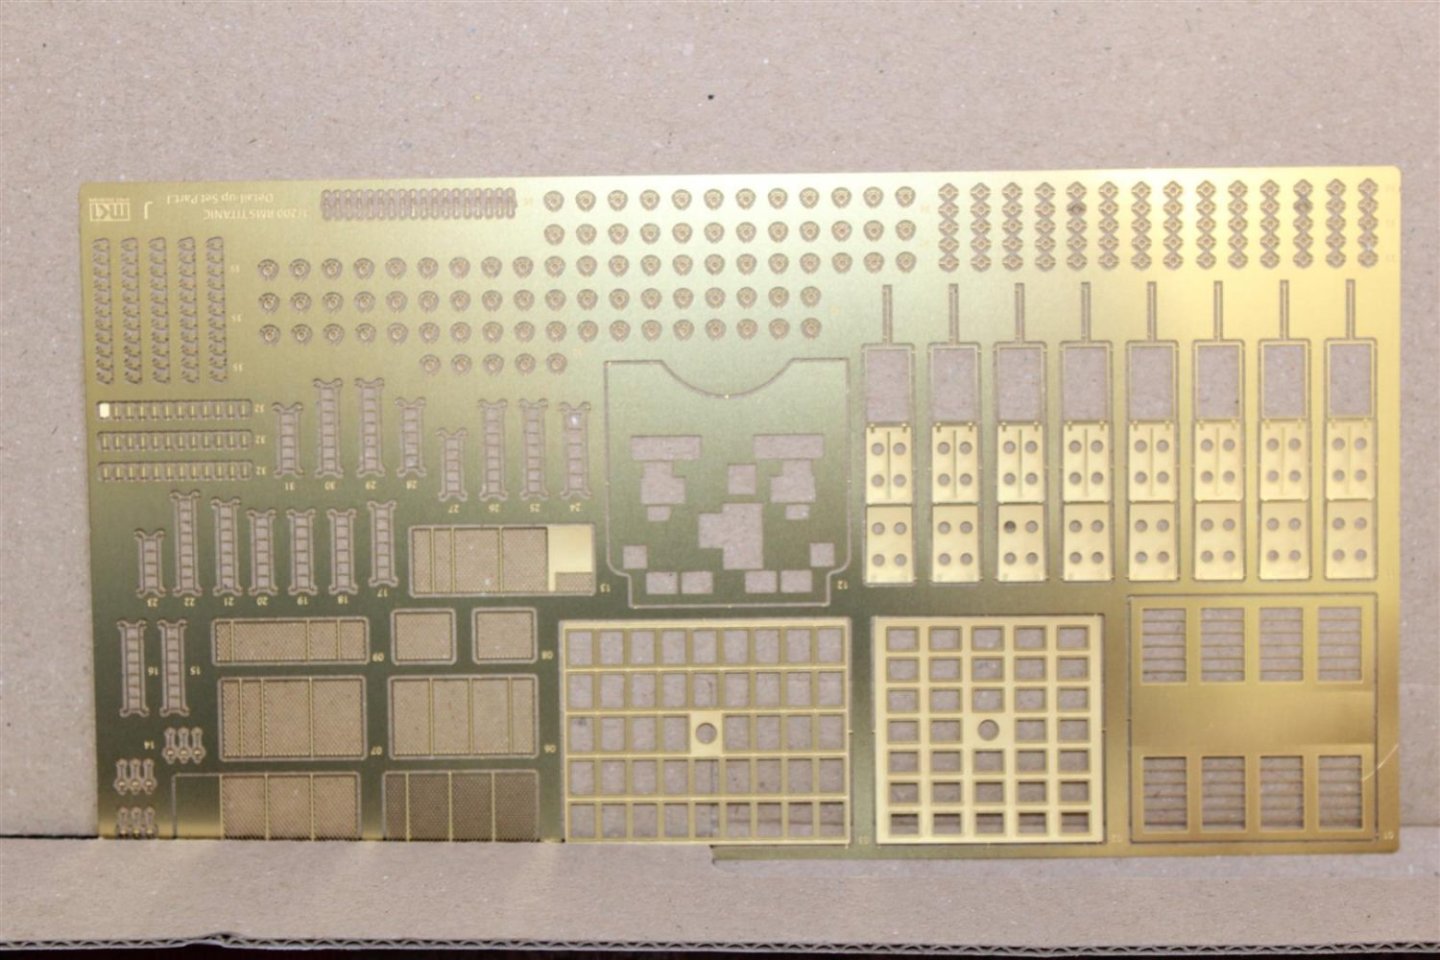
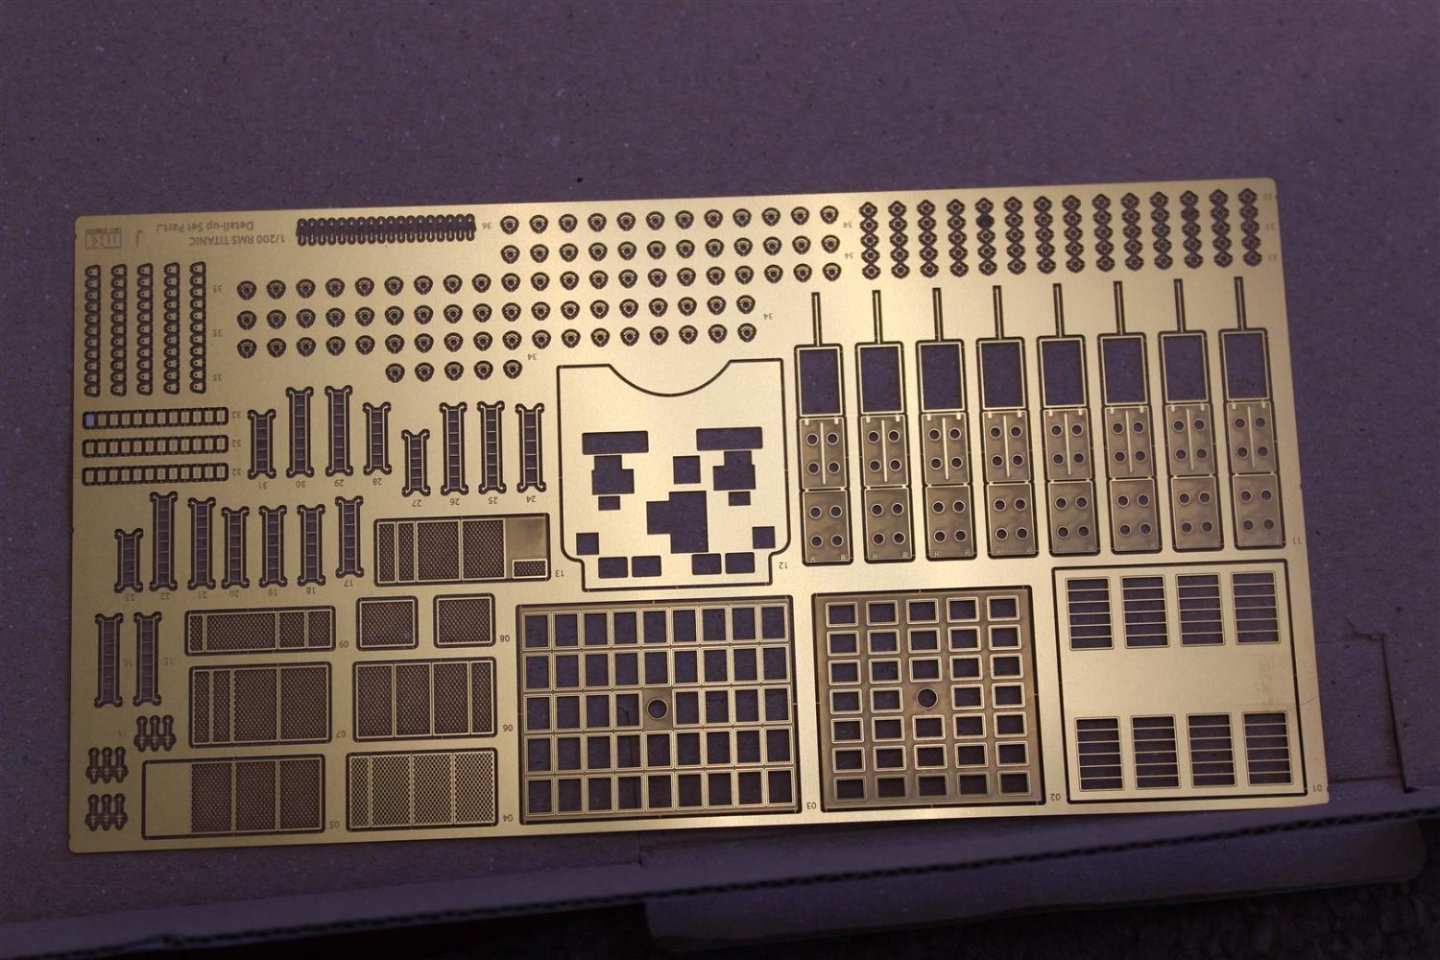
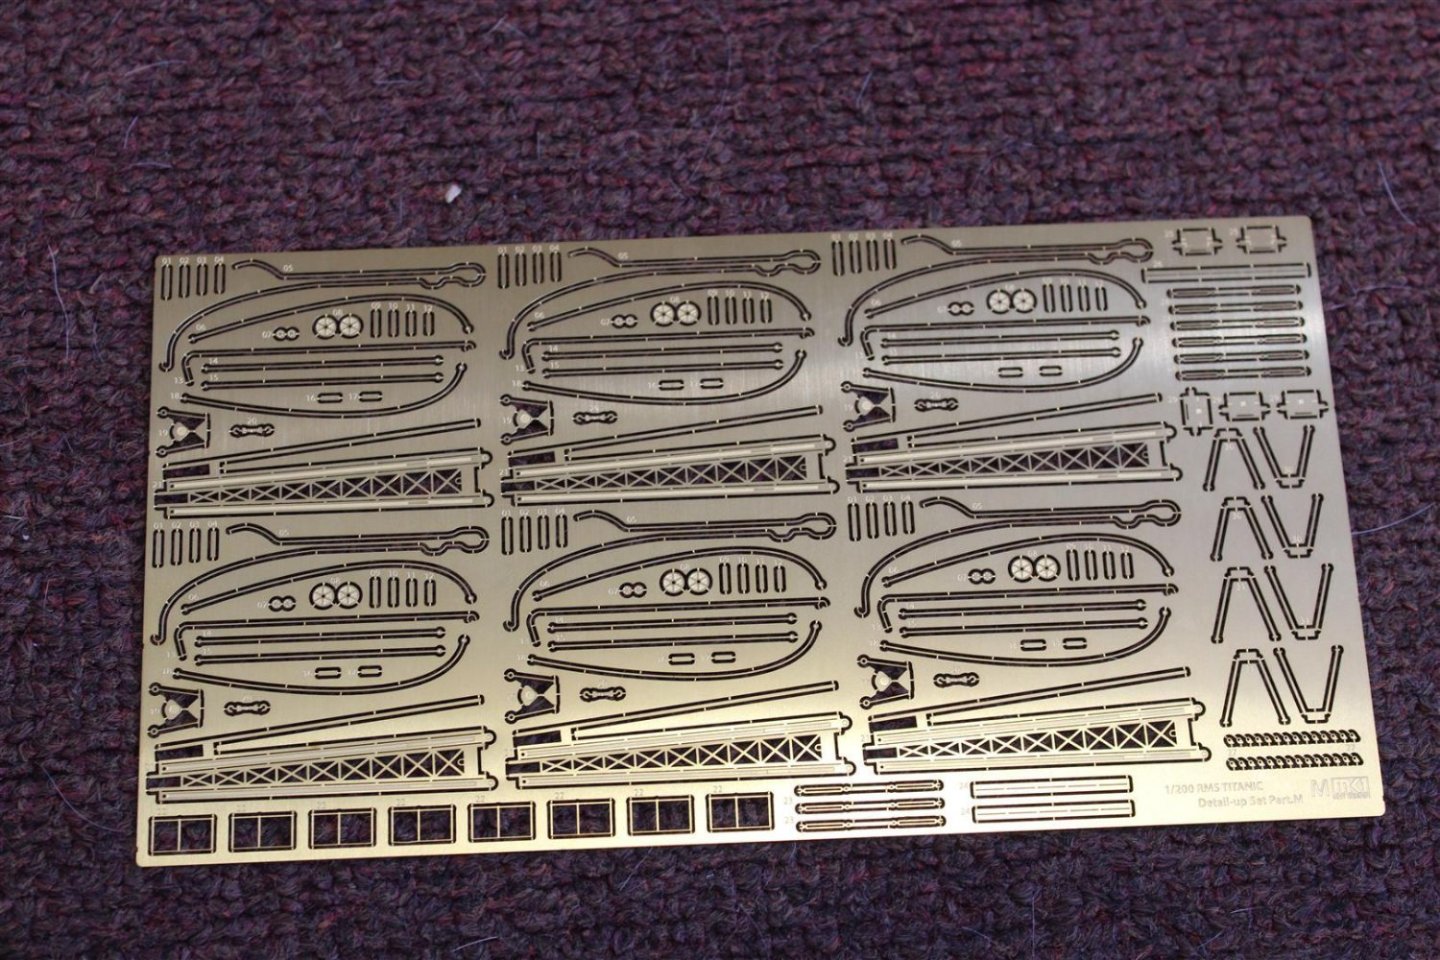
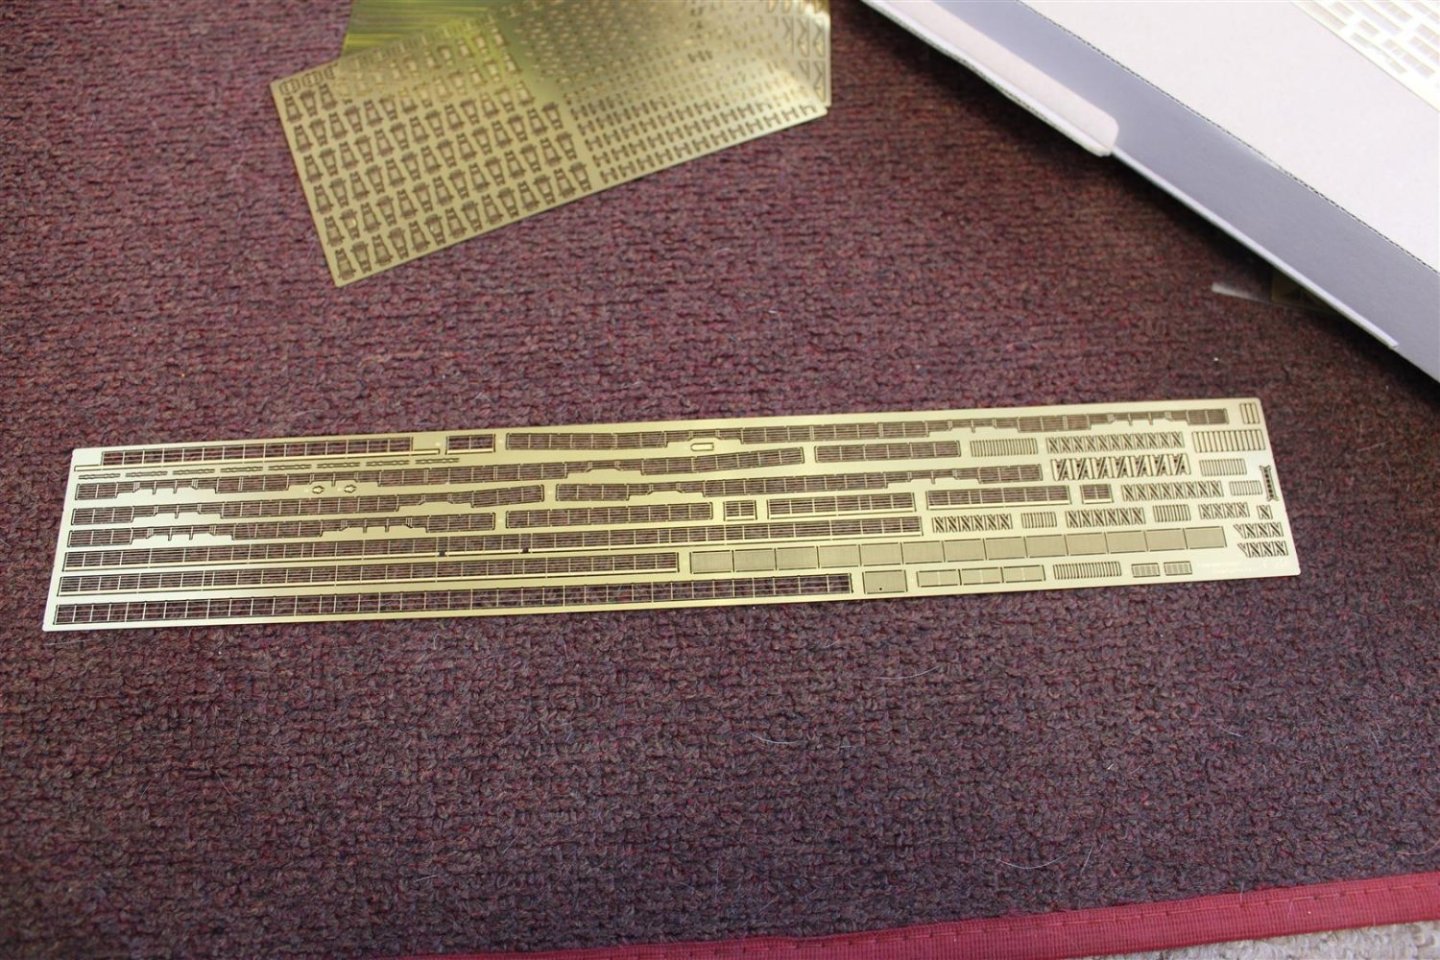
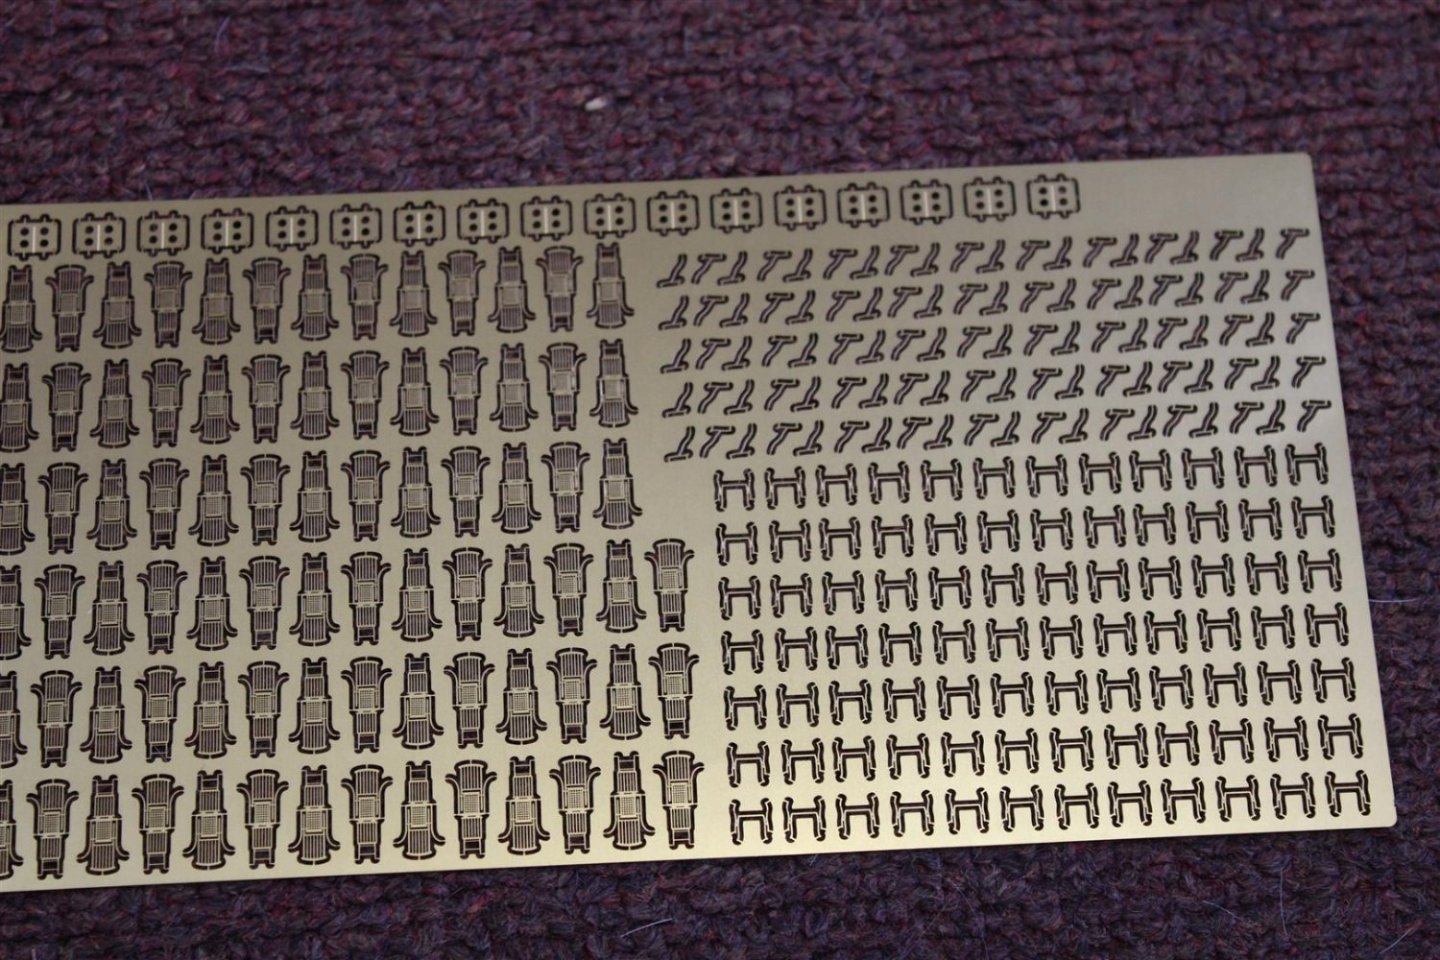
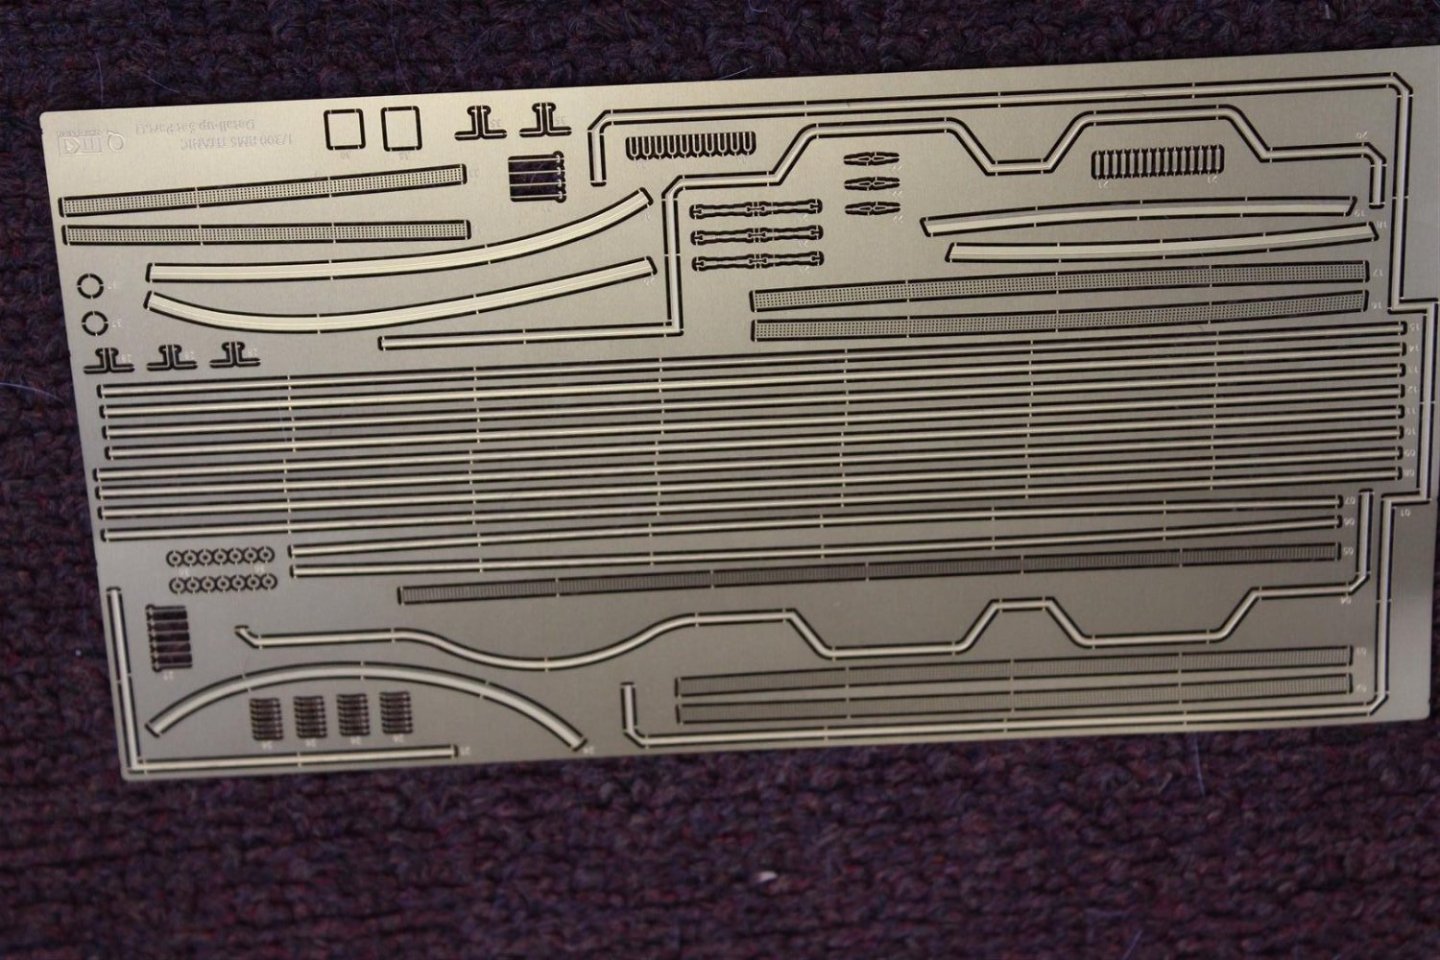
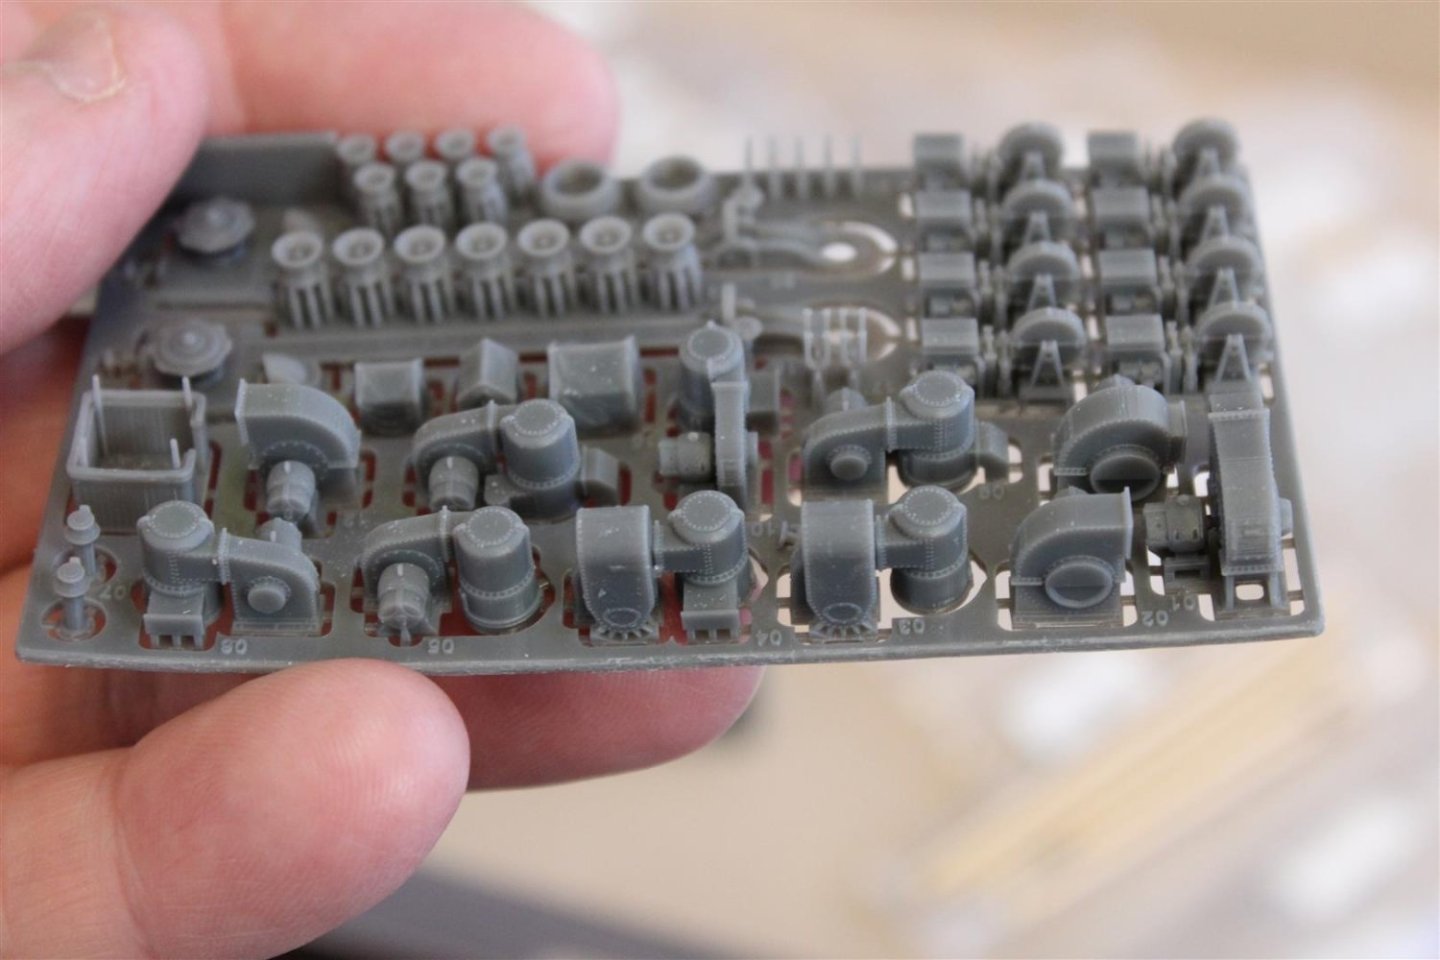
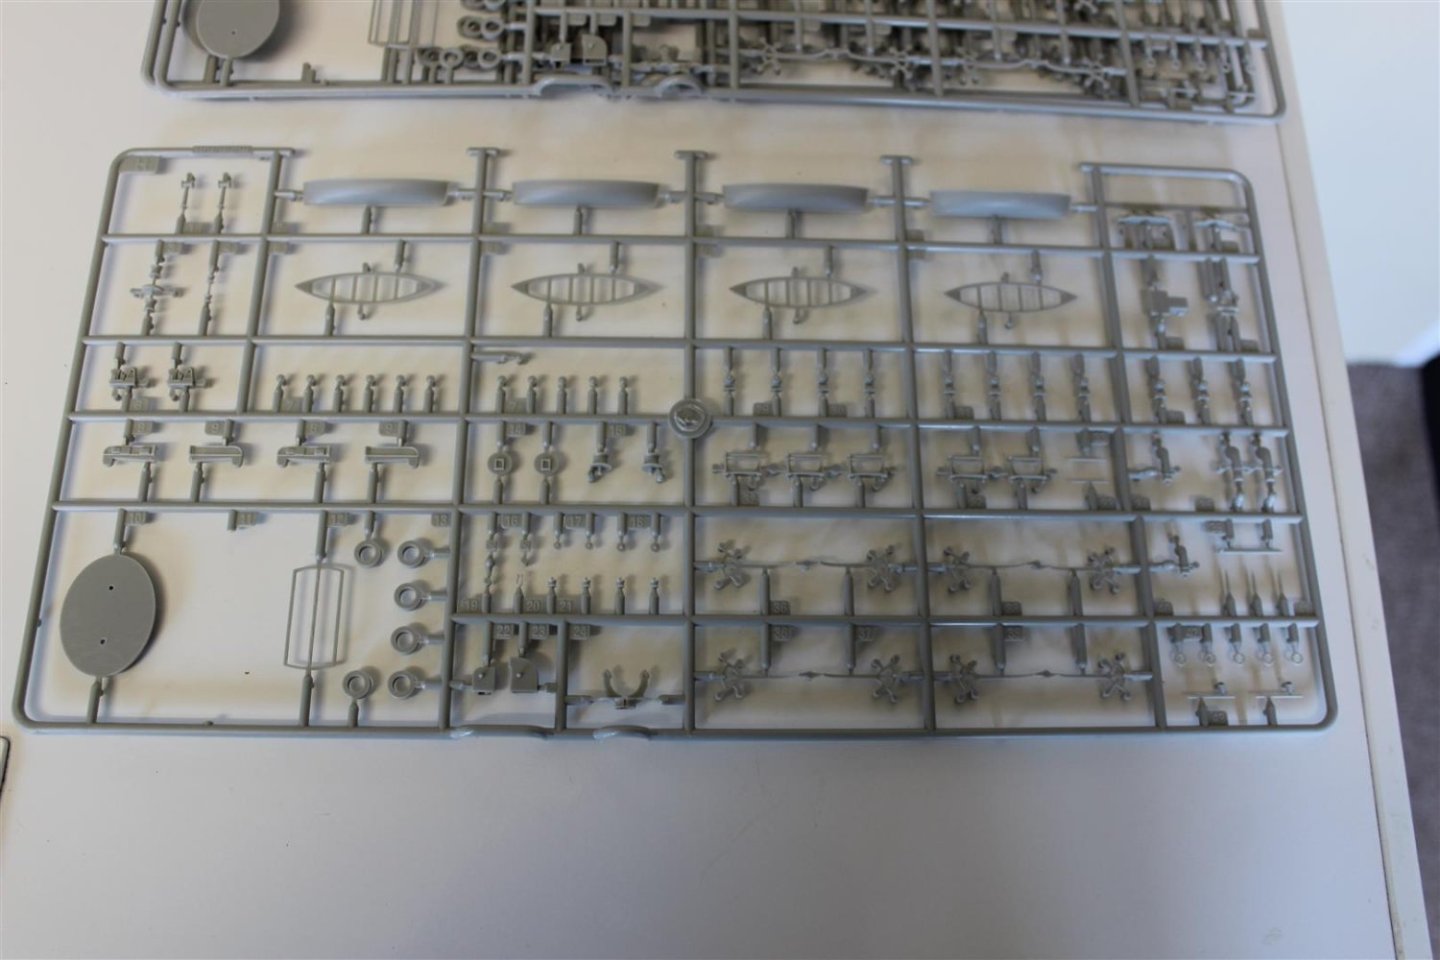
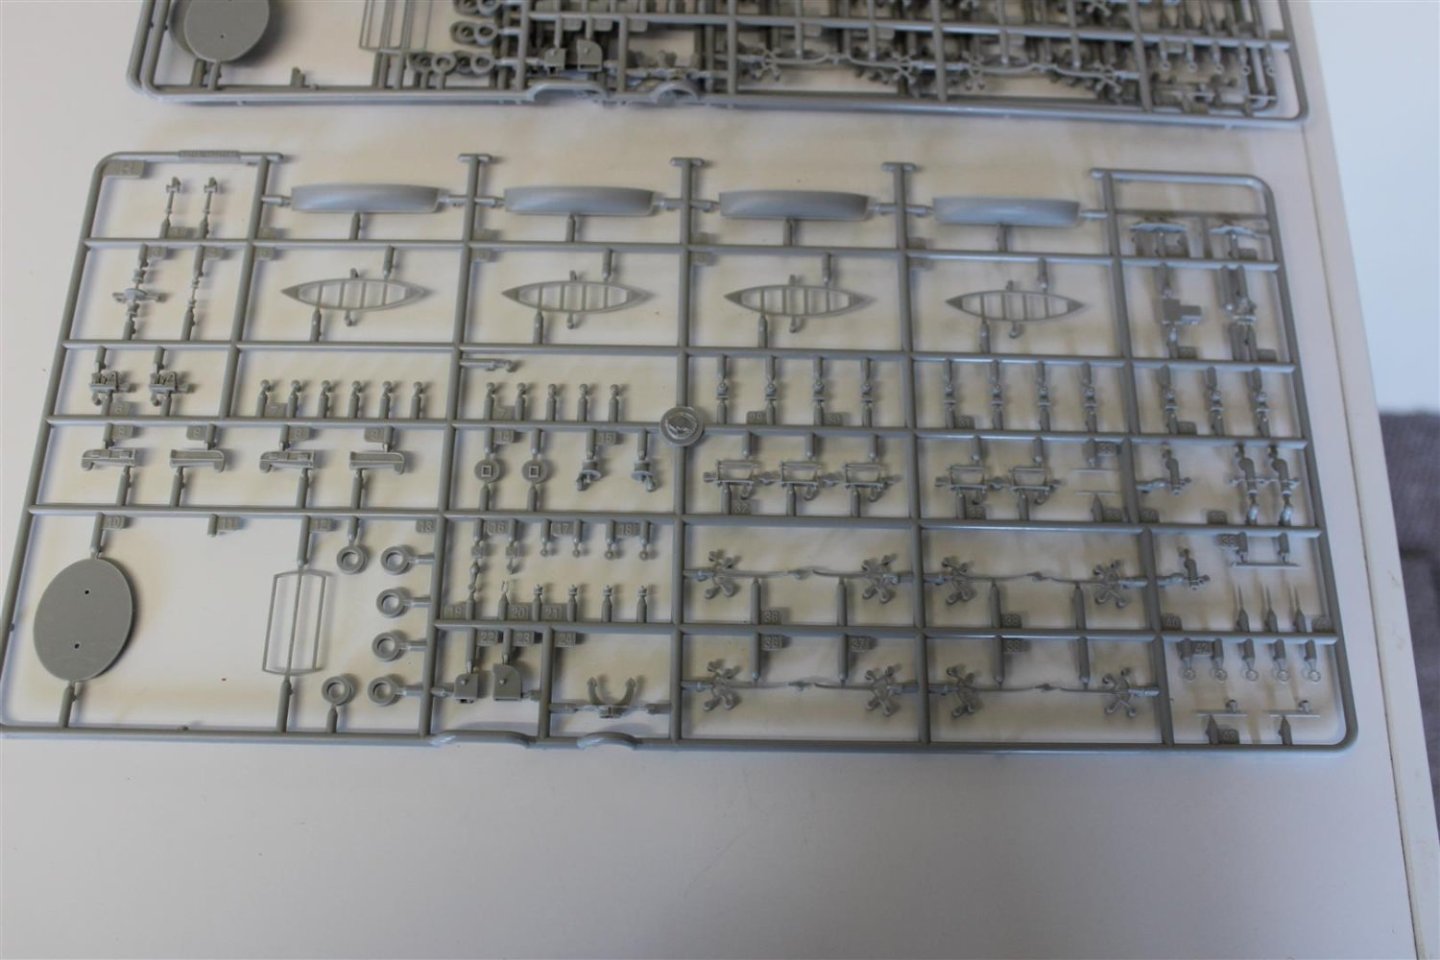
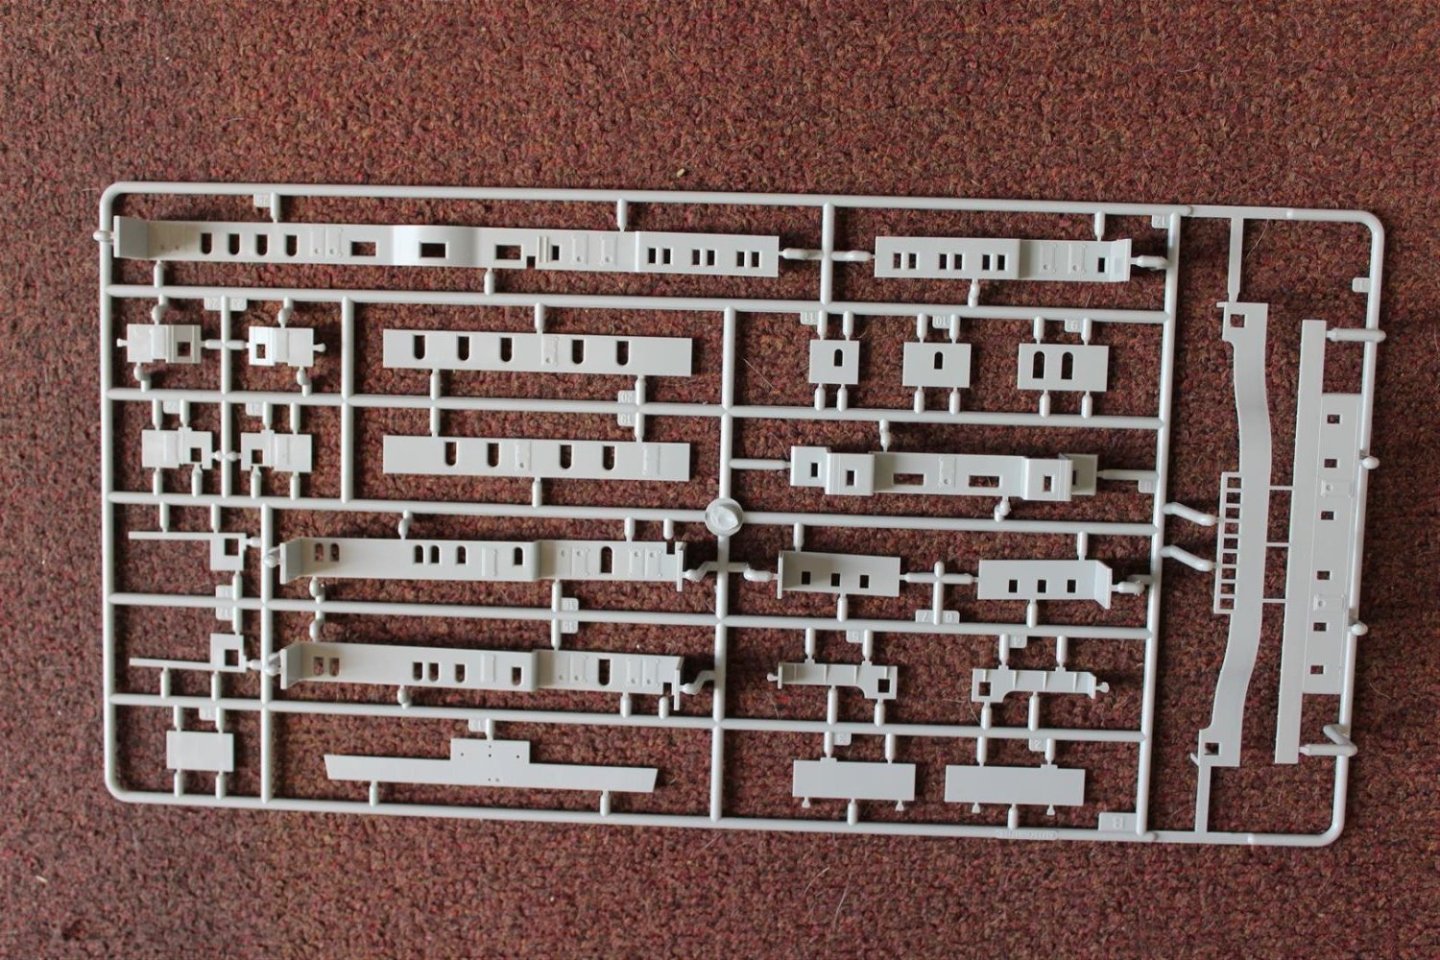
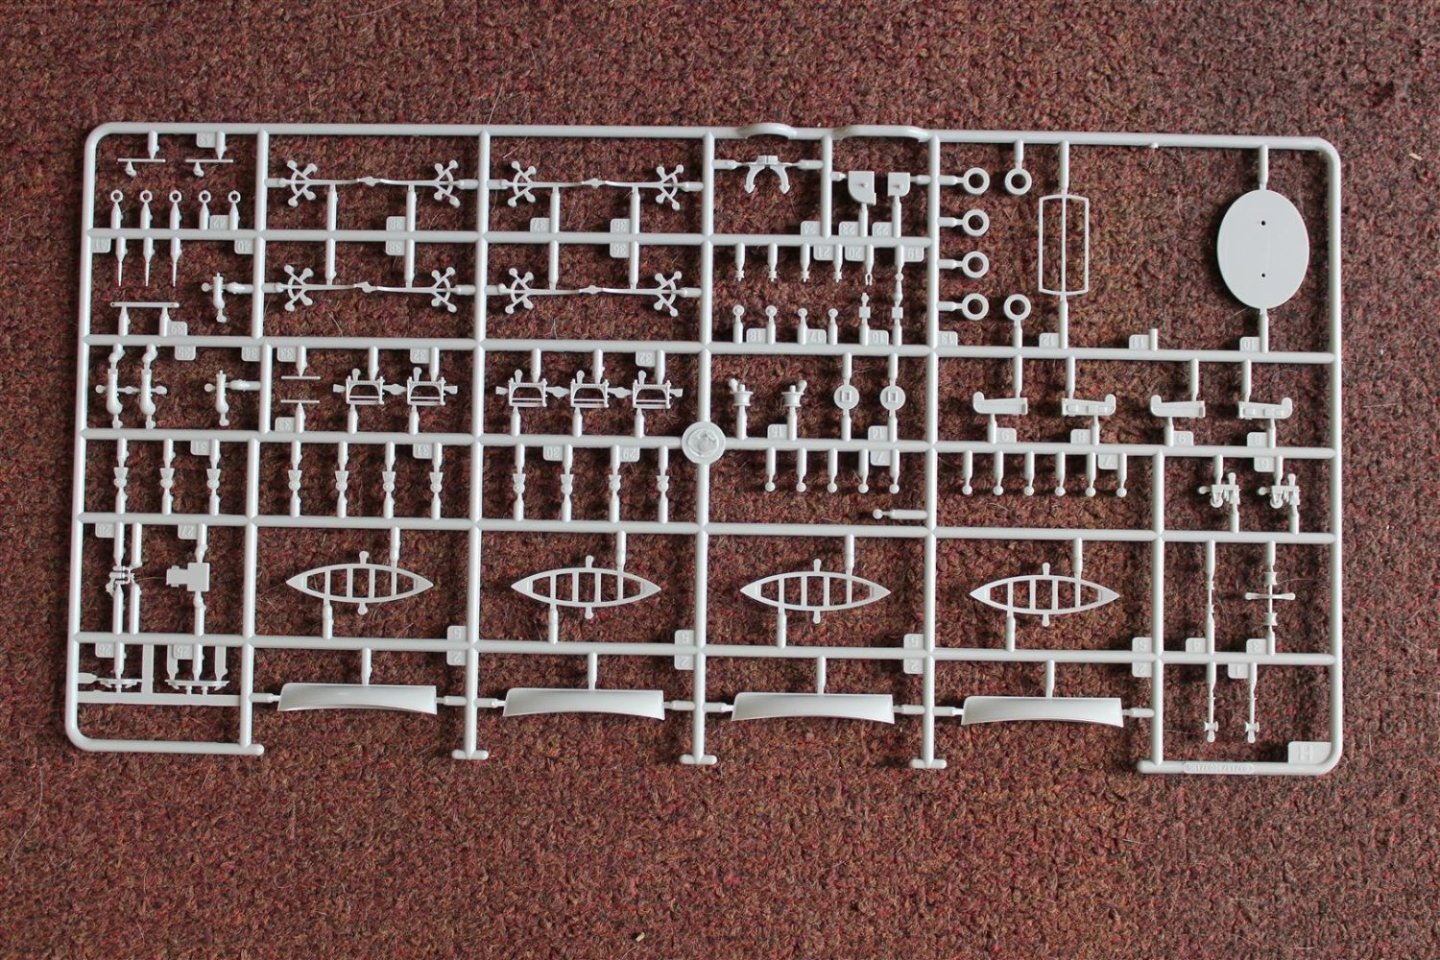
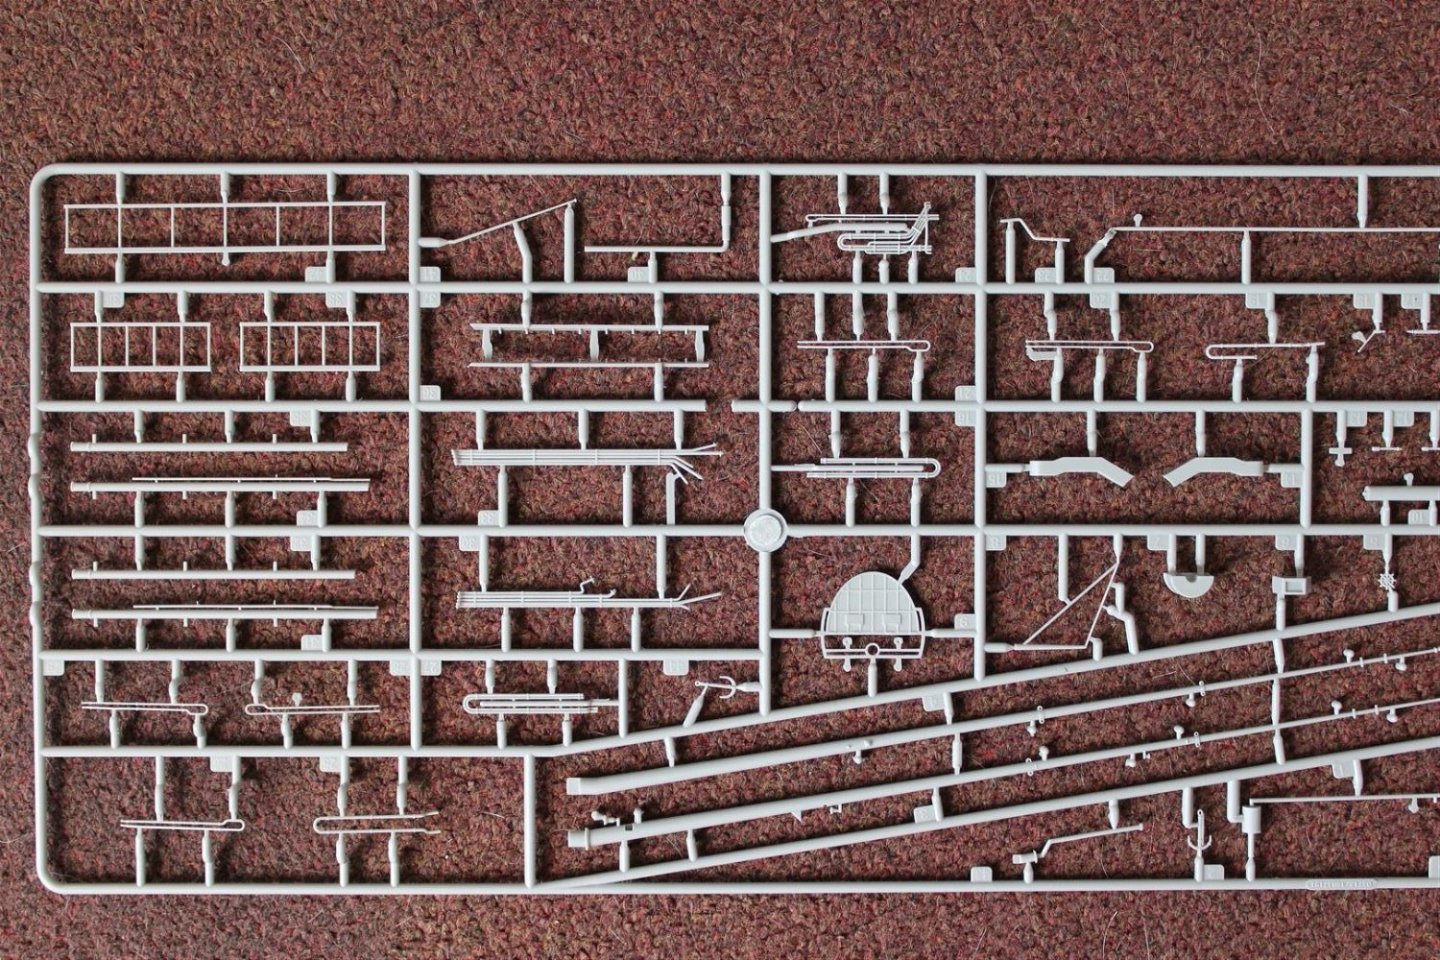
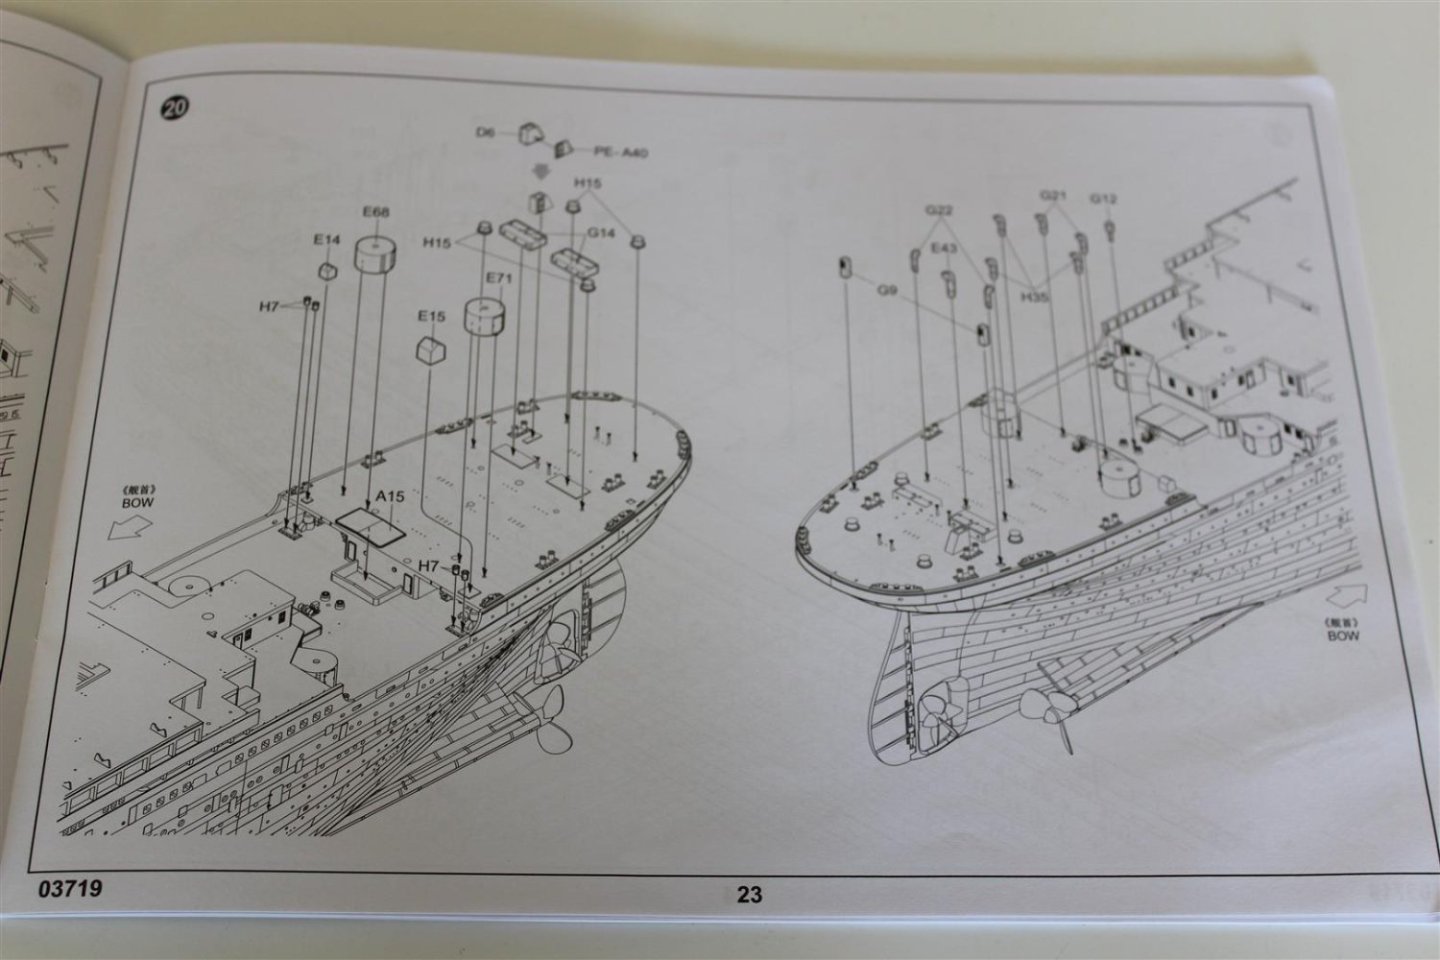
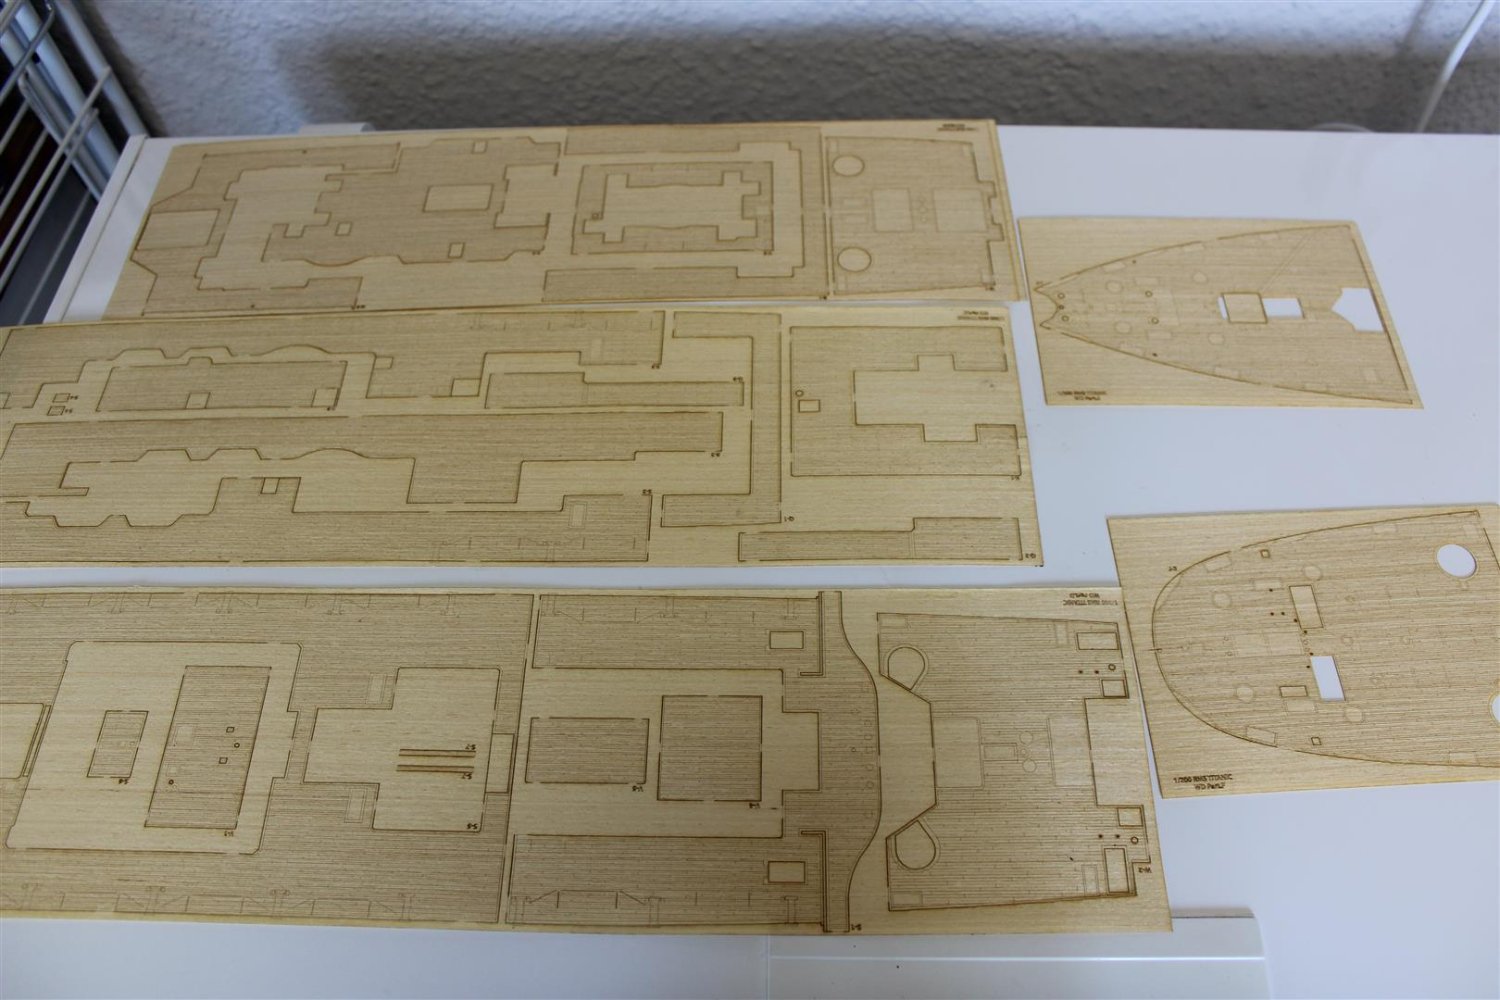
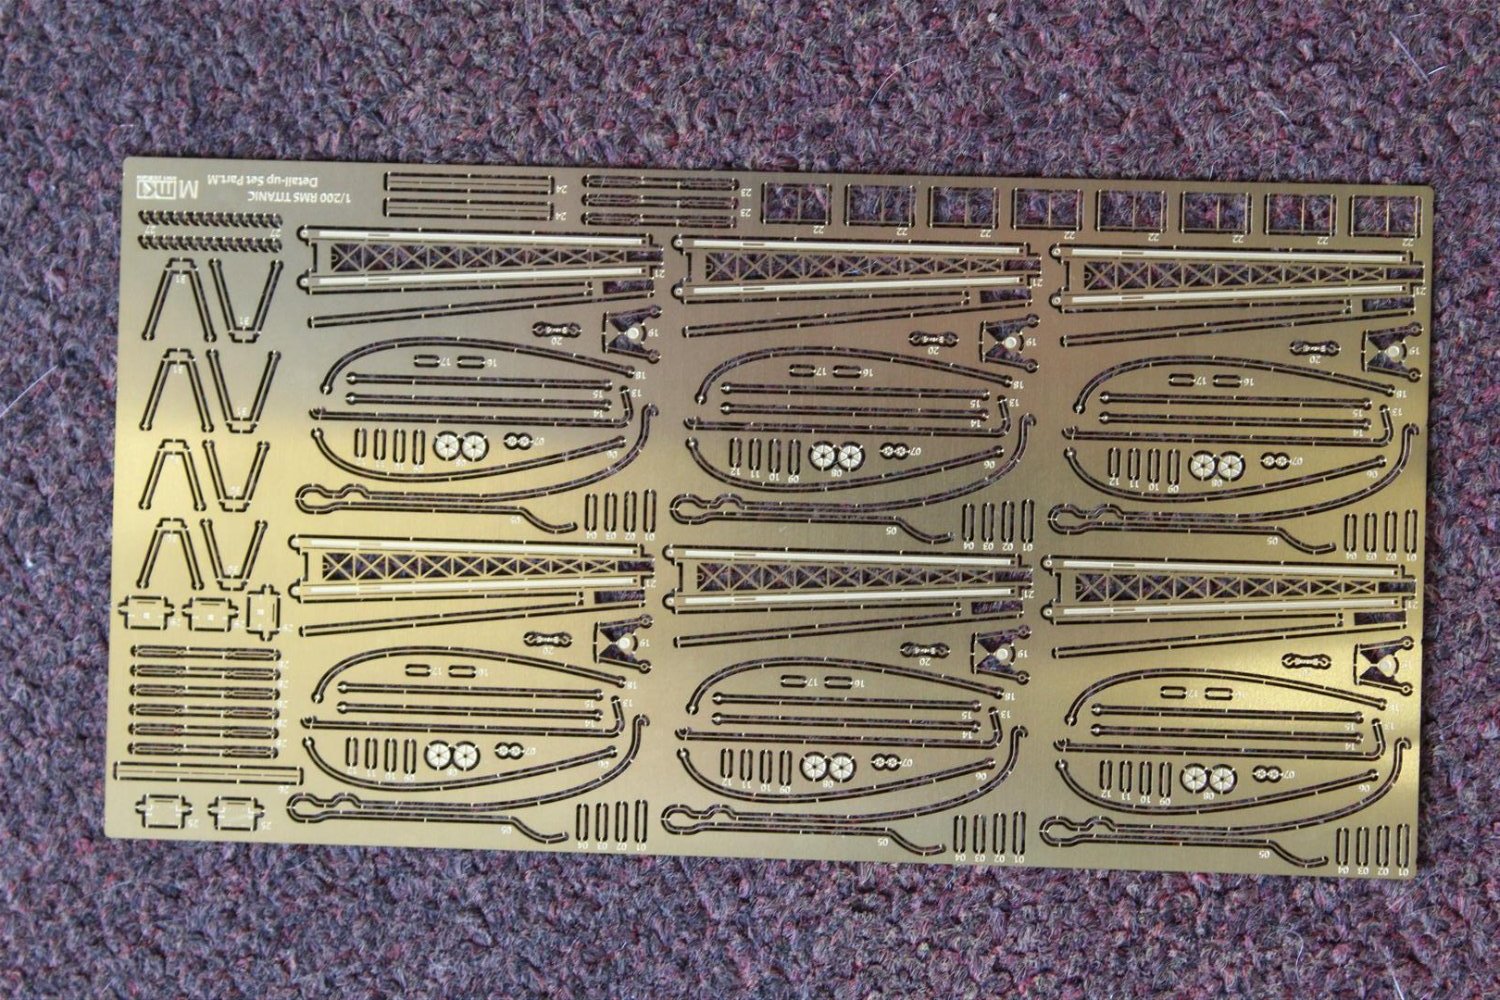
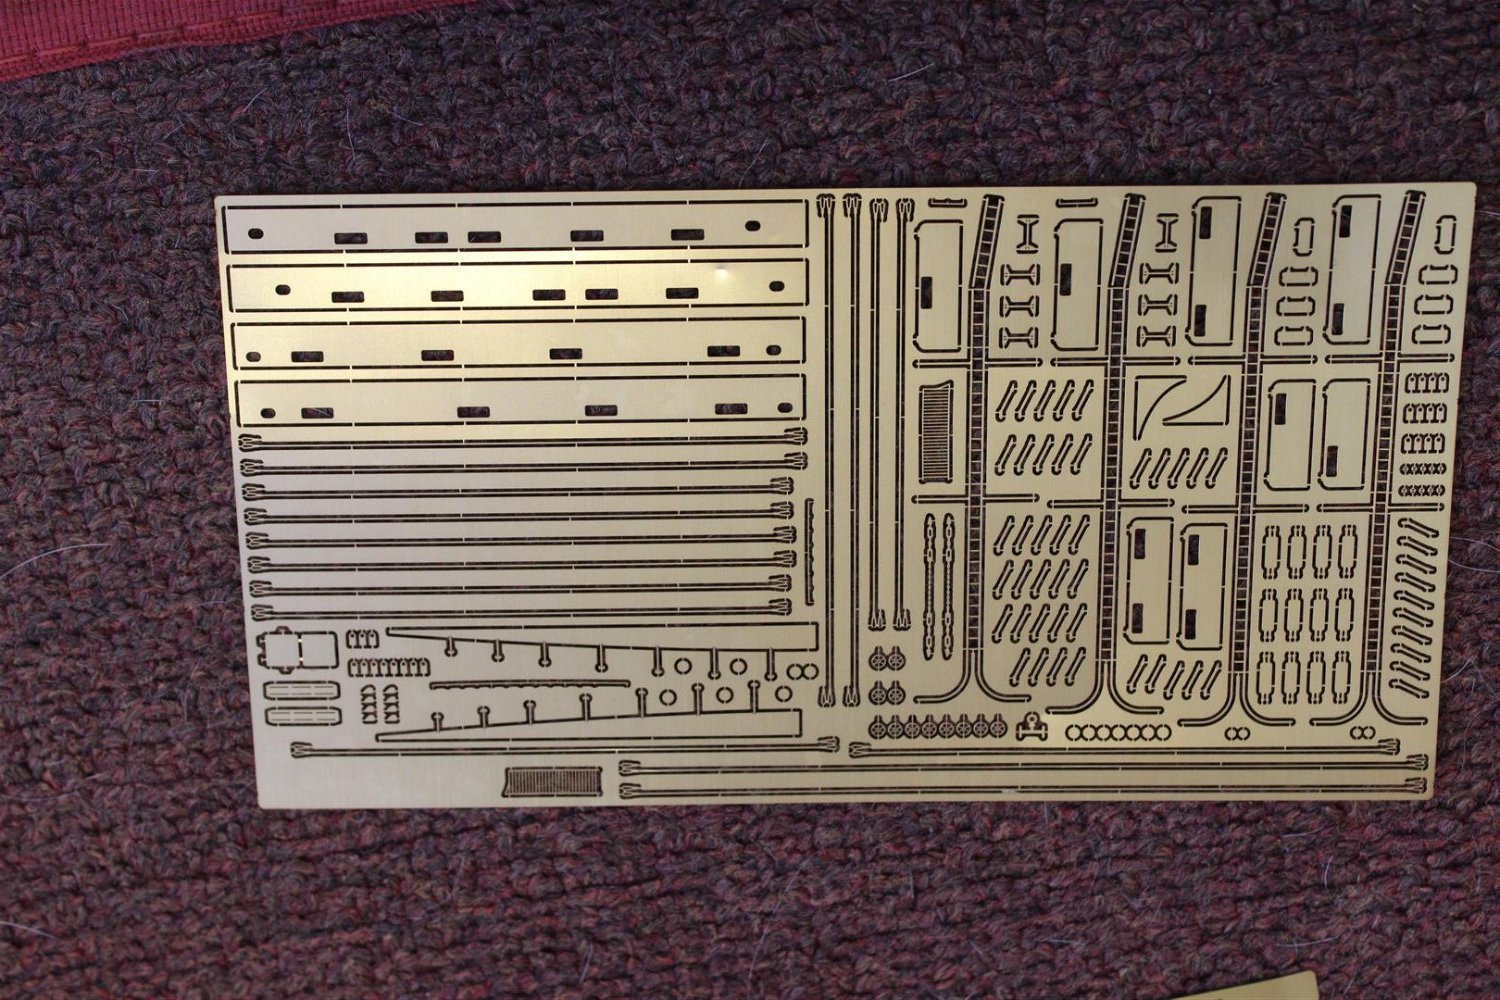
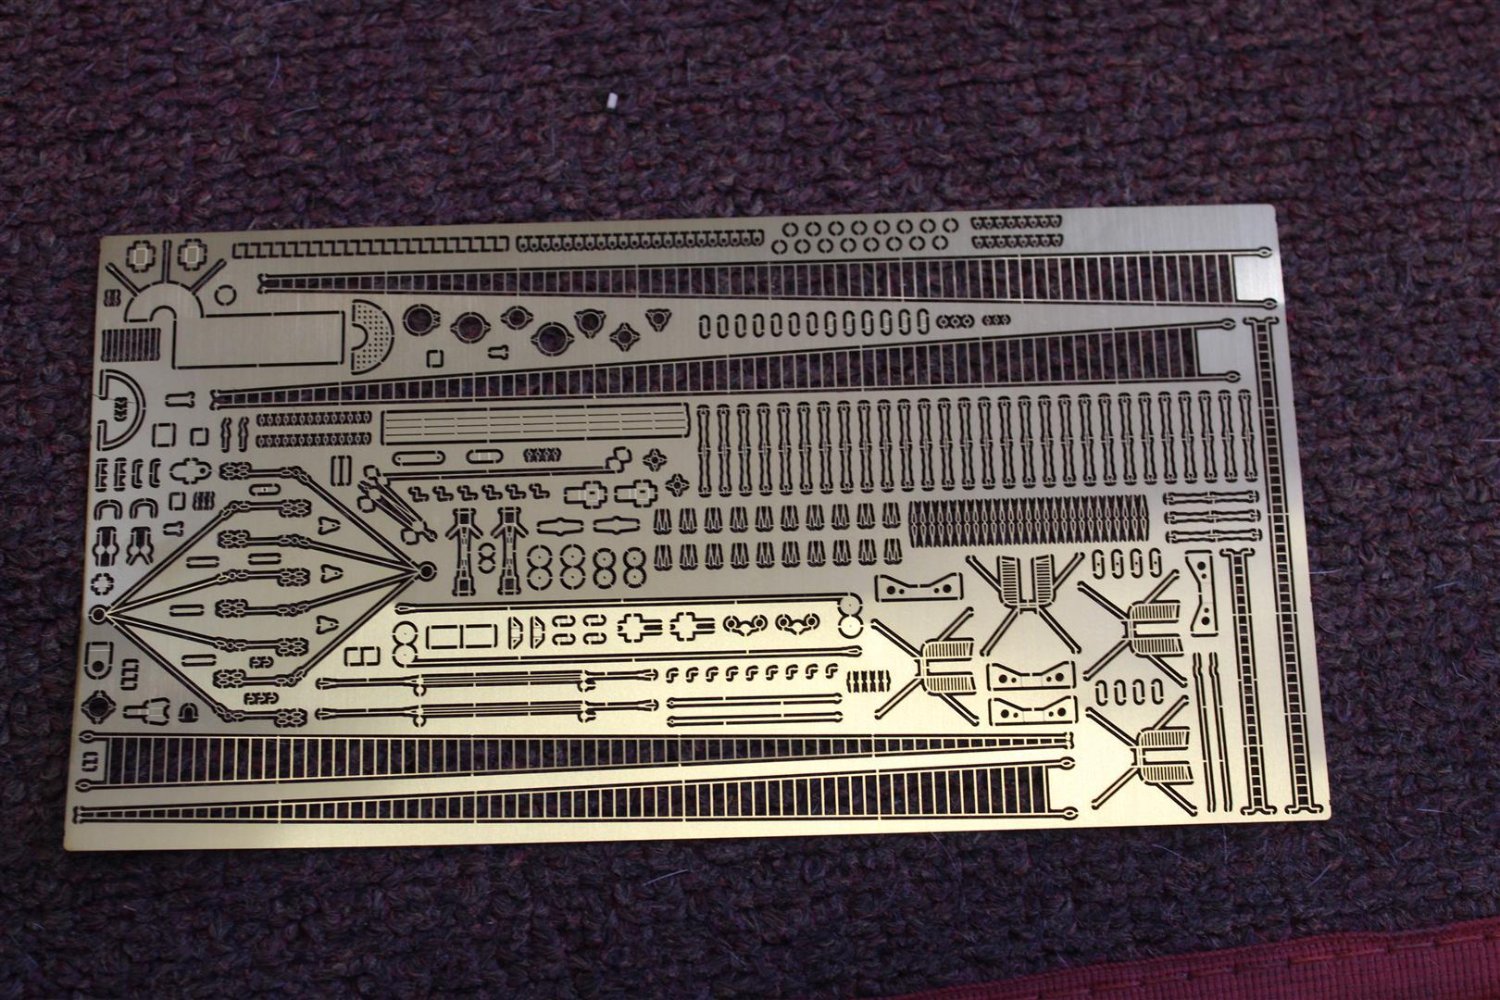
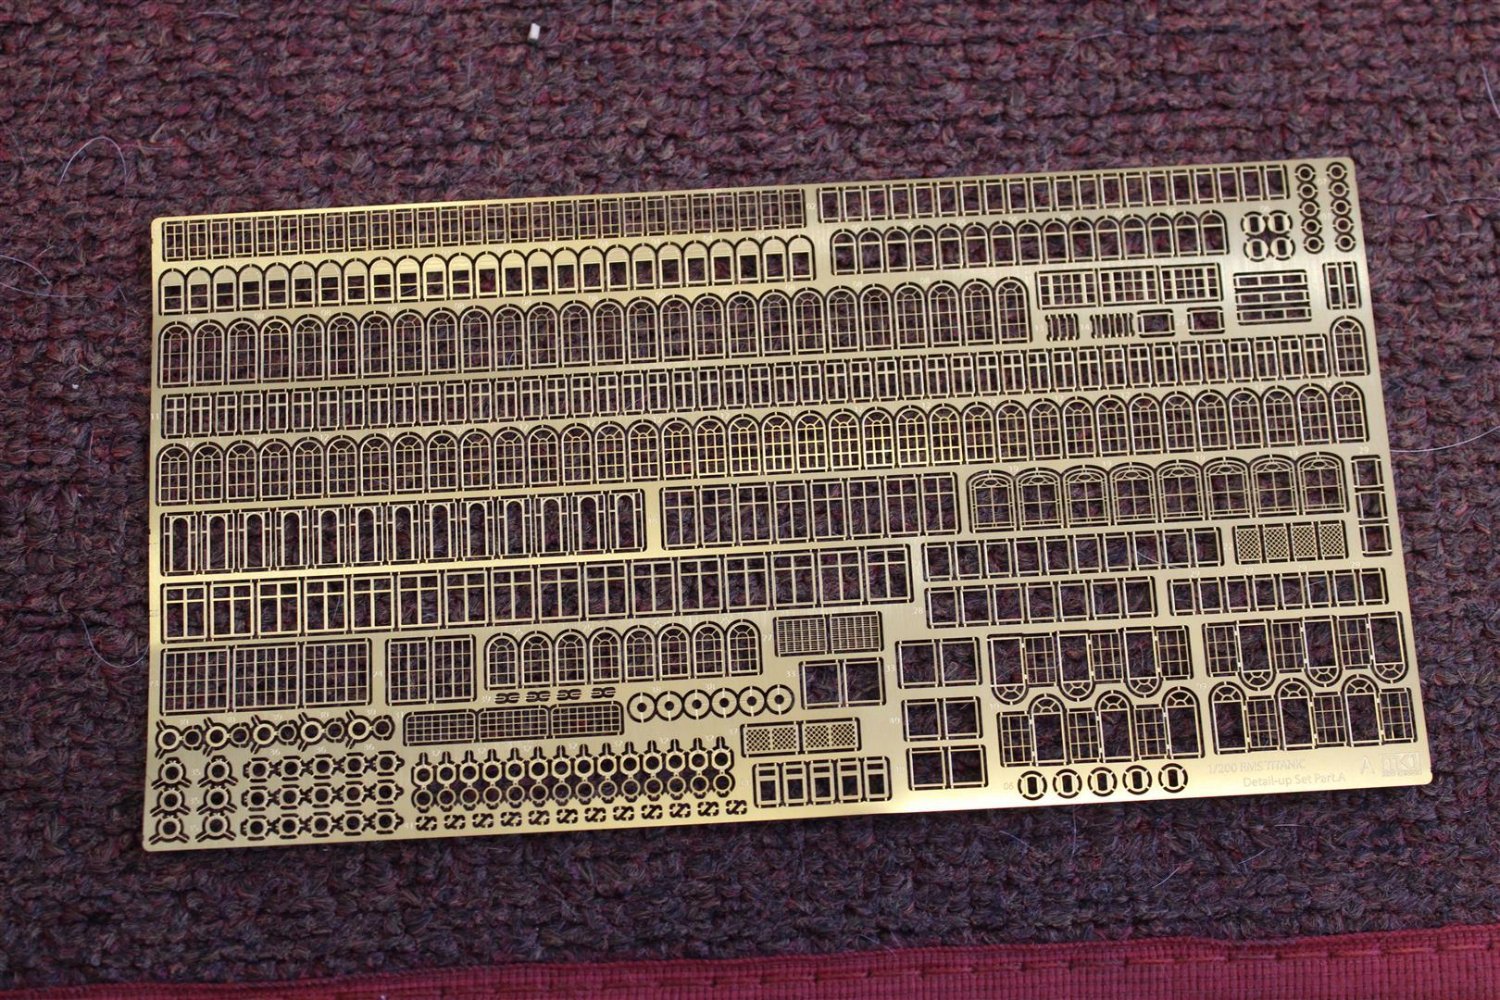
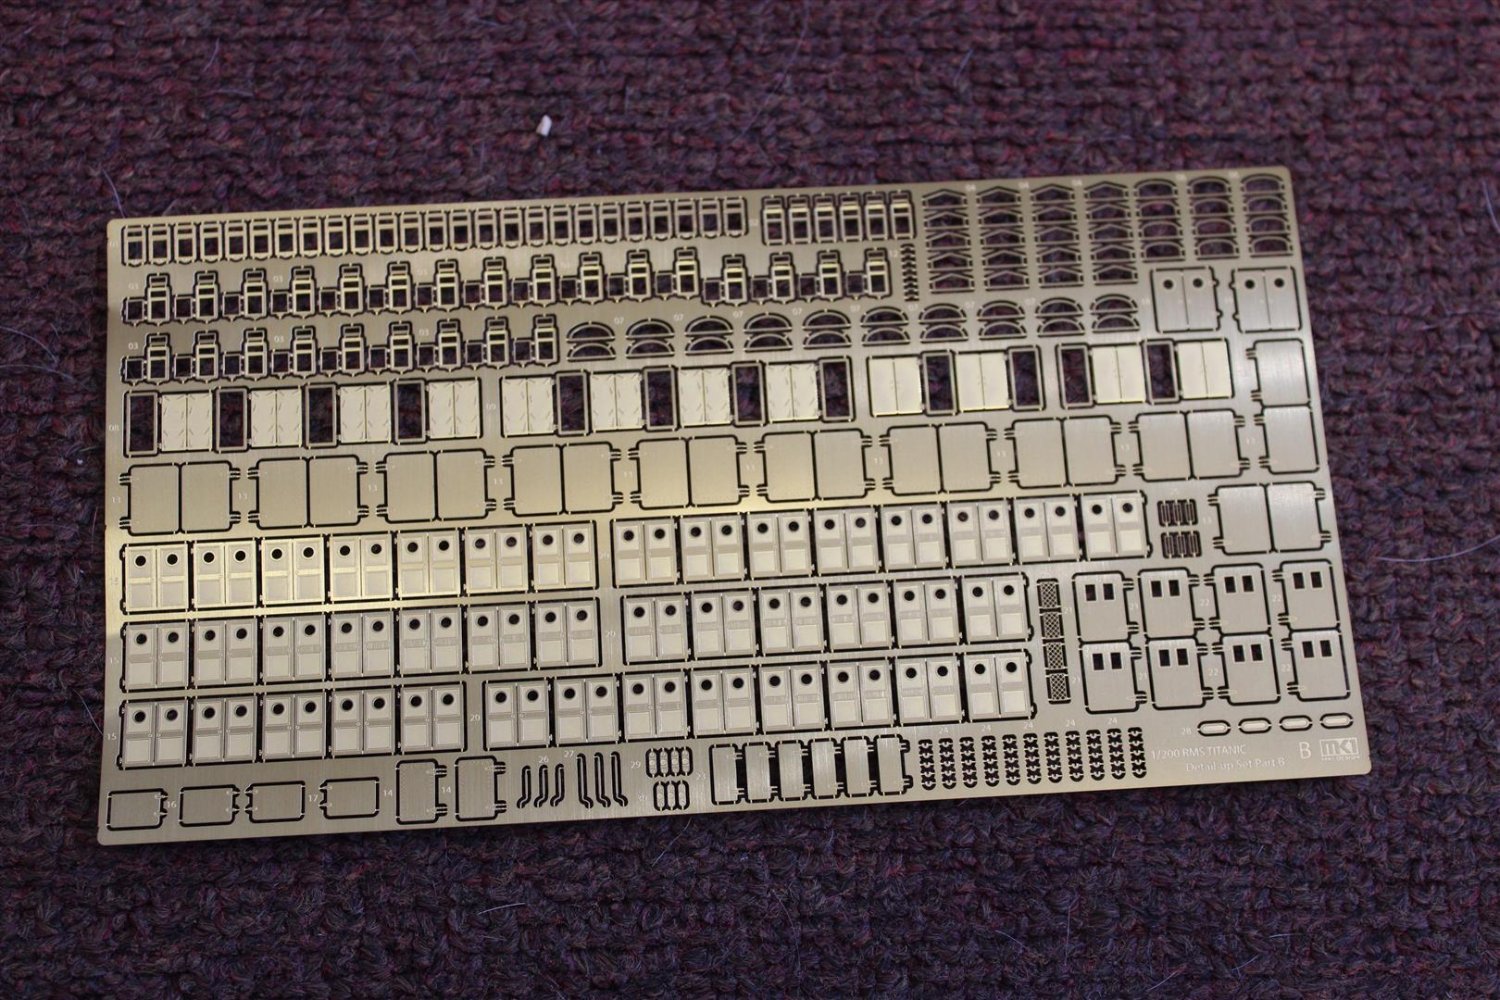
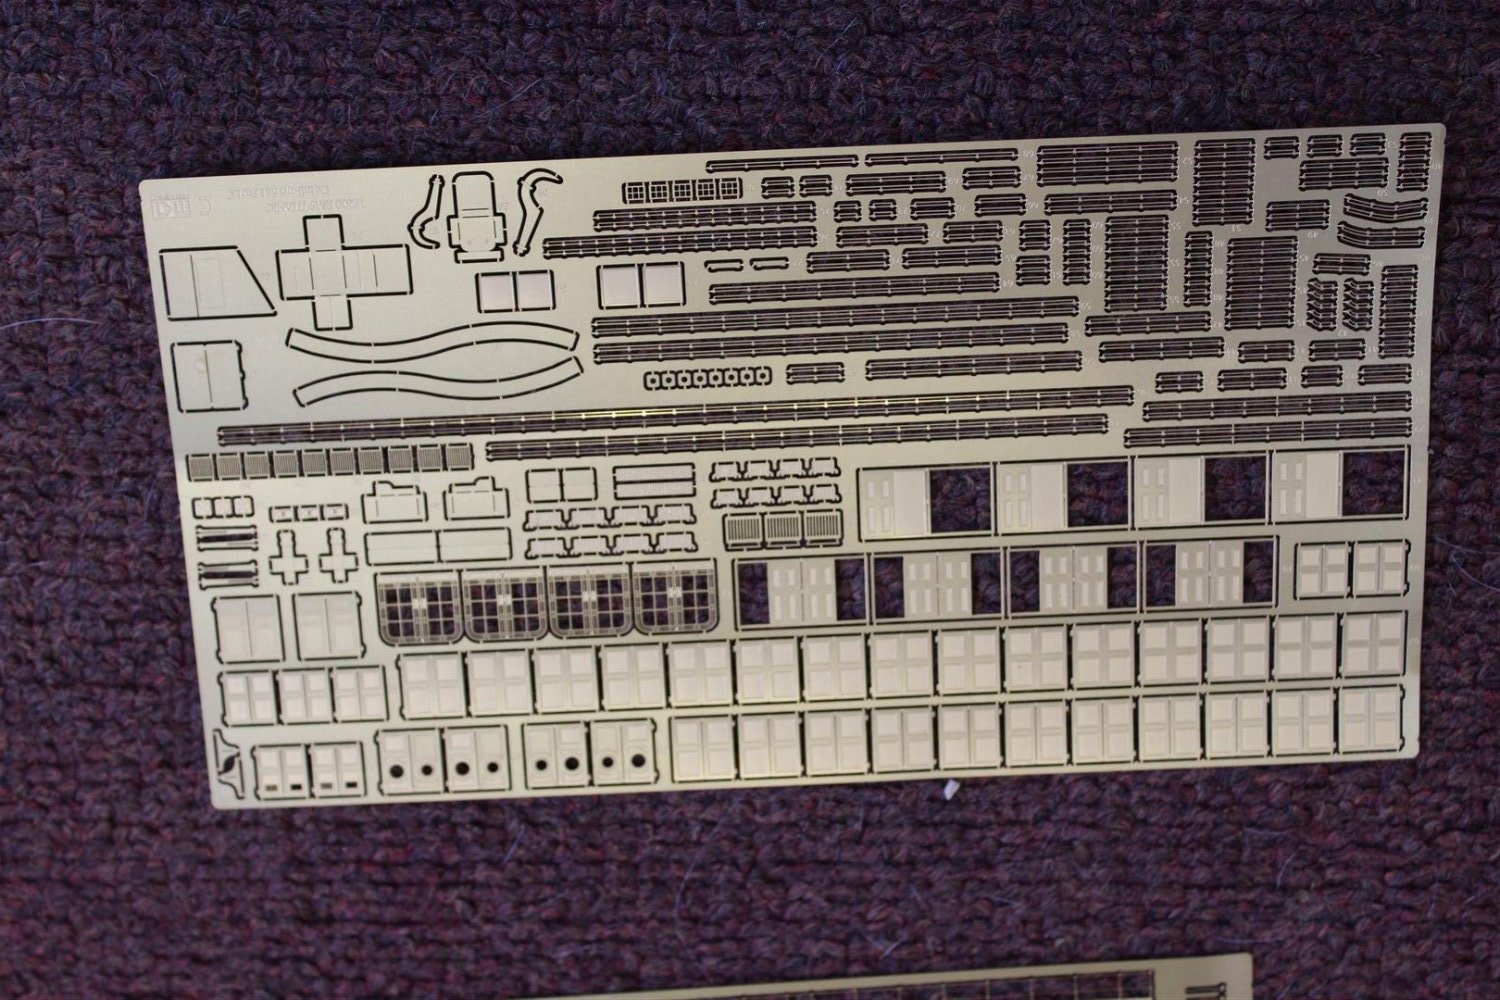
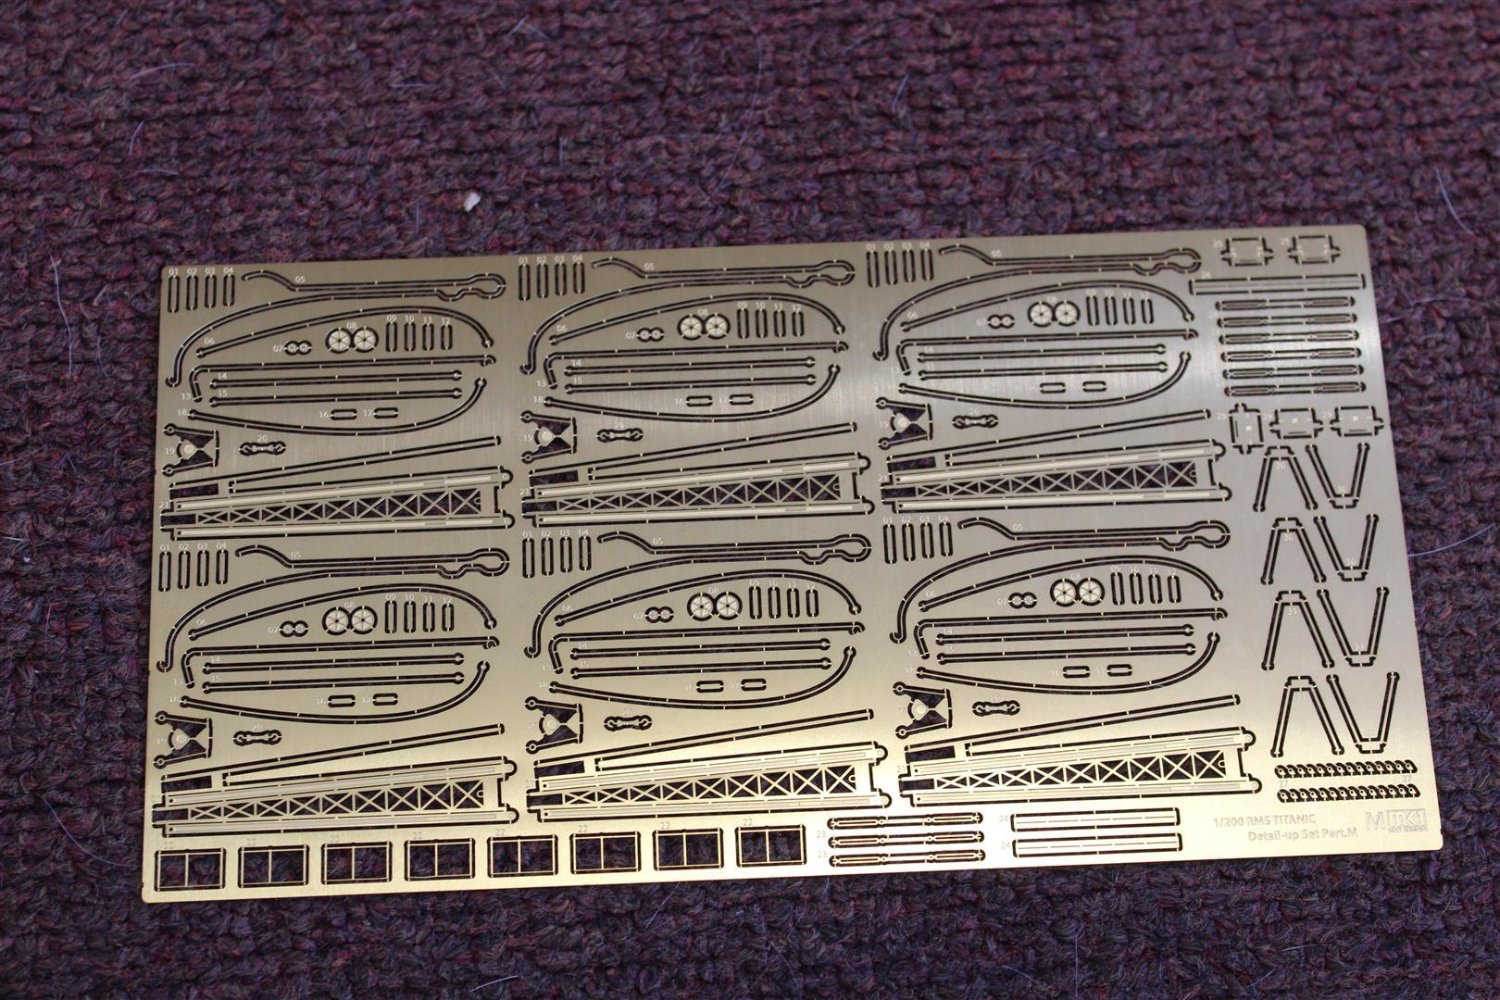
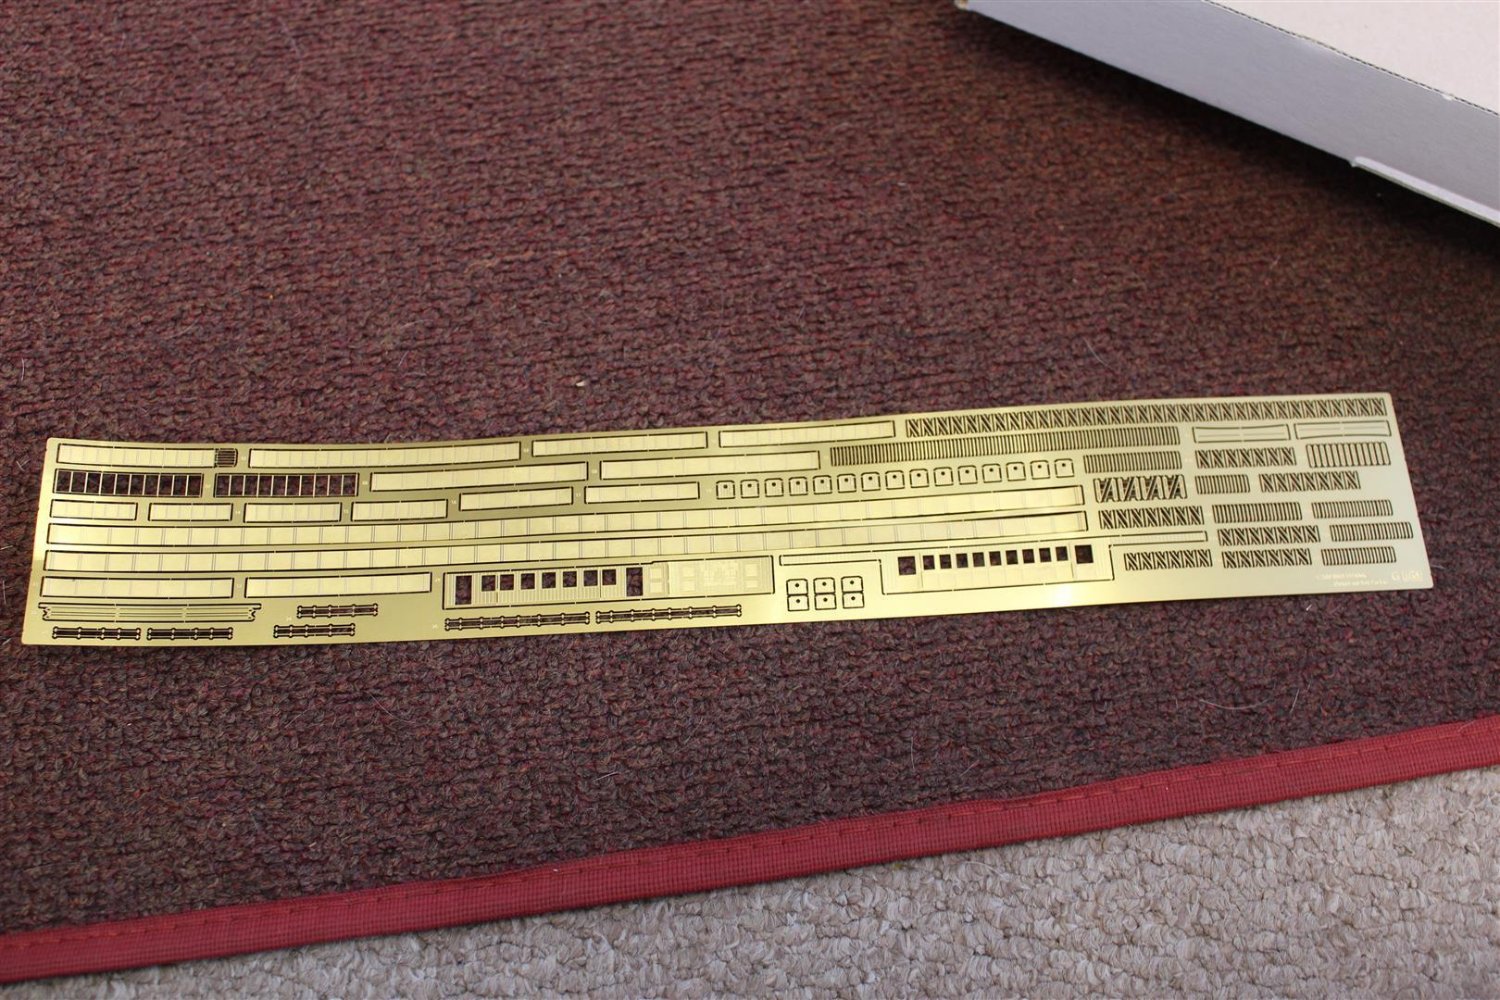
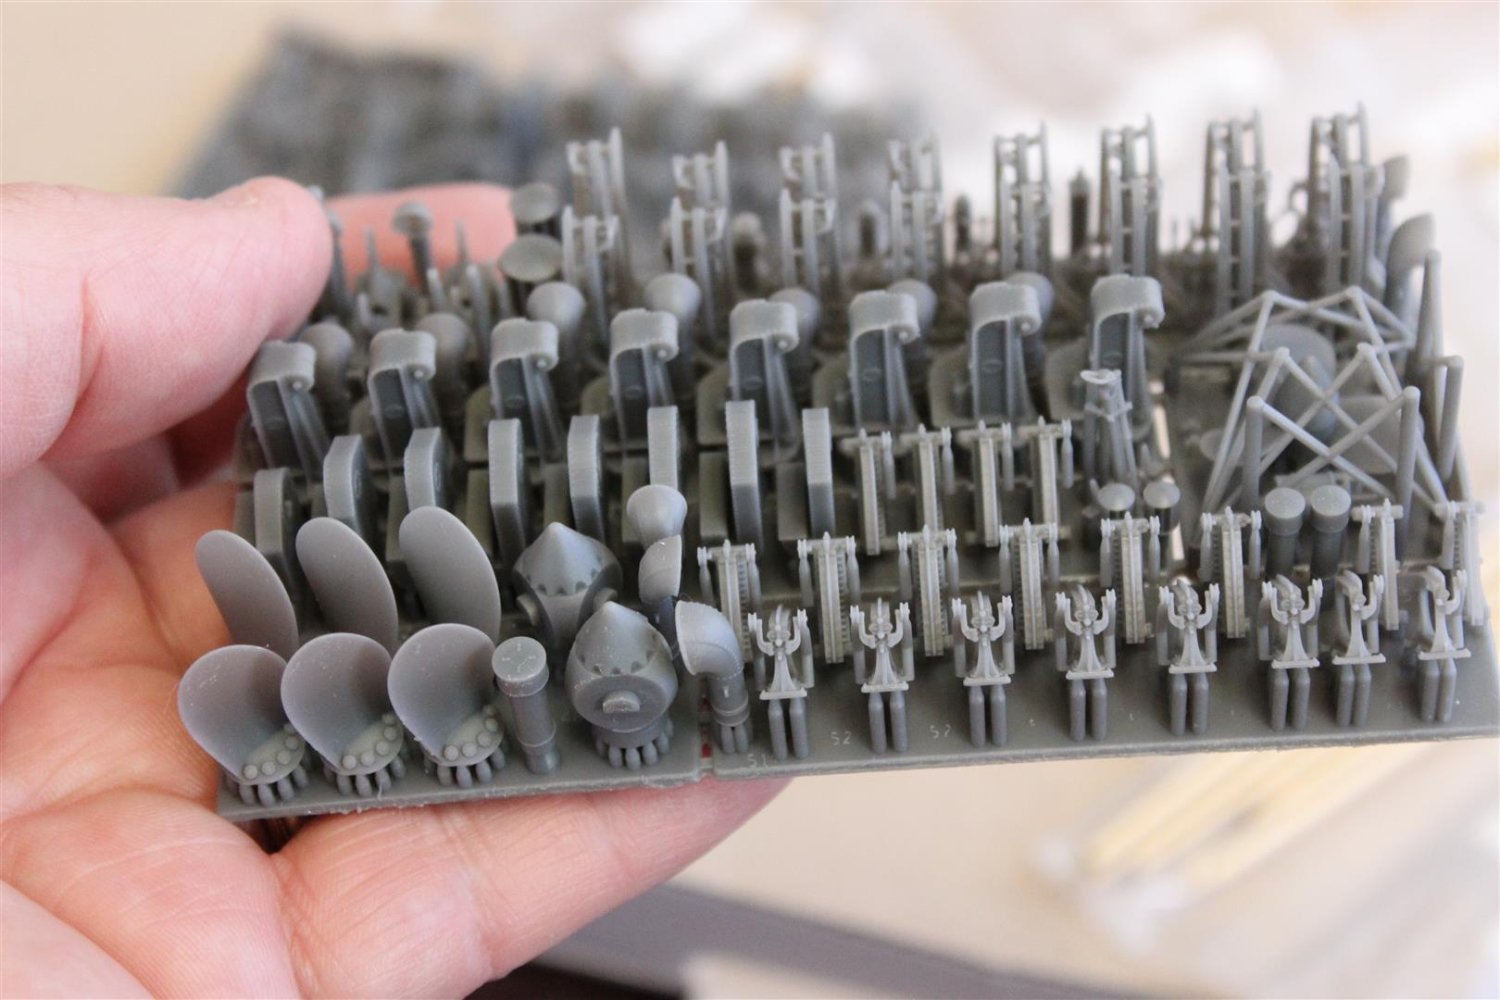
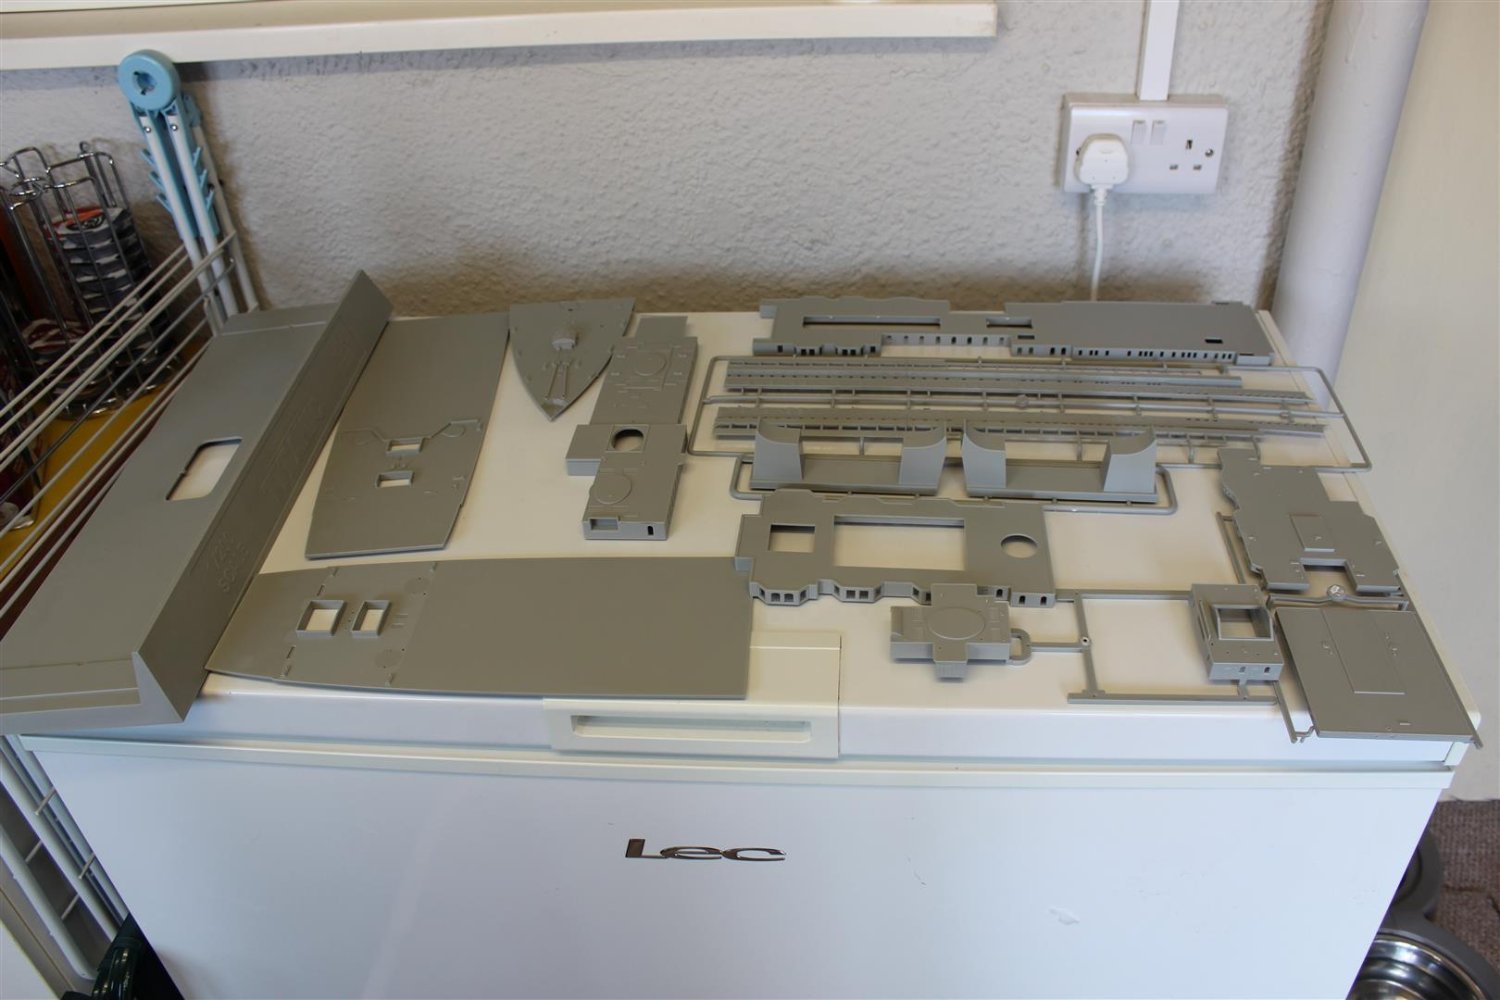
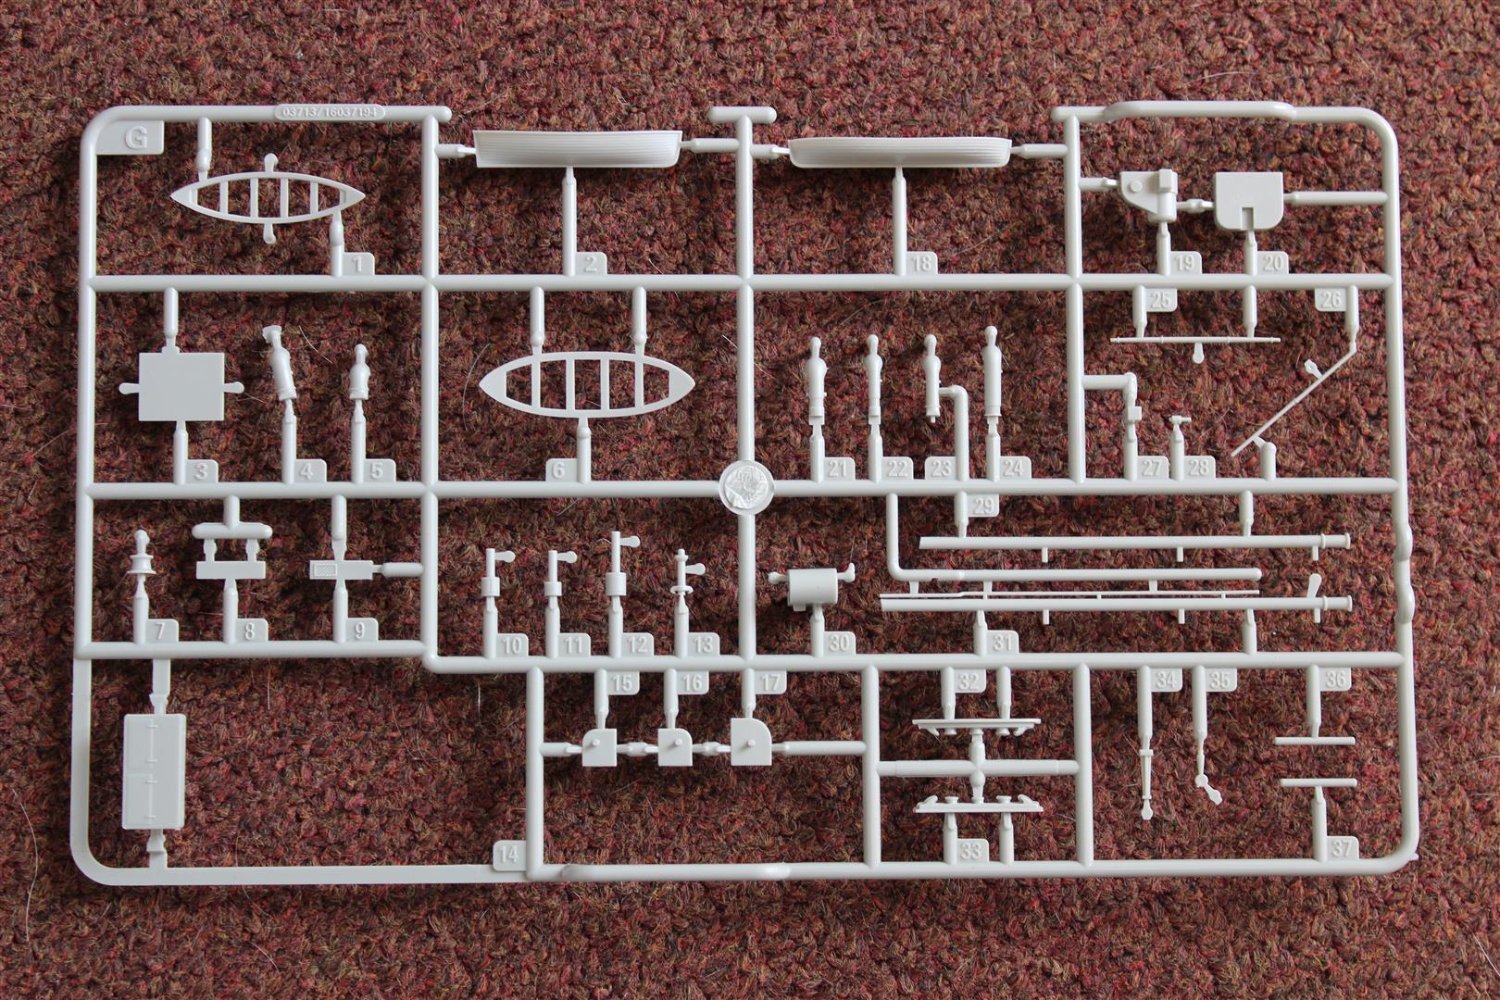
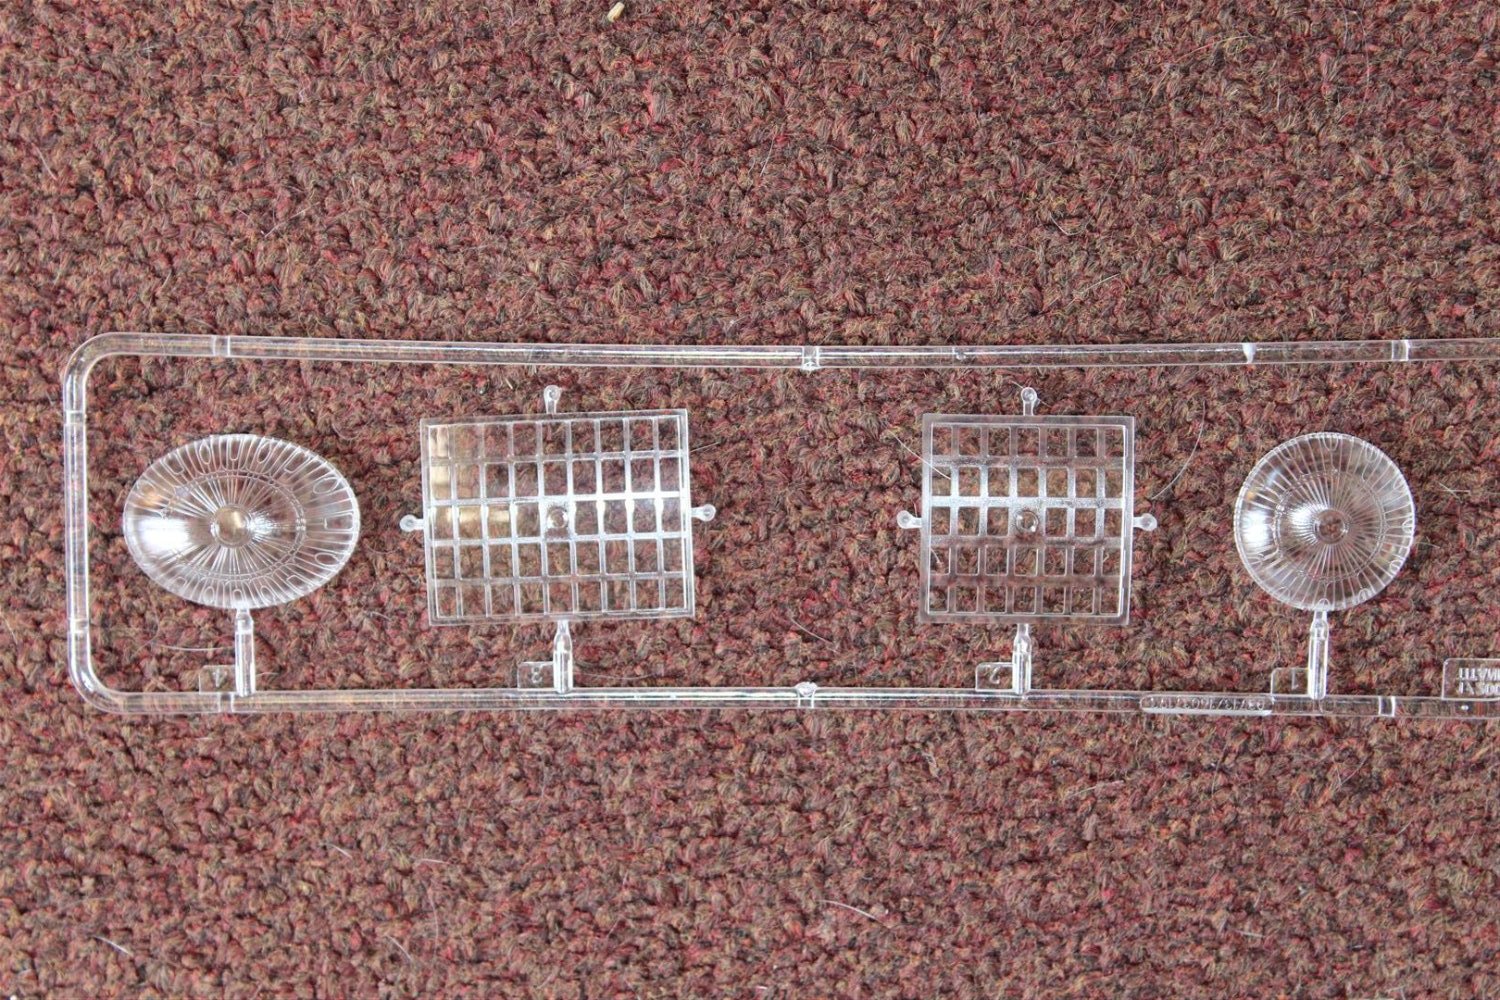
the KA MK! upgrade set goes on forever,


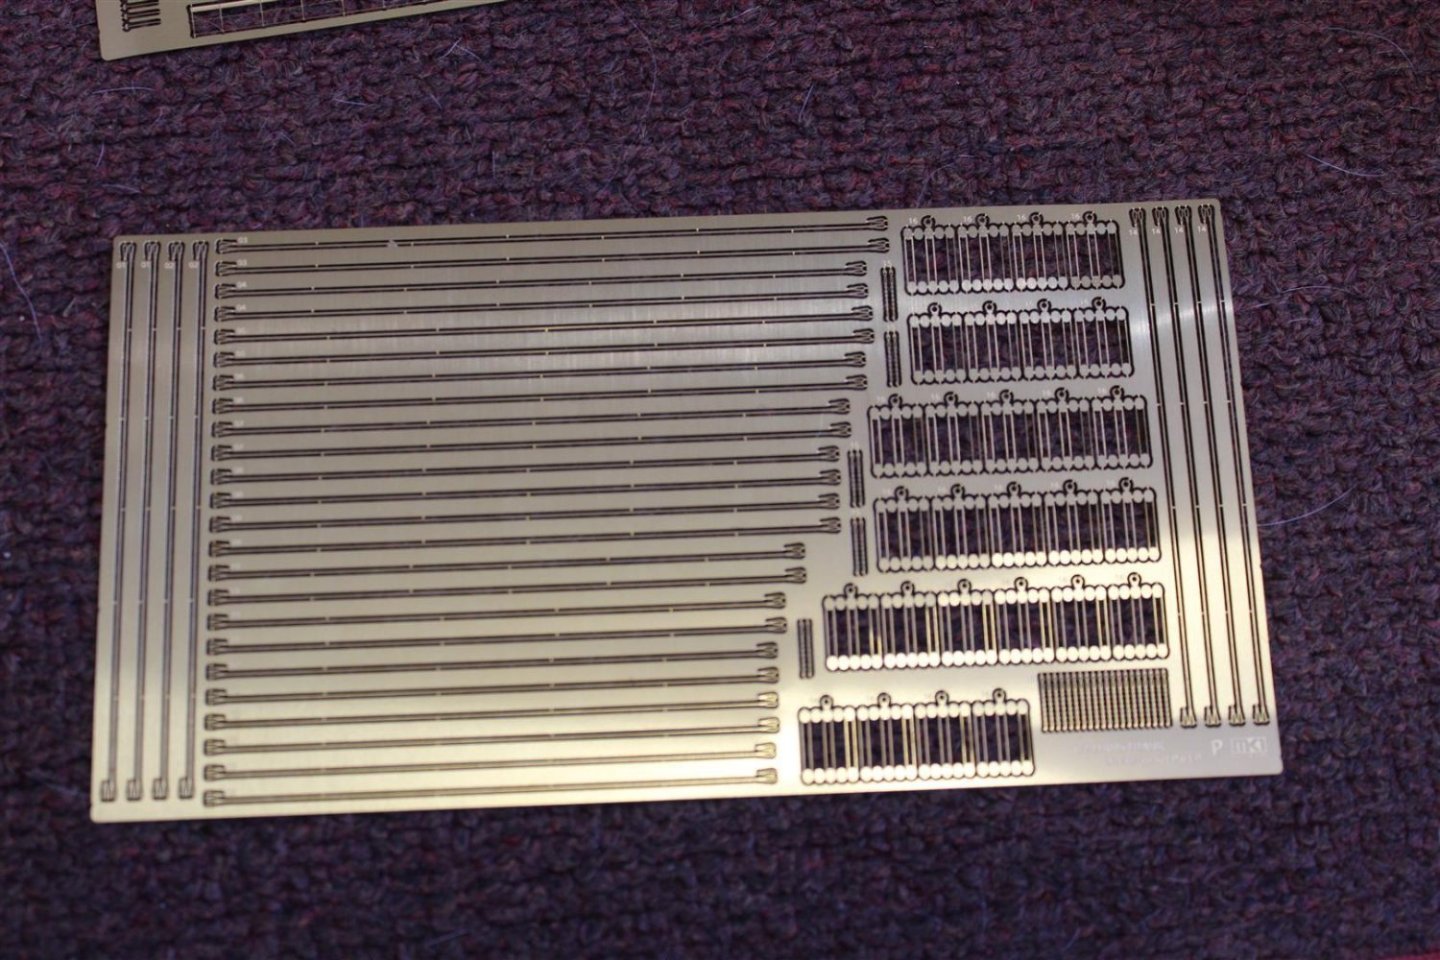


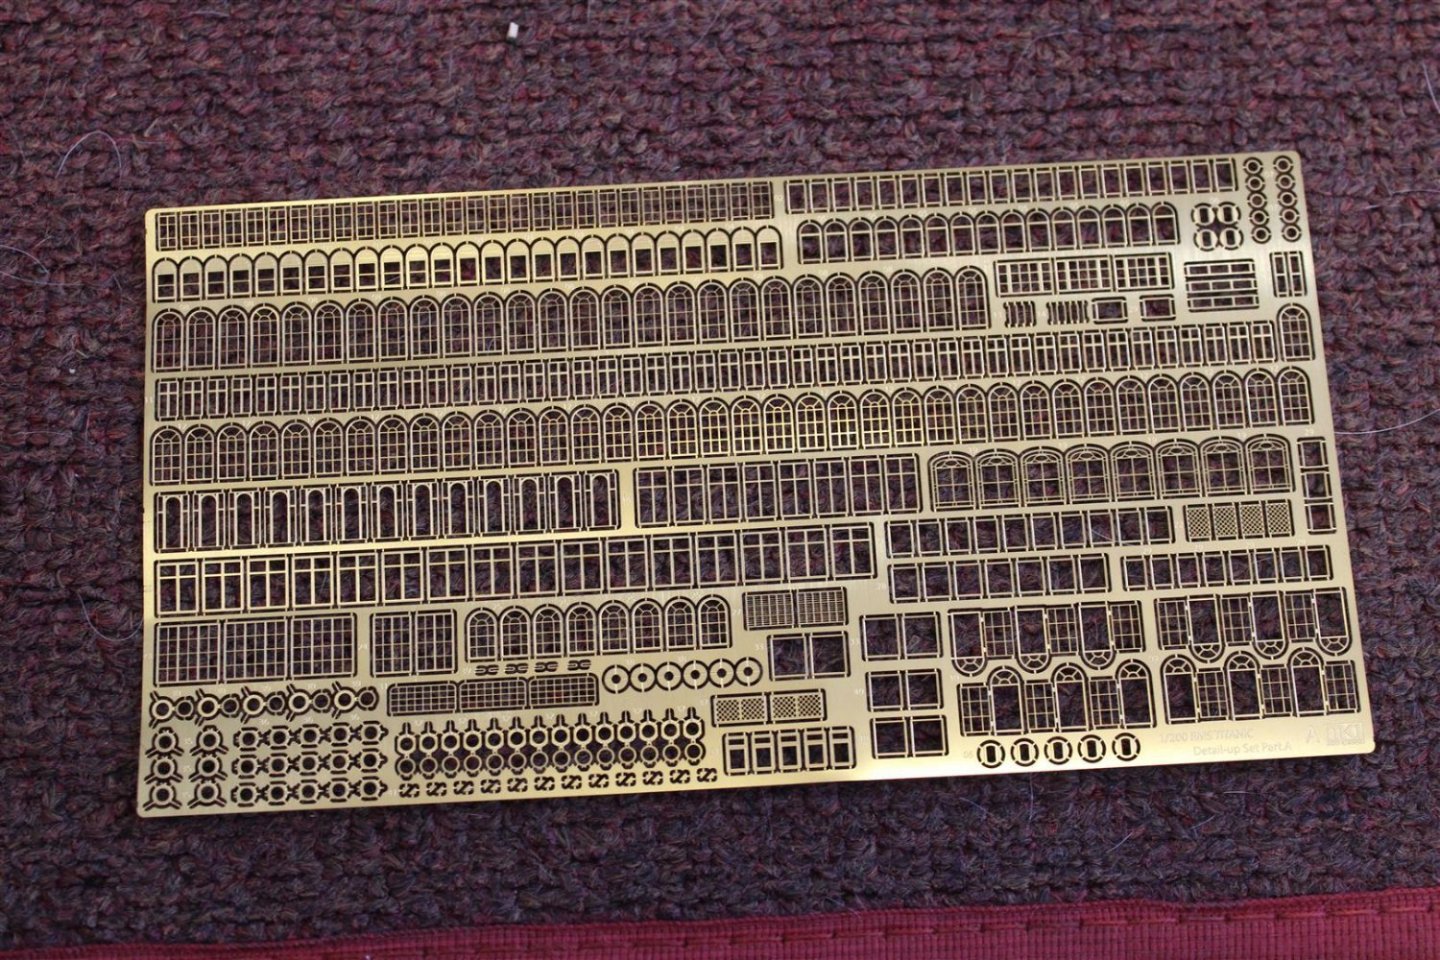
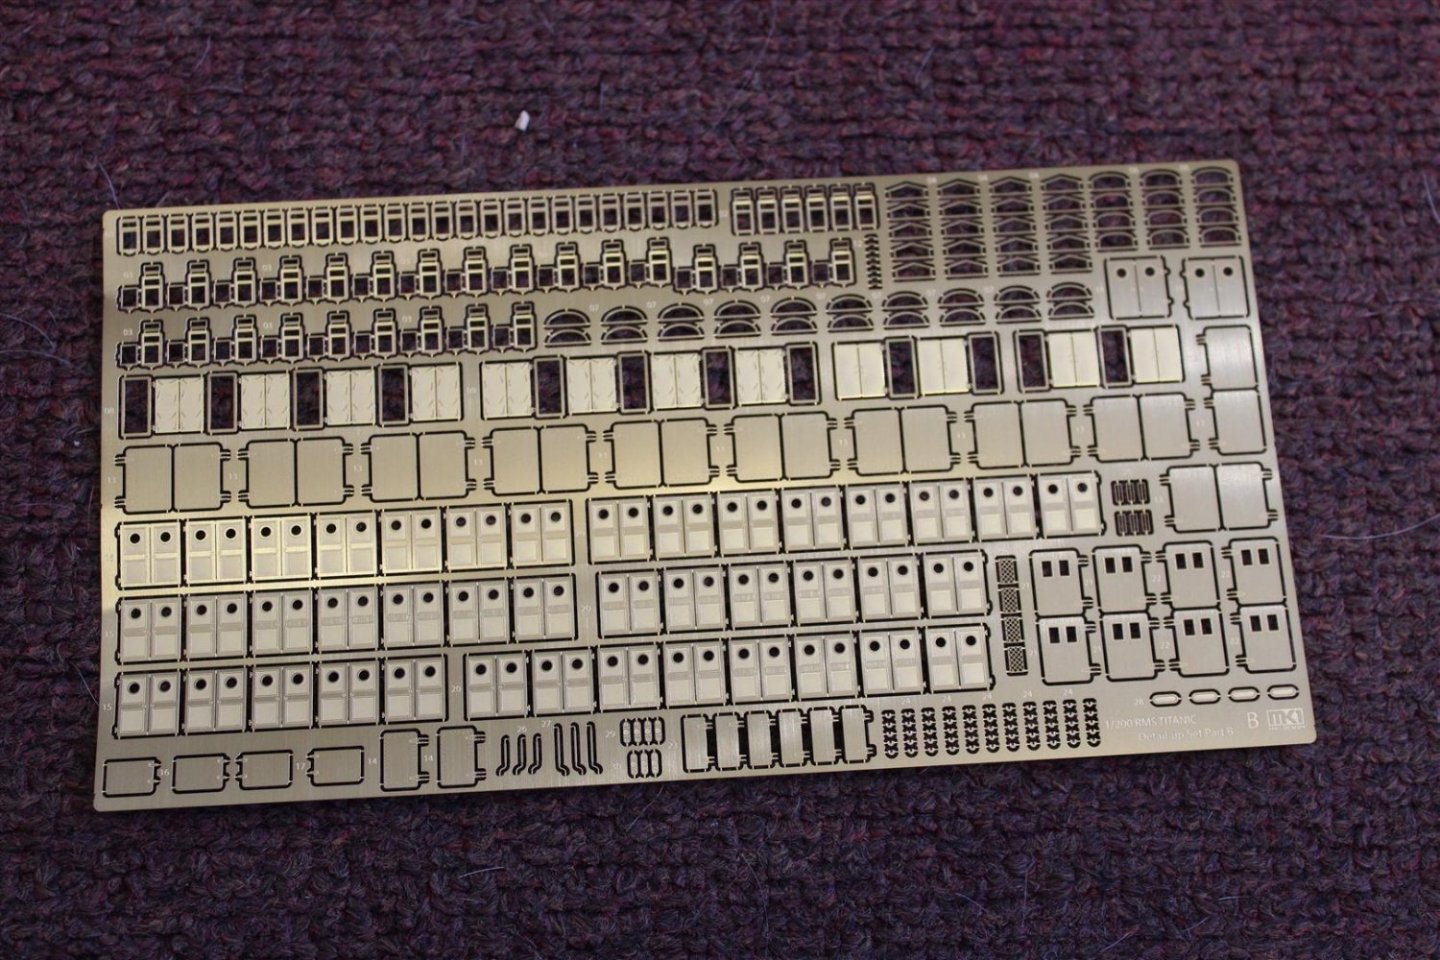
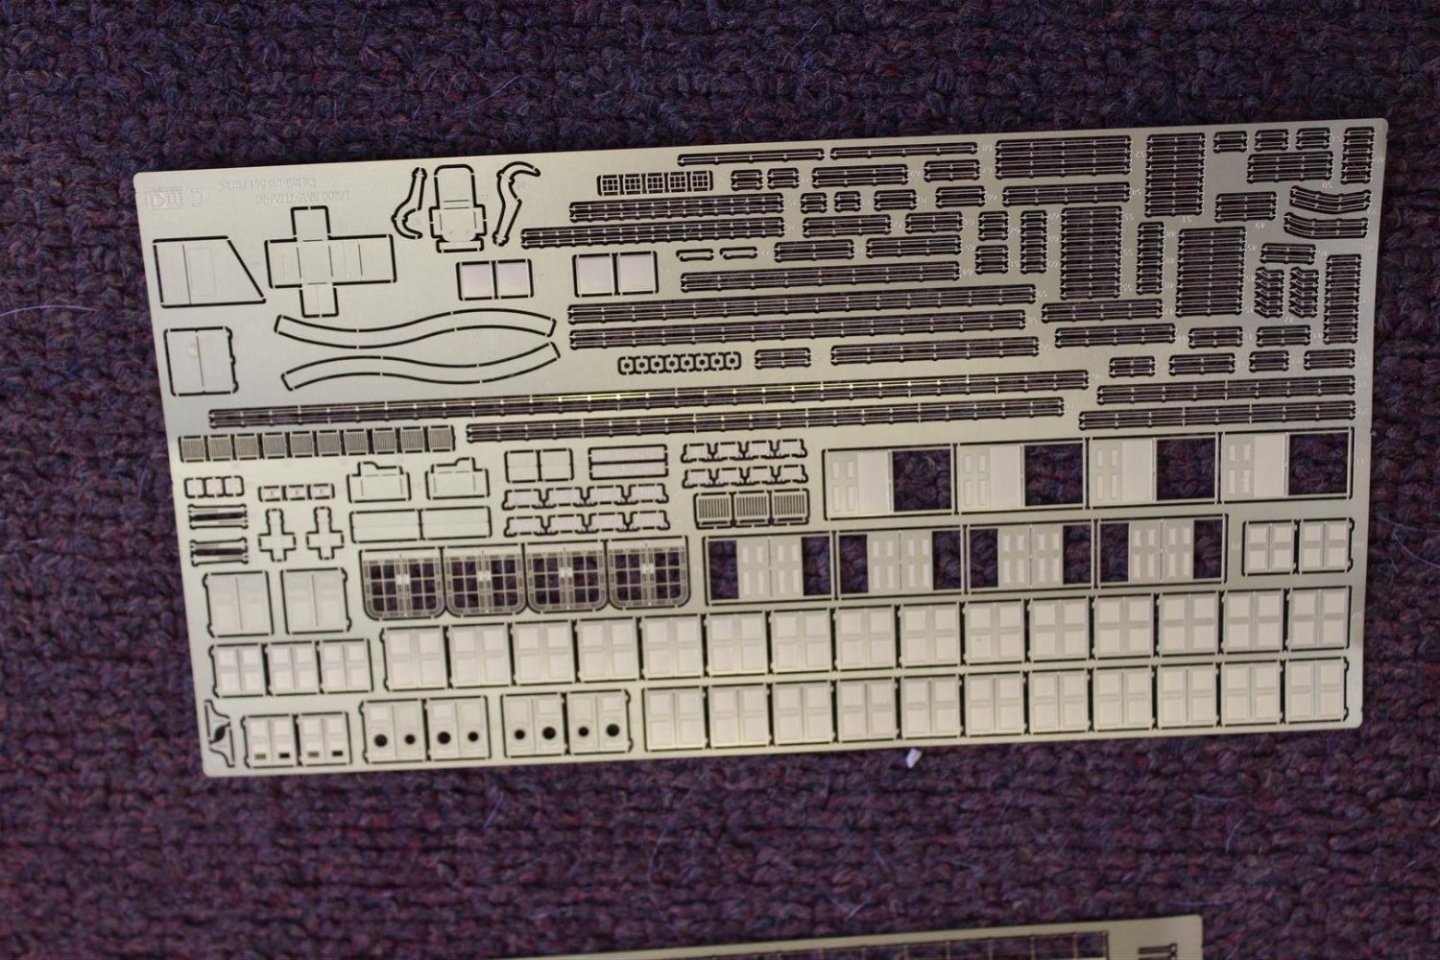


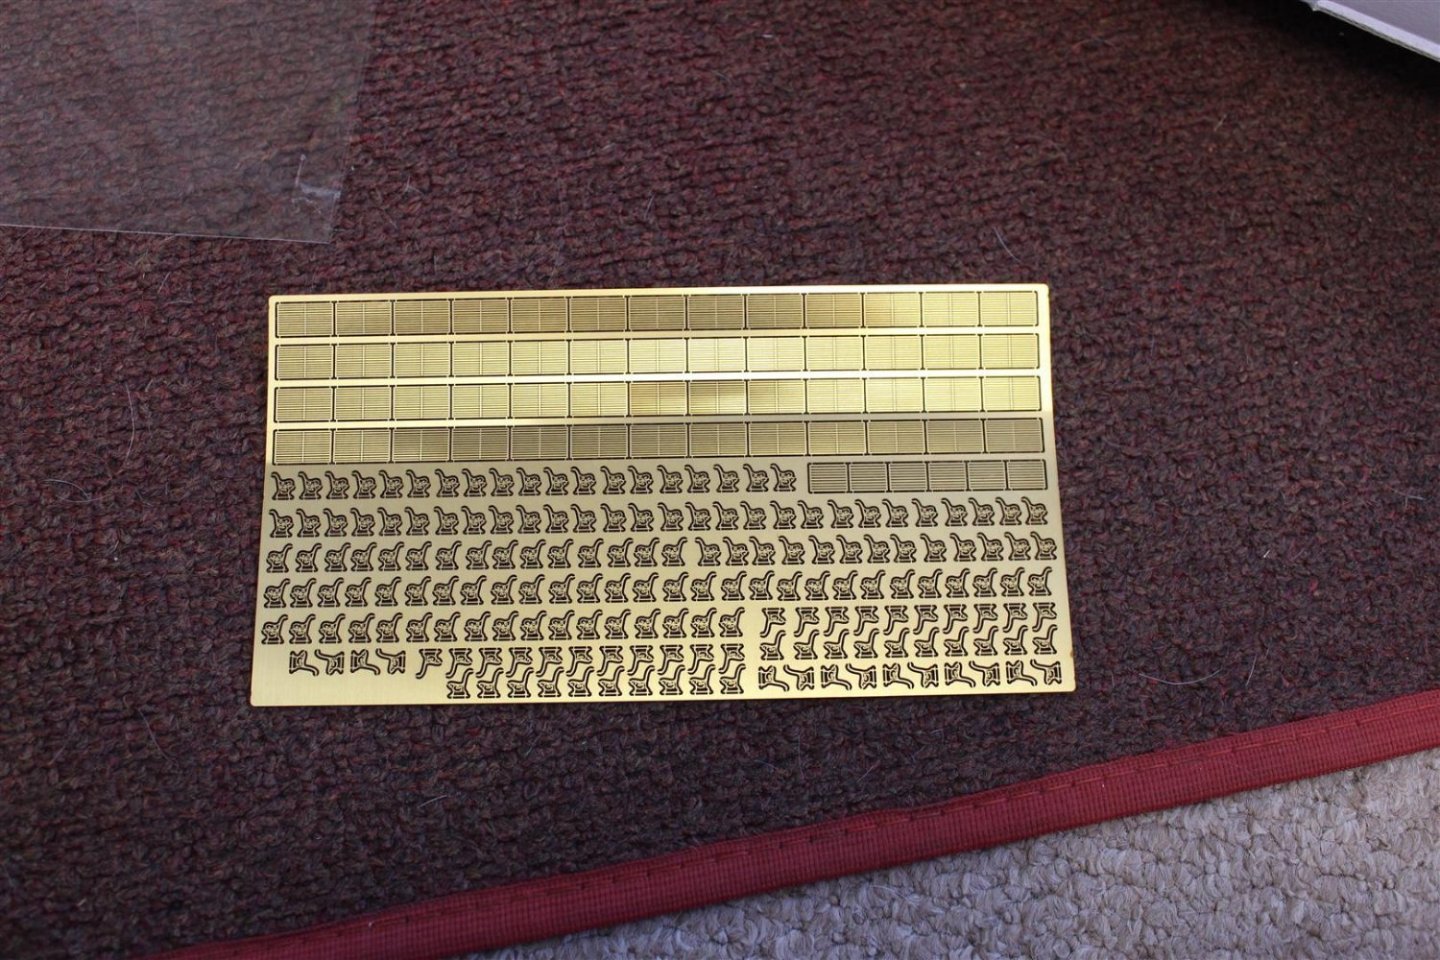
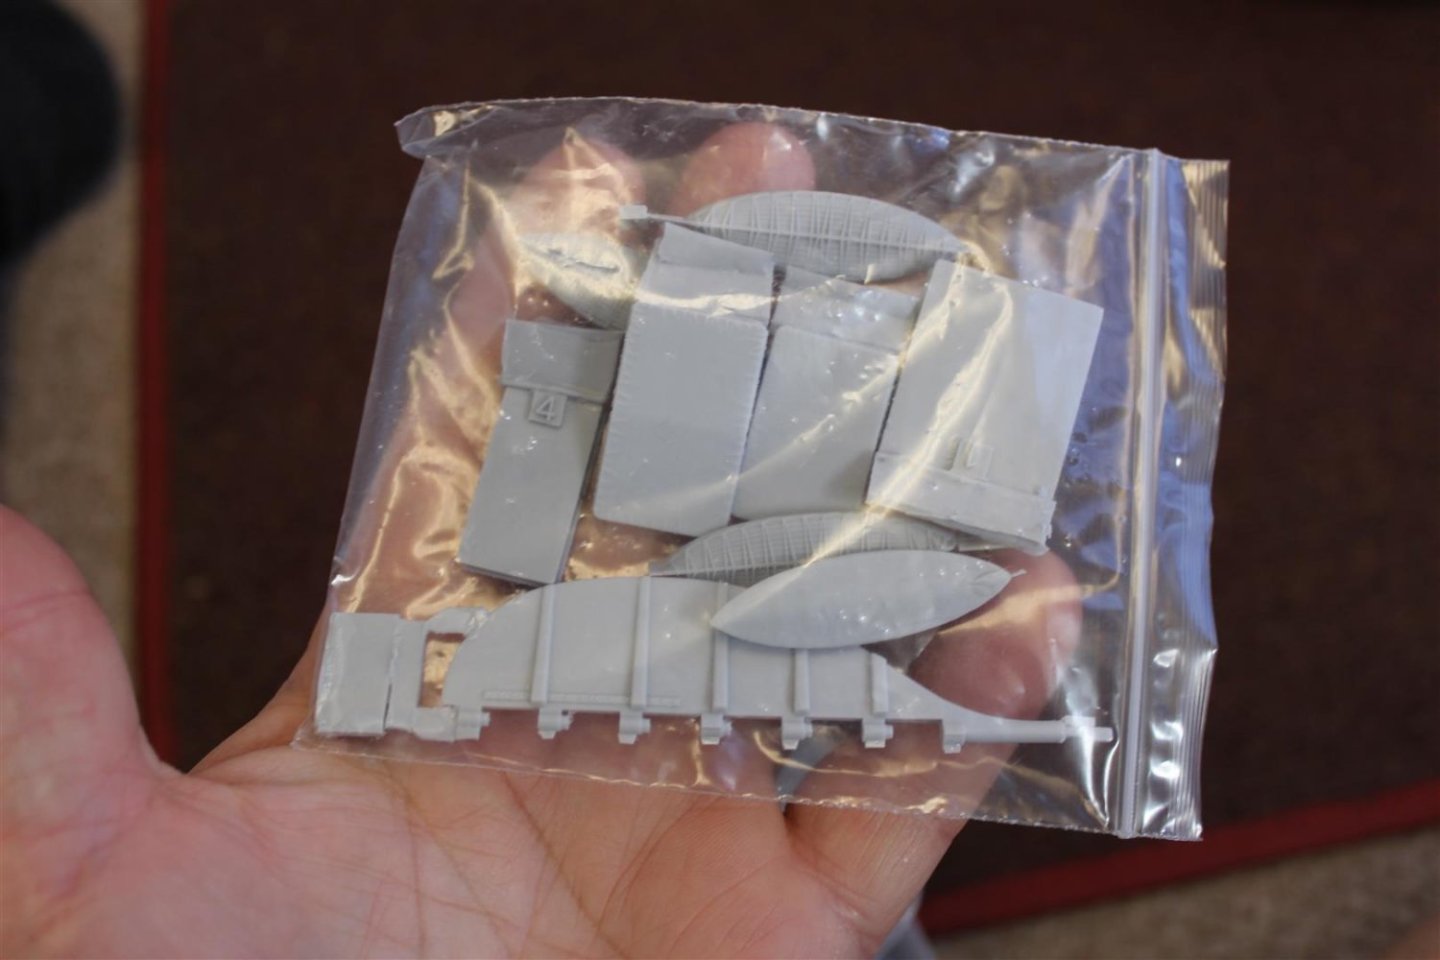

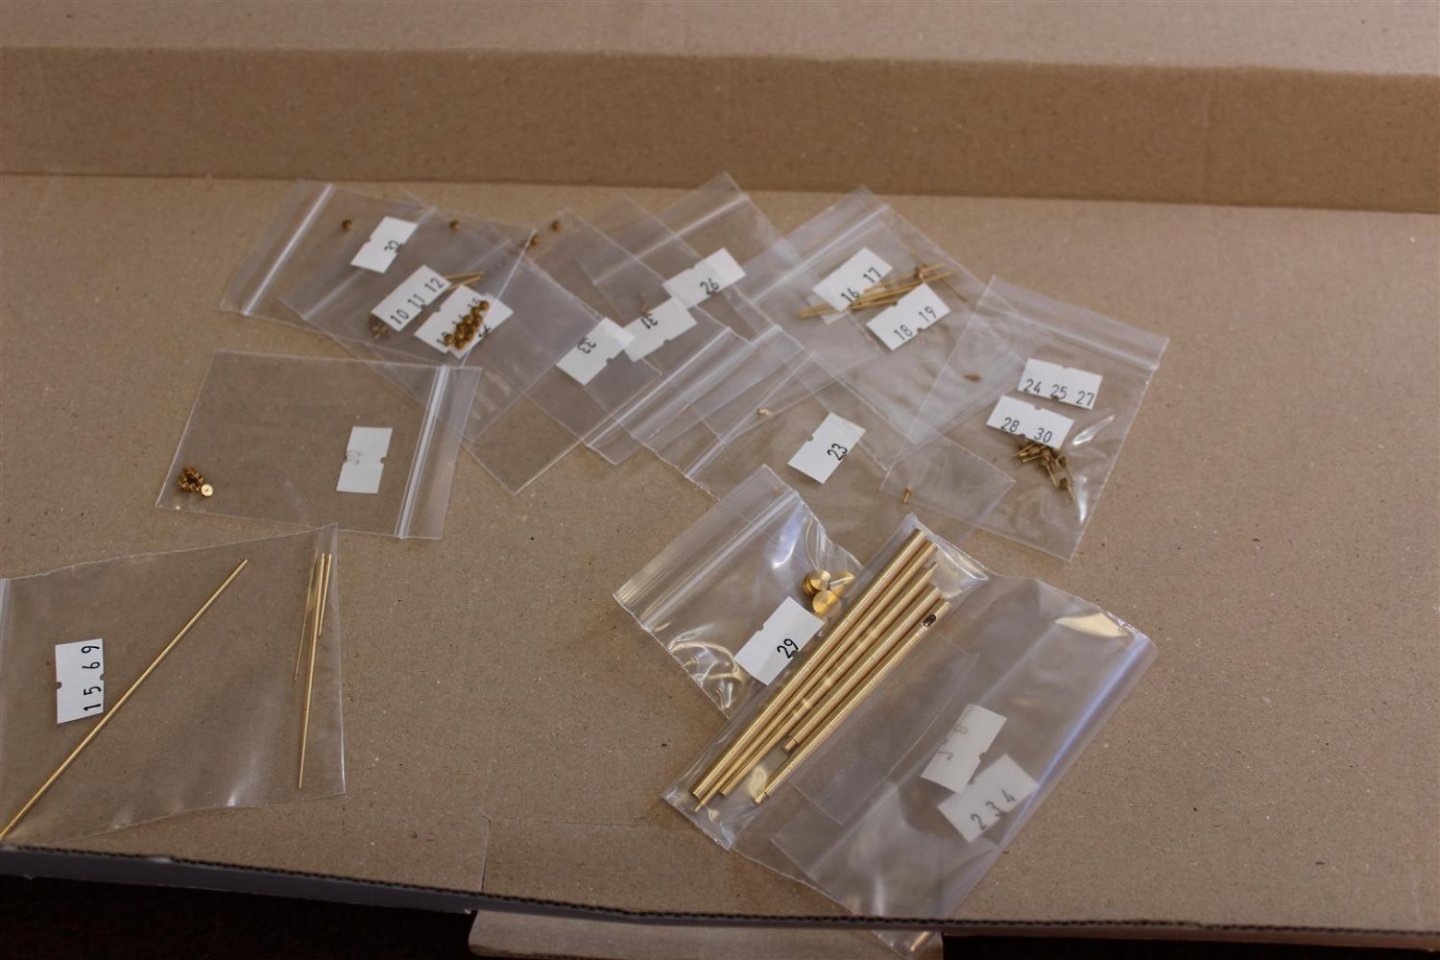

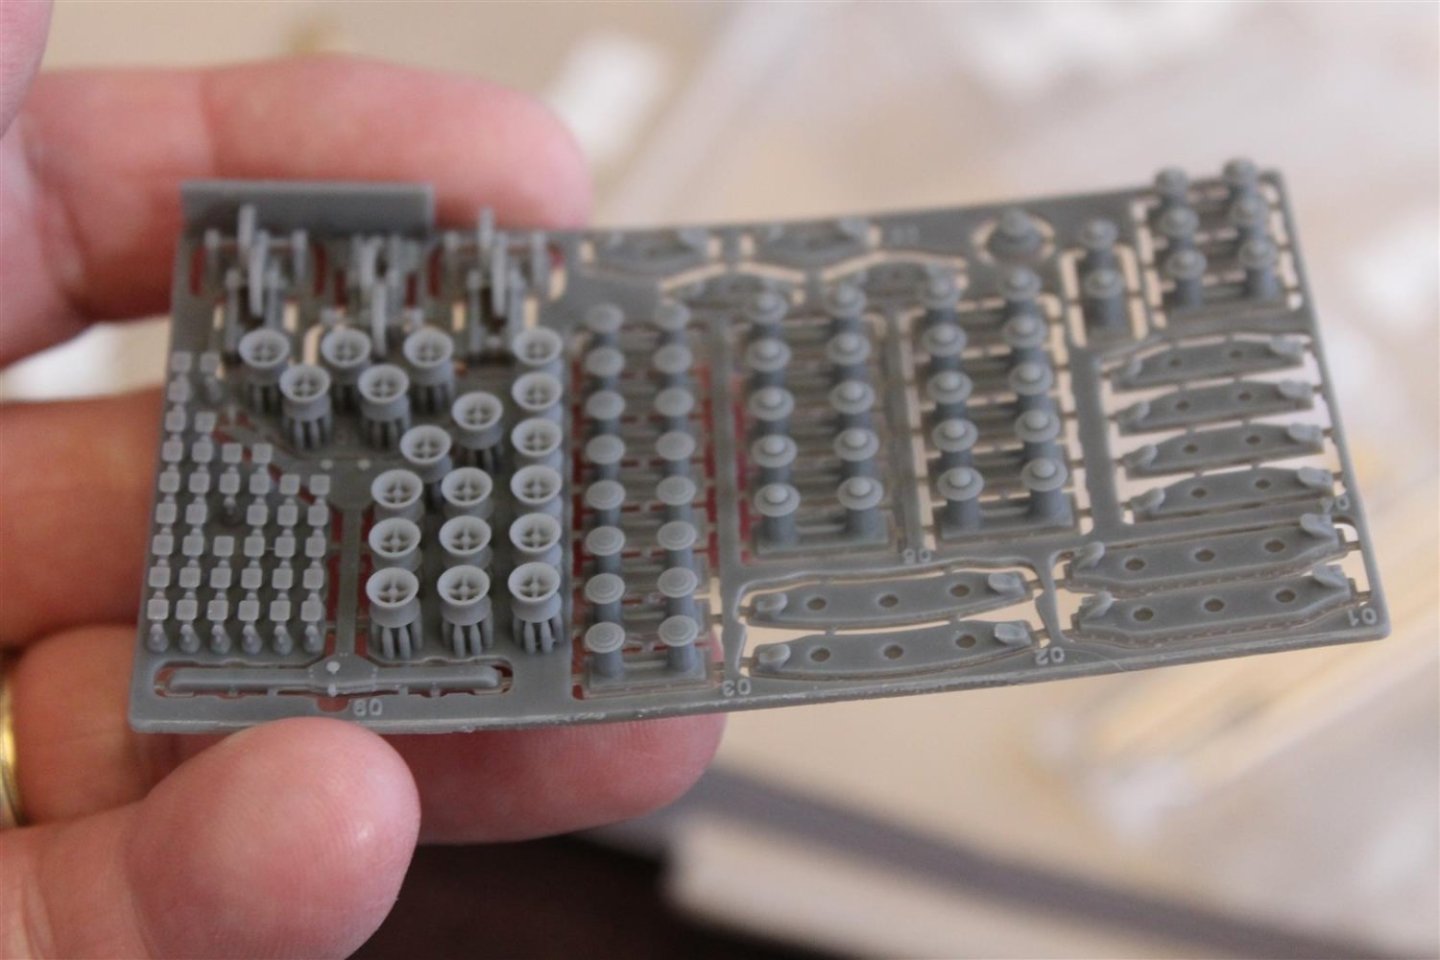


-
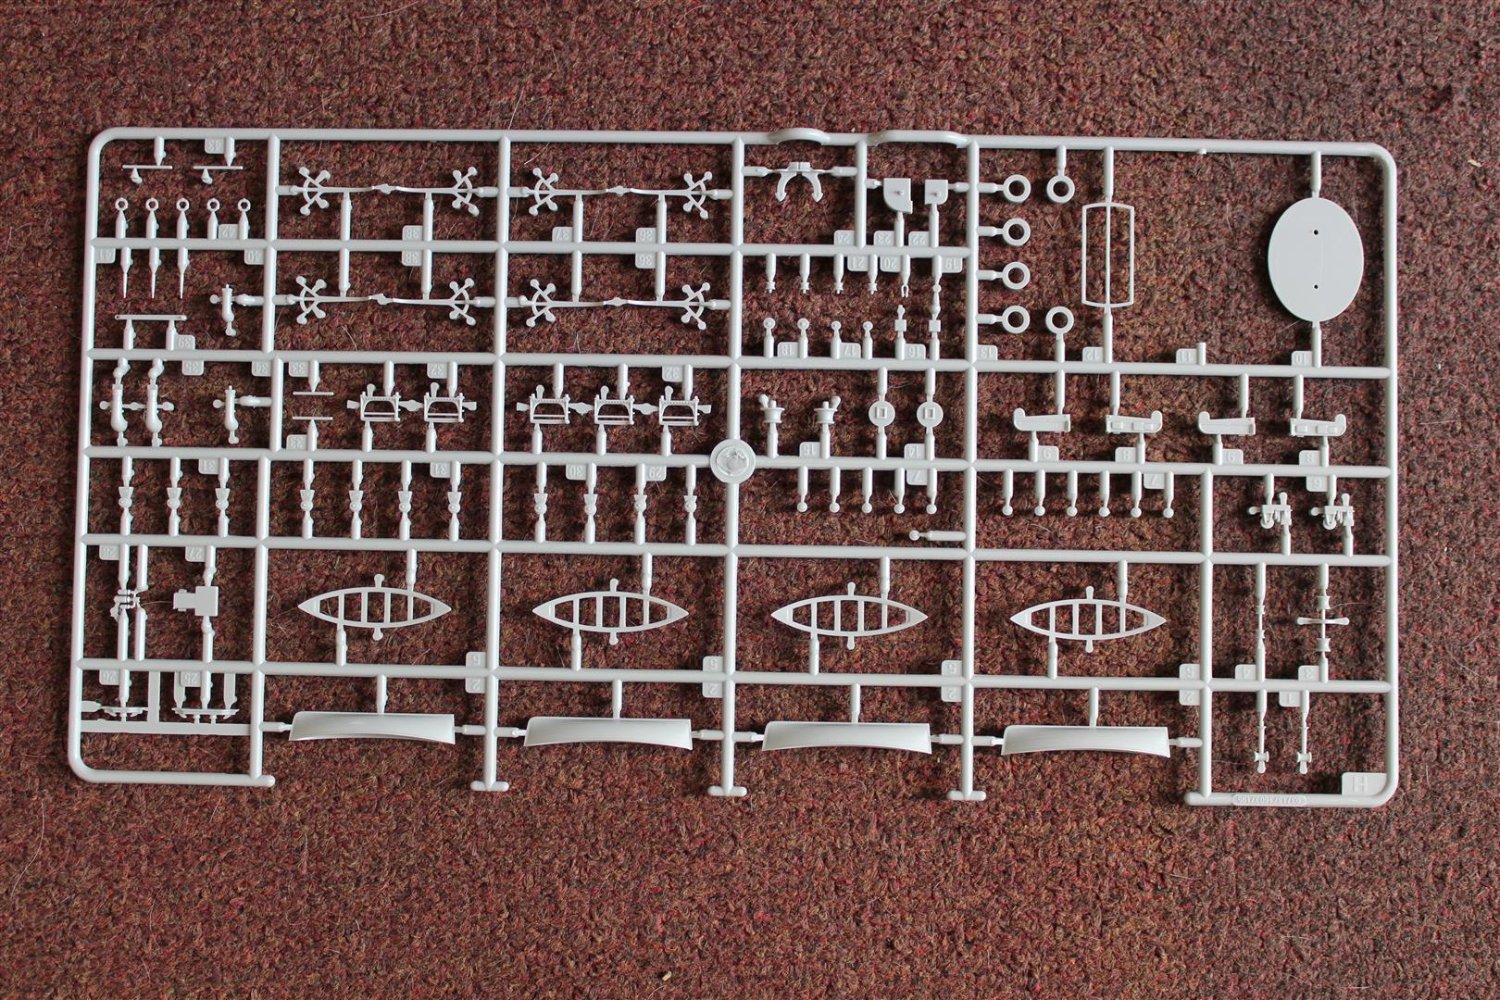
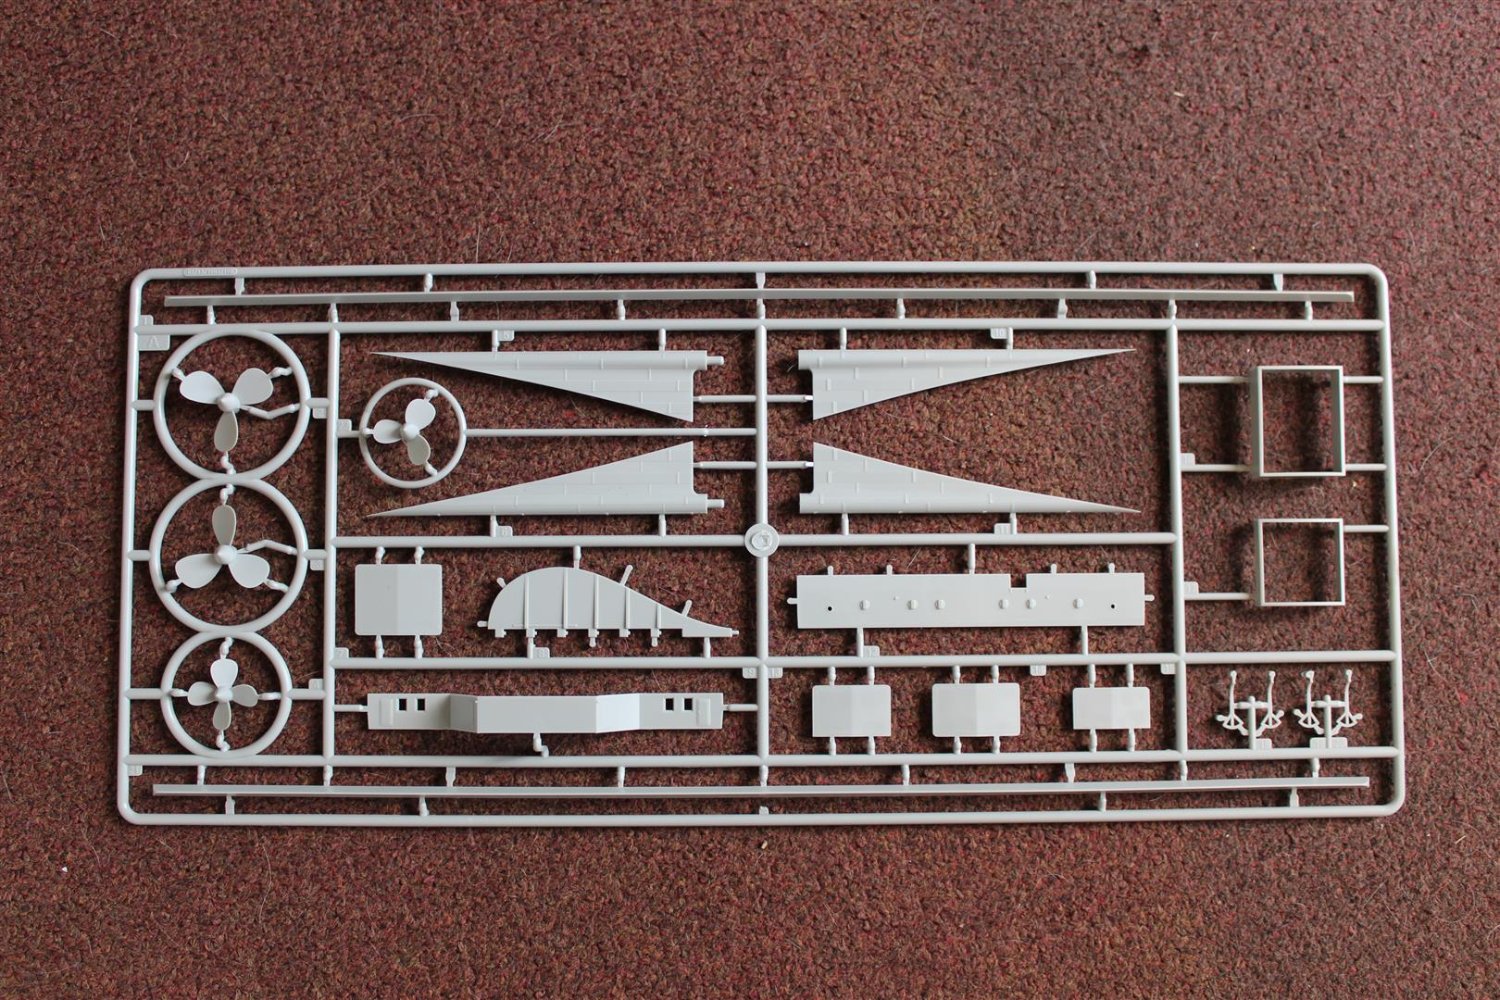
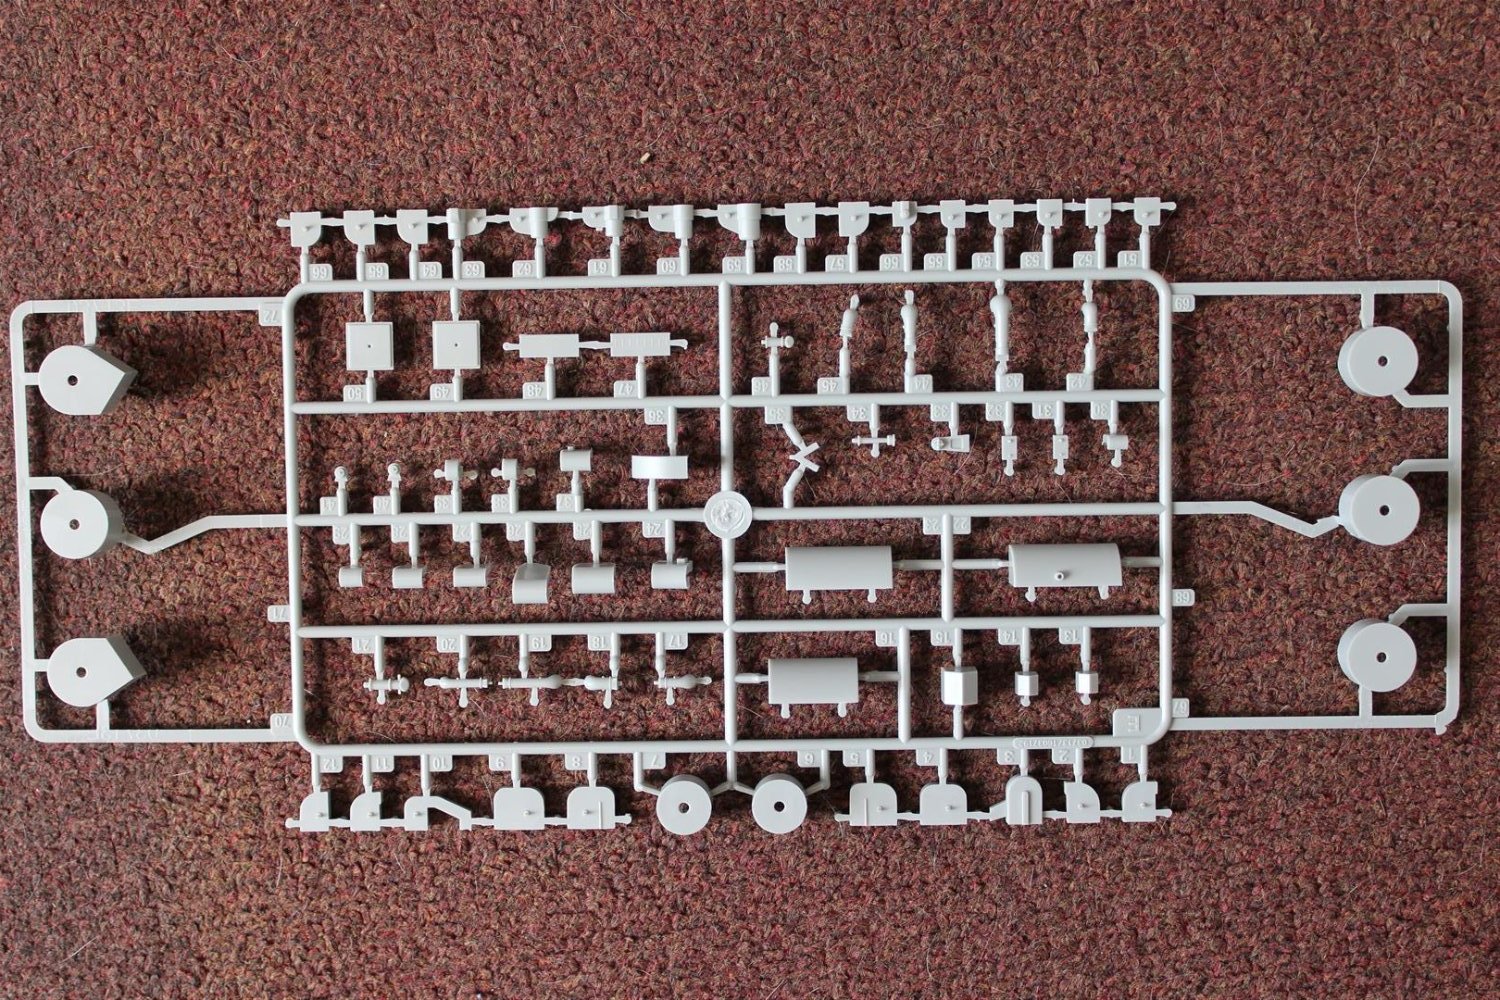
anyway i got carried away
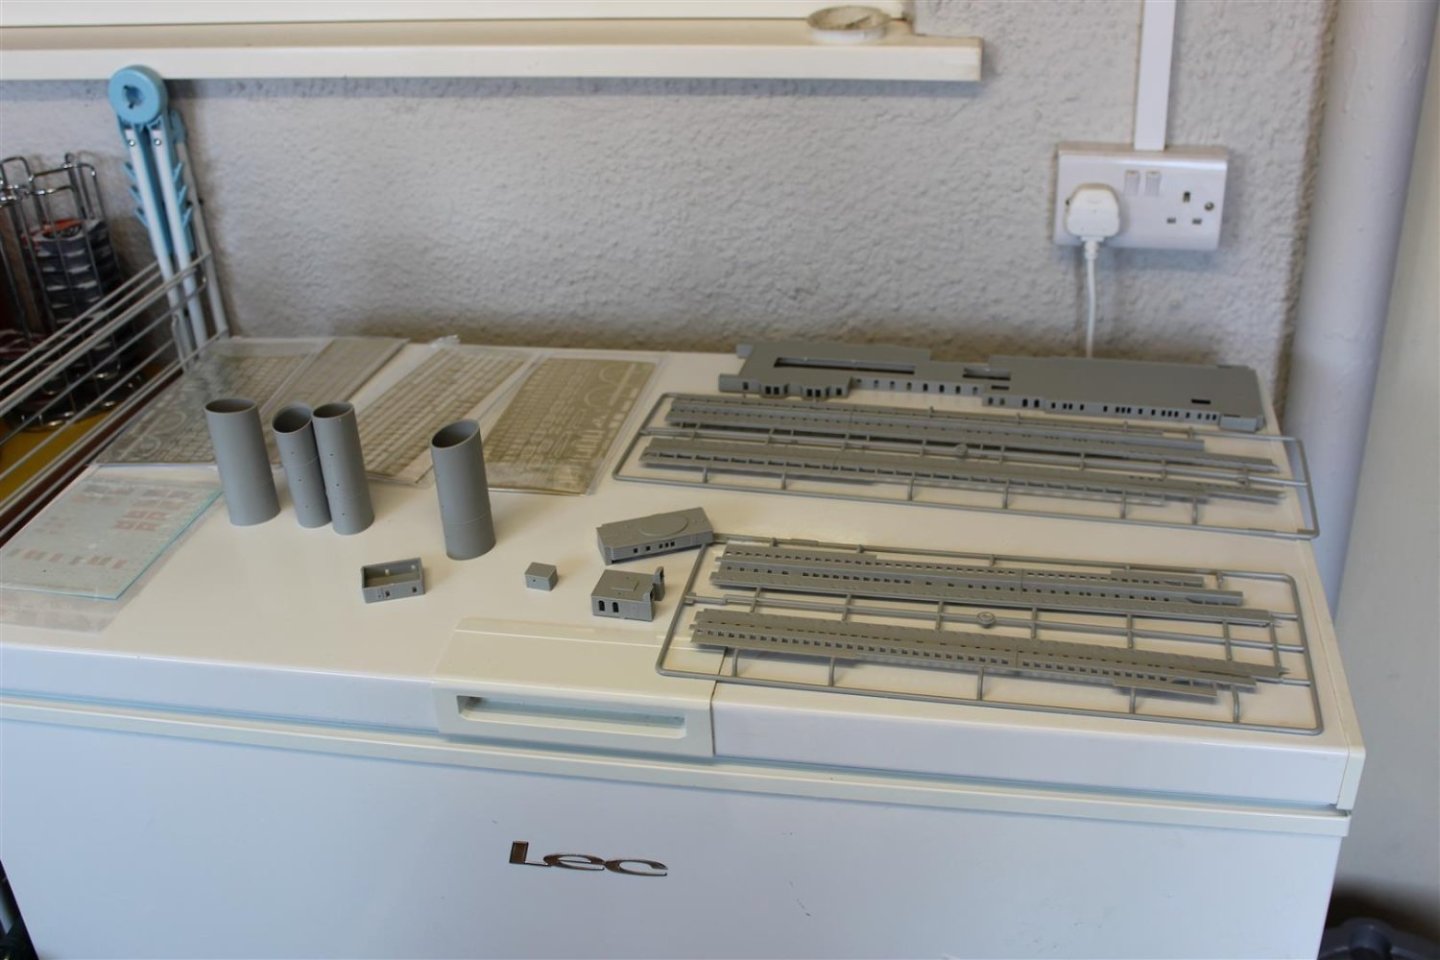
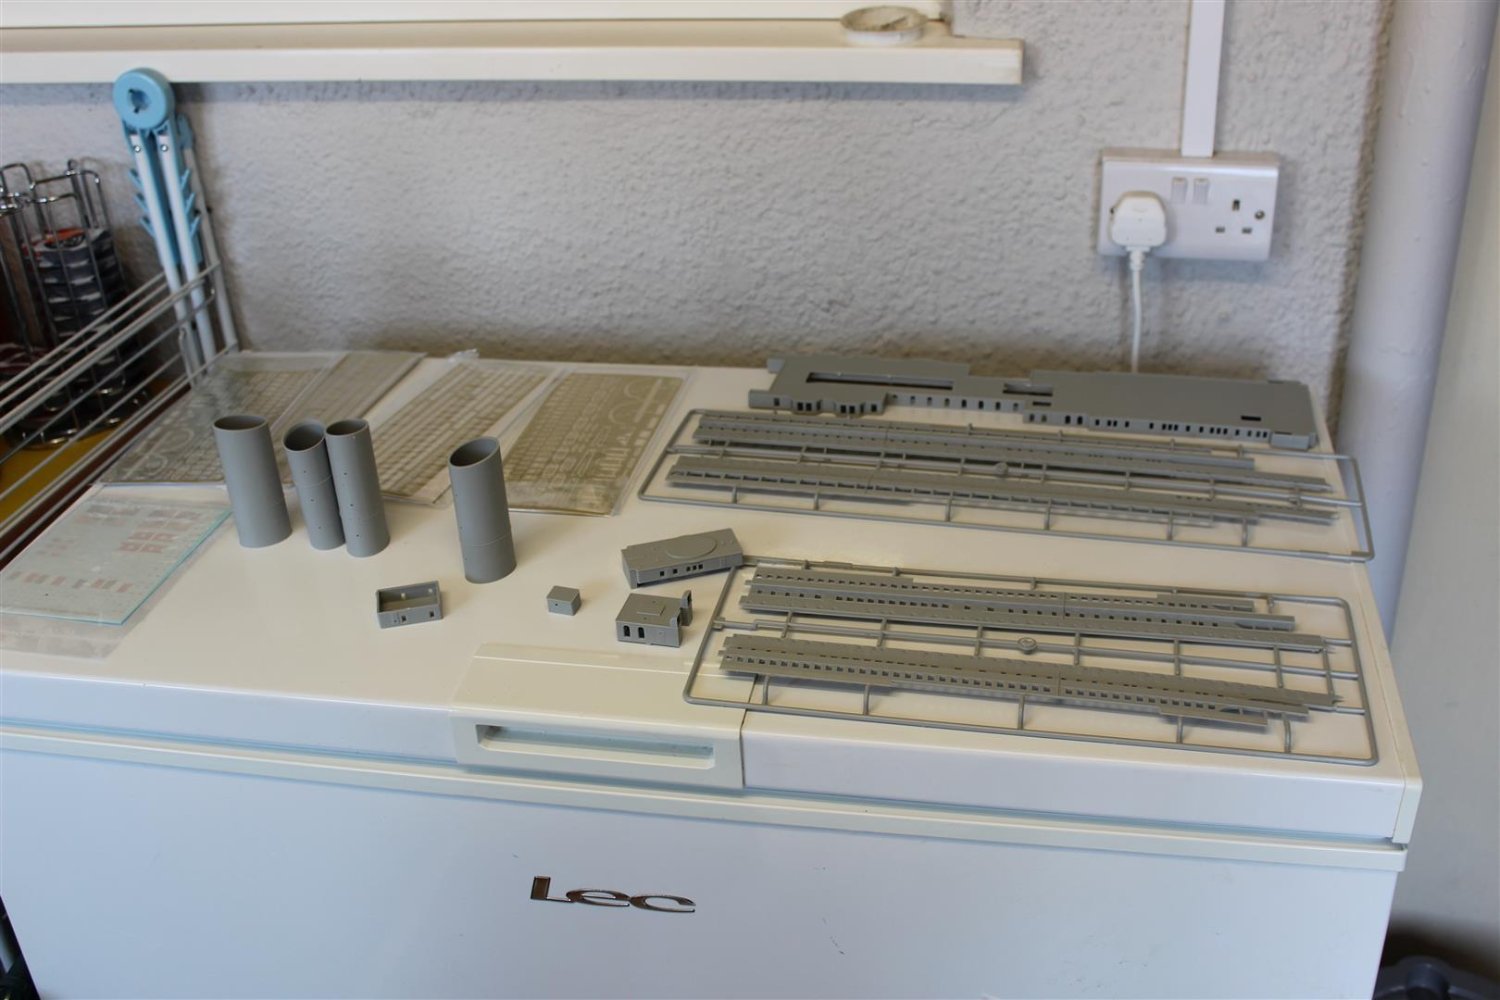
here are some of the kit contents


- mtaylor, king derelict, yvesvidal and 6 others
-
9
-
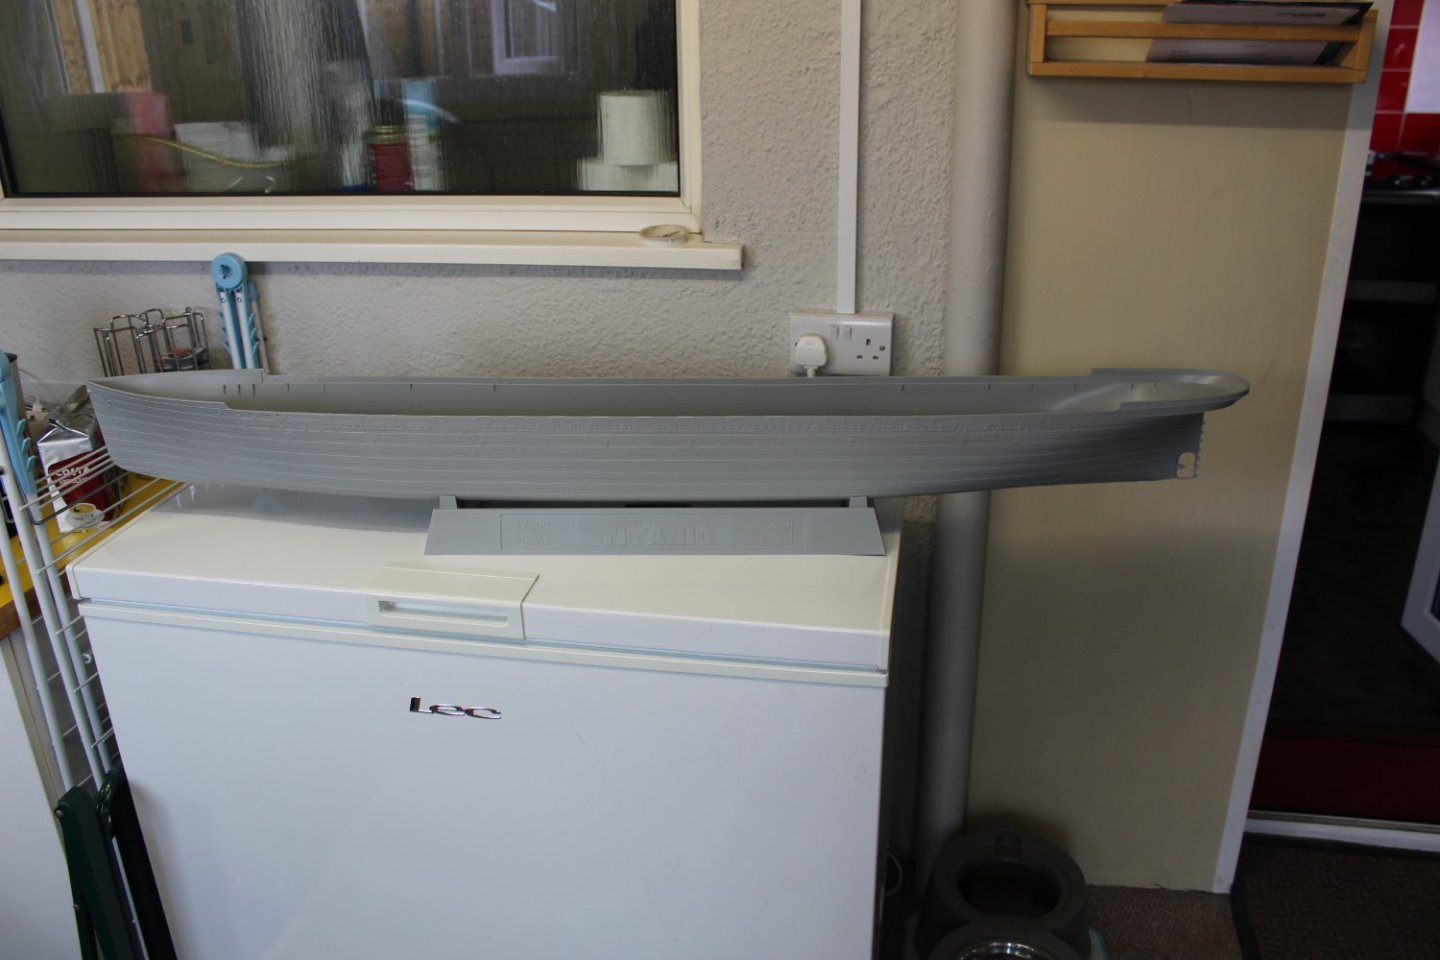
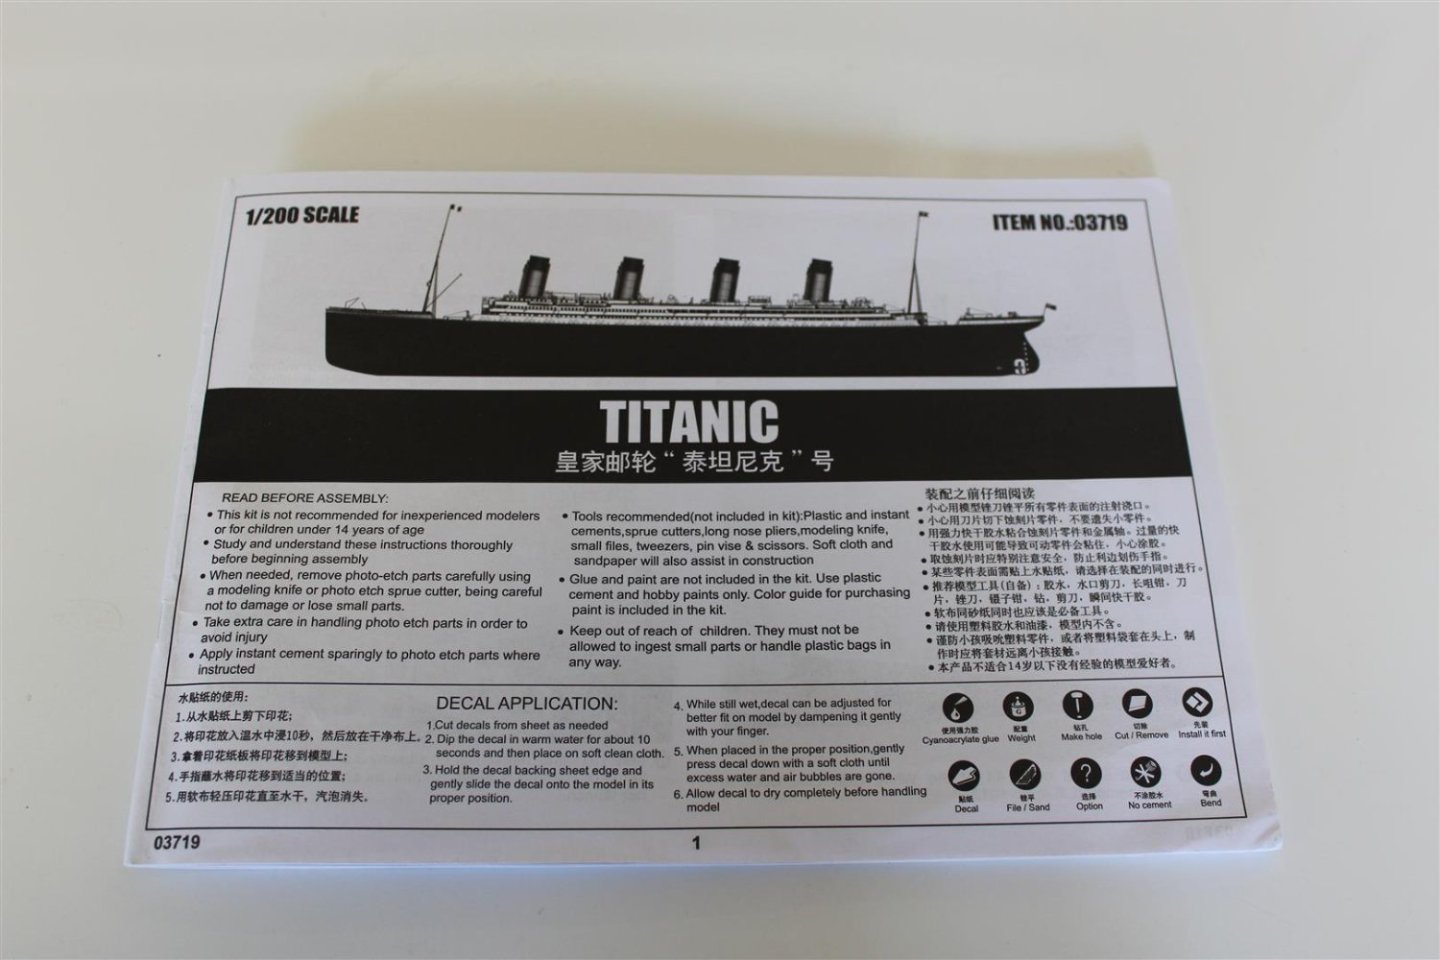
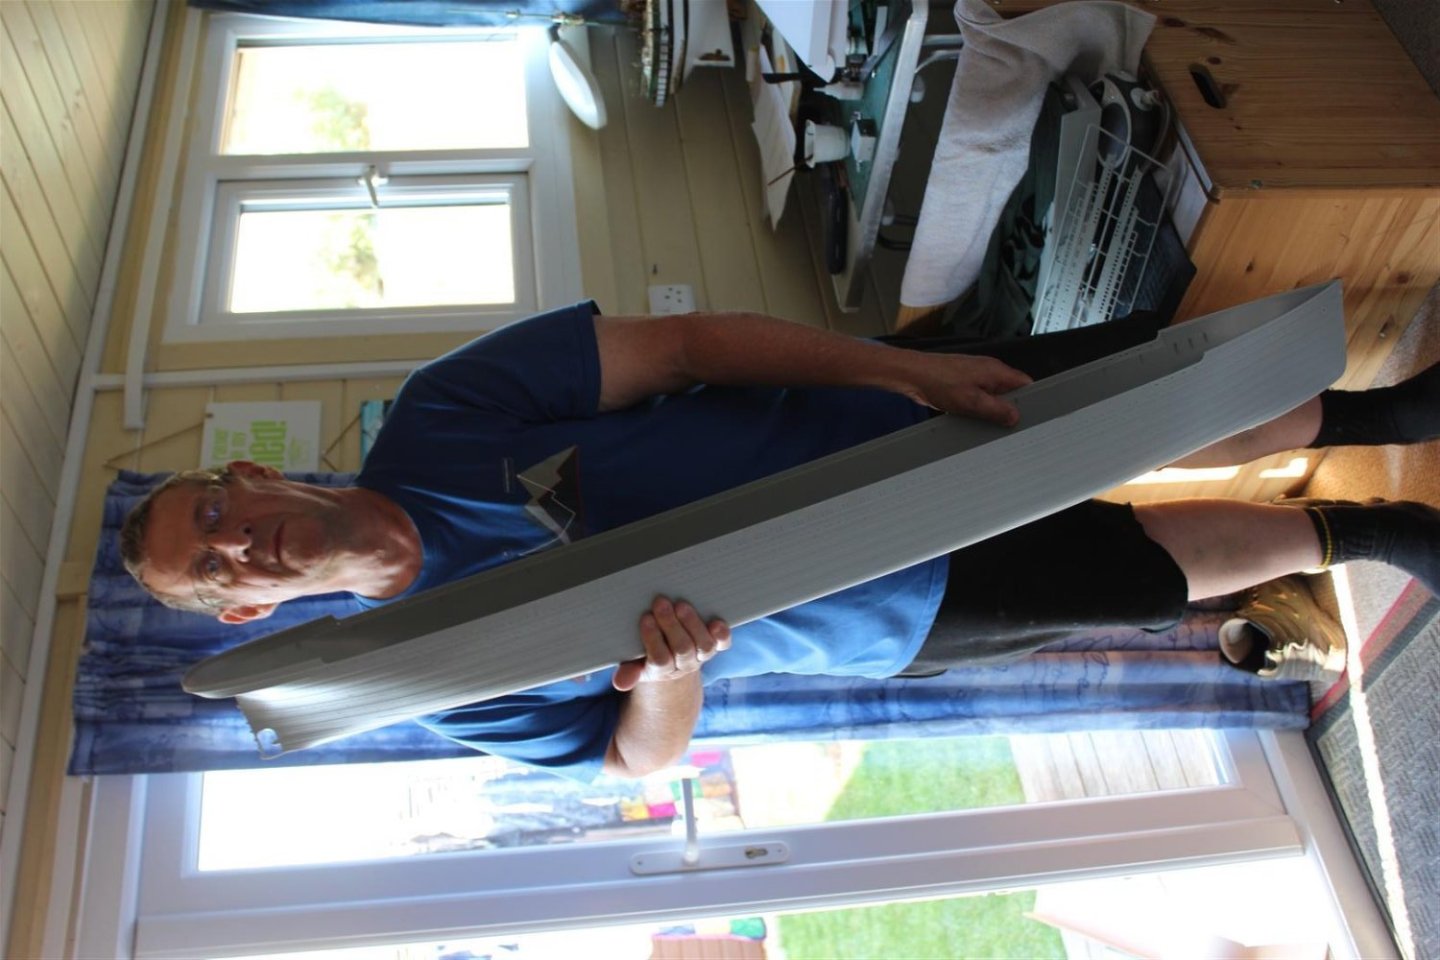
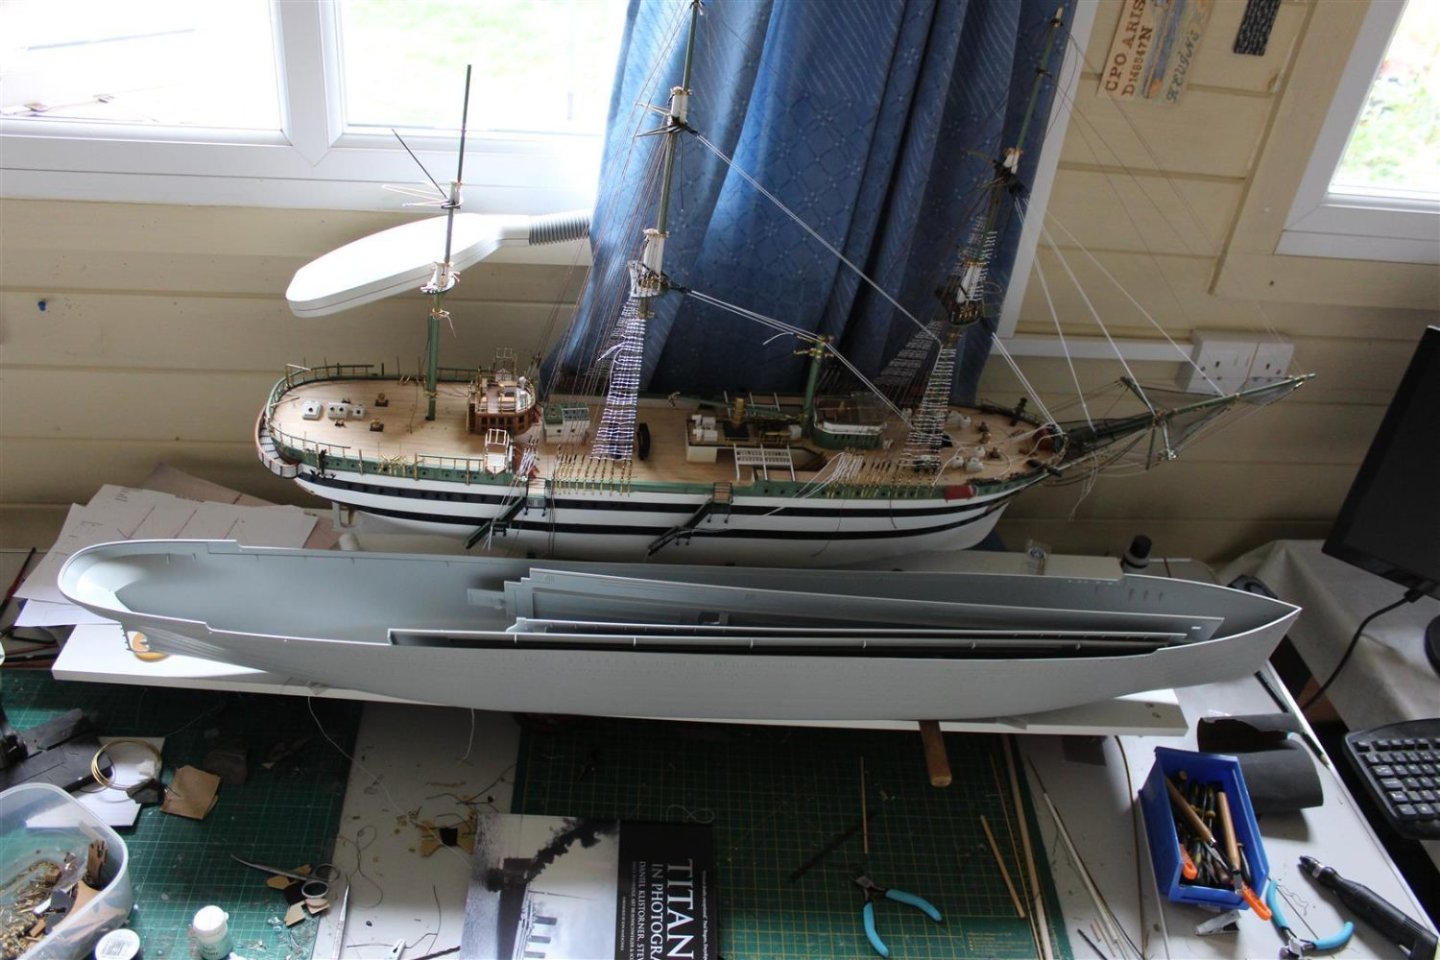
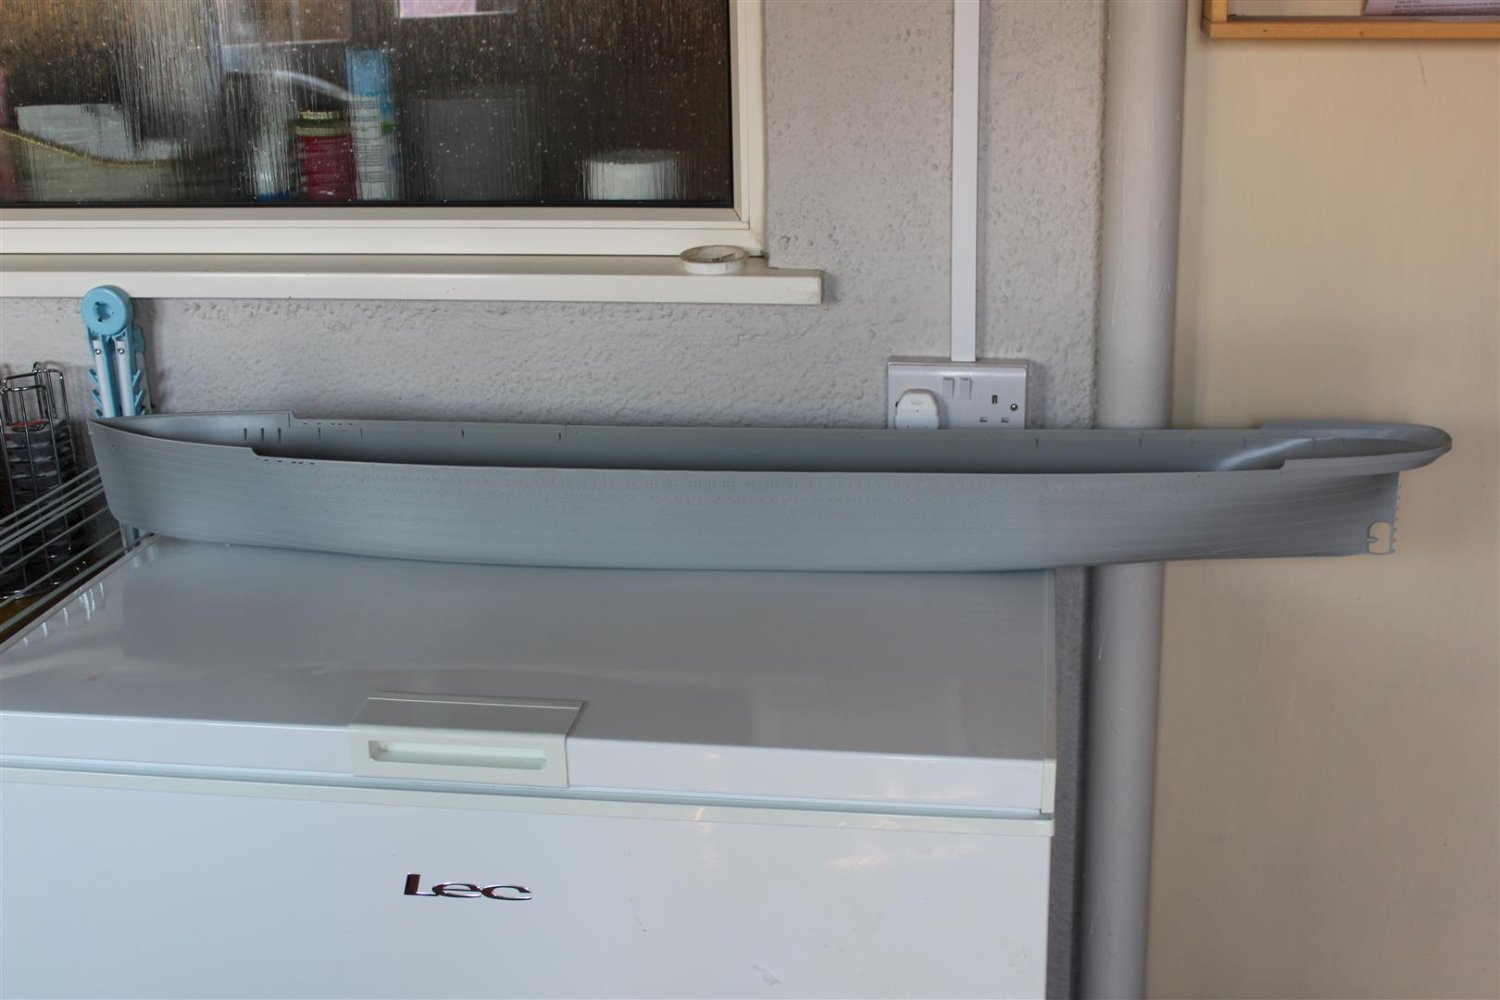
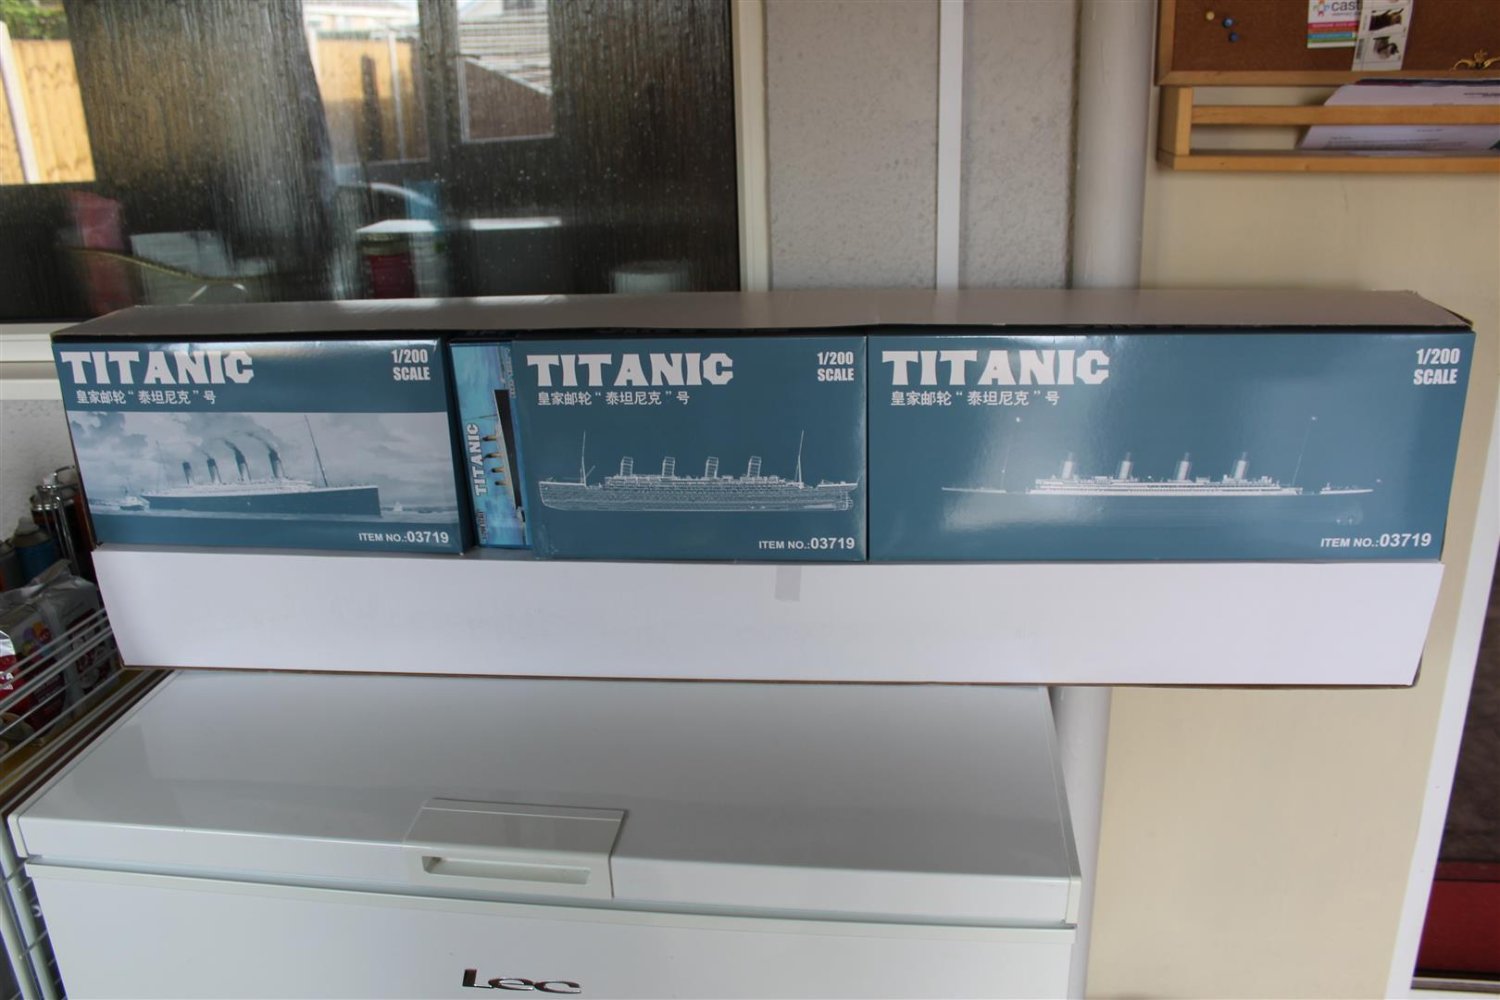
appologies to anyone who has read all my previous messages about not wanting to do 1/200 scale, this is possibly the biggest scale liner i can afford/home her she is compared to the 1/84 Amerigo Vespucci
-
this is what i am aiming for, looks so different to Titanic those cranes dont do her looks justice
- chris watton, mtaylor, yvesvidal and 6 others
-
9


HMS Sphinx 1775 by Blue Ensign - FINISHED - Vanguard Models - 1:64 scale
in - Kit build logs for subjects built from 1751 - 1800
Posted
i love it, beautiful work