


Kevin
-
Posts
6,919 -
Joined
-
Last visited
Content Type
Profiles
Forums
Gallery
Events
Posts posted by Kevin
-
-
1 hour ago, realworkingsailor said:
Possibly painted while in the dock. Surprisingly, with the right amount of labour a large ship can be fully sandblasted and painted in a remarkably short period of time (about a week).
If the ship was in any way waterborne at the time, it shouldn’t have toppled like that, unless something serious was done to alter the CG of the ship. Most, if not all, commercial dry docks don’t use the old methods where there’s only a single row of blocks under the keel and shoring beams to hold the ship up. Although there are still more blocks down the centreline, there are typically one or more rows of blocks on each side, depending on how wide the ship is.
Submarines are, of course, the exception as they usually don’t have flat bottoms…. 😁
Andy
each class of sub had its own set of curved blocks, however the old diesel boats had a flat bottom to enable sitting on the seabed, and i remember standard blocks with wooden props to keep her upright
-
1 hour ago, realworkingsailor said:
I doubt the ship was dry docked for that amount of time. That would cost a fortune, and cost the commercial shipyard a lot of lost business having a dock occupied for that amount of time. Tied up at a lay-by berth is what they’re referring to.
Modern dock supports are steel with wood bolsters bolted in place on top.
I did read that there were high winds at the time the ship was knocked off the blocks so it’s possible that either the blocks were not in the right place, or the ship shifted during the pump out and didn’t land correctly on the blocks. I wouldn’t speculate any further until the MAIB or whichever investigation authority is overseeing this incident, publishes its report.Andy
from the photo she looks quite cleans so possibly flooding up, and caught by the gusting winds
-
-
15 minutes ago, Oboship said:
Gee, that is lightspeed!
You are not in a speed competition with James? 😉
I'm enjoying this build log!
Best,
Uwe
good evening Uwe, no race, if i dont have any DIY jobs, dog walking or gardening, or playing Hogwarts Legacy on the PC then i do my boat, it will slow down. but at present im enjoying it,
-
good evening everyone, the boi is very tired today, but is happy eating and woofing
day 23
thank you for the comments and likes
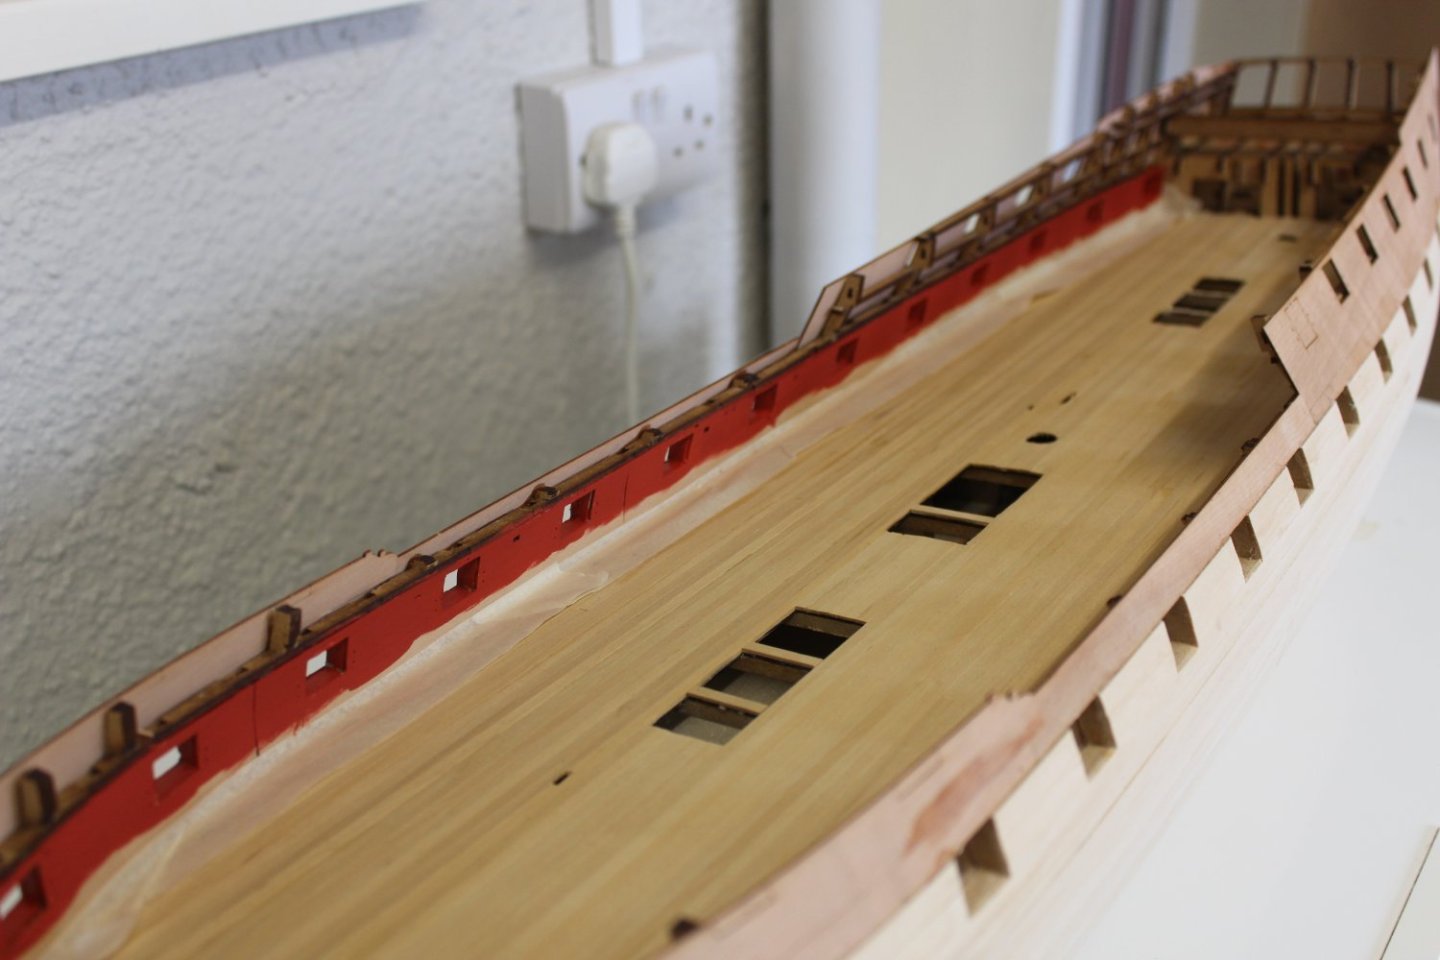
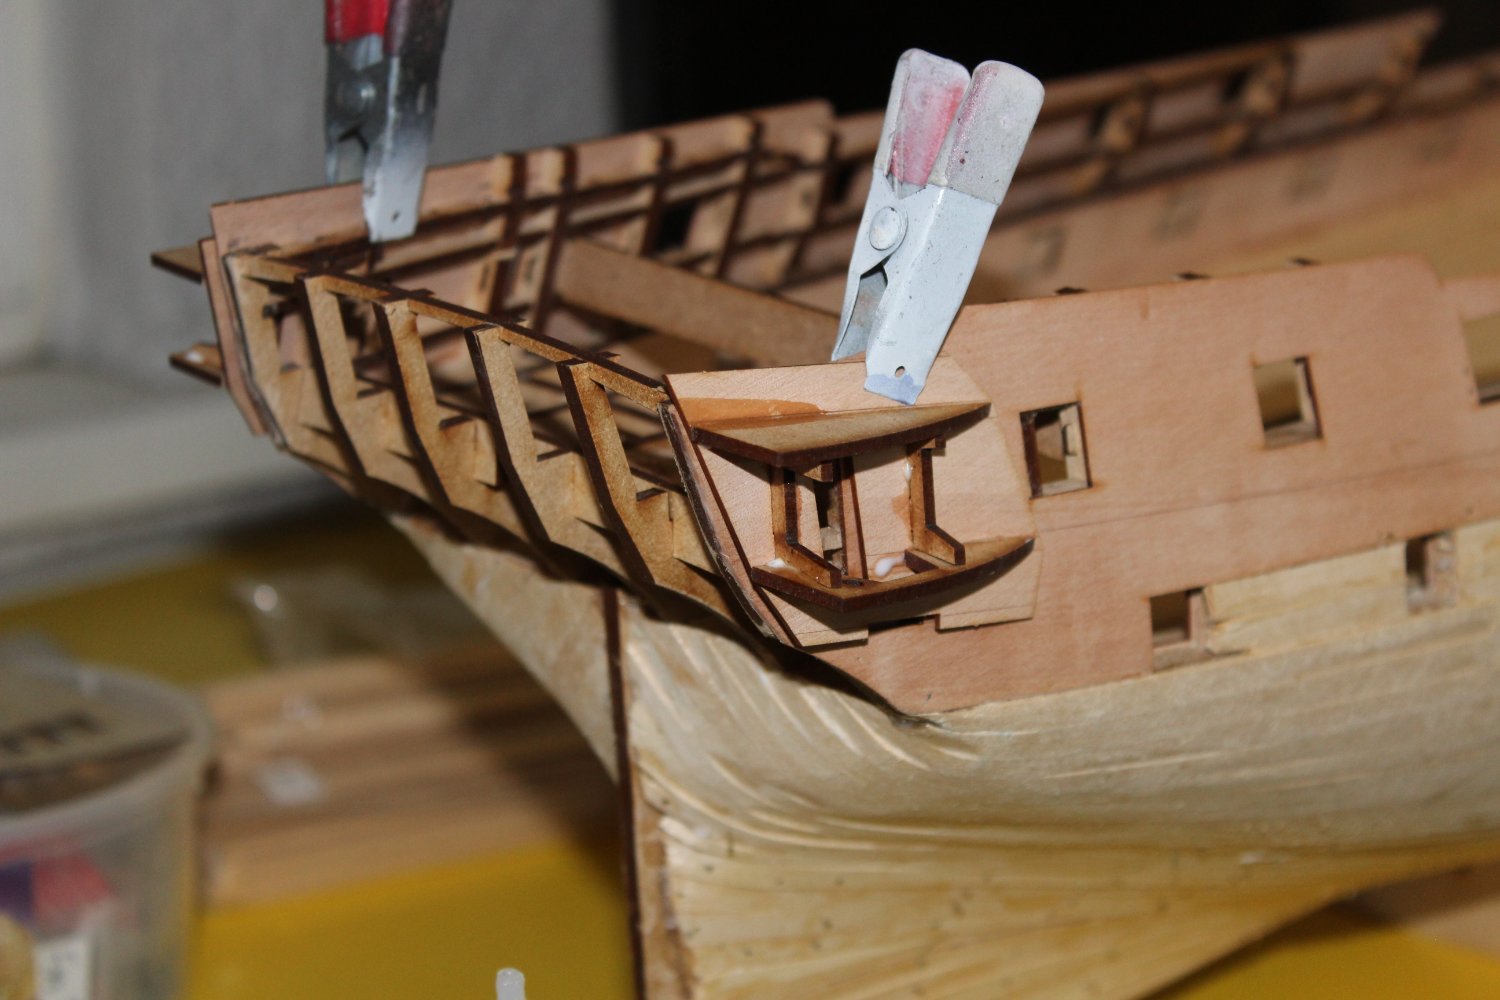
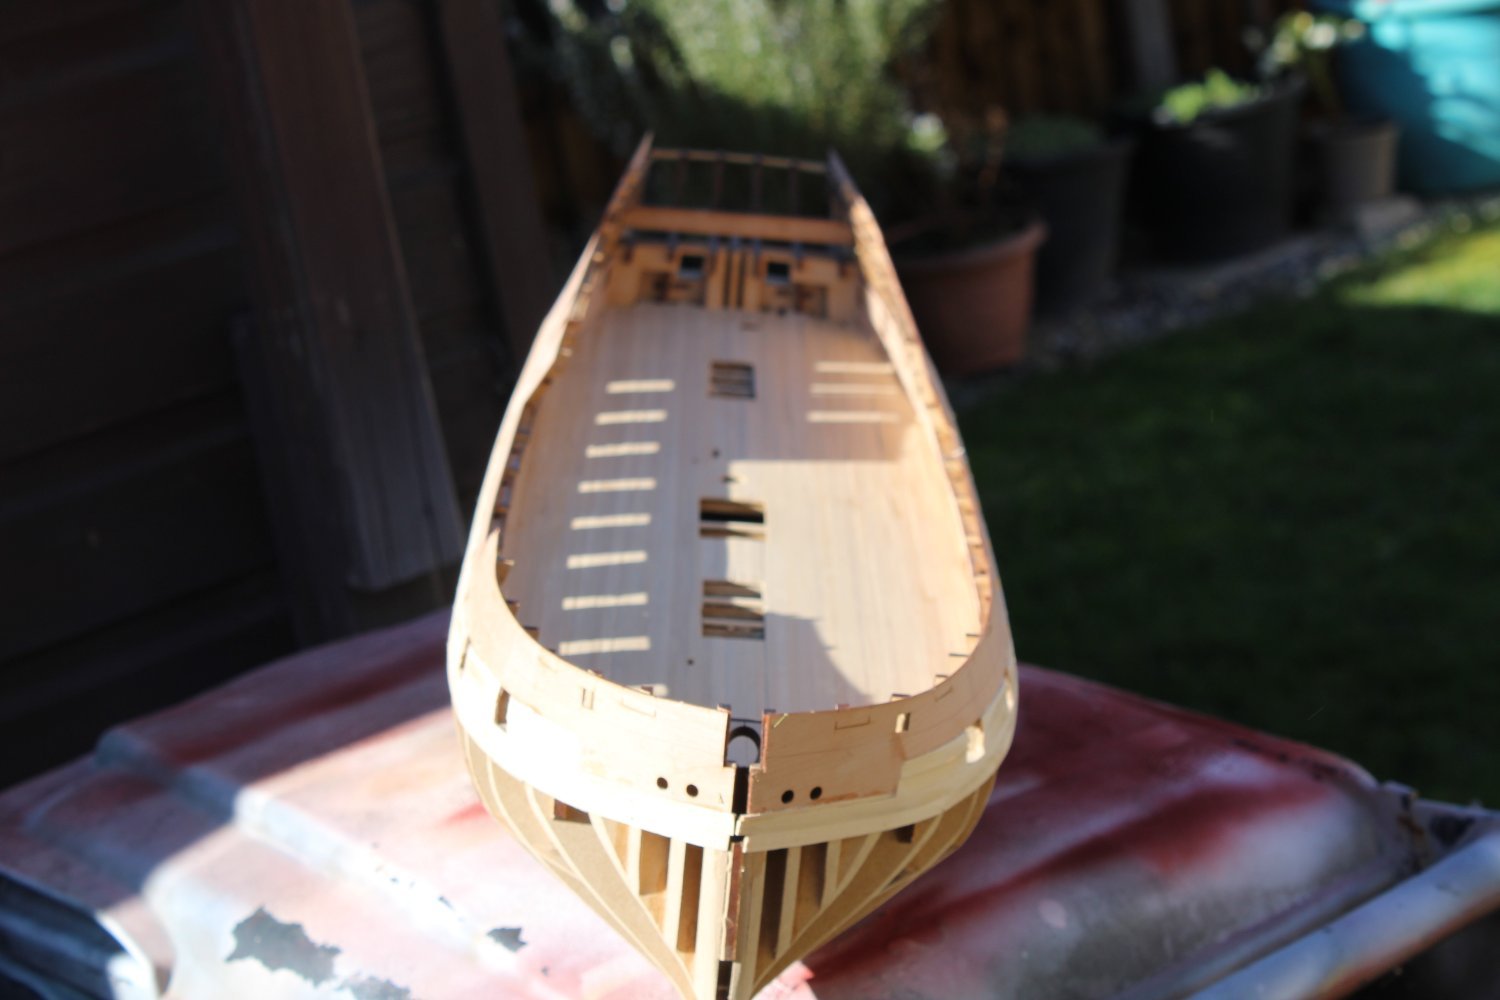
busy day in the mancave
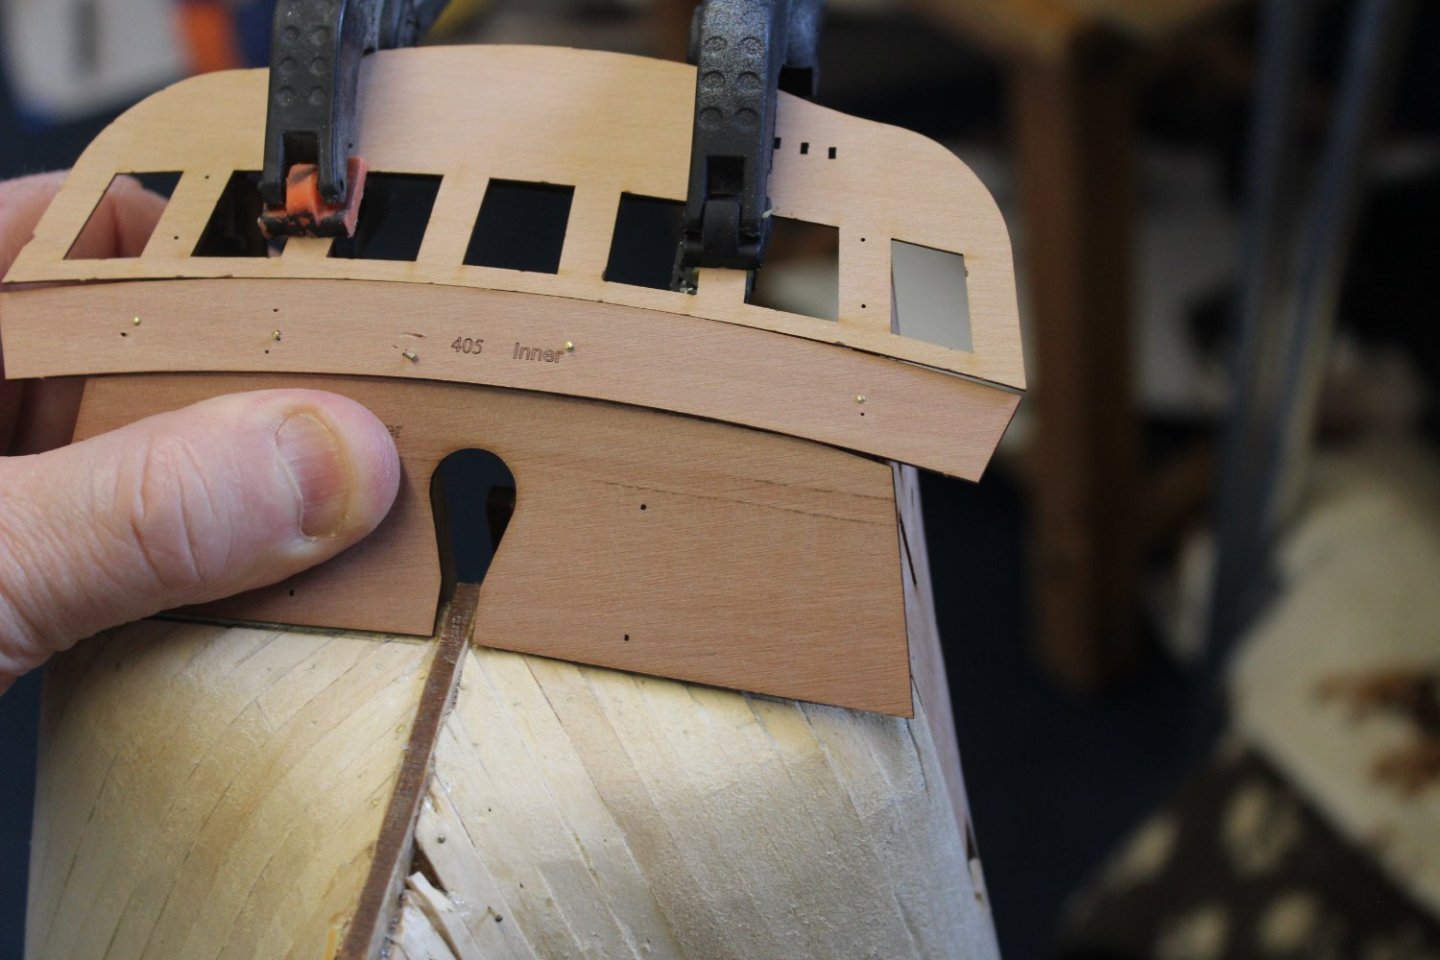
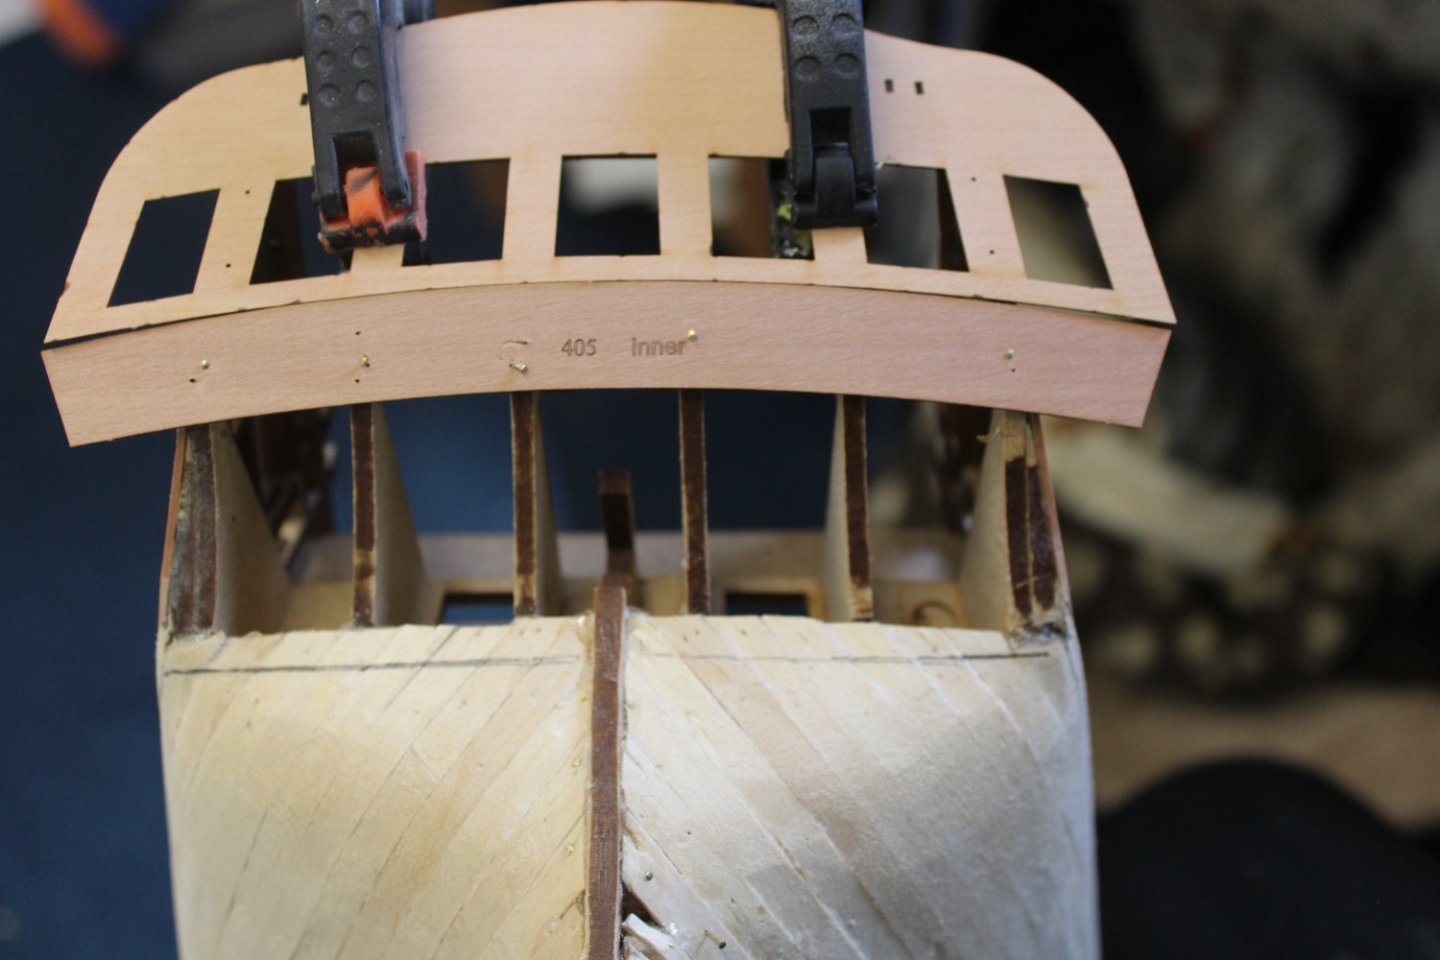
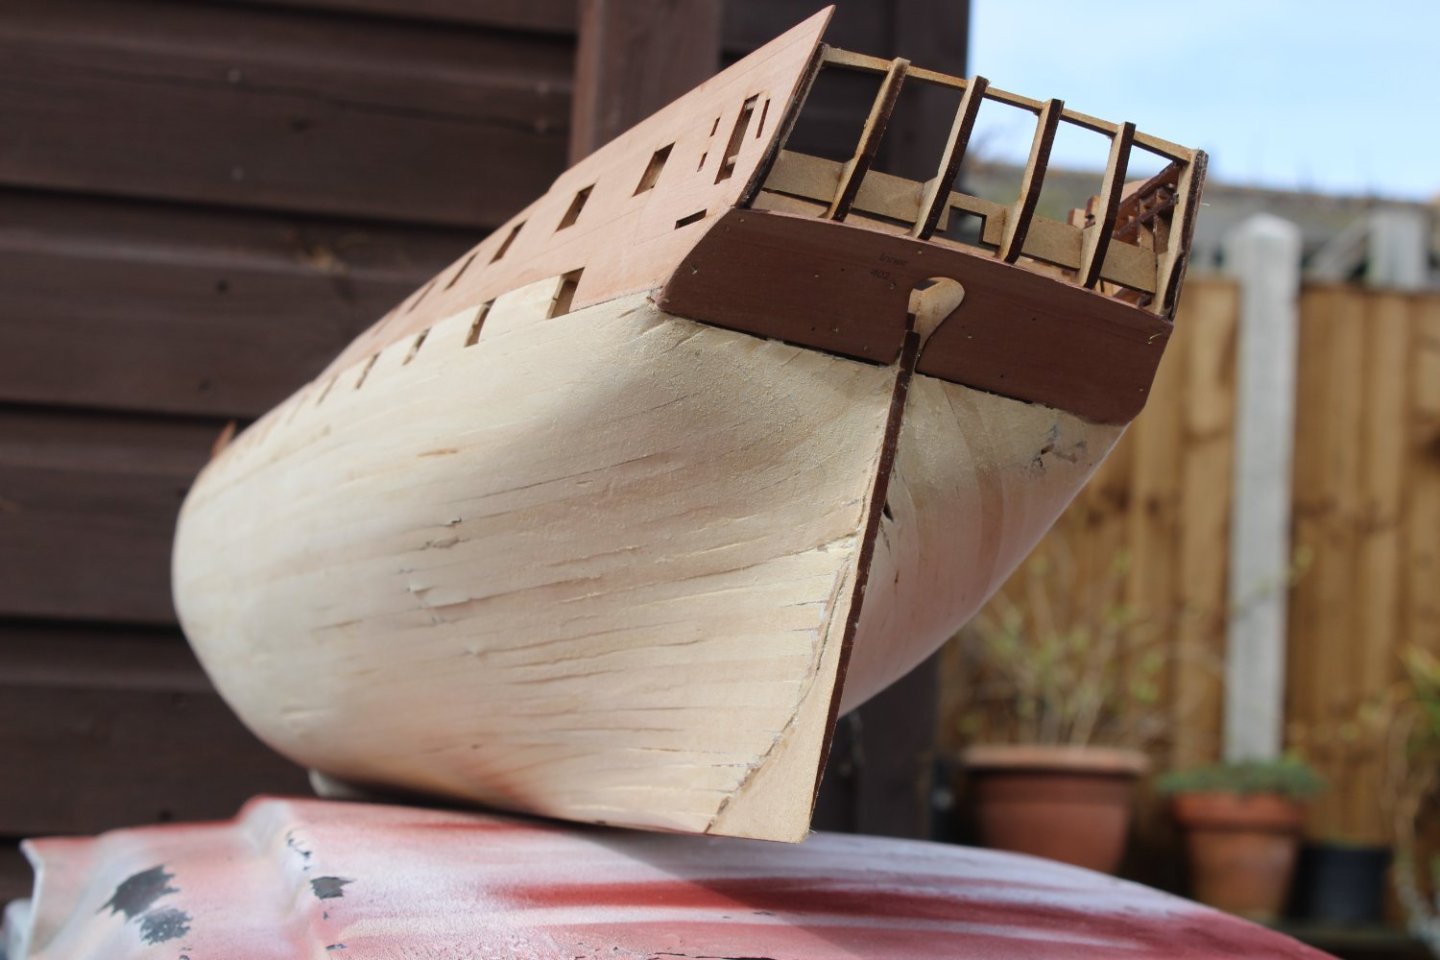
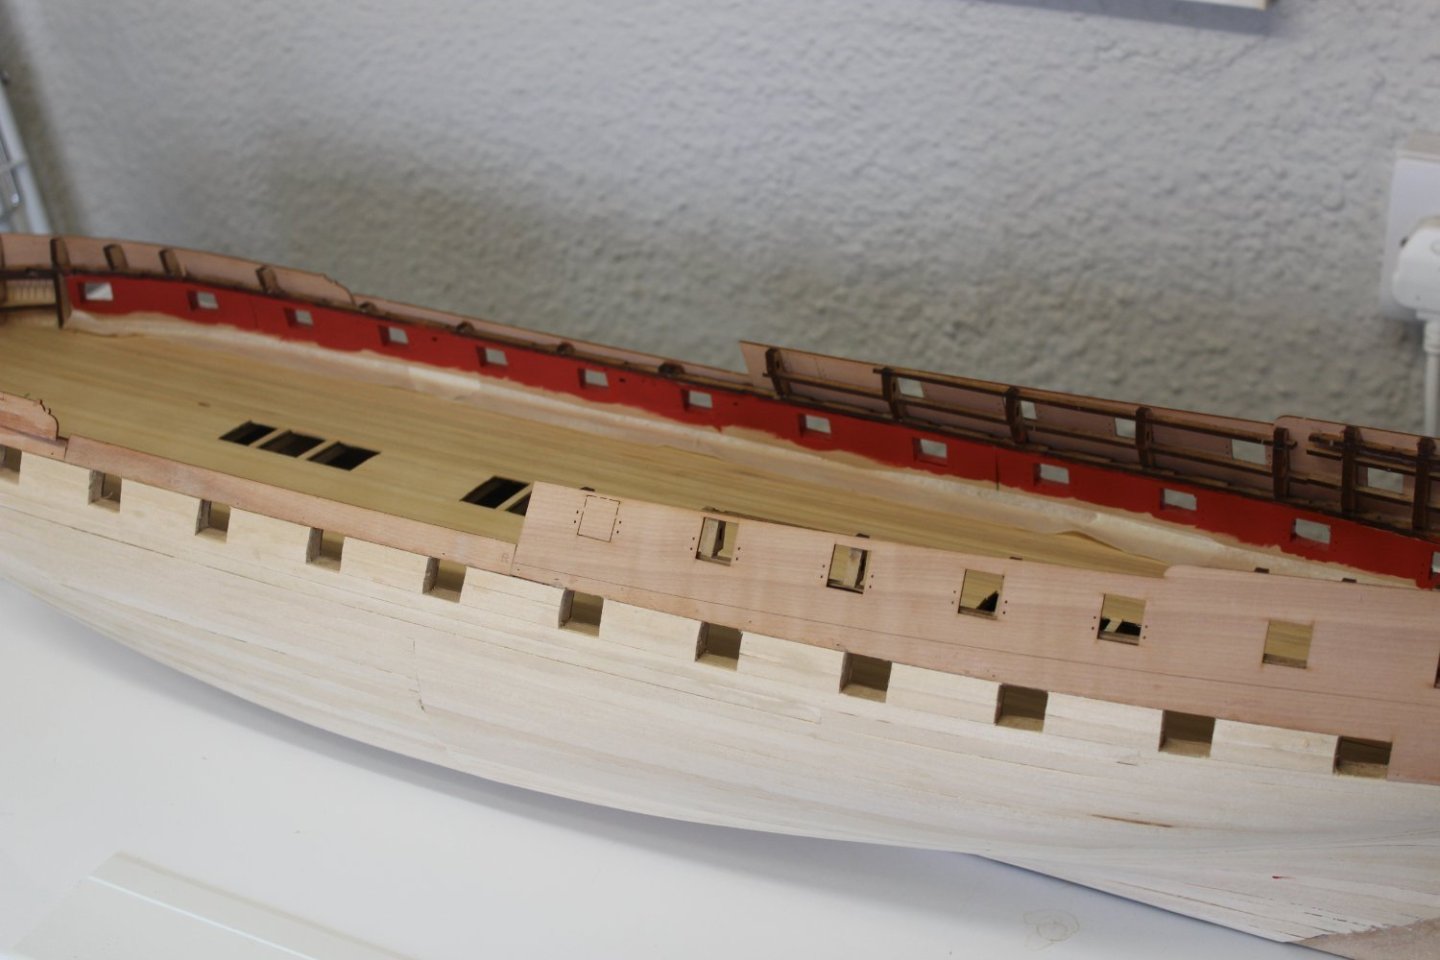
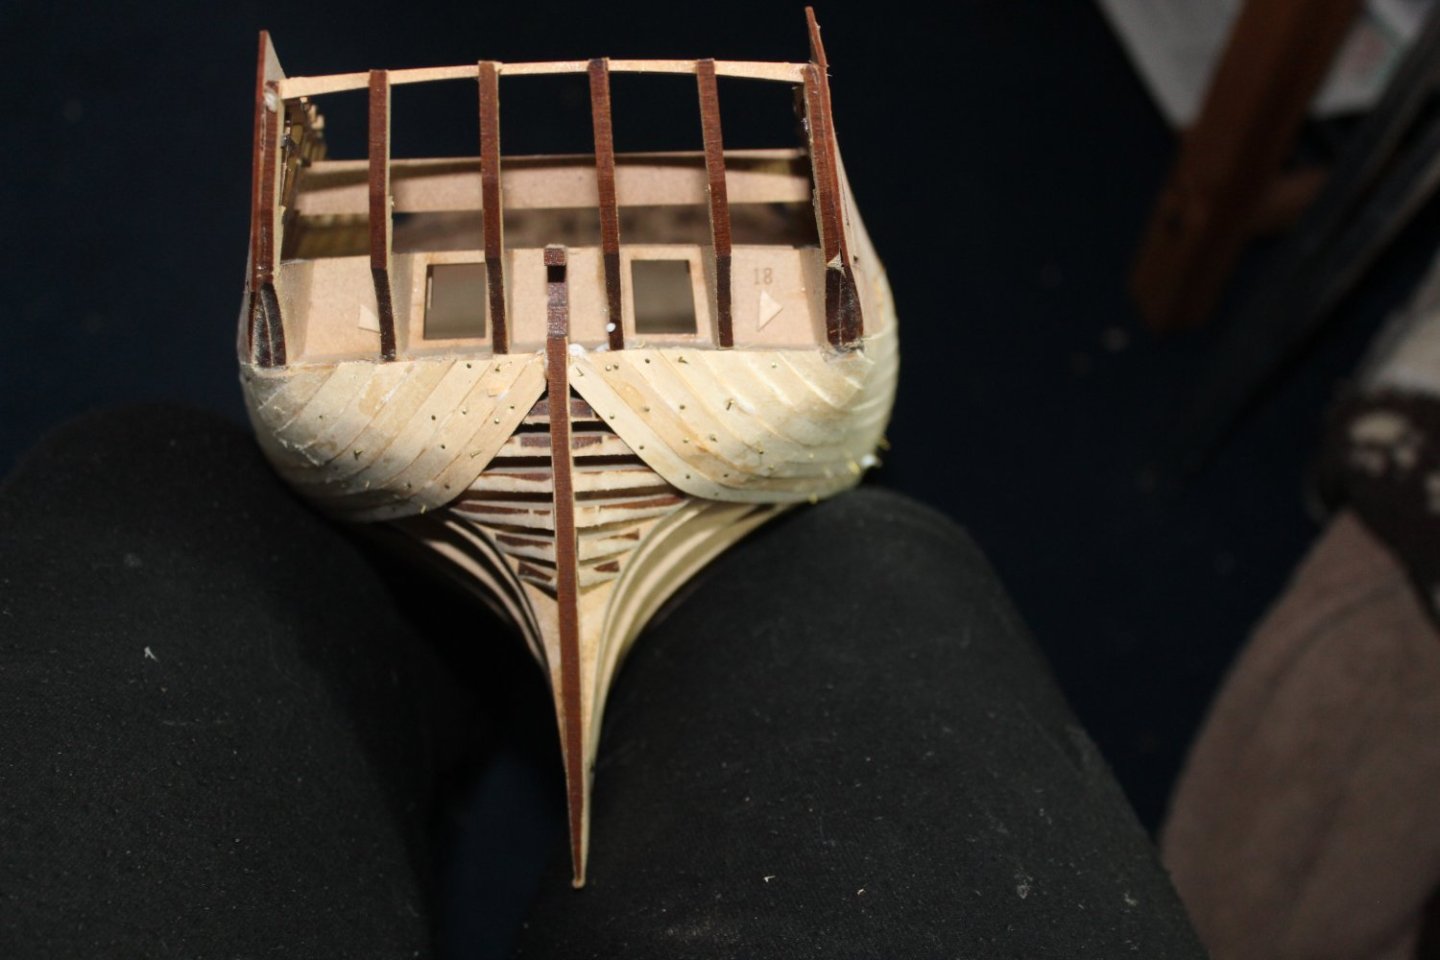
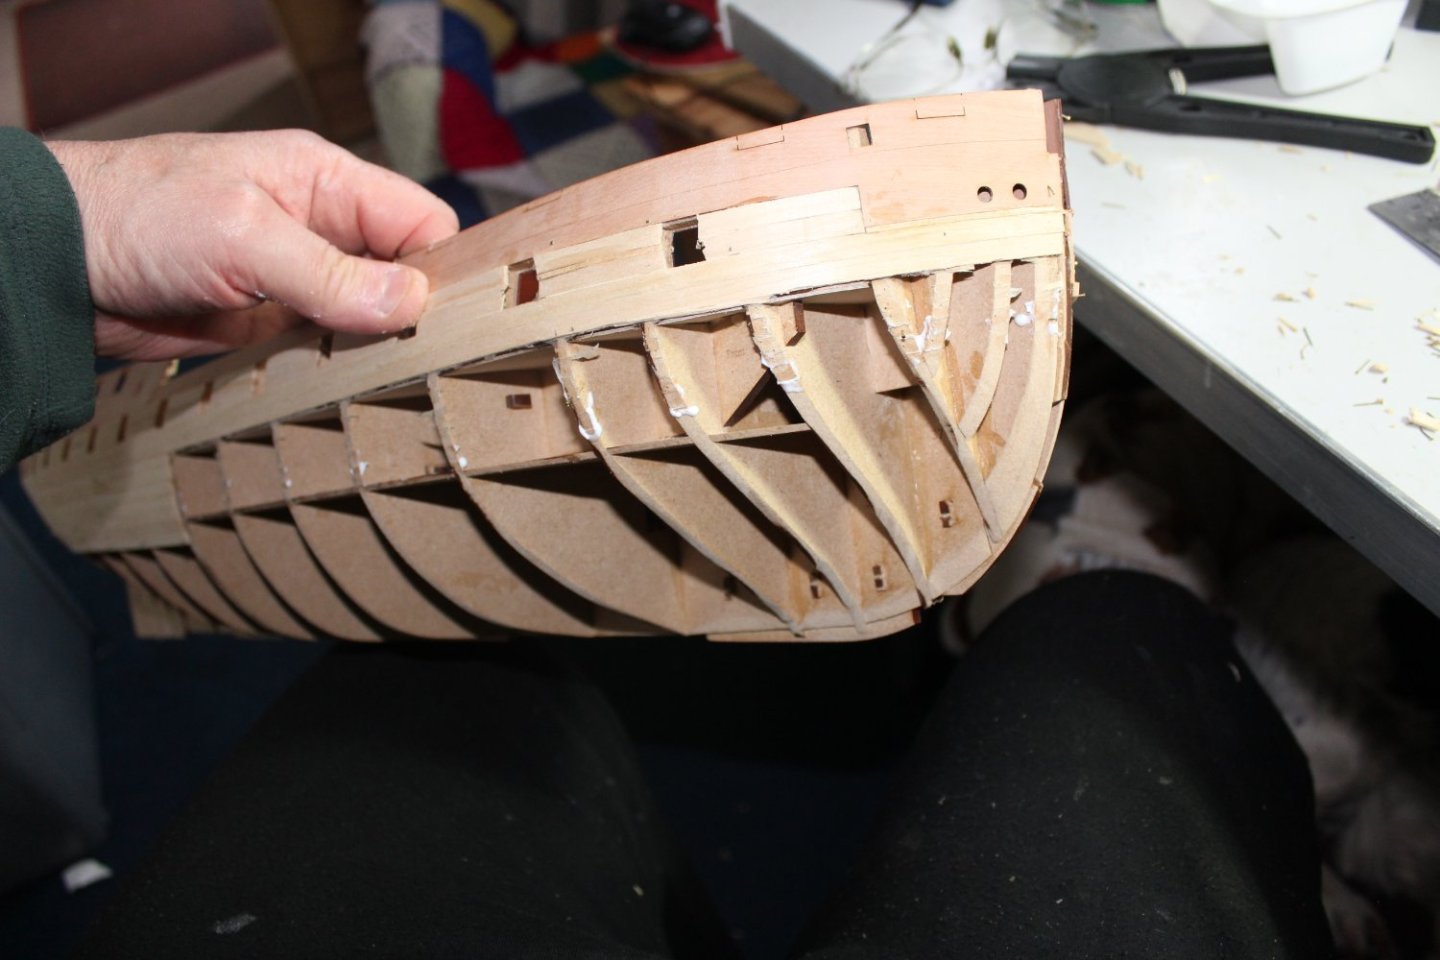
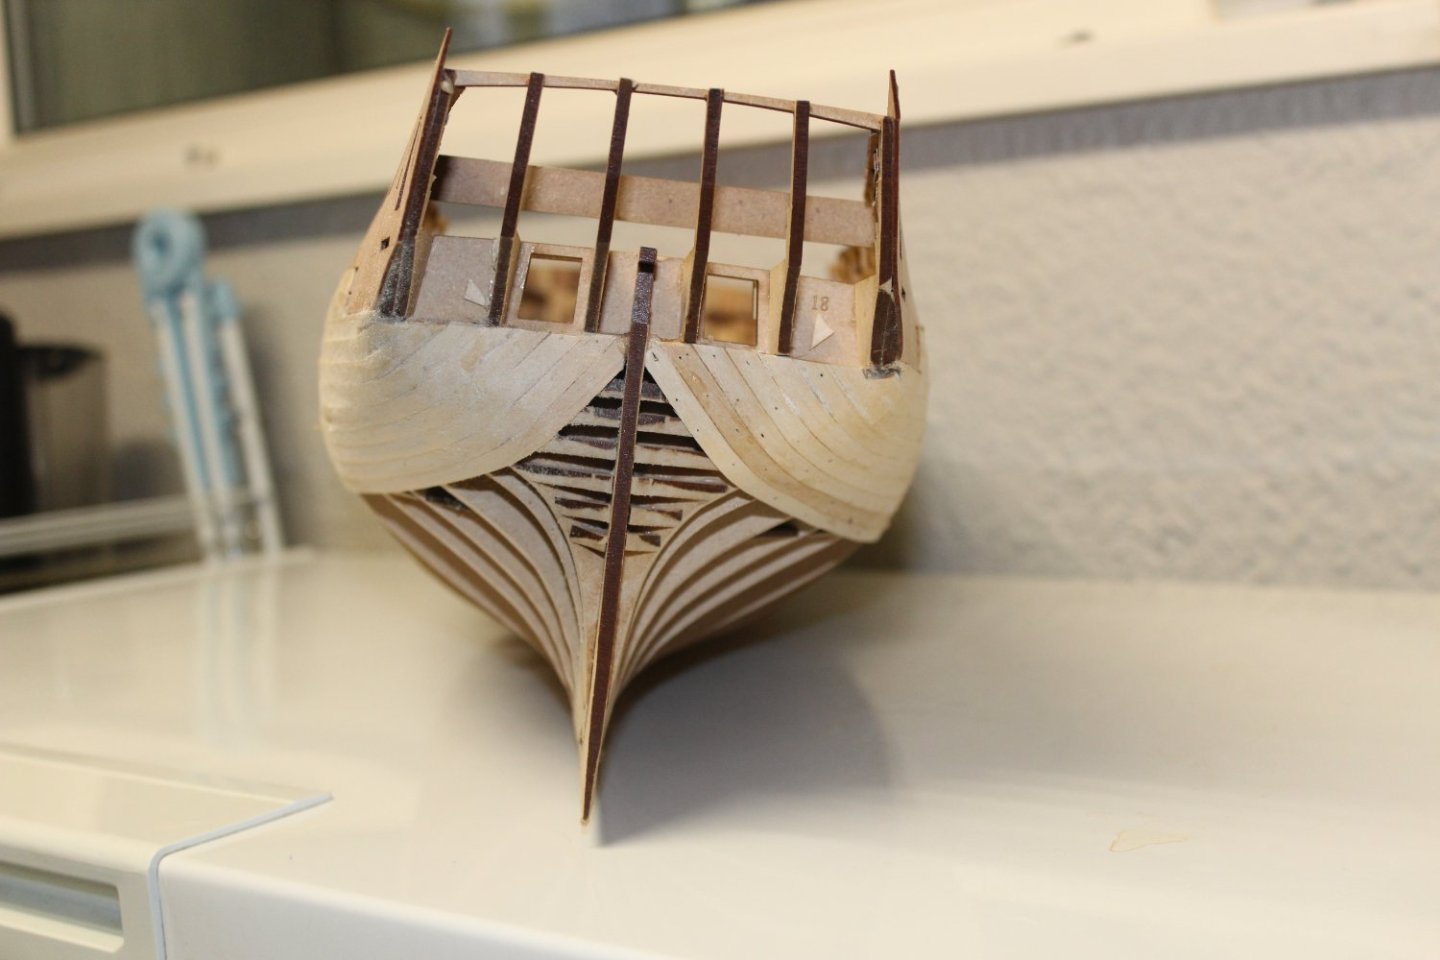
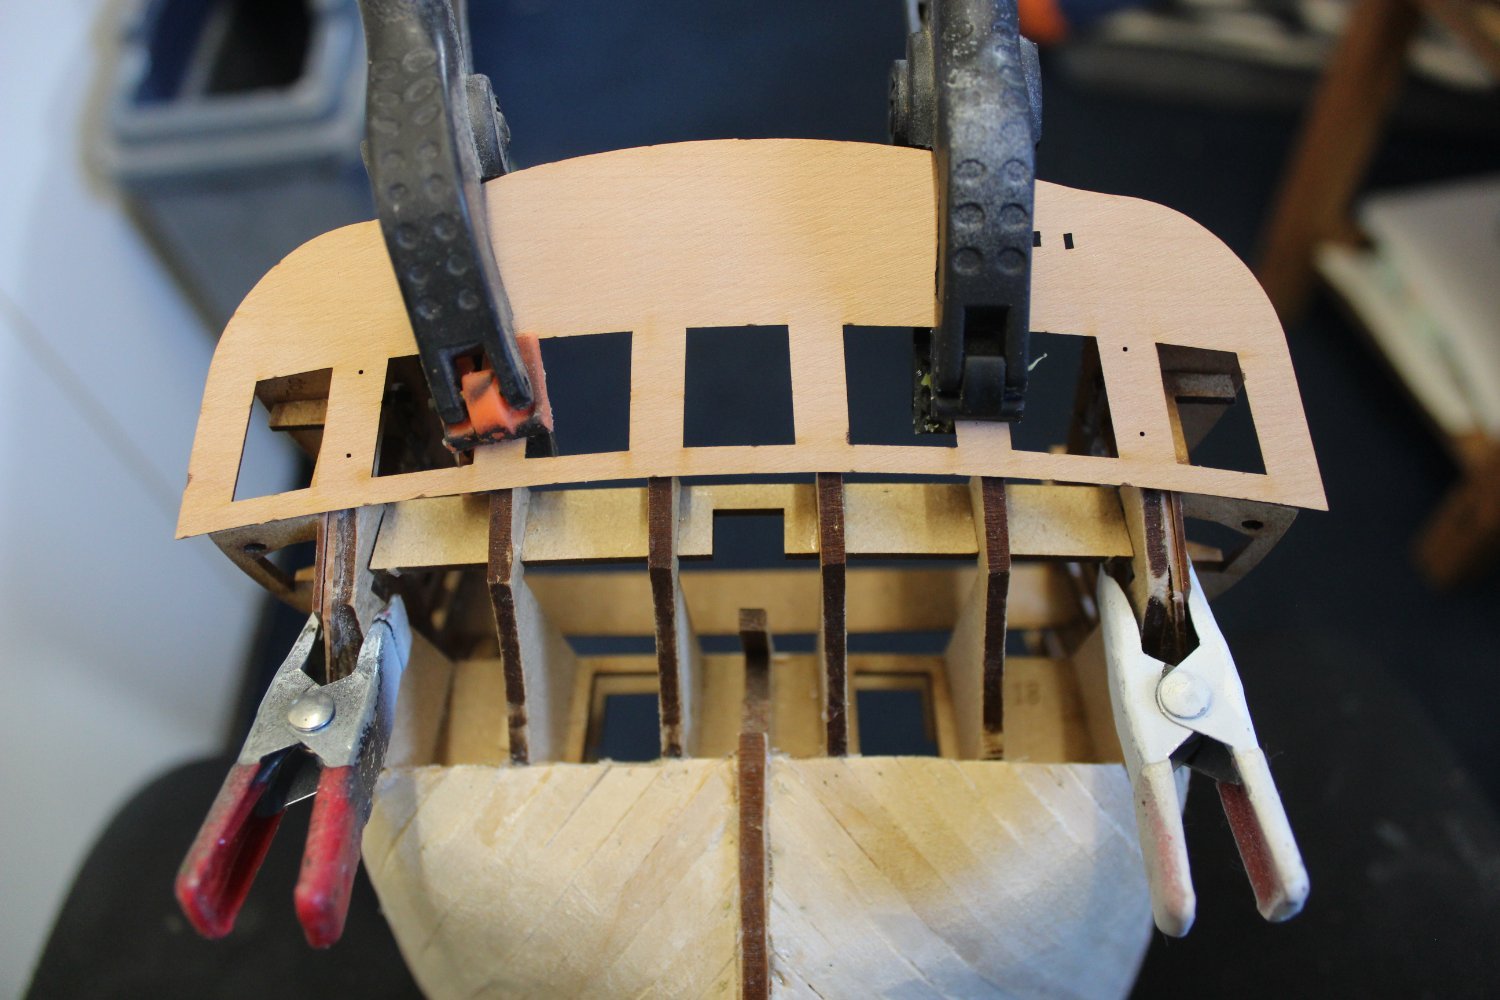
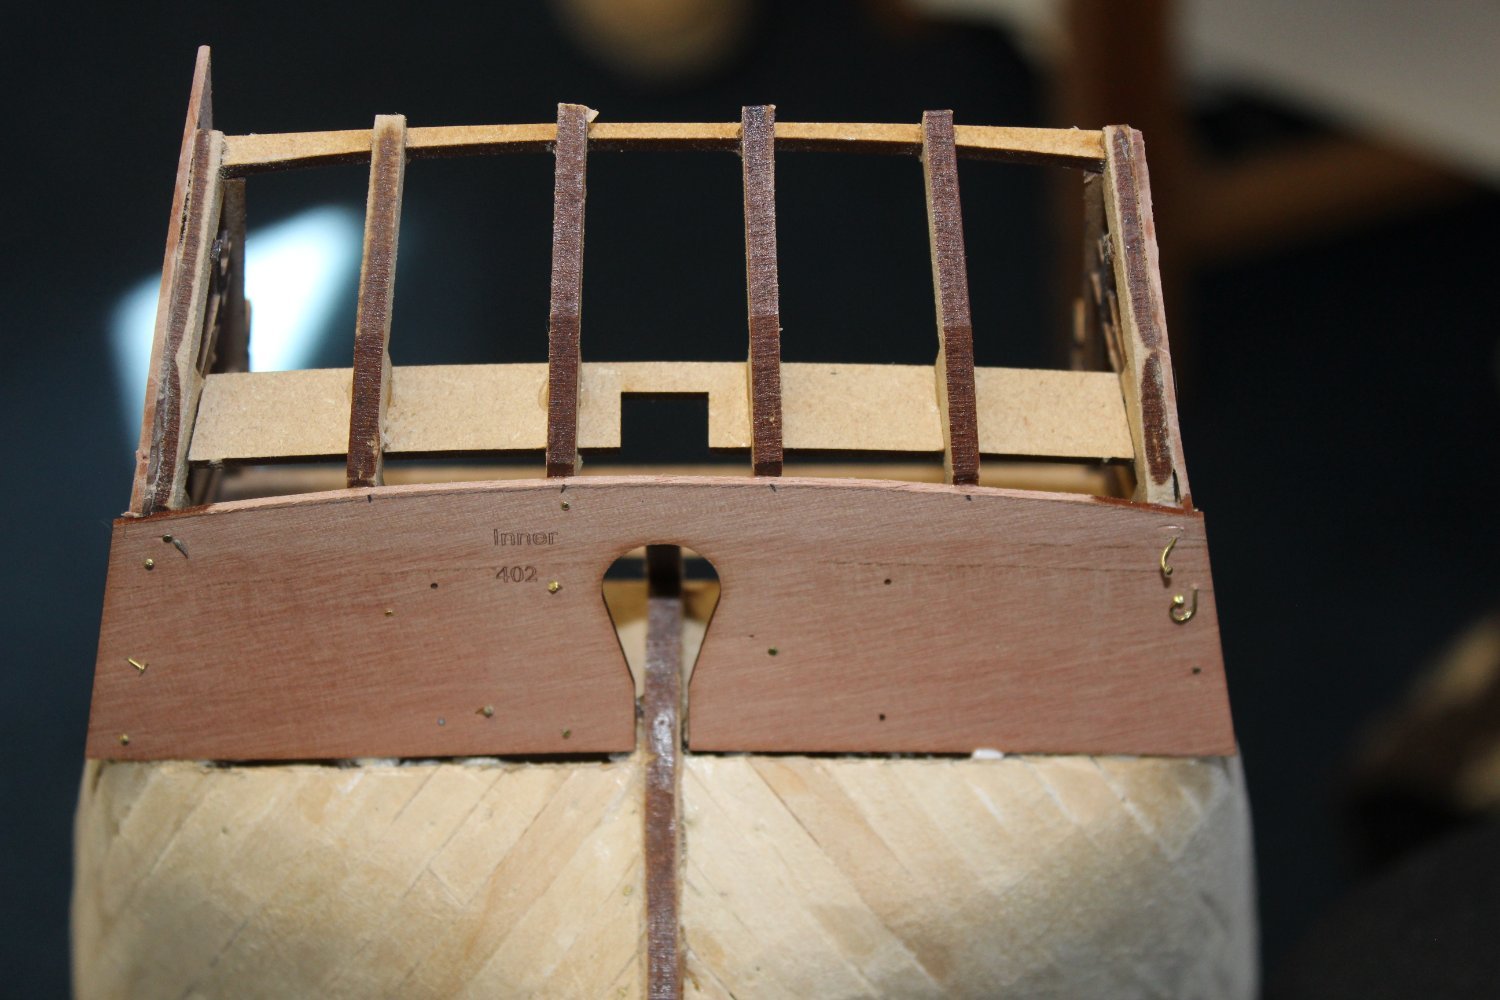
quarter galleries made up, not being fixed to the hull at this stage, but as an alignment aid

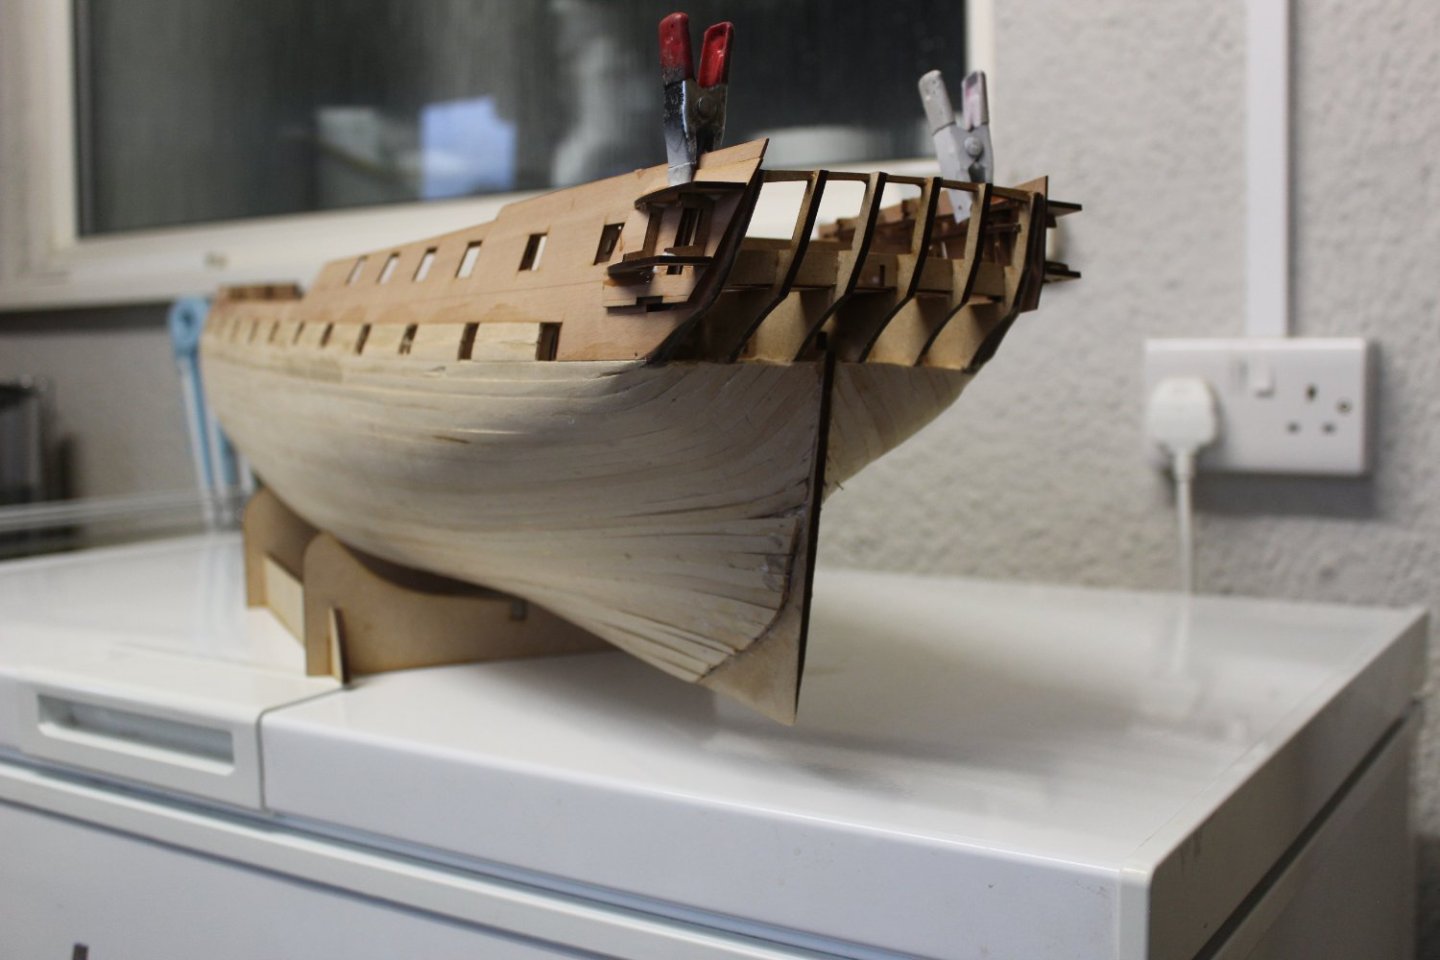
the stern builds up but only to fit one piece for now

and here it is the two above pices are for now soley to align this up, once happy a pencil line is drawn under it and the wood from the tuck is removed

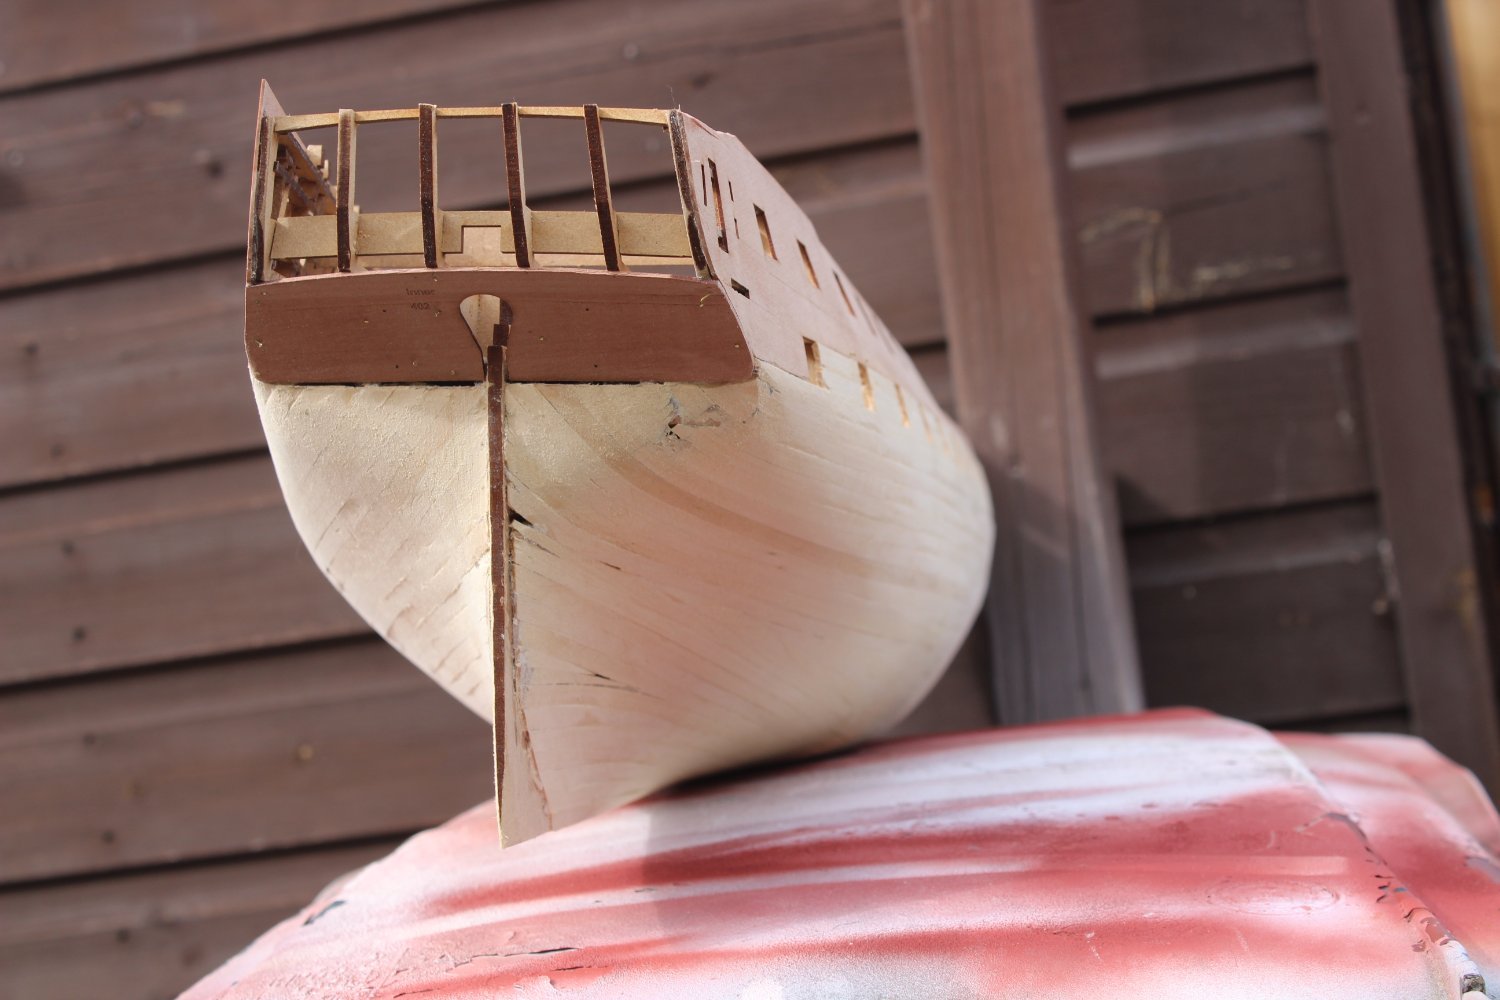
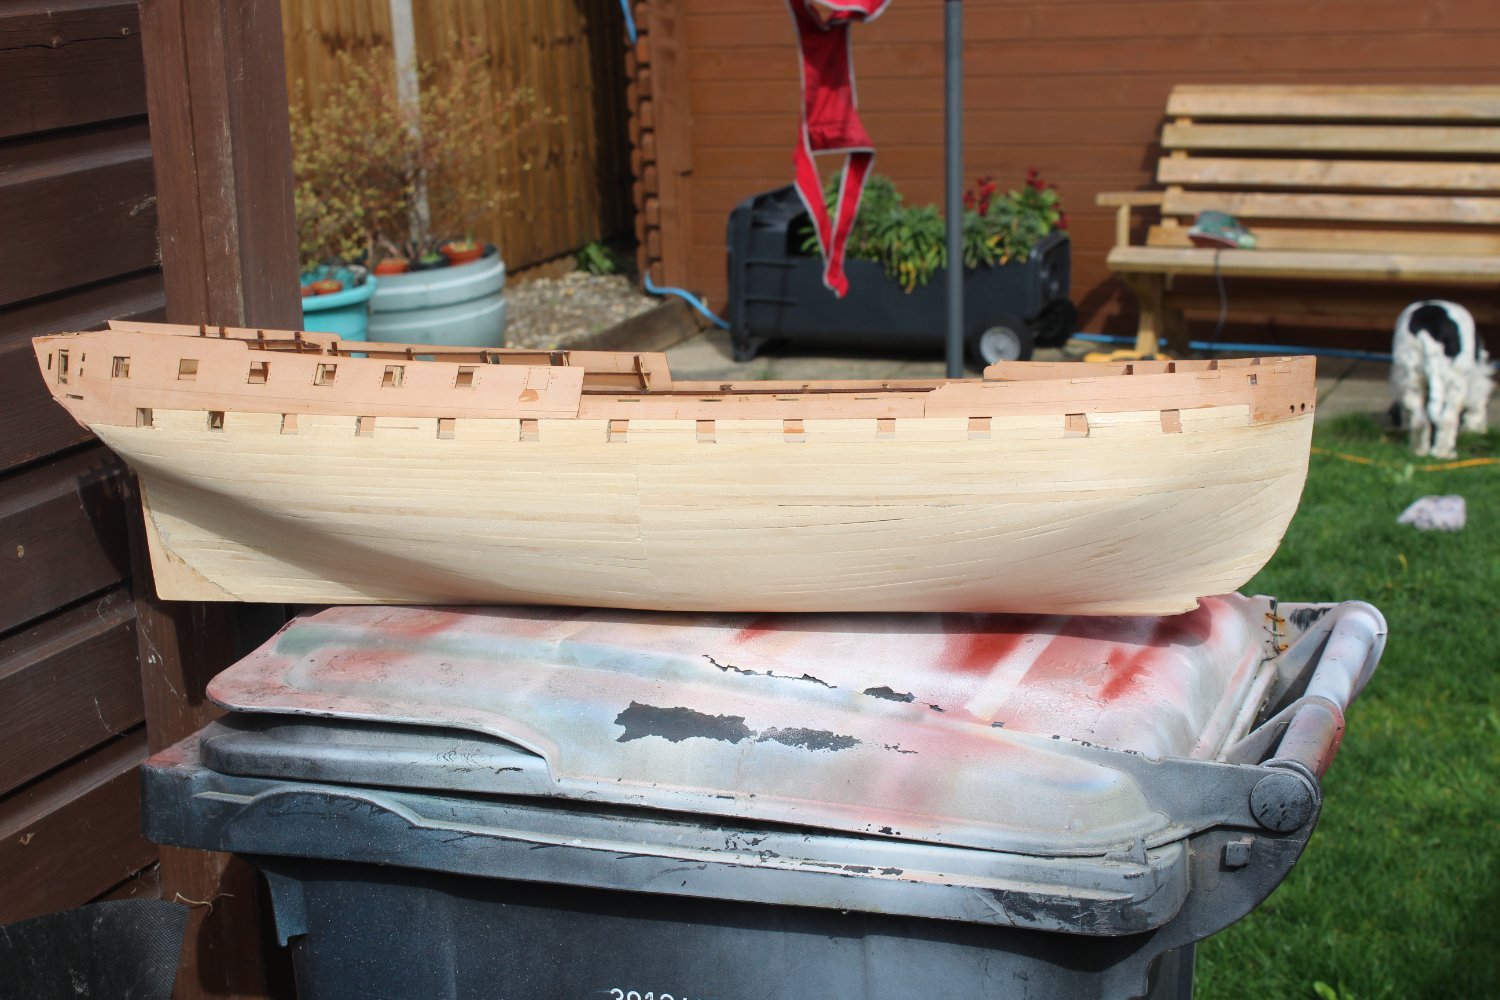
once dry, outside in the sunshine for sanding
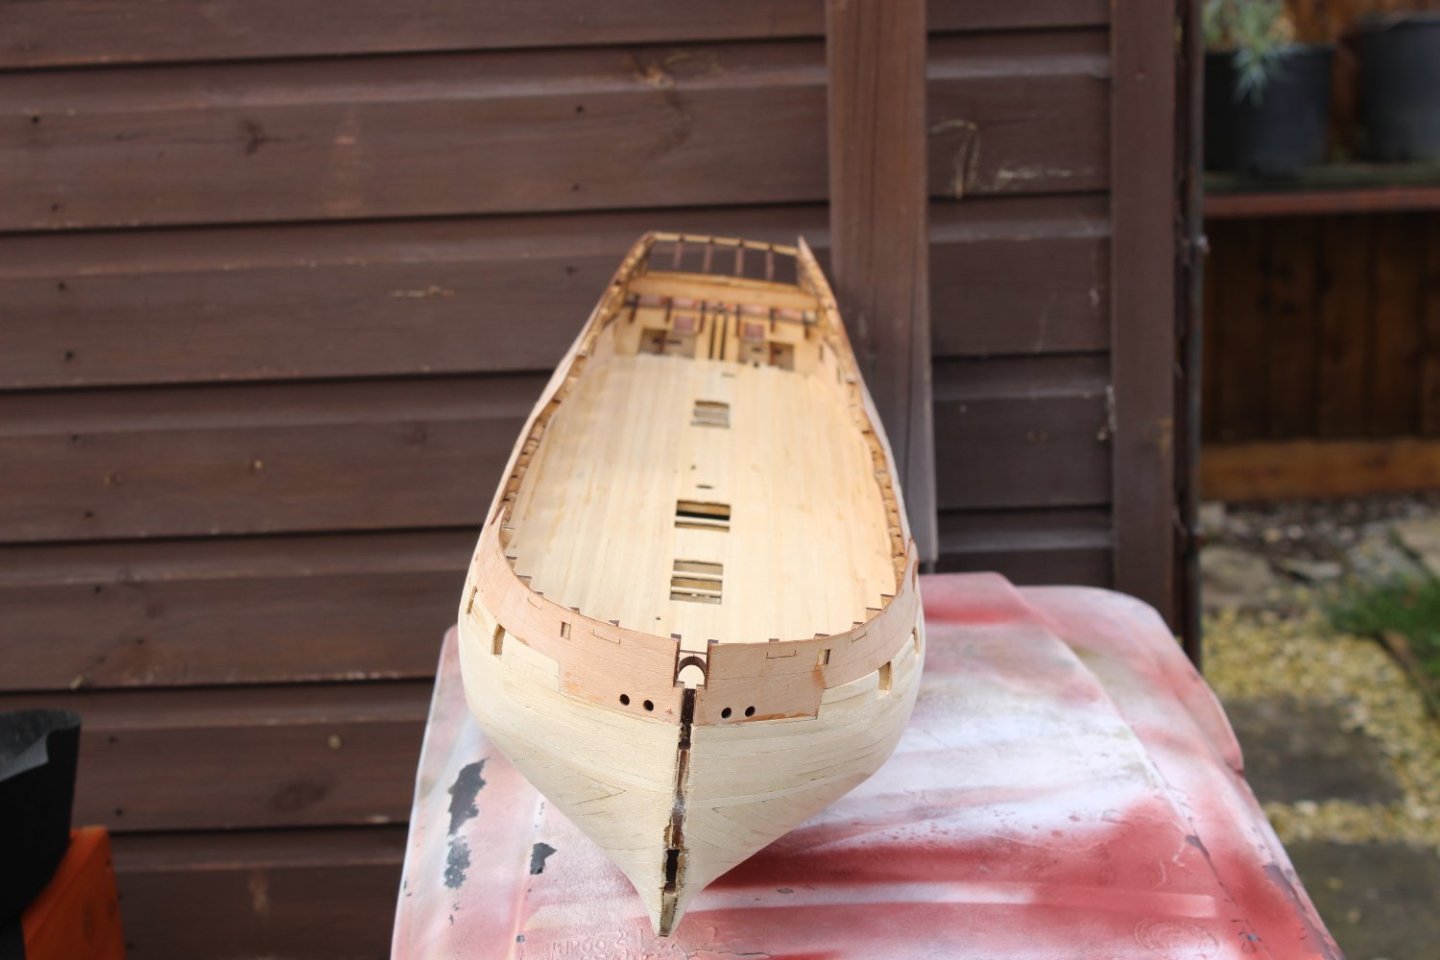


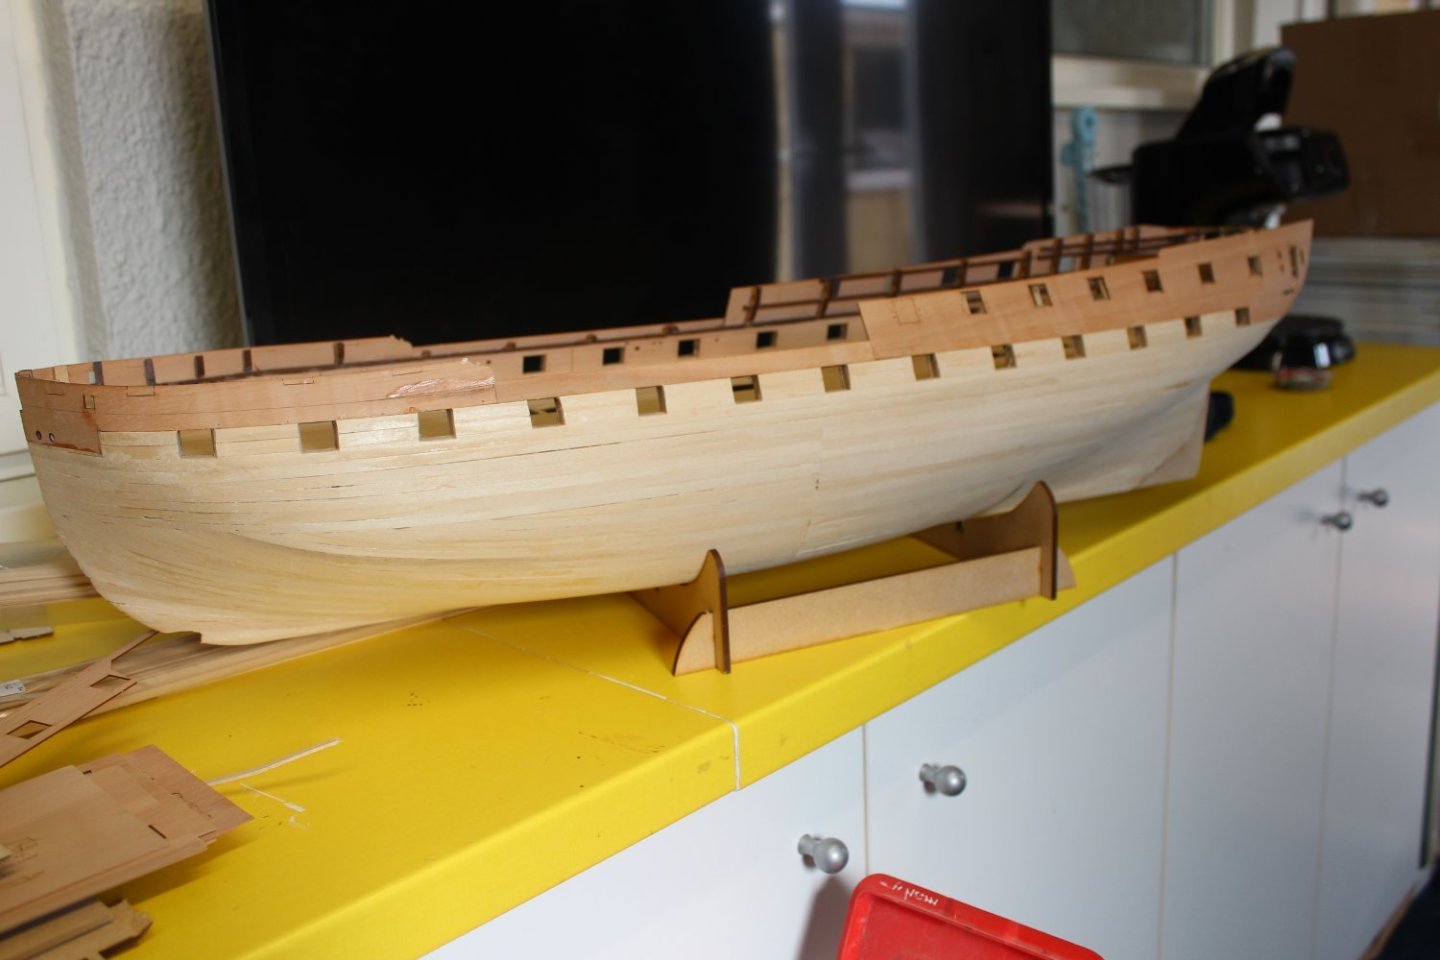
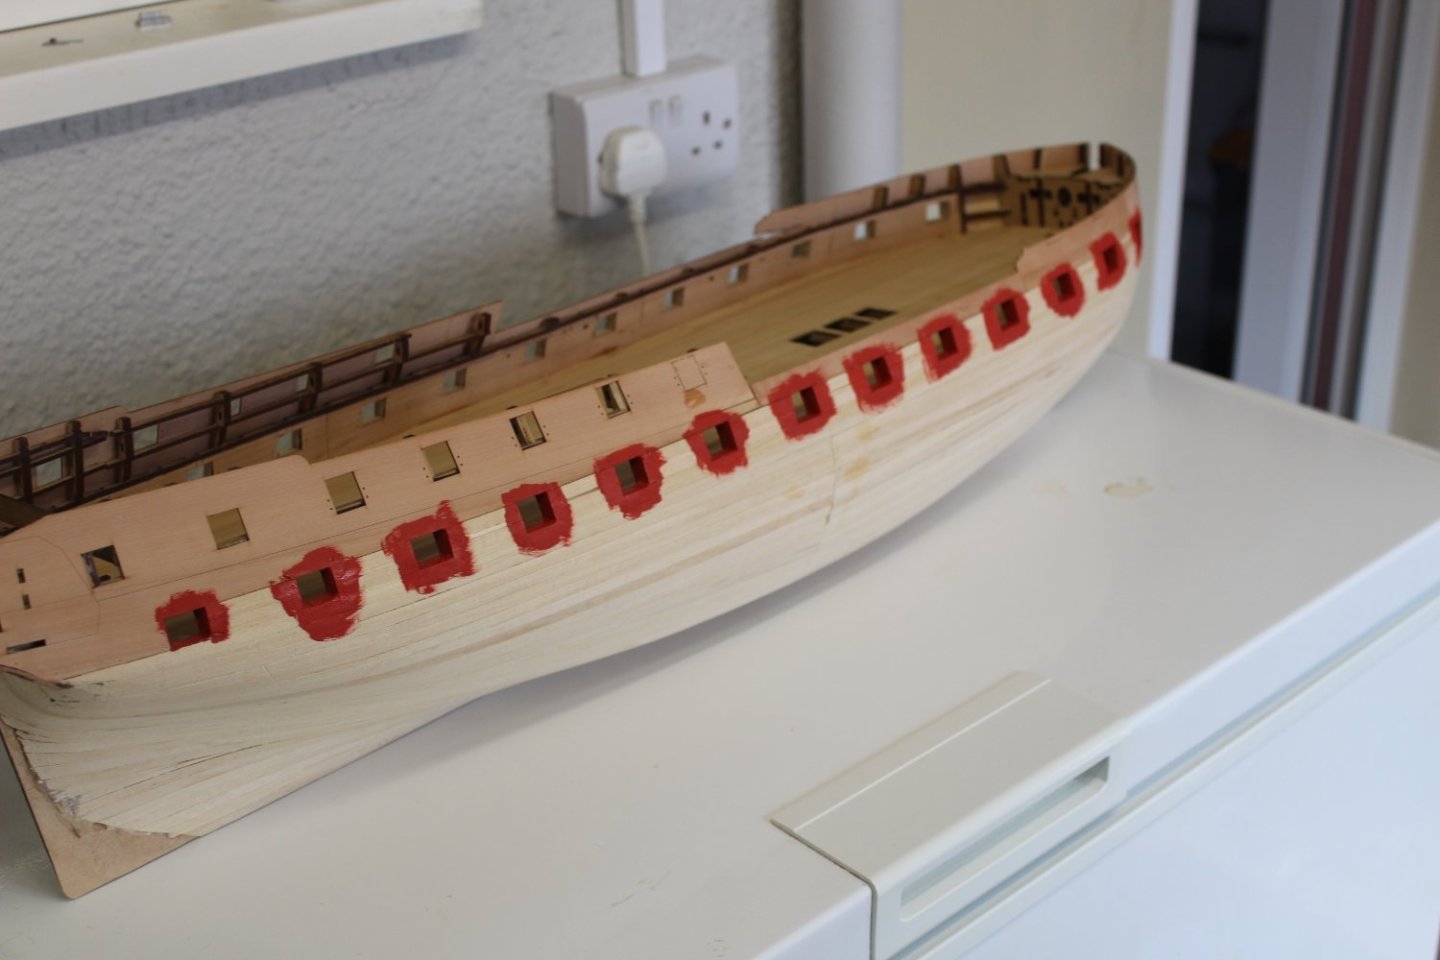
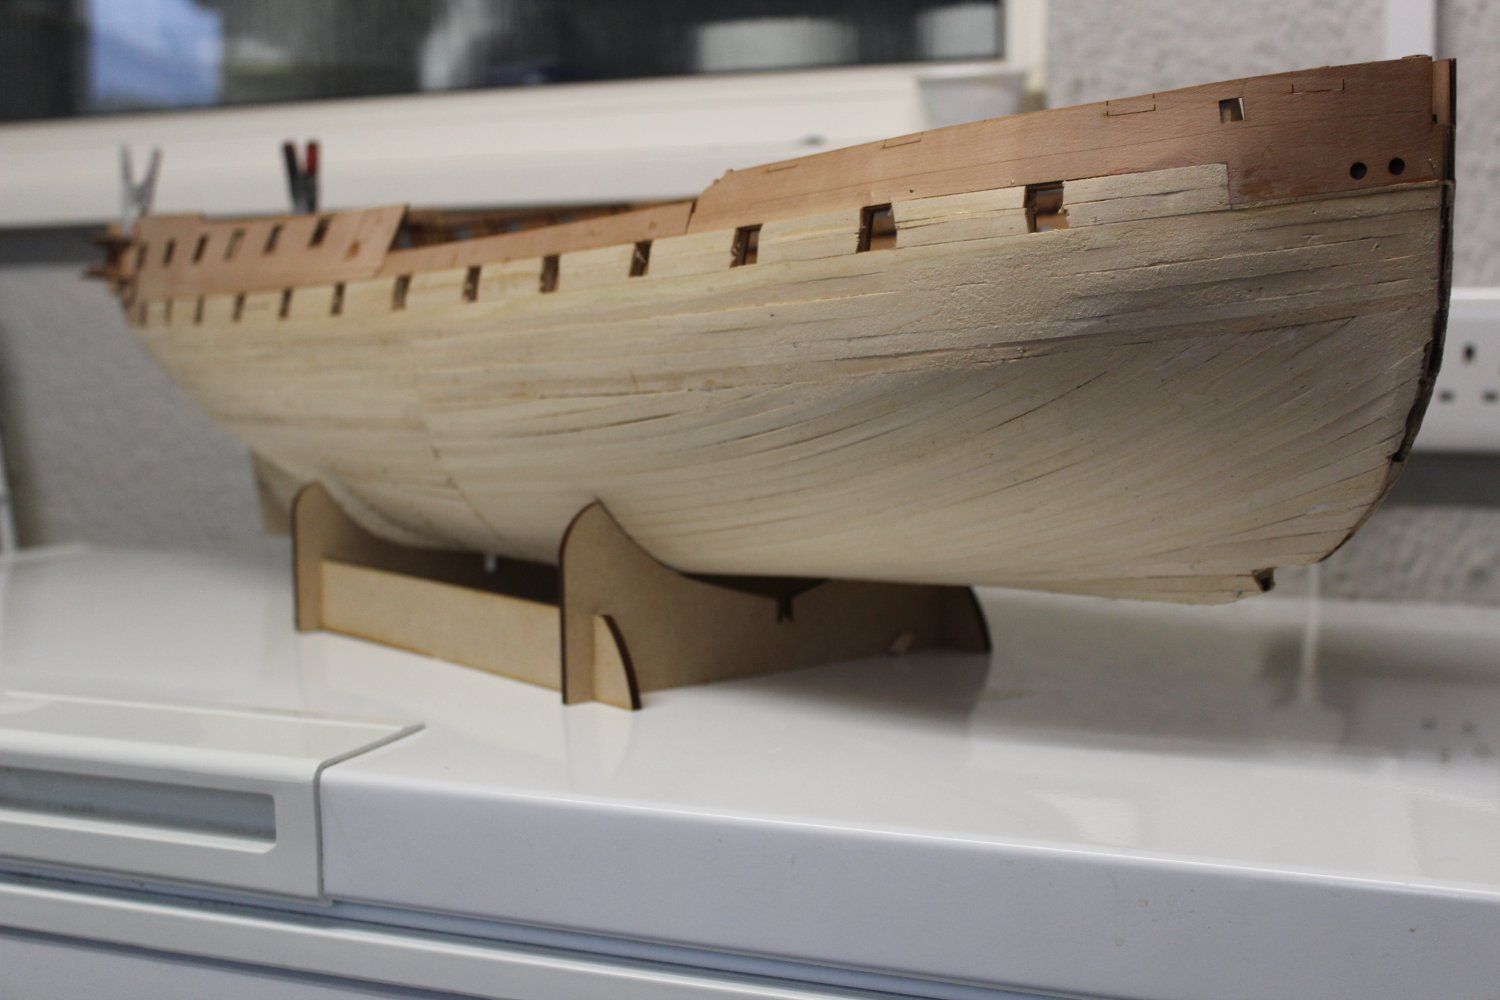
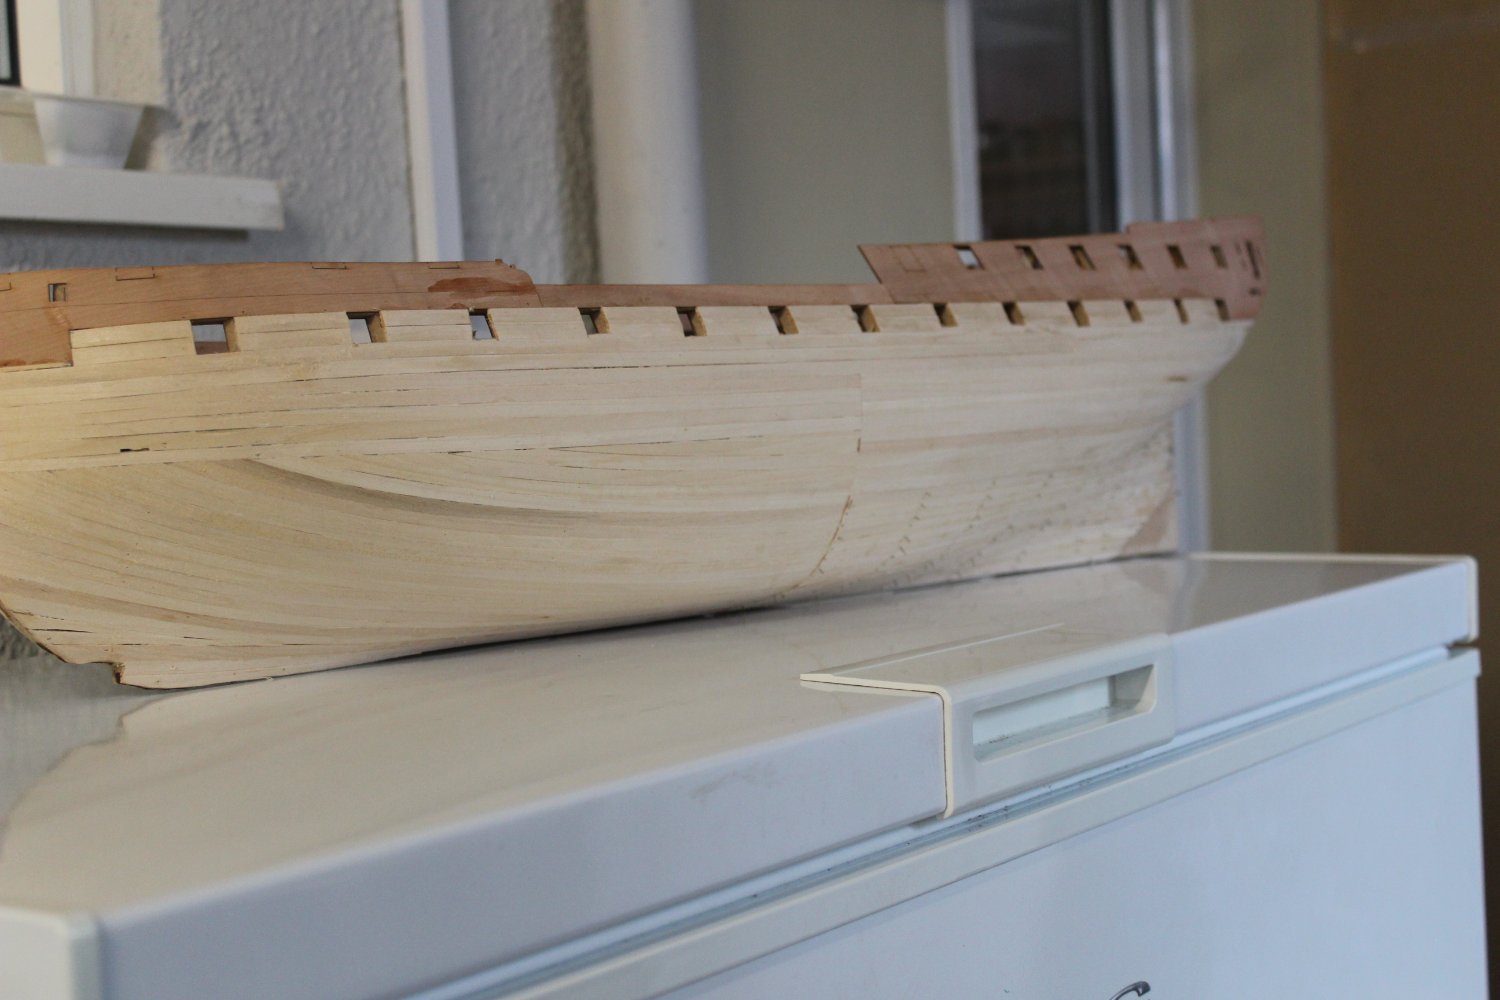
gunports squared off and first of many red coats going on,
god im loving this build, and only another years worth of her left
-
lovely work BE all that work will pay dividends, im only slightly ahead of you at present
- Blue Ensign, hollowneck and mtaylor
-
 3
3
-
-
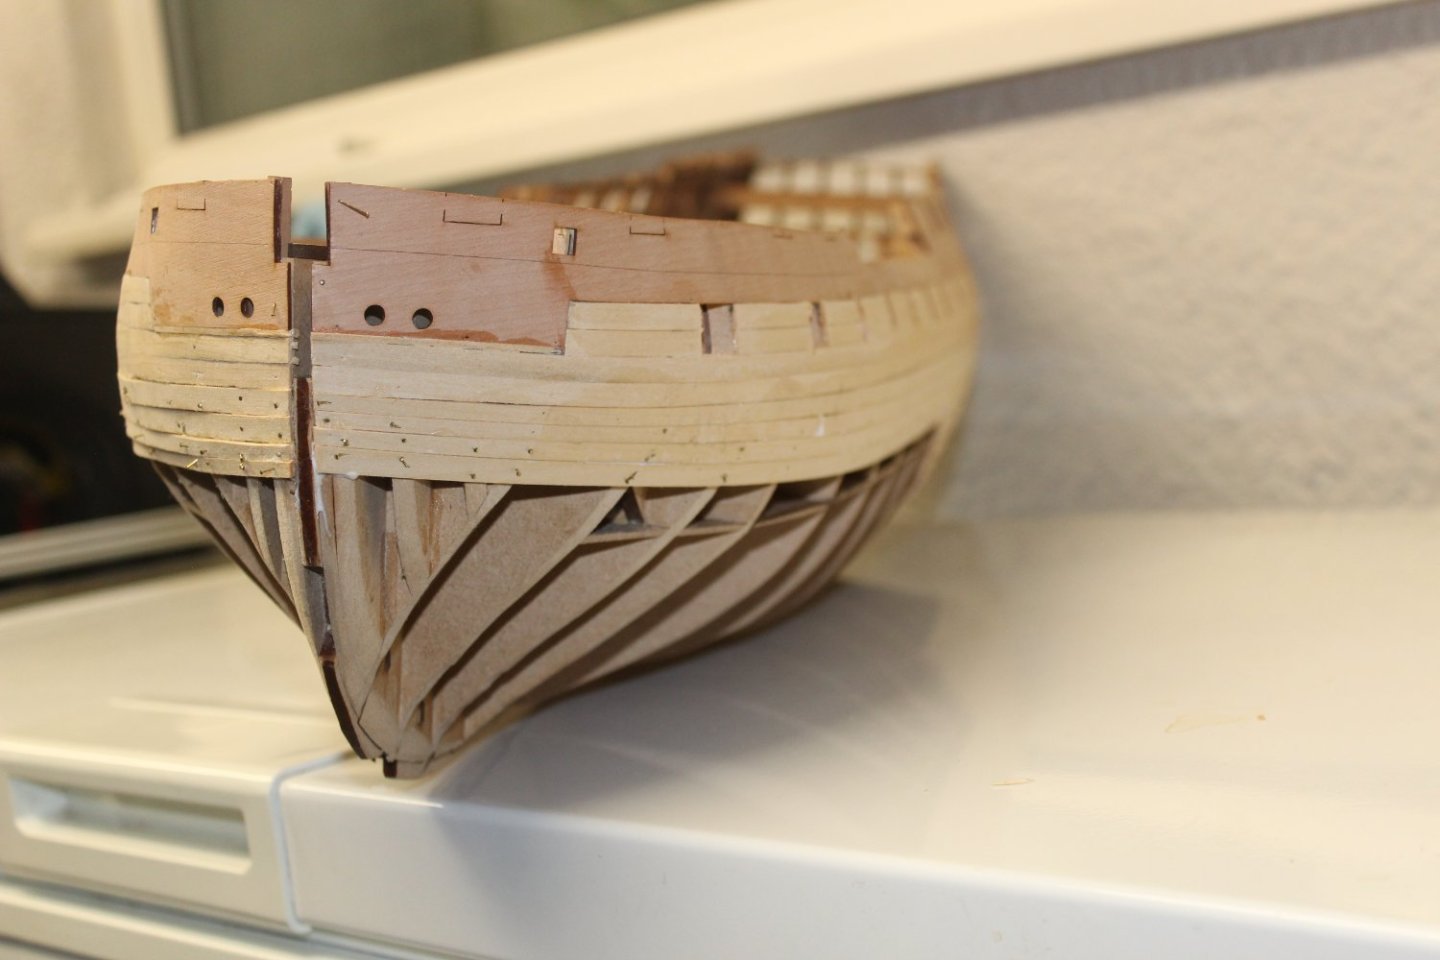
47 minutes ago, Glenn-UK said:
Well done on completing this milestone, the planking looks good. On your second photo did you add a stealer at the bottom of the garboard plank?
When I was looking at the garboard plank requirements I thought it would be benifical to add one at the bow end.
Goog news with the vet visit
both sides are not symmetrical, so yes i did. its no big deal though, i a weeks time its going to get covered over again lol
-
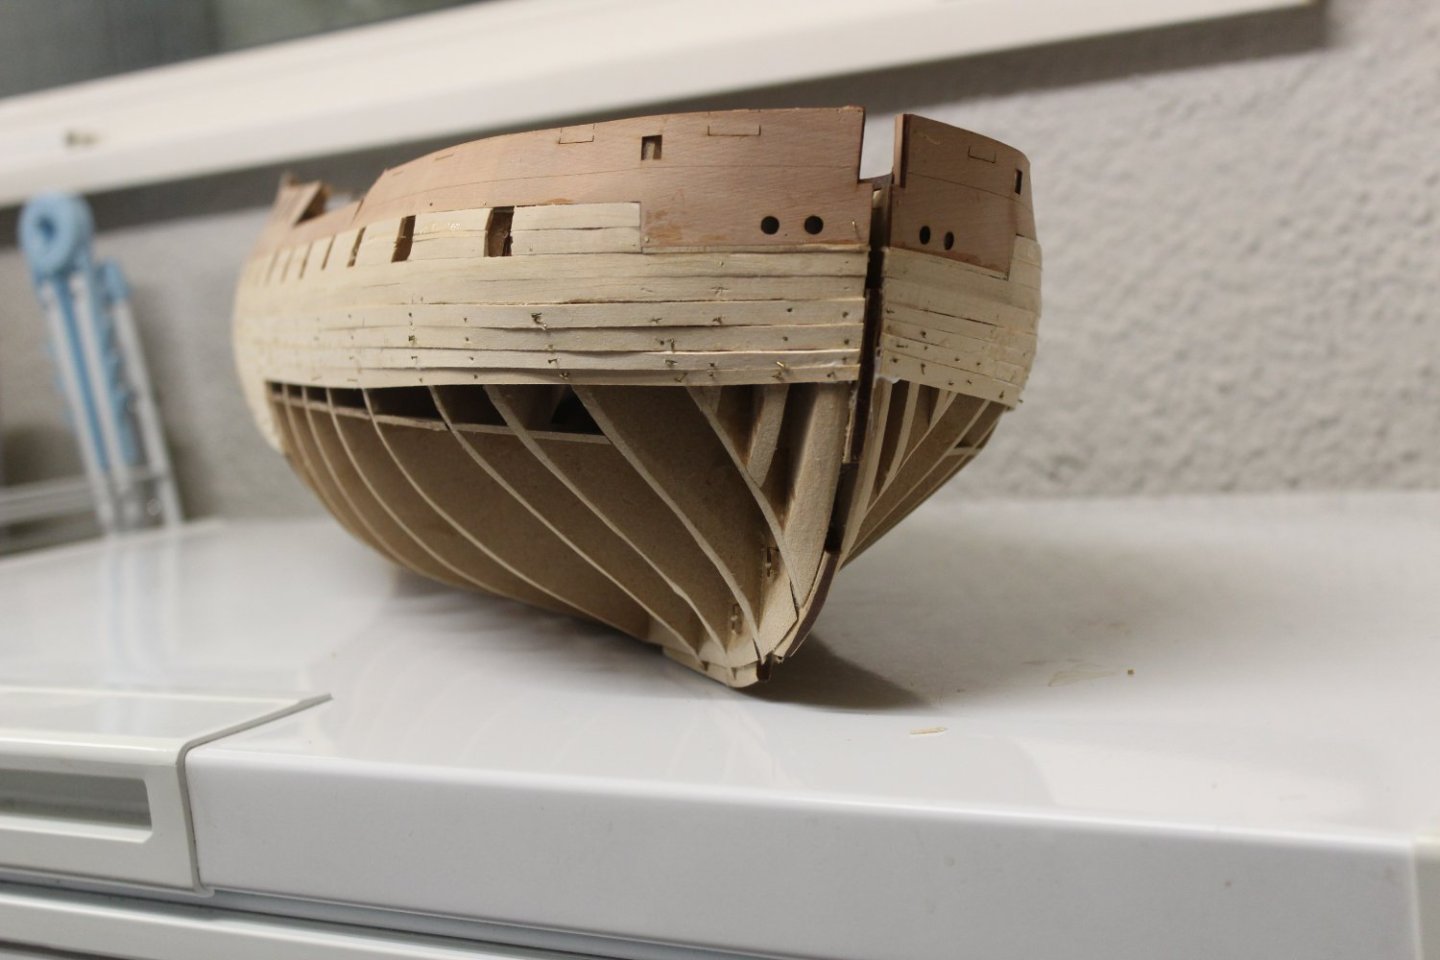
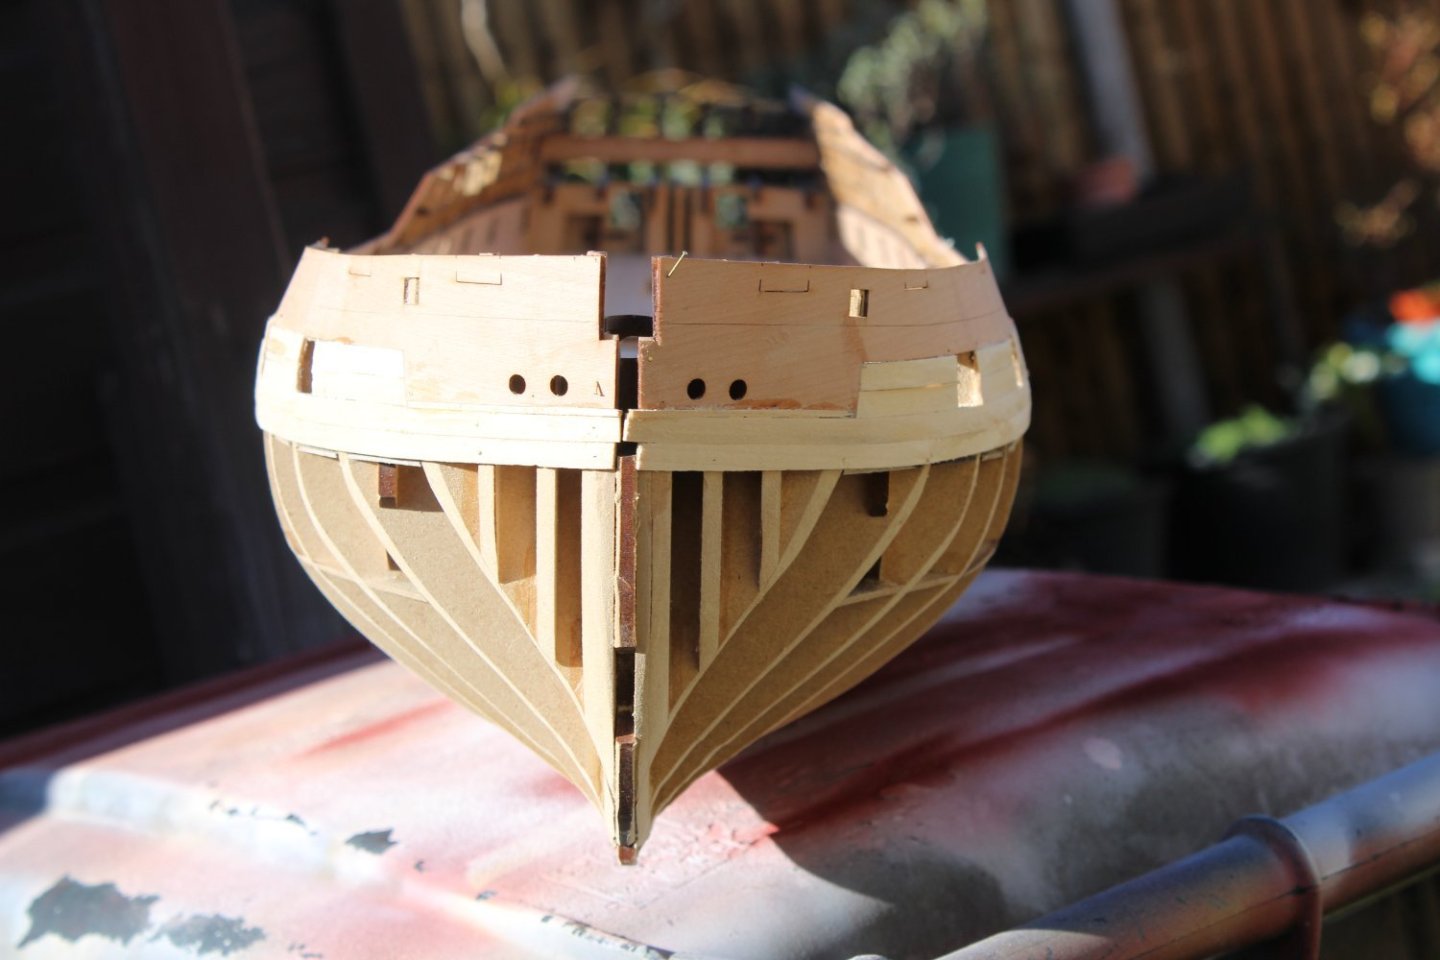
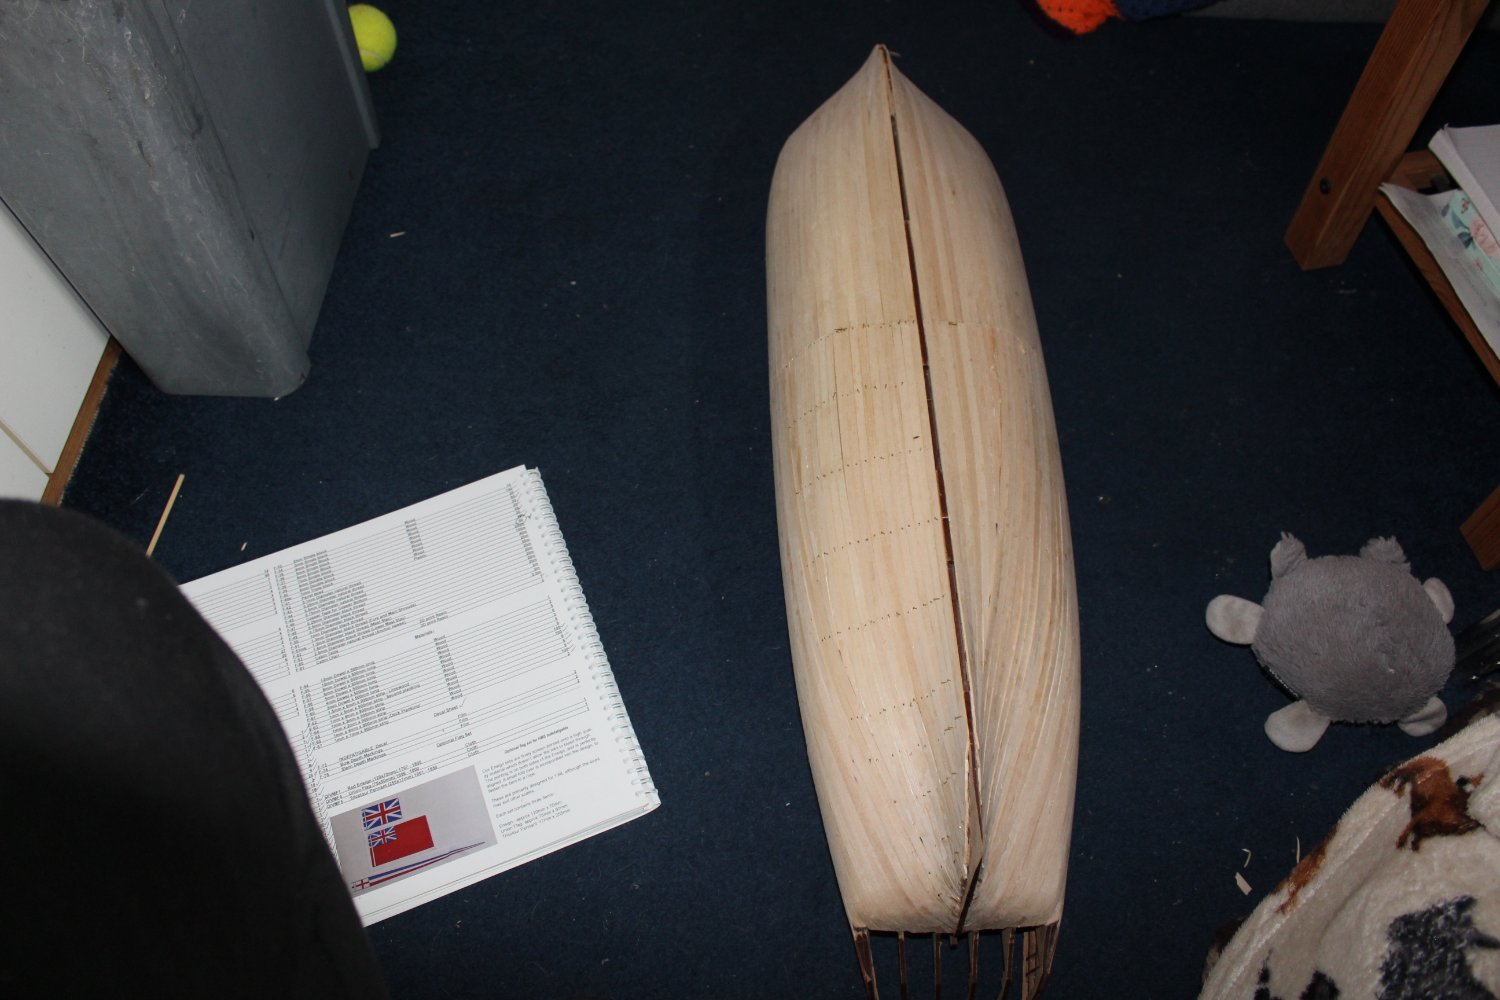
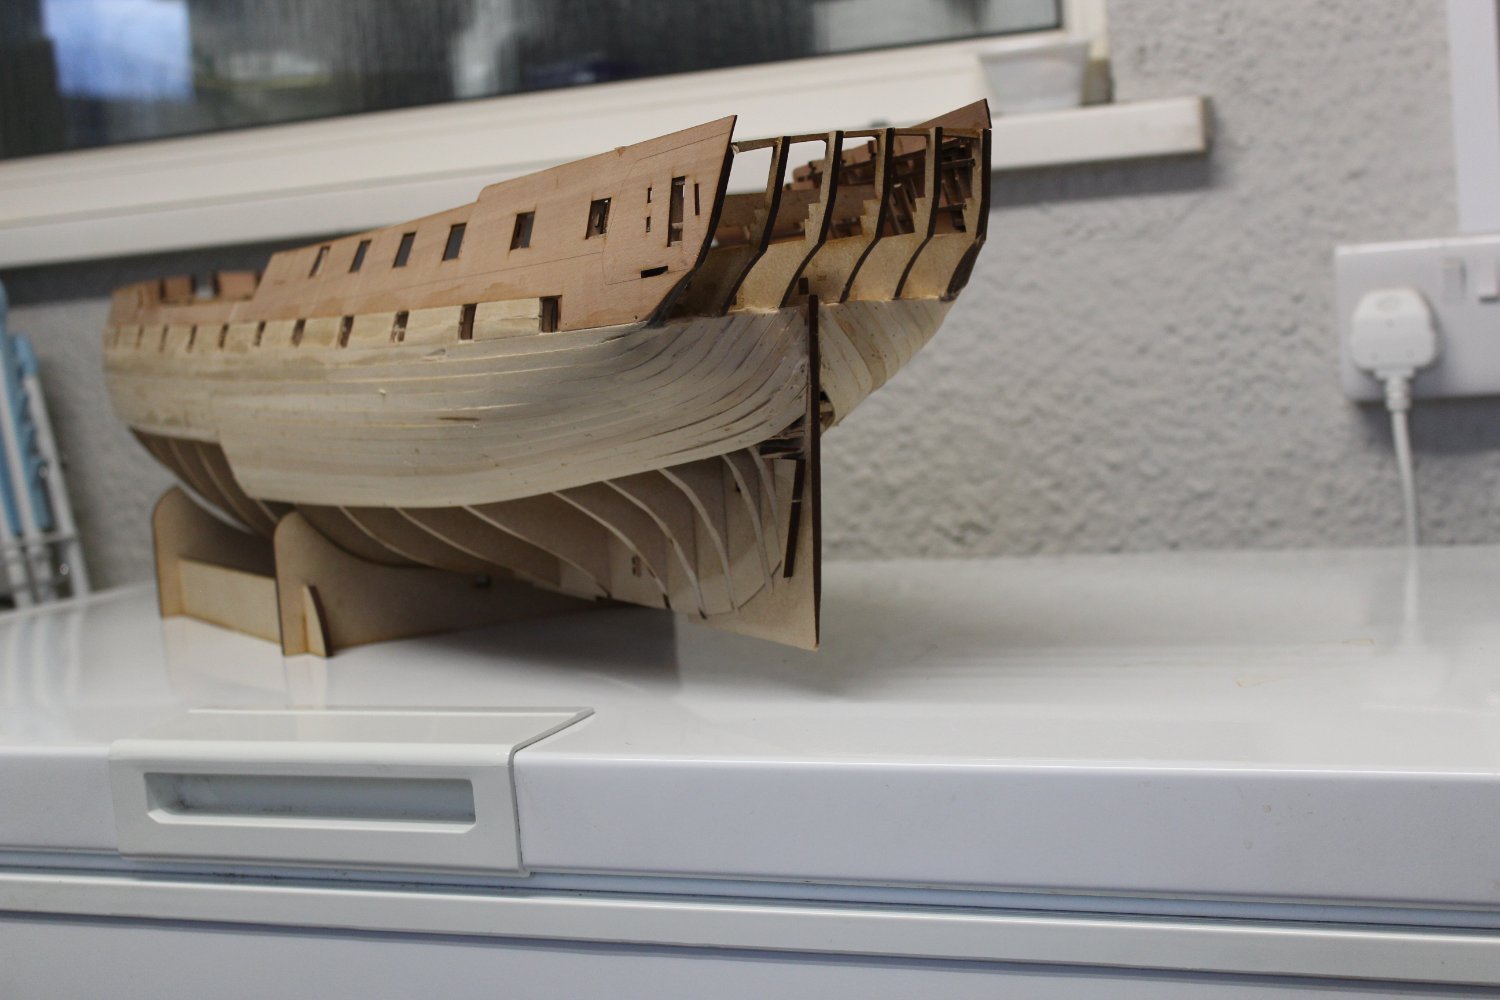
good evening everyone
first of all thankyou for the comments wrt the the boi, he attended the vets today, and was put under, whilst they did xrays on his teeth and biopsies on his gums, on inspection they do not believe it to be anything nasty, but the results will be back in a week, no teeth were required to be removed,
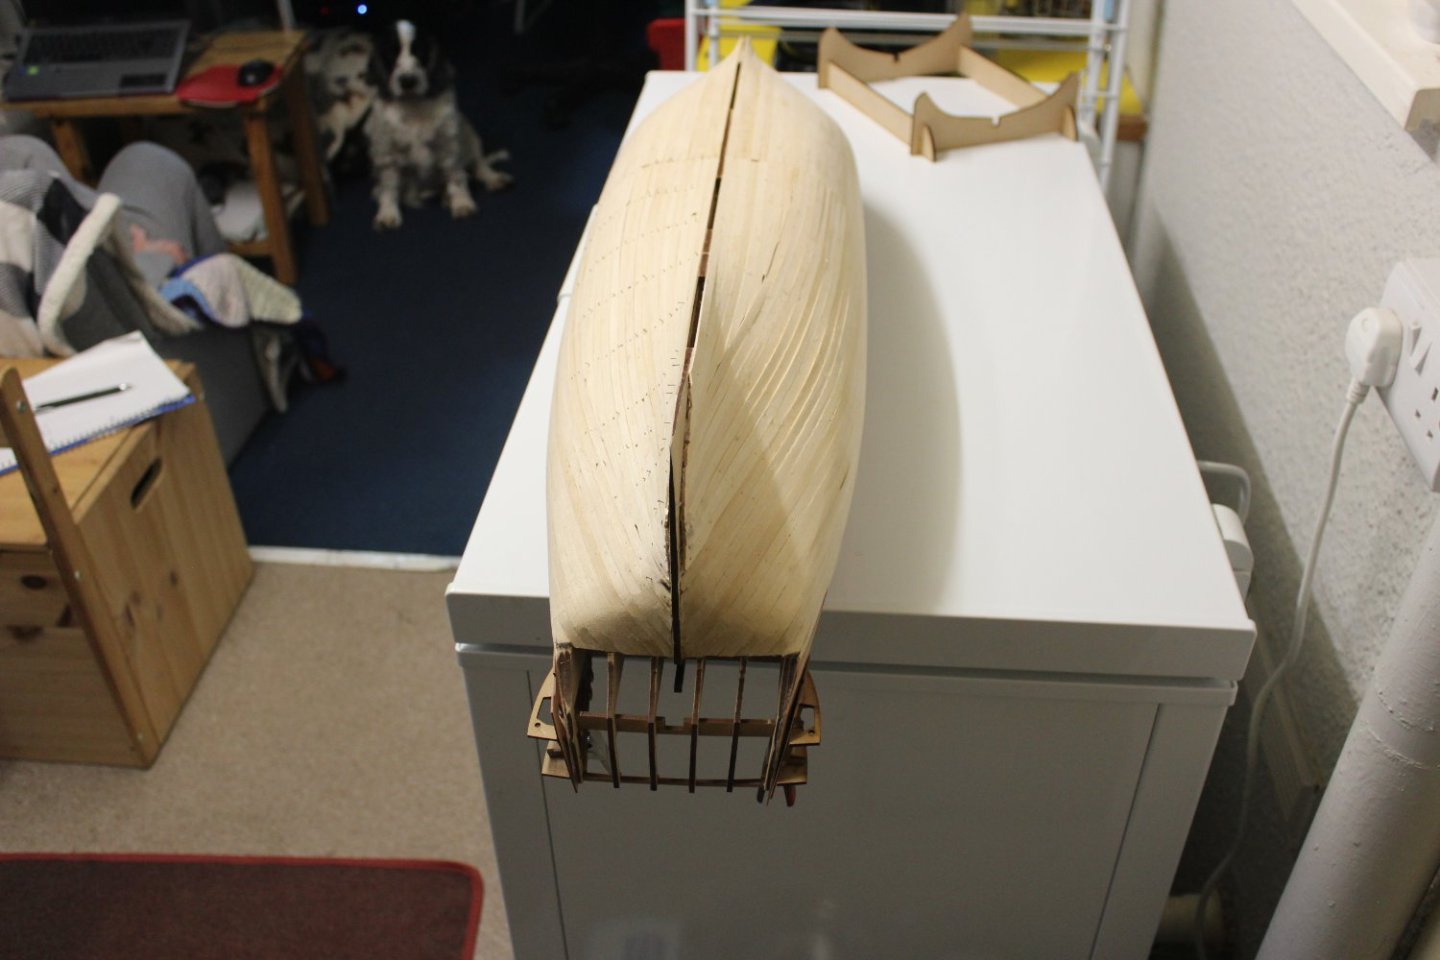
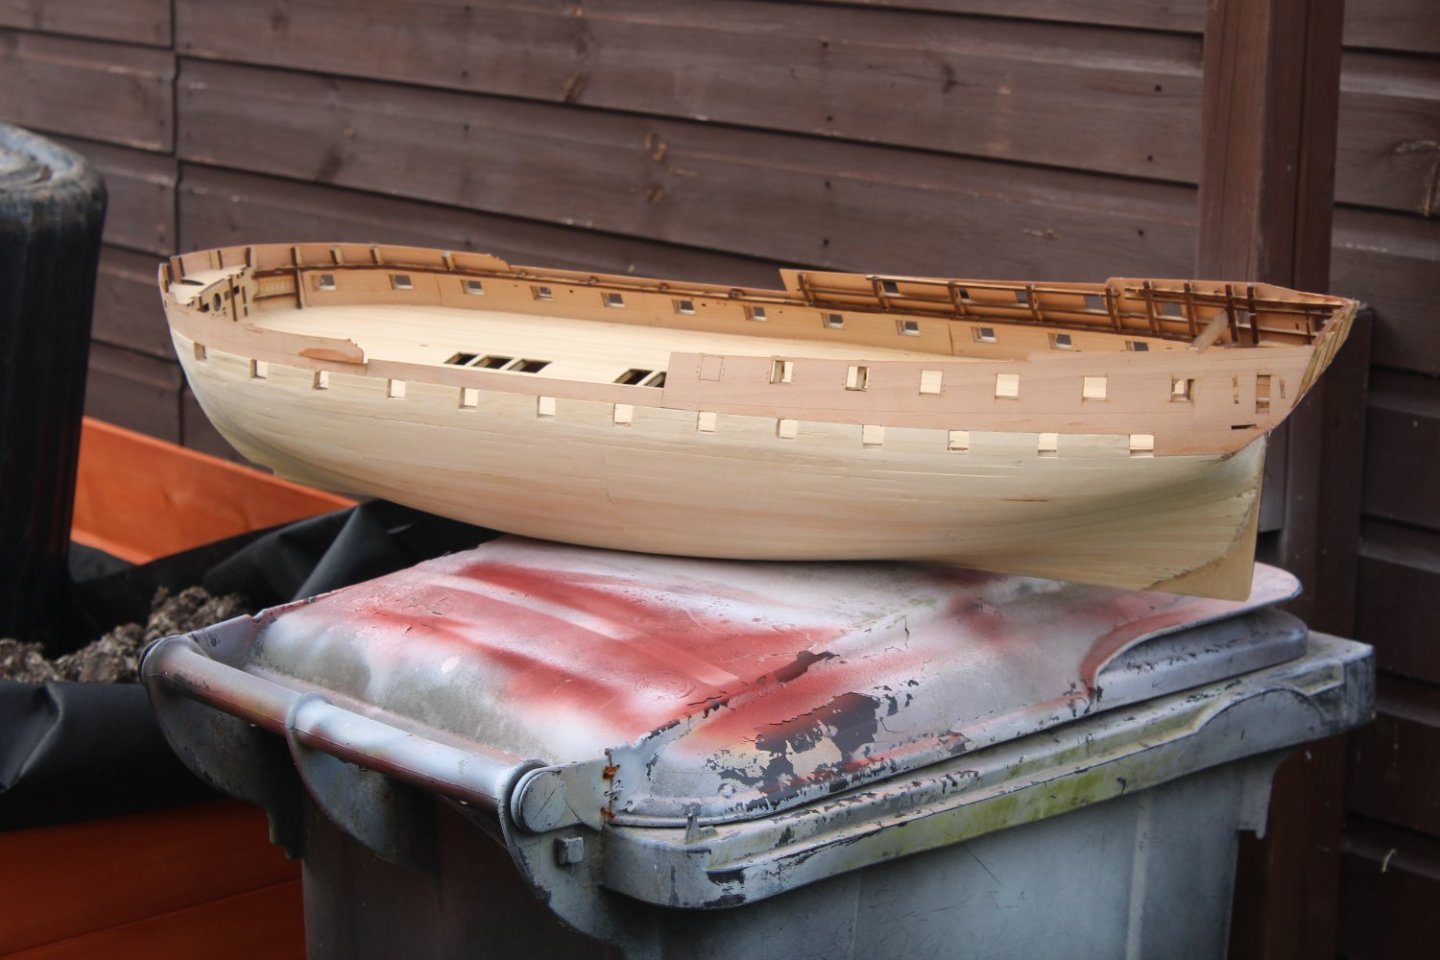
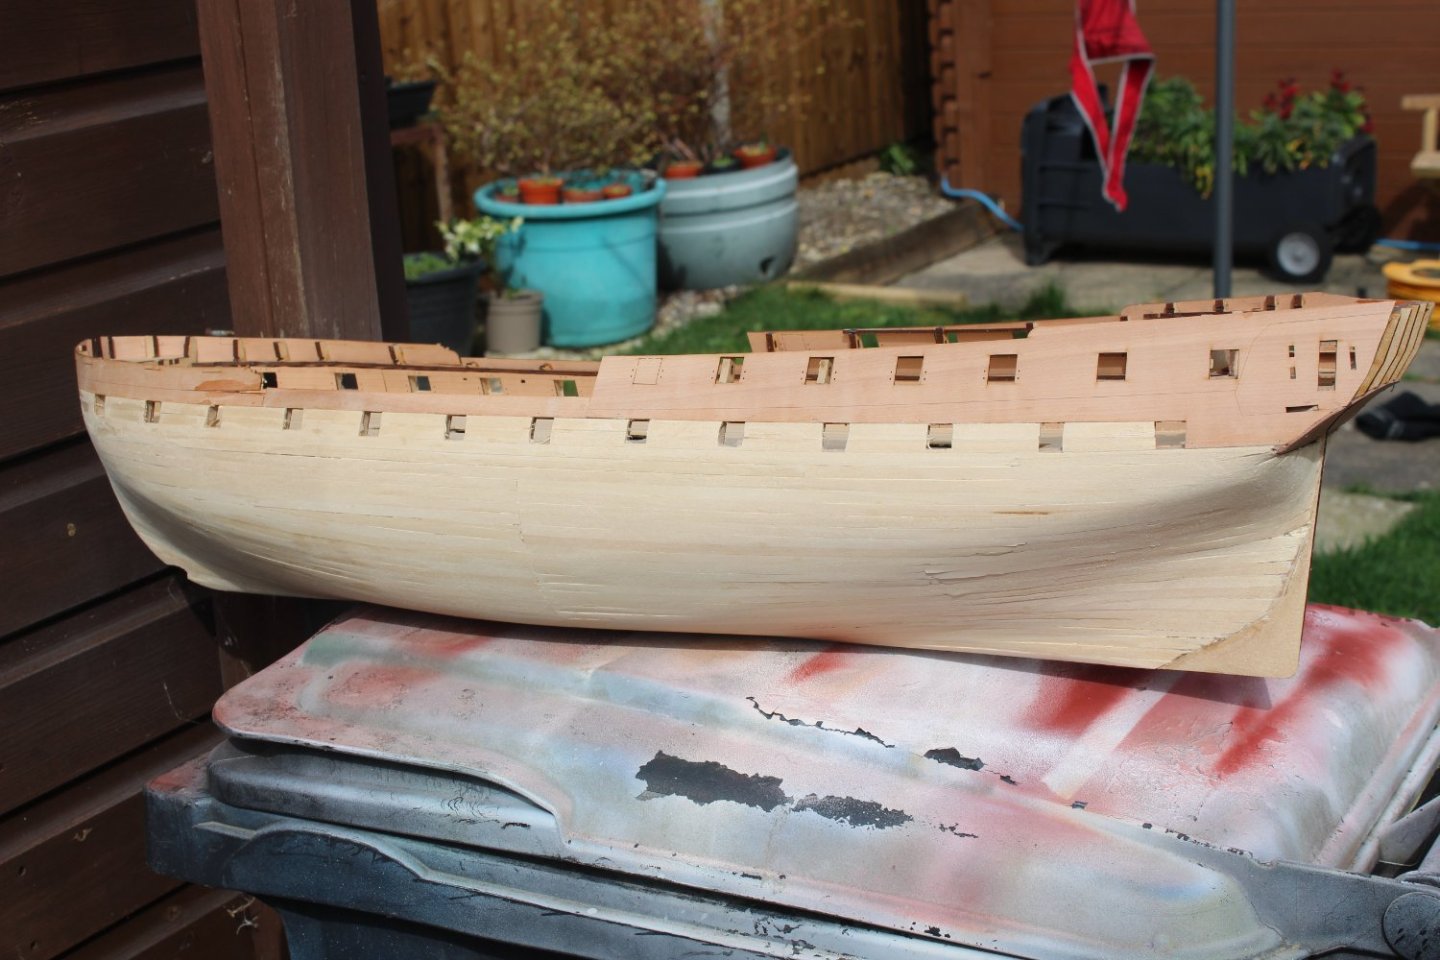
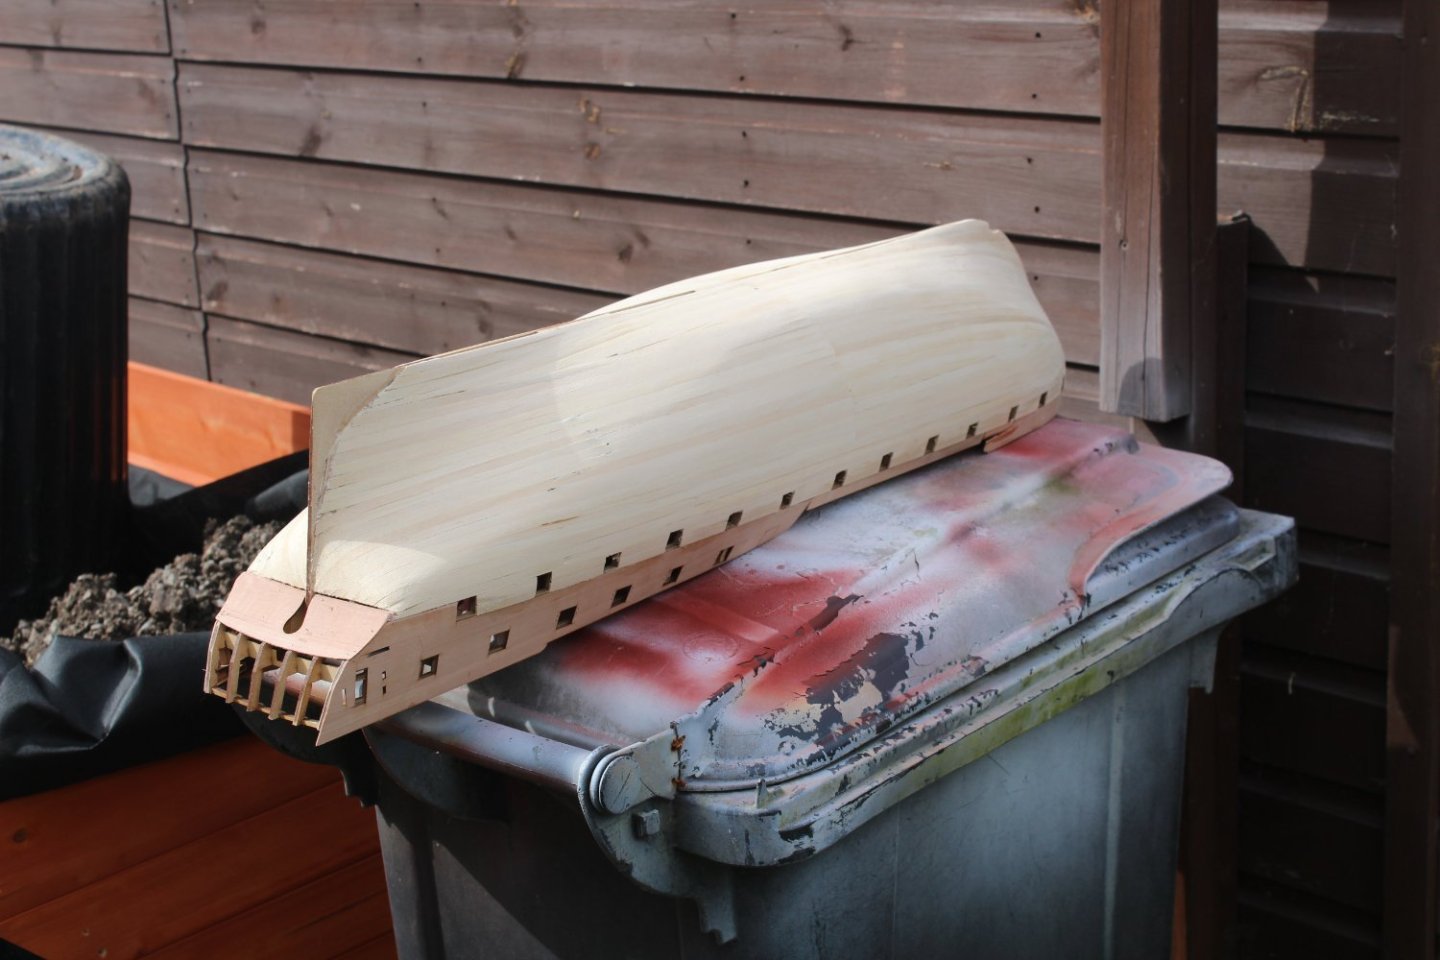
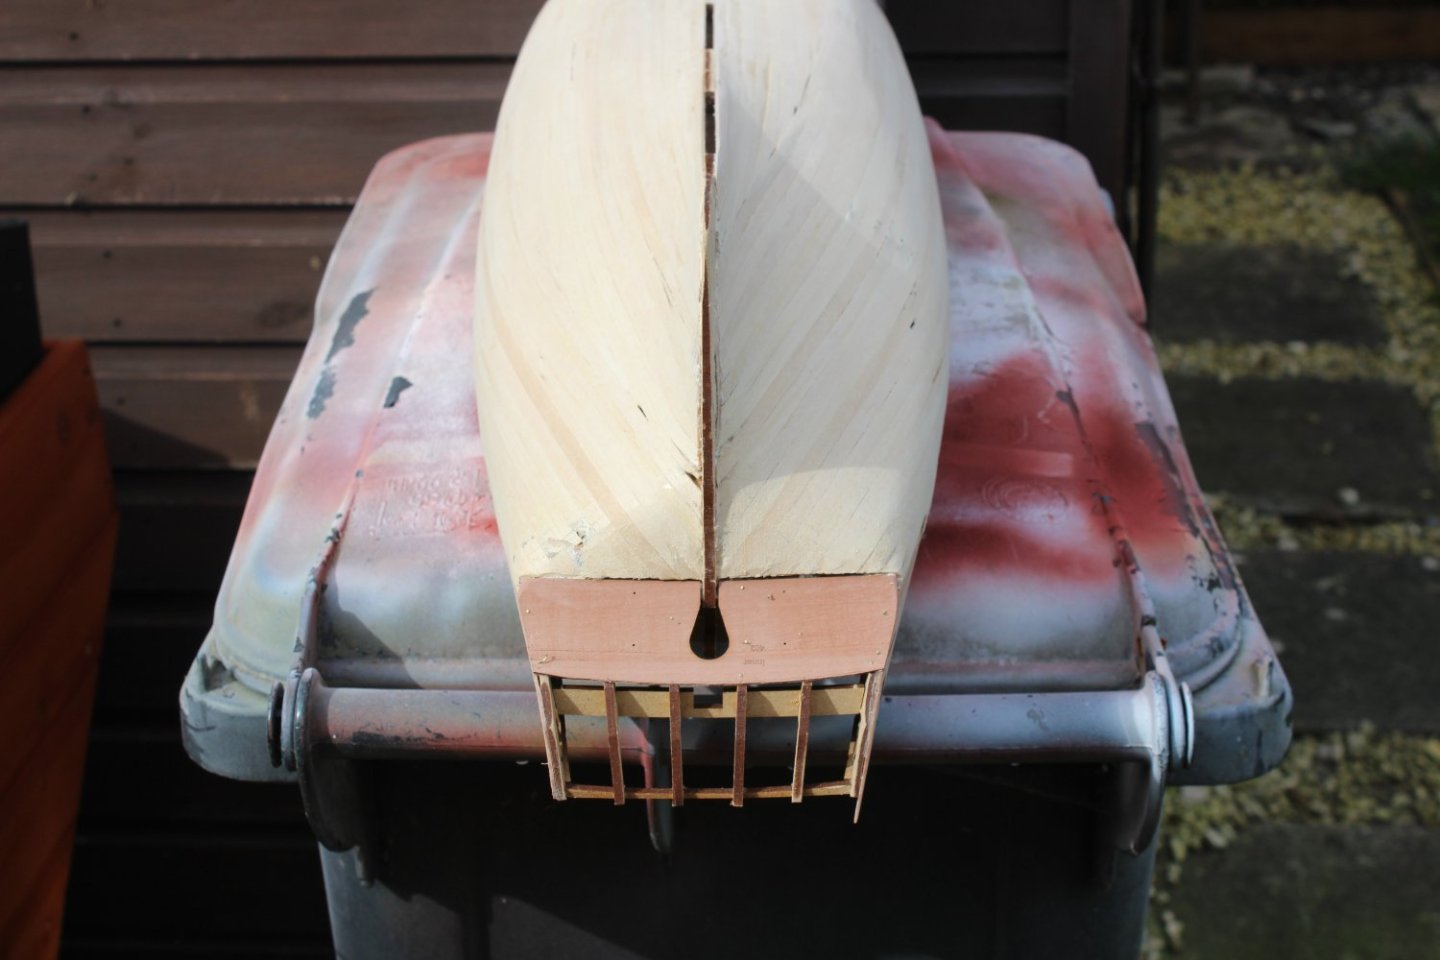
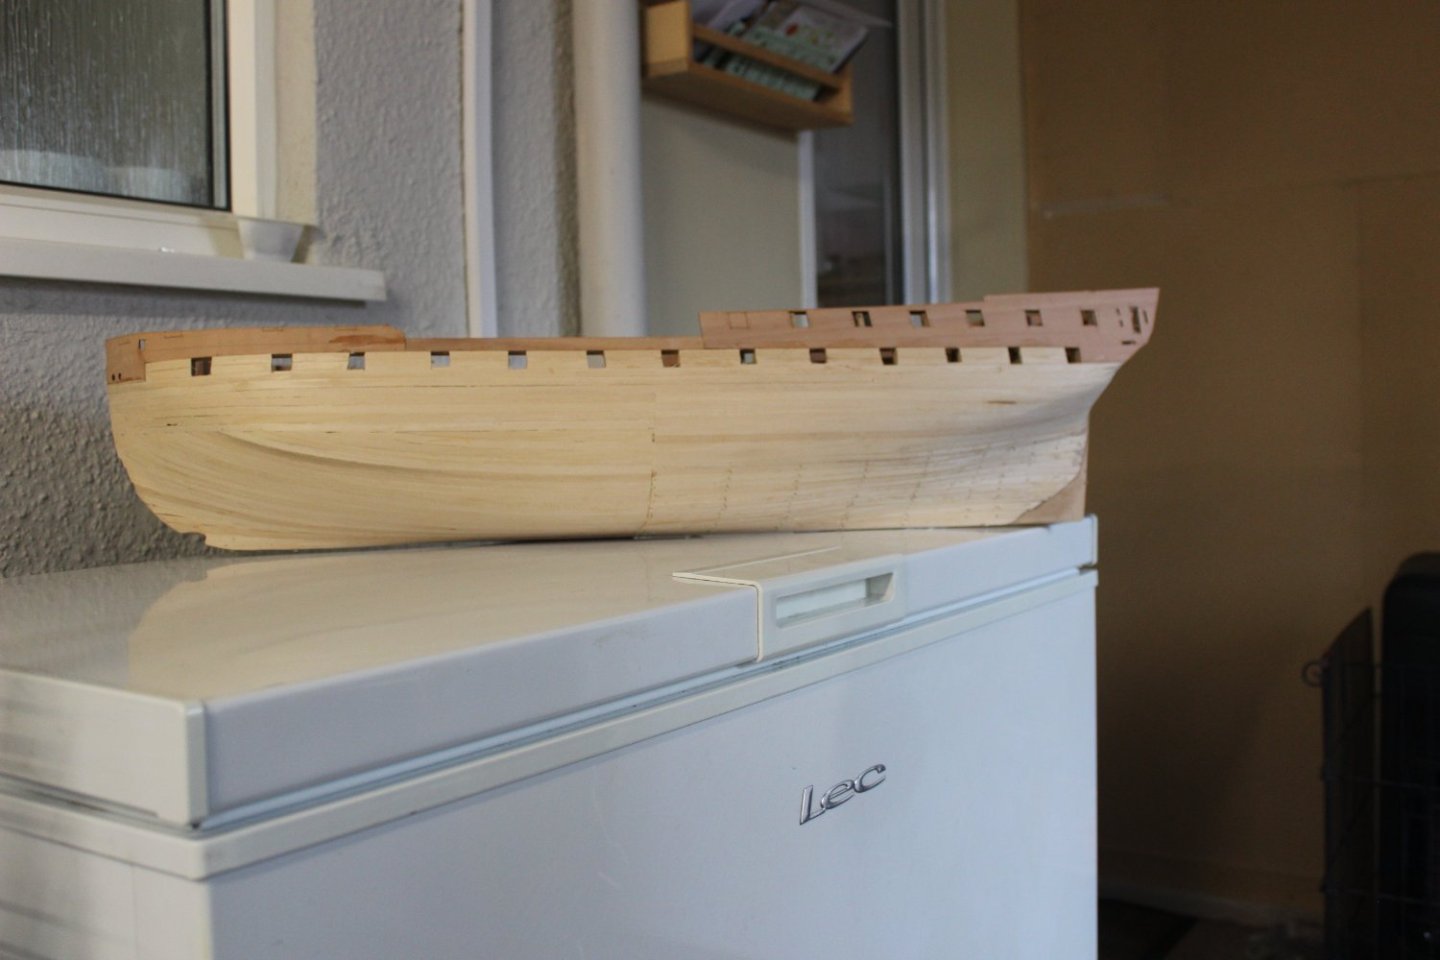
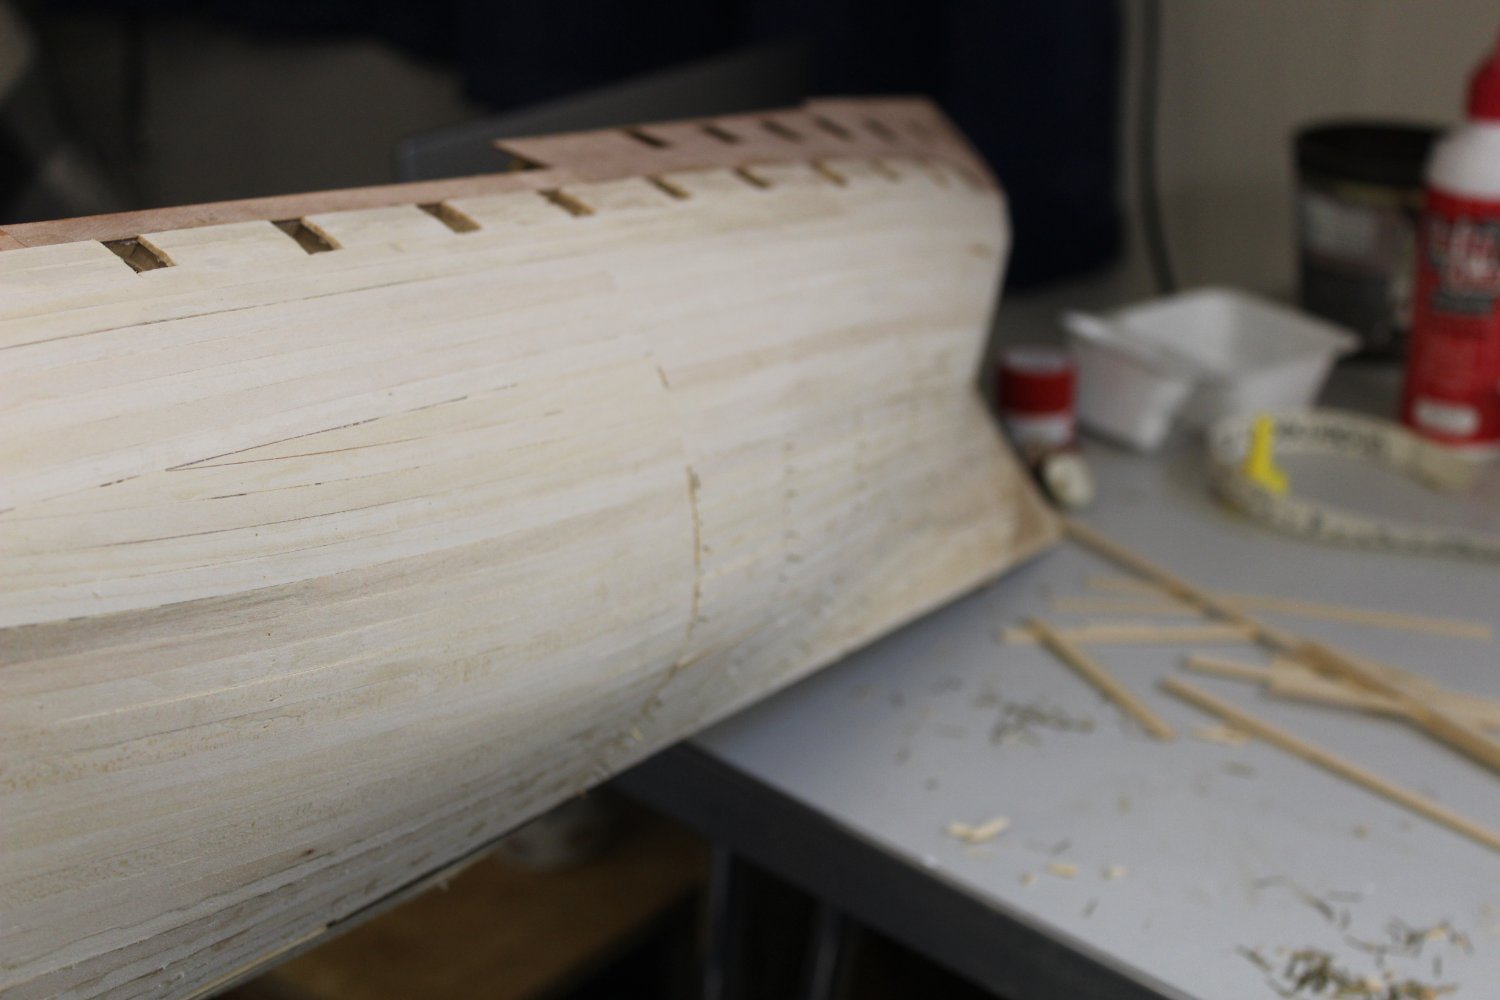
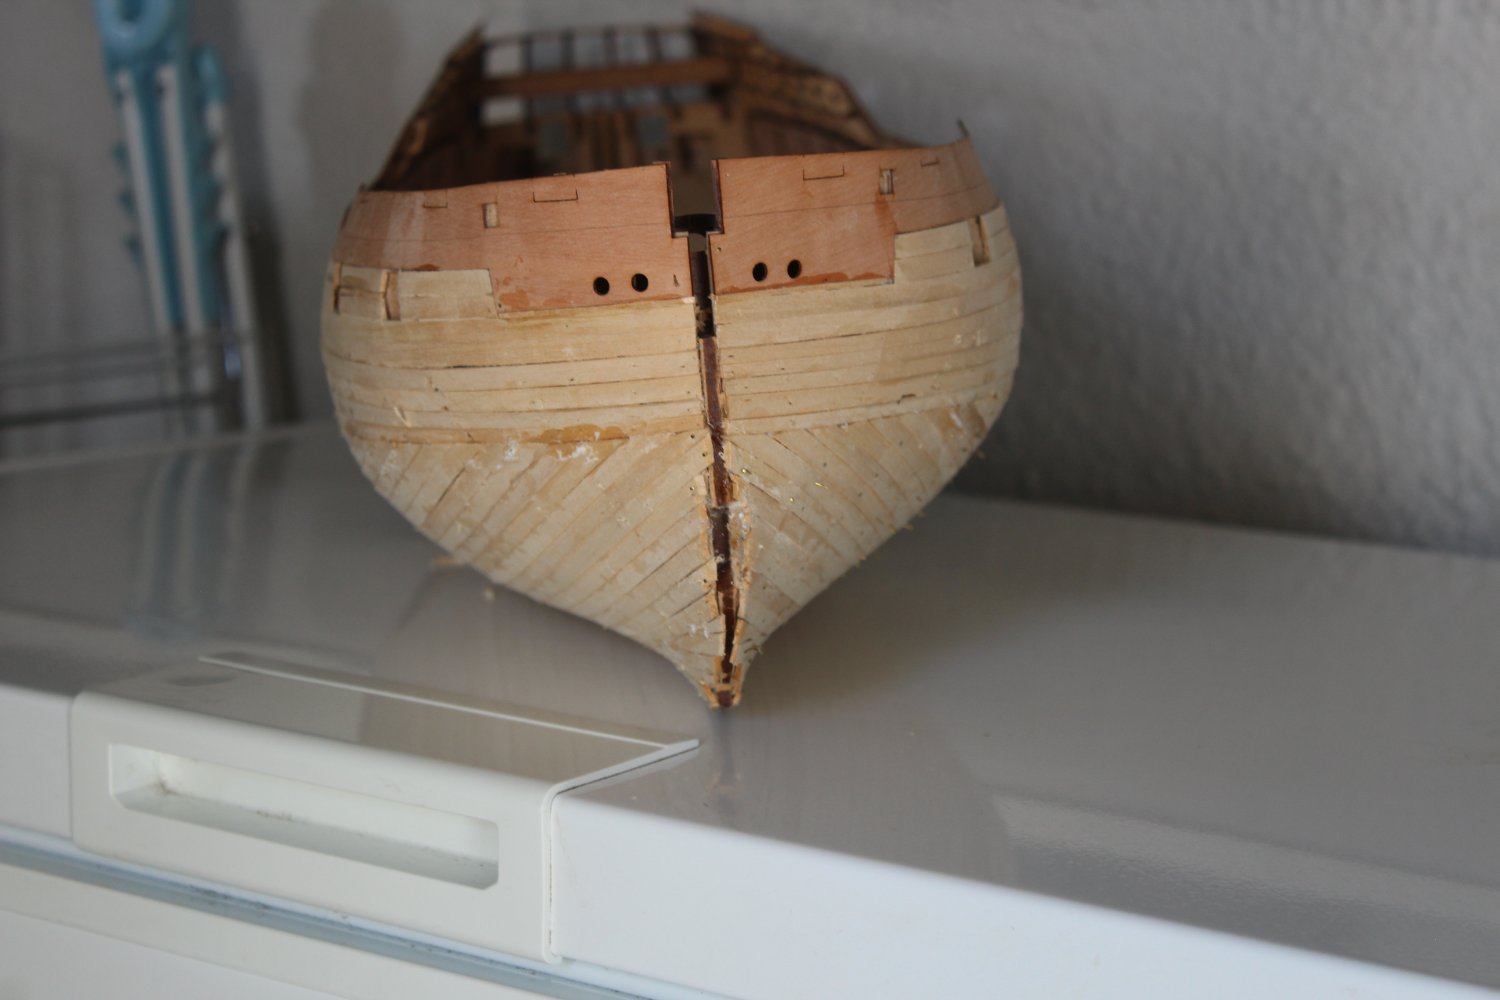
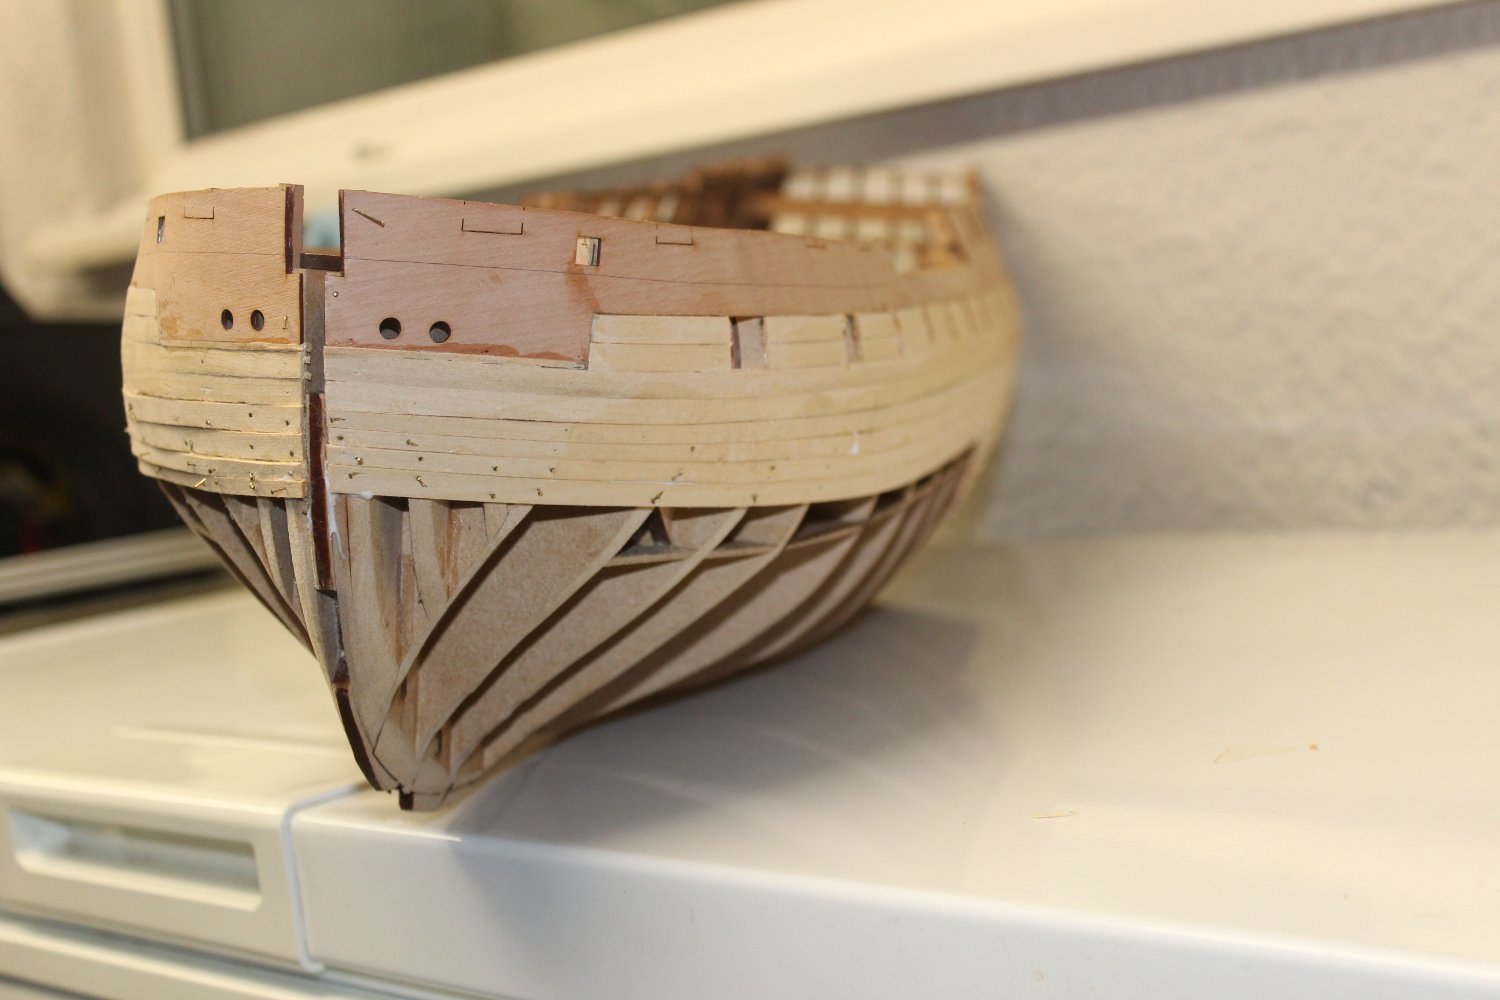
build day day 22 1st planking completed
a bit messy in places but it went without any real issues, tomorrow is set aside and get some sanding done


-
looking good, you will over take me soon
- mtaylor, Ryland Craze and Glenn-UK
-
2
-
 1
1
-
35 minutes ago, Blue Ensign said:
Fingers crossed for a quick recovery for your boy, the hours surely do drag when they're at the Vets for a procedure.
Some progress that Kevin, I'm still on page one of your log.
B.E.
just enjoy it BE, i dont work, i put in as much or as little time on the build as i want, plus playing Hogwarts Legacy on the PC
- Obormotov, mtaylor and Old Collingwood
-
3
-
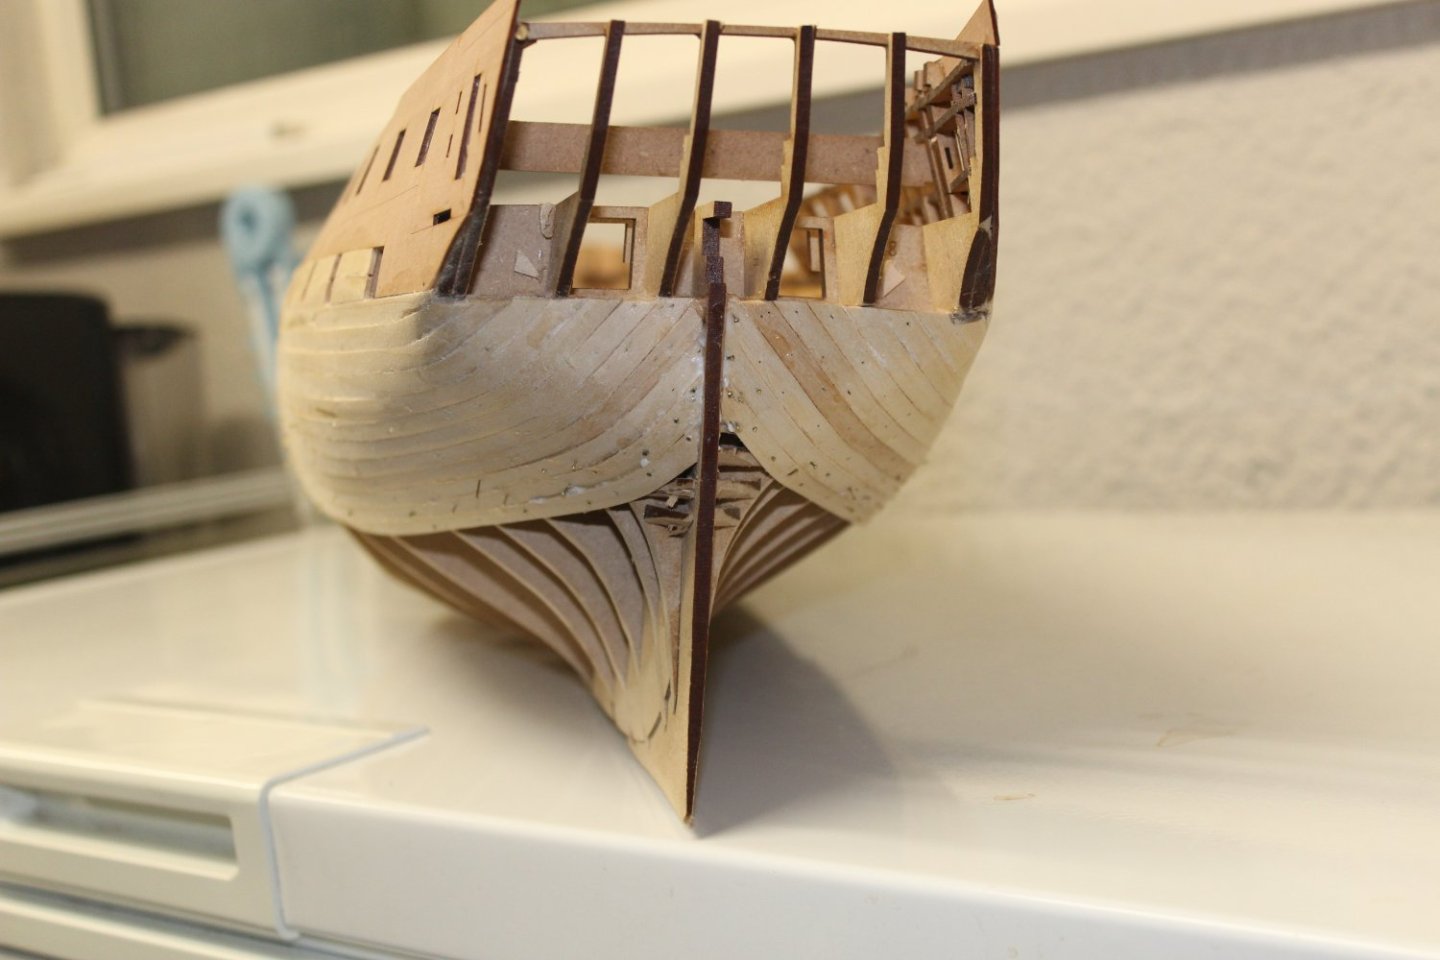
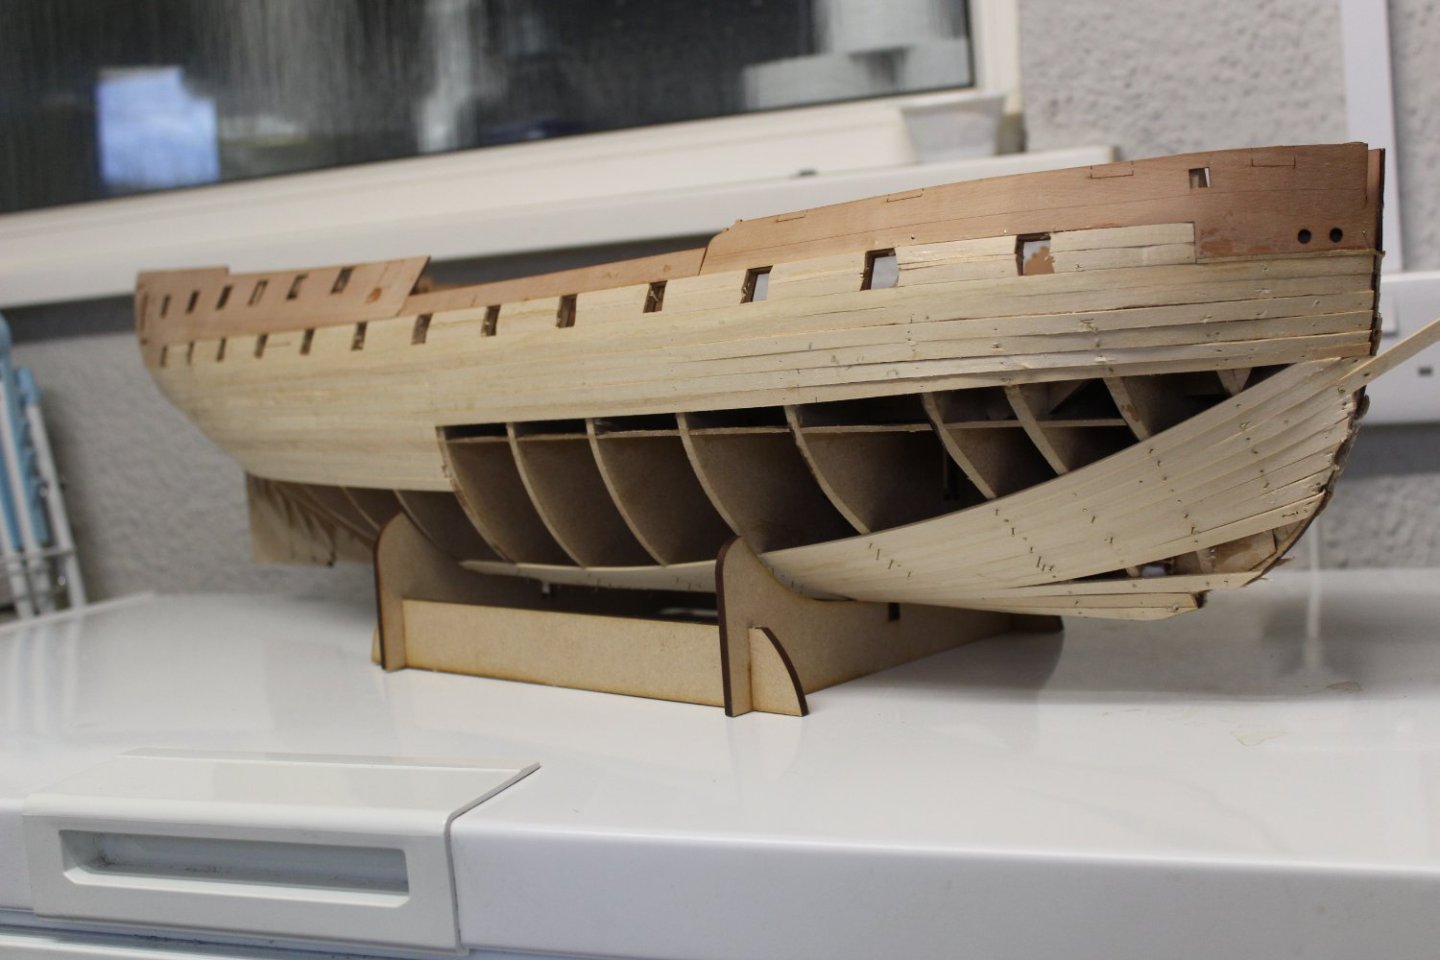
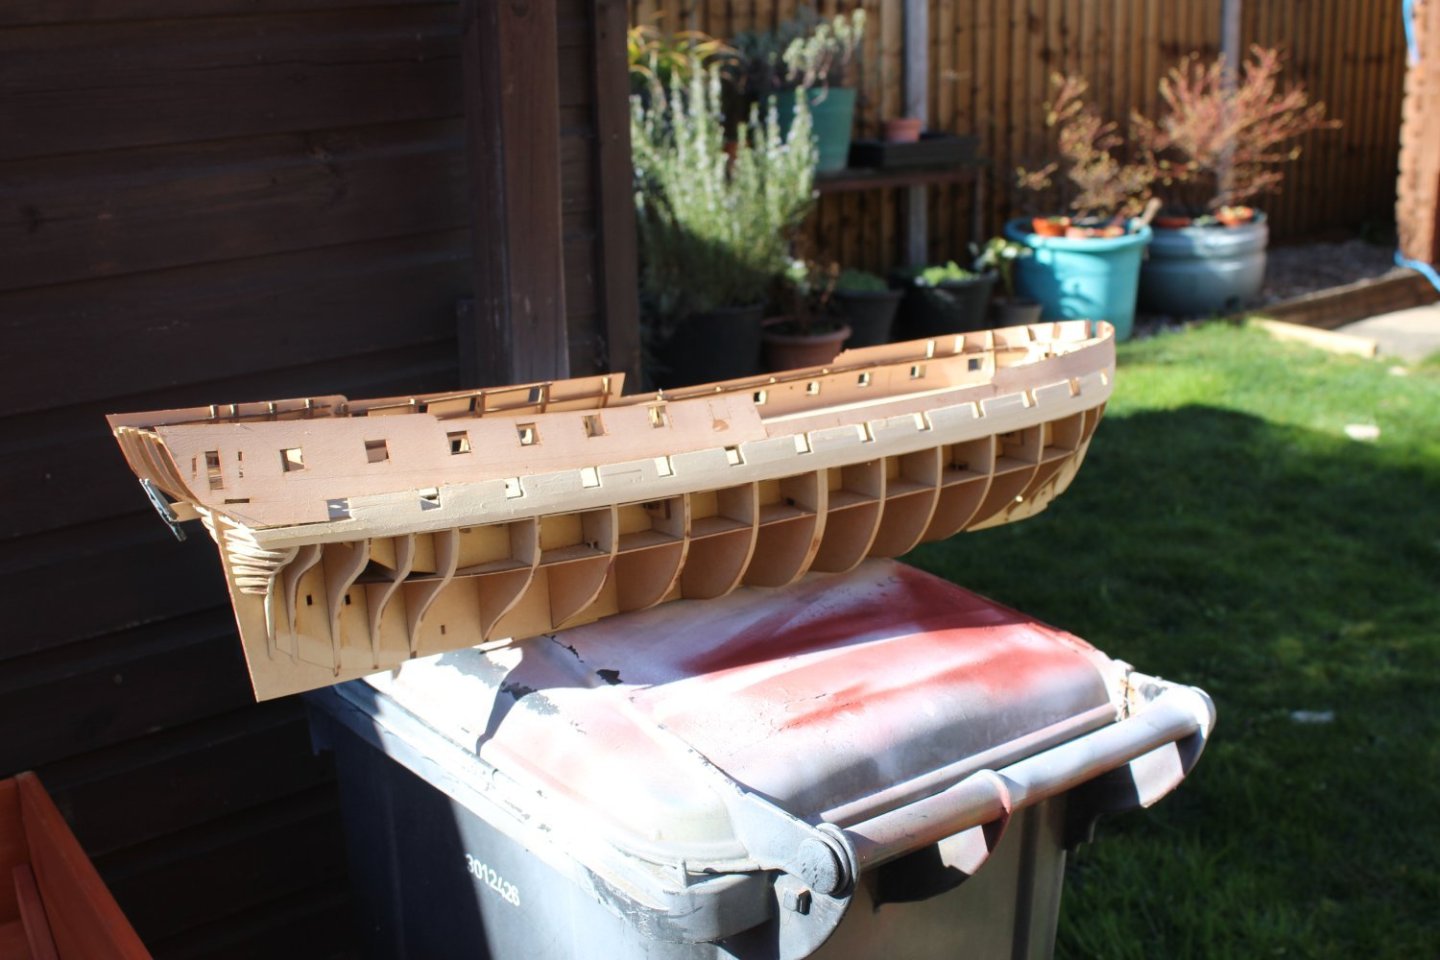
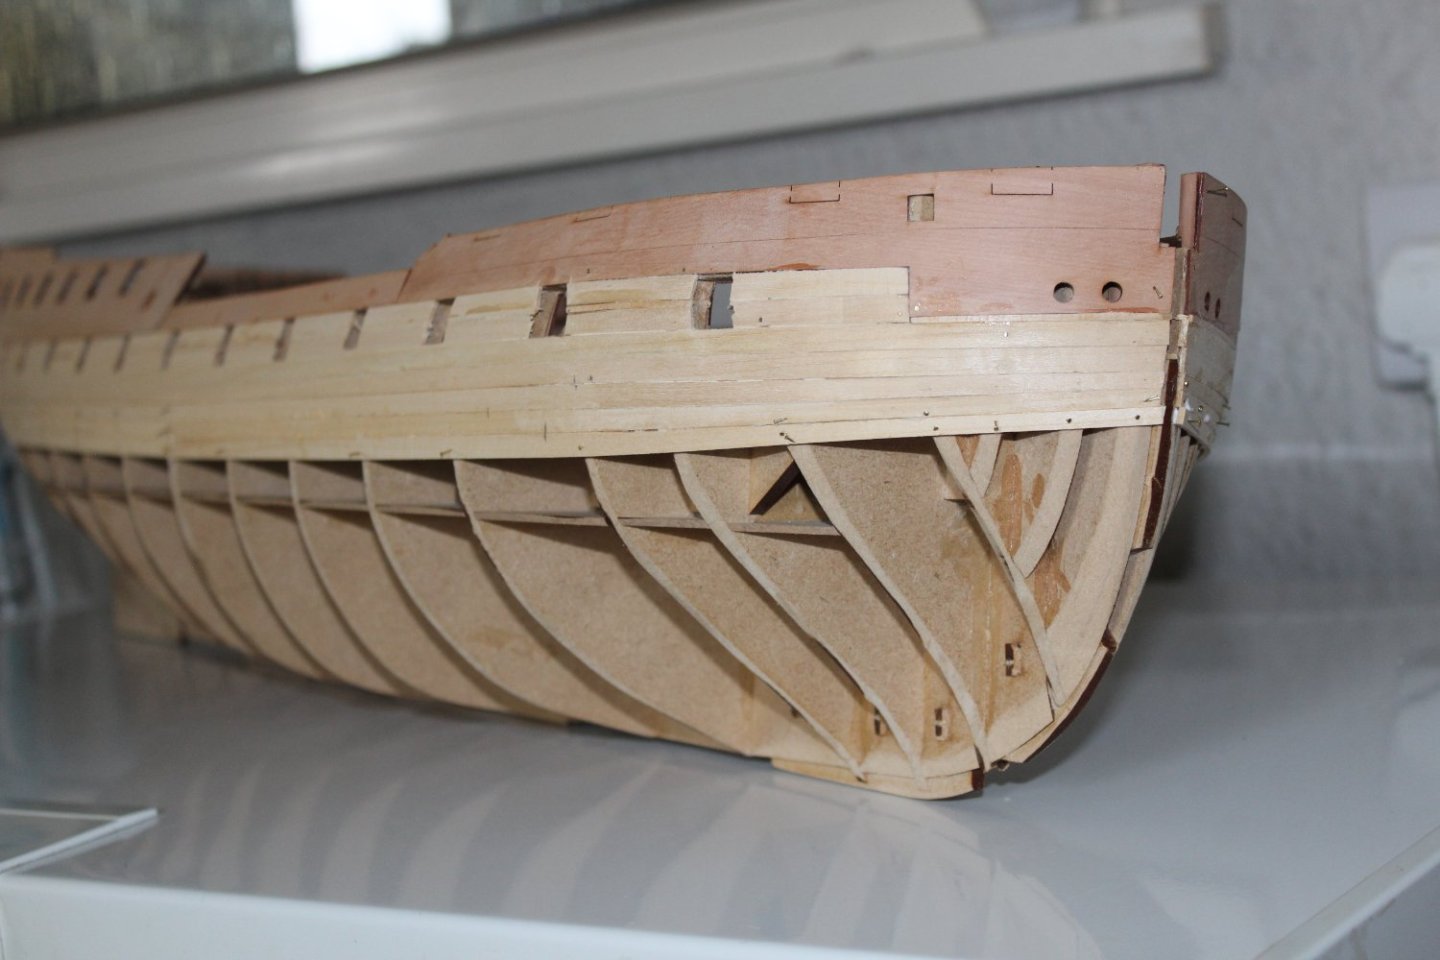
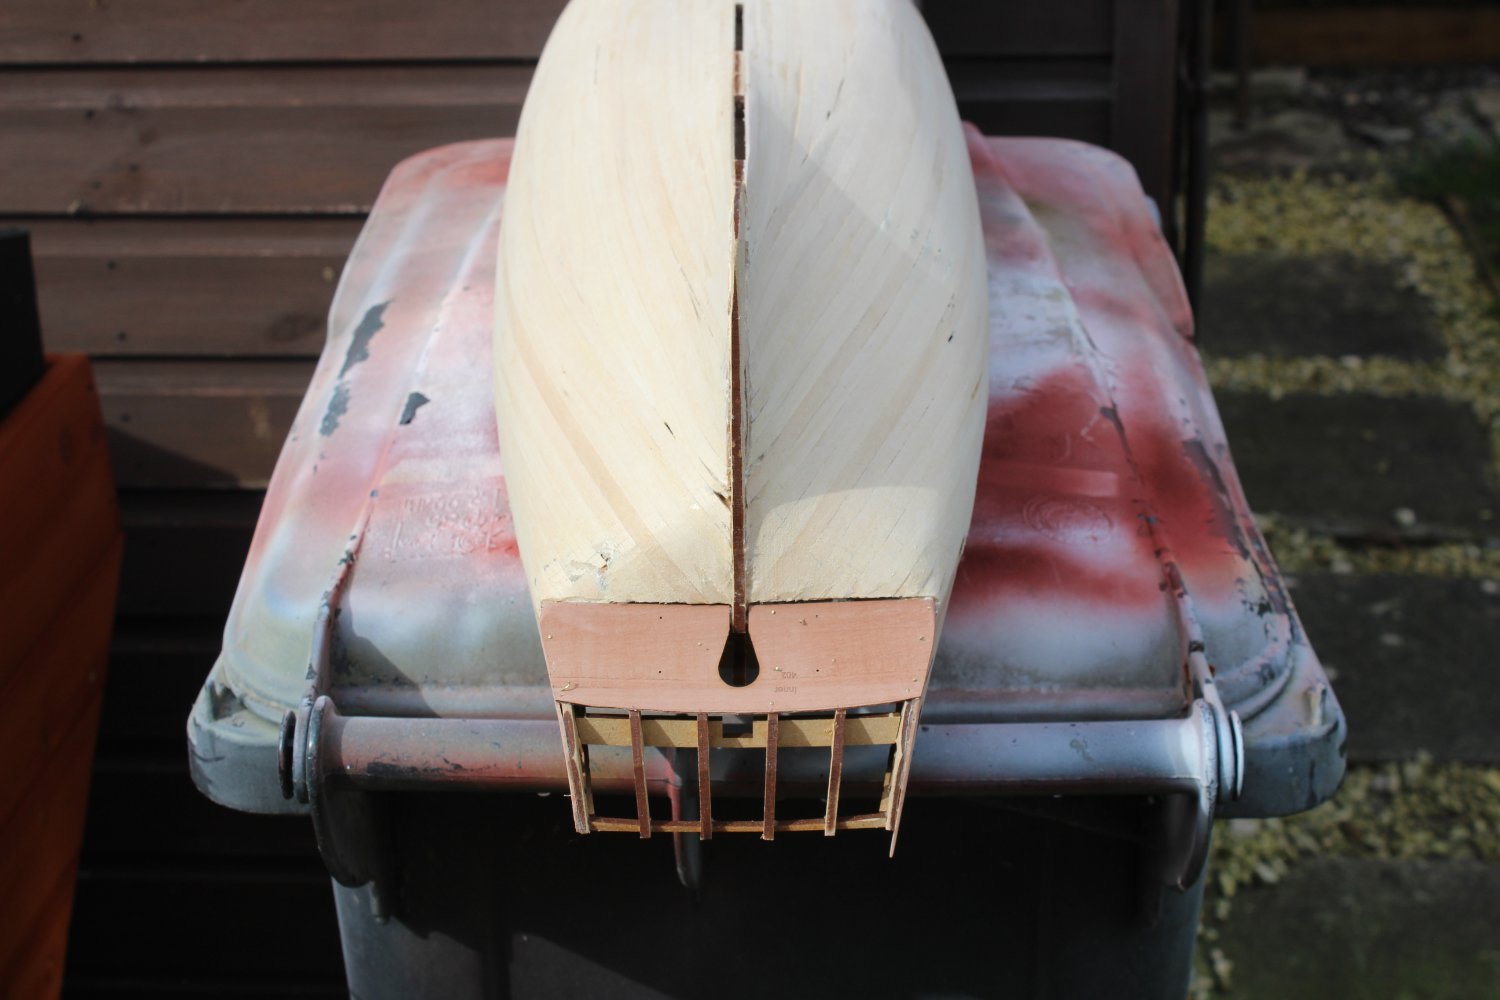
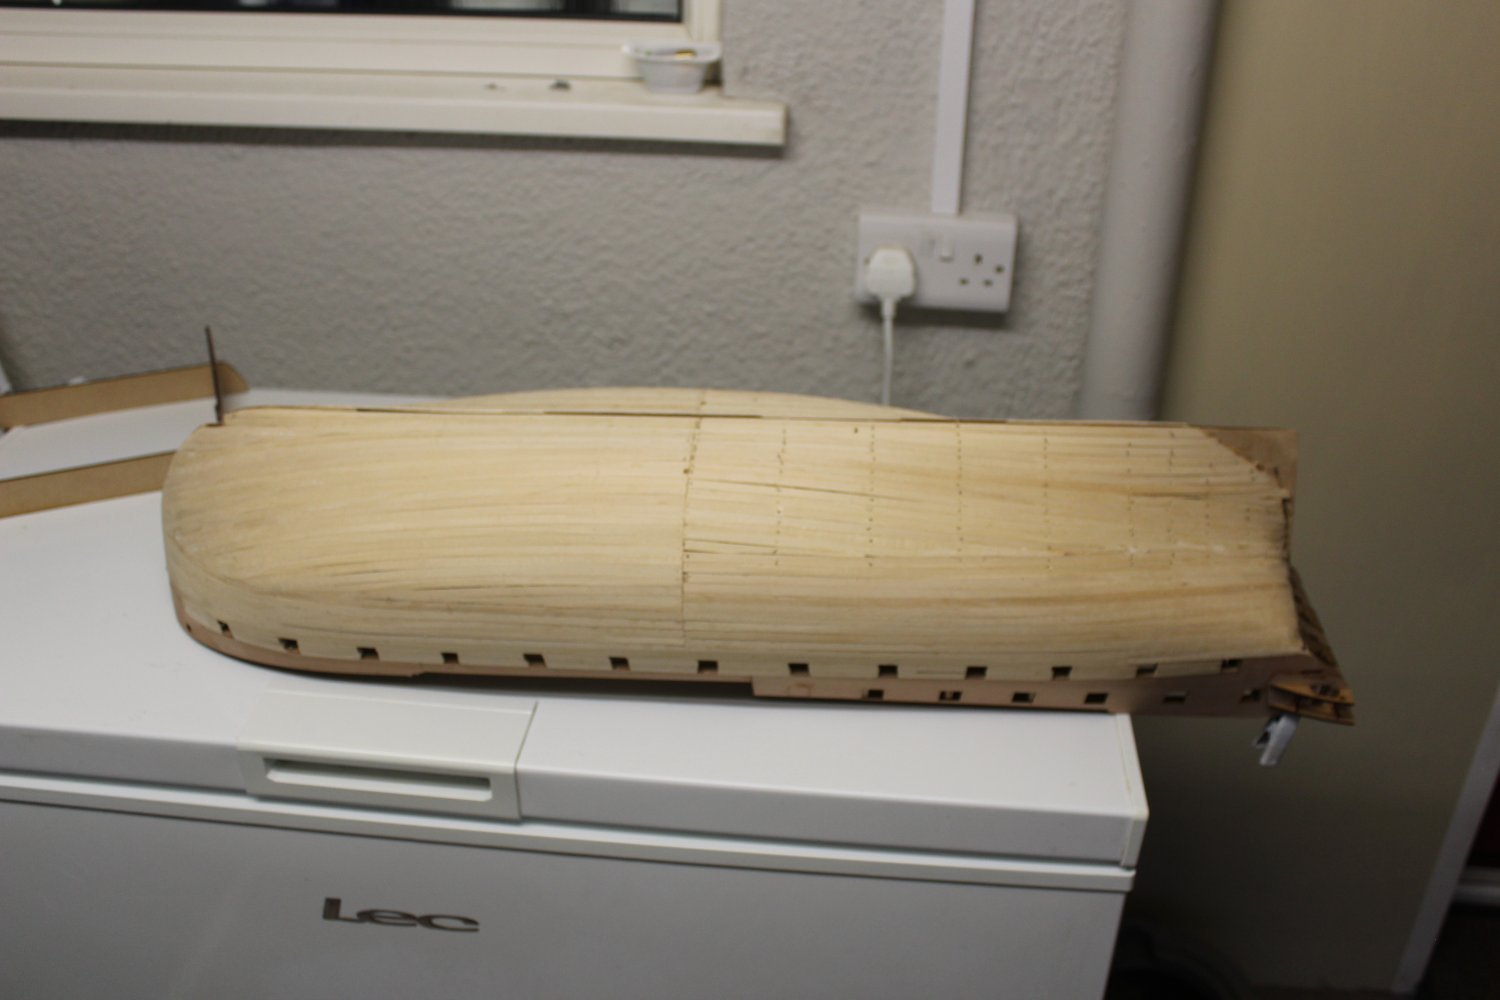
good evening everyone,
thank you for comments and likes
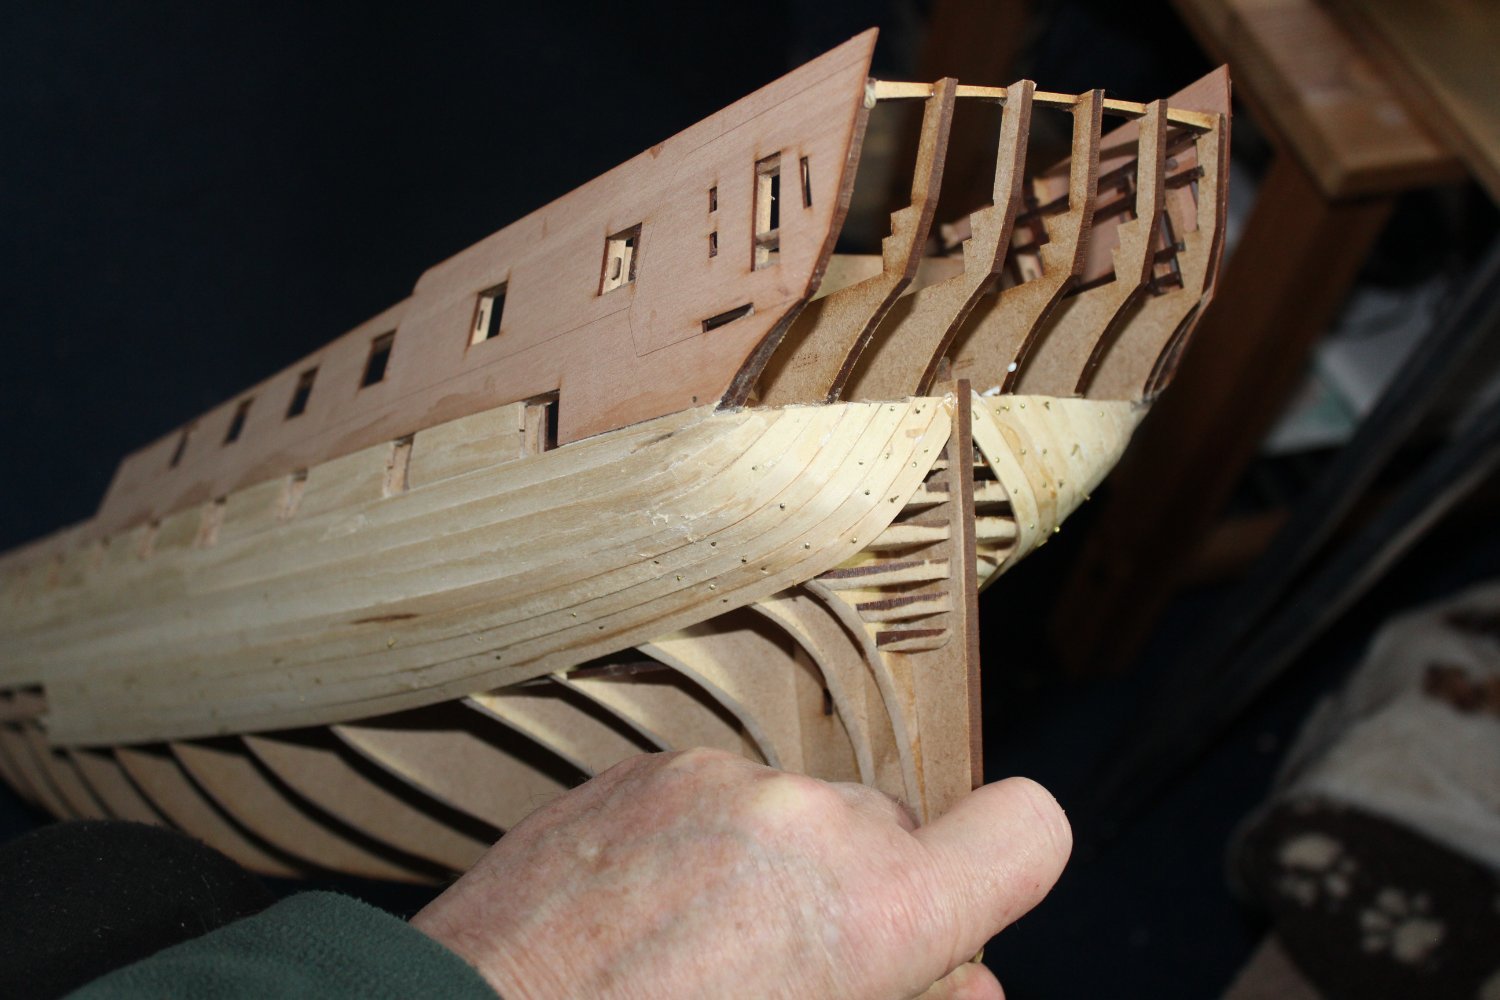
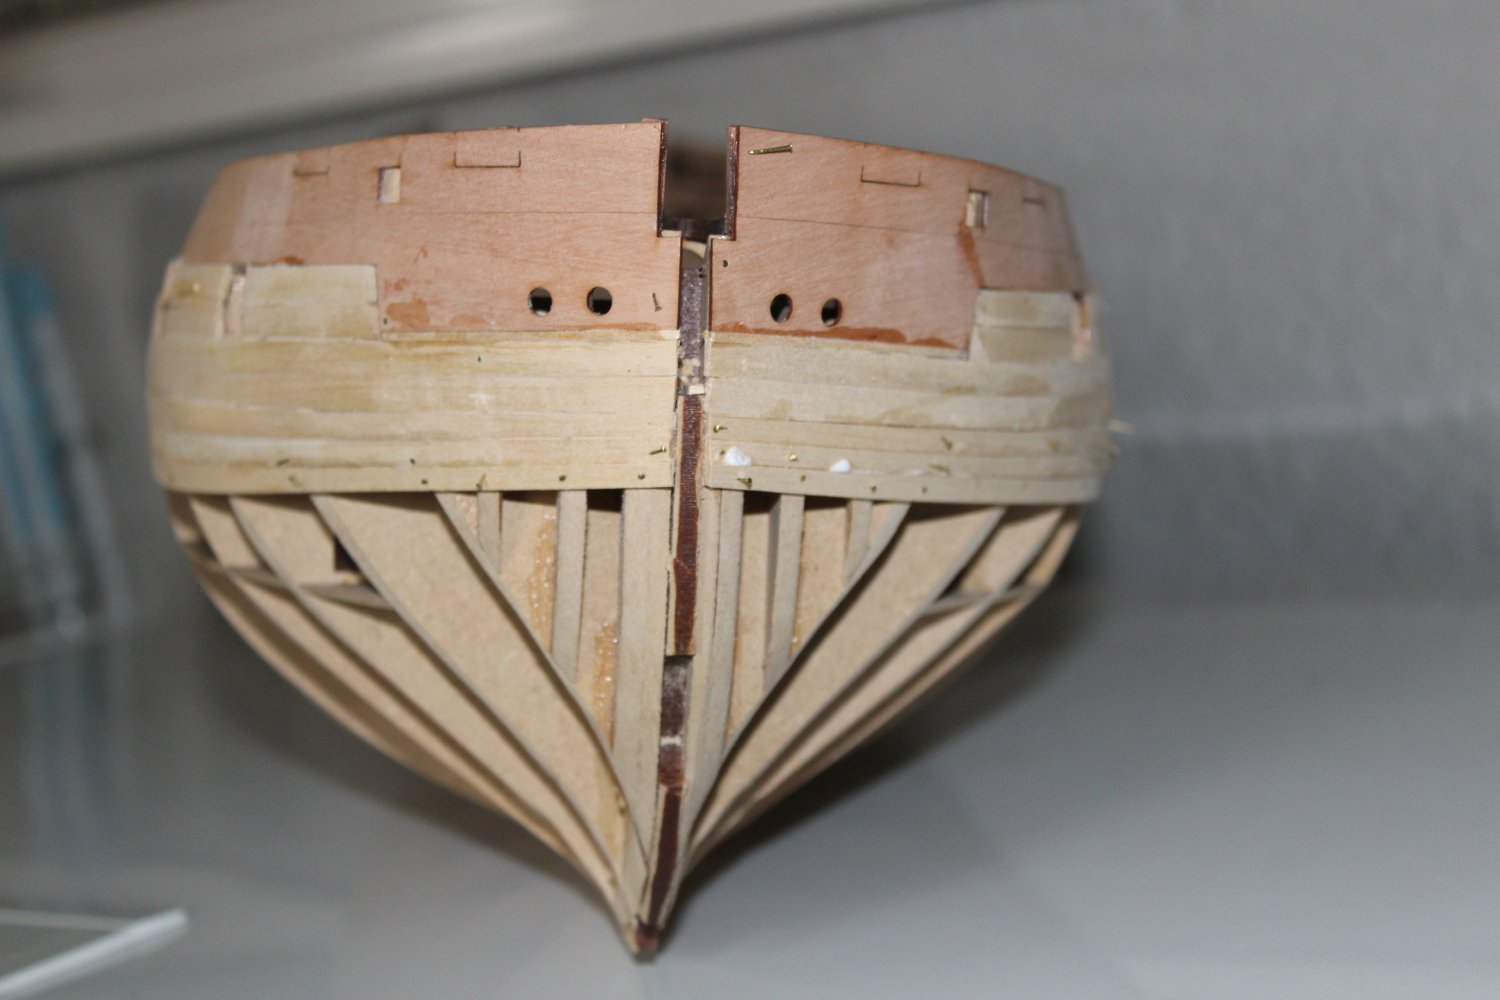
day 21 1st planking port side complete
i needed to fair the parts 29 on the stern post, so i then continued with a rough grit sanding pad and gave the hull a once over, i was real happy with how it turned out, no where ready for the top coat though
i am about an hours work from completing the stbd side, will try and finish that tomorrow, but the boi is in for an operation at the vets, so i might be to stressy for that


- Blue Ensign, KARAVOKIRIS, mtaylor and 20 others
-
19
-
 3
3
-
 1
1
-
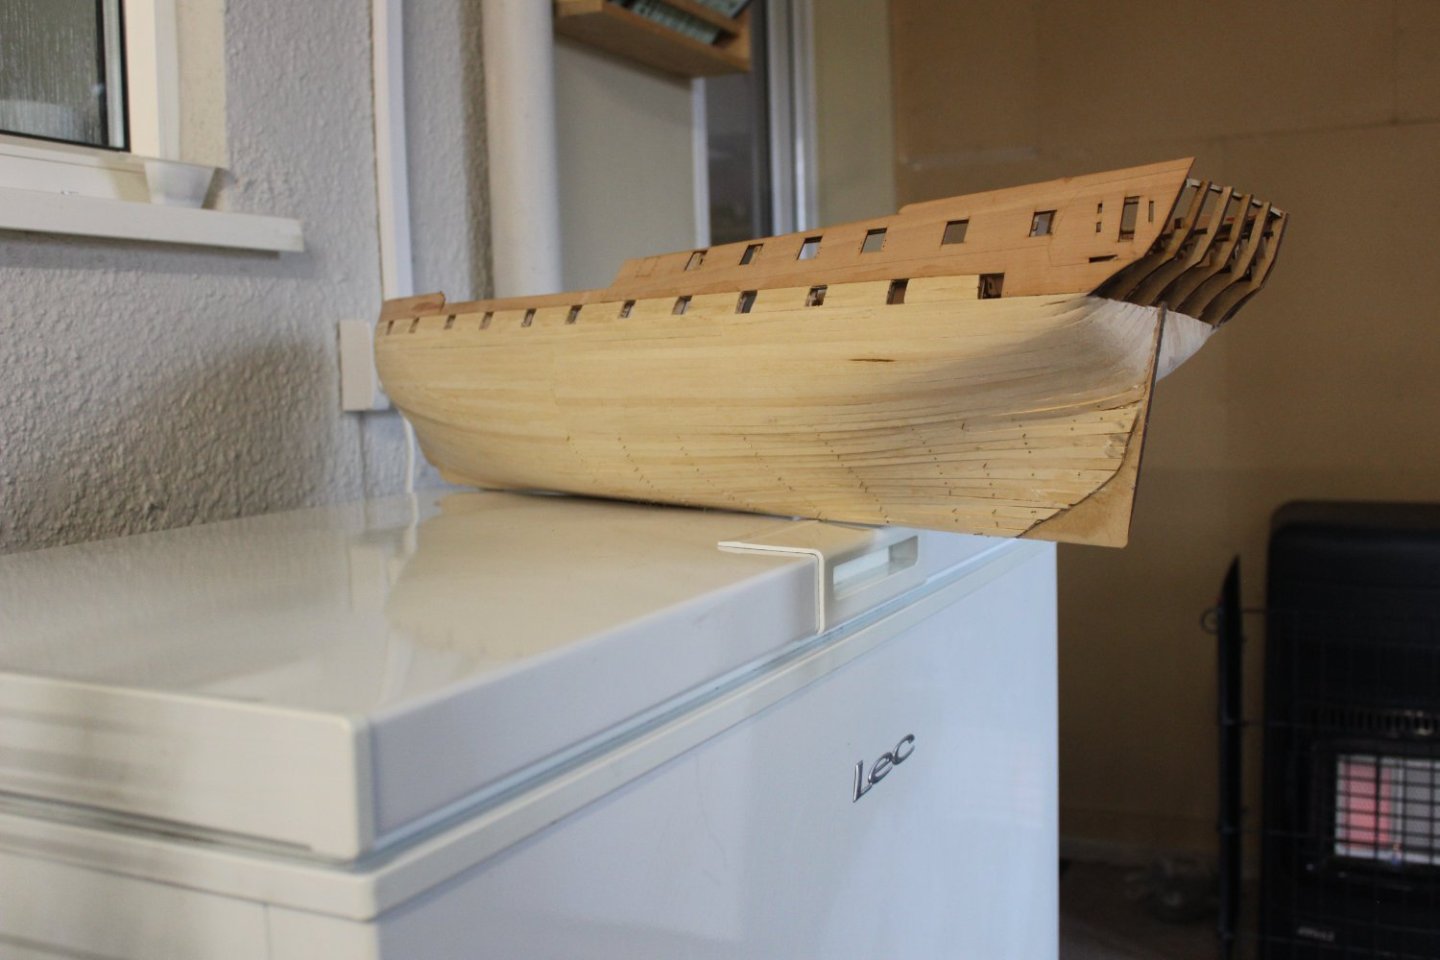
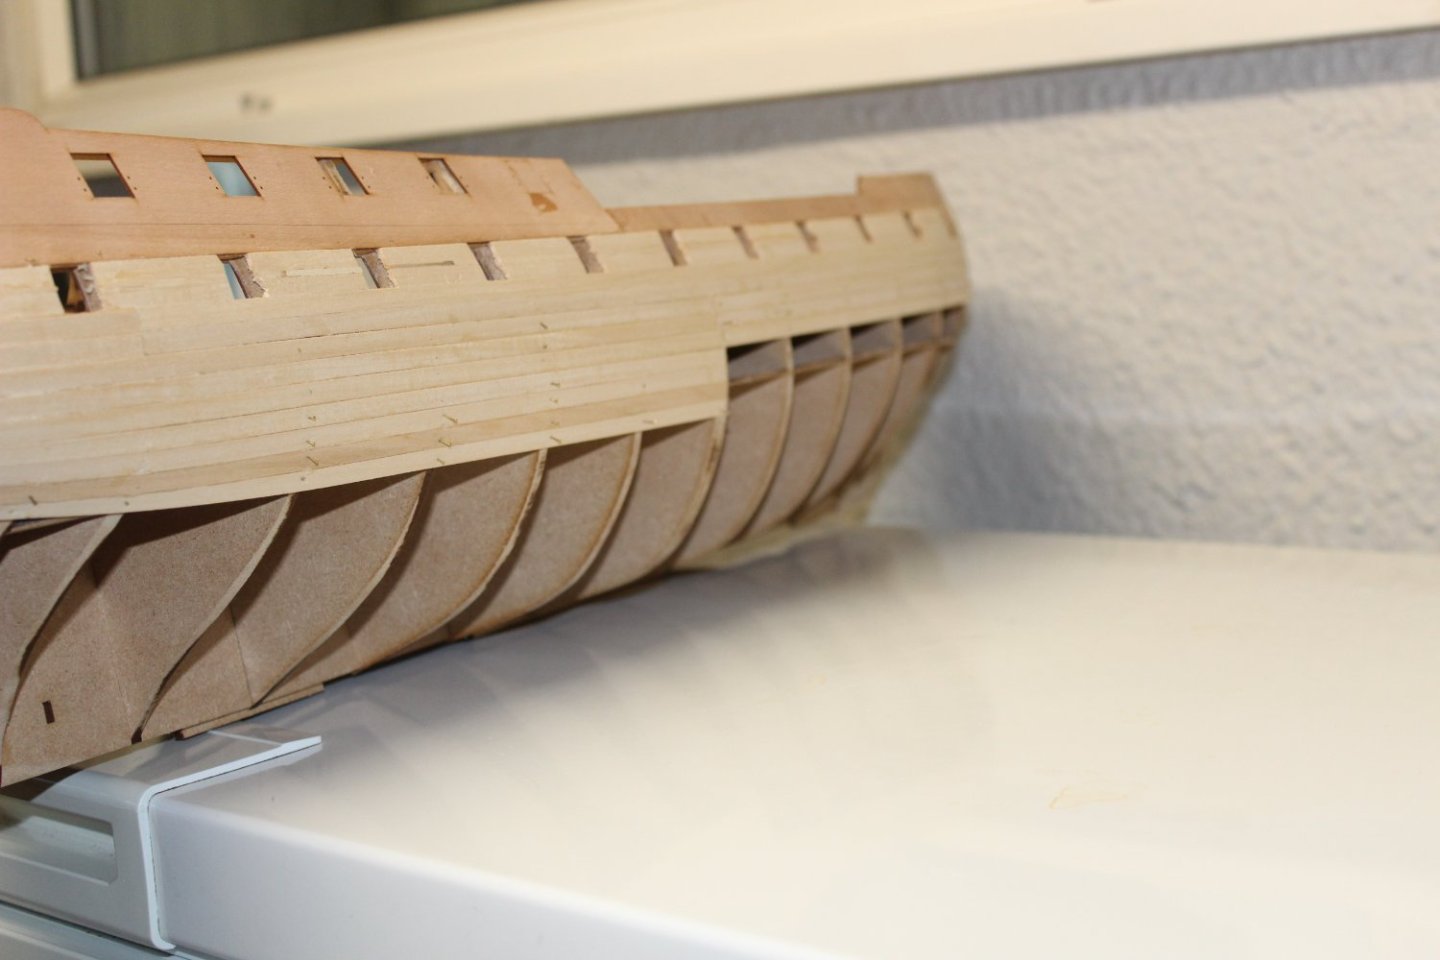
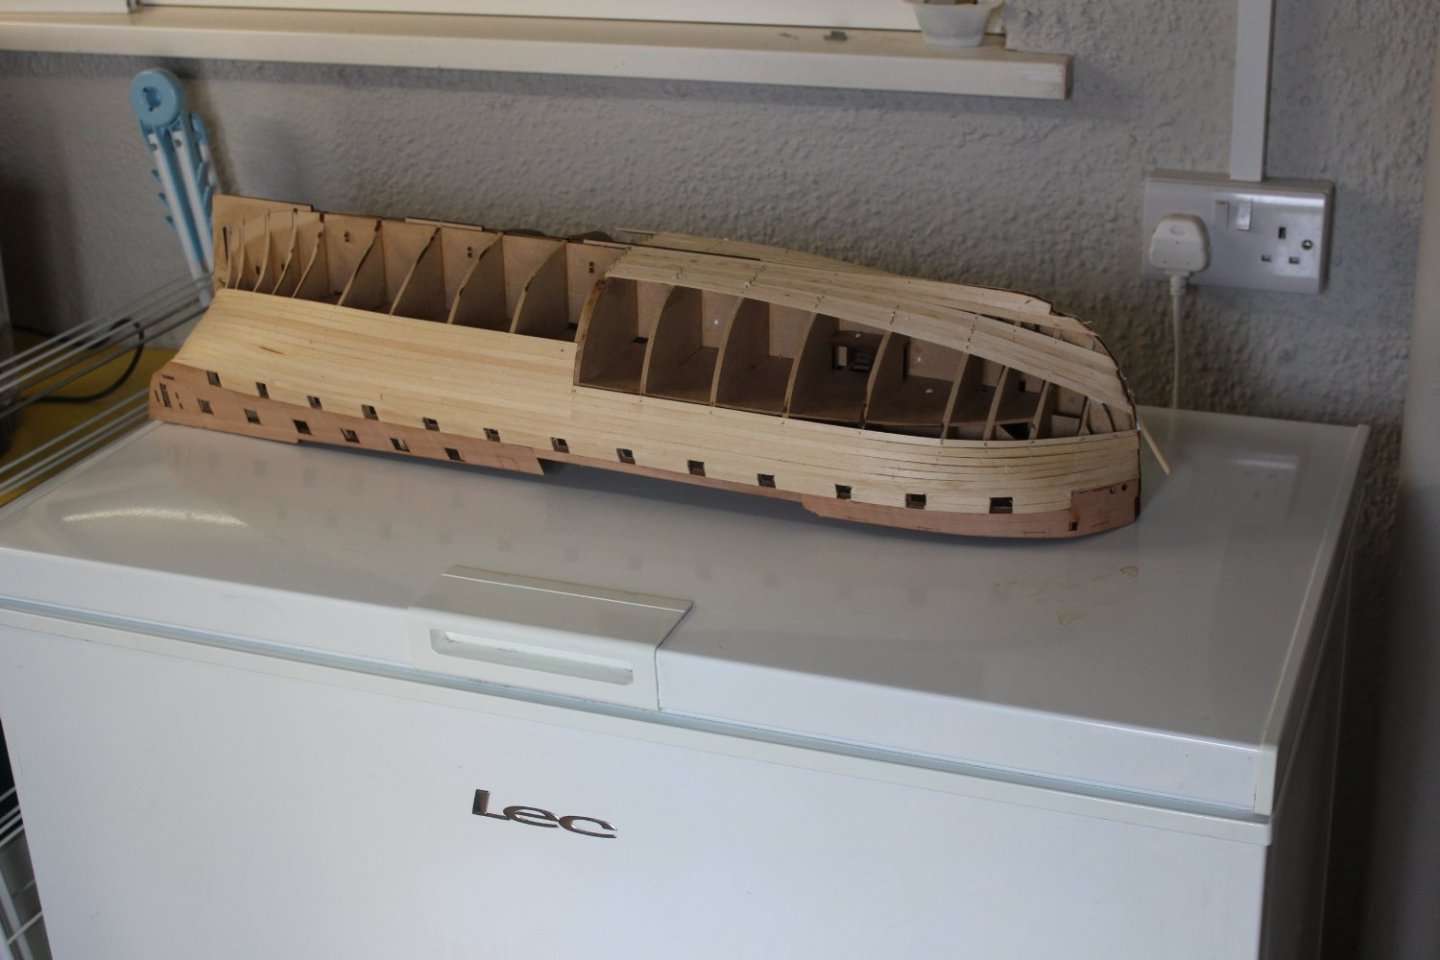
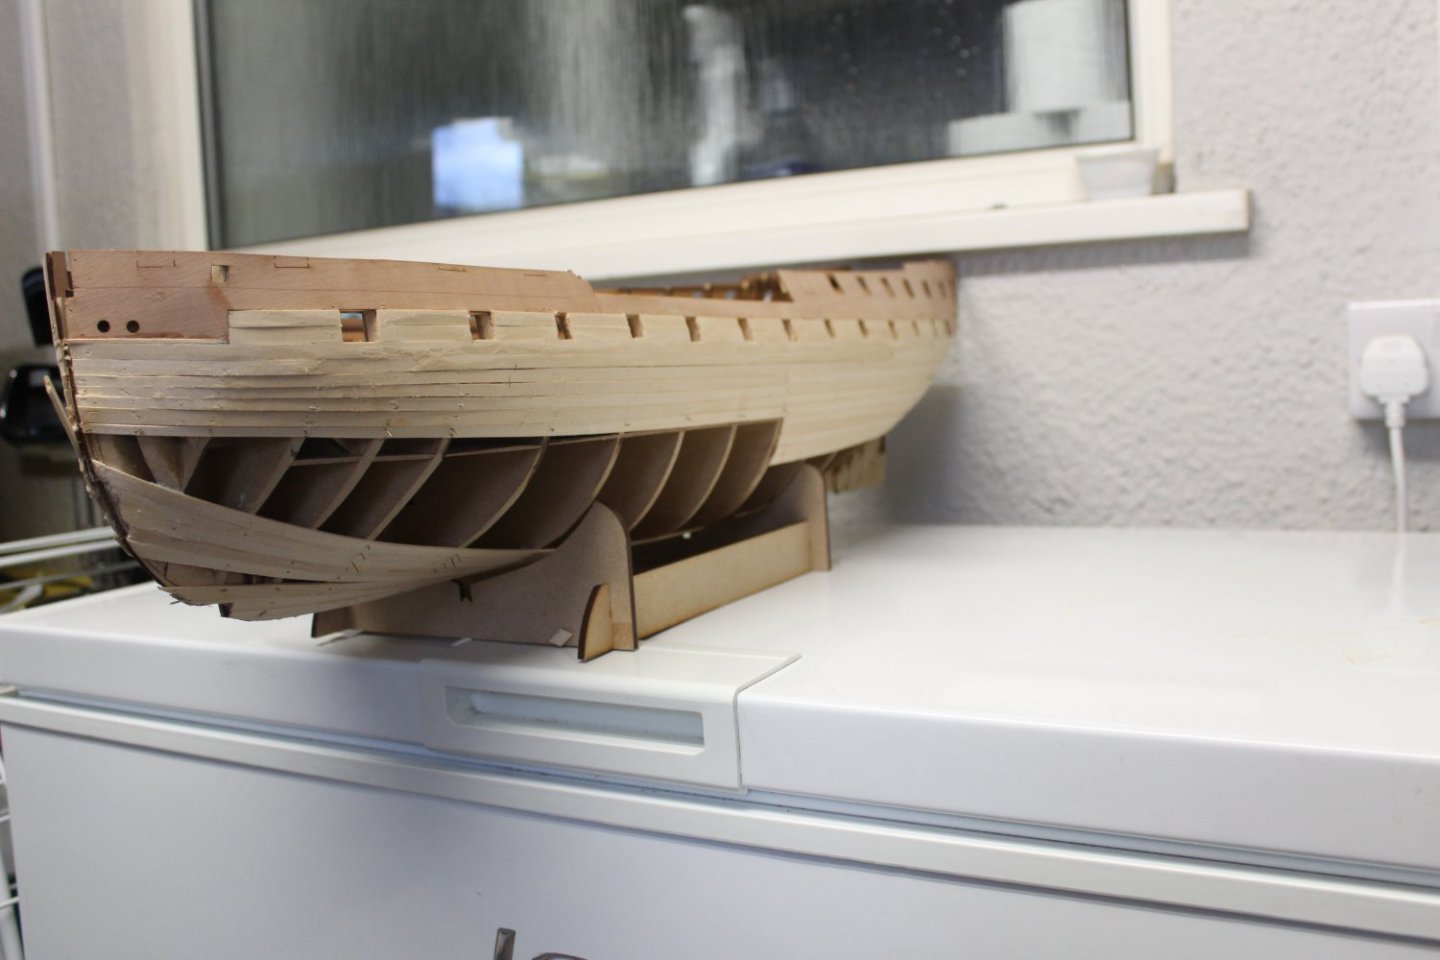
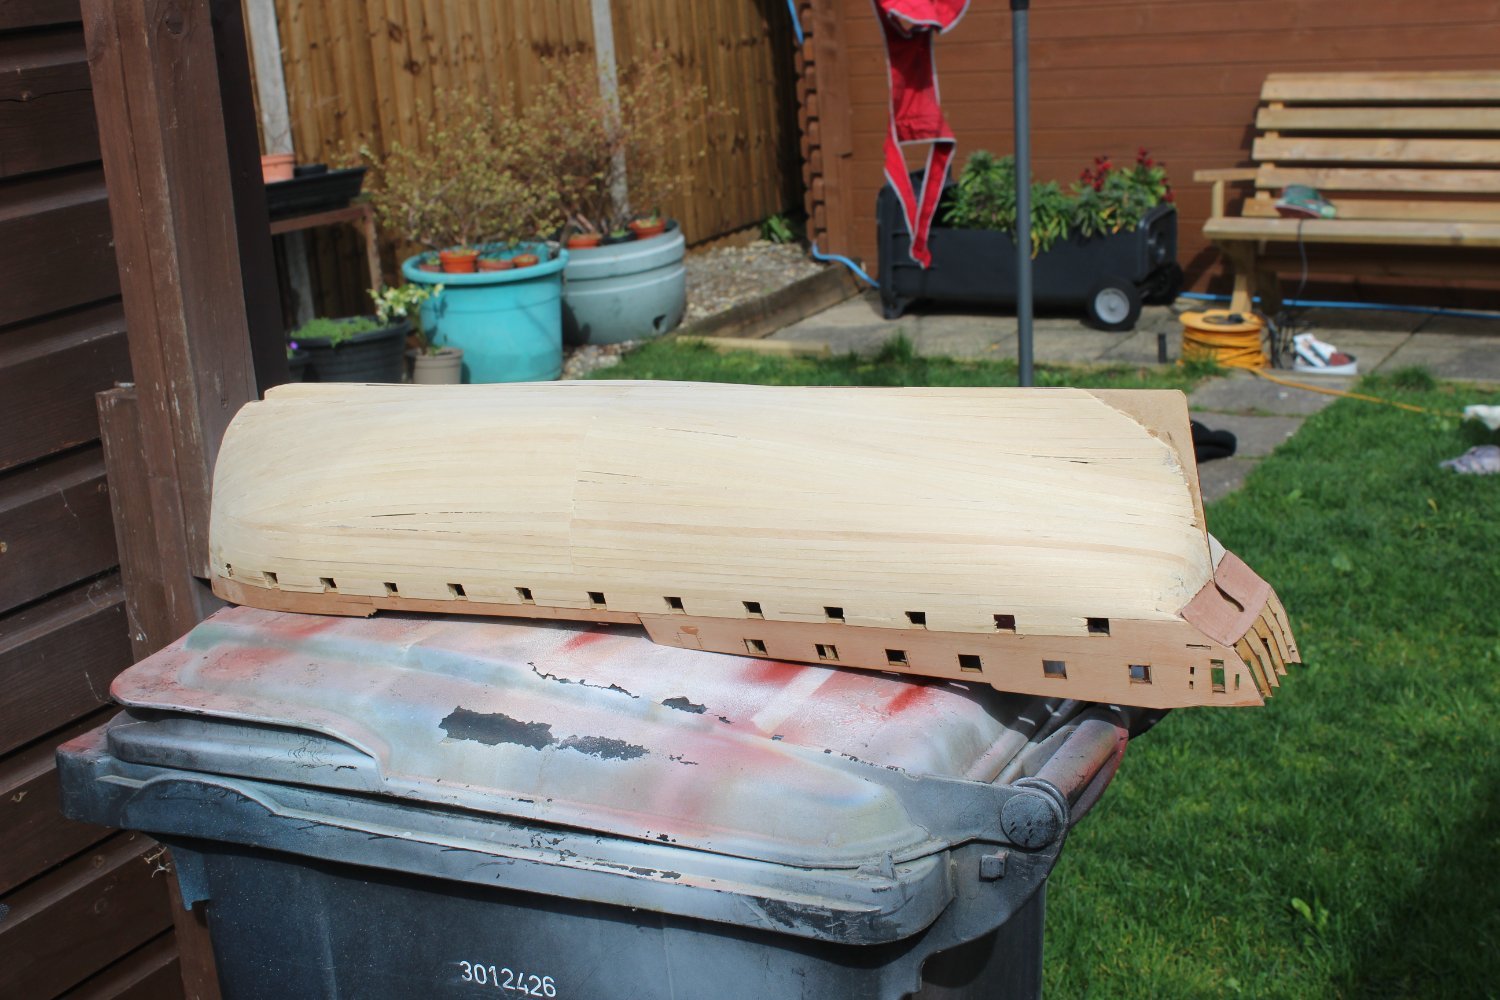
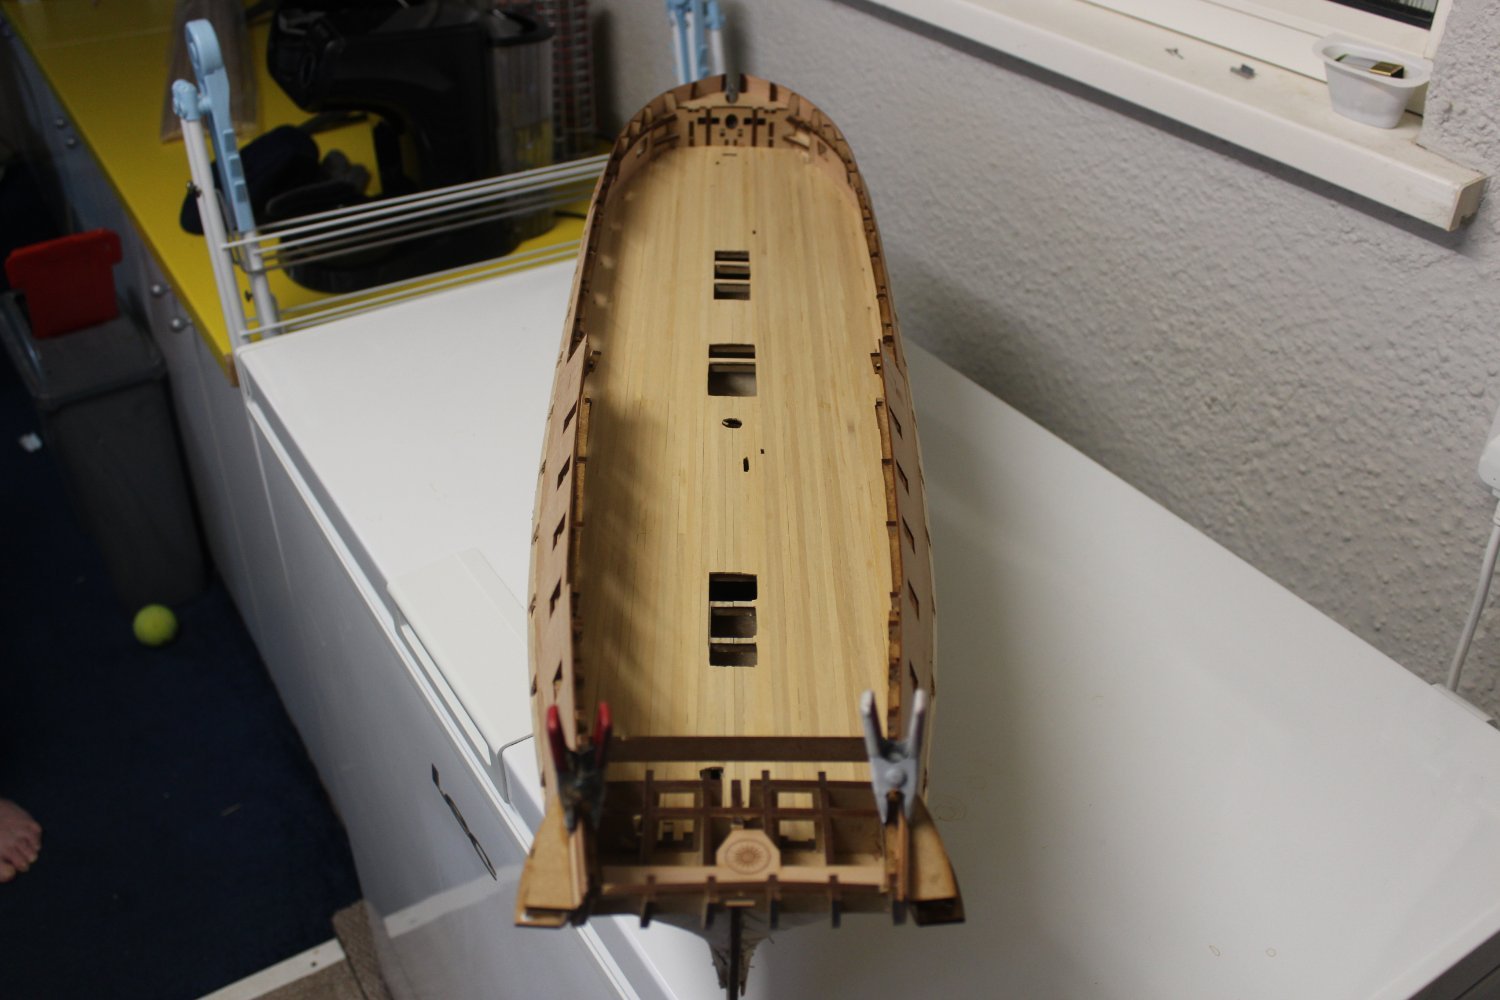
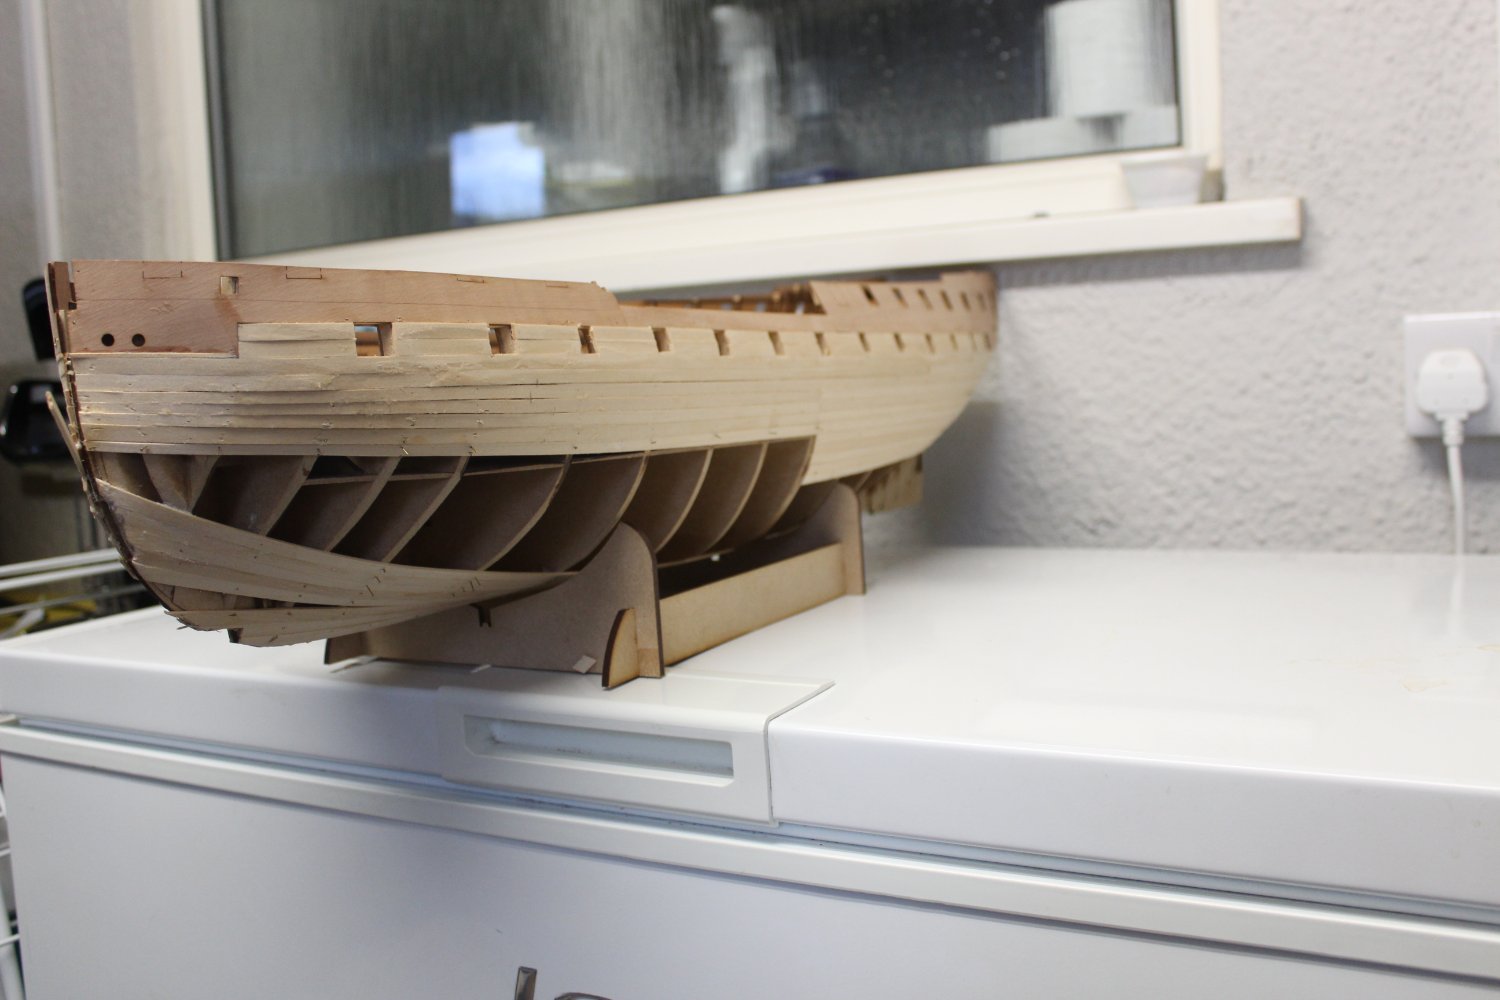
good evening everyone
day 20 1st planking
the bow is 1st planked, - absolutely nothing special, but will serve as a good foundation for the 2nd layer, i look forward to many hours of sanding before that happens
the stern will be completed in the next day or so

-
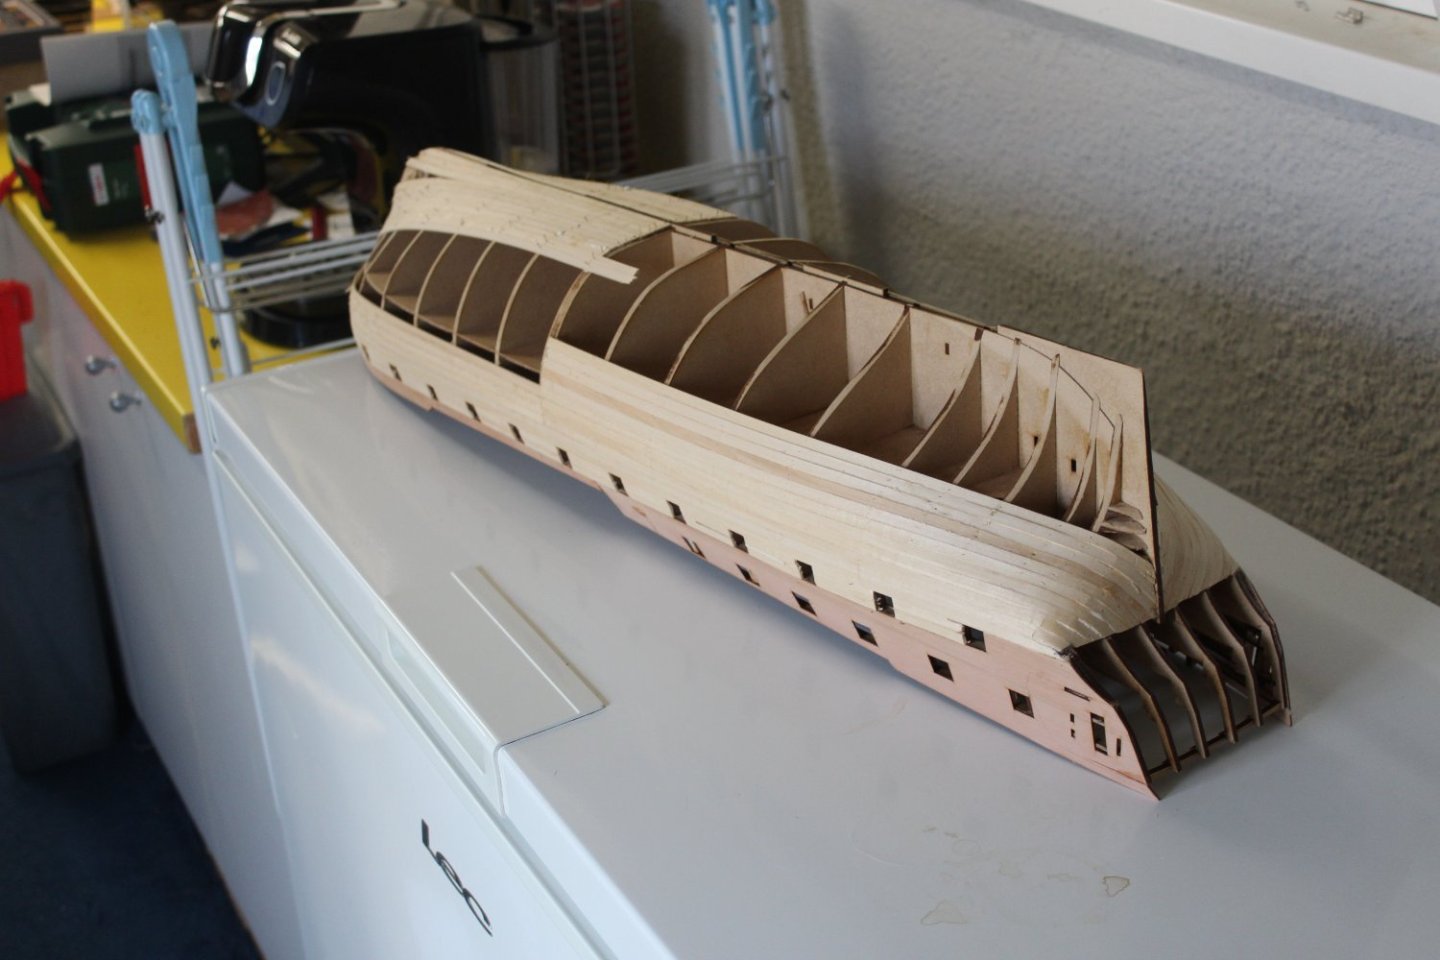
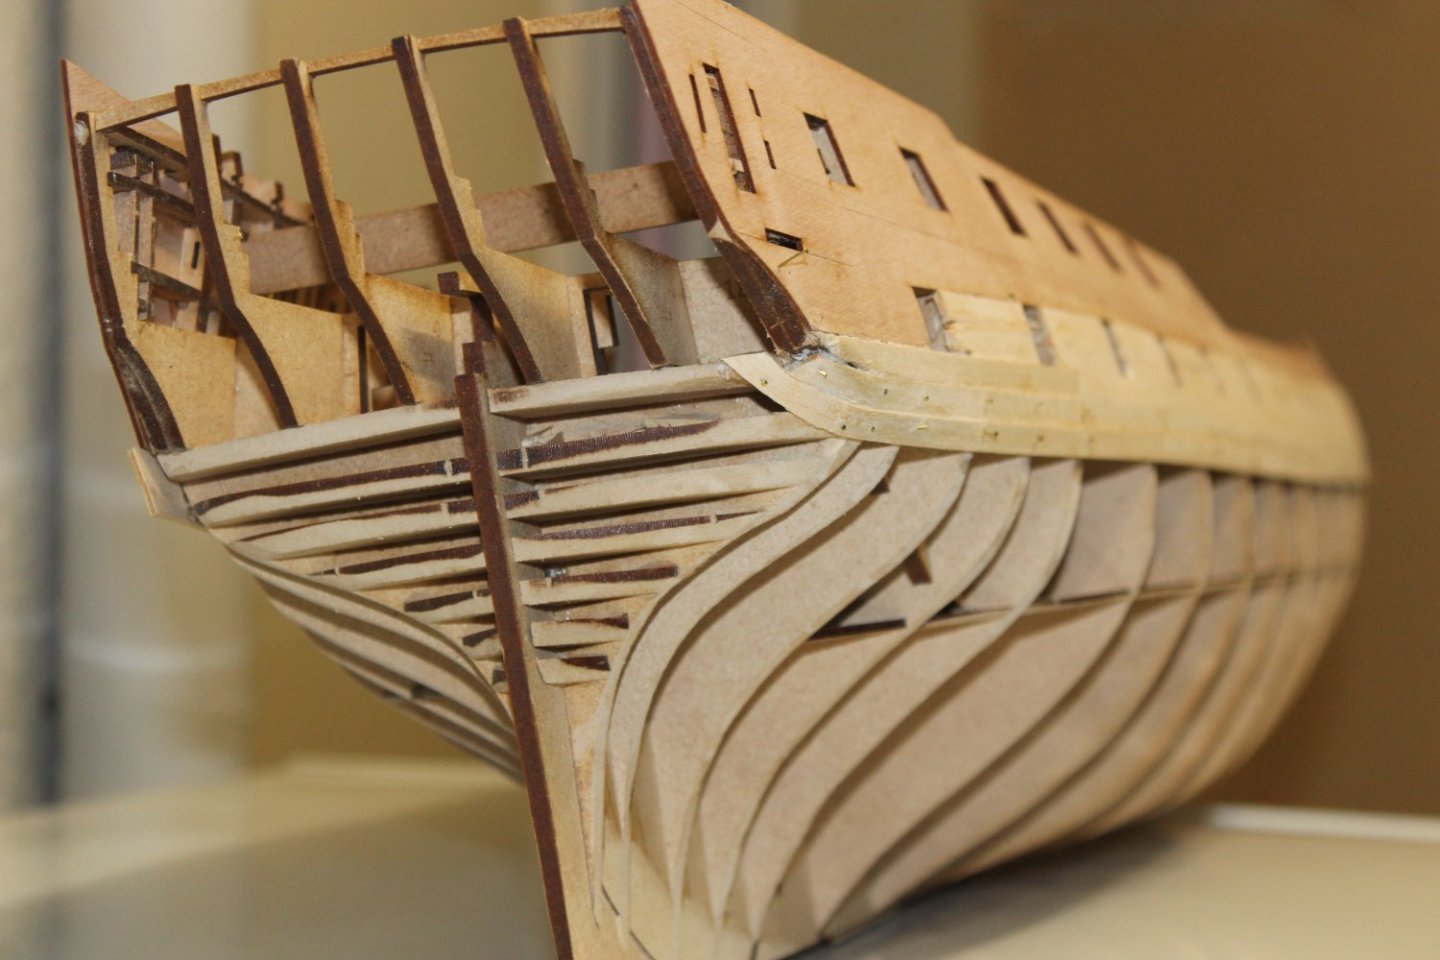
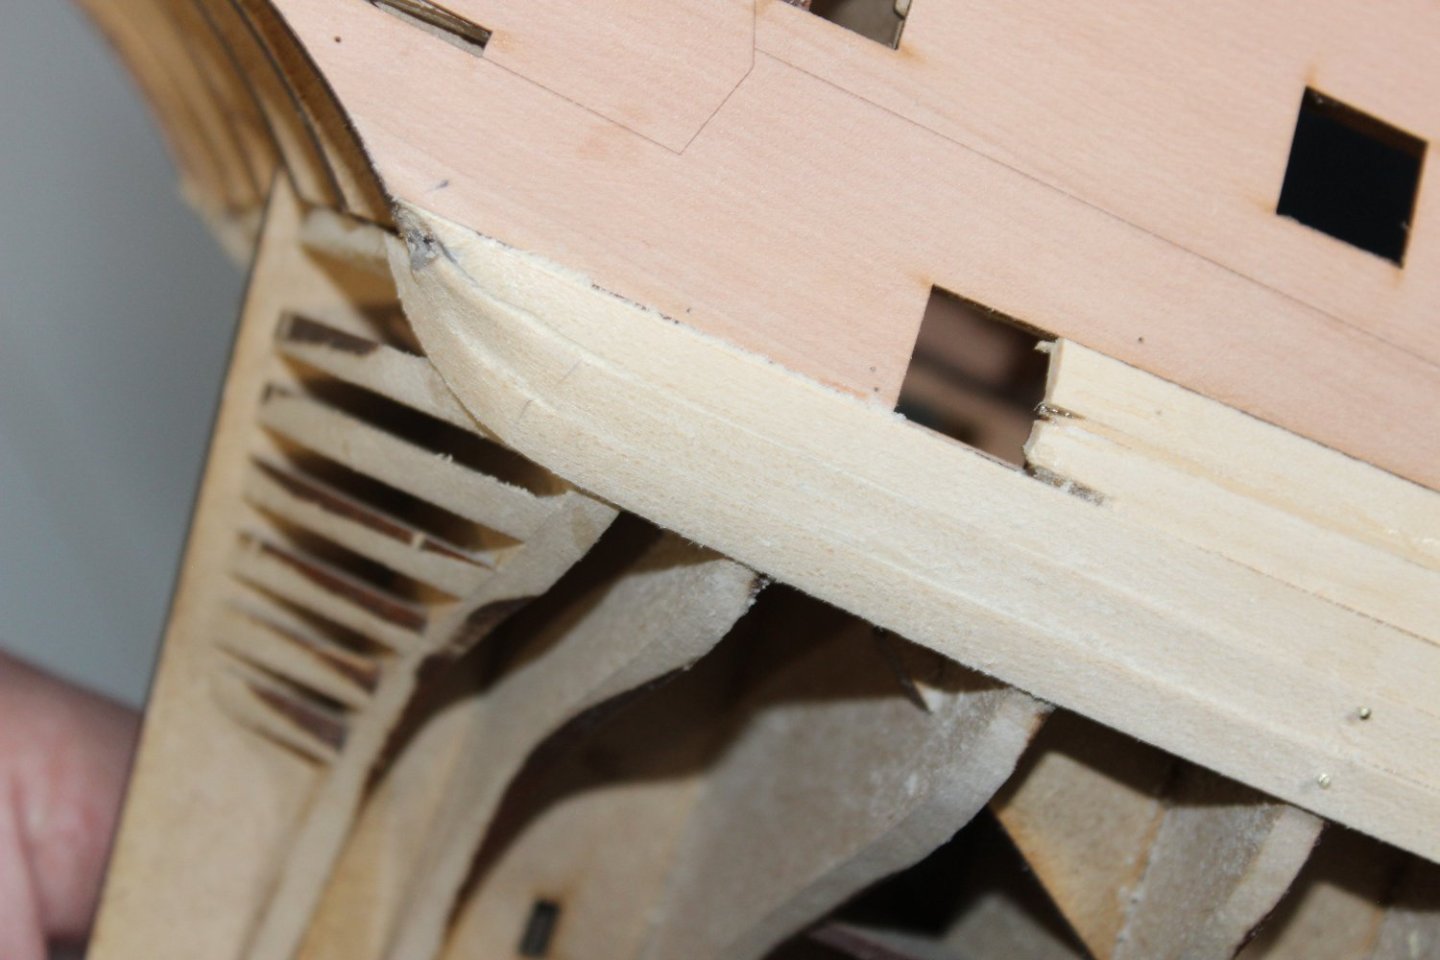
good evening everyone
Day 18 1st planking
as soon as i left the make up of the hull, i have had to start thinking about things, and this has resulted in some redo's, lol no matter how much fairing you do, there is always more
anyway the hull is is about 50% done and although bit messy in places, i have a sound basis to work on
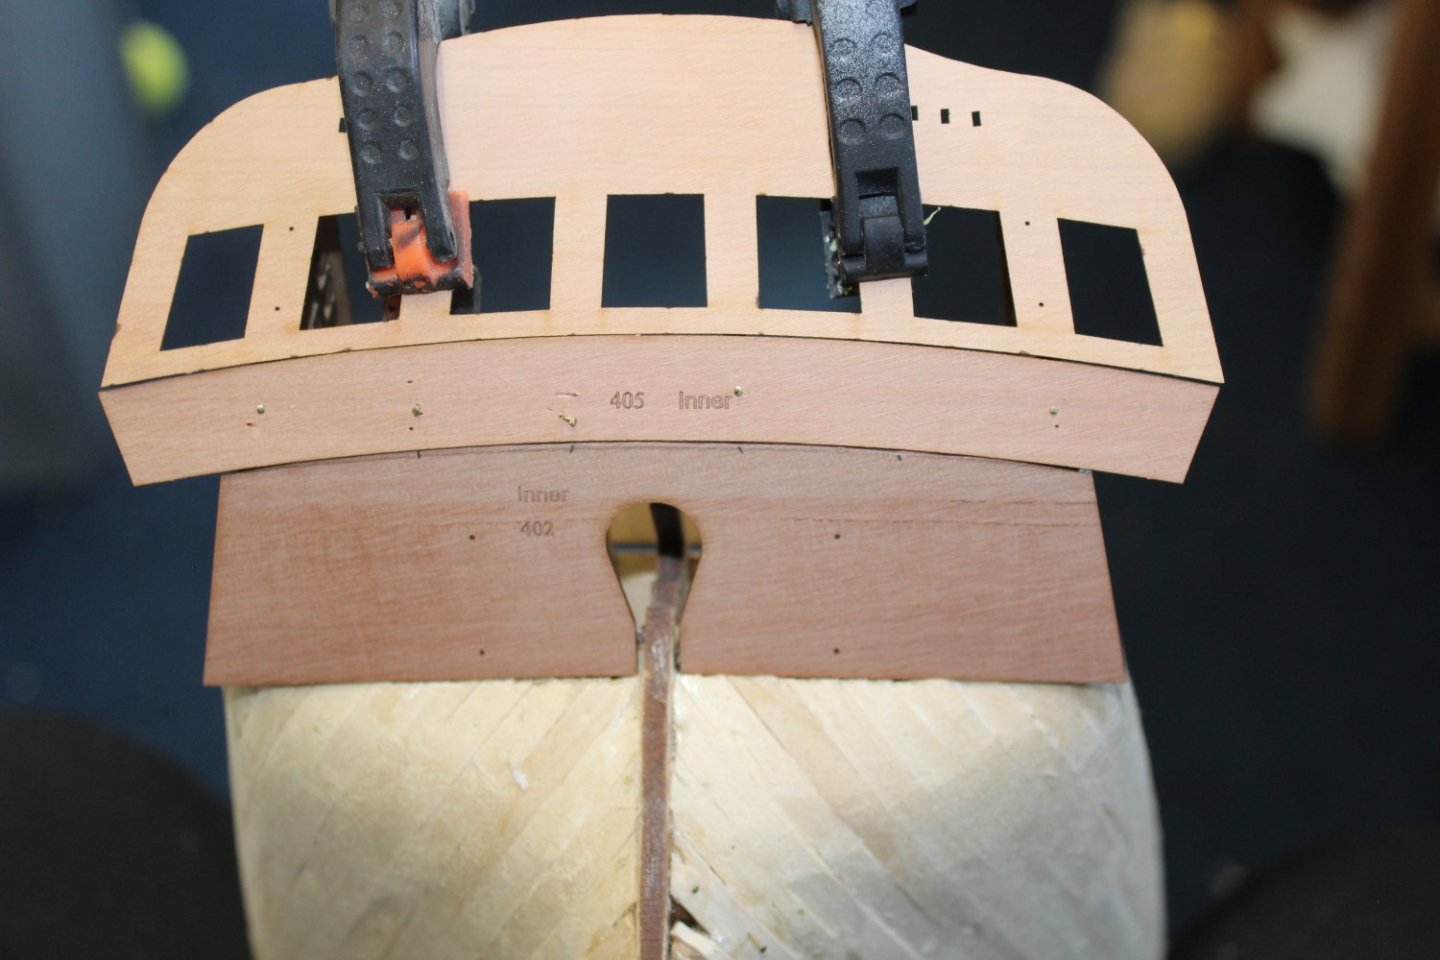
and yes i am still missing one part number 29 stern post filler, and the one fitted need working on


-
9 minutes ago, Morten said:
Exelent work on a exelent kit.
thank you. we look forward to seeing your build soon
-
7 hours ago, Malcolm Greig said:
Kevin
Excellent build log, thanks for posting, very interested and I'll will be great to tag along and follow your progress.
regards
Malcolm
everyone is welcome to follow my trials and tribulations of wooden ship building
- mtaylor, Obormotov and Old Collingwood
-
2
-
1
-
well im glad you sorted the deck issue out
- Edwardkenway, hollowneck, Blue Ensign and 1 other
-
3
-
1
-
41 minutes ago, HardeeHarHar said:
Are you using nails only when you need them? Also, did you leave all the char on and remove it once the keel and its parts were complete? I have the Sphinx on my table and am watching your build with great interest 😃
i use nails all the time and then remove them after the glue has set, the only char removed so far has been for fairing of the hull
-
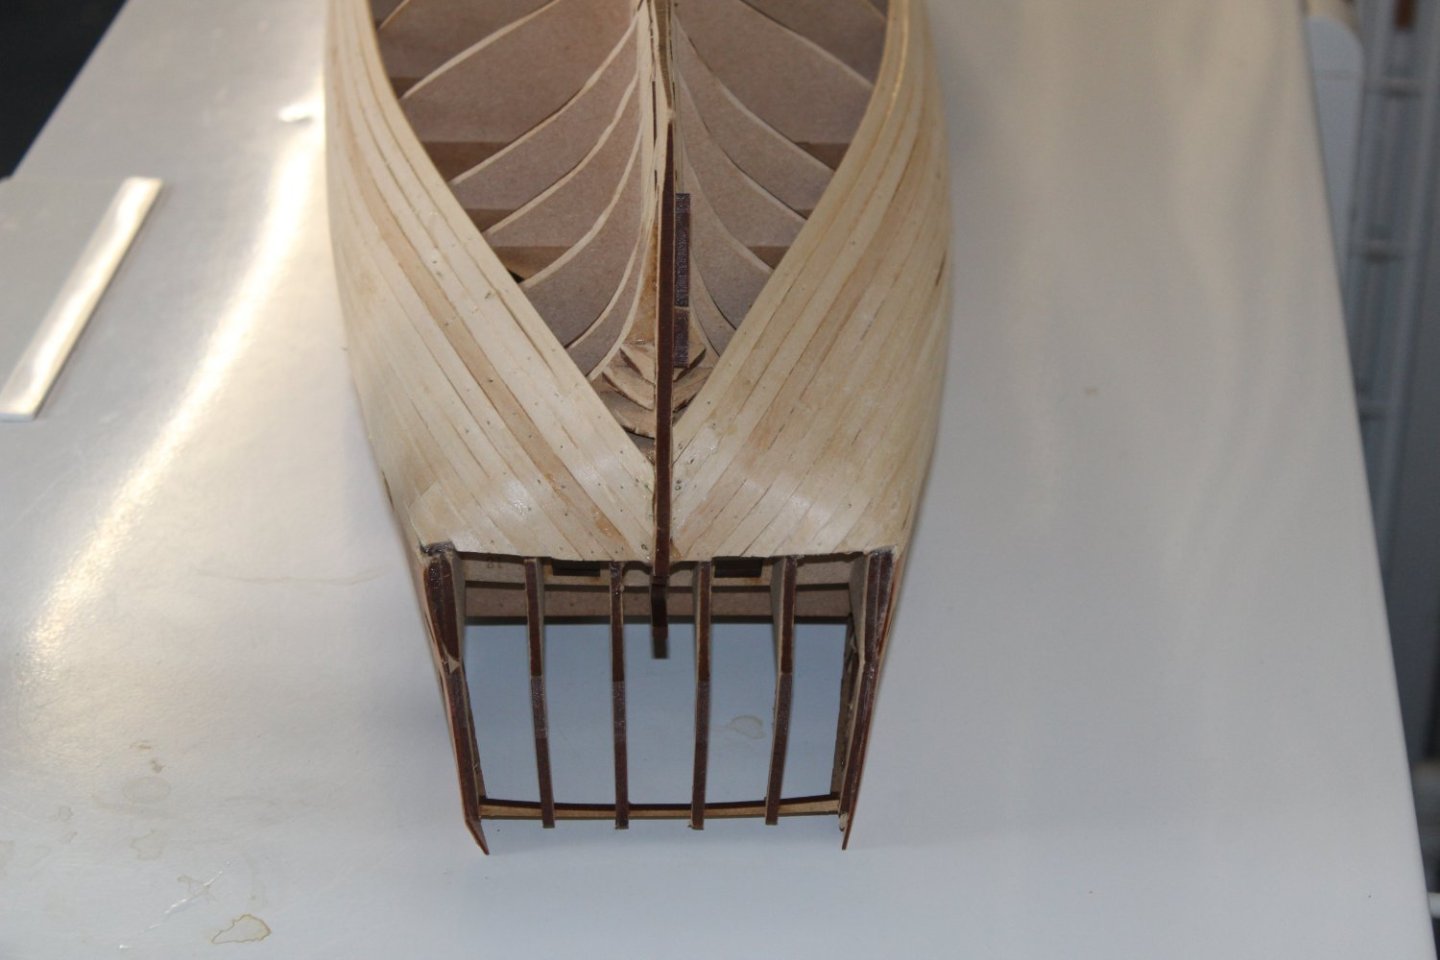
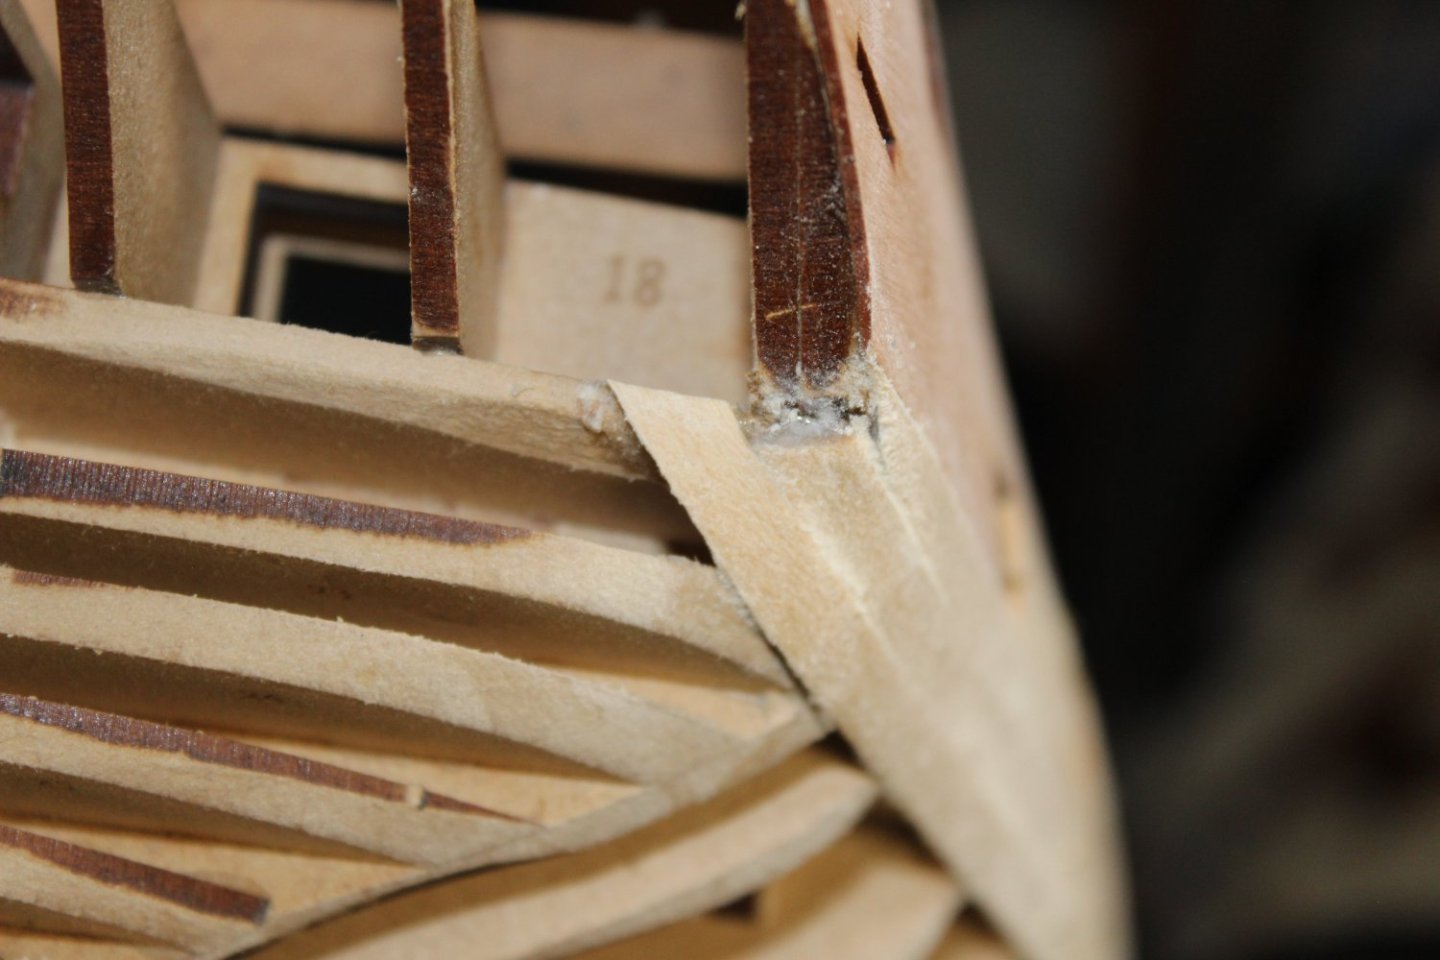
18 minutes ago, Glenn-UK said:
Hello Kevin
I have just noticed, when looking at your build log, that you do not seem to have added the two stern filler parts 29 to either side of the keel under bulkhead 18, as per build steps 82 and 83.
Glenn-UK
they are in now, about an hour ago, thank you for keeping me in check
-
stunning build, love it, may i ask what colour red are you using,
- chris watton, mtaylor, Guyuti and 1 other
-
4
-
26 minutes ago, James H said:
Those planks look great as they go under the tuck.
Thank you James
- Old Collingwood and mtaylor
-
2
-
57 minutes ago, Glenn-UK said:
The planking is looking great.
ty glenn, it did take me a good few hours to get them right, and only then after cutting back the first two under the template and re faing the stern
-
good evening everyonr
thank you for comments and likes
day 16 1st planking
port and stbd side templates fitted

stern tuck, caused me some aggro fot a couple of hours, so the fixed planks were cut back and the stern was re faired allowing the 3rd plank to twist and turn


-
lovely to catch up on your log, stunning work
- Hubac's Historian, mtaylor and FriedClams
-
2
-
1


HMS Mars 1781 by Aa-schipper - Caldercraft - Scale 1:64 - Dutch privateer
in - Kit build logs for subjects built from 1751 - 1800
Posted · Edited by Kevin
a few more days and it would have been exactly 10 years, glad you found the info your eare searching for