


Kevin
-
Posts
6,935 -
Joined
-
Last visited
Content Type
Profiles
Forums
Gallery
Events
Posts posted by Kevin
-
-
-
Sorry i have only just found your log, great start
- mtaylor, Mr Whippy and Knocklouder
-
 3
3
-
-
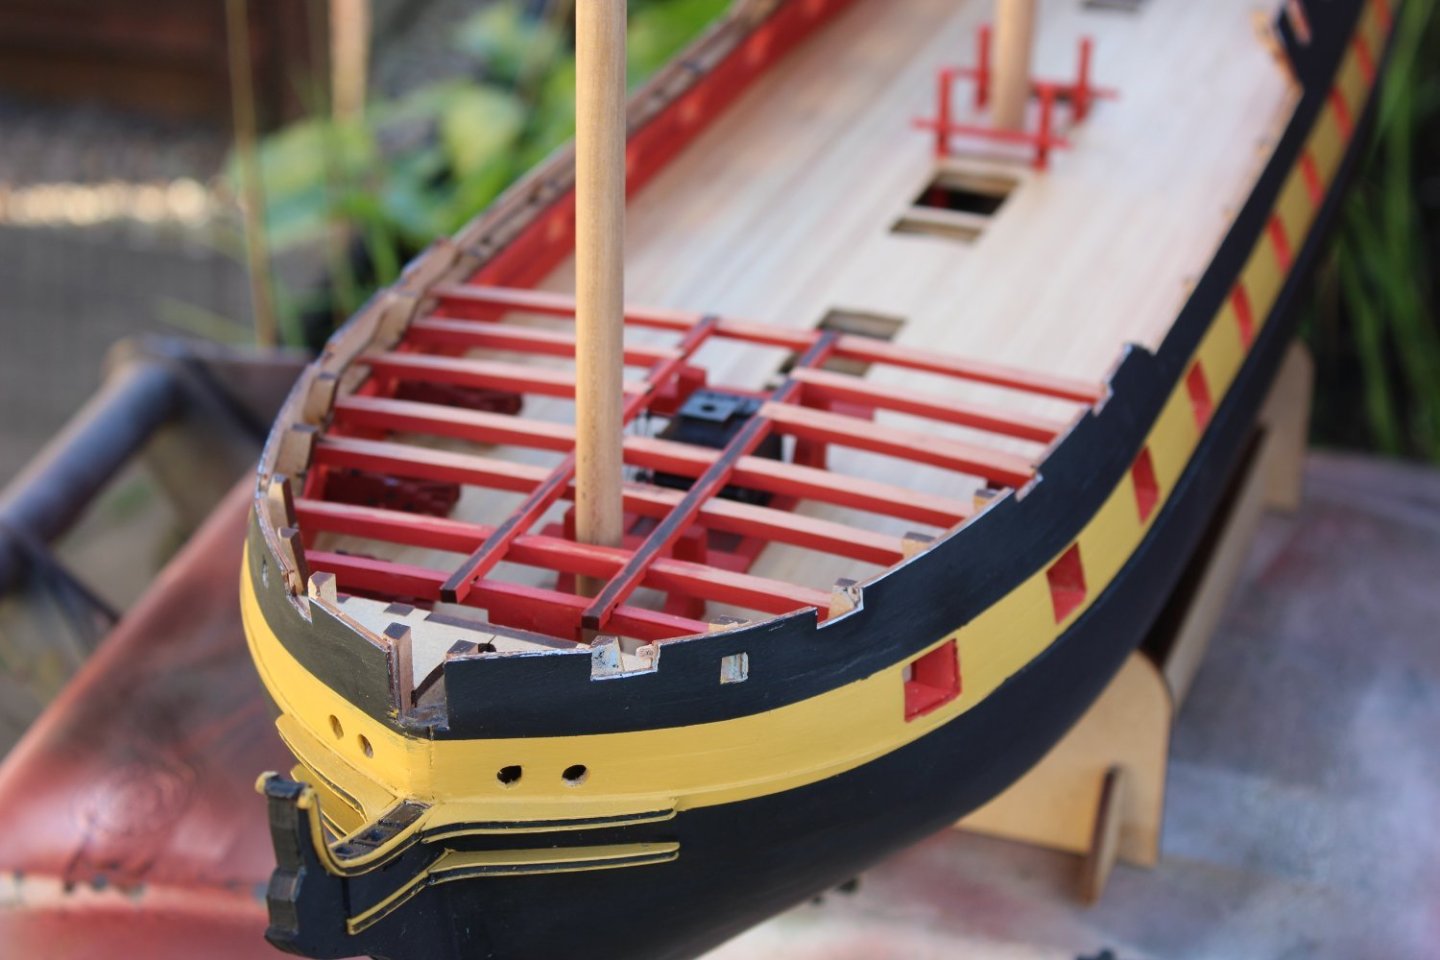
good evening everyone
day 83-2
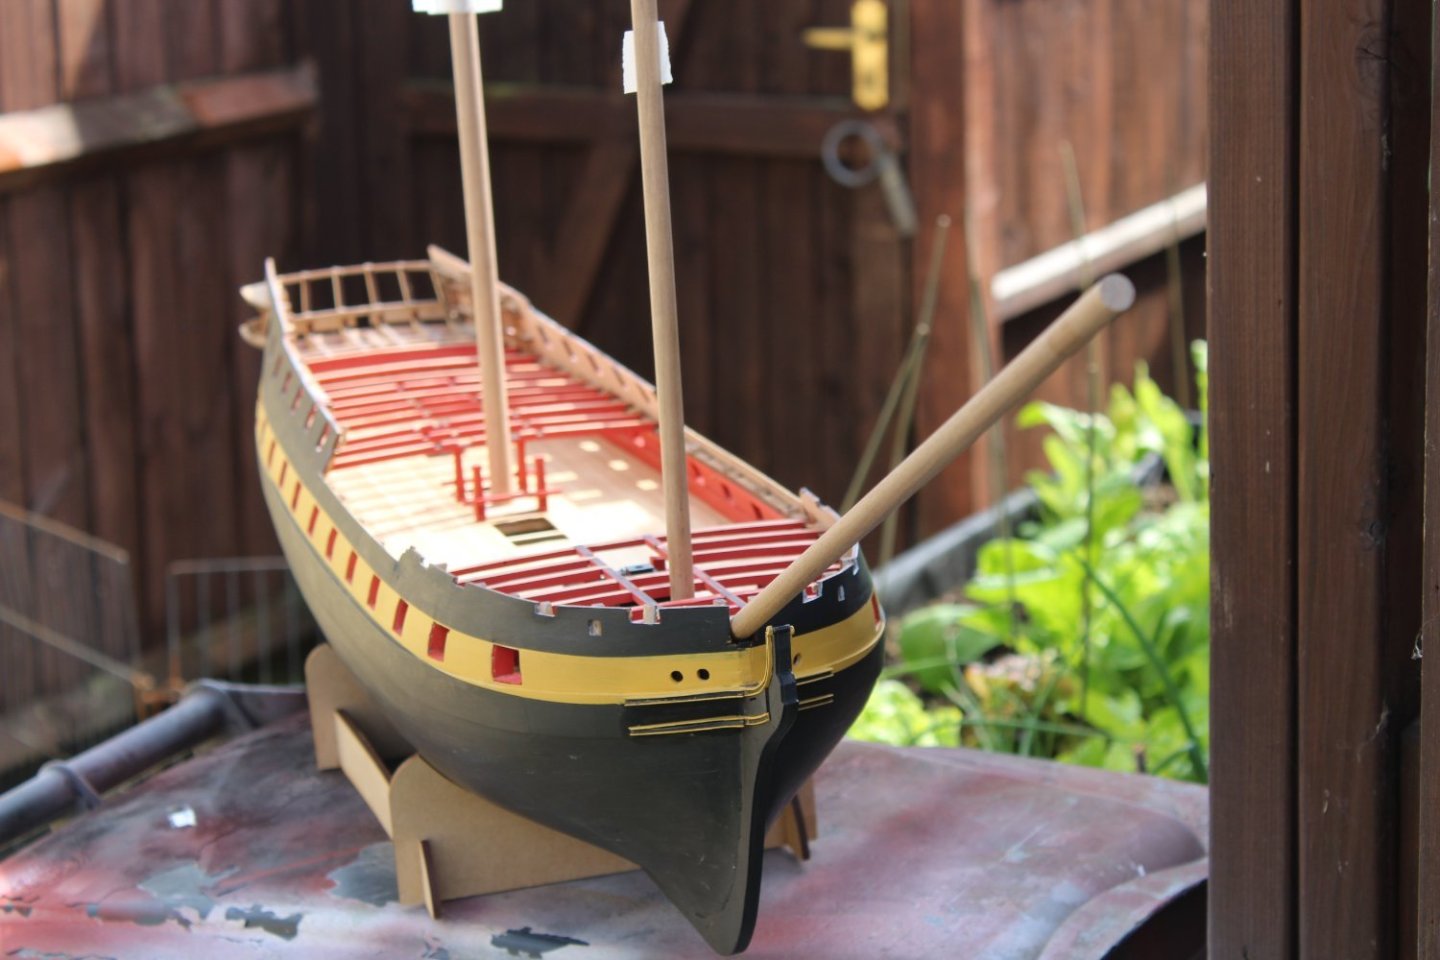
keeping to the instructions has seen this build progress quite fast, other builds i would have made bits, put them away and it would all come together as some time in the distant future, perhaps returning to it after i get bored, like on some of my larger builds
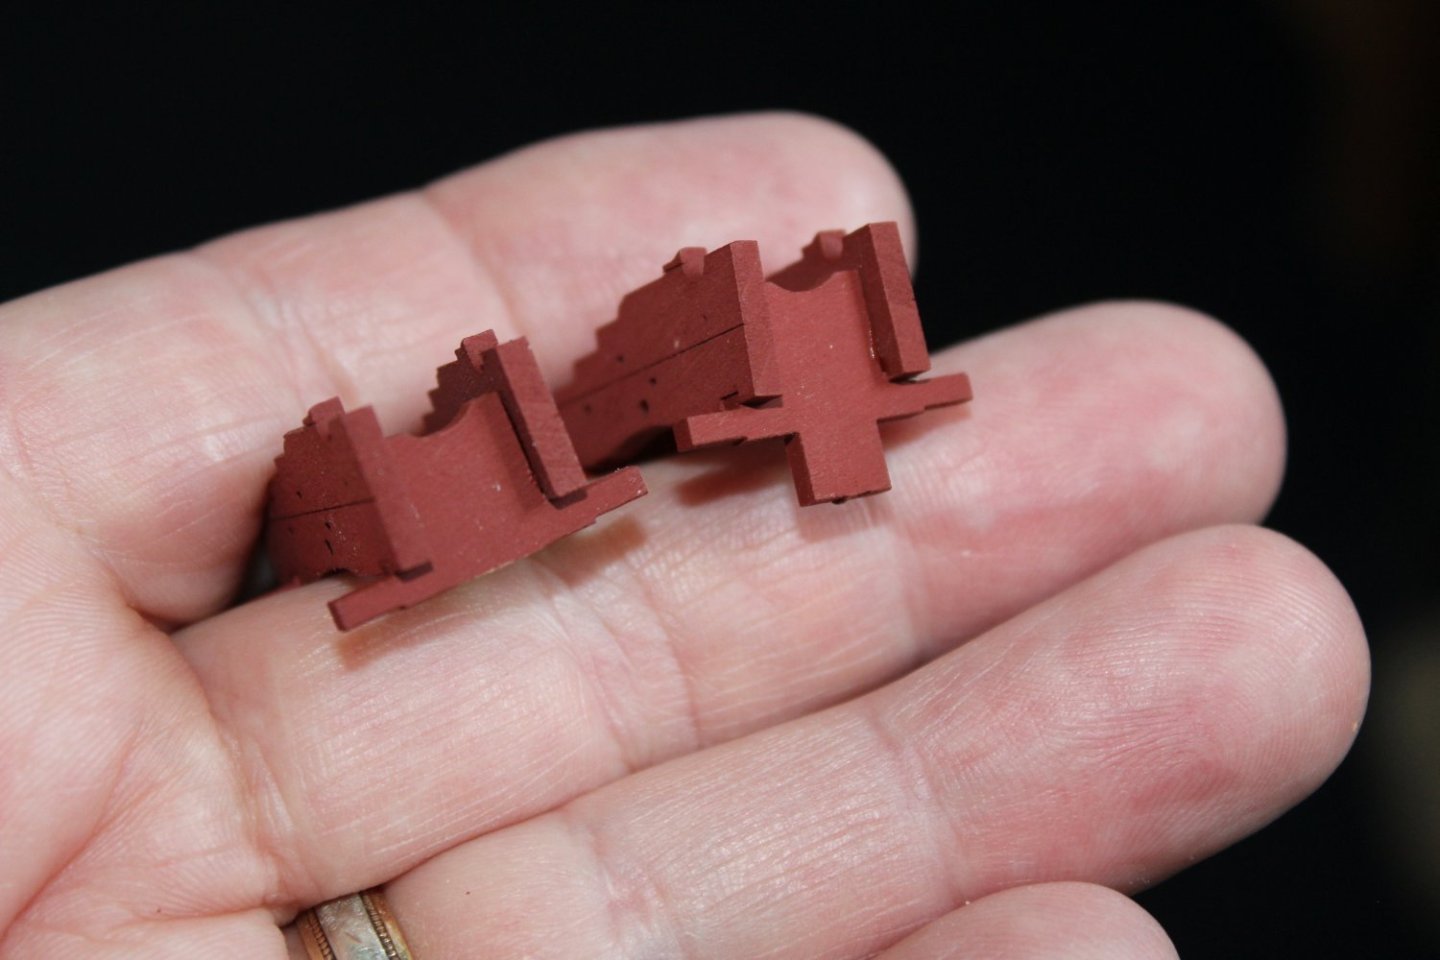
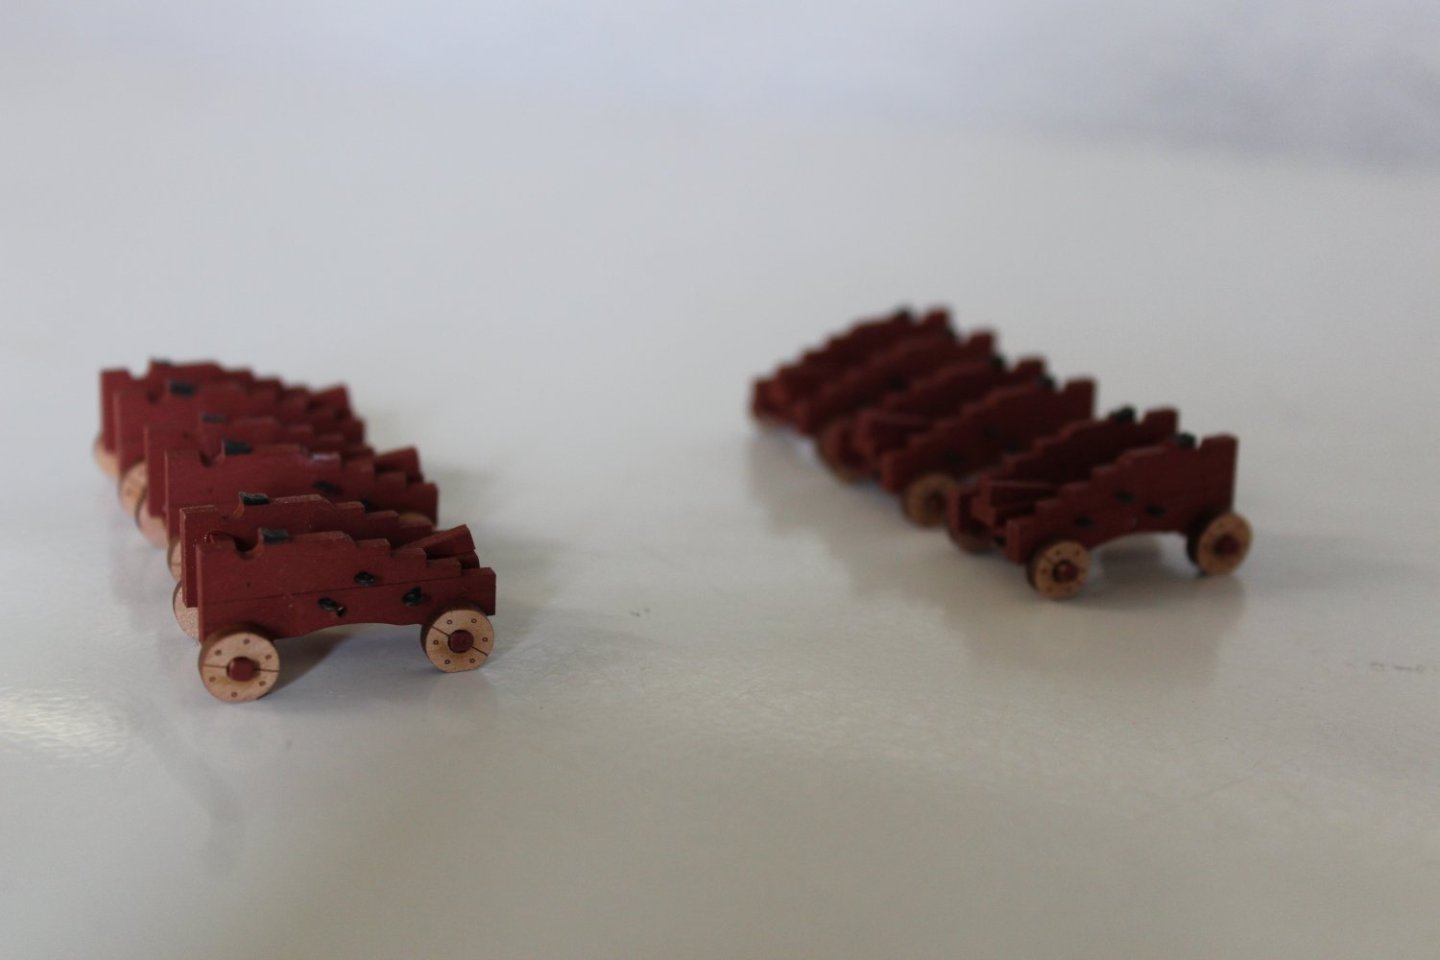
cannon carriages, are the thing that is stopping even faster progress, plus gardening and Assassins creed odyssey but its not a race, it is however, the most enjoyable build i have ever done, everyhting does exactly what its meant to do, perfect fits, and great quality materials
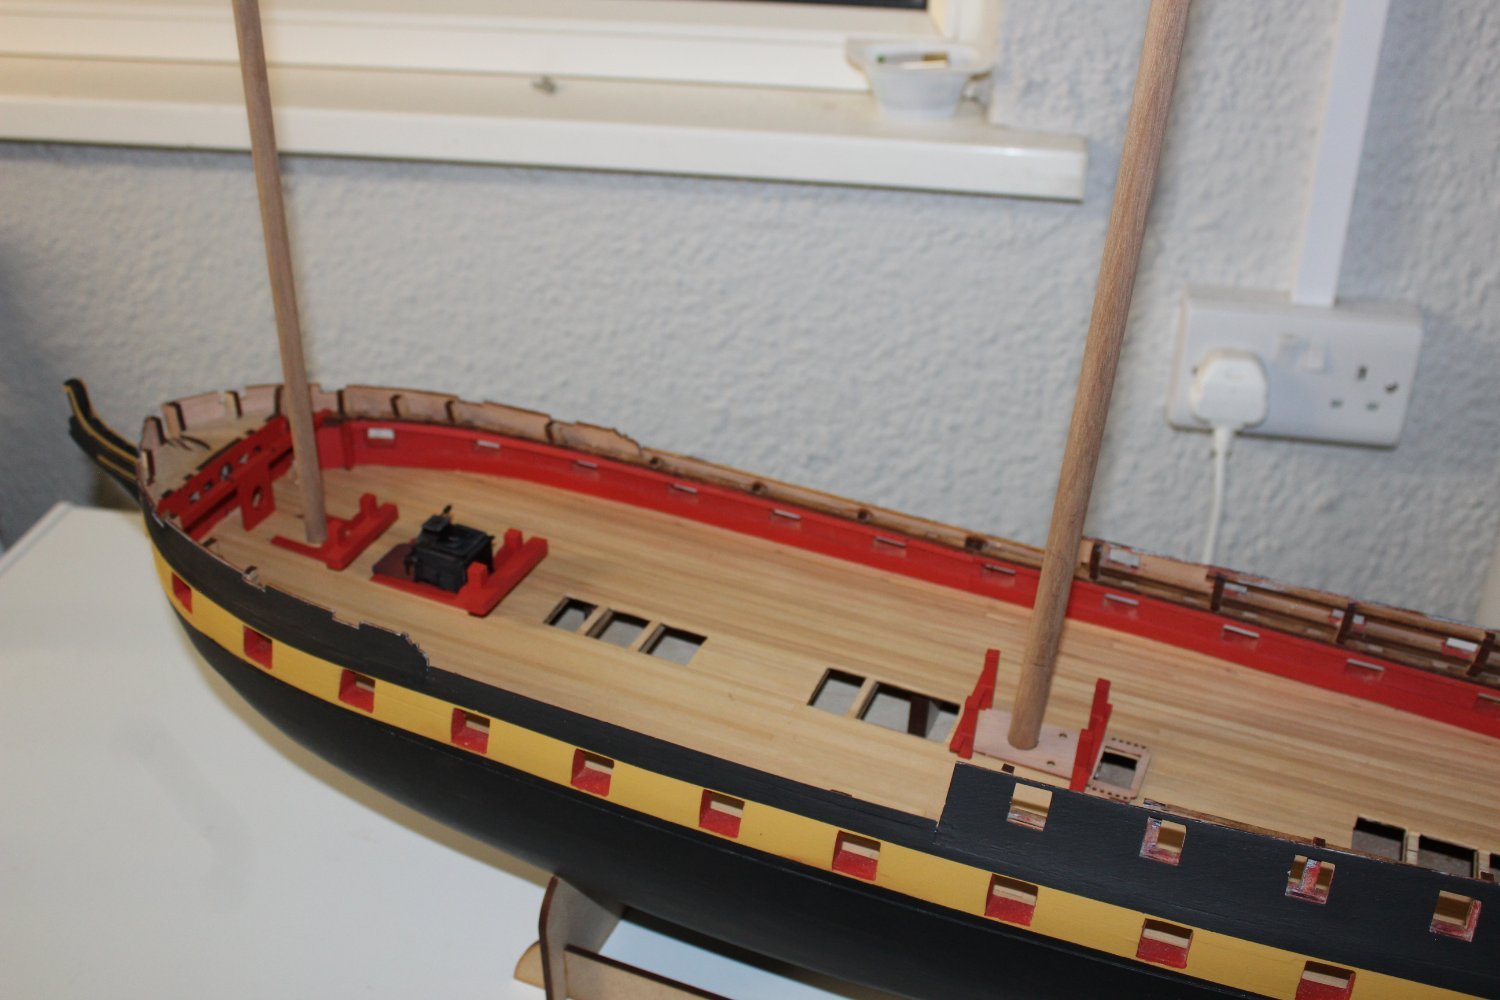
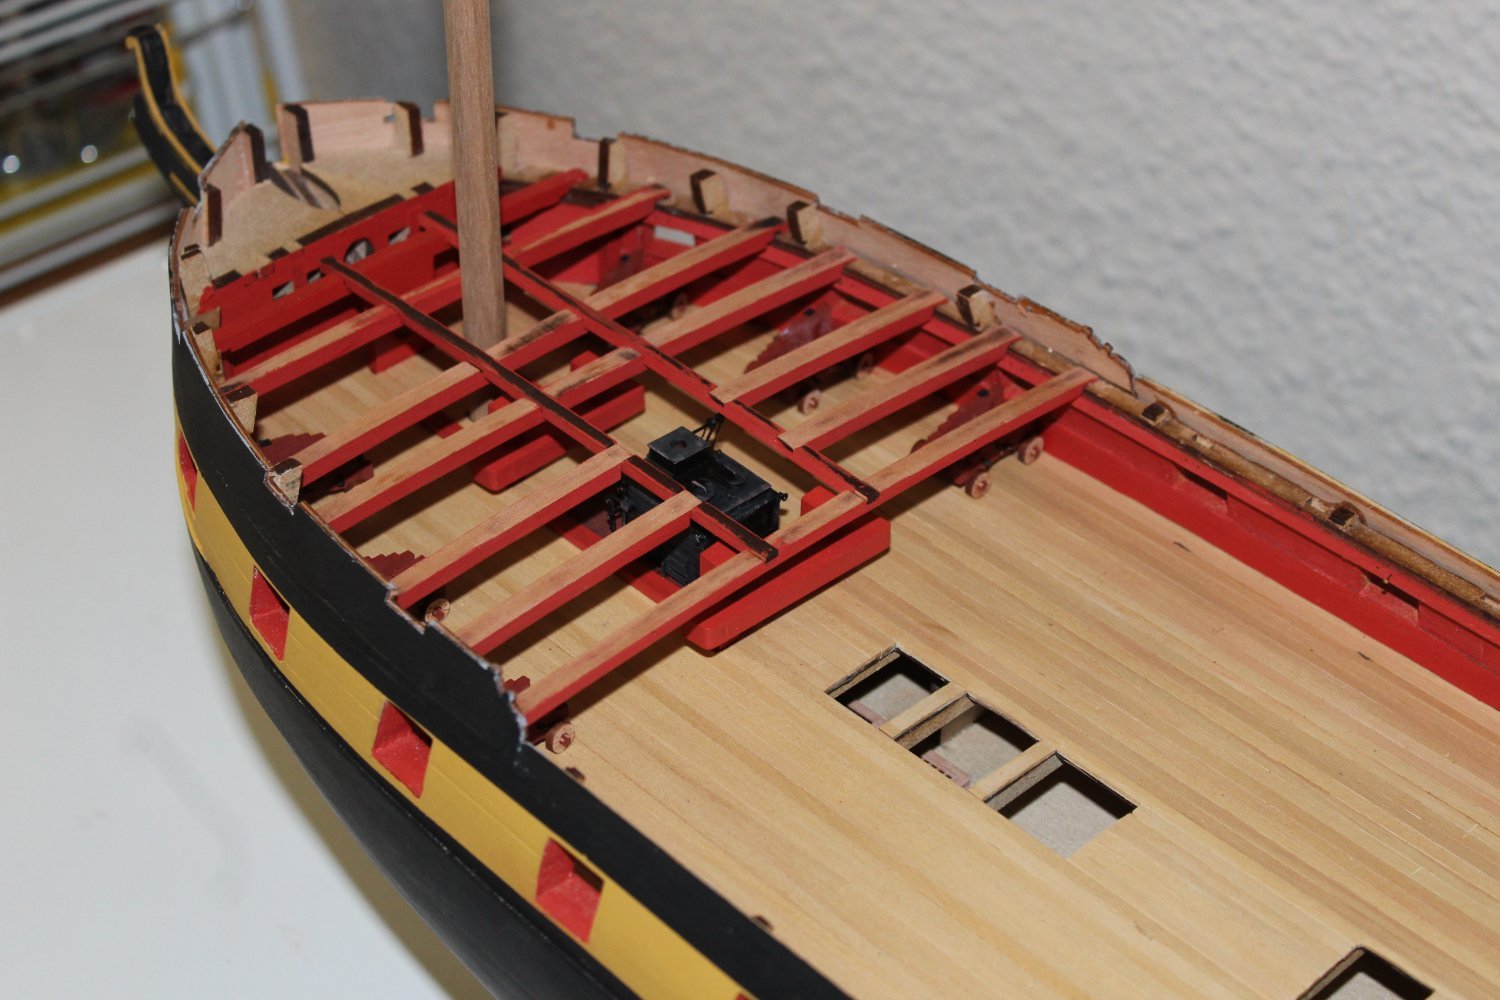
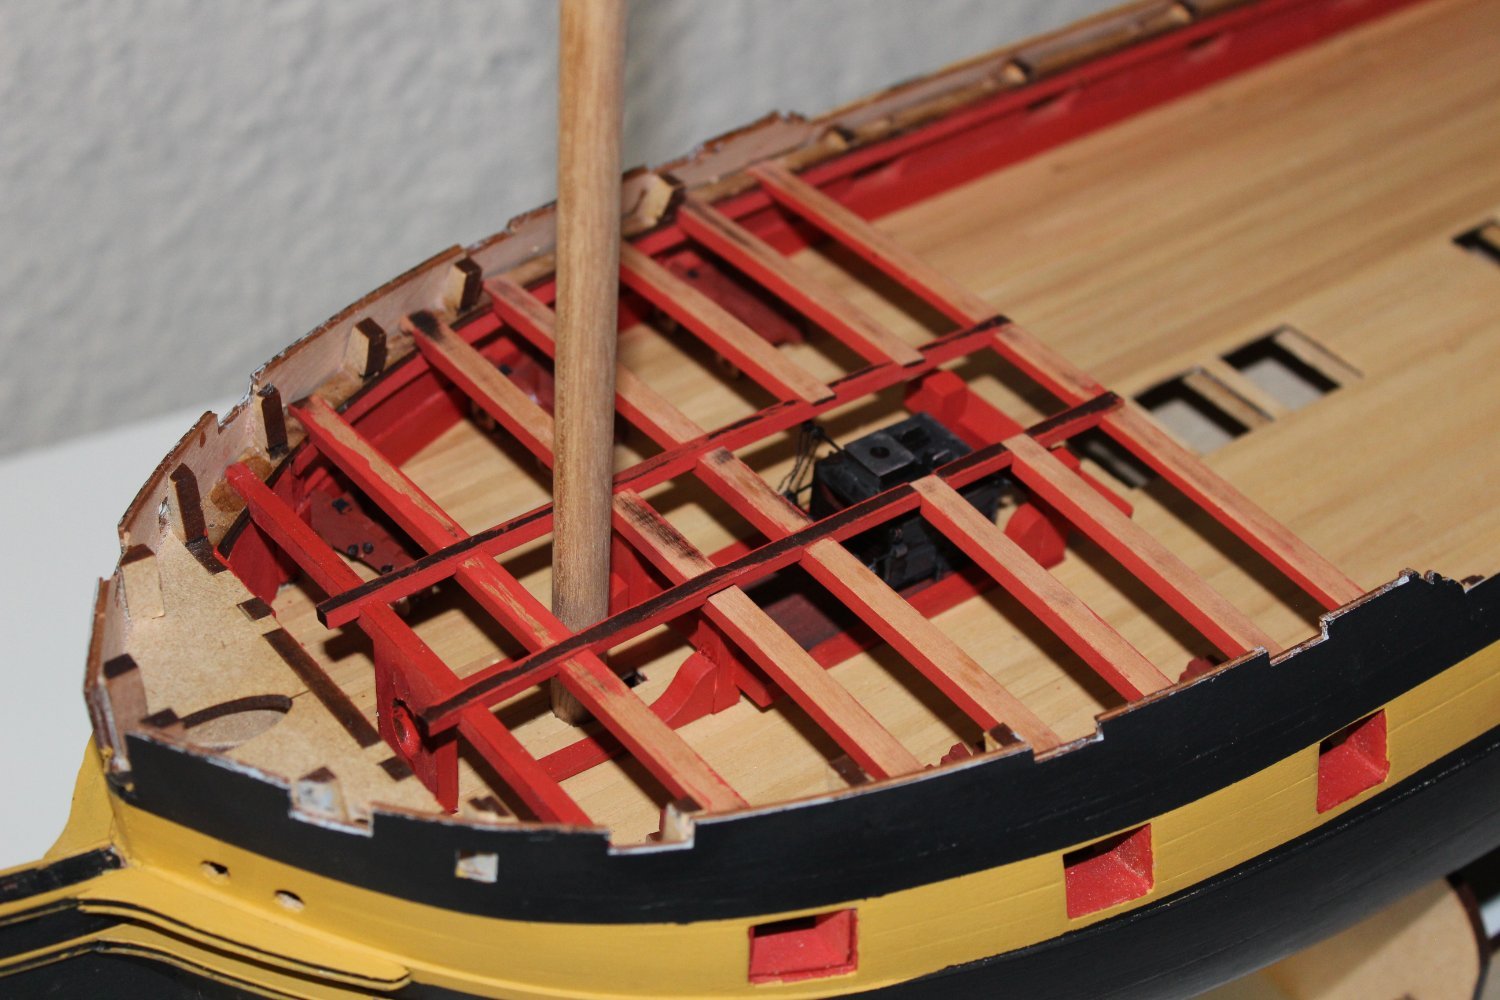
mast Dowling in the ensure decks line up
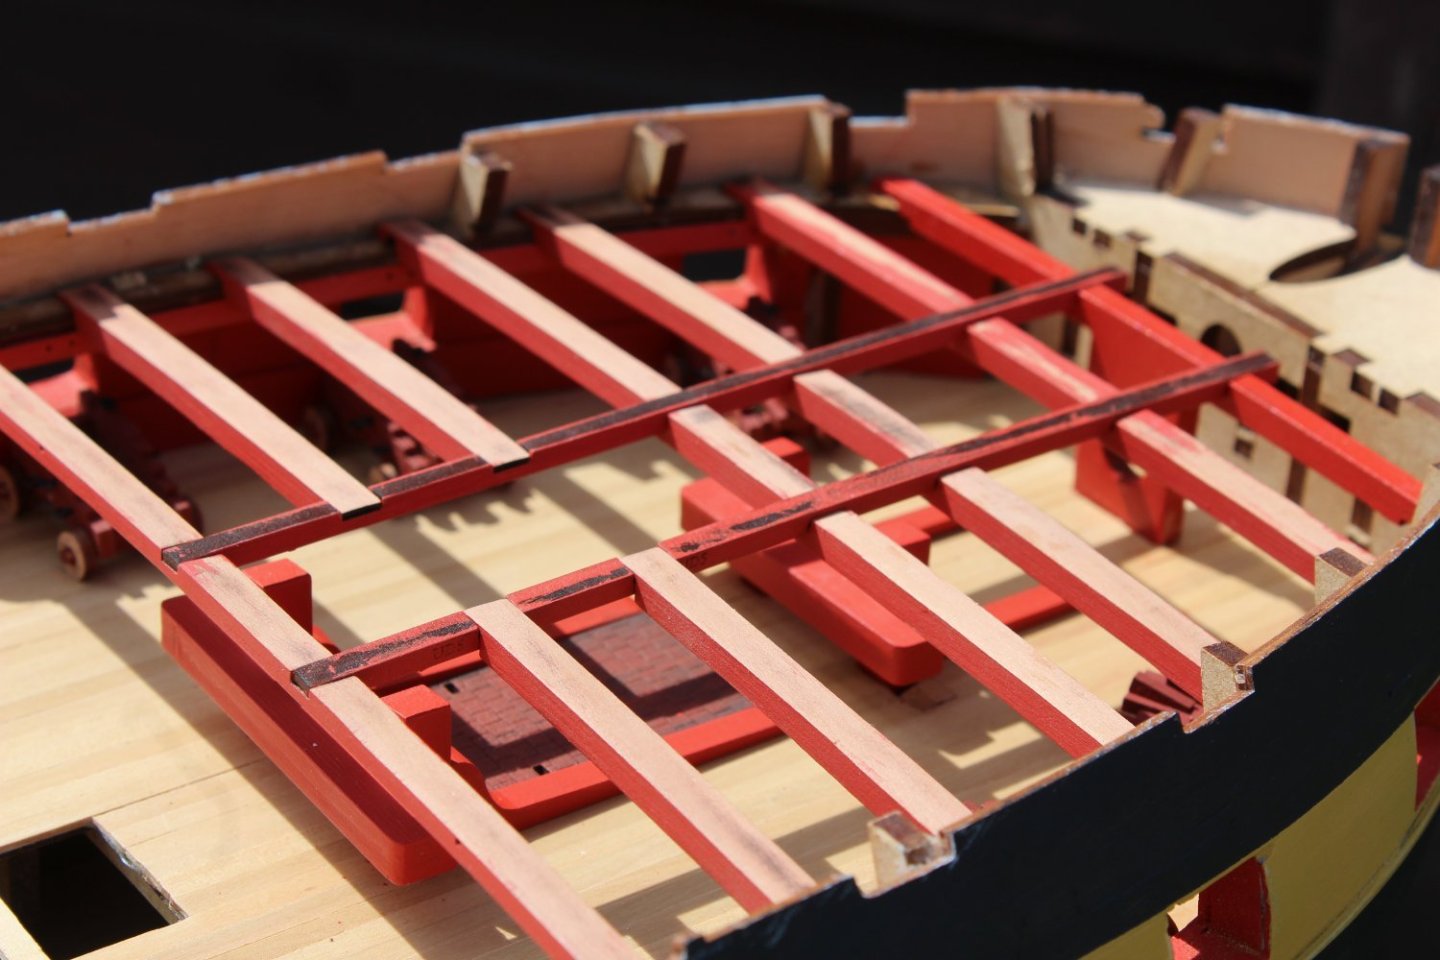
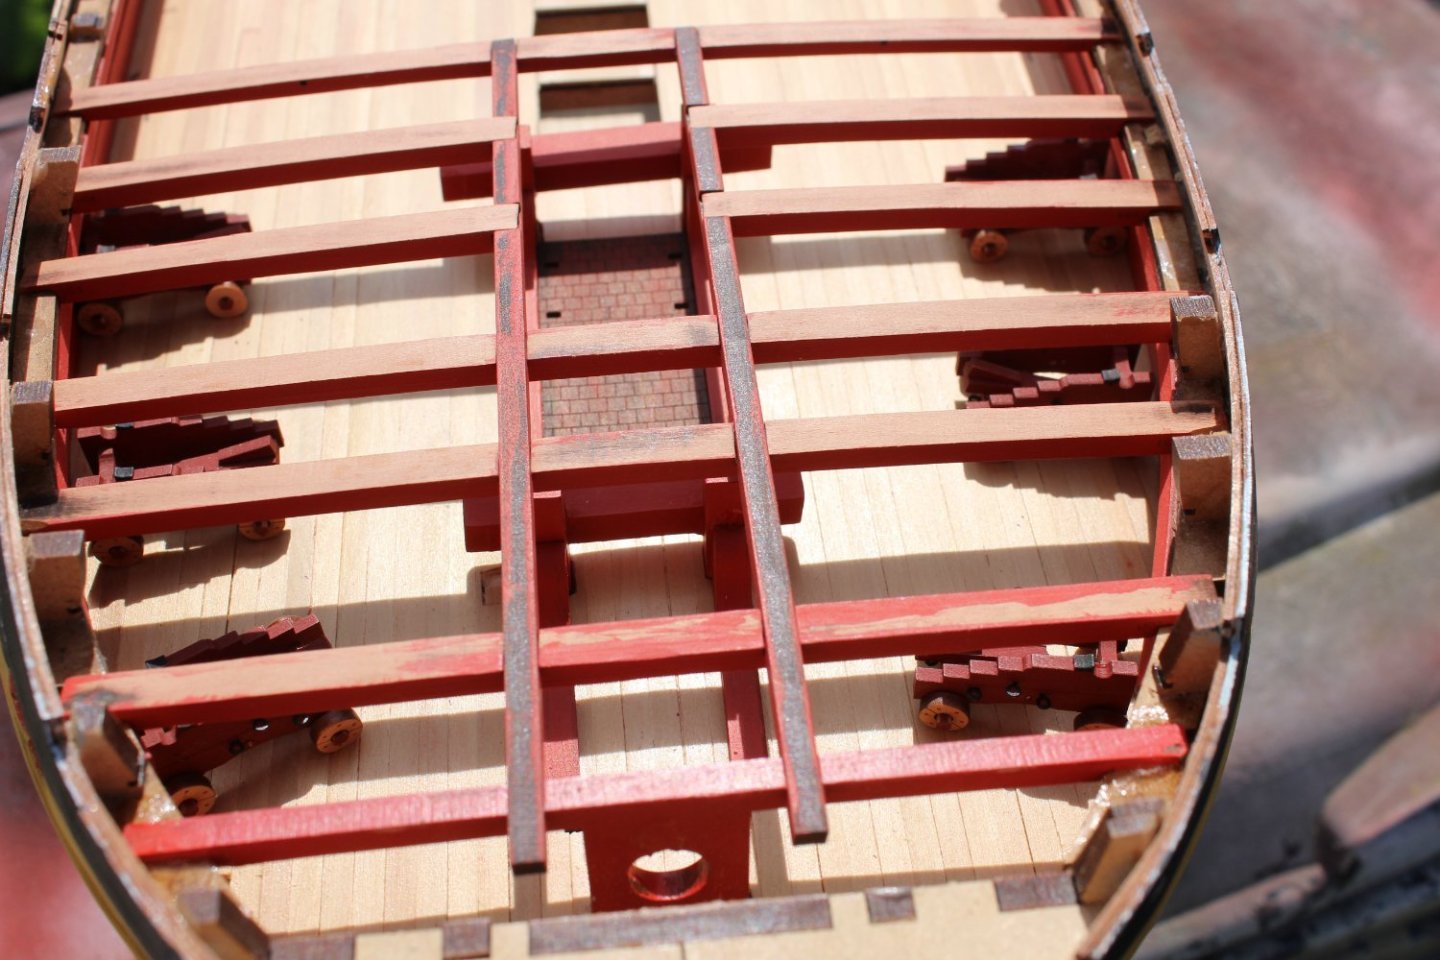
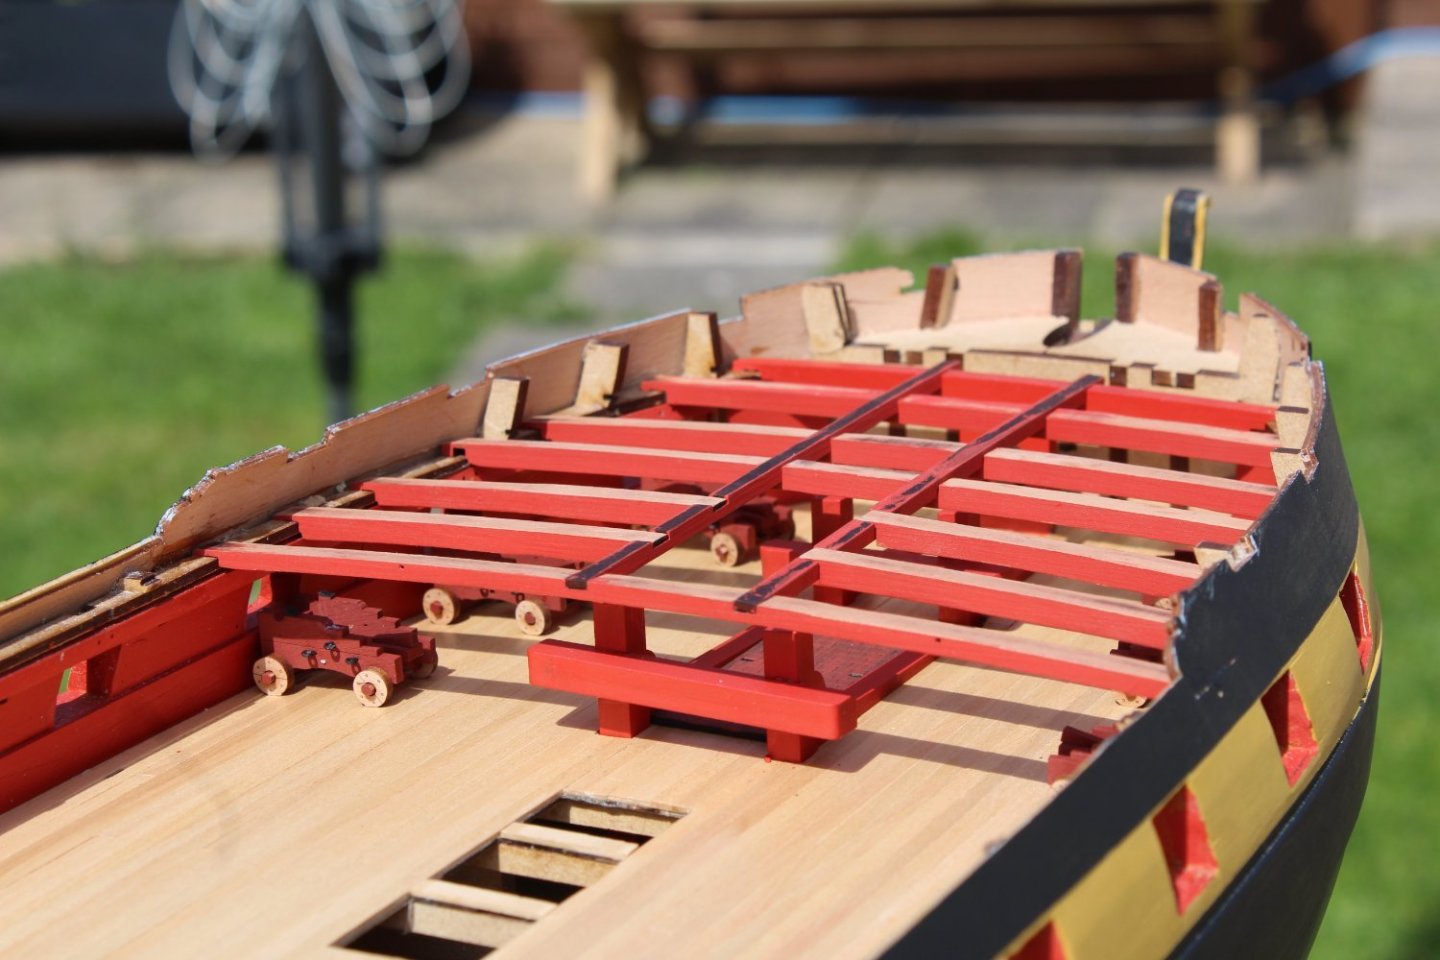
the deck beams fwd are fully fixed and the fwd deck has been test fitted the after deck beams are still in the process of making sure they fit


-
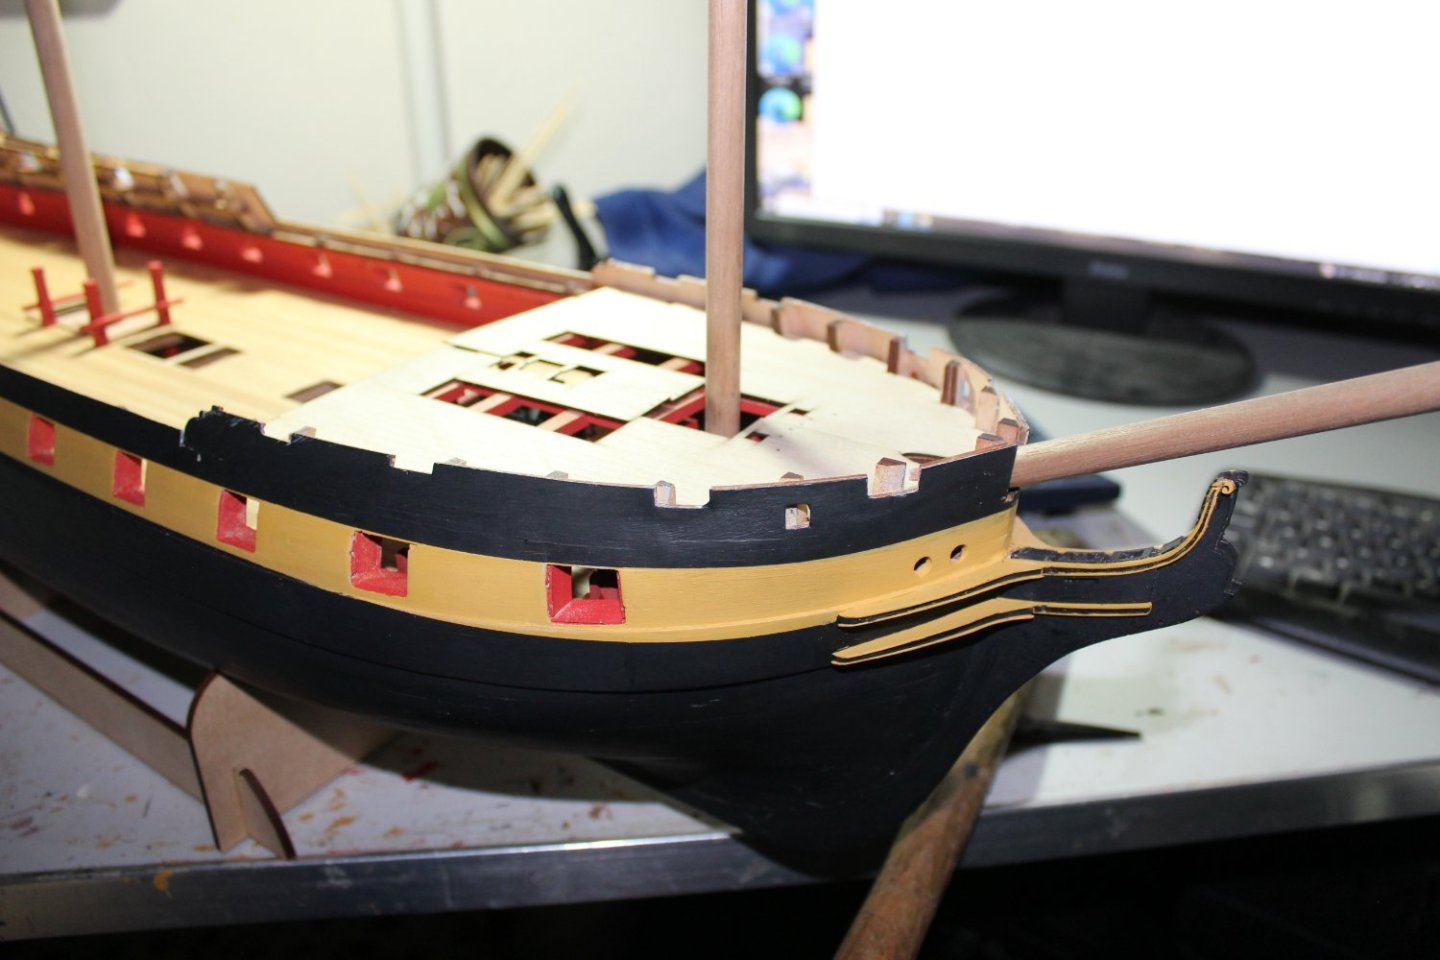
good evening everyone
thank you for comment and likes
day 79-2
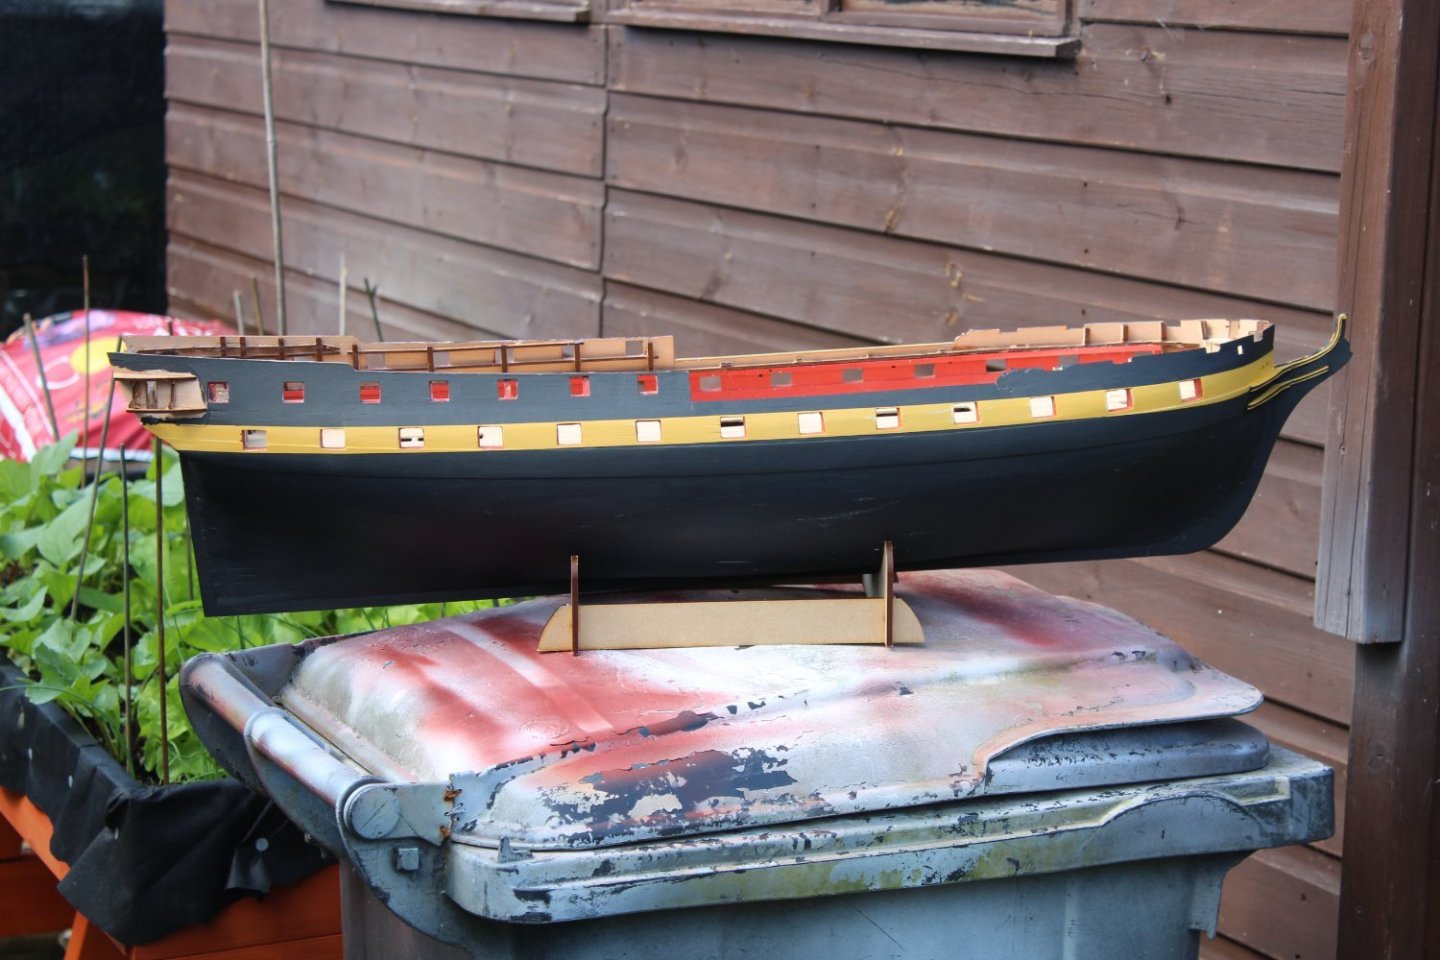
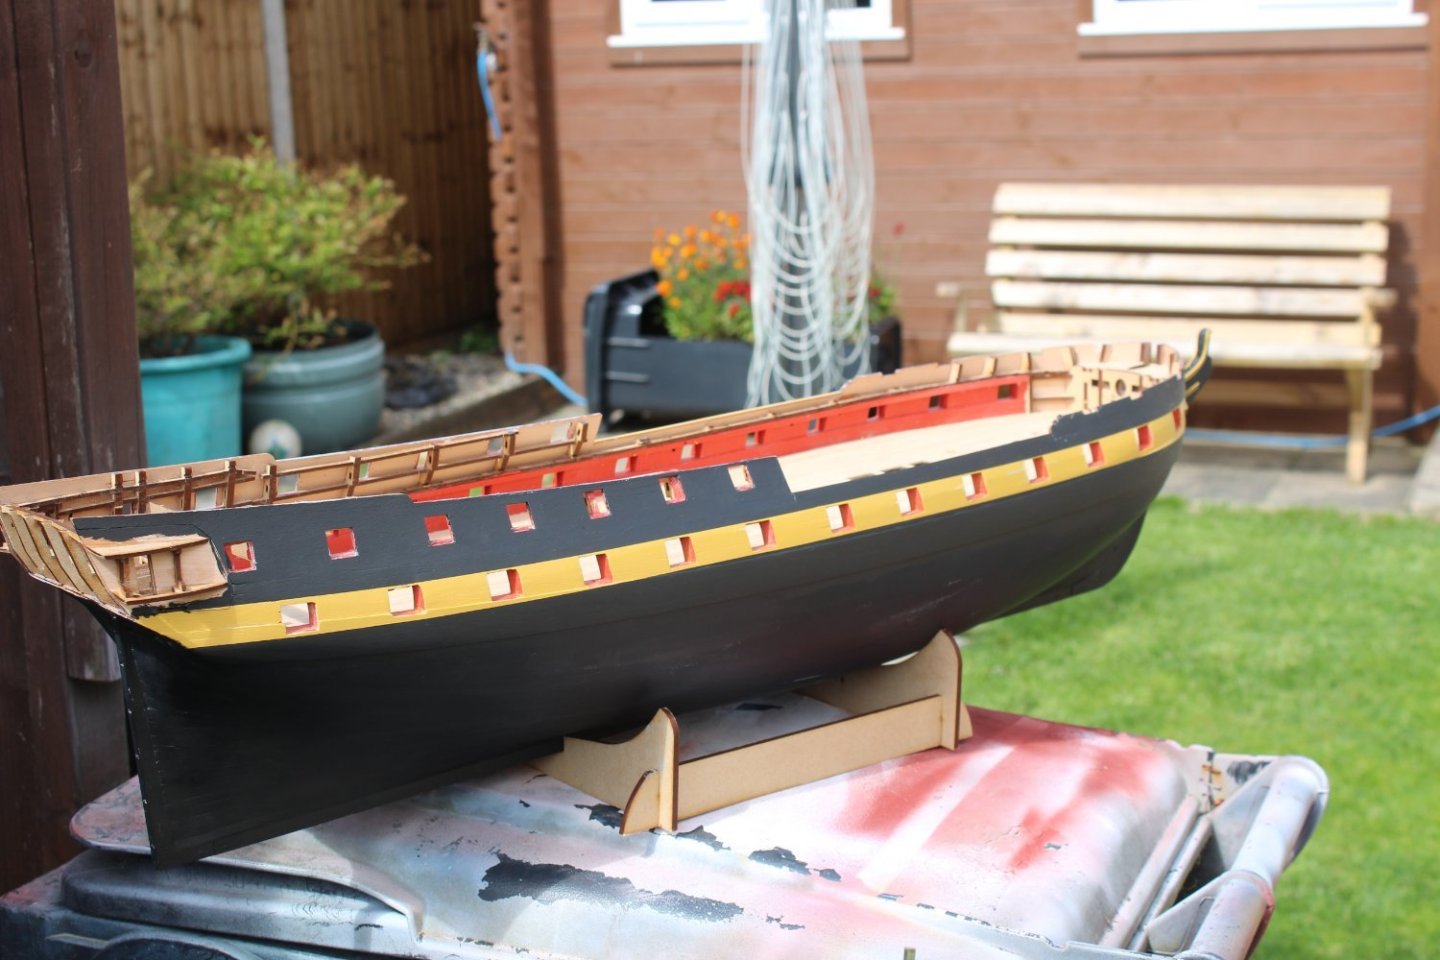
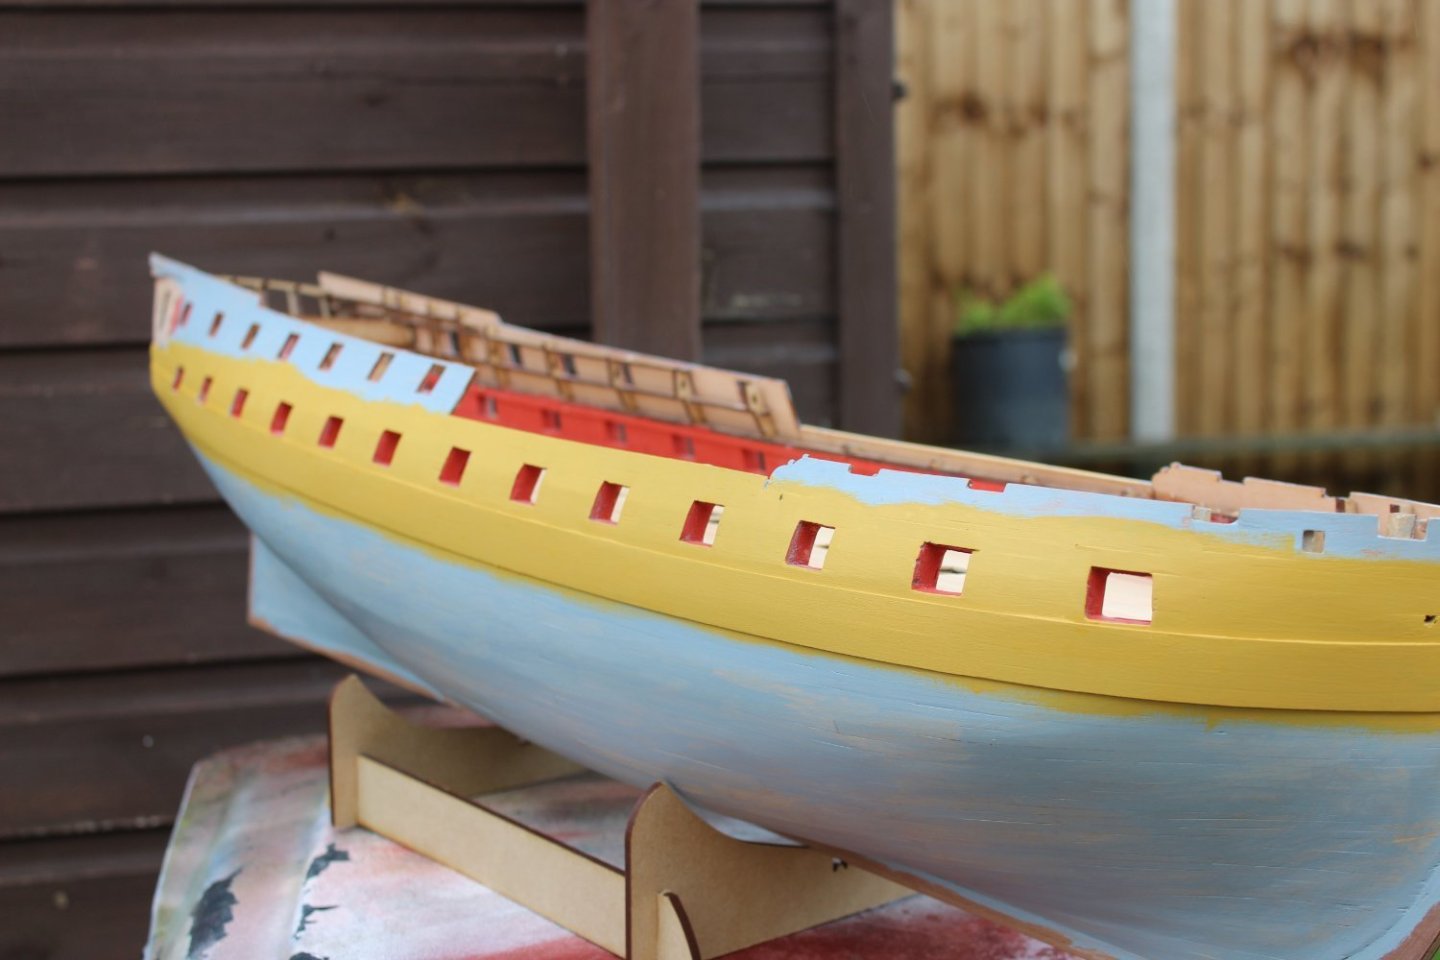
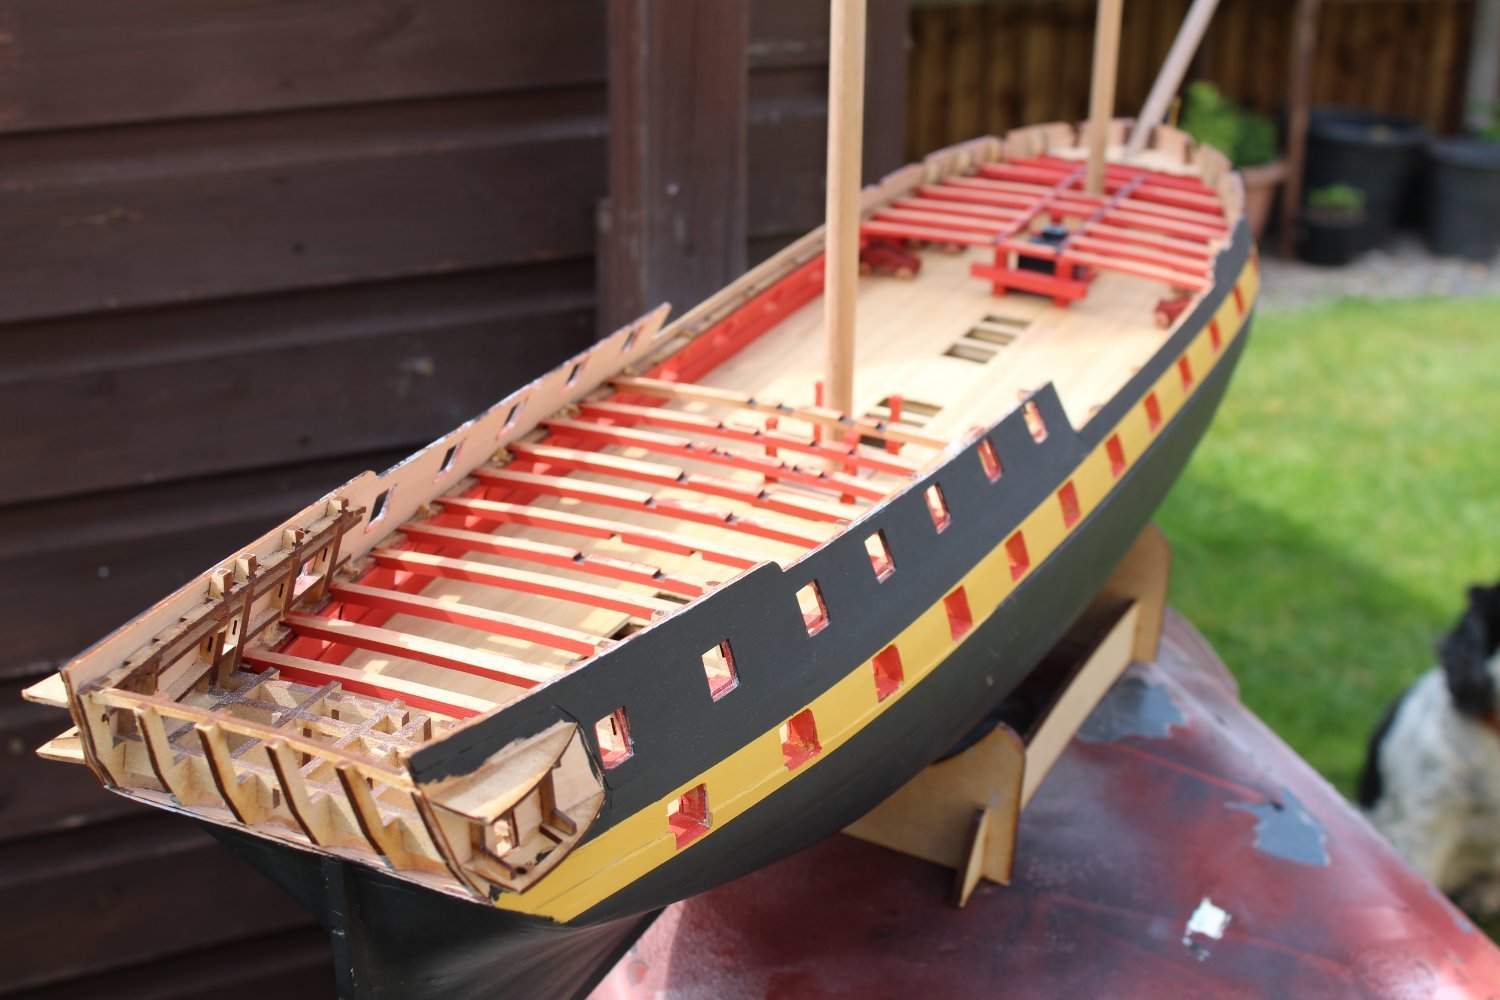
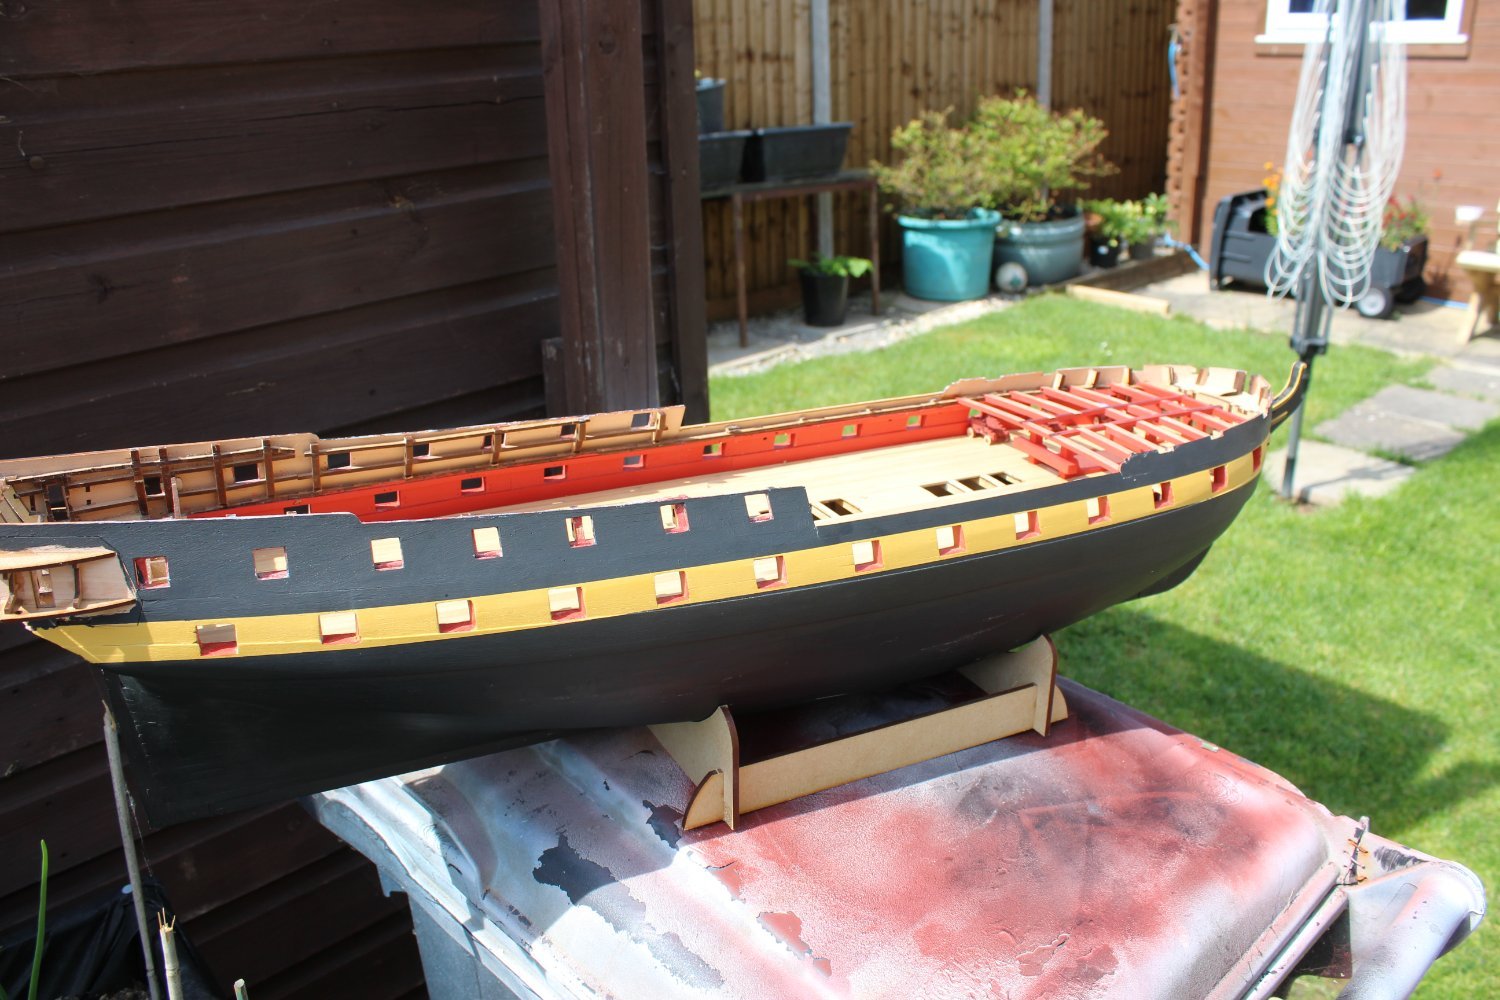
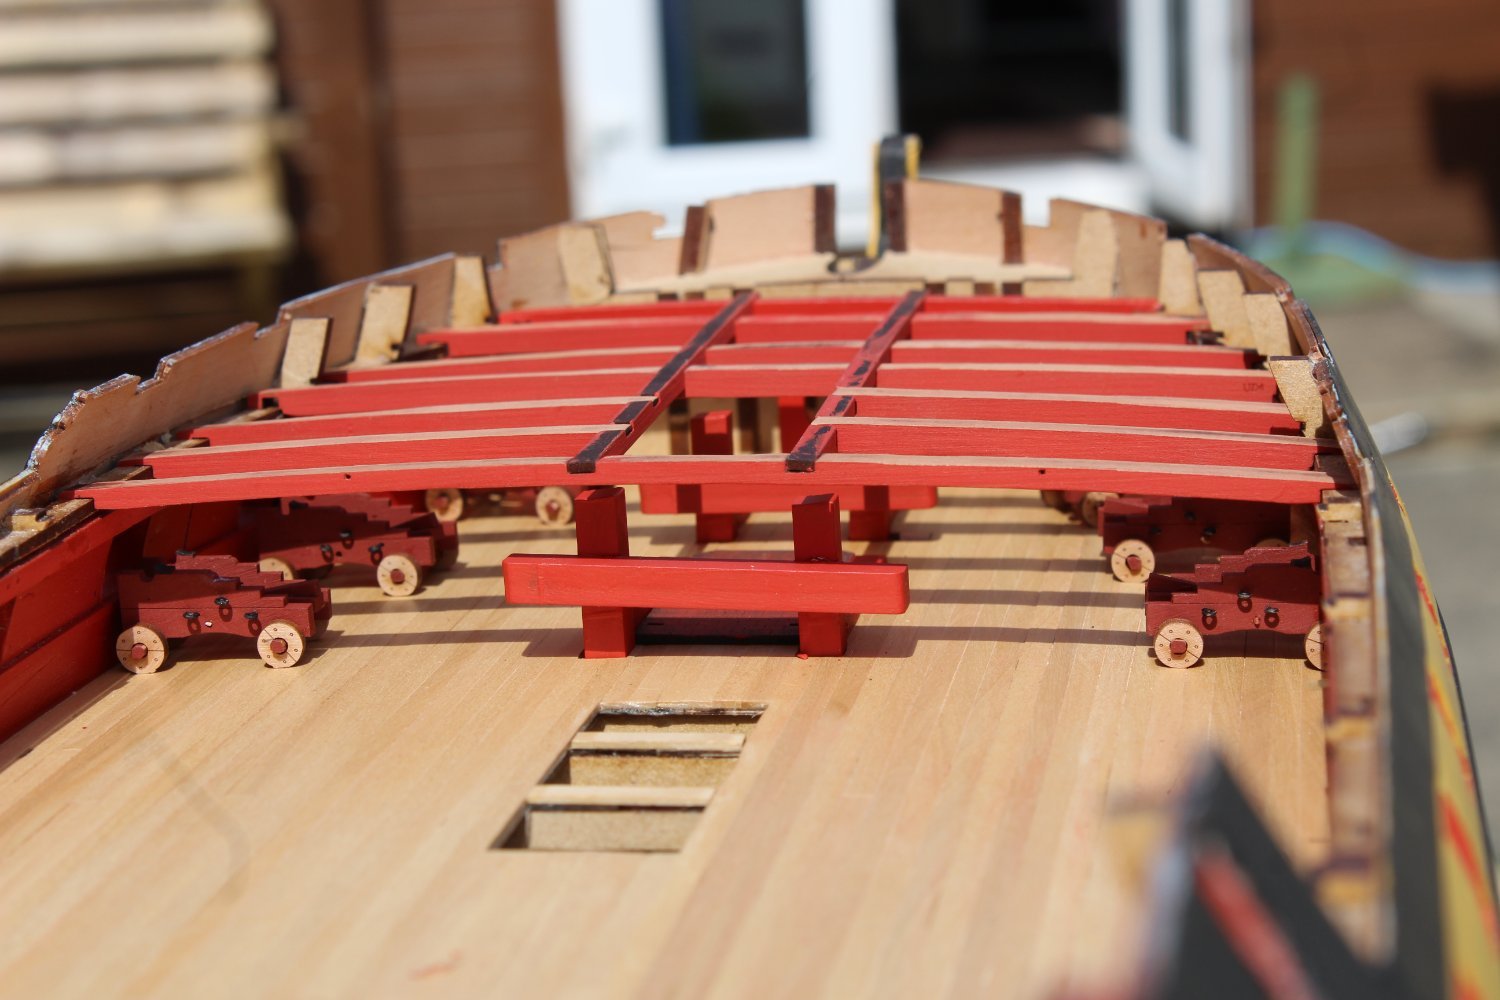
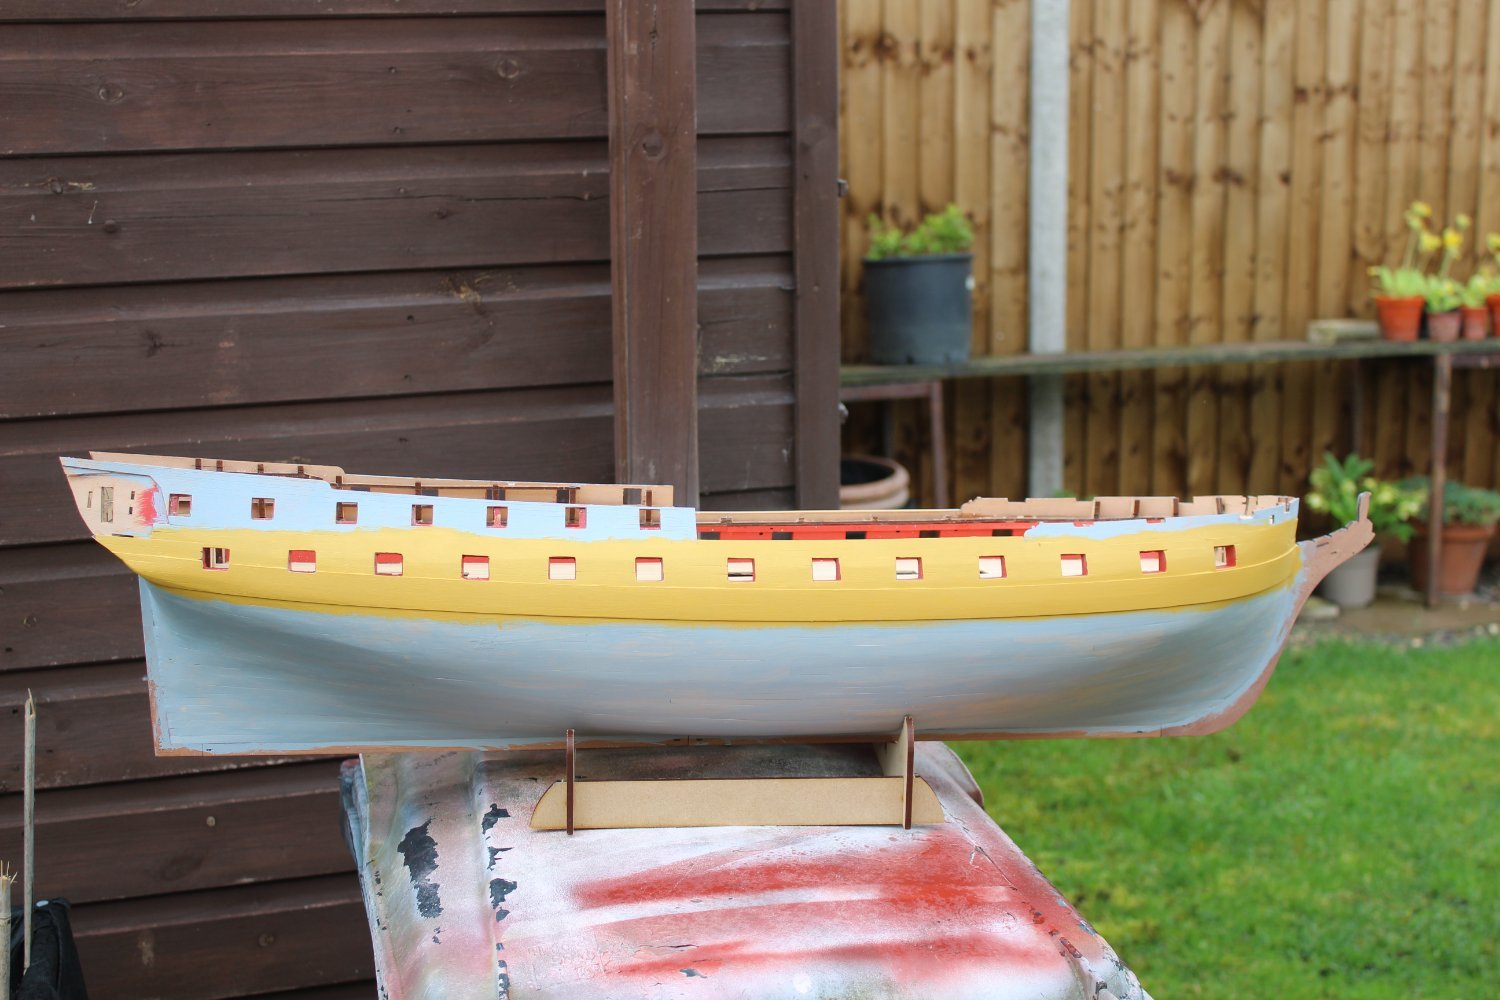
i have now put another couple of coats on the yellow banding and repainted the gunports linings

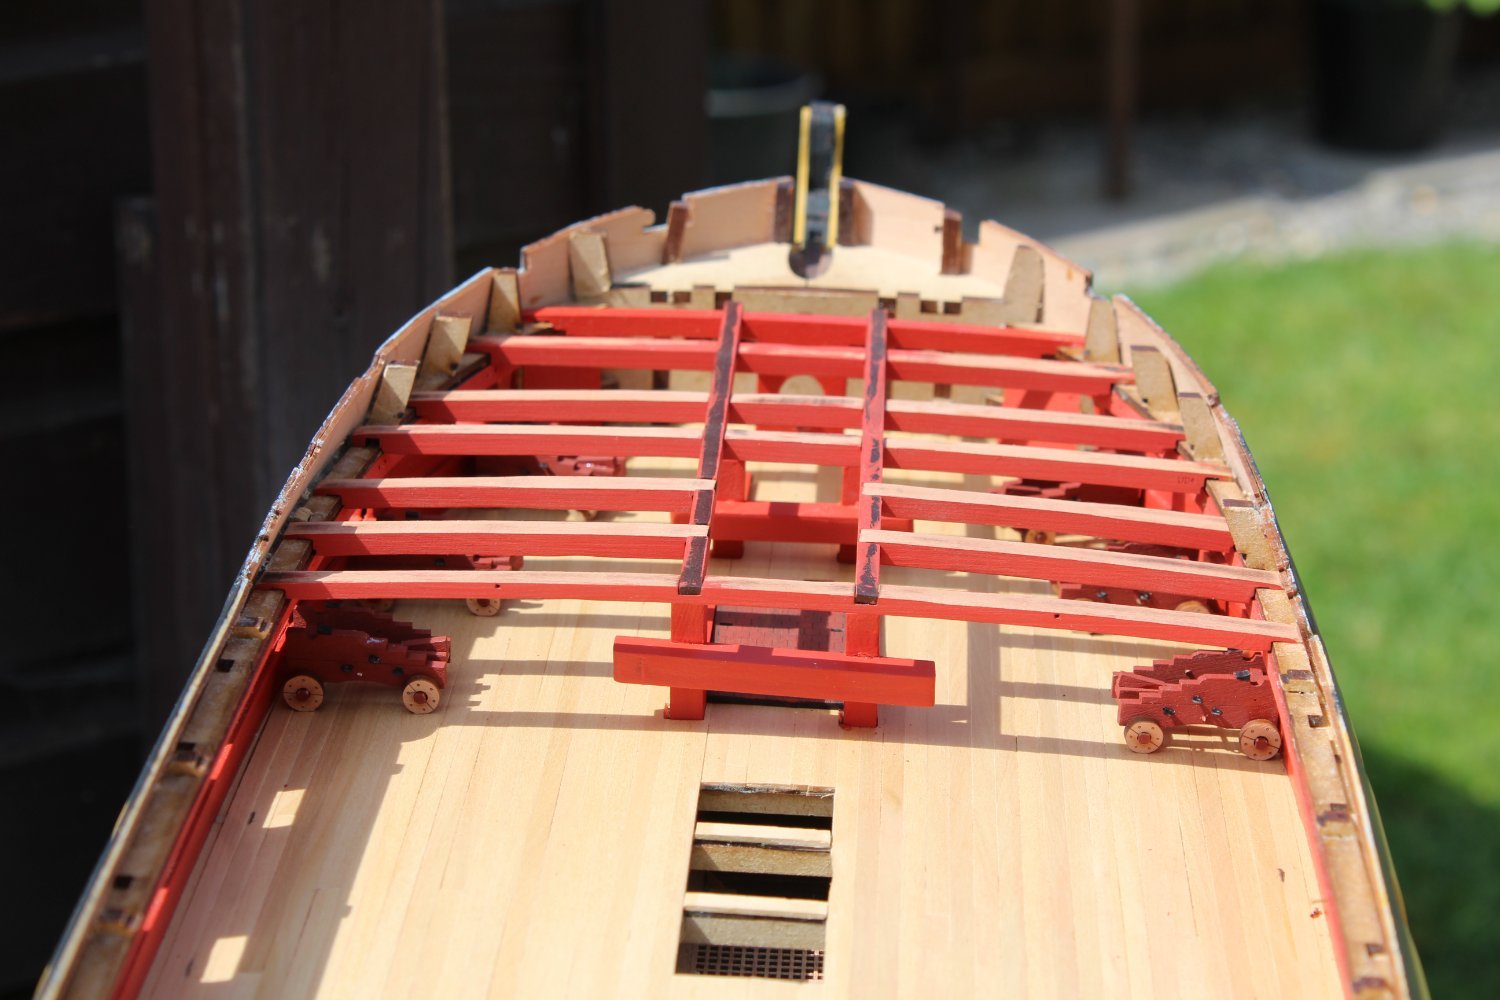
all the gun carriages have been made up, but only six have been fully completed with wheels and metal fittings the tabs that enable accurate fitting onto the deck were removed as the boxwood deck was to hard to get a decent slot, so the wheels have now been sanded slightly to enable a good 4 point contact to the deck and will be held in place with PVA
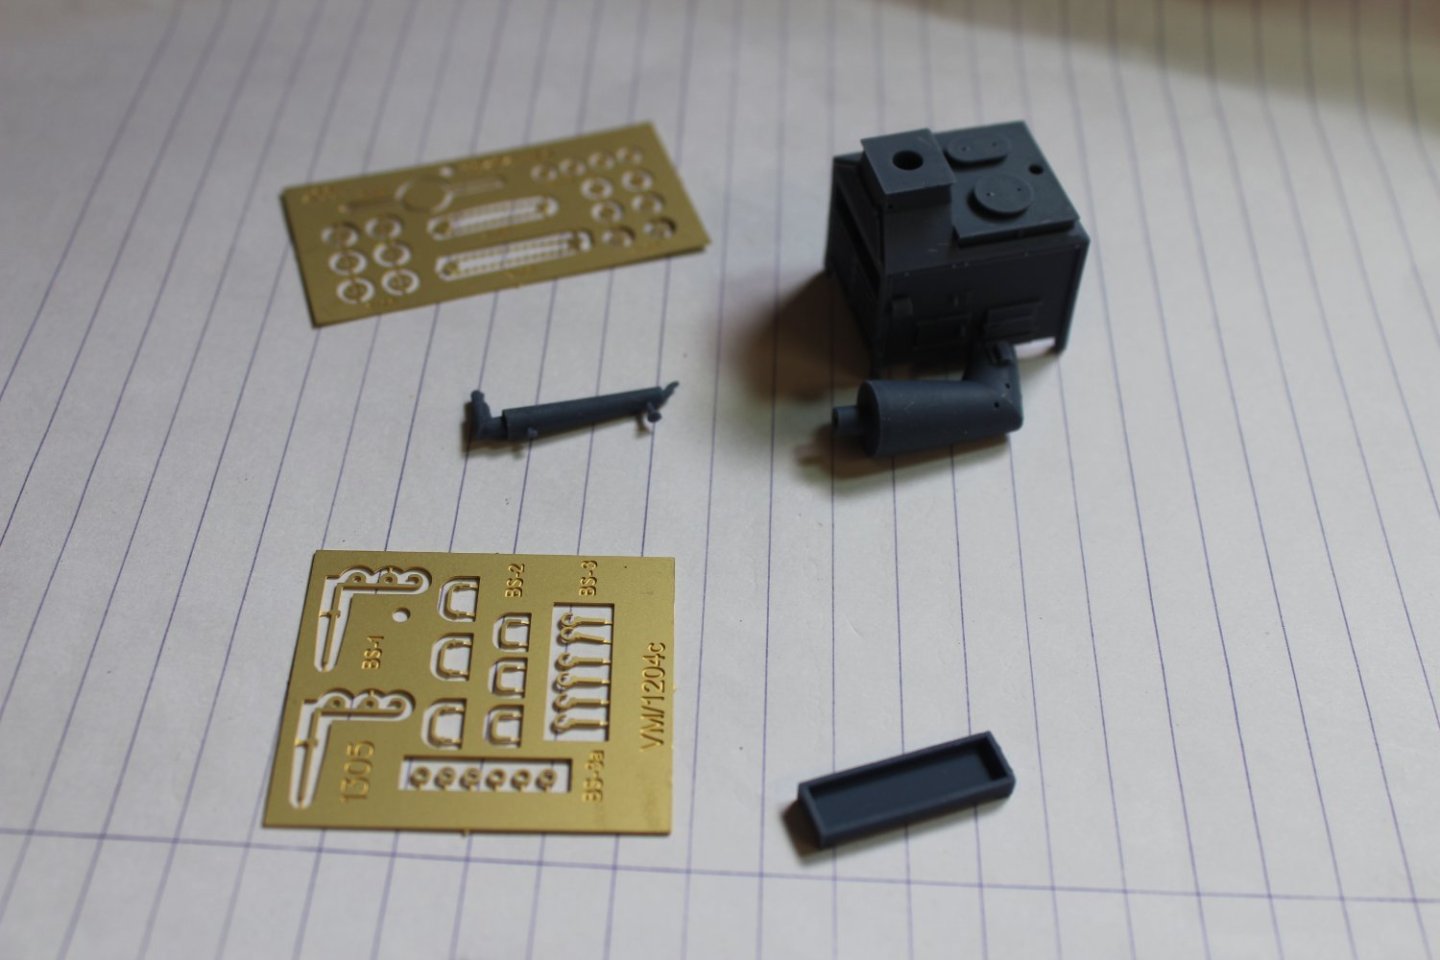
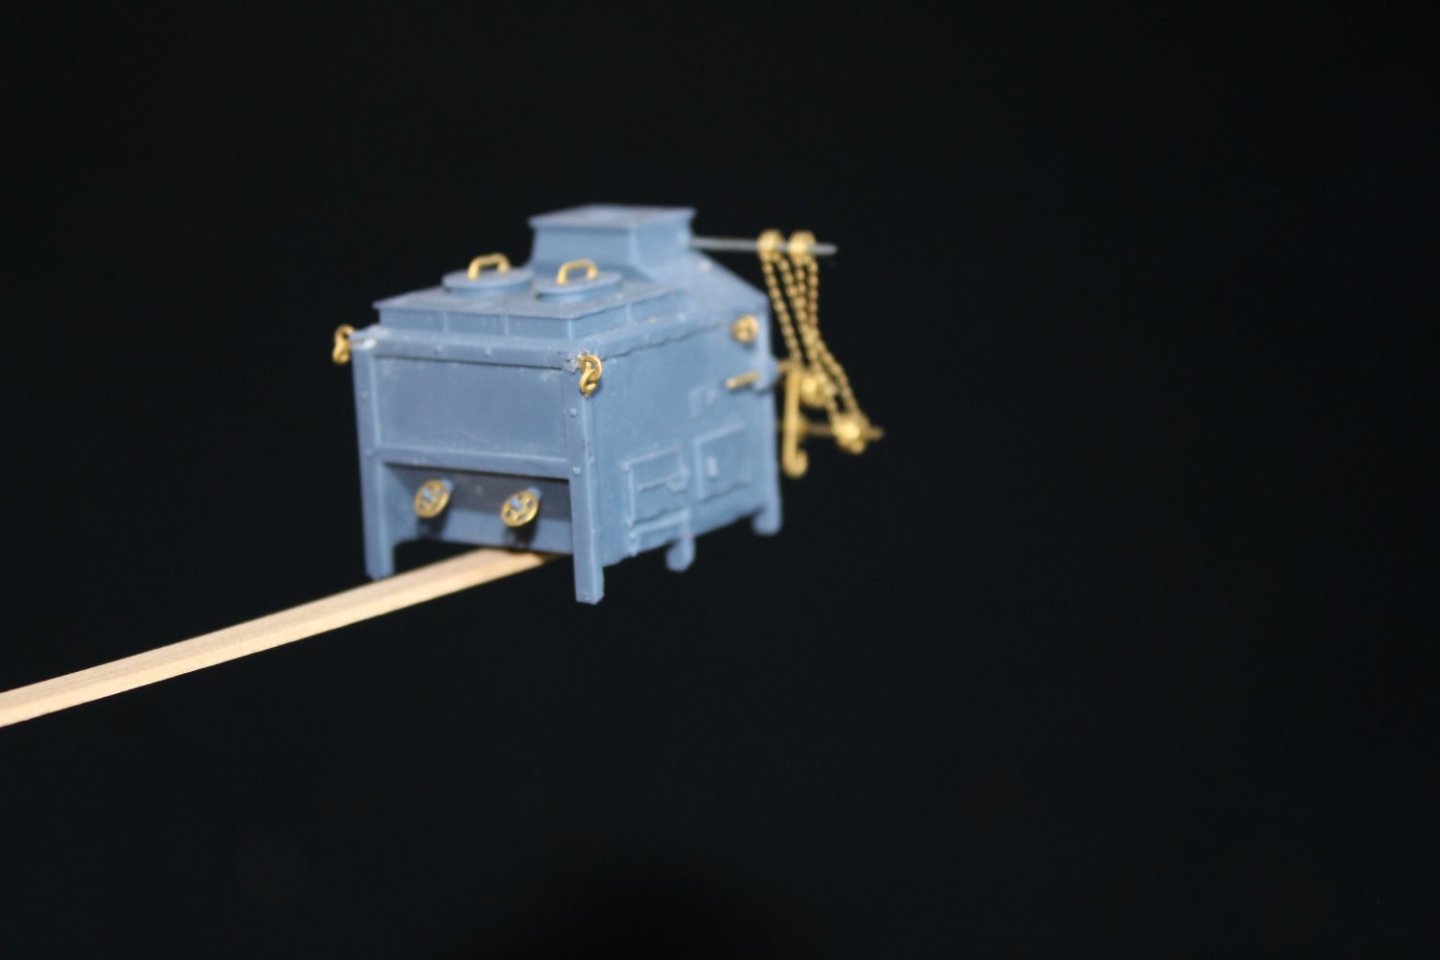
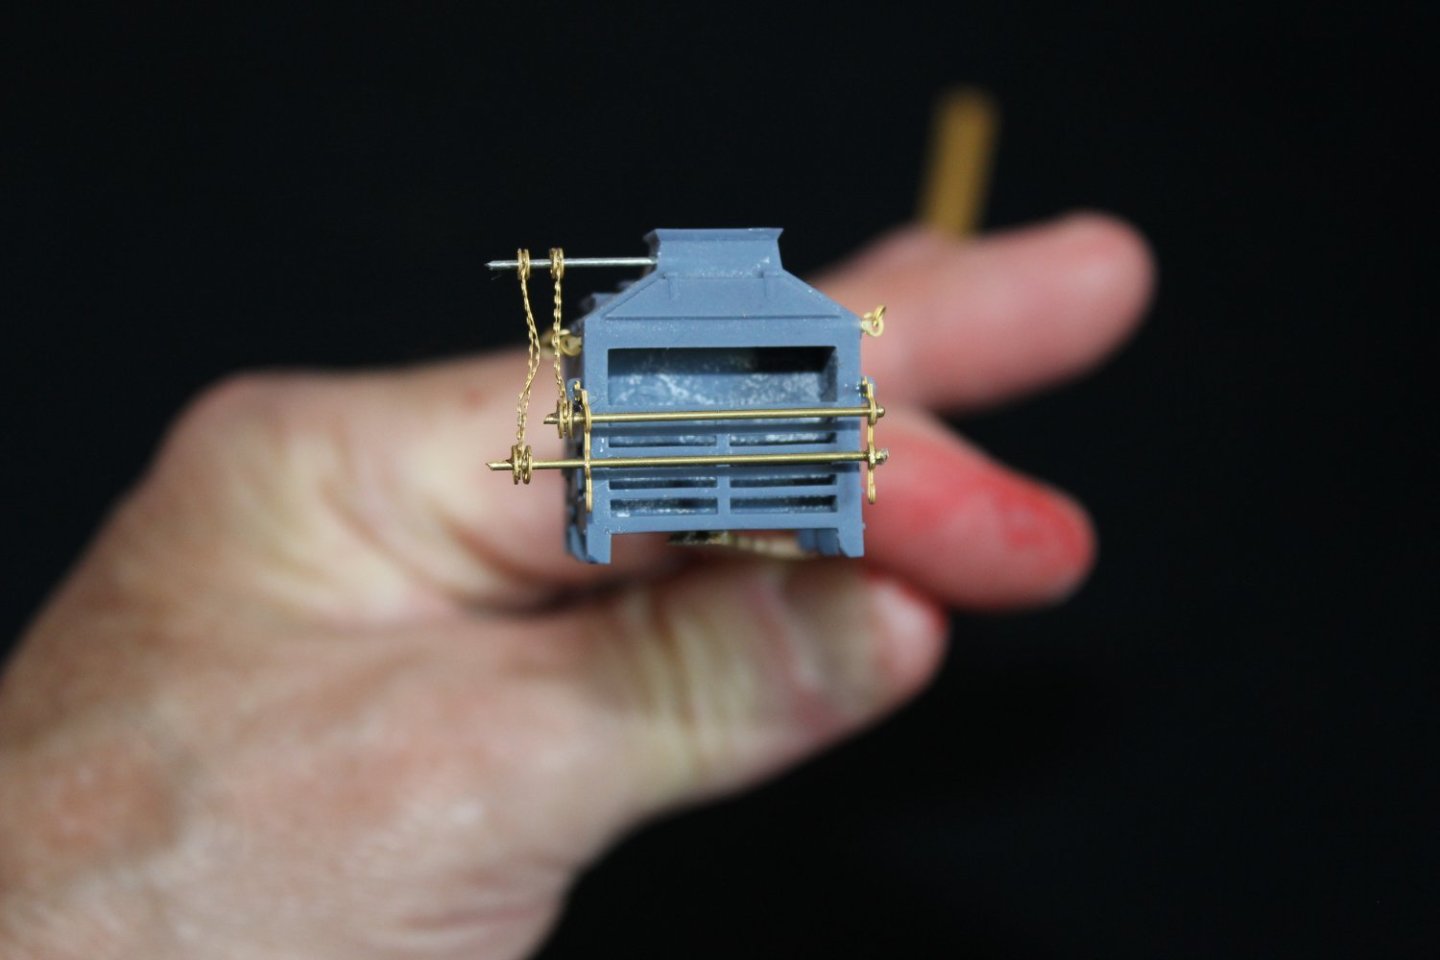
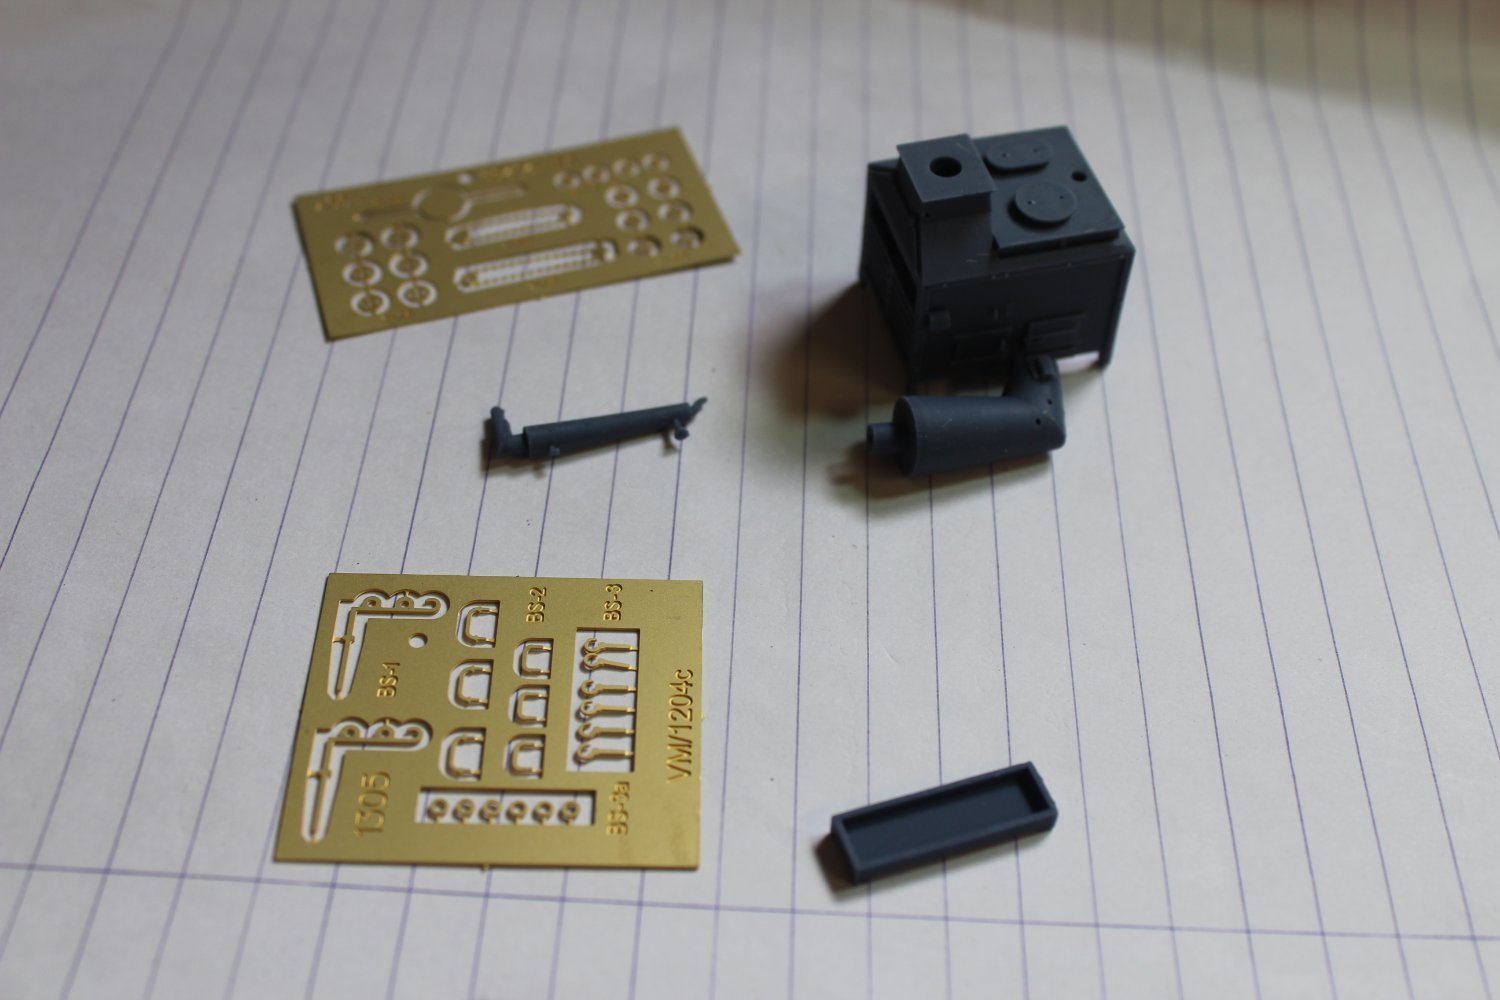
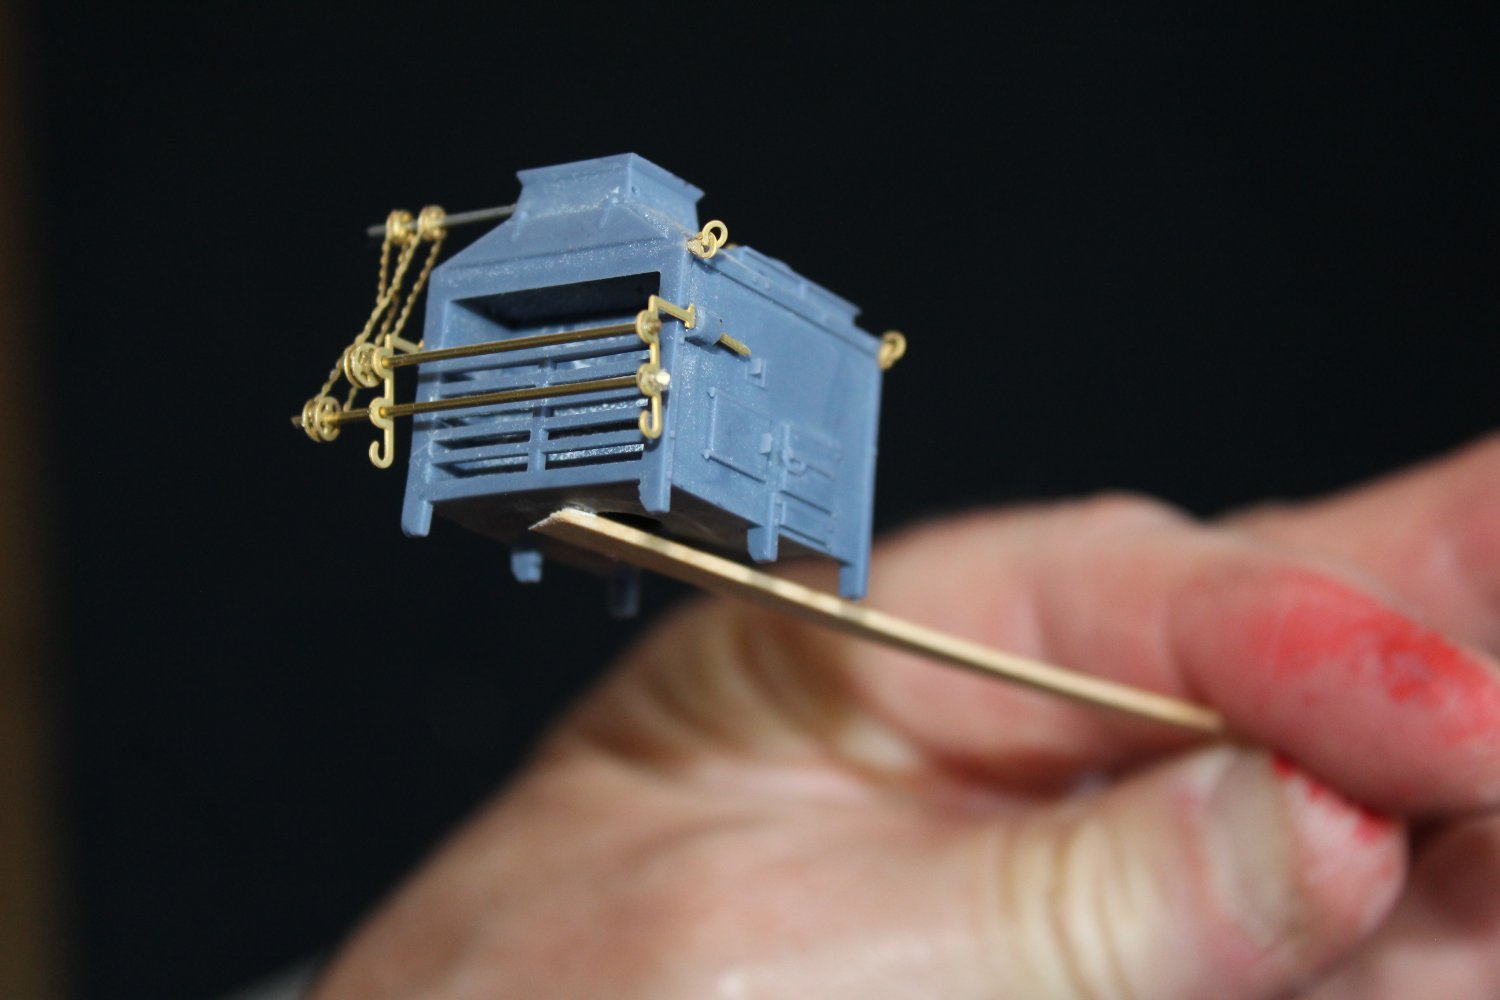
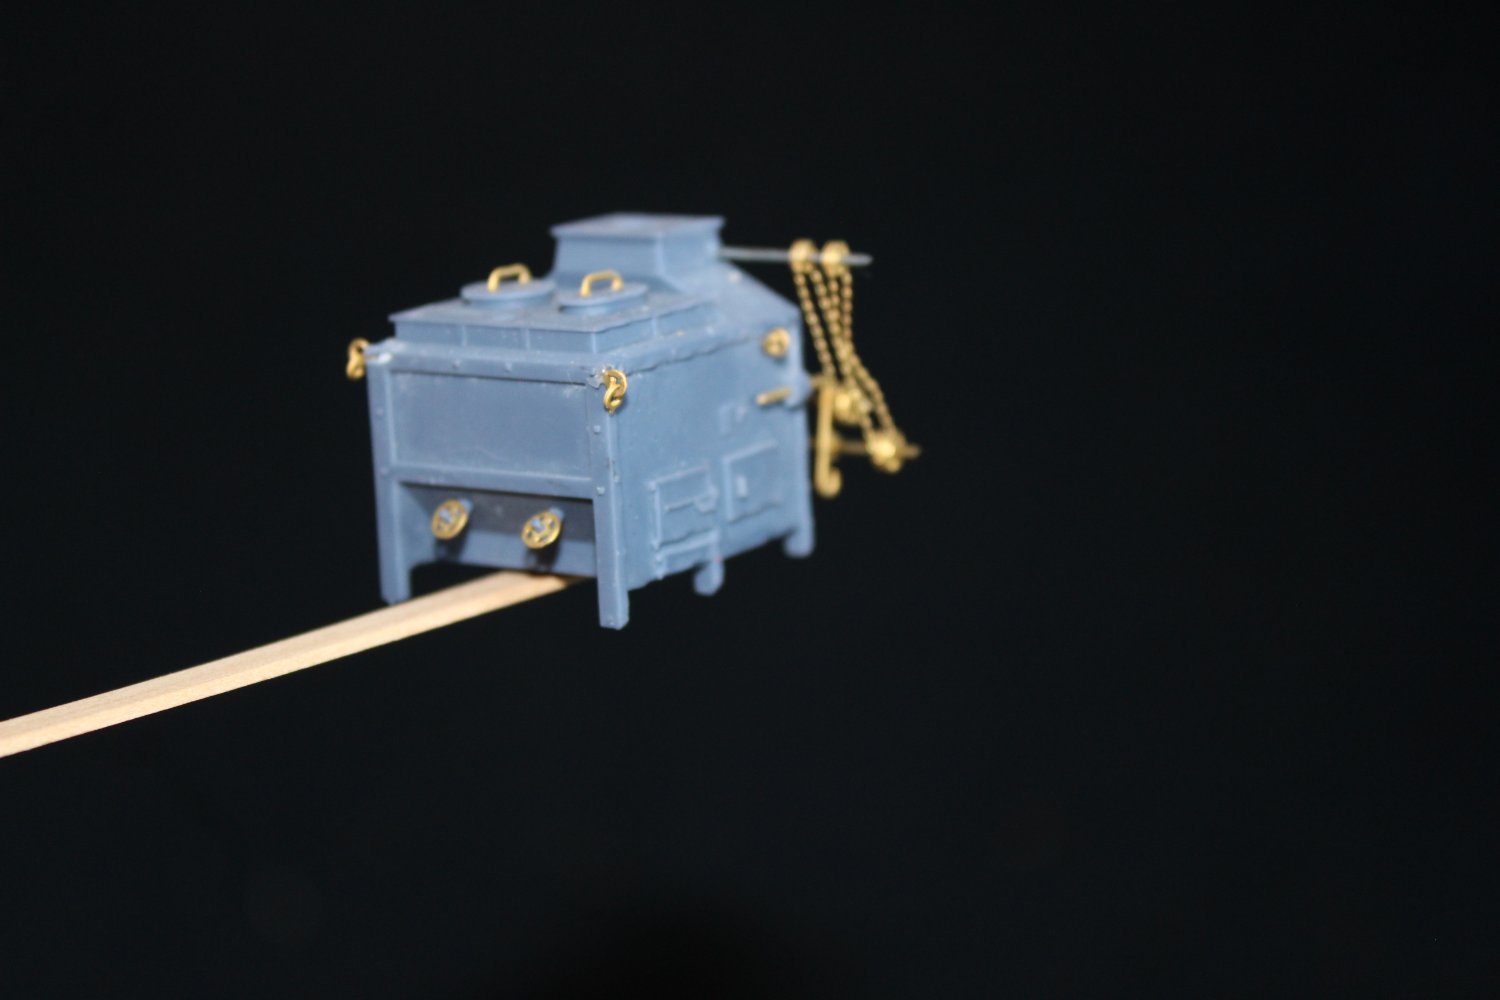
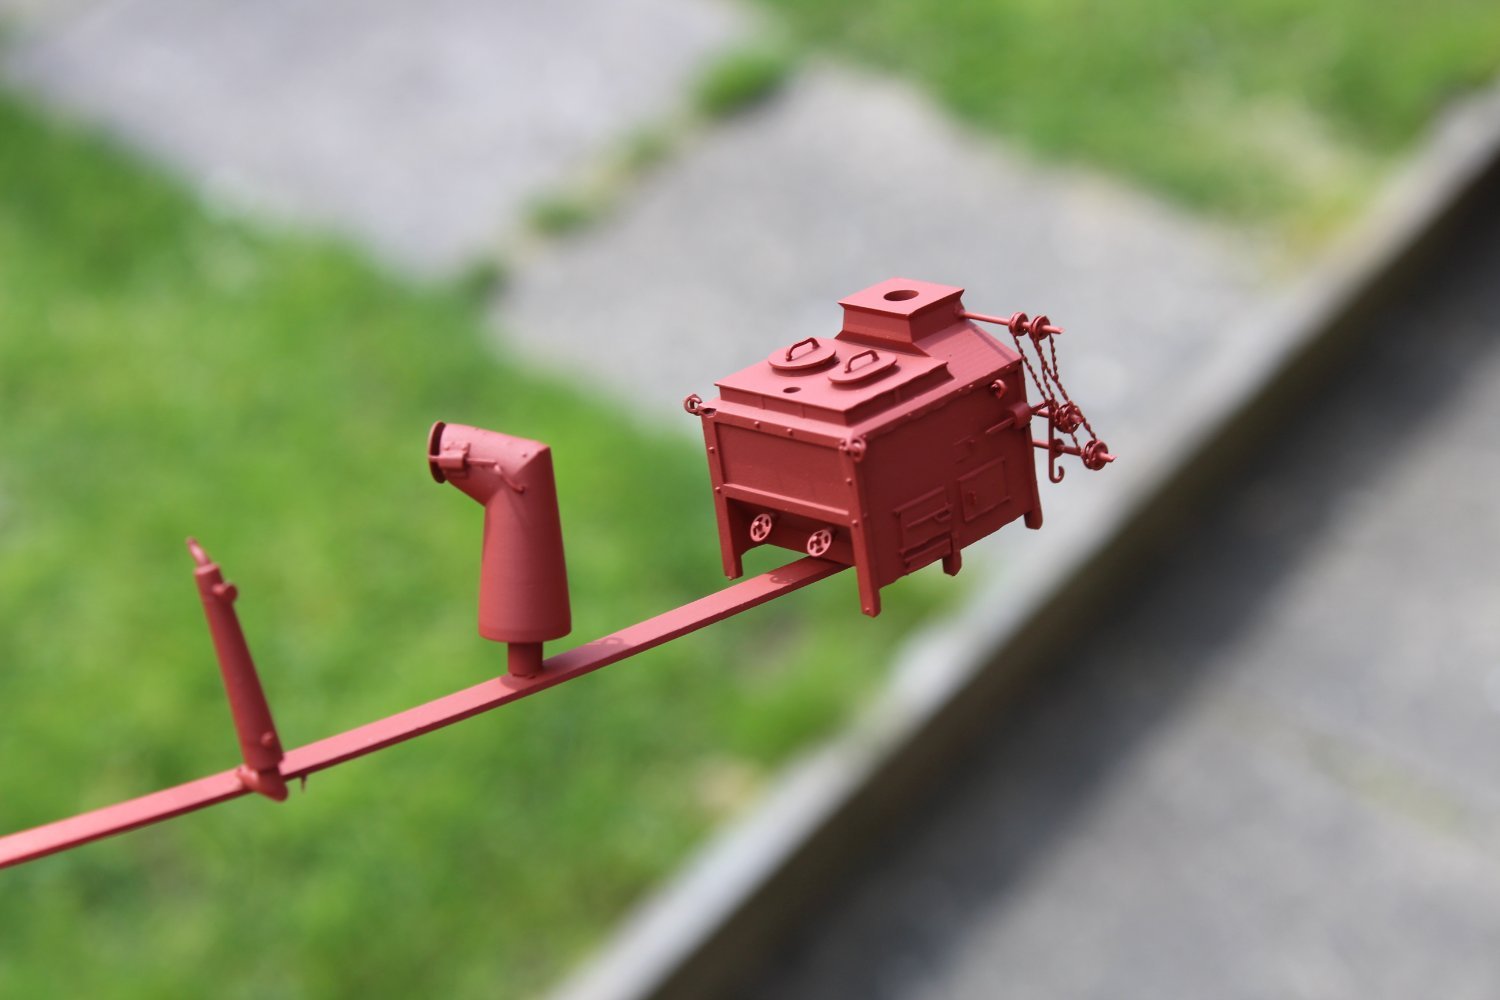
the ships oven is a lovely piece of resin and Photo etch, primed and black painted


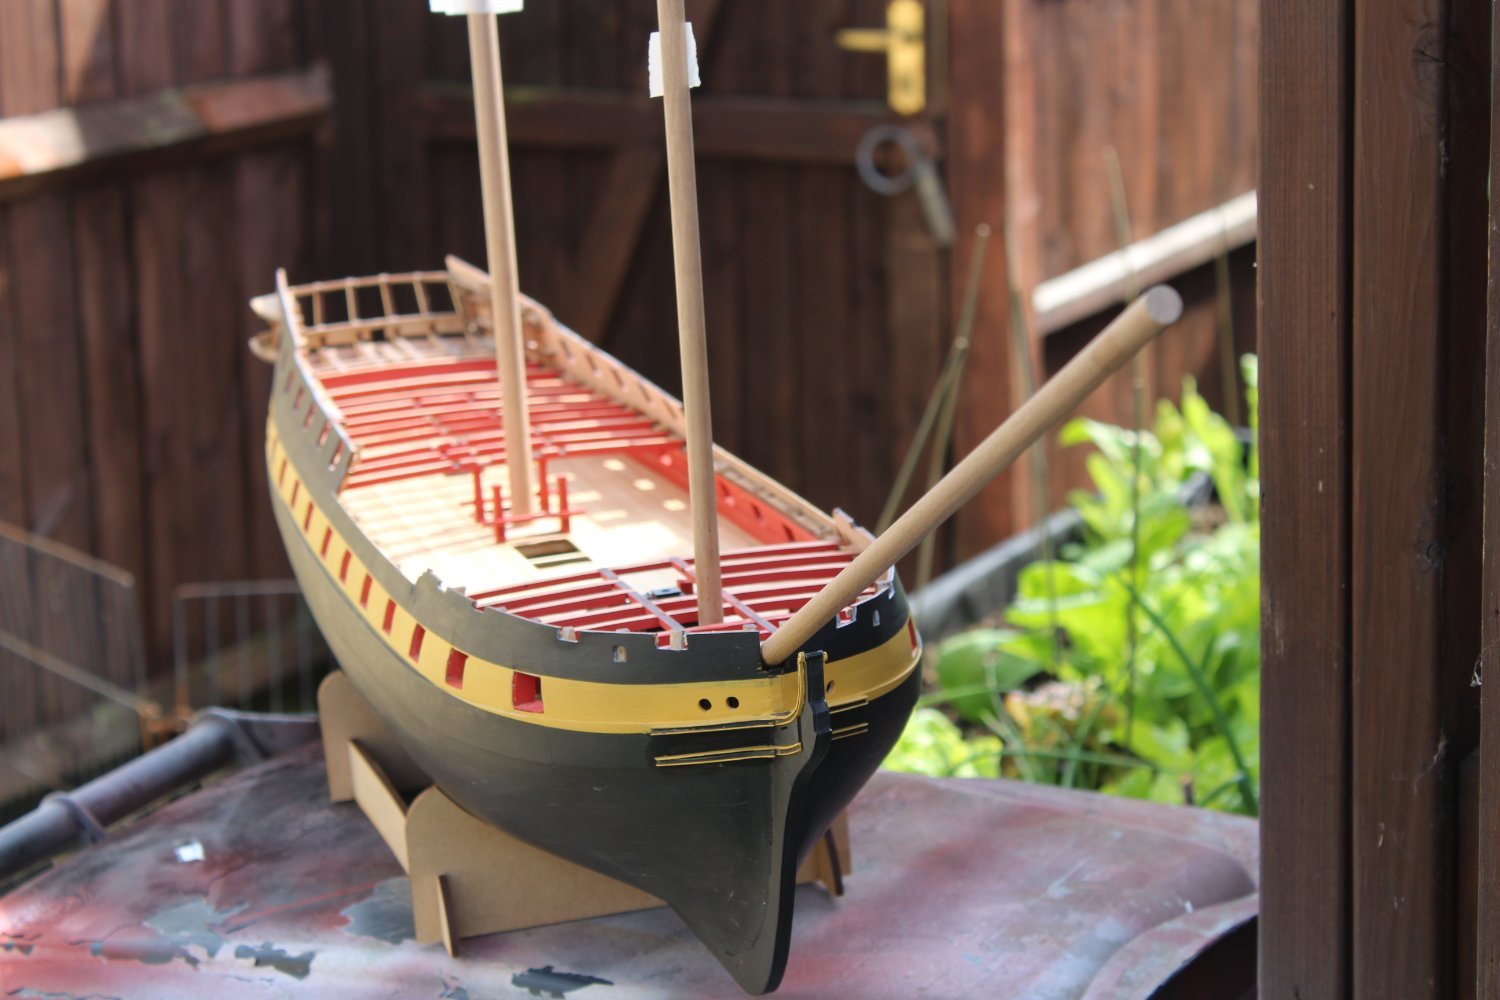
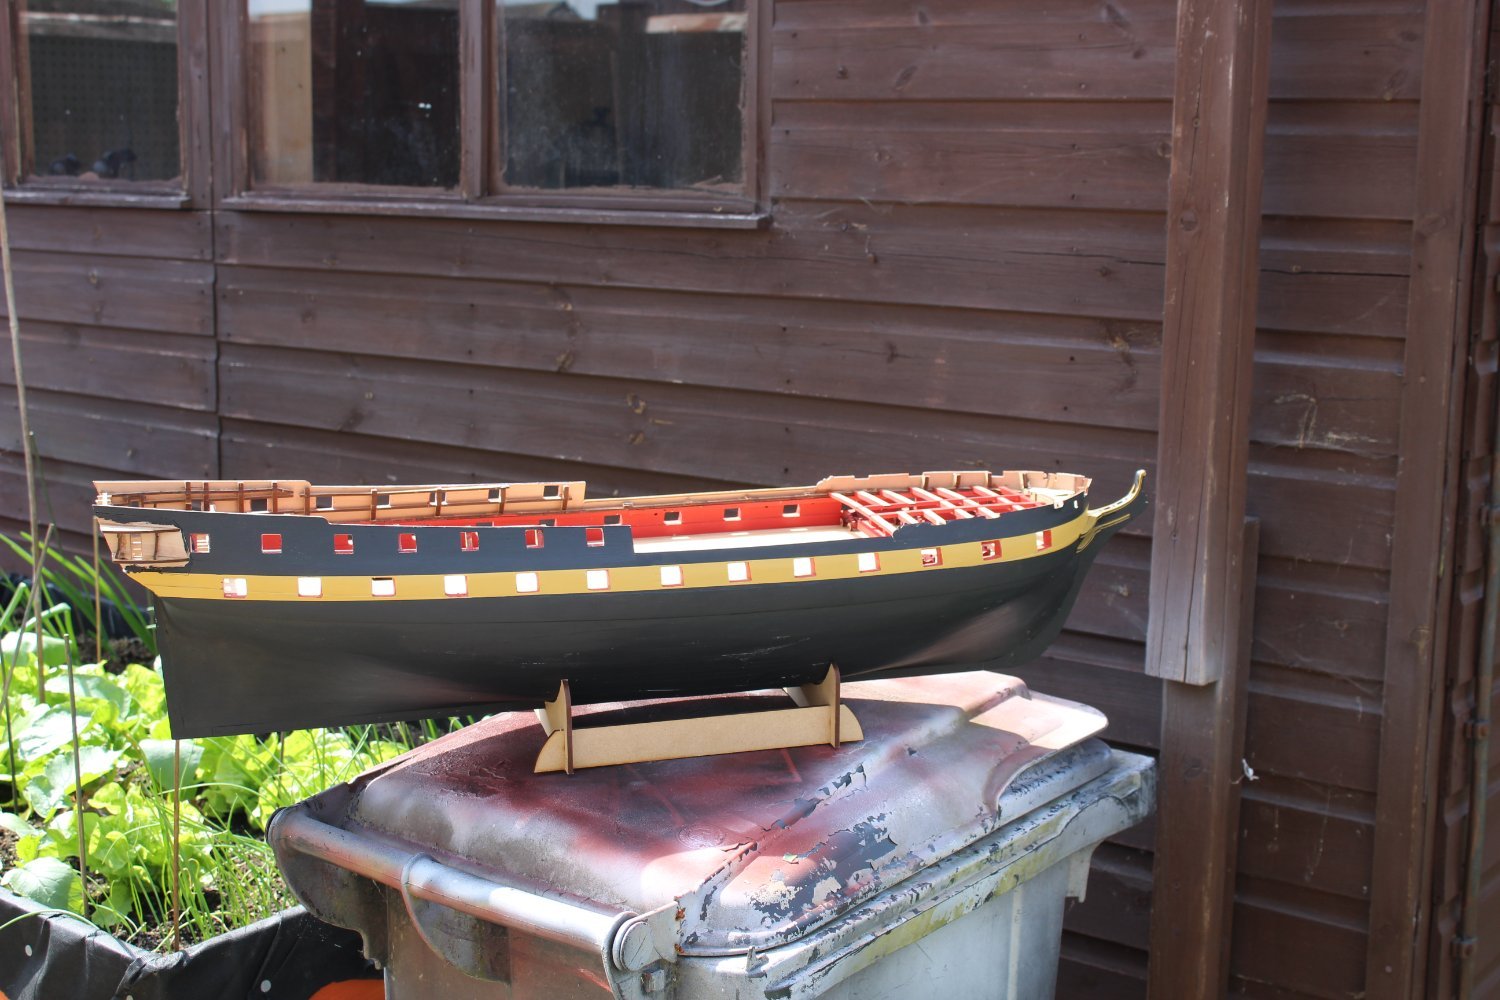
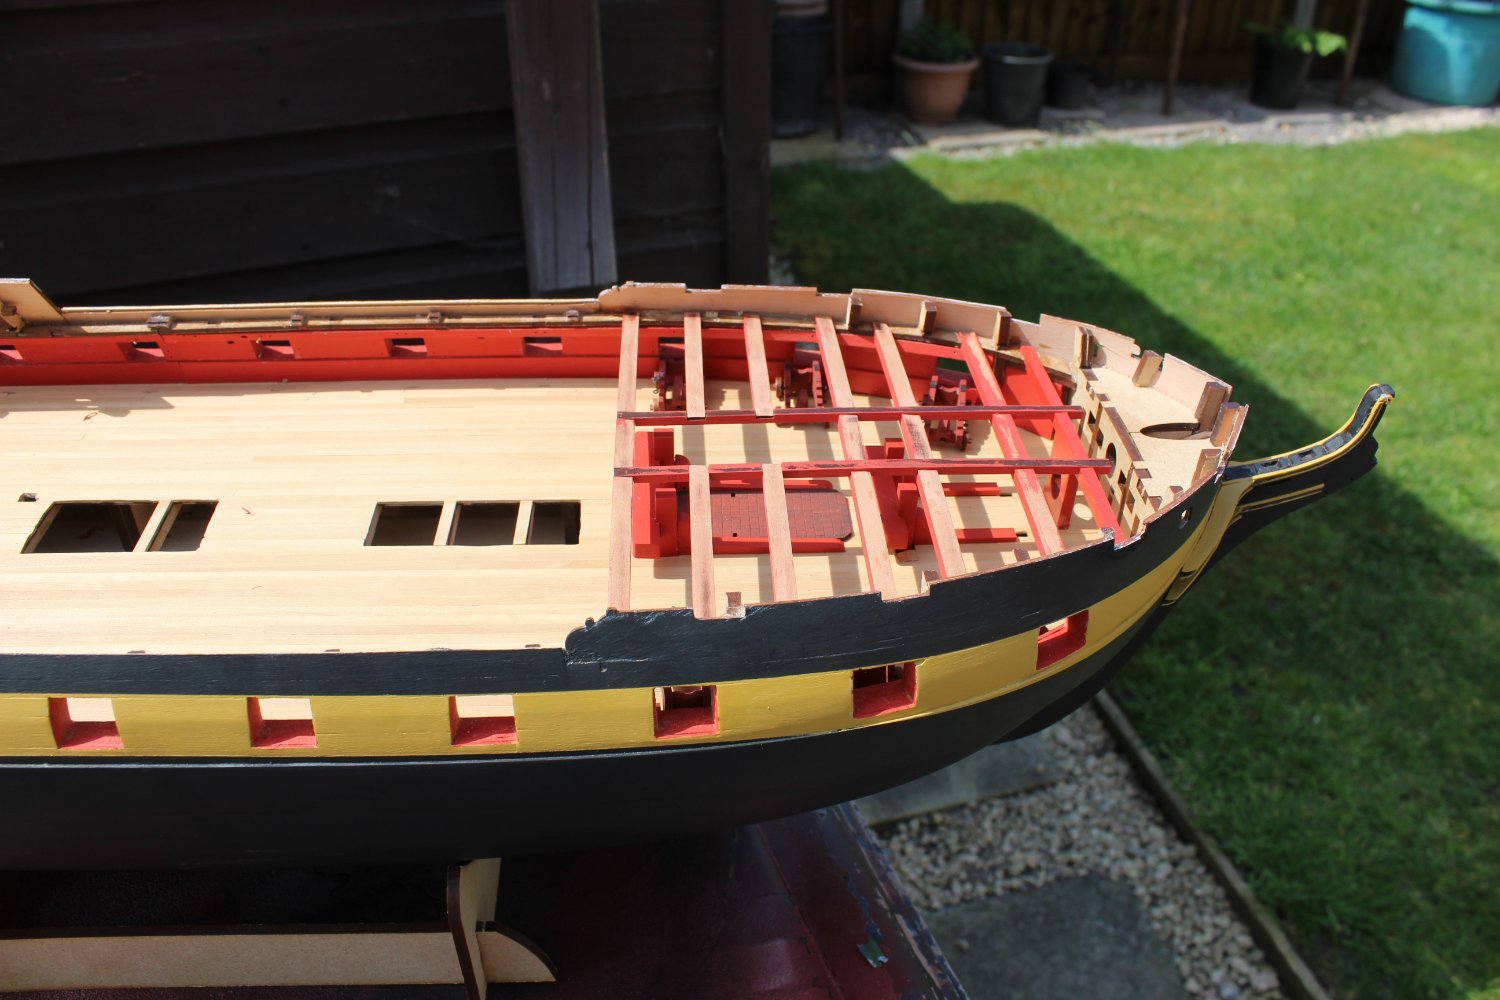
forward deck beams, sanded to remove the char, and painted on the forward and after sides only, as some of these will be exposed, on test fitted they just dropped into place
nothing is fixed, but a few shots of how she is today


-
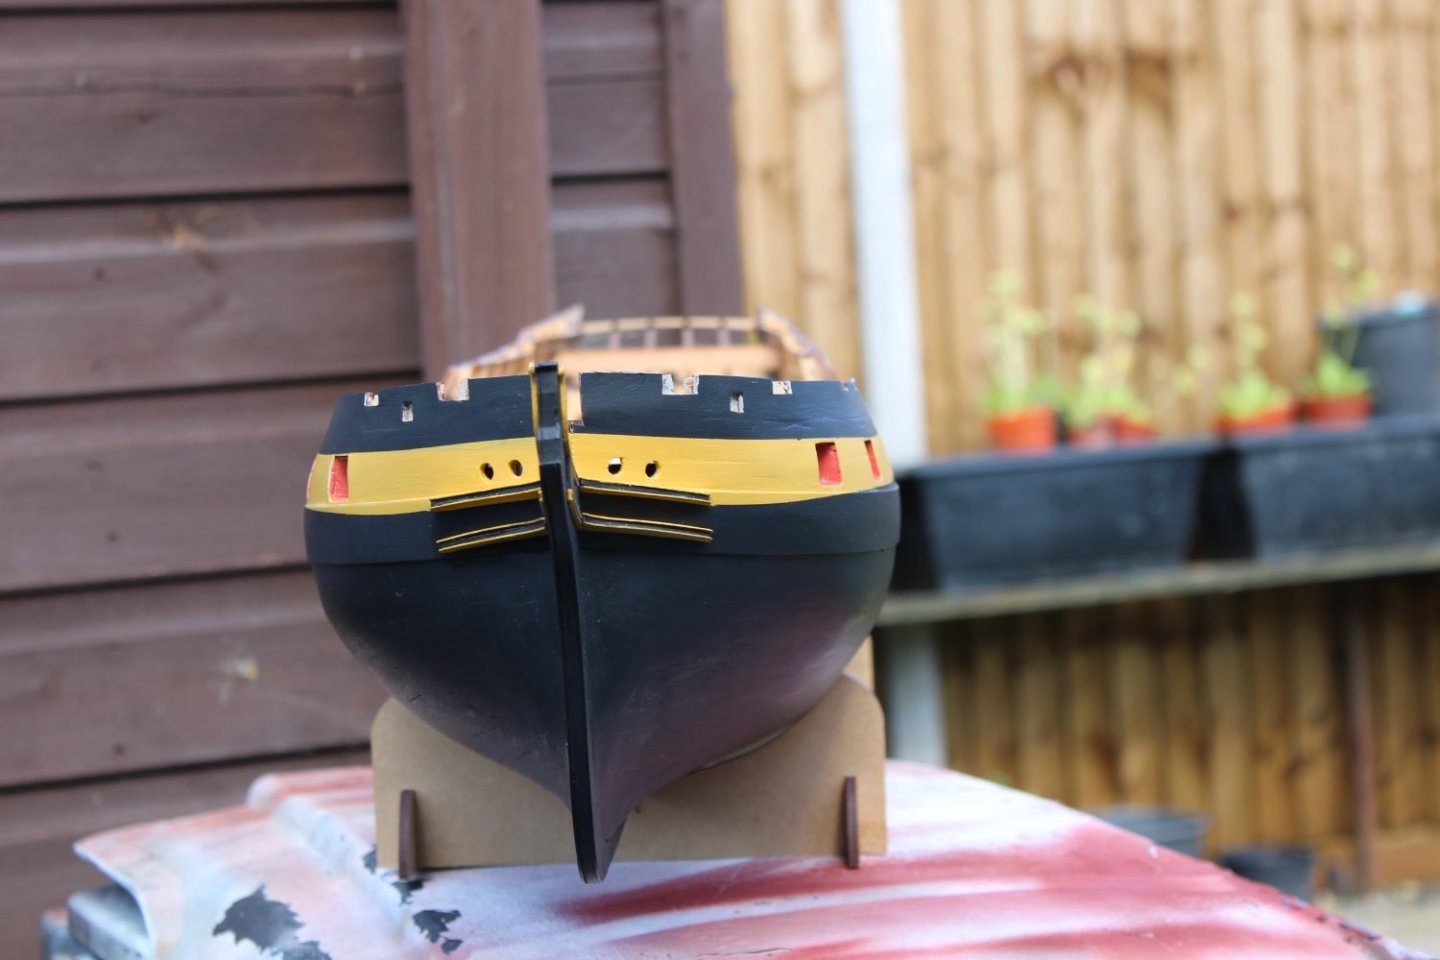
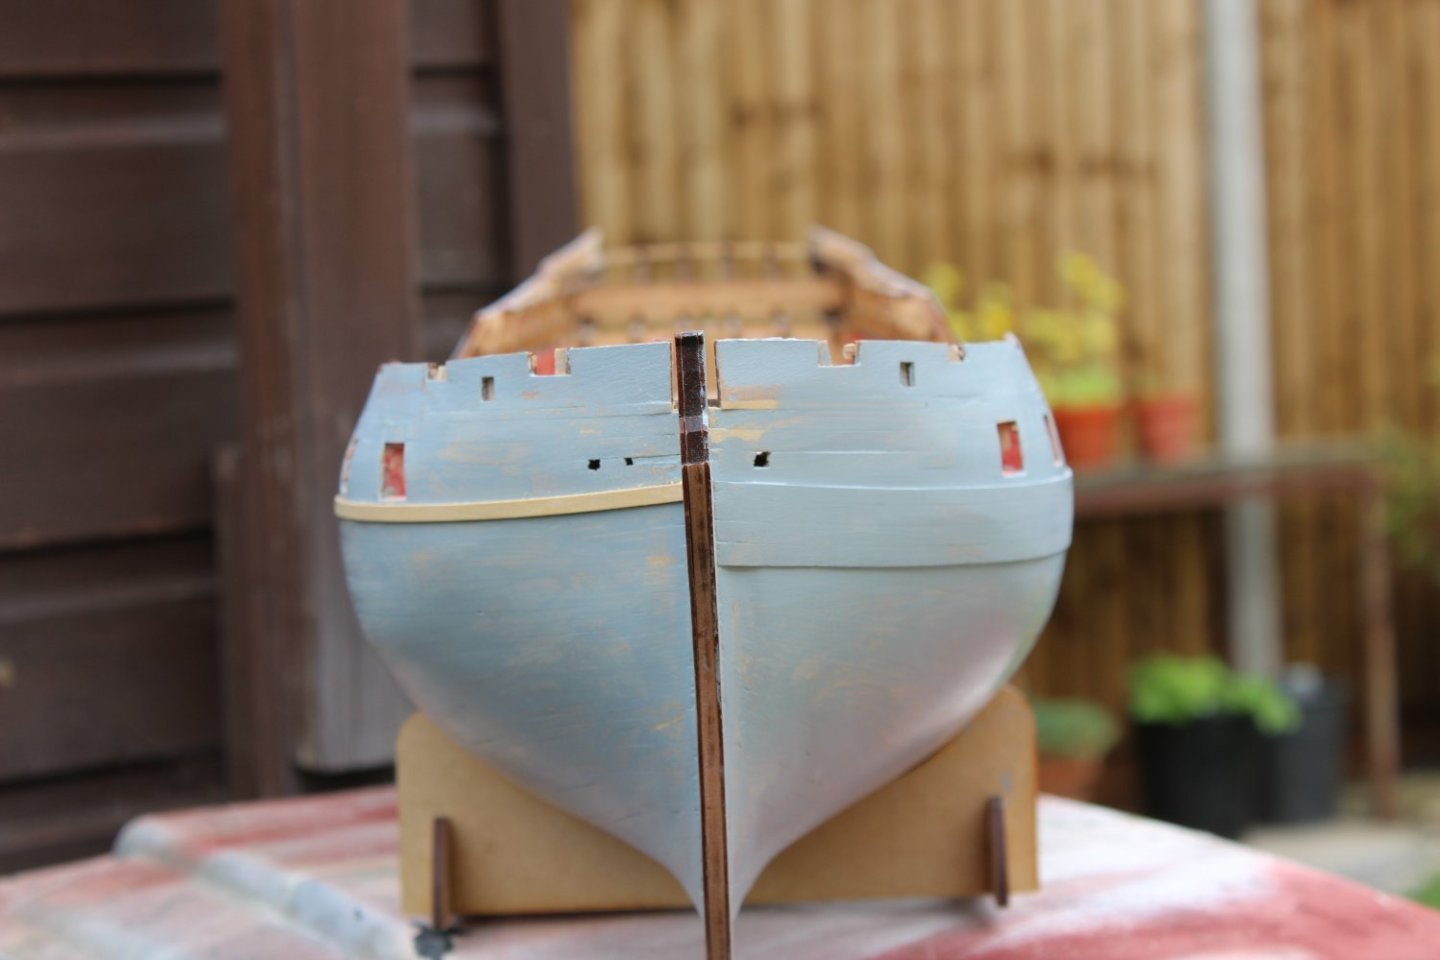
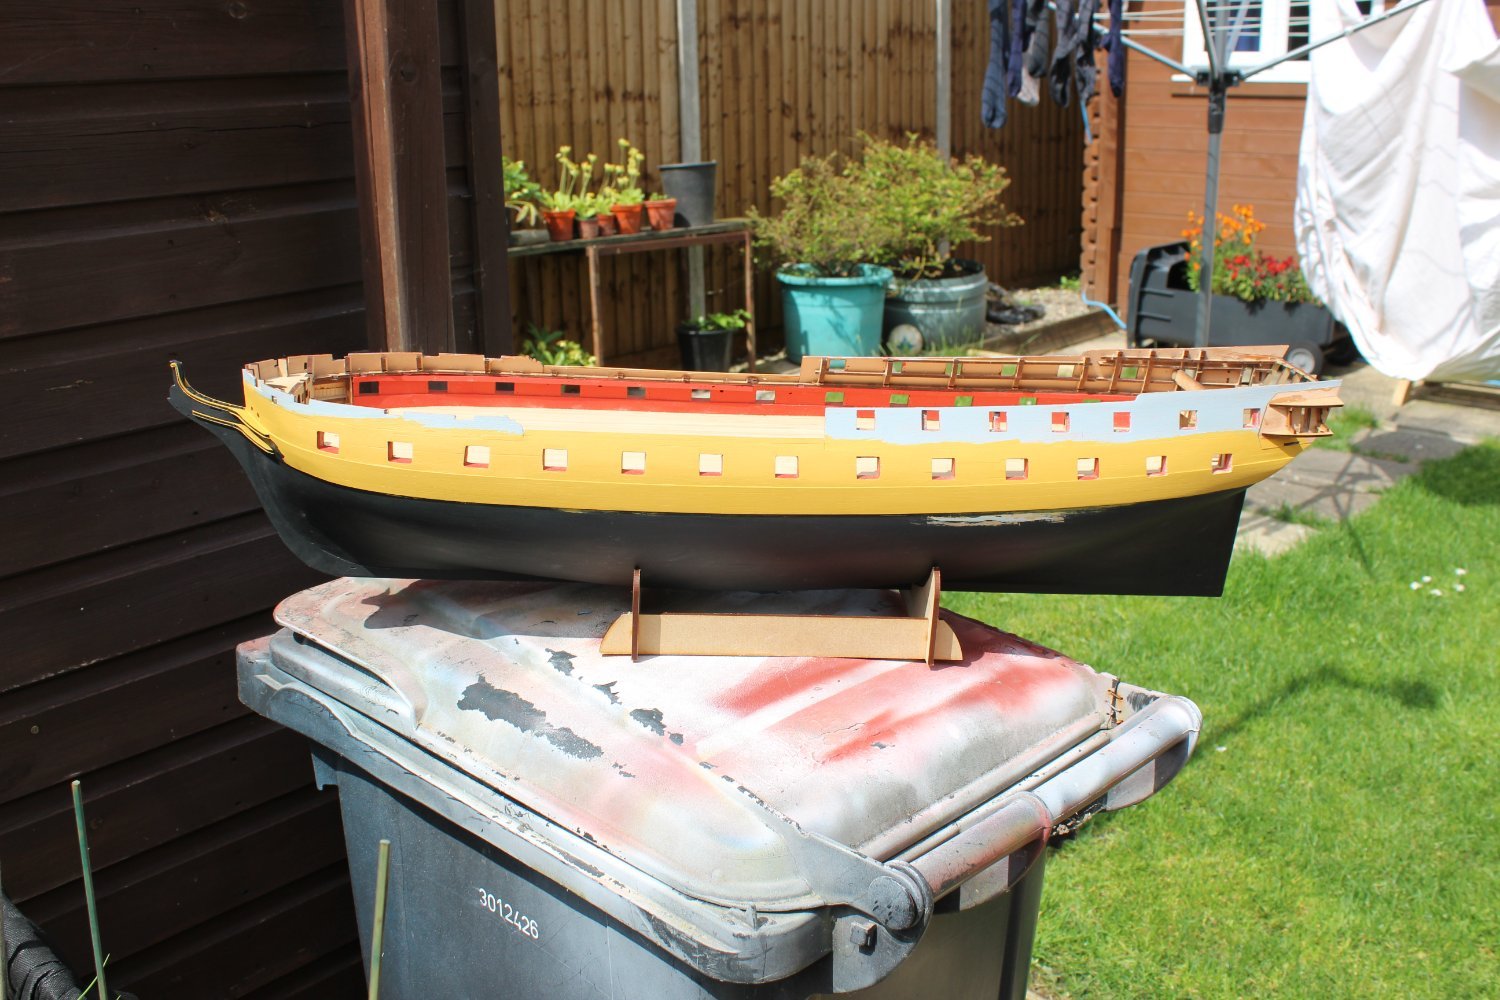
2nd side banded, and quite even
-
1 hour ago, davyboy said:
Hi Kevin,
Your recovery paint job looks tip-top. Such a shame you had to do that on Boxwood. I would have removed the damaged planks and redone that area. I had a problem when planking the upper hull on my Speedwell build. I was in the middle of the 6th row of the Stbd strakes when I realised all was not well,a couple of wrong measurements😢. Hey Ho,I ripped the Boxwood (Buxus Sempevirens) off both sides plus I damaged the Stbd upper wale so that was ripped off too. **** happens,a months work in the bin. Lesson learned,pay more attention.
Dave

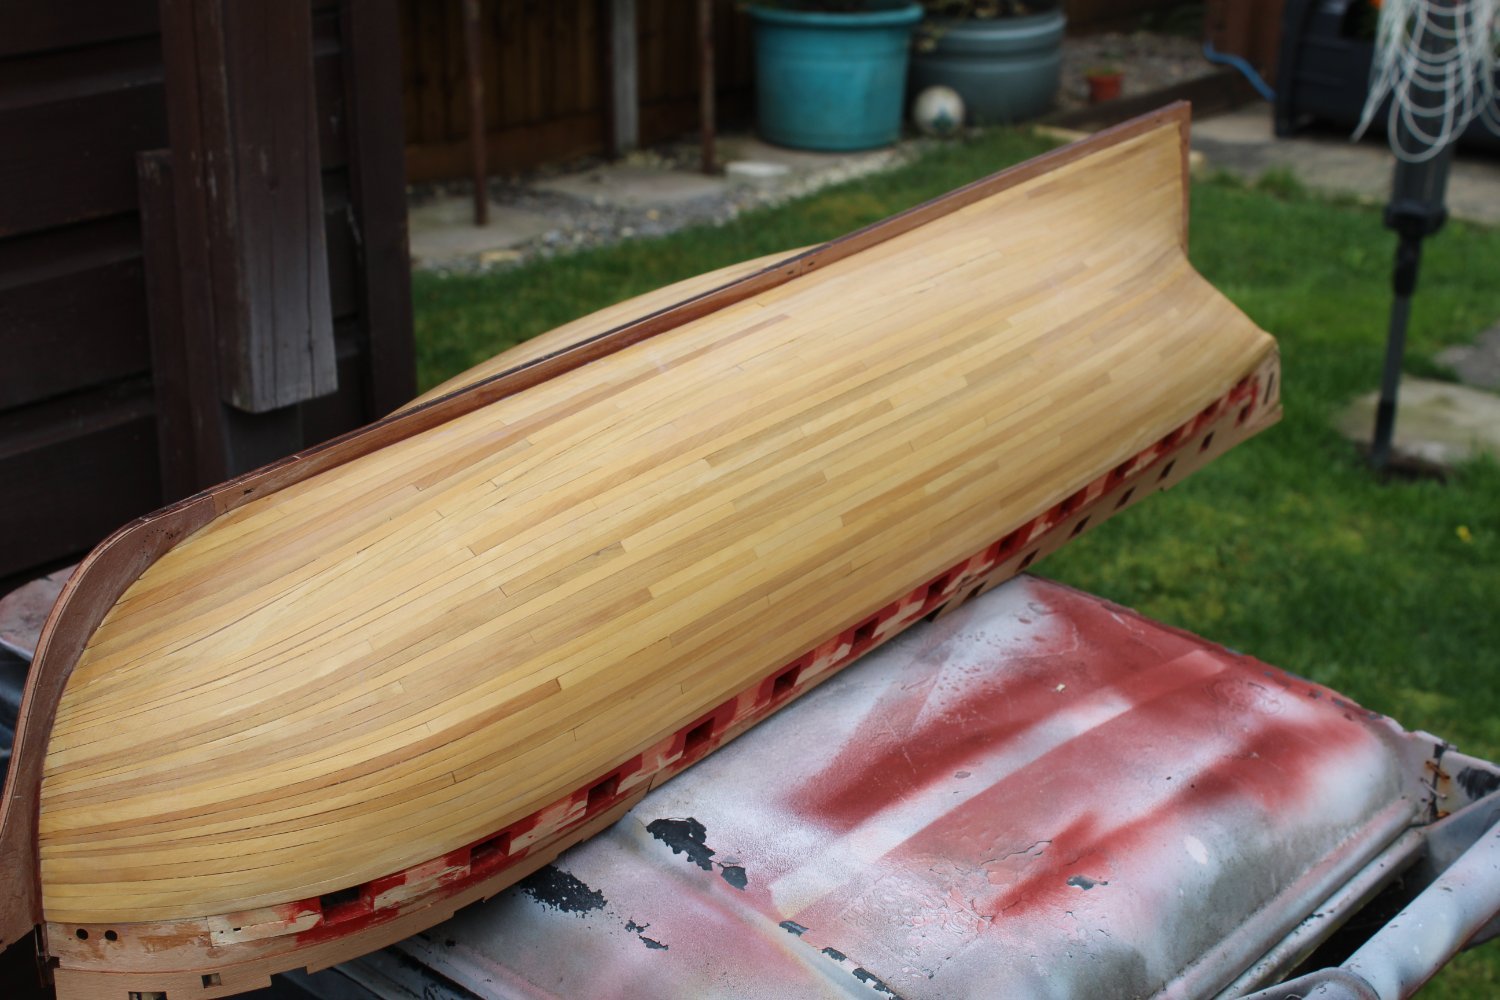
the damage covered about 20 planks, i would not have had enough to replace them, anyway the planking although better than anything i have achieved before, was not that brilliant, to much tapering, an expensive lesson, but im happy with her now, just not how i thought she would appear
- Canute, Old Collingwood, mtaylor and 2 others
-
5
-
2 hours ago, paul carruthers said:
After all that planking I couldn’t bring myself to paint it lol.
i had no choice, having damaged her through sanding
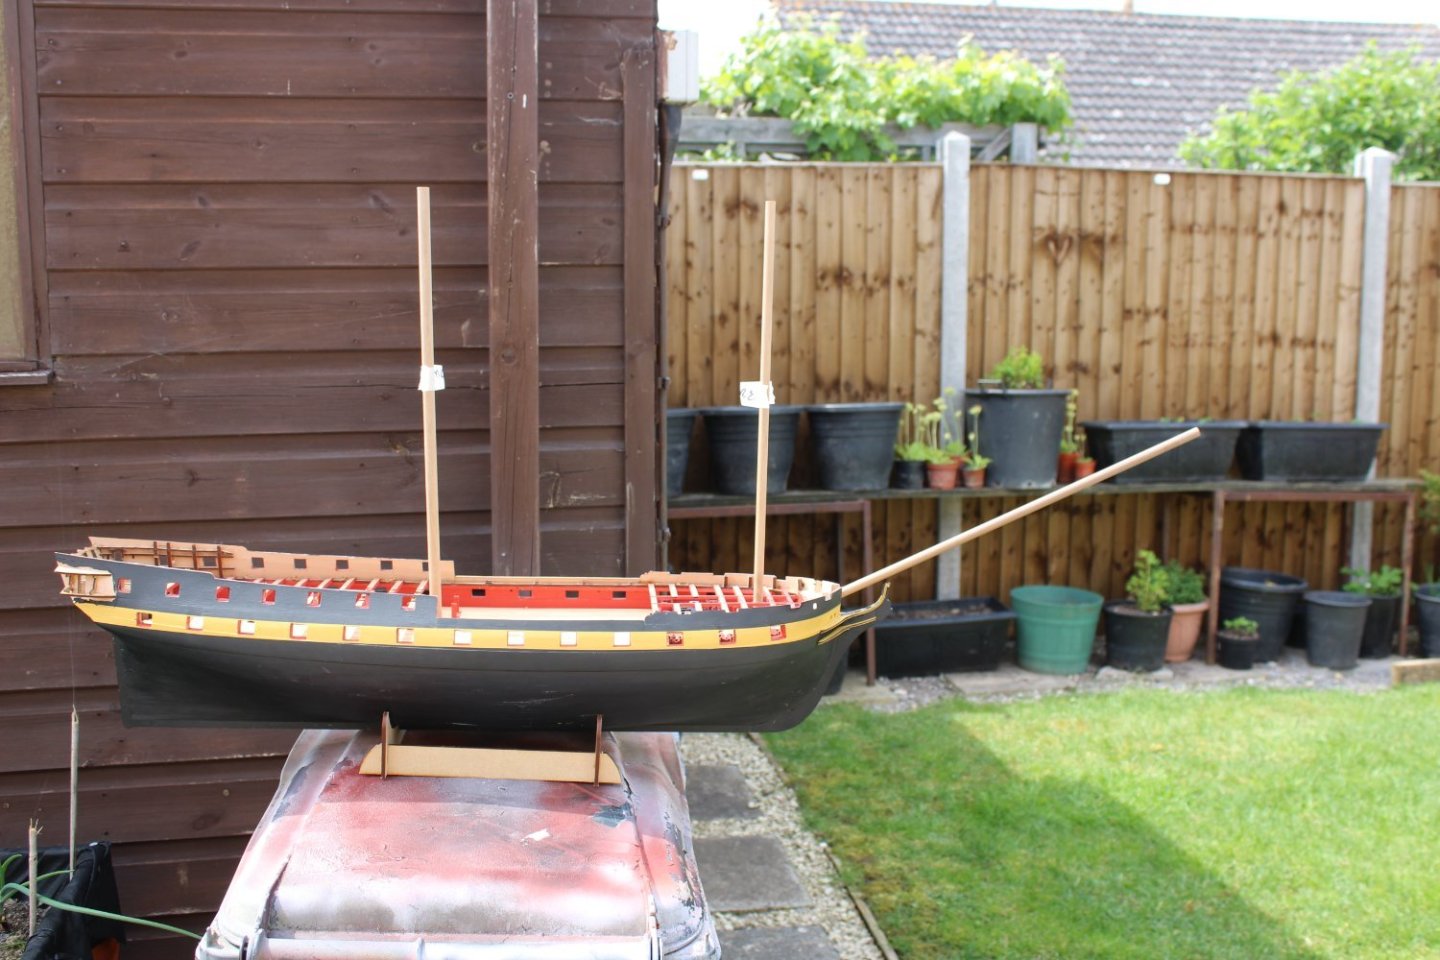
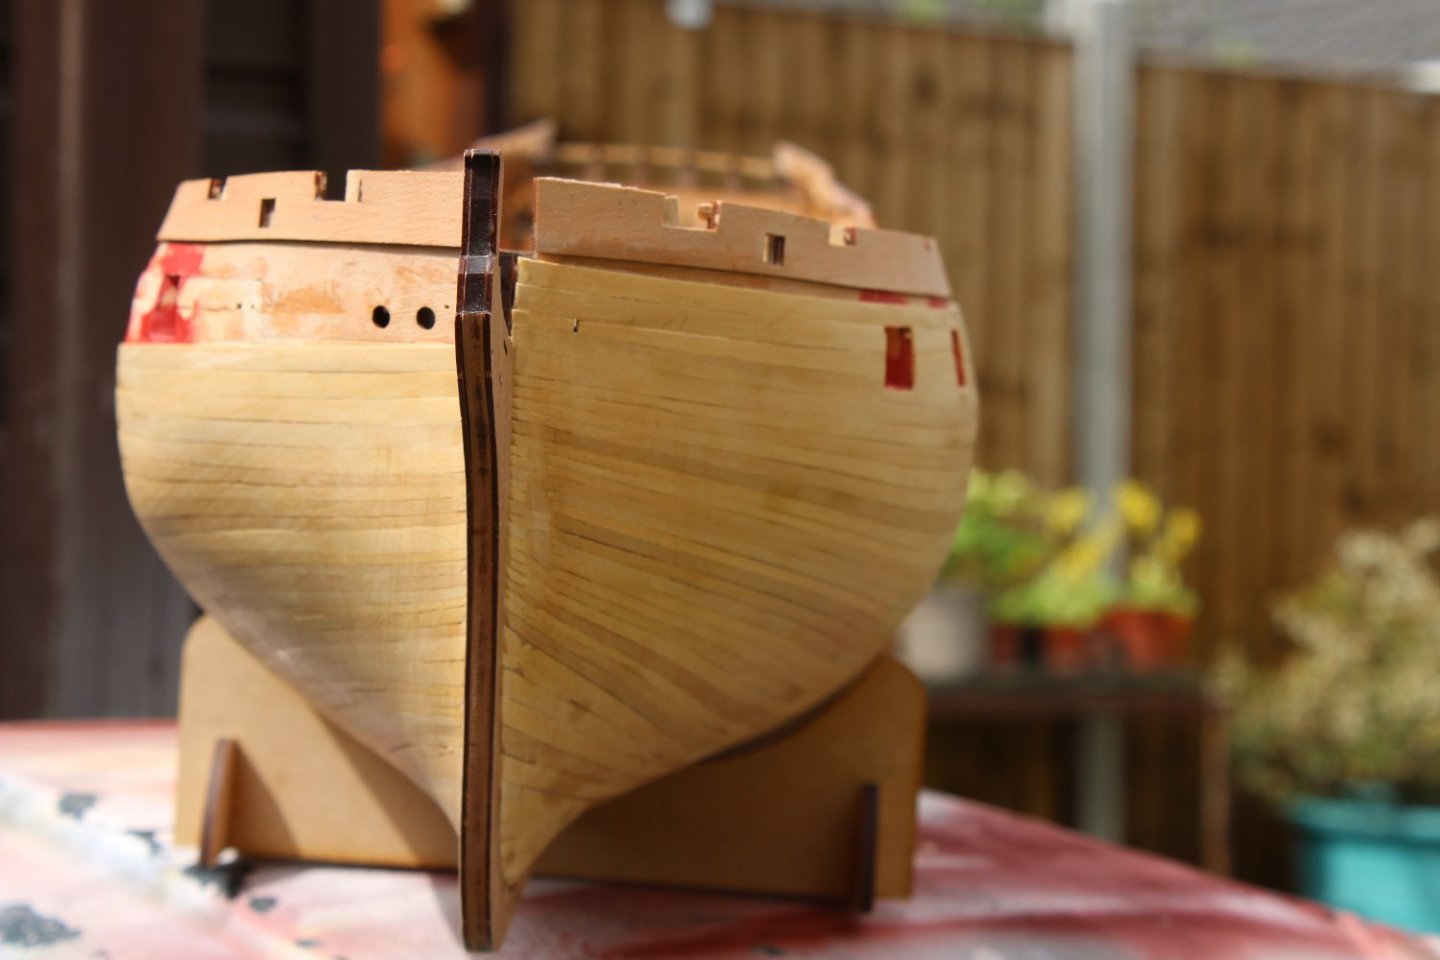
-
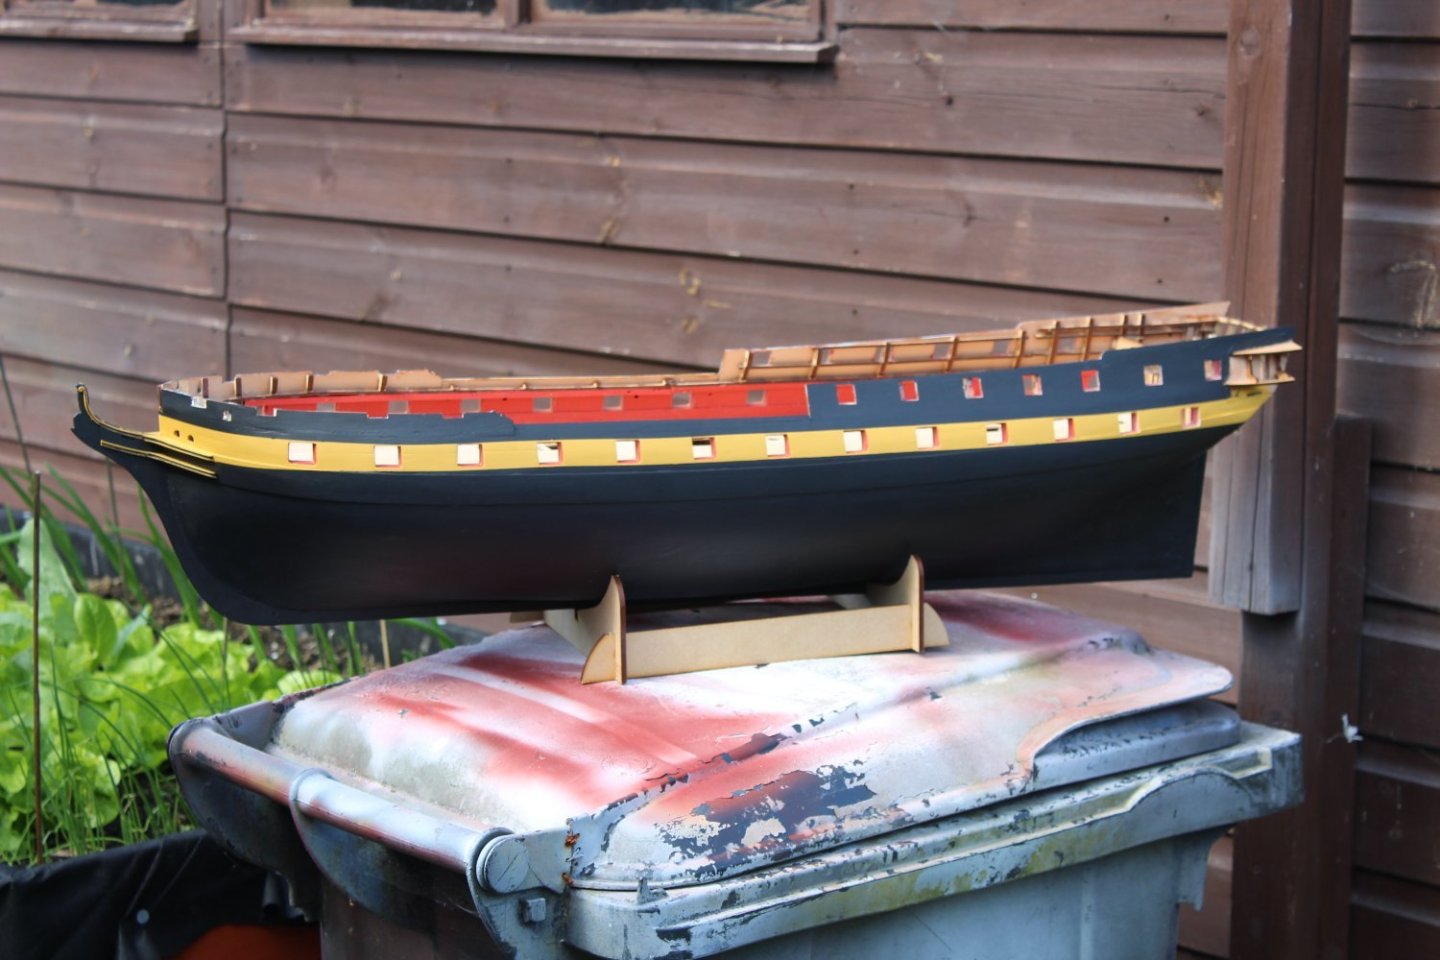
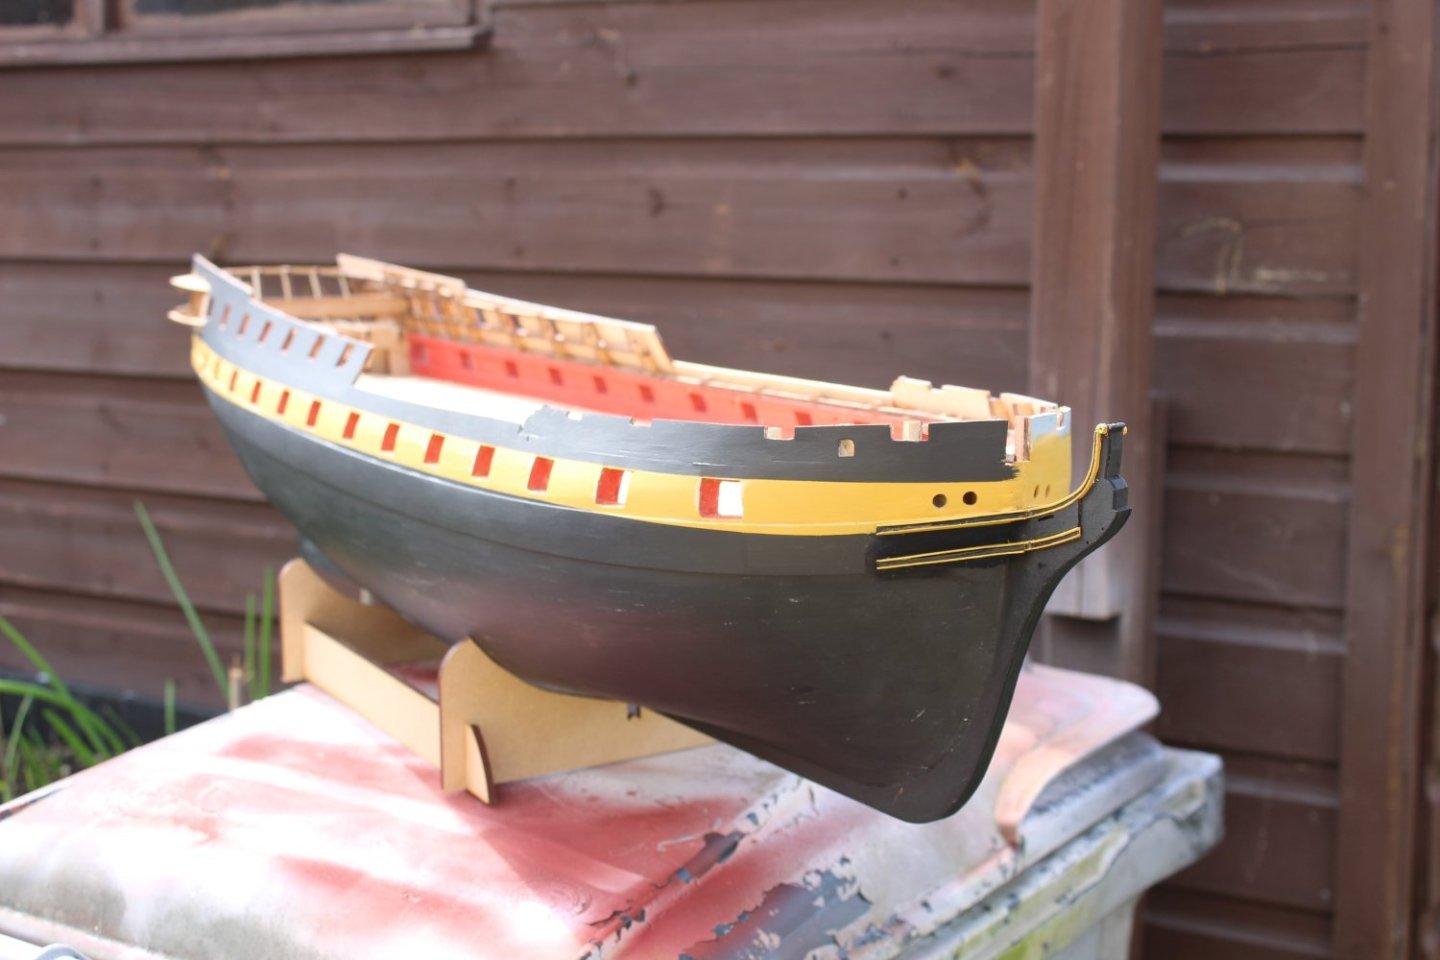
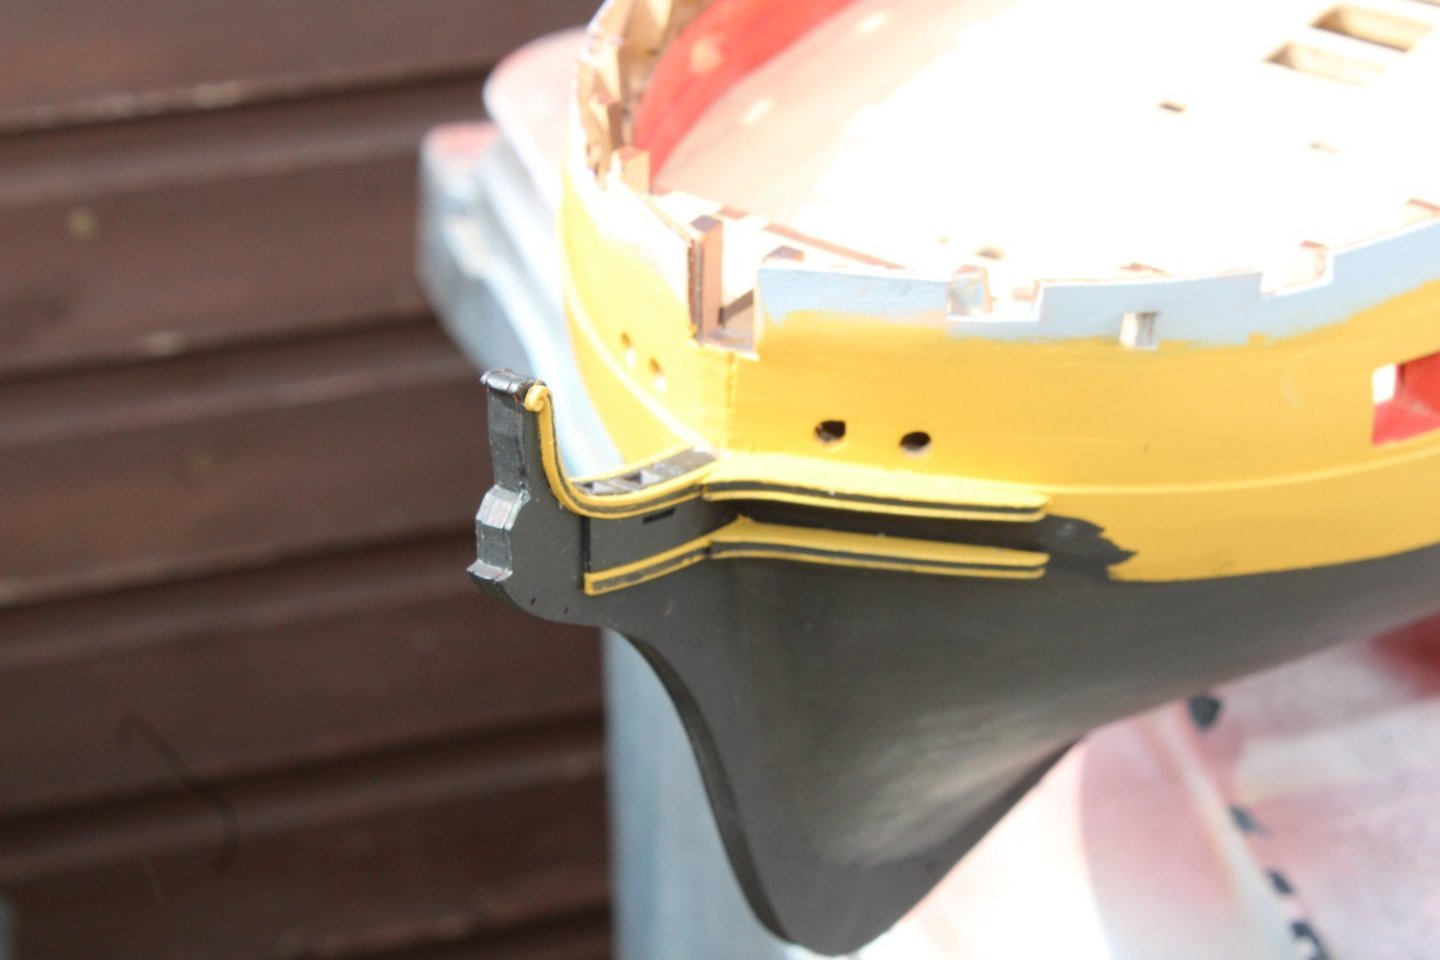
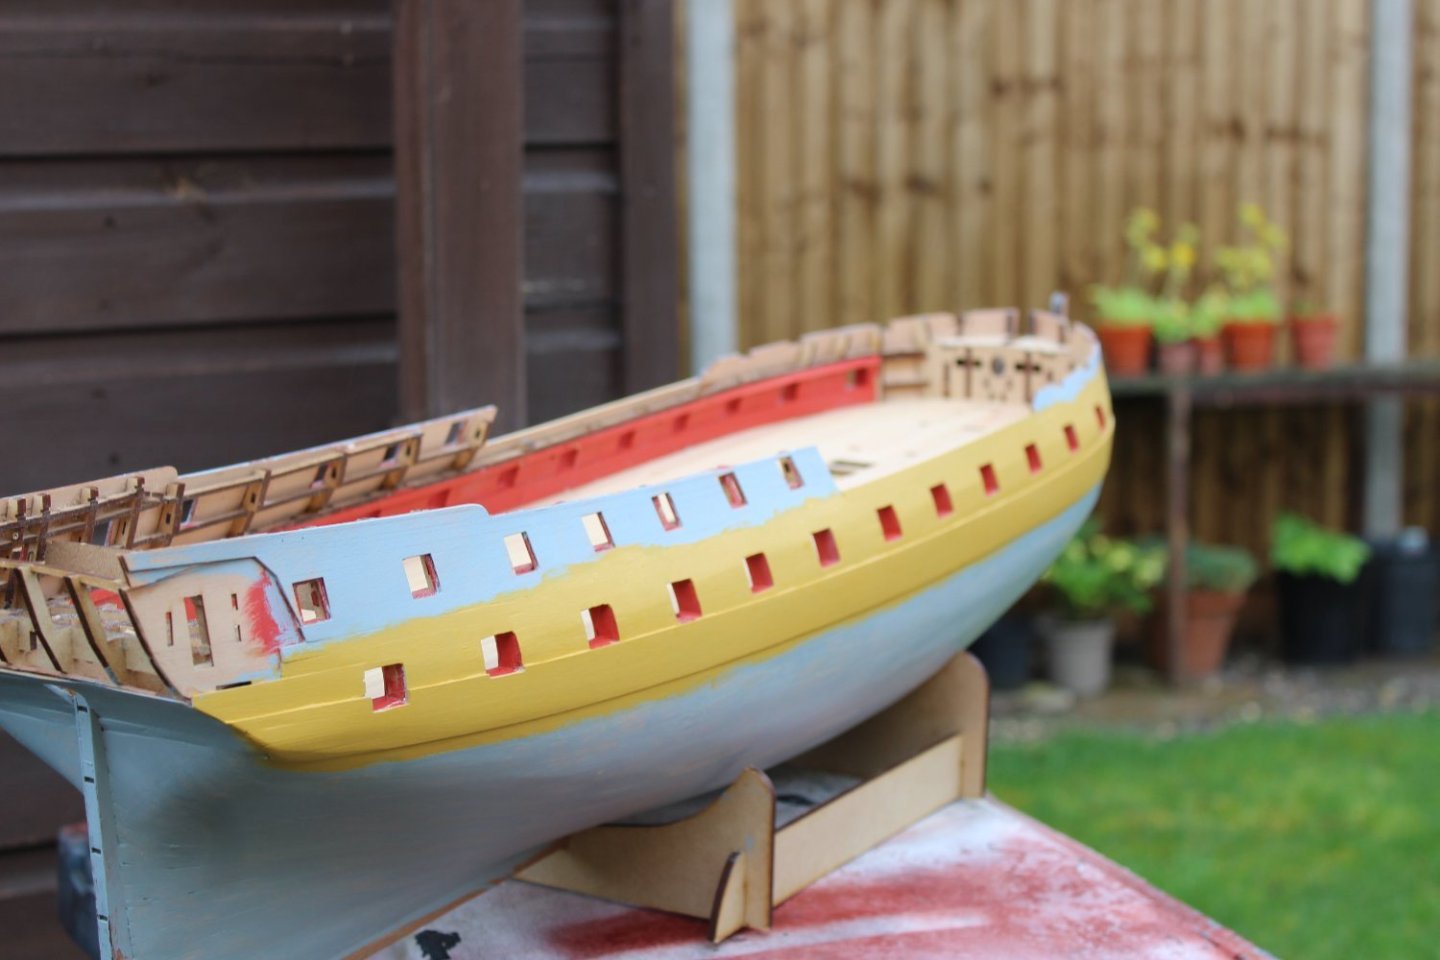
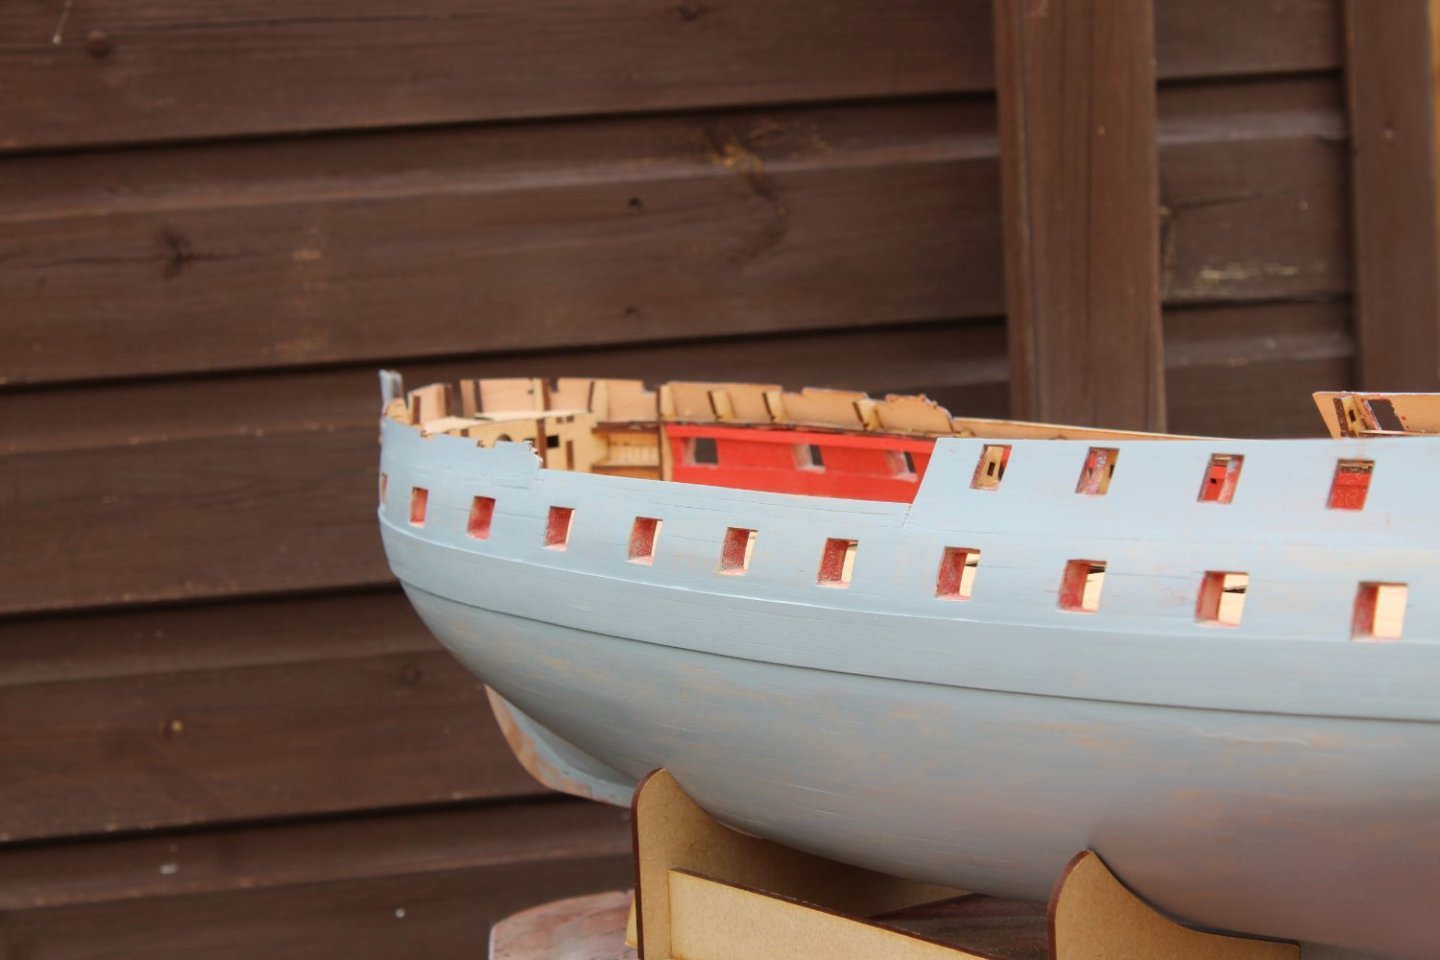
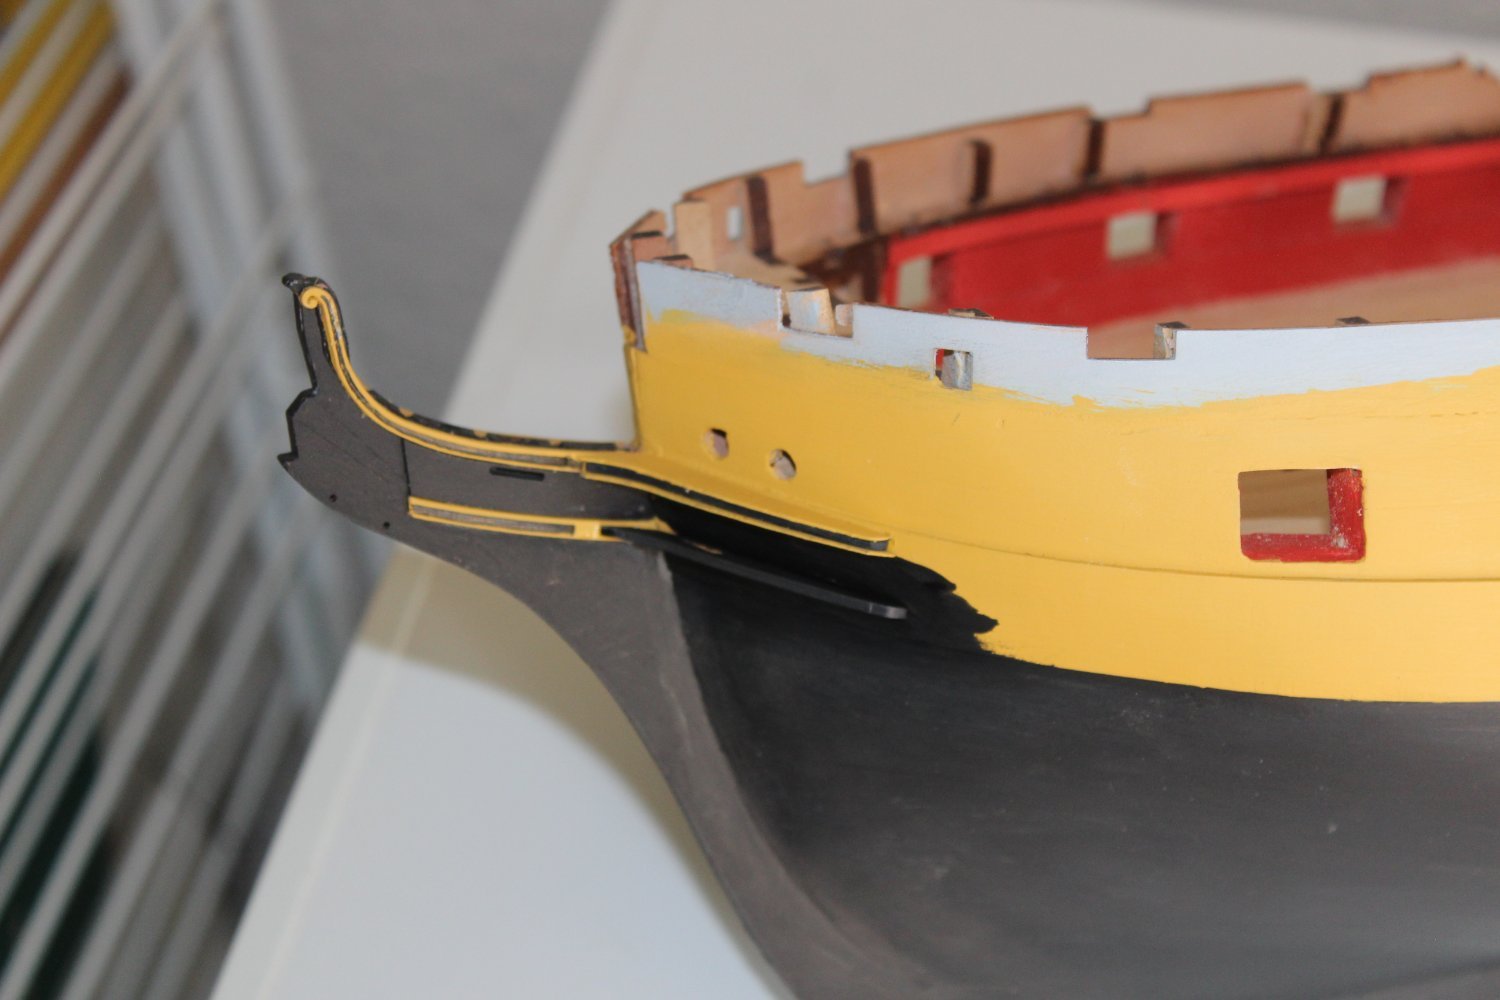
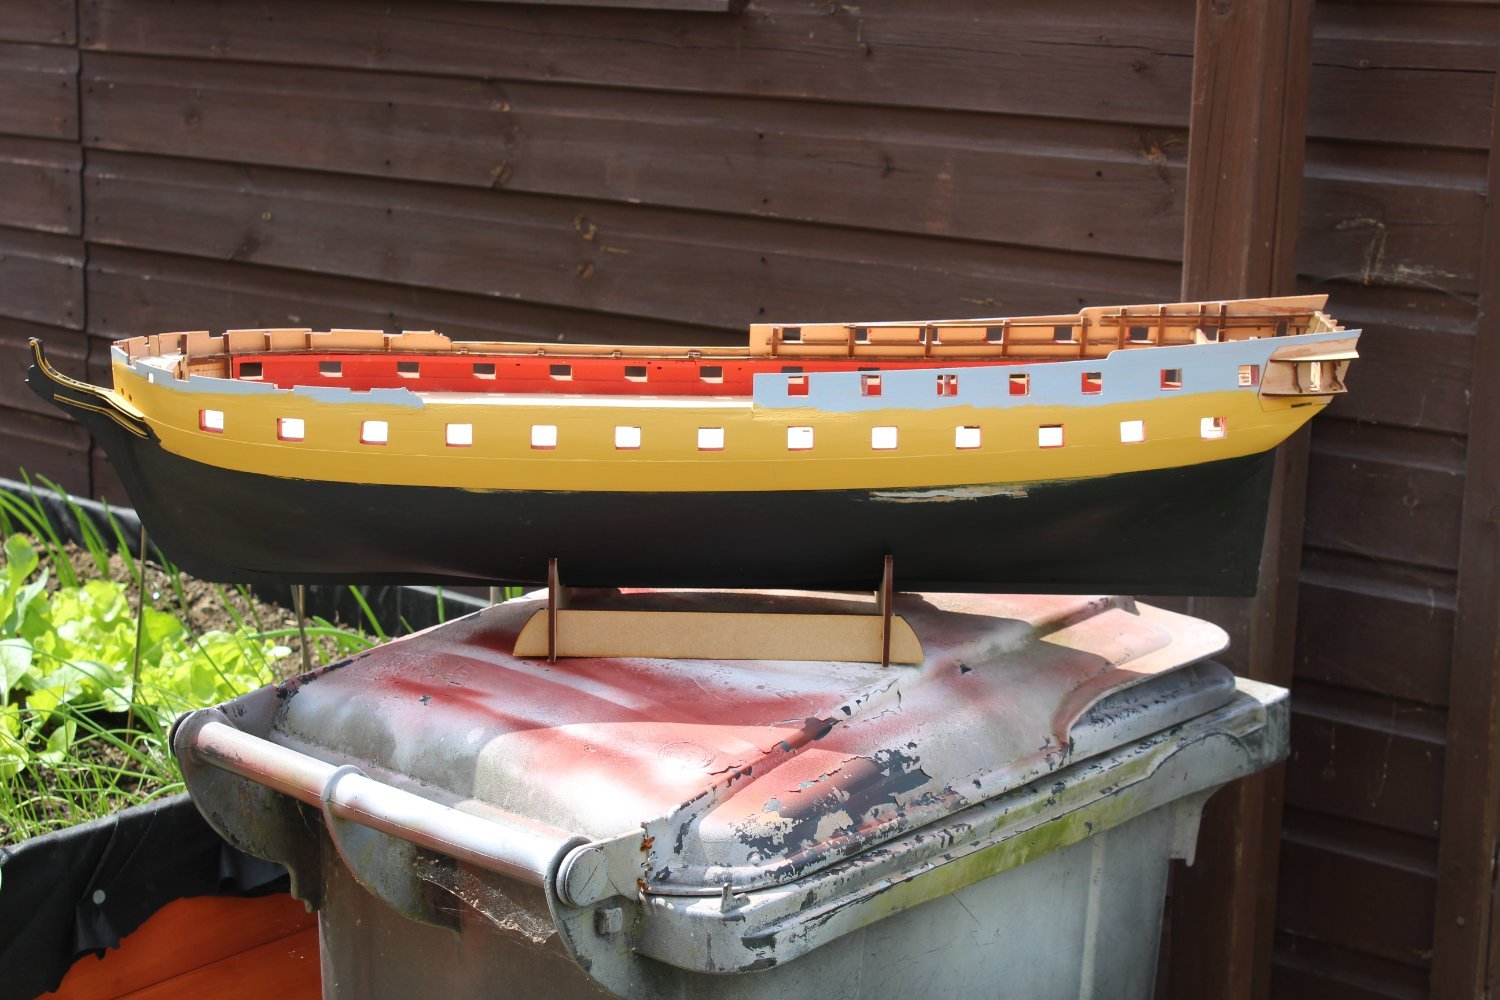
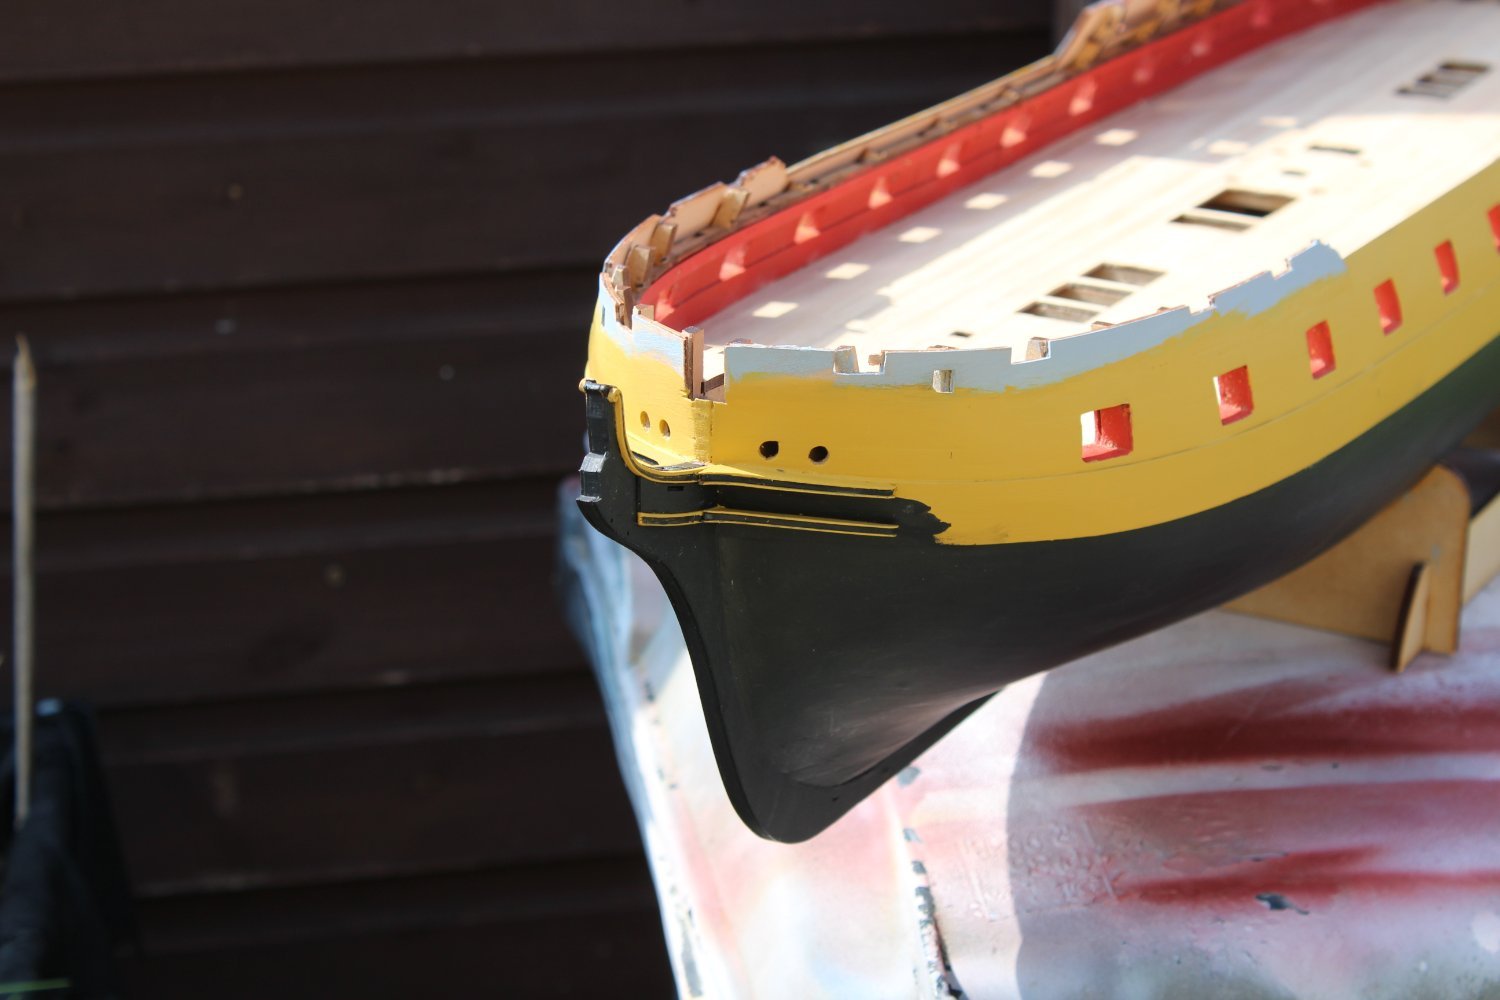
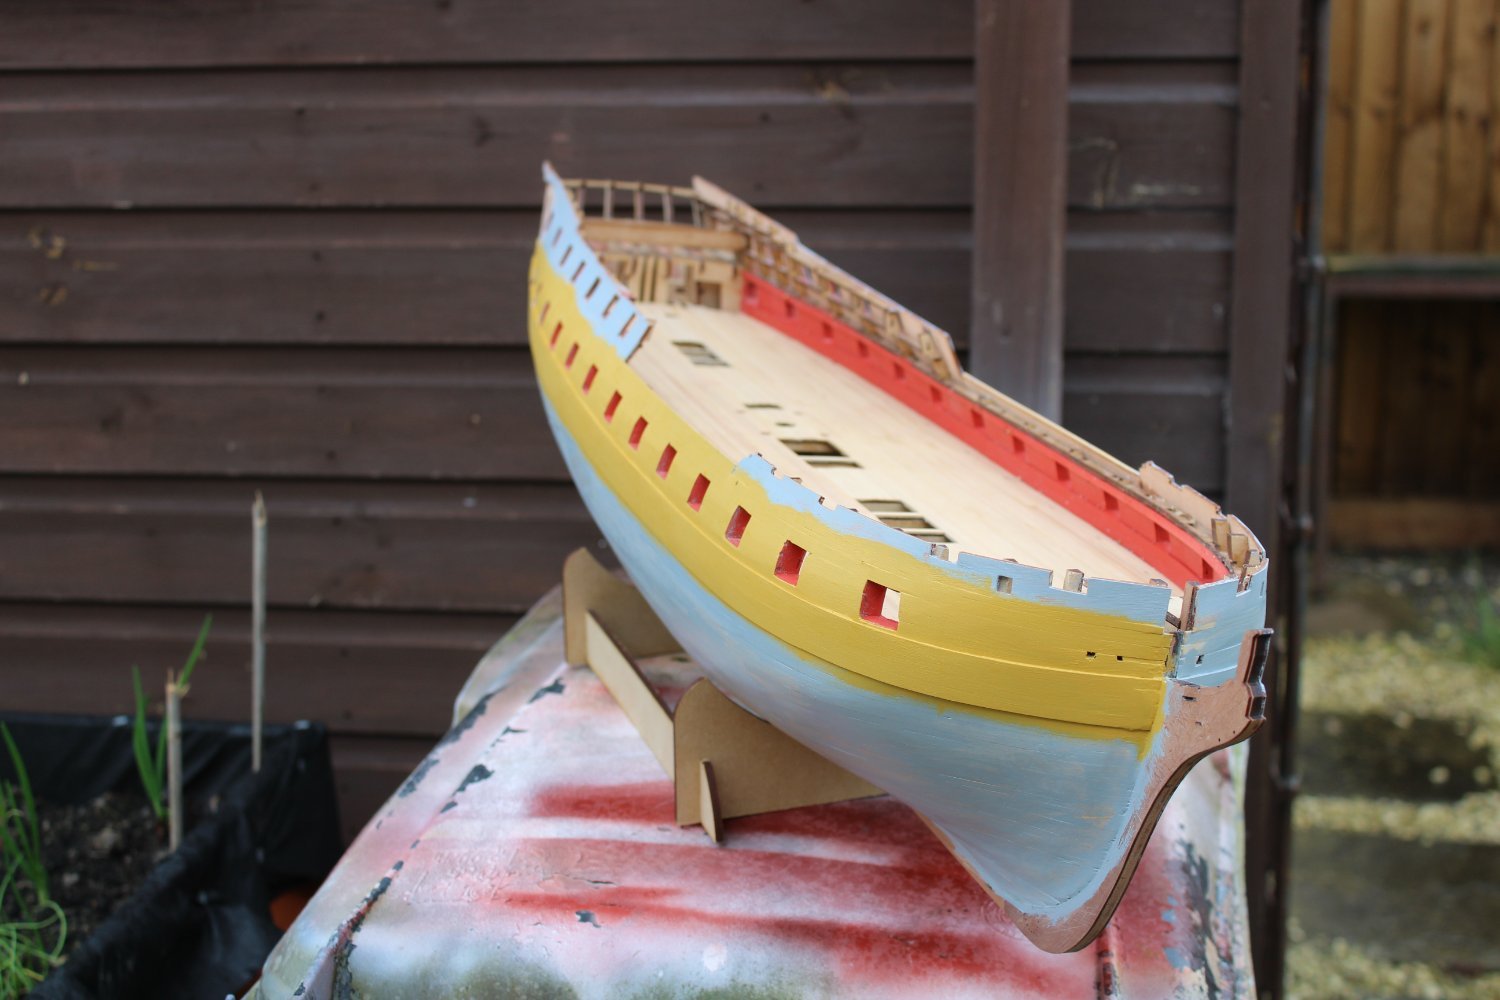
one side in the correct colours,, although more coats are required, also the banding has gone a bit narrow at the bow above the cheeks, to be sorted
- JeffT, KARAVOKIRIS, ECK and 17 others
-
20
-
20 minutes ago, No Idea said:
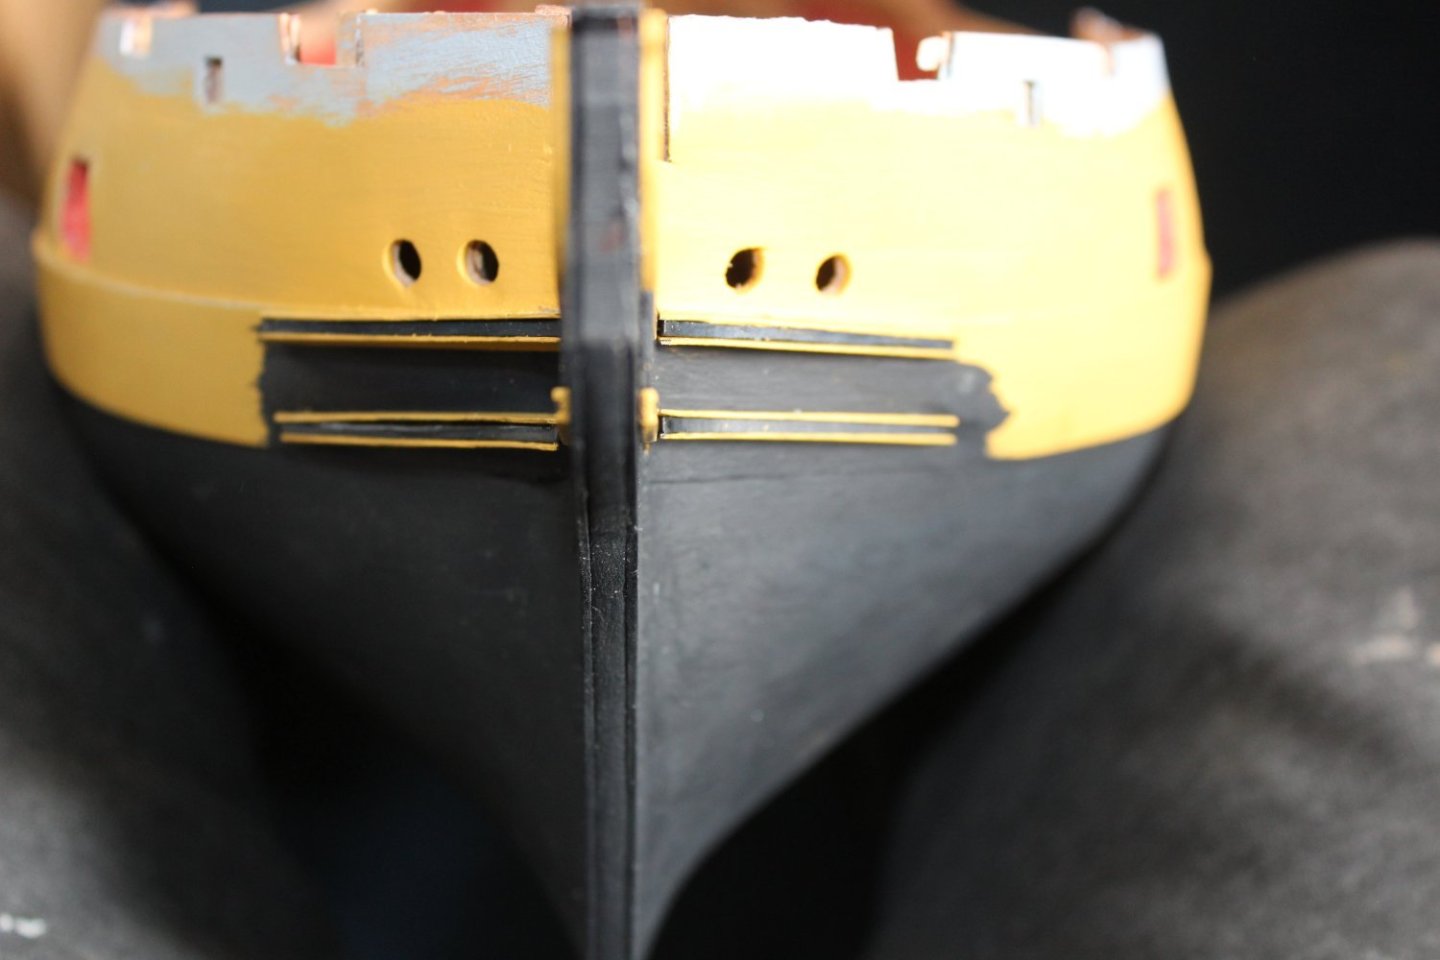
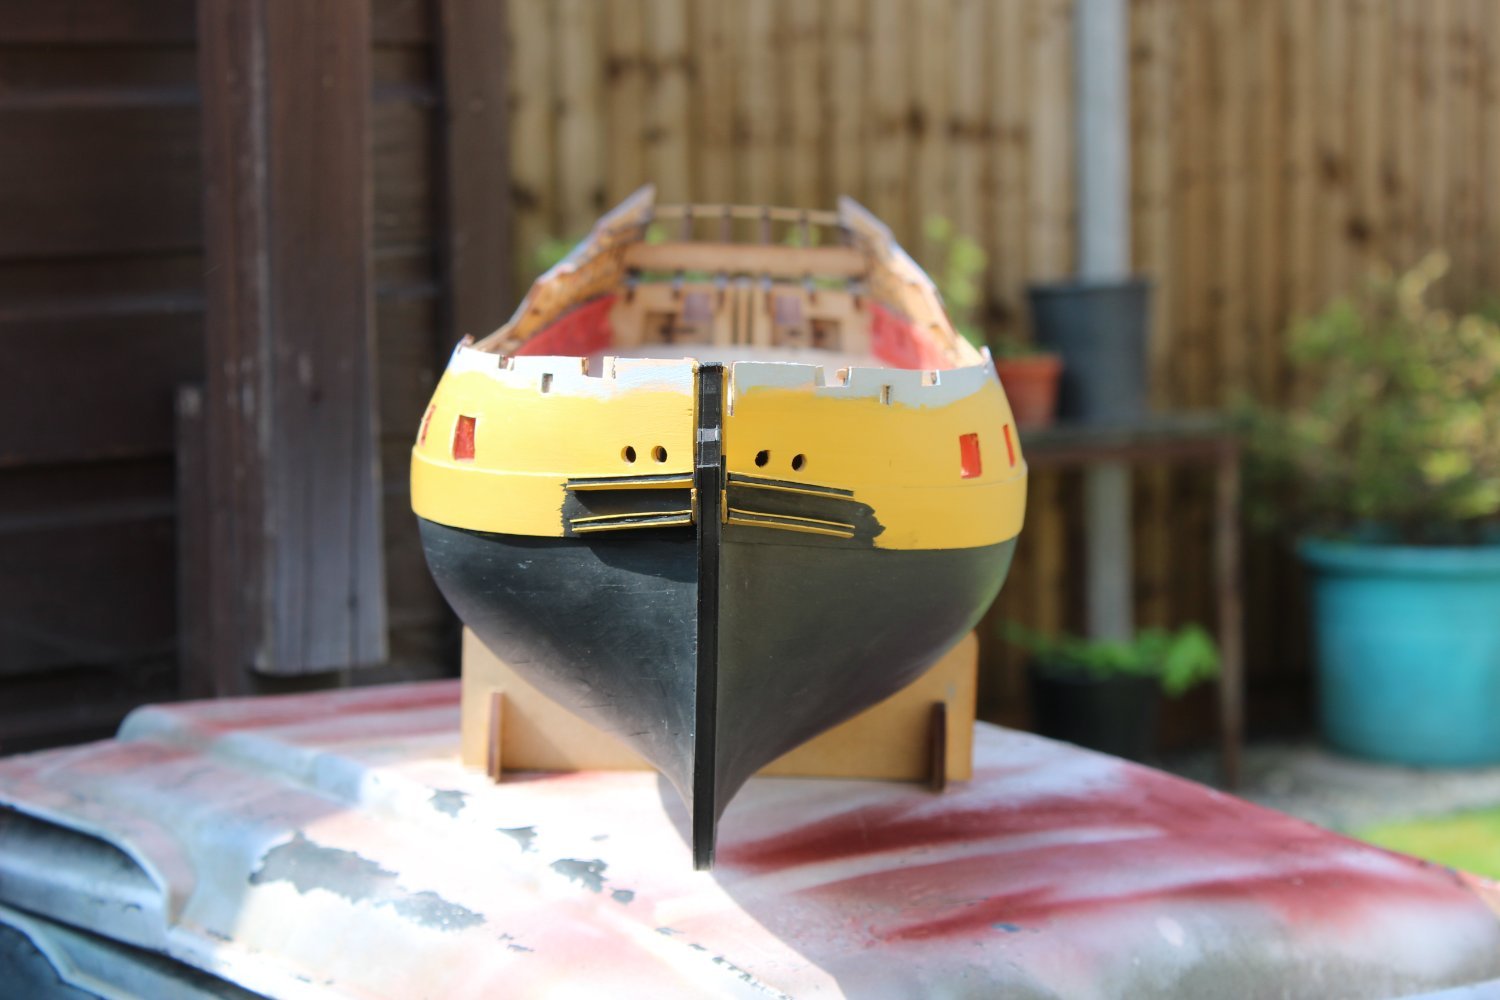
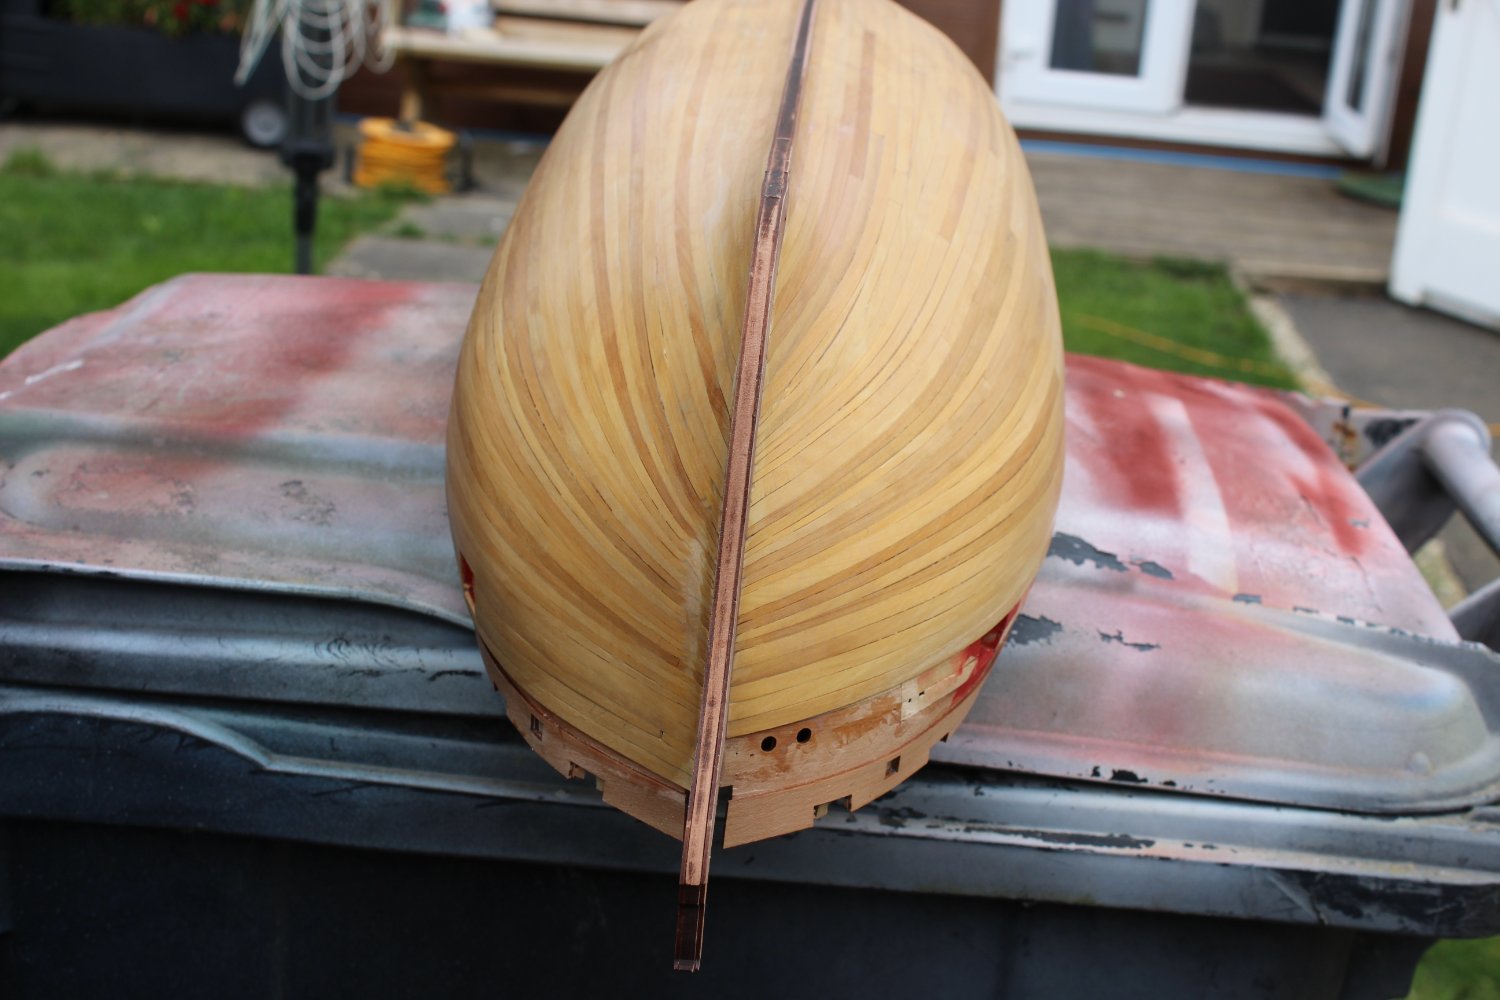
Looks great Kev - those pictures show how tight you got the planking running up the stem.
thank you, i am happy now about the painting aspect of the build, going to make her naked, certainly helped in putting the planks on better, i think i have got better, this was my Victory about 2011
.thumb.JPG.07259a16124d57bb3e96b7fd5805db30.JPG)
- chris watton, Canute, KARAVOKIRIS and 7 others
-
10
-
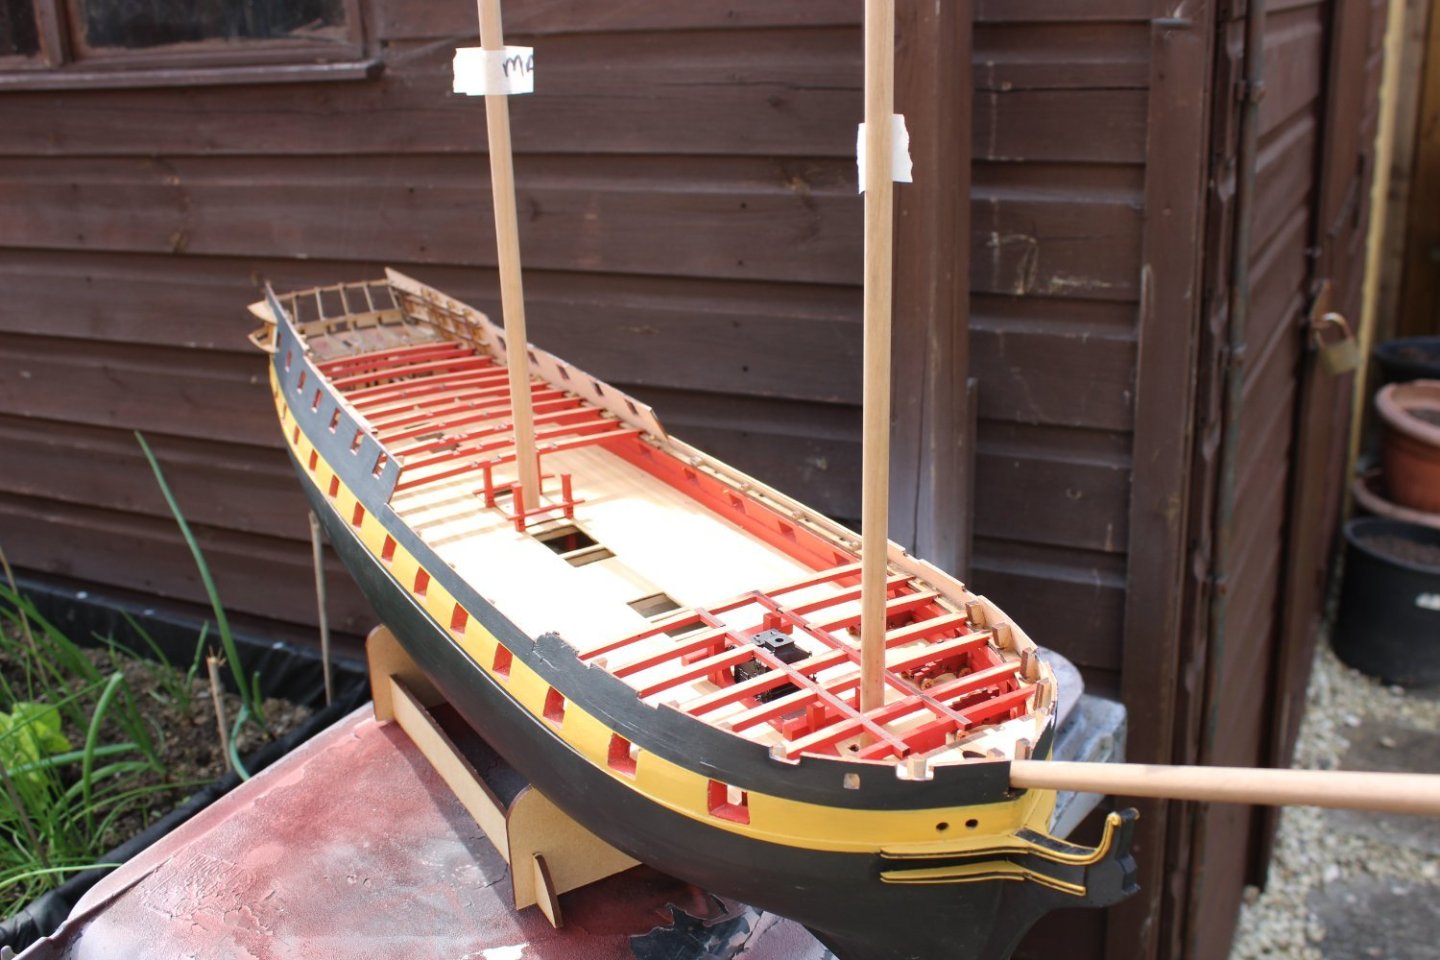
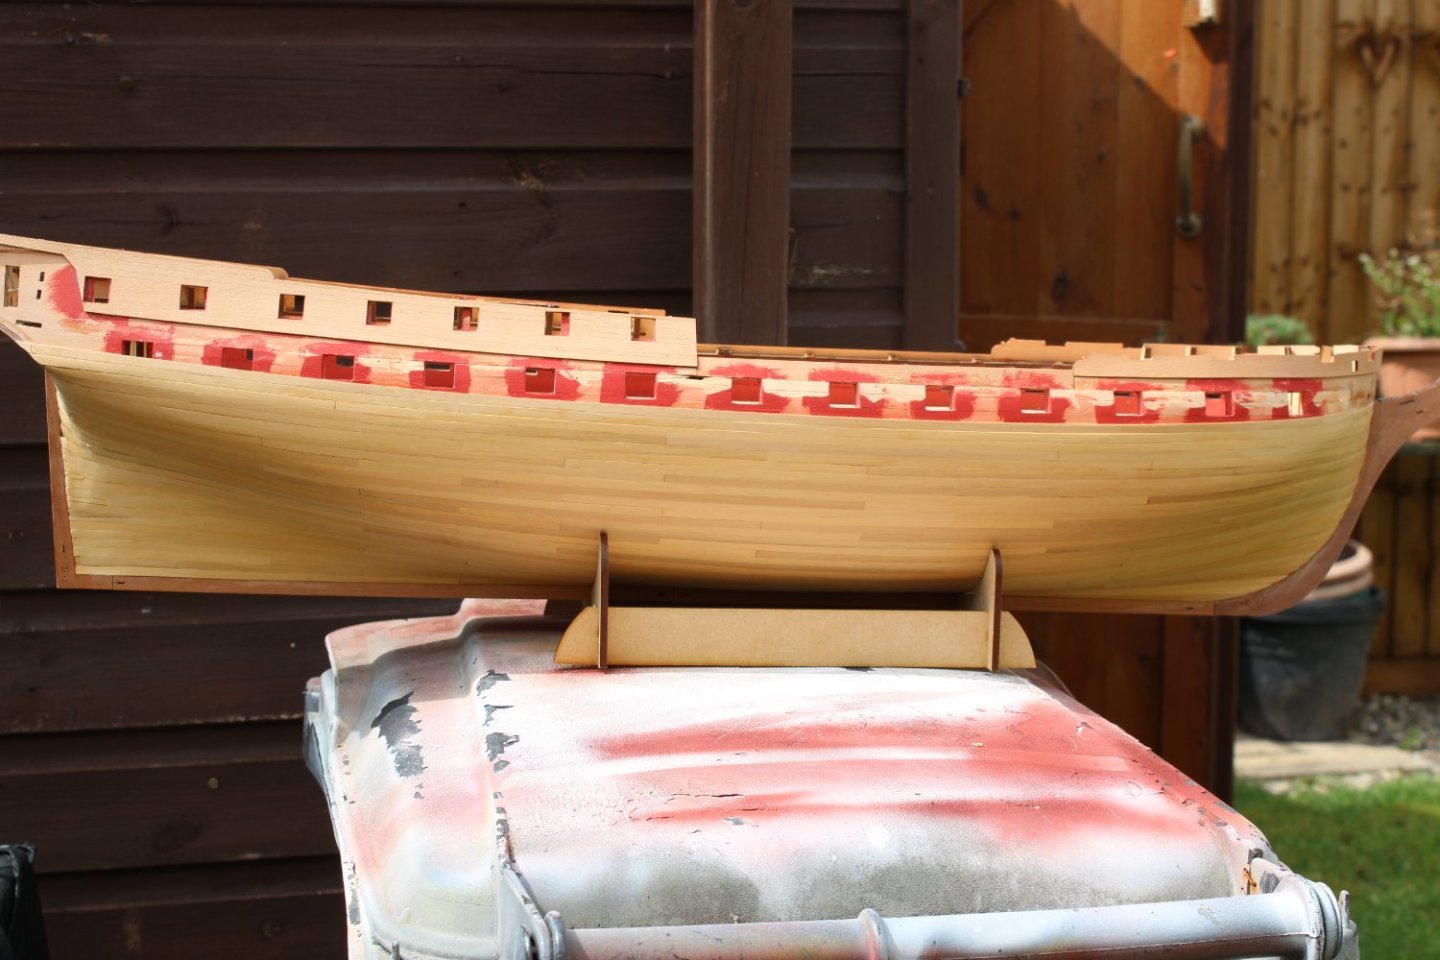
good evening everyone
thank you for comments and likes
day 74-2 you can blame Assassins creed Odyssey, for my lack of progress
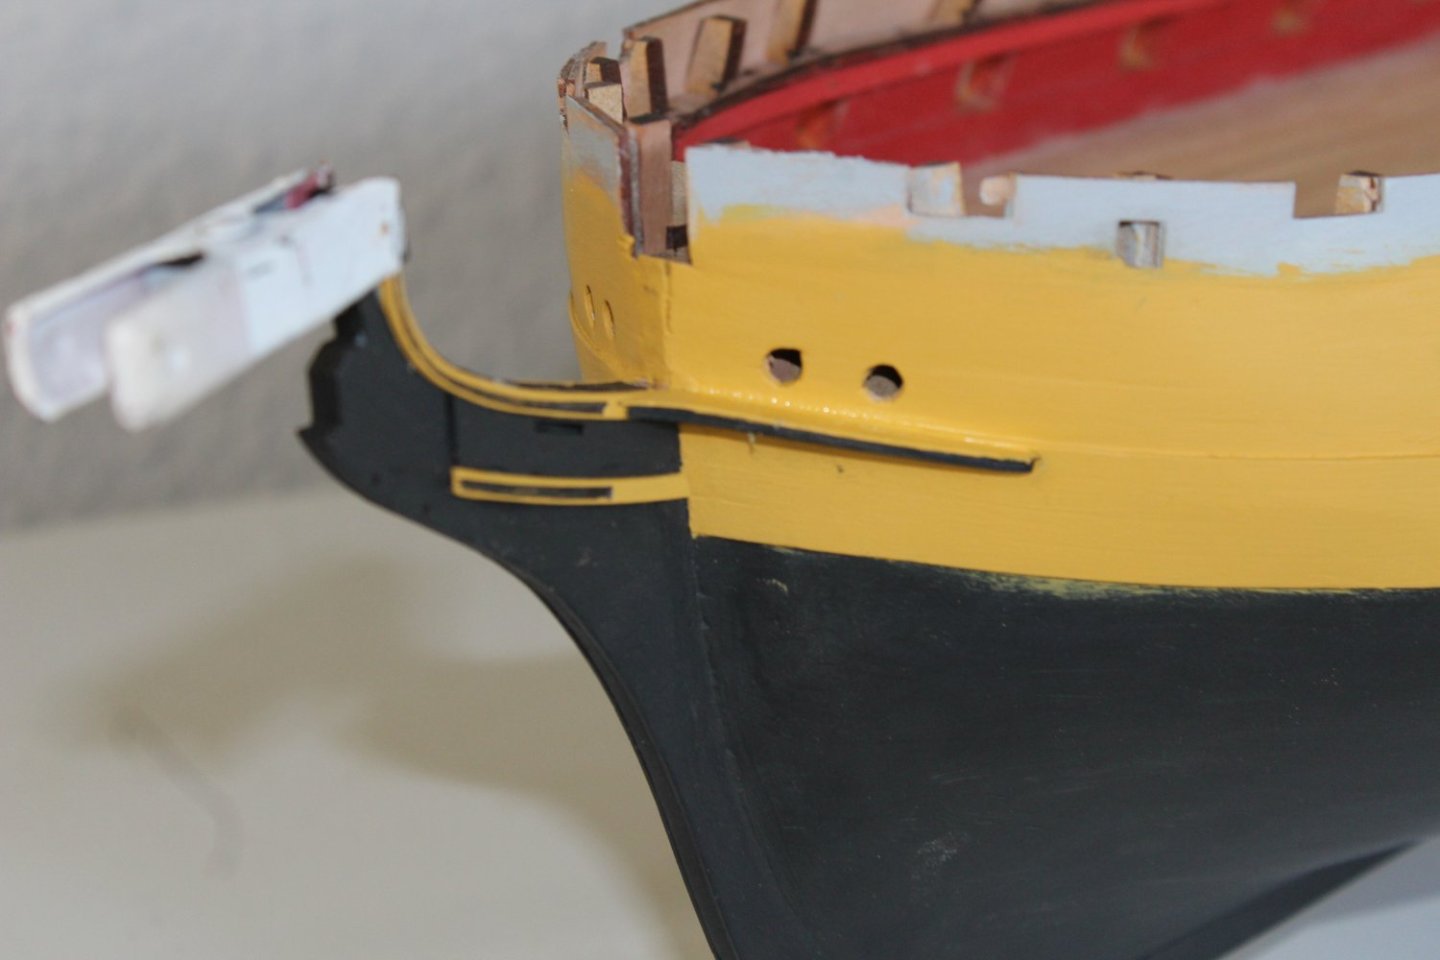
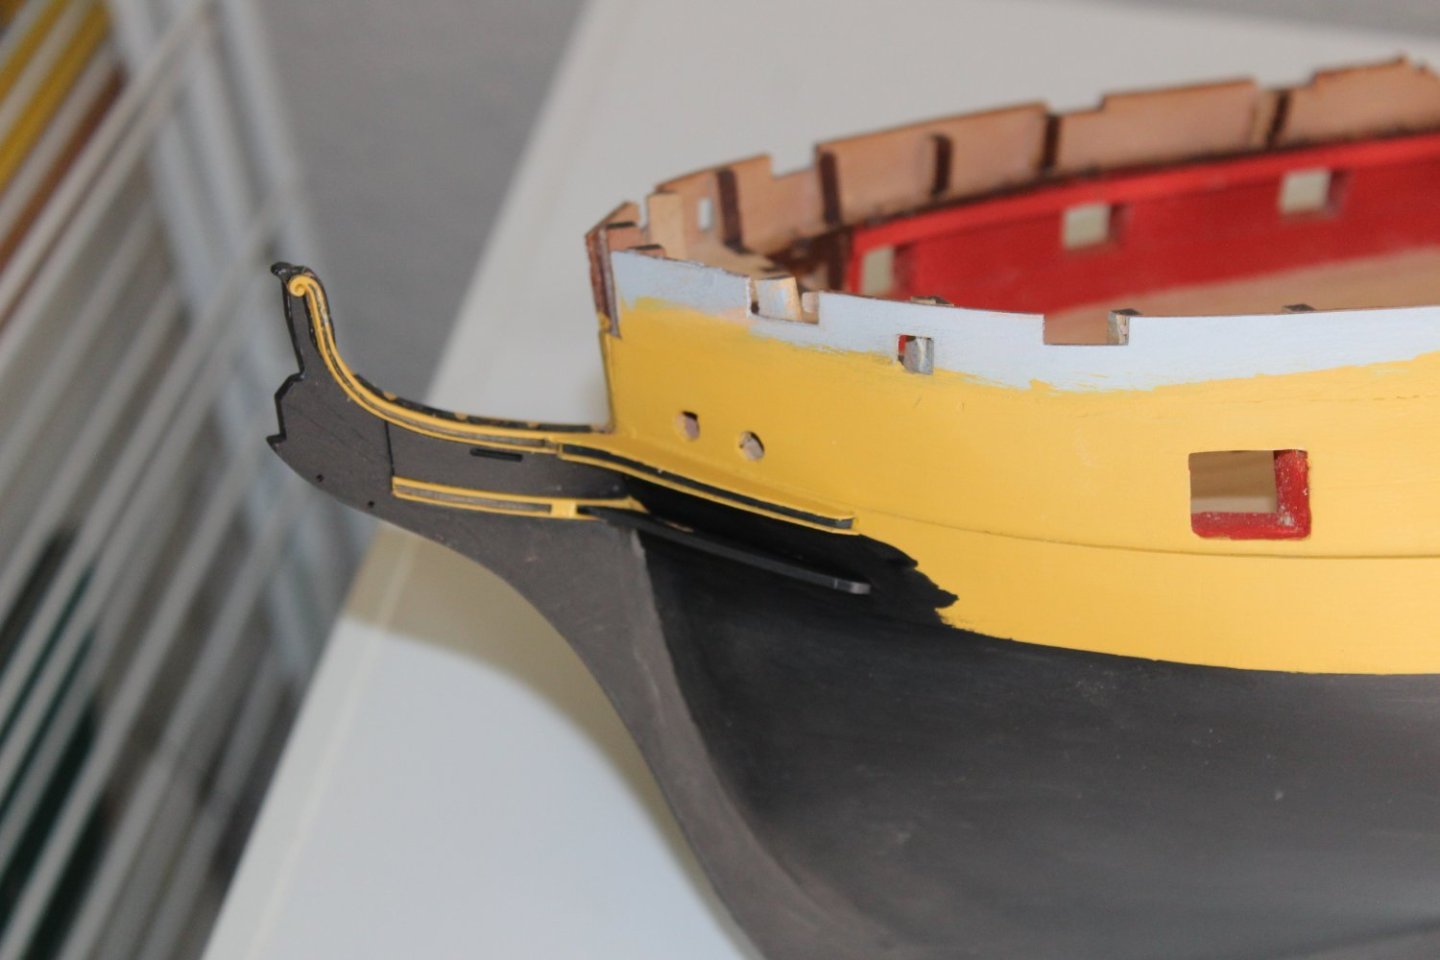
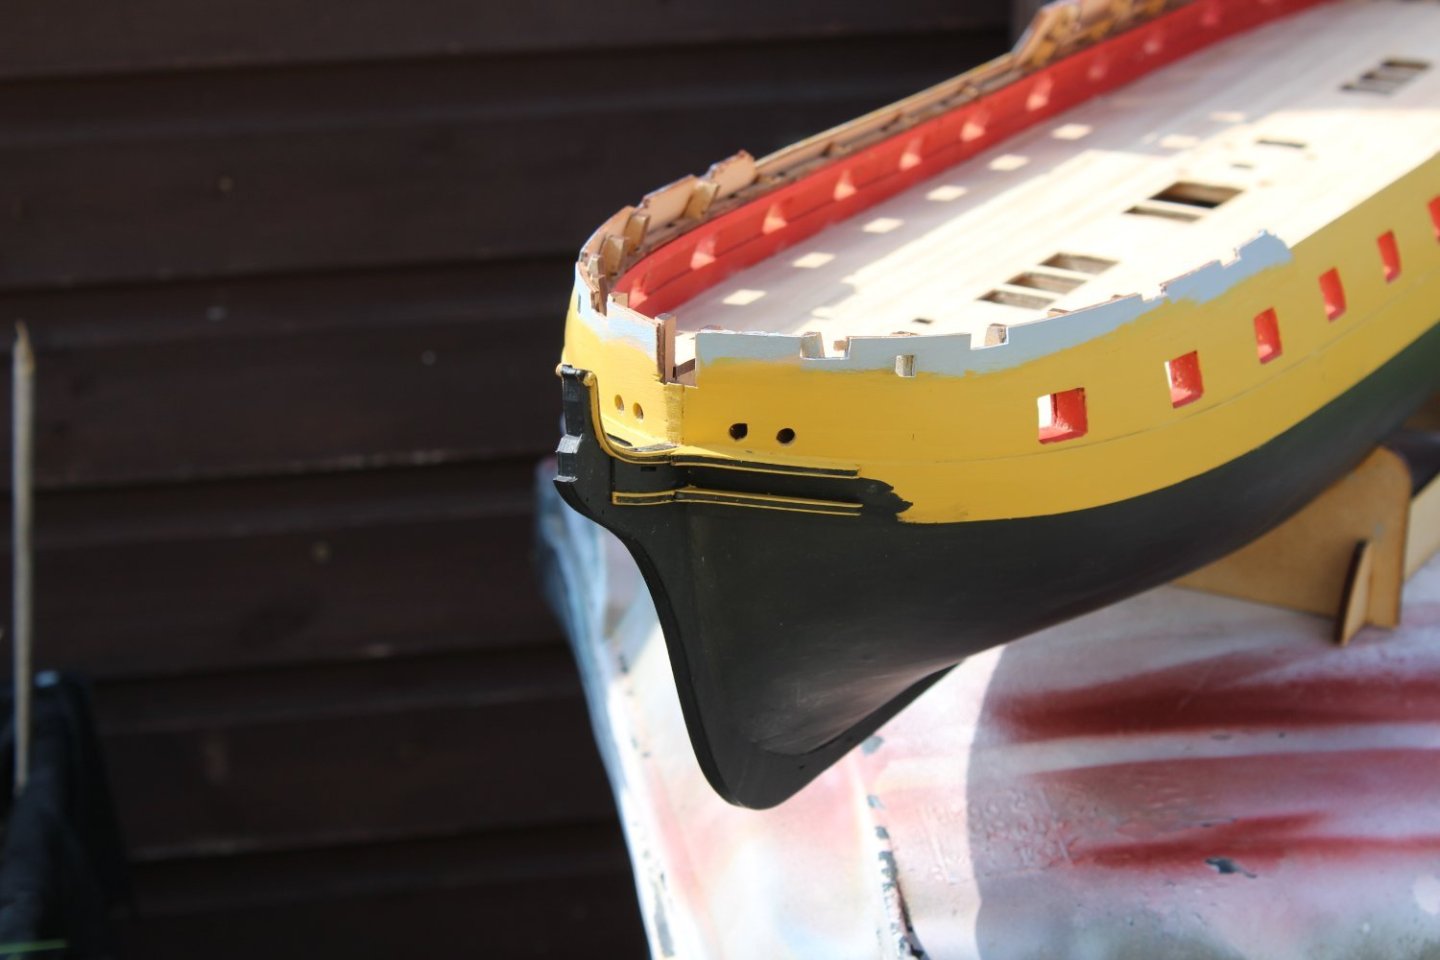
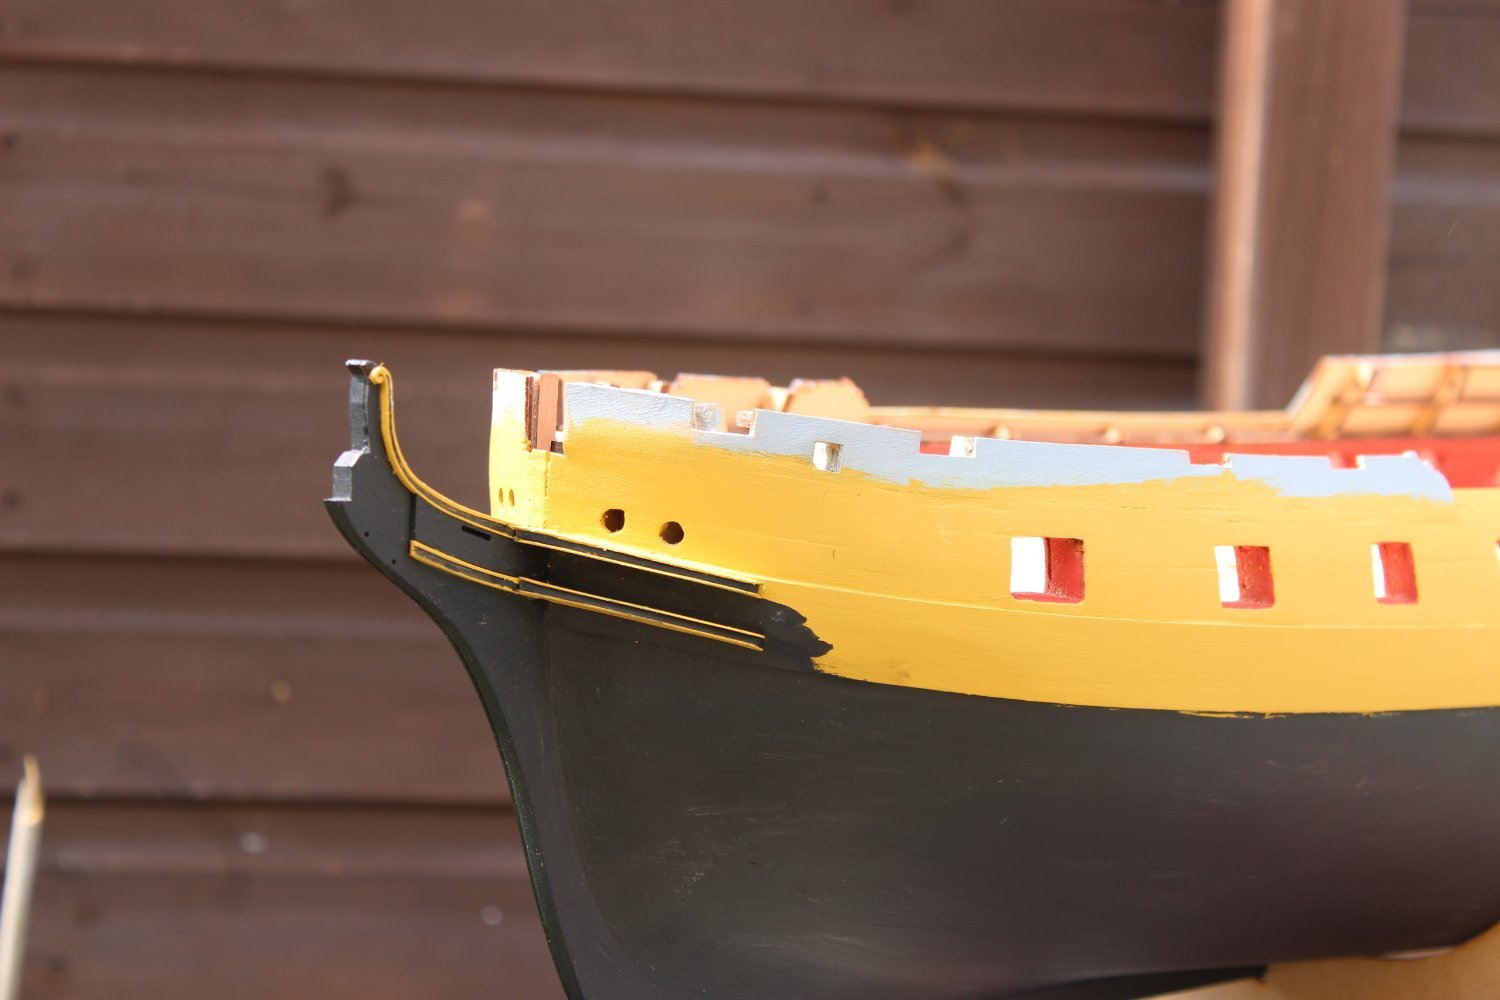
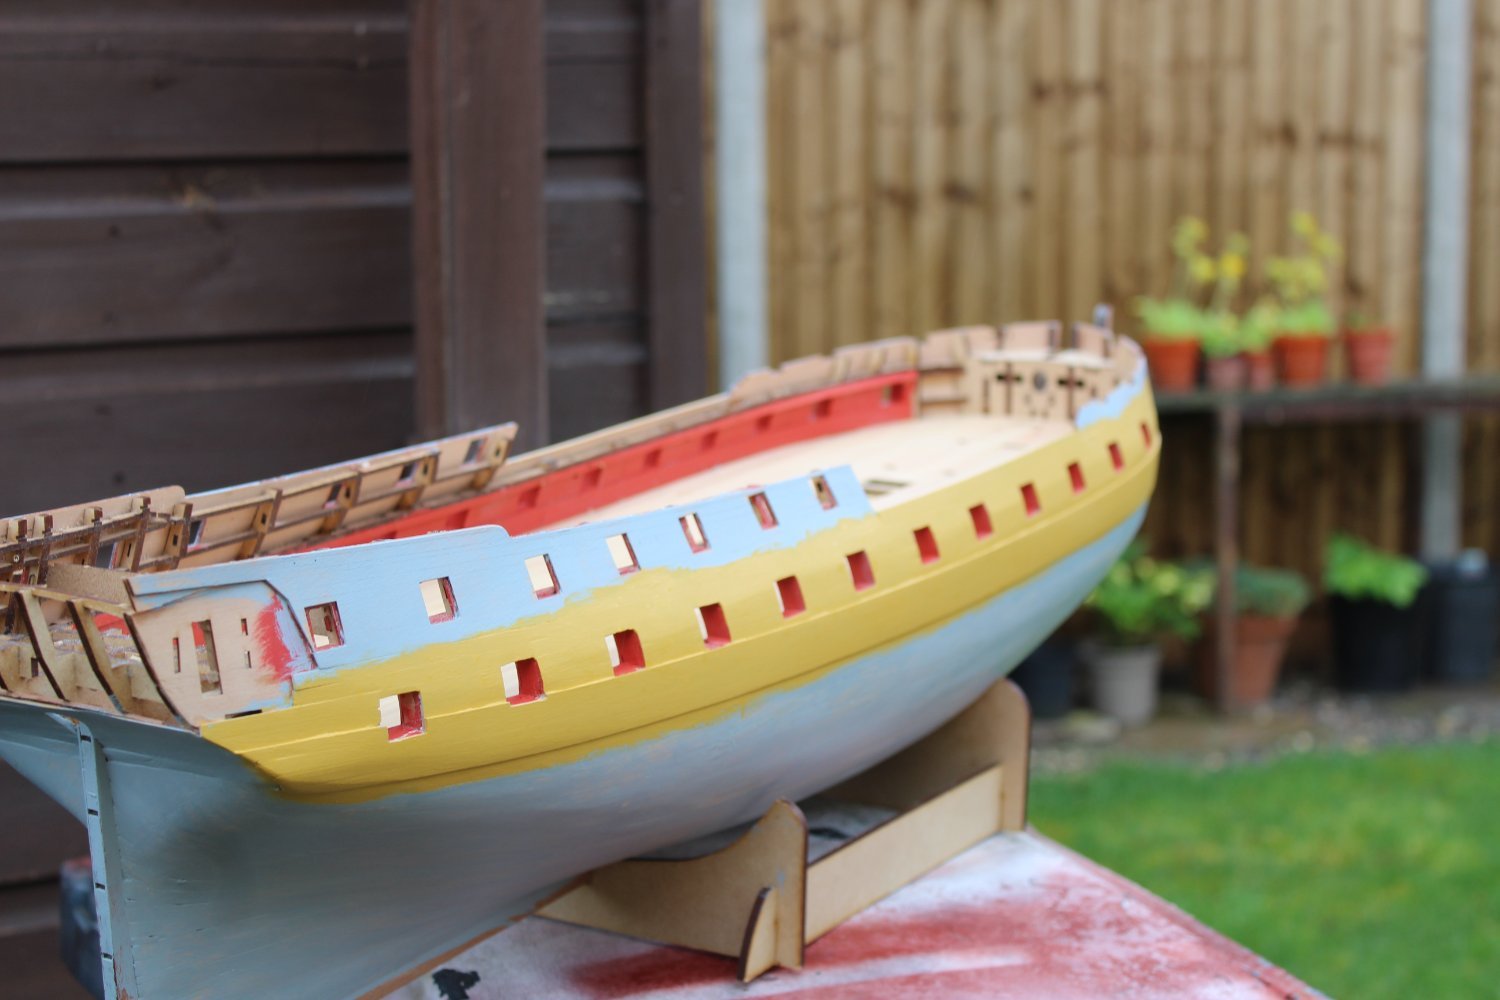
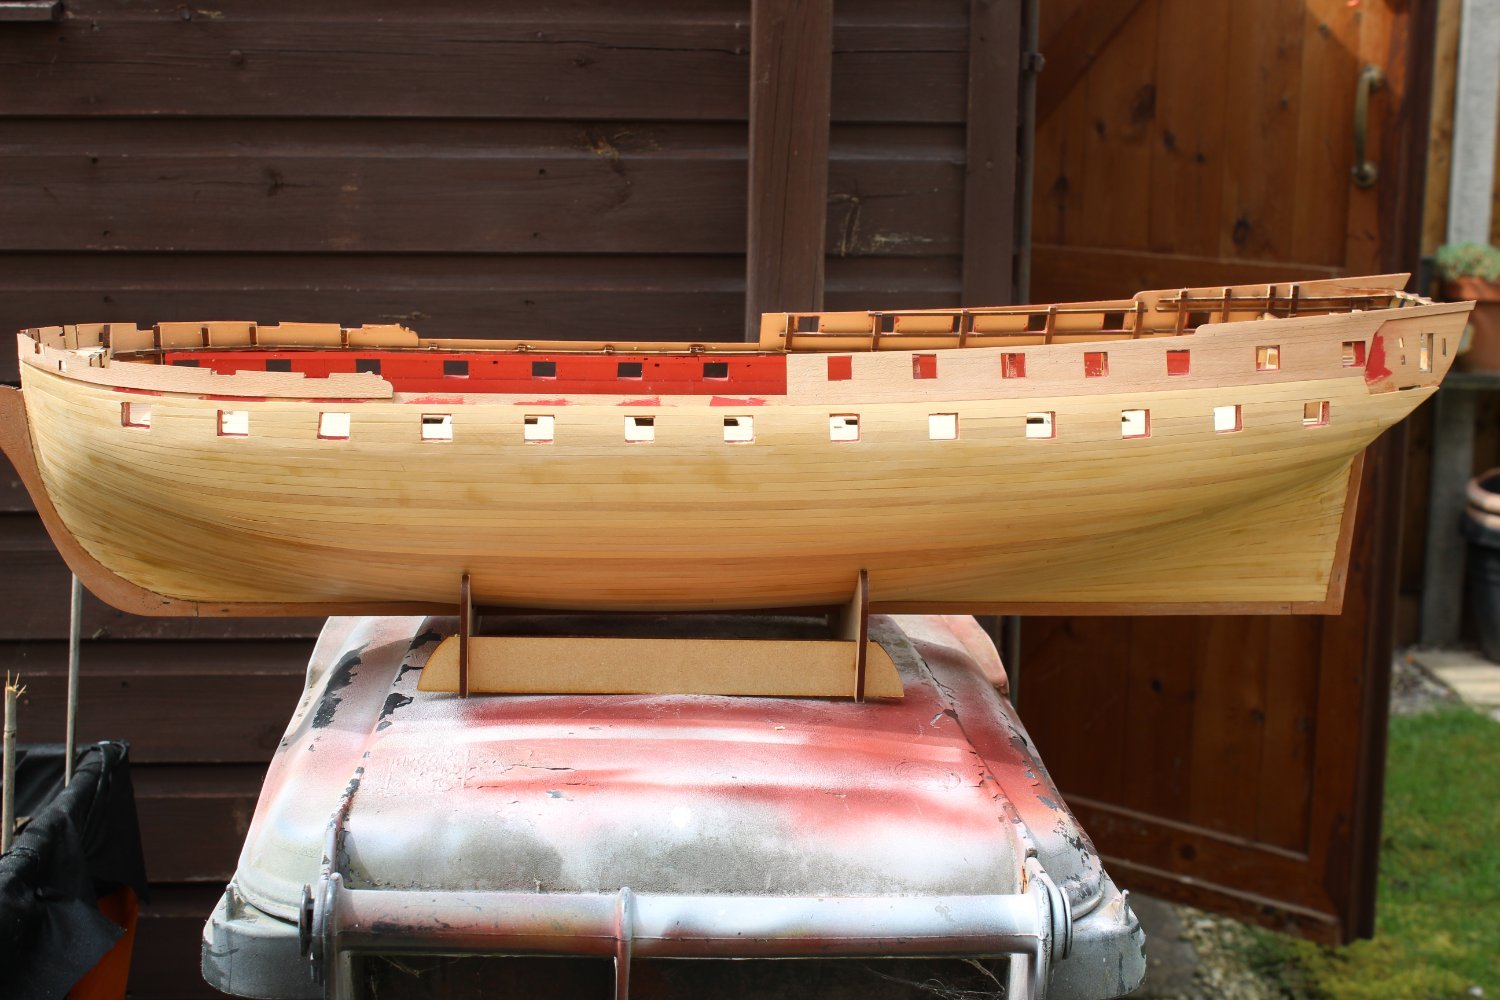
the hull went to black as part of the preps for banding, the yellow has had about 5 coats, i will now redo the gunports before adding any more
the cheeks are now fitted, each one is 3 pieces in layers, i went for this colour scheme, as personally i think it looks better
things still need to be touched up


- dunnock, Old Collingwood, davyboy and 19 others
-
22
-
wonderful work James,
now go for that well deserved break, with the Indy rigging and thank you for what you have done
- mtaylor, Oboship, chris watton and 2 others
-
5
-
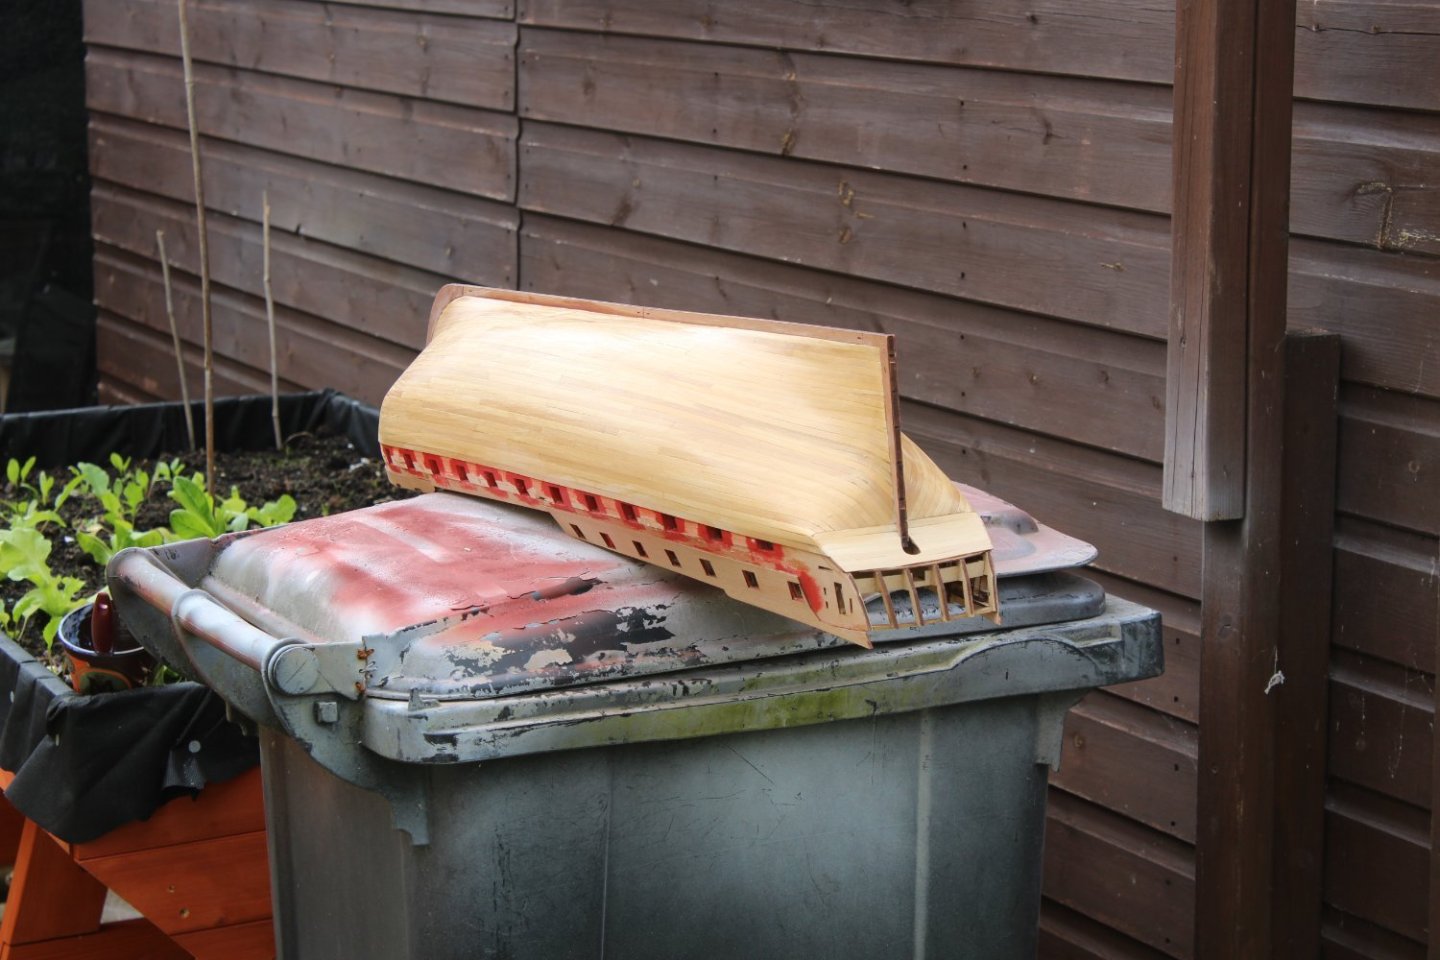
doing things my way, i want to get a majority of the outer painting done before working inside the hull, might avoid all the dust that i seam to create

-
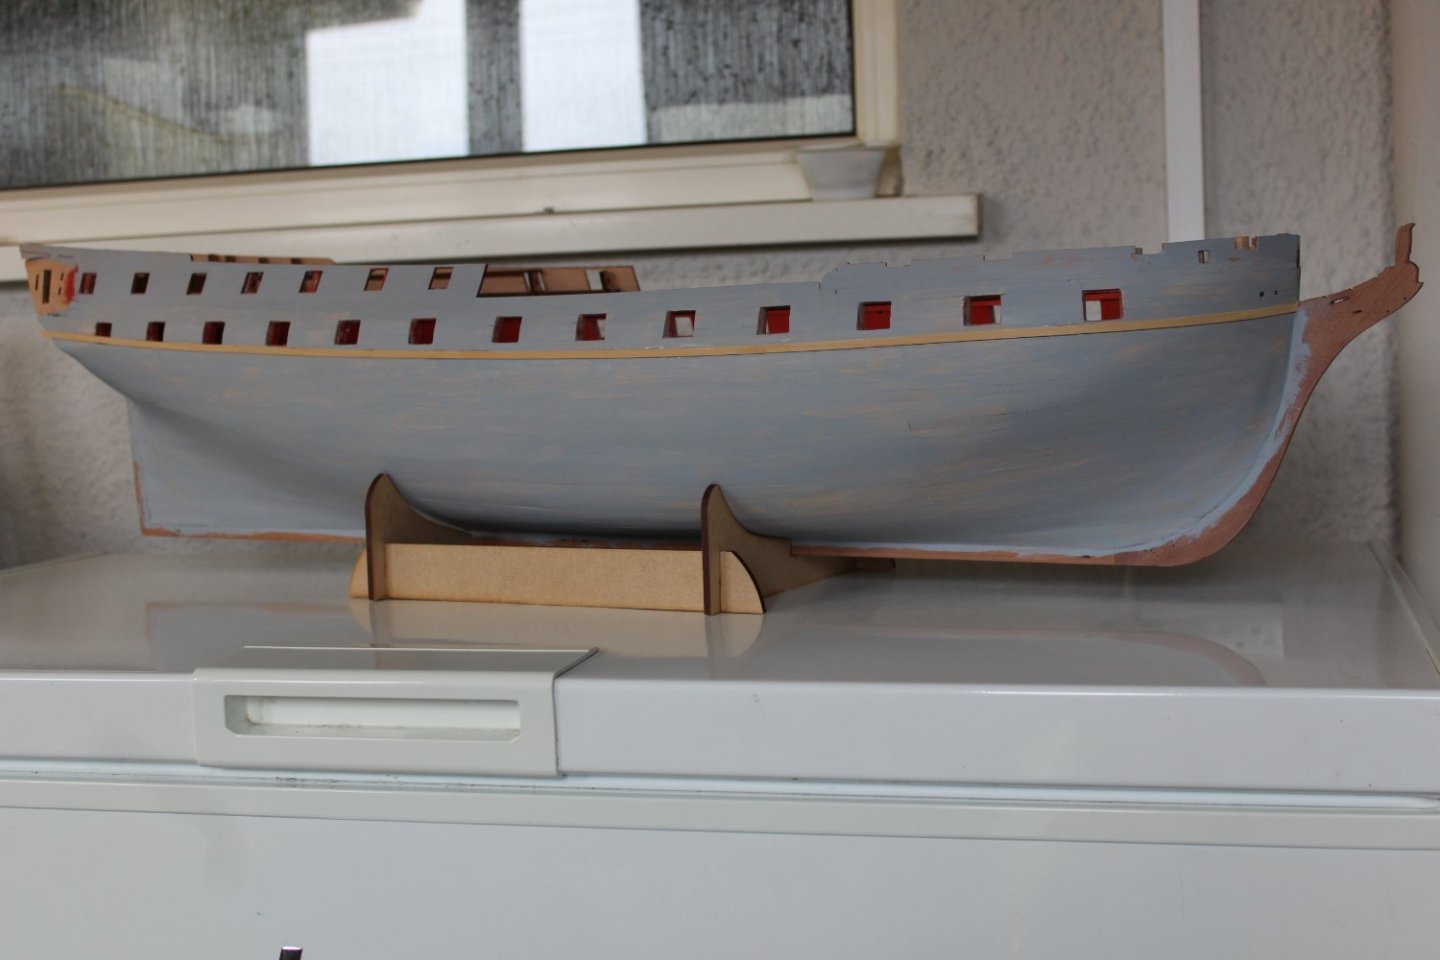
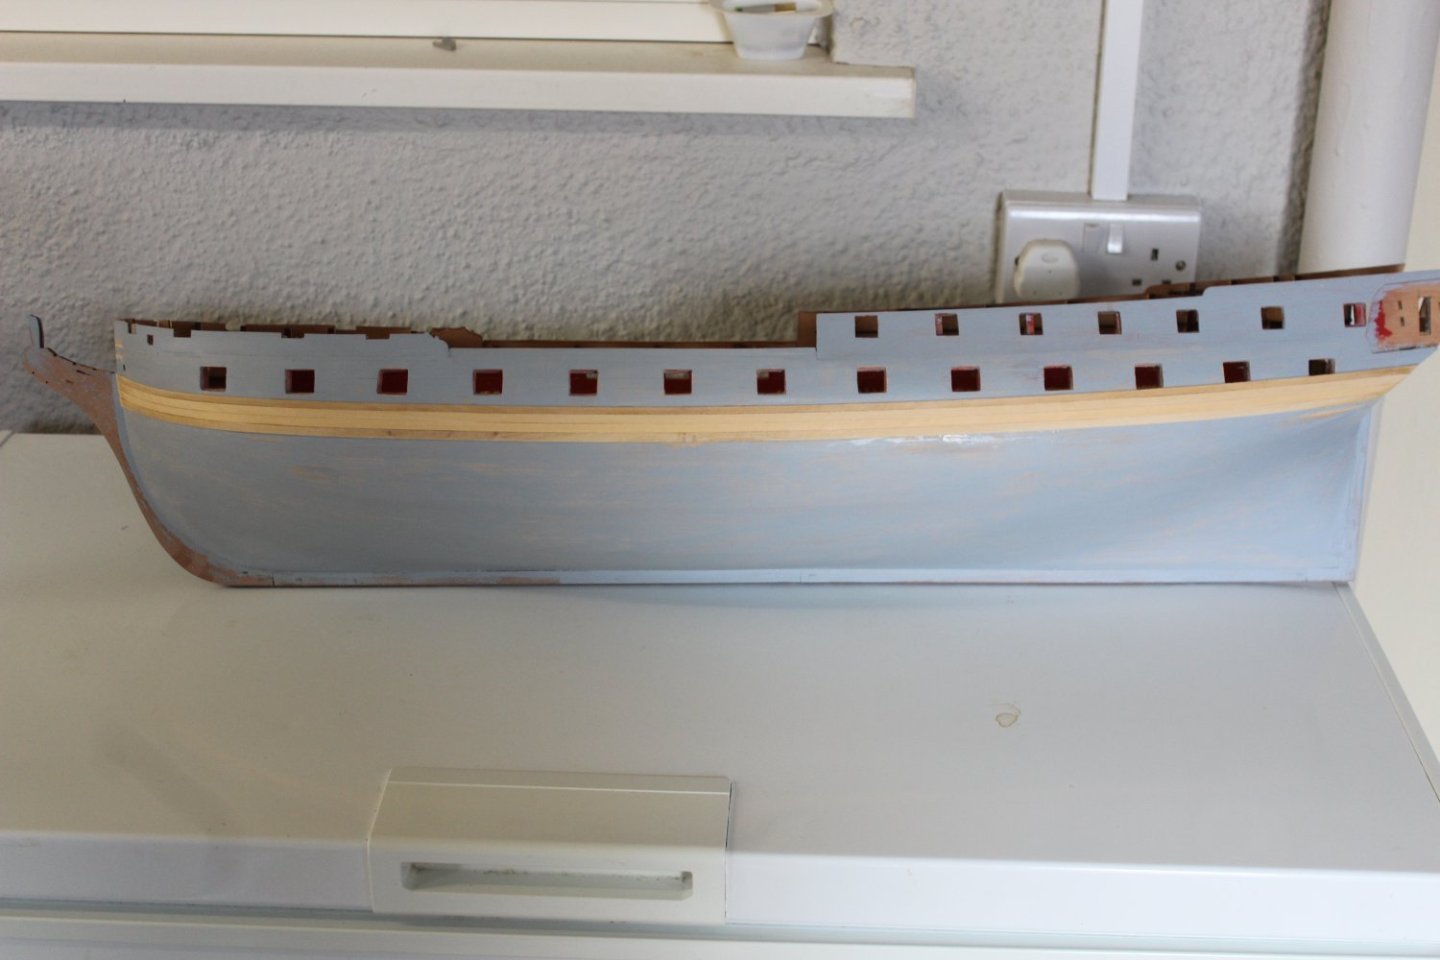
good morning every one
build log day 70-2 (arrived 10 weeks ago and had two days off)
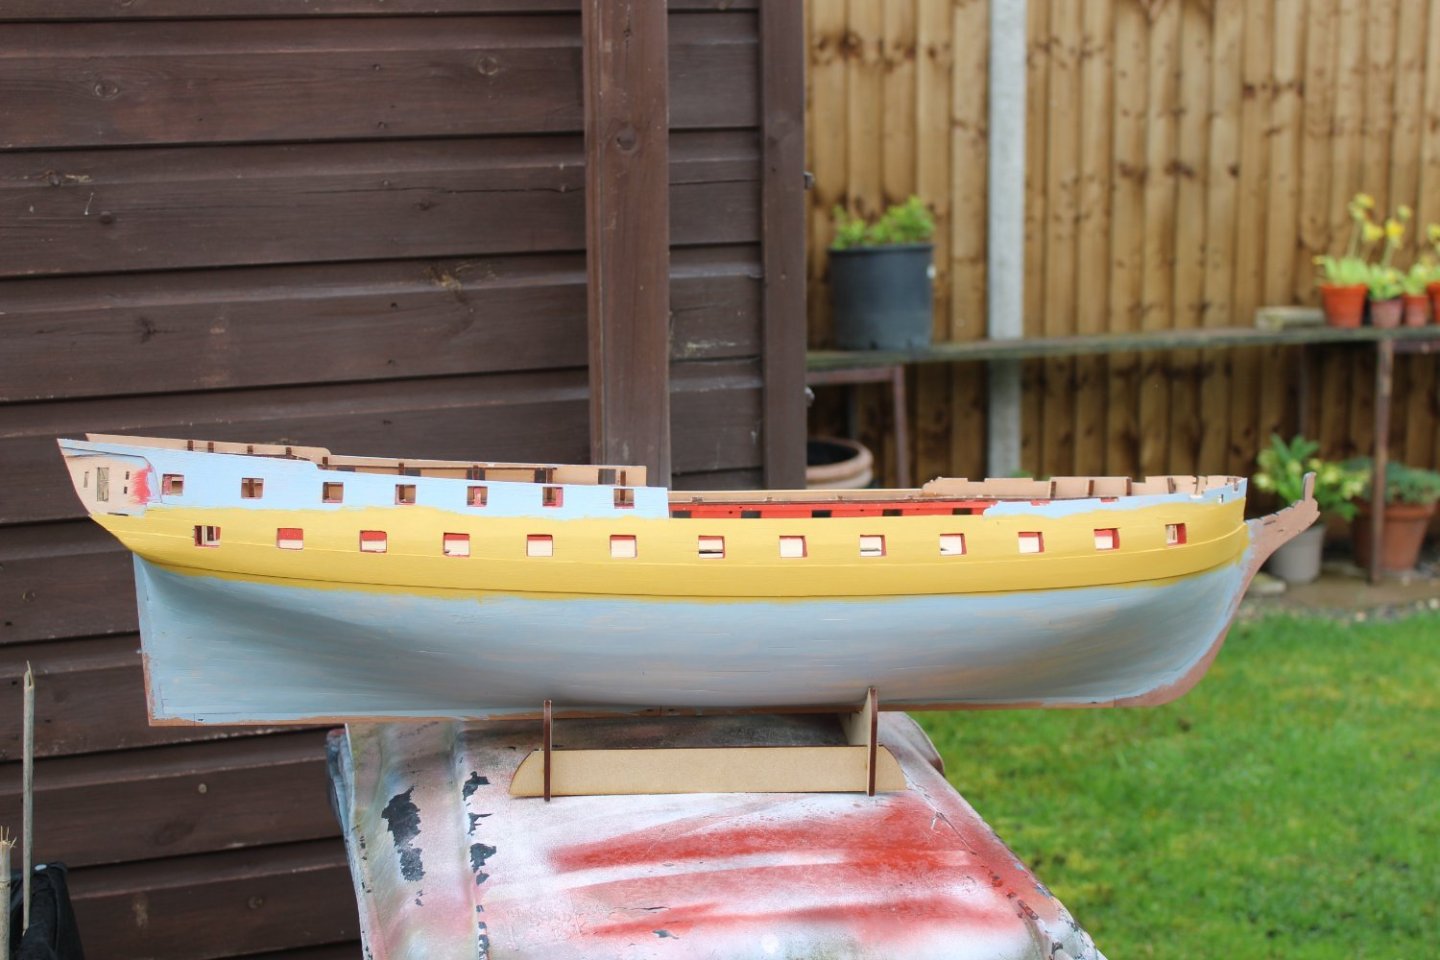
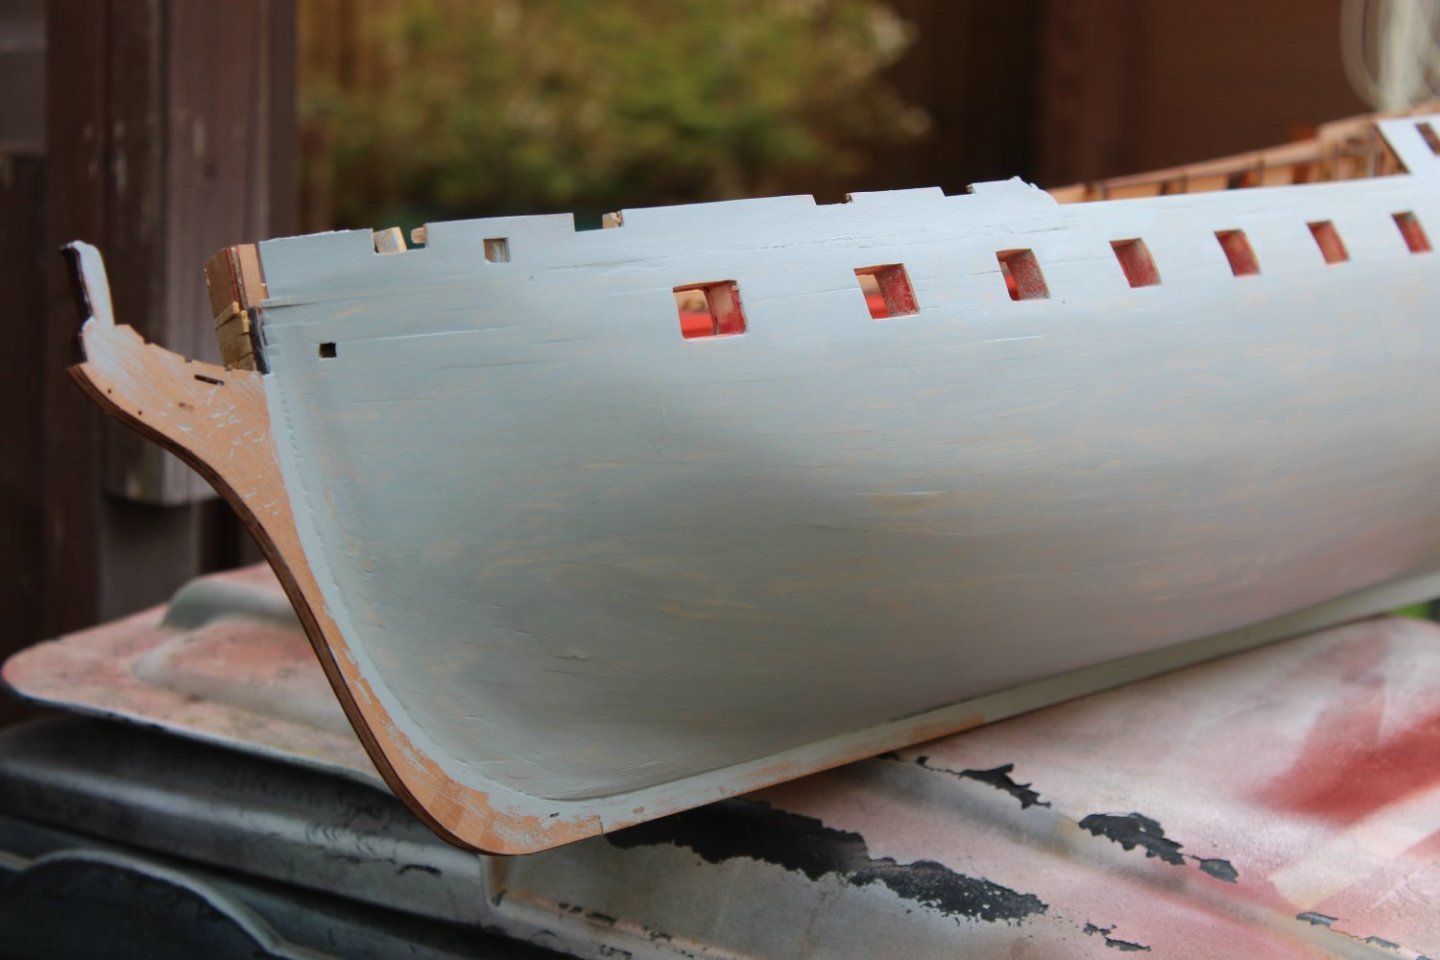
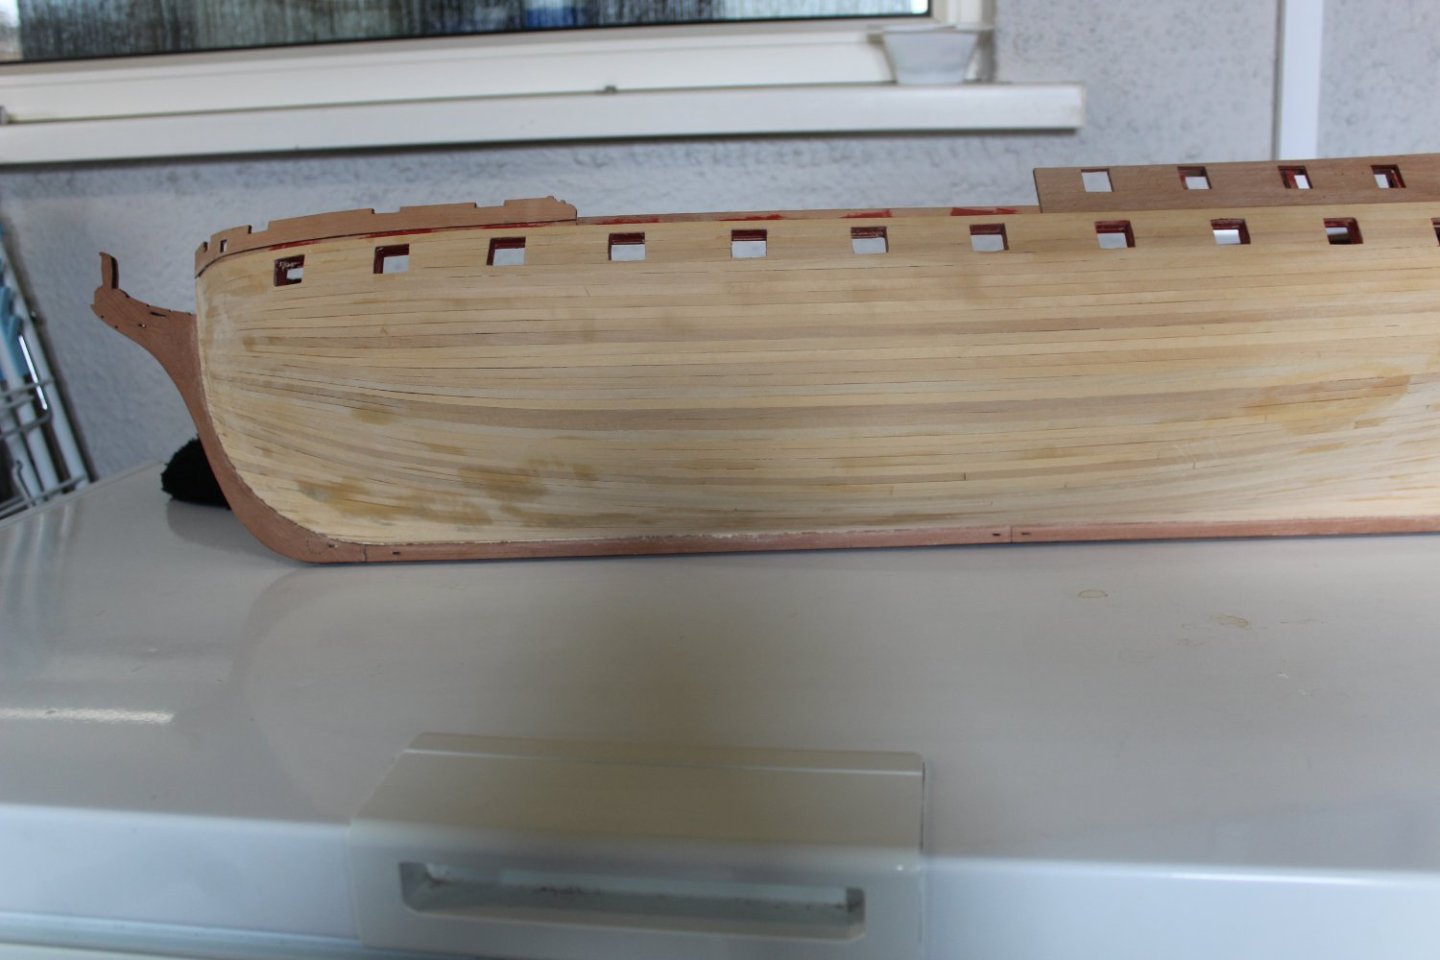
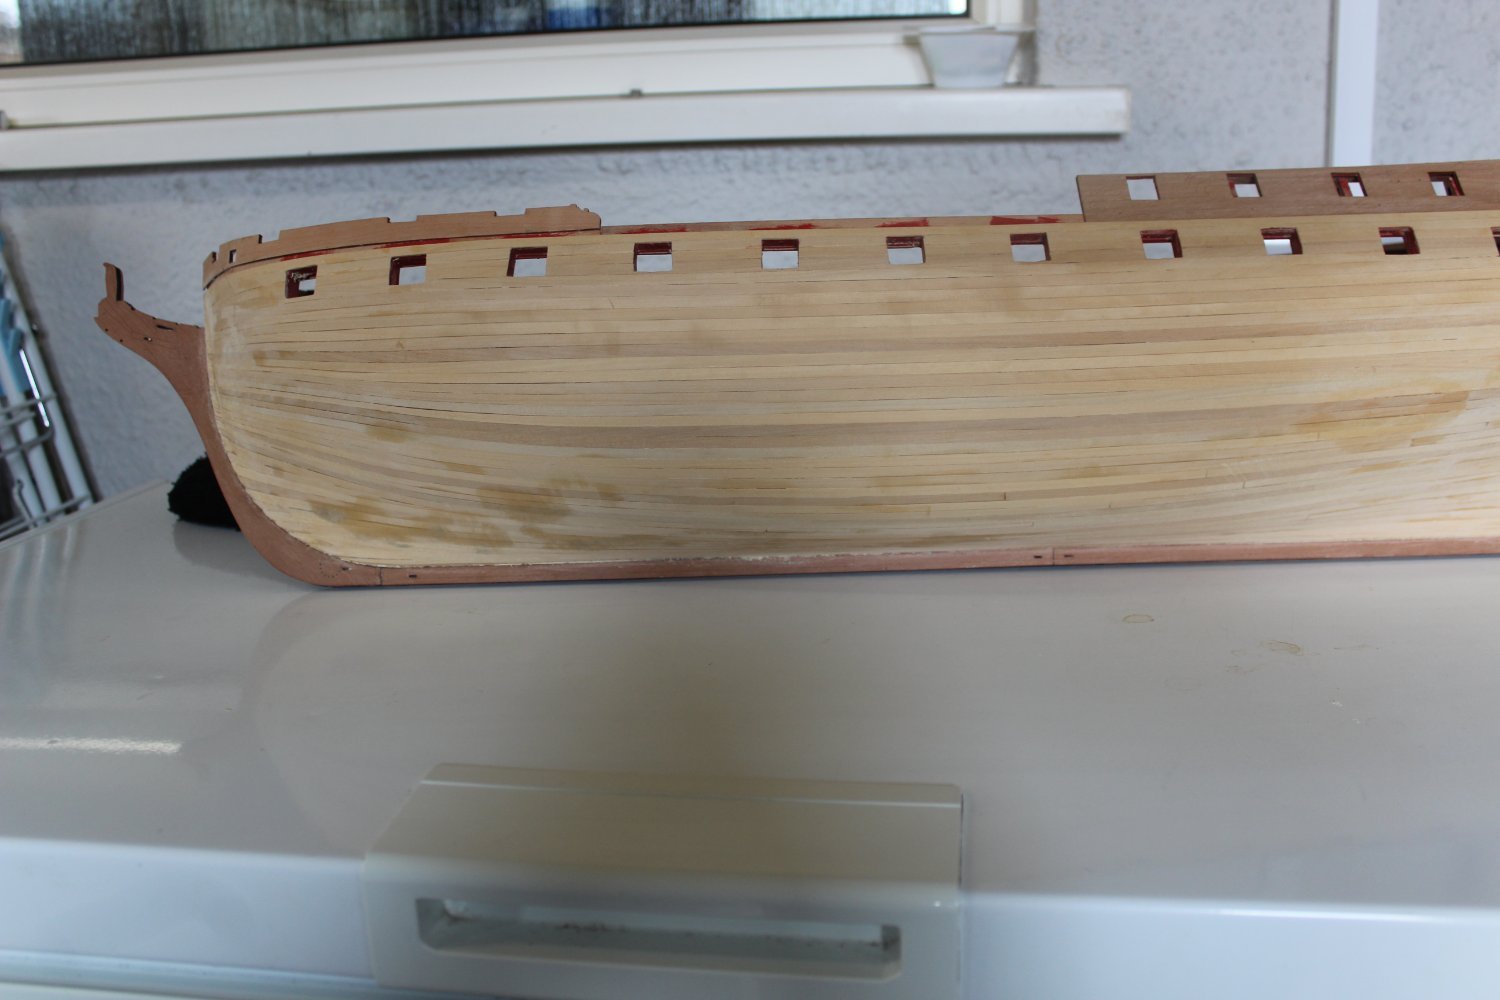
well with the minimum of work being required i went to plan B and and primed the hull, with a hairy stick and Vallejo grey primer
using the 2nd planking i was able to line the top wale plank in place, with the 3 following underneath it, this has also been sanded and primed, progress continues on the stbd side

- Oldsalt1950, JeffT, dunnock and 23 others
-
26
-
-
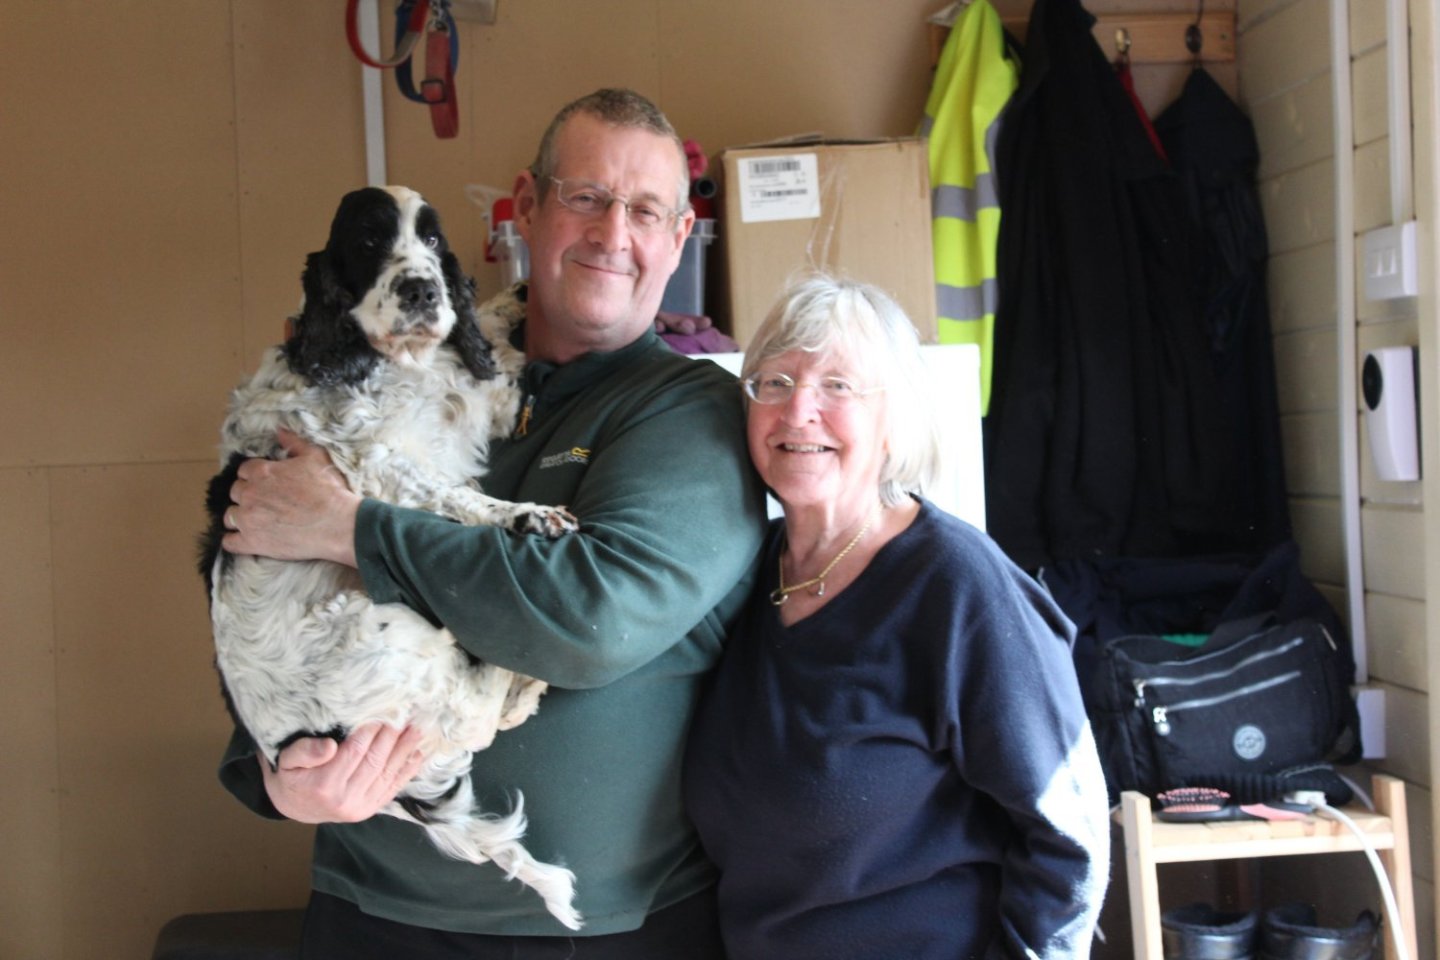
1 hour ago, allanyed said:
ABSOUTELY a classic photo. Looks like a Springer or liver colored Brittany giving you the eye. LOVE those breeds.
Allan
thats Dobbie Pingate Periscope and 8 year old English Cocker Spaniel
My two loves

-
good evening everyone
im back
thank you so much for the comments and suggestions, very much appreciated
first of all this was to be my masterpiece build, having looked forward to it for so long, it was an accident, but could have been avoided, if I had been 100%
anyway having thrown all my toys , and the bois out of my pram i have now picked them back up and continuing from where i left off, HOWEVER - my lovely Box wood will now be painted

-
-
-
that looks very nice indeedd
- JoeMacD, Knocklouder, Blue Ensign and 1 other
-
4
-
21 minutes ago, Blue Ensign said:
You do have another bite at the cherry Kevin, copper the bottom, paint the wale black, there will still be a nice Boxwood contrast between that and the Topsides.
B.E.
another good option ty, but the disaster area is between the bottom of the wale and top of the coppering
obviously i dont want her to look like a zebra as i had considered coppering then hull black, use a different wood for the wales and leave everything above as is, but the more i think of that the sillier it appears,
had the area been 25mm higher or lower i could have salvaged it
-
6 hours ago, Blue Ensign said:
If it’s individual planks that have been sanded through, could the section not be removed, and replaced?
I have done this using a scalpel blade and fine chisels. Any residual ca can be removed using acetone.
Just a thought.
B.E.
as this was my first "lets plank it better and not paint kit" i made a few mistakes, in that the tapering started far to early, and there was to much of it, and the boards are all not wide enough at the rabbet , although it is area about 30mm long it affects over 20 planks, so the replacing will not look right, there is also such a wide range of plank colours to think about aswell
of course there was no way i could have hidden this, i will just have to put it down to stupidity
-
23 minutes ago, Old Collingwood said:
Mate could you not re plank over it up to the wale on both sides, I know it would be a pain.
OC.
i had thought about it but dismissed the idea, had it been the kit standard pear i would have painted anyway, its not all bad news though, i know my planking skills have gone up,
- mtaylor, Mr Whippy, Haliburton and 6 others
-
9
-
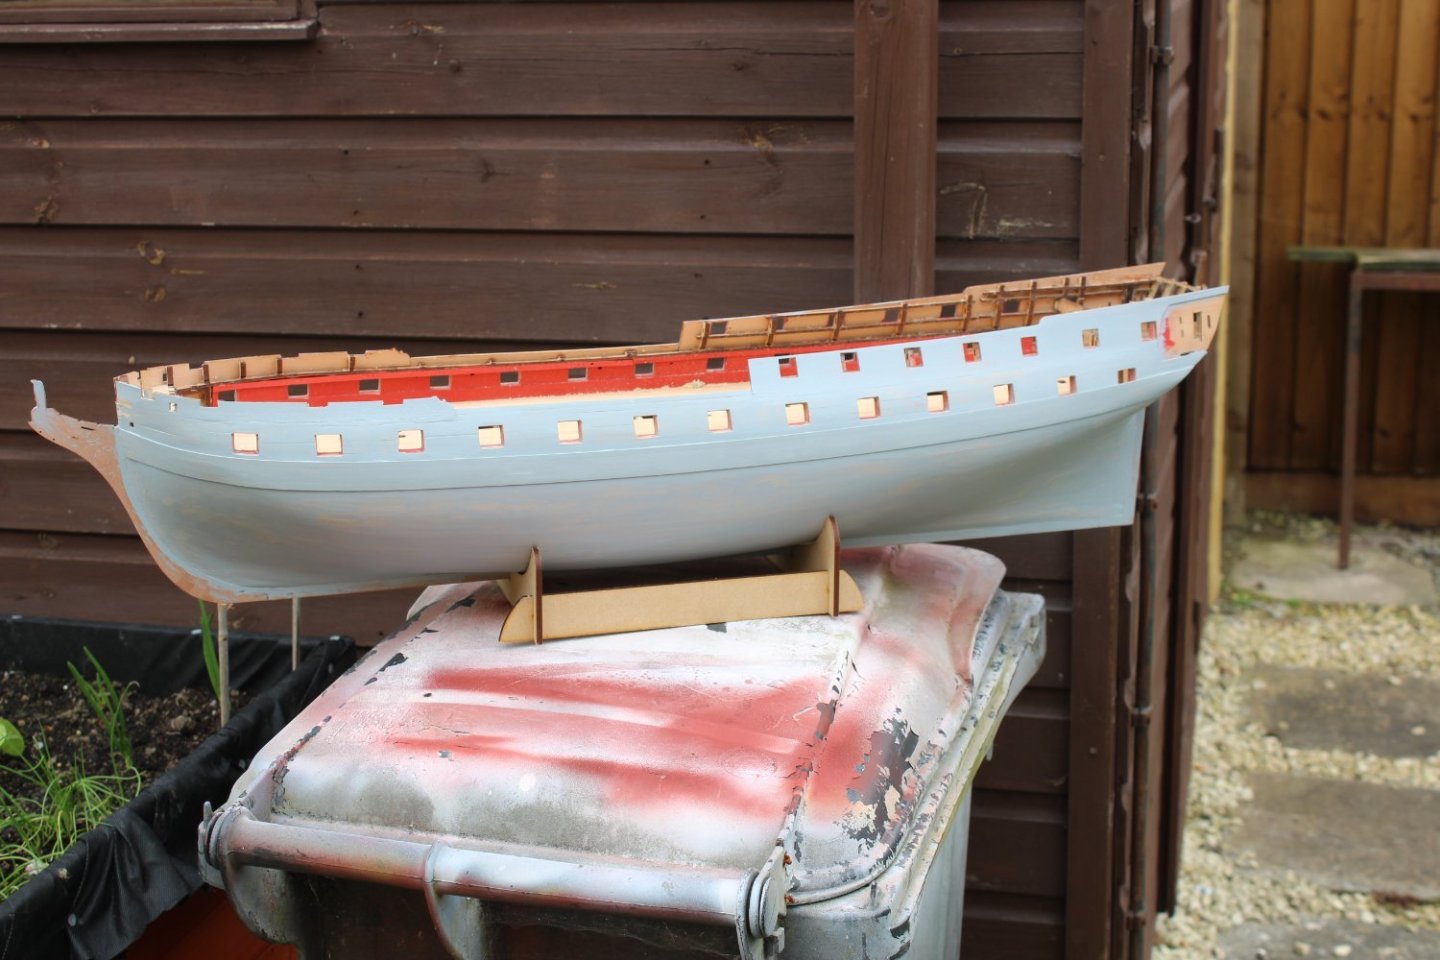
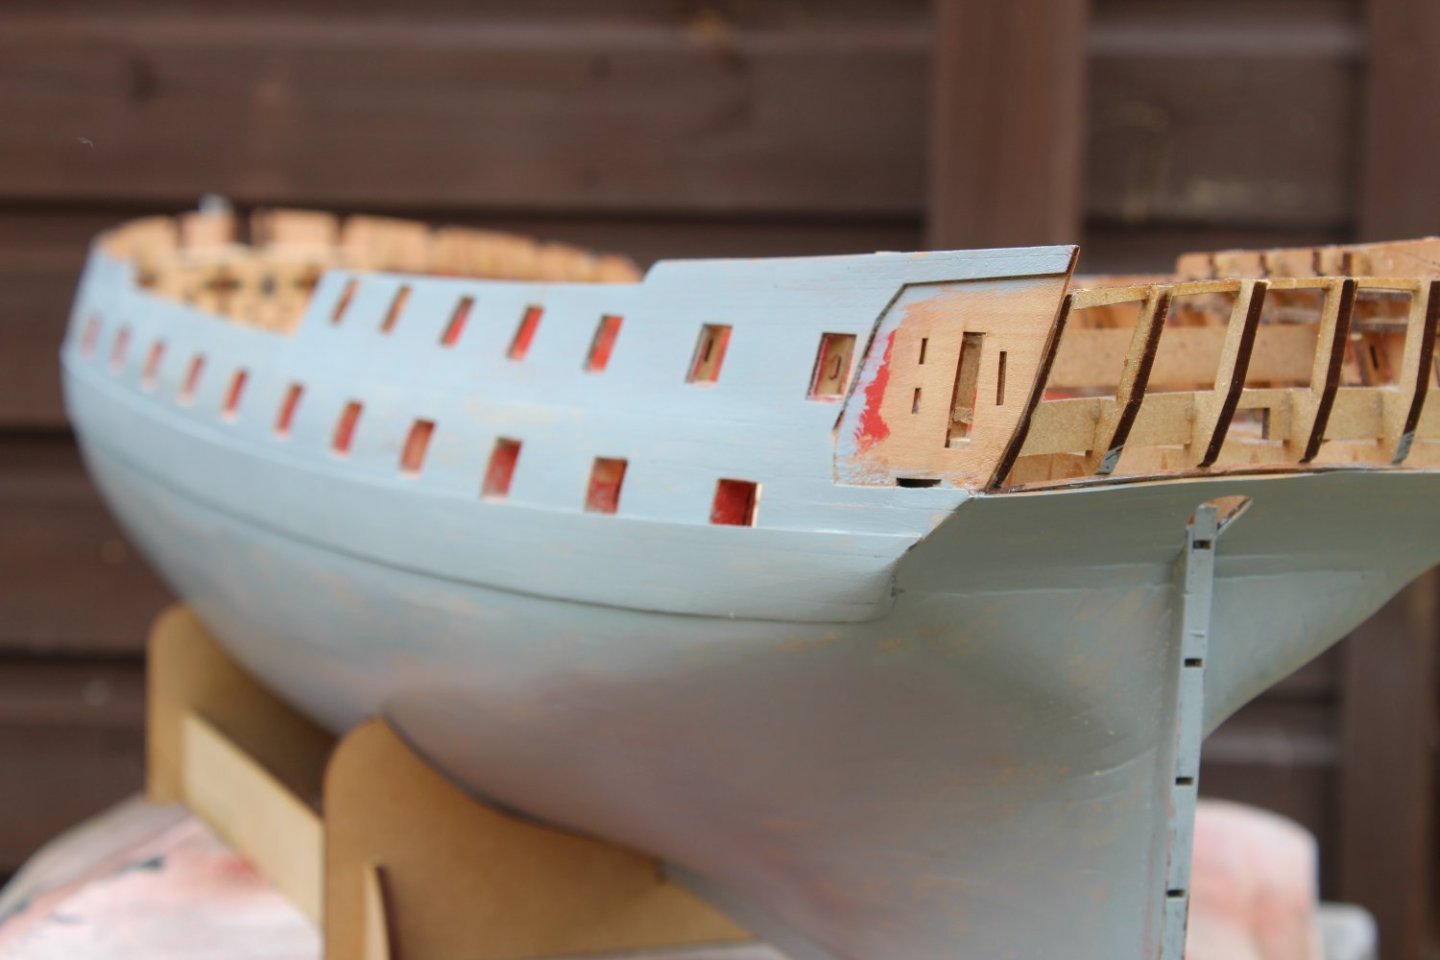
good evening everyone
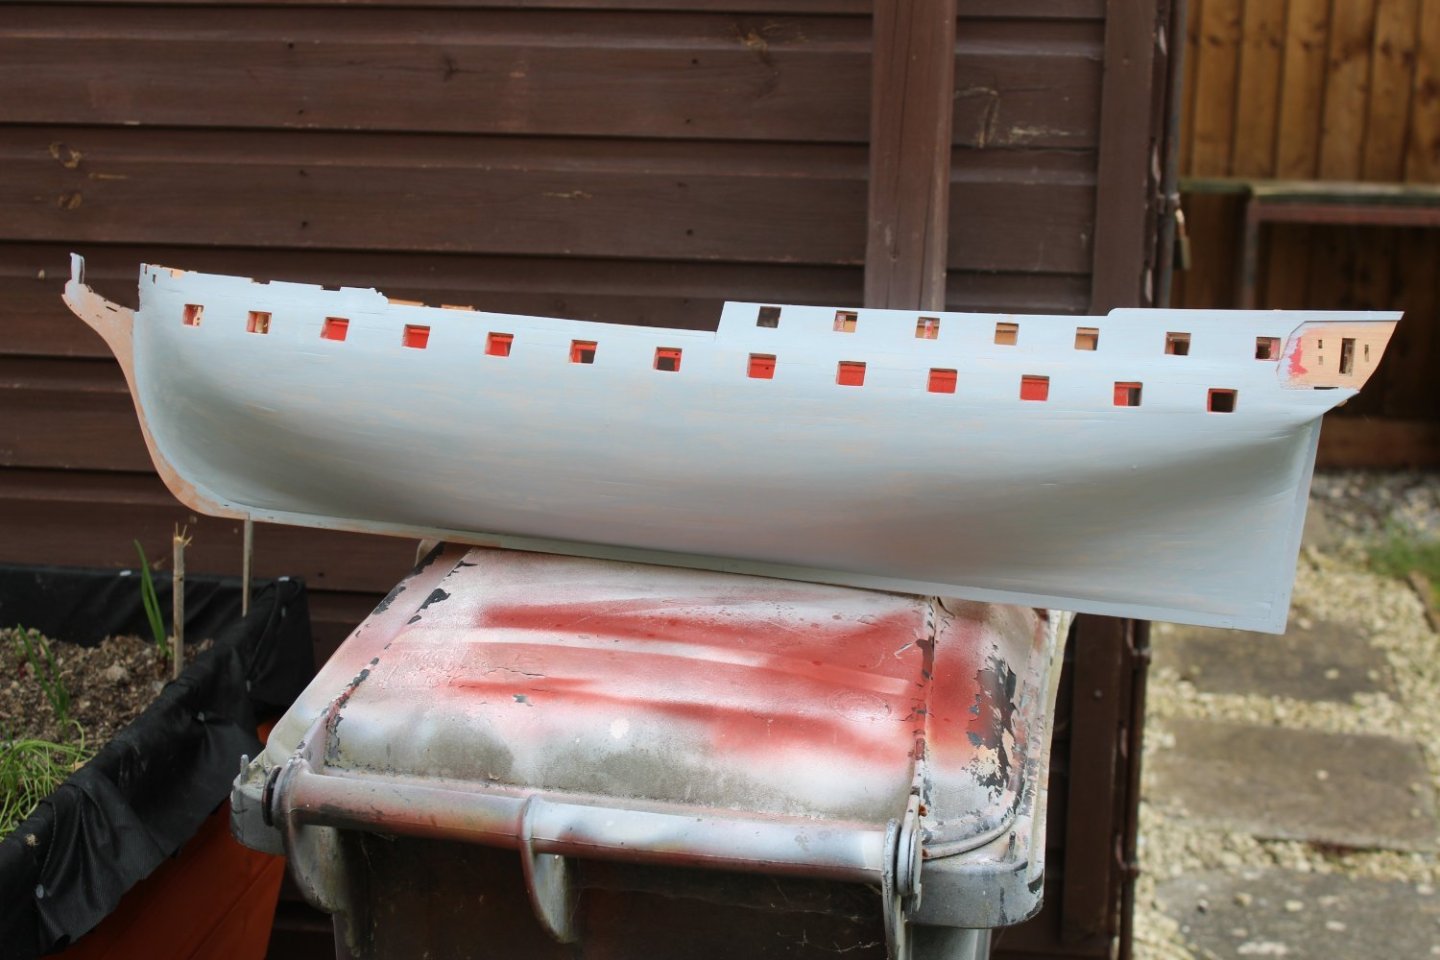
all my plans to display her naked have gone out of the window
i over sanded the bow on the Port side to much and went through to the 1st planking, after i stopped sobbing as it is Boxwood and not pear, my options are quite skimpily - limited
1 never show the port side again - silly idea
2 paint and copper port side and leave the Starboard side in wood - i dont think i could pull that off
3 complete the hull as shown in the instructions- preferred way
i am absolutely gutted, but it was a nice sunny day, ive felt like pants for the last couple of weeks and was just nice to sit in the garden with some sandpaper
oh hum
damage done
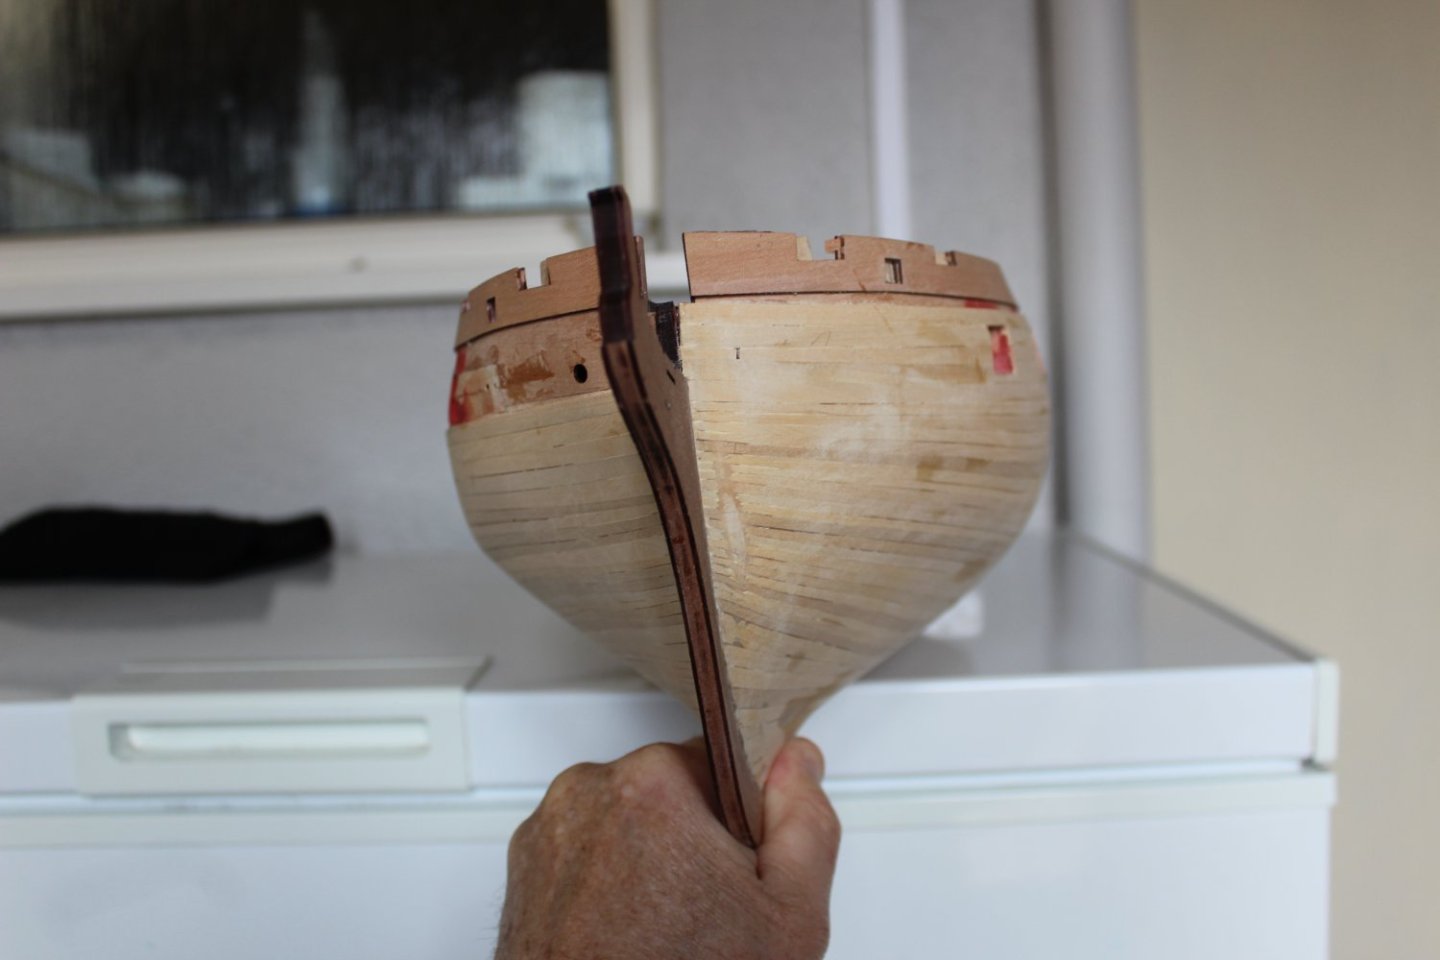
trying to hide the damage


.JPG.0f9d0529e96f55b450903cdb57848d85.JPG)


HMS Indefatigable 1794 by Glenn-UK - FINISHED - Vanguardodel Ms - 1:64
in - Kit build logs for subjects built from 1751 - 1800
Posted
looking very good, sorry about the other project