


Tadeusz43
-
Posts
519 -
Joined
-
Last visited
Content Type
Profiles
Forums
Gallery
Events
Posts posted by Tadeusz43
-
-
Hi,
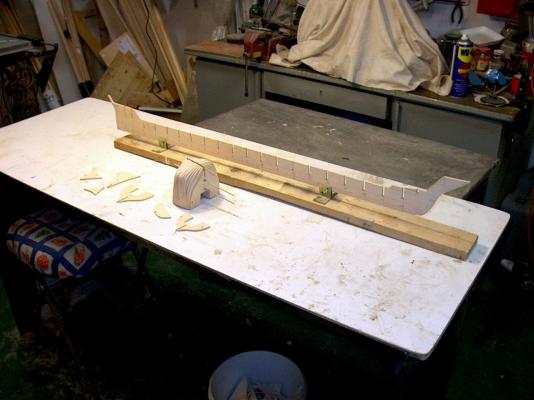
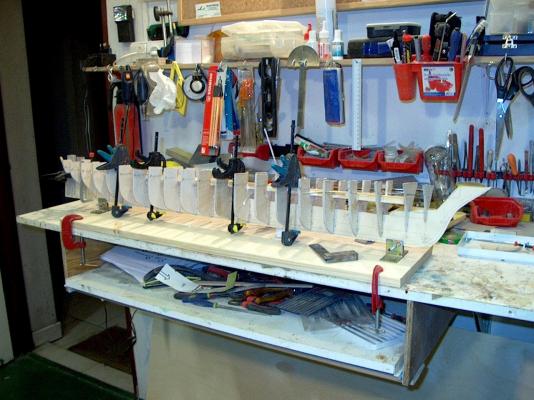
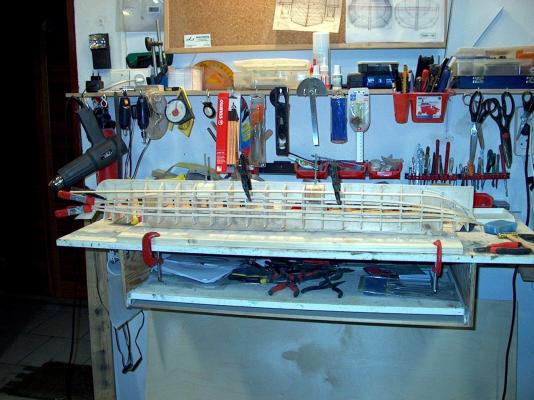
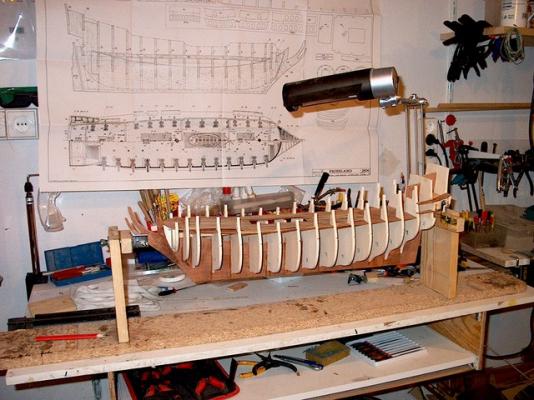
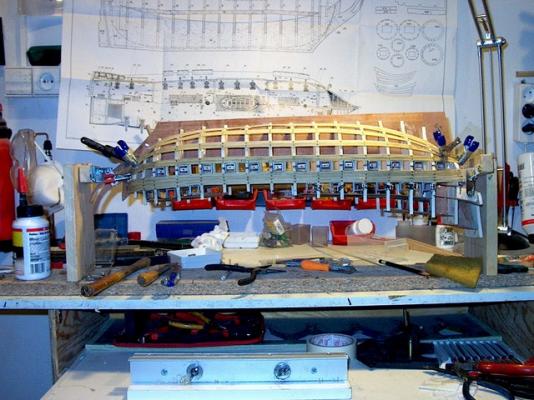
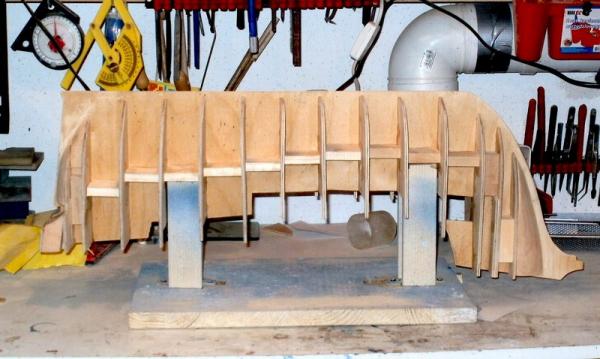
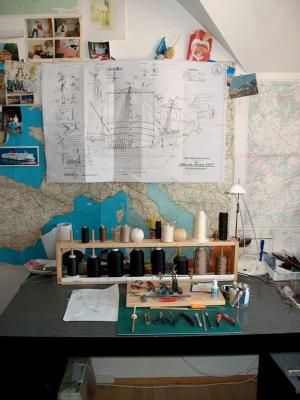
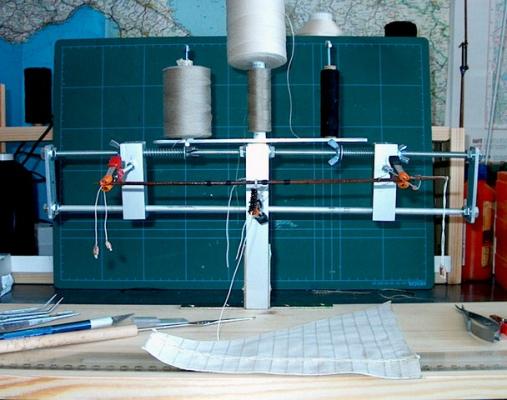
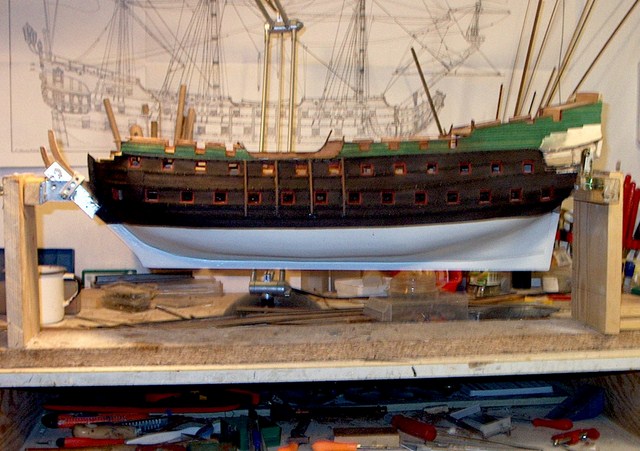
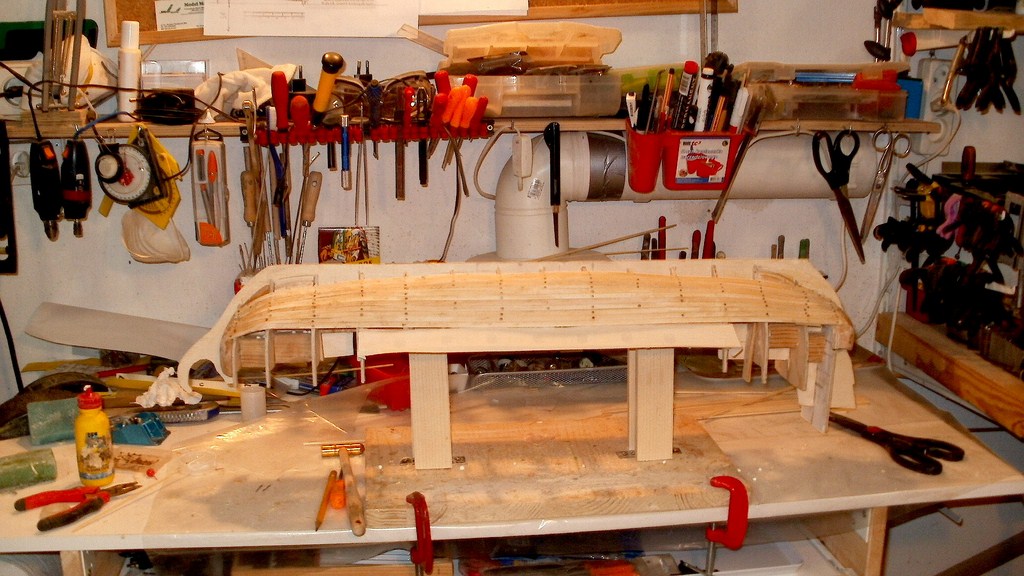
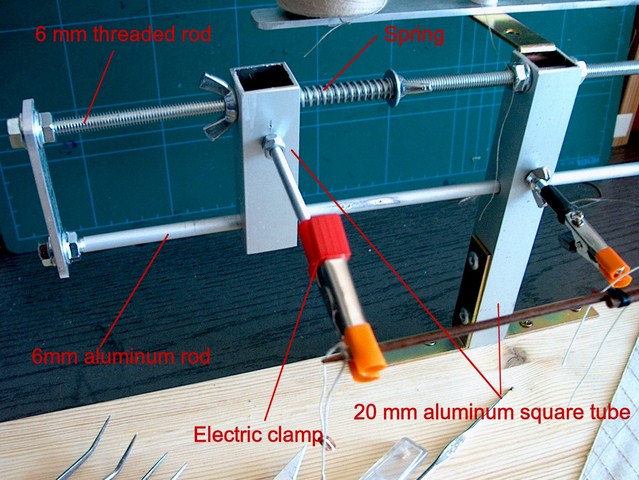
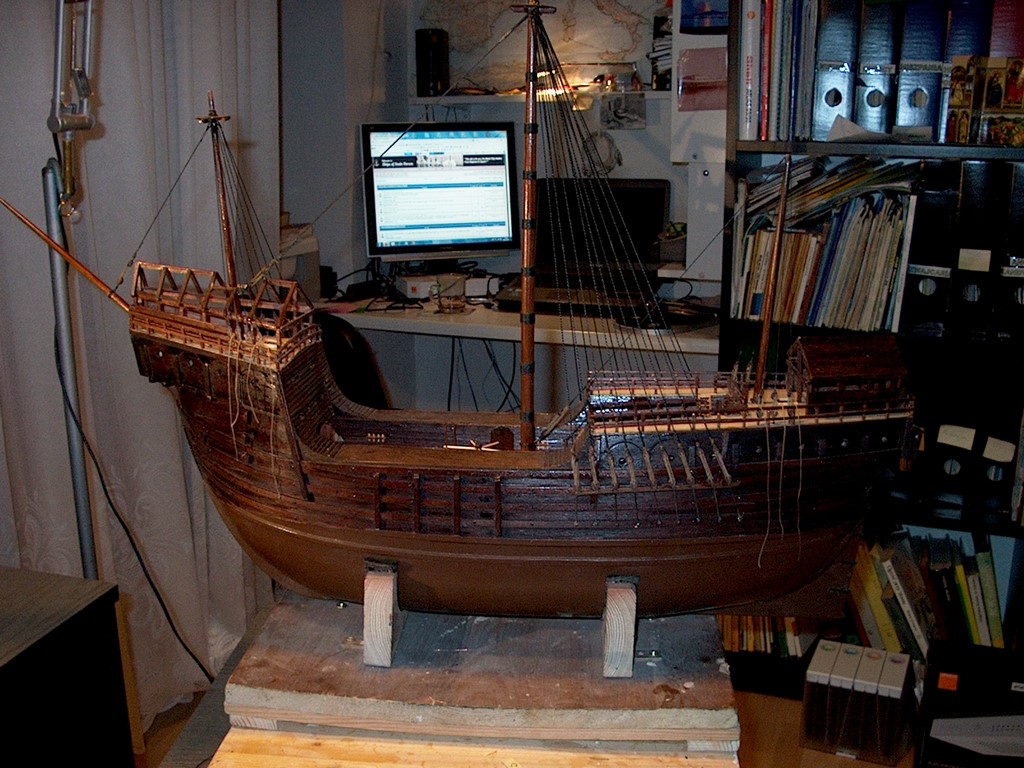
My jigs for hull assembling and planking.
Simple is the best.
Tadeusz
My models:
From kits
Vasa, HMS Victory, Le Solei Royale, Friesland
From scratch
HMS Warrior 1860, Esplanade, Grosse Yacht
Norman’s ship, HMS Speedy, La Royale
Peter von Danzig
Polacca XVII cent.
Current project:
SS Savannah 1818


- bryanc, aviaamator, CaptainSteve and 5 others
-
 8
8
-
-
-
-
Hi michael,
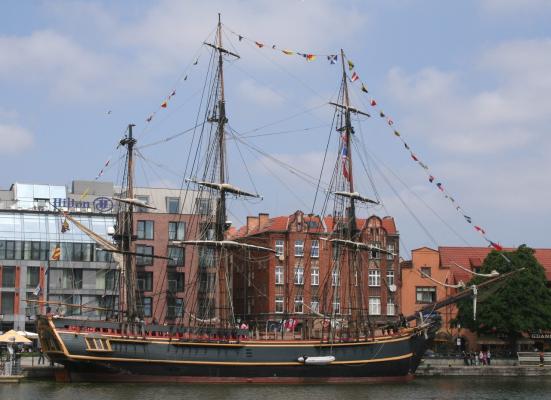
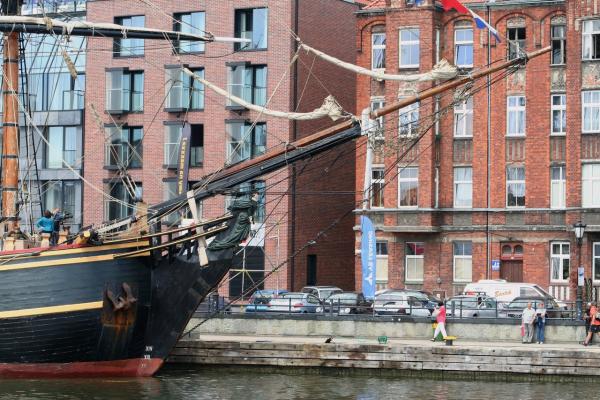
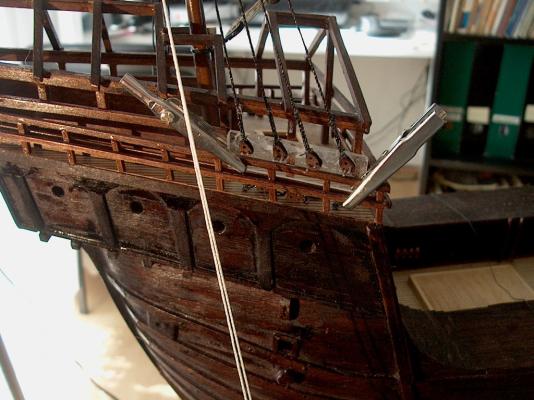
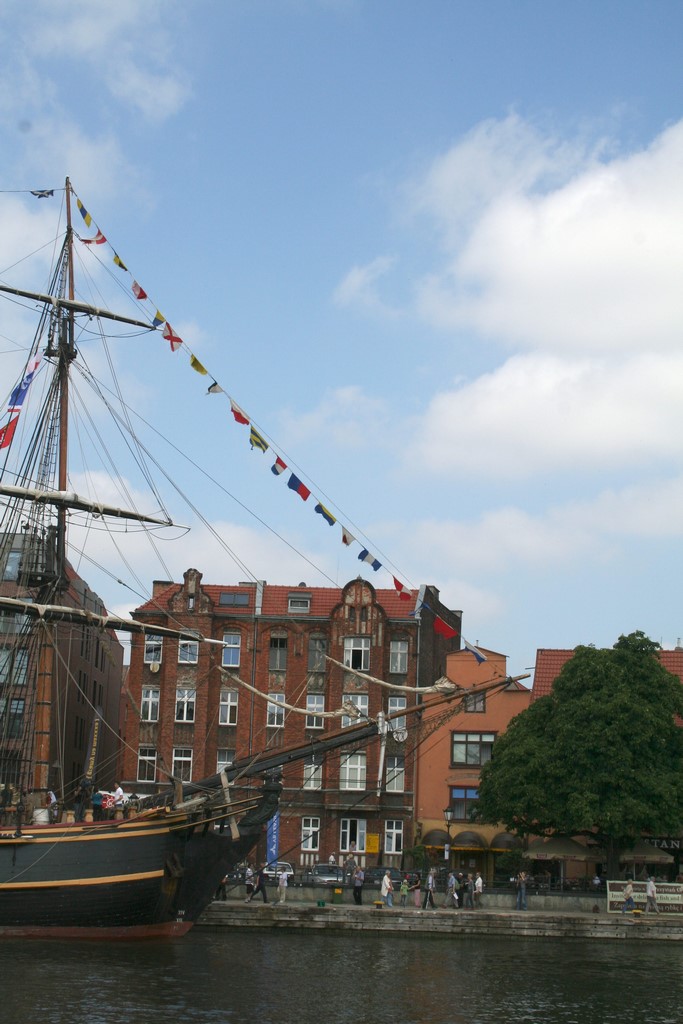
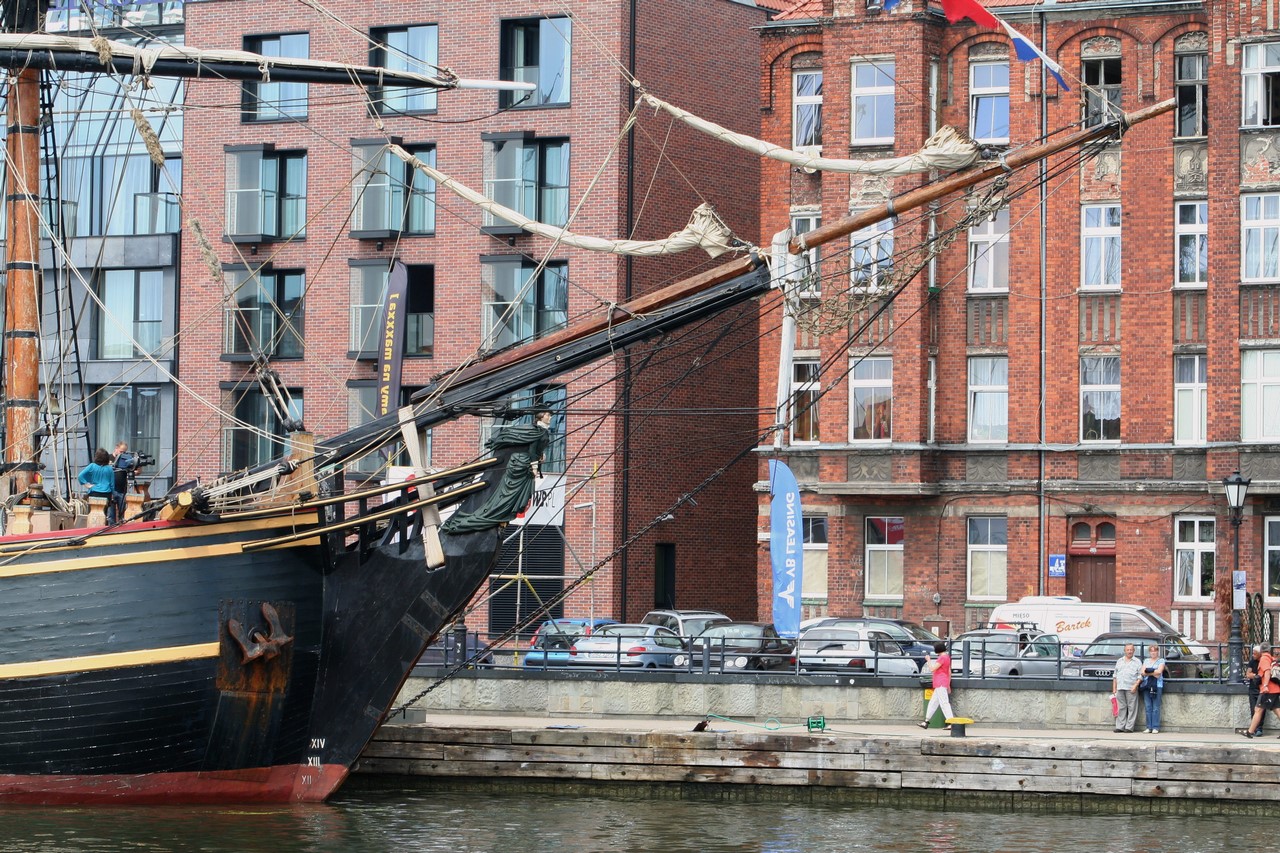
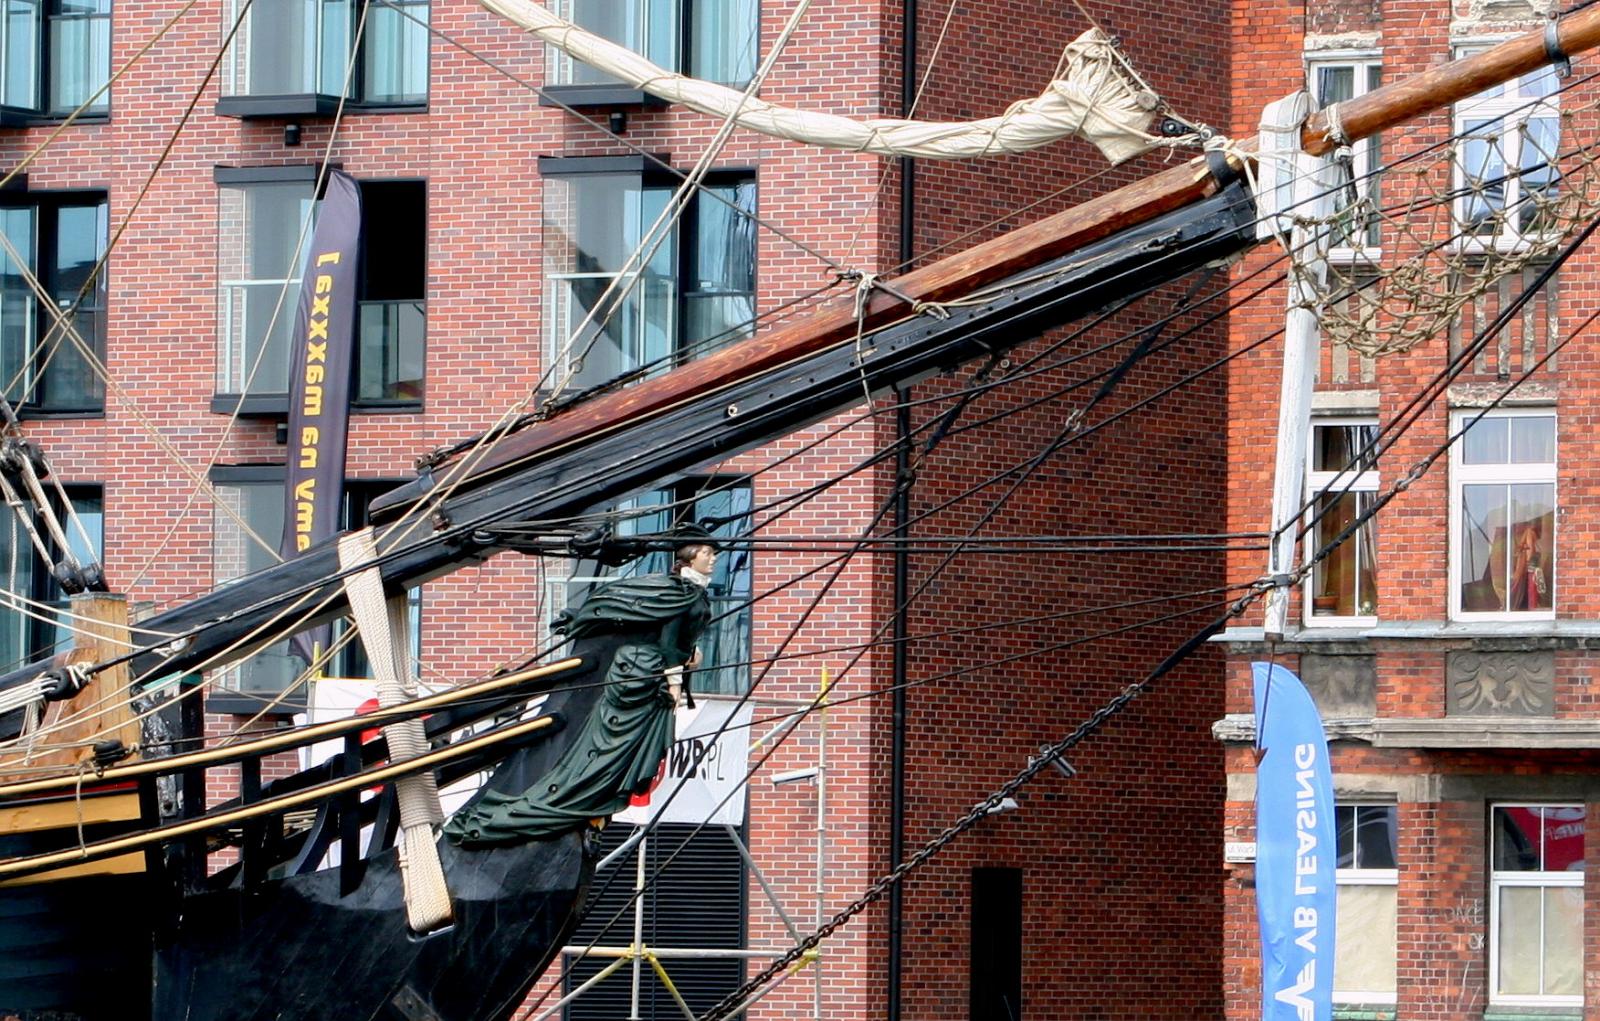
Last pictuew of Bounty (movie replica ).Unfortunately, the ship sank.
Please observe the difference of bowsprit structure.
Tadeusz


-
Hi,
Try http://www.shipmodeling.ca/aaplandusite.html
Also are many books about , one of the best:
Historic Ship Models by Wolfram zu Mondfeld
Tadeusz

-
-
-
-
Hi,
Short Guide to period ship model rigging.
After hull finishing and mast installation is time for „spider works” it is rigging.
All belaying racks , cleats must be already installed also is recommended to install eye bolts on ship decks or drill holes for it .
My sequence is:
1.Standing rigging – stays , shrouds, backstays, bowsprit standing rigging. I start with this works from foremast down shrouds and proceed going up and next to stern.
With proper tension of shrouds, stays and backstays position of mast is adjusted.
This is very important to control position of masts using plumb-line.
2.Yards furnishing. I install blocks and standing rigging on yards as also yard’s truss or parral. After fully furnishing of yards is time for attaching sails and running rigging: lifts, clew lines, leech and bunt lines, reef tackles
Next is time for attach sails to the yards.
3. Yards with sails are installed on masts and required running rigging is made - from topmast sails going down.
4. Remaining running rigging is installed: sheets and tacks, braces.
With proper tensions of sheets, tacks and braces the yards are shifted into
required position.
Tension of bowlines can help form bunt of sails.
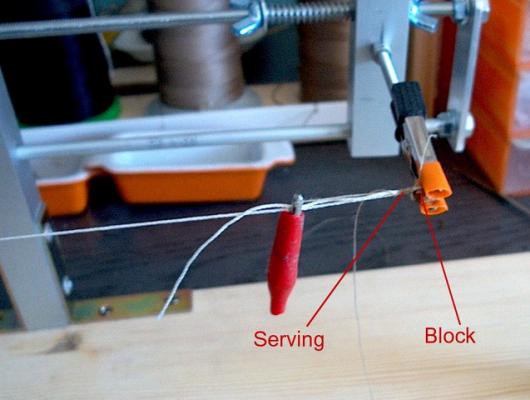
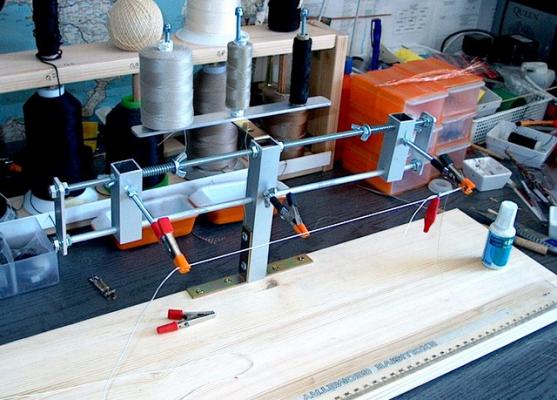
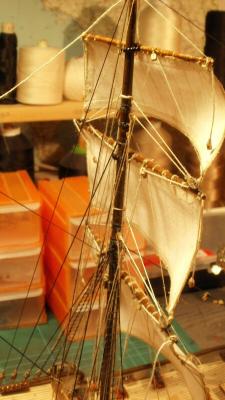
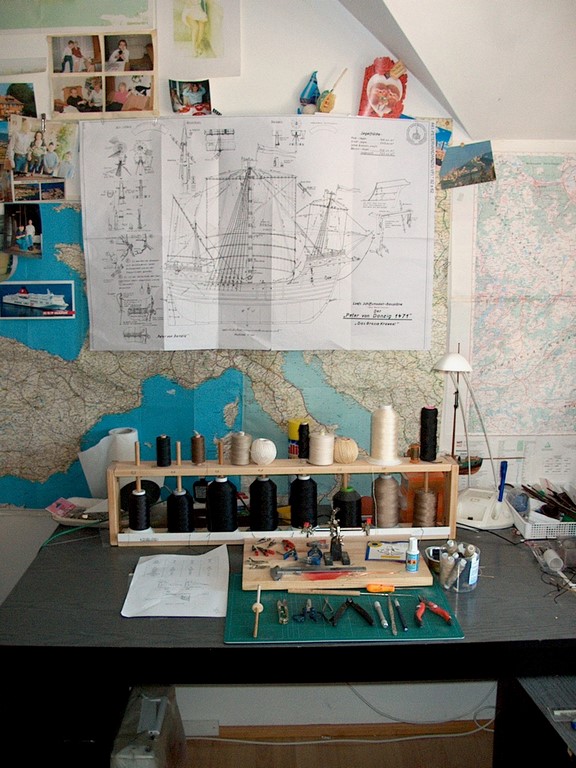
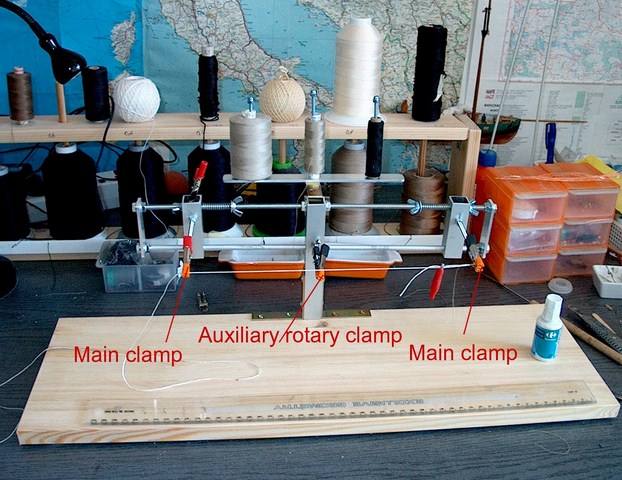
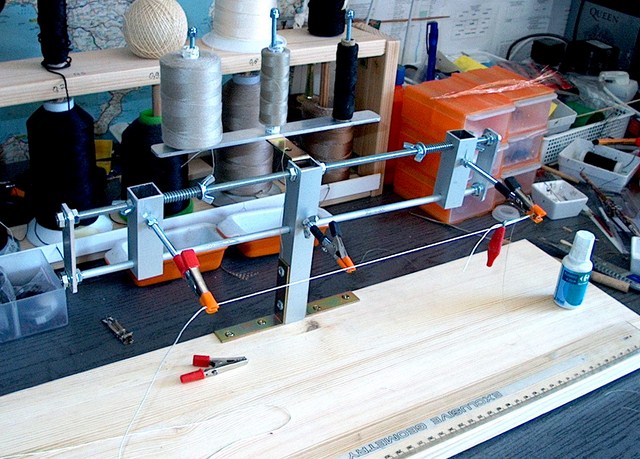
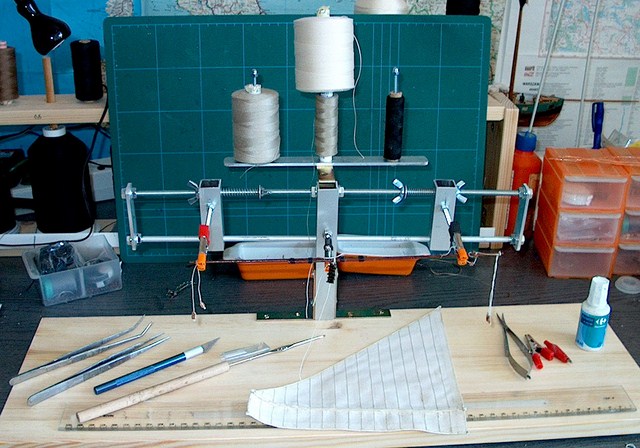
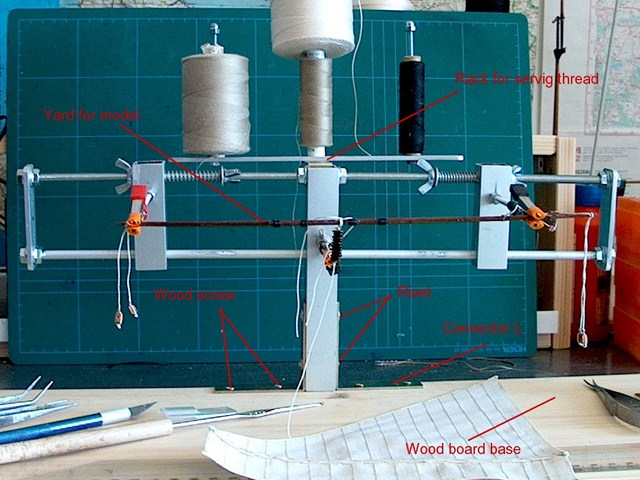
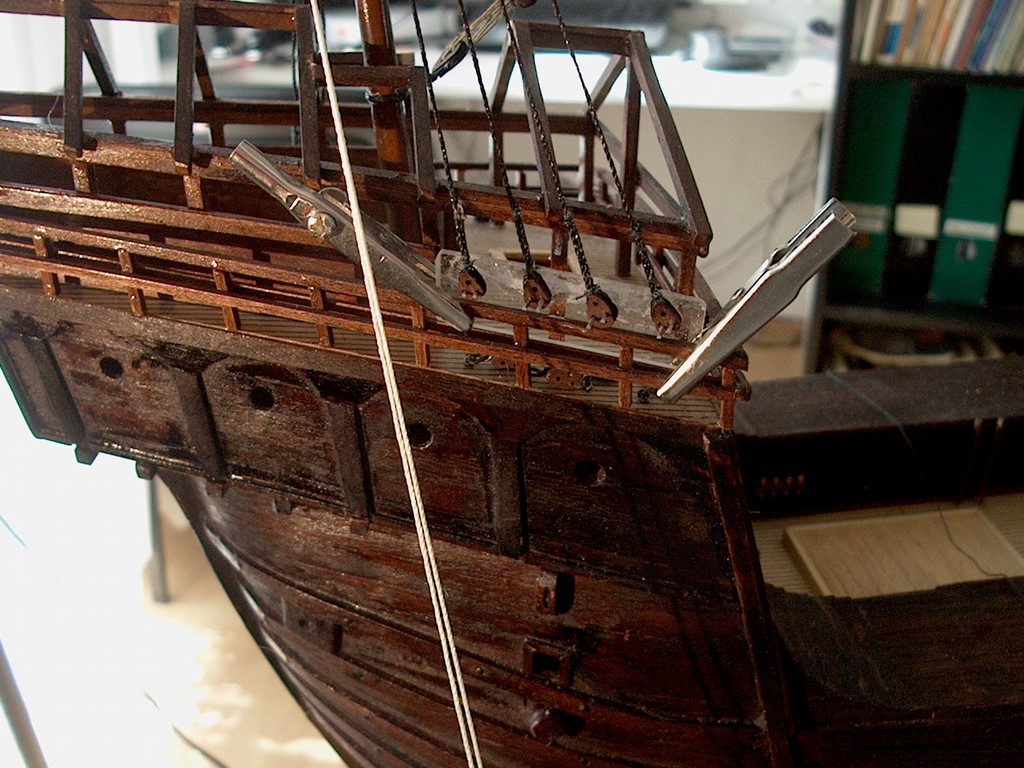
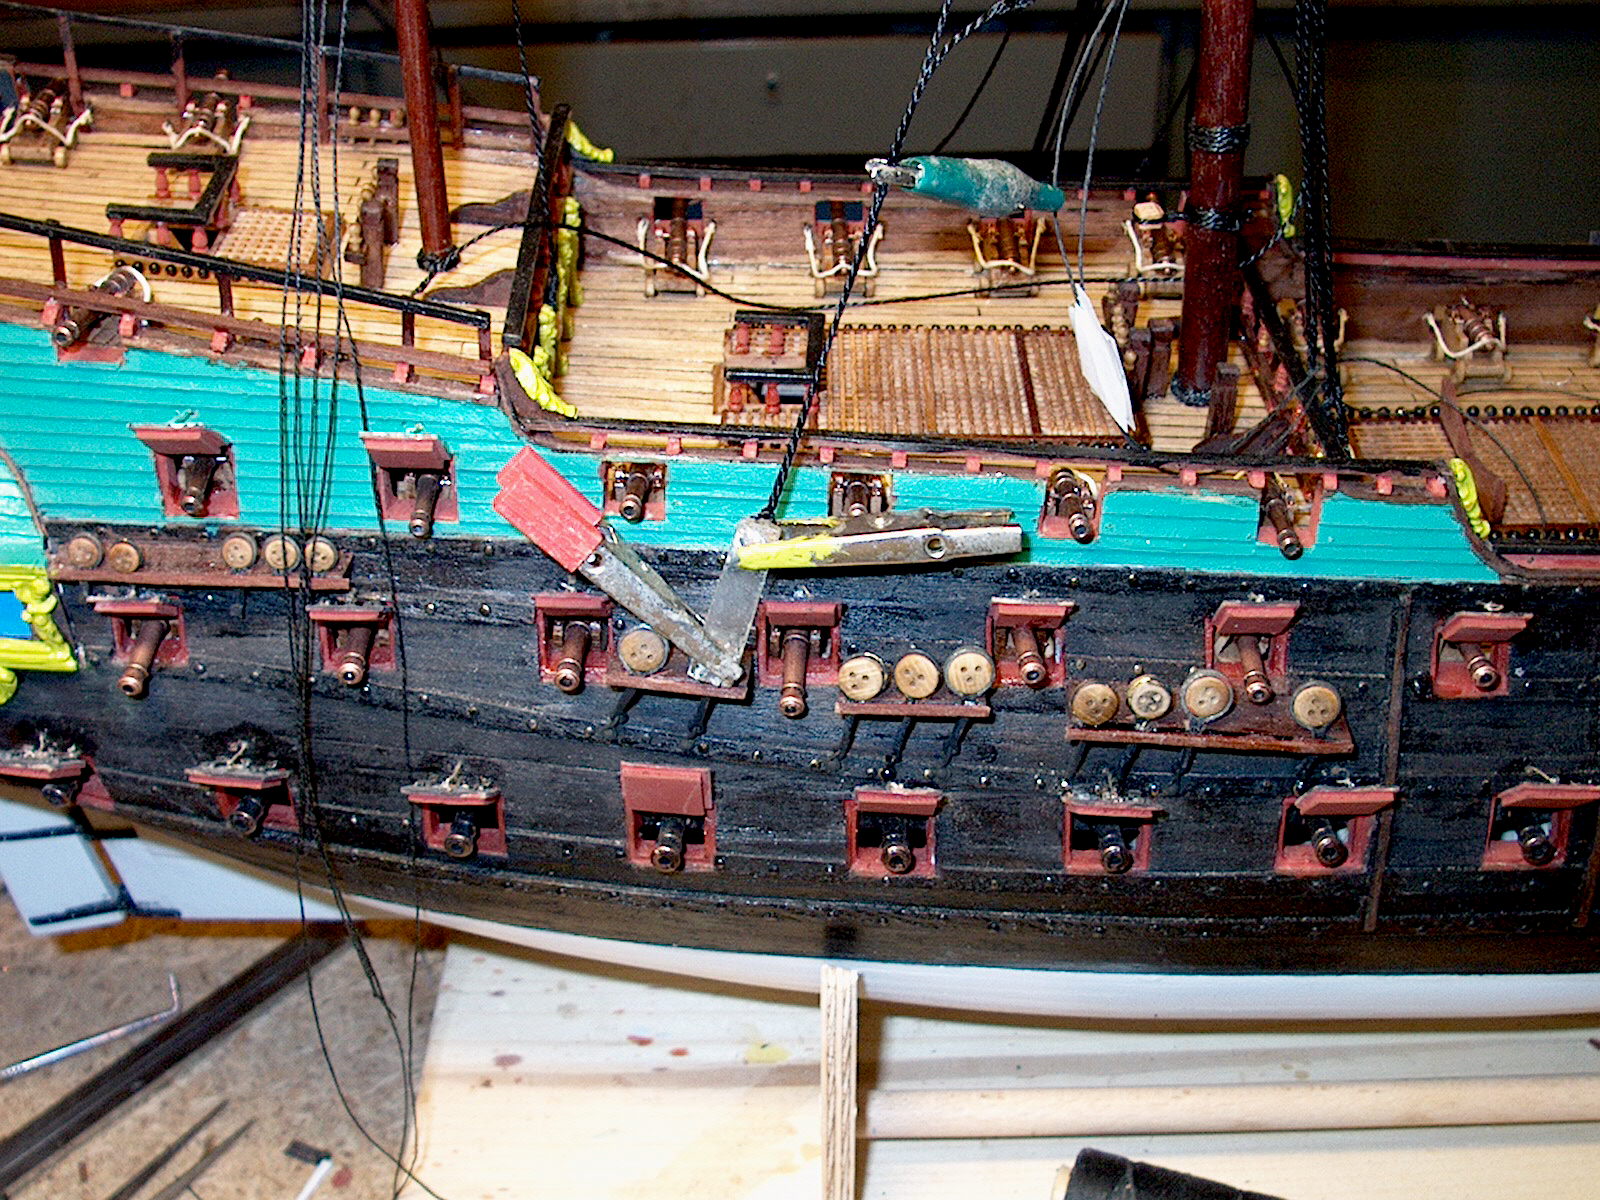
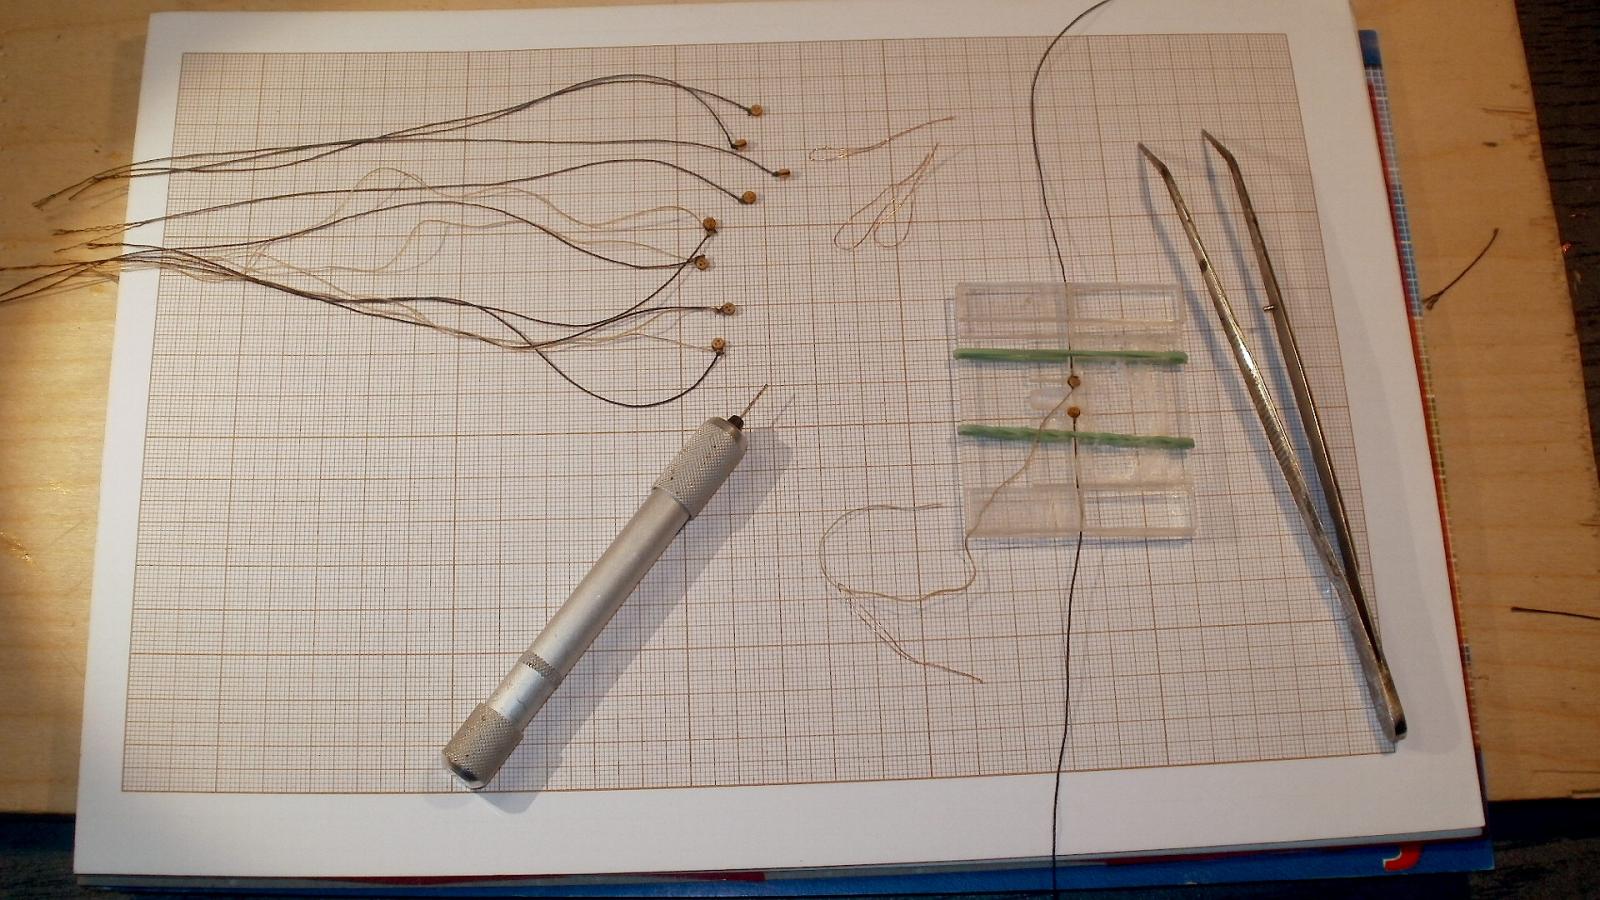
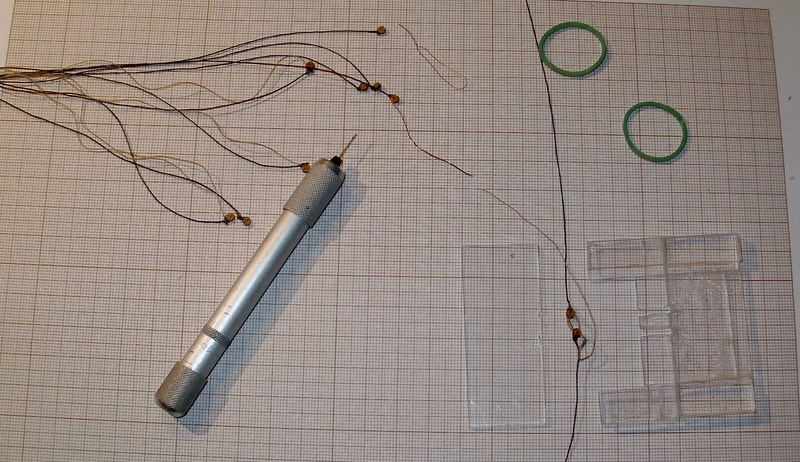
Foto 1-9 Rigging workshop and jigs
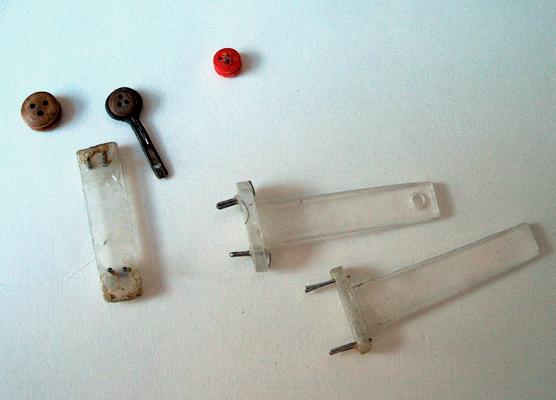
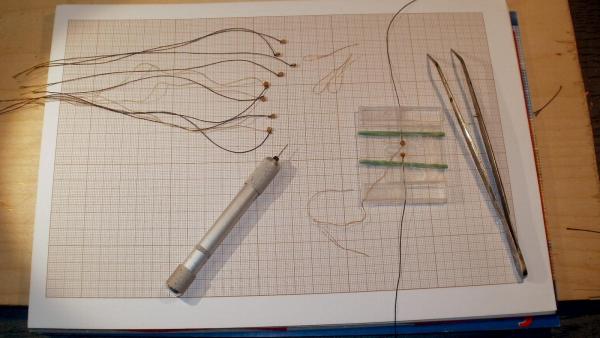
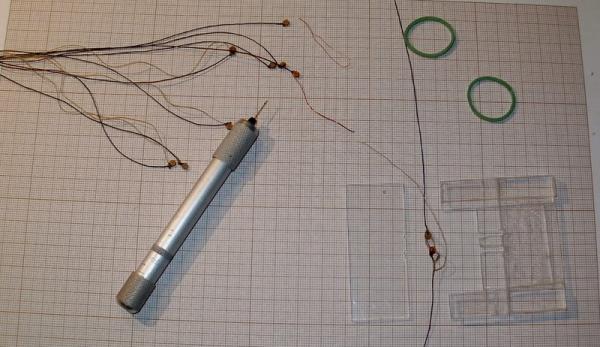
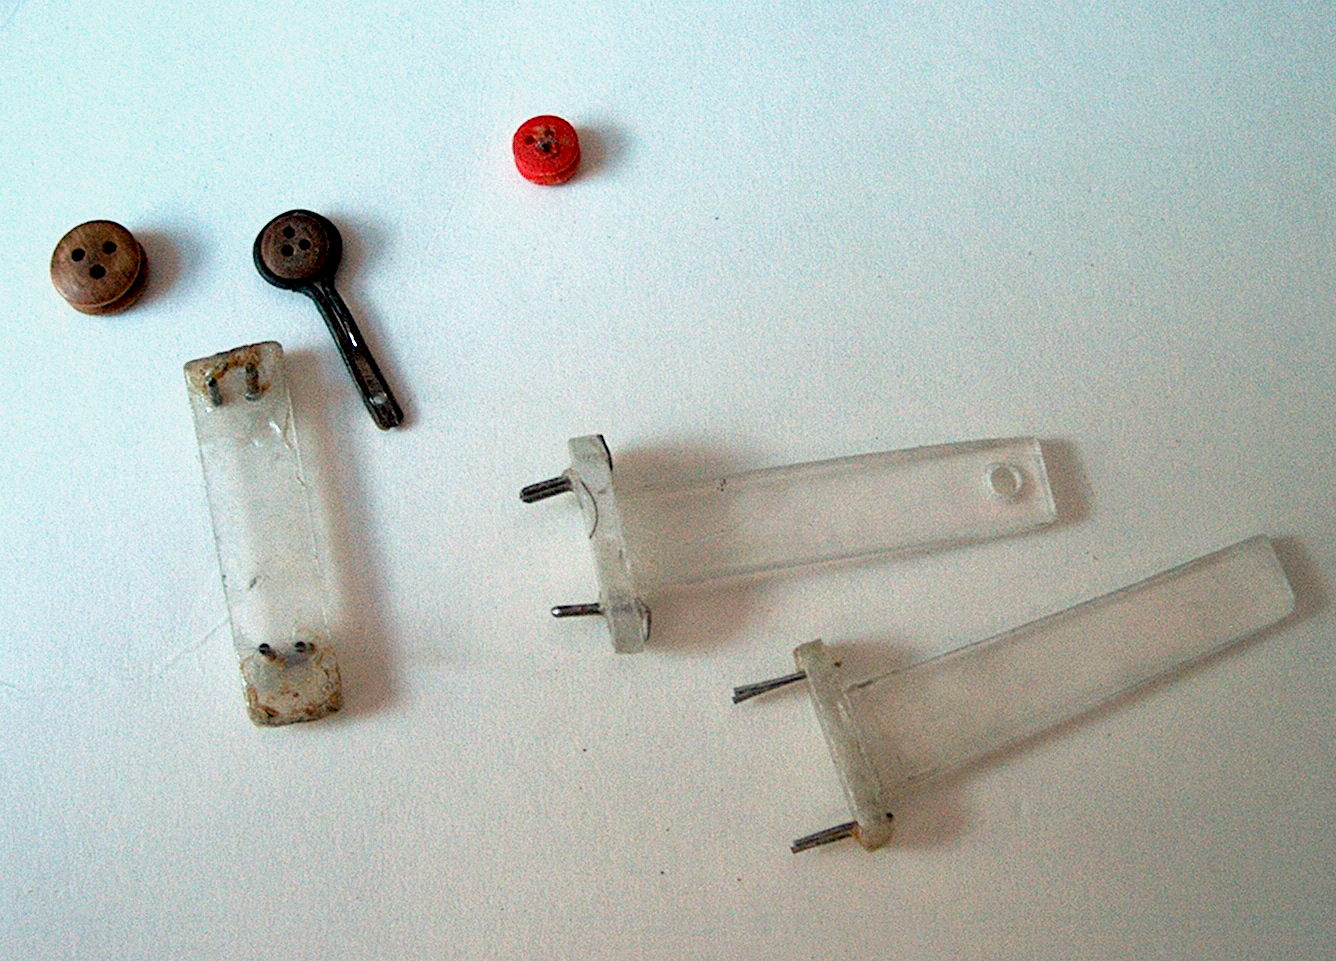
Foto 10-12 Deadeyes tyig and jig
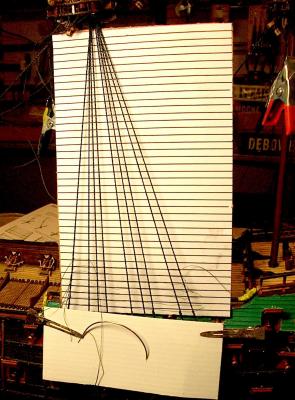
Foto 13 Ratlines tying with use of upholstery needle and stencil.
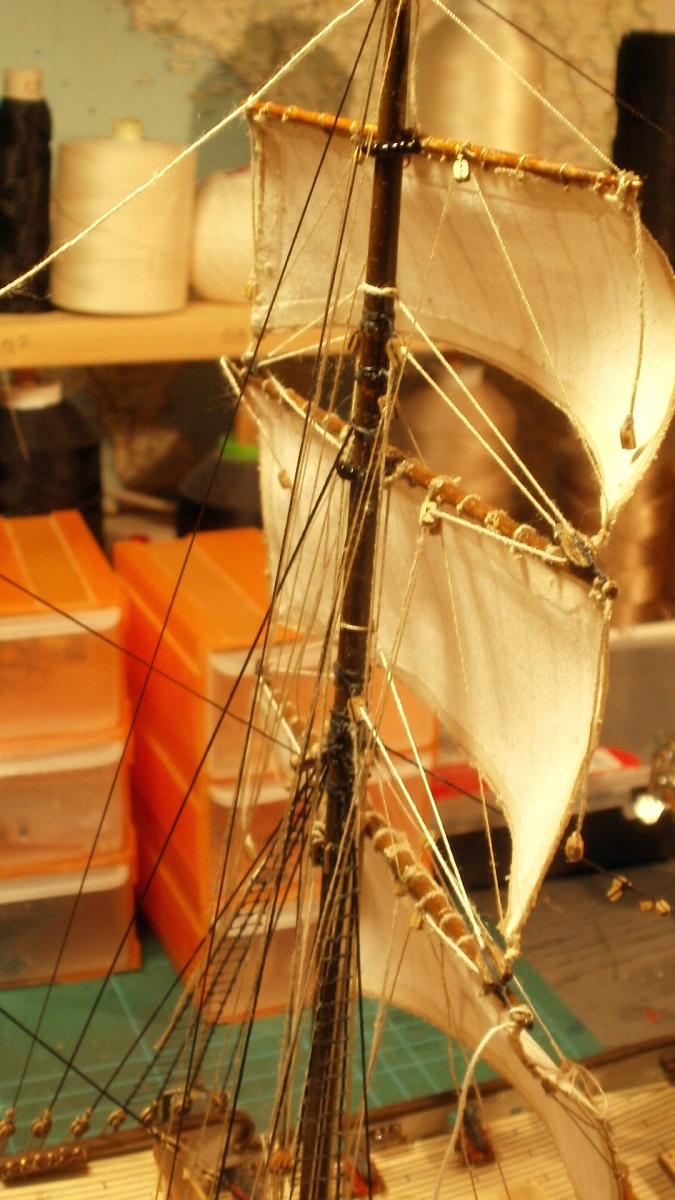
Foto 14-16 Yards and sails ready for "weddin"
Foto 16-18 Jigs for blocks tying and tackle made
Recommended books:
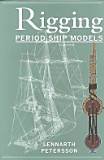
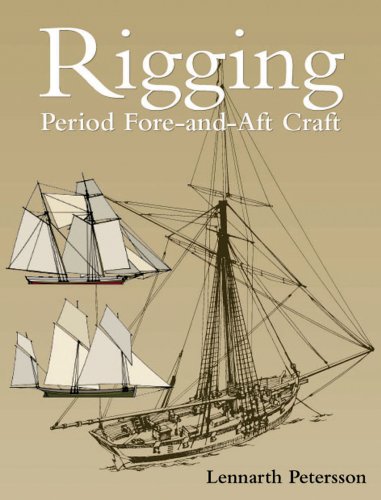
Rigging Period Ship Models by Lennarth Petersson
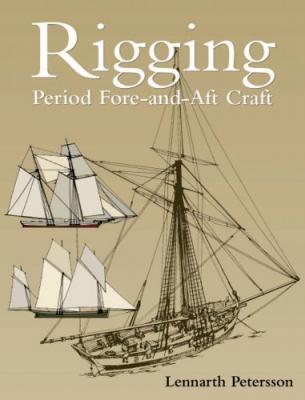
Rigging Period Fore-and-Aft Craft by Lennarth Petersson
Historic Ship Models b y Wolfram zu Mondfeld
Tadeusz


-
Hi Wally,
In my opinion it depends on the scale model and model size.
For models in 1:48 - 1:75 scale I use fastening such as on the original ship – halyard or sling and trus for course yards as also halyard and trus or parals for upper yards.
For models in scale 1: 100 and small boats rather only attach with thread to the mast.
Tadeusz
My models:
From kits
Vasa, HMS Victory, Le Solei Royale, Friesland
From scratch
HMS Warrior 1860, Esplanade, Grosse Yacht
Norman’s ship, HMS Speedy, La Royale
Peter von Danzig
Polacca XVII cent.
Current project:
SS Savannah 1818 -
-
-
-
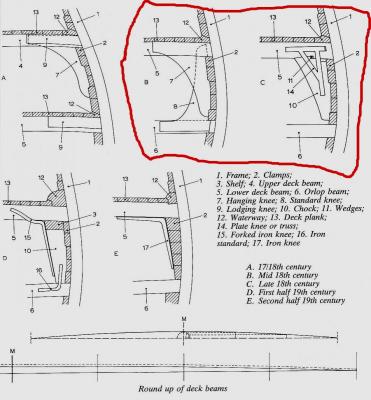
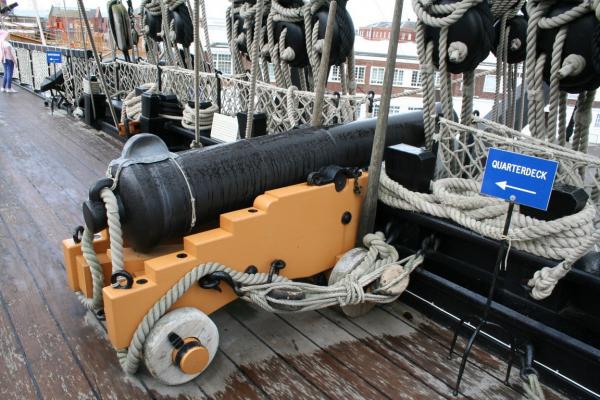
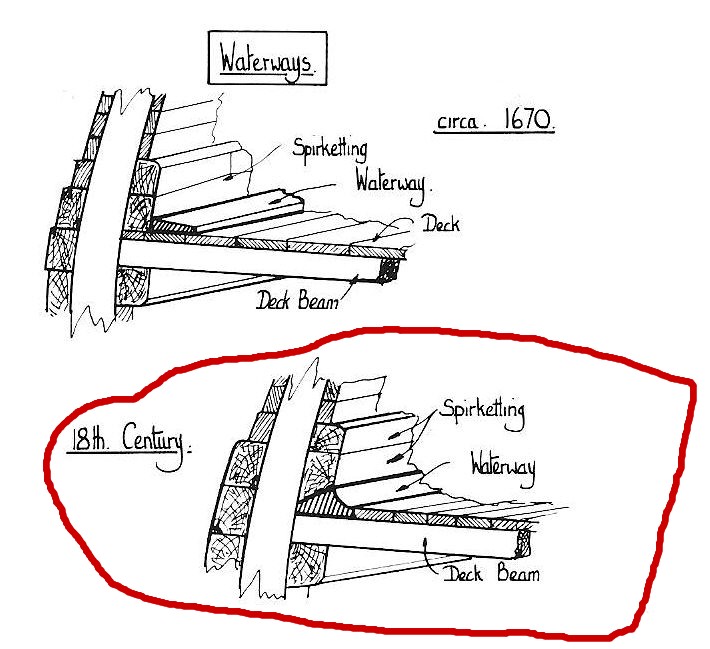
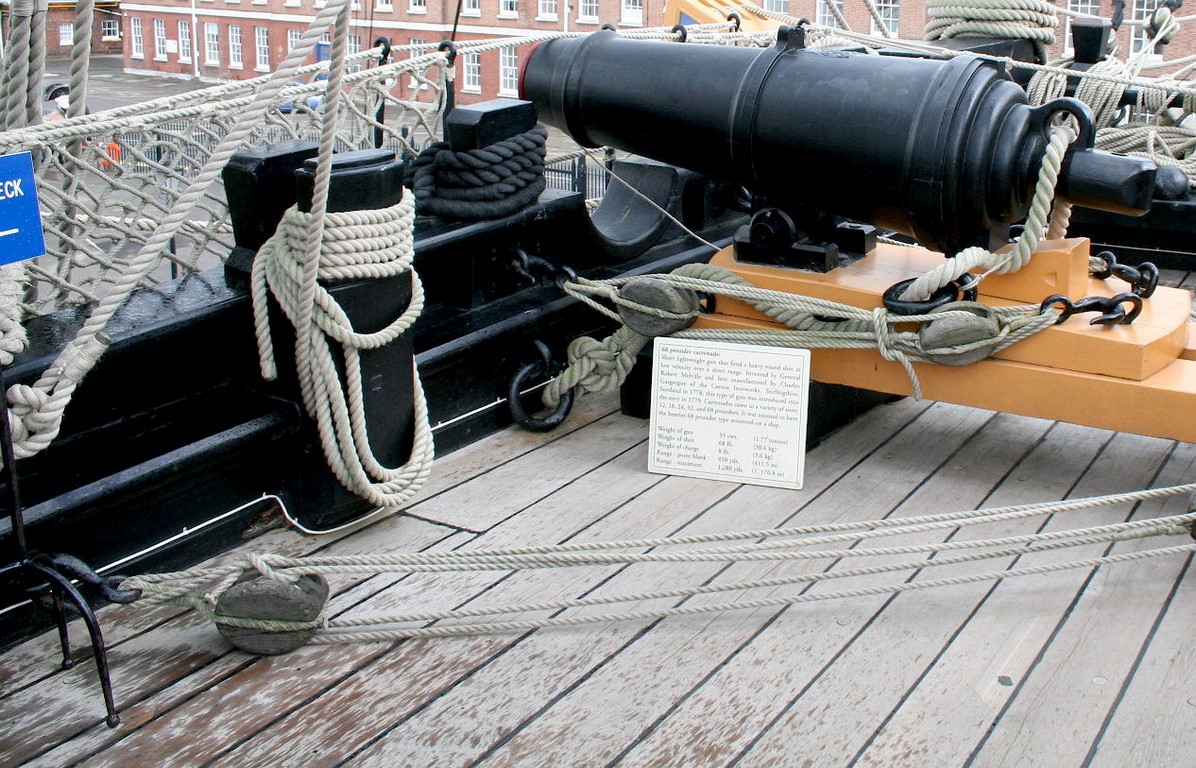
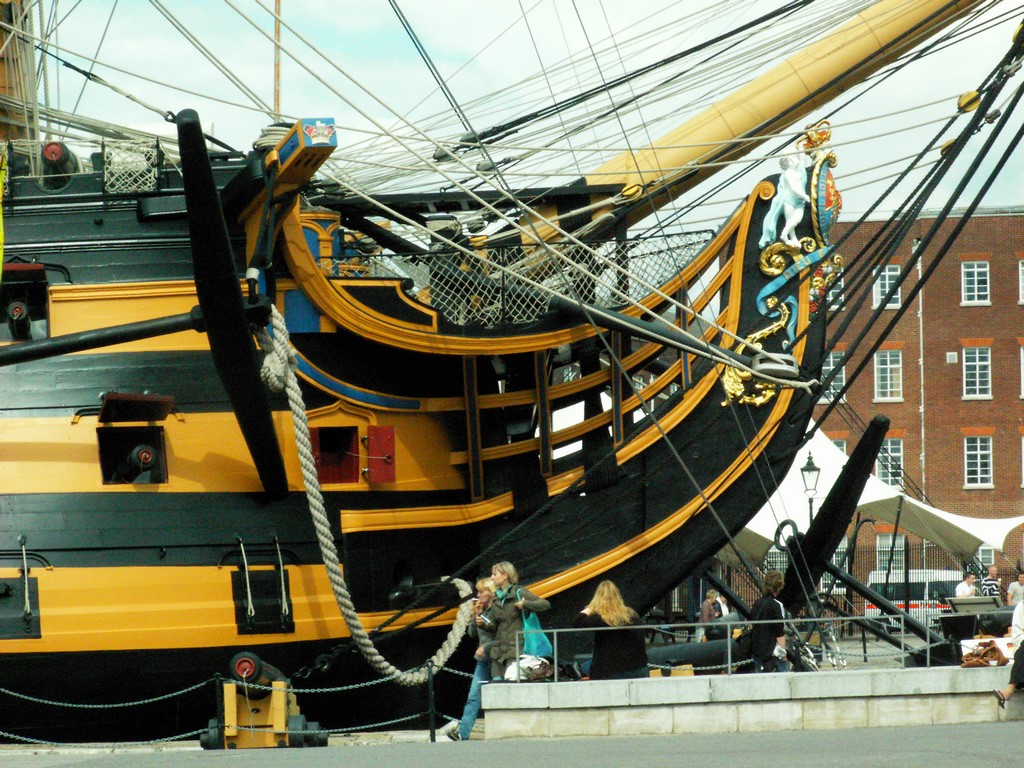
Hi druxey,
It is true that Vic was rebuilt many times but this detail of ship structure is looking to be original.
1 "Historic Ship Models" by Wolfram zu Mondfeld
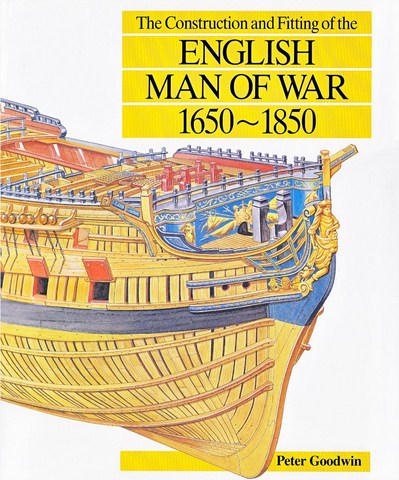
2-3 "The Construction and Fitting Eglish Man of War 1650-1850" by Peter Godwin
Tadeusz

-
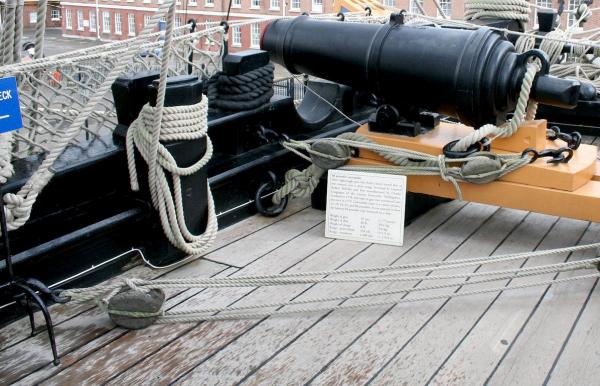
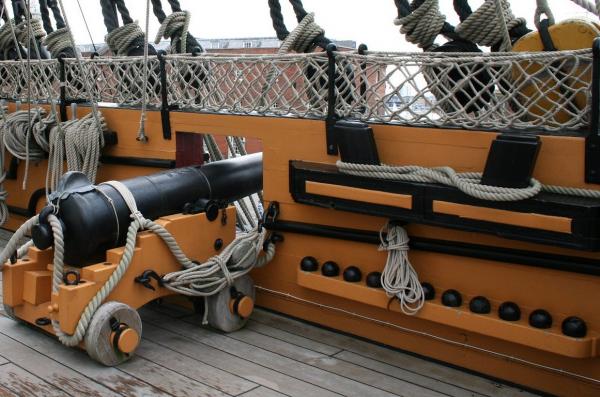
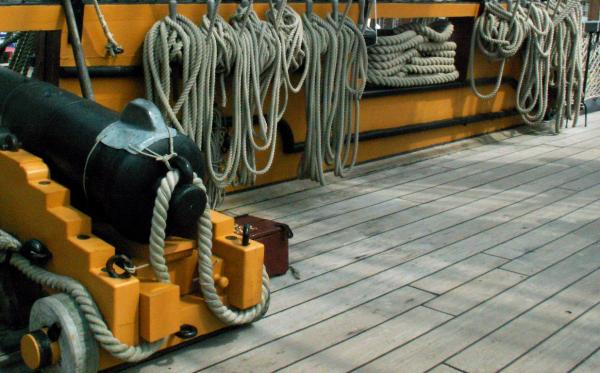
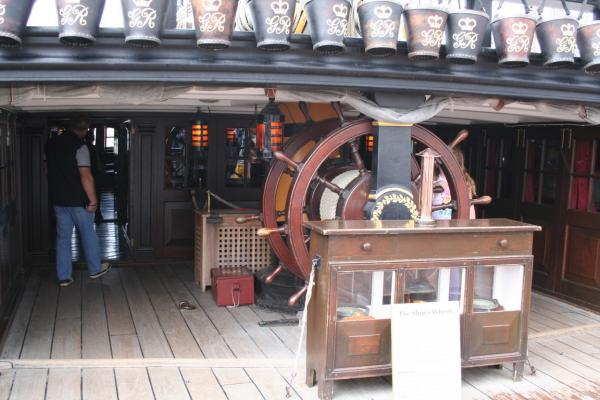
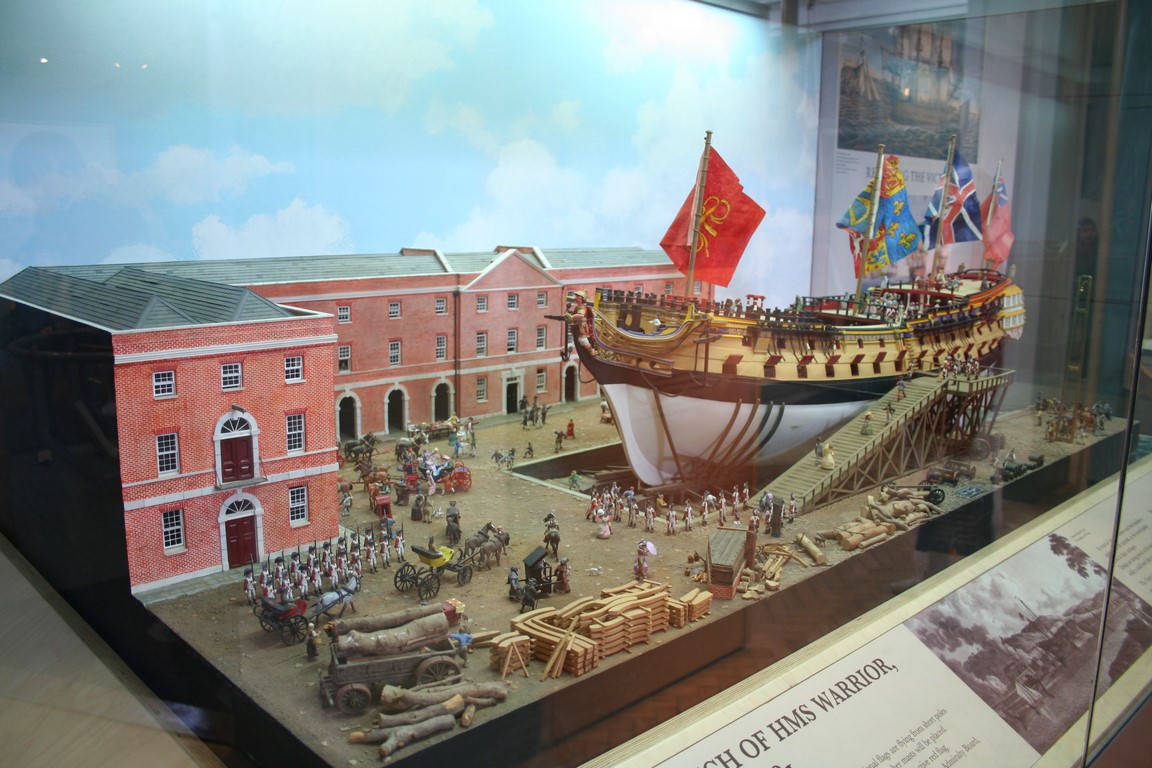
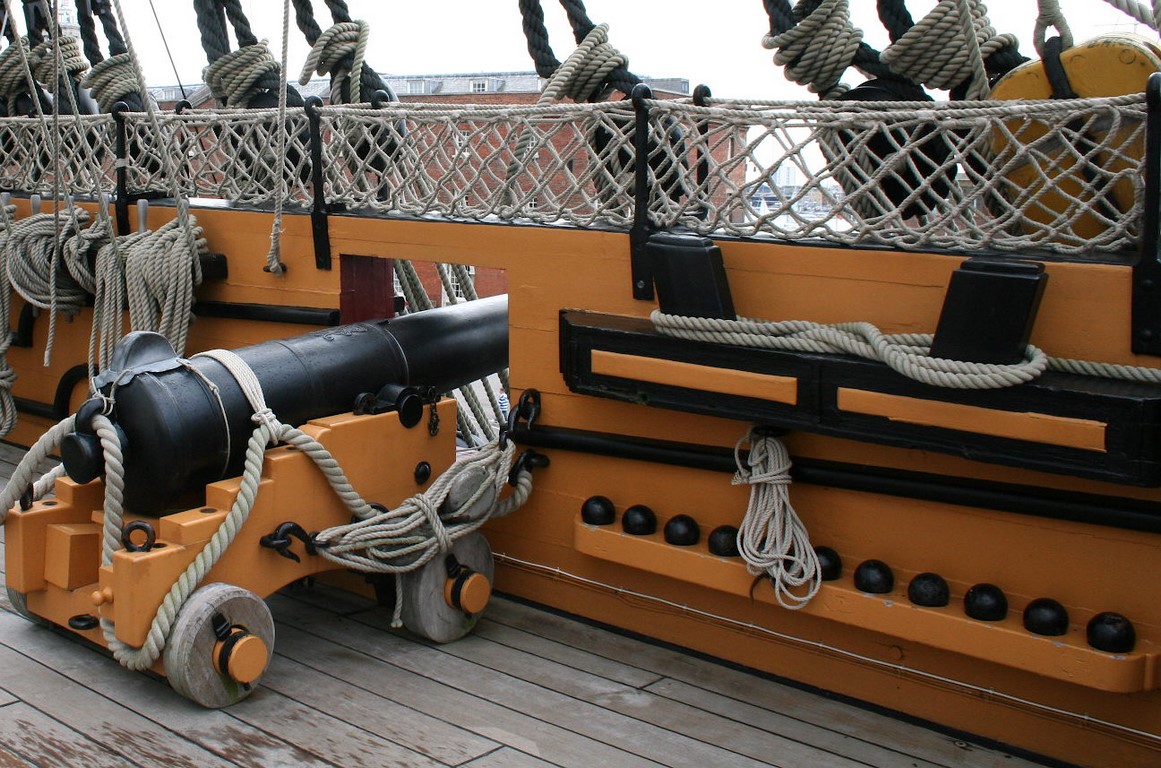
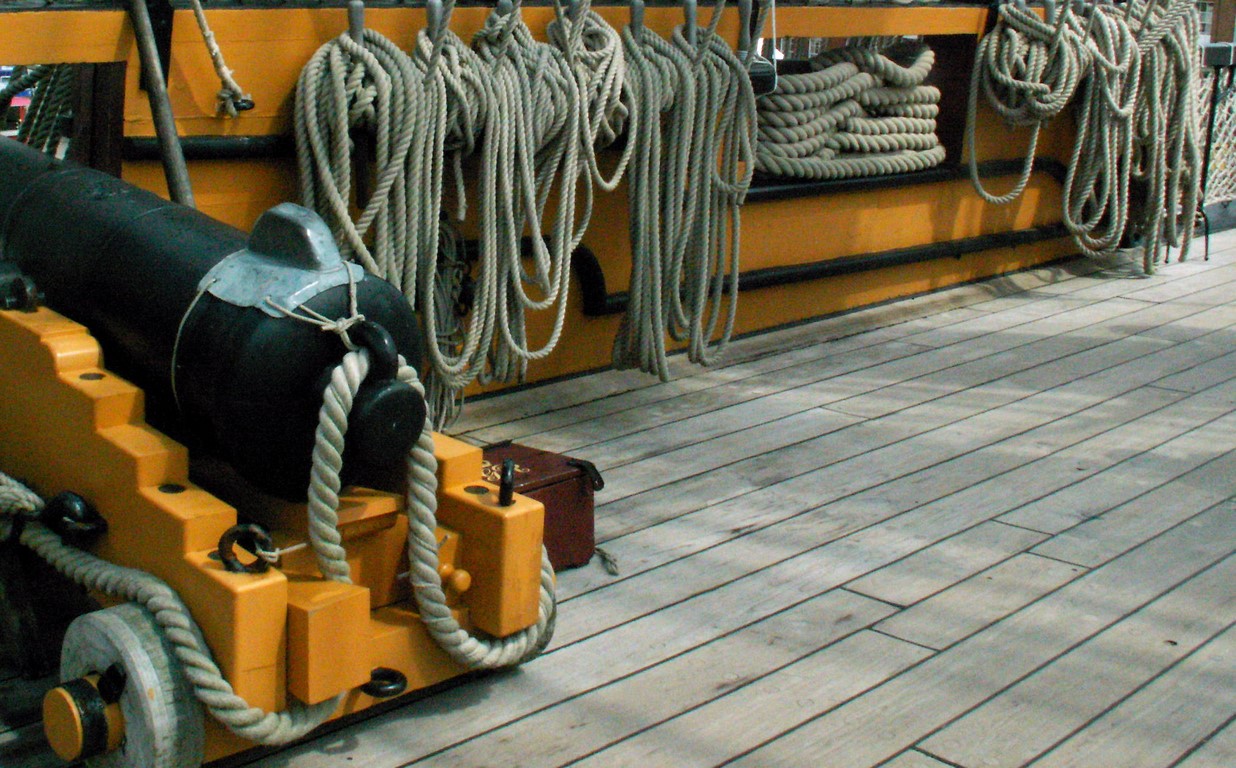
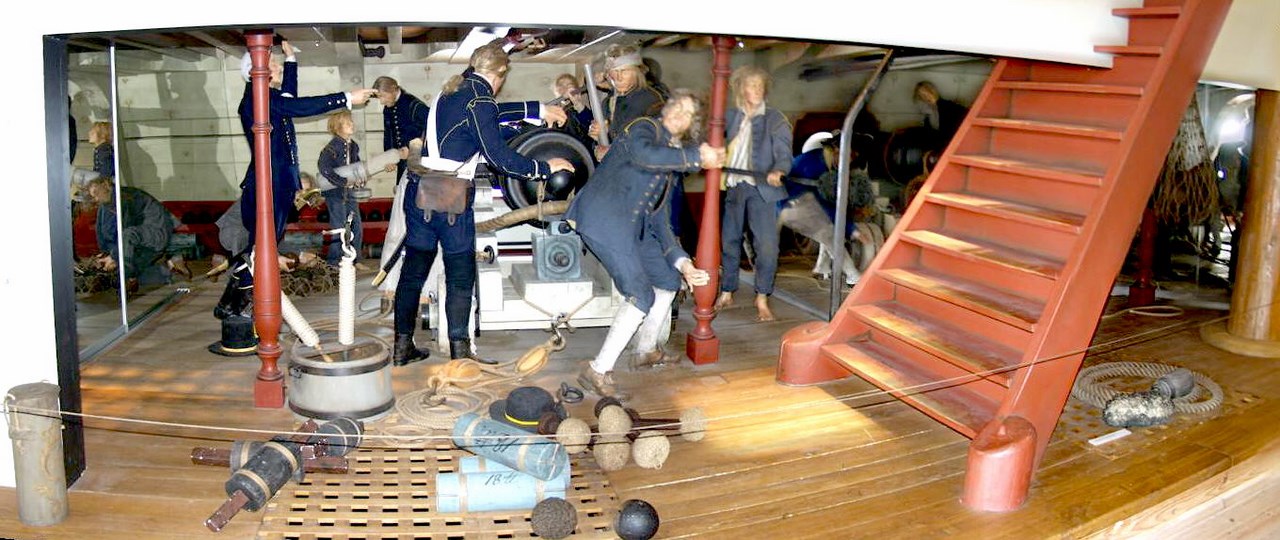
Hi Keith,
Maybe these pictures deck of HMS Victory can help you.
Tadeusz
-
-
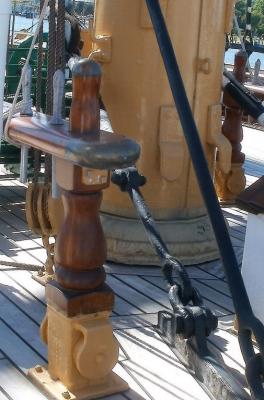
Hi,
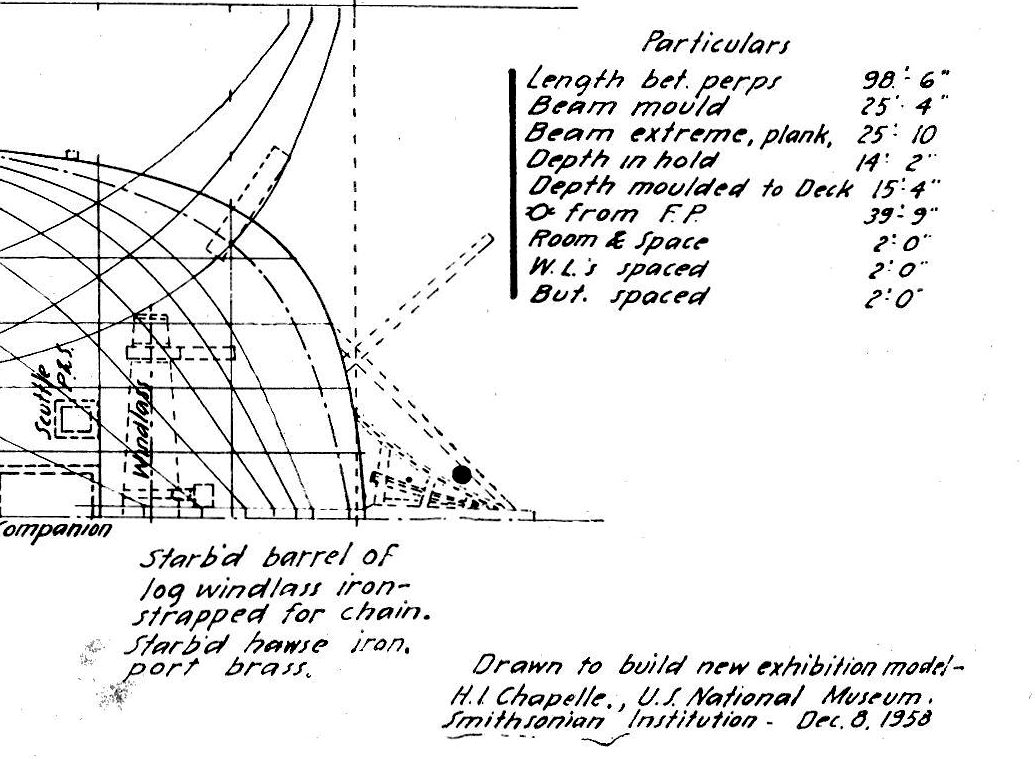
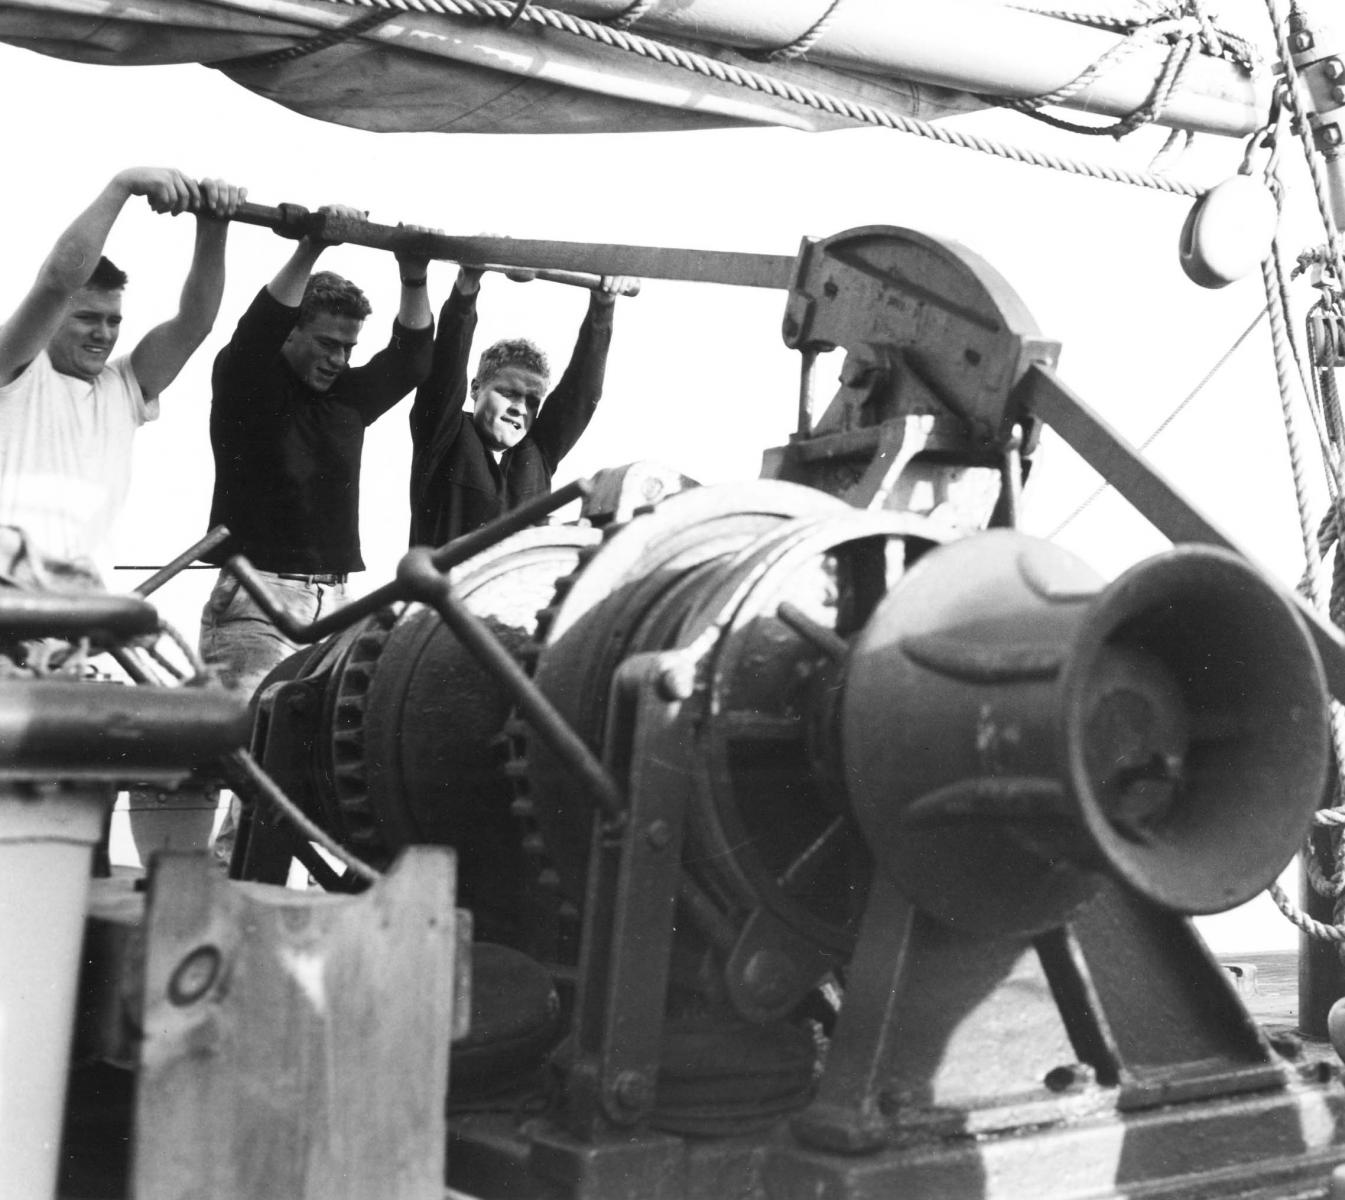
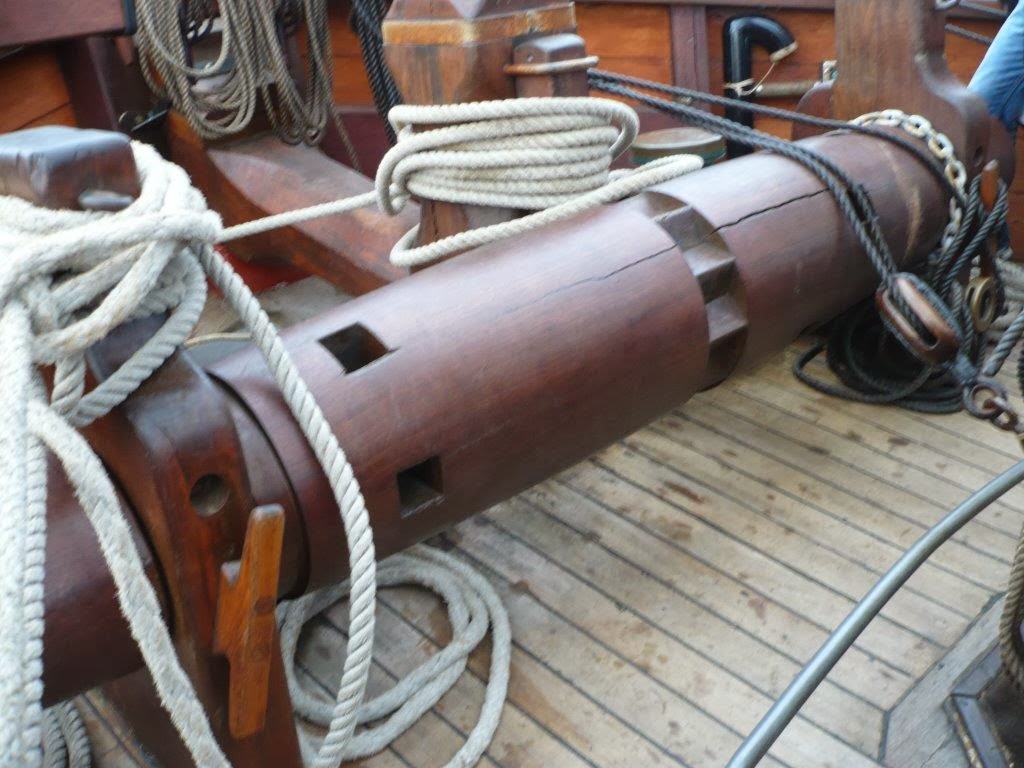
I am working on model of SS Savannah 1818 to build according Smithsonians plans.
Interesting is the information about windlass barrel.
Tadeusz

-
-
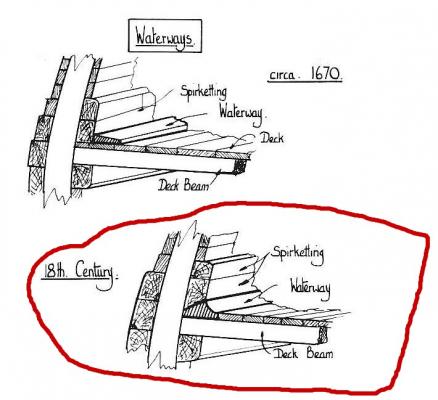
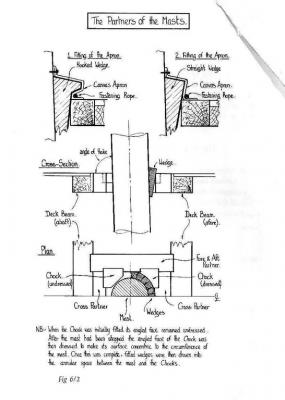
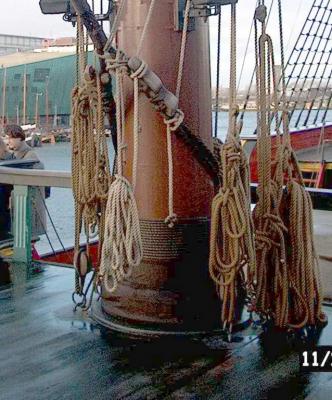
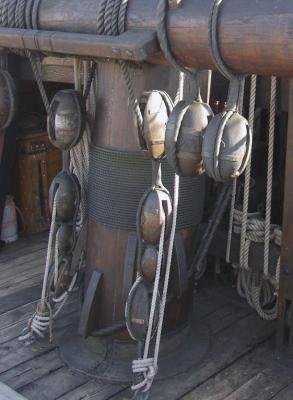
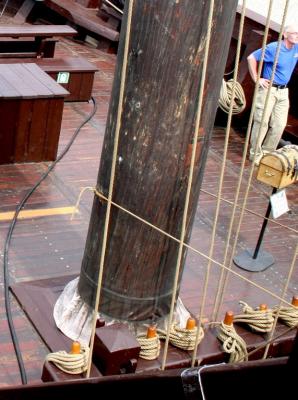
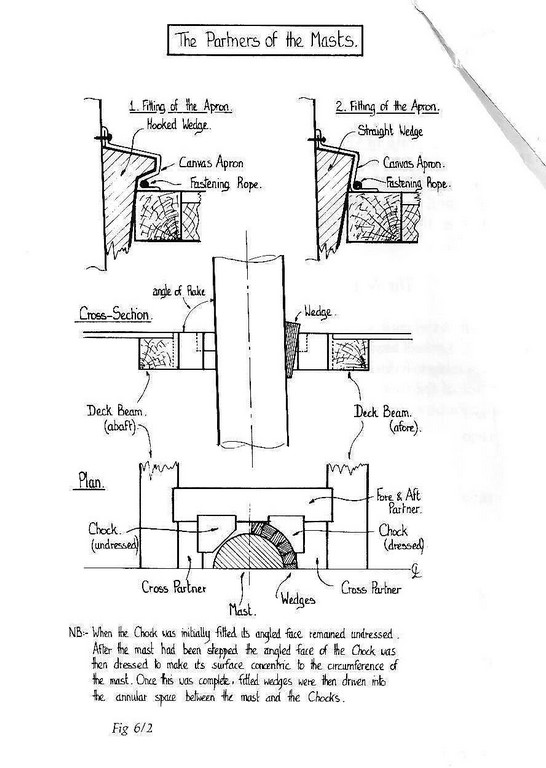
Hi,
A method of sealing around the mast at deck level shown in Figure
From “The Construction and Fitting of the English Man of War 1650 -1850”
by Peter Godwin.
Fotos:
VOC Amsterdam
VOC Batavia
Passat
Wissemara
Tadeusz
- mtaylor, hornet, Landlubber Mike and 2 others
-
5
-
Hi Pete,
It looked like that.
Tadeusz

-
-
-


Attaching / bending Sails to Yardarms
in Masting, rigging and sails
Posted
Hi,
Sails furled on two ways undre the yard ( mainly when on the sea) and on yard top.
Last two foto - "mexican style" decorative furling on Cuauhtenoc
Tadeusz