

alde
-
Posts
1,017 -
Joined
-
Last visited
Content Type
Profiles
Forums
Gallery
Events
Posts posted by alde
-
-
Looks great Tom. You might try wads of painters tack cloth with tweezers. The tack cloth picks up dust like a magnet.
- usedtosail and GLakie
-
 2
2
-
Tim, I have been studying your planking runs and have decided I need to adjust my battens a bit. I picked up some chart tape to use instead of wood with pins. It might be easier to do fine adjustments. I think what I have done so far is going to work but if I keep going without lining off for each plank like you did I will run out of real estate. I will use tick strip and proportional dividers. You pictures have been very instructional. Thank you.
-
Gil, It would be my pleasure to buy you a cup off coffe and have a chat. AlAlde, Great start on your "Glad Tidings" We're just a ferry ride away. When I visit my son in Bremerton, we could get together. Gil
-
Tim,
I am doing something similar but one row at a time. I have been dividing the belt into number of planks remaining at each station as I go. It's probably easier to do it your way. I also notice your battens don't sweep up as much as mine at the bow. I think the planks that I have set so far are pretty good but I may need to adjust that battens. Your plank run looks really nice. Mine will need much sanding.

-
Great displays neighbor. You have much to be proud of.
-
-
Your Victory is beautiful. That sure is a big ship.
- Seventynet, WackoWolf, Kevin and 3 others
-
6
-
It may be slow going but it's time well spent. I like the idea of using the clear film for layout. Very nice.
- Elijah, CaptainSteve, cog and 1 other
-
4
-
-
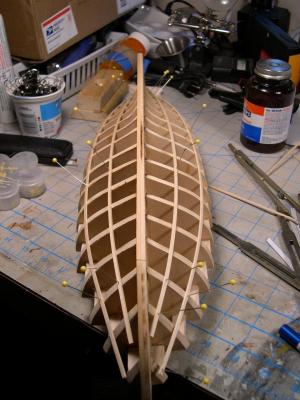
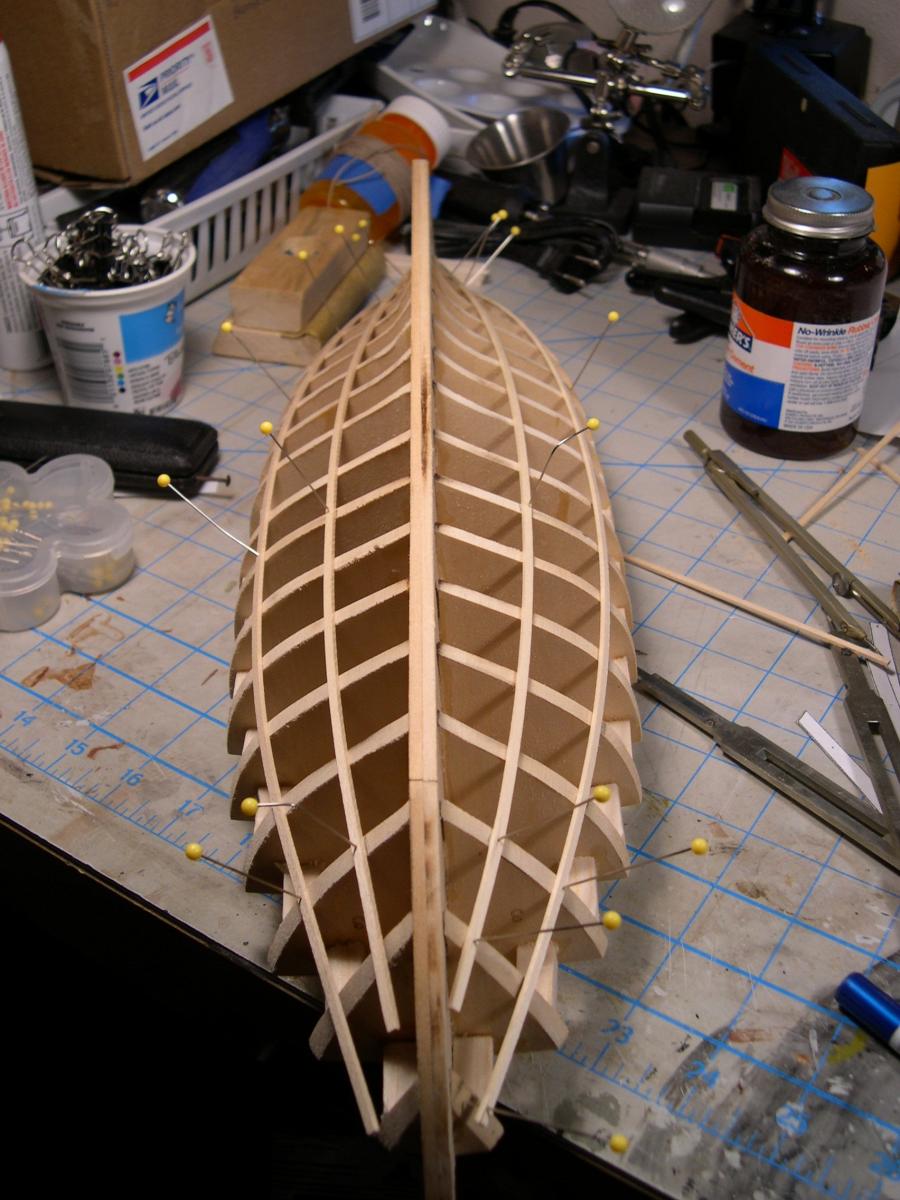
Talk about slow going. I have taken almost 2 days to install 2 rows of planks on both sides. I'm sure glad this one will be painted.
 I am using the patterns provided on the plans and if they are made to the line or just inside they size out right. I have been checking the width of each plank with a tick strip and my proportional dividers. It looks like a hack job compaired to some of you guys.
- Seventynet, UpstateNY, Elijah and 1 other
-
4
-
-
-
-
They look really good in a natural finish. Black looks good too but red would be too much IMO. Maybe nature trucks with red axles?
I ordered the Cheerful starter kit today. I am really excited but need to be patient and finish a couple more kits before I start it.
-
Ouch, that is a major re-work. It did look darn good the way it was but you need to be happy with it.
- GLakie, CaptainSteve and Canute
-
3
-
-
-
-
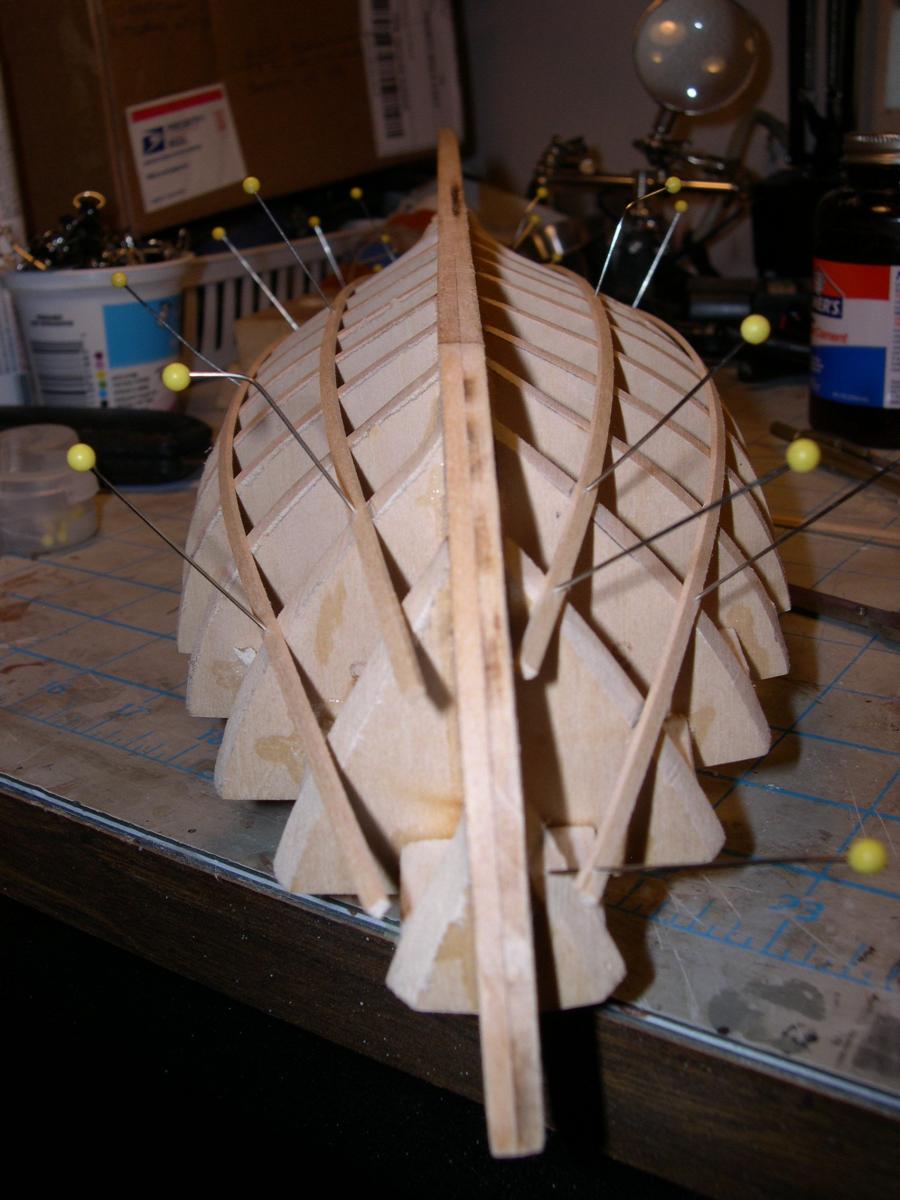
Nigel, Thanks for putting a second set of eyes on it. it looks like if i use the plank patterns on the plans they will note close to fitting at least at the bow. they are way too wide. I am using my tick strip at each bulkhead and dividing it by the number of planks in the belt. I know this may seem elementary to some of you seasoned plankers but it's still voodoo science to me.
It will be slow going but it looks like it will lay out according to the plans. -
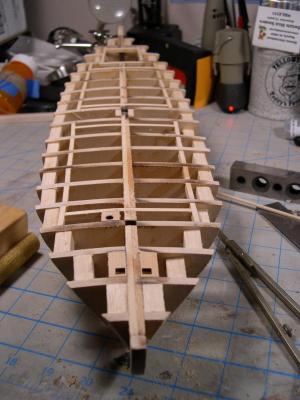
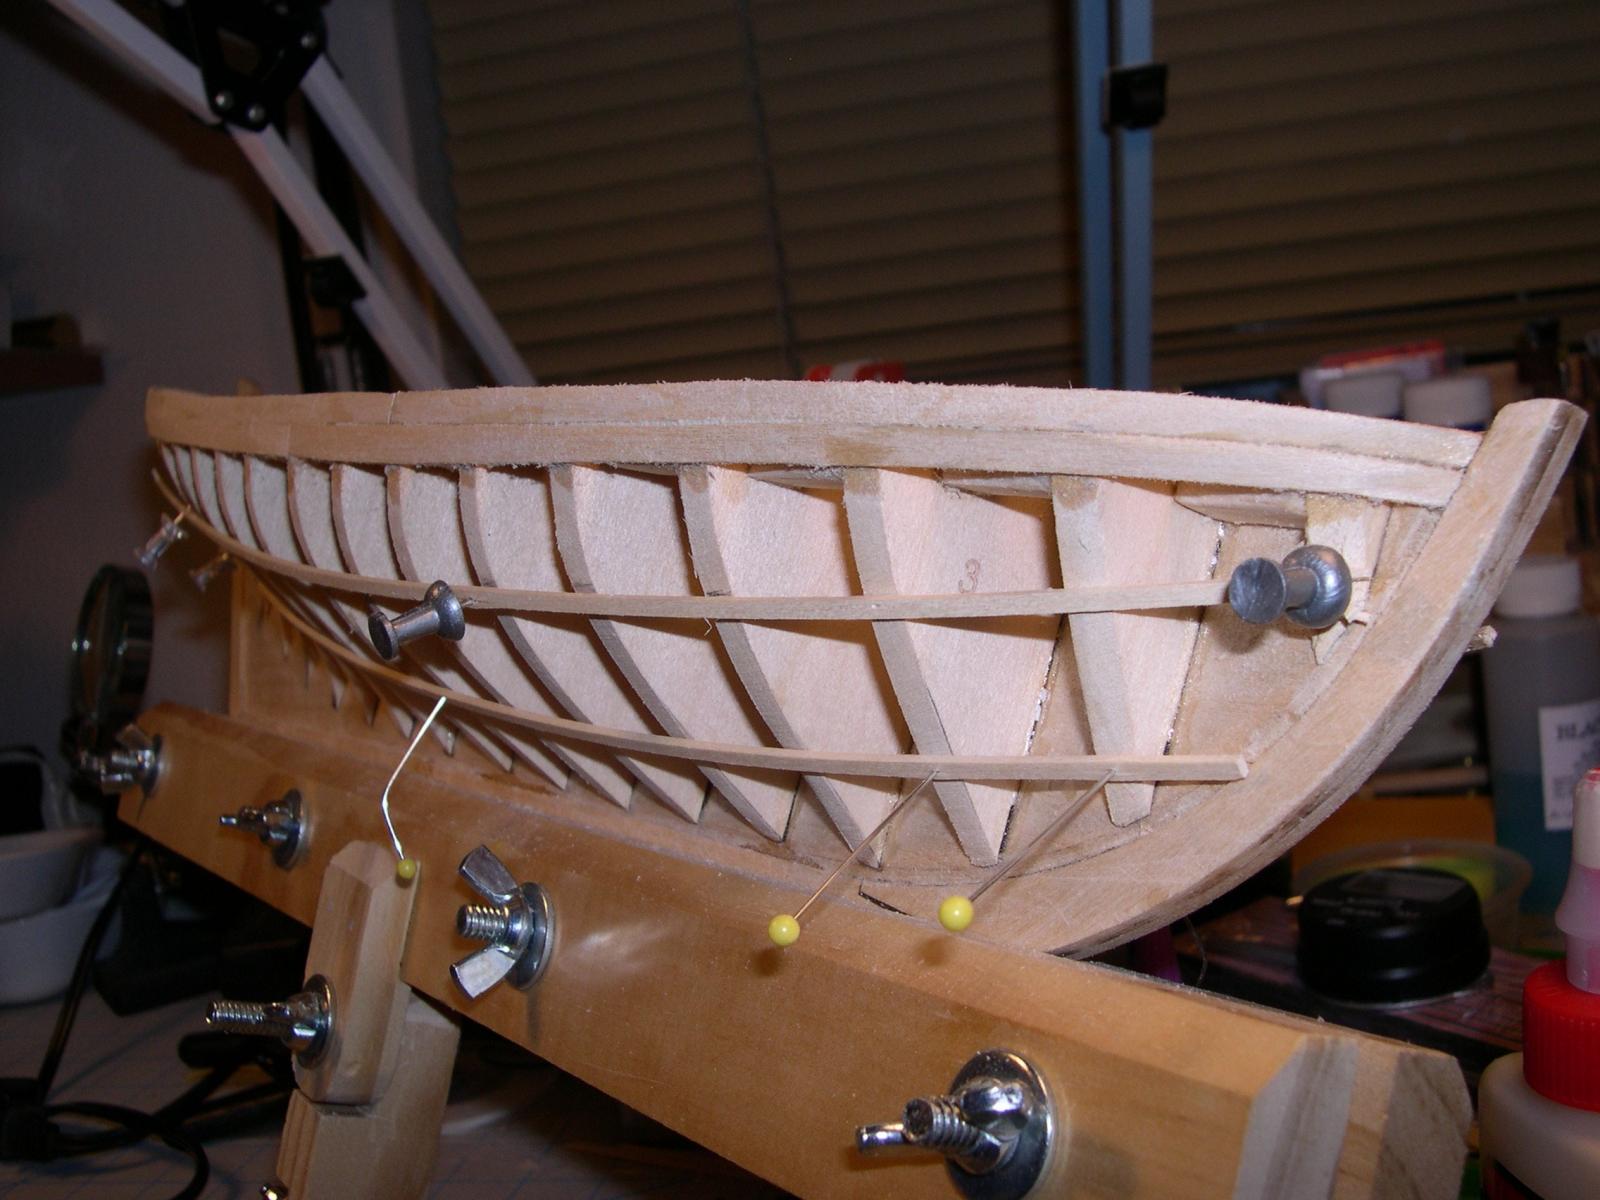
Well, I got all my deck beams in and that was easy enough but now it's time to plank the hull. I have read and re-read the instructions, read the Jim Roberts planking book and some on line information as well as some build logs. I'm still not sure I have a firm understanding of it.
I have sectioned off the 3 belts per the instructions and ran my battens. It looks to have a good flow and seems to match the plans pretty well. The plans have plank patterns and I may see how those fit but I want try spiling my own planks too. I have a proportional divider so I thought I could use it and tick strips.
Am I going in the right direction? It seems that some of you guys pick this stuff right up and do a great job. I seem to be really planking challenged. Of course if I just did it and quite worrying about it I would be better off.


- CiscoH, coxswain, steamschooner and 6 others
-
9
-
Greg, If you don't mind I would like to jump aboard for you build log. Good luck with your build.
-
-
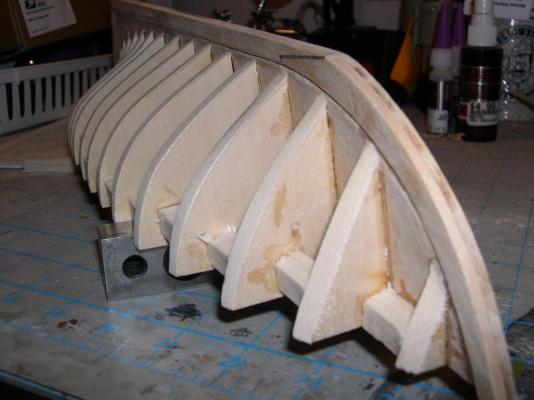
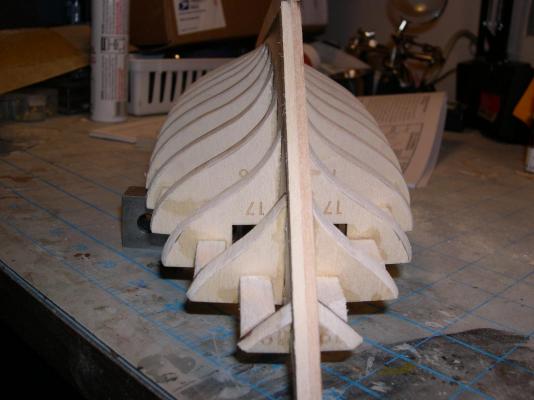
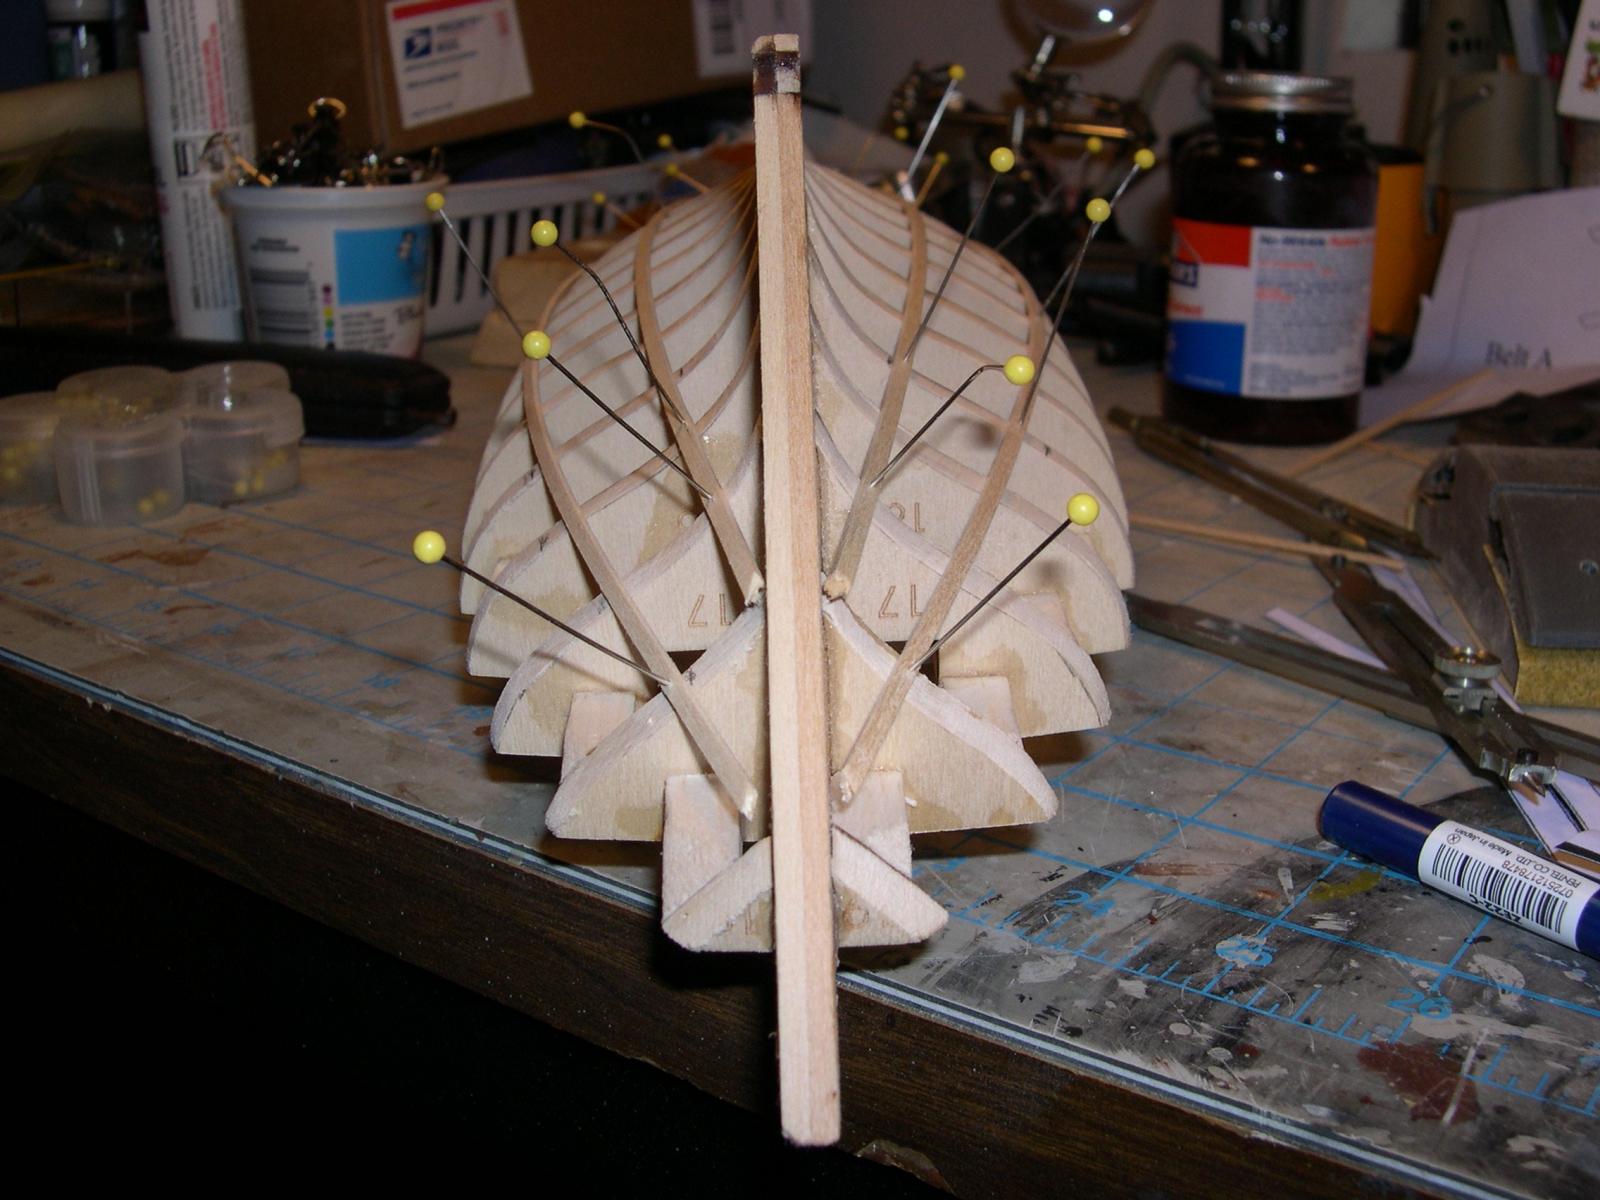
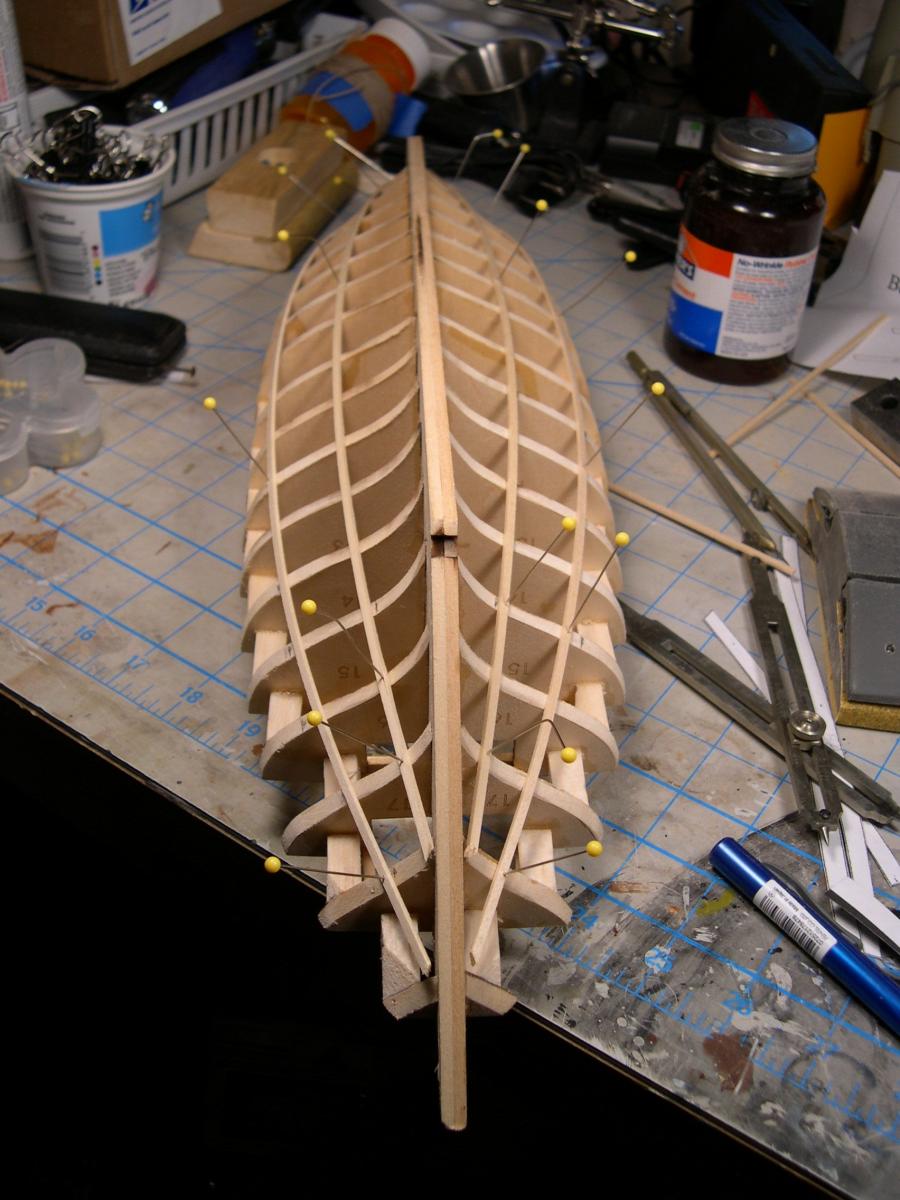
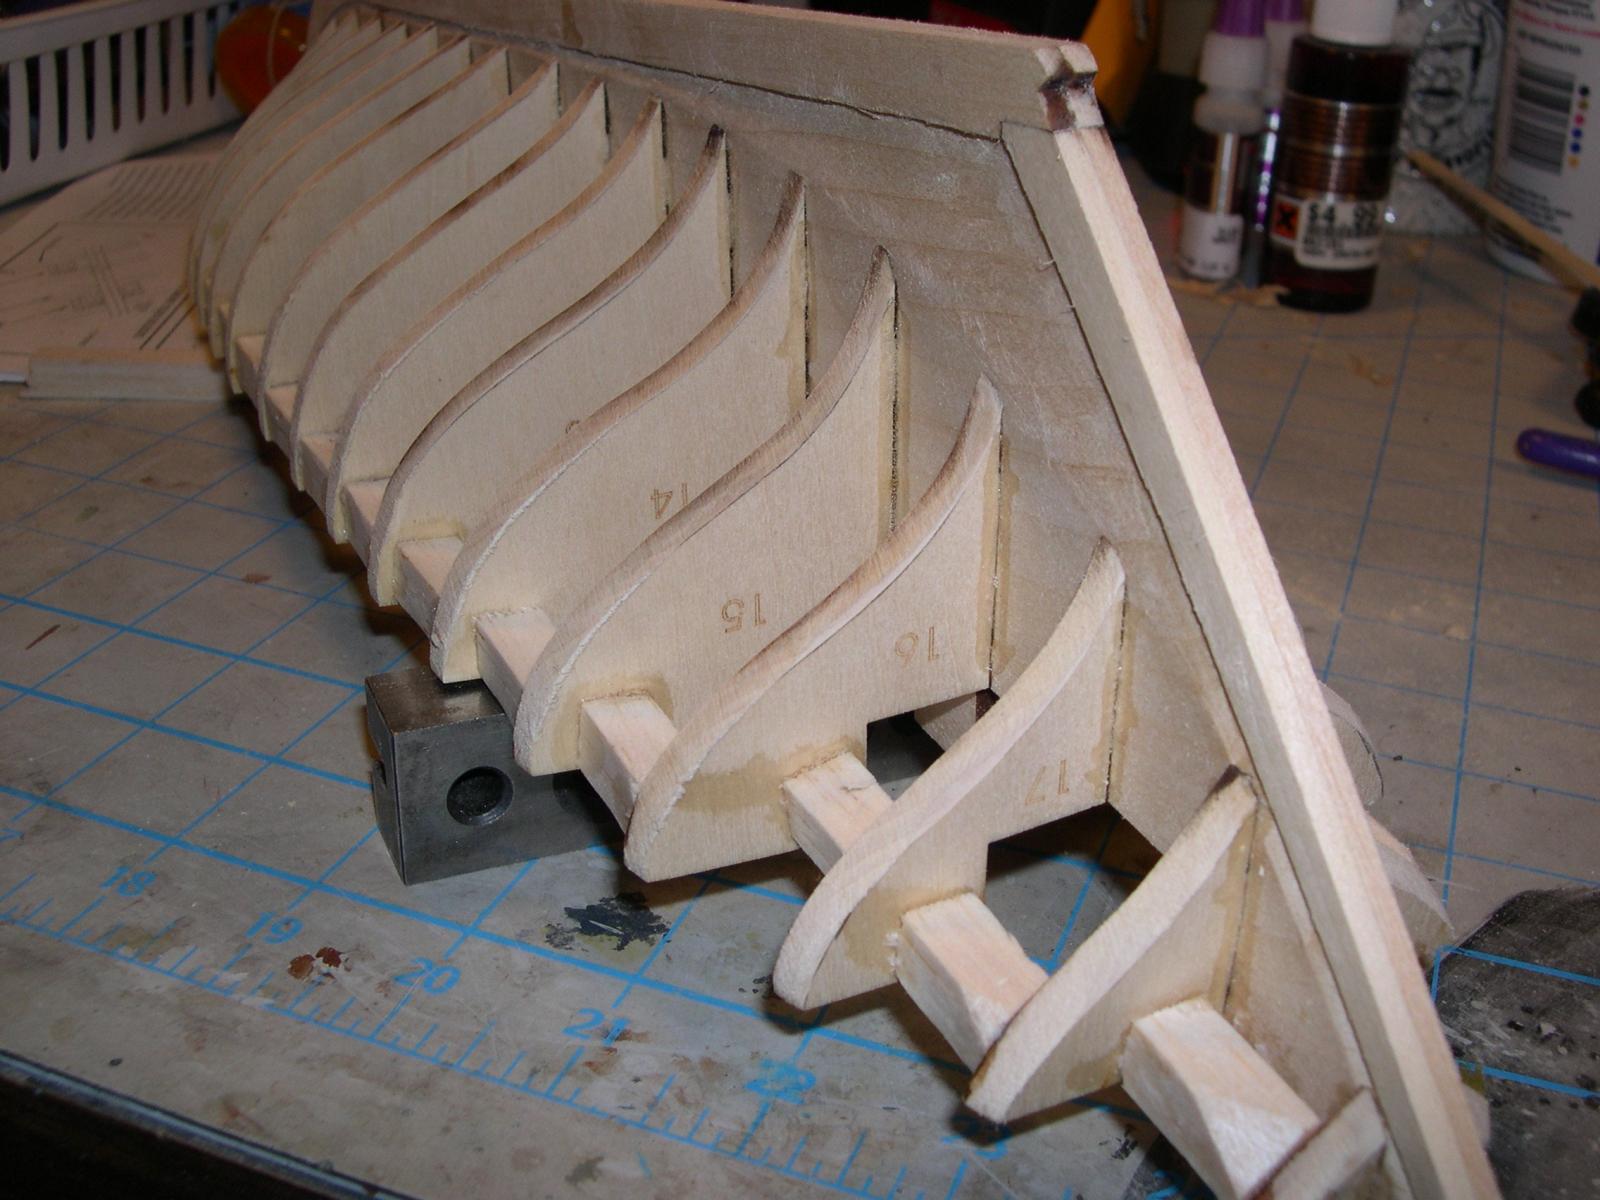
The fairing is going pretty well. The bulkheads are pretty thick which is really nice. It makes it much easier to see the hull shape up. I don't want to take much more off so I am checking it often with a piece of planking. Please excuse the messy bench. Maybe I will get it straightened out before I go much further.


-
Sal,
Your masts and rigging look great so far. I can't wait to see the yard arms come together and be shipped. Will you start from the top and work down? I have seen people completely build out a mast before they install it and also do like you are where you build it up on the ship. I can see advantages to both methods. I love the detail of the rigging.


HMS Agamemnon 1781 by Hennie - FINISHED - Caldercraft - Scale 1:64
in - Kit build logs for subjects built from 1751 - 1800
Posted
A magnificent build Hennie. You do her justice.