HOLIDAY DONATION DRIVE - SUPPORT MSW - DO YOUR PART TO KEEP THIS GREAT FORUM GOING! (Only 13 donations so far - C'mon guys!)
×


Piet
-
Posts
3,568 -
Joined
-
Last visited
Content Type
Profiles
Forums
Gallery
Events
Everything posted by Piet
-
 Schitterend! Brilliant work. Cheers,
 -
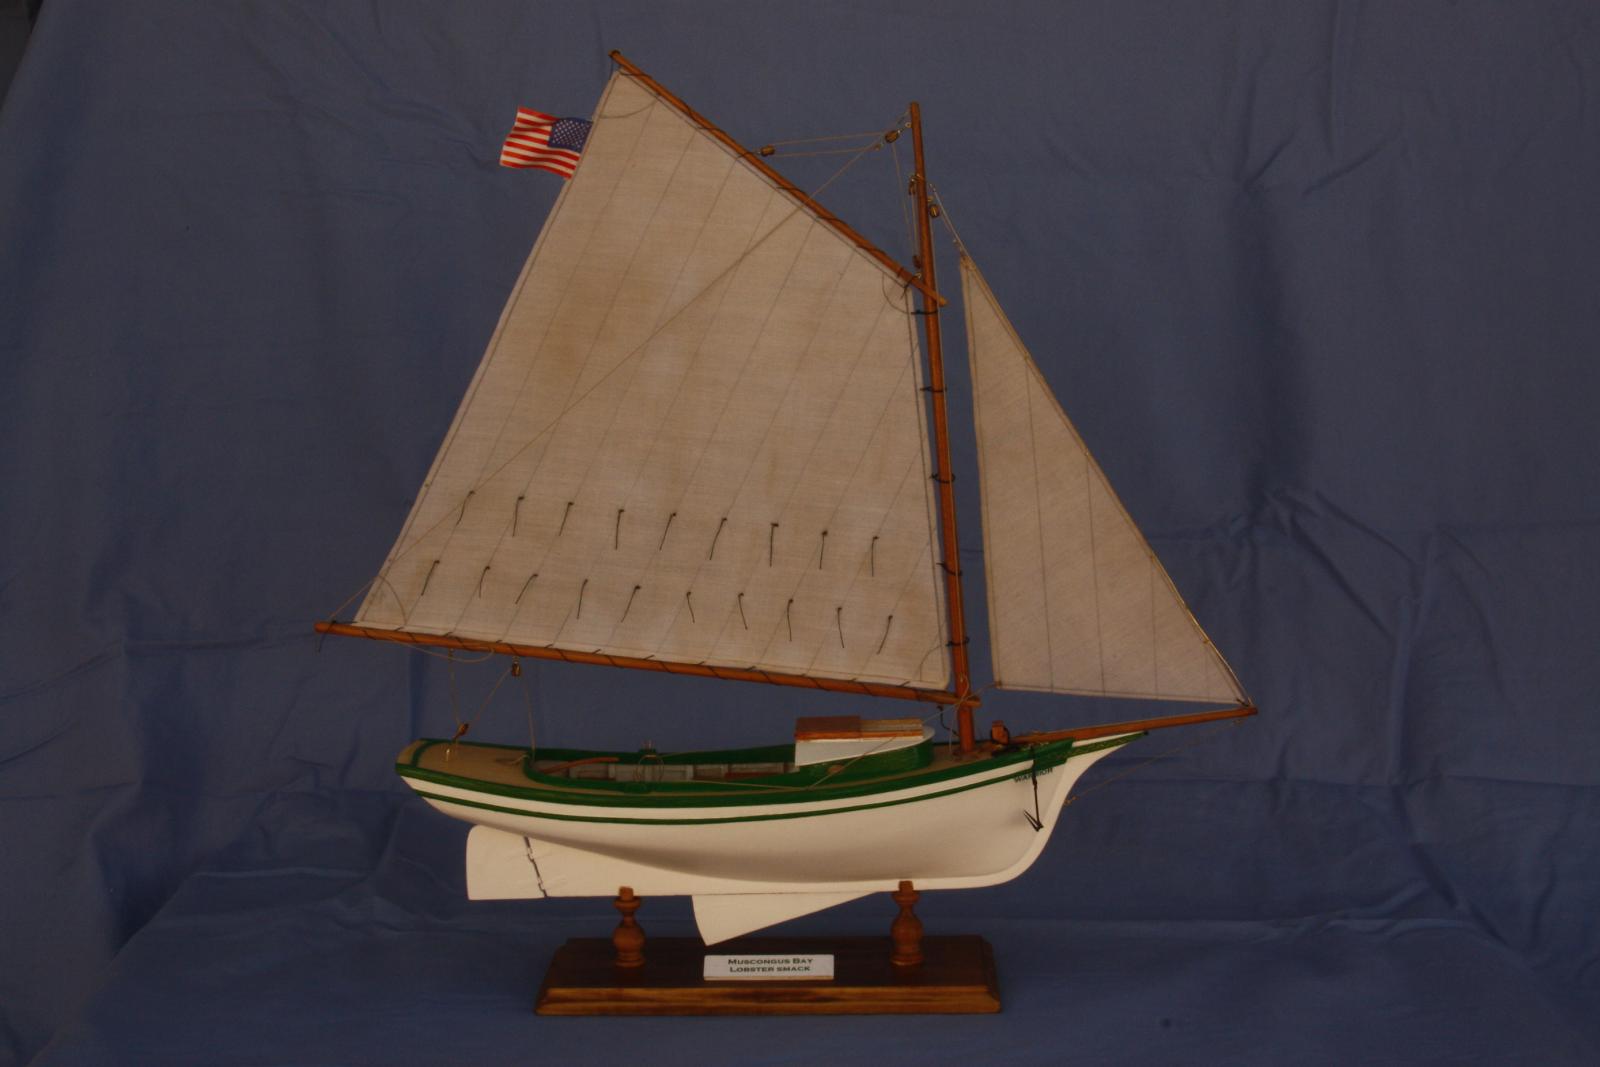
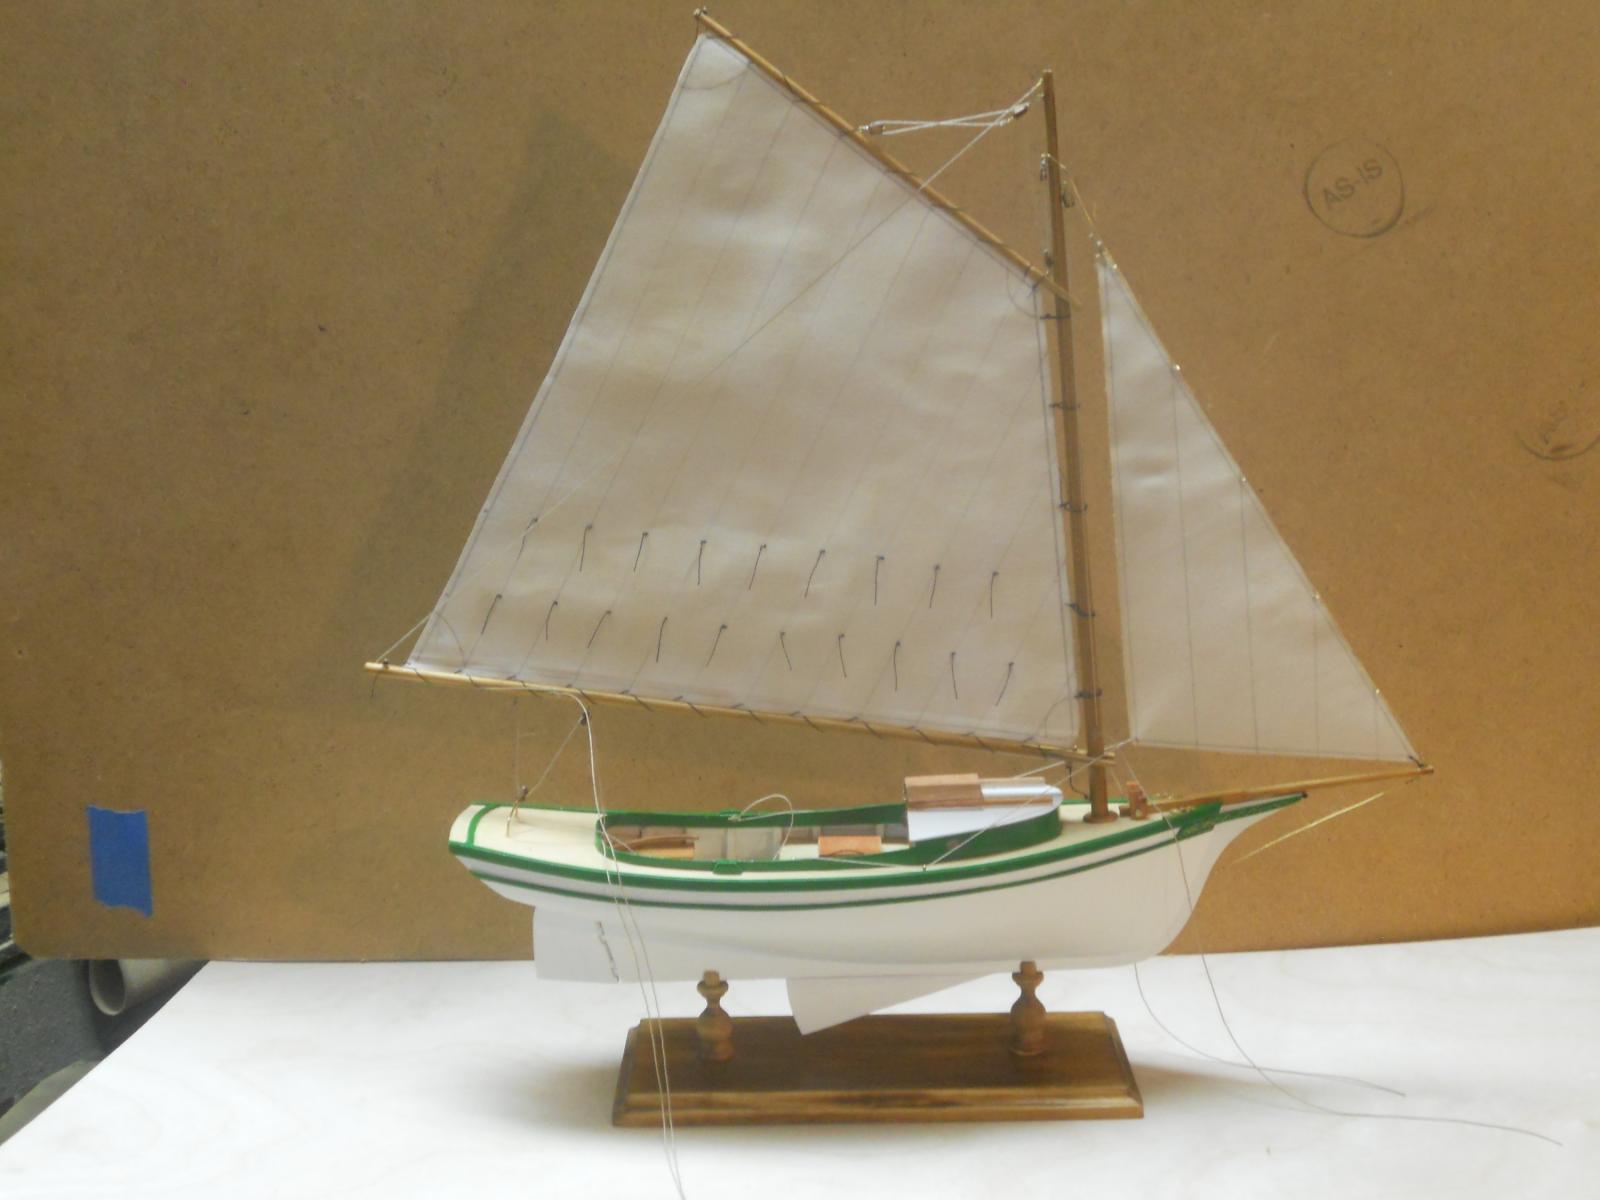
Thanks to everyone for following this build, your input and kind words. I really enjoyed i,t especially with all of you visiting. This will be my last post for this build and will try to put her in the Gallery. I still have a few months so I may continue fiddling with it some more, a little touchup here and there. Here are a few pics i took this morning for the Gallery, I like to close this log with a few pics. Come and visit me with the 019 and the VOC ship in the scratch build part. And who knows - - - I may even start the Dutch botter or kotter in a lamp. Cheers to all,


- 176 replies
-
- 21
-

-
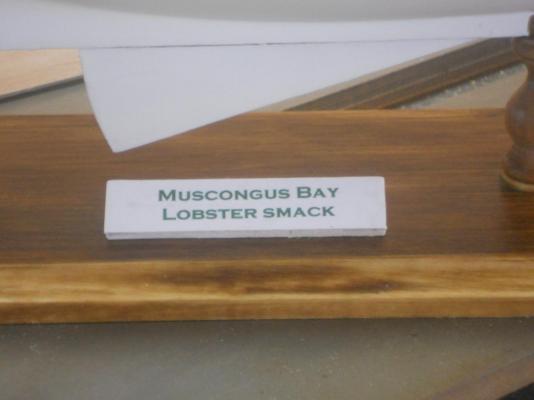
- muscongus bay lobster smack
- Midwest Products
- (and 1 more)
-
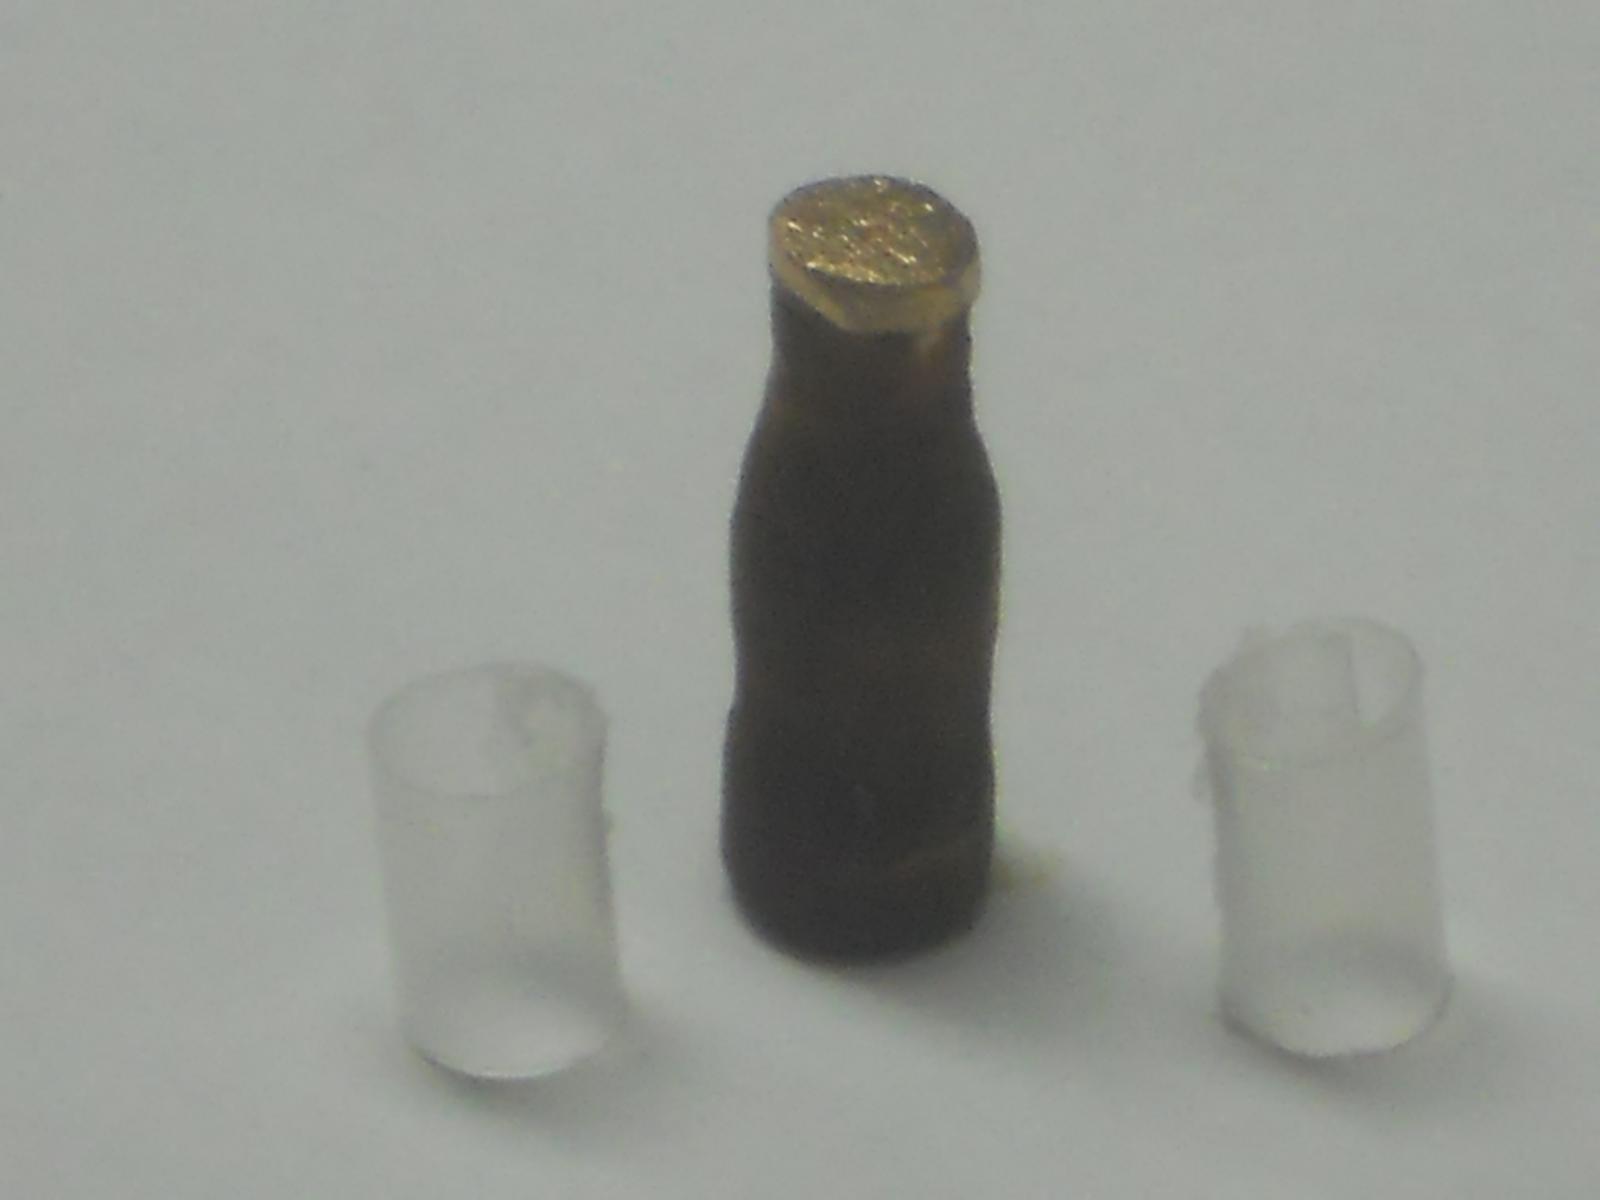
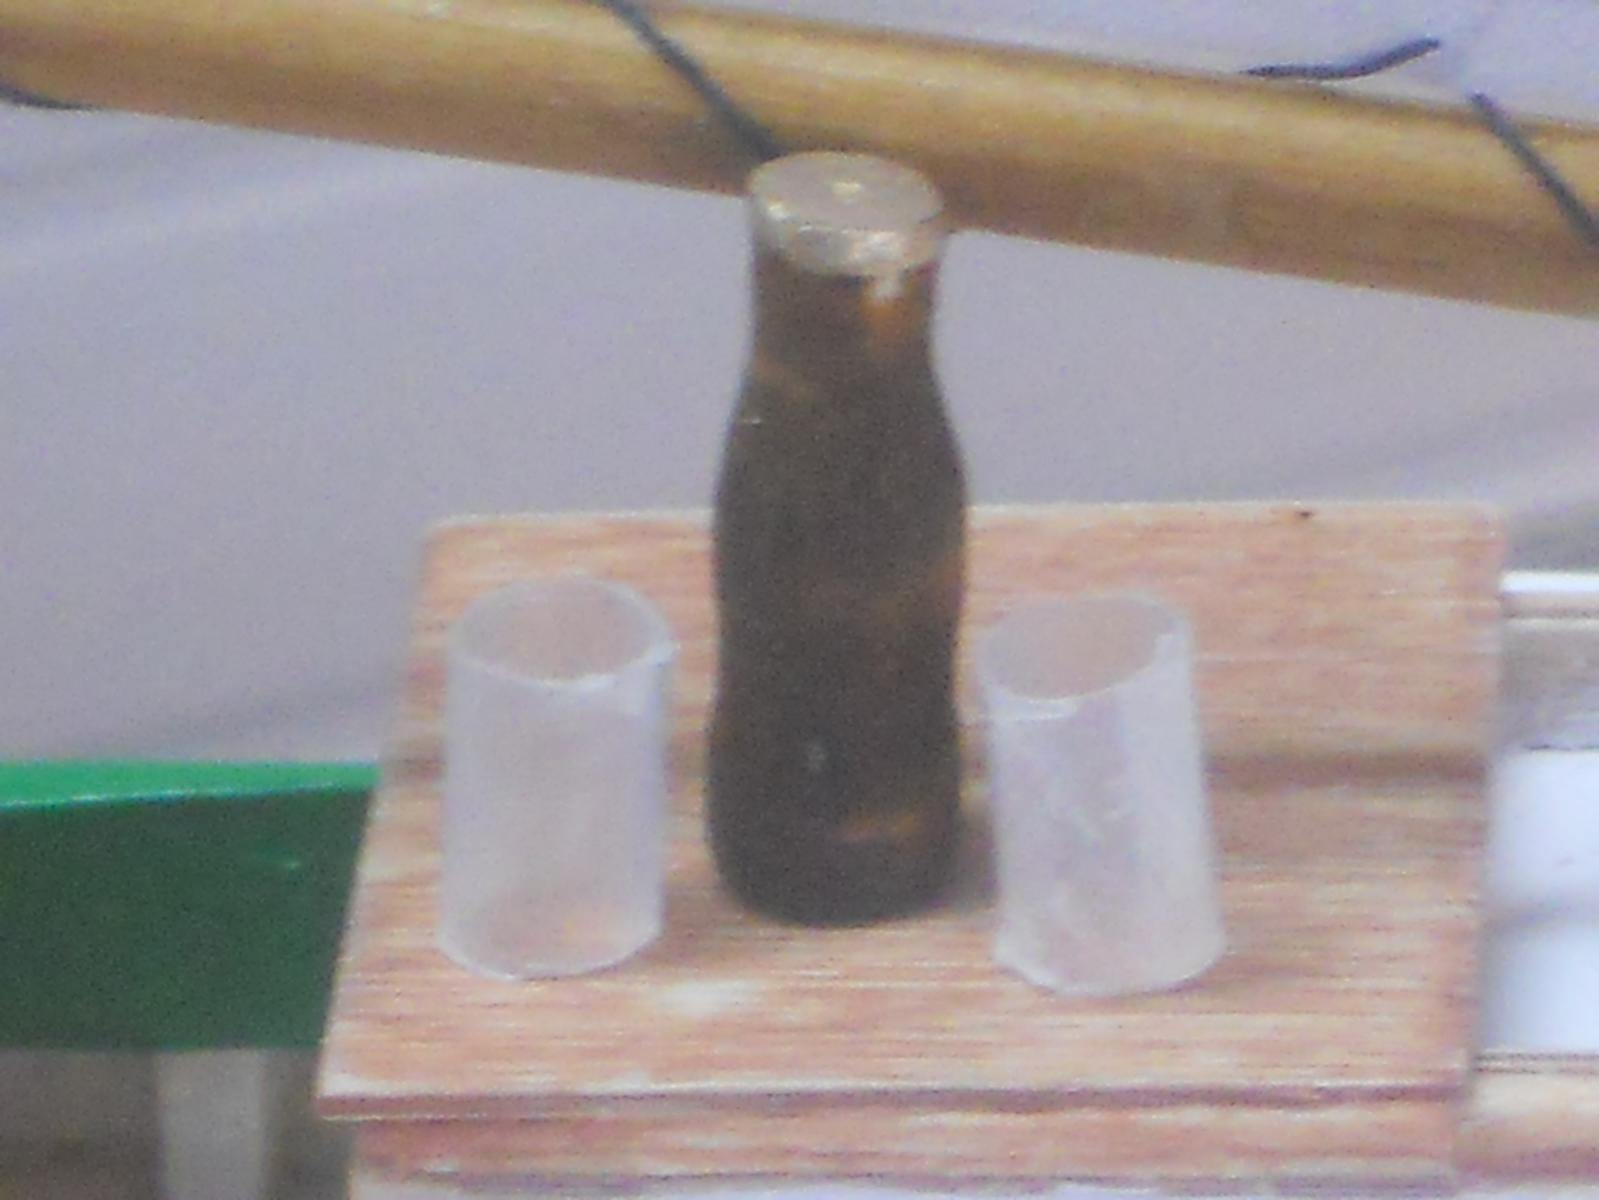
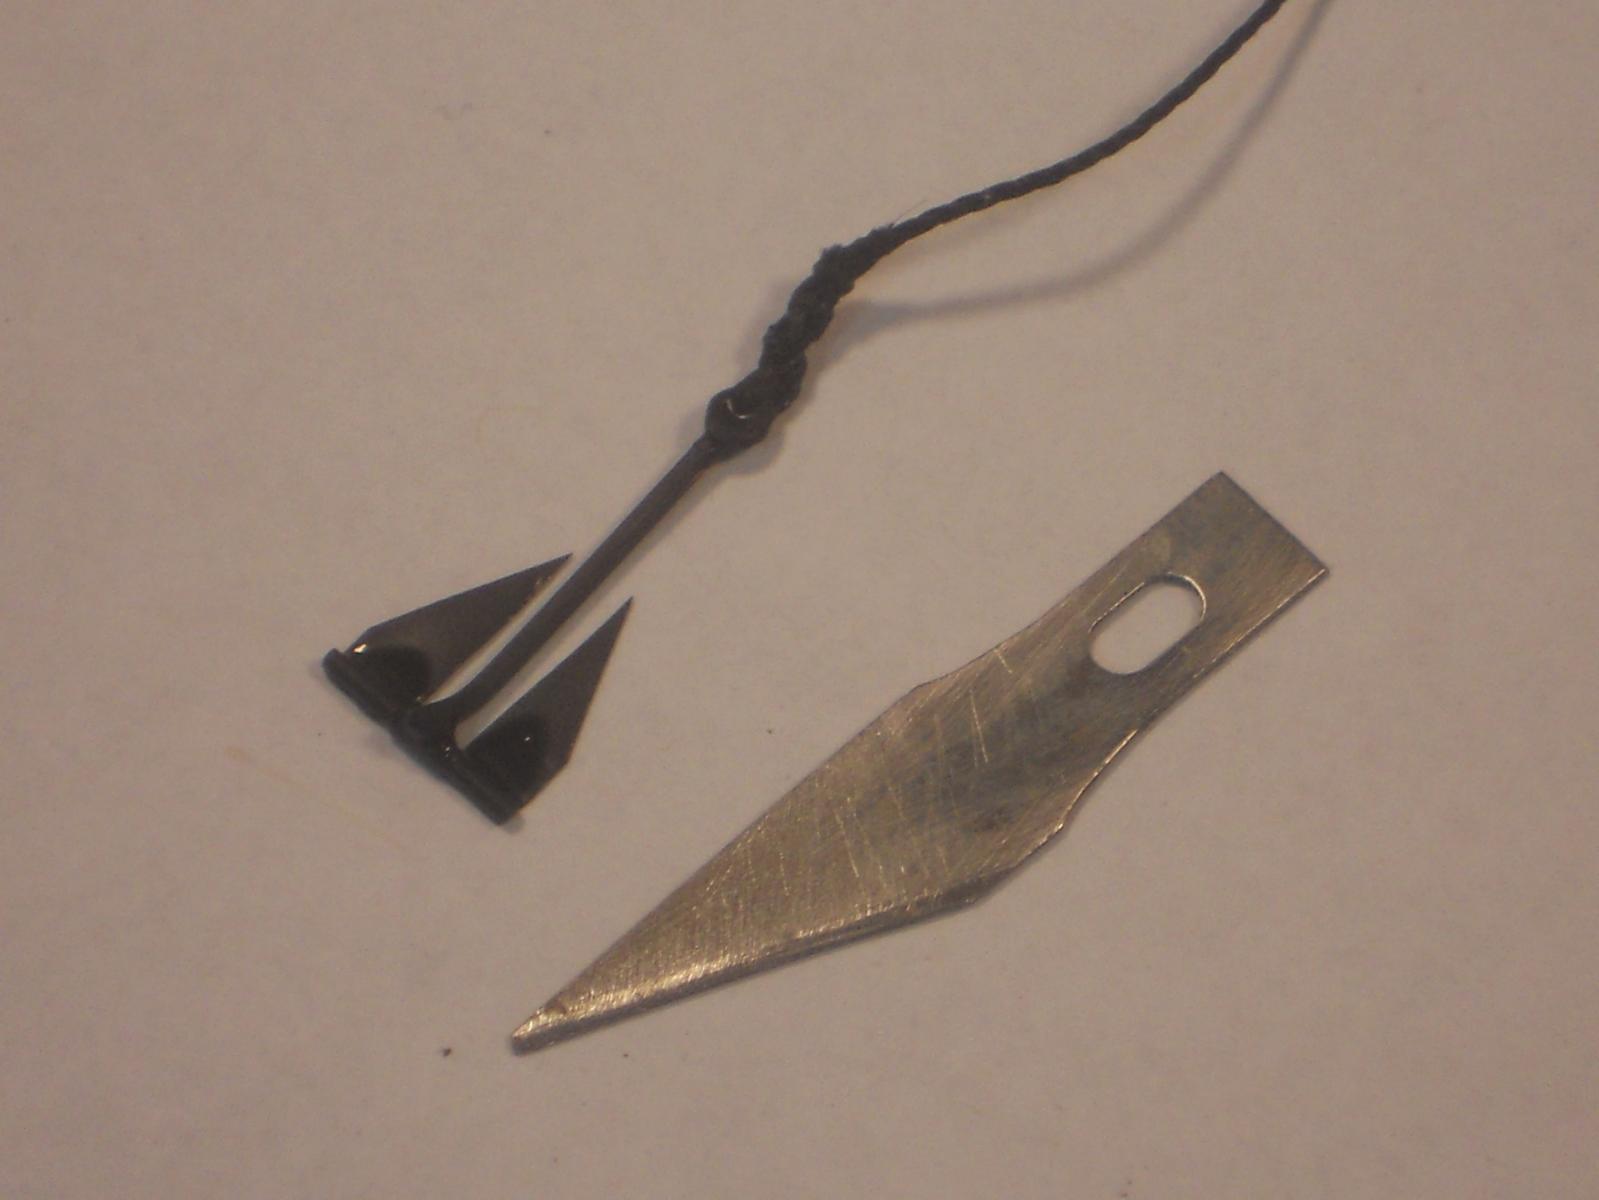
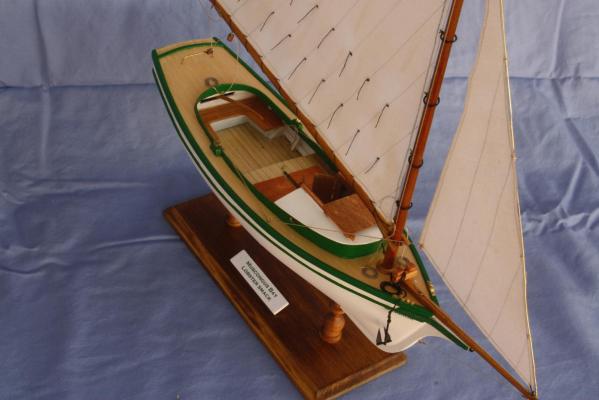
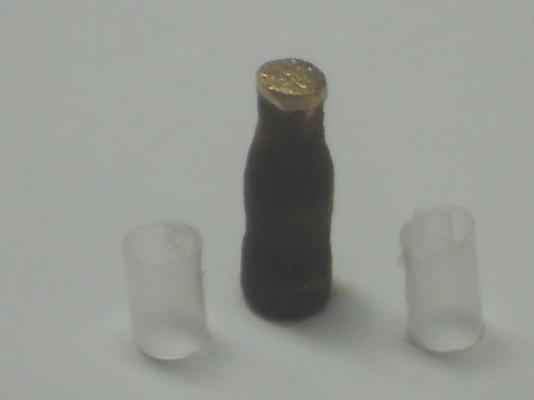
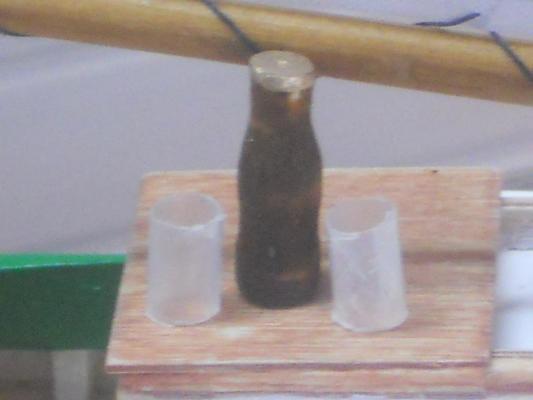
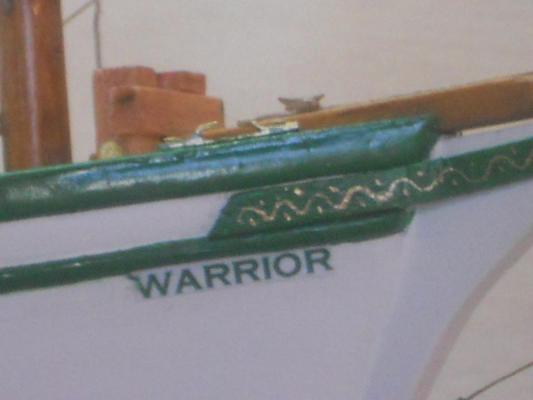
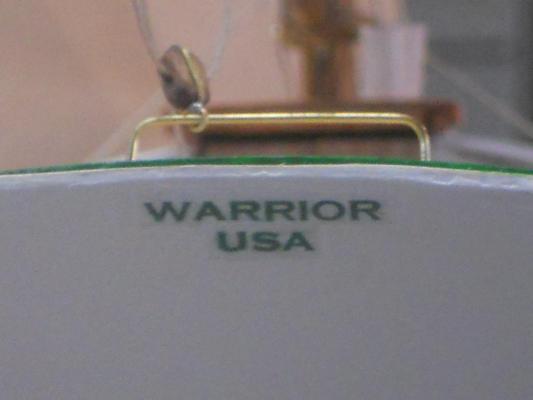
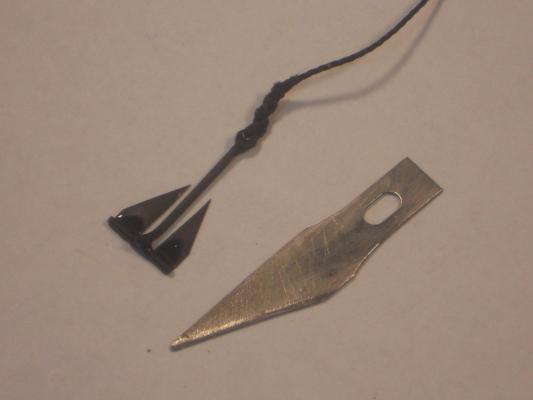
Thank you, thank you, thank you - - - he says with a deep bow and a big smile Very much appreciated! Well, we have arrived at the end of this build. There is actually one more detail left to do, Amateur Jan's lobster But he'll have to wait till I catch a few I haven't made the final pictures yet for the Gallery, I'll do that tomorrow and post a few here. I finally decided on a name for this special build. It came to me Thursday night as was in bed waiting for the sandman to come. I didn't want a "sissy" name or something mundane and how can I tie the name in with the purpose of this endeavor, Wounded Warrior? There it was, Warrior! Not Wounded anything, just Warrior. I cheated - - - I typed it up in green and 14 point and printed it out. So, Friday morning I cut the name tags out and glued them to the hull using Liquitex medium. Just for fun, I made a coke bottle and two glasses to toast the successful completion of the build In the second picture I put that bottle and glasses on the sliding hatch. Any one for more will have to go into the cabin and raid the wet bar. Sjors on the dock with the popcorn machine Then I thought, hey, we need an anchor. I Googled anchors and found a nice simple one that was used on landing craft during WW II. So, I cut some metal and made an anchor. The blades are 0.1 mm brass shim, the post is 1 mm square brass stock that I soldered to a small piece of 1 mm brass tubing. Put a piece of 0.5 mm brass rod through is and then soldered the blades to the rod, one on each side of the tube. The blades can actually rotate to grab the sea floor. Then a brass eyelet on the end of the post for the anchor rope. Who would have thunk it, an honest to goodness workable anchor I hope I can post the final pics to the Gallery, have to read up on it. Alright folks, here are a few pics of the last details. This bottle was used for the "christening" of the boat. We are ready for a toast, cheers to all. This shows the completed anchor on my work bench. This shows the anchor ready to be dropped and lashed to the samson post. Cheers,

- 176 replies
-
- 15
-
-
- muscongus bay lobster smack
- Midwest Products
- (and 1 more)
-
Looking very nice and impressive John. Cheers,
- 2,250 replies
-
- 1
-
-
- model shipways
- Charles W Morgan
- (and 1 more)
-
Great idea on using the microwave for bending, instant steam bending tool! Cheers,
-
Mayflower by SawdustDave - Finished
Piet replied to SawdustDave's topic in - Build logs for subjects built 1751 - 1800
Very helpful tutorial Dave. Yup, Thai's what I had in mind alalong for the VOC ship. Cheers, -
Beautiful paint job Popeye and very nice recovery! Hey, a mishap can happen to anyone. I had one like that after I finished painting an airplane with acrylic enamel. The difference is - - thousands of dollars. It took me more time to redo a similar thing and all on my own time. I won't tell how I did it but nobody could see where the blemish was, worked though the night and next morning too. I learned to be more careful and have patience. I'm sure you're thinking the same now Cheers,
- 956 replies
-
- 2
-
-
- andrea gail
- trawler
- (and 1 more)
-
Great progress Patrick. The shots while holding the model between your fingers really gives us the perspective of her size! Very nice indeed! Cheers,
-
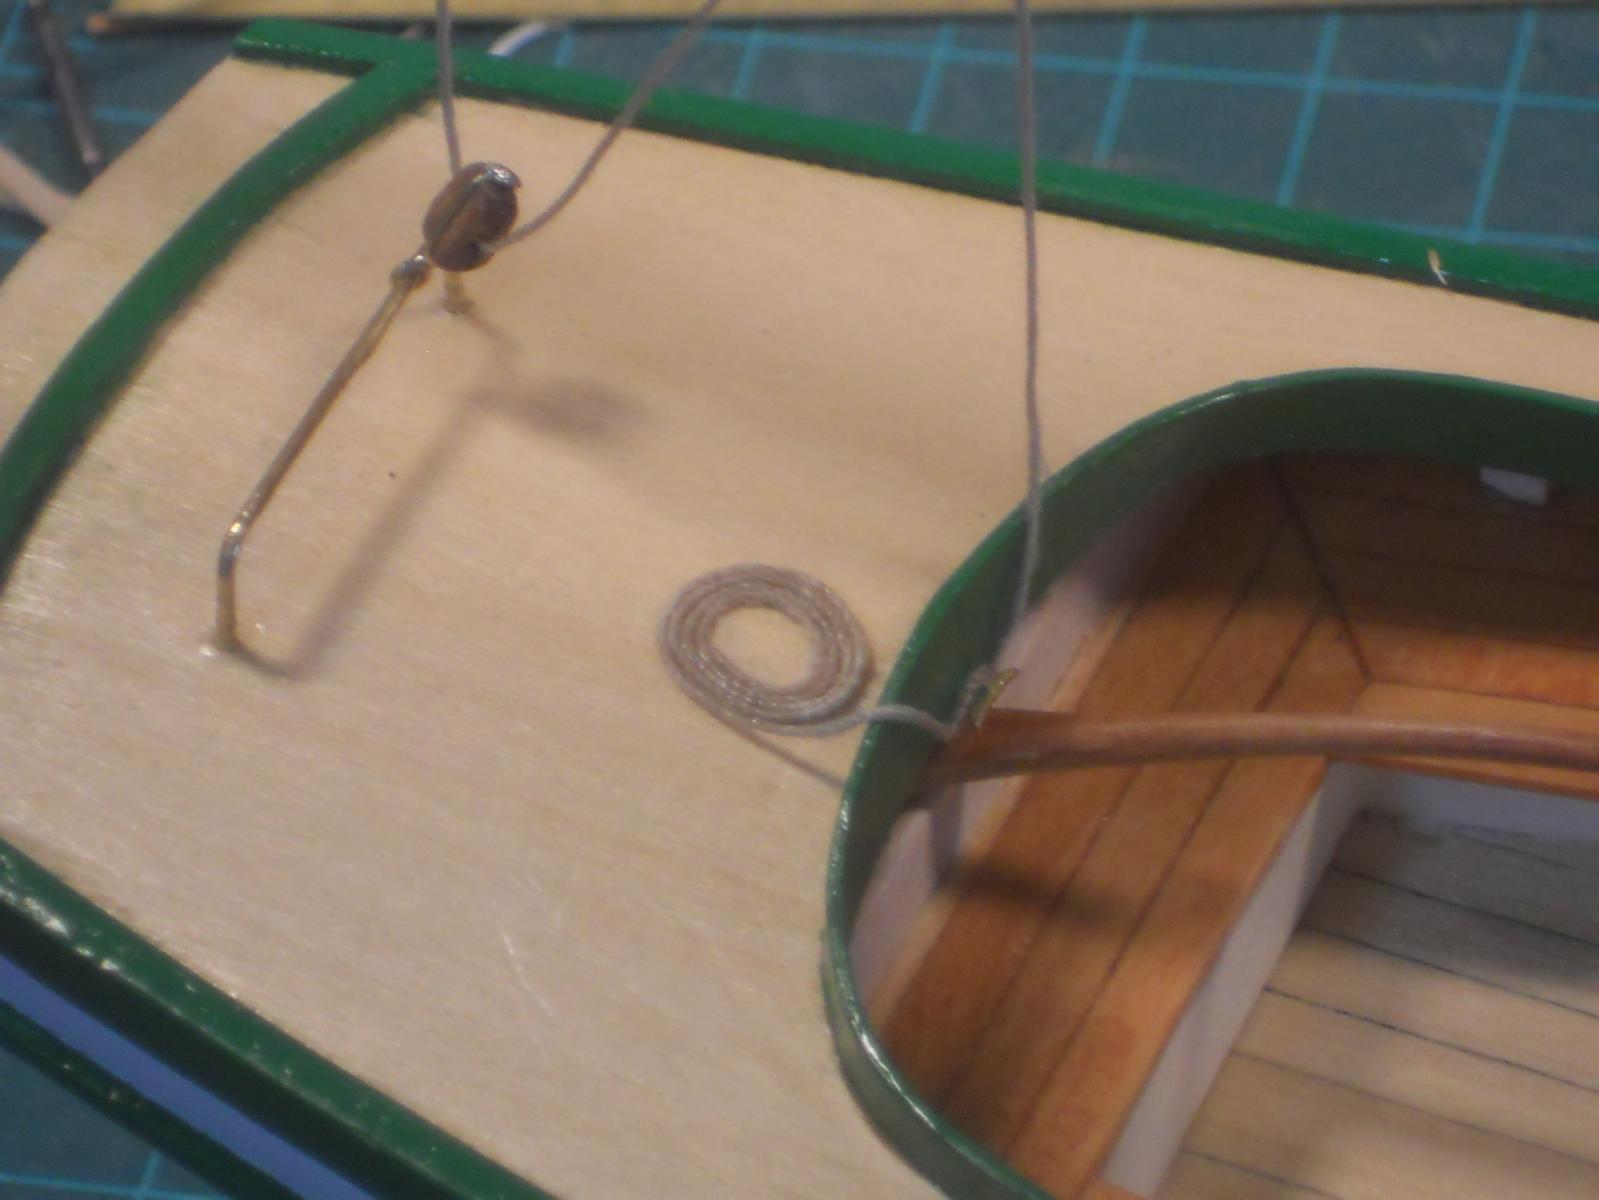
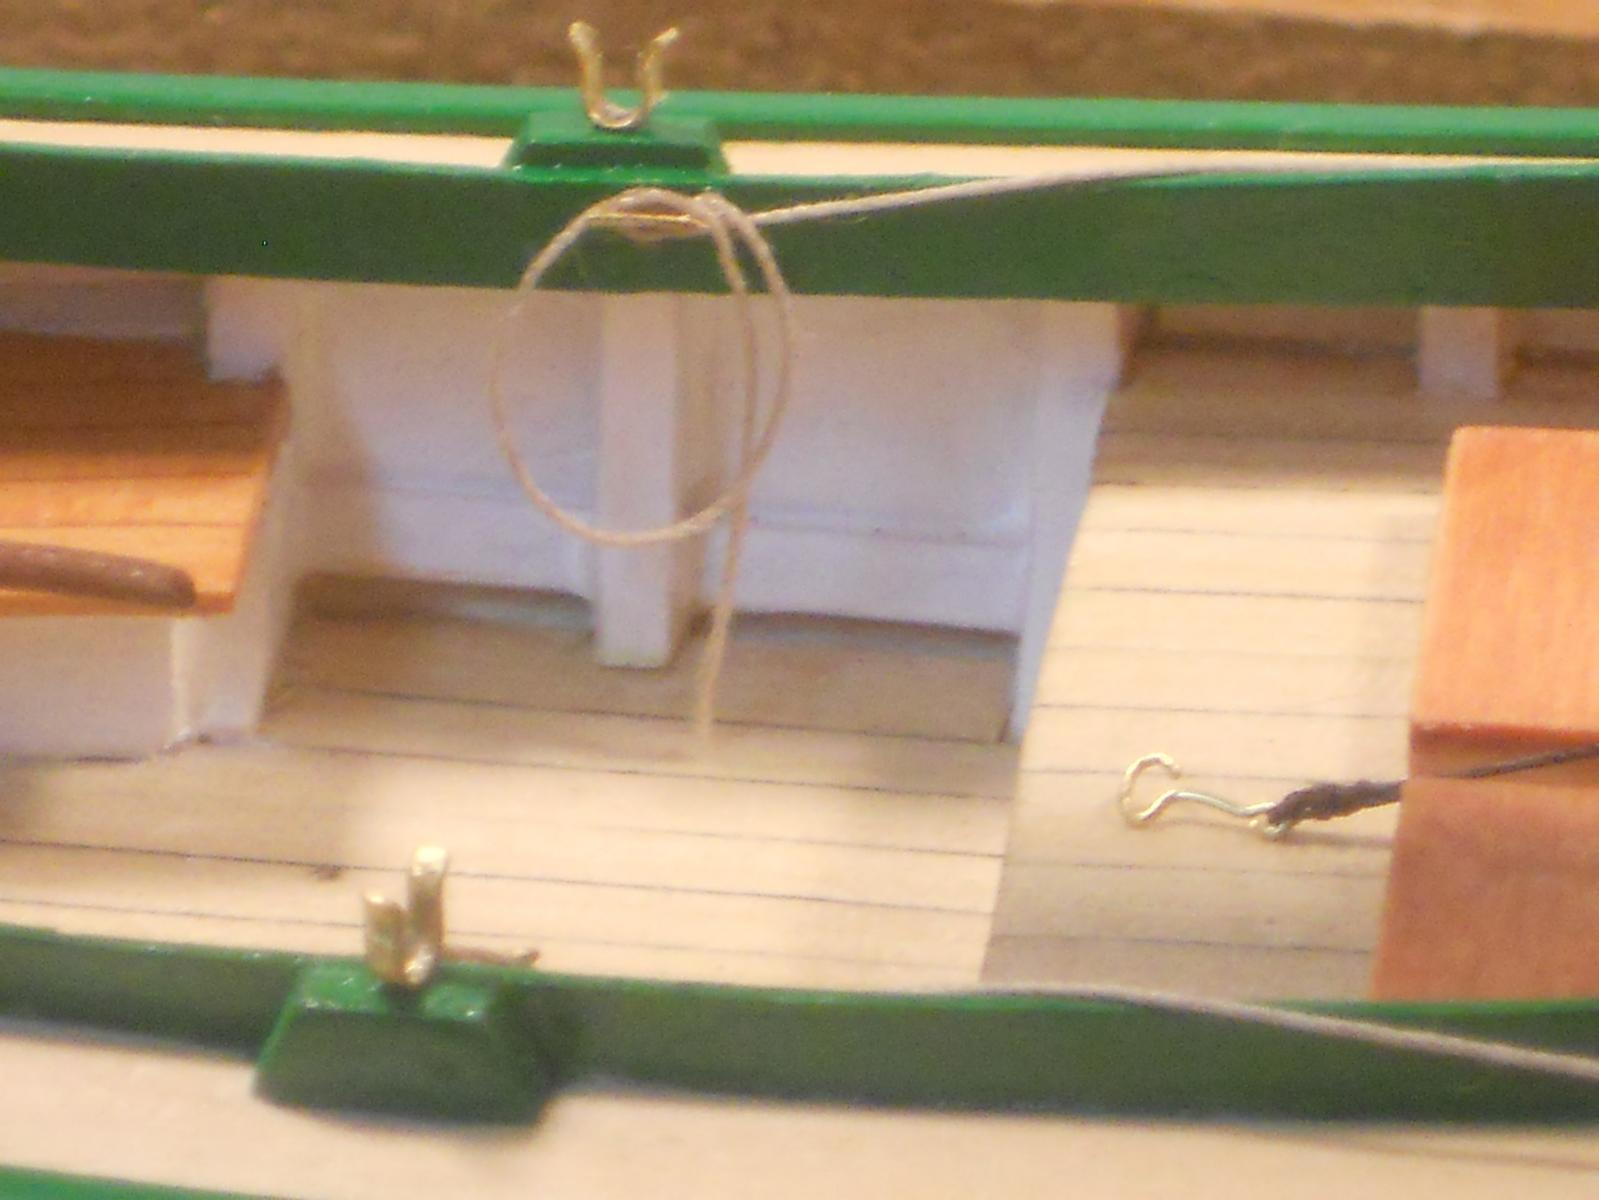
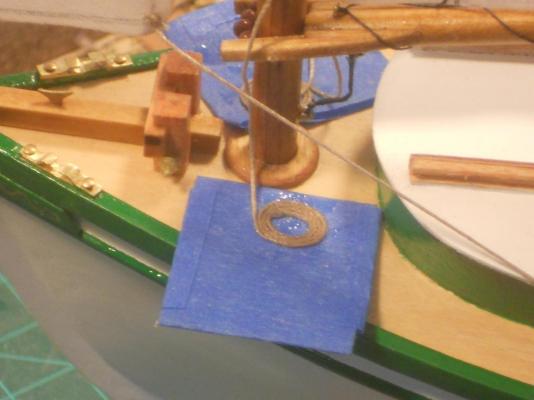
Today was rather productive. As mentioned yesterday I needed to tidy up the loose hanging sheets. So, that's what I did. This sounds like a simple job but I had to muster up some patience wrestling these springy "ropes." I made double sticky tape from masking tape so the cords could be stuck to it as I tried to bend them to my will and not theirs. I have some clear all purpose glue and dabbed some on the coils to keep them in shape. After the glue had cured I peeled the coils off the tape and with a small dap of the same glue I tacked them to the deck. For a static model that's not meant to be a toy I figured it would be best to secure them. The jib sheets are just wrapped around the cleats in the cockpit with one loop hanging loose to make it look ready for action. Everything is secured with a dab of glue. Well, that was it for today and now it's time for a few more details to finish her. One of the main things is the name board that'll be placed on the display board. I don't know yet how I'll do that. The other detail thingy's will be announced and shown in due time. It doesn't look like a lot I did but I took this afternoon off. Actually, it was rather cold in the garage and I was not very comfortable, even with a jacket on. It was my lower legs that felt like icicles. Okay, here are a few more pics. This shows how I coiled the sheets. Here are the jib and gaff halyards neatly coiled after being secured to the cleats on the mast. Here is the main sheet cleated and then coiled on the aft deck. This shows the jib sheets cleated and just looped over the cleat. I also stuck the oar thingies in. The oars are fastened under the deck overhang and out of sight One more profile pic with all the rope work neated up and the flag tied to the sail, can't go without the flag. Cheers,


- 176 replies
-
- 13
-
-
- muscongus bay lobster smack
- Midwest Products
- (and 1 more)
-
Thanks everybody for kind words and to all who clicked the like button. Wait a minute folks, she's not finished yet!!! There are still a few details to be added yet. I hope to complete this little fun build in a few days. @ George, Jesse, Carl and Bob, thank you. @ Joel: That's a beautiful build and nice colors too. It looks like that people are using all kinds of materials to "tan" the sails. On my Friendship sloop model I used tea. It doesn't matter what we use as long as we are happy with the results. She is indeed a lovely little boat, si graceful lines. No wonder that that design evolved into the Friendship sloop. Not only graceful but also quite seaworthy. @ Sjors: Thanks for your kind words but you rate my abilities much too high. No, Gwen didn't make the sails, I did. I'd like for you to know that I used to sew my own shirts, did needle point and cross stitch end knitted my own socks. I even made the covering of an aircraft seat in real leather, hand stitched, pleated and rolled. Hey, when one is hungry and need an extra buck to feed the family you do what you have to do. Yeah, 52 years is indeed a long time and that with the same lovely girl too She said, I never imagined being married to an old man - - - par am pam - ching - - - auch Chee
- 176 replies
-
- 4
-
-
- muscongus bay lobster smack
- Midwest Products
- (and 1 more)
-
Ah yes, the joy of experimentation but the time spend is well worth it when it all falls into place! looks great Nenad. Cheers,
- 4,152 replies
-
- 2
-
-
- cutty sark
- tehnodidakta
- (and 1 more)
-
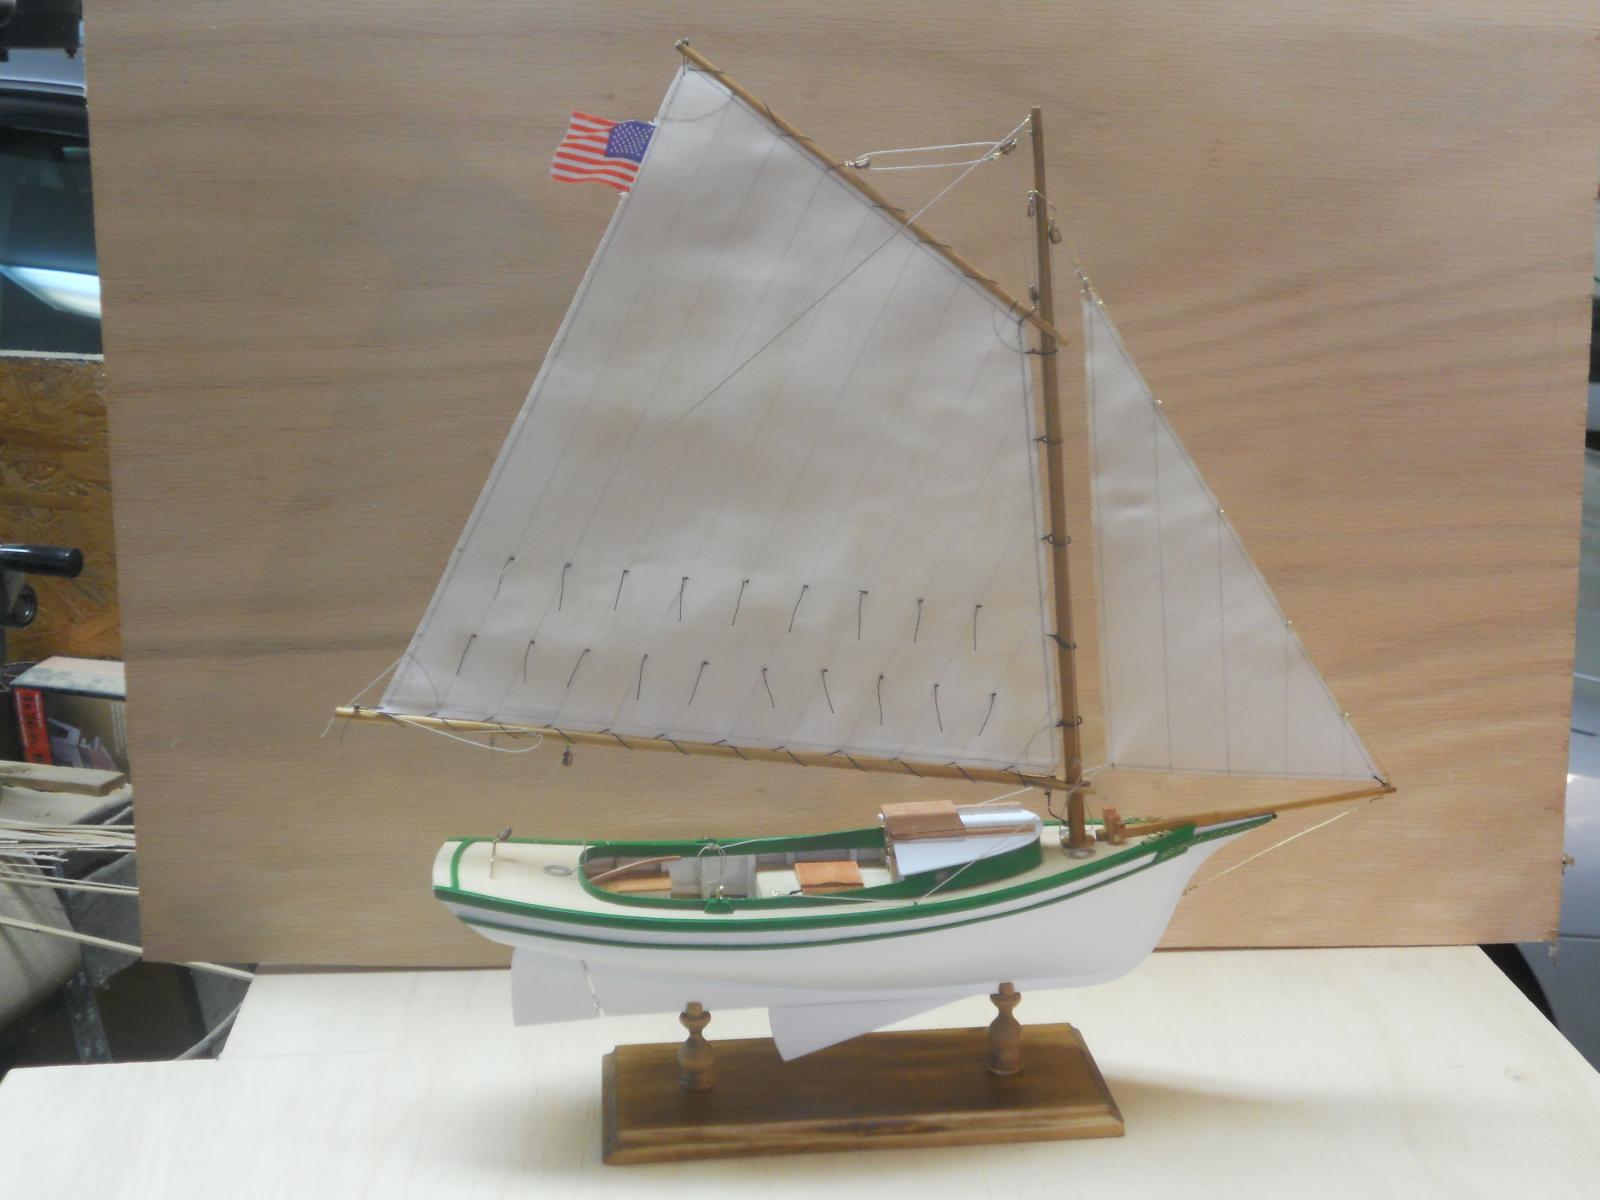
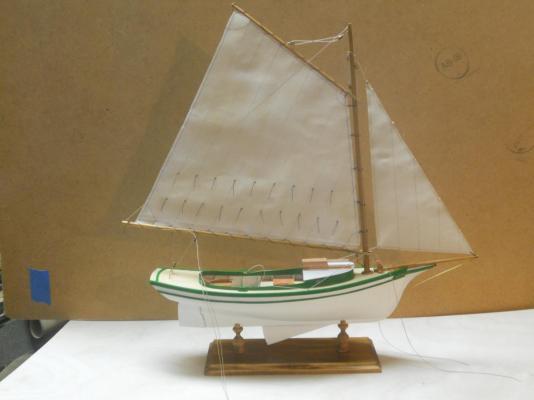
Thanks everyone for dropping in and clicking the like button, I truly appreciate it very much! Let's see, Sunday midmorning I started to prep for a special dinner for Gwen and spend the rest of the day in the kitchen. I wanted to treat her to something she's been talking about, on and off. So I made Tournedos a la Bearnaise with Dutch style potato croquettes, glazed carrots and asparagus. I made my own bearnaise sauce, a lot of work but delish! She was impressed and liked everything. I would have done this on Monday, our 52 wedding anniversary, but figuring she wanted to go out for dinner to celebrate. But, no, she'd rather stay home and enjoy my cooking left-overs So we enjoyed our company home instead. So then, yesterday I started with the sails. I cut tem out per the sail plan drawings and stained the white cloth supplied with the kit in coffee. They look slightly tanned and weathered. First i wanted to fold the edges over and glue a thin thread in the crease, glue corner reinforcing patches on but ran into a gluing problem. So instead I pencil lined all the seams in. Then I sprayed the sails with flat poly spray to stiffen the fabric instead of using the diluted wood glue. Worked out okay. Put the reefing ropes in the mainsail. Next I made the mainsail mast hoops from brass rod. Yeah, nothing like doing this after the mast is installed with all the hardware on it. To get them onto the mast I bend them apart enough to slip over the mast and then bent them back again. Worked fine. i also soldered the ends shut and painted them flat black. I wrapped some masking tape around the mast for the painting. I also made a bunch of small brass rings to attach the jib to the forestay and installed the sail. Today I installed the mainsail. I found that I could have made both sails slightly larger but at the stage in the build I'll have to leave it as is. Tomorrow I'll fiddle with the jib and main sheets, coil the ends and lay them nicely on the deck. Then I'll check things over and fiddle some more with details before calling it done. Here is a picture as she is as of this moment. Cheers,
- 176 replies
-
- 10
-
-
- muscongus bay lobster smack
- Midwest Products
- (and 1 more)
-
Hey Sherry, just a thought on the narrow strips to make them follow the taper of the barel. Cut them in a curve, they'll follow the taper and wind on straight. Trial and error on how much of a curve but it doesn't take much. Cheers,
-
Congrats on the milestone John and what lovely planking! Cheers, Piet.
-
A very handsome looking ship Jesse. Am looking forward seeing you and your ship next April. Cheers,
- 607 replies
-
- 1
-
-
- scottish maid
- artesania latina
- (and 1 more)
-
Thanks for your very kind words Patrick. And Jan, what can I say, scale lobsters, and life ones to boot Ever the optimist - - - tempting - - - hmmmm, that's now a wet bar and lobsters. What else - - - - - At this rate she'll never be finished but - - - -- Cheers,
-
Marvelous work Remco! Hey, when i come to visit do I have to bring a cystoscope with me to look at the inside? I can't wait ogling your KF in real life! Cheers,
-
Yeah man, uncanny! The green for the lobster smack is Testors is 1124-RM1241_0611 GL. Green. For the O19 it's Ace rust stop rattle can John Deer Green Gloss. The red for the O19 is Rust-Oleum rattle can Satin Paprika. The lobster kit has red for below the water line but I opted not to do that, Gwen thought it would be too much and distracting from the simplicity of the little sloop. Cheers,
- 956 replies
-
- 4
-
-
- andrea gail
- trawler
- (and 1 more)
-
VERY impressive Sherry! Without the text it would be impossible to tell the difference, great job and tutorial. Cheers,
-
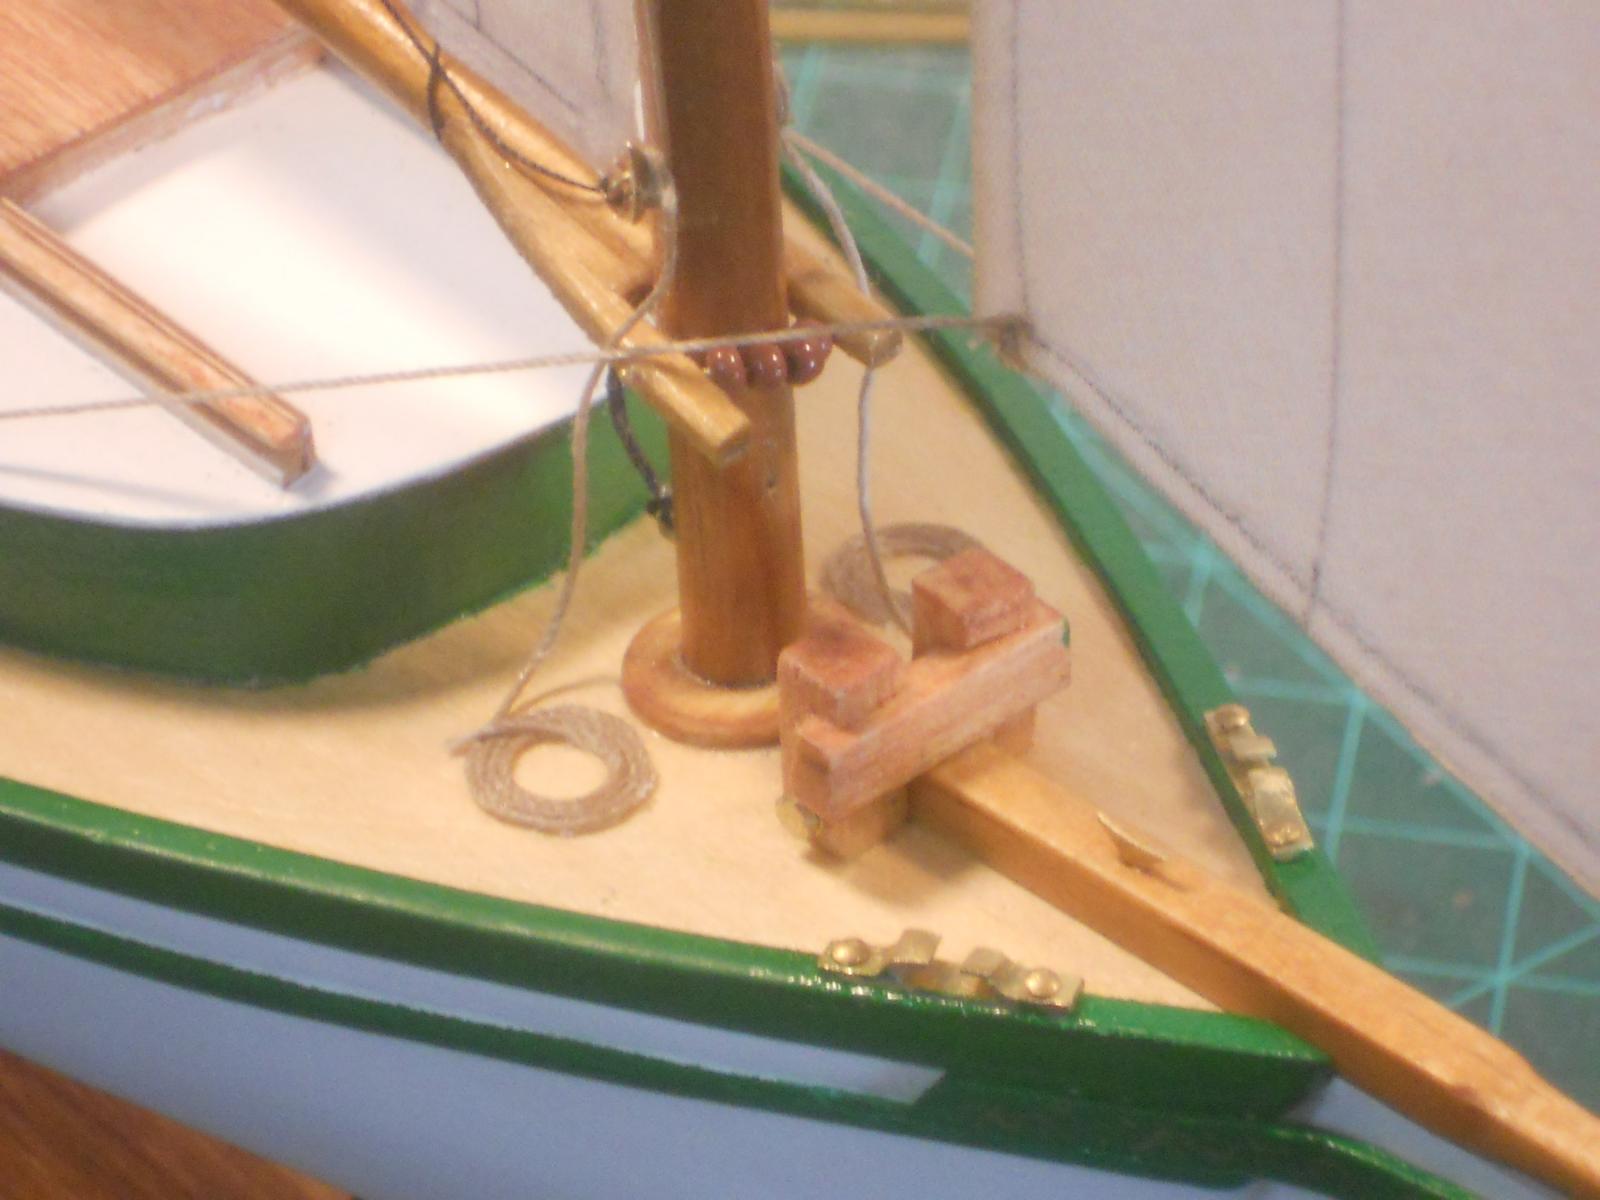
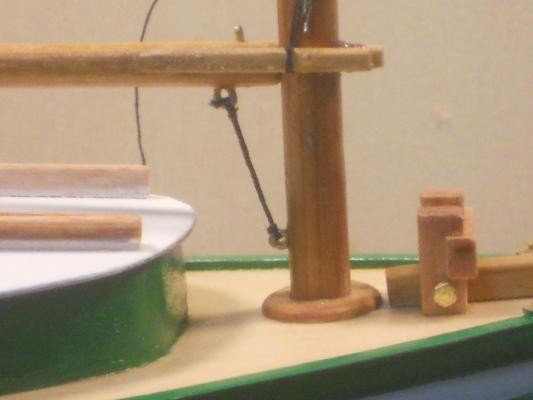
Yesterday was an okay day. I took that pesky display board inside the house Thursday evening and yesterday morning the stain and poly had cured just fine. It came out nice and smooth, like velvet. I also cemented the centerboard to the keel last Thursday and cemented the trail boards to the bow. I decided to just paint a simple design on them using gold paint. They don't look bad at all this way. So, yesterday, Friday, I could finally mount the little sloop to the display stand. I did make bamboo pins to help secure the sloop to the posts and used Titebond glue. Everything worked great. I could now attach the boom holding rope as Dee_Dee suggests. I did raise the boom somewhat to allow some slack in that rope so the boom can swing. I am leaving the parrels on it for my convenience in rigging and fastening the sail. I also moved the lanyard cleats a little higher on the mast because they may get hooked into the boom fork. So, it looks like I'm ready for the sails and that's another can of worms. Here is the boom to mast detail in how my hold down rope looks. It's not completely finished yet but yuns get the idea. This shows that hold down rope. It may allow the boom to lift up more then we really want but so be it. As you can see i have temporarily tied the boom up a little. The boom will be lower when the sail is attached. That little eyebolt on top of the boom is to tie the sail lacing cord to. Cheers,
- 176 replies
-
- 14
-
-
- muscongus bay lobster smack
- Midwest Products
- (and 1 more)
-
Thanks Popeye for taking the time out of your busy schedule and visiting. Thanks for the kudos too. hello Dee_Dee and thanks for the picture of the detail of the boom. I like your mast hoops, squarish looking. I am soaking some 1.5 mm square wood stock and see if i can bend tem into hoops. I'd rather use wood then the brass rod the kit tells you to use. I was not planning to use parrels for the gaff but may leave them on the boom. I'll show a pic of how I have secured to boom in preventing it from riding up on the mast. Cheers and thanks to all who clicked the like button. Chees,
- 176 replies
-
- 1
-
-
- muscongus bay lobster smack
- Midwest Products
- (and 1 more)
-
Up, up and away - - - masting looks great John. She's looking more and more like a ship now. Cheers,