Supplies of the Ship Modeler's Handbook are running out. Get your copy NOW before they are gone! Click here to order
×
MORE HANDBOOKS ARE ON THEIR WAY! We will let you know when they get here.
×


GuntherMT
-
Posts
2,213 -
Joined
-
Last visited
Content Type
Profiles
Forums
Gallery
Events
Everything posted by GuntherMT
-
I do like the look of serving for sure, so I'll probably end up serving mine even if it's a flip-a-coin thing. I was mostly curious as it seems odd that they would serve lines that were so temporary, but I guess it would make it easier to re-rig each time if the top eye loops were served making it easier to know what went where!
- 263 replies
-
- 2
-

-
- Medway Longboat
- Syren Ship Model Company
- (and 1 more)
-
Very nice work Ryland. Dumb question maybe, I haven't read that far ahead in the instructions, but would the rigging on a longboat actually have been served given how often it would be rigged/de-rigged in use on a large ship?
- 263 replies
-
- 2
-

-
-
- Medway Longboat
- Syren Ship Model Company
- (and 1 more)
-
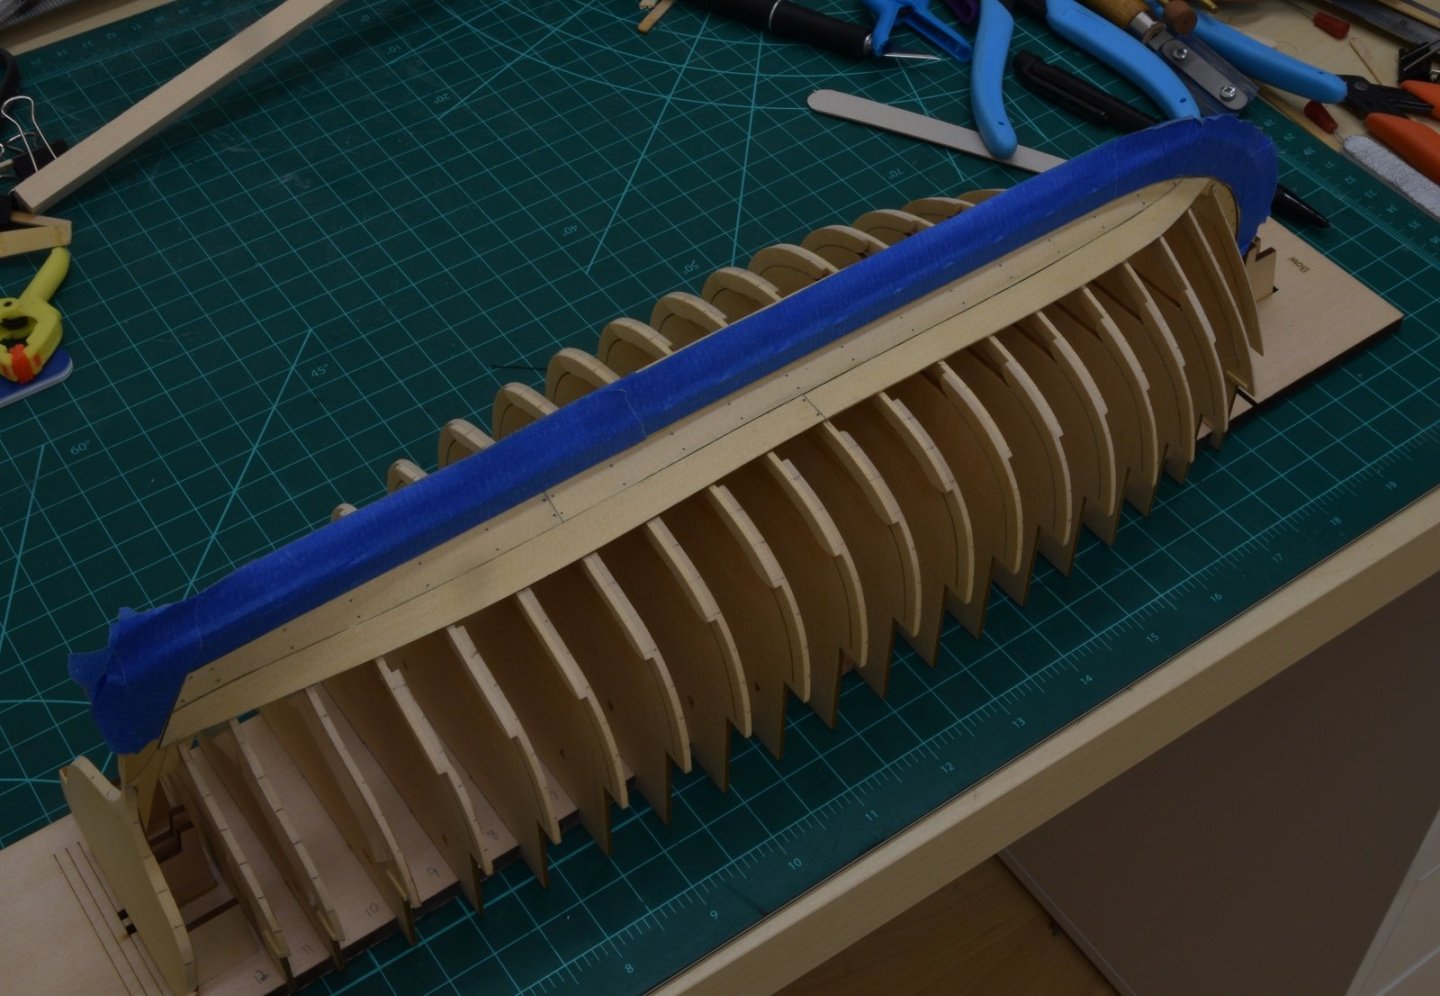
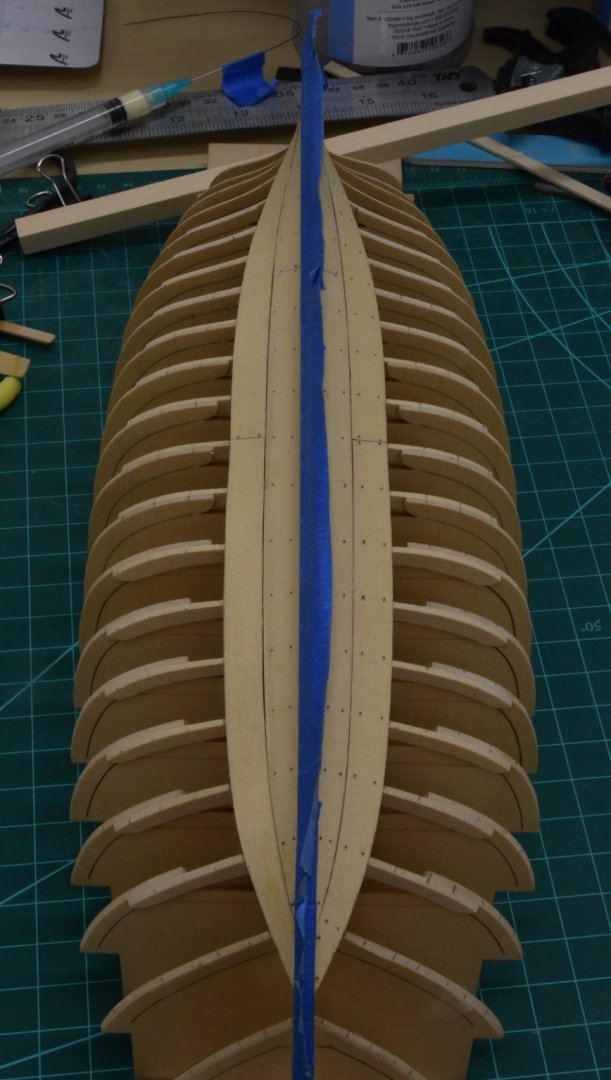
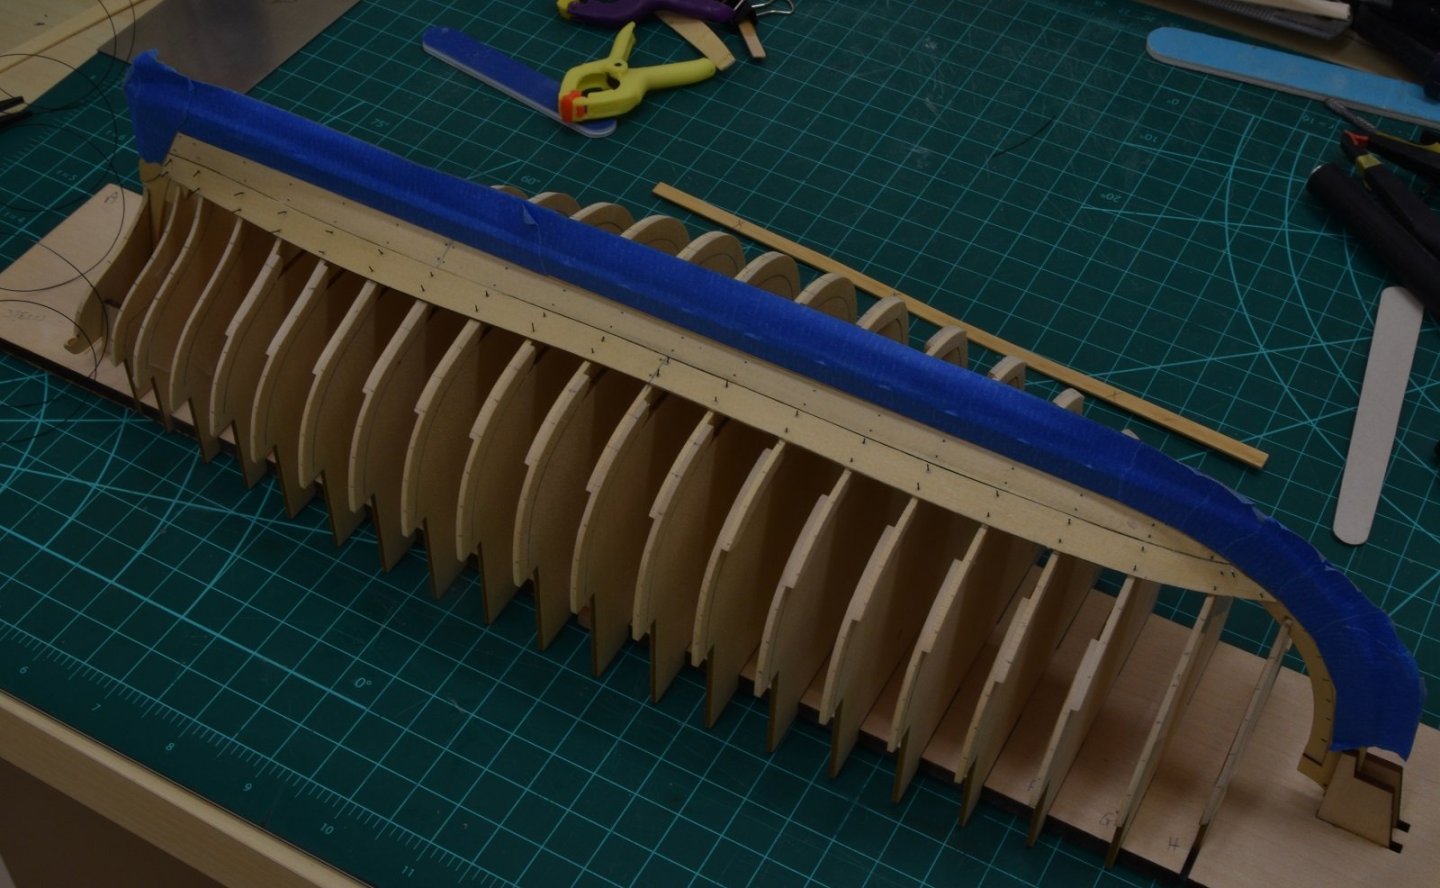
It's amazing how fast you are progressing with this. Your water tanks look fantastic! In the closeup shot in the bow, it looks like there is some mottling or something on your iron reinforcing bands, is that just something the photo catches that the light doesn't see? How did you do your banding, it is copper or something else?
- 257 replies
-
- 2
-
-
- young america
- Finished
- (and 1 more)
-
Don't know how much better it is, I suppose as long as you can't tell it was done, the method doesn't really matter!
-
Looks good, but I would use a lot of caution with electrical tape. It is prone to leaving a very sticky residue which is difficult to remove especially as it ages or is exposed to heat.
-
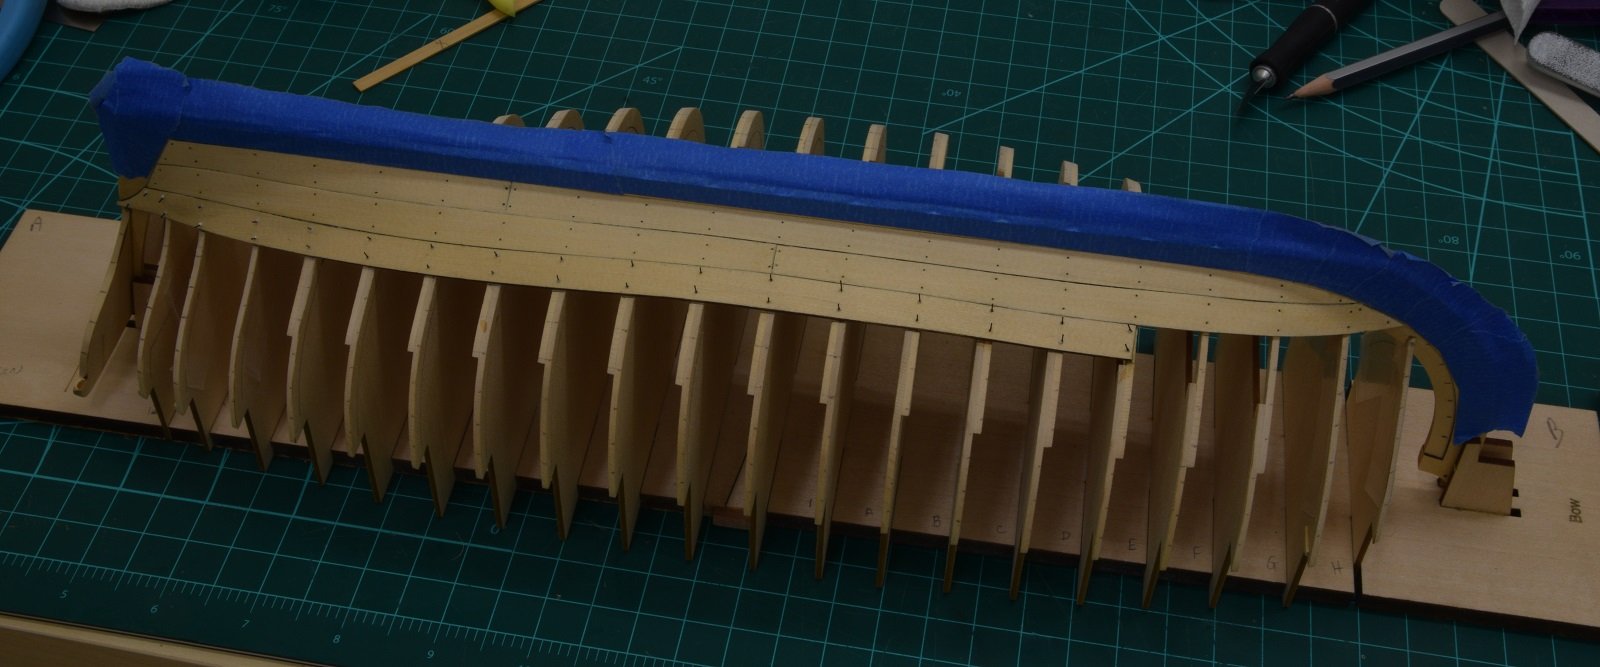
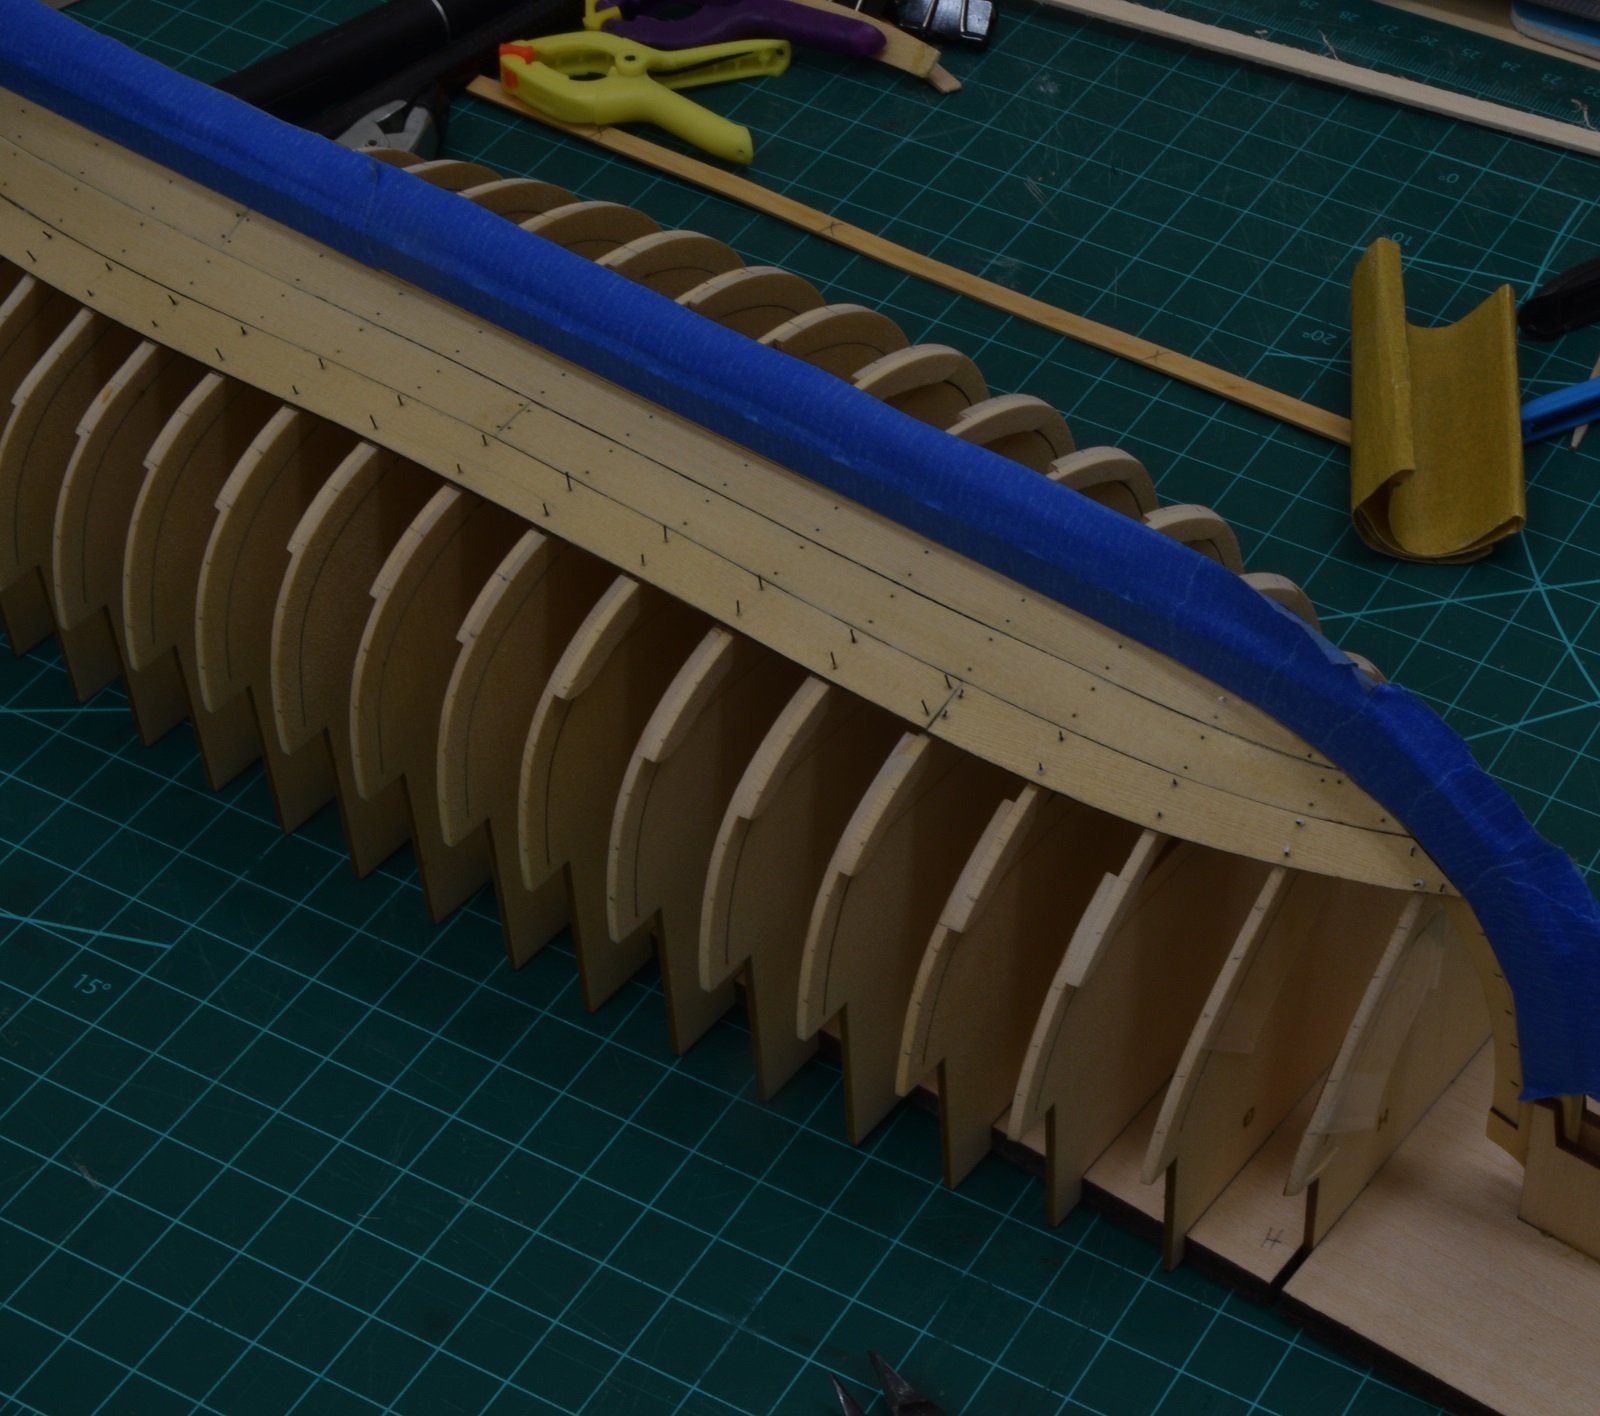
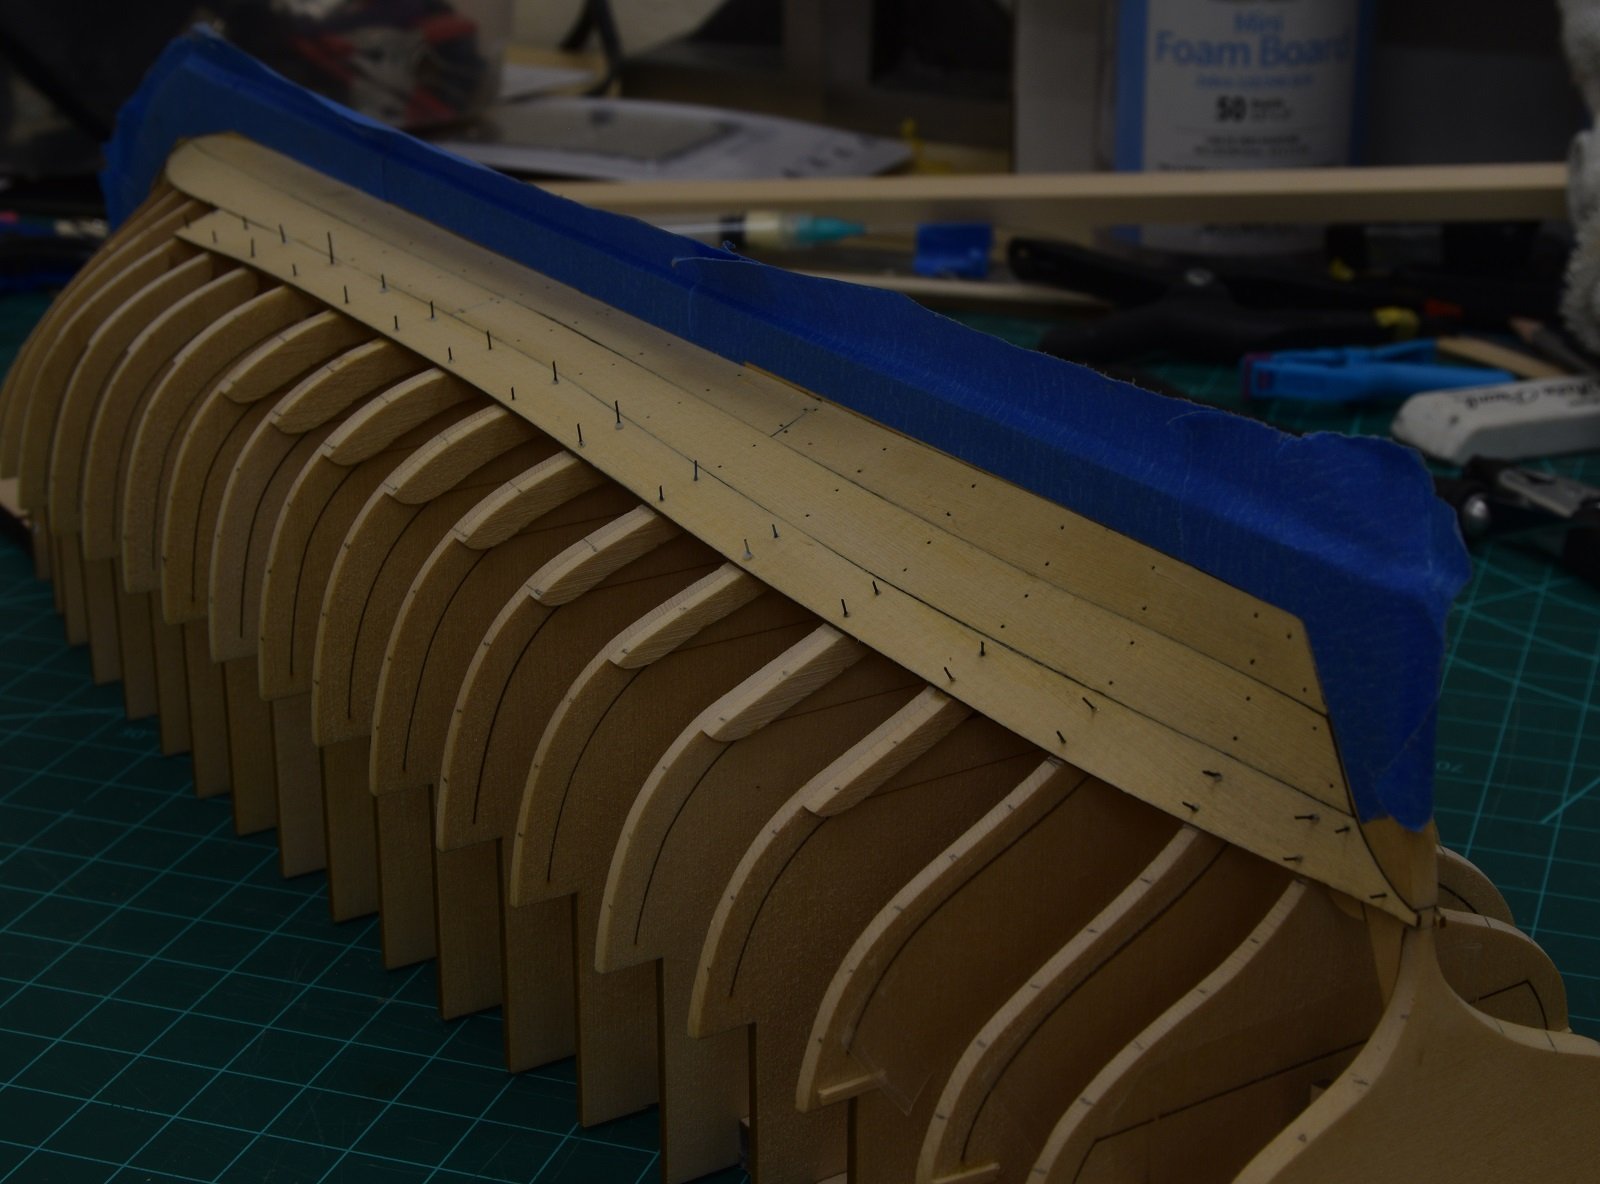
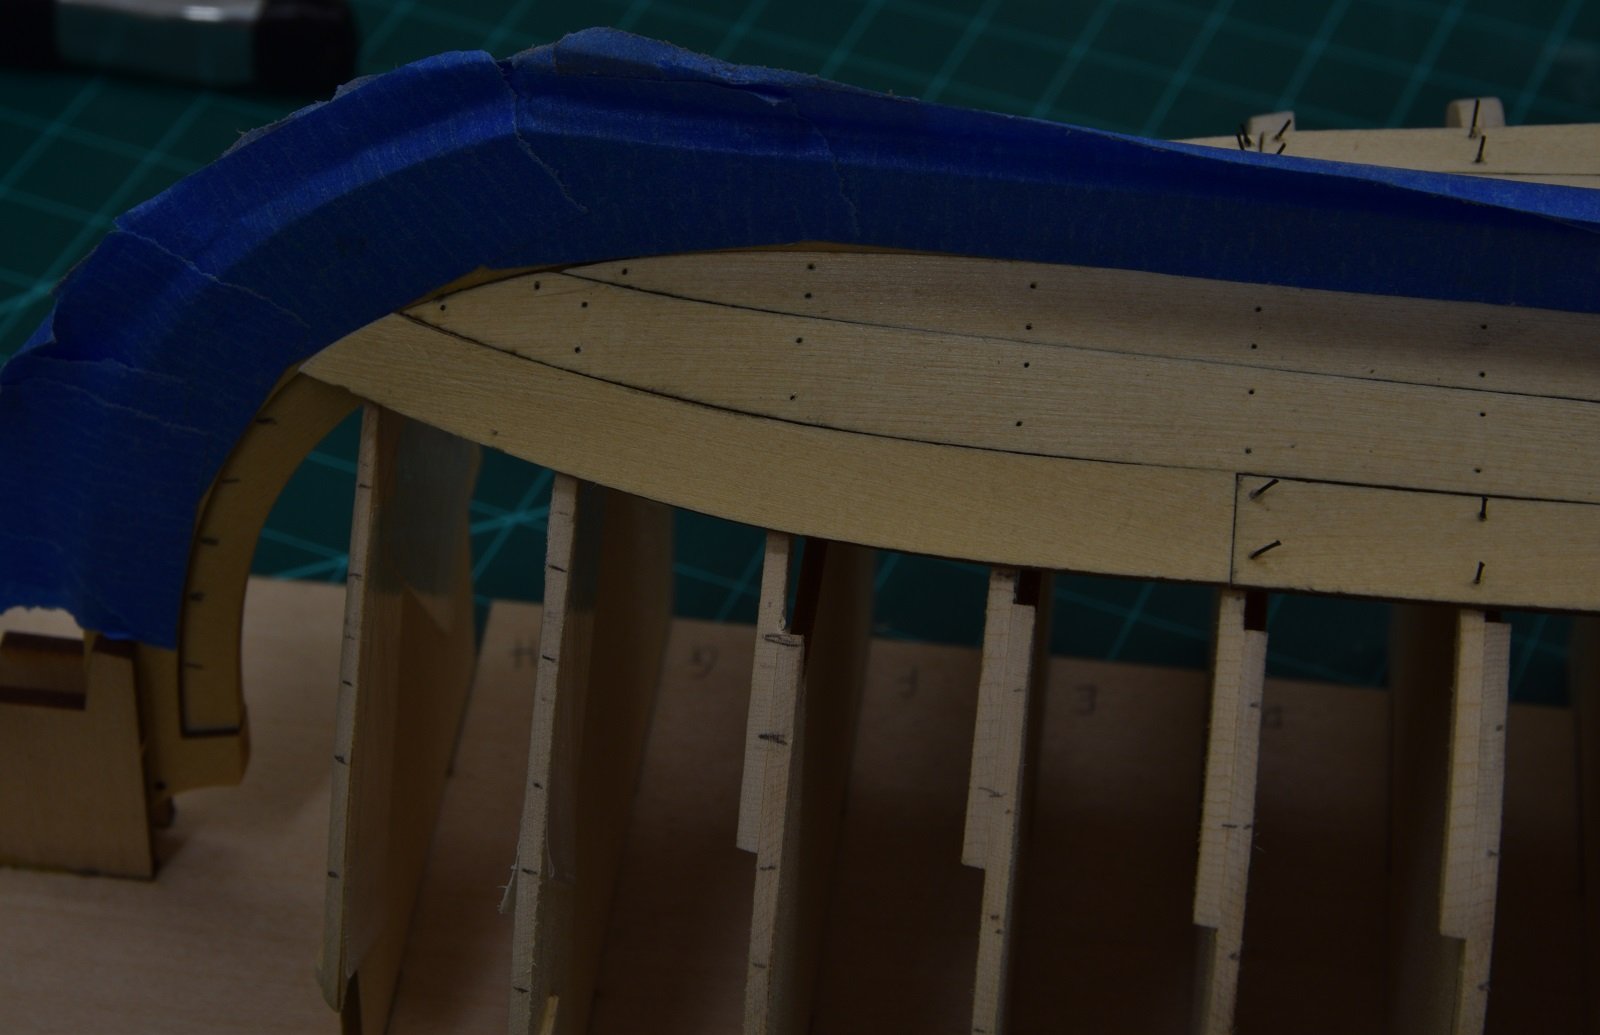
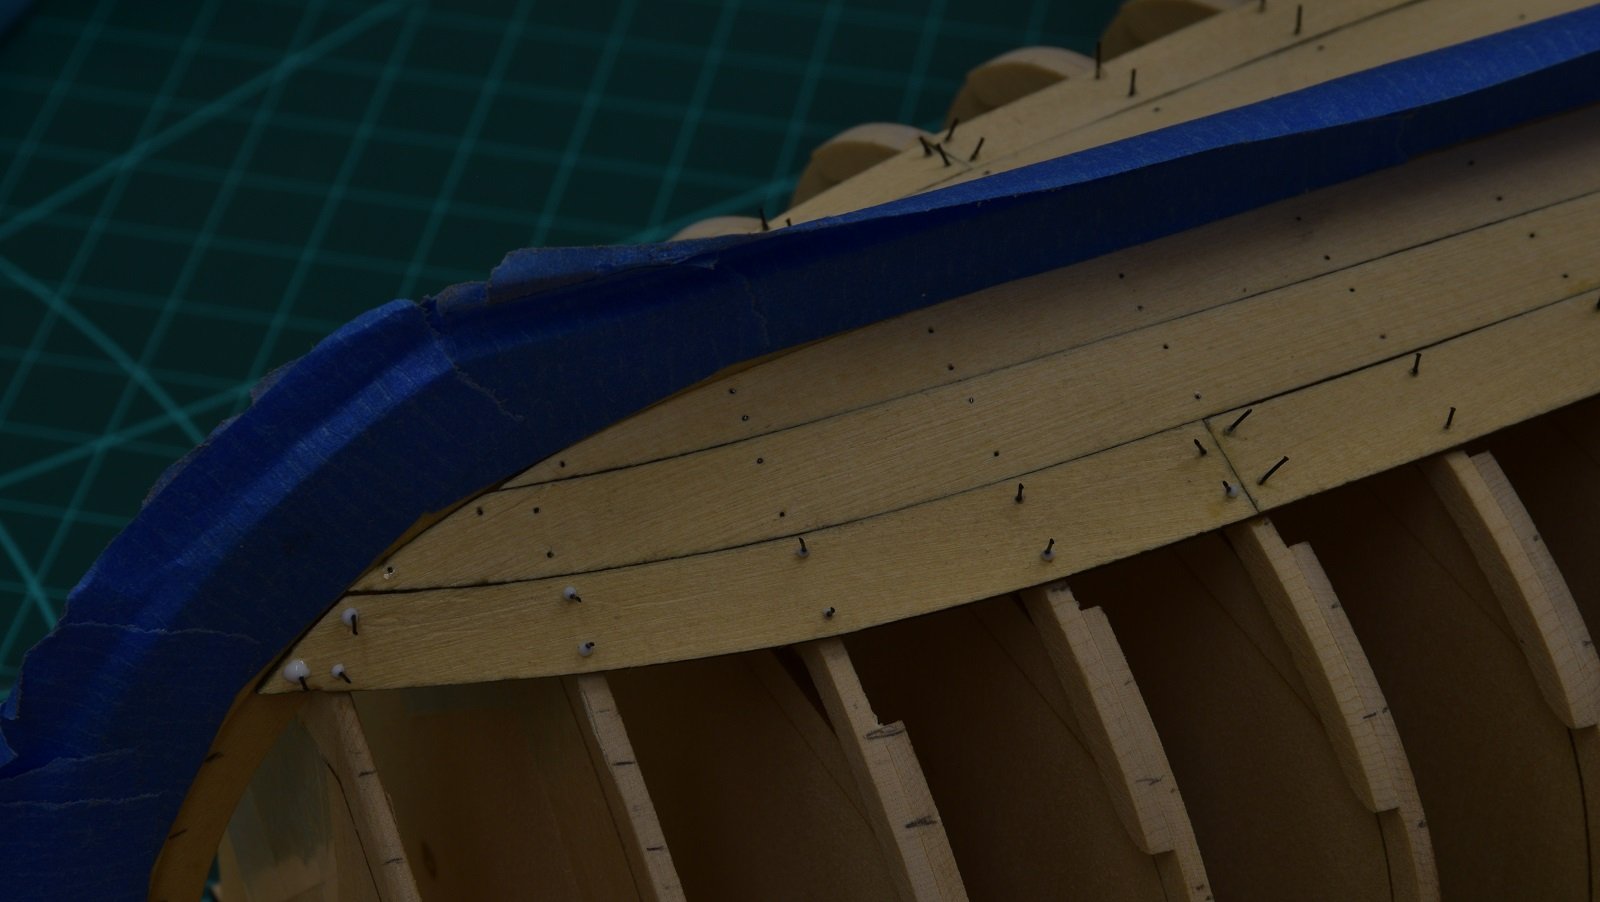
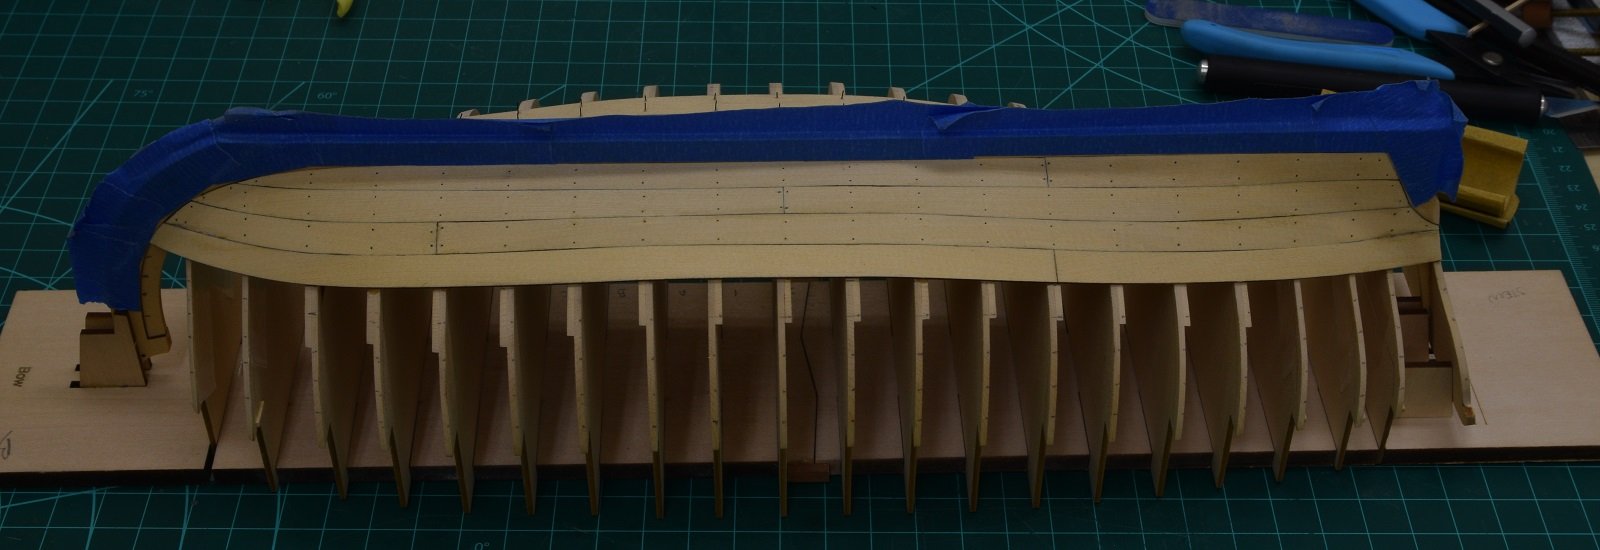
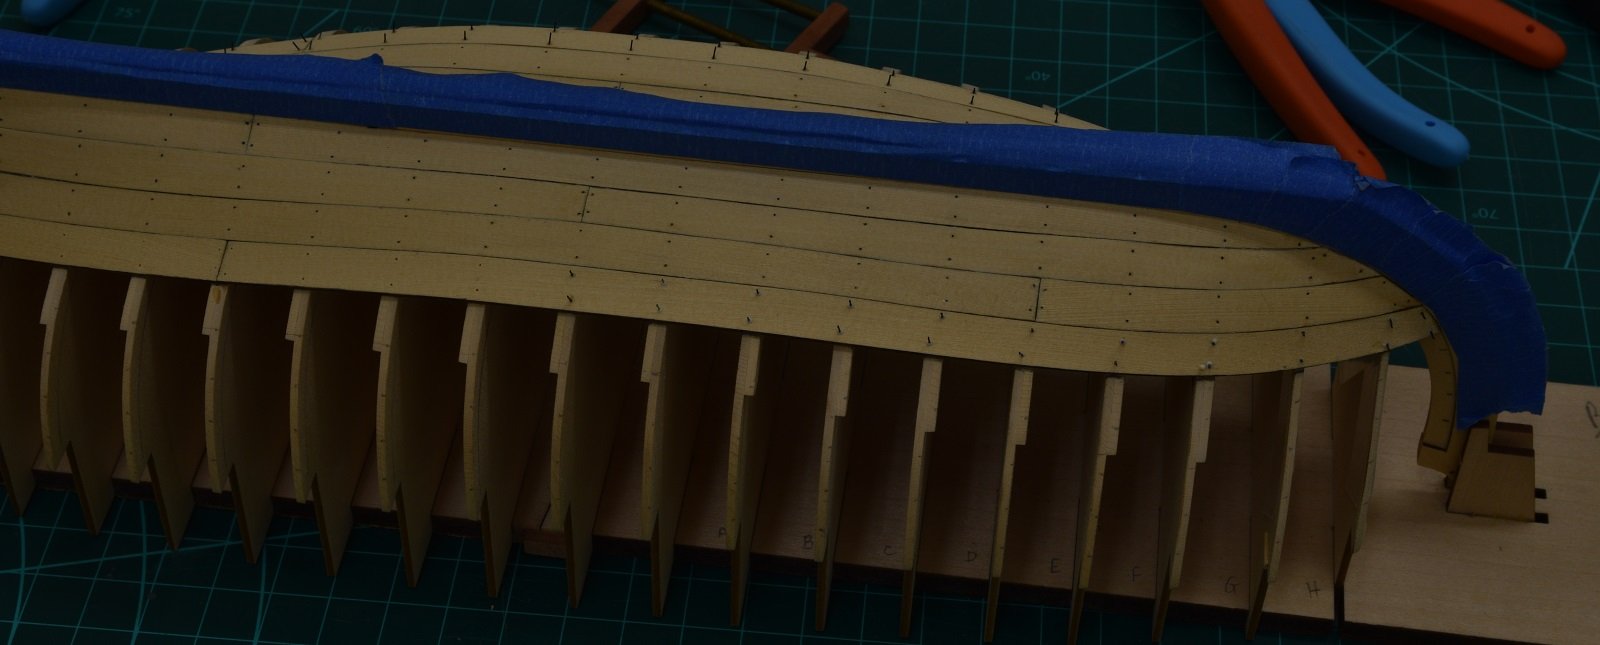
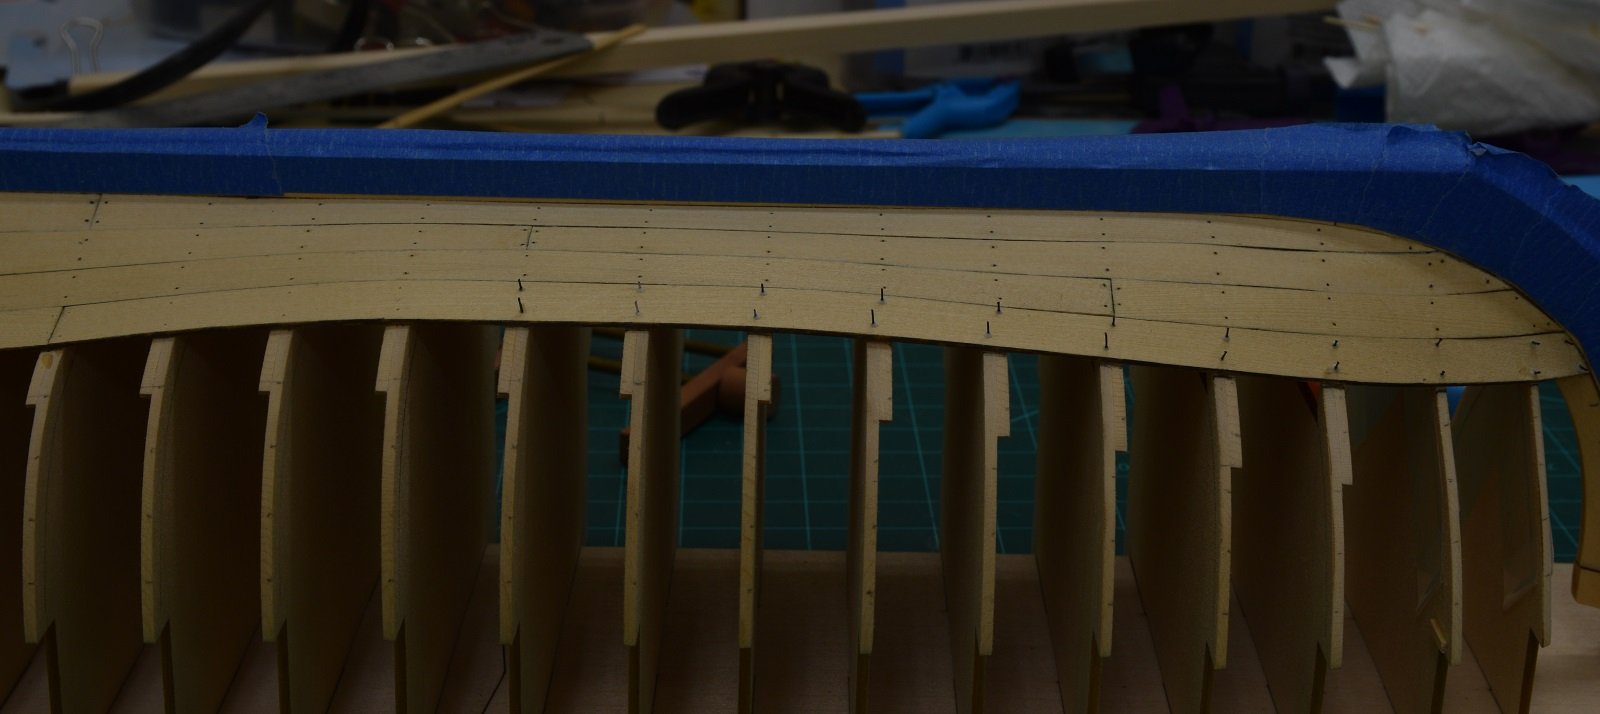
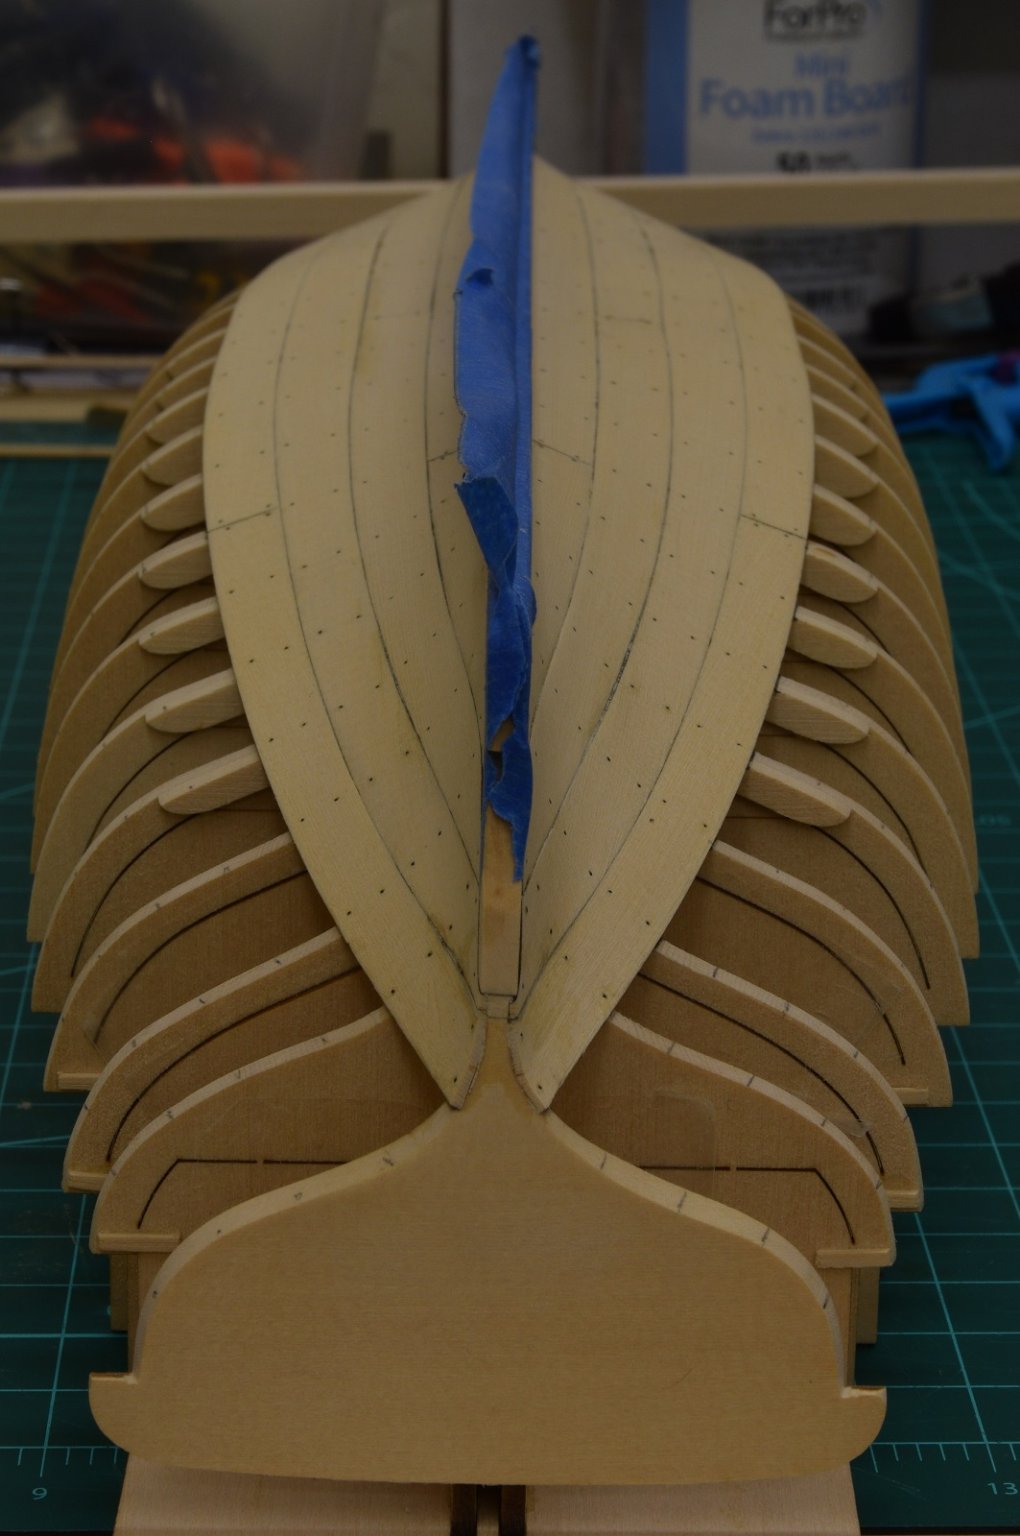
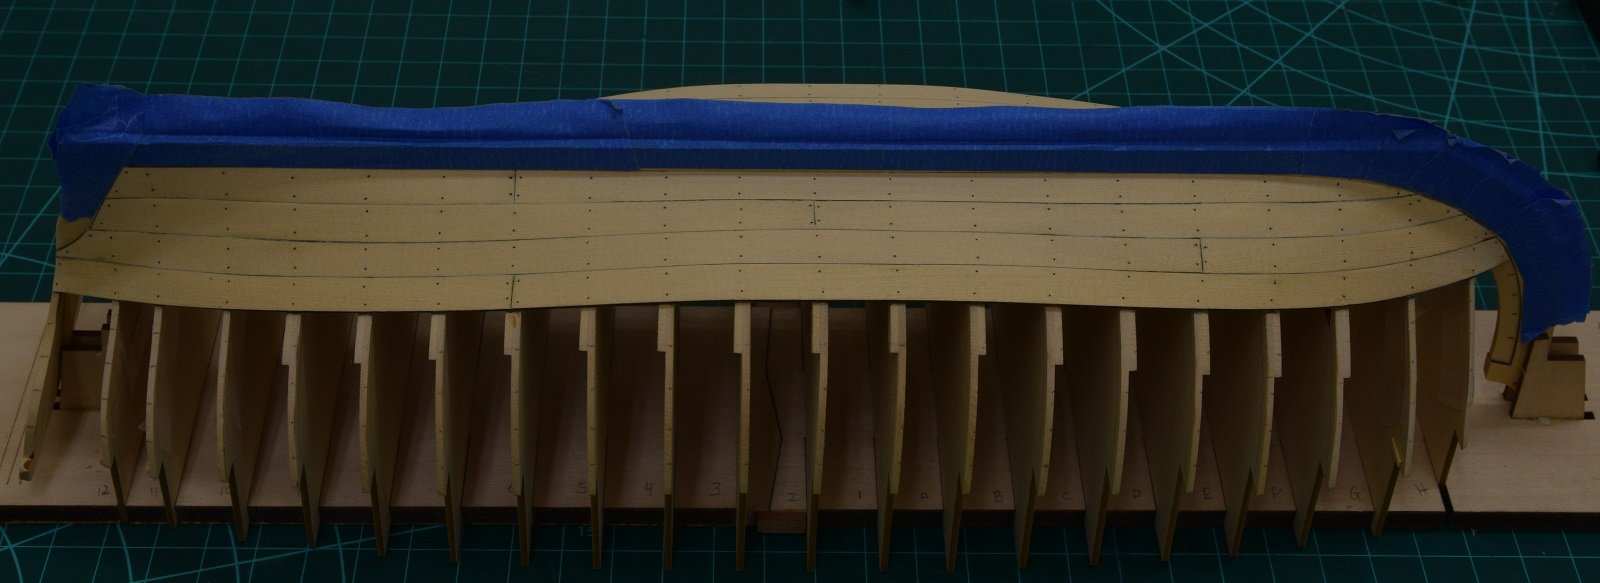
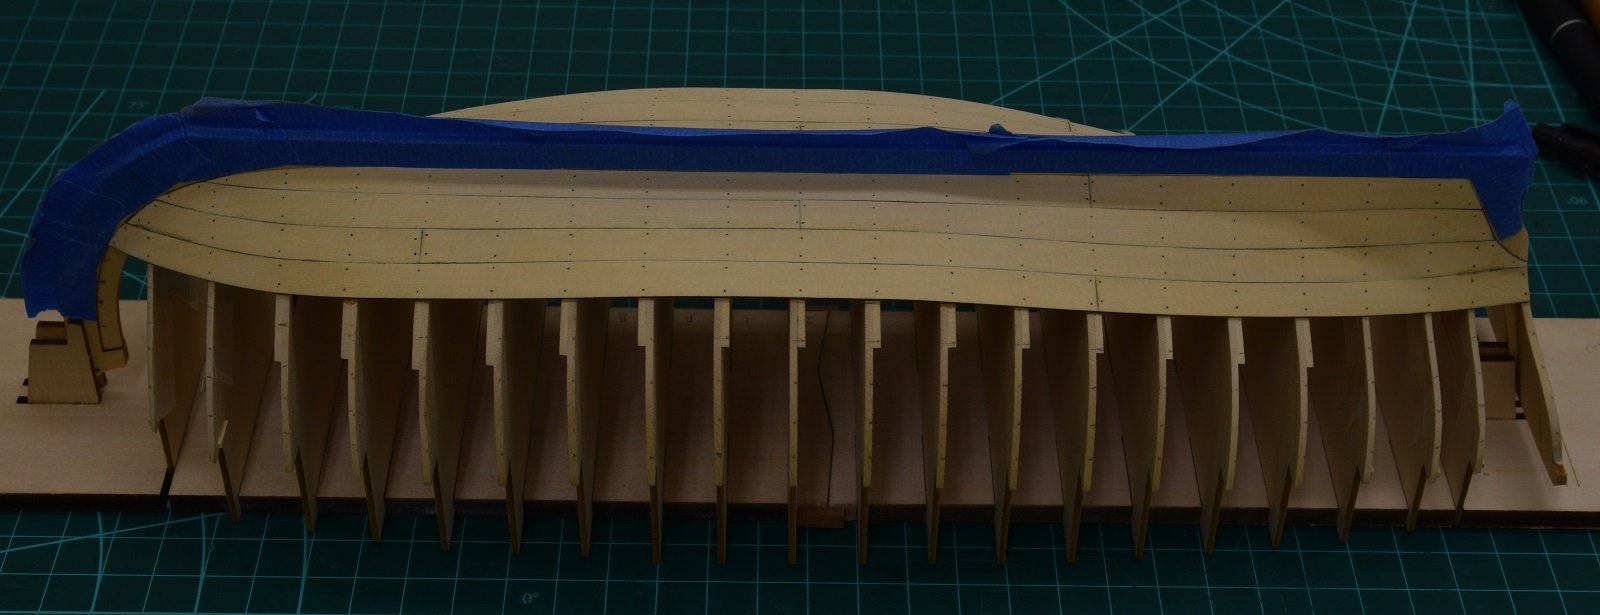
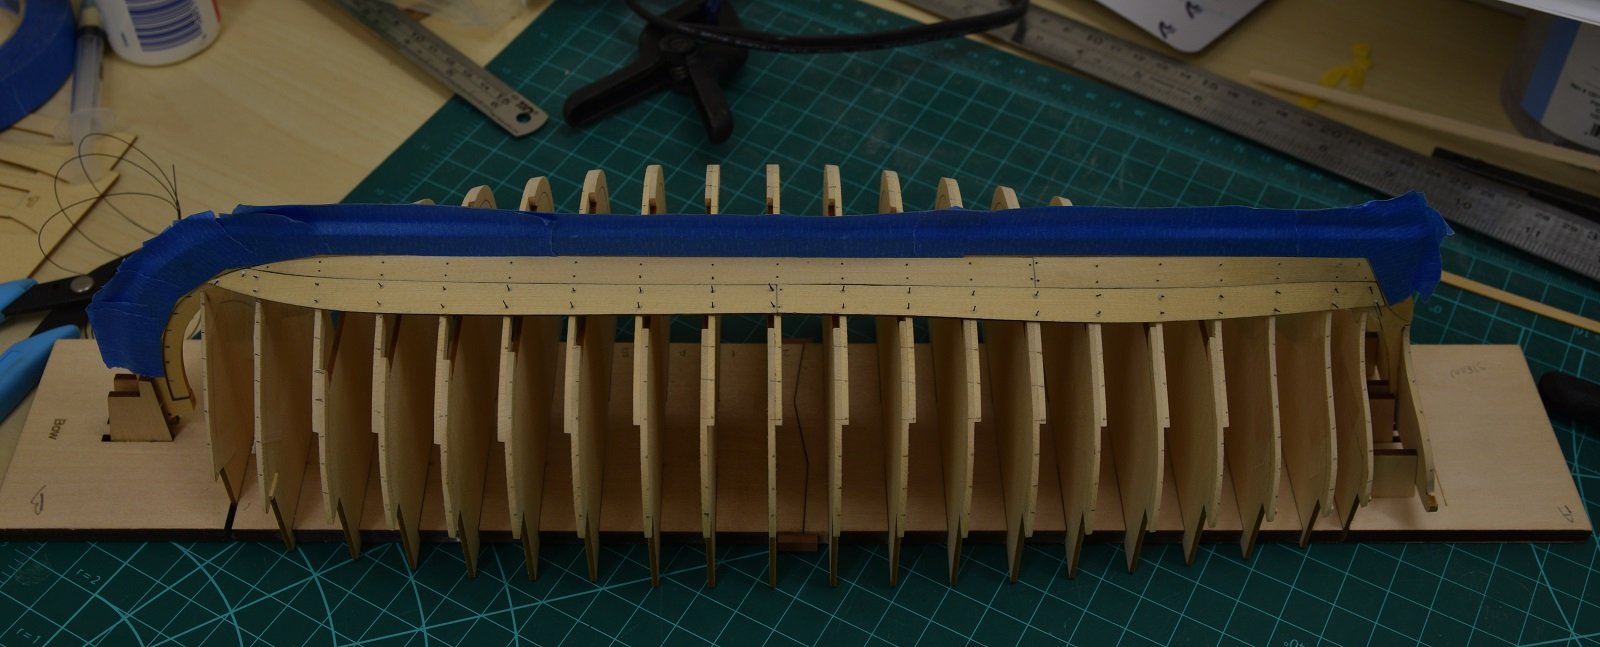
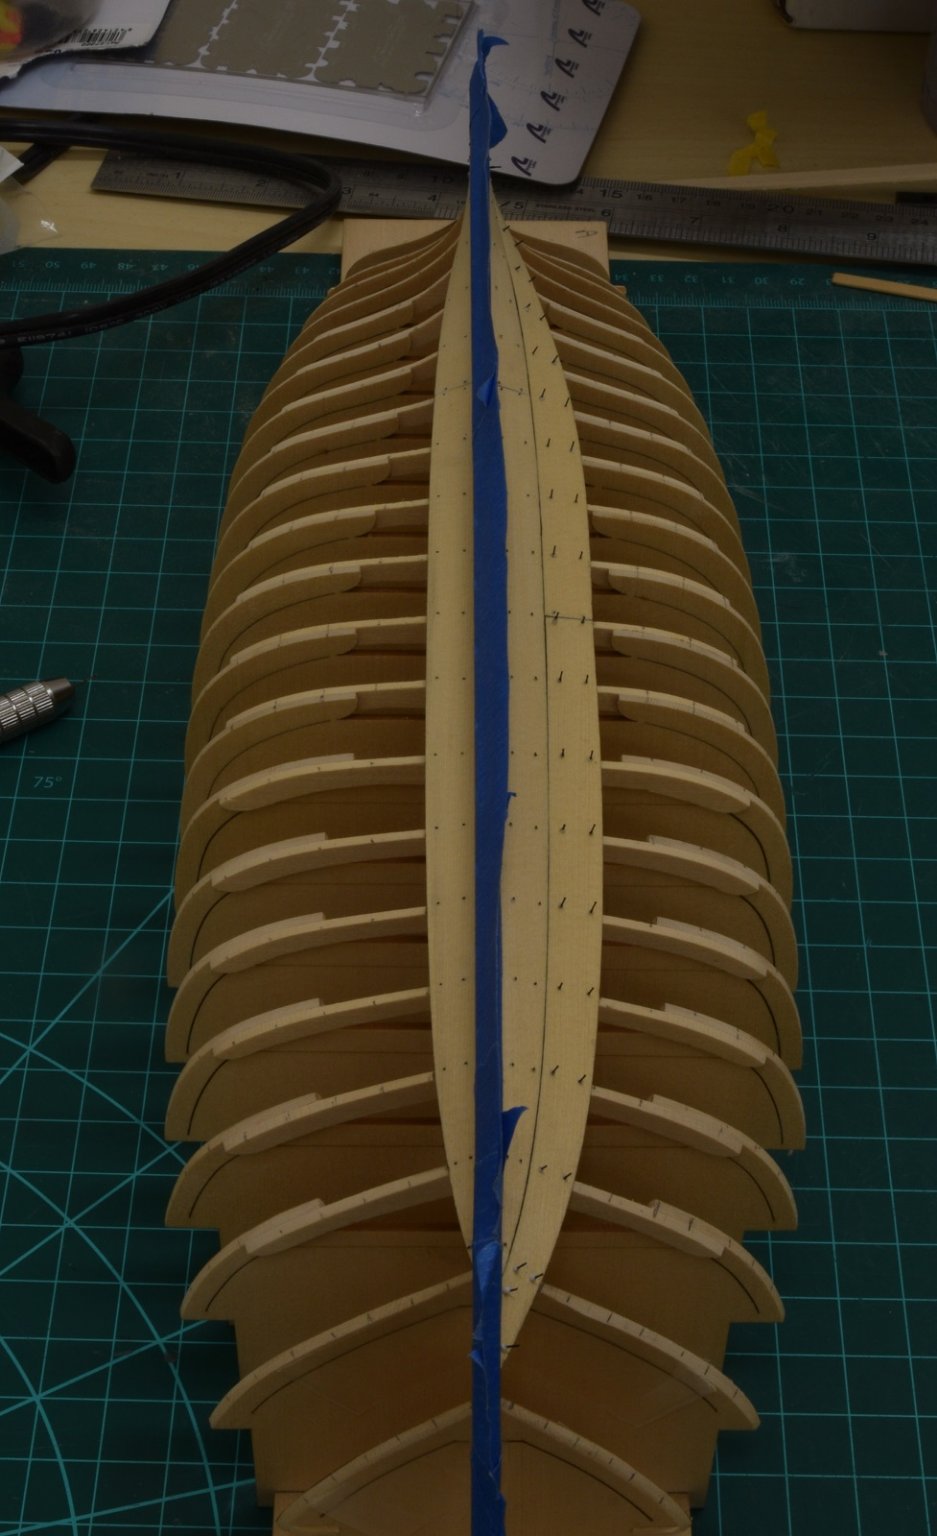
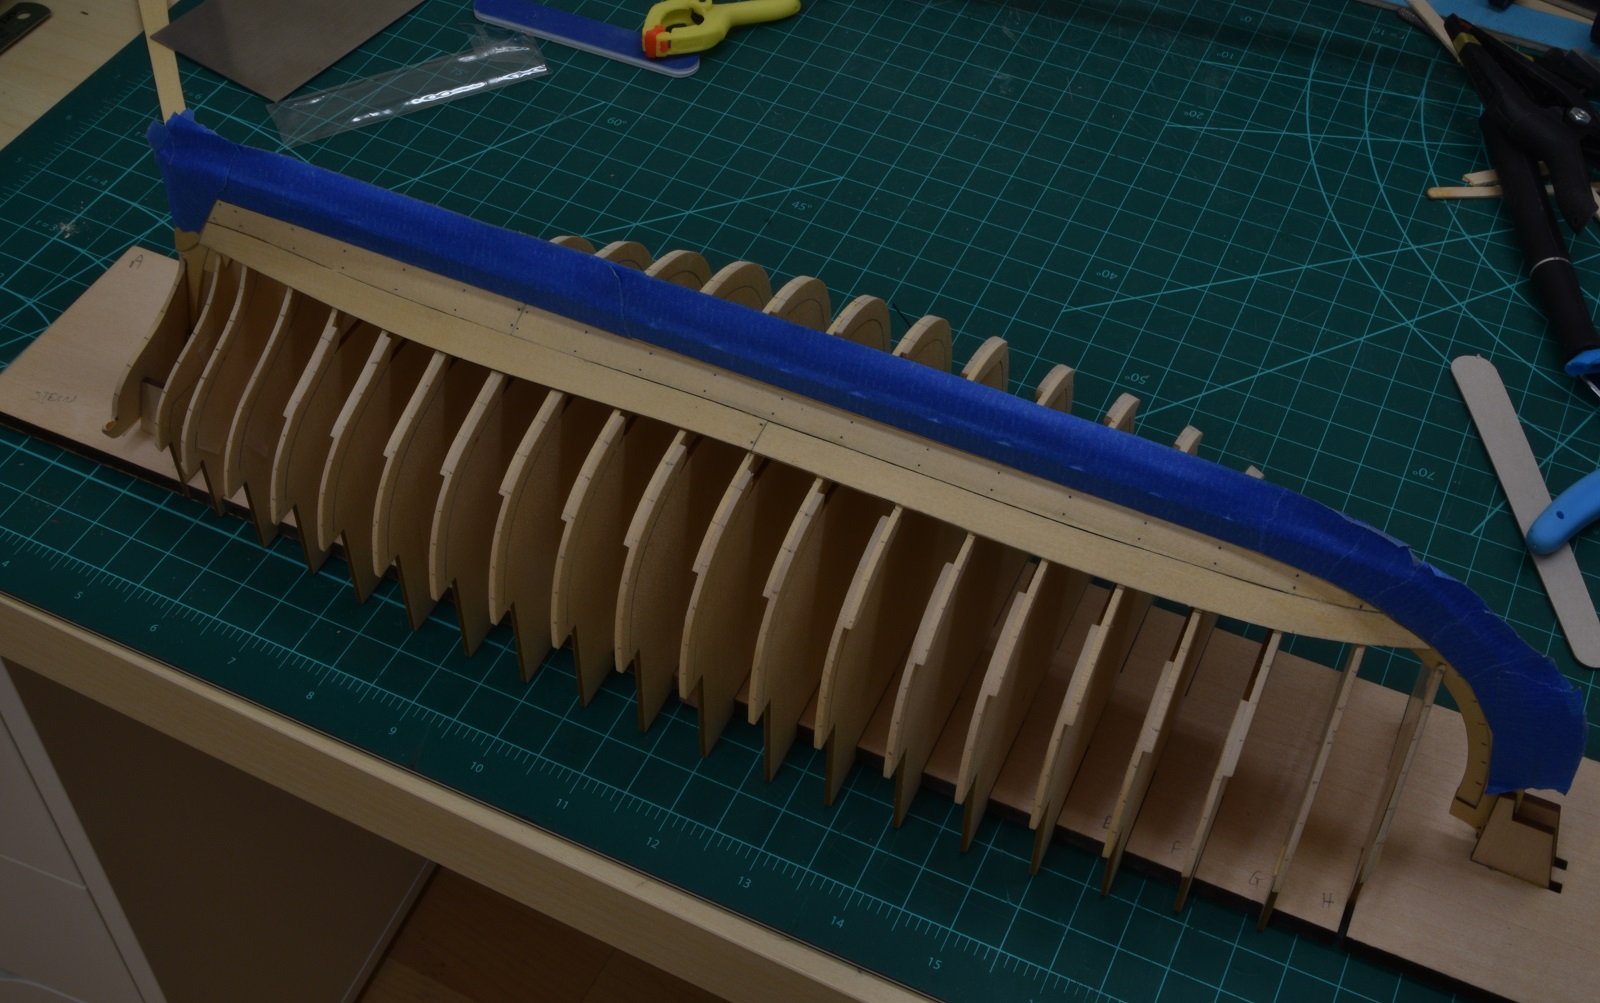
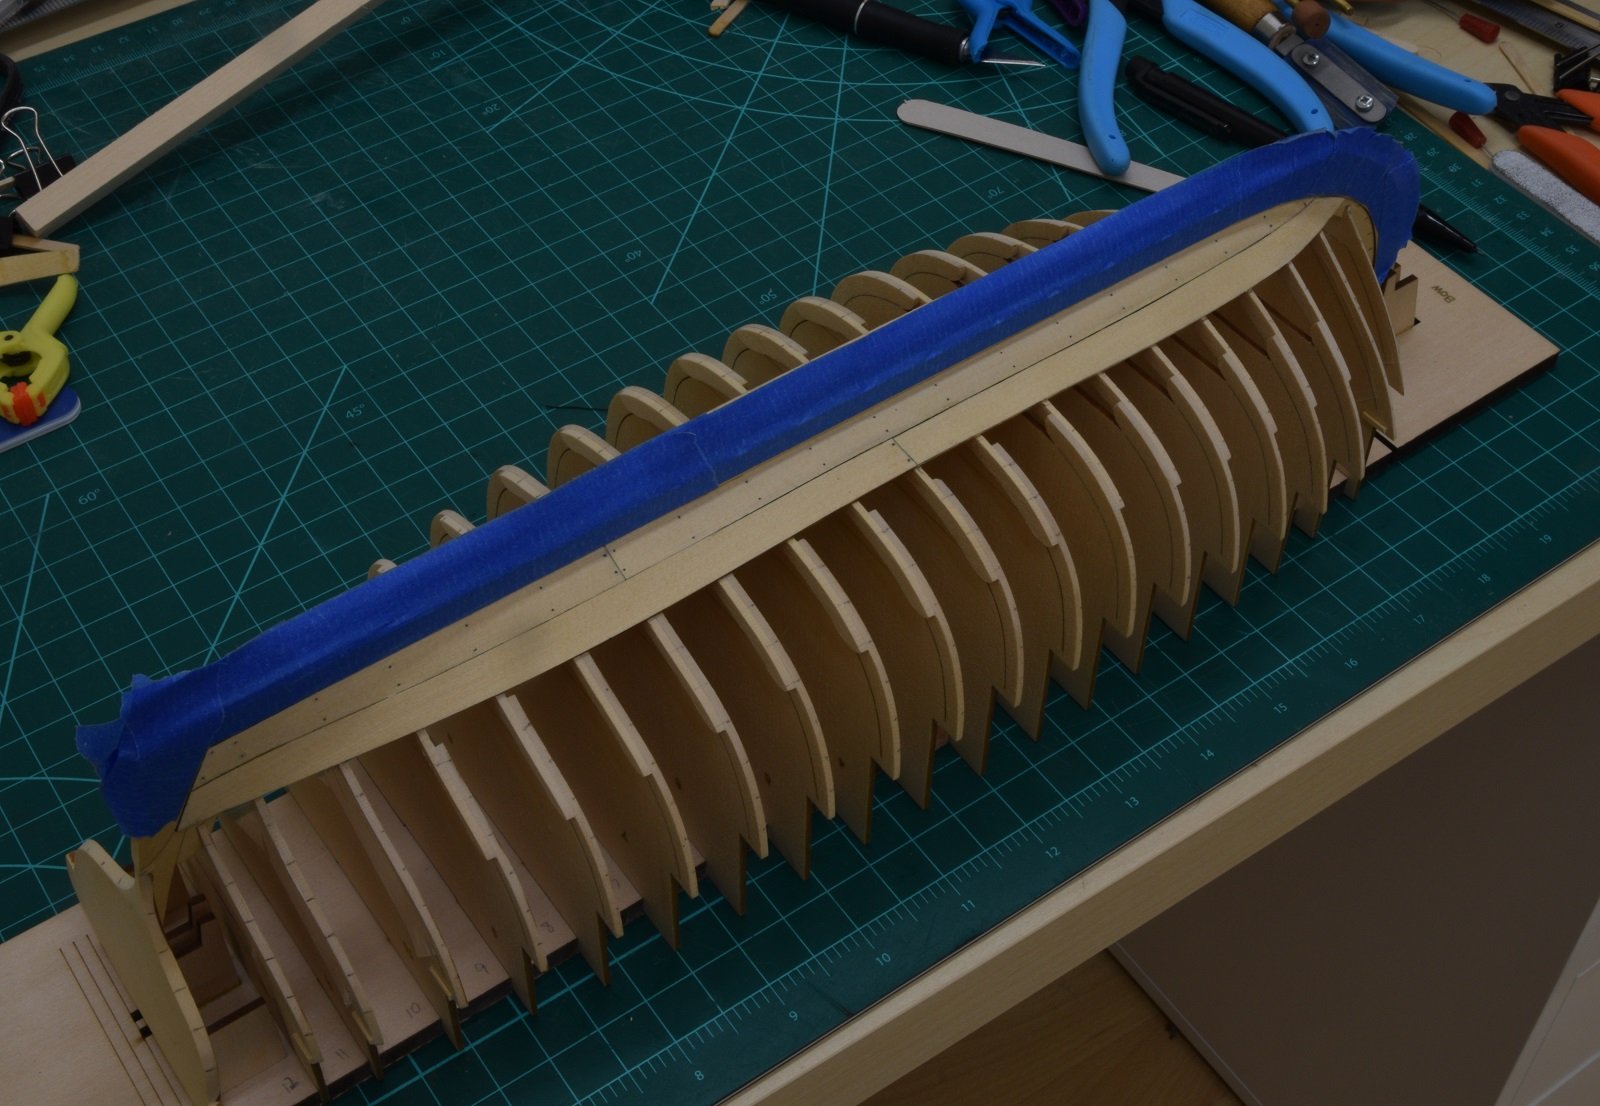
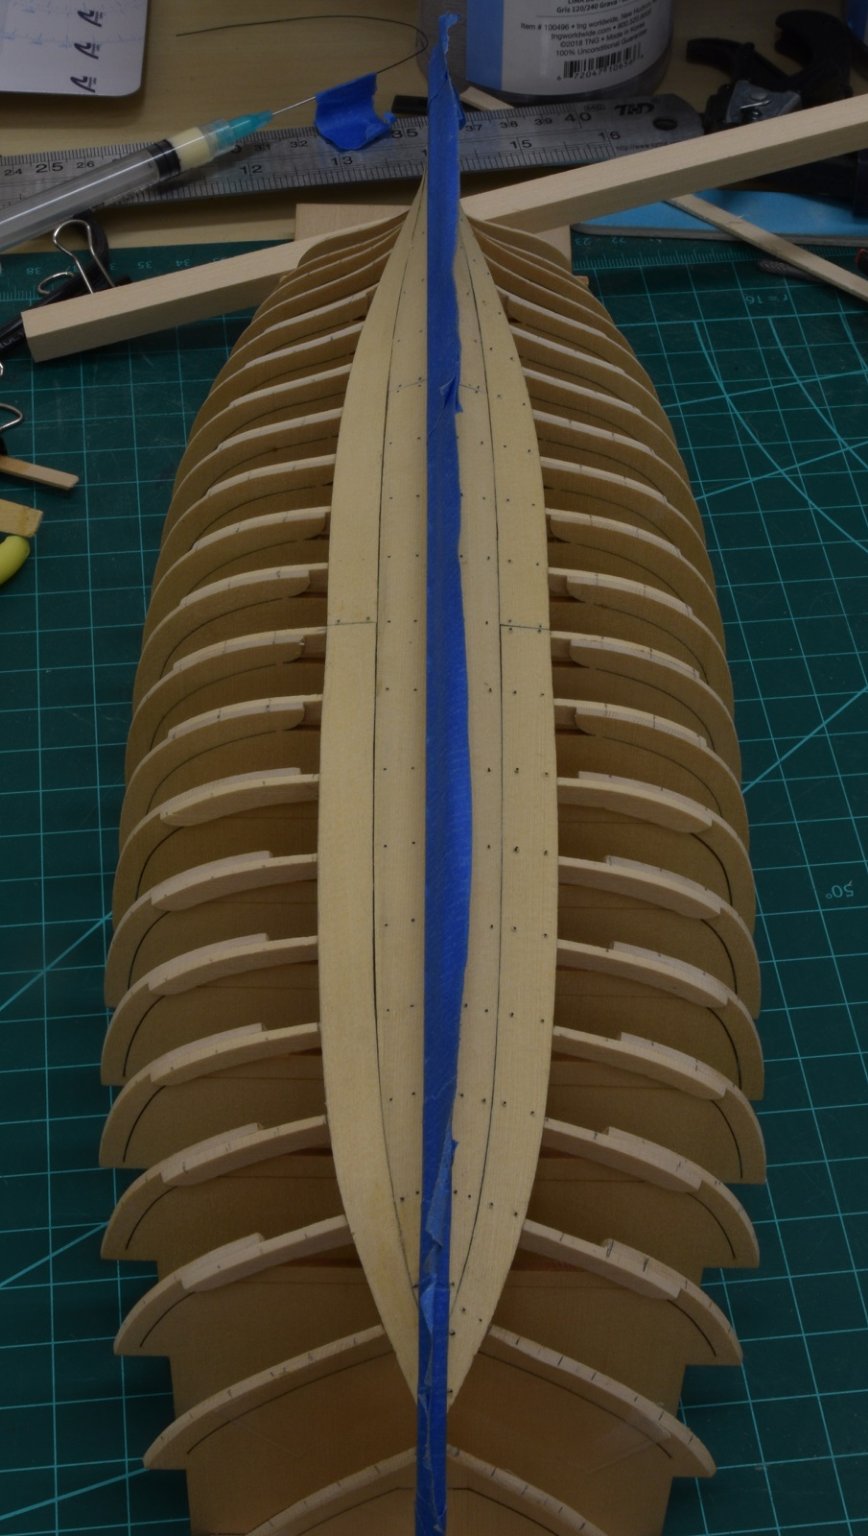
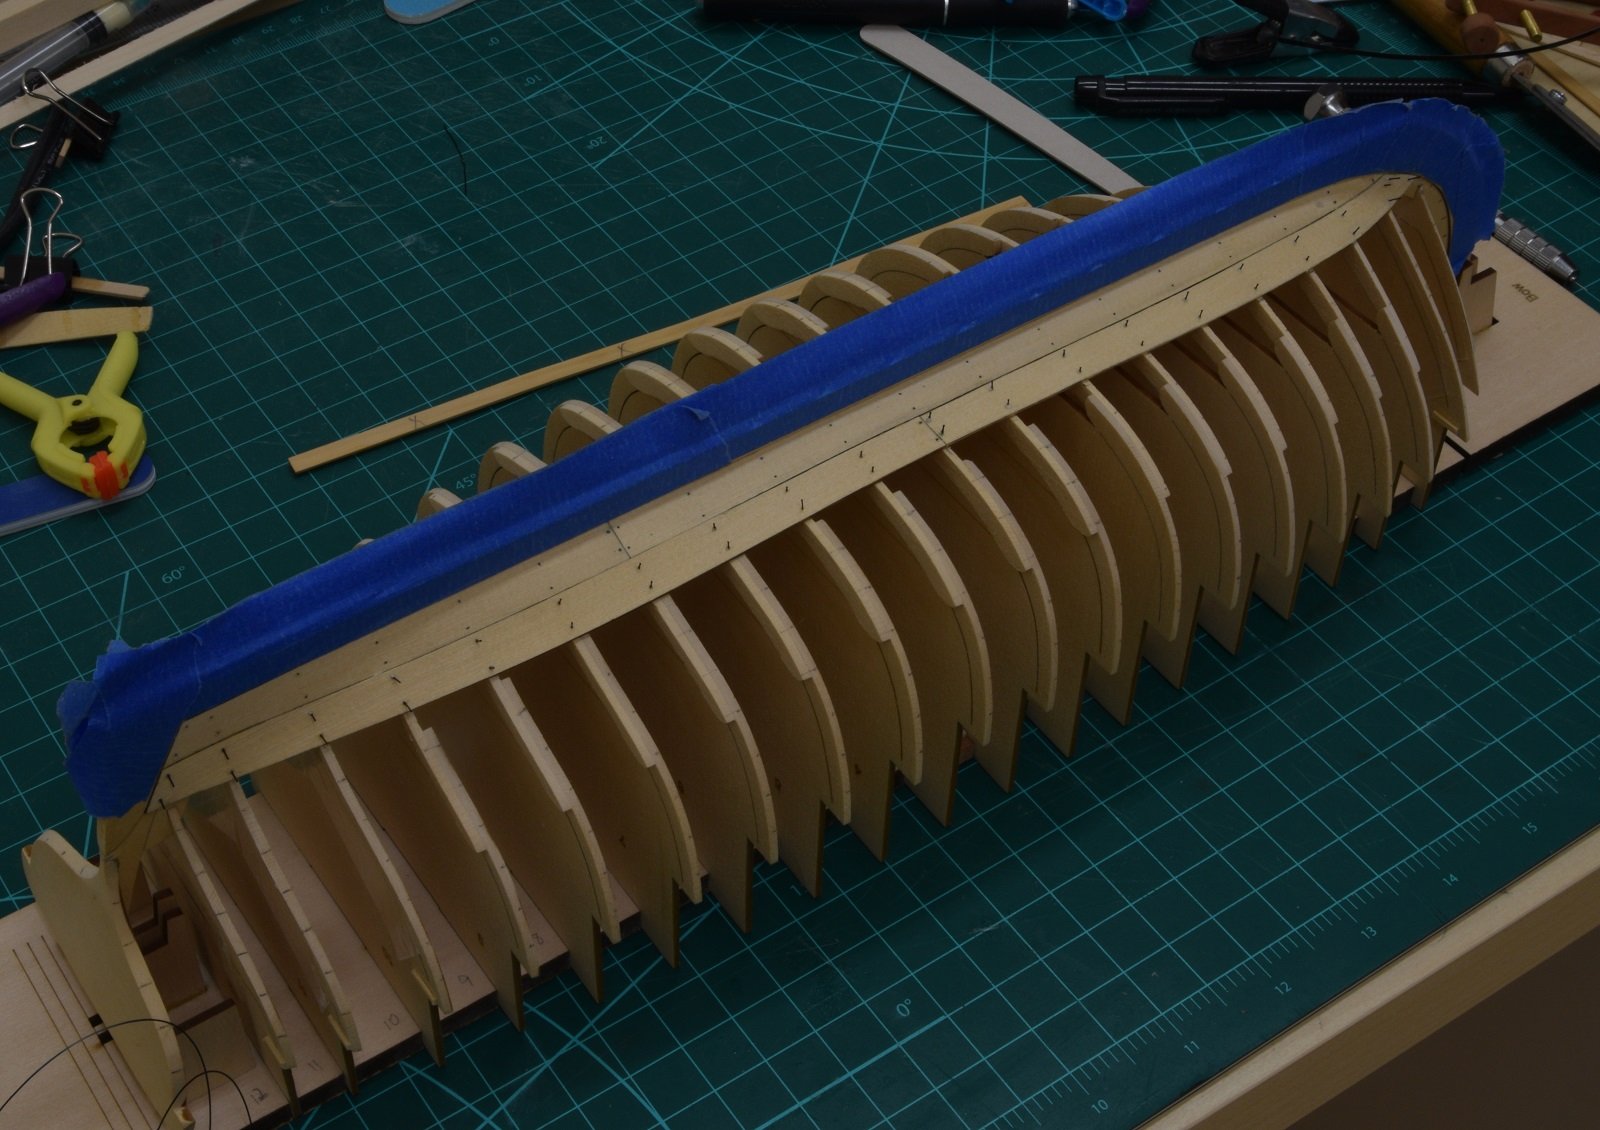
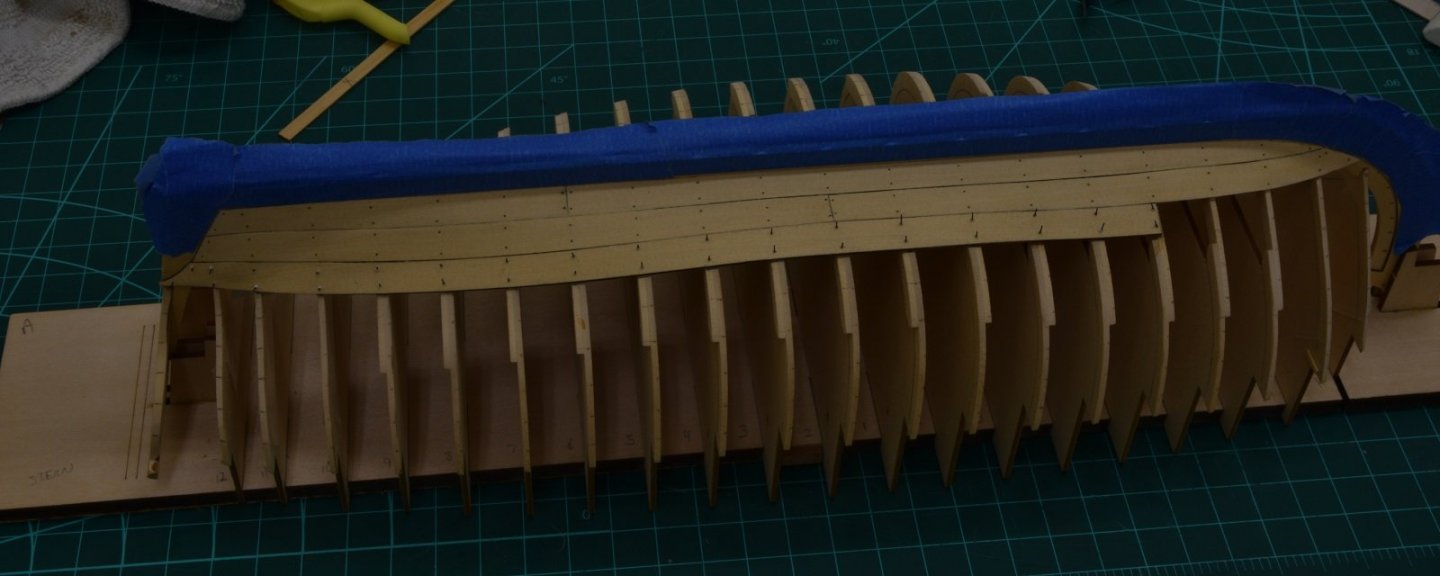
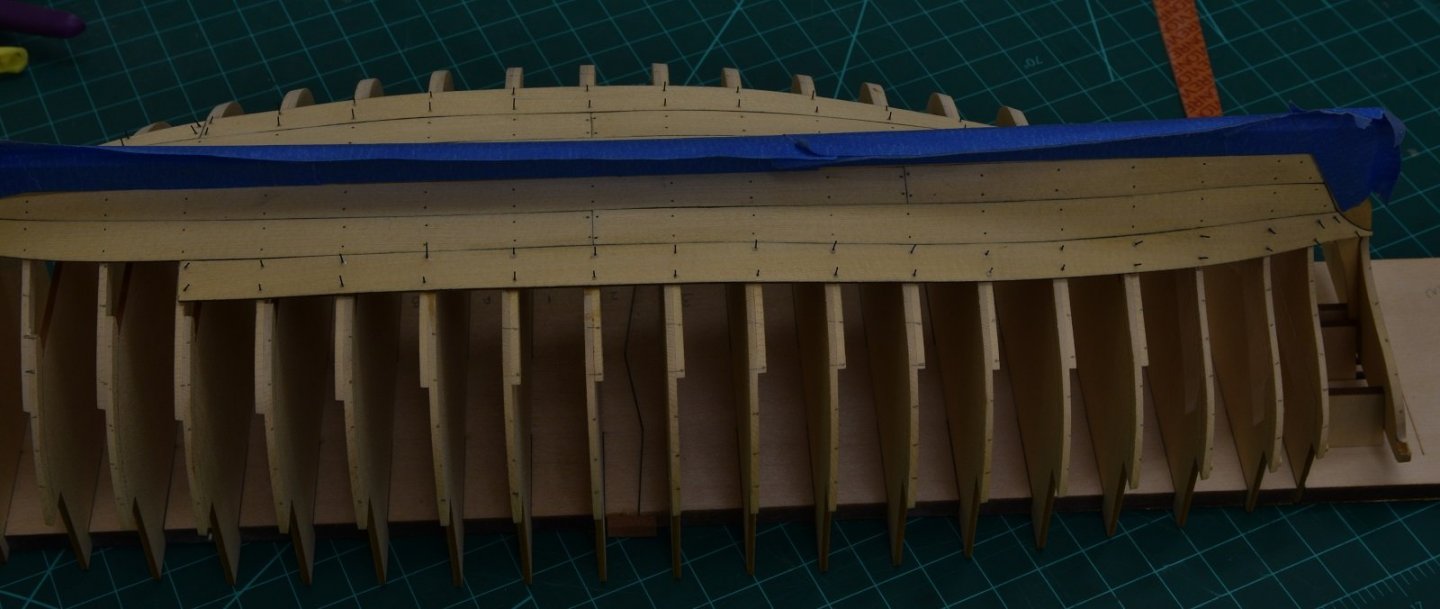
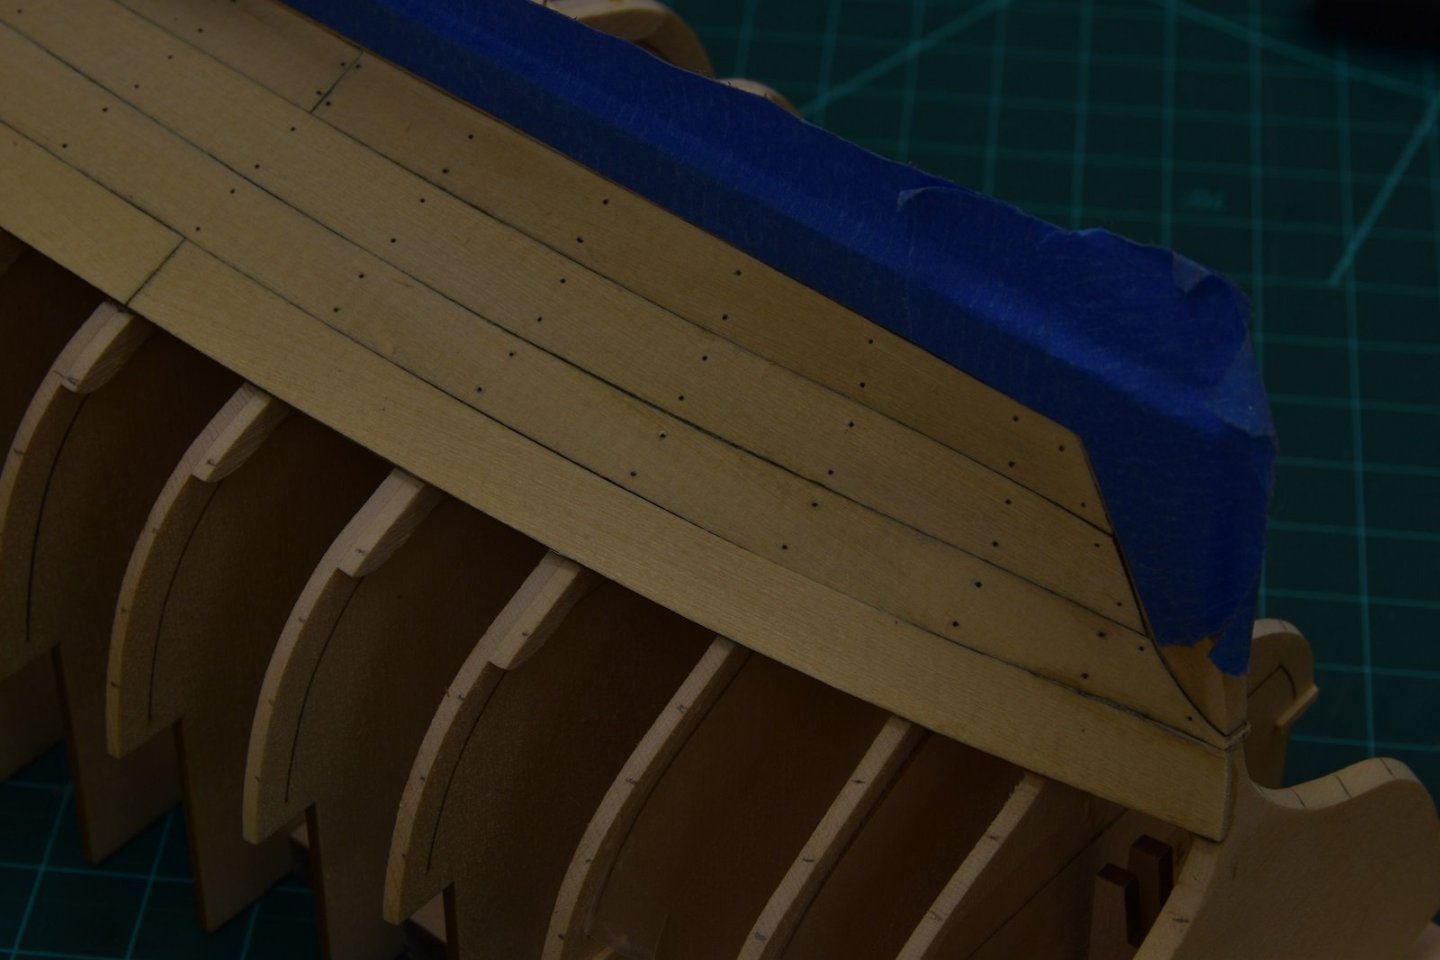
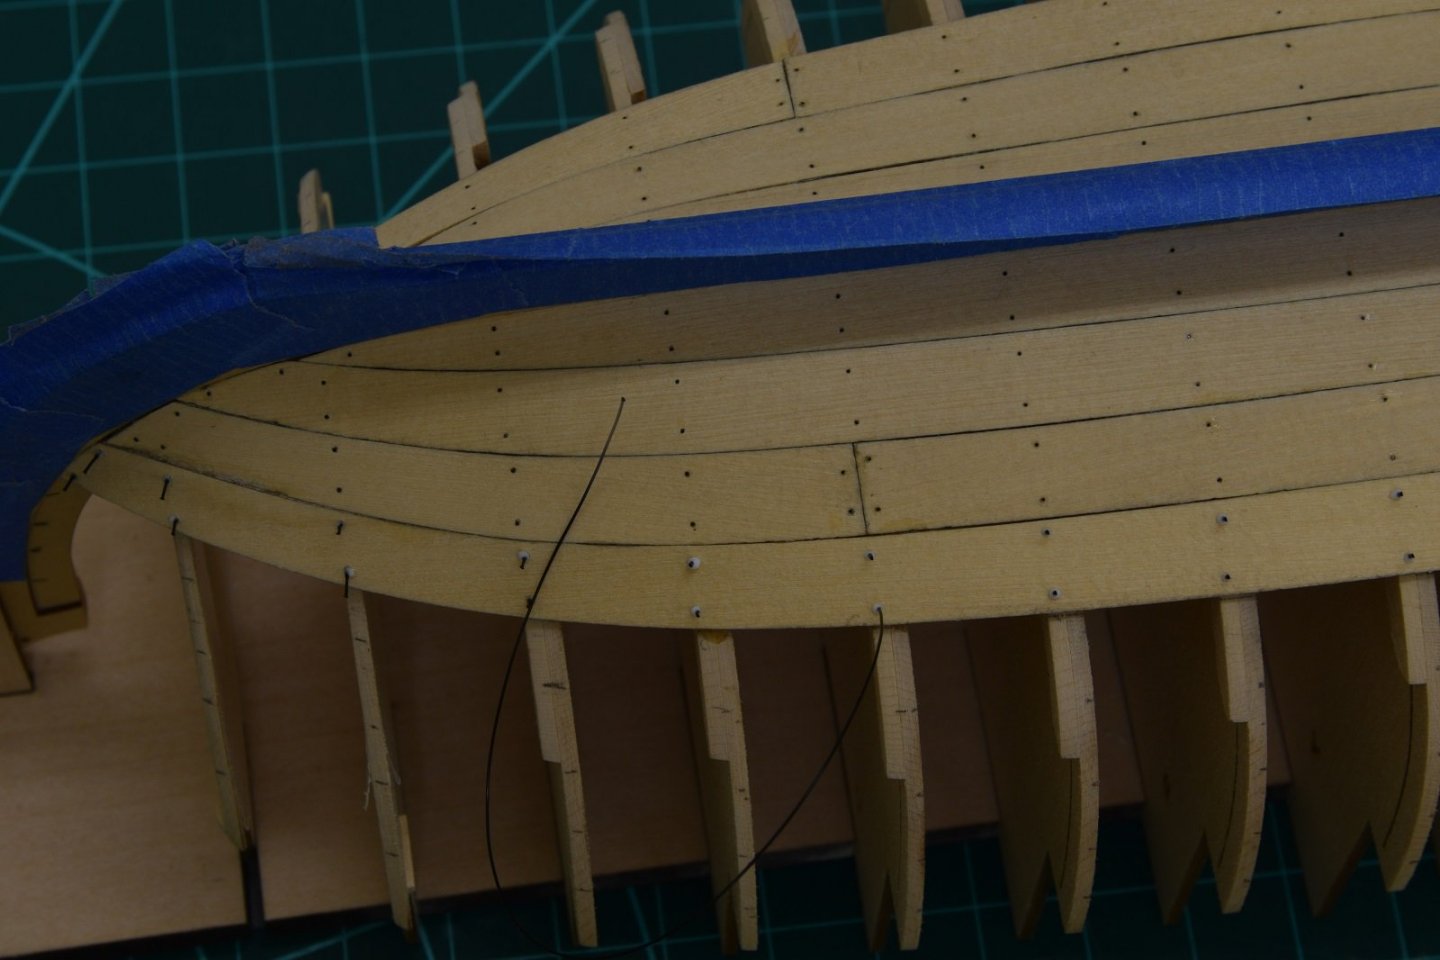
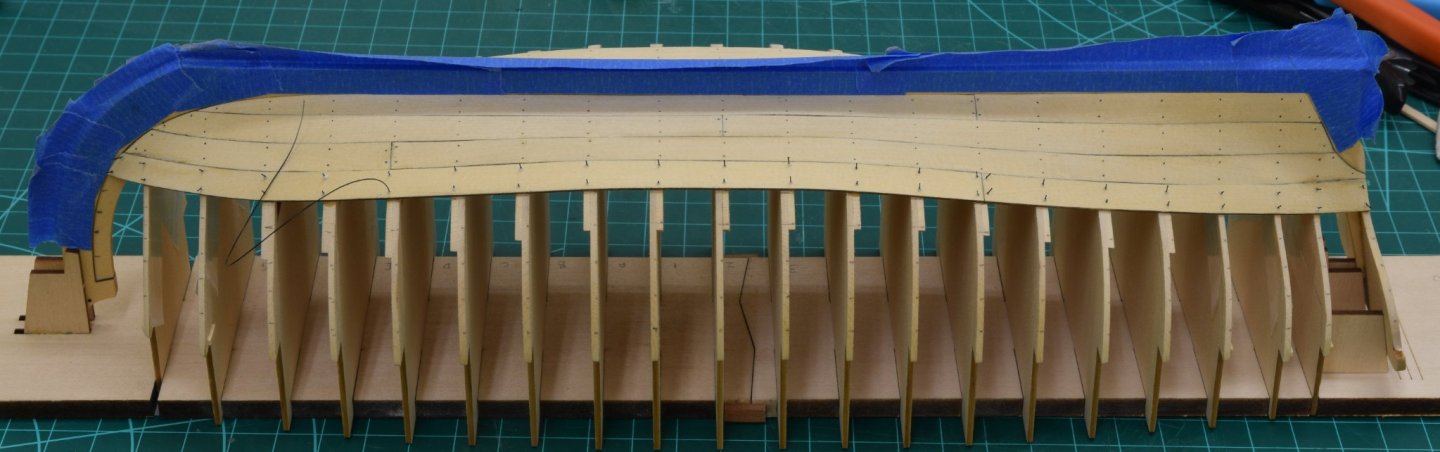
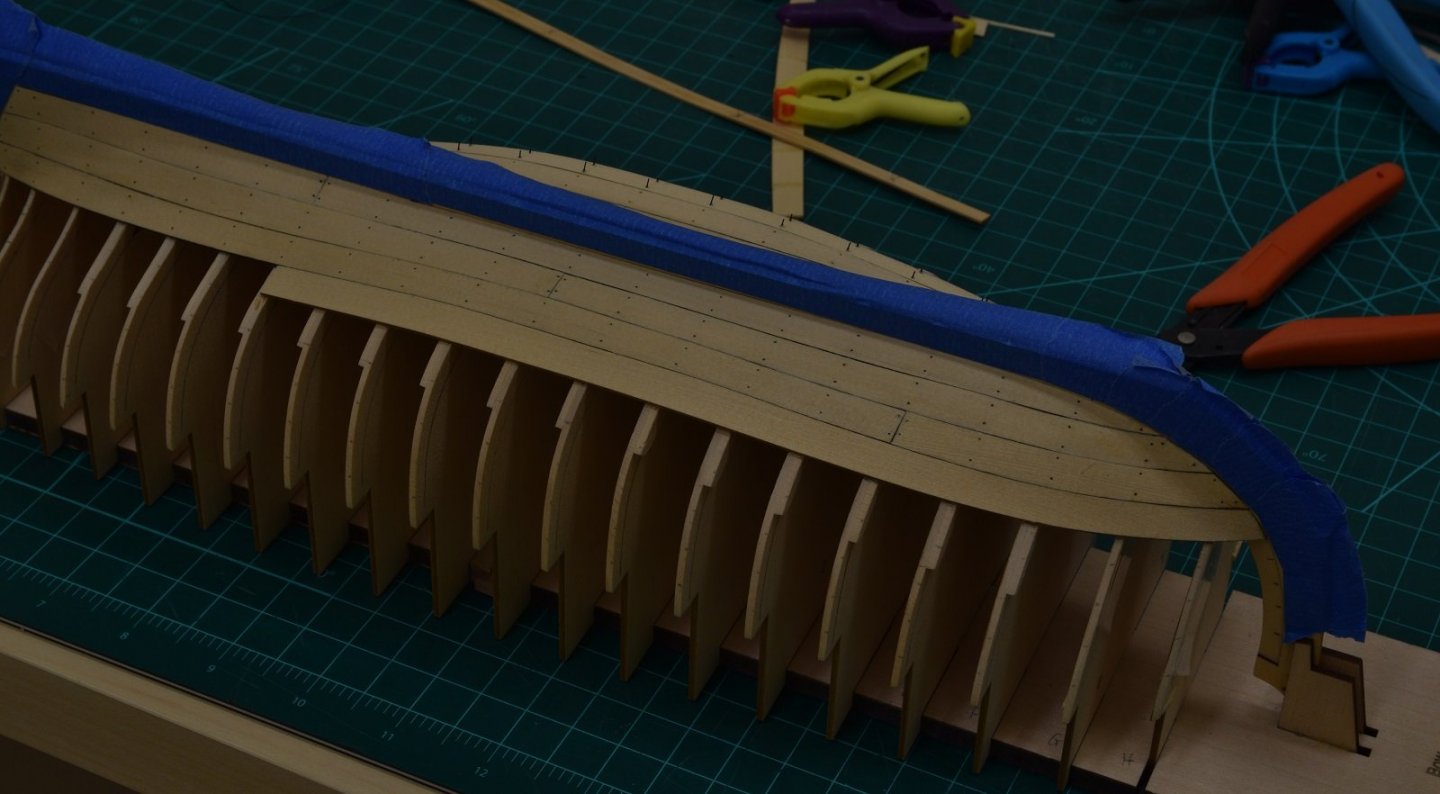
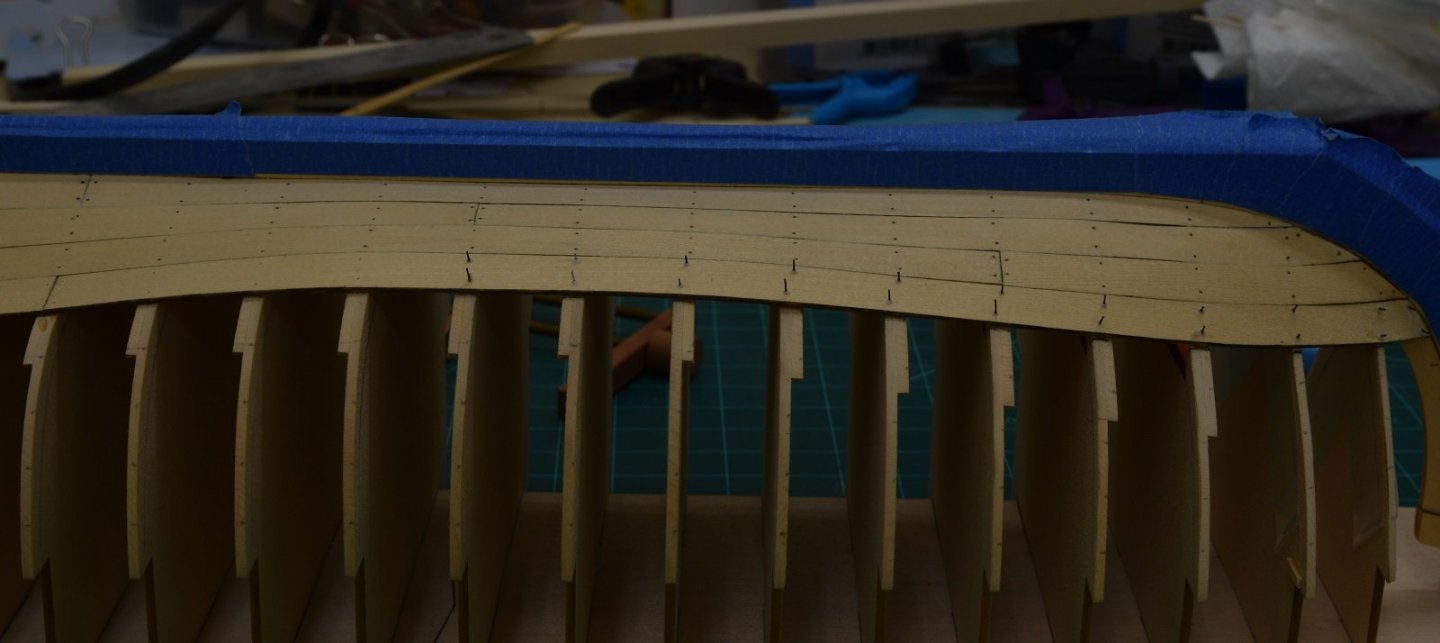
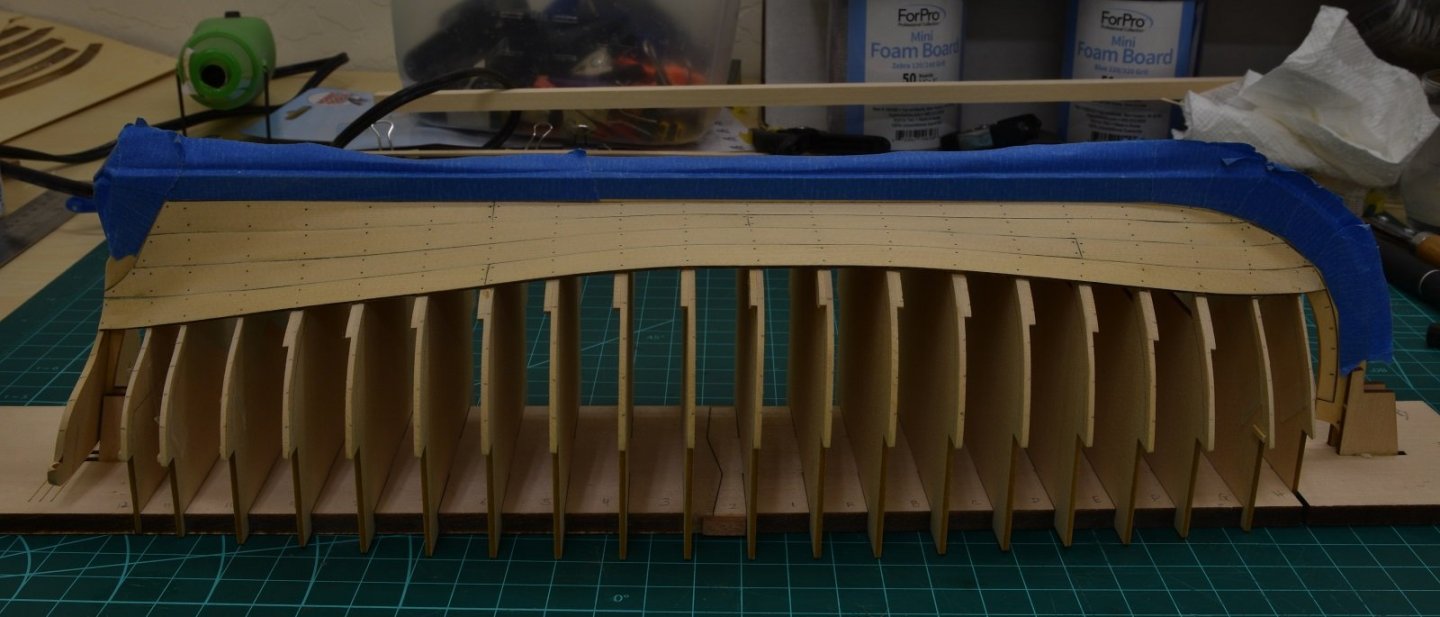
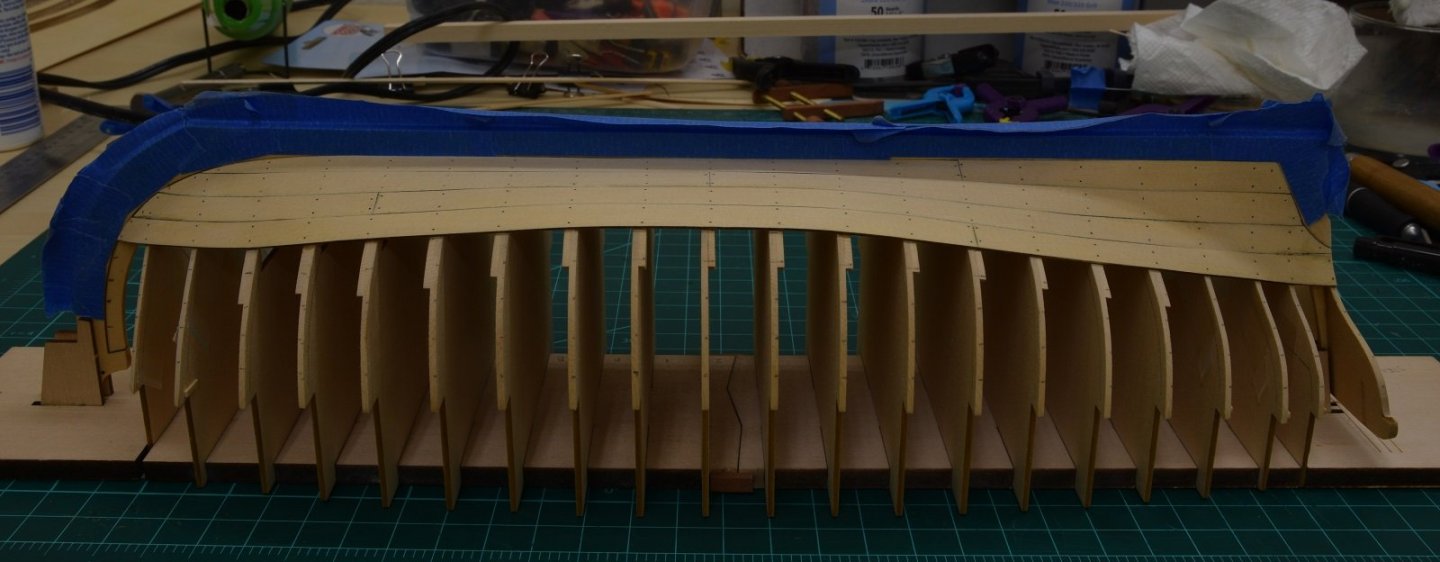
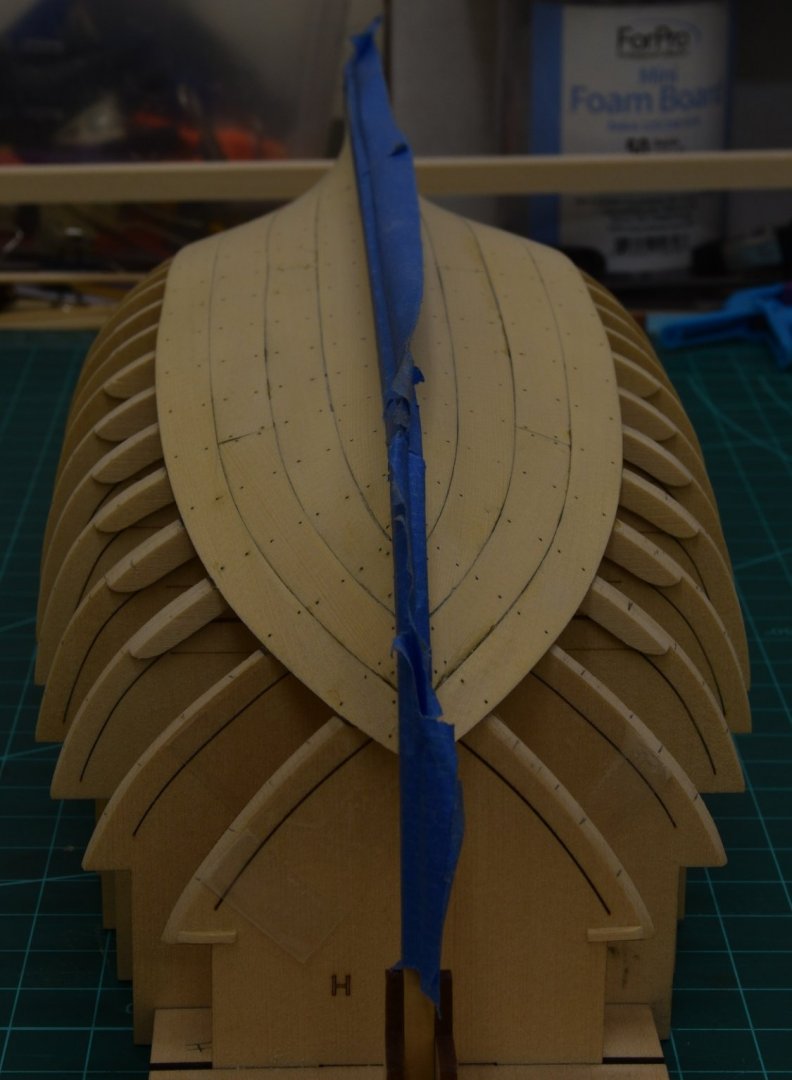
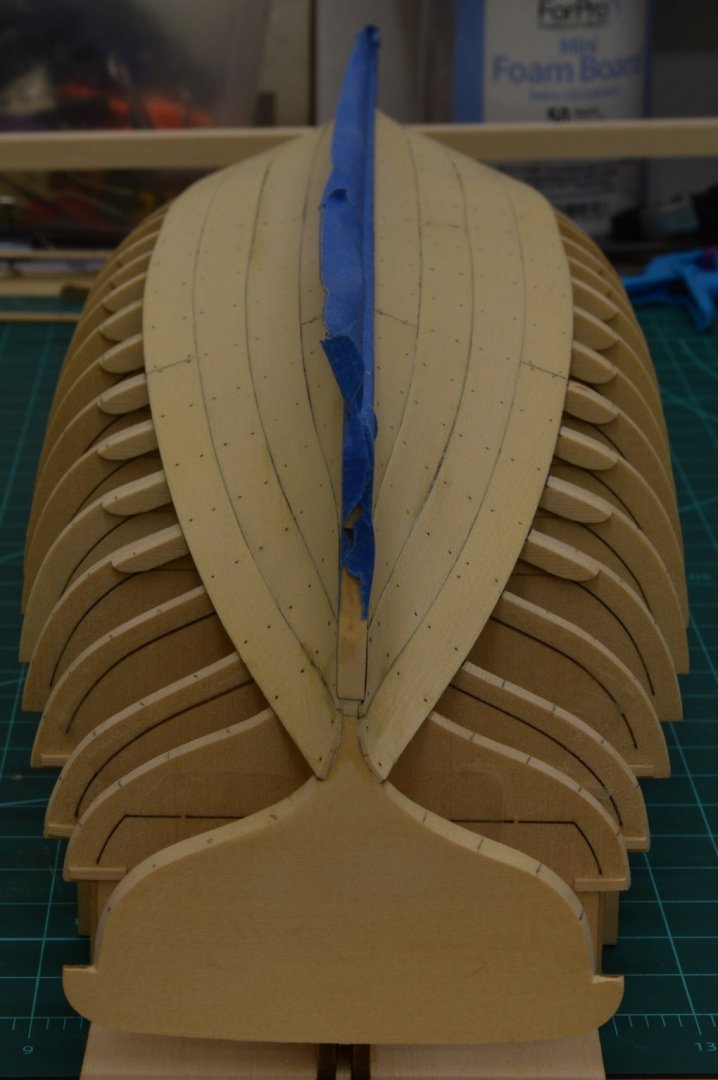
Slowly making progress on the little boat. Last update had 2 strakes (rows of planking) done on each side, so I just continued from there, adding a plank or two and then drilling a bunch of little holes and putting the nails in. My hand kept cramping up on the pin-vise so I finally gave into the dark-side and started using the Dremel with flex cable attachment at some point (don't remember exactly where) to drill the holes and I've only screwed up a couple times. Luckily a tiny little number 77 drill bit hole is super easy to fix, cut a little sliver of wood and dip into white glue and insert into the hole, cut off and sand across the hole while the glue is still wet. Completely disappears. 3rd strake going on both sides. On to the 4th strake. The stern was kind of annoying and tricky as the plank has to curve in as it approaches the stern and then right at the end it bends back out, also twisting in and then twisting back out, and to complicate it a bit more, the entire plank has to have a bow to it to fit the curve of the stem. I mostly just brute forced it and used CA glue which I normally avoid like the plague in order to get it to stay in place with the curve. The last 2 pictures show how much 10lb line from the kit I have left after the 4th strake on only one side was completed. Hmm, gonna run out me thinks! Oh well, on to the other side. And here was where I ran out of the kit 10lb line. Luckily I had ordered some more to have in stock and in case I messed up too much somewhere, as well as to use on future models, but then I thought maybe I should measure the line and make sure it was the same. Kit 10lb monofilament line - 0.0120. My 10lb monofilament line 0.0105. Oh well, hopefully the eyeball can't see the difference when used like this. Onward to find out! My eyeballs can't tell where the different lines are, so I'm gonna go with 'good enough'. I could probably refer to the pictures of where I ran out and maybe see it, but if I have to do that, then it's not enough difference visually to worry about. There are some spots at both the bow and stern that I'm not completely happy with, but I will see how things look after the planking is complete and I can do some work with sandpaper. Hopefully my cludgy work in those area's can be at least somewhat fixed with sandpaper.


-
Nicely done and looking great! The hull paint came out very nicely from that picture.
-
Congrats, and nicely done. The first of many hopefully!
-
Very nicely done both on catching the issues, and on fixing them nicely.
-
Nice job! Just for future reference, you can add multiple pictures per post so you don't have to break it up so much if you don't want to.
-
3rd try's the charm I suppose, I screwed up my first replacement plank but the 3rd plank was.. good enough. I still don't care for the way it lays in the bow, but short of completely tearing the thing apart and starting over, it's gonna have to be good enough as the issue is in the frame itself somehow, but I'm not really sure what's wrong. It's slightly different from side to side. Oh well... forward!


-
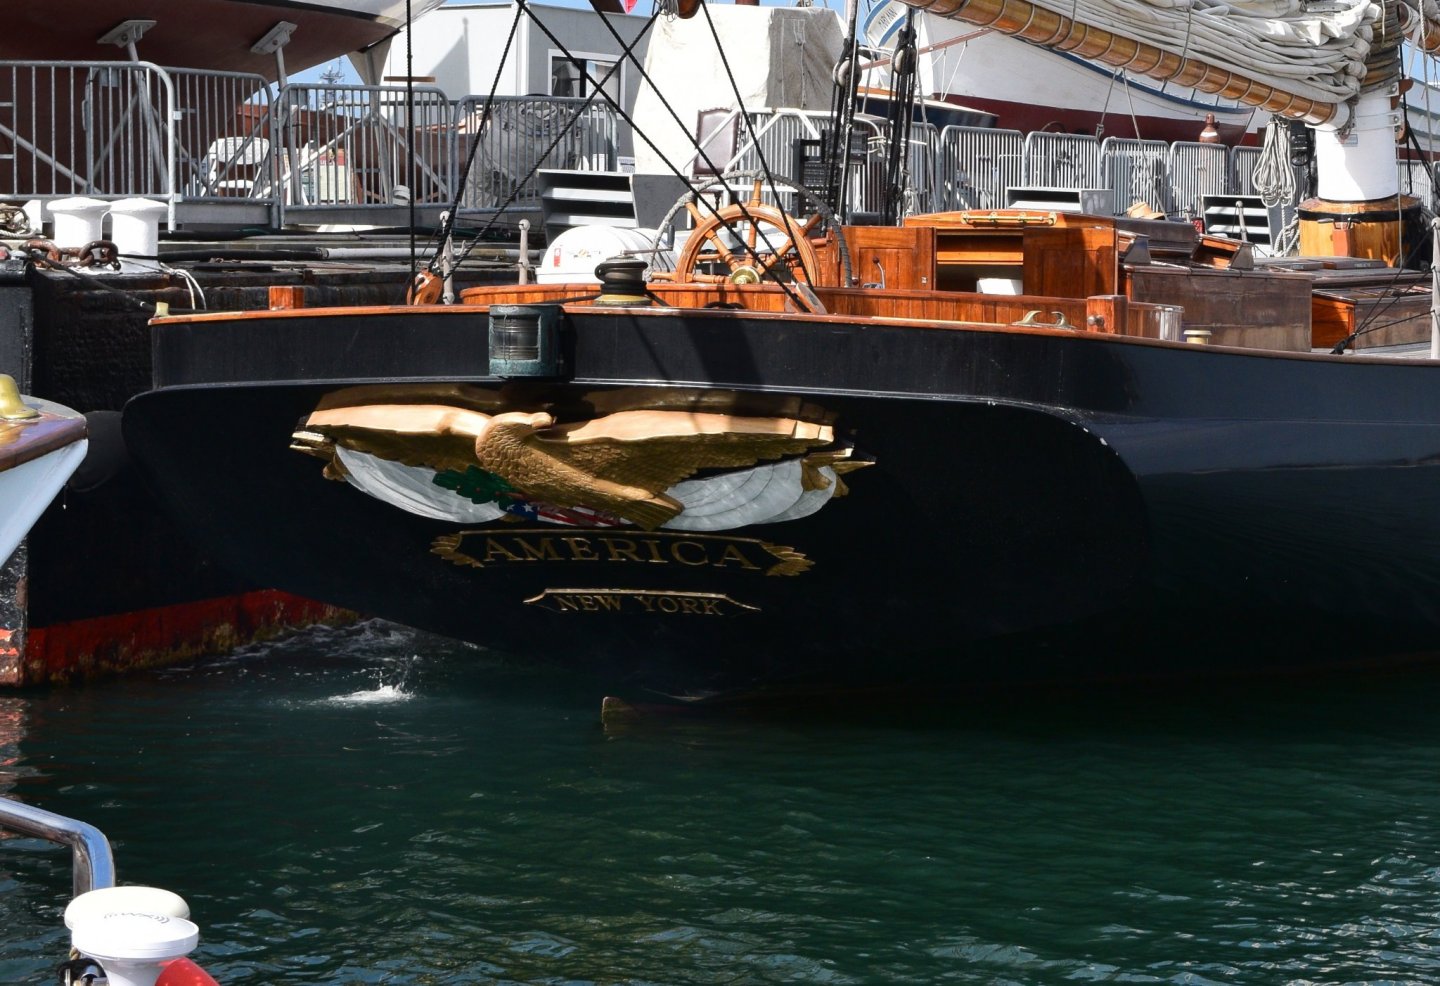
Looking good Gary. If it makes you feel any better about your fat eagle, the replica America has a pretty darned fat eagle also, so it's fairly authentic!
- 162 replies
-
- 3
-
-
- america
- BlueJacket Shipcrafters
- (and 1 more)
-
Little trick for sealing the edge of your masking. After you have all your masking tape on, and have pushed it down as hard as possible at the sealing edge, use a small brush and apply a single thin coat of the color that you just masked off. This (in your case white?) paint will do any seeping under the masking edge that will happen, and at the same time 'seal' the edge making it very unlikely for any of the next color you are spraying to get past the masking. Might want to practice this on a scrap piece so you figure out how it works without leaving a 'brushed' paint line visible. Edit: I've read where others did the same thing using a matte clear instead of the color.
-
Looks great! For those small gaps, make yourself some filler out of the same wood you used, just sand some extra wood into a little sawdust pile, add a bit of 50/50 water & white glue mixture until you get the consistency of thin putty, use a toothpick or something to squeeze it into the gaps, and then while it's still wet, sand across the area to add more sawdust from the surrounding wood which will stick to the gluey mixture. Let it dry and do a final sanding, and I bet even you won't be able to tell where you filled, even though you know where to look!
-
Well, I got planks 1-4 complete on one side, 1-3 on the other side, and then screwed up plank 4. After trying to figure out how to salvage it, I eventually gave up and ripped it off, cleaned up the mess, and this weekend I'll cut out a new one and try again!
-
I personally avoid CA. I dislike the fumes, it will stain the wood if you accidentally get it on a visible surface, and of course I always end up gluing my fingers together. I try to stick to just wood glue as much as possible. I know a lot of people here on MSW use CA all the time for their planking (I believe even Chuck uses CA and he has beautiful clean planking), so it is definitely a viable option for some.
-
I like it. 11x17 copying is much simpler to come by than large format, so for those who like to make copies to cut up as patterns to cut the wood this will be great. Don't personally see much if any downside to doing it this way.
-
If my log is helpful to you then I am happy that I could be of some assistance to you. I know that I learned a great deal from the logs that preceded my build on this forum and I'm sure it wouldn't have come out the way it did without following a lot of the tips and tricks I learned from others. Sharing is the best part of this hobby, everyone seems to be willing and happy to help. Feel free to PM me with any questions you have, and if you start a build log, please send me a message to let me know so I can follow it (there are just so many logs that it's impossible for me to read all of them) and maybe be of assistance here and there. As I said before, it looks like you are doing a fantastic job so far, so just be patient and keep at it!
-
From your pictures, if the bulkheads are set properly at the top, your easy solution is shimming. The basswood strips to be found in all MS kits for planking work perfectly for this. Rather than trying to explain in detail, I'll refer you to my build log where I ran into pretty much the exact same issue (although on a different kit) where I was able to fix everything with simply adding more wood to the outside of the bulkheads and then sanding them down during the fairing. Here is the post where you can see the extra shims added - https://modelshipworld.com/topic/8085-armed-virginia-sloop-by-gunthermt-finished-model-shipways-scale-148/?tab=comments#comment-241424 If you scroll up a few posts in that same log you can see my pictures where the bulkheads didn't extend down far enough, just like yours. This 'fix' also works perfectly for your picture where the bulkhead isn't far enough 'out' to make your planking lay properly, just shim that entire bulkhead out and sand it back to match the plank-line. Good luck!
-
Beautiful and precise PE work. I think I'll stick to wood though.. lol.. Thanks and will continue to follow along on this, I've always thought these ships were lookers.
-
Hobby Bench (both locations in the NW Valley far from you unfortunately) used to carry a pretty decent selection, but only the major Europe companies like AL & Constructo, maybe a few Billings (US Company). No idea what they stock these days I haven't been in one of their stores for at least 5 years now. Unfortunately these days it's better to do your shopping for this hobby online, where you have access to products from newer companies like Syren, Vanguard, Dusek, Master Korabell, CAF and Maristella. Might be worth a visit if you are up in that area, just to be able to look at them in person.