


Ryland Craze
-
Posts
1,567 -
Joined
-
Last visited
Content Type
Profiles
Forums
Gallery
Events
Posts posted by Ryland Craze
-
-
The OcCre Beagle would be a good next step as the build is documented by 130 YouTube videos. Another option would be the HMS Alert from Vanguard Models. The designer, Chris Watton, is a member of MSW and would be available to answer any questions and. Here is a link to that model: https://vanguardmodels.co.uk/product/hms-alert-premium/
-
-
I look forward to follow this restoration. I feel we are in for a very educational experience.
- thibaultron, Keith Black, Cathead and 1 other
-
 4
4
-
-
-
-
Congratulations on finishing your Alert. It is a beautiful model and I have enjoyed following your build log.
- VTHokiEE and Old Collingwood
-
2
-
-
-
Thanks for the "Likes" and also Chuck and Brian for your comments.
4 hours ago, GuntherMT said:I haven't read that far ahead in the instructions, but would the rigging on a longboat actually have been served given how often it would be rigged/de-rigged in use on a large ship?
Brian, that is a good question. I do not know what the correct answer is, but Chuck mentions in the instructions that they were served. He said this was optional and that it looks nice. I like the look and feel it is an added detail.
-
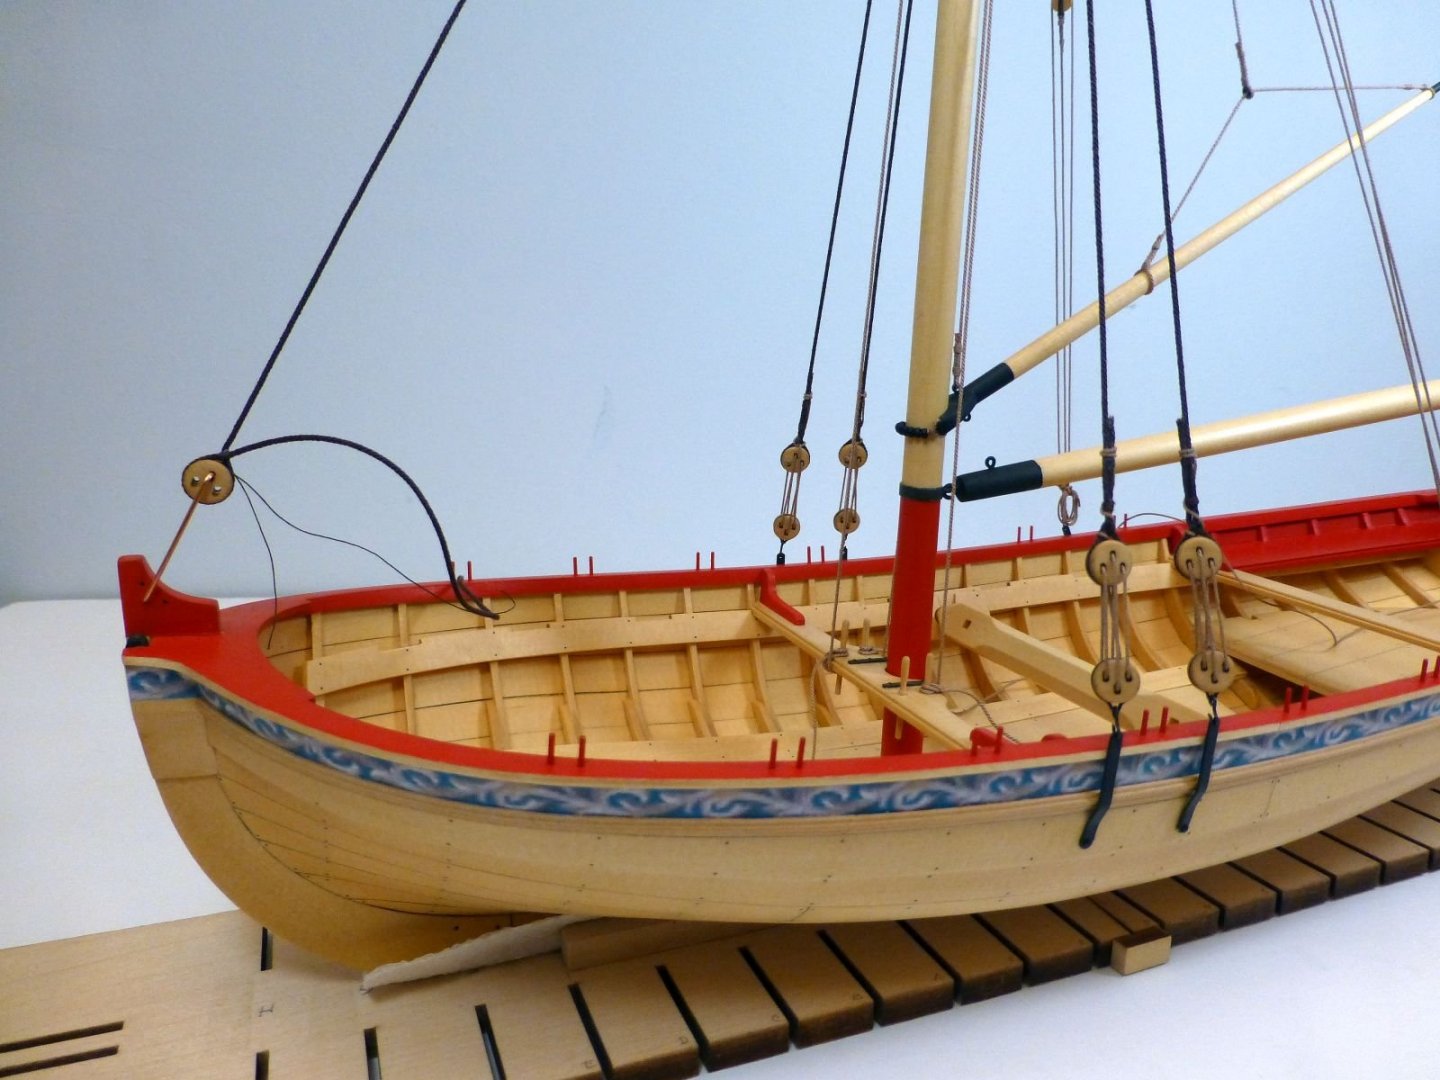
Hard to believe it has been over a month since I last posted an update. December was a good month for me as I got a lot of work done on my Longboat and was hoping that I would finish it by the end of the year. I wound up with a bad cold a few days before the end of the year and for some reason I have not done any work on my Longboat since then, even though I feel fine now. I guess it stopped my momentum. This is where my progress stopped, having completed the shrouds, forestay and backstays. Here is a photo of the forestay and the shrouds:
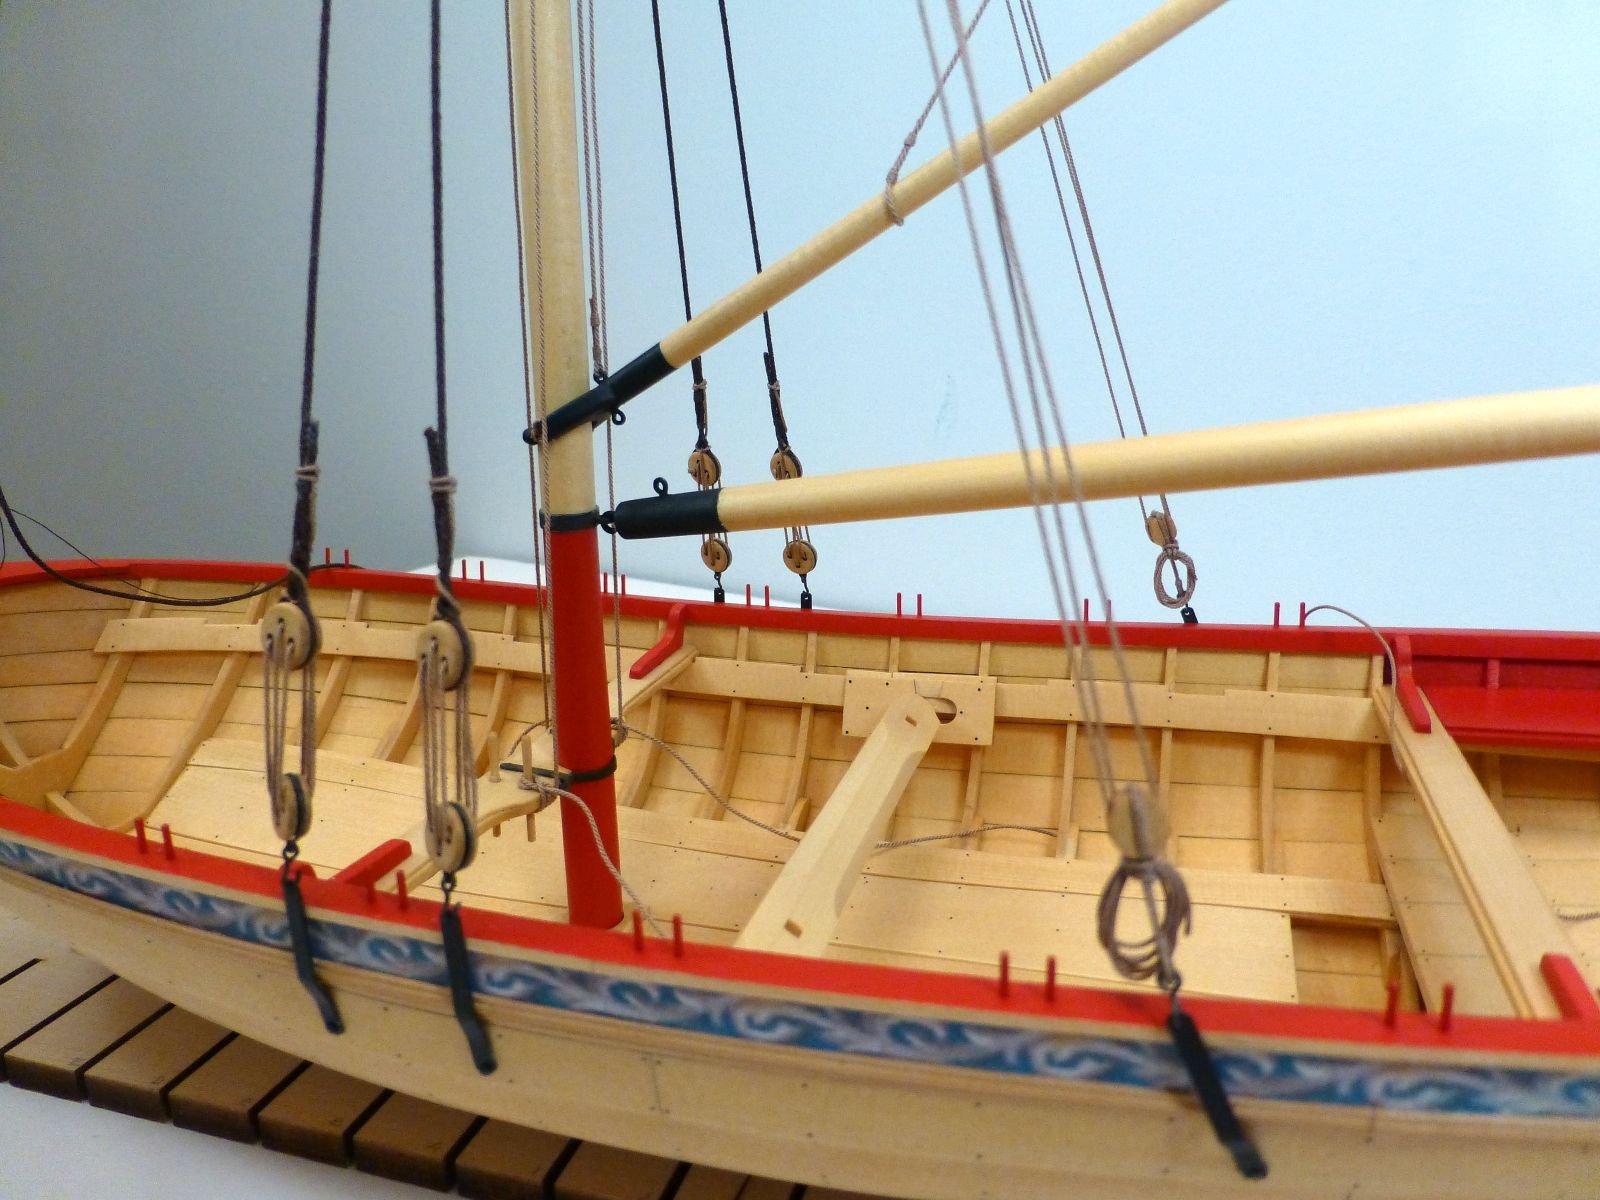
Here is a photo of the backstays along with the straps with the hooked blocks:

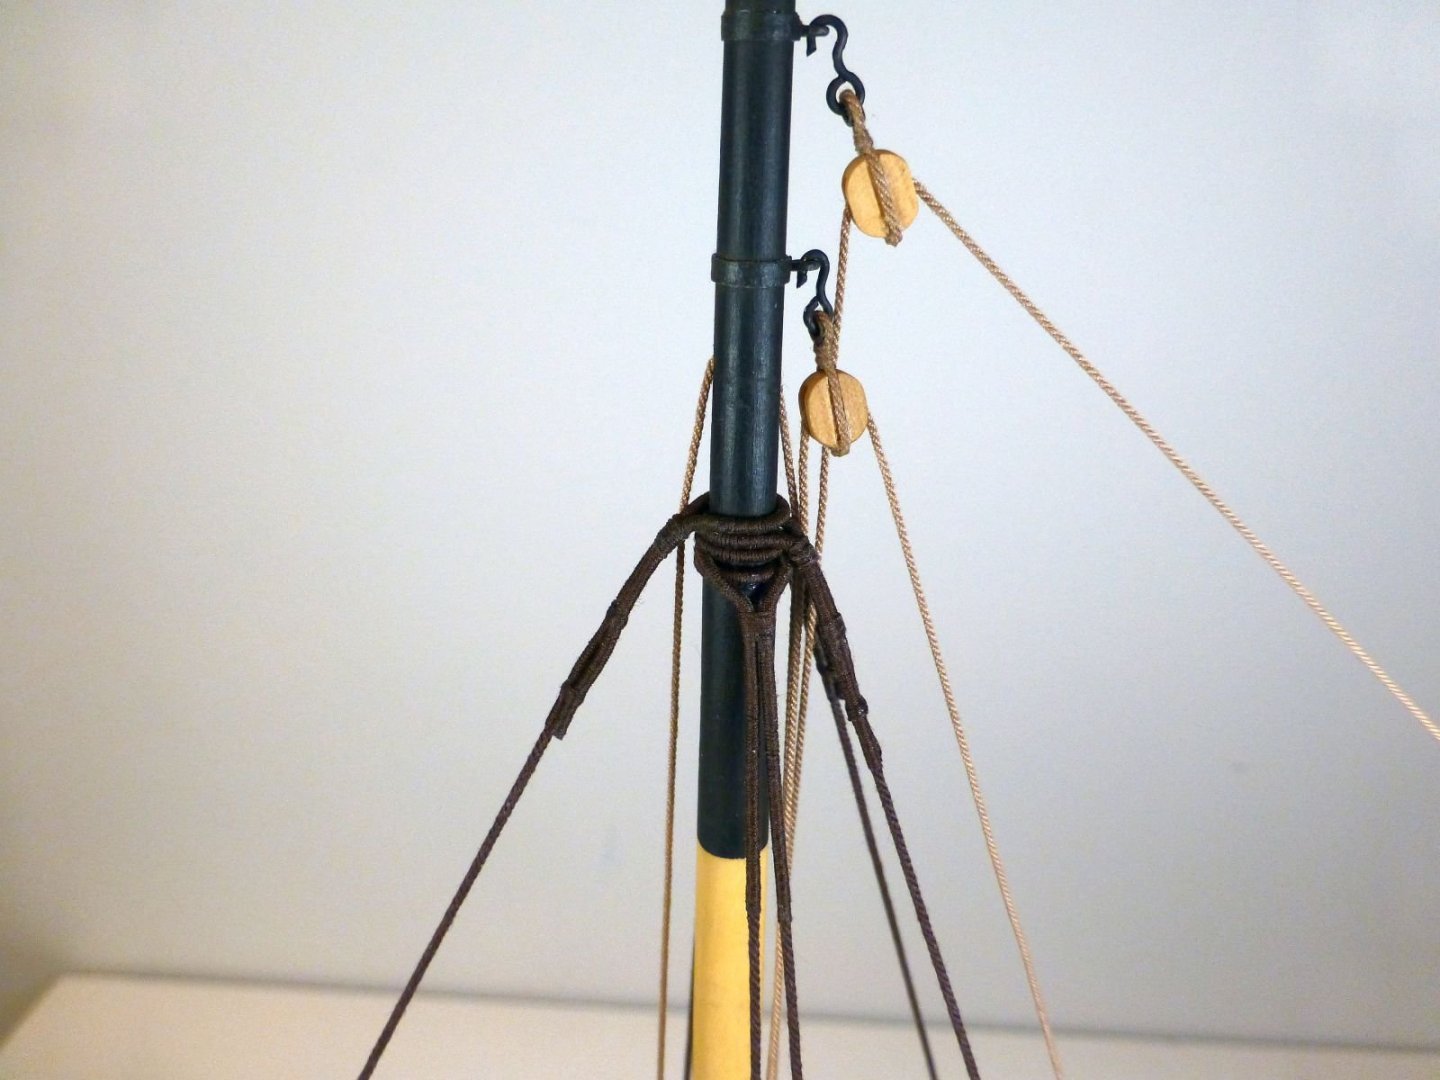
And here is a photo of the shrouds, forestay and backstays where they meet at the top of the mast showing the lines served:
I am getting close to finishing my Longboat, needing to install the bowsprit, construct the oars and add some more rigging and rope coils.
-
15 hours ago, bobandlucy said:
I think this will be remedied by transferring the bevel marks on the lower stern transom to the other side, and flipping it.
Bob, I think your solution is correct. I downloaded the instructions from the Model-Expo site and the drawing on page three shows the bevels on the two part transom. As long as your parts match the drawing, you should be fine. This kit builds into a very nice model and I look forward to following your progress.
-
-
On 1/31/2021 at 2:32 PM, FarmerJon said:
I have been looking at your longboat build Ryland specifically to help figure out where I have one wrong with my planking. I'm sure now that I didn't calculate my planks correctly but still trying to figure out what the correct procedure actually is. It doesn't seem you can simply divide all station depths by your number of planks? I did this and my numbers prompted me to make those aggressively tapered planks at the top. That has resulted in needing 4 + planks at the stem and 3 fulls or 4 very narrow planks at frame 4-5. I think I have to de bond my skinny planks and try again. Im not having any trouble bending and shaping planks, but don't feel I have a reliable procedure for measuring/planning them out? Are most people just pencil marking them out on the frames ahead of time? Im thinking the spreadsheet method is the way to go Im just missing something.
Guess its off to buy some CA debonder.......... haha

I hate to be the bearer of bad news, but you need to remove planks 3 and 4 from the top as they are too narrow at the bow. As it looks now, the three planks remaining will not cover the opening at the bow. After removing the two planks, I would remeasure using tick strips. This is explained in Part Two of the instructions for the Medway Longboat, which is a 1:24 scale version of your Longboat. Here is a link to the Instructions:
There are also many topics on planking located at the top of this page under the More tab.
I think you got off track by dividing the measurement for frame H by 10 instead of three or four as the remaining planks to be installed on frame H are only three or four. Some planks terminated around frames F and G. Looking at my Longboat, most planks were a consistent width from bow to stern. This is not an easy model to plank, but you are at a stage of construction where it can be easily corrected. The bottom four planks look good.
Good luck on your build and we are here to answer any of your questions.
-
-
Nice save on the paint pulling up. The hull looks really nice.
-
The hull looks good. I do not see a problem with adding some material to the top of the frames to bring the frame even with the top of the wales. Just make sure that the sheer has a smooth run from the bow to the stern. Any material added to the frame tops should be hidden by the inboard sheer strake.
-
Congratulations on finishing your Picket Boat. It turned out real nice.
-
Welcome to Model Ship World. Glad to see another Longboat in the works. You are off to a good start.
-
Congratulations on finishing your dory. You did an excellent job on building this model. I look forward to seeing your pram build.
-
Your Alert is looking real good. One of the members of my ship model club purchased a case from Grandpa's Cabinets. It was a nice looking case. Here is a link to their website: https://www.grandpascabinets.com/
-
Nice start on your build. This is an excellent kit for the first time builder. I look forward to following your build log.
-
Congratulations on finishing your Red Jacket and thank you for posting a detailed build log for us to follow. This is a really nice model.
-


Permission to come aboard . . . . again
in New member Introductions
Posted
Glad to have you back on Model Ship World Kev. I am looking forward to seeing your reconstructed build log.