Ryland Craze
-
Posts
1,572 -
Joined
-
Last visited
Content Type
Profiles
Forums
Gallery
Events
Everything posted by Ryland Craze
-
Welcome to Model Ship World Scott. You will find this a wonderful site to help you with your model ship building. Also, thank you for your service to our country.
-
 Erik, I am enjoying your build log. Please post some pictures of your clamping procedure for your planking strakes. Thanks.
 -
Congratulations on completing your Longboat. Your build log is definitely the "go to" resource for builders of this kit. I know I will be referring to it as I complete my Longboat.
- 277 replies
-
- 1
-

-
- model shipways
- 18th century longboat
- (and 1 more)
-
Michael, Check out this link for the planking tutorials. http://modelshipworldforum.com/ship-model-framing-and-planking-articles.php
-
Alexander. Your carvings are beautiful and you have a nice collection of tools. I have enjoyed your log on carving and I look forward to seeing more.
-
Jim Byrnes Thickness Sander
Ryland Craze replied to Landlocked123's topic in Modeling tools and Workshop Equipment
I got this adapter from Lowes for my Byrnes Saw. It works great attaching my shop vac to my Byrnes saw.
-
Glasses for detail work (changed by mod)
Ryland Craze replied to Bob Blarney's topic in Modeling tools and Workshop Equipment
Bob, I tried on a pair of these eyeglasses at a Walgreens Pharmacy and found them to be better than any of my prescription eyeglasses. I am constantly taking off my eyeglasses or looking over the lenses when I am looking at something that is not close to me. With the Foster Grant glasses, I can see distant objects fine without having to take them off. And the price is about 15% of what I paid for my current eyeglasses. -
Check out this link: http://modelshipworld.com/index.php/topic/12133-i-would-like-to-change-a-posting-title/
-
I like your latest revision. Your Longboat has a very clean look to it.
- 165 replies
-
- 1
-
-
- finished
- model shipways
- (and 1 more)
-
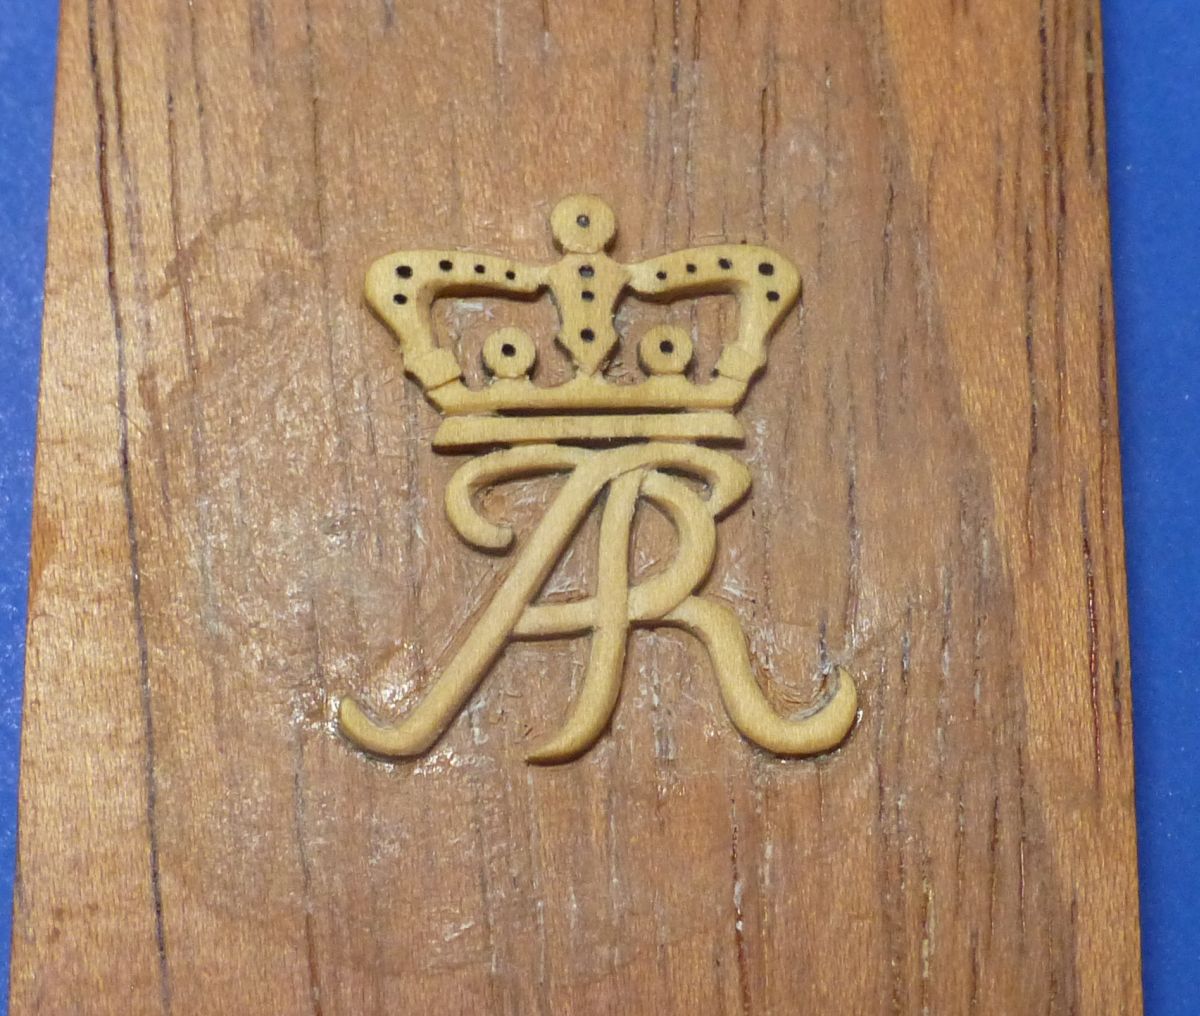
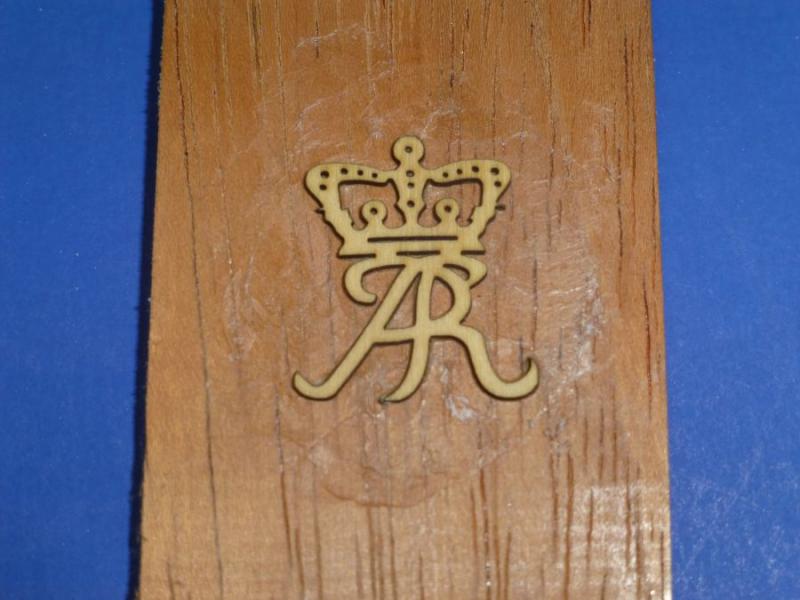
Thanks Jay, Jack and Chuck and also the "likes". I am looking forward to mounting this carving on a model, possibly a kit of a Queen Anne Style Royal Barge that is to be released sometime in the future.
-
What a coincidence. Today, I did a little work on the mast. I just placed an order a few minutes ago for boxwood mast hoops from Chuck to replace the the kit ones. This ship is begging me to finish it. It is way overdue. I would love to have it finished for the HRSMS 50th anniversary display at the Mariners' Museum.
-
I have been working on my carving and have attached a picture of my progress to date. I may clean it up with some 600 grit sand paper before I release the carving from its backing. I think it will look a lot better once I apply some wipe on poly to this. One result of this carving is that I want to get back to working on my Longboat, which is long overdue for some attention.

- 9 replies
-
- 16
-
-
Congratulations on completing your Chaperon. You did an excellent job on building this model and I have enjoyed following your build log. I look forward to following your next build.
- 225 replies
-
- 7
-
-
- chaperon
- model shipways
- (and 1 more)
-
This will be my first attempt at carving since I was a Cub Scout earning my Whittling Chip Award many years ago. I ordered the carving blanks from the NRG and received them a couple of days after placing my order. I am amazed at the fine details created by the laser. I mounted my carving blank using the instructions in the Getting started....mounting your carving blanks...and removing them when finished topic. The next step is to remove the char from the blank.
- 9 replies
-
- 11
-
-
Erik, I am sorry to hear of the loss of your father. I think it is great that you are dedicating your Cheerful build to your father and that your Longboat build and Cheerful progress brought much comfort to your father during his illness.
-
Nice job. You are well on your way to finish this ship model.
- 701 replies
-
- 6
-
-
- phantom
- model shipways
- (and 1 more)
-
Good choice for your second build. I am definitely going to pull up a chair for this build.
-
Your craftsmanship is outstanding. I am really enjoying following your build log.
- 452 replies
-
- 4
-
-
- cheerful
- Syren Ship Model Company
- (and 1 more)
-
In addition to Chuck's articles, another good article on planking is A Primer on Planking by David Antscherl. It is located in the MSW Database at http://modelshipworldforum.com/ship-model-framing-and-planking-articles.php. If you follow Chuck's and David's techniques, you will not have any problems lining out your hull and planking it.
-
Congratulations on completing your HMS Alert. You did an excellent job on building this model. I am looking forward to seeing it on display at the NRG Conference in San Diego.
-
Very nice. I can not wait to see more.
- 269 replies
-
- 6
-
-
- Queen Anne Barge
- Syren Ship Model Company
- (and 1 more)
-
I agree with Cathead that the slight difference between the plans and the laser cut parts should not cause you any problems. Once you install the bulkheads on the keel assembly, most of the remaining parts will be cut from sheet stock. You can easily adjust for the small differences. This kit is very forgiving. Check the scale ruler on sheet one of the plans. It is in 1/4" increments and mine checked out exactly to the inch. I purchased my kit when it first came out five years ago. Printing the plans over the years may have caused them to loose their accuracy. Good luck on your build. You are off to a good start.
-
Welcome to MSW Hervie. I will be following your Syren build log. I can tell from what you have already written, this is going to be an excellent build log. I have this kit in my to do stash. Looking forward to future updates.
-
I used a sanding stick to taper my bow section. I slightly tapered mine down to the flat portion of the keel.
- 194 replies
-
- 2
-
-
- armed virginia sloop
- model shipways
- (and 1 more)
-
Congratulations Dan on winning a Gold Award. You did an excellent job on your Longboat and it is always nice to see your work recognized by other ship modelers.
- 175 replies
-
- 2
-
-
- 18th century longboat
- model shipways
- (and 1 more)