


Ronald-V
-
Posts
1,440 -
Joined
-
Last visited
Content Type
Profiles
Forums
Gallery
Events
Posts posted by Ronald-V
-
-
Next step was to sand the inside of the frames so the gundeck bulwark pattern can lay flat against it. Took quite a substantial time and my fingertips to sand all the char off

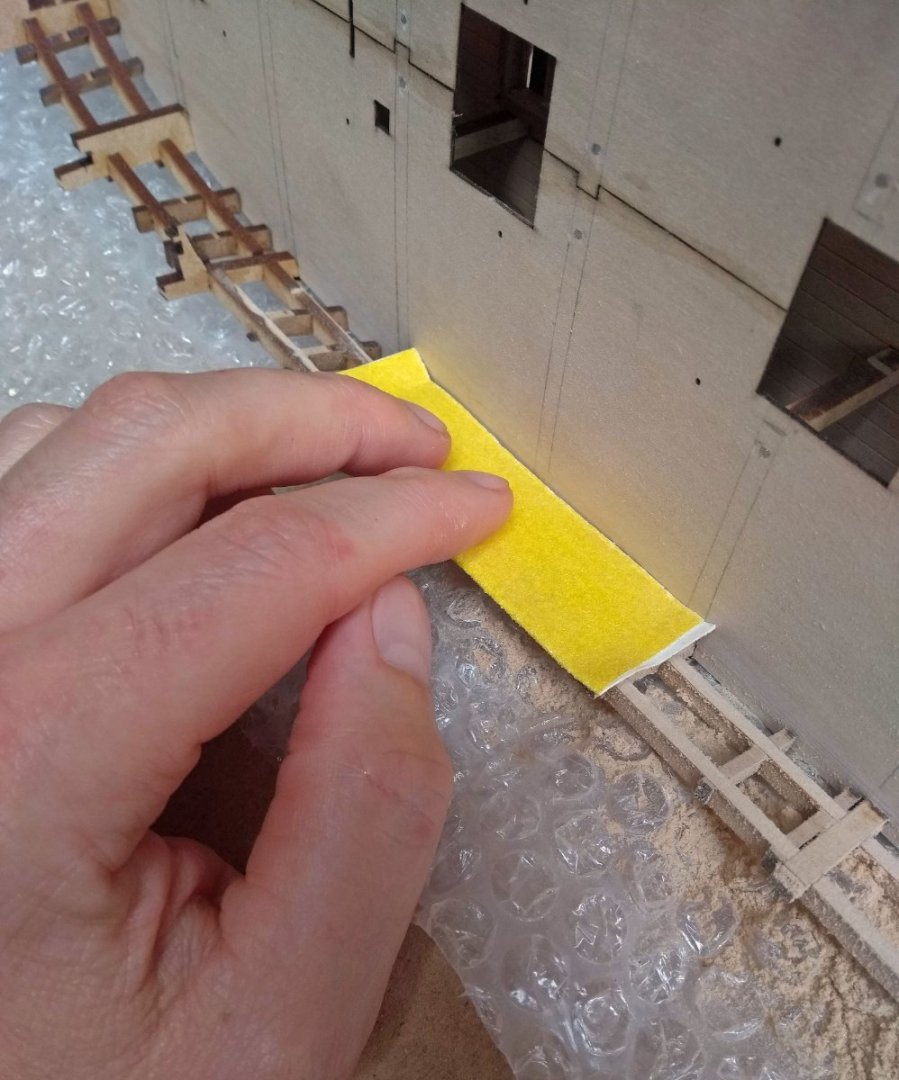
But the result was nice and flat so the pattern could lay against it and glued on the backside with diluted PVA
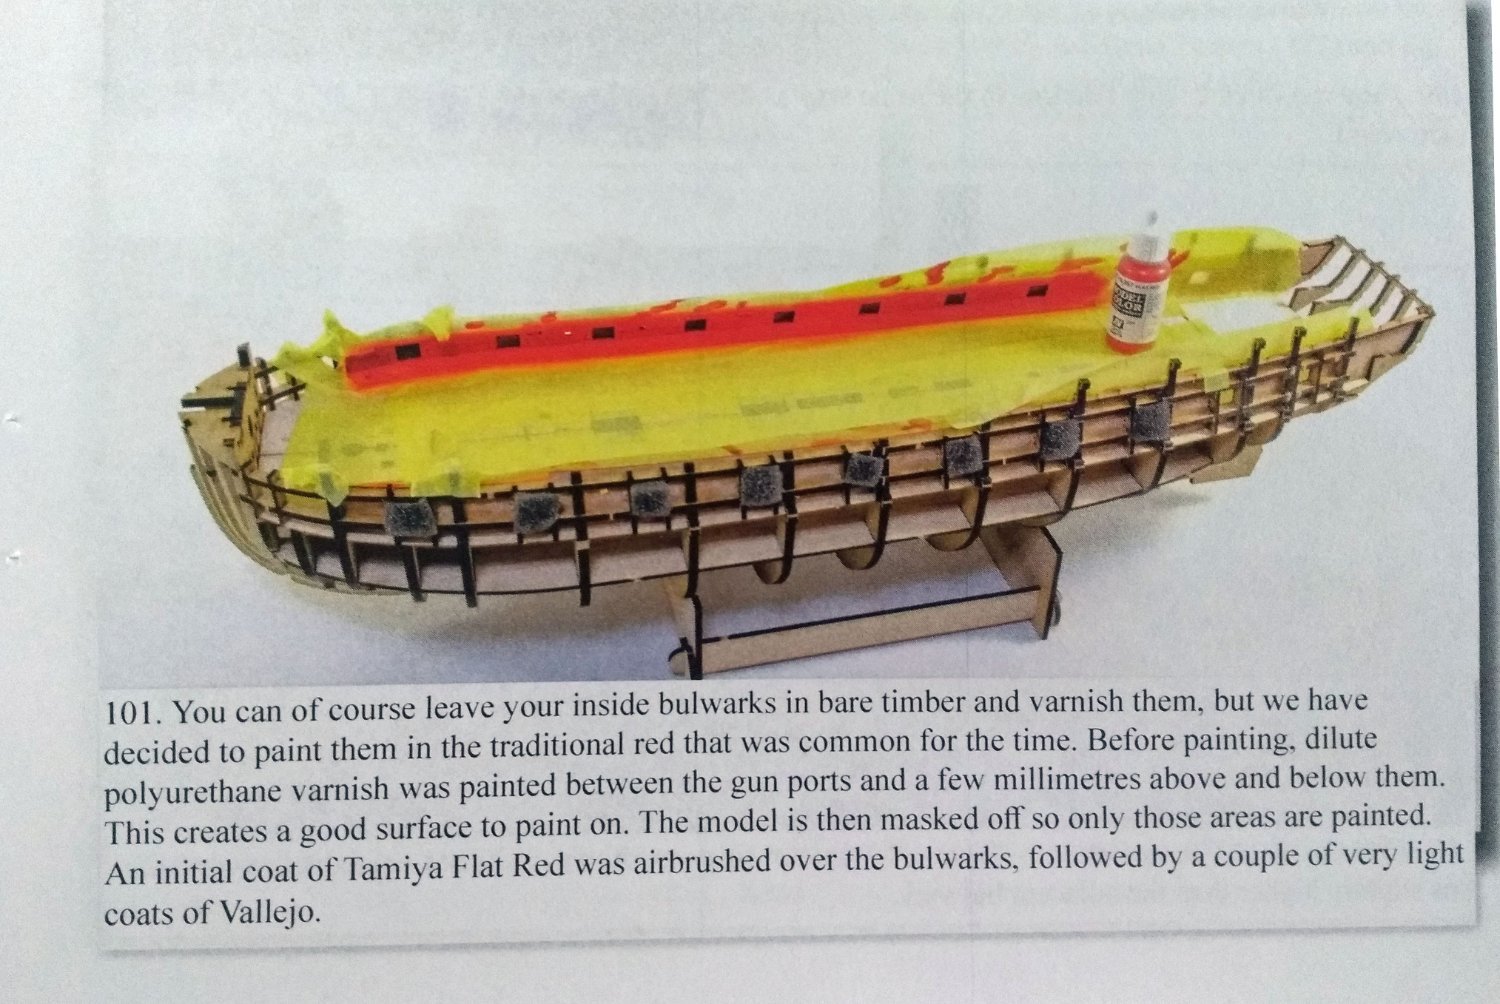
I looked a bit forward in the manual and saw that James when painting the inner bulwarks red, he first brushed some diluted varnish on the bulwarks and then the red? Never heared of that before...is that as a sort of primer for the color? I always painted the color on the bare wood so wondered where this was for. Or I just don't understand it properly
")

- mtaylor, p.hoek, chris watton and 4 others
-
 7
7
-
Lovely result! You can be proud of that!
- VitusBering, Knocklouder, AJohnson and 2 others
-
4
-
 1
1
-
Nice kit you bought there! Wish you all the fun with building this one!
- AJohnson, jpalmer1970 and Dave_E
-
3
-
Thanks James! Can't wait to go to the next step. It is such a fun way to build this one, a real pleasure
- FrankWouts, Vlax, James H and 3 others
-
6
-
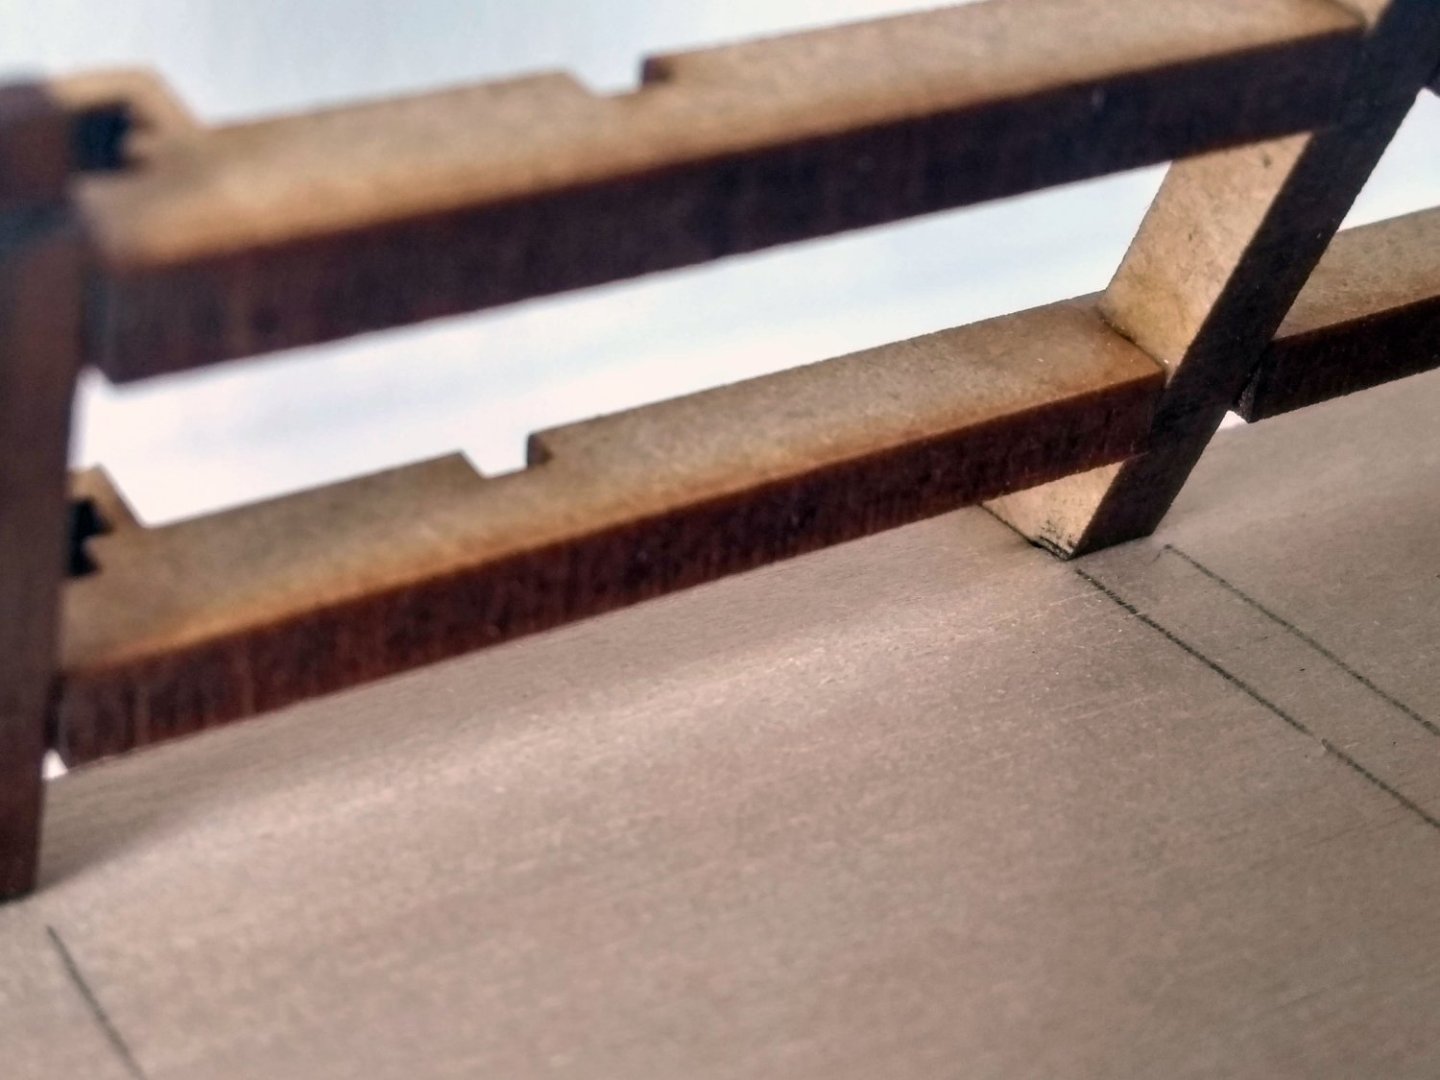
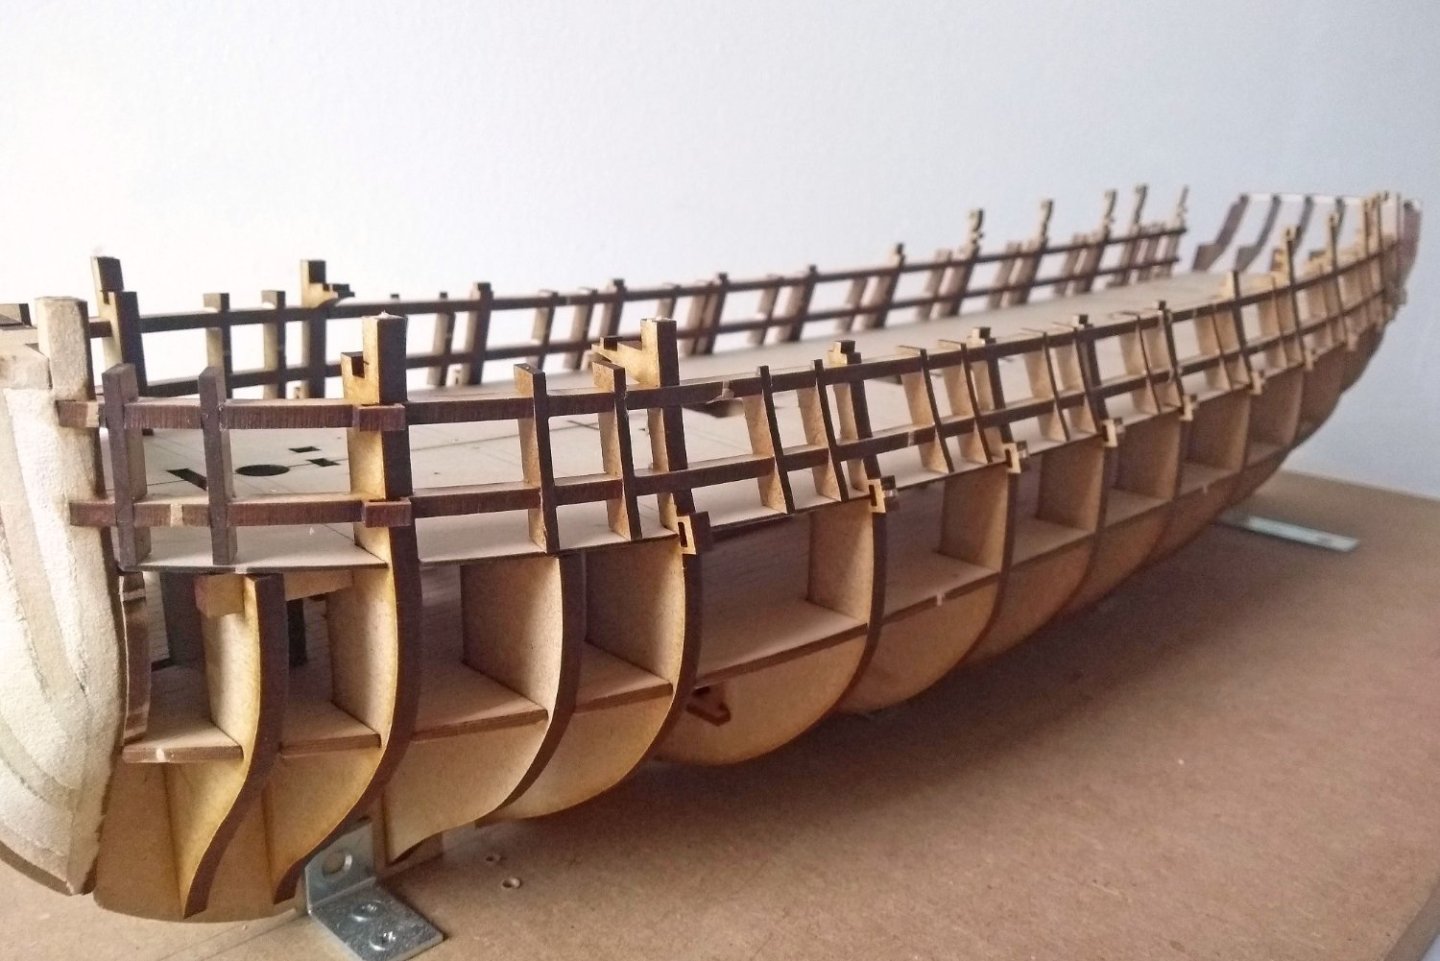
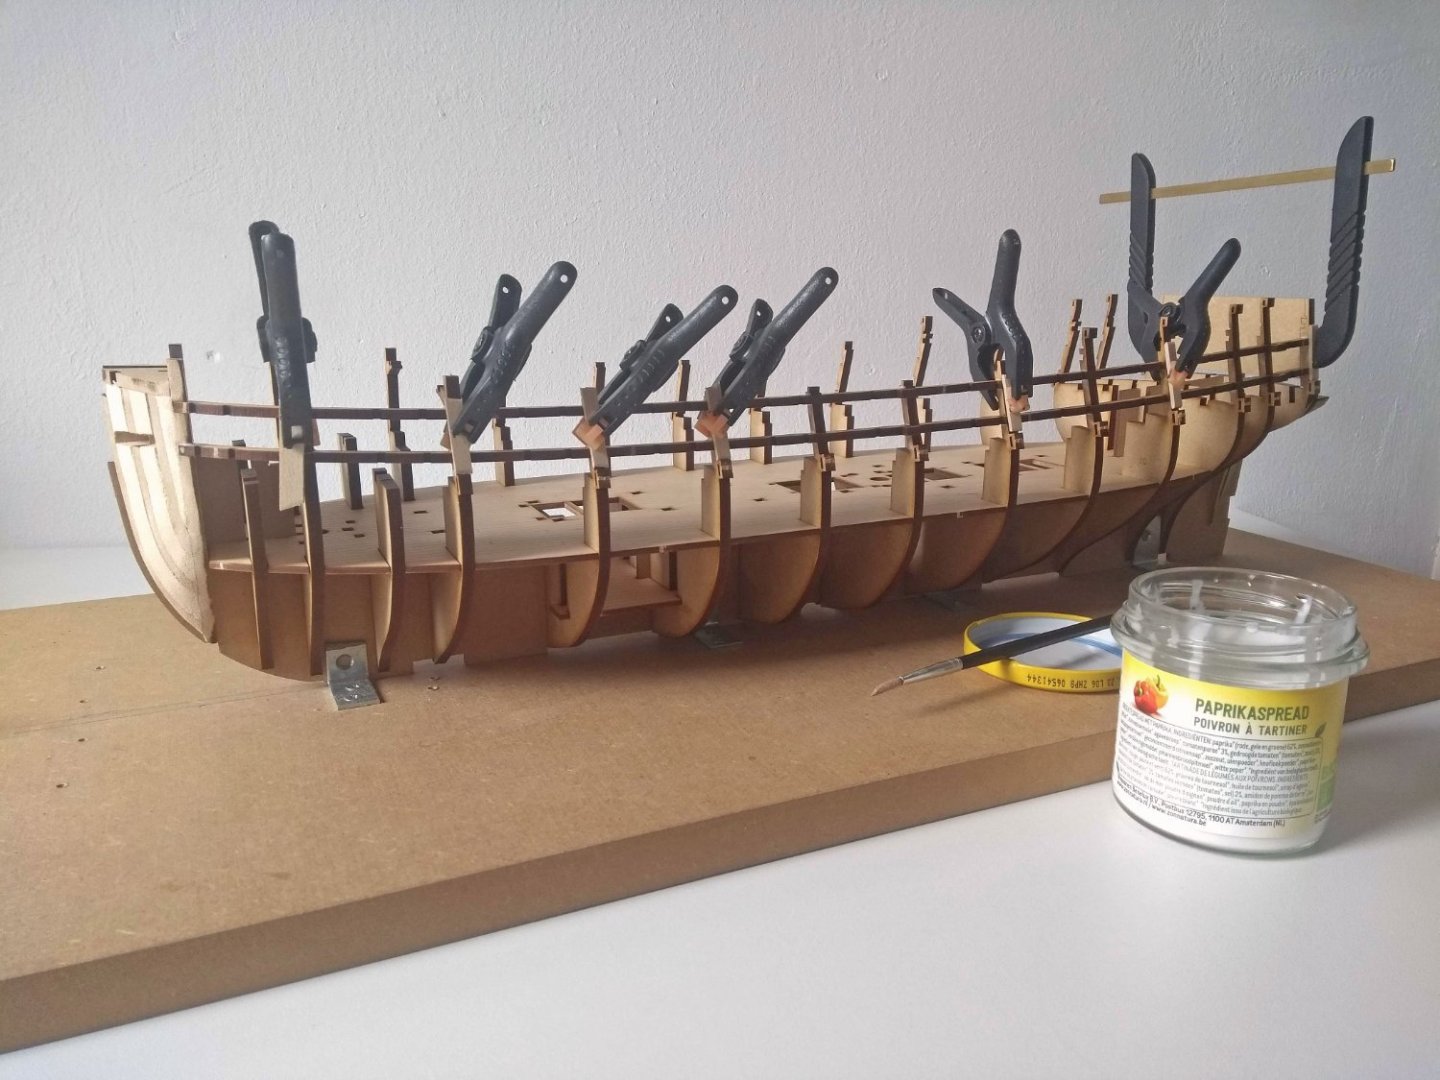
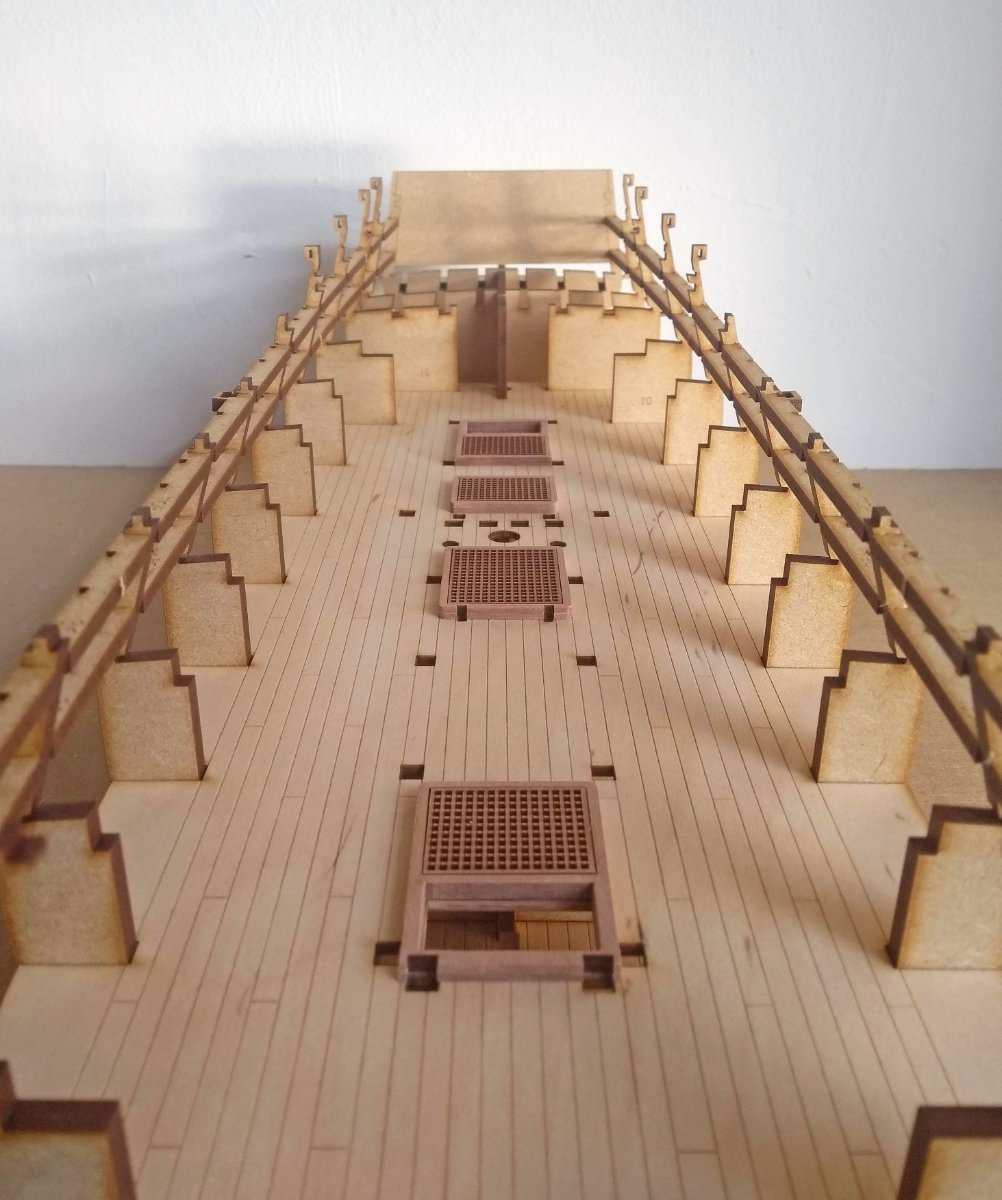
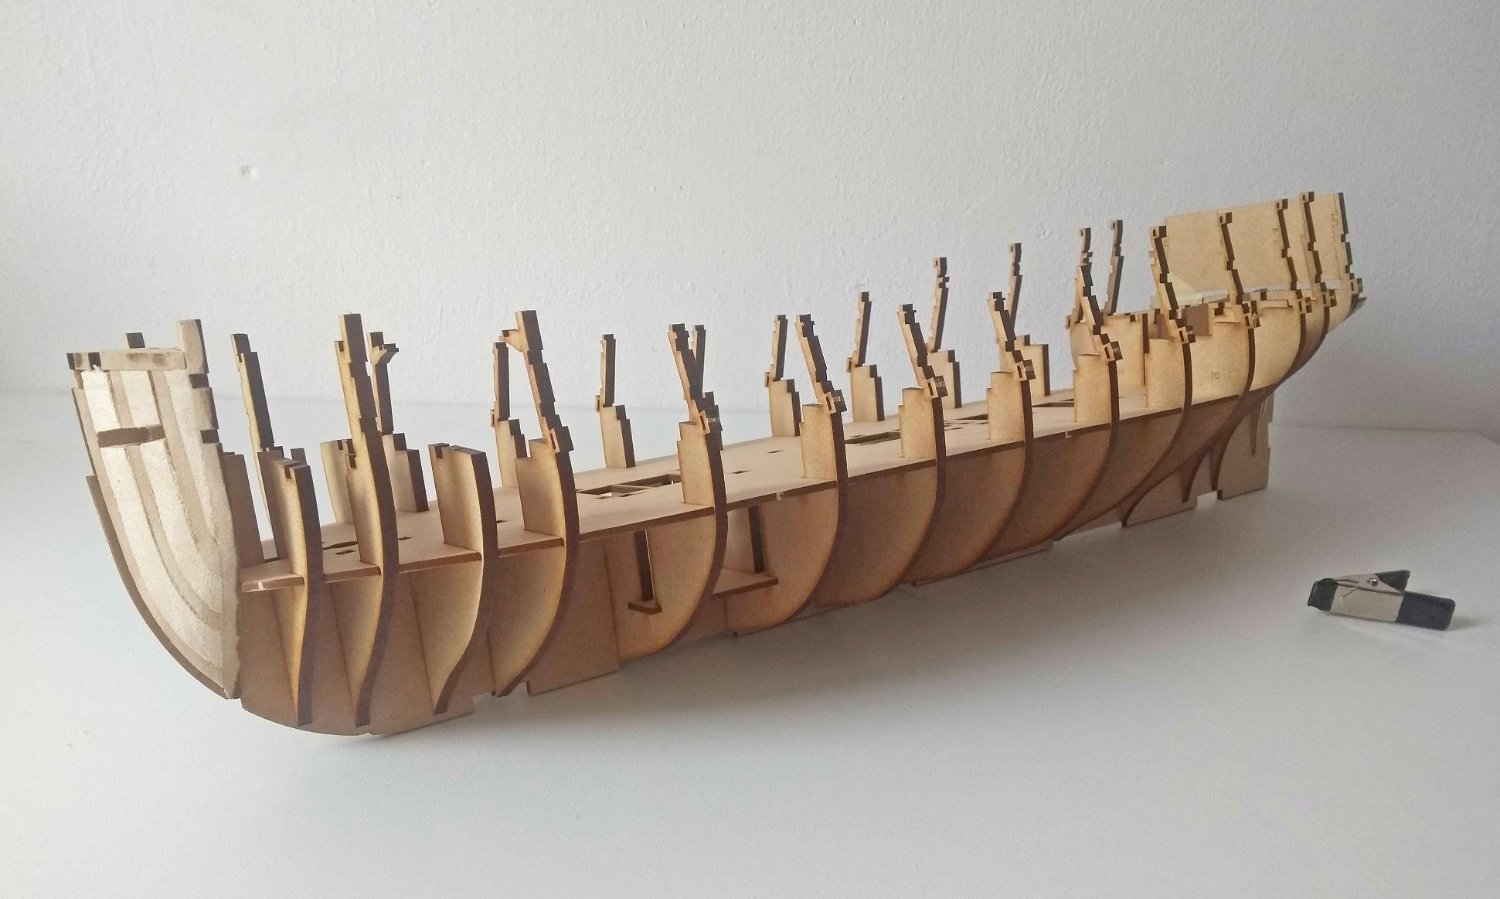
Today I installed the false gun deck. She begins to look more and more as a ship
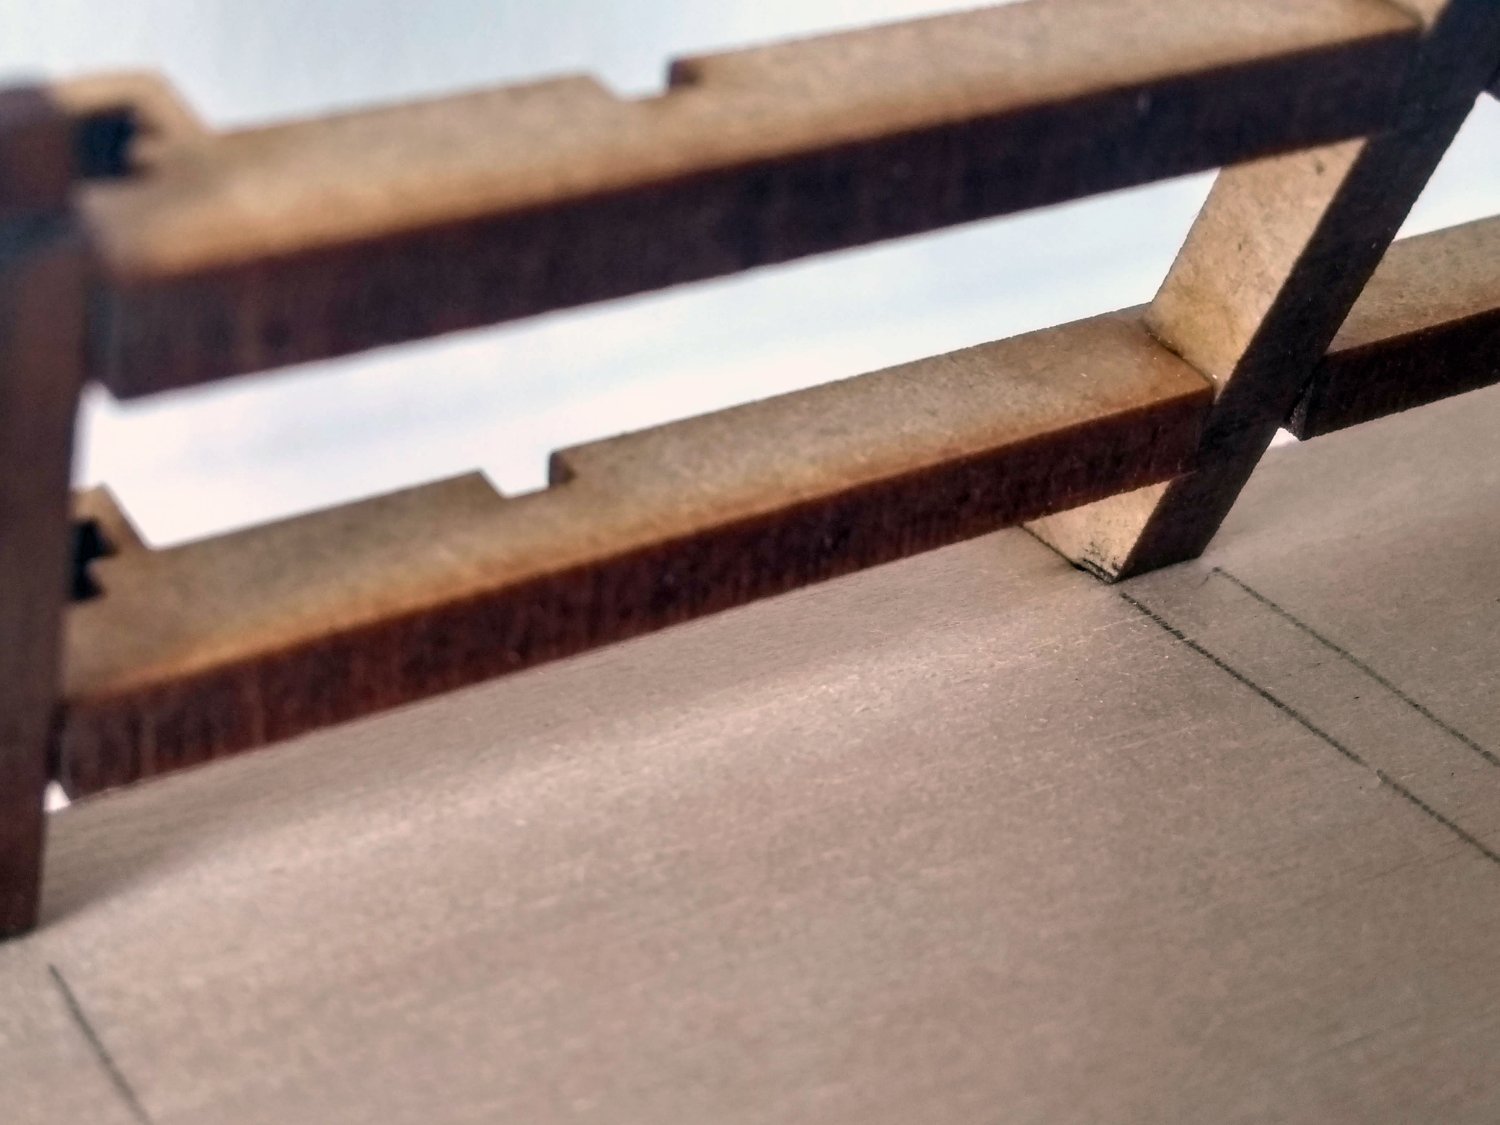
Cool little detail in the design were small cutouts at the base of the bulkhead tabs, where you could slide the deck in.
This would hold the deck in place at the outside edge, so you only have to put some nails at the centerline of the deck to keep holding down
and "paint" some glue underneath. In this way the curve of the deck is easily obtained. Bit difficult to see on the photo, but I hope you get the idea
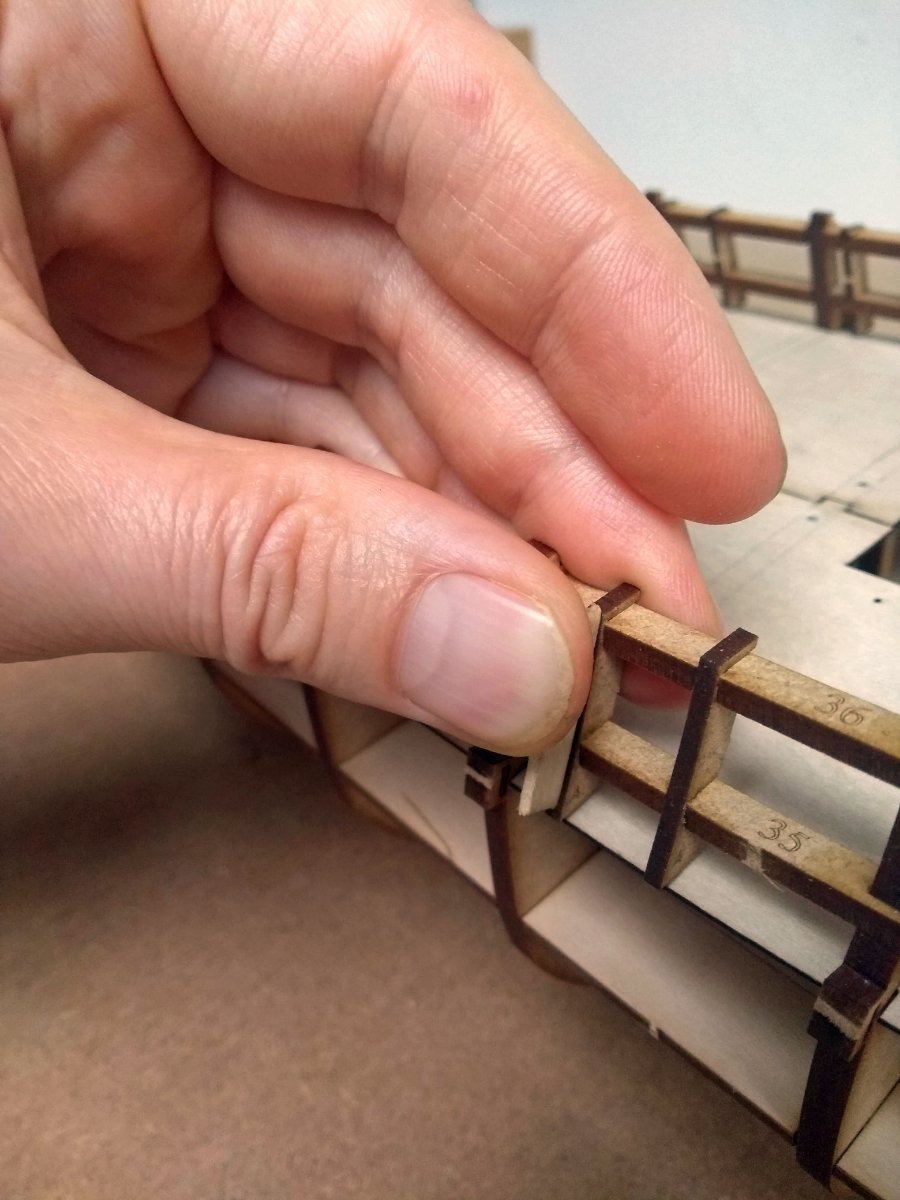
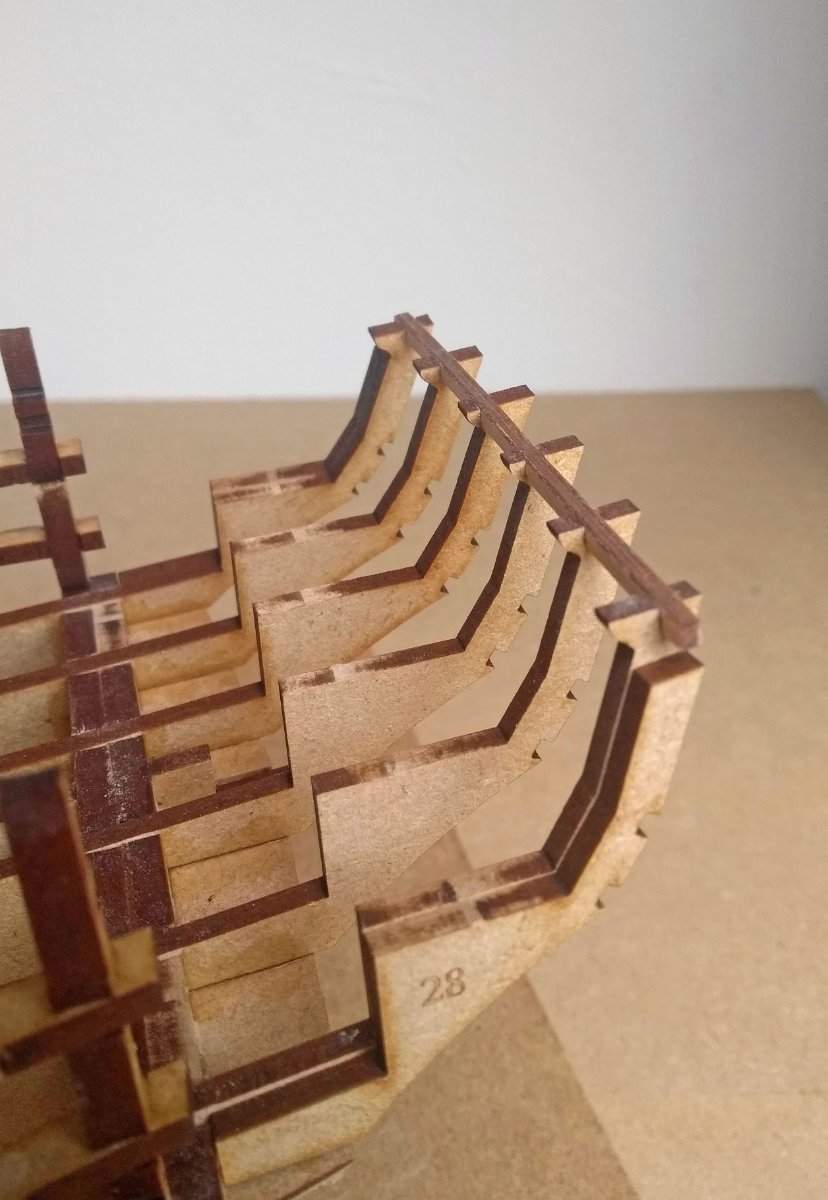
Next were the vertical gunport frames. Great care is needed to install these, because they have some thin parts that could break if you push to hard. And the fit
in the slots were pretty tight. I used a scrap piece of strip wood to push them in the slots of the horizontal frames. This dispersed the forces a bit. This went without
problems.

- chris watton, JeffT, p.hoek and 13 others
-
16
-
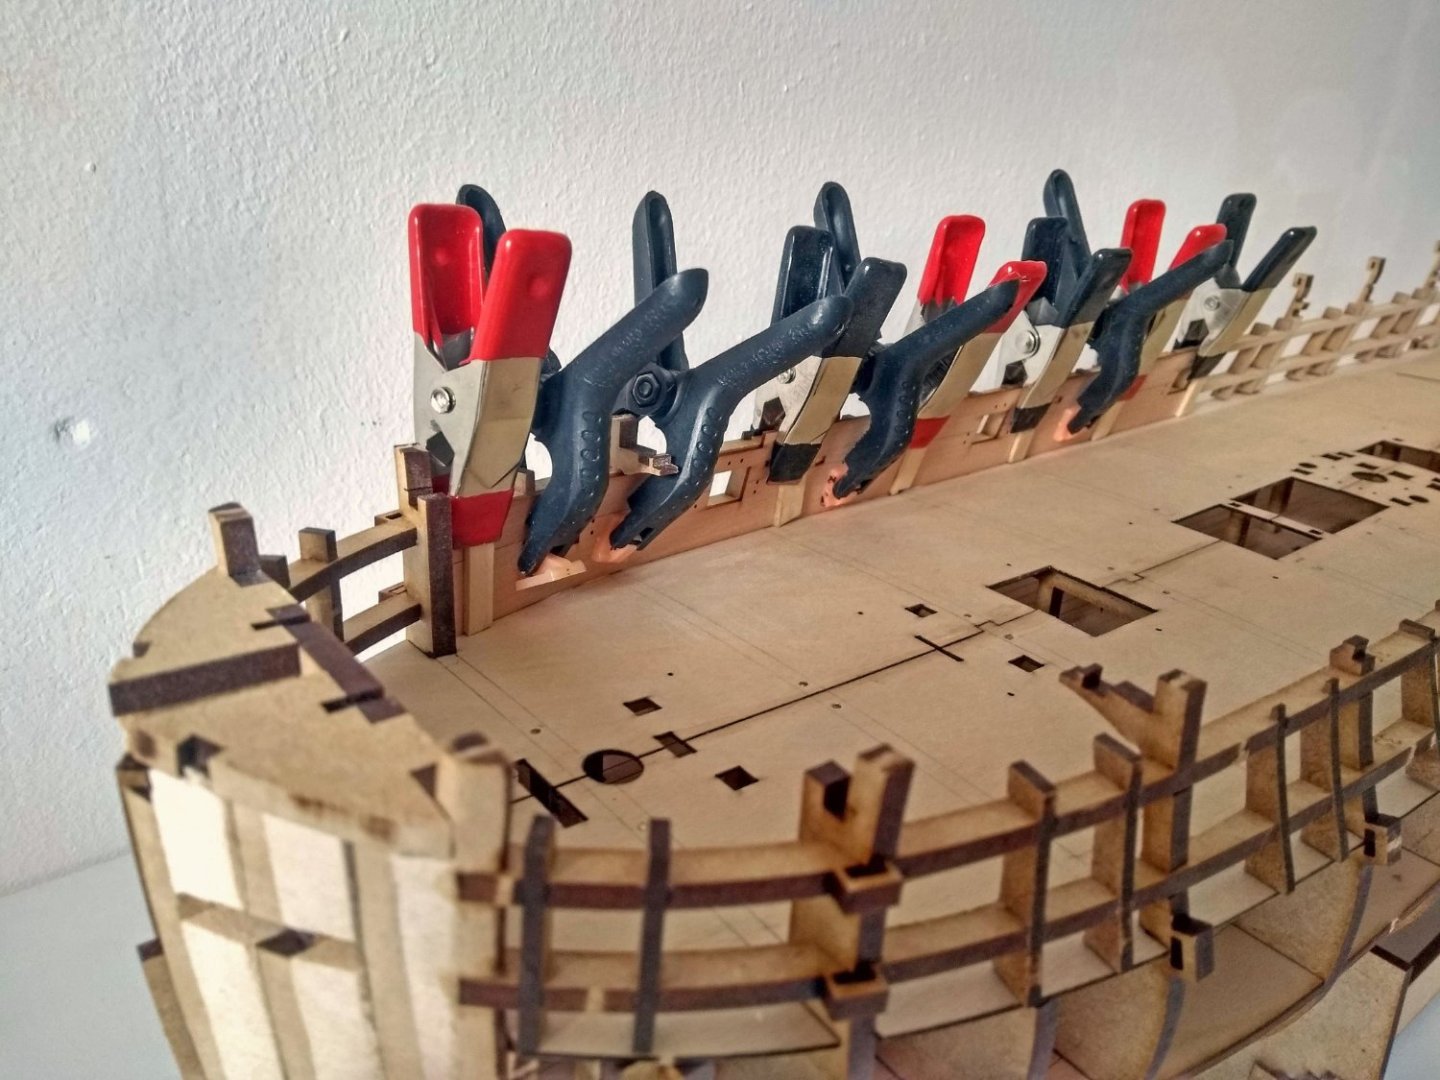
Only thing I would say to future builders of this ship...treat the stern frame spacer beam on top of the stern frame really careful and take your time. It's really delicate and at first I was a bit enthousiast to push it in the slots and heard a little crack, but stopt luckily in time before damaging it really. The plywood of the spacer was a bit thicker then the slots in the stern frame pieces.
I needed to careful sand the thickness of the spacer so it went smooth in the slots afterwards.


- JeffT, Haliburton, GrandpaPhil and 12 others
-
15
-
-
-
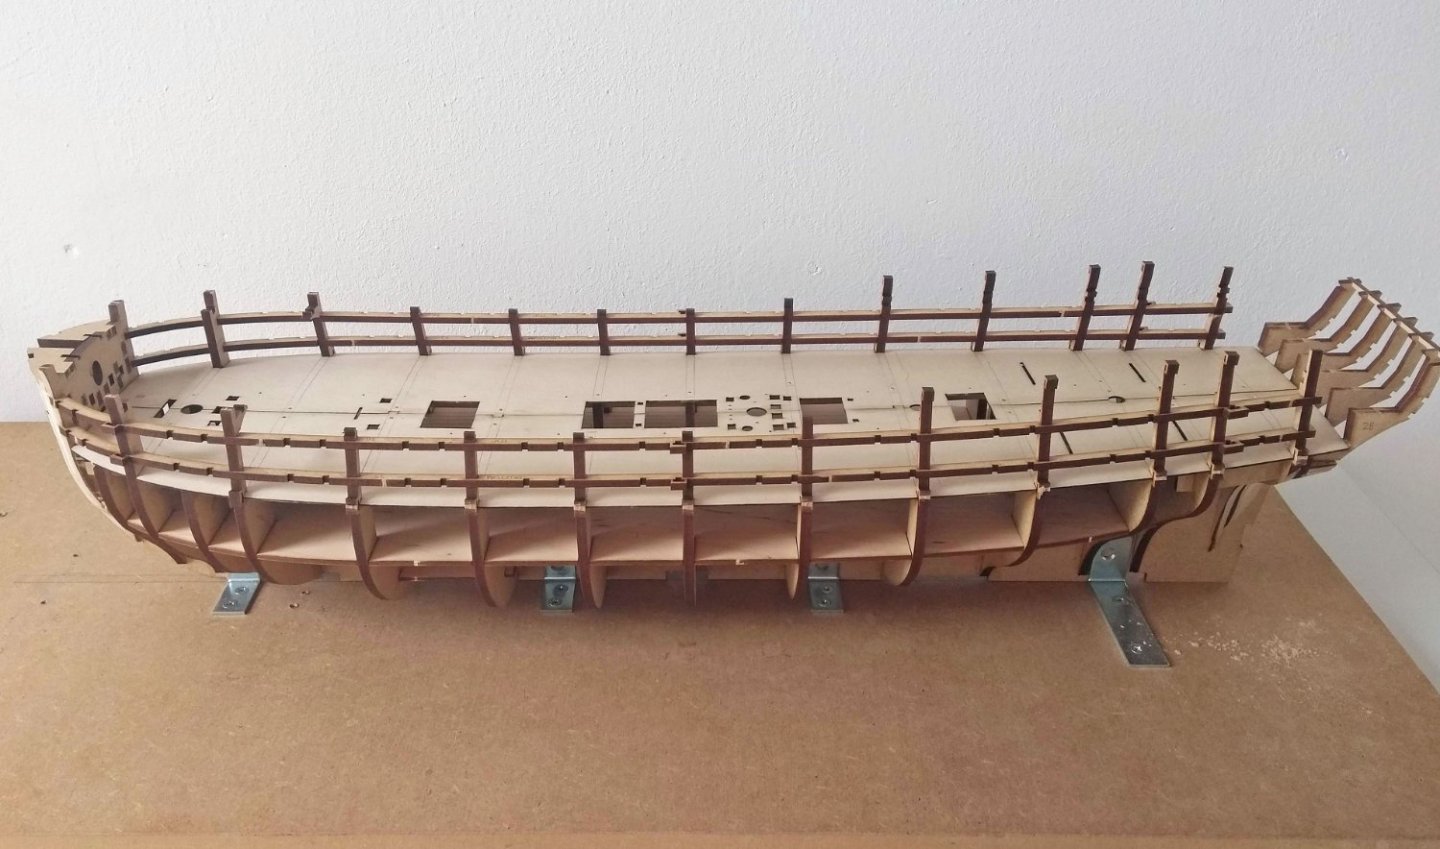
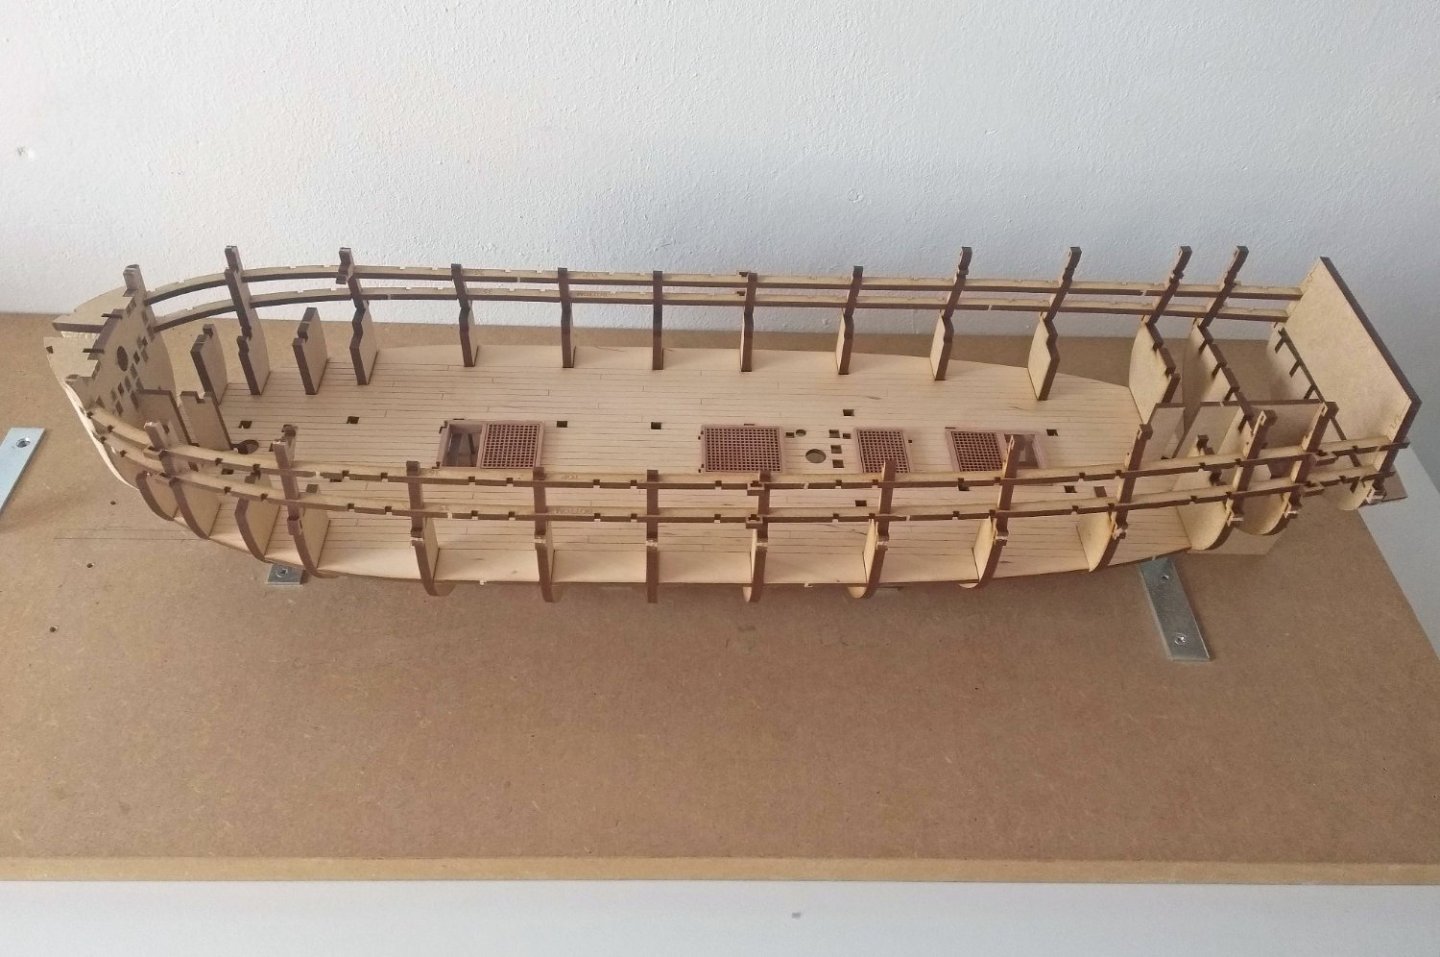
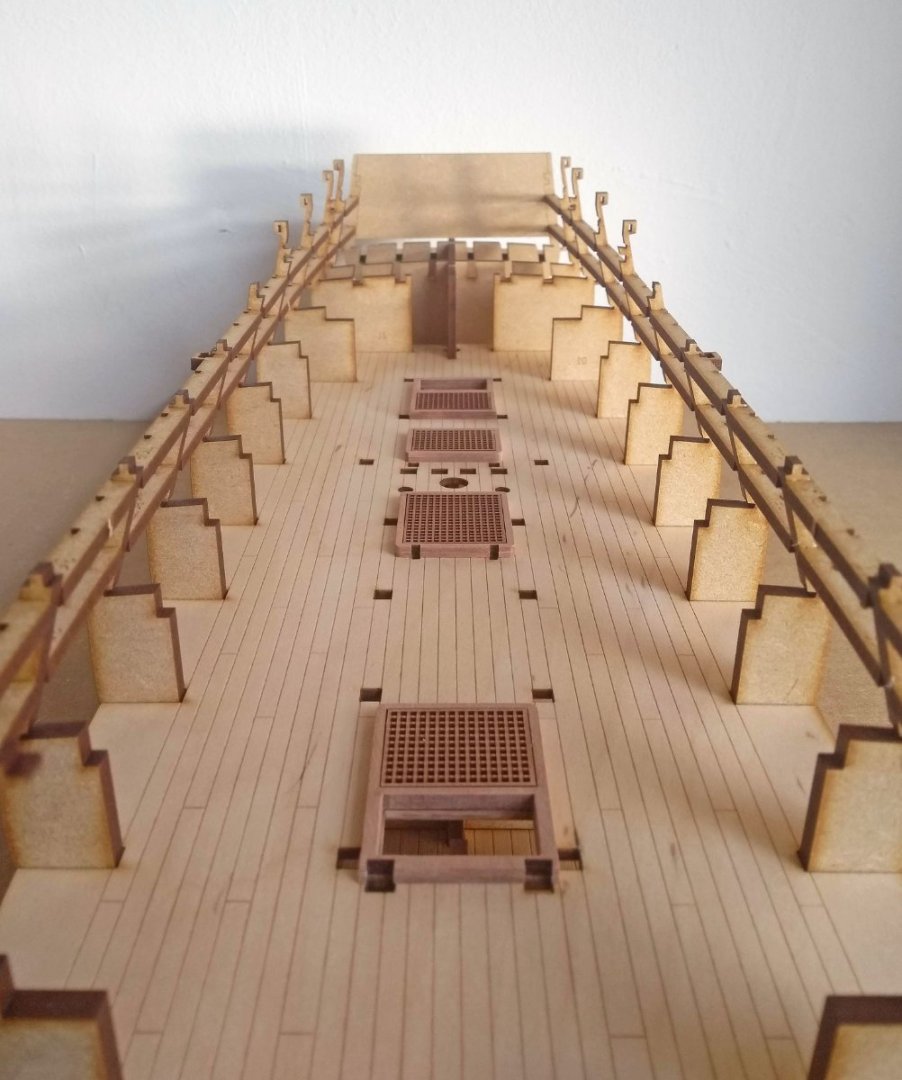
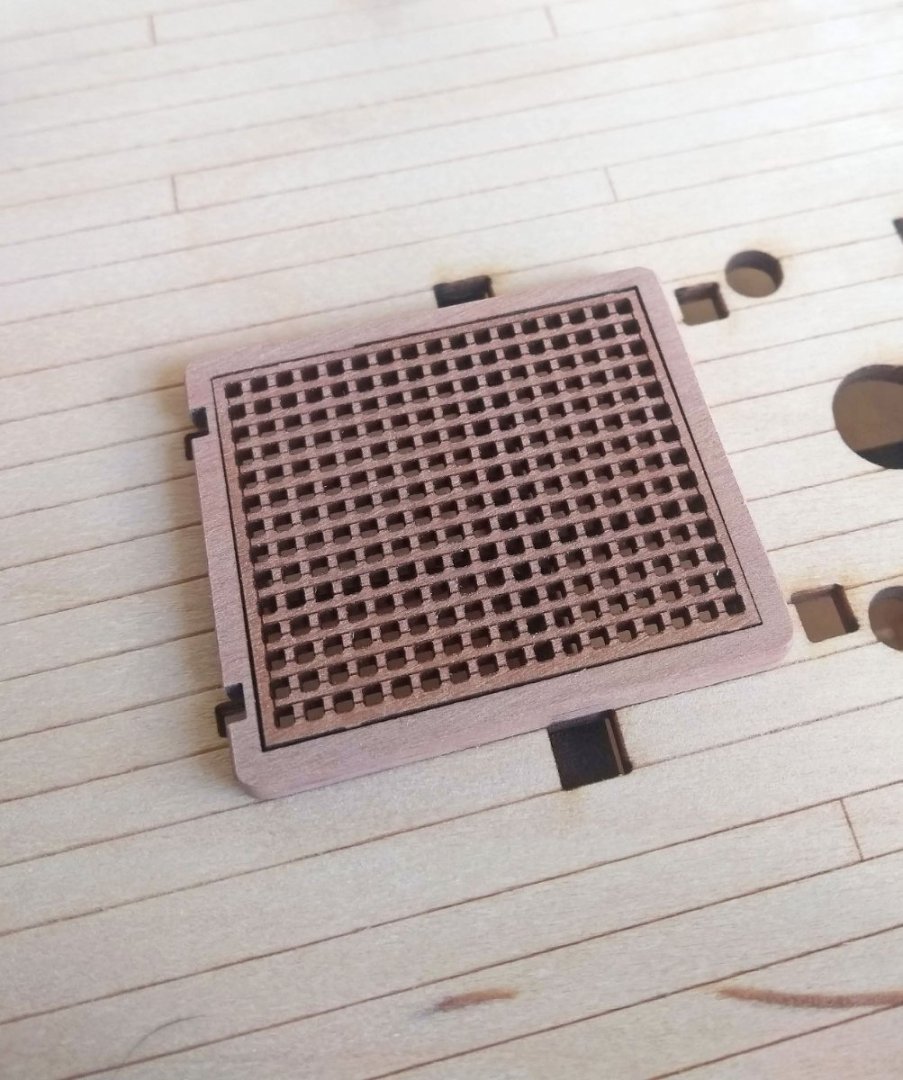
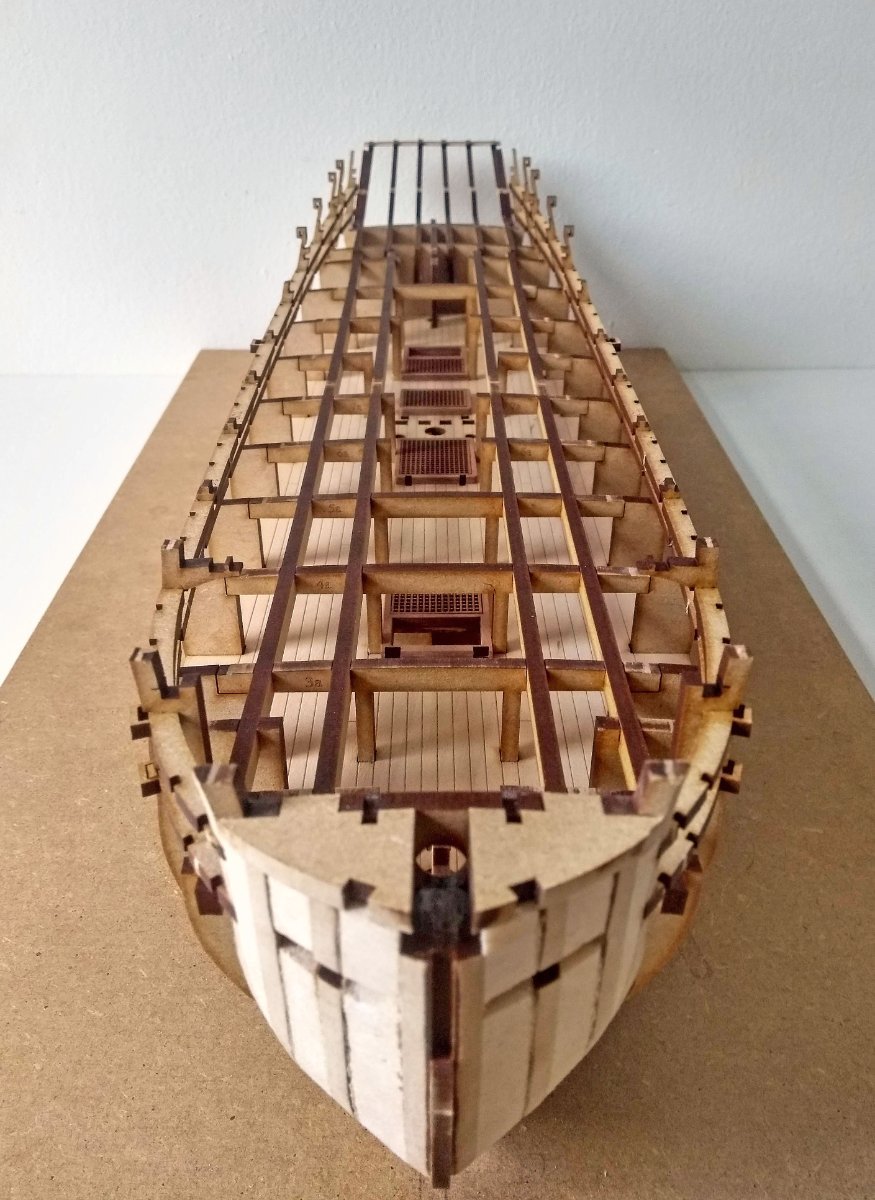
So with both sides of the gun port frames in place and glued, the next step was to place some coamings and gratings on the lower deck. Everything is laser-cut also the gratings and I must say I really love these lasered gratings. I prefer these over the gratings in older kits where you need to make them yourself. The details on these lasered ones are really beautiful.
- GrandpaPhil, FrankWouts, James H and 16 others
-
19
-
So yesterday evening after the dry-fitting I secured everything with glue so it could dry overnight. So the Orlop and lower deck are now in position.
This morning I glued the bow piece, bulkhead 12 and the sternpiece into place. And just now I "painted" the gun port frames into place.
This "painting" with diluted PVA is a really nice and calm way to fix everything together. Great tip learned from the manual
Previous ships it was a race against the clock to fix a false deck or something into place with clamps, nails etc. before the glue sets...this diluting of the glue
and just brush it into the joints is such a nice non-stressed way

I made a building slip for this phase of the build, not knowing it was really necesarry but it certainly can't hurt to keep her keel straight.
Also how every piece clicks tight together is such a satisfying way to build, I can really appreciate the engineering behind this design.
- James H, dunnock, Haliburton and 9 others
-
12
-
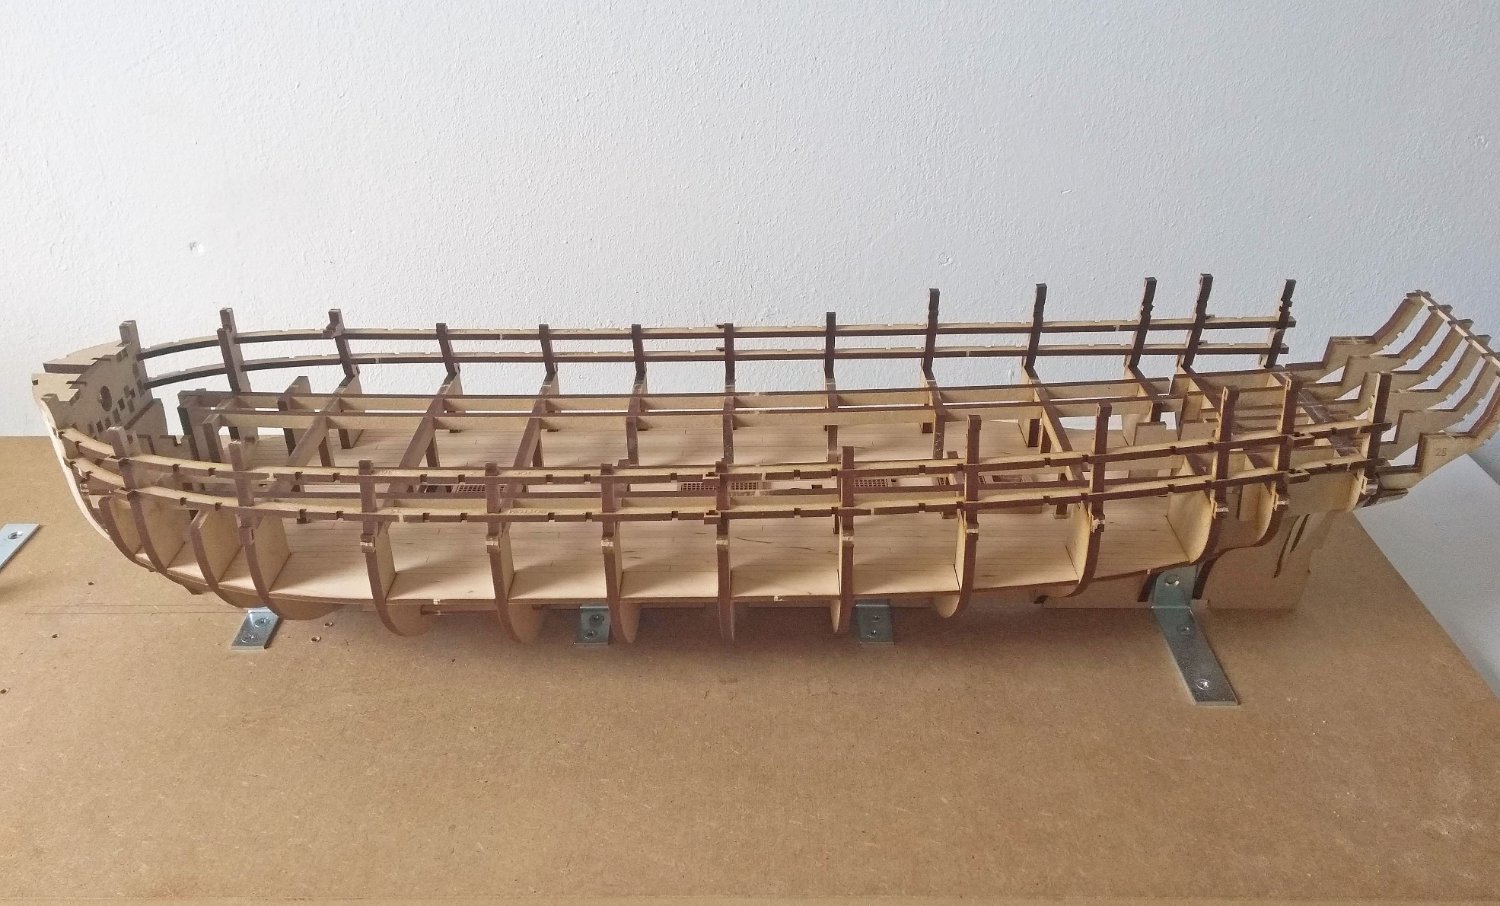
Just a dry-fit (careful to not breaking the bulkhead taps) to see how everything lines up and to look at her size
Love how tight the bulkheads slide in the false keel, everything fits real precise.

-
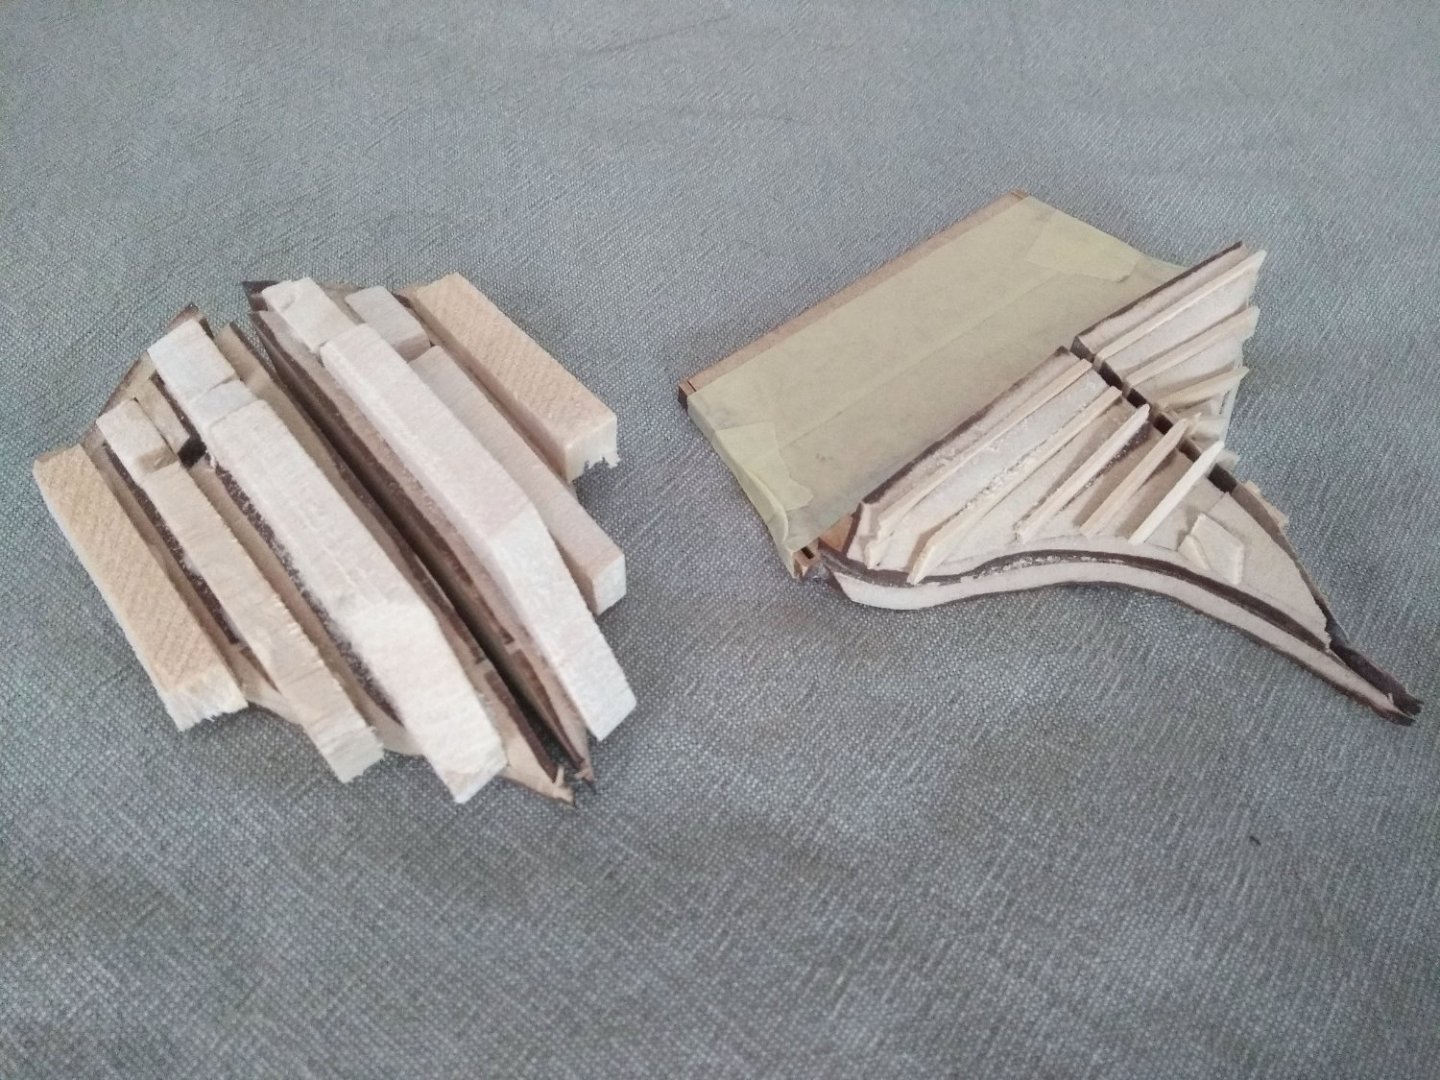
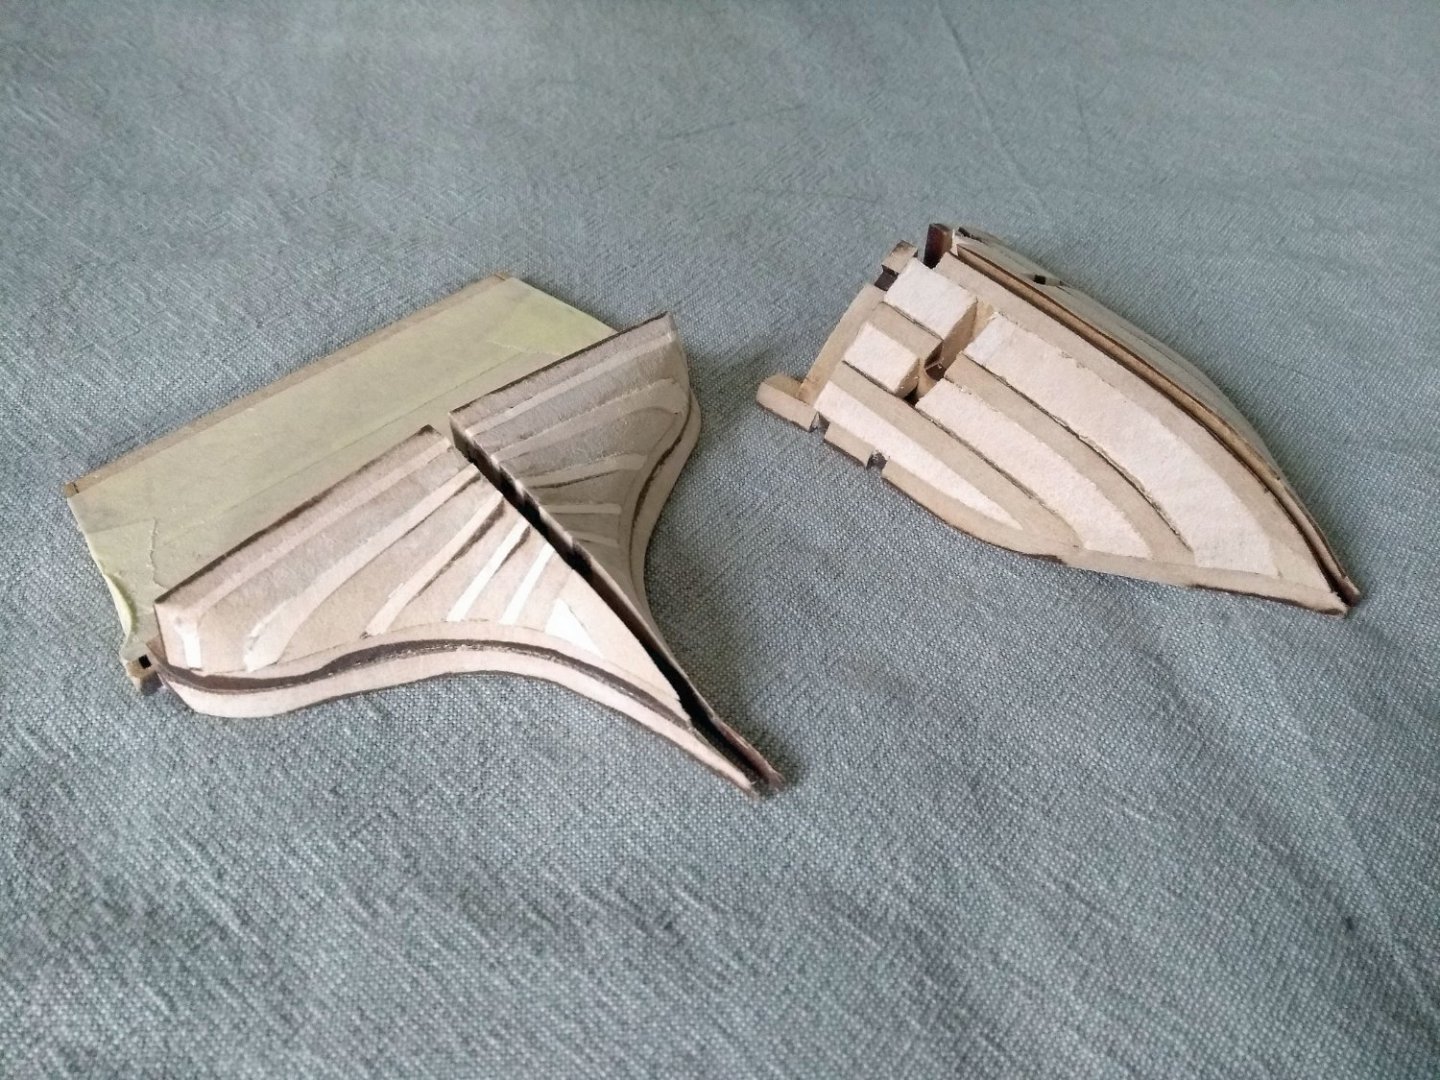
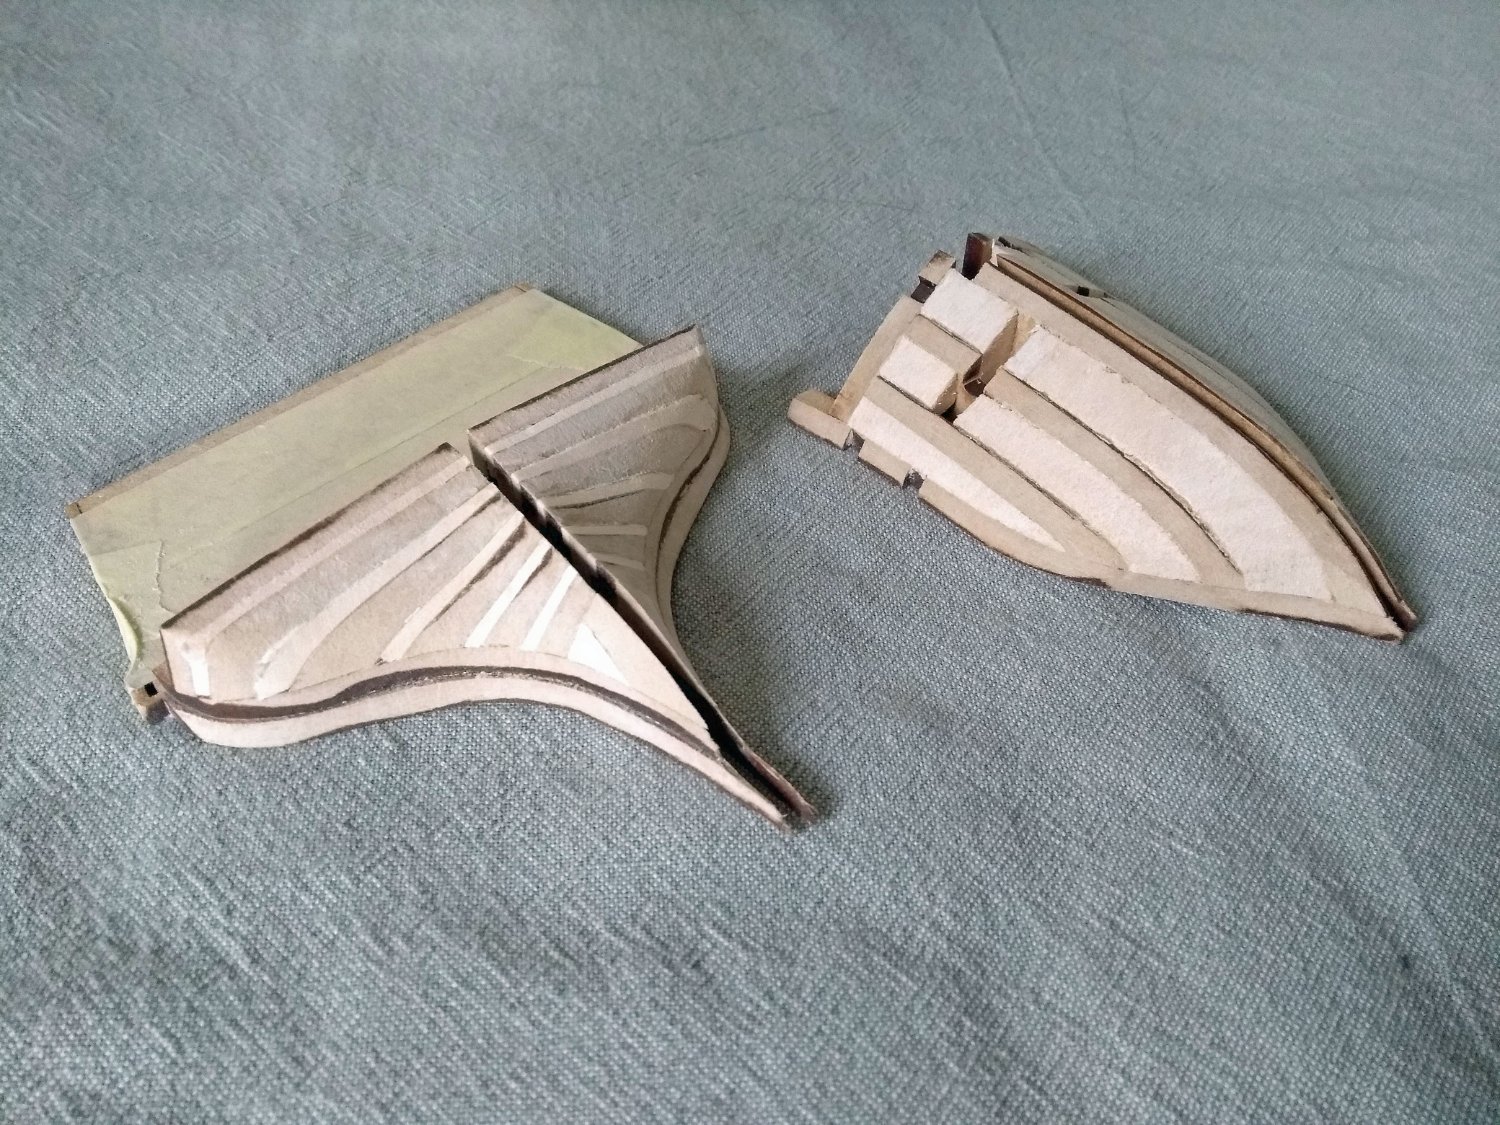
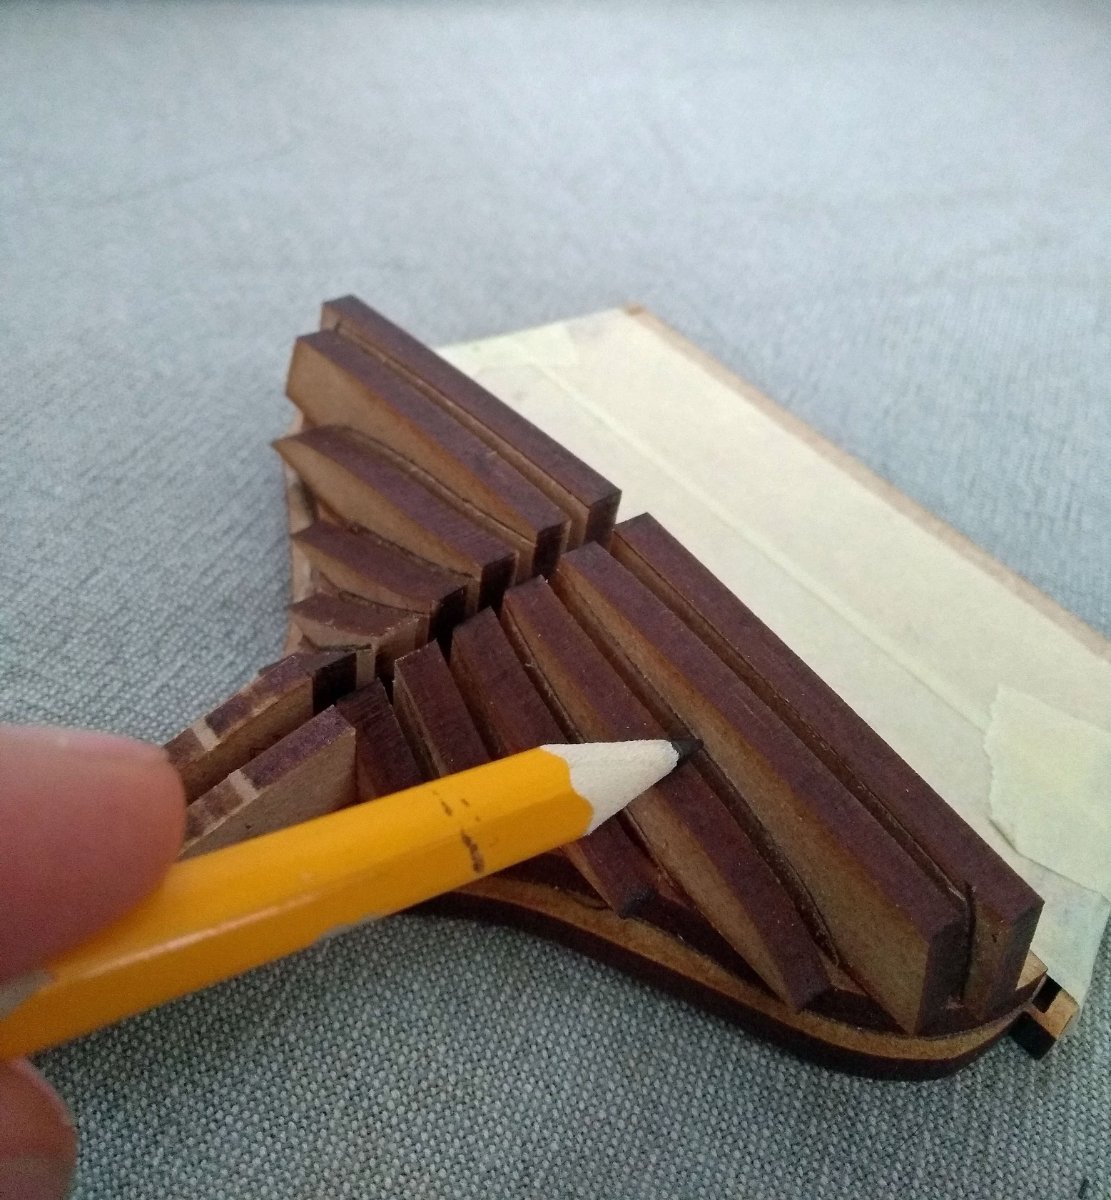
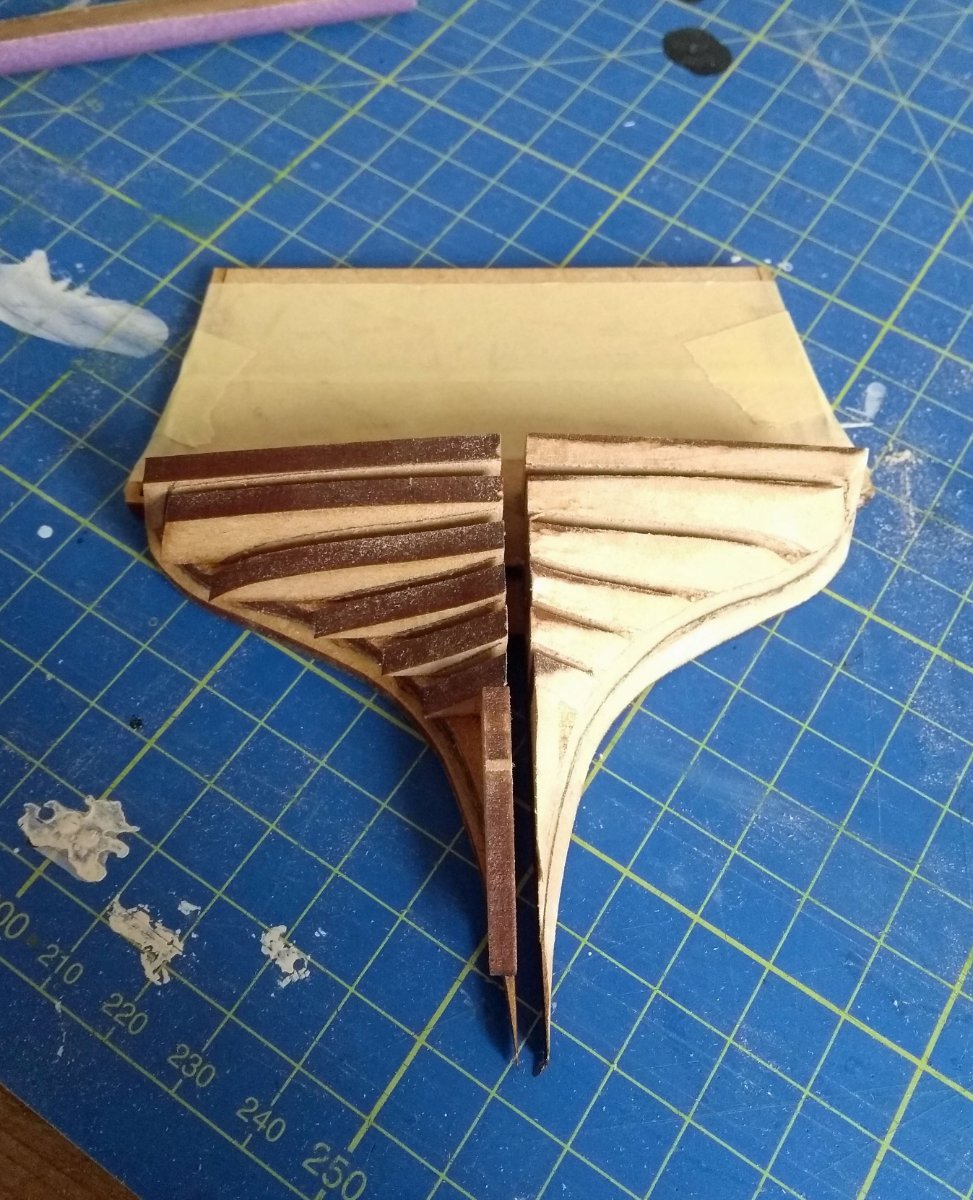
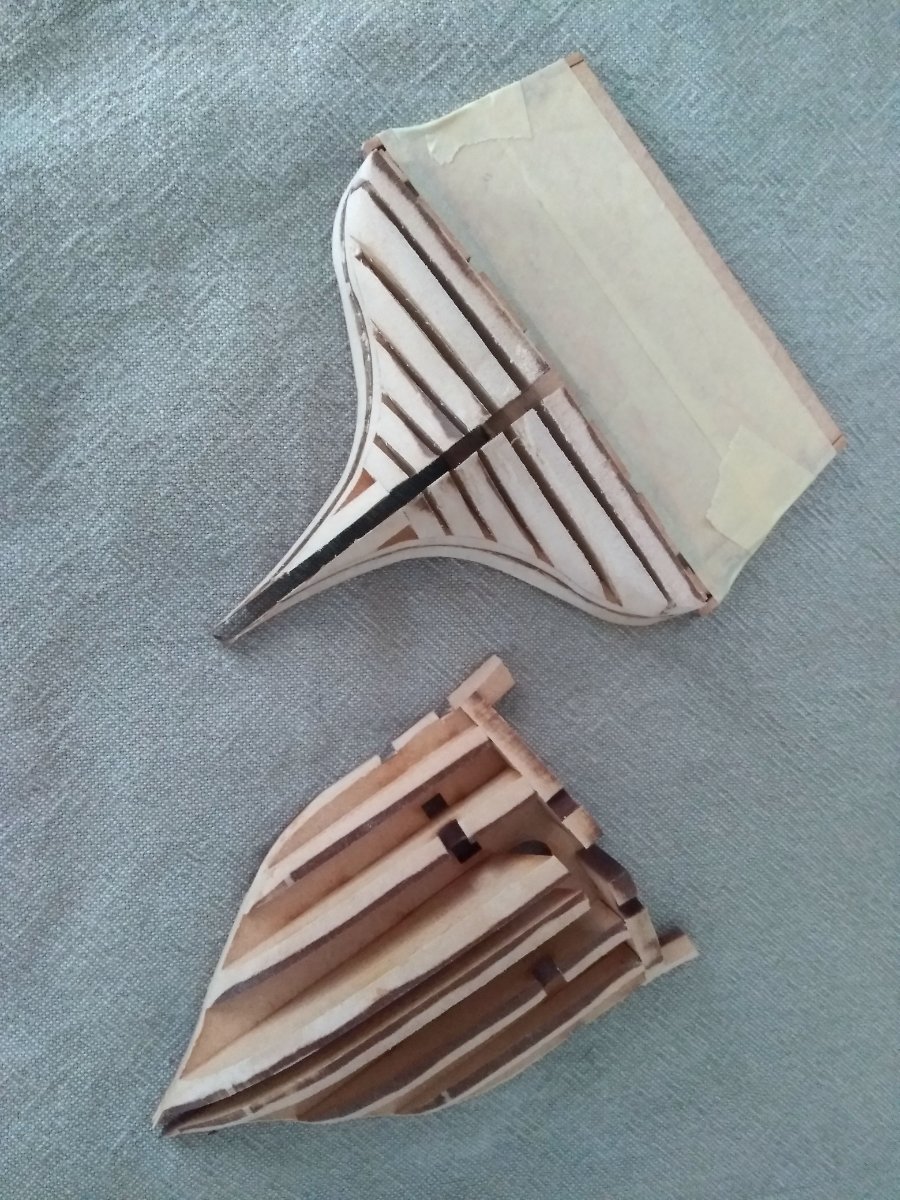
But I wasn't really satisfied about how much material I could shave off. I thought it was easier to see how the lines need to run when I used some scrap pieces between the stern fillers and bow fillers. So I took this extra step and it helped me better to visualise how the shape needed to be. Previous experience with other ships definitly helps with especially the stern piece to shape.
I think they are not far of the final shape now. The final shaping will happen when it's glueed on the false keel with the rest of the bulkheads.
- CiscoH, Haliburton, CaptnBirdseye and 9 others
-
12
-
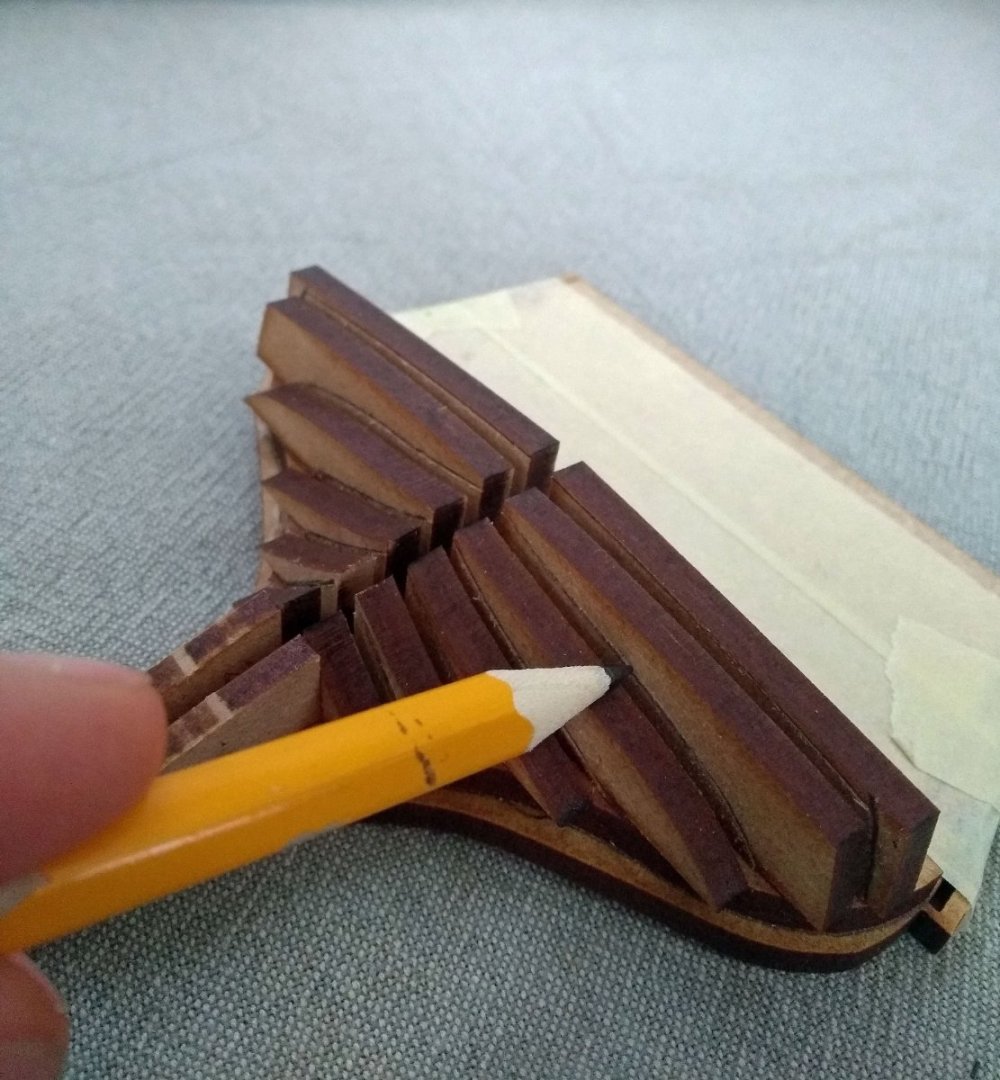
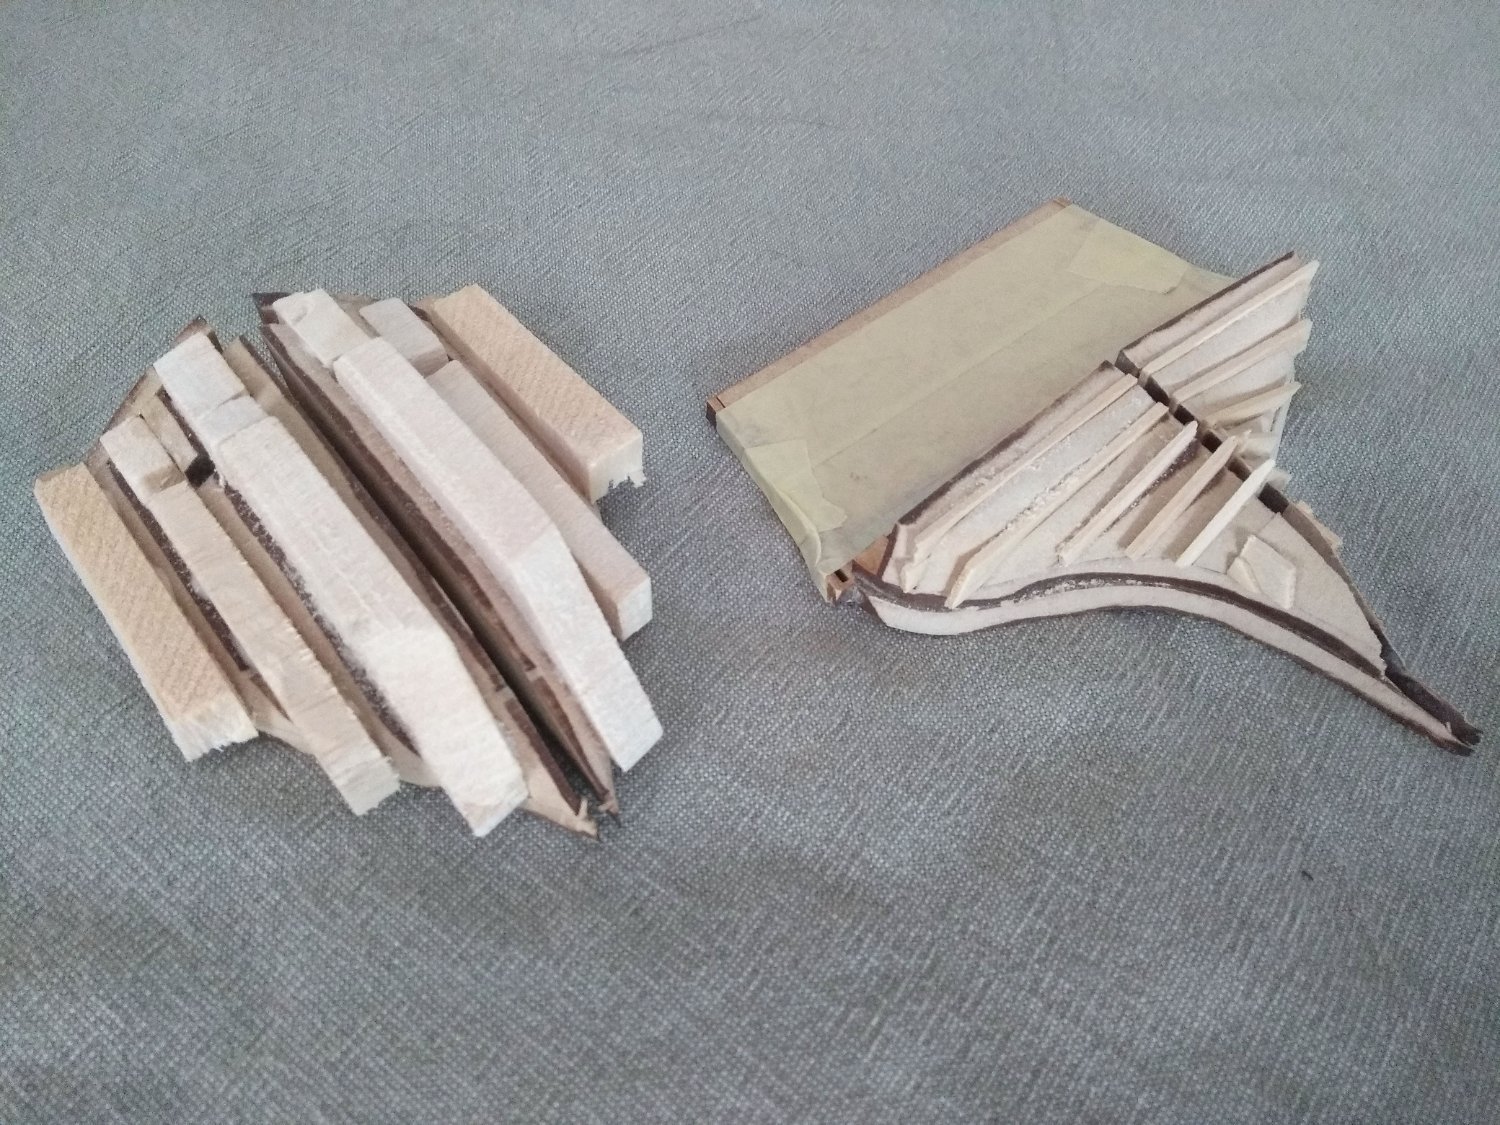
Okay, one of the first steps is roughly shaping the stern piece and bow piece. Doing the major shaping of these pieces while they are not glueed on the false keel makes life a bit easier. This is by the way suggested in the very clear instructions.
I used a tip from Glenn-UK his log where he traces some lines on the filler pieces of the stern so that I had a global idea for the first attack with the Dremel

-
-
1 hour ago, chris watton said:
Glad you like it!
I think your kit comes from Krick, if so, they produce their own plans and instructions for the German market (We send the kits without plans and instruction manuals)
The store where I bought this one was 'JoJo Modellbau', but there where stickers from Krick on the box also. So I think this shop bought it from Krick indeed. (price difference was significant)
It looks that they replaced the manual with the English one from your site, so quite happy with that service of them.
- FrankWouts, Katsumoto, chris watton and 2 others
-
5
-
2 hours ago, Katsumoto said:
Gefeliciteerd met dit mooie pakket en veel plezier tijdens het bouwen! 🙂
Congratulations purchasing this beautiful modelship. I wish you a lot of fun during the build of this gem.Dankjewel! Ik denk dat ik er zeker veel plezier van ga hebben. (Thanks! I think I will enjoy this the build a lot)
Also wanted to add....thank you Chris for labeling everything! Every bag with little parts, thread and wood panel is labeled with numbers which makes everything very easy to find and indentify. A little detail which makes a lot of difference in enjoyment.
-
Yes feeling like a little kid on his birthday again...received today a nice large box with the mail!
🎊

I won't take any unboxing pictures, because James did a fine job of that in the prototype log:
But I took a first glance in the box and was amazed with it's contents. First the plans and manual are really great, and lots of them! The amount of work in them must be phenomanal.
All the wood looks real good also. What really stood out to me was the amount of lasered and pre-cut wood! And the little bunch of loose planks compaired
to other kits i've seen. This kit is really something else in development and inovation. Great job of Chris and ofcourse James also with building and photographing the prototype.
First step now is to take inventory...if everything is in the box and then we can begin!
- FrankWouts, Haliburton, BenD and 10 others
-
13
-
Hello to you all,
It's been a while since I've been here online. I was dealing with some personal stuff and didn't feel to work on this lovely hobby of ours.
But lately I wanted to have something to work on again. I was building the HMS Pegasus from Amati, and I am about halfway I think. But
the motivation to work further on that project is a bit low. The great kits that Chris Watton is producing now in his own company are so much
further in design and realism that it's difficult to unsee the flaws in the earlier designed kits with the less quality materials and poor instructions.
Ofcourse there is a lot to learn about building these kits and you can easily update them with other materials, but at the moment I just like to build
something that is just beautiful and great out of the box without the need of altering to much. And Chris his new stuff is just perfect for this in my opinion.
Luckily I had the funds now to purchase such a gem from Vanguard Models and it's the HMS Sphinx. I ordered it yesterday from a online store in Germany
so I need to wait a few days before it arrives here in the Netherlands.
There are already great building logs here on MSW, so this one won't add much to it. But it's nice to have a watchful eye of the designer and builder here
on the forum, may I run into some difficulties.
-
8 minutes ago, ECK said:
I agree with all of the above.Given the paint and copper to follow, I think that the offending areas will be covered and the exposed wood will be ok. A lot is self satisfaction of knowing what lies beneath. I take comfort that when I look at the pictures in the build manual for the Indefatigable, similar issues can be seen.
Same for me...i also didn't bother to much about the planking beneath the copper...only the planks above have to look crisp in my opinion. But when you need to practice planking then it would be a good opportunity to do all planking perfect.
You are going fast! Everything looking great! 👍
-
It amazes me how many ship models you produce in such short amount of time...especially this monster! Plus the photowork etc you need to do for the manuals. Taking my imaginaire hat off for you James! And ofcourse also for Chris his rate of developing!
- thibaultron, Kevin, Mr Whippy and 9 others
-
12
-
Those open windows are such a cool detail 👍
- shipman, DelF, thibaultron and 6 others
-
9
-
Can I start over with my own build? Man this is beautiful!!
- AJohnson and Beef Wellington
-
2
-
Looks even bigger with the copper! Cool 😁
I understand for the final box photos the copper needs to be clear and even. Personally...i like when it immediately gets its own patina, it gives a nice weathered look.
- thibaultron, mtaylor, usedtosail and 3 others
-
6
-
1 hour ago, chris watton said:
Hull Length only - 505mm
Overall Length with bowsprit and gaff boom - 878mm
ETA - and I had better add - Scale - 1:64th
Tnx! Nice size and shape...looking forward how this one turns out!
- thibaultron, Canute, markjay and 1 other
-
4


1:64 HM Britannic Majesty's Cutter Trial 1790 - Vanguard Models
in REVIEWS: Model kits
Posted
Lovely kit and review 👍