-
Posts
3,867 -
Joined
-
Last visited
Content Type
Profiles
Forums
Gallery
Events
Everything posted by KeithAug
-
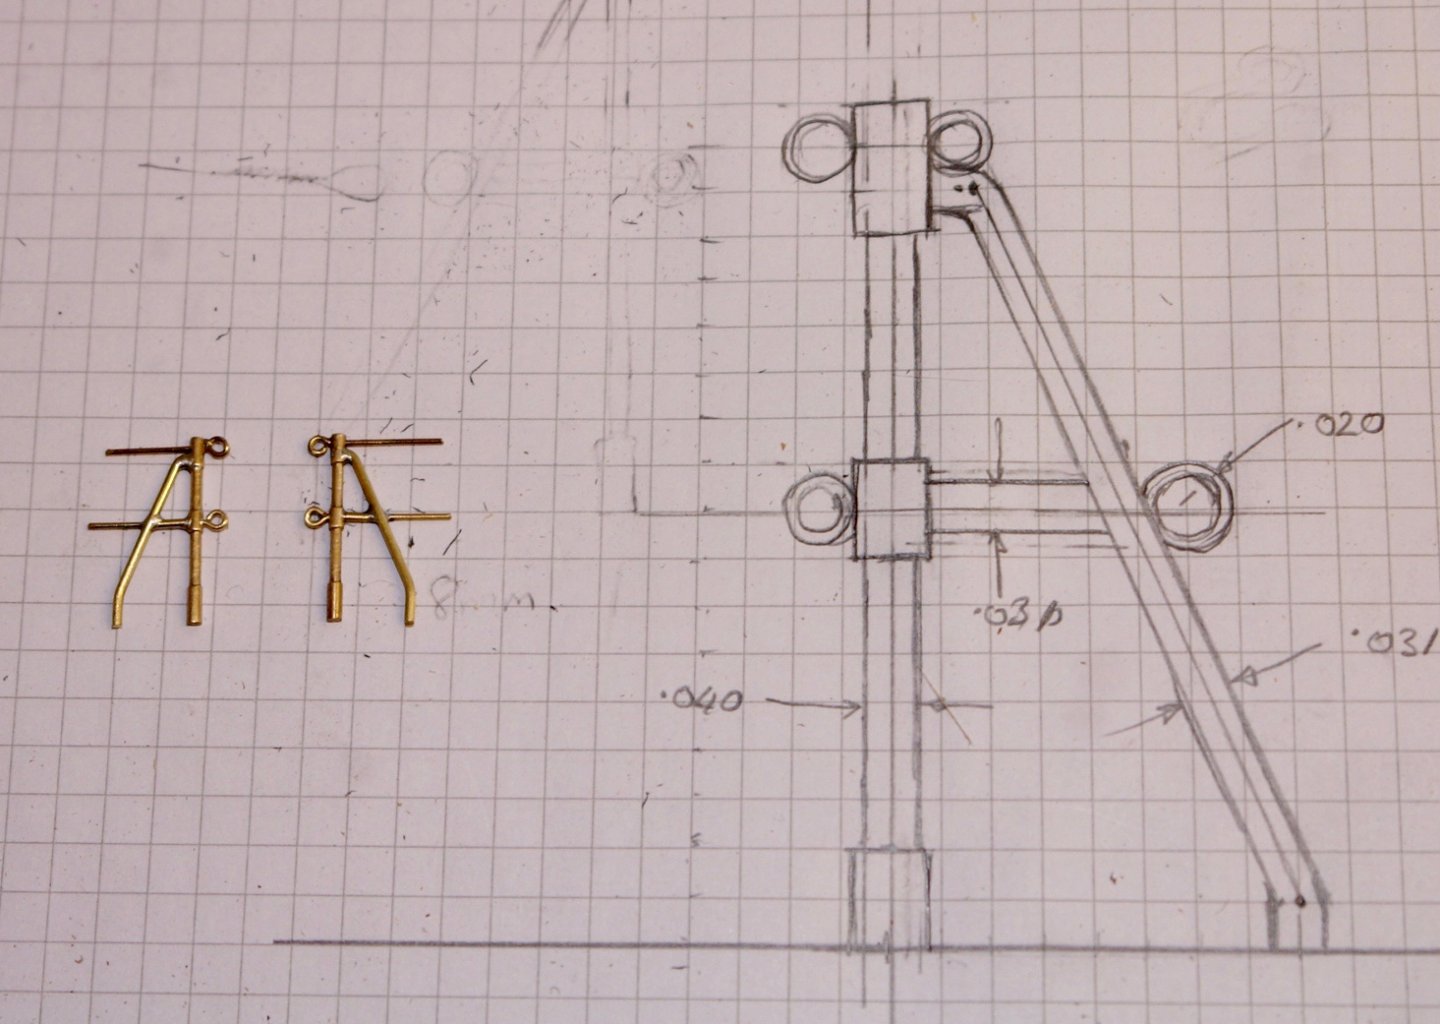
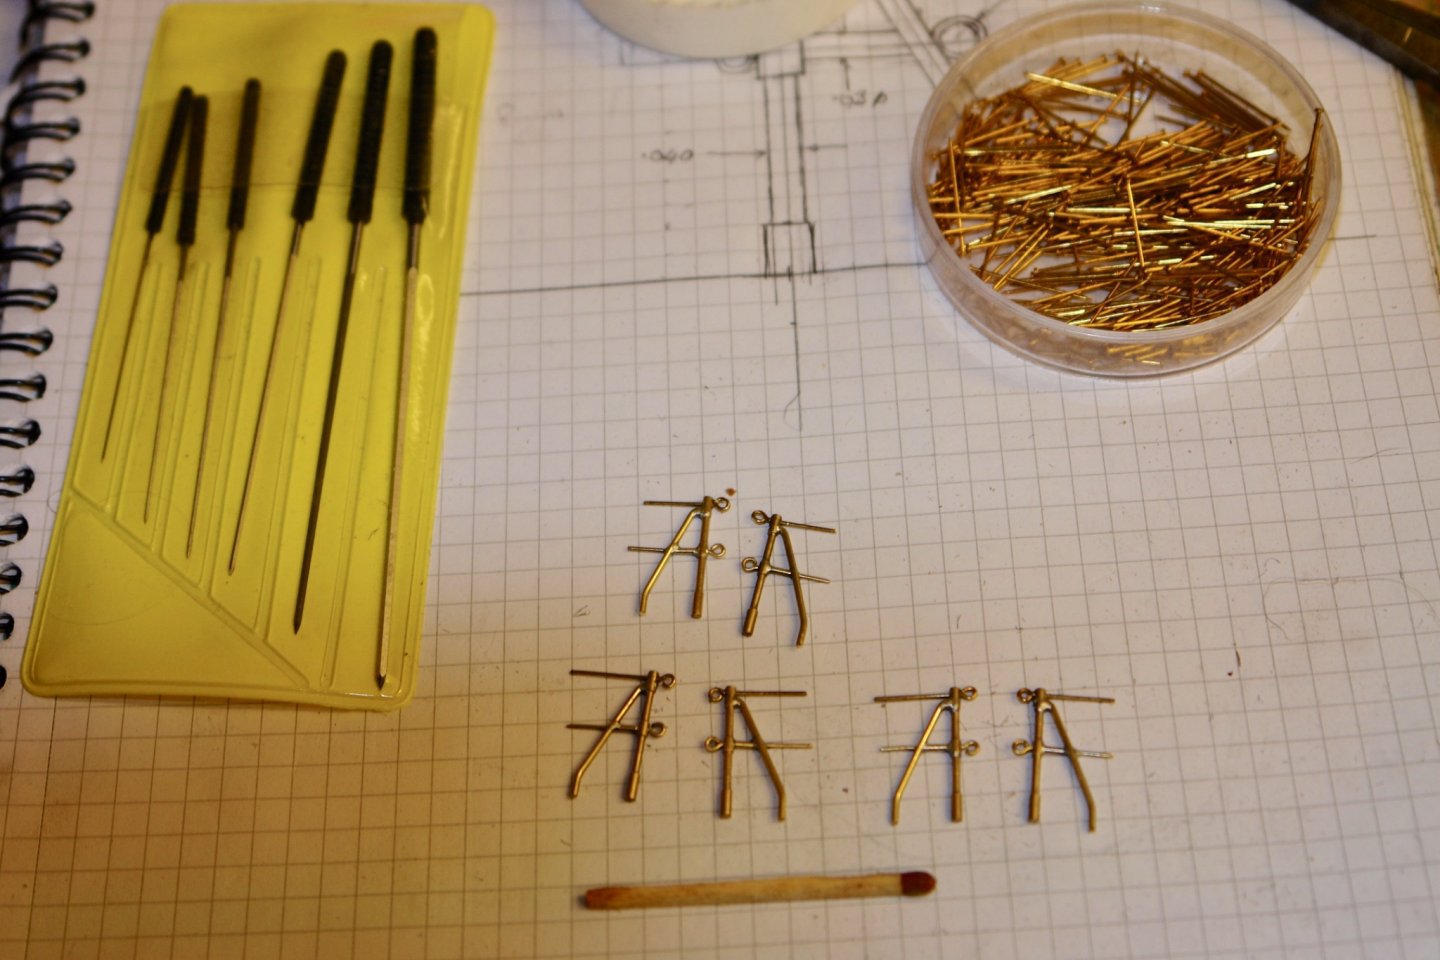
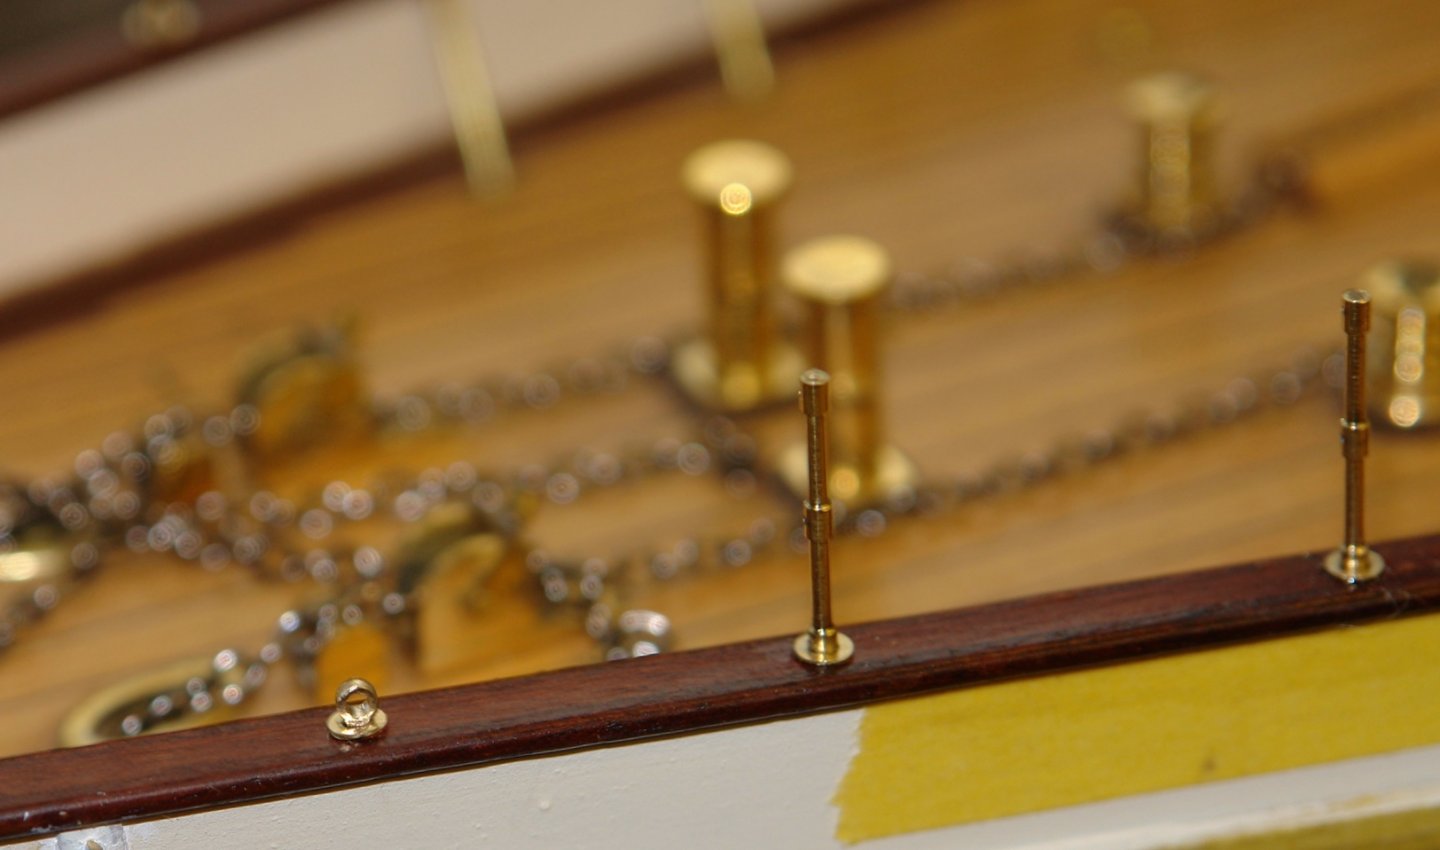
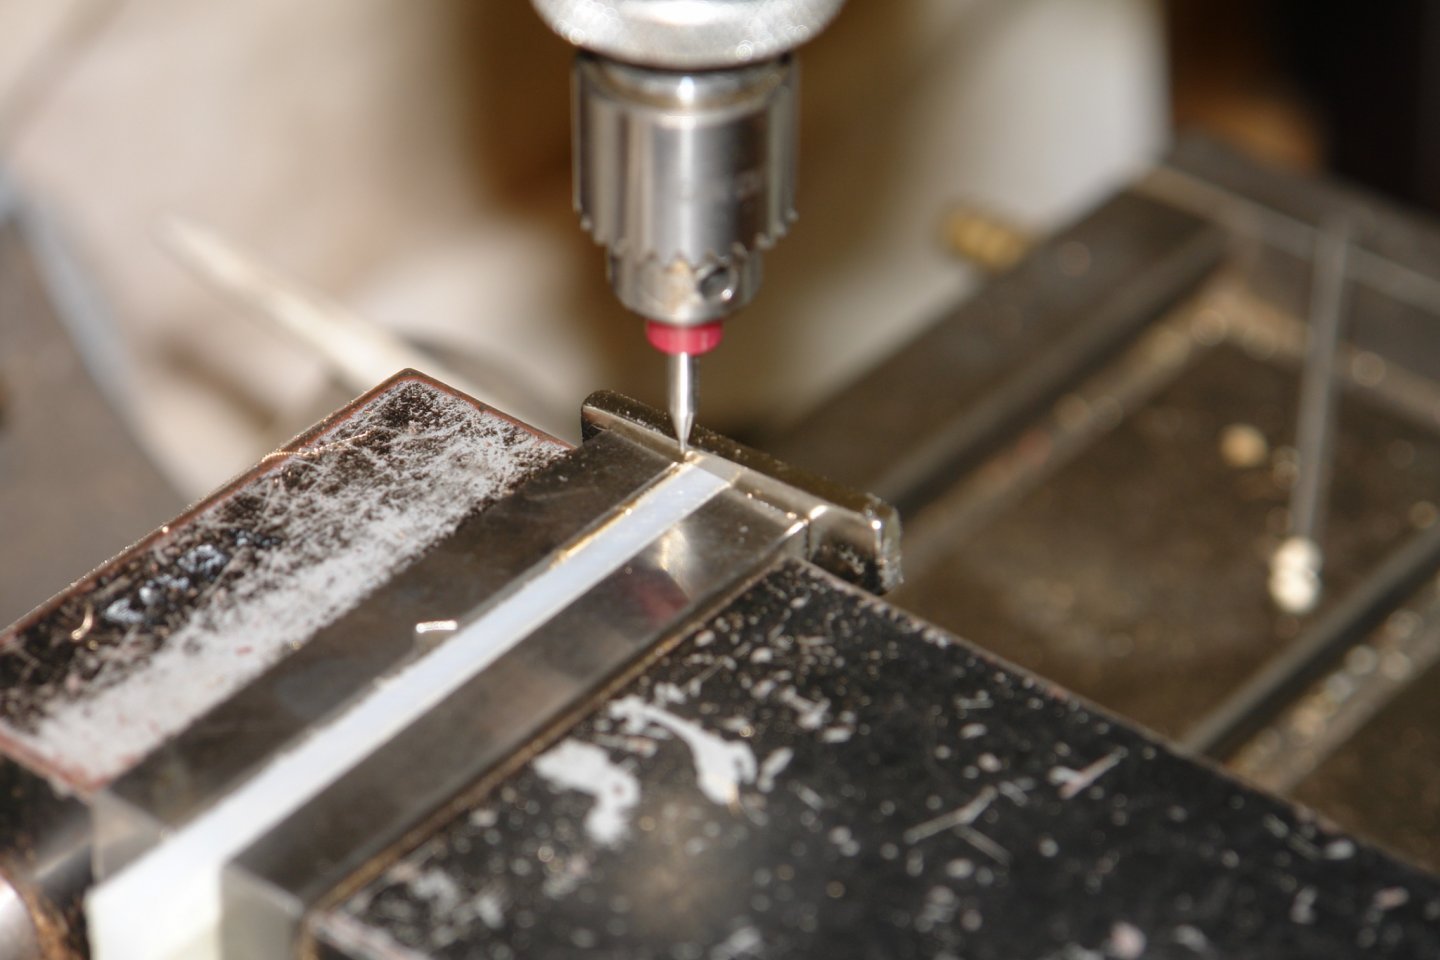
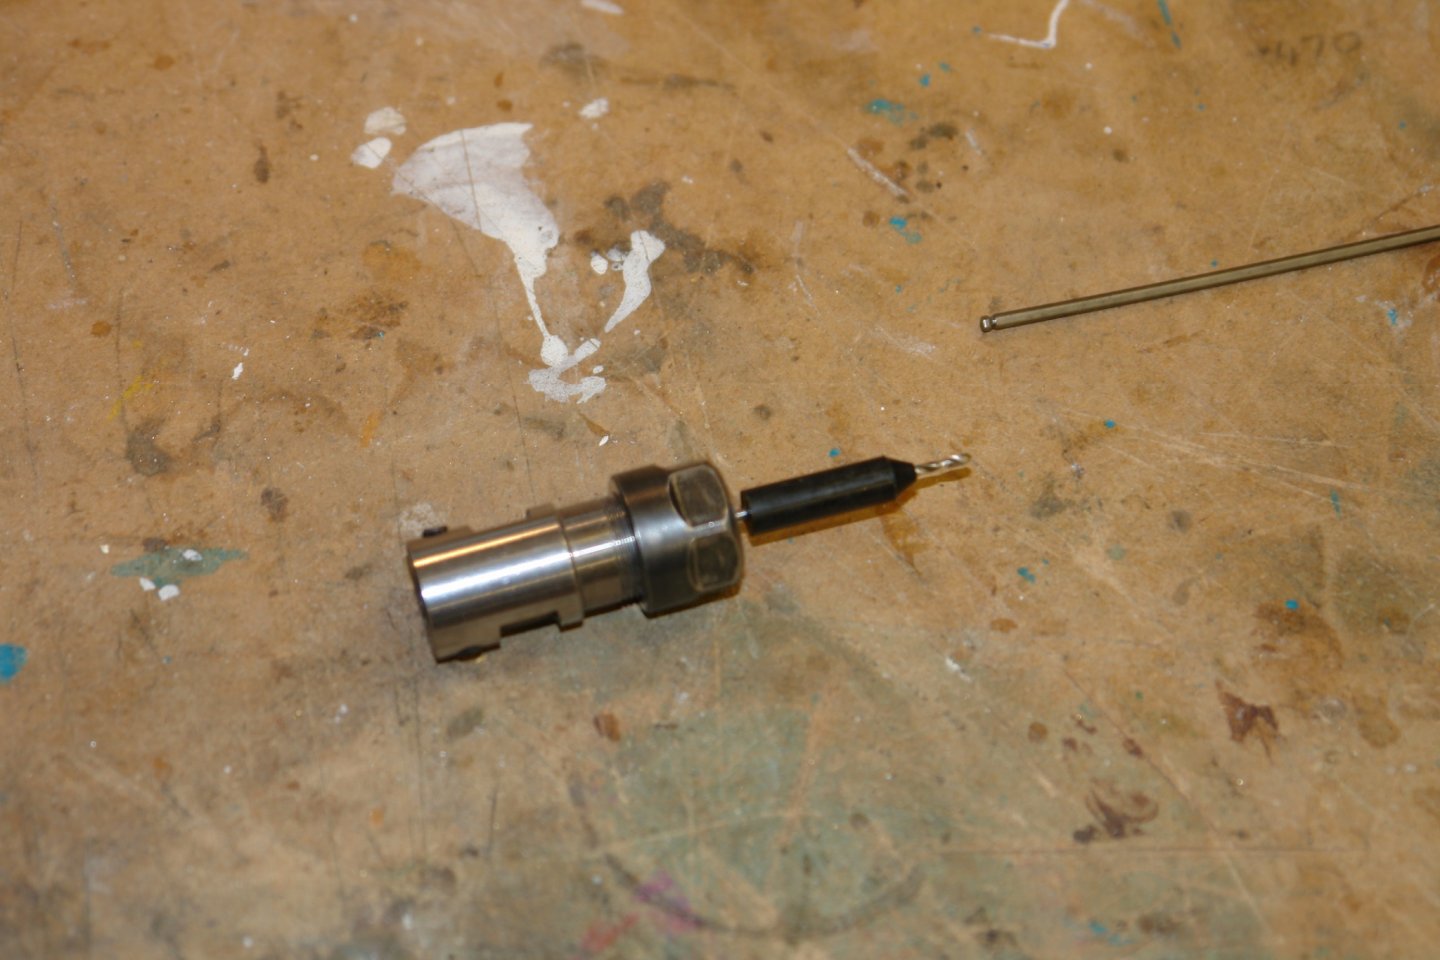
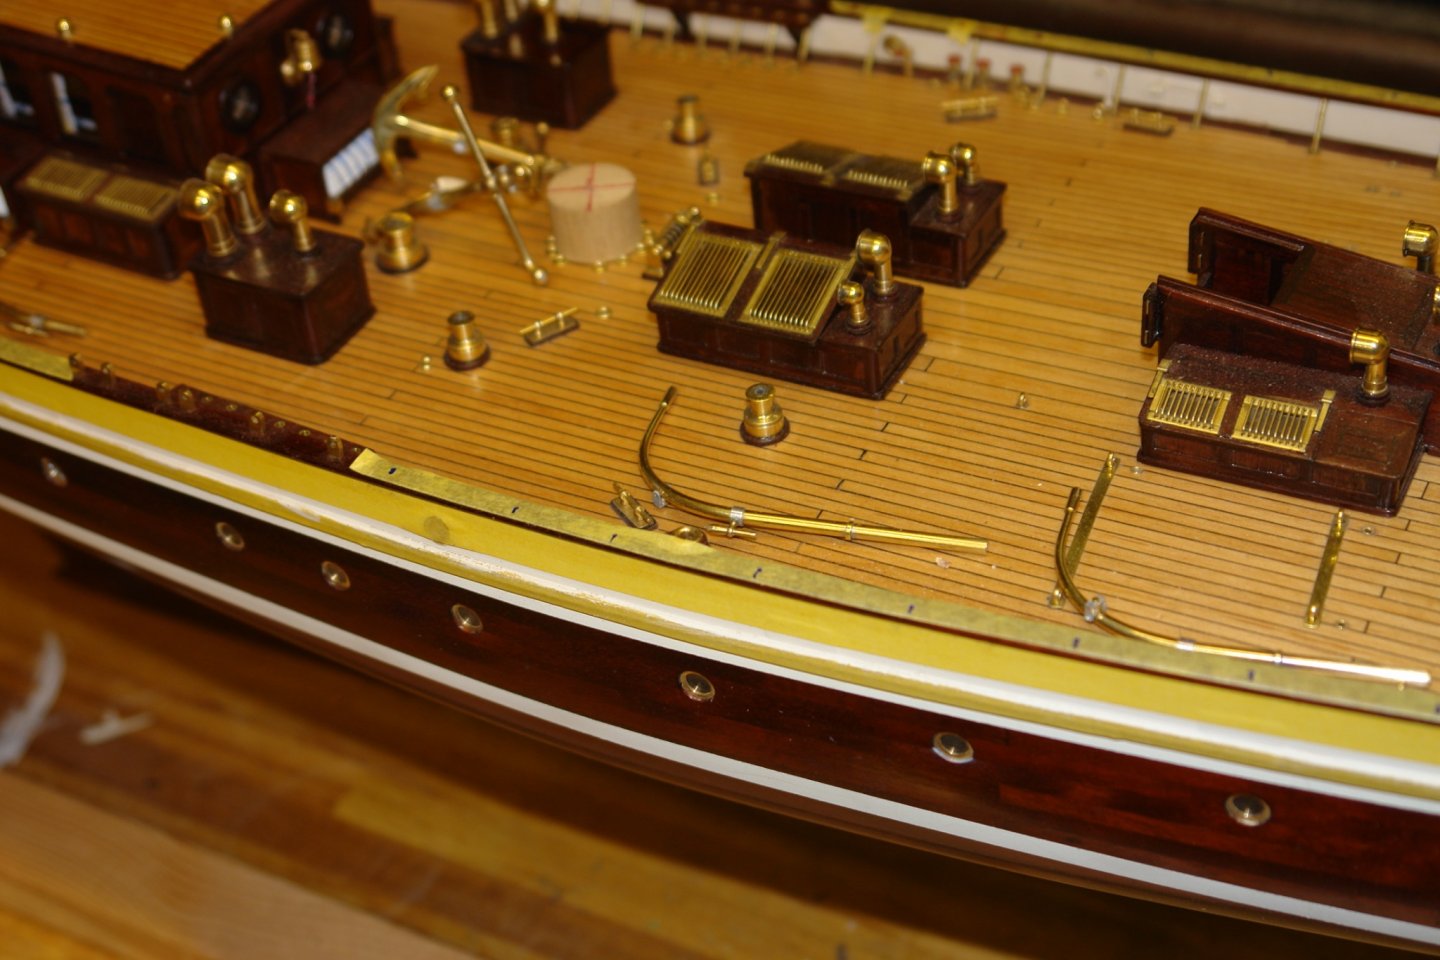
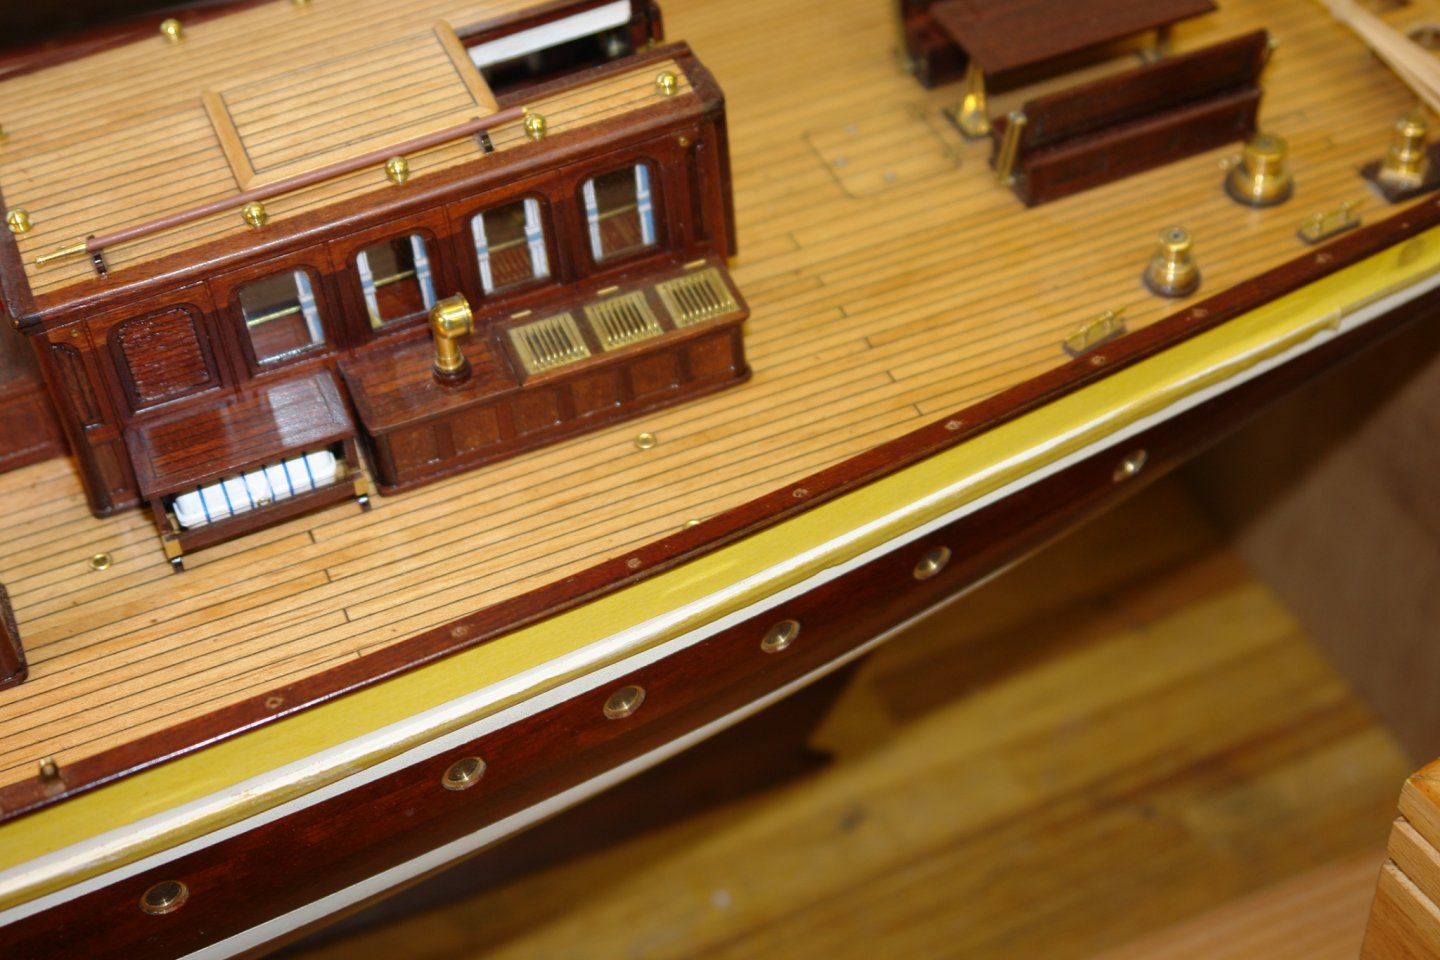
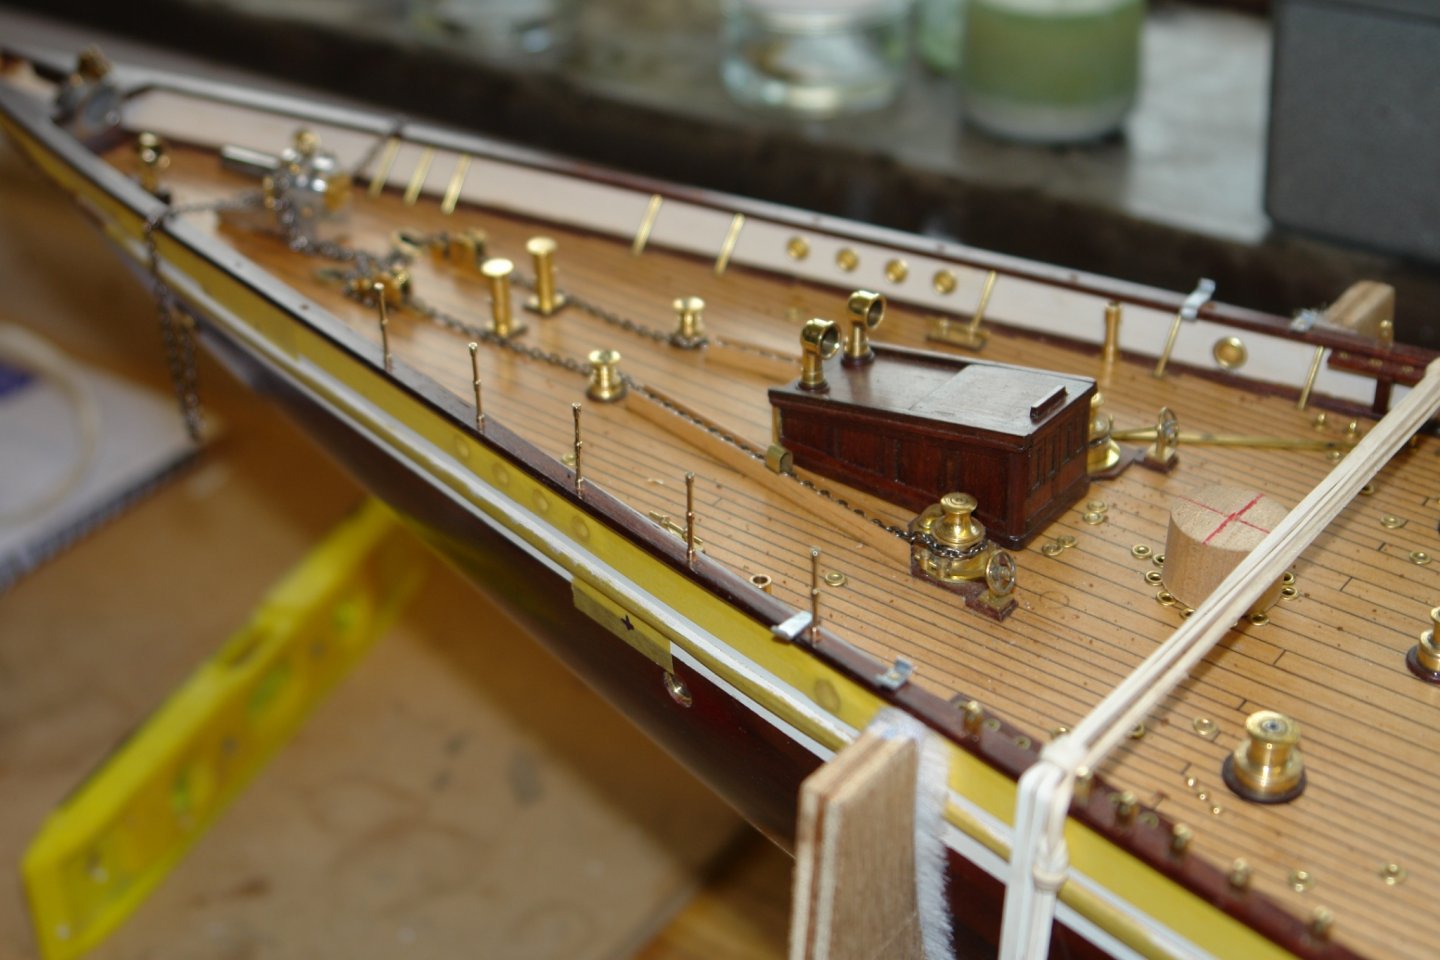
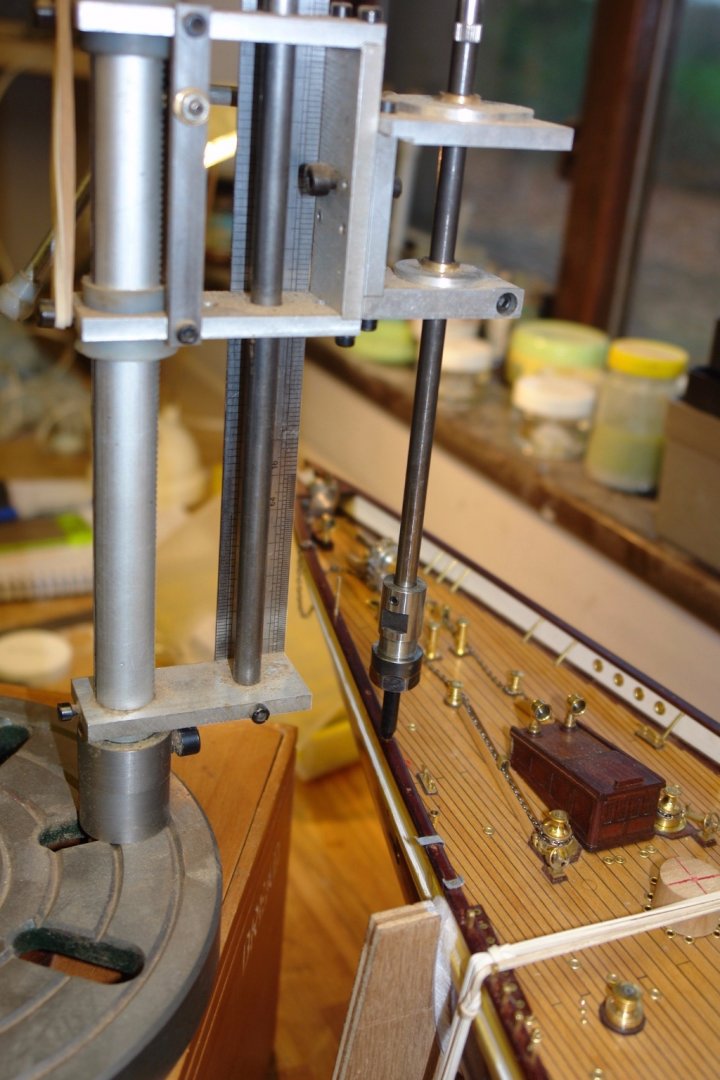
Pat, Druxey, Keith and Dan - thank you for the comments, you are too kind. I am gradually grinding my way through stuff that I left incomplete some time ago. The main boom crutch was almost finished minus the life ring lights. I find myself flipping into mm dimensions at times - catching up with metrification which I seem to remember happened about 40 yeas ago. I must have some sort of regressive Luddite gene. I turned the lights from yellow plastic rod so I didn't need to bother with painting. I attached a length of line and tied them to the life rings and then mounted them on predrilled holes in the crutch ( sometimes planning ahead works out ). My regular readers will note I still haven't sorted out the unnatural lie of the rope around the life rings - it is still on the "to do" list. For an age I have been putting off drilling the holes around the base of the main and fore masts (to take blocks). This is not through some unnatural aversion to the drill but rather because the plans and the photographs don't match. I spent a lot of time trying to reconcile and record the differences while thinking trough what rigging lines would go to which blocks. In the end none of the evidence was very helpful so I decided to go with my best guess. Having made a guess I then went to a lot of trouble to position the holes very accurately. Accurately positioning the location of guessed holes must be one of the definitions of madness. But anyway I cut templates from placard. These were accurately drilled with holes at the pitch circle diameter extracted from the plan and at angular spacings plucked from fresh air. These templates were then mounted on turned spigots that fitted the mast holes in the hull. The block mounting holes were then drilled through, note the wood chips everywhere. Finally brass grommets were glued in to take the pre made eyelets. In the coming months as I proceed to rigging I will no doubt discover the error of my ways.
-
Hello Tim, I see you are gradually working your way through my various posts, Thank you for taking an interest and for the the detailed feedback. Someone did suggest this but finding the time would be an issue and I think I prefer building rather than writing. I am thankful for those of you who take an interest in what I do but I fear not many outside the forum would find my ramblings of great interest. Maybe the book will have to wait until I am too feeble to do much else. Tim - I hadn't seen this before but on your prompting I did a bit of youtube research. It looks like a very good Idea which I plan to try out. Thank you for the advice. Thanks for the link Tim.
-
Allan, Keith Druxey. Pat and Gary- thank you all for your comments, you are all too kind. I quite often look at other modellers work and think I wish I was that good. Perhaps it is all a matter of perspective. Not much of an update this time - just to confirm that I finished the deckhouse and can now move on to something else. The benches were glued in place and the life rafts were glued beneath them. I then made the brackets for the planks that fit across the front of the rafts. The planks were then installed making the raft cradles almost impossible to see from most angles of observation. With the poly application finished I was able to remove the masking tape from the windows. The ships bell was mounted. The penultimate vent was then put in place. The wires holding the doors on were removed and replaced with hinge pins. Apart from a good dusting the deckhouse is complete and now I will have to decide where to go next.
-
The tracks look pretty good to me Keith, I don't think many would notice the slight scale issue. Were they black on the original? I am trying to remember my last visit to HMS Warrior where I think the tracks were brass. In any event I do like the way the intersecting circles decorate and add interest to the deck.
-
The shaping is going really well Tom, not bad for a first scratch build. I find my mind can wander in almost any situation.
- 46 replies
-
Thank you Michael, I'm sure it would be too distracting from model making. Maybe when I can't see what i am doing anymore. I seem to have been at the deckhouse for an age. It is now nearly complete so I need to get a wiggle on and finish it. Back to the roof - which has 10 small mushroom vents. These were turned and then installed. I also made the rests for the boat hook. The rubbish under the front edge of the hatch is wire wool debris. I then spent a pointless hour making the ceiling lights - totally hidden from all angles of view. The frosted glass is actually nylon rod turned to a dome. I picked a likely looking boathook from the web. I turned the head and drilled a cross hole at an angle to mount the hook. The shaft was then soldered on. The shaft was then covered with brown heat shrink tube and the hook glued in place. Finally the boat hook was glued to the roof. On the front face of the deckhouse is a nice ships bell. Not very big but I couldn't resist giving it a striker. The striker looks large at this magnification but you can hardly see. I platted a bell chord from cotton.
-
-
A very interesting subject Dan. I will be following along. Have a good Thanksgiving.
- 33 replies
-
- James B Colgate
- whaleback
-
(and 2 more)
Tagged with:
-
Eberhard - These particular columns form part of the Pu purification cycle for the Thermal Oxide Reprocerssing Plant, my guess is that it won't feature highly on the decommissioning list for some years. I also did work the Low Active Effluent Treatment Plant, the Solvent Treatment Plant and early cement encapsulation schemes before I went into the more socially acceptable but more lethal brewing industry.
-
Greg, the amount of brass fittings was part of the incentive for making Germania, although the model has more than the original because stainless steel in the original is replaced by brass in the model. In some photos of the original it is clear the crew didn’t always bother with the polish. ) The story of my life Druxey. About 36 years ago I was granted a patent for a liquid distributor for mixing the feeds into solvent extraction columns. It was used in nuclear reprocessing plants, buried deep inside highly radioactive equipment behind 6 feet of concrete, not to be seen again for a thousand years. Allan, I used soft solder. I find silver soldering Is too aggressive when used on very thin brass. Soft solder is generally strong enough if you keep the tools sharp and the cuts light. John, Pat, Bruce, thank you for your supportive comments.
-
Cap San Diego by mikegr - 1/160
KeithAug replied to mikegr's topic in - Build logs for subjects built 1901 - Present Day
Loverly looking ship - from an era when naval architects still thought aesthetics were important. Good luck with the build -
Another little masterpiece Javier. You must let us all see the fleet assembled together some time.
- 15 replies
-
- fishing boat
- small boat
-
(and 1 more)
Tagged with:
-
Thank you Steve, Gerrt and Allan. I do think finding a way of doing something is the most fun part of the hobby. Also Thanks to everyone who has left a "like". I am feeling that my work is a bit unstructured at the moment as I dot about finishing parts of the deckhouse. Sorry! I thought the time had come to finish the back walL I cut out the rebates for the door hinges and glued them in place. The tricky bit was ensuring the correct alignment of the 2 parts of each hinge I made the door plates for the door handles and bent a piece of wire to form the handle. The wall was then glued in place. The door hinge pins are temporarily replaced by a couple of thin wires. I have also drilled the port wing bench and inserted a dowel (white) to take yet another cowl vent. I then painted the raft cradles silver and placed them on the deck besides their covering bench. I test fitted the roof and did a bit of light sanding adjustment to make it fit. The roof and bench are not yet glued on. I then took the various beck house components off the hull, masked off the unpainted areas and started the process of painting the parts with Poly. While drying I went back to the rafts. They were given 3 coats of white paint before case straps were added, Made form ripstop tape cut .010" wide with a sharp craft knife. I then cut the cradle retaining straps and mounted them (a bit translucent and hence difficult to see). I was eager to see what they looked like under the benches.
-
Tom . I'd stick with the plan of not drilling through the outer layers if i were you. Because the dowel grain runs in a different direction it is likely to contract at a different late over time and hence become visible. One trick to stop differential movement between layers is to sprinkle a little salt on the glued surface before clamping. The angular grains stop the movement, (although I think your doweling plan is better).
- 46 replies
-
Everyone has to start somewhere Tom. It is probably a good idea to start with something relatively straightforward. You can always progress to HMS Victory in the new year.
- 46 replies
-
A lovely way to finish this build, it is a pleasure to follow along.
- 158 replies
-
- byblos ship
- Egyptian
-
(and 1 more)
Tagged with:
-
What do I want for Christmas
KeithAug replied to Worldway's topic in Modeling tools and Workshop Equipment
Seconded -
I have made a start on the life rafts - 4 in total. I had a fairly decent photo to work from. The cradle in which they sit isn't very well defined but as it won't be very visible when installed under the benches I don't think this is too much of a problem. I did a rough sketch of the life raft and cradle. The rafts are 0.5" diameter by 1.1" long. Most of my wood stock is recycled from one source or another so its suitability is generally a bit problematic. I chose a piece of dowel and turned the life rafts, including the strap grooves. The wood turned very nicely producing crisp edges on the grooves. Once turned the rafts were parted off turned round and finished. The left over wood was placed in my good tiber pile. I then needed to accurately cut them in half to reproduce the opening flange. I drilled a hole in the end of a piece of scrap wood to form a holding jig. I then pressed the raft into this before cutting down the centreline on the table saw. I used a TCT blade with a .055" kerf as this was right for the .055" thick flange. I kept the halves in matched pairs although this wasn't really necessary. I then machined and sanded a block from which to form the flange. I then slit off .055" wide flanges before starting assembly. I then diverted on to the cradles (fabricated from brass). The circular segments of the cradle started life as a tube which was turned down to give the required wall thickness .020". The turning was done over a wooden spigot . I also bent up a bit of sheet to form the cradle base. The two parts were then soldered together. 2 parallel rows of .025" diameter holes were then drilled to take eyes for the raft retaining straps. Then the straps were parted off (.080") wide using a .020" wide parting tool. I made 10 although I only needed 8. A segment was then cut out with the jewellers saw to form the opening. You can just about see the scribed cut line in the next photo. I made a crude jig to hold the parts for soldering on the connecting straps. Slots in the aluminium guarantee the correct spacing and the steel bar and elastic bands provide the clamping. The connecting straps are .015" thick and .080' wide. The eyes for attaching the straps were also soldered on at this stage. The cradles were then cleaned ready for painting.
About us
Modelshipworld - Advancing Ship Modeling through Research
SSL Secured
Your security is important for us so this Website is SSL-Secured
NRG Mailing Address
Nautical Research Guild
237 South Lincoln Street
Westmont IL, 60559-1917
Model Ship World ® and the MSW logo are Registered Trademarks, and belong to the Nautical Research Guild (United States Patent and Trademark Office: No. 6,929,264 & No. 6,929,274, registered Dec. 20, 2022)
Helpful Links
About the NRG
If you enjoy building ship models that are historically accurate as well as beautiful, then The Nautical Research Guild (NRG) is just right for you.
The Guild is a non-profit educational organization whose mission is to “Advance Ship Modeling Through Research”. We provide support to our members in their efforts to raise the quality of their model ships.
The Nautical Research Guild has published our world-renowned quarterly magazine, The Nautical Research Journal, since 1955. The pages of the Journal are full of articles by accomplished ship modelers who show you how they create those exquisite details on their models, and by maritime historians who show you the correct details to build. The Journal is available in both print and digital editions. Go to the NRG web site (www.thenrg.org) to download a complimentary digital copy of the Journal. The NRG also publishes plan sets, books and compilations of back issues of the Journal and the former Ships in Scale and Model Ship Builder magazines.