KeithAug
-
Posts
3,986 -
Joined
-
Last visited
Content Type
Profiles
Forums
Gallery
Events
Everything posted by KeithAug
-
 Nice work, patience pay off in the long run.
 -
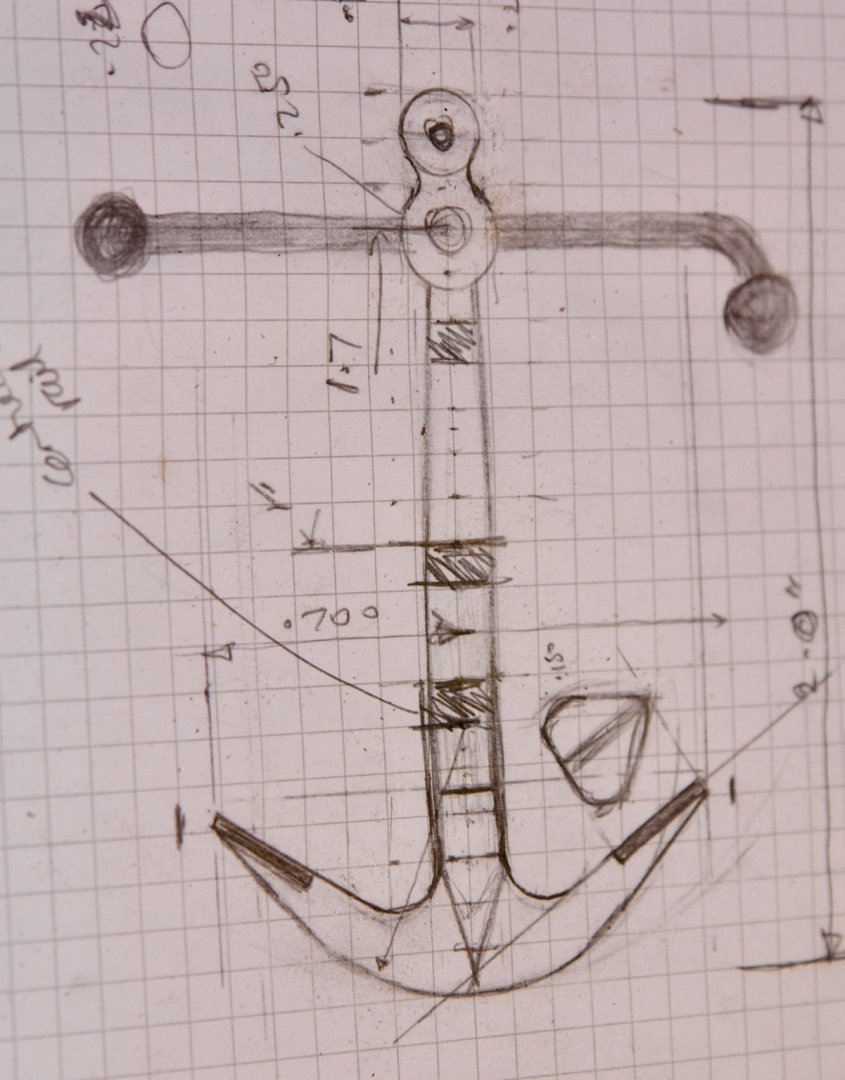
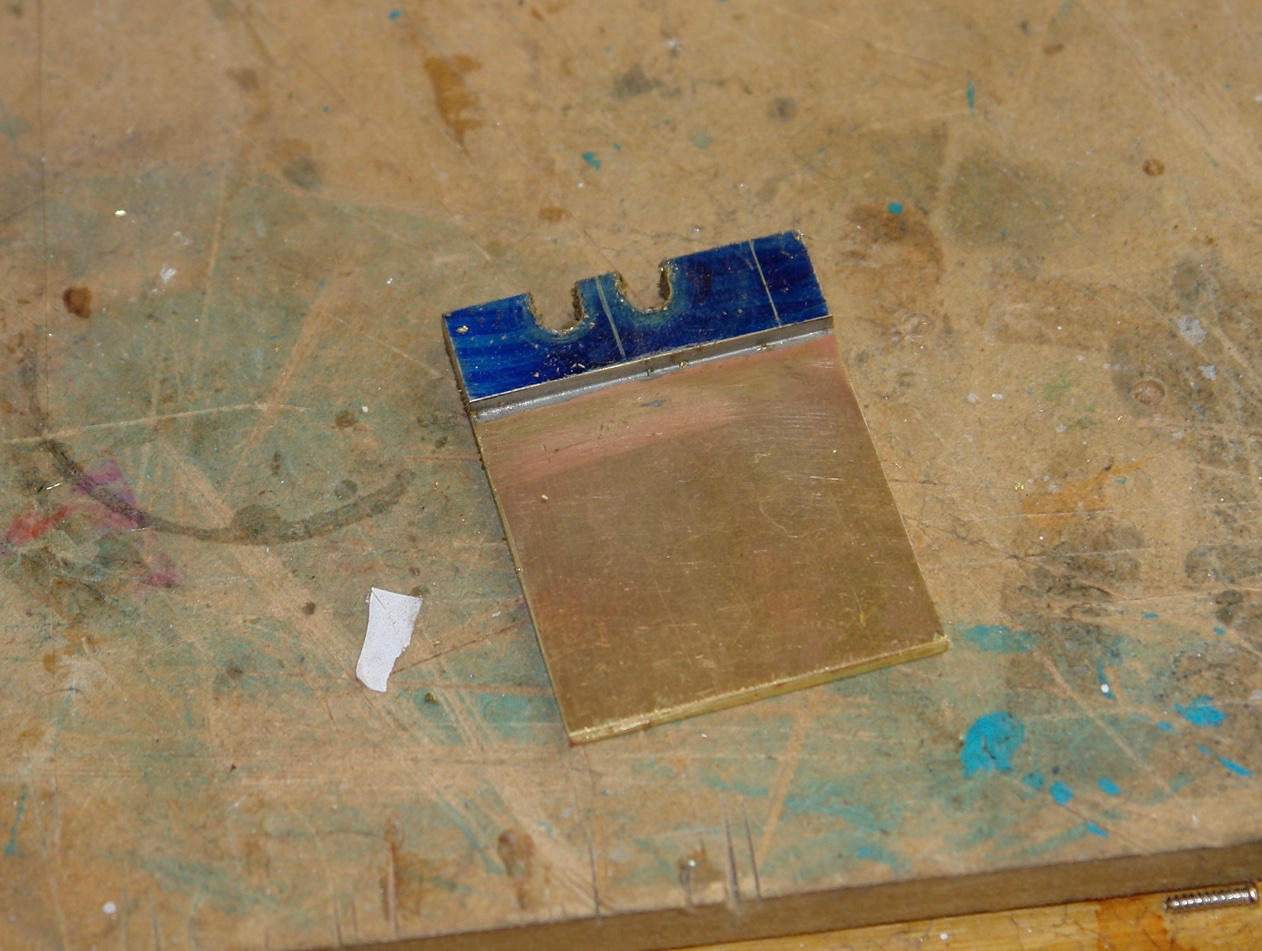
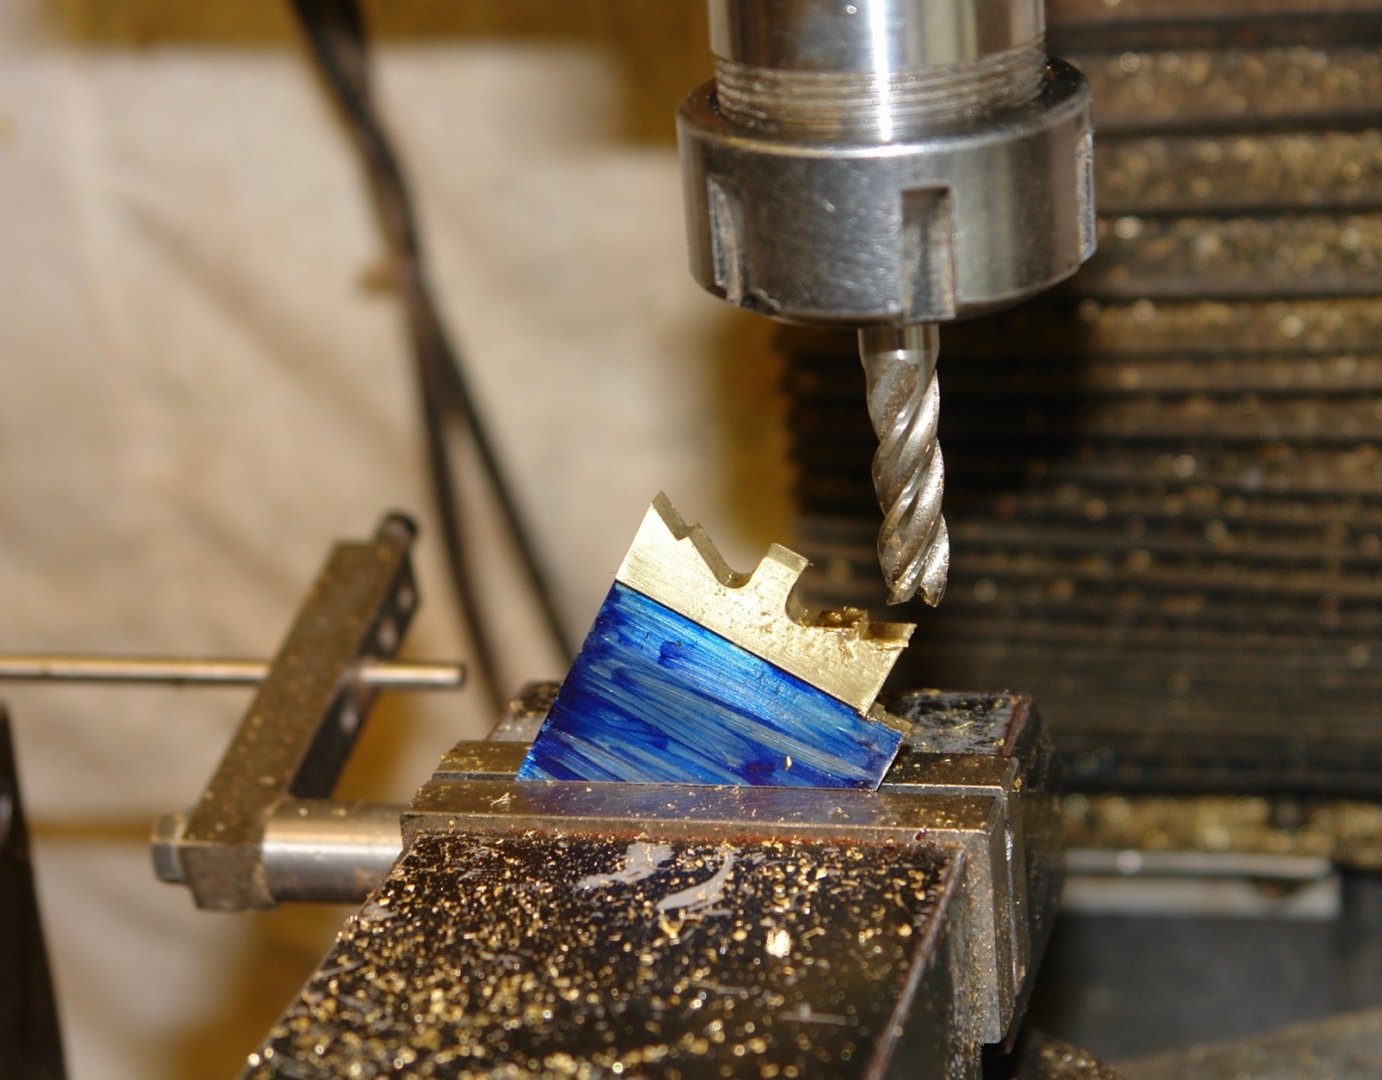
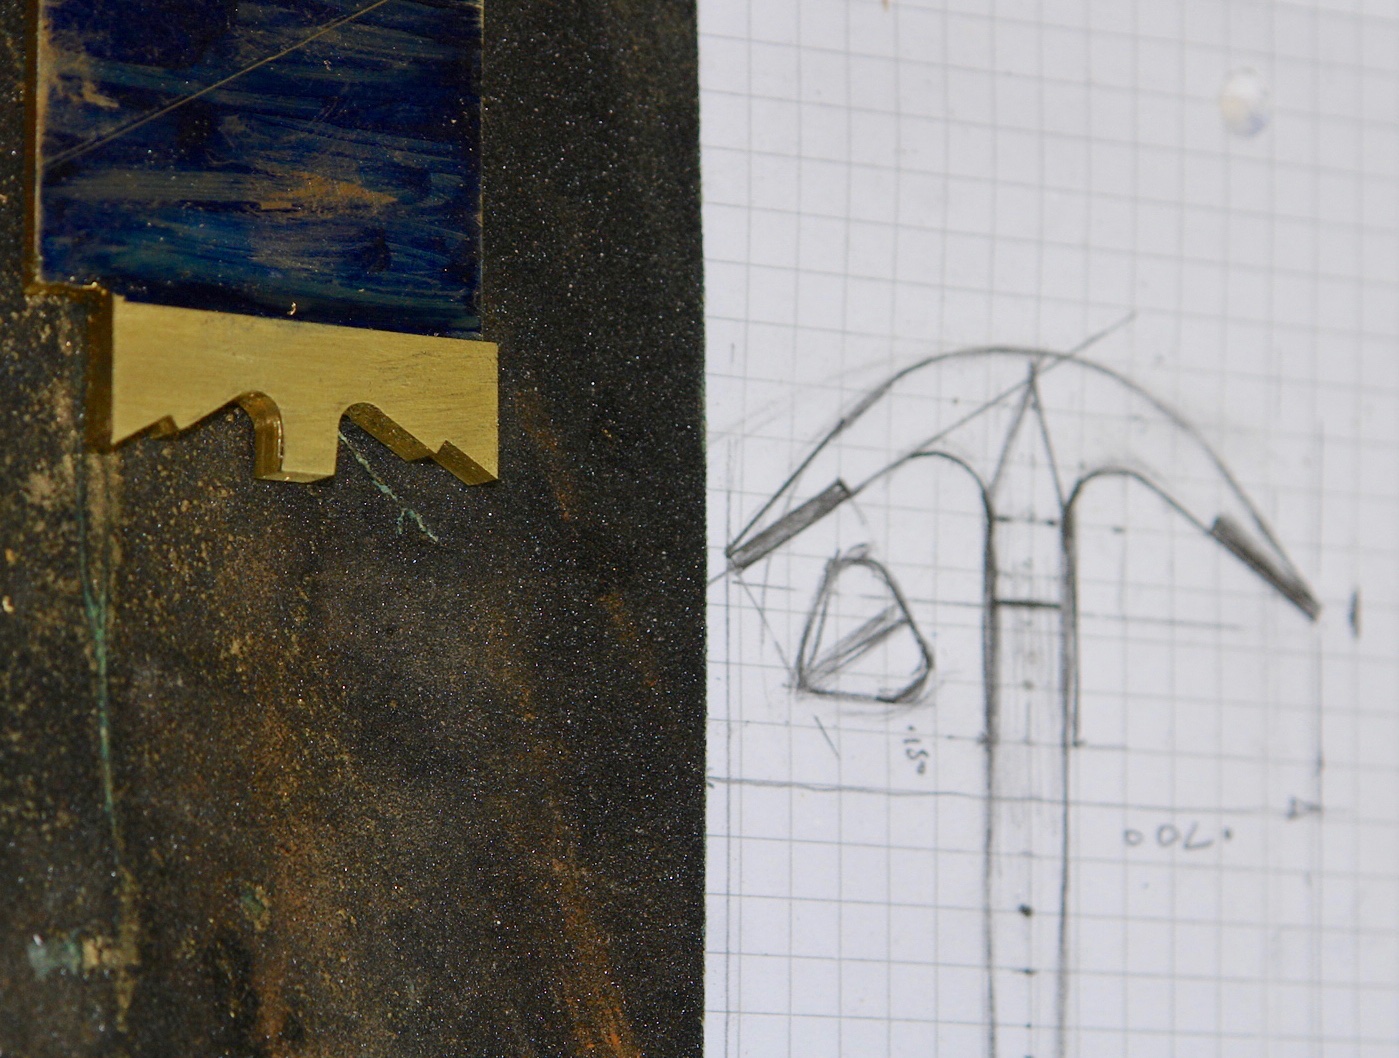
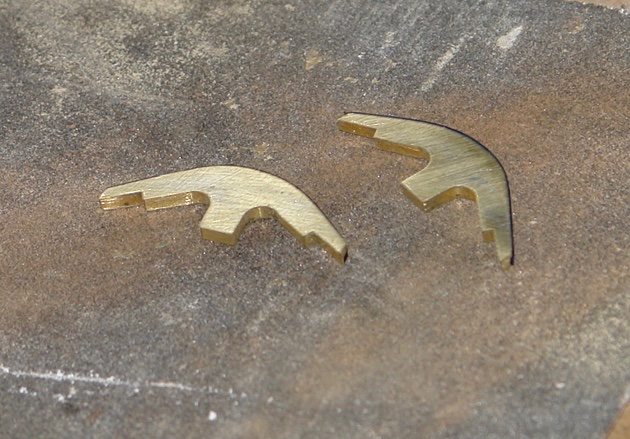
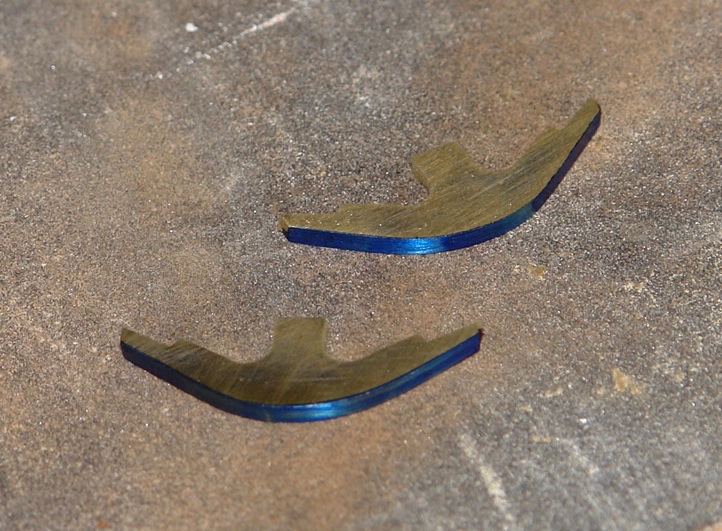
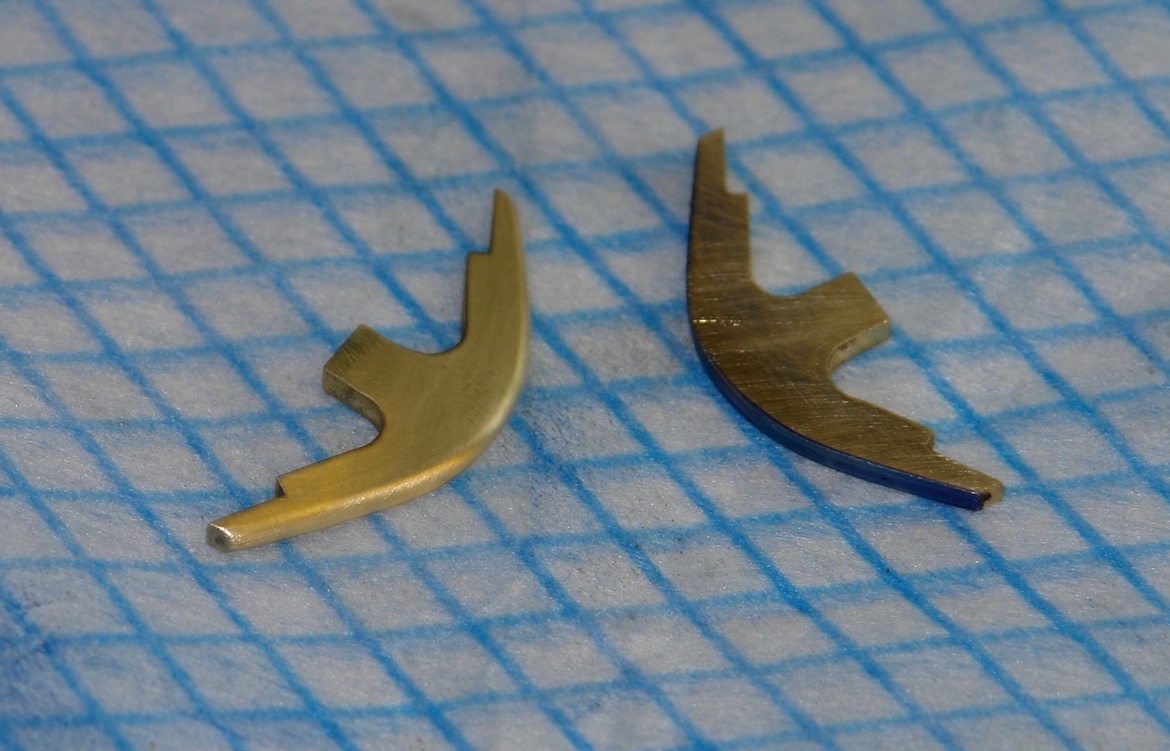
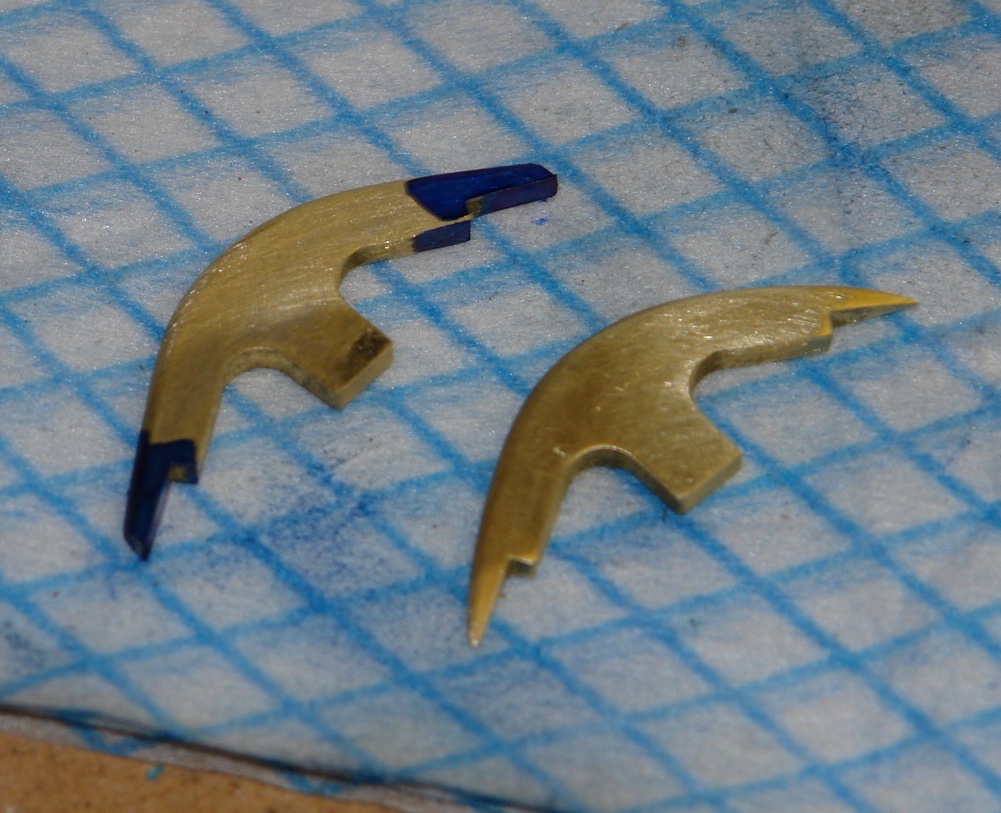
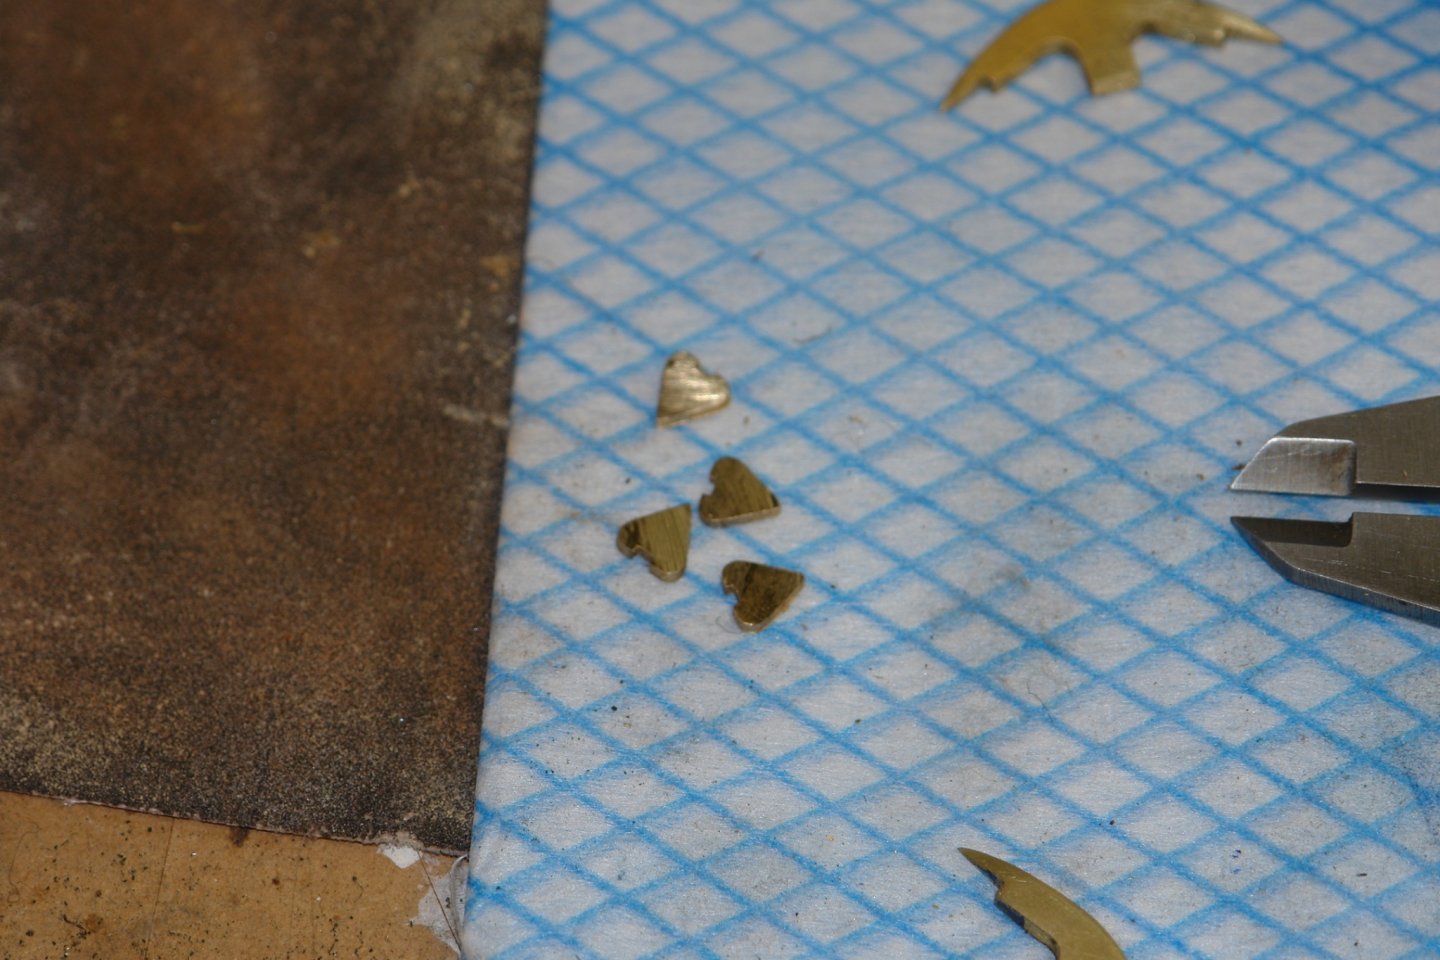
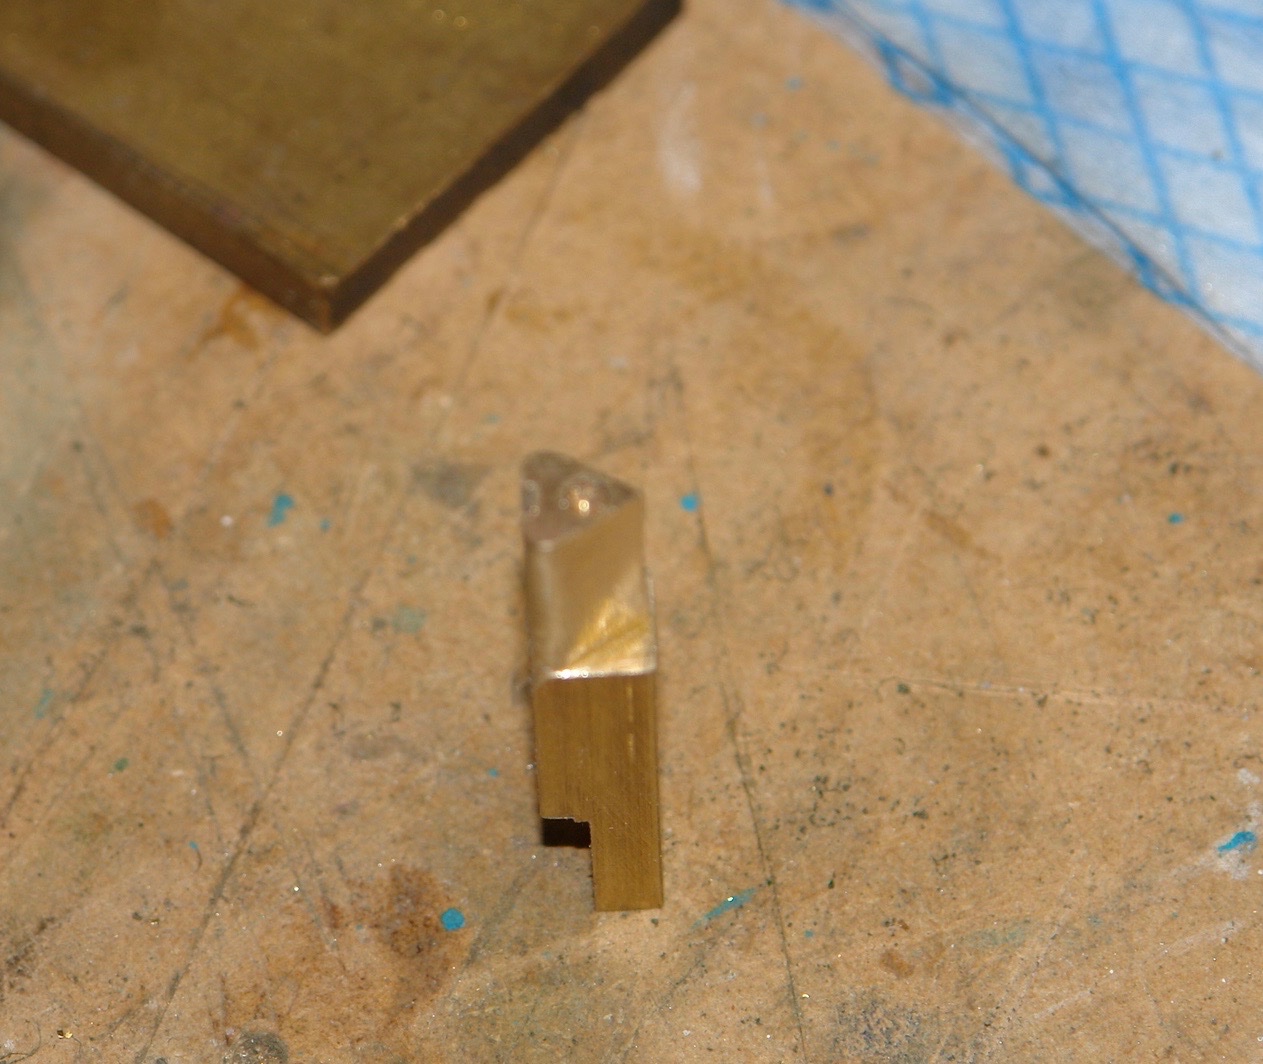
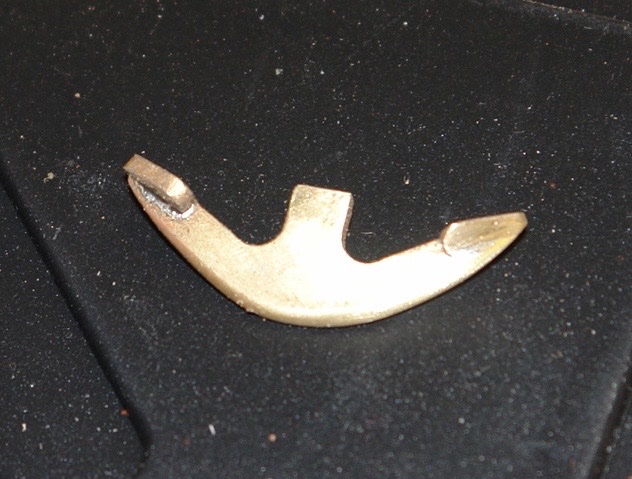
It has been about 3 weeks since my last post and in that time I have made little progress. My excuses include the distractions of Christmas and the temperature of the workshop (it has been sitting at about 6 deg centigrade for the past 10 days). Thank you Druxey, Keith, Steve, Pat, Phil, and Tim for your comments and observations, although its a bit late I wish you all (and everyone else) a Happy New Year. I made a start on the anchors, commencing as usual with a sketch. The size and proportions were scaled from the plans and various photos but the sketch was a bit slapdash. I decided to fabricate the anchors for not too obvious reasons (even to me). I started with the business end and soldered two sheets of brass together so I could make 2 identical pieces at the same time. I then started creating the basic shape on the mill. The upper profile of the end is stepped to take the flukes - these will be soldered on later. The bottom shape was then marked on and the excess metal filed away. With this completed the solder was melted and the 2 parts separated. I then started shaping the profile. On the left hand piece I have started to round the edges. I then stared to reduce the thickness at the fluke end as a prelude to creating the sharp pioint. Then it was time to make the flukes by shaping a piece of brass bar on the mill before completing by hand filing. i then sliced off four identical flukes. The flukes were then soldered in place. Then it was time for a bit more filing to create a more realistic shape. The fluke on the right has been filed to produce the required sharp edges, the one on the left has yet to be done. That is as far as I got, now it is time to catch up on all your build logs.


-
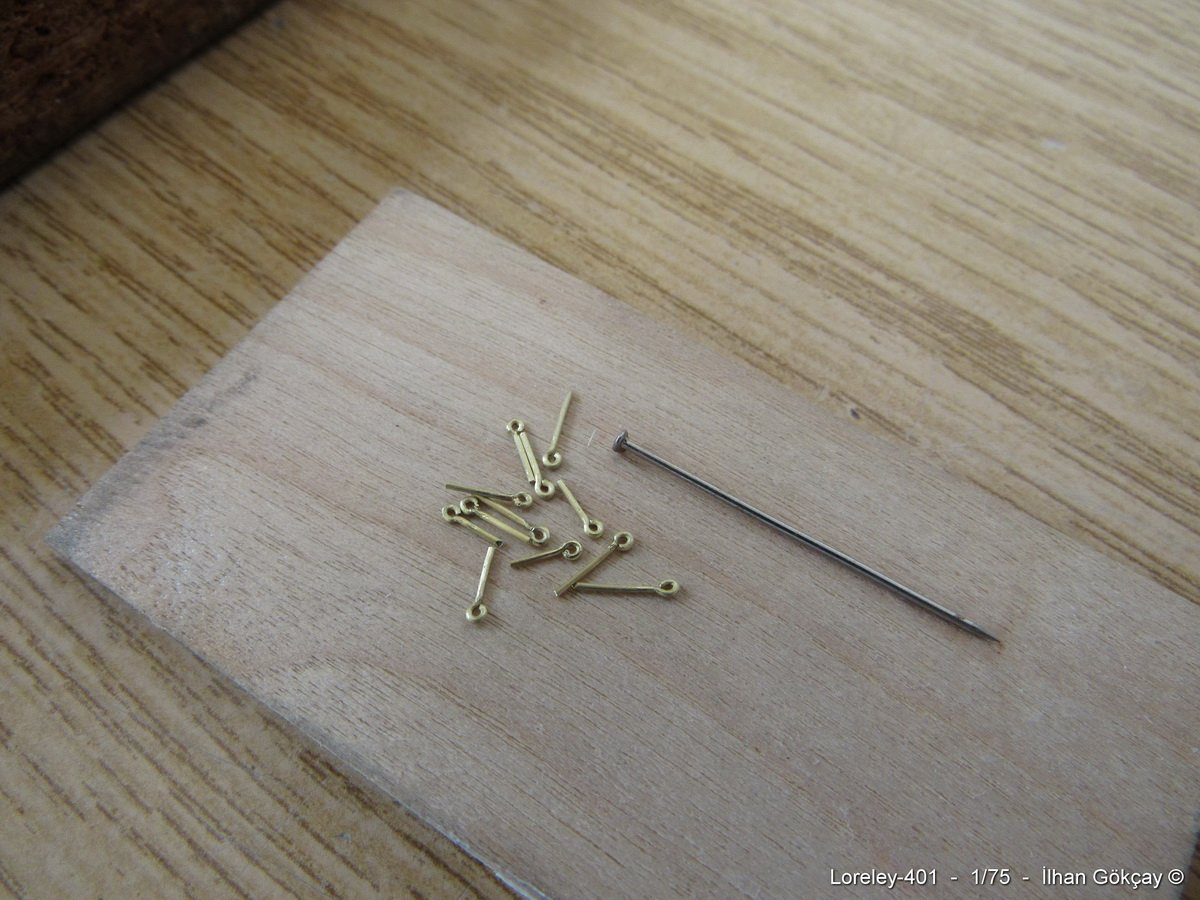
Impressive work. How did you make the wire eyes so small? Do you have very fine nosed pliers or did you use a different method.
-
Cap San Diego by mikegr - 1/160
KeithAug replied to mikegr's topic in - Build logs for subjects built 1901 - Present Day
Aluminium over polystyrene is quite novel but it looks like an interesting approach. Worth a try I think, I look forward to see how it turned out. -
Vaddoc - Nice work on the keel and frames. I too am a fan of Narex chisels, good quality at a mid range price.
-
Nice anchor Allan. I'm assuming the angular shape is a reproduction of the original.
- 86 replies
-
- 1
-

-
- schooner
- effie m morrisey
- (and 1 more)
-
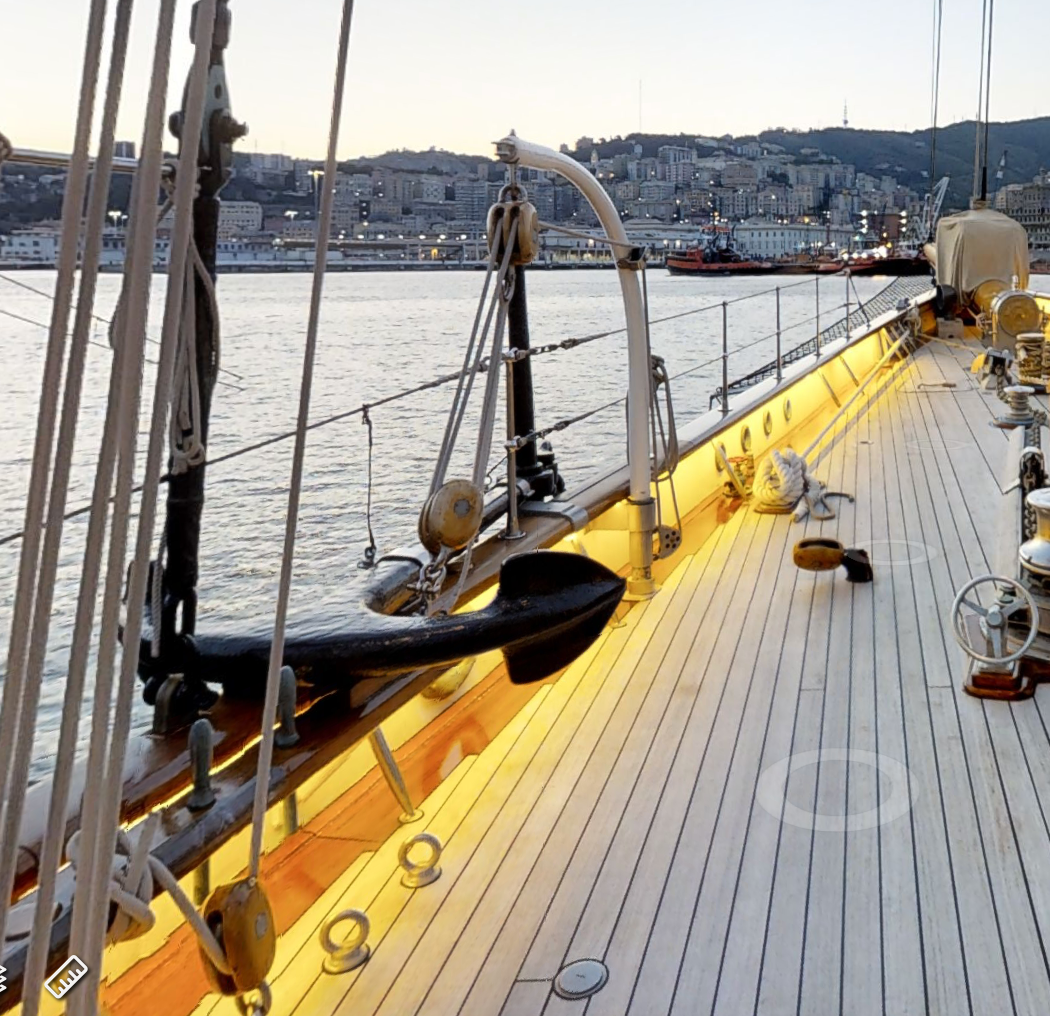
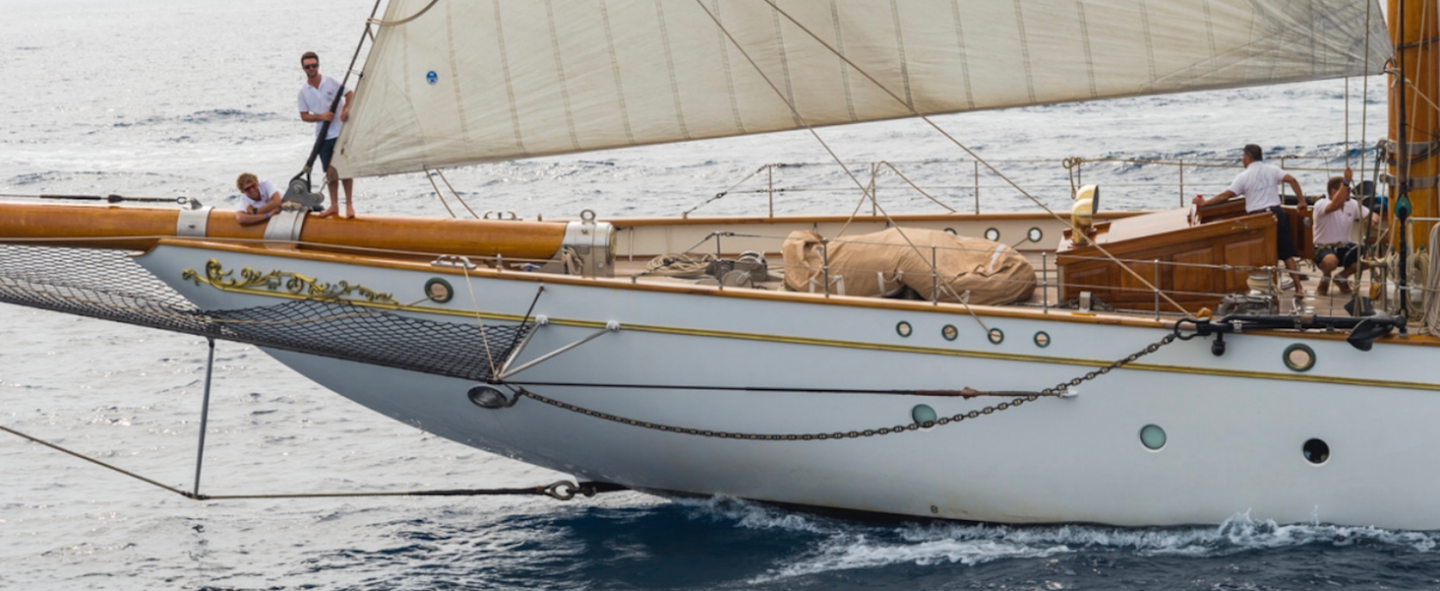
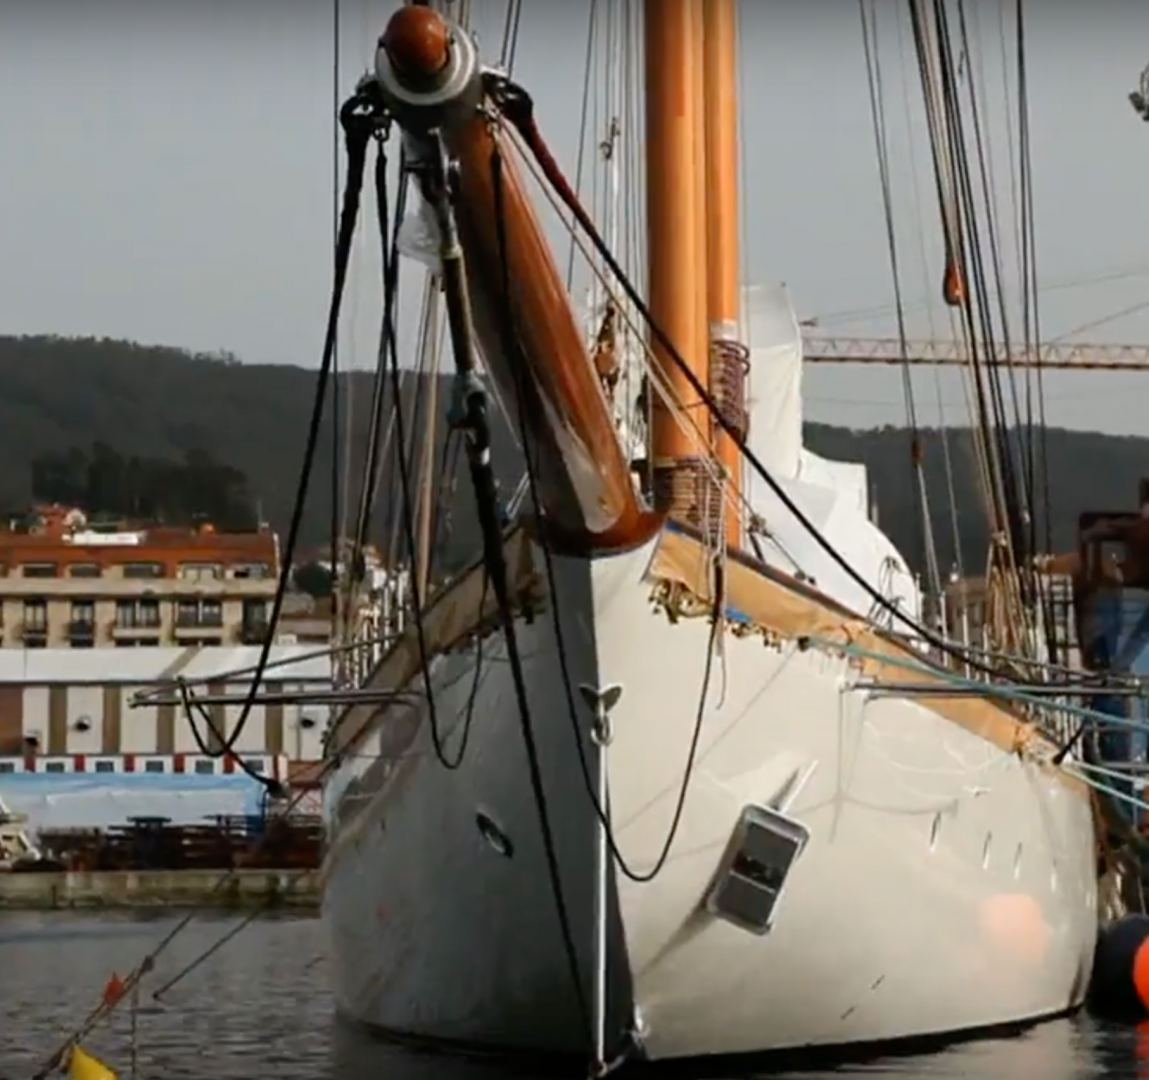
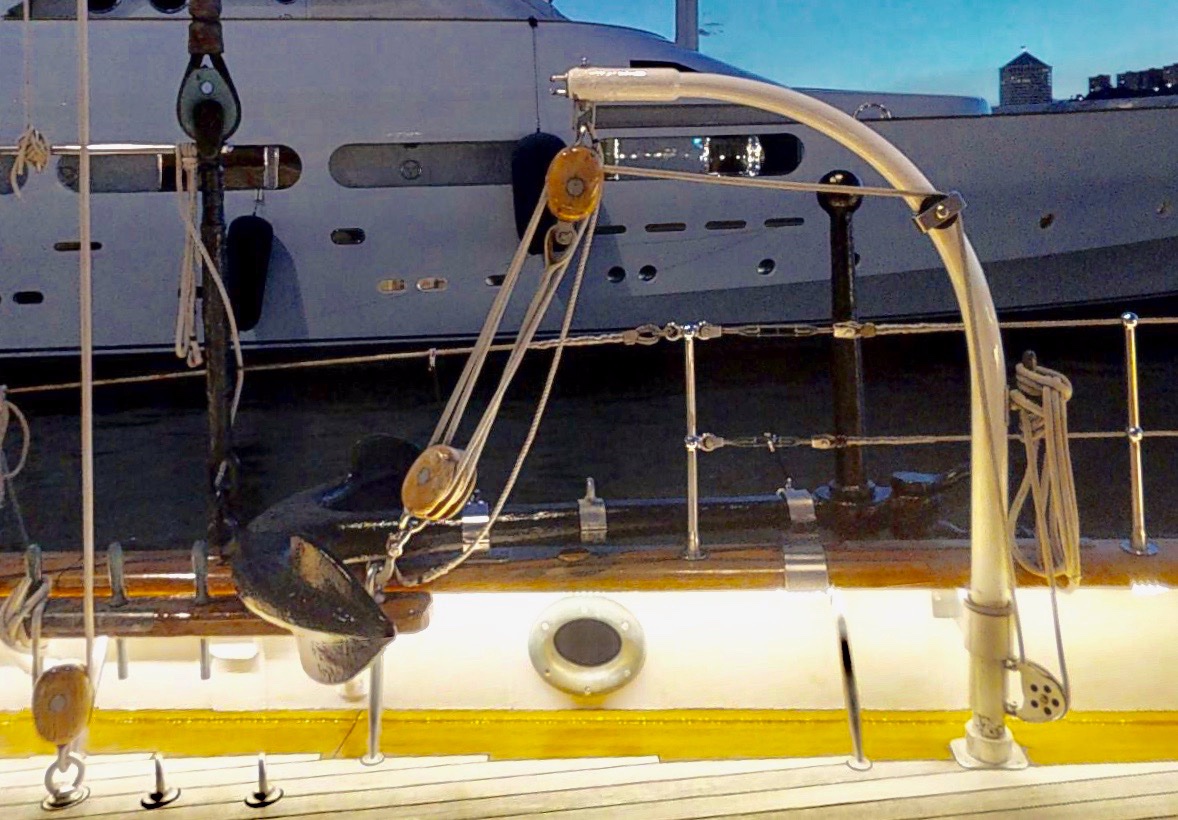
Big day today, my daughter in law (a front line doctor) was the first in the family to receive the Pfizer vaccine, hopefully this is "The end of the beginning" to quote Churchill. She gets her second dose on January 11th. So this will be my last post before an unusually quiet Christmas. I have been trying to work out the "wanderings" of the anchors before I make them. The story starts with the plan. Here the anchors are positioned well forward about half way between the forward deck house and the foot of the bow sprit. The circle shows the sweep of the anchor derrick, the pivot being just aft of the sprit foot. I don't believe that Germania was ever fitted out like this as none of the photographs supported this arrangement. Most of the photographs show Fisherman's anchors to port and starboard but they are significantly aft of the plan poisition. They seem to have been moved as far aft as possible, their position being just forward of the foremast shrouds. Their position is so far back that they cover the foremost pair of holes in the pin rails, making them unusable. The anchor derrick has been repositioned accordingly. I can guess at two reasons for this change. The anchors are fairly massive and their weight further forward (where the hull is slimmer and less buoyant) might cause the bow to dive into waves rather than rising over them. The less technical reason is that in the original position they can take out the bow sprit stays if dropped carelessly. Other explanations are expected???? Finally at some point the port anchor seems to have been replaced by a self stowing Danforth anchor. The starboard Fisherman's anchor seems to have been retained. I really don't like this set up as it will inevitably catch the waves when healed. I think I am going to complete the model with two fisherman's anchors mounted on the rails in the rearmost position. May I take this opportunity to wish you all a Merry Christmas (no matter what the restrictions are).

-
Hmmm! tricky Tom. Not sure it can be done. Best bet might be to carve it deeper and then sand. At least you already have a guide.
-
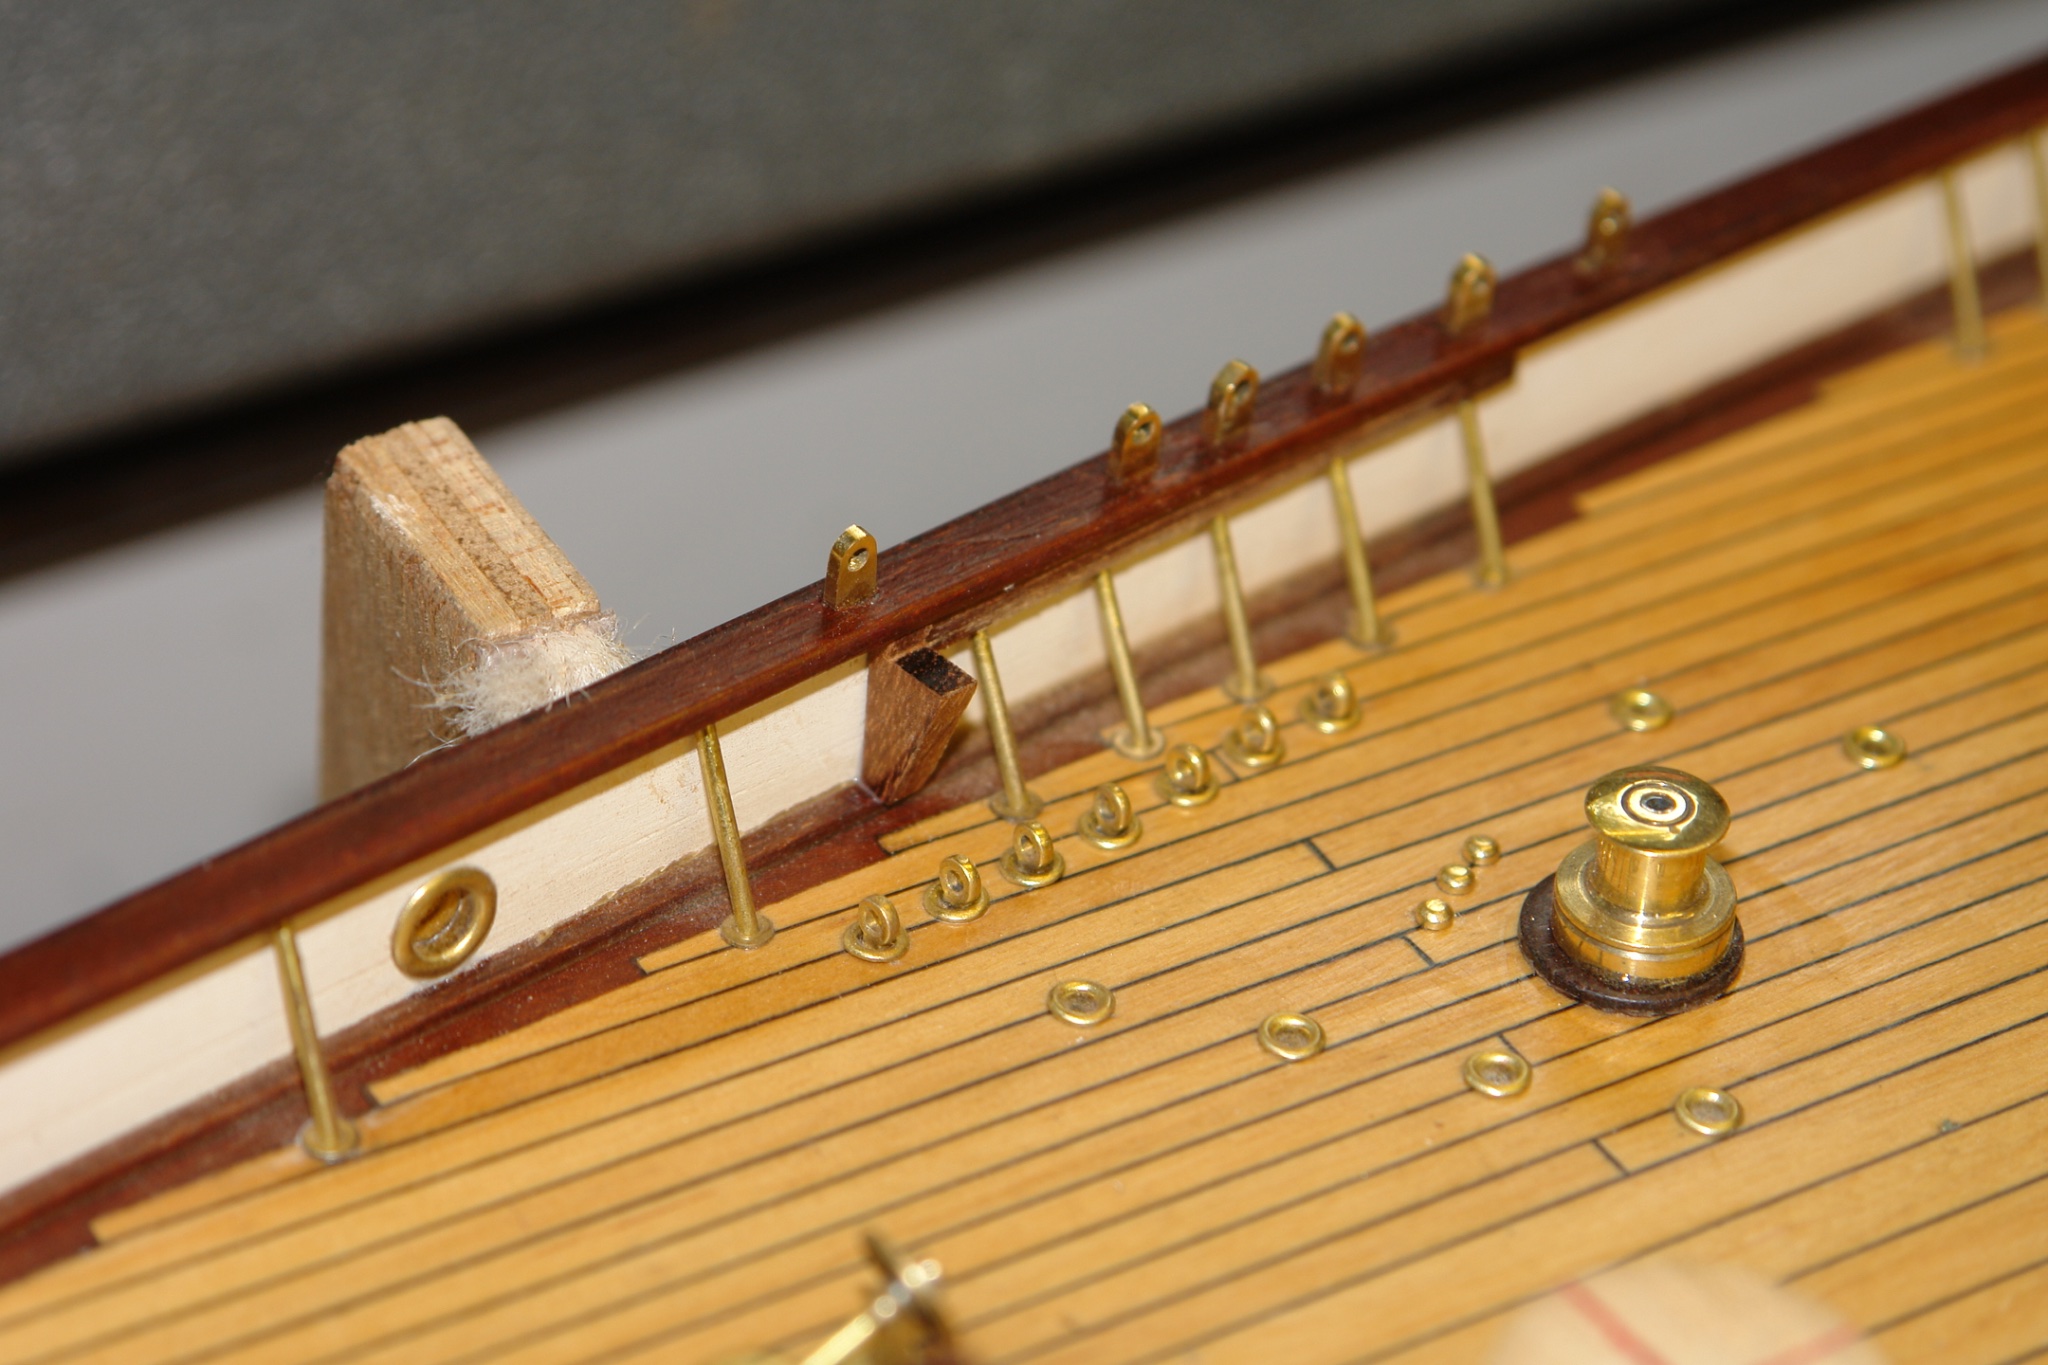
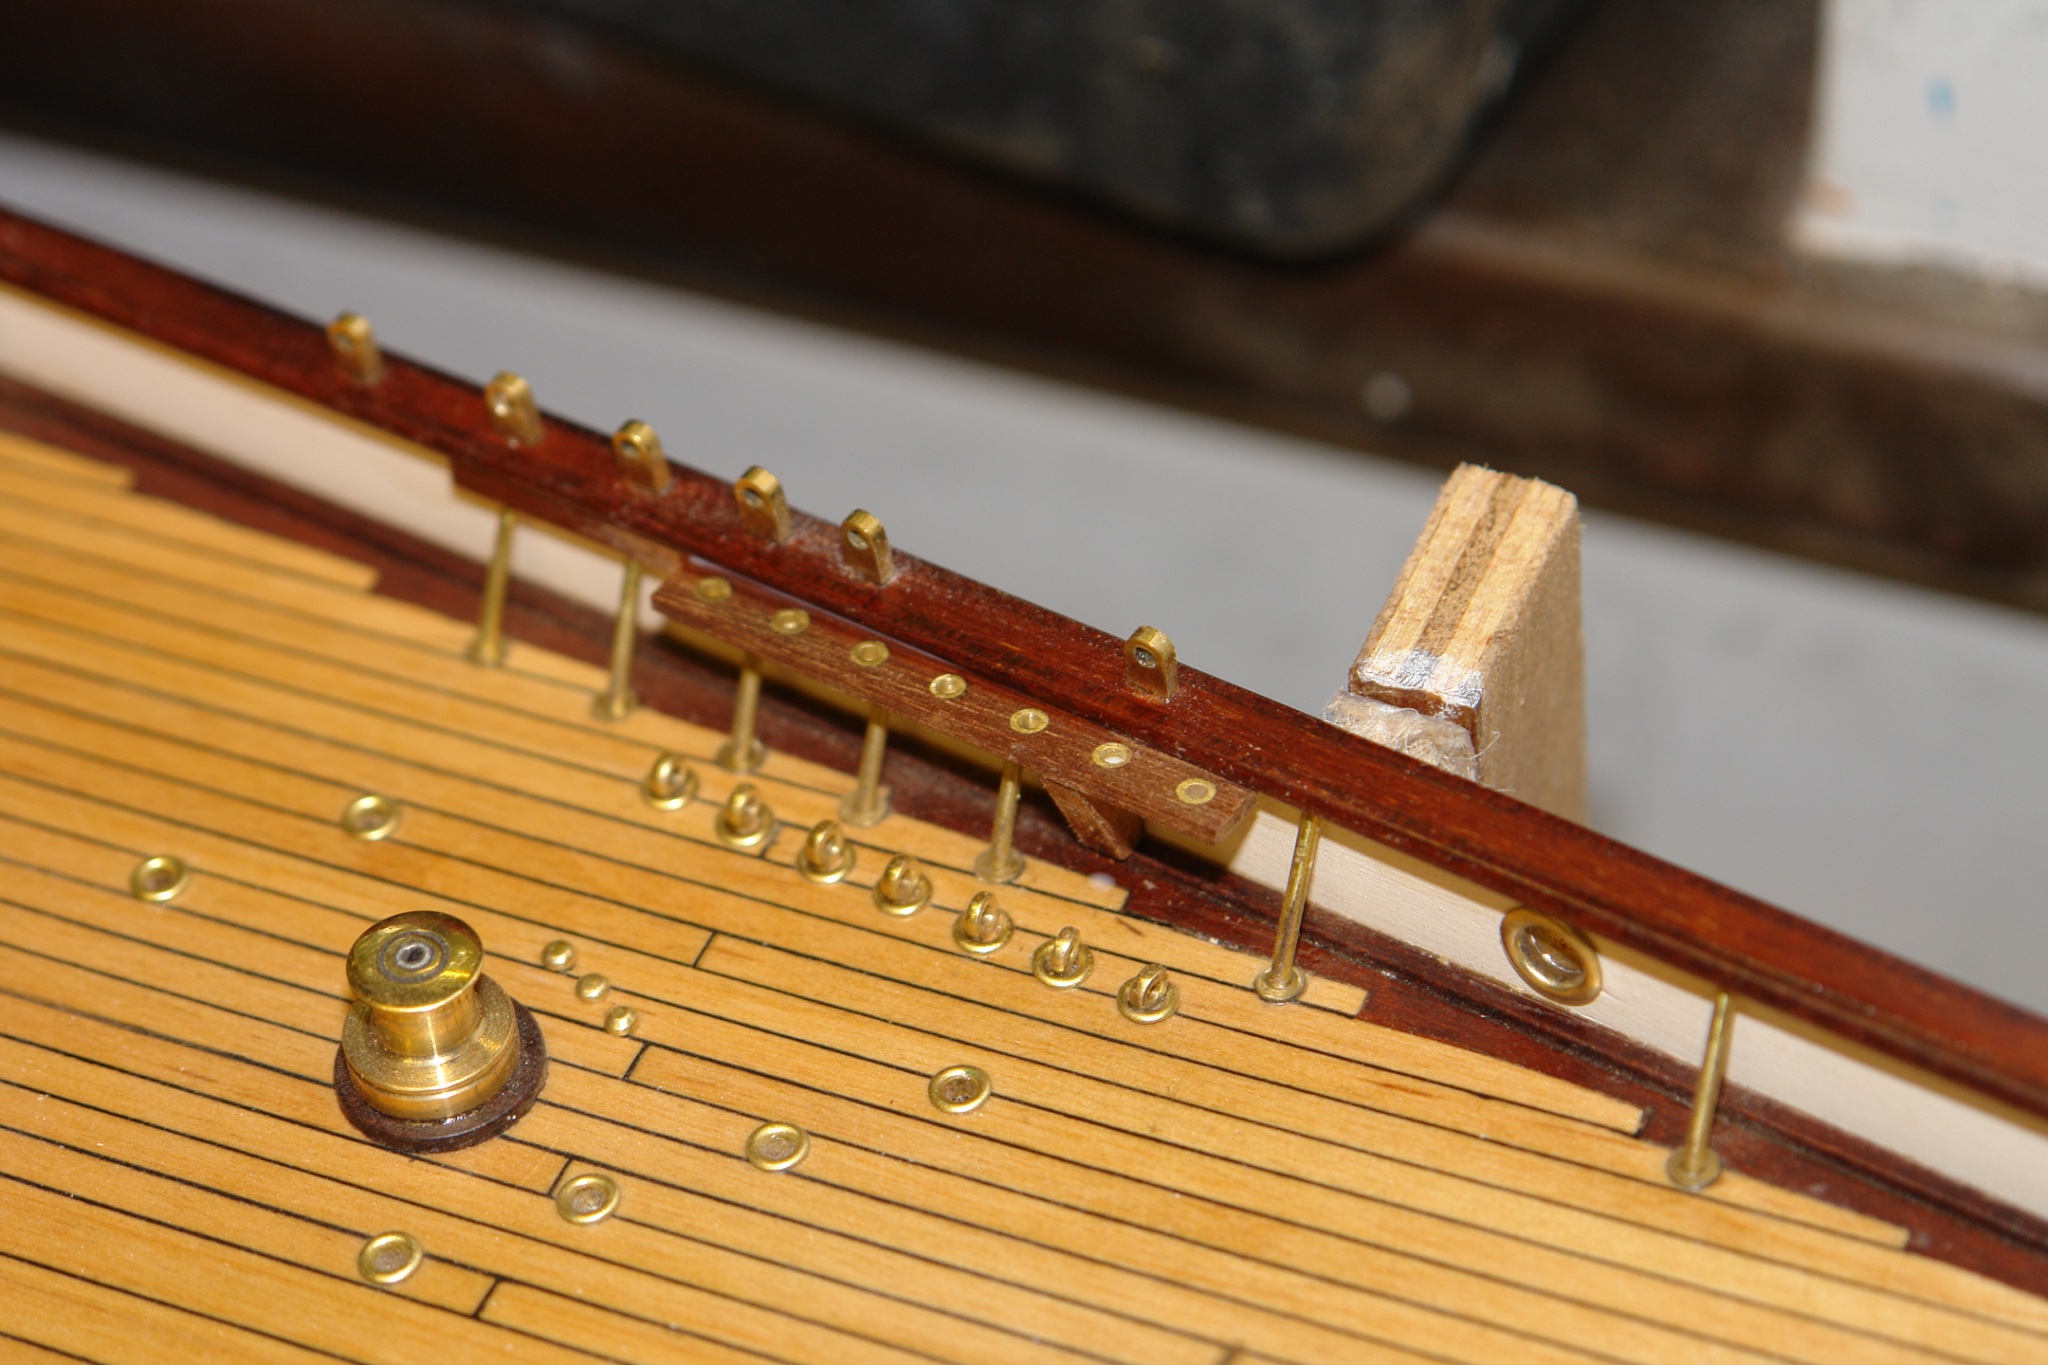
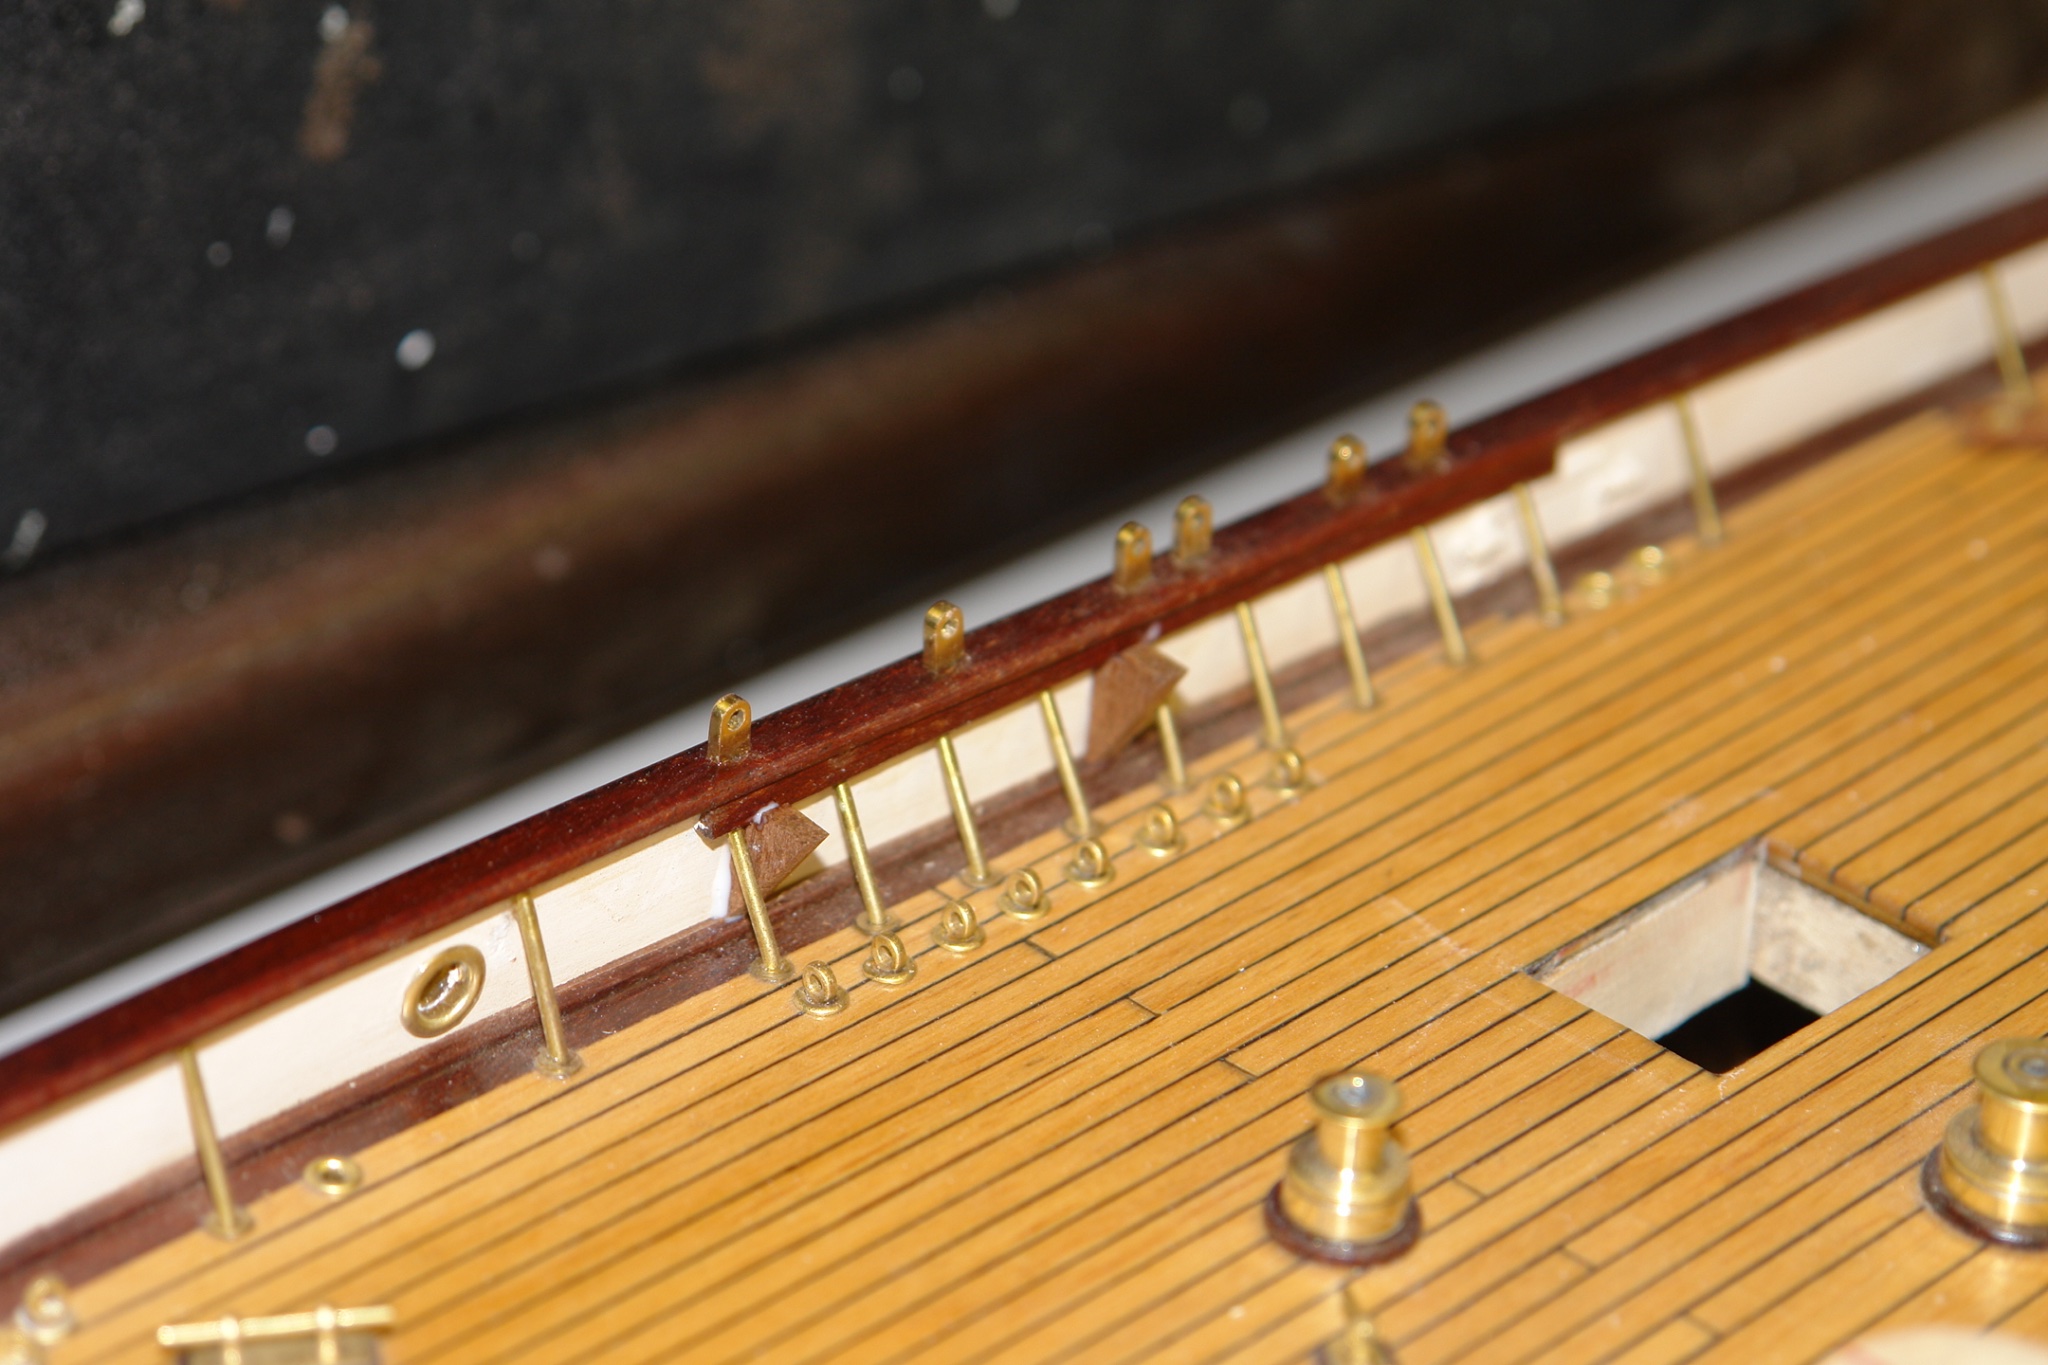
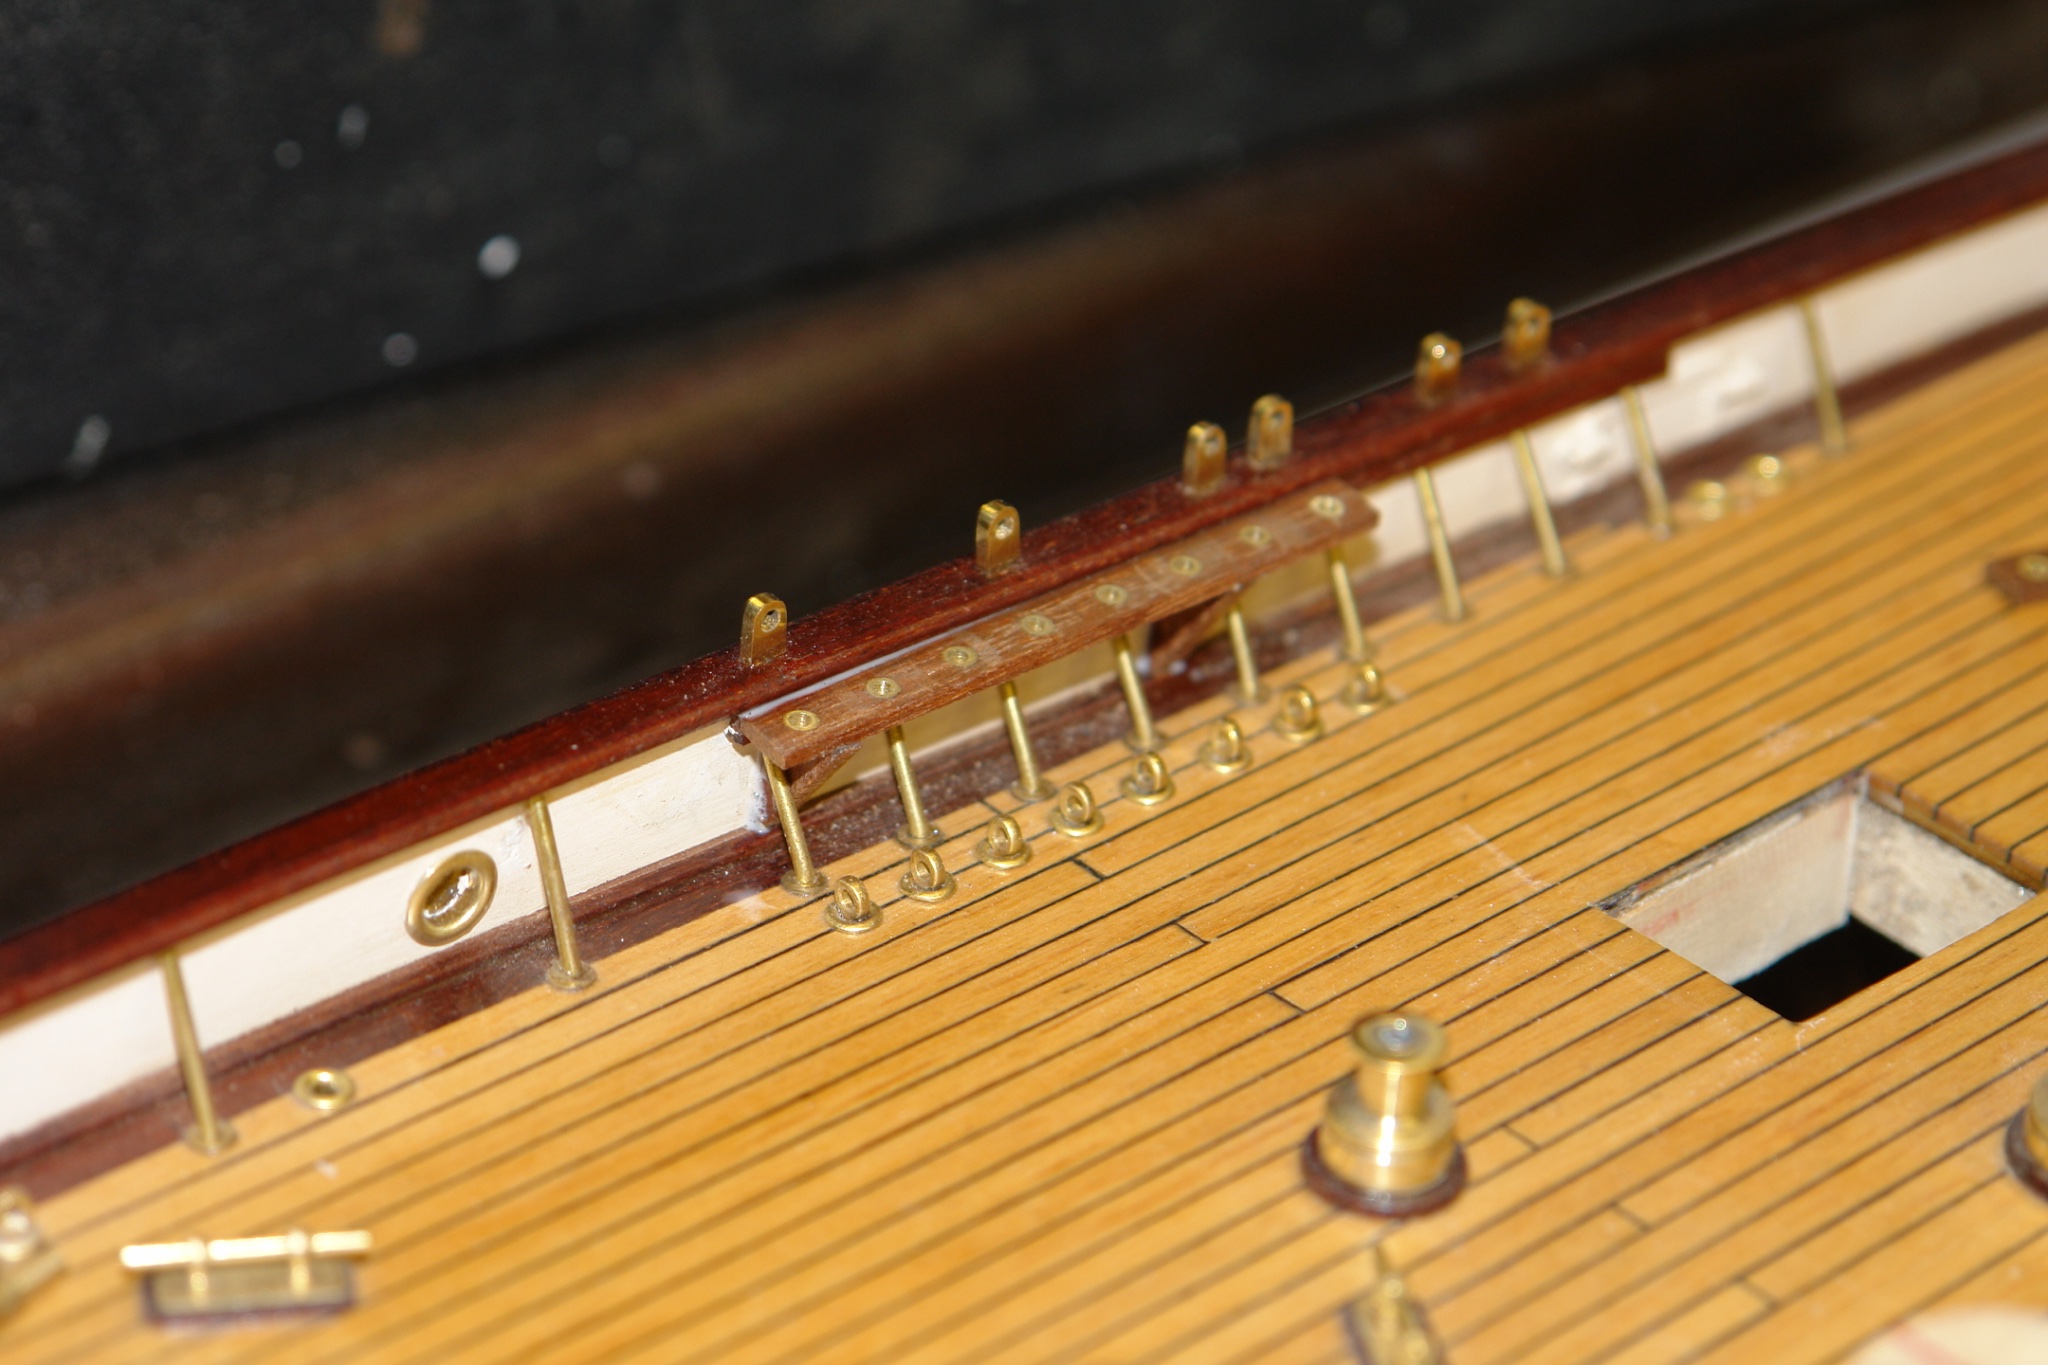
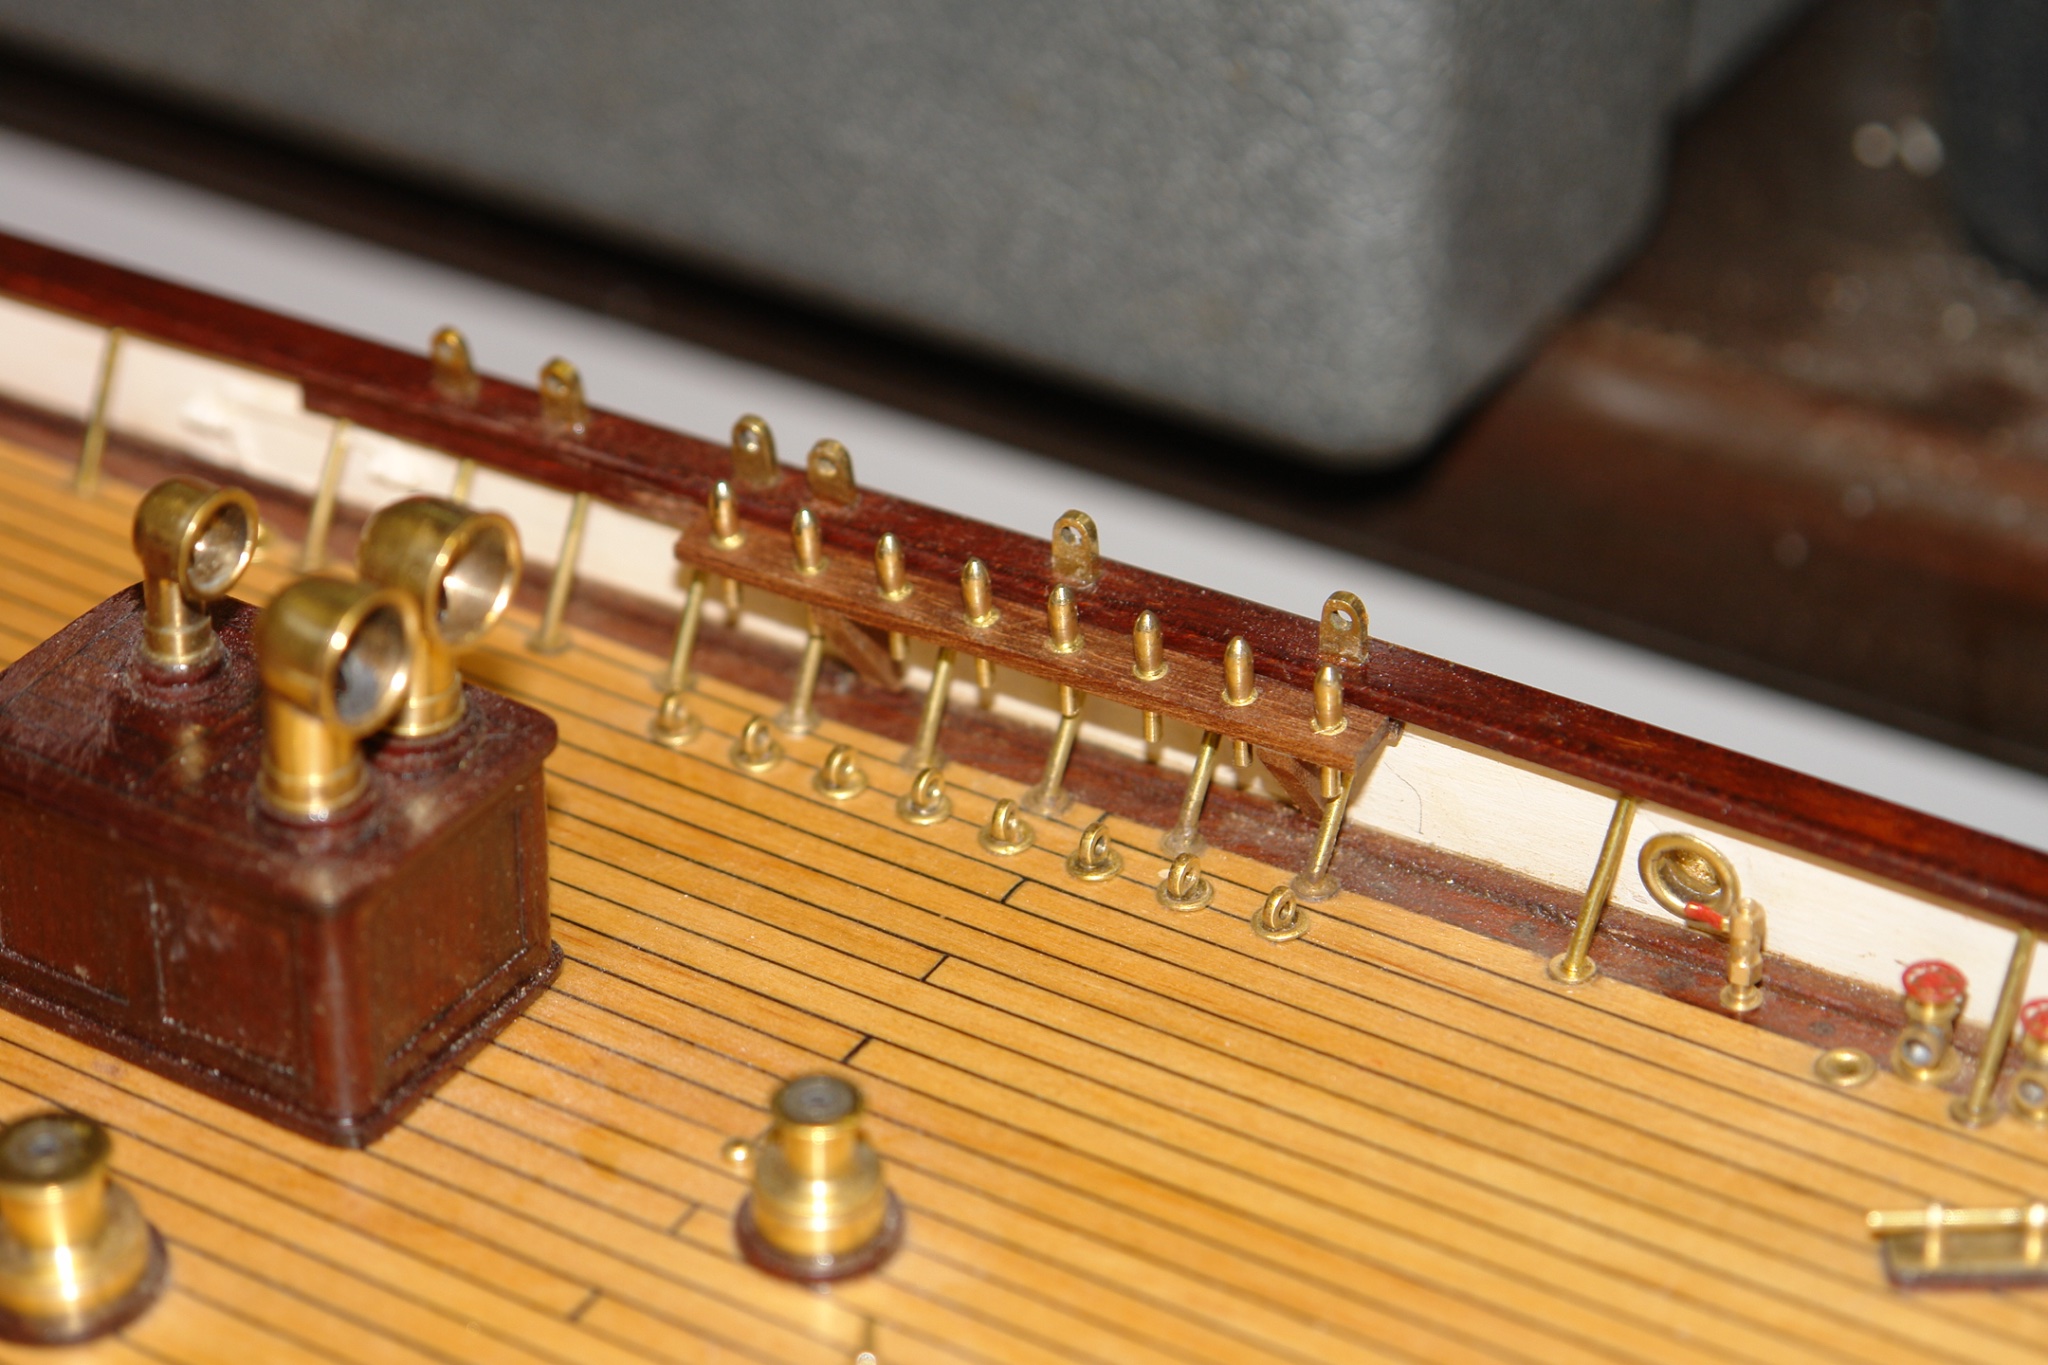
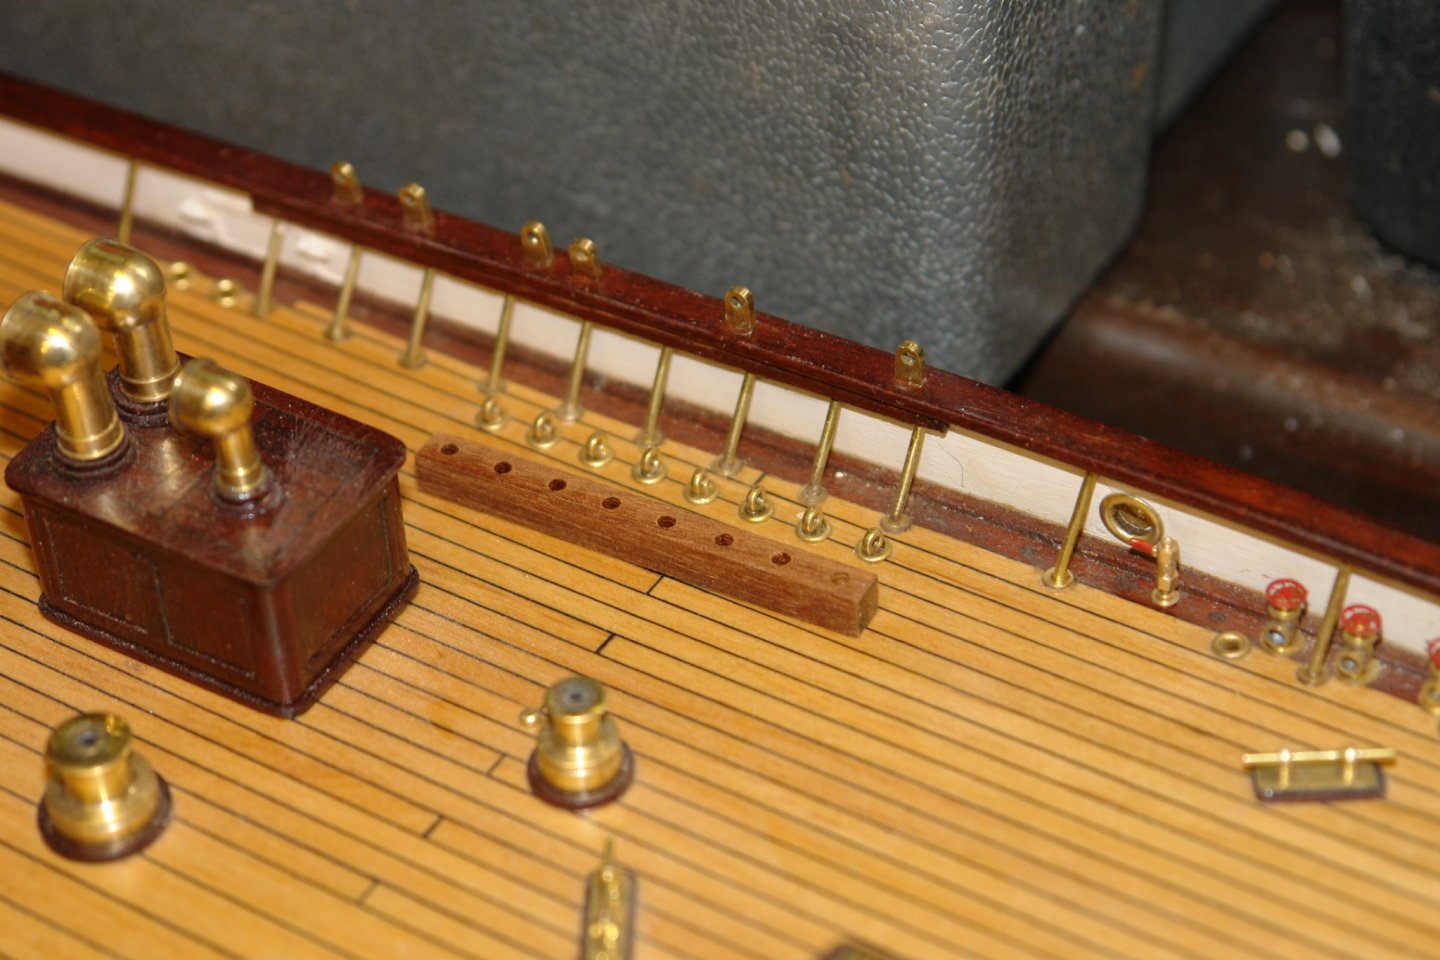
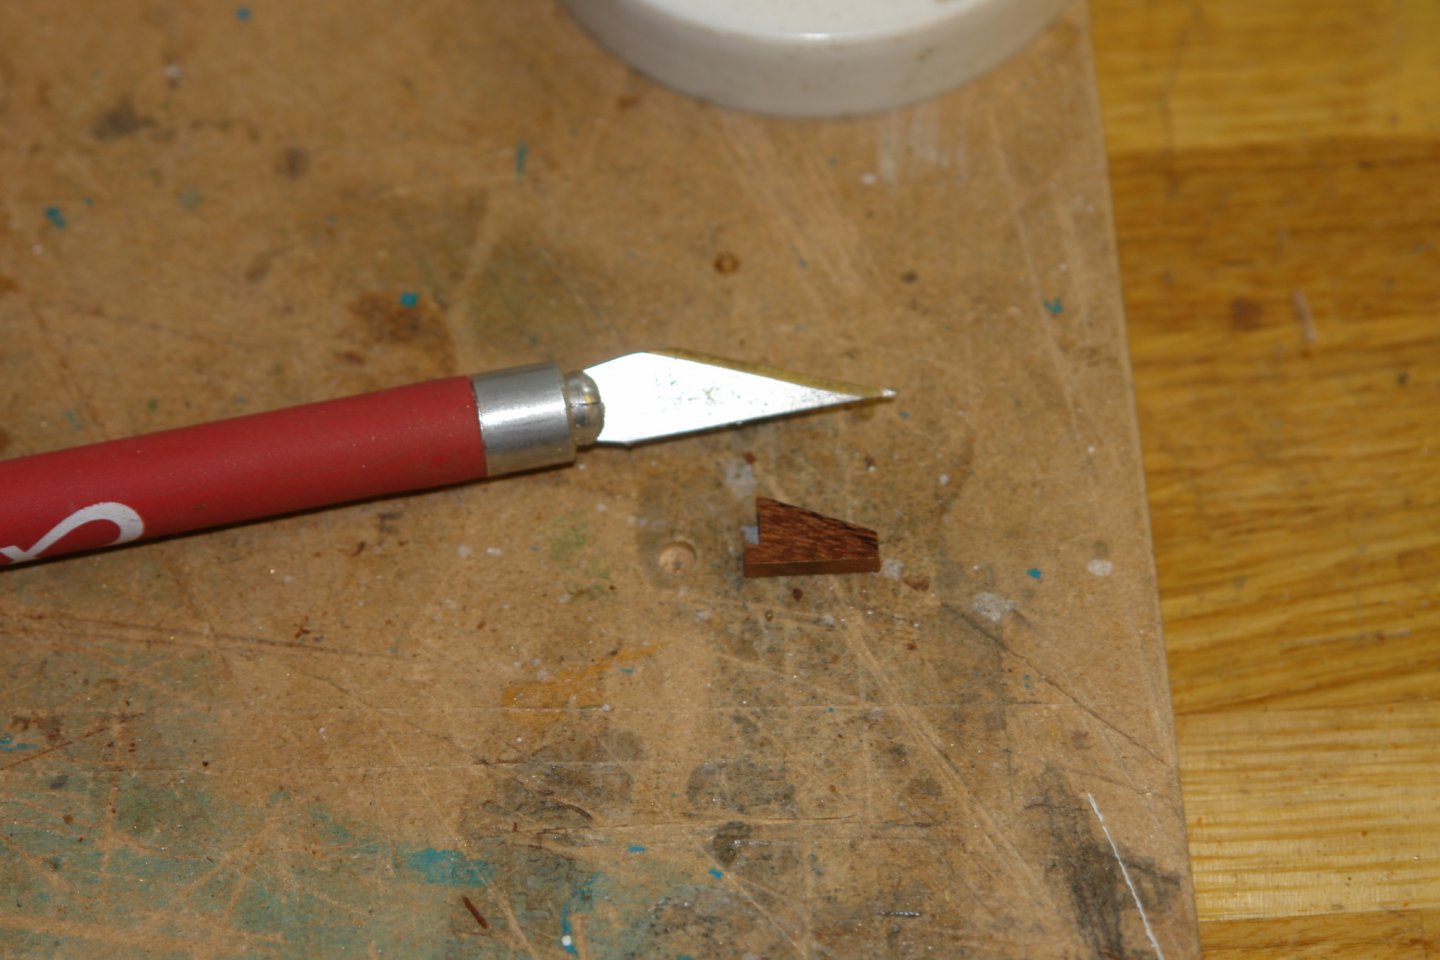
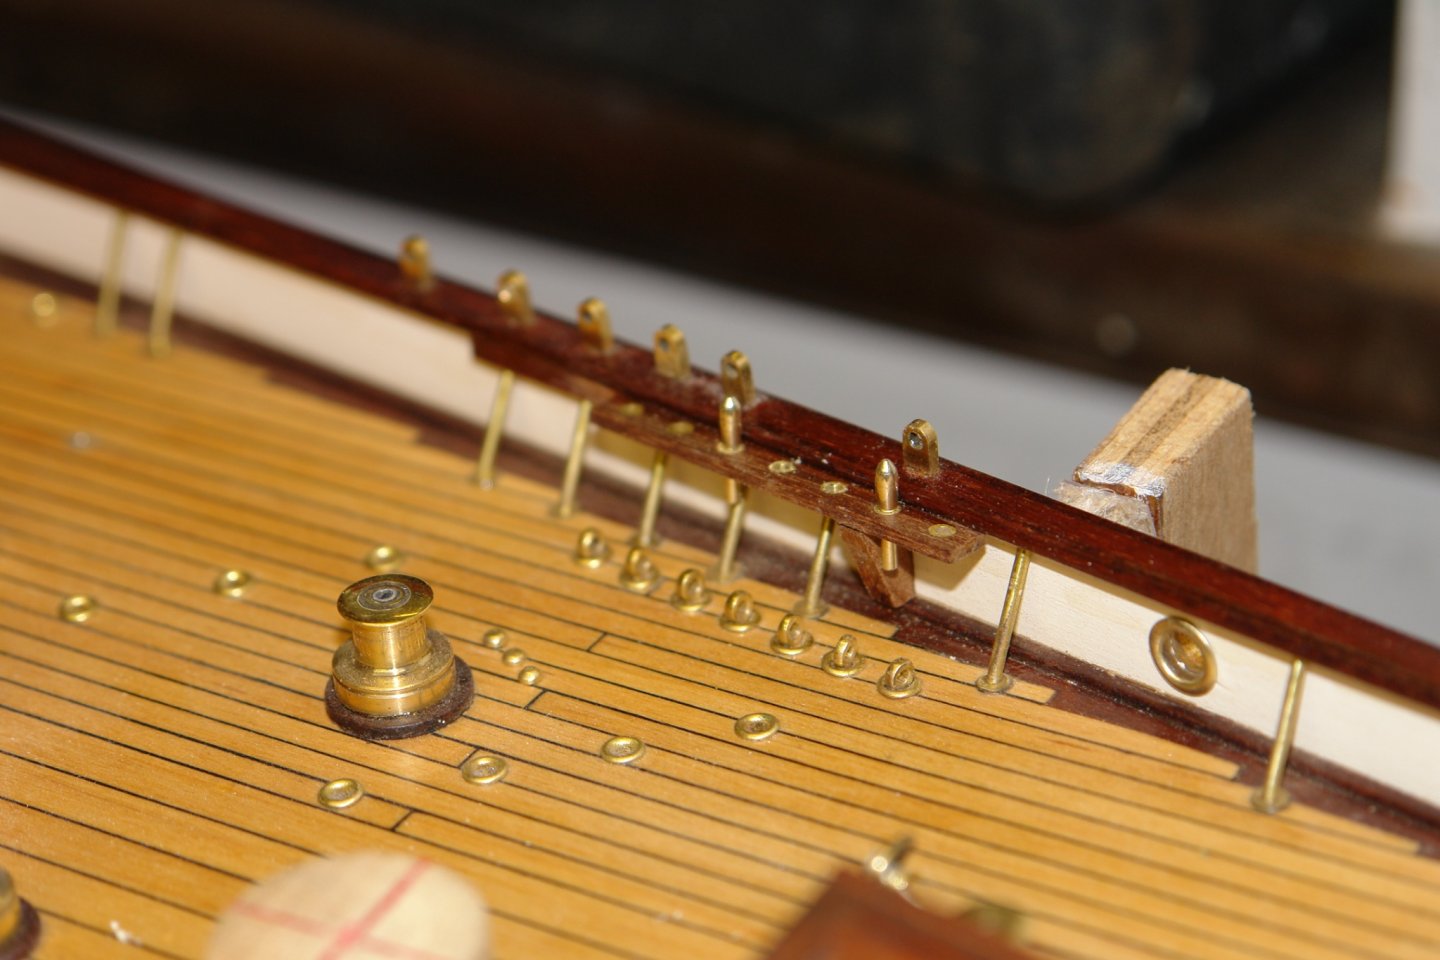
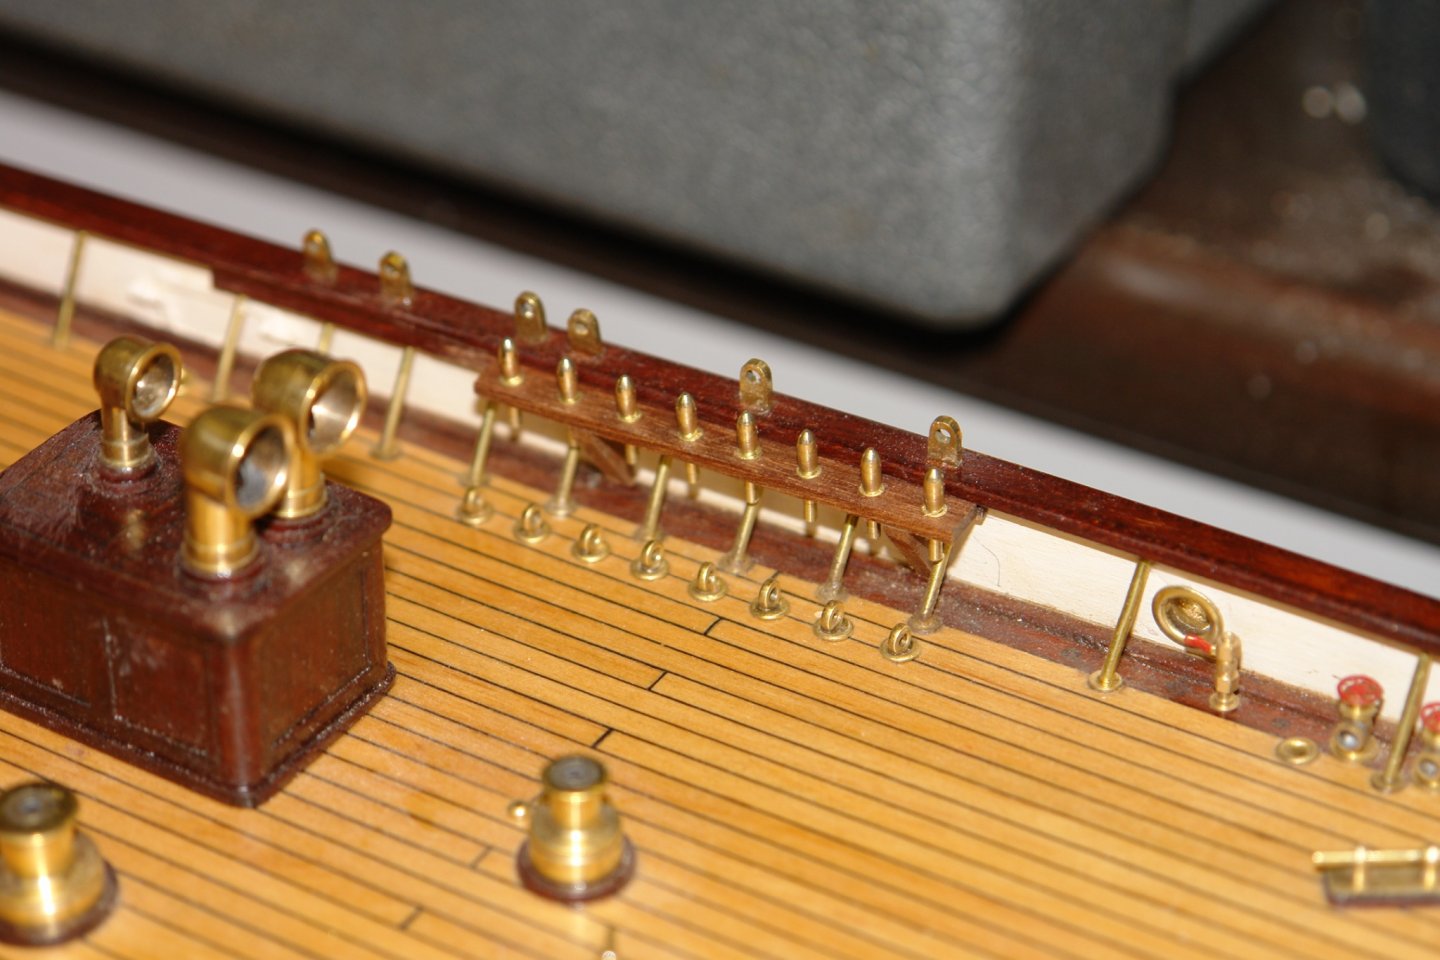
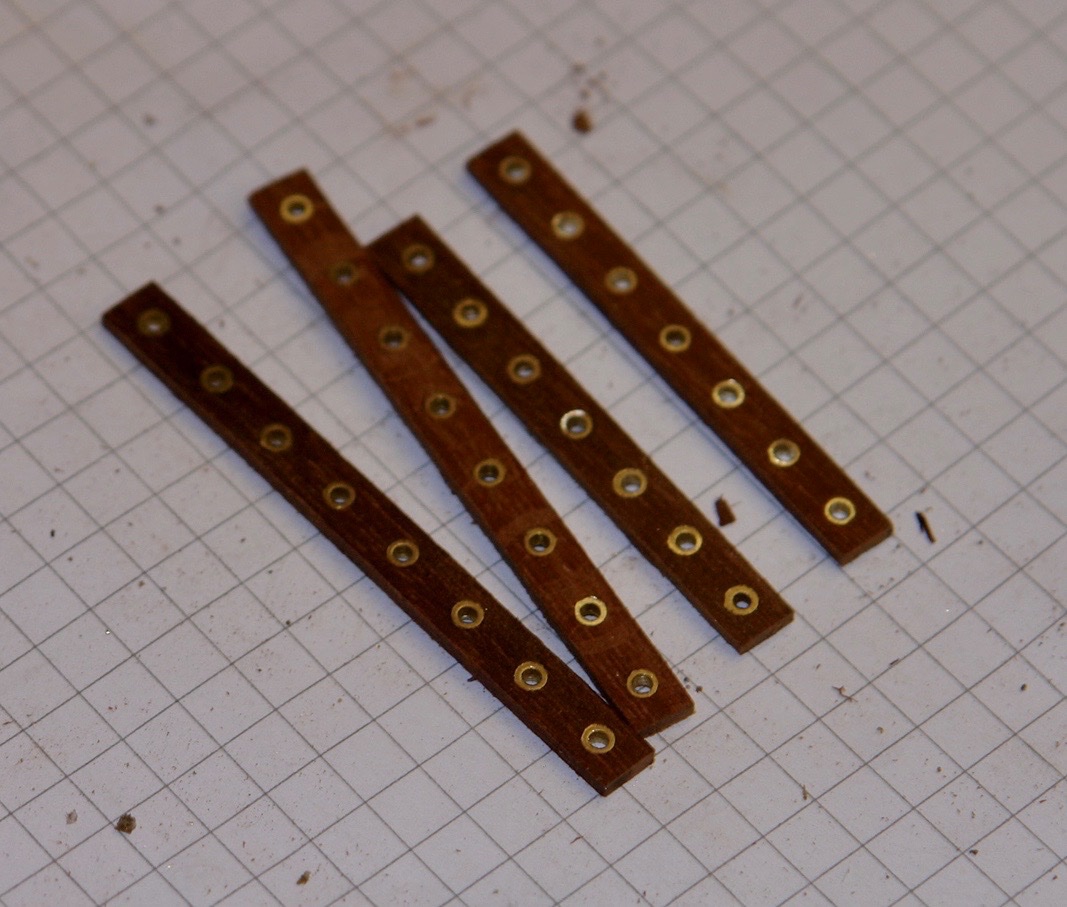
Thank you all for your comments and likes. It would appear that the usual shipbuilding disruptions of Christmas will not apply this year, in fact building may accelerate. The Government have just announced that a new strain of Covid is now in circulation which is about 70% more transmissible than the previous strain. As a result significant areas of the country will go immediately into the highest level of lockdown with mixing of households banned, all non essential shops closed etc, etc. I think we may have over ordered the groceries. Progress over the last week has revolved around pin rails. Four large rails run alongside the bulwark on either side of the main and fore masts, one pair of rails has 8 pin positions while the other pair has 7. The rails were made as previously described. Holes were drilled before brass tubes were inserted and then slit off to the correct thickness. On Germania the rails are mounted to the bulwarks with small metal brackets. I feared these would be too fragile to take even the modest forces imposed by the rigging. Accordingly I made heavier wooden mountings and consoled myself that they wouldn't be very visible. The rails were glued in place with CA. The previous rails relate to the foremast but the main mast rails are very similar. It was then into a long belaying pin production run that took the best part of 2 afternoons. While I was about it I made the 2 pins for the jib foot. I am now going to drink a vat of Gin as consolation for the cancelation of Christmas.


-
HMCSS Victoria 1855 by BANYAN - 1:72
KeithAug replied to BANYAN's topic in - Build logs for subjects built 1851 - 1900
The good news Pat is that by the time the Australian winter arrives vaccines should be widely available. May you all have a happy and unrestricted Christmas.- 1,021 replies
-
- 3
-
-
- gun dispatch vessel
- victoria
- (and 2 more)
-
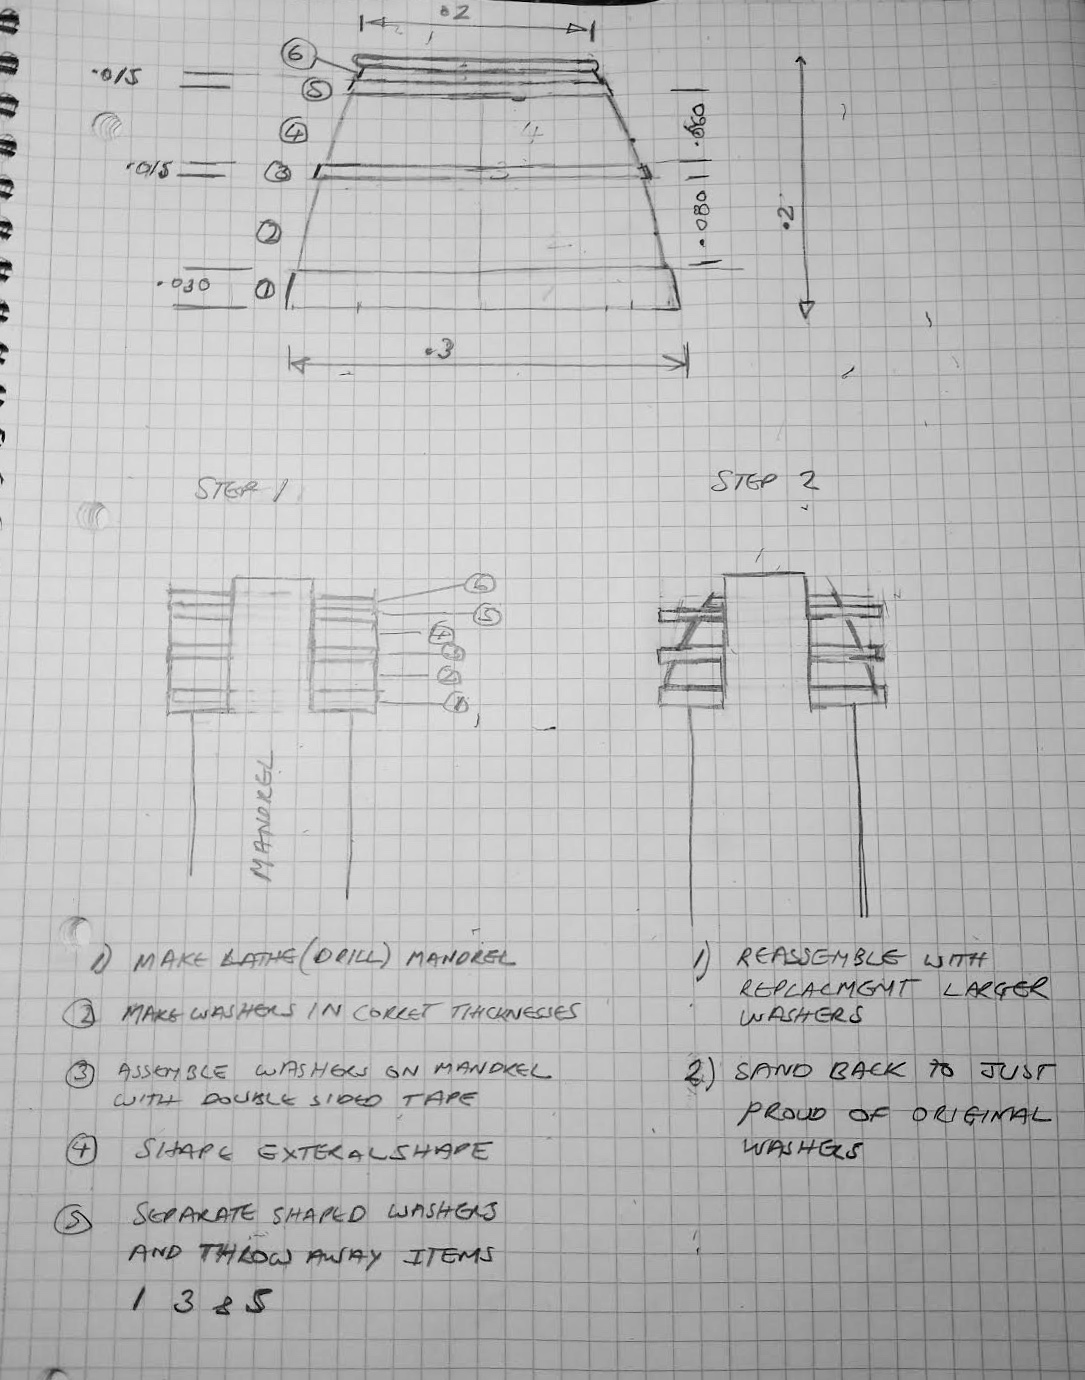
Keith, I hadn't realised the body was white, so I agree with Eberhard, use black and white plasticard and avoid having to paint. Do you need the banding to stand proud? In real life the banding is probably less than 1/8" so at your scale that means the banding is only .001" above the surface. If you want to exaggerate the banding I can think of an option but its bit difficult to explain without a sketch so I'll get back to you once I have found a pencil.
-
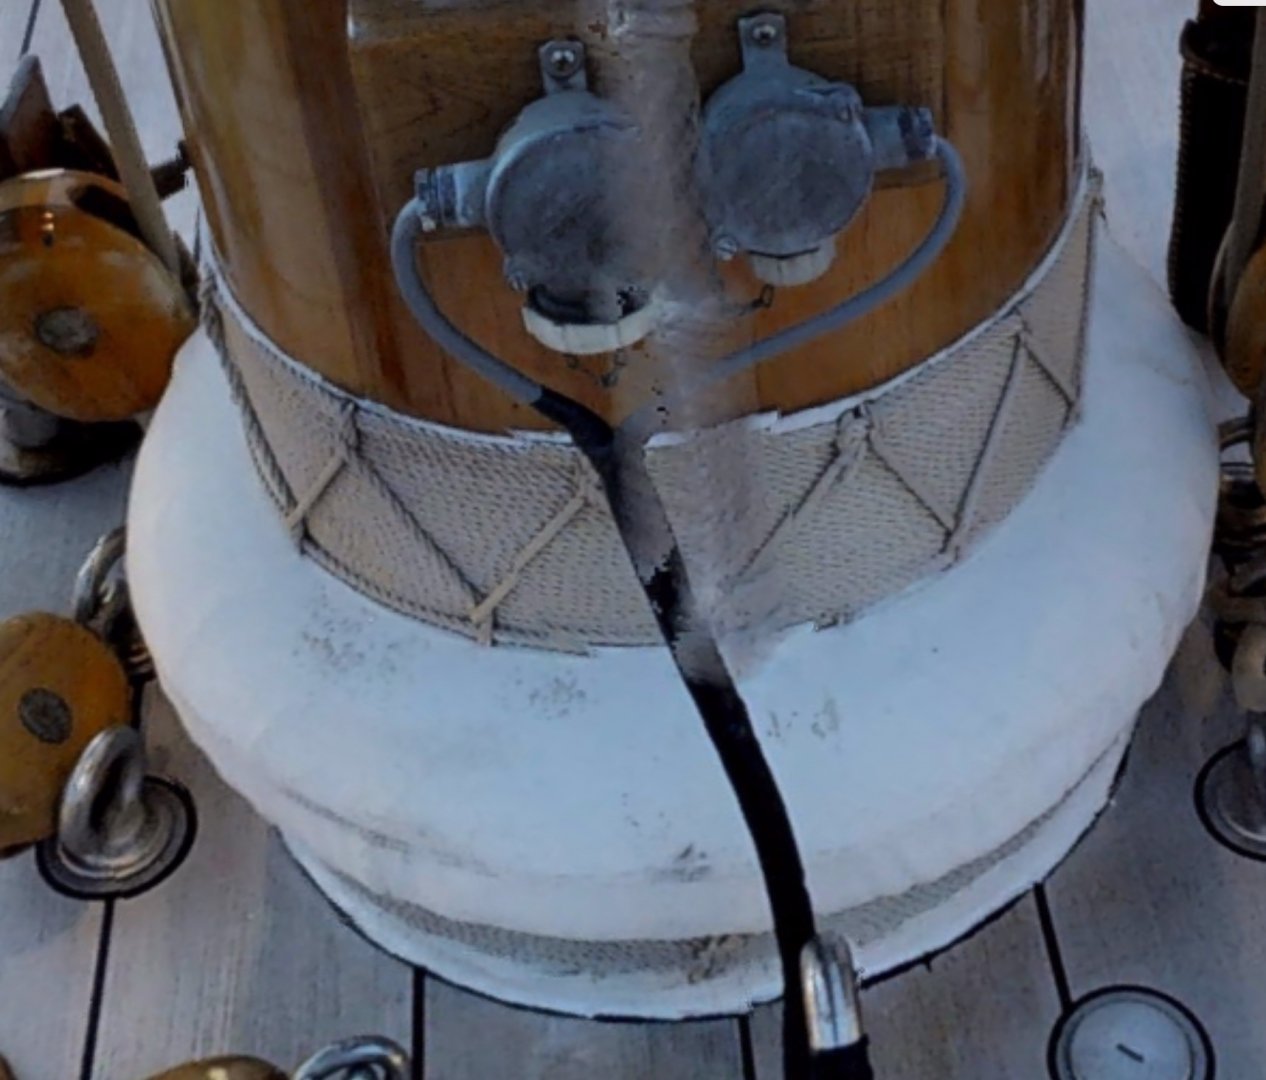
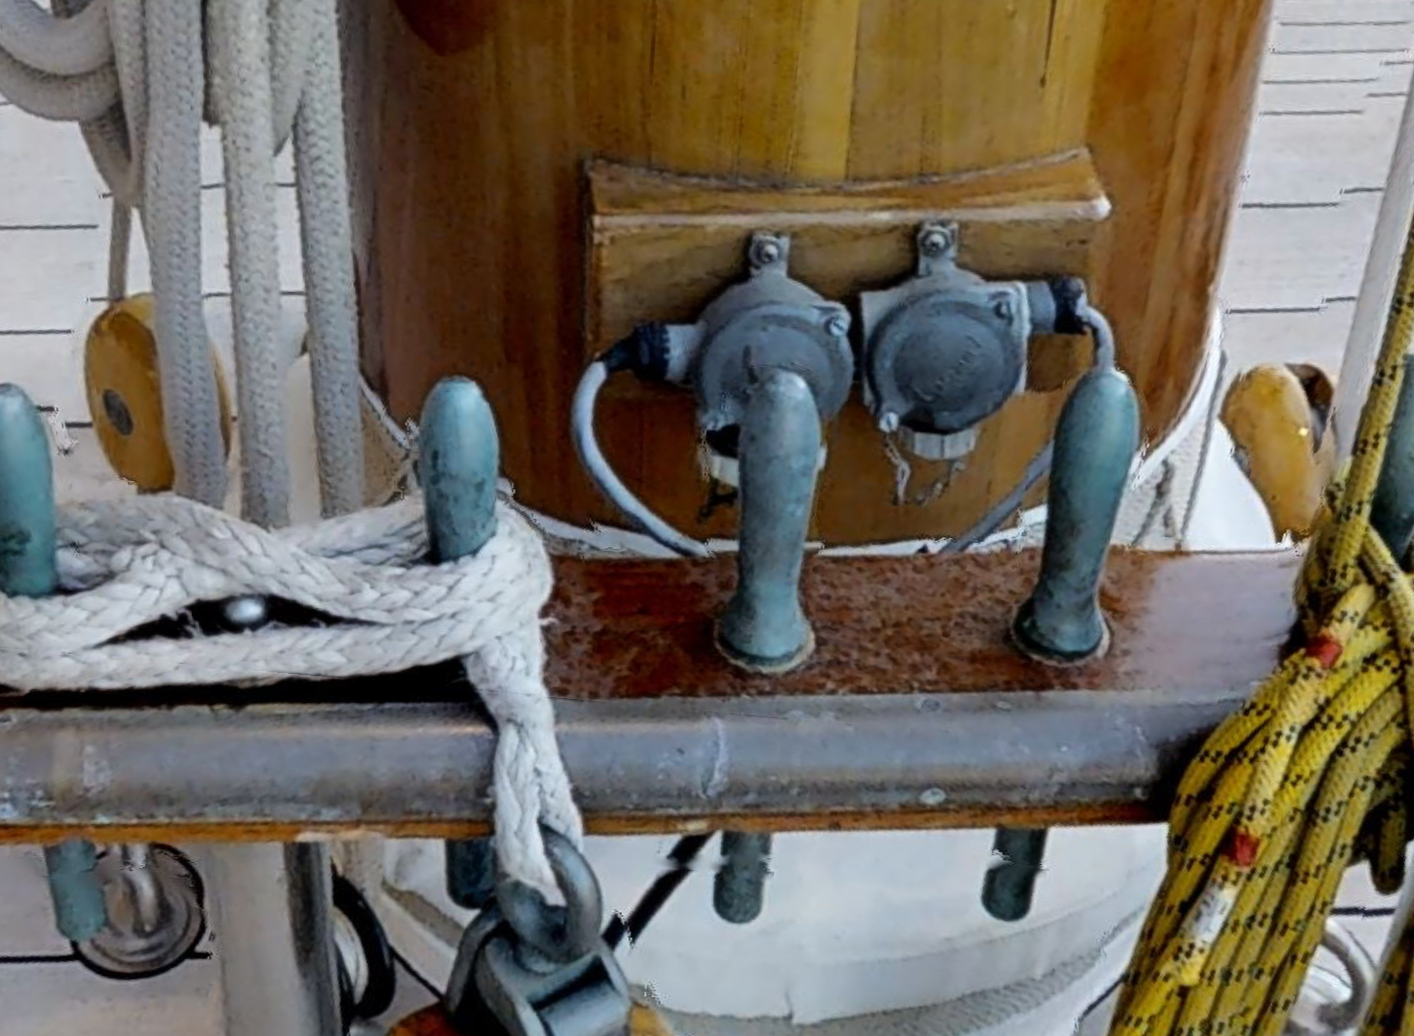
Keith / sailor. The mast is of composite construction and clearly the power and instrument cables are routed through trunking on the inside of the mast. This being the case I am unsure why they don't enter the mast below deck level as this would leave the cables less prone to damage and deterioration. The cables in question seem to enter the mast via a pair of junction boxes on both the main and fore masts. Now you have drawn attention to this detail I am going to have to reproduce it ------- Aren't I.
-
How are you doing Richard. I hope your distractions from model making are all pleasant ones?
-
All progress is painful.
-
Keith, things do get difficult at this size and compromises do have to be made, My best suggestion would be to glue up a laminate of various discs - possibly 3 discs of black plastic separated by two discs of wood, then turn the bucket from this. by making the thicknesses to scale the result should look pretty convincing. But then again what do I know and no-one will notice the compromise you have made once the model is finished.
-
That's a possibility Pat although I think the original design would also have allowed for removal. I did quite well with the list, knocking off about 70% without accumulating many additions. I have parked the list for the last month or so. My guess I will restart in the spring by which time I should be supercharged by the Covid vaccine.