-
Posts
3,418 -
Joined
-
Last visited
Content Type
Profiles
Forums
Gallery
Events
Everything posted by Cathead
-
The instructions are wrong: the cathead is, indeed, the wooden piece you've already installed. The other piece is meant to hold rigging; see this photo from another build log for this kit:
- 89 replies
-
- Enterprise
- first build
-
(and 2 more)
Tagged with:
-
Lots of good advice here. Another option is to consider a display cabinet instead of a case. One of these can store and display multiple models far more space-efficiently than several cases, which all need their own surface space, and they're more flexible if models come and go. One approach to the style generally called "curio cabinet" tends to have wide glass panes in front that are great for model display. Here's an example from a customer furniture maker here in Missouri (Ramer Brothers): While these aren't cheap, especially if you get a high-quality hardwood version, the equivalent of 3+ cases isn't cheap either. And while cases have few other uses beyond specific model displays, a curio cabinet can be resold or handed down through family for many different uses, making it a potentially better long-term investment. My wife and I recently agreed to invest in one of these for my growing model collection, rather than build a whole series of cases, because it'll be way more space- and resource-efficient while being a better long-term investment. Just a thought to consider.
-
Is there a chance it'd work better to draw the eye on with something like colored pencil or fine pen? That inherently gives the painted-on look without any decal film, and also lets you work naturally with the planking and its seams, just like on a full-size vessel. Might be worth testing with some scrap wood. For example, on my recent Viking ship project, I found that colored pencils created a really nice coloration effect on the shields, far better than paint.
- 62 replies
-
- amati
- greek bireme
-
(and 1 more)
Tagged with:
-
I, too, use the poor man's lathe as Keith describes and it's great. One additional note, the drill's chuck can easily leave marks or other damage to the dowel, so it's important to leave extra length on whatever you're doing. So if you need a rounded mast 8" long, make sure you cut the piece, say, 8.5" long so that extra half goes in the drill and you can cut it off when you're done. Otherwise one end will be damaged and you'll be upset! (trust me)
- 160 replies
-
- Model Shipways
- norwegian sailing pram
-
(and 1 more)
Tagged with:
-
Though I have to say I'm glad there aren't hundreds of nuclear submarines sunk along US river systems...
-
Fantastic! It’s been a pleasure following along. I think you’ll quite enjoy where this hobby takes you as you keep delving deeper.
- 160 replies
-
- Model Shipways
- norwegian sailing pram
-
(and 1 more)
Tagged with:
-
Looks beautiful. I think it's safe to say the Greeks knew about caulking, there's evidence of Bronze-age caulking even in the backwaters of Britain (using things like moss and wool if I remember correctly). Maybe not the Age of Sail kind, but there're lots of ways to do it, and you pretty much can't build a planked craft without it.
- 62 replies
-
- amati
- greek bireme
-
(and 1 more)
Tagged with:
-
Wish I had advice on the rigging. I've used clamps to help maintain tension, as it looks like you did, too.
-
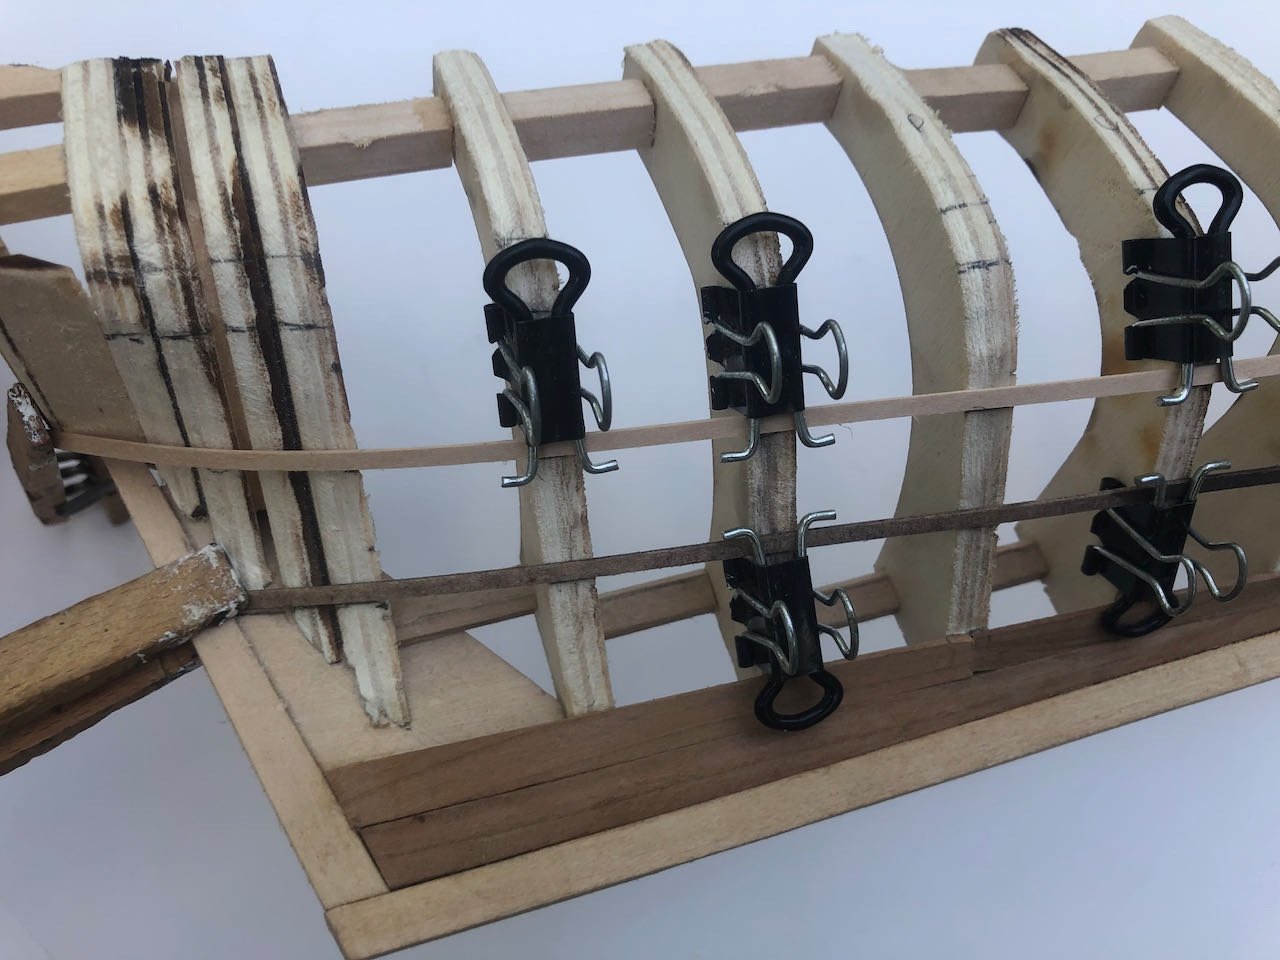
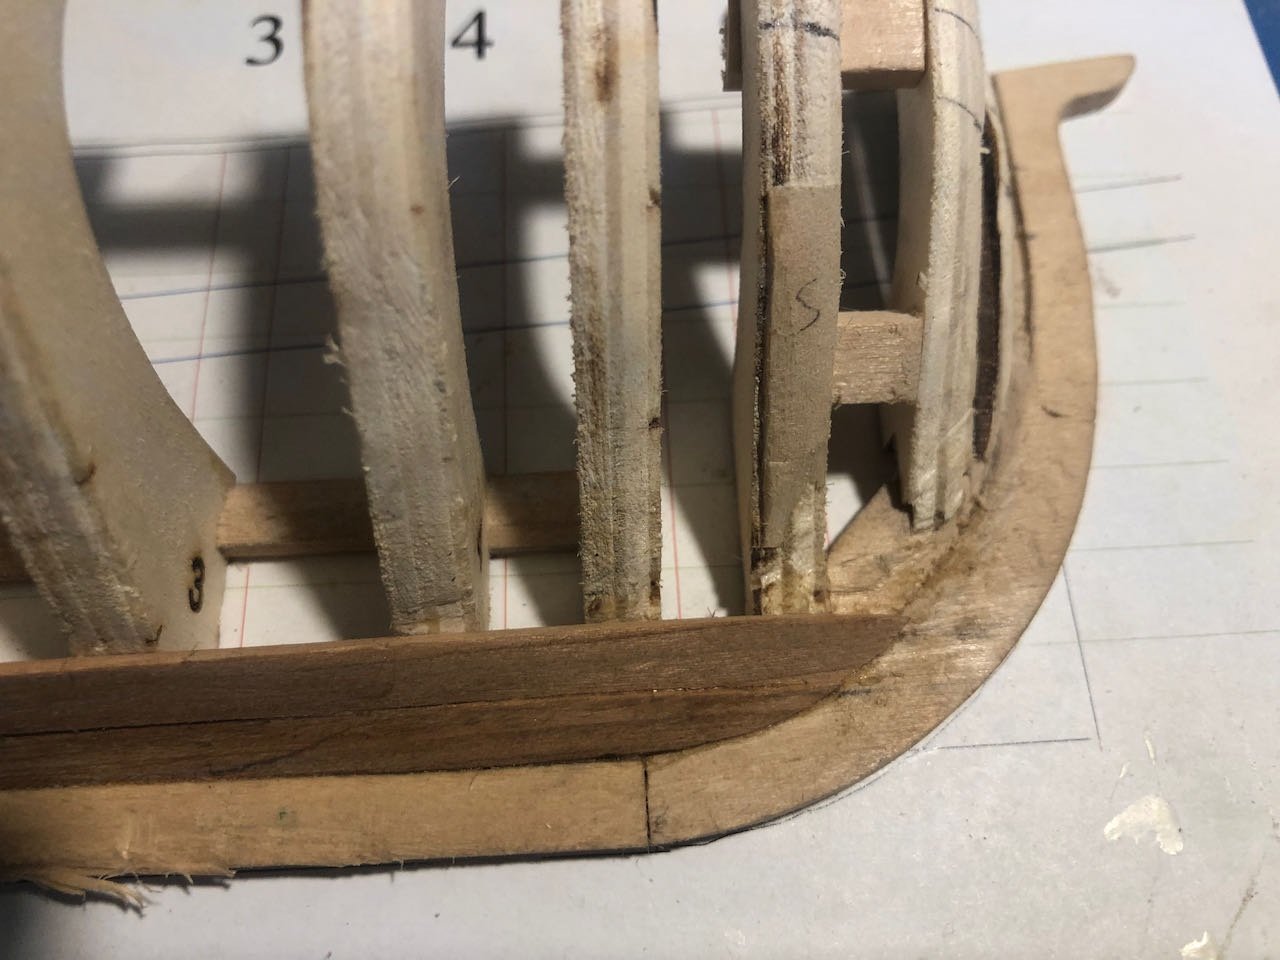
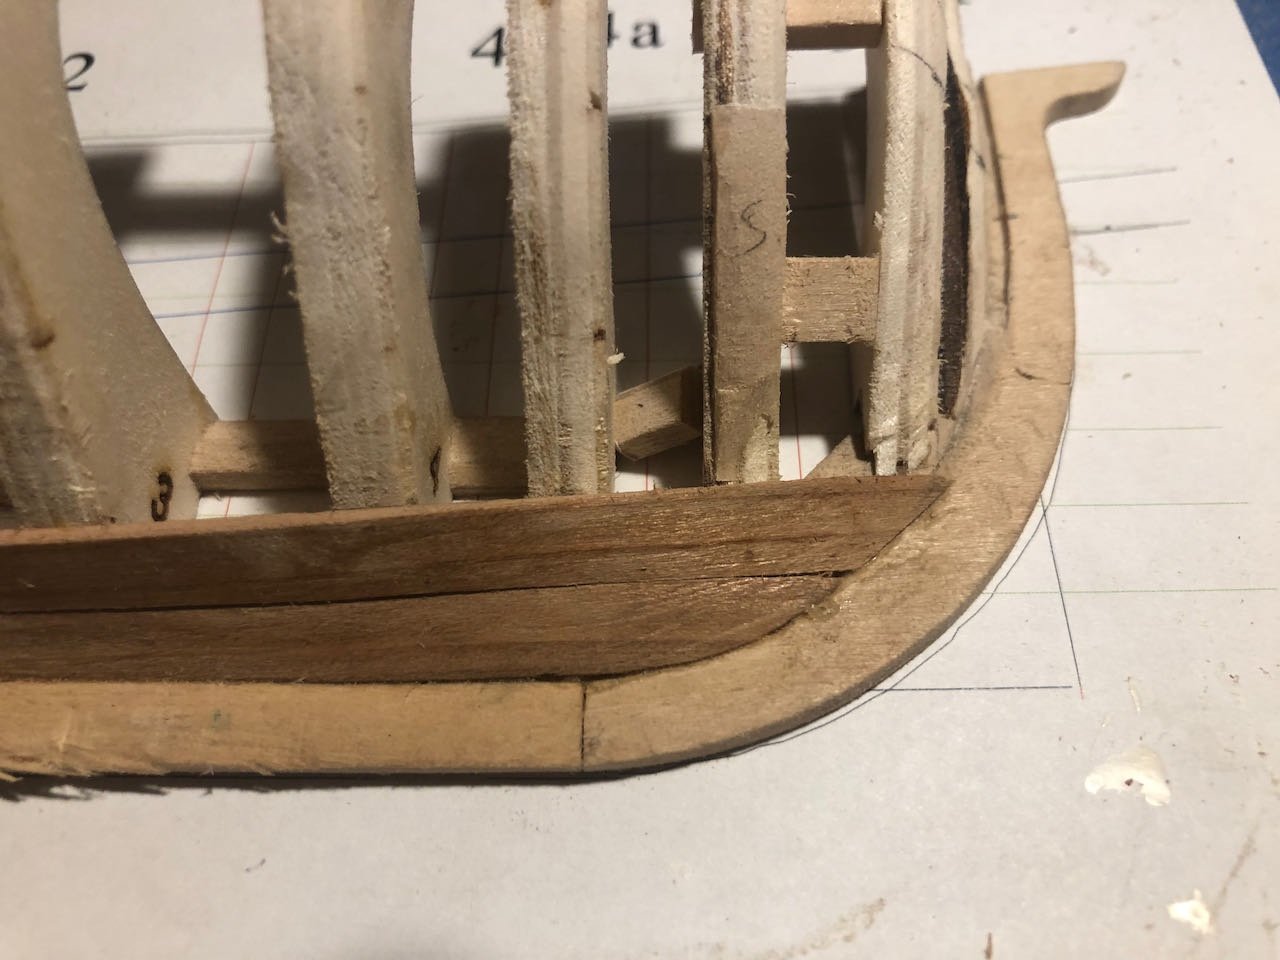
I've been working on laying out planking belts and could use some advice. The instructions call for dividing the hull into three belts between the wale and the garboard strake, and here's my first attempt. Note that the strips make the central belt look narrower than it really is because I'm measuring from their lower edge (so the middle belt includes the strip's width). I've measured them and they're all three equal amidships. Stern: Bow: I've never done this before and am having difficulty envisioning what's correct, especially at the bow. My sense is that the run of the planking should look pretty horizontal when viewed from the side, no curving up or down as the hull changes shape. I'm having trouble comparing this with the images shown in the instructions and log. I'd be grateful for any advice from @tlevine or any other experienced folk. Thanks!
-
The irony is there's both in our medicine cabinet, since my wife makes very effective vodka-based herbal tinctures for sleep. Chamomile and ashwagandha are very effective, only a small dropper's worth needed.
-
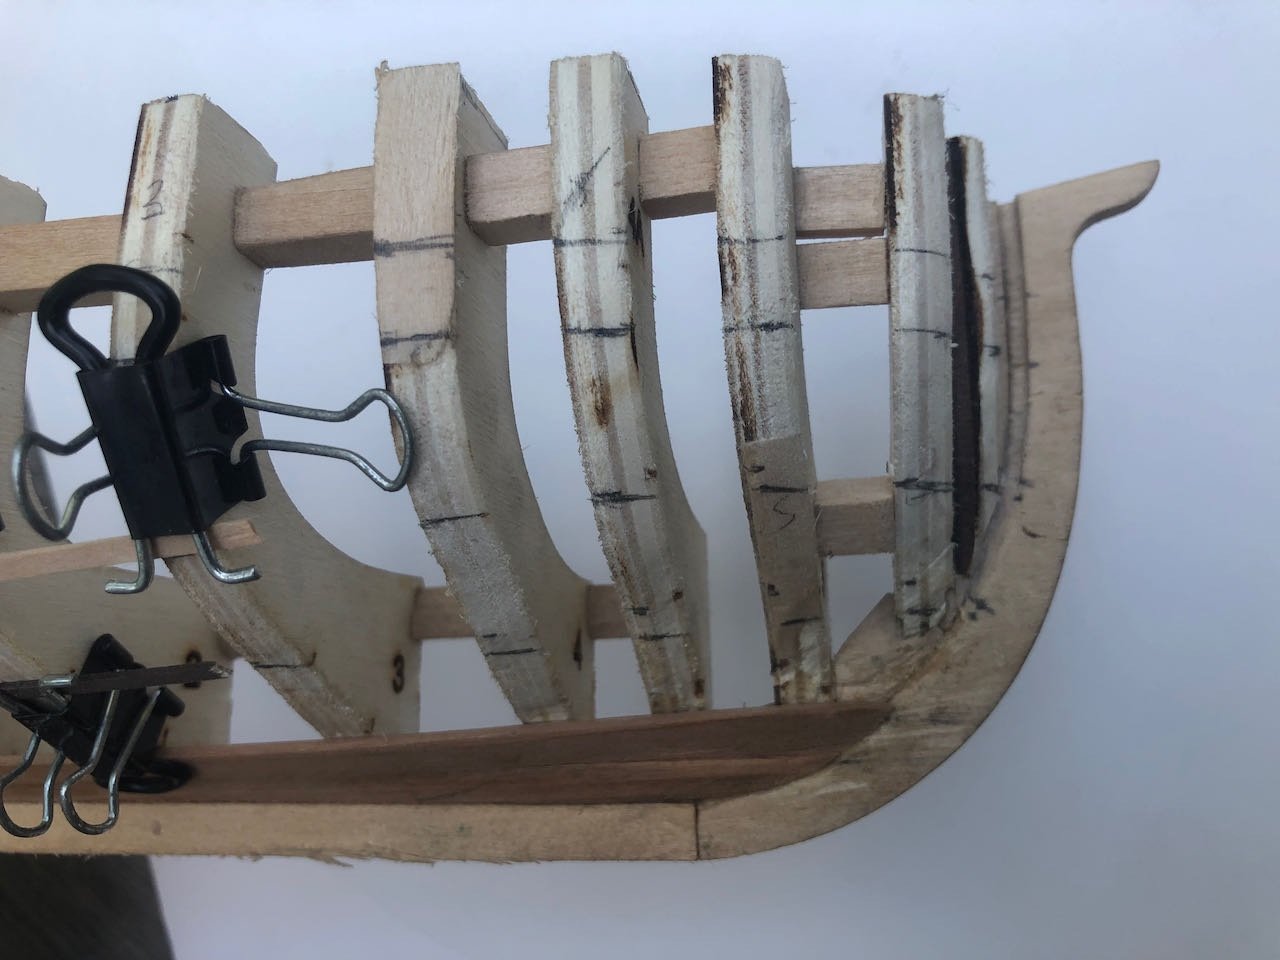
During the week, I had finished installing the broad strake (the next one up from the lower-most garboard). But a little demon in the back of my mind kept telling me it wasn't right. At the bow, both planks ended up curving upward and creating the "smiley-face" effect that the instructions specifically warn against. It wasn't really obvious to me until after I saw both strakes in place, but then I couldn't unsee it, and knew I had to fix it. After watching @tlevine's NRG presentation this morning on improving ones' models, which included the specific exhortation to fix things you know are wrong so you don't regret them forever, I did so. Here are the original planks at the bow: Not only can you see a strong upward curve, look at where each plank ends relative to the horizontal lines extending off to the right on the plans. The top of my garboard meets the first line, while the top of my broad strake meets the second one. Now look at how this is supposed to be, from the demonstration build log: Notice how BOTH strakes fit into the space below the first horizontal line, and the flow of the planking is much more horizontal when viewed from the side. I don't know how I let it get so off, but I did. So out came the alcohol (for the glue, though I considered my own emotional needs) and a sharp chisel blade. I removed the forward broad-strake plank and then carefully carved the top of the garboard strake down to a better alignment: I made a mess of the rabbet in the process, especially carving out all the bits of glue-stuck wood in there, but it doesn't matter in the end. I then reshaped a new plank that looks much better. Ironically, this was easier than expected because I had gone through several attempts at shaping this plank in the first place, and one of my discards ended up being just right for the new plank with some more shaping: It's still a bit higher than it's "supposed" to be but I think it's good enough, and I'll pay more attention from now on. It's interesting working with the cherry, which is stiffer to bend but also more forgiving to carve and sand than the super-soft basswood I'm more used to. Next up, laying out the planking belts.
-
Your idea is great, but is there any reason they need to be circles? Squares would be much easier to make and seem like they'd grip just as well since the essential point is the surface, not the shape of the edge.
-
For what it's worth, "chimney" is the correct term for what would otherwise be called "smokestacks" on a riverboat. Just one of those language quirks; that's what they called them.
- 109 replies
-
- Finished
- Artesania Latina
-
(and 1 more)
Tagged with:
-
This is just a guess, and hard to describe in writing, but I think the thread on the back side is being tucked under itself before heading off to the next loop around the spar/sail, and that's what's letting it get drawn up along the spar and out of the way rather than creating the diagonal that you have. Looking closely at the instruction photo you posted, I can see that each section of thread running along the spar does a little jog under each loop that looks like it's tucked under and drawn tight. So consider the following actions. Starting at the end of the spar, from left to right, for each loop: - Thread gets run to the next loop - Thread goes over the spar, down through the hole in the sail, out the other side, and back up to the spar. - Now, thread gets tucked under itself, from left to right, then run toward the next loop. This ought to pull the previous one tight against the spar and draw the overlap up to the spar instead of across the sail. I tried this in my mind and it worked. Don't know if that's clear, or even right (could be mistaken). If you want, I can make a quick test case with a few photos to show what I mean.
- 160 replies
-
- Model Shipways
- norwegian sailing pram
-
(and 1 more)
Tagged with:
-
Nice job so far! Very cool that you're using local wood, A. angustifolia looks similar to the related Araucaria species I've seen in Chile. In tree form, anyway.
- 21 replies
-
- Swift
- Artesania Latina
-
(and 2 more)
Tagged with:
-
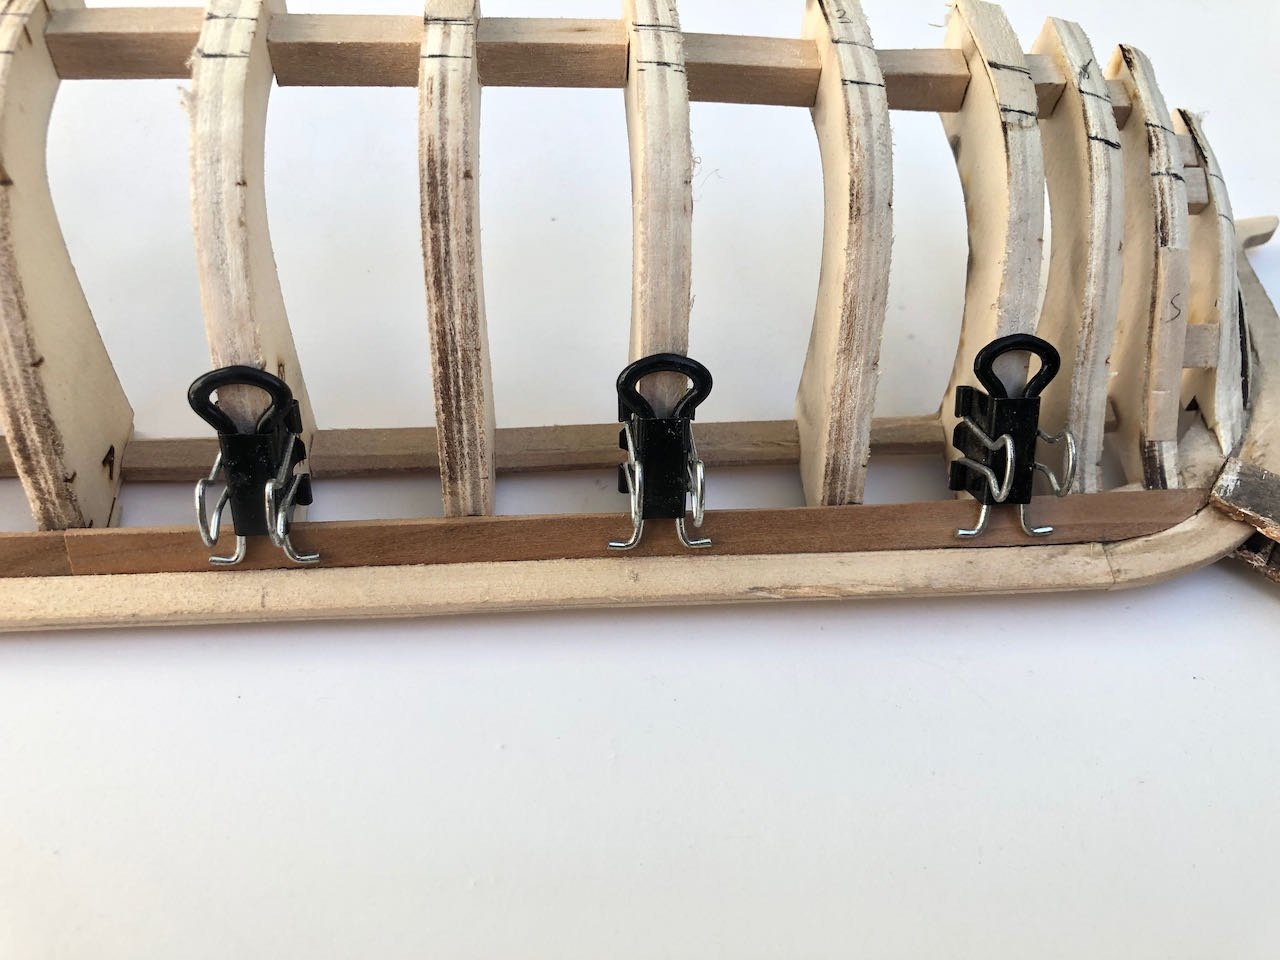
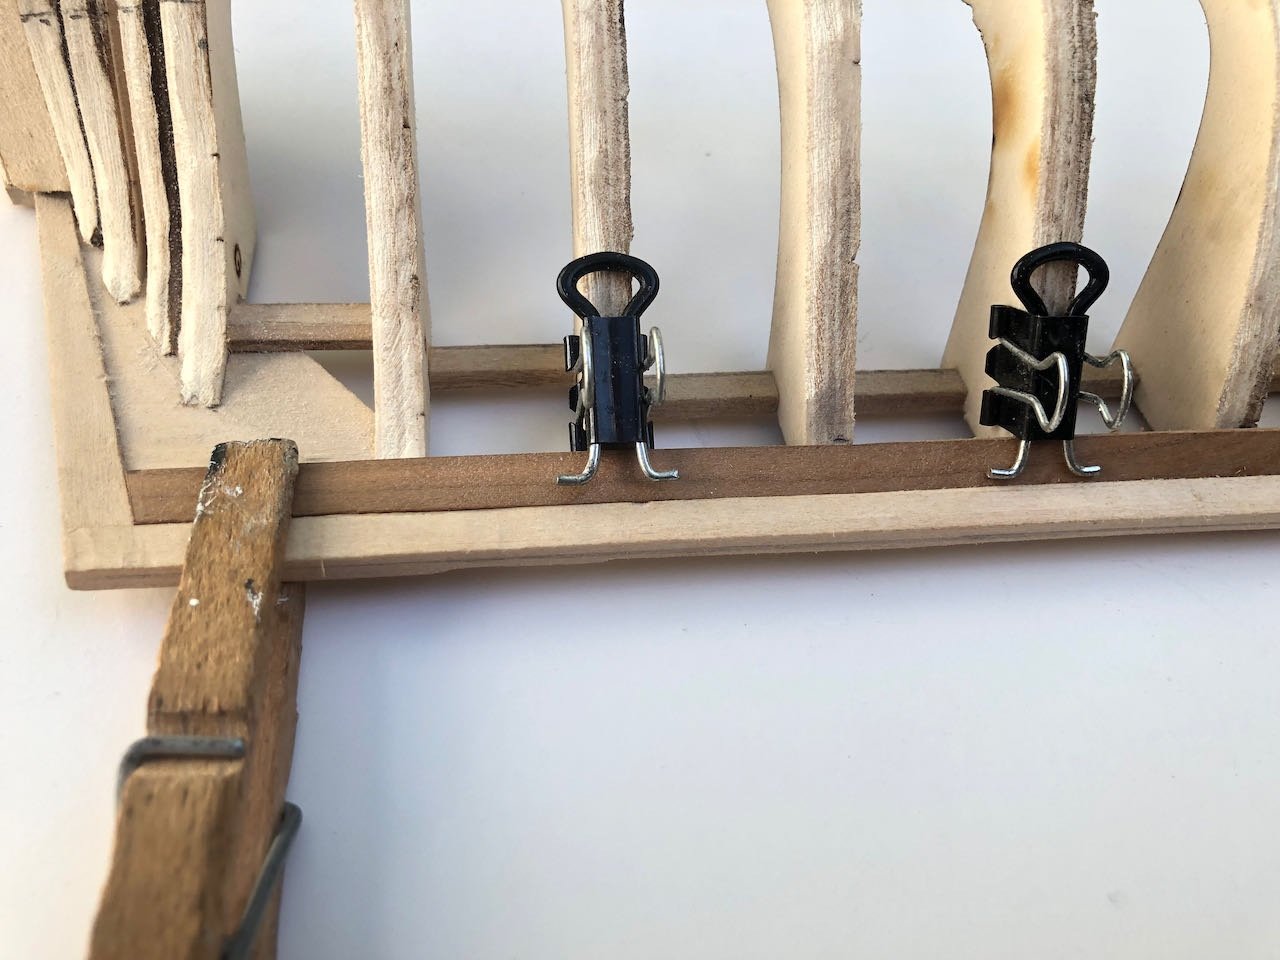
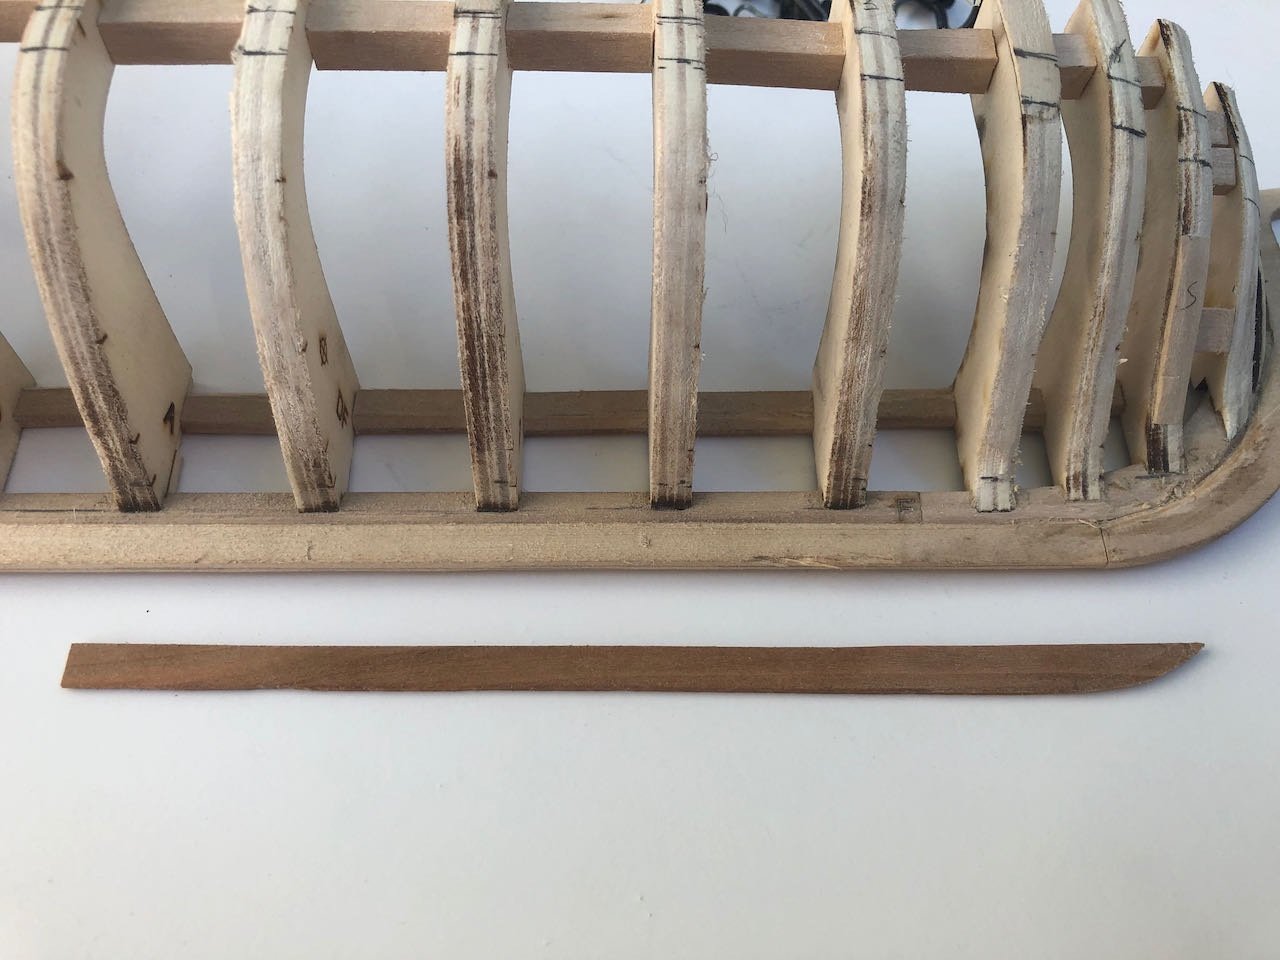
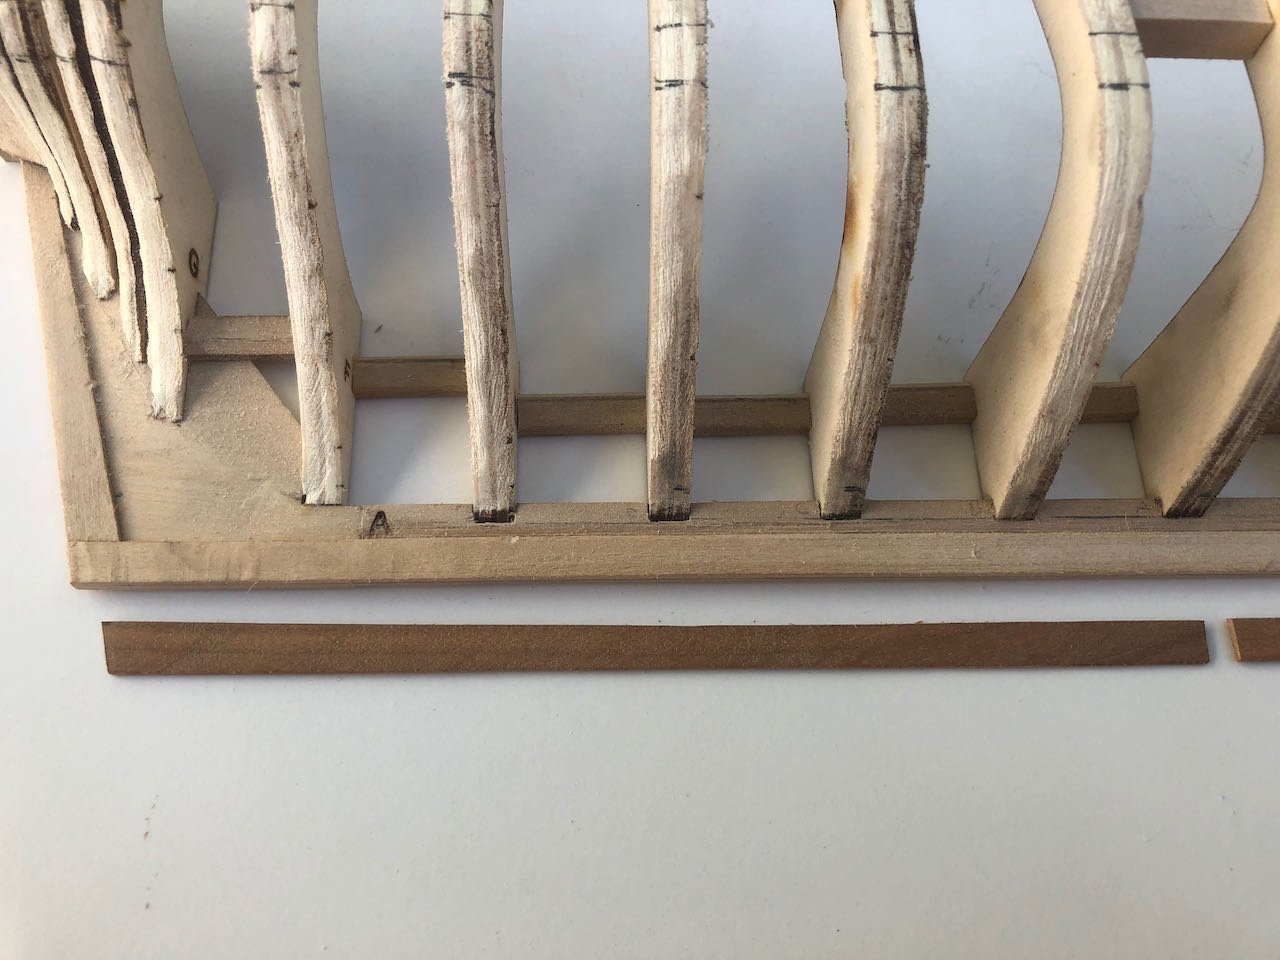
Garboard strake is shaped and attached. This went smoothly following the directions. Basically, I marked off a scale 12" up from the rabbet on the frames in the center of the vessel, a scale 14:" at the stem and stern, then used a thin batten to project the line the rest of the way. Then I cut out a paper template and used that to cut the planks from my strip of milled cherry. Planks cut prior to bending: Each plank was then soaked and clamped on to take the necessary bend. I used a hot planking iron to fix the bend in place, moving my clamps one at a time to get full coverage: And here is the garboard strake glued on: The closeup photos show that I've been having some trouble with the softer keel woods, both the plywood stem and sternpost from the kit and the basswood I used to replace the lower keel. They're damaging easily. I intended to sand the damage done once the planking is done and see what it looks like then. Camera closeups are also great at accentuating such things when they'll be hardly noticeable on the finished product. This honestly went more smoothly than I expected and makes me look forward to continuing on. Can't wait to see this really start to take shape.
-
What a neat and worthwhile prototype! I look forward to seeing this project come together.
- 105 replies
-
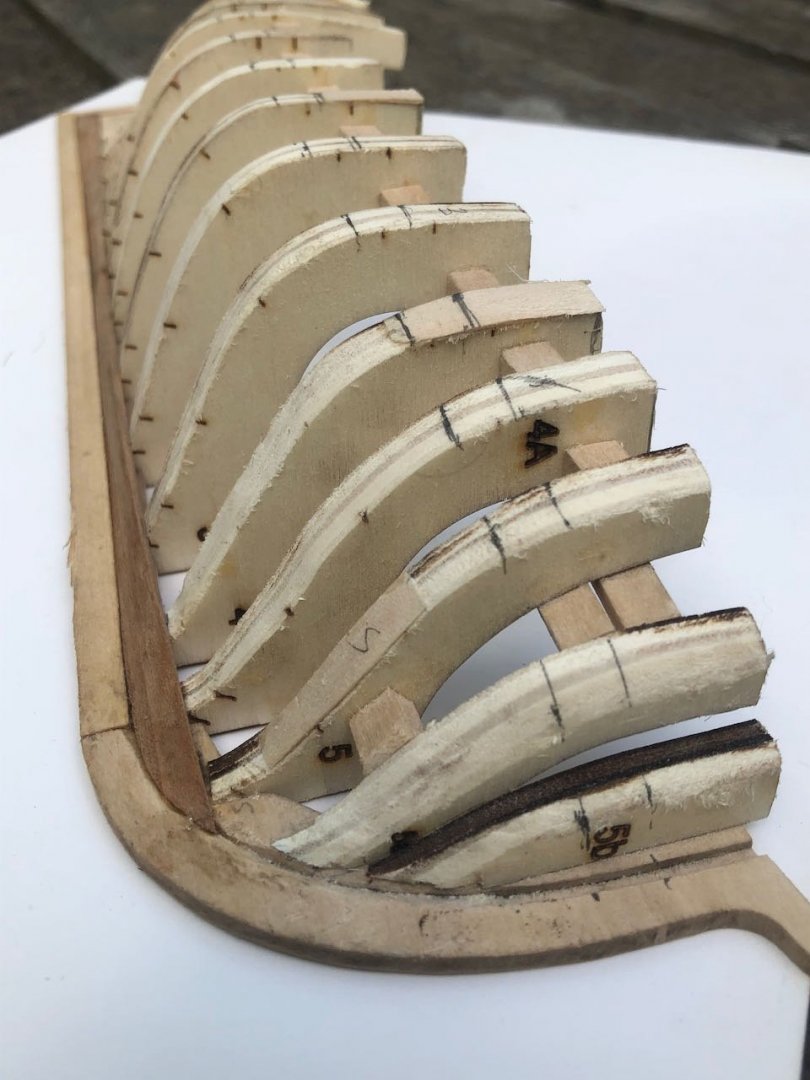
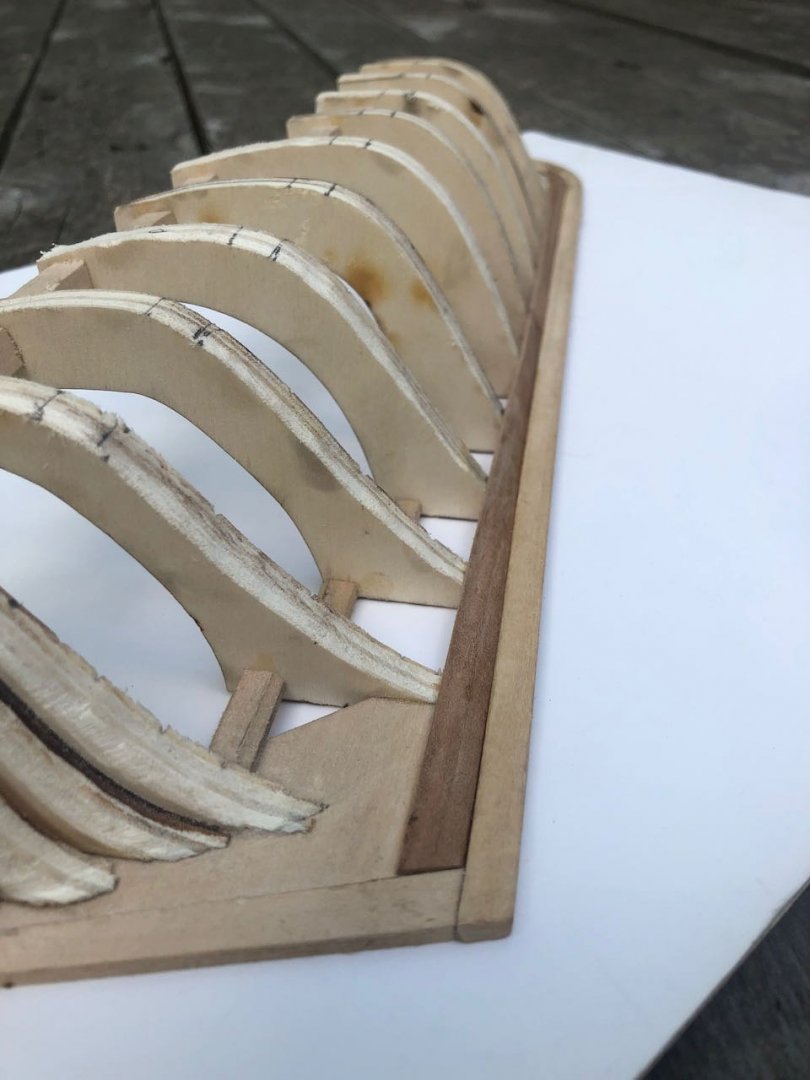
So far I've found it very helpful to be able to remove the framing, it let me reach a variety of different angles while fairing that I otherwise could not have achieved. I was also able to better stabilize individual frames while working, by reaching in from behind, which I found important because the framework overall isn't very well supported from the back and can twist easily under pressure (unlike a frame with solid bulkheads connected to a longitudinal sheet). I suppose one could achieve this by gluing some additional supports between the back of the frames and the build board. I can see the value of either approach but I haven't regretted mine yet.
-
I can definitely appreciate the fenders. As a young'un in Western NY, I enjoyed watching lake ships pass through the canals and locks bypassing Niagara Falls. Seemed like there was only a few inches clearance on either side, and in those pre-9/11 days, you could walk right up to the canal-side and touch the ship as it went by.
-
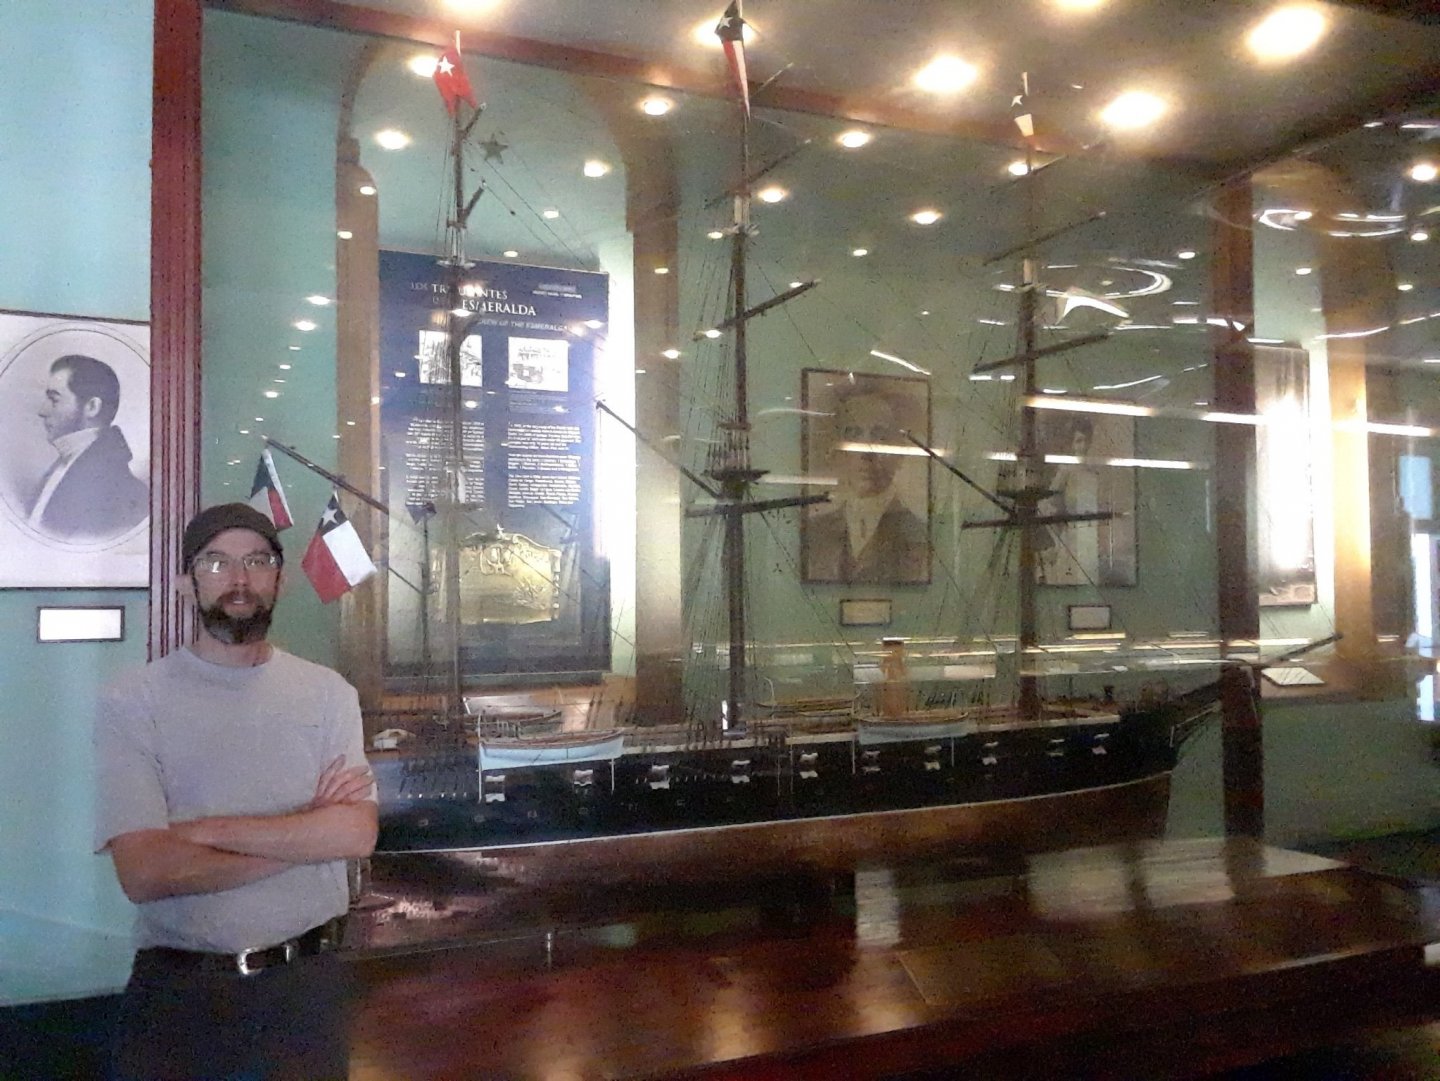
I was thinking of the vessel captained by the famous Arturo Prat at the 1879 Battle of Iquique, seen here in 1:20 glory at the Museo Marítimo Nacional in Valparaíso (me for scale). Or perhaps one of various vessels from the War of Independence. As you say, the modern Esmerelda has a somewhat controversial history. But I should not derail your thread any longer. I look forward to learning more about her Mexican equivalent!
- 17 replies
-
- Cuauhtemoc
- Mexico
-
(and 3 more)
Tagged with:
About us
Modelshipworld - Advancing Ship Modeling through Research
SSL Secured
Your security is important for us so this Website is SSL-Secured
NRG Mailing Address
Nautical Research Guild
237 South Lincoln Street
Westmont IL, 60559-1917
Model Ship World ® and the MSW logo are Registered Trademarks, and belong to the Nautical Research Guild (United States Patent and Trademark Office: No. 6,929,264 & No. 6,929,274, registered Dec. 20, 2022)
Helpful Links
About the NRG
If you enjoy building ship models that are historically accurate as well as beautiful, then The Nautical Research Guild (NRG) is just right for you.
The Guild is a non-profit educational organization whose mission is to “Advance Ship Modeling Through Research”. We provide support to our members in their efforts to raise the quality of their model ships.
The Nautical Research Guild has published our world-renowned quarterly magazine, The Nautical Research Journal, since 1955. The pages of the Journal are full of articles by accomplished ship modelers who show you how they create those exquisite details on their models, and by maritime historians who show you the correct details to build. The Journal is available in both print and digital editions. Go to the NRG web site (www.thenrg.org) to download a complimentary digital copy of the Journal. The NRG also publishes plan sets, books and compilations of back issues of the Journal and the former Ships in Scale and Model Ship Builder magazines.


.jpeg.48528e9559e0f369ec73a7ba9bf571e4.jpeg)
