


amateur
-
Posts
3,521 -
Joined
-
Last visited
Content Type
Profiles
Forums
Gallery
Events
Everything posted by amateur
-
Yes, I know that that is what you were thinking of. Therefore I mentioned the generic sets made by hmv and draf (There are also firms doing PE-style metal detail sets) Jan
-
But hmv (and some other companies) sell aftermarketparts (such as railings, ladders, handwheels and anchorchains) fentens, drafmodel are two companies worth checking. Card modelling is serious business in countries east of here. Jan
-
Porsche 934 by kpnuts - FINISHED - Tamiya - 1/12 - PLASTIC
amateur replied to kpnuts's topic in Non-ship/categorised builds
Oops..... can you salvage it, or do you need to do a total repaint? Jan -
I never saw a clue-line on the front of the sail.: they run from the yard to the clue block, back to the block at the yard. Jan
-
question just for reference: is it a inch-grid onyour cuttin gmat, or a centimeter-grid? (or the same question stated differently: how long is the model?) Jan
-
Prins Willem 1650 by mhkash
amateur replied to mhkash's topic in - Build logs for subjects built 1501 - 1750
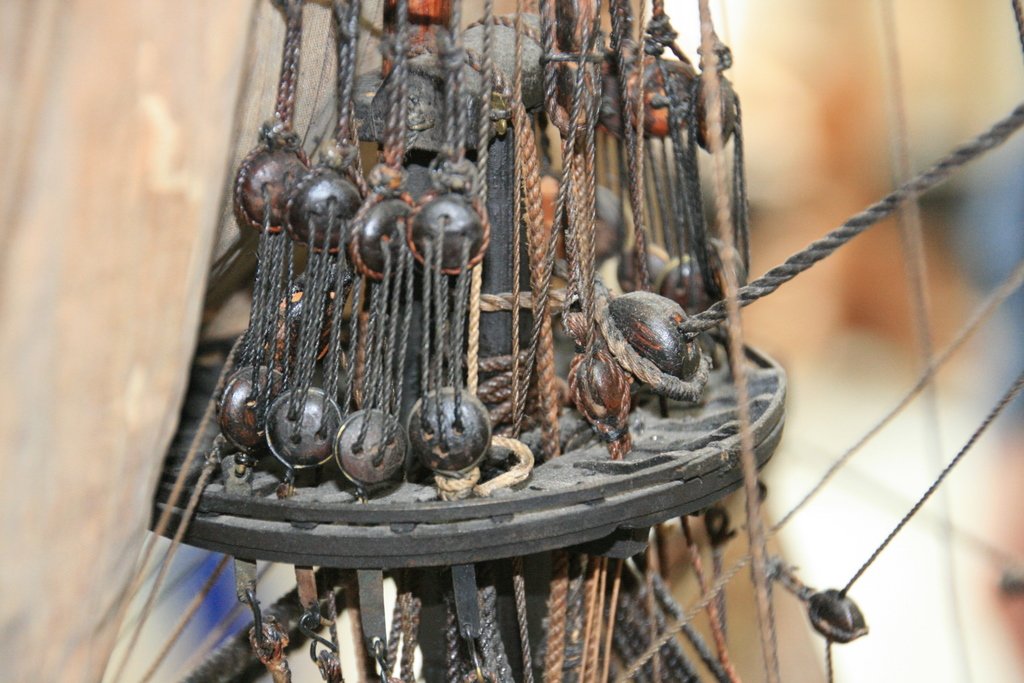
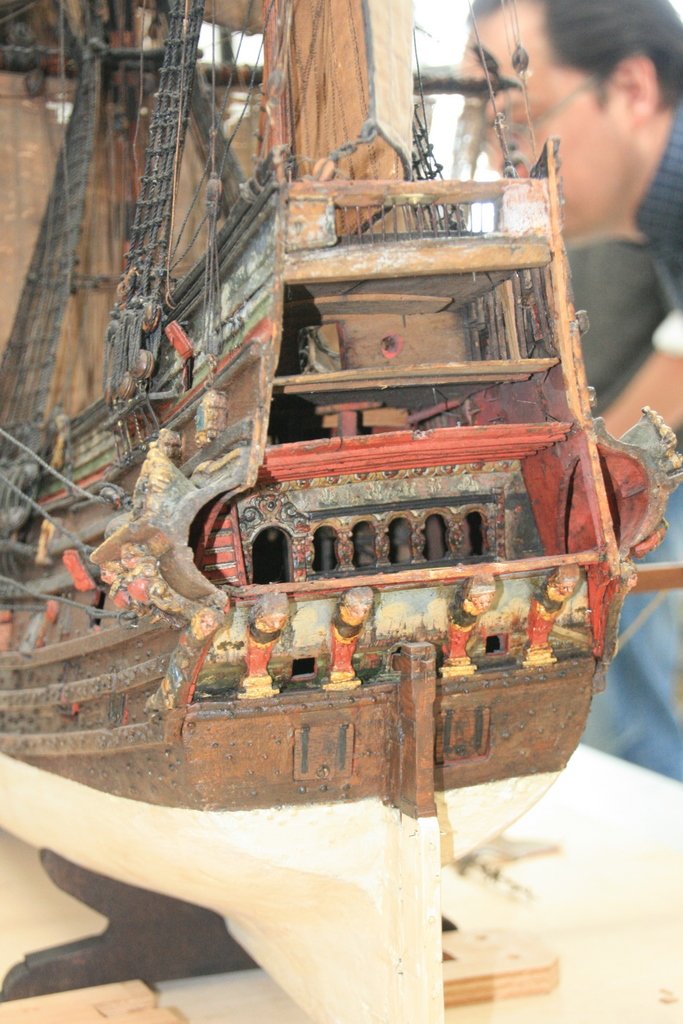
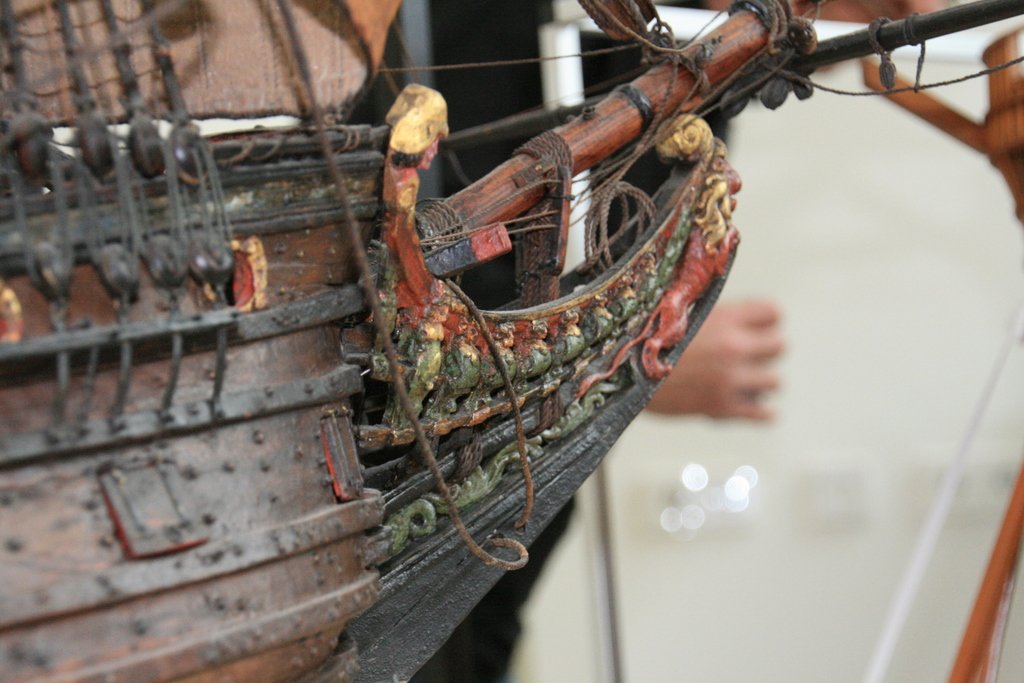
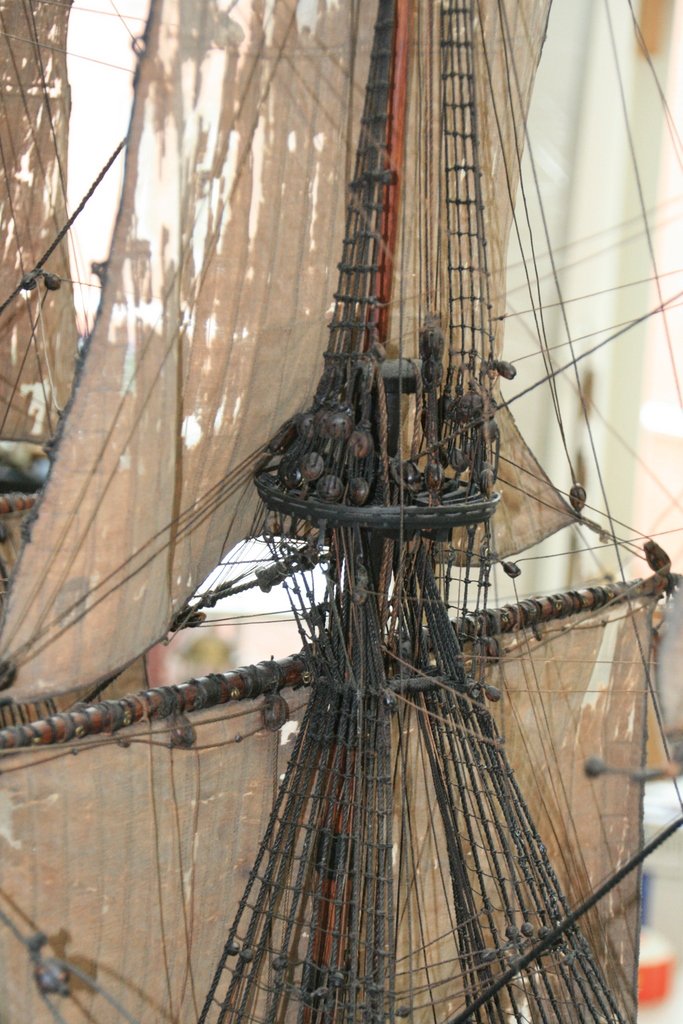
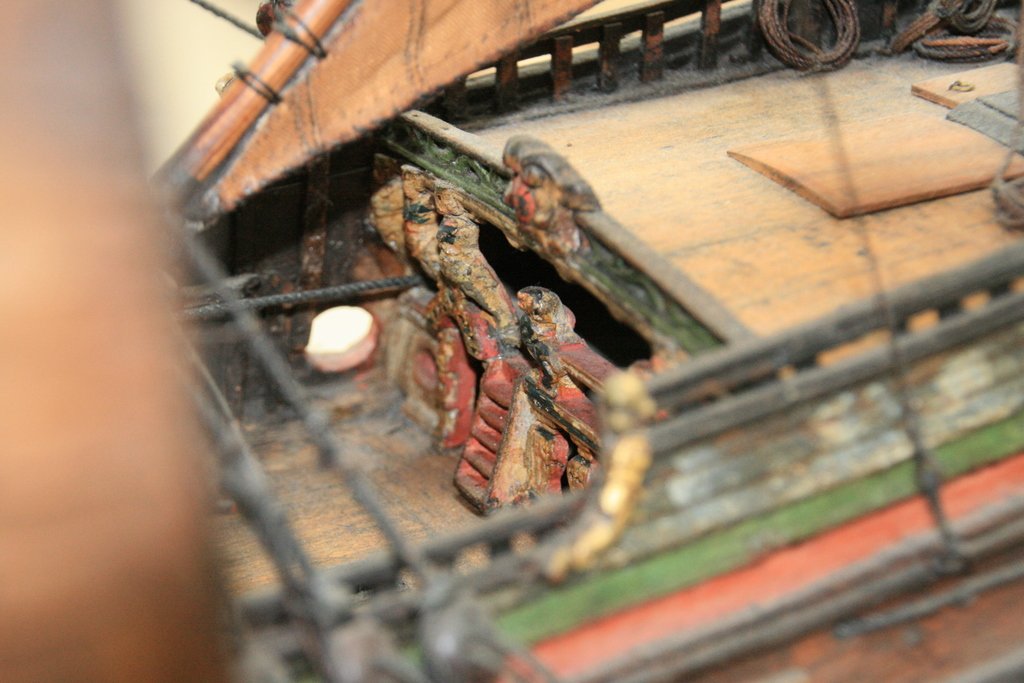
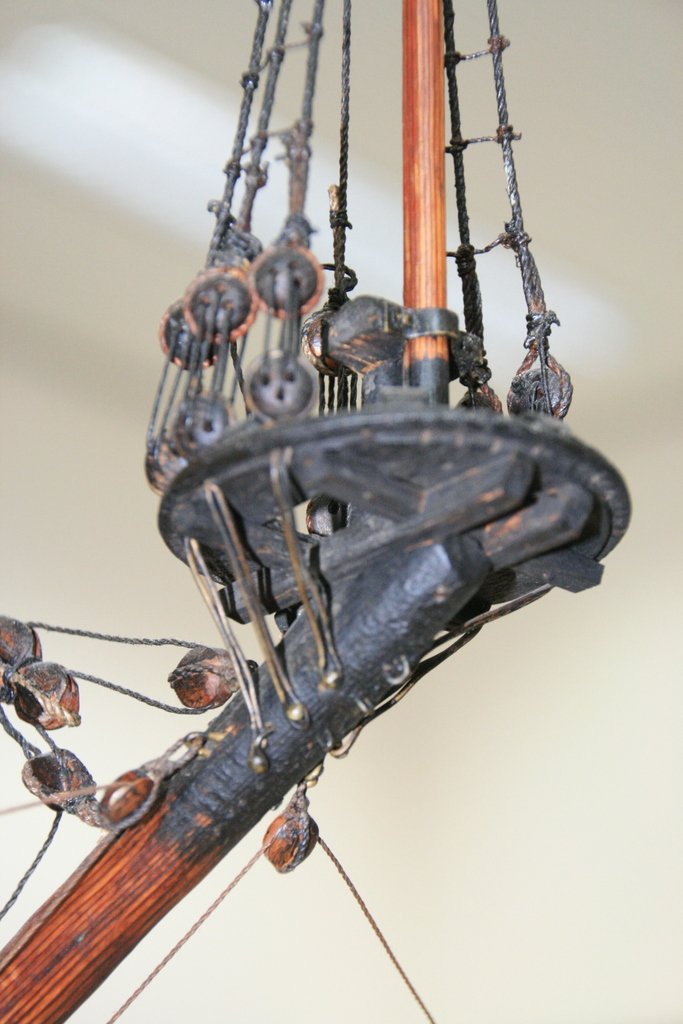
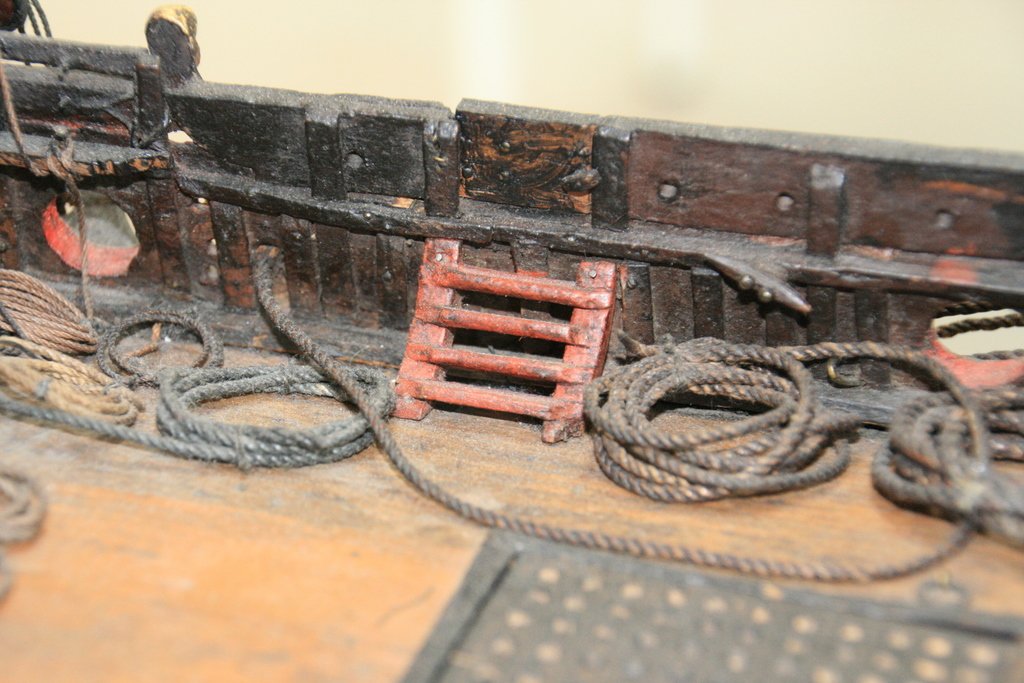
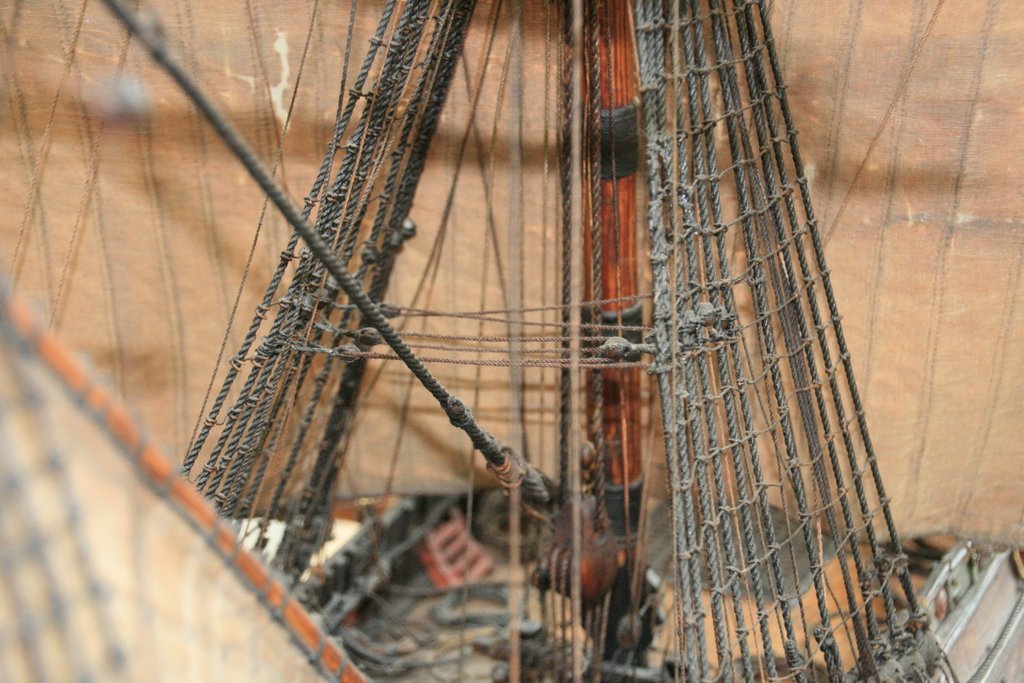
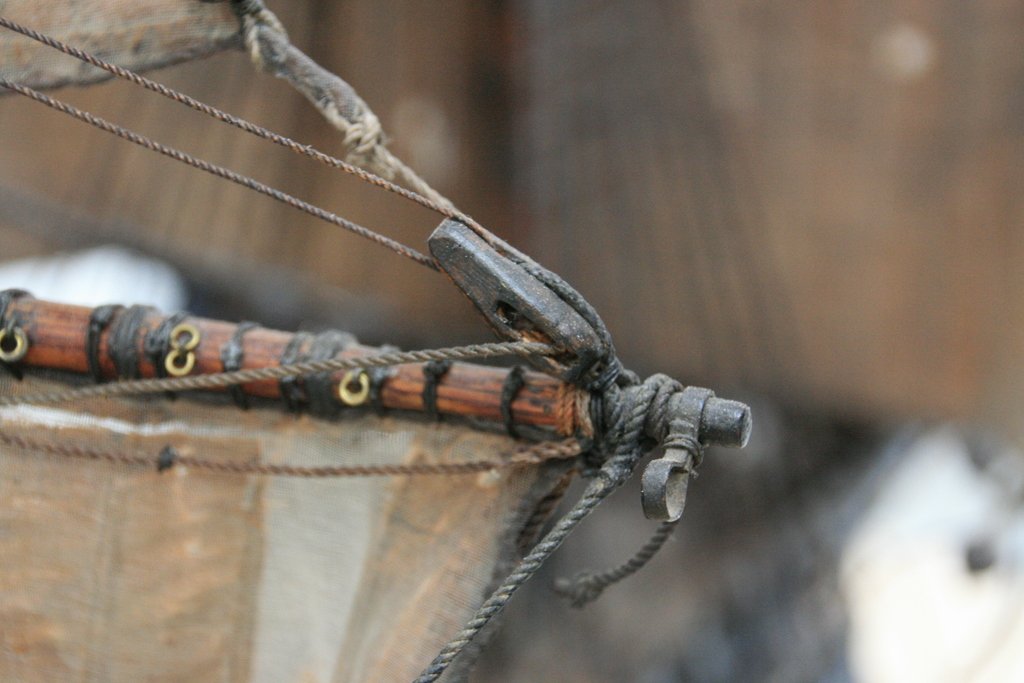
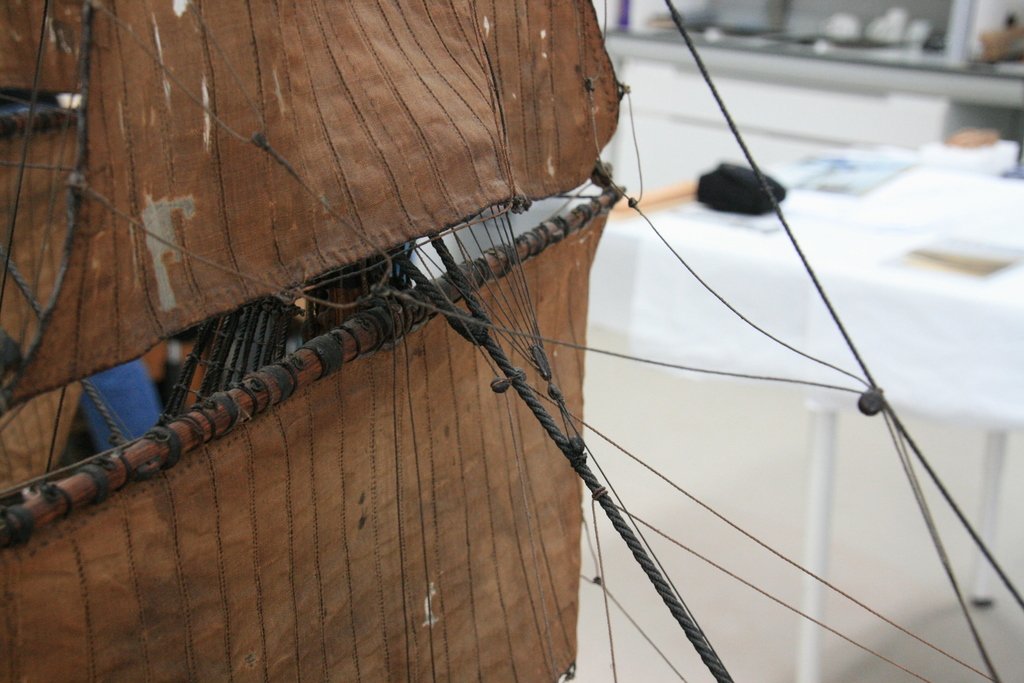
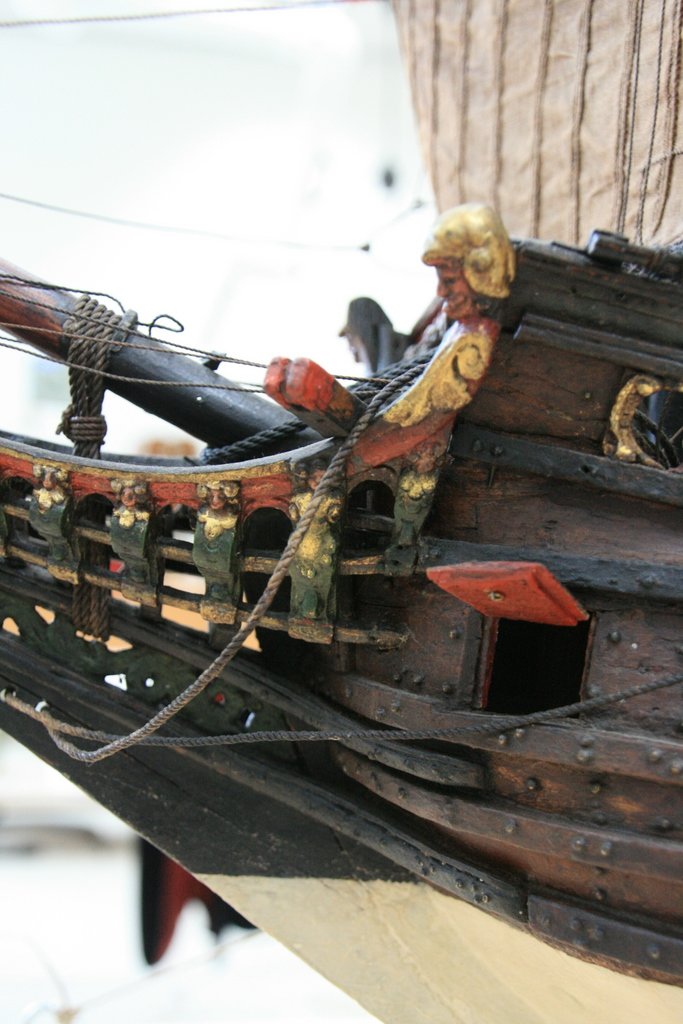
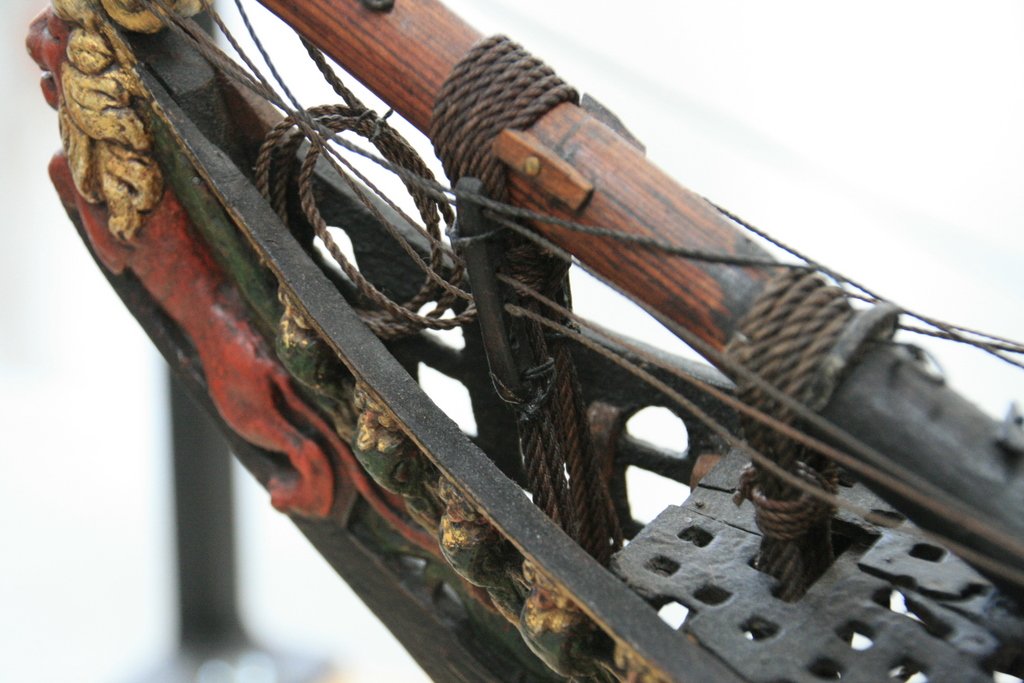
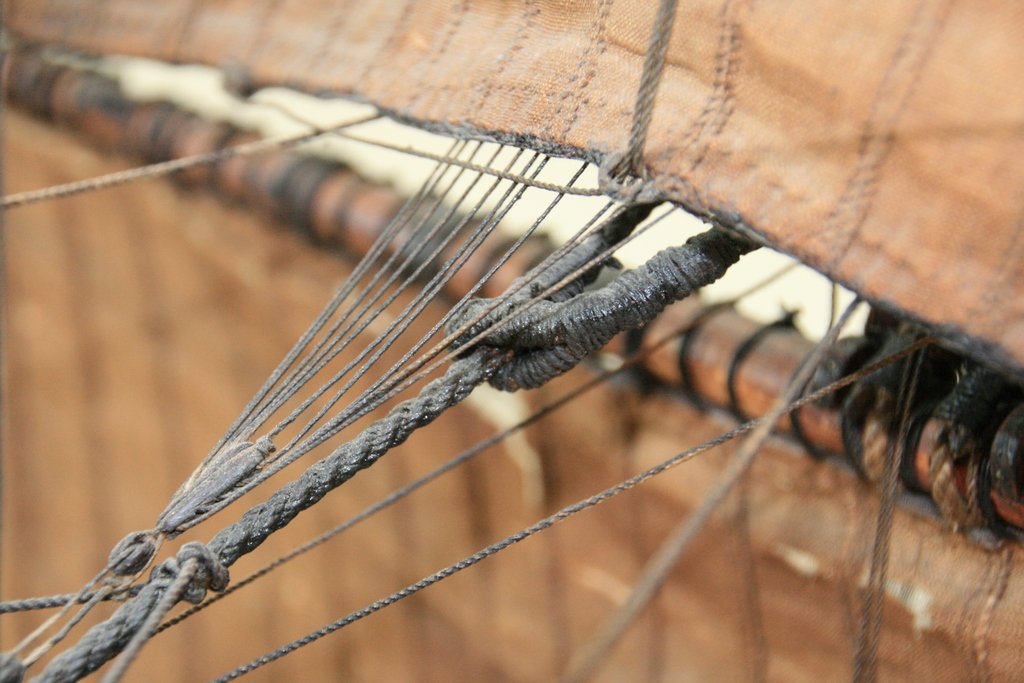
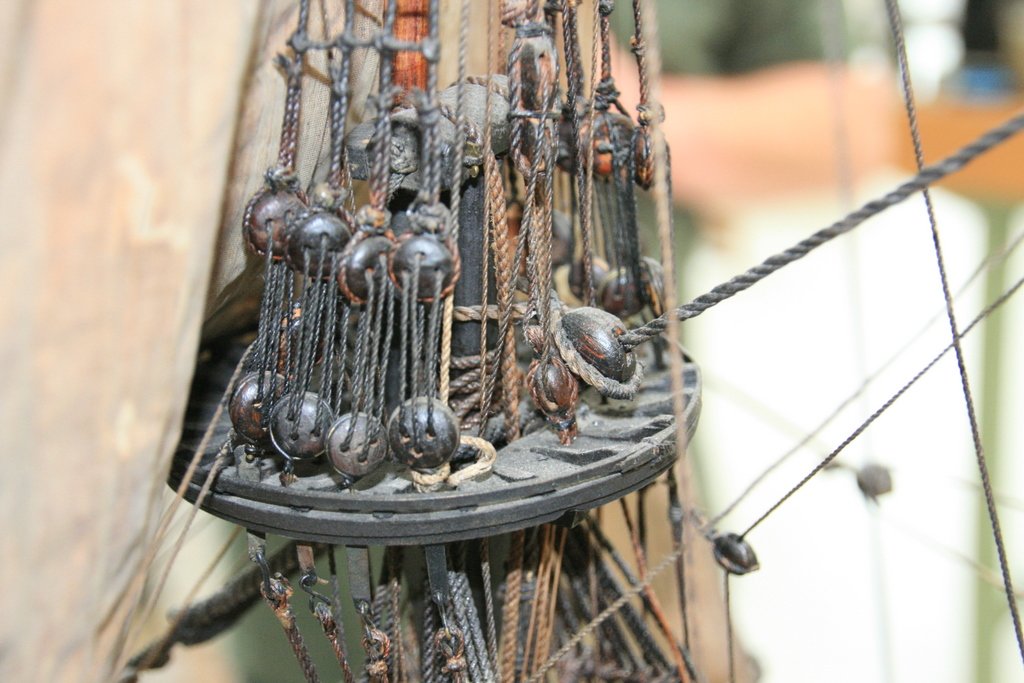
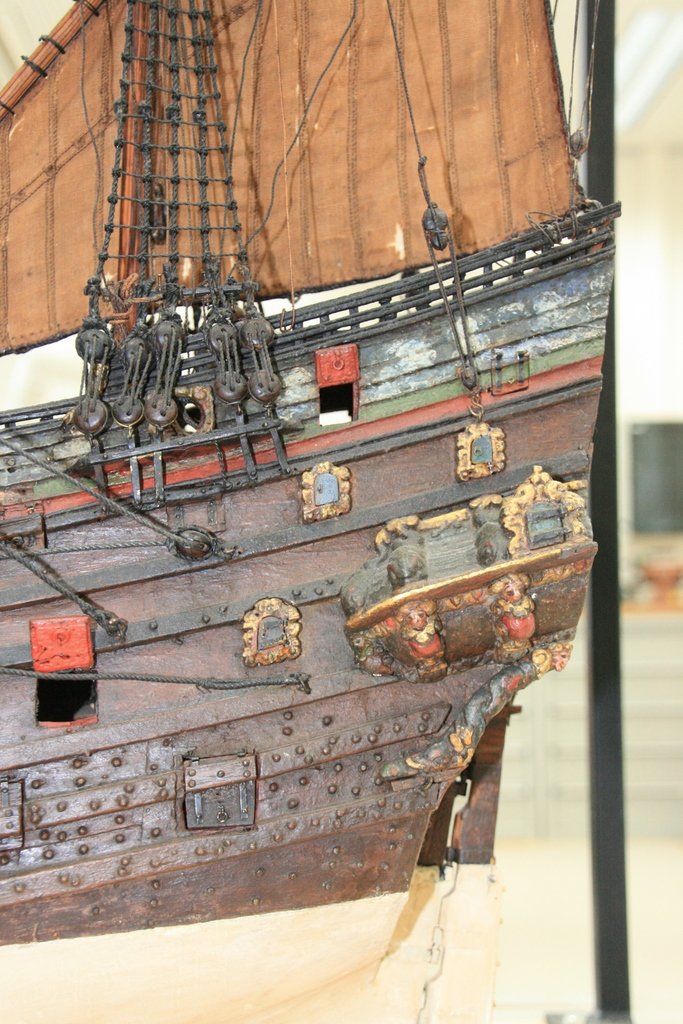
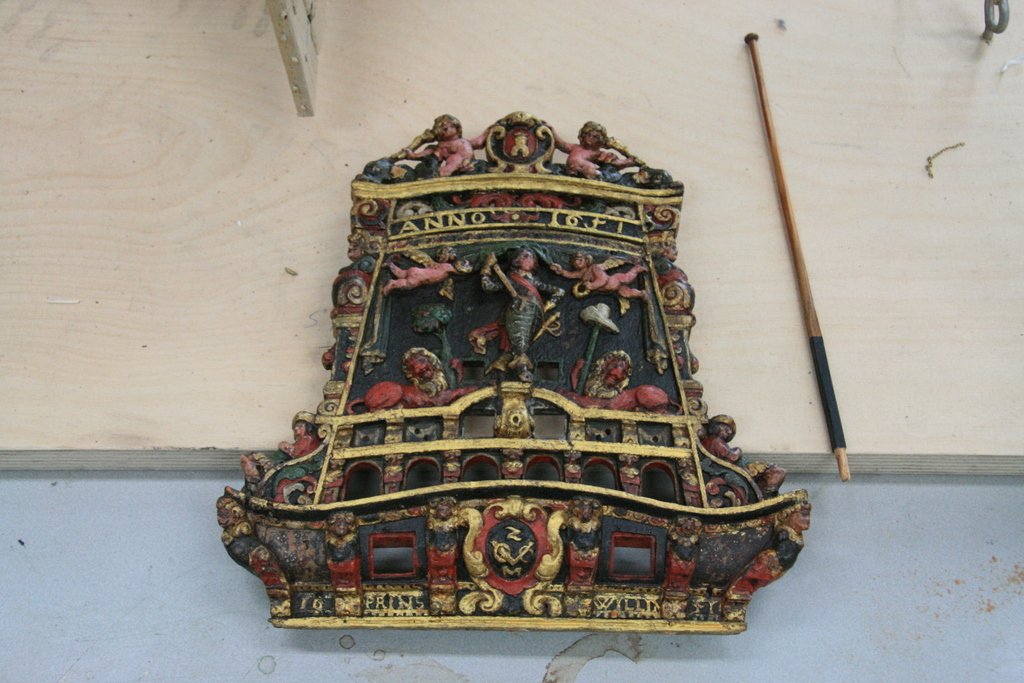
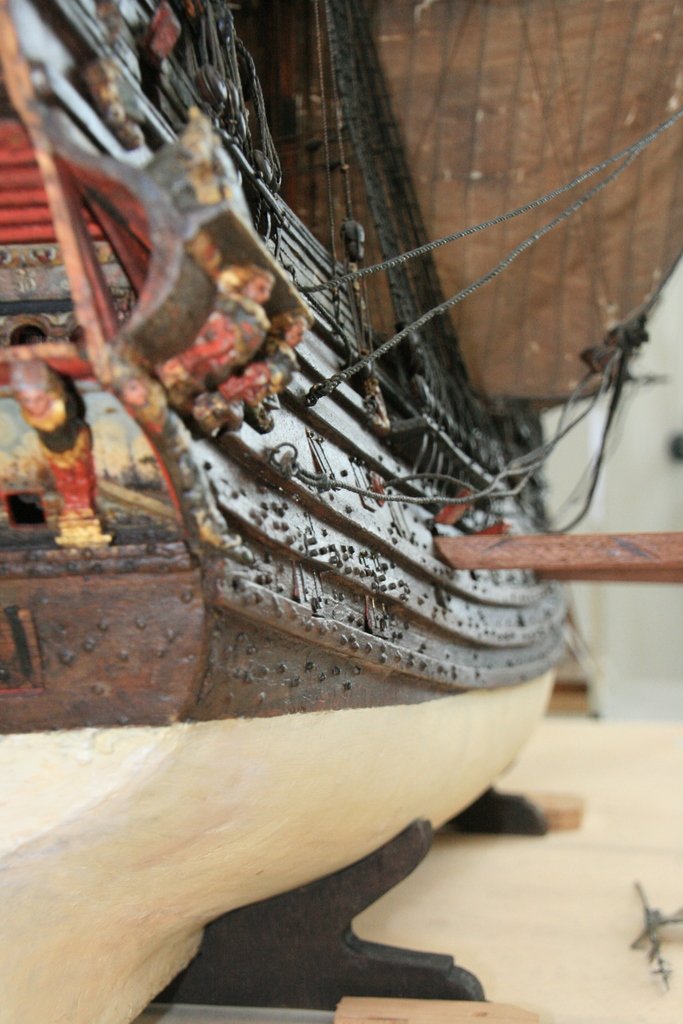
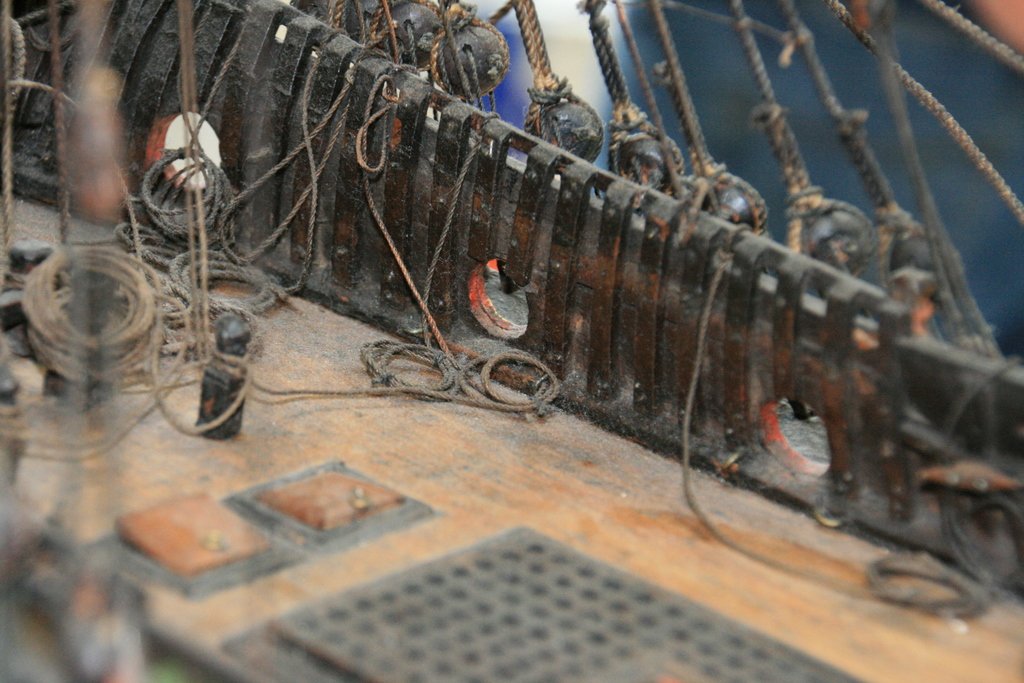
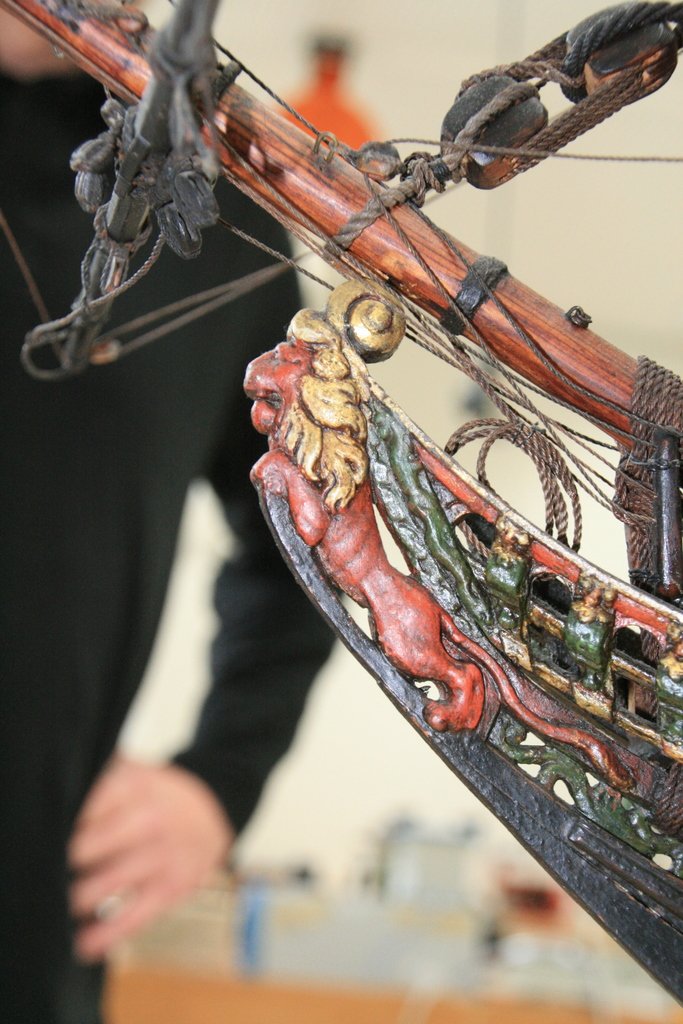
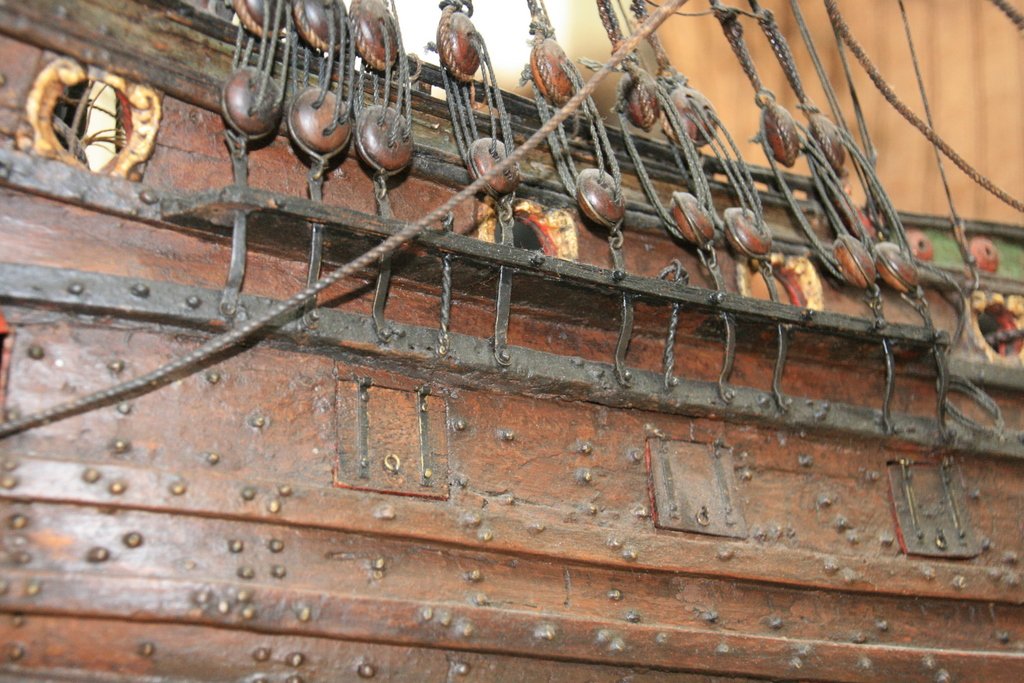
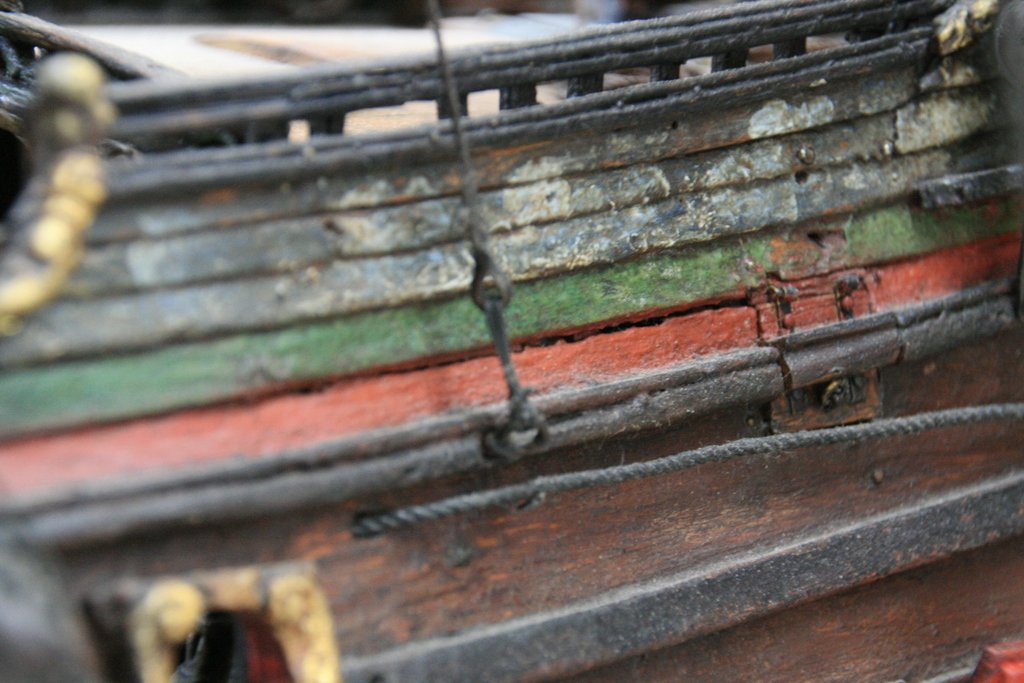
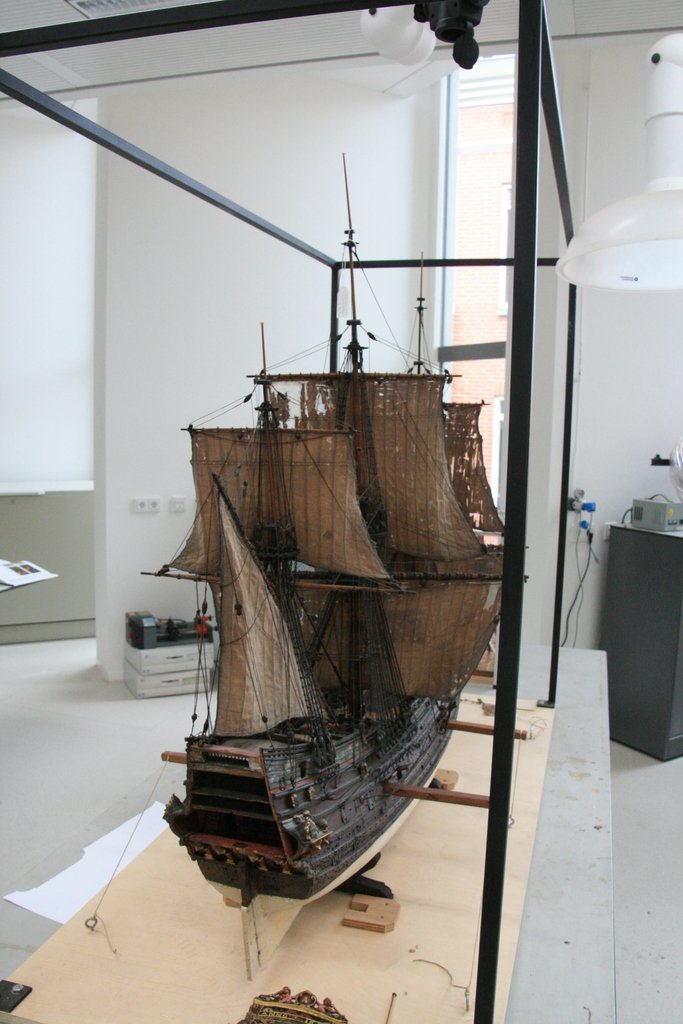
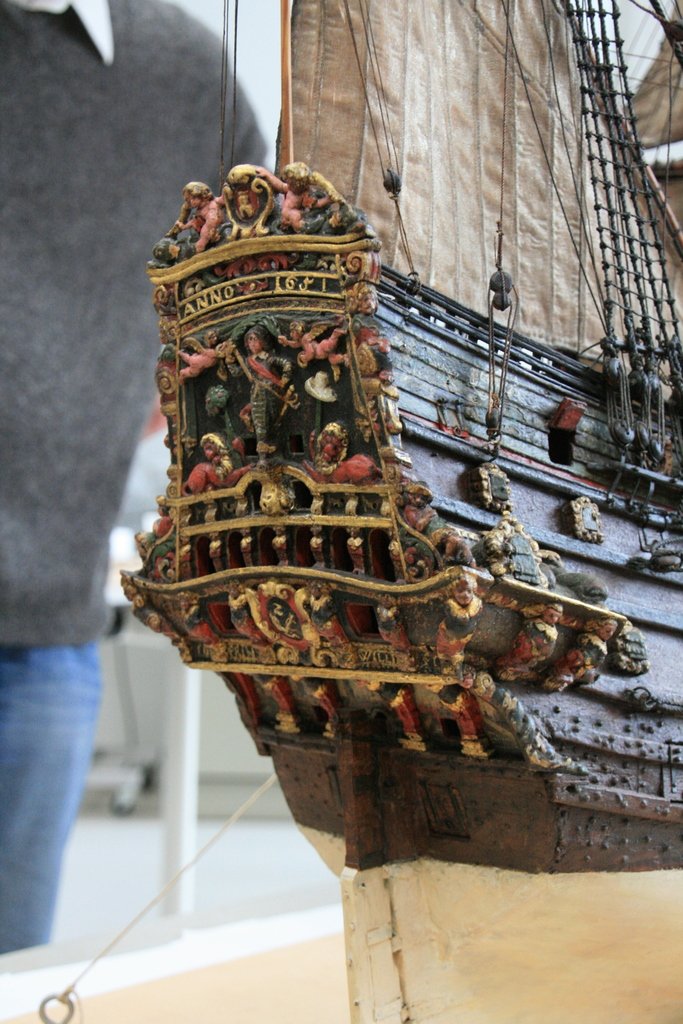
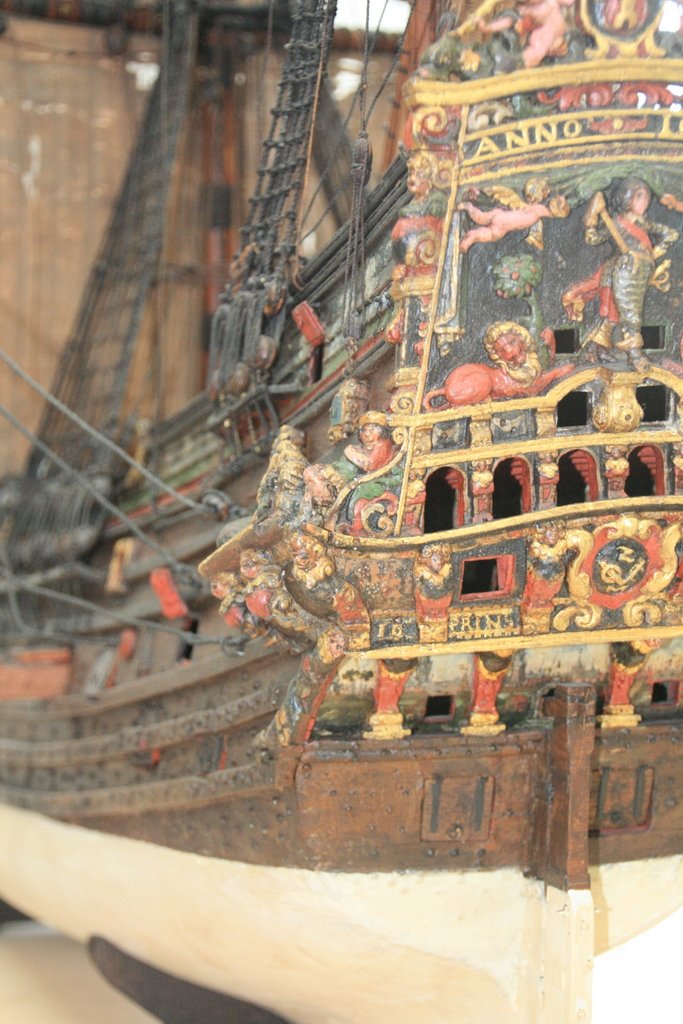
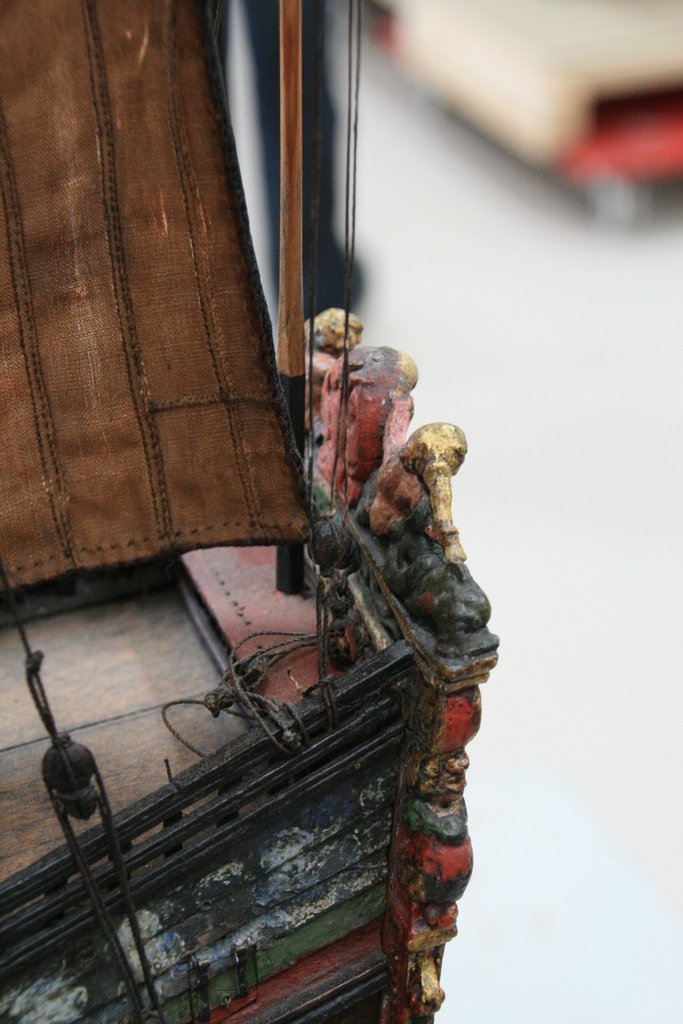
There is also a book (in Dutch, by Herman Ketting) giving quite a number of helpfull illustrations. He also gives drawings of the model, but the as Corel took some liberties, the drawings of the original model do not match the Corel drawings 100% The mdoel can be found here: https://www.rijksmuseum.nl/en/collection/NG-NM-11911 And some detail pics of the model (it was in depot when the pics were taken, hence the somewhat dusty appearance....). I was workin gon the rigging when I visited the model, so the pics mainly show riggin gdetails, and not hull details. But perhaps you can use them anyway for inspiration. ON the pics you will see one of the main differences between the original model, and the Corel version: it's the fore-deck: Corel put one in (following a suggestion of Ketting), but the model has none, and presumably, the original did not have one: quite a number of this size of Dutch ships did not have the fore-deck (although the outside apearance is that the have one). And in case you wonder why my avatar is the Prins Willem, and I have this many pics. Somewere in 2000 my wife gave me the Corel-kit as a birthday present, and I'm still not finised (not very hard at work either ) Jan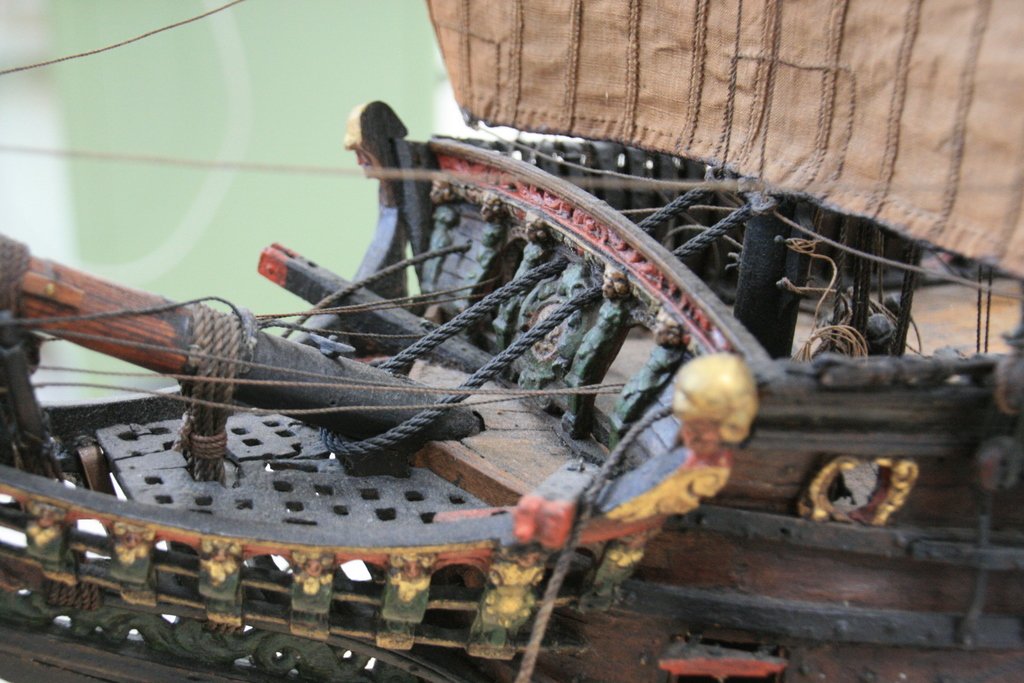


-
Thanks for correcting me. Yes, I mean those blue thingies with the black mast in between. Jan
-
Prins Willem 1650 by mhkash
amateur replied to mhkash's topic in - Build logs for subjects built 1501 - 1750
OK. In that case there is no need to tell you the errors in the kit :). Wish you with your build. Guess you know that this drawing is based on a model that is in the amsterdam Rijksmuseum? Jan -
Prins Willem 1650 by mhkash
amateur replied to mhkash's topic in - Build logs for subjects built 1501 - 1750
Do you work from drawing, or from the Corelkit? PW makes a nice model. Jan -
Coming along nicely. hope you stacks are not fitted permanently, you put them back-to-front.... I found getting the right colours a bit problematic (as did the paint shop who helped me ....) I noticed that you painted the upper decks blue. Never realized that they were not always green. (I did them green, as per the billings instructions) Jan
-
How come that the ship is rusty but the two aft gun towers looks as if they were in the factory yesterday....? And now a serious question: what was the function of thise heavy chains rigged at the bow? Jan
-
Down-sizing rope ratio compared to the proper scale
amateur replied to Sandor Laza's topic in Masting, rigging and sails
I guess I gave this link before. It is one of the models Mamoli based their kit on. https://www.rijksmuseum.nl/nl/collectie/NG-MC-673 It is a contemporaneous model, with original rigging done by the builders of the 1:1 ship. Notice the heavy main stay. Almost as thick as the yards of the square sail, and as thick as the gaff of the top gaf sail. Jan -
Down-sizing rope ratio compared to the proper scale
amateur replied to Sandor Laza's topic in Masting, rigging and sails
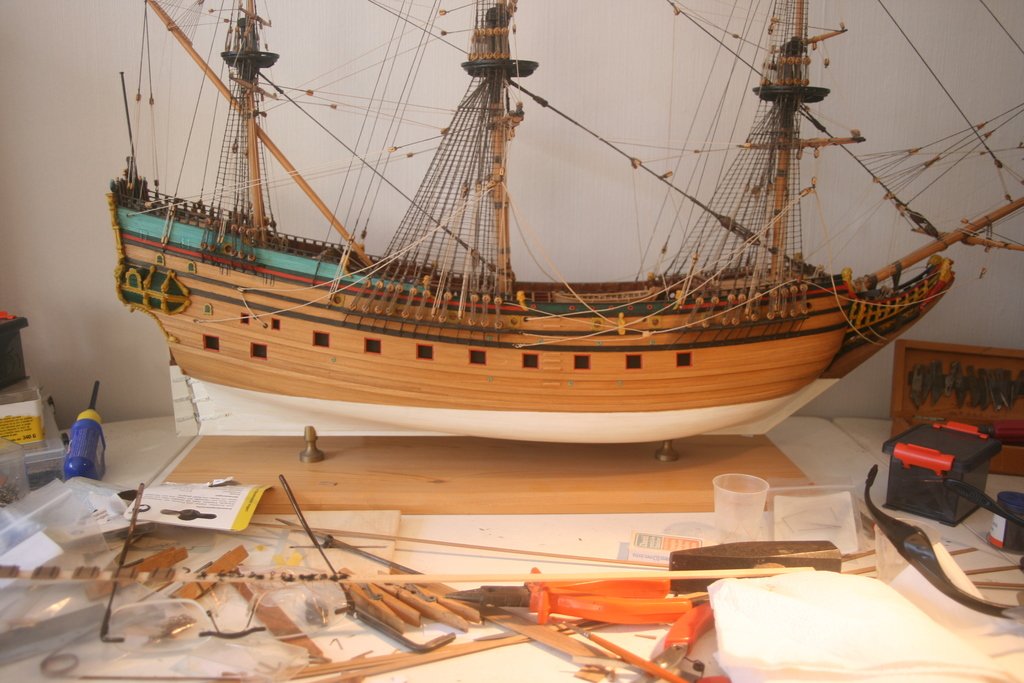
Hi Sandor, Is it the rope that is too thick, or is it your expectations that did expect something small? Bear in mind that the old-fashioned hemp-ropes needed to be way thicker than the modern materials to have the same strength. On my Prins Willem (scale somewhere around 1:80-1:100), the mast is 11 mm in diameter, the main stay around 1.8. It looked a bit heavy at first, but now the whole rigging is done, and all is more or less in proper thickness, the total picture looks right to me. The only thing: The first version of the 2 mm-rope was too coarse: you could see the strands from 'quite a distance'. The rope should be proper laid, otherwise out looks out of scale. [edit]. My post crossed with the previous. One additional remark: the Dutch contemporaneous models tend to be 'oversized' when it comes to rope-thickness: from that point of viewchoose 5% oversize, and not 16% undersized thickness. The other reason to choose the oversized stay: all ropes have a more or less fixed ratio to the stay. Choosing undersized stay, will make using the proper ratios fro the remainder of the rigging more difficult (less sizes available between .1 and 1,5 mm than between .1 and 2.0 mm.) In the end the variation in thickness of the ropes used is what counts for the overall impression. Jan -
JSC has multiple ways of building the hull. This one I didn't know. Warning: tolerances are quite low, especially when starting the hull. Make sure you work as precise as possible. Question: do you have a scanner/printer? If so, it may be worthwhile to scan the kit, and use the scan to provide spare parts, or test-parts for the difficult parts. Jan
-
Matthias from Berlin, Germany says Hello
amateur replied to victory78's topic in New member Introductions
Hallo Matthias, Welcome at MSW! and for all interested in the buildlog of this noce model: it is here (in German) https://www.segelschiffsmodellbau.com/t2889f685-Zeesboot-um-ca-Massstab.html Jan -
Porsche 934 by kpnuts - FINISHED - Tamiya - 1/12 - PLASTIC
amateur replied to kpnuts's topic in Non-ship/categorised builds
I like them as they are now: put aside, but not too neatly. Jan -
Hi Maury, did you hit the “ignore”-button on your own log? Your last post dates from thursday, and was right on top of the list. (at least, when I looked at it) [edit] just checked. You can’t ignore your own topics. you can change the sorting of the list of postings. Perhaps you changed to something else than ‘recent first’ Jan
-
A Larger Model Cannon
amateur replied to normanh's topic in Painting, finishing and weathering products and techniques
Can't see it based on the pics, but it could also be a brass signal gun. And it looks as if the carriage was brown from its beginning. Jan -
I see, I already thought so: hz sounds like huizen, but it is a non-existent code. For all non-dutch: Dutch law presribed an indication on the mainsail which made the ship reconizable: the lettering refers to the home-port, the number is just a count: the order of registration. First ship registerd got a 1, second 2 etc. Jan
-
Looks great! in the first pics only the fact that the lid on the 'bun' are missing (and show a non-rendered grey insidegave themodel away. in your last pic,I guess most skippers wouldhave reduced sailjust to main and fore-sail, and would have stricken bezaan and kluiver when the wind startd to grow steonger (especially because the fishing gear is still out) Is Hu37 a fictitious ship? (Couldn't make out the village that uses hu as indication) Jan
-
There are even places where you can rent them for a day out. Near higway A12: duckcity.nl. Rent a Duck for a party, day out, etc. Seems to be a nice business.... I don't have positive memories with those ugly ducklings: leaking, not wind and water proof. Jan
-
It is not isolated, the last pic in my log also rotated. but as it is long ago that I uploaded it, I don't know when it rotated. It only happened to the pics that I made using my Iphone, manually rotated, and uploaded. When uploaded it had the orientation I gave to it, now it is back to its original orientation. No need to correct it, but just to letyou know that something changed (somewhere, sometime). Jan

