


amateur
-
Posts
3,535 -
Joined
-
Last visited
Content Type
Profiles
Forums
Gallery
Events
Everything posted by amateur
-
Good heavens, I thought Corels rigging diagrams of mybuild were a kind of jigsaw-puzzle, but this one is equally, if not more, difficult. But I guess that it is what youthink it is: numbers in circles refer to the parts-list, squares to the belaying points. I would have expected also a number of squares referring to the pin-racks after the masts, as some of the ropes are usually taken along the mast to a belaying point near the mast (especialy the tackles that hold the spars and yards) Jan
-
Hi Dave, as you say: belaying pins are for the running gear, but part of the standing rigging is also set up with tackles, of which therunning end is going somewhere. Sometimes to the rope it tensions (likethe lanyards that are fixedto the shroulds), sometimes to a clamp orknight next to the tackle. Bear in mind that some kits are rather short on belaying points (rope and belaying pins being usually massively oversized), resulting in the nedd for creative solutions. Also not all kits are historically correct with respect to rigging, also resulting in creative solutions on behalf of the kitmakers. If you want specific feedback: give us the drawing to chew on Jan
-
Getting a bit off-topic gentleman? Jan
-
I checked Marquardt, and he does not name the rigs of ships from regions other than the northern European regions. He labels the shiptypes, not the rigs. I don't know how it is in Turkey, but in the Netherlands, you can sort of classify the shiptypes, but there are many 'in betweens', as ships were always build by a specific builder for a specific buyer. Ie: it was not type x that was agreed upon but a ship 'like the one you build for my neighbor, but I would liketo have it slightly different'. I do very much like the (for a Dutchman) rather excentric rigs, and sometimes completely different ways of sailhandling that you see in the mediterranean ships. Jan
-
No-one had the ability, but as you read the political discussions on the naval program that were held here in the 20-ties, you come across rather naive views with respect to the number of ships needed, and the armament they should have in order to scare away anyone. In the twenties, the Dutch navy showed that a core fleet of at least six cruisers was needed to be able to do their duties both in the North see and the Indies, politcs decided that three would also do. There were even parties that voted in favour of dismantling the navy (like in: we have seen the horrors of the great war, let us stop fighting and dismantle navy and army). The planned battleship was discarded, the program of threenew. Ruisers was alterded into: overhaul of java and sumatra, building of De Ruyter. Navy showed that being able to at least give some damage to other ships, long range, 18 inch guns were the thing to buy, politics decided that the smaller guns would equally do (and those were quitea lot cheaper). My point not being that the Dutch/alliedforces could have been defeated, or that the sailors were nohero's. Far from that. My point being that those responsible made decisions that were questionable, not only in hindsight, but even at the time they were made, resulting in a navy (and army) that was seriously underequipped. Jan
-
The problem is that the naming conventions I know, is not realy compatible with these mediterranean ships.... I don't think 1 is qualifying as a schooner, as both sails between the masts are stay-sails, and a two-masted schooned has gaff-sails on both masts. I have a book by Marquardt, he also covers these type of ships. Will have a look tomorrow. Jan
-
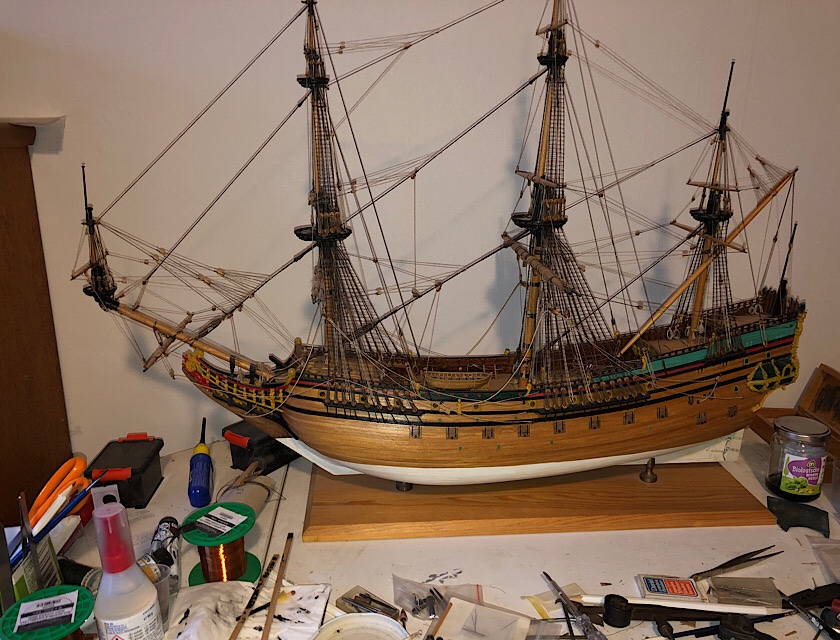
Believe it or not, but today, exactly (almost :)) 20 years to the day I started, the hull is finally closed. All gunport lids have been installed. now there remains the lanterns, four anchors and their cables, and two anchor buoys. Souns as a minor job, but at my present pace, who knows Jan
- 139 replies
-
- 8
-

-

-
- corel
- prins willem
- (and 1 more)
-
Yes, thanks, I know that one. Not a poster, but a very regular visitor. I am posting my cardboard also on a German forum. Jan
-
I guess you read the stories Piet wrote in his log on the Java. Those guys did what thay could. It’s a pity that the government here in the Netherlands seriously thought that DeRuyter /Tromp were capable of what they were sent out to do: scare away the Japanese. For that purpose they were too little and to lightly armed. Bravery compensated part of that, but not all. Jan
-
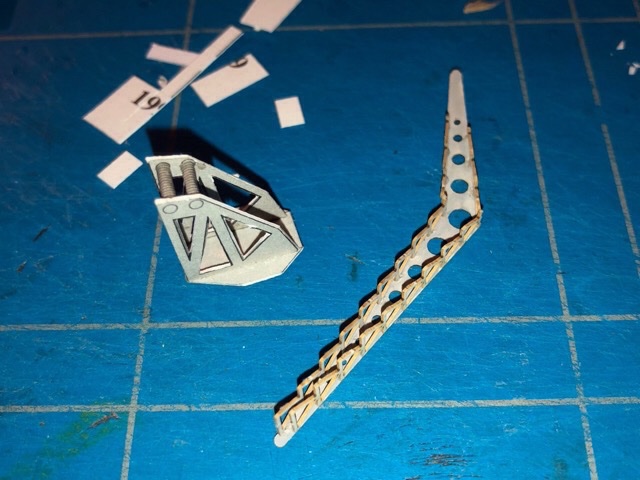
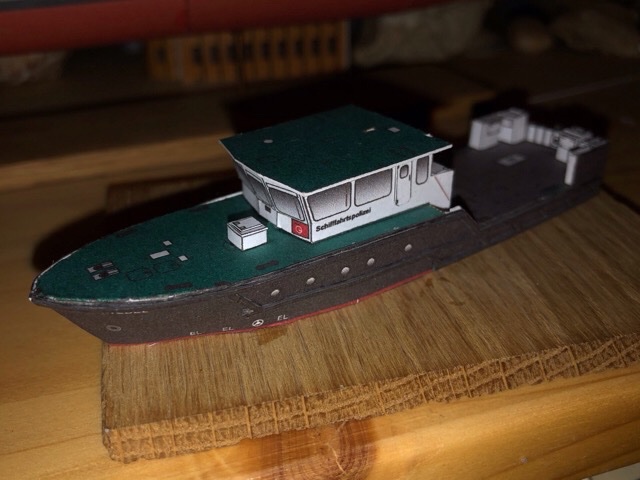
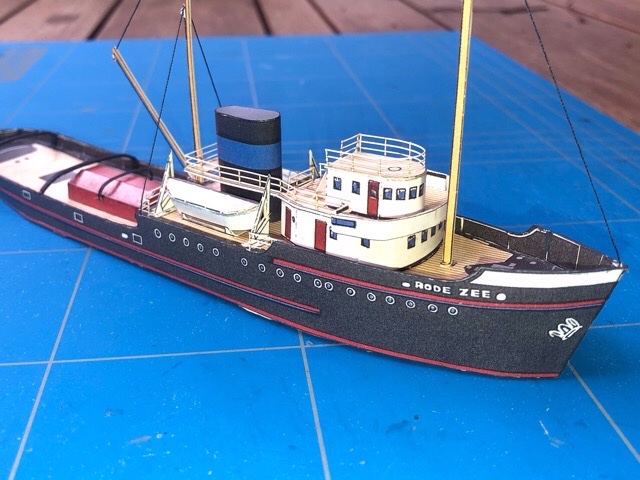
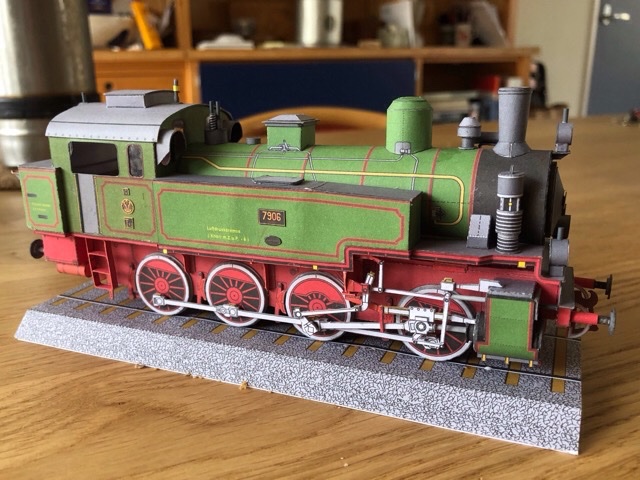
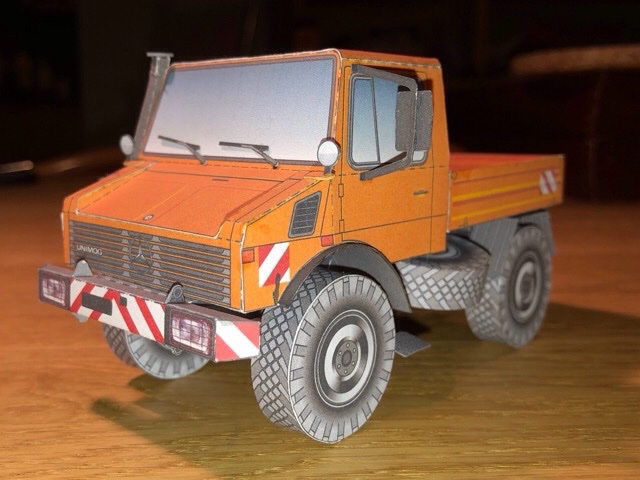
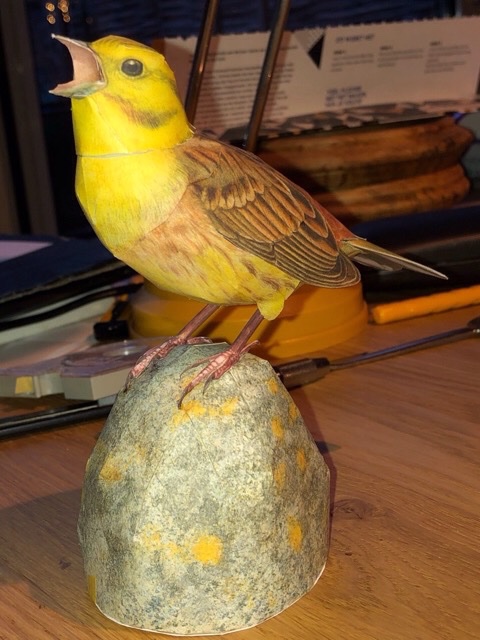
And seven months already since the last update. I am spreading over too many projects (and work ) Today I worked on the cranes: encountered a small problem: the card used in the laser-detail set becomes a bit soft when used with waterbased glue.... Most boats in their cradles now: and a very late reply to Lou: that is not completely true: De Ruyter was not only flagship bei g the newest ship present, but she was (by far) the heaviest armed ship the Dutch navy had available at that period. And yes, I have done quite a number of side projects over the last months, so I am still busy cardbuilding (but not all ship) (Wedel, papershipwright, work in progress) Steam-loco (Alfred Pirling) Rode zee (veritas) patrol-boat (Scaldis) Unimog-truck (download at Fentens card models) and a singing bird (johan Scherft, paid download) Been rather productive over the last months Jan


-
Depends a bit on what you want to build..... mastini, shipmodelling simplifeid is a nice starter. Mainly based on 'how to', not as reference of 'how it was done in the original' mondfeld, historic shipmodelling (not really a 'how to' and not without flaws, but nice as reference) Underhill is nice as intermediate, but a bit outdated on the materials and tools. You may also need (depending on you preference for 'historically correct') books on the actual ship you are building. Jan
-
Tom Lauria shows nice stuff (small boats, large scale) https://m.youtube.com/channel/UC7JA3n2QuMoR2b68BzfxSoA/videos And apart from a bunch of family video's that are not so interesting, this guy has some nice tutorials: https://m.youtube.com/channel/UC1Cio5JqAxvQ92-vlyJgsJQ/videos Not on rigging, but 'wood only': https://m.youtube.com/channel/UCPfLMf2BV5PsI9m72Kqd8IQ/videos And once you have seen all these, youtube will understand what you are looking for Jan
-
Depending on the period of your ship: there is on MSW a quite extensive buildlog (not blog) on hms Vulture by Danny Vadas, showing quite detailed how he did the rigging, and there is Young America by Ed Tosti, giving a detailed desciption of a clipper-rigging. There are also a number of youtubes available showing 'how to's' not of a complete rigging but of details: how to attach a block to yard, howto strop blocks, etc. Will look for the link. Jan
-
Your quality in plastic matches your woodbuilding qualities. Motorbikes are not really my cup of tea, but this one is a joy to look at! (And just for reference: is your cutting mat devided in inche sized squares, or in 5cm squares?) Jan
-
Beautifull ship, and a very neatjob so far on the model! Jan
- 32 replies
-
- 4
-
-
- Queen Elizabeth 2
- Airfix
- (and 2 more)
-
That's also a nice set-up. Much better than an iceberg Jan
-
No, iceberg-dio's are not my thing. a conversion to olympic or brittanic would be my choice. And in case you would like a diorama, you could consider one of the two in a harbour scene, (in wartime dazzle-livery, when you want a nice paintjob, or their hospitalship-livery, when you want something less daunting ) Jan
-
Good to read that you did not forget us. Hope you will get back on track soon. Jan
- 1,215 replies
-
- 4
-
-
- sloop
- kingfisher
- (and 1 more)
-
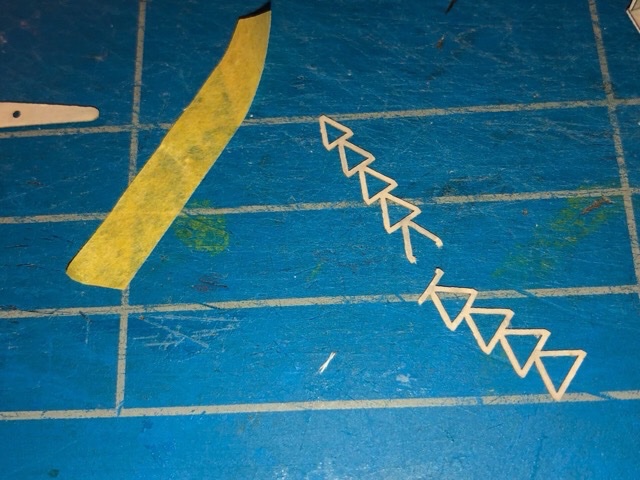
You can also check a few logs that show the rigging process very extensively. hms vulture of dan y vadas of young america of Ed Tosti show quite a lot of how to's when it comes to rigging. From own experience: the paperclipmethod does only work when the shroulds do not have very different angles. In my build I discovered that the angle of the aft shrould was so much different from the foremkstone, that using a fixed distance between the deadeyes had as result that the upper row was nor parallel to the lower row. The trickwith the pins and the cardboard did better for me. Or use a piece of wood, as shown in a parallel thread on the same subject: Jan
-
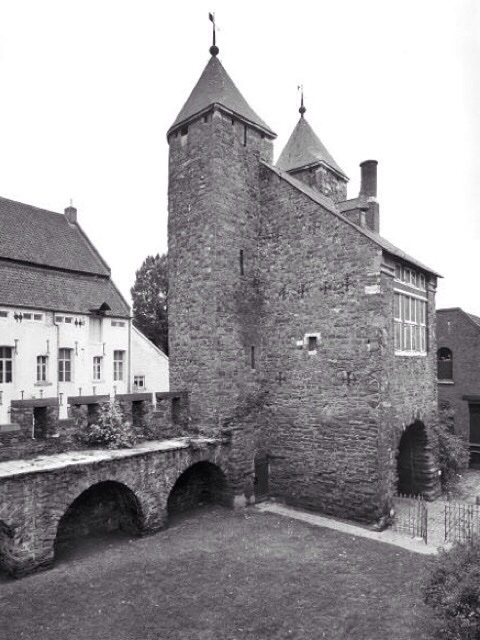
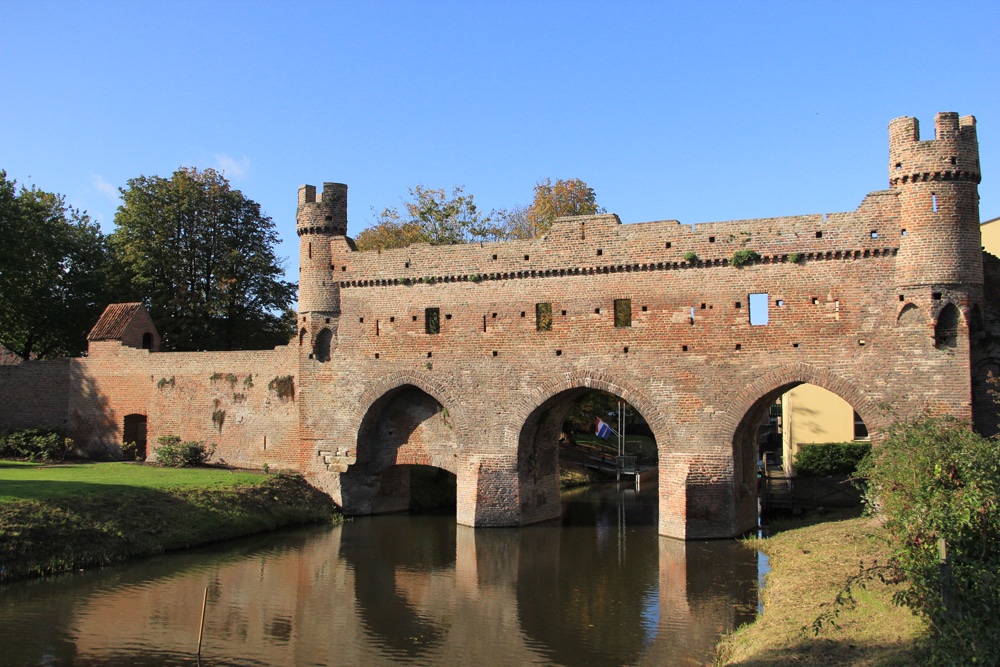
And with respect to arches inthe inside of the wall. Not uncommon in medieval walls: Jan PS this is the inside of oneof the gates you showed before: the Helpoort in Maastricht, Netherlands, dating back to around 1250, although in its current form mainly resulting from a rather romantic view on the middle ages in 1880...
-
Reading of your new layout, for one moment I thought you were making an attempt to do this: typical mainland Europe solutionto have a river (and harbour) inside your city, and unwanted guests outside. Jan
-
I needed a cable, and cables are made from three separate ropes. Normale ropes should be made from single yarns.. The thickness needed can be computed, but has a large trial and error in them. Amati rope has some stretch, but it required no real stretching. What I did not like in the amati rope, was that especially the smaller sizes were not so clearly defined: you can't see the separate strings that makes up the rope. Jan
