

Remcohe
-
Posts
607 -
Joined
-
Last visited
Content Type
Profiles
Forums
Gallery
Events
Posts posted by Remcohe
-
-
Hi,
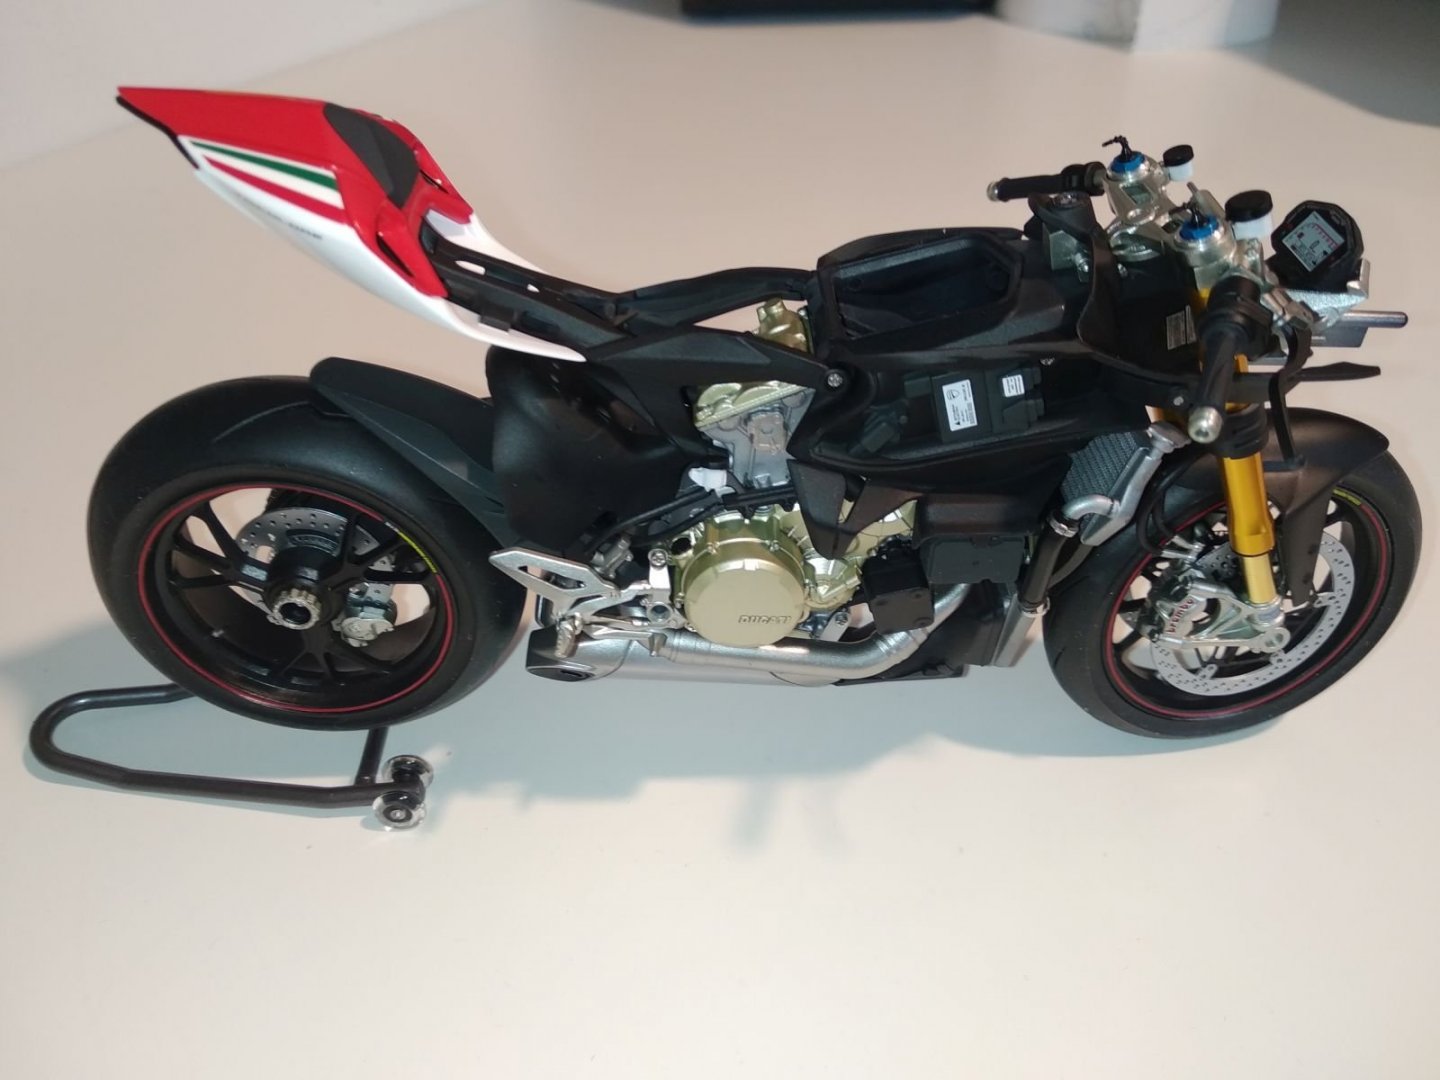
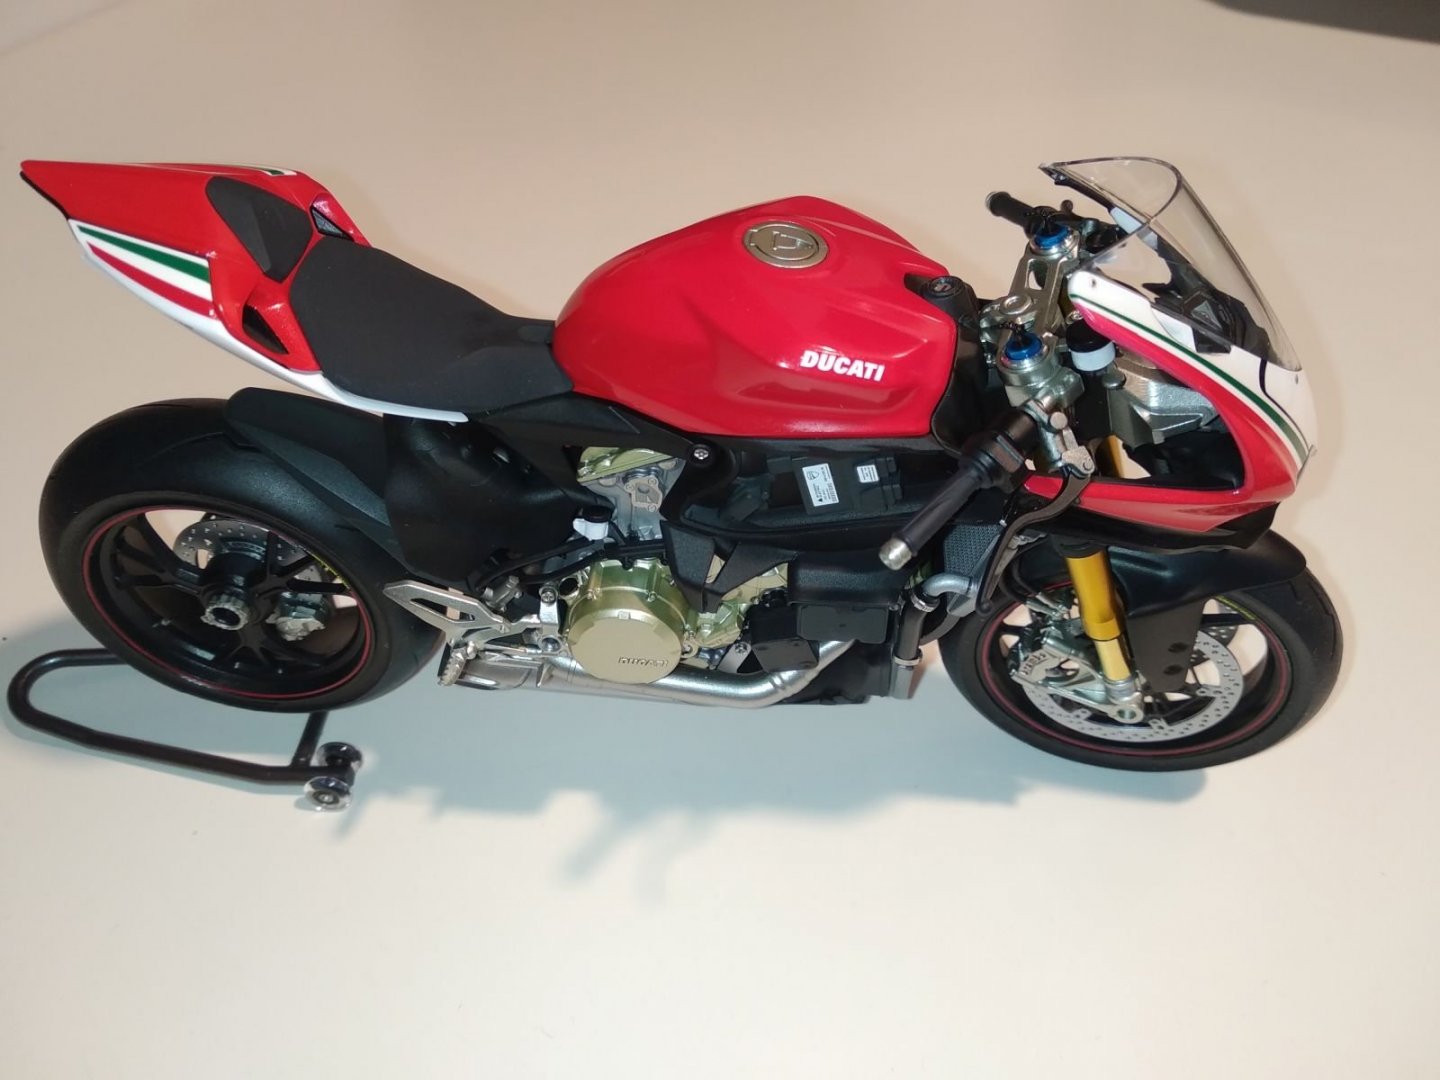
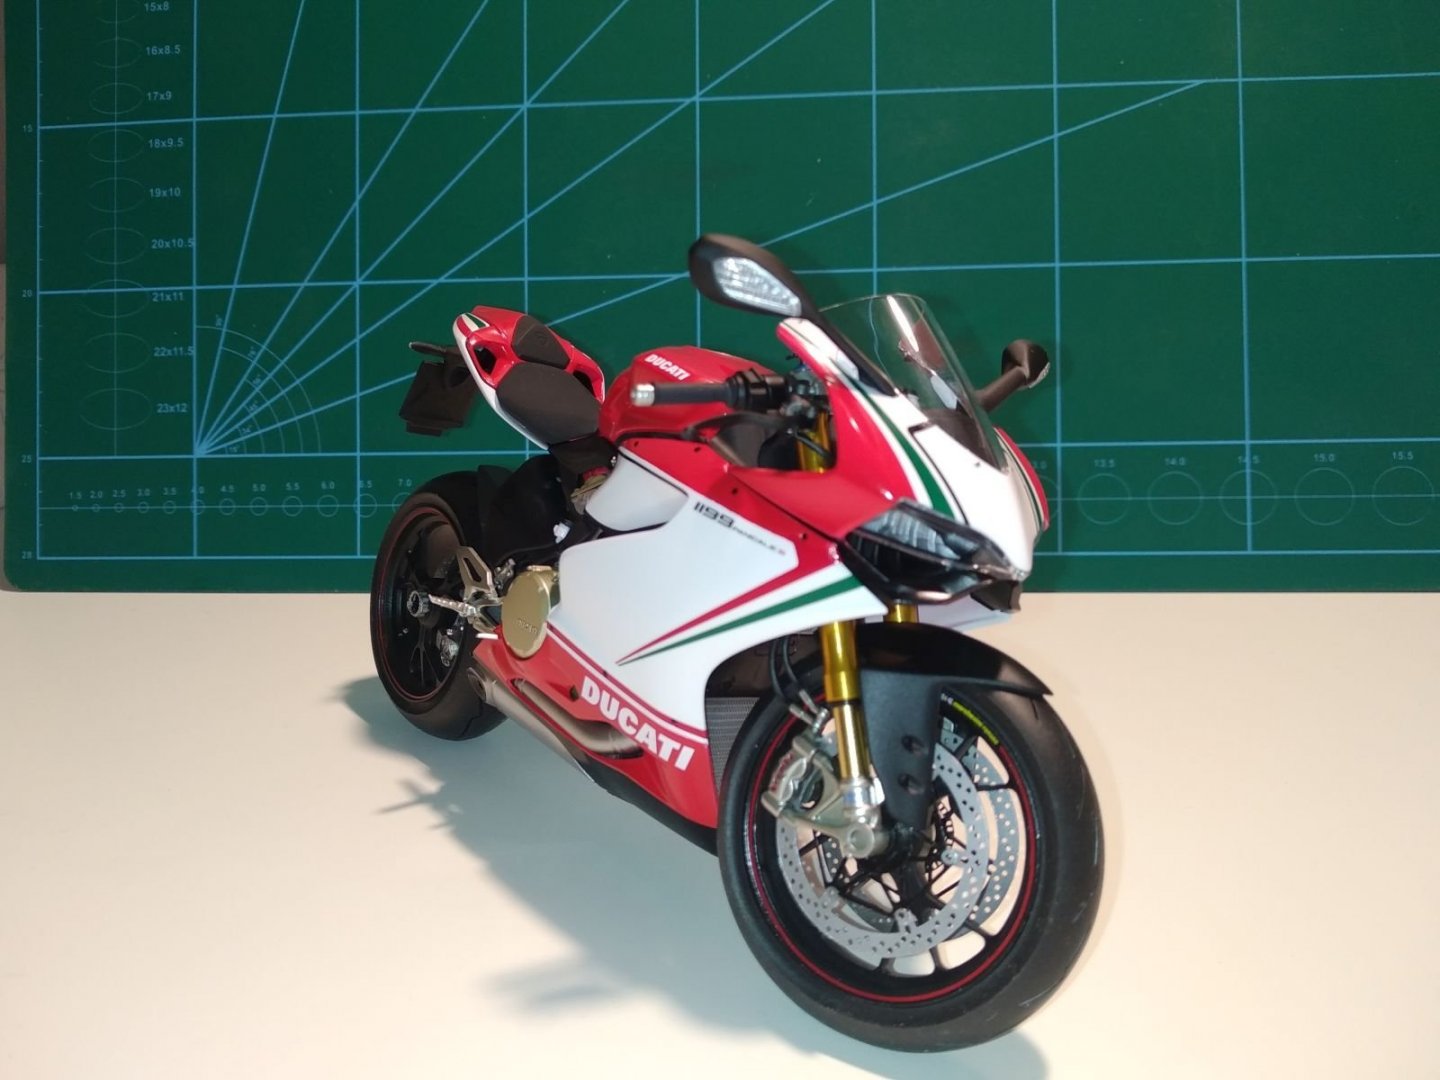
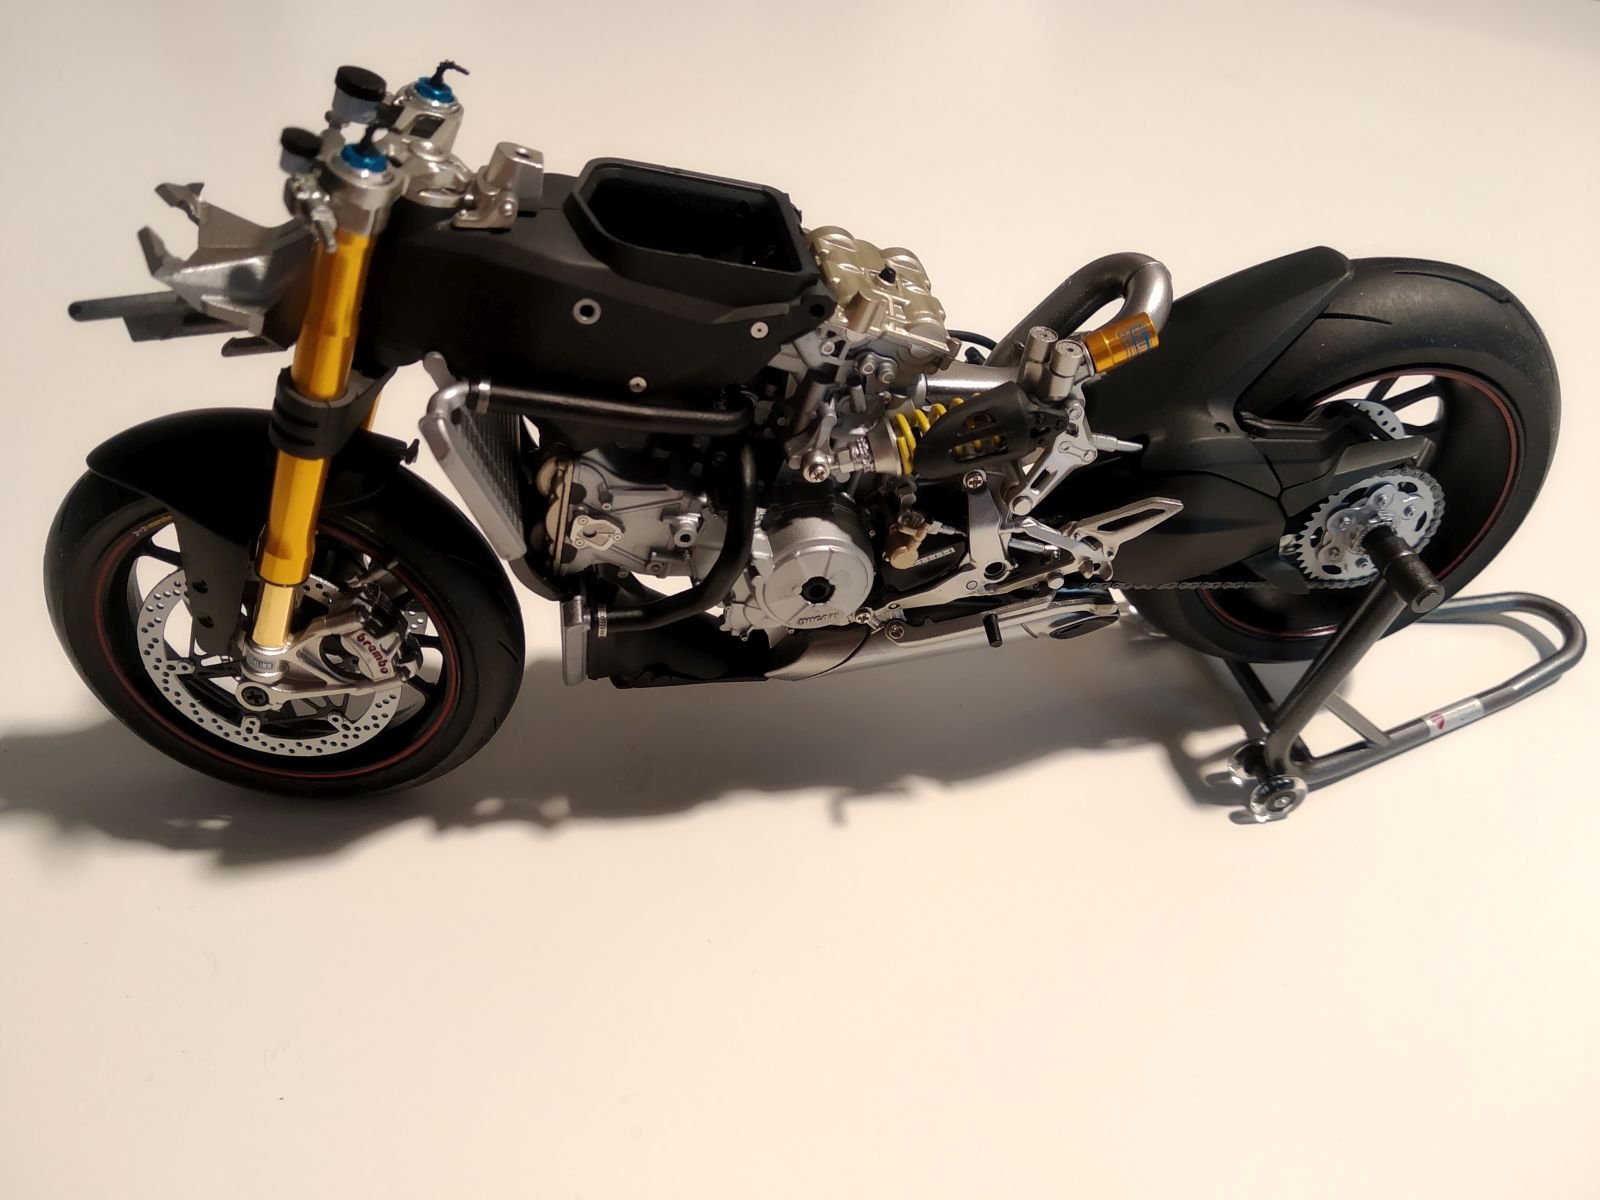
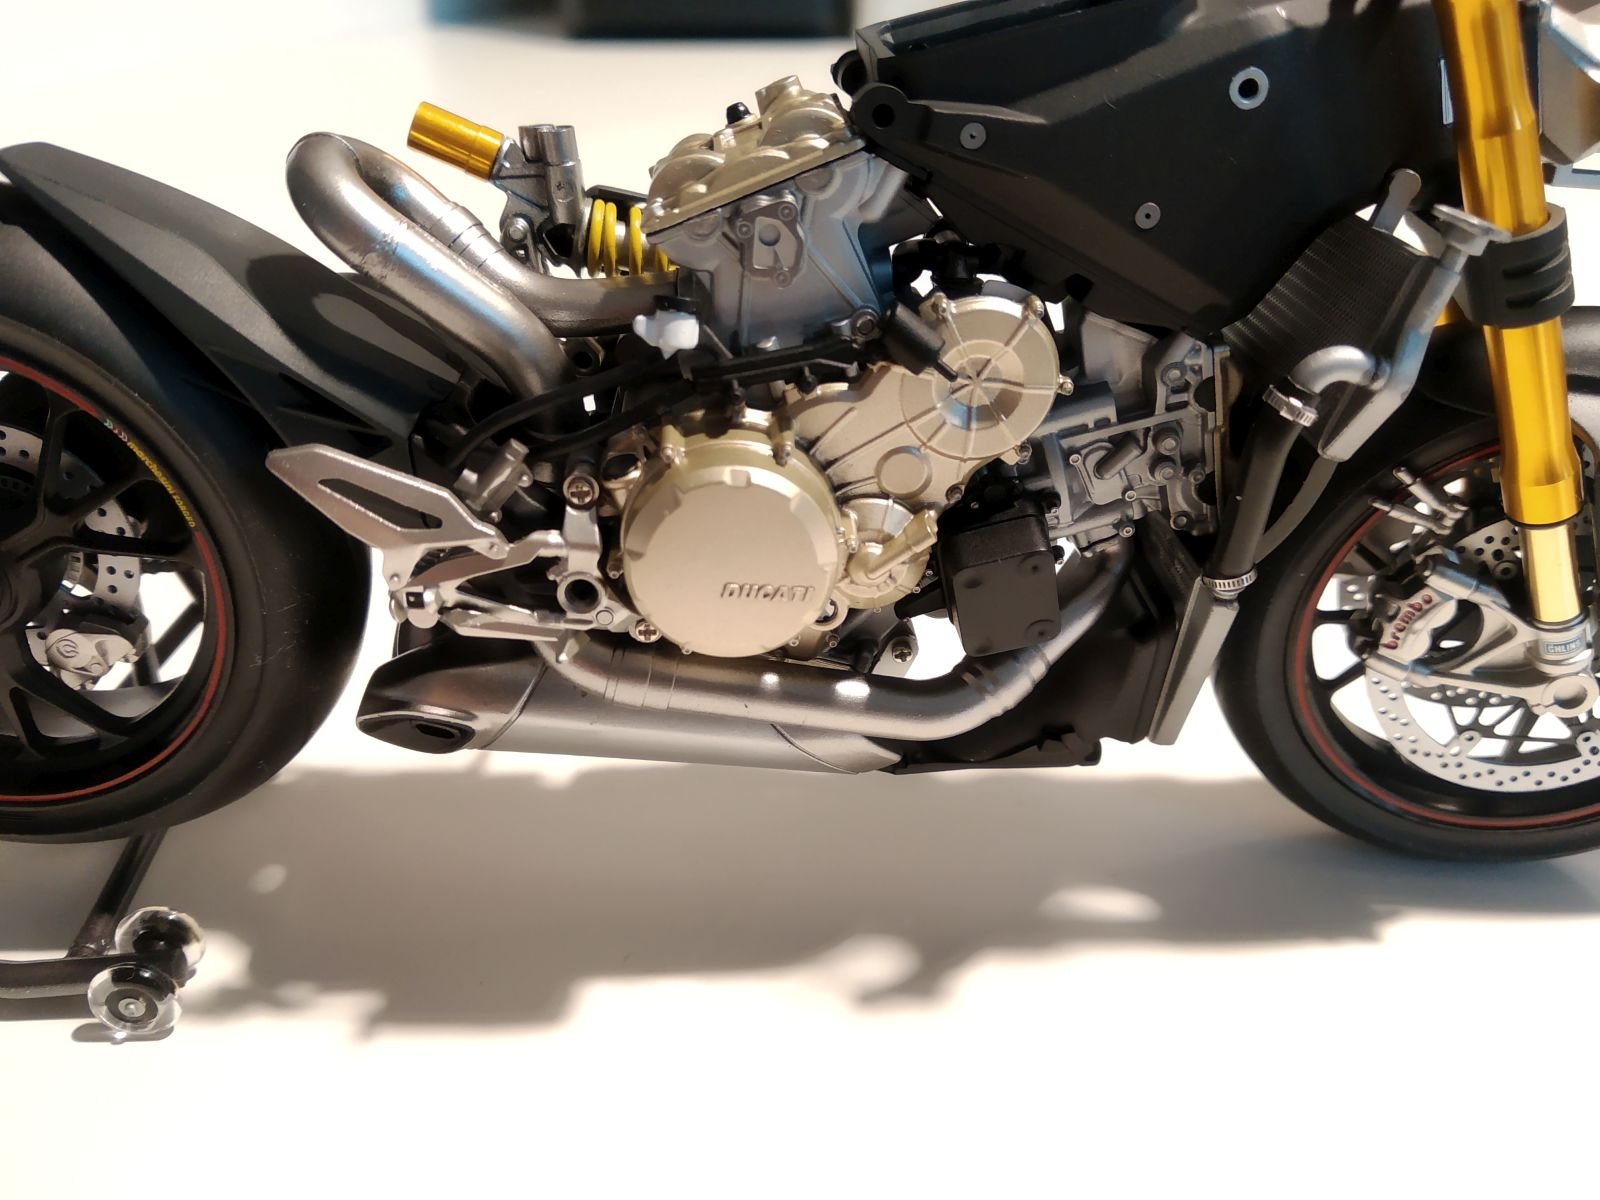
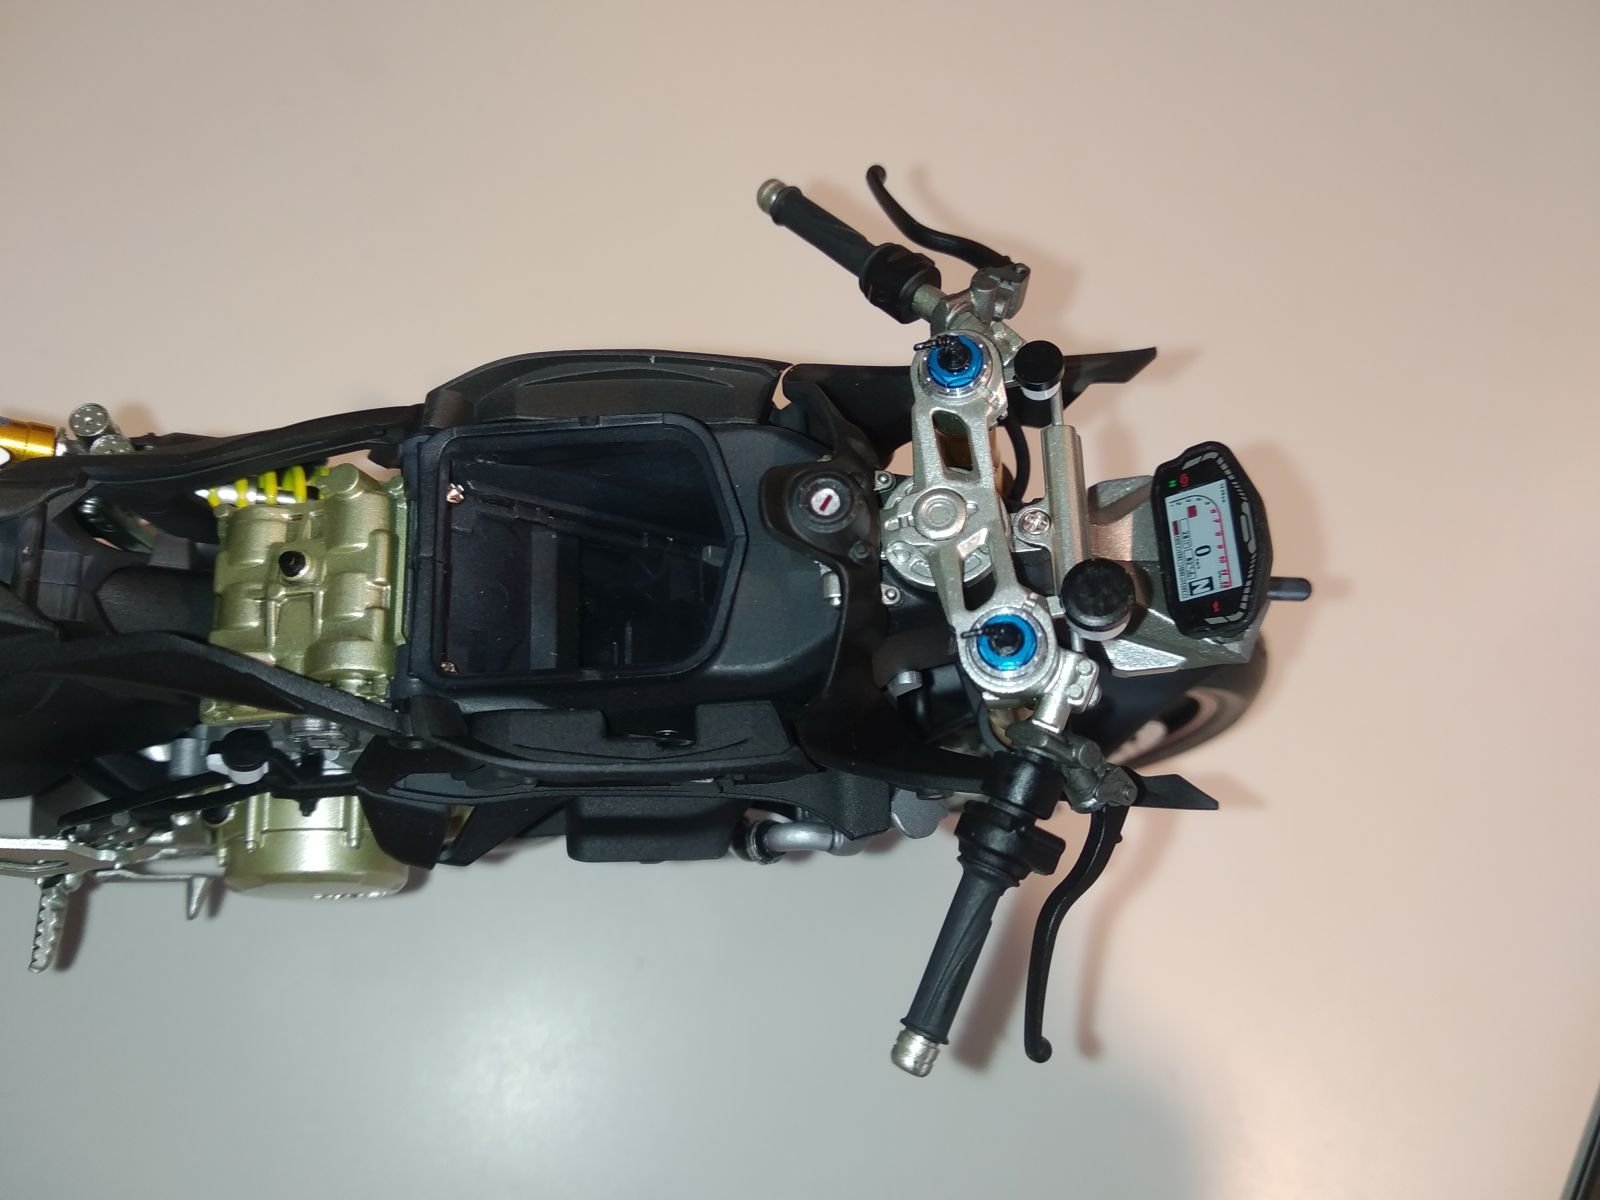
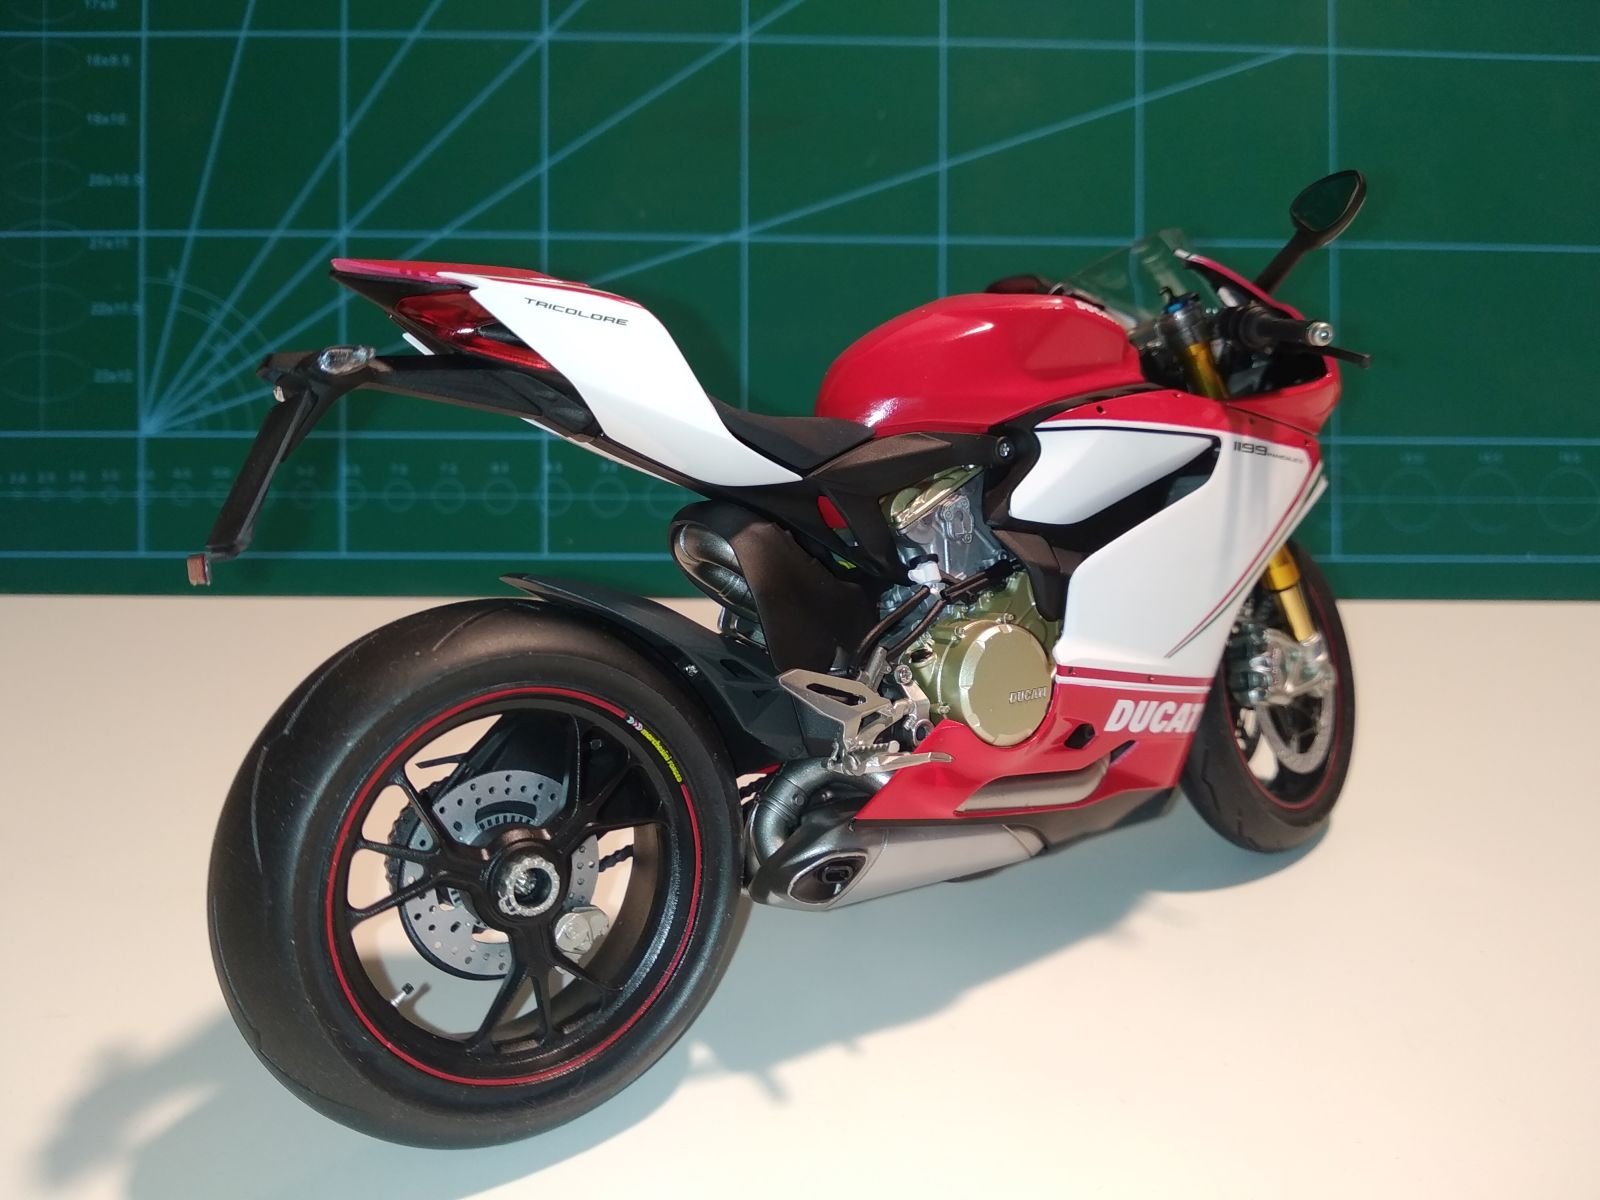
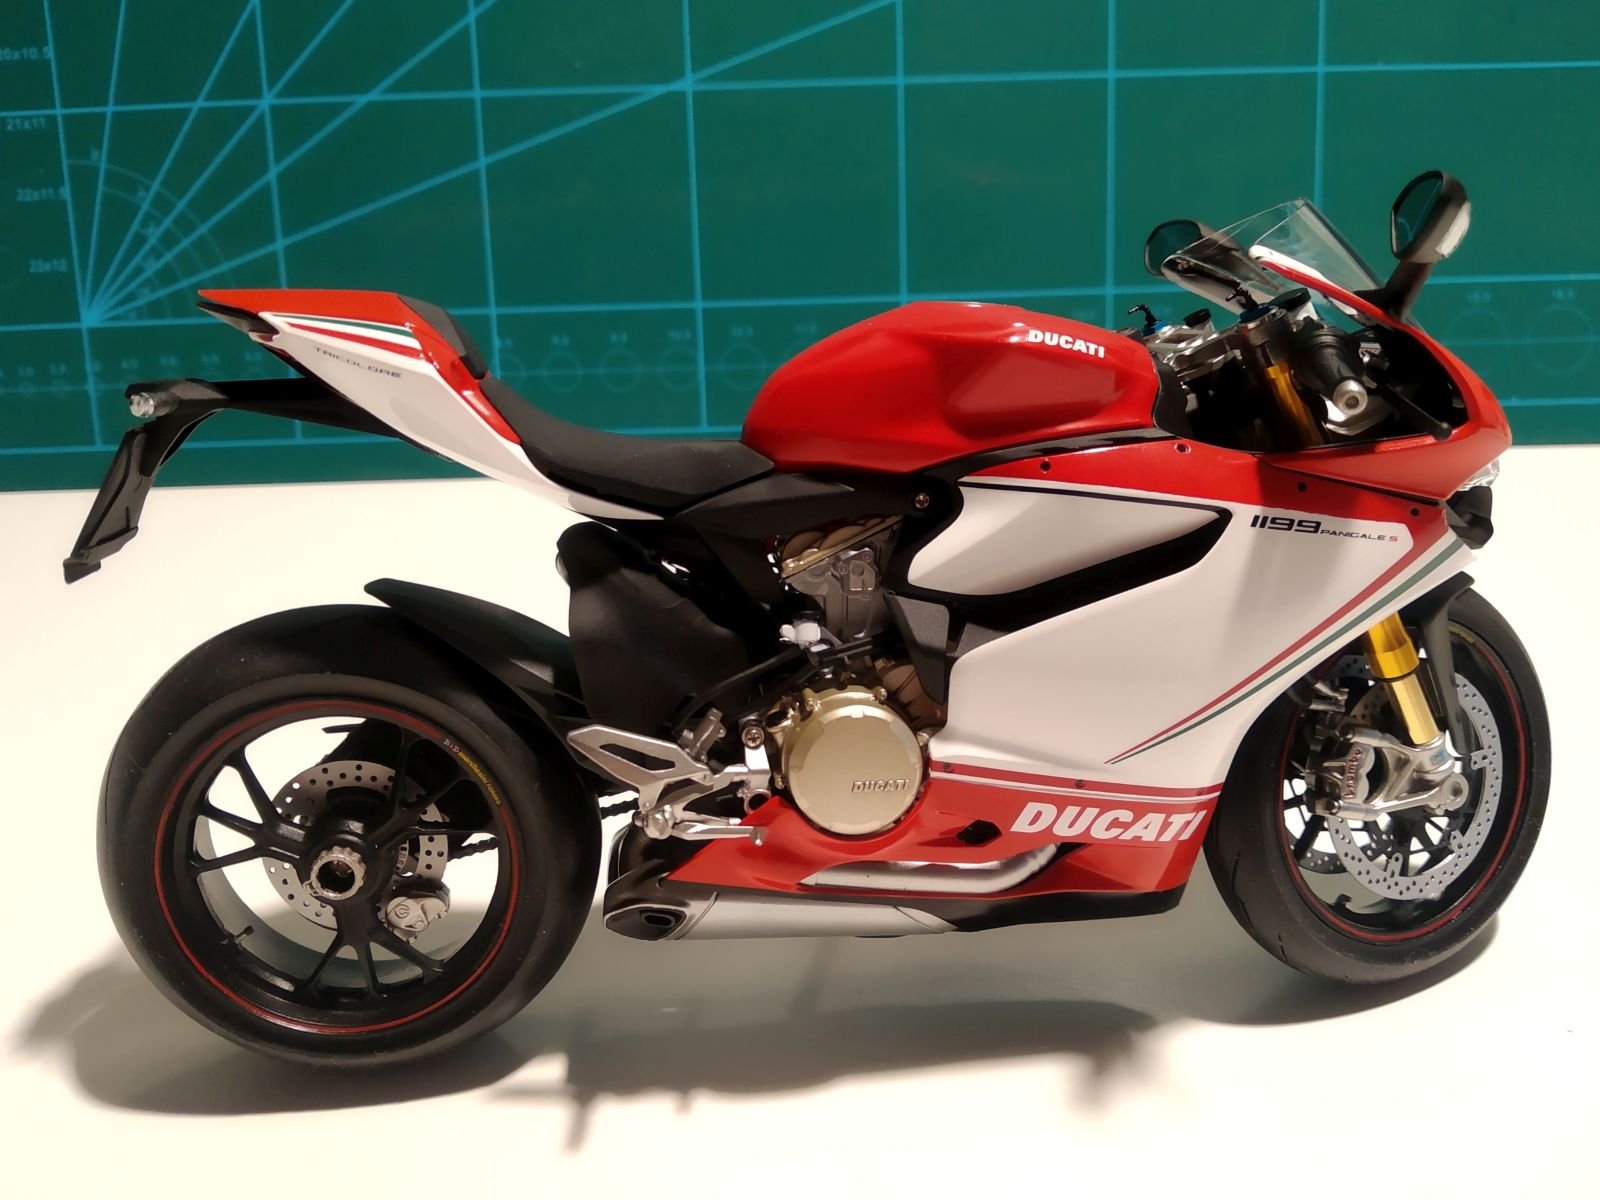
While waiting to get back at my Kingfisher I got back into plastic modeling. I never was interested in motorcycles, but from a modeling perspective they are very interesting. The painting is challanging and putting the thing together is not easy. On top of the kit I used tamiya's Detail-up frontfork set set for this bike and Topstudio's Detail-up set to replace the brakediscs and add some nuts and bolts. Both additions are recommended especially the frontfork set. For painting I used Tamiya's laquer paint, excellent paint especially for the metal colors. Alle the body panels were polished using Infini sanding and polising sticks to remove the orange peel. I'm sorry that the pictures are not of the best quality, but this was the best I could do in my temporary shop with my phone.
Remco


-
So a little sign of life. In the past two years a lot has happened that has nothing to do with shipbuilding unfortunately. So in a nutshell this is what happened. A year and a half after I had moved to Sweden I got redundant and I have been searching for a new job since. Understandably not an easy task under the current economic circumstances. To cut costs I moved back to The Netherlands and moved in with my dad. All my stuff including the things from my workshop are in storage and I'm praying my Kingfisher will survive this mothball experience.
To keep my hands busy between the times I'm job hunting I am building some off topic plastic kits as they don't require so much tools. I found out that Tamiya's 1/12 motor cycle kits are the best painting challenge I can find and they kept me busy.
After I have found myself a new job and a new place to stay I can get my workshop up and hopefully have time to get some progress done on Kingfisher.
For now I wish you all a safe and healthy holiday season and a good 2021 for the hobby.
Remco
-
Thank you Lawrence.
Jan, my build is currently going at a crawling pace. There is so much else to do and going on in my life at the moment. But every once in a while I have the opportunity to make a few fixed blocks, so at least there is progress. But not something worthwhile to show here...
Remco
-
Thank you Lawrence, Montañes,
The hinges on the shotlocker are not workable. Back then I didn't have the soldering skills to do that. Now I could make them workable if I wanted to, just like the hinges on the stove.
But what you see in the picture is a combination of stock card painted black and brass rod.
Remco
-
-
Thanks Danny.
I’ve taken Greg’s approach, but it iis pretty confusing if you try to do this with the book and the supplied drawings.
I’ll make some extras and pick the ones that turned out best. Currently this is what I think I will need:
4” 7 single blocks
5” 11 single
6” 30 single
7” 11 single
8” 27 single
9” 10 single
10” 4 single
11” 4 double
12” 12 double
14” 11 single and 4 double
15” 1 single
20” 10 single
138 in total and that is not a lot I think so I might have forgotten some. And this is only the rigging of the masts so the gun tackles would need another 32 🧐
Remco
- billocrates, Jack12477, Jeronimo and 4 others
-
 7
7
-
I have a question for the group. Has anybody figured out the number of blocks and sizes that are needed to fully rig a Swan class? I thought it would be a good project to get into my build again to make them all in one go.
Remco
-
-
-
My plug already found a new owner, but you could make one from scratch as well. I did this for my Pinnace and it was fun to do. You don't have to make the cut outs for the frames as I found it easier to install them after the planking was finished. If you use a minimal amount of glue it won't stick to the mold and you can take the hull from the plug any time during the building process to check if the internal fitting is right to. It will be delicate though. I use Titebond regular (the red bottle) very sparingly in all parts of my build and wipe off any excess glue imediately.
Remco
- shiprookie, Ryland Craze, PeteB and 5 others
-
8
-
Hi everybody,
I realize I have been away from MSW for way to long. So here is a quick update.
Well Kingfisher is somewhat in the mothball as I had trouble to keep motivated building the inner planking. I had some other projects going on in my workshop like building a semi full size router/tablesaw combination, some furniture and a side step into paper modeling.
The biggest project started beginning of this year when I was approached for a new job. It involved relocation to Sweden so that kept me and my wife very busy. Meanwhile we have been living here in Sweden for a little over a month now. My workshop is back in business, allthough all current projects are related to the house. But it should not take too long before I could comence with some modeling. Wether it will be paper or wood I’m not sure yet.
So I’m still alive and kicking.
Remco
-
Your shot locker turned out very nice Ben.
Remco
- Ryland Craze, Trussben, mtaylor and 1 other
-
4
-
You have a fantastic build going on here Danny. At some point you mentioned sanding the hull skin (edges?), why and how did you do that?
Remco
- cog, Canute, popeye the sailor and 3 others
-
6
-
-
Thanks all for the warm welcome back!
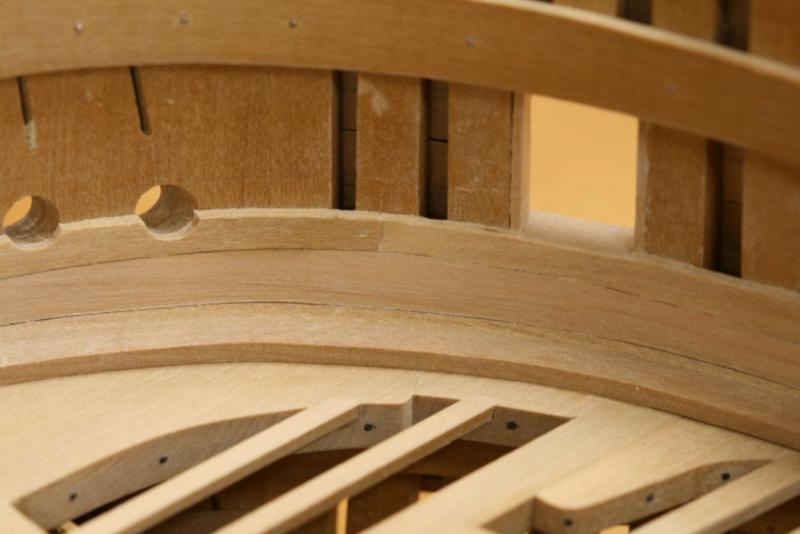
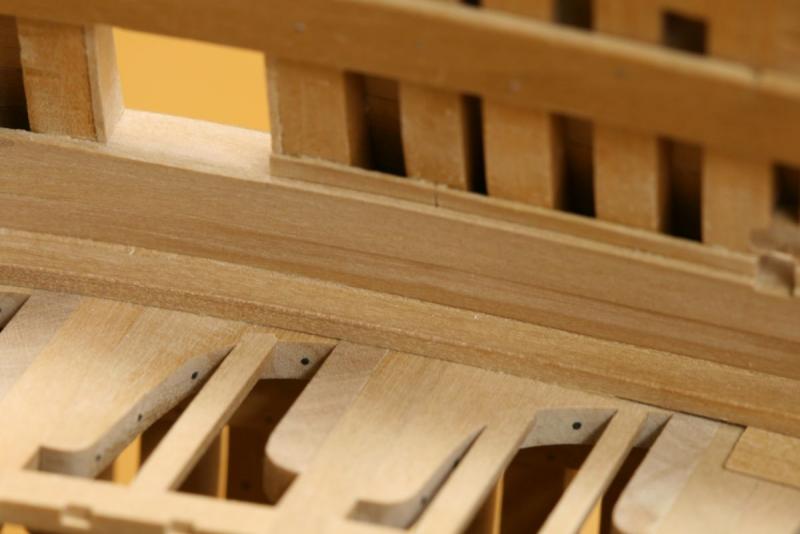
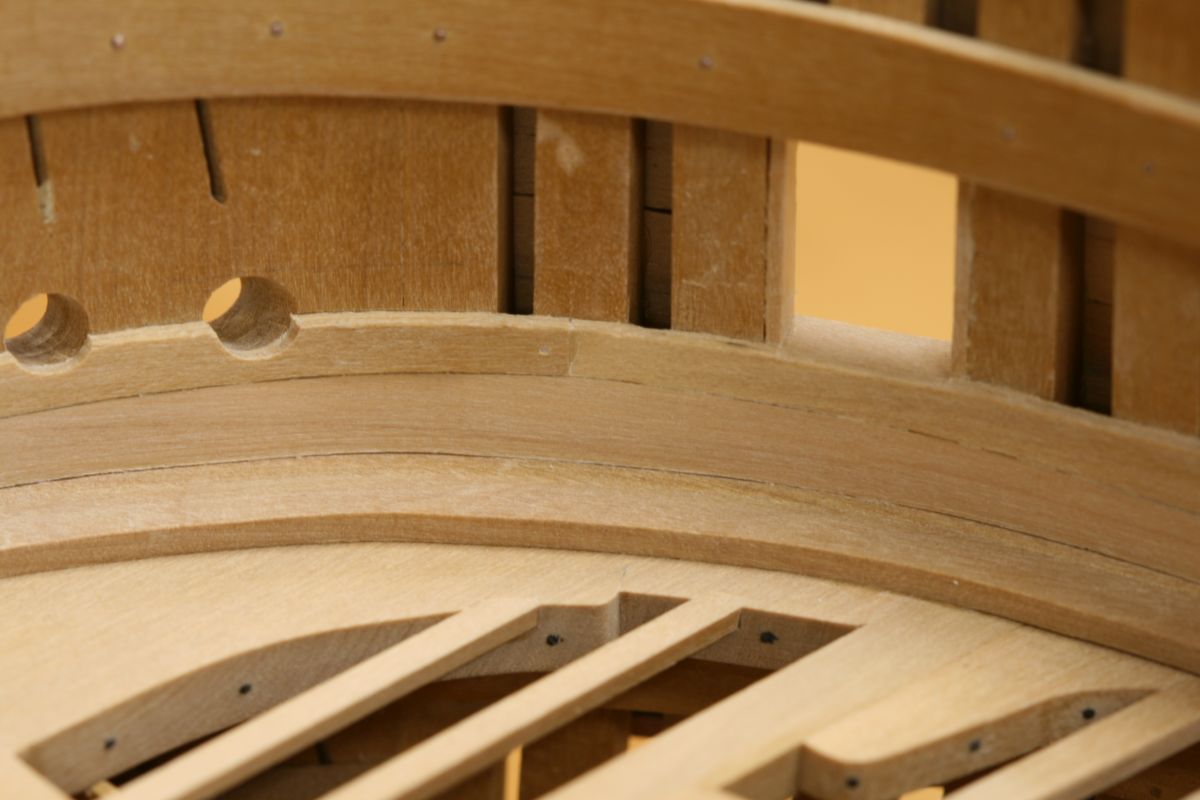
So here's some progress. The forward strokes of the spriketting are done. Two layers of wood are used, they are now thin enough to bend by hand and set them in place to do the final shaping to match the waterway. They are done anchor stock style, so not having to do wet/warm bending them is a big plus.
The first layer is intentionally done a bit wider and cut to size after the second layer is fixed (the surplus is seen in the second pic)
Getting to fay the planks into the waterway called for some additional sanding and shaping to get a clean transition.
The quick work will be thinner and can probably be done with a single layer of planking.
Remco
- WackoWolf, Ryland Craze, PeteB and 41 others
-
44
-
Hi John,
Thank you for your very kind words Best wishes for 2017 to you and everybody else on MSW.
I have some good news for you as I will start updating my build log very soon. I'll tell a secret, I really hate doing hull planking especially on the inside with thicker planking. This kept me from progressing my build and found other means to spend my spare time for the past year. Last week I was reinspired after making a 1:5 hall table study model for a next project in my house. So I started to pick up modeling again over the past few days and decided to do some cheating to make my life a little easier. The spriketting will be done laminated style for ease of application. I'm pleased with the first results and will start posting some pictures the coming days.
Sorry for keeping everybody waiting this long.
Remco
-
-
What a marvellous job! Thank you for inspiring me.
Remco
- Gerhardvienna, Canute, mtaylor and 2 others
-
5
-
Excellent metalwork Ed.
Correct on your assumption, Ed. I've a number of sizes made for different diameters. To prevent damage to the holder, a small hole is bored all the way through first. This allows a wire to be poked through, should the deadeye be unwilling to drop out after processing. Next the bore is drilled slightly smaller than the deadeye for about twice its thickness, then the hole opened out to the diameter of the deadeye for its depth. The deadeye then sits on a slight step and the drill bit doesn't chew up the holder.
Druxey, could you show a picture or a drawing of your setup. I have trouble understanding what your holder looks like.
Remco
-
-
I can imagine your frustration getting the moulding right. Making cuts with a scraper on such small piece is hard or even almost impossible.
Unfortunately the moulding itself is hardly visible on the pictures. It's a joy to follow your progress on this little gem.
Remco
-
-
-
I love all the details you're cramming into this little model. Makes me want to try something like this as well... Maybe I will allow myself a side project to get away from the planking I'm currently struggling with... But I shouldn't.
Remco
- Mirabell61, dgbot, mtaylor and 5 others
-
8


HMS Kingfisher 1770 by Remcohe - 1/48 - English 14-Gun Sloop - POF
in - Build logs for subjects built 1751 - 1800
Posted
Thank you all for your kind and encouraging words. As per request I openend a post for the bike build: https://modelshipworld.com/topic/27075-ducati-1199-panigale-s-tricolore-by-remcohe-tamiya-112/
Remco