HOLIDAY DONATION DRIVE - SUPPORT MSW - DO YOUR PART TO KEEP THIS GREAT FORUM GOING! (Only 20 donations so far - C'mon guys!)
×


AntonyUK
-
Posts
1,190 -
Joined
-
Last visited
Content Type
Profiles
Forums
Gallery
Events
Everything posted by AntonyUK
-
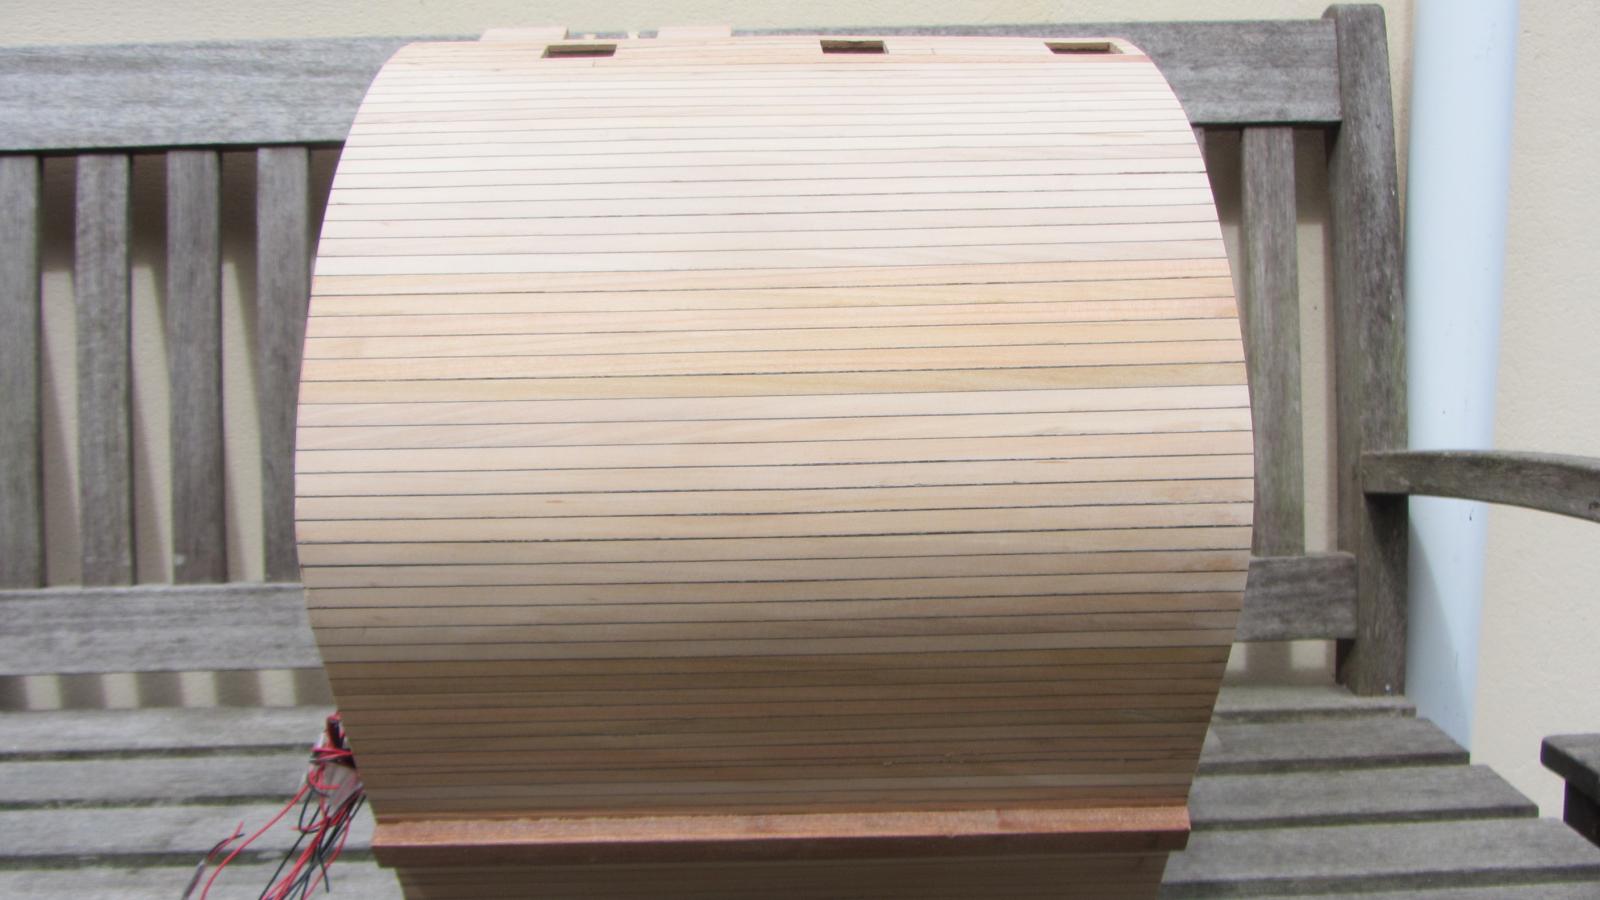
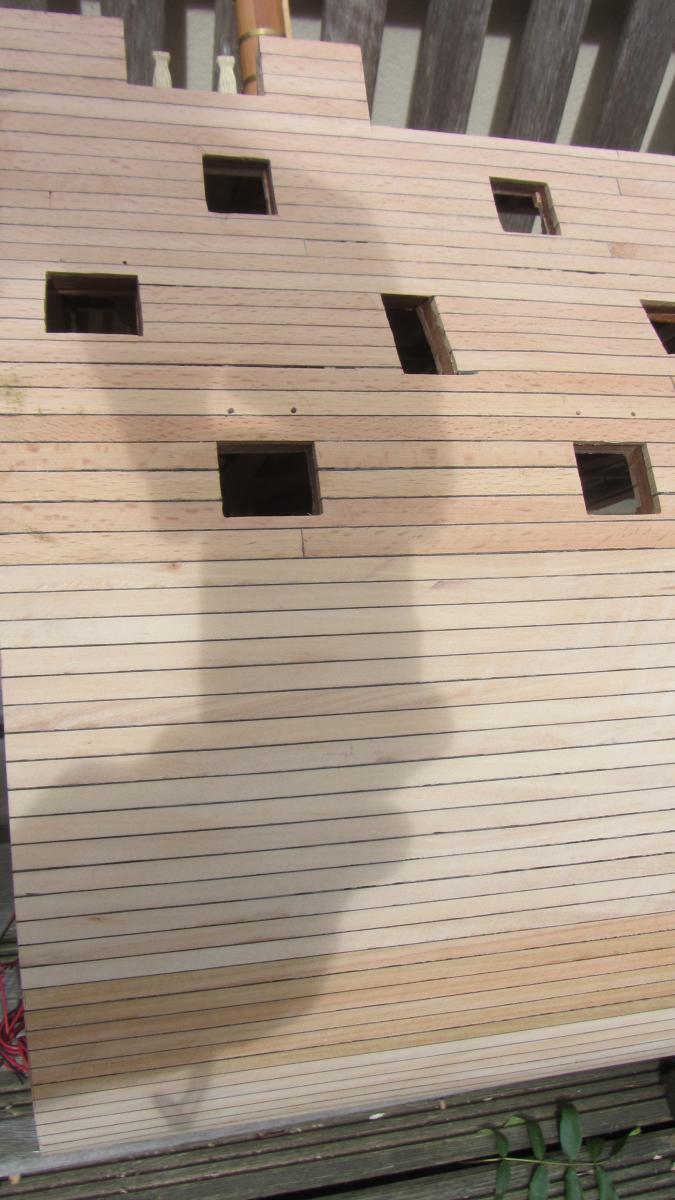
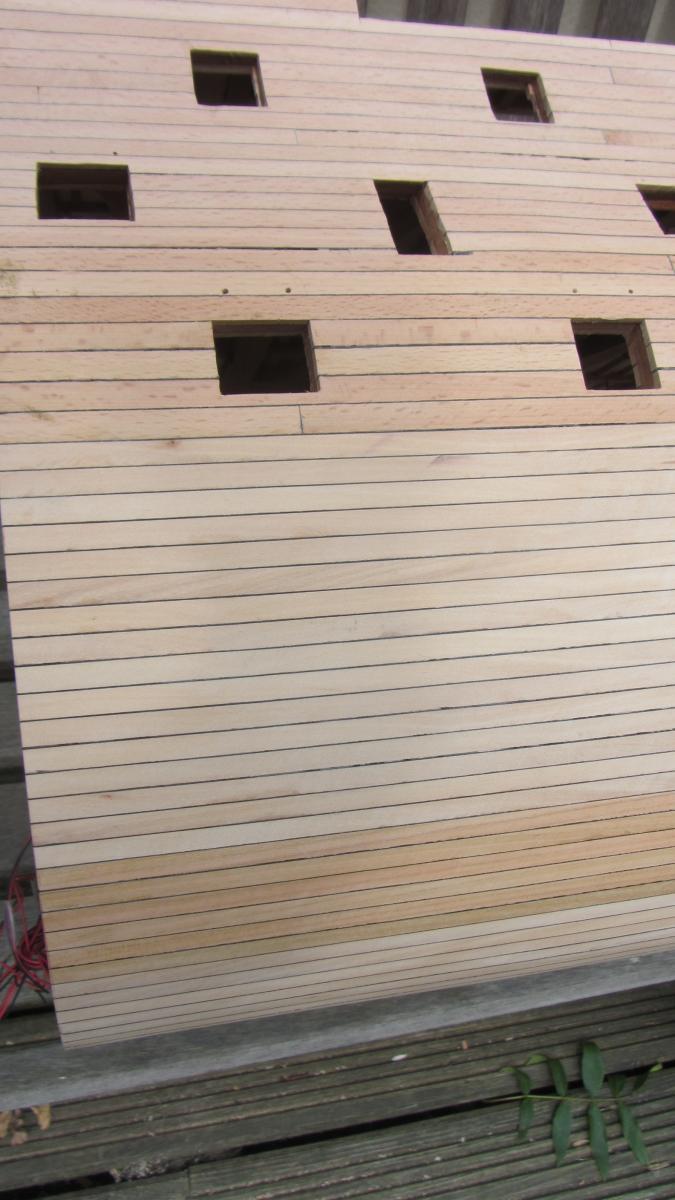
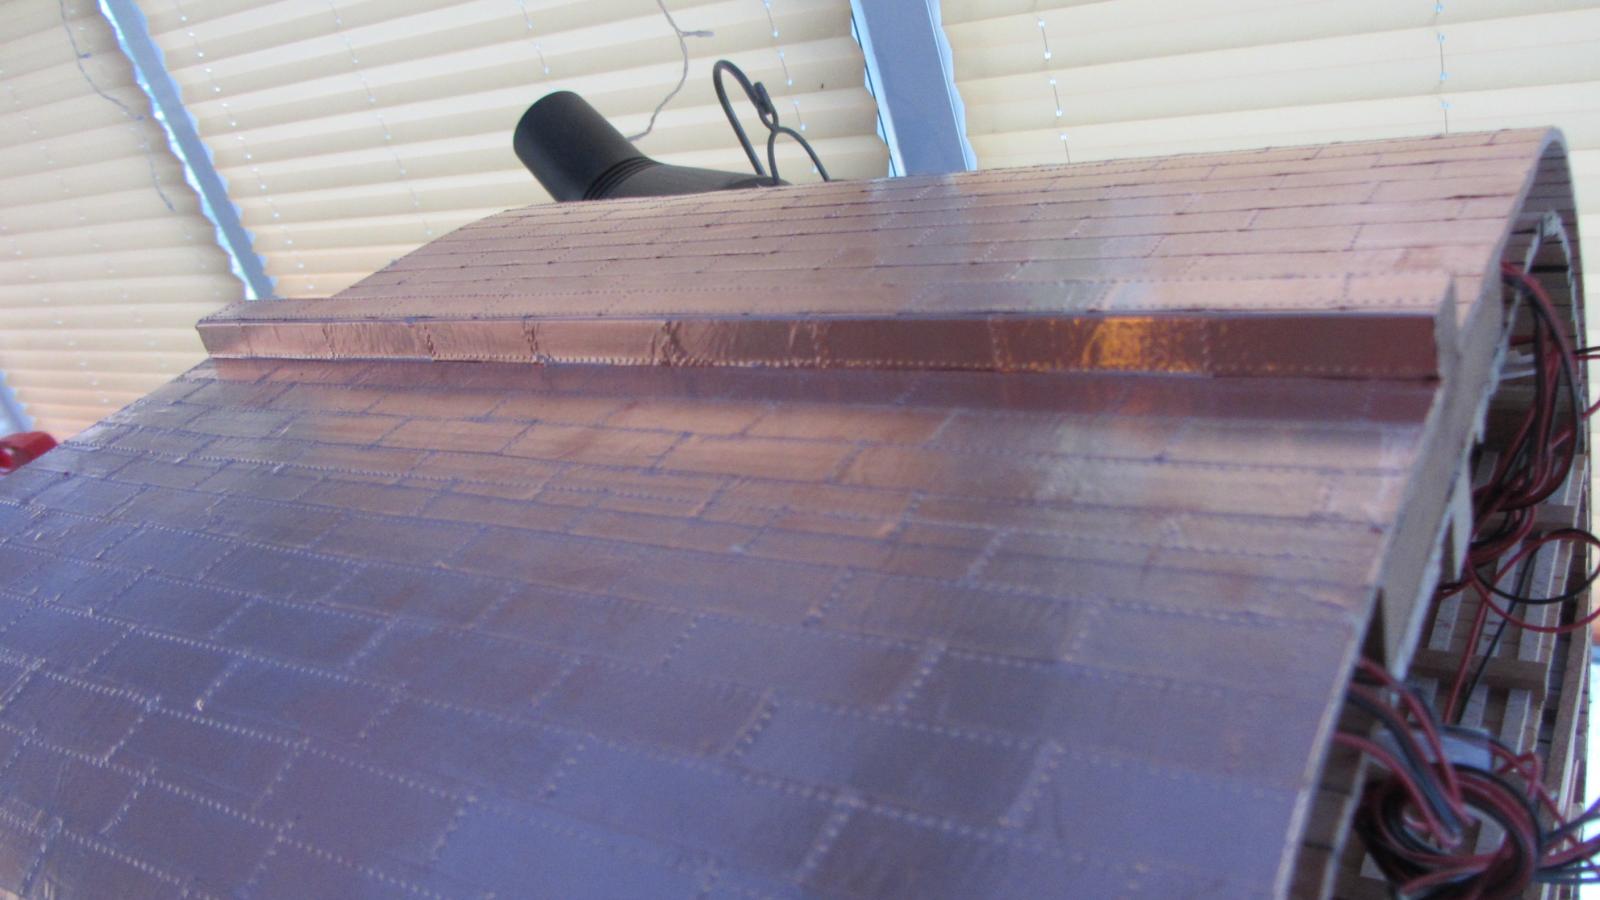
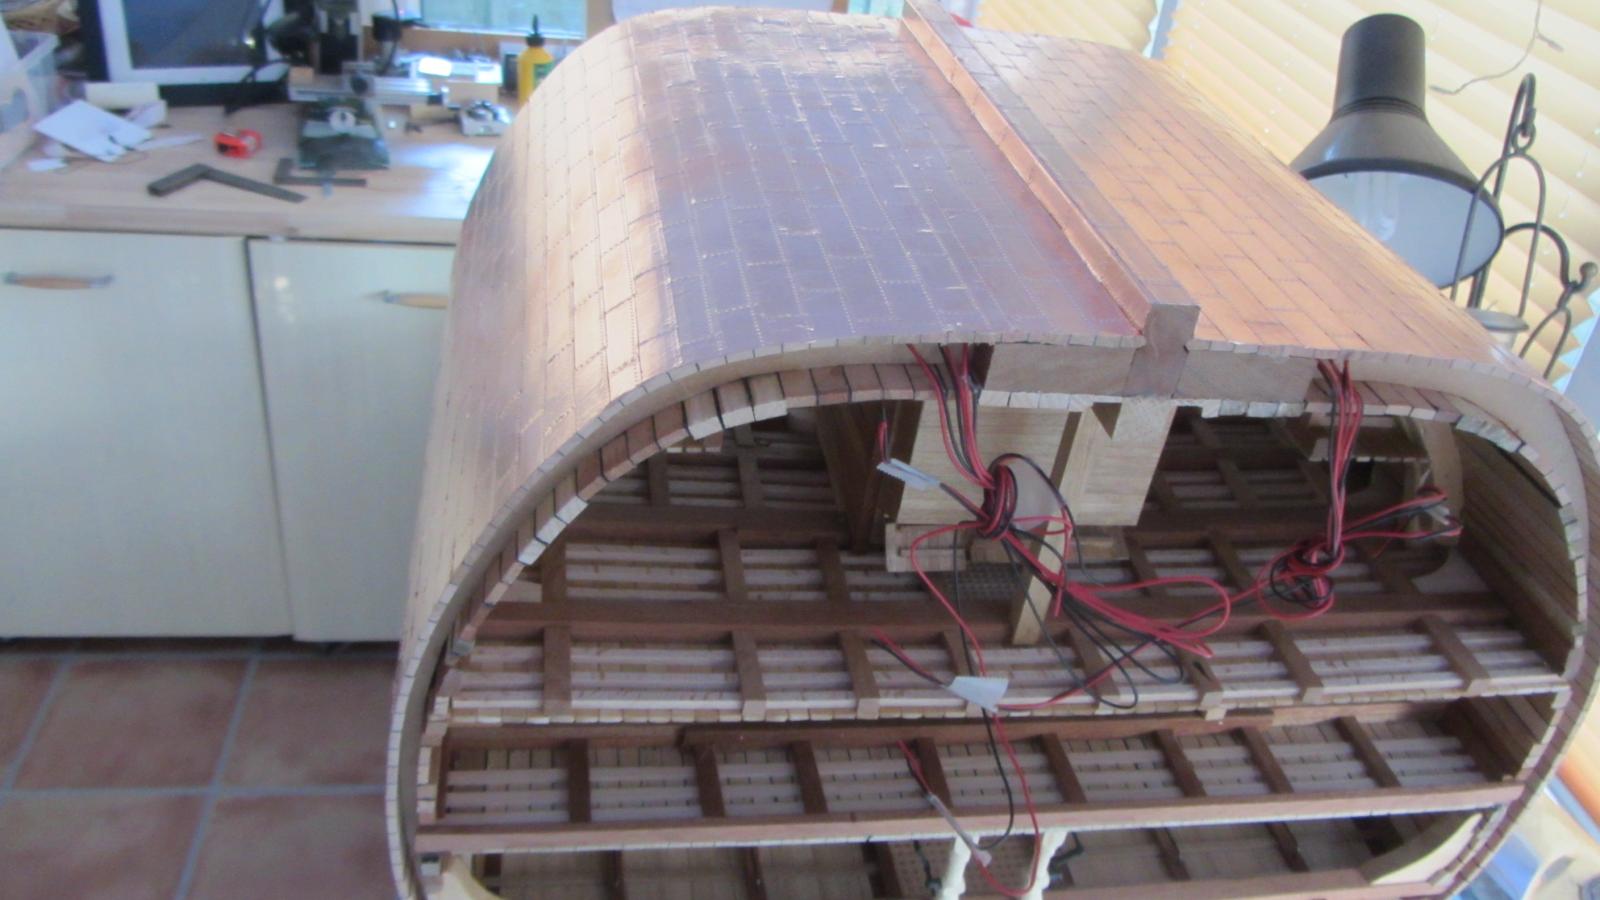
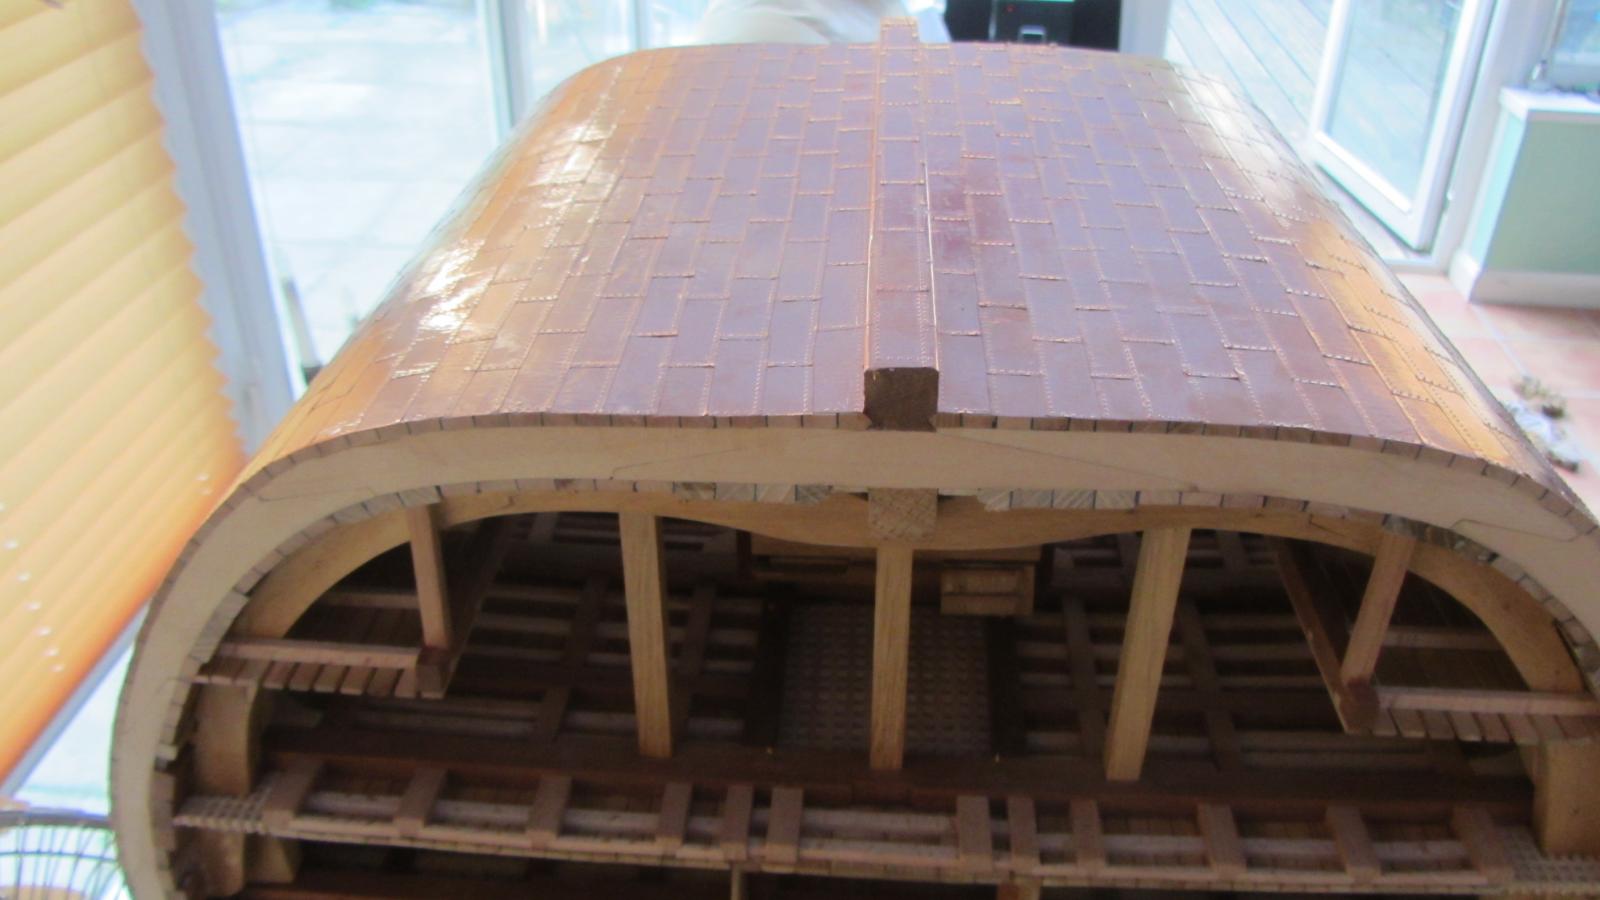
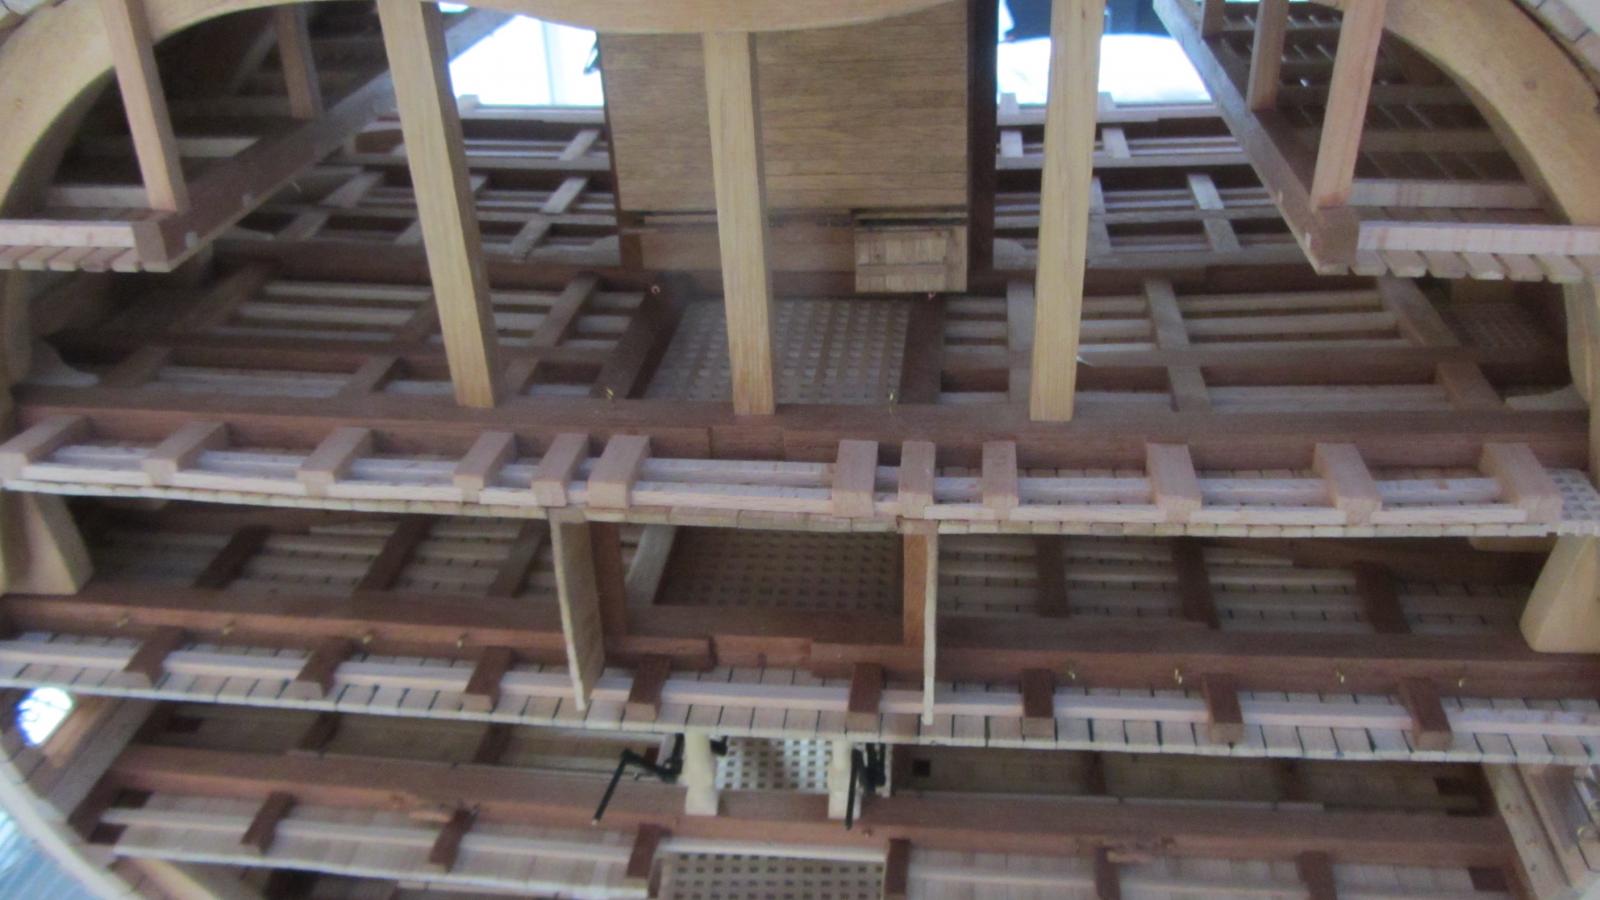
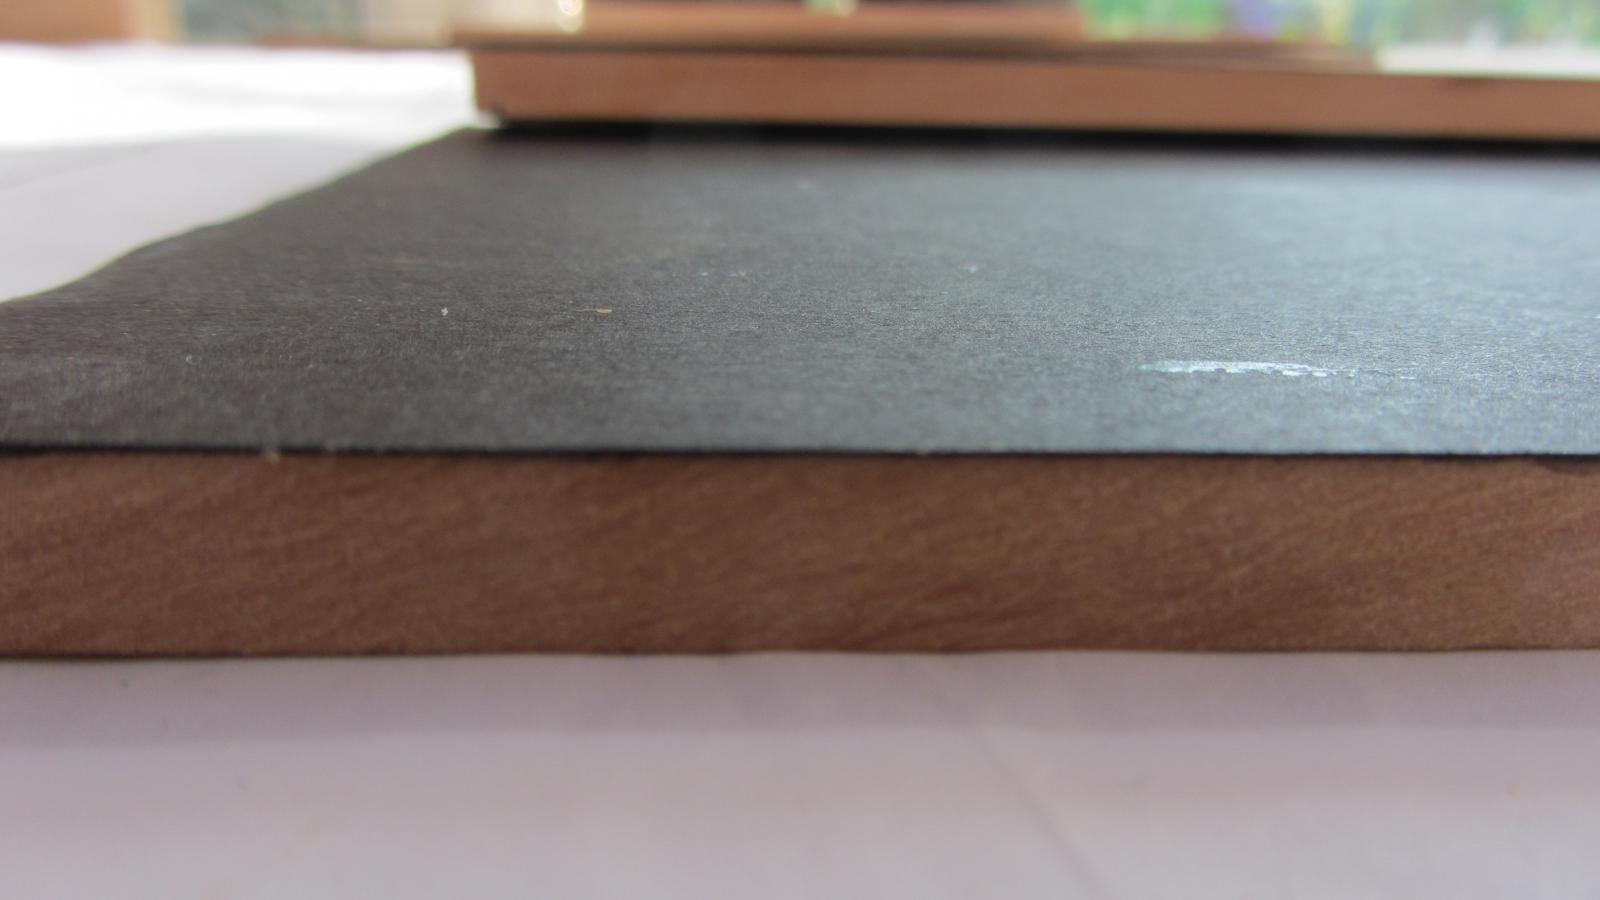
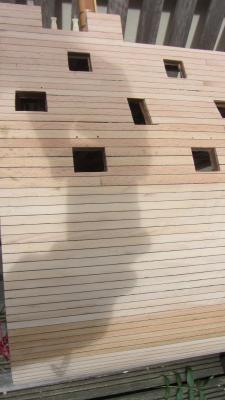
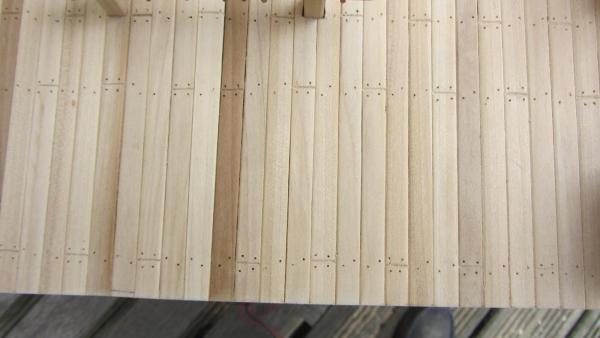
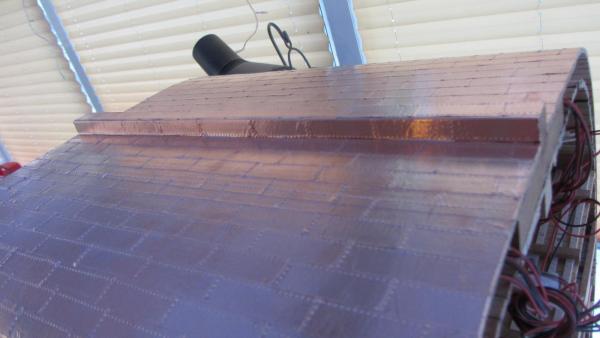
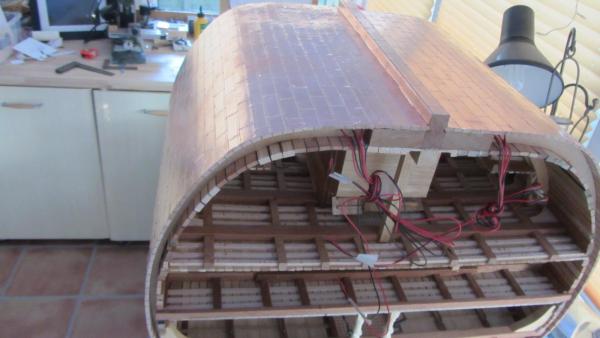
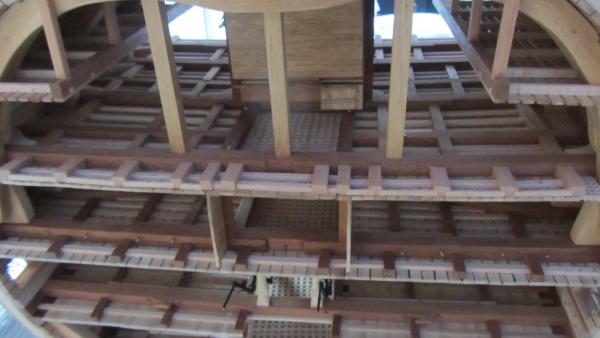
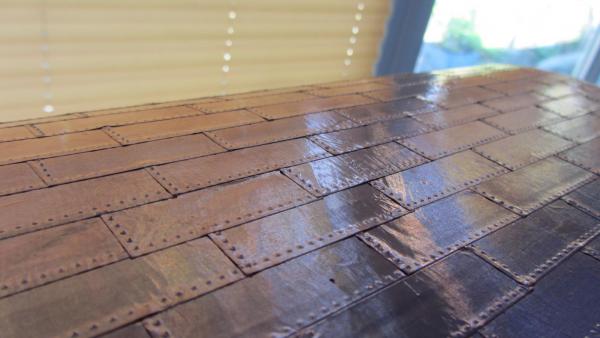
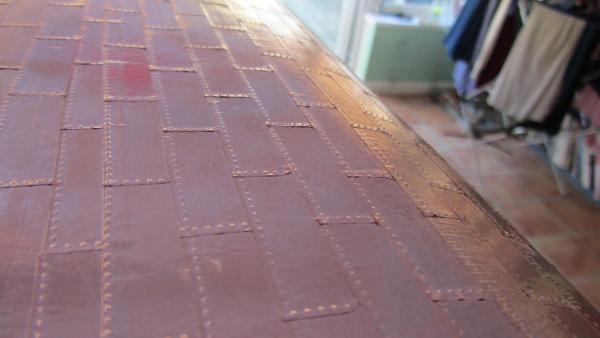
 Hello Shipmates. A large update as I have had a lot of time building. I made up some mesh for the hammocks my using some tights (fishnet) stretching them and then applying PVA glue until dry. The knit does not show when in place on the ship. The Hull completely planked. Upper part showing planking. Port. Upper part showing planking. Starboard. Tree nails Holes drilled on Quarter Deck. Coppering the Hull completed. Nice and shiny. View into the decks with the hull upside down. Close up of the copper plates. Port. Close up of the copper plates . Starboard. Have also faced off both ends of the ship (Fore and Aft ) makes it mush more pleasant to look at Will cover the copper plates with a very thin film used to cover book covers. This will stop little fingers pulling off the copper plates. Thanks for looking in. Regards Antony.
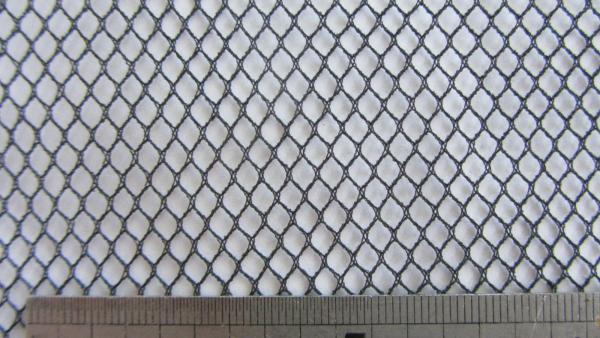


- 209 replies
-
- 19
-

-
Hi. Yes some glues are better than others some glues dry with a shine I have used this method lots of times. Regards Antony?
-
Hi. The smoke can be made by using model steam loco smoke oil. A heater unit( nitchchrome wire ). A shot air supply ( relay with diafram ) A Arduino nano providing the timings. Process is :- Relay pulls back. heat oil for 5 seconds. release relay. Wait for next shot.. Have done this on a 1/12 scale cannon with a impressive puff of smoke forming a ring as it leaves the barrel. As for the Flickering LED's I did a how to some time ago. http://modelshipworld.com/index.php?/topic/2806-flickering-lights/?hl=%2Bflickering+%2Bled If you need a small drawing on the smoke.. I can do this if wanted later tonight. Regards Antony.
-
Hi Josh. The HMV Caroline is the Panart kit. Postage would kill the costs sending it across the puddle. That link is a No No on this site ZHL kit. I think it's a banned manufacture on this site. But I could be wrong. Regards Antony.
-
Hi Popeye. I know what you mean But no.. Mabe some time in the future when I am looking for something to do I will pick it up and start to build it. At the moment I am not that far from completing the Victory. Then it's a 1800 century large scale cutter. Completely my own design and build methods. Planing to use a friends laser cutter for the parts where I can. The HMV Caroline is on permanent hold. Might let this kit go to a good home. Regards Antony.
-
Hi. The Mermaid is coming along very nicely. The BIG hammer is a little worrying. Have you got a name.. I don't want to call you a silly Moo if you make a mistake lol. Keep up the good work ans we shall see a excellent model appear. Regards Antony. Edit... Unless you name is Moo. Of course
-
Hi all. News update. Hatchette works has not delivered any of the mags since 2 weeks before our last post I have decided to cancel the mags. So it looks like another sinking ship. Have got only the basic hull shape and will put it to one side for some time as I have quite a lot on at the moment. So this build ends here unfortunately. Regards Antony.
- 21 replies
-
- 1
-
-
- pirate
- black pearl
- (and 1 more)
-
Hi Alexandru. As always you are producing totally Exelent work. and you cabin flooring is quite standing and so precise.. I can only look on and enjoy the build with eyes wide open. So much to enjoy.. Regards Antony.
-
Hi. Just catching up on your build. A truly Exelent build. And the attention to detail is outstanding. Regards Antony.
- 150 replies
-
- 1
-
-
- TRAJTA
- fishing and cargo boat
- (and 2 more)
-
Hi. I have a question or a few questions... What type of construction are you going to use. IE bulkhead. Solid. Frammed. .? And what timber are you planning to use in your build. And do you have a forklift truck for moving LOL. Sorry for all the question But I also am into building model's at a scale that lots of detail can be added. Regards Antony.
-
Hi E&T. Very impressive work going on here. The amount of detail is in equal to the amount of resurch you put in.. In other words OUTSTANDING ... Every little bit you do simply amasses me. Nice one. Regards Antony.
- 346 replies
-
- 1
-
-
- terror
- polar exploration
- (and 2 more)
-
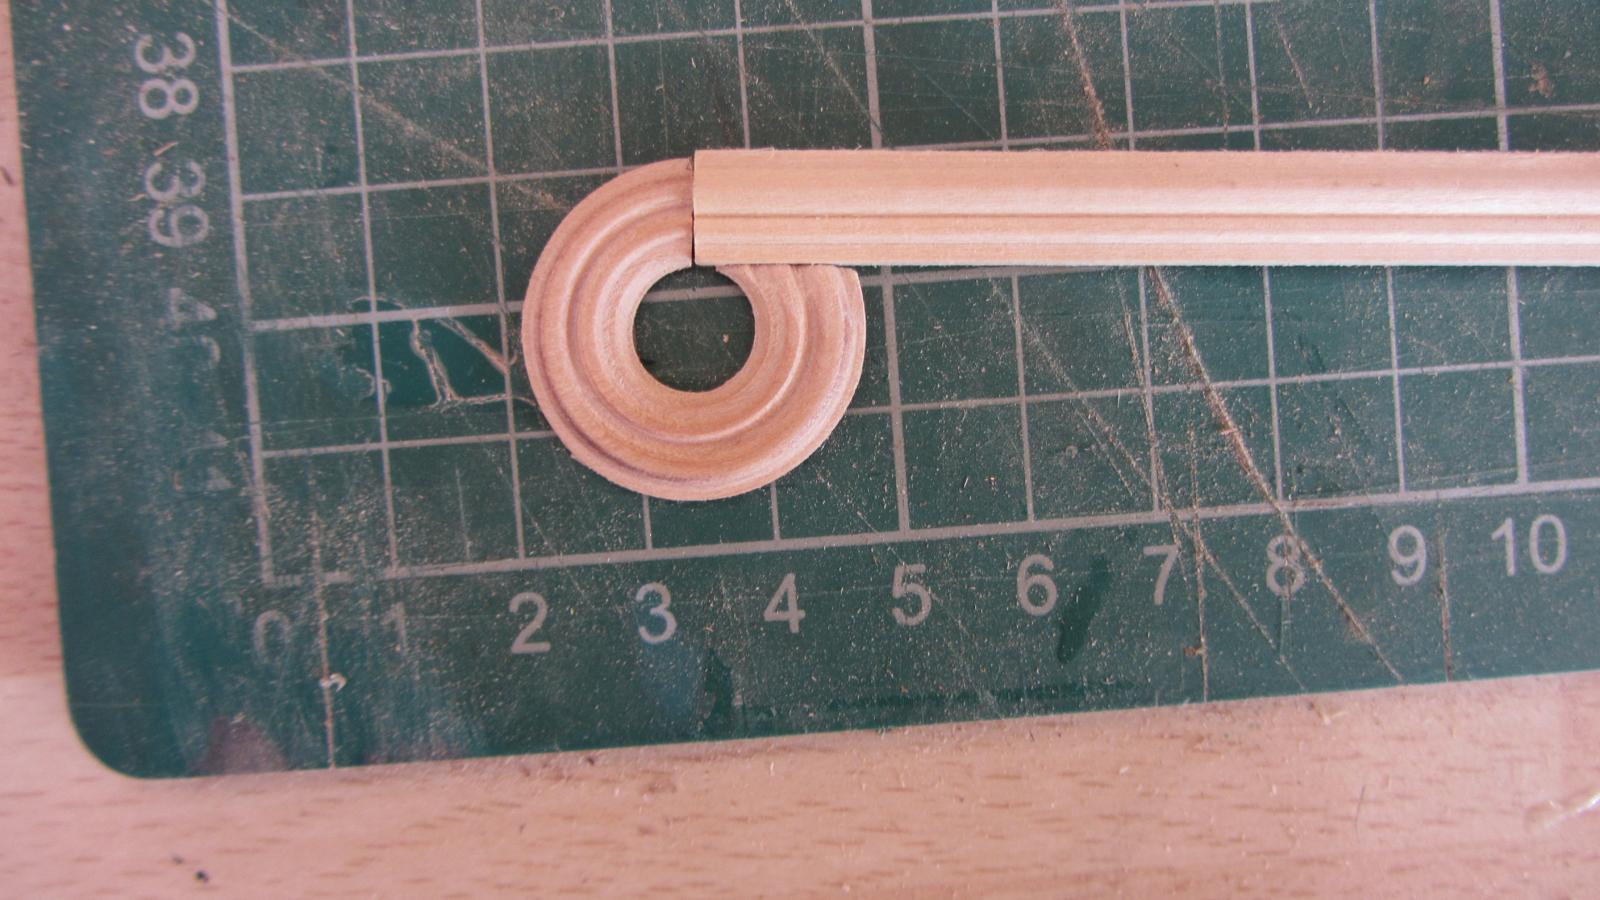
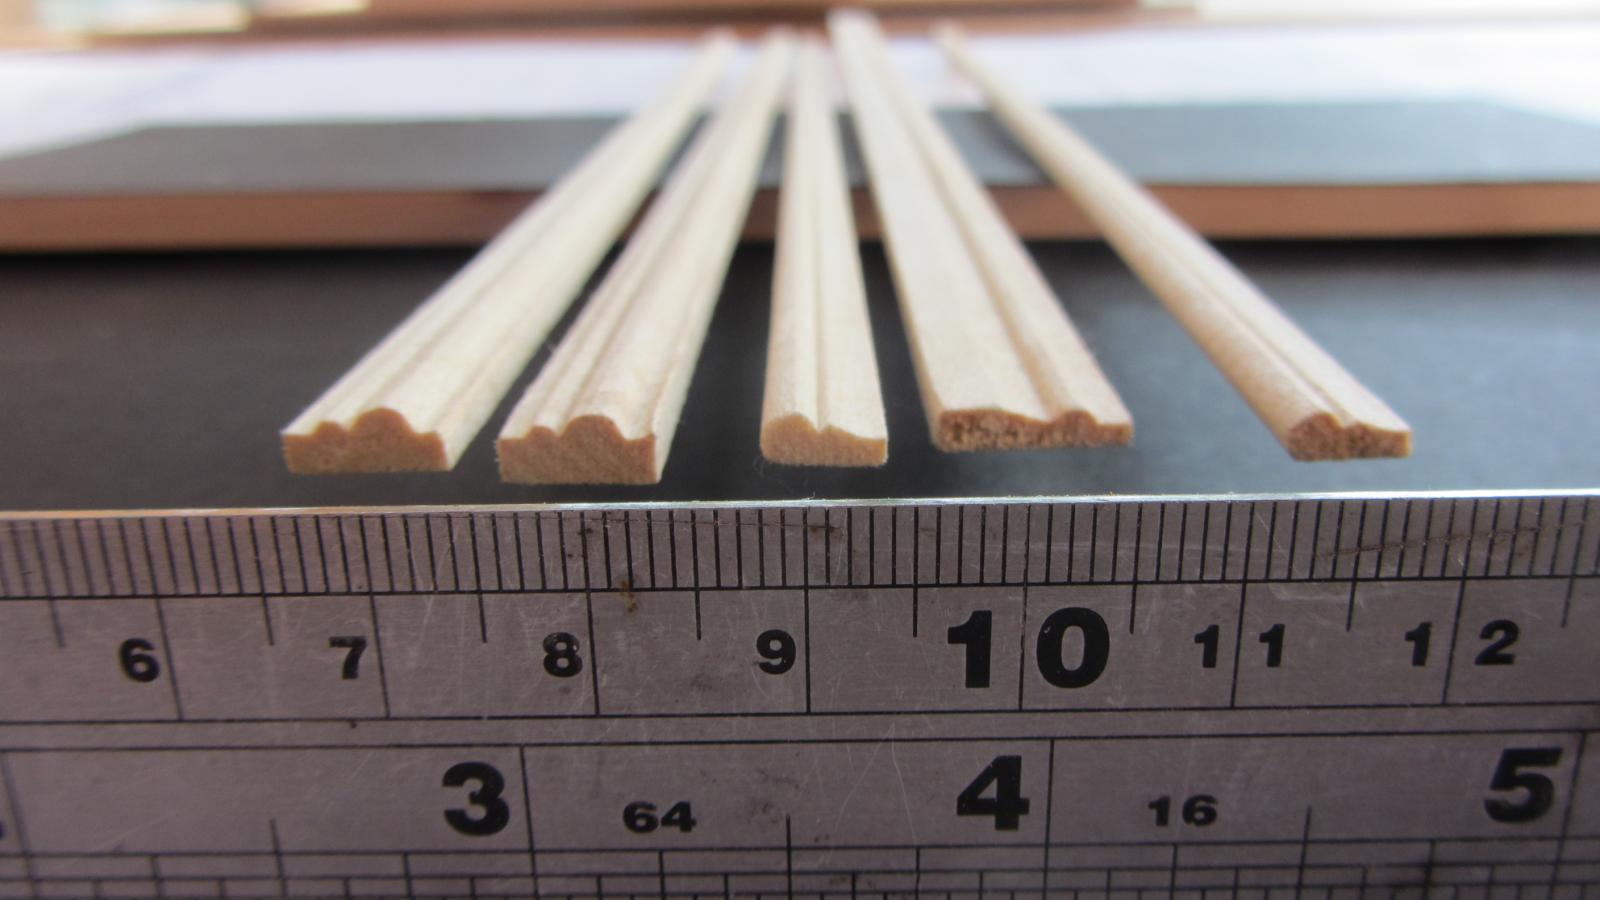
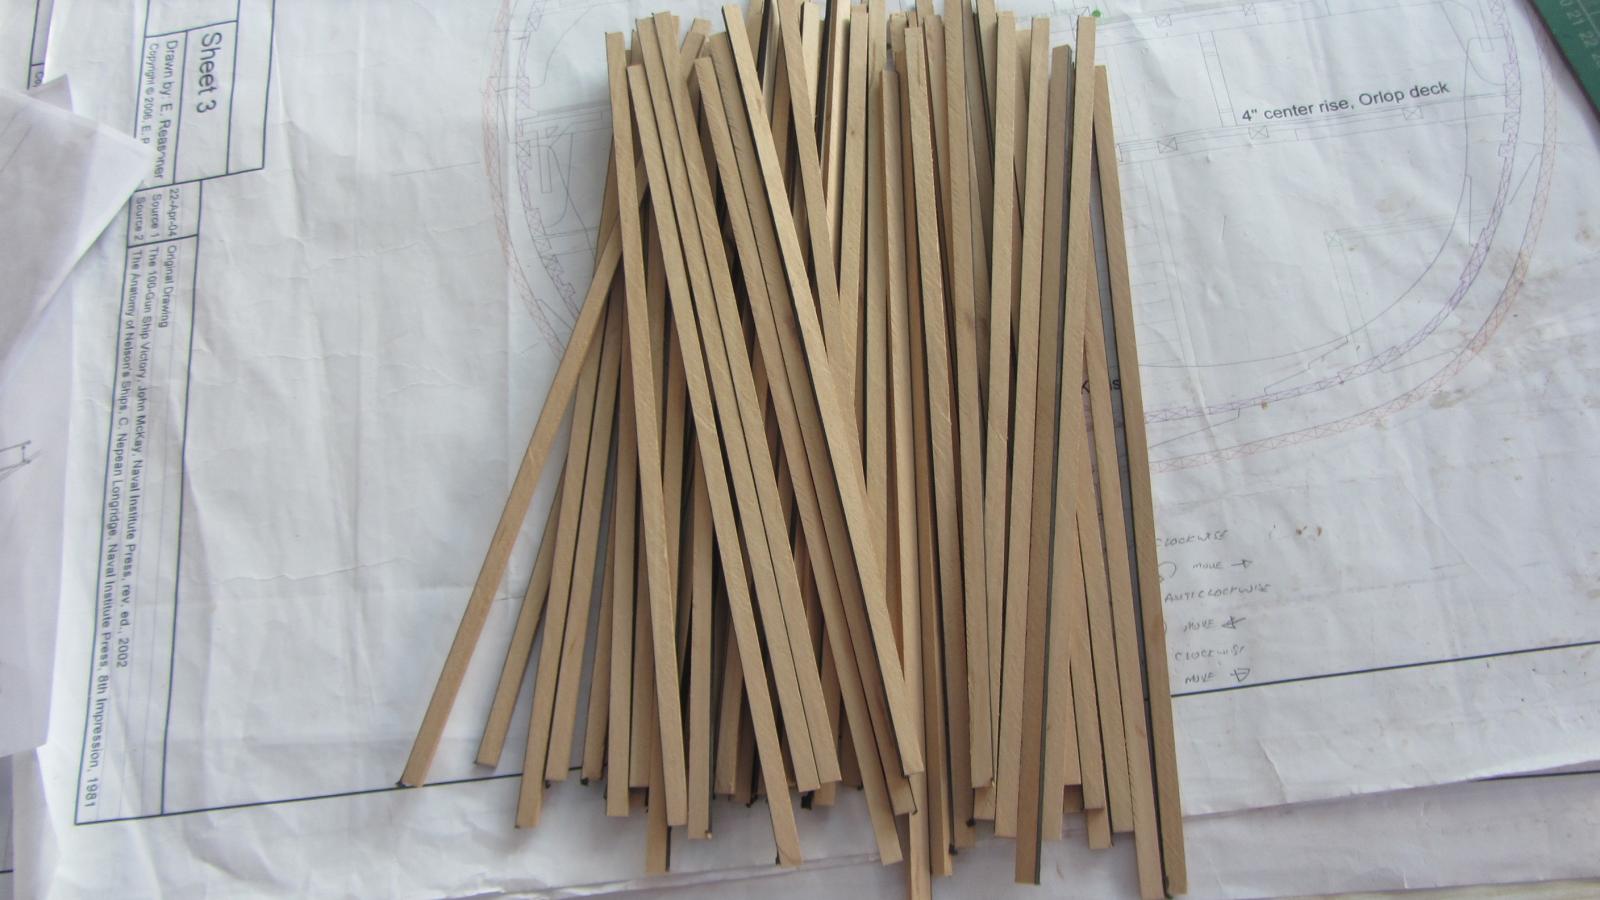
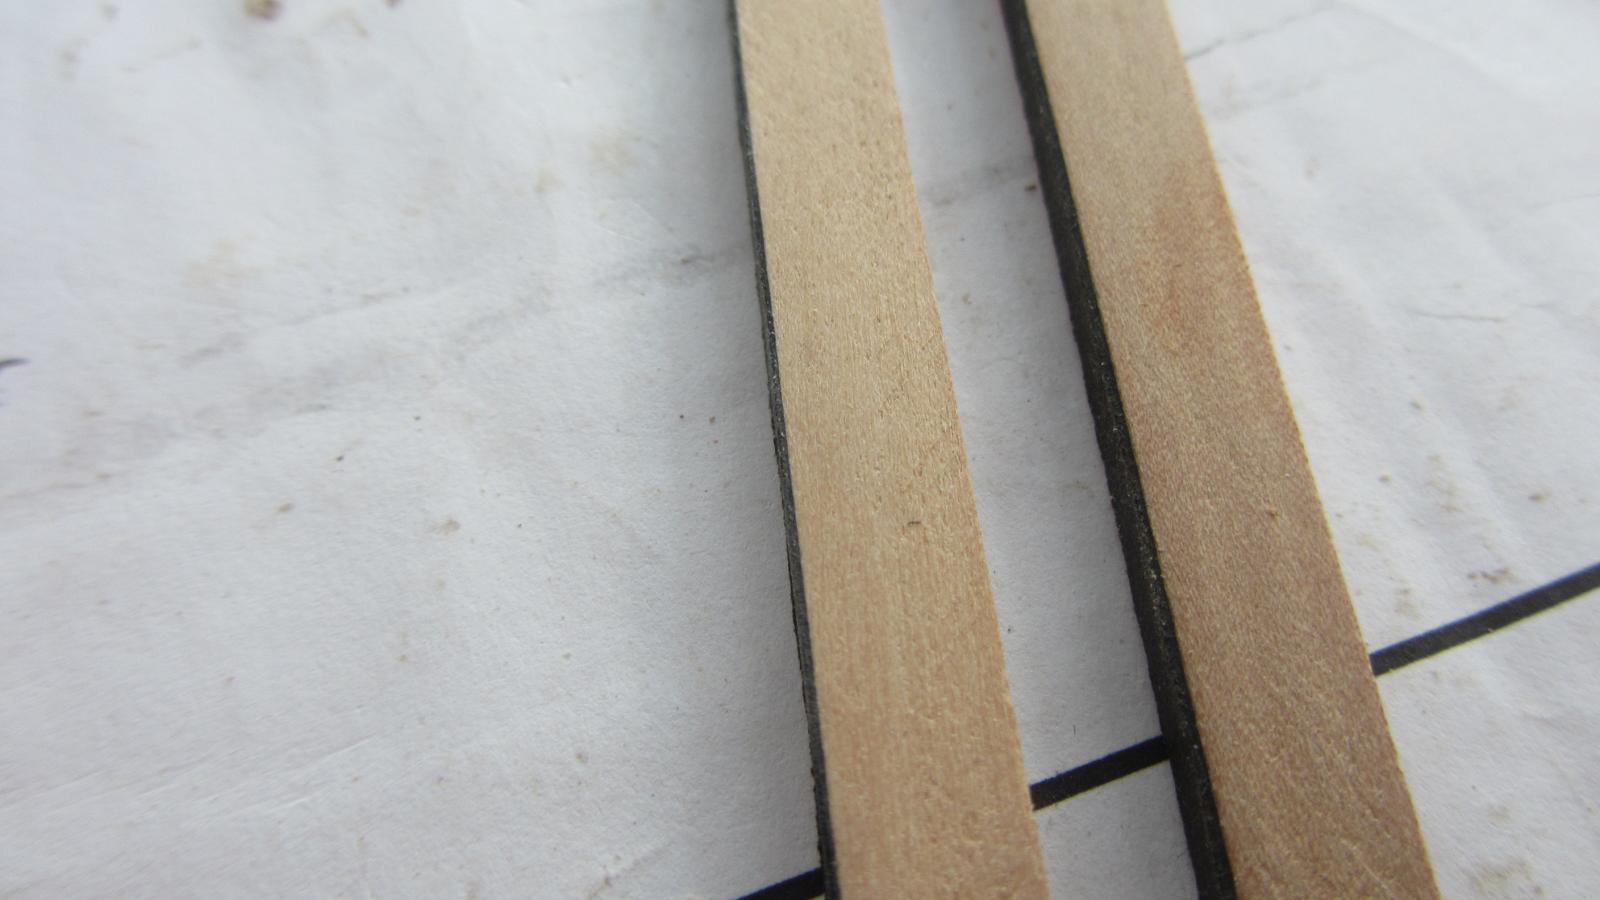
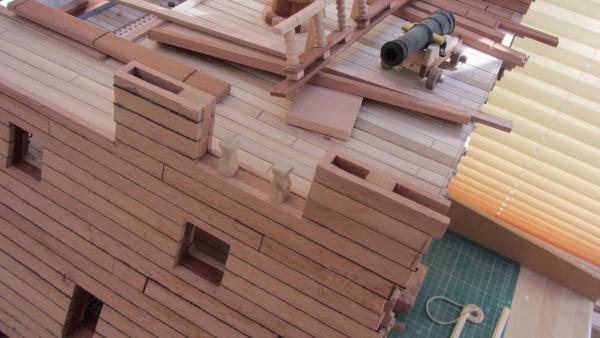
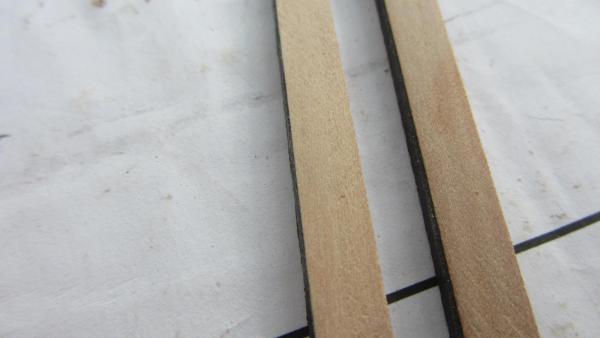
Hi Shipmates. Thanks for the comments and the likes. Decided to try something new.. Cutting the outer planks some 48 each side of the hull. Started by glueing the black card onto the face of the Cherry timber. Timber now cut with the card already glued onto one edge ready to plank. A close up of the result. Found some moulding in my local dolls house. Quality is very good. made up the decoration to match the mouldings. Just adding a few bits to the quarter deck. Made up most of the furniture for the quarterdeck. Going to start planking the outer /lower hull this week. Thanks for looking in. Regards Antony.


- 209 replies
-
- 19
-
-
how to paint like this?
AntonyUK replied to luesey's topic in Painting, finishing and weathering products and techniques
Hi and welcome to MSW. Would be nice if you told us a few more details on what you have to start with and the required finish. Or photos. Mask areas off that you don't want to paint. You can use a liquid masking solution. ( just peels of when finished ) If the gold areas are already fixed into place then hand paint them with a dark gold. Then drybrush them with the gold. Regards Antony -
Hi. This is one very smartly built model with lots of unique bits built into the design. This model is on my list to do for the future. Very Very nice Regards Antony.
- 150 replies
-
- 1
-
-
- TRAJTA
- fishing and cargo boat
- (and 2 more)
-
Hi Maris. What a fantastic build. Your designing of model ships is excellent and show your personal skills well. Makes me want to purchase the kit and make one for myself The detail you are putting into this will make a show piece model. Regards Antony.
- 150 replies
-
- 1
-
-
- TRAJTA
- fishing and cargo boat
- (and 2 more)
-
Hello Udo. This is one amazing build and you explanations are the making of a tutorial on how to make a fully framed a model ship. You're got another follower and will look for updates. Regards Antony.
-
Hi Toni. That's one Excellent build you got going there. Your workmanship is outstanding. Regards Antony.
-
Hi. This will be a interesting build. Are you completely drawing this from scaleing the model up or do you have a basic drawing to work from ? A big undertaking on the drafting side. Looking forward to your blueprints. Regards Antony.
-
Pandora by marsalv - FINISHED - 1:52
AntonyUK replied to marsalv's topic in - Build logs for subjects built 1751 - 1800
Hi Marsalv. You have made a excellent start on the Pandora. Using TurboCad has done wonders for the designing of your ship. Your bulkheads are looking spot on stacked like that. . I will be pulling up my chair and iPad and following you along with this build. All the best. Regards Antony. -
Hi Rich. Just read your build log start to present ... Most impressed with your build and style. She is going to be a large ship when finished It's nice to have builders out there and are willing to help with excellent advice and support. Will follow to compleasion of build. Regards Antony.
-
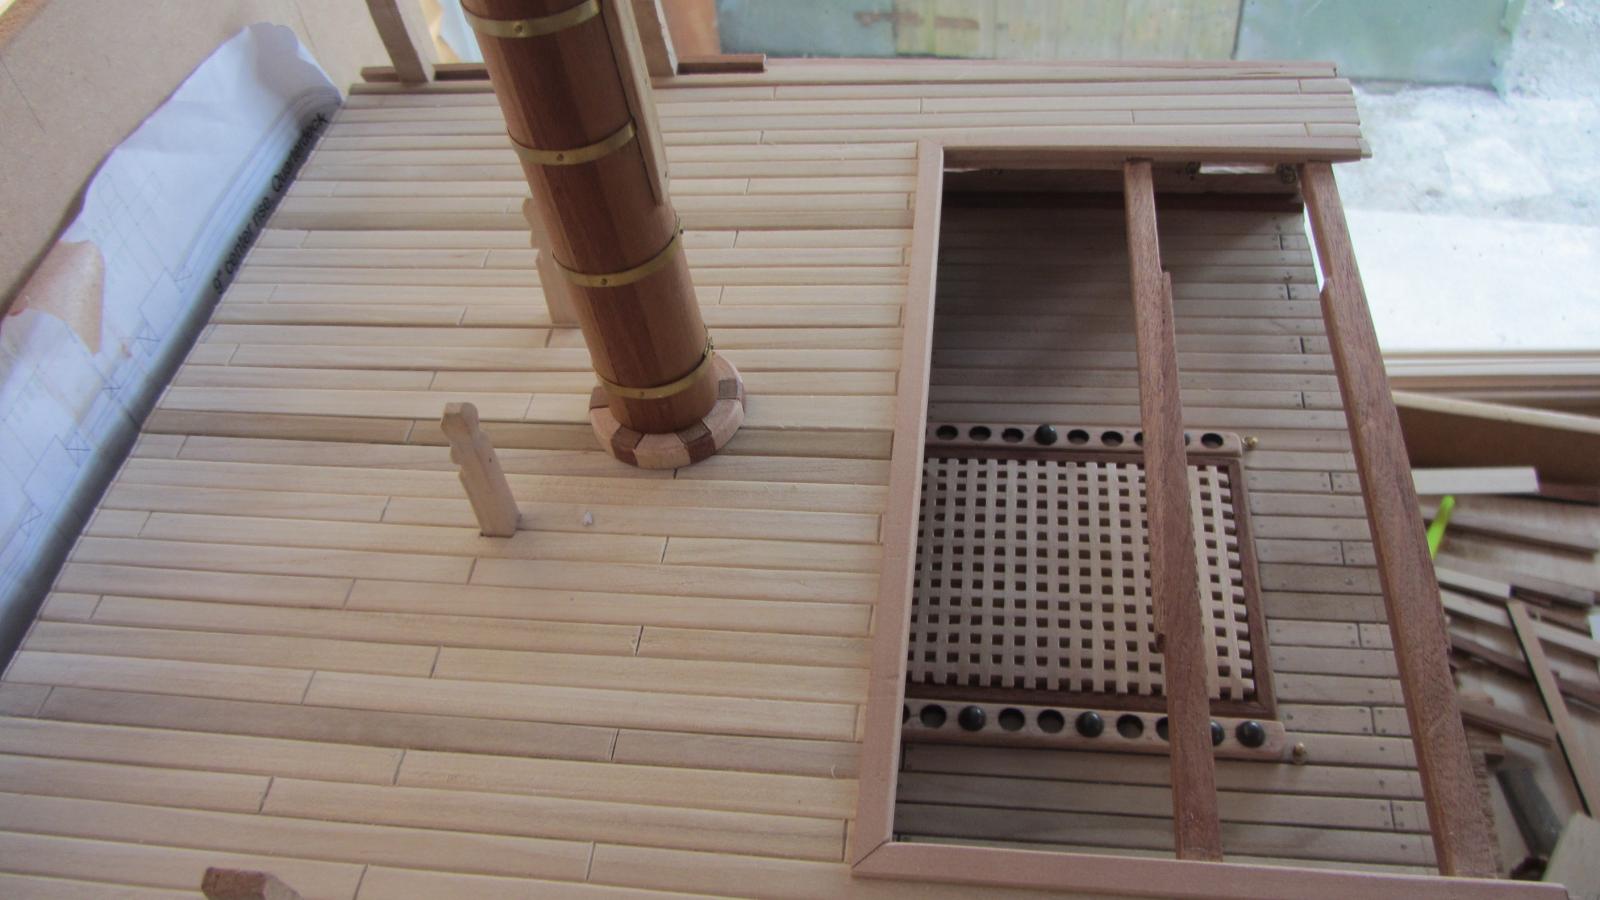
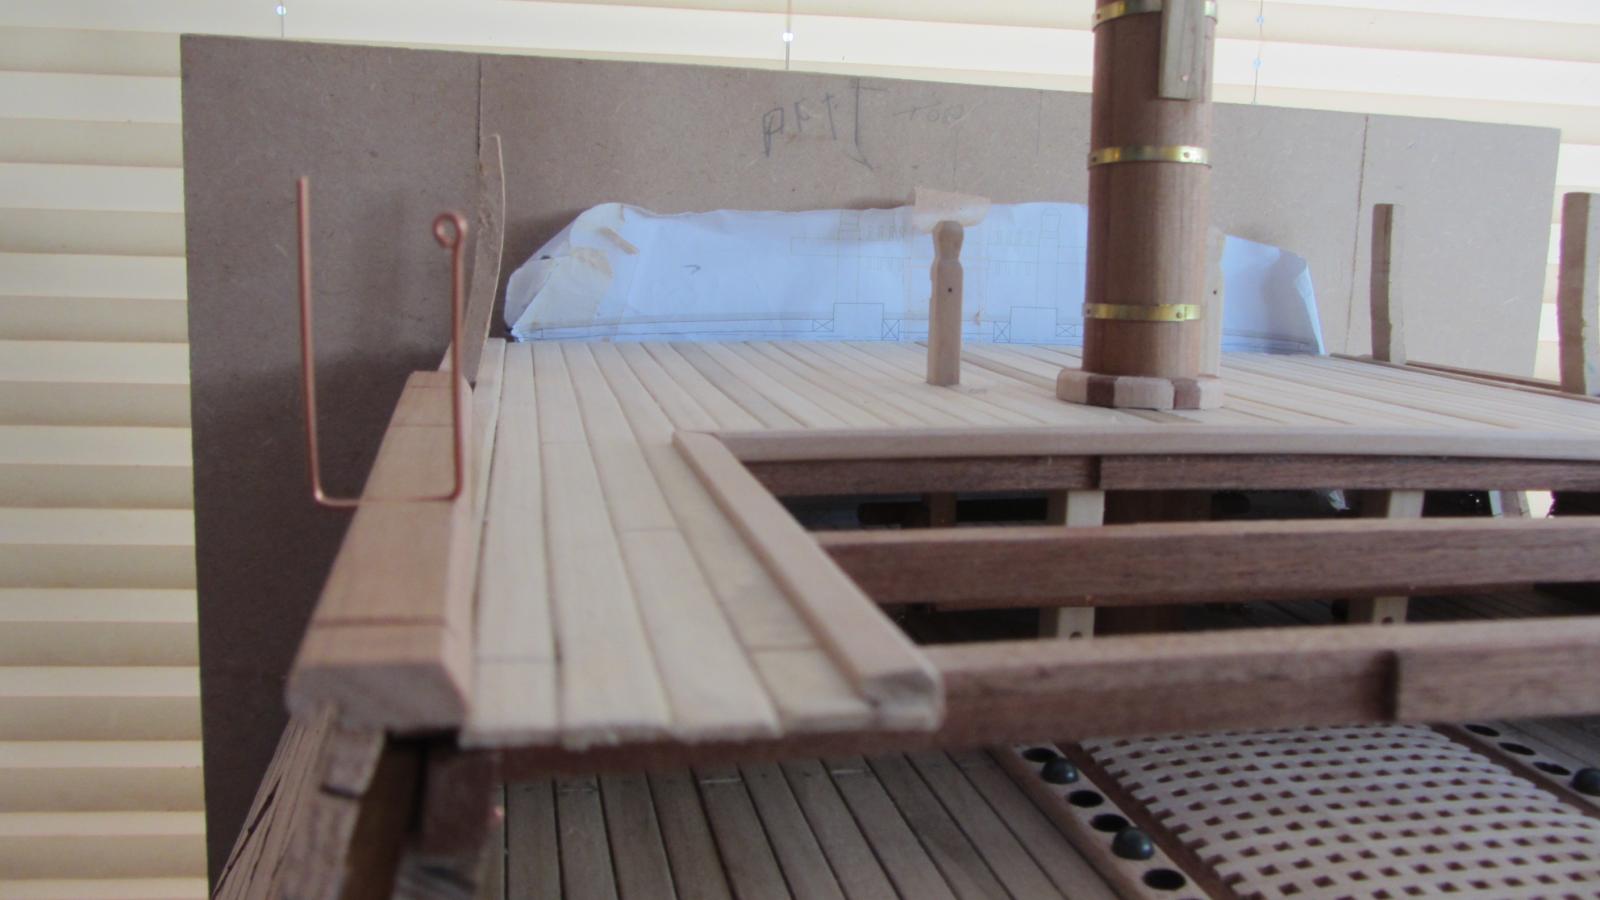
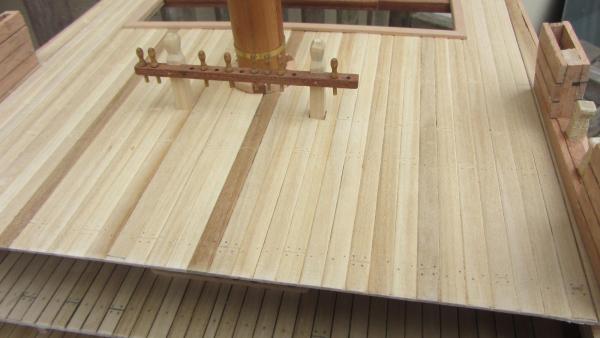
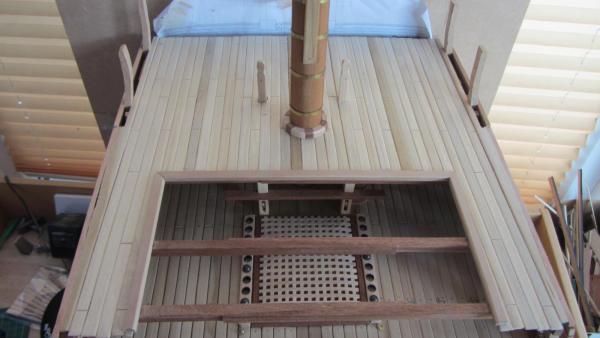
Hello Ship mates. Thanks for your very nice remarks And also for the likes. A small update on the Quarter deck. The Deck planked and ready to tree nail. Another view from the side. The copper wire is only for testing the jig for the bending. Will use brass for this. Started on the deck furniture and will post a update when completed. Thanks for looking in Regards Antony.


- 209 replies
-
- 14
-
-
Enterprise by MDG - Constructo
AntonyUK replied to MDG's topic in - Kit build logs for subjects built from 1751 - 1800
Hi Mark. Welcome to MSW. I use water(cold) to wet the plank and then I use a large wattage soldering iron with my home made bit on the end approx 25mm dia. Just wet the planks and run the iron over one side and when warm bend the plank into shape. You will notice the planks trying to curl up. Bend the planks just a little bit more then needed. And let them dry Never had any issues with plank bending using this method. Regards Antony. -
Hi Miroslac. Another interesting build of a Junk. Looks like you have a nice dog Mine likes to chew wood so it's a bit of an issue. All the best. Regards Antony.
-
Hi. Found this EBook while resurching my next project and it makes very interesting reading. http://www.gutenberg.org/files/17563/17563-h/17563-h.htm This is is free to read and distribute. No copyright. Regards Antony.
-
Help with a Byrne's Saw - end of cut problem
AntonyUK replied to rtropp's topic in Modeling tools and Workshop Equipment
Hi Richard. When pushing through make sure the push stick in between the blade and the fence. Pushing from the none fence side will cause the timber to jam on the blade. The fence will hold the timber true but as the cut is coming to the end the push will close the Kerf. Can do a drawing better to explame what I am talking about. Regards Antony.