


Baker
-
Posts
4,134 -
Joined
-
Last visited
Content Type
Profiles
Forums
Gallery
Events
Posts posted by Baker
-
-
-
-
-
Welcome to MSW and good luck with the Cutty Sark
-
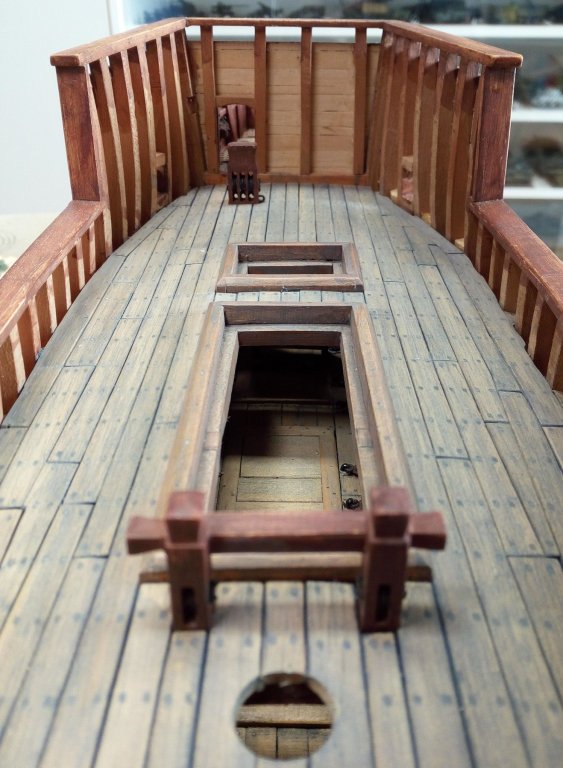
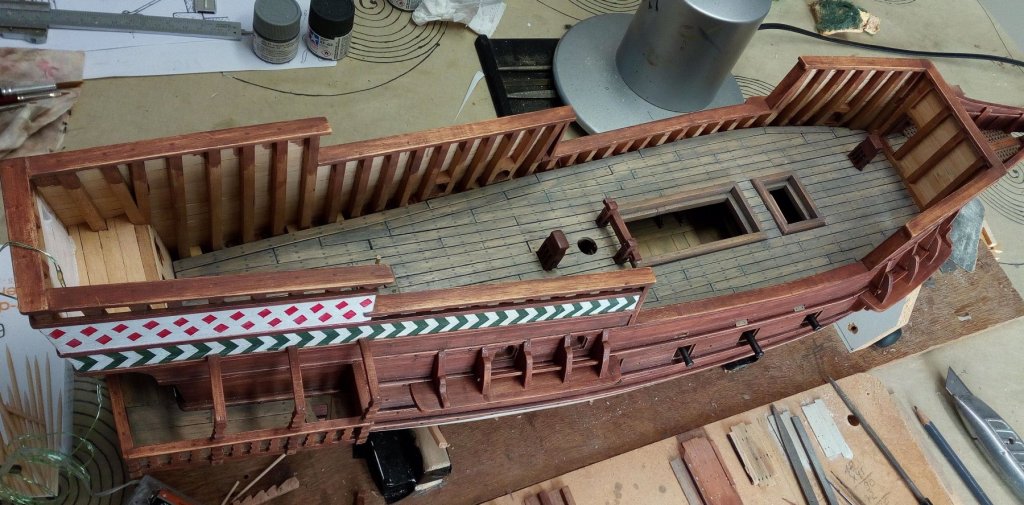
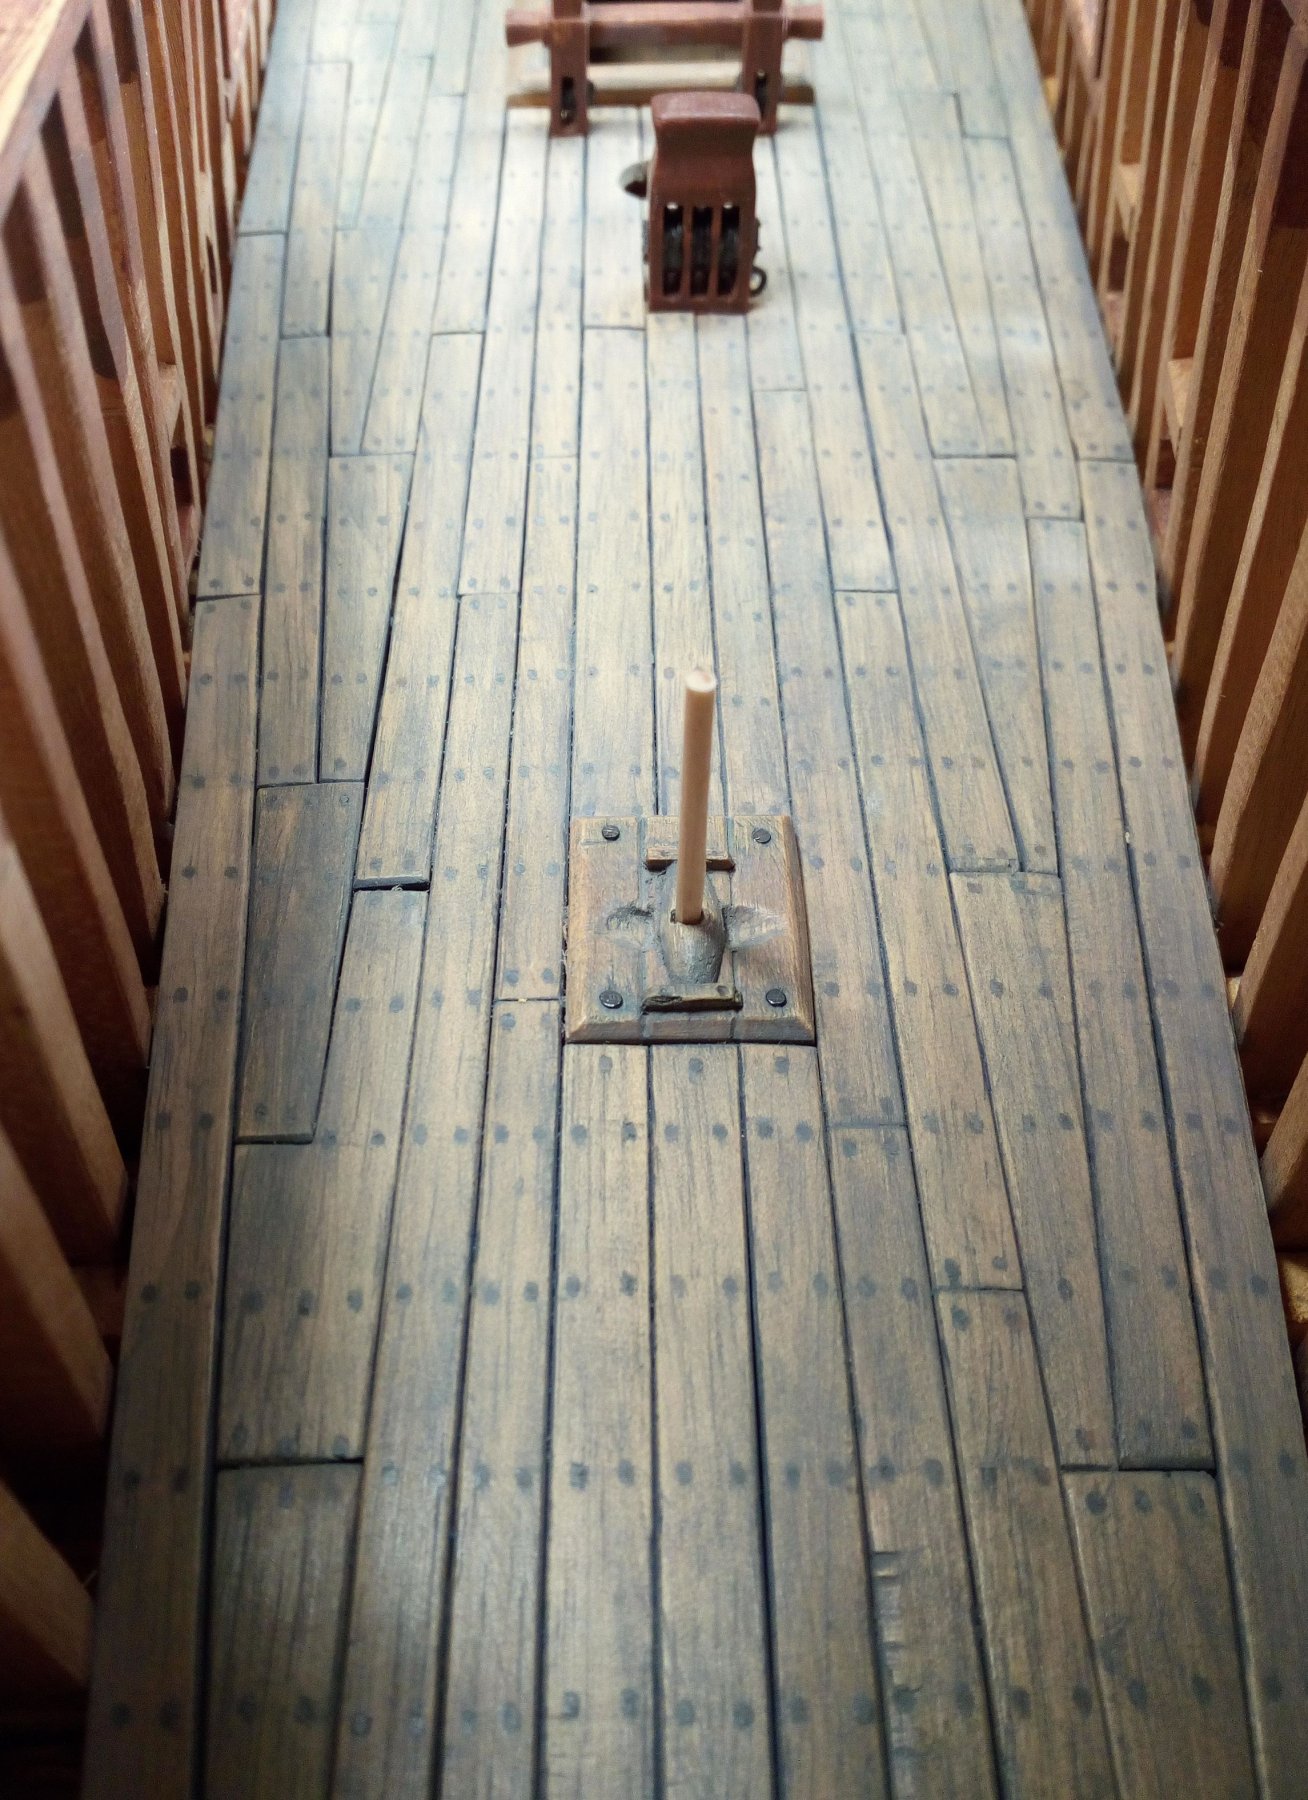
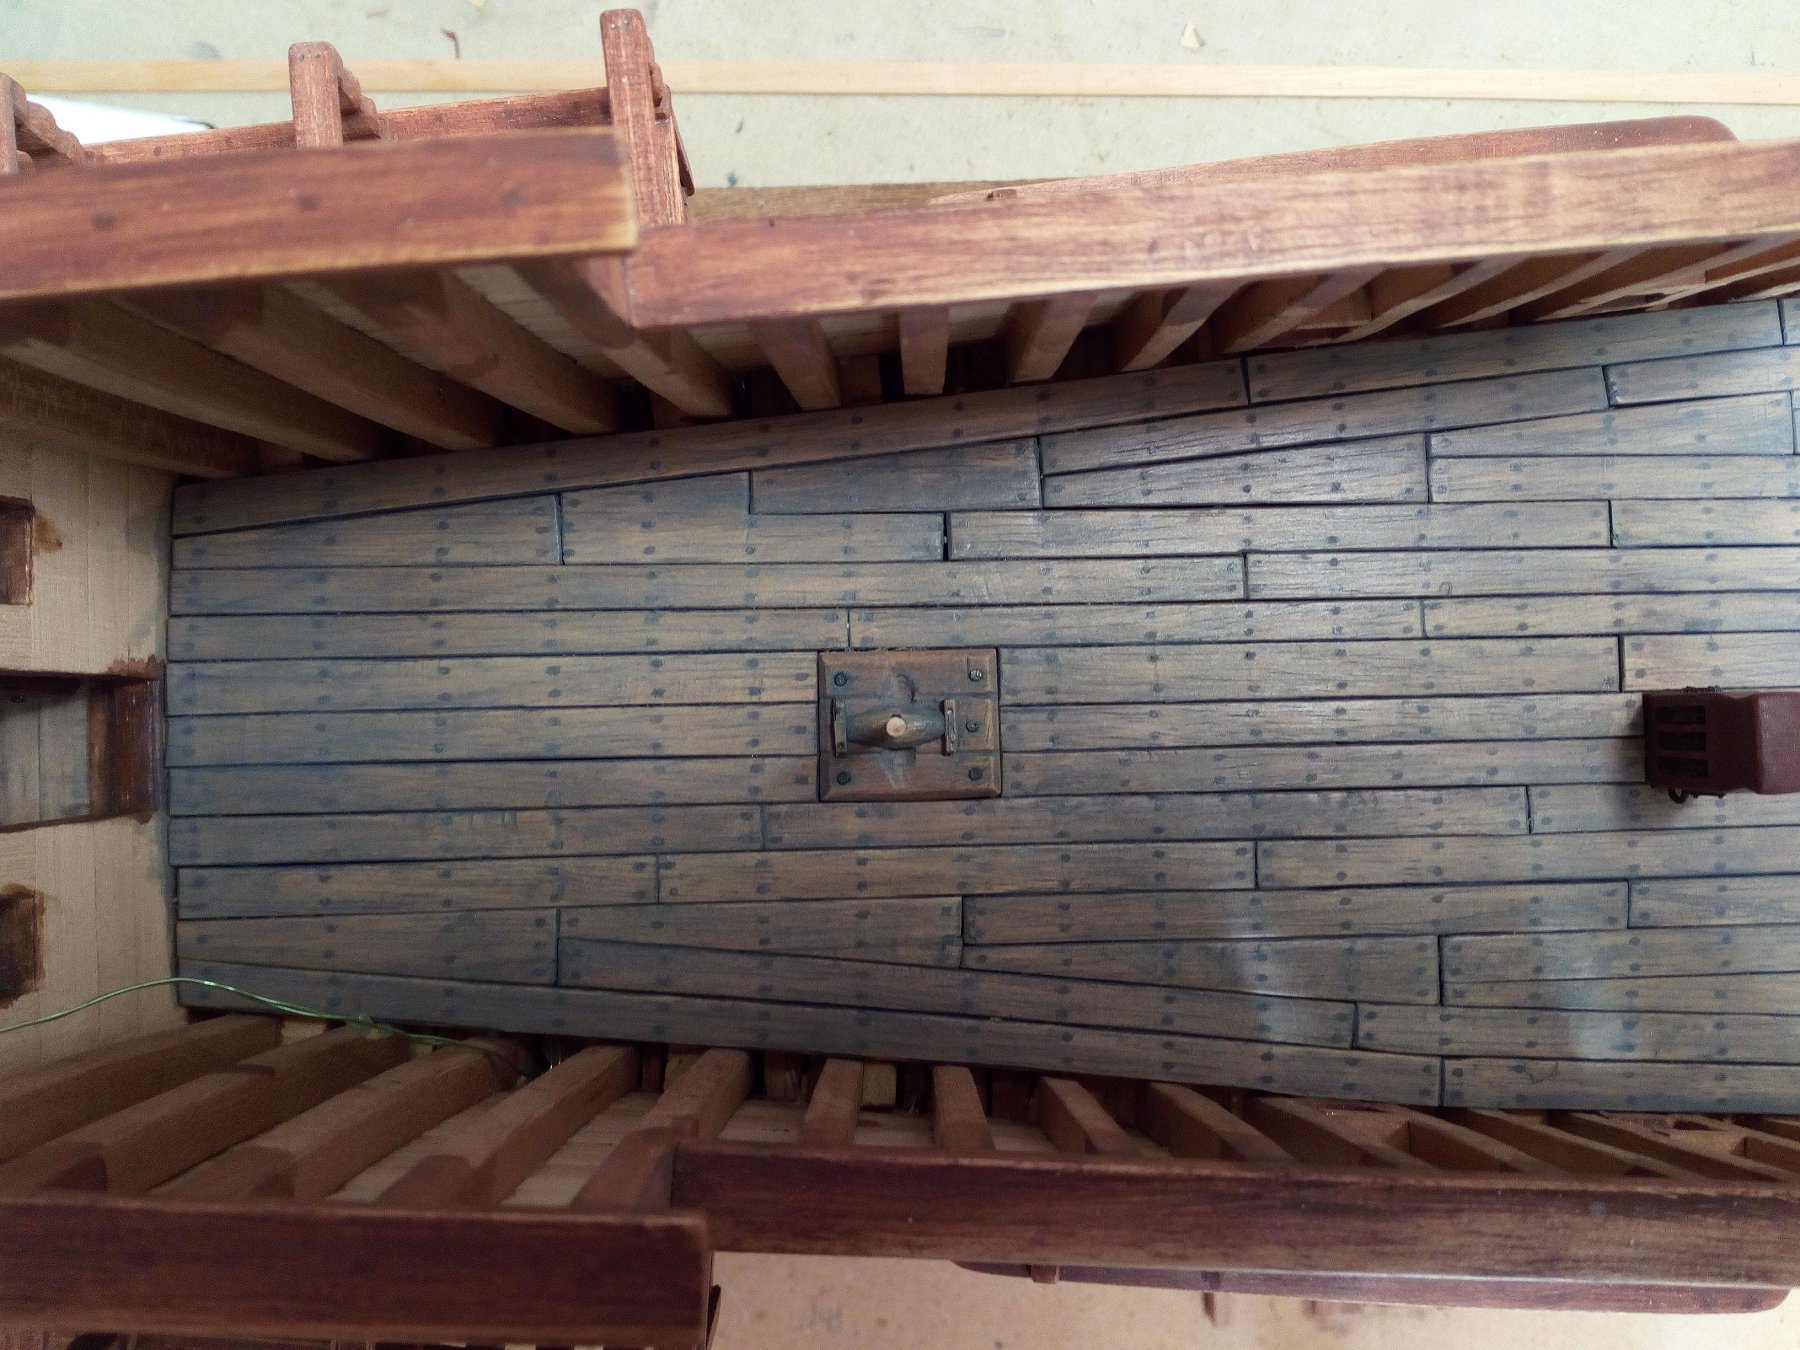
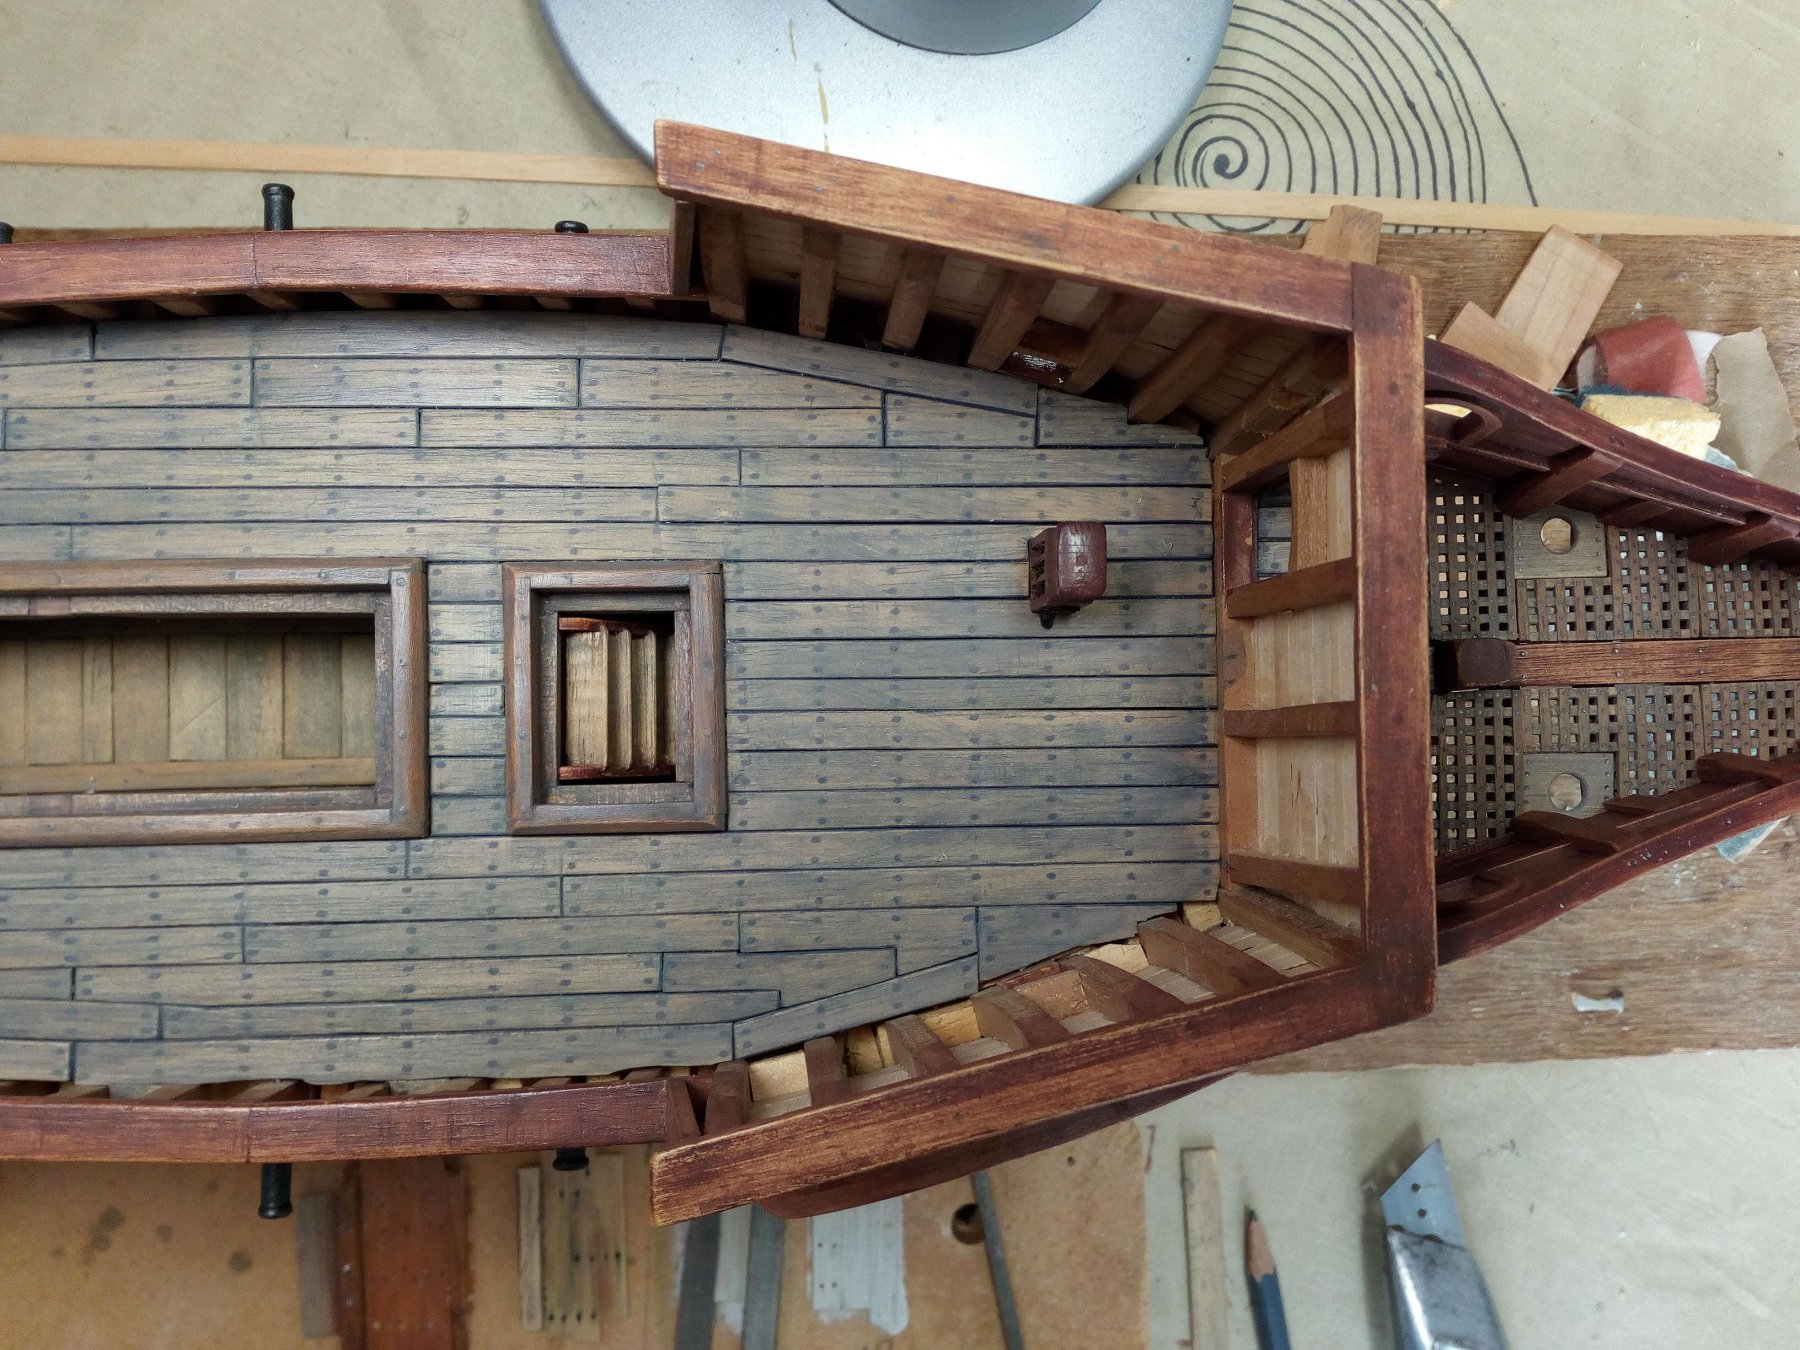
I have finished planking the deck. This work took a while.
To prepare each plank separately before gluing on the model, takes more time. The advantage is that no more sanding has to be done on the model. So there will be no dust on the model itself.
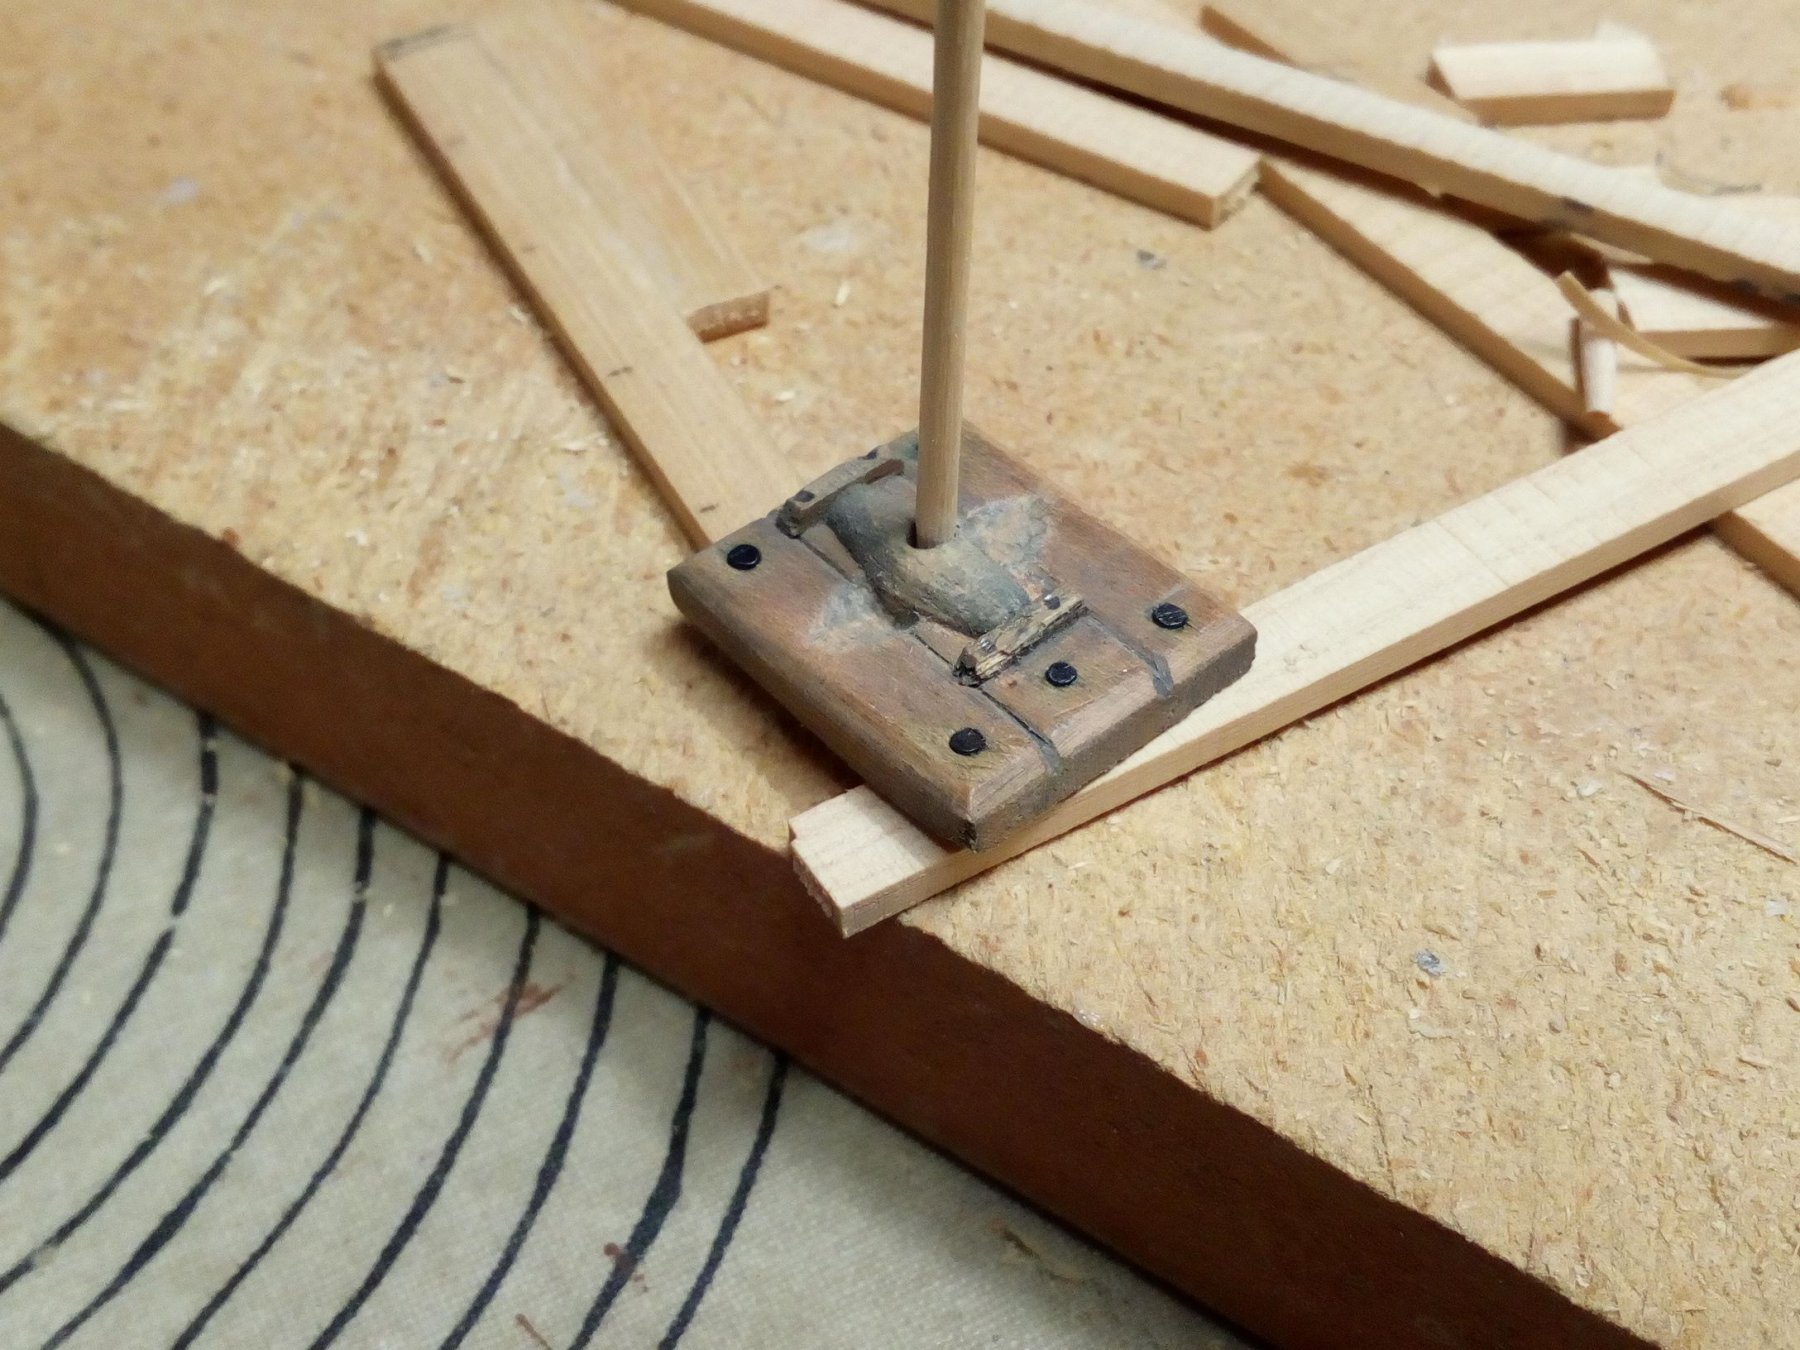
The base for the whip staff has also been made.
It has not become a deck with a nice equal planking scheme. So, my apologies to everyone who does not like this.Whip staff
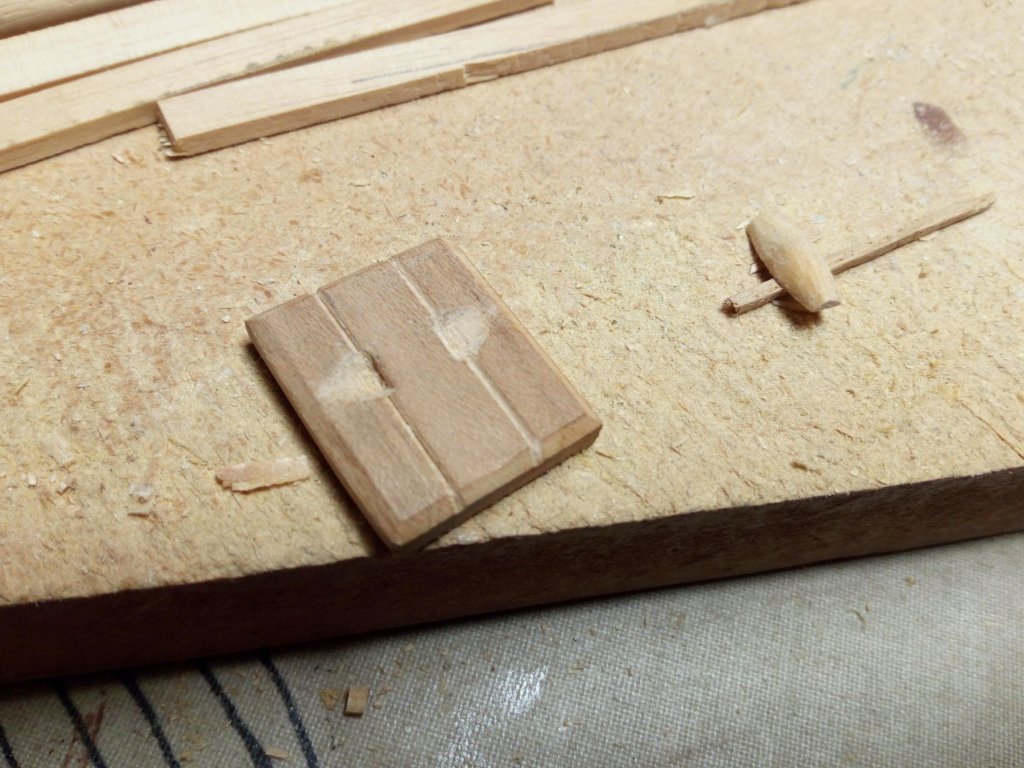
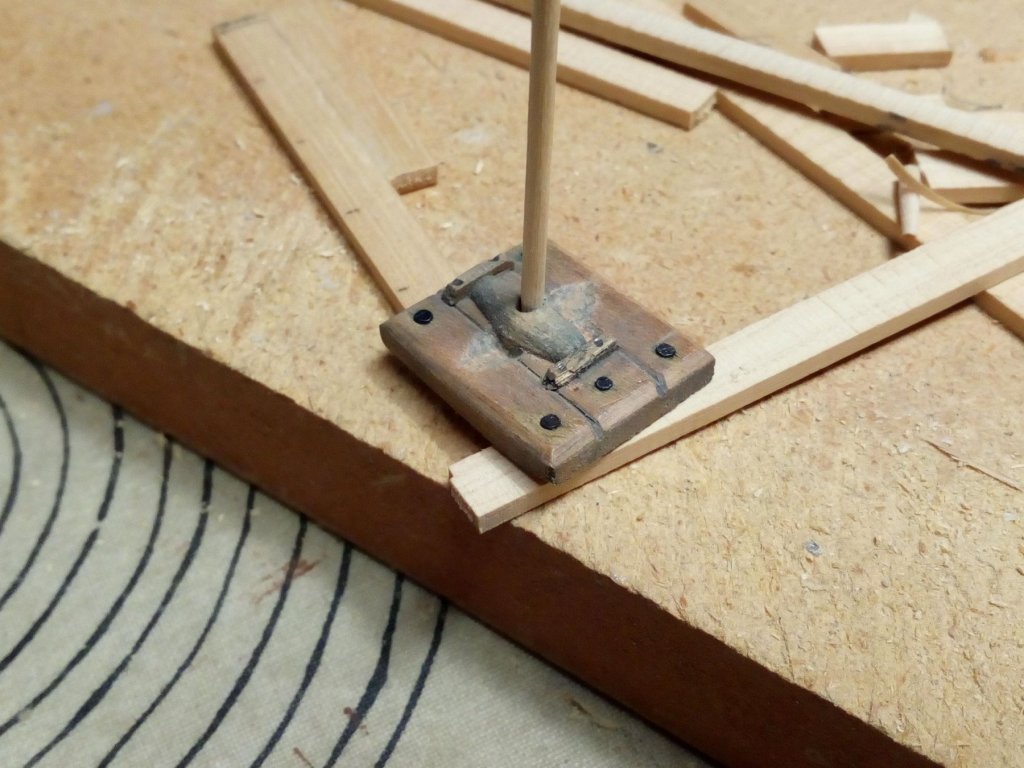
deck


Thanks for following
- davyboy, nikbud, marktiedens and 12 others
-
 15
15
-
Very nicely done and beautifully made
I will follow this build.
-
-

Some people say :
"a drink a day, keeps the doctor away"
But for me
An hour of modeling per day, keeps the doctor away
")
Patrick
- mtaylor and GrandpaPhil
-
2
-
-
Welcome to MSW.
Greetings Patrick
-
-
I'm glad I could help you.
greetings Patrick
- Louie da fly and mtaylor
-
2
-
-
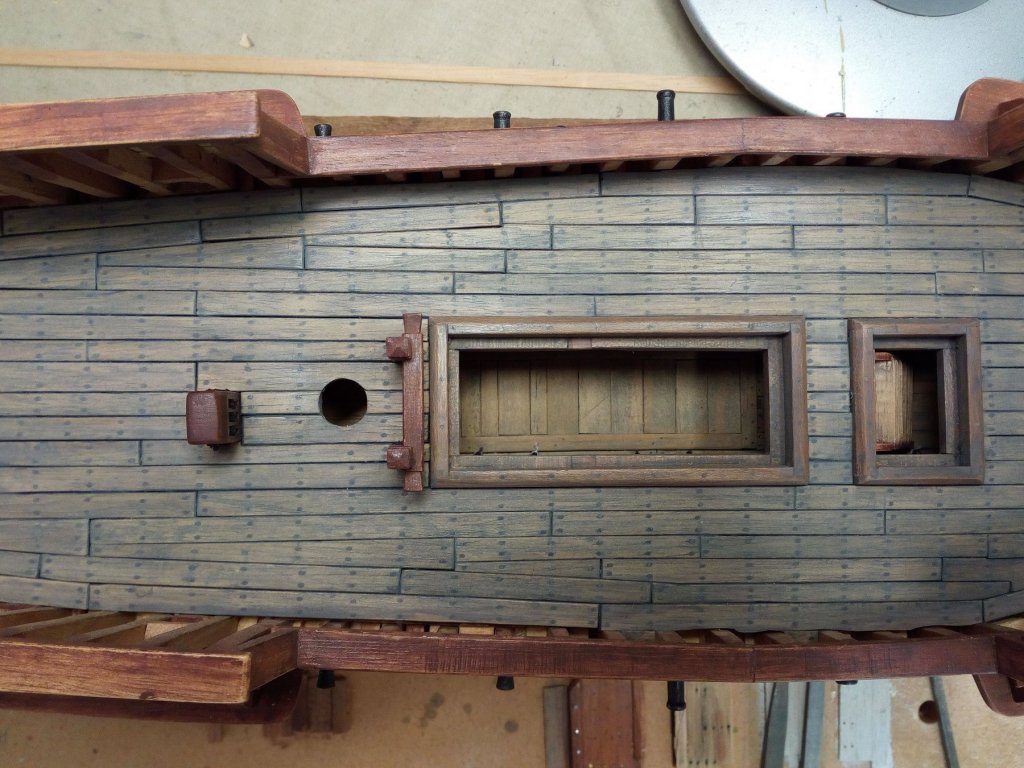
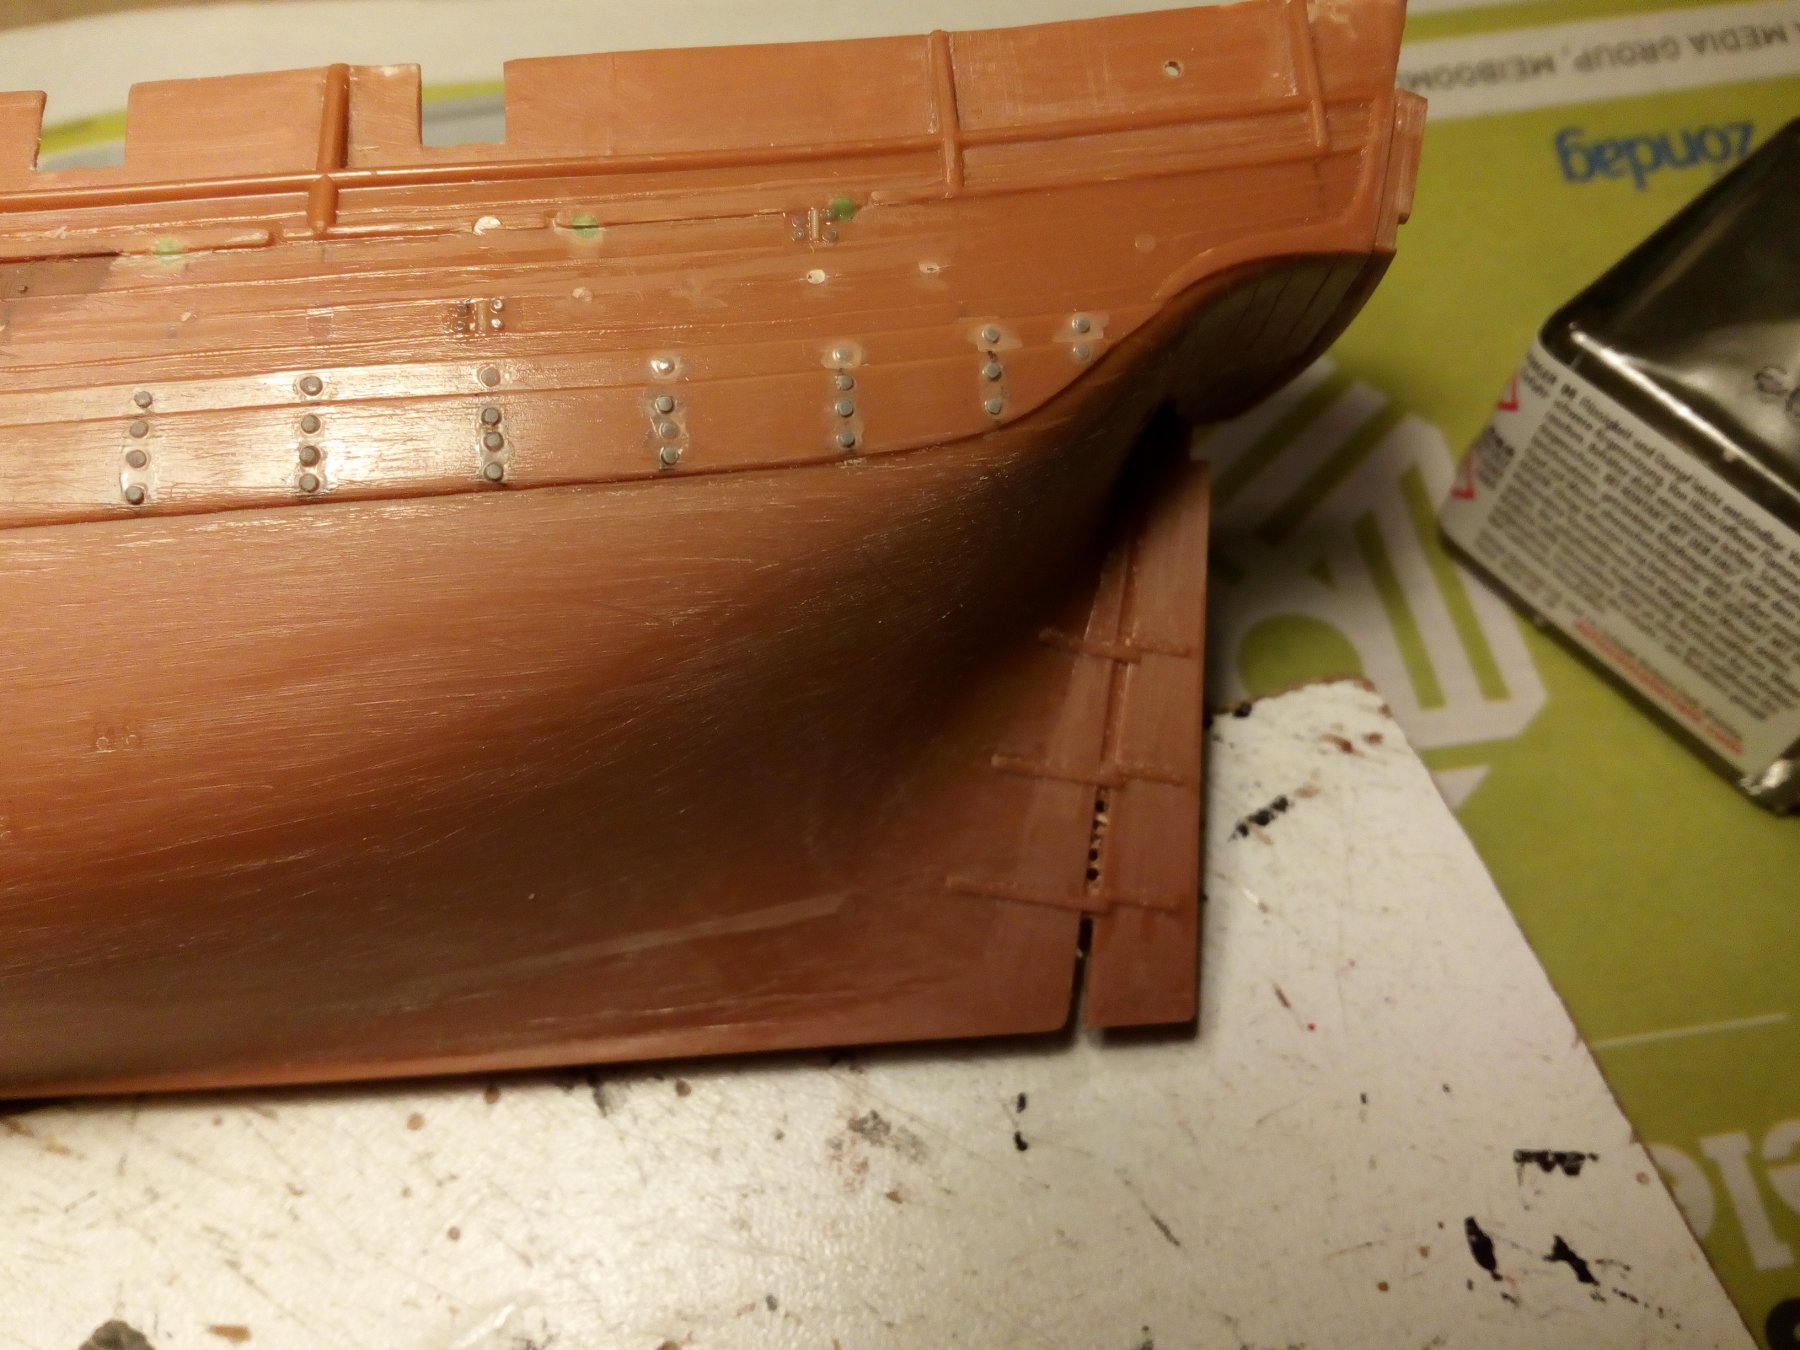
Short update,
The rudder is cut loose from the hull and the bolts are placed.

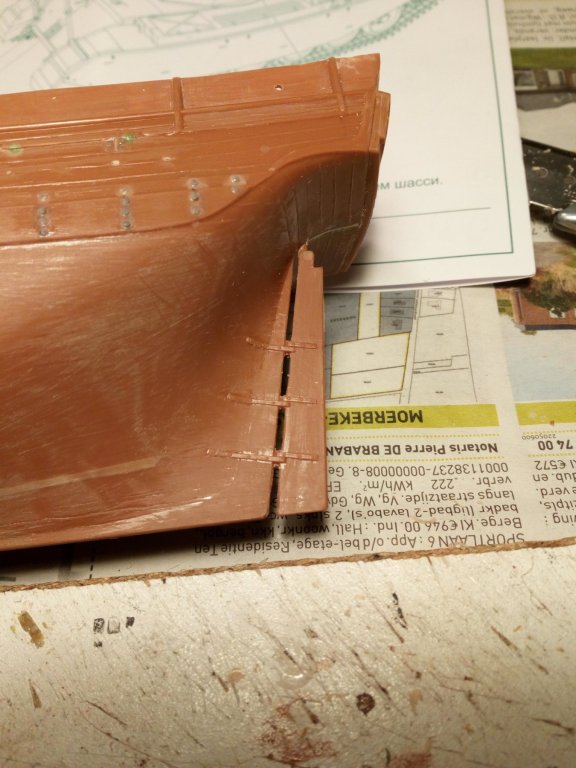
 Now can be started with the further finishing of the hull
- SigEp Ziggy, CDW, zappto and 3 others
-
6
-
-
-
-
indeed.
Just look at the topic below
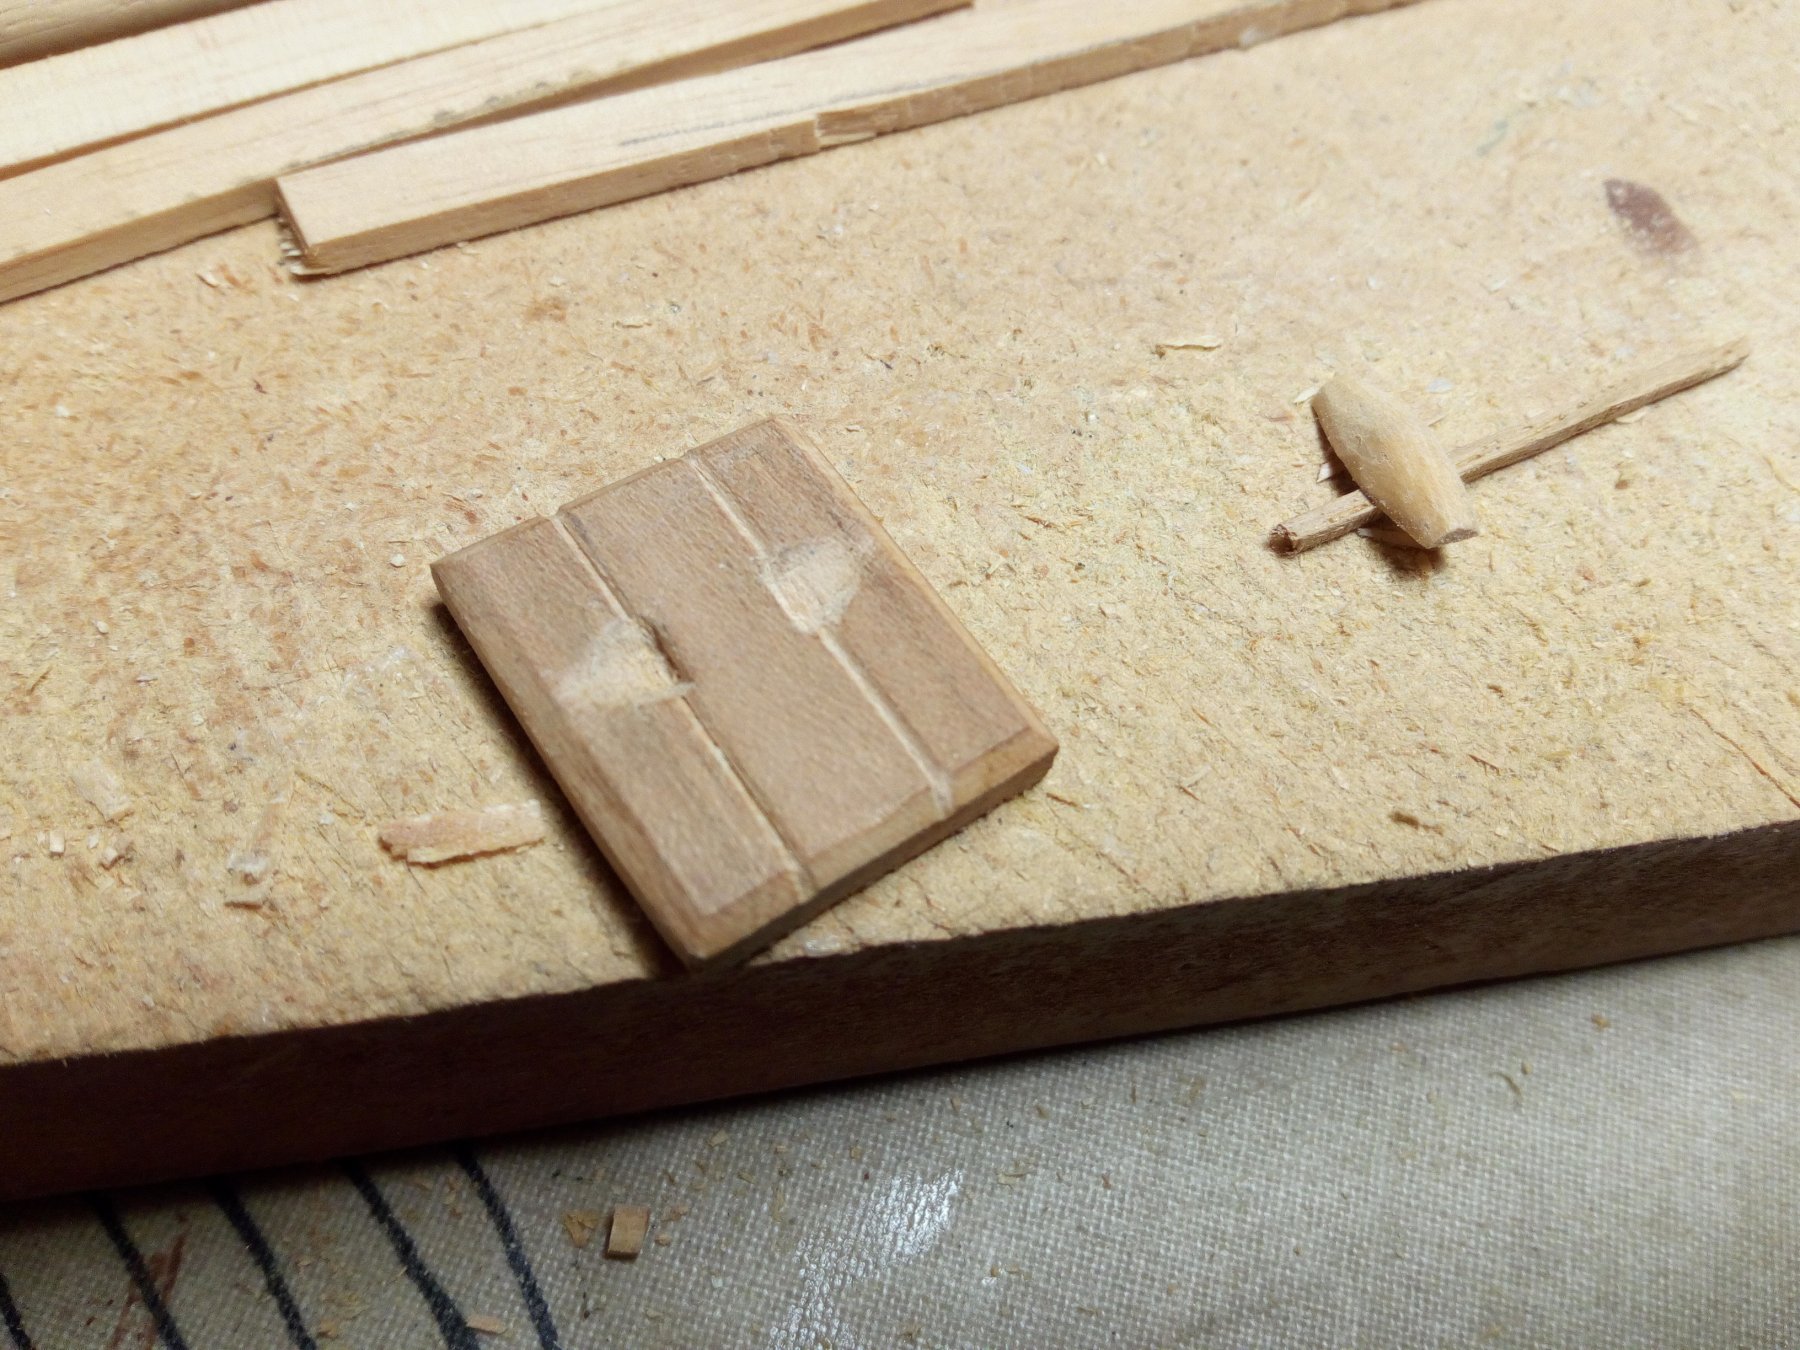
In those days the hull planks were 4.2 to 5.2 meters long.
suppose that deck planks were 6.4m long (640 cm)
Then a deck plank on scale 1/64 can be about 10 cm long maximum ( 4 inch).
The deck planking on my Golden Hind will have bits and pieces.


-
-
En groetjes uit Belgie.
- mtaylor, popeye the sailor and Anna
-
3
-
too long is not a problem.
you can bend the tracks a little down between the return rollers.This calls "a sagging look" i think.
- popeye the sailor, cog, mtaylor and 1 other
-
4
-
Danny,
Tracks on a scalemodel can always be a bit too long or too short (Unfortunately, I have already experienced this a lot...)
Do not glue the tracks before you are sure that the length is correct.I would first place the front and last wheel (bottom rollers) then you see if the tracks have the correct length.
The track tension is controlled with the idler wheel.
Nice work.
-
On 1/5/2019 at 8:02 AM, Katsumoto said:
Nice kit and good luck with the build.
Thank you,
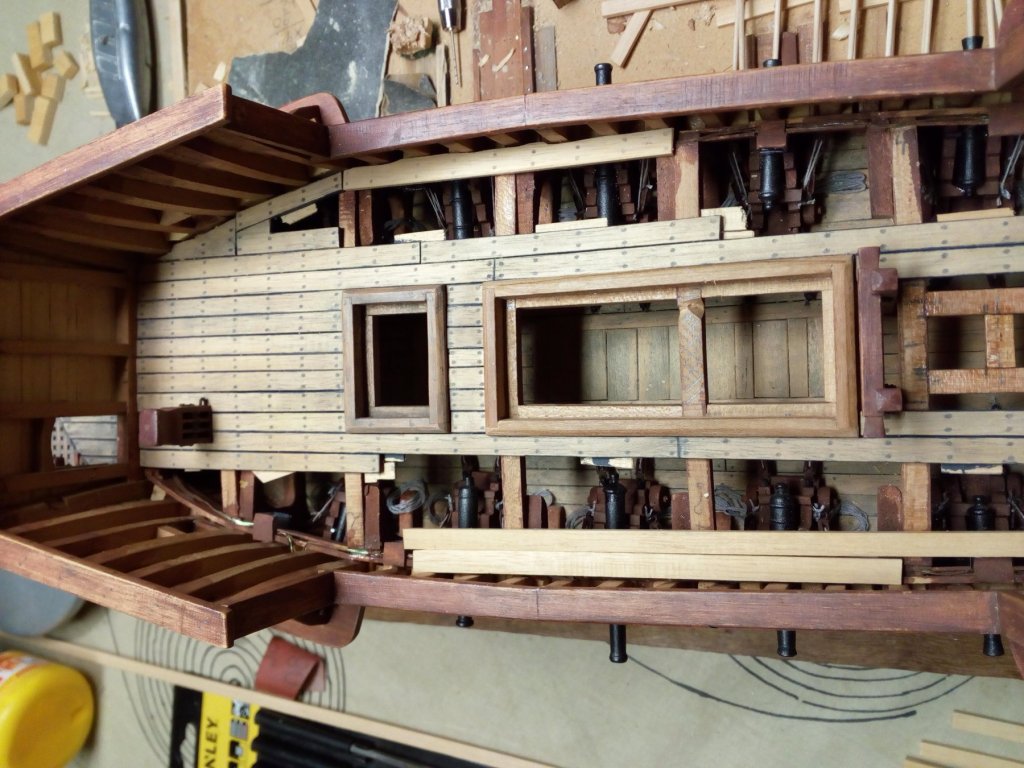
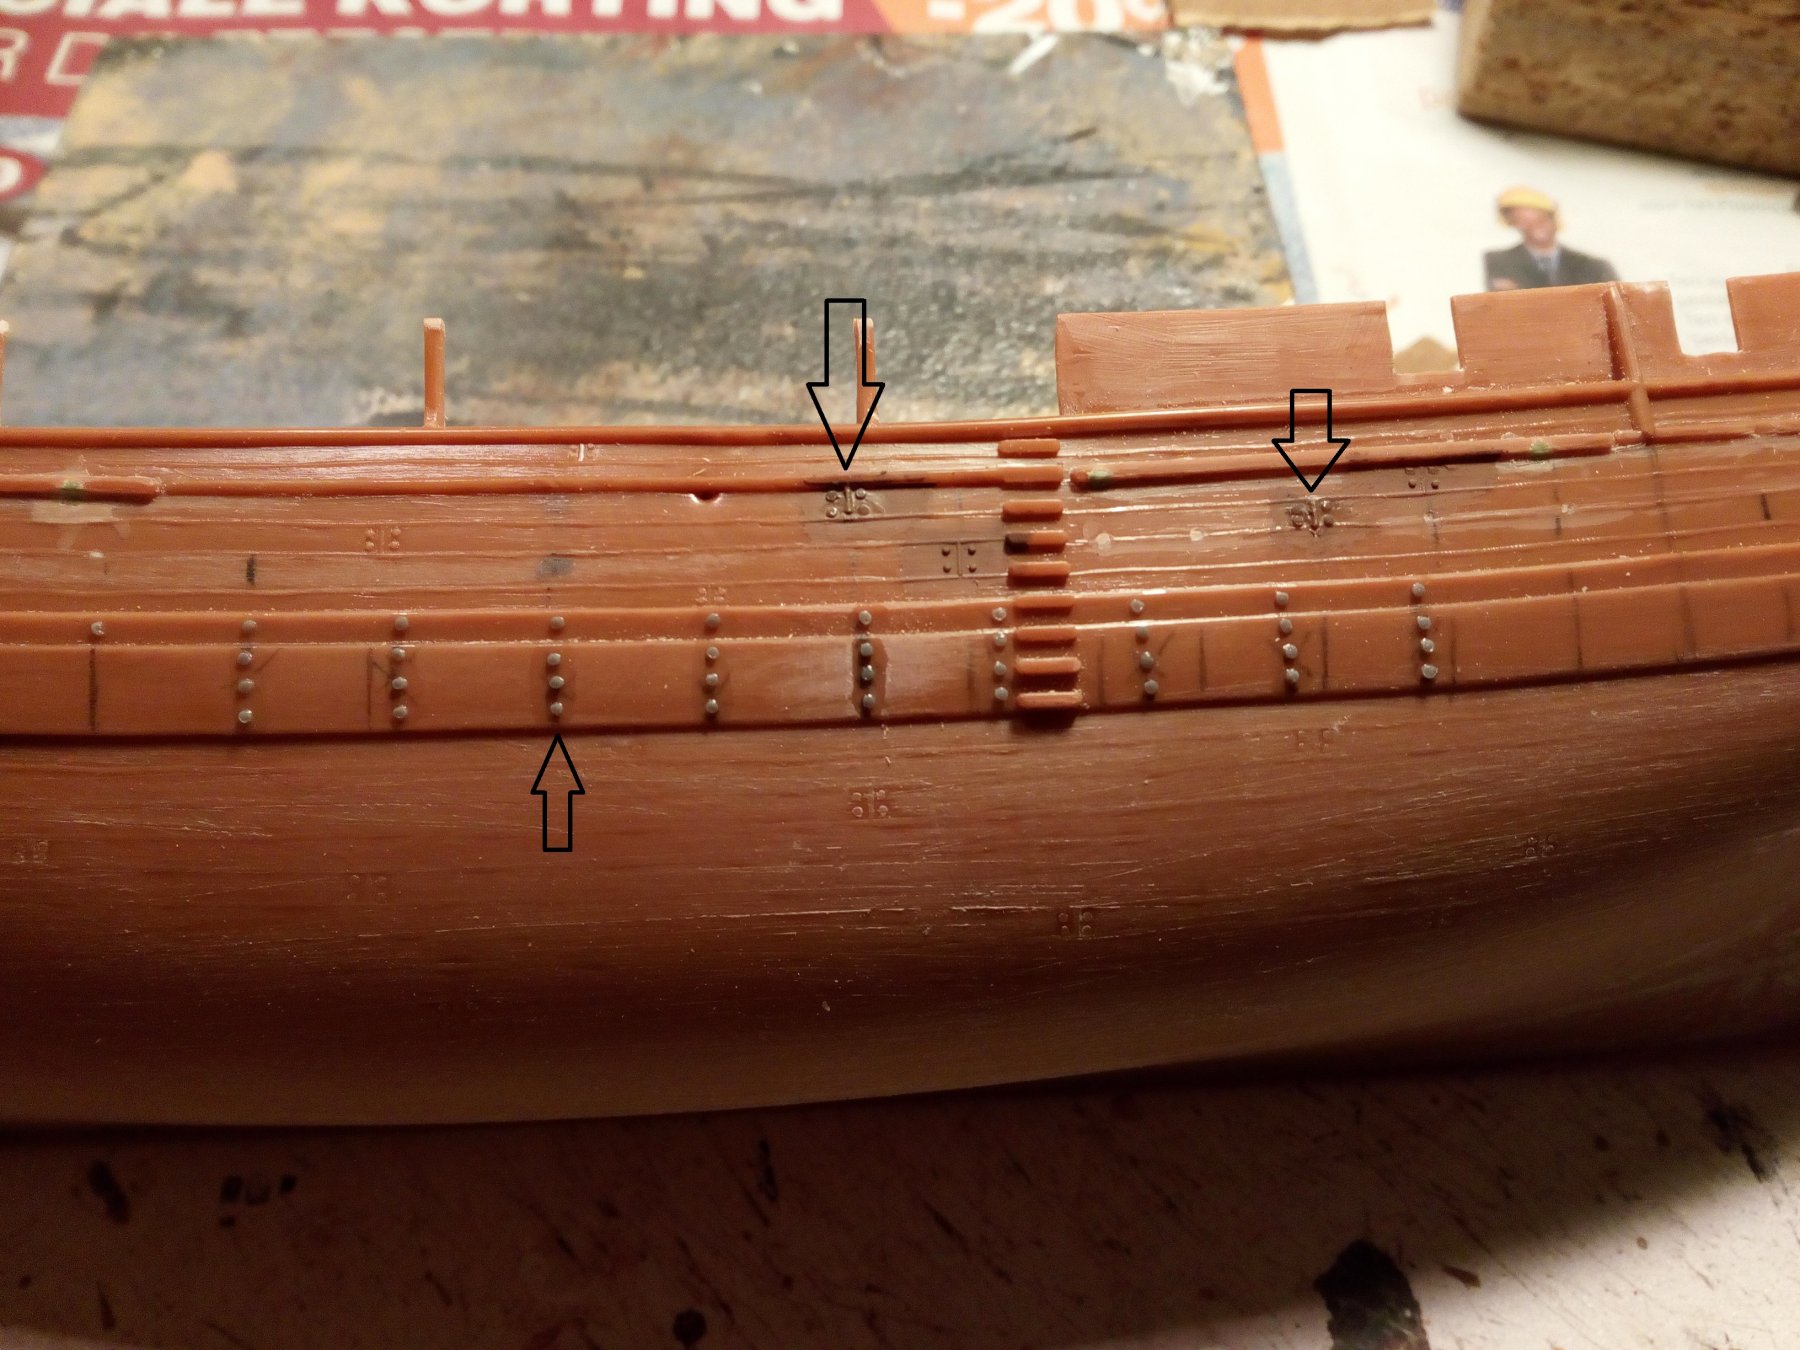
In the meantime, a cautious start has been made with the fitting of bolts. These must be carefully sanded later
And an attempt to imitate the "nails and planks"
"bolts and nails" are made of stretched spreu
- CDW, zappto, popeye the sailor and 2 others
-
5
-


Hanseatic Ship c. 1500 by goetzi73 - 1:50 - first scratch build
in - Subjects built Up to and including 1500 AD
Posted
Very good for a 9 year old")