


Baker
-
Posts
3,663 -
Joined
-
Last visited
Content Type
Profiles
Forums
Gallery
Events
Posts posted by Baker
-
-
Toni,
My wife is doing the whole household and she does this all very wel
And she goes to work.She knows that making 3 models at the same time is not multitasking.
Then she just shakes her head from left to right and smiles
")
")
I'm making diner.
Maintain a garden of 2000m2
Do all the small repairs in the house.
Do maintenance on our 2 cars
Go to work 5 days a week.
And, in 32 years of modeling, there are only 2 models (on a total of 1400 completed) that ended up in the trash because of a failure.Ps,
Hopefully, I do not offend anyone with my bad knowledge of the English language
- Estoy_Listo, mtaylor, Canute and 1 other
-
 4
4
-
-
-
Very beautiful and thoughtfully done
Félicitations à vous !
-
-
Well done with the planking EJ.
She looks beautiful.
Always a pleasure to follow- Elijah, yancovitch and EJ_L
-
3
-
-
It's good to see you back

And I'm going to follow your build
-
Beautiful ship and almost finished.
Do you have an idea what your next model will be?
- mort stoll, robdurant and mtaylor
-
3
-
Beautiful ram and ladder
Glad you're back !- mtaylor, Robin Lous and EJ_L
-
3
-
Looking great Nils,
Good progress and well done.
- Piet, Mirabell61 and mtaylor
-
3
-
-
-
-
Translating this text in to Dutch with google was not simple.
The naming of ship parts are a disaster on google translate .If I understand correctly, the piece you want to loosen is firmly fixed and difficult to reach.
Is the risk of serious damage to your model not too big?I would still wait a little with this work.
Perhaps someone finds a better solution without demolition work.If I find something on time I'll let you know.
- EJ_L and BLACK VIKING
-
2
-
-
Looks beautiful !!
I am already curious about your solution for the "lack of foresight".But beware for battle damage
.
Always pleasure to follow your build
- popeye the sailor, md1400cs and EJ_L
-
3
-
-
Welcome from Belgium. And good luck with the the build
-
Welcome from Belgium
-
G.L. , Michael , Roger and Steve.
Thank you for following and the compliments
@ G.L.
In autumn and winter I build plastic models on the kitchen table because of better lighting above this table (My sight is not so good with bad lighting).
And the admiral says : You do not have permission to make dust (from sanding wood) in the kitchen
So it's plastic model building or nothing.@ Roger
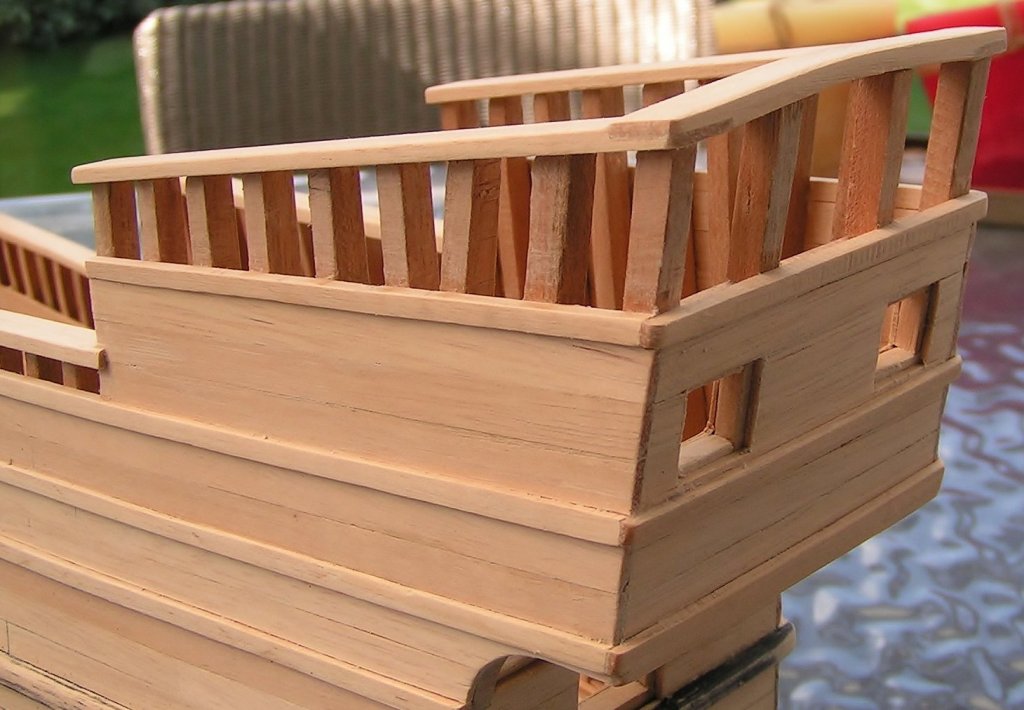
The high open railing is indeed high. For the time being, this will remain.
We see what the future brings, making this rail lower is still possible.Thank you all for following and likes
-
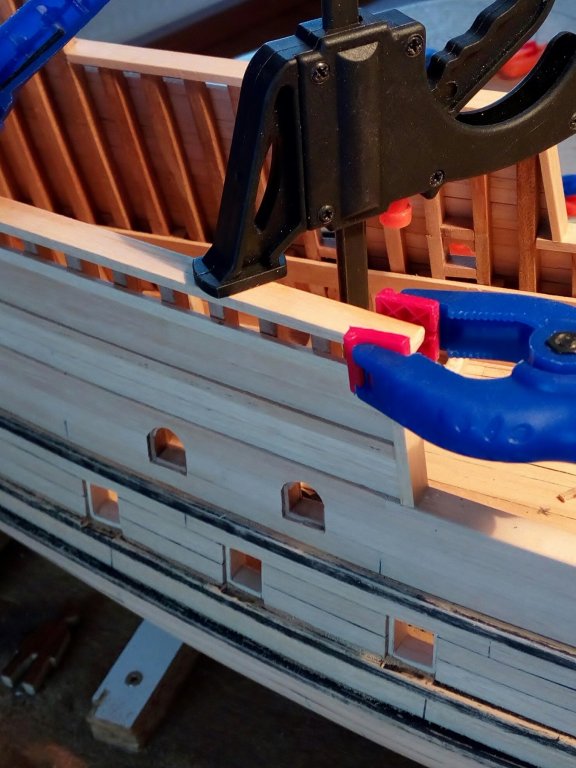
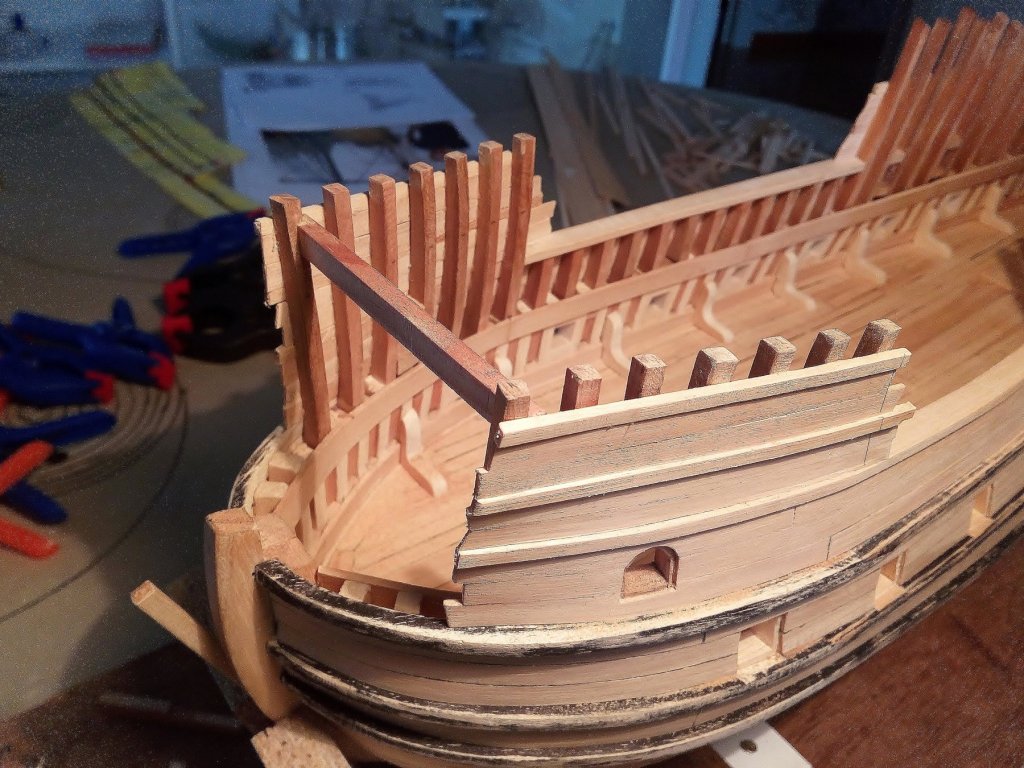
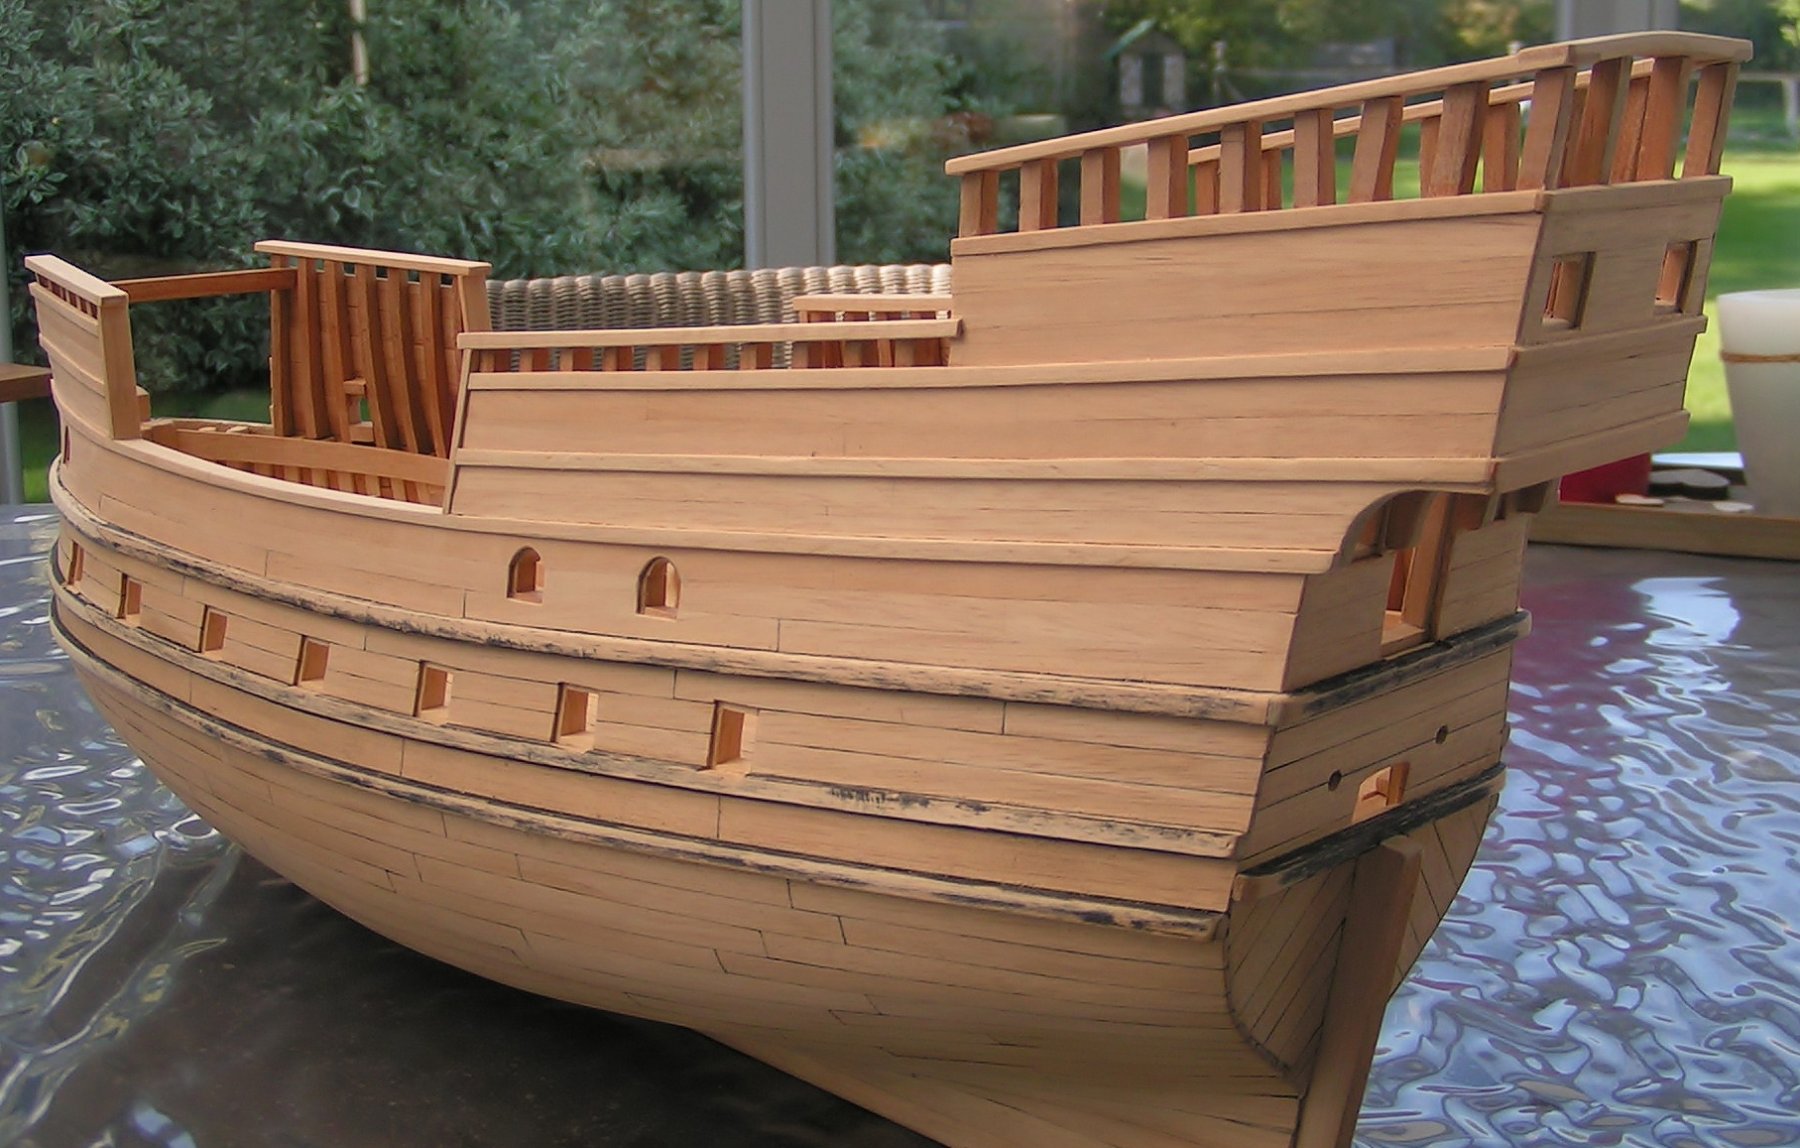
On the poop there are no planks on the hull. Only the frames are visible.
It seems that this was a widely used way.
Determining the height of the frames. And finishing.

I already had a suspicion that the planking on stern came too high.
So, I partly removed the planking.

The wales on the stern are at the same height as on the hull.
As seen on some images of that time.
So no big images on the stern. There is no room for this. And they are rarely seen on ships from this period.
probably just a picture of a pelican or a hind.


The way of building this hull was not always according to the rules of modeling a wooden ship (due to lack of experience
 )
)
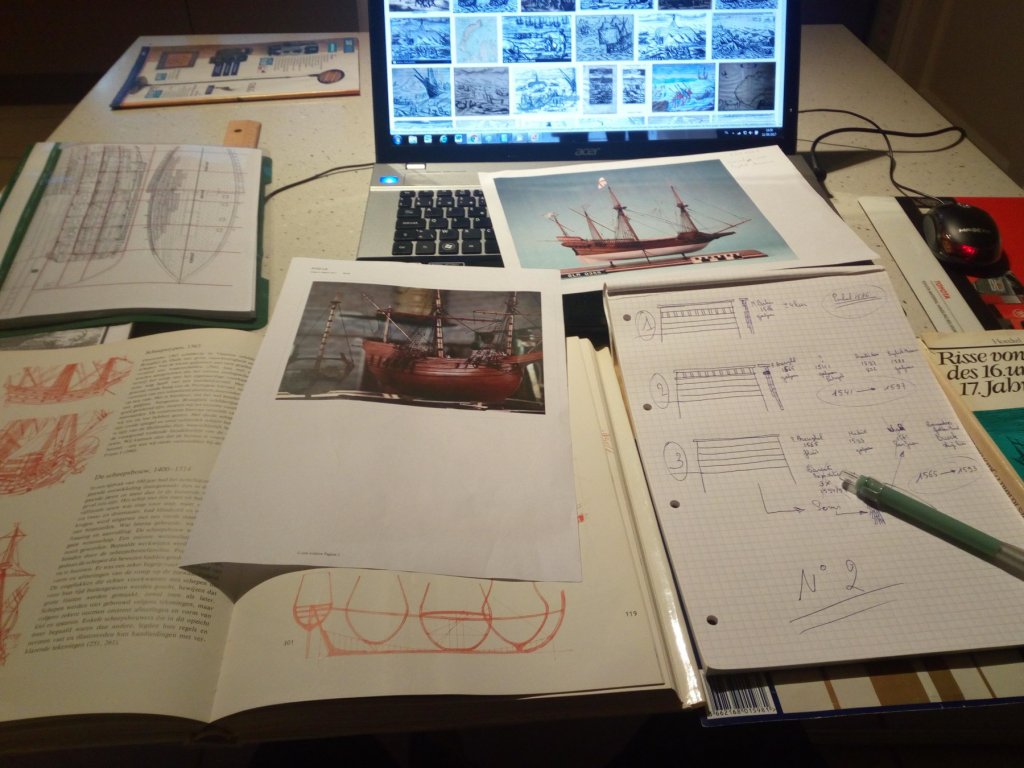
The balcony (still to be built) and the stern can both be wrong and are open for discussion.
But there are sudies who say that even some merchant ships had a cabin for the captain under the poopdeck.
And in the second half of the 16th century the balcony on the stern began to appear.
So why not add them to this model.
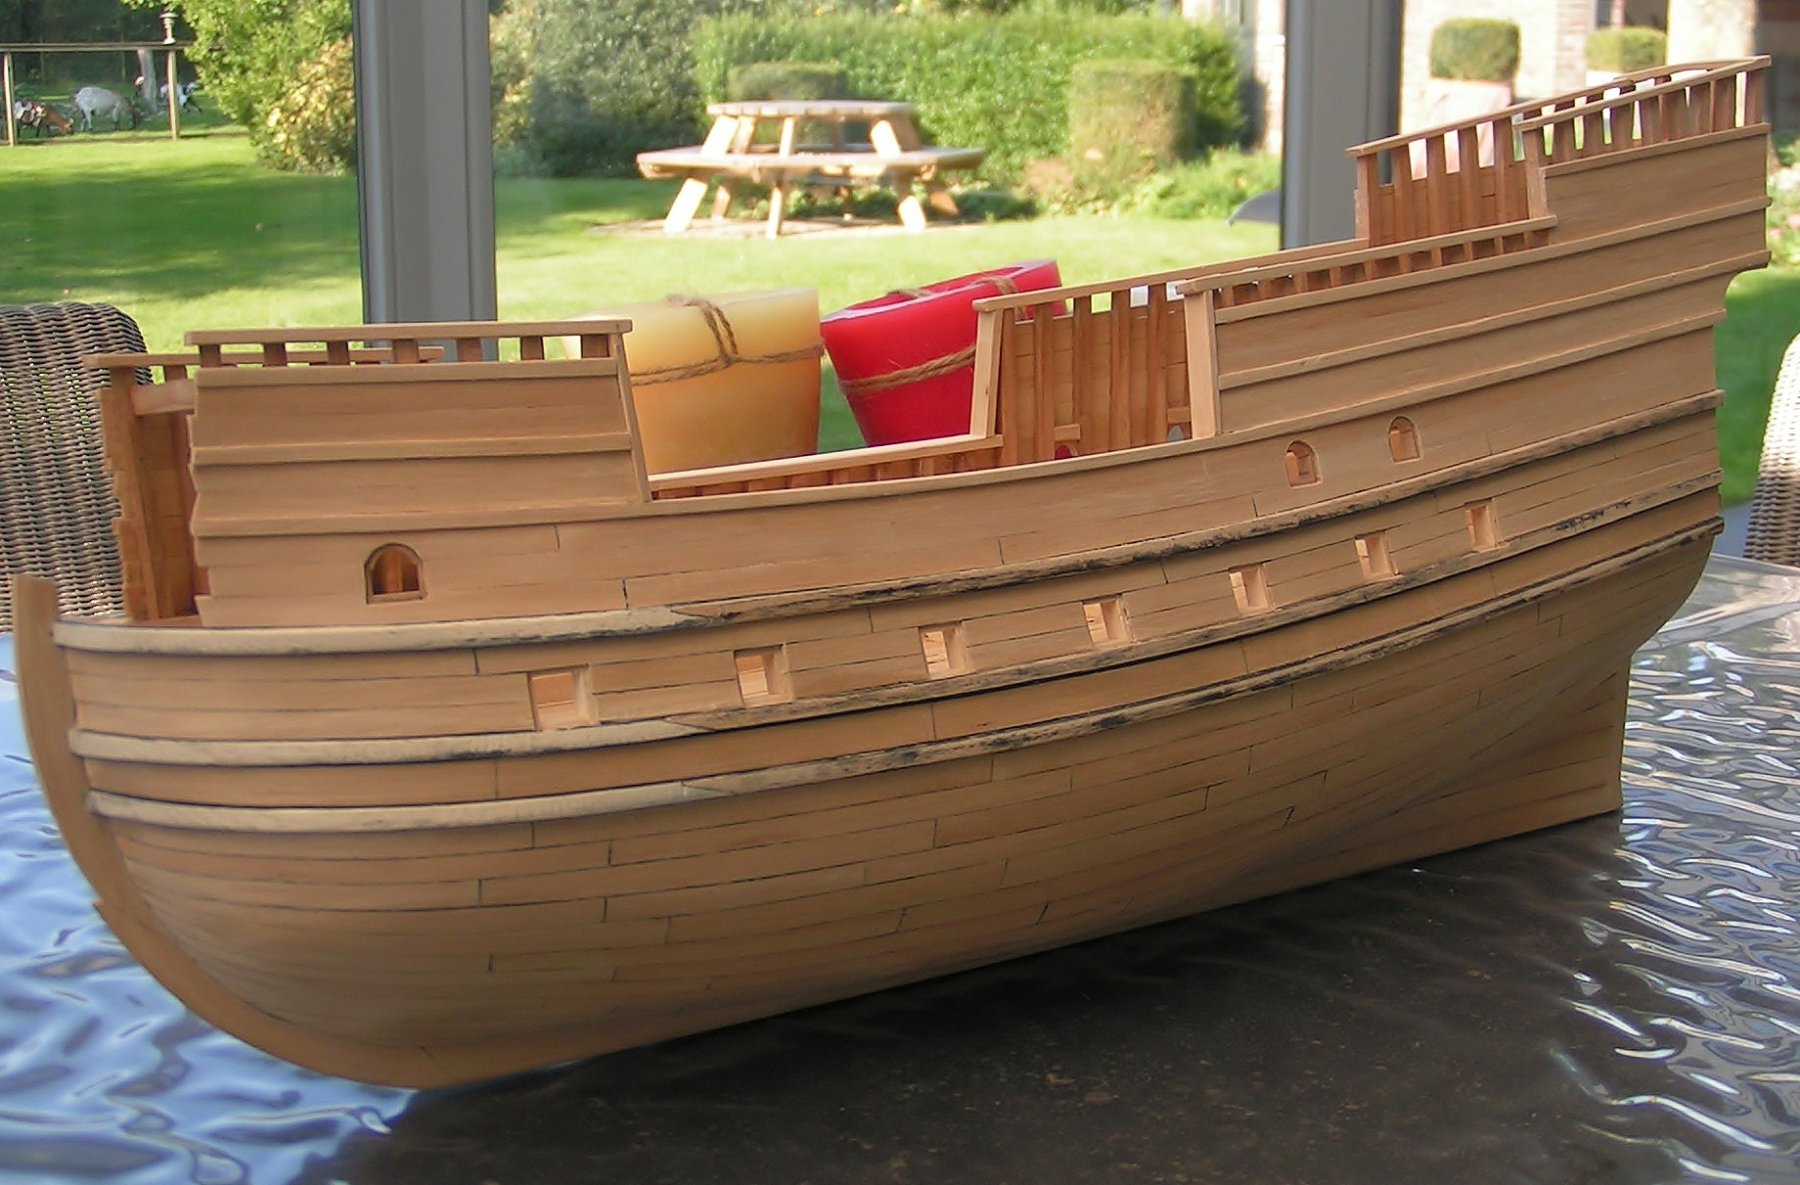
After about 1 year my first goal has been achieved. Build a hull that looks, for me, as good as possible.
Construction is now on a lower priority. In autumn and winter, small models of military modeling are my number 1
For the Golden Hind I have to do first further research about decks, armour….
The hull still needs more sanding. And I have to do some testing on scrapwood with treenails, painting etc. Before starting with this on the model.
Future updates will therefore be small and it may take a while before they arive.
-
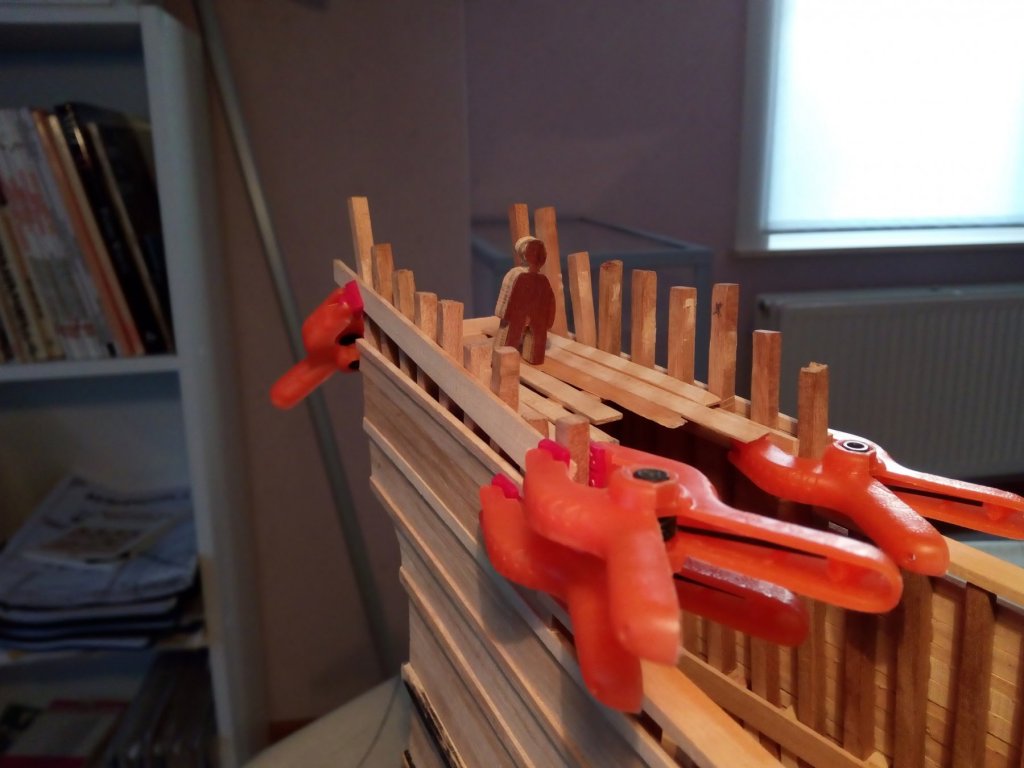
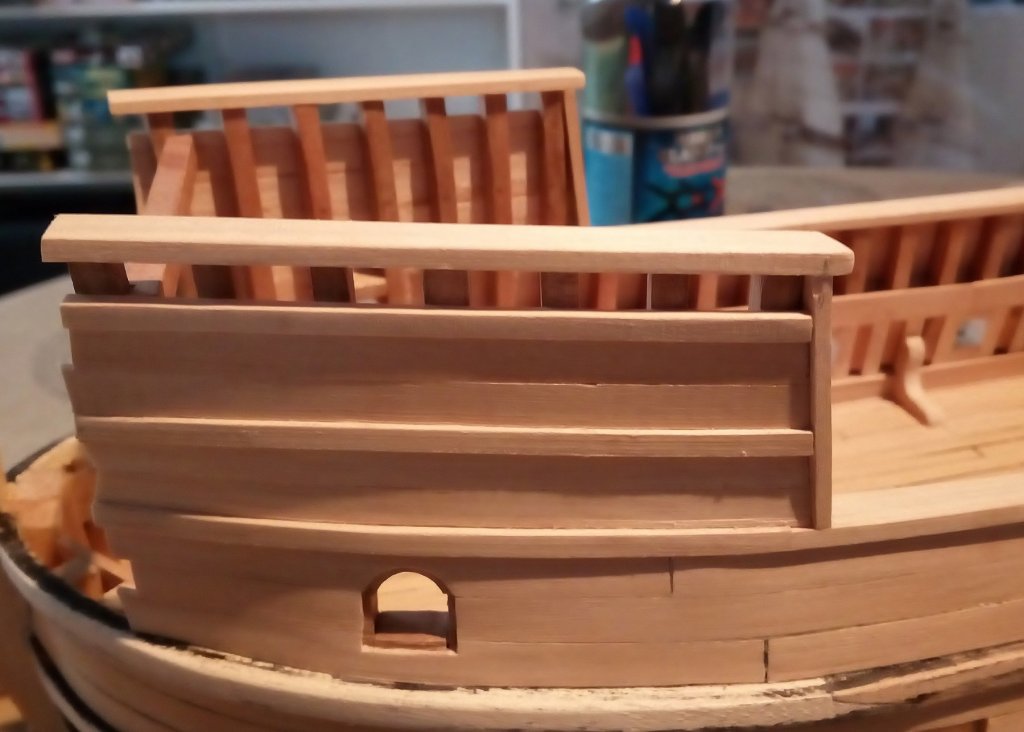
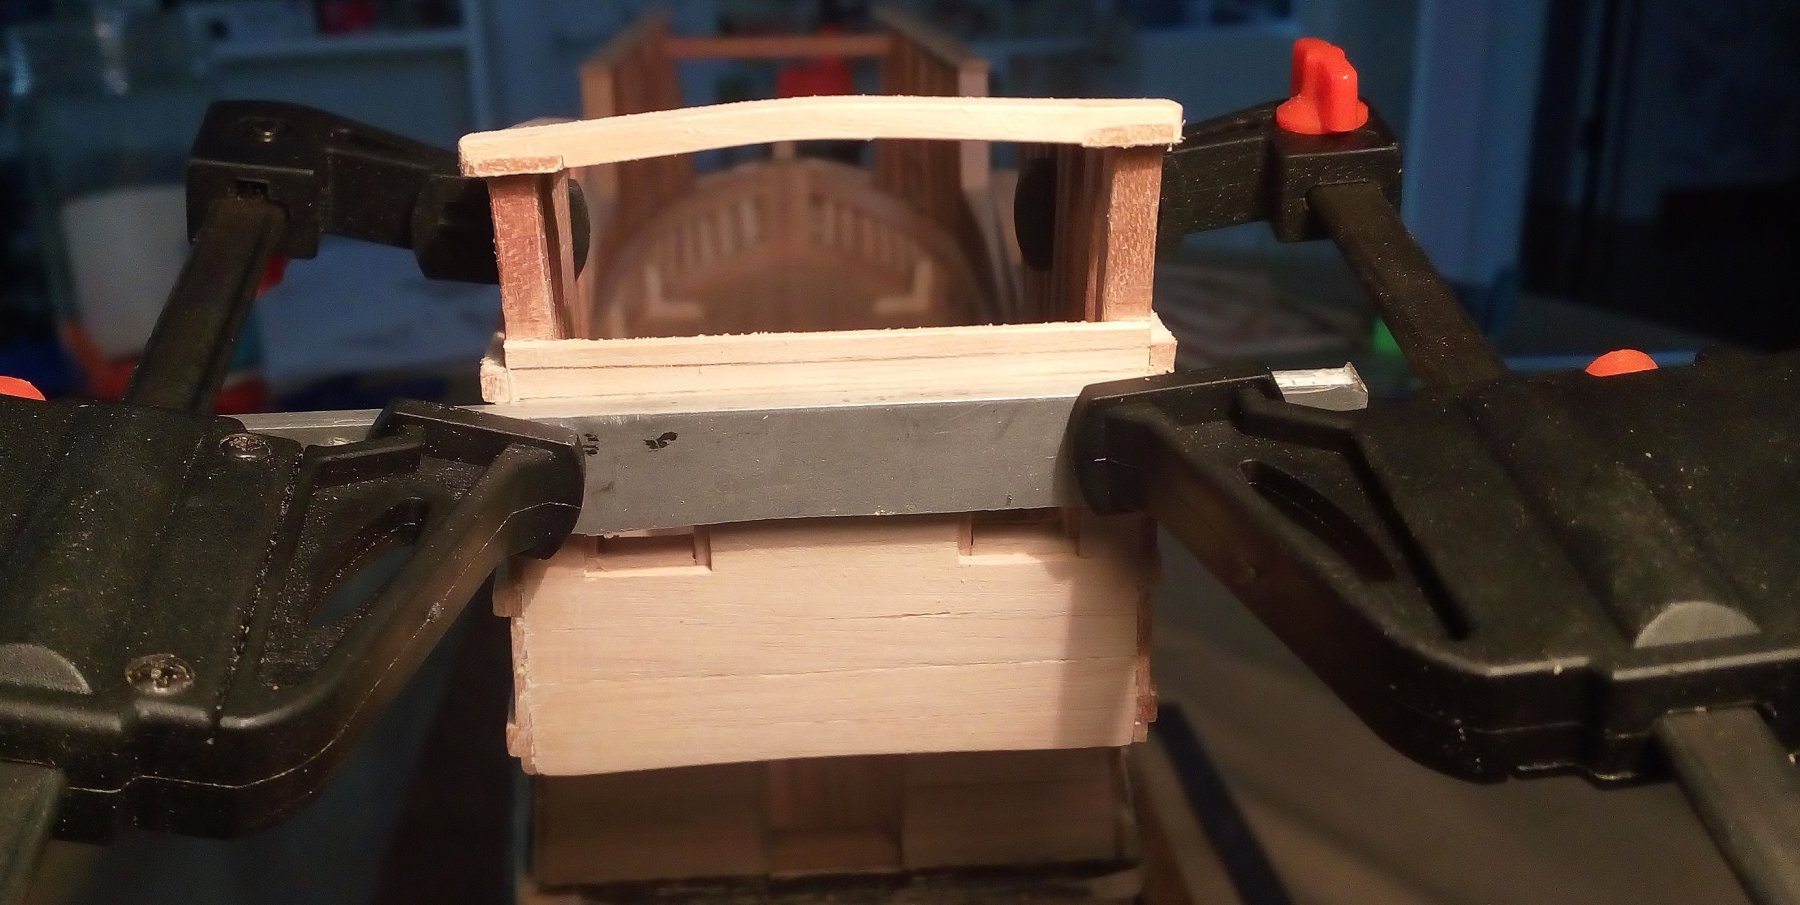
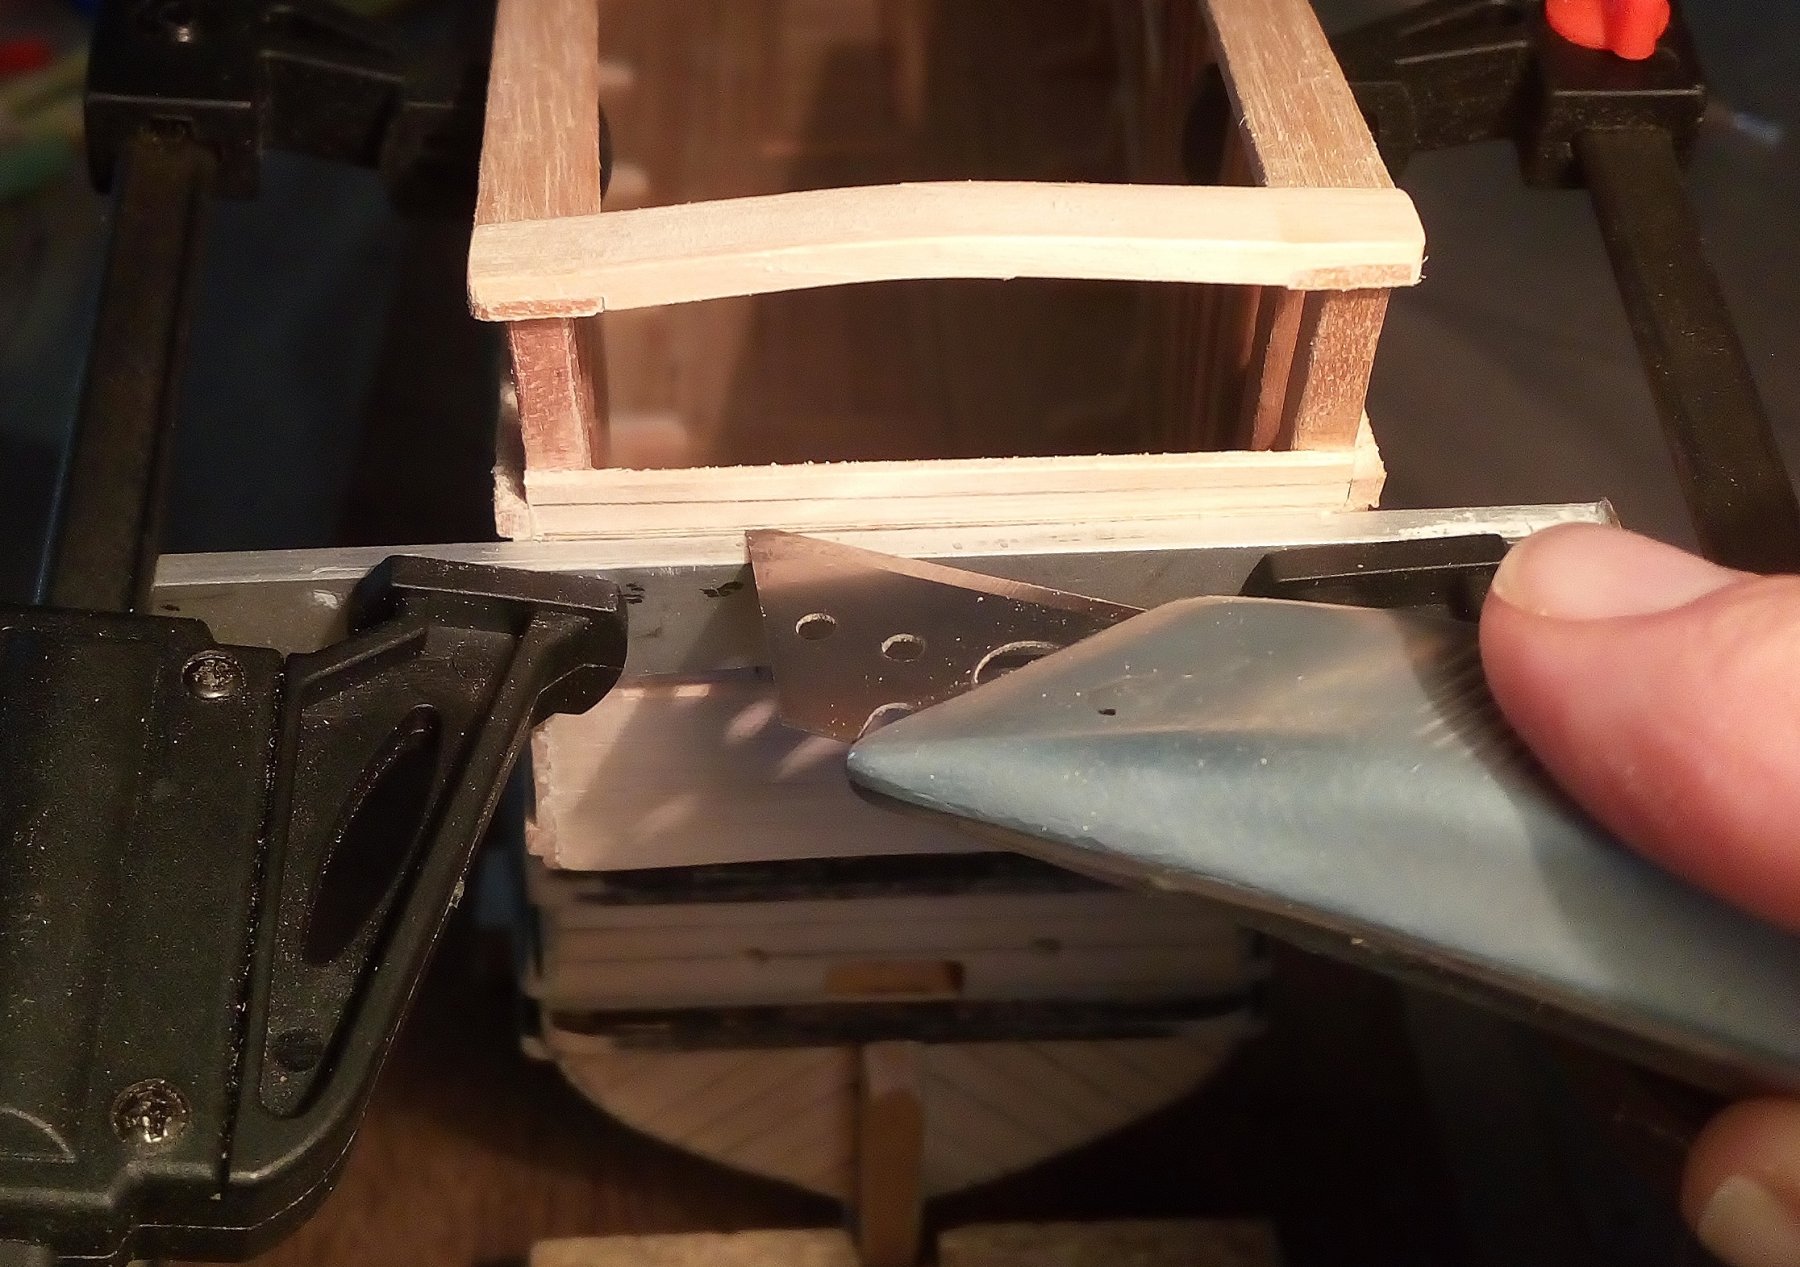
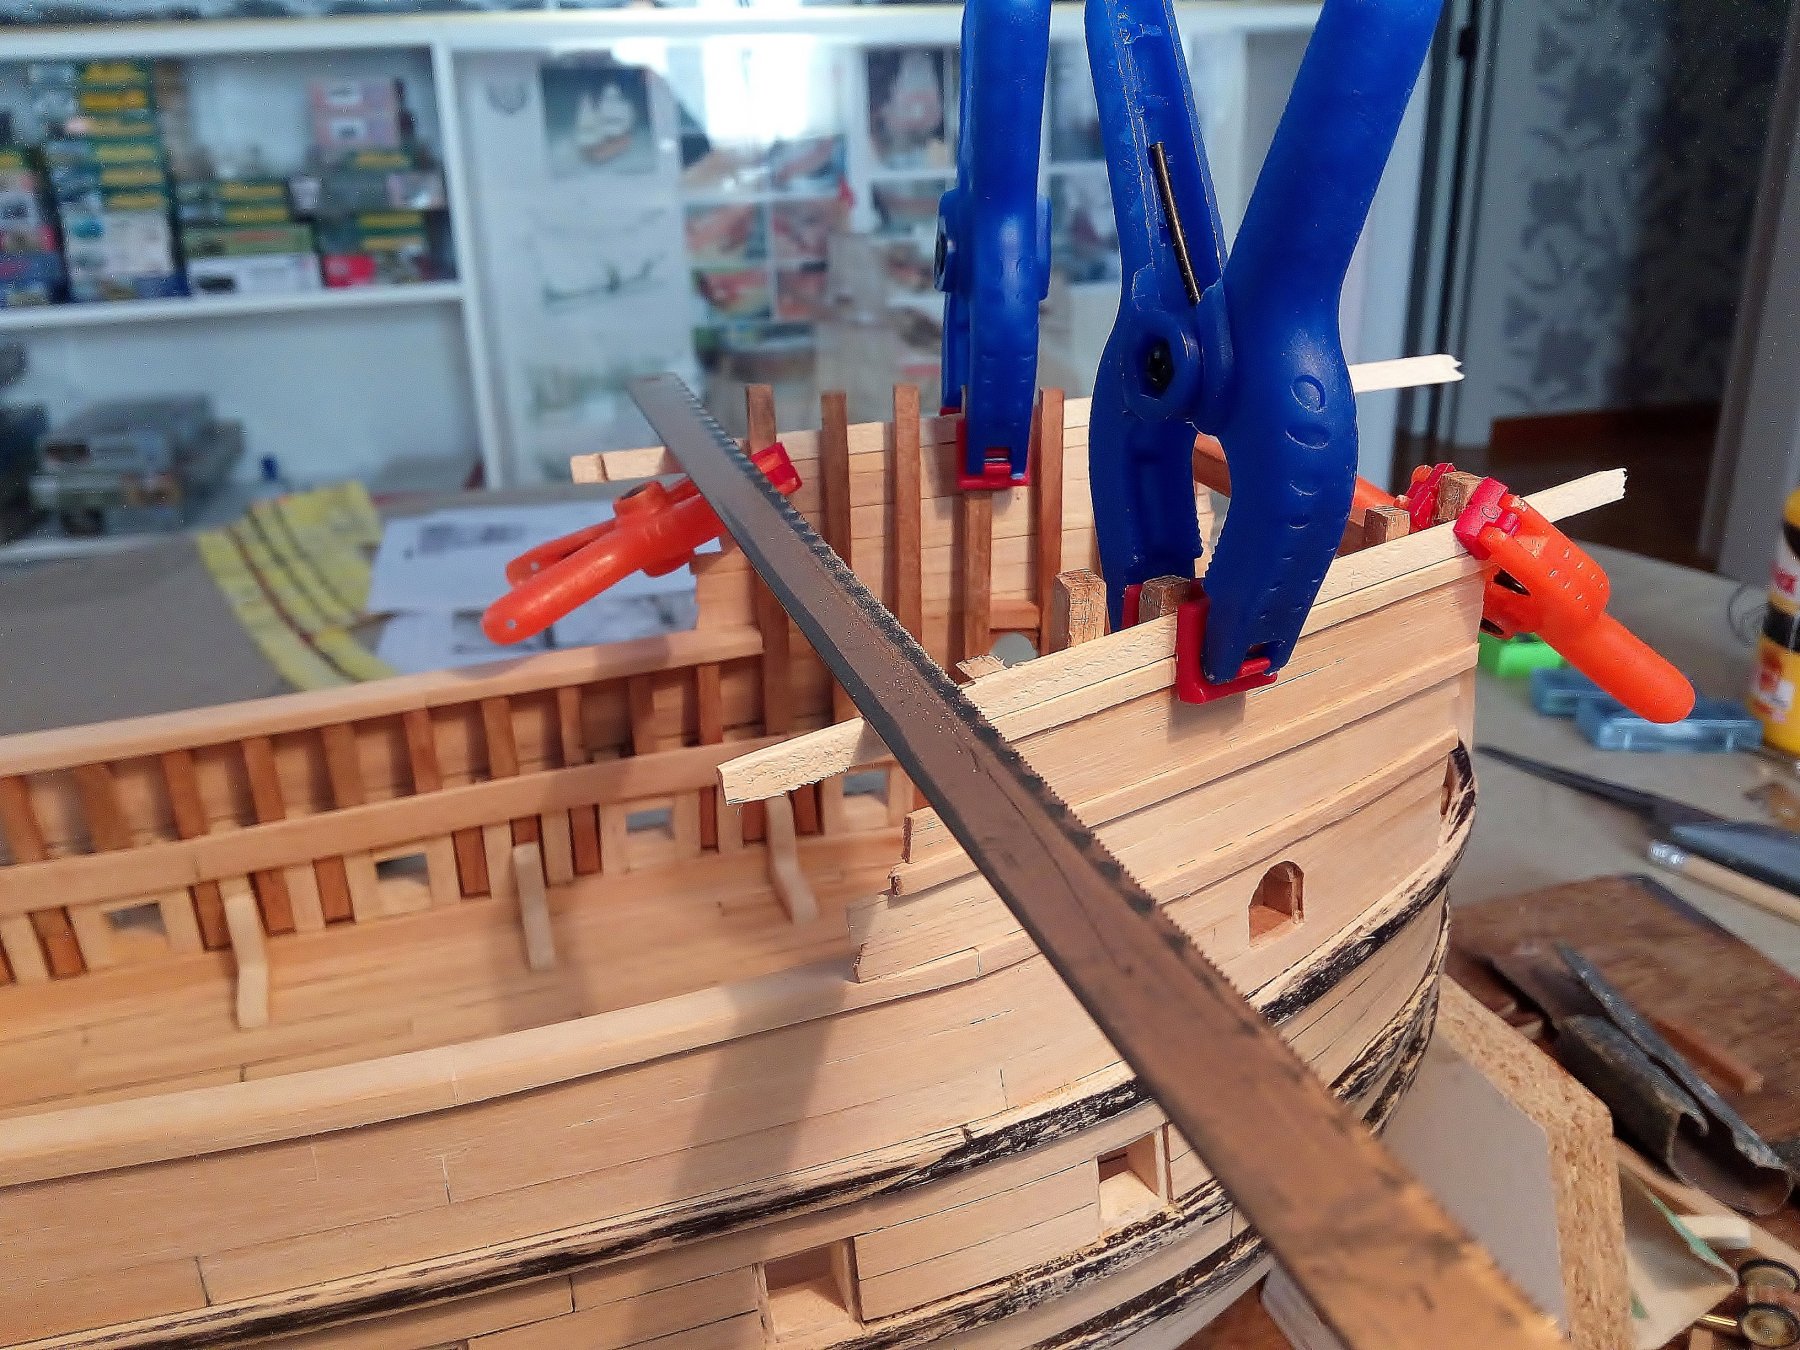
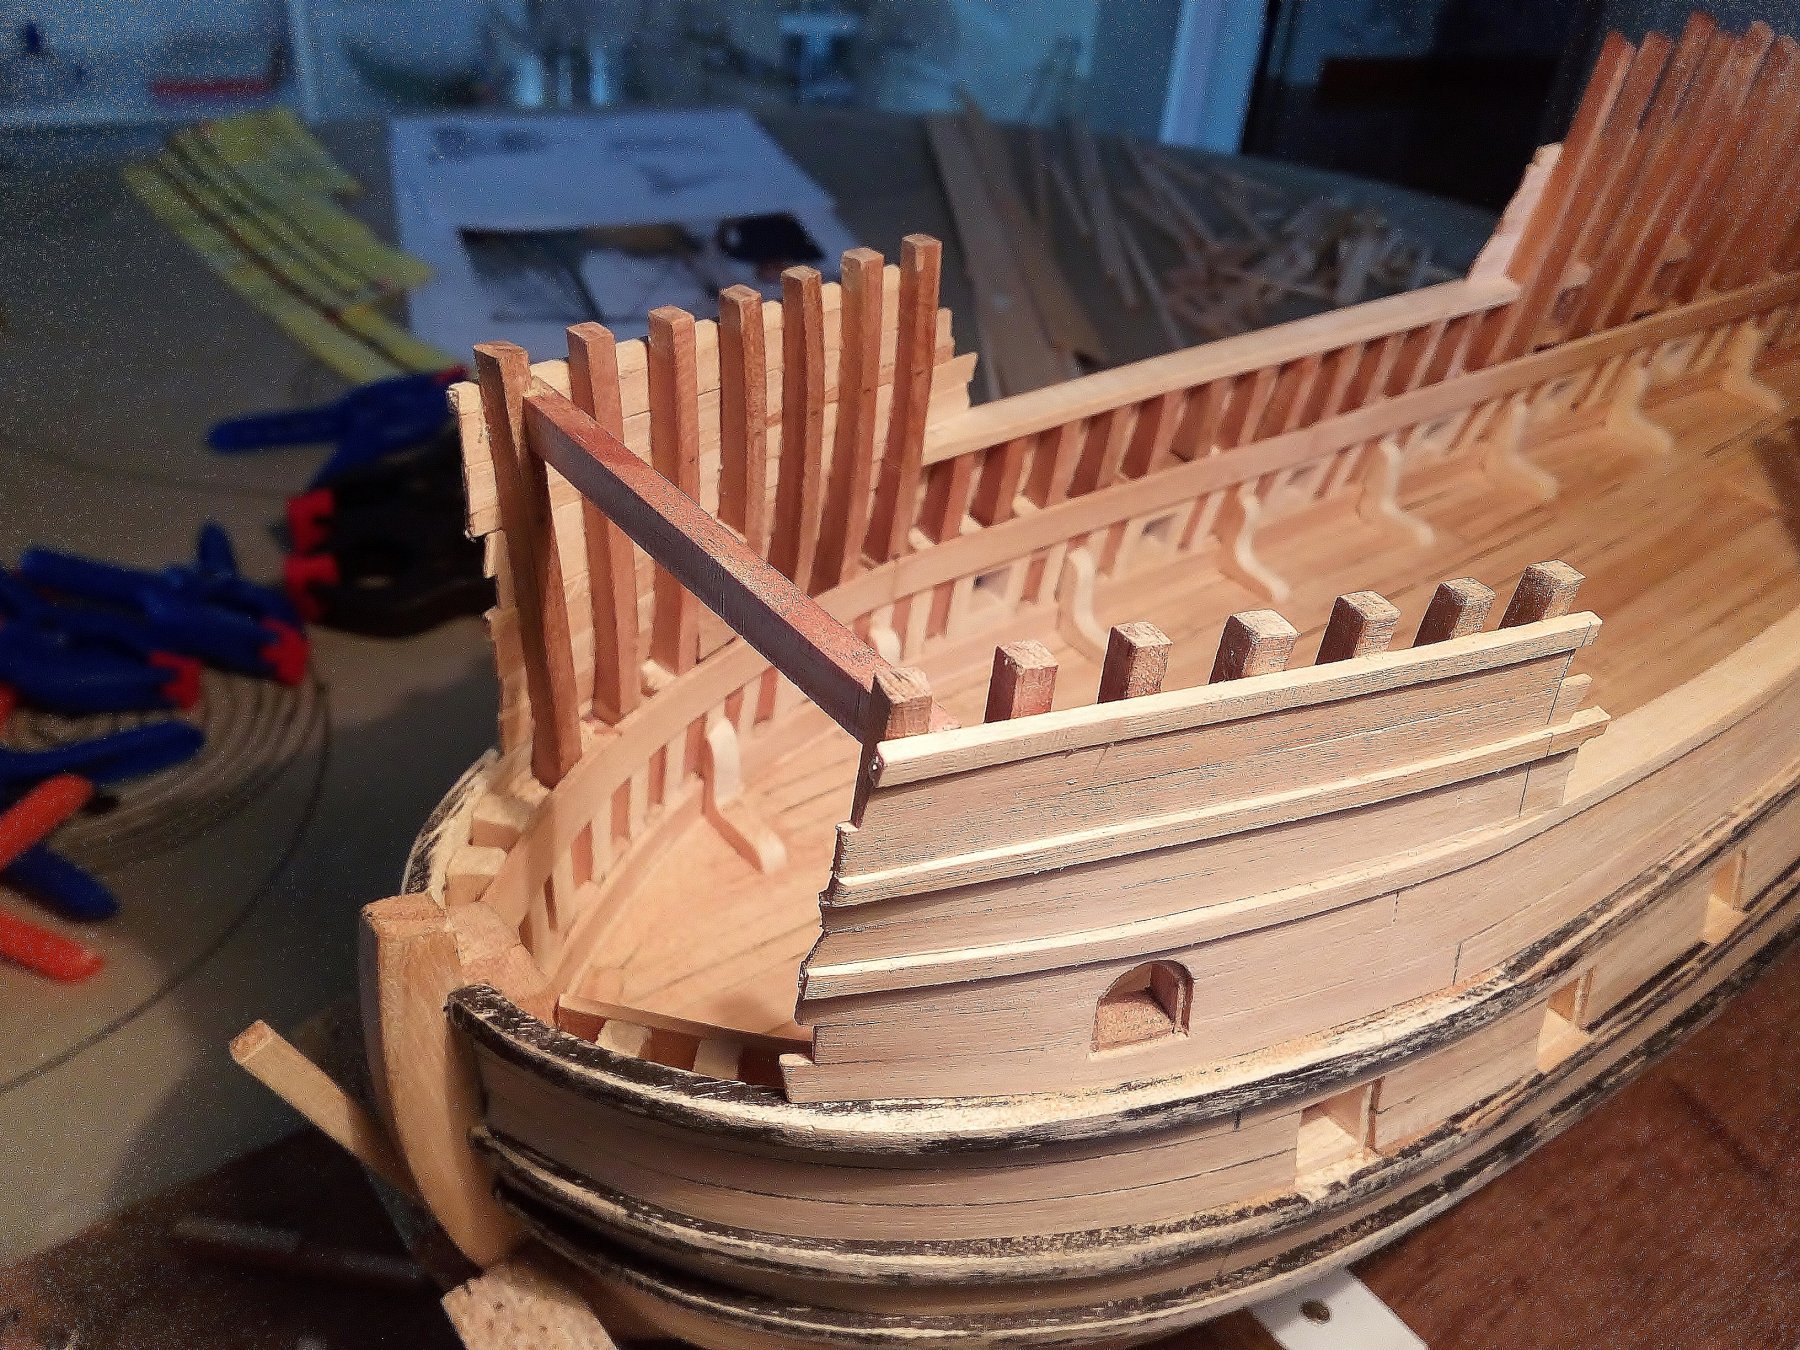
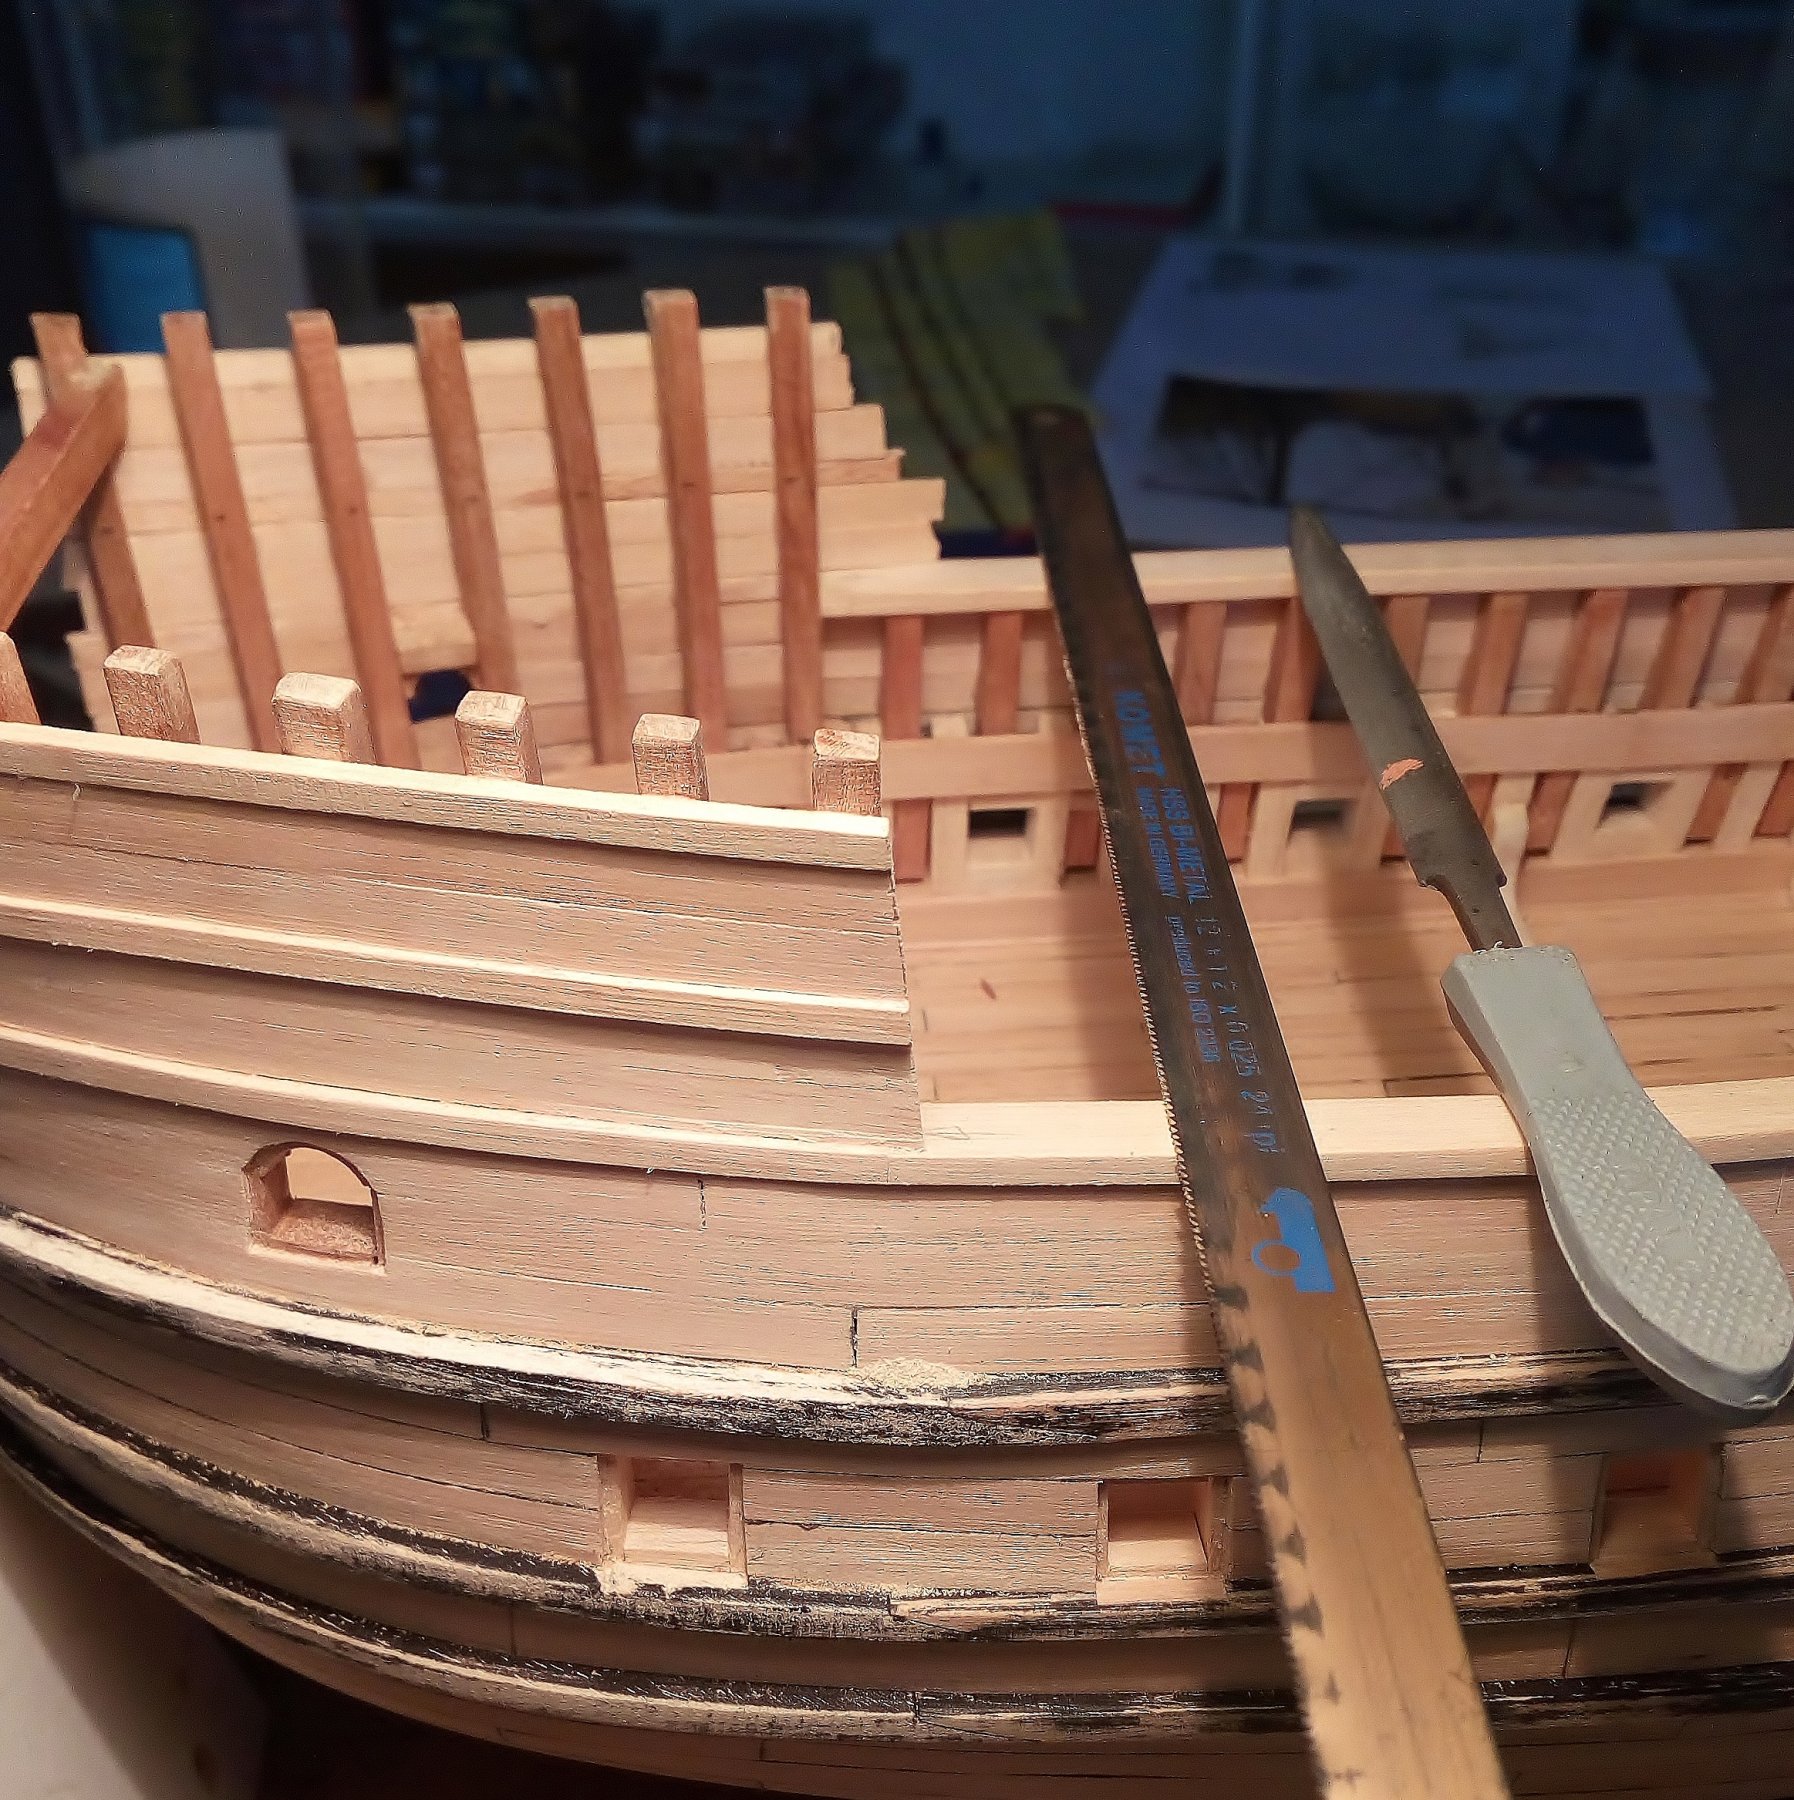
Rear castle same method
The frames are sawn at the correct height.
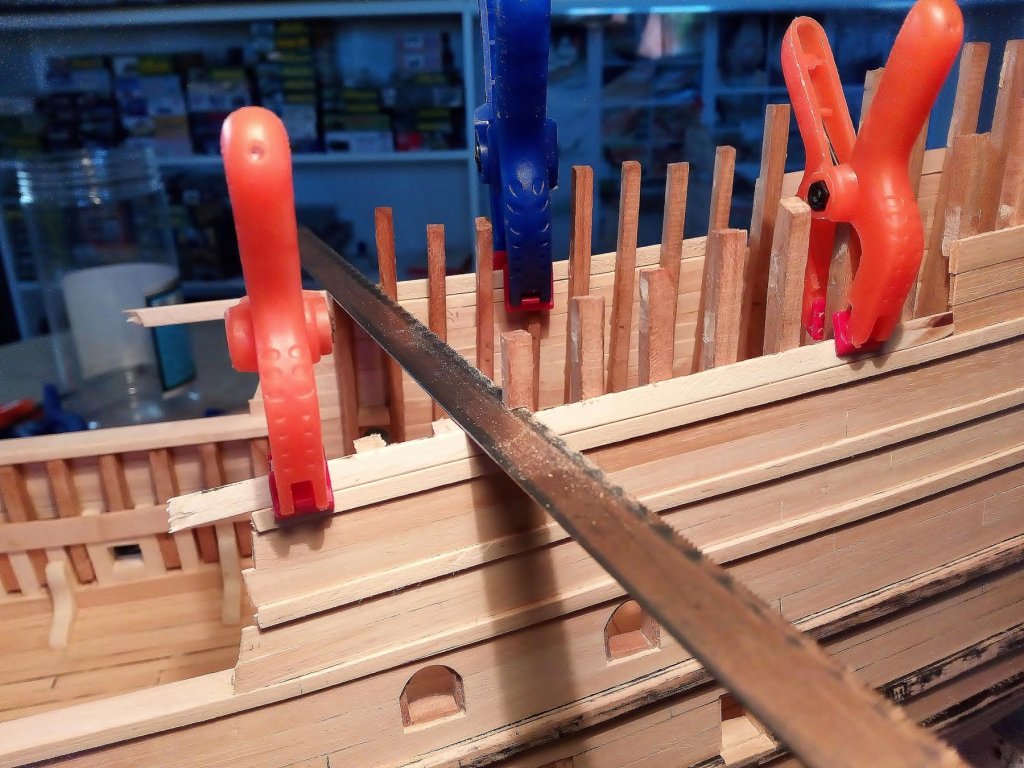
And made equal.
Finishing side and Finishing top
- John Allen, G.L., Barbossa and 6 others
-
9
-
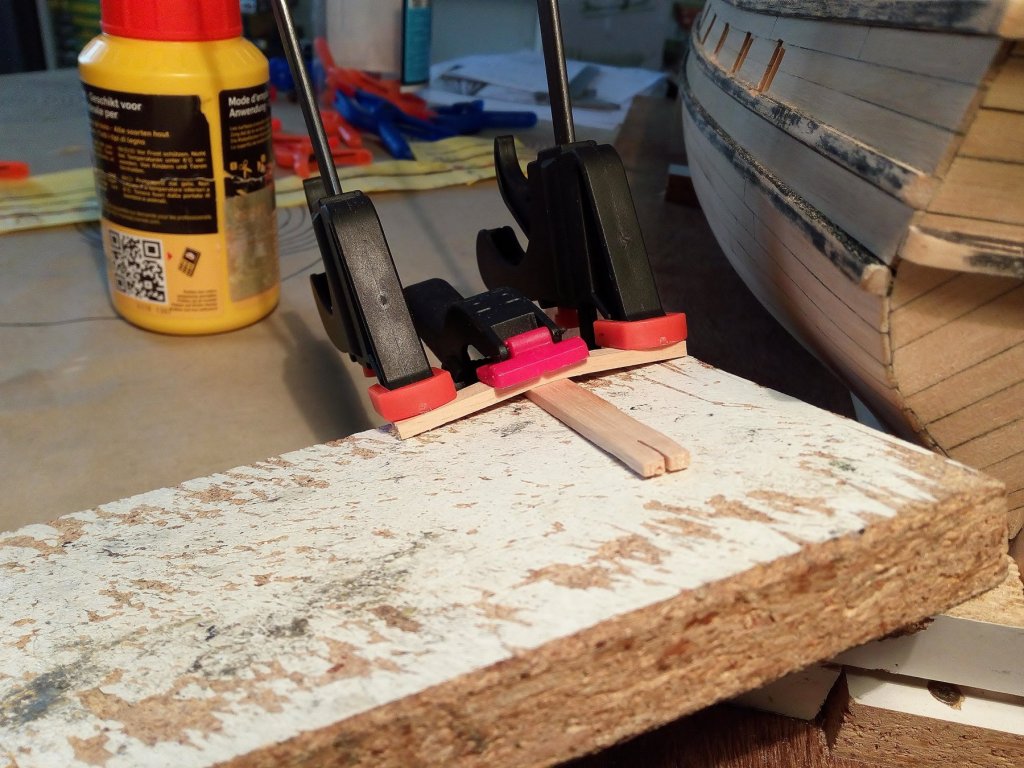
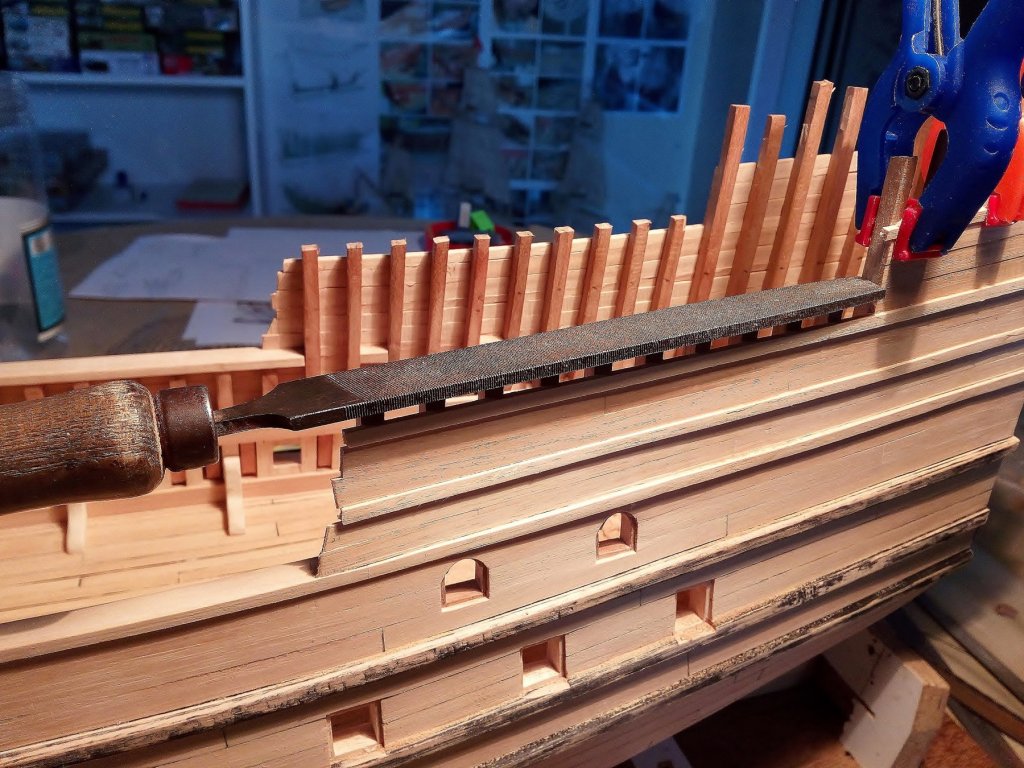
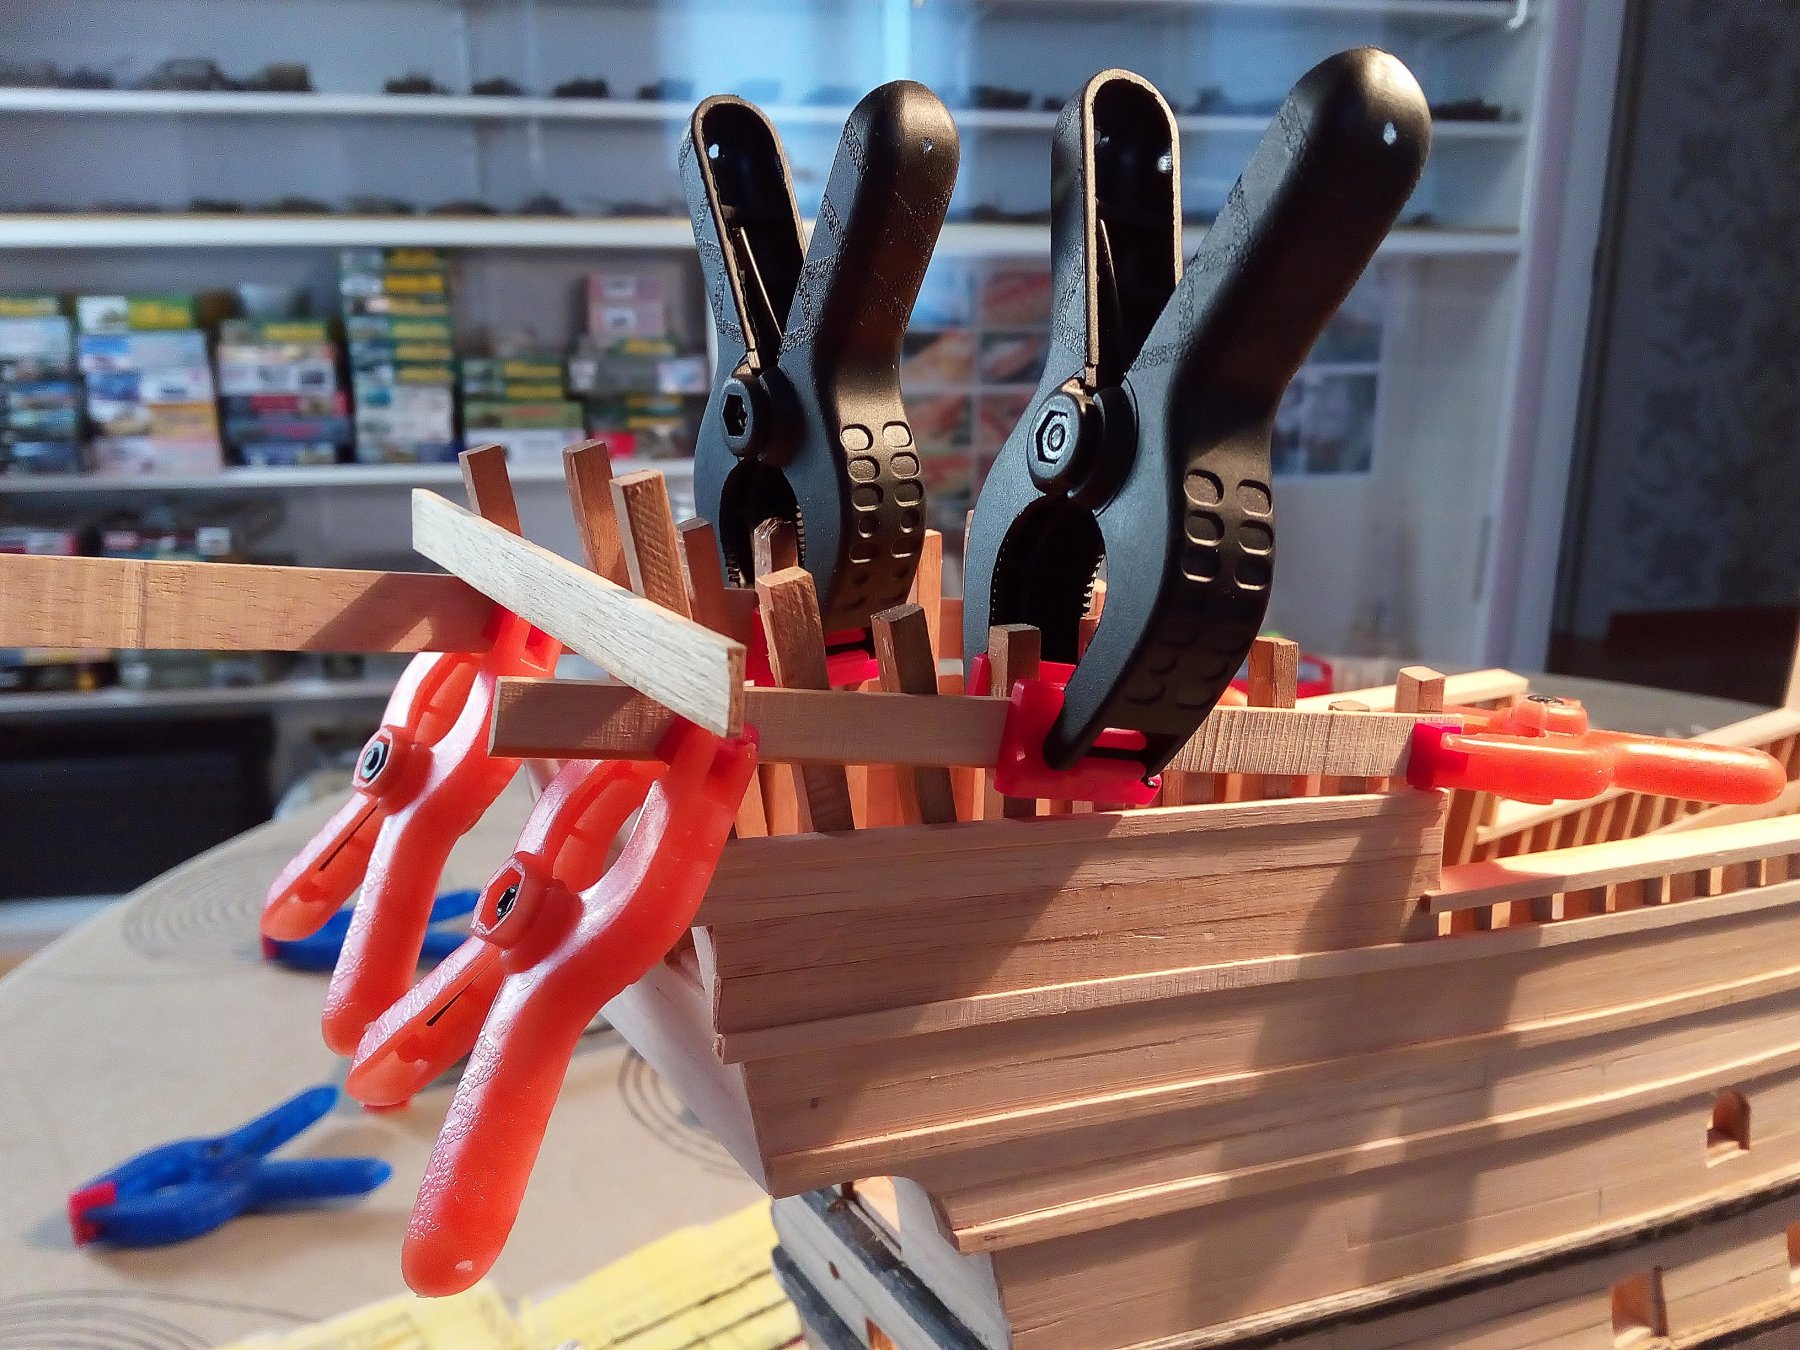
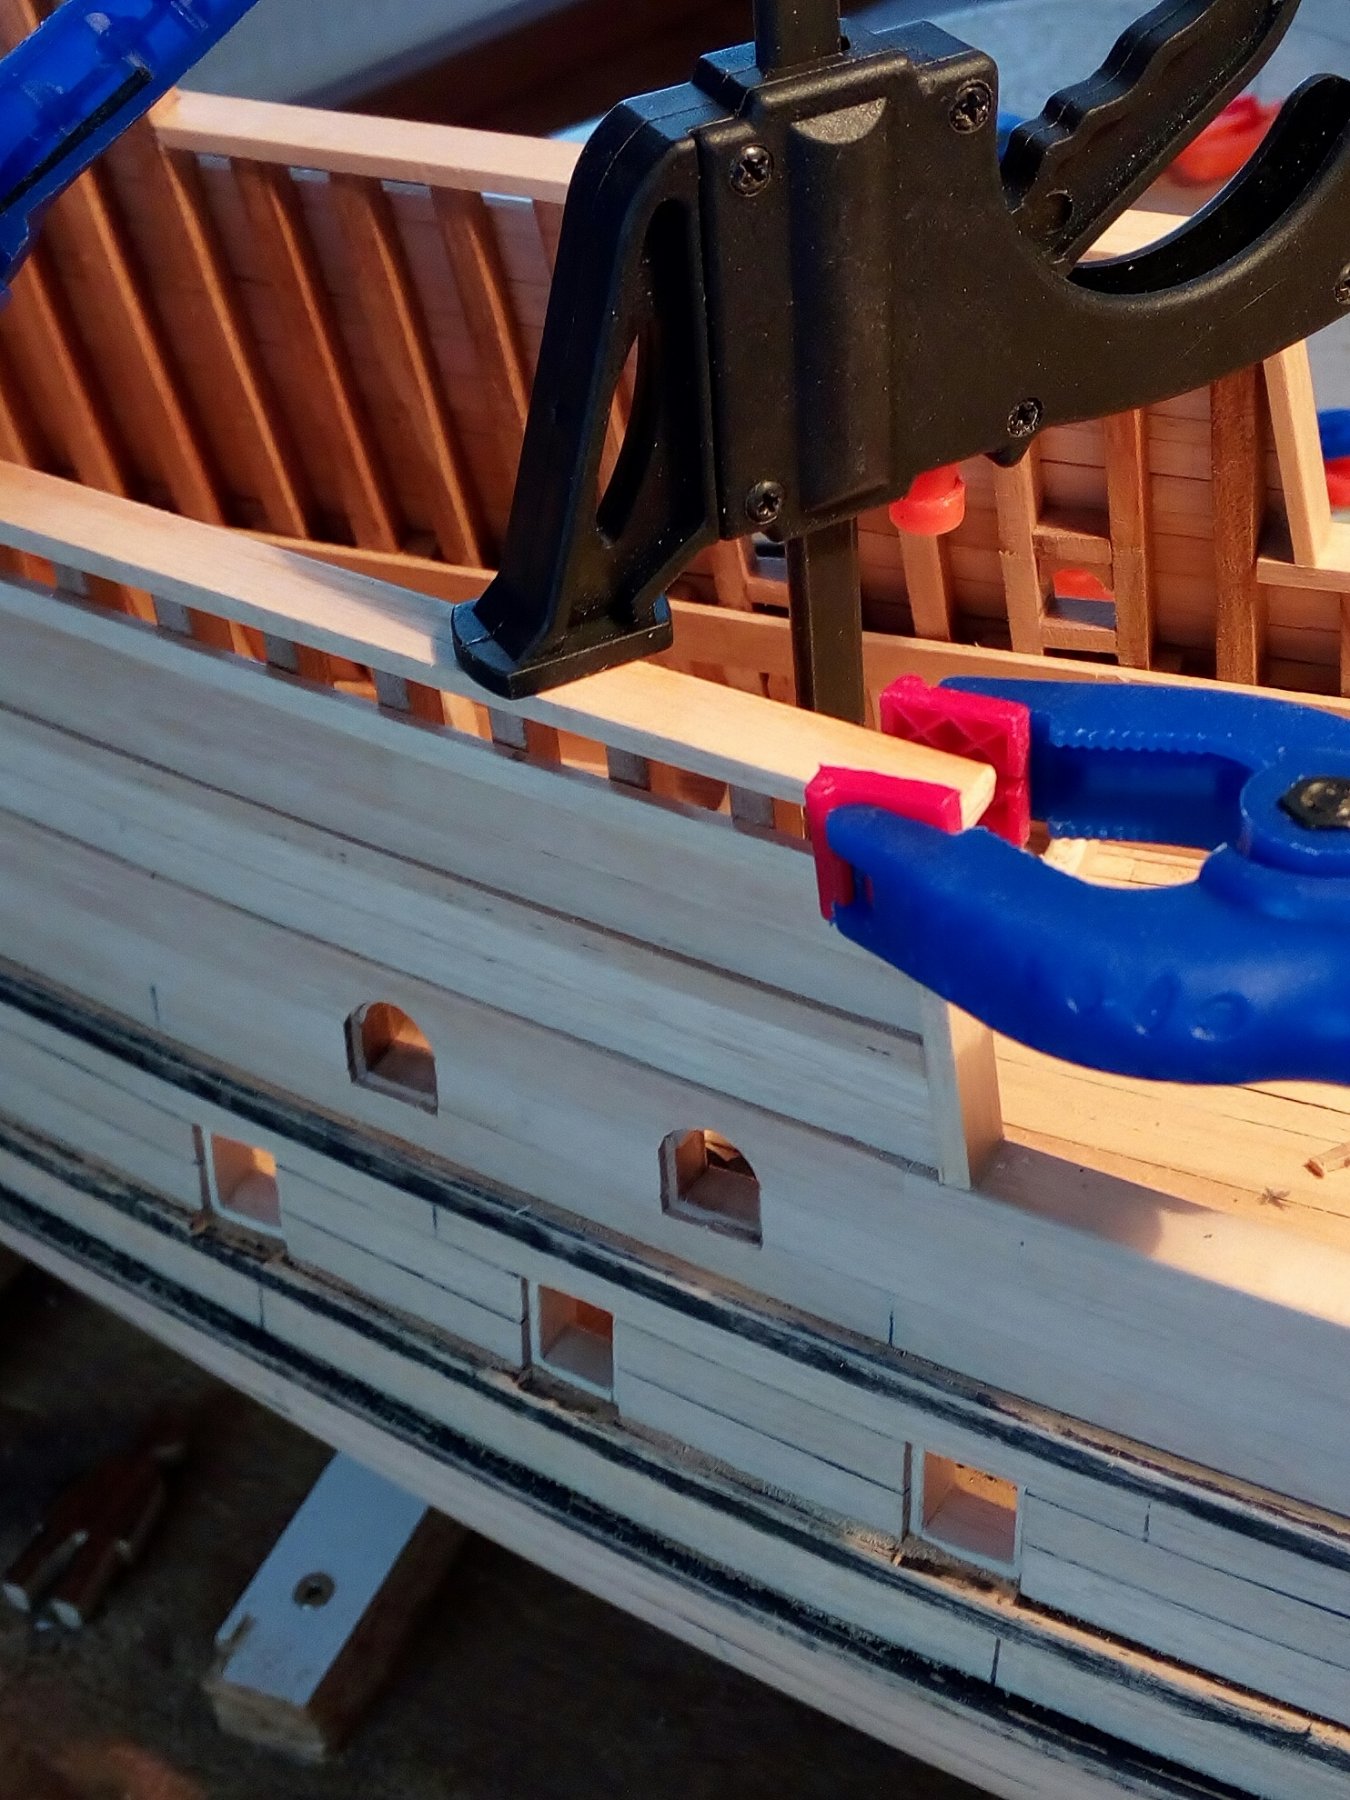
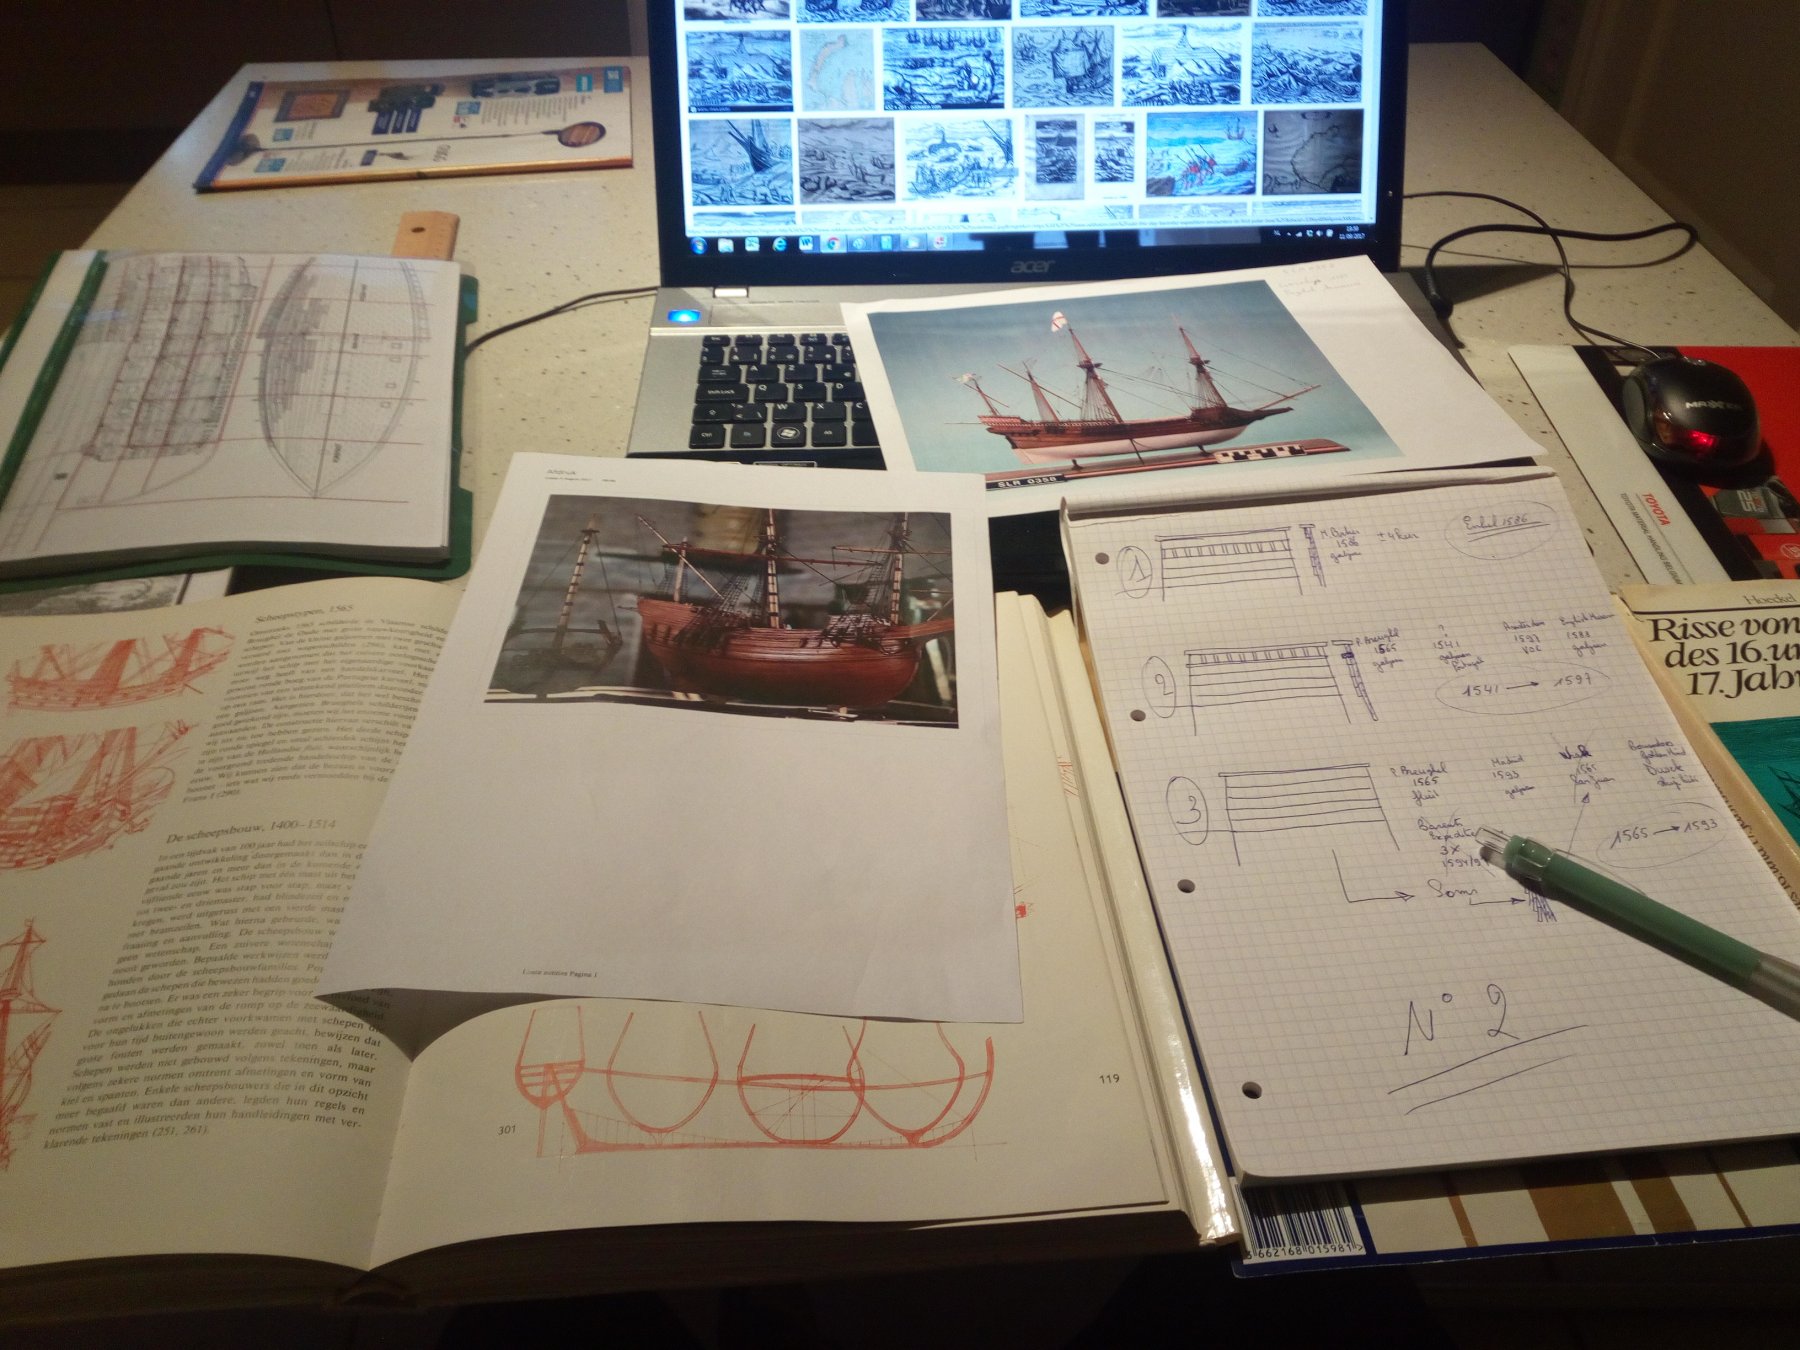
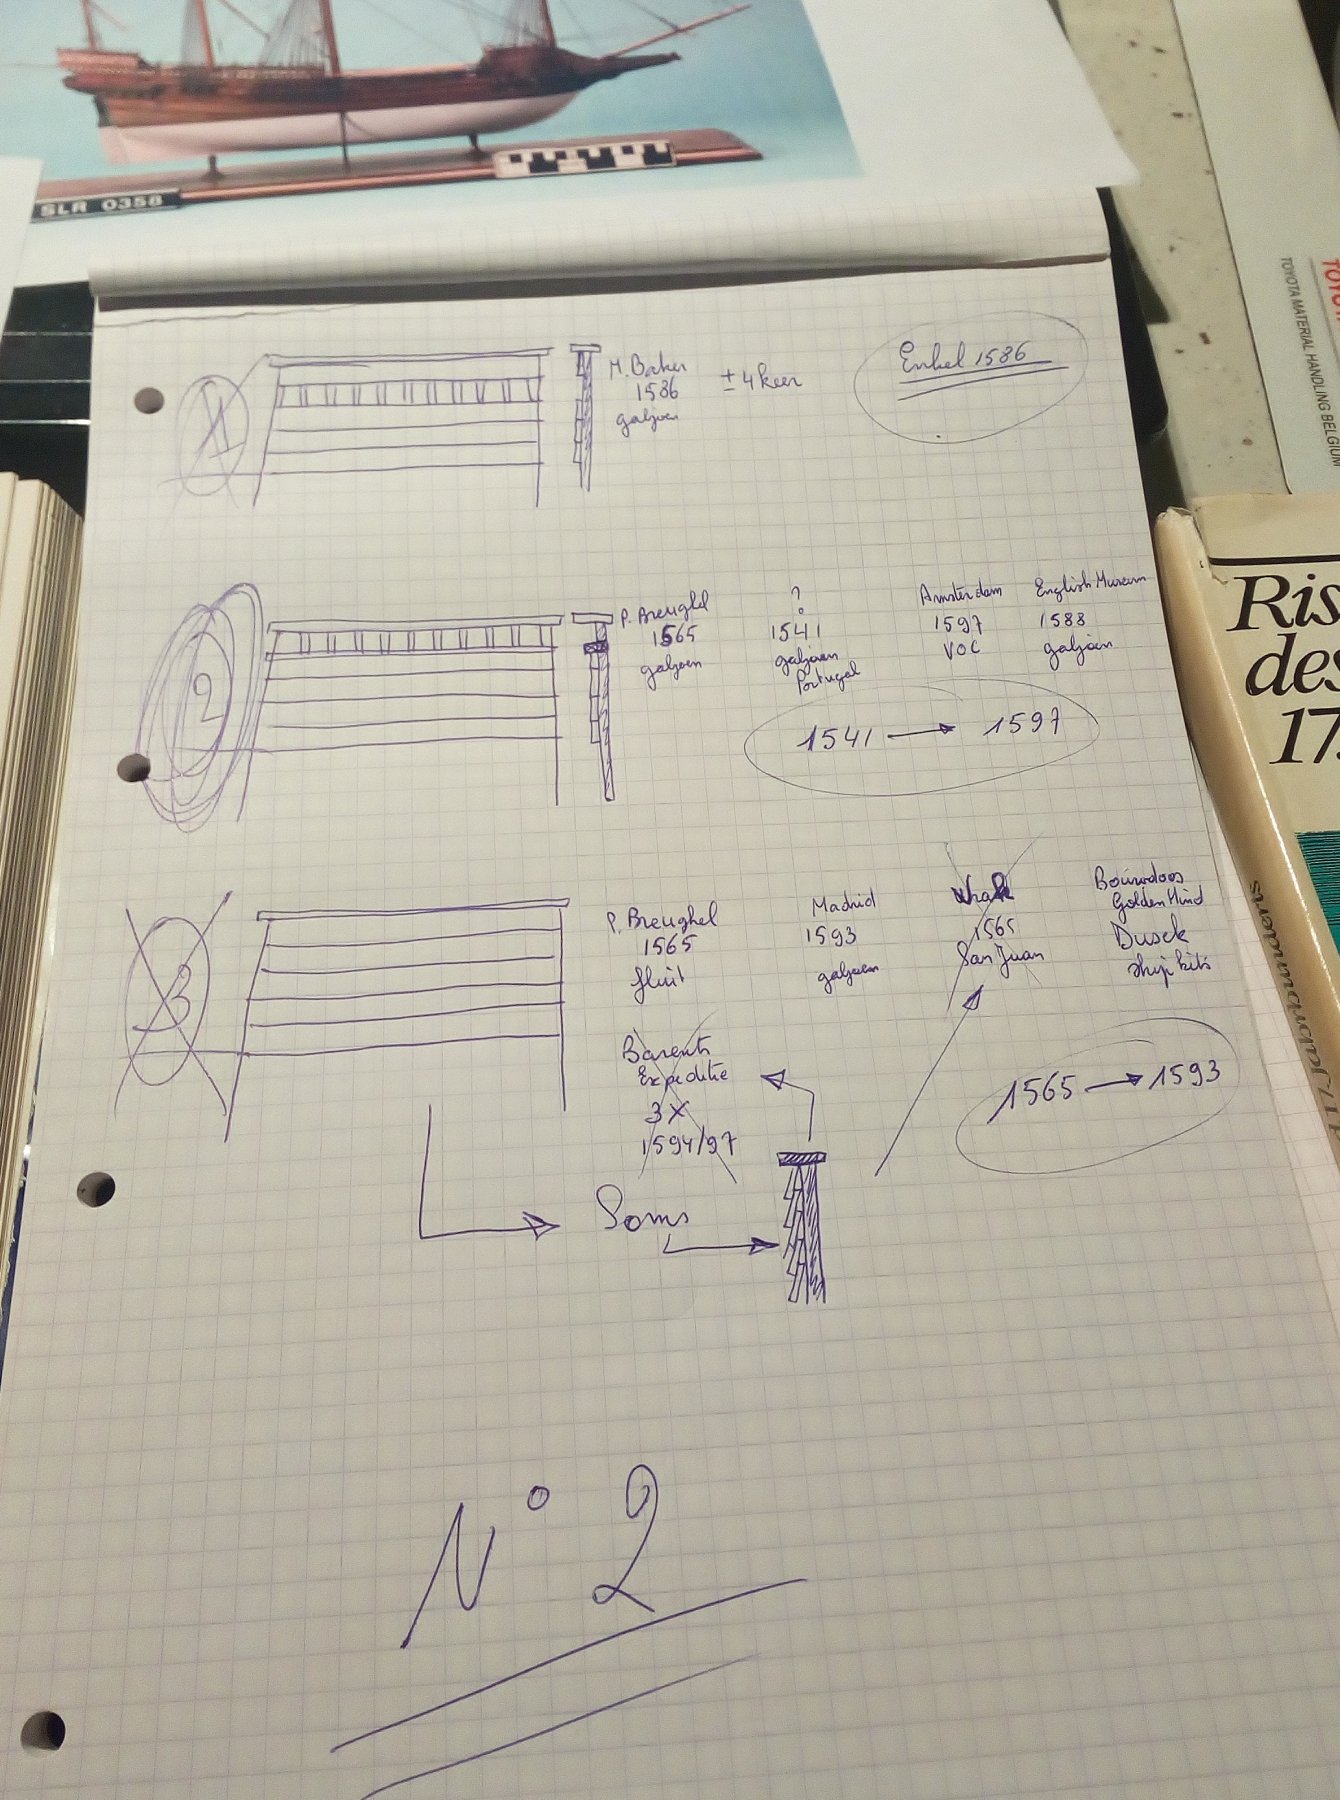
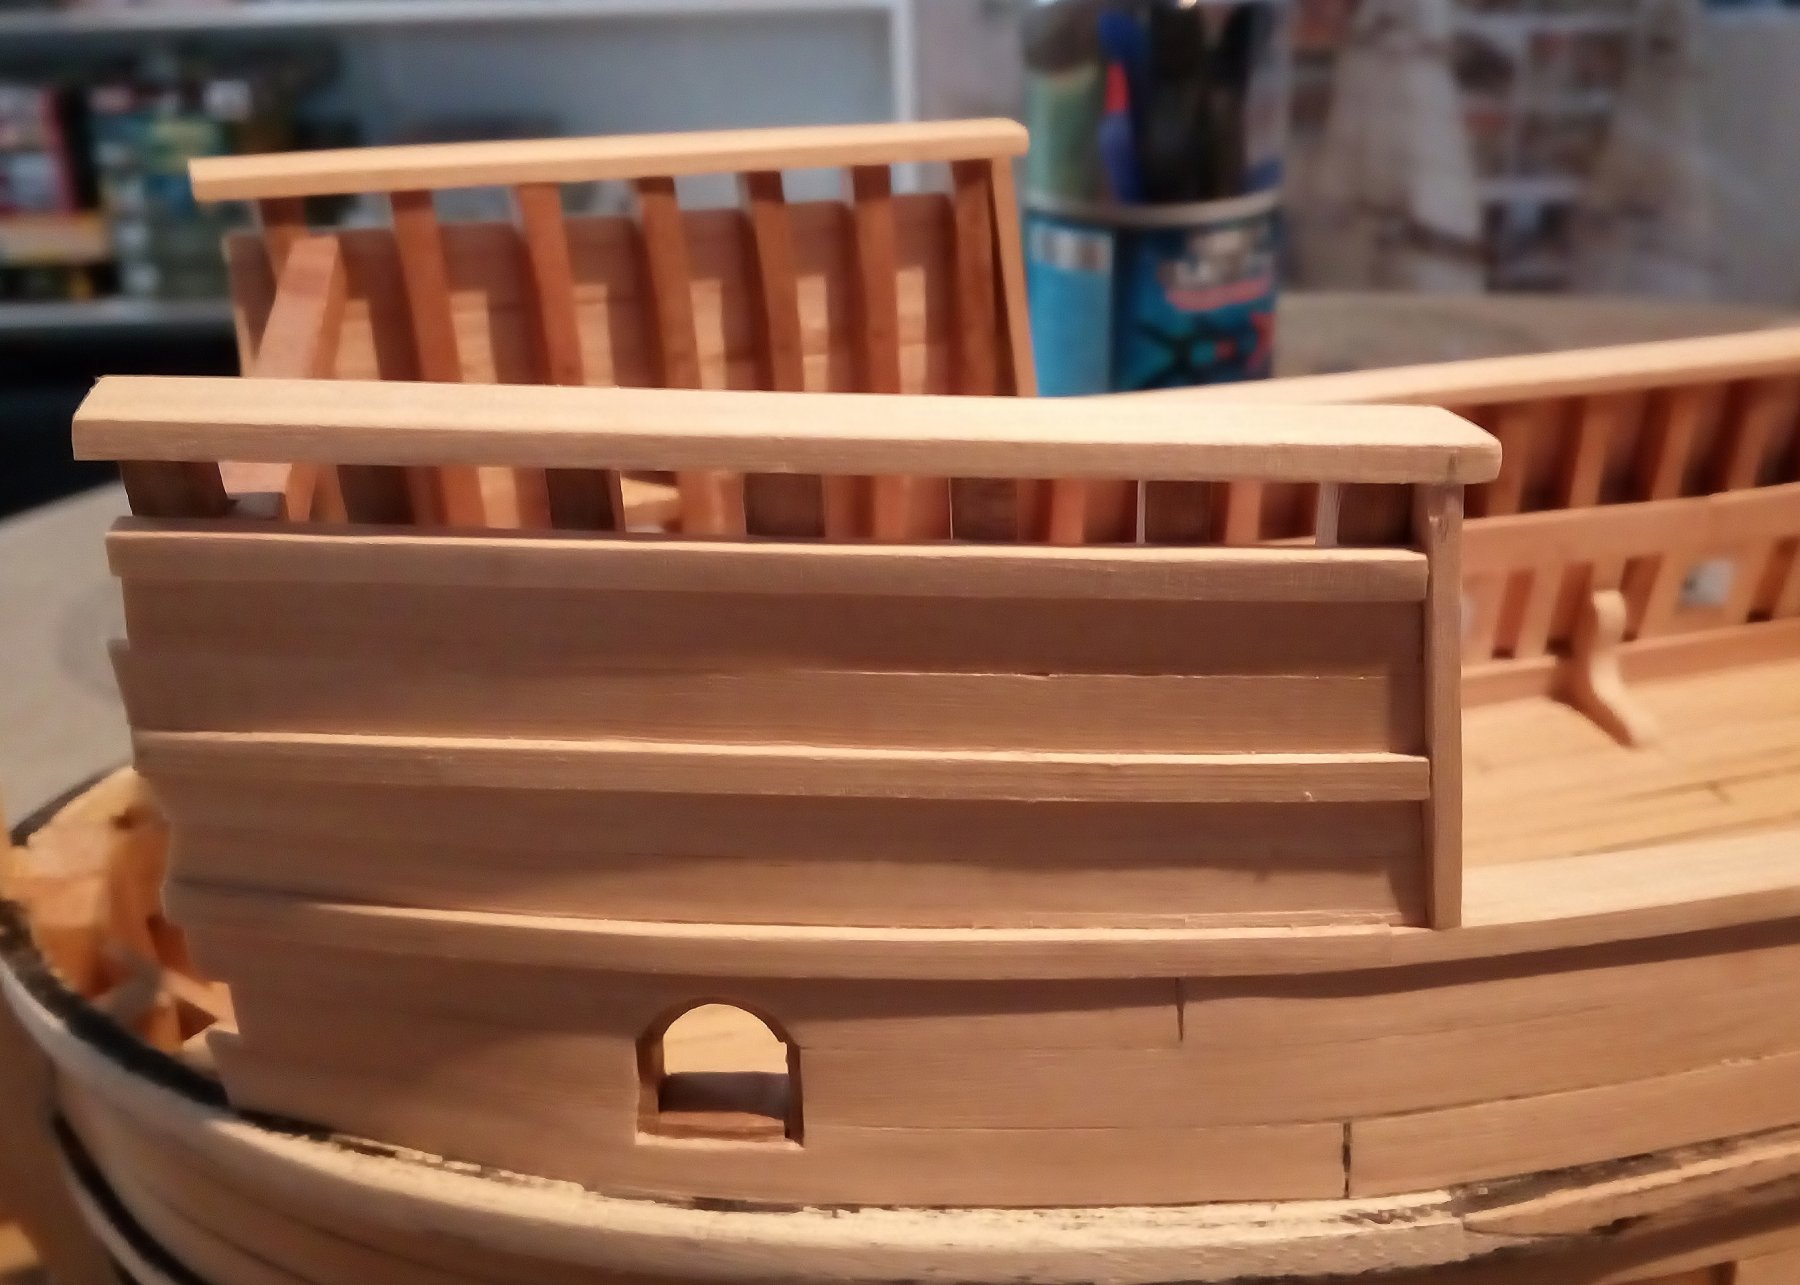
planking continues
planking of the forecastle.
I found 3 different ways to do this. Which is right ?? Who knows.
That's why I've searched which method was most likely used.
Method 1 seems to be most English but apparently came into use later.
Method 2 is the most common in this period.
Method 3 is the least common in this period
So method 2 will be used.

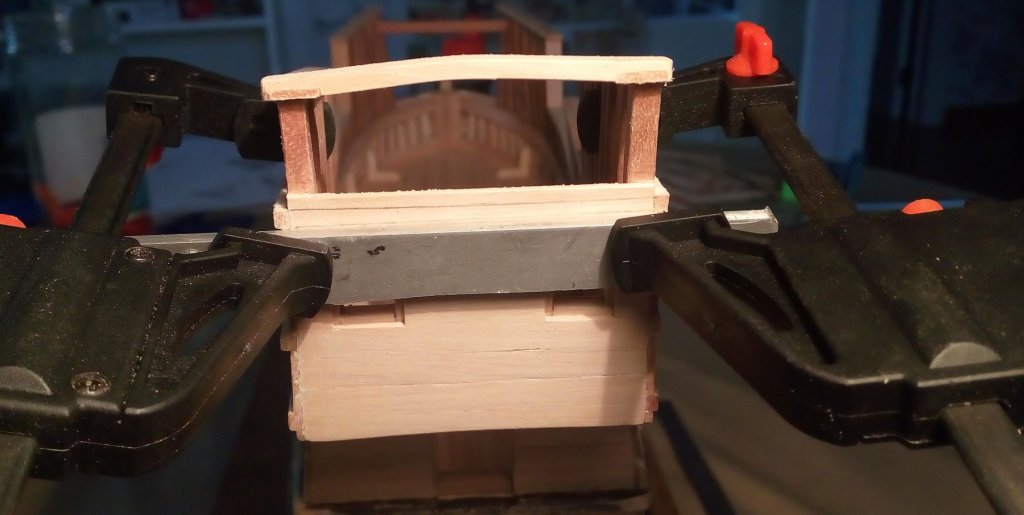
The frames are sawn at the correct height.

And made equal.
Saw planking of the front castle

Finishing side

Finishing top


Golden Hind (ex-Pelican) by Baker - FINISHED - scale 1/45 - Galleon late 16th century
in - Build logs for subjects built 1501 - 1750
Posted
I started with the tree nails in the hull planks.
The idea is to follow the line of the futtocks (frames) as much as possible.
The holes of the treenails were apparently not always neatly drilled on a straight line.
Because this is not going to look nice on the model, I will not follow this completely.
The holes will be drilled as far as possible in a straight line.
But now and then a hole will be drilled out of the center line…
The first treenails
"Finished" treenails
I find this a boring job. So, we do this work occasionally between the military models production.
About 600 holes drilled.
To be continued (slowly)