Baker
-
Posts
4,134 -
Joined
-
Last visited
Content Type
Profiles
Forums
Gallery
Events
Posts posted by Baker
-
-
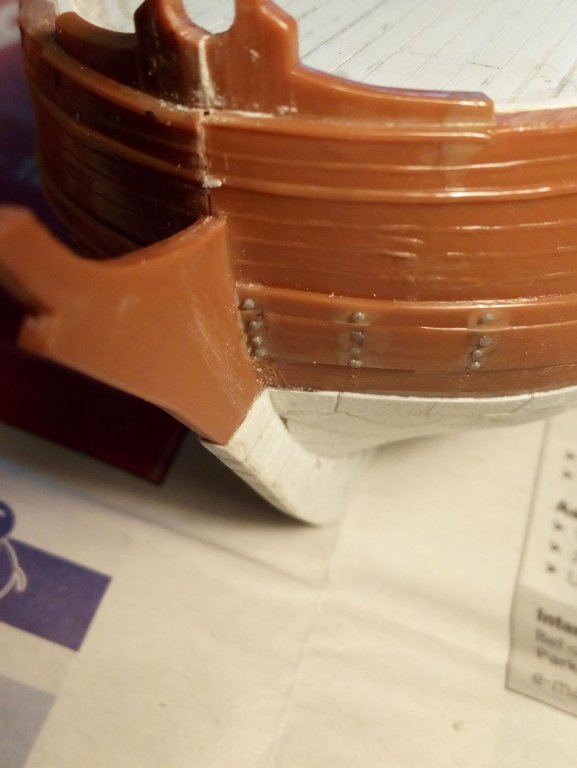
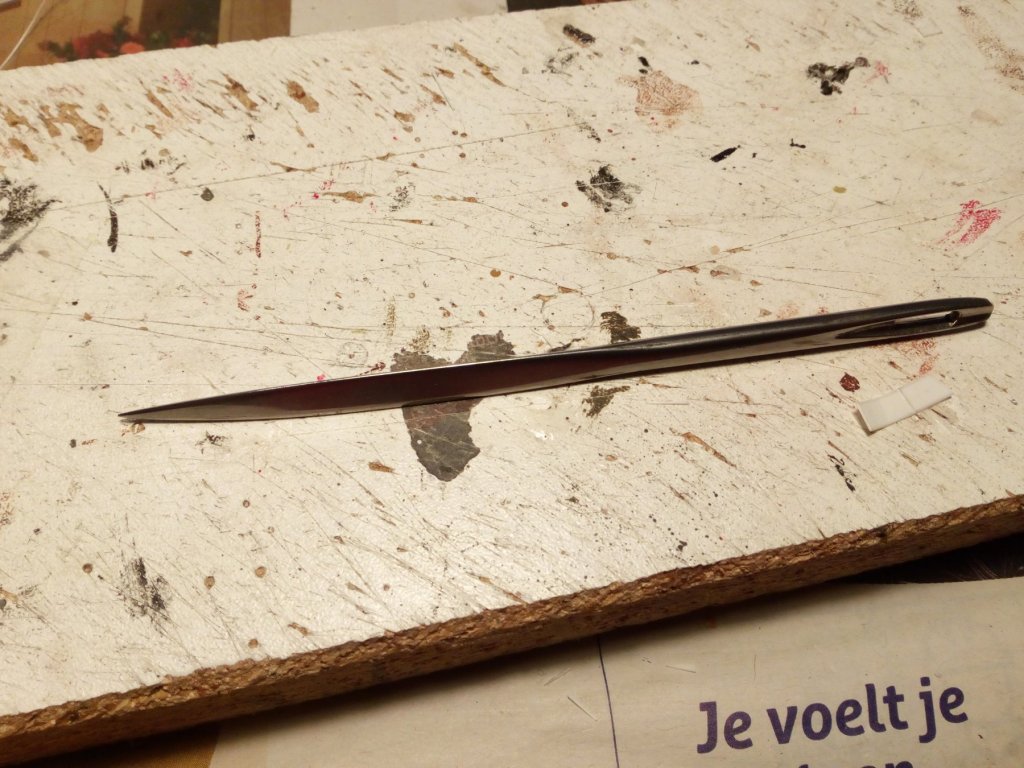
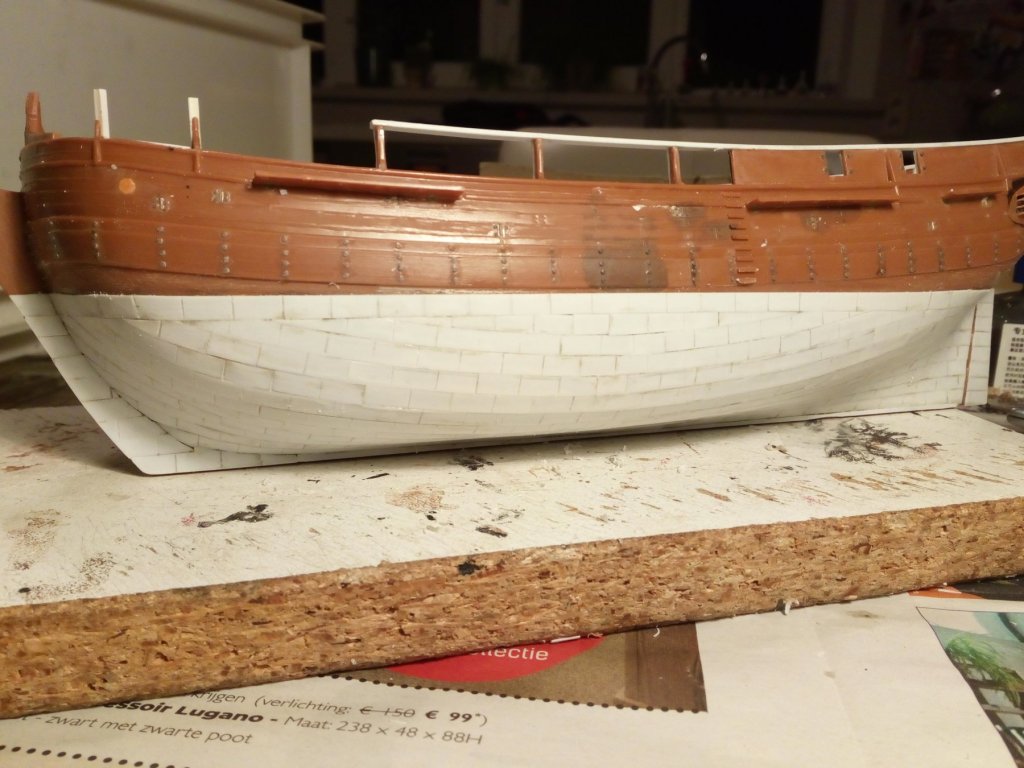
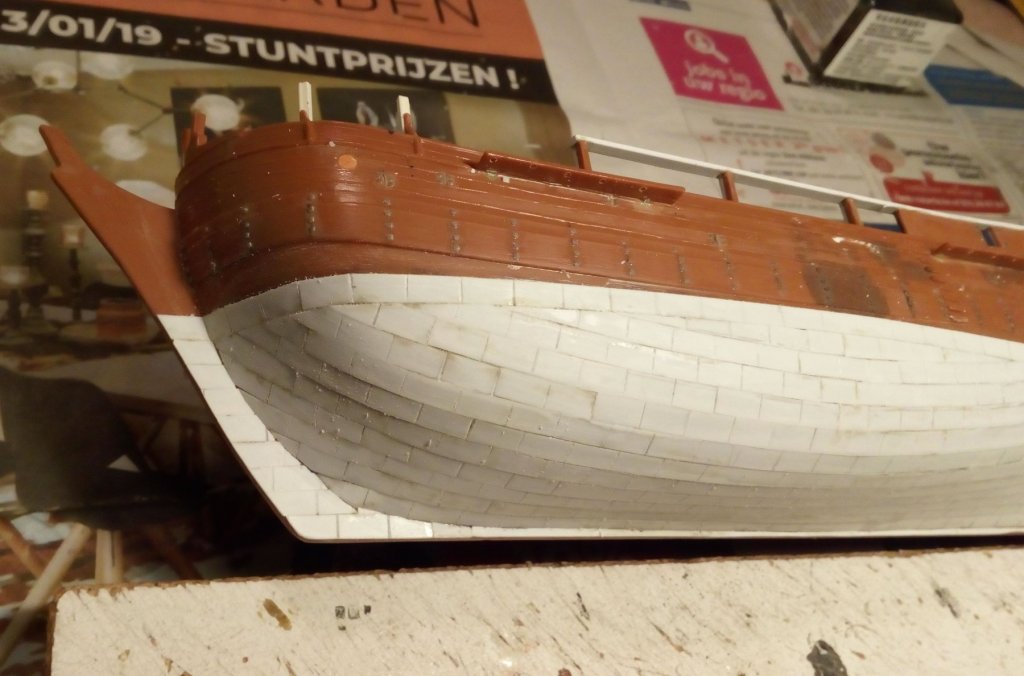
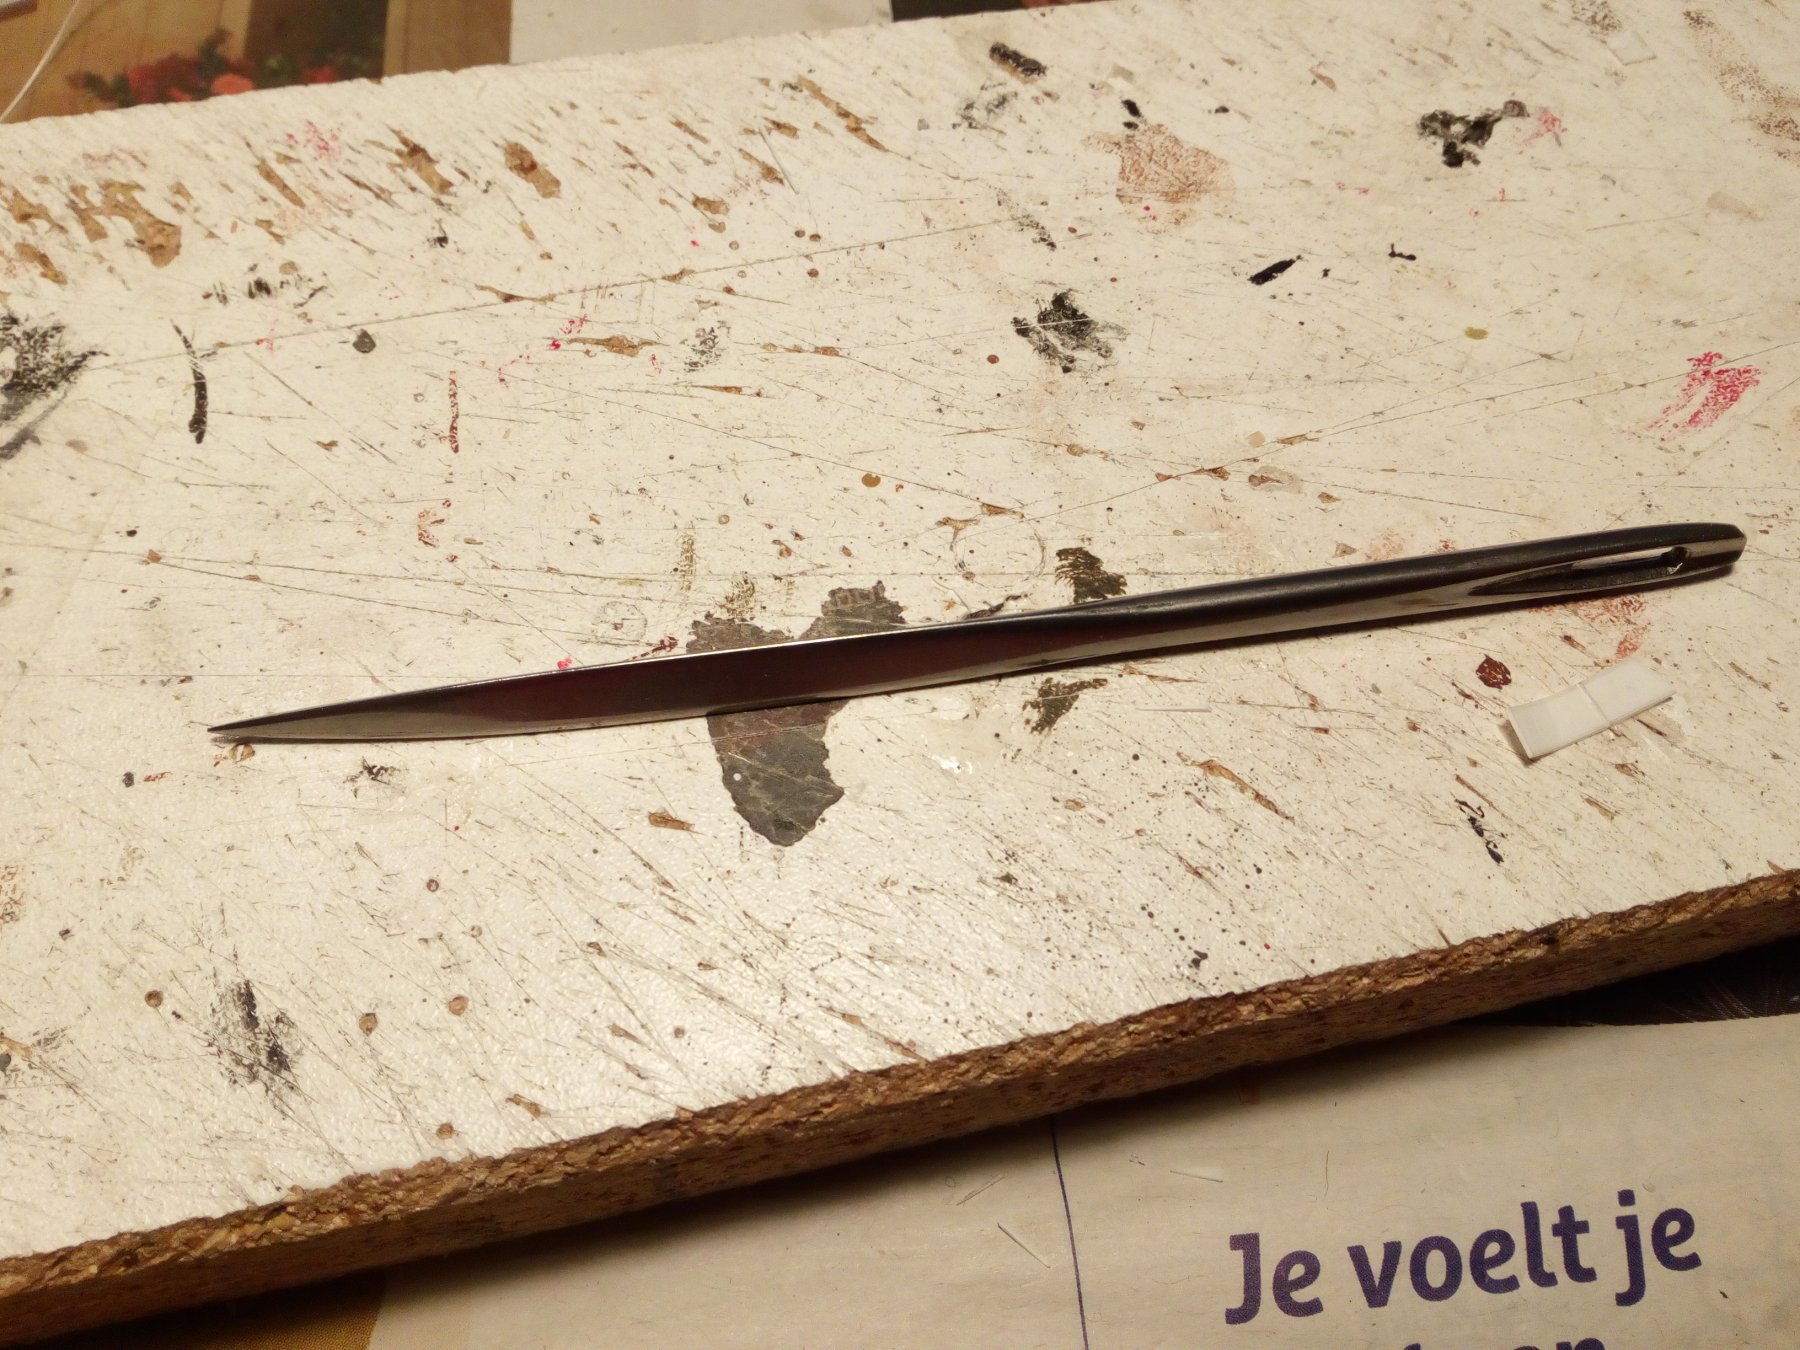
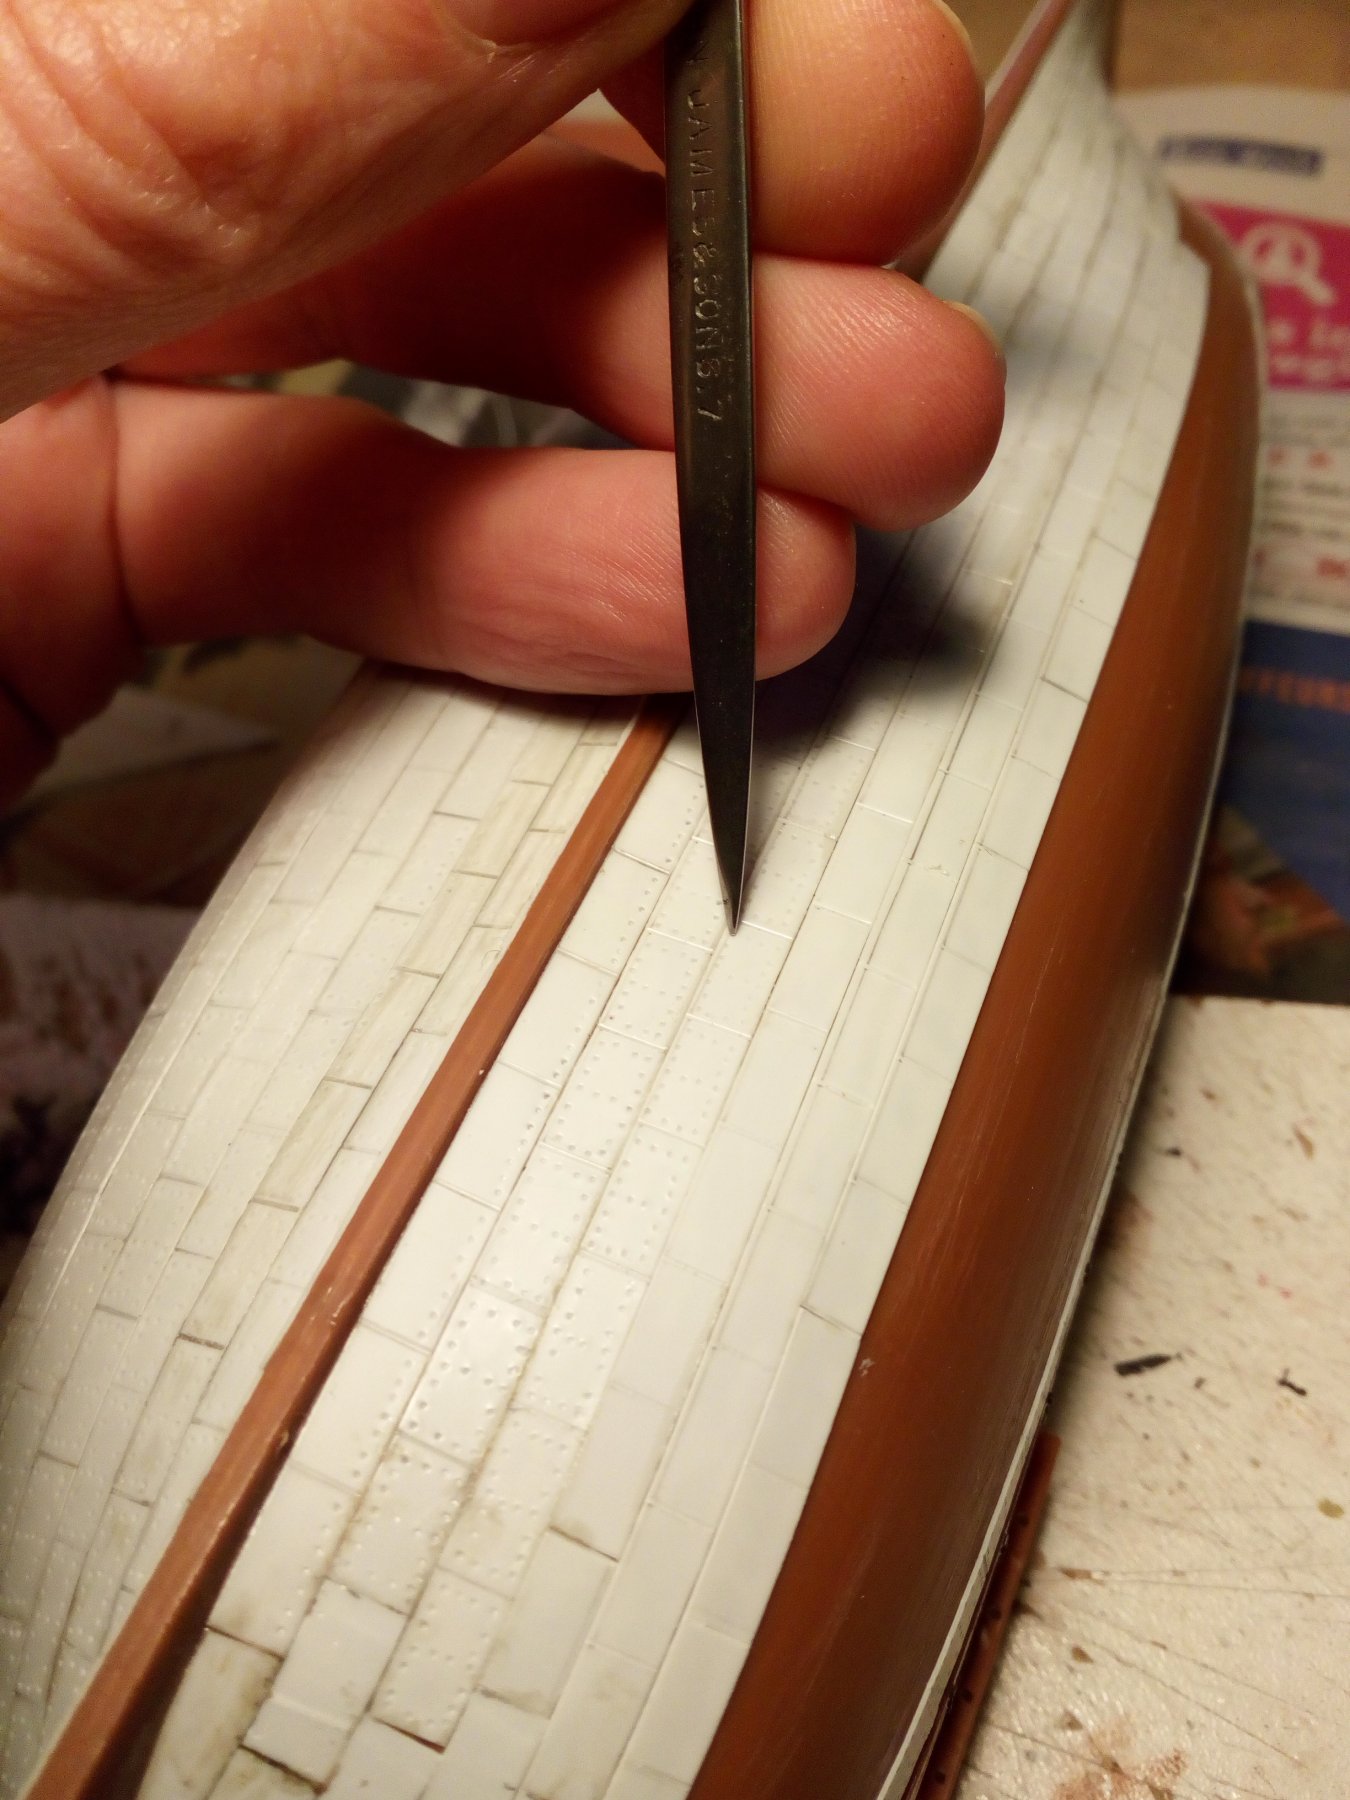
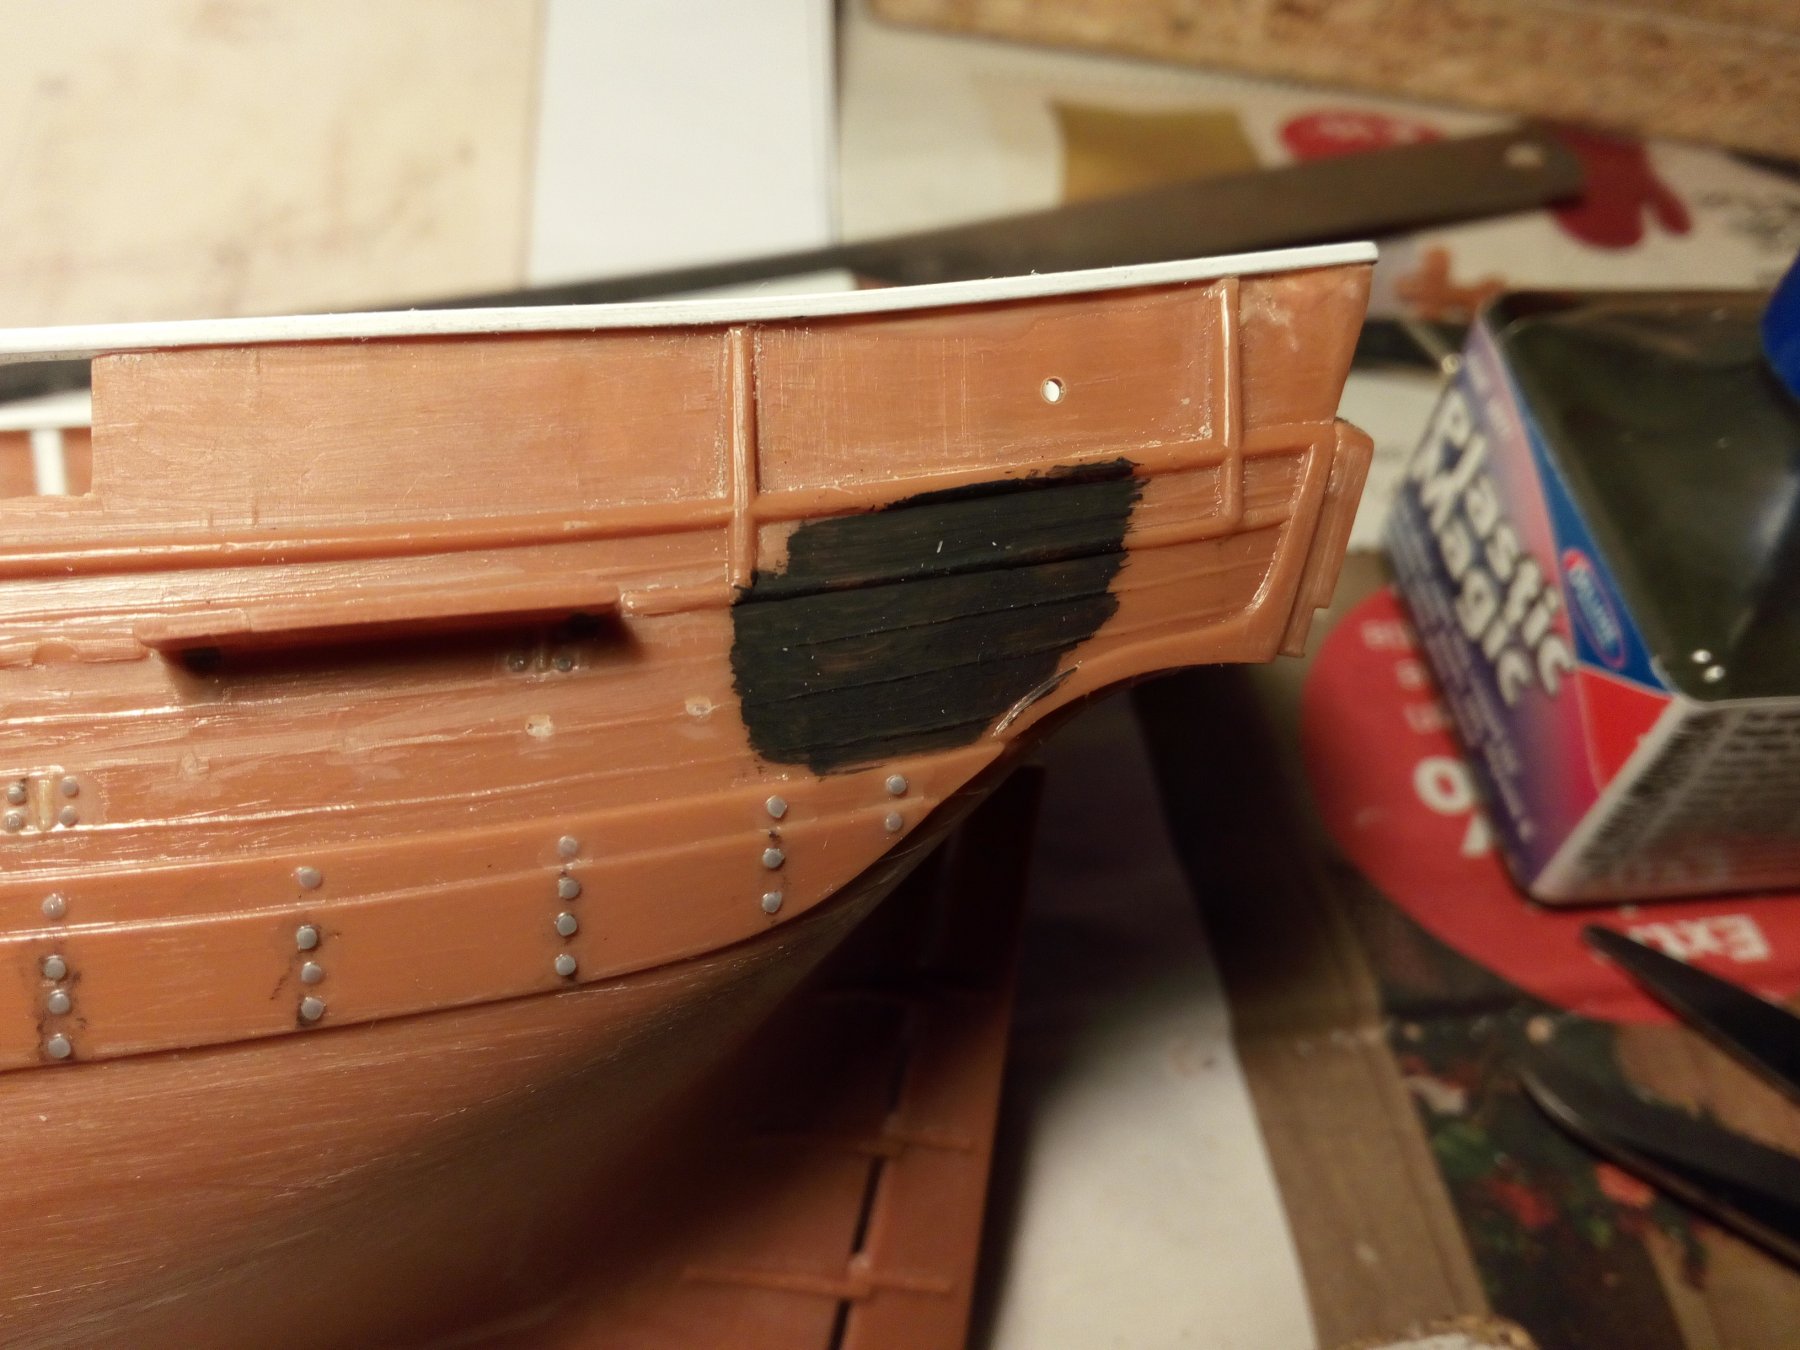
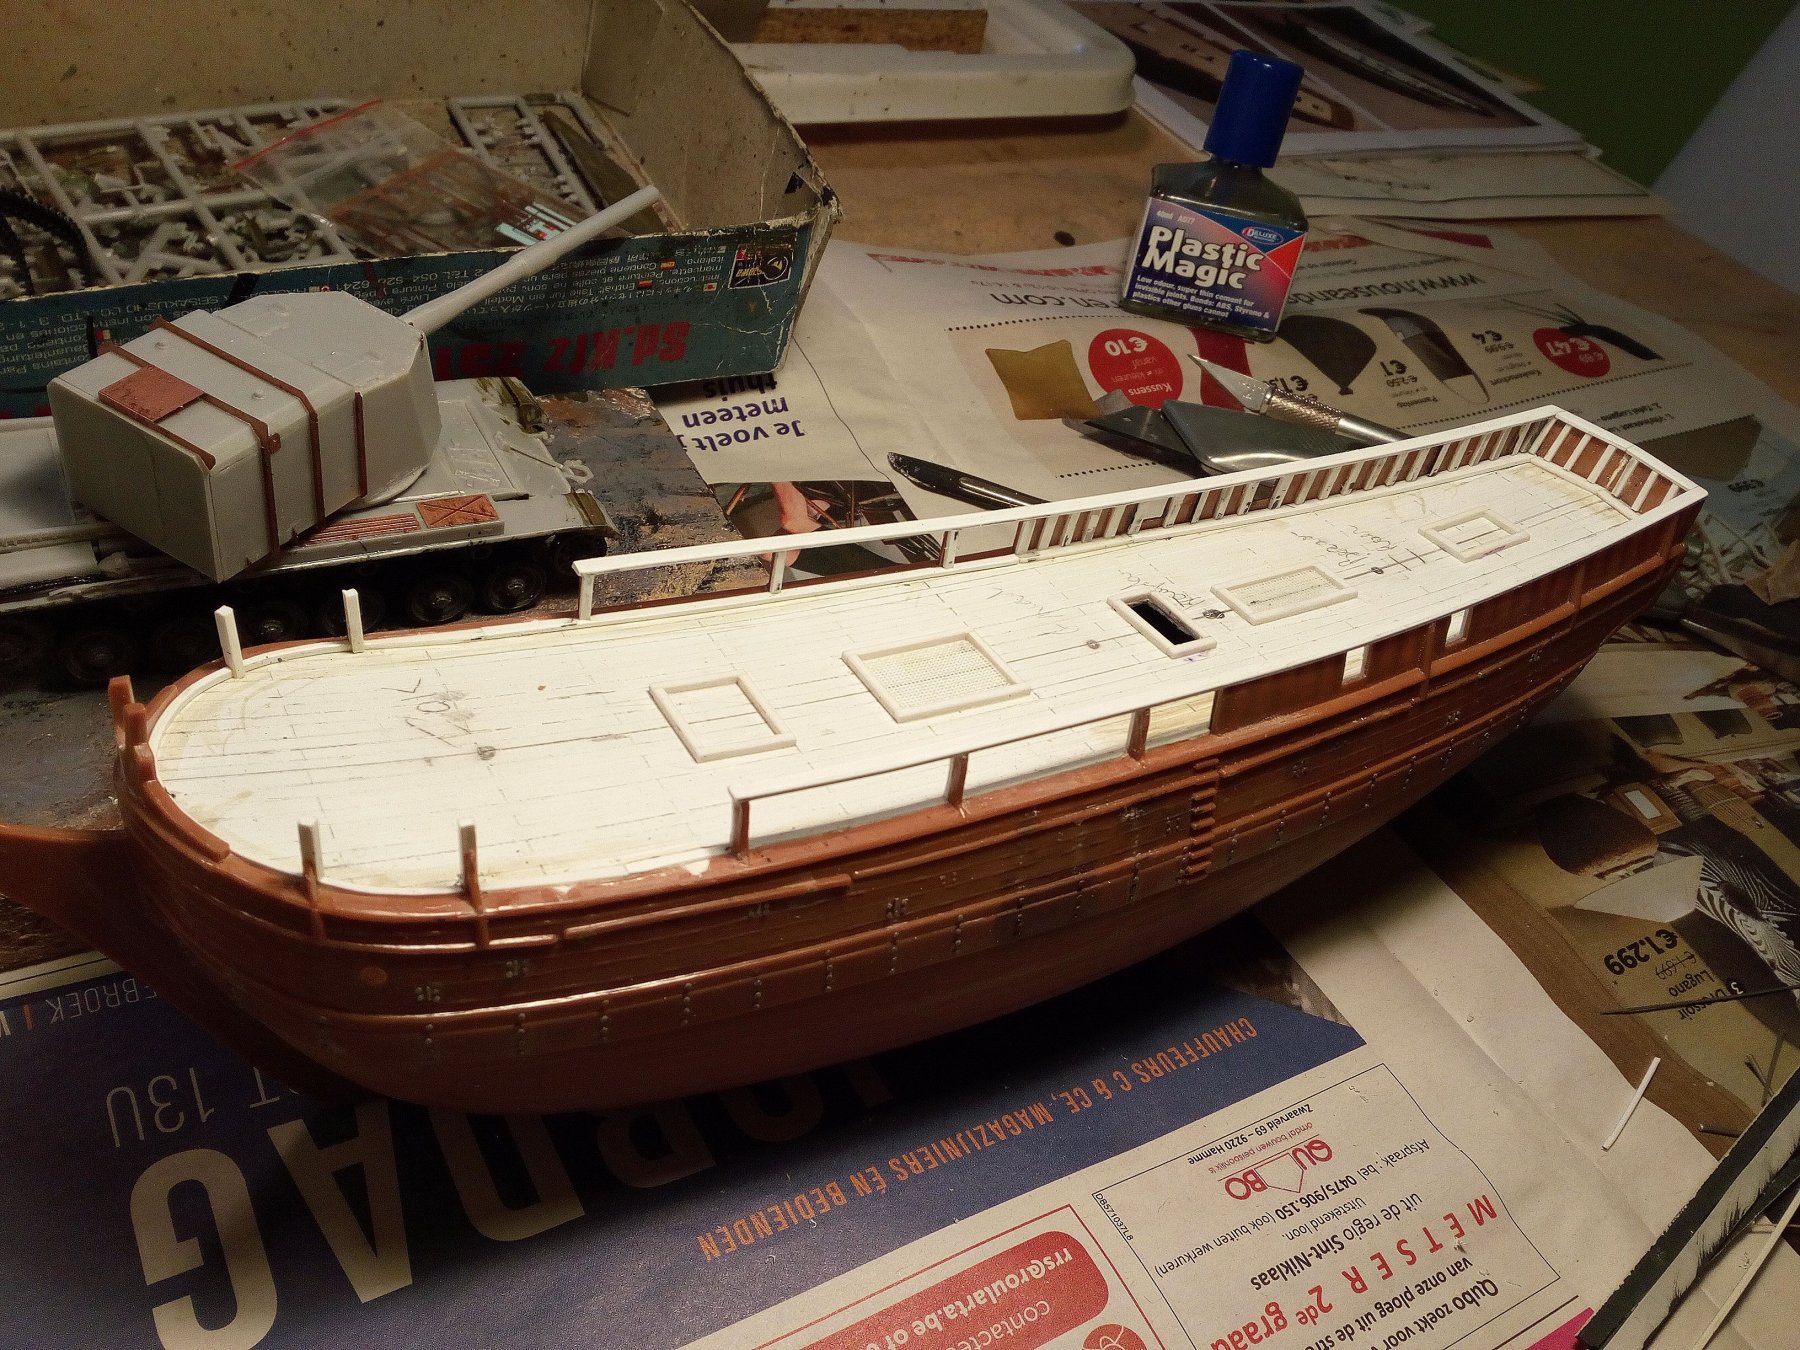
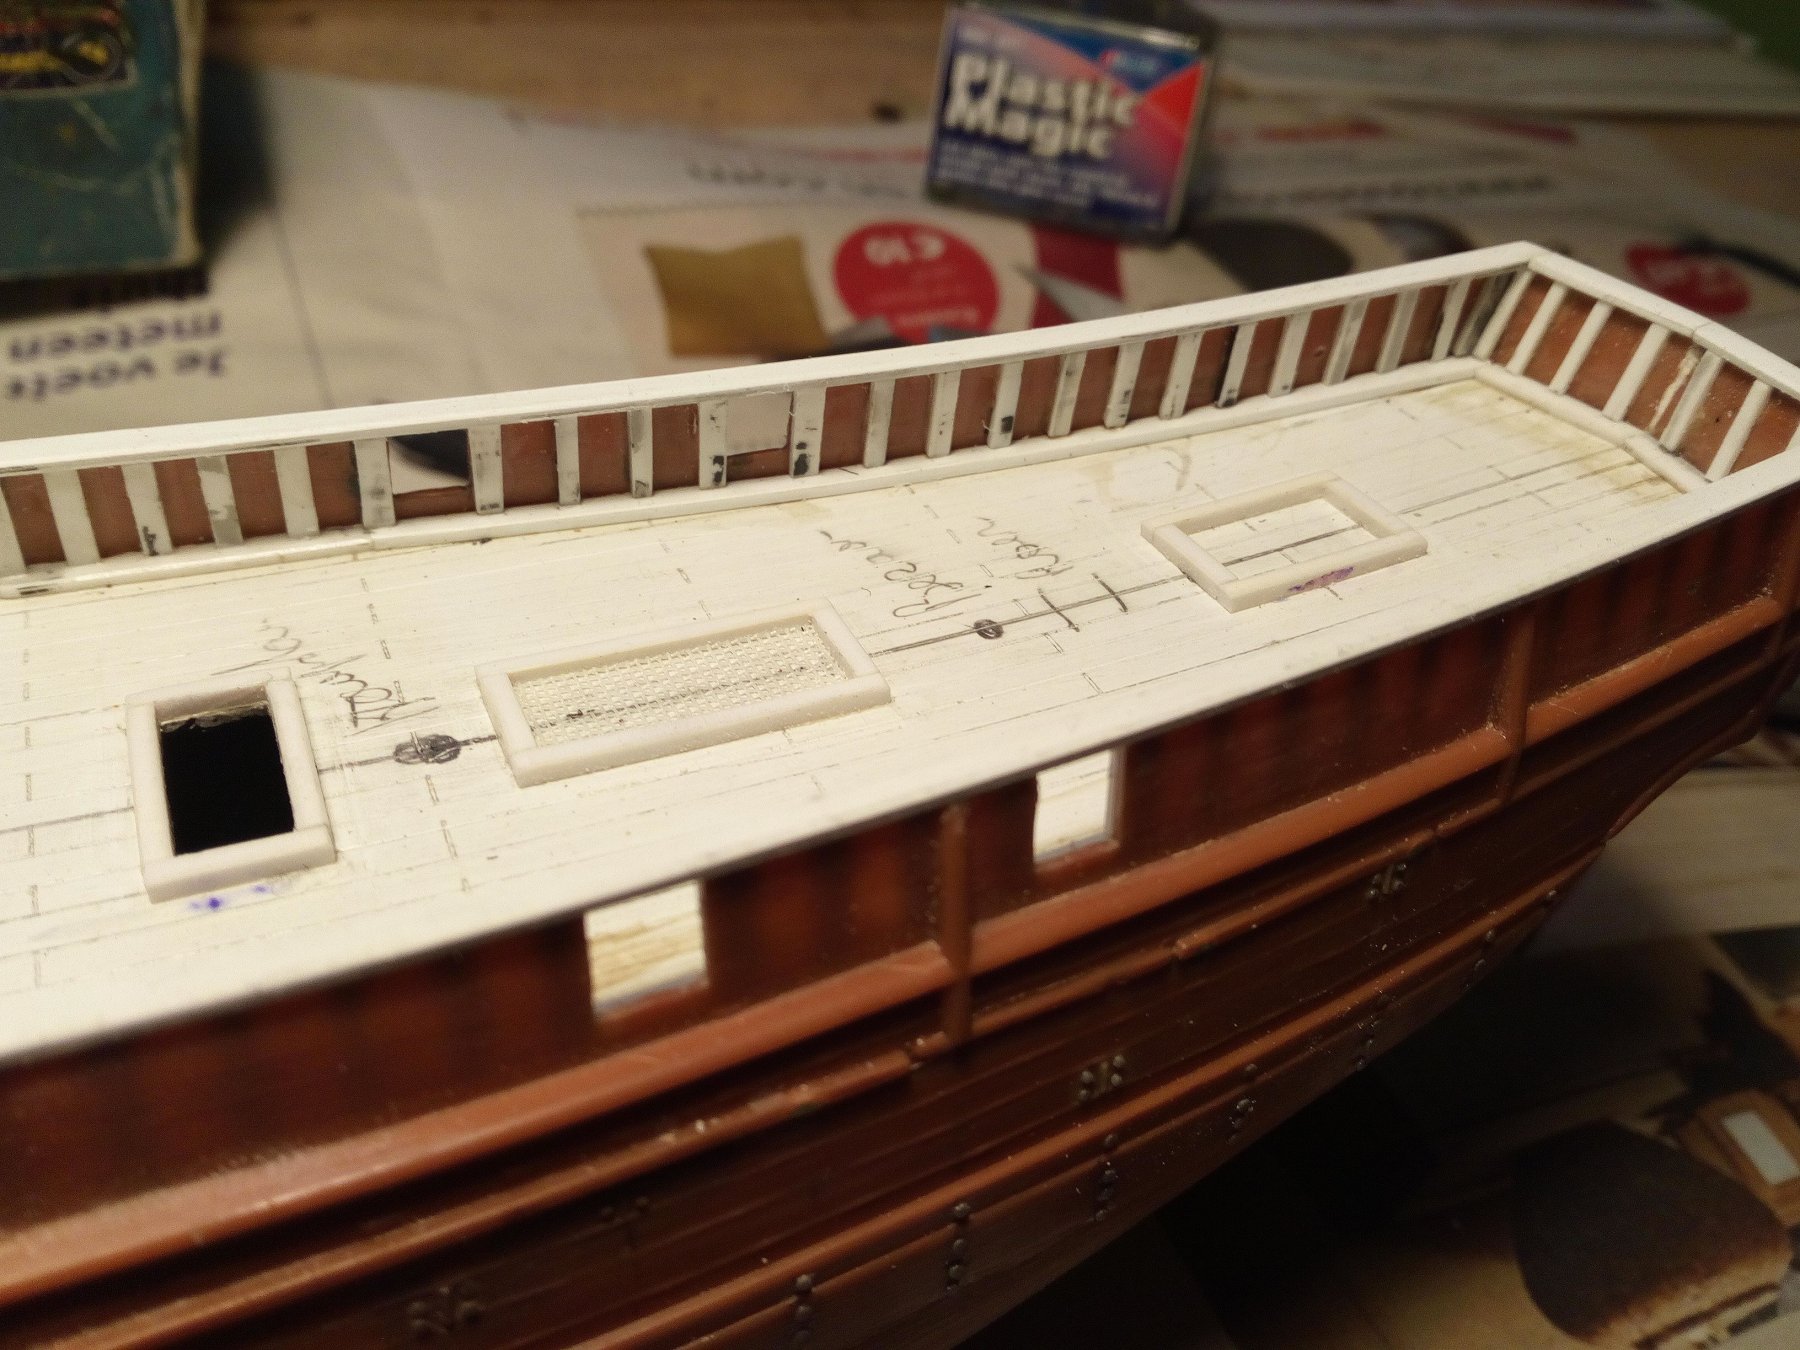
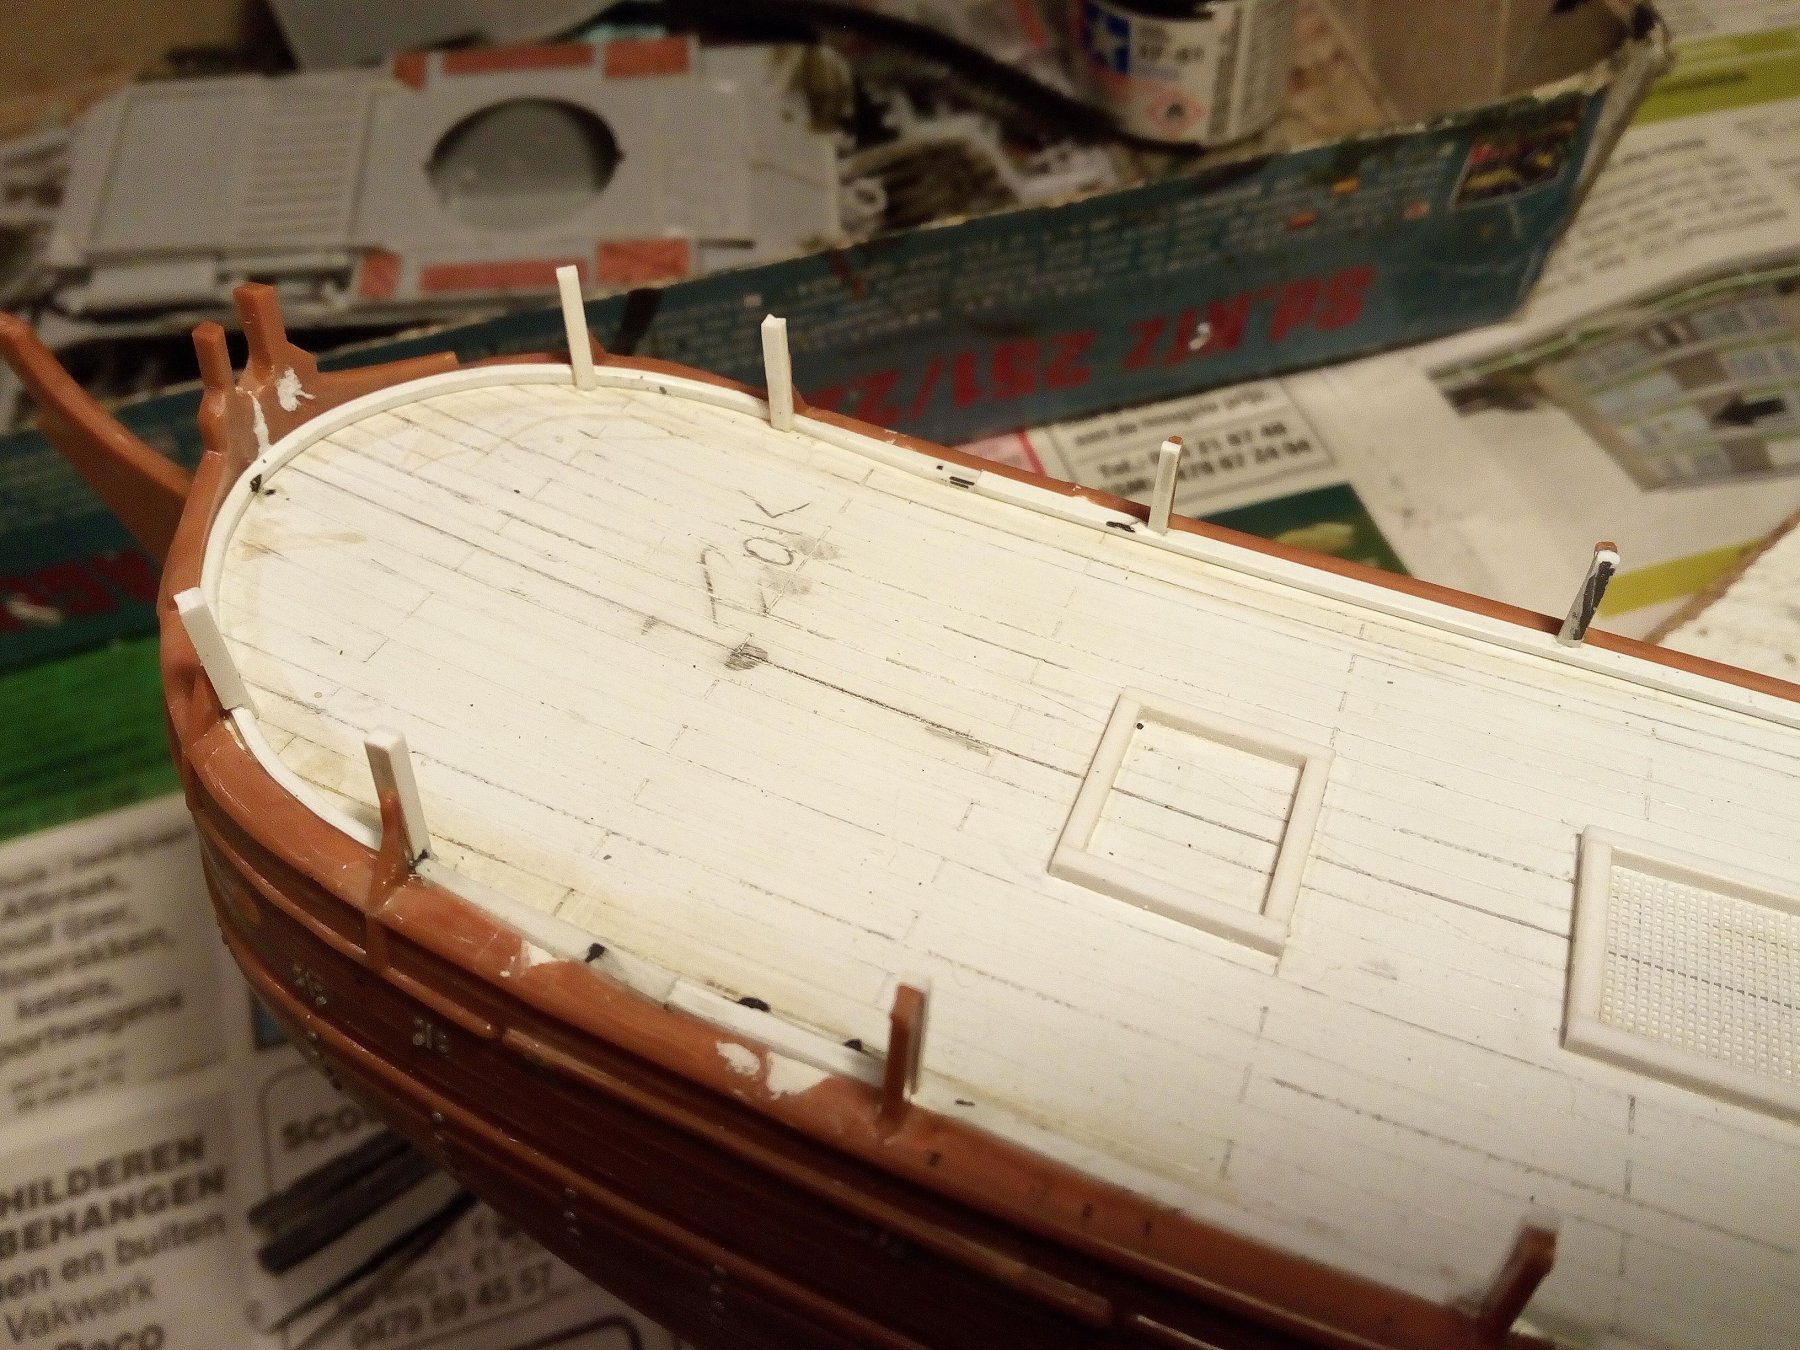
The copper sheeting has been slightly sanded. Now I have started to apply imitation nails. I use a large steel needle for this.

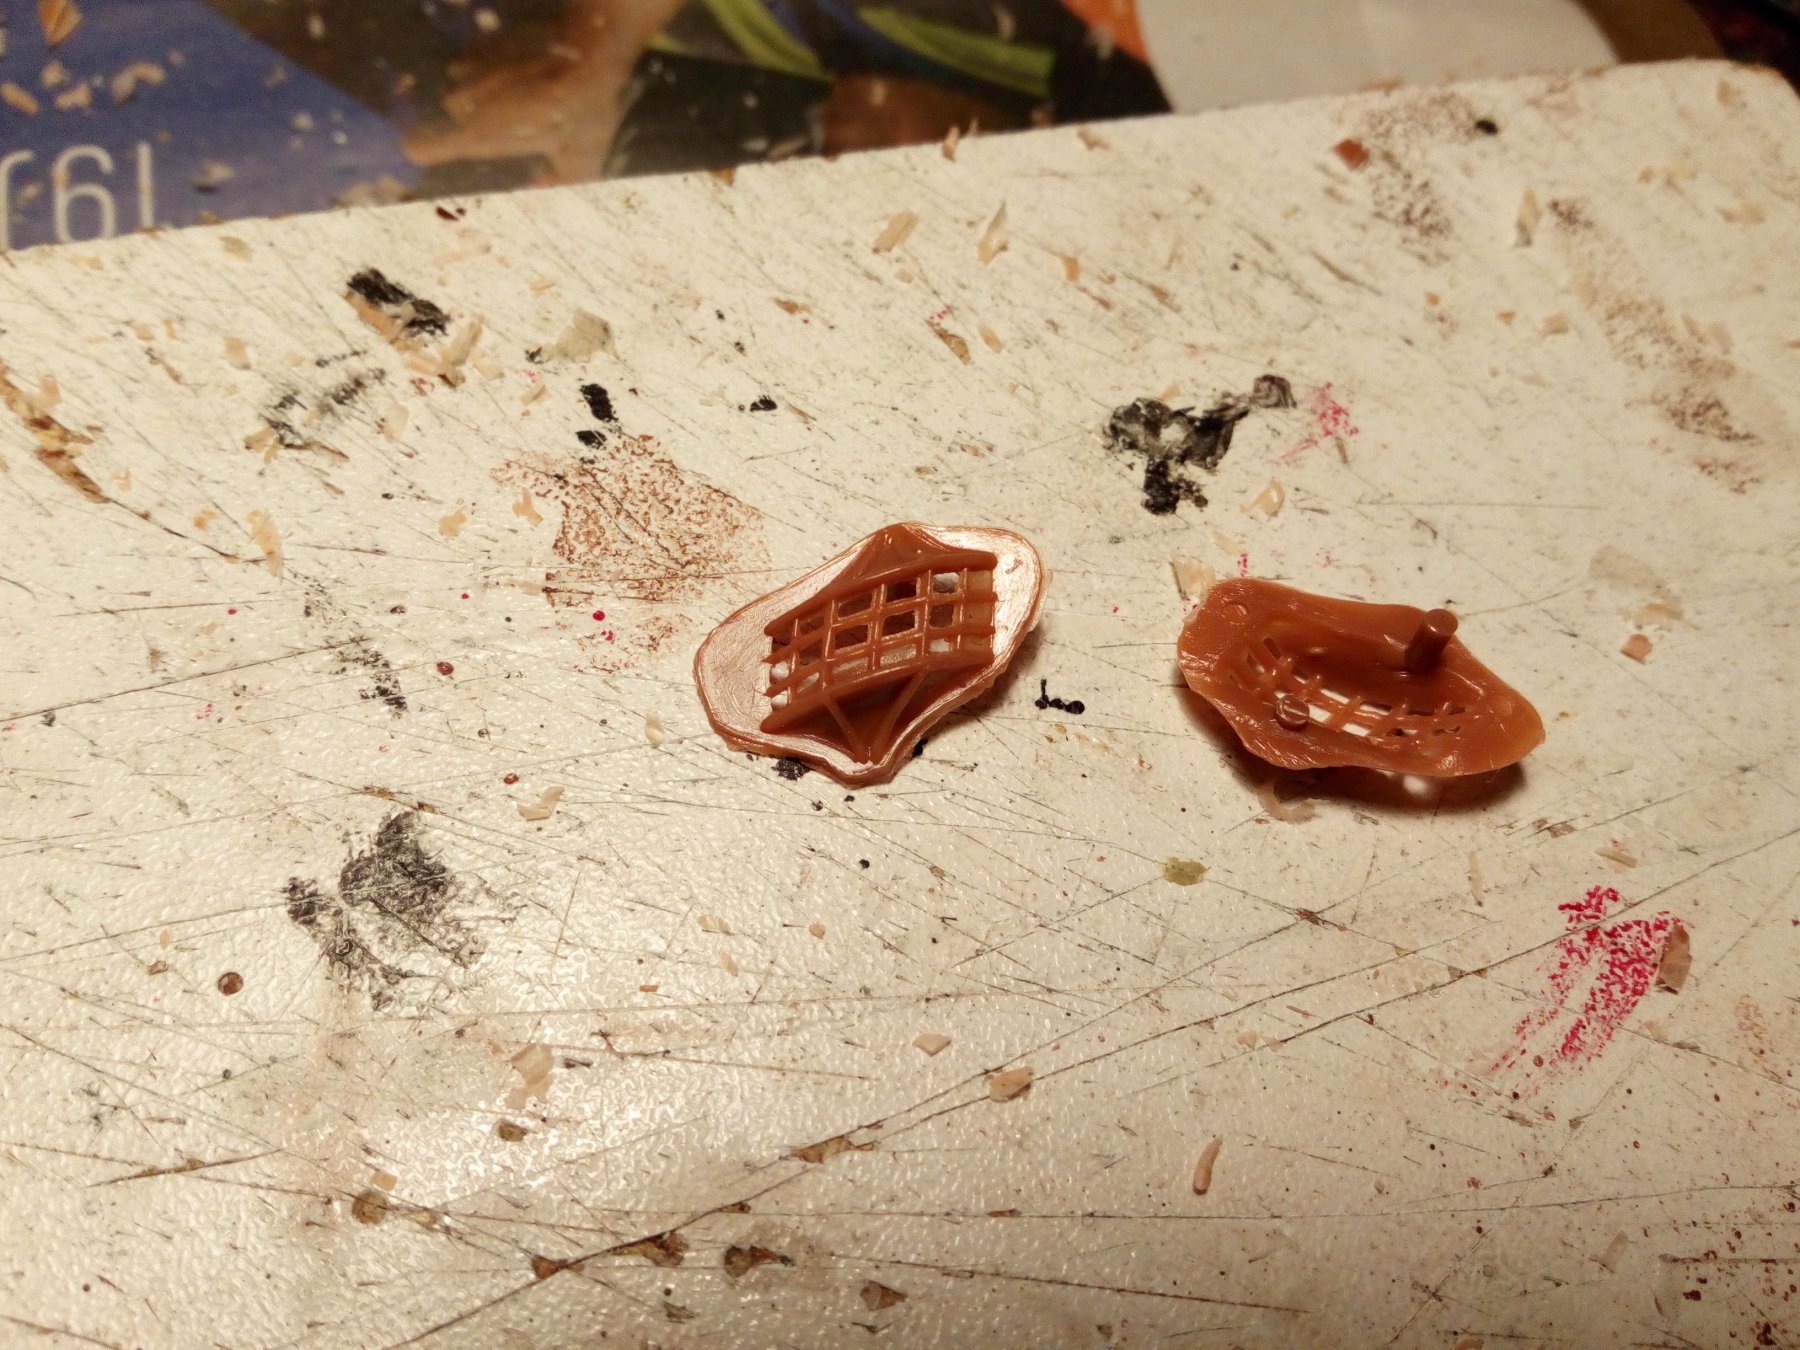
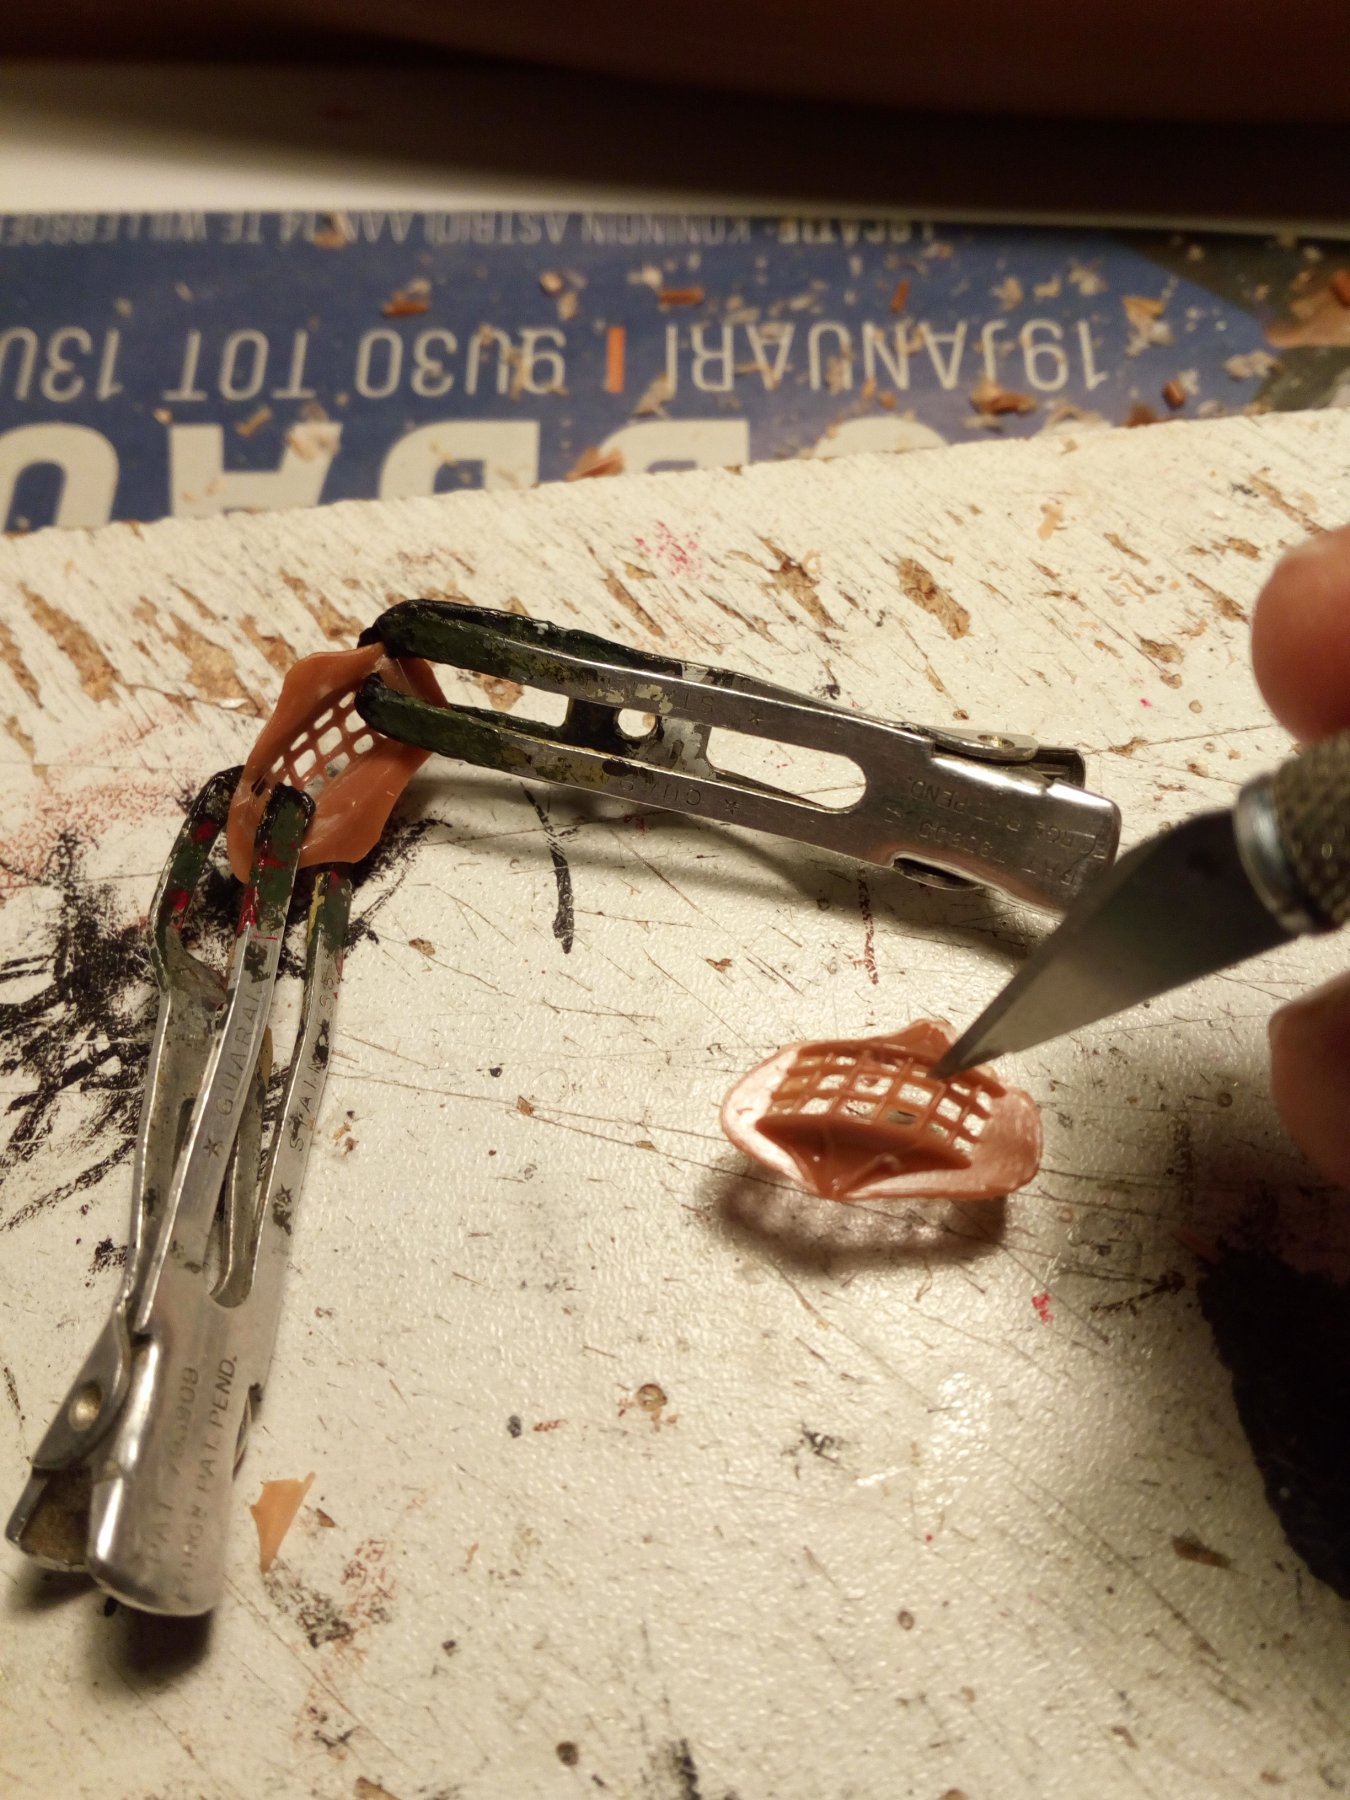
Work in progres, still much to do and new hinges must also be made for the rudder.
.thumb.jpg.899a429b75385d42ebd53bc783453fb5.jpg)
Thanks for following
-
-
Doris
My wife only follows this buildlog on MSW. She (and i) finds your work incredibly beautiful.
Great work
- DORIS, popeye the sailor, mtaylor and 2 others
-
 5
5
-
-
-
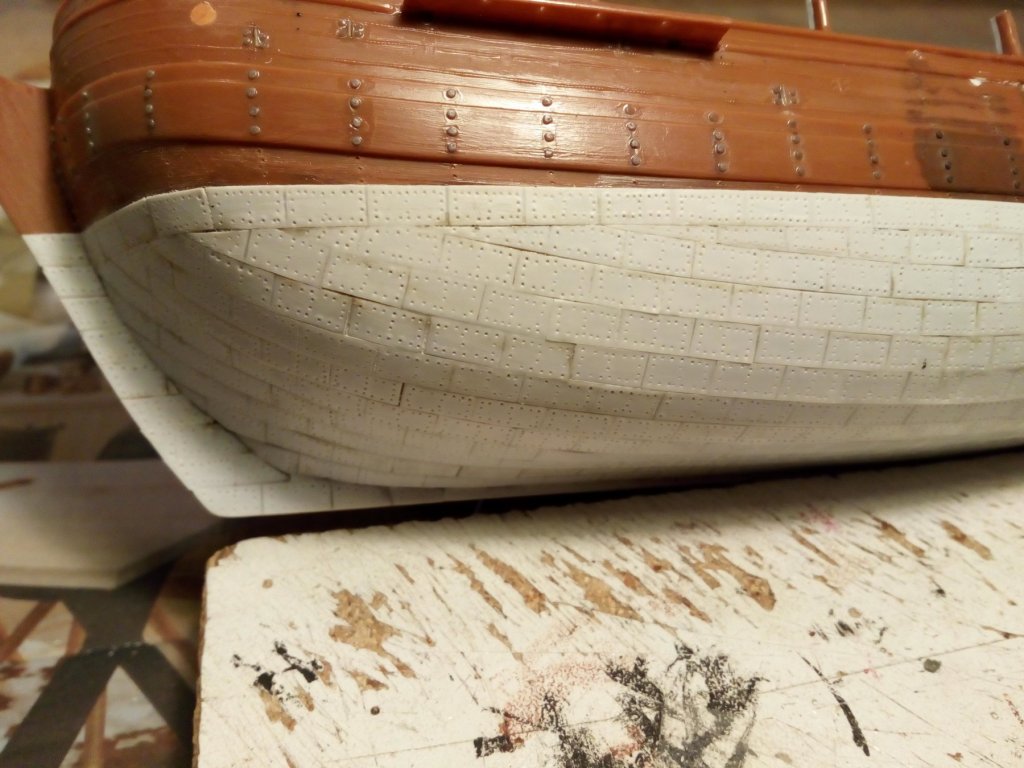
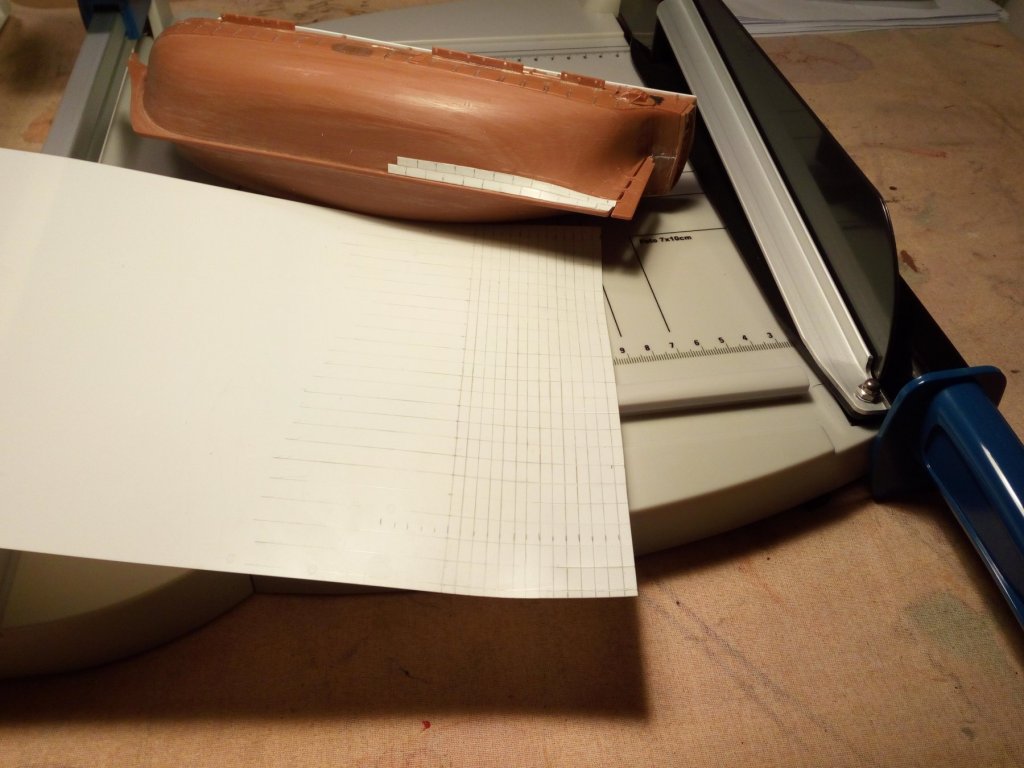
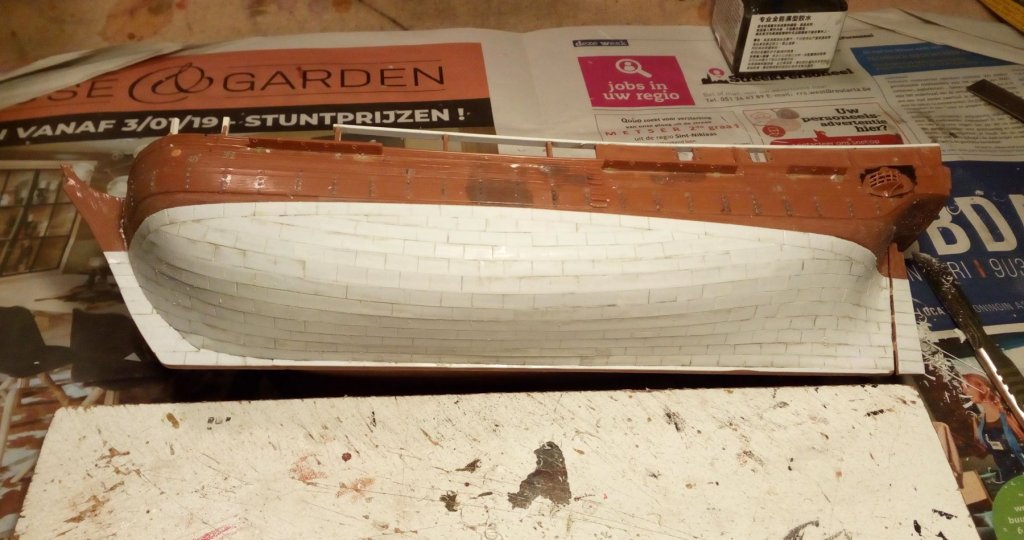
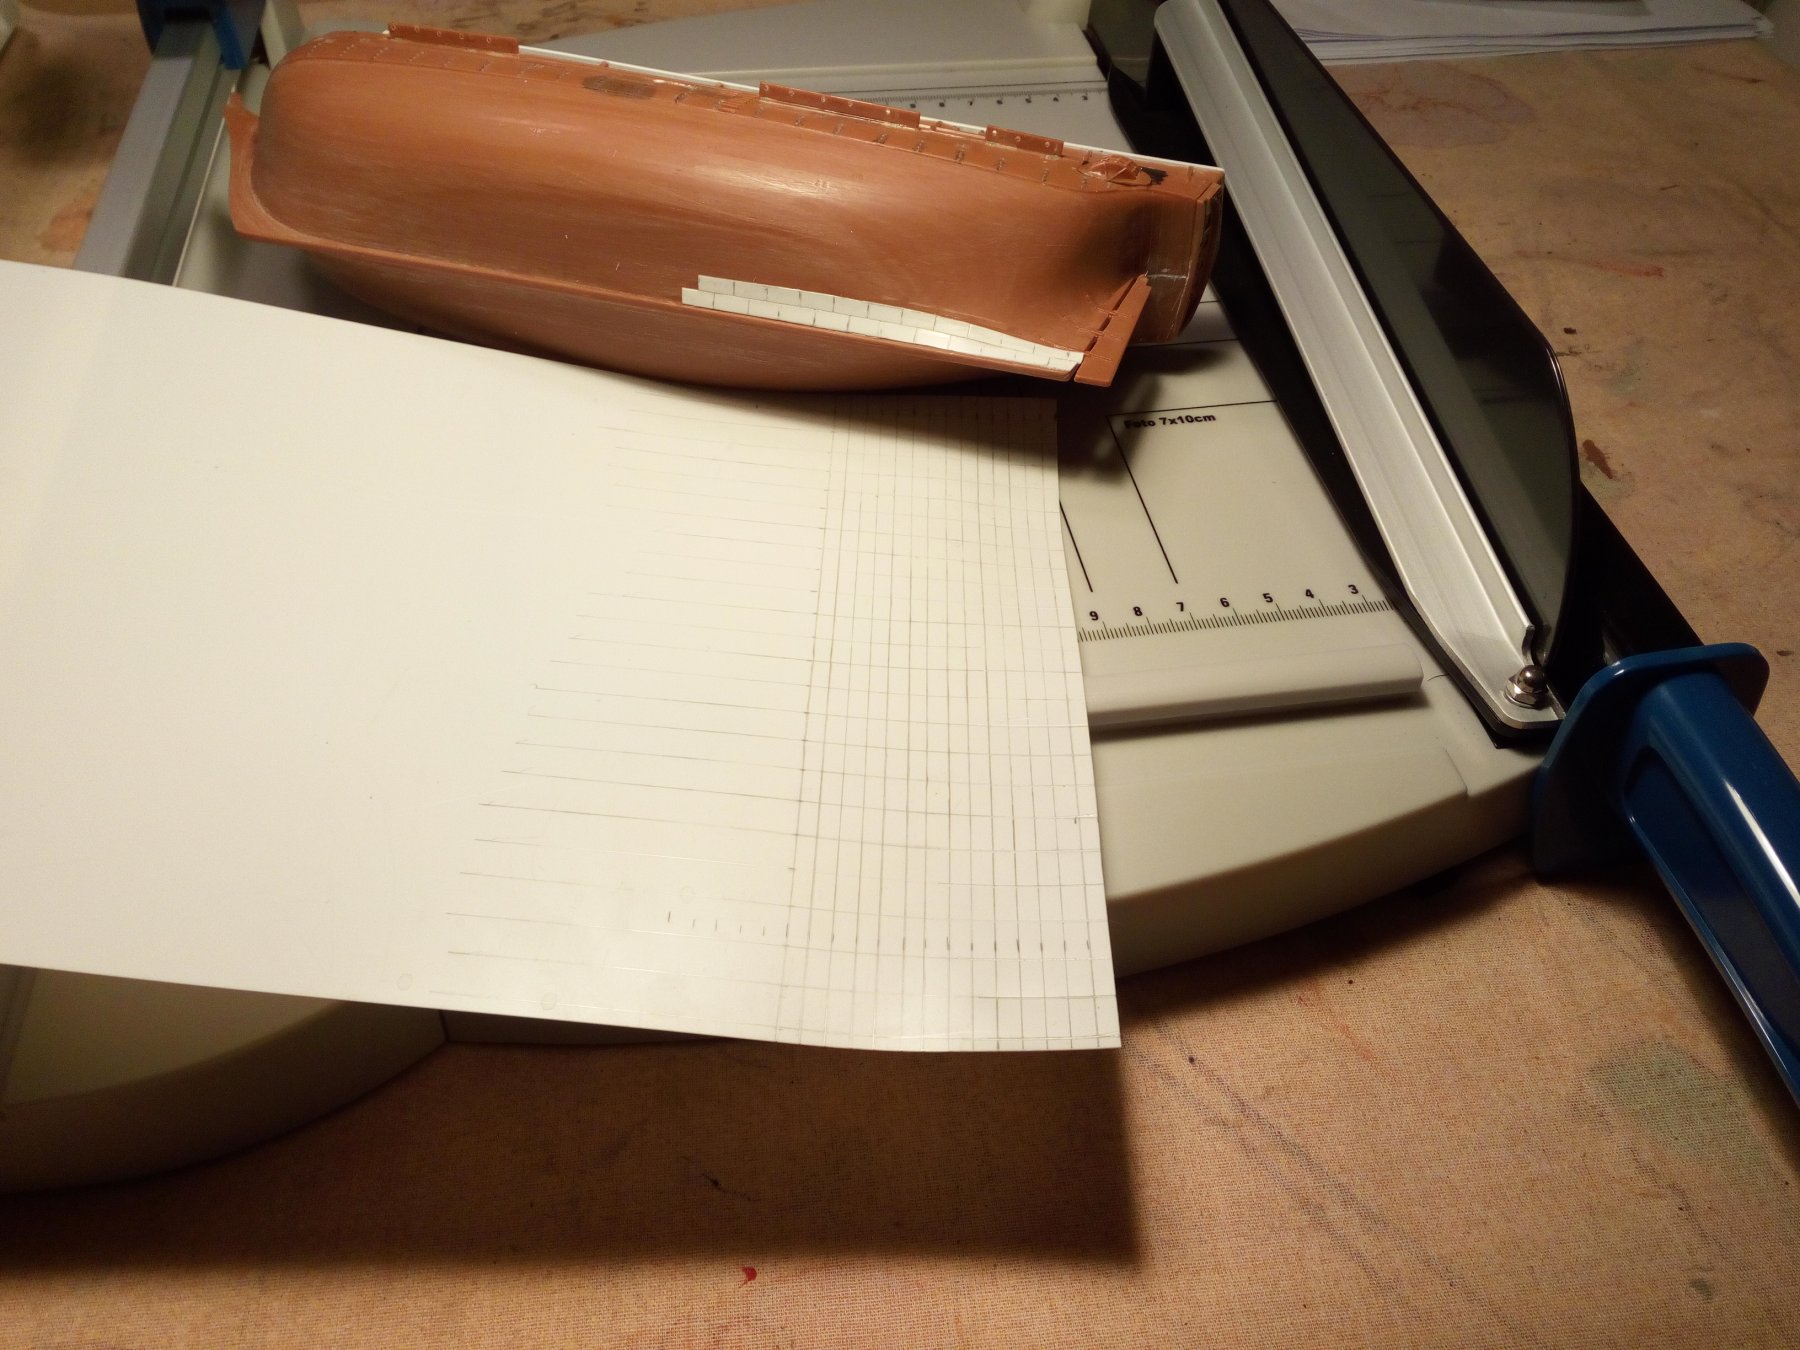
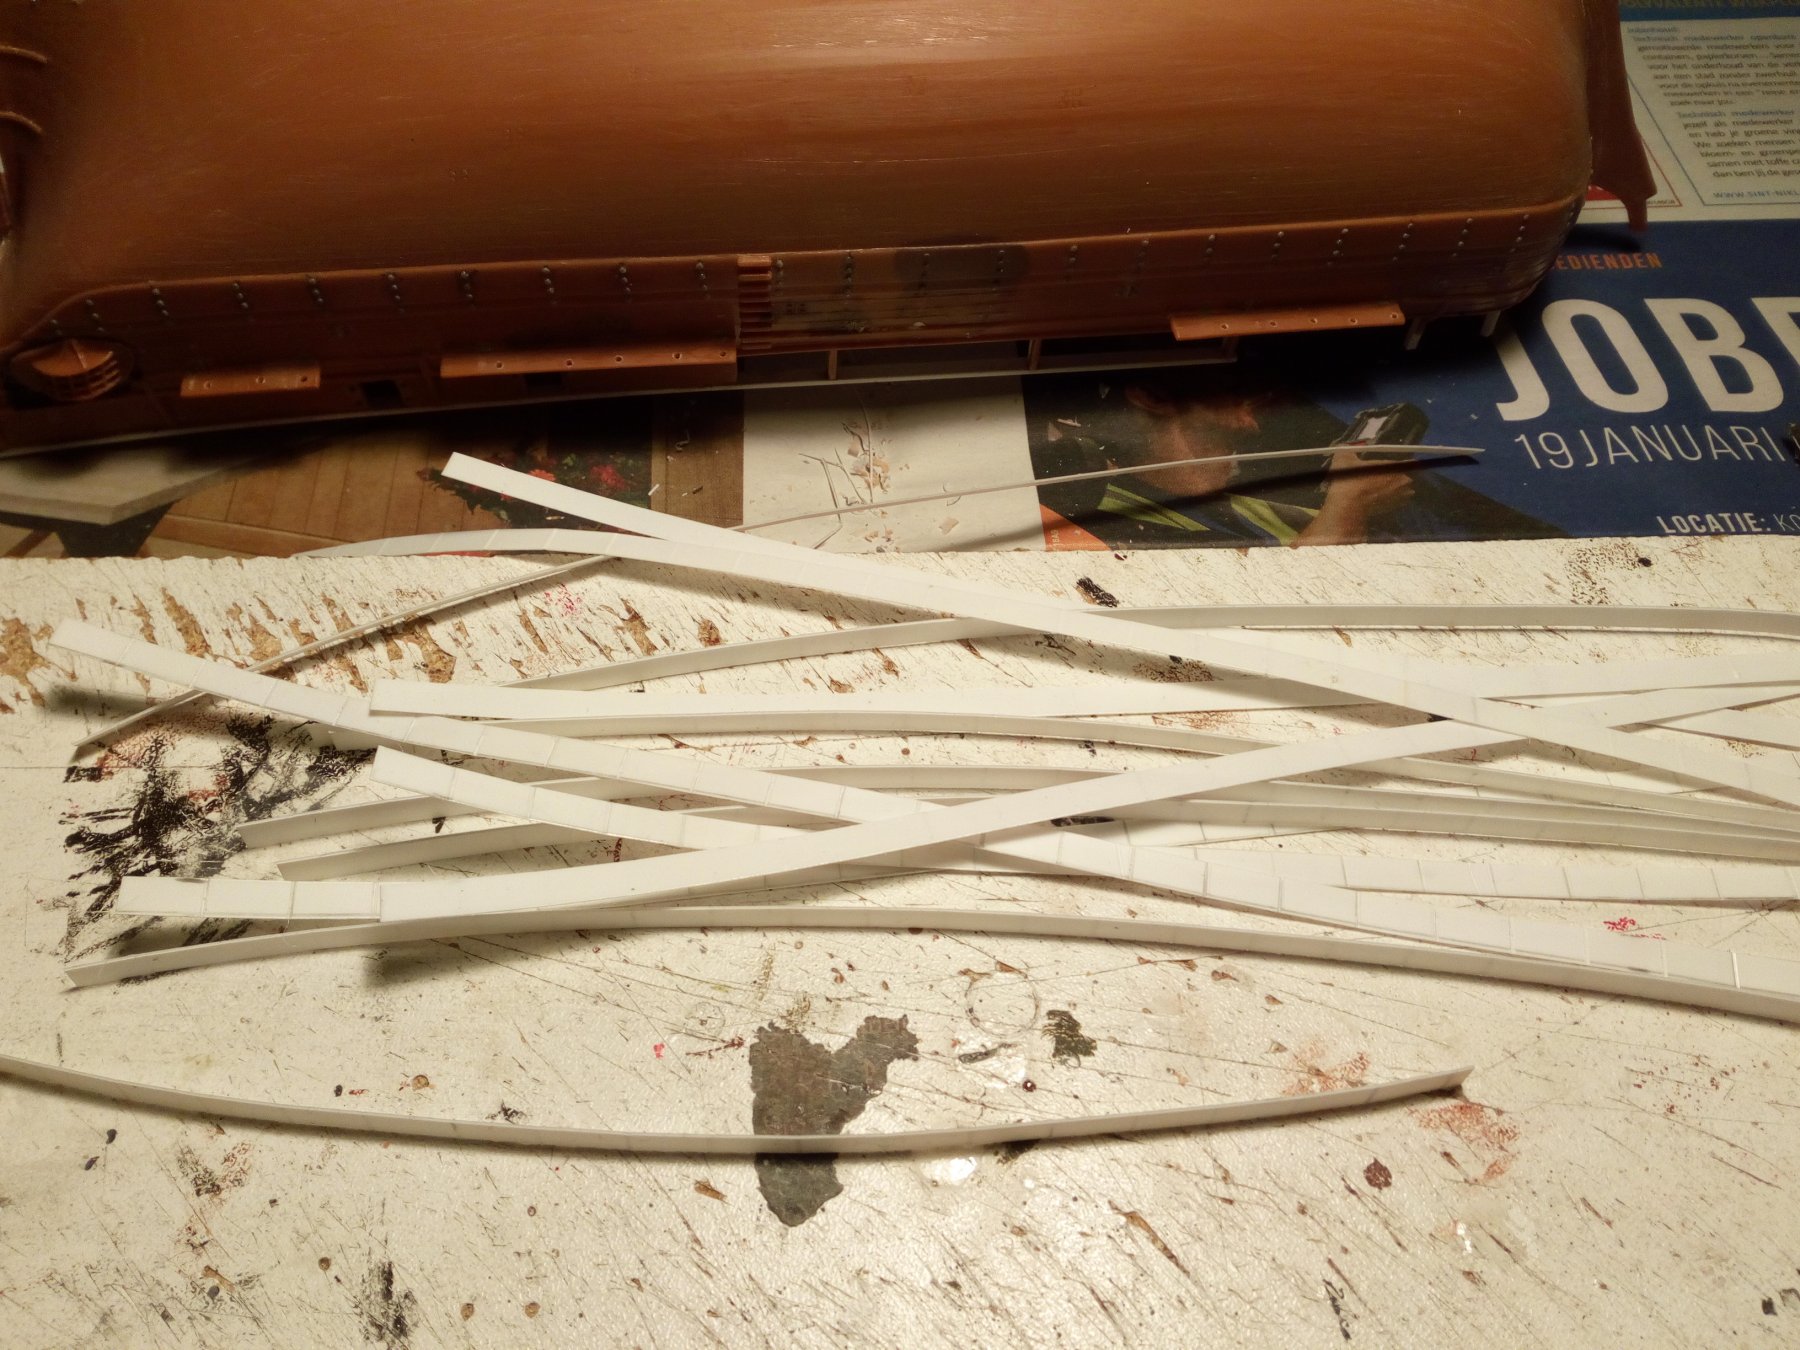
I am going to try to apply copper sheeting made of plastic sheet.
One side done (not really ok, could be better).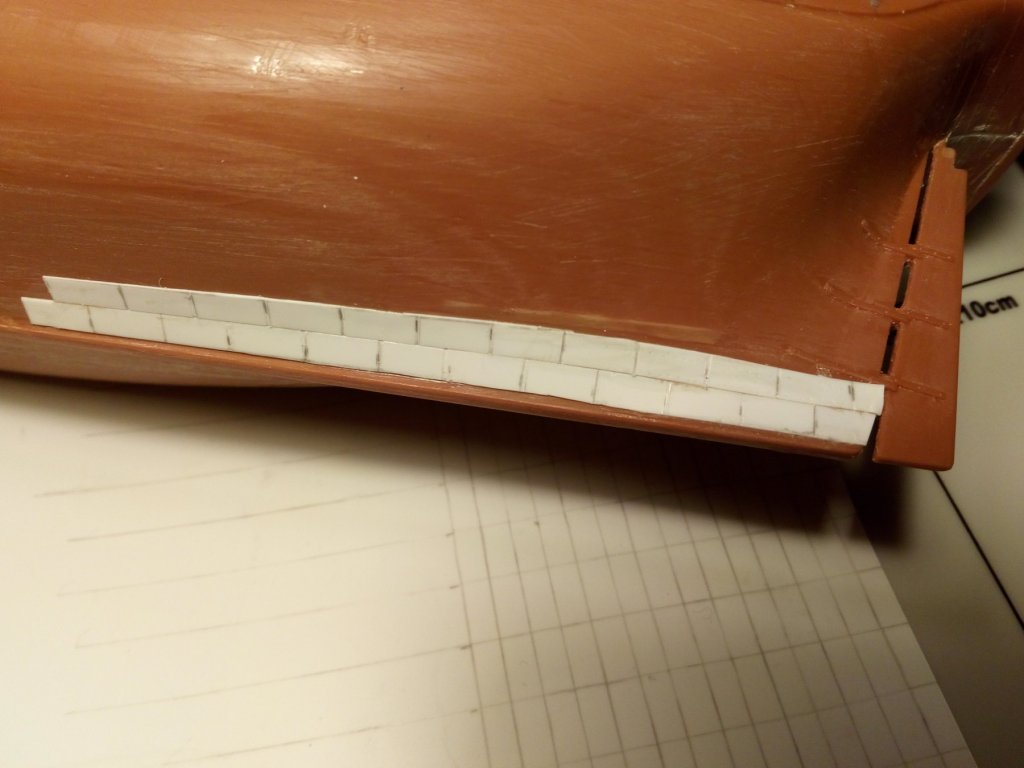

-
Found it.
Titel : From keel to truck. (In English, French and German).
https://ia600504.us.archive.org/22/items/bub_gb_pT4IAAAAQAAJ/bub_gb_pT4IAAAAQAAJ.pdf
- thibaultron, mtaylor and Katoom
-
3
-
21 hours ago, Louie da fly said:
I'm in the back row, fifth from the left, with my hand resting on the axe-head
Very impressive
")
And nice work on the carvings.
- Louie da fly and mtaylor
-
2
-
Well done Doris.
Incredibly detailed cannons- popeye the sailor, EJ_L, DORIS and 2 others
-
5
-
1 hour ago, Katoom said:
Thanks Patrick!
Brilliant and concise! Thanks for finding and posting it, much appreciated. You don't happen to have another little gem like this that covers rigging by any chance? 🤔
Maybe. But it will take me some time to find this.
- thibaultron and Katoom
-
2
-
-
-
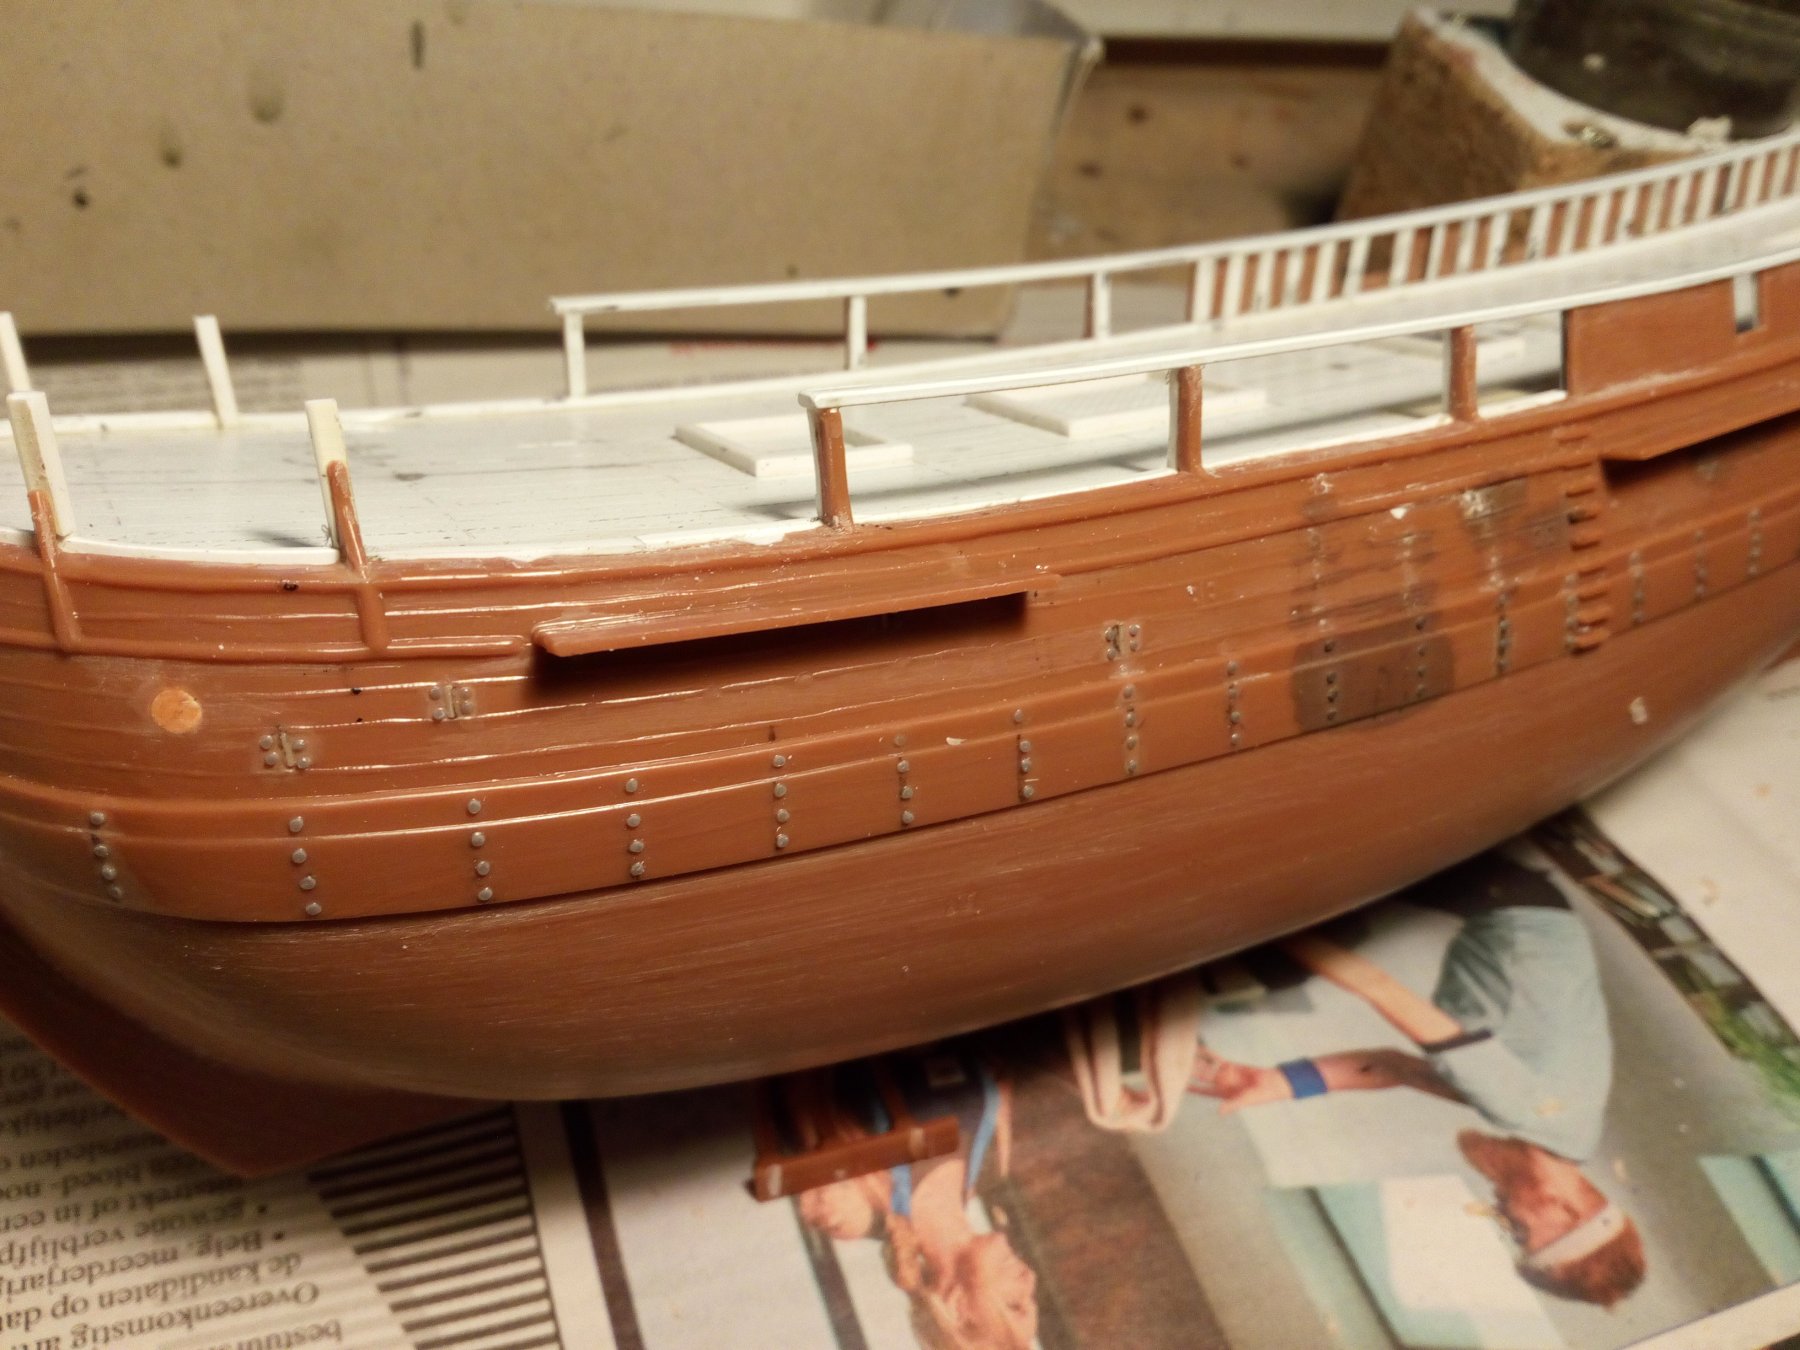
The channels have been cleaned up and are installed

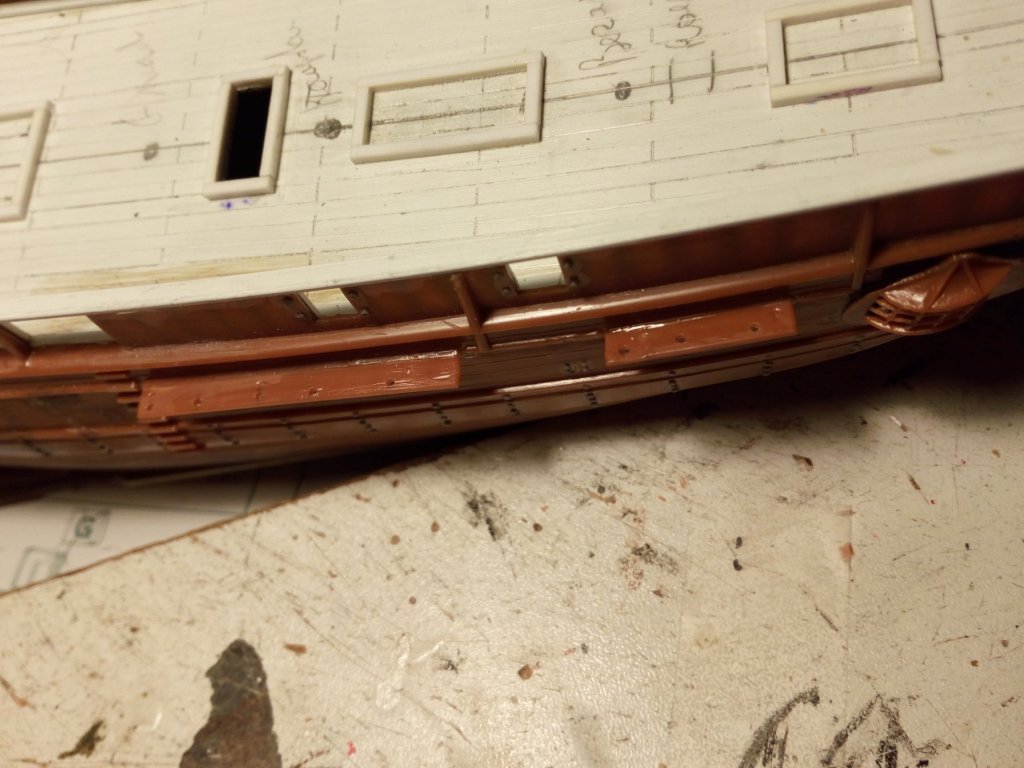
The side windows are cleaned up and provided with clear plastic sheet.


- CDW, SigEp Ziggy, lmagna and 2 others
-
5
-
-
-
-
-
Maybe this is interesting for you. Found it on a pdf (the construction sequence of the princess channel wreck)

- CaptainSteve and mtaylor
-
2
-
-
-
5 hours ago, md1400cs said:
Patrick,
Just catching up - As always Brilliant indeed.
Thank you Michael
8 hours ago, nikbud said:I like the solid and purposeful look of the channels.
The decking pattern is very impressive, both the deck and channels give an insight into how these ships were built - with craftsmanship, but using what is available where necessary.
Good work, you have given me much to think about!
Thank you
-
10 hours ago, davyboy said:
Patrick,you are making a very good model,very nice indeed.
I watched a programme yesterday on English television about this ship and Drake. There were many parts of the programme taken on board the replica in London. Not a lot of headroom below decks and extremely cramped living conditions. Hard to believe that the original ship circumnavigated the world.
BTW,the pivot point for the Whipstaff is called the Rowle.
Dave

Thank you,
I read somewhere.
Spanish prisoners found the living conditions below deck dark, cramped and unhealthy. They were right
-
18 hours ago, G.L. said:
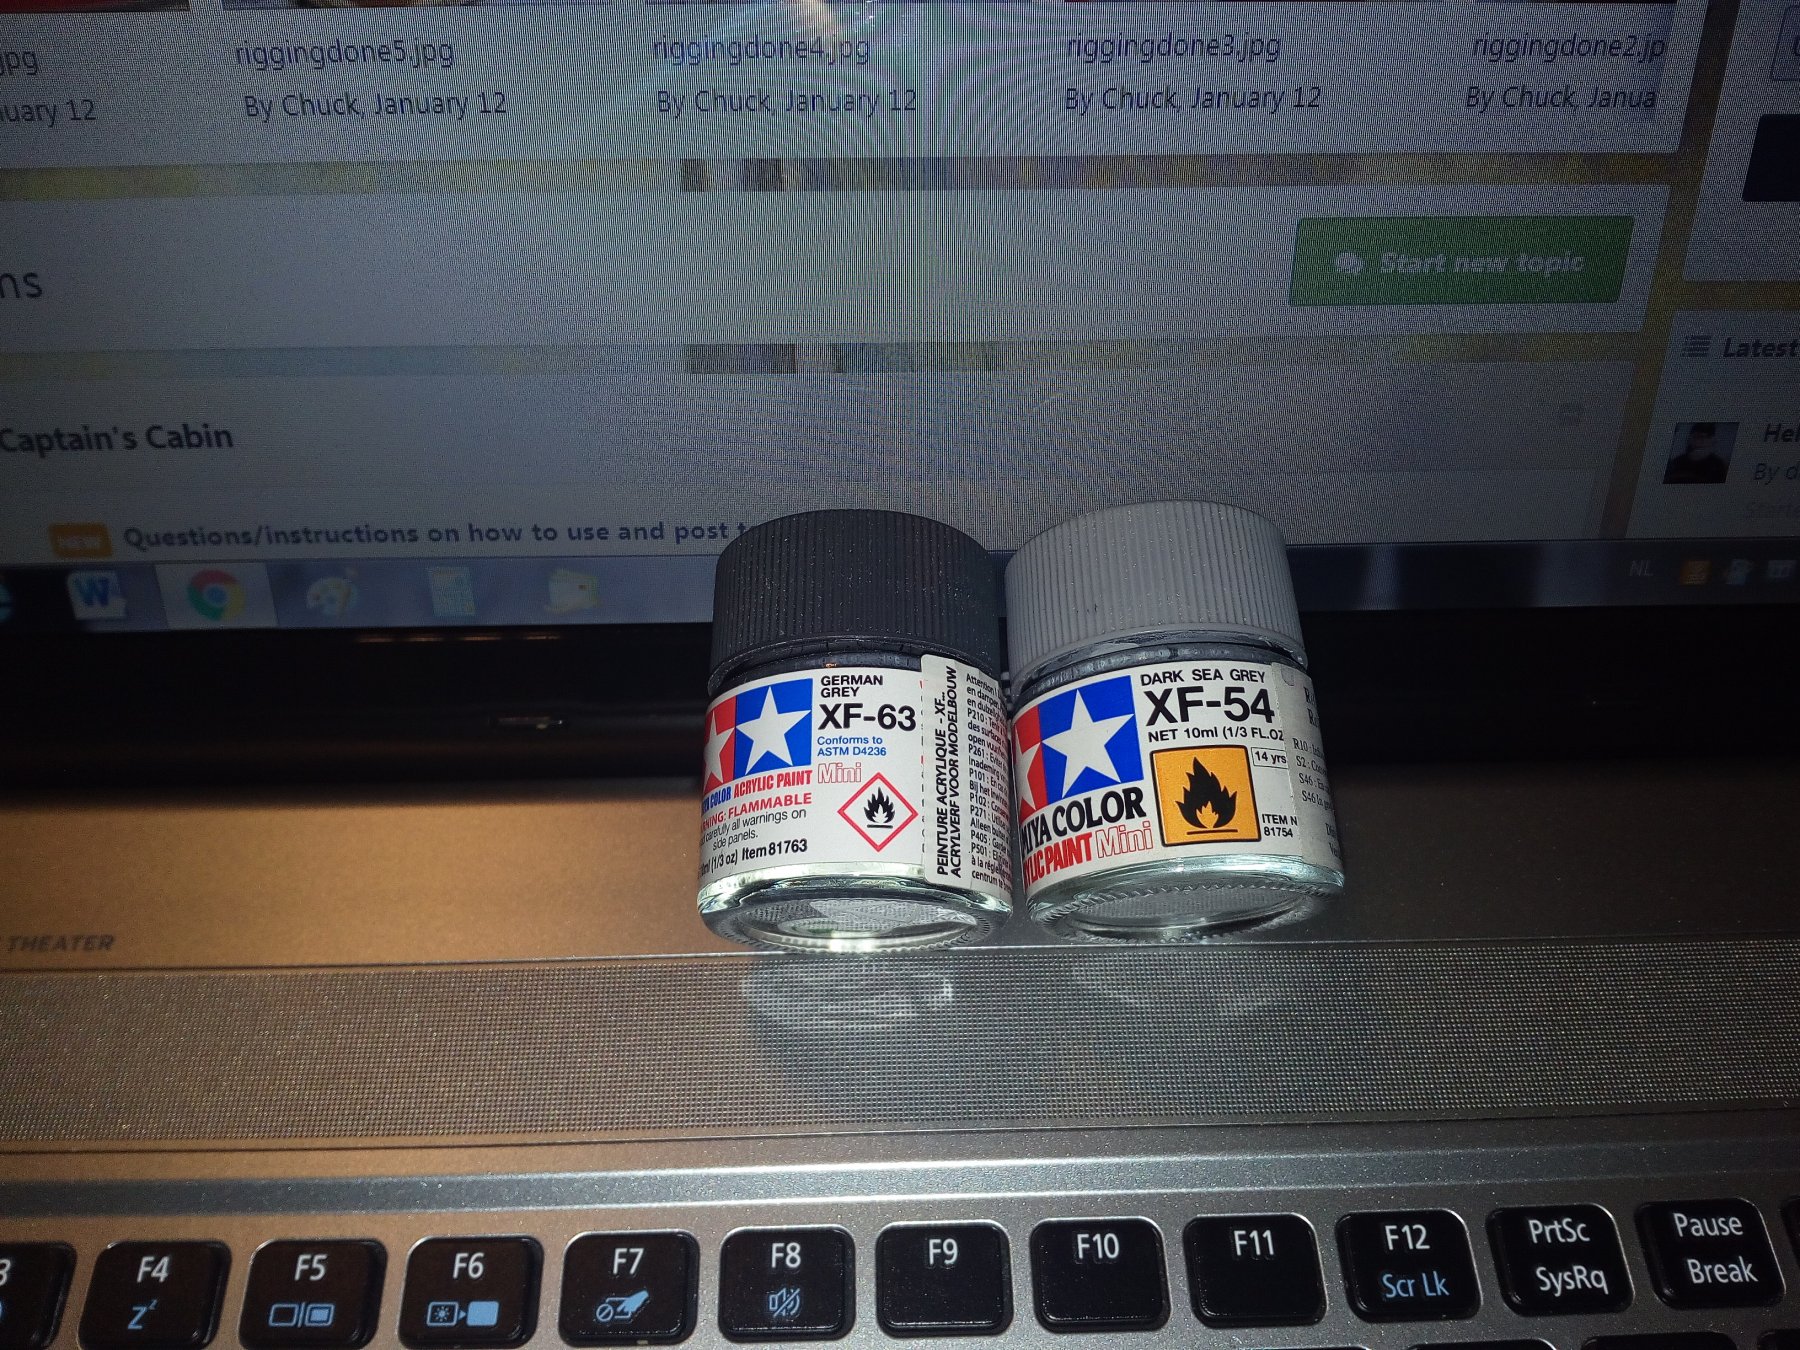
What did you use to stain the planks
Diluted Tamiya dark sea grey XF-54 for the deck (1/3 Paint 2/3 isopropyl alcohol )
After drying, the deck is matte. Polish then with scoth brite (green color). The more you polish the more gloss on the deck.
Sides of the planks are painted with Tamiya German Grey XF-63
Black as caulcing gives too strong a contrast in combination with the gray of the deck.
Then it looks like the wood is weathered, and the caulcing is not.
-

impressive collection
- Old Collingwood and mtaylor
-
2

.jpg.180c2b214b6c6cba4f1876a9218a5ad8.jpg)


Bounty by Baker - FINISHED - Revell - scale 1/110 - PLASTIC - semi scratch and extra detail
in - Kit build logs for subjects built from 1751 - 1800
Posted
Thanks.
I used sheet of 0.2mm thickness. Too thick for this scale, of course. But the result is not that bad.
.