


Baker
-
Posts
4,298 -
Joined
-
Last visited
Content Type
Profiles
Forums
Gallery
Events
Posts posted by Baker
-
-
-
-
8 minutes ago, My Fathers Son said:
Pictures a bit dark as I am sitting outside and can't be bothered to turn on the light
mosquitoes in the air....??? ☹️
-
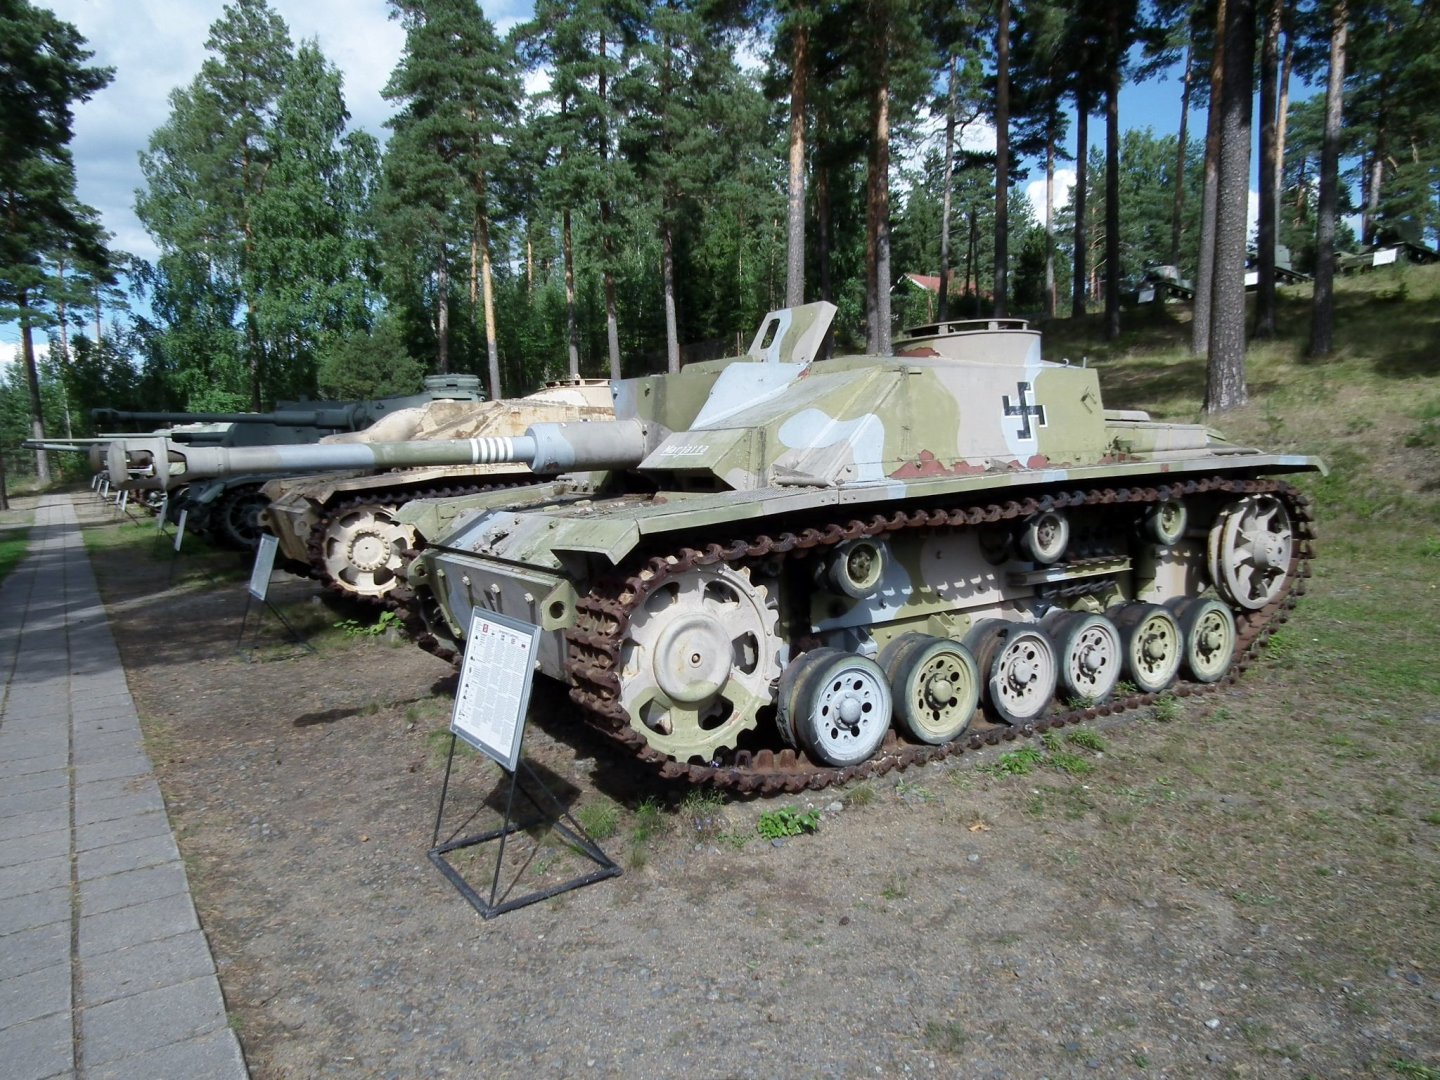
i visited Finland a few times.
and a car with a Belgian license plate once drove through Vespoo.
beautiful country Finland.Welcome to MSW
Parola 2014 👍
-
-
2 hours ago, PvG Aussie said:
Patrick @Baker, the images in your linked site are invaluable to me! I have to remember that I can't achieve the impossible when comparing 1/50 scale and 1/200 scale builds. 'Nothing ventured, nothing gained'.

👍 Got more at home. But, on vacation now 🏖️
- mtaylor and PvG Aussie
-
 1
1
-
 1
1
-
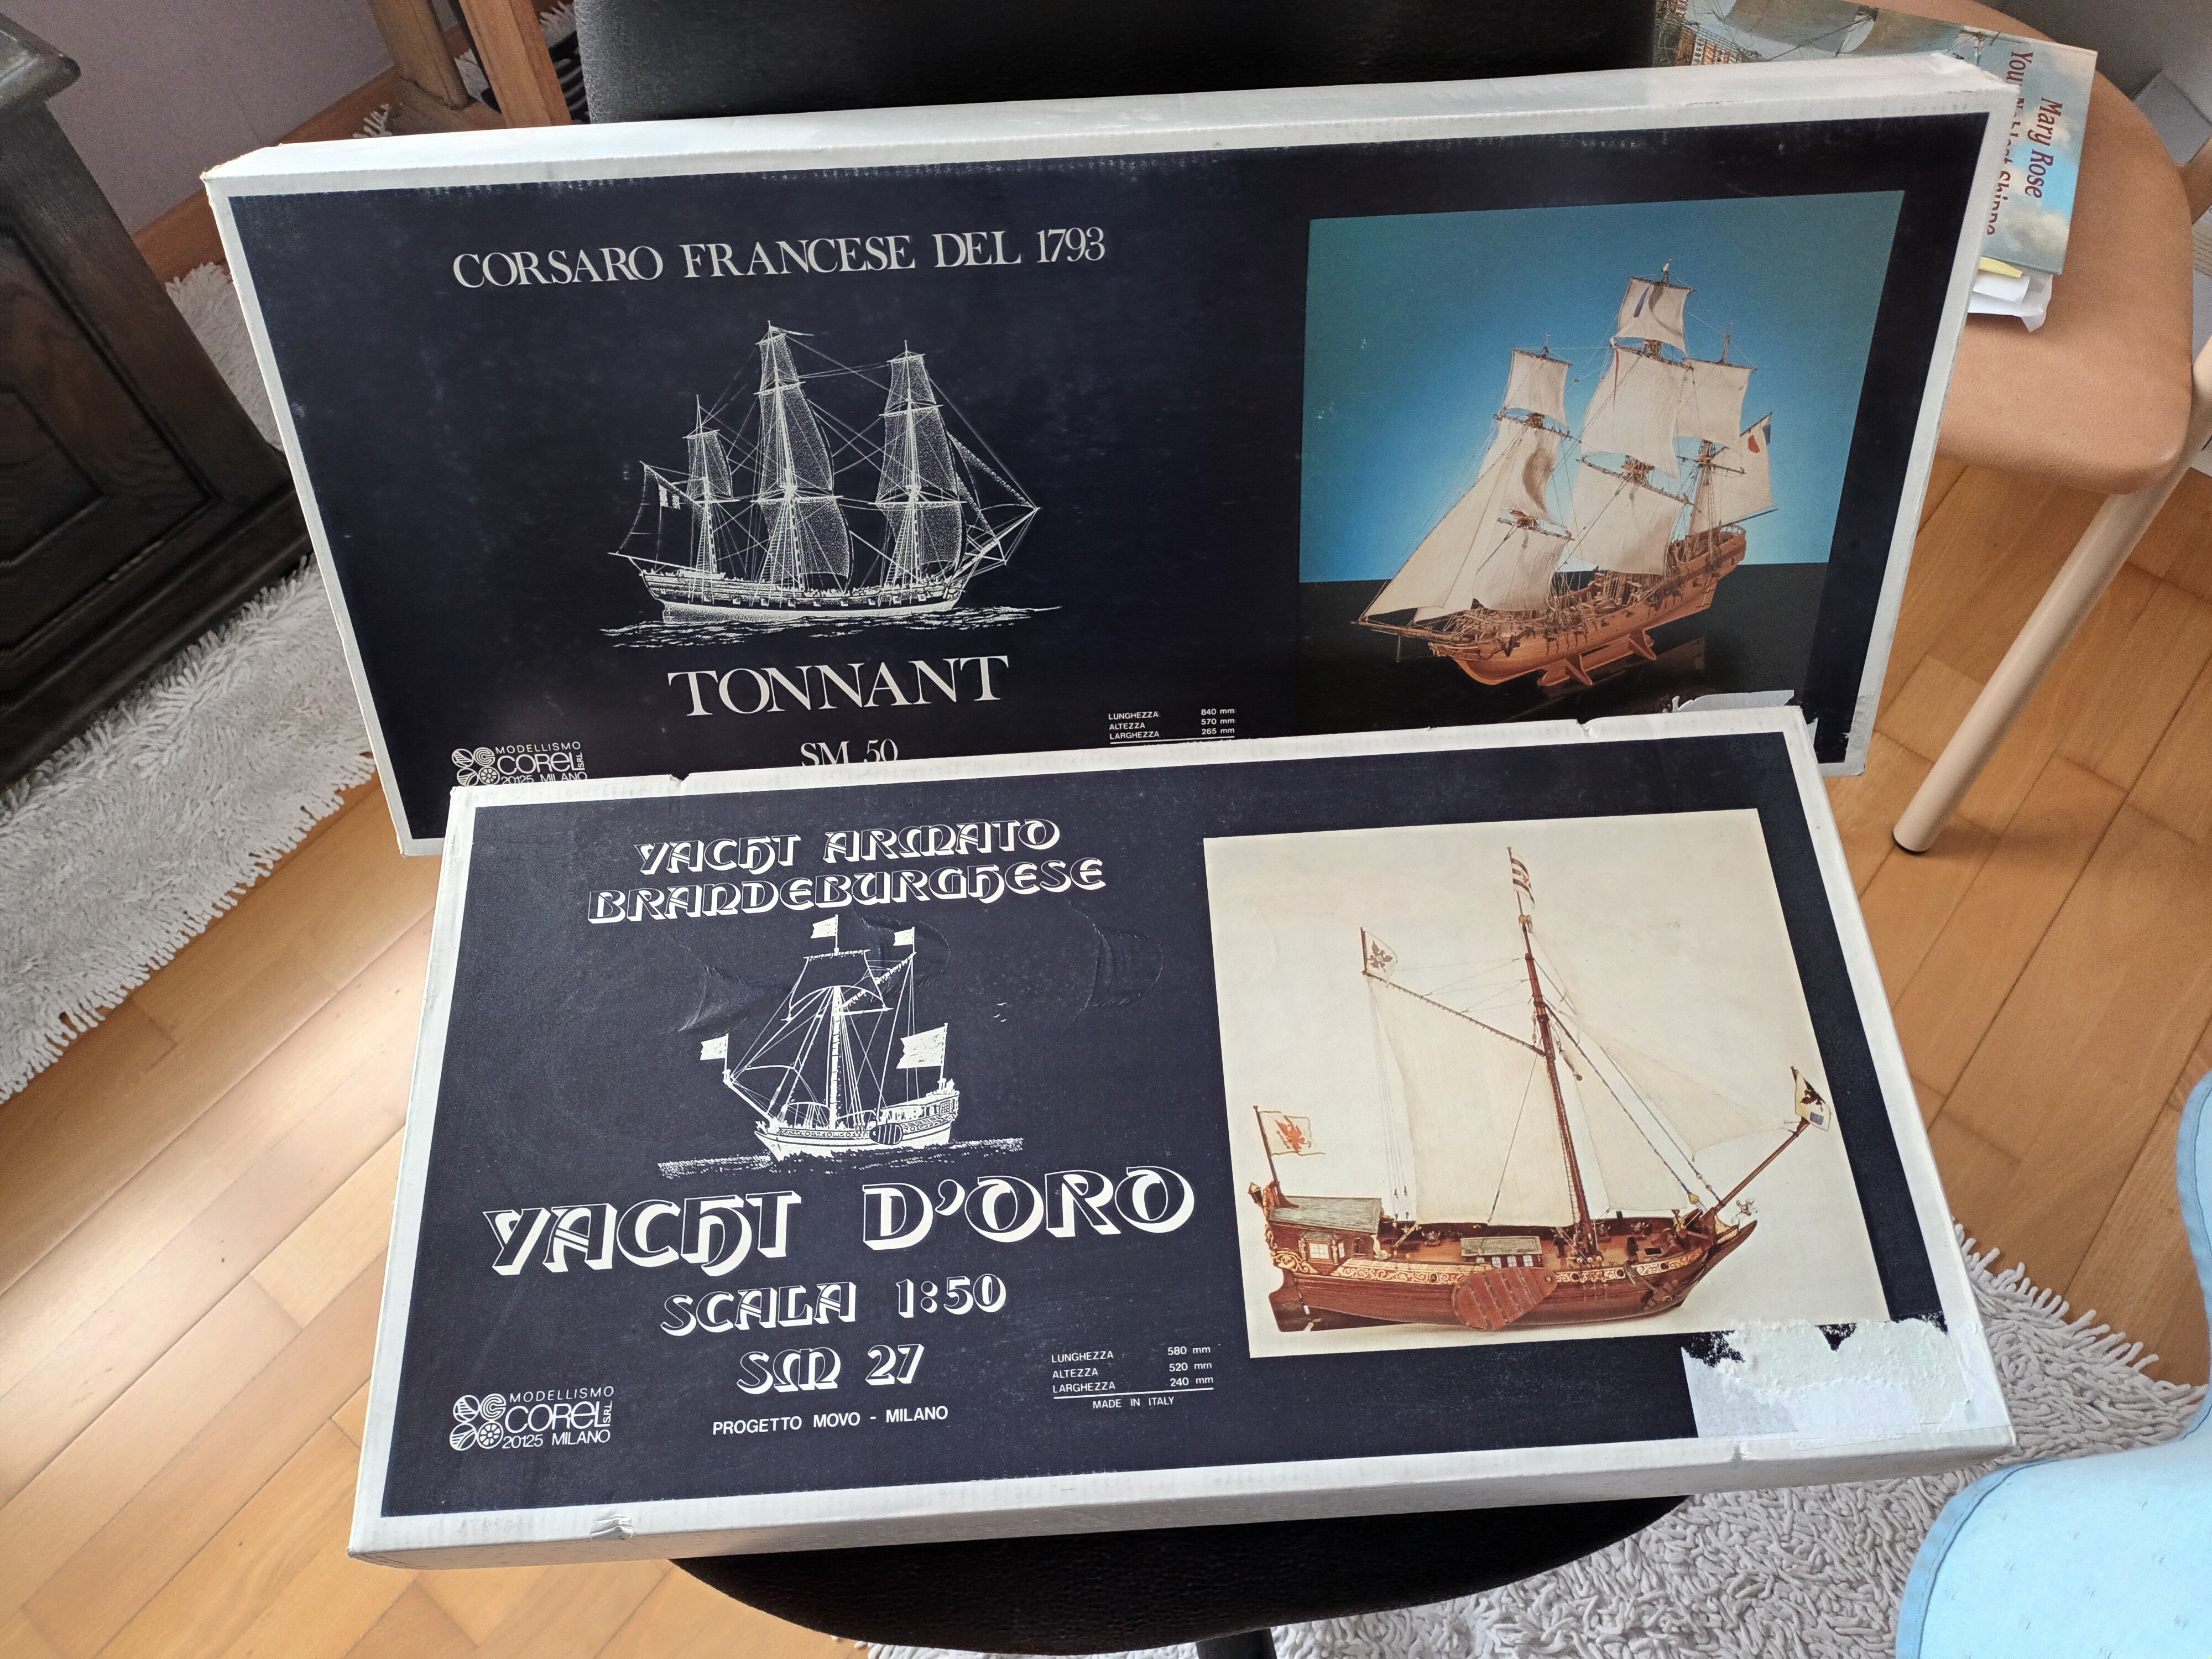
Nice start . I have the corel version (bought for a very low price)
To do,later...😉

Great model for info
https://www.historische-schiffsmodelle.net/übersicht-der-modelle/große-jacht/
- Glen McGuire, mtaylor and PvG Aussie
-
2
-
 1
1
-
-
-
Great work, it was nice to follow.
-
The floor of the cooking area is usually made of bricks.
-
-
-
-
Nice paint job.
All that gold, i need my 😎 😉
-
6 hours ago, Tim1786 said:
My first cinched block. 109 to go. Should the color be this light? Should I stain them?
Any hints on the cinching?
Color ?
stain or not ,own choice
-
With the room completely, cleaned, repainted and reorganized. There is time for Mary again.
The cannon deck has been provided with planks in the places where the stairs will come. And has been given a coat of diluted and polished Tamya paint. Little or nothing of all this will be visible later.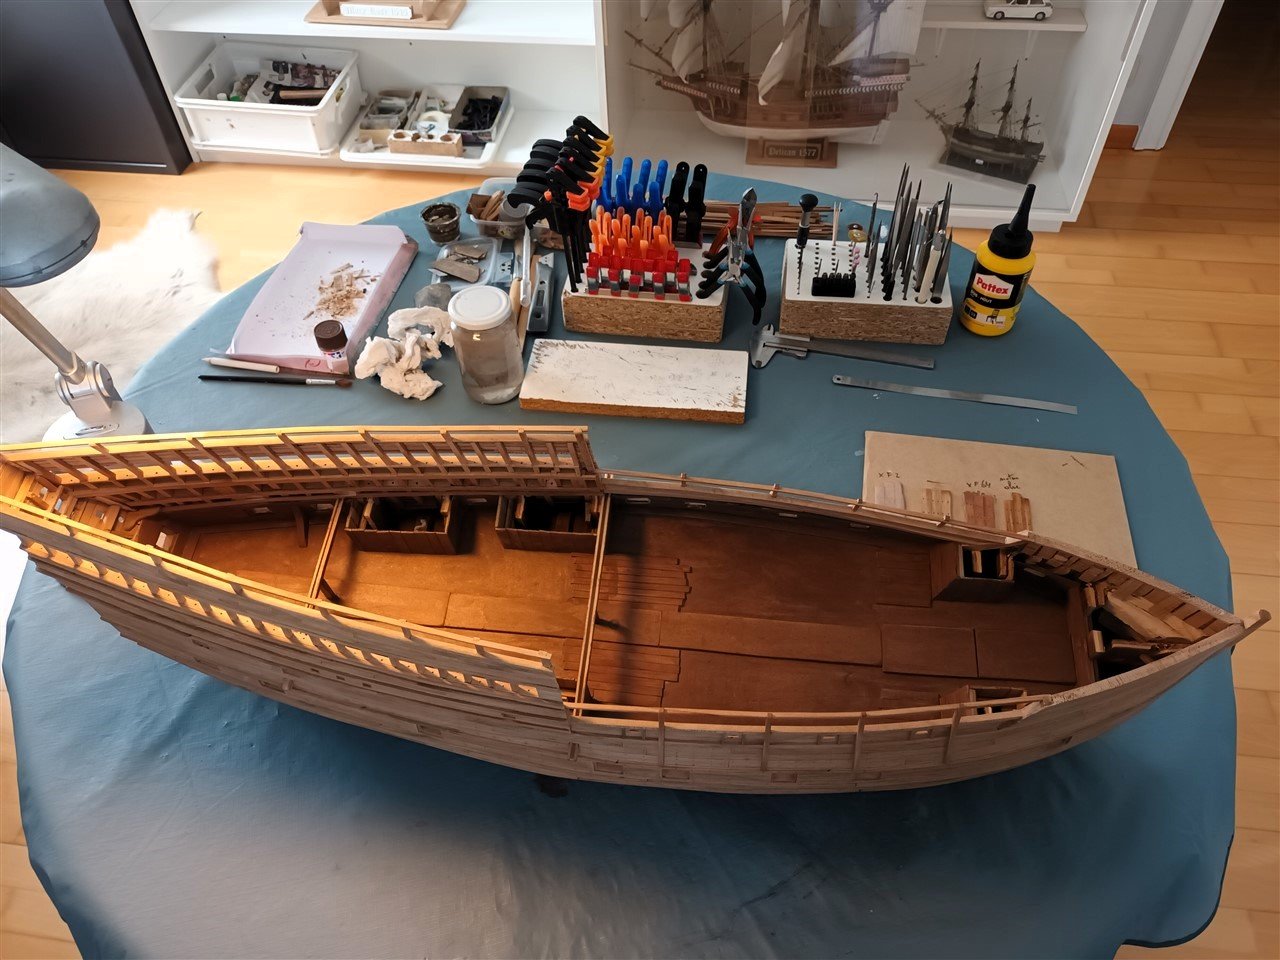
The railing of the upper deck is ready.
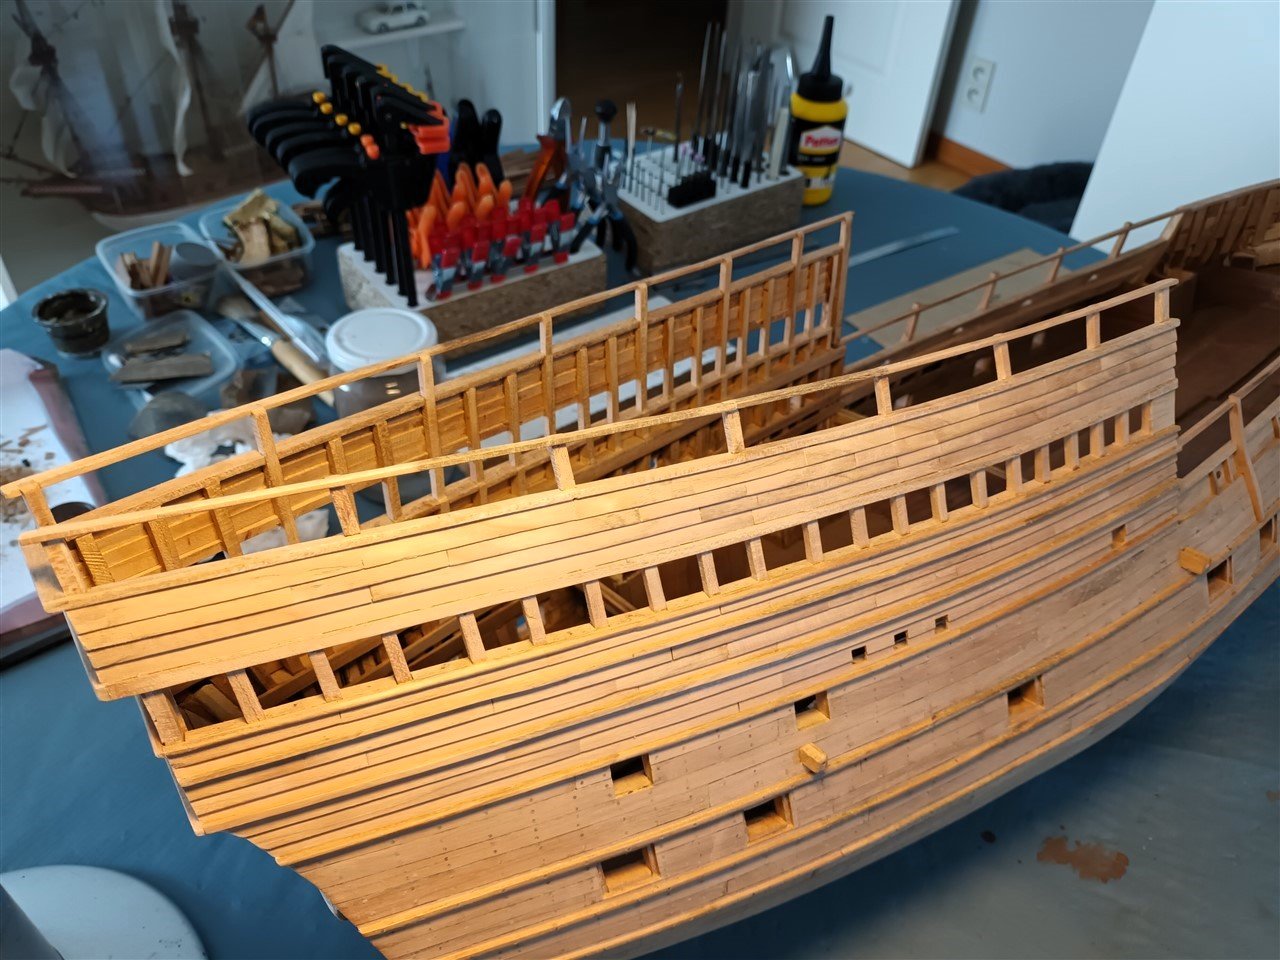
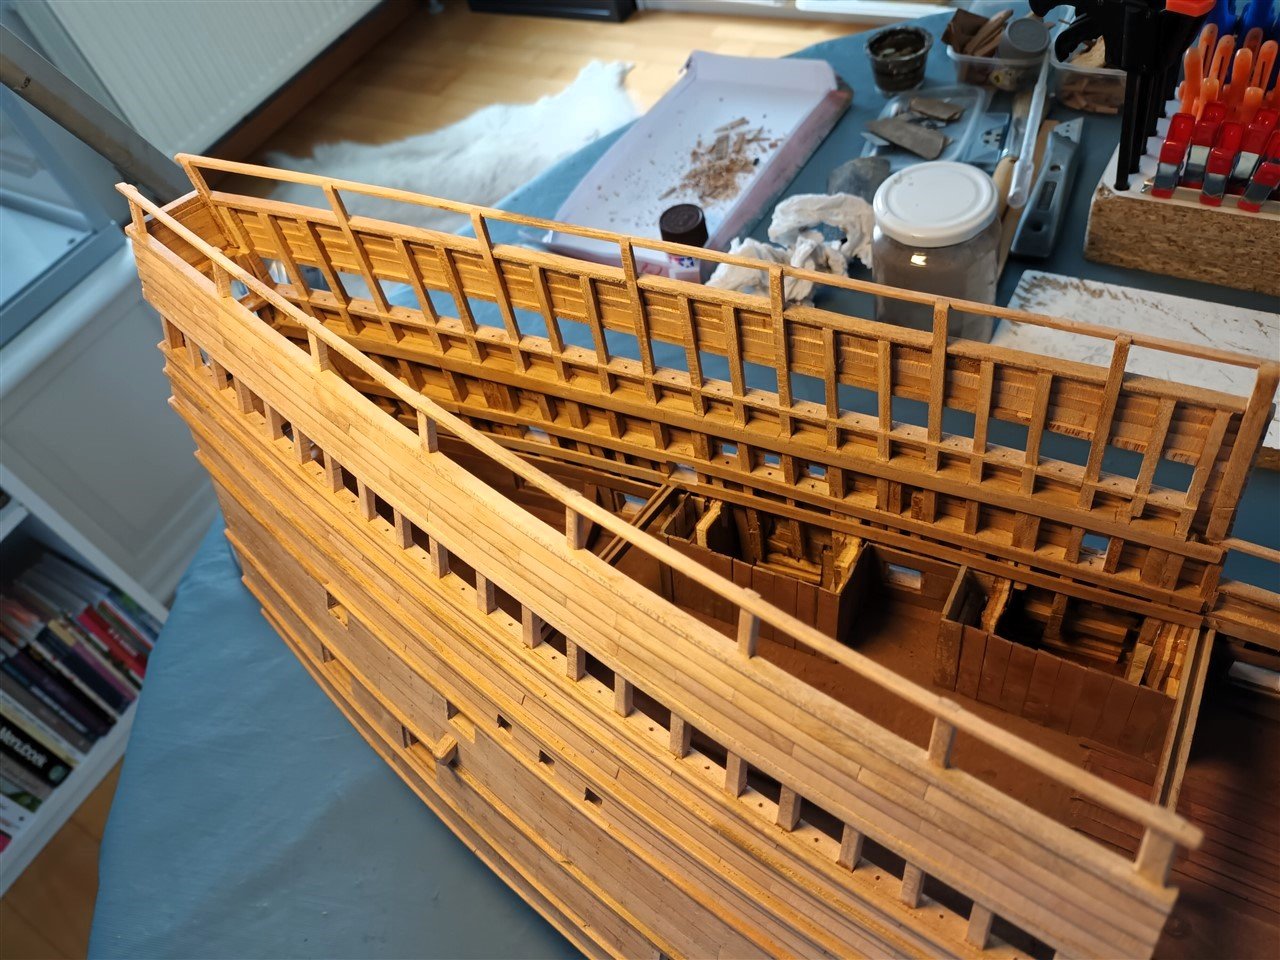
Color test for the hull.
It is not known for sure whether the original ship was white below the waterline. It could be, but it has never been further investigated.To maximize the effect of the treenails, oil will be applied to the hull.
I had some walnut oil left as a test. This is much better than the very diluted Tamya paints.
Walnut oil gives a nice result on wood, but you have to repeat the treatment after a few year. So it will be Danish oil or Tung oil.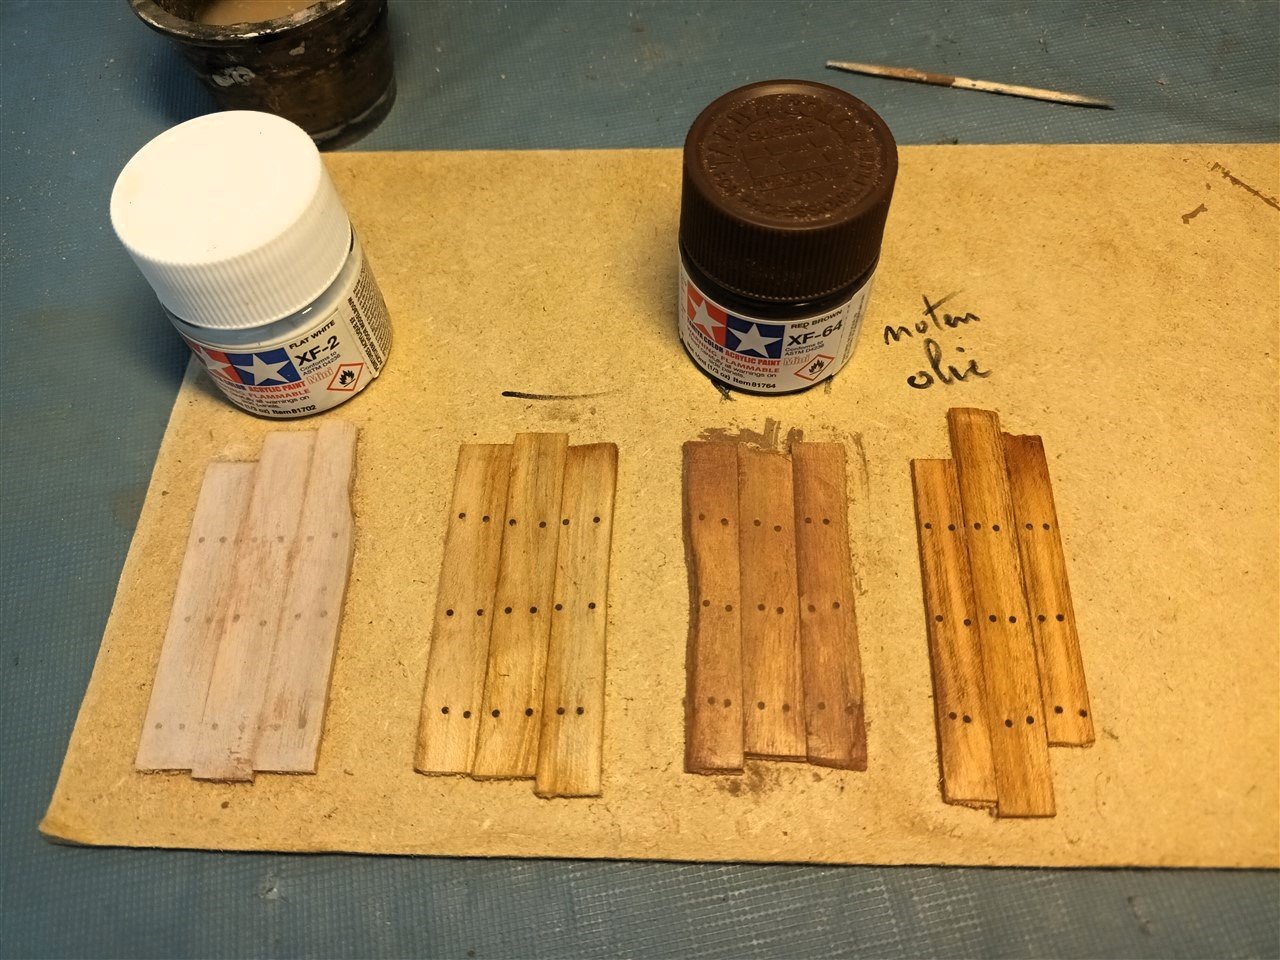
-
9 hours ago, Tim1786 said:
The metal to metal super gluing isn't working.
Is the metal degreased?
The glue to old?
-
3 hours ago, Ferrus Manus said:
3M makes industrial chemical products, right?
Yes.
And
https://www.3m.com/3M/en_US/p/
-
Good job,
if you ever want to start working at 3M.
I will provide good references for you 😉
-
9 hours ago, Ferrus Manus said:
Internet literature is conflicting as to whether or not 70% isopropyl alcohol is effective at melting CA glue
After working at a glue factory (3M) for 38 years.
Heated acetone has the best chance. Isopropyl alcohol certainly not.
But DONT use this heated aceton on your model.
Very flammable and very bad for the model 🧐😉
-
2 hours ago, Pfälzer said:
But i think the Anchor Winche is to big
Maybe a little bit.
Bet who will notice this on the finished model 😉.
-
-
neatly painted 👍
Take your time and be patiënt. And you will build a great model.
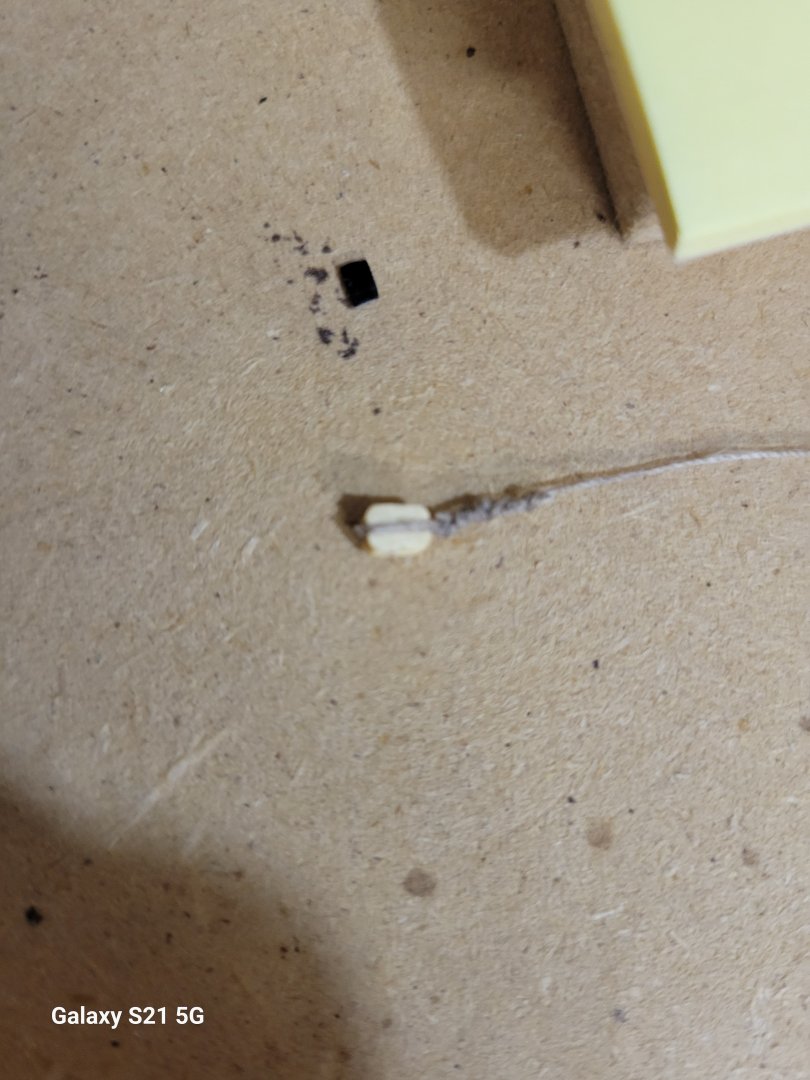
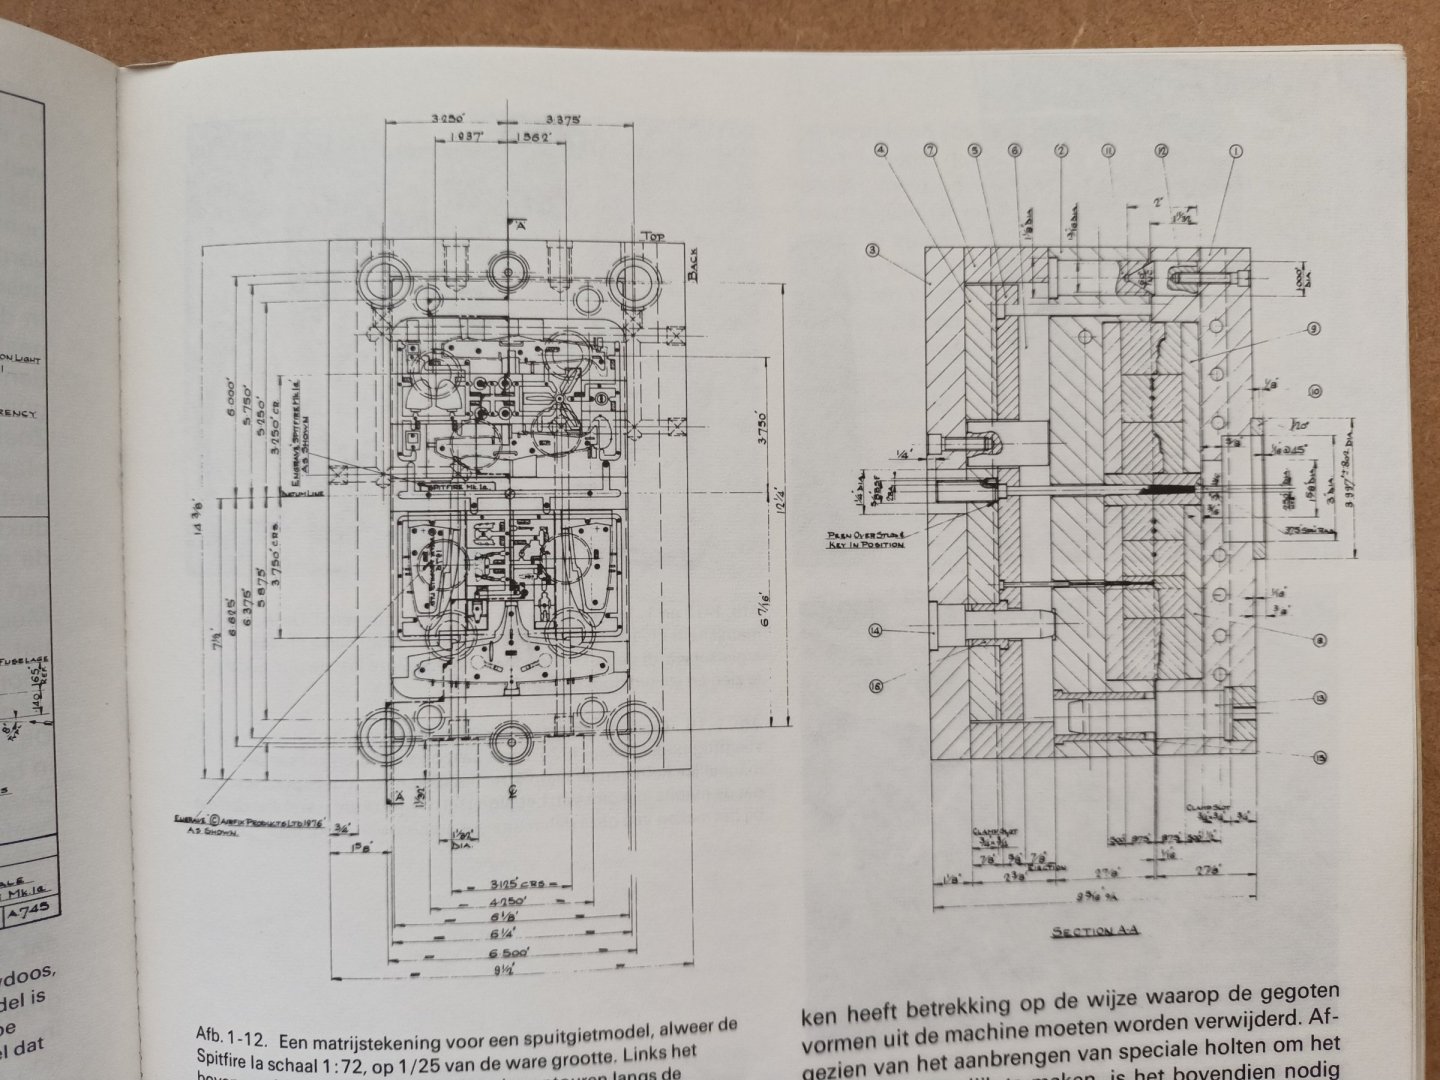
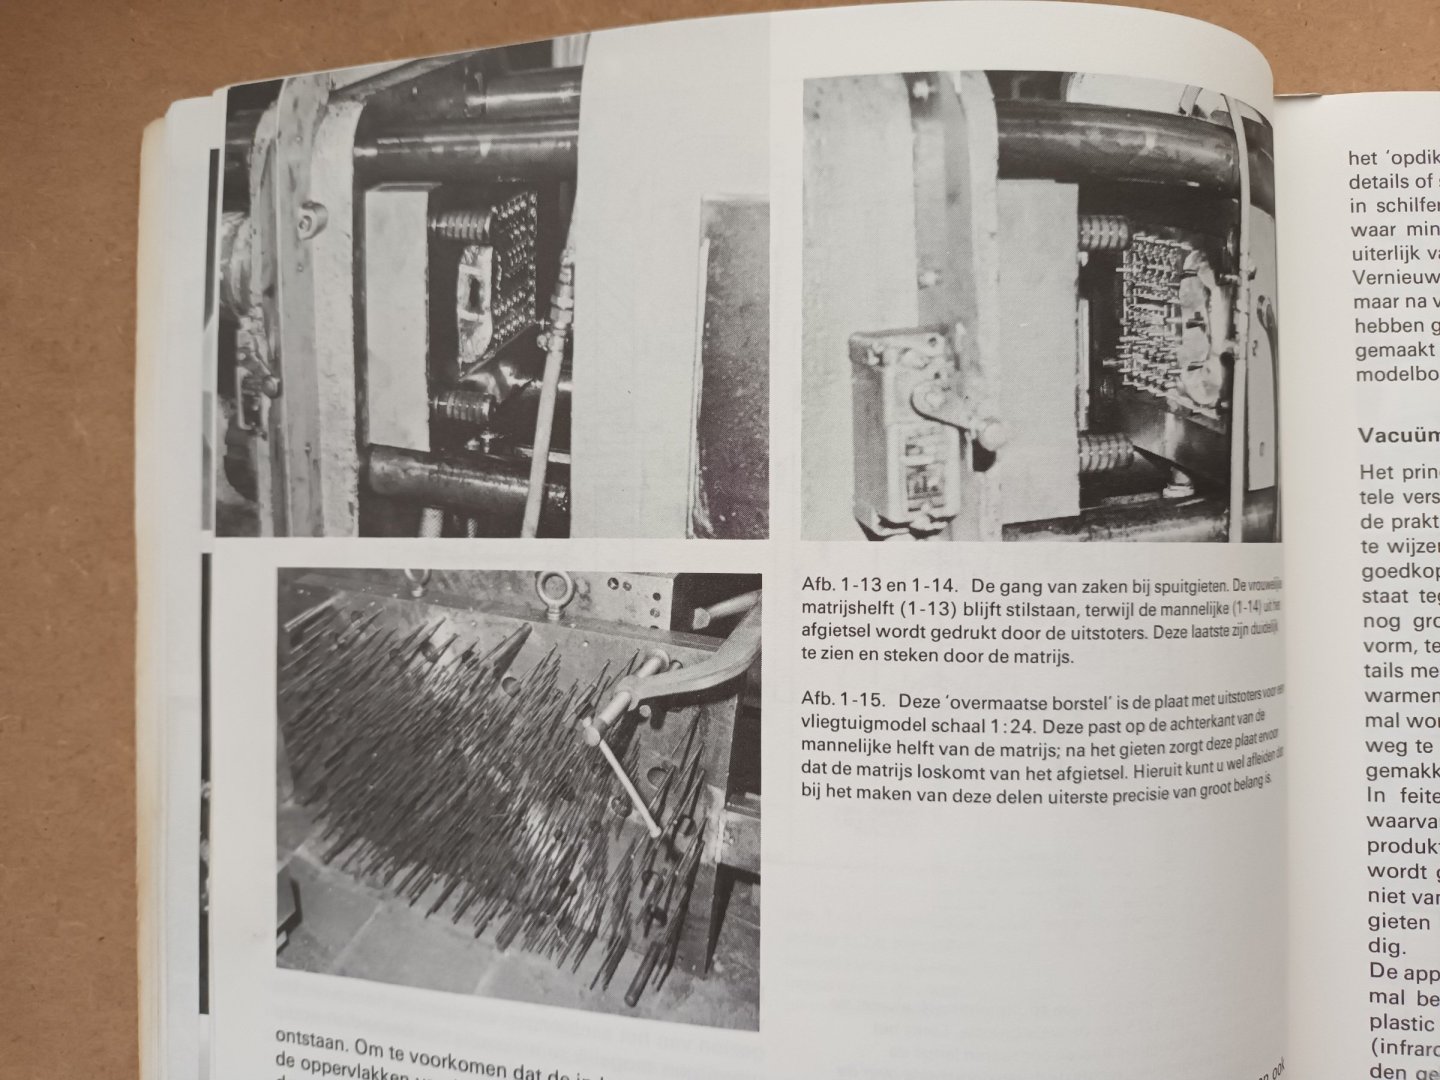
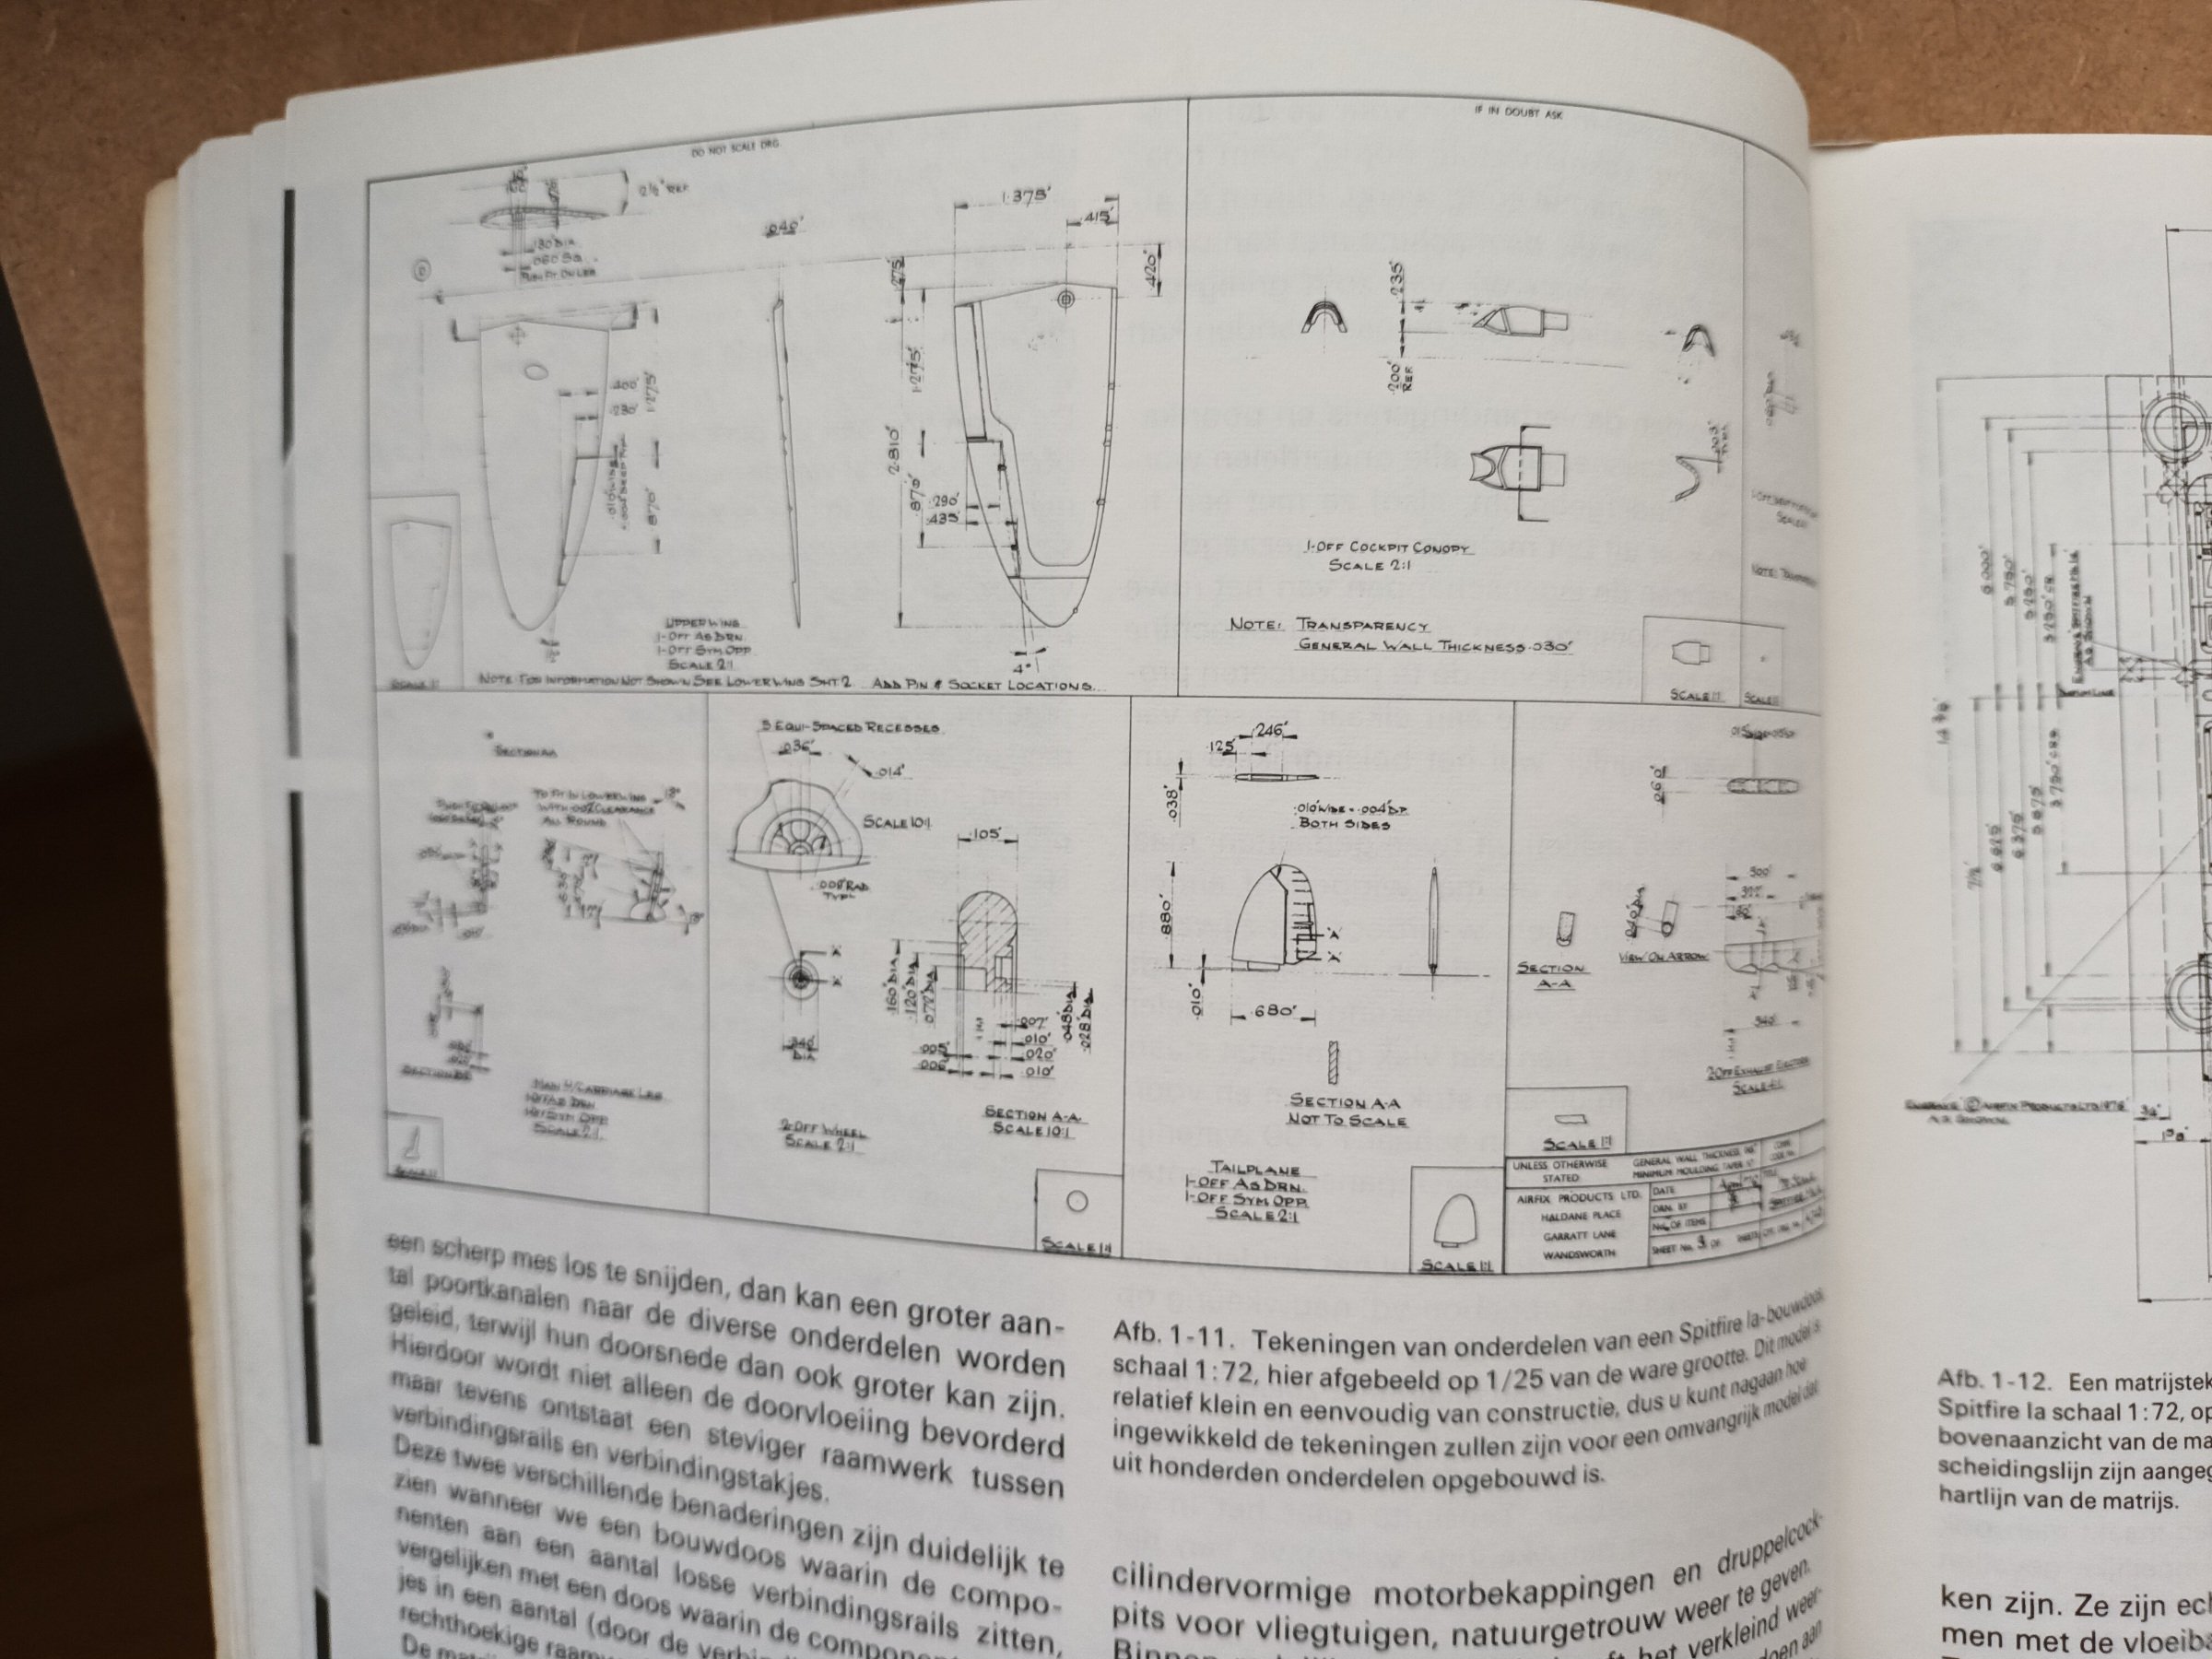
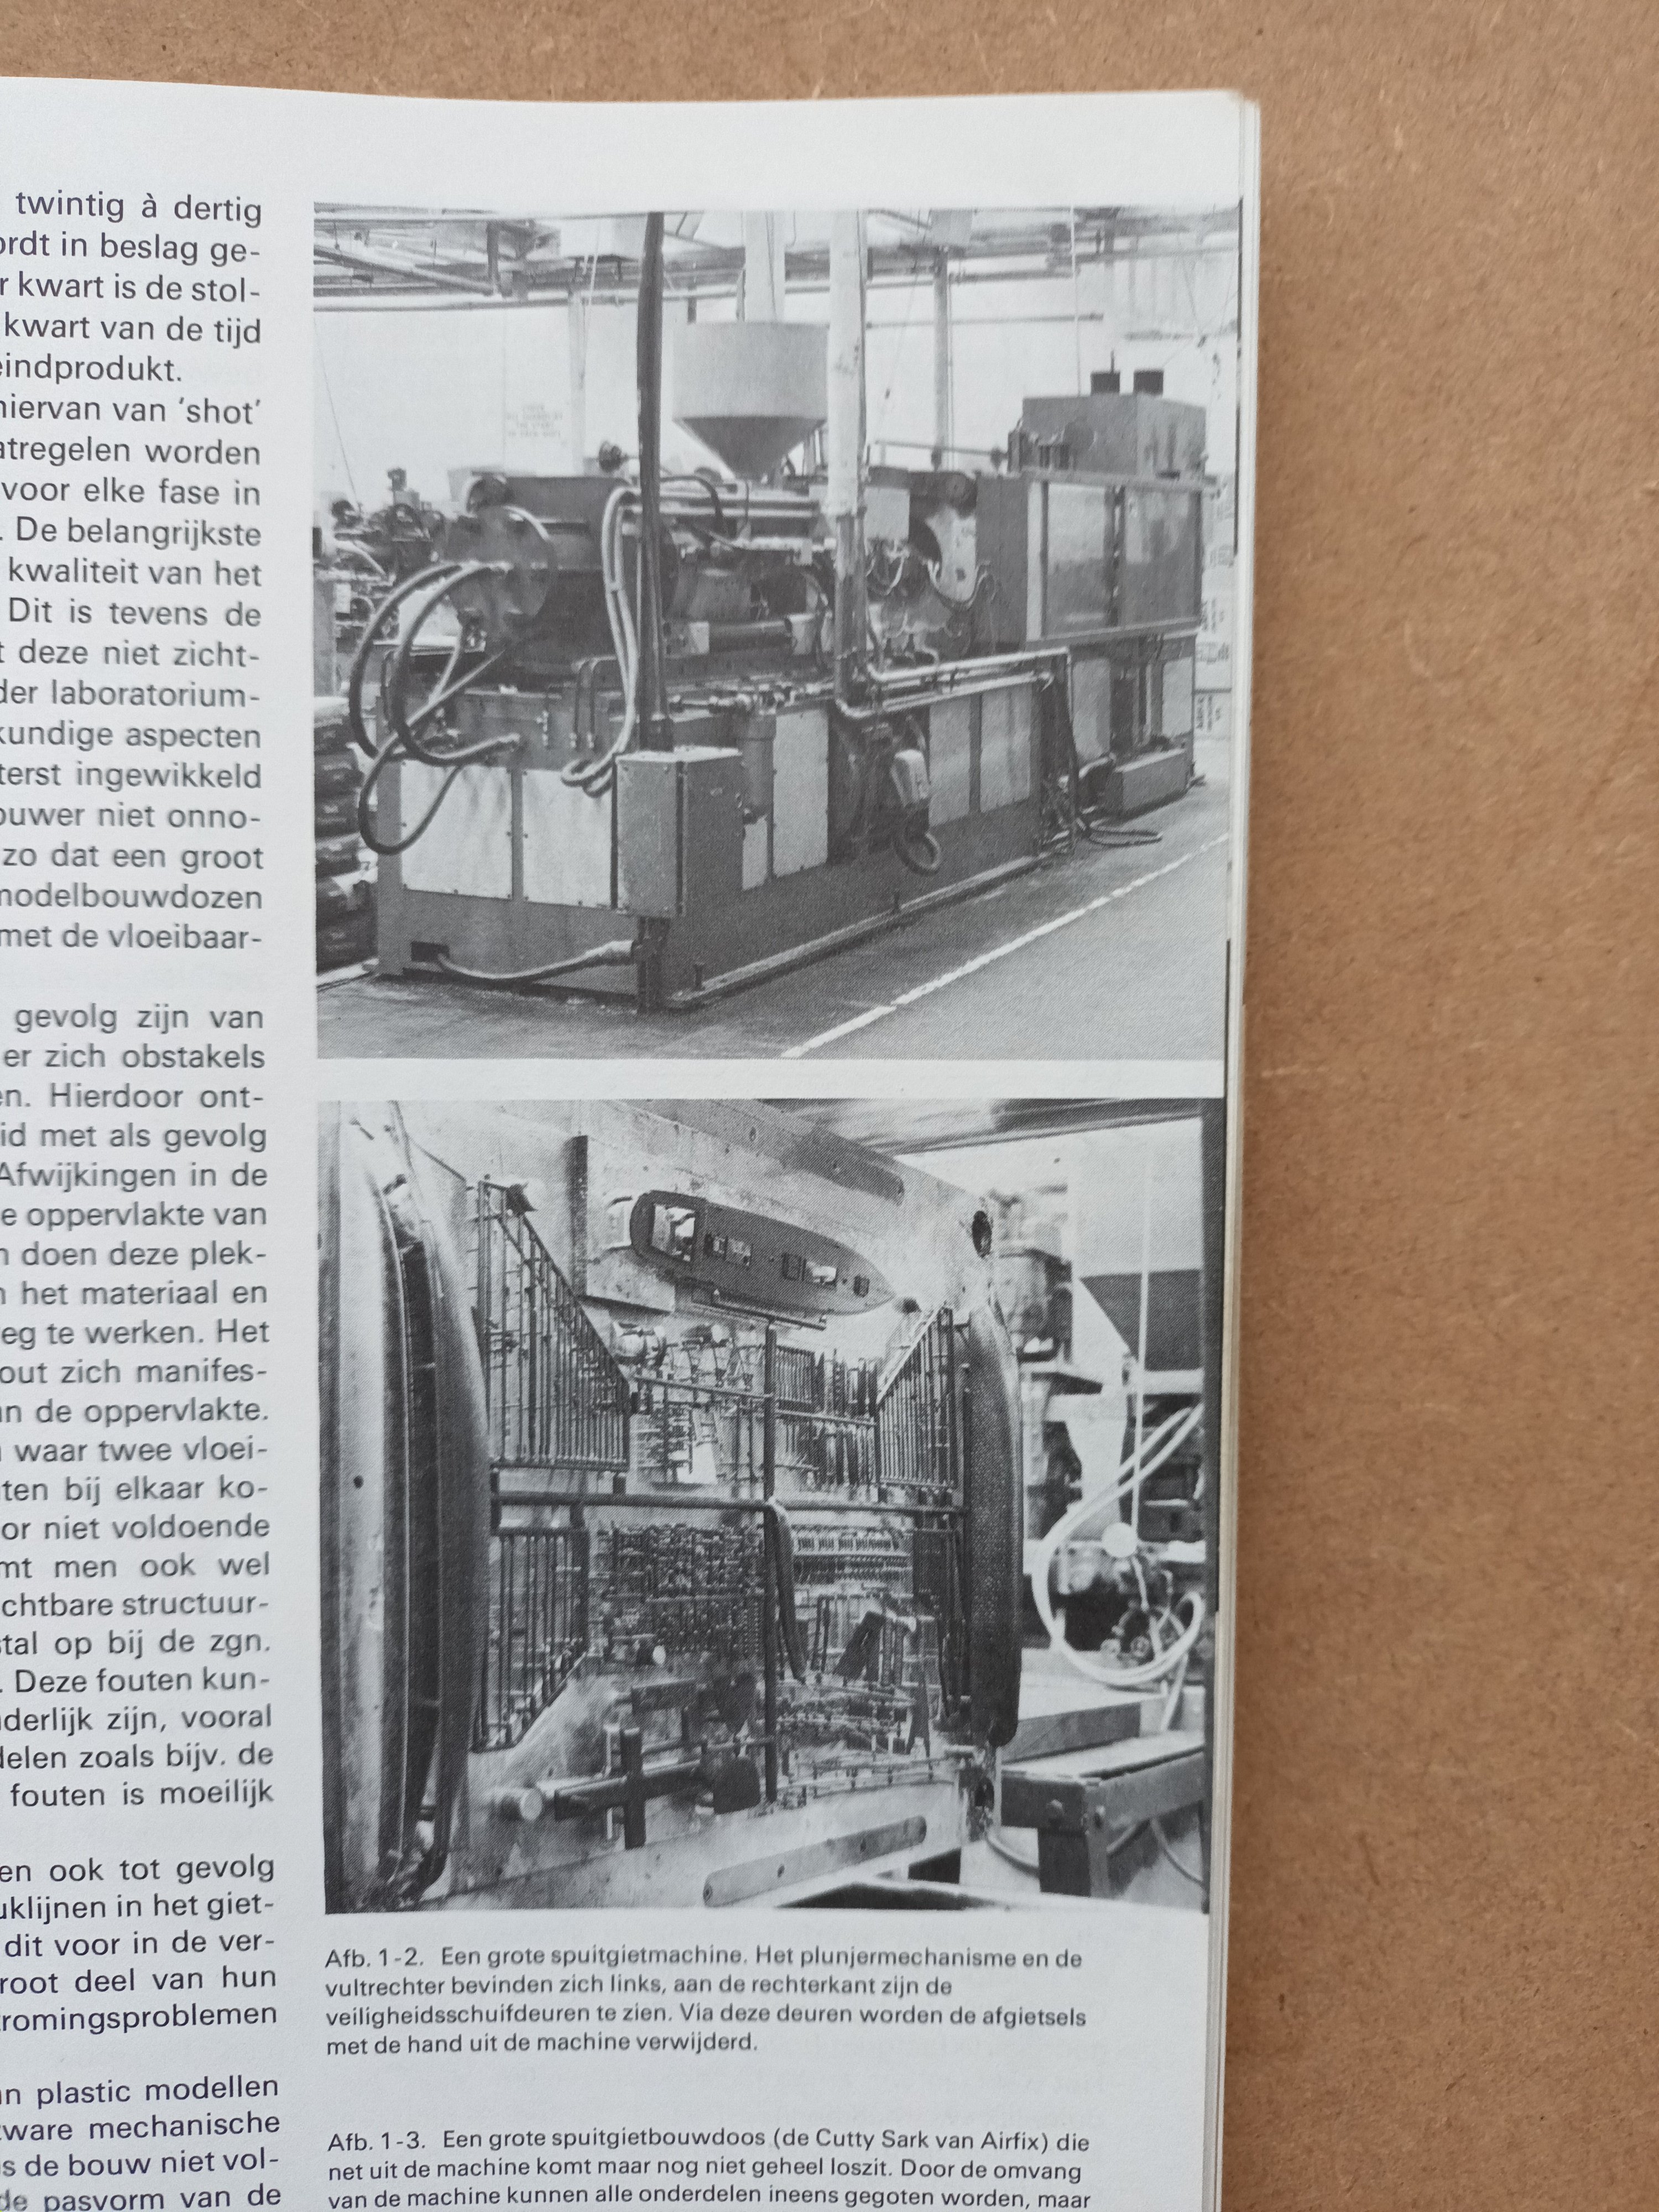
Some examples about mold making old scool.
Drawings.
a airfix spitfire.

a mold , the cutty sark from revell
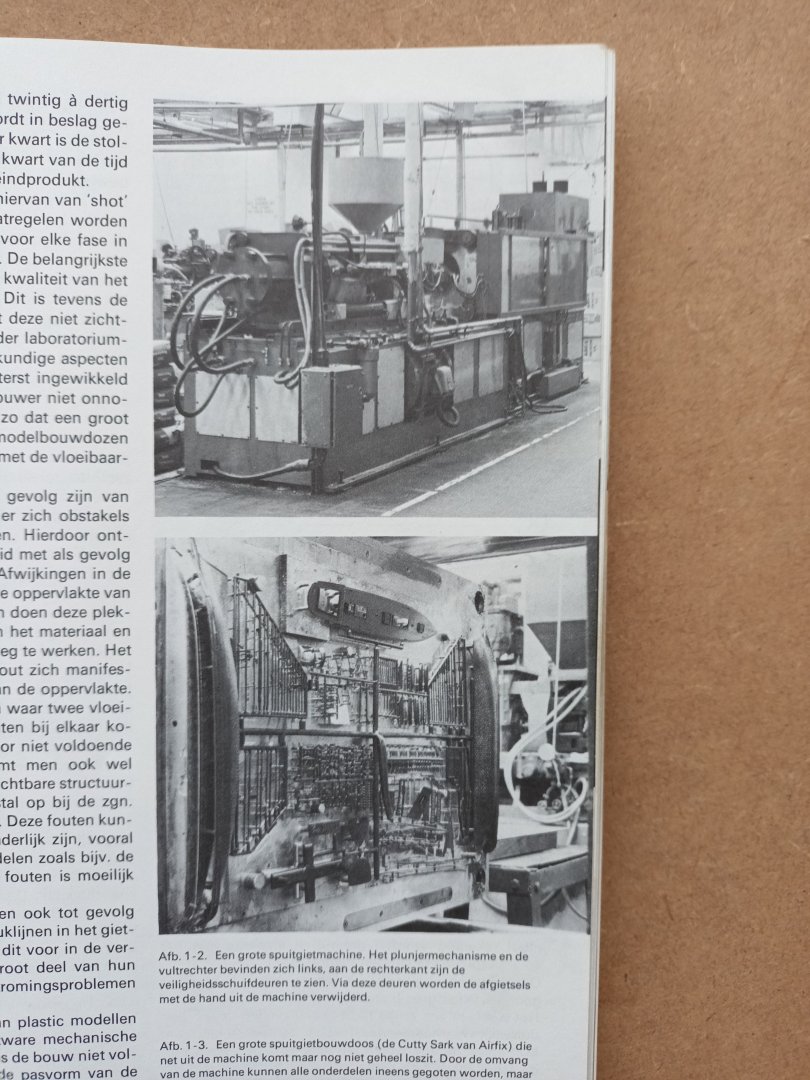
The large brush is the extractor plate of the mold. These extractors are sometimes used for the little holes in models.
and sometimes cause the annoying round holes in the parts that need to be filled in
i went to school to be a mold maker.
and when i graduated in the early 80's there was a global economic crisis and i ended up at GM building Opels.
And so i started making plastic models 😉
- Ian_Grant, Ferrus Manus, Hubac's Historian and 1 other
-
2
-
1
-
1


Le Soleil Royal by John Clements - Heller - 1/100
in - Kit build logs for subjects built from 1501 - 1750
Posted
My condolences for your loss 😓.
but good luck with your new project 👍