


Baker
-
Posts
4,140 -
Joined
-
Last visited
Content Type
Profiles
Forums
Gallery
Events
Posts posted by Baker
-
-
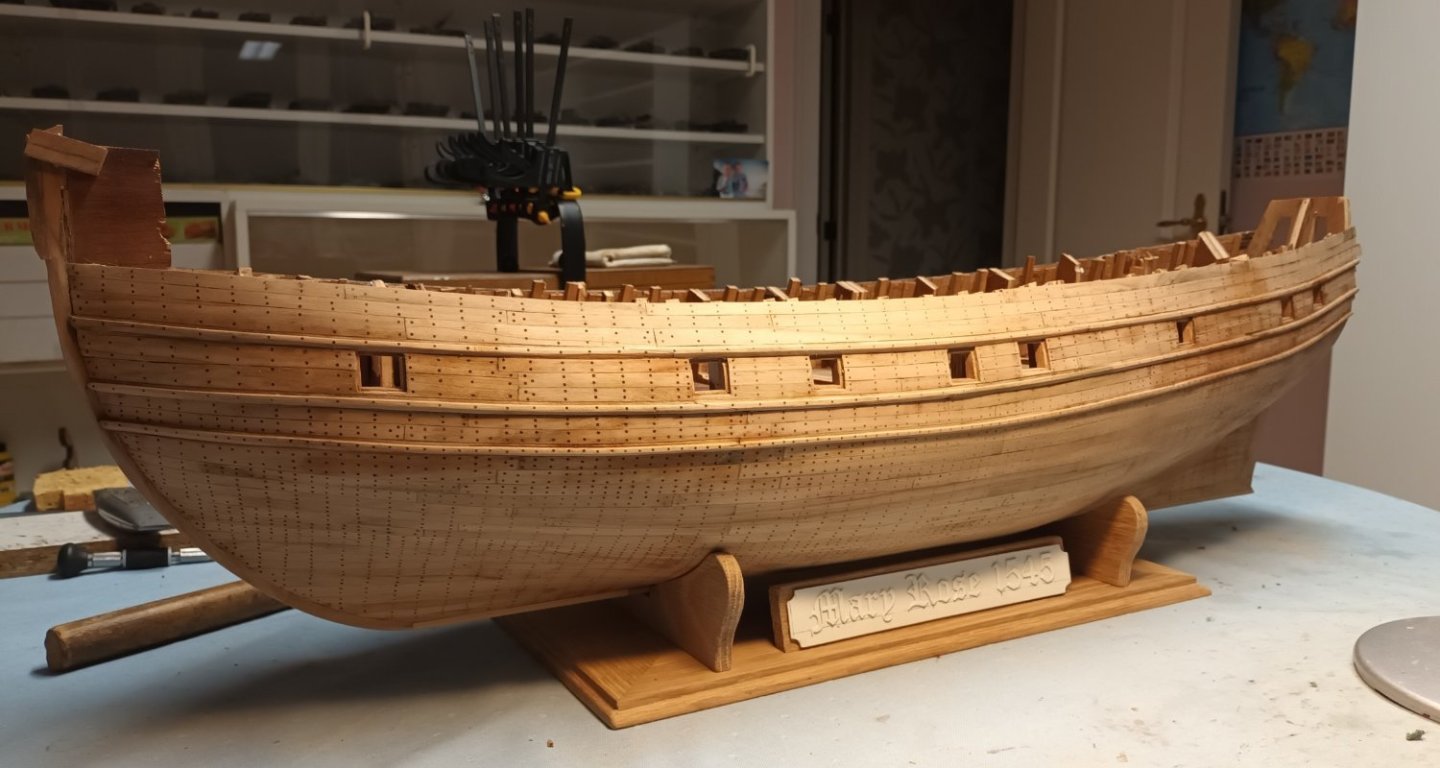
Finished with the treenailing of the hull
Estimated quantity approximately 8500 pieces

- Jeff T, Veszett Roka, fake johnbull and 14 others
-
 11
11
-
 6
6
-
-
Planking at the bow is tapered. Forget YouTube for a moment and read some PDFs first.
Remember, planking is not a race.
First
read the pdf'S,
then think how you gowing to do the planking,
then try if the plank fits
and only then gleu the plank on the model.
- GrandpaPhil, Bob Cleek and PeSt
-
3
-
-
-
-
Congratulations
Nice work Rock- Knocklouder, AON, robert952 and 2 others
-
5
-
19 minutes ago, Louie da fly said:
Encourages me to go a little further
Looks good.
I would give it a try with the Scotchbrite sponge. this is smoother and softer than sandpaper.
Best is to "practice" on a waste piece first
- mtaylor and Glen McGuire
-
2
-
-
Have you ever thought about a light "sanding" with some Scotch Brite?
(the little sponge you use to wash dishes)
- Glen McGuire, mtaylor and woodrat
-
3
-
Thanks Michael
But keep in mind that 1mm treenails for 1/50 scale is the limit.
Actually, they are already a bit too big for this scaleThanks Roger
The shape of the hull also surprised me.
I actually expected a plump hull. But the hull of this ship is indeed very elegantly built. -
-
-
-
Well,
We have 2 Samsung A22
- The settings are exactly the same on both devices.
- Both phones are connected to the same Google account
- On one, Google Chrome and Microsoft Edge work both perfectly
- On the other Chrome doesn't work, but Edge does.
- Why??
So for this problem, changing to another browser is for me the easiest solution
@Knocklouder do not by a new phone
")
@James H Can I click on my own post, as "mark as solution"?
- Knocklouder and mtaylor
-
2
-
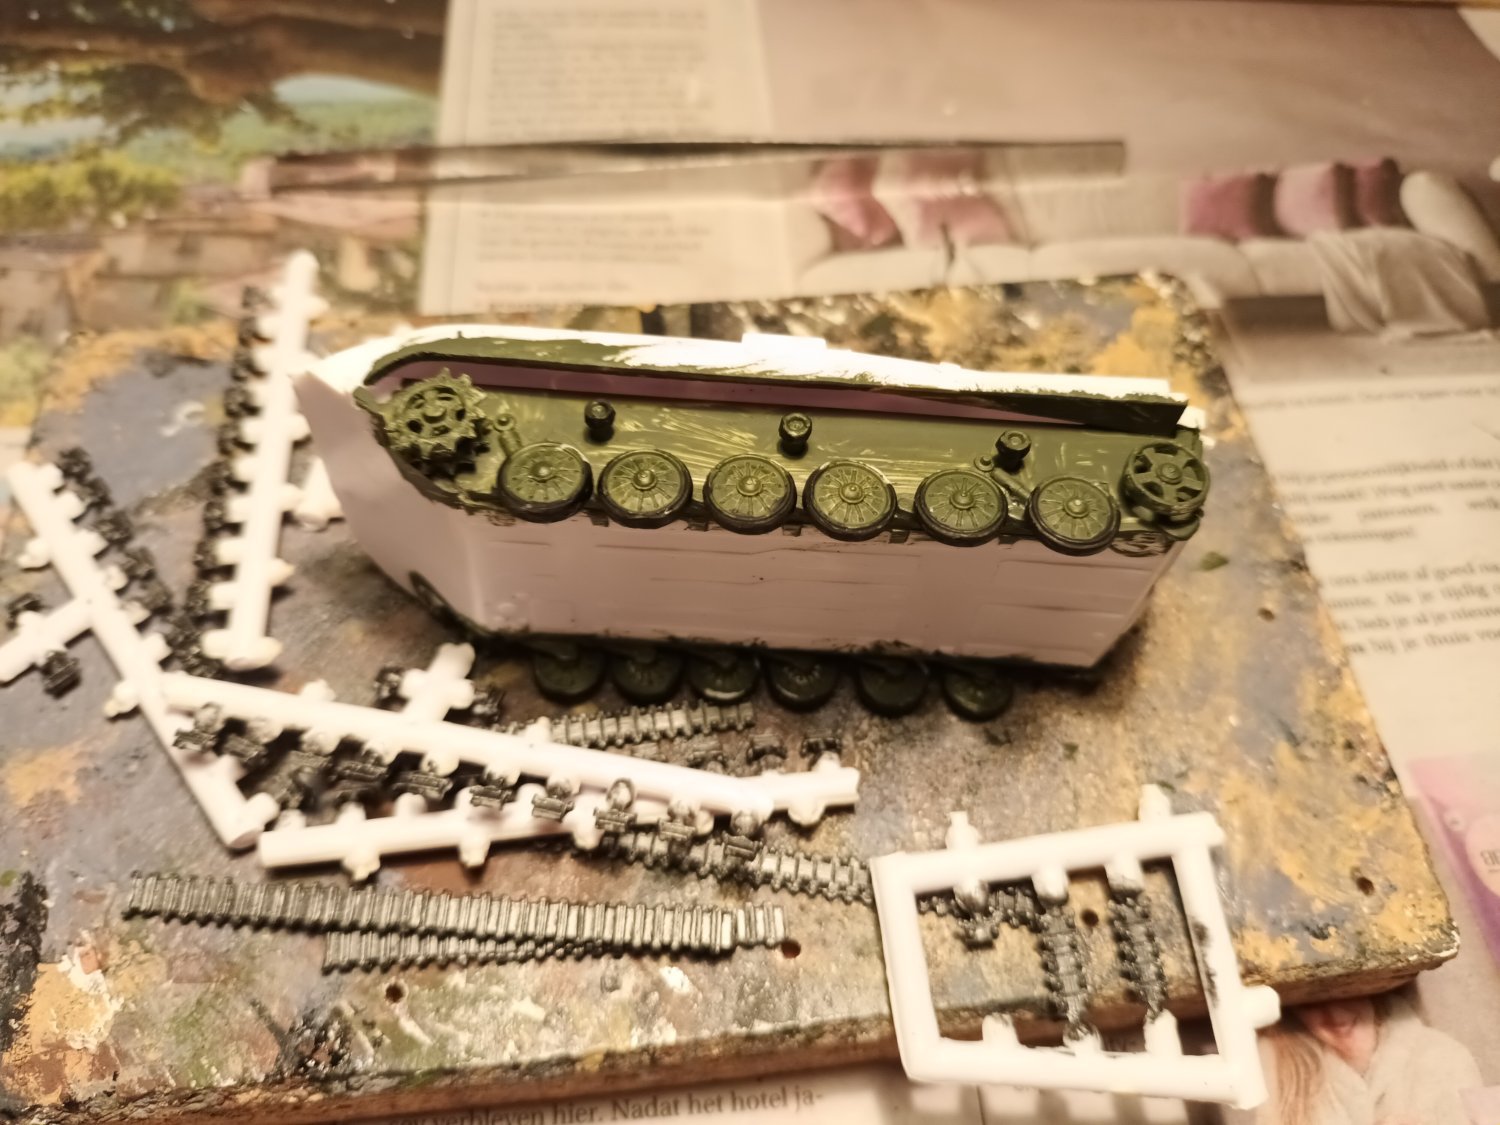
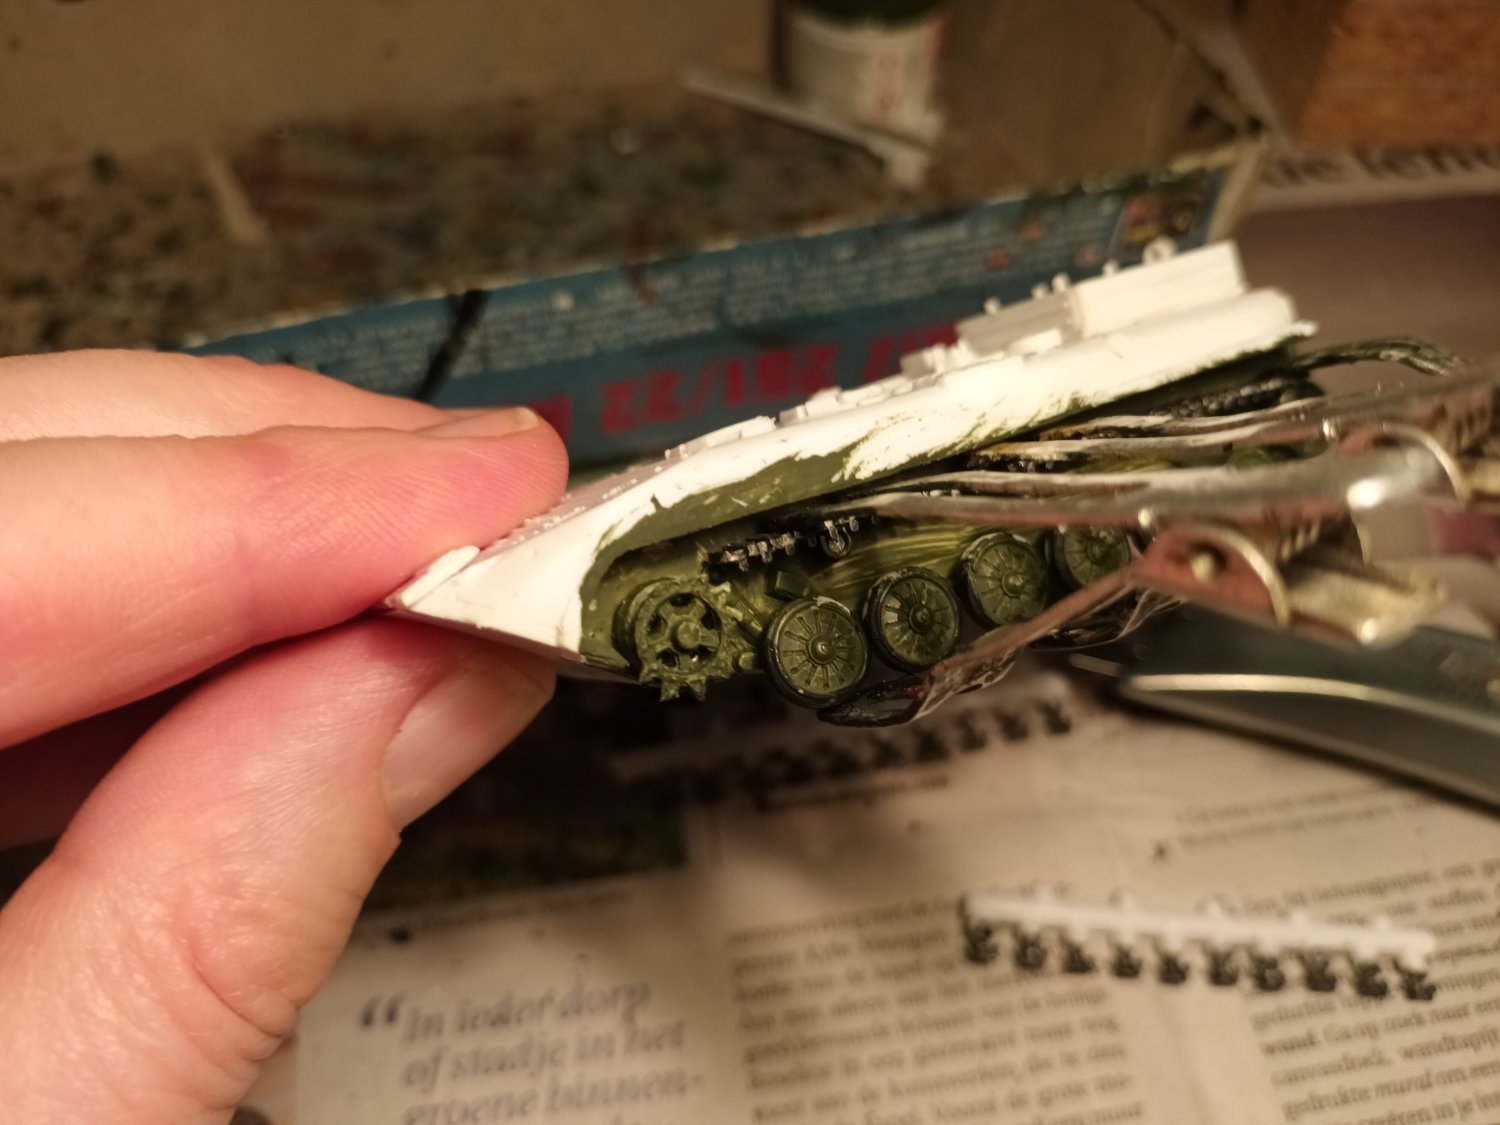
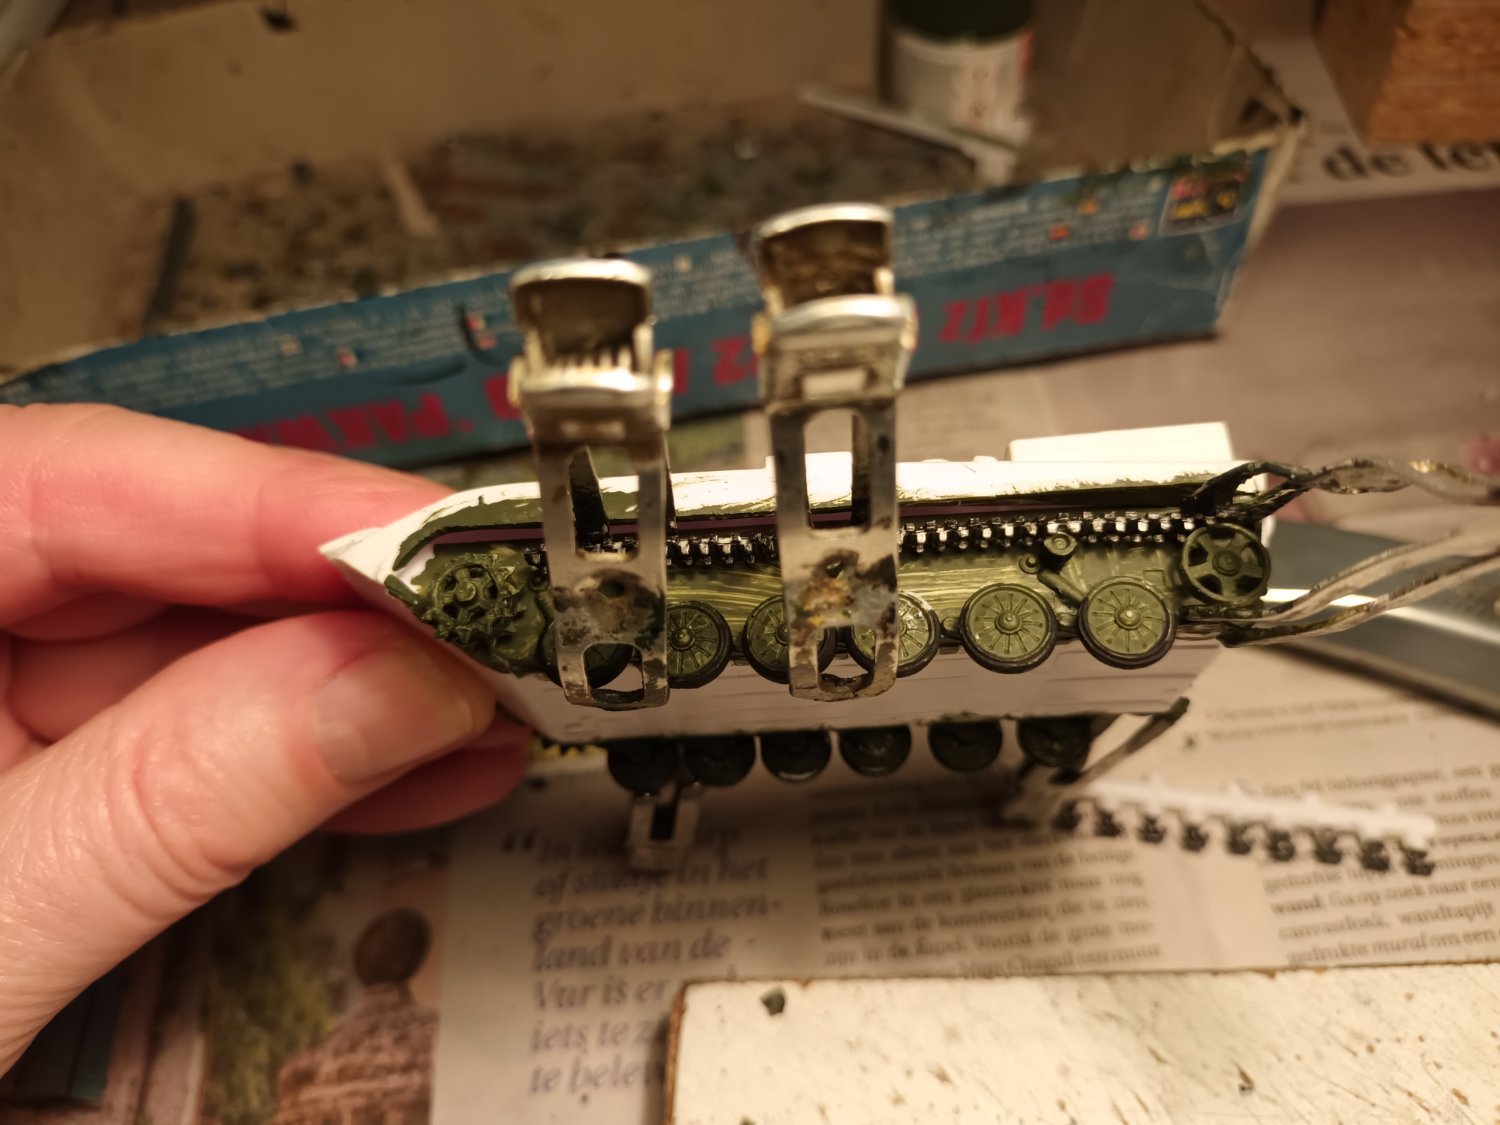
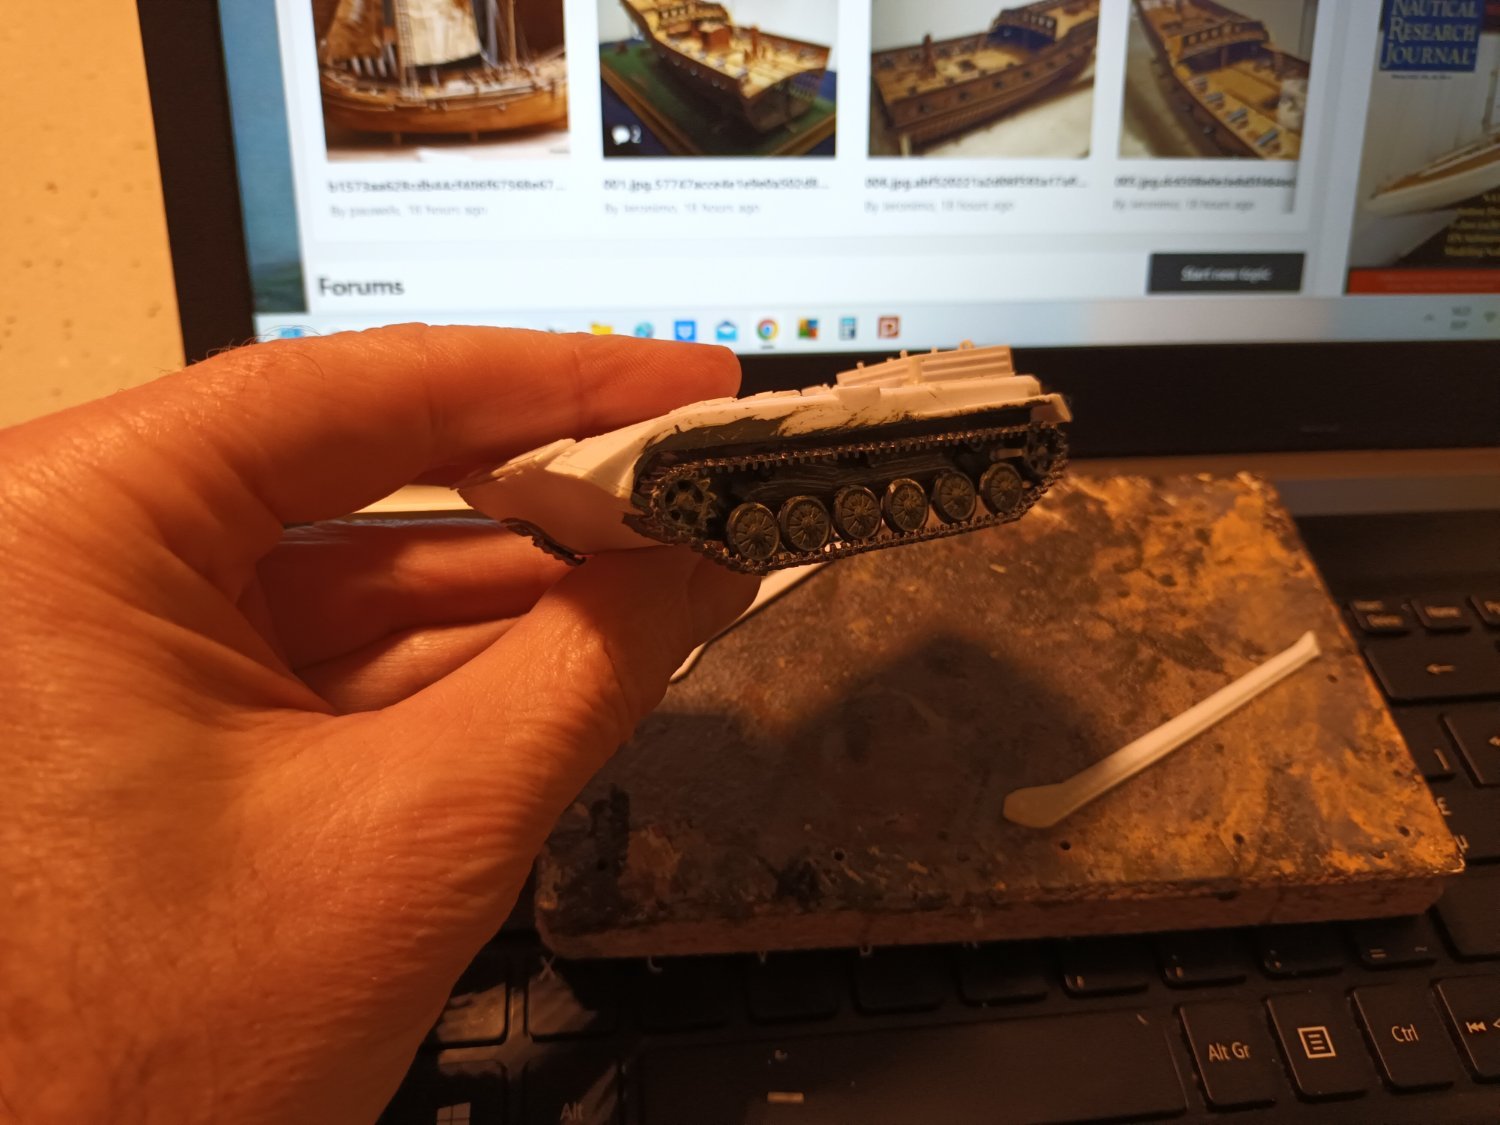
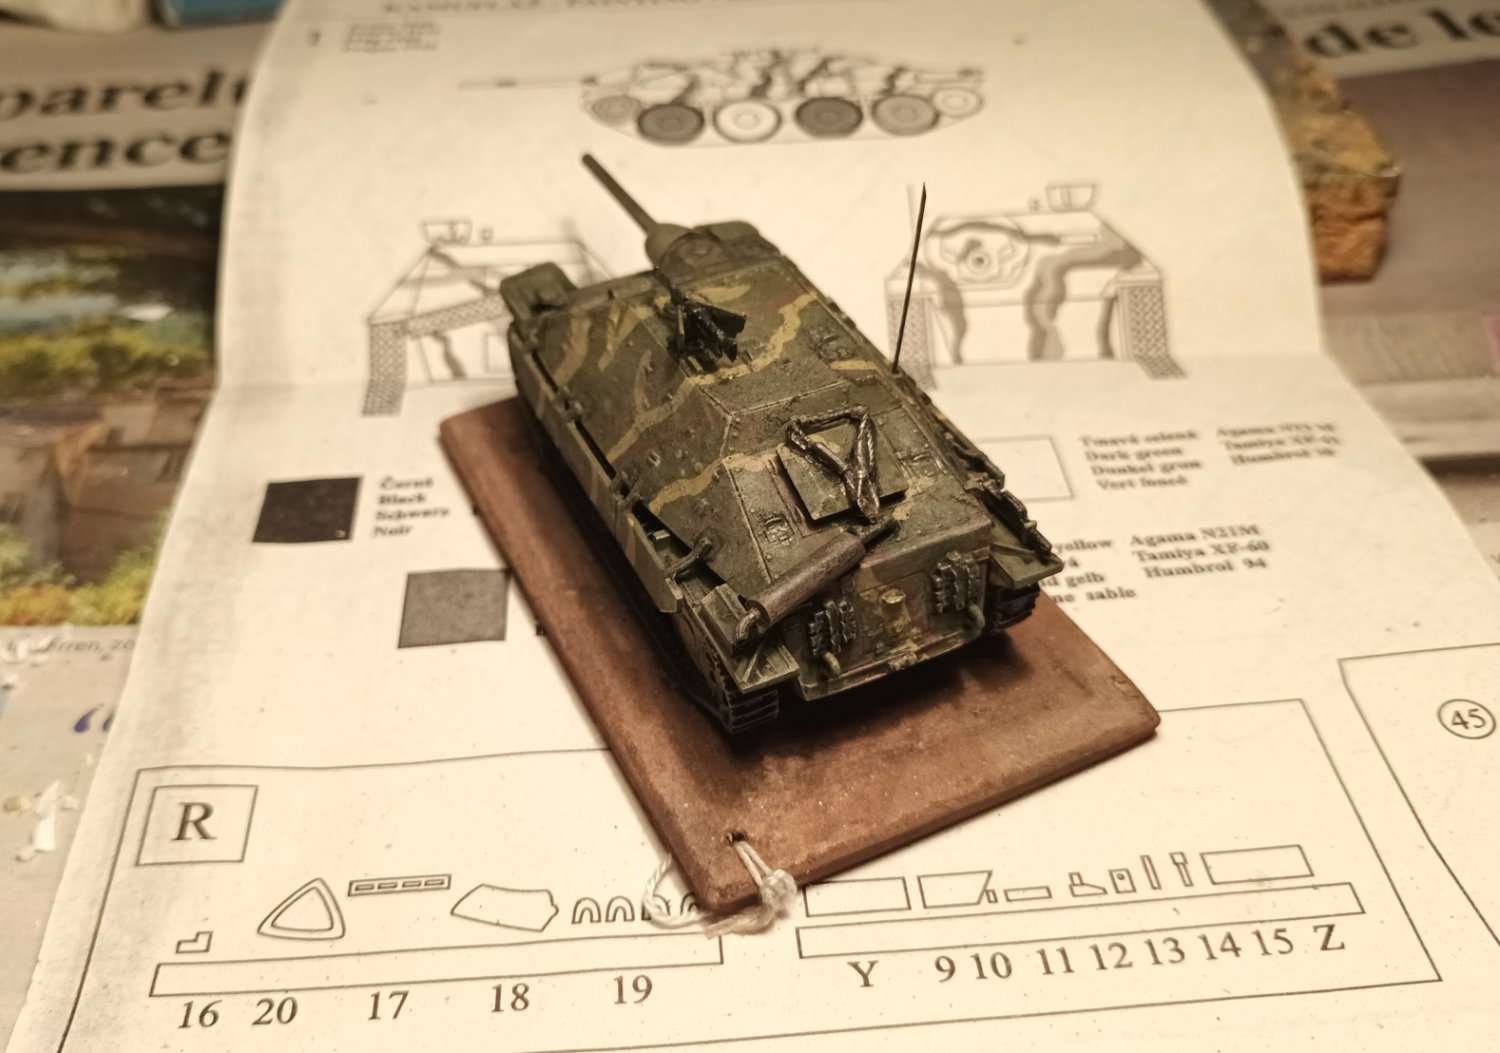
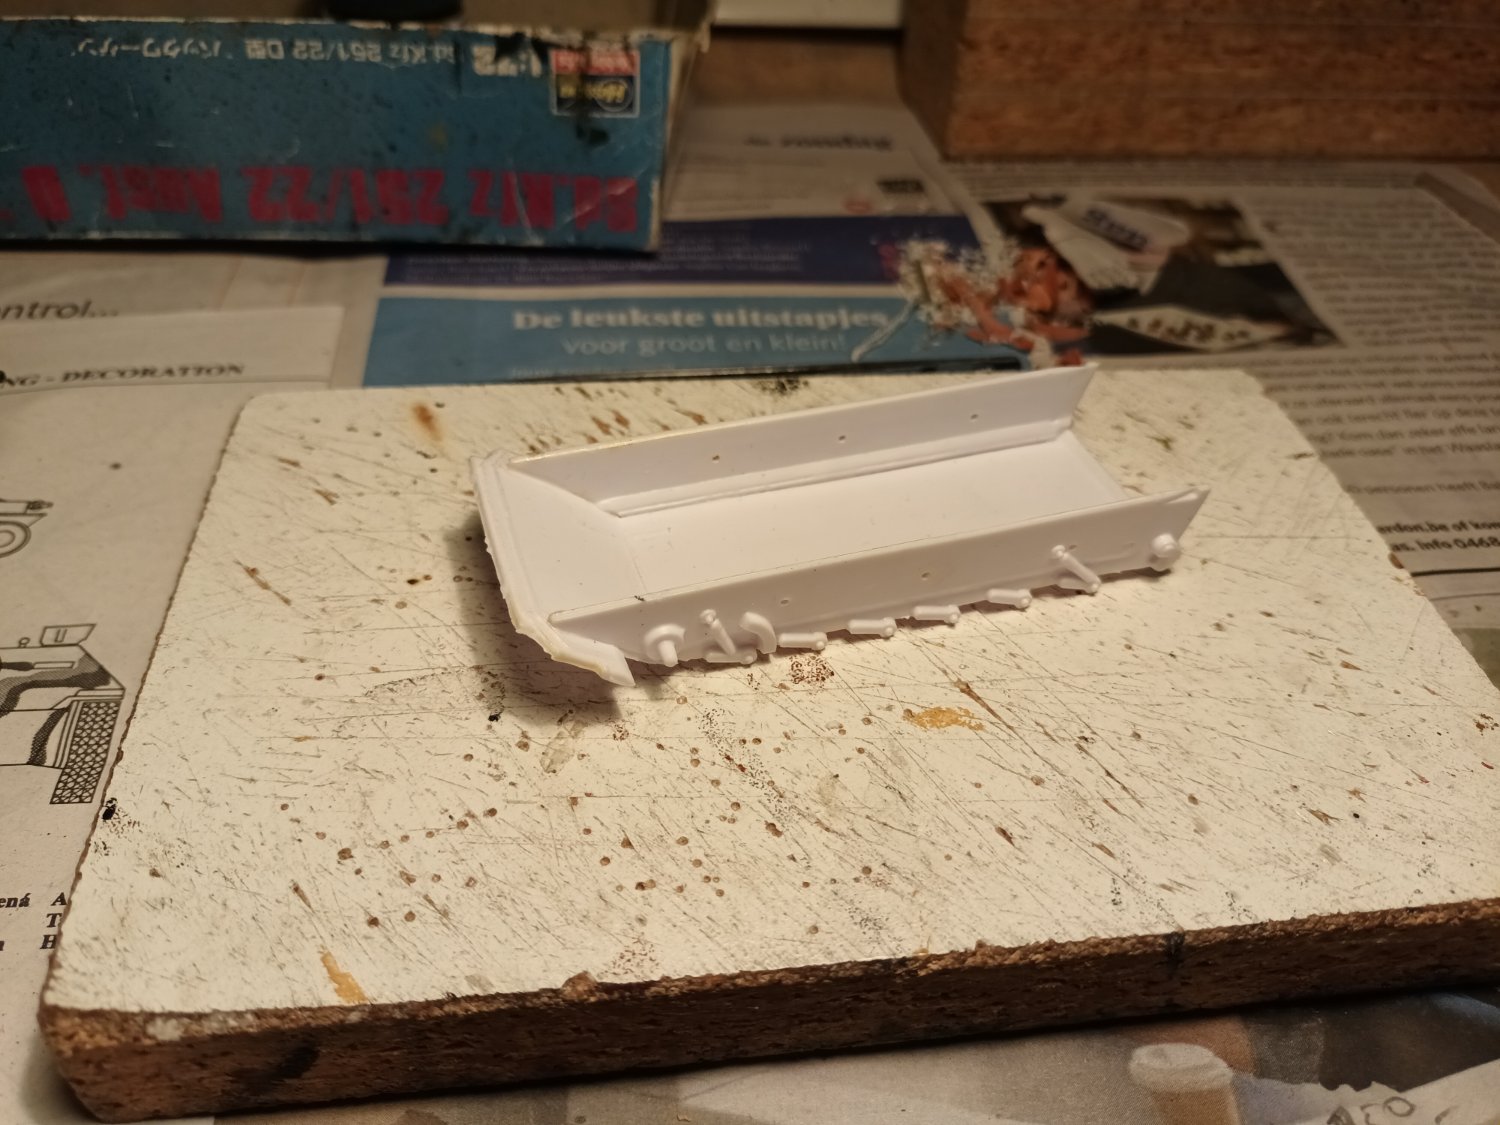
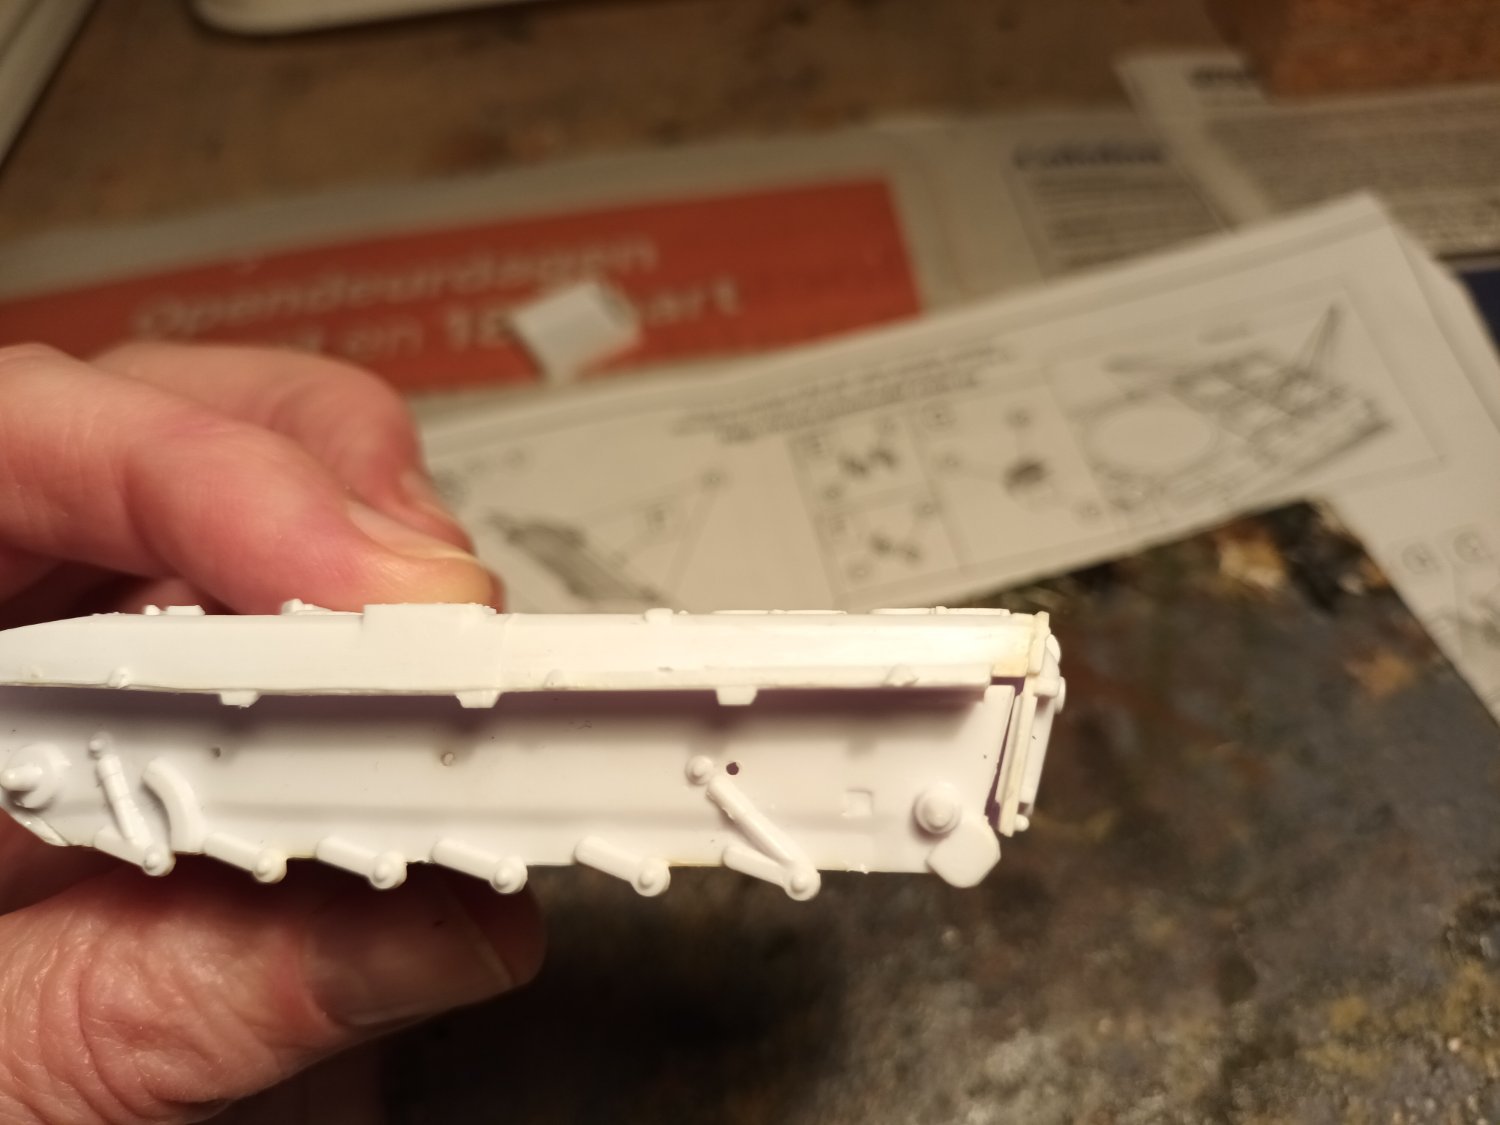
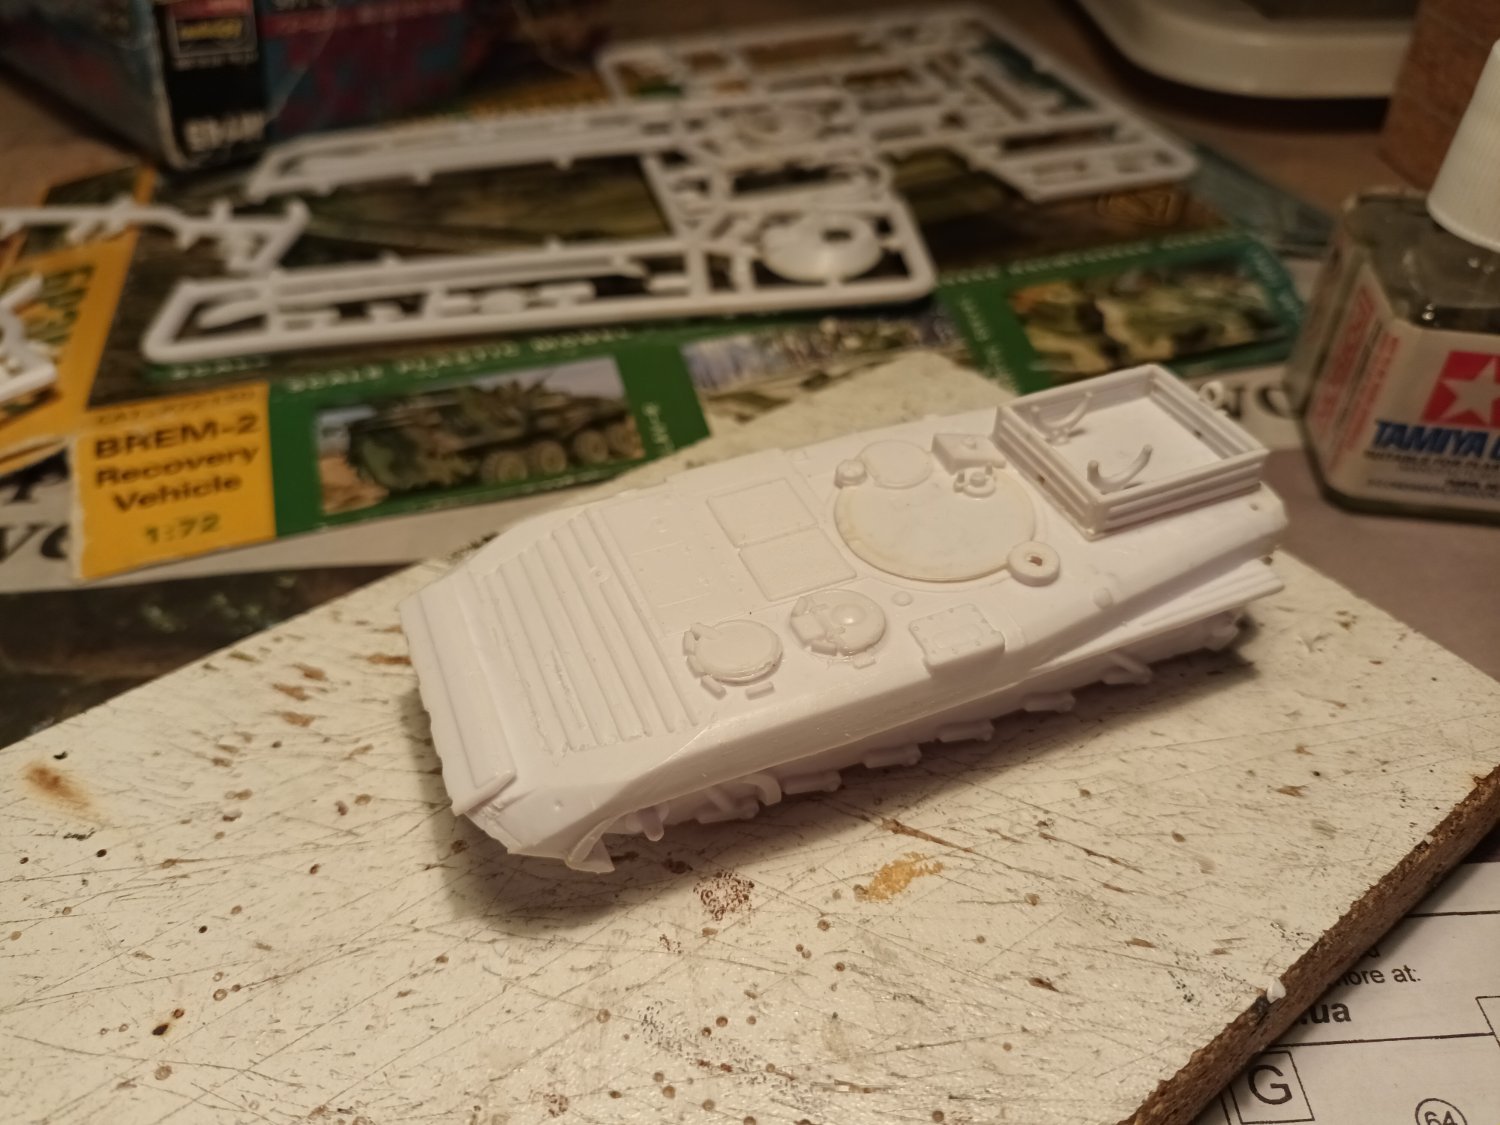
Building the chassis
The base: the bottom and 2 sides was a challenge

The next parts even more. (That's why it stayed in the box on the shelf for so long....)
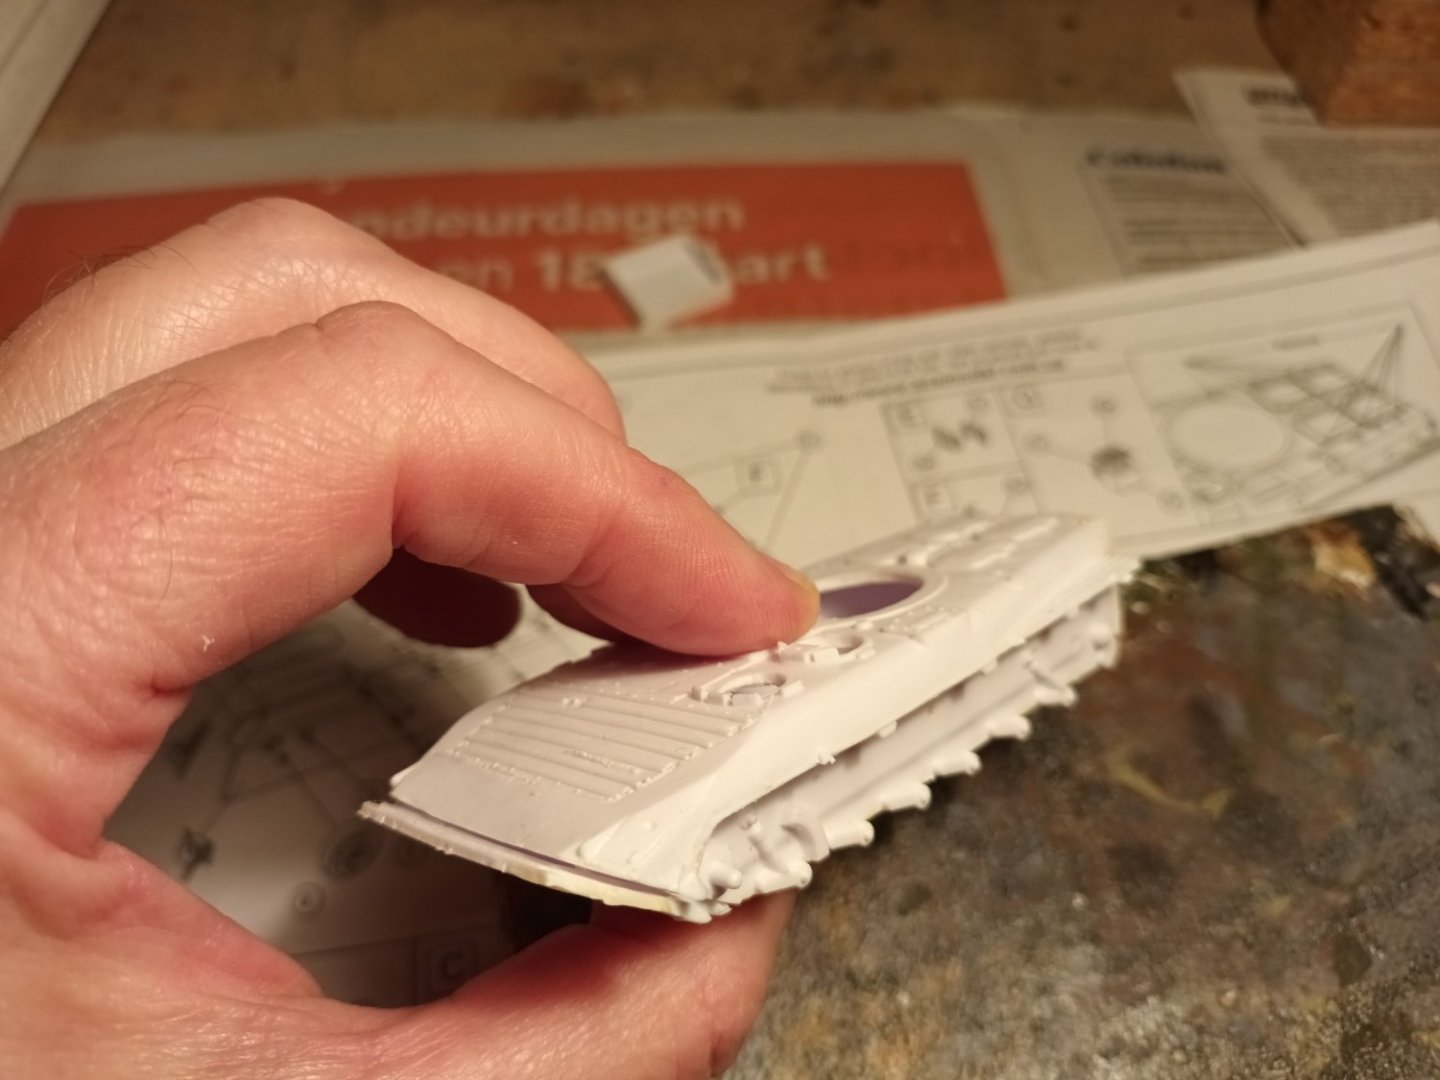

With time and patience
. There is a chassis.

Thanks for following
- CDW, Egilman, Old Collingwood and 6 others
-
9
-
5 minutes ago, Knocklouder said:
Hello @Baker when you find out please let me know, as I am about to go buy a new phone and it won't be a Samsung lol. My phone has been doing this for two days now . Most annoying 🙄 lol
further findings.
Don't buy a new phone yet.On my Samsung smartphone, MSW works perfectly via Microsoft Edge. Try this first.
msw via Google Chrome is still a problem for the time being.- Knocklouder and mtaylor
-
1
-
 1
1
-
Nice start. I follow also
And yes, I have also glued my fingers with CA glue.
Advice, take your time. Building a wooden model is not a race -
1 hour ago, James H said:
As this seems to be a Samsung thing that has only just cropped up, then that is the issue. There's absolutely zilch can be done from my side.
It's not unheard of for phone/tablet software to update and cause issues with a website, so hopefully that will be either something they fix soon, or maybe a future forum template can take into consideration if Samsung fail to sort their bad code out.
Thank you for looking into this.
Apparently the problem is in my smartphone.
My wife has the same A22 as me and on this phone i dont have this problem.
I guess I'll have to solve this myself.
To be continued, I will let you know if I find the solution -
My phone is a Samsung A22
He did an update on 28 november. But the problems only started yesterday afternoon.(Now I use my laptop)
Really weird
When I watch MSW as a "guest" everything is normal.
When I log in, problems- Ryland Craze, thibaultron and mtaylor
-
 3
3
-
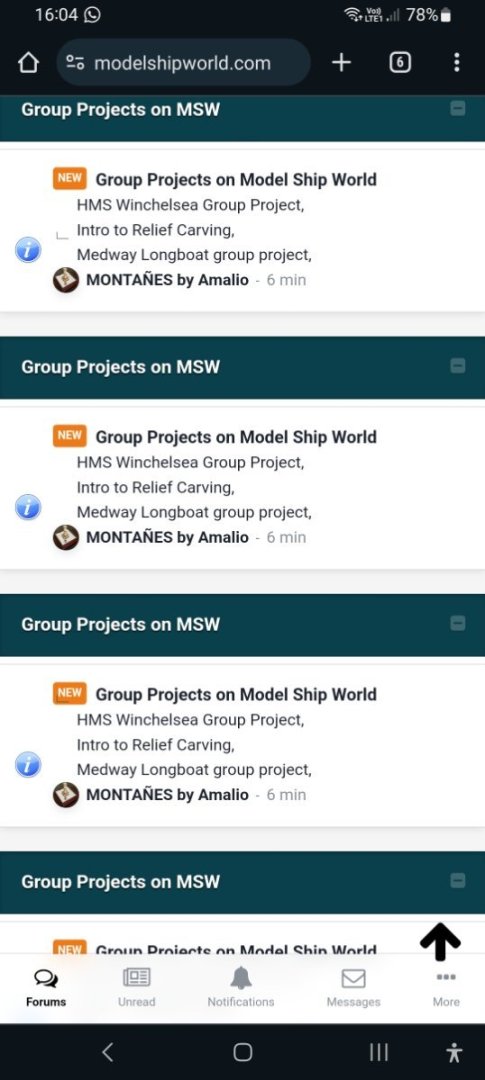
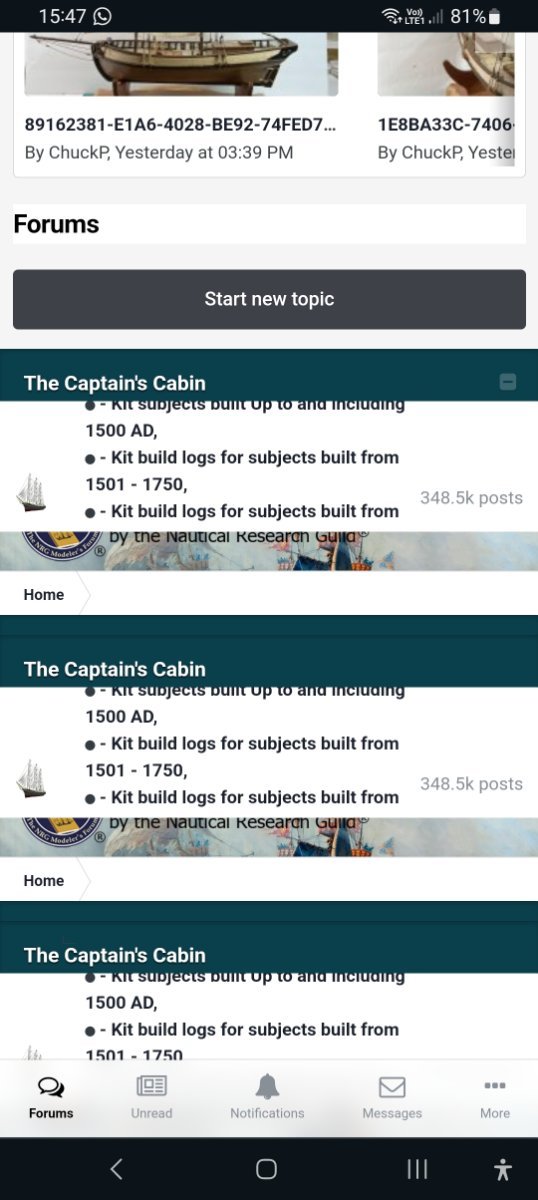
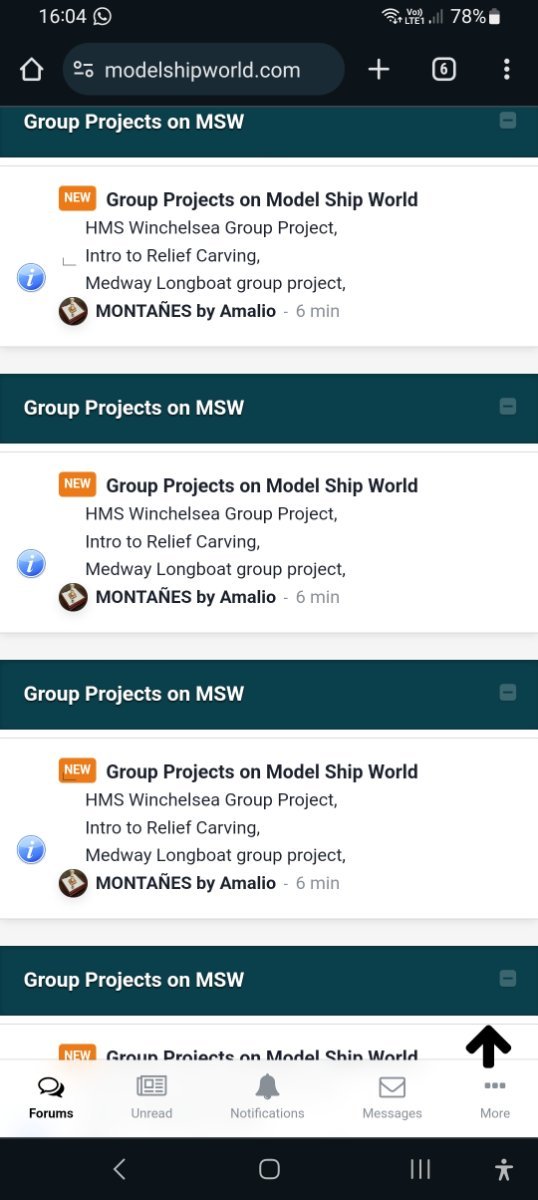
Since this afternoon, MSW looks like this on my Samsung smartphone.
No settings have been changed and the phone has been restarted
-
congratulations.
Nicely done. Your customer will certainly be happy with this model- Mirabell61, mtaylor, Louie da fly and 1 other
-
3
-
1
-
-


Hi from Scotland
in New member Introductions
Posted