


Baker
-
Posts
4,134 -
Joined
-
Last visited
Content Type
Profiles
Forums
Gallery
Events
Posts posted by Baker
-
-
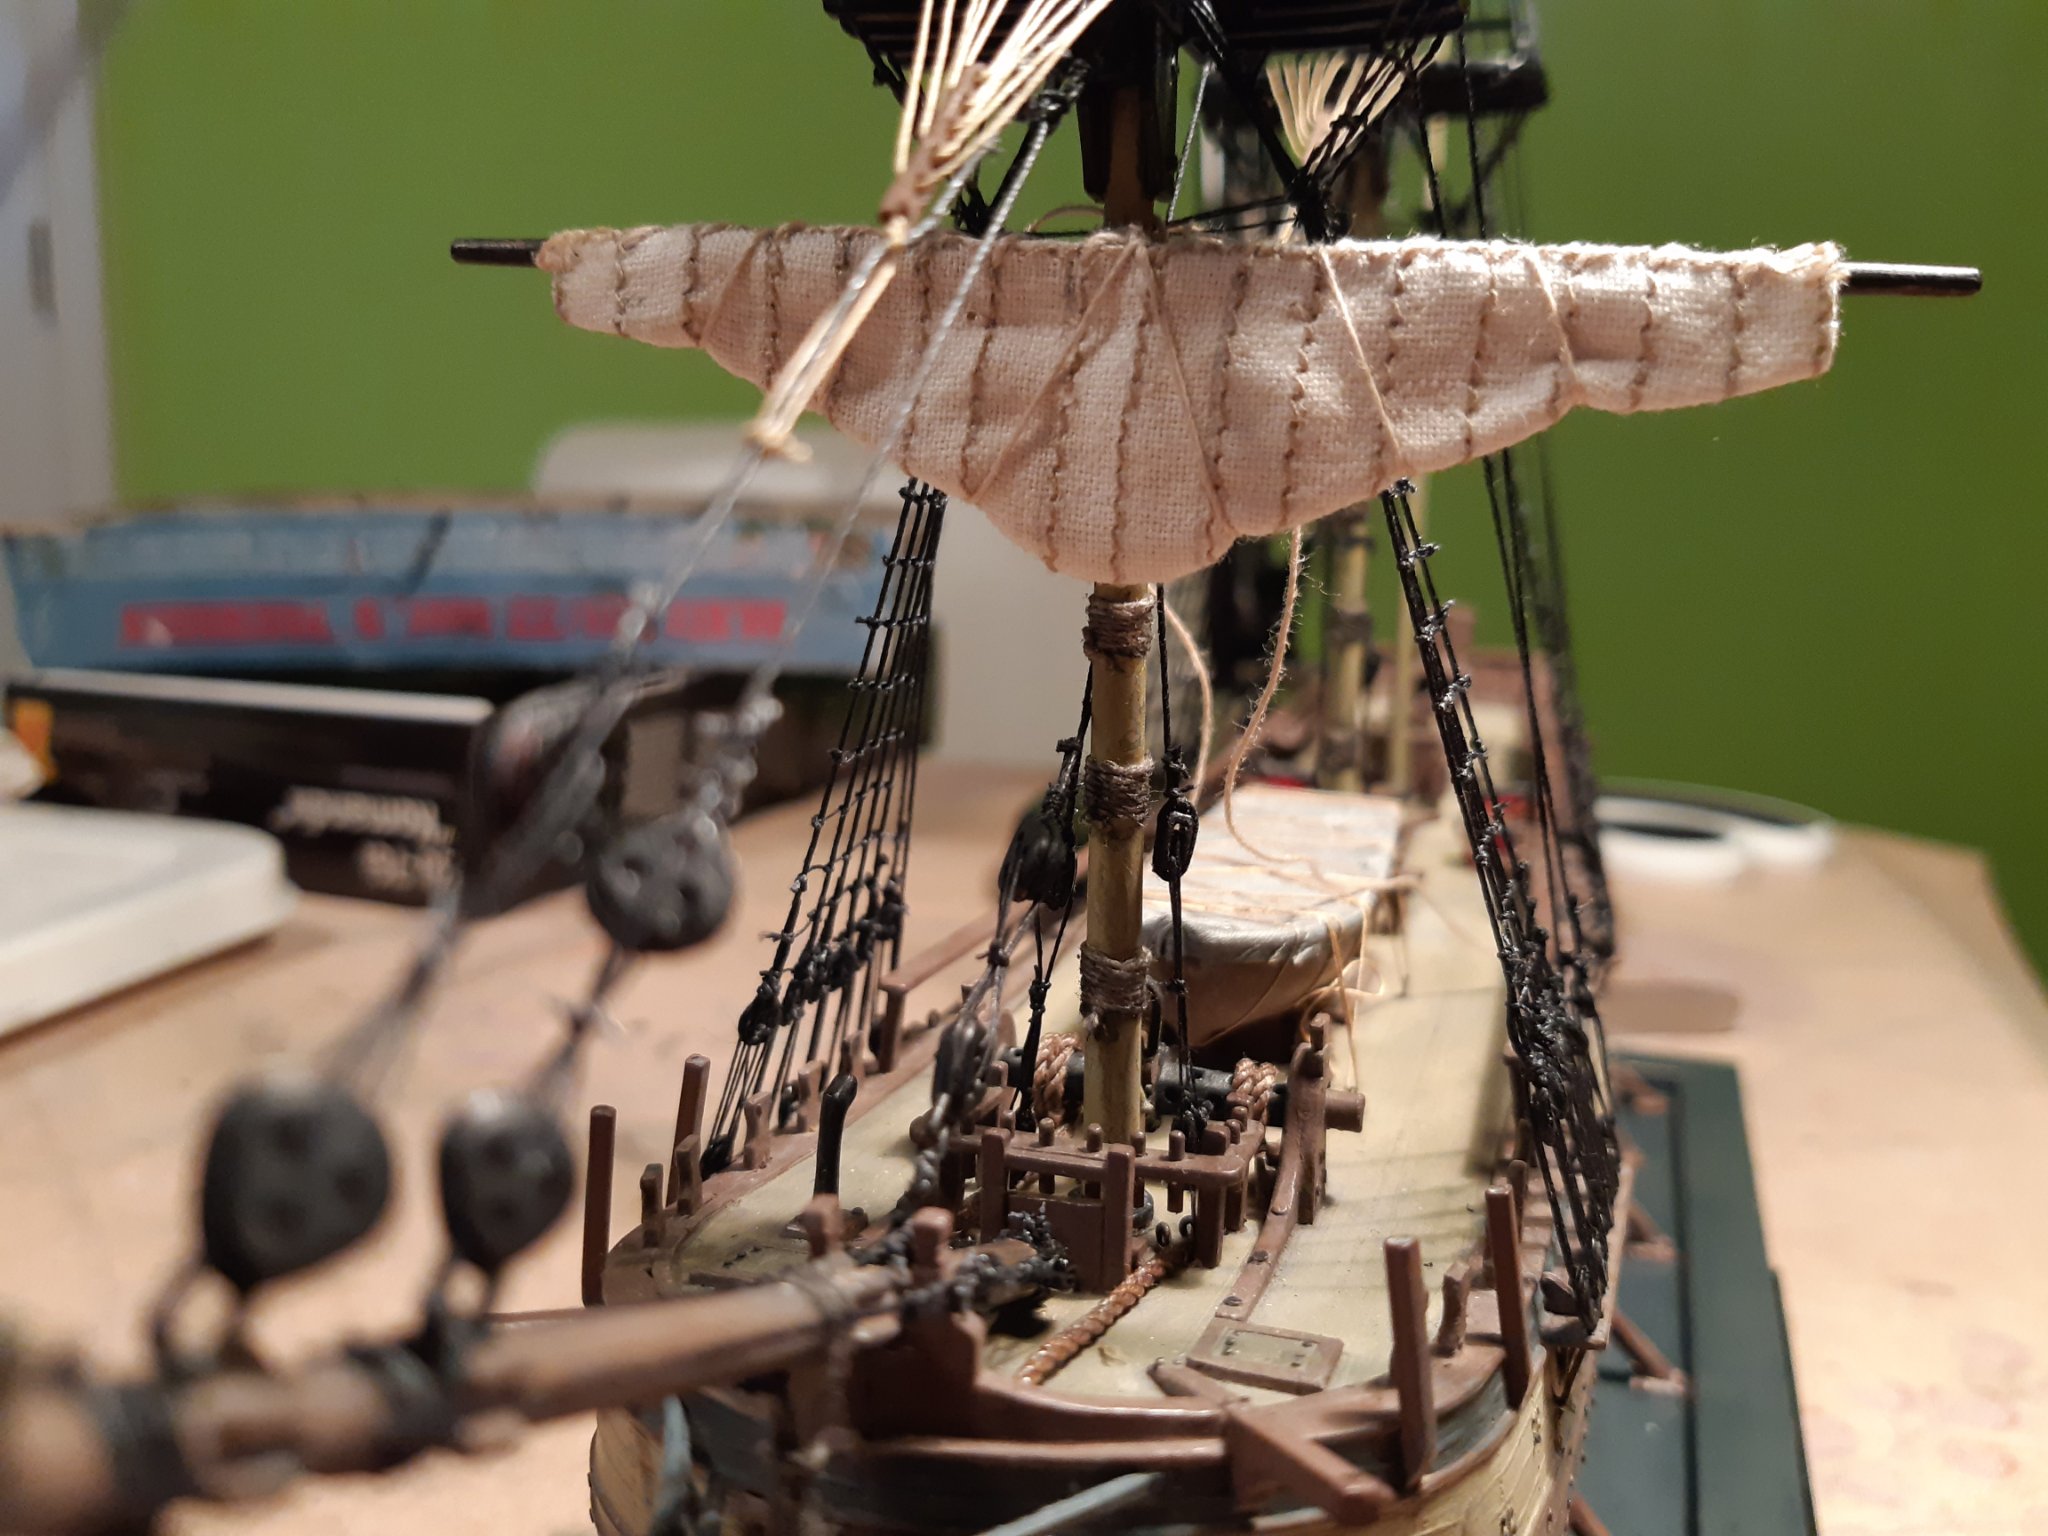
I found this technique on you tube.
This is the first test of the third attempt. The intention is to think about necessary improvements.
And yes, the thread is indeed too thick.
And now i know what clewed up sails are 👍
-
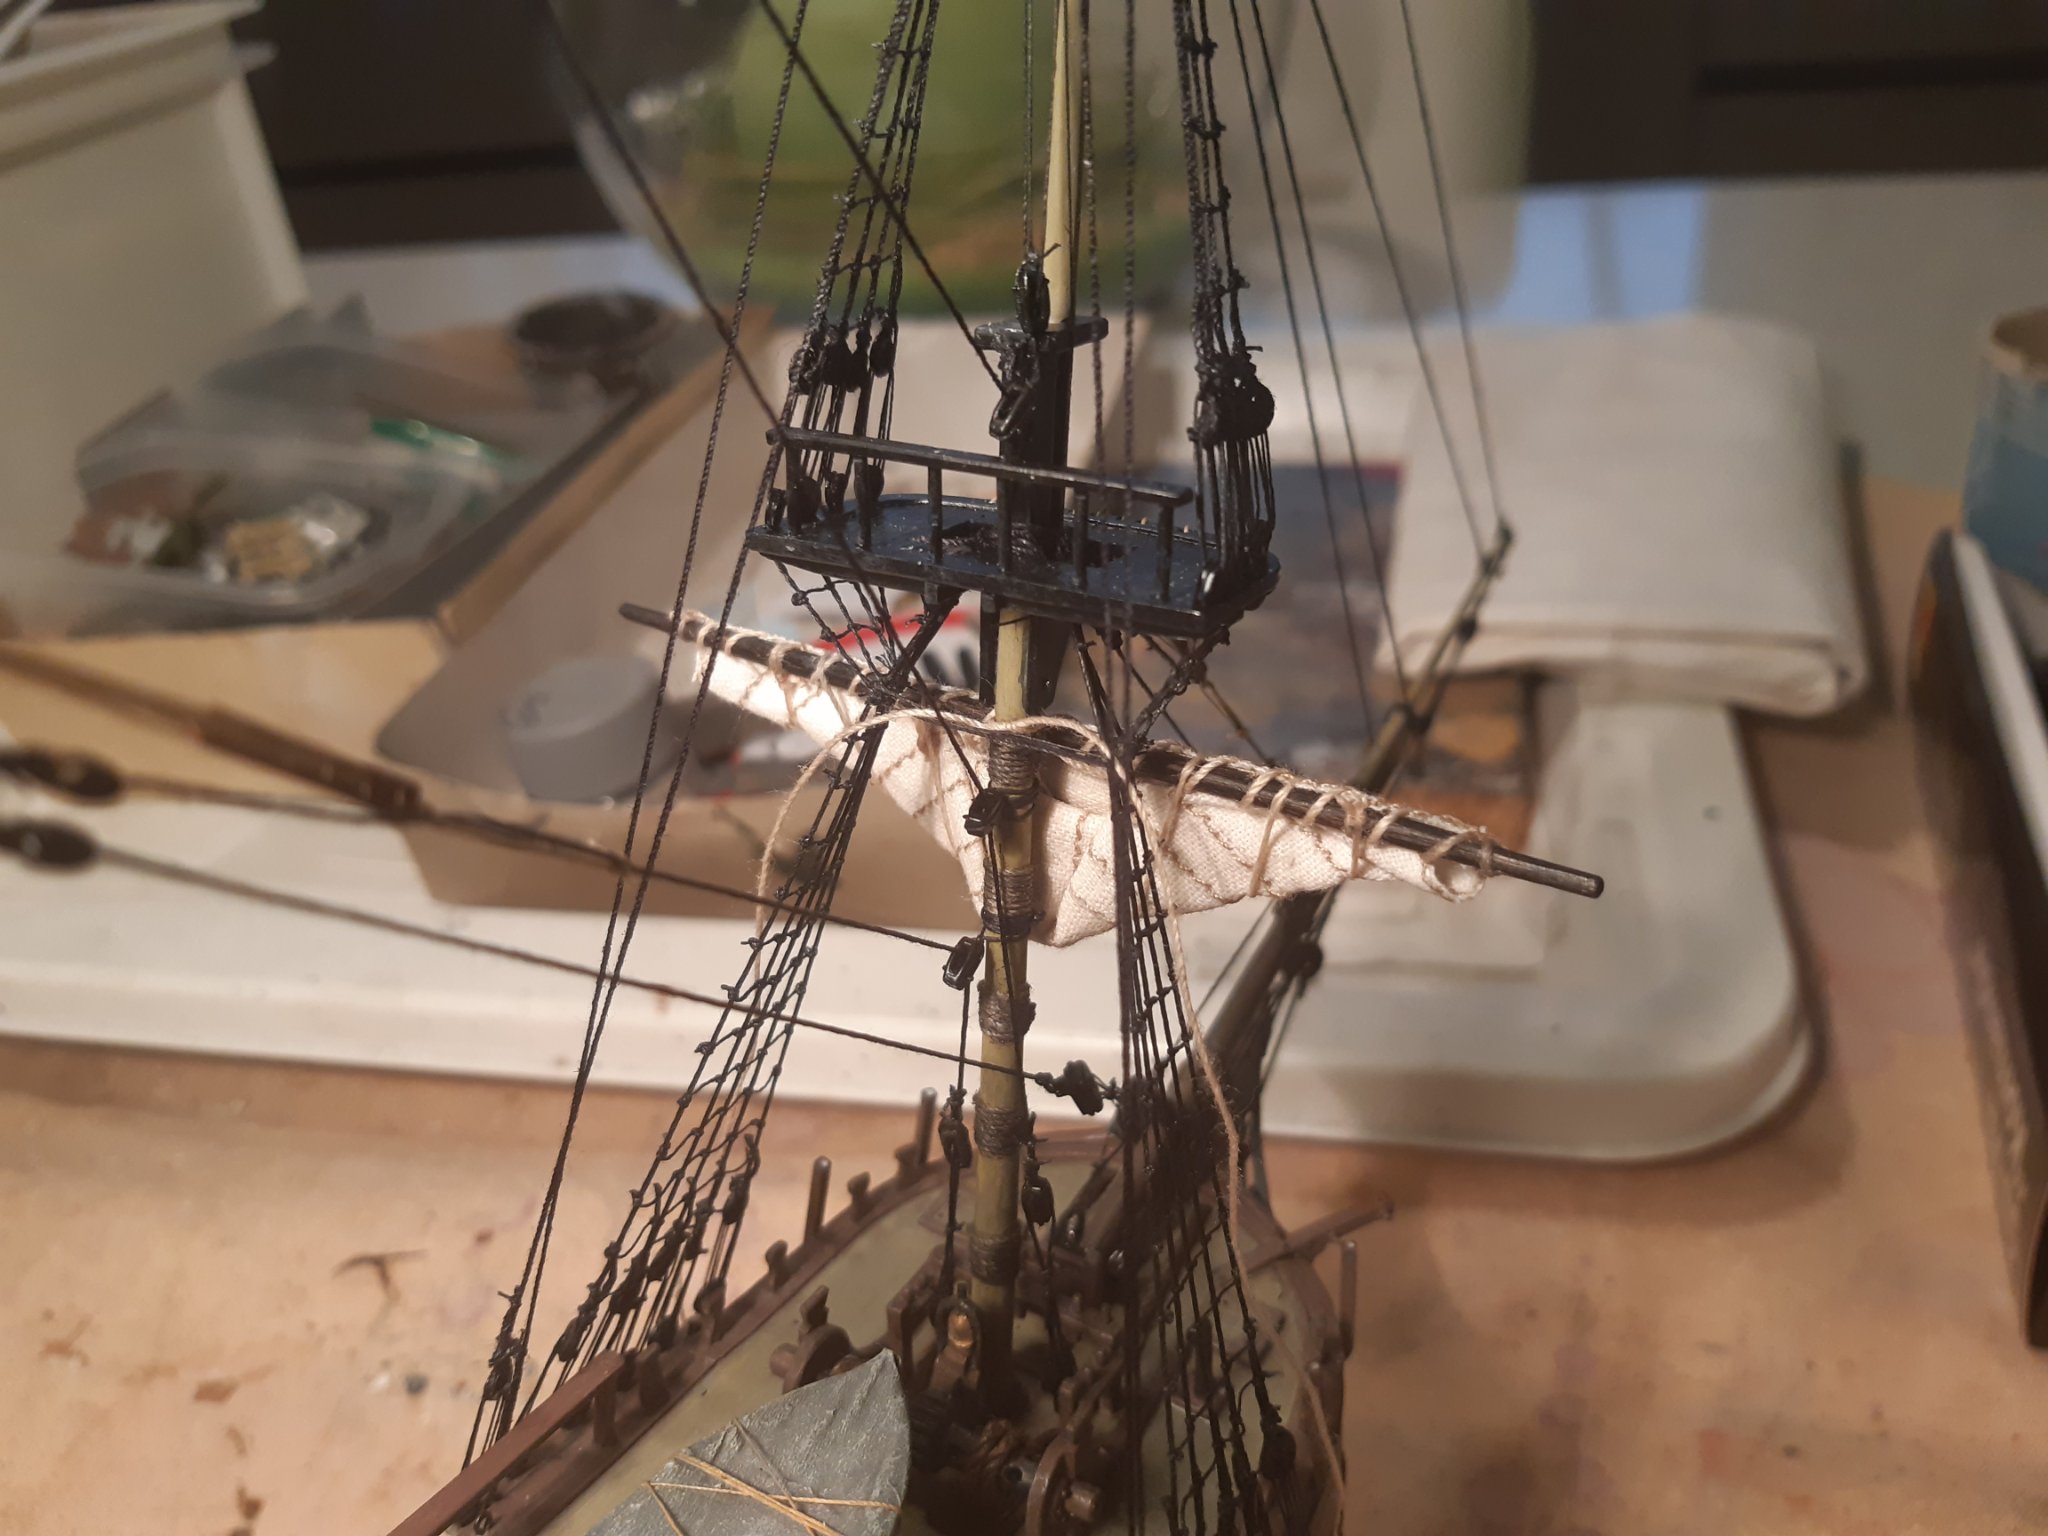
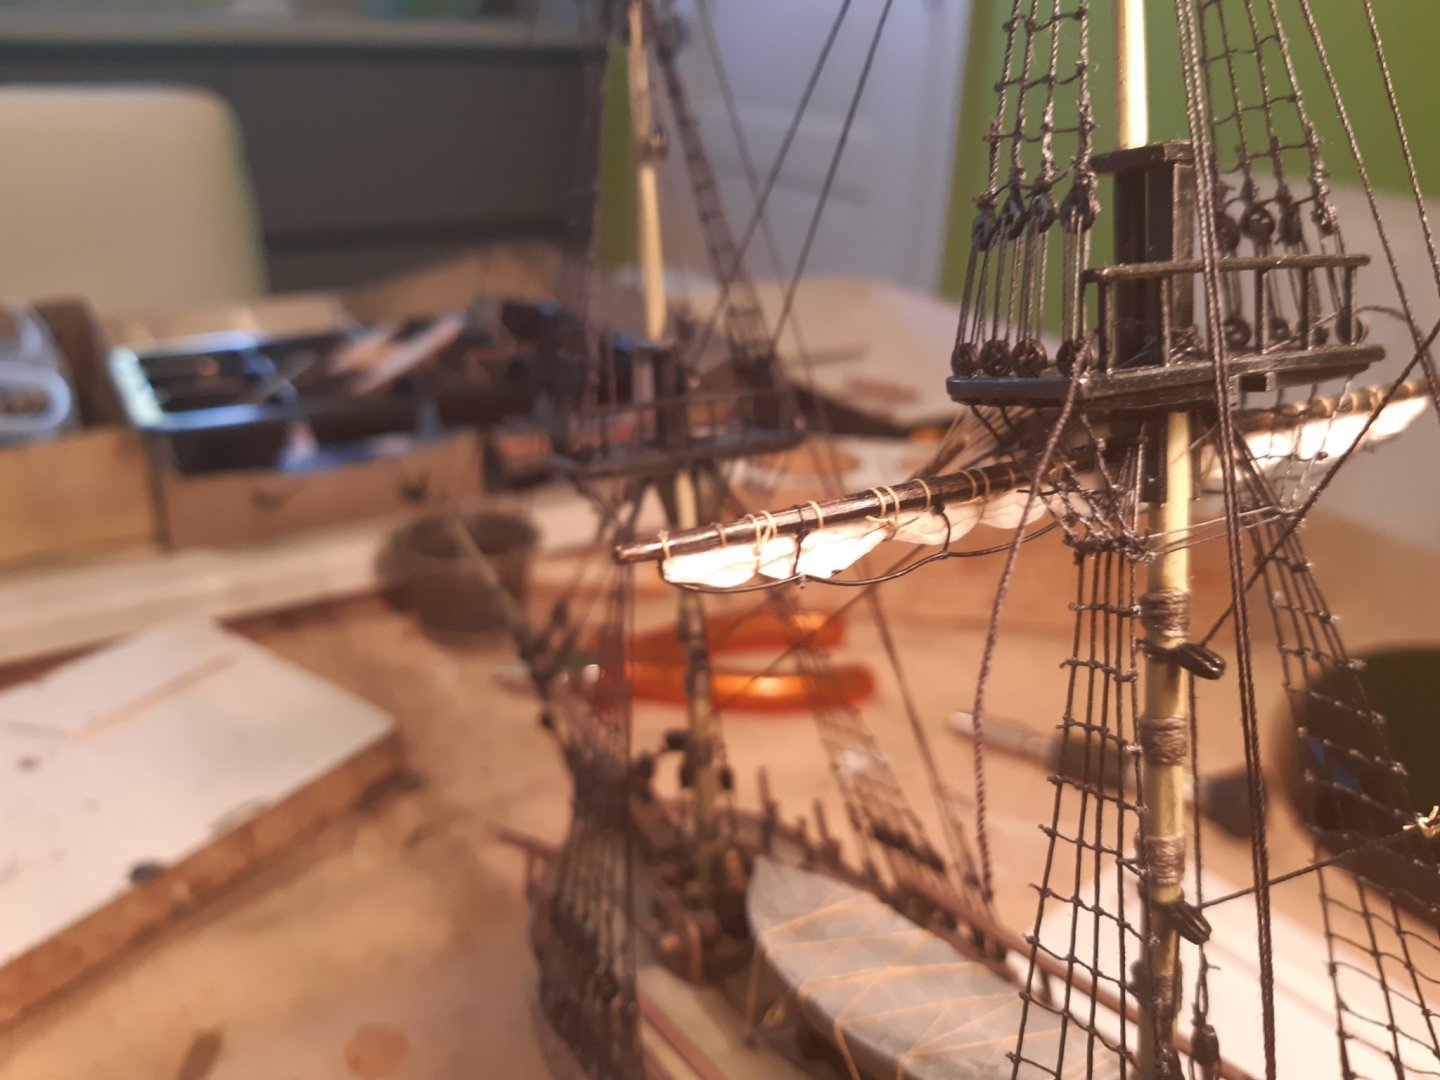
A small update on the furled sails.
Attempt 1 (and 2) with different paper tissue and CA glue. Wasn't what it was supposed to be.
I got good results with it in military modeling, but for furled sails, unsuitable.
Also discovered that the brown color of the yards did not match this model, so they are painted black now.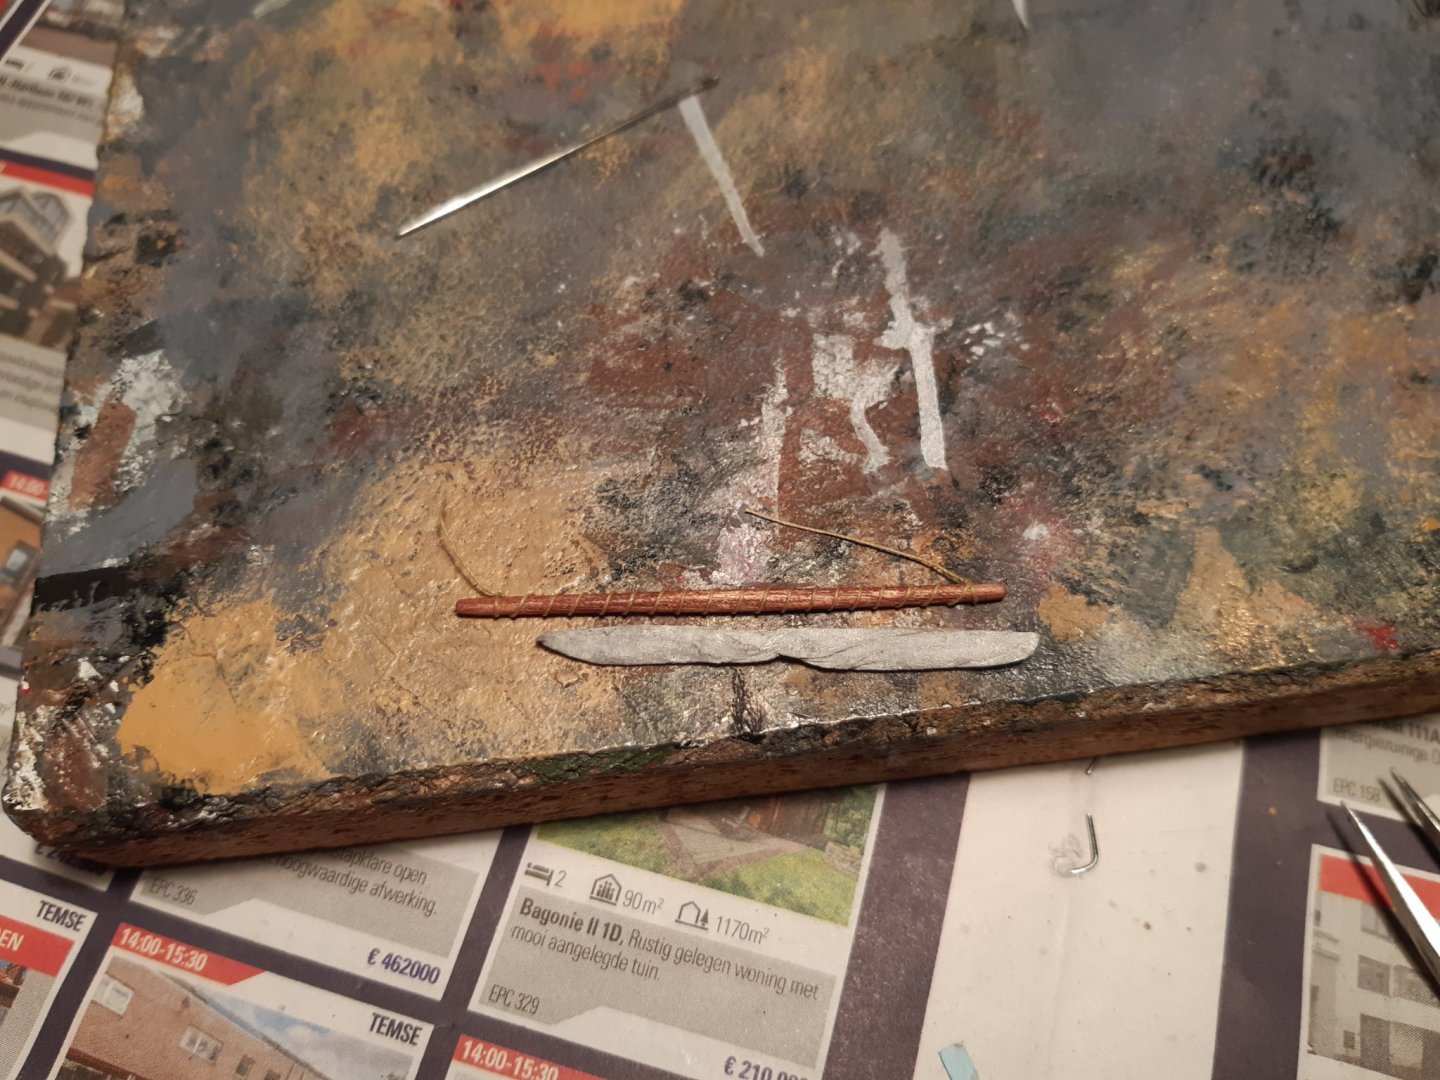
Attempt 3
sails sewn from cloth.
1 test model done. This attempt has worked out reasonably well, but not quite what it should be.
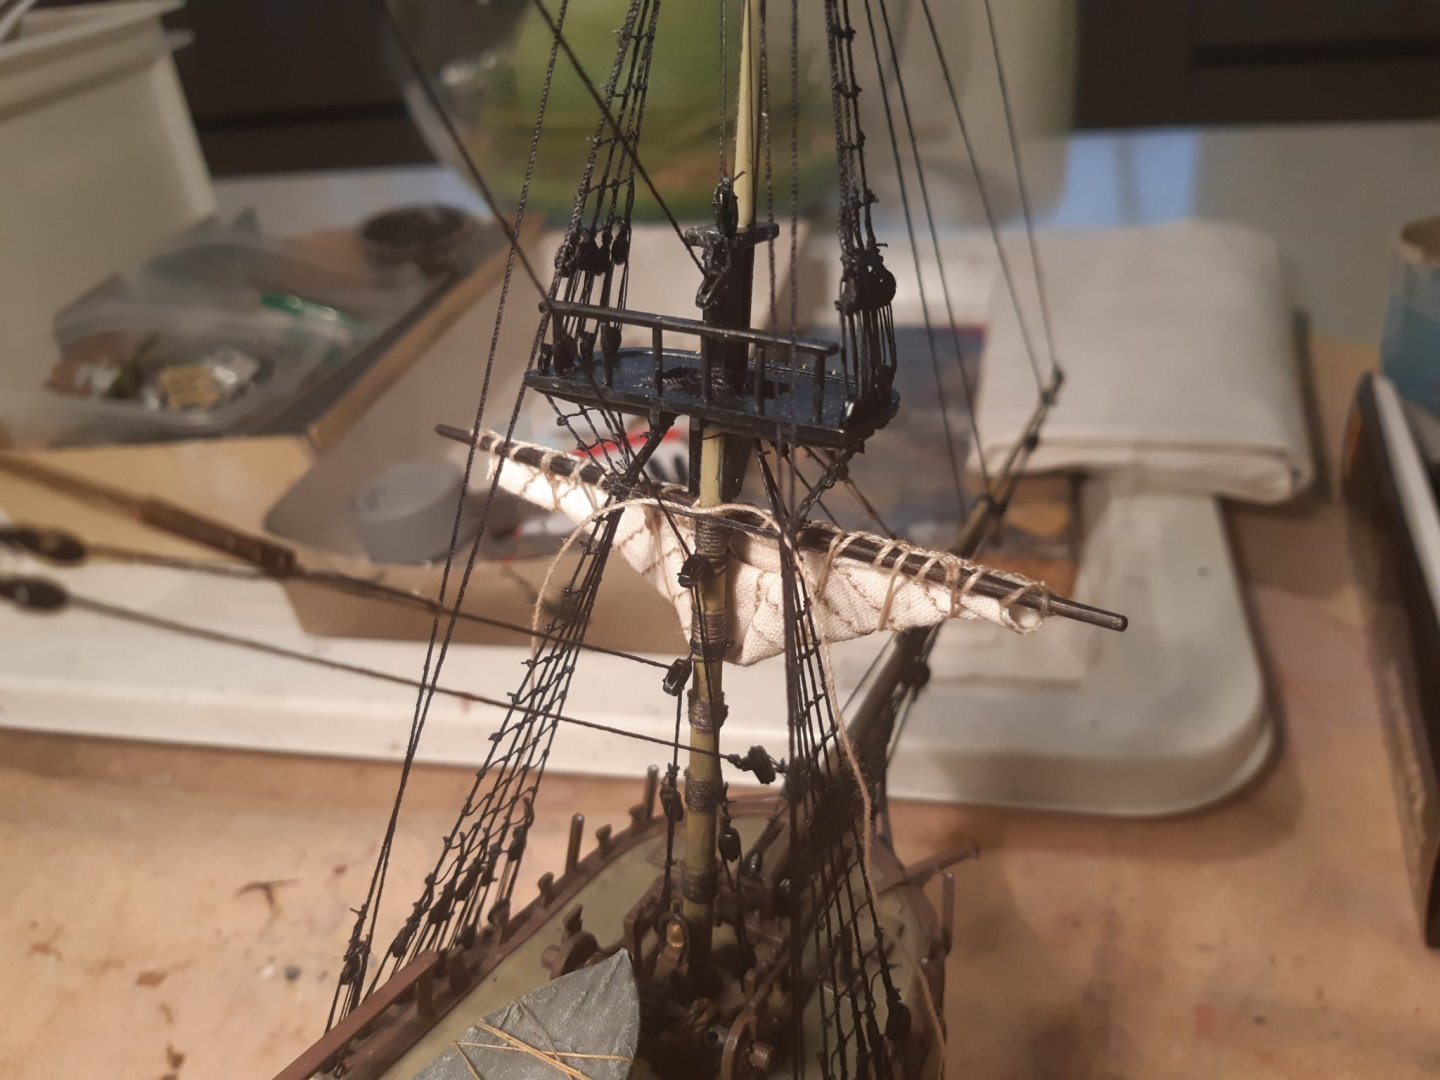 To be continued, thanks for following.
-
4 hours ago, Jeff T said:
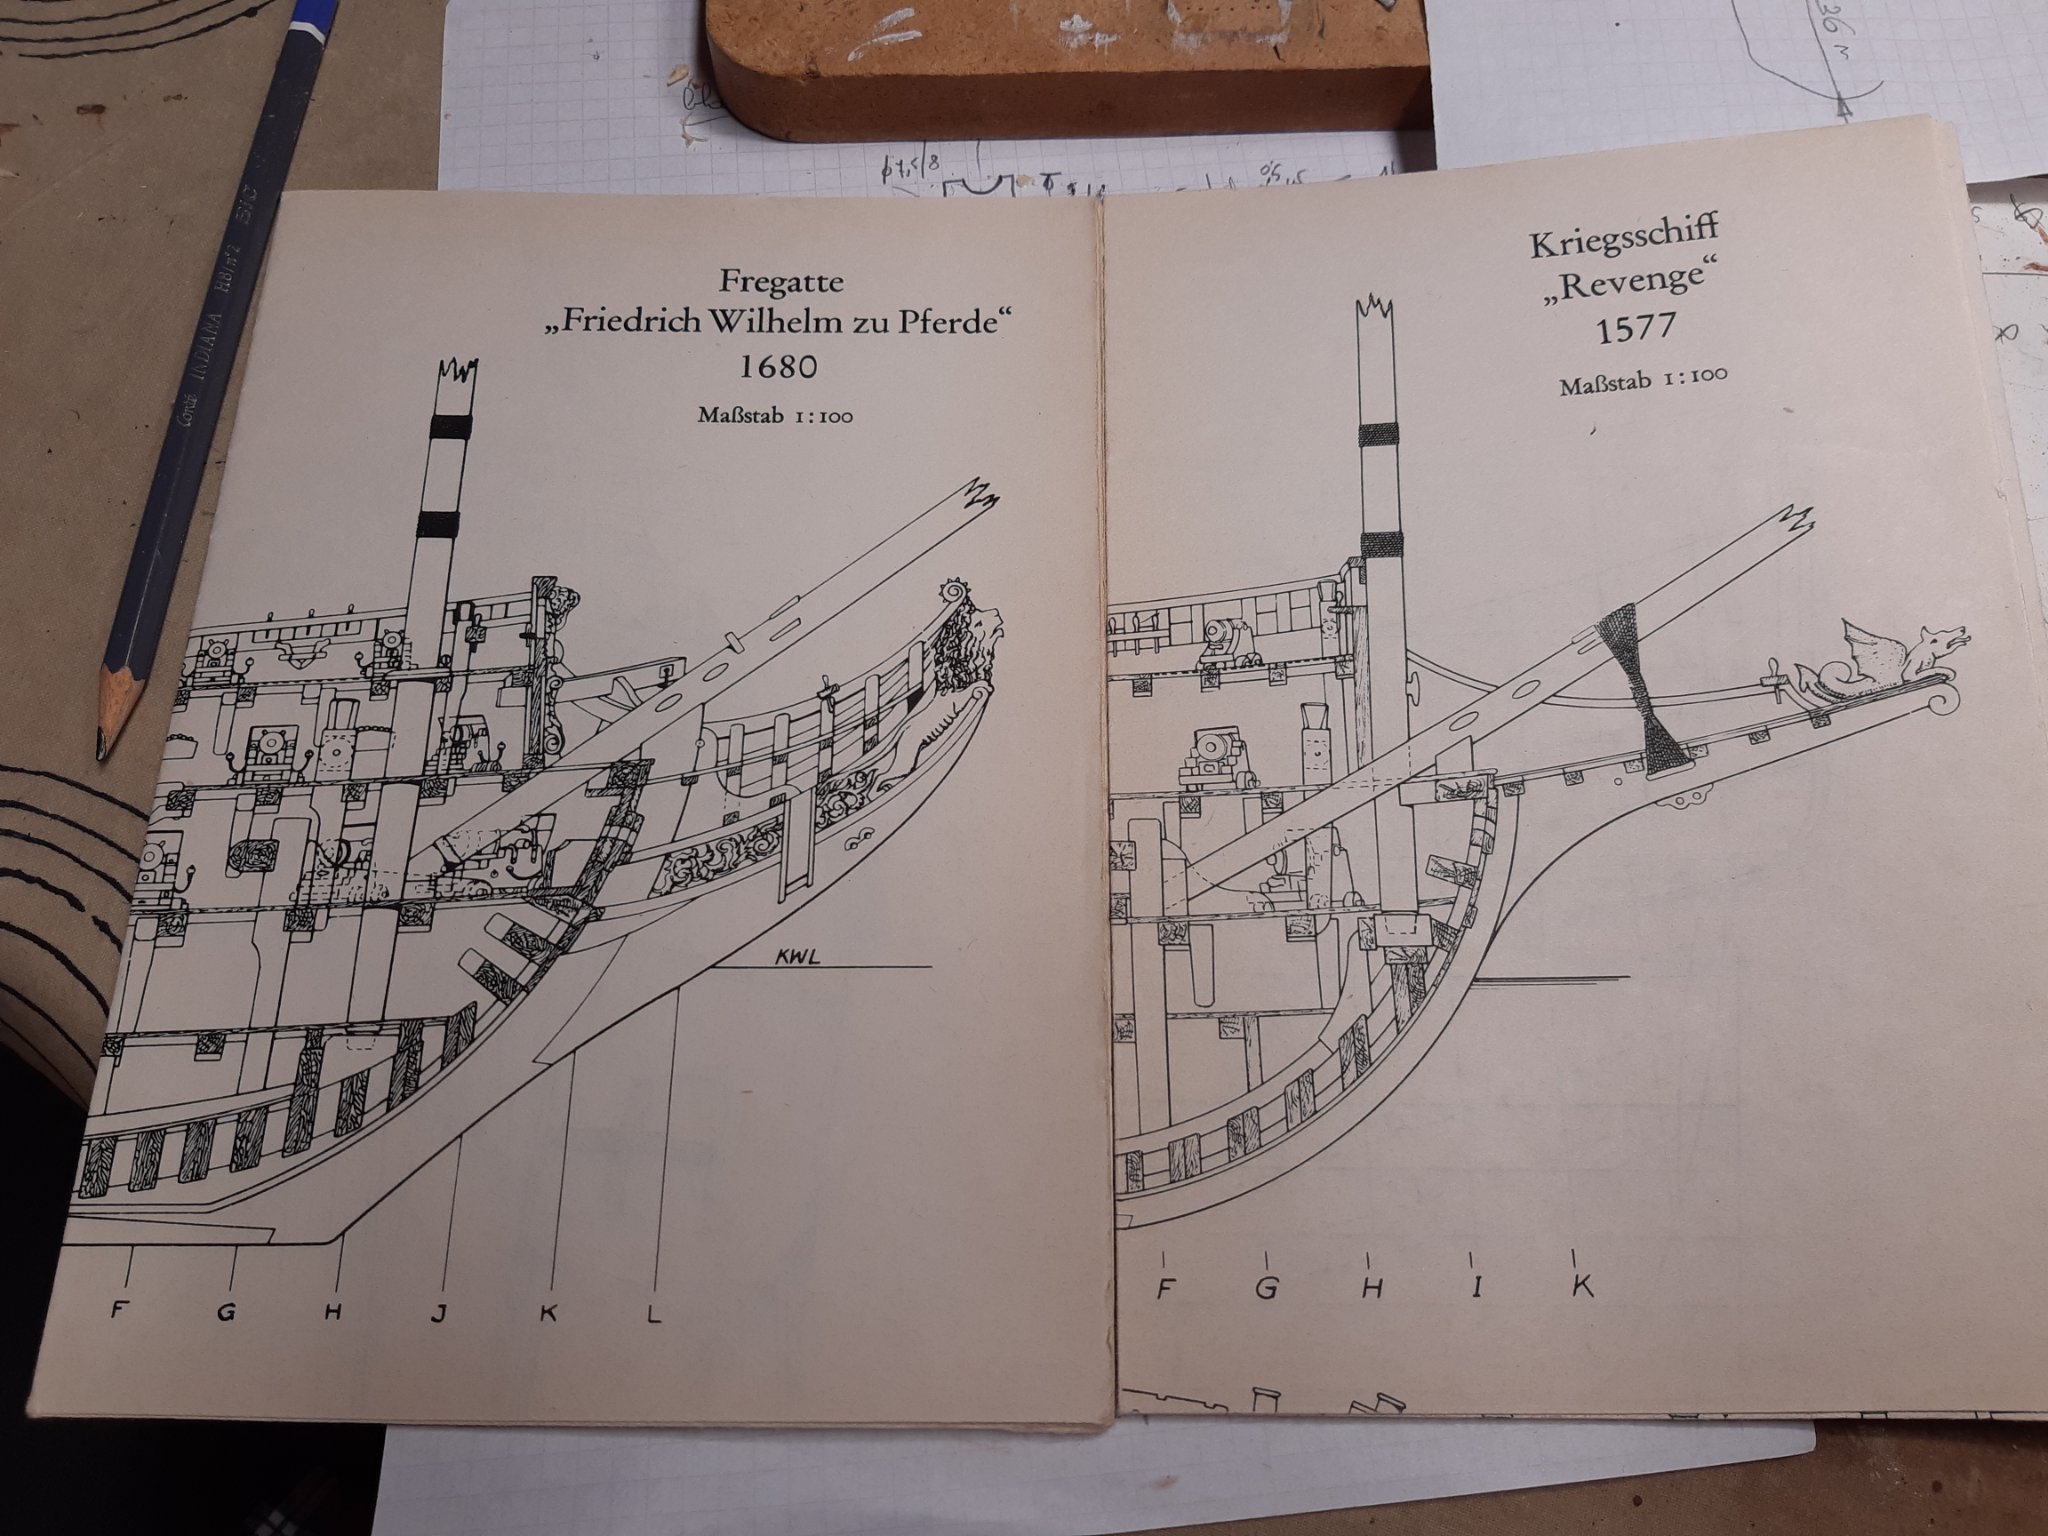
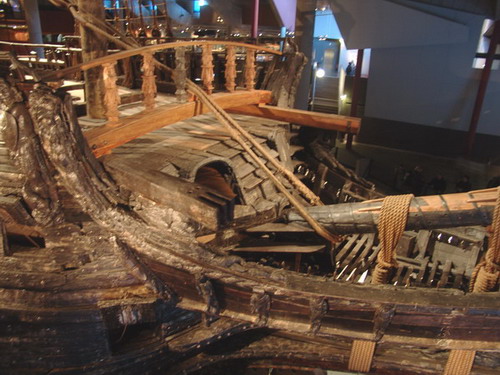
What could be done if the bowsprit rested on the stempost?
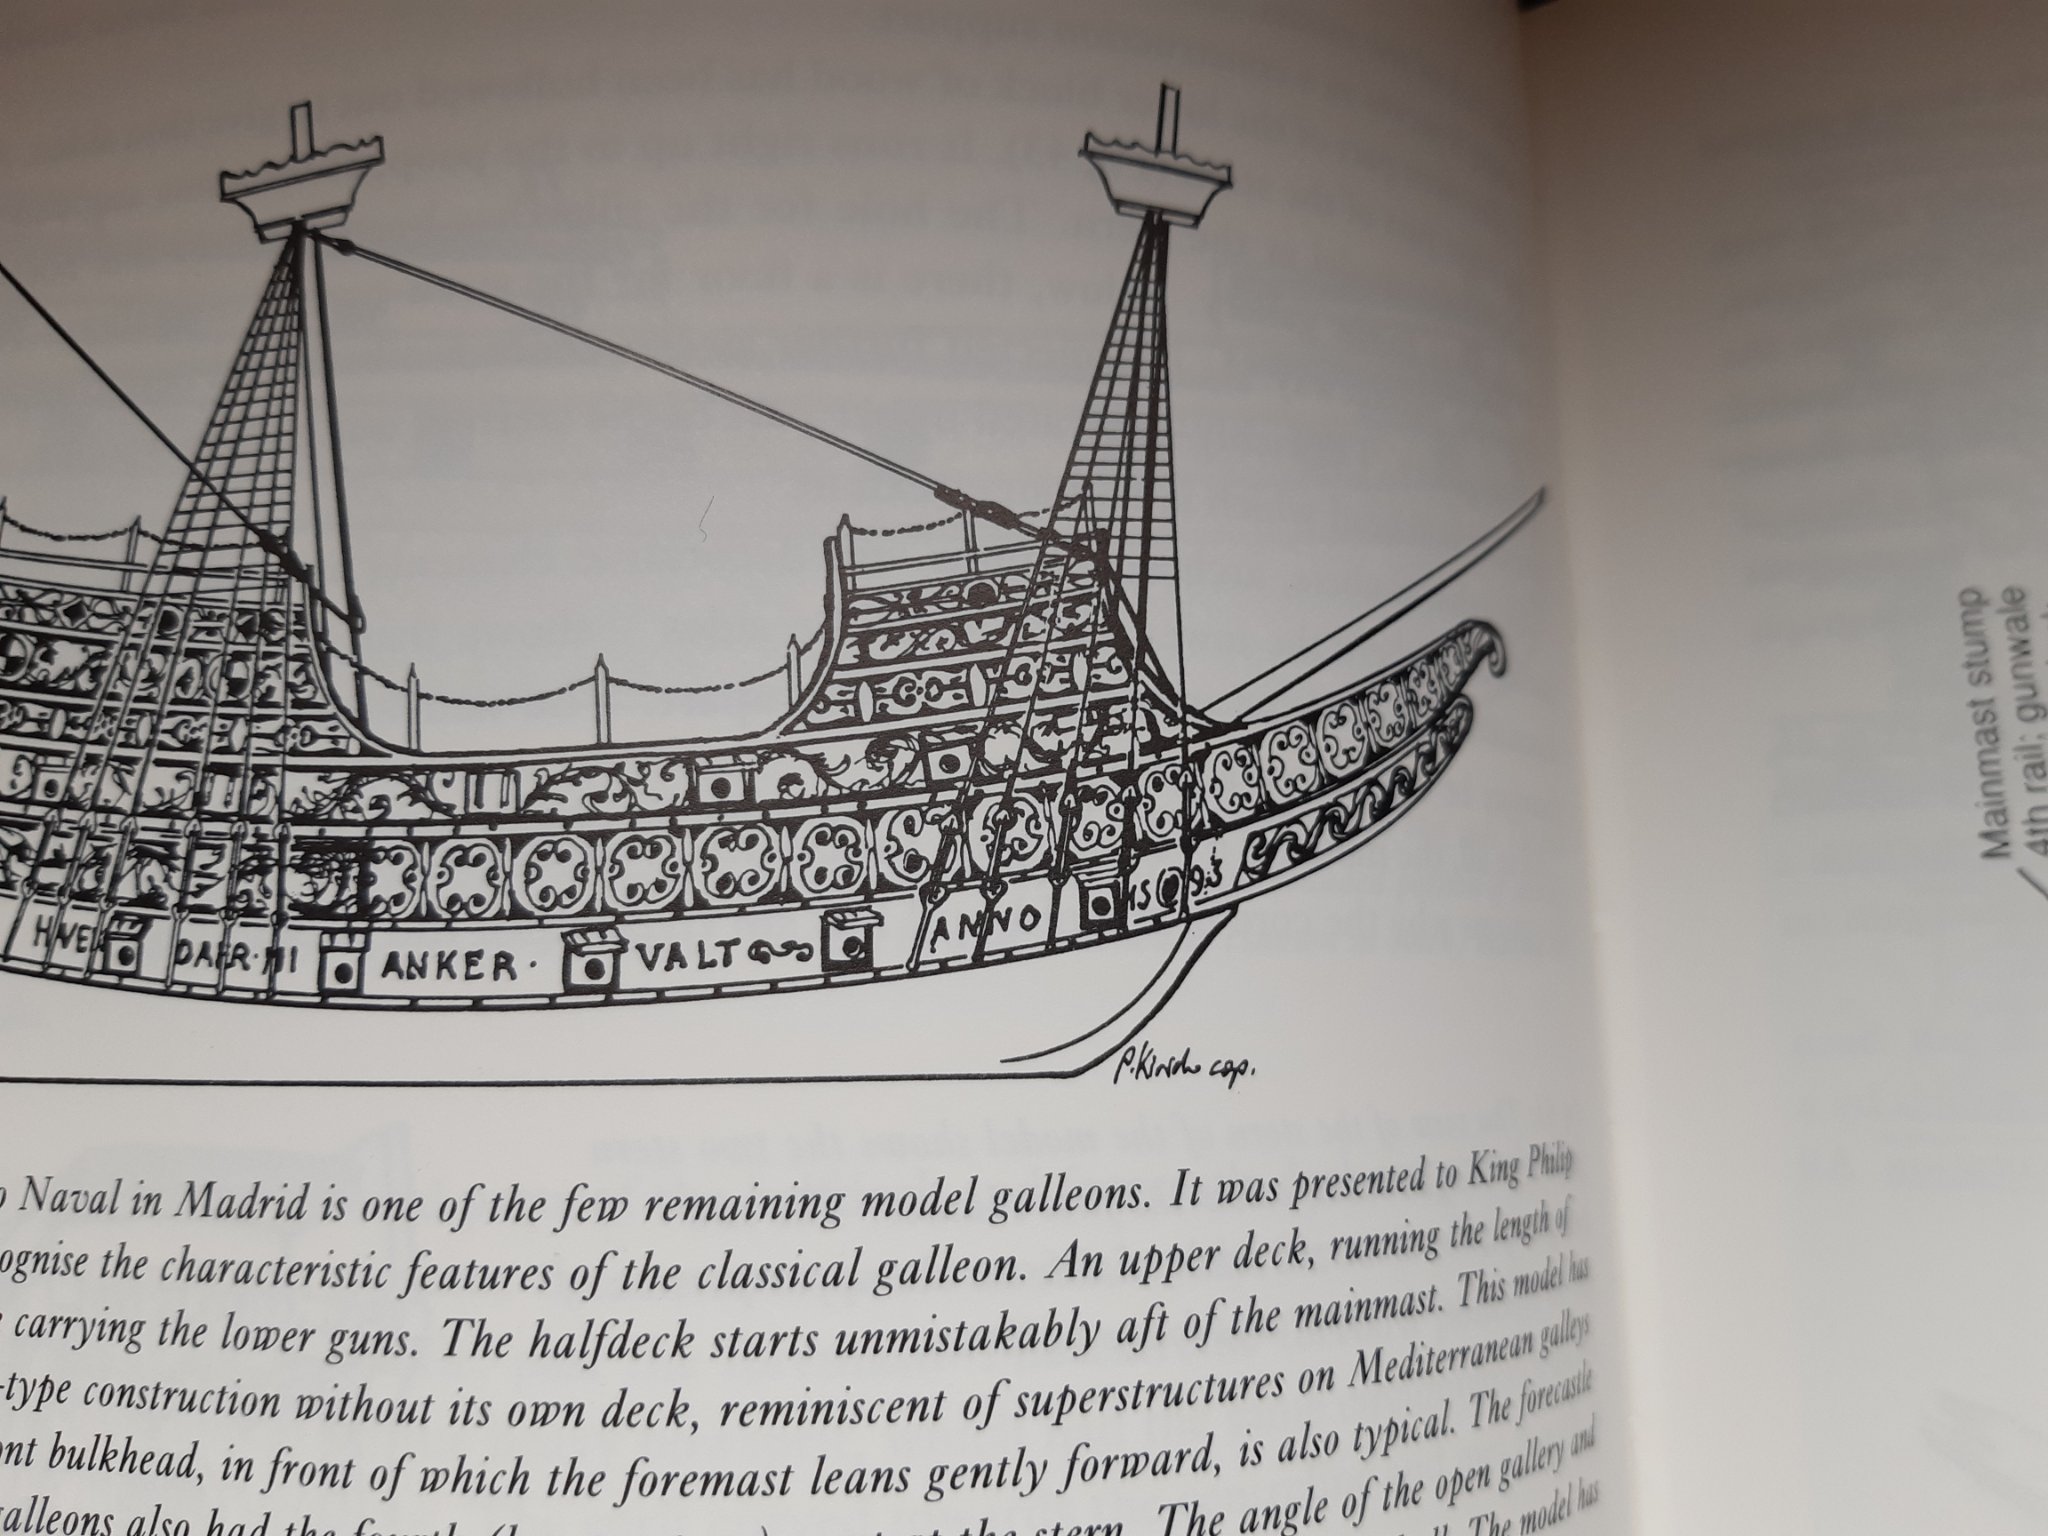
Perhaps the Vasa model is a good example of this setup.
I think : If the fore mast is far enough back then the bowsprit can be placed in the center and therefore also rest on the stempost
http://www.wasadream.com/Index/indexenglish.html
http://www.wasadream.com/photoswasa/154.jpg
-
-
-
On 10/5/2020 at 11:09 AM, Louie da fly said:
Very nice work so far. The mainstay problem is annoying, though. Is it supposed to be fixed to the foredeck? Maybe instead you could attach it to the lower end of the foremast? It should still do the same job
3 hours ago, the learner said:I to think it should be attached to the formast.
Actually, yes and no.
On almost all ships with the fore mast in front of the fore castle it is attached to the bow (in a hole in the beakhead knee).On ships with the fore mast in the fore castle you see all the possibilities.
Rules, habits, or maybe they had the same problem at the shipyard every now and then and they just did what suited them best.
In this era, information is sometimes unclear.But
When the fore mast is so far forward, she has less support in the ship than when she is in the fore castle.
Perhaps the strength of the fore mast was not trusted to absorb the extra forces of the forestay of the main mast.
If I still got my lessons in mechanics right
The setup with the foremast in front of the fore castle can only absorb forces in the forward direction (2 support points).
The setup with the foremast in the castle can (should) absorb forces in both directions (multiple support points).
Who knows??
- mtaylor, GrandpaPhil, Jeff T and 6 others
-
 9
9
-
4 hours ago, Louie da fly said:
And this is a Turk's head (for obvious reasons)
Very nice work so far. The mainstay problem is annoying, though. Is it supposed to be fixed to the foredeck? Maybe instead you could attach it to the lower end of the foremast? It should still do the same job (I think - not an expert with rigging).
This resulted in the same problem.
But the solution is near.
not completely in order yet
but on the right track. -
Great work.
I made this model years ago and still have it.
was fun to build. -
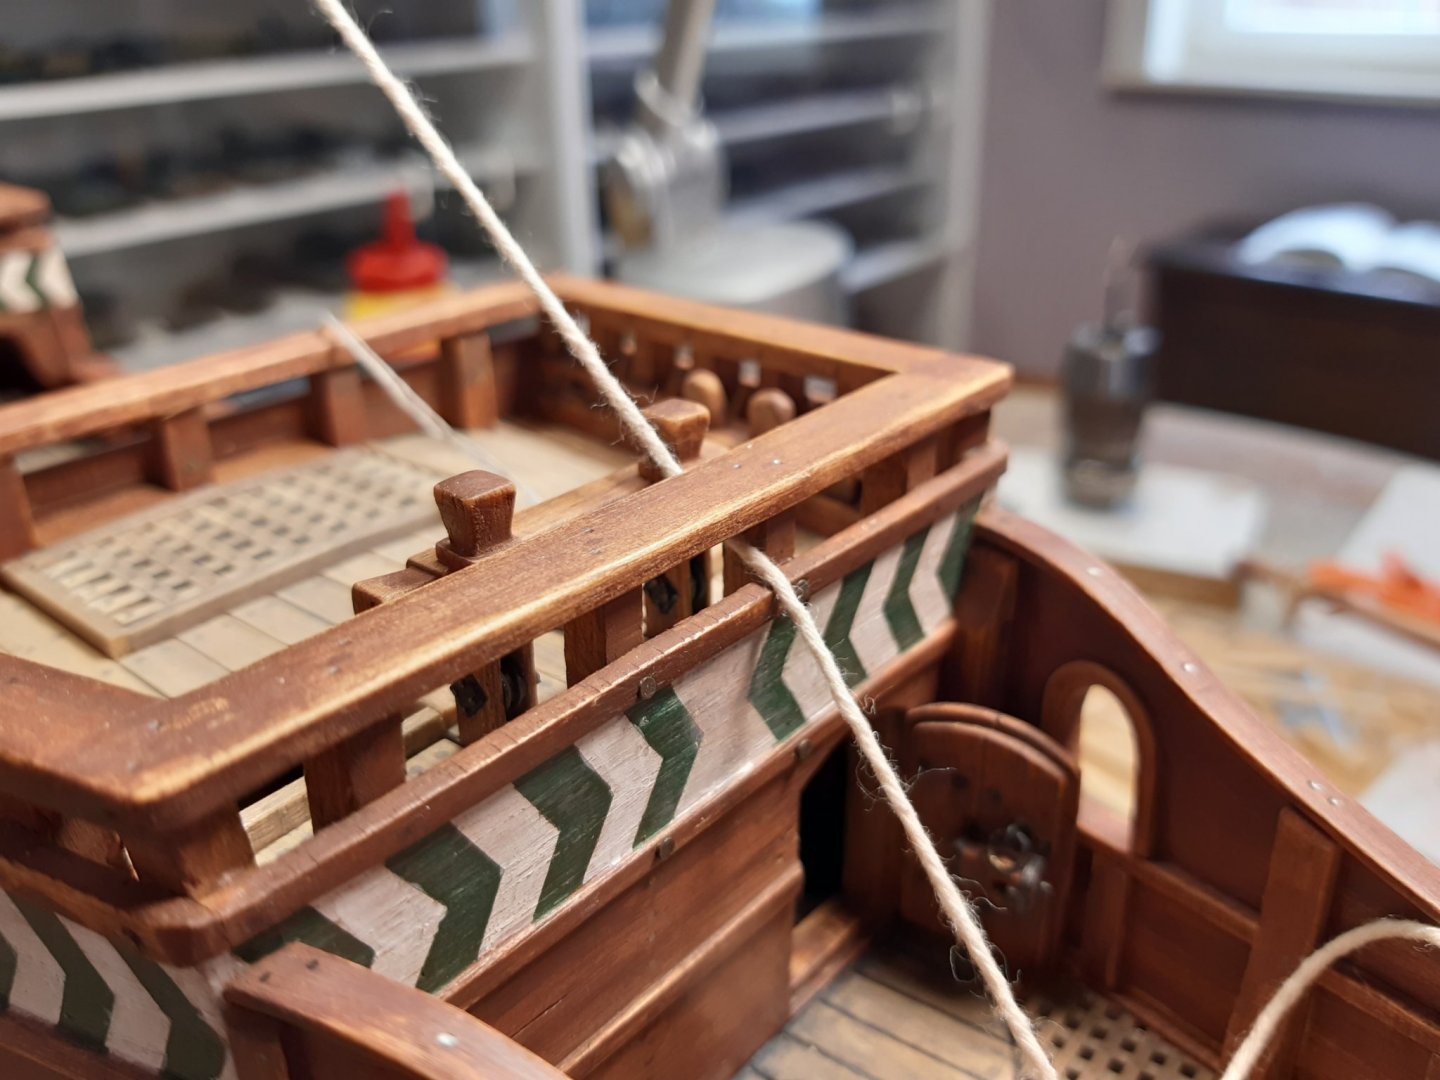
We do have a colorful language.
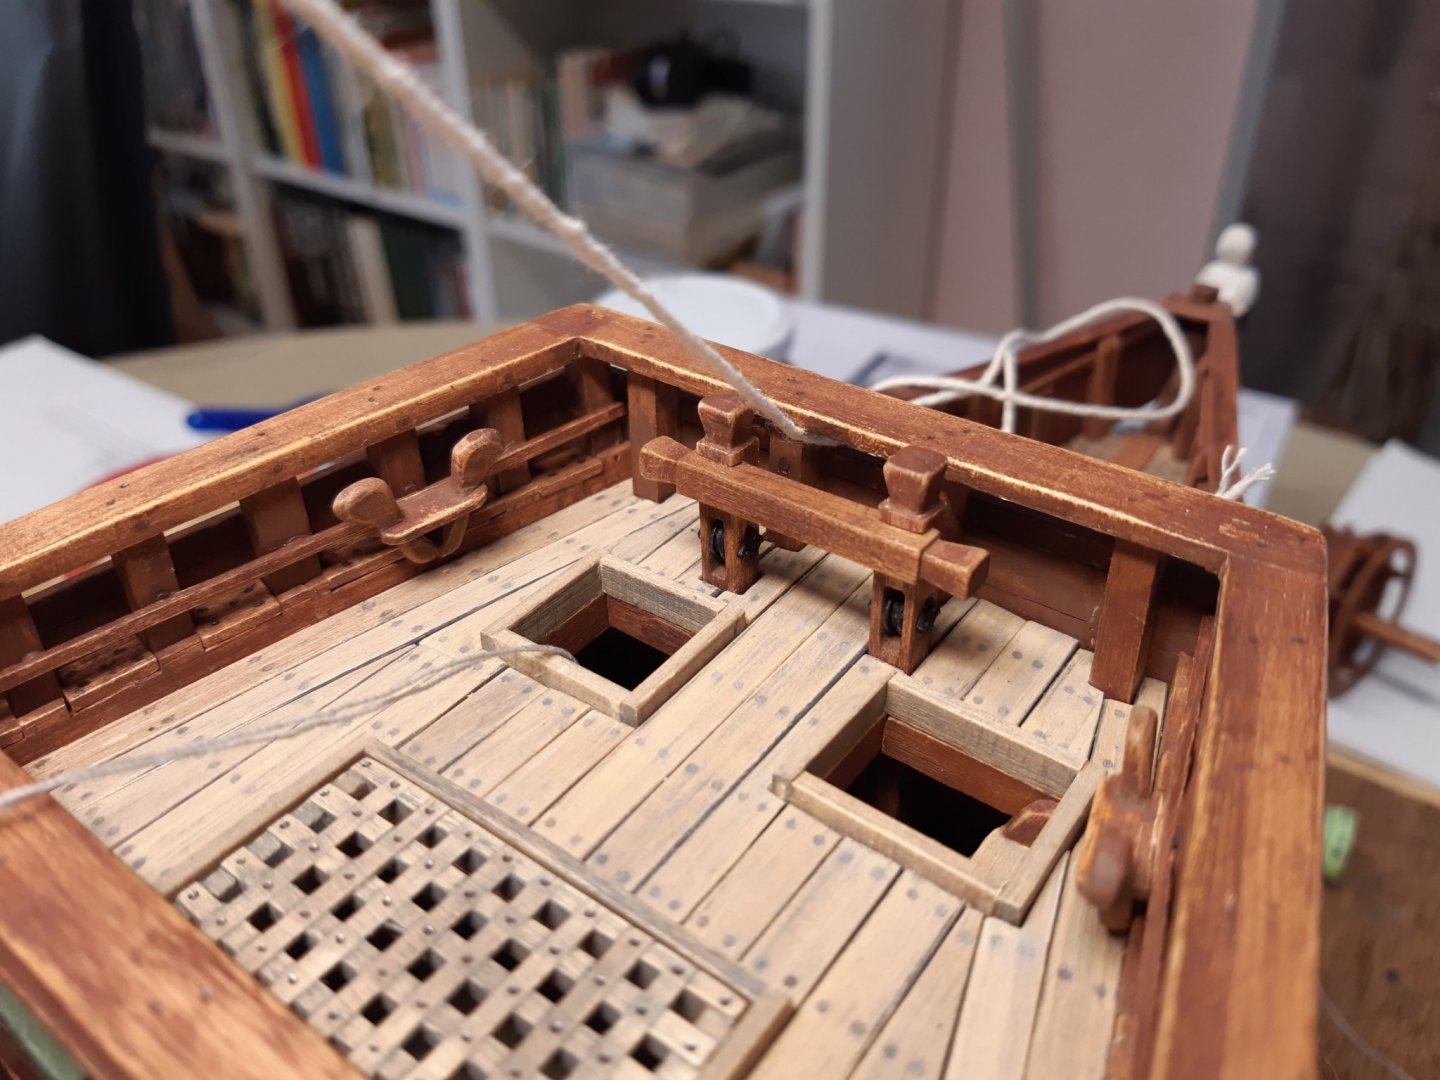
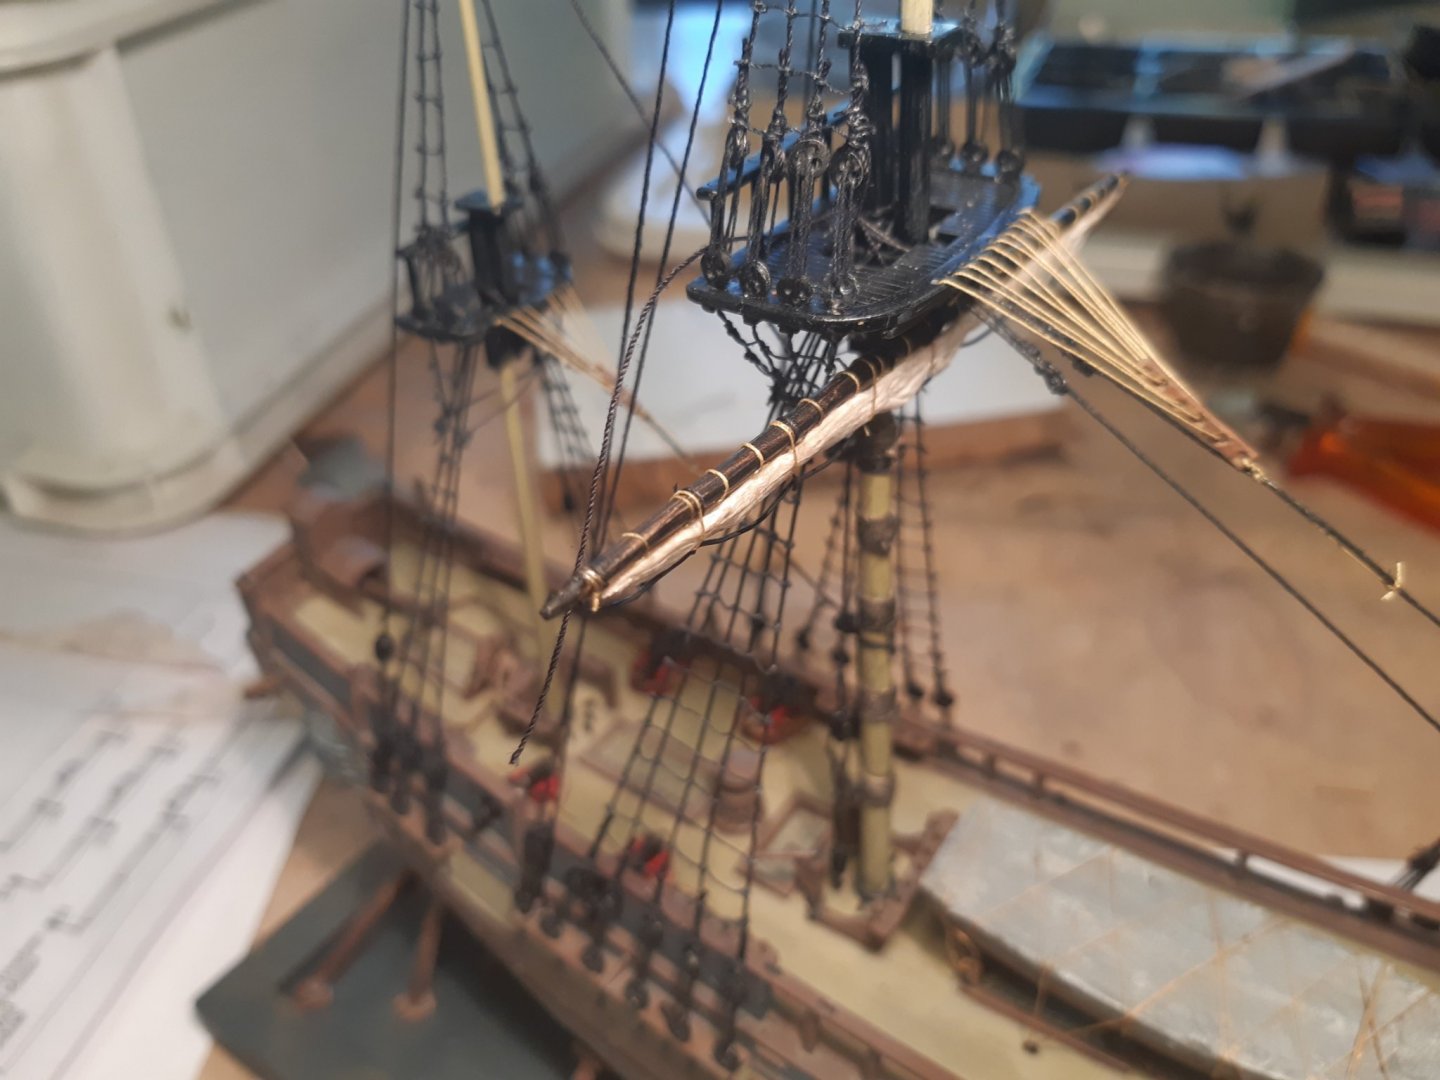
Just search for "kinderkopjes" (heads of little childs) on google...Continue with the upper part of the main mast.

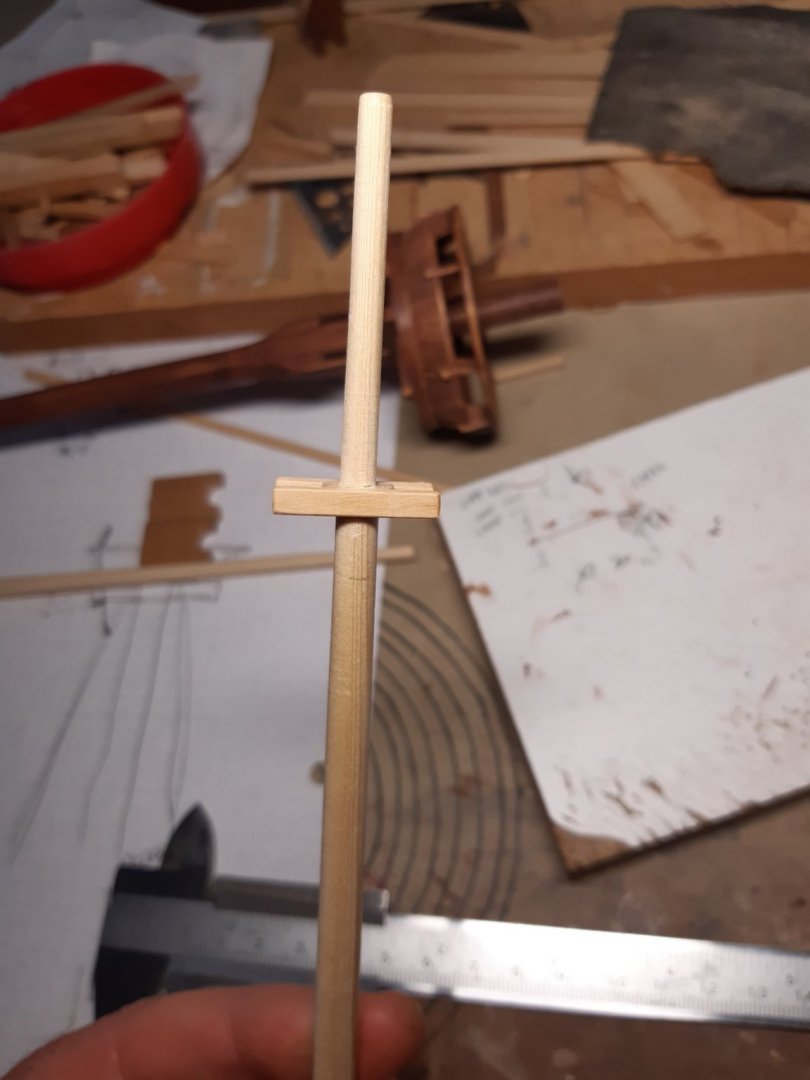
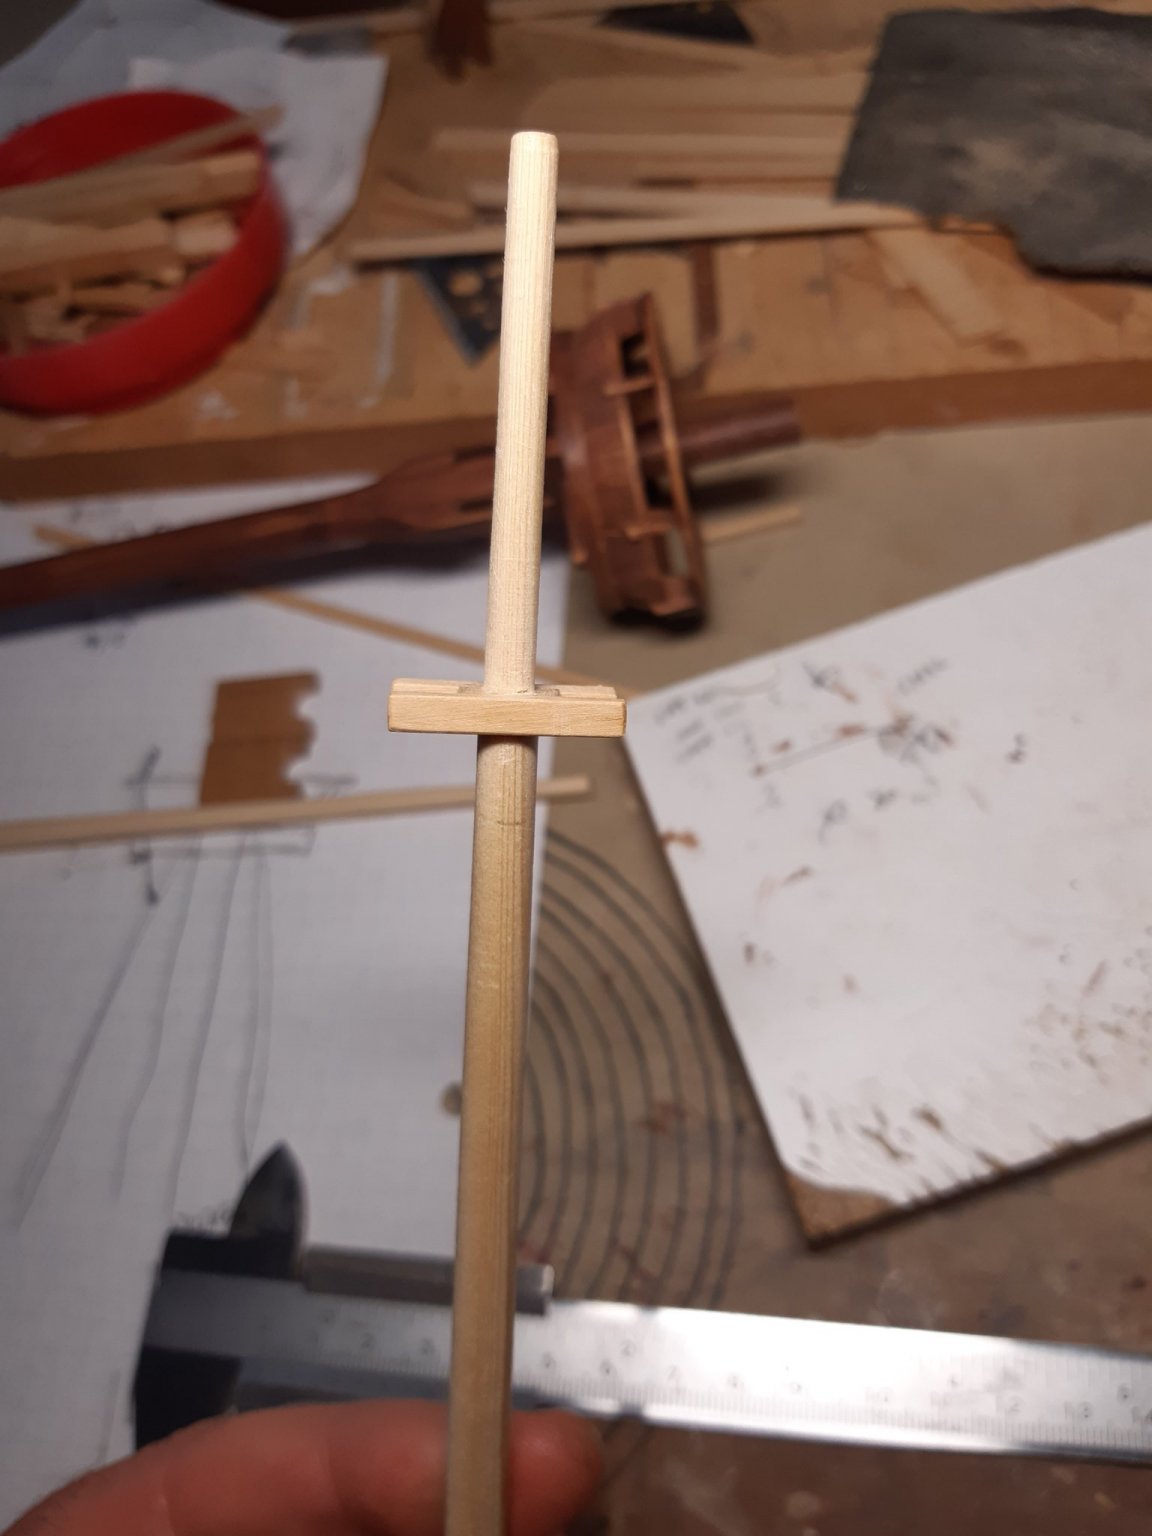
Building the top of the mast (not the "mast top" )


glued in place and sanded
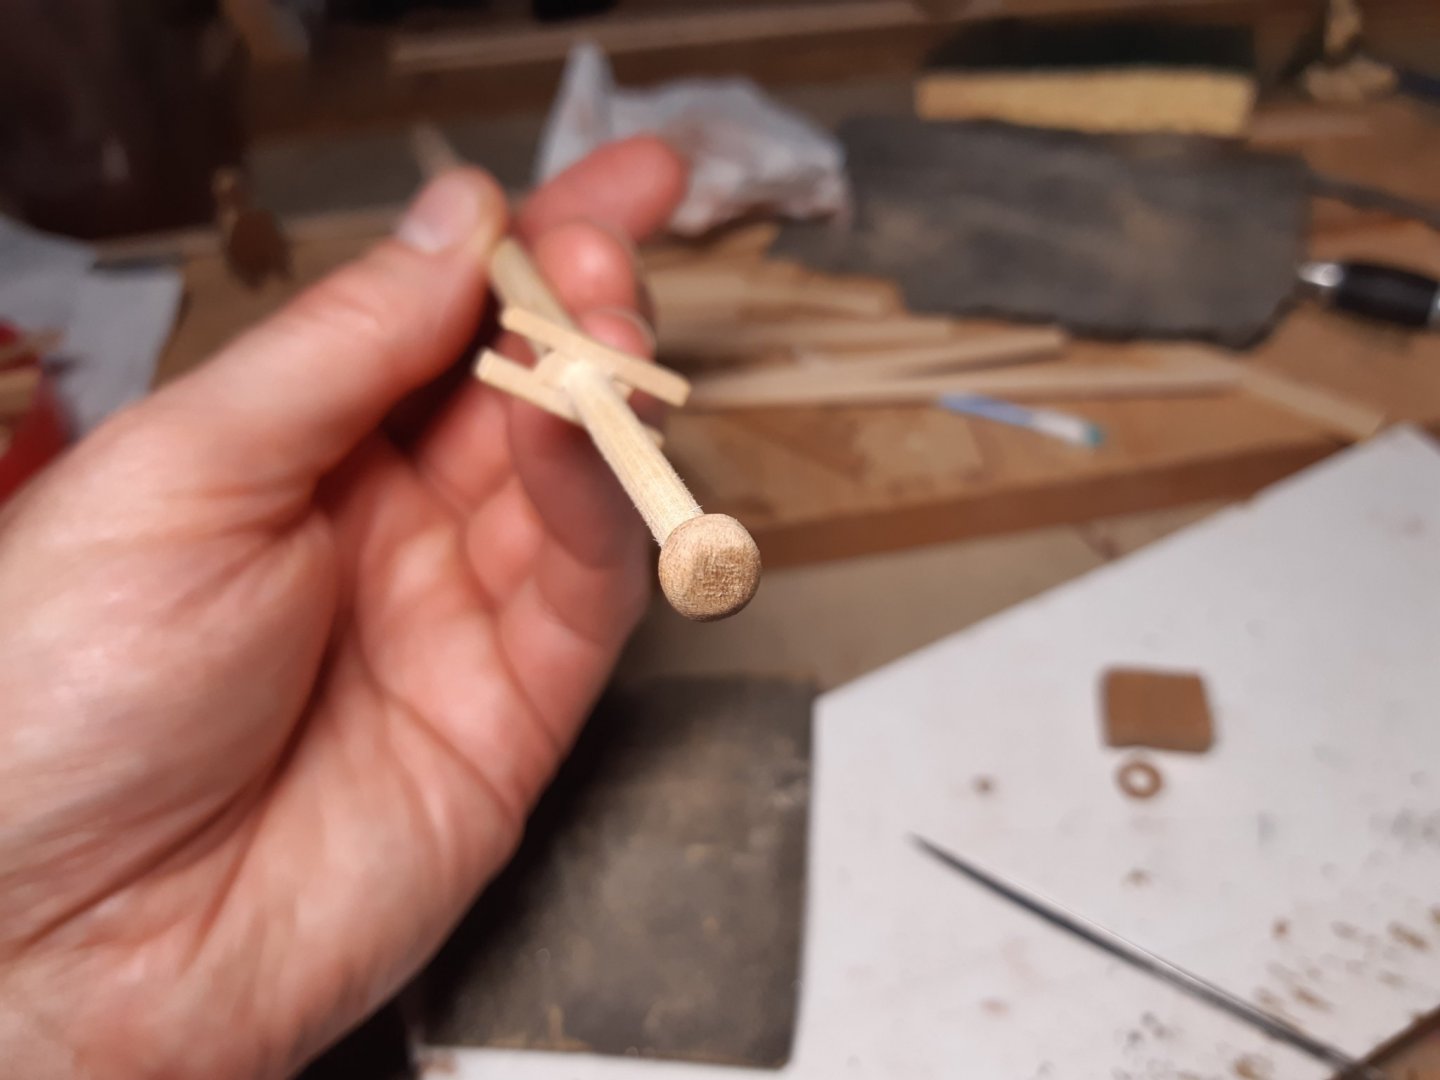
And a test fit. It should become something like this.

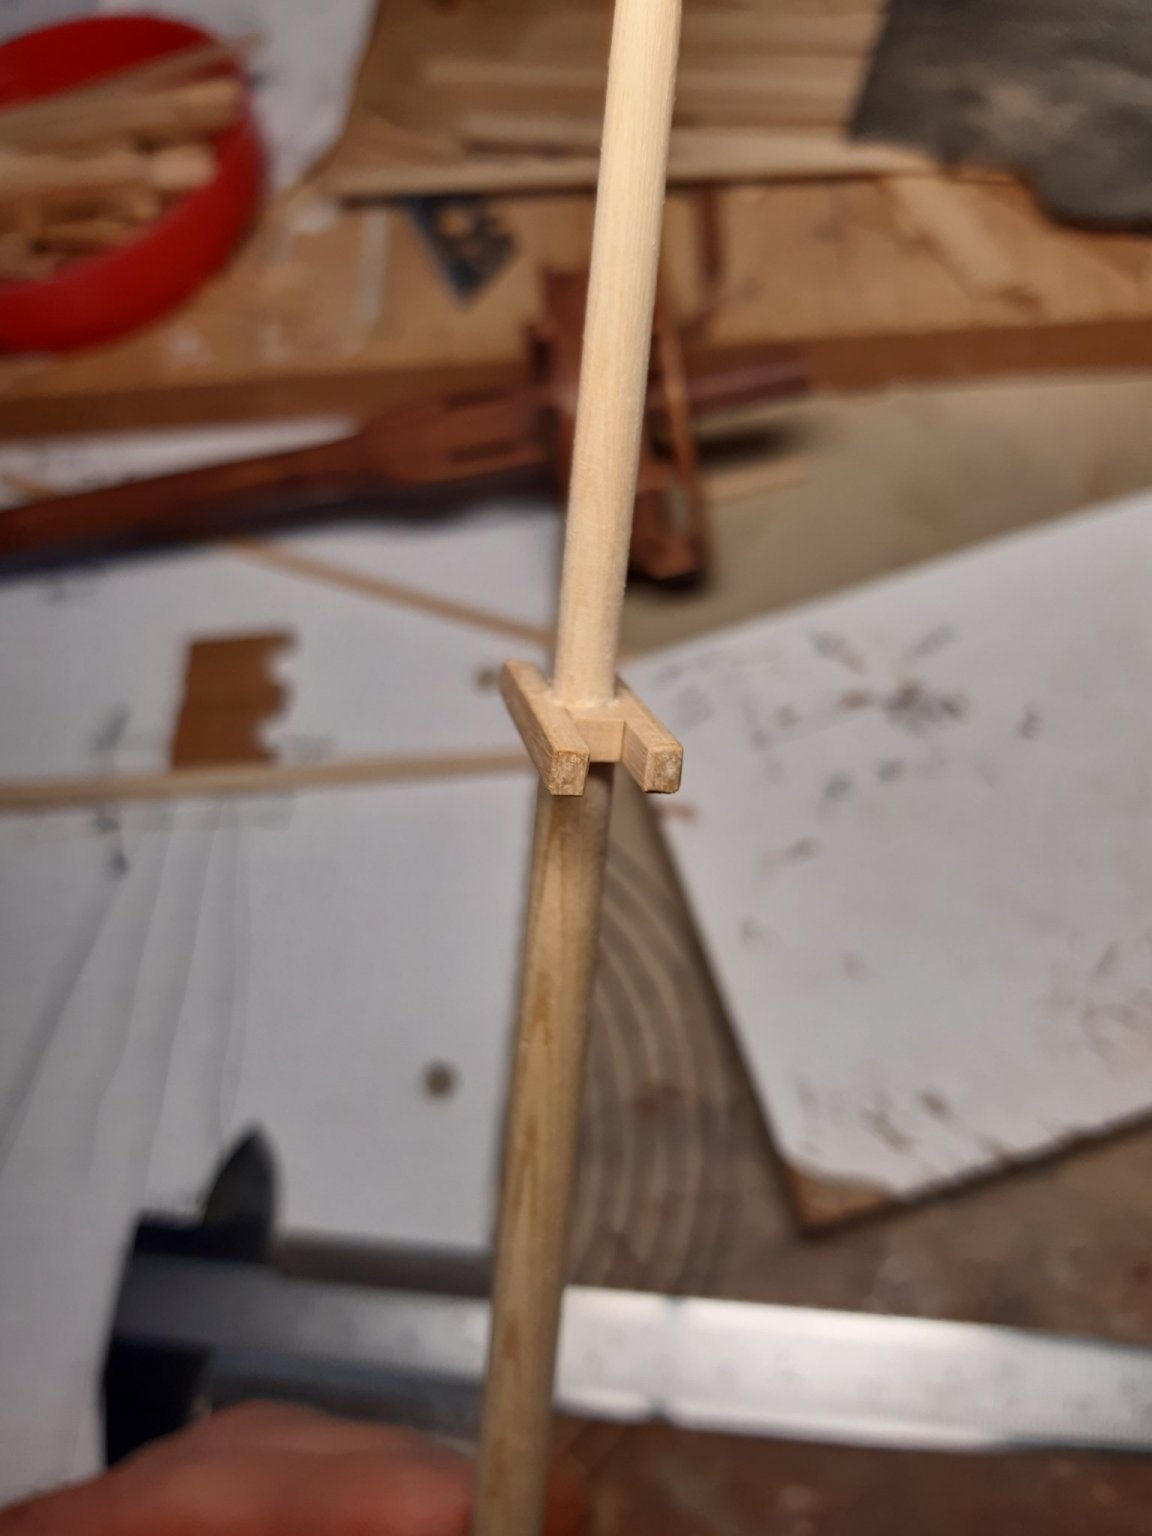
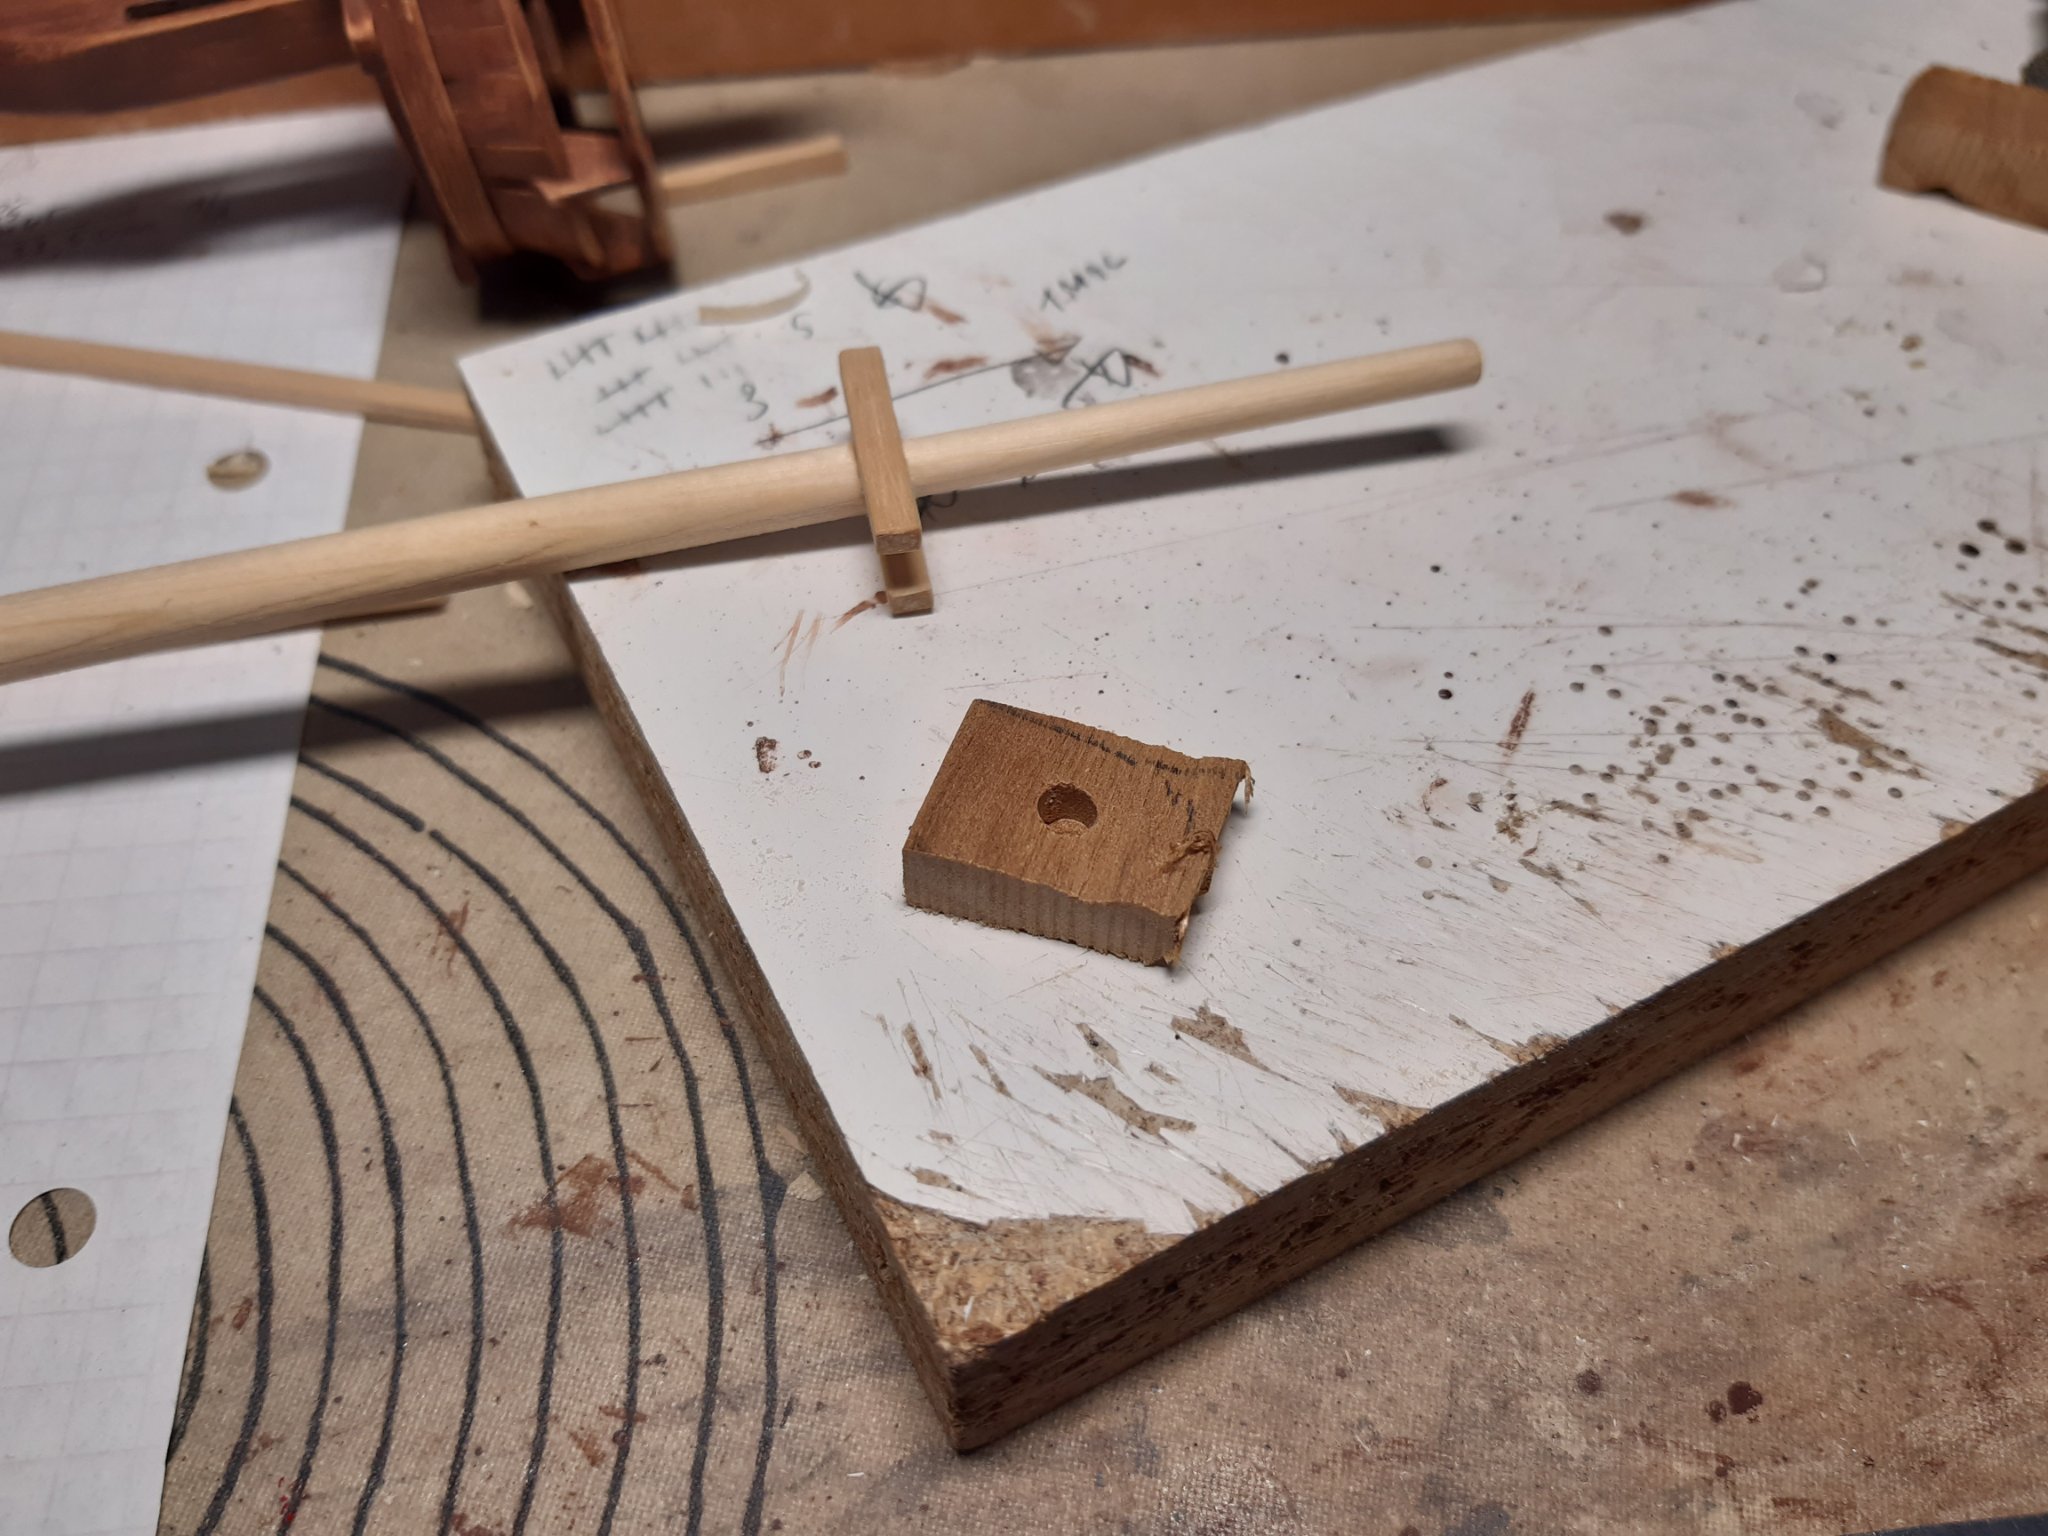
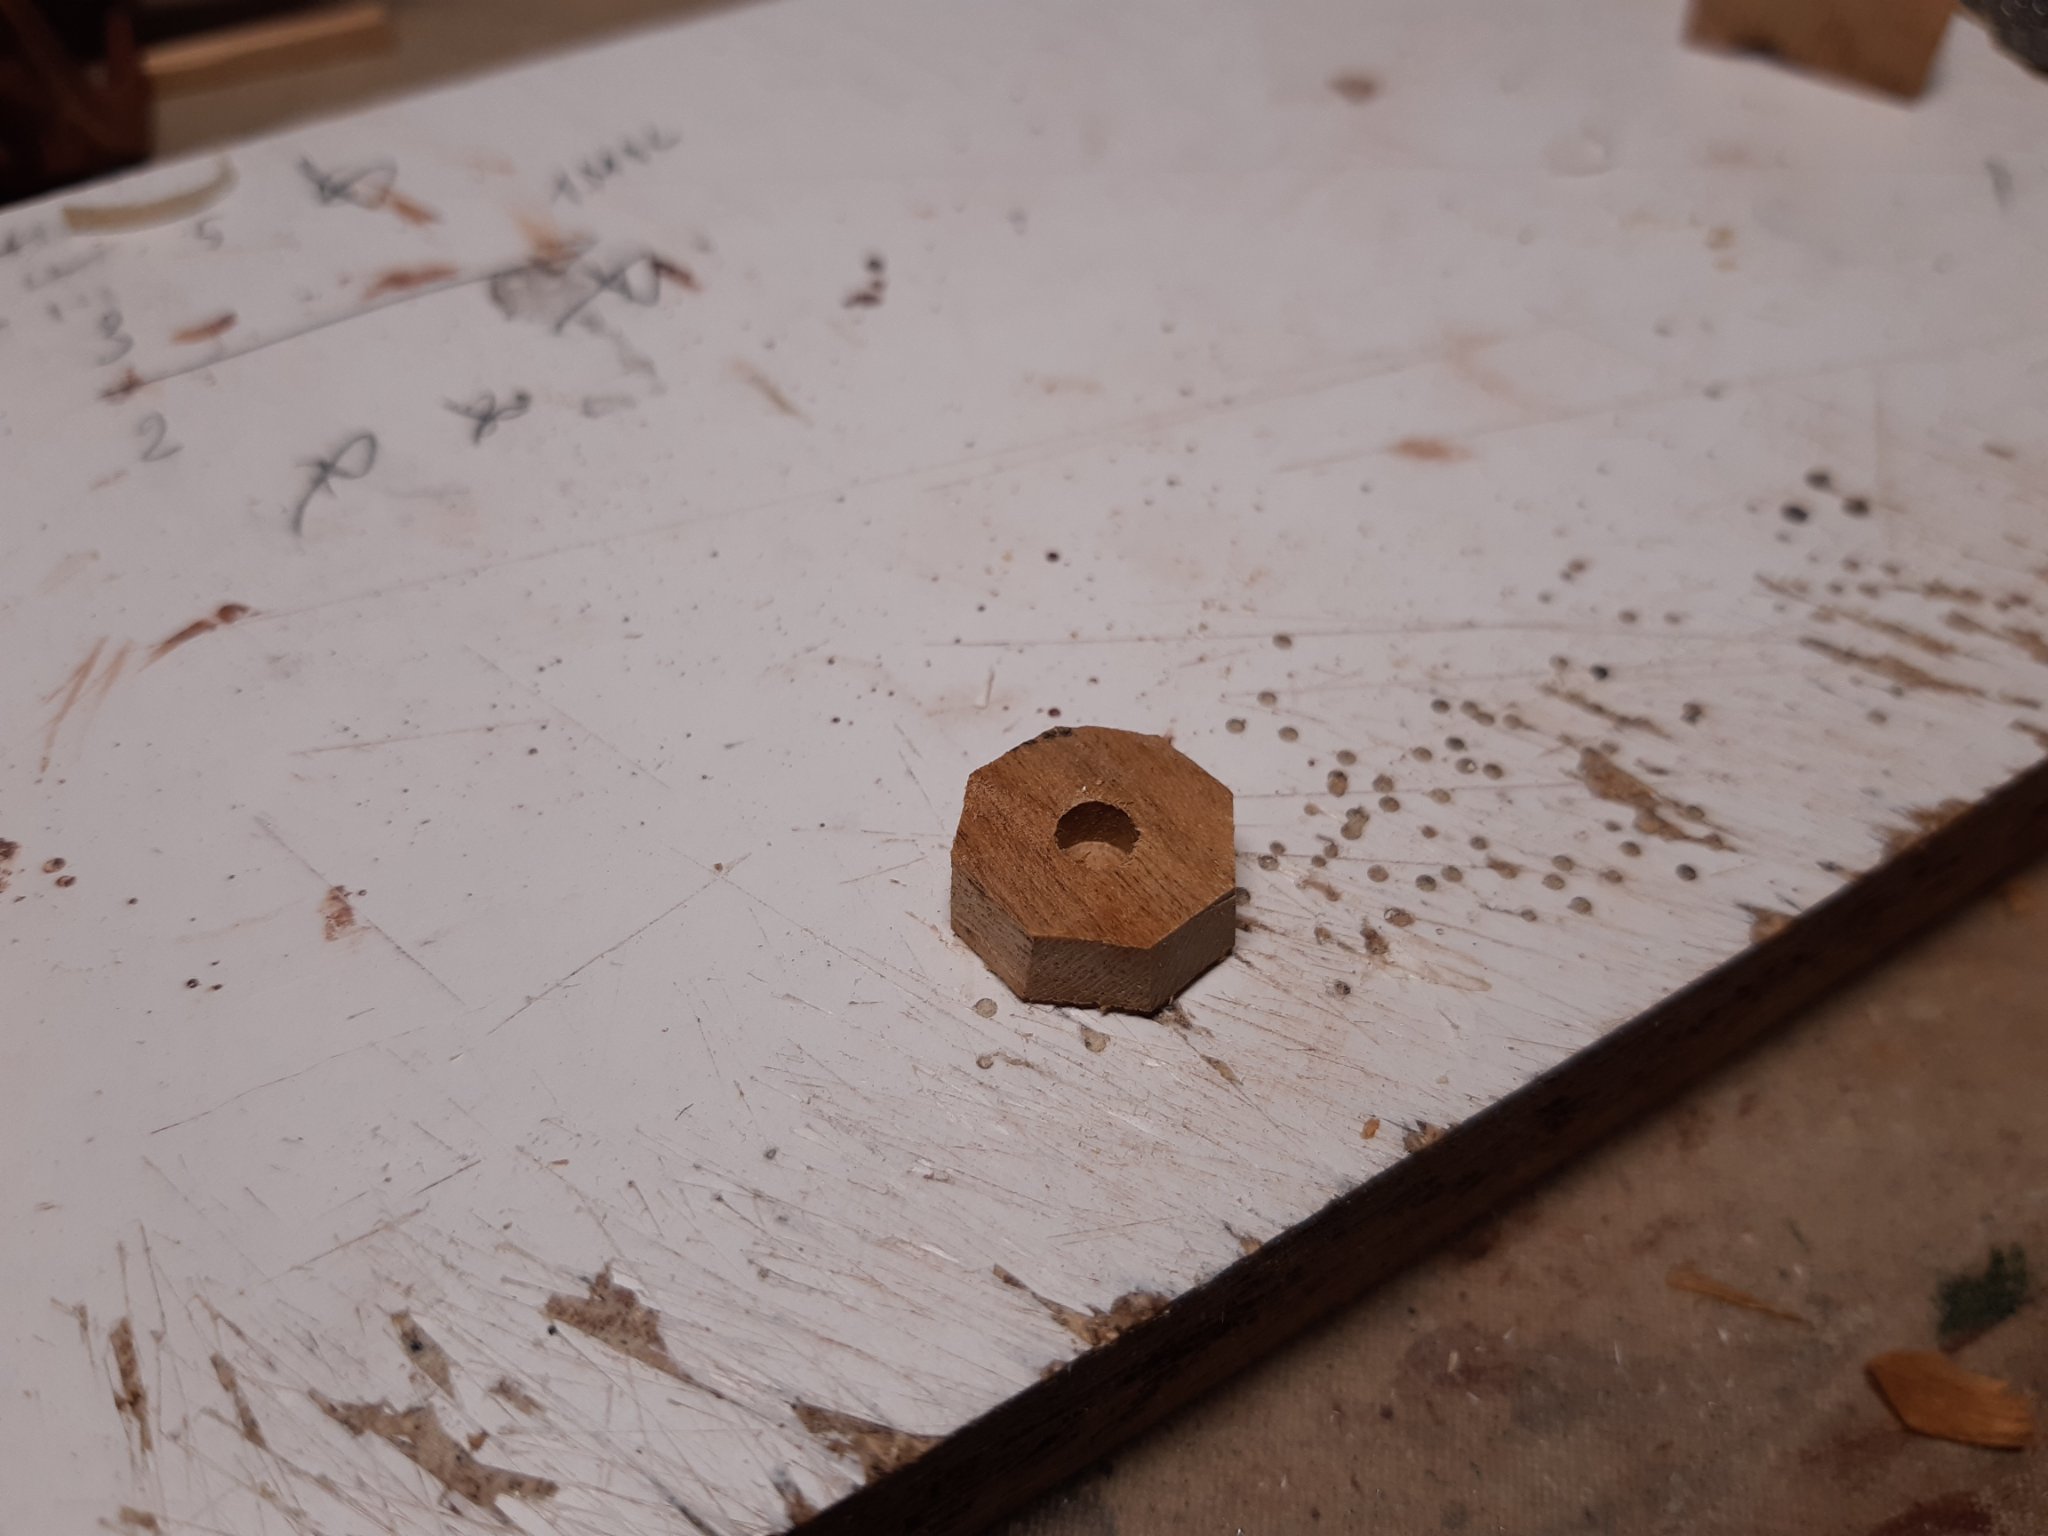
Someone (I) forgot that the mast must also have a support on the lower deck.
So I drilled a hole in this deck and hammered a nail in it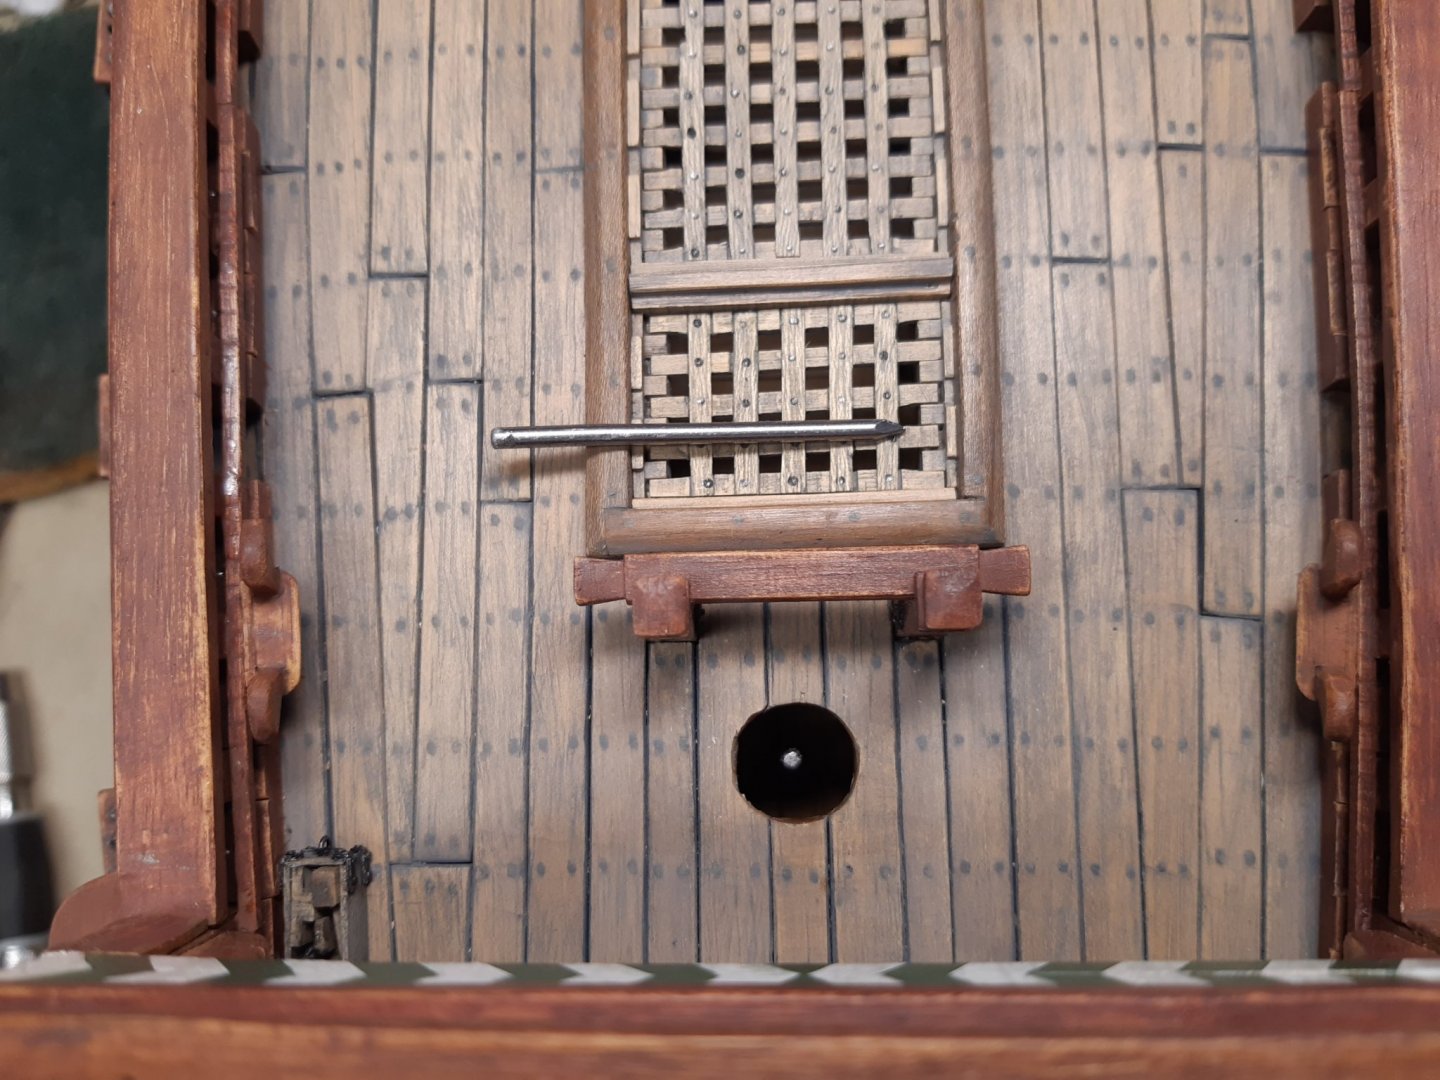
And drilled a hole in the mast. plan B but effective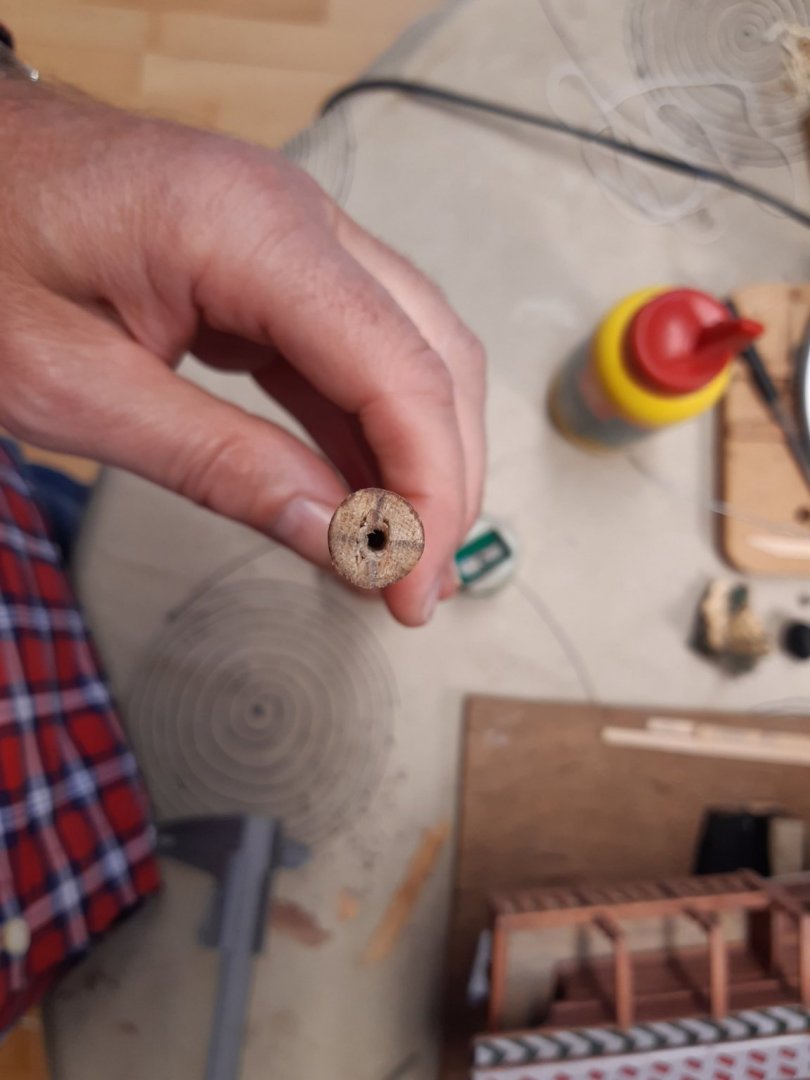
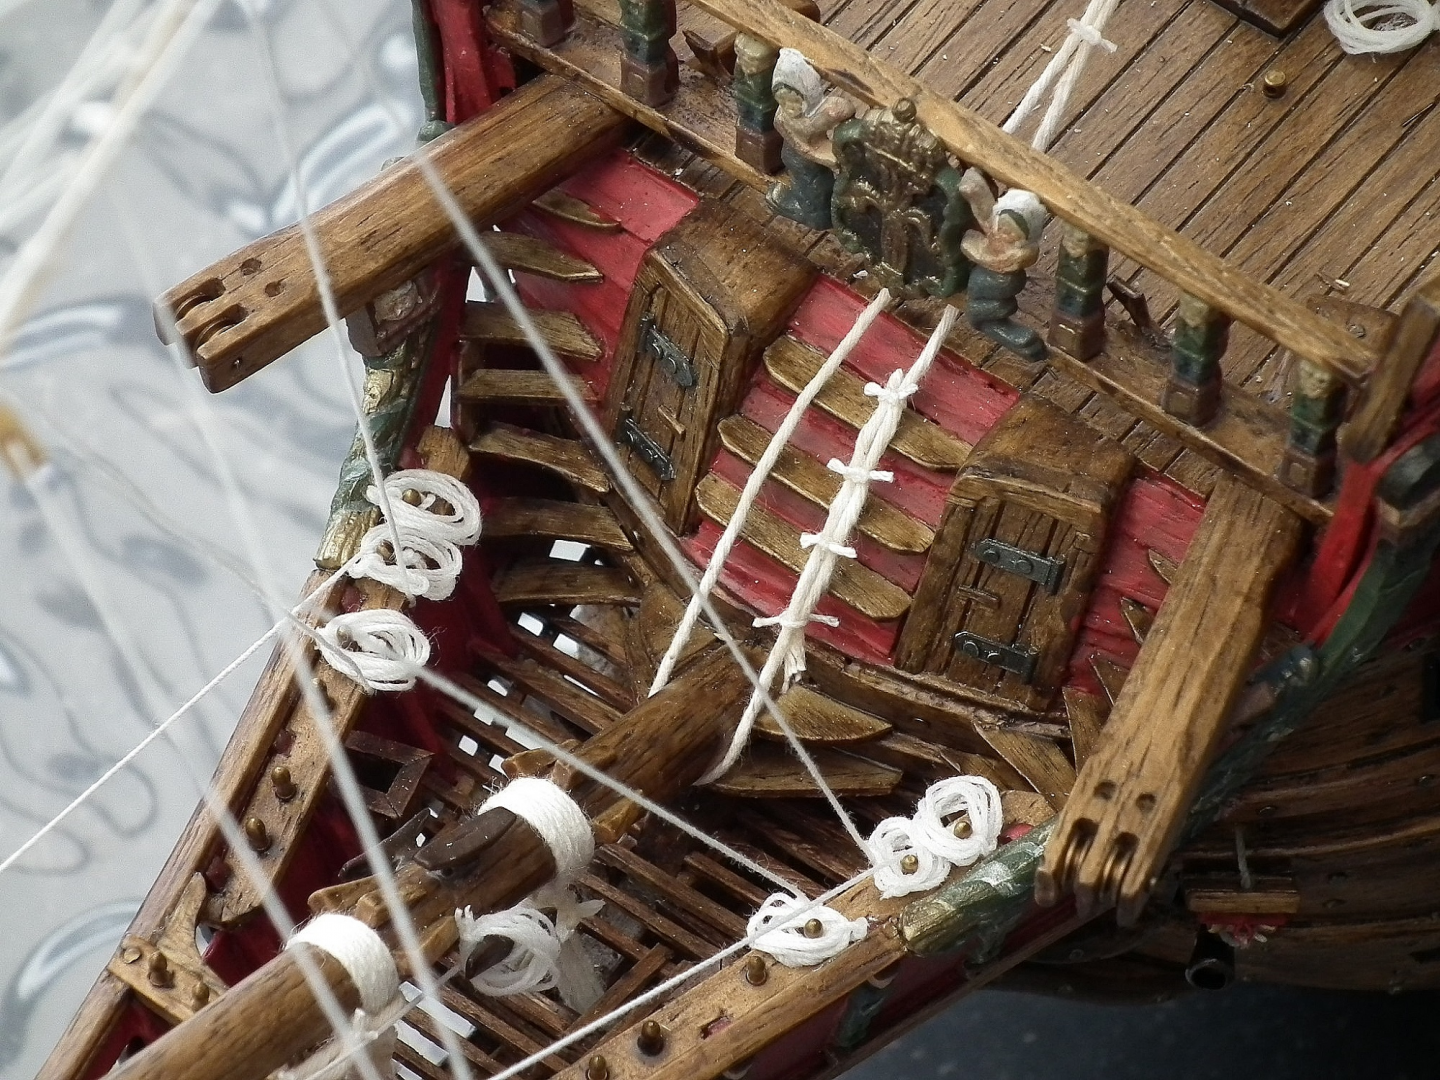
And discovered my first rigging problem.

Long time ago a modeller had the same problem.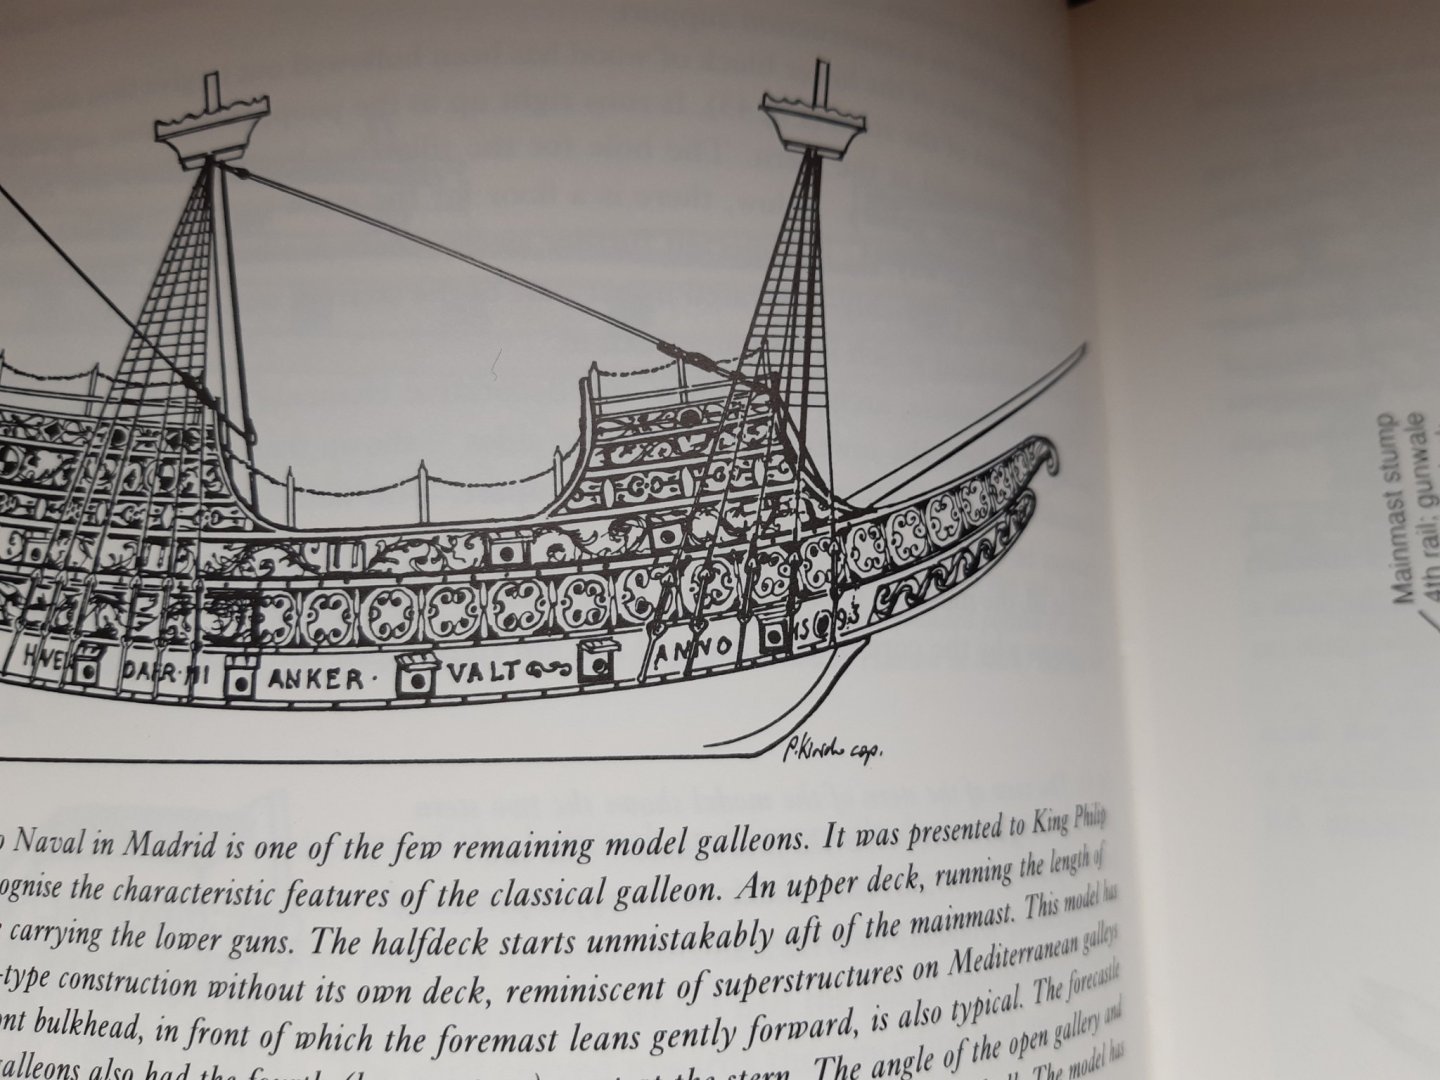
Beautifully solved by Bjorn Landstrom in his book The Ship. -
-
Great work on a beautiful model
-
Congrats, again 2 beautiful models built
-
9 hours ago, Edwardkenway said:
Two more well made models added to your collection Patrick, hat doffed😉. Dare I ask what's next?
Thanks, First I will try to finish my Bounty project.
8 hours ago, Old Collingwood said:Excellent work - especially considering the scale.
OC.
Thanks
5 hours ago, Egilman said:So how close are you now to filling out the TO&E of your 1st battalion?
Impressive my friend, especially at the scale your working in.... I would never have guessed that there were that many 1/72nd scale armor vehicles....
Damned impressive....
EG
Thanks,
I once built about 60 of these models a year and had always about 100 kits in stock.
After years and years, I felt like Charlie Chaplin on the assembly line in his movie Modern Times
Said to myself: Backer, what are you doing, this is no longer a hobby.So, did a big clean up of all these models and made new cabinets to place them ( this took me 2 years...)
And, start building something else.Now i build boats and a few military models.
-
-
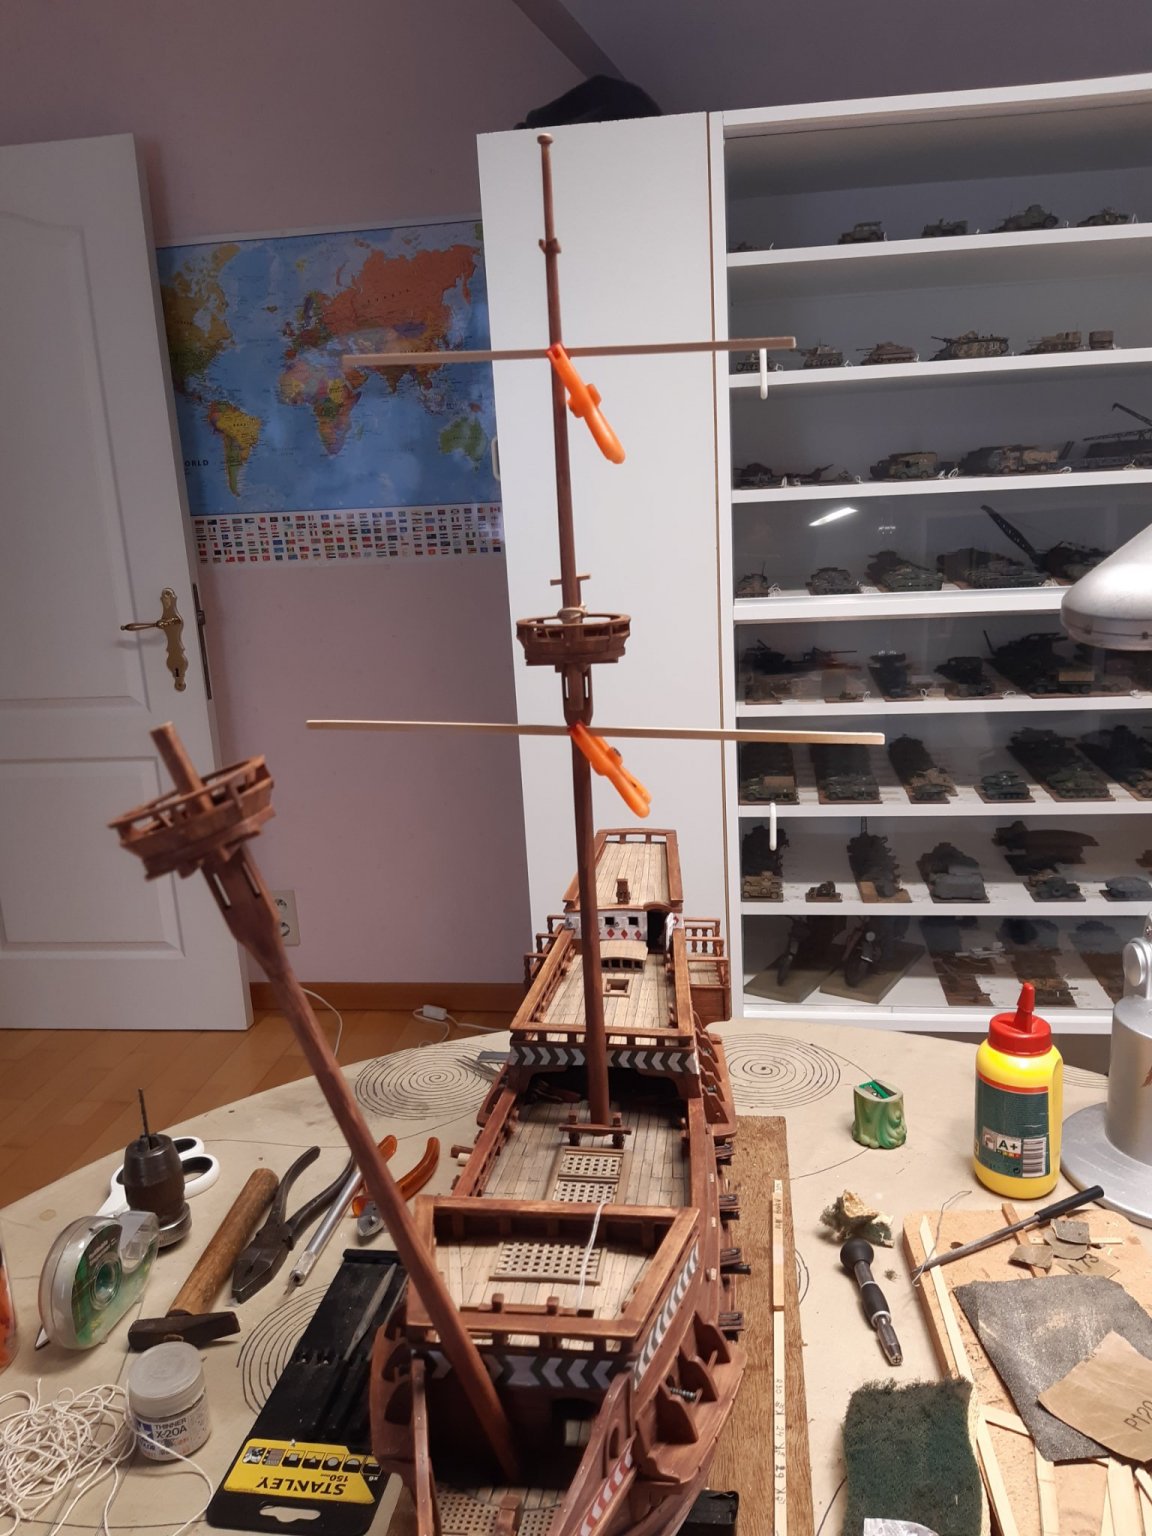
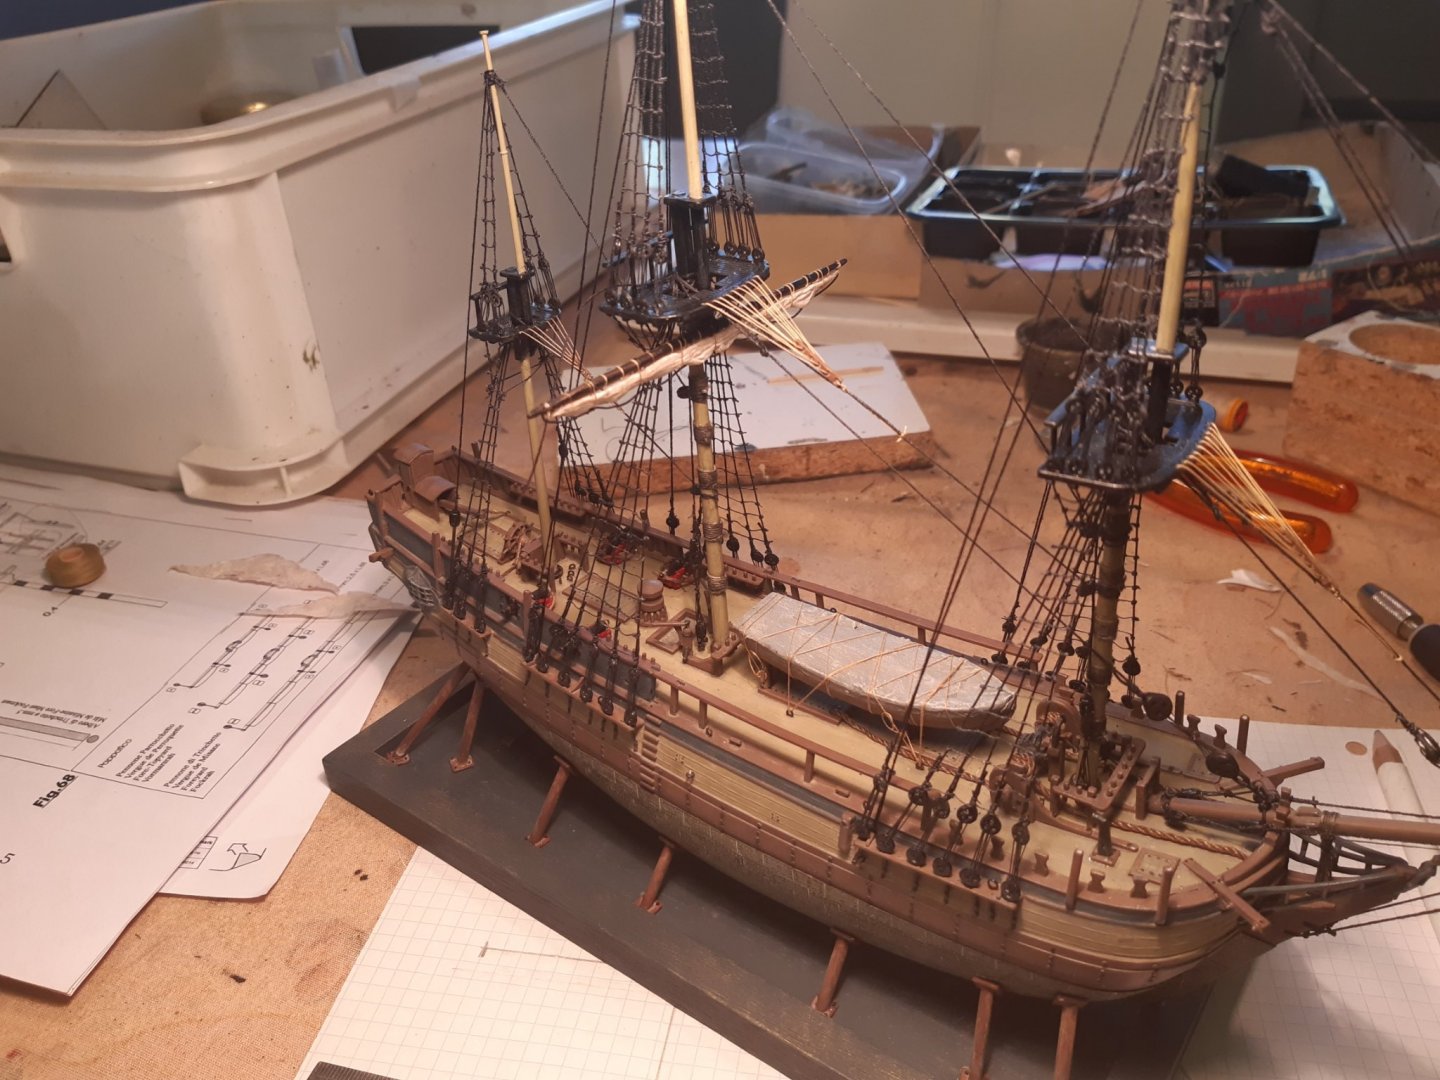
Here we go again.
The Bounty build is restarted, If everything goes according to plan, she will be ready this winter
The yards are painted. And now i can start with the rigging.
I had the idea of adding sails. But since my base plate looks like the bottom of some kind of dry dock this is not really appropriate.
A ship with full sails in dry dock ... not good. So no sails or maybe furled sails.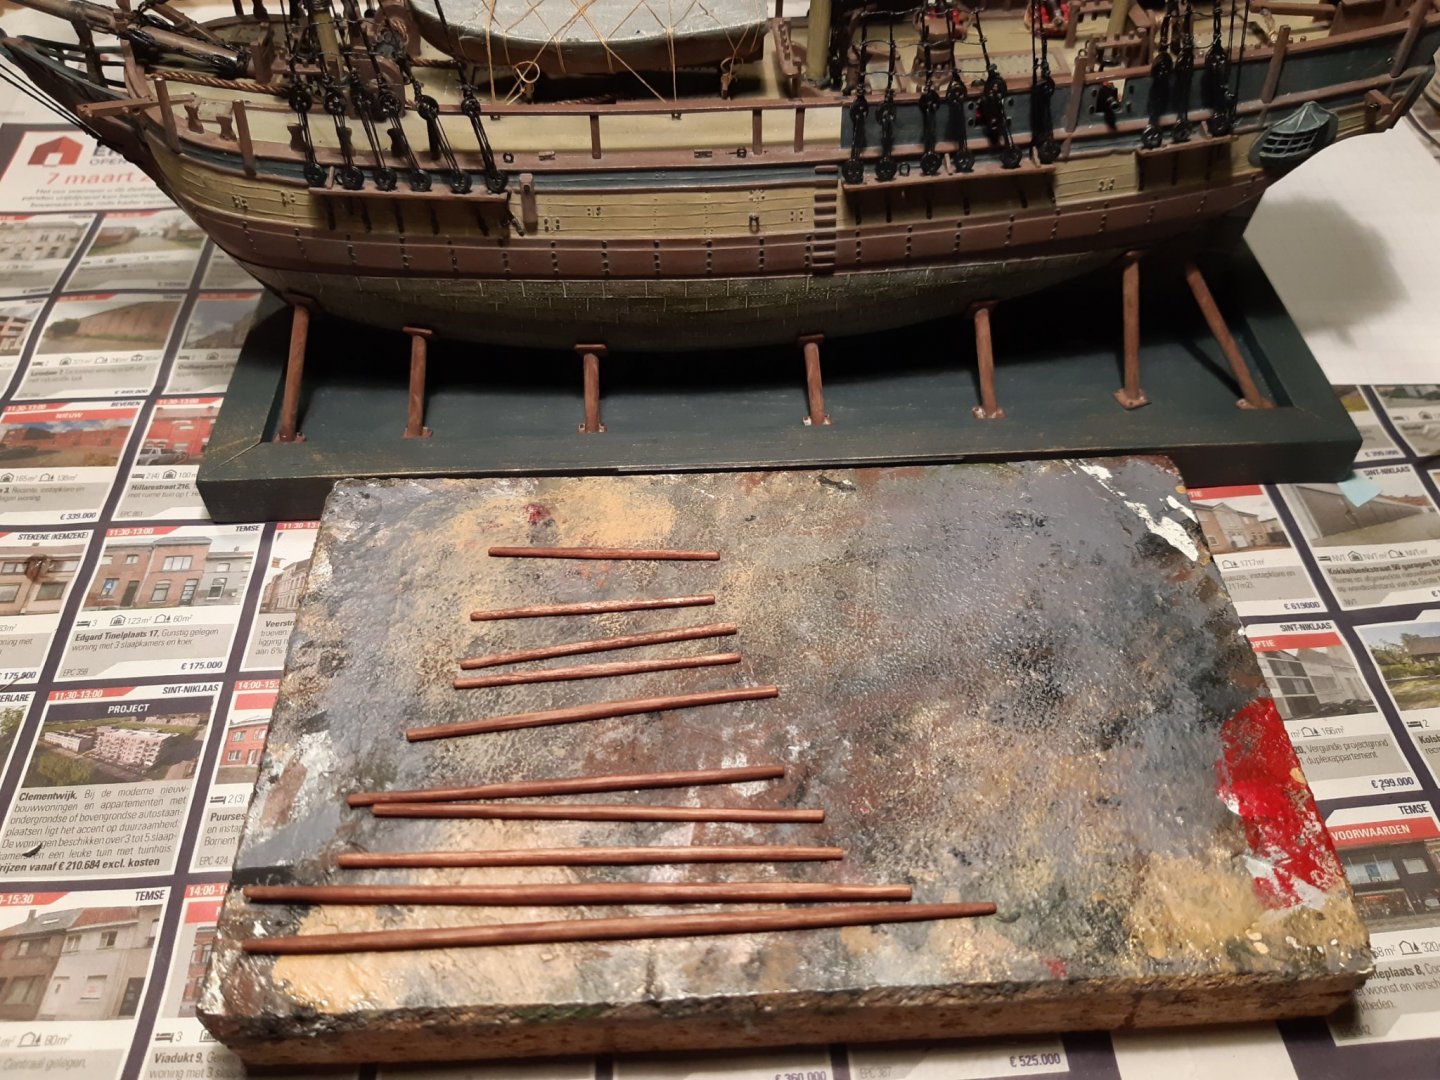
Welcome back
- Edwardkenway, Matrim, G.L. and 5 others
-
8
-
-
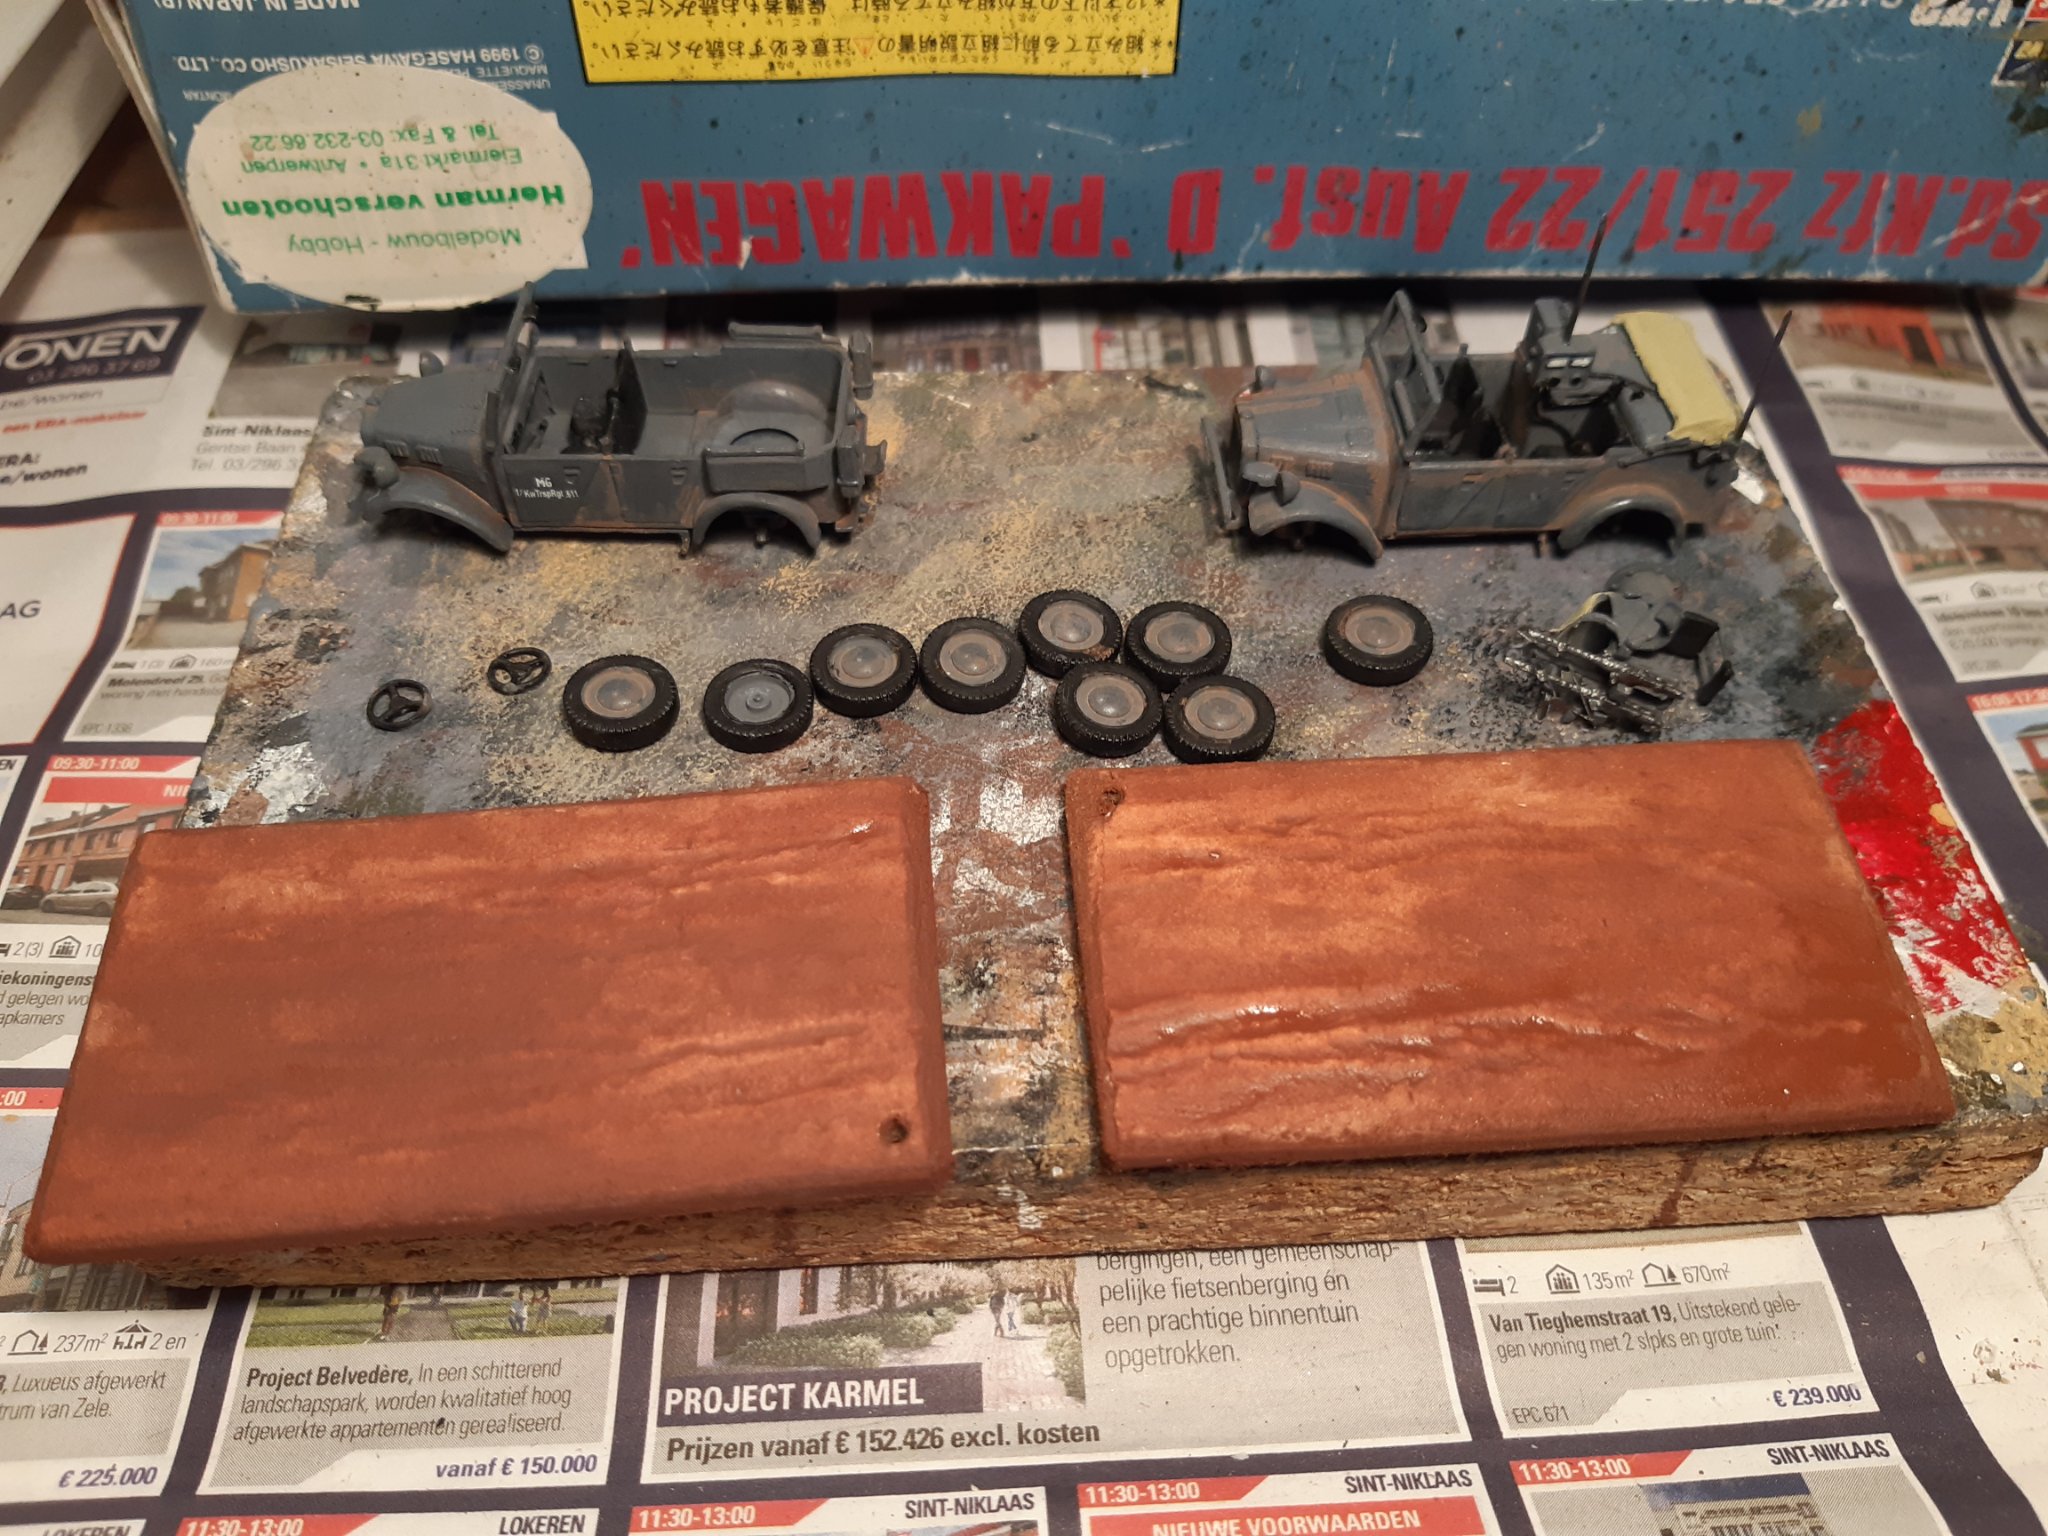
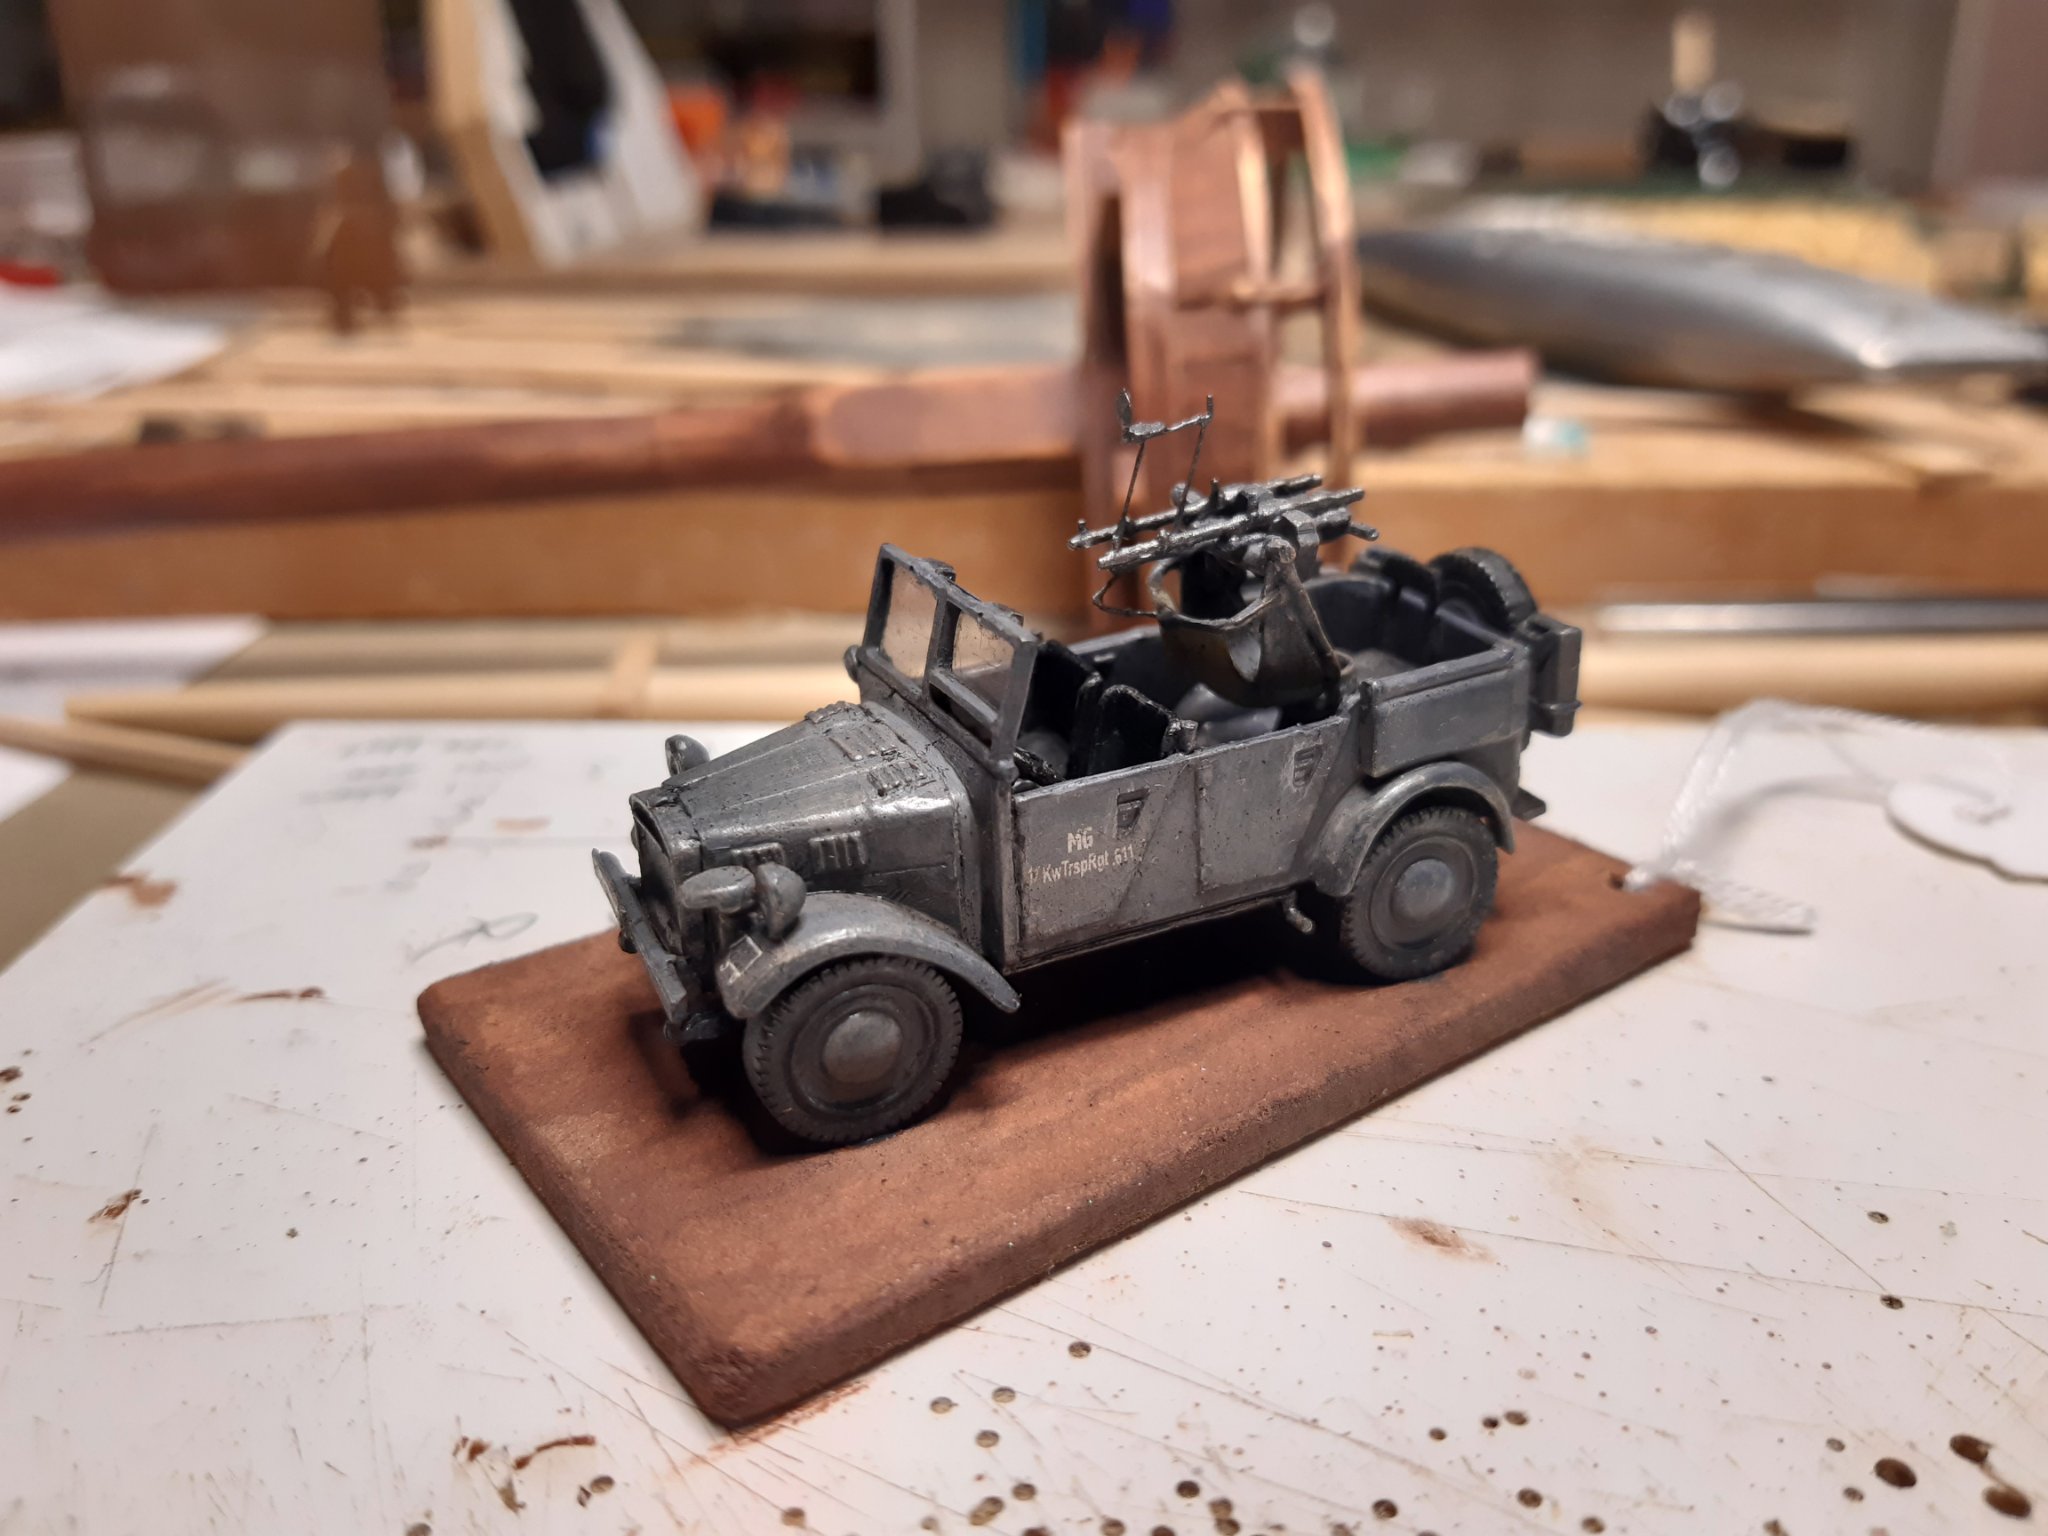
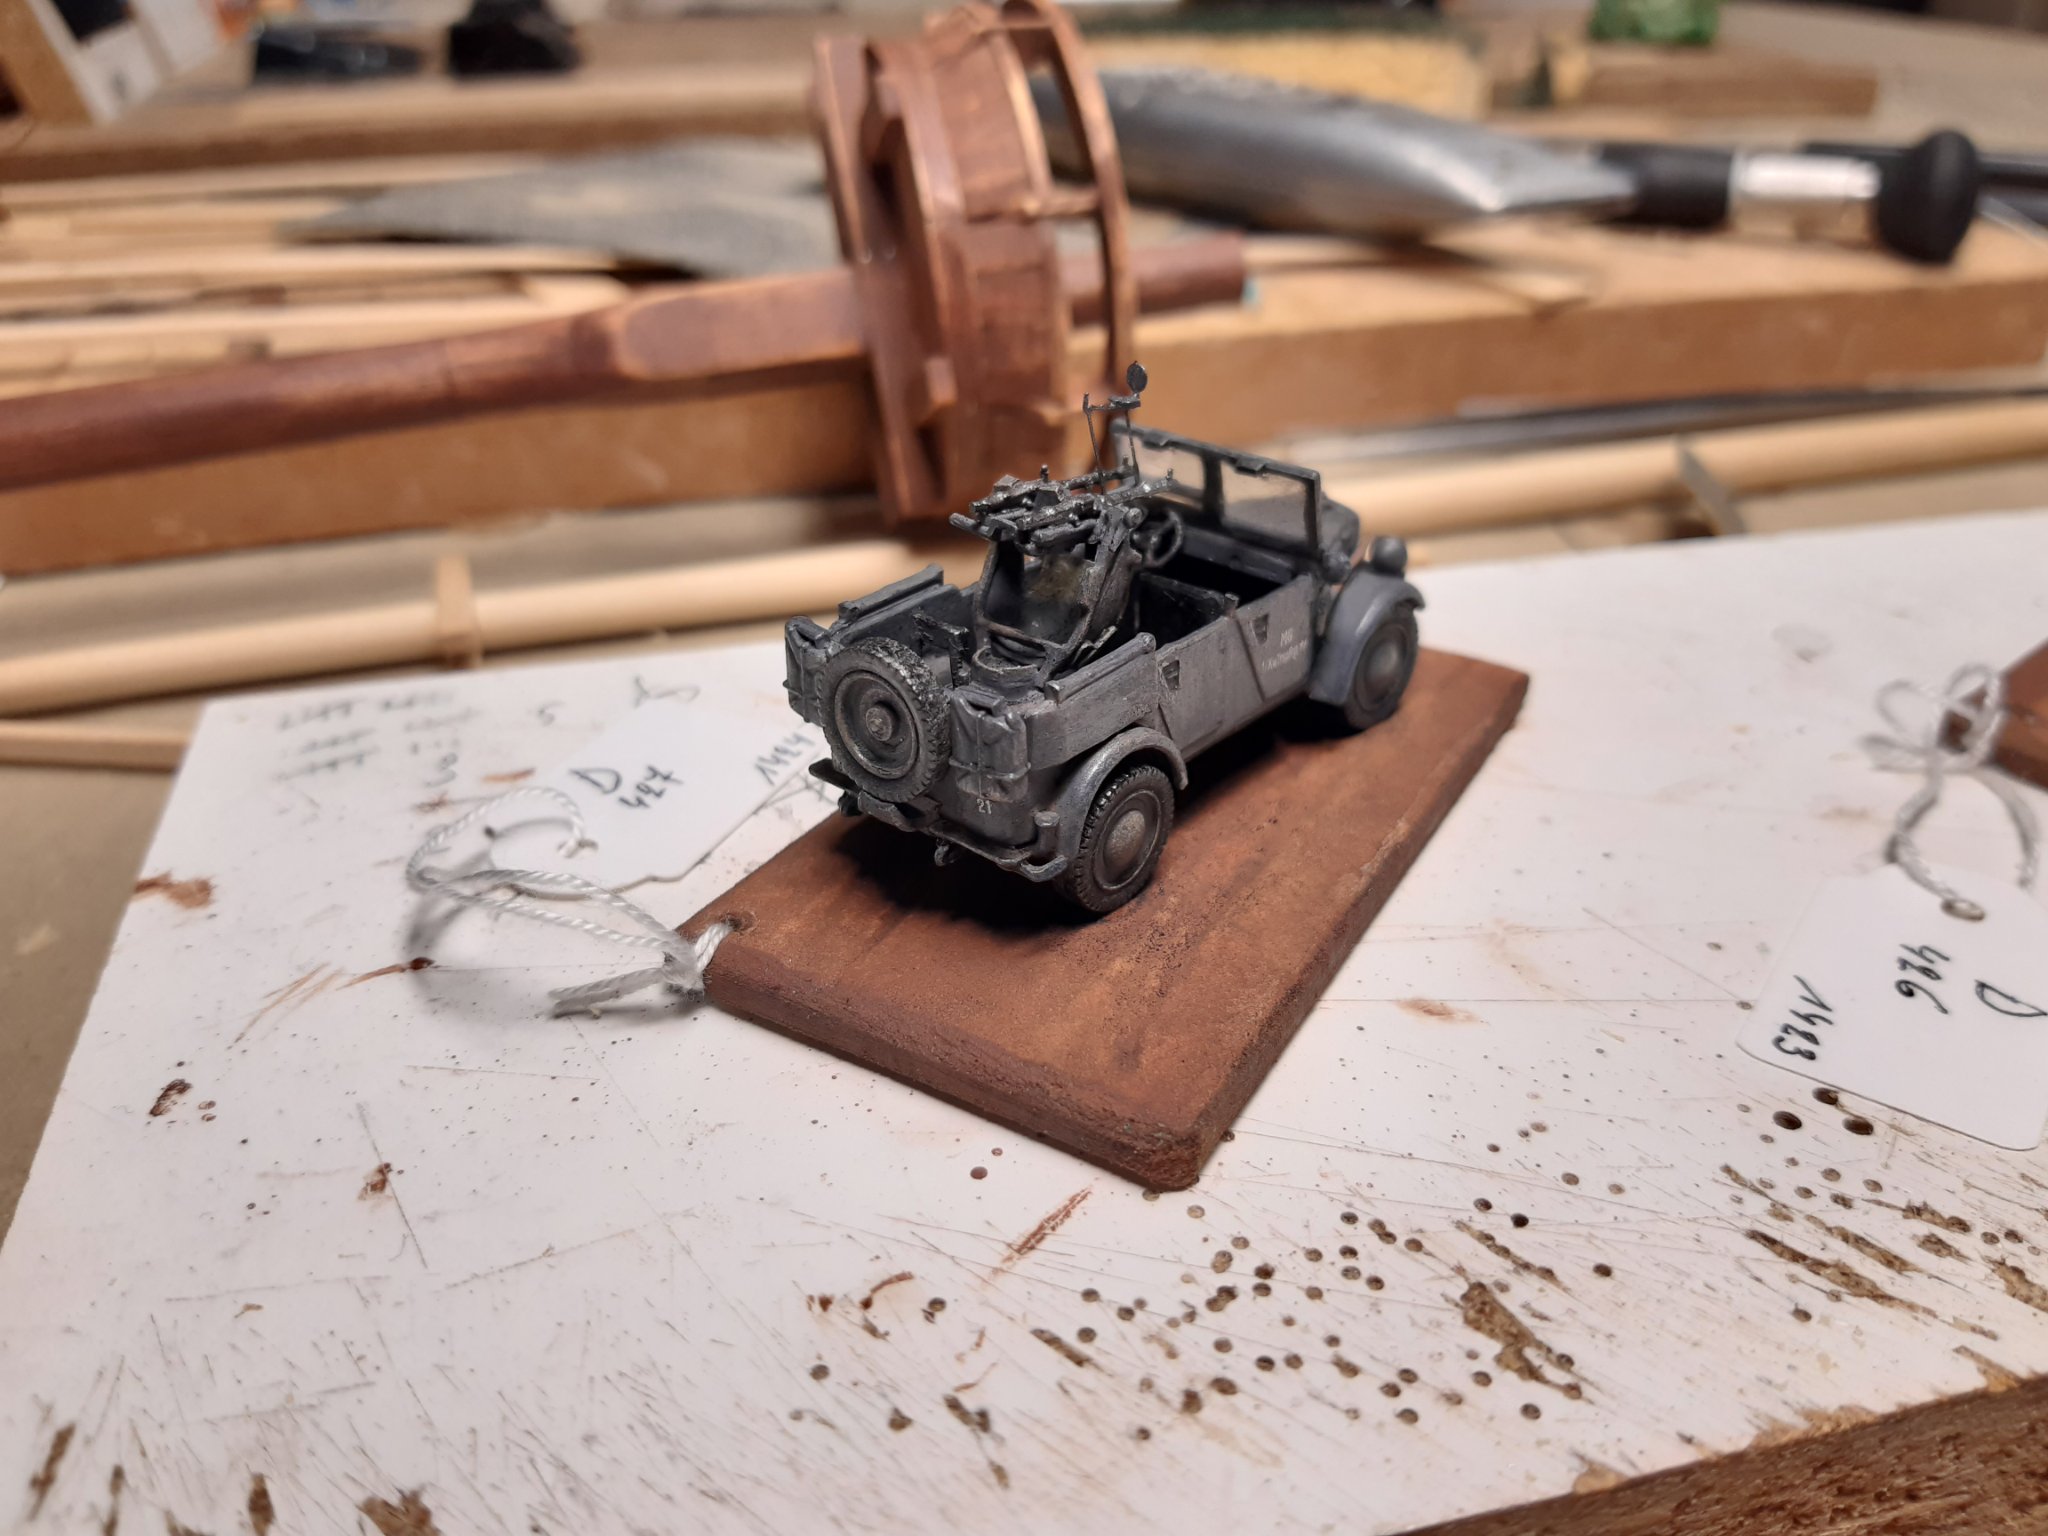
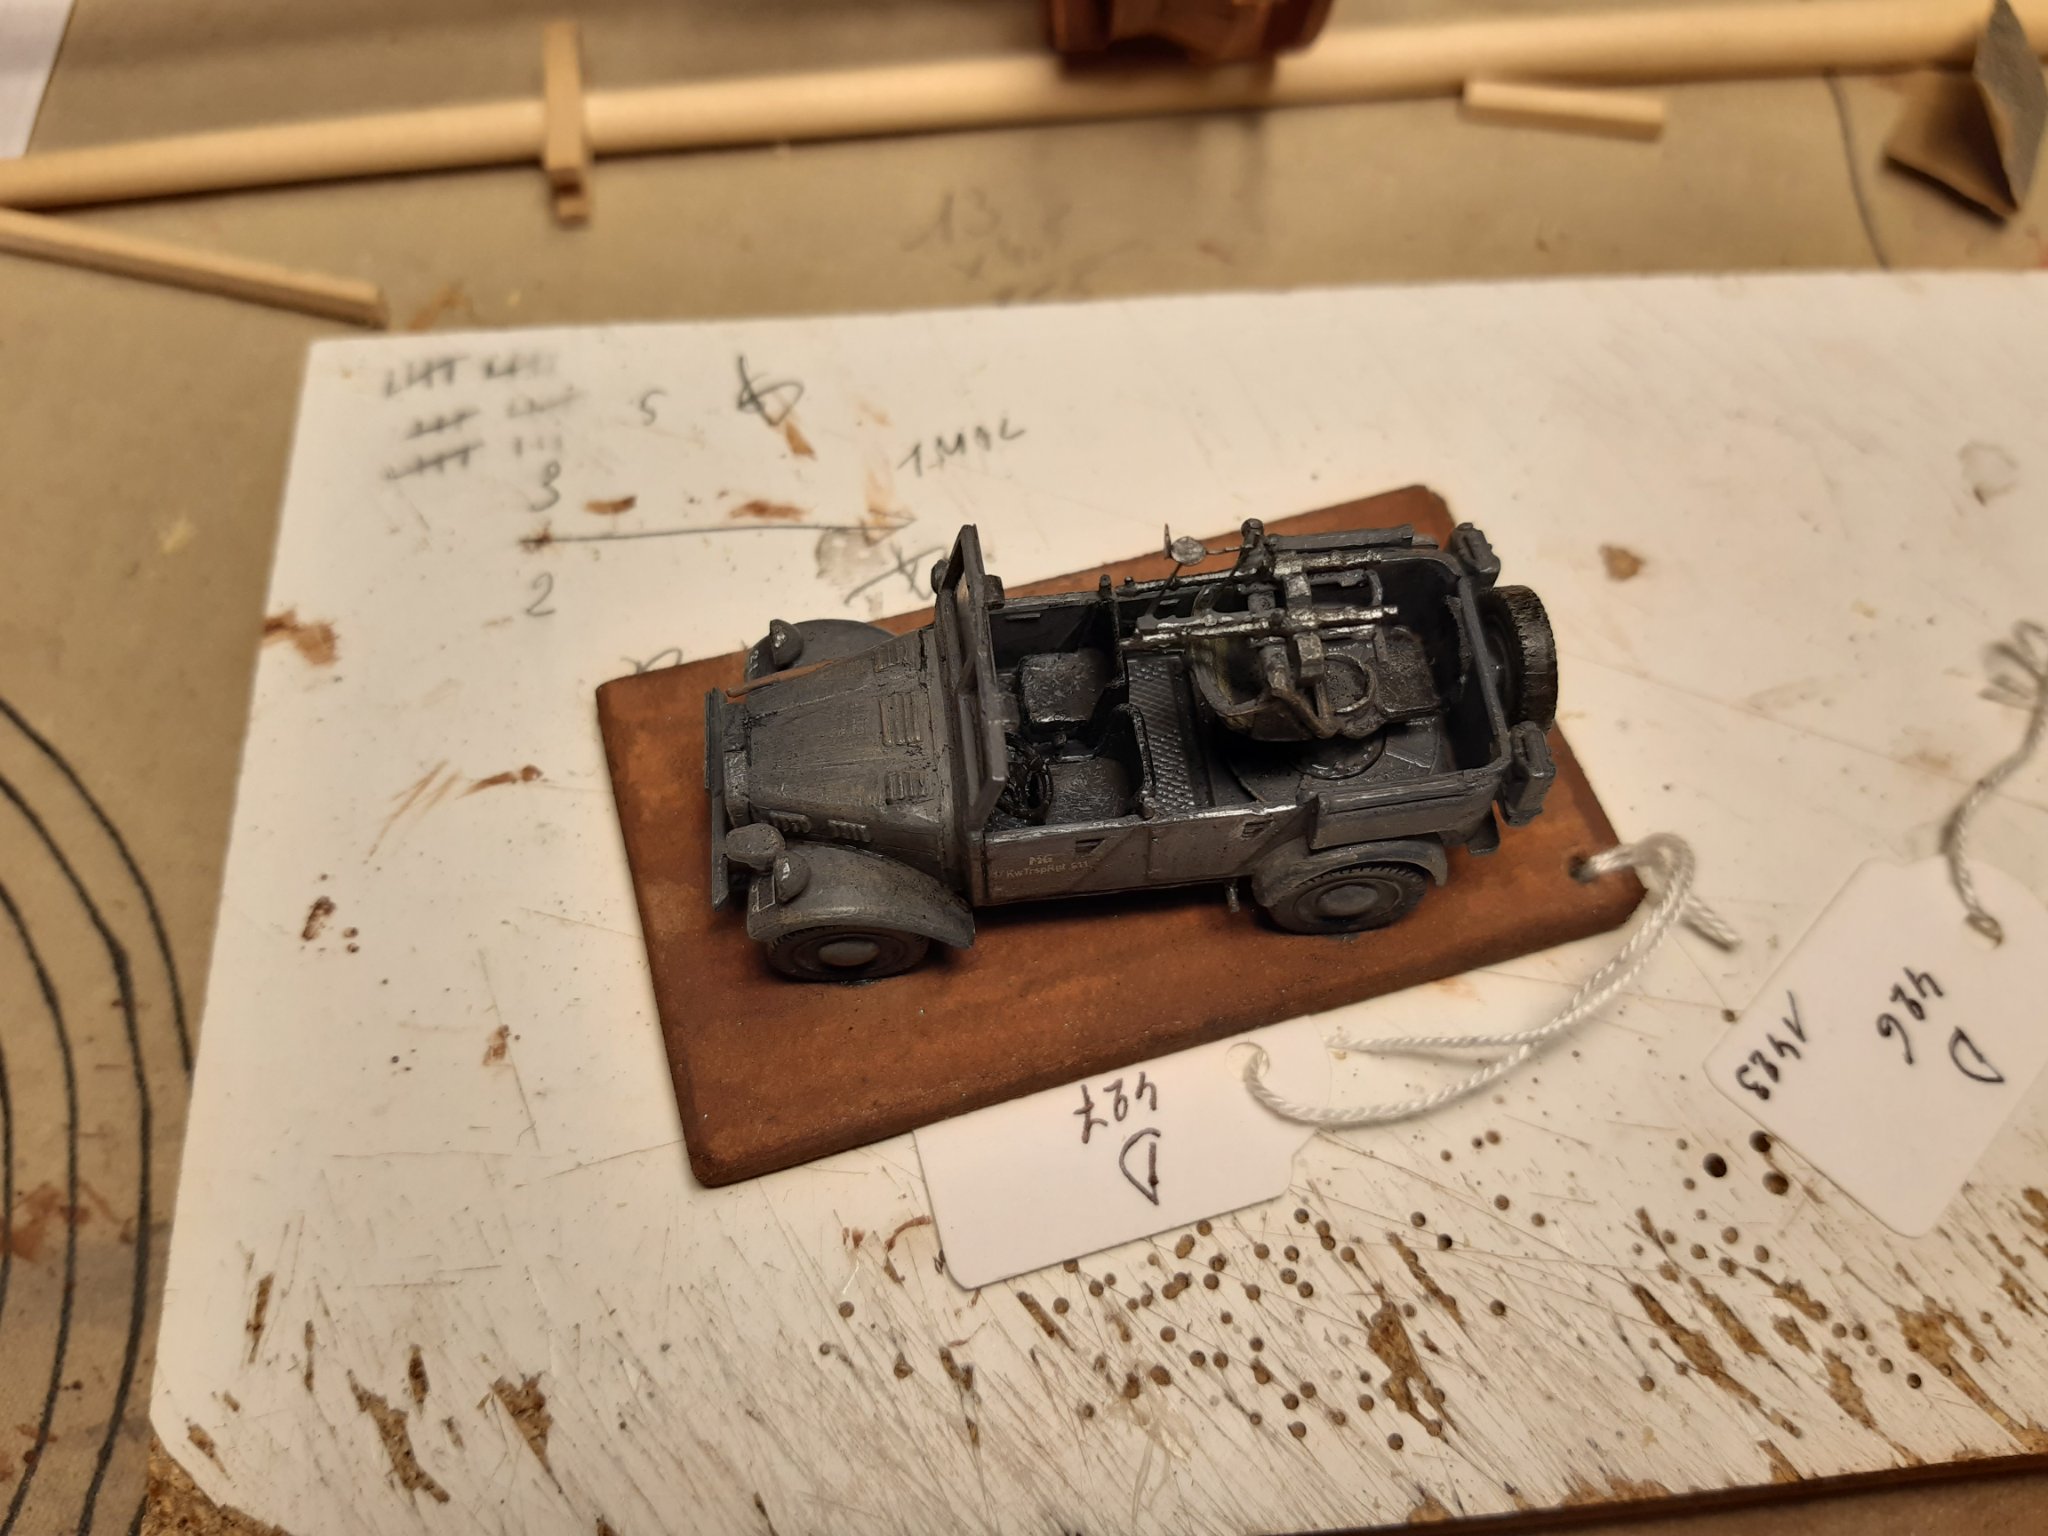
Finished
Apply the decals
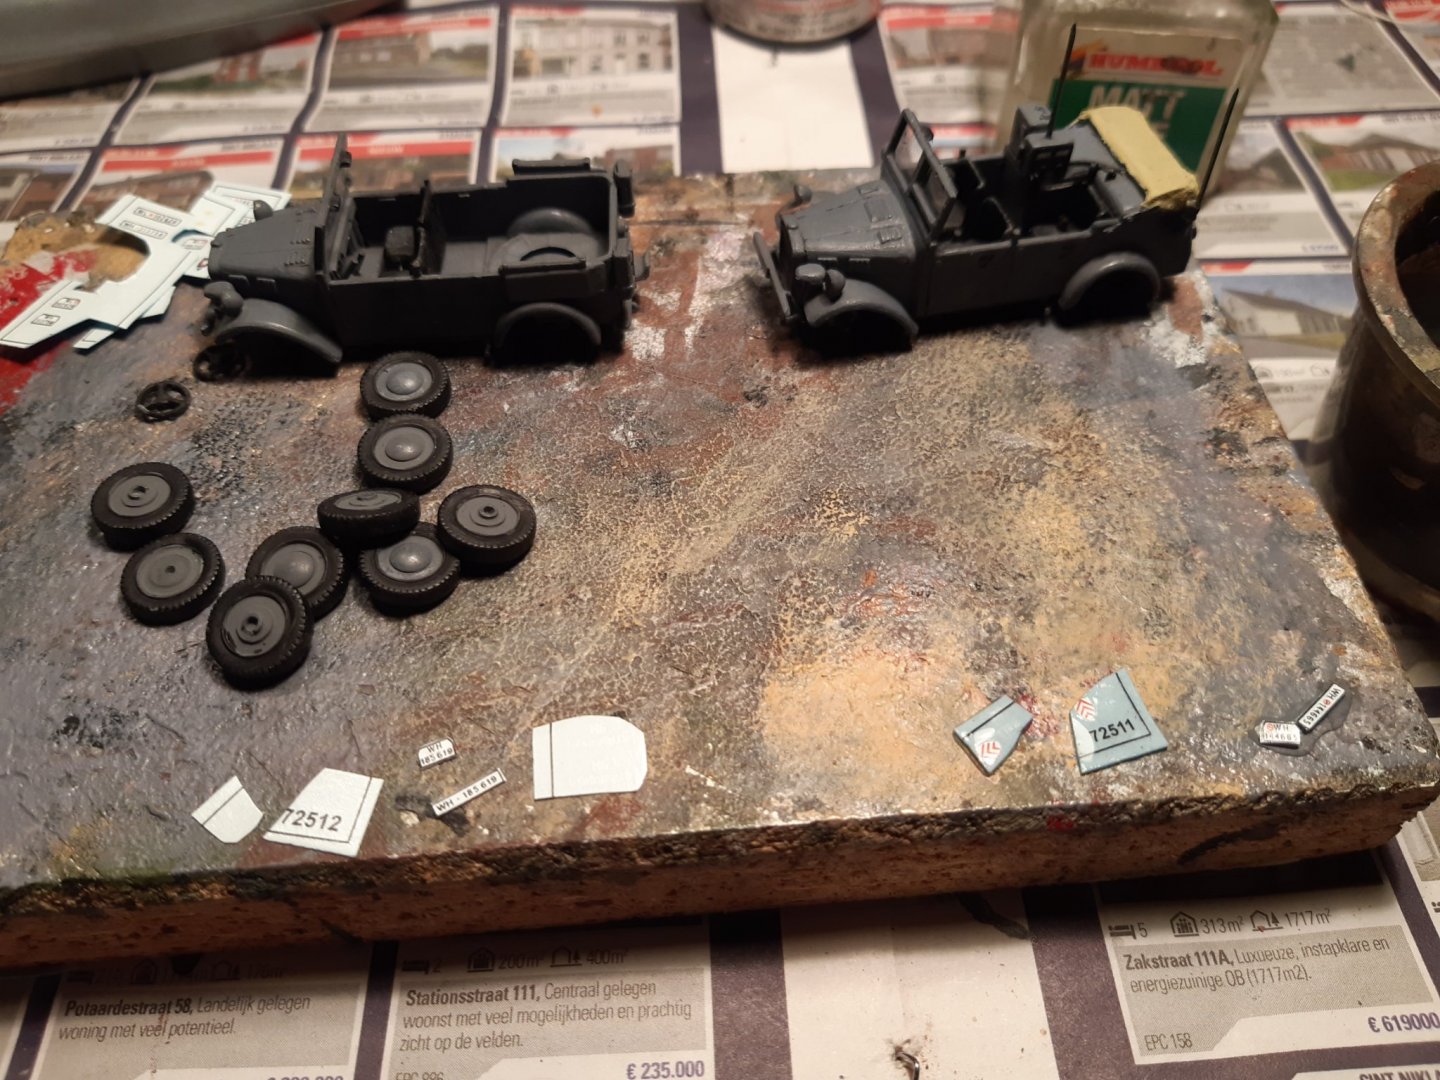
Final painting job

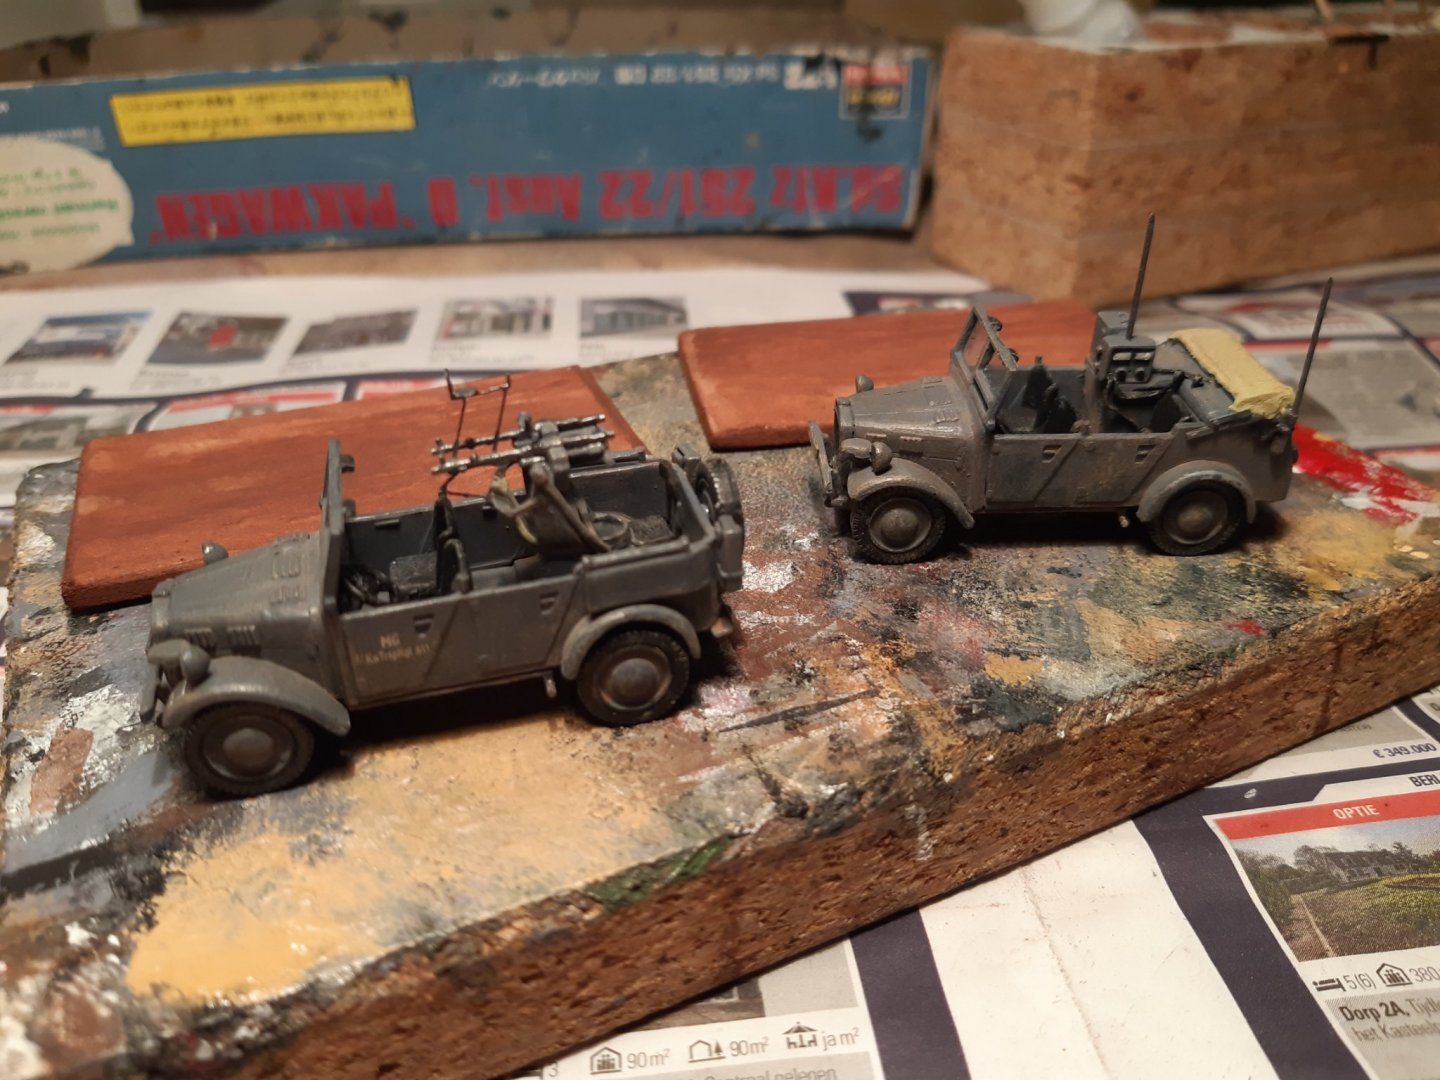
Glued on the base and a wash of diluted mat black
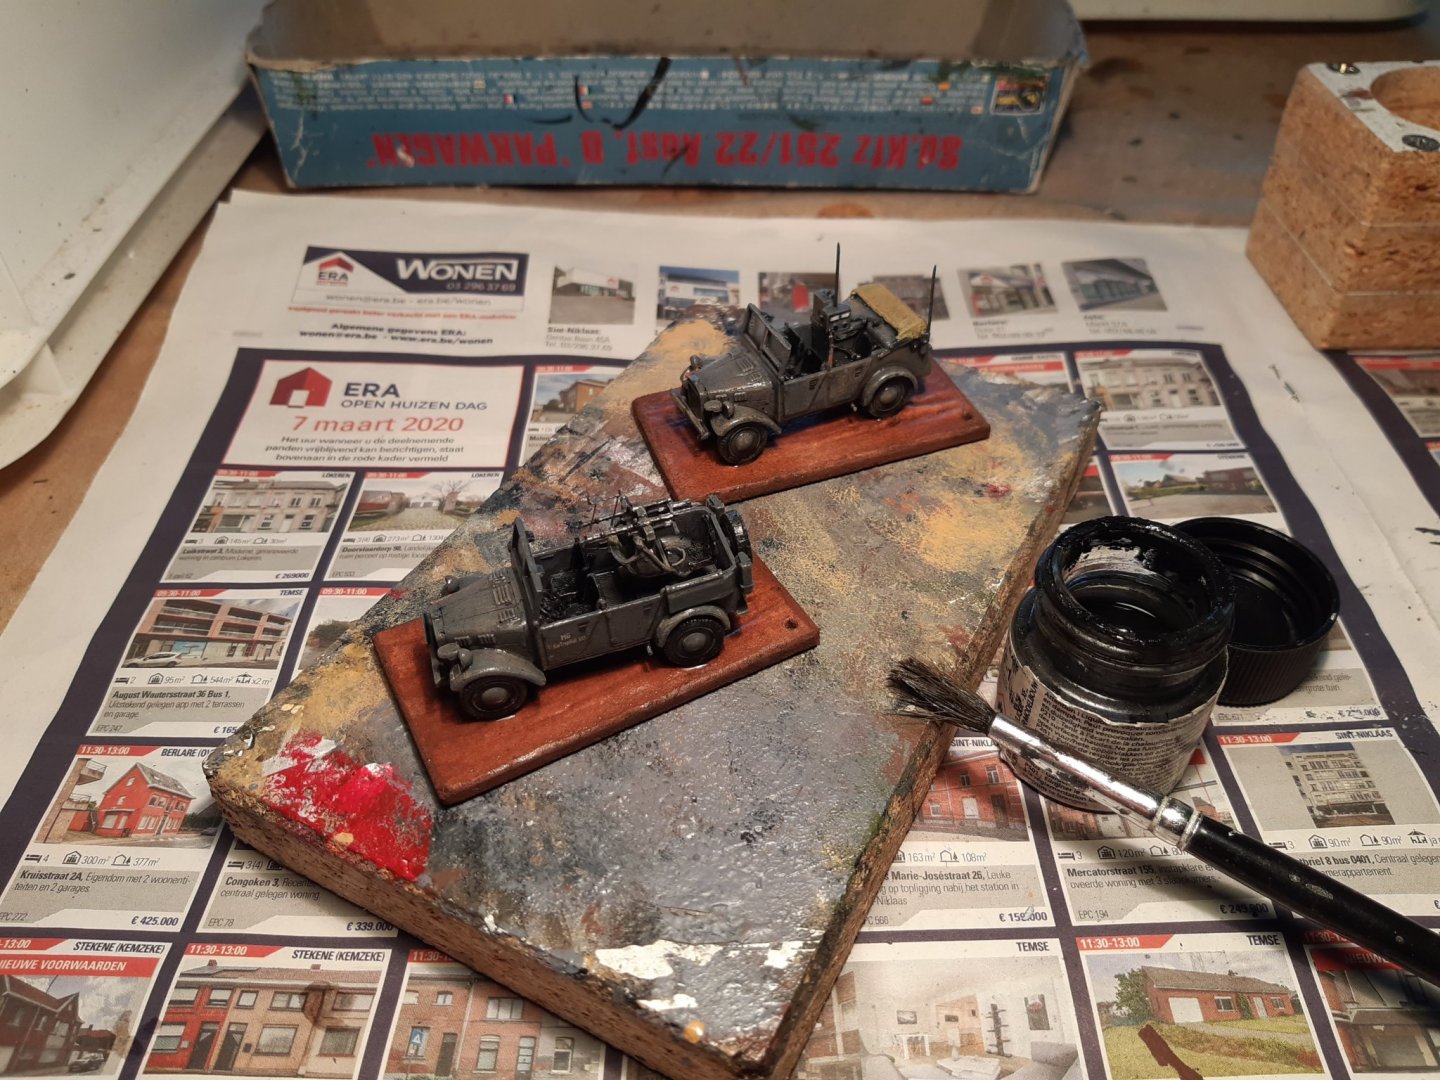
Numbered

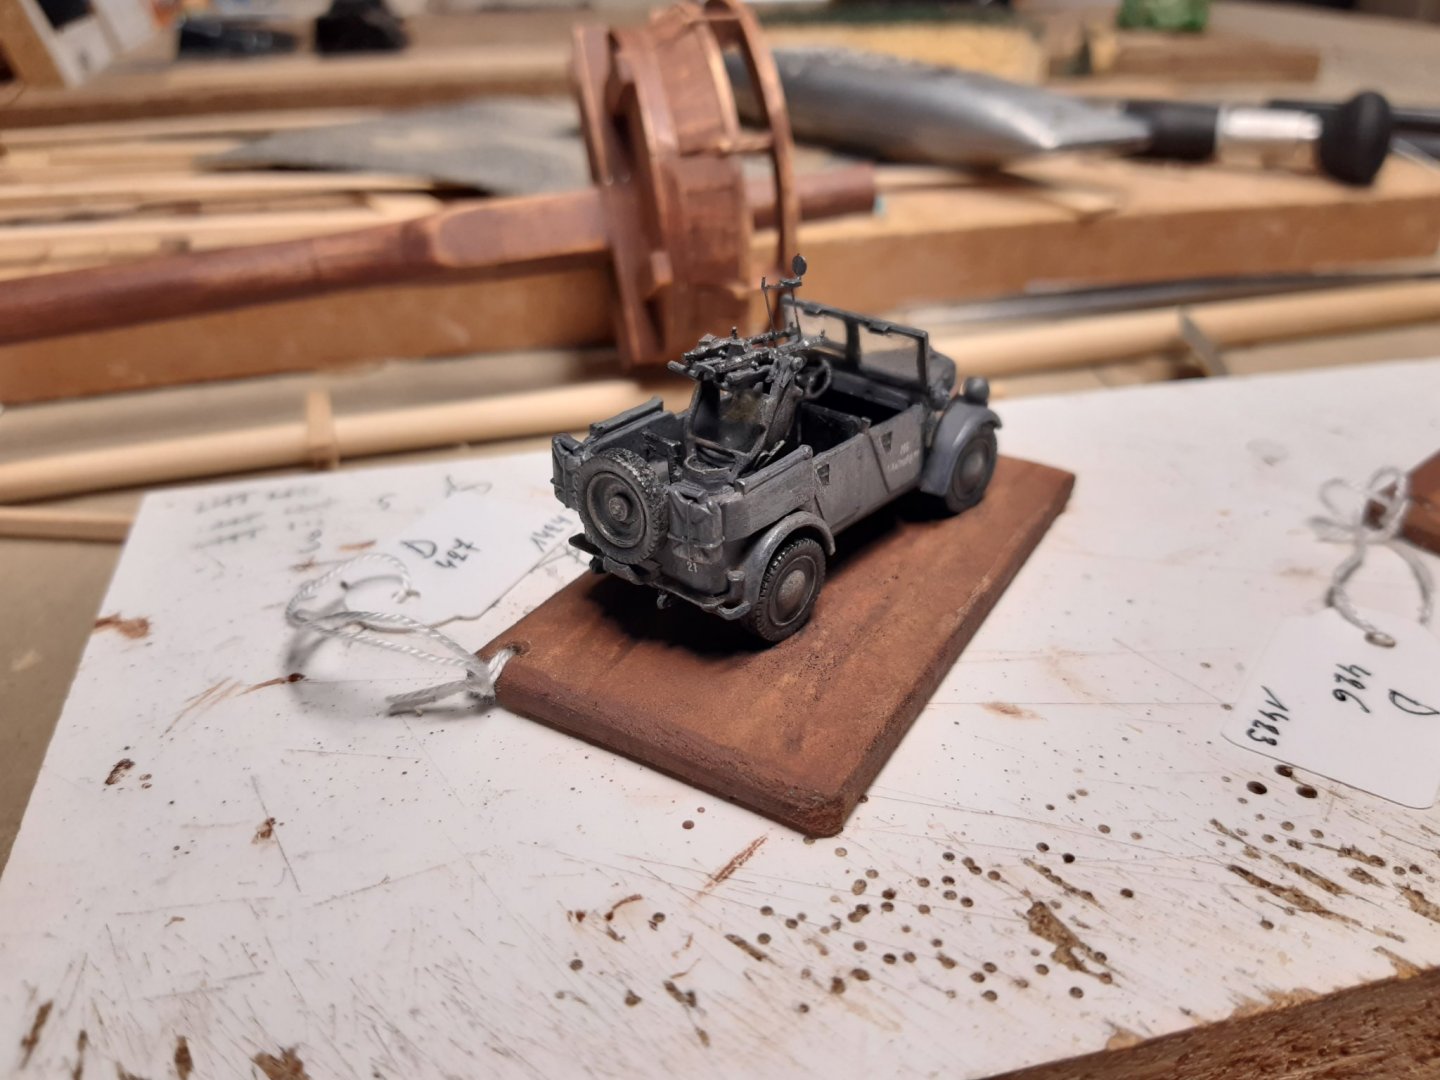
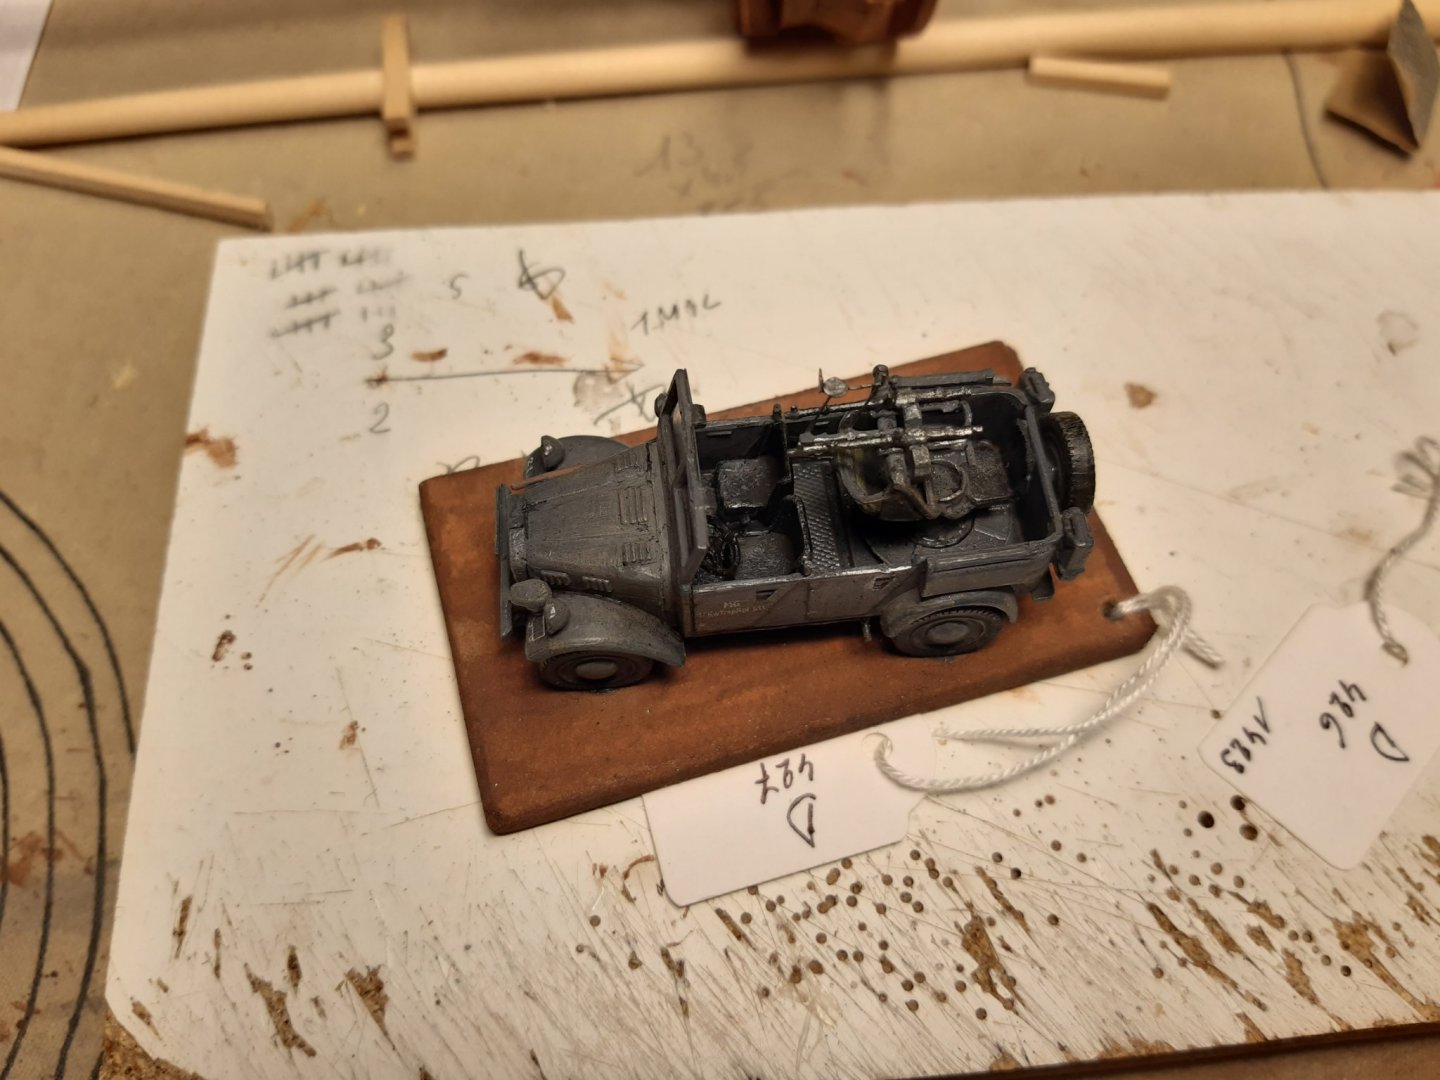


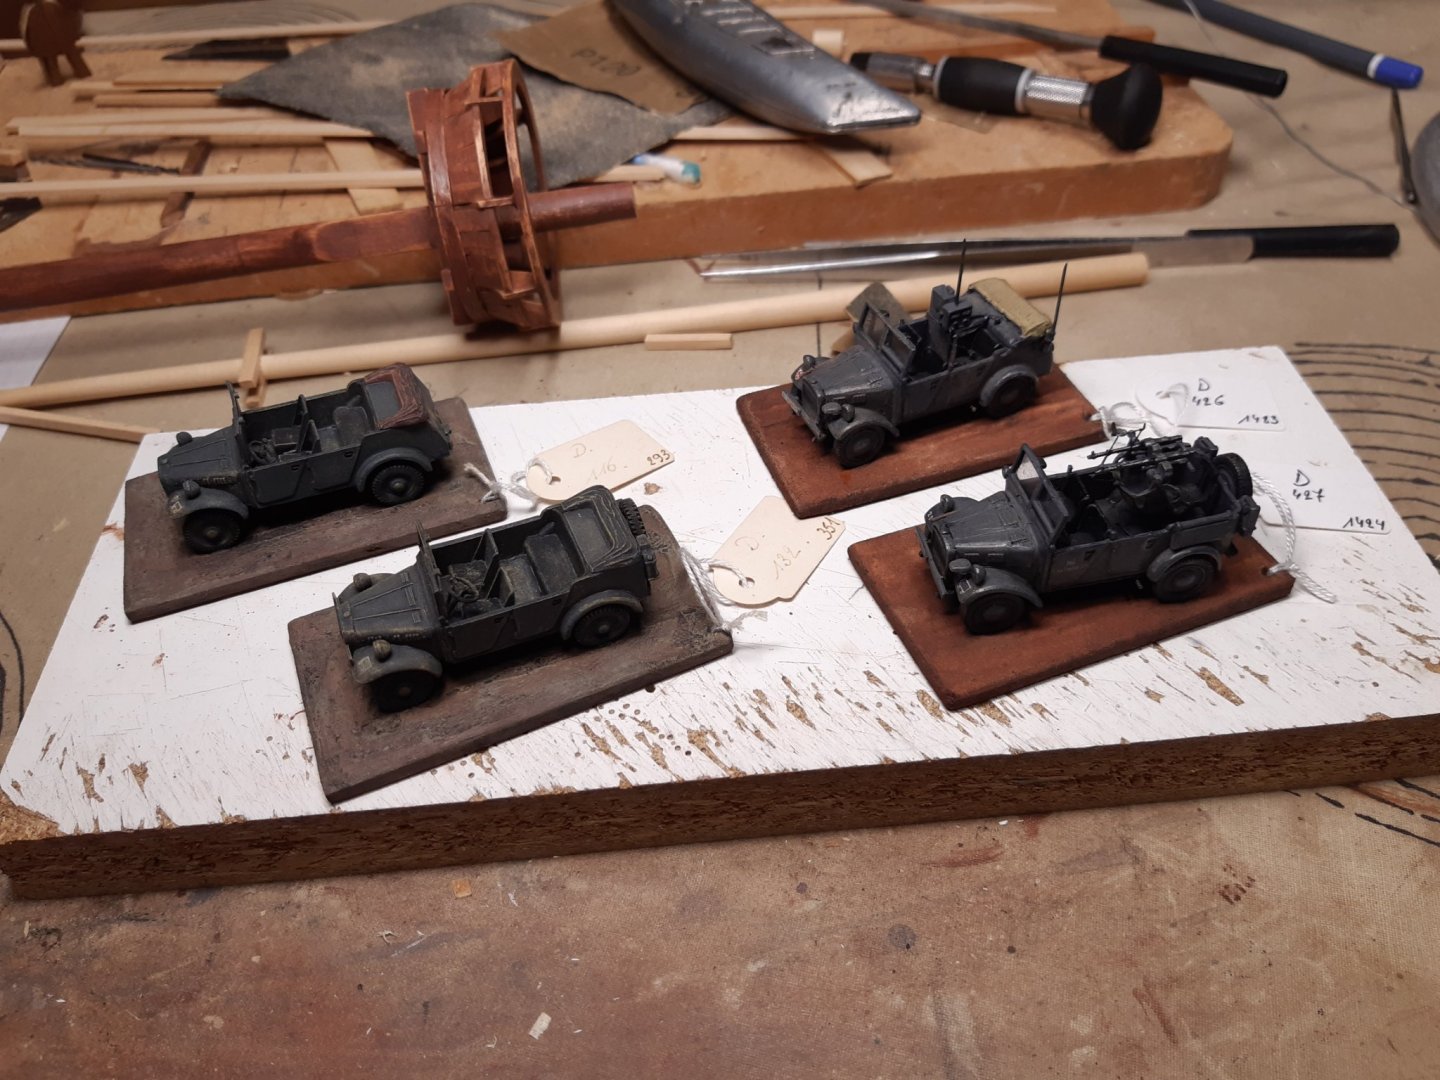
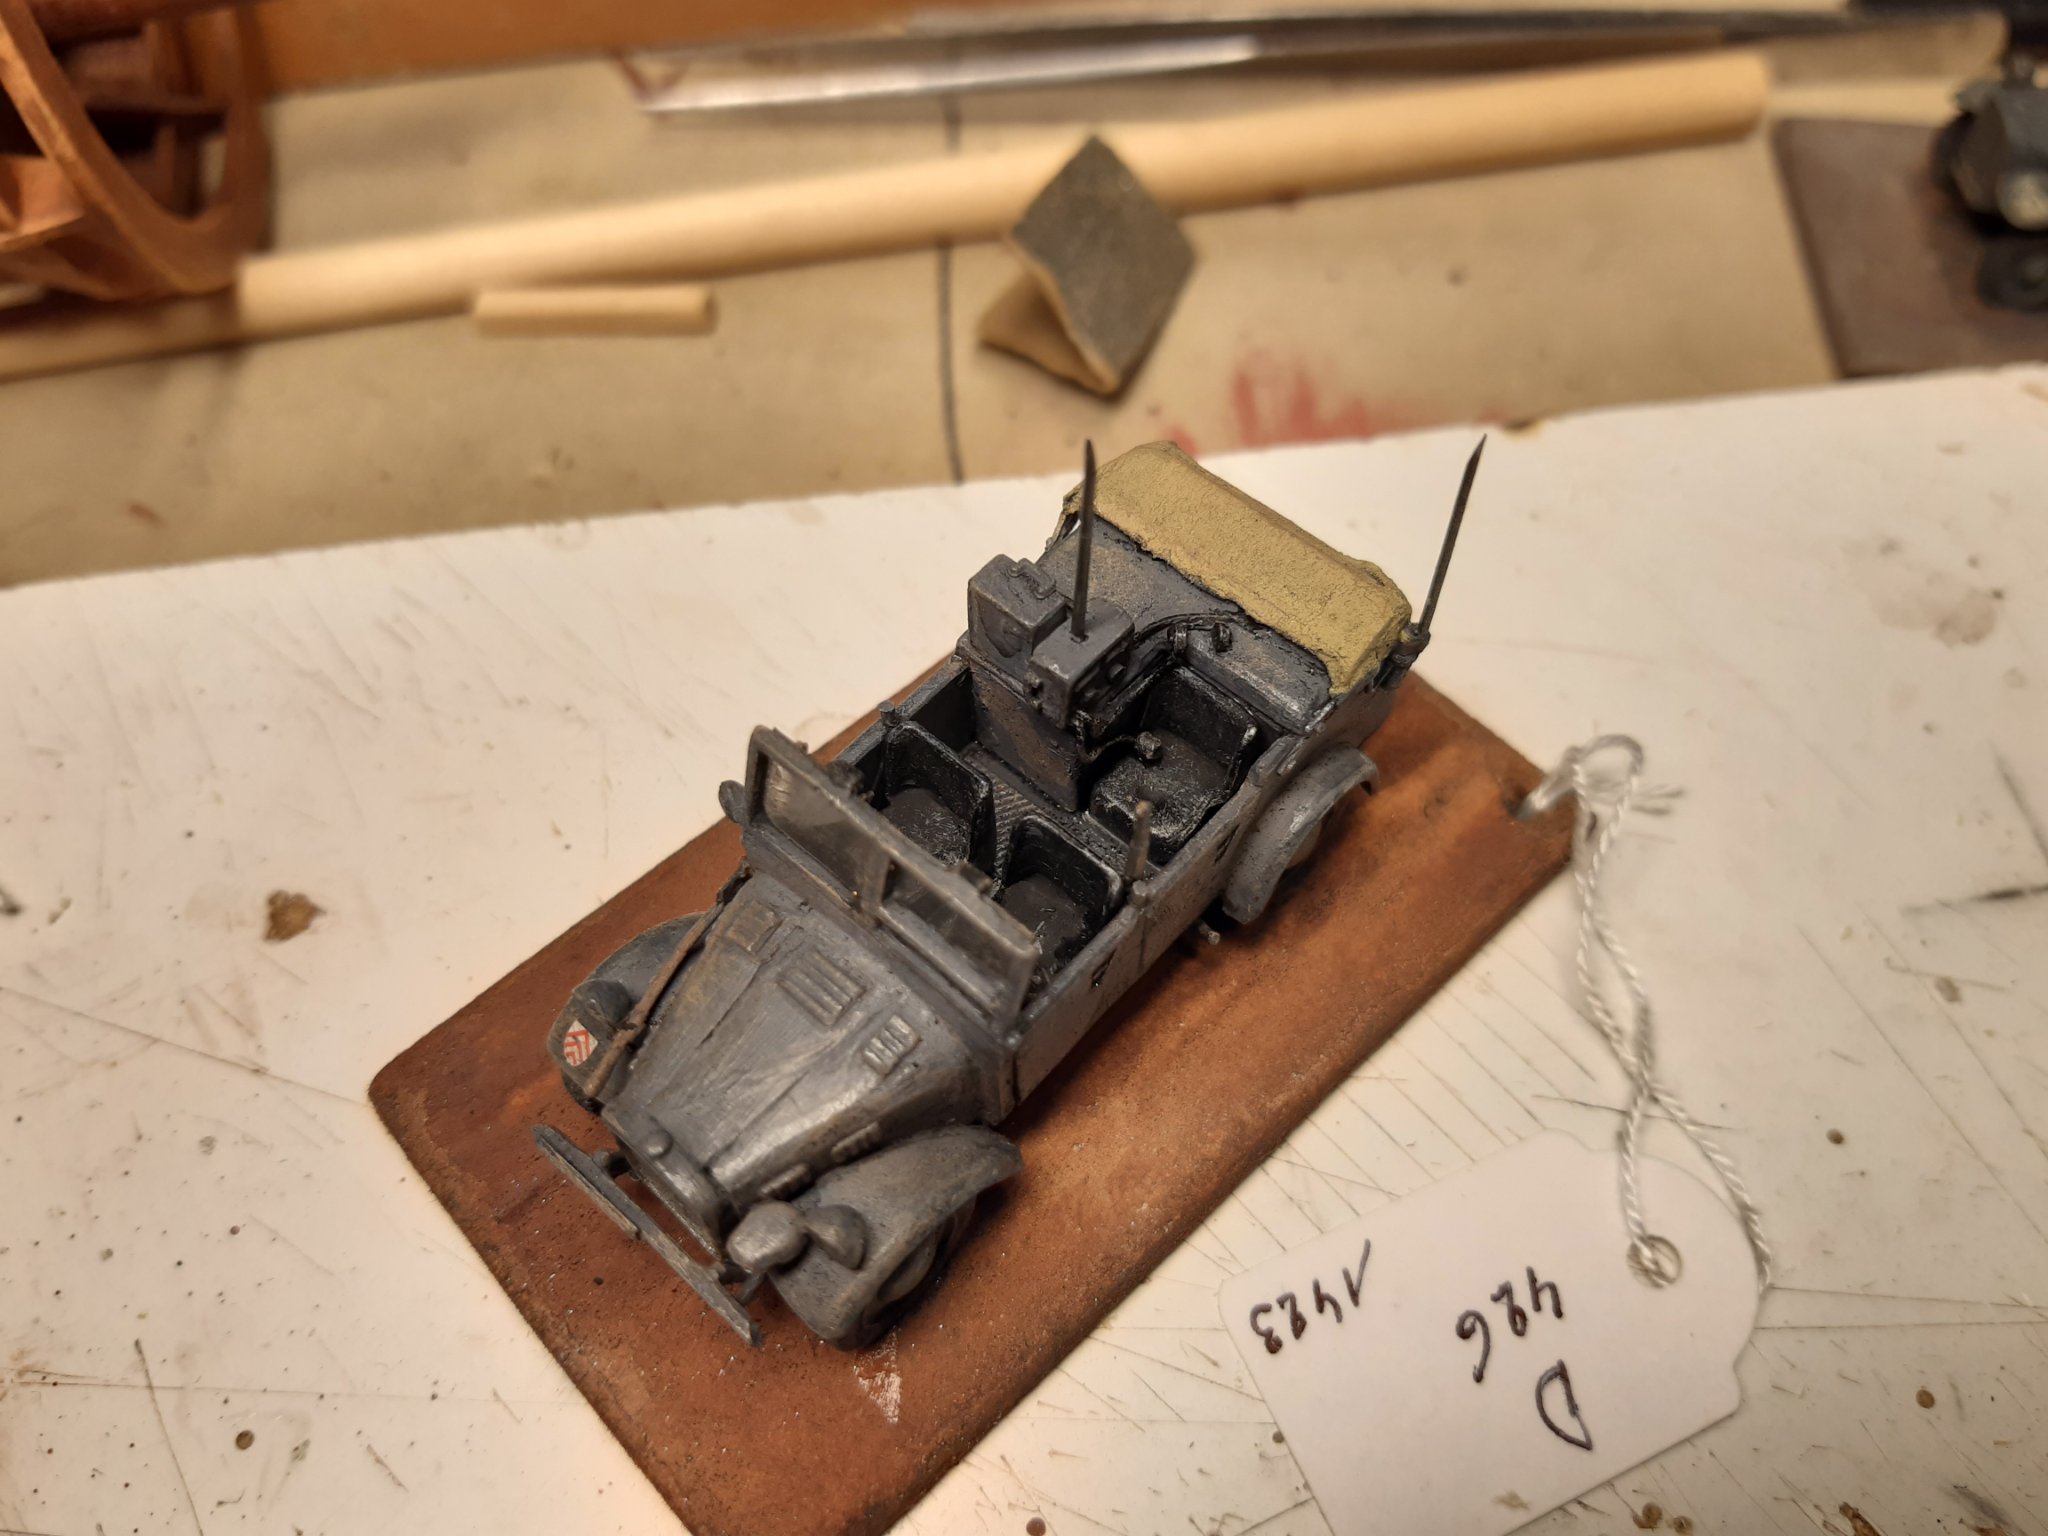
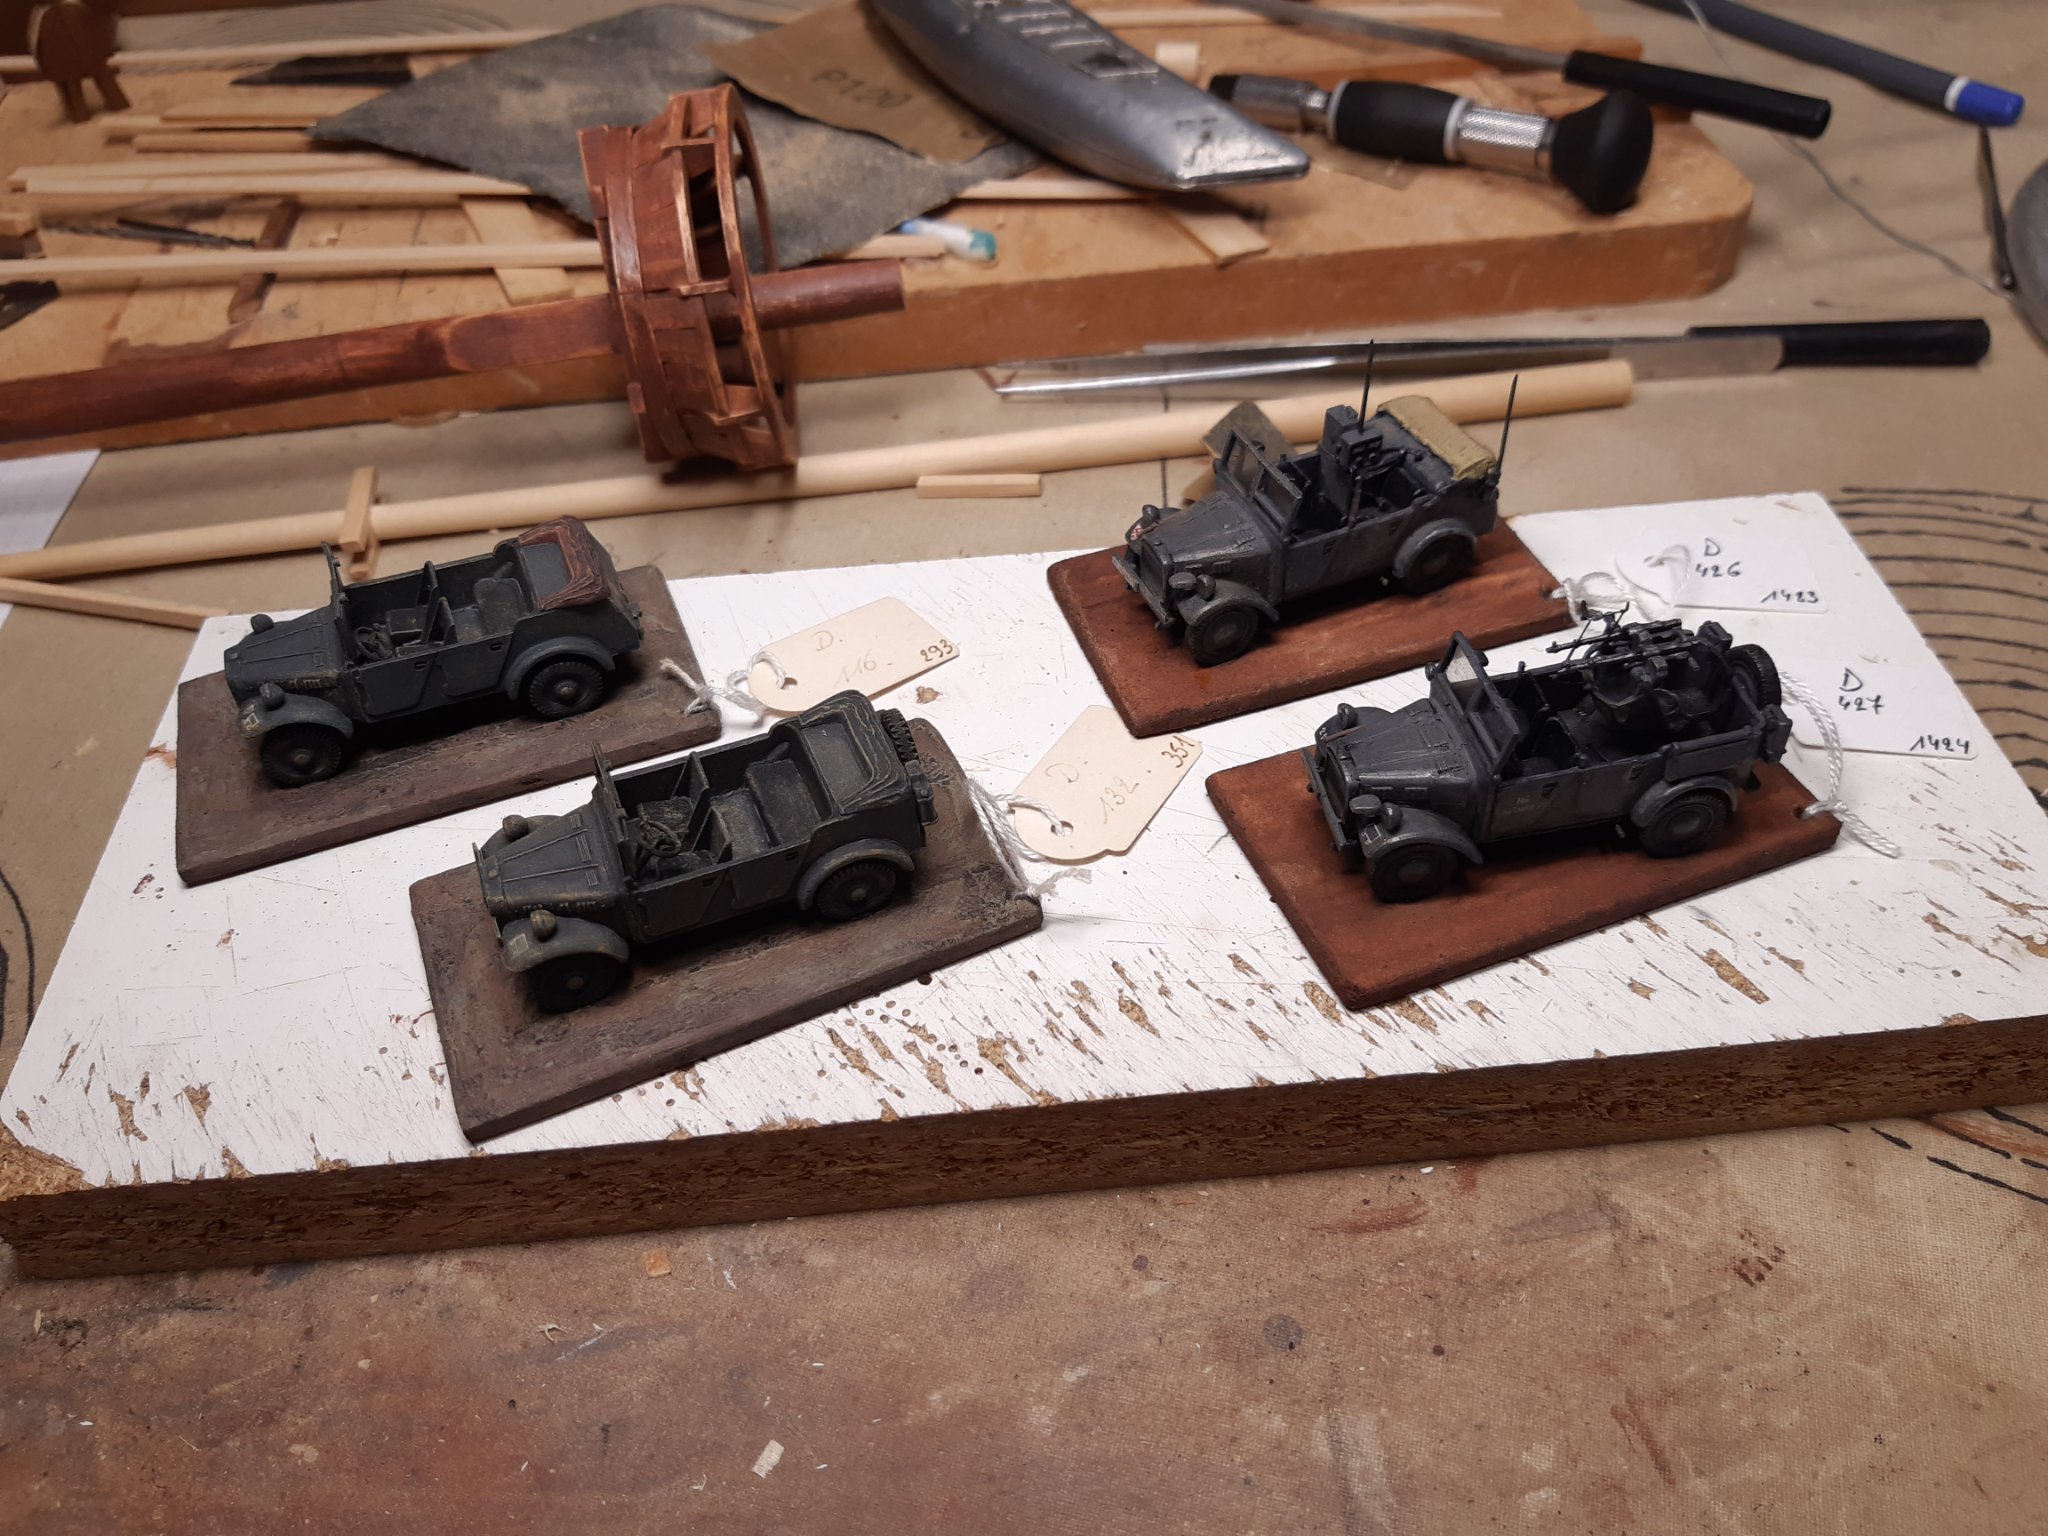
The Stoewer Einheits Pkw. family. The 2 on the left are from the French company Al-by (resin) Looking at the numbers, these were built at least 25 years ago
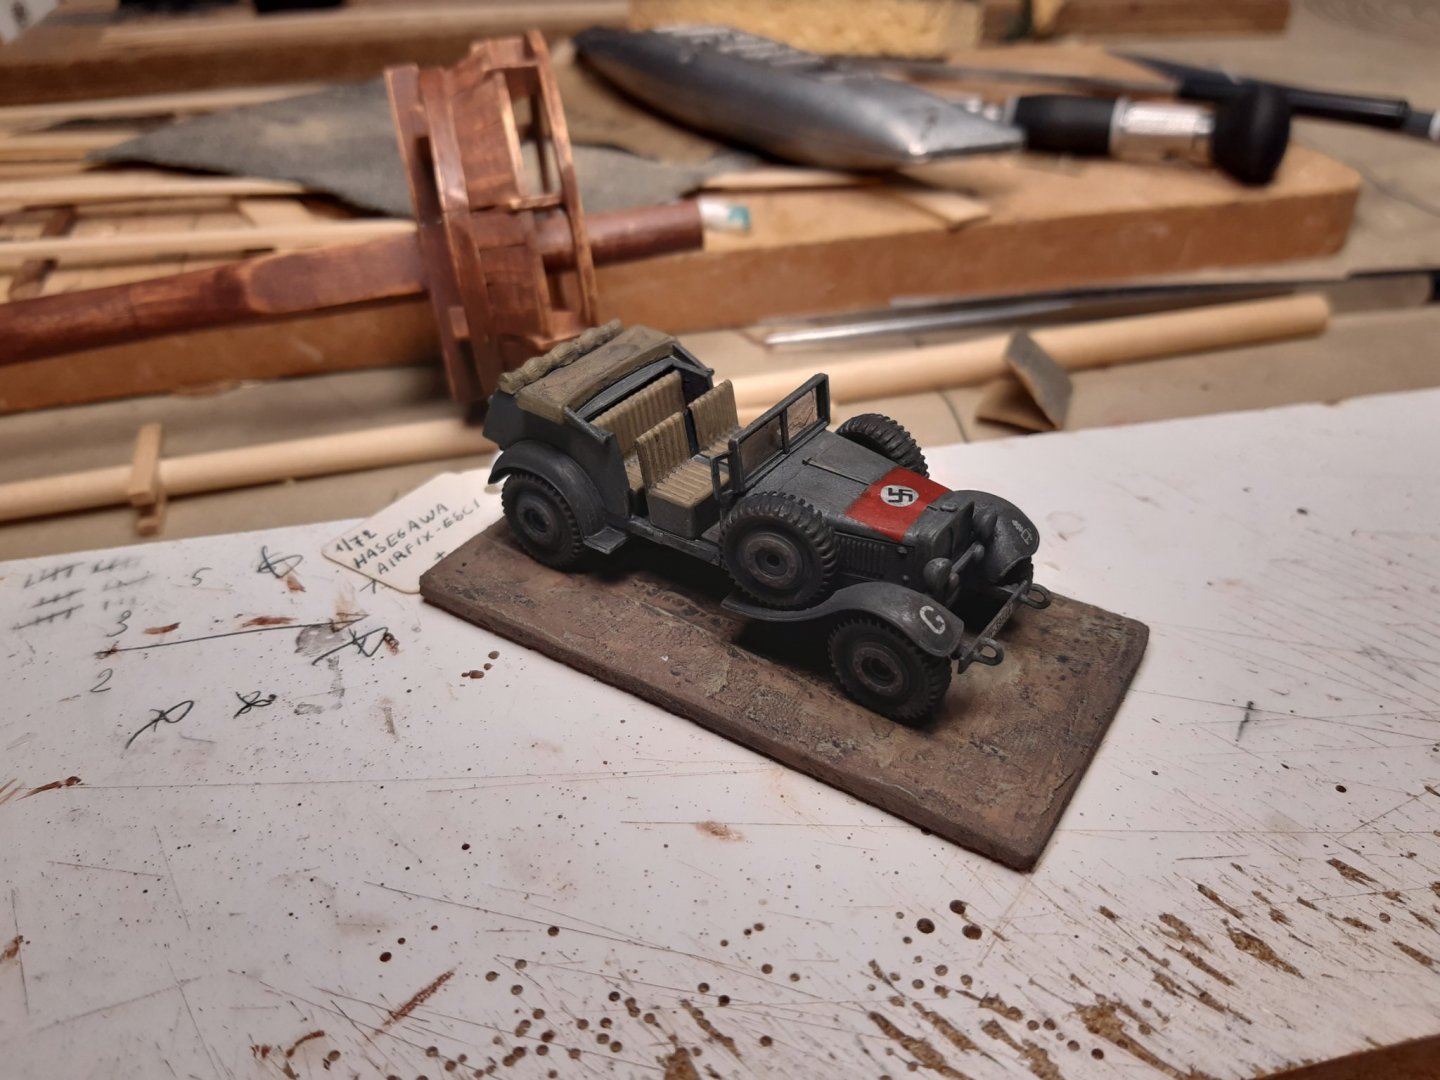
An ancestor of previous vehicles : The Stoewer M12 (build from parts of Hasegawa, Airfix and Esci)
Basically a normal car "sawn" in 2 and extended
Thanks for following, comments and likes.
-
-
Can happen to anyone, noticed just in time.
If you only know what I've already had to rebuild on my models

-
question
Normally this deck is not bent. Are you sure nothing is wrong.
Now you can still adjust this if necessary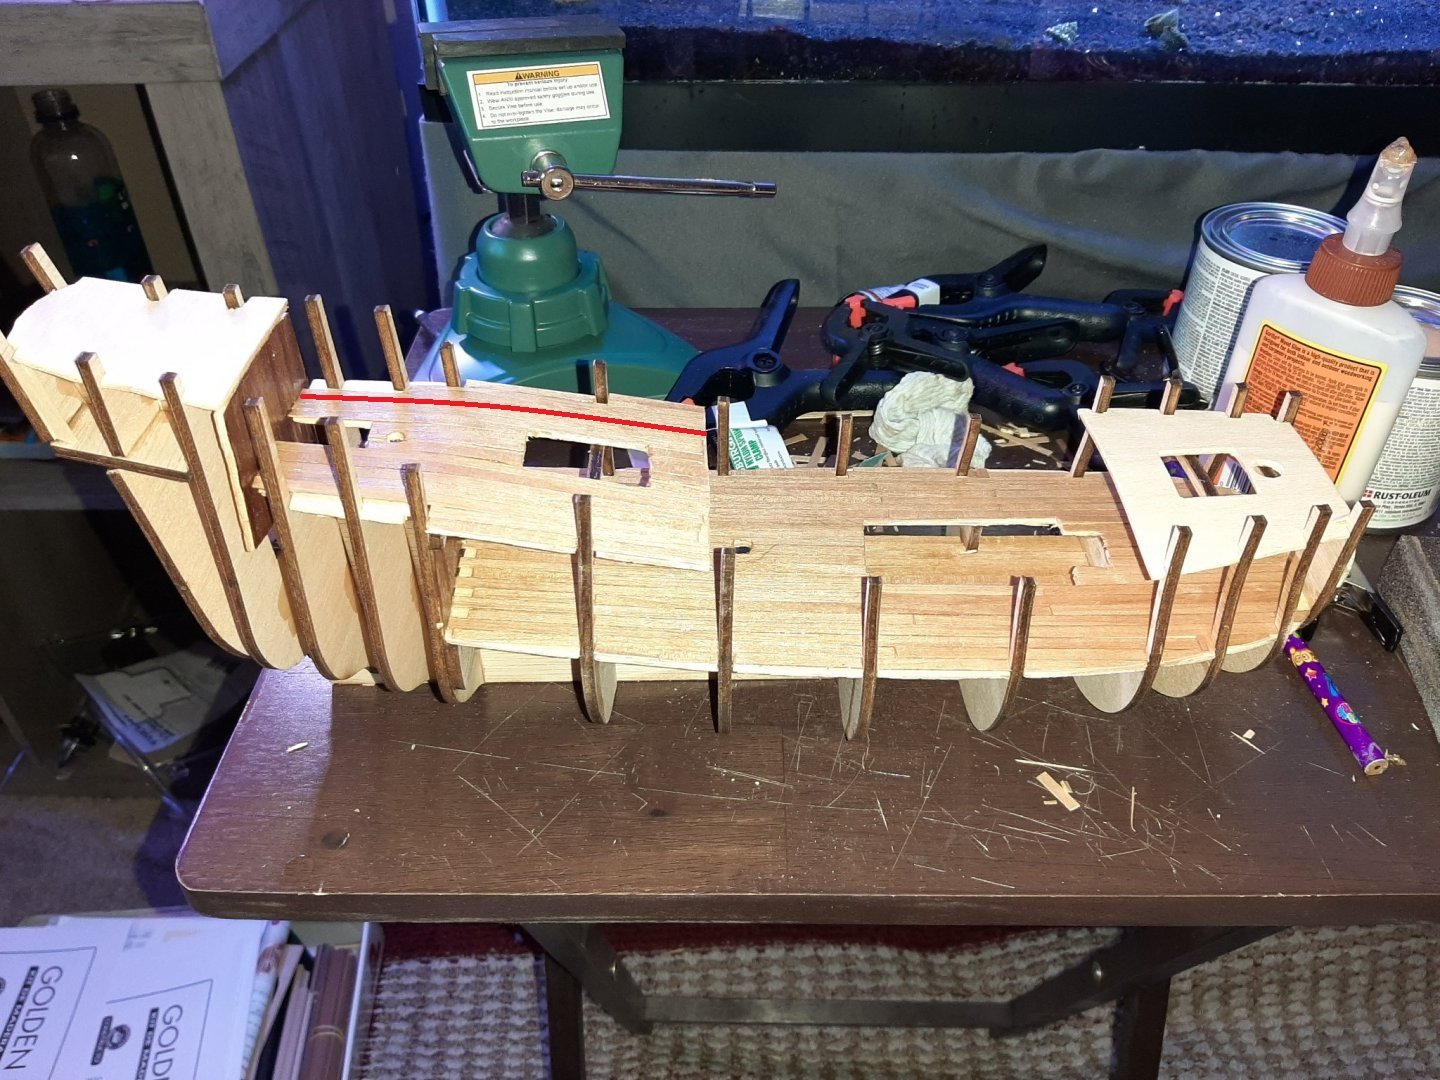
Greetings
Patrick
- Ryland Craze and Cuda1949
-
2
-

And welcome to MSW
- JeffT, Mark raymond and mtaylor
-
2
-
 1
1
-
-

Nice Patton (M48A3 ?? )
- mtaylor, Keith Black and BrownBeard
-
3
-


 to be continued
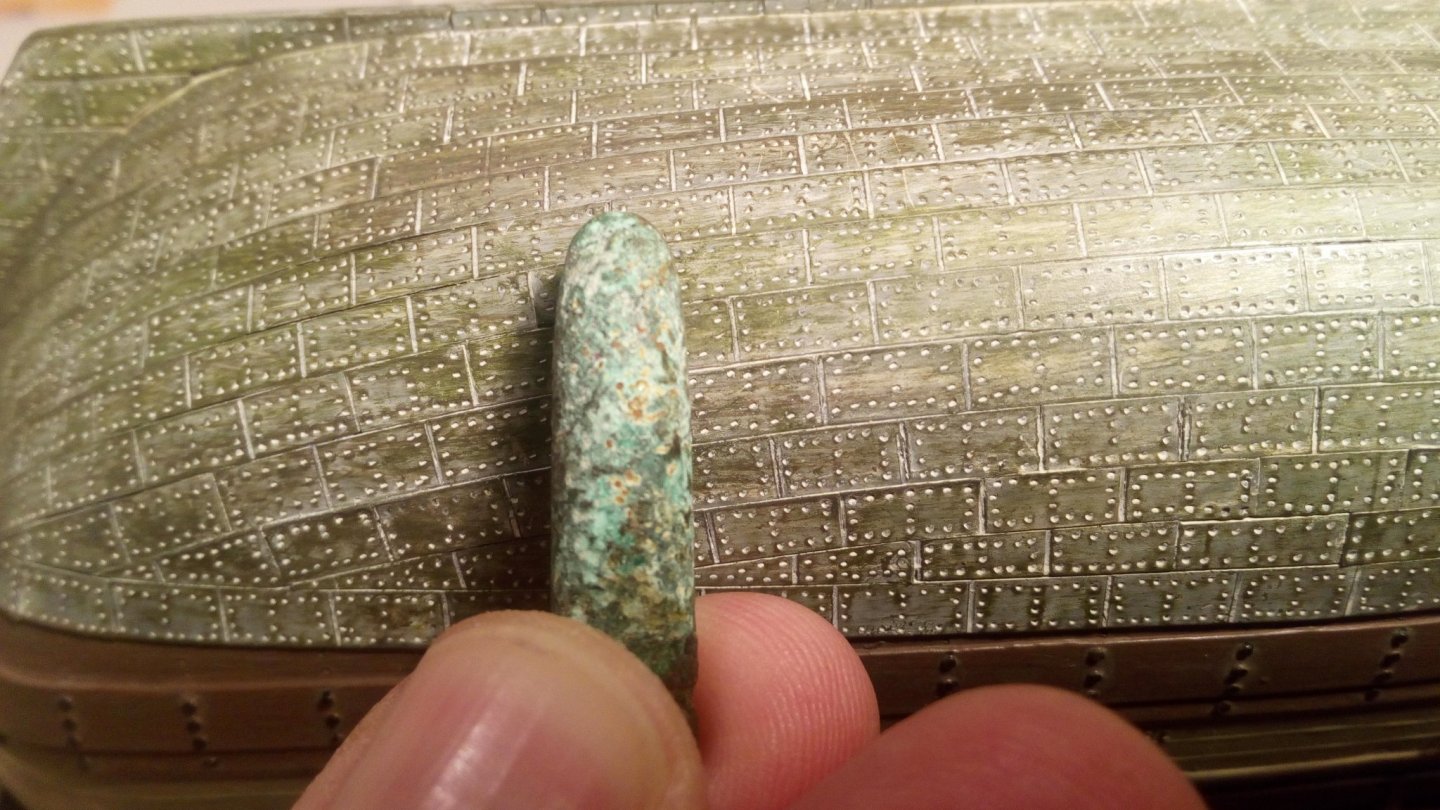


Bounty by Baker - FINISHED - Revell - scale 1/110 - PLASTIC - semi scratch and extra detail
in - Kit build logs for subjects built from 1751 - 1800
Posted
Next try
Sewn sails are indeed out of scale at 1/110.
Back to the 1st method with paper tissue. This time not kept in shape with CA glue but with diluted PVA glue. And the furled sails are easier than the cluwed sails
First footropes were applied. A metal wire first folded into shape
Then the sail and the ropes. i think this methode looks better and fits more this scale.
Maybe these should be cut shorter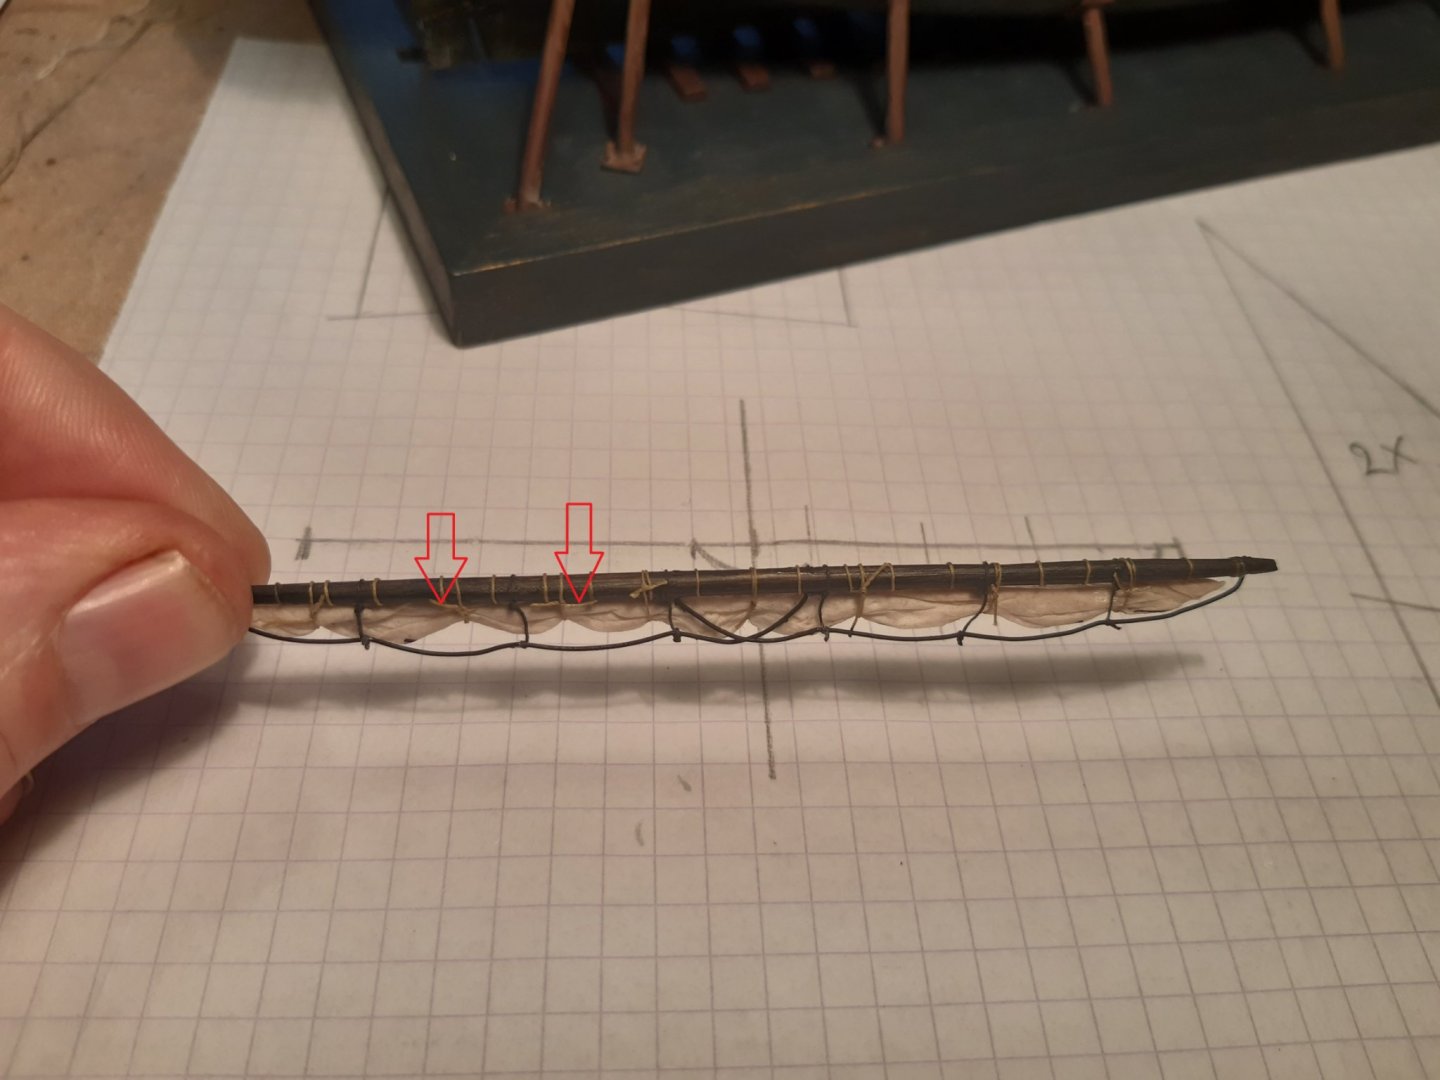
The "how to build" will follow later (if it becomes this method).
Constructive ideas are still welcome.
And, if someting is not right, please say so. Military modeling : years of experience. Sails, furled or cluwed, are unexplored territory for me.