


Baker
-
Posts
4,134 -
Joined
-
Last visited
Content Type
Profiles
Forums
Gallery
Events
Posts posted by Baker
-
-
-
Smal update
The sails are finished and i started with the rigging.
The aim is to apply as much rigging as possible.
Since I am not an expert in 18th century rigging, there may be something here and there that is not entirely correcty


Thanks for following
- Ryland Craze, Jeff T, J11 and 7 others
-
 10
10
-
-
-
"the hoe on the feet" and "I've shot myself in the foot"...
I just do
 🤣
🤣
These rails are going to be more work
But in the end you will be more satisfied with your model -
Did an update yesterday on how I made my sails (page 4)
Ps,
The GH had no footropes- SigEp Ziggy and bosco72
-
1
-
 1
1
-
Thanks for all the nice comments and helpful info.
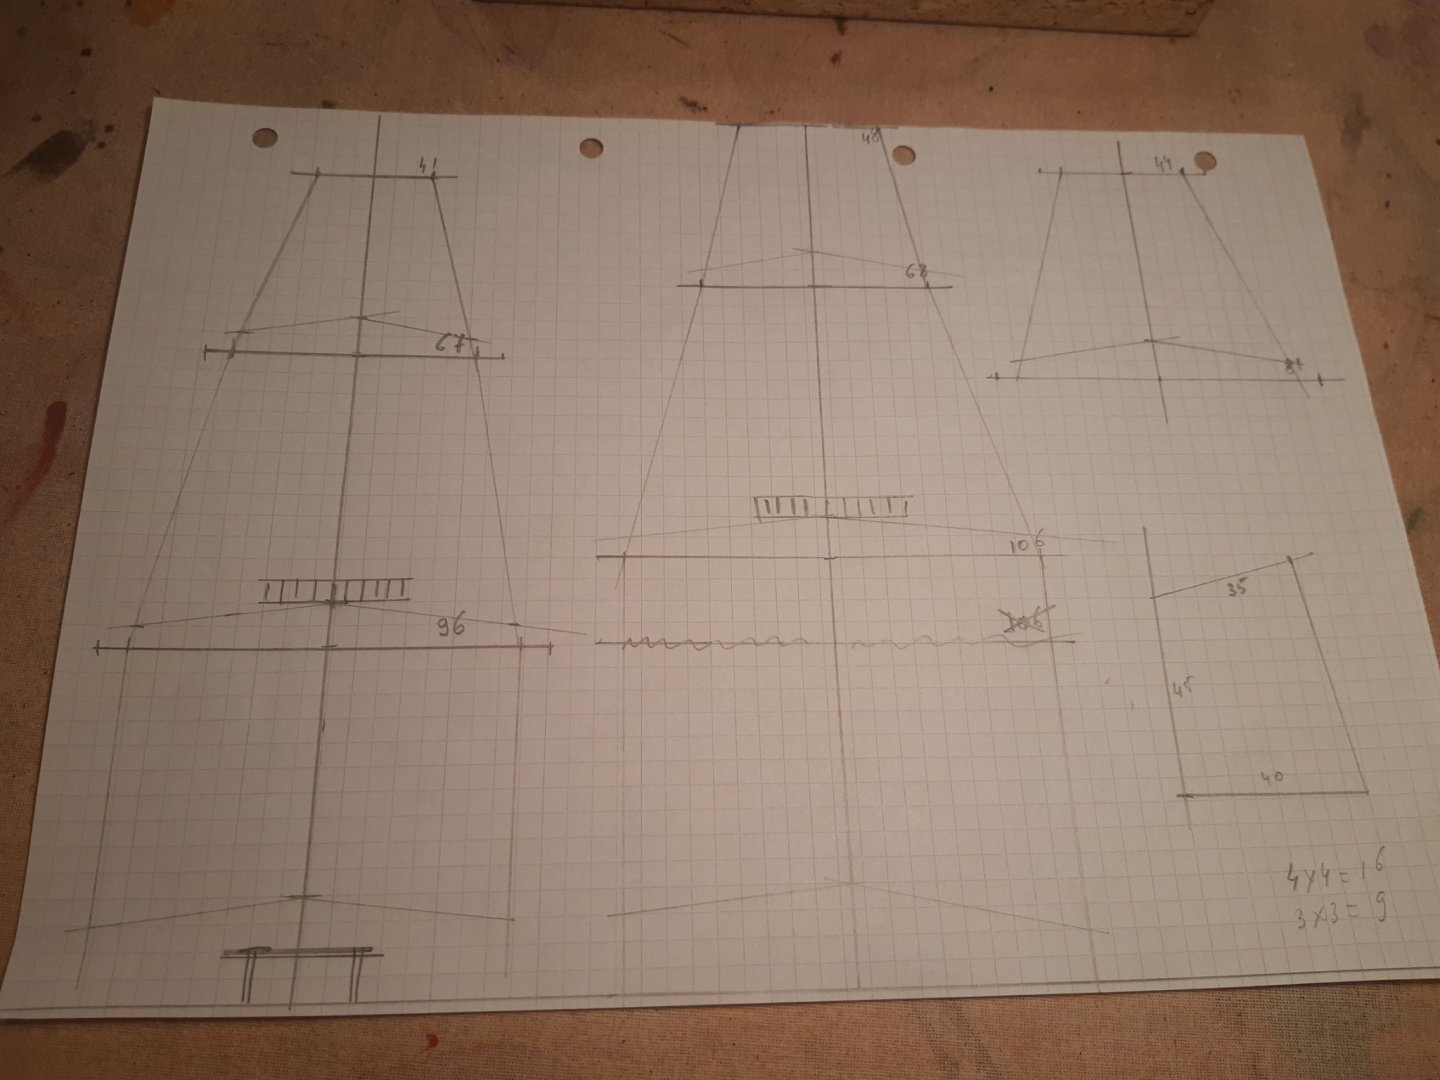
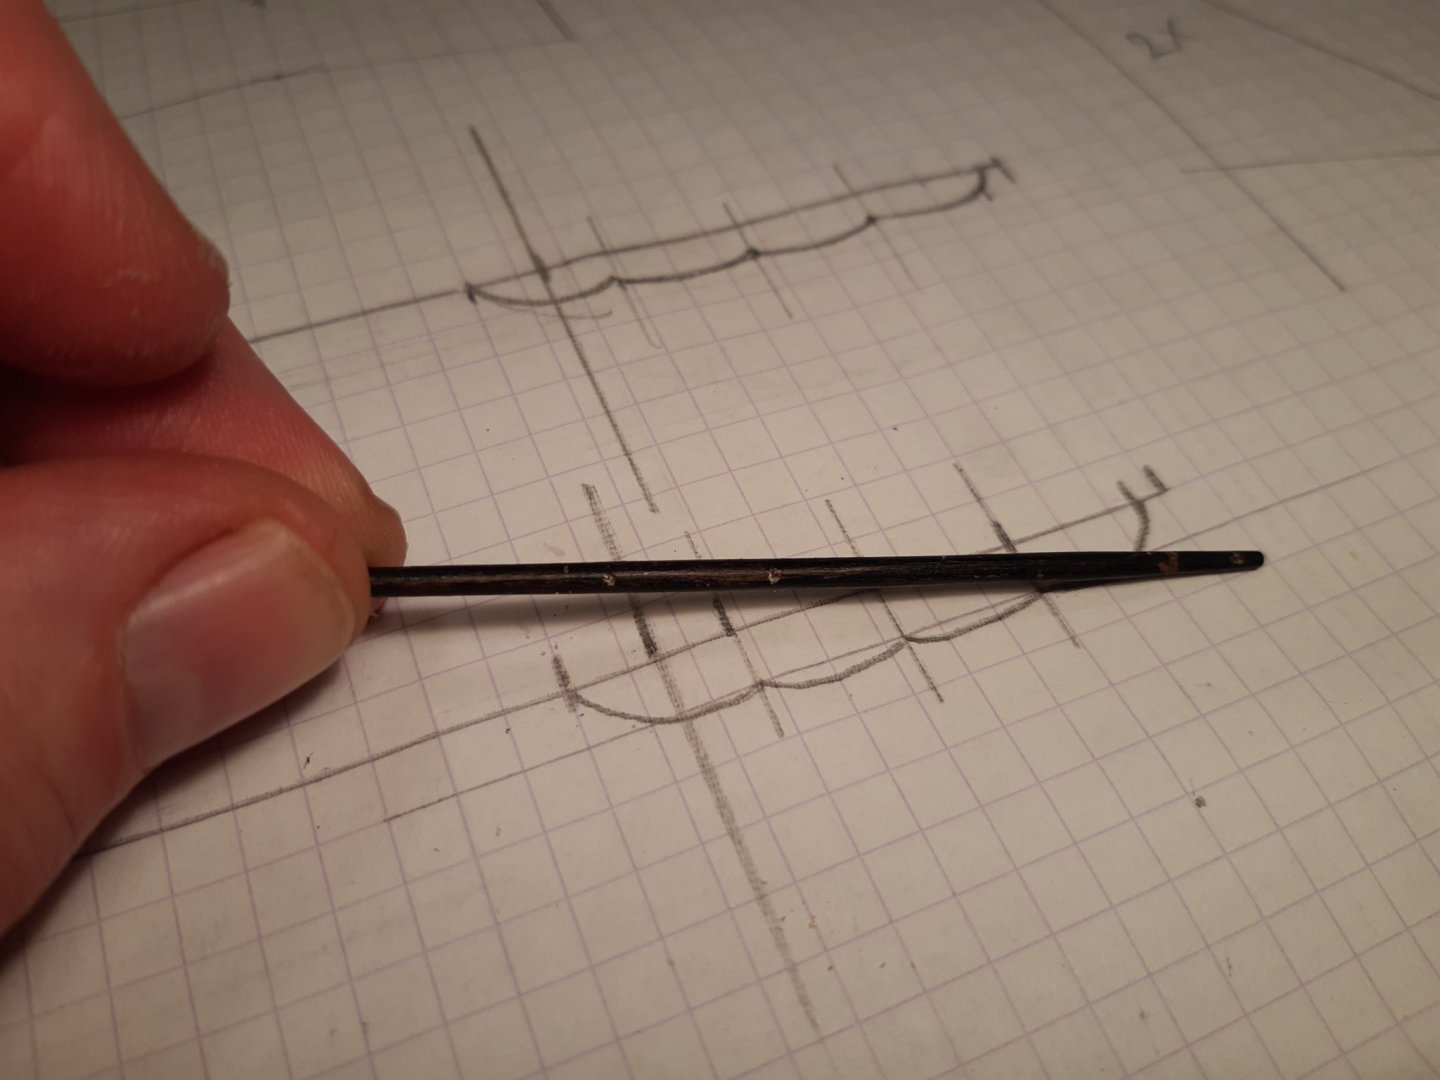
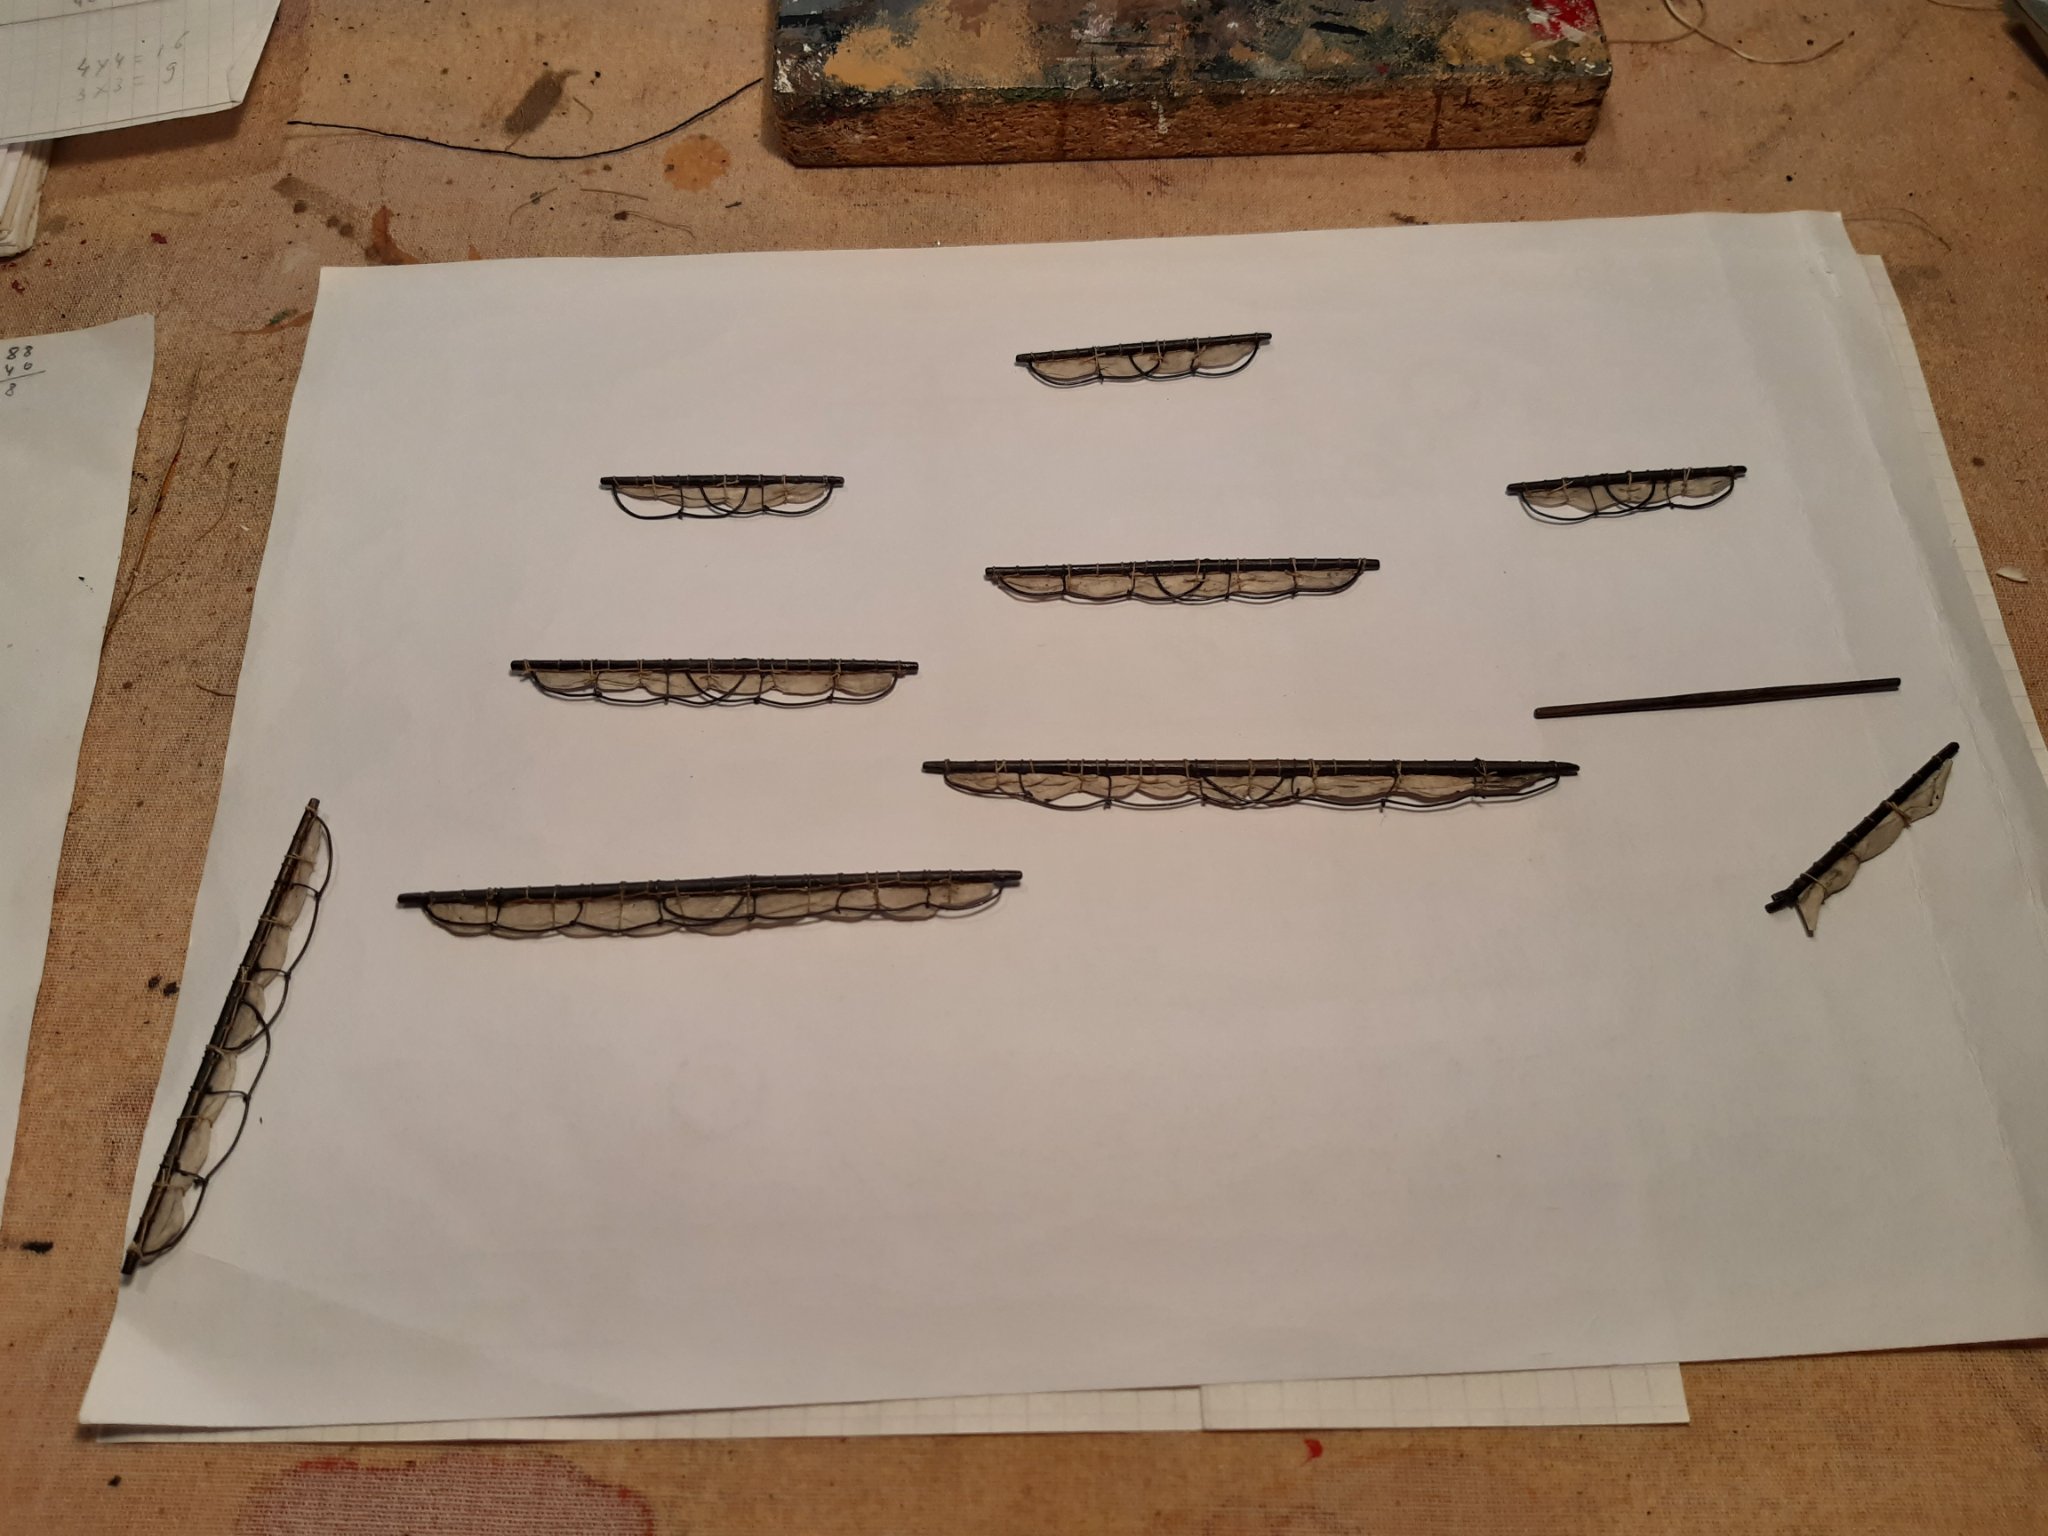
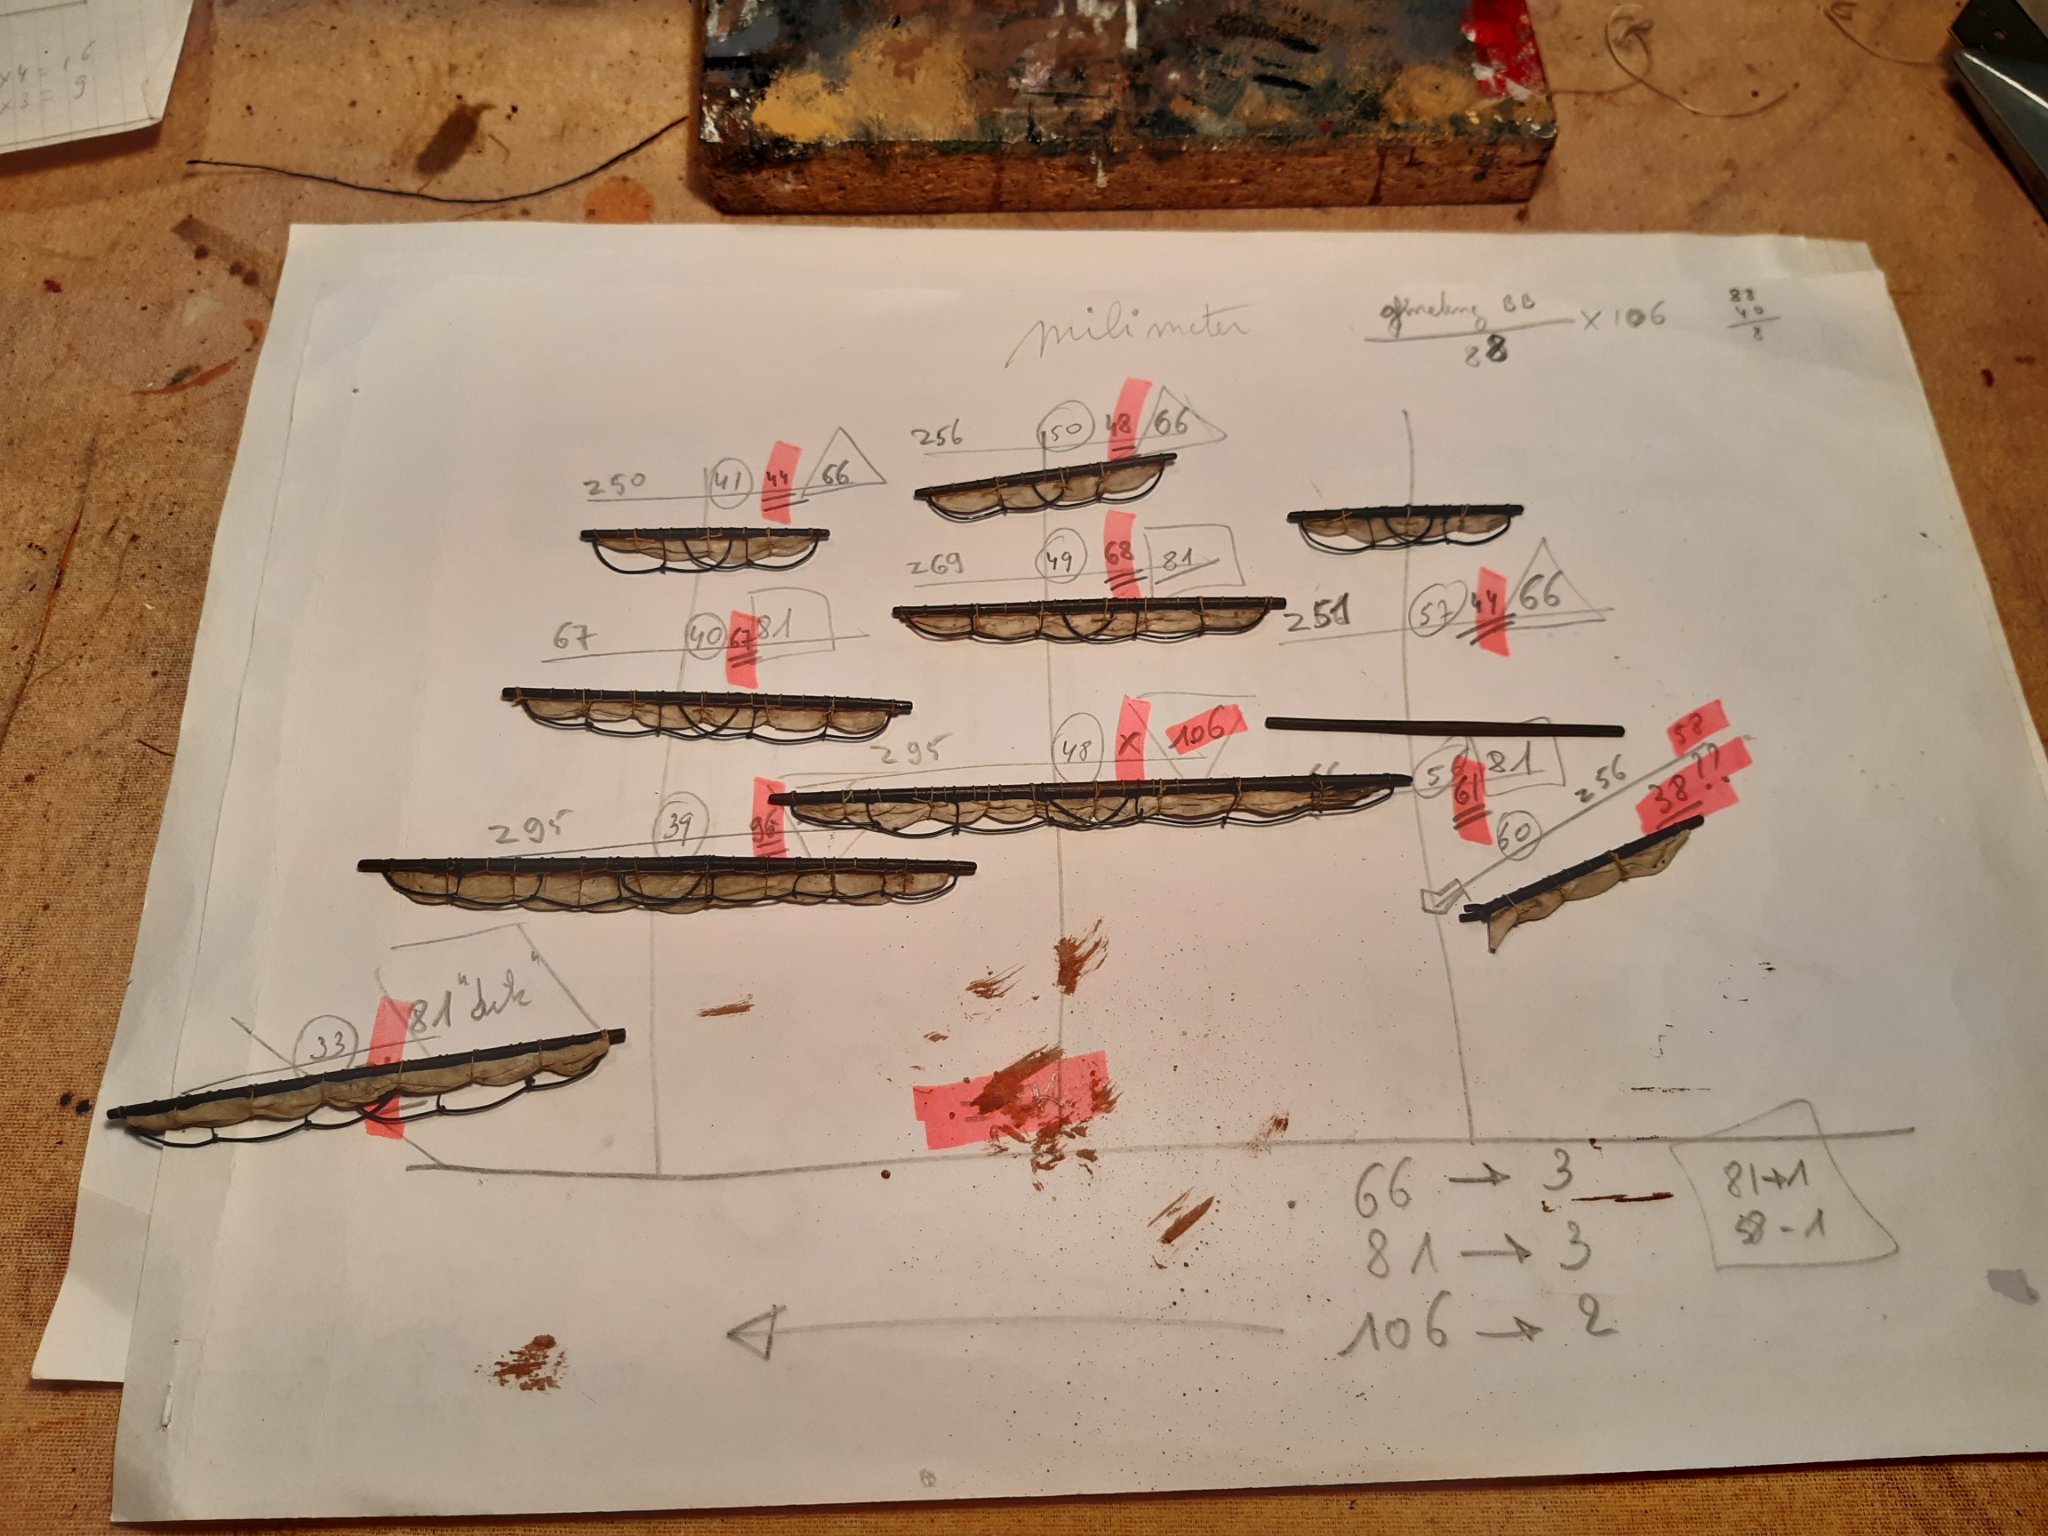
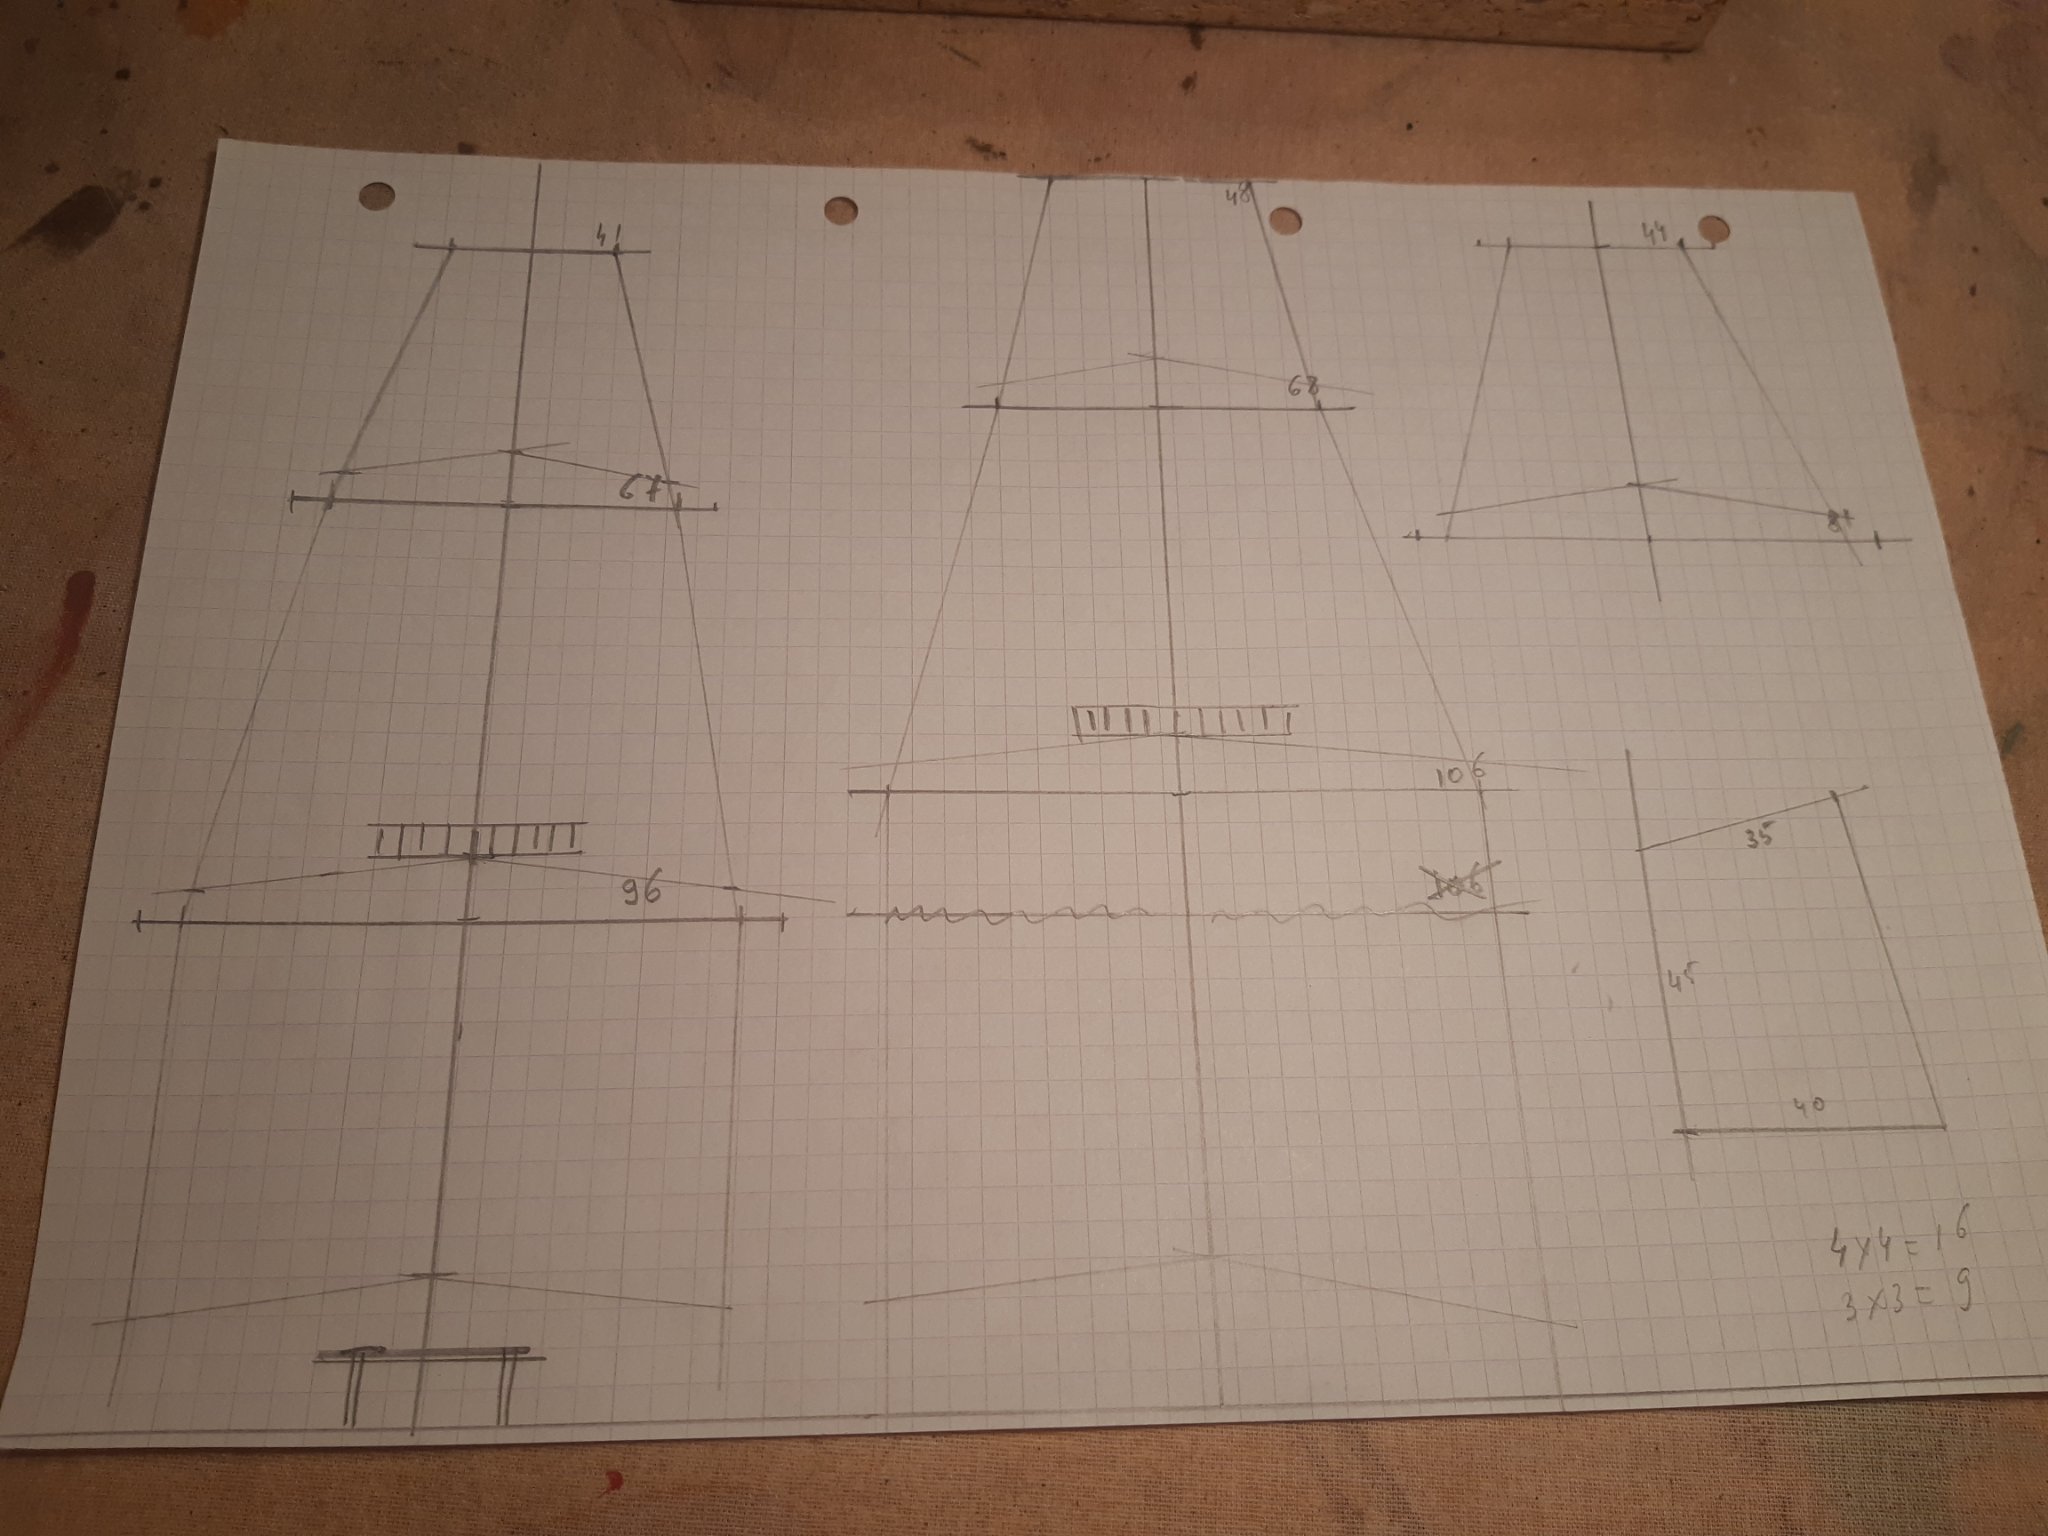
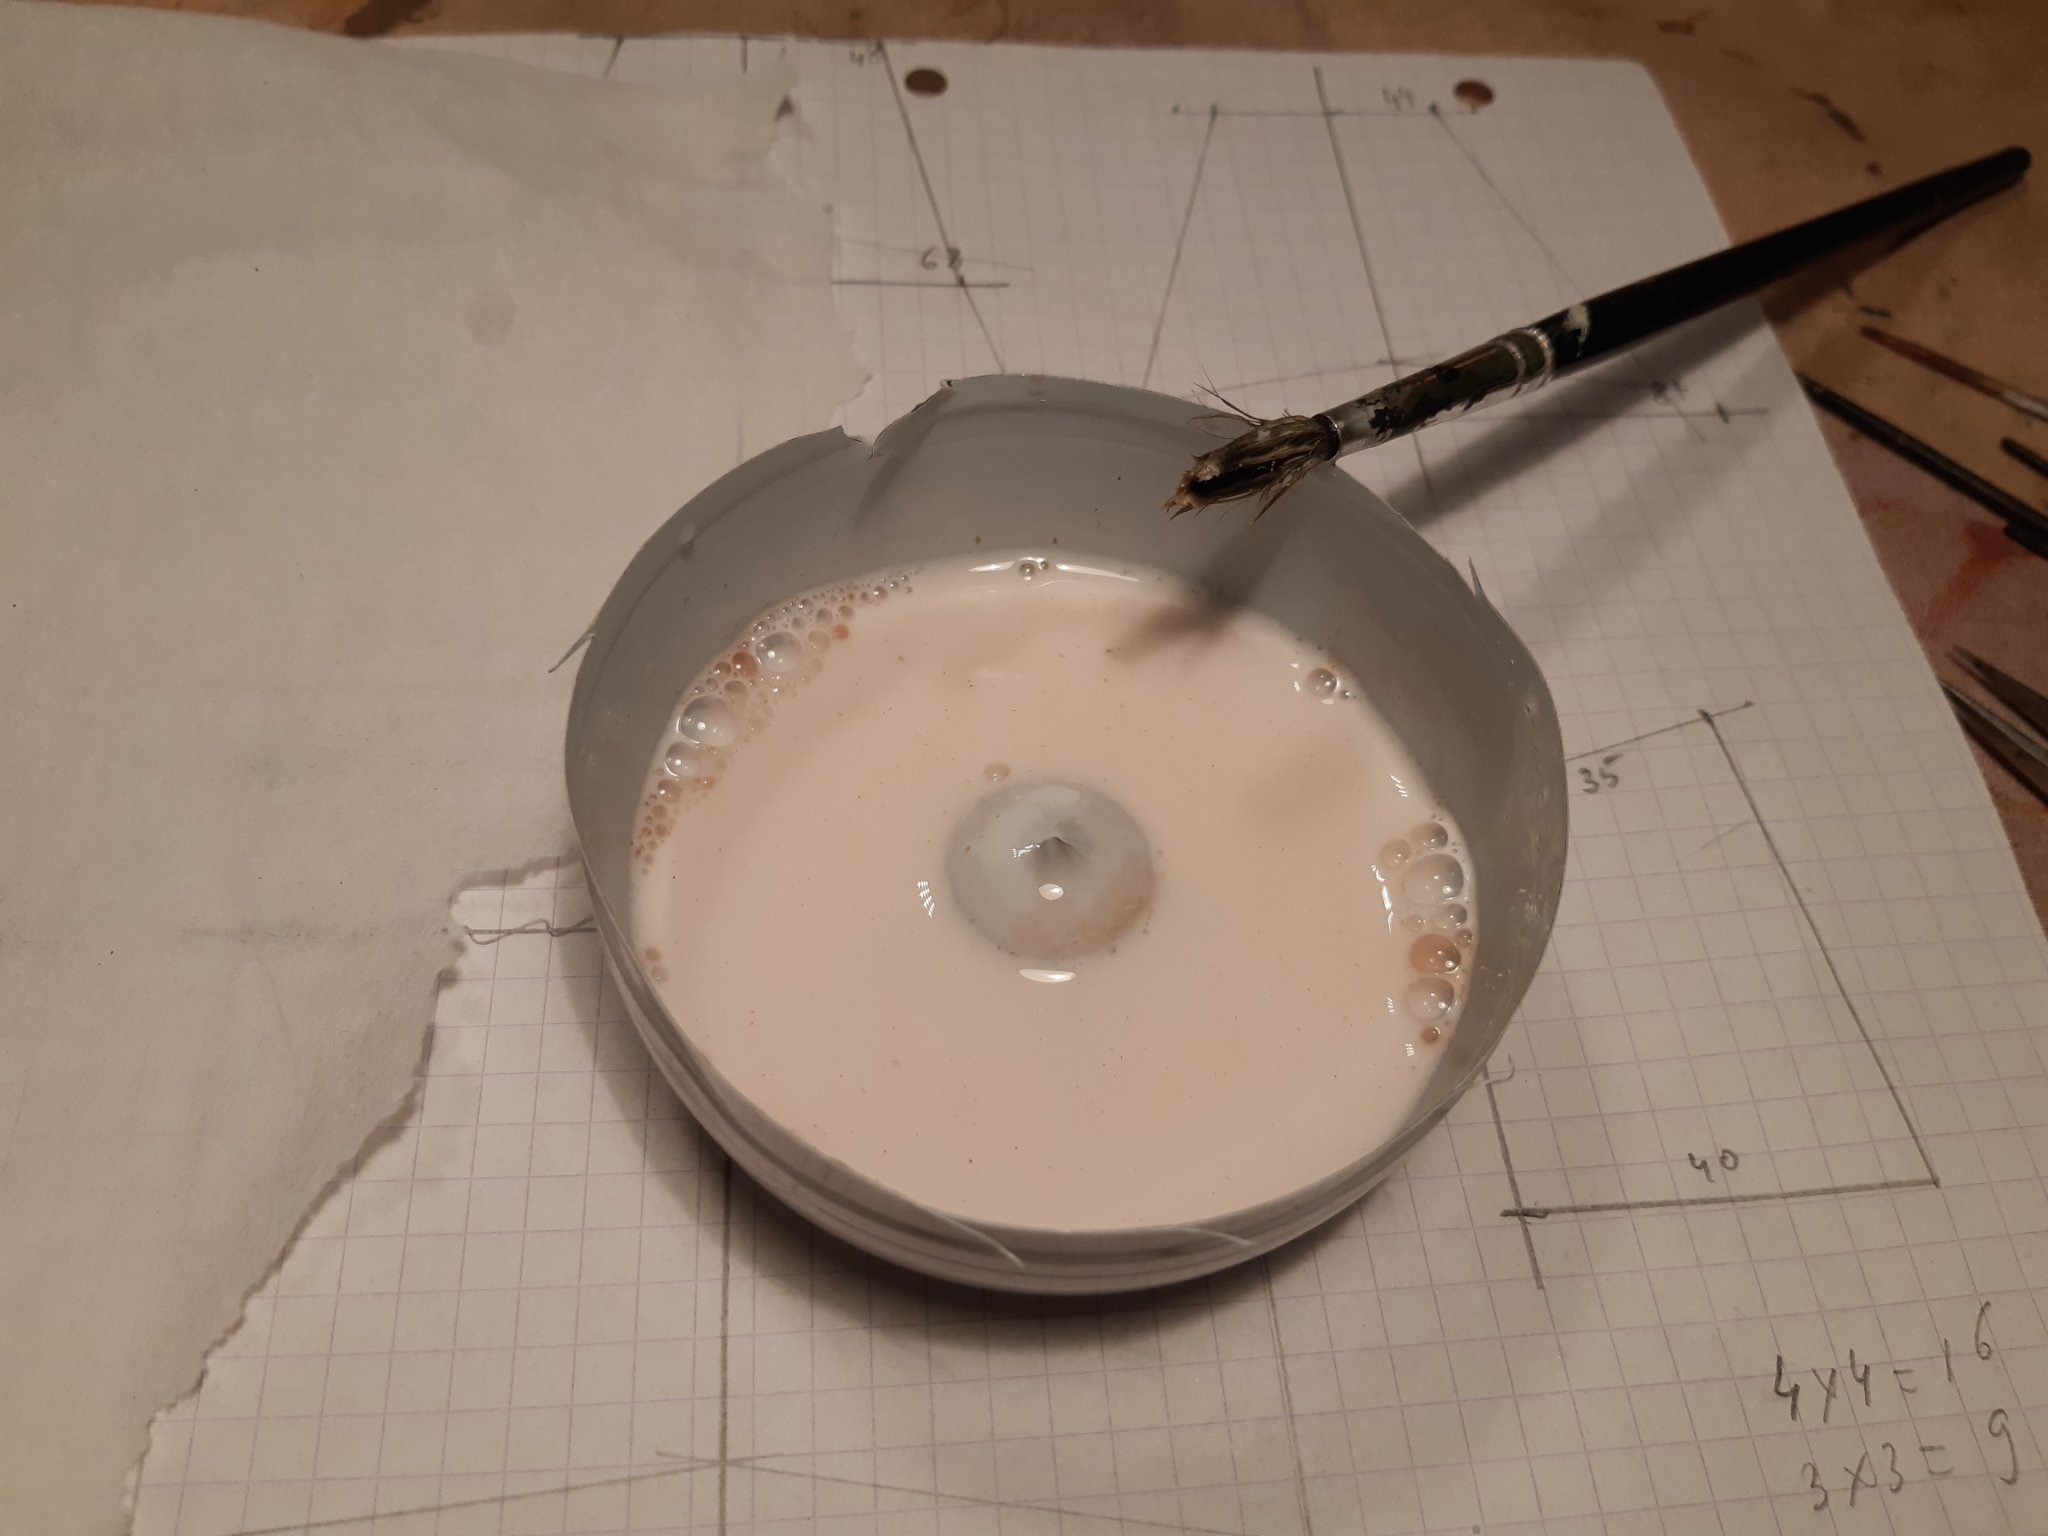
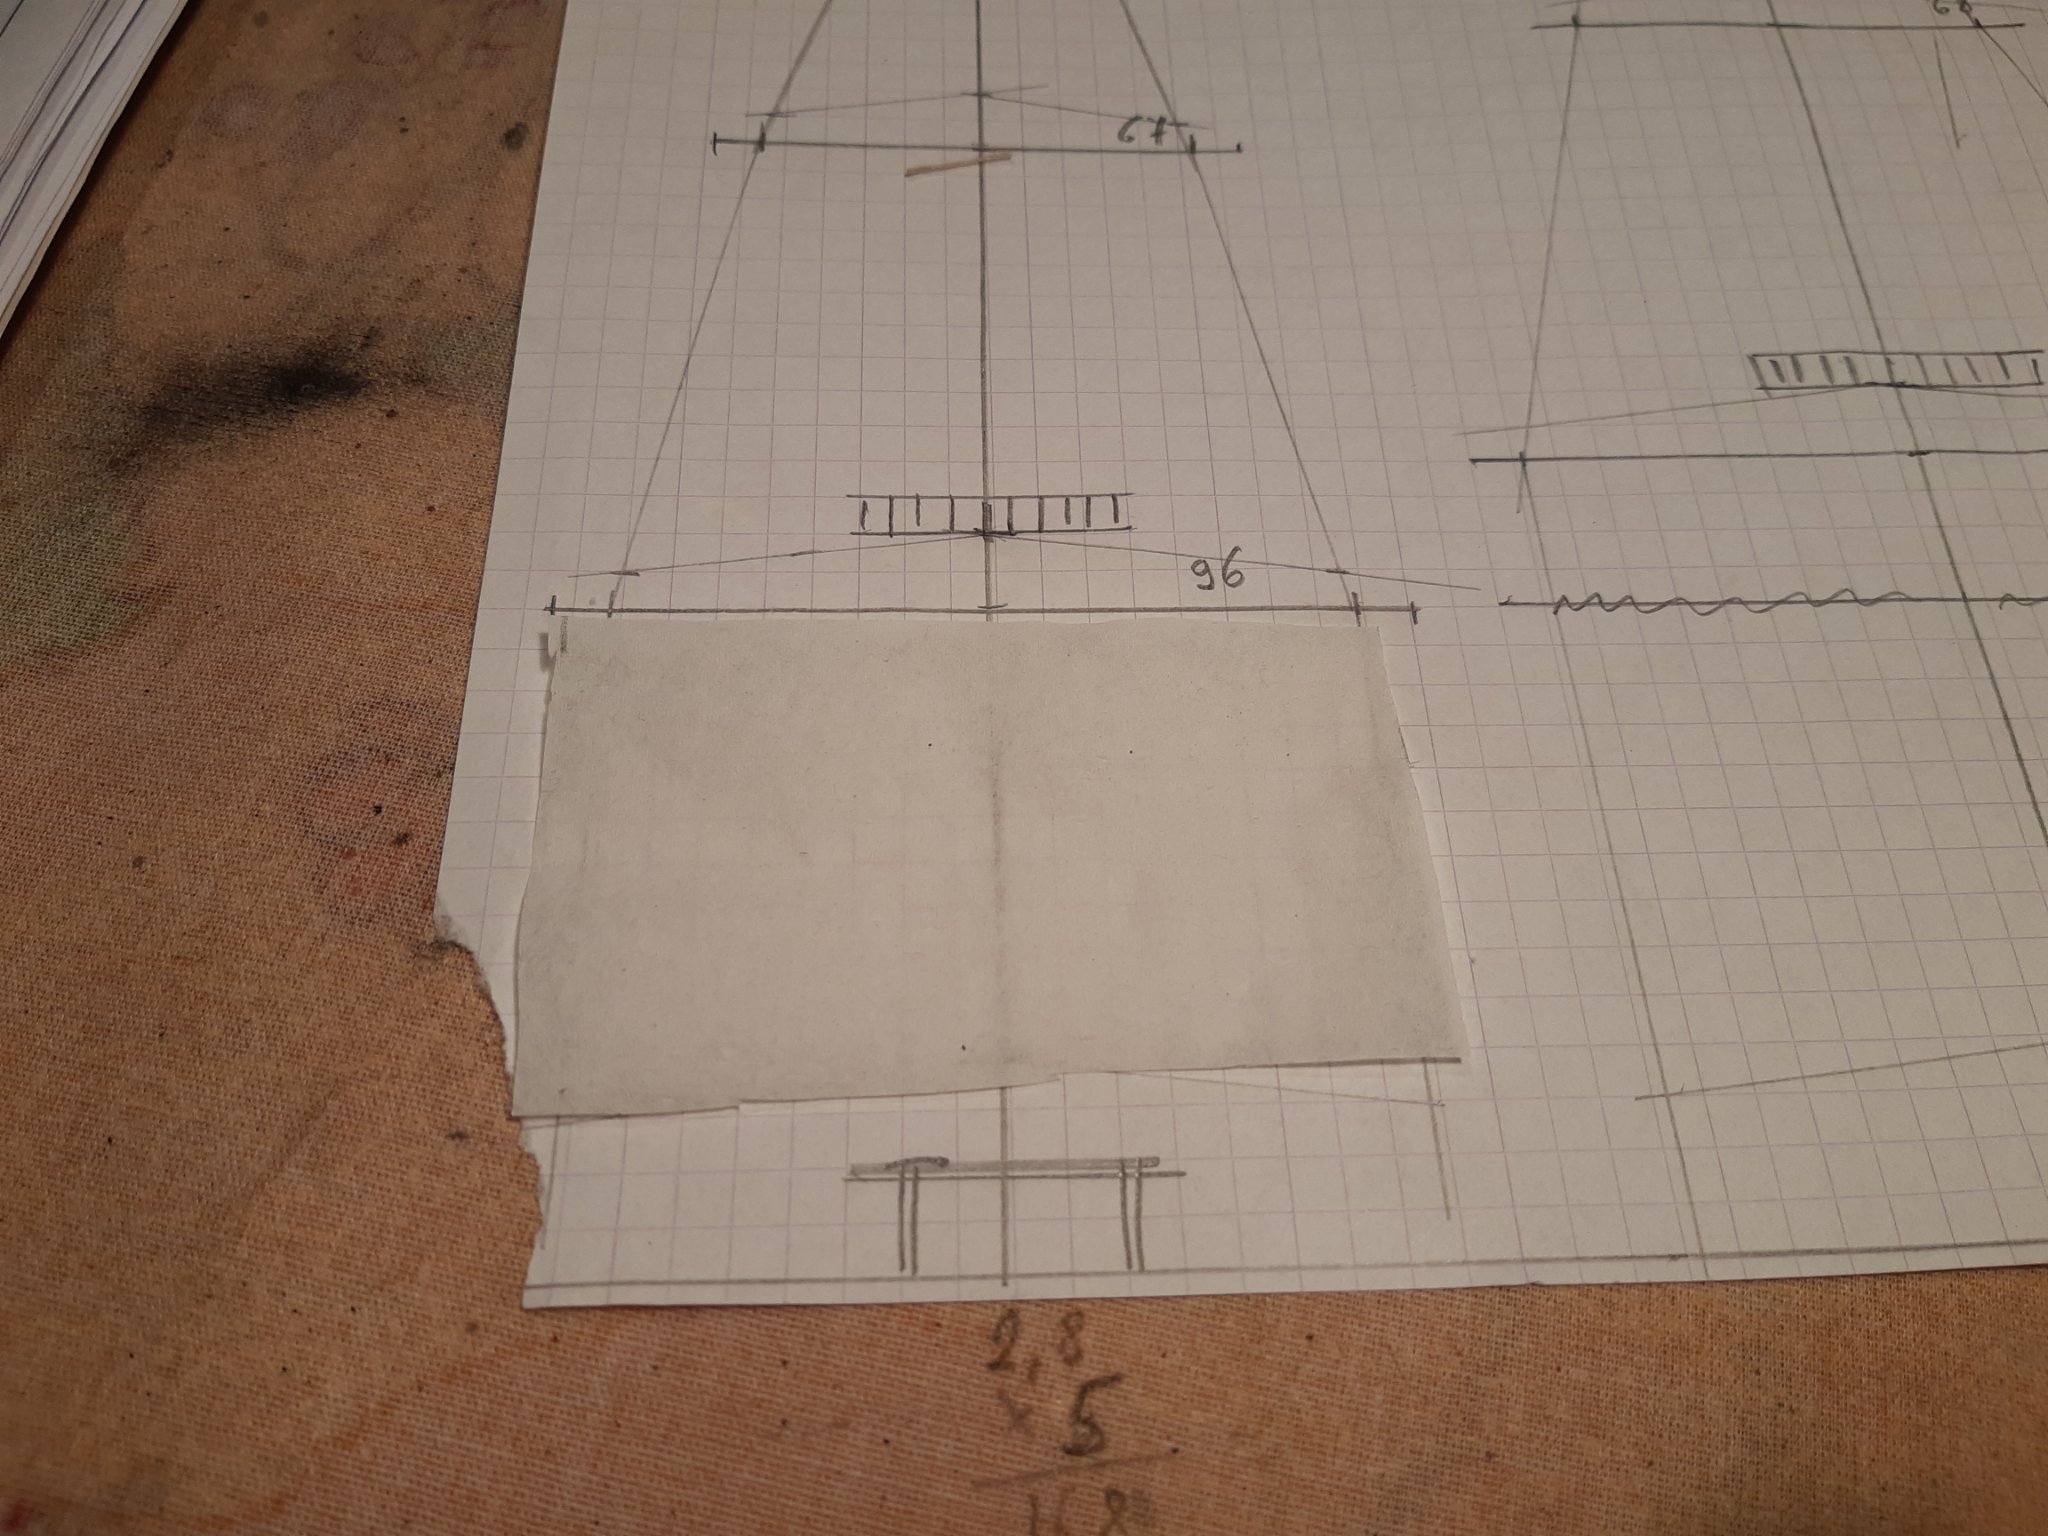
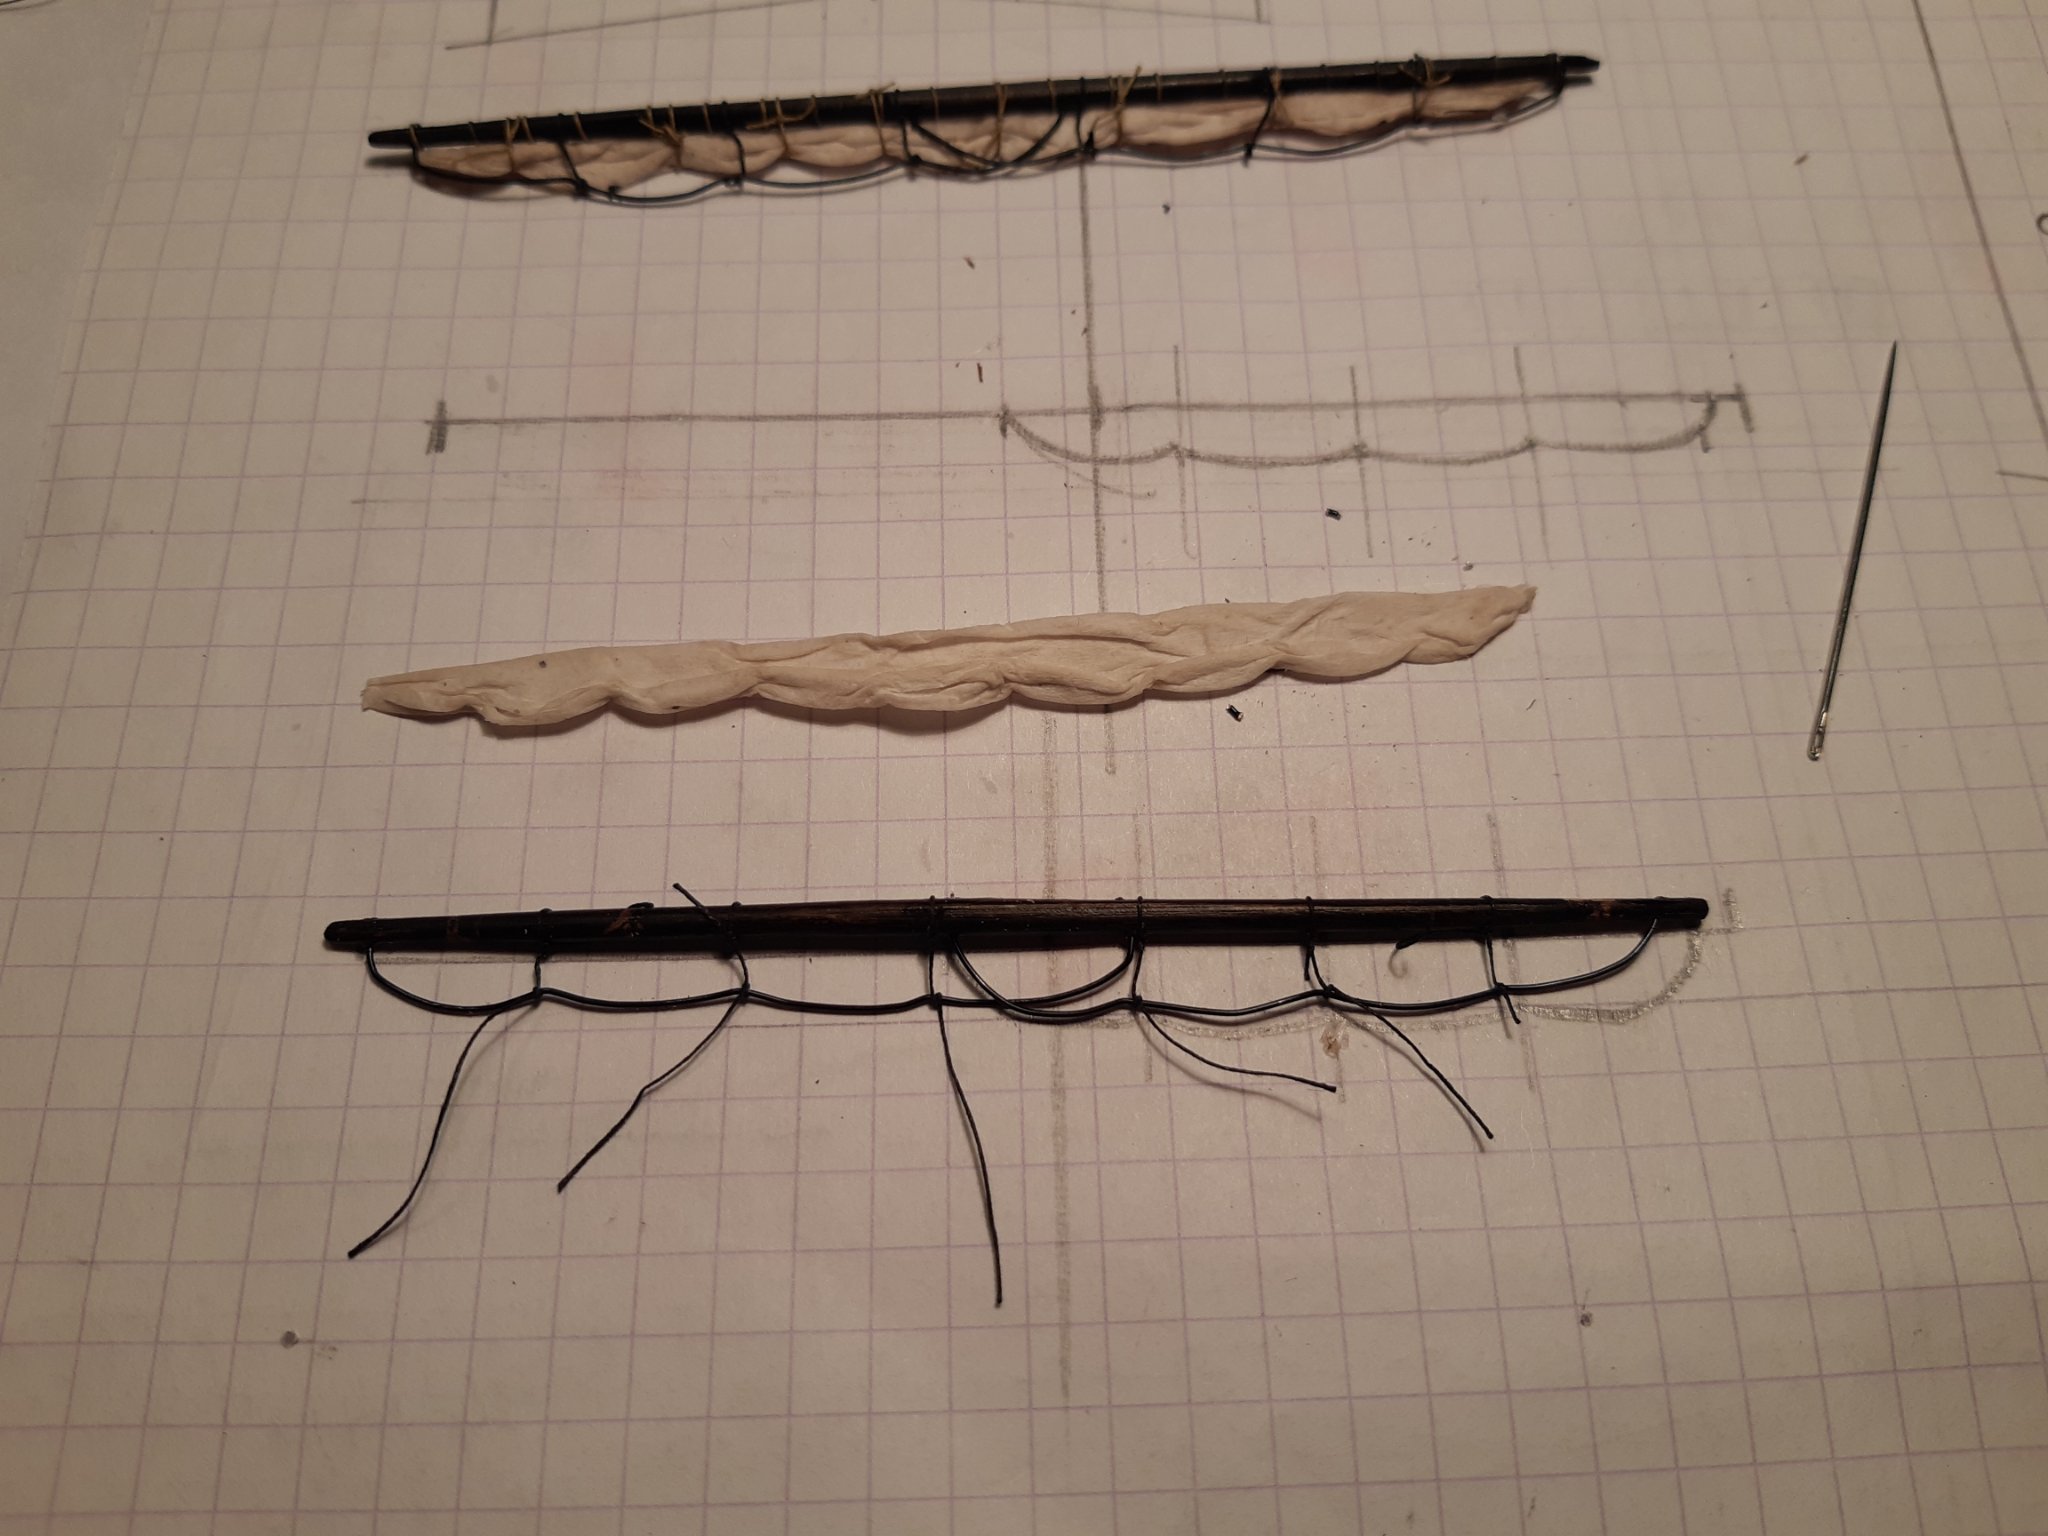
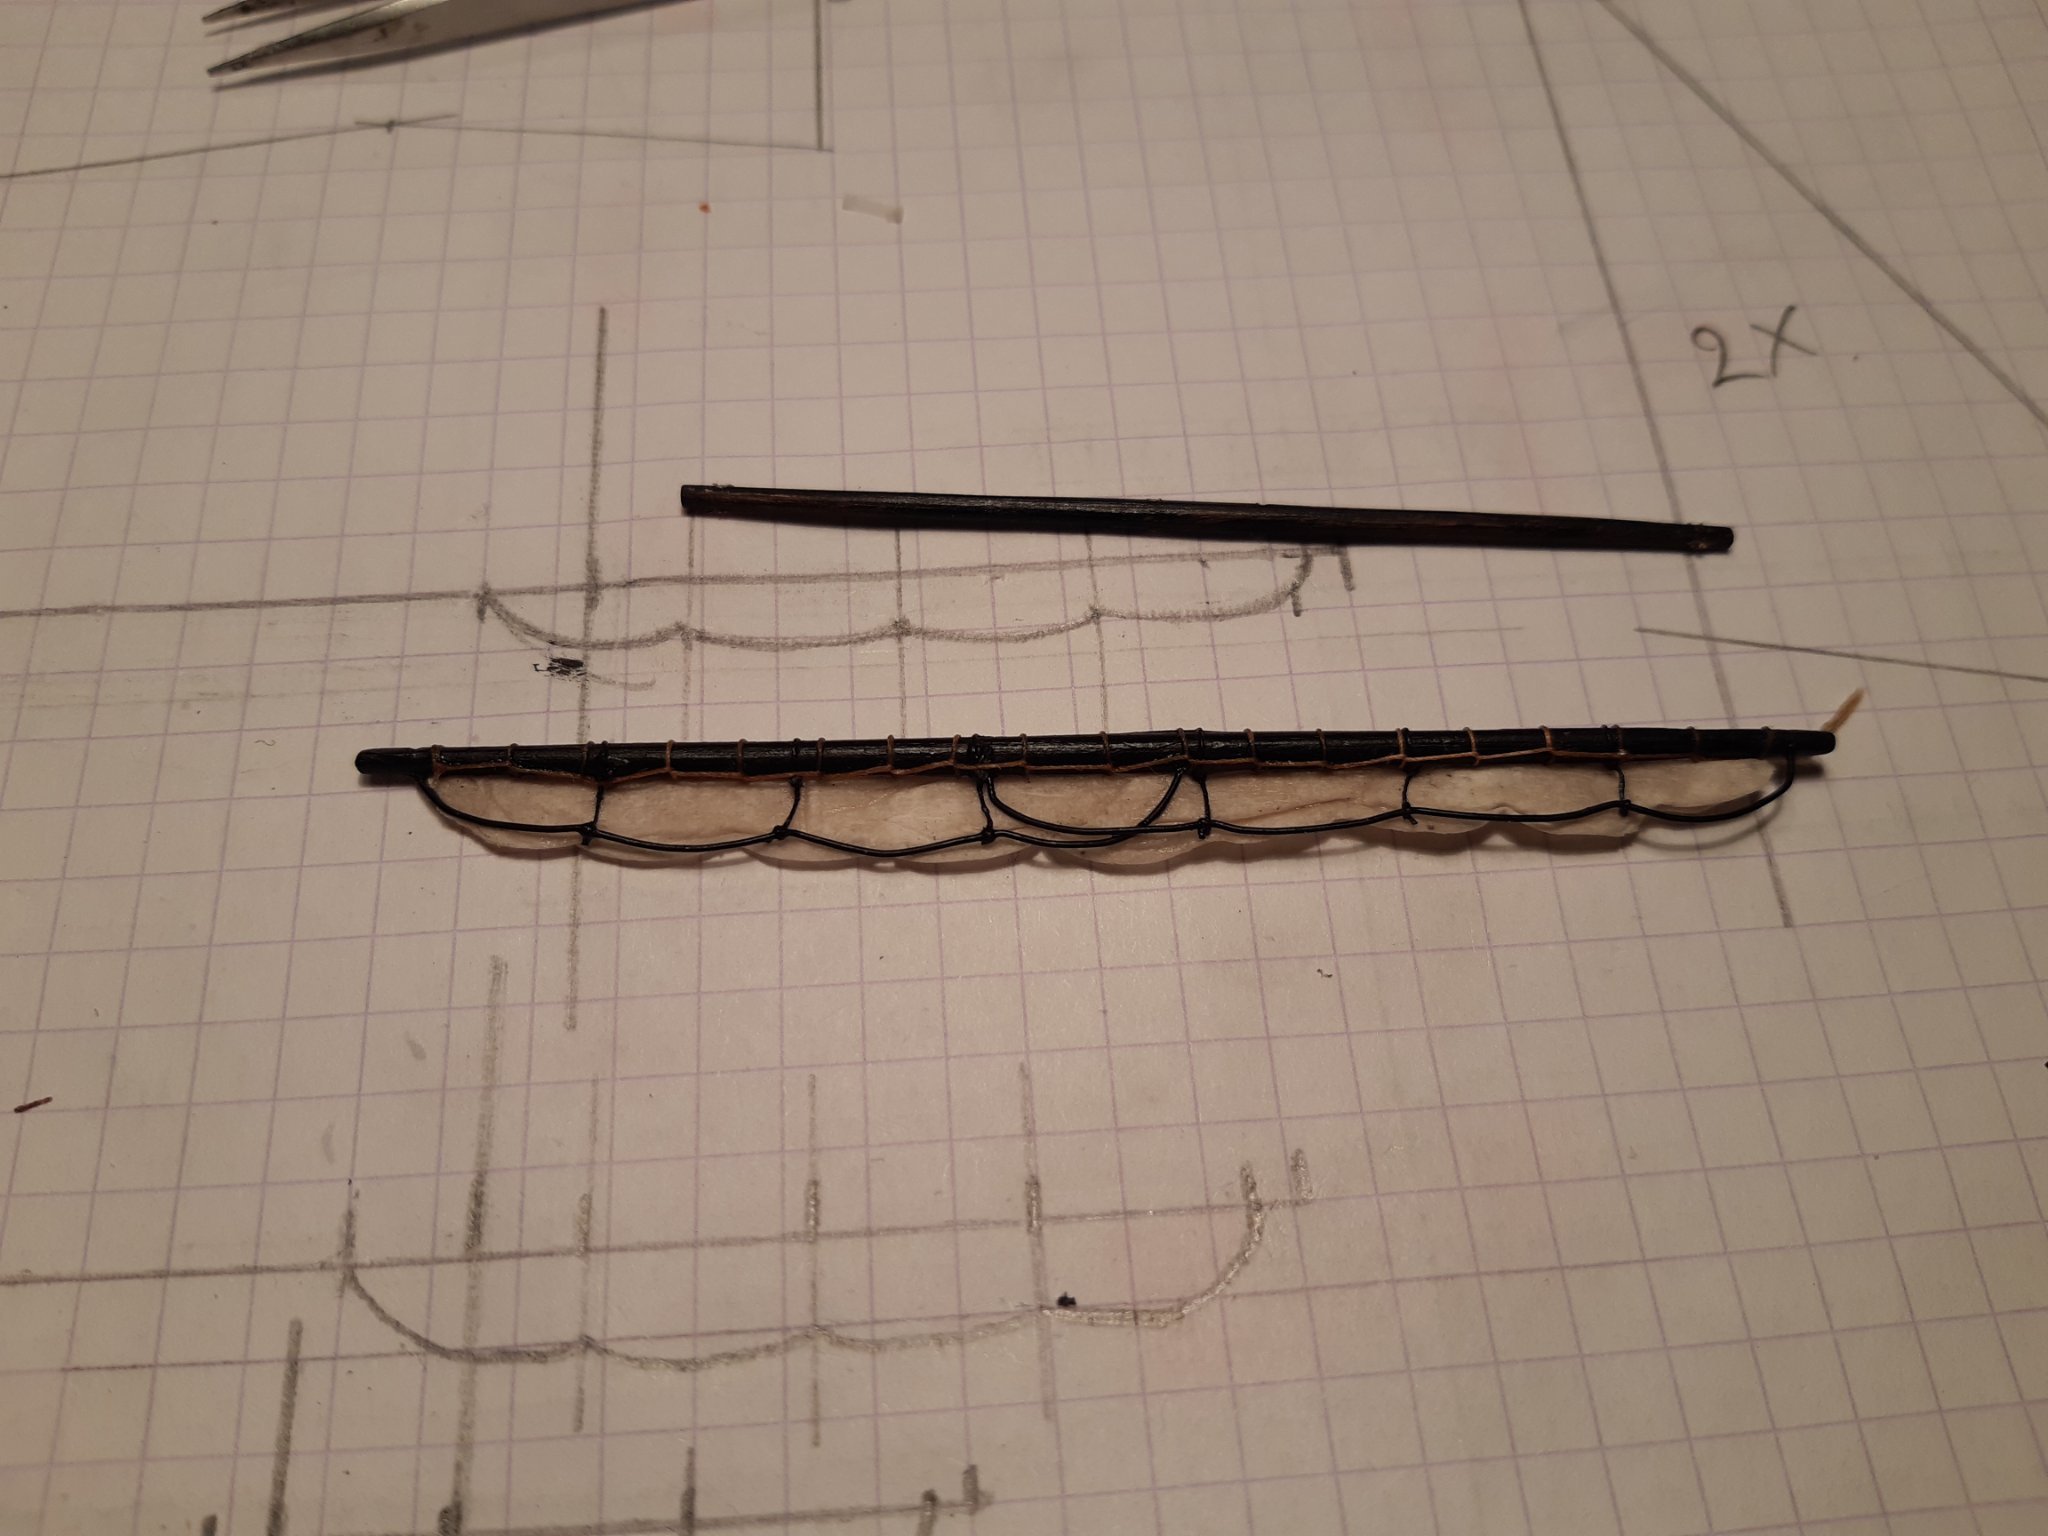
Much appreciated 👍The sails and footropes attached on the yards The how I made them, step by step.
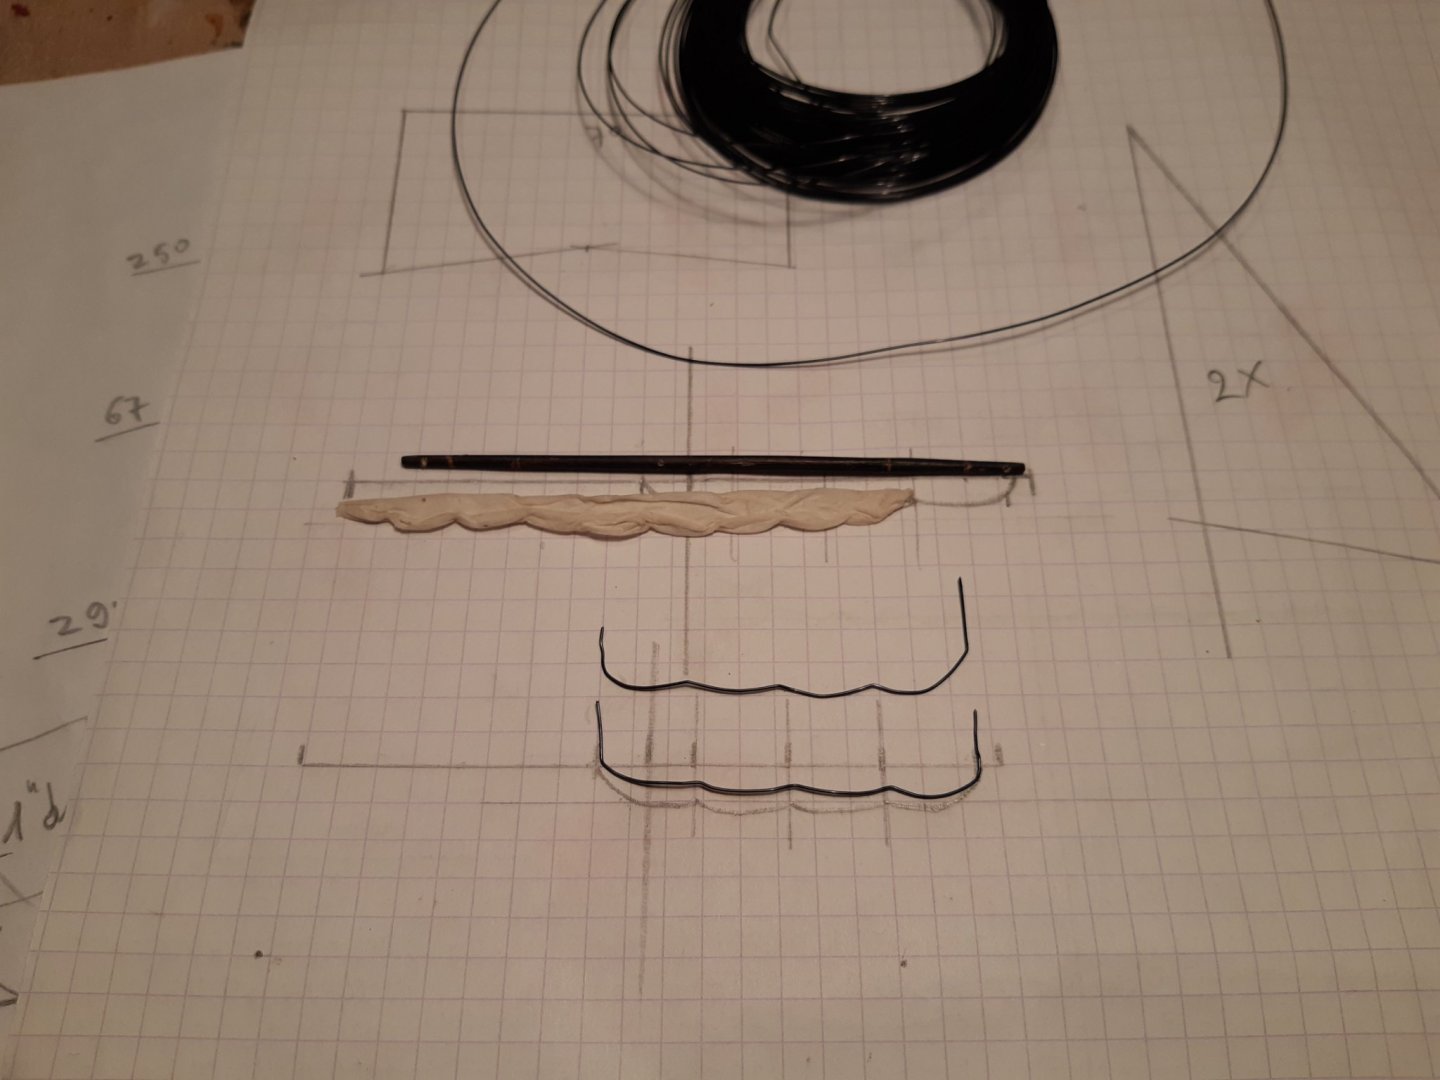
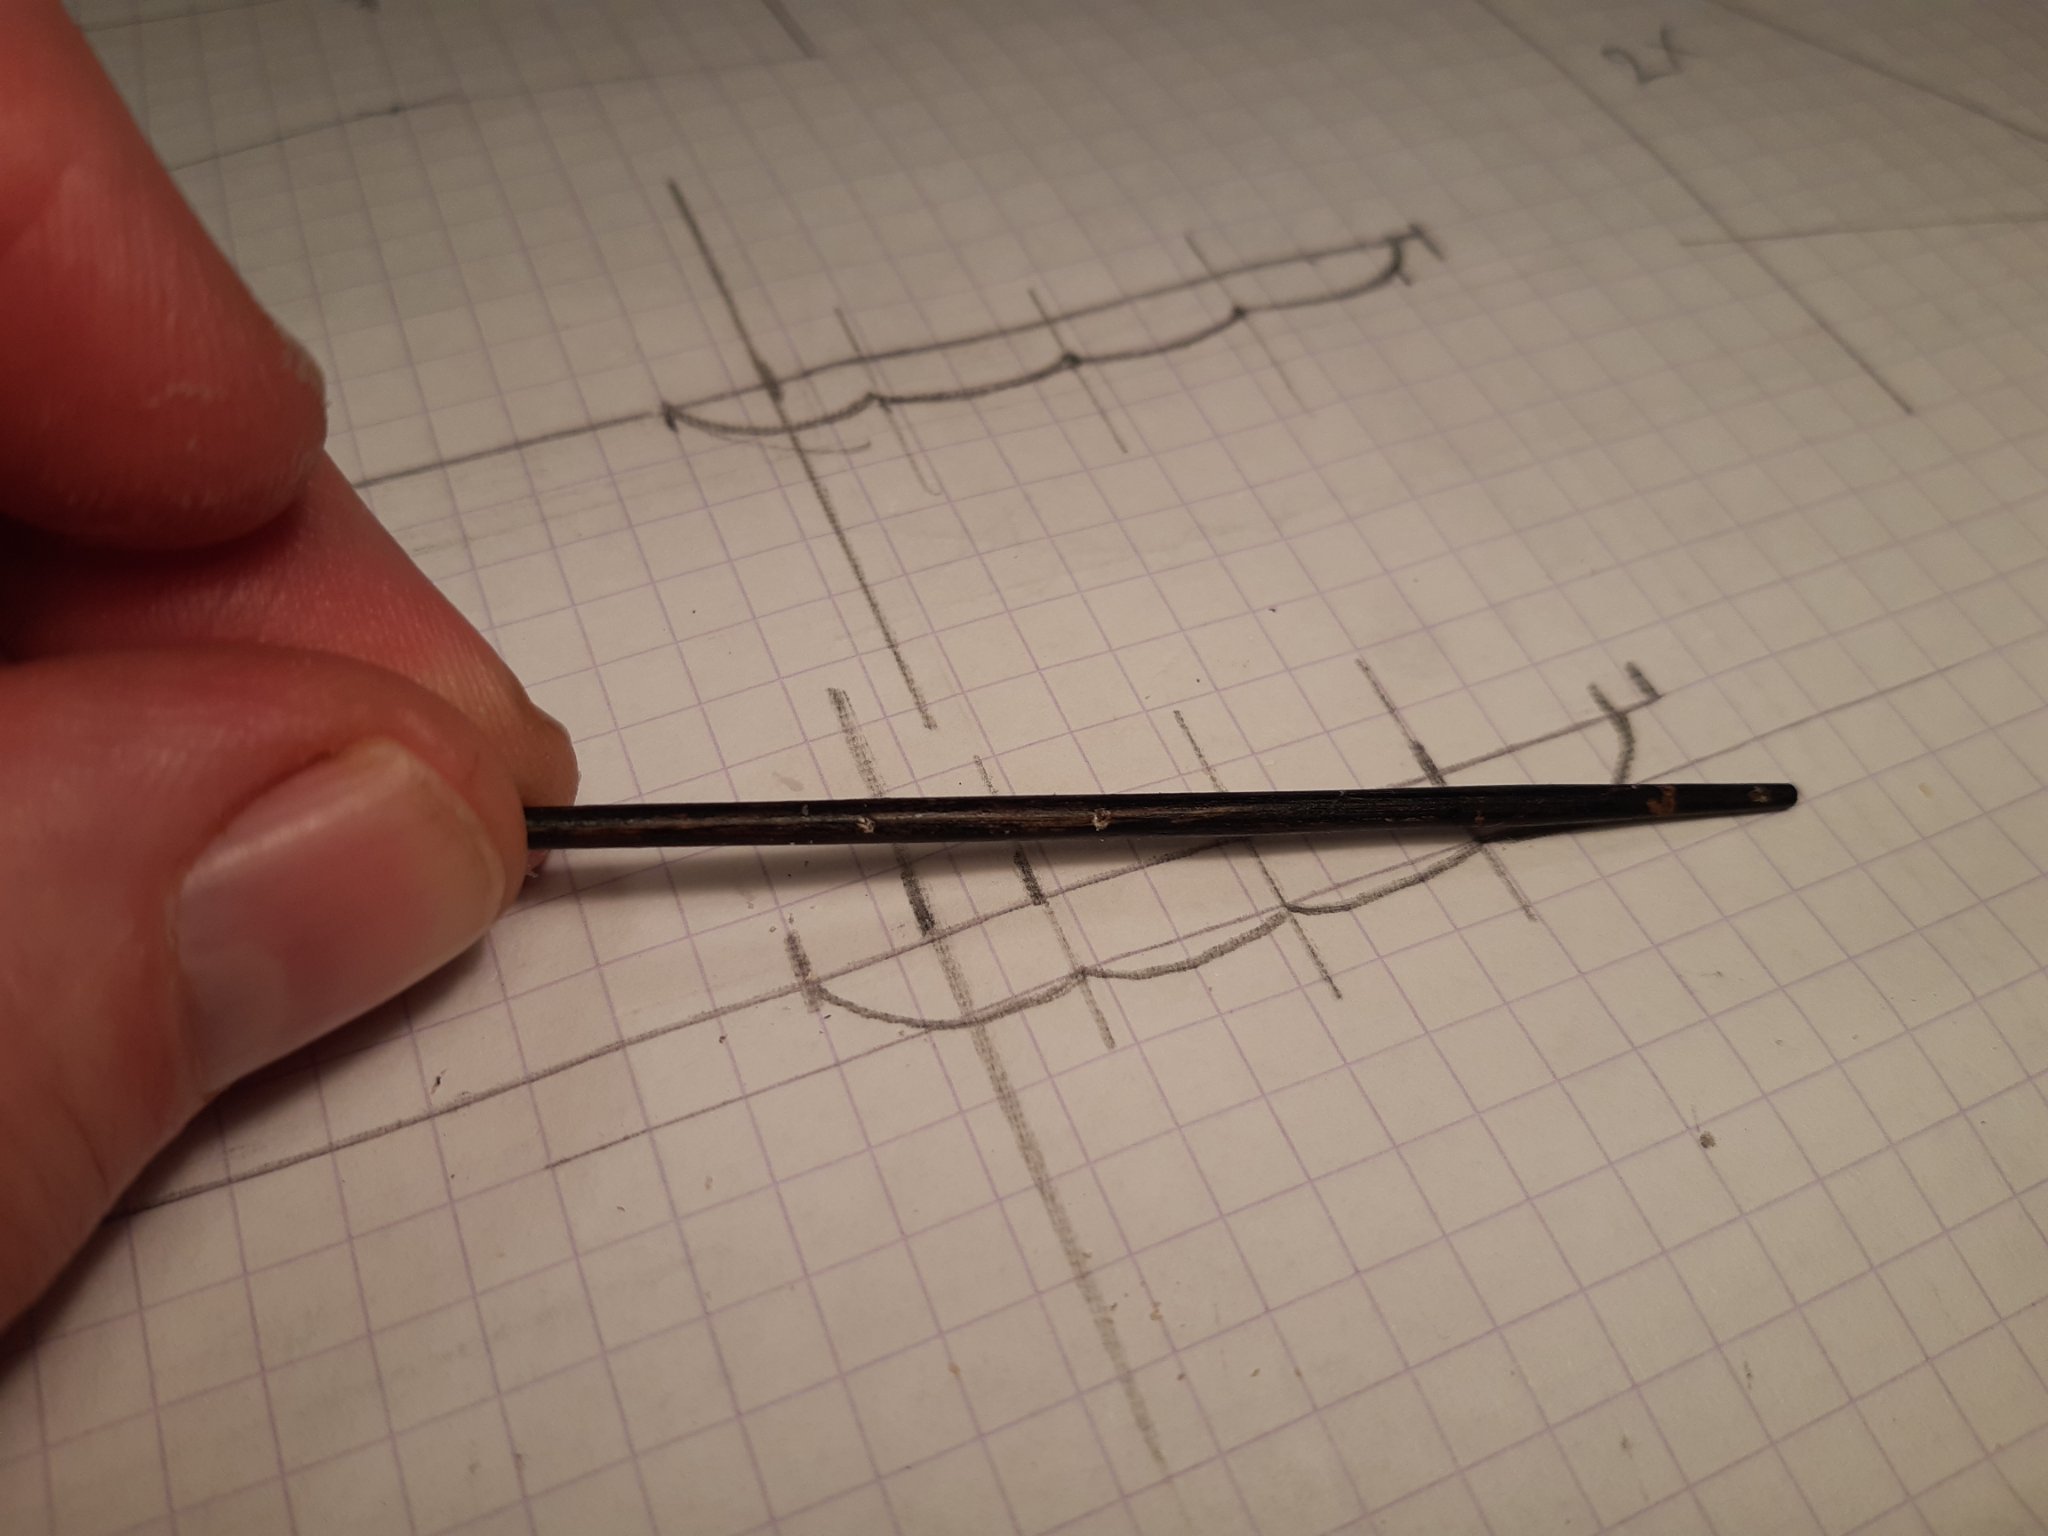
A plan with the general idea of the dimensions
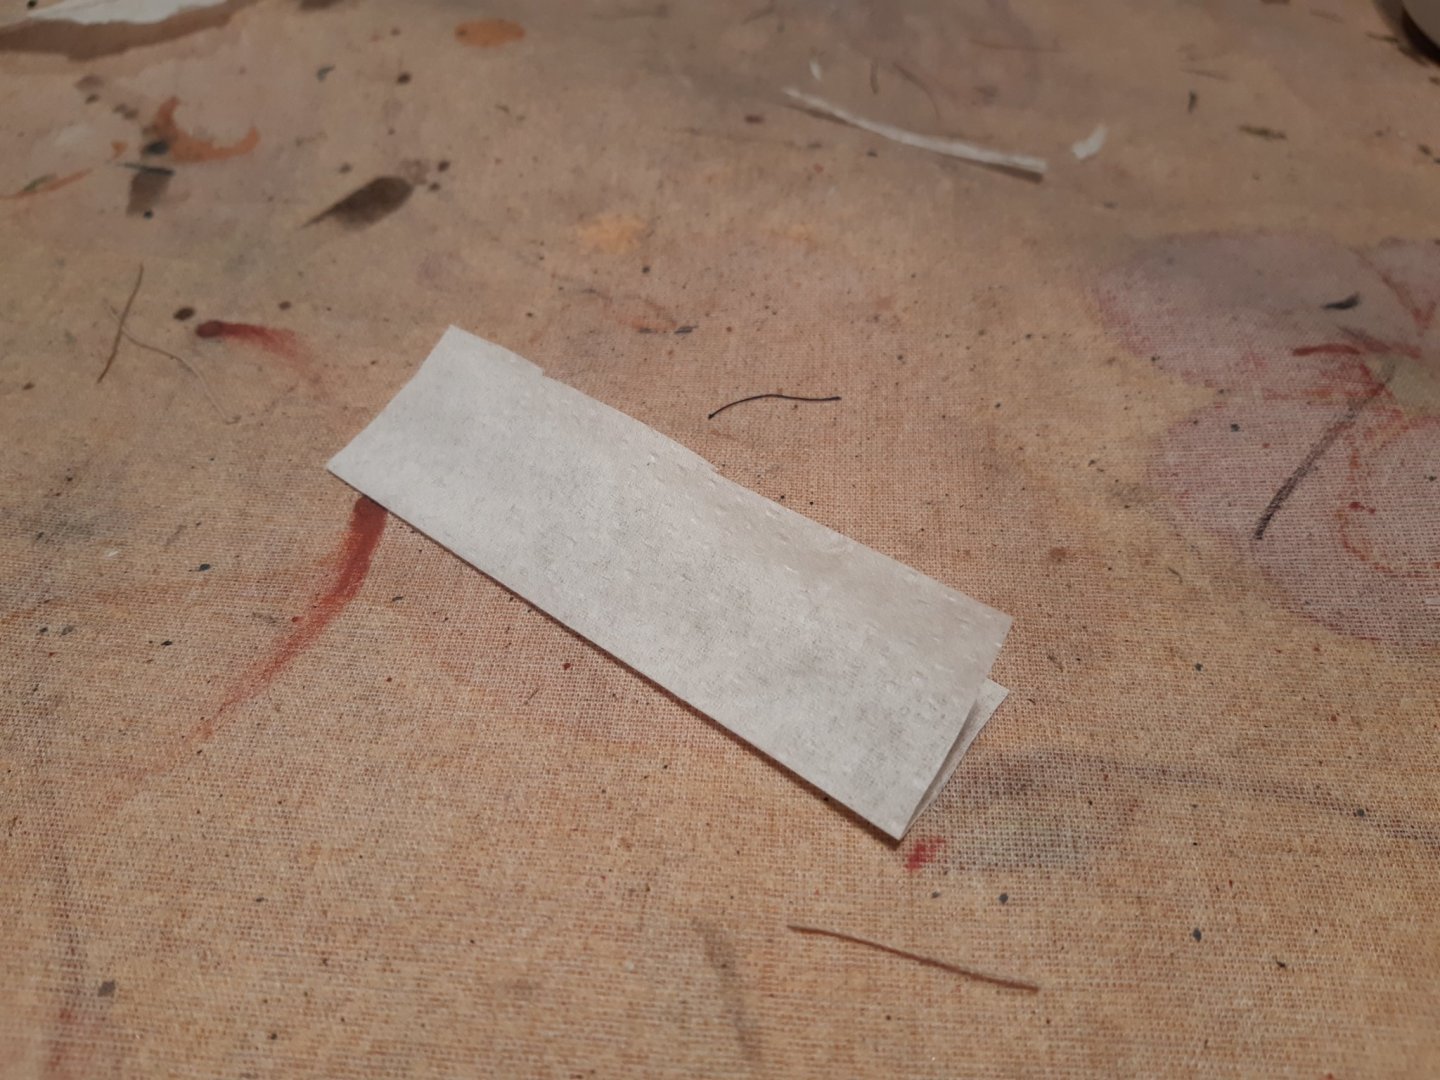
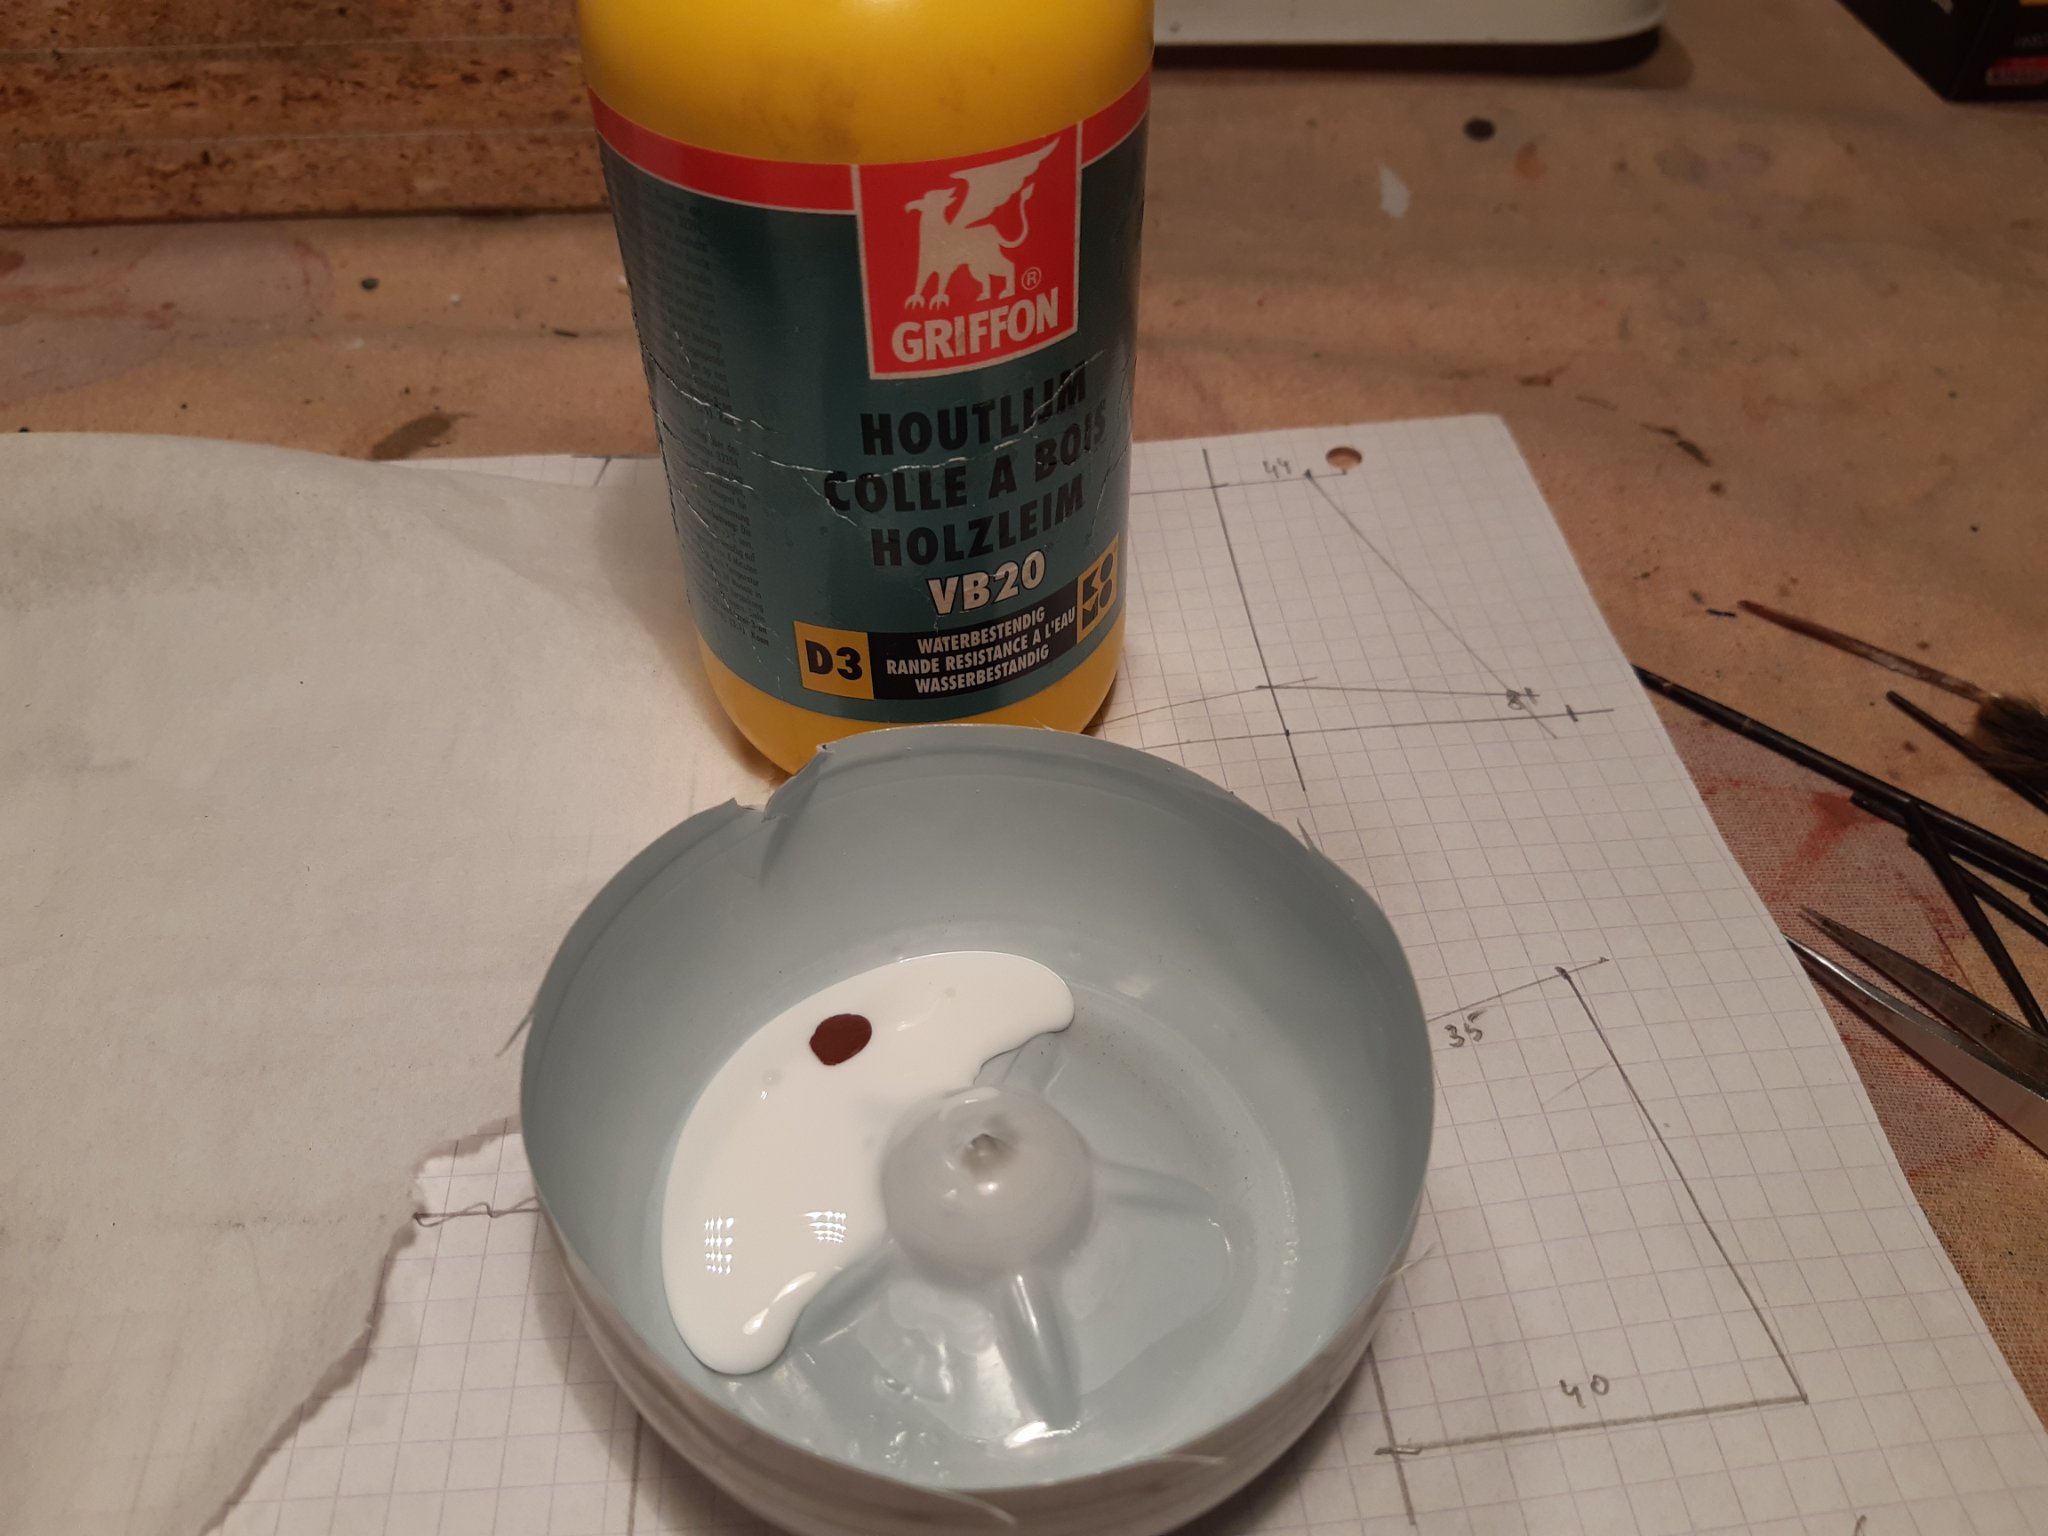
The basic material, not the normal papertissue but a slightly harder version.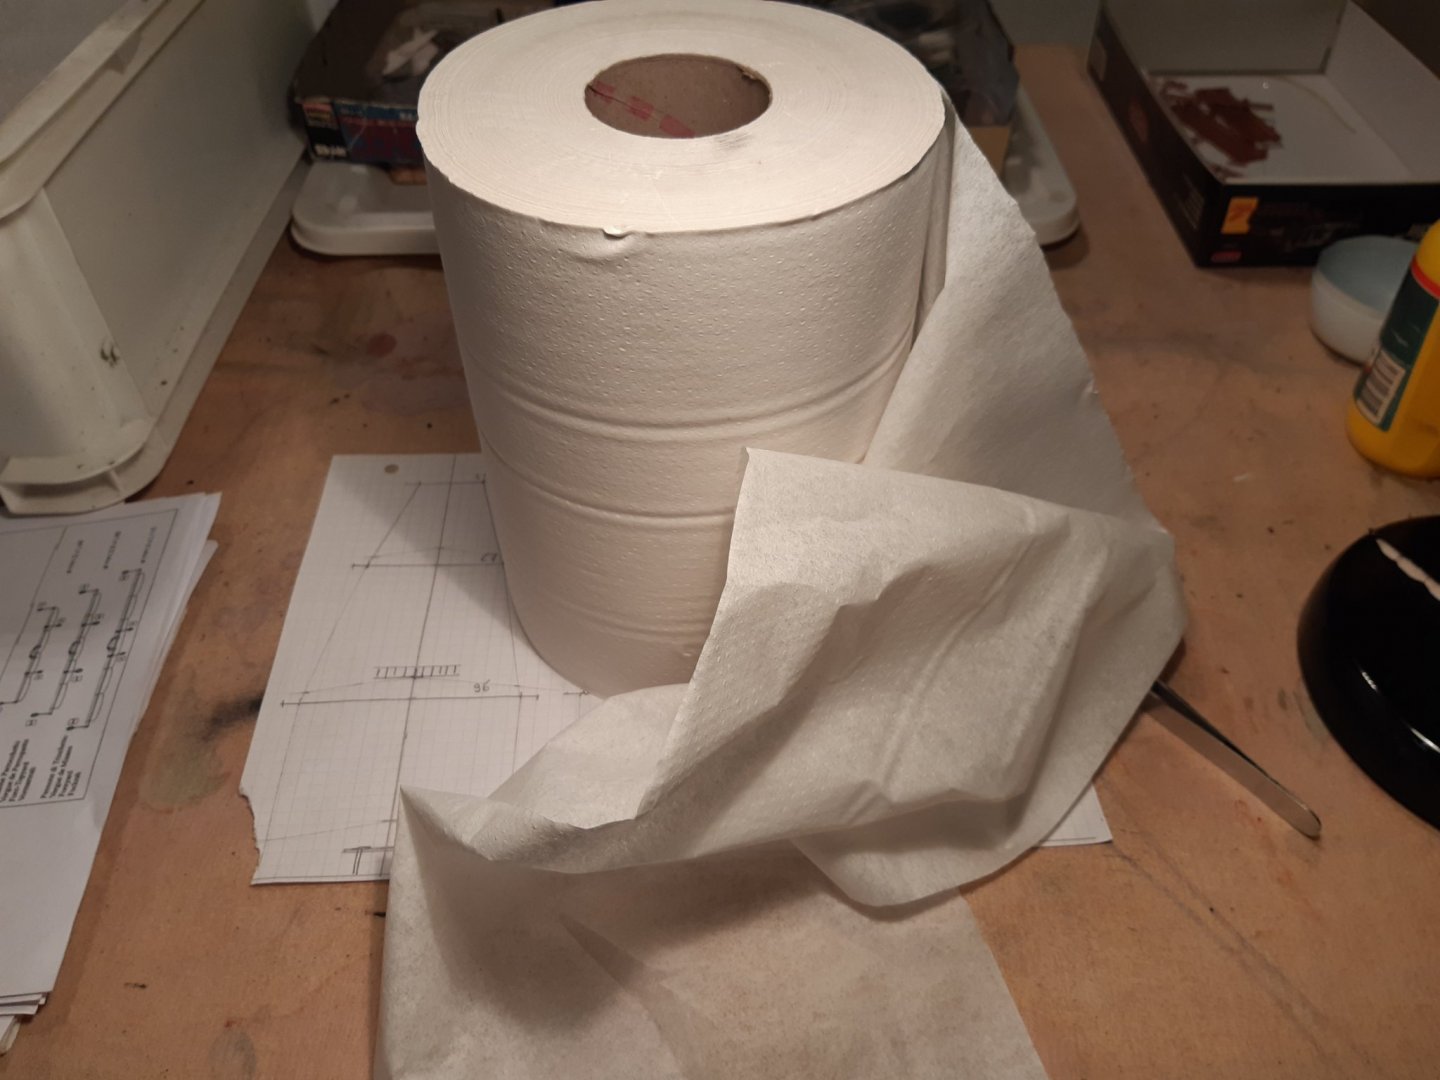
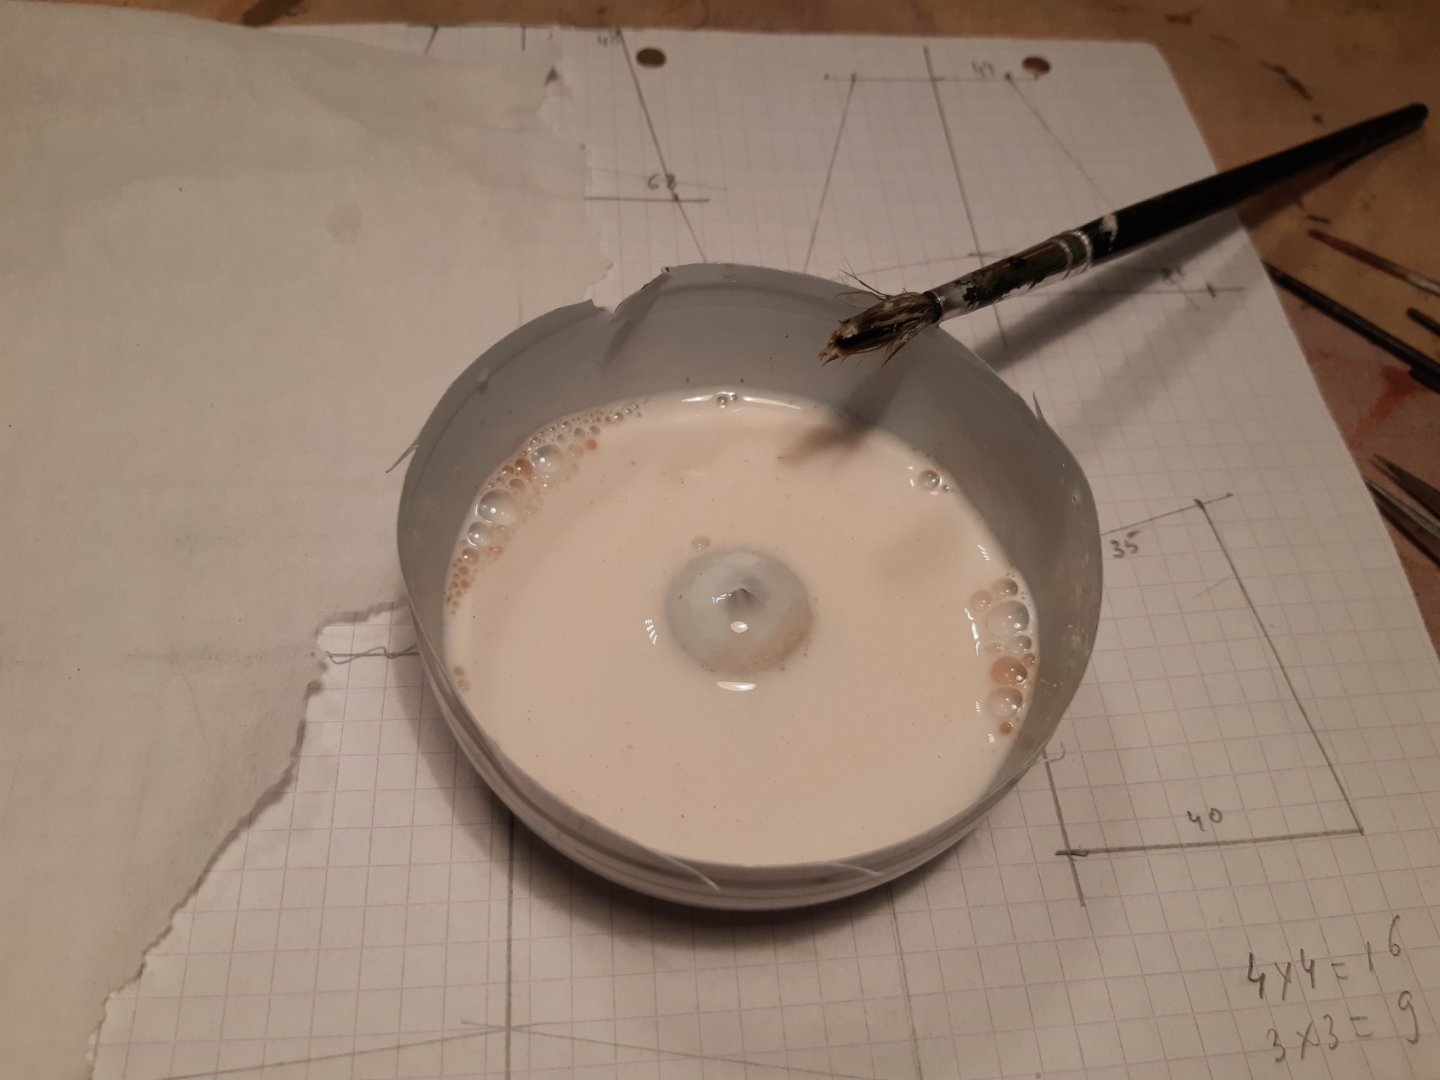
The PVA glue diluted with water with a drop of brown paint

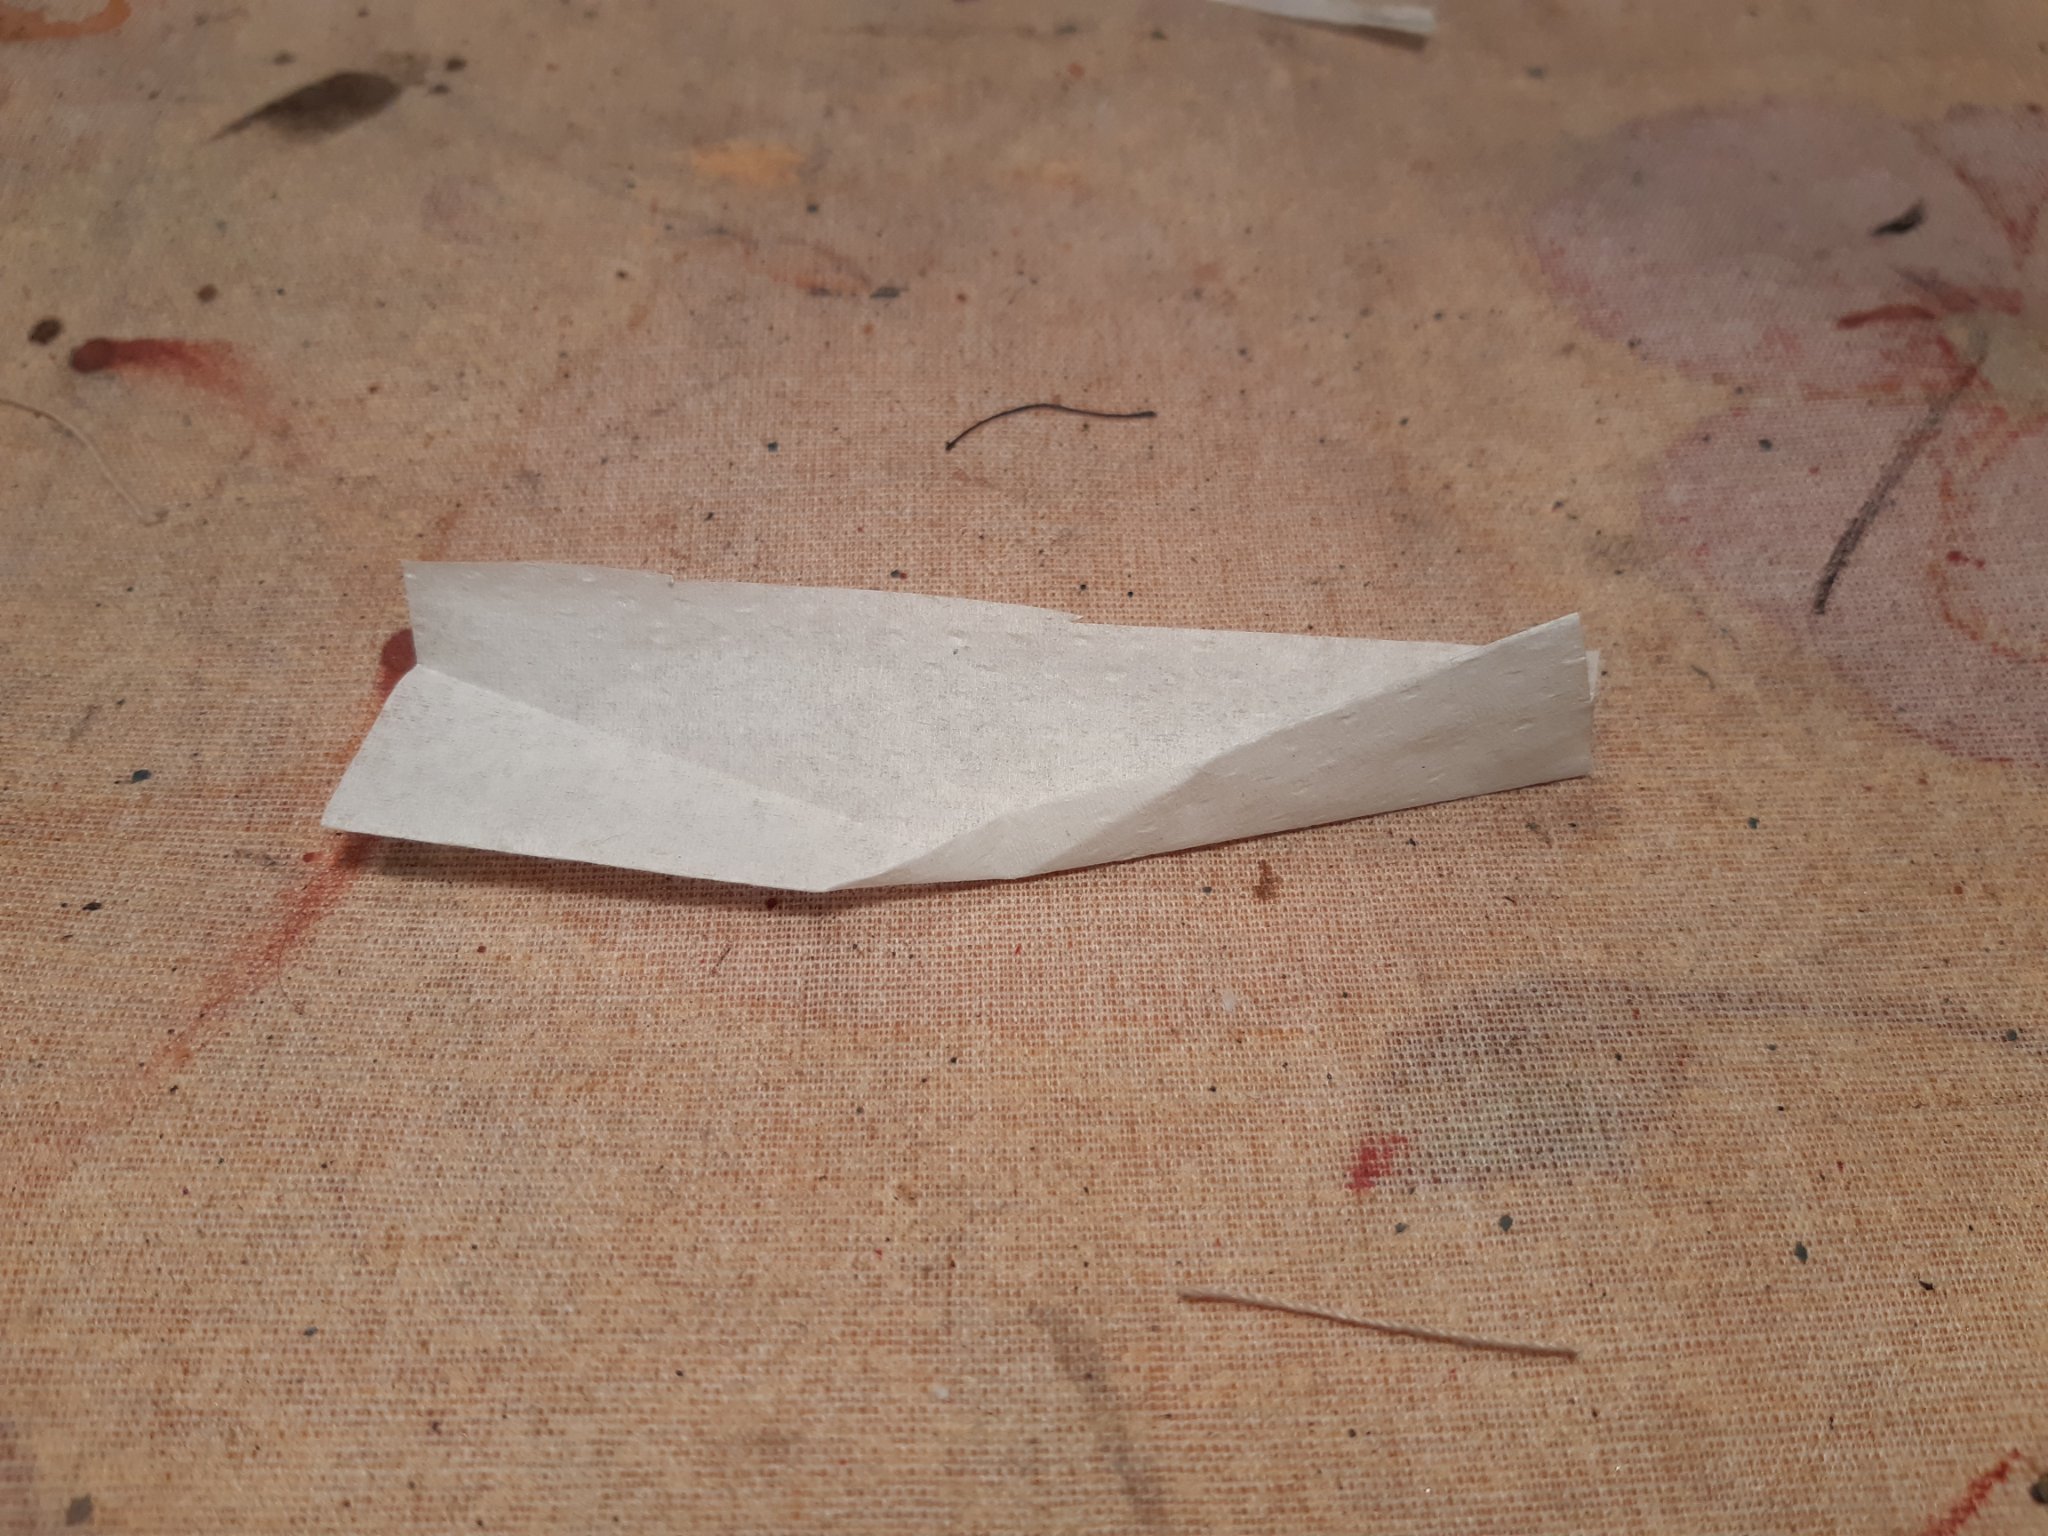
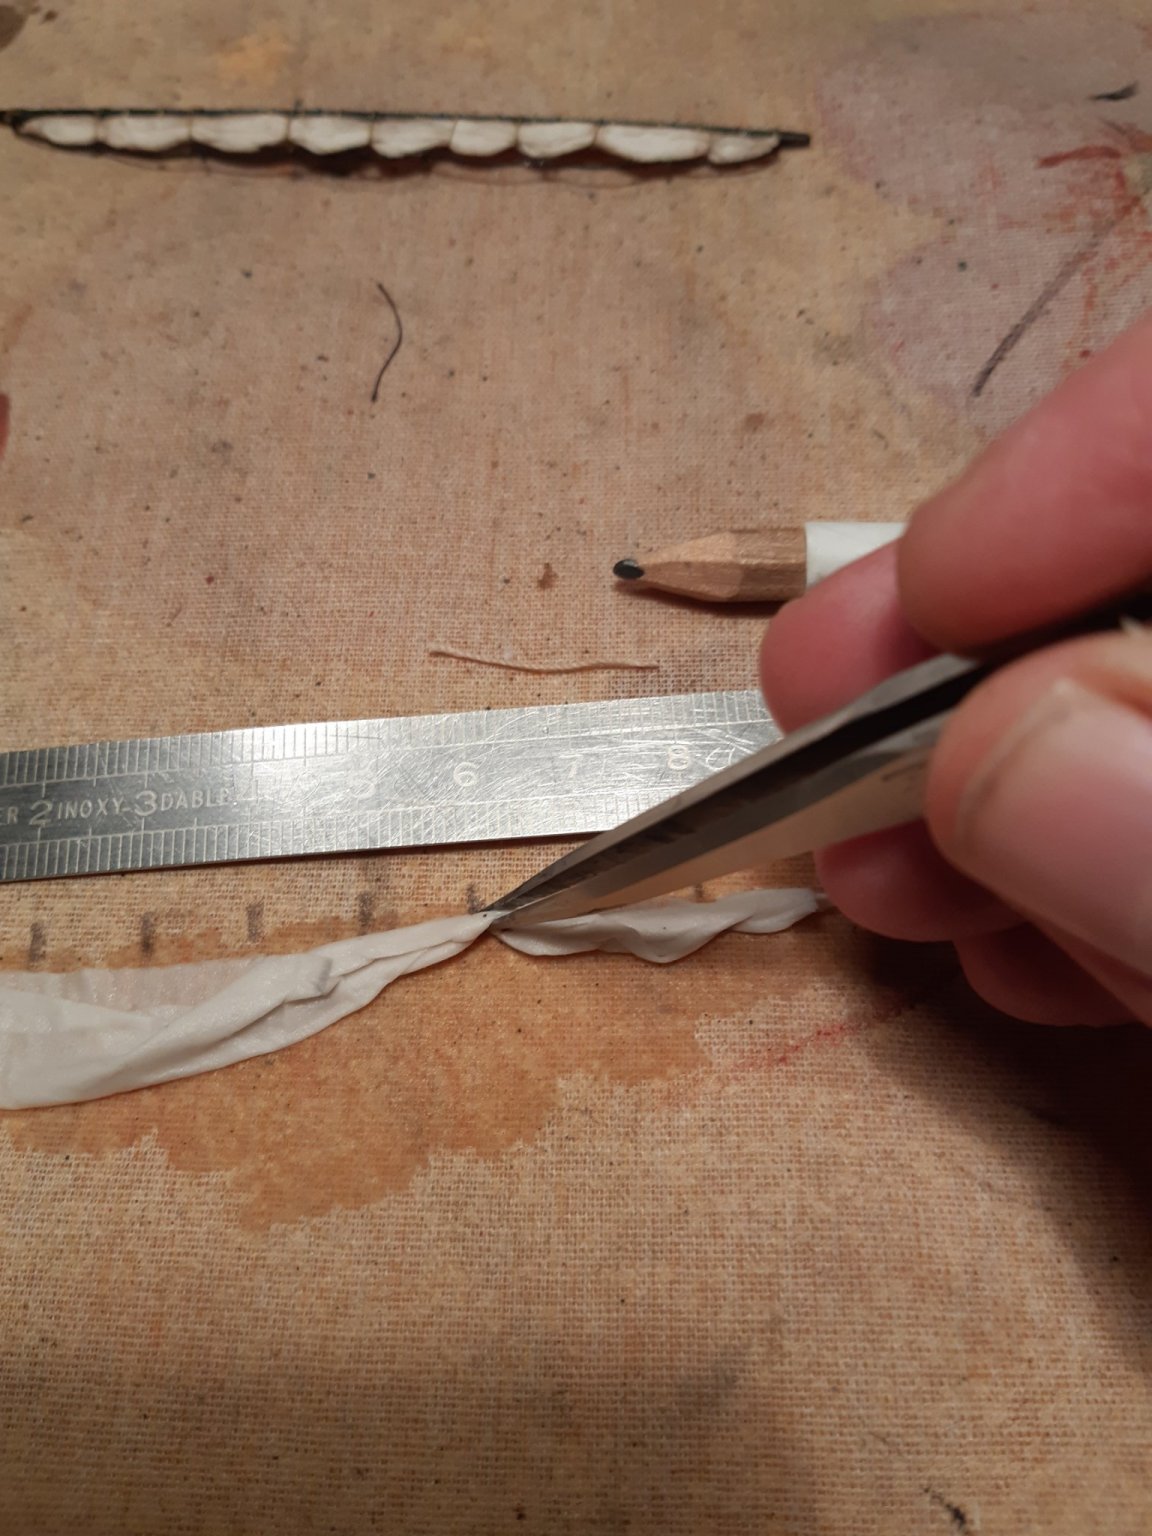
Cut to size
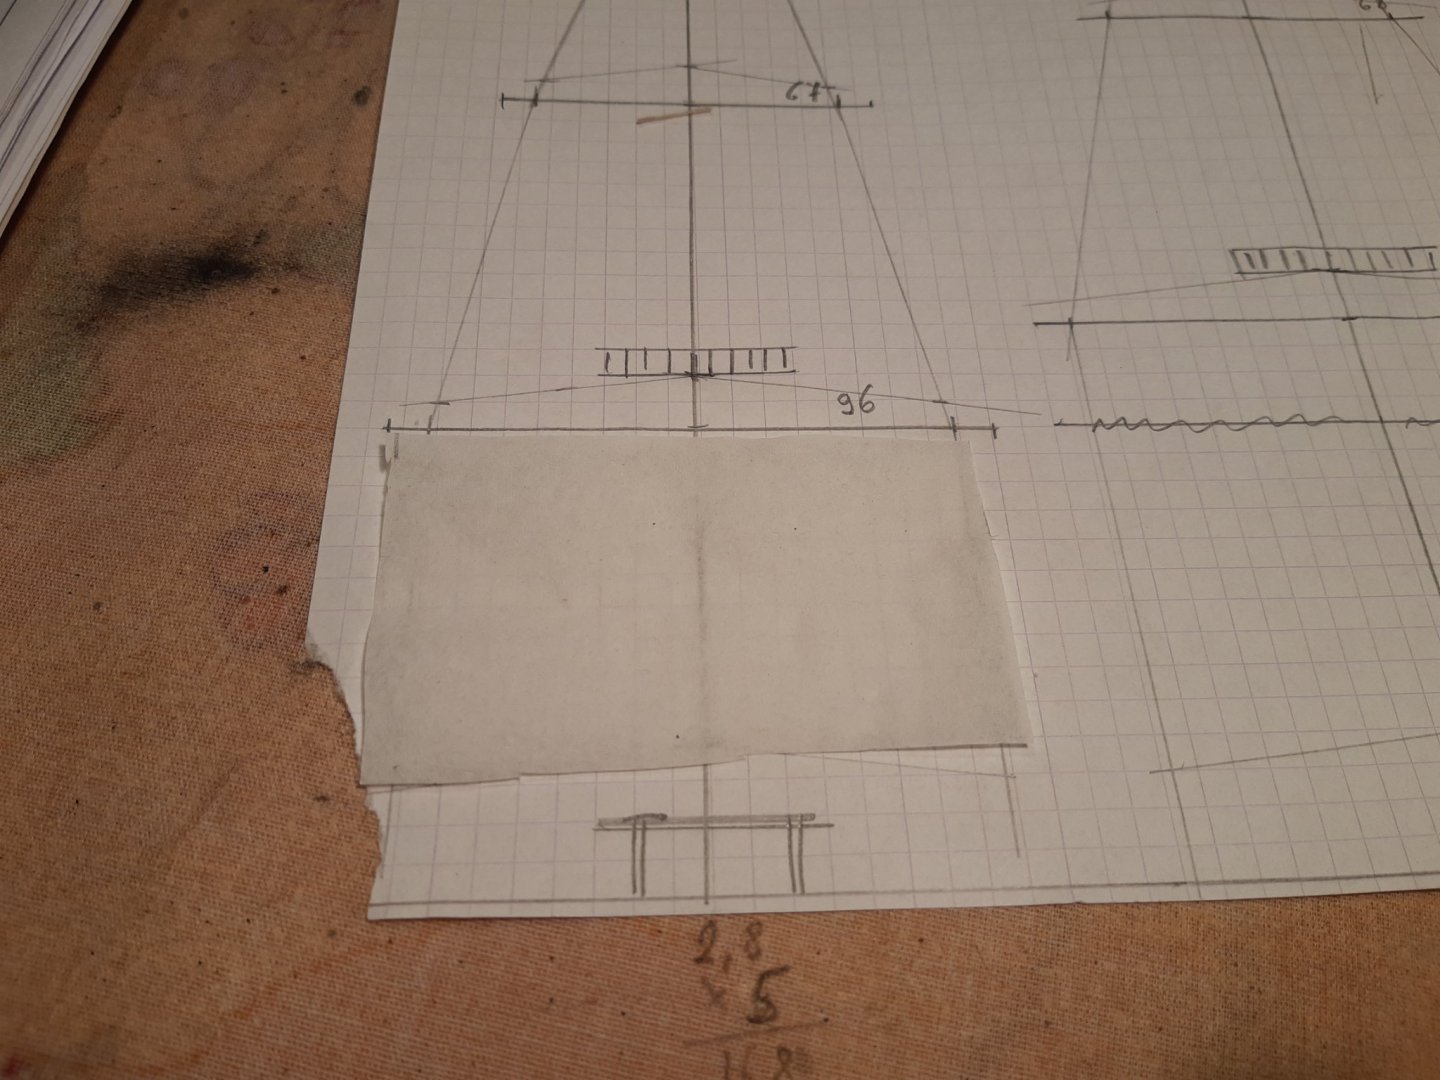
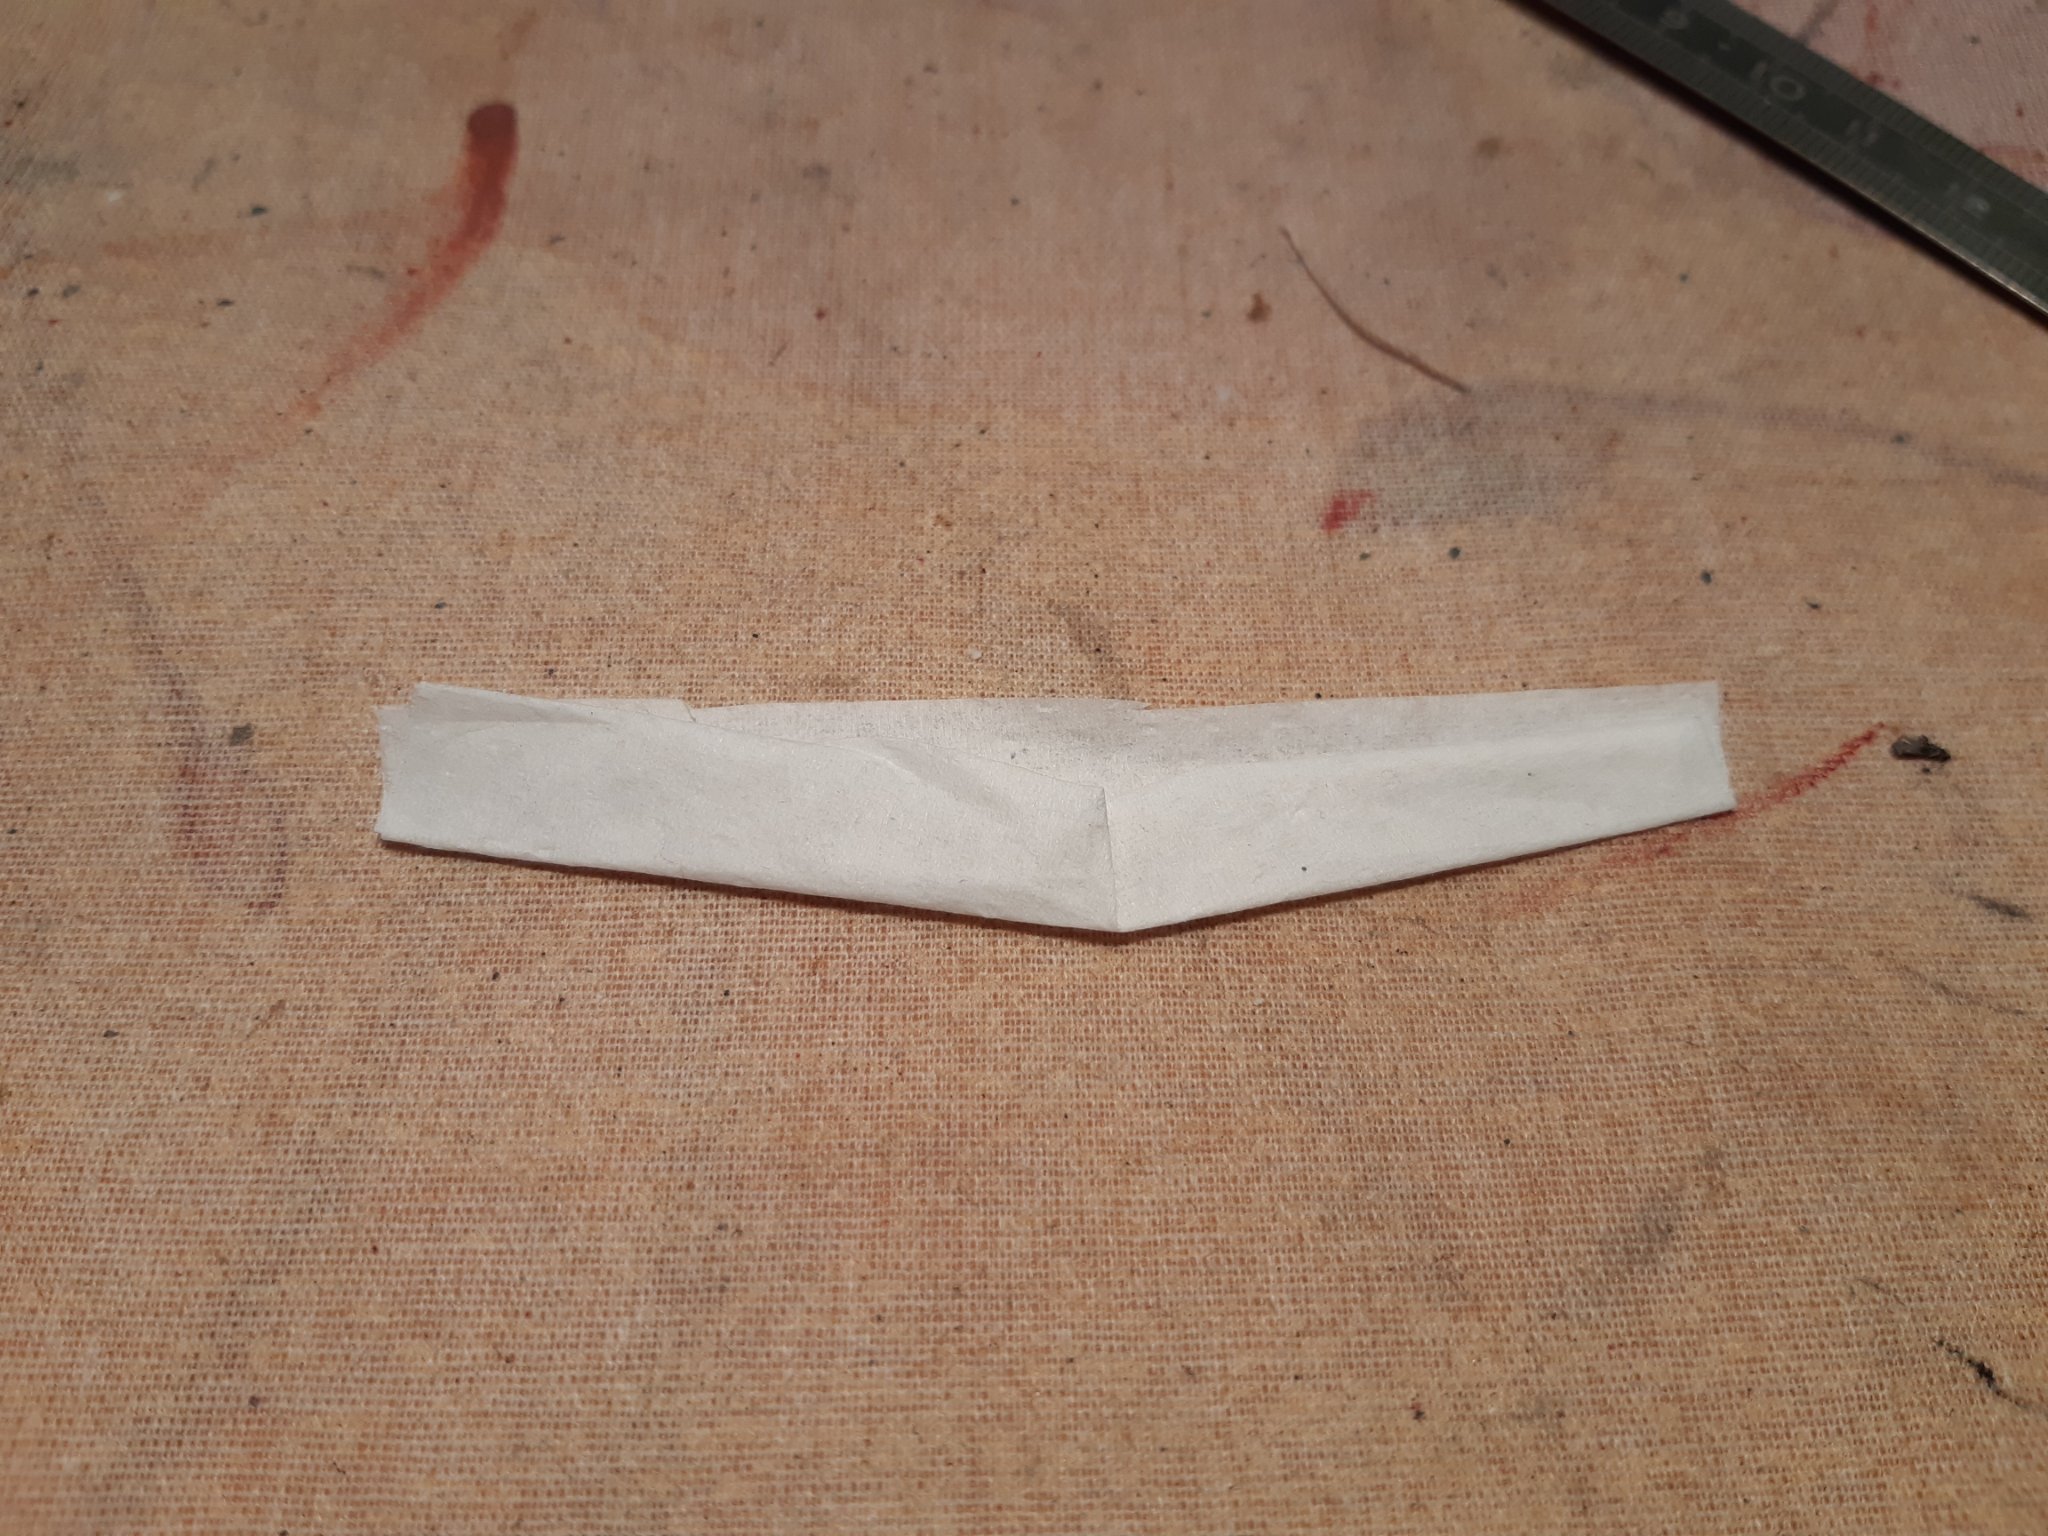
fold
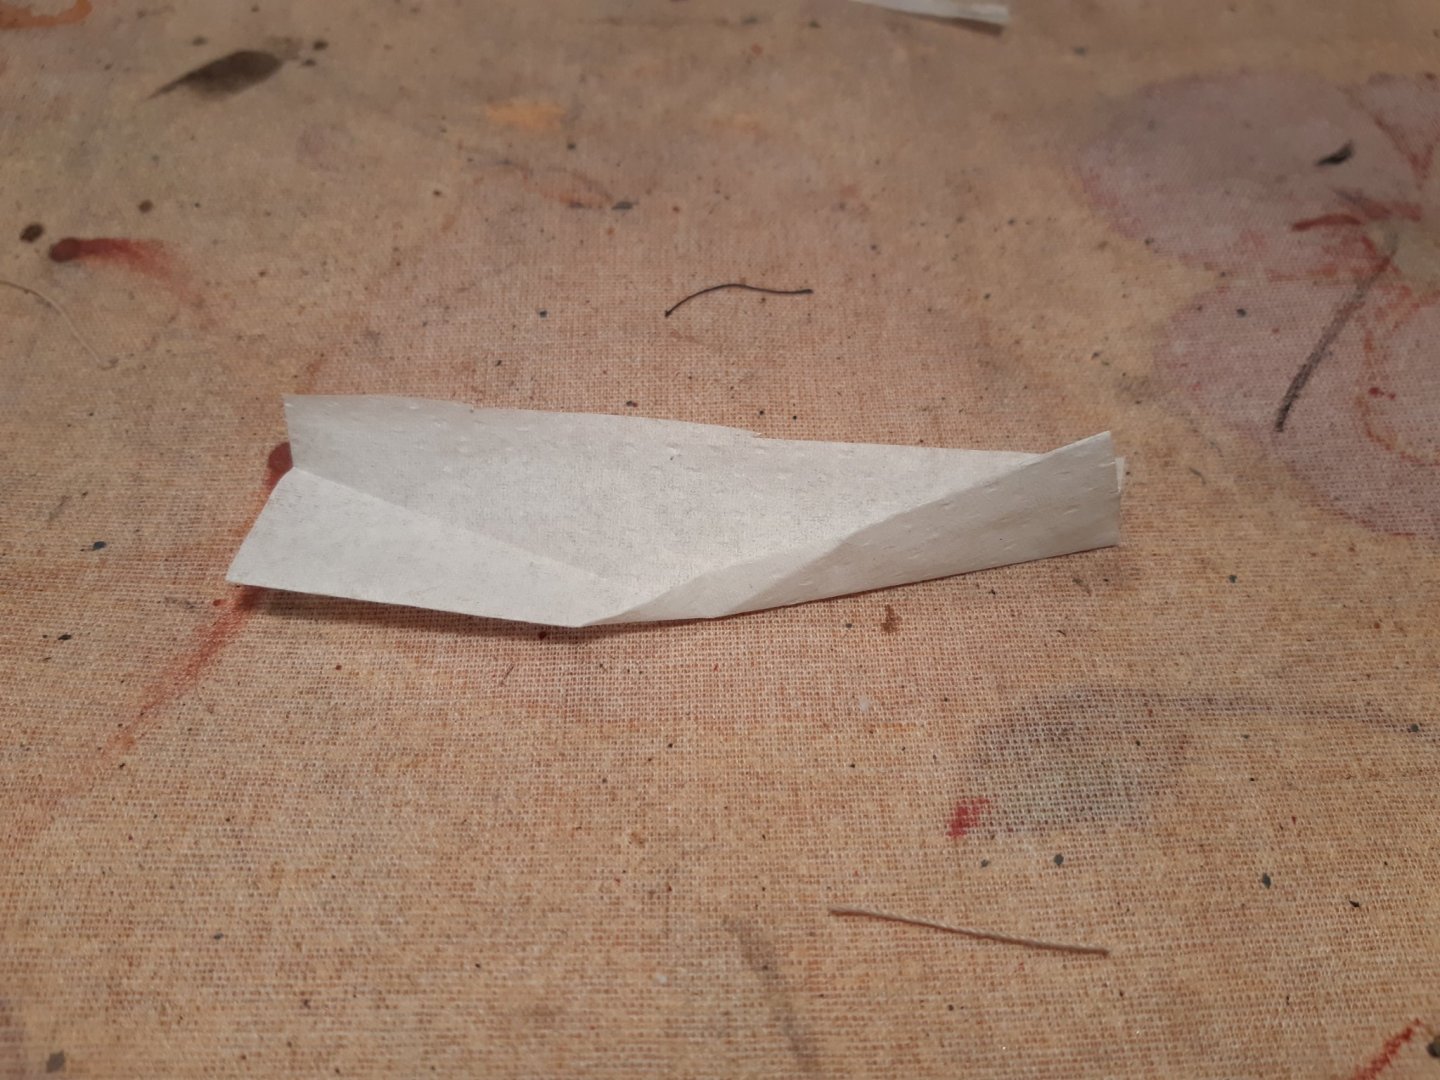
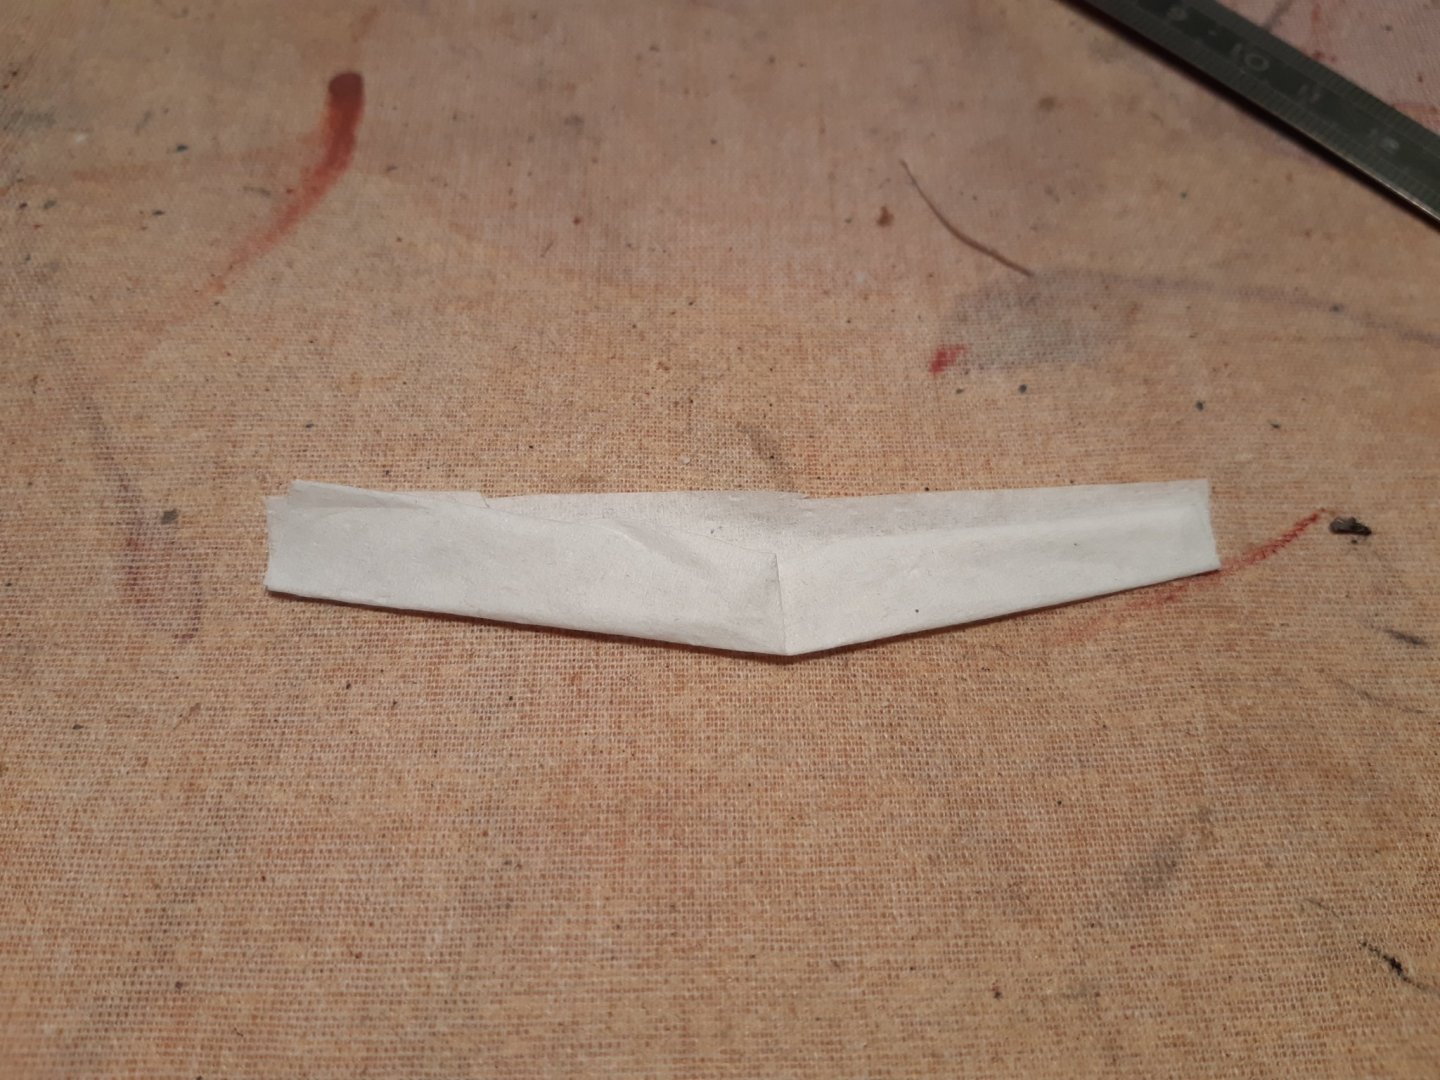
Moisten with the PVA solution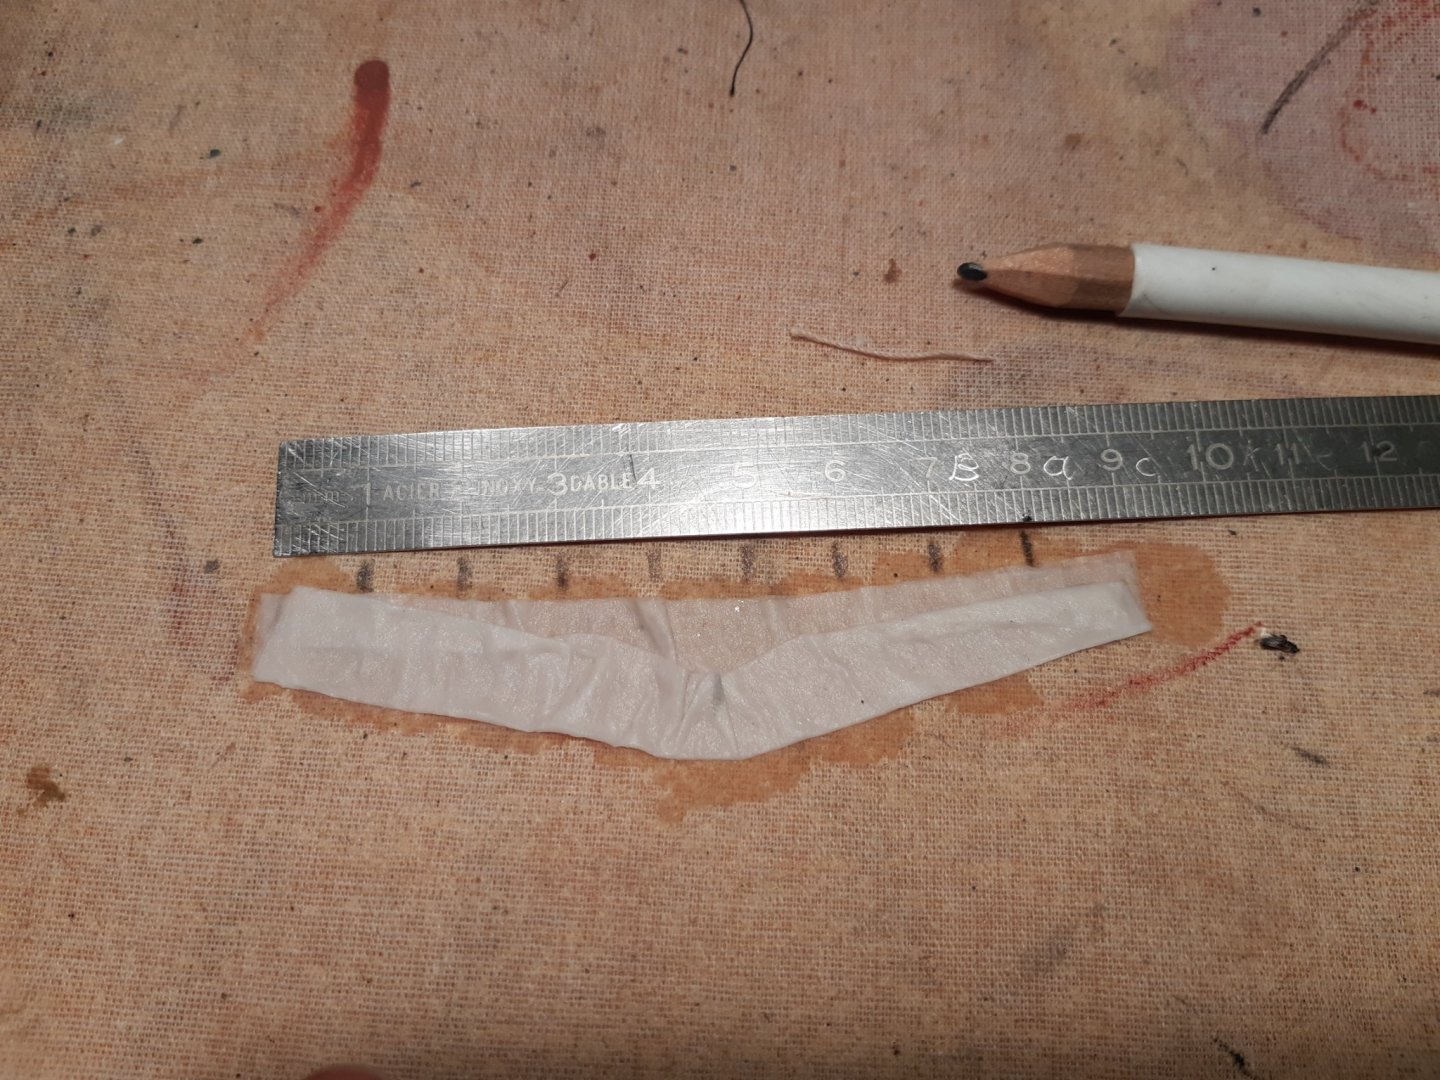
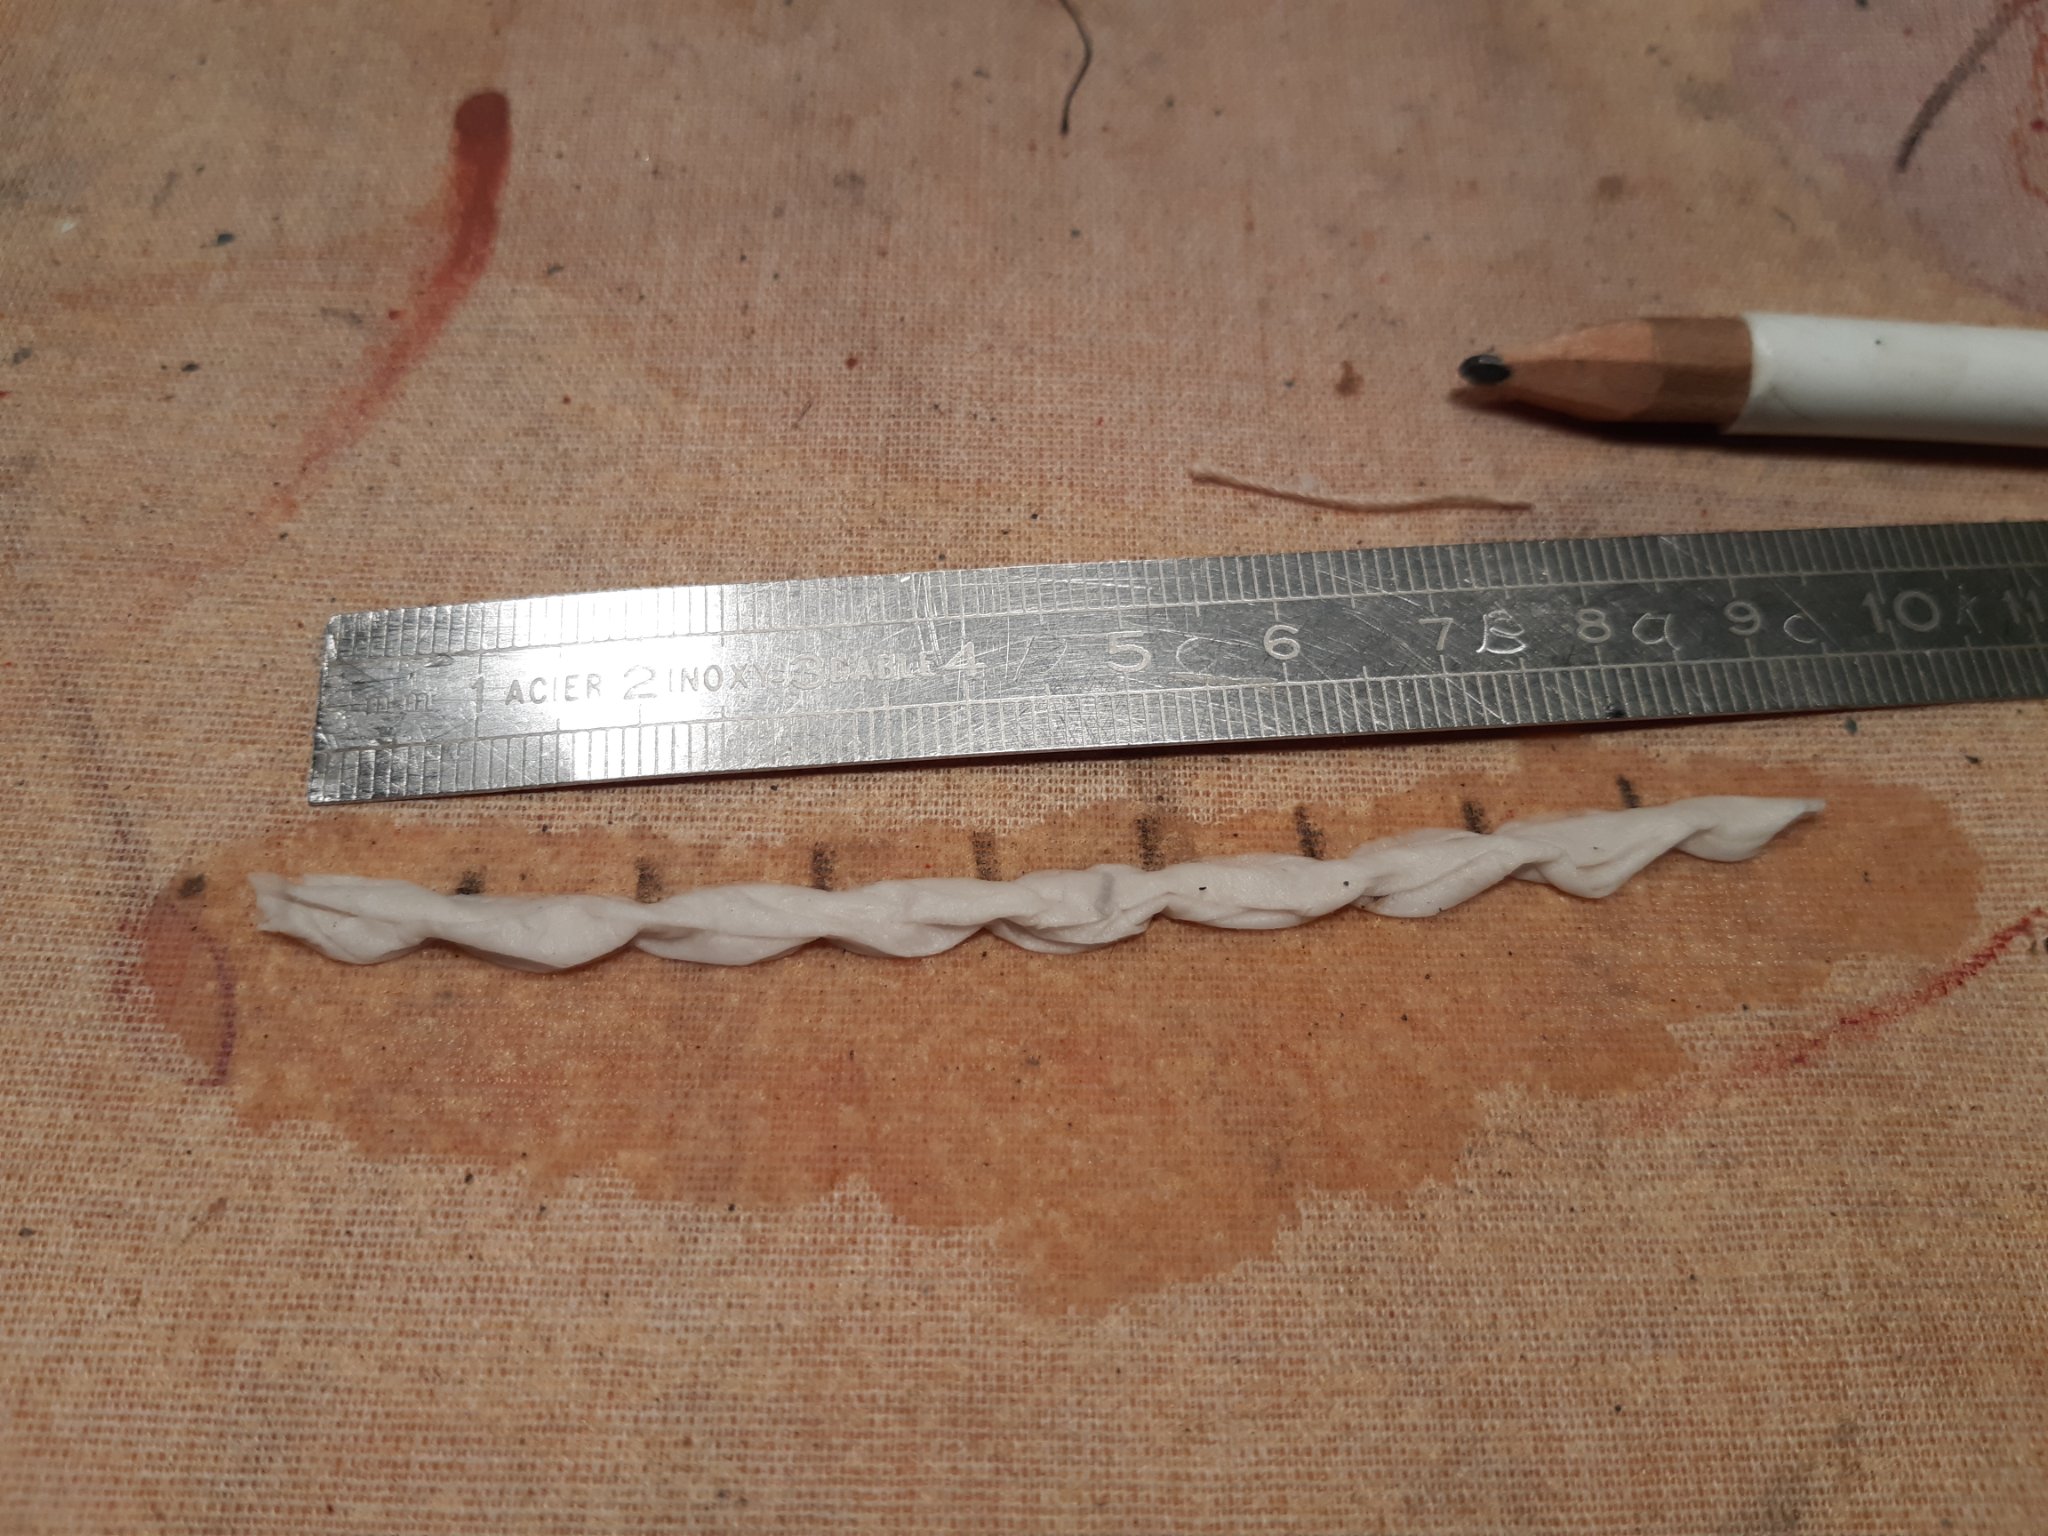
Shape with tweezers and fingers (then let 24h dry )
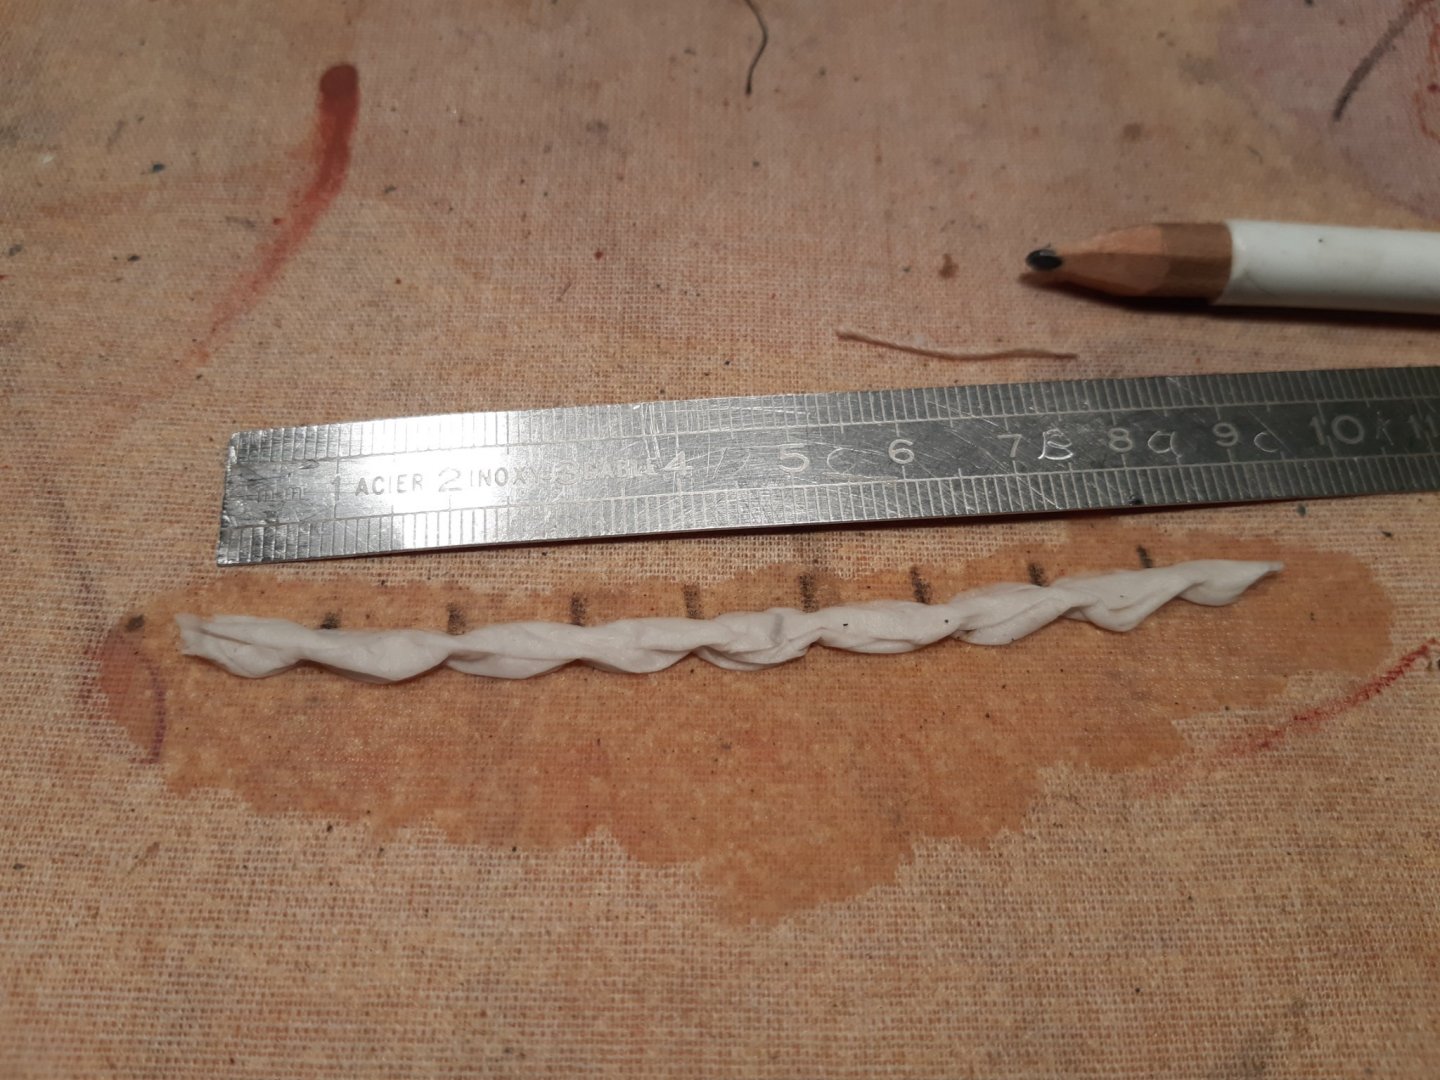

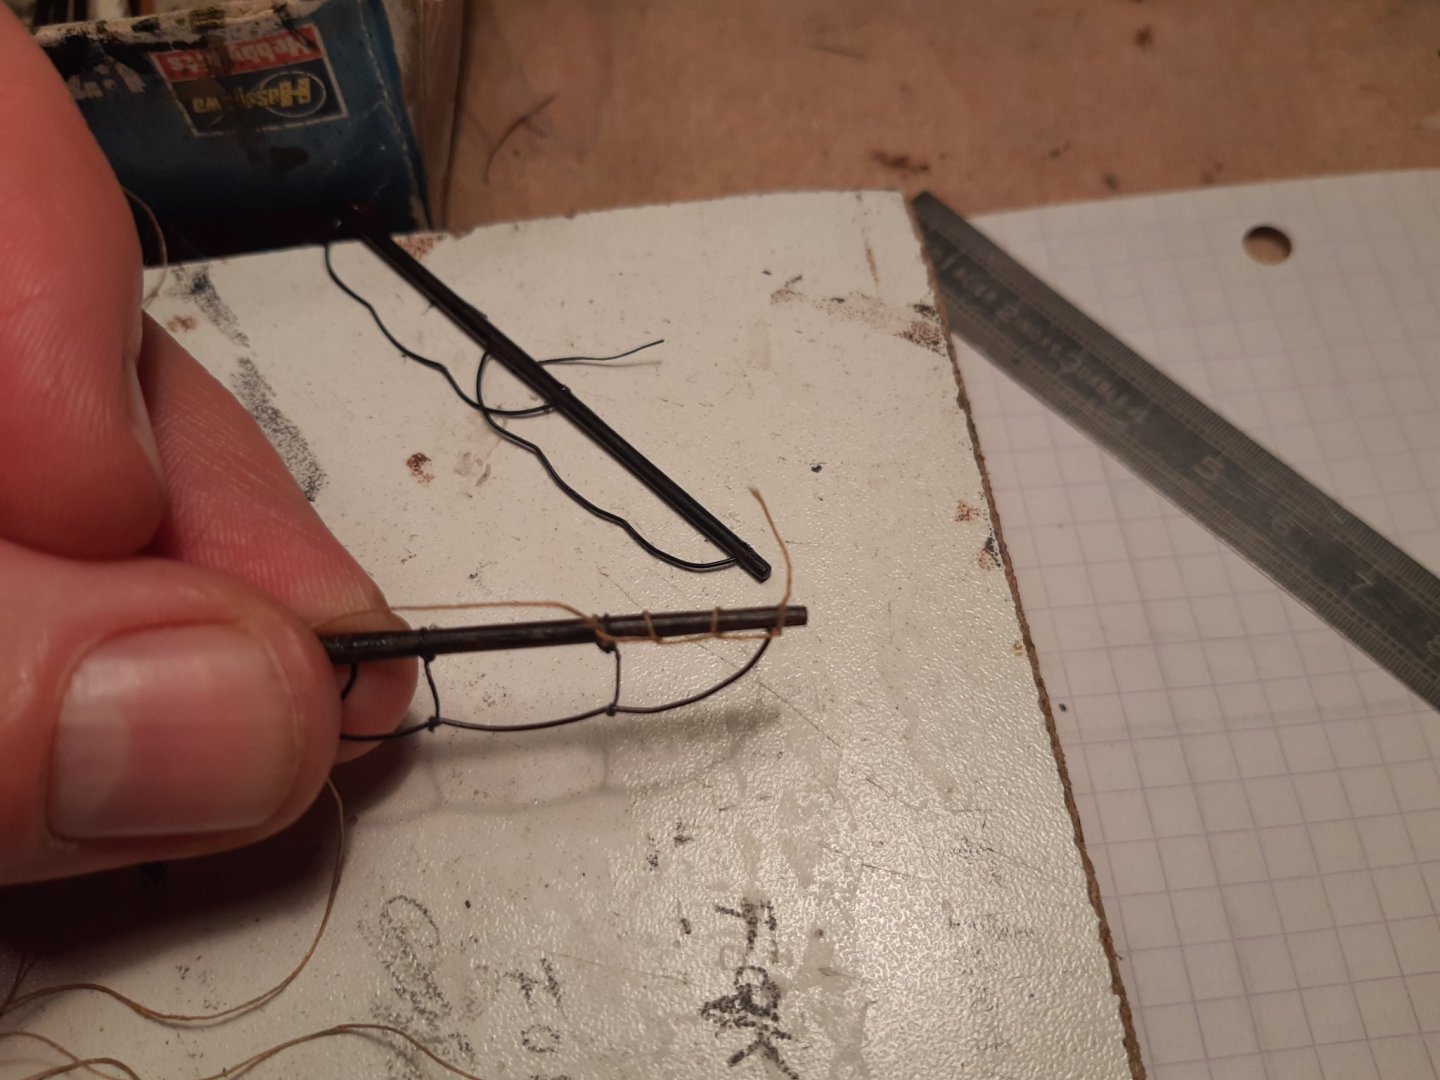
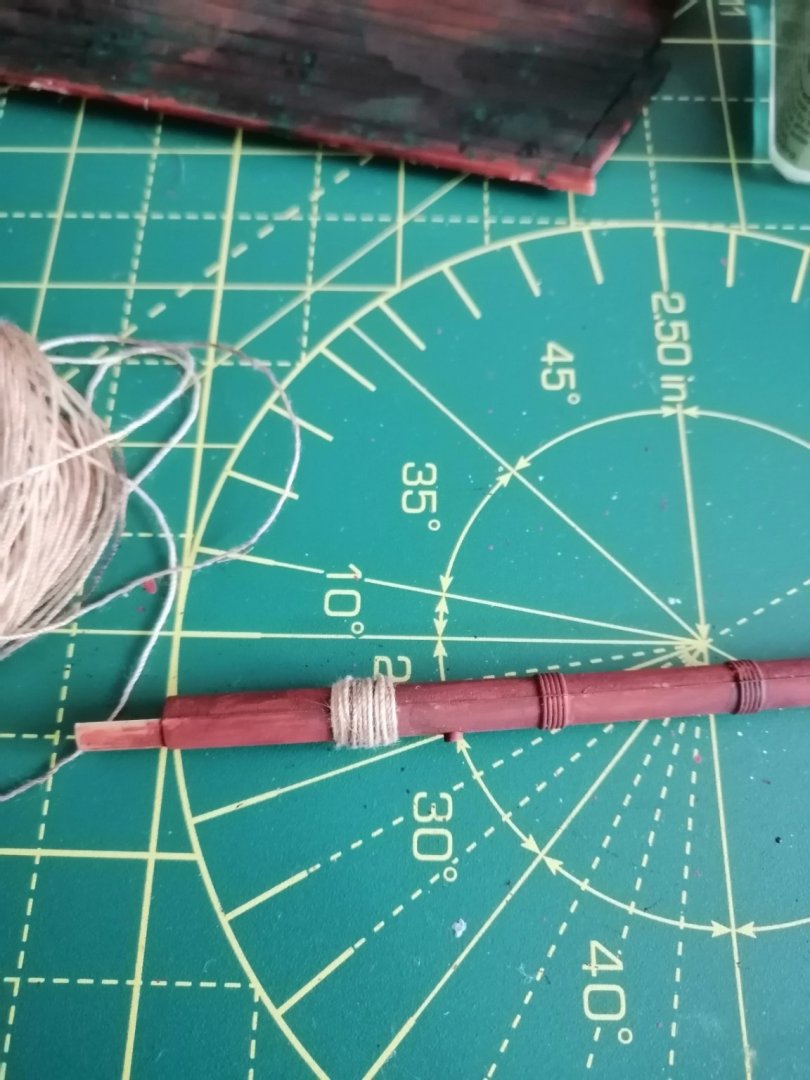
The footropes, copper wire bent in to shape
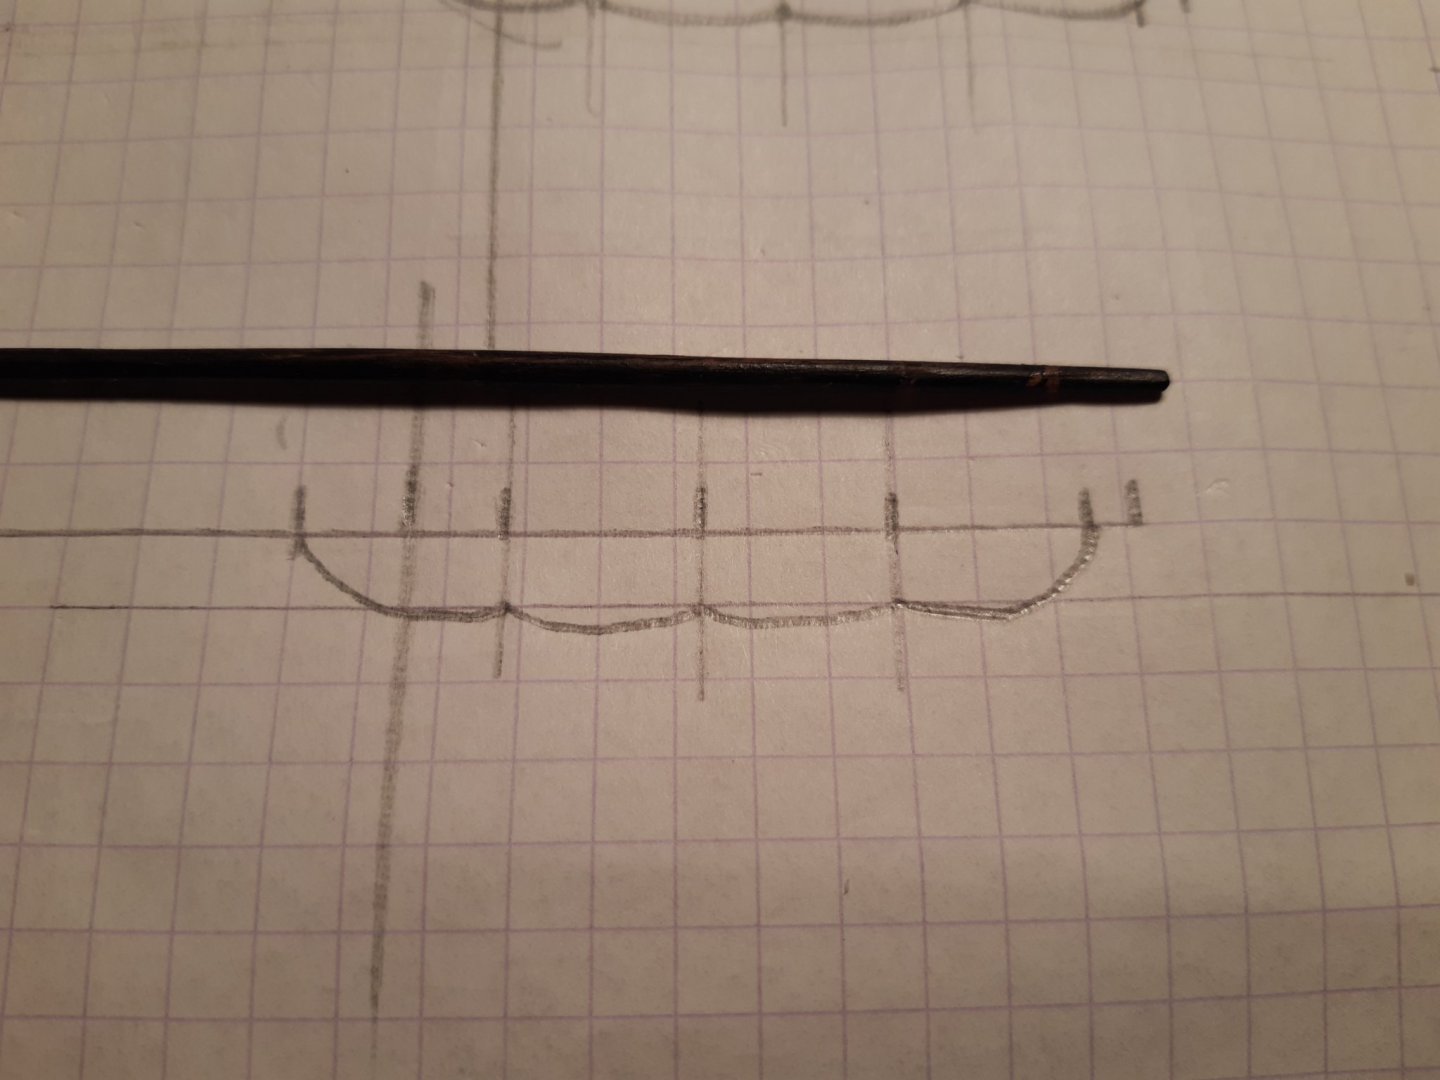
4 holes, drilled in the yard. Here the copper wire goes through and is then glued with CA glue.
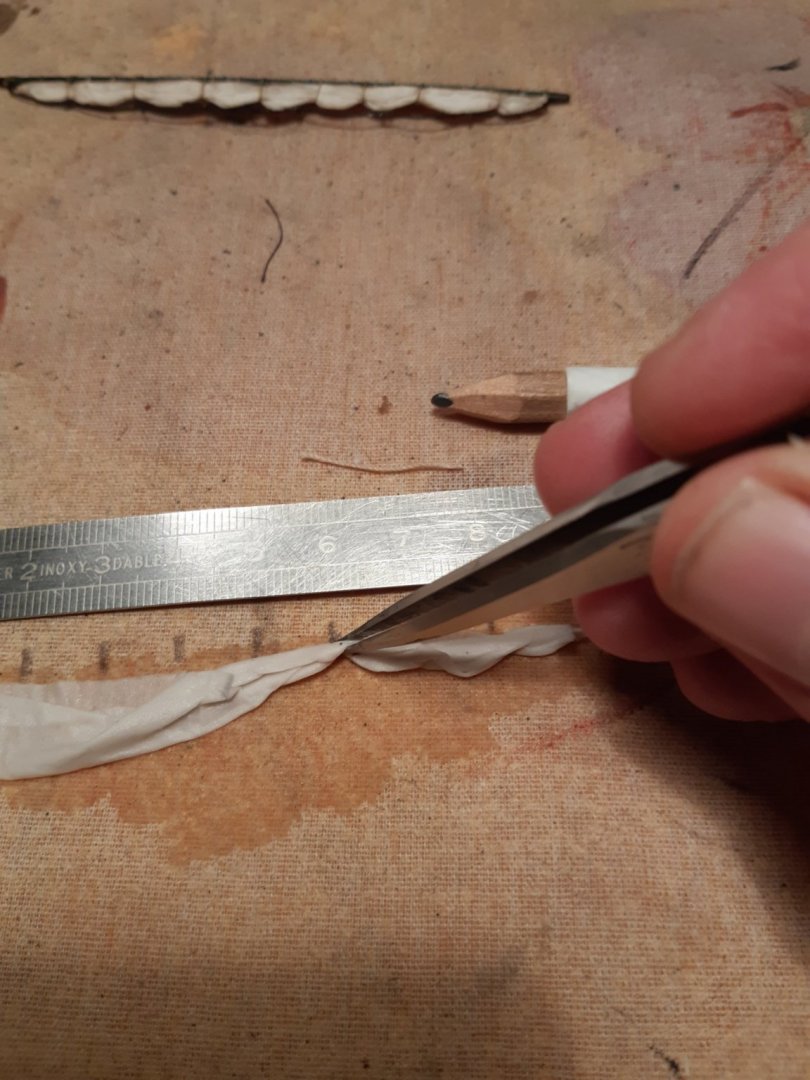
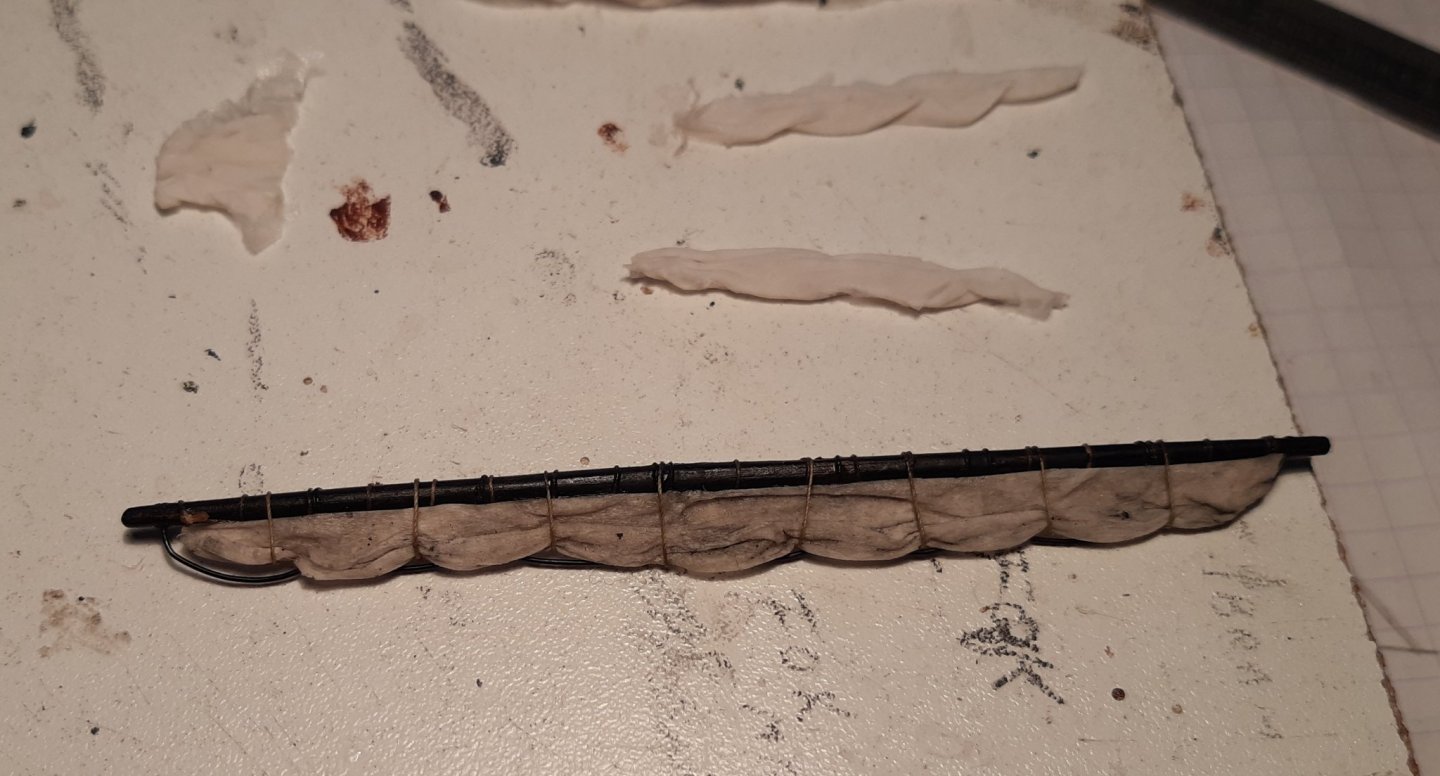
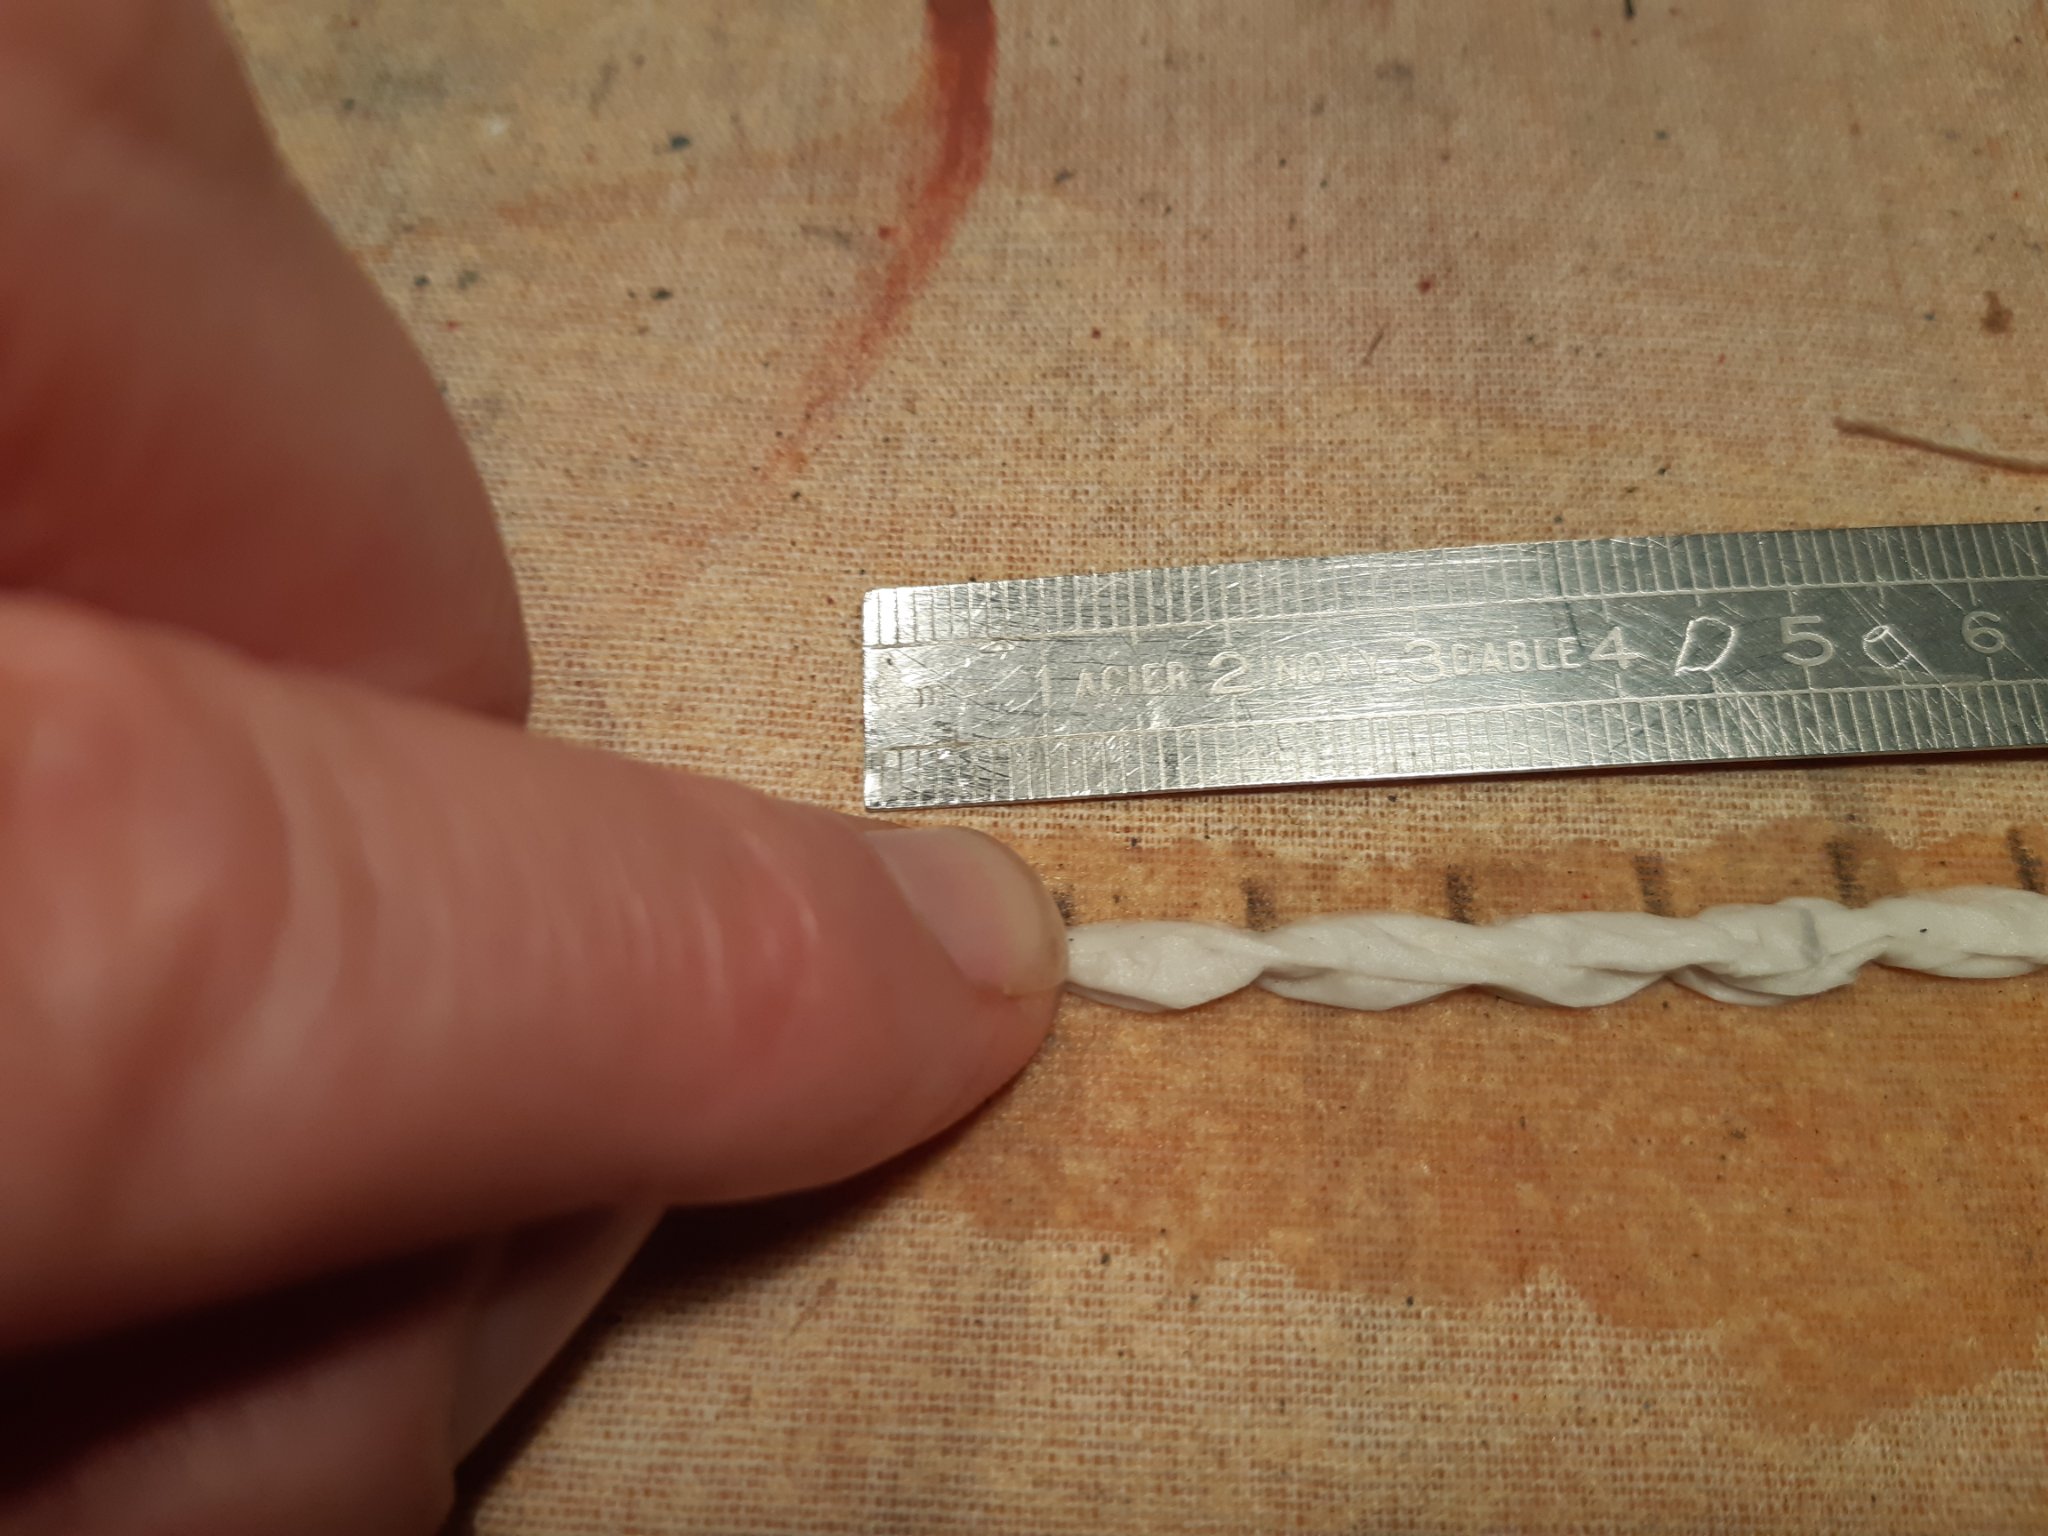
footrope ready and the part of the sail that will be glued to the yard is cut flat with ascissors
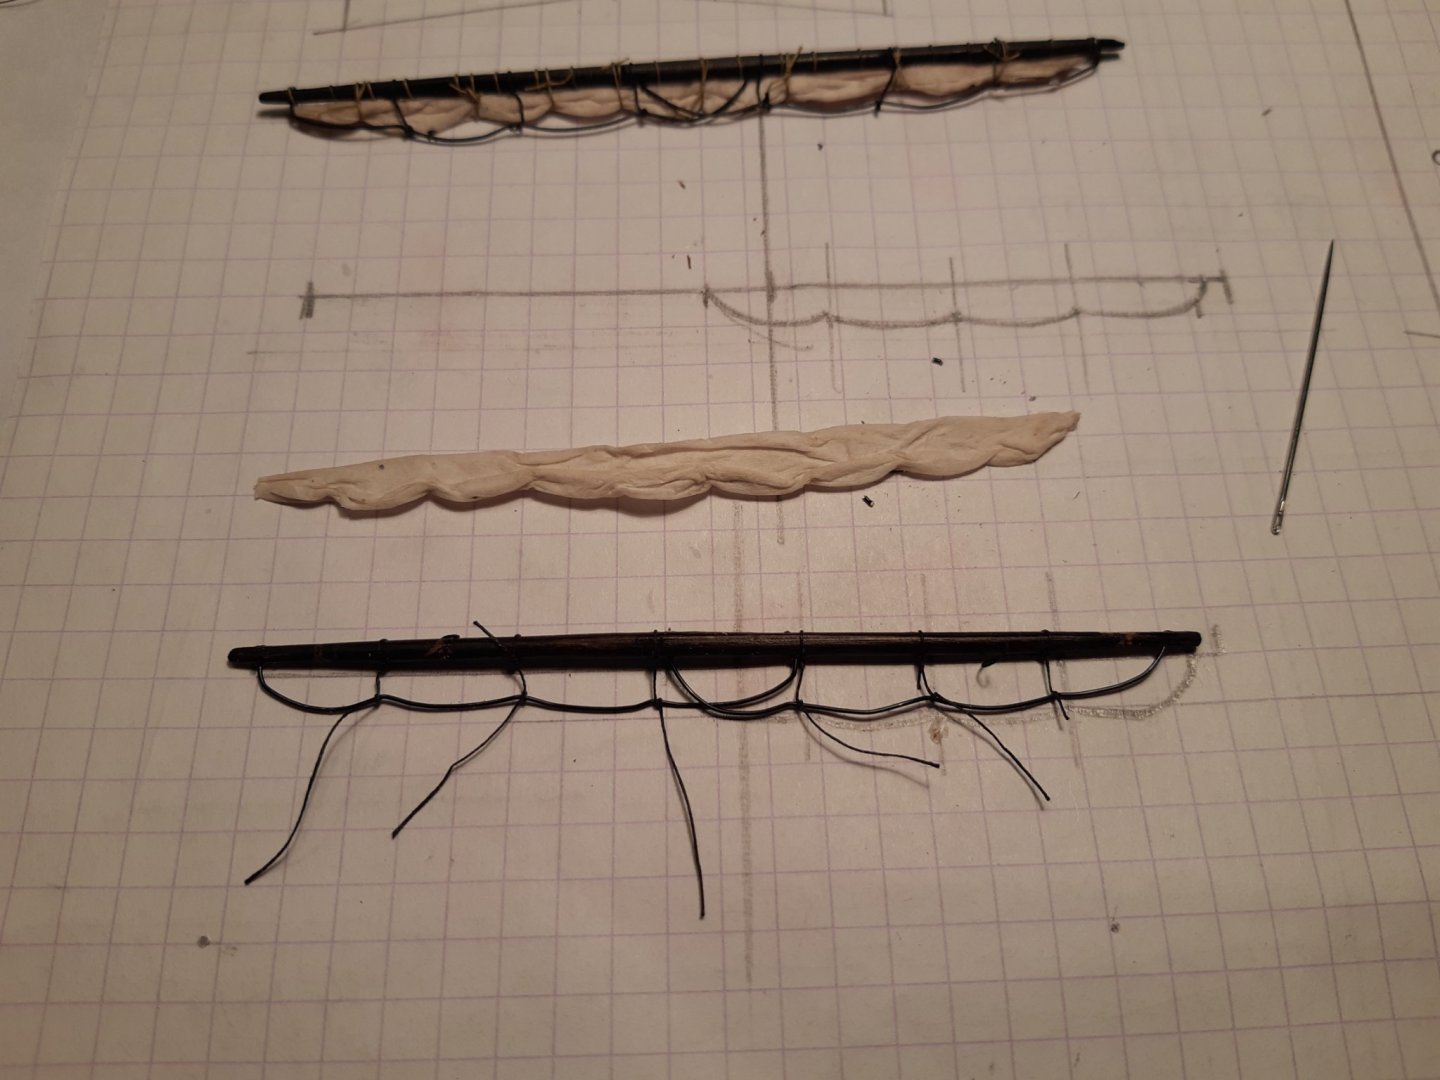
The rope that normally attaches the sail to the yard.
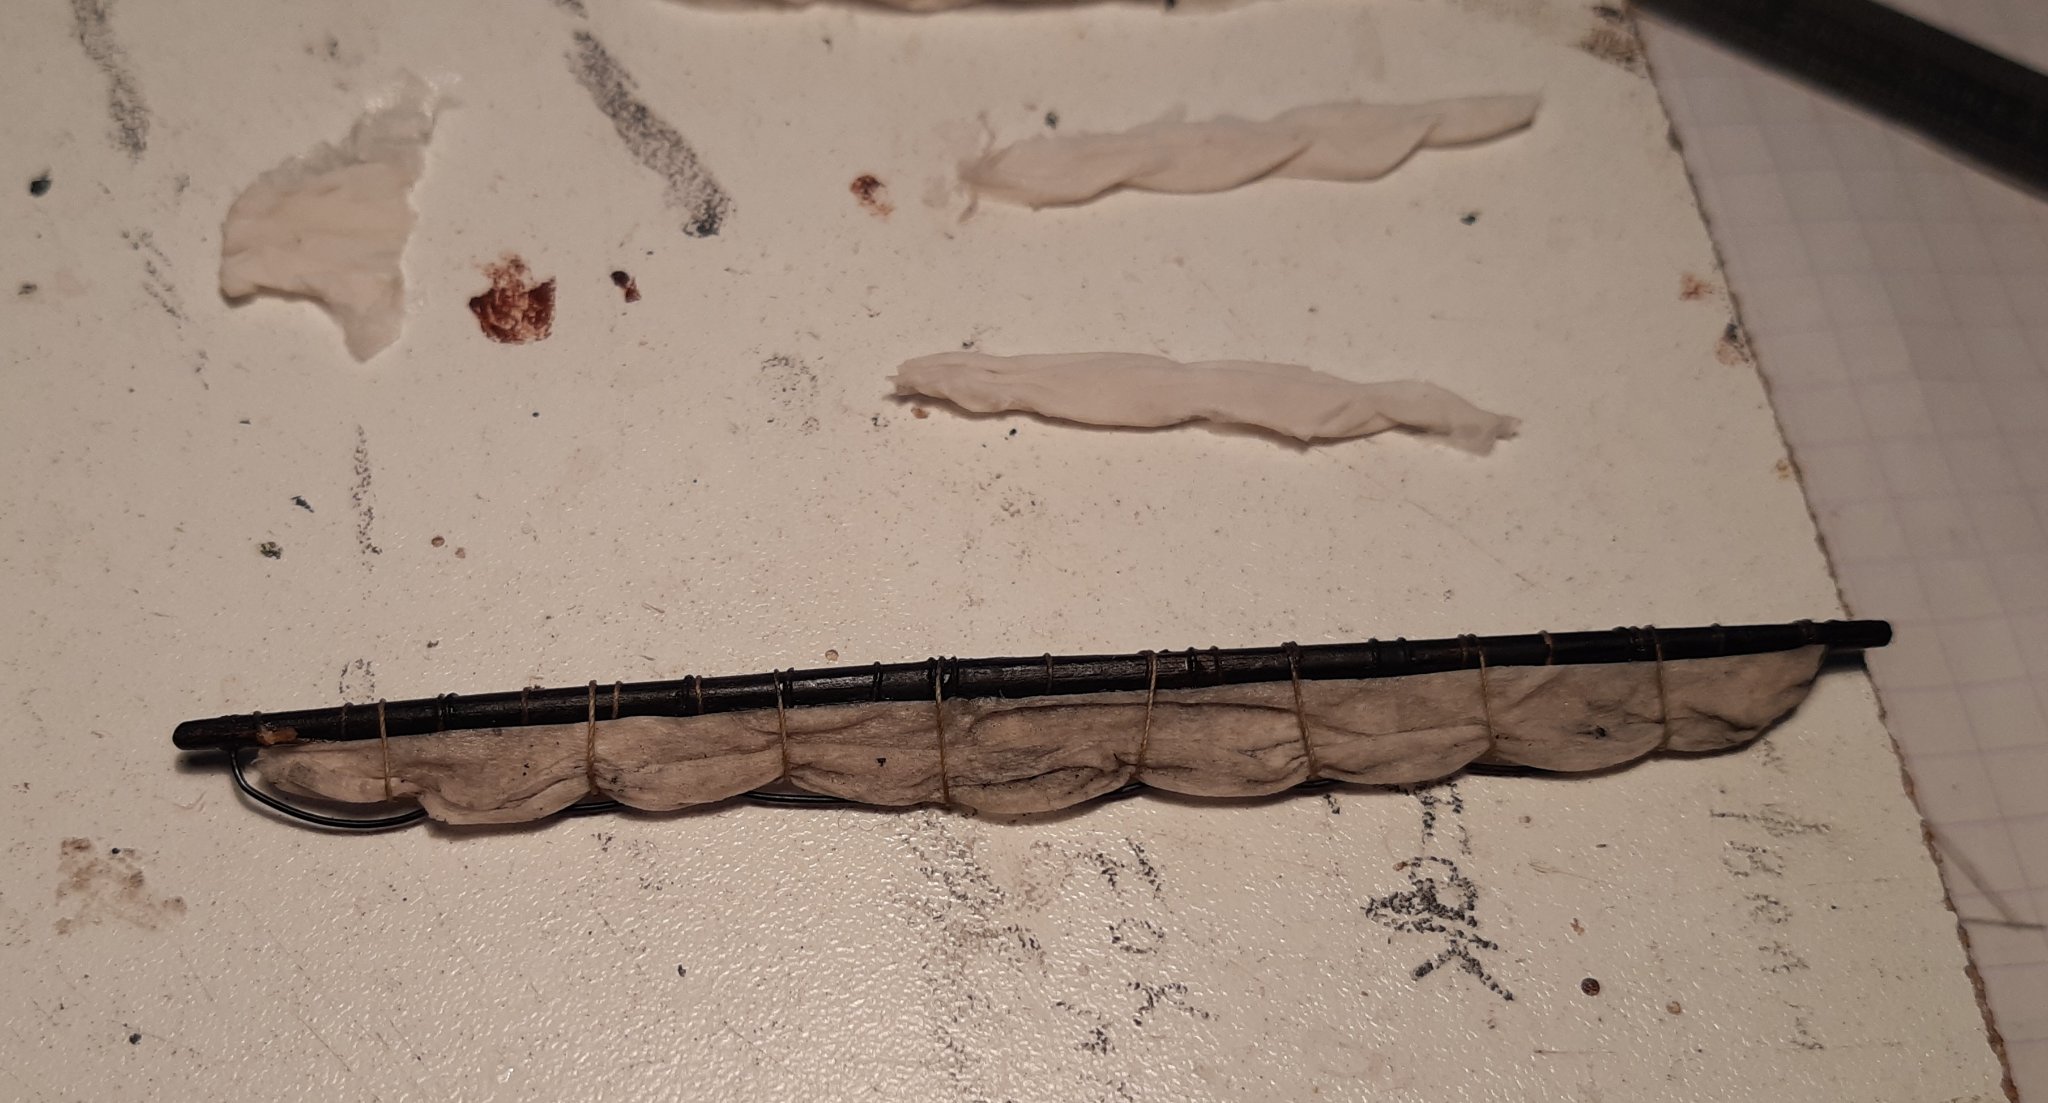
The sail glued on the yard wit CA glue.

A very light wash with thinned mat black (In the picture it is slightly darker than reality)
The sails are not always in the right shape from the first time. But there is plenty of paper and diluted PVA glue.
Not a good result the first time? Throw it away and make a new one.To be continued
-
-
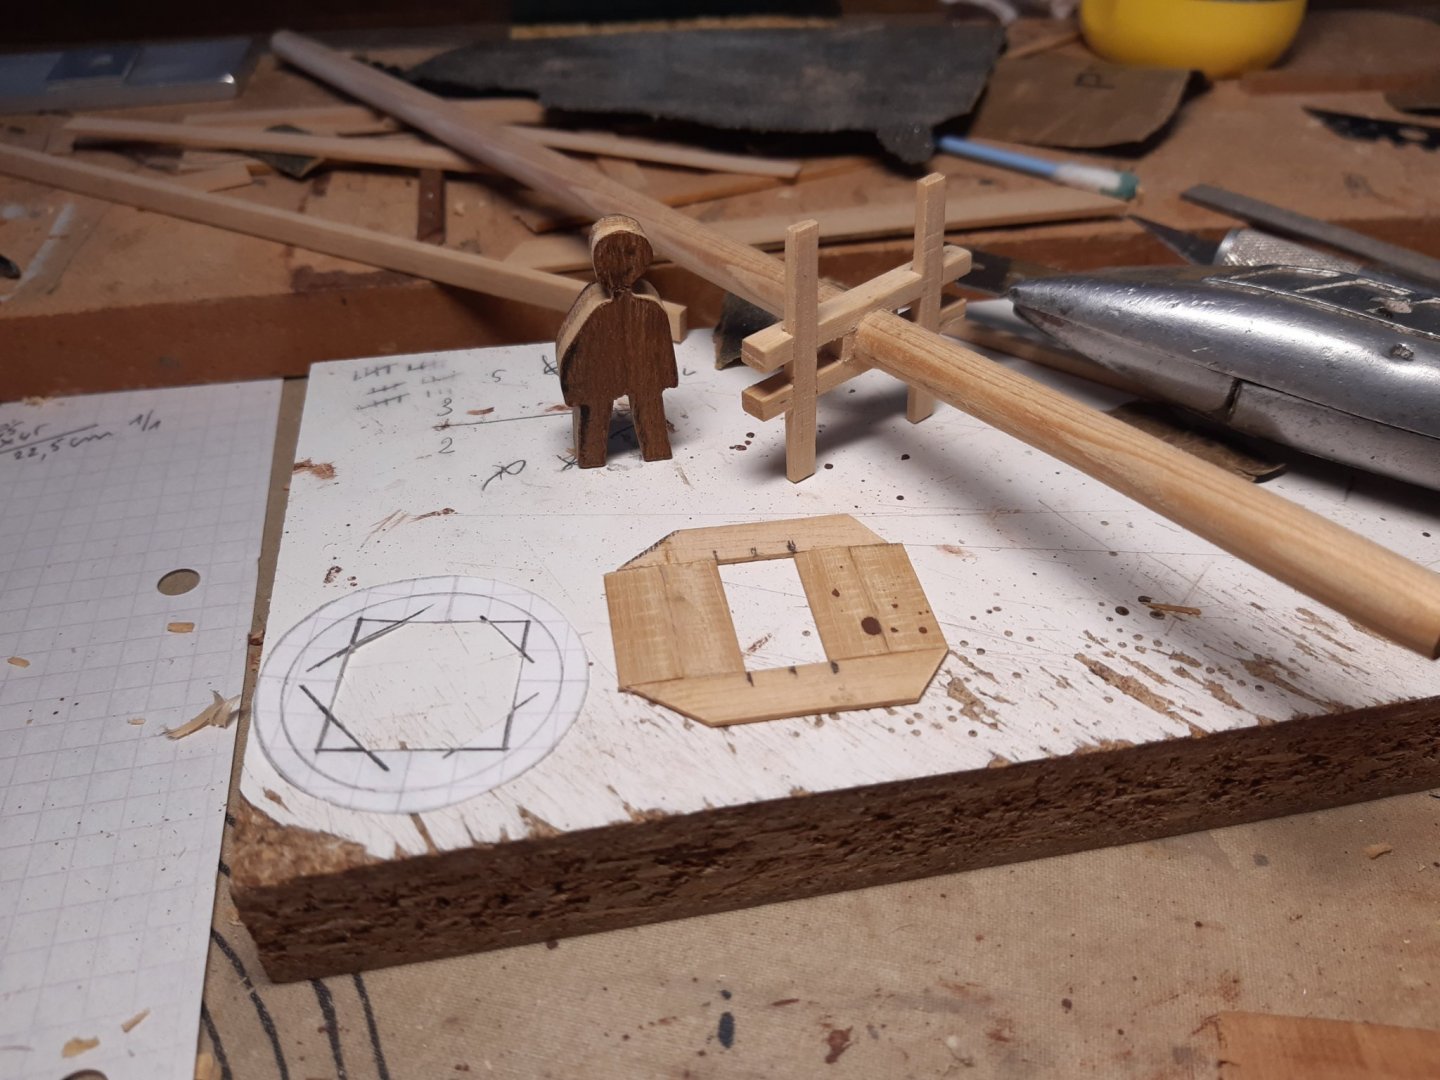
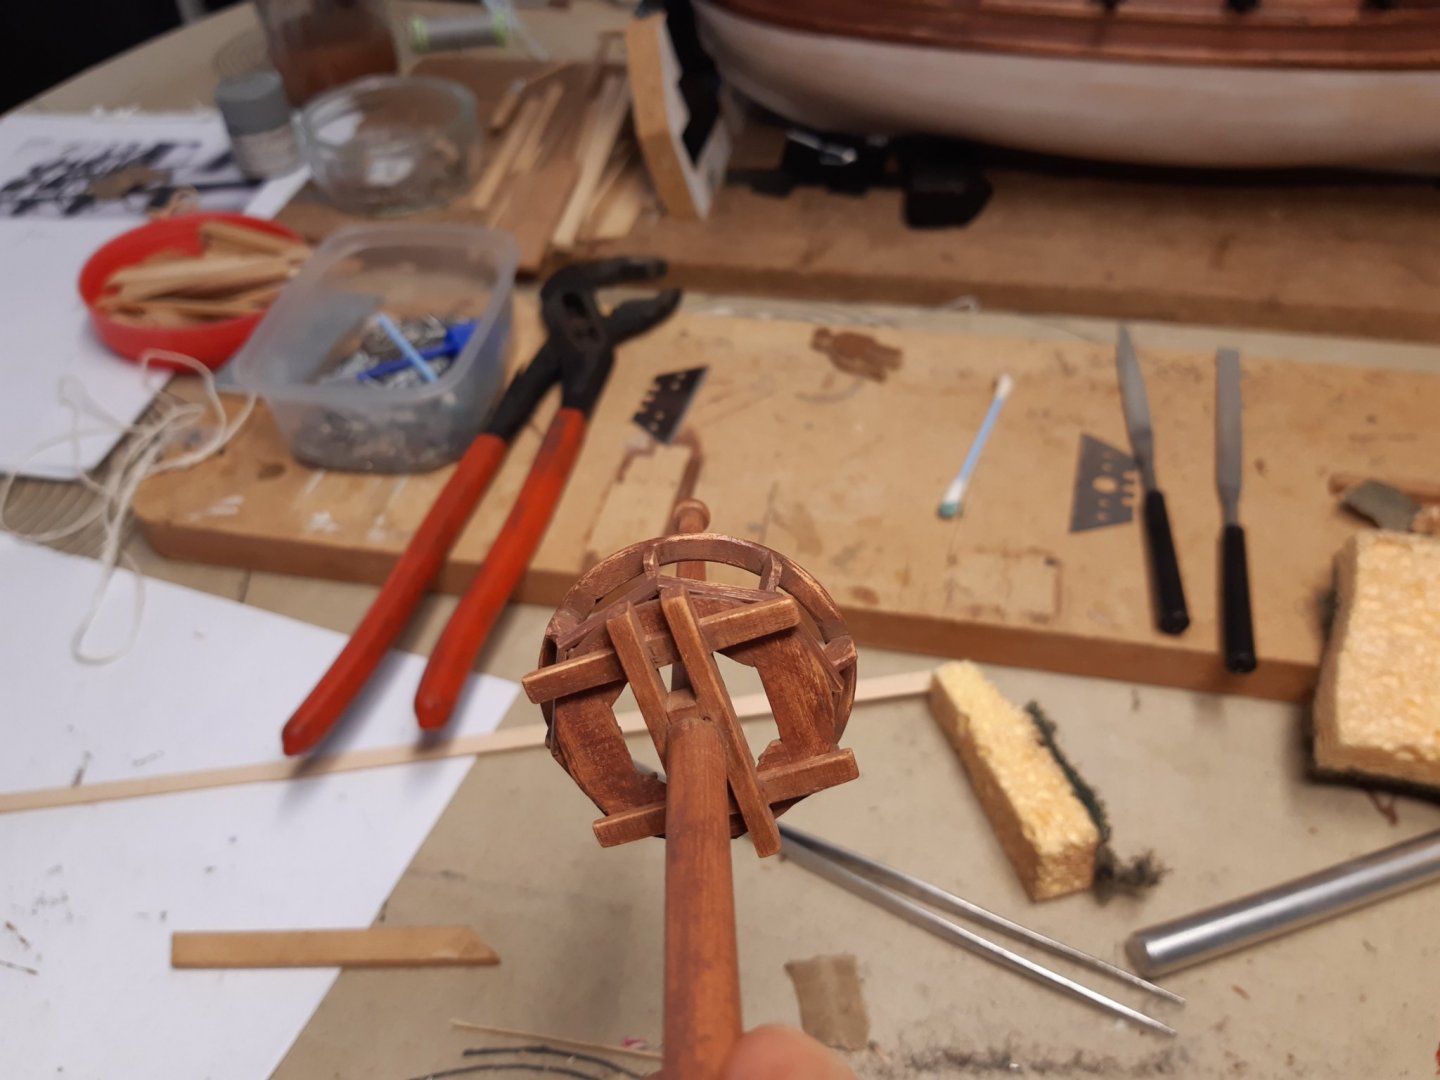
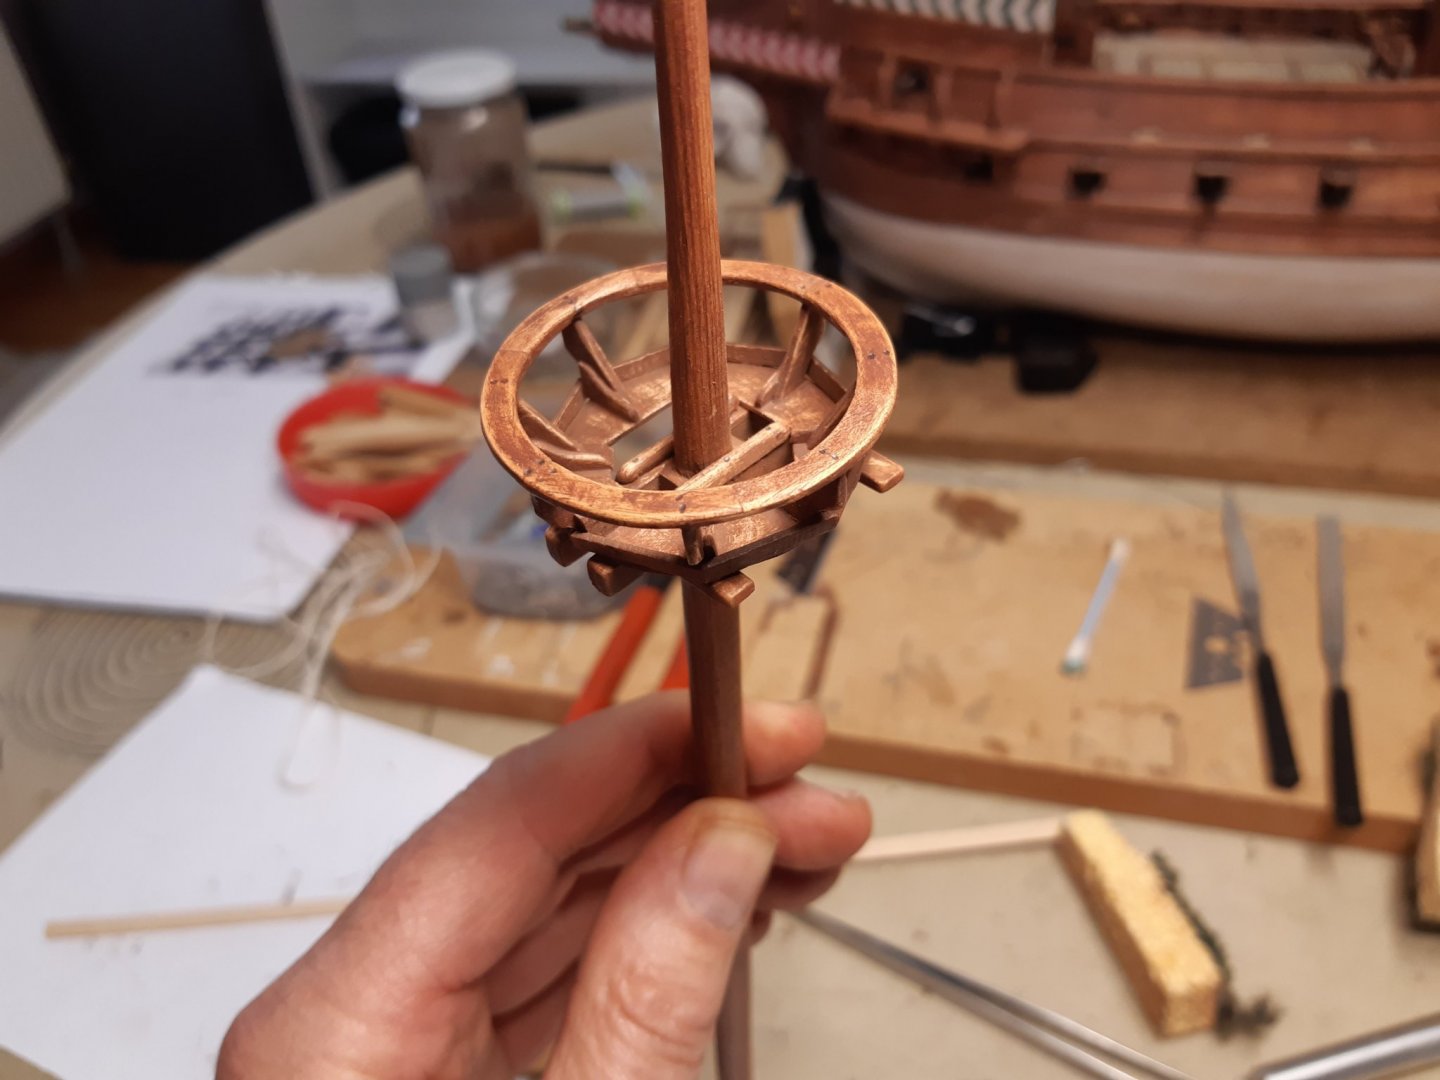
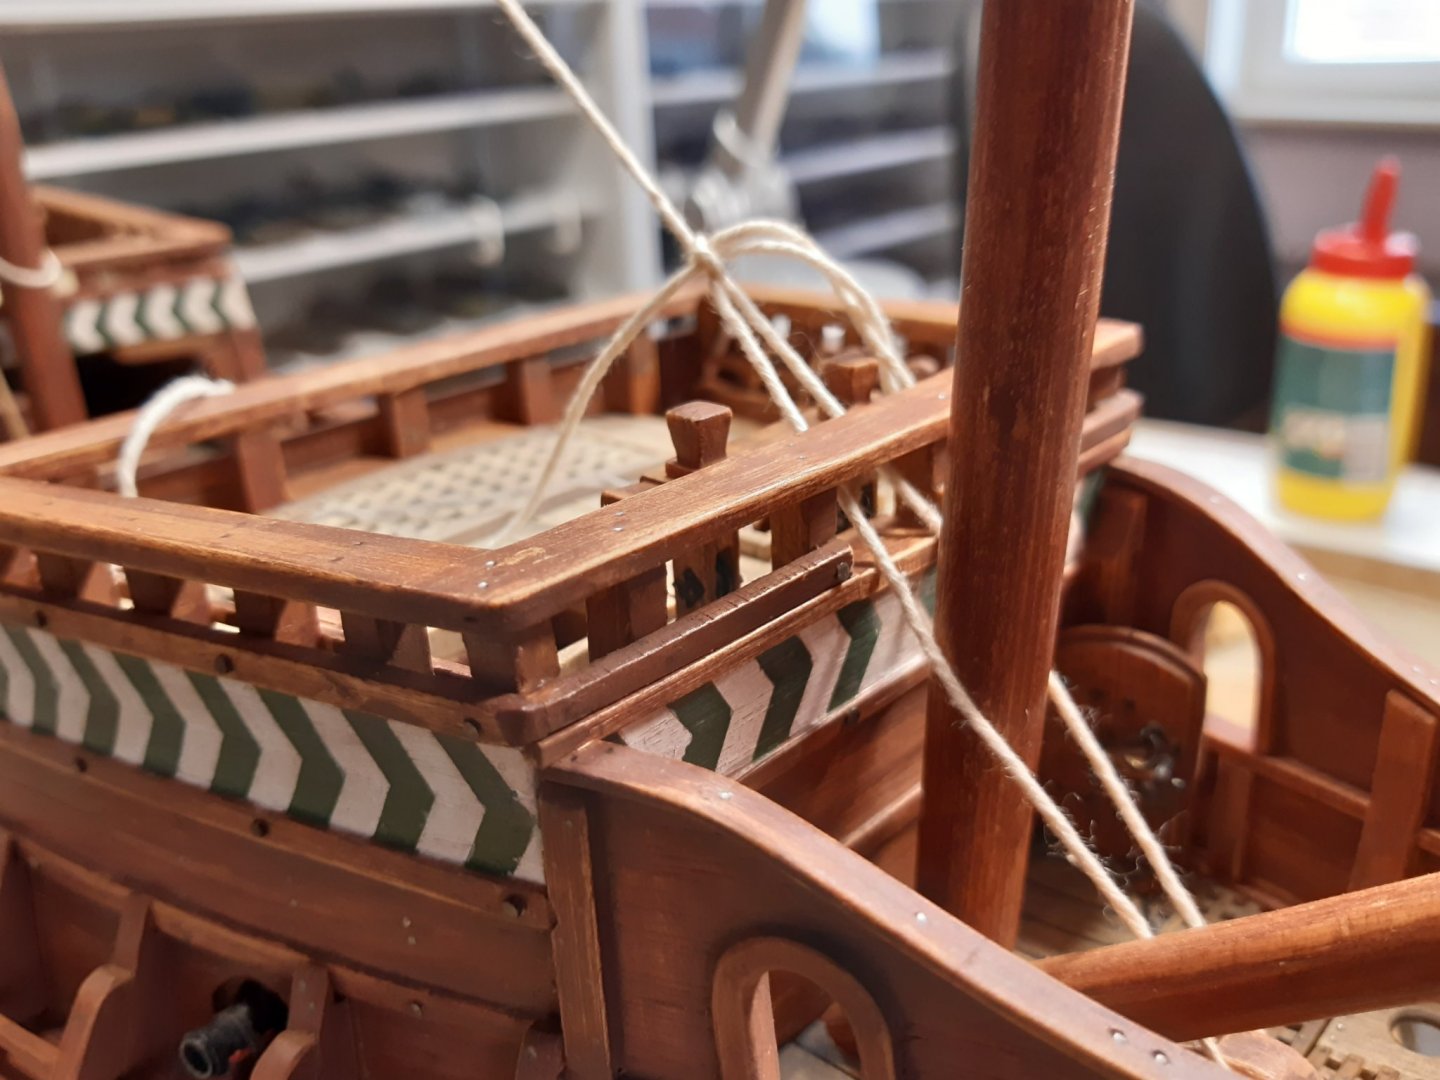
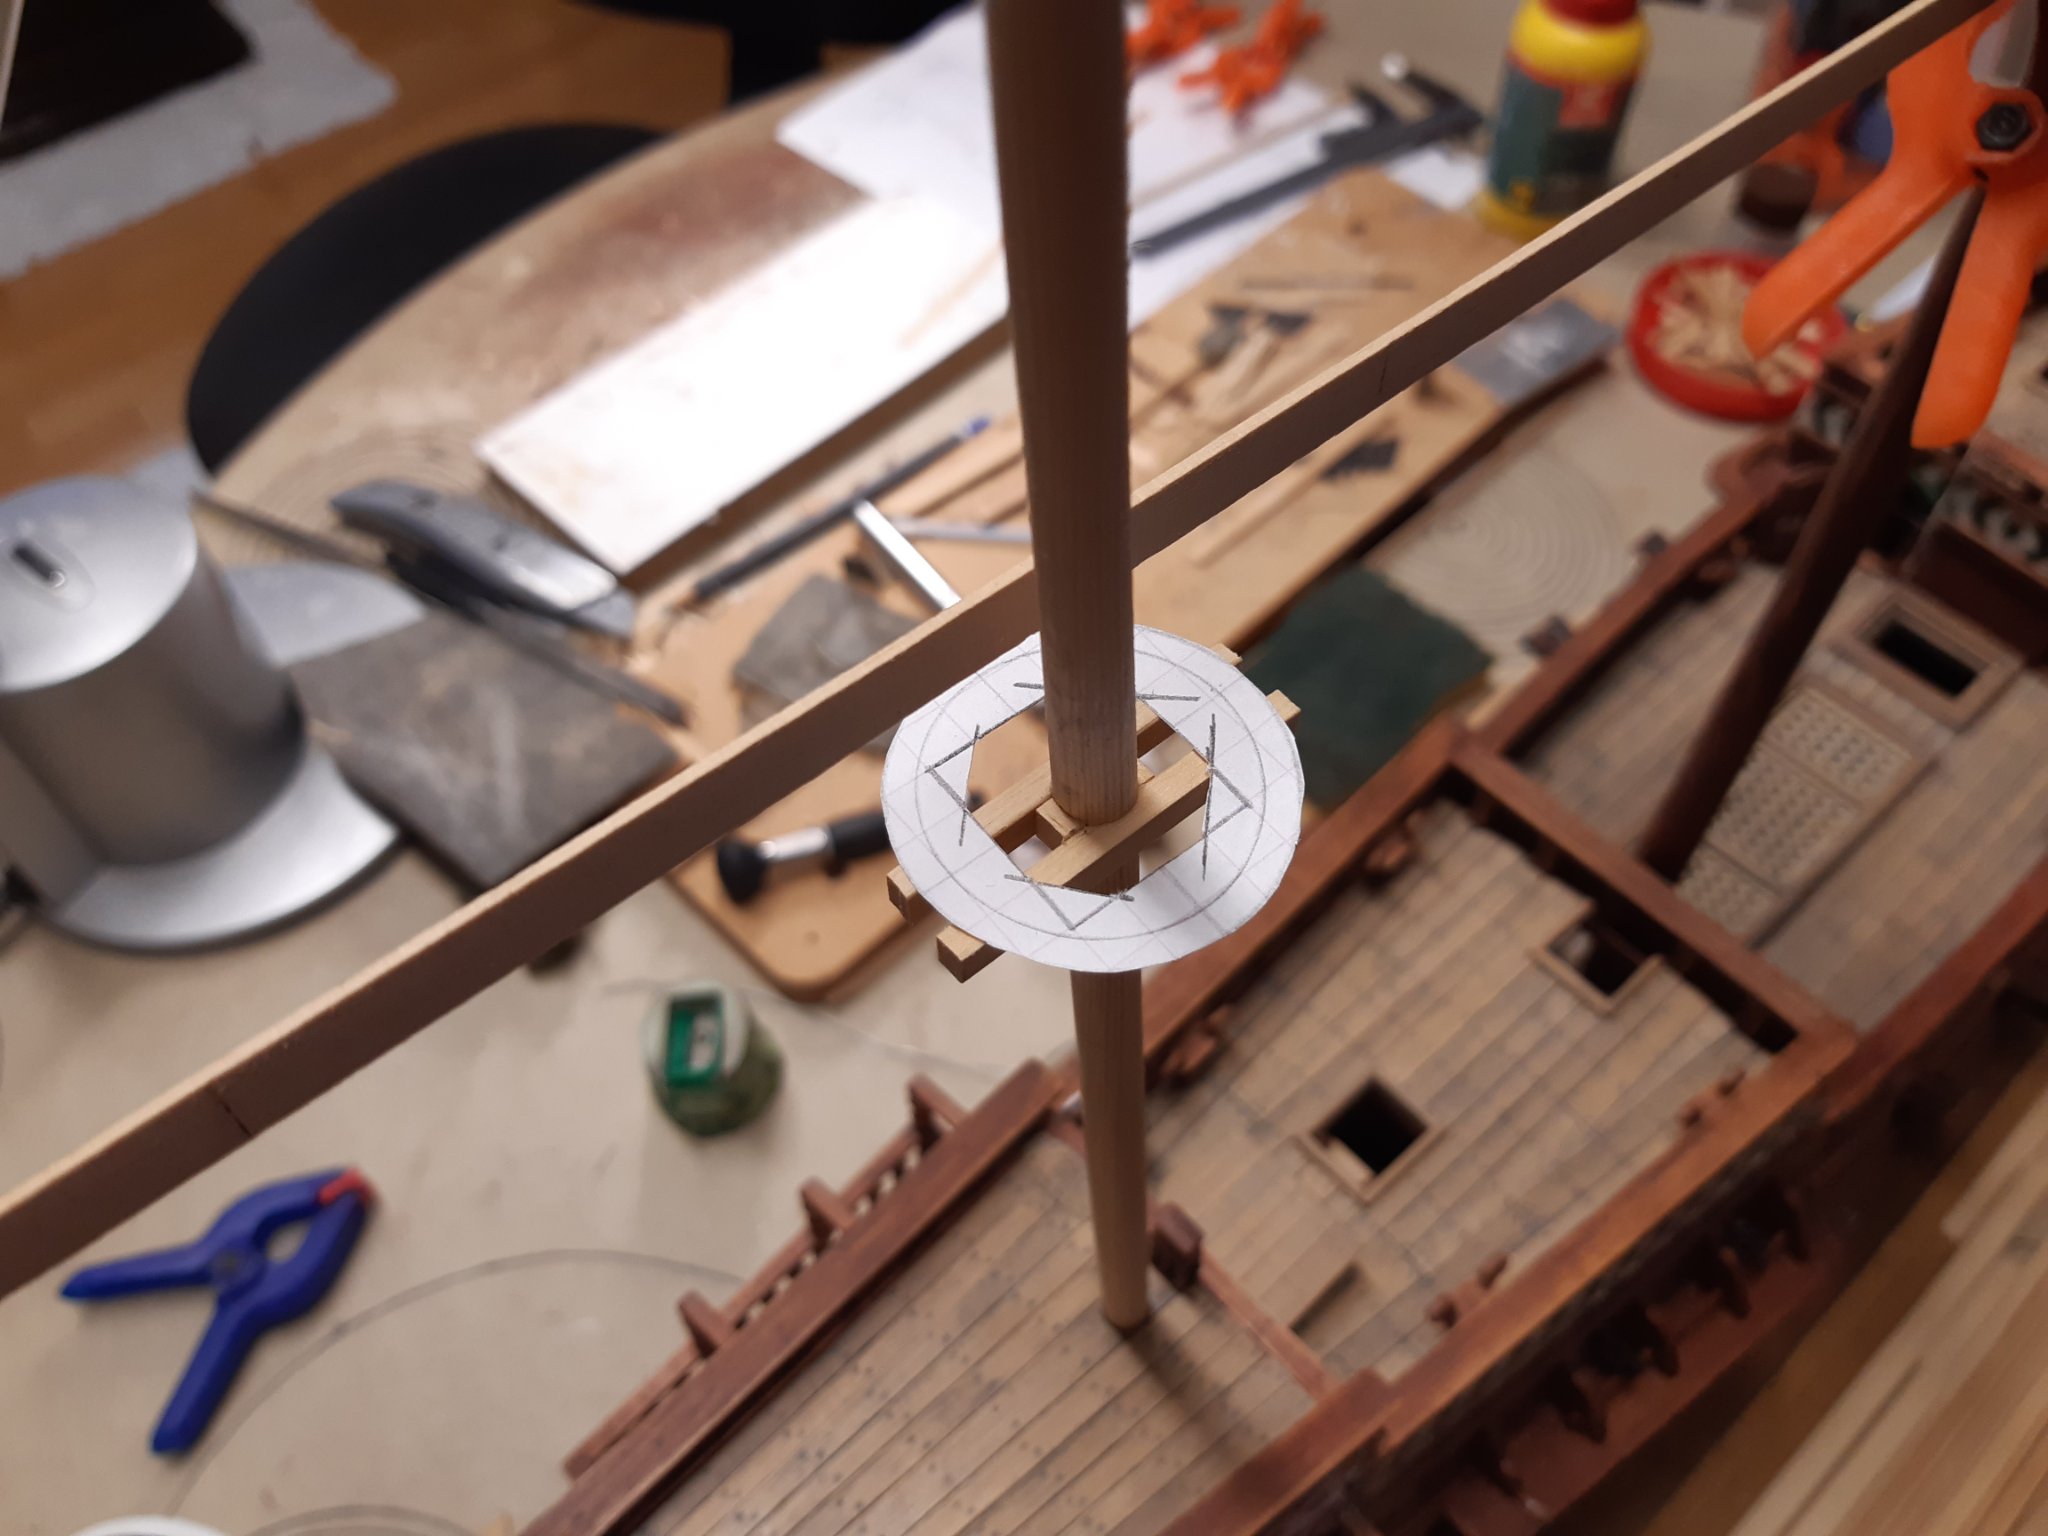
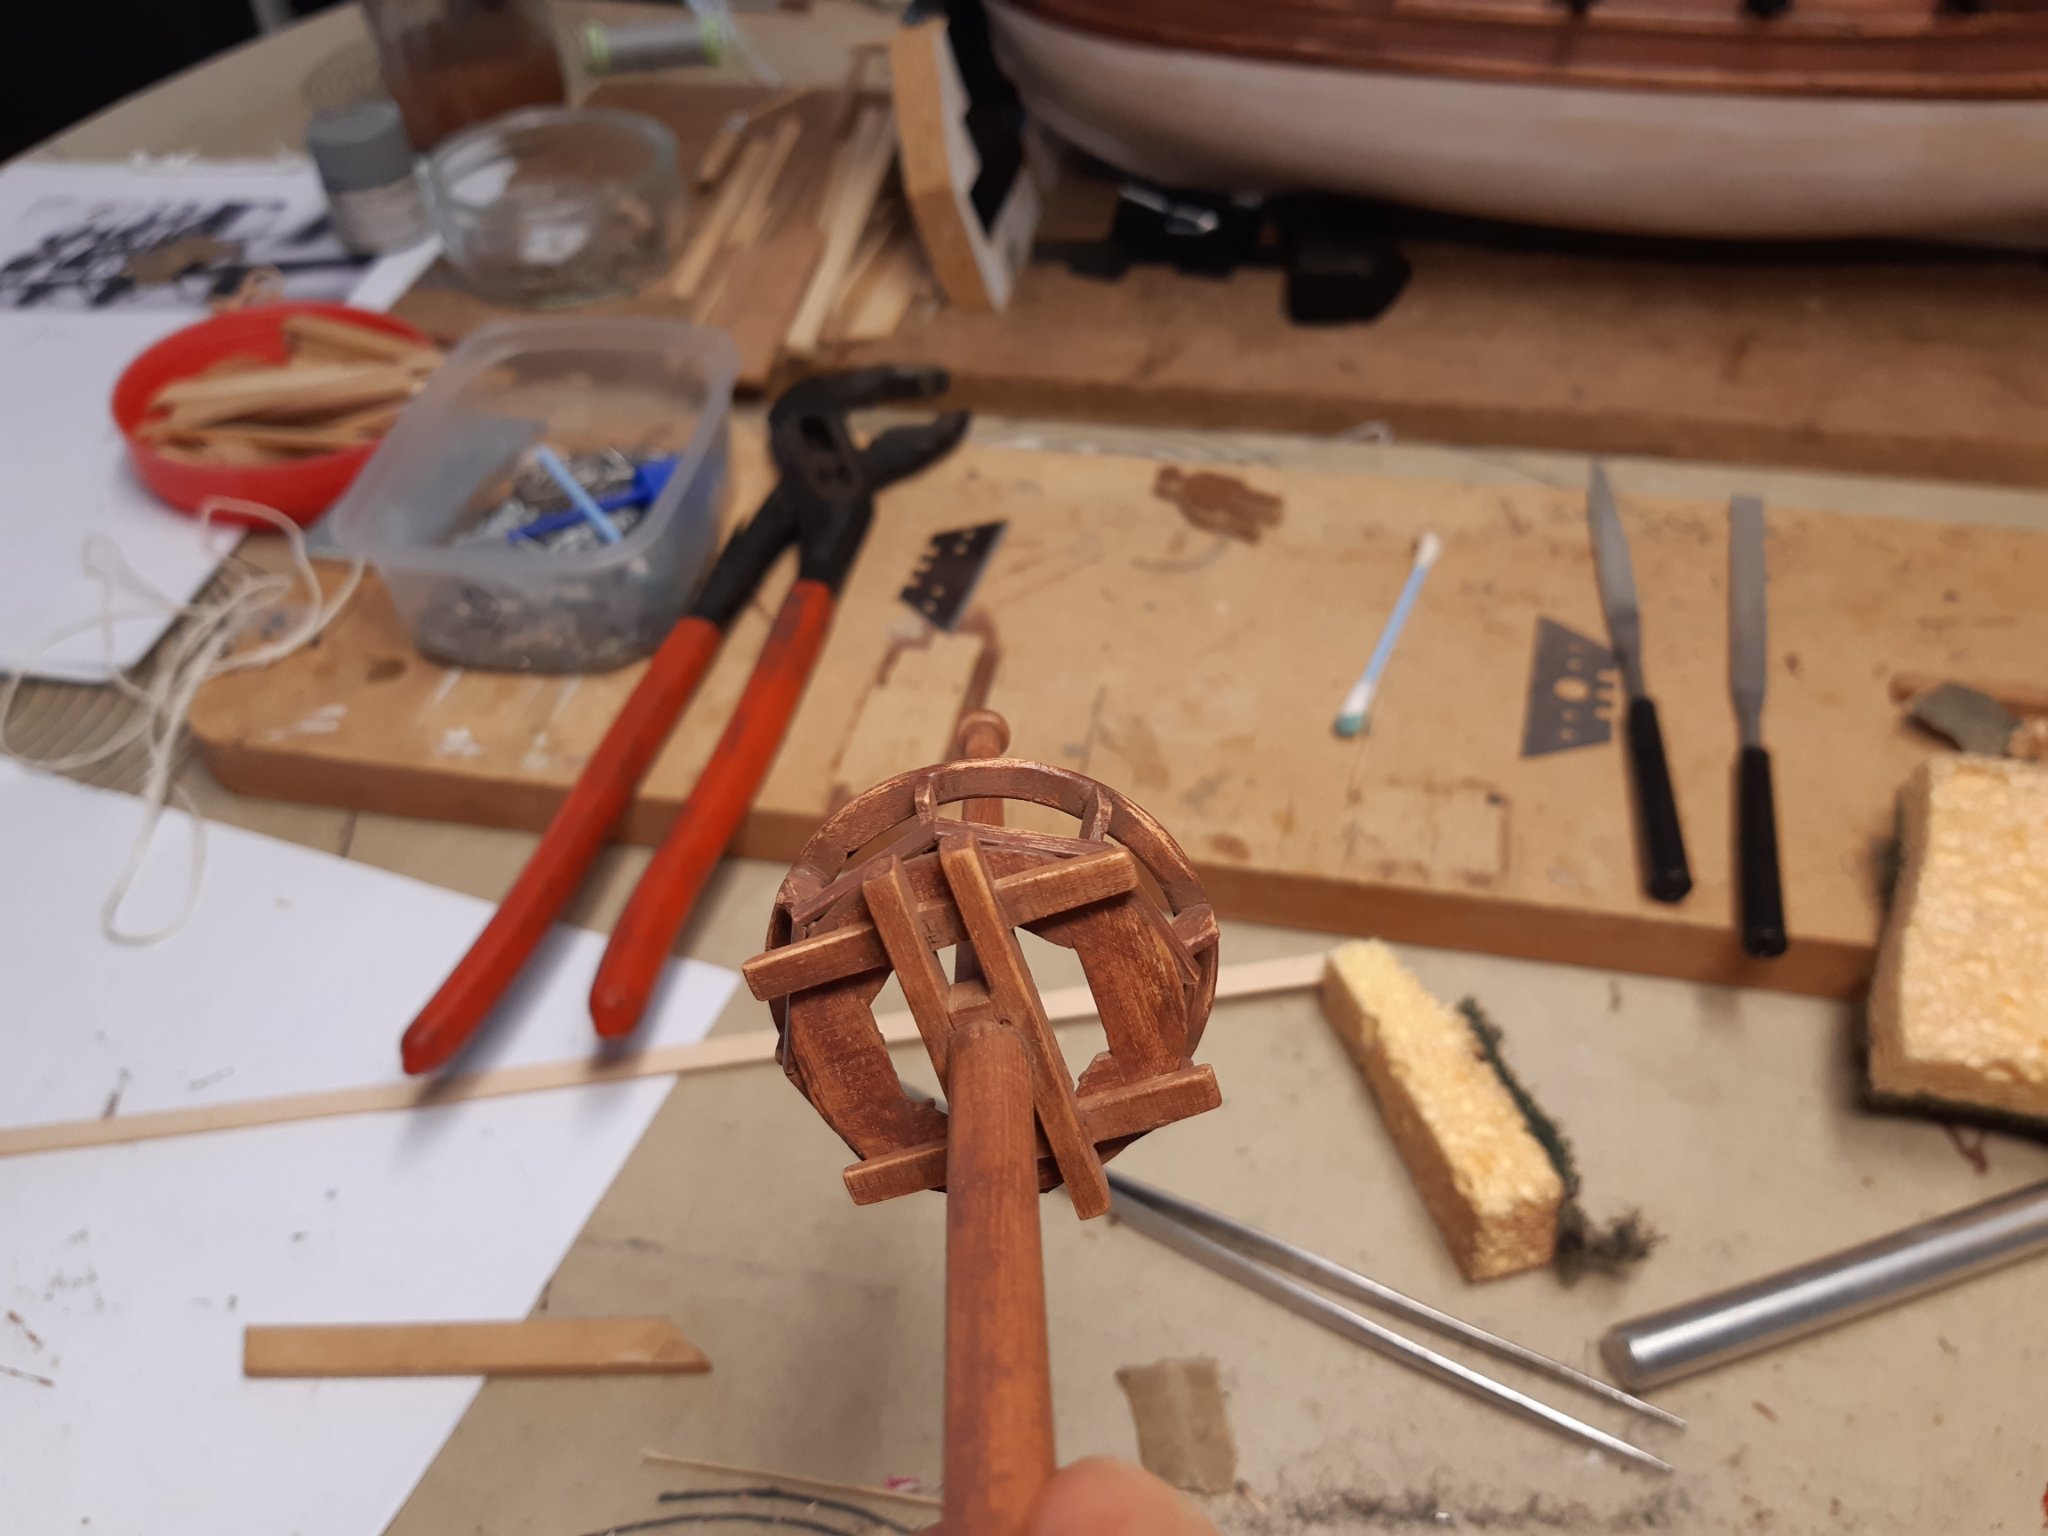
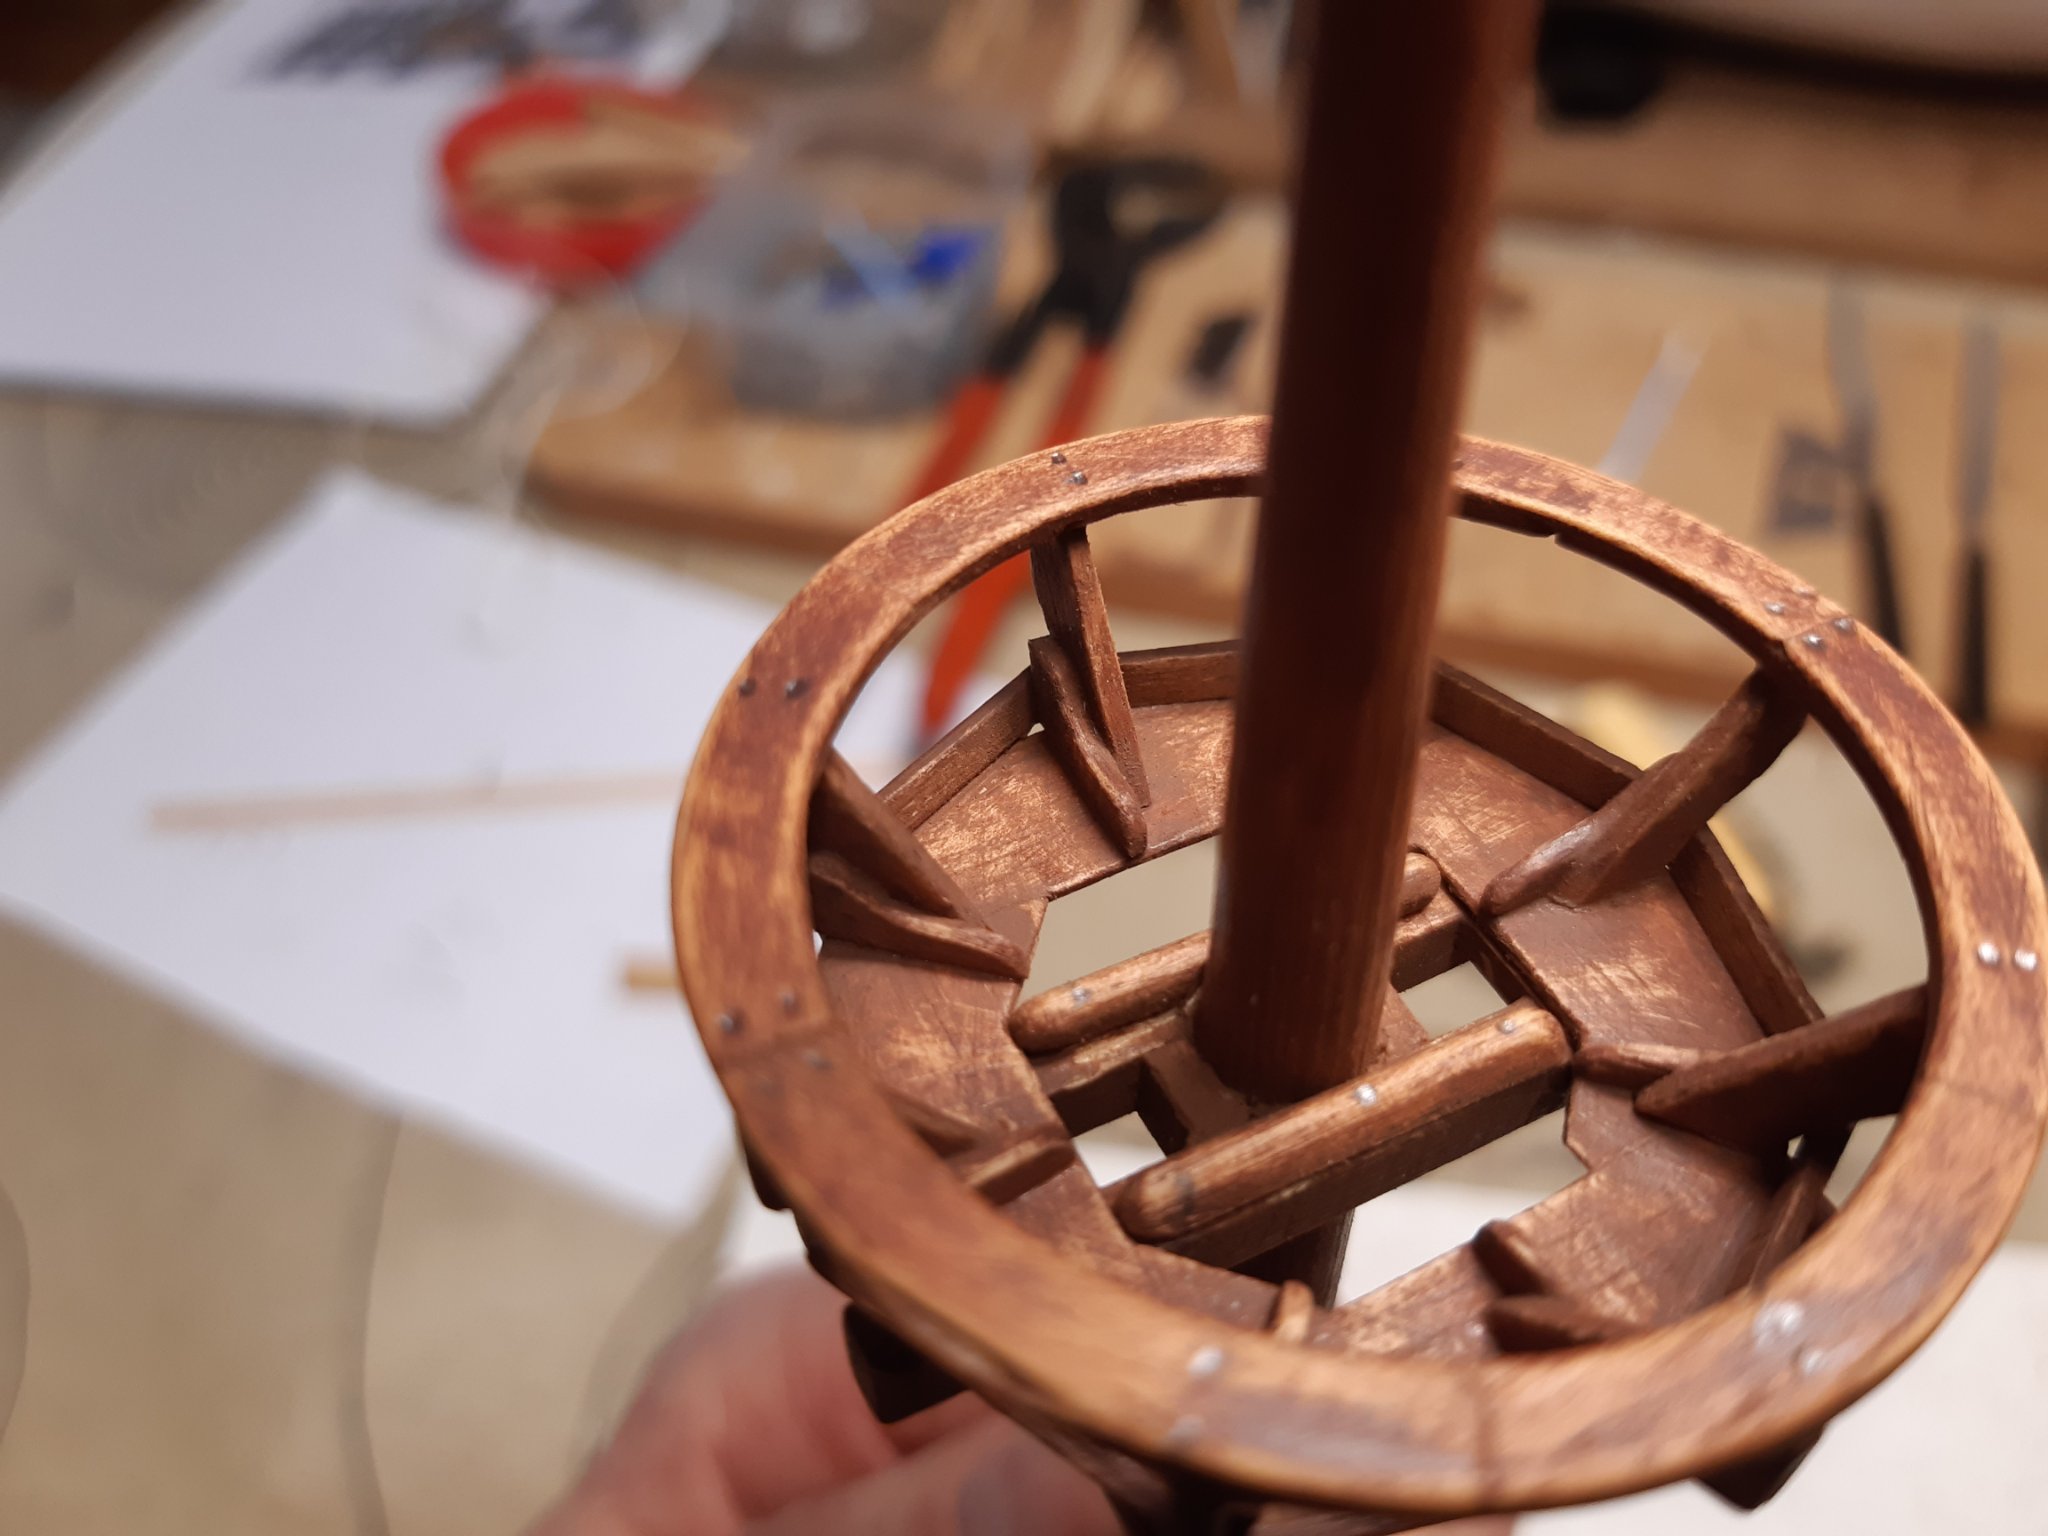
After finnishing the fore and main mast, i started with the mast top of the mizzen mast.
There is a choice with or without a mast top. I chose to build a mast top, but smaller and simpler than the 2 previous ones.


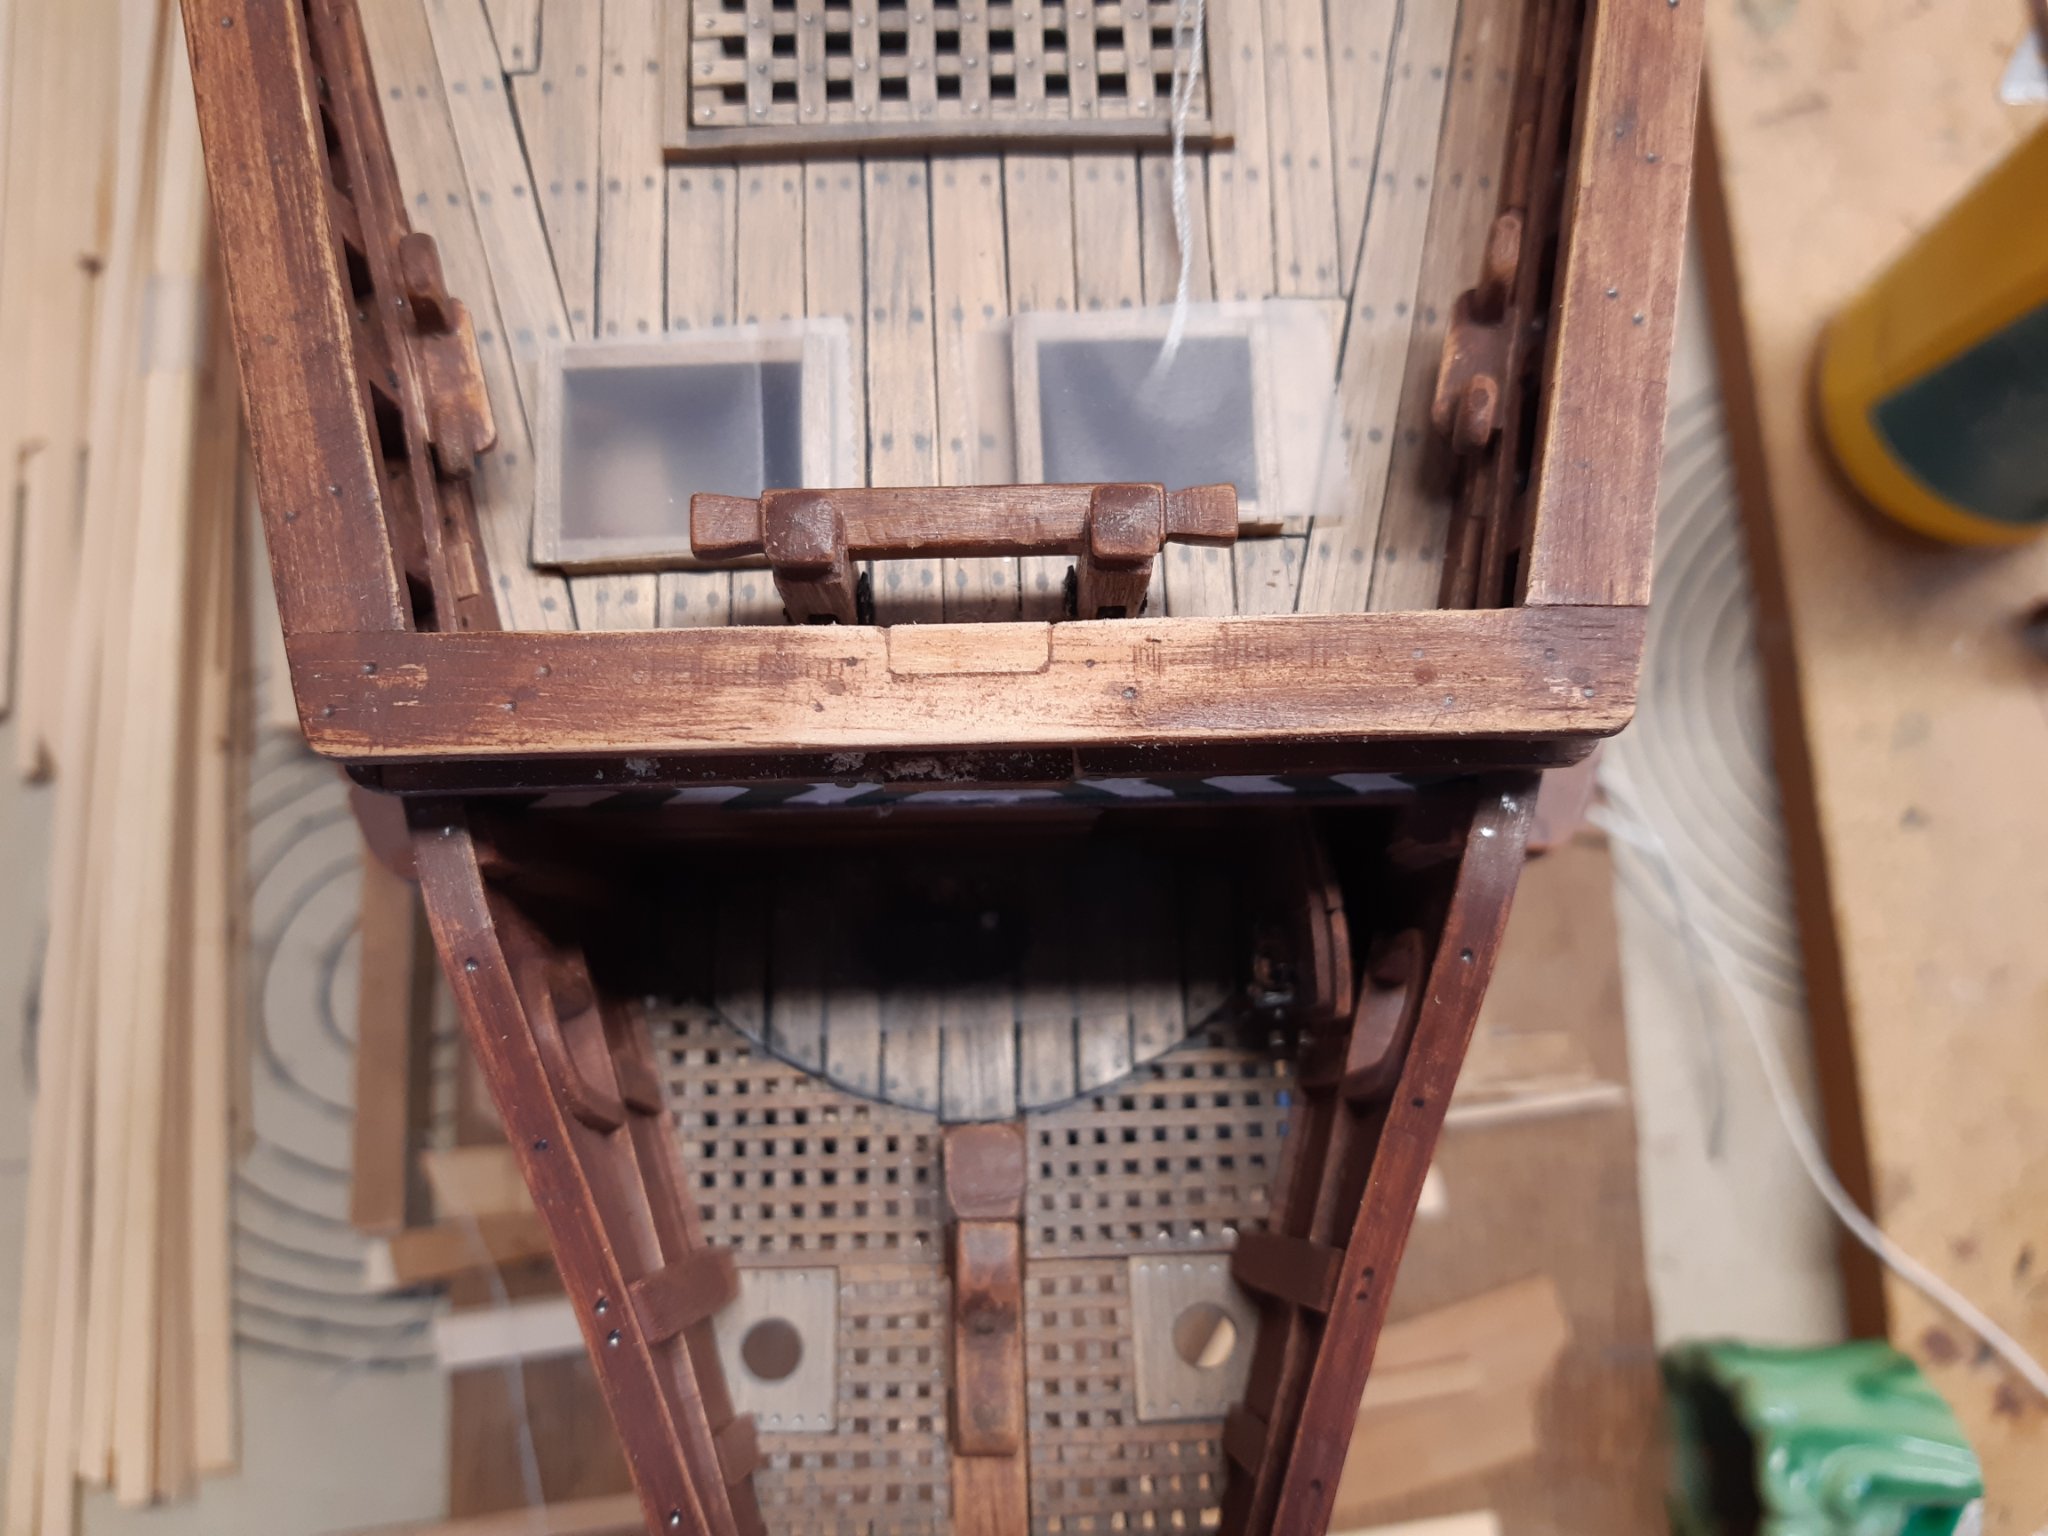
A little too much removed from the fore castle
So, repair and repainting.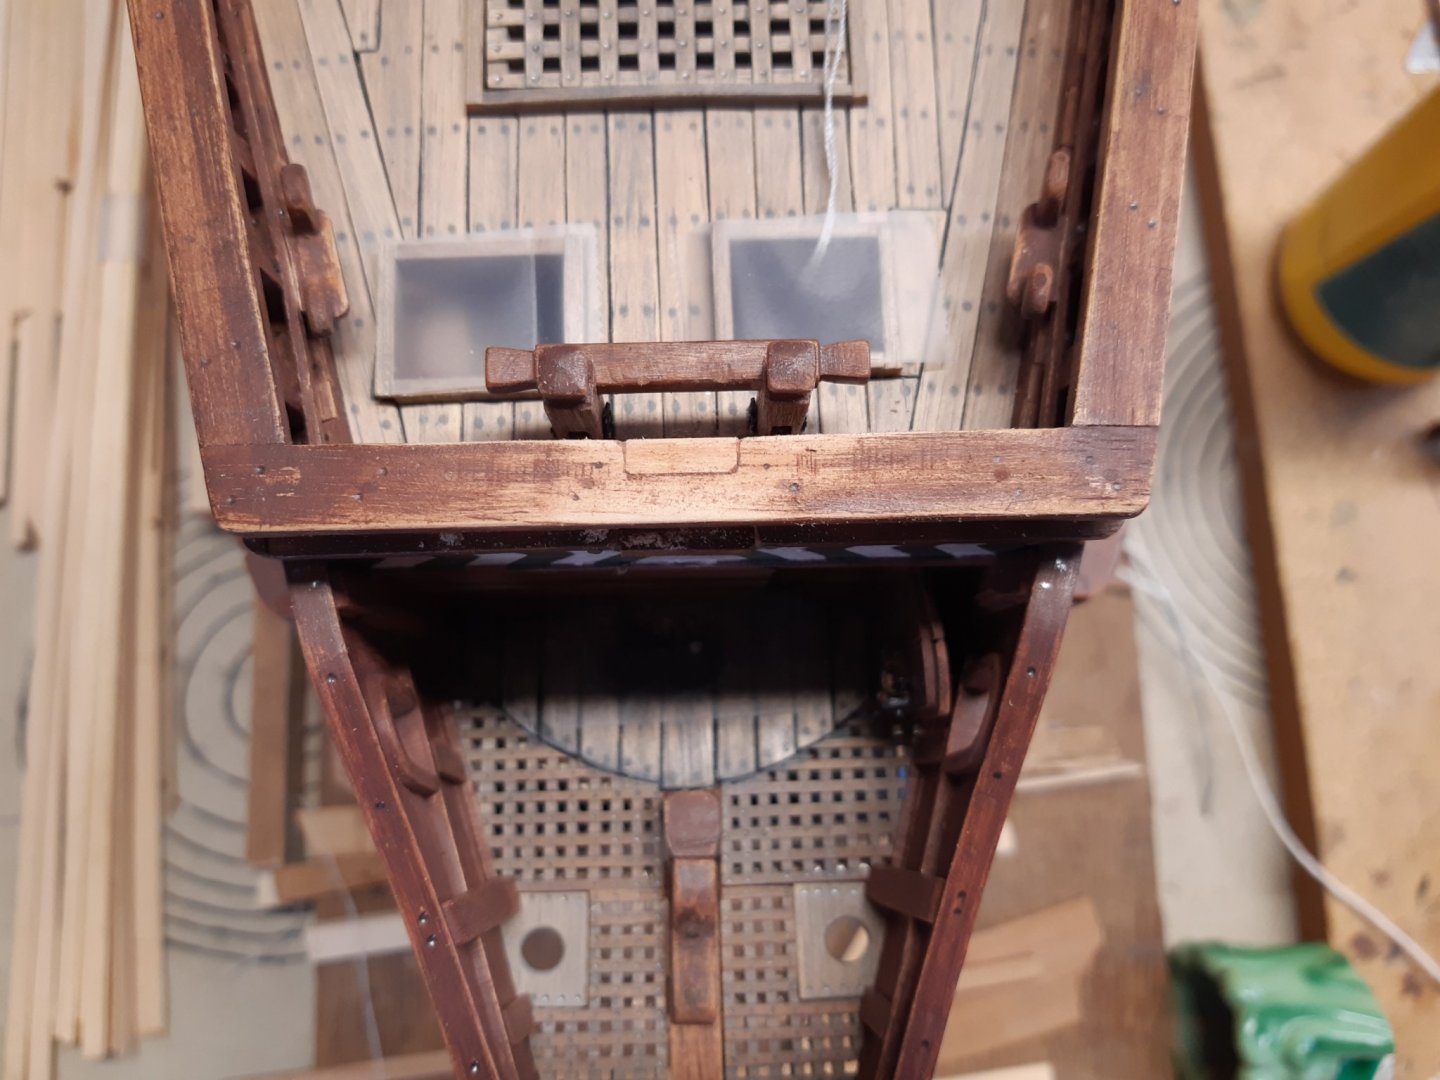
The modified version (almost correct)
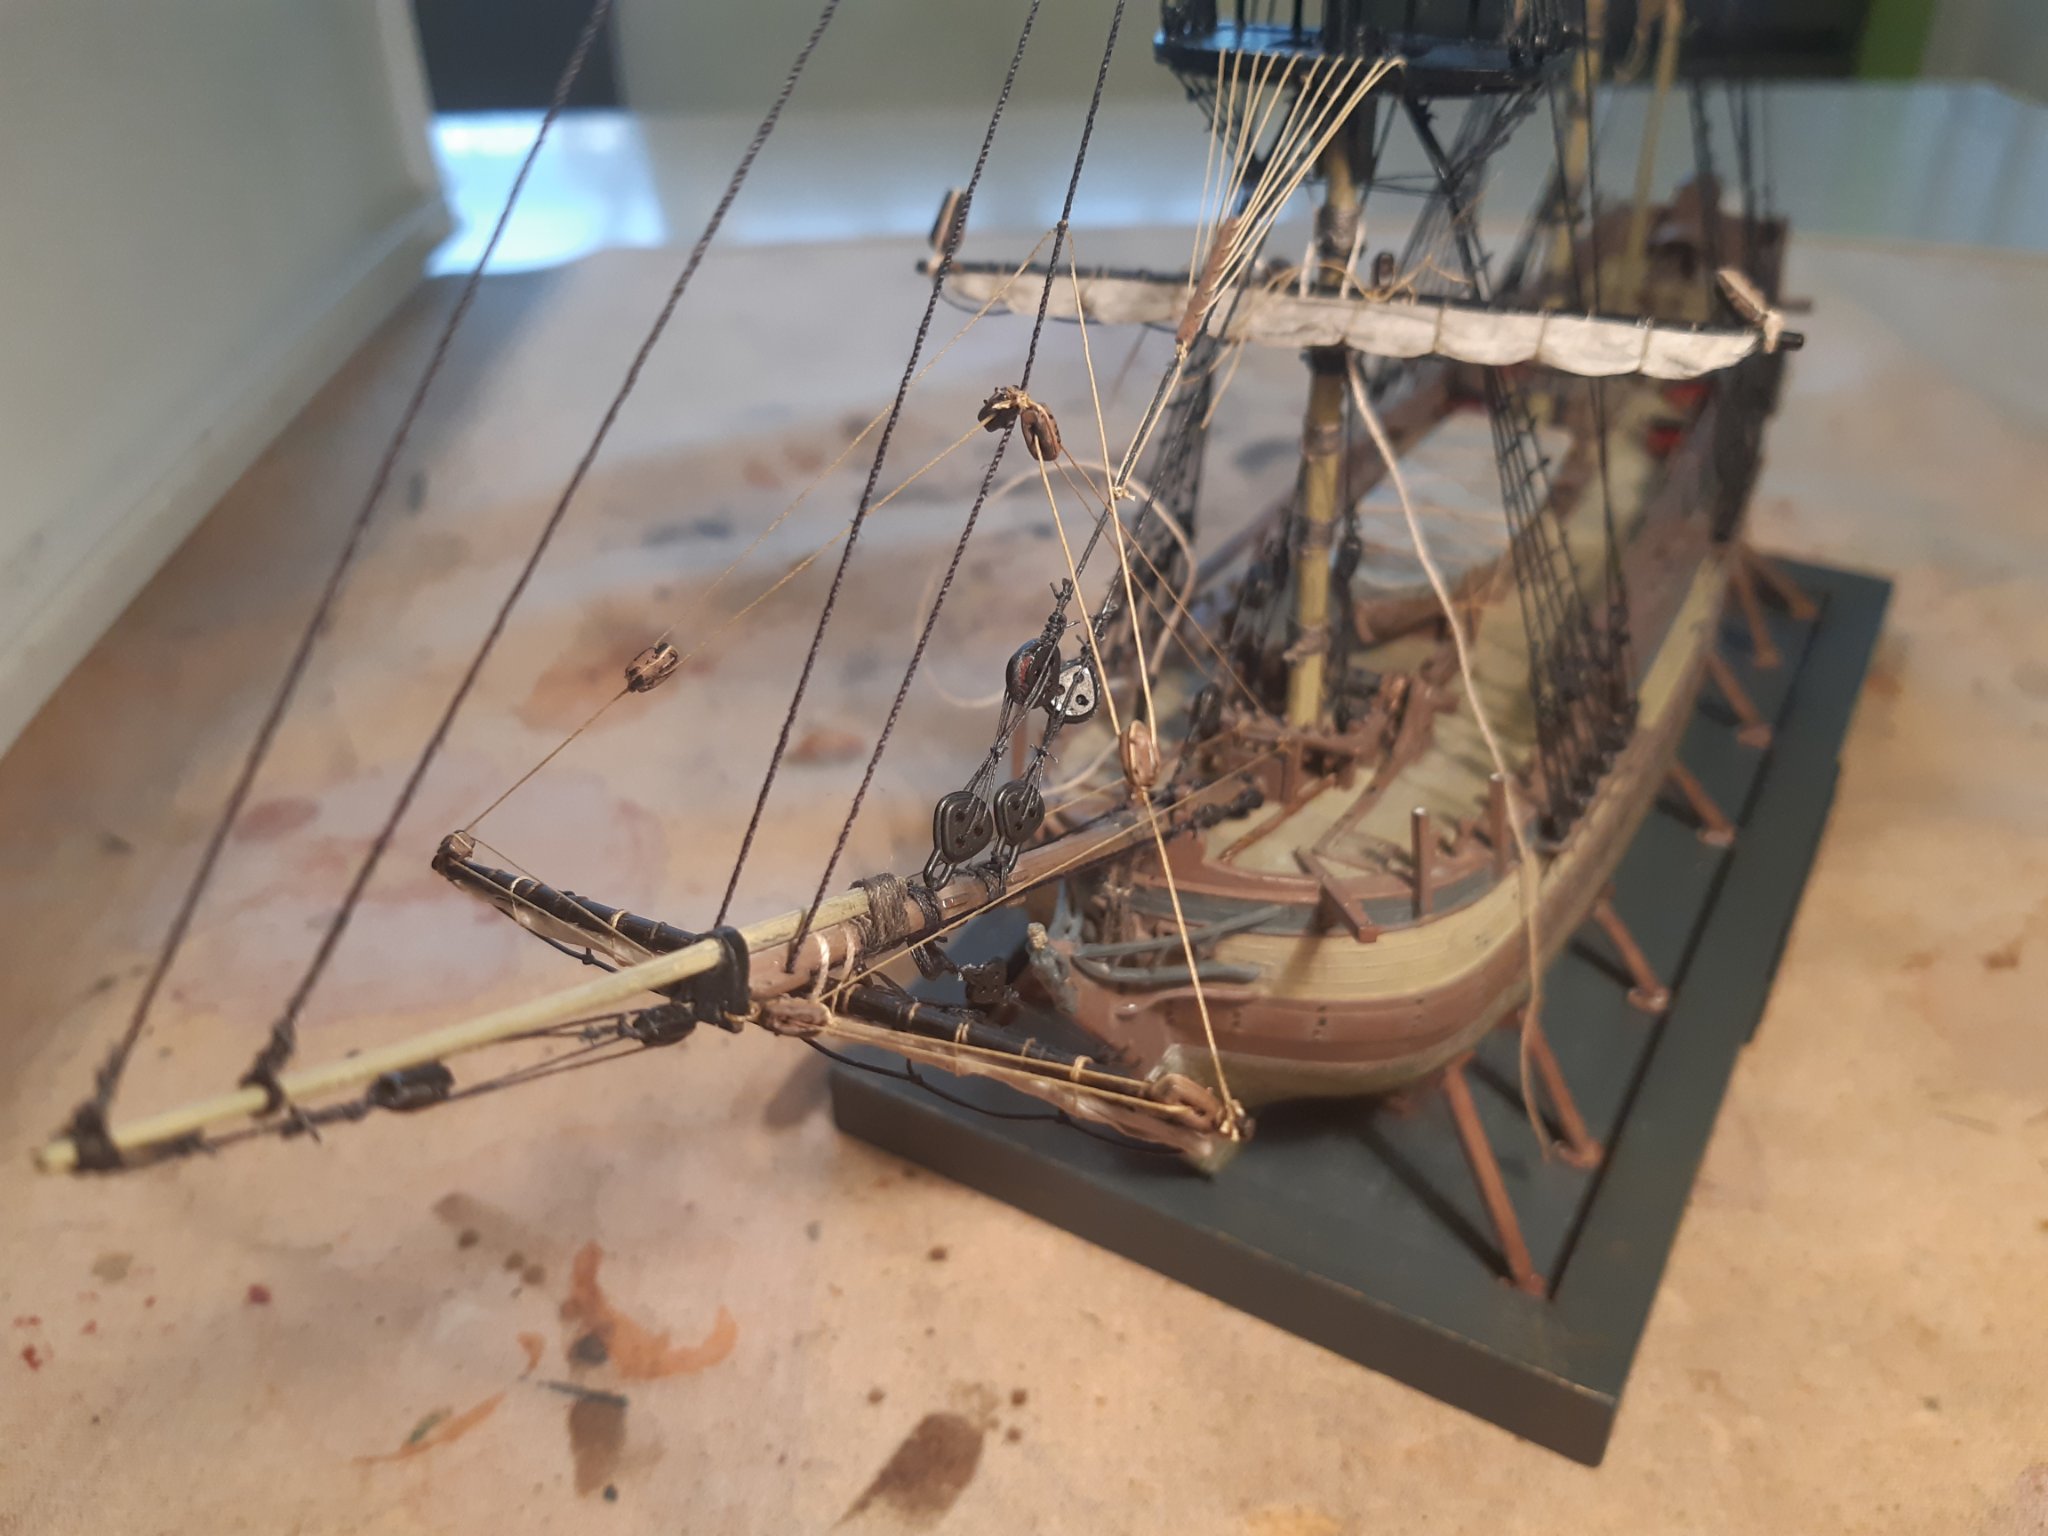
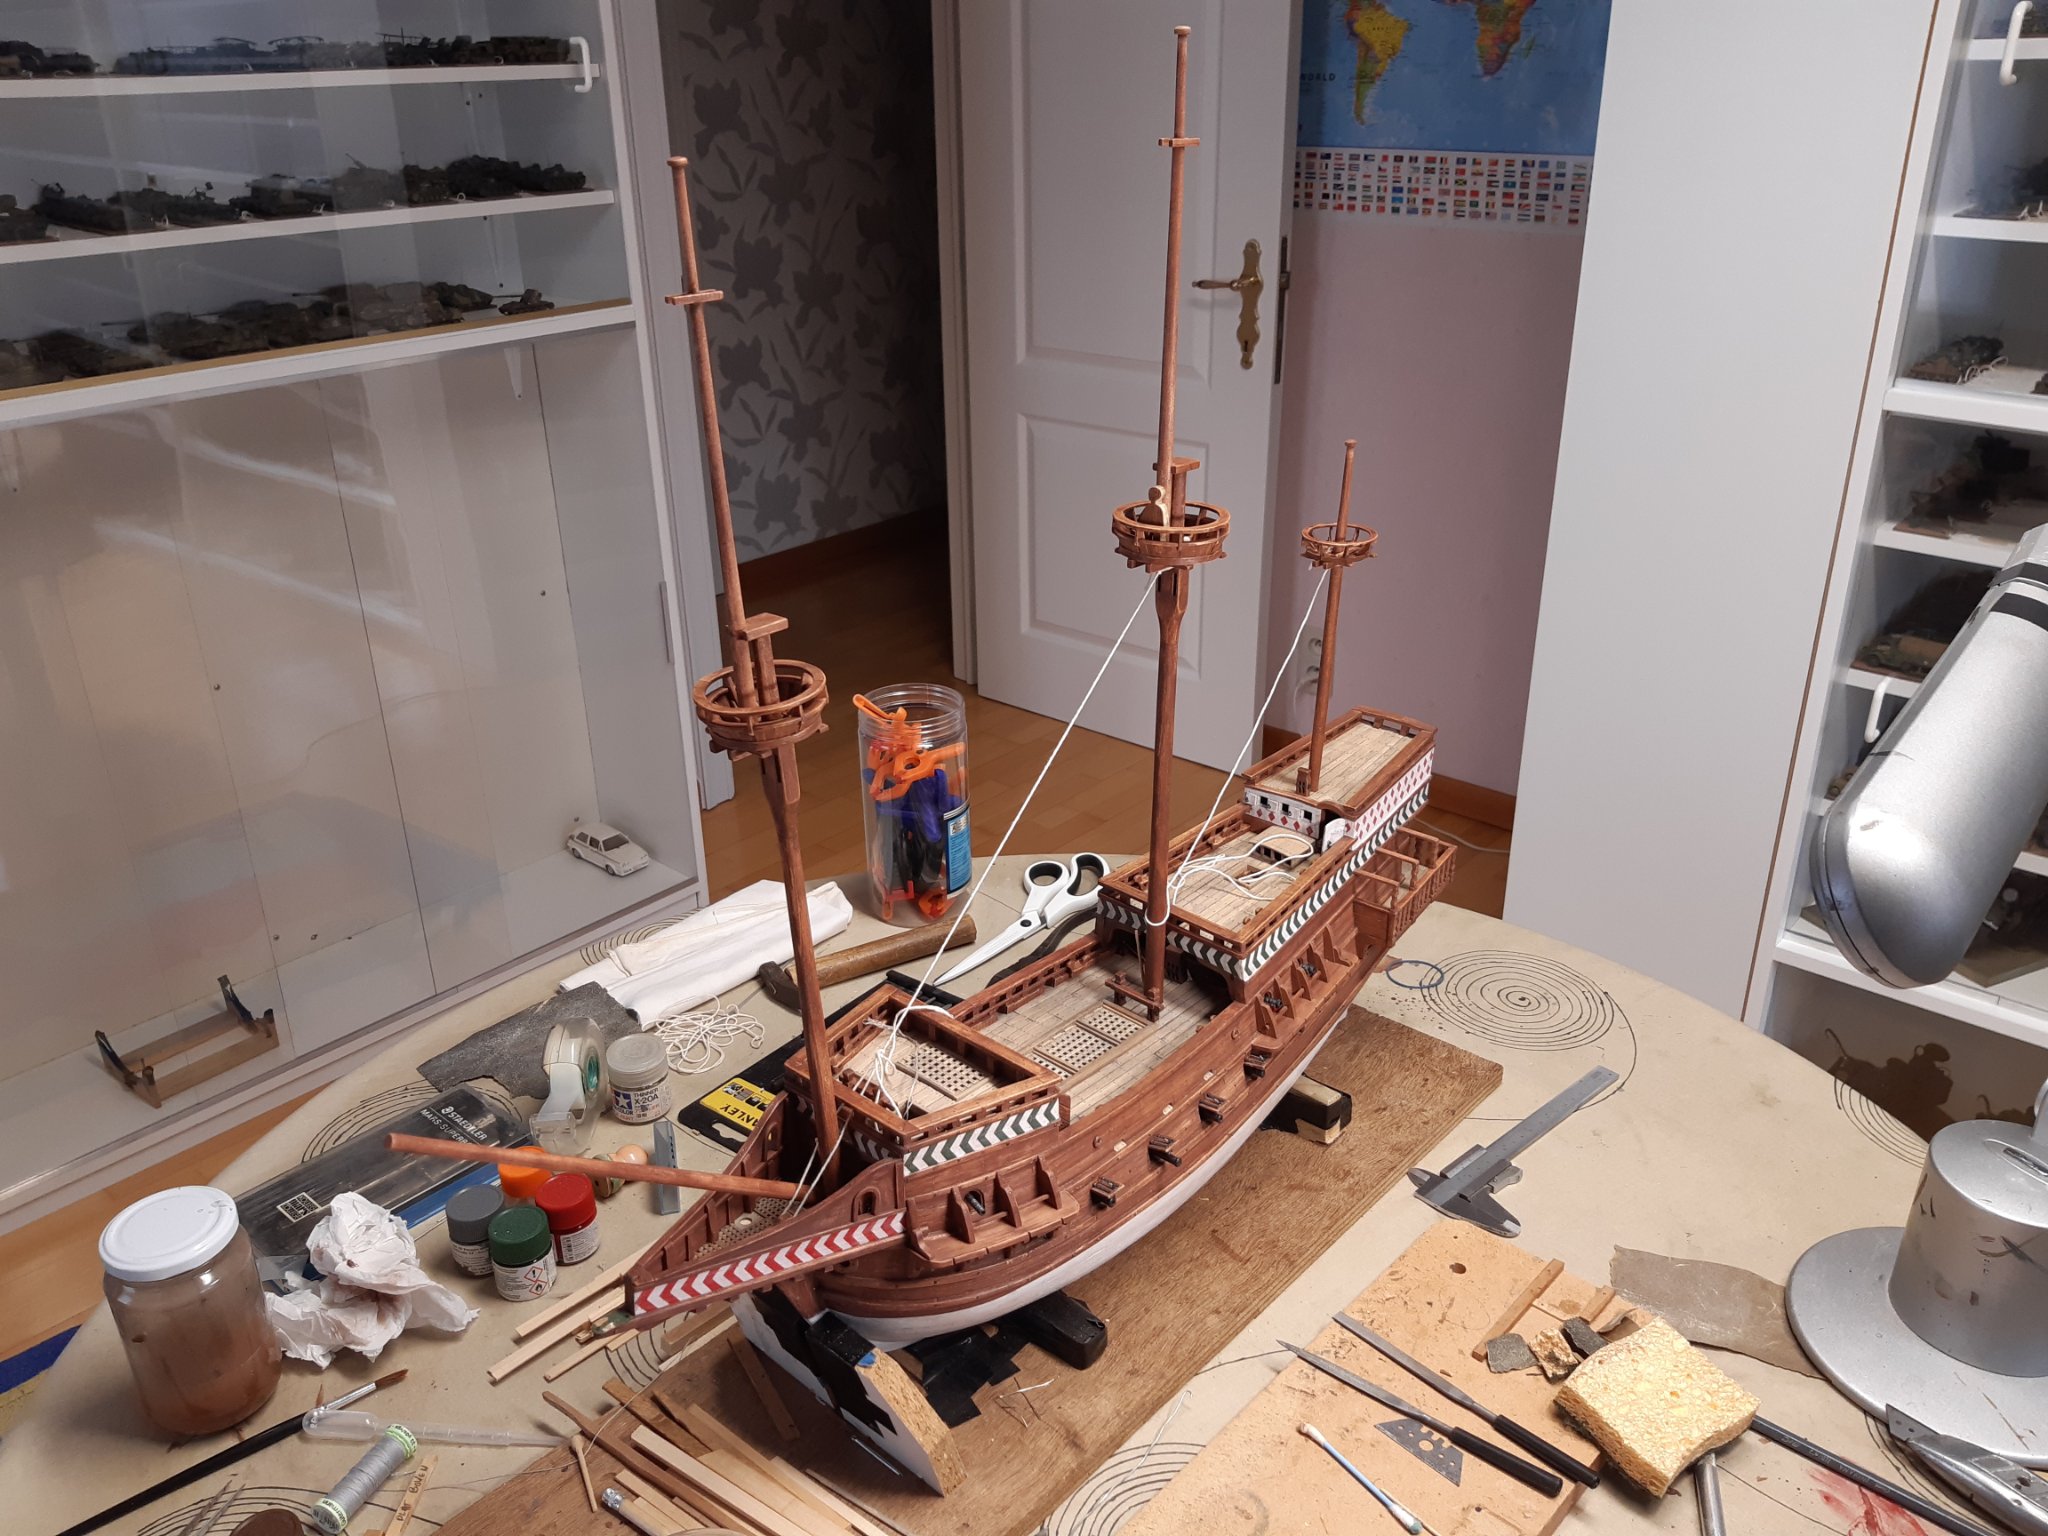
The 3 masts and the bowsprit dry fitted in place (and someone is taking a nap 😴)
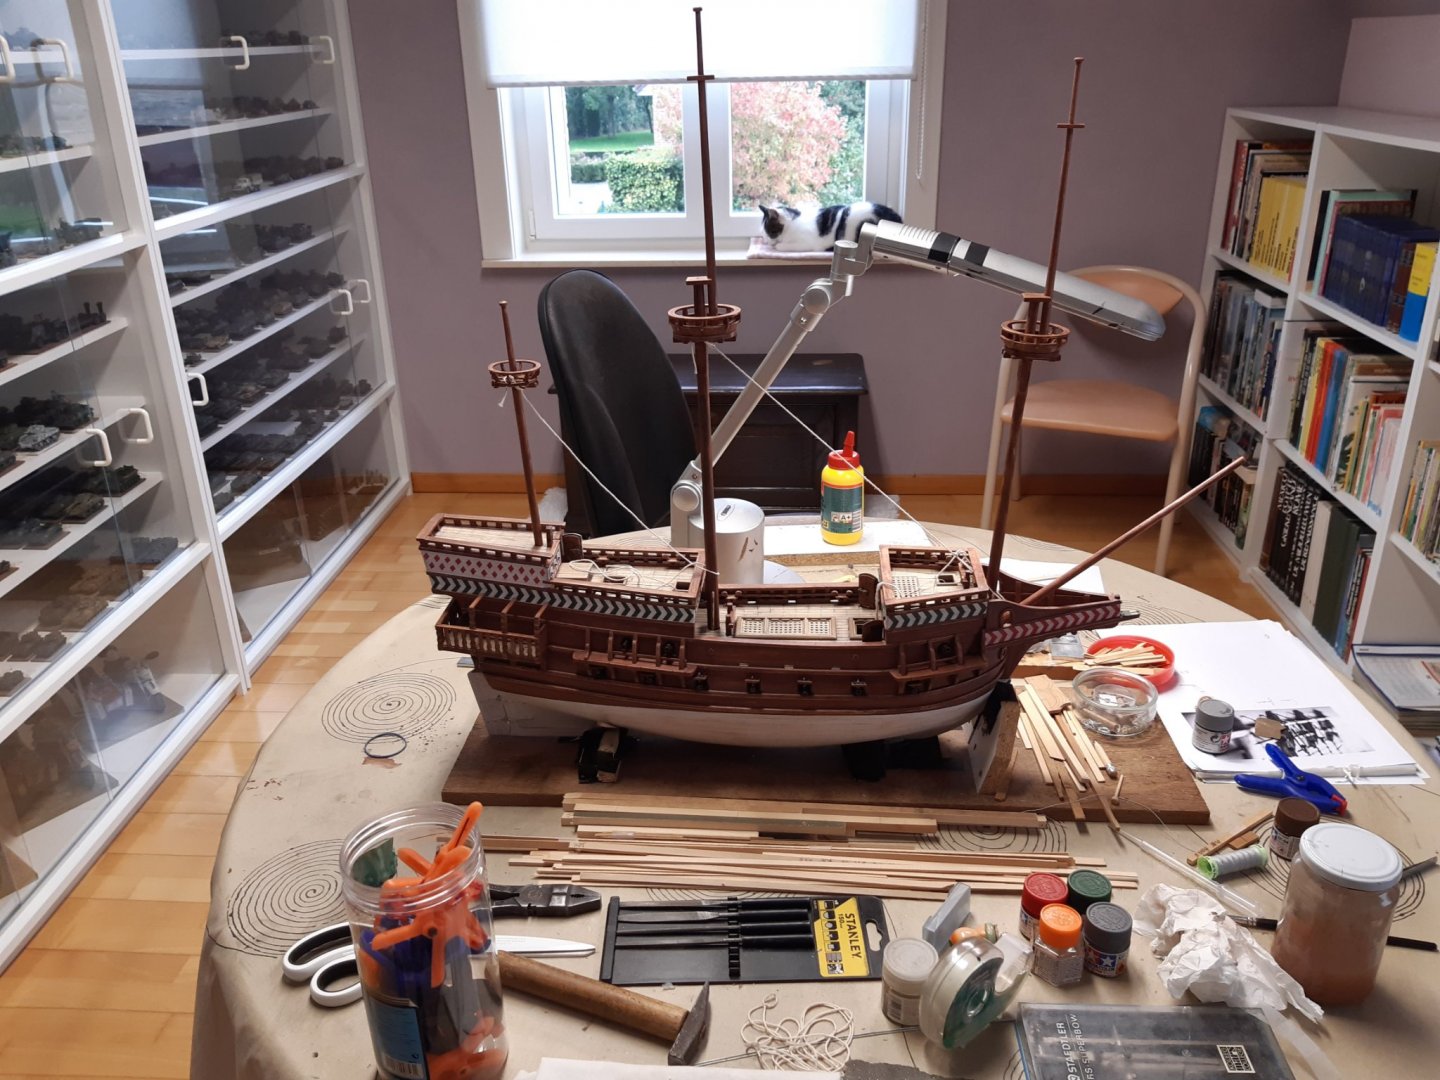
My loyal assistant, on the lookout in the mast top

The wooden parts of the masts are now ready, the masts are now first further finished (bolts and other metalwork).
And then think about how and where the deadeyes are attached to the mast tops.Thanks for following
- Roger Pellett, JpR62, Jeff T and 18 others
-
21
-
-
A masterpiece.
This was a pleasure to follow. And very educational.
congrats 👍
- Louie da fly, mtaylor, cog and 1 other
-
4
-
windows certainly not silver. I've seen some kind of light blue used on this forum once. this gave a good result. but the choice is yours
- Ryland Craze and bosco72
-
2
-
2 hours ago, bosco72 said:
Added ropes to the mast to see how it would look, unsure if these ropes would be tarred and should be black and what the function actually was? (coffee dyed string, the thickest of the two string coils provided in the kit)
There were one-piece masts. made of tall straight trees. And there were made masts (parts from several sawn trees)
Made masts are with rope (to keep the pieces together) one-piece masts not
-
-
Hello
And

-
-
Indeed a nice start.
I would try to see first if the parts of the hull and decks fit properly. And even glue them together if necessary
Otherwise, if they dont fit properly you may have to touch up the paint later on .Airfix parts usually fit well, But you never know
- rkwz, bosco72 and Old Collingwood
-
3
-
Between the main and mizzen masts on the upper deck is a good place.
( if the link doesn't work , page 11 of the Pelican build)
-
25 minutes ago, RussR said:
The quality of the Billing Boats material isn't up to some of the other five kits I have built. But I knew that going into it. Up until now I have been an out of the box builder. So I have some research ahead of me. If anyone has a resource that would help in this regard I would like to know.
The Billings Vasa has its shortcomings, but you will enjoy building it.
These links are very helpful
http://www.wasadream.com/Index/indexenglish.html
https://sites.google.com/site/clayton707/vasa1628
-
-
-
-
-


Bounty by Baker - FINISHED - Revell - scale 1/110 - PLASTIC - semi scratch and extra detail
in - Kit build logs for subjects built from 1751 - 1800
Posted
And received 2 things today.
a good
A few weeks ago I asked through the Revell website if I couldn't buy extra rope from them. For the extra finishing of the Bounty
A reply came pretty quickly that they were going to send this.
And today, a package (And without a bill attached)
a bad
I received a positive result about my corona test 😷
Fortunately, the symptoms are mild and hopefully soon forgotten.
So a lot of free time for rigging.
But I am tired quickly