


Baker
-
Posts
4,134 -
Joined
-
Last visited
Content Type
Profiles
Forums
Gallery
Events
Posts posted by Baker
-
-
Great work and very clean planking.
-
Indeed these kits have virtually no pins or tabs to attach the parts to each other.
Ideal for those who like a challenge and have some free time.
A problem for those without experience and who are in a hurry.Putty may be needed some times, but I use it as little as possible.
Seams and "bubbles" are sanded. Now mounting the mudguards (fenders)
The suspension

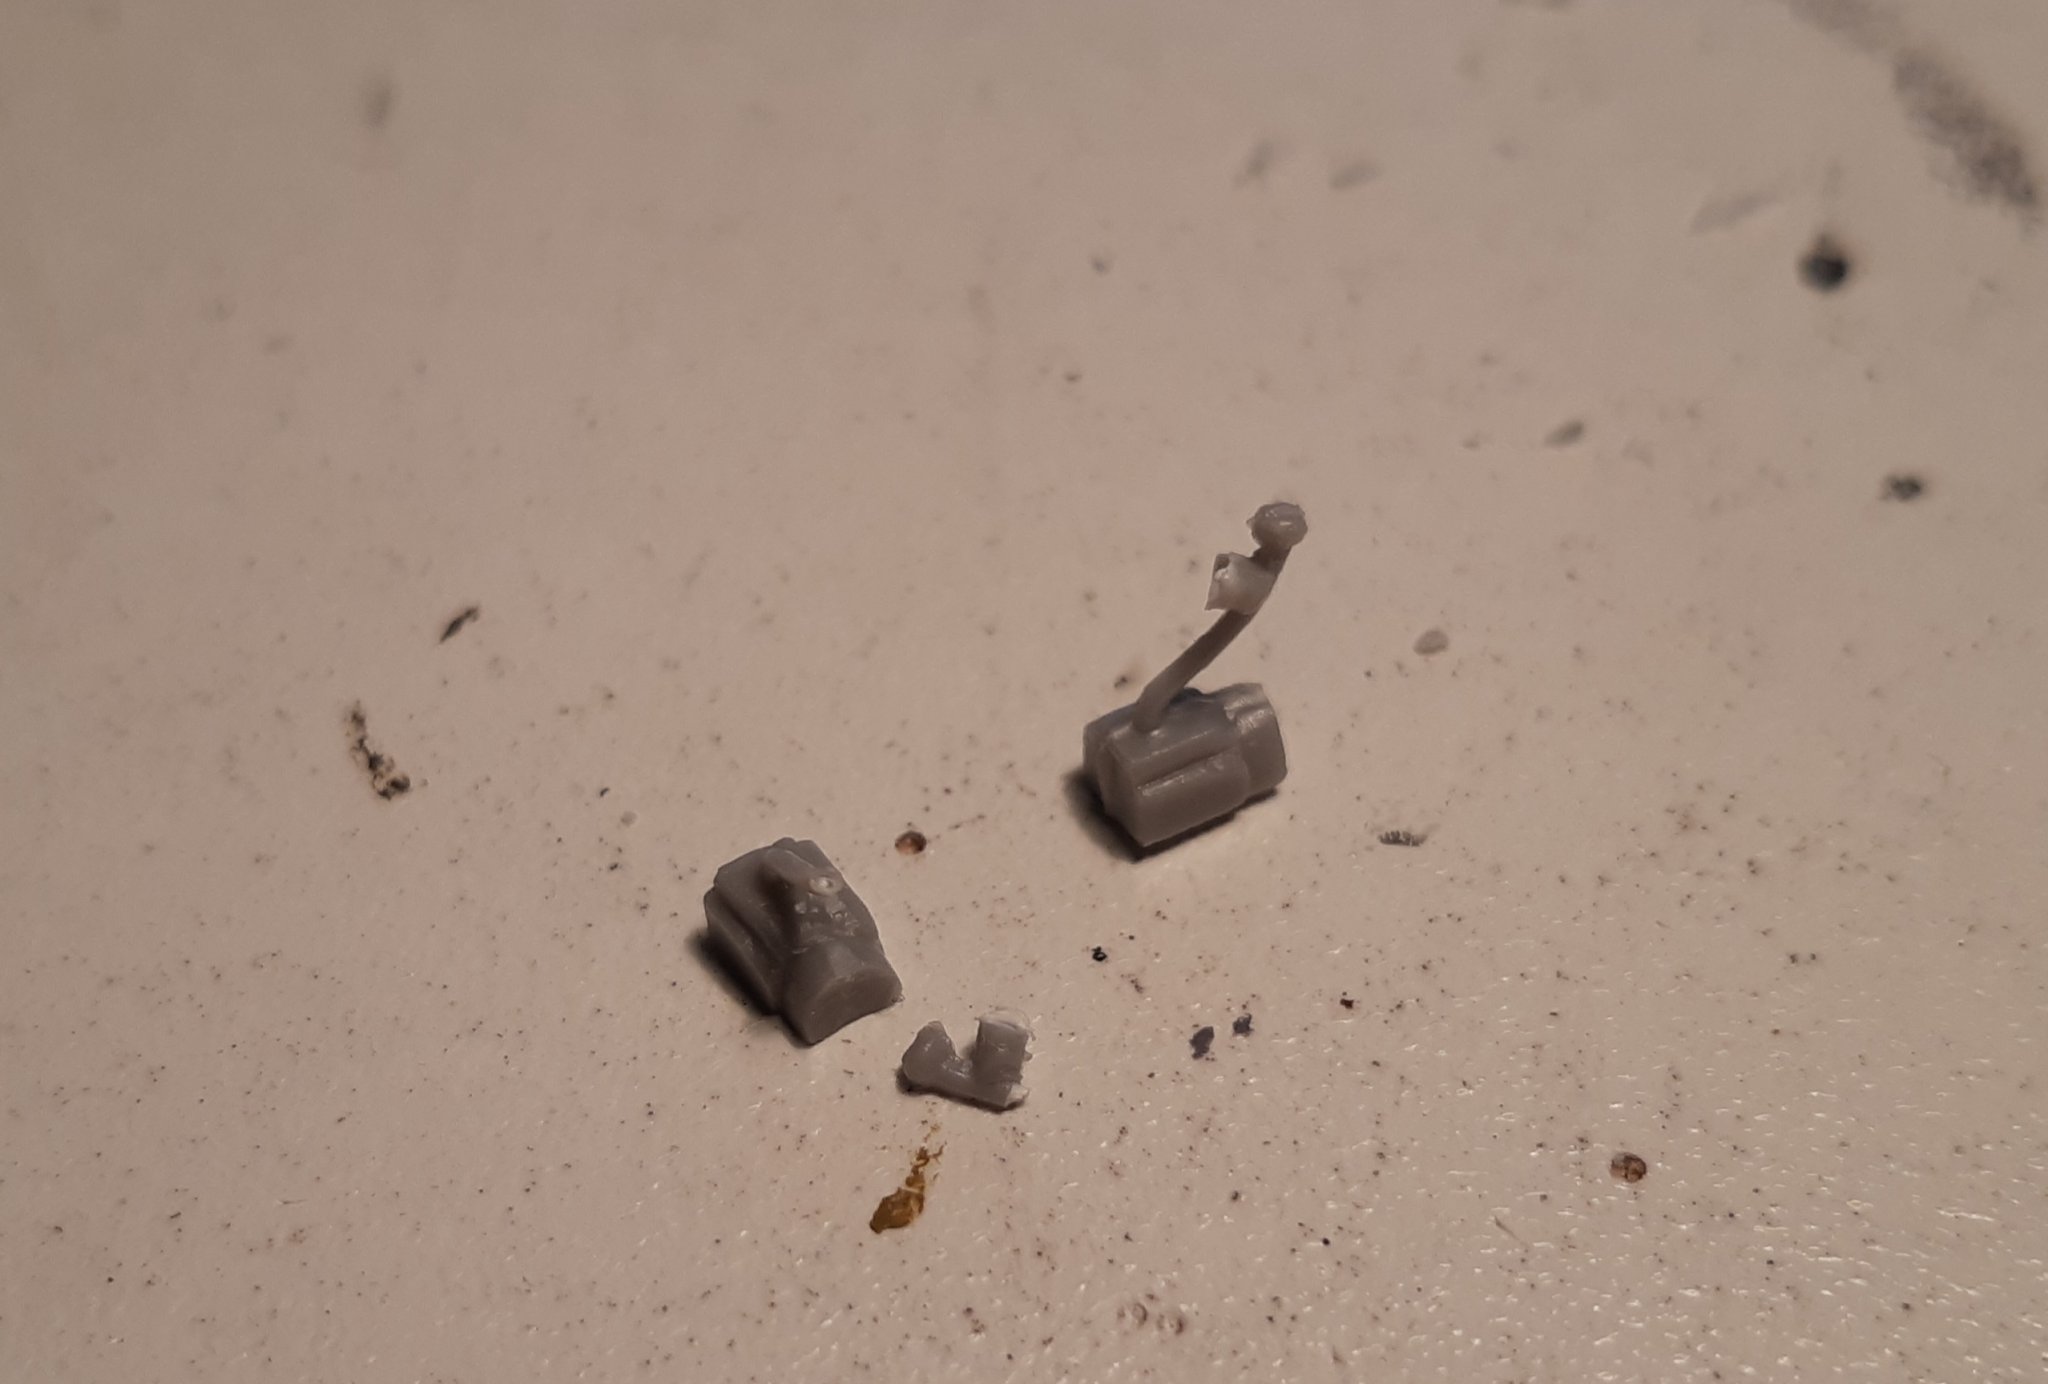
Cleaning the gearbox and gear lever (oops)
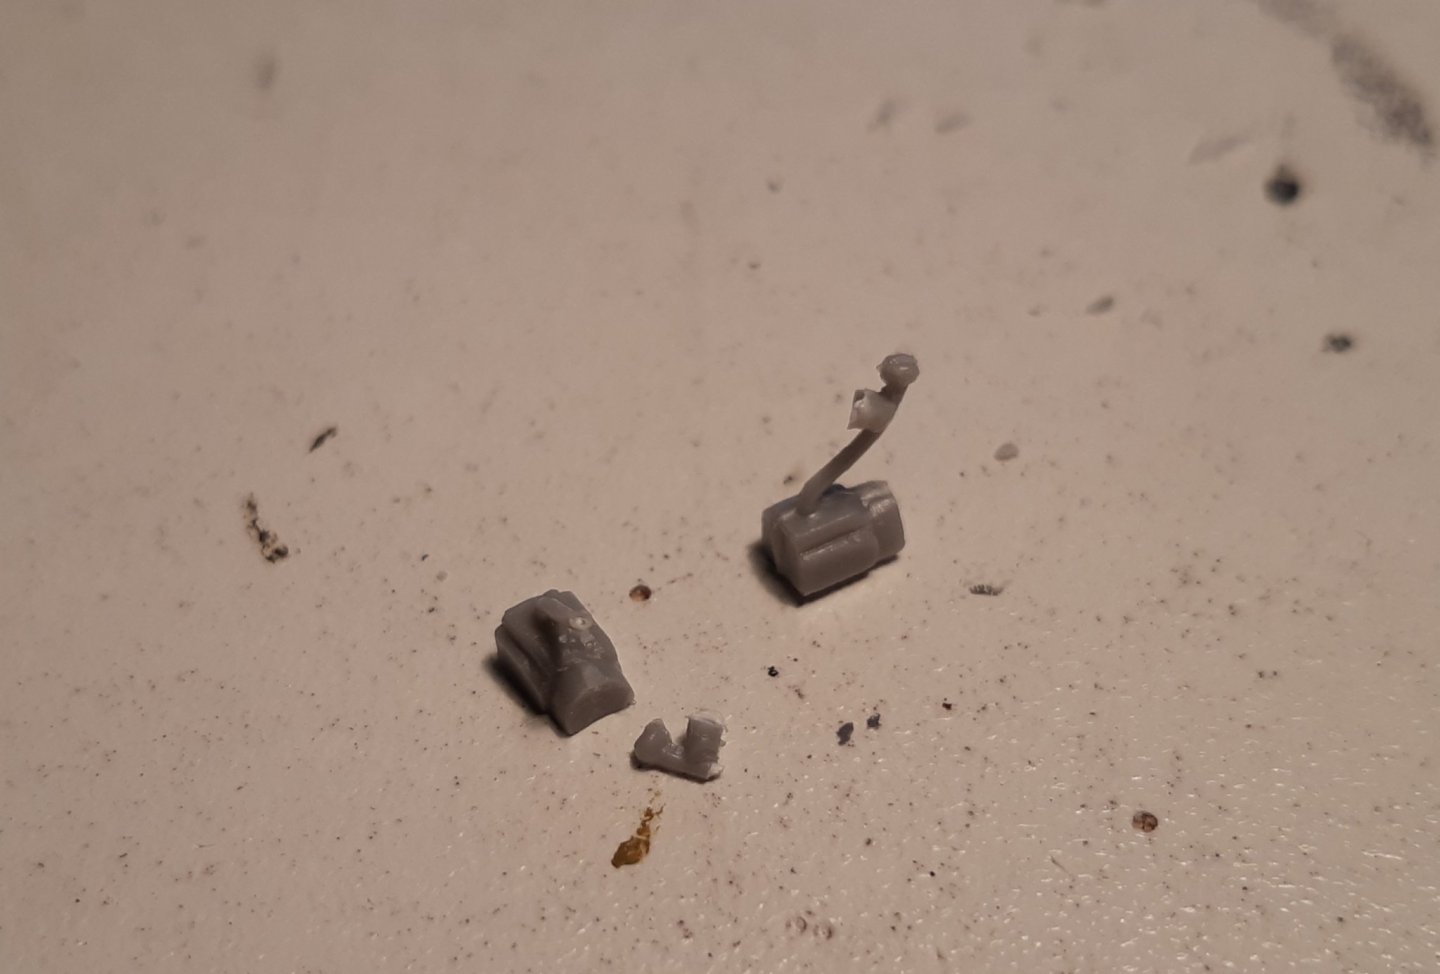
Plan b. There will be a home build gear lever
")
Drilled a hole in each gearbox.
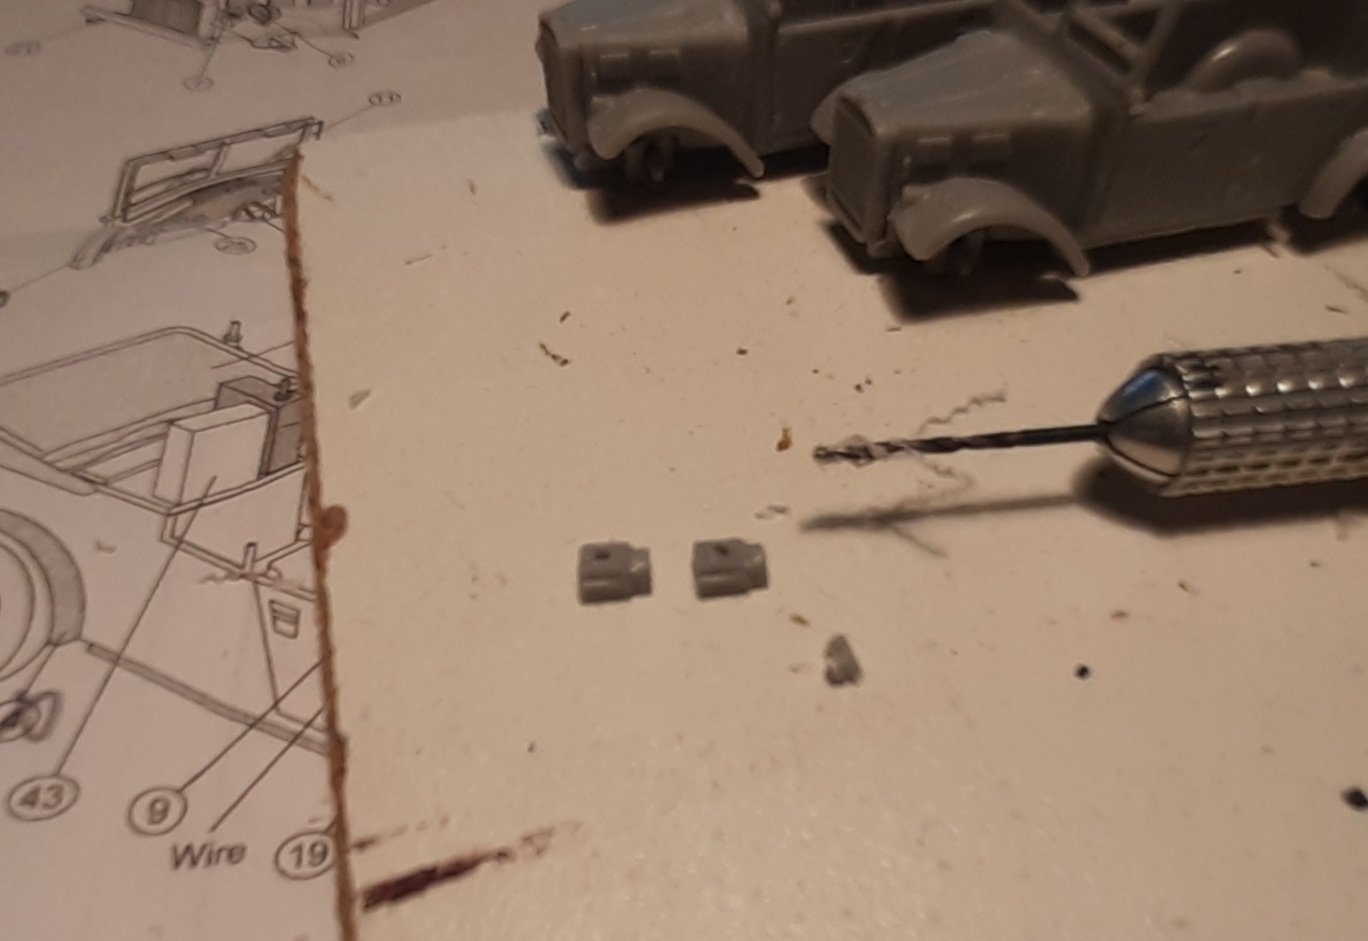
current status

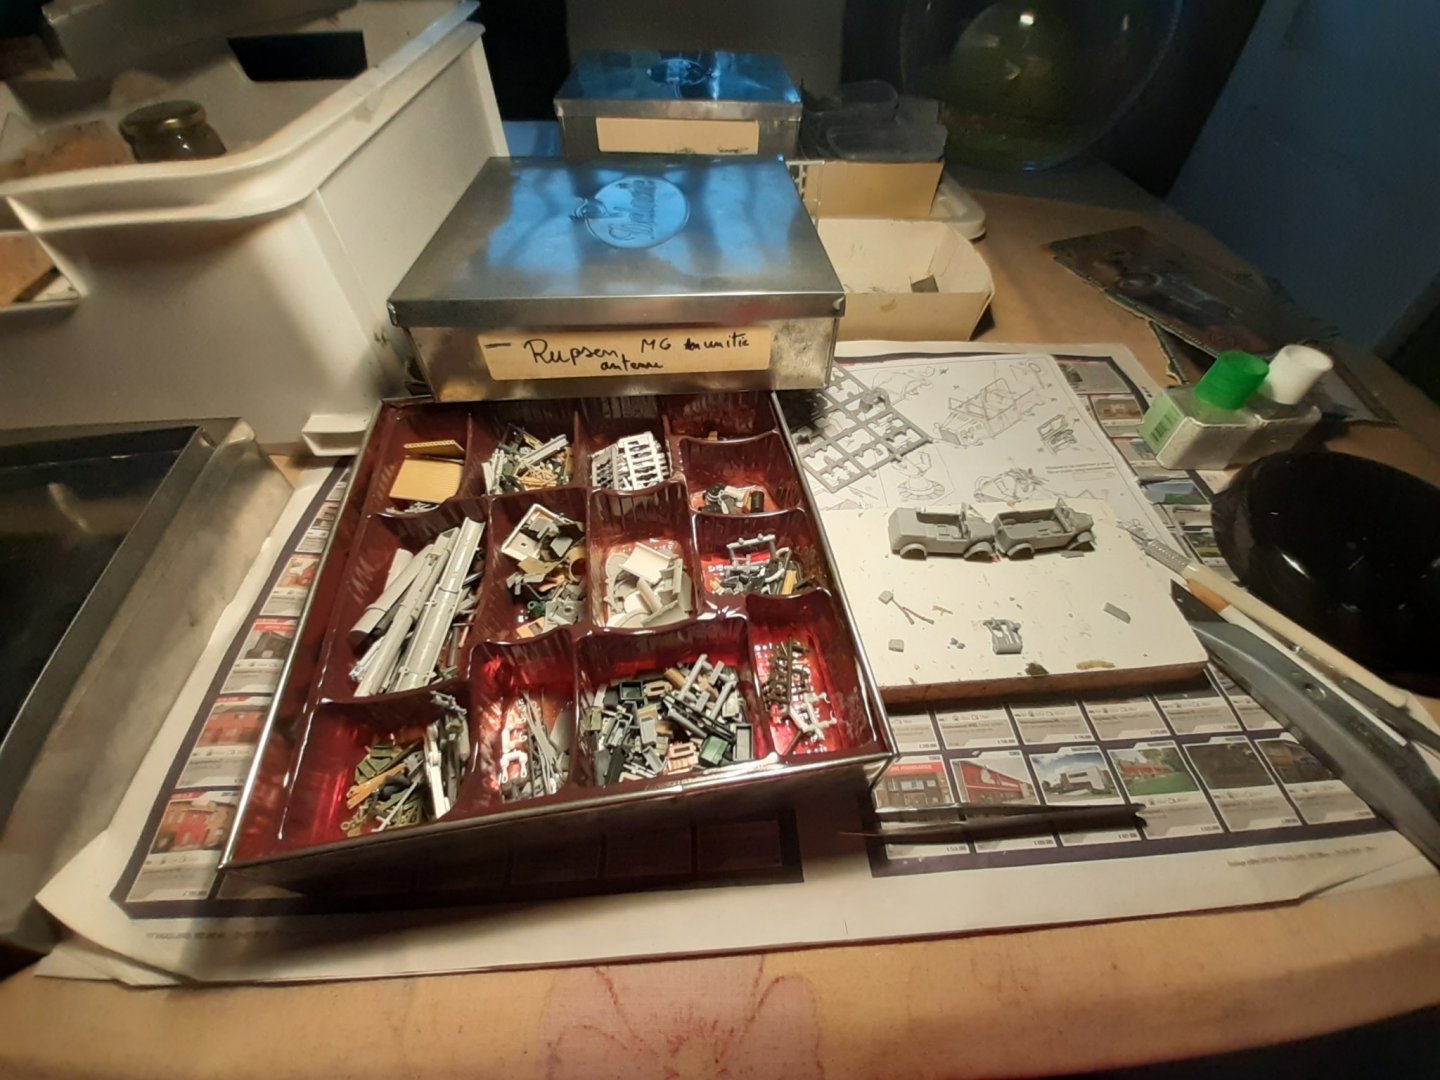
A search 👀 for extras in one of the parts boxes (These were once filled with cookies 😋)
Thanks for following.
- marktiedens, Canute, mtaylor and 8 others
-
 11
11
-
Great work Ondras
- FriedClams, Ondras71, mtaylor and 1 other
-
4
-
-
-
-
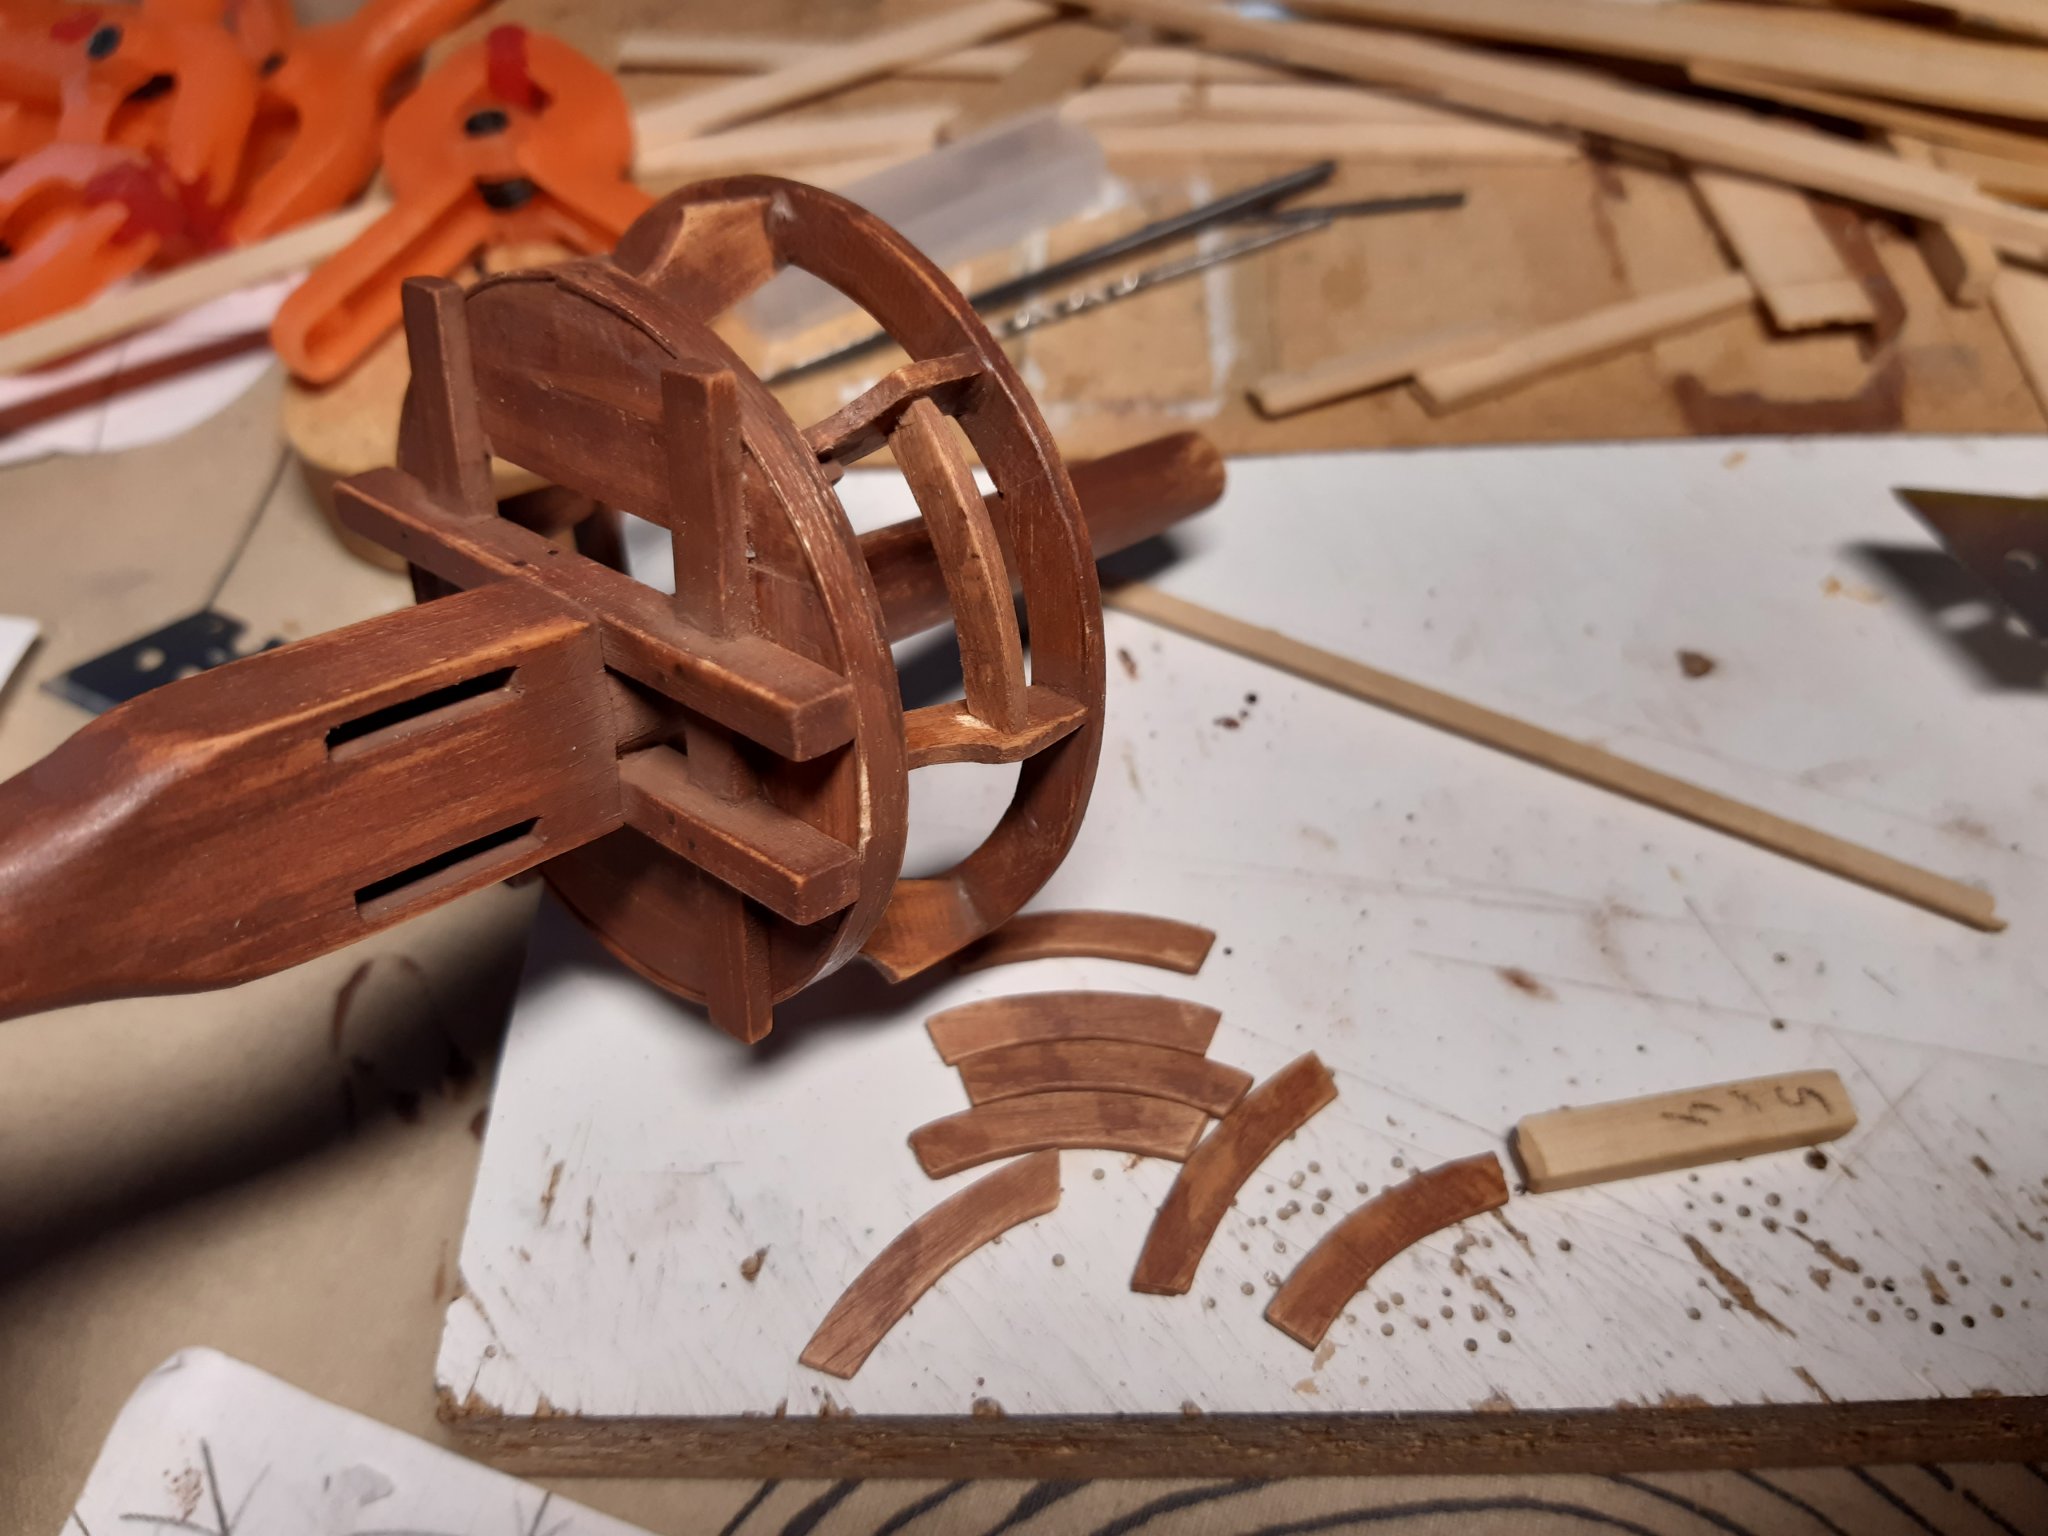
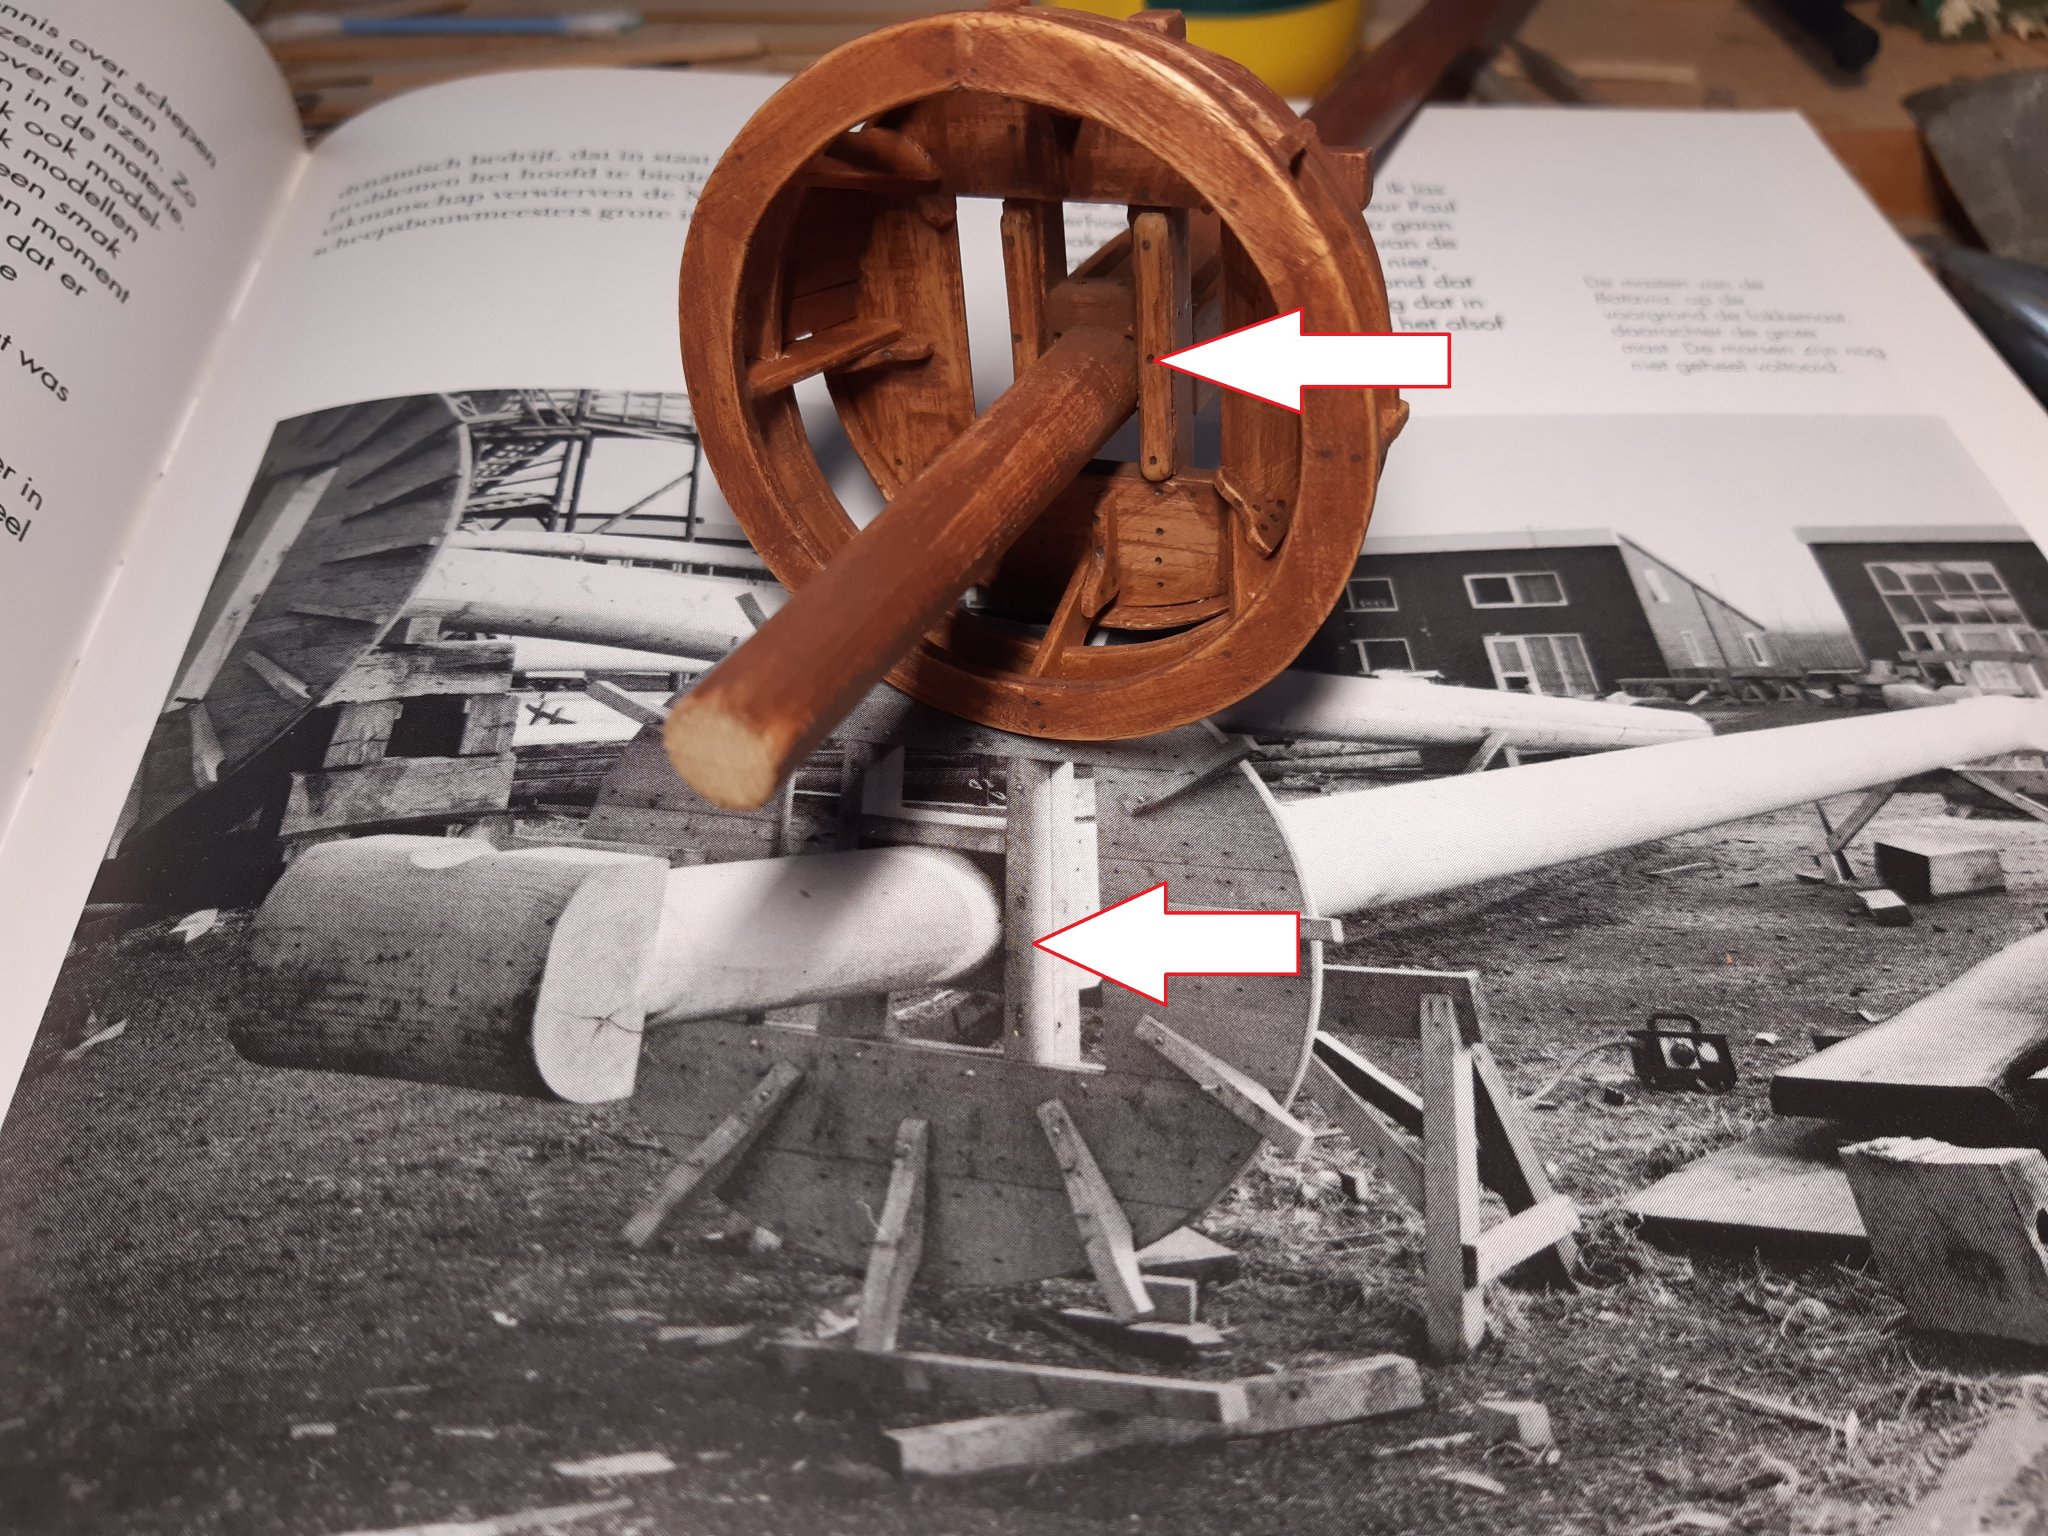
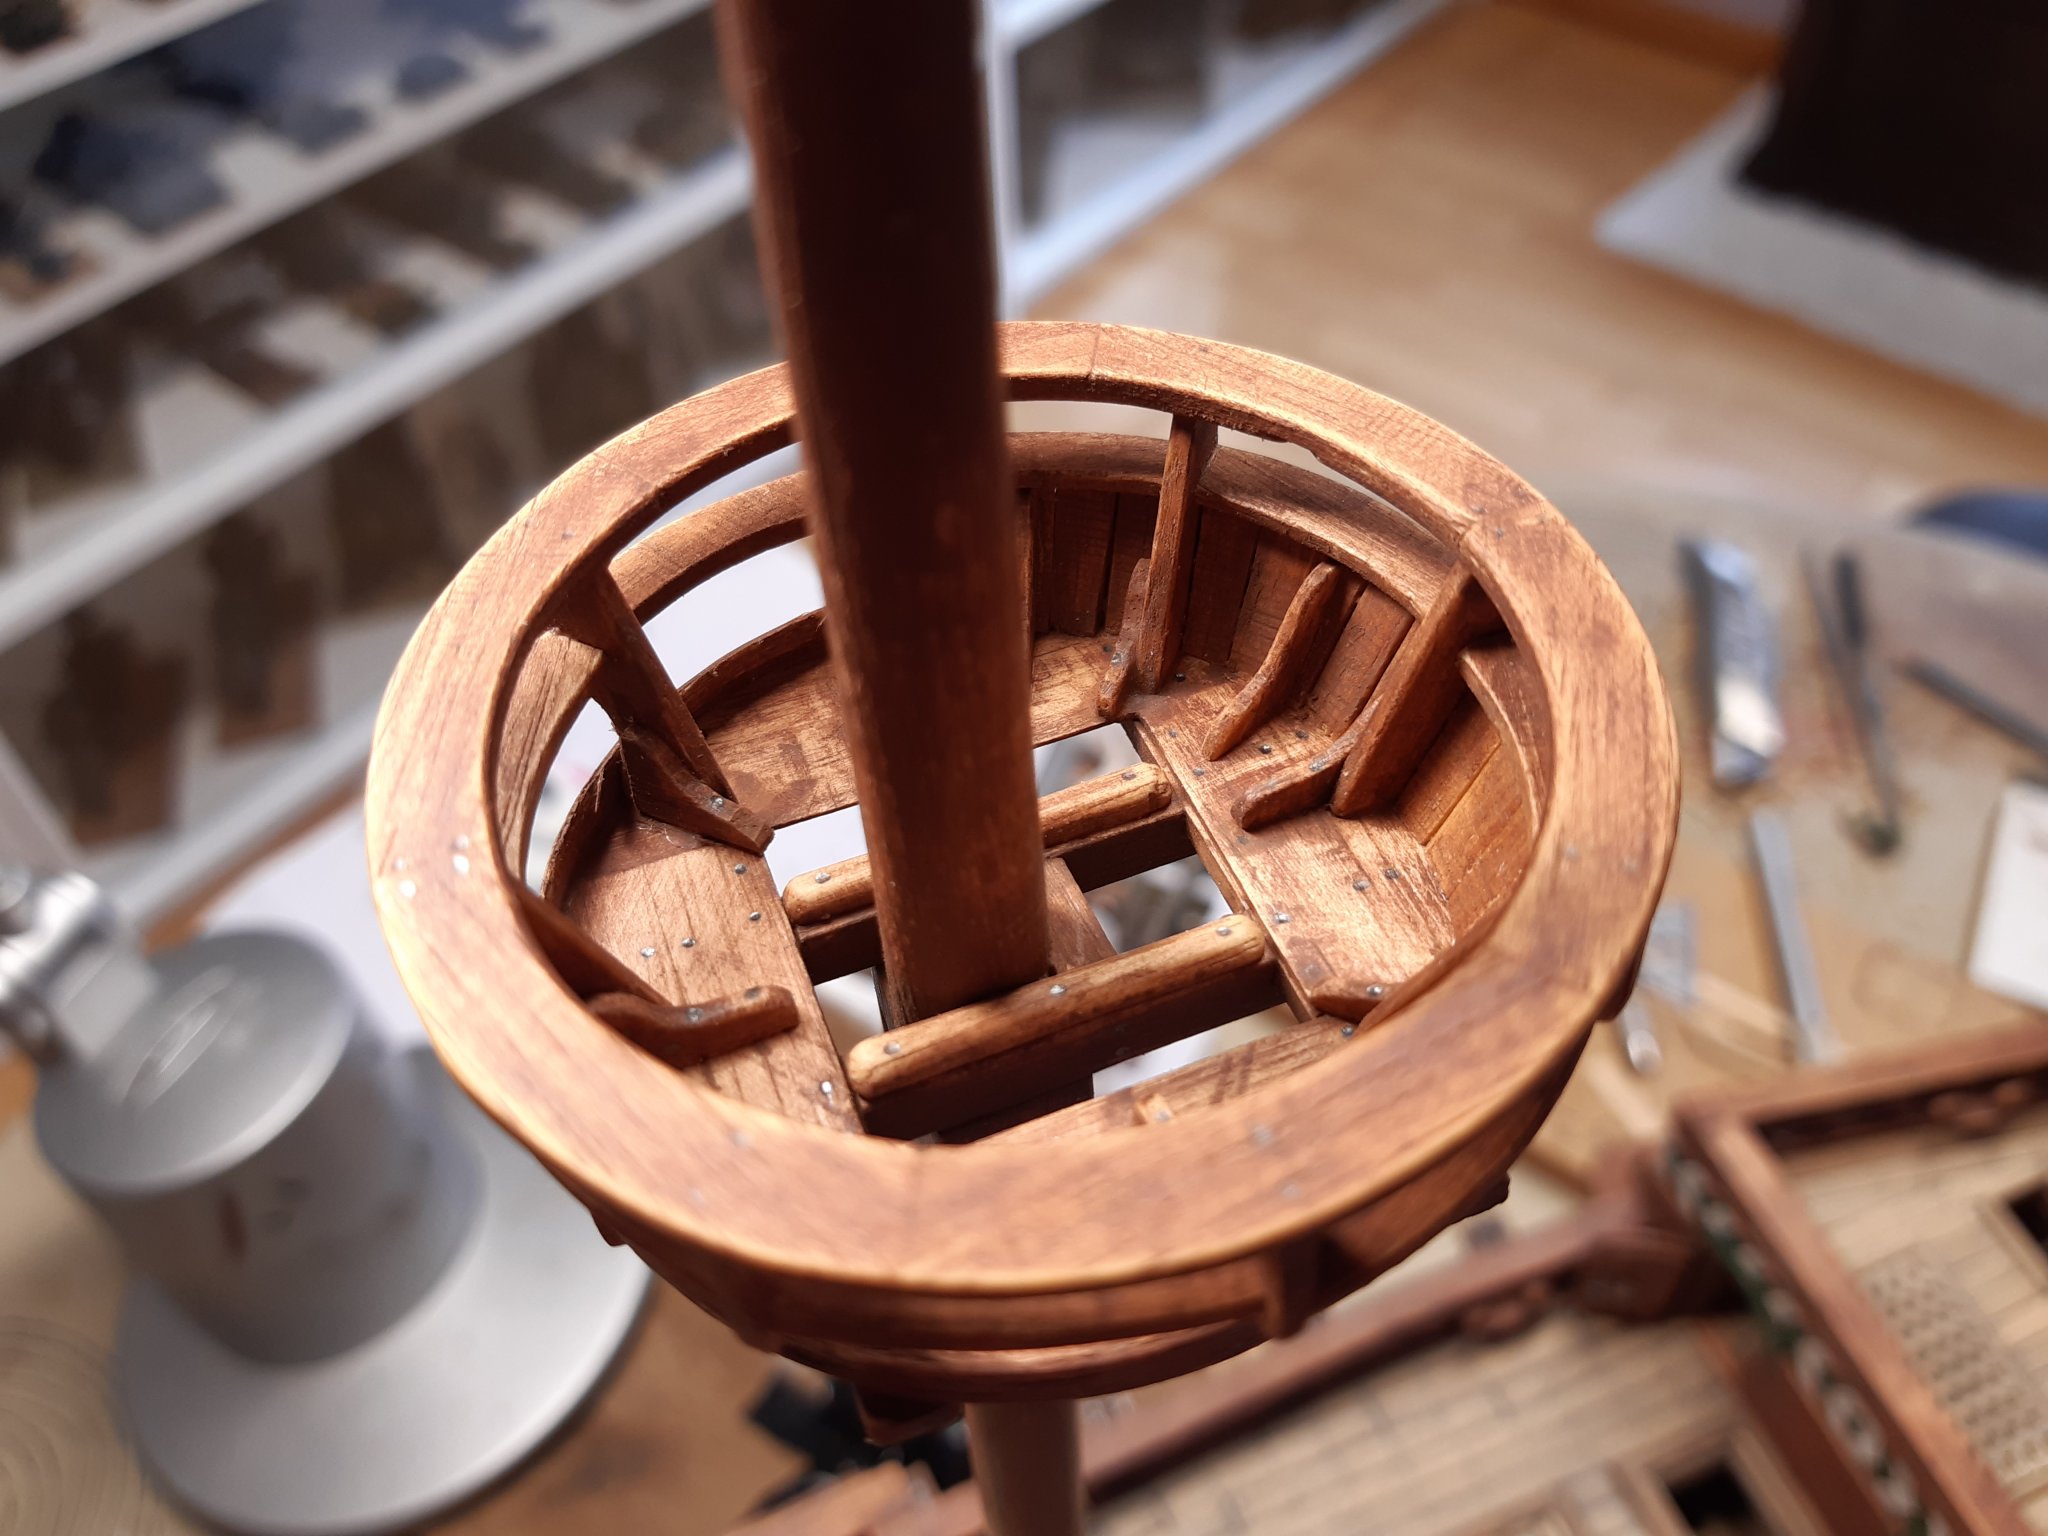
Nice capstan.
Much more correct than that of the kit and that of Corel
- Louie da fly and Jeff T
-
2
-
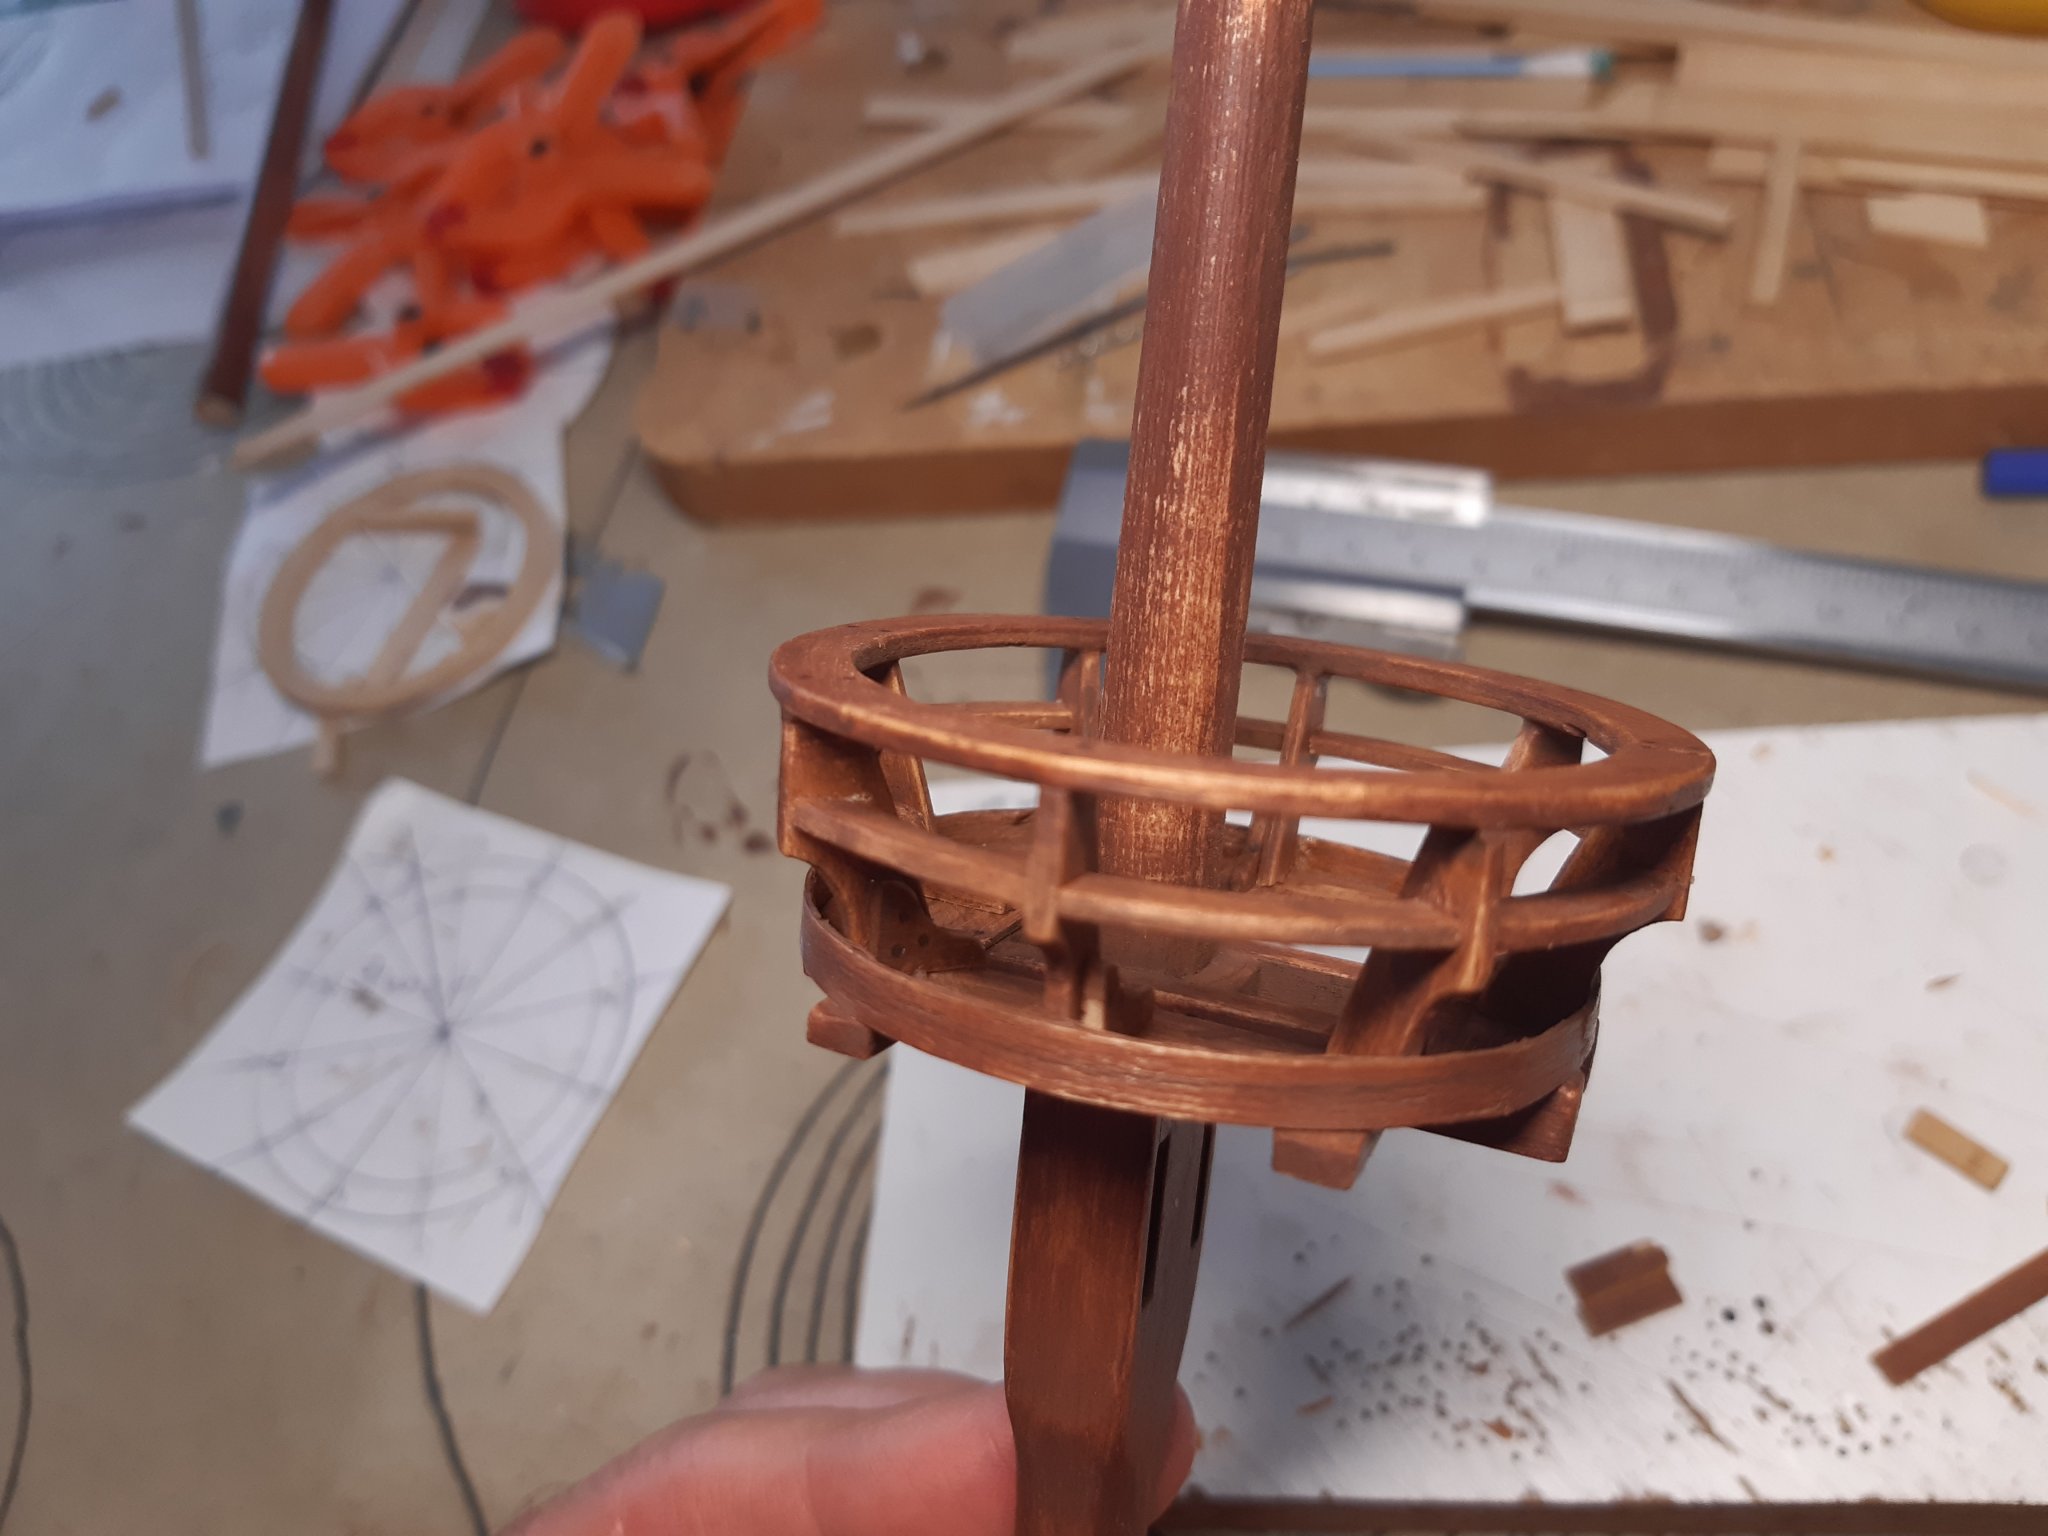
12 hours ago, Slowhand said:
Hiya Backer, I guess you use a scroll saw for the mast tops which one, great work by the way love the wood staining to give the weathered look.
Thanks,
Actually not.
A Stanley knife, half round file and sandpaper are used
- Louie da fly and mtaylor
-
2
-
19 minutes ago, Louie da fly said:
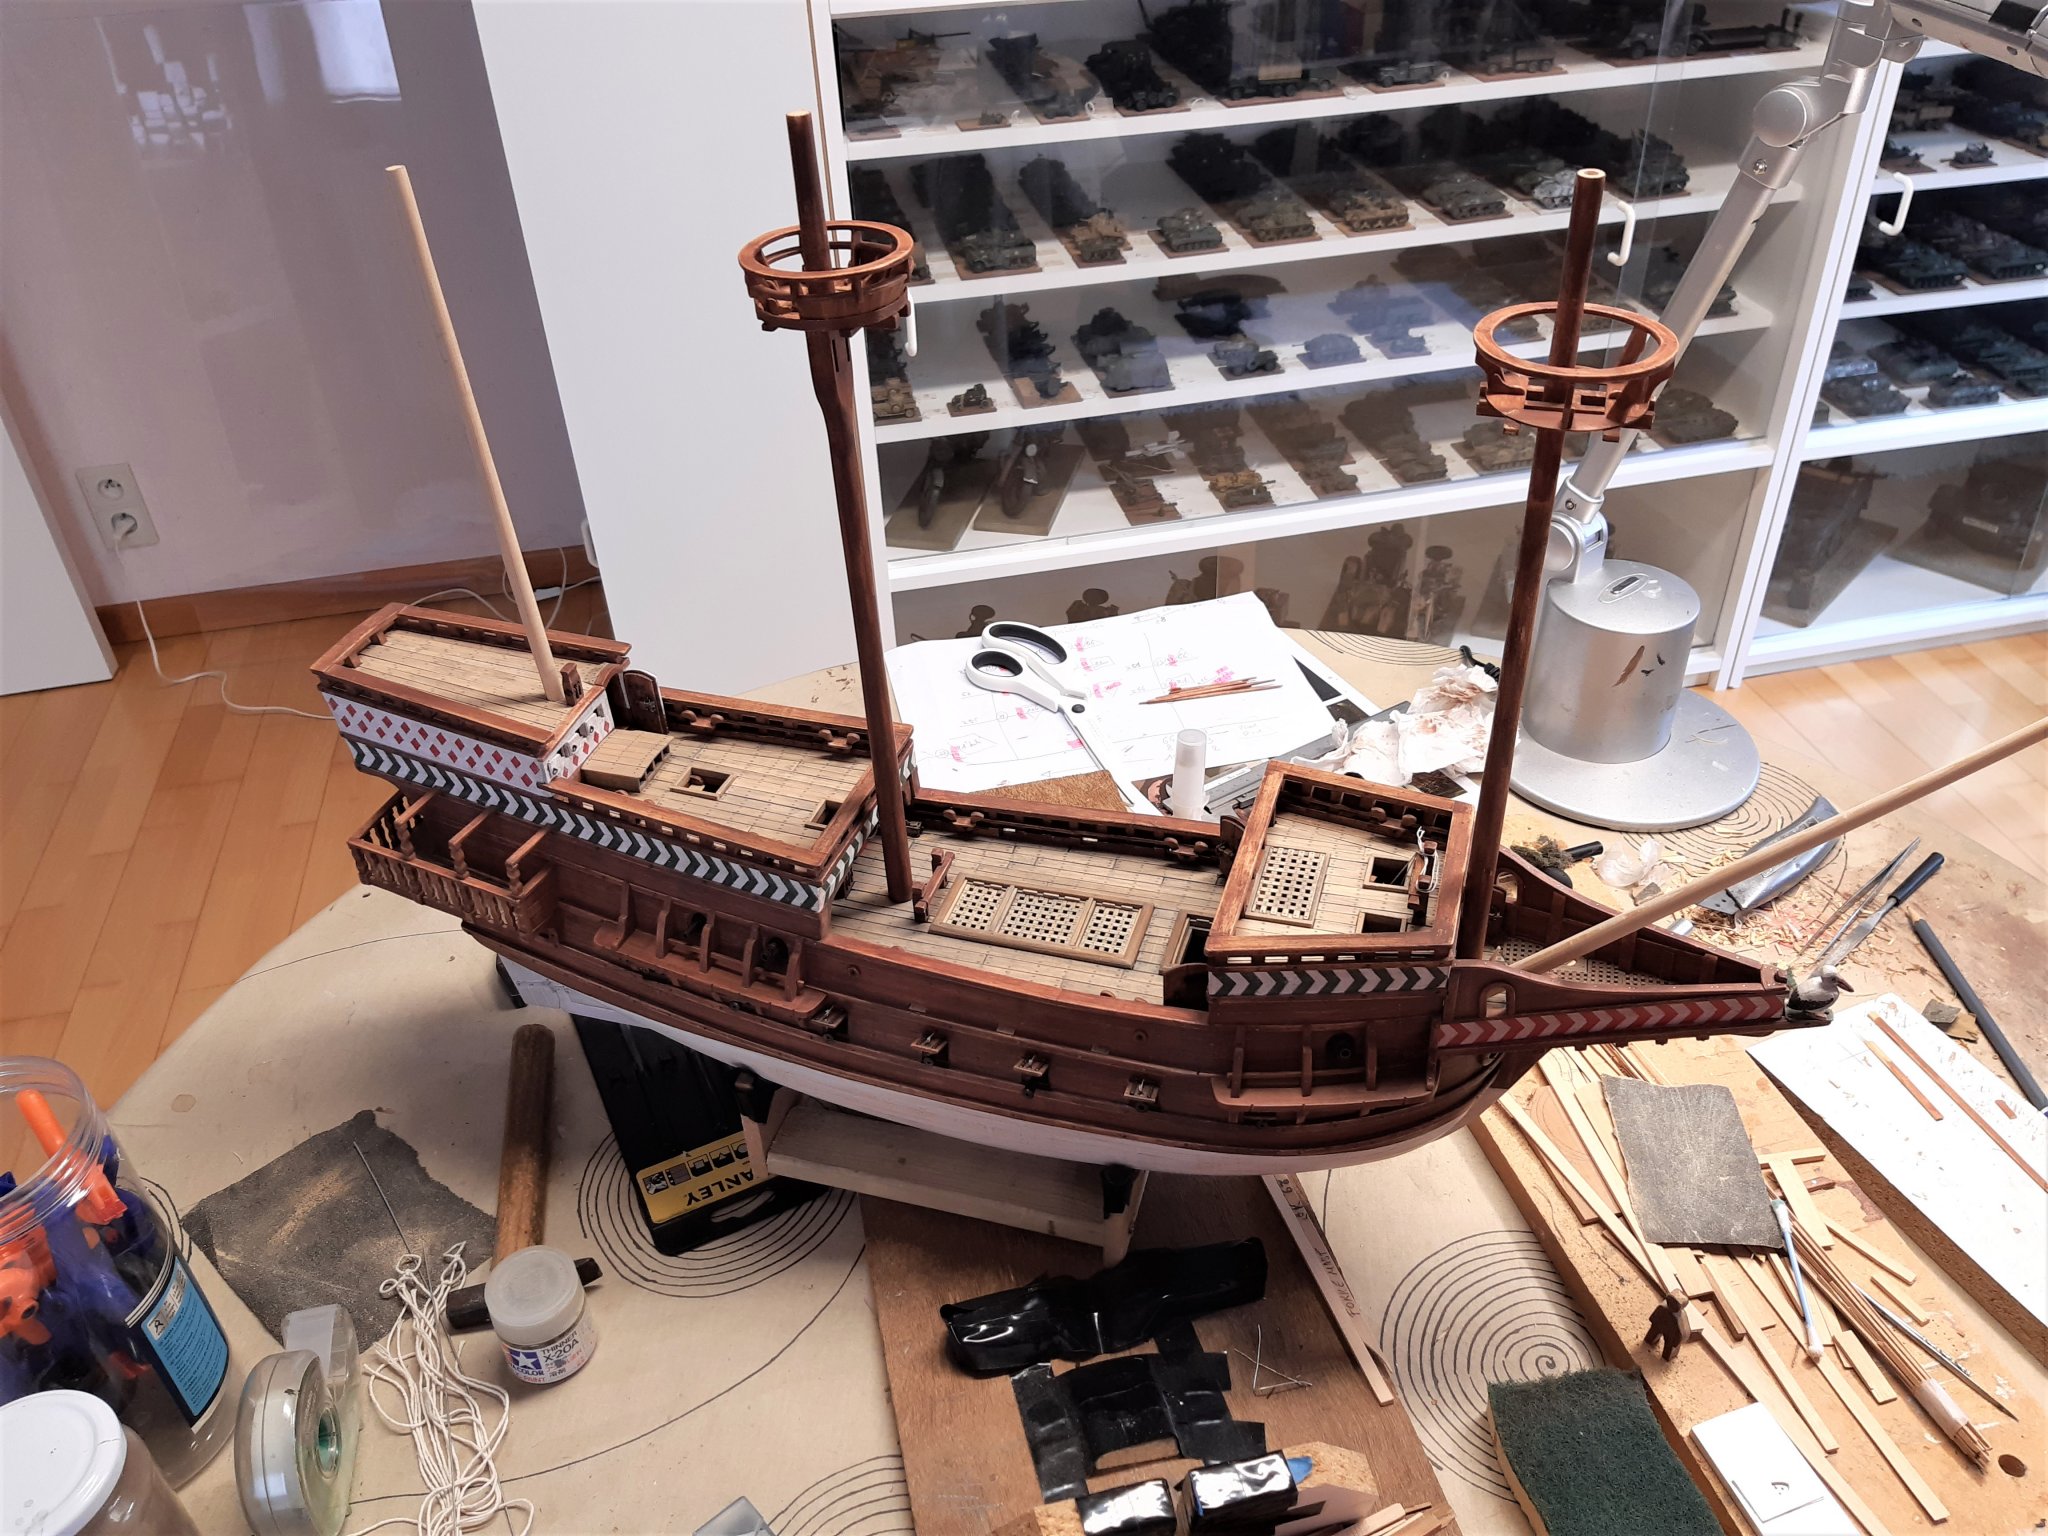
re-making both the castles
Re-making parts, i know that too ... One of the charms of scratch building
.
Great work Steven
- druxey, cog, Keith Black and 4 others
-
7
-
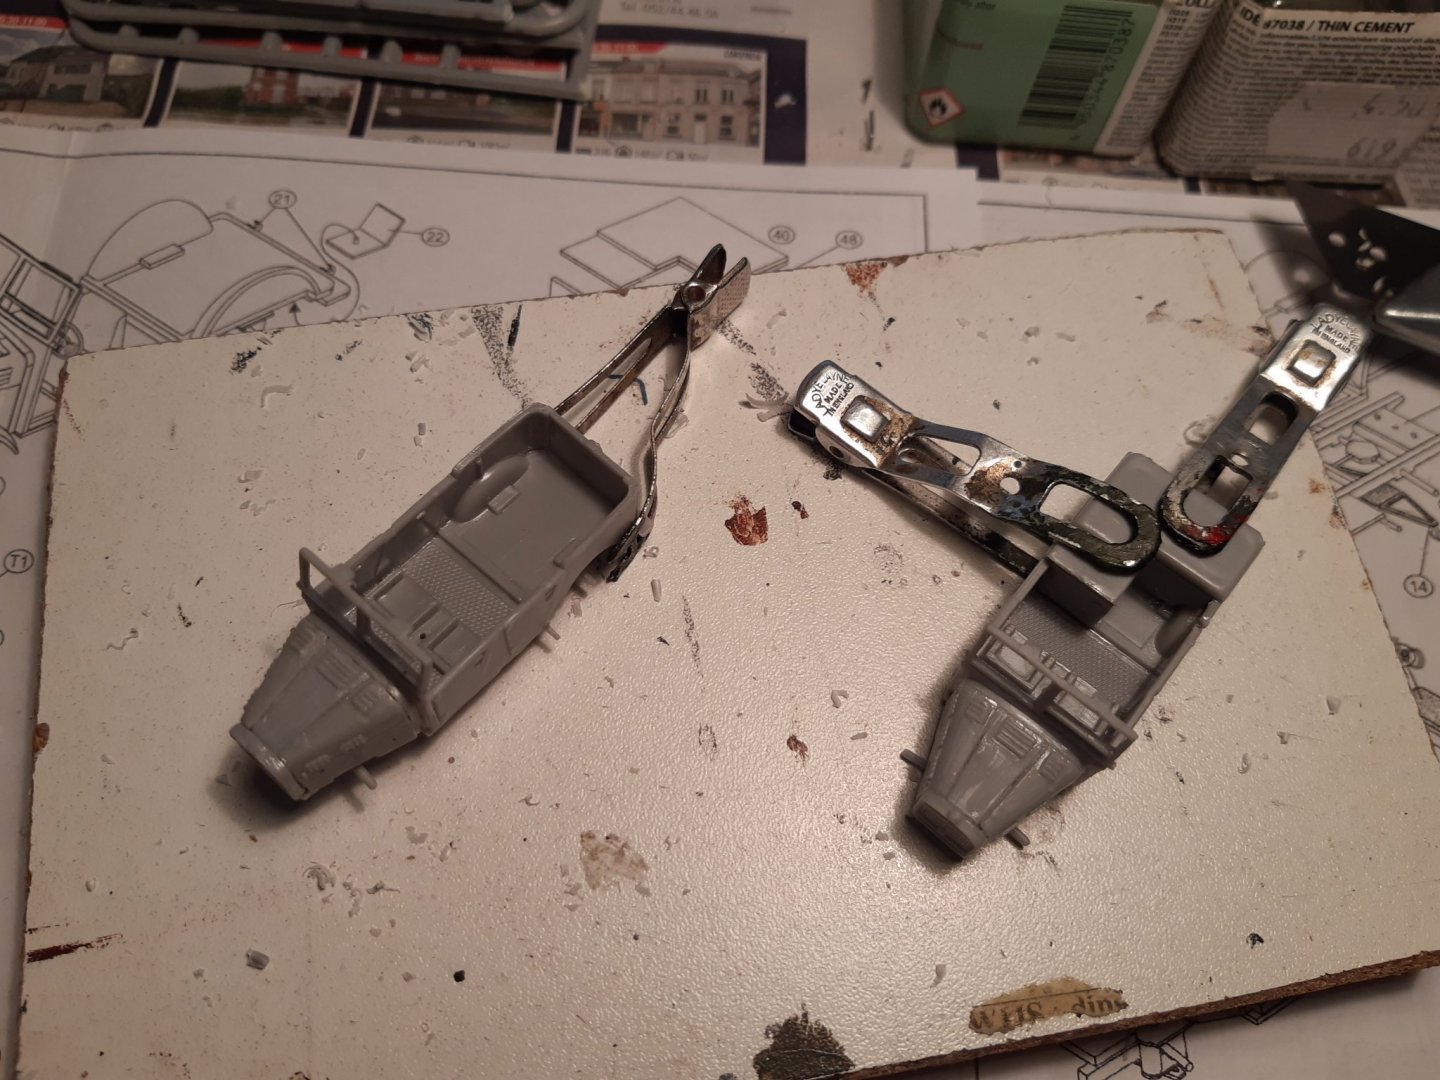
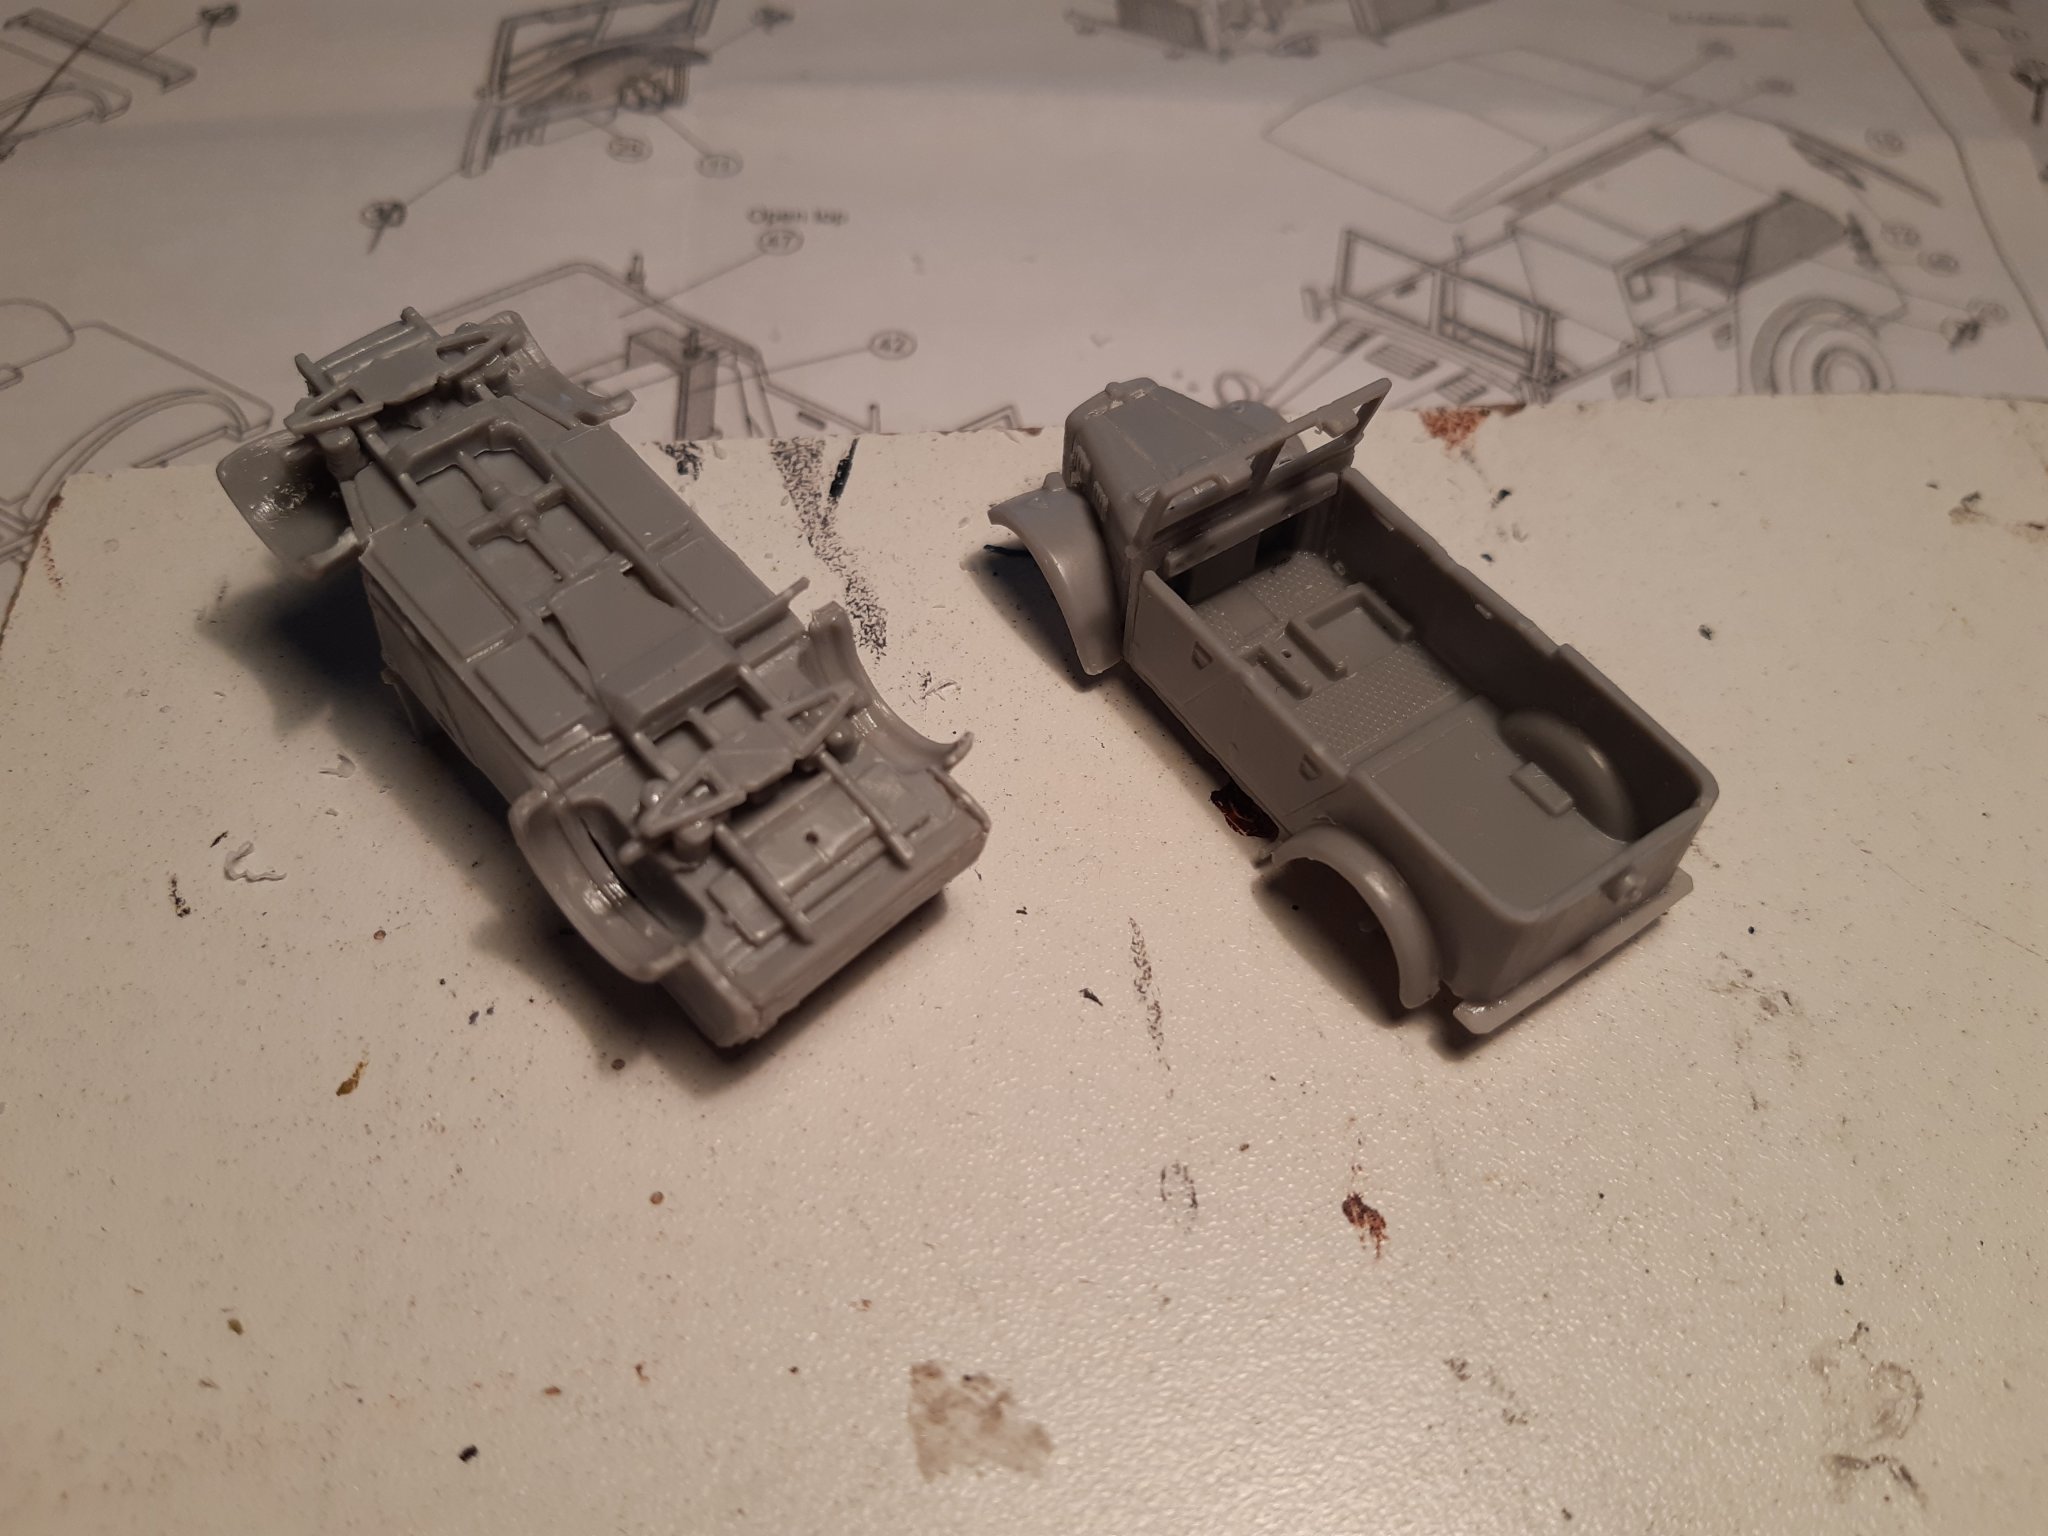
Continue with the construction.
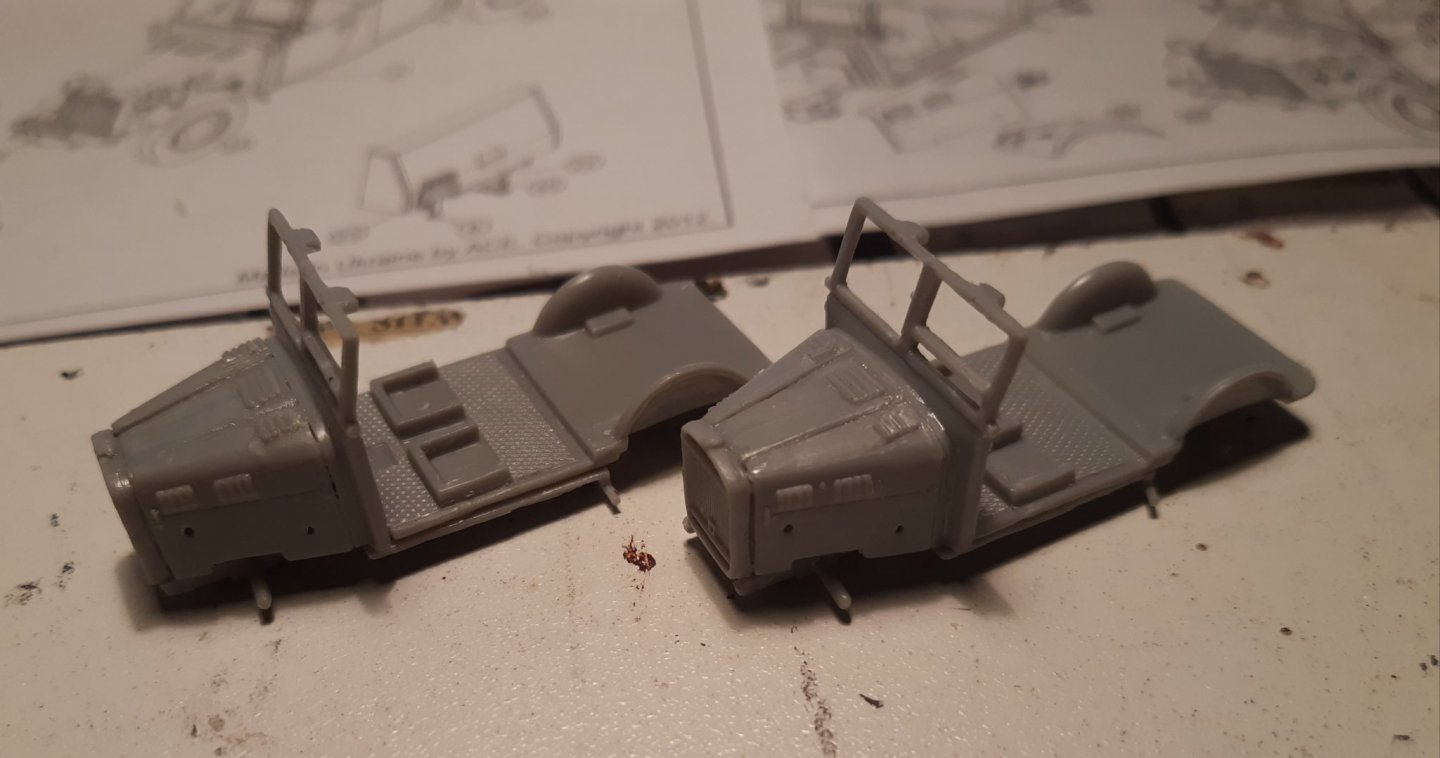
The engine and rear compartiment are glued first. After drying 24h these will be cleaned (sanded) up.
That's why I'm not following the plan. These models require a lot of sanding and fitting in the beginning. If you follow the plan and have assembled the small pieces first. Then you have many "oops" and "
 "
"
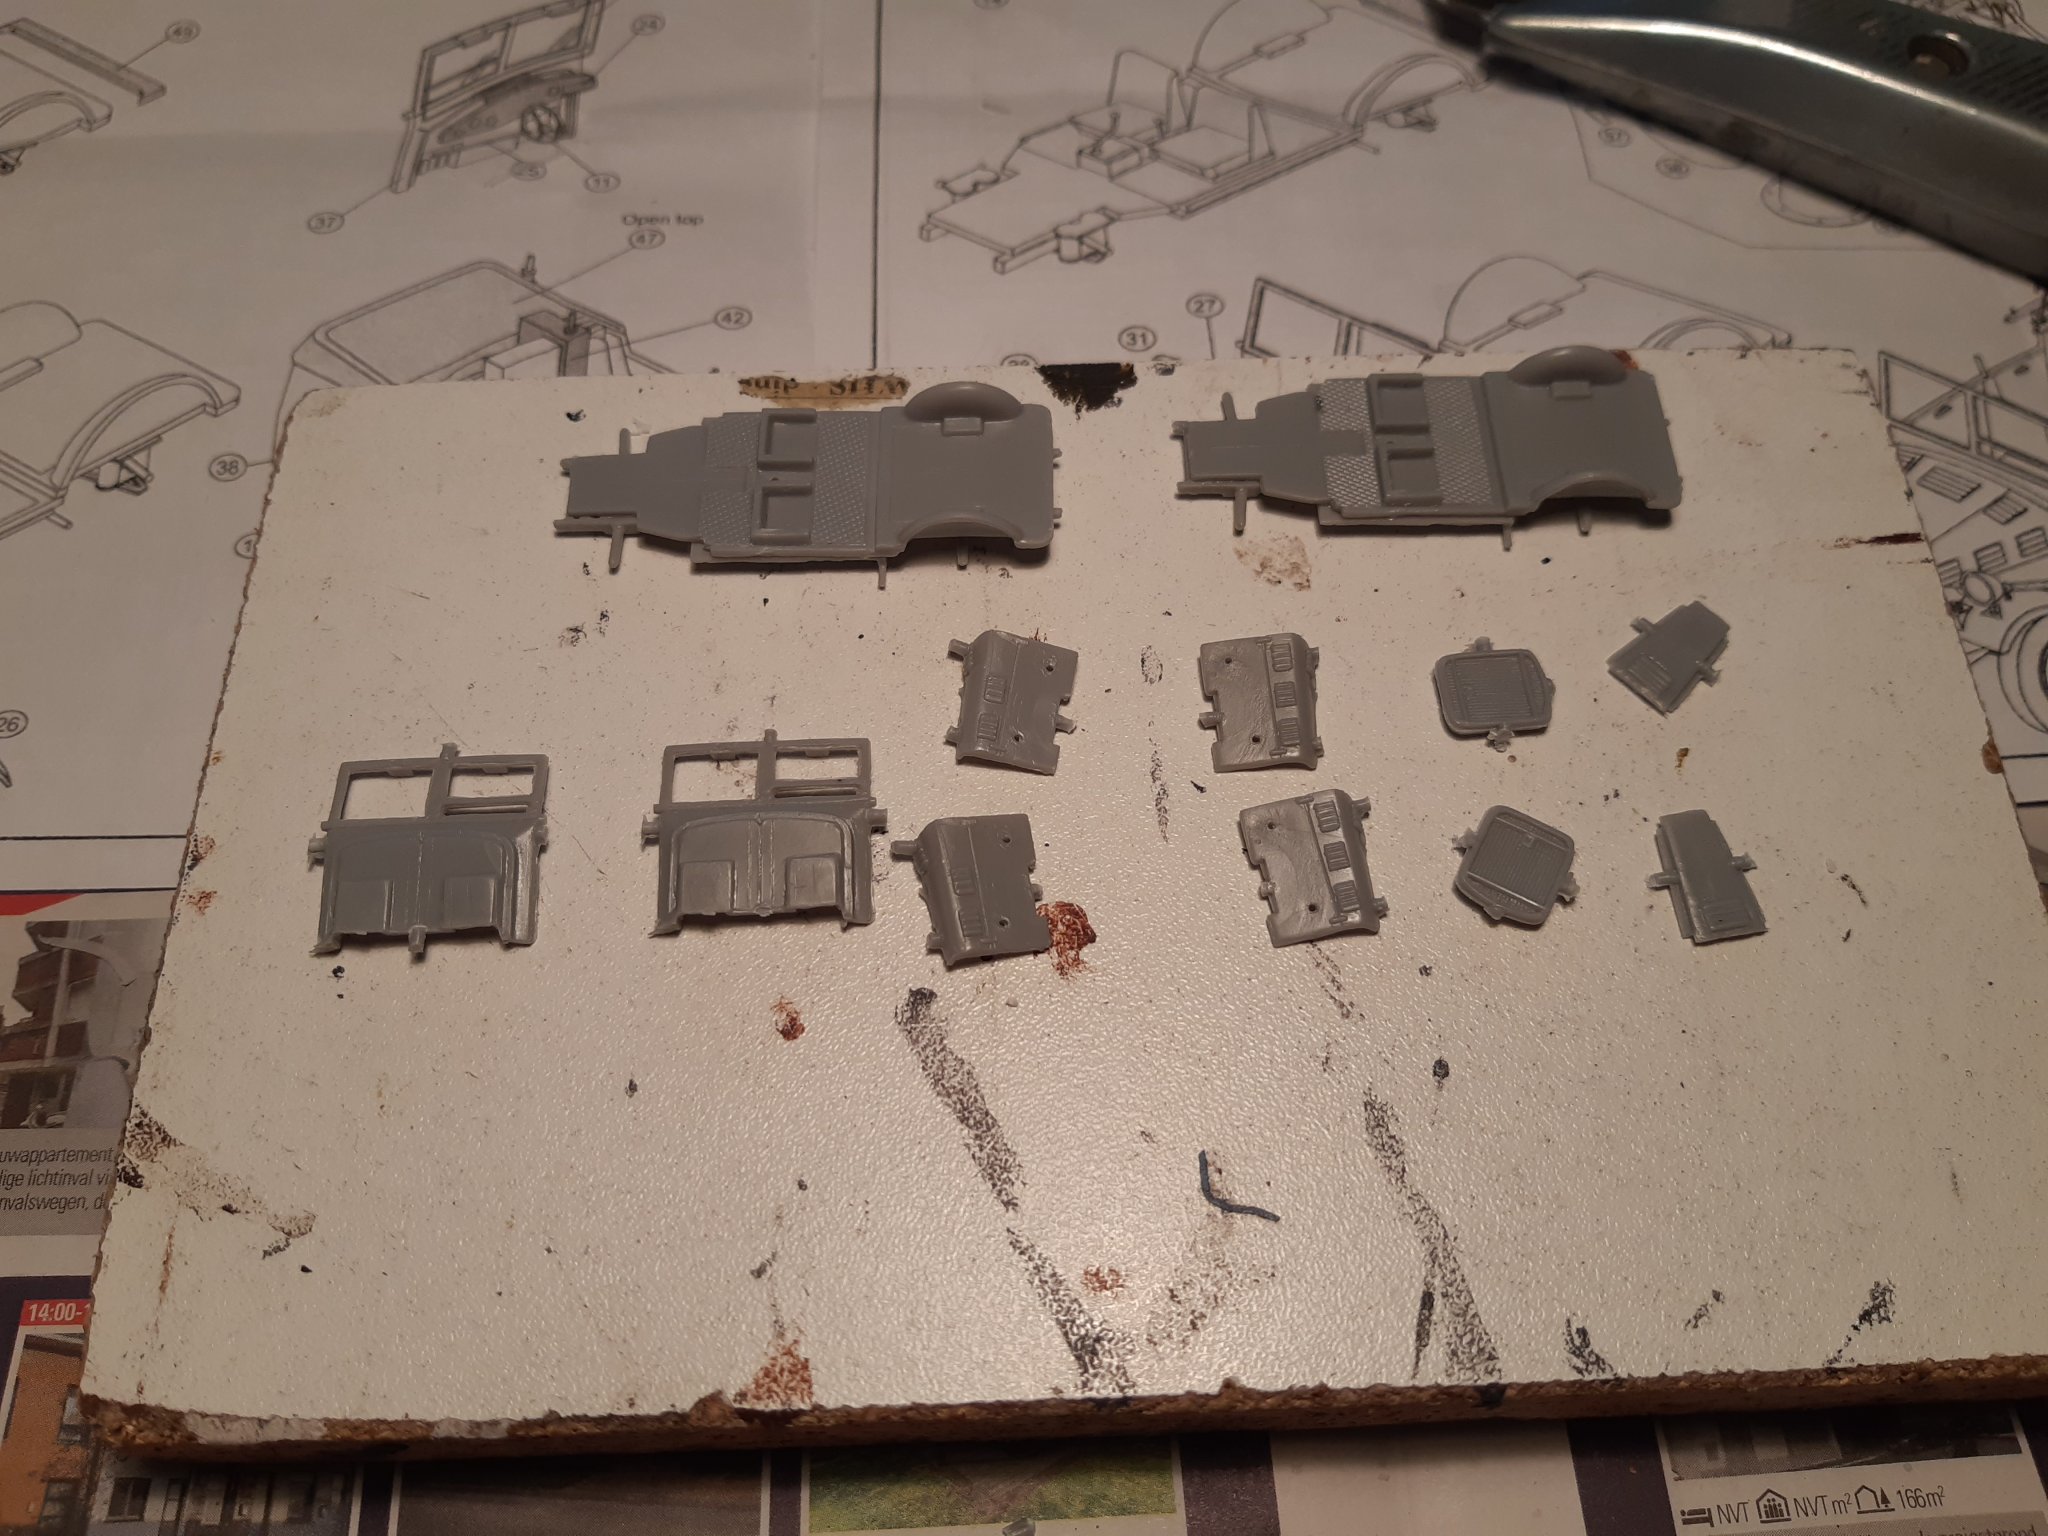
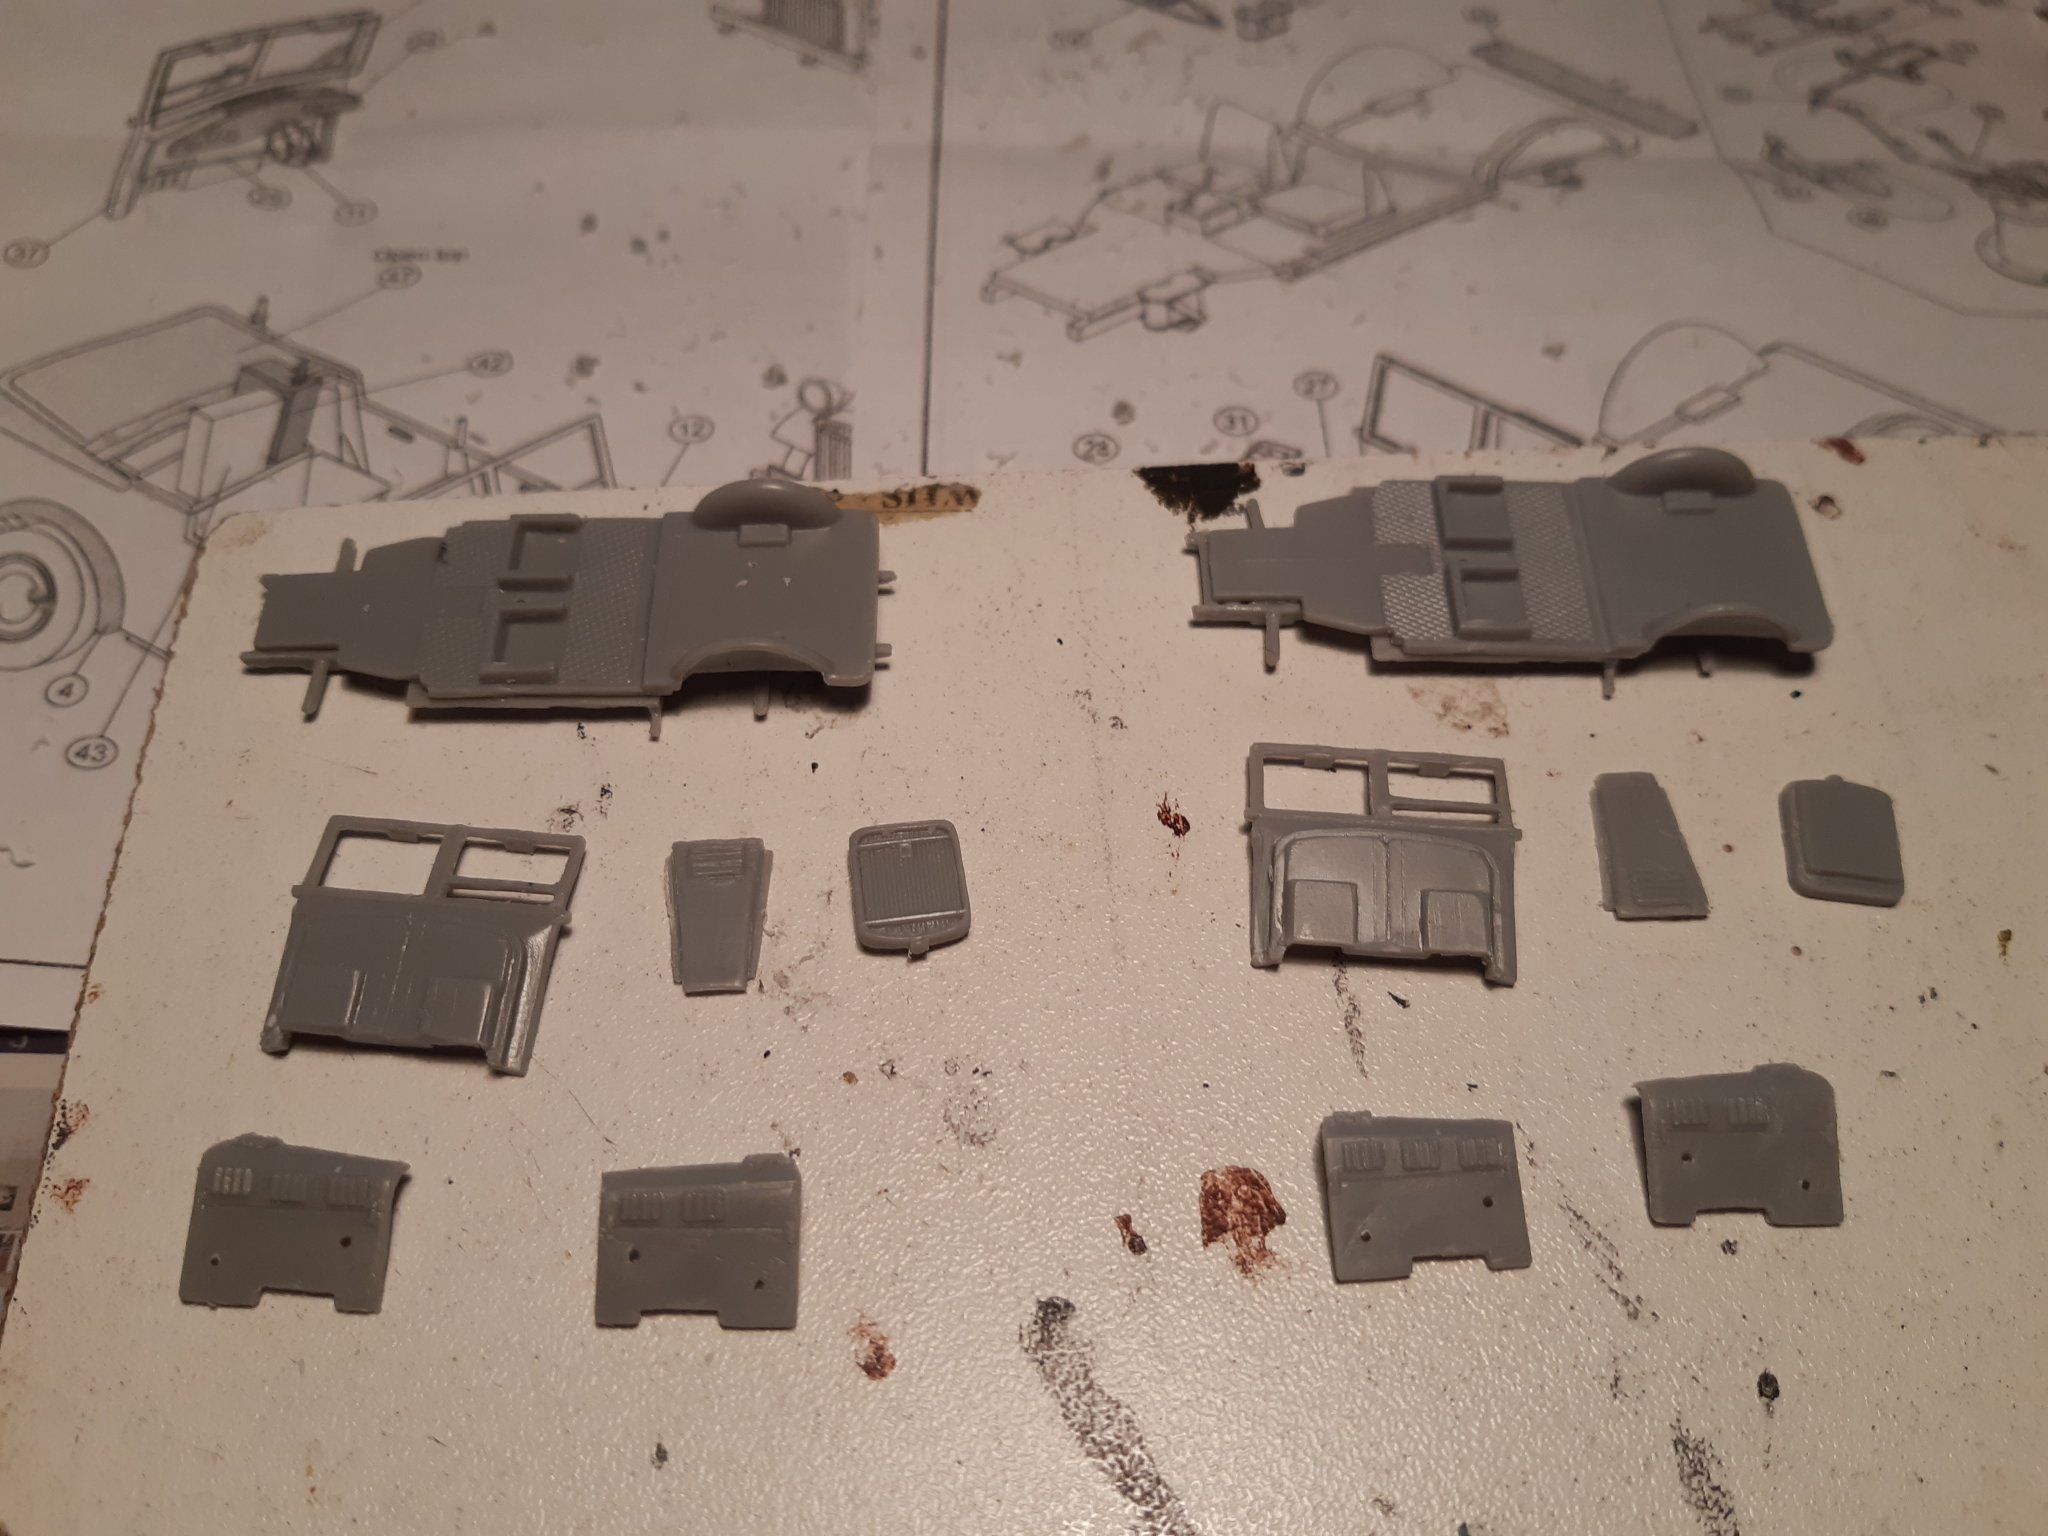
The pieces
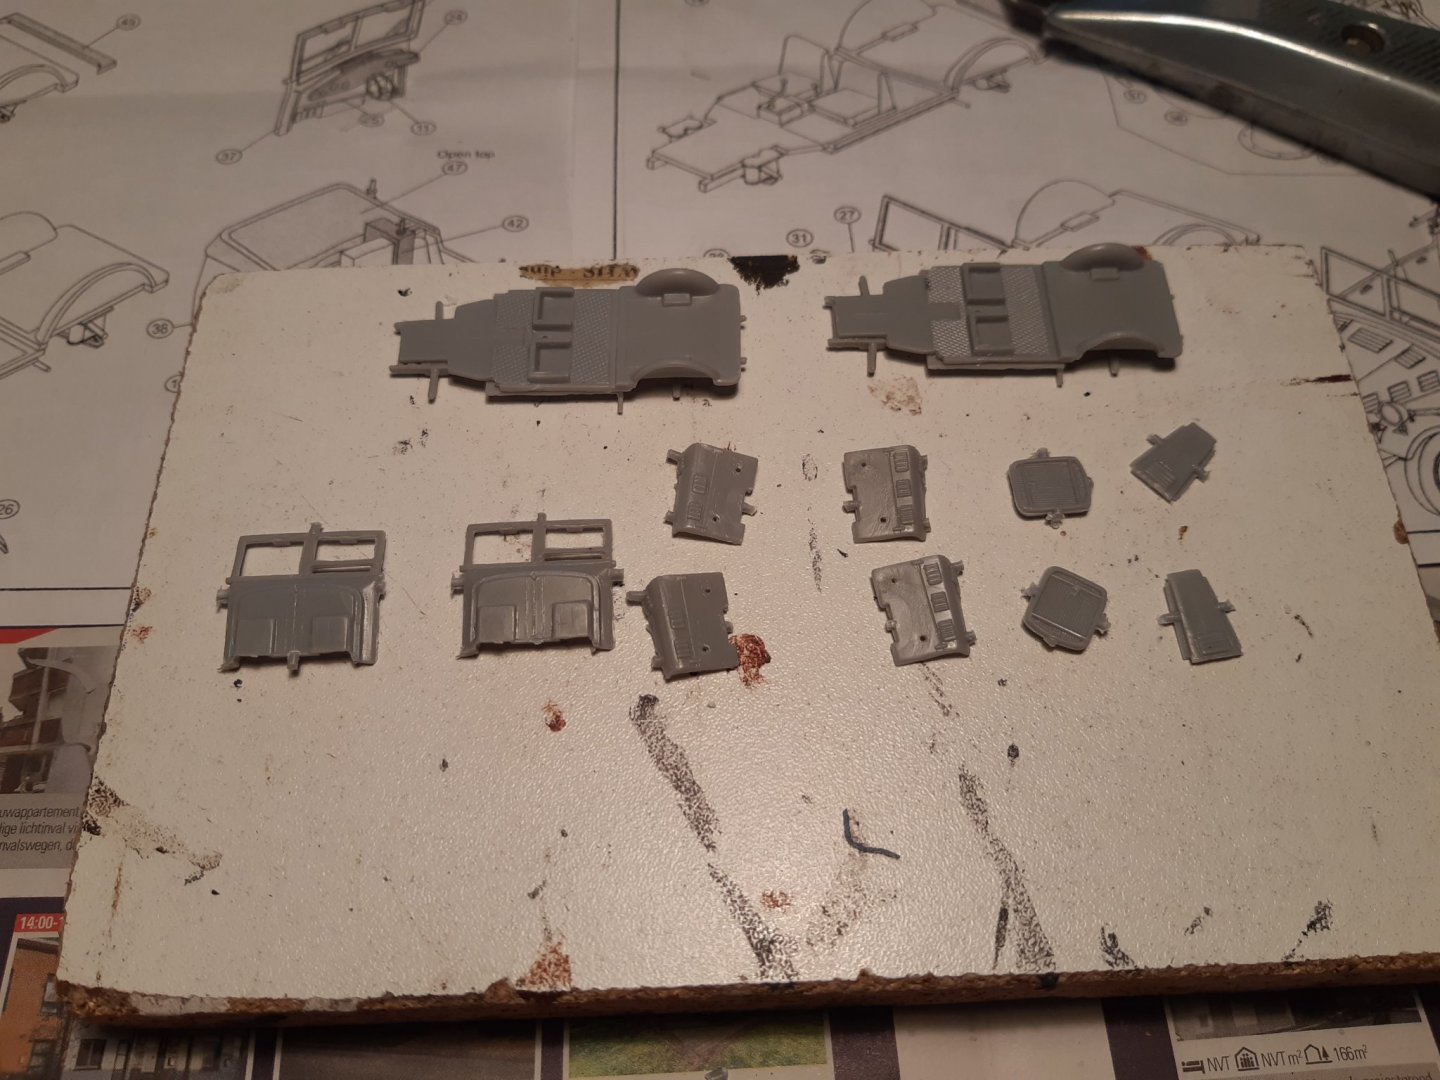
after cleaning
glued and drying (24h)
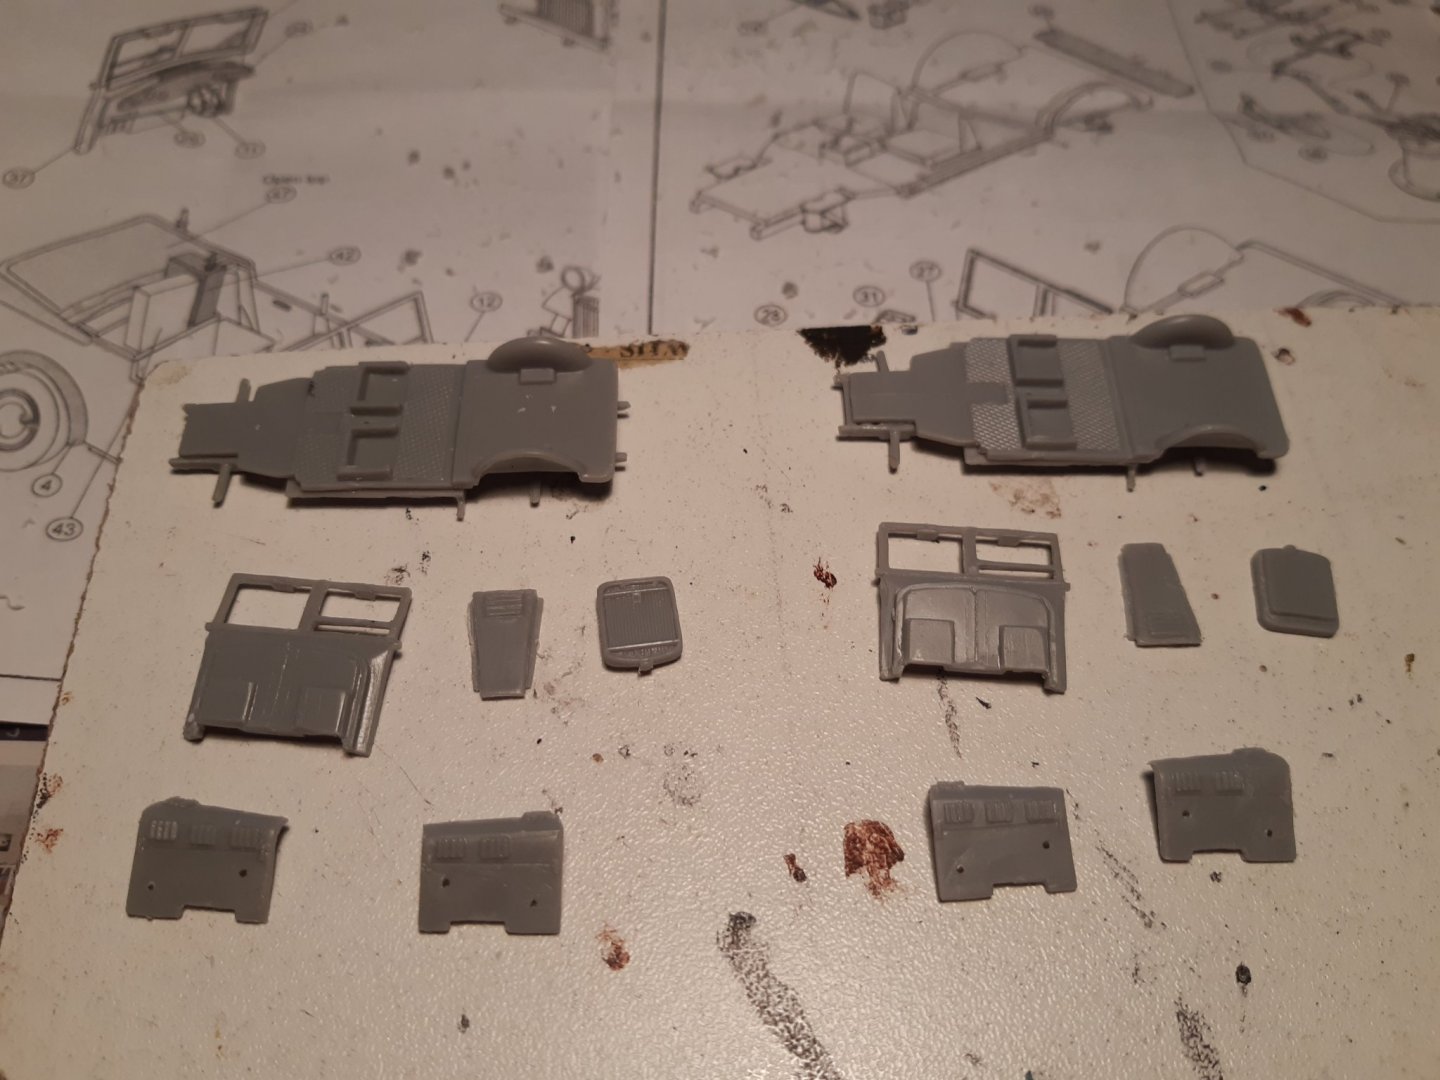
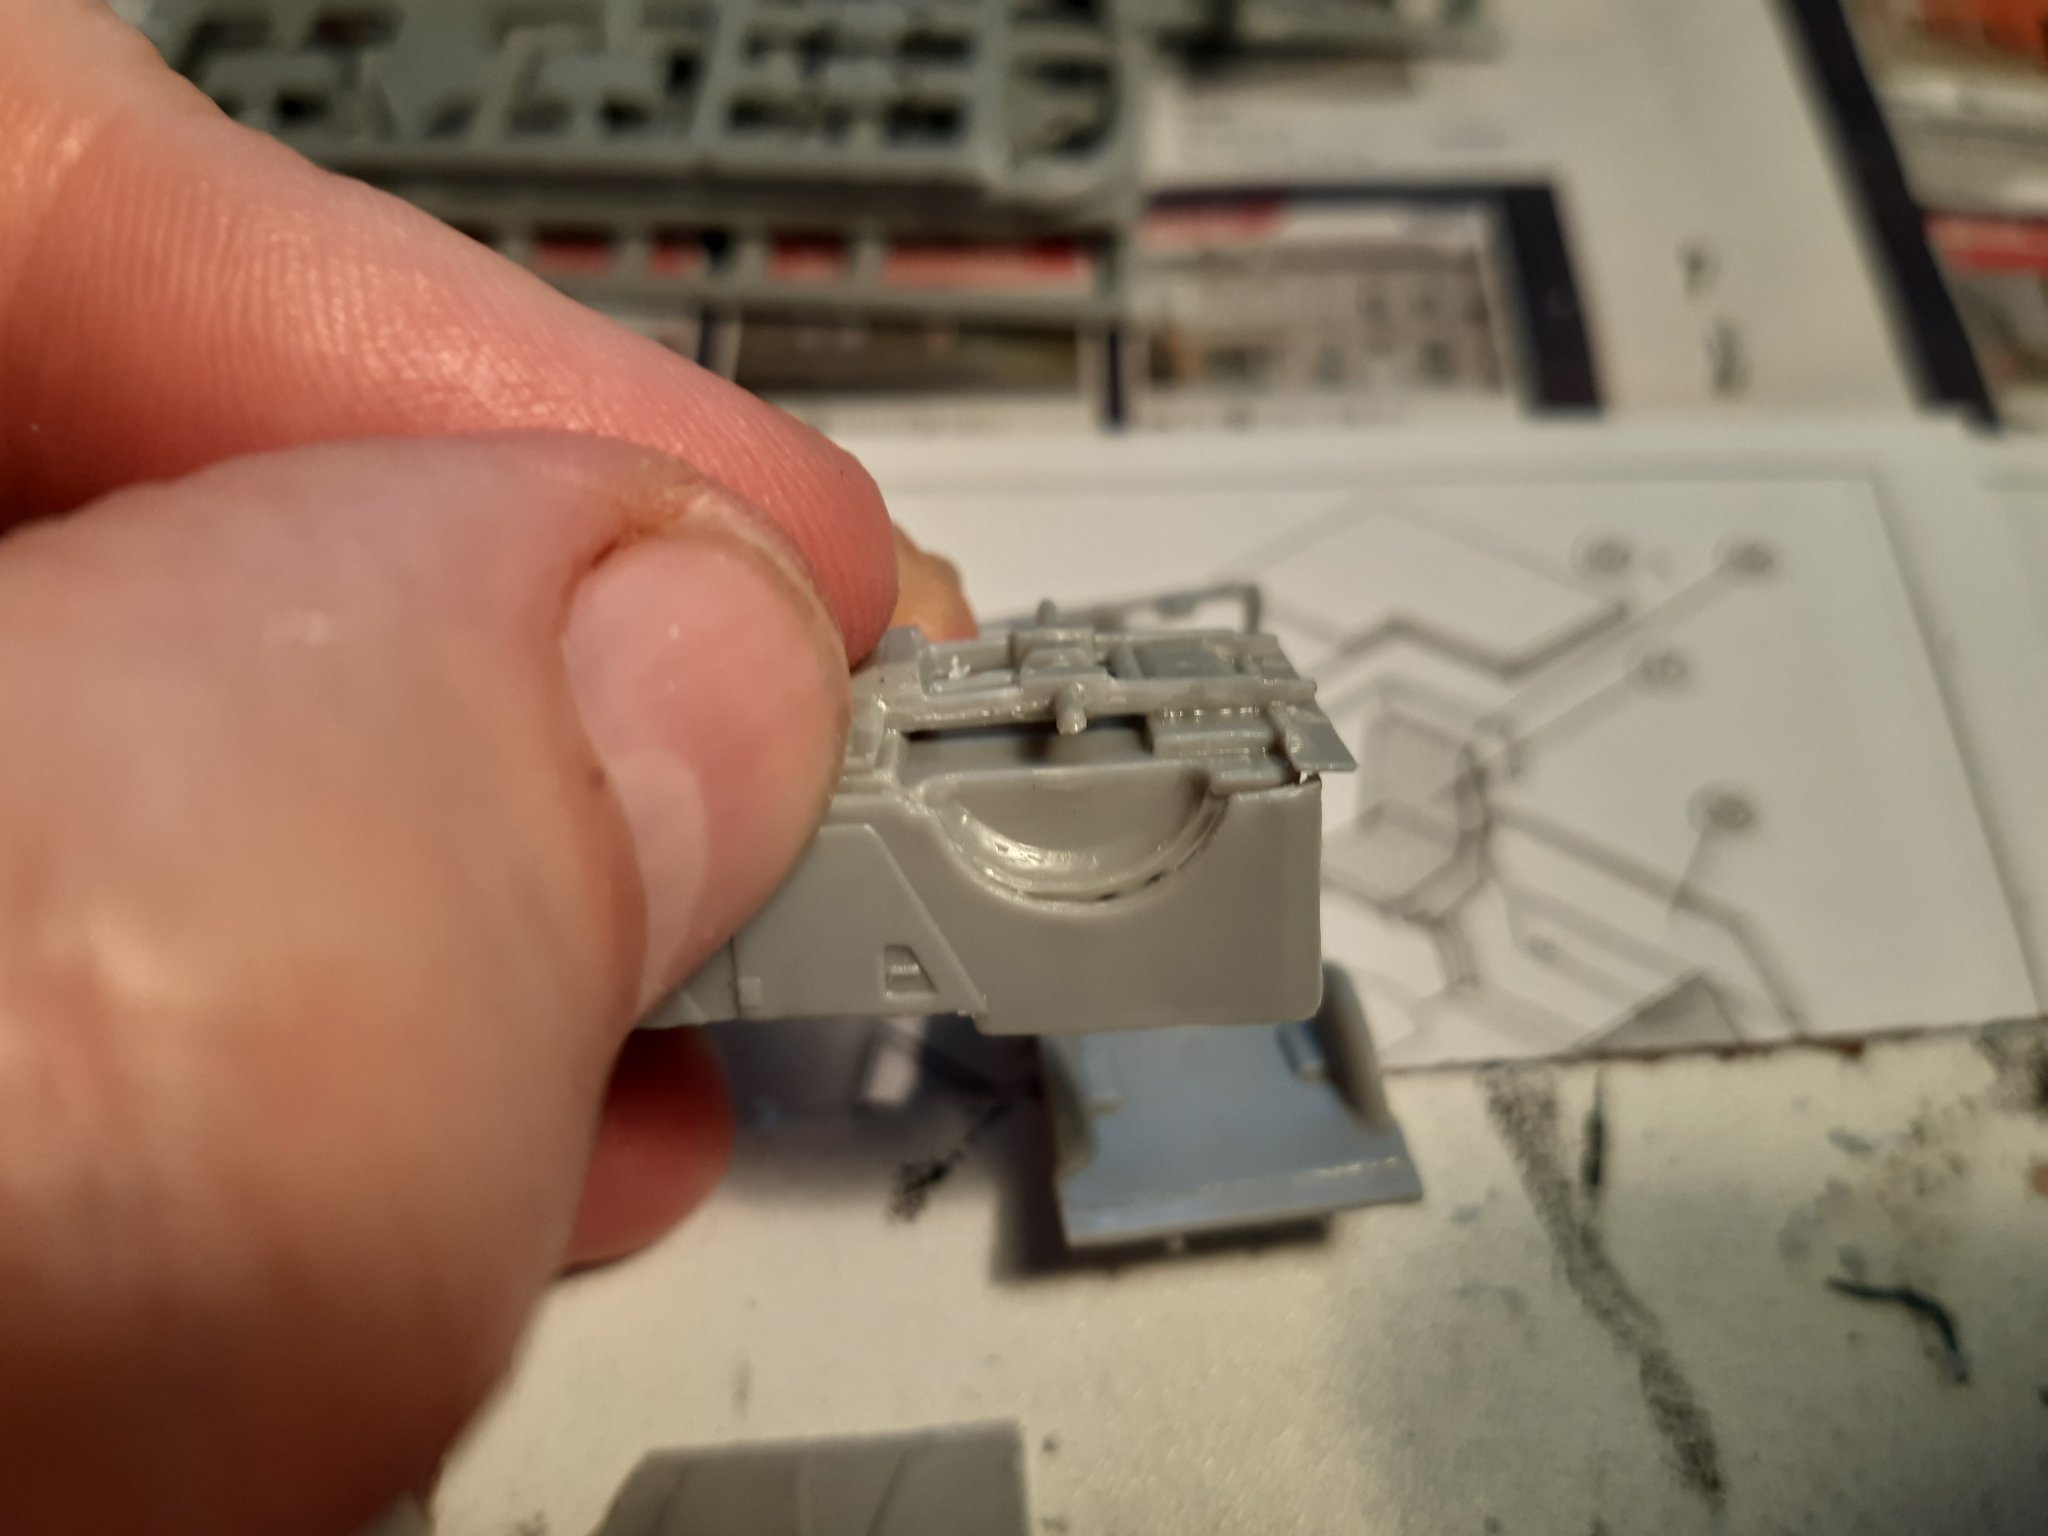
The rear compartiments
The pieces
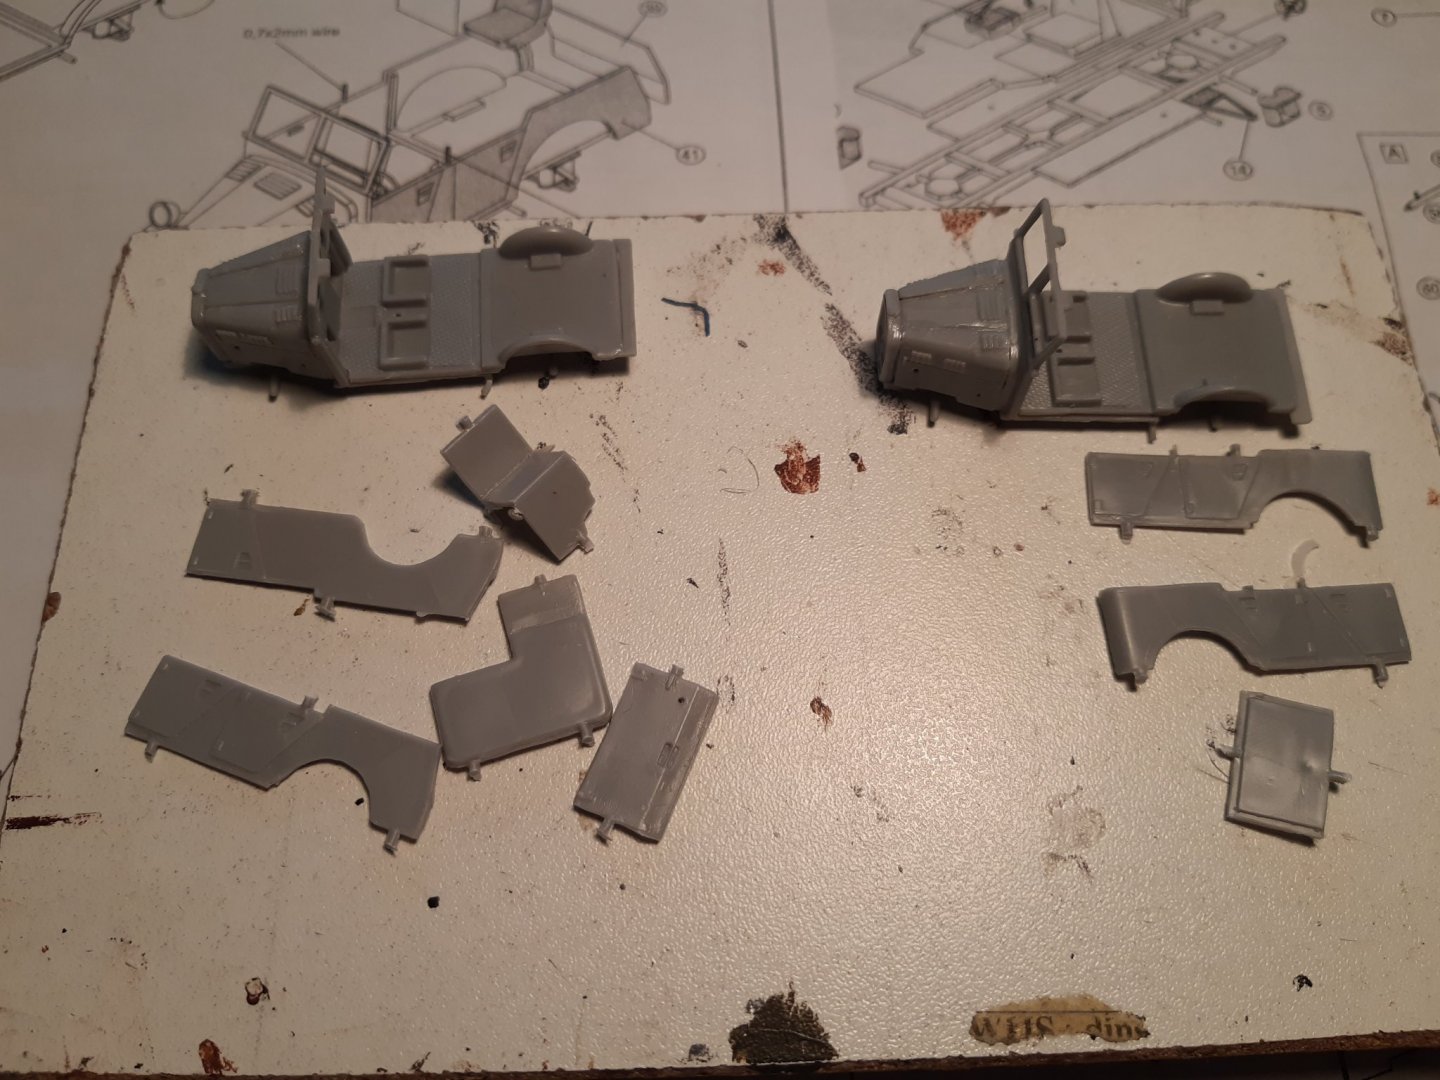
They really don't fit from the first time

make the rear plate thinner

Glued and drying for 24 h.
Thanks for following and comments
-
1 hour ago, MadDogMcQ said:
Hey Patrick, that was an awesome build 😲 and I really enjoyed your Build Log. Would you buy another Billing Boats model??
Tom.
Thanks.
I probably won't buy any more kits. Not because of the price or whether or not good or bad quality.
Once started with scratch building a wooden shipmodel, you can not stop
-
On 8/28/2020 at 10:56 PM, MadDogMcQ said:
I have retained no skills
No skills?? Very nicely done
-
4 hours ago, Louie da fly said:
Those tops look very good, Patrick.
It's hard to tell from the photo whether the foretop is too big because it's closer to the camera than the maintop is. Just check it by eye to be sure, or take a photo from directly side-on, so you don't get the camera messing up the proportions. Otherwise you may be giving yourself unnecessary work.
Thanks Steven
The fore top is only 2mm smaller in diameter than the main top.
This really doesn't look good and the conversion is now underway.These are the "charms" of scratch building a model without plans, haha.
- mtaylor, Matrim and Louie da fly
-
3
-
Great work Micheal.
for some stupid reason I forgot to press the follow button in the beginning of this build
 .
.
- mtbediz, FrankWouts, md1400cs and 1 other
-
4
-
-

Beautiful models
- JeffT, Edwardkenway, Nirvana and 1 other
-
4
-
-
indeed.
But if you have to rebuild an army from scratch.
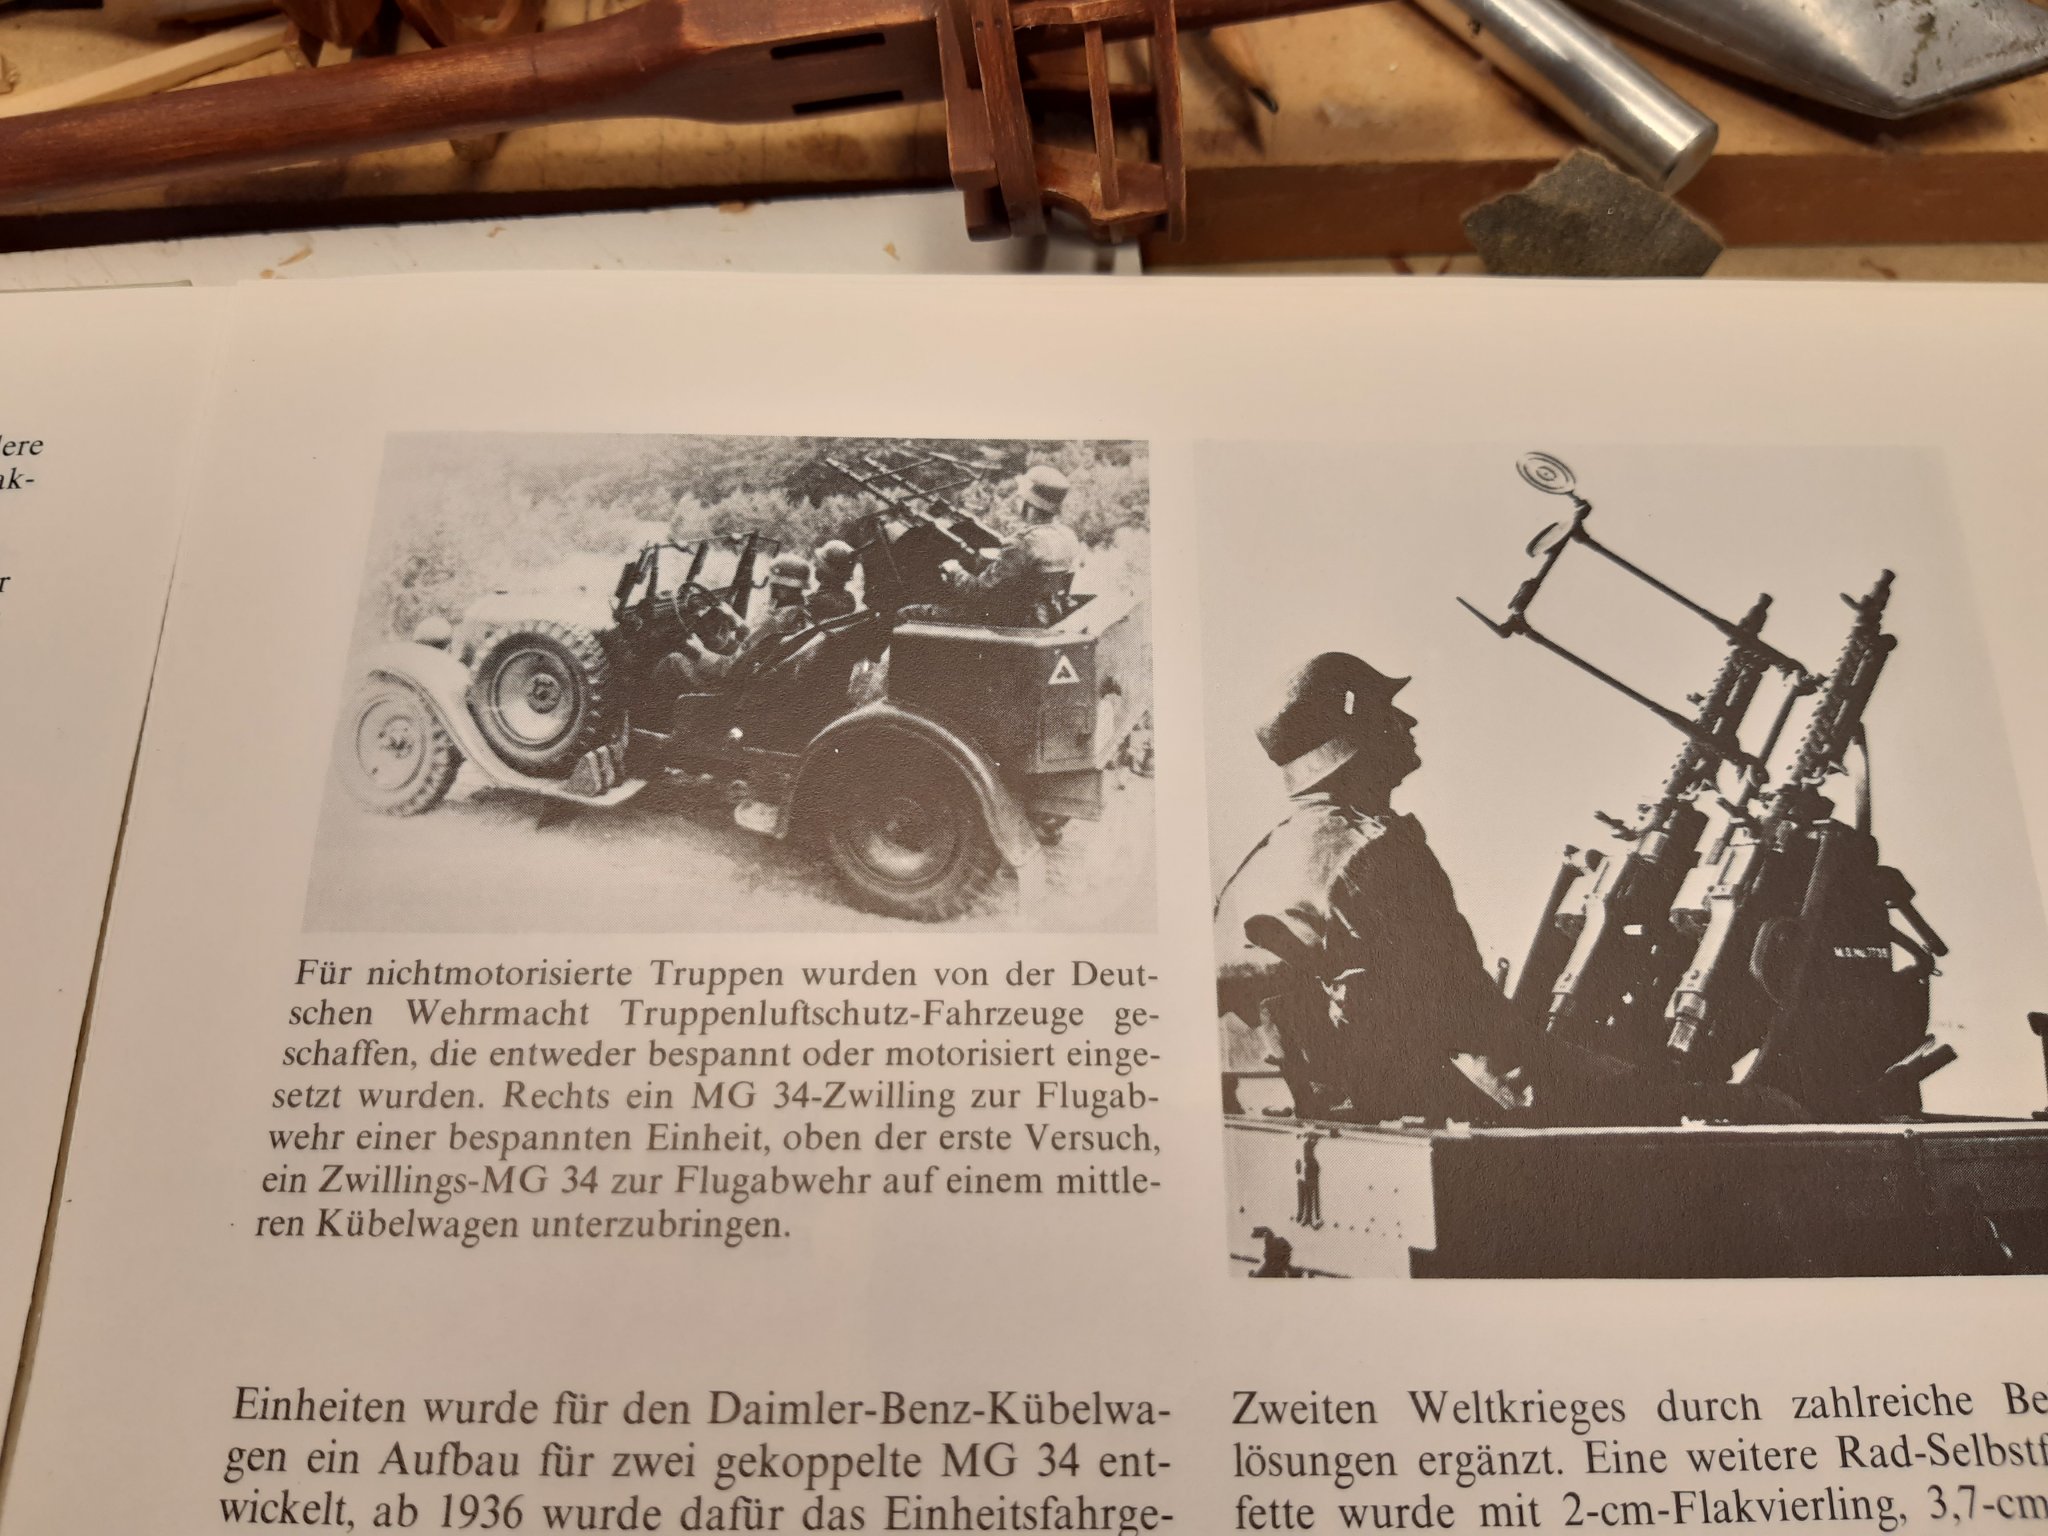
then are 2 light mgs for AA defensie better than nothing -
11 hours ago, Canute said:
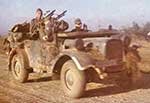
What is the weapon on the Kfz.4?
2 MG 34 mounted as a twin (the zwillinglafette 36) .These were only intended as protection for non-motorized troops at the beginning of WW2.
a link the horse drawn version http://acemodel.com.ua/en/model/442

-
-
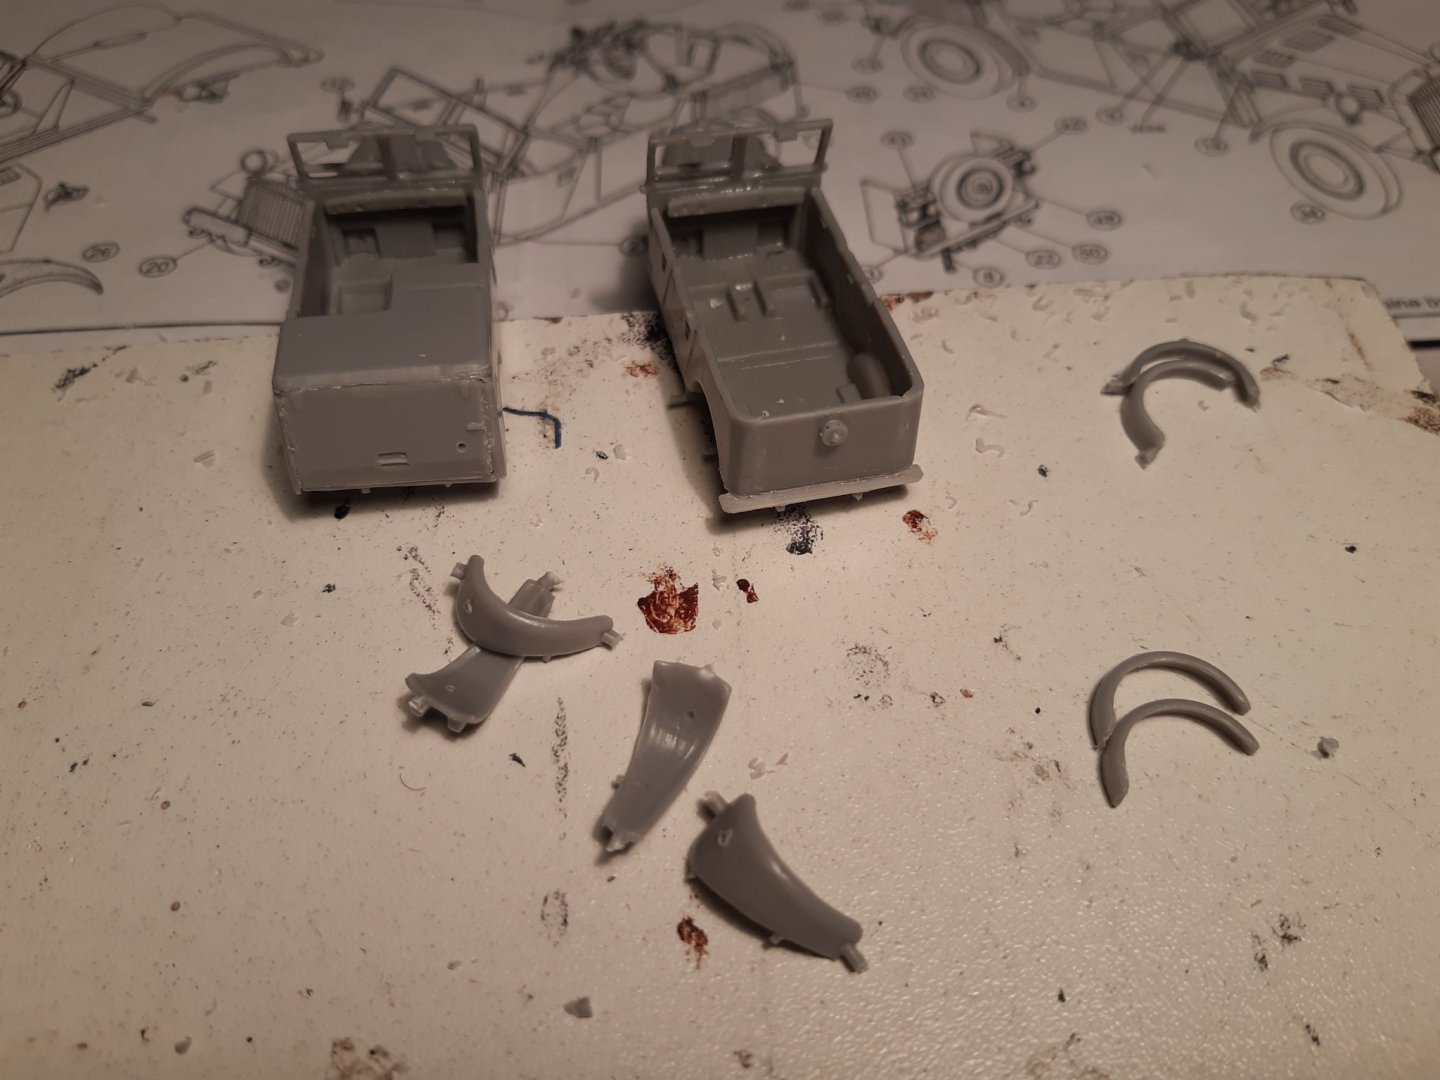
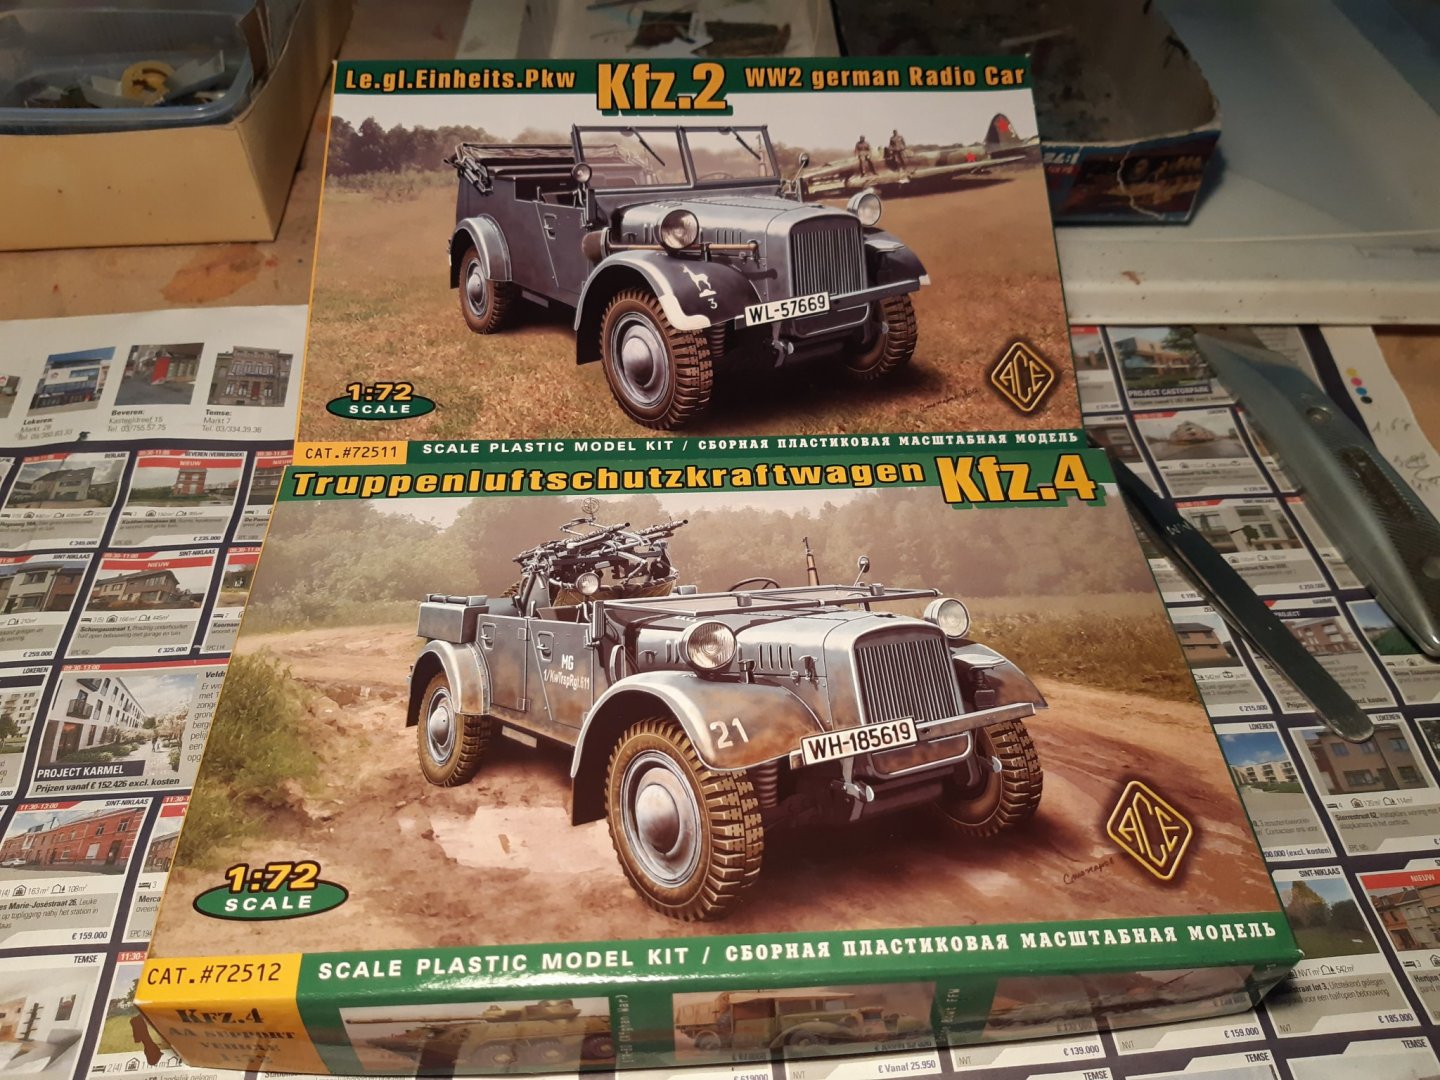
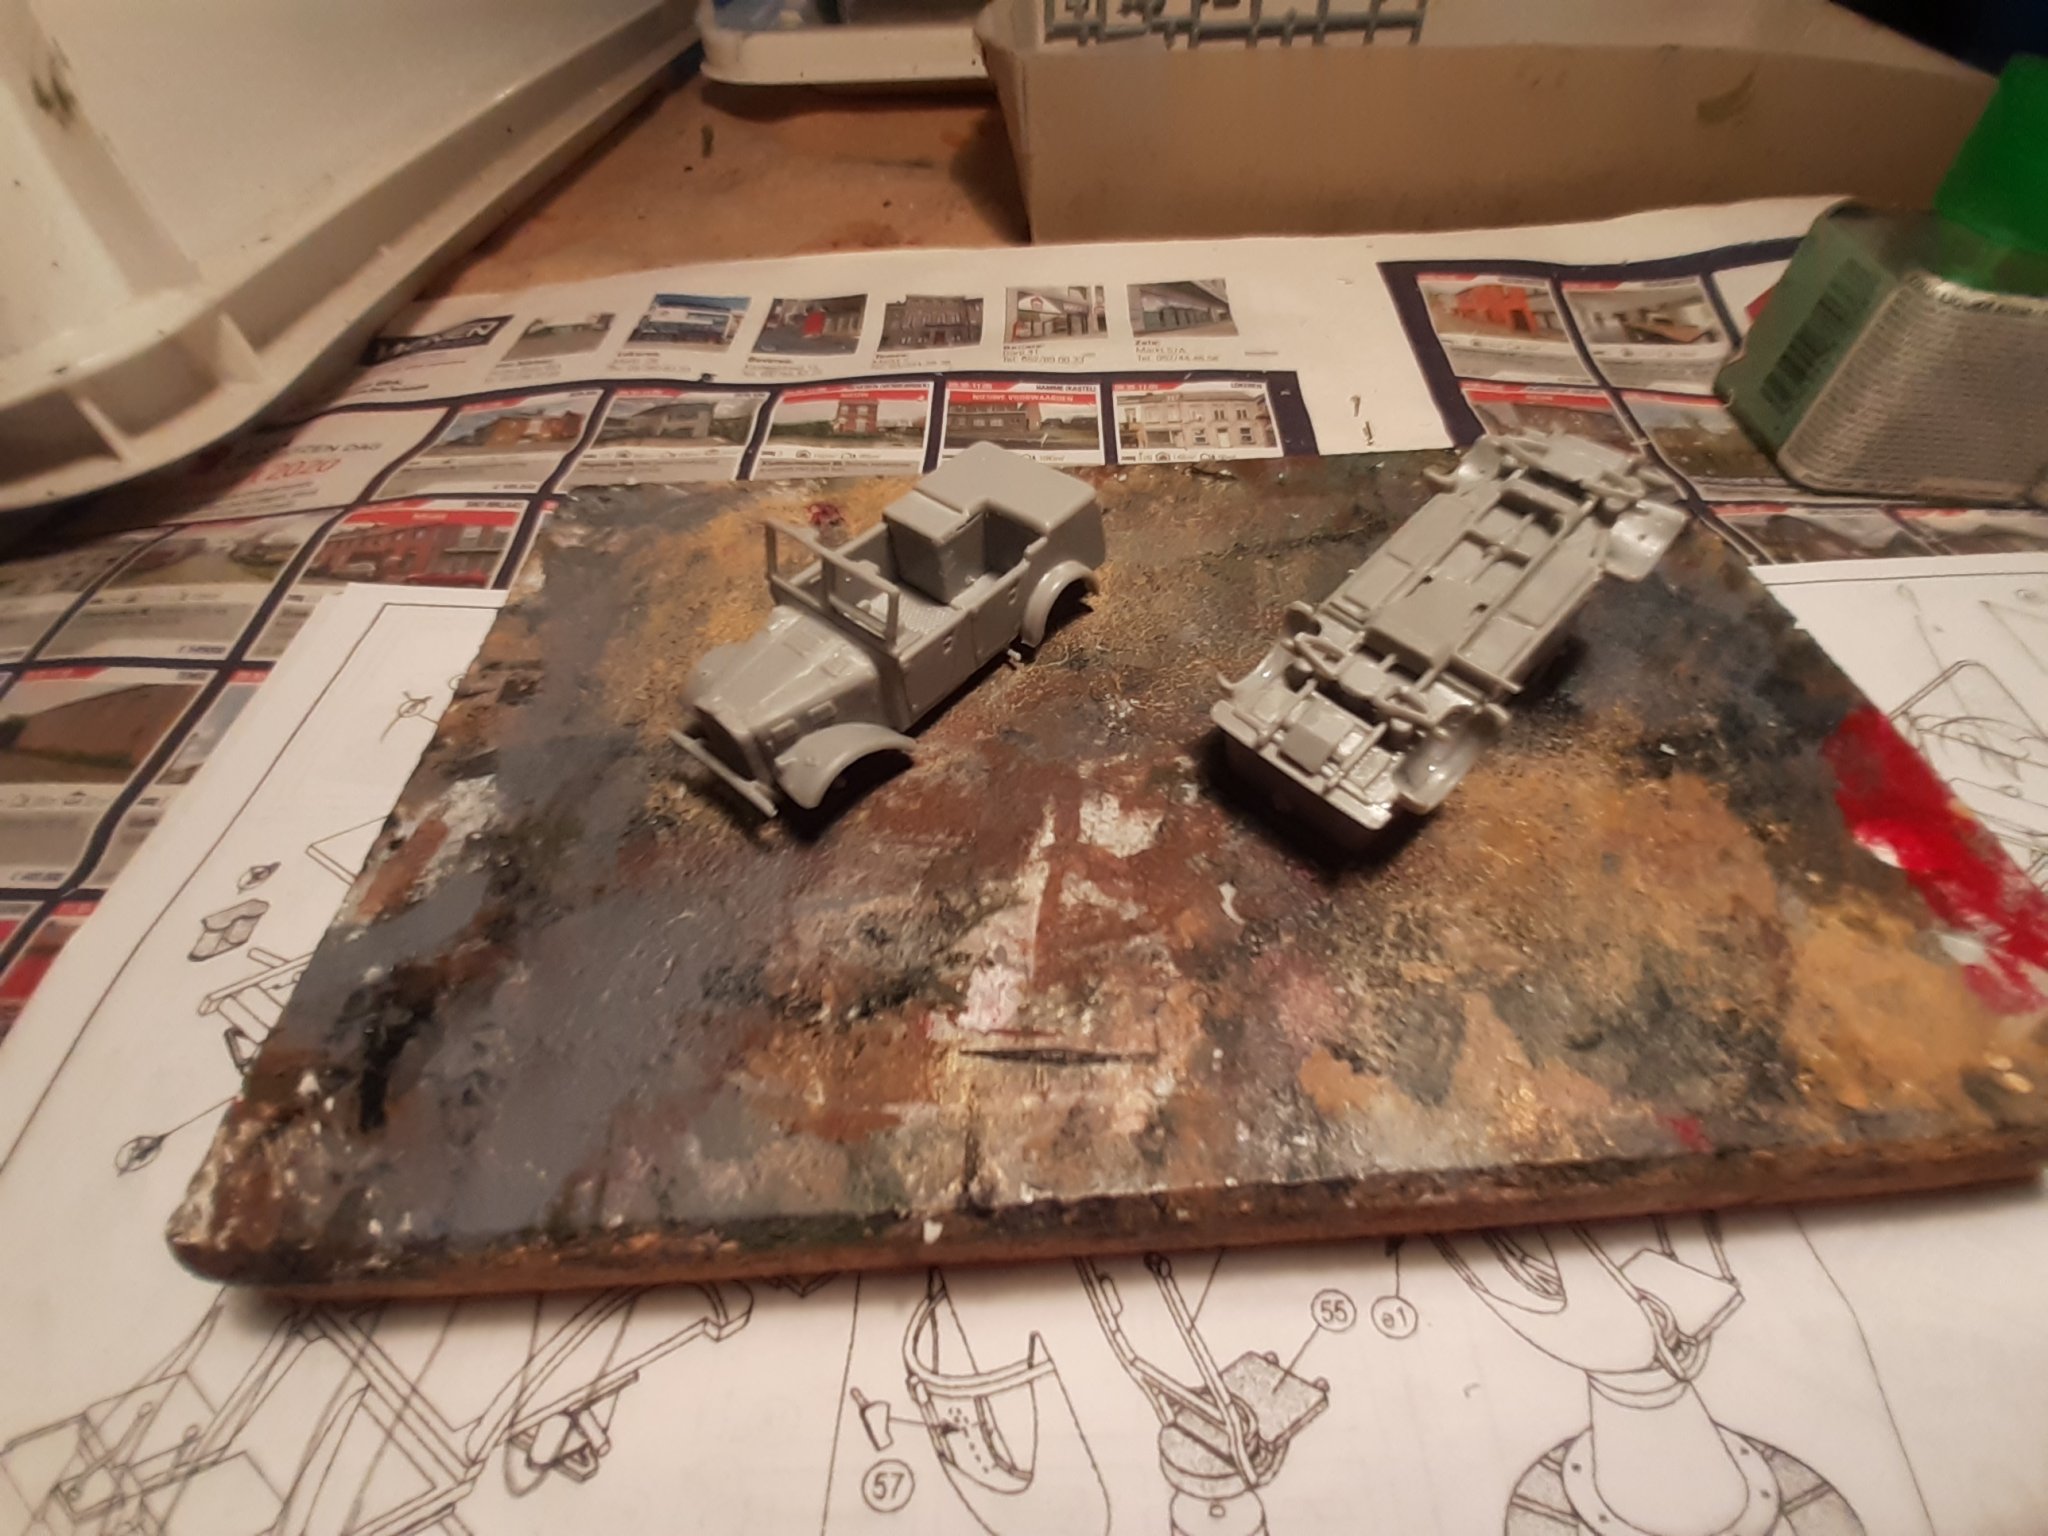
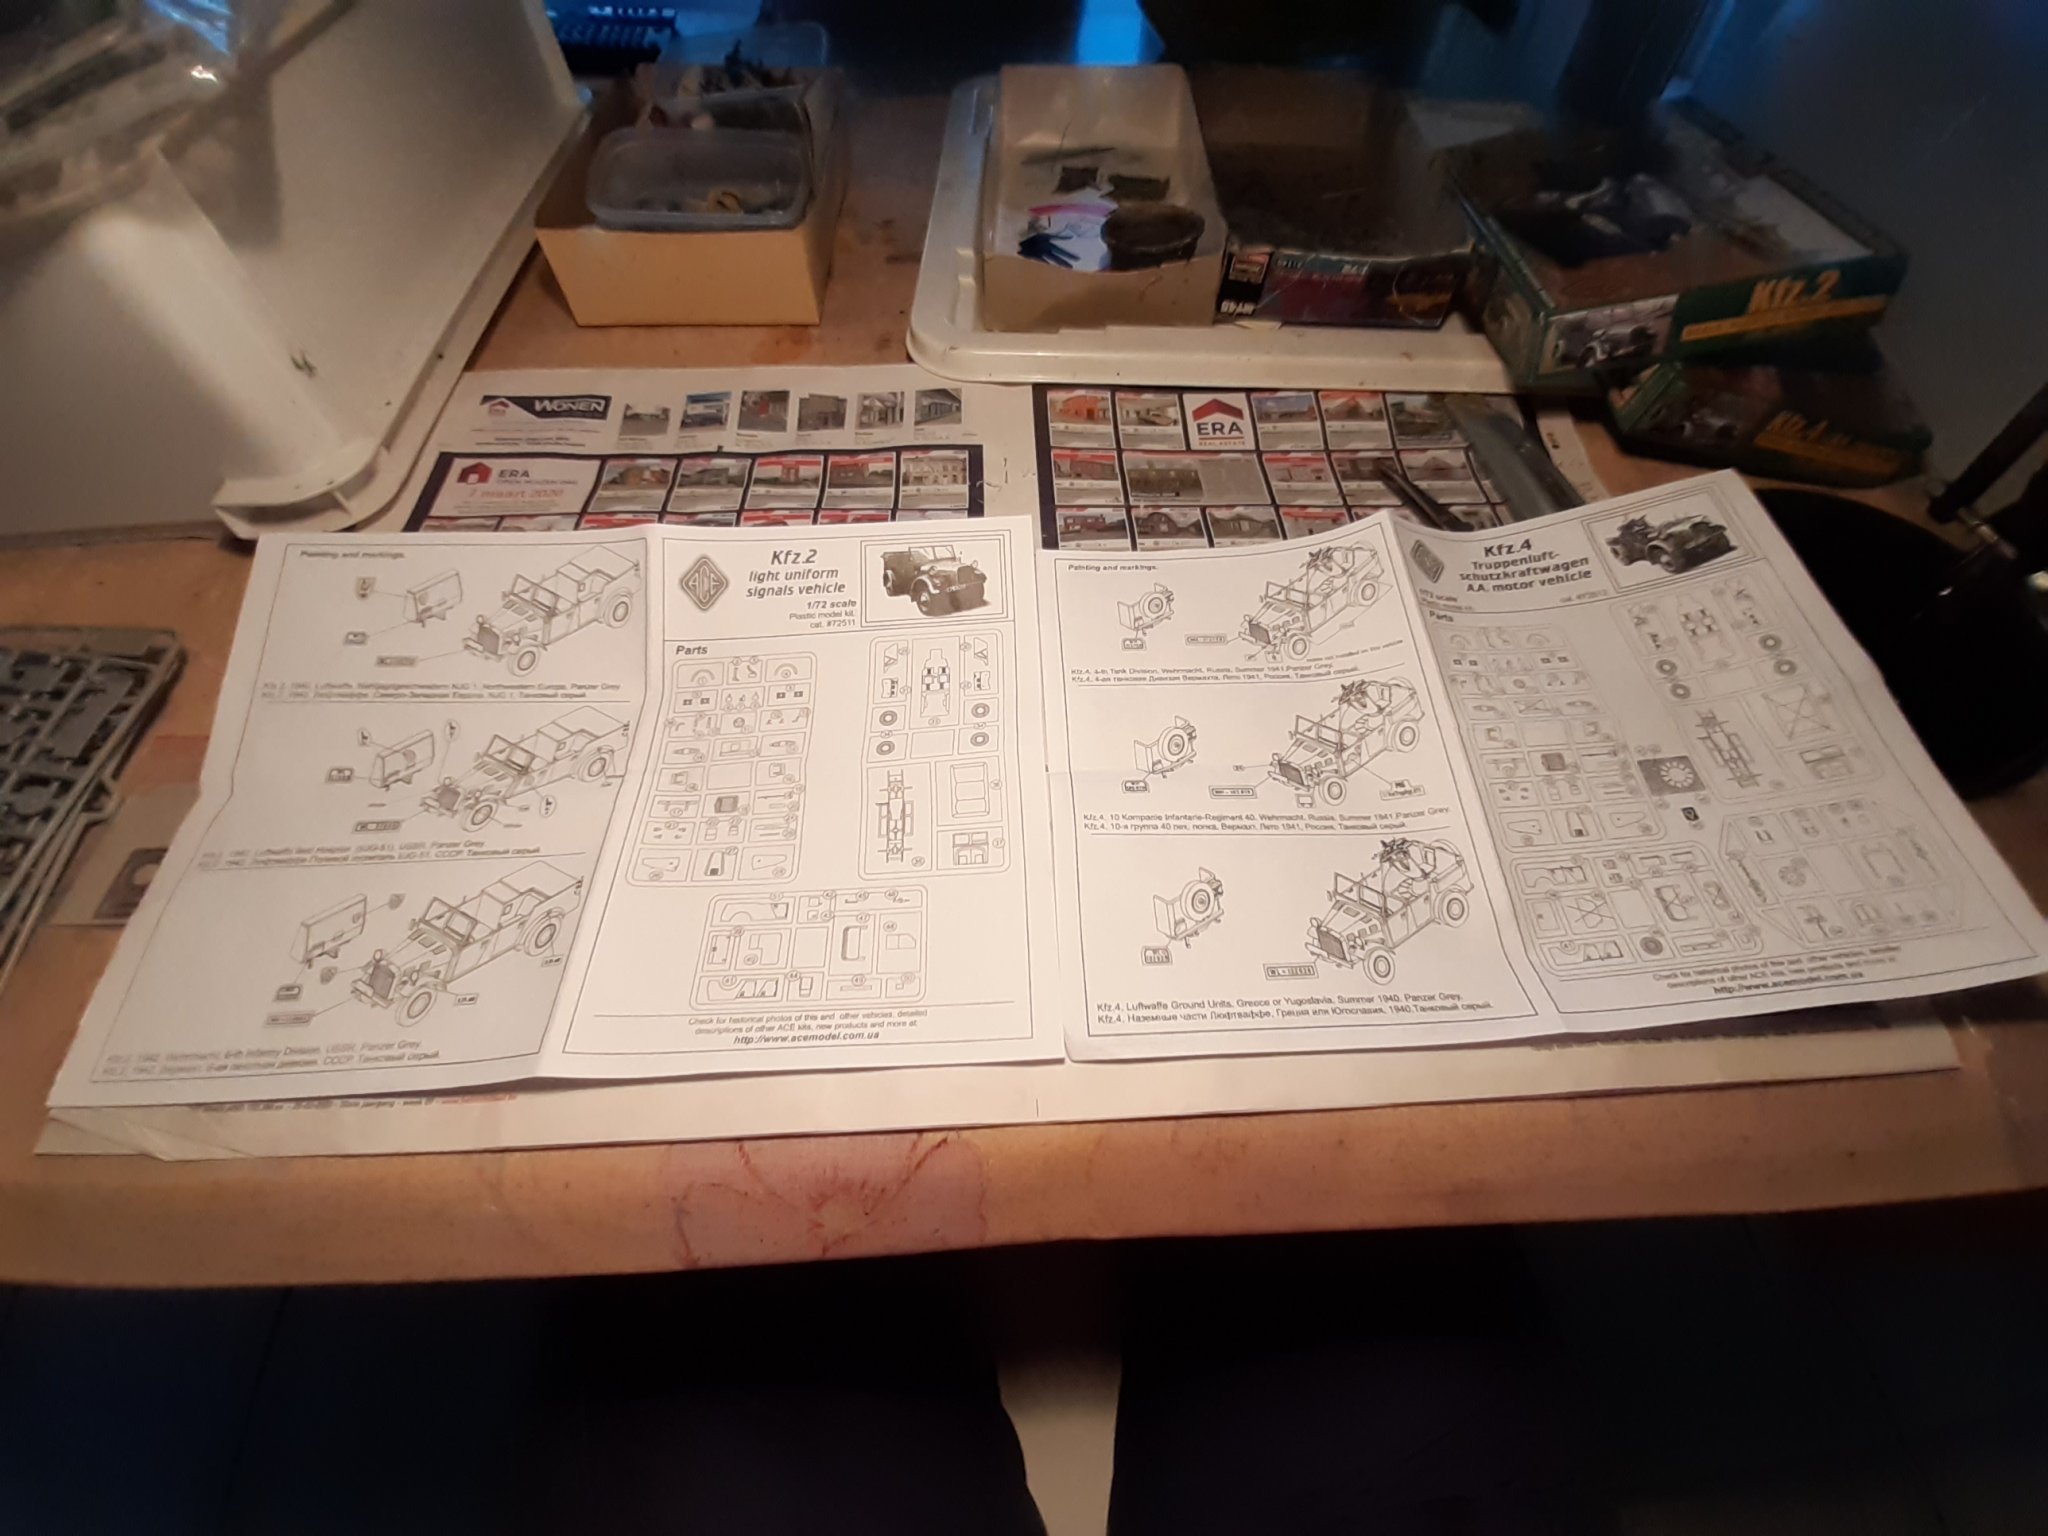
Next build, 2 models from ACE.
The Kfz. 2 radio car http://acemodel.com.ua/en/model/448
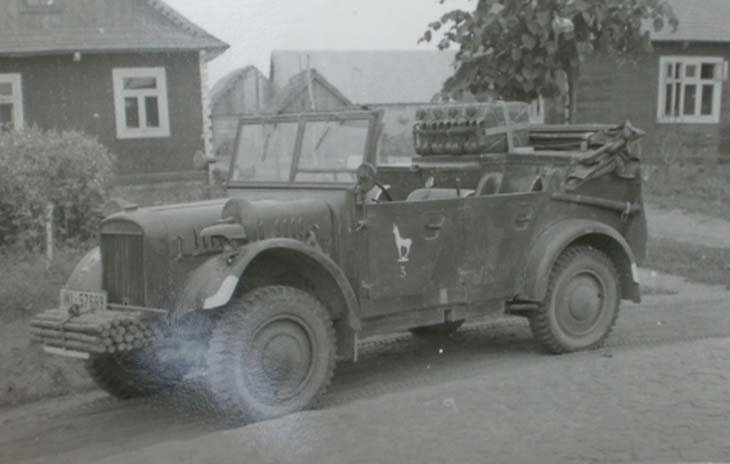
The Kfz.4 anti aircraft http://acemodel.com.ua/en/model/576
General information
Ace makes short run models.
So with molds that are worn out after a certain production number. Seeing is buying. Once out of production, the models are almost no longer available.
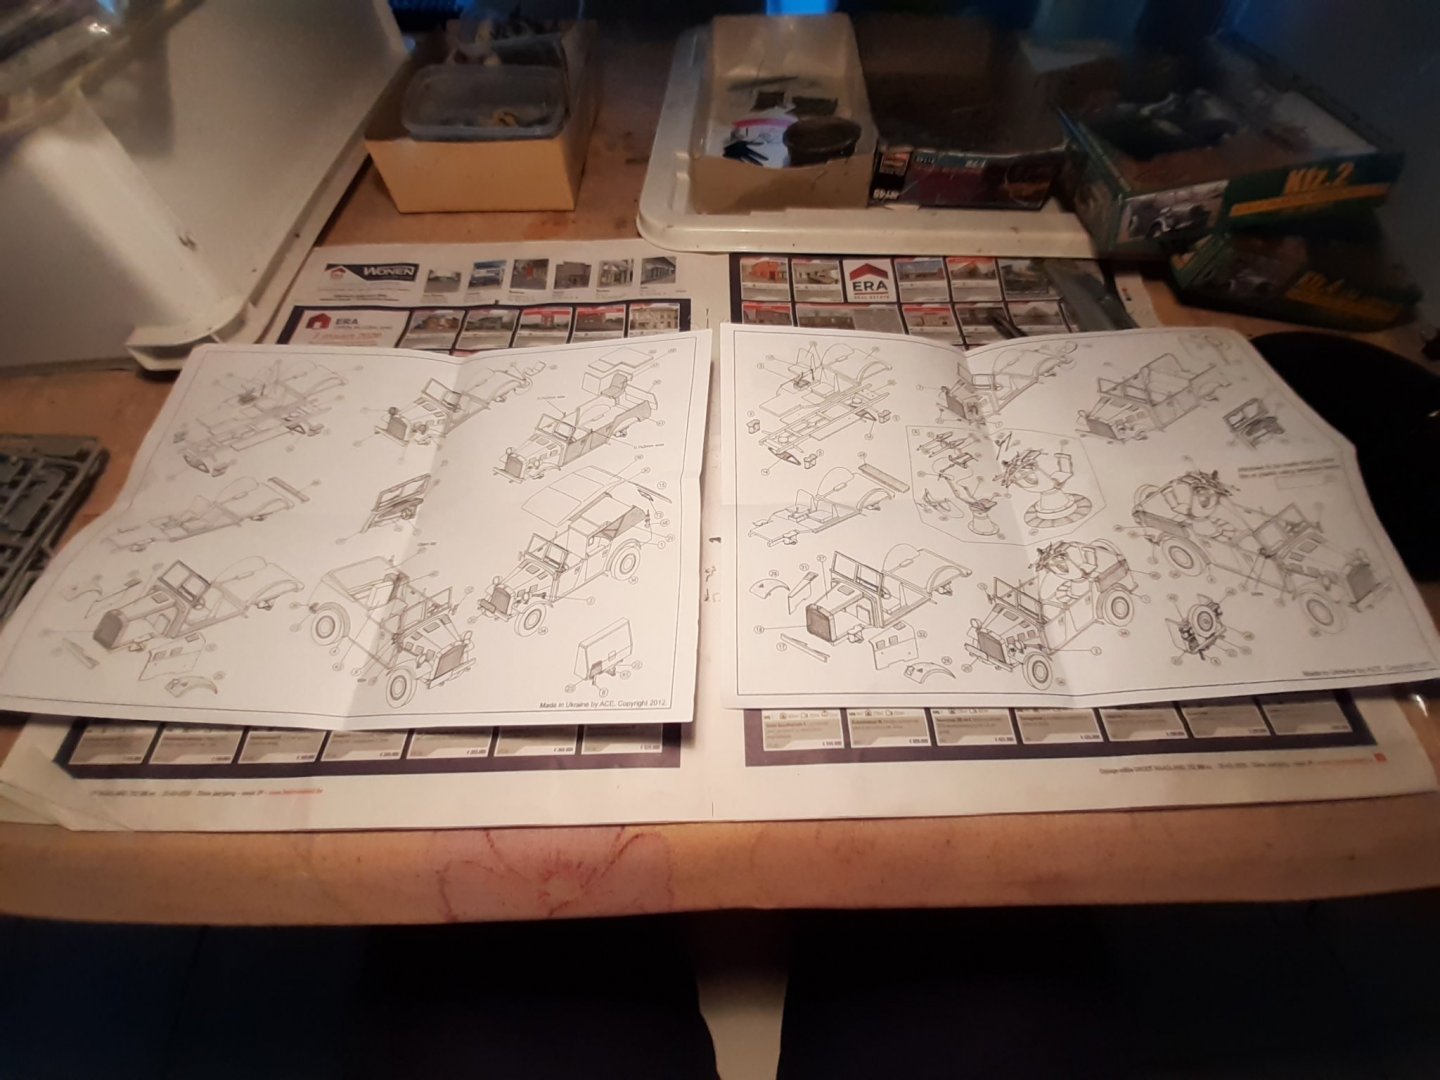
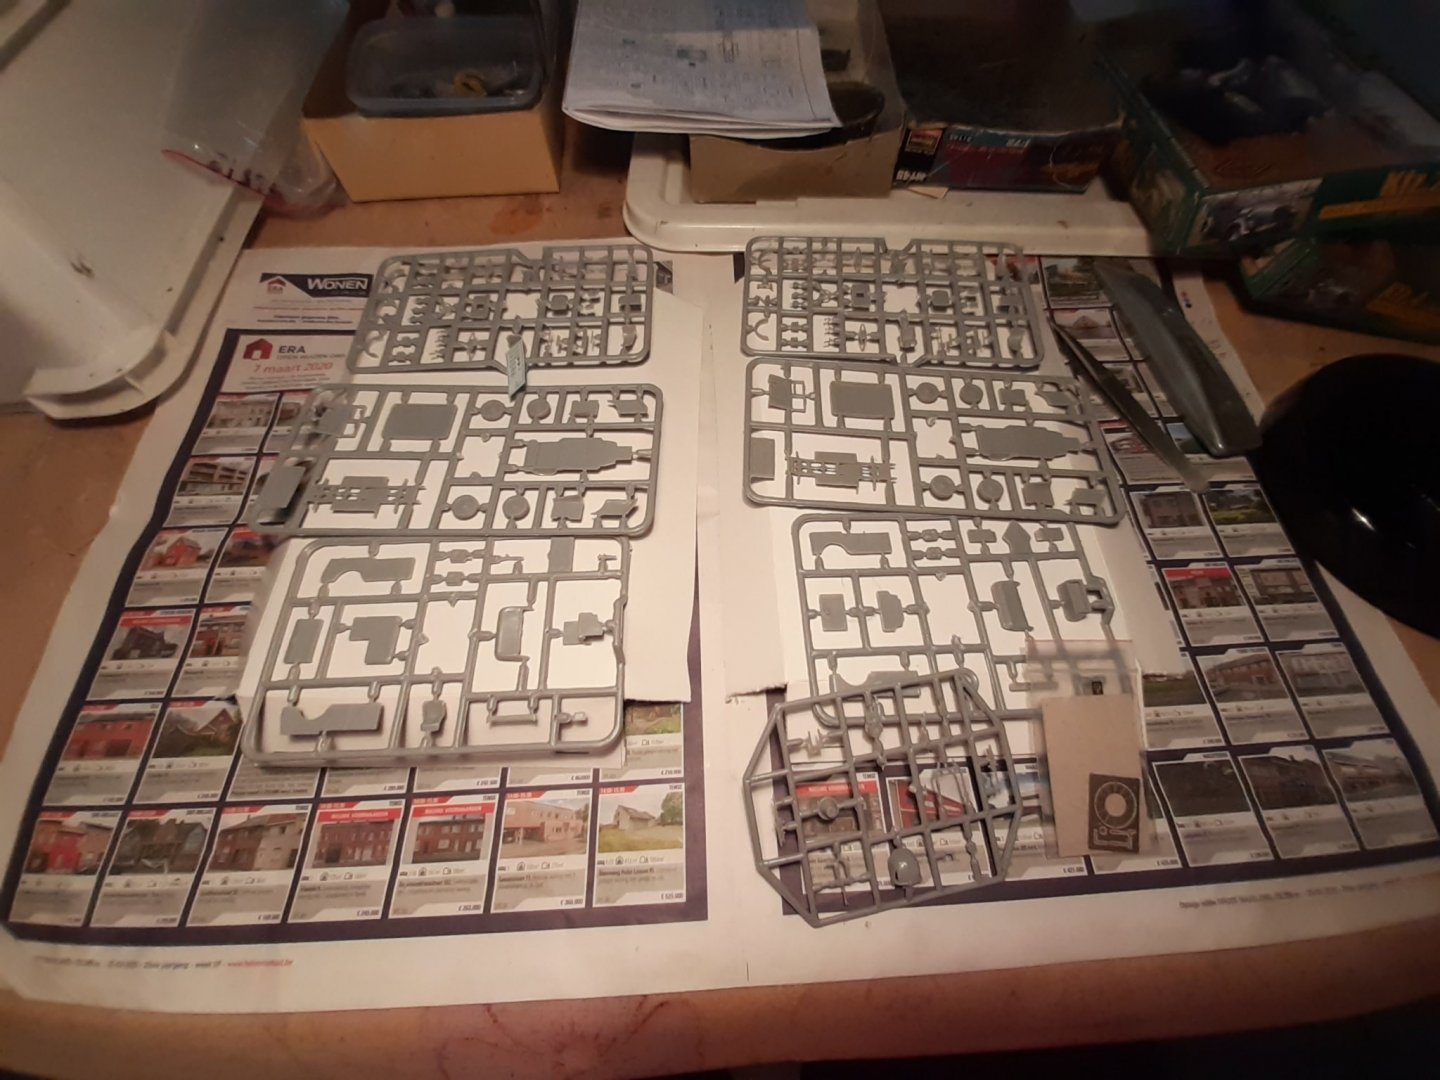
Box, plan and parts.

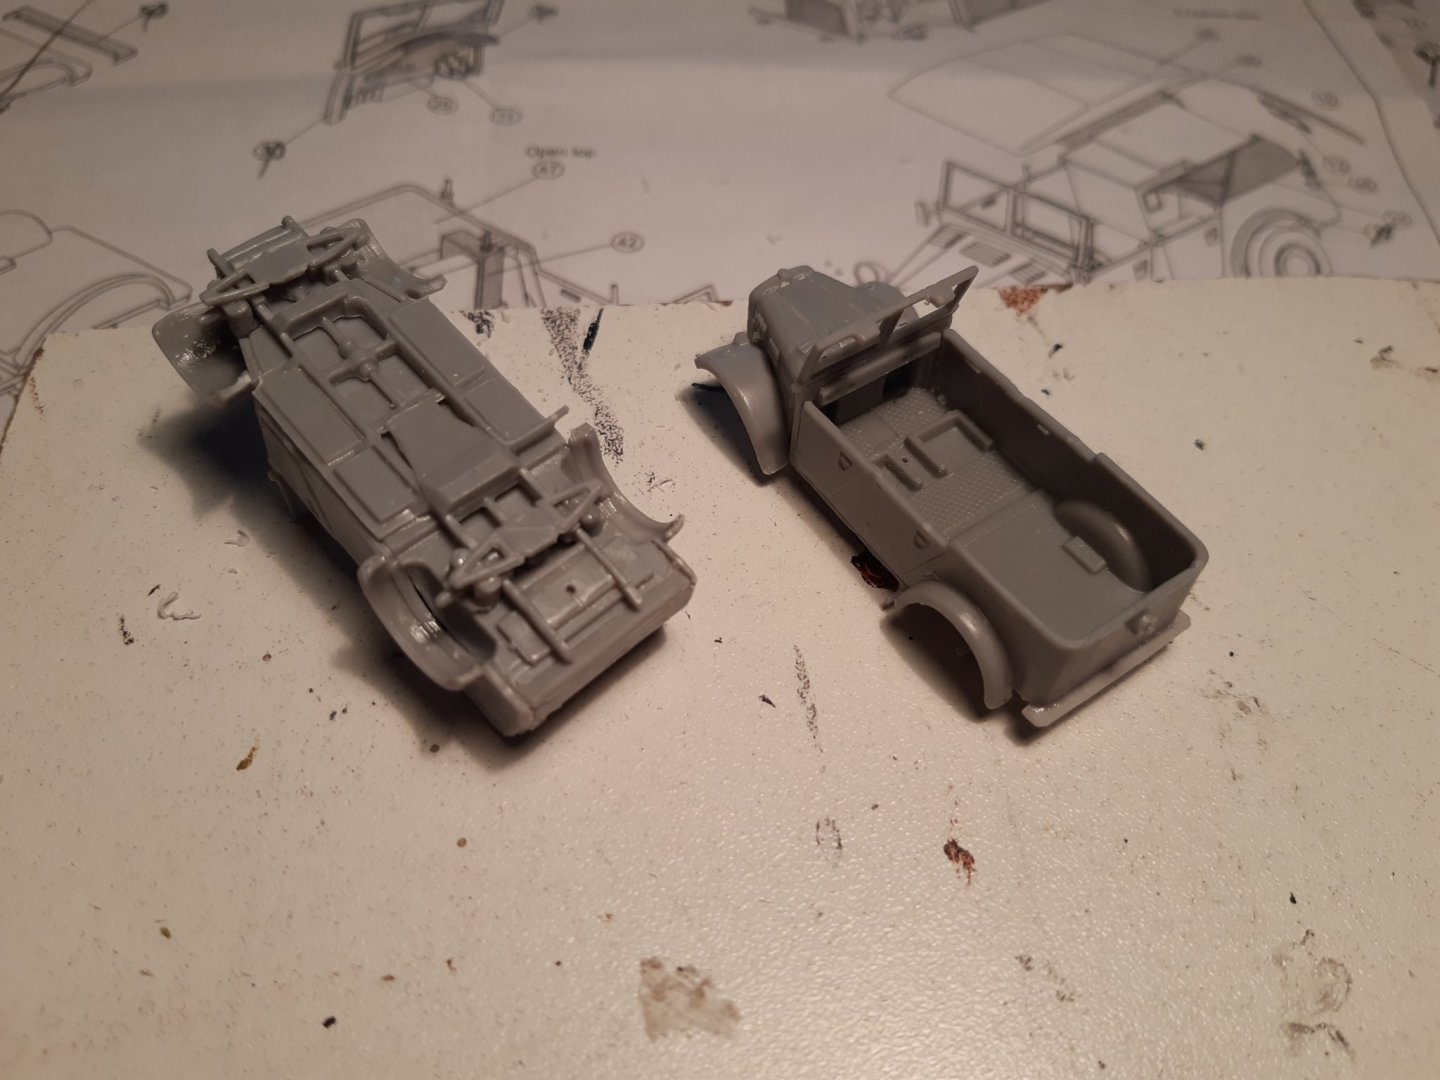
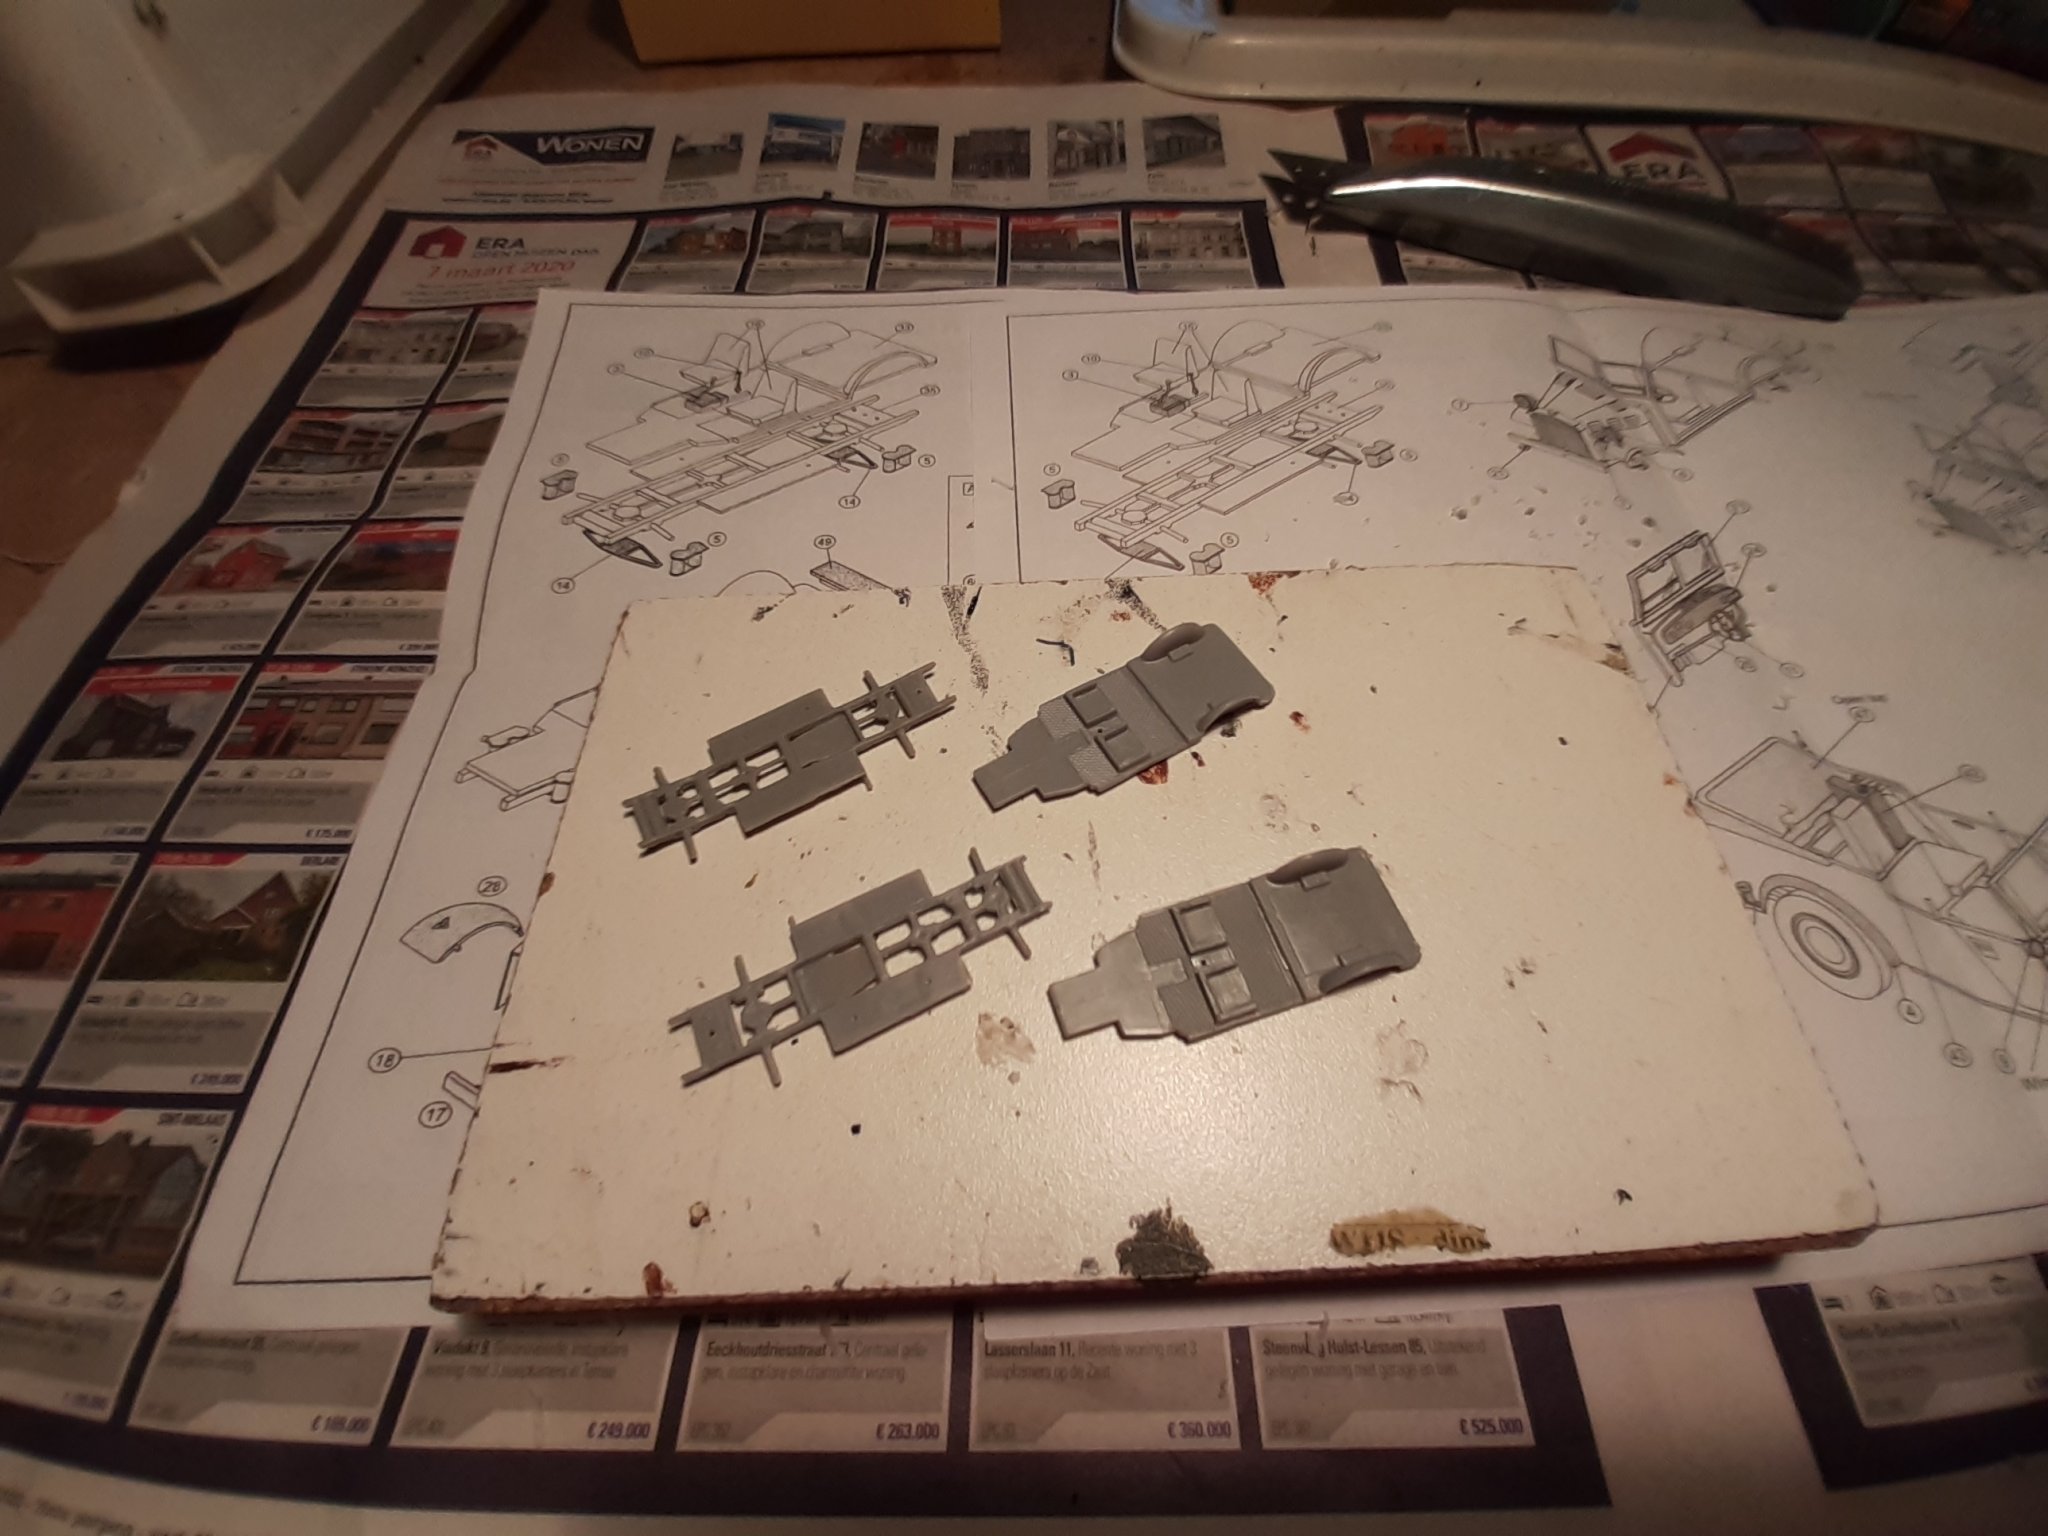
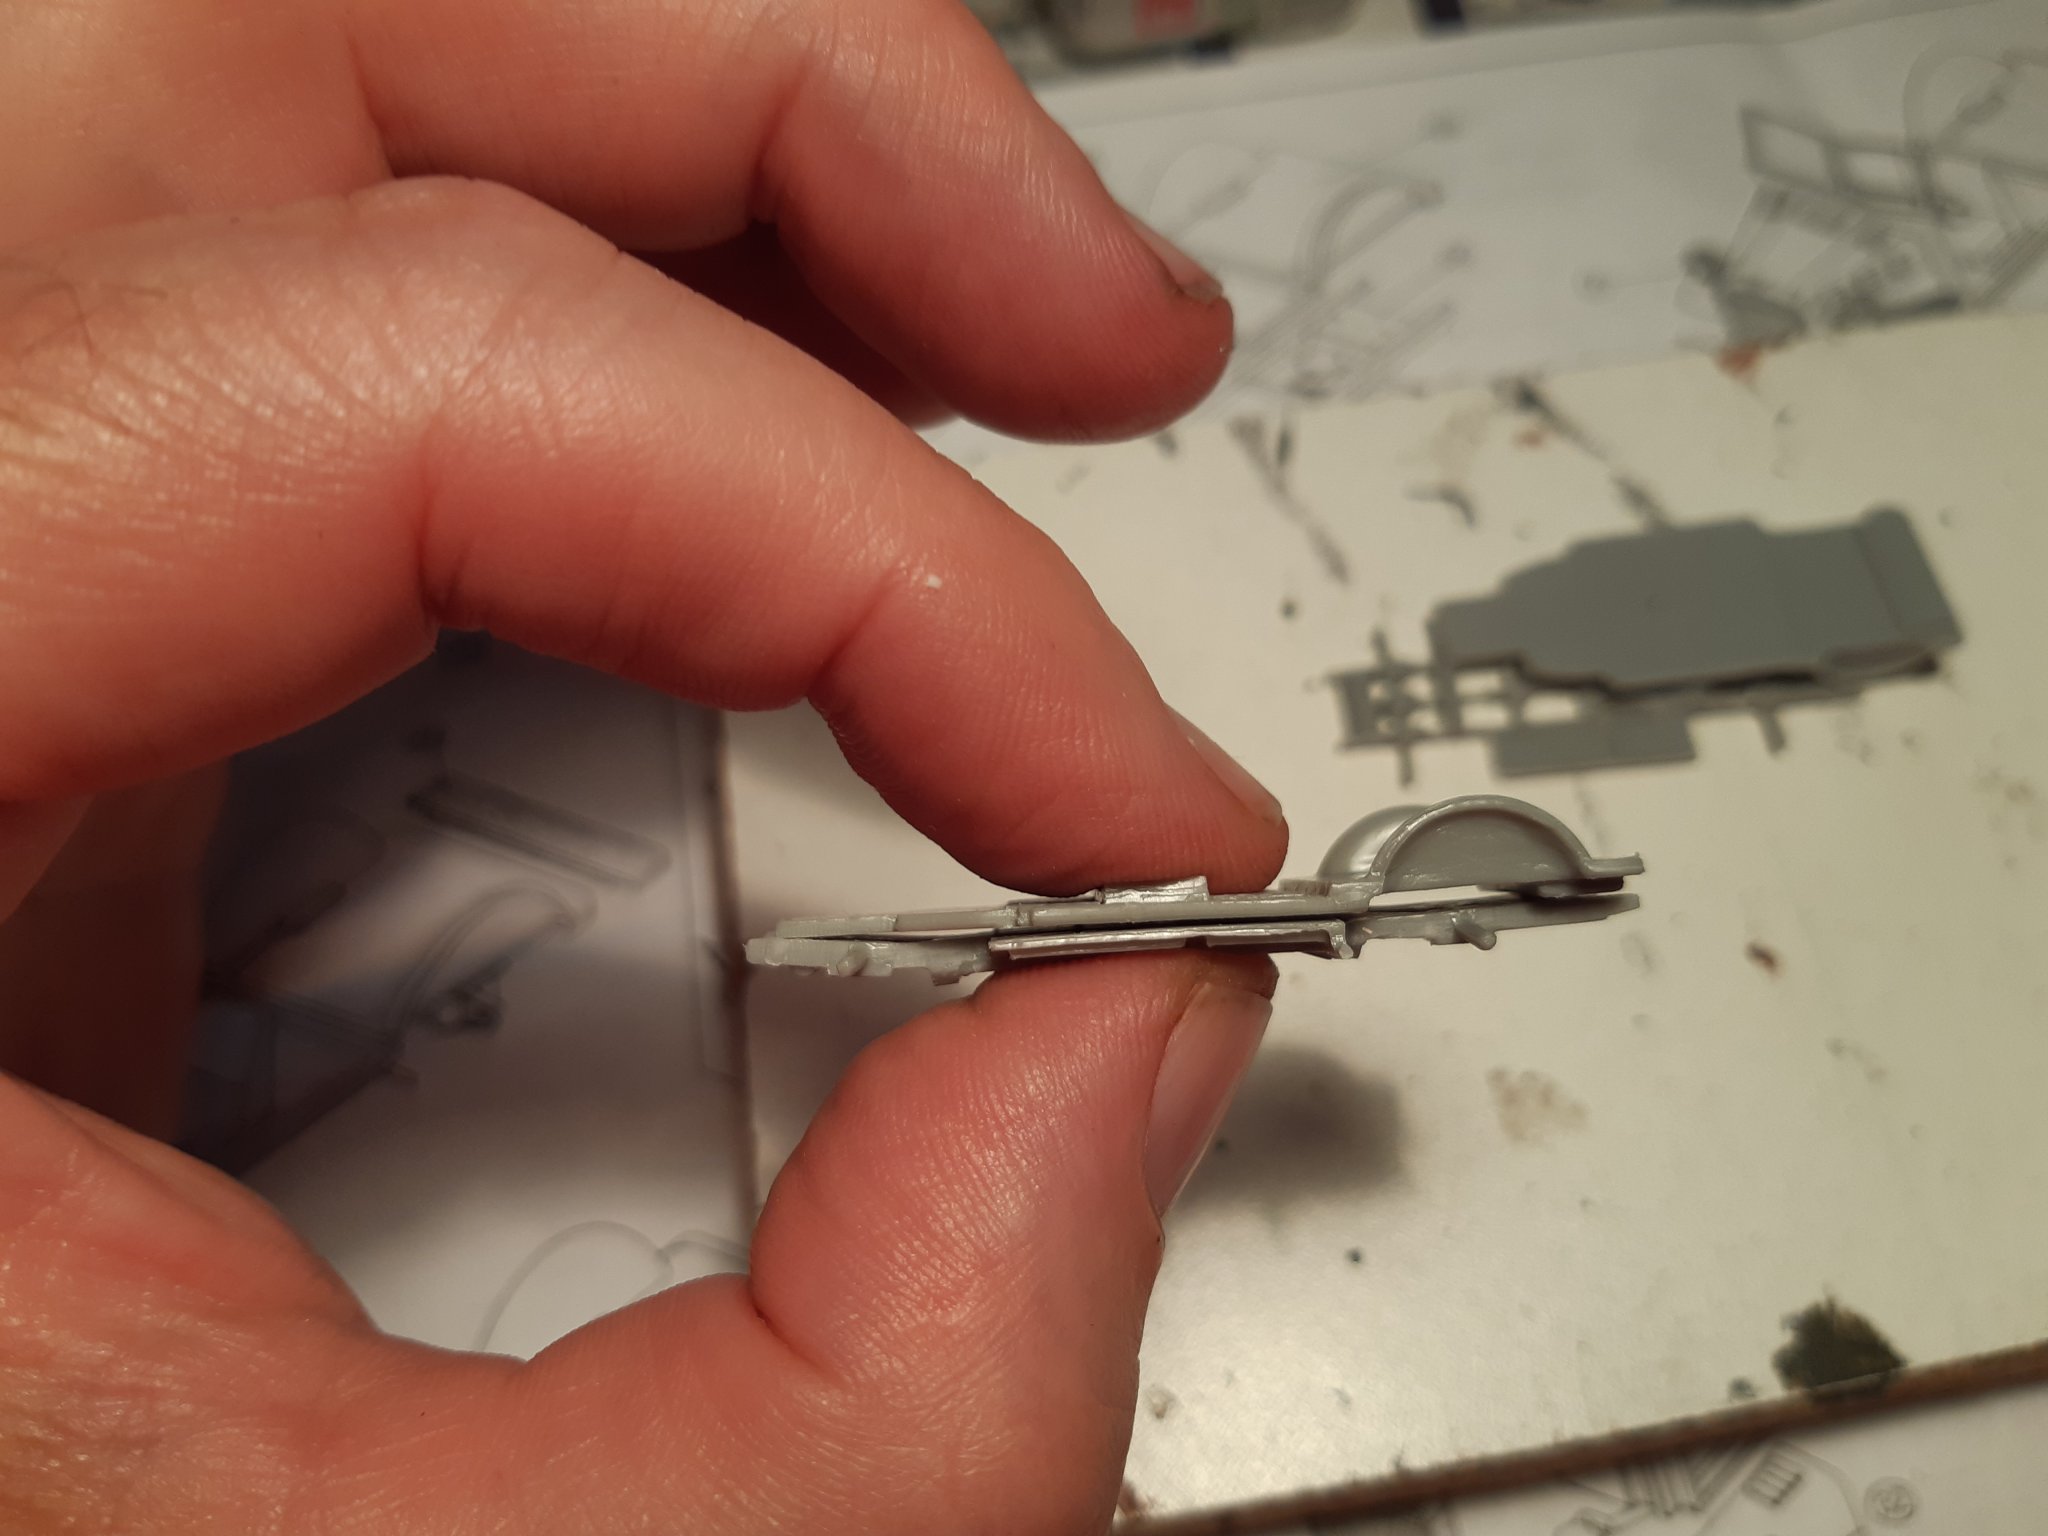
There is already a first problem at the start of building the chassis. The pins and holes do not fit.

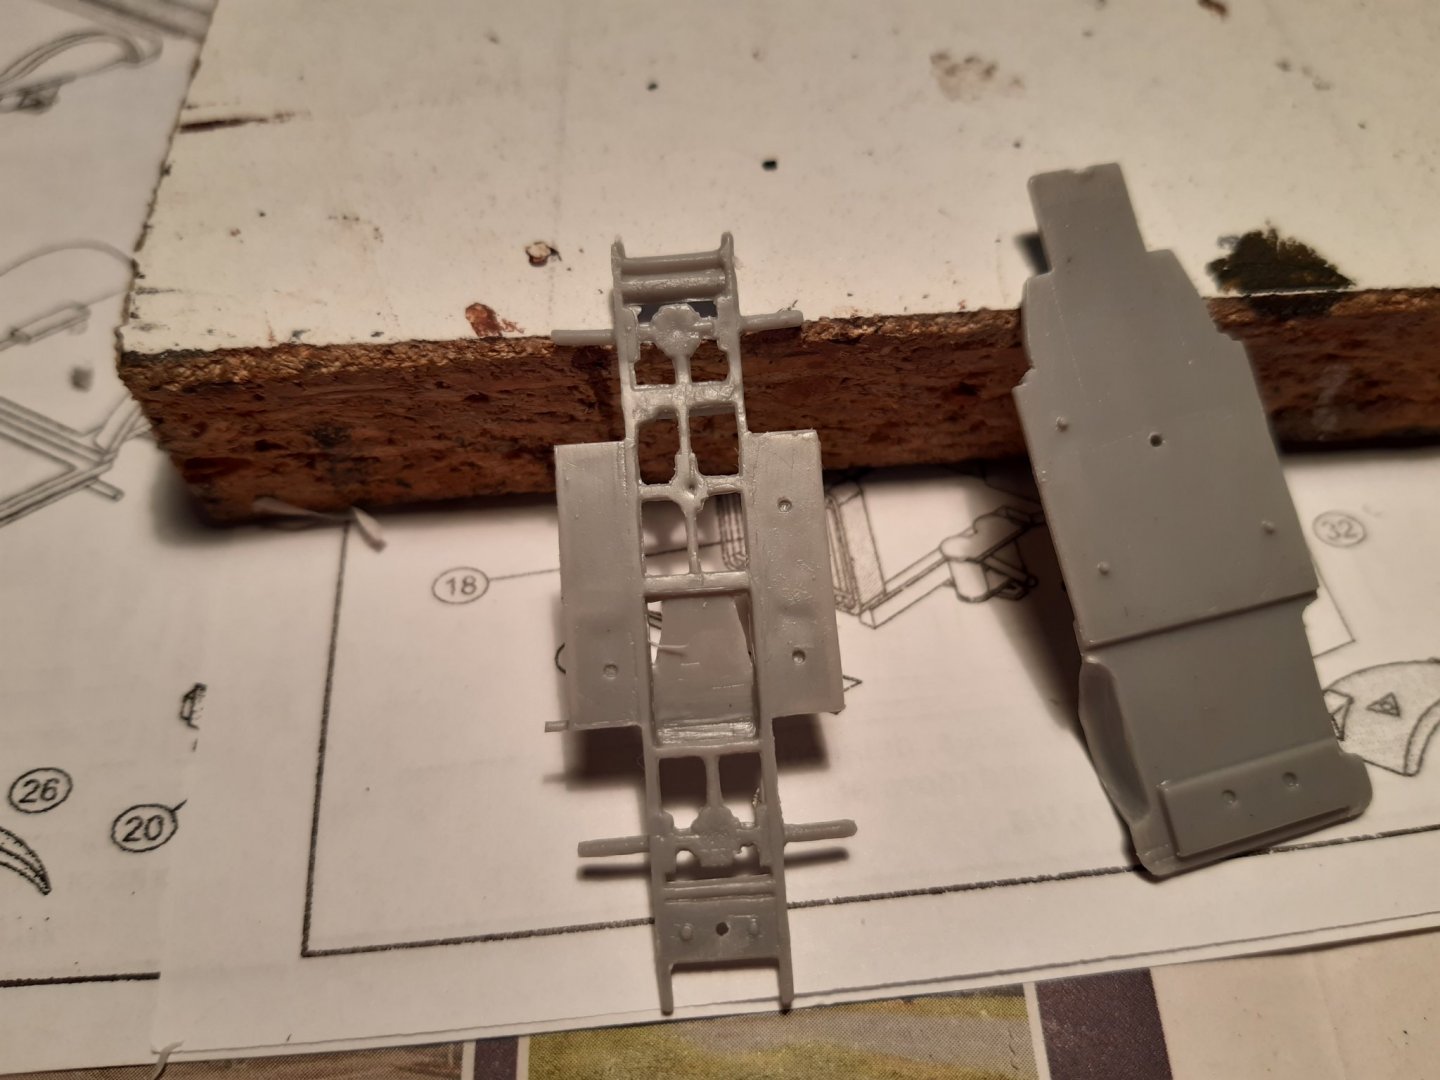
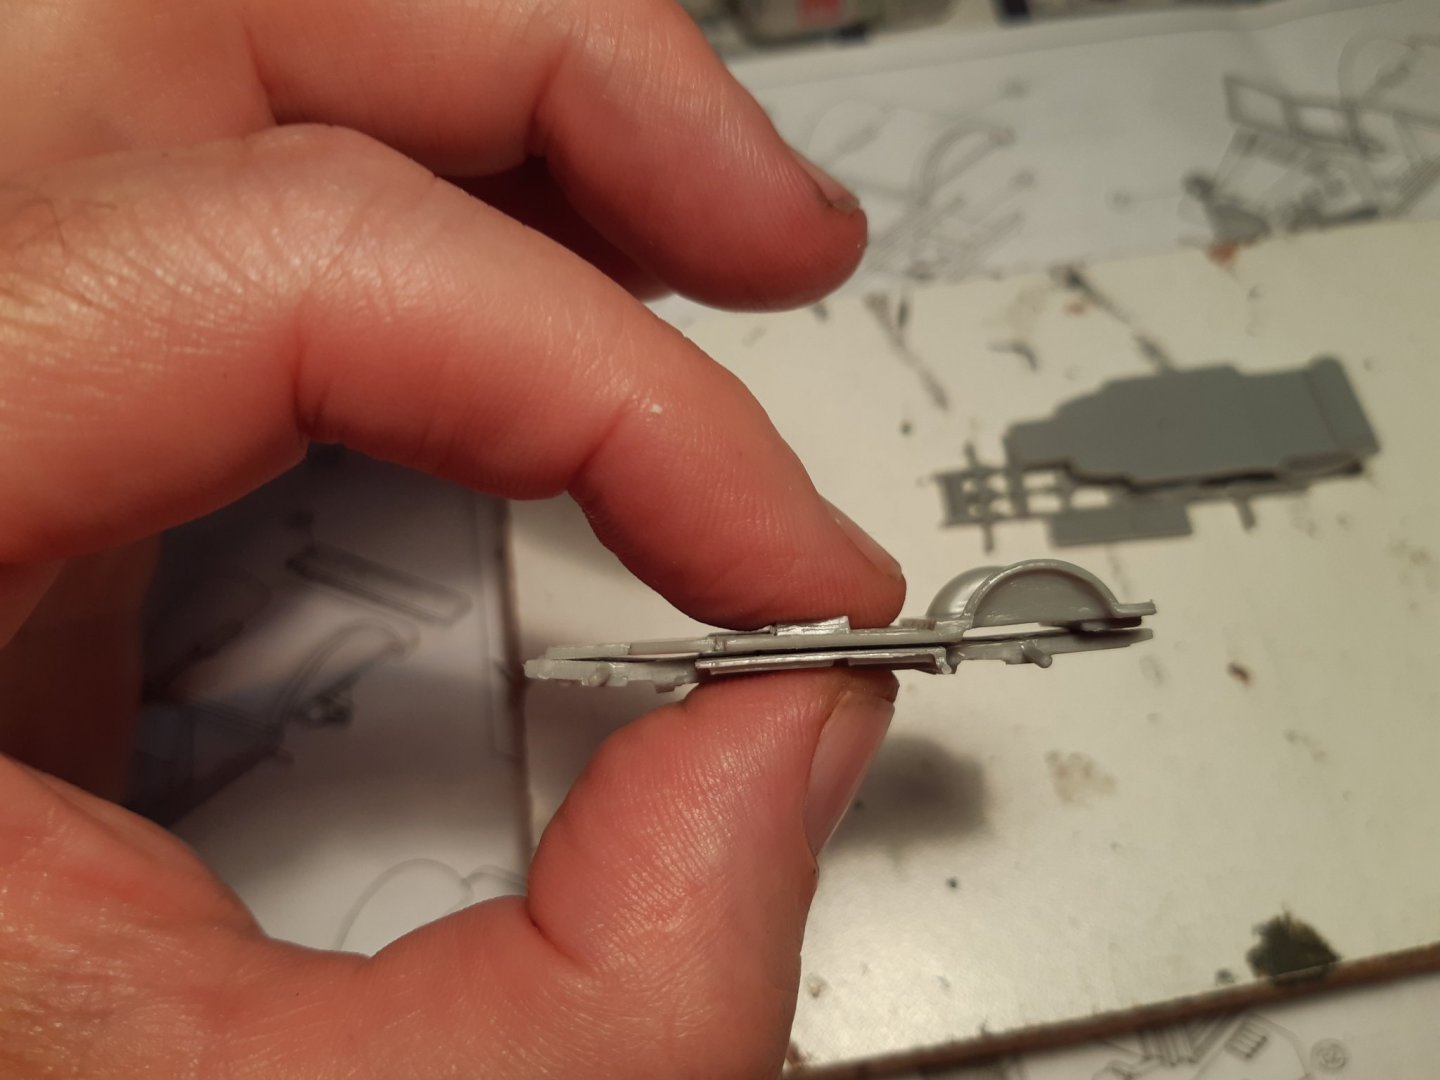
Pins removed and the parts fit now.
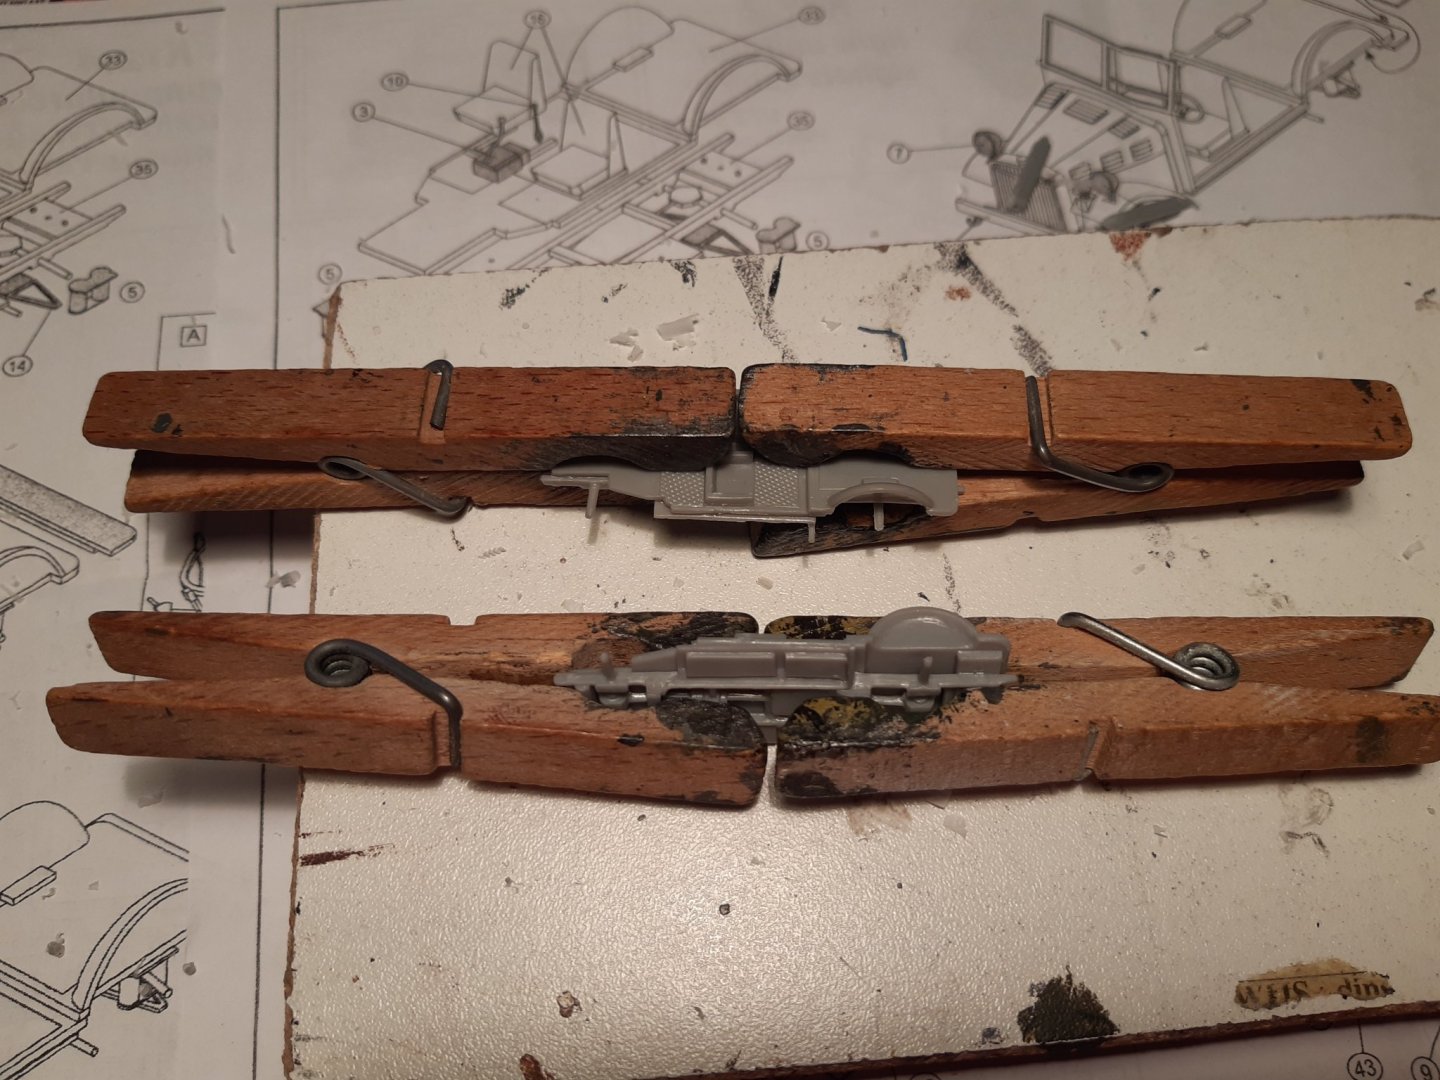
Chassis parts glued and clamped.
- Old Collingwood, mtaylor, ccoyle and 7 others
-
10
-
-
-


Early use of cannon at sea
in Nautical/Naval History
Posted
Explained very well. And in line with what I have already read on this topic.
In the 16th century the so-called bow and stern chasers (usually heavy cannons) were very important in attack and defense.
Boarding was the primary method of capturing an enemy ship in the 16th century