Baker
-
Posts
4,286 -
Joined
-
Last visited
Content Type
Profiles
Forums
Gallery
Events
Everything posted by Baker
-
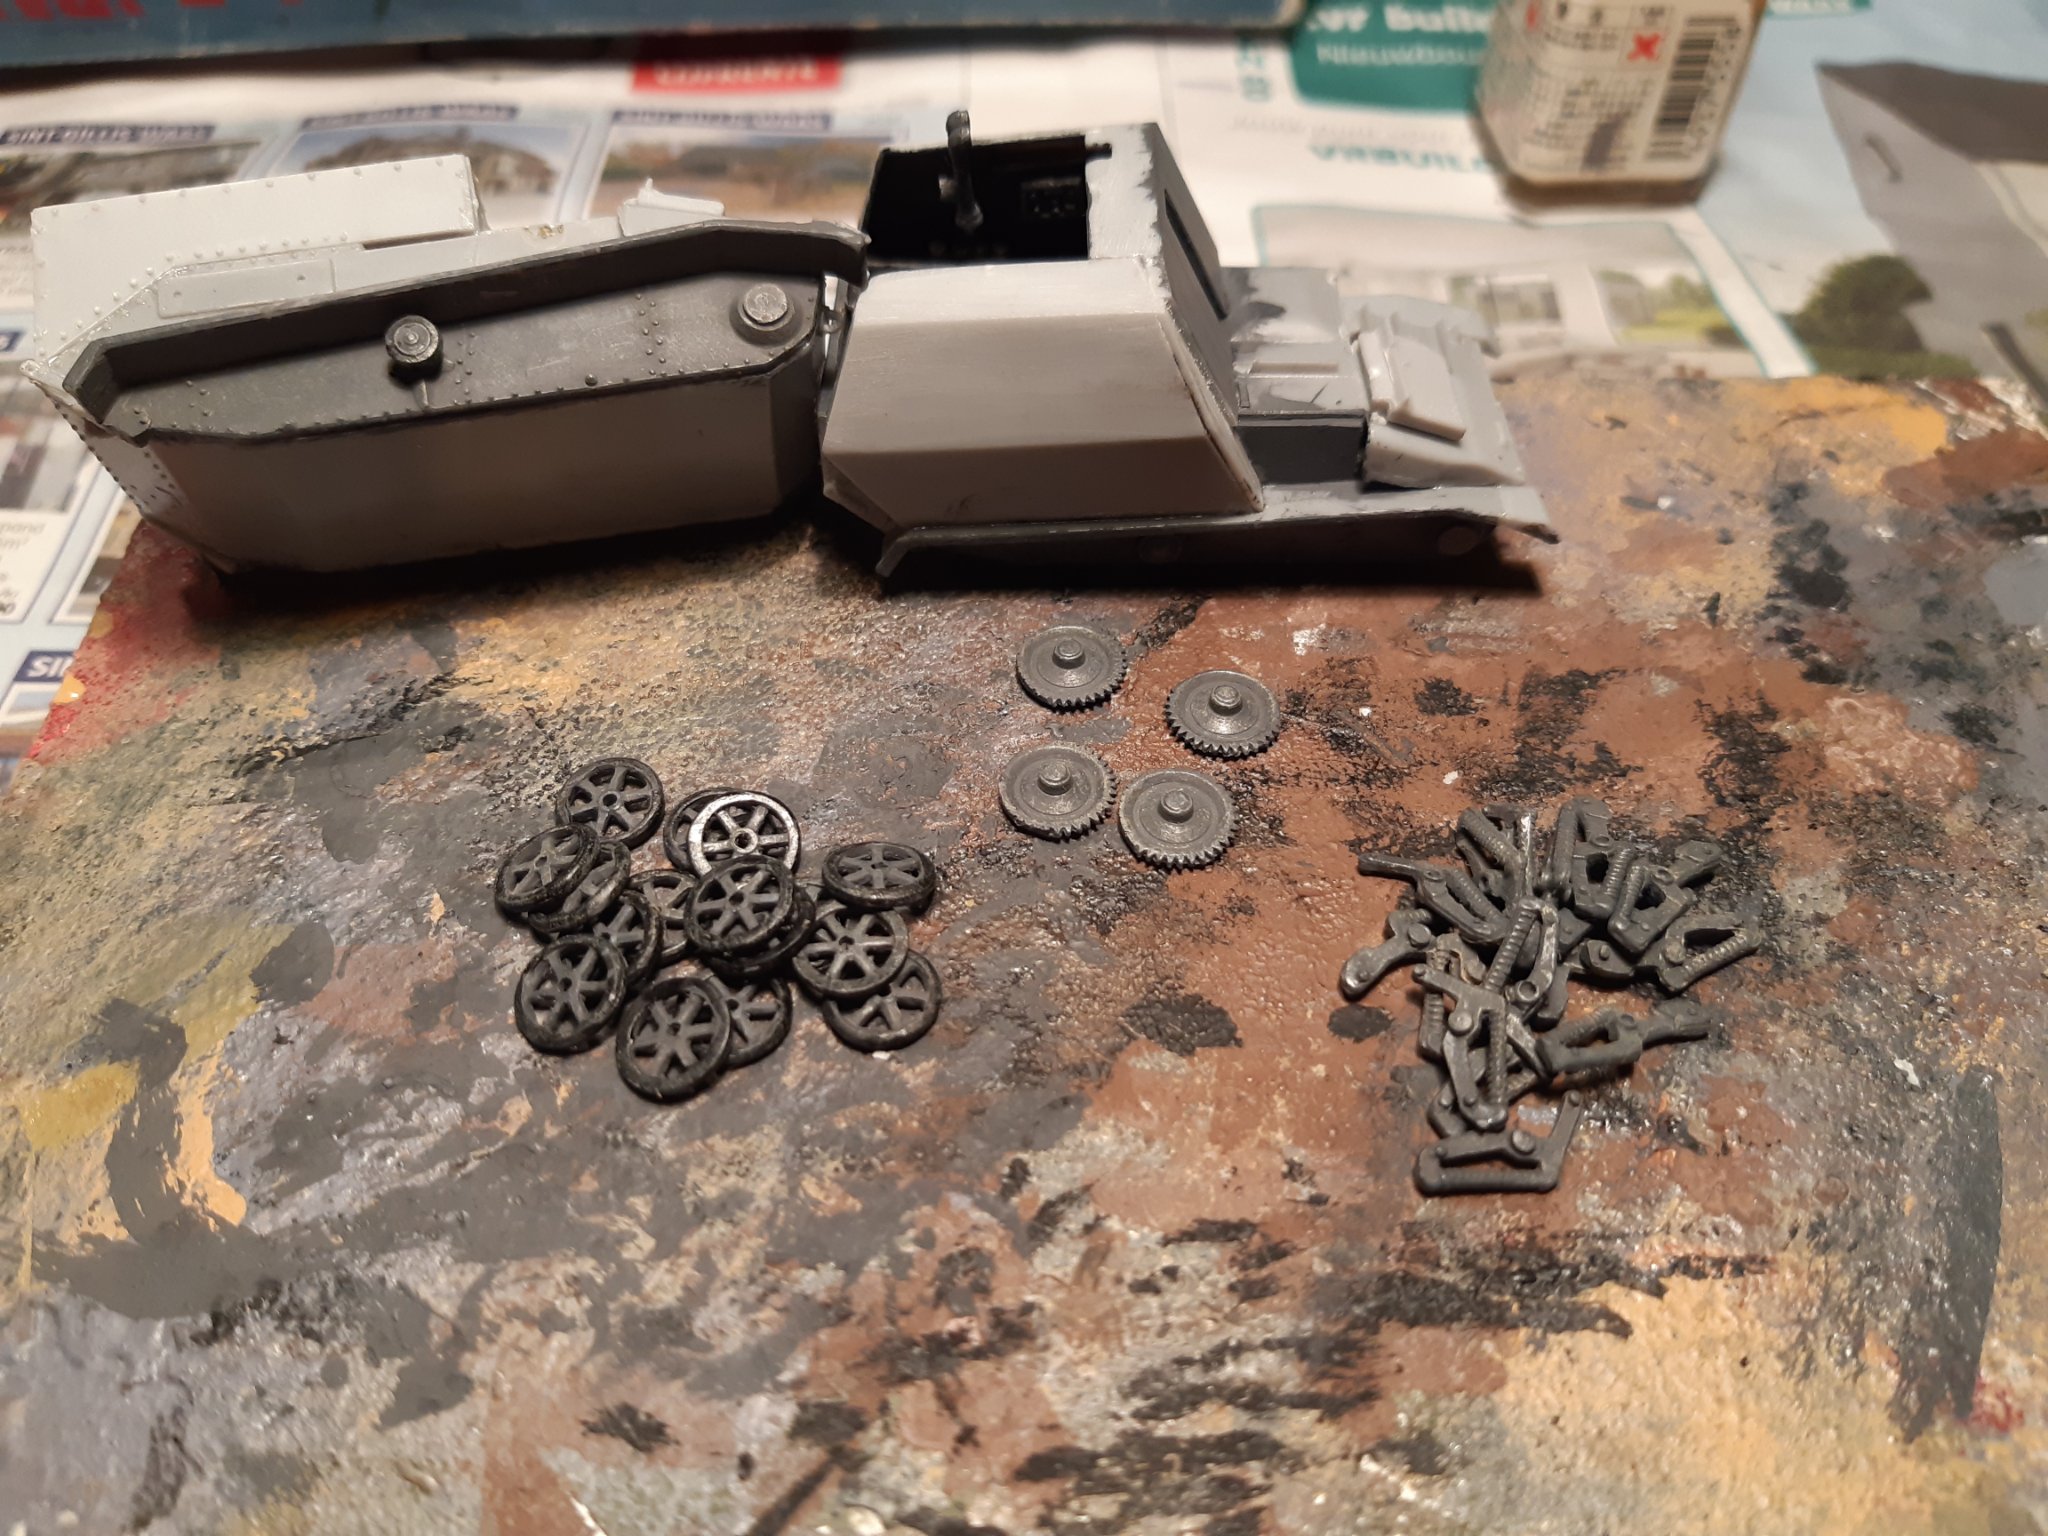
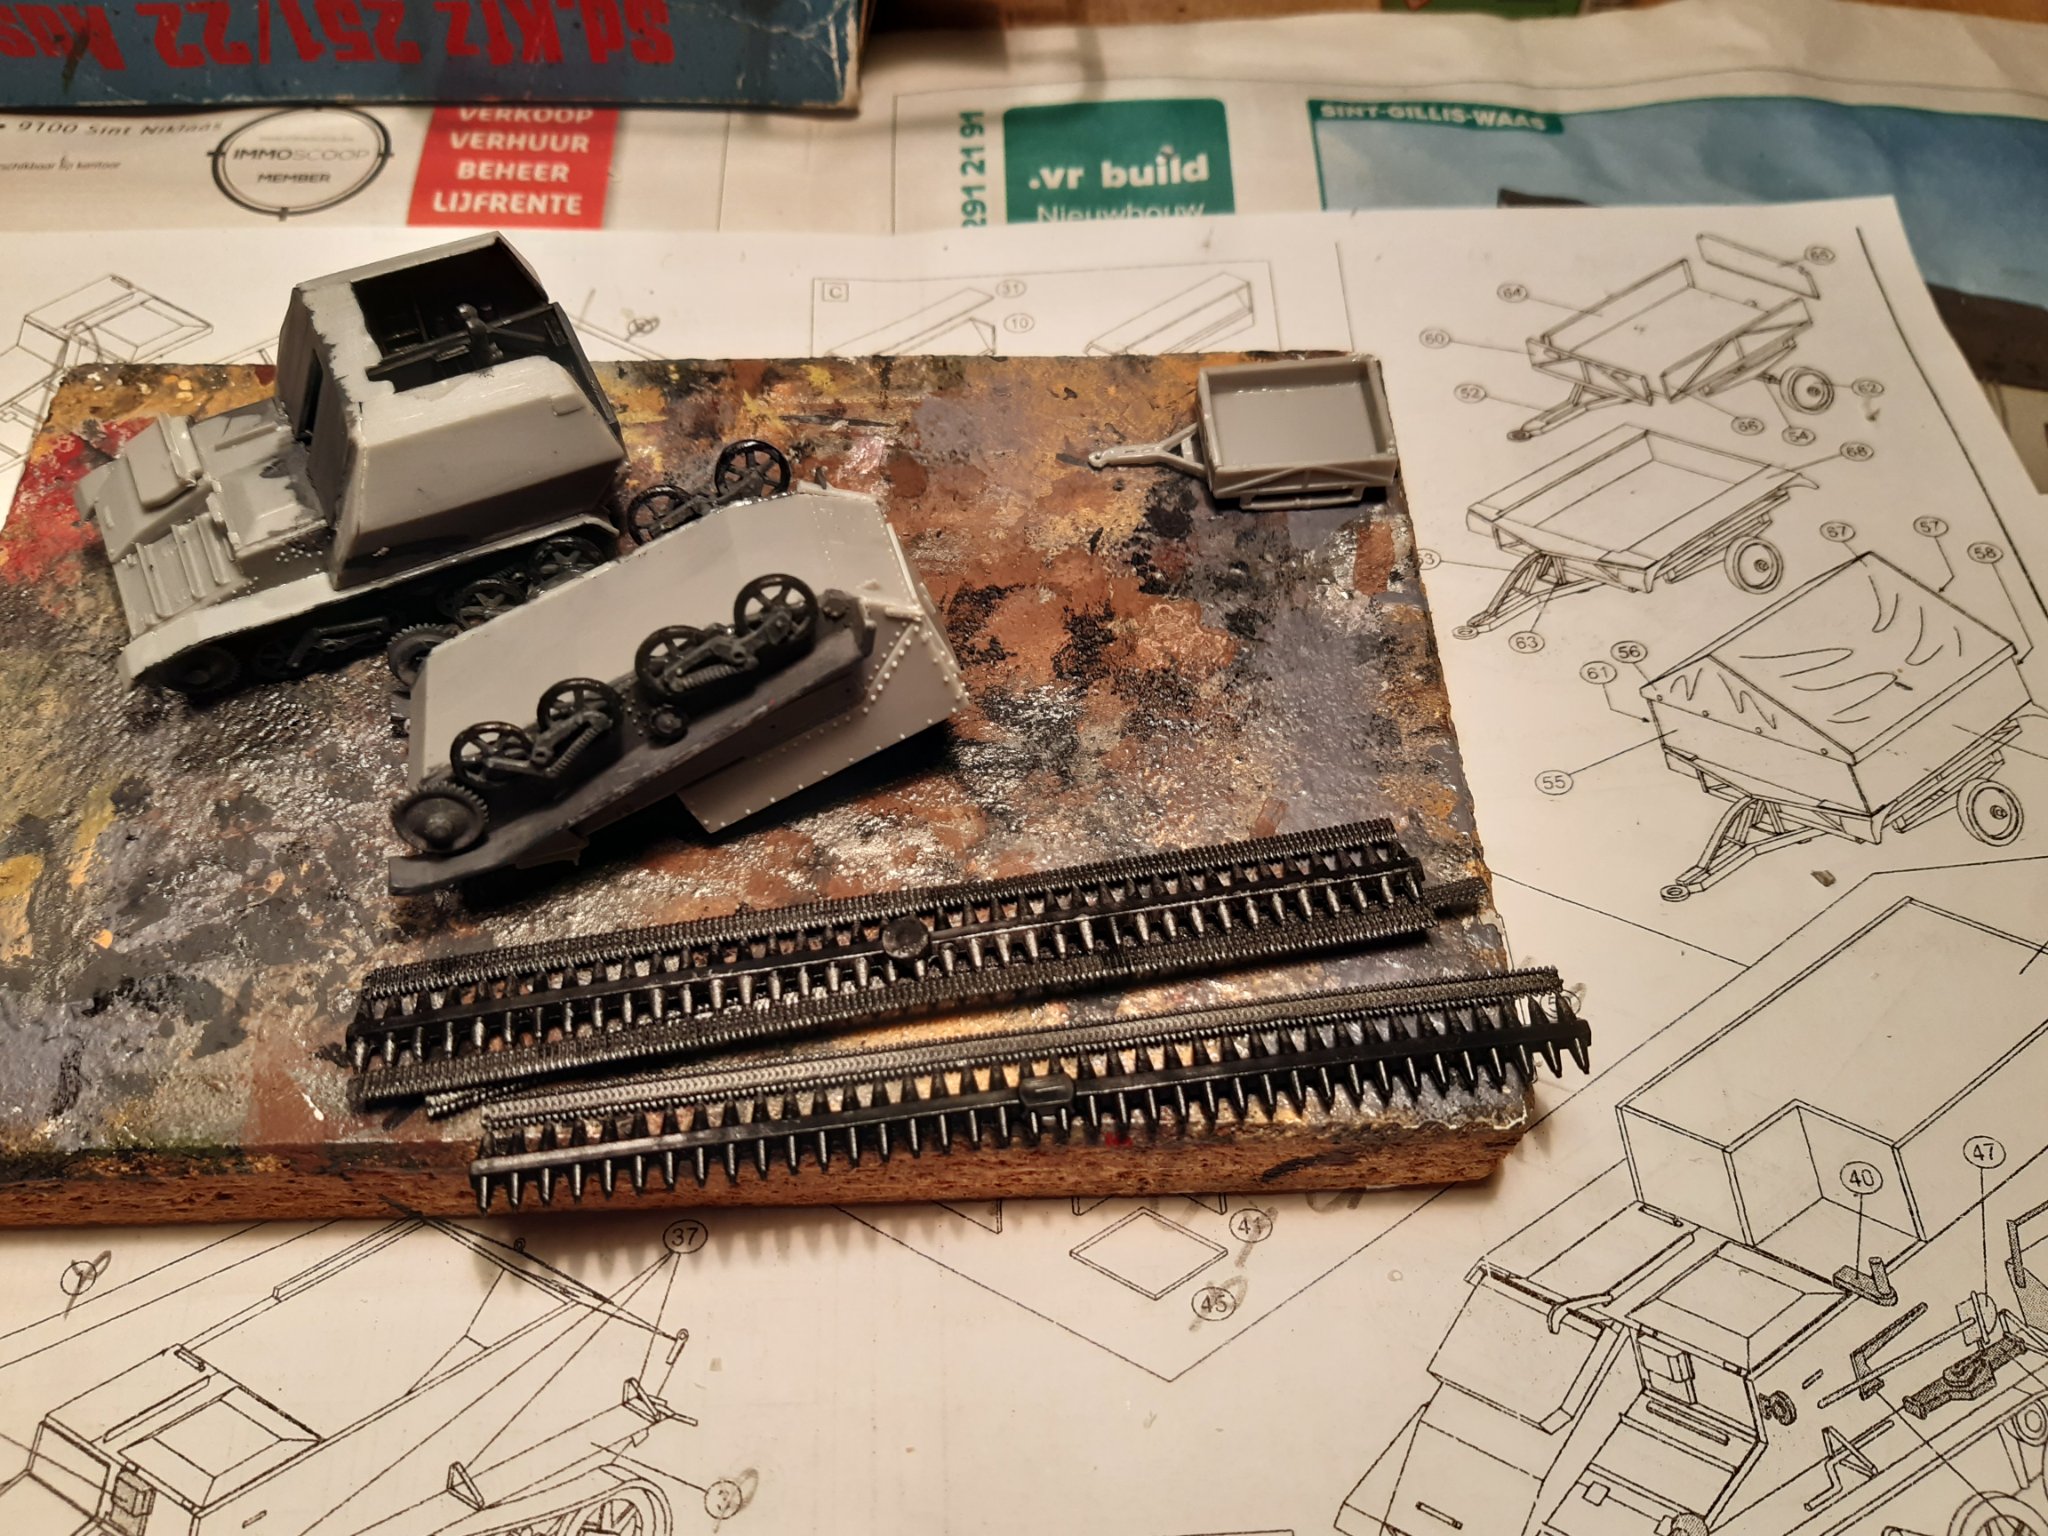
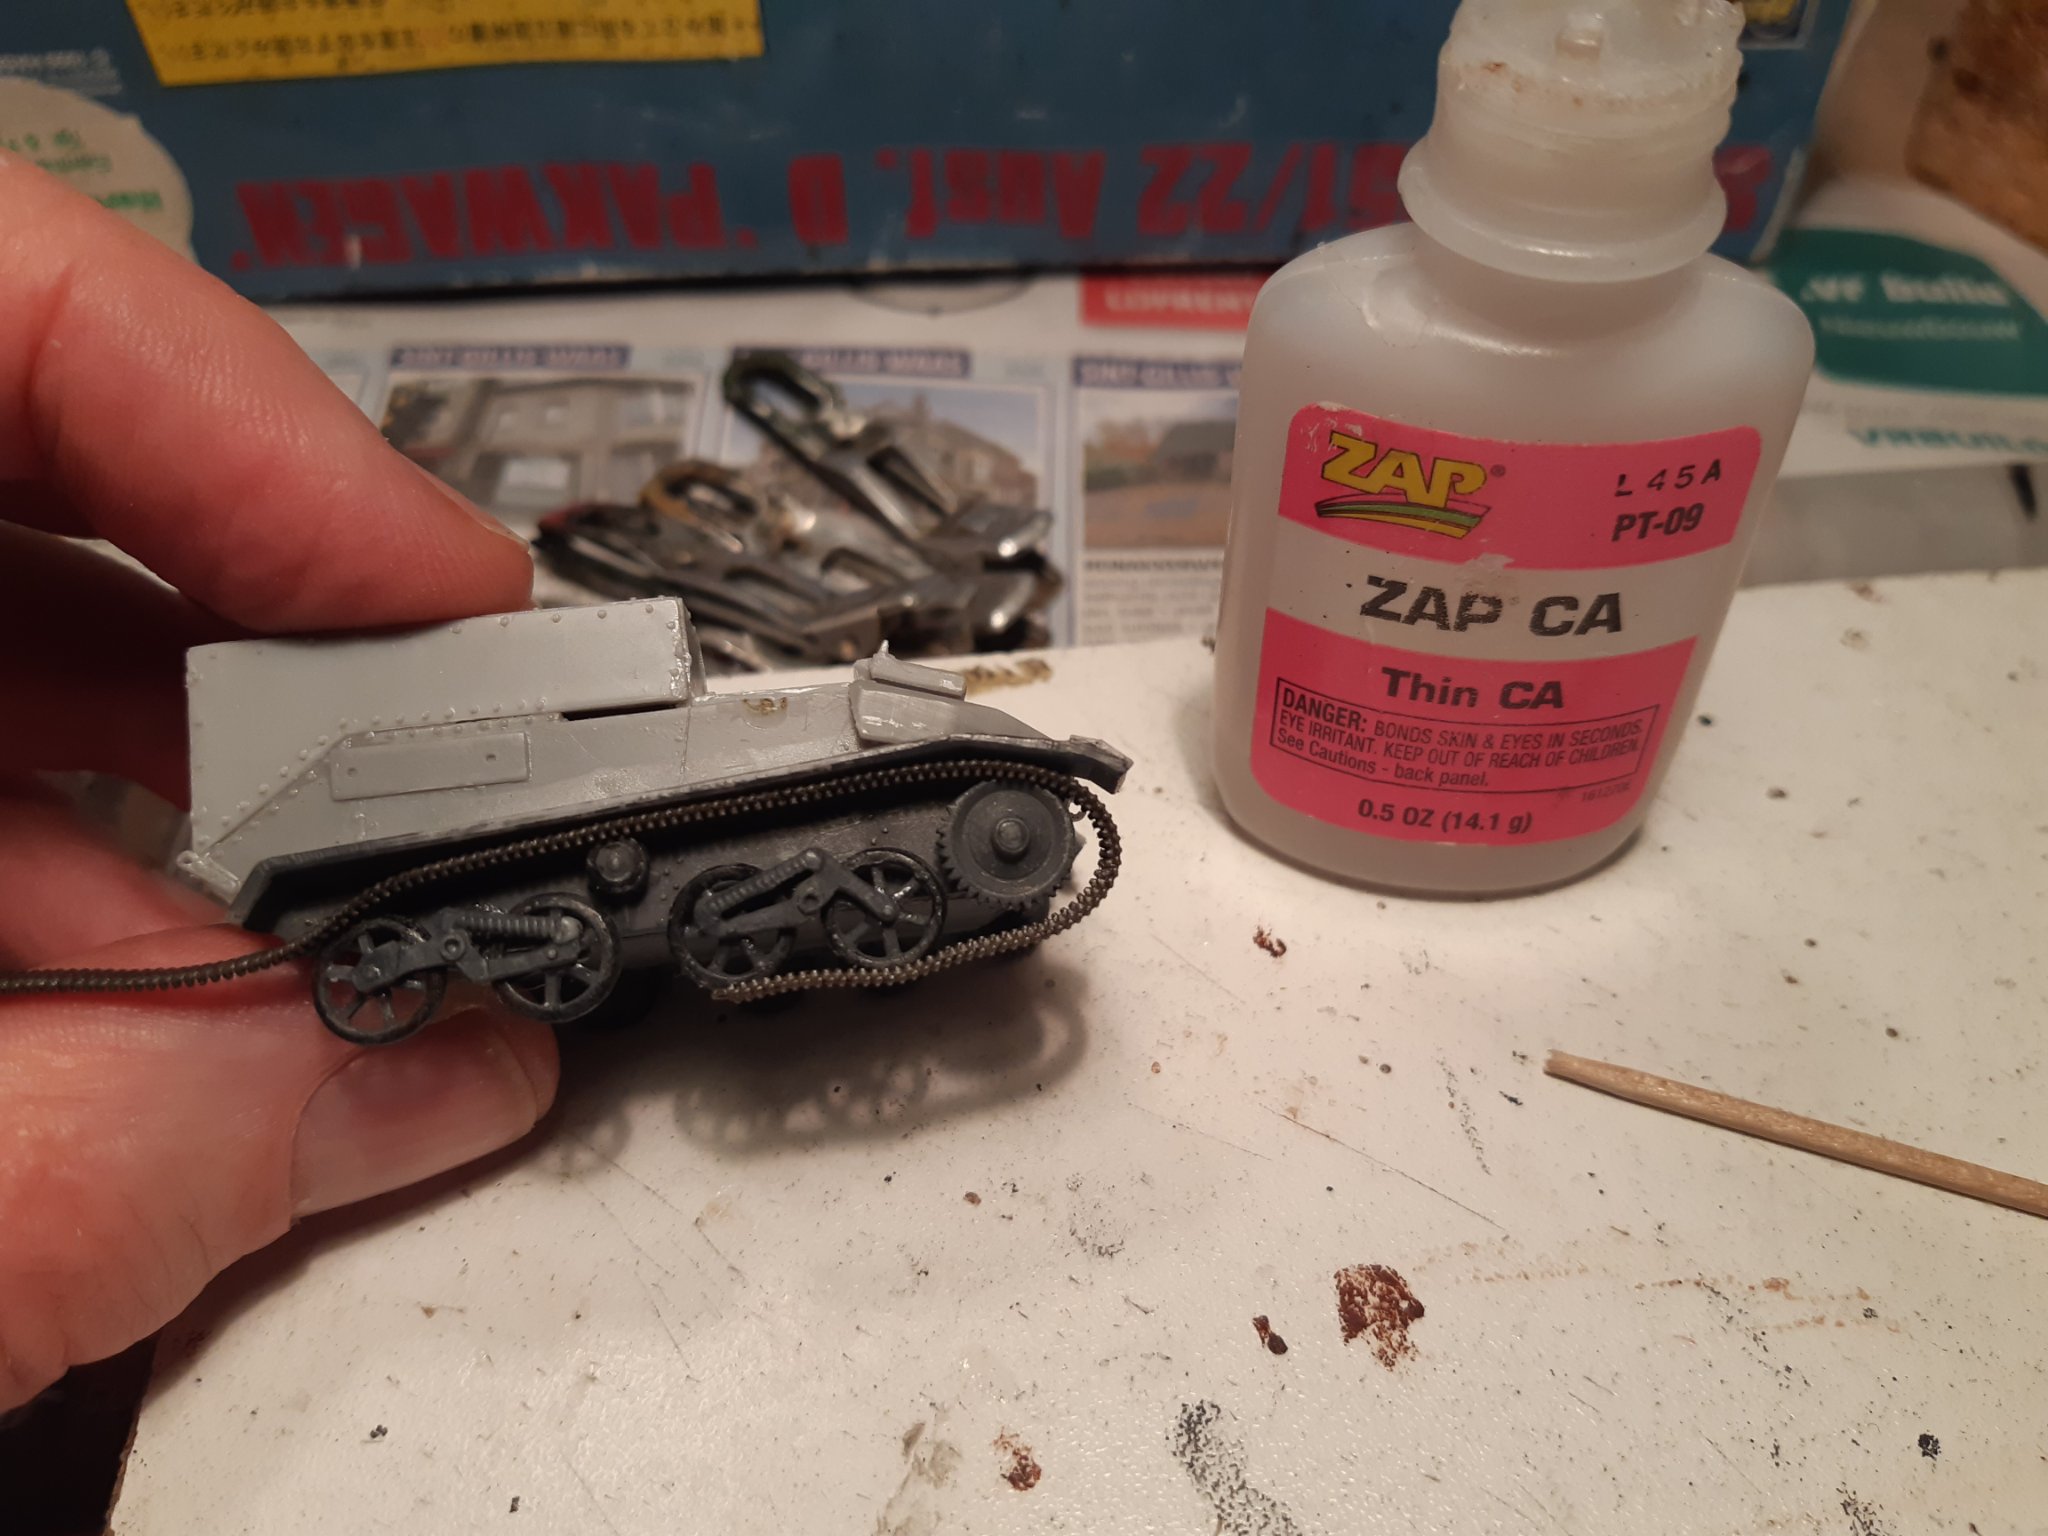
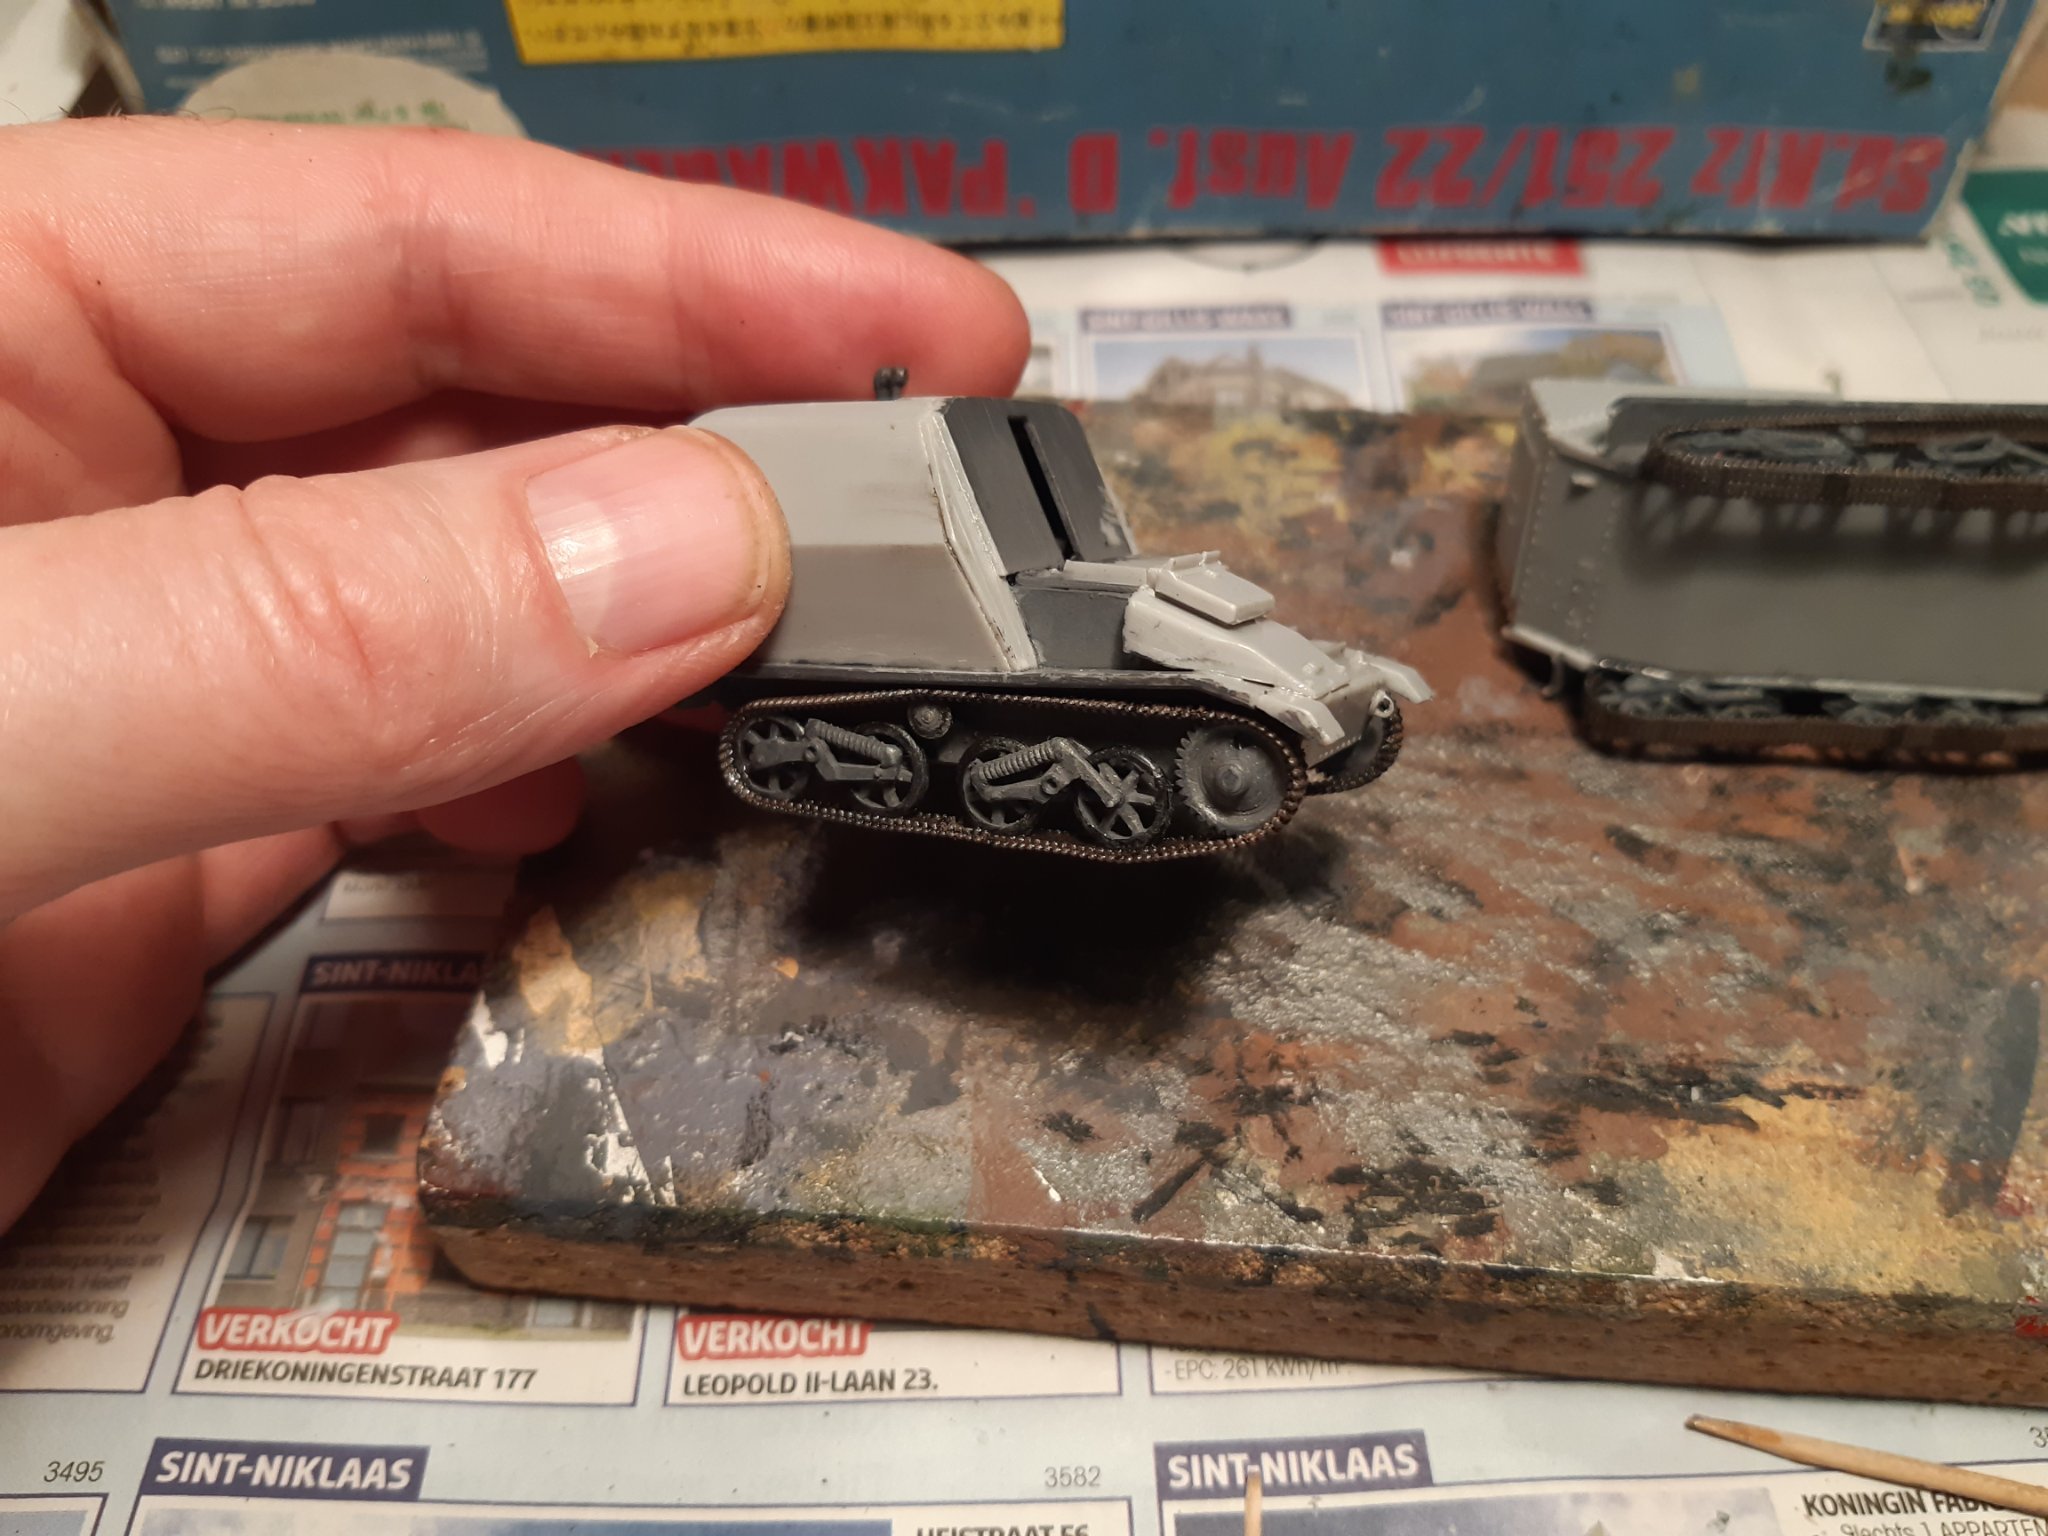
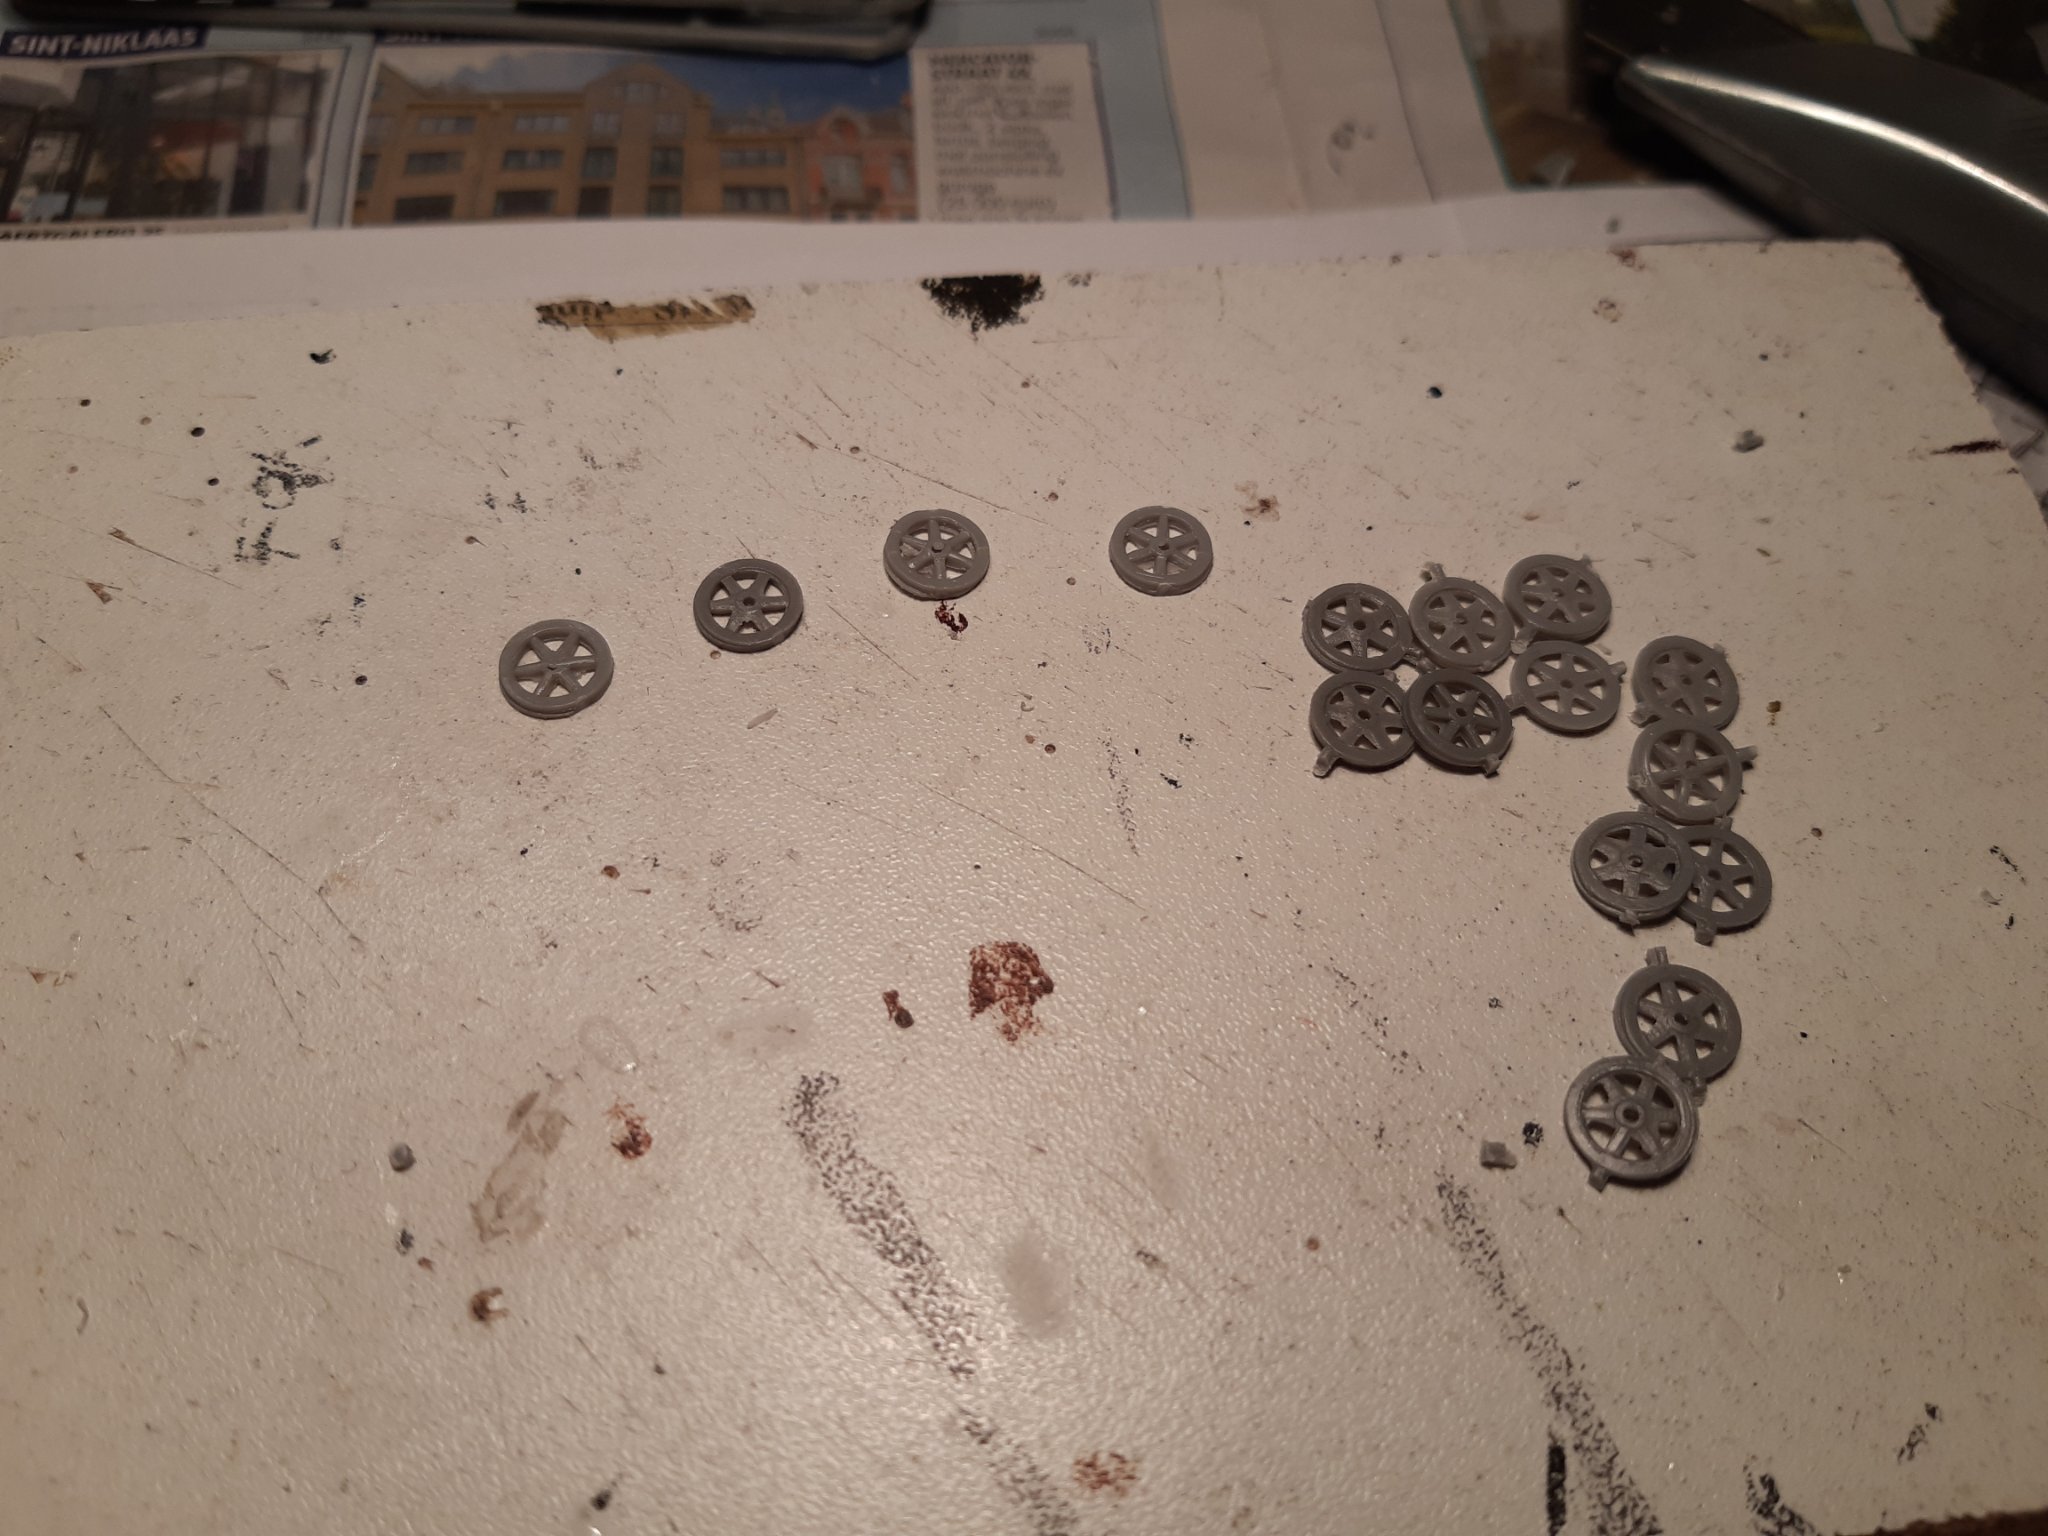
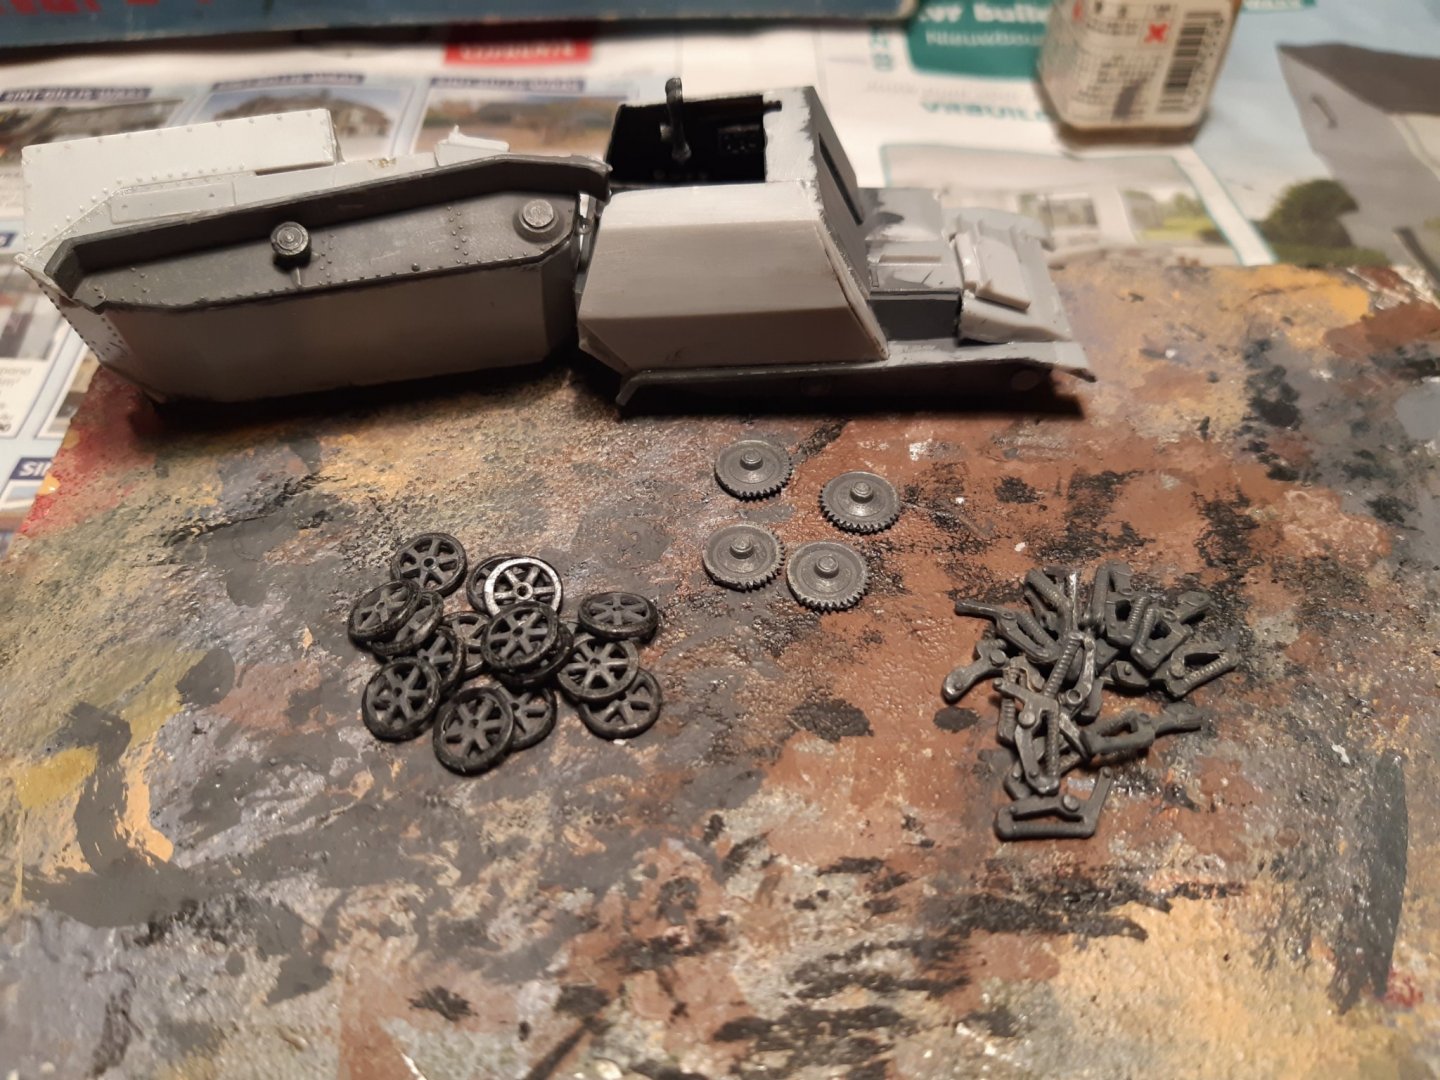
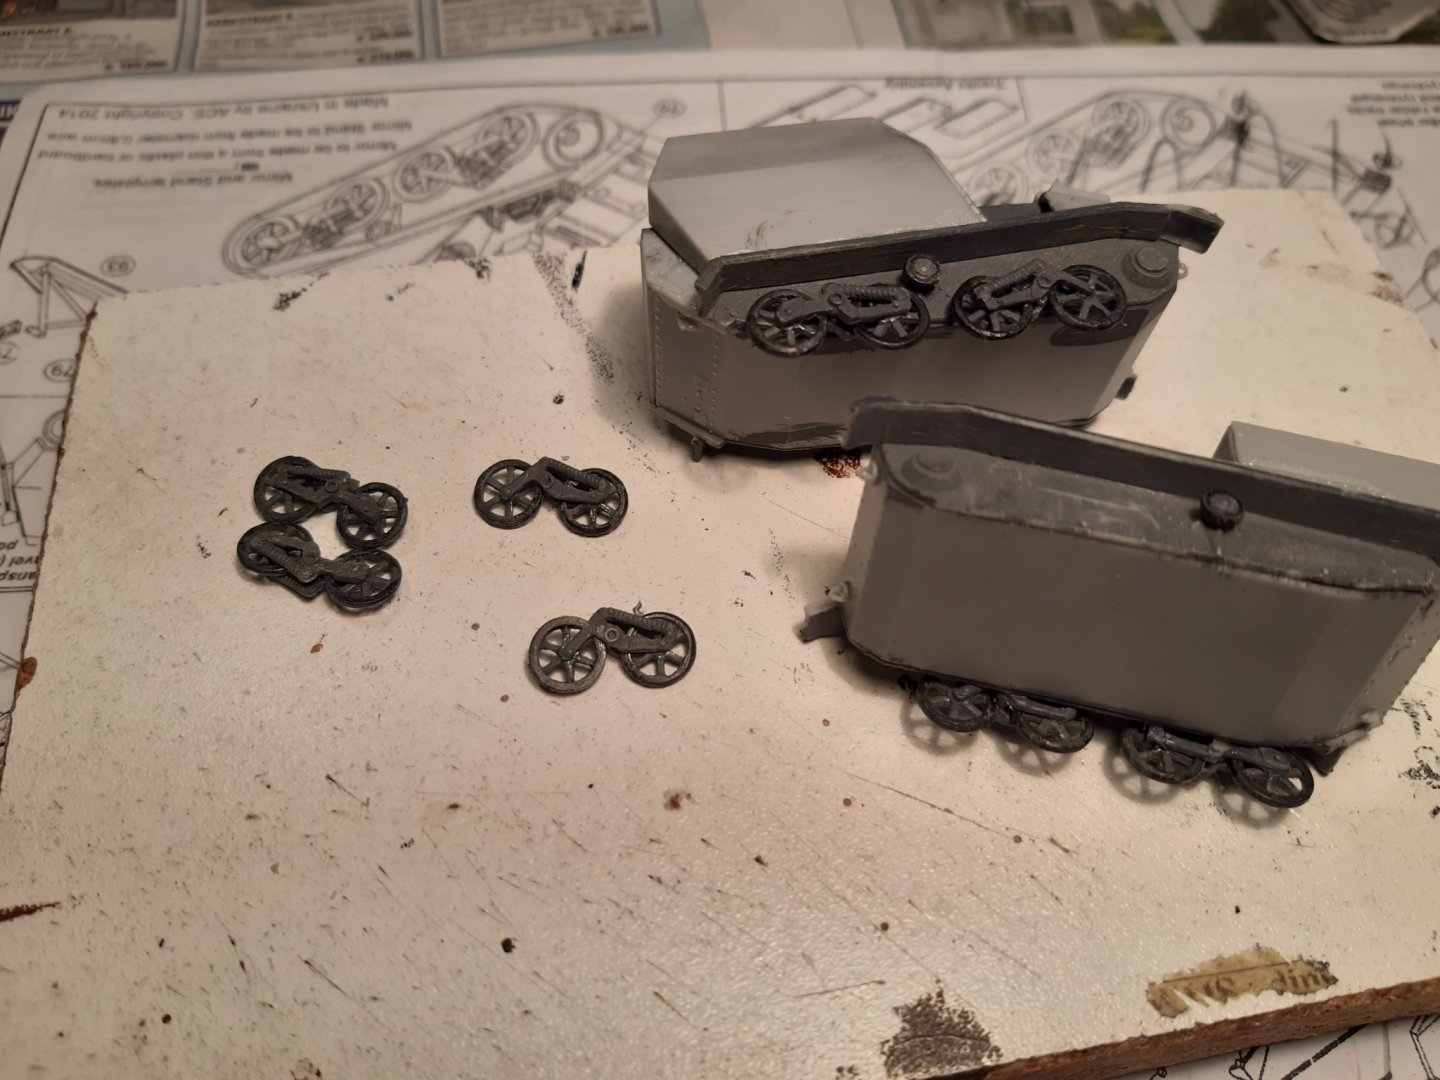
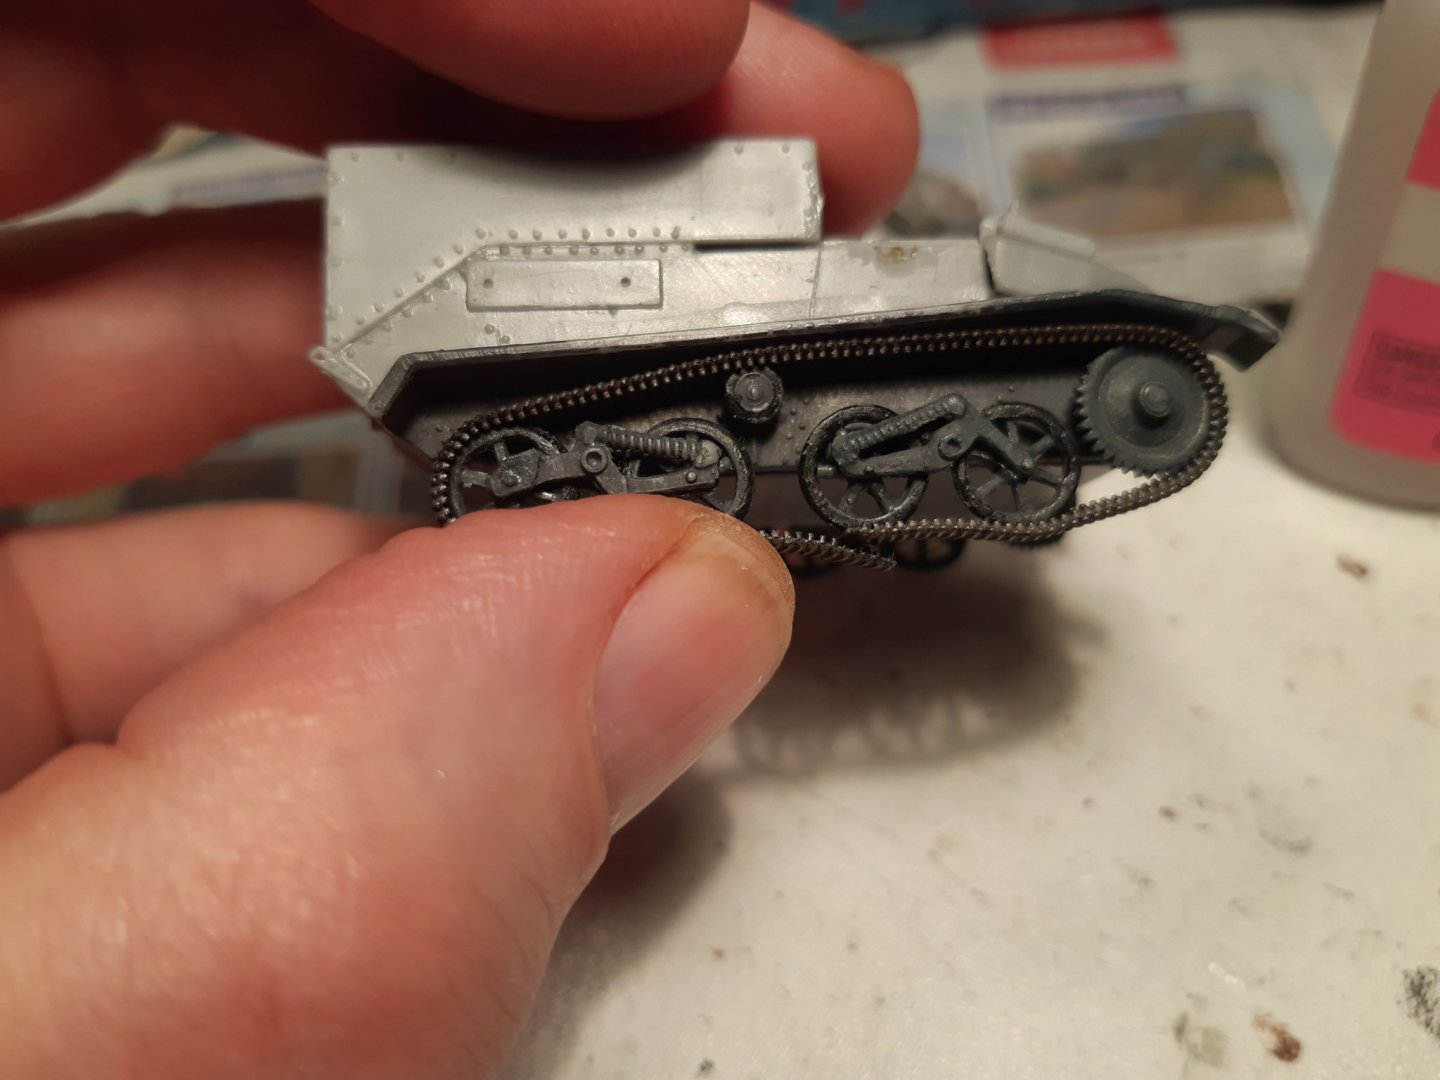
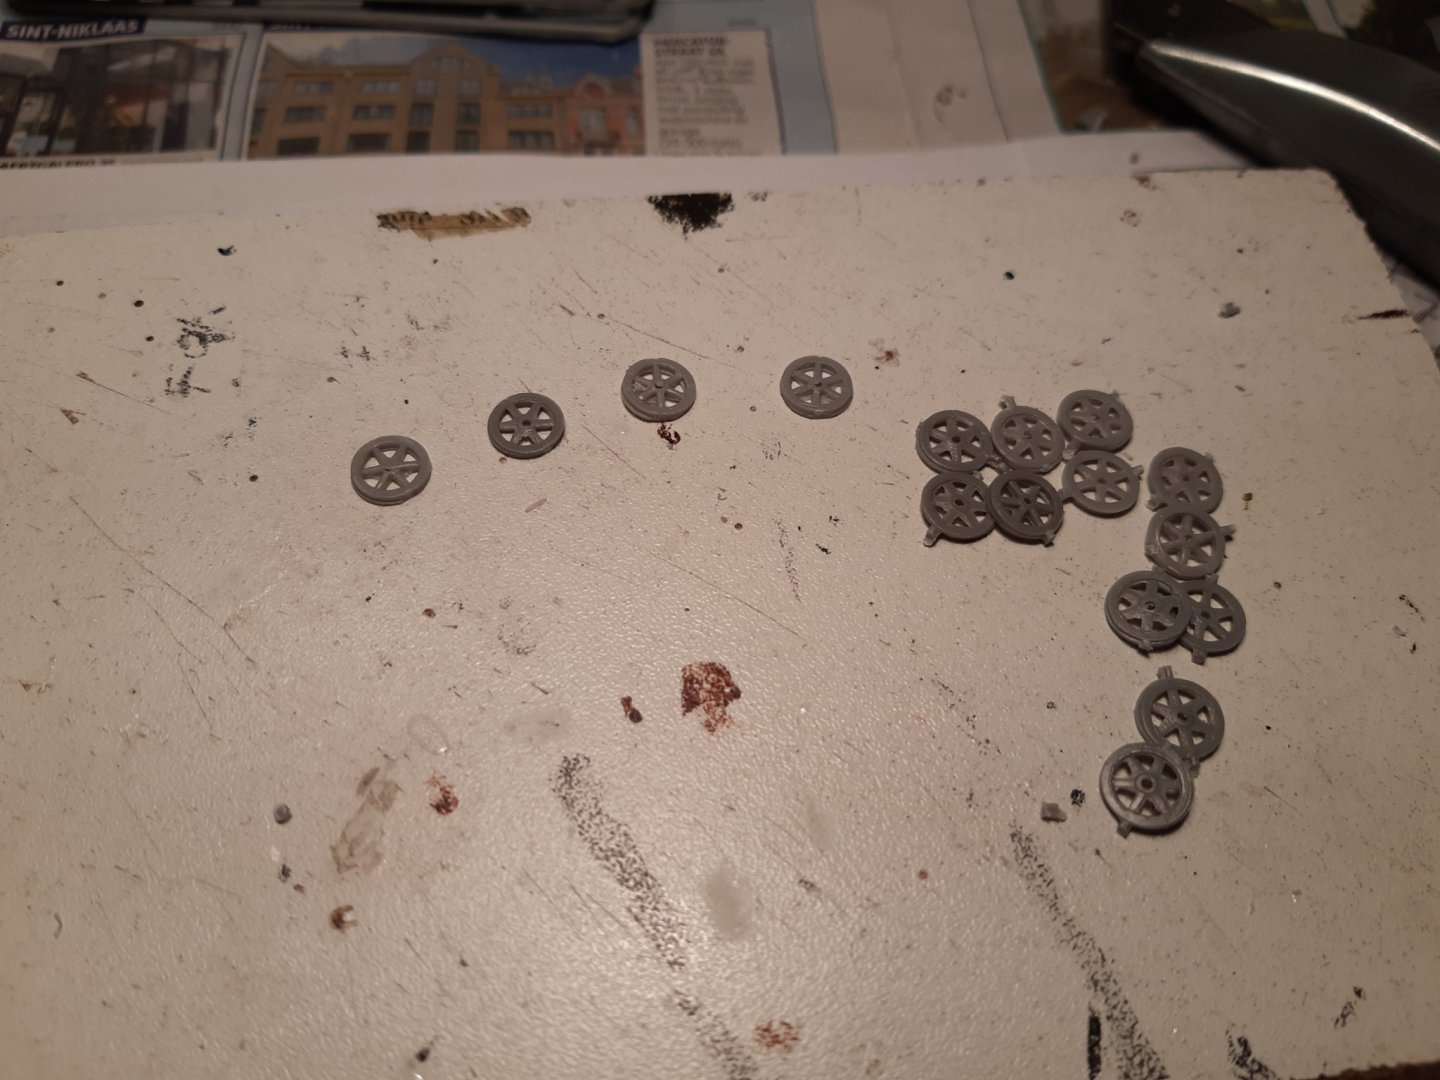
 Wheels and tracks. After a few hours, all parts are cleaned and painted in the base color. Ready for assembling (the sprocket wheels have some of the teeth removed) Work in progress, this was very complicated and required a lot of cutting and trimming. Wheels in place and tracks pre painted. In the meantime started work on the trailer.The origin of the modified trailer is French. It is normally pulled by a Renault UE and has 4 wheels and tracks. Why there is now only 1 axle with 2 wheels underneath? who knows a Renault UE and trailer (wikipedia) Track mounting. Started below, then around the sprocket wheel, then around the rear wheel. Cut to lenght en glue all wheels and tracks in place, a time consuming work . From now on nothing can go wrong, I hope Thanks for following (and patience )
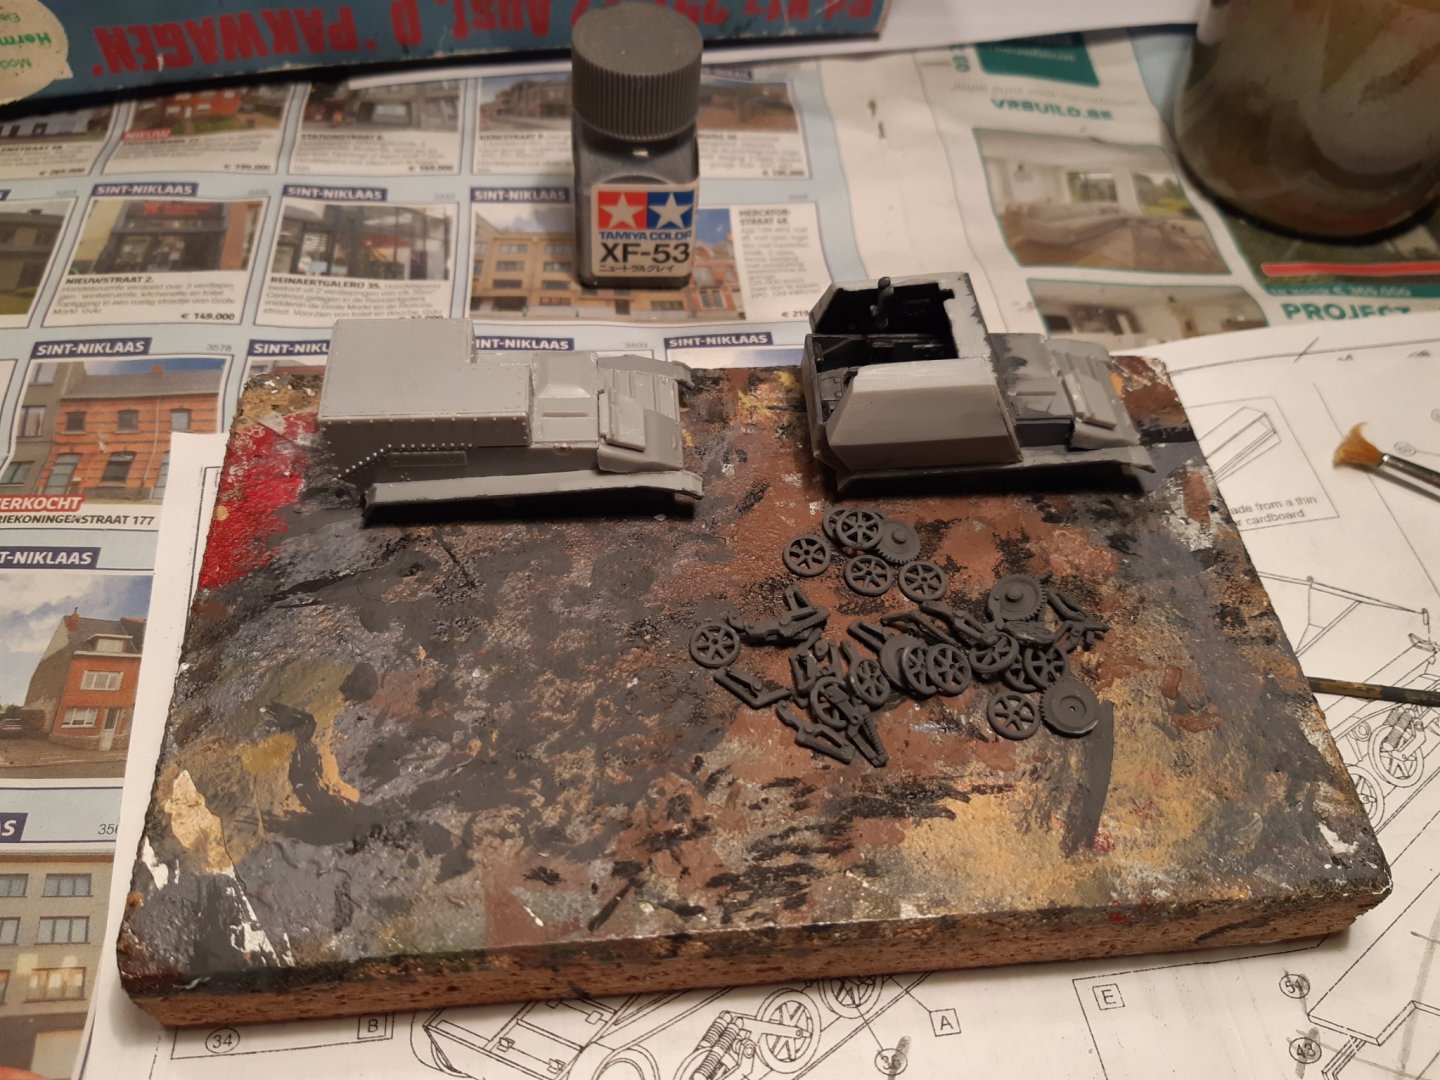


- 35 replies
-
- 10
-

-
Looks a nice model. Have already made some military models of Trumpeter in 1/72. The fitting of the parts was good, no problems.
-
Newer to Model Building, requesting assistance.
Baker replied to histprof1066's topic in Wood ship model kits
Did some searching https://www.ebay.co.uk/itm/VINTAGE-BILLING-BOATS-CATALOGUE-UNDATED-30-pages-WASA-SANTA-MARIA-/274089435759 The box with the accessories (fittings) is N ° 442 Look at the photo of the comlpeted model, It only looks like a Vasa.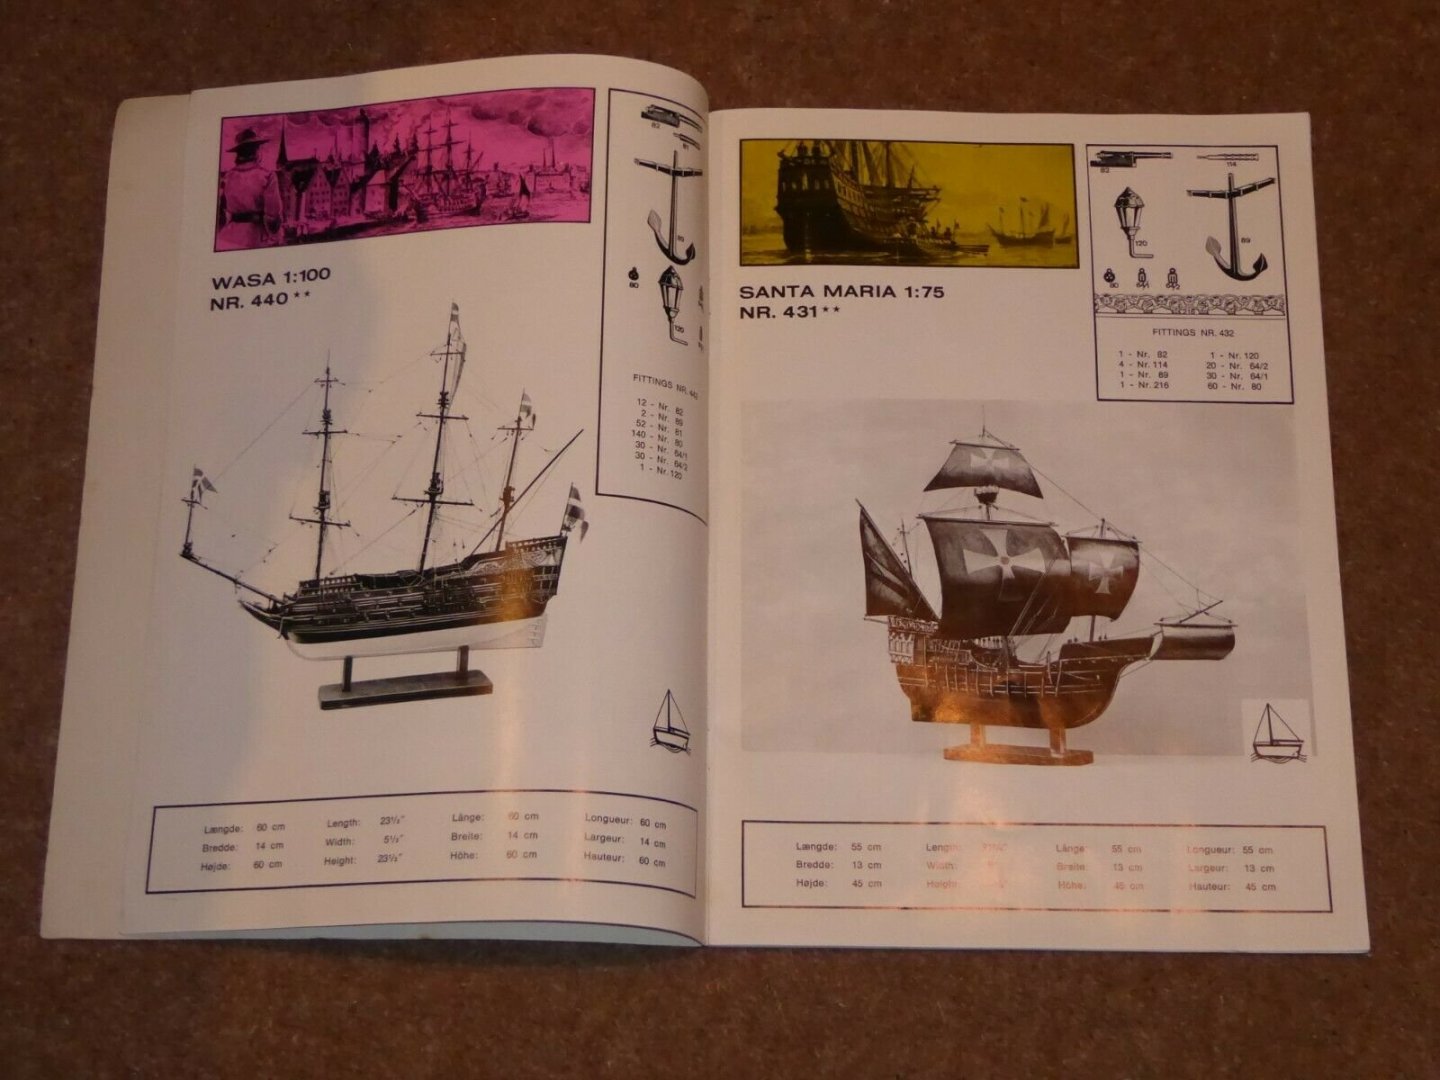
-
Newer to Model Building, requesting assistance.
Baker replied to histprof1066's topic in Wood ship model kits
Billing kits used to come in 2 parts. 1 with the wooden parts and 1 with the accessories. This is an old kit model N ° 440, the later Vasa kit has N ° 490. I have no idea whether a second part of this old N°440 model is available ( reed the comment in this link) https://www.worthpoint.com/worthopedia/wasa-wooden-model-boat-building-kit-251836846 It's going to be a challenge But I think you're going to put in a lot of effort and spend more money than just buying and building the 490 Kit. But that's just my idea -
Greetings from Chestnut, Illinois
Baker replied to Commander Bond, RNSVR's topic in New member Introductions
-
-
Nice model,
-
Golden Hind(e) by rkwz - AIRFIX - 1:72
Baker replied to rkwz's topic in - Kit build logs for subjects built from 1501 - 1750
I can only repeat what everyone else wrote. Nice paintwork, looks great. -
-
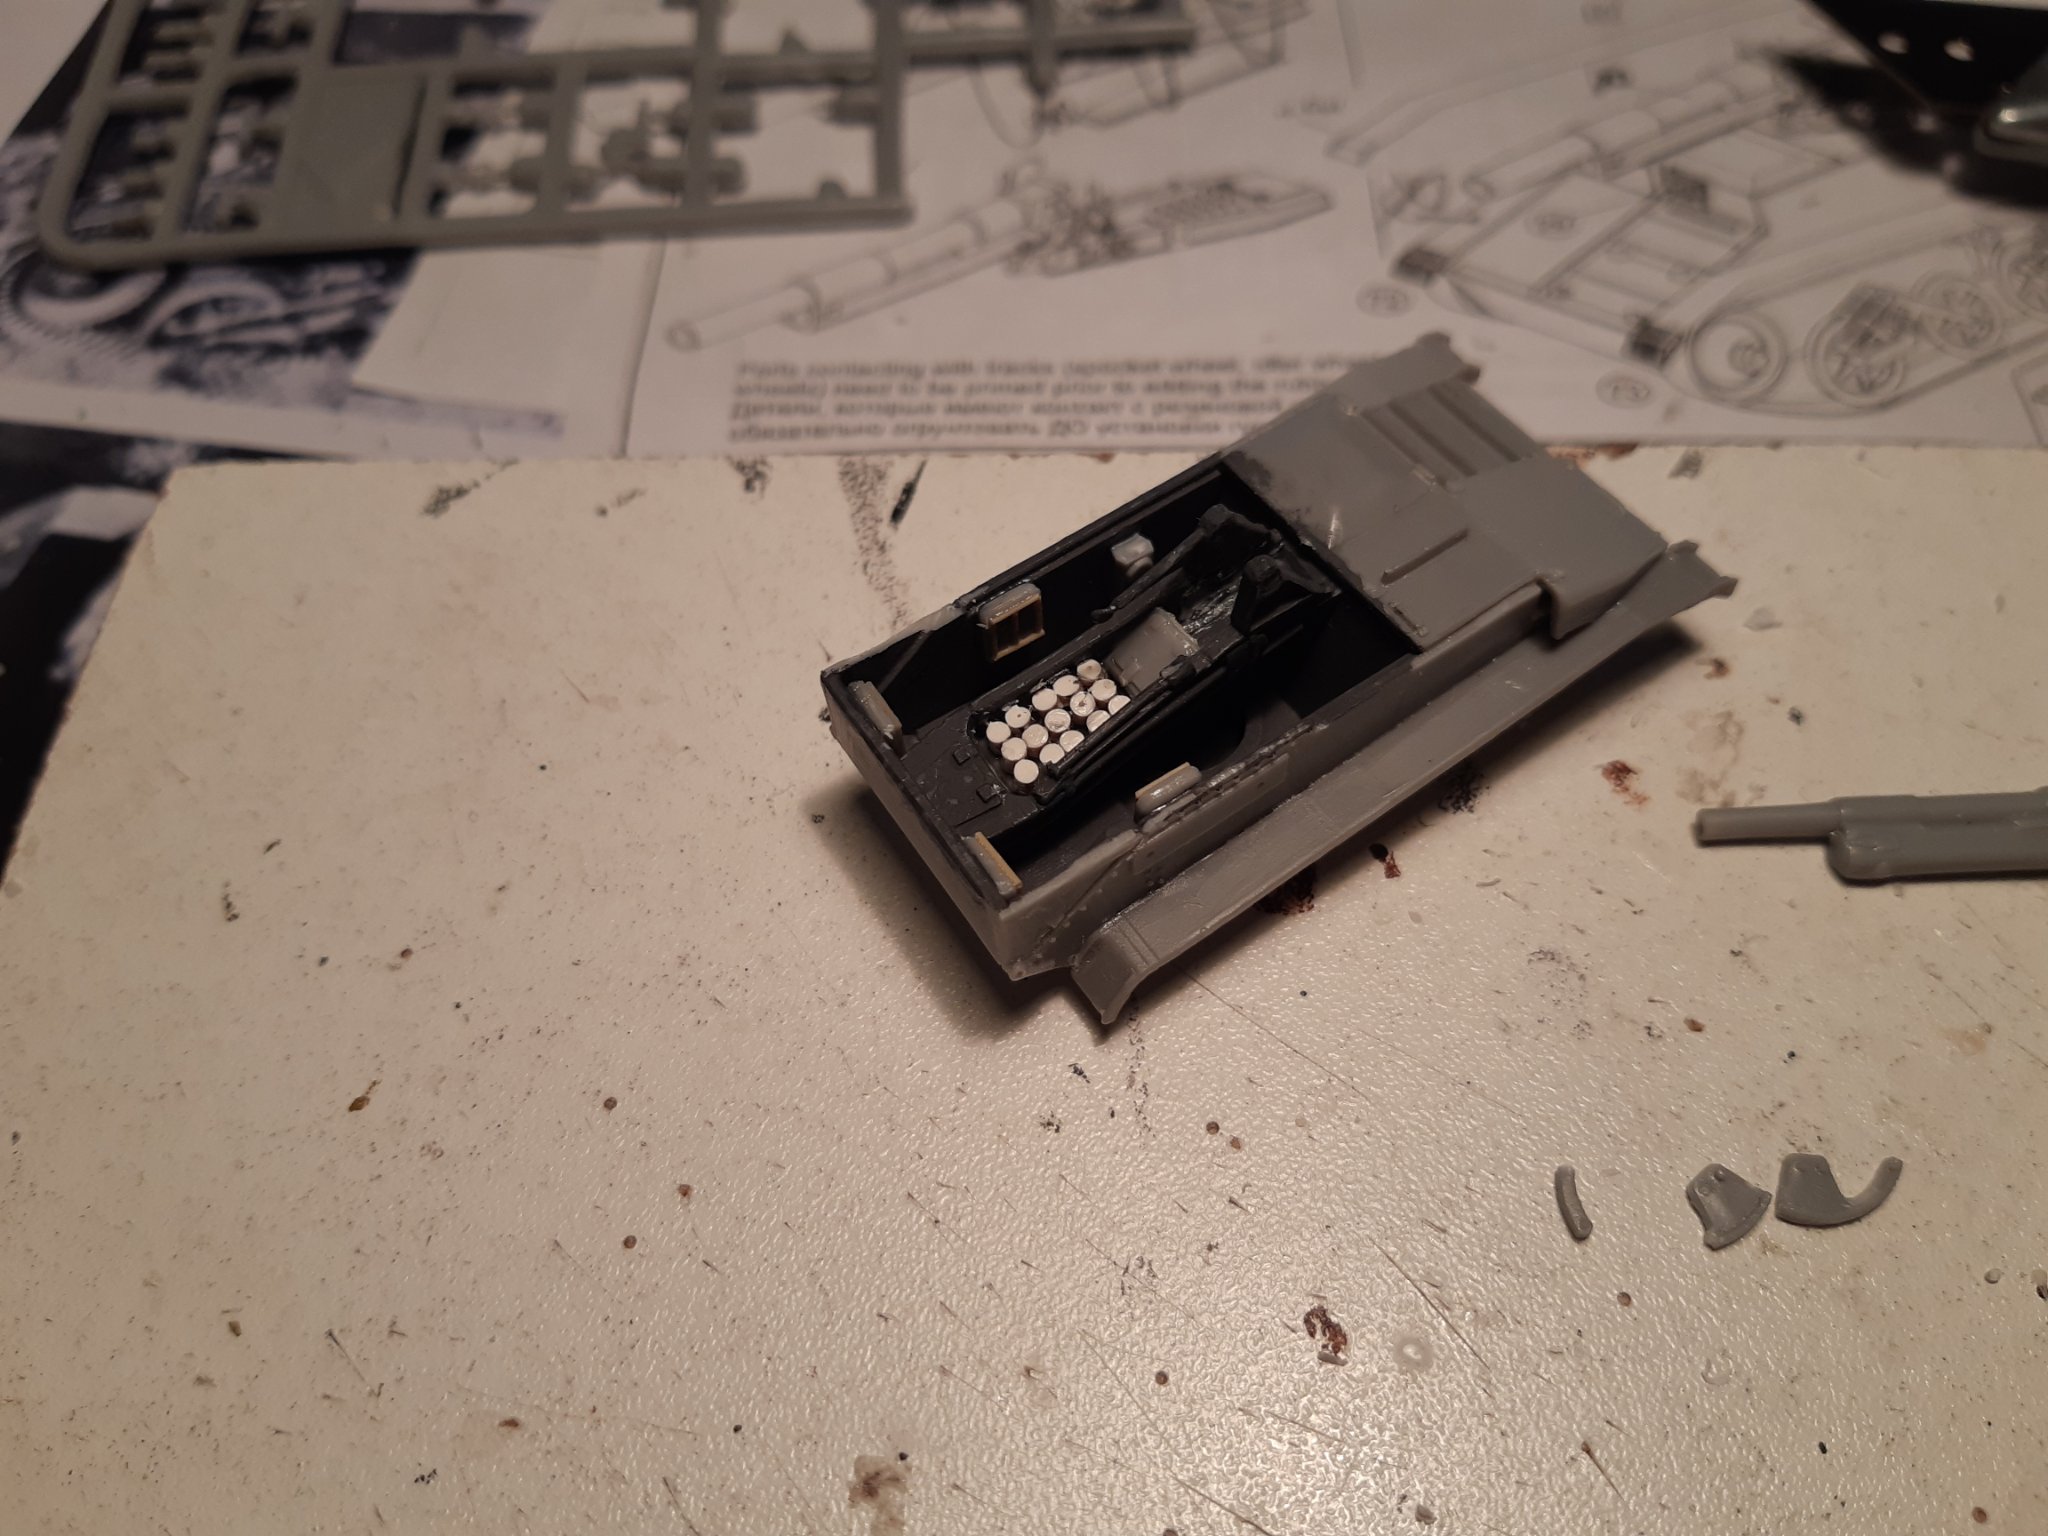
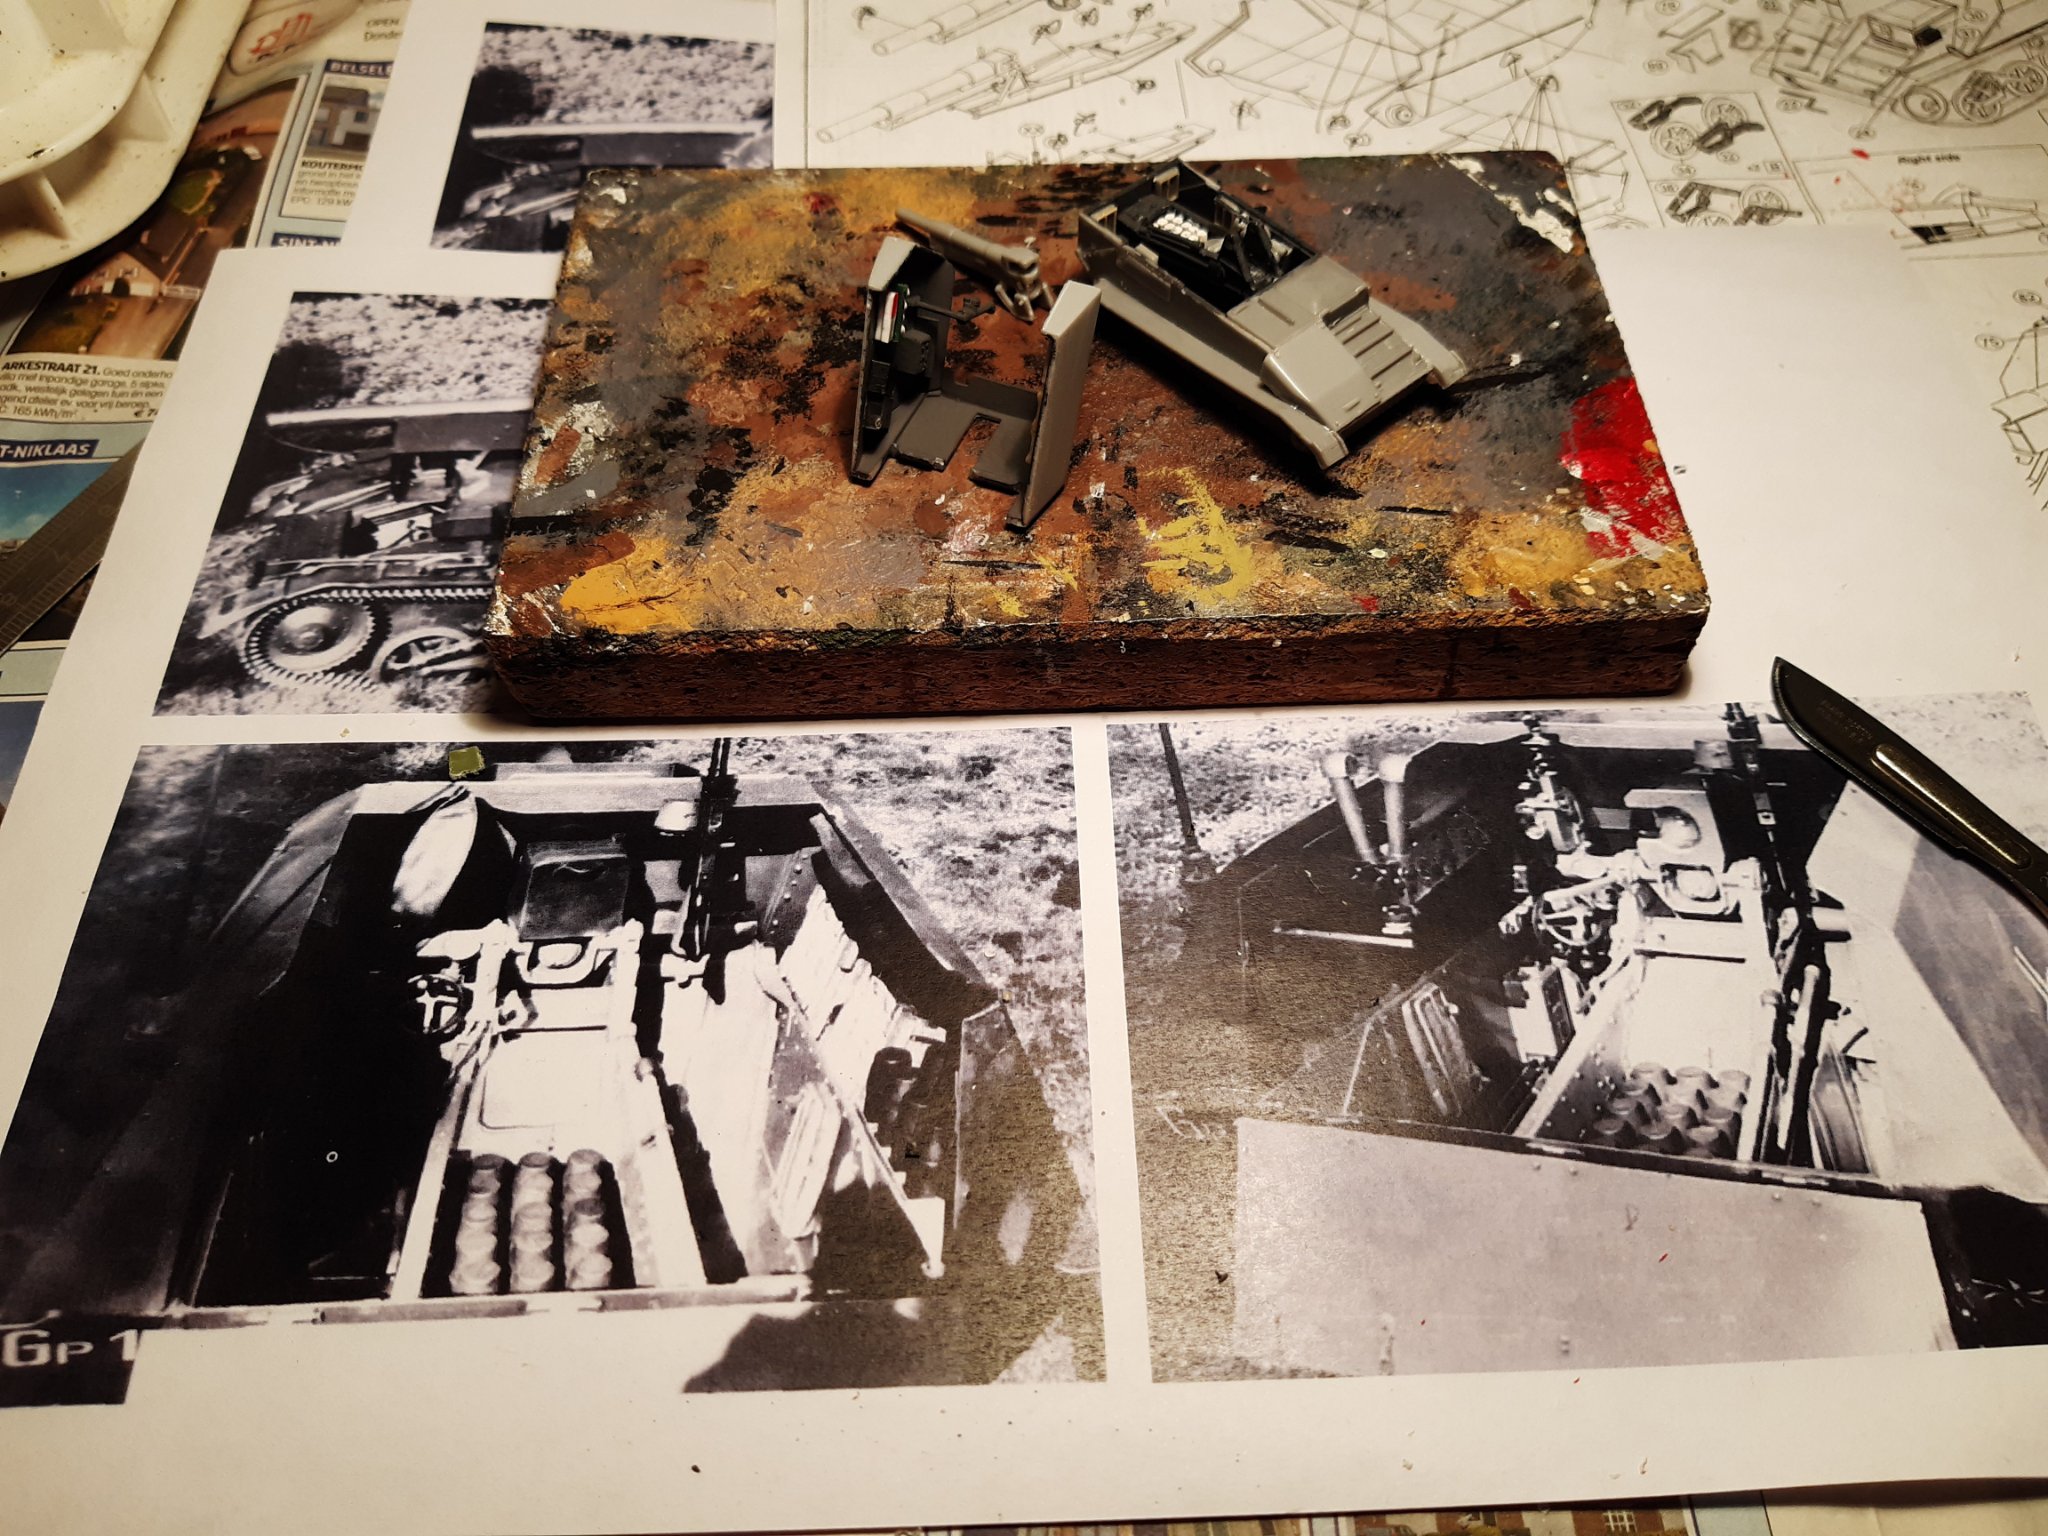
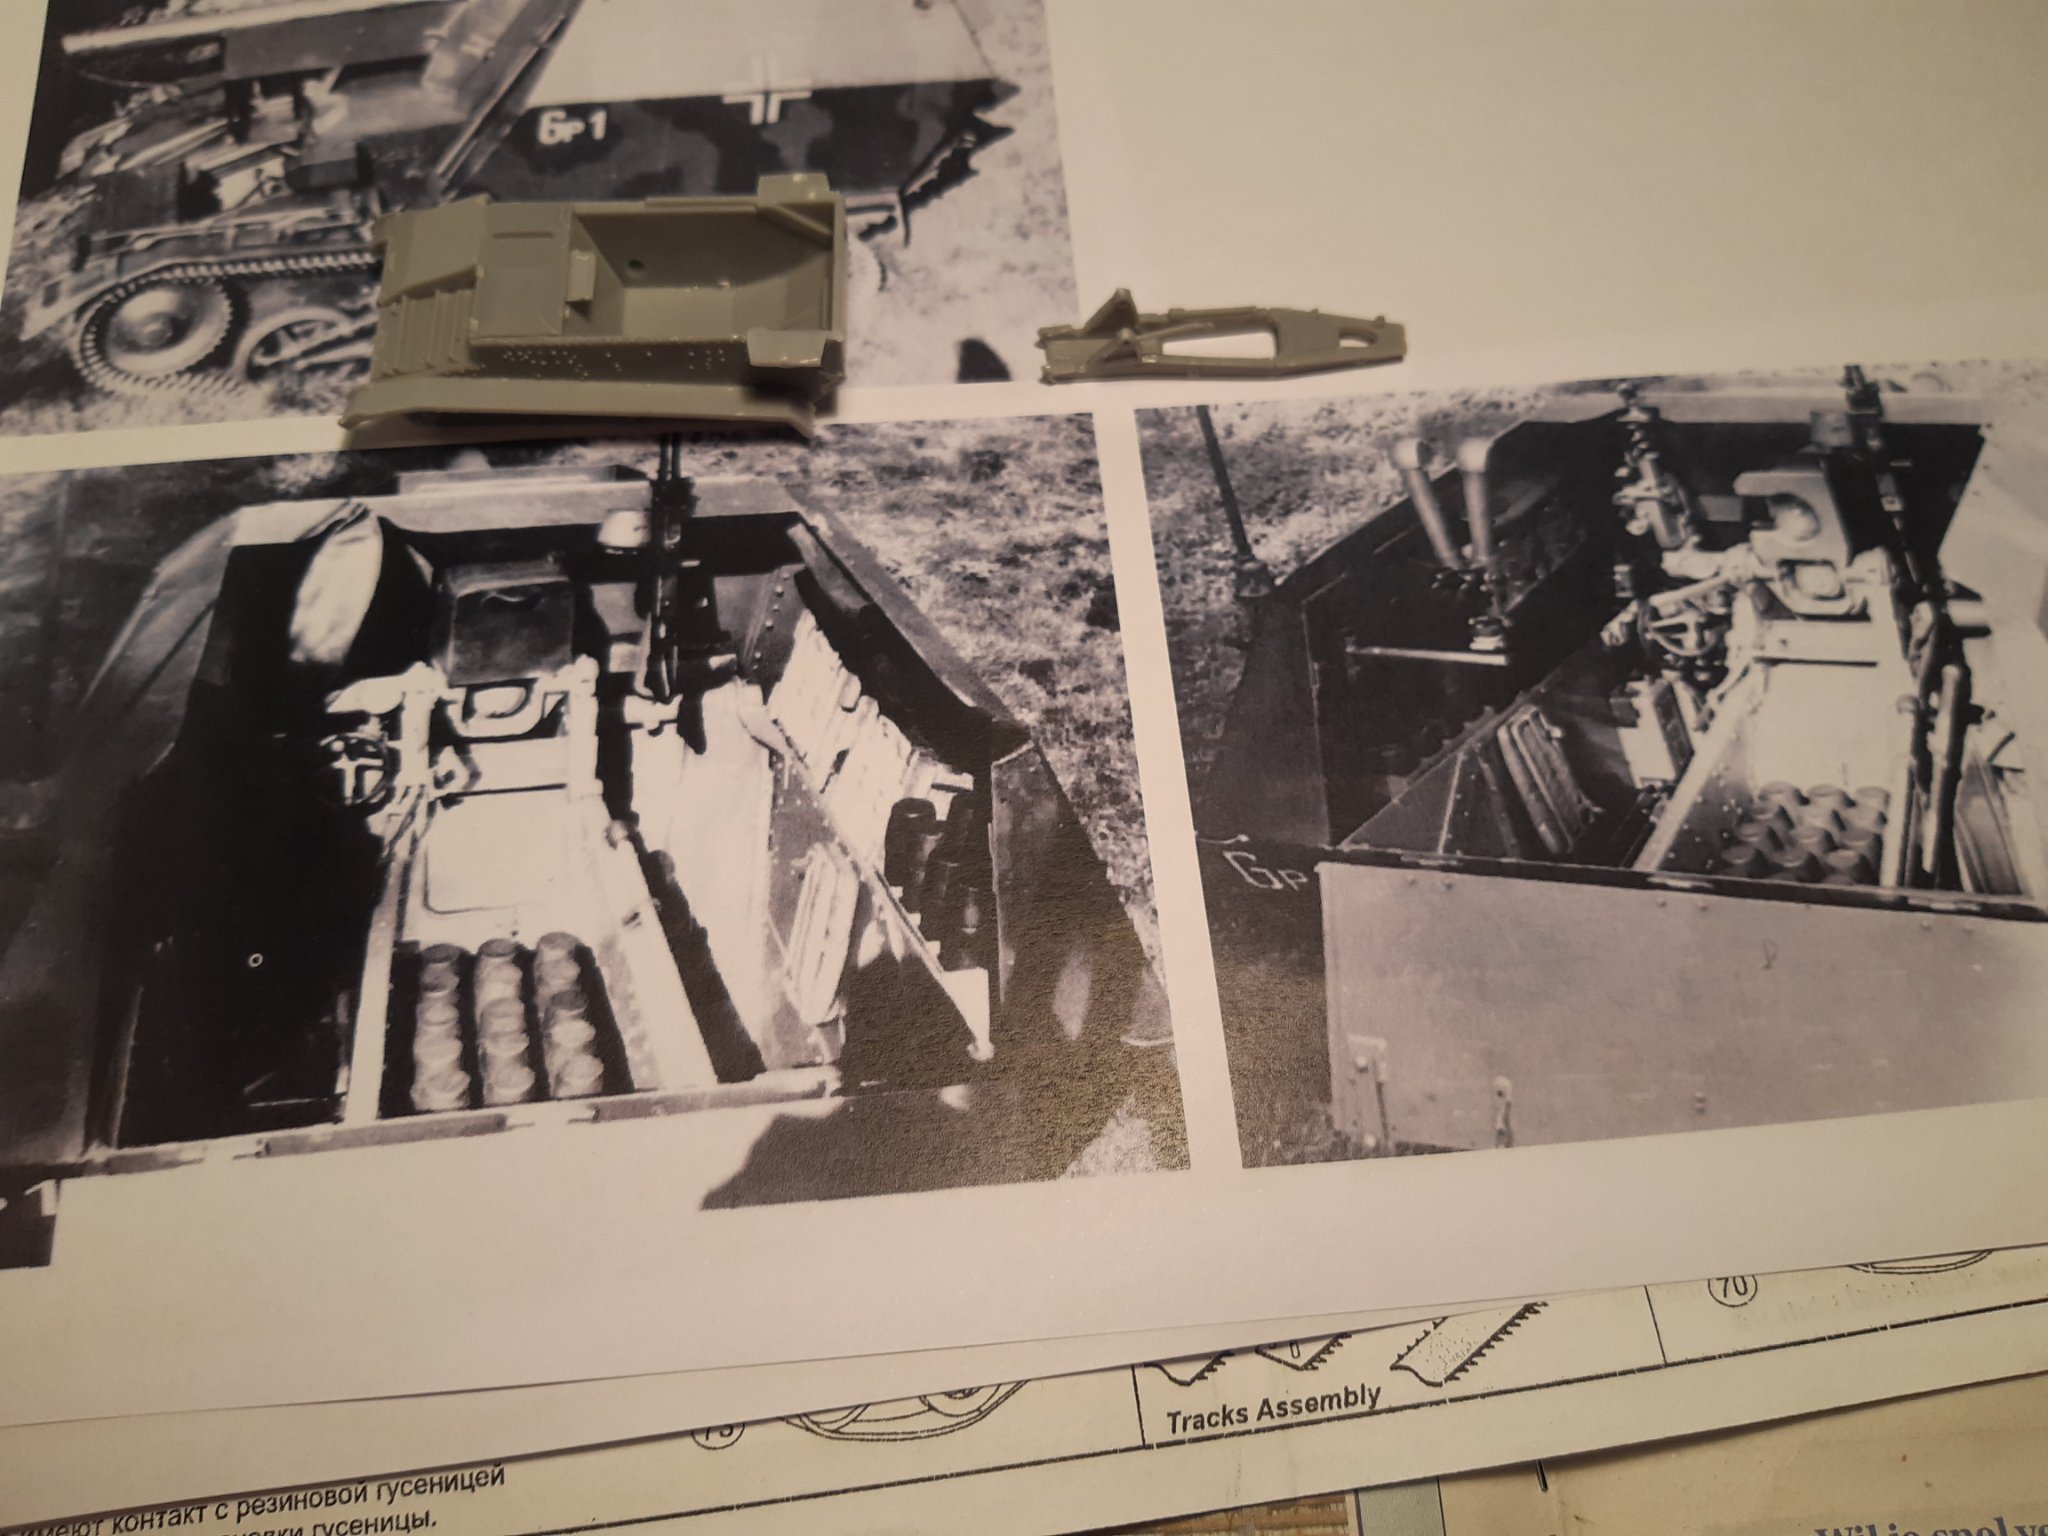
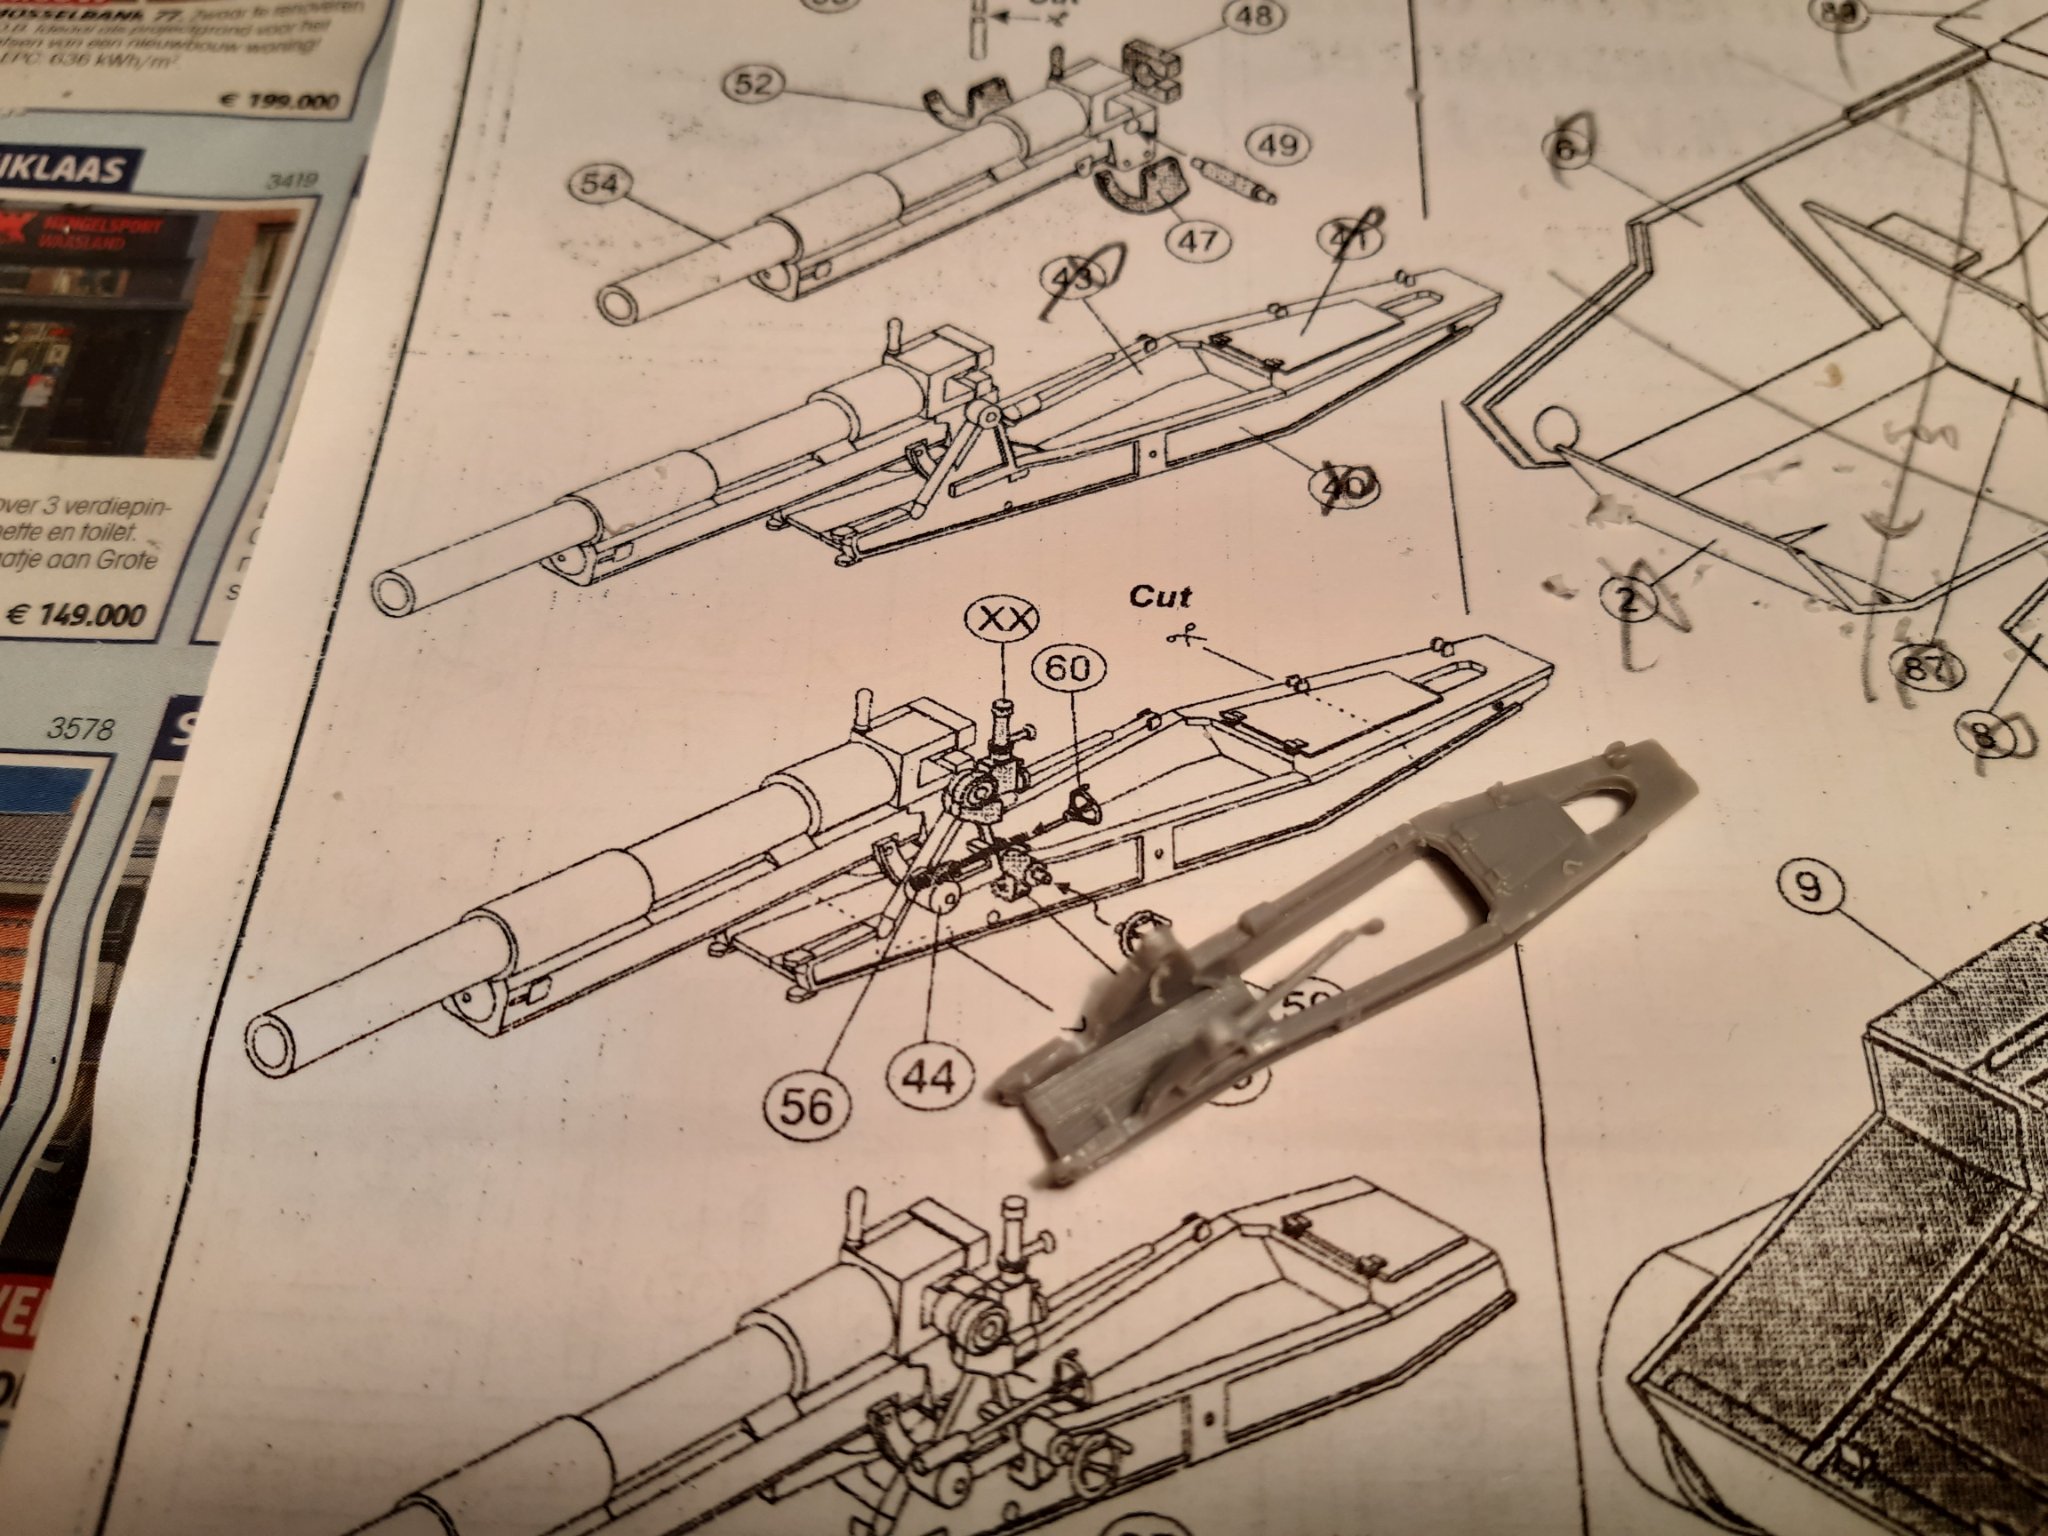
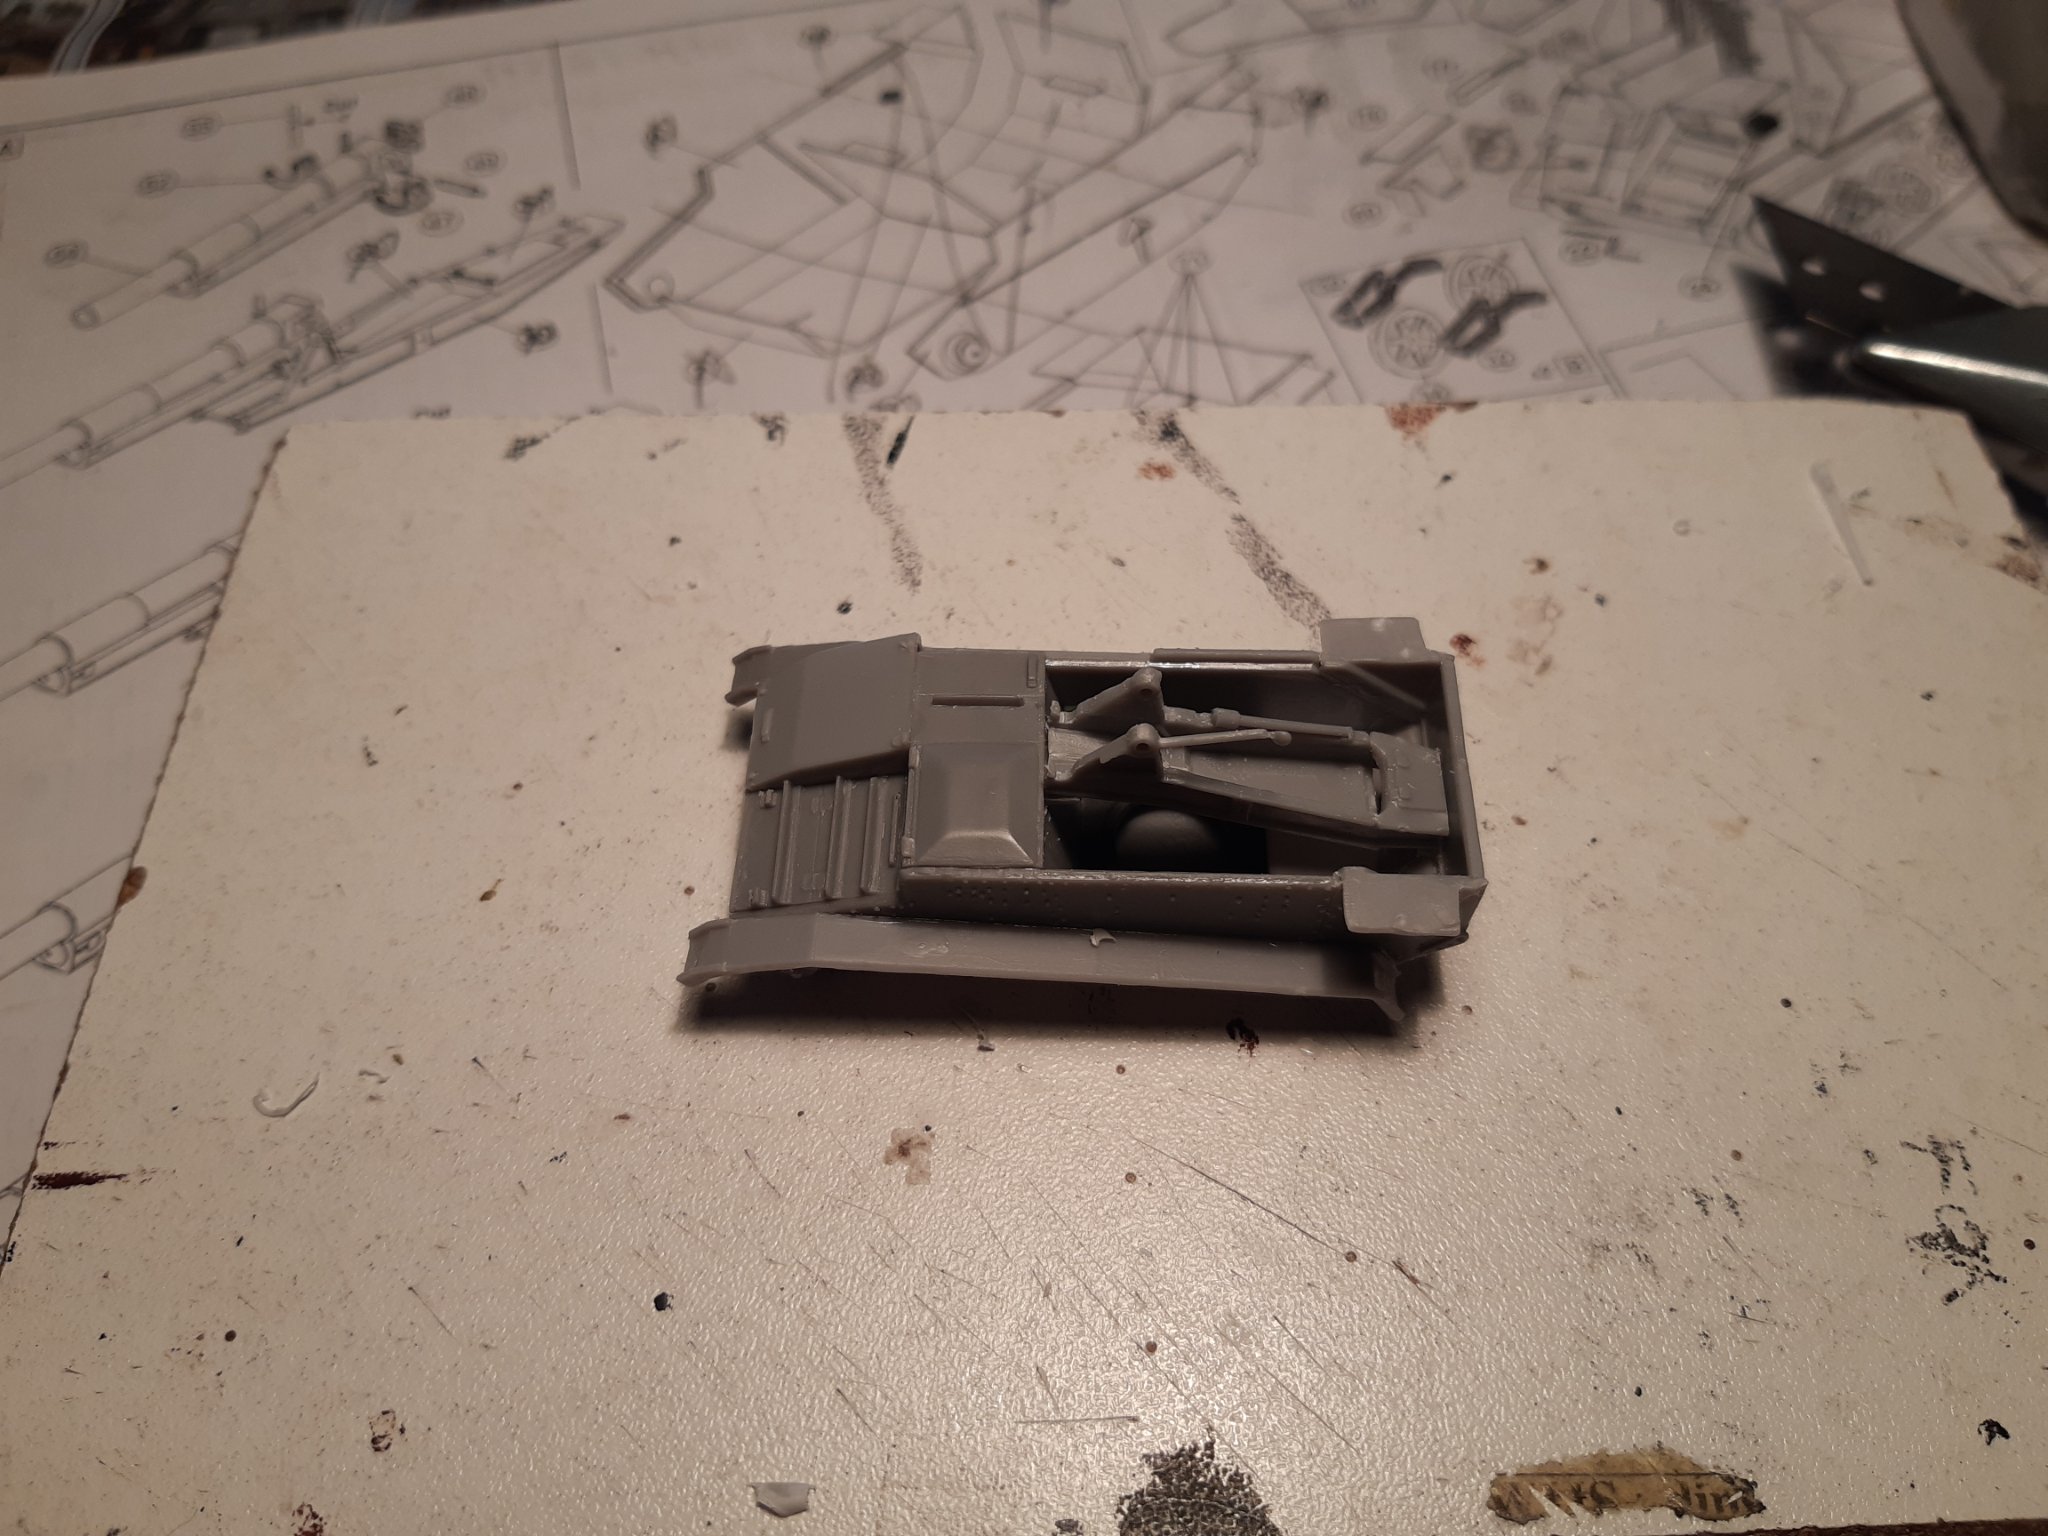
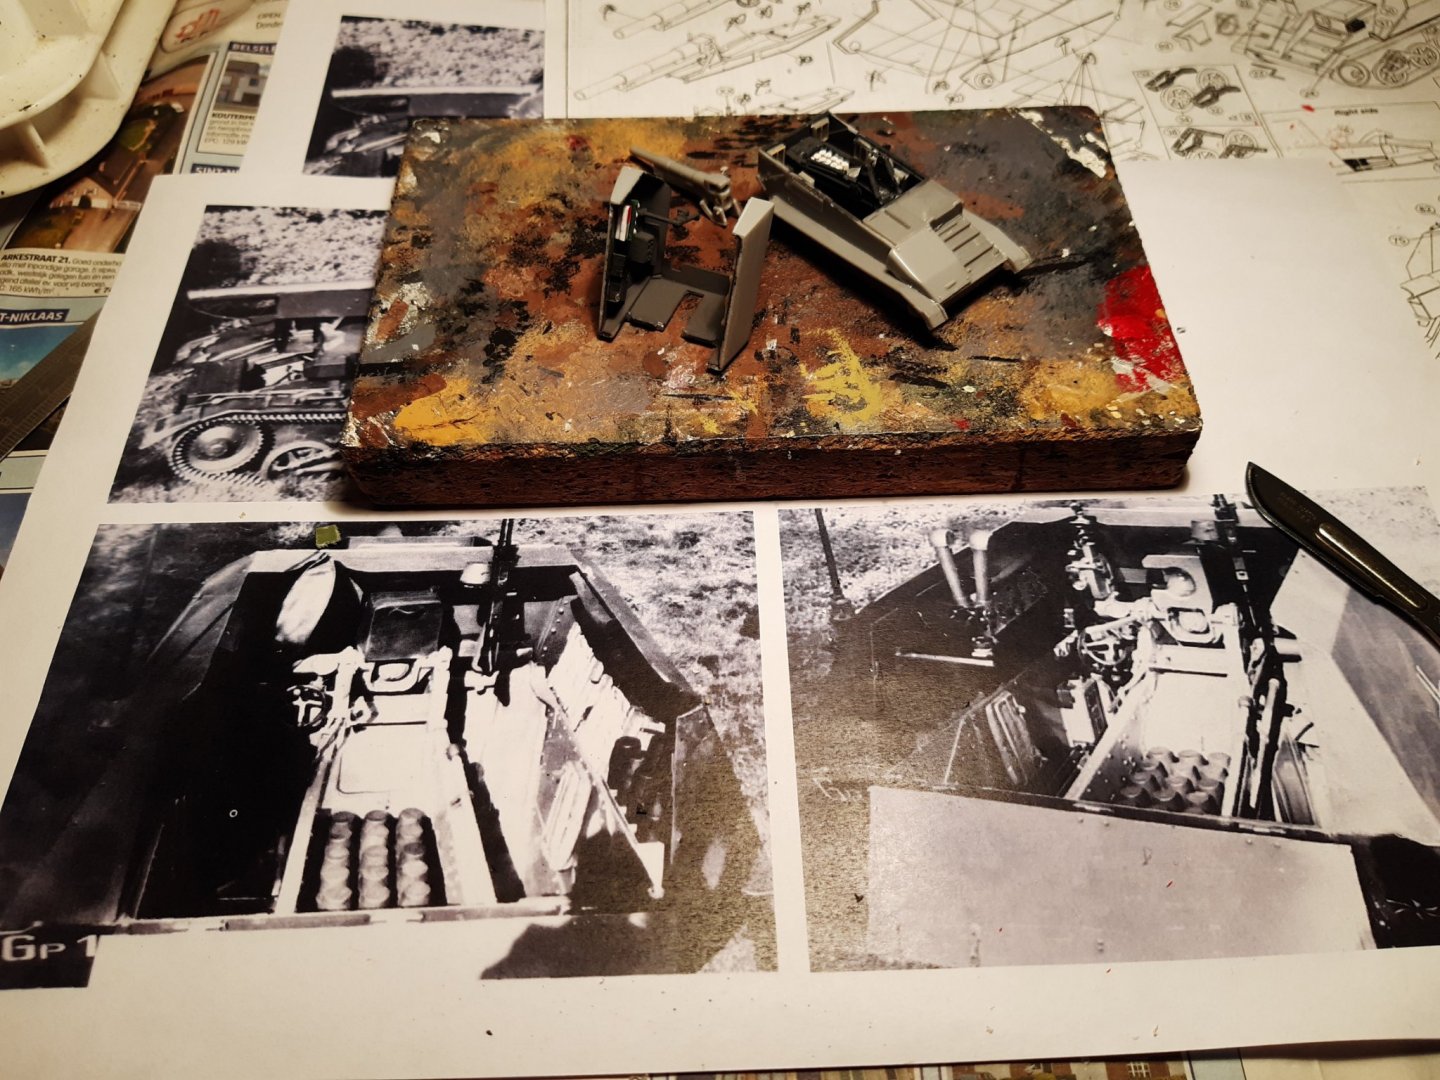
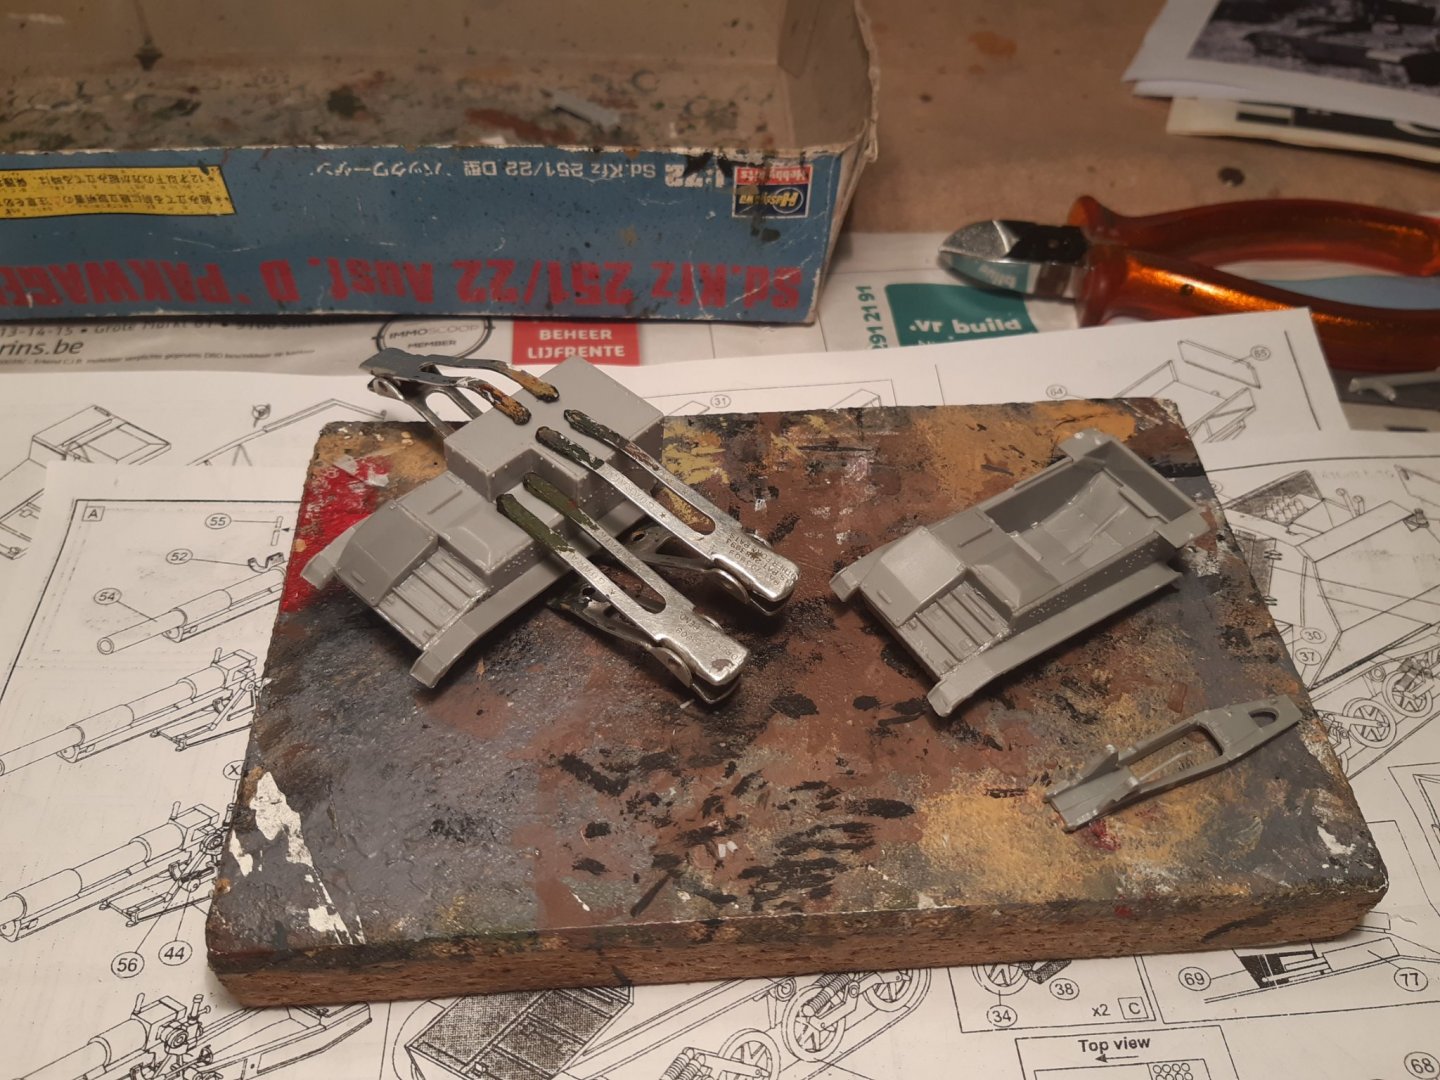
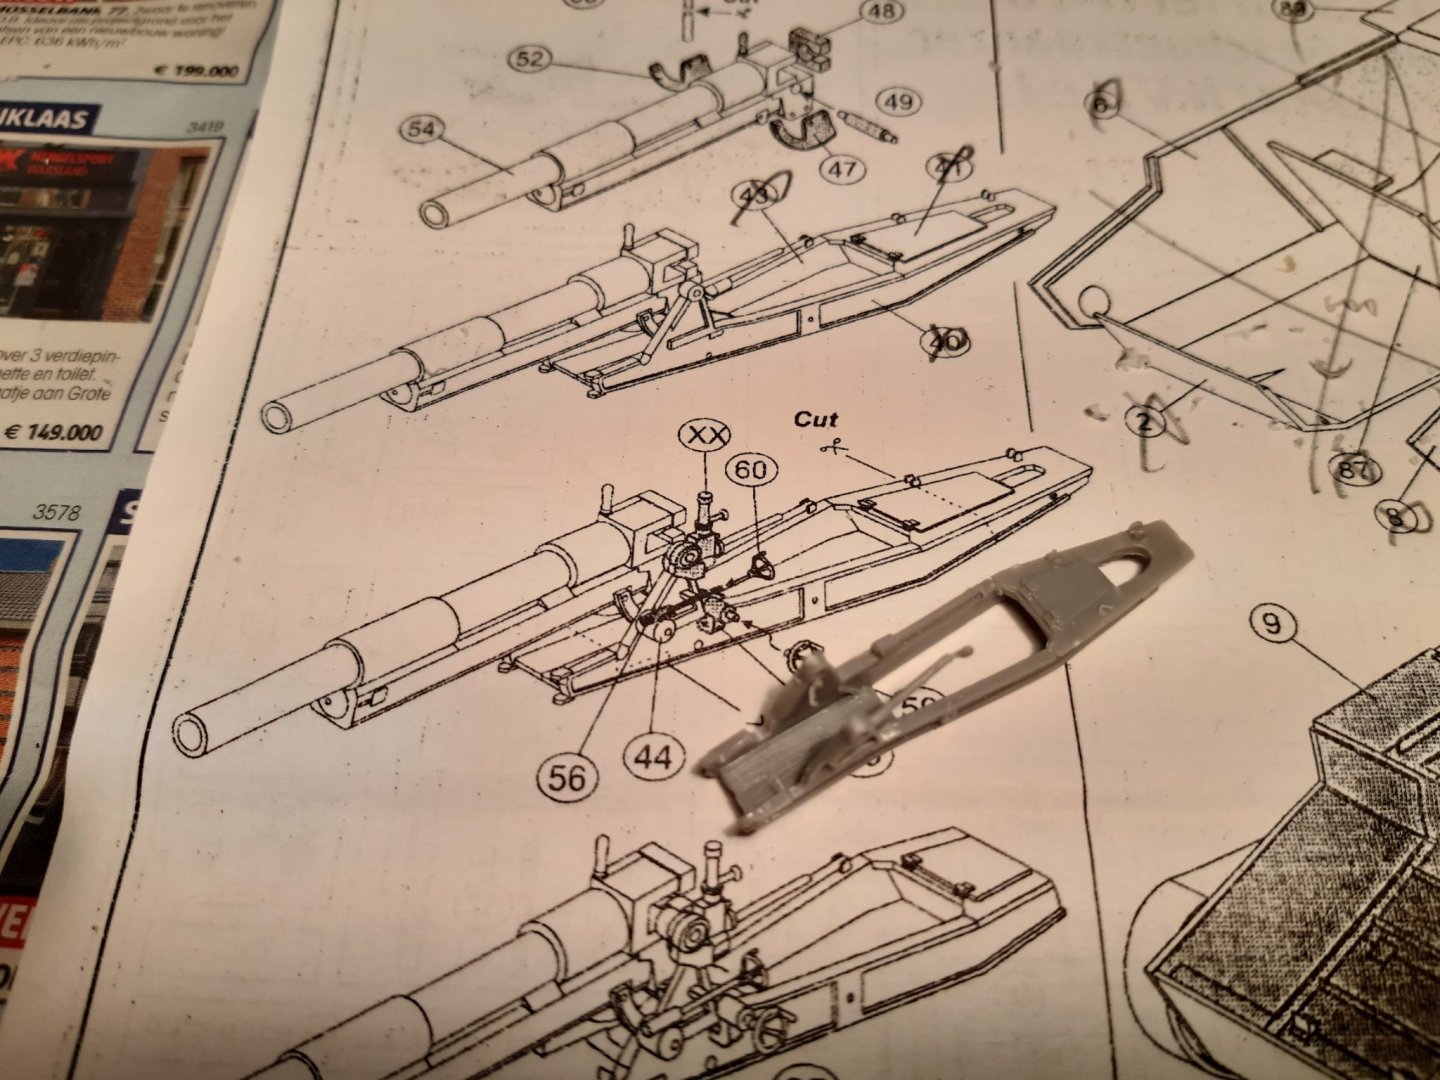
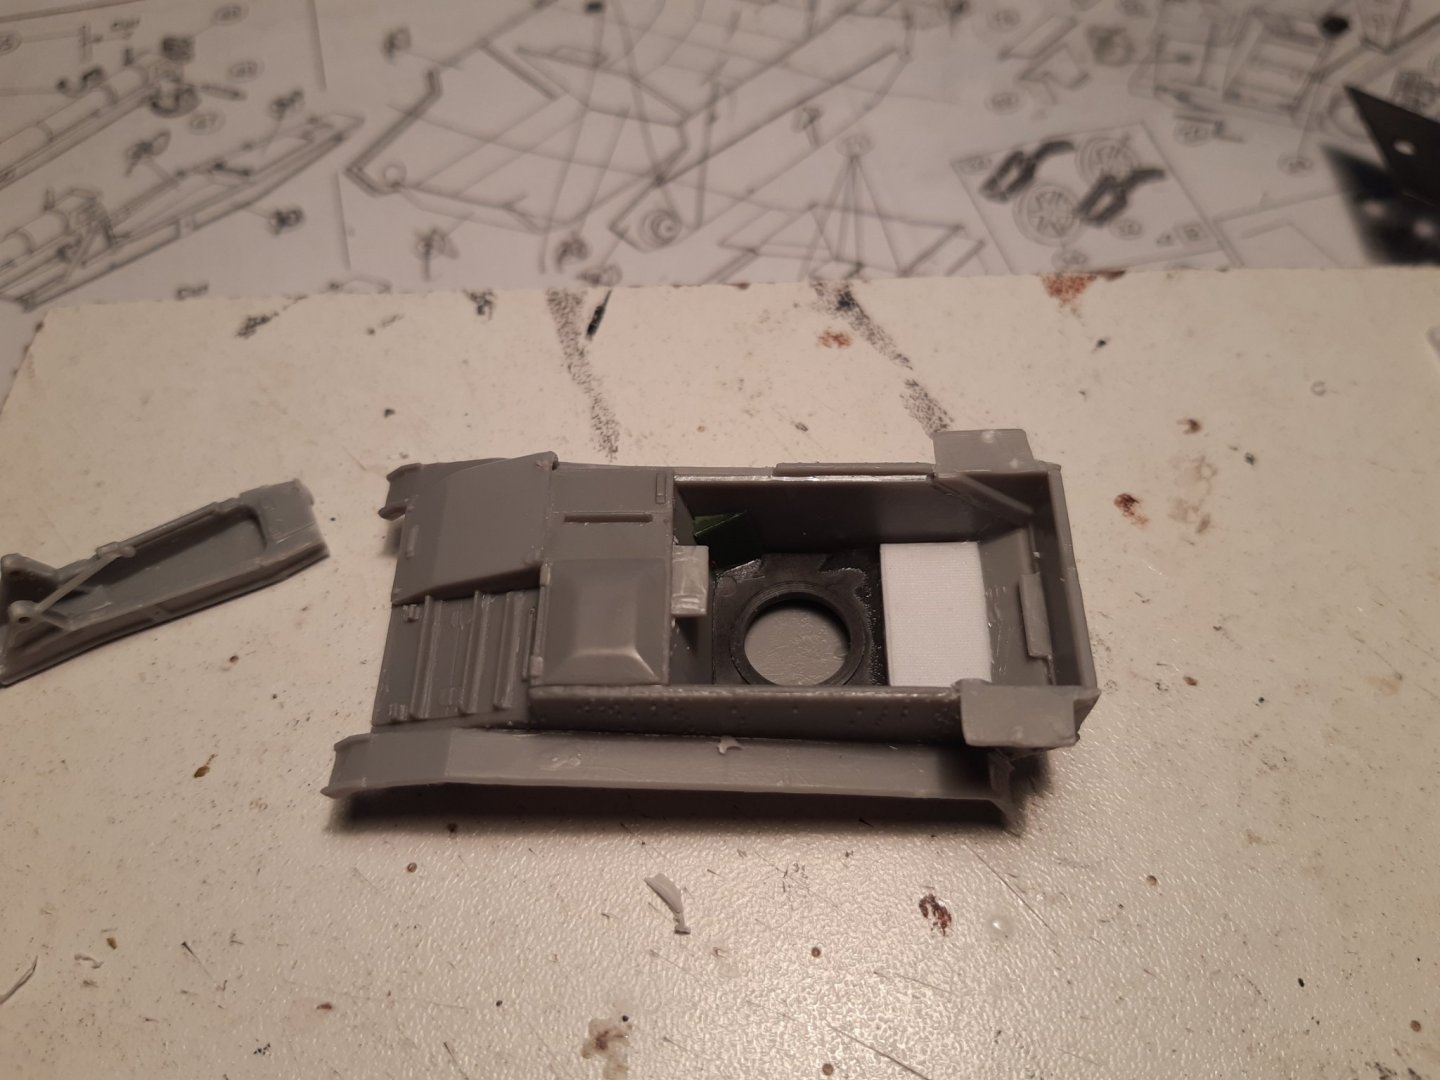
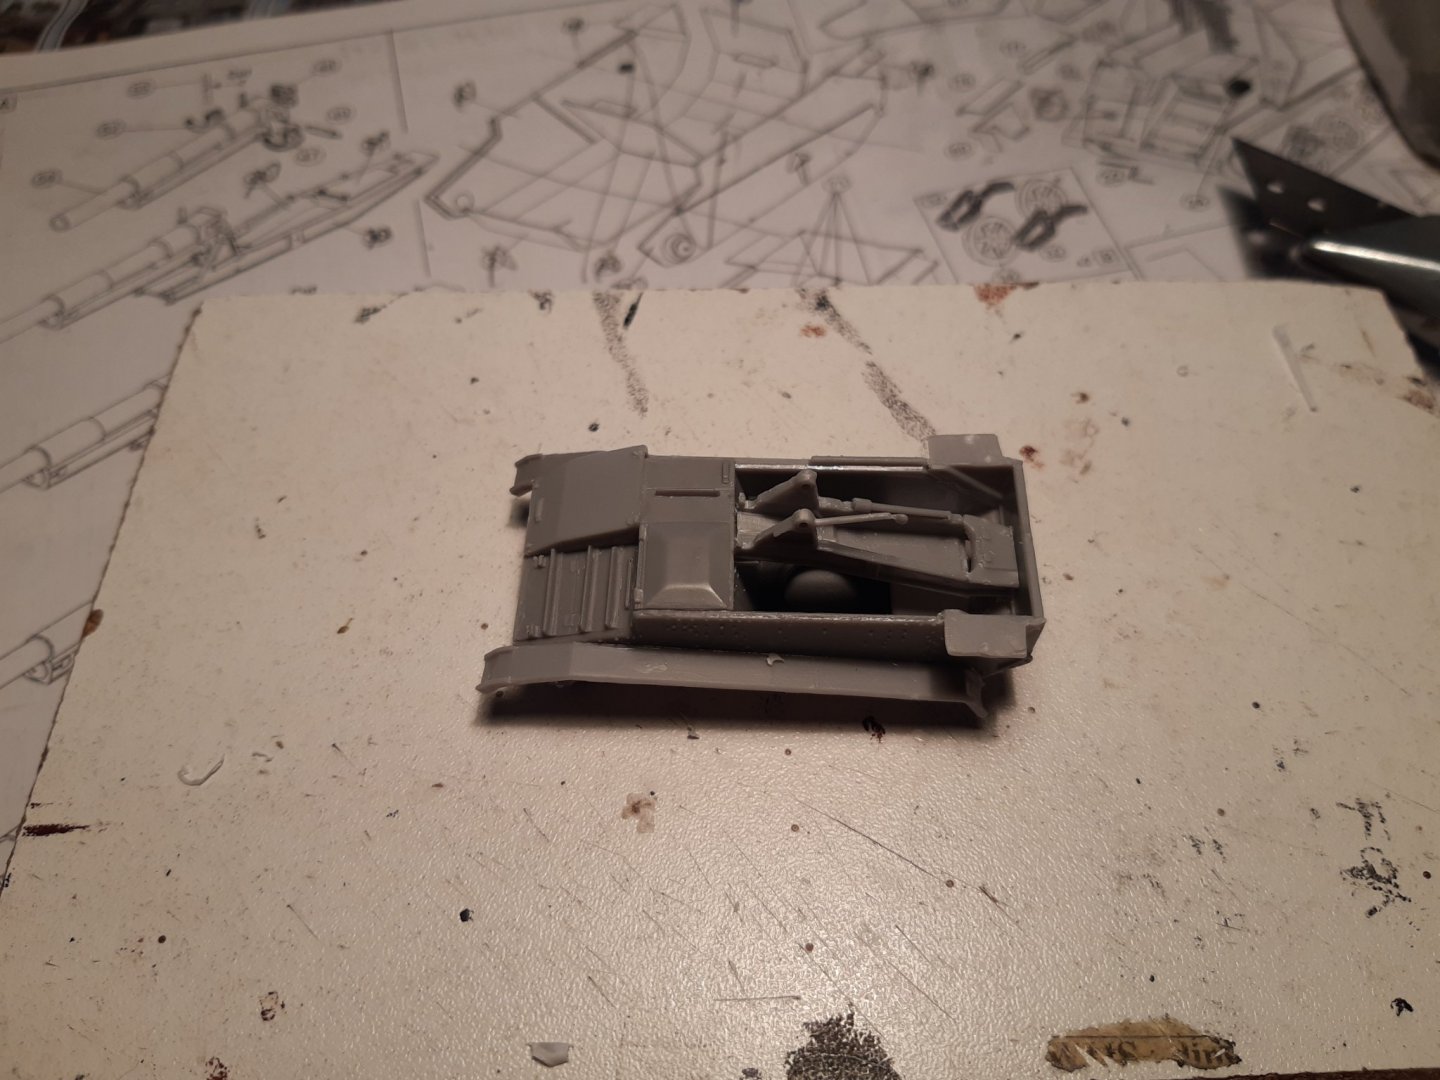
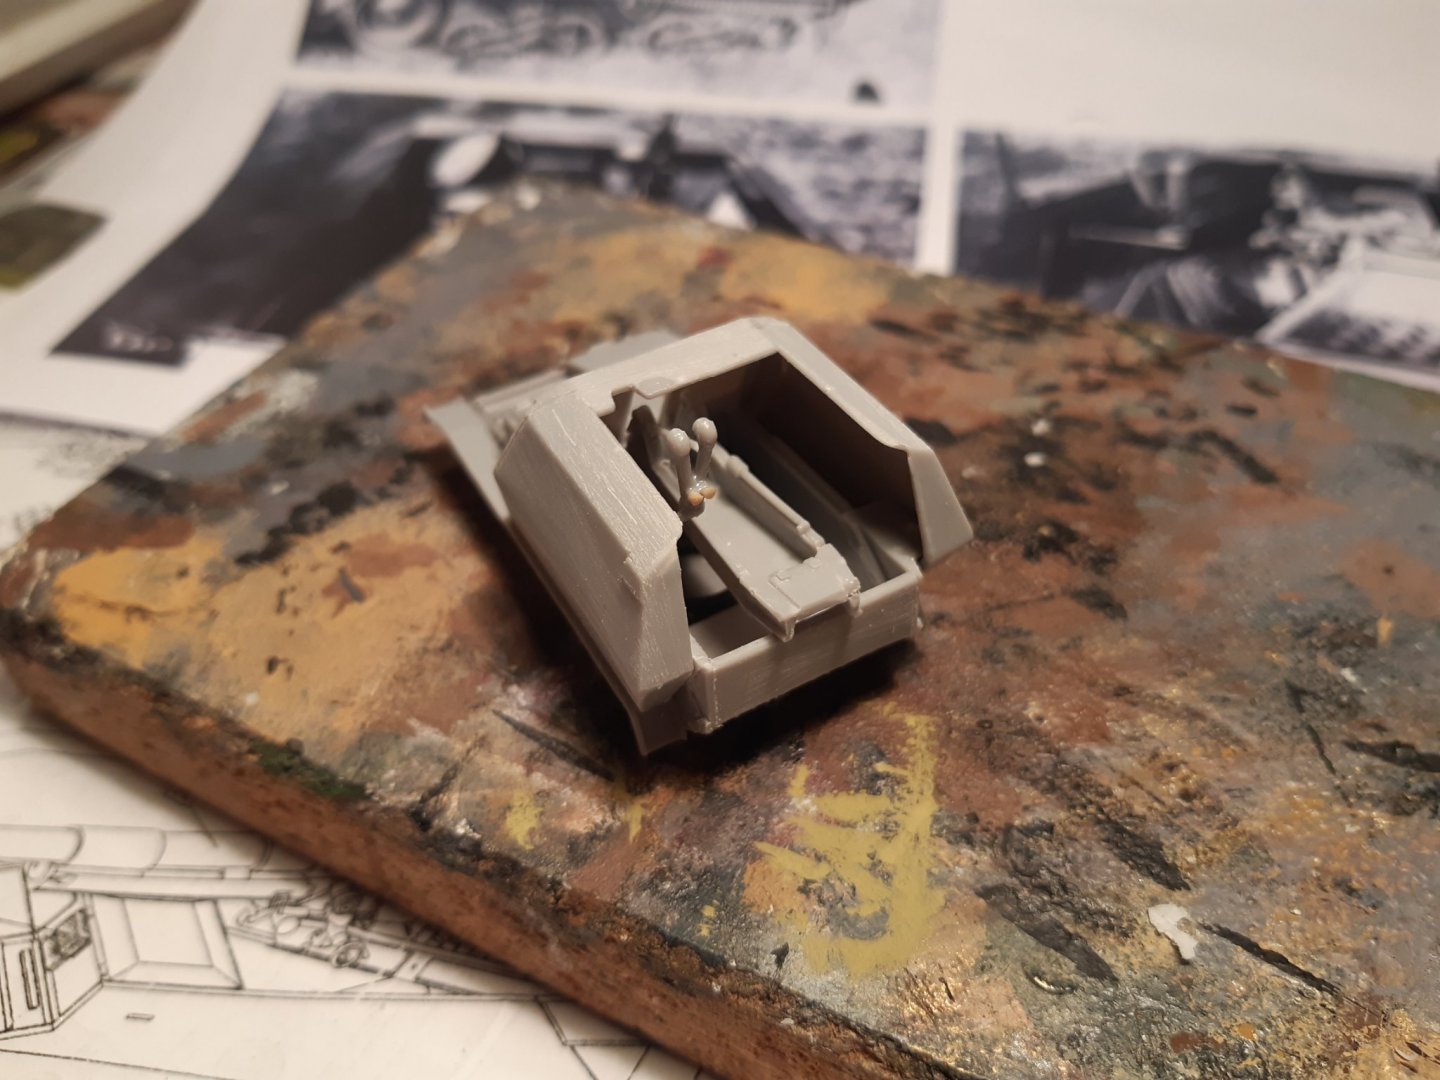
Because this thing is so small, it is a lot of fitting, searching and measuring That's why i build it this way : First interior and the carriage of the howitzer Then the structure Then the barrel and the sight of the howitzer. Then the extra armor around the barrel. This will work (I hope )
-
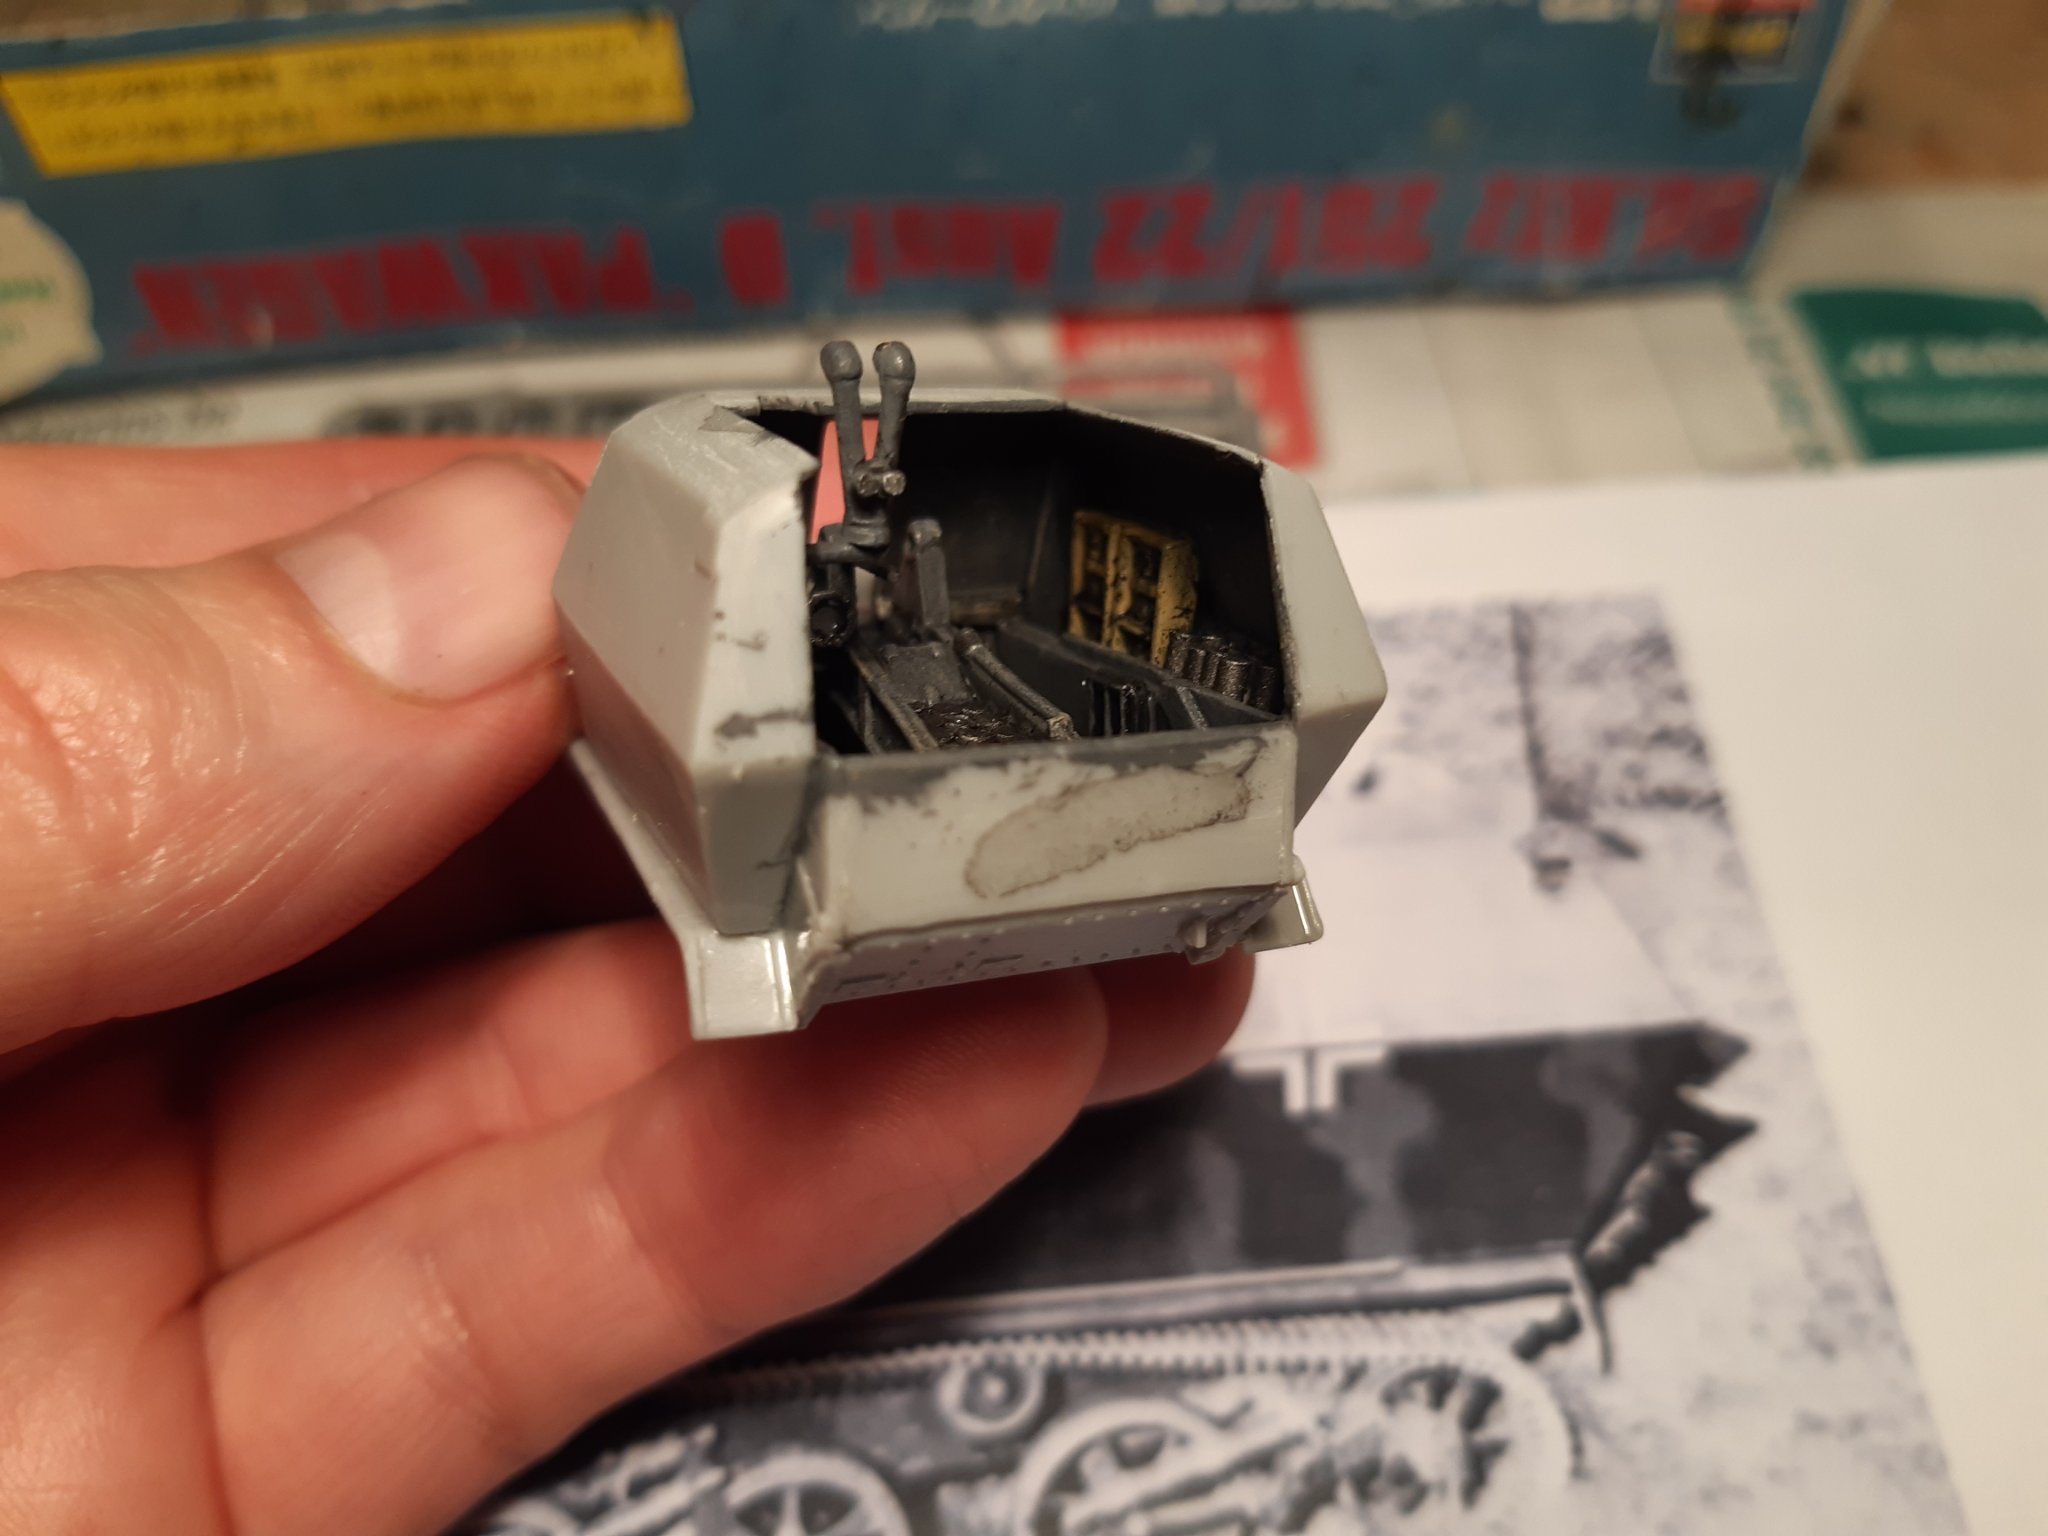
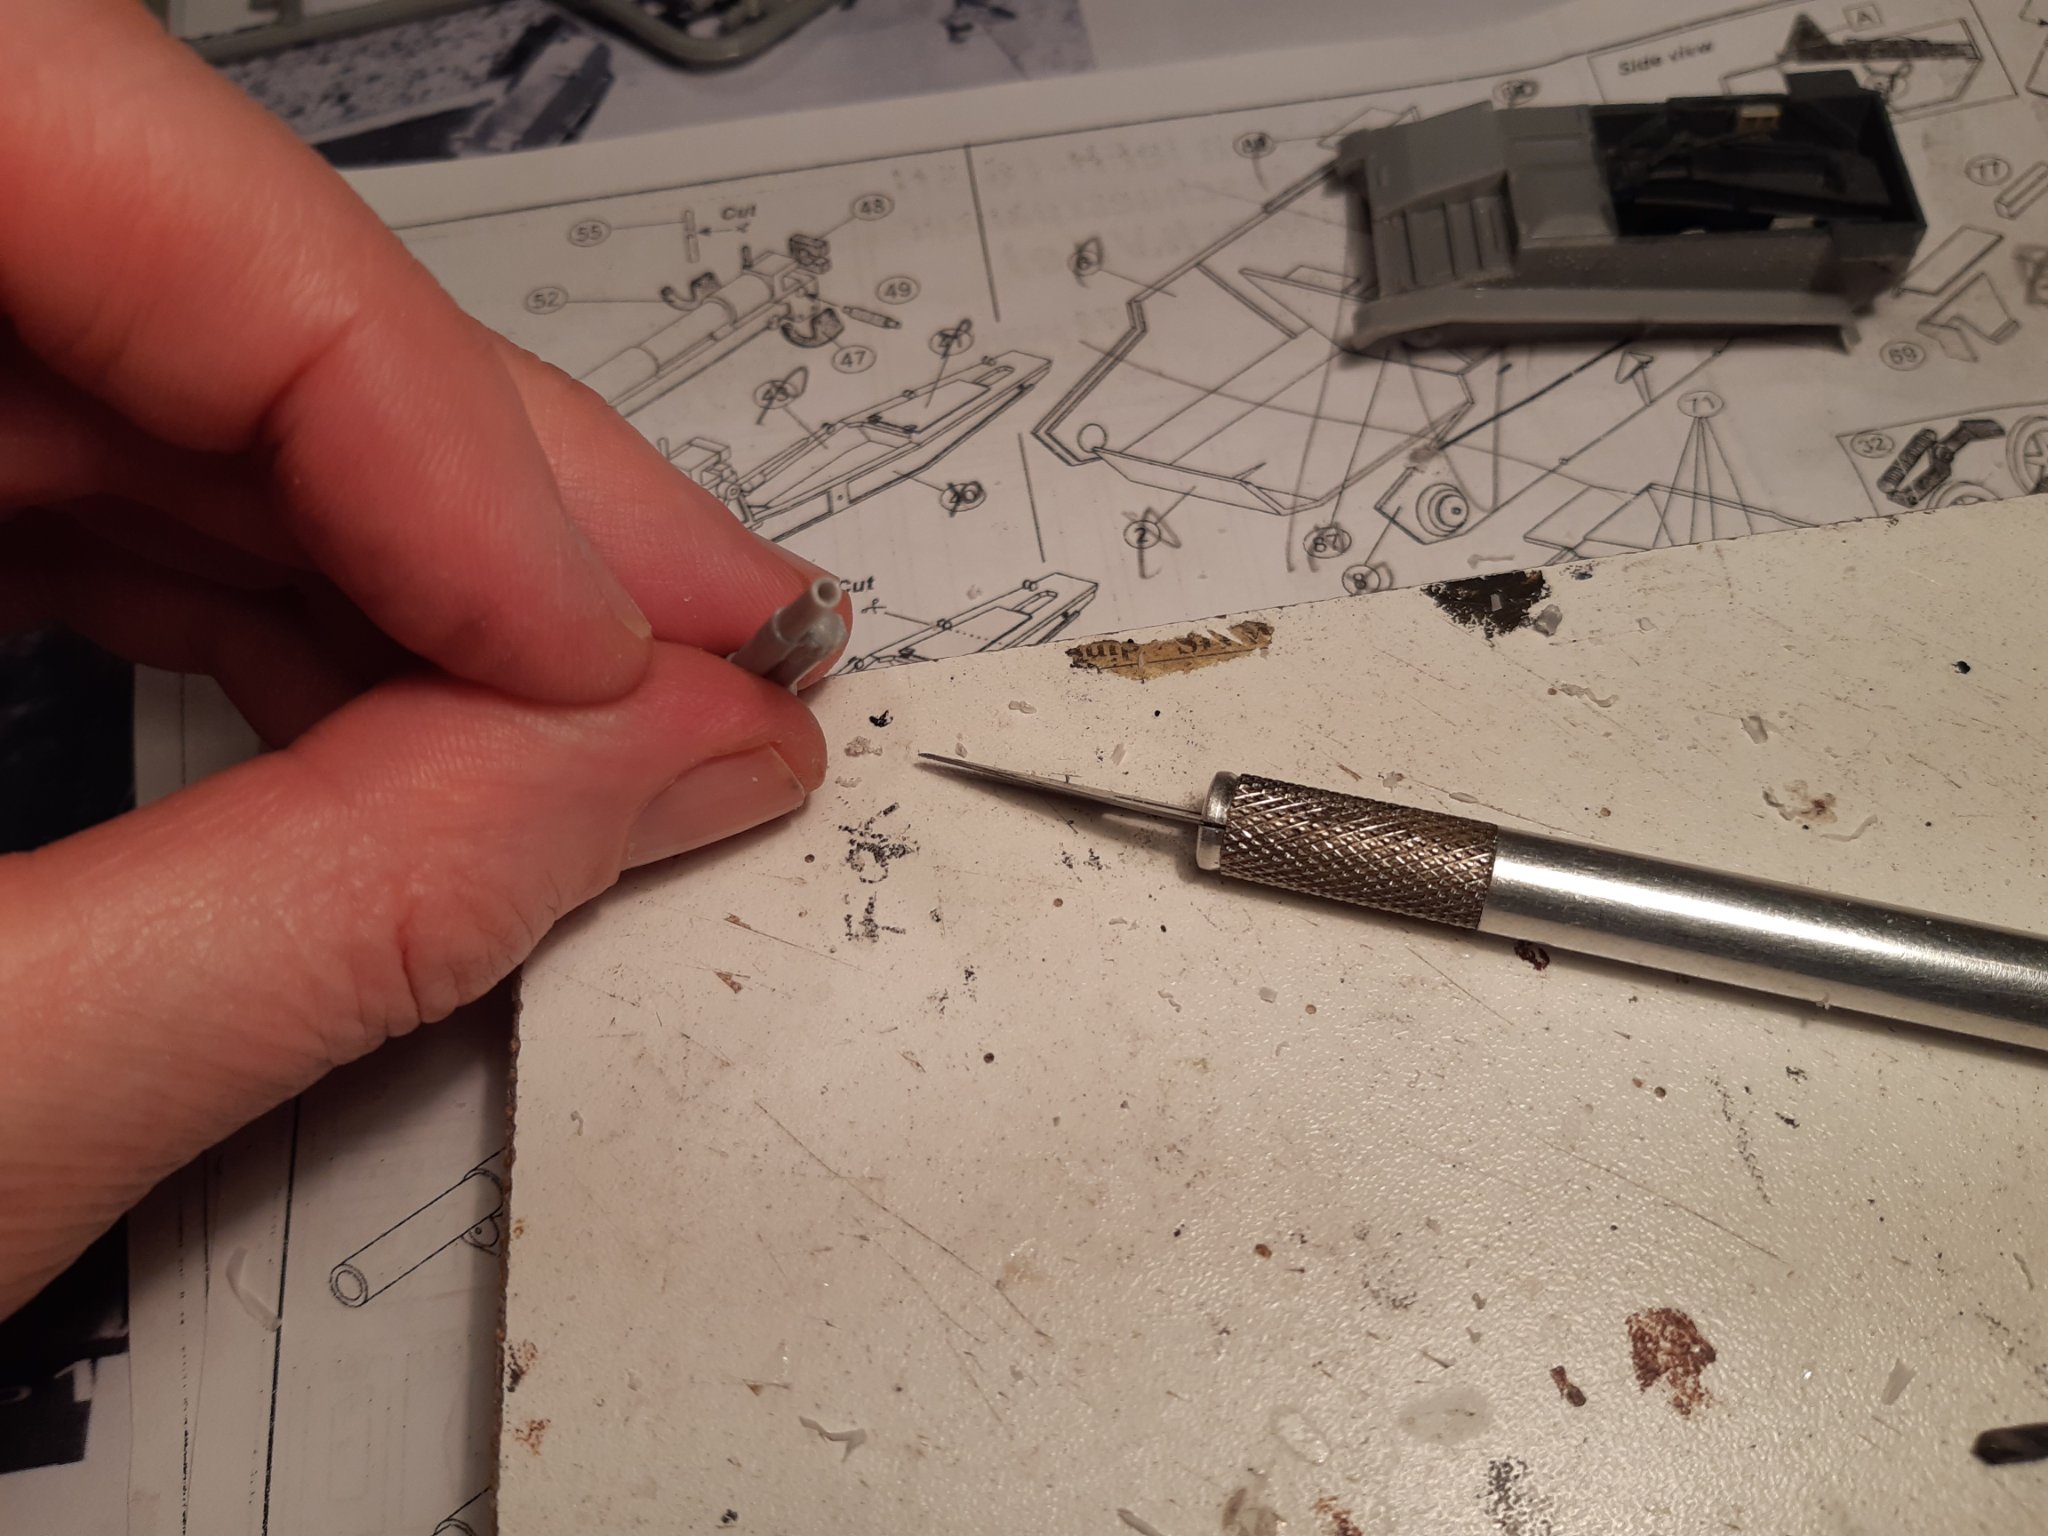
Building the howitzer compartment. Extra detail on the 4 seats New ammo (cleaning the ammo from the kit was more work) and some other extra's Drilling out the barrel I always do this with a knife like this. Just turn the blade until the correct diameter is reached. Ideal method in plastic But, watch out for the fingers... ready for painting Parts painted, adding the howitzer is for later glued together (and a wash with diluted black) Next, wheels an tracks. Again lots of cleaning to do... Thanks for following


- 35 replies
-
- 10
-
-
I did not find any volunteers 🤣 I can always add a few news papers. Long ago, on the farm of my grandparents, there was a box of old newspapers on the seat of ease. And they were not only for reading ... 😳
- 756 replies
-
- 4
-
-
- galleon
- golden hind
- (and 2 more)
-
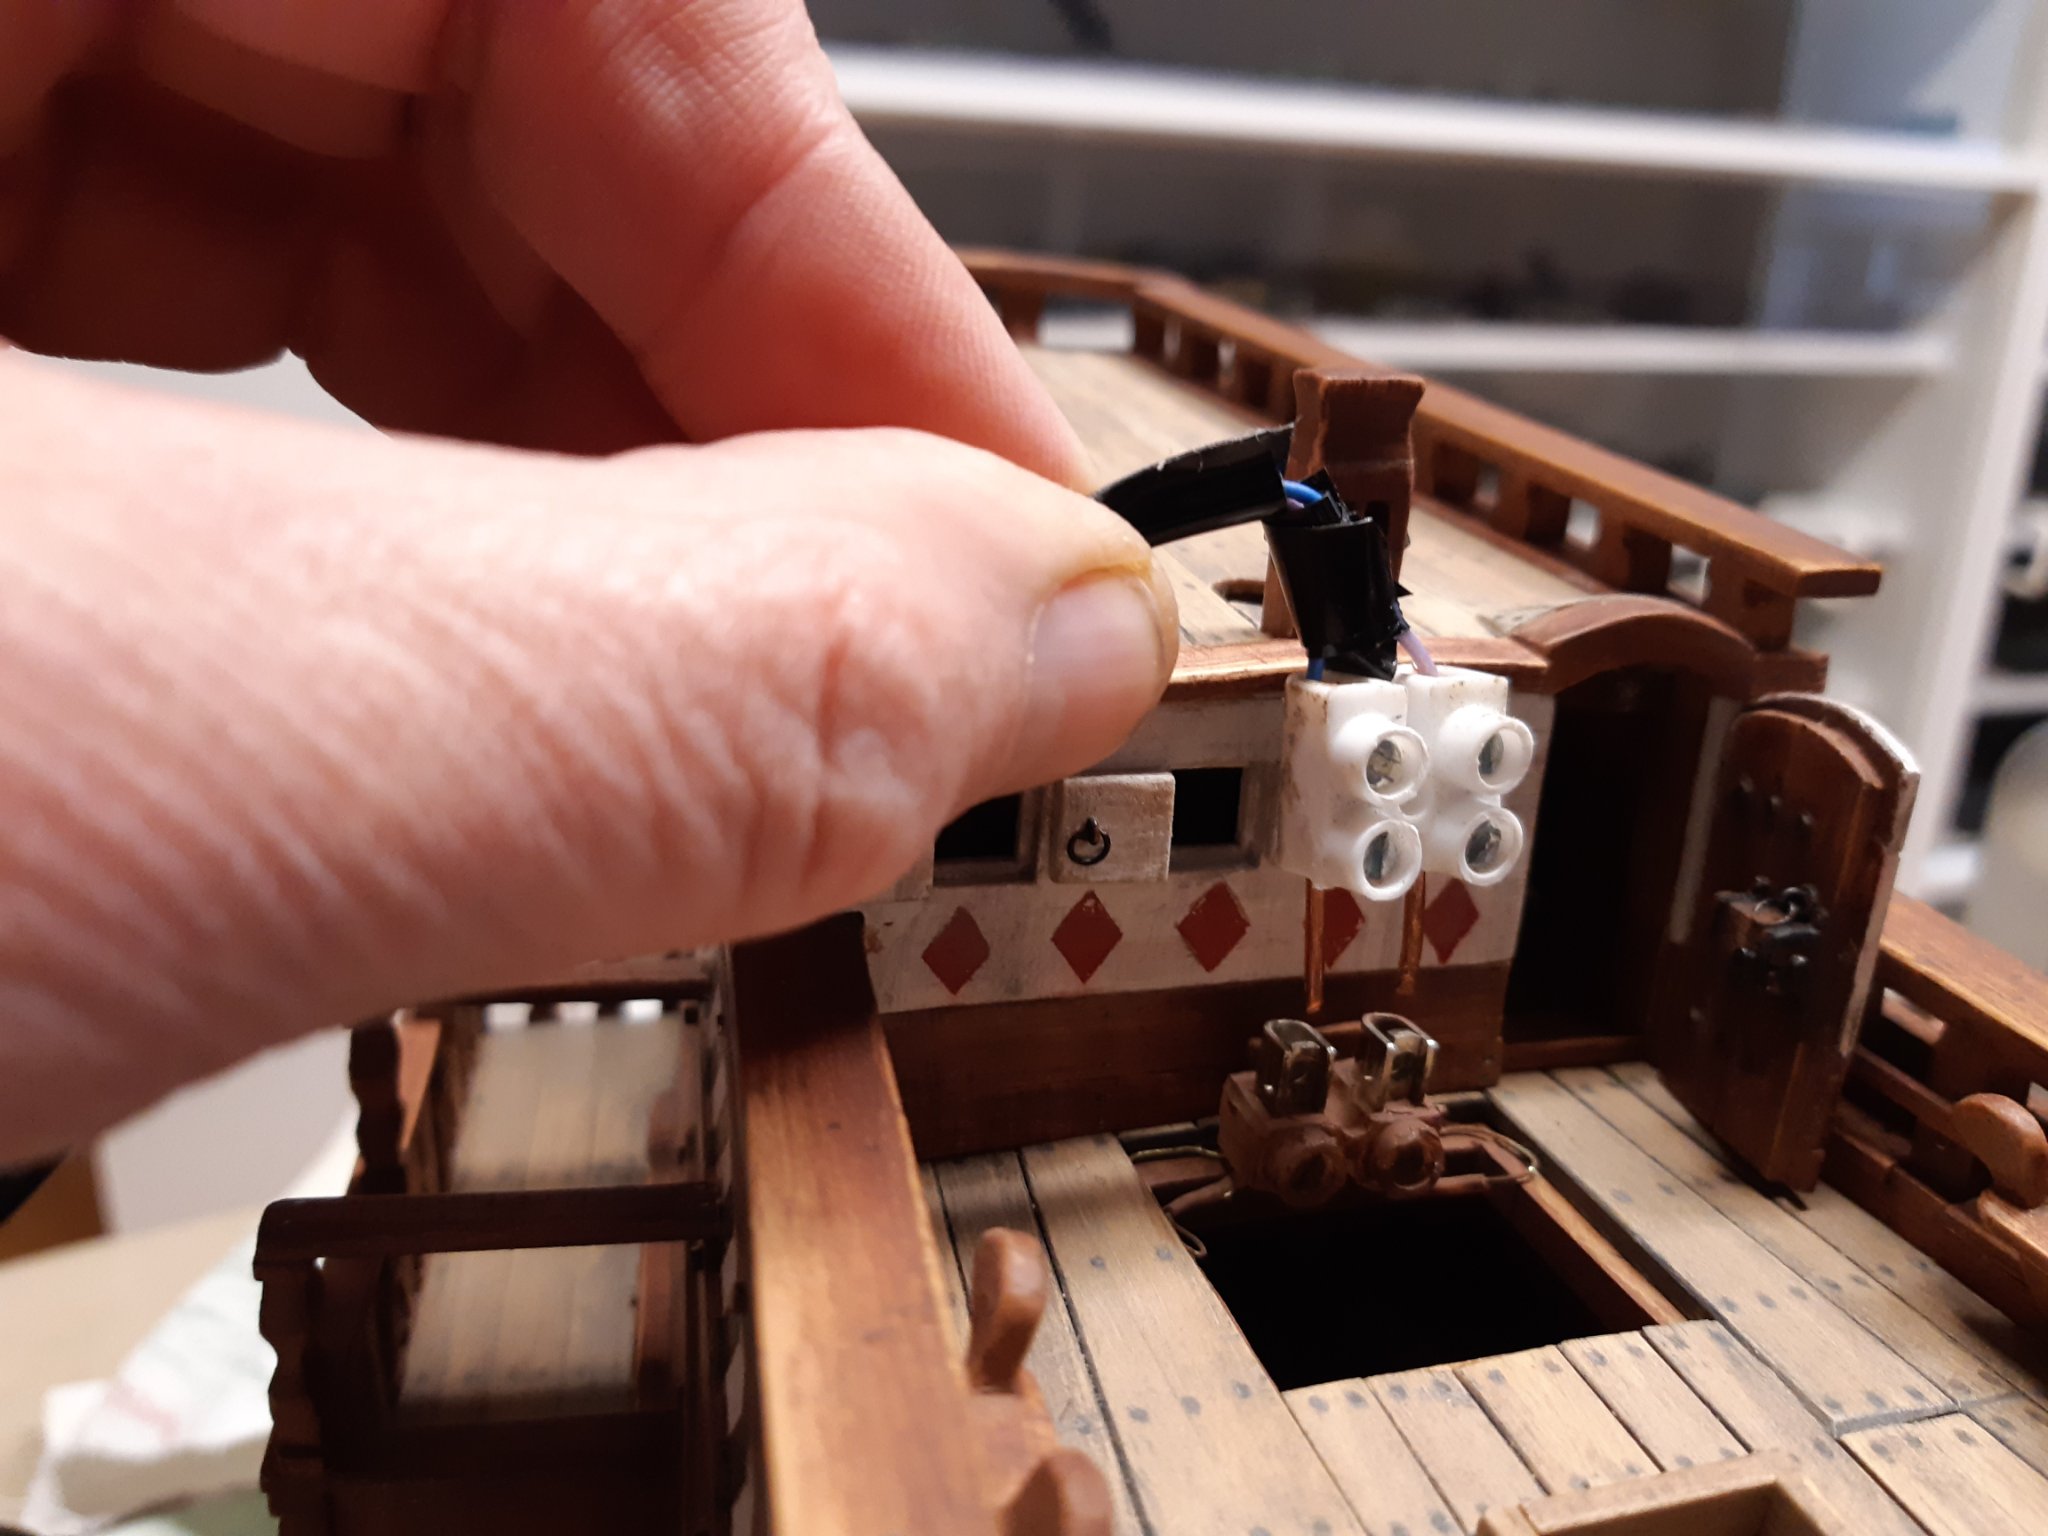
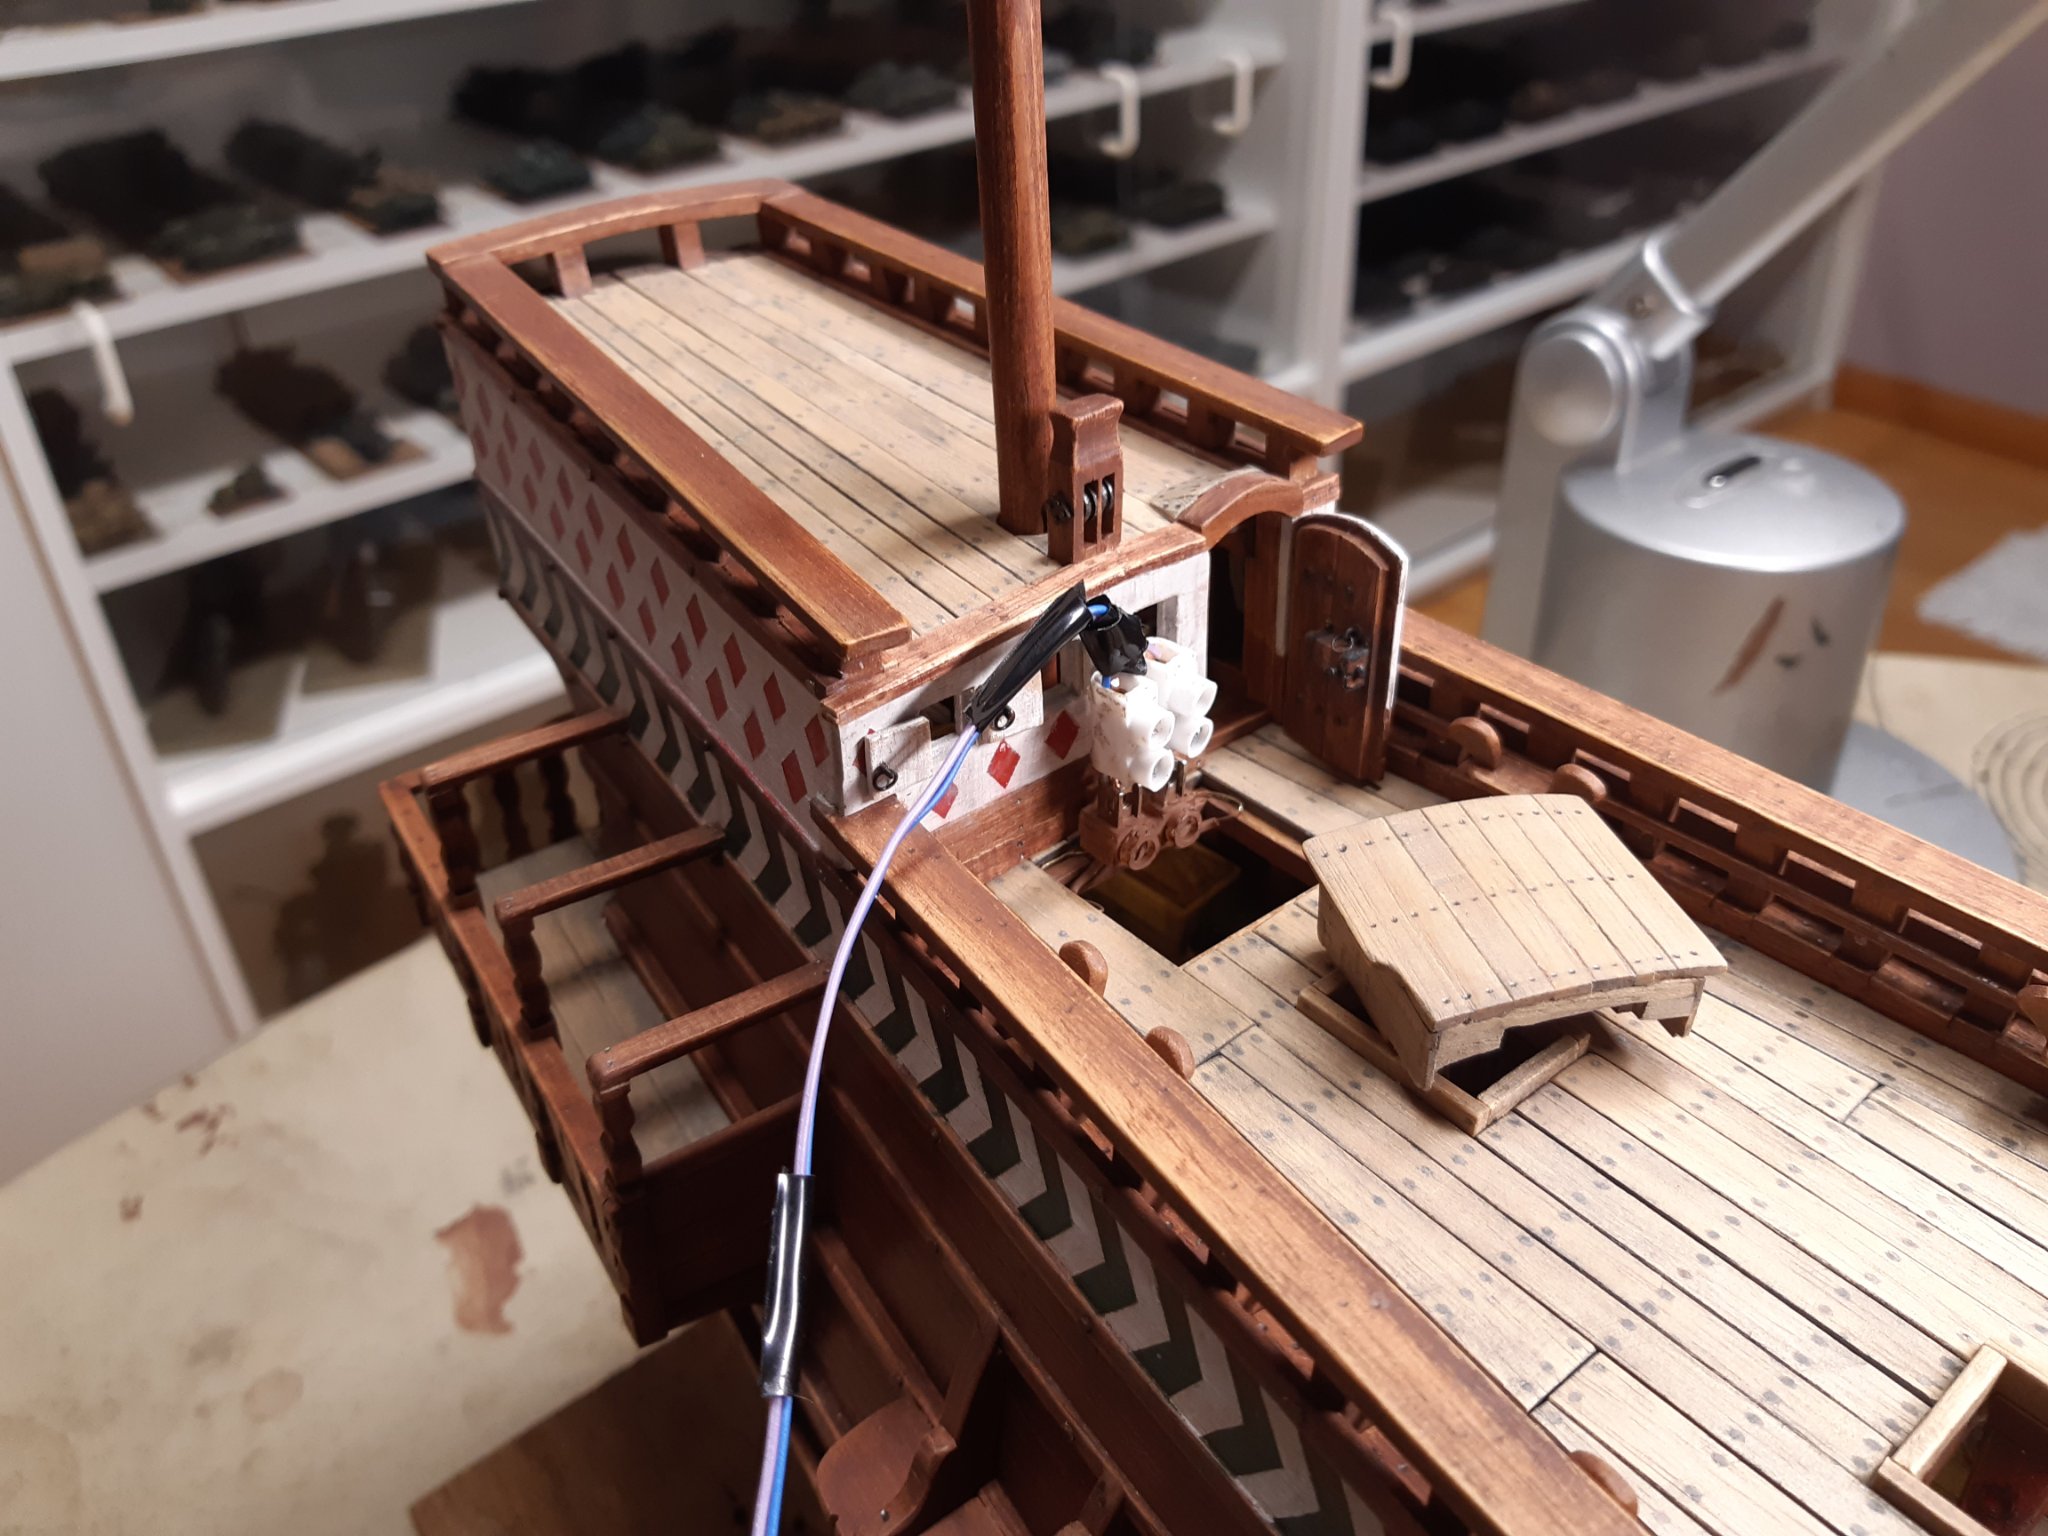
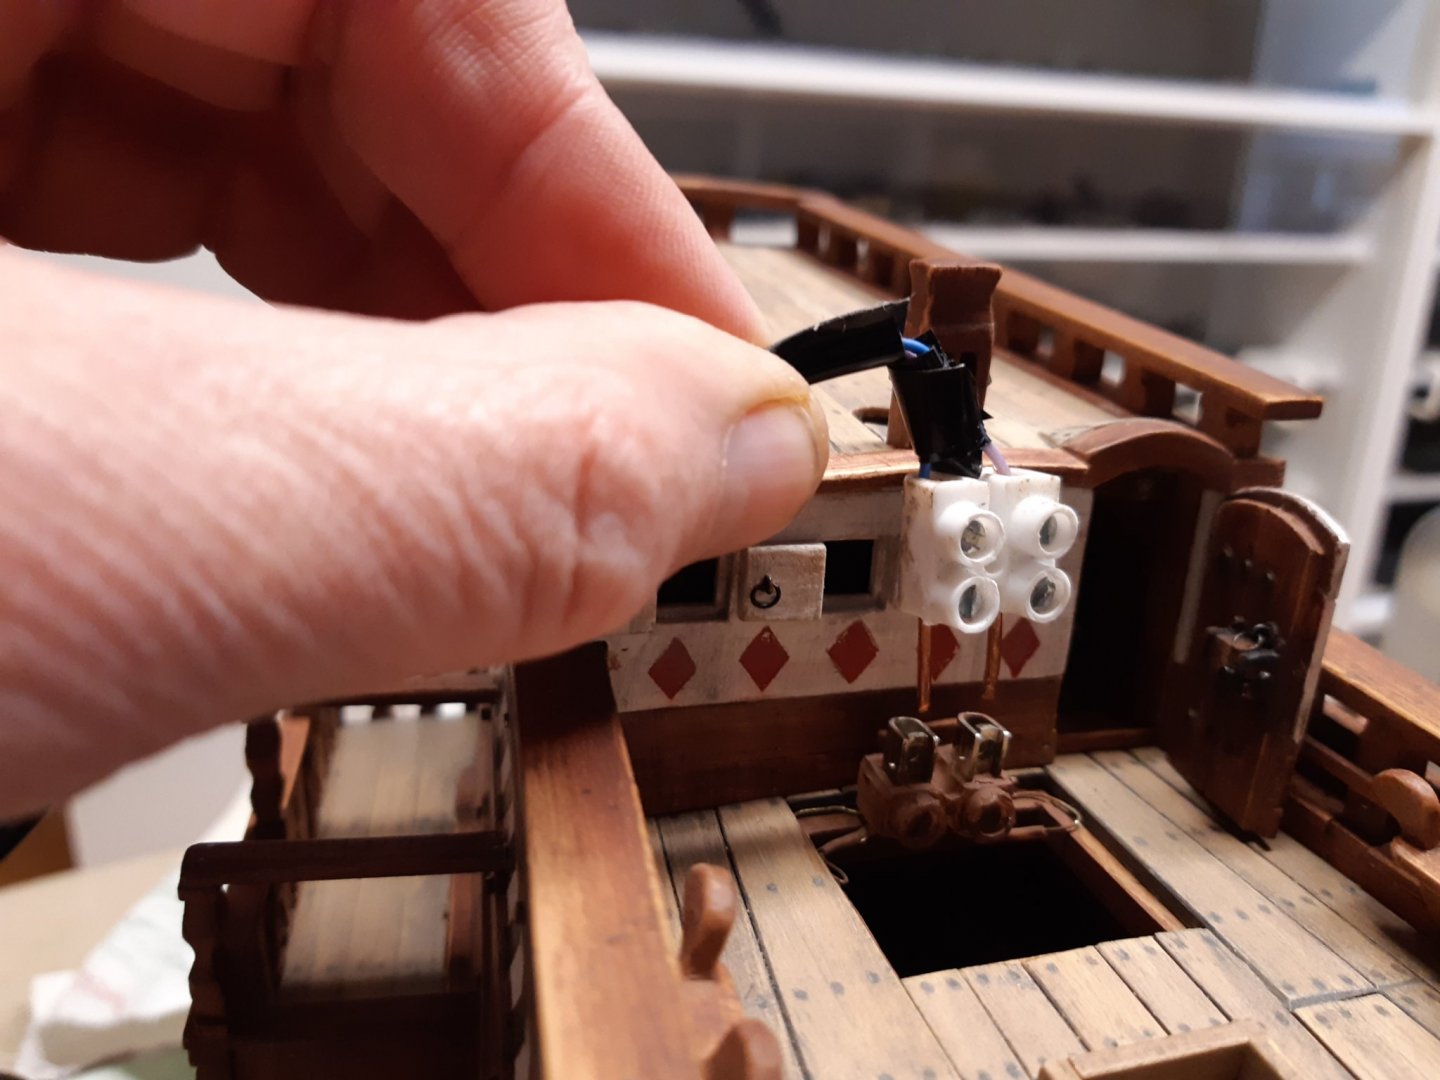
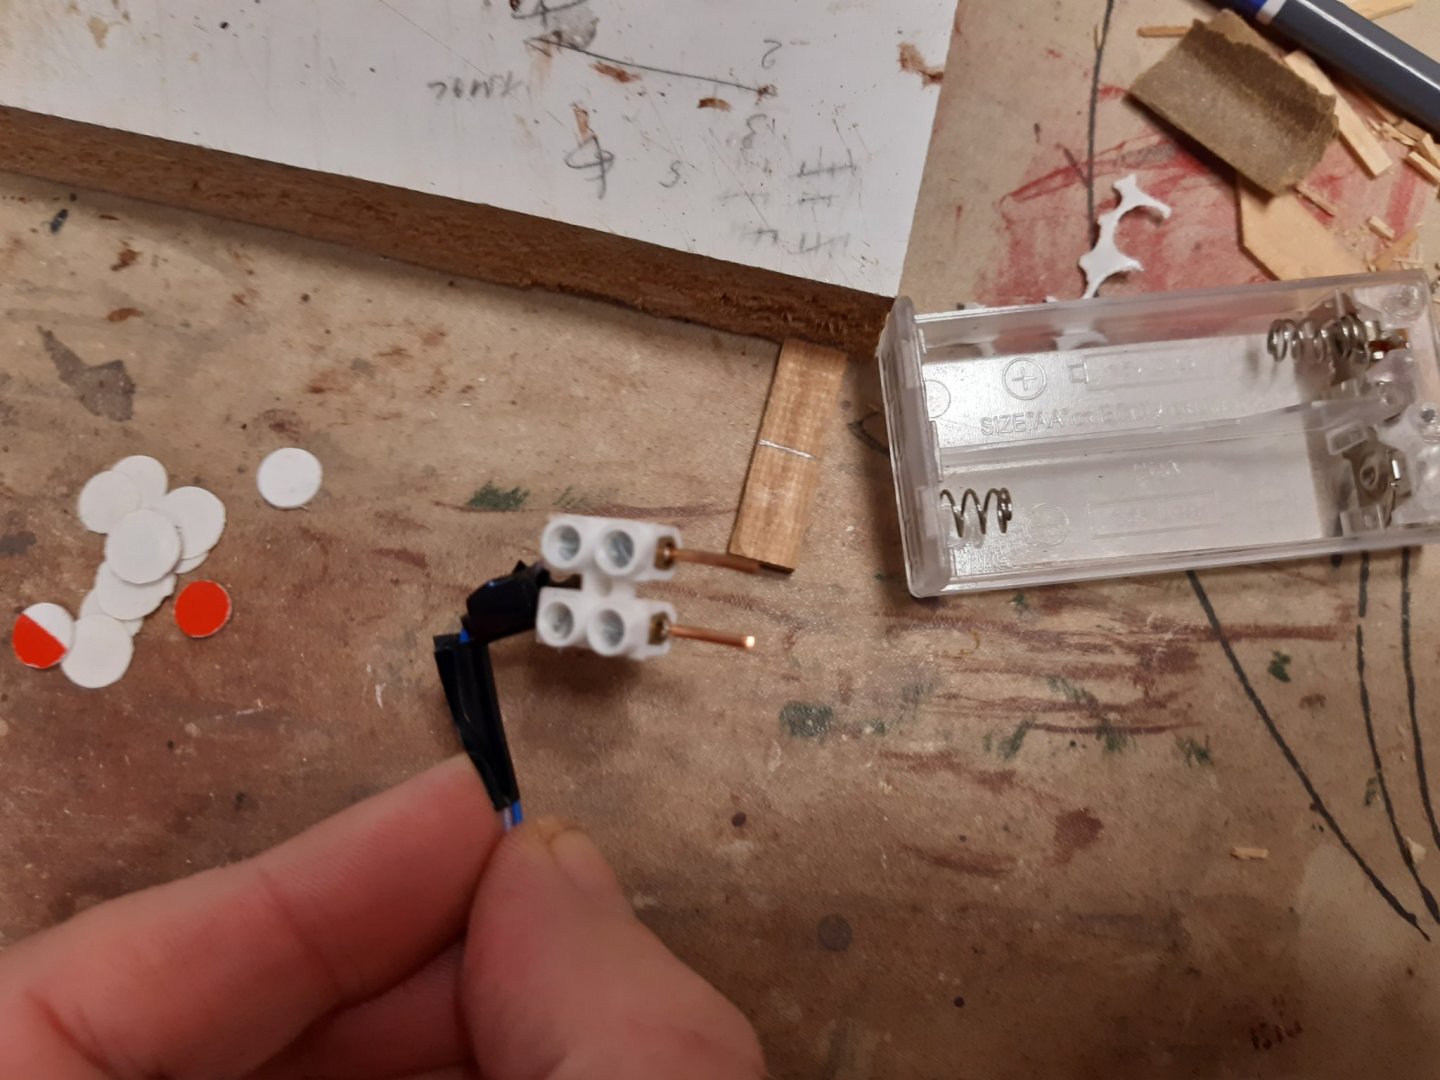
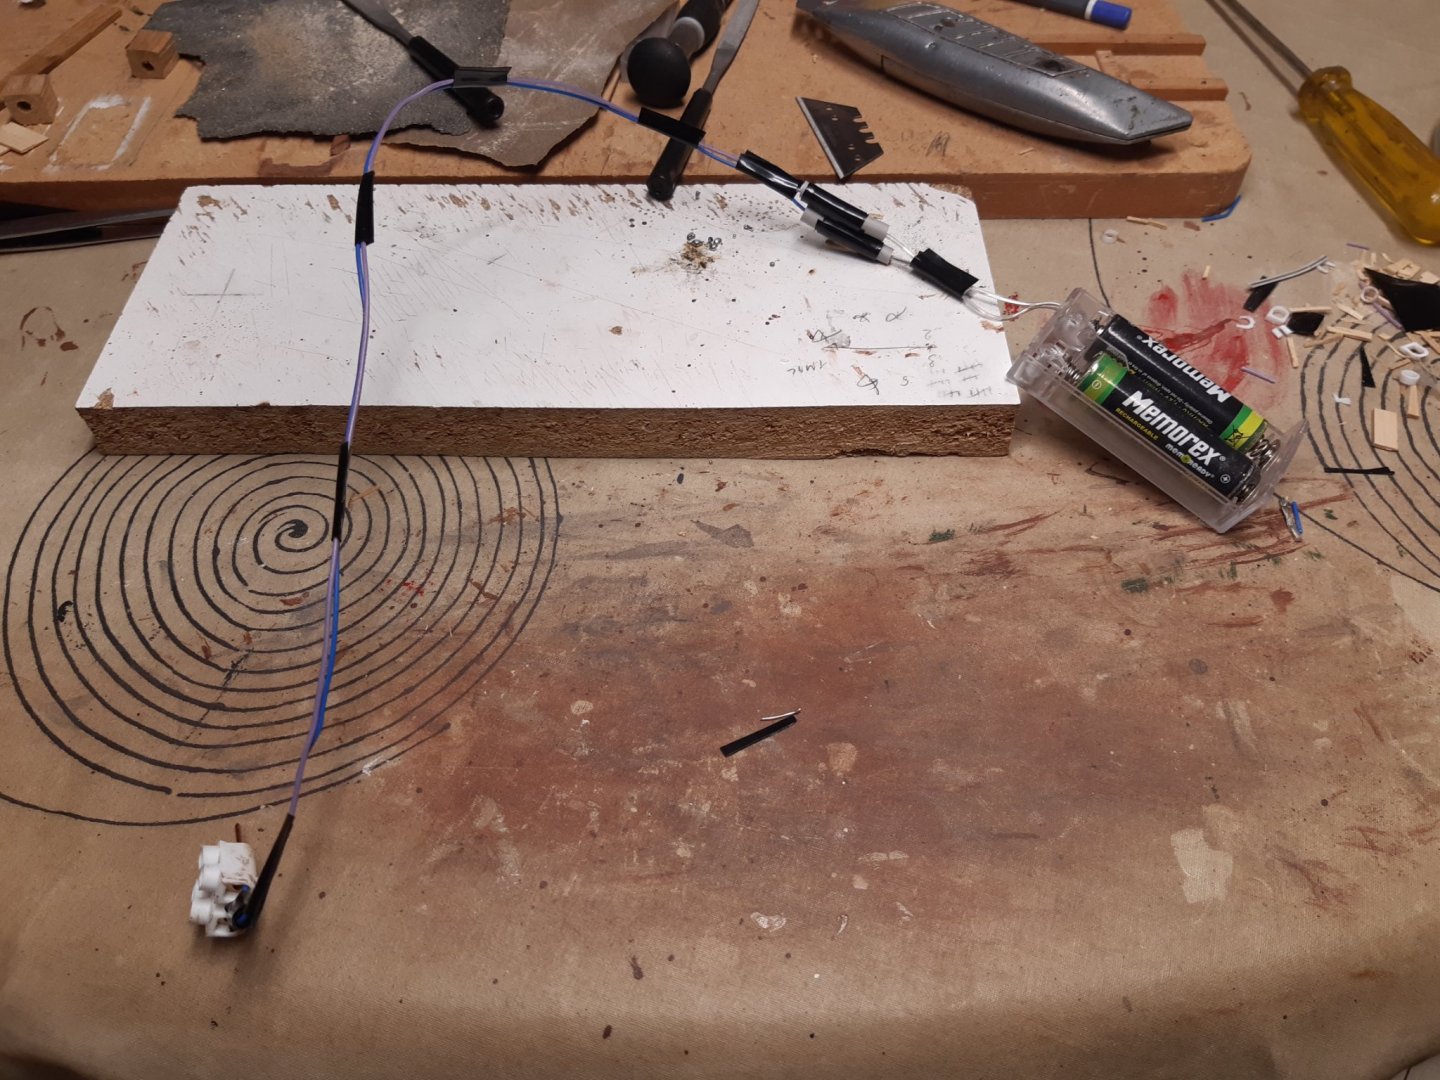
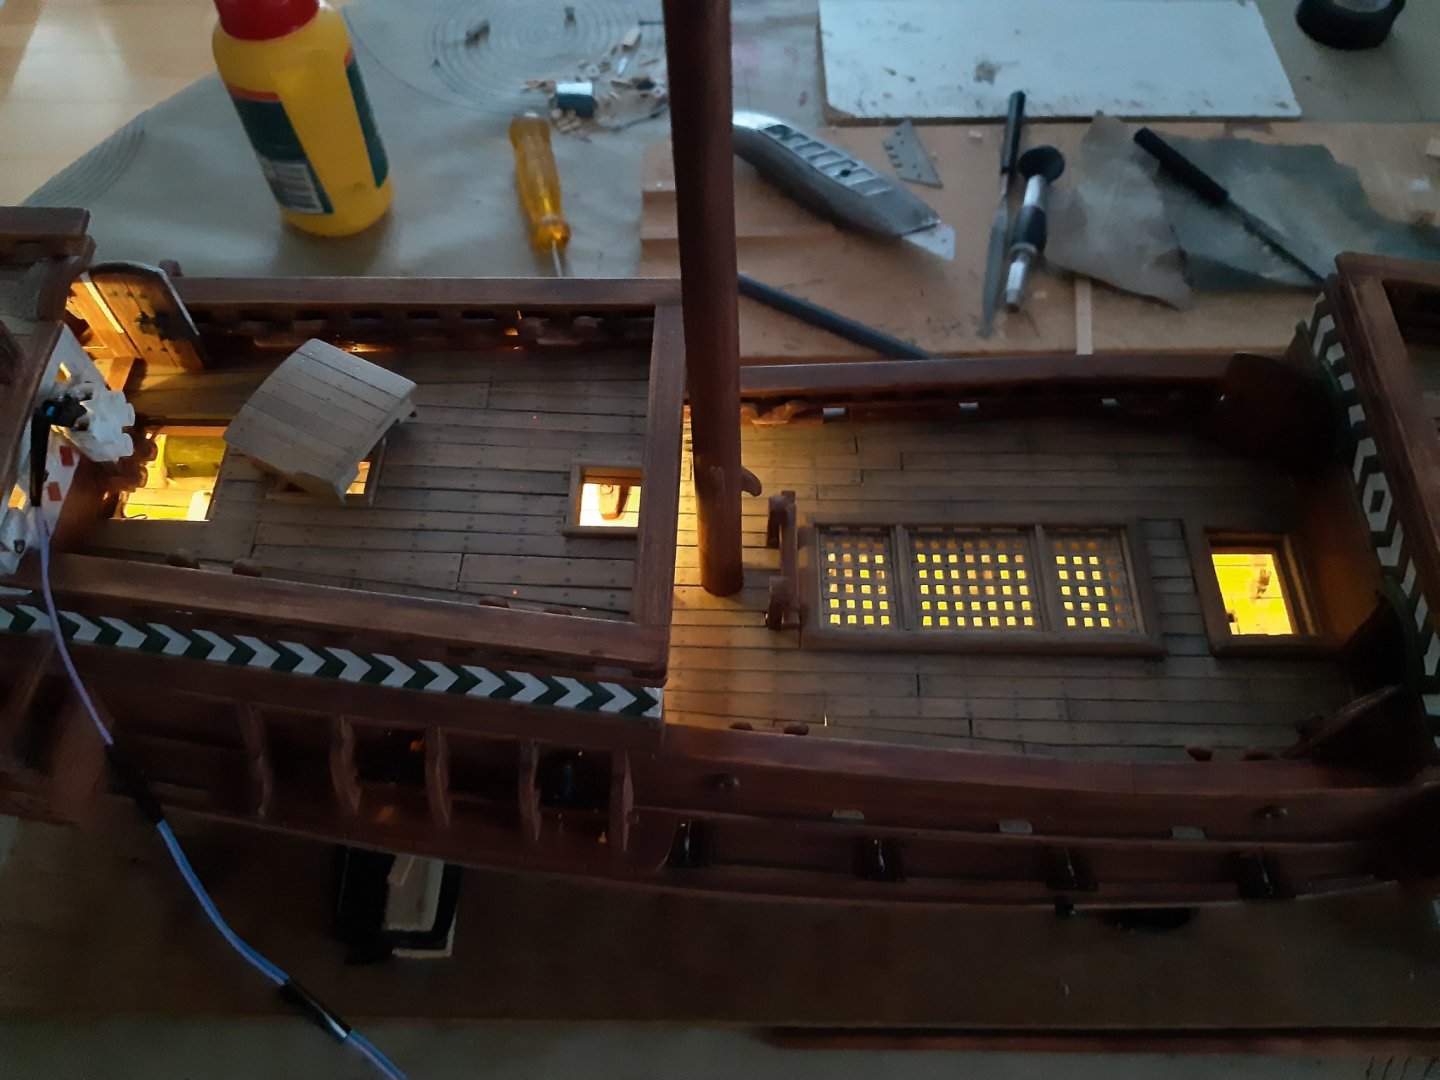
If I understand the question correctly battery holder with extended wire, The wire is soldered The wire ends in the clamp together with the copper wires of 1.5 diameter Need light ? Open the helmsman's housing and insert the clamp simple and effective

- 756 replies
-
- 6
-
-
- galleon
- golden hind
- (and 2 more)
-
Beautiful model. Congrats 👍
-
Looks great 👍
-
La Toulonnaise 1823 by ward - FINISHED - 1/50
Baker replied to ward's topic in - Build logs for subjects built 1801 - 1850
Nice work Ward 👍- 26 replies
-
- 1
-
-
- schooner
- la toulonnaise
- (and 1 more)
-
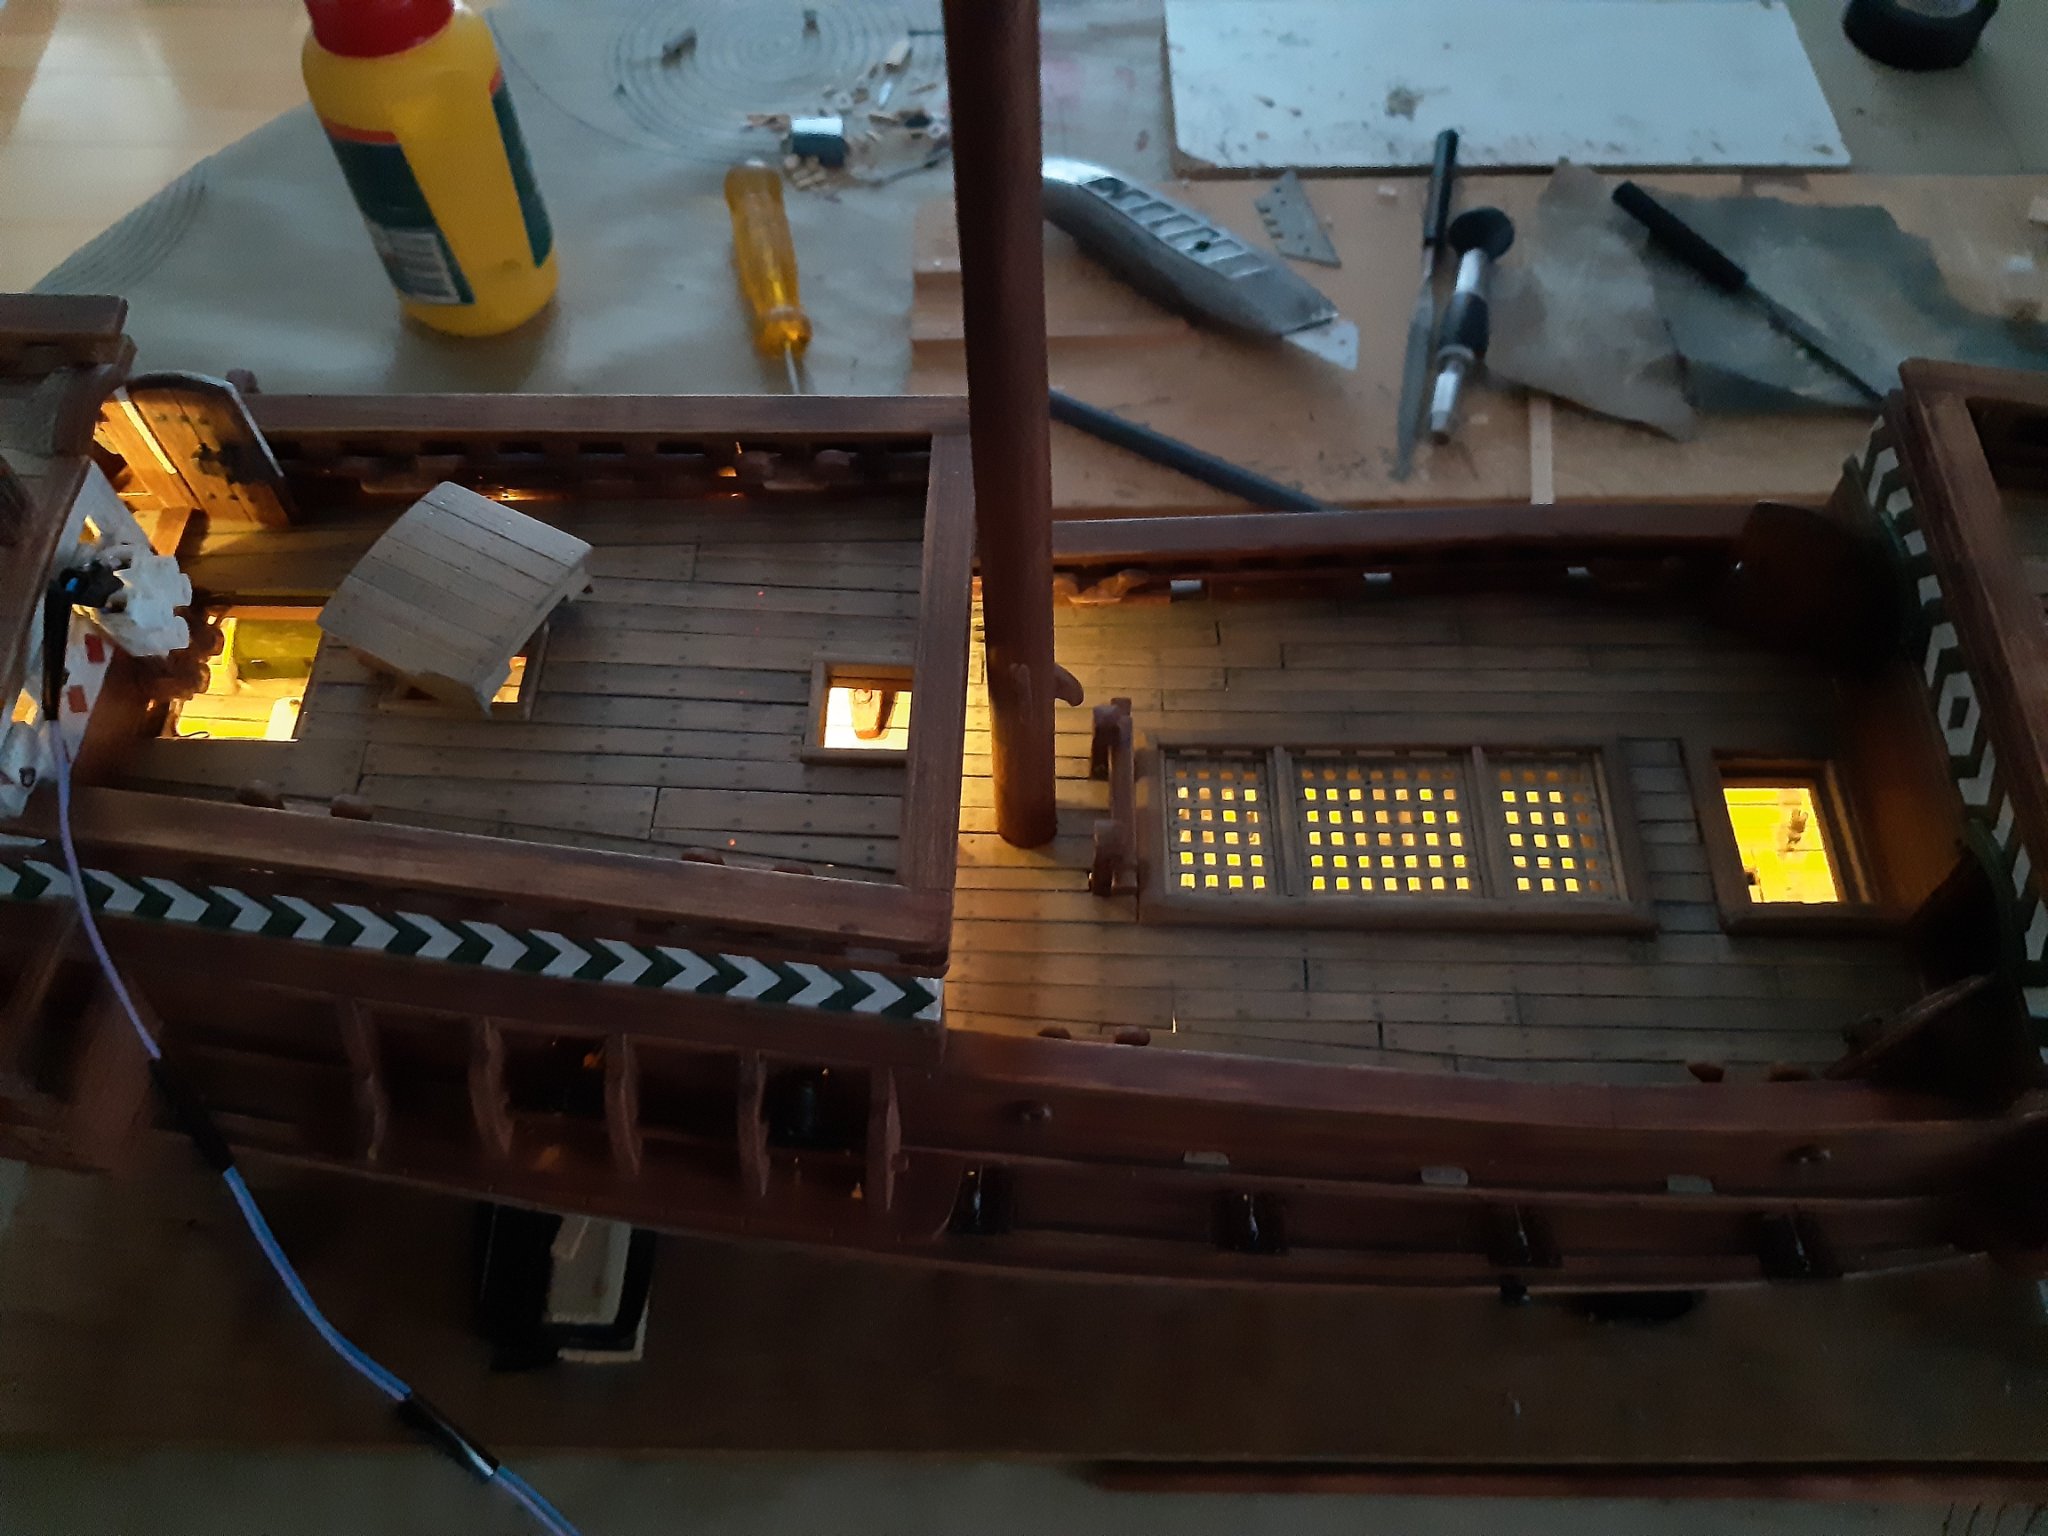
The LEDs are actually Christmas lights (very cheap and easy to use) The wire is concealed against the ceiling on the decks. And ends in the removable helmsman's house on an adapted "lusterklem" (in English ??)
- 756 replies
-
- 8
-
-
- galleon
- golden hind
- (and 2 more)
-
I don't think that's a good idea. The width of the planks can vary, that of the wale probably not. Have a look at the pdf page 32 2014Gresham.pdf Or check out my Pelican / Golden Hind build somewhere from post 40
-
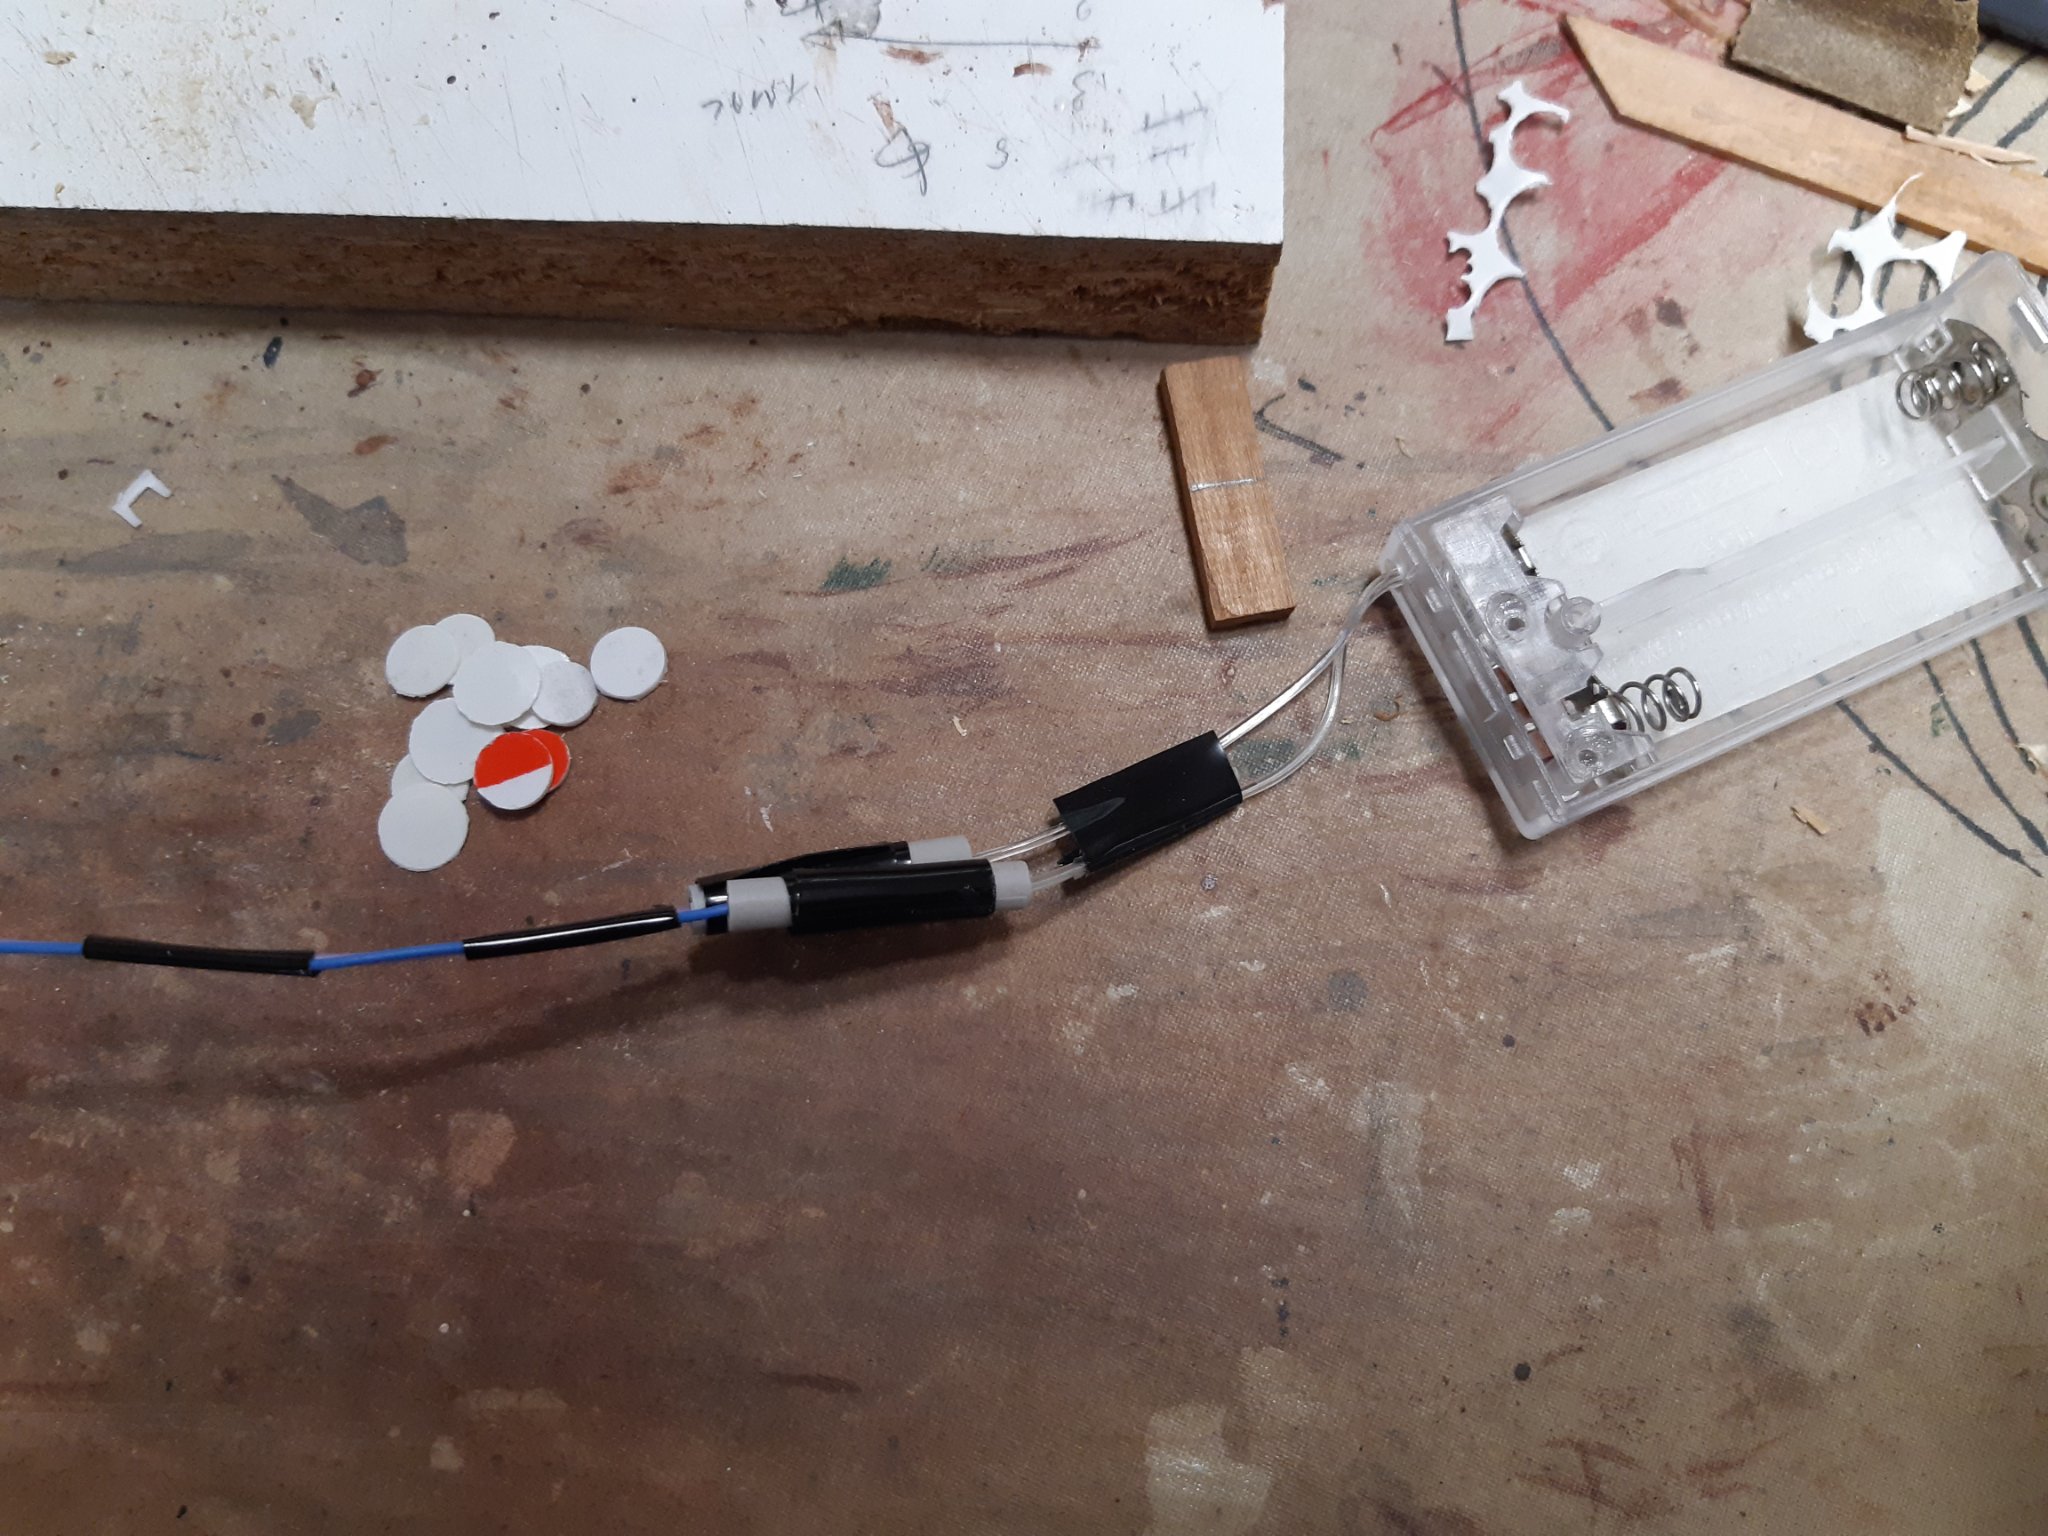
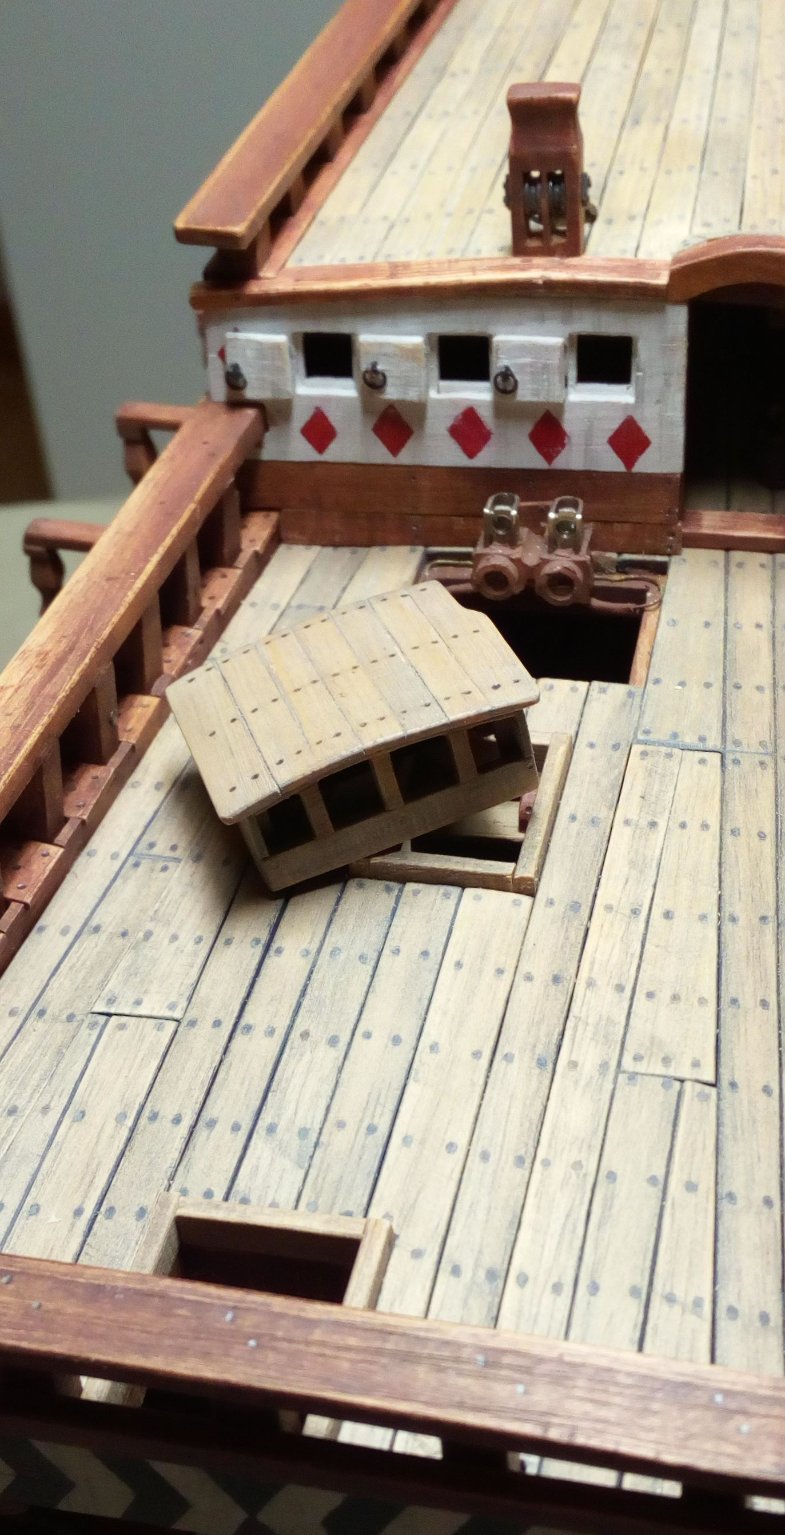
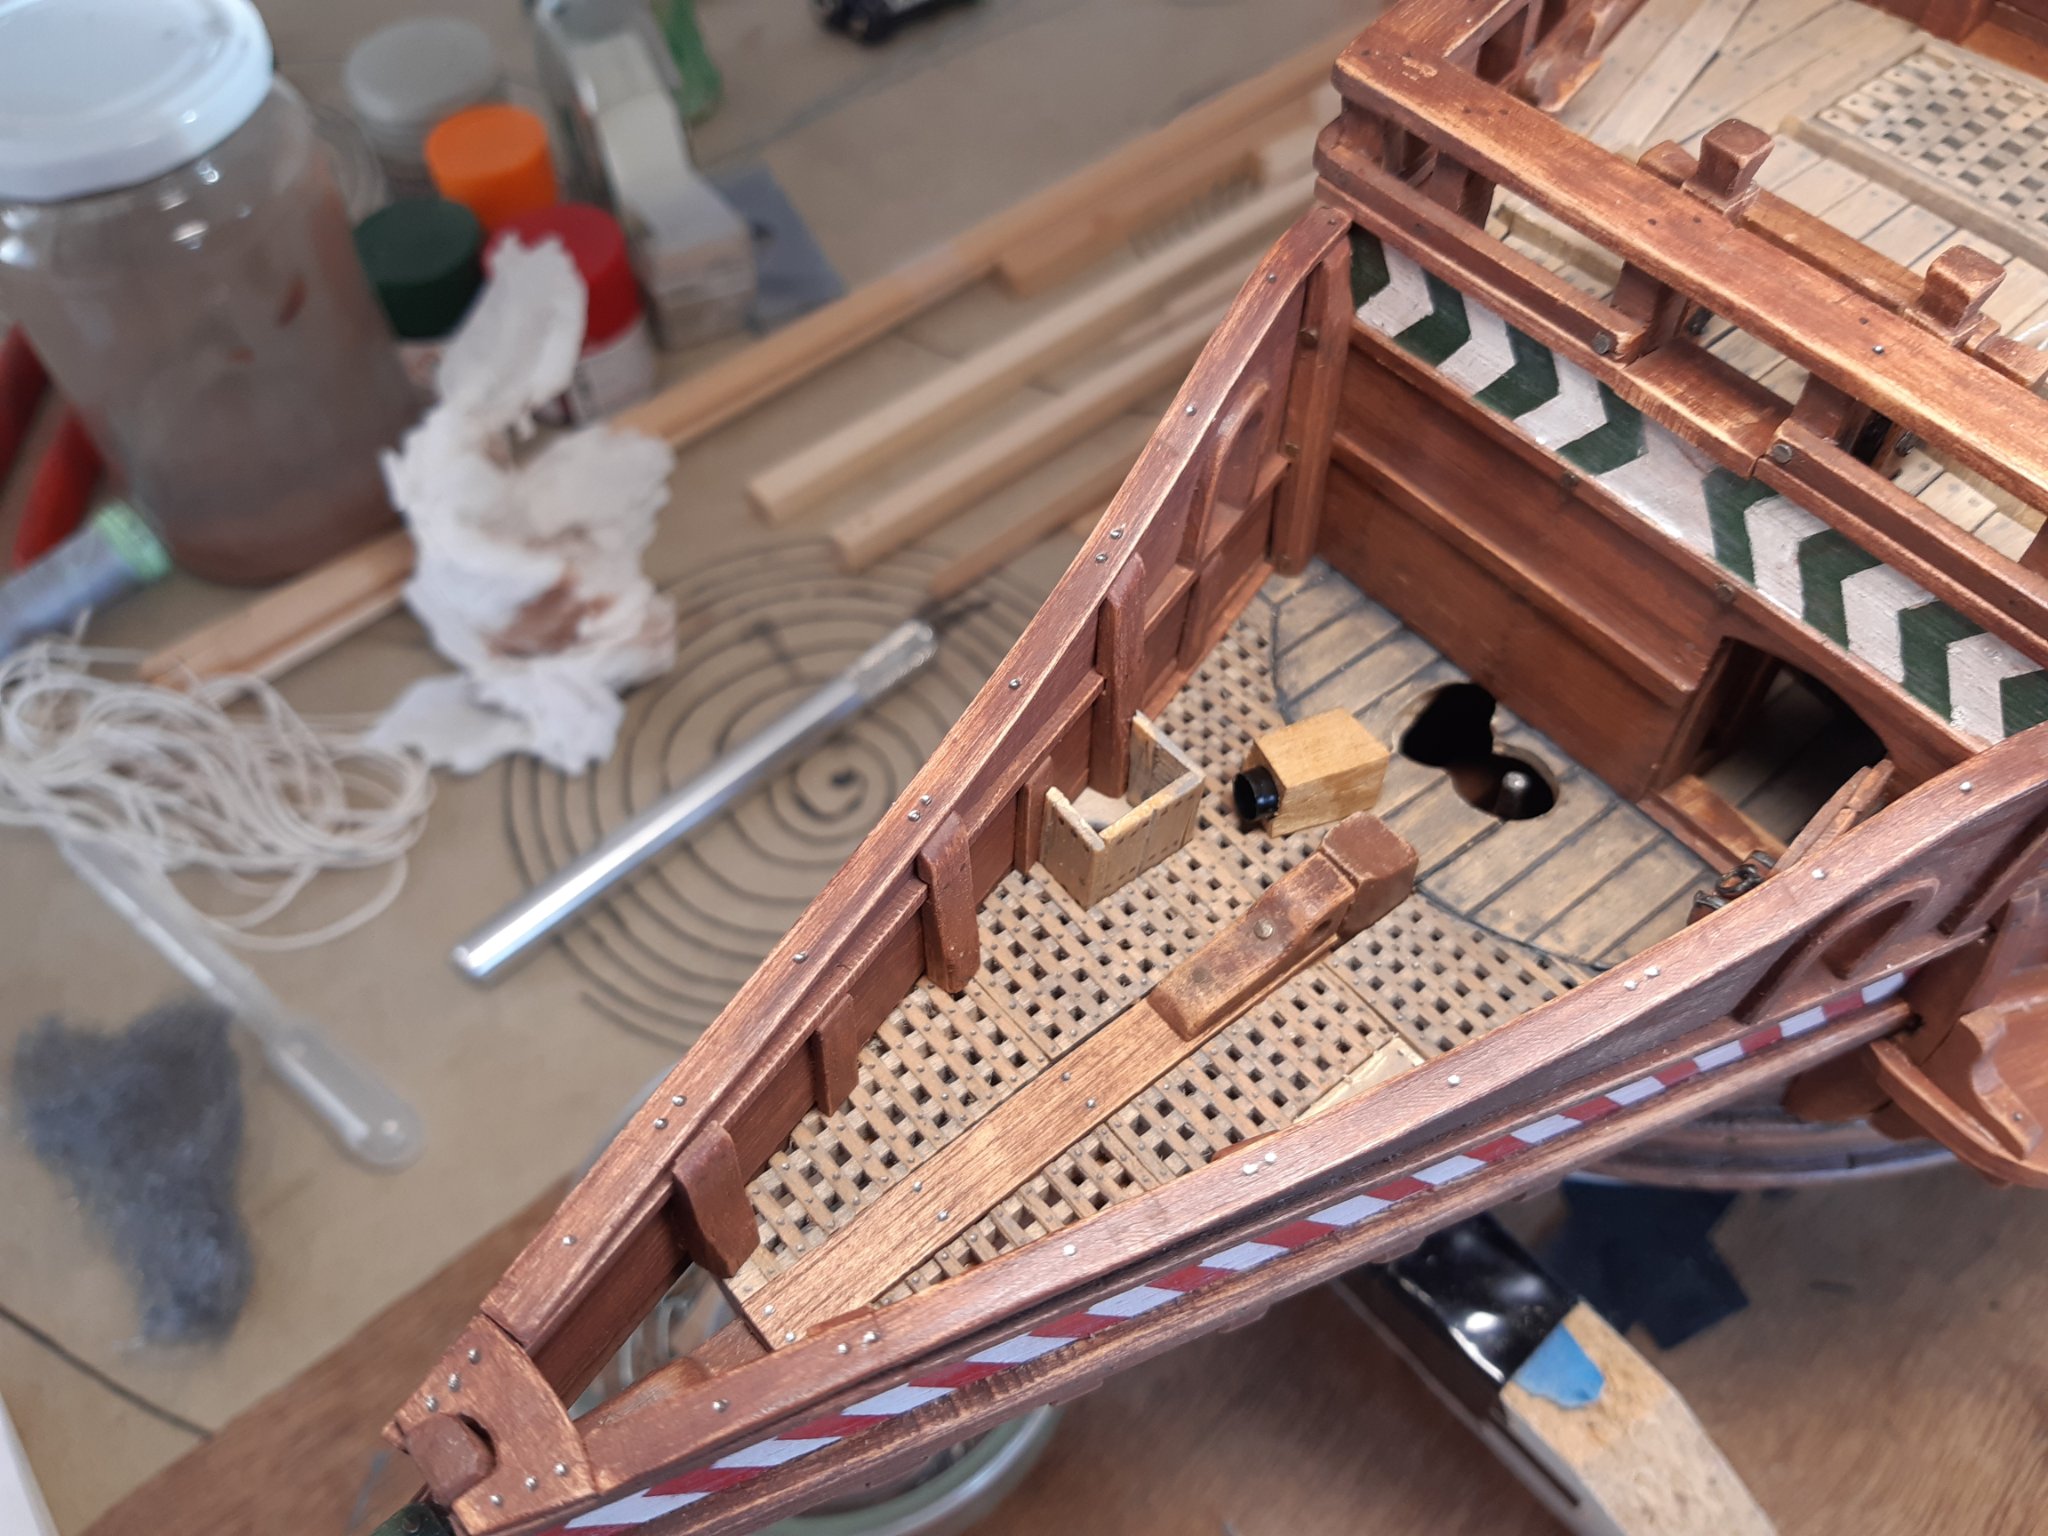
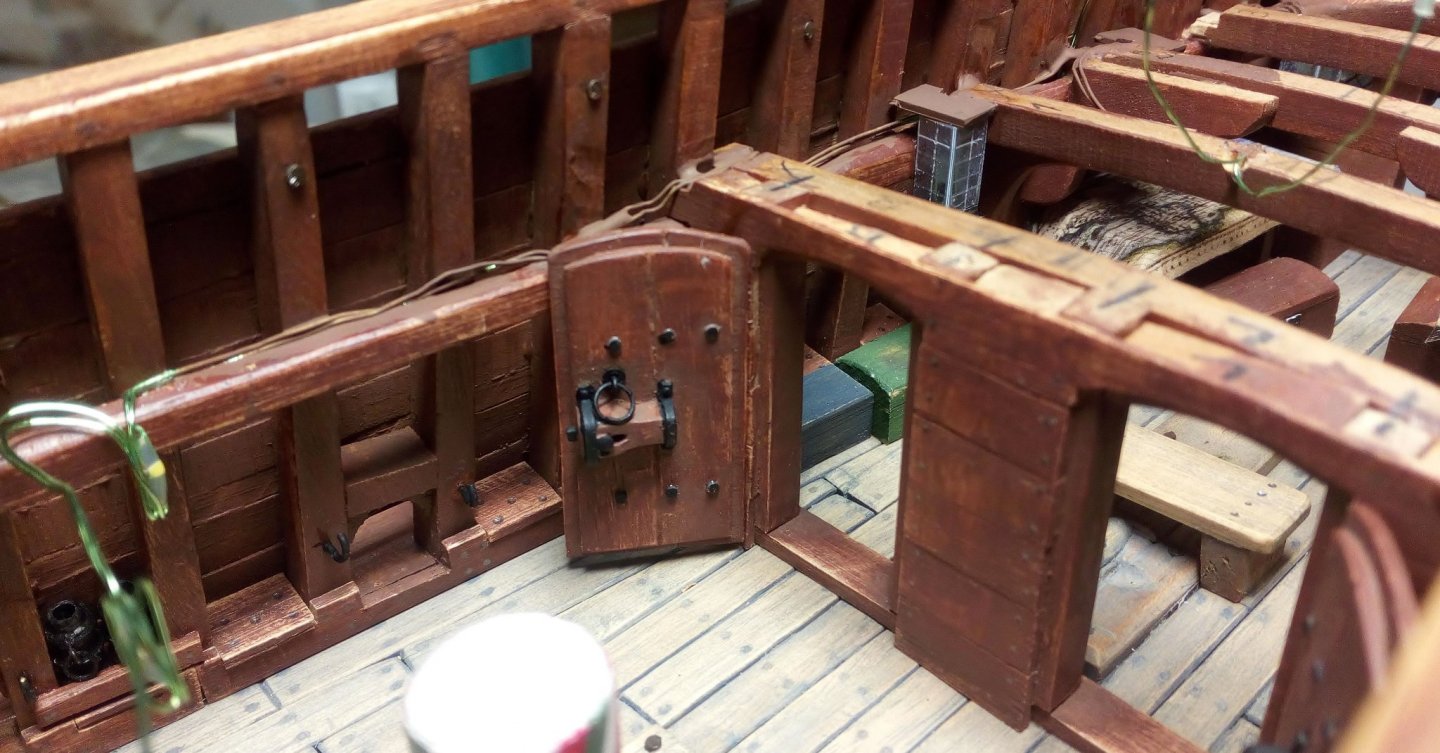
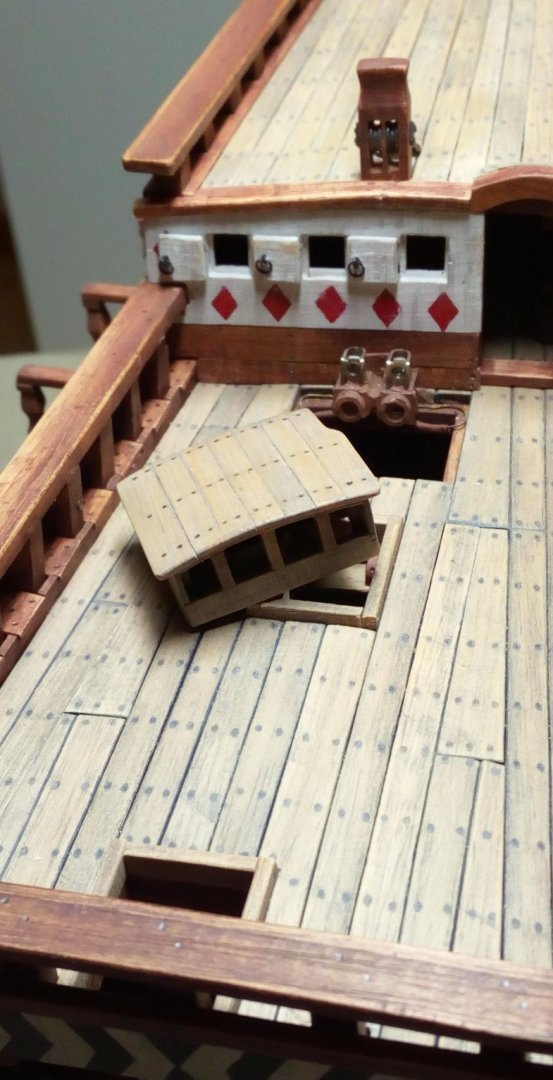
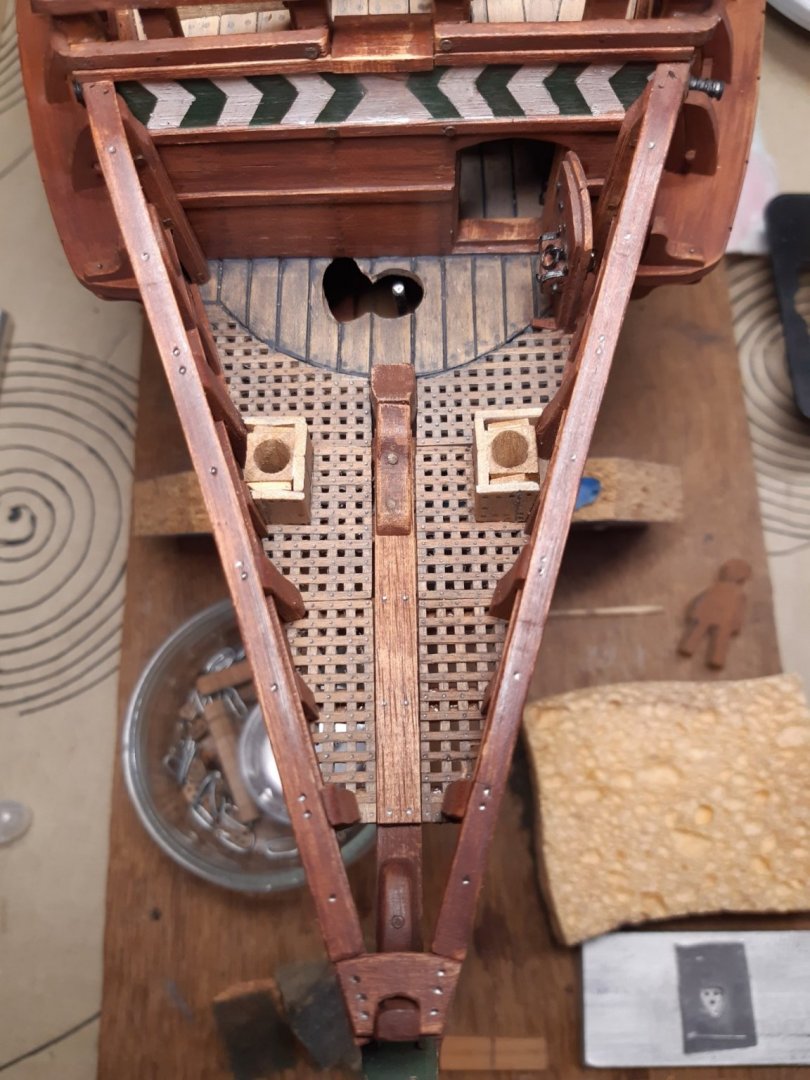
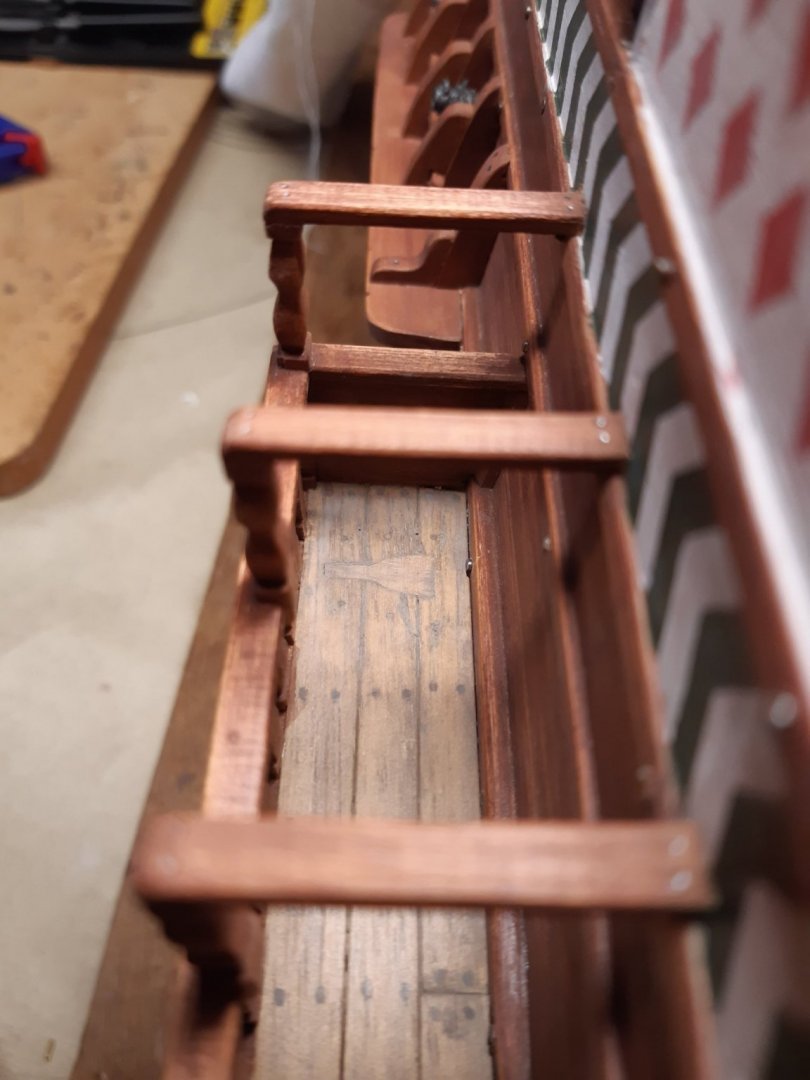
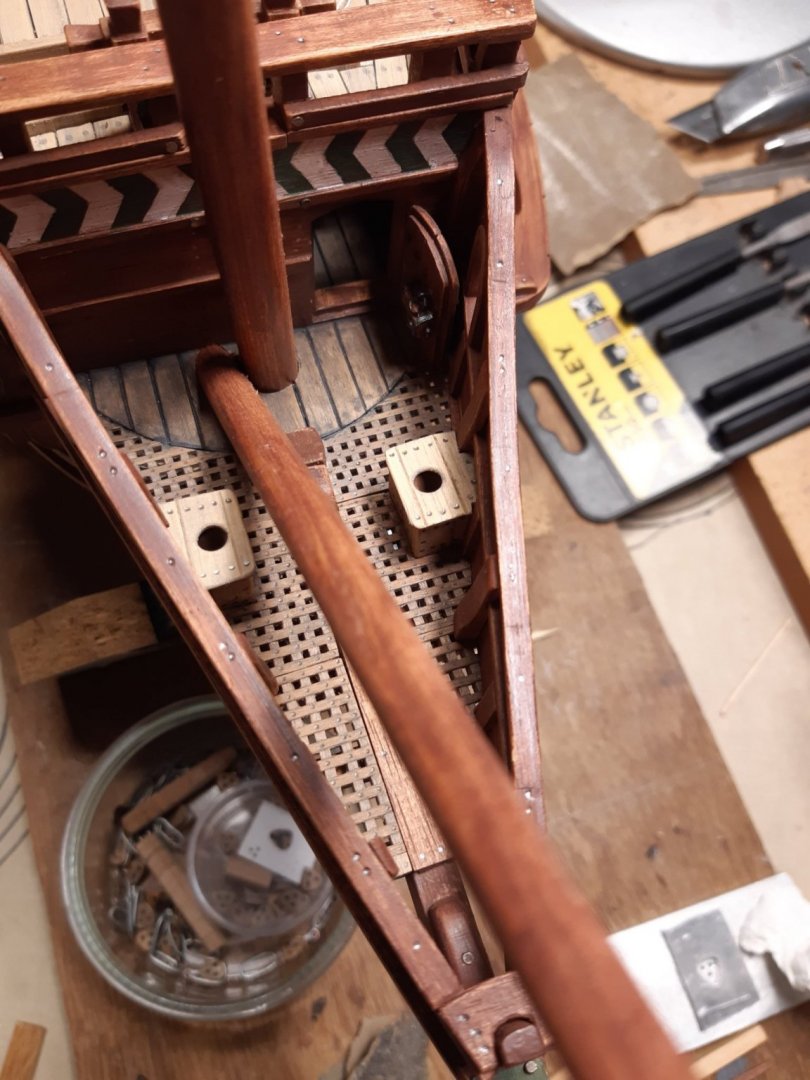
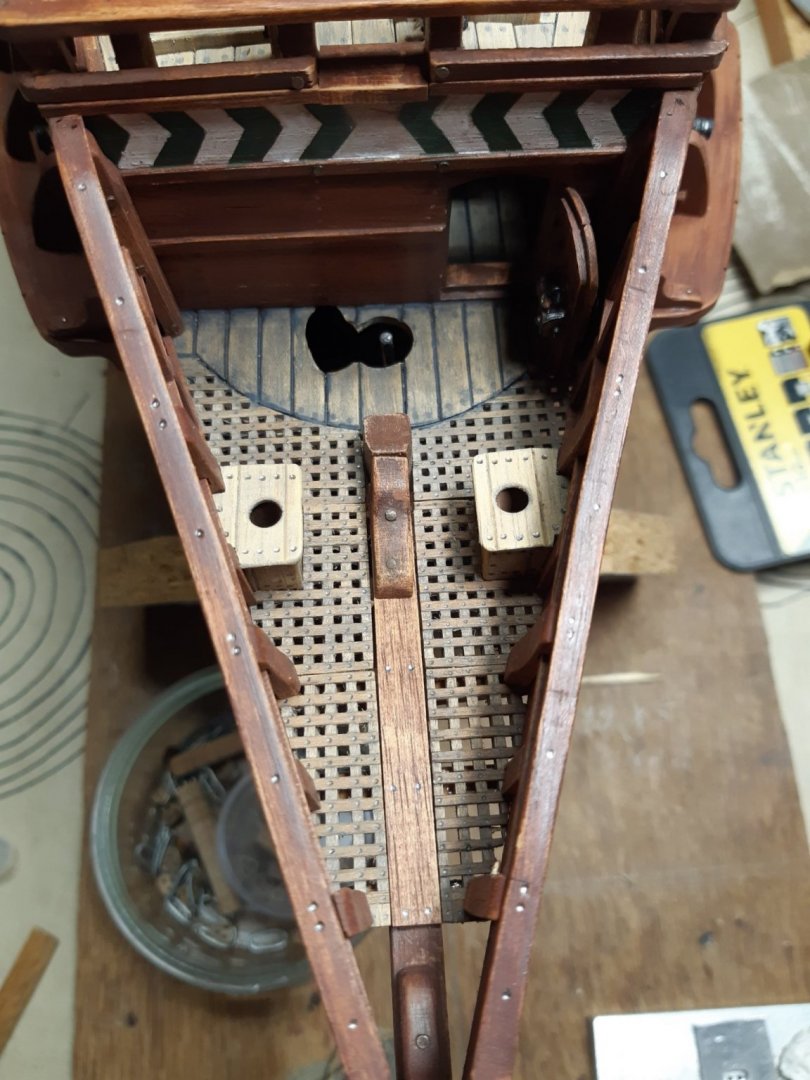
Hello, i slowly restarted the Pelican build. So a small update. Made a removable plug for the battery of the LED lights. Not hi tech, but it does what it should do: turn on the LEDs. Some things that may not be completely correct have been adjusted. The stern gallery was also normally used as a combat station. So no sanitary facilities here. The holes are closed. The two holes in the beakhead have been modified, there are now two seats of ease. The black tubing turned out to be a bad idea and was not used. Thanks for following


- 756 replies
-
- 10
-
-
- galleon
- golden hind
- (and 2 more)
-
You have completely succeeded in this. Congrats, nice painting job.
-
Well, I'm a little very old fashioned. I don't have an airbrush. Simply the old methods. painting, dry brushing and a washing with thinned paint. On plastic Have a look at the military models (links in signature) On wood Paint with thinned paint, Let dry, polish with scotch brite (post 129)
-
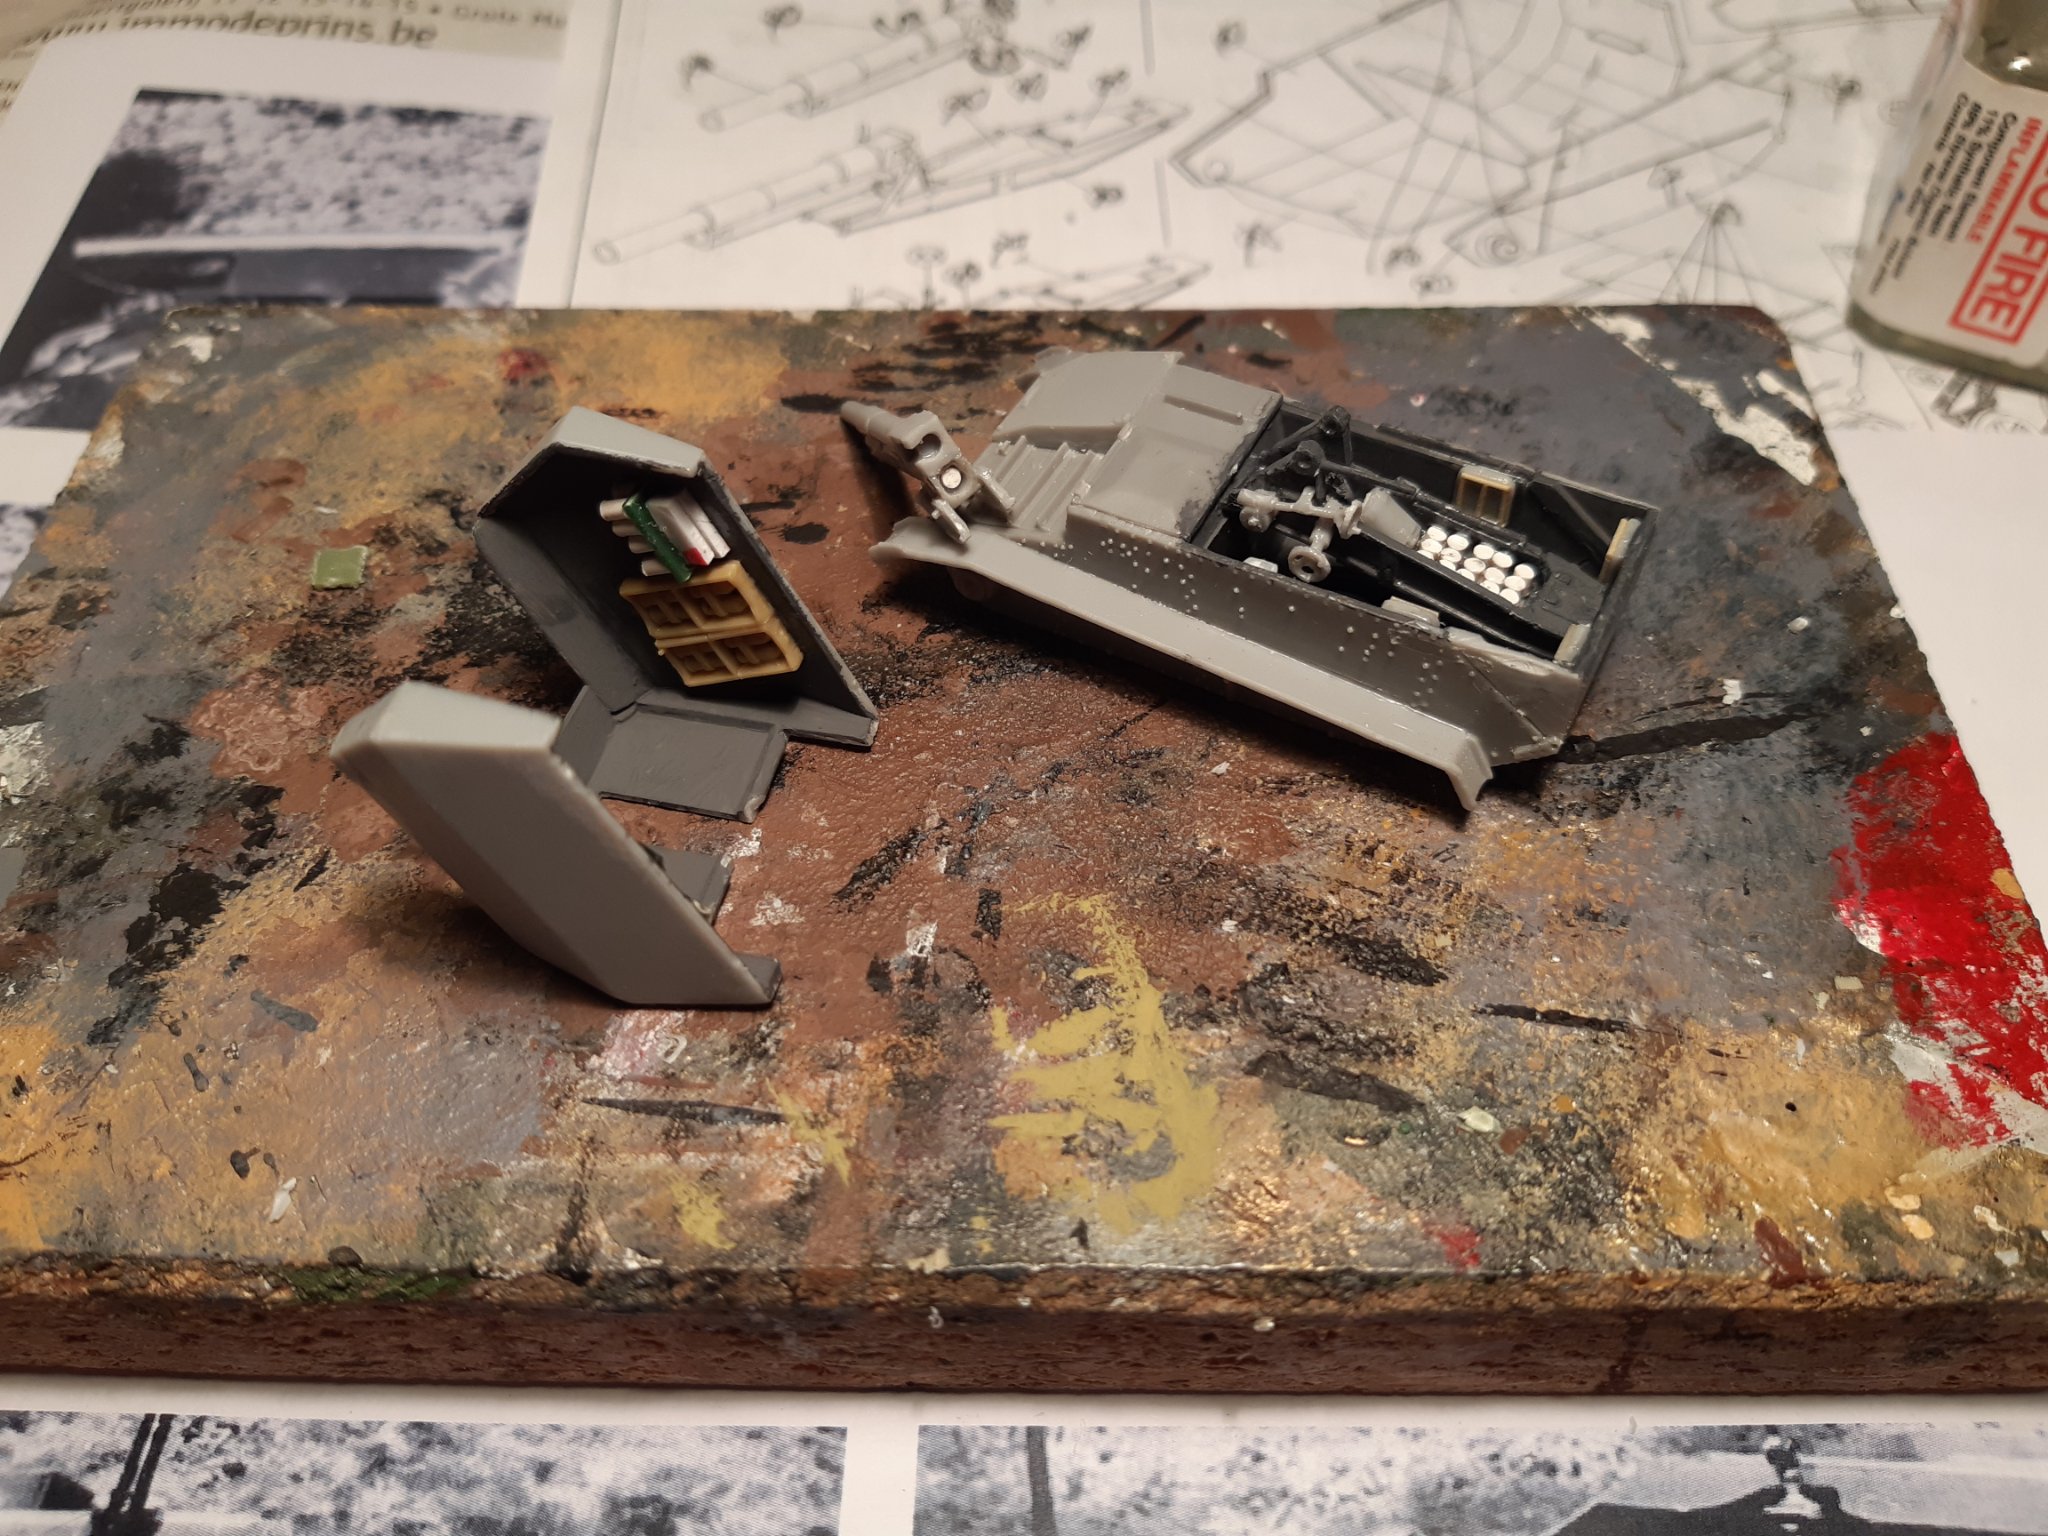
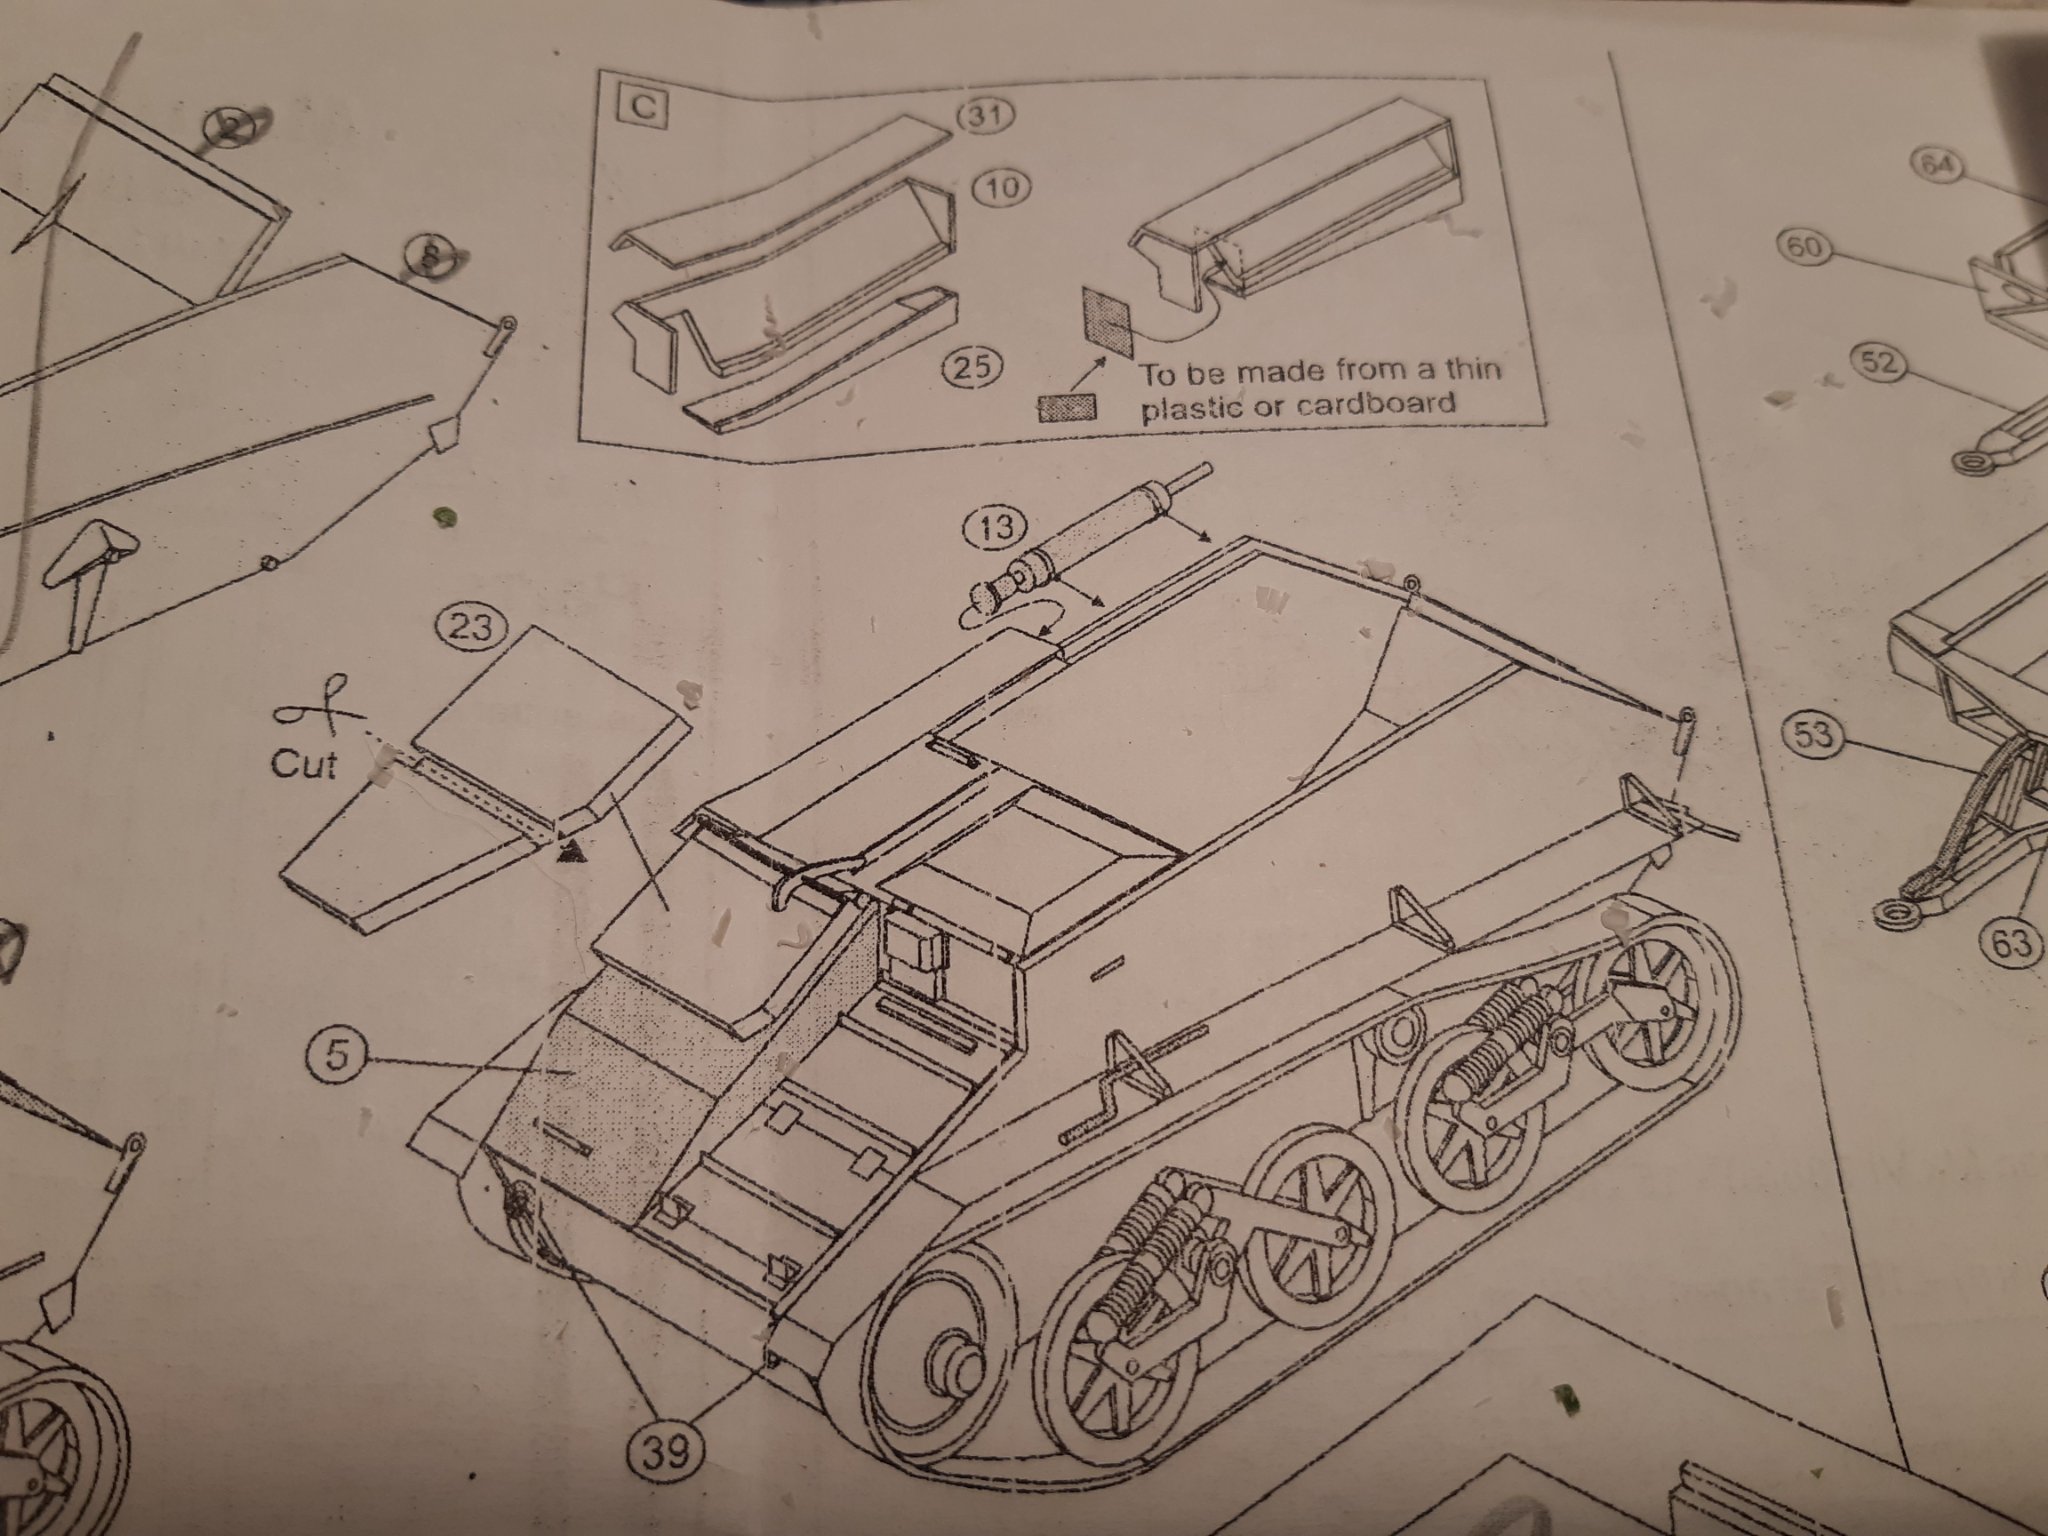
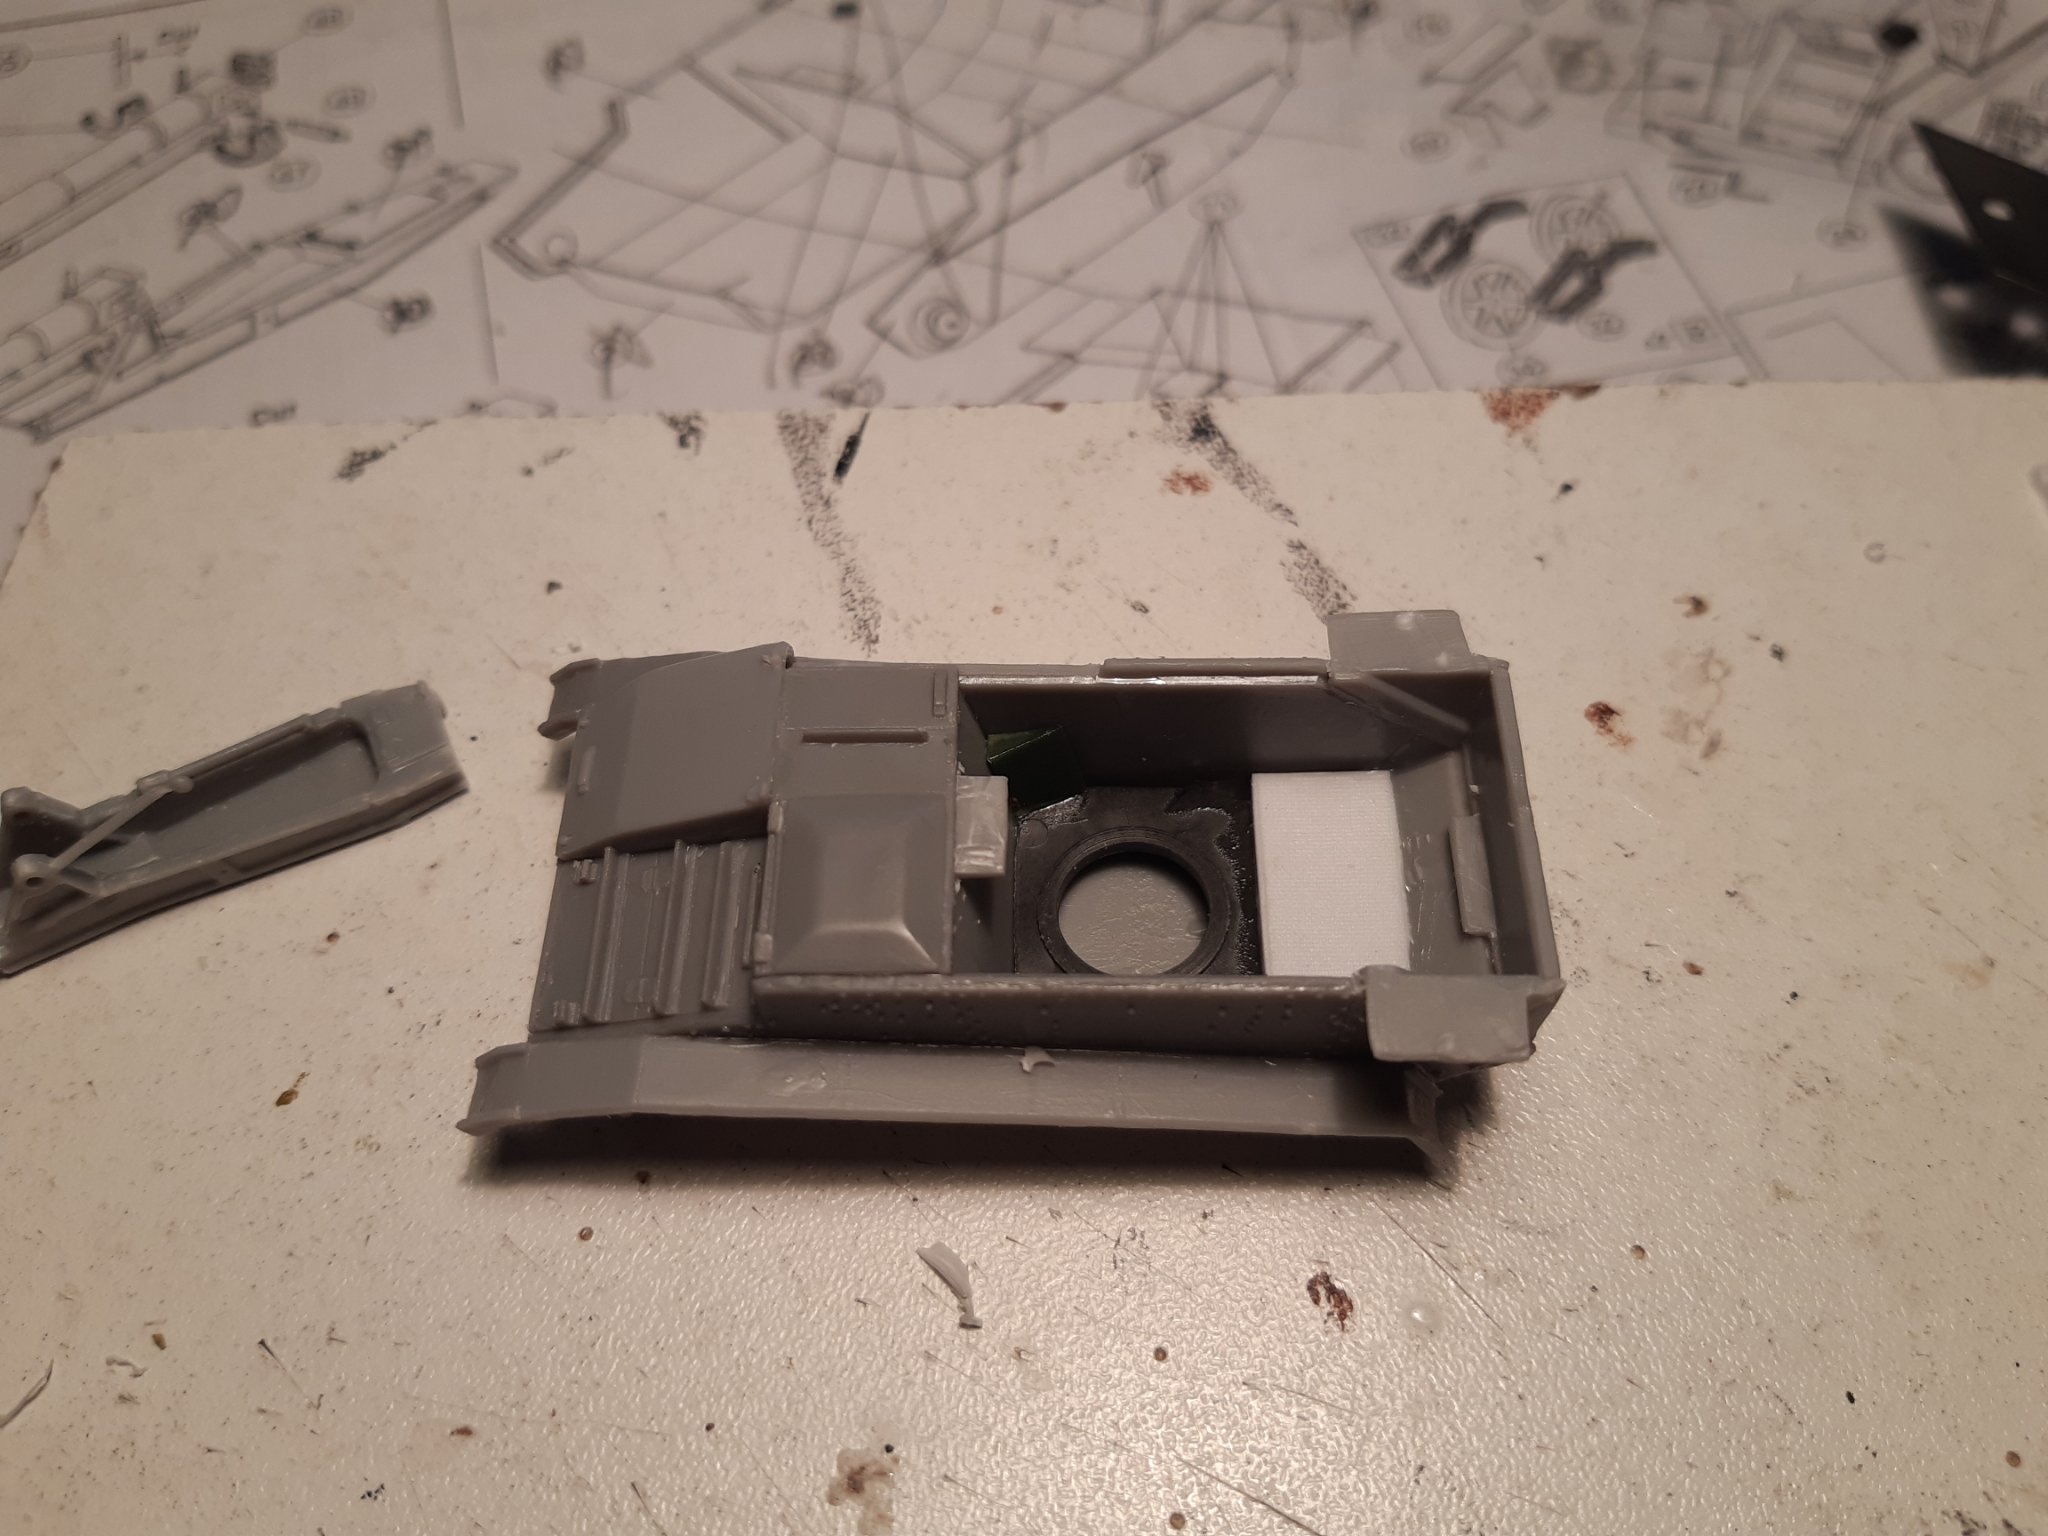
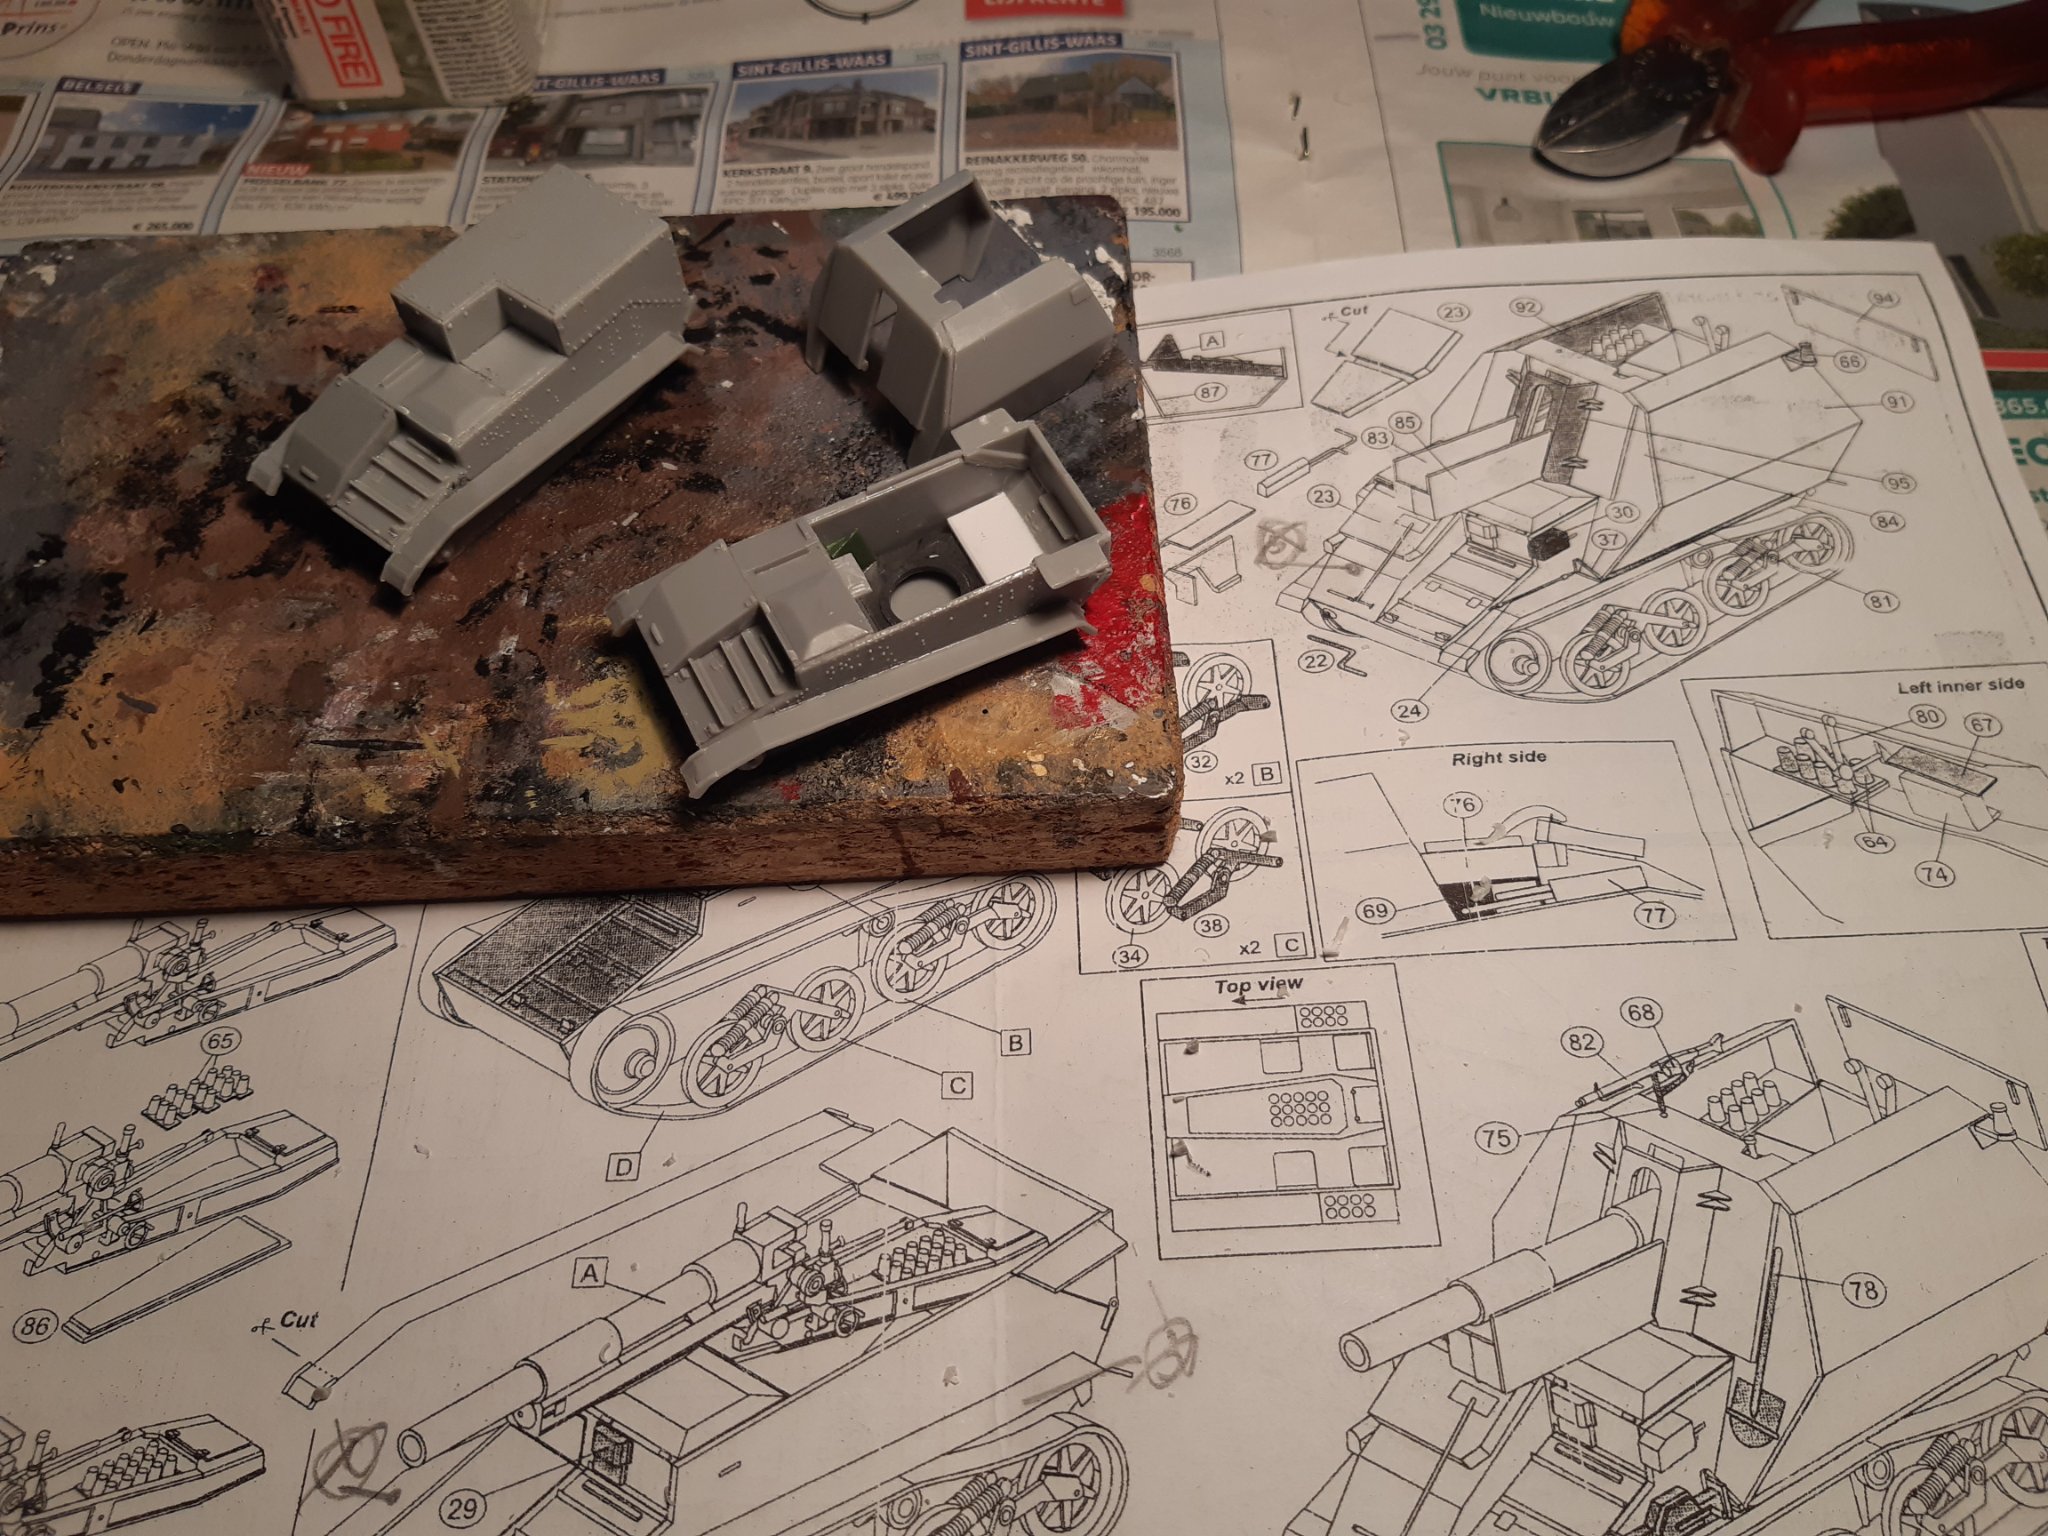
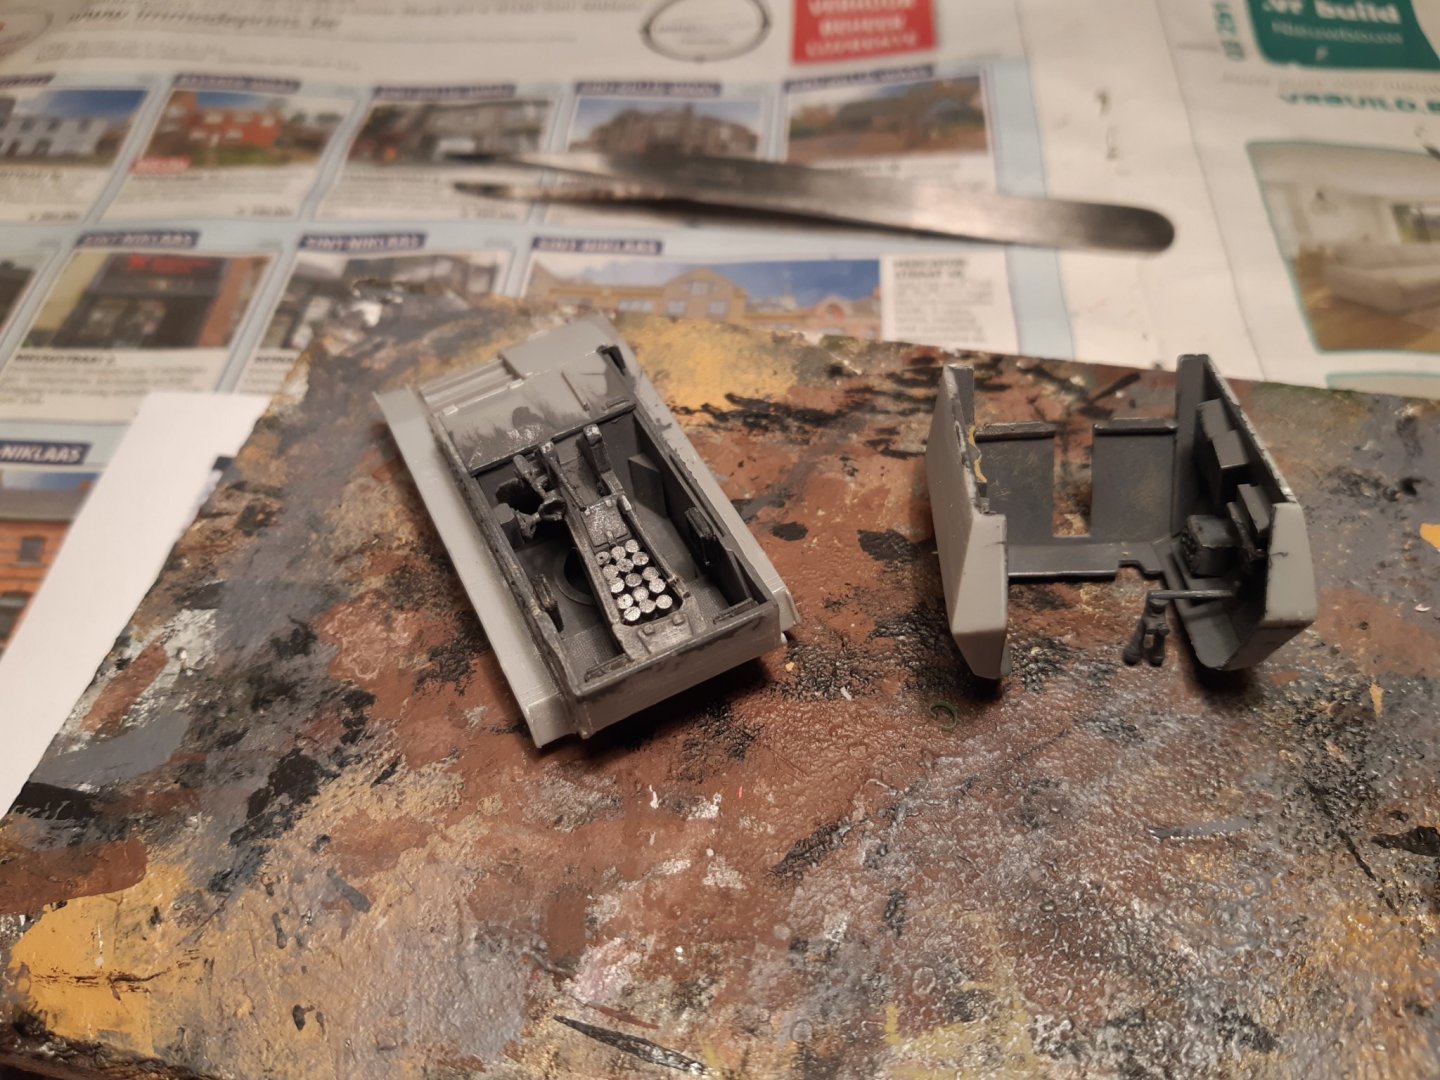
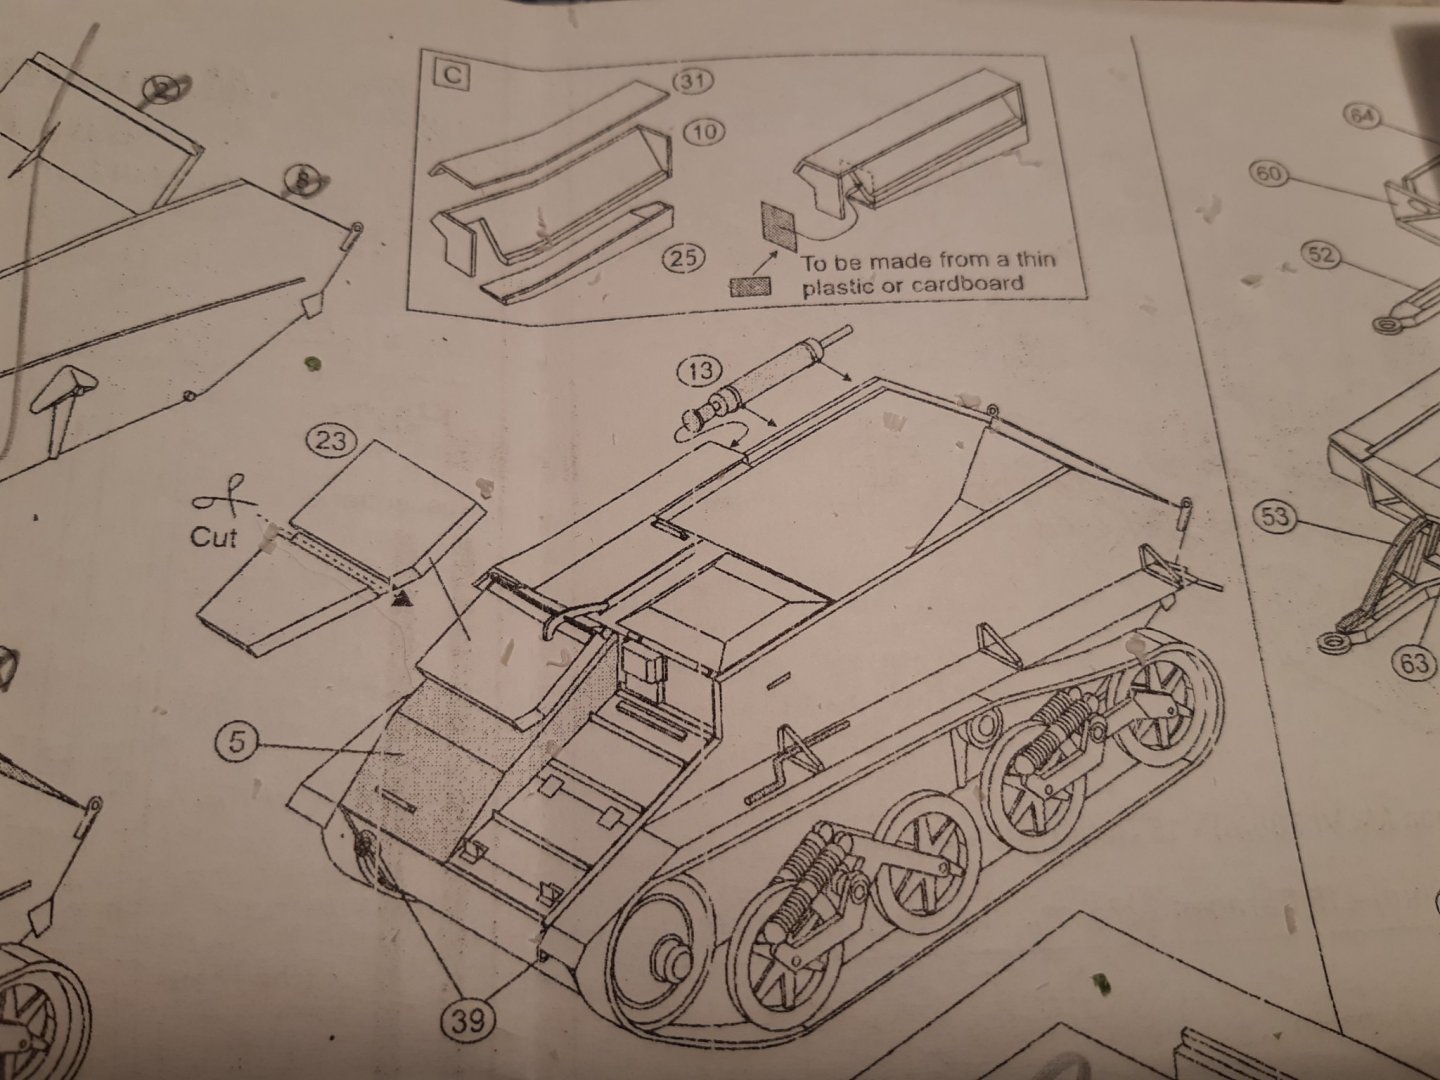
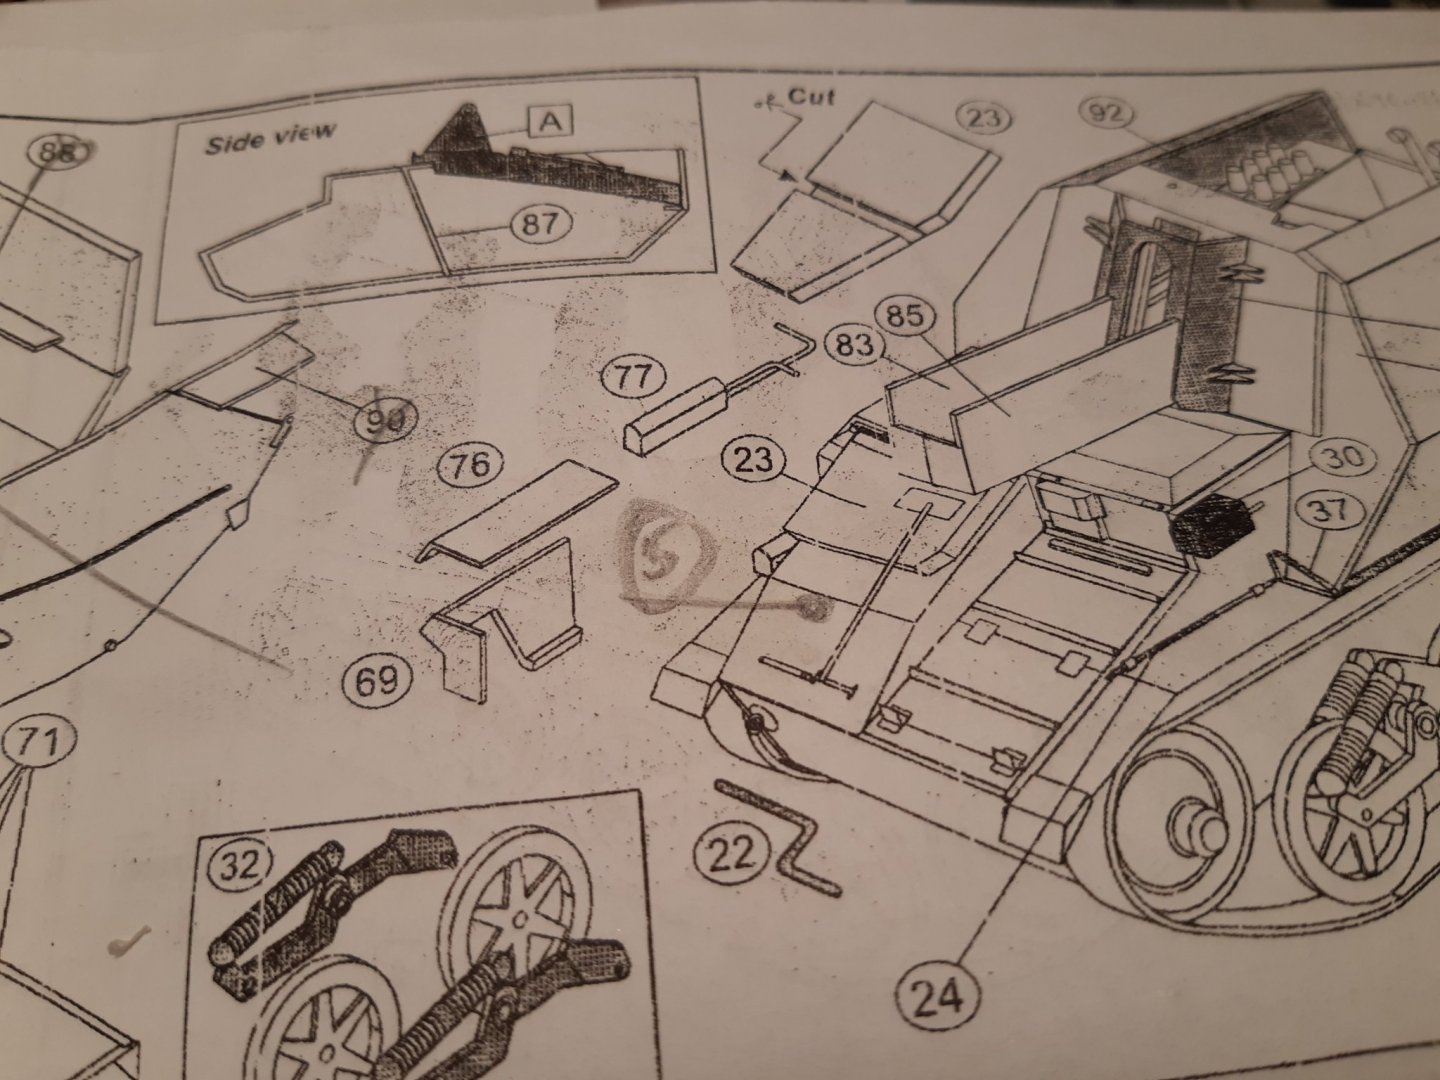
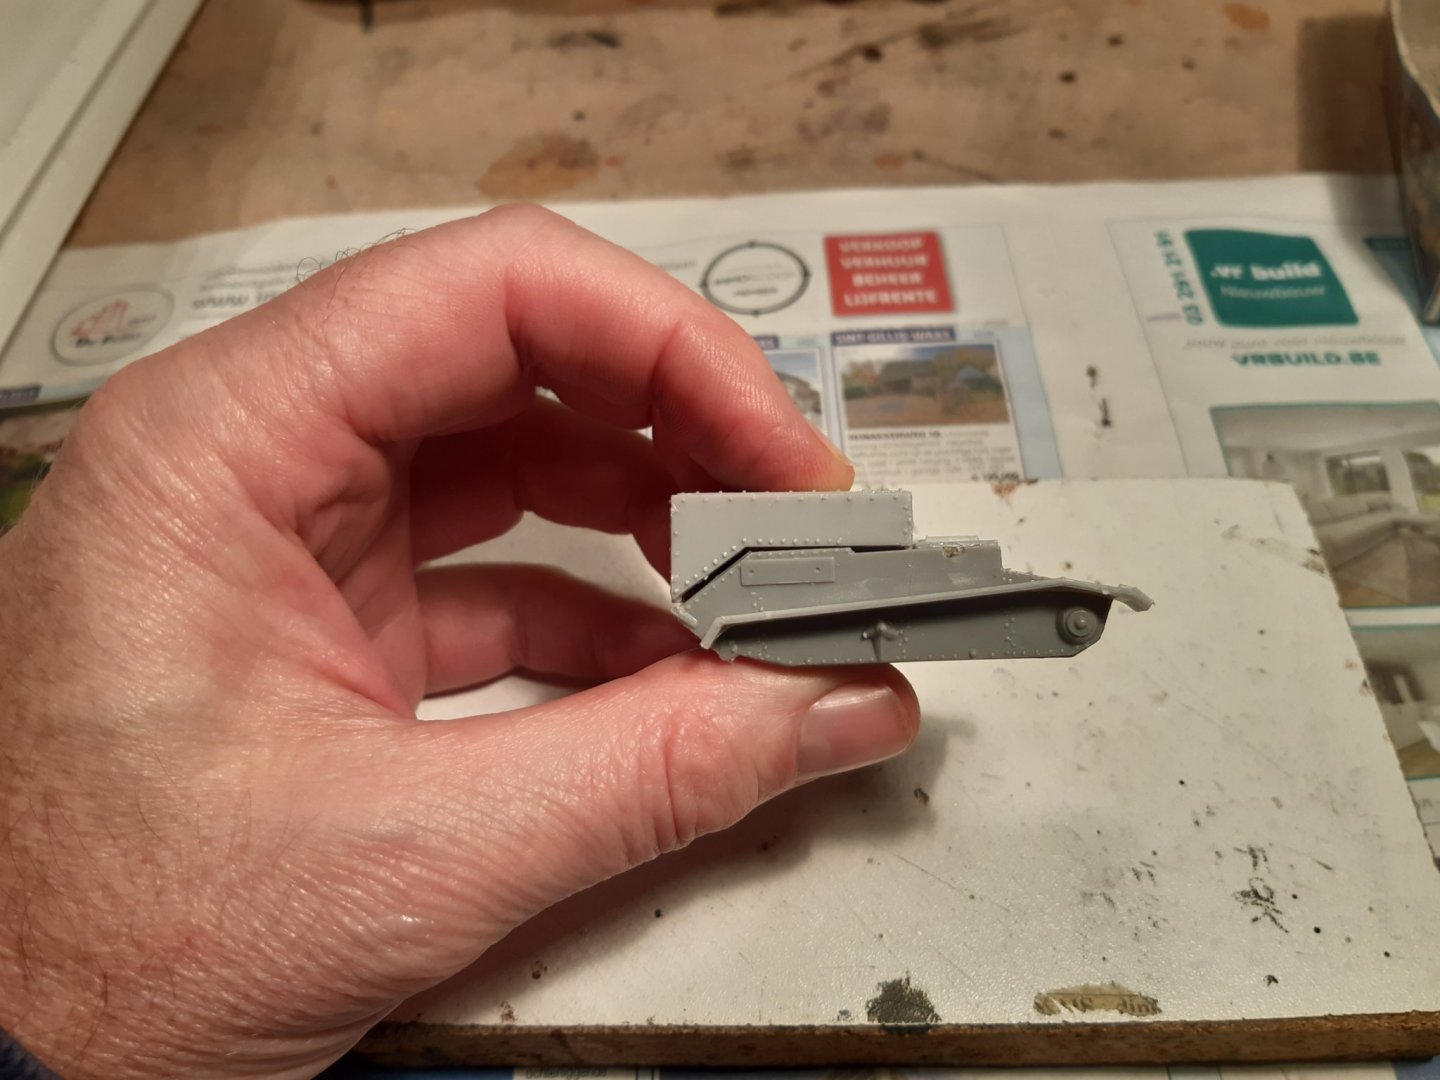
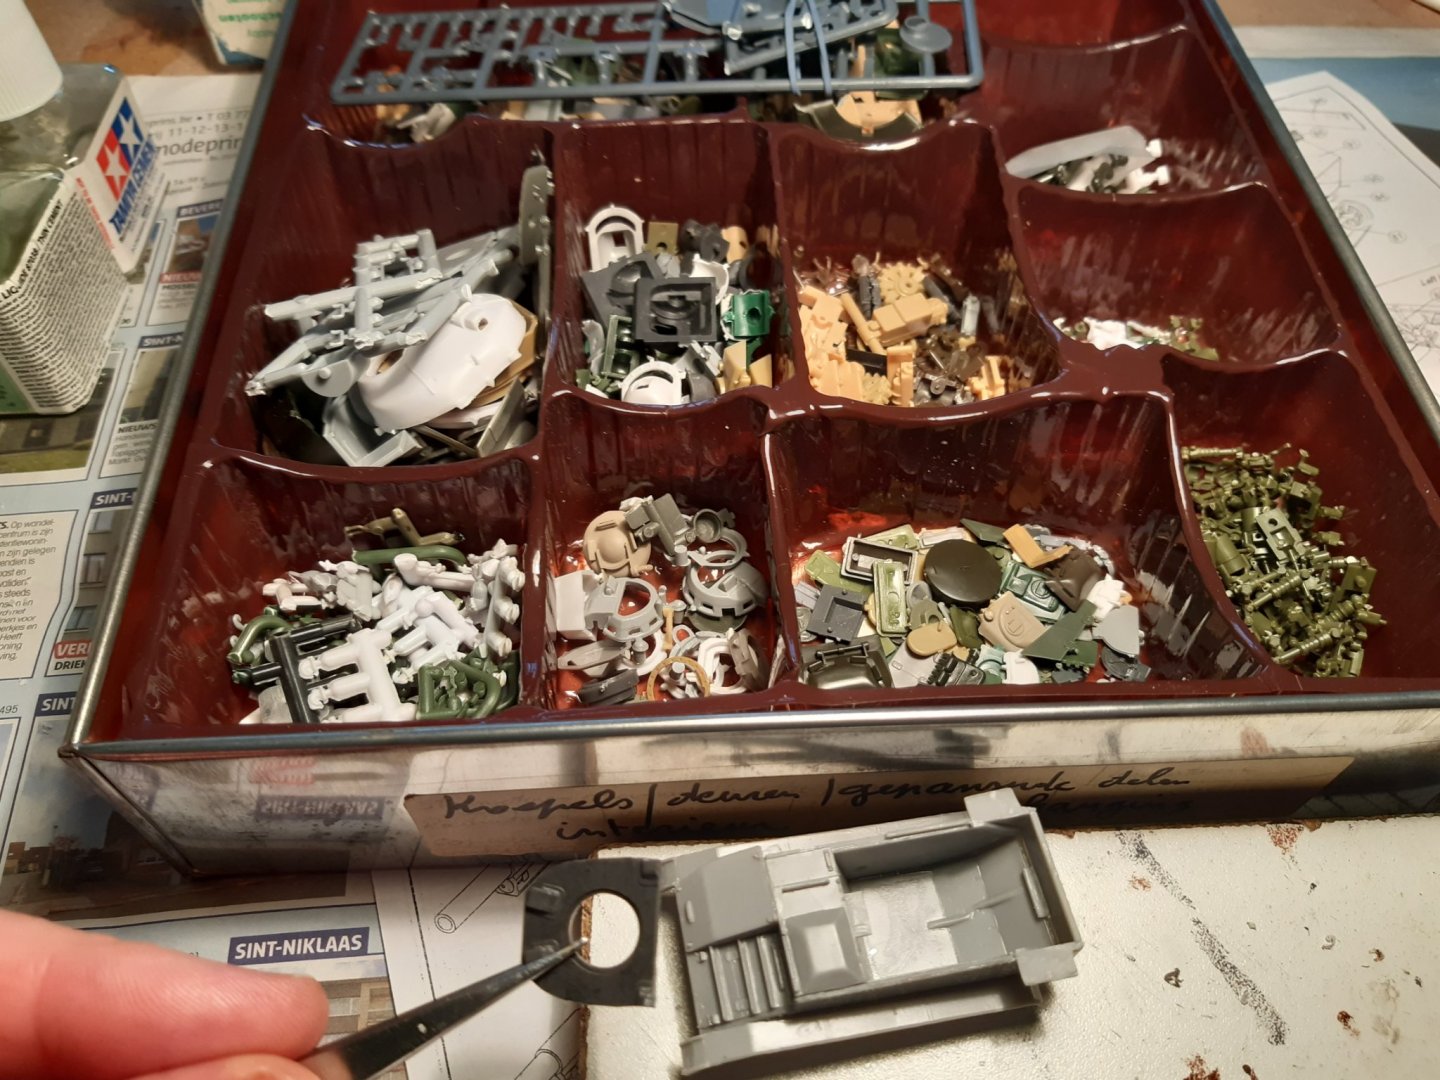
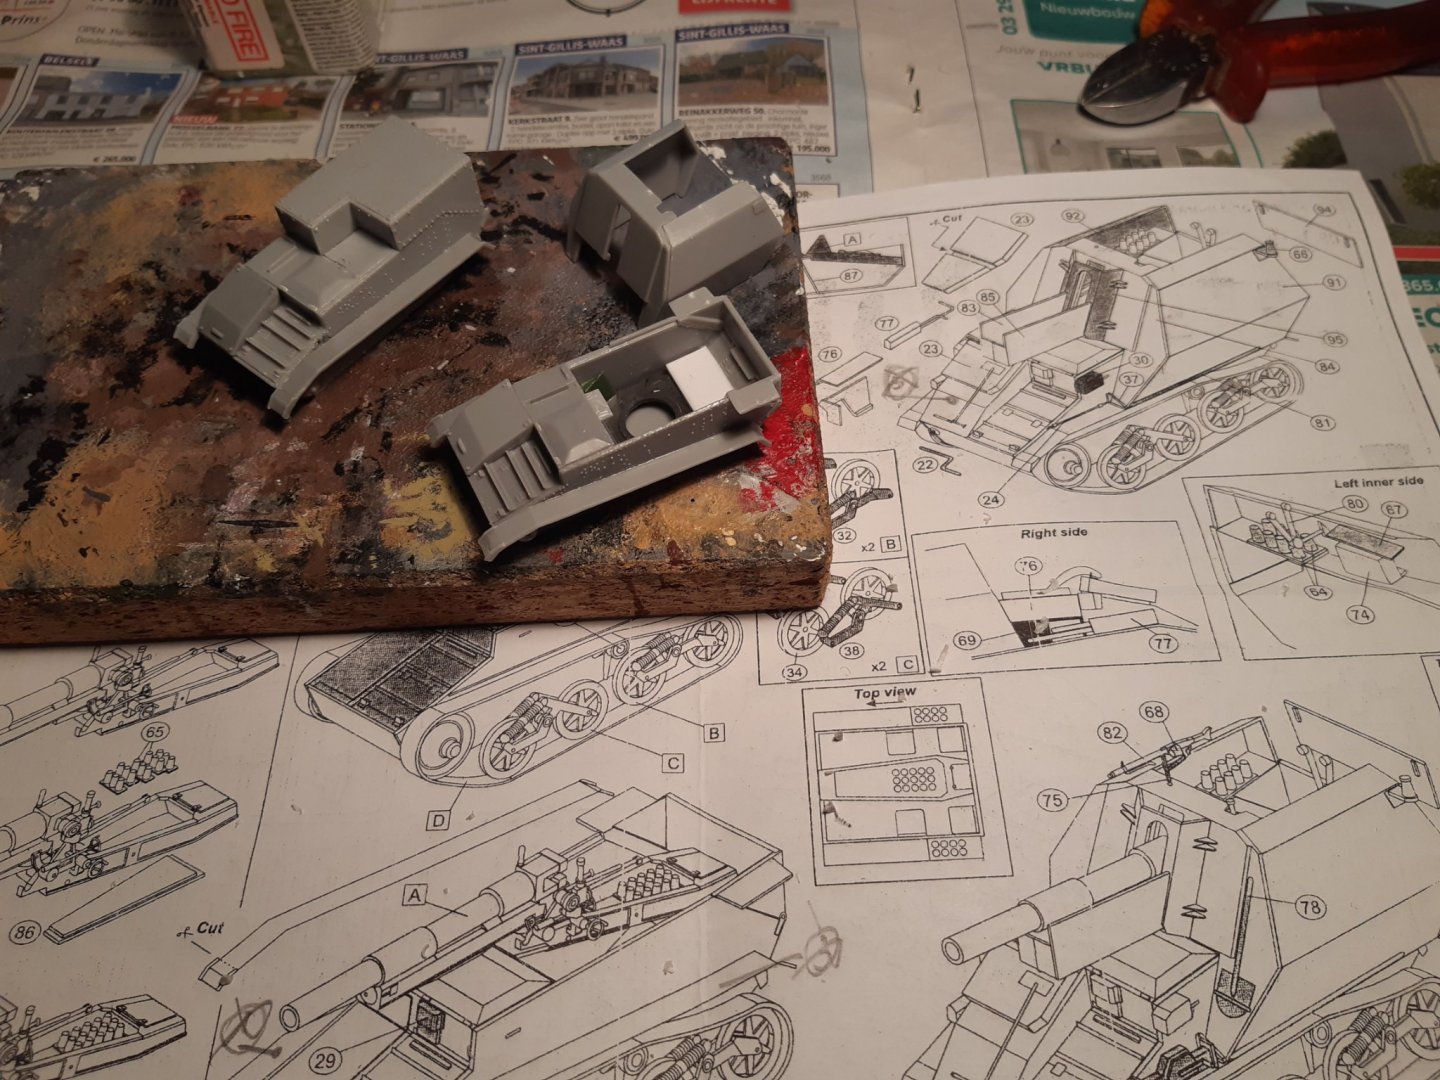
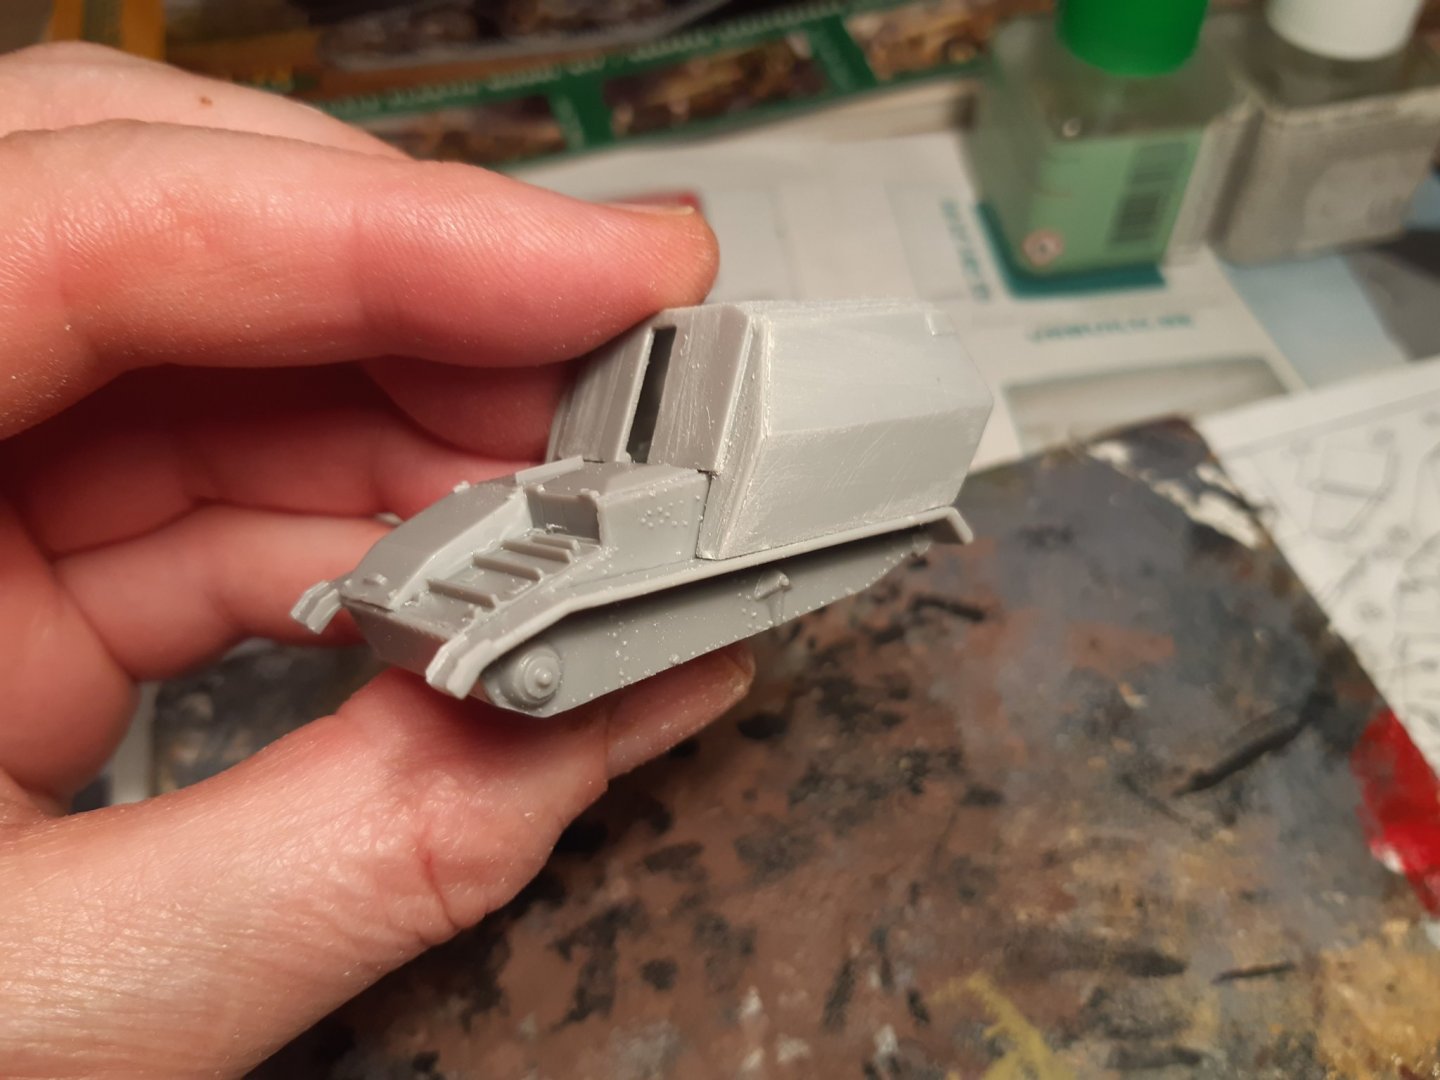
Building the superstructure of both vehicles. The ammo carrier (left) All parts fit 👍 Grrr Some cutting and sanding, and hairpins and glue The gun carrier : little space availeble for many things to place Some extra parts for detail ( from Russian kv turret...) The instructions say to place the cannon first. But I don't know if the parts of the superstructure will fit so i make the superstructure first and dry fit this on the chassis (Surprise, it fits from the first time ) And then the cannon doesn't go in anymore I will place the cannon first and then the superstructure. It's been a long time since I've built such a difficult kit like this one. But we'll get there. Instruction riddles : Make part C and see where you put it an they sometimes forget to number part 5 Thanks for following


- 35 replies
-
- 12
-