Baker
-
Posts
4,284 -
Joined
-
Last visited
Content Type
Profiles
Forums
Gallery
Events
Everything posted by Baker
-

How to attach deadeyes to channels in the 16th century?
Baker replied to Baker's topic in Masting, rigging and sails
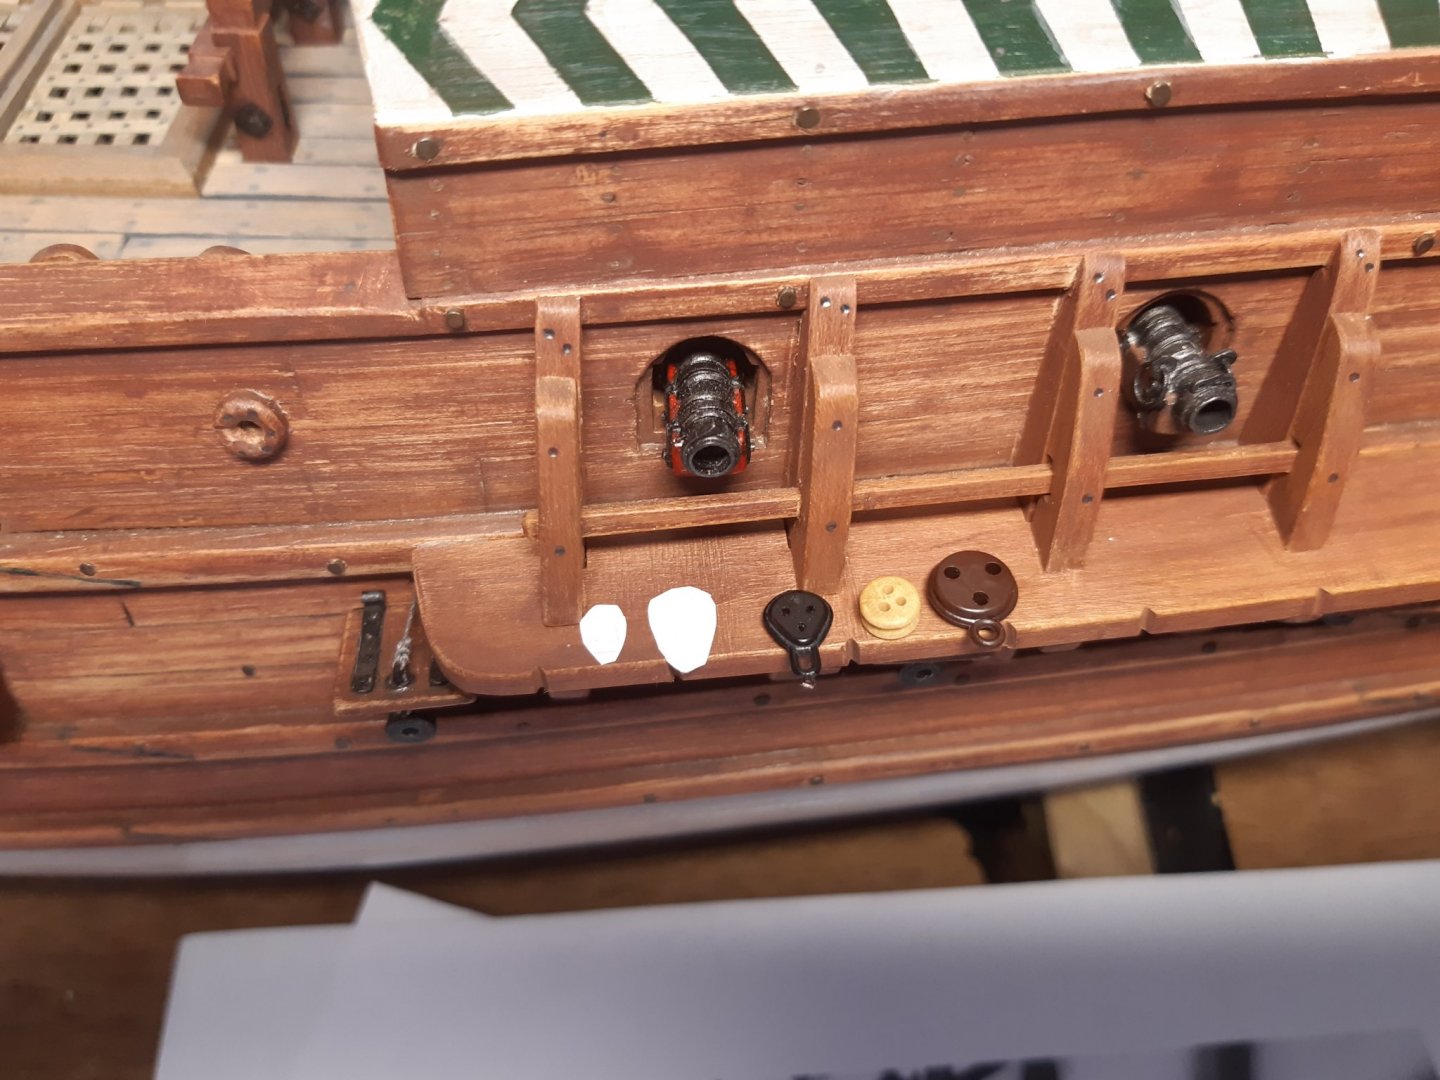
Thanks for the advice. I think this will be the solution to my problem : There must indeed be grooves in the channels. So that the schrouds cannot move. And. The thin wood strip will be applied temporarily. This way the deeadeyes stay in place during installation This strip will then be removed later when the shrouds are completely ready -
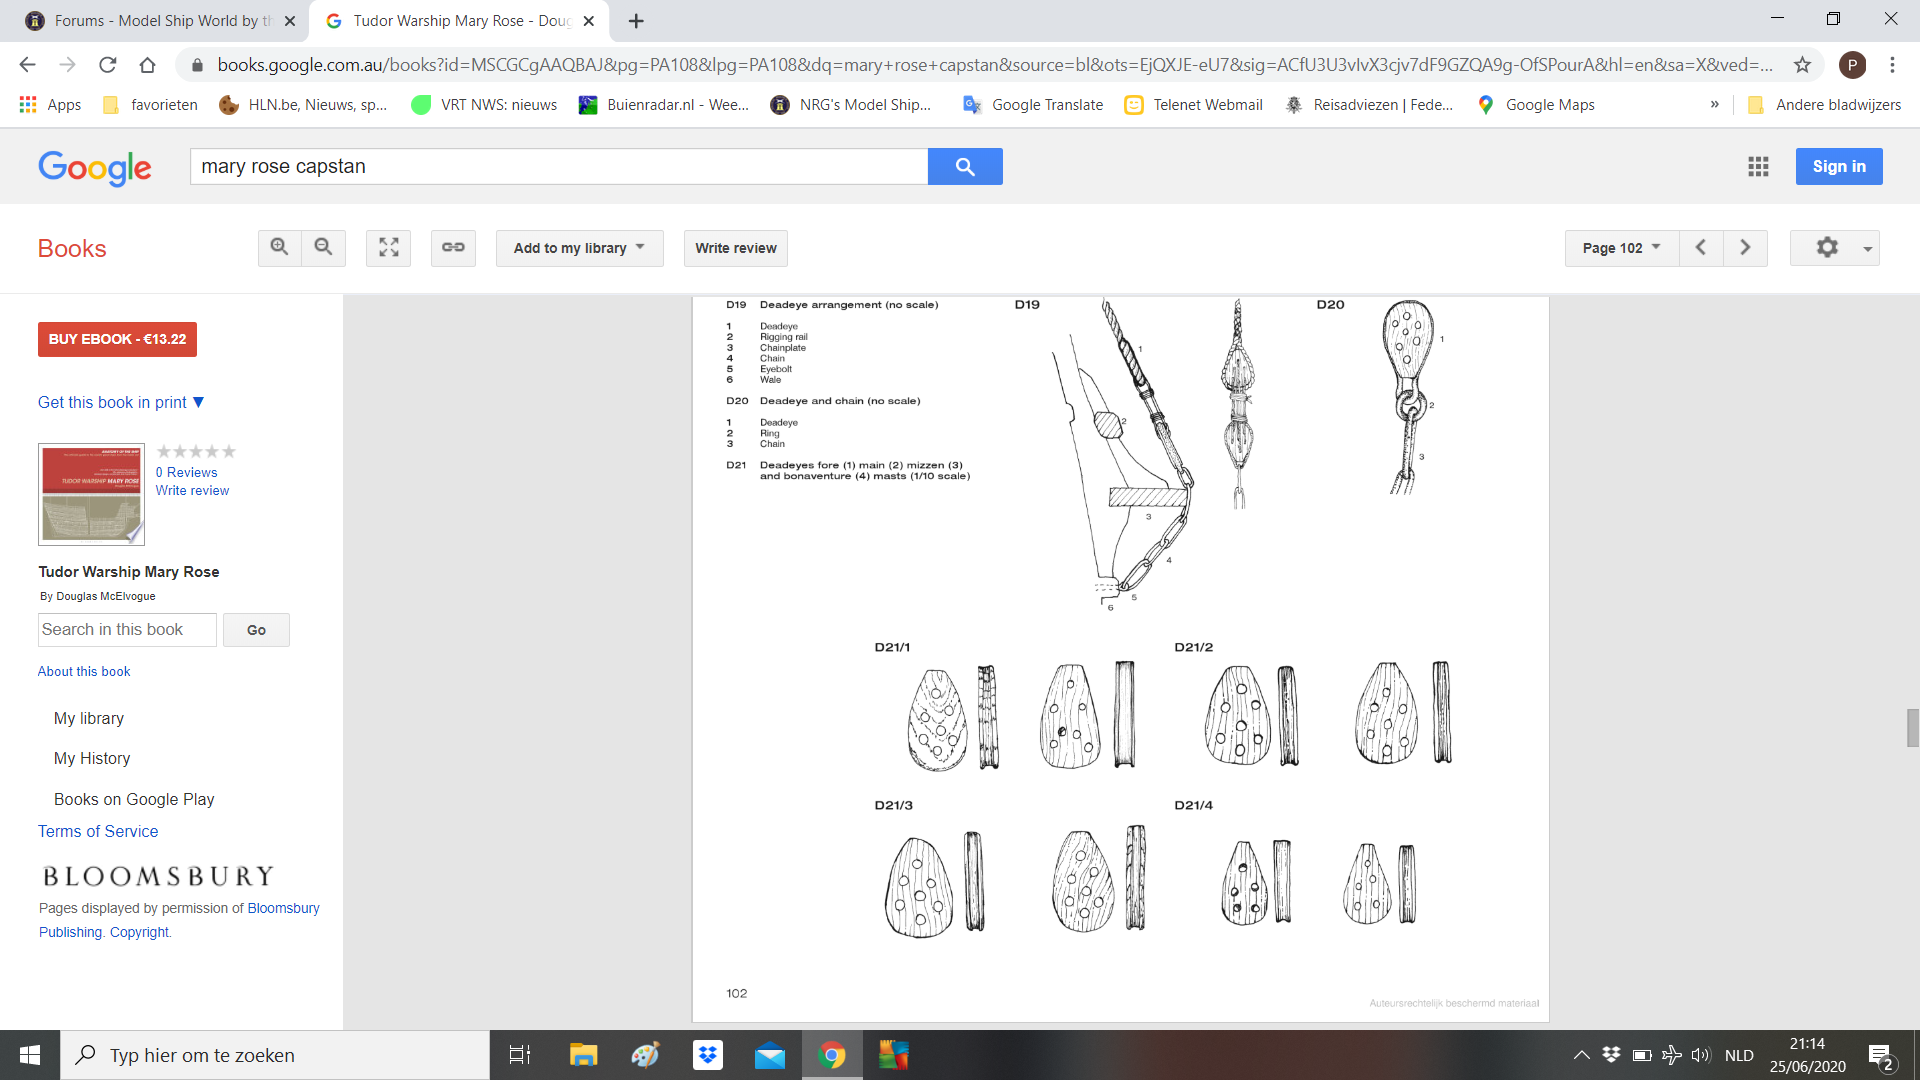
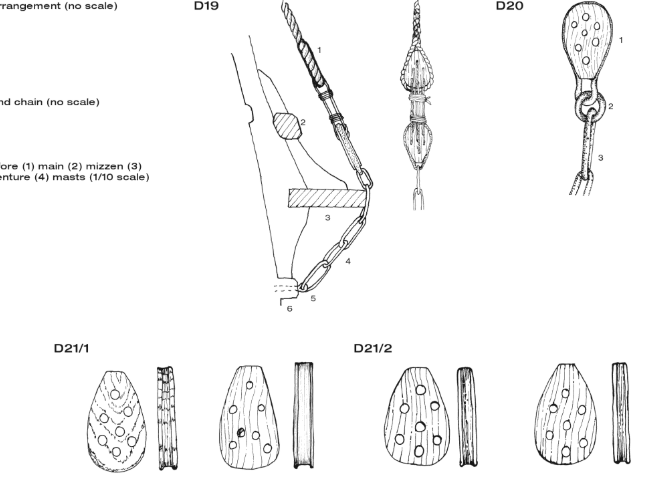
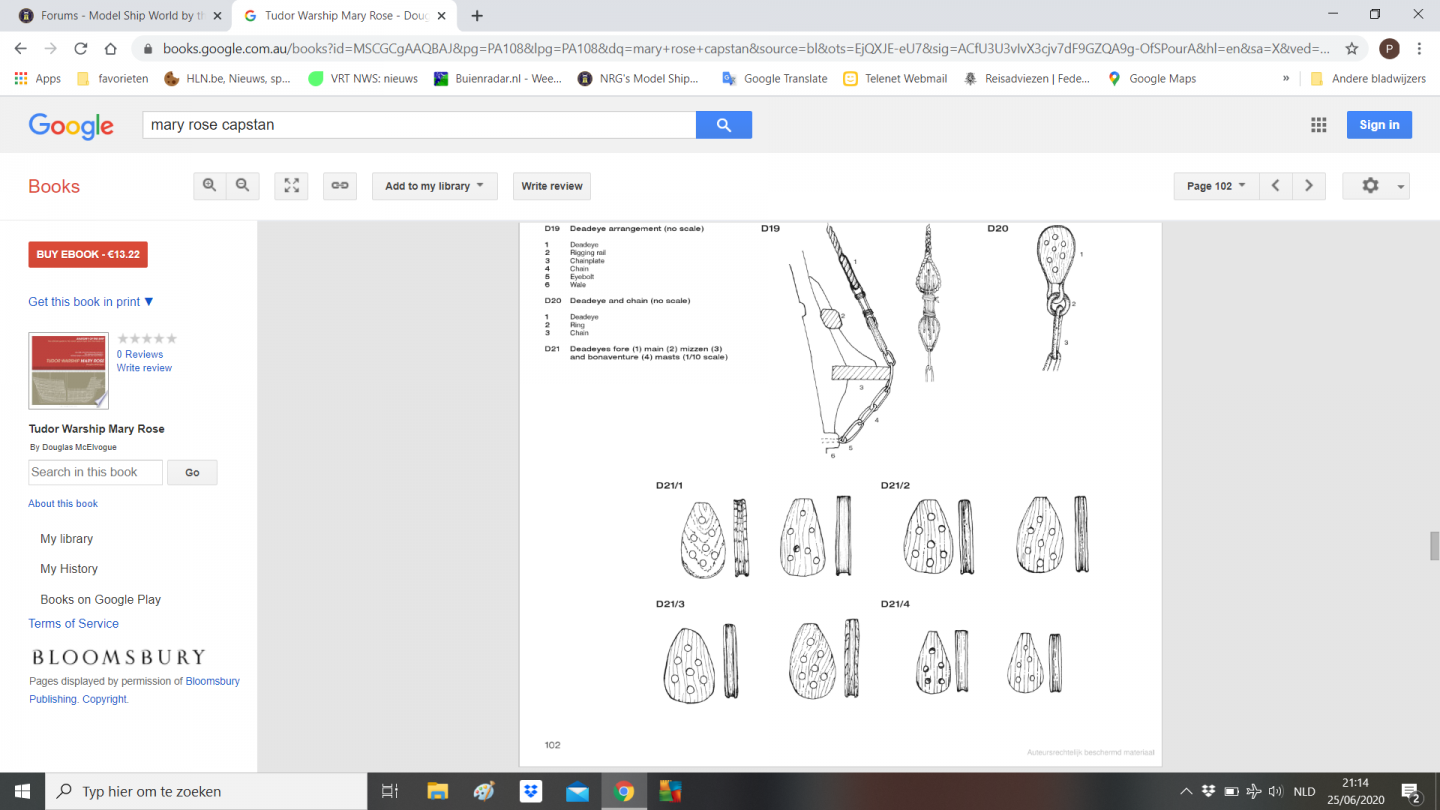
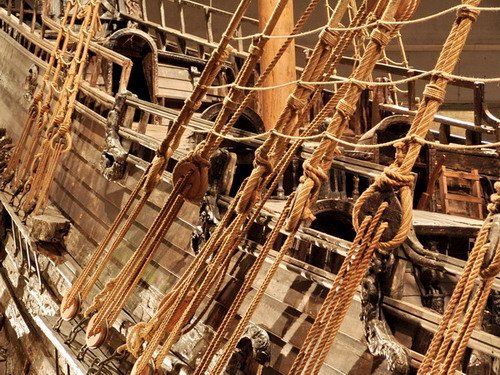
For my Pelican project I have reached the stage where the deadeyes are attached to the channels. My problem is now how to attach these deadeyes to the channels. Judging by various drawings these are not attached at all (see drawing) I think the masts will probably have to be placed first and then the chain, the 2 deadeyes and the schroud. A complicated method. Anyone have any suggestions how I do this best?
-
Michael, Thank you for the suggestion I actually planned to do this. But, this does not seem to have been in use in the 16th century. It is without this detail for the time being. But I can still add this. My biggest problem will be, how to attach the deadeyes to the channels. Judging by various drawings from differend ships these are not attached at all. The masts will probably have to be placed first and then the chain, deadeye and schroud Complicated method ....
- 756 replies
-
- 5
-

-
- galleon
- golden hind
- (and 2 more)
-
That is what makes this forum so much fun. Imagine : no internet and no MSW Everyone in their own hobby room and no one to gossip with 🤪 boring 😳
-
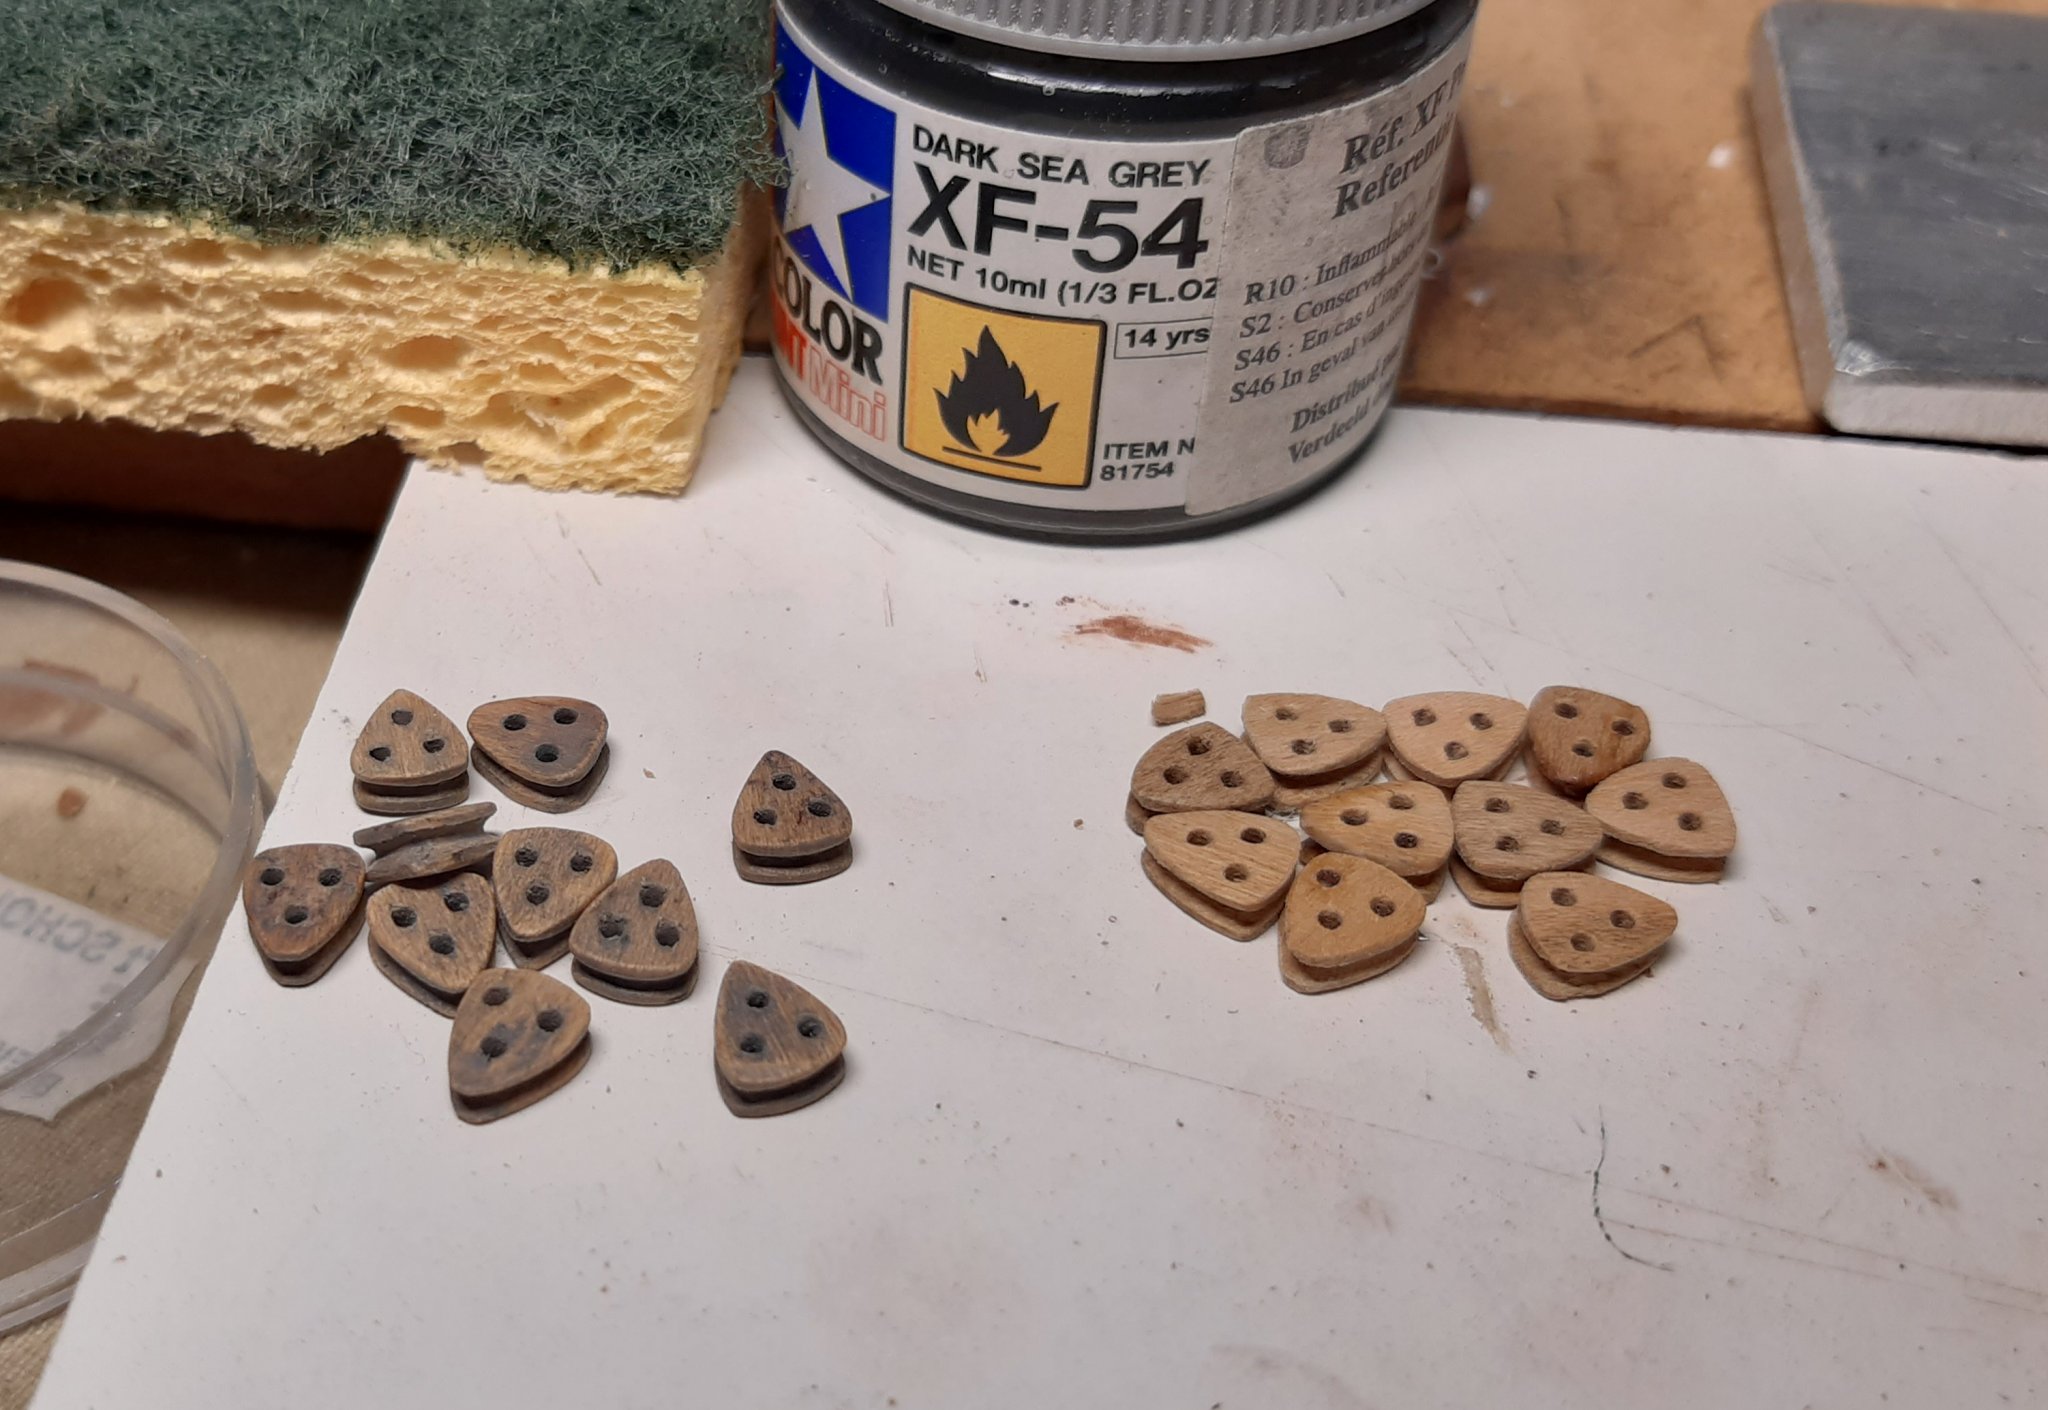
Thank you, thank you, thank you 👍 So no more photos with watermark. I have no idea how to do it without the Samsung logo and otherwise, this build will be a Samsung commercial. And, i upload from the smartphone to the PC using dropbox. For some reason this was no longer possible. After hours of searching, it turned out that dropbox suddenly no longer had access to the photos on the smartphone. Why?? another IT mystery for me. But problem solved. Meanwhile, the deadeyes for the foremast and the mainmast are ready. Made them in batches of 10. I had 6 "splitters" but repared them with CA glue. Collored with thinned Tamiya paint and polished with scotchbrite (48 ready and 2 scrap) Thanks for comments, likes and following


- 756 replies
-
- 13
-
-
- galleon
- golden hind
- (and 2 more)
-
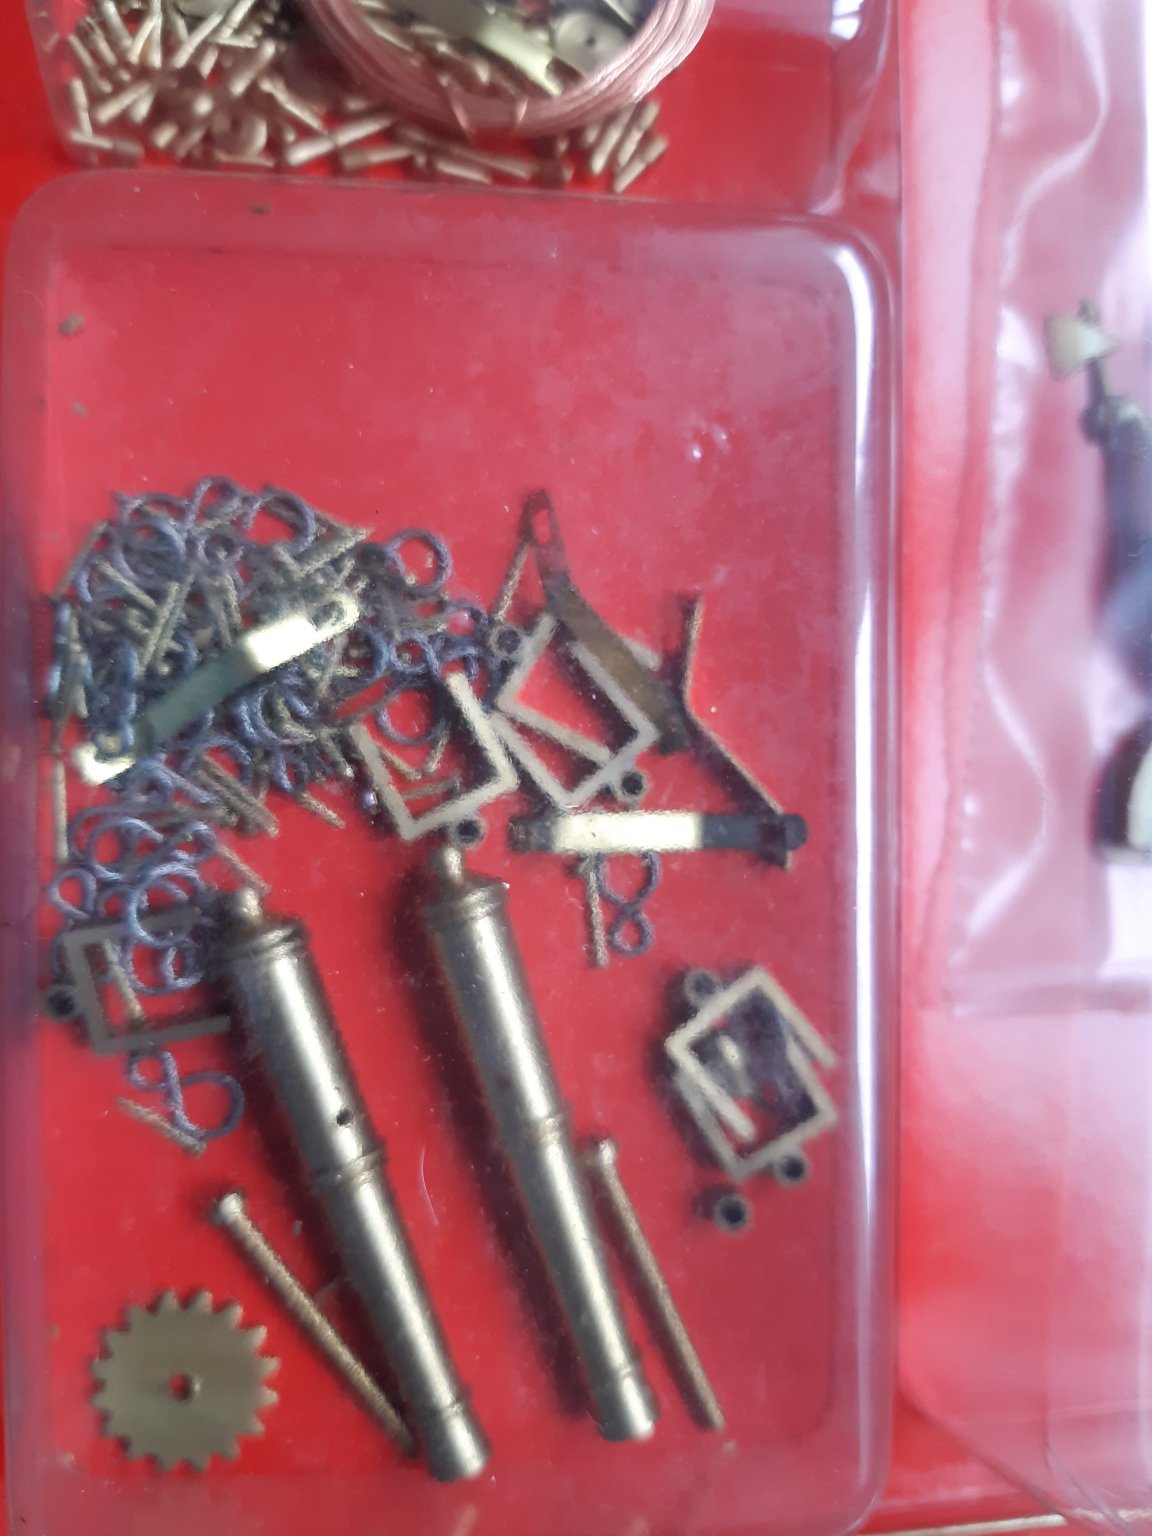
There should be "U profiles" in your kit. These are the hinges of your rudder Something like this on the picture. example

-
- 16 replies
-
- 1
-
-
- new member
- dallas
- (and 1 more)
-
Matthias from Berlin, Germany says Hello
Baker replied to victory78's topic in New member Introductions
-
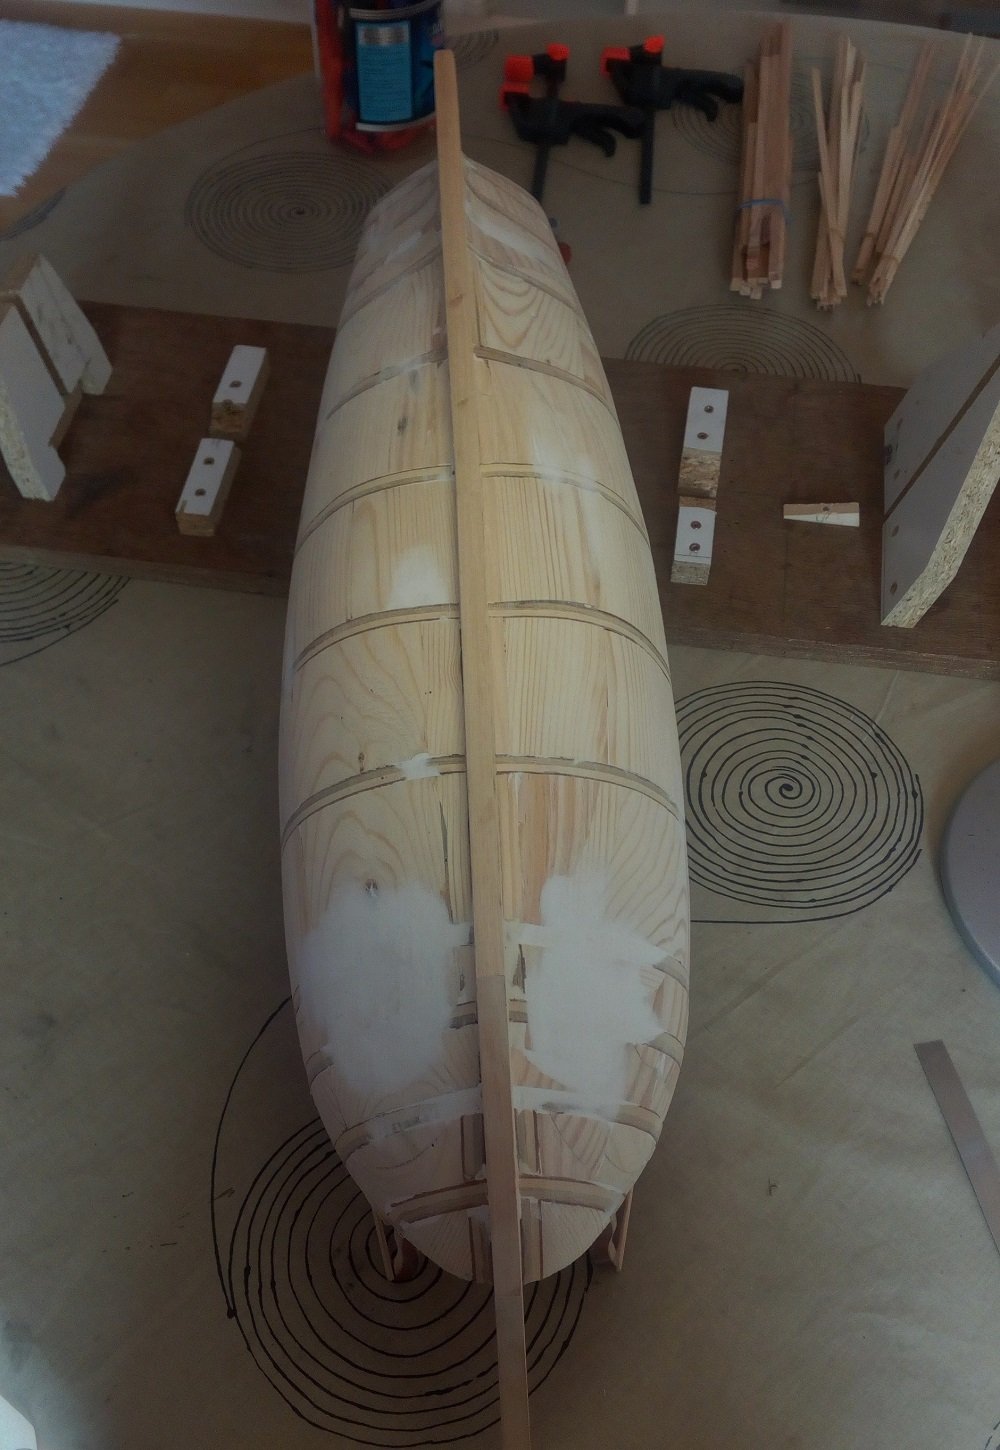
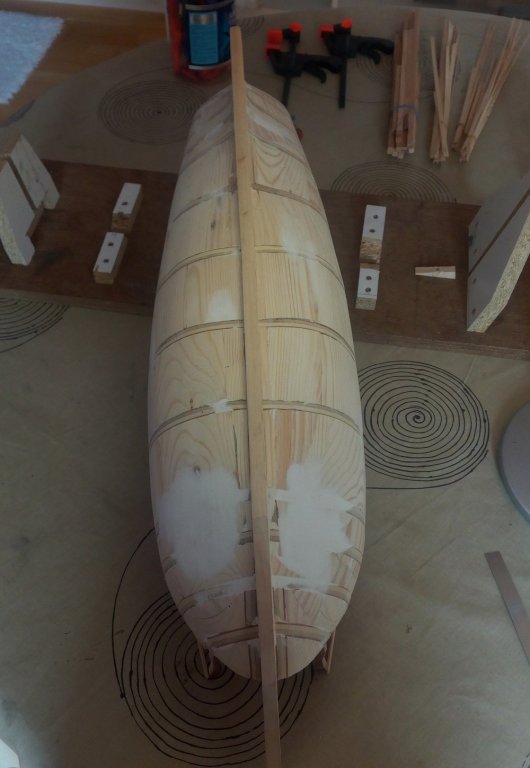
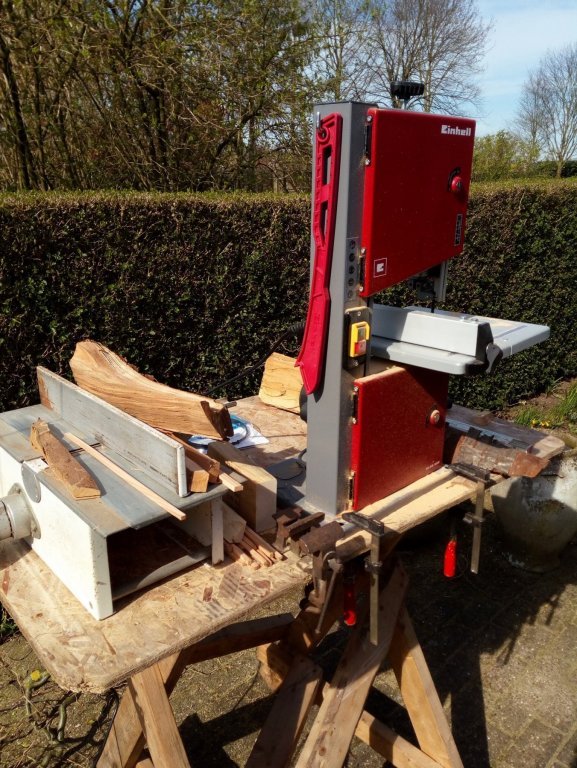
What I learned from my first scratch build. With filler blocks between the frames you can sand away many errors. I used fillerblocks and one layer of planks. Sanding filler blocks and sawing planks yourself creates a lot of dust. Saw and sand outside in the garden. And the wife will not complain Hull with sanded fillerblocks Dust in the garden ...😉
-
Looks good, but. The first three frames appear to be too narrow in relation to the deck.
-
Welcome back. Good work 👍
-
Hi from15 nm west of Hamburg / Northern Germany
Baker replied to Oboship's topic in New member Introductions
-
I am in the 2nd row and following. Great start 👍
-
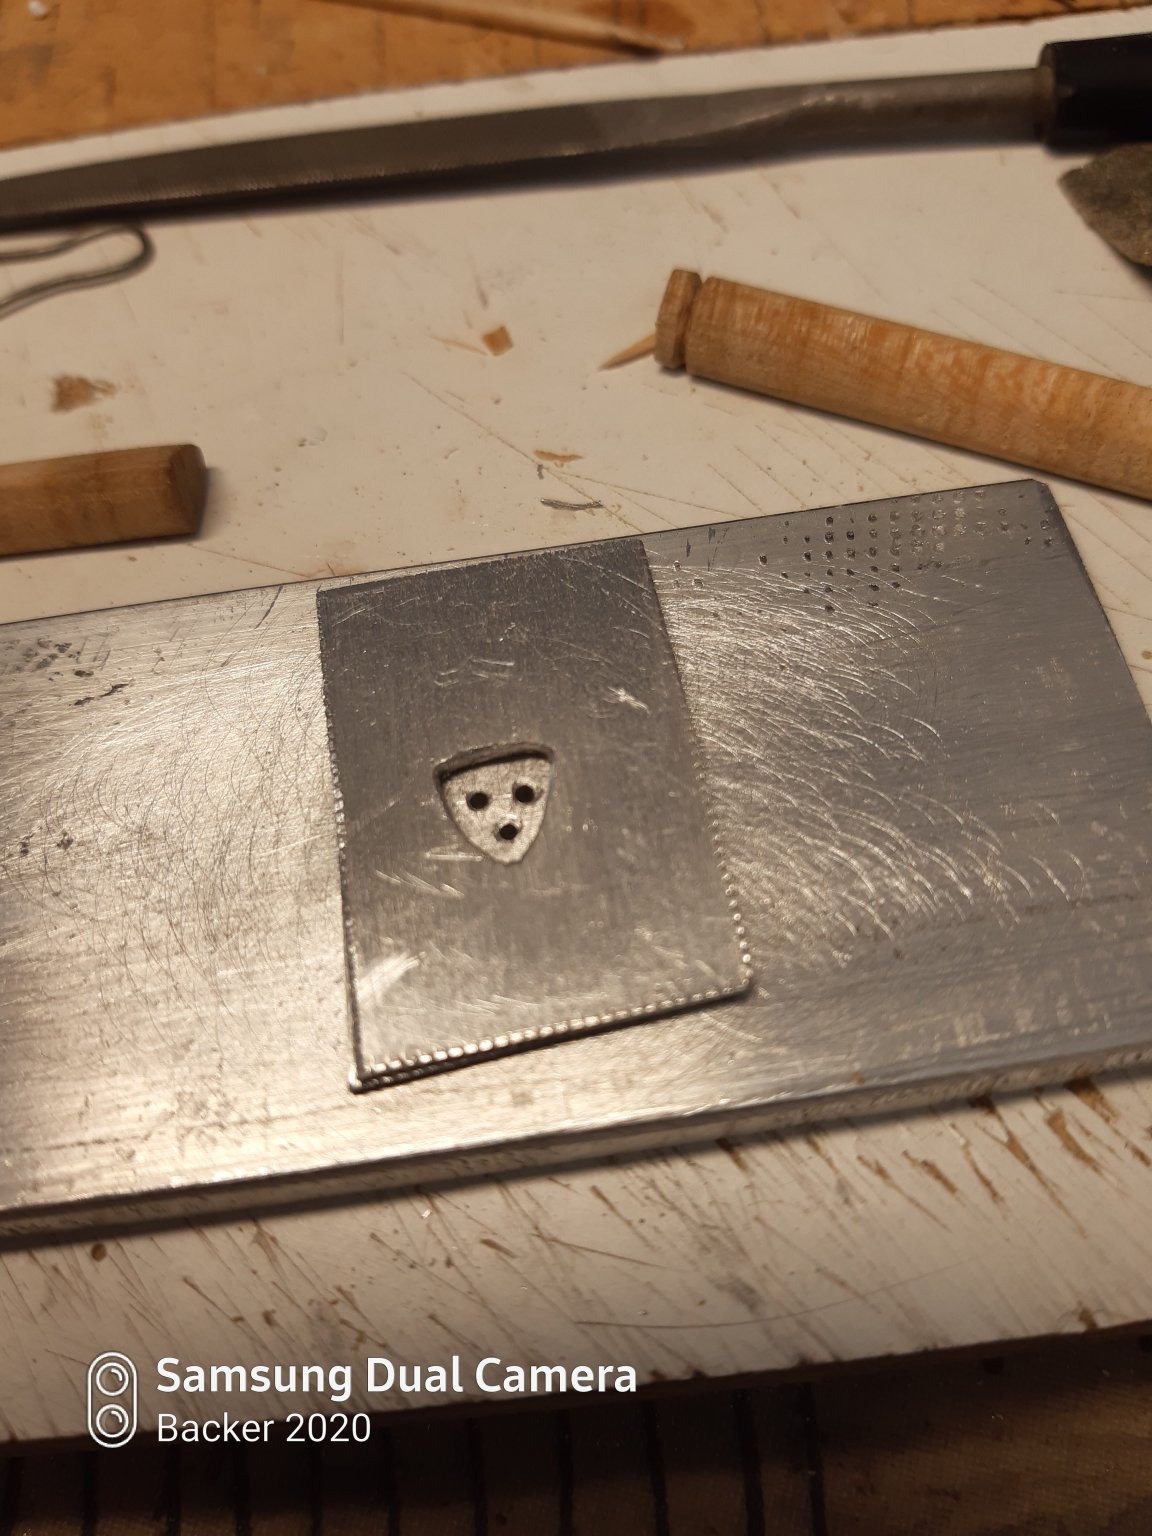
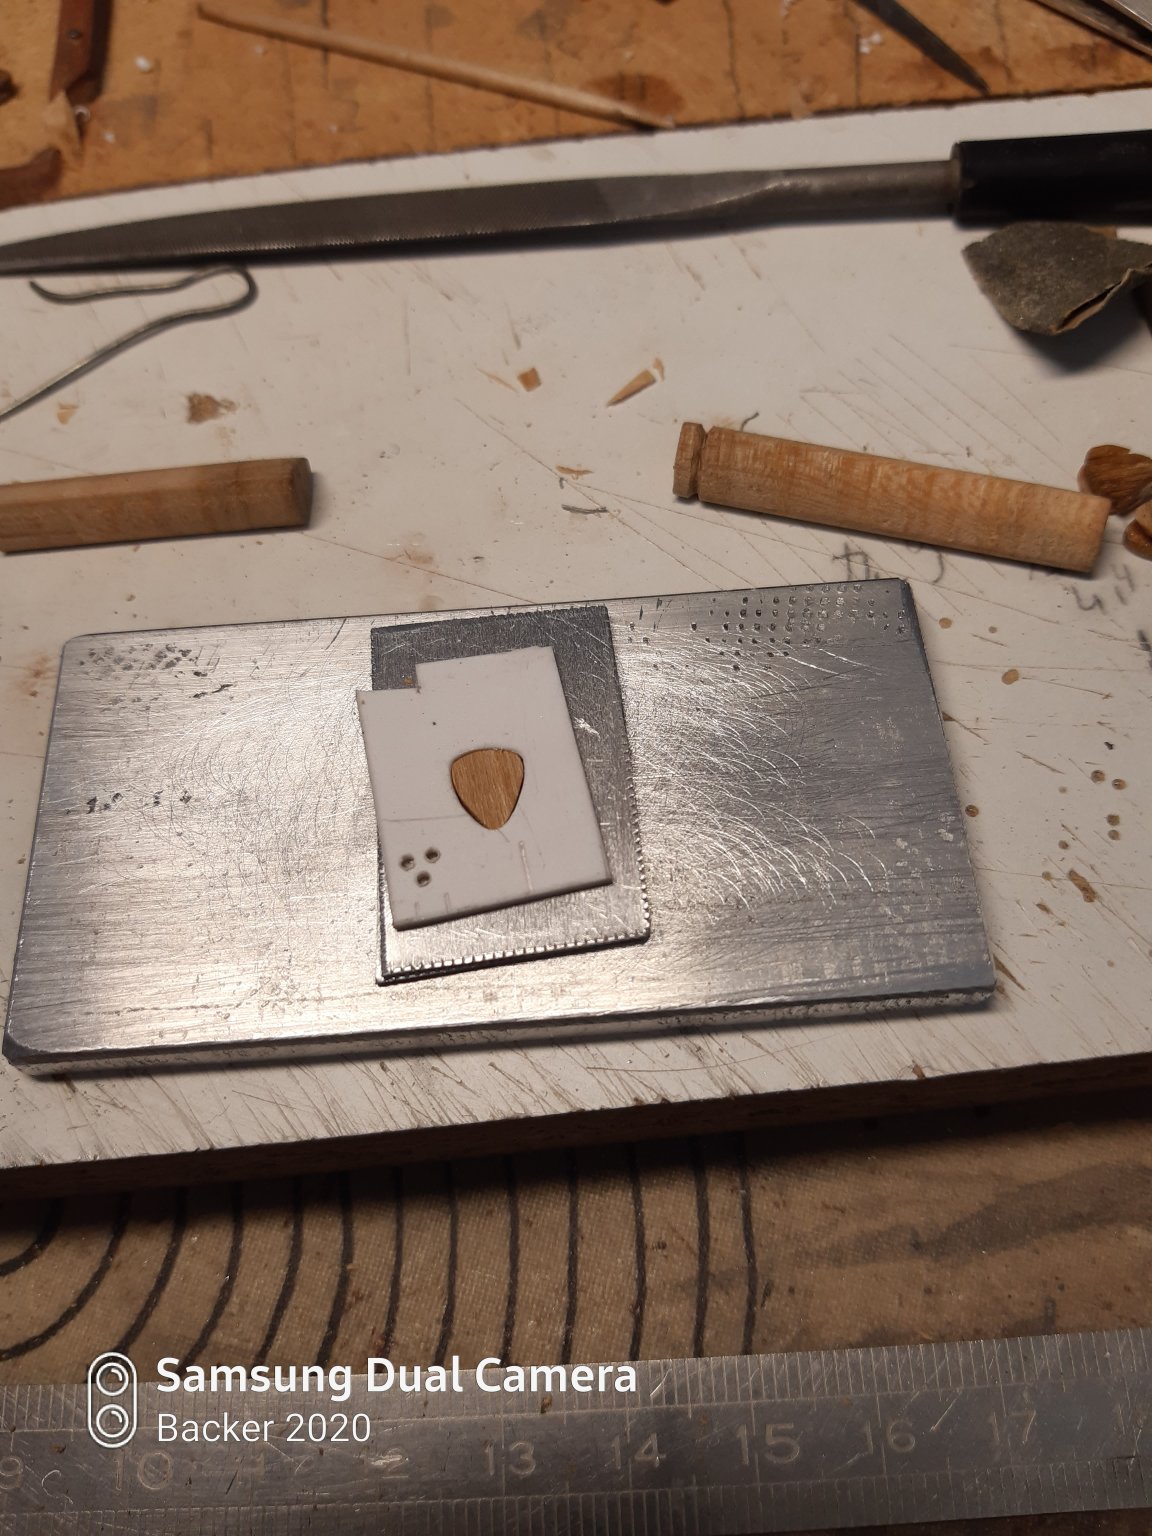
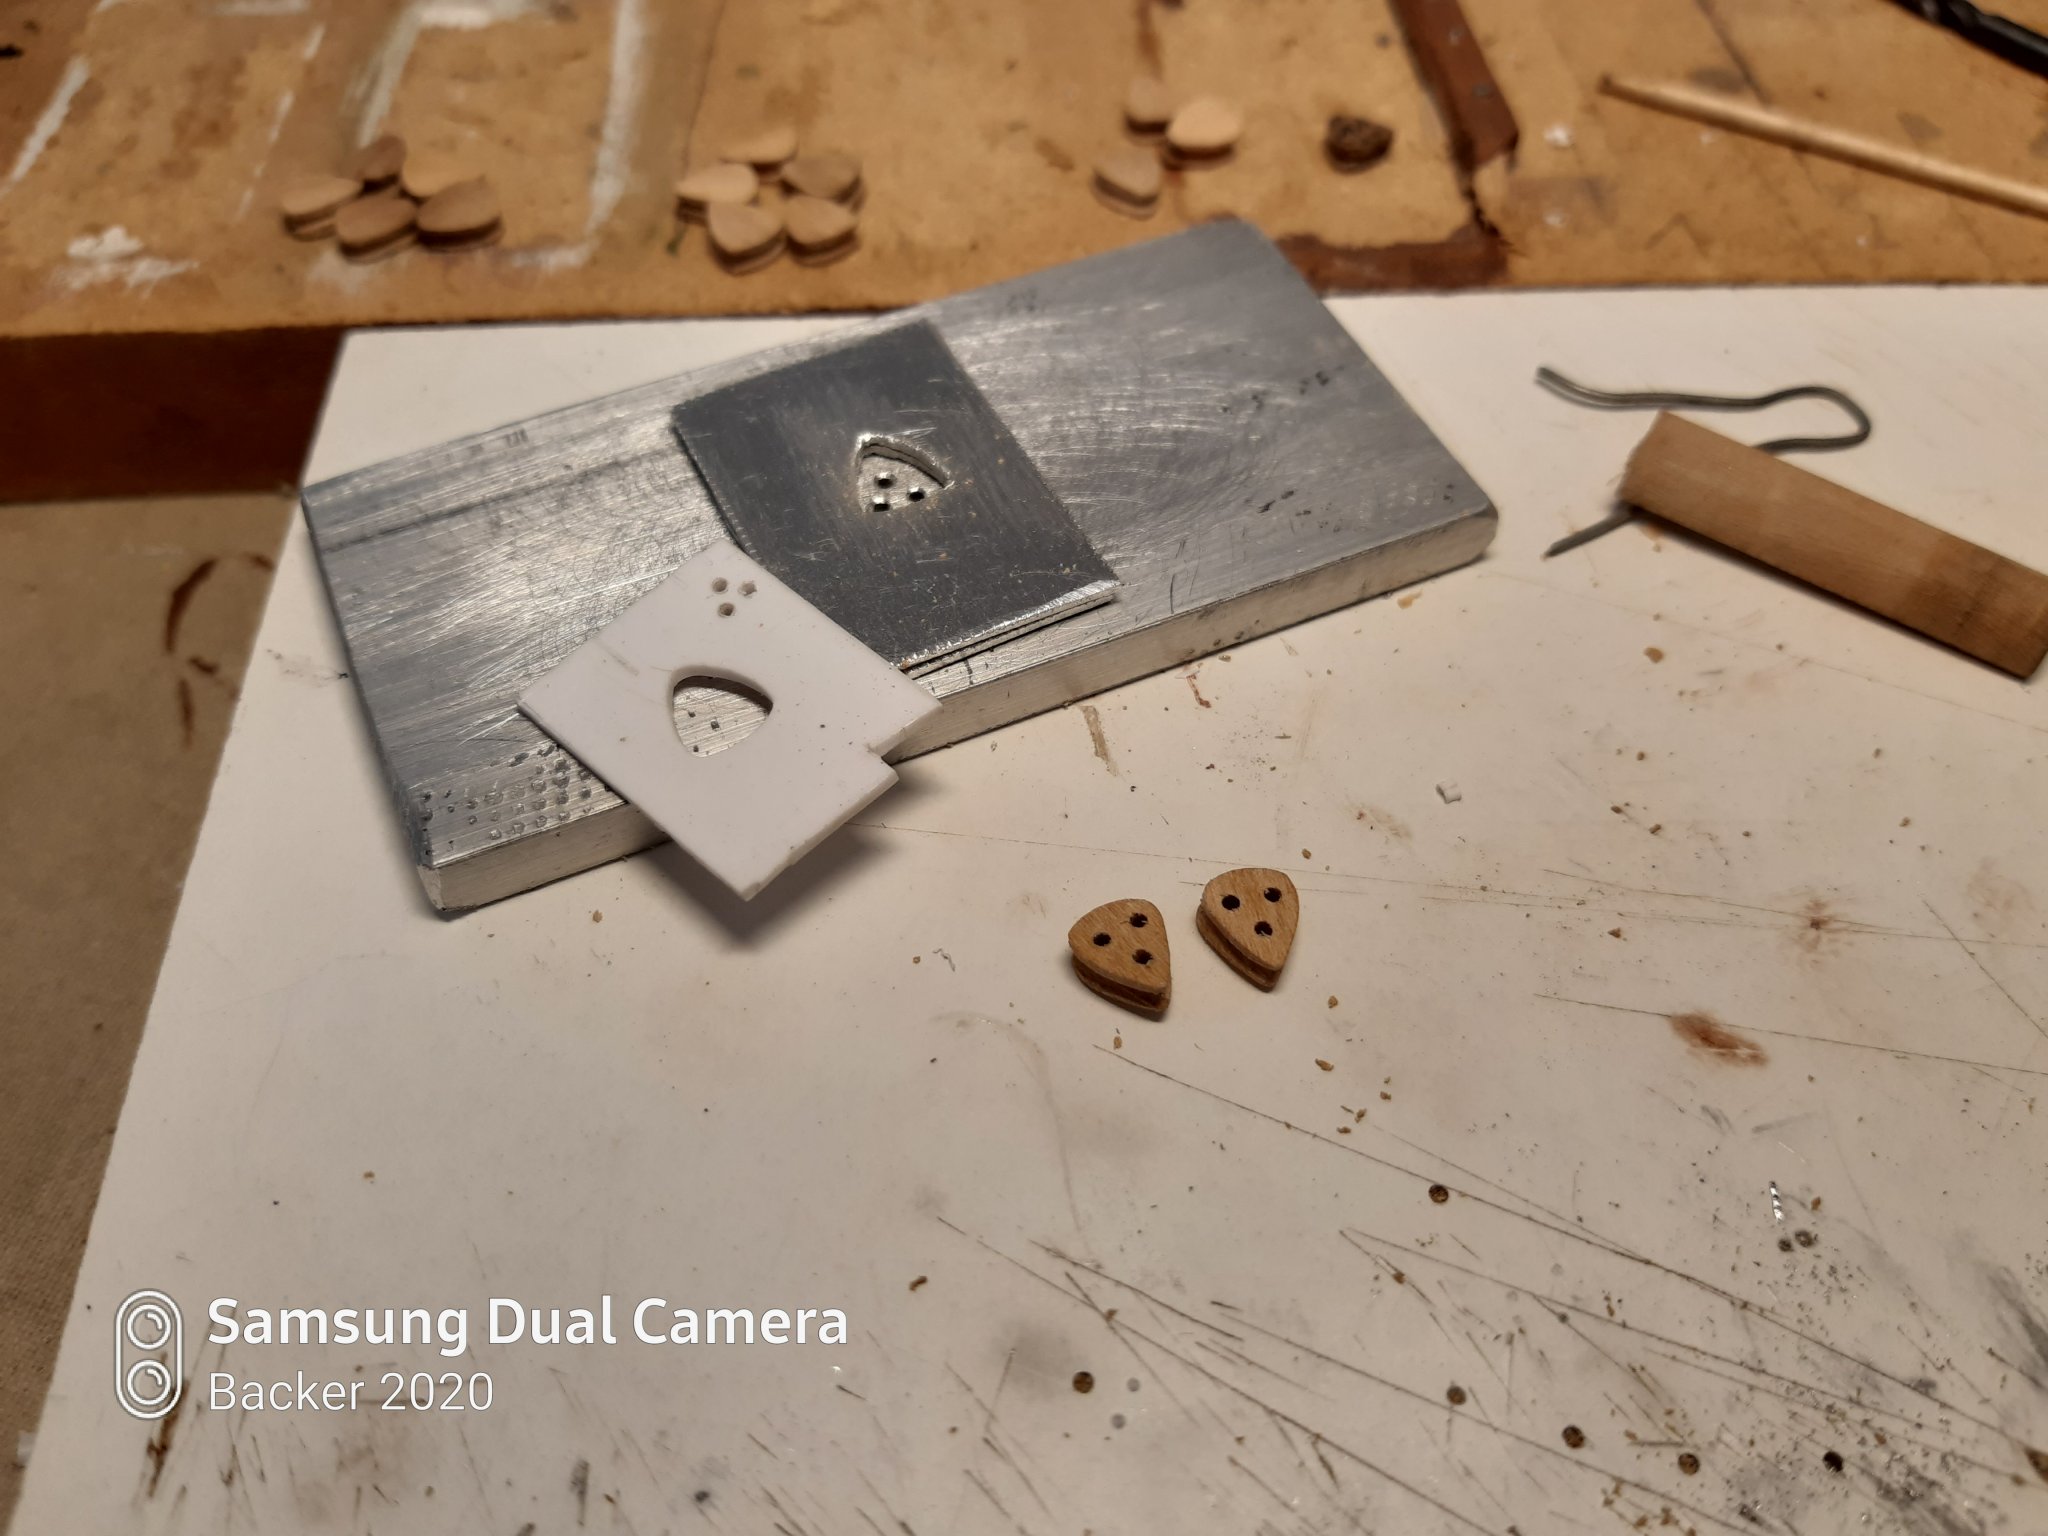
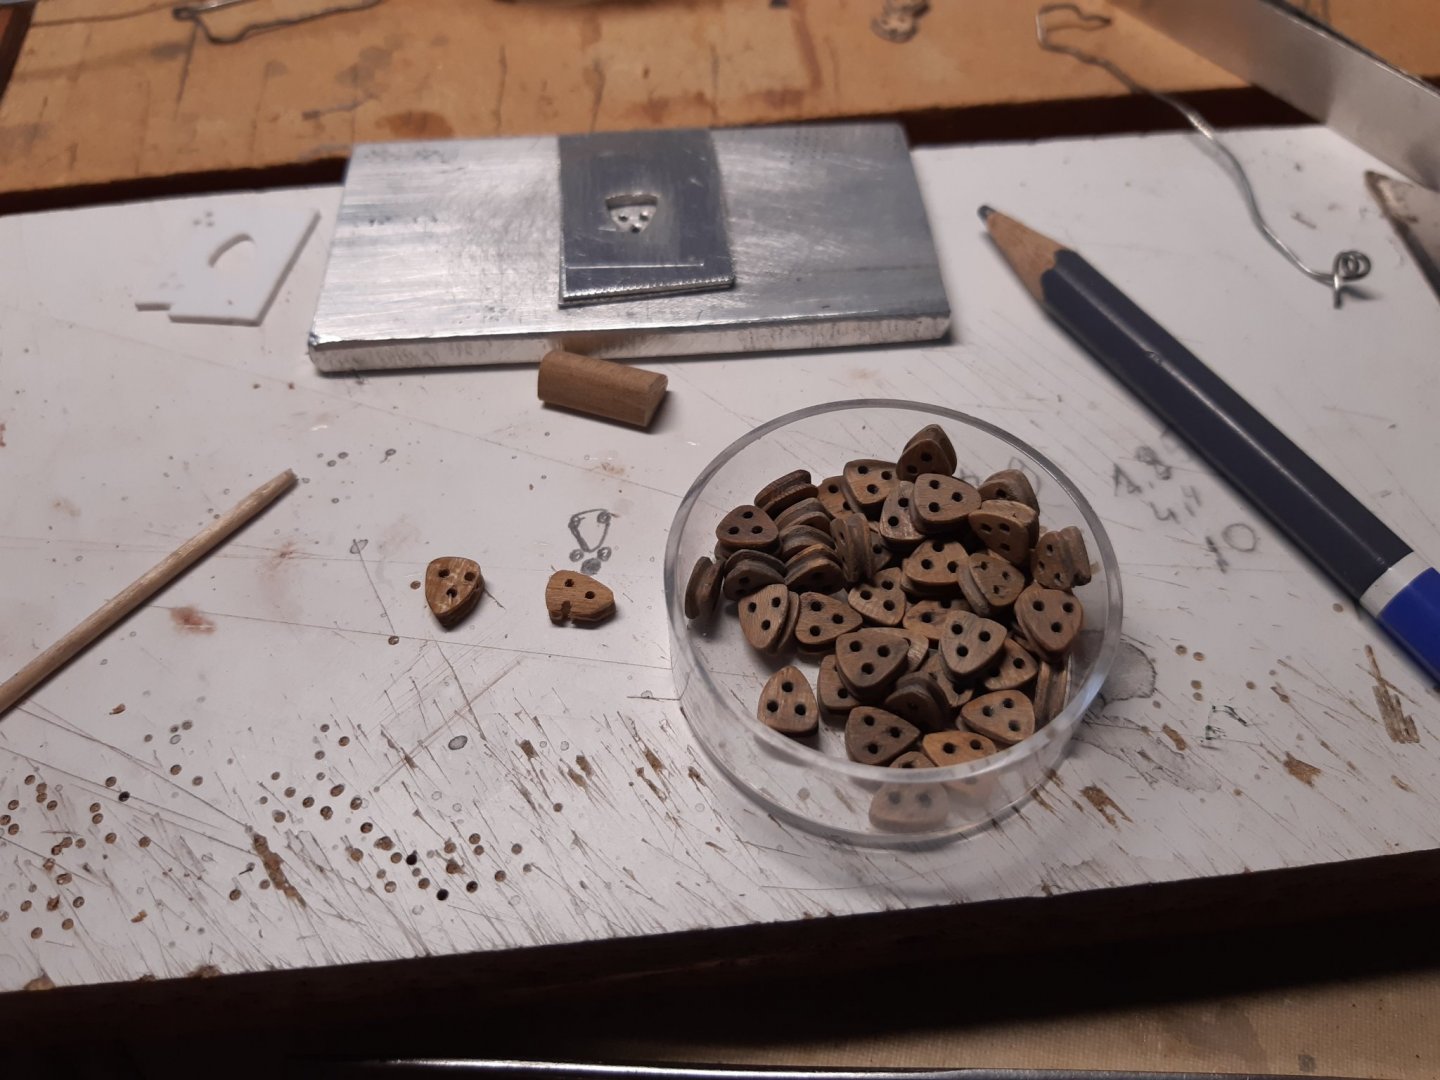
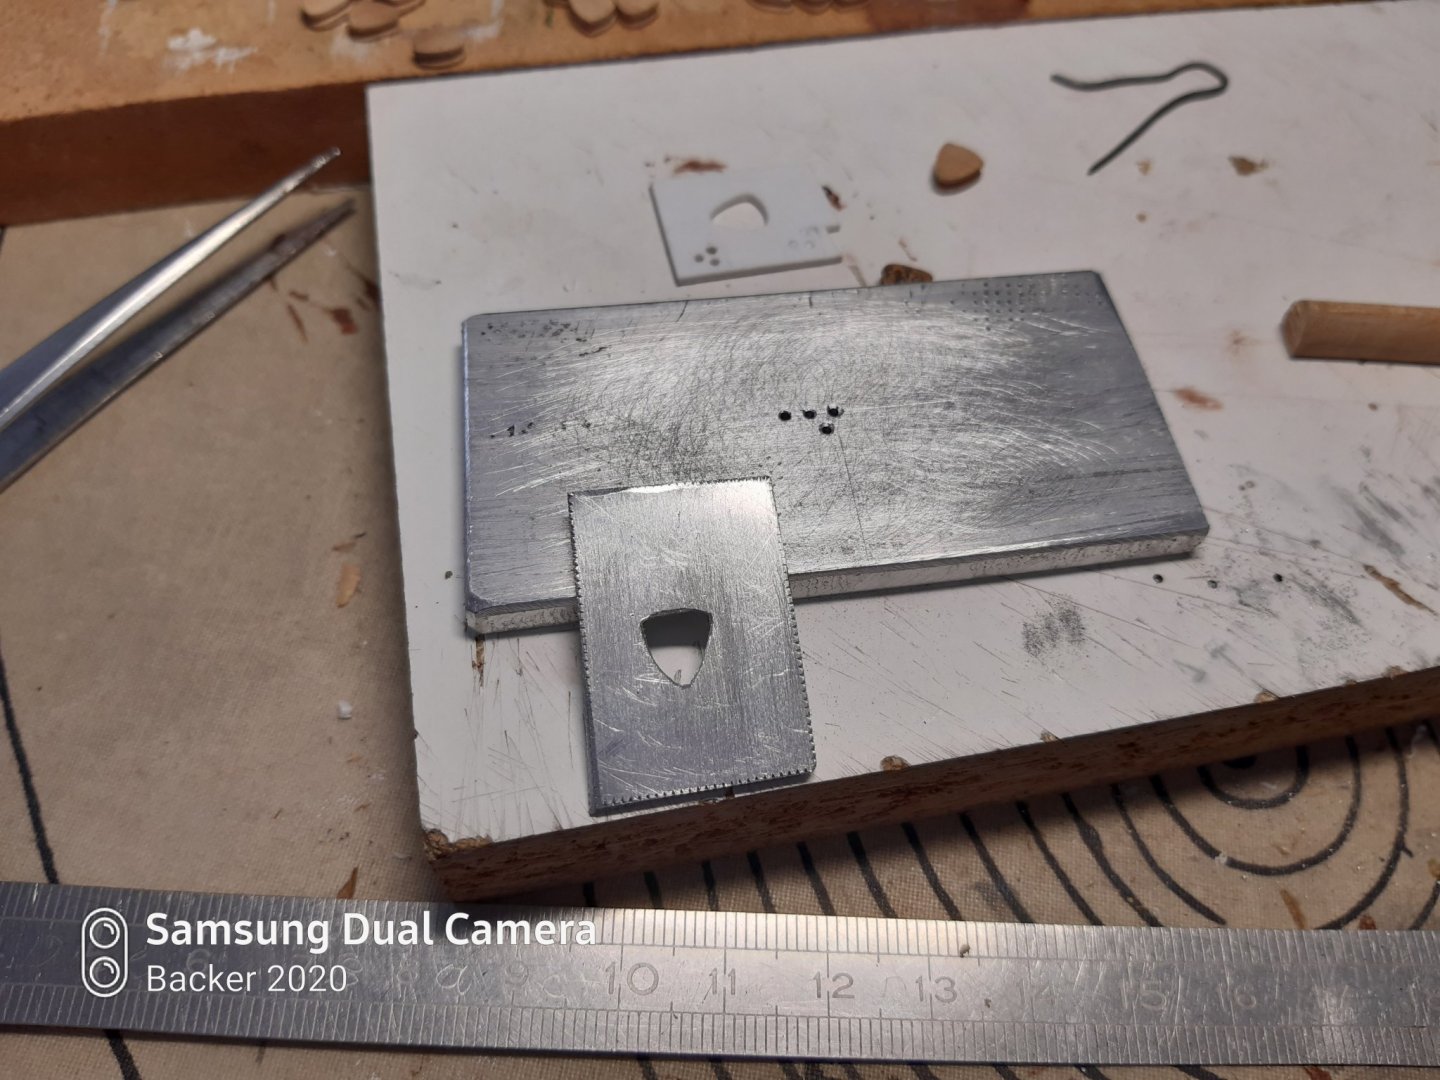
Thanks for comments and advice. And the used wood is cherry Something I learned here. Listen to good advice. So first i do a test whether the wood does not split during drilling. First make an aluminum mold. The plates are glued with CA. (1 a hole was drilled incorrectly) The test (careful drilling of course) Hurray, they don't split. I set a watermark on my smartphone photos (Backer2020). Why that thing also put Samsung on it is a mystery to me.


- 756 replies
-
- 12
-
-
- galleon
- golden hind
- (and 2 more)
-
-
Yes, But, I have to drill holes of 1mm and I don't have the right tools to drill holes of this diameter to enough depth Therefore I will have to drill them one by one by hand. If a few fail, bad luck for Backer (there is plenty of wood availeble to make more)
- 756 replies
-
- 4
-
-
- galleon
- golden hind
- (and 2 more)
-
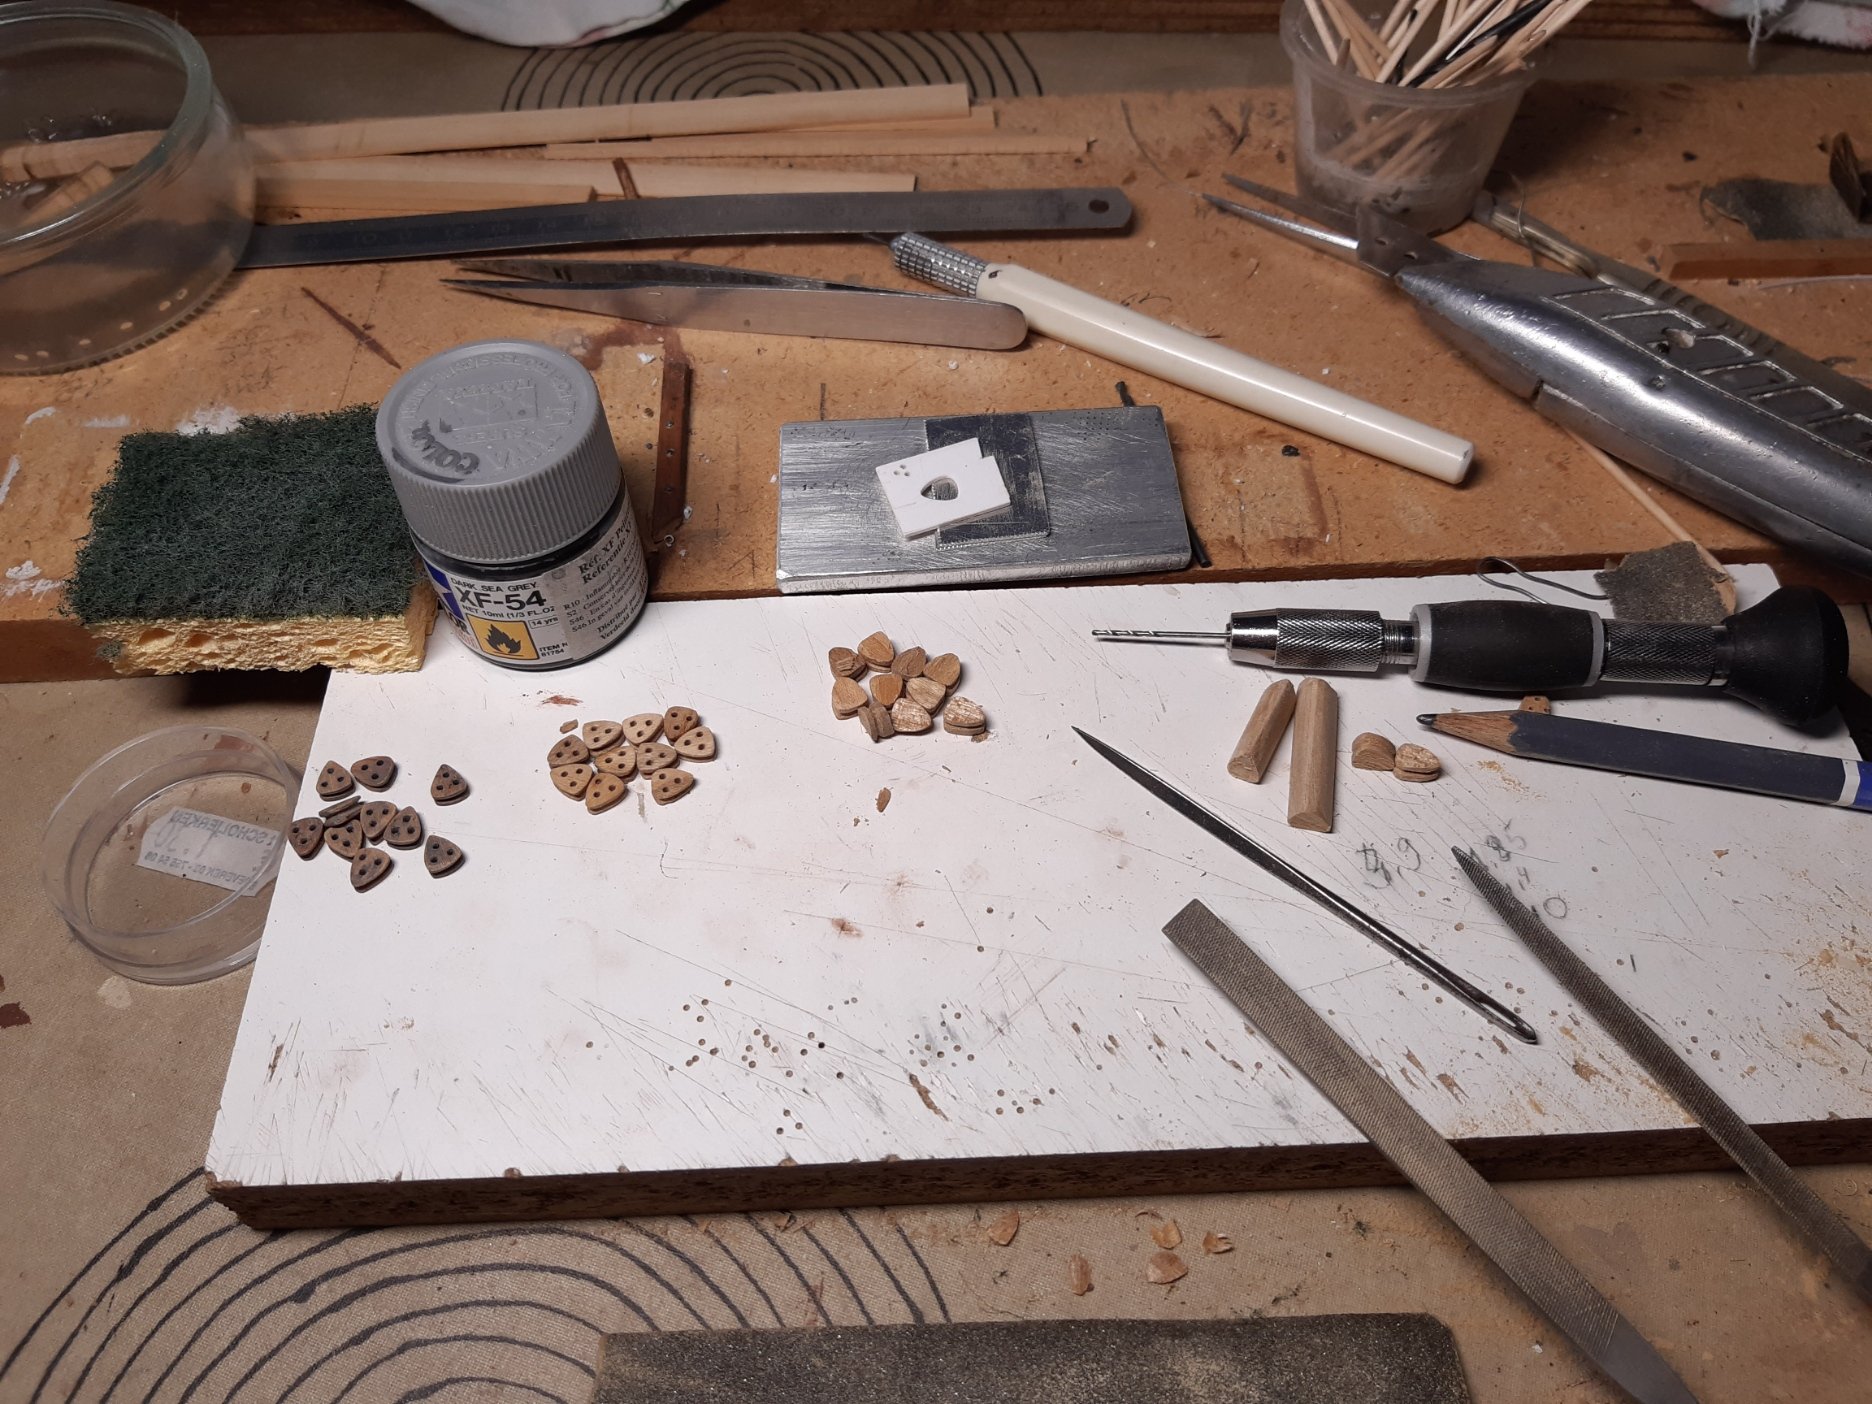
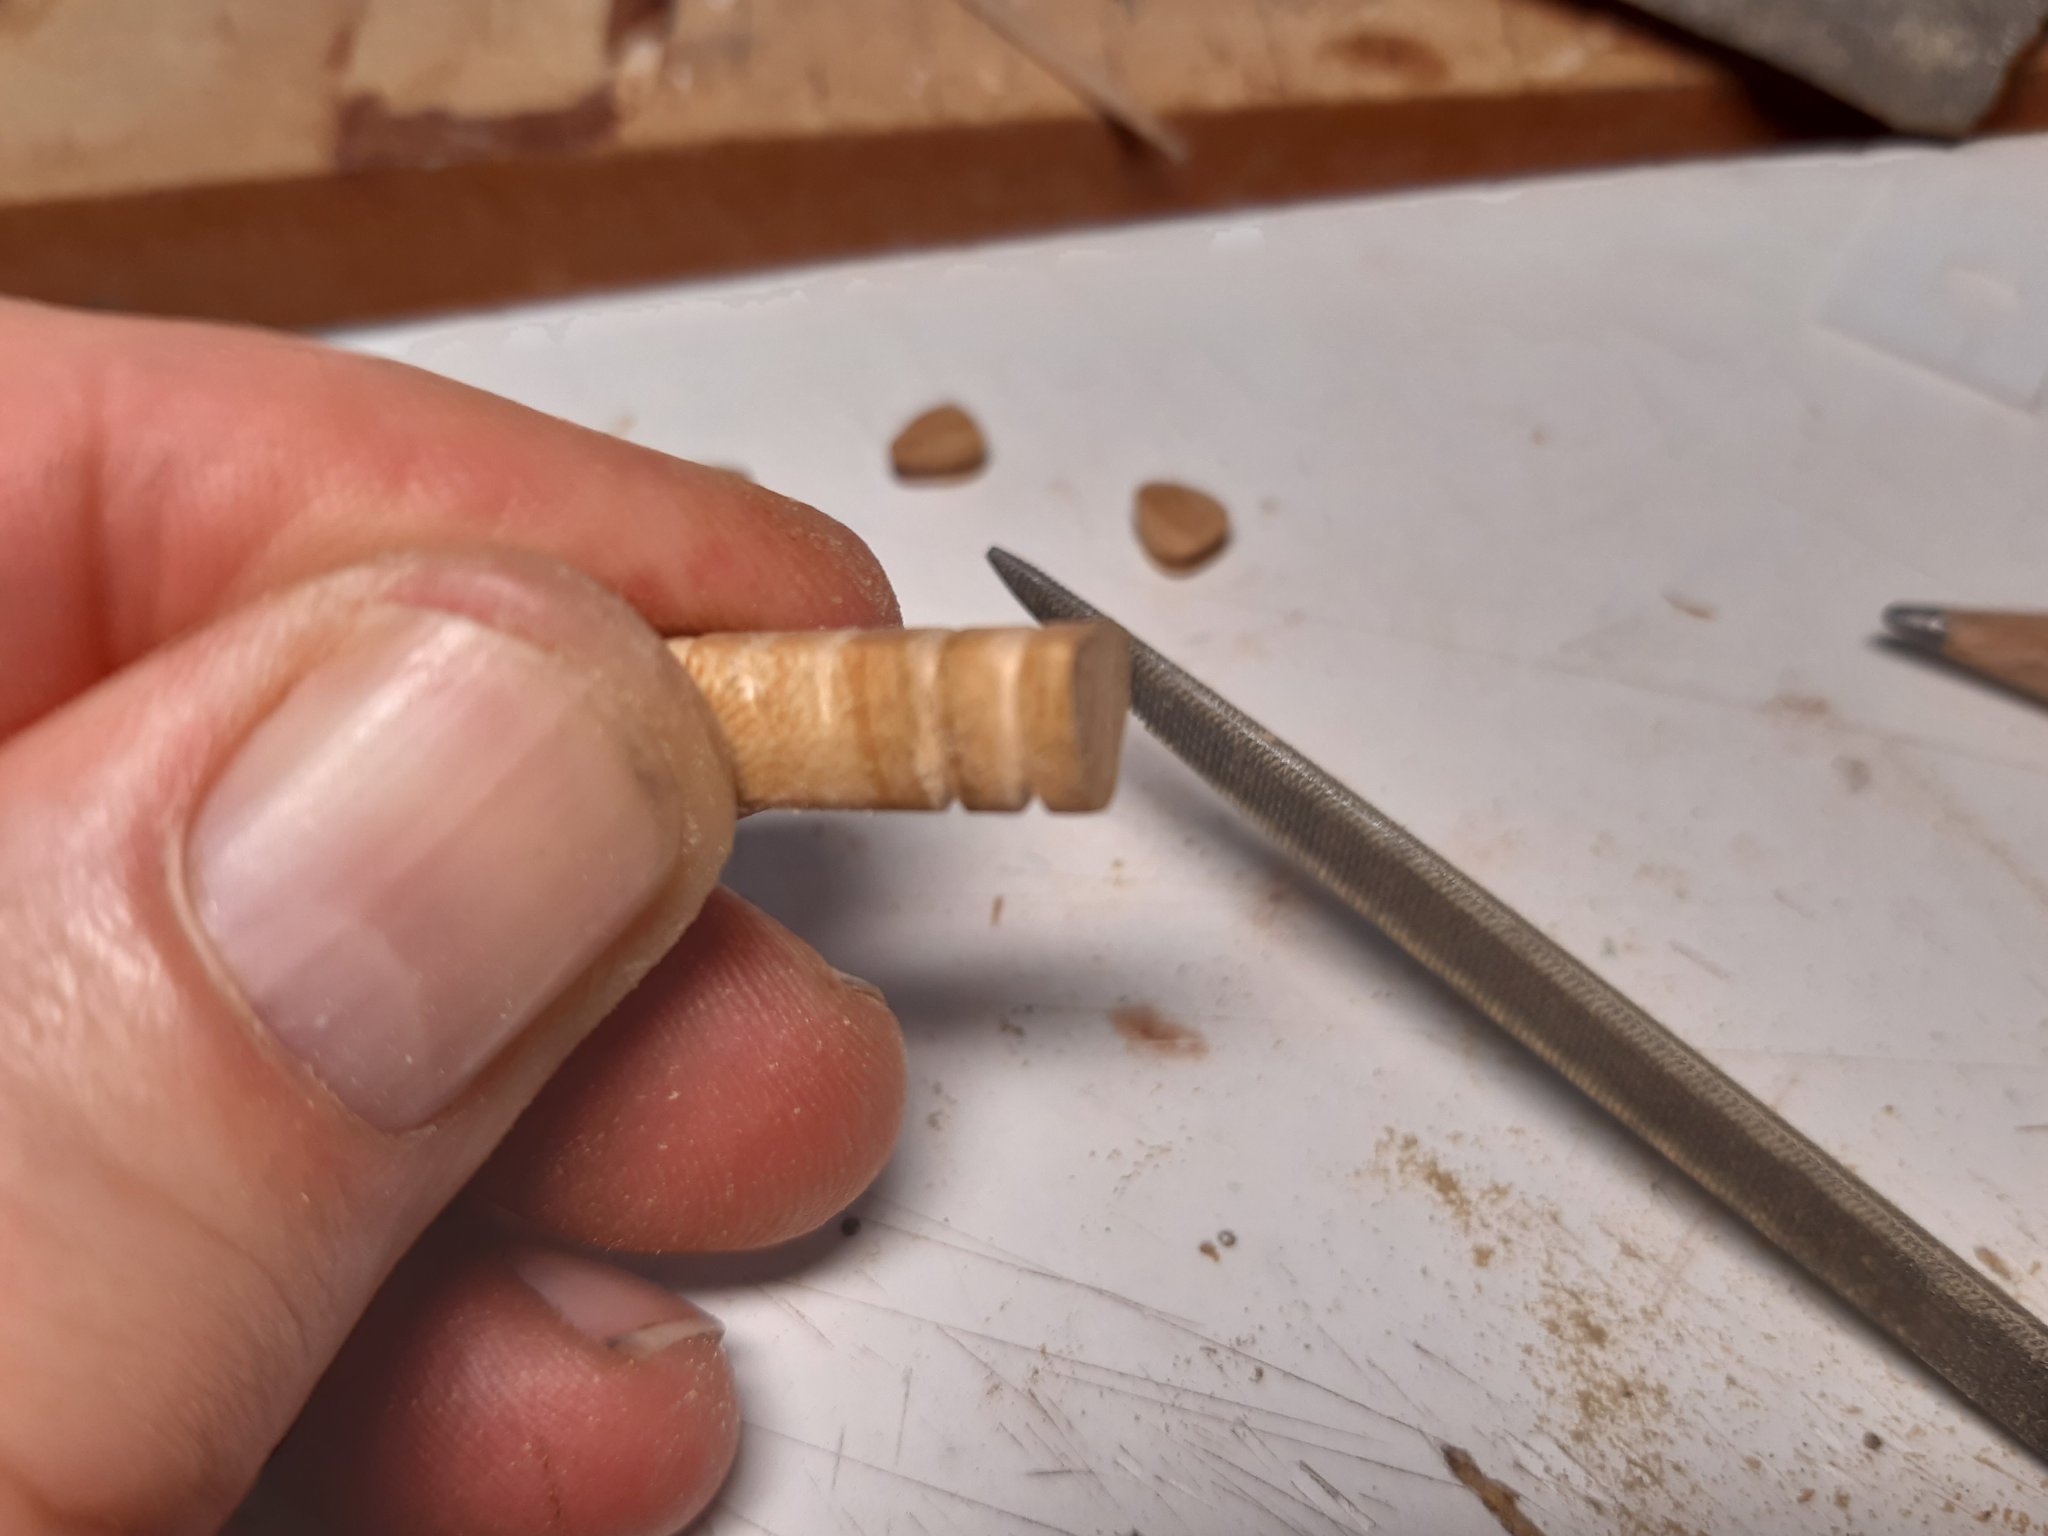
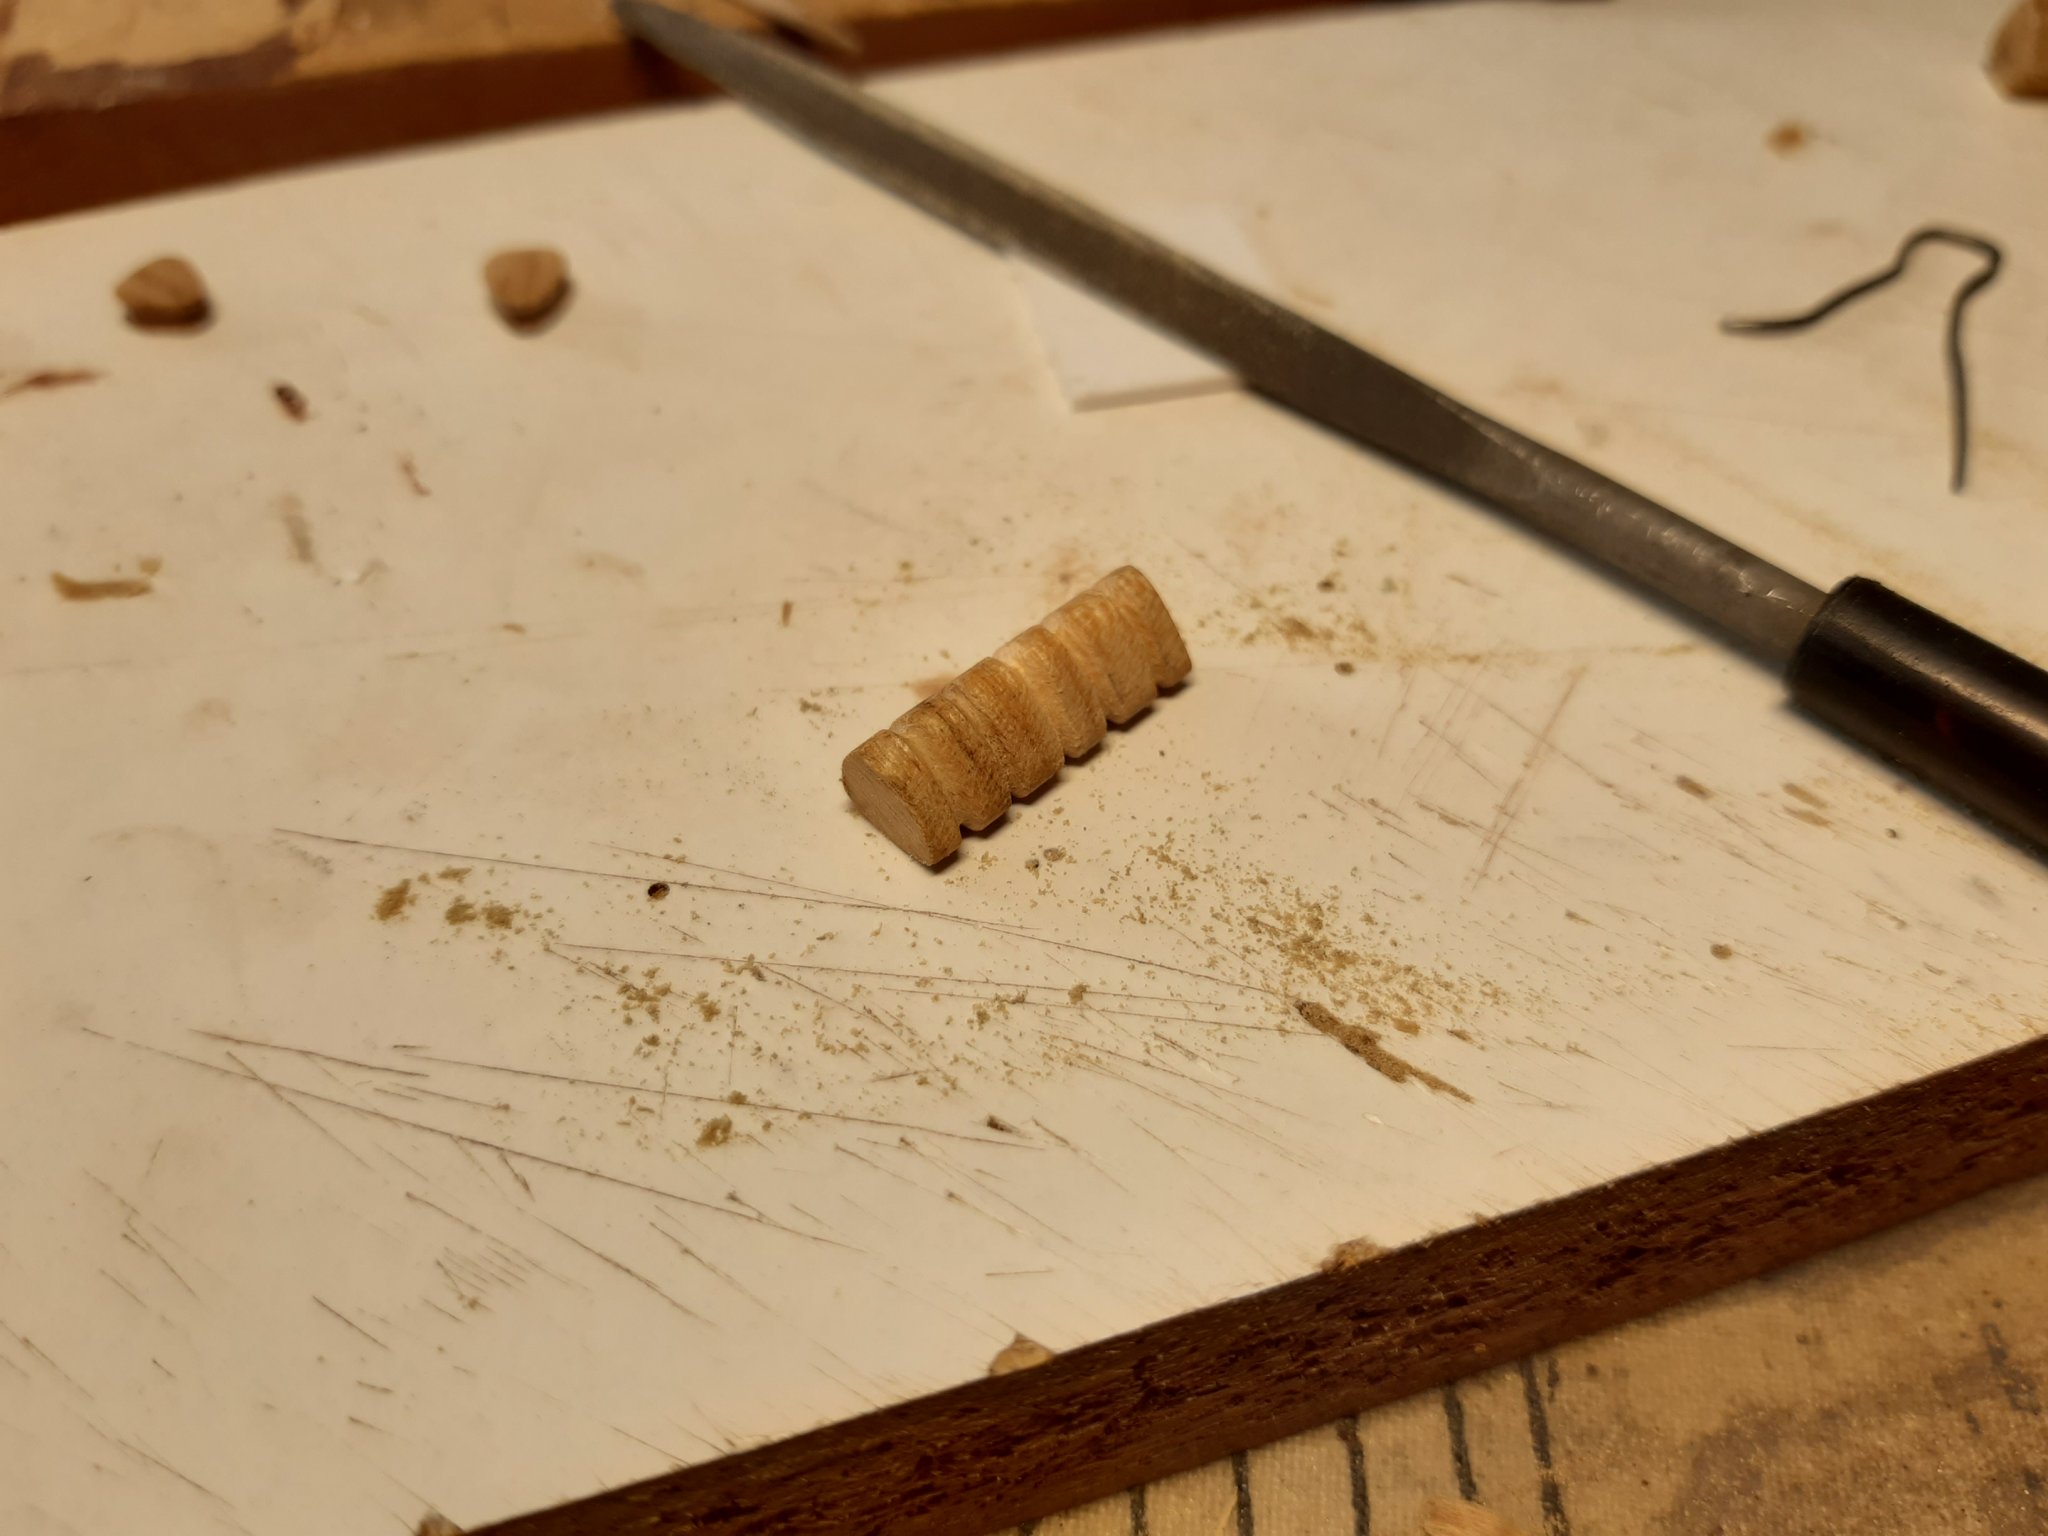
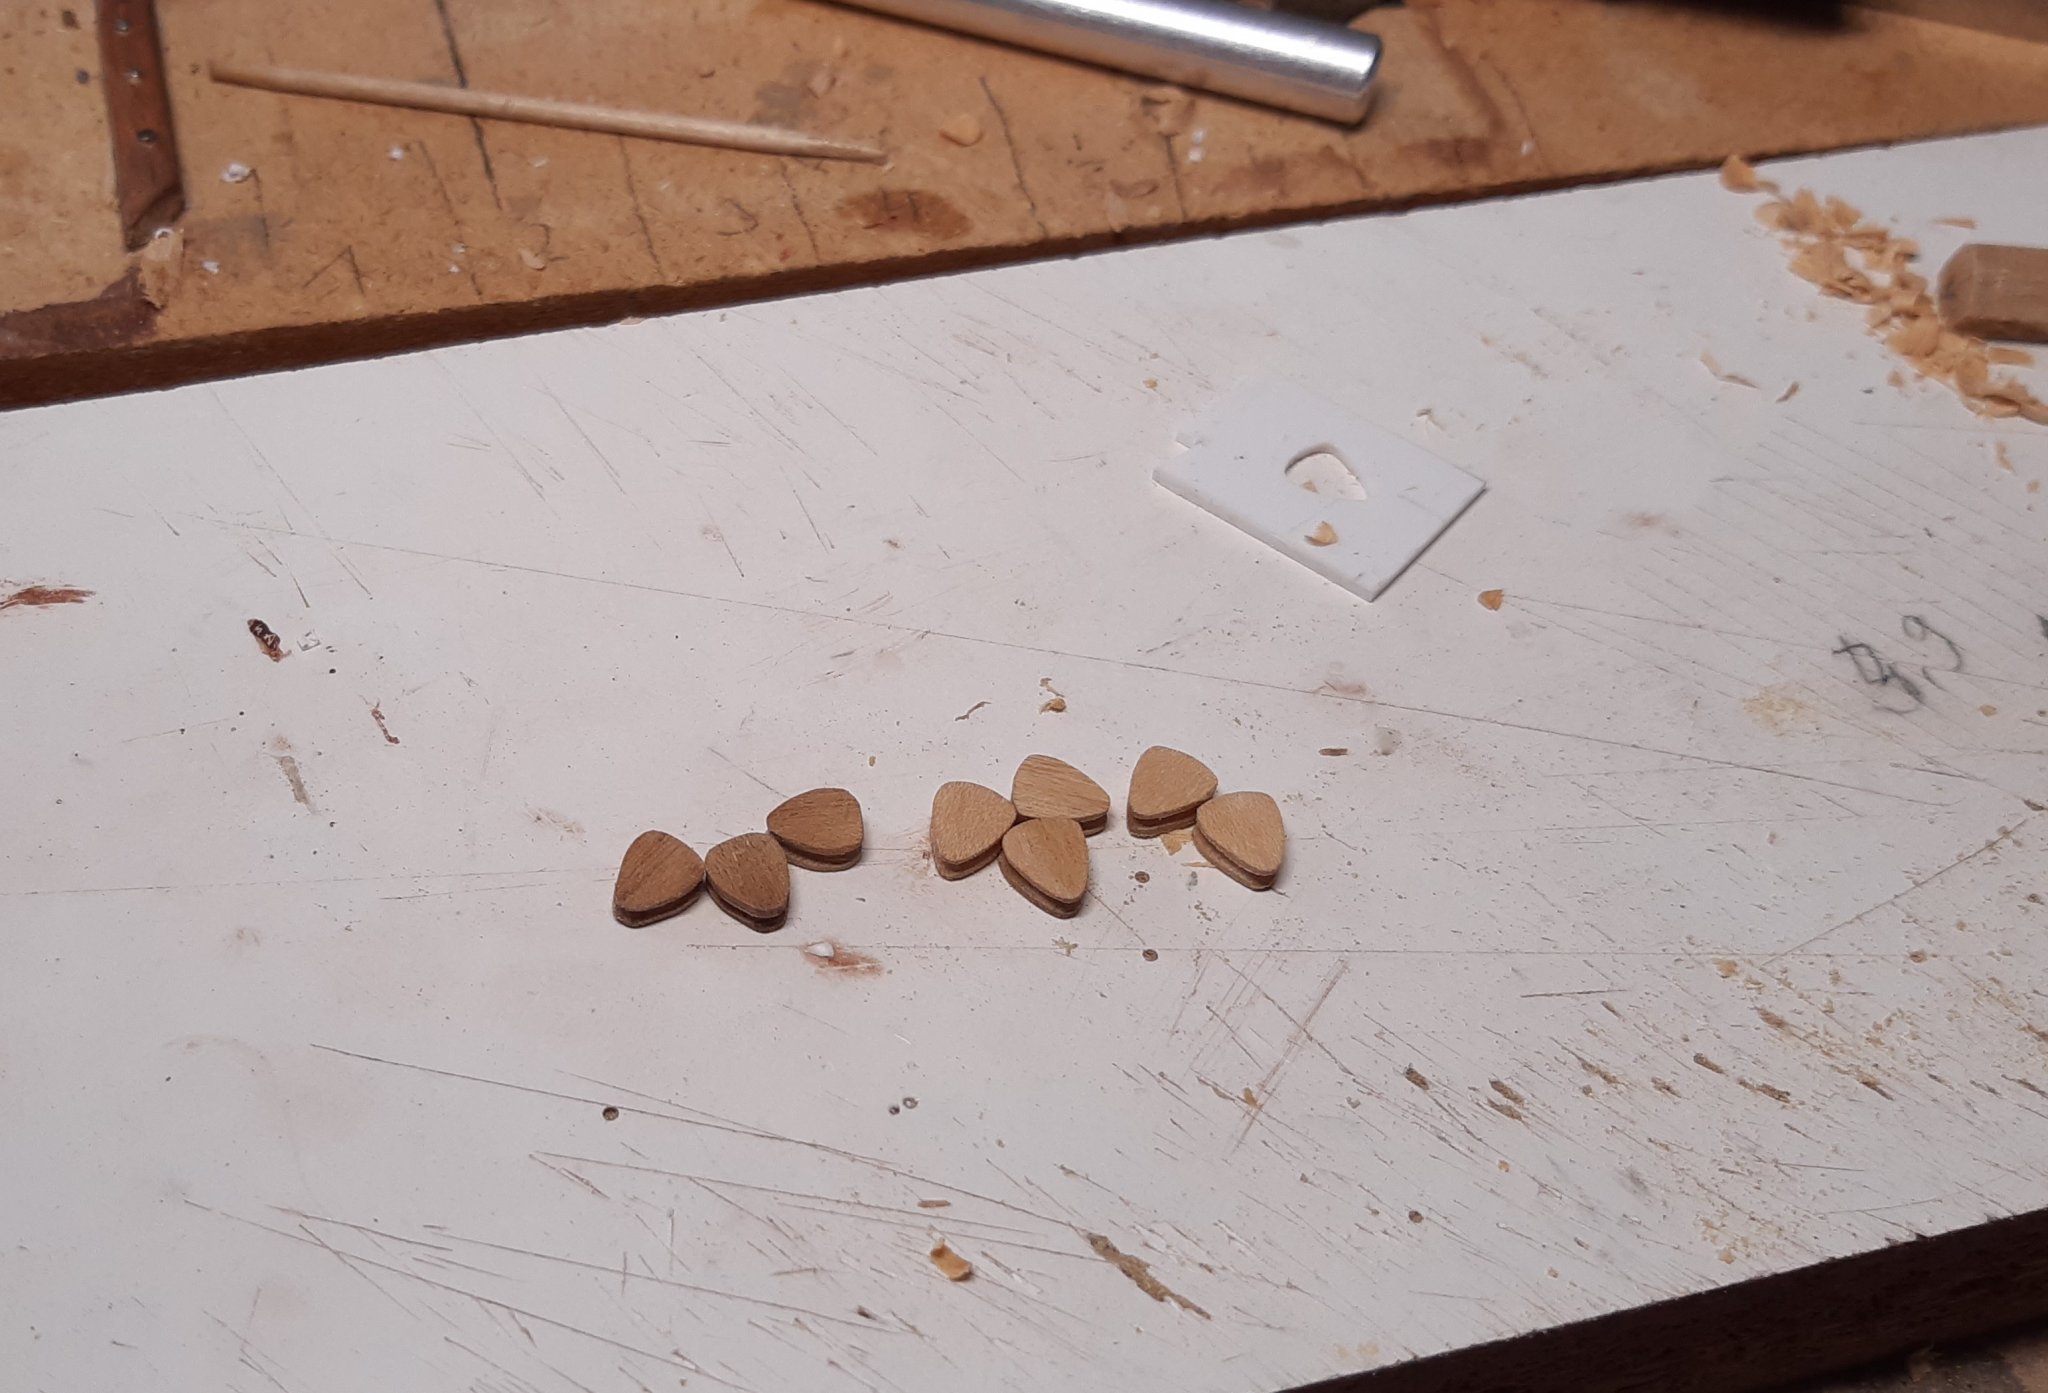
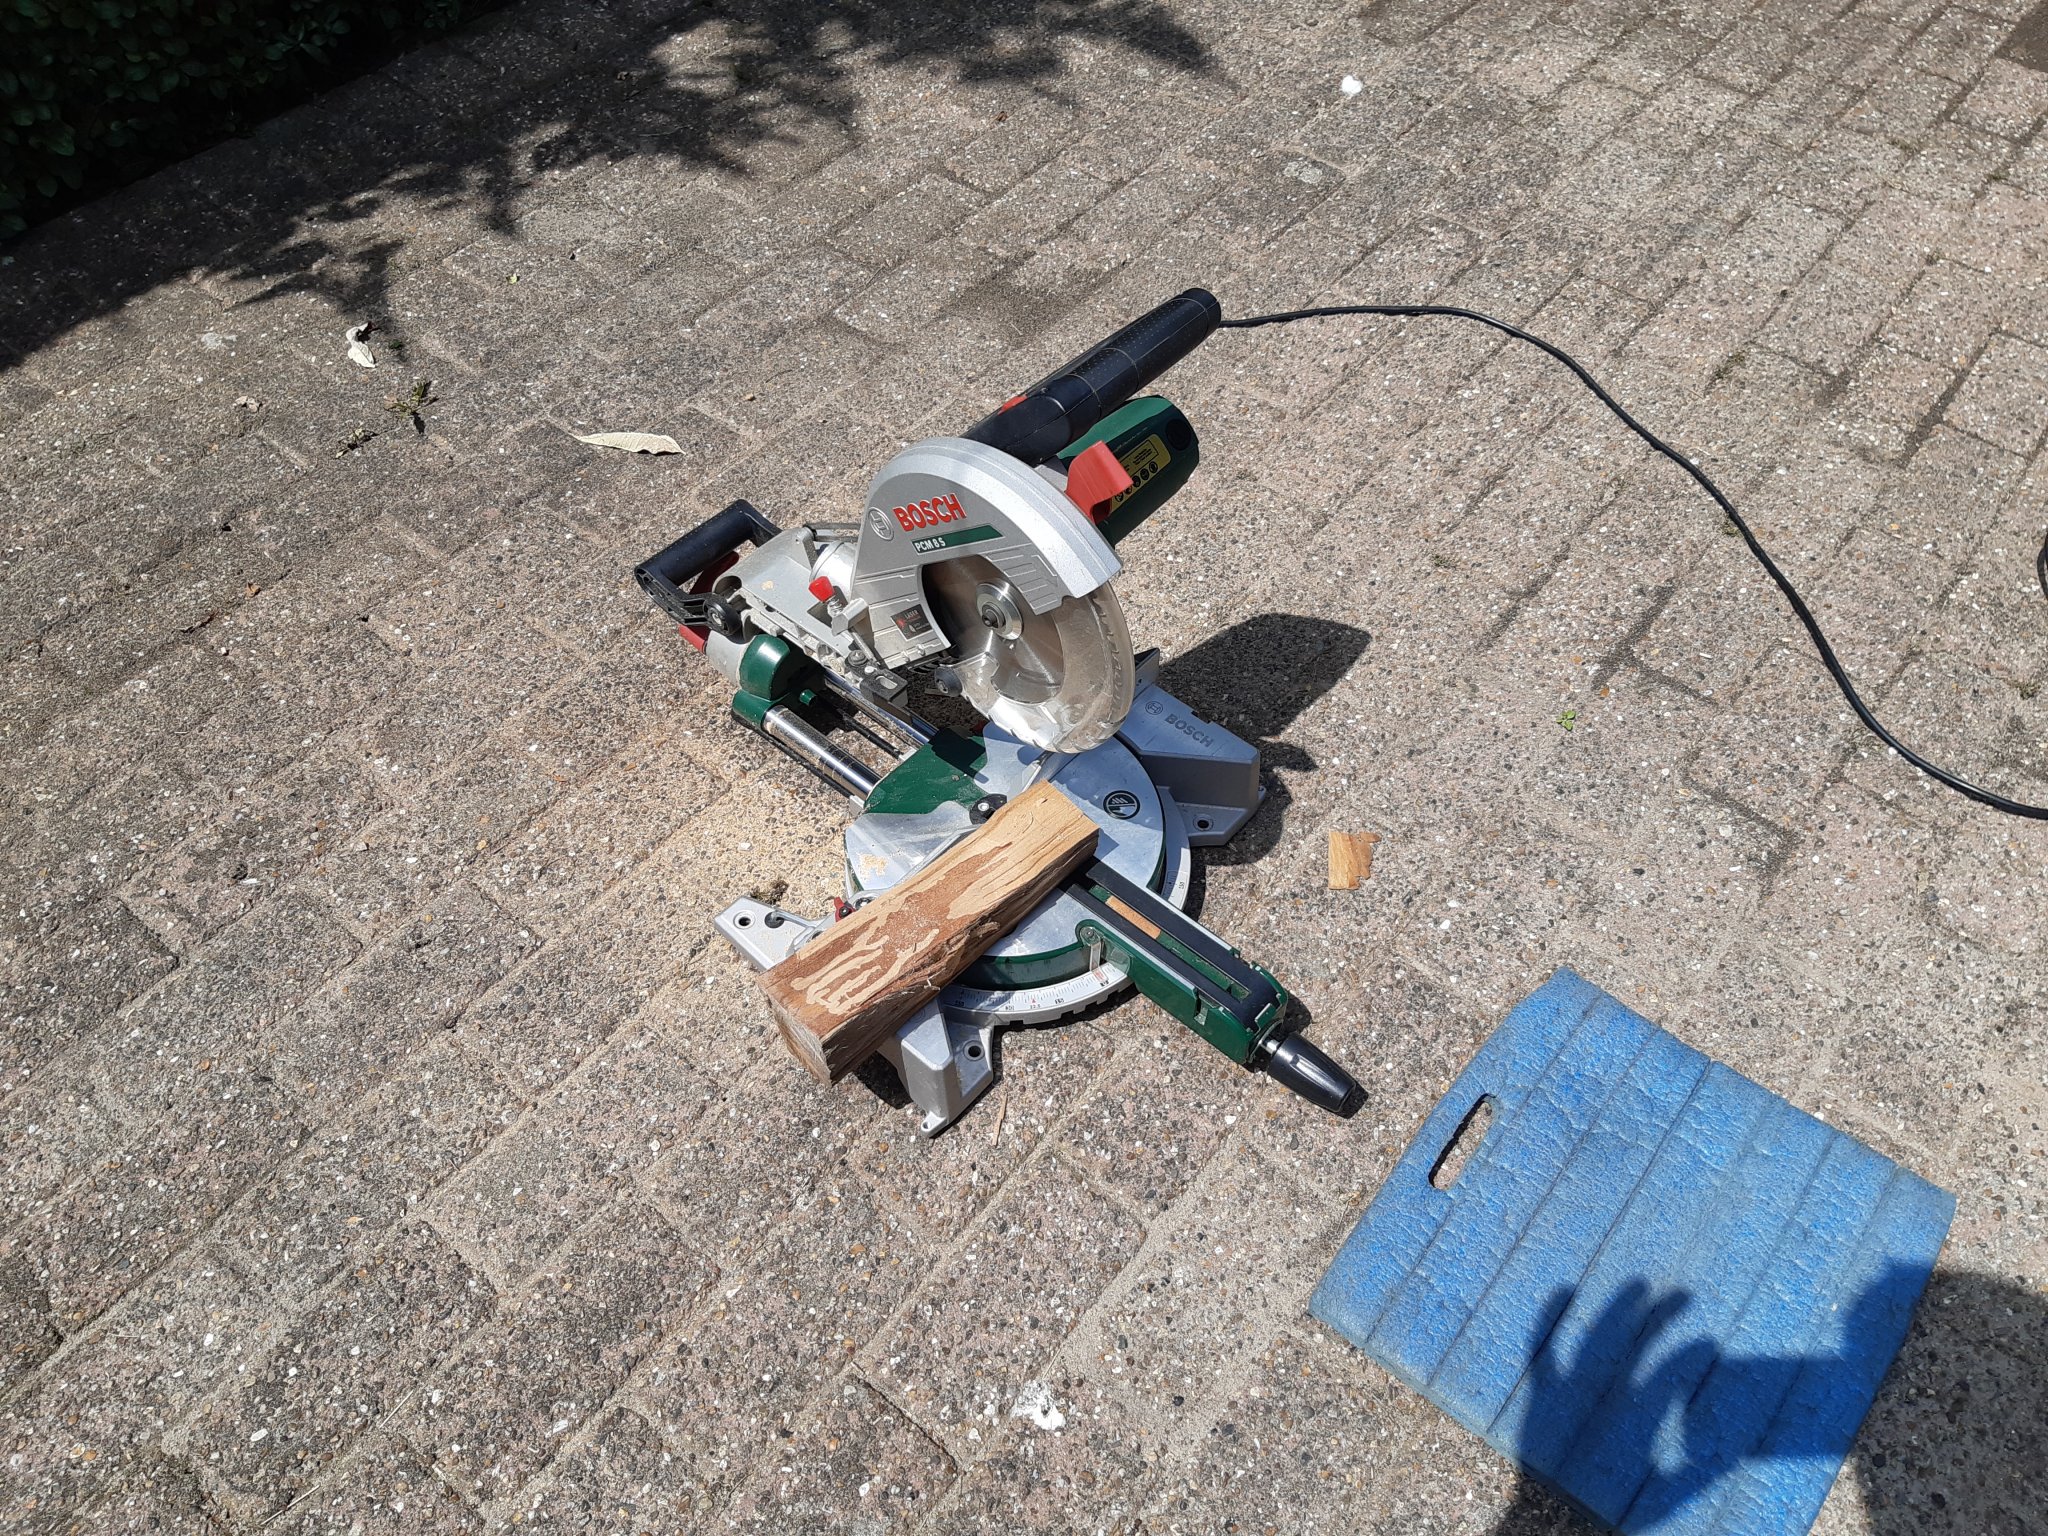
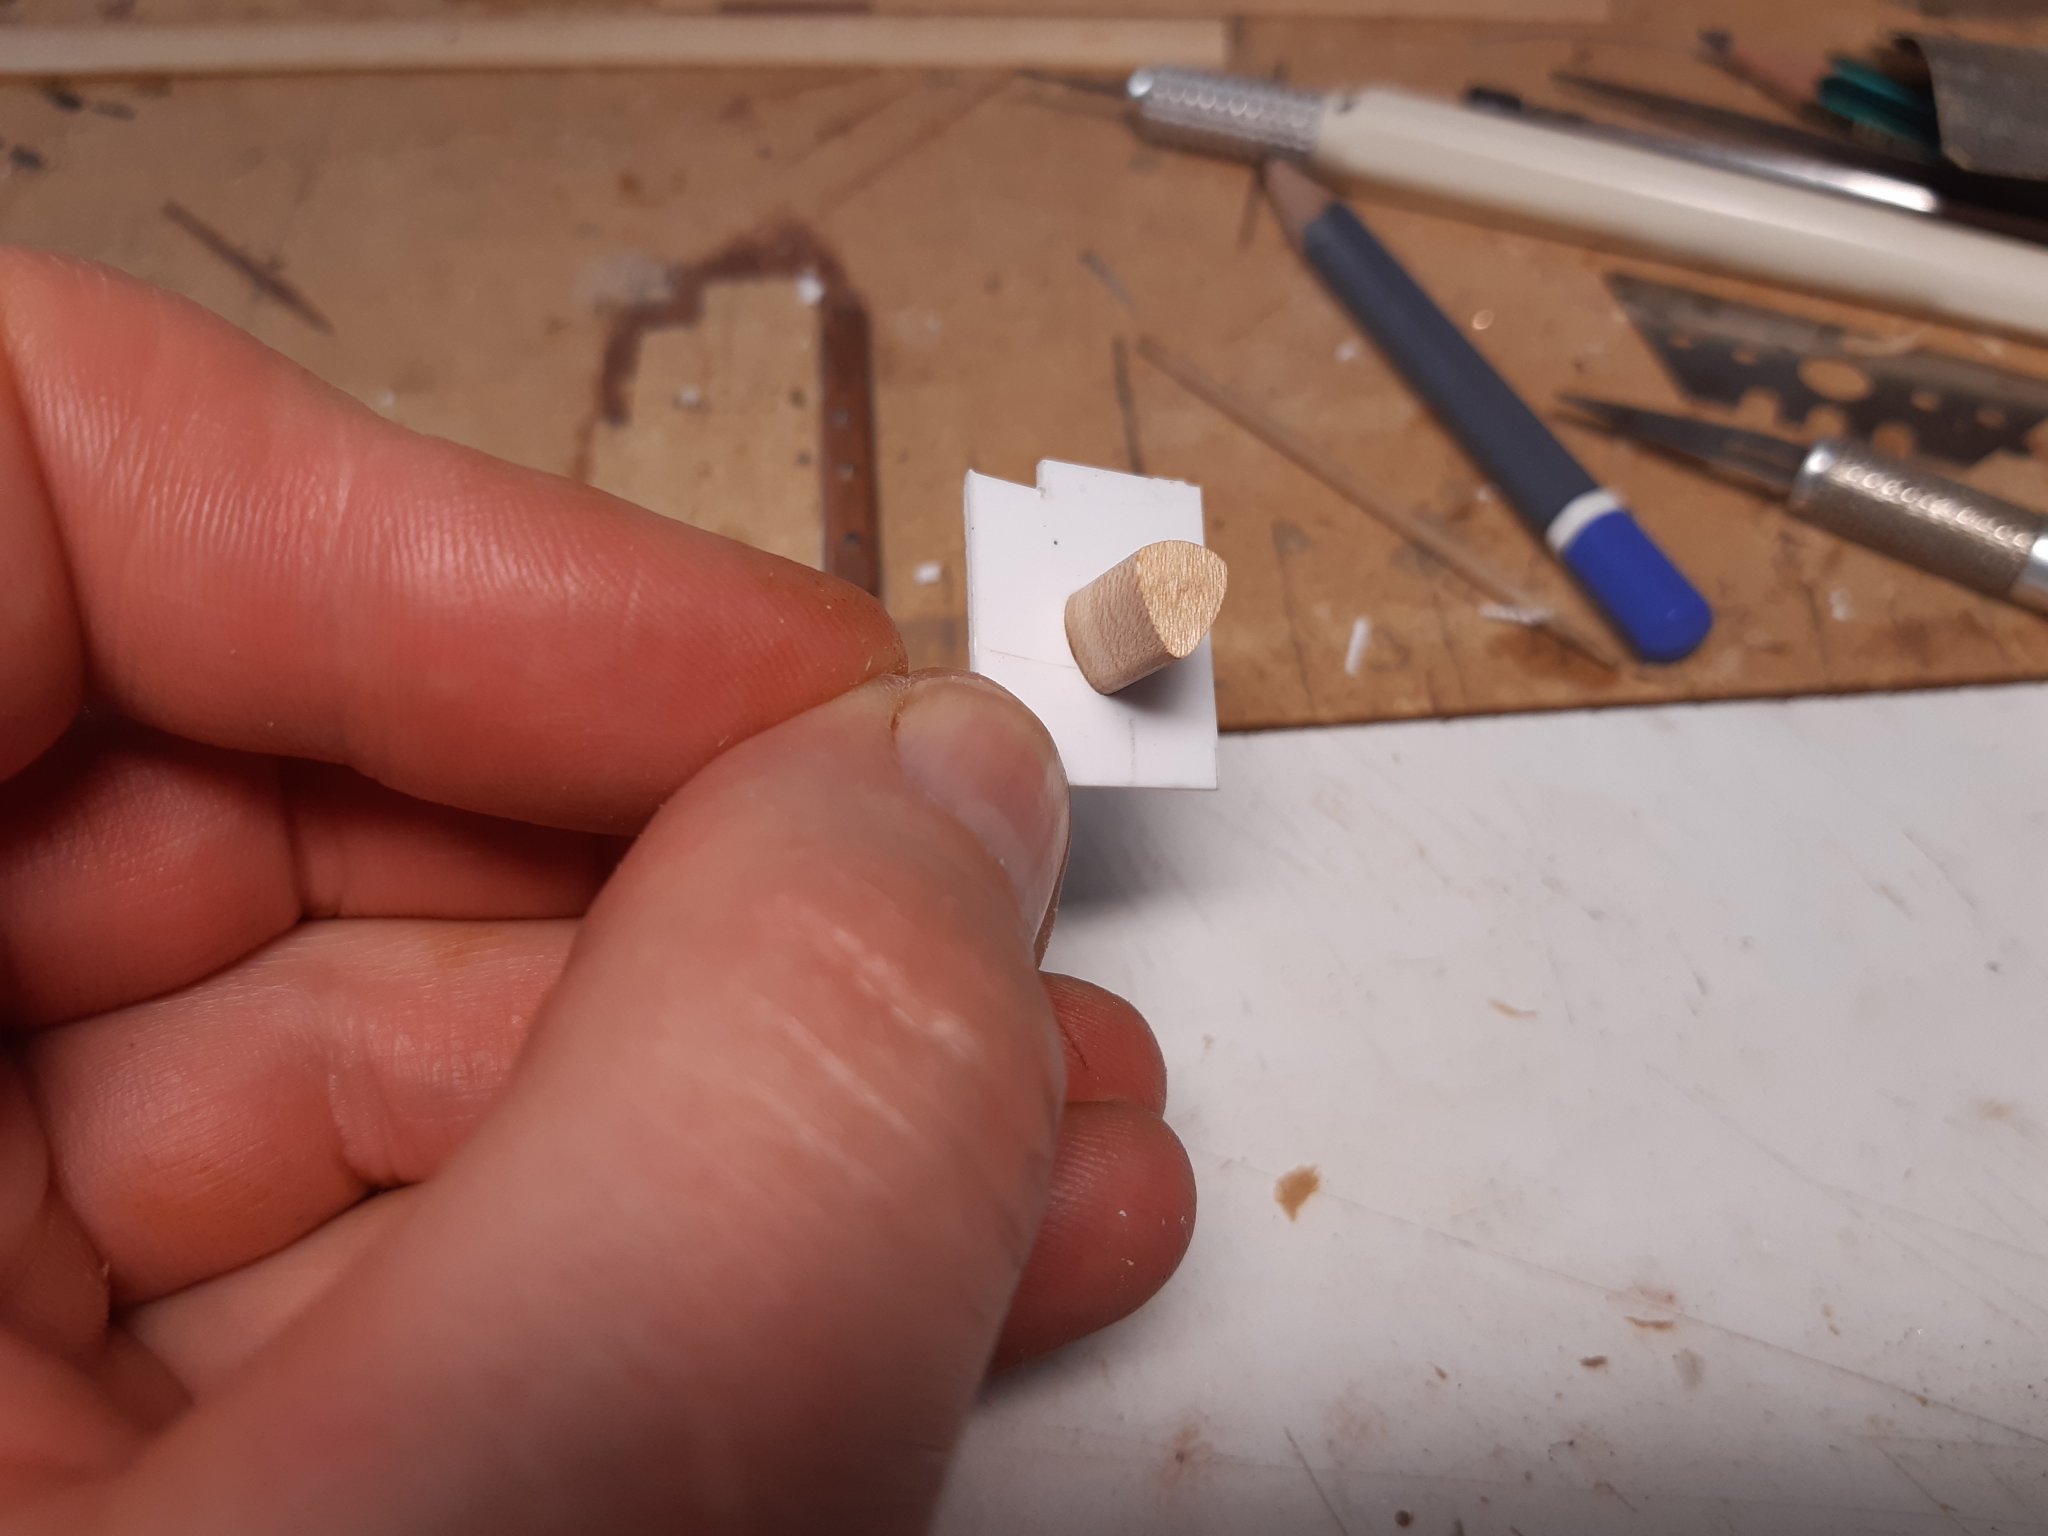
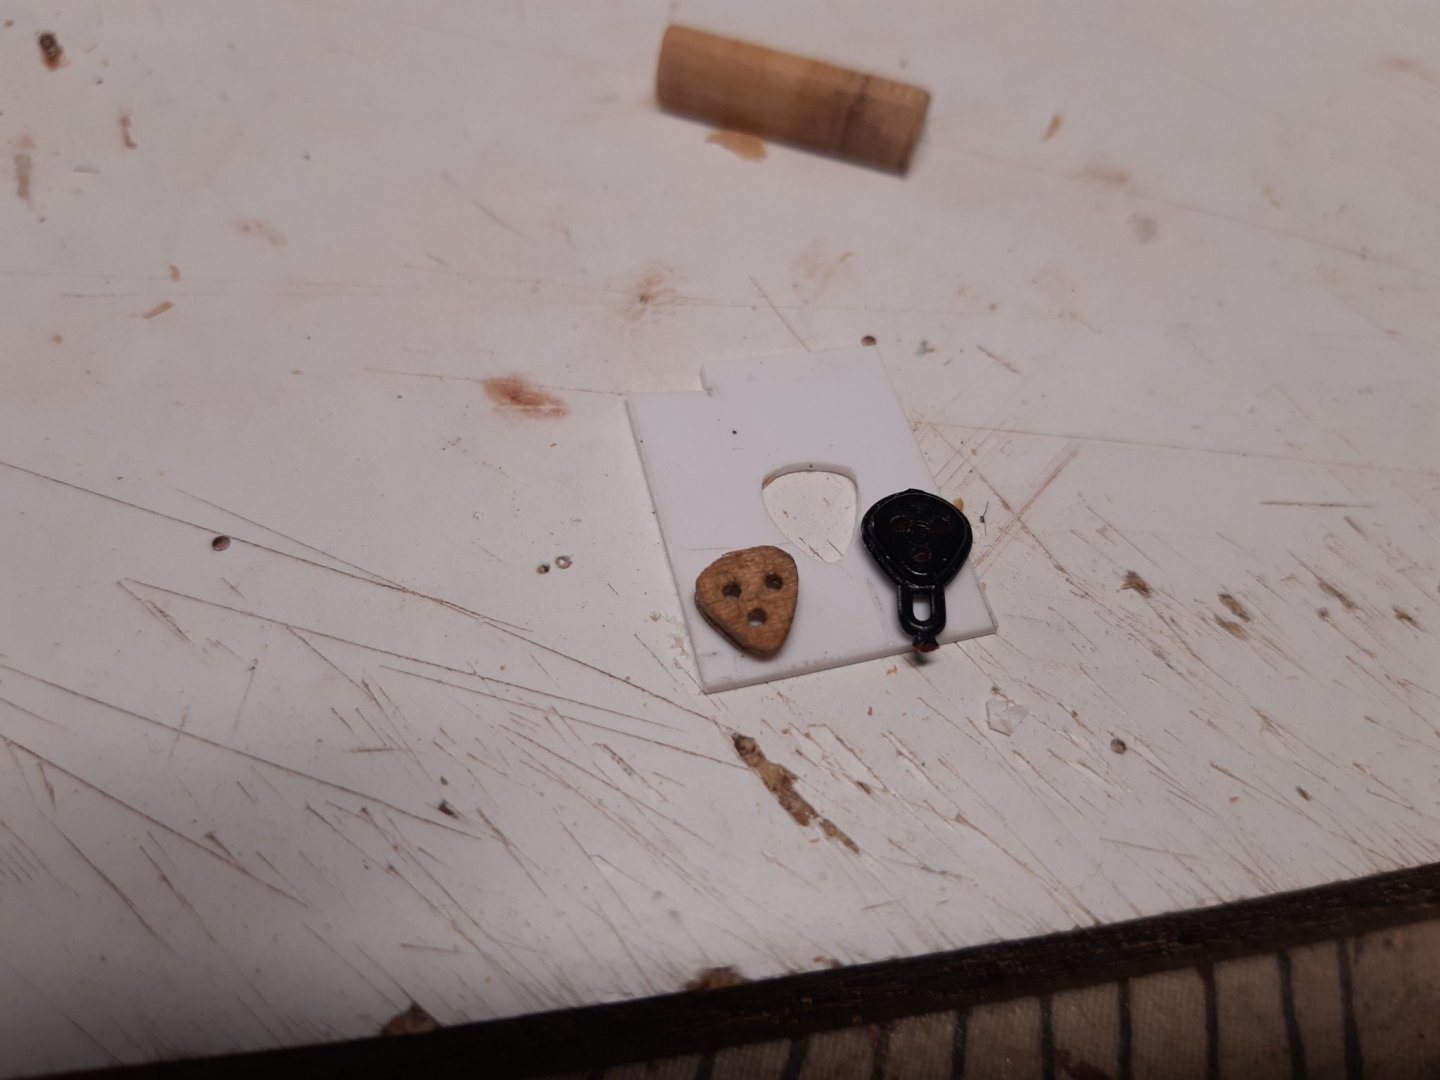
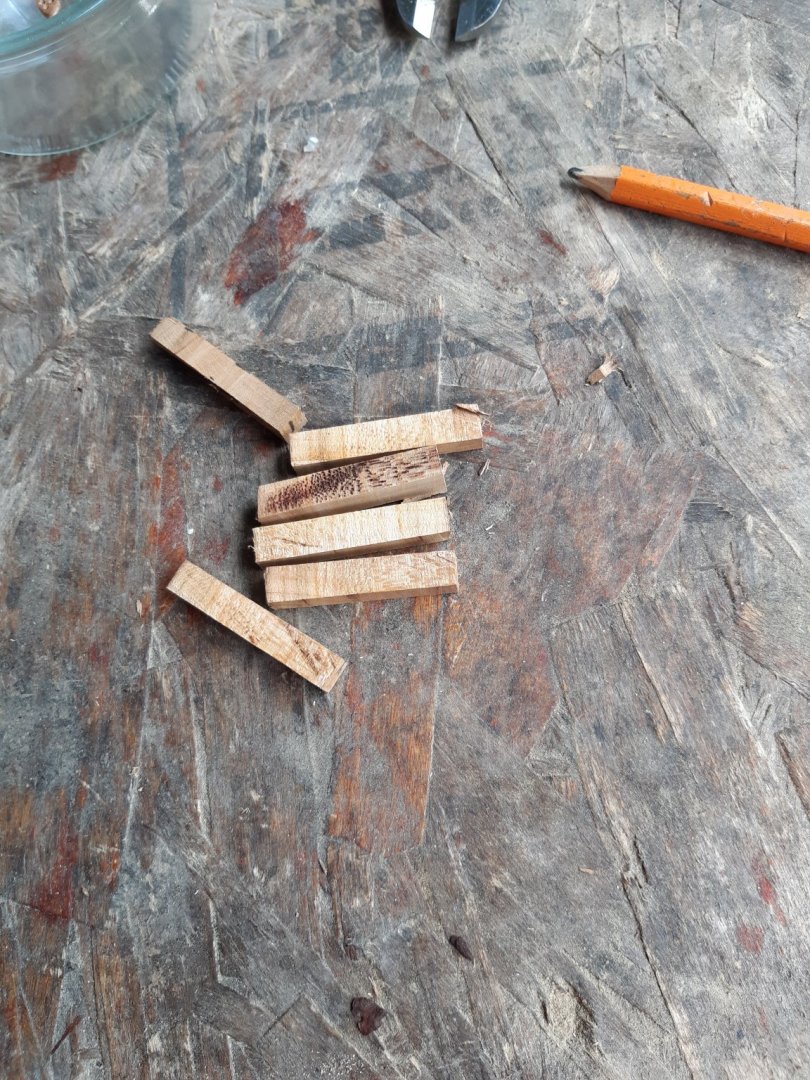
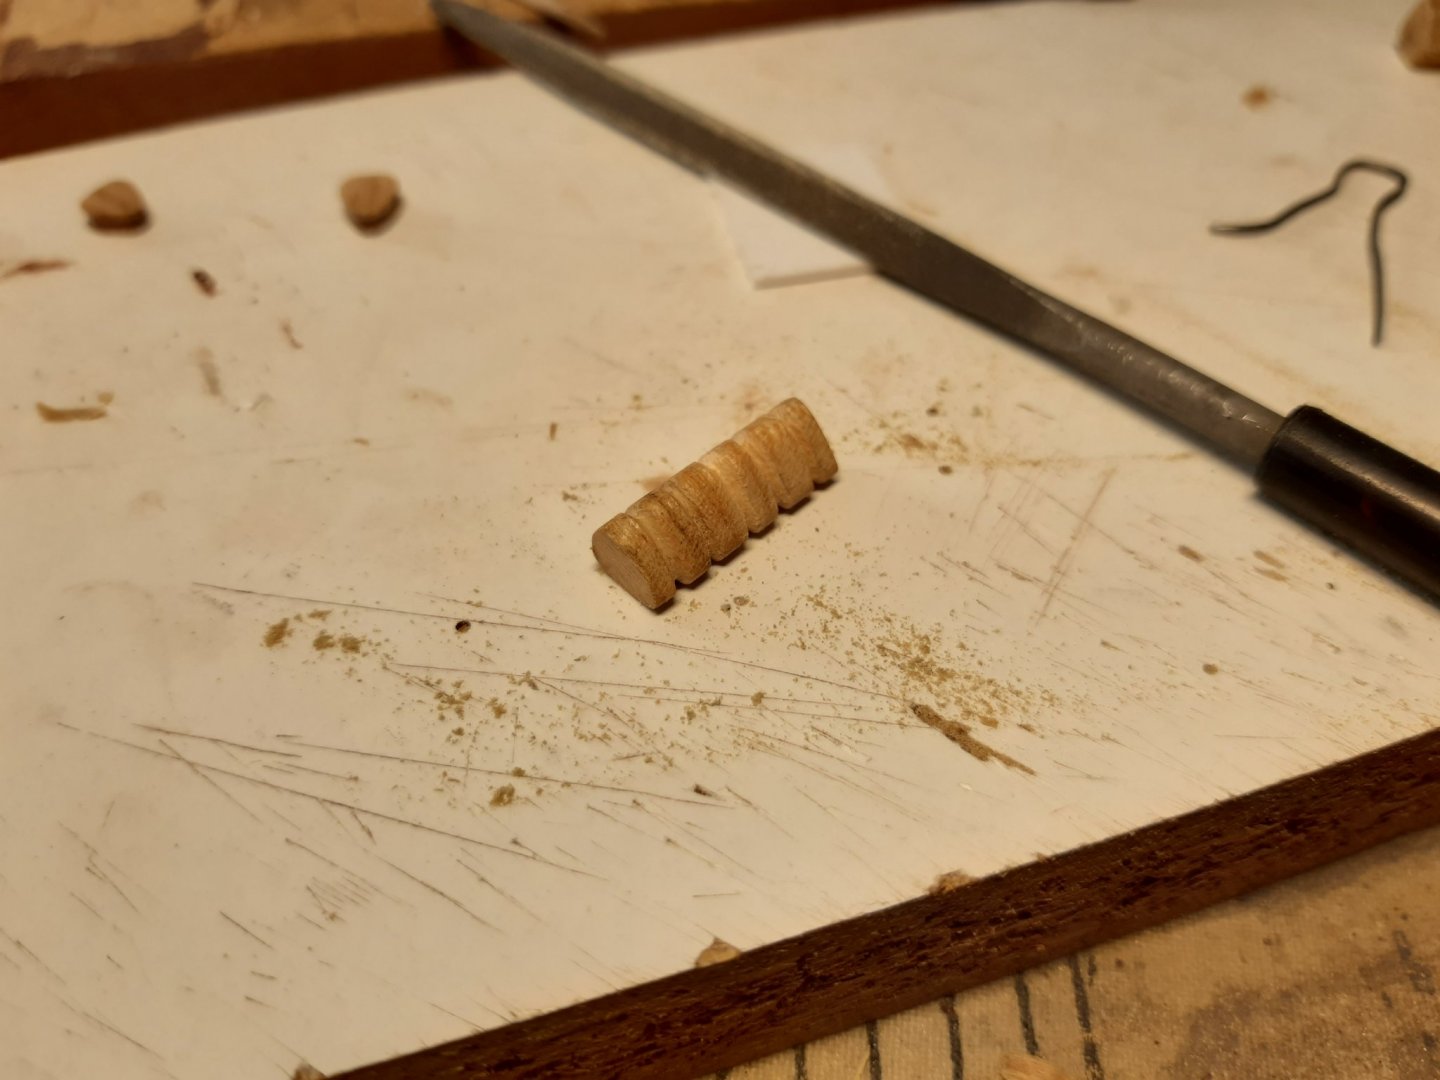
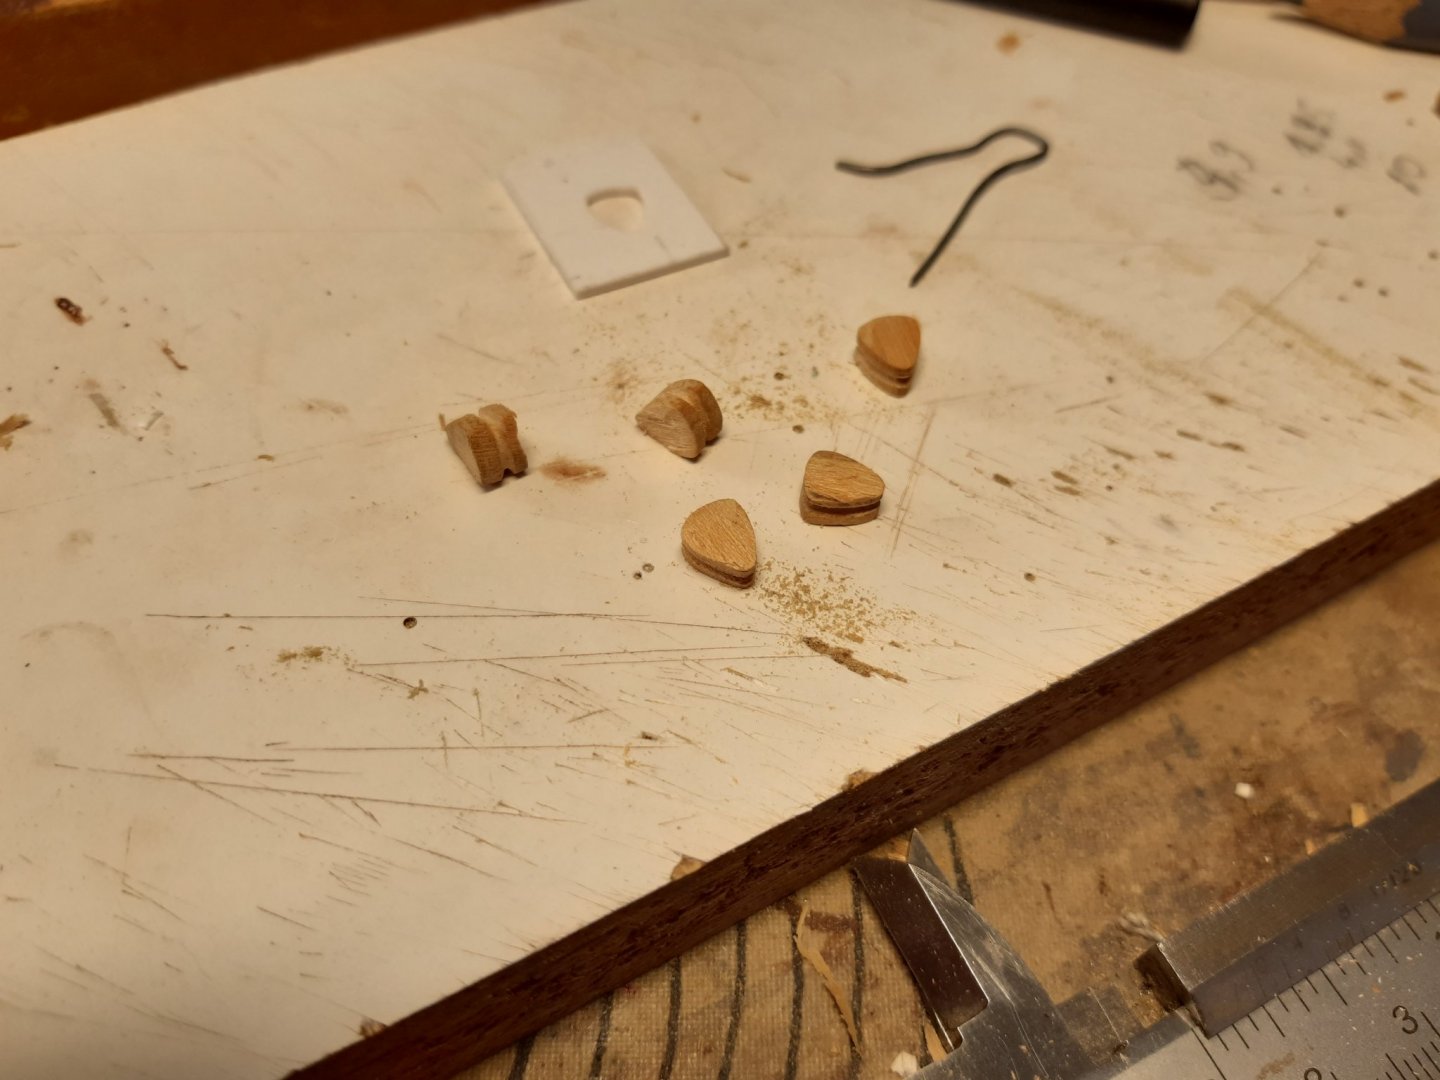
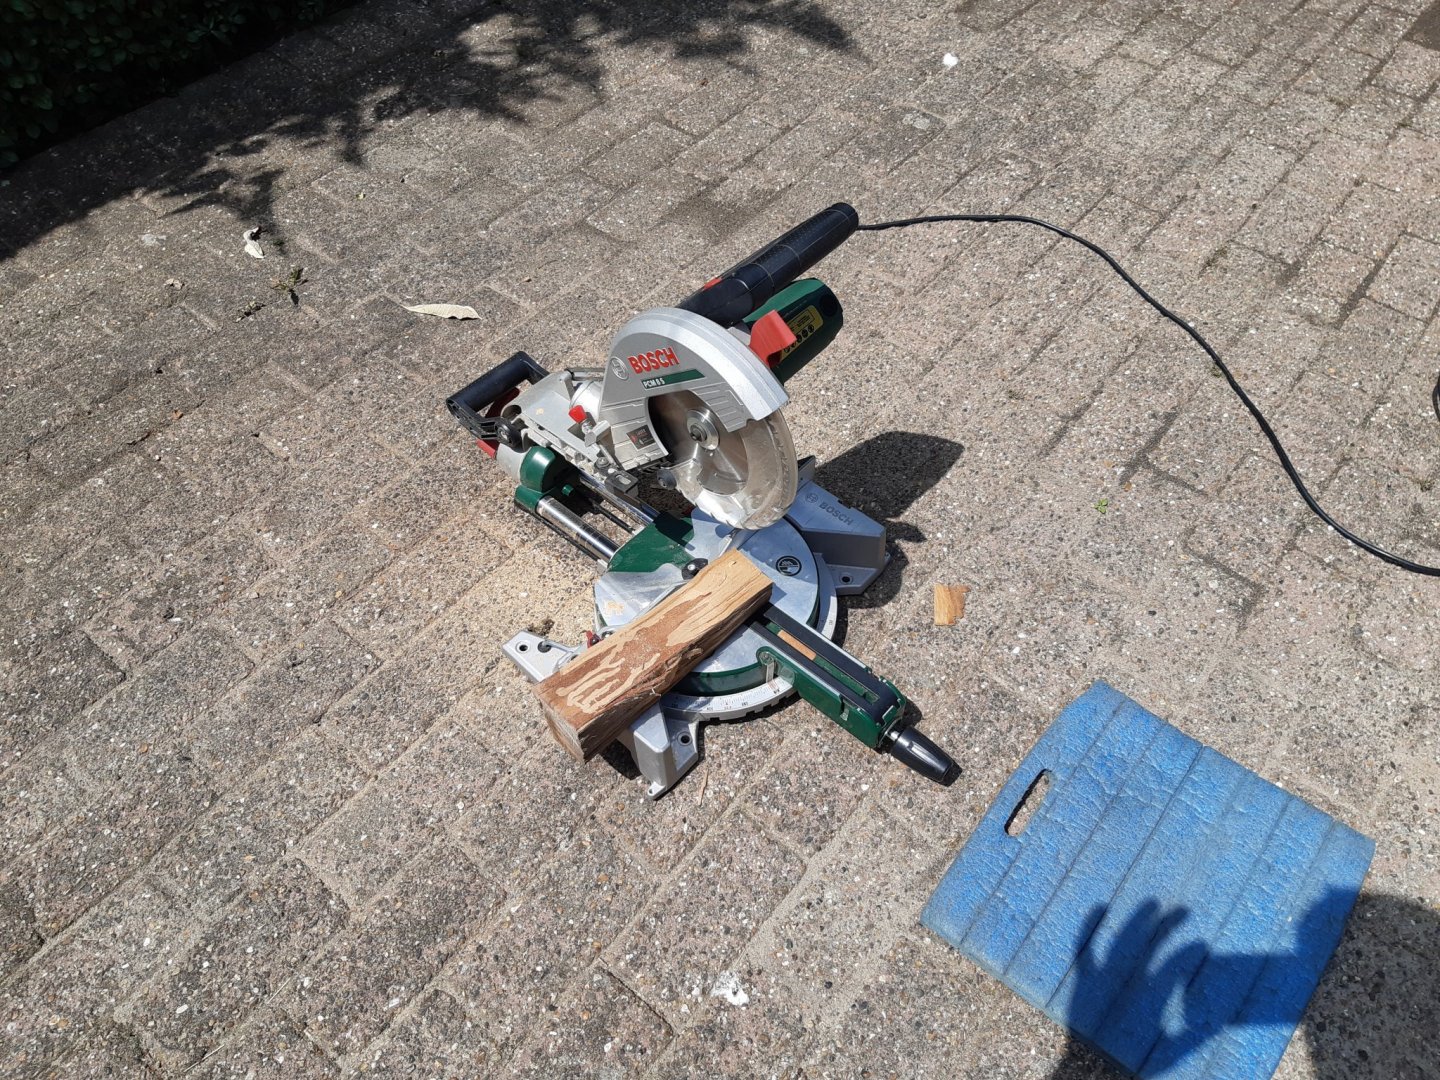
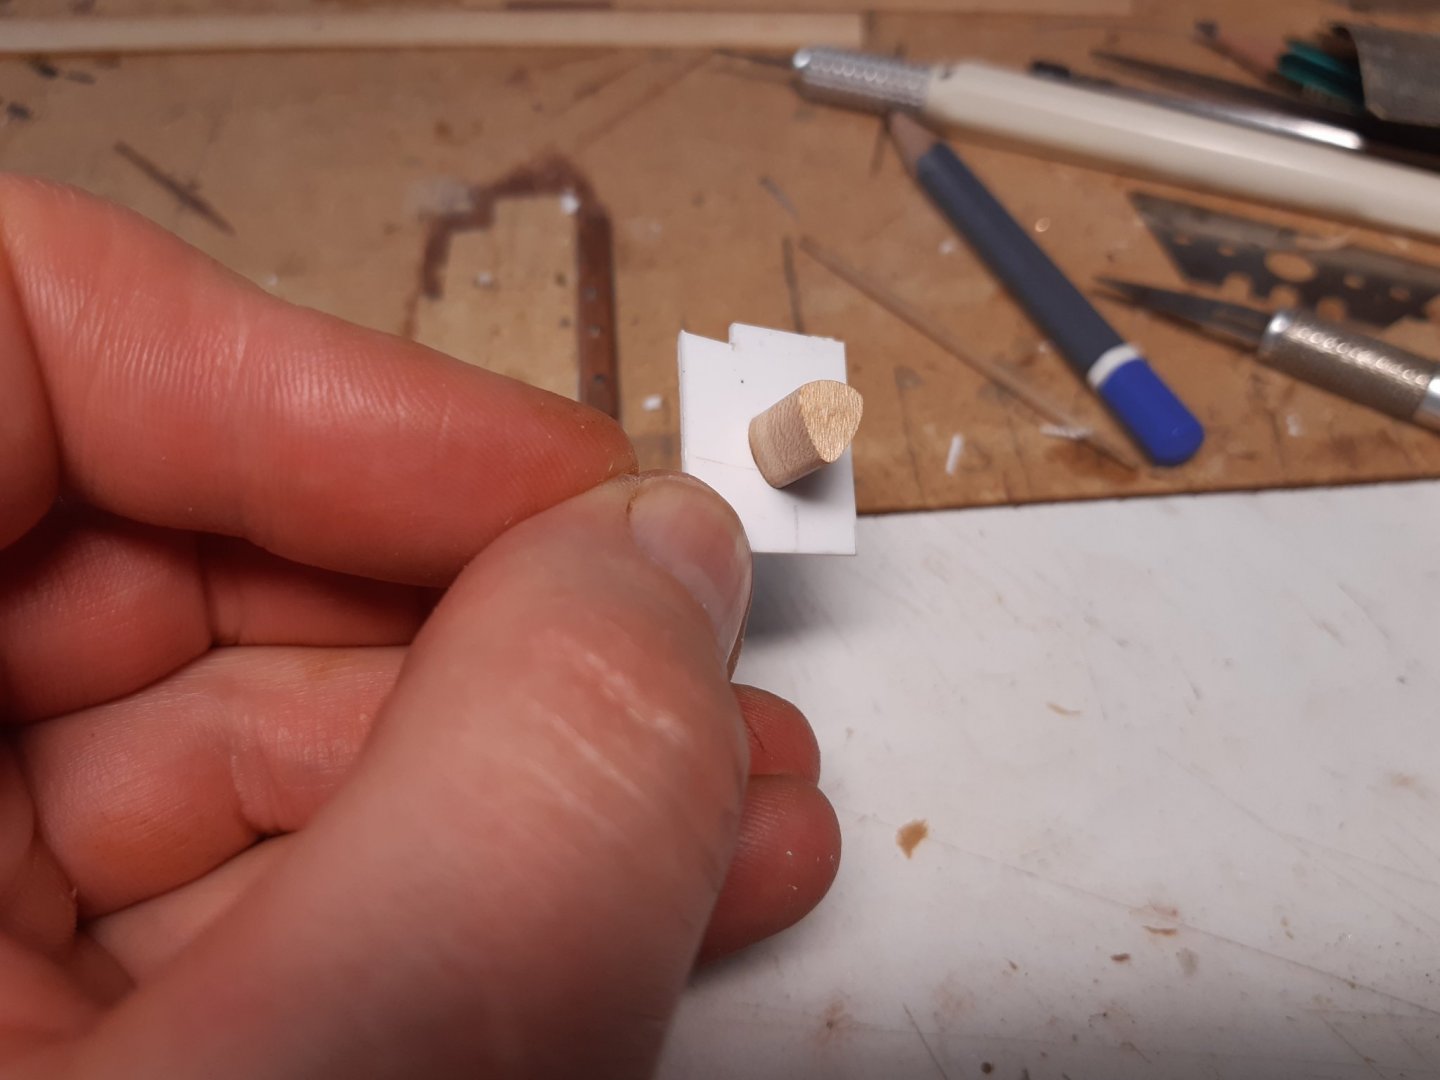
Indeed, let opponent come preferably along port and starboard, because maneuvering is not yet possible Thanks Making the triangular deadeyes (Much work, little progress) To the person who once invented the triangular deadeyes , rounds are much easier to make (I think this advice comes centuries late...) Make these to scale, with the grain of the wood in the longitudinal direction is not easy Much time has passed to find a way how to build them. Examples are the Vasa and Mary Rose. The triangular deadeyes from this era look quite thin. And determine the size. A surplus of my Heller Soleyl Royal has about the right thickness height and length. The deadeyes (plastic) of Billing's Vasa are clearly too thick. Building a wooden prototype and a mold First saw wooden beams Sand the wood to size so that it just goes through the mold. File grooves cutting this is fairly easy because it is in the same direction as the grain. Sanding to thickness. 8 done 40 more to go. Then drill the holes. That will also be a challenge. Thanks for following, comments and likes


- 756 replies
-
- 17
-
-
- galleon
- golden hind
- (and 2 more)
-
Beautiful work Rodolfo
-
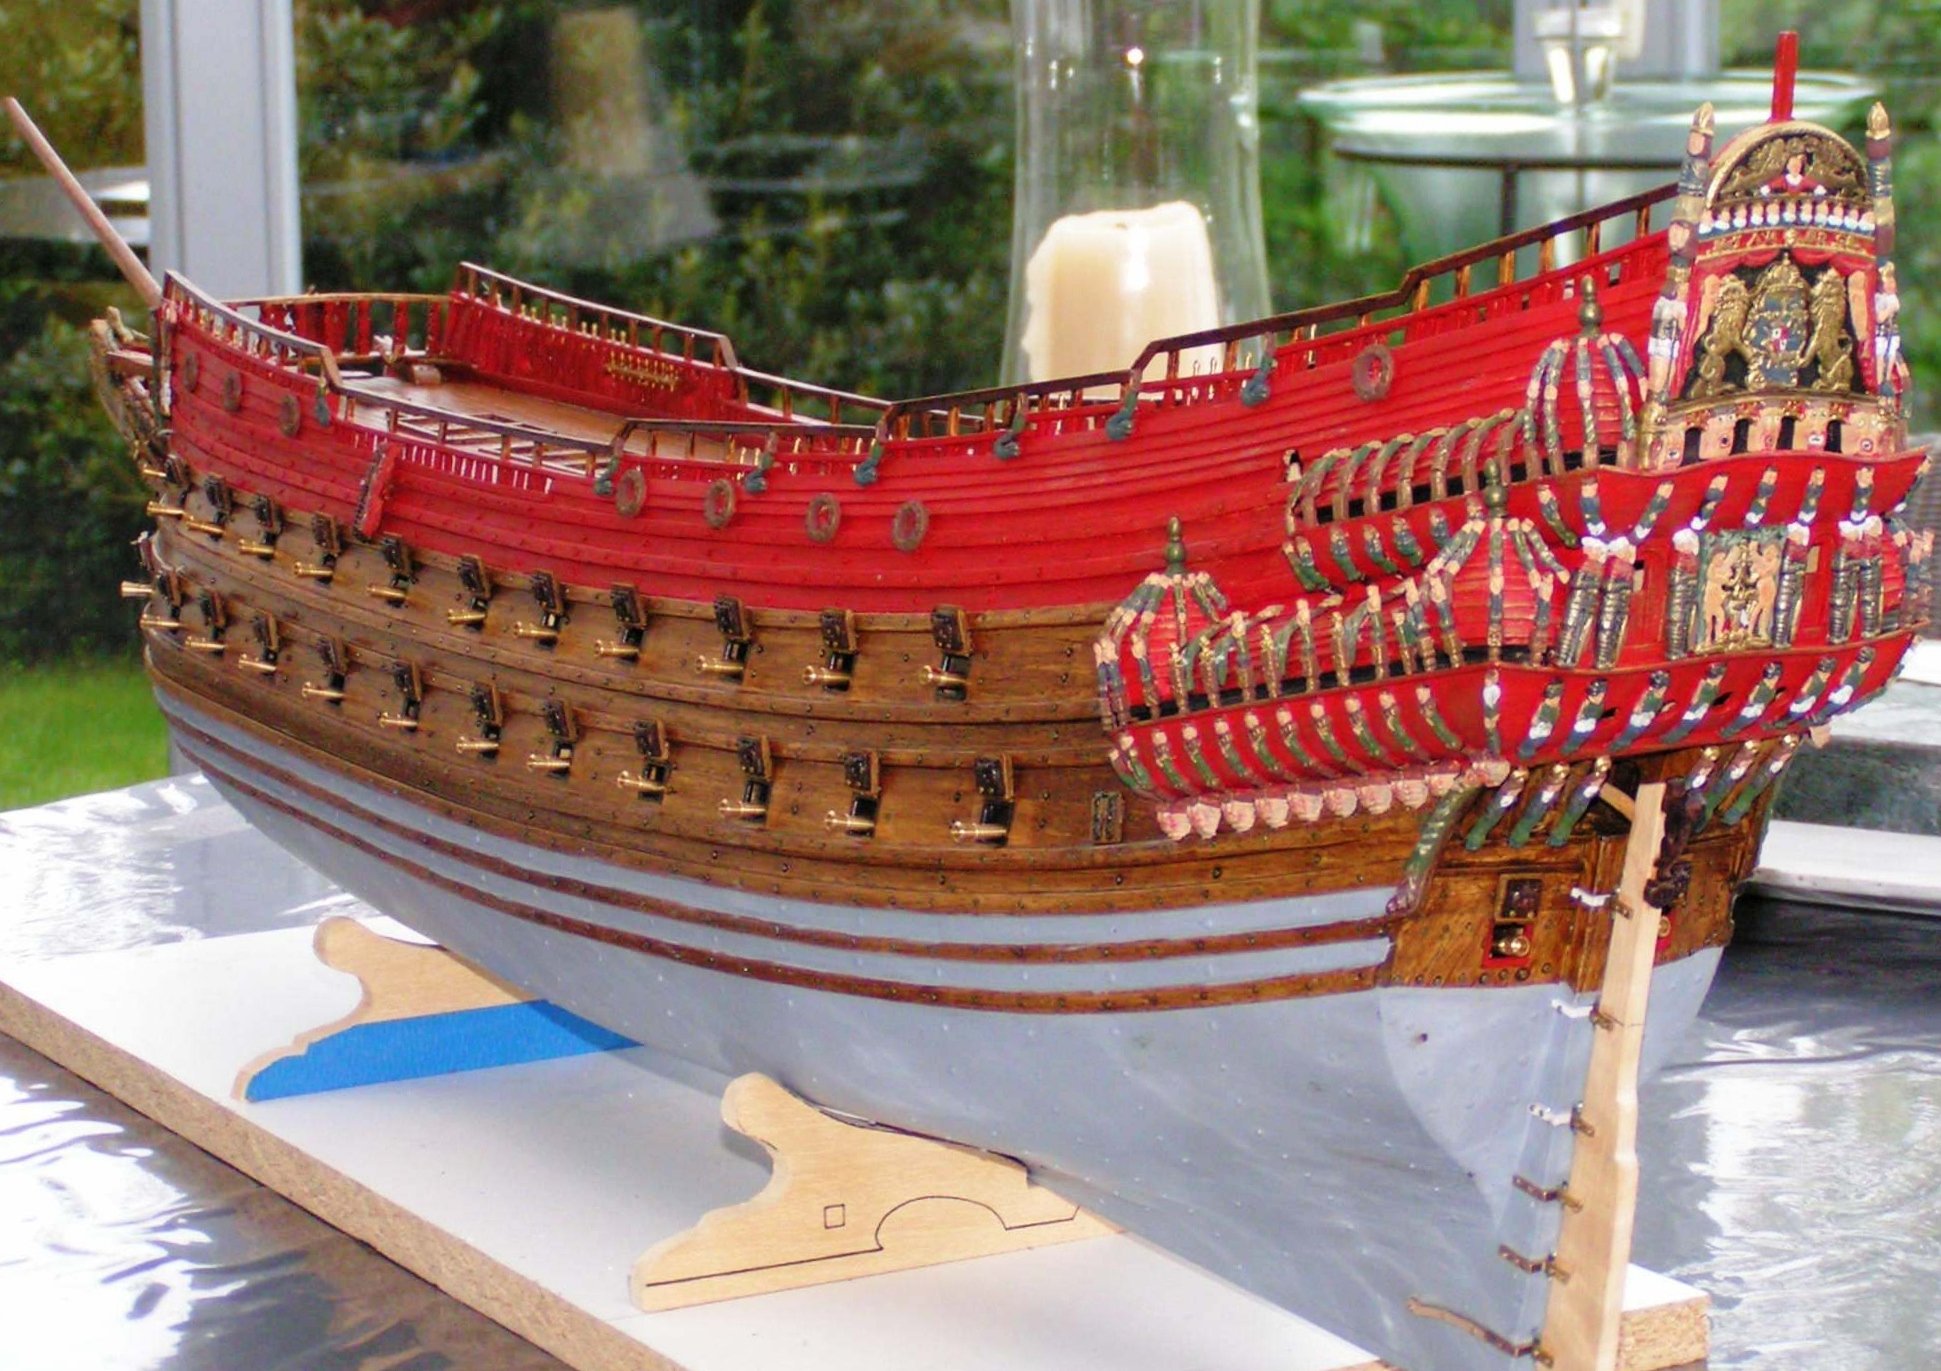
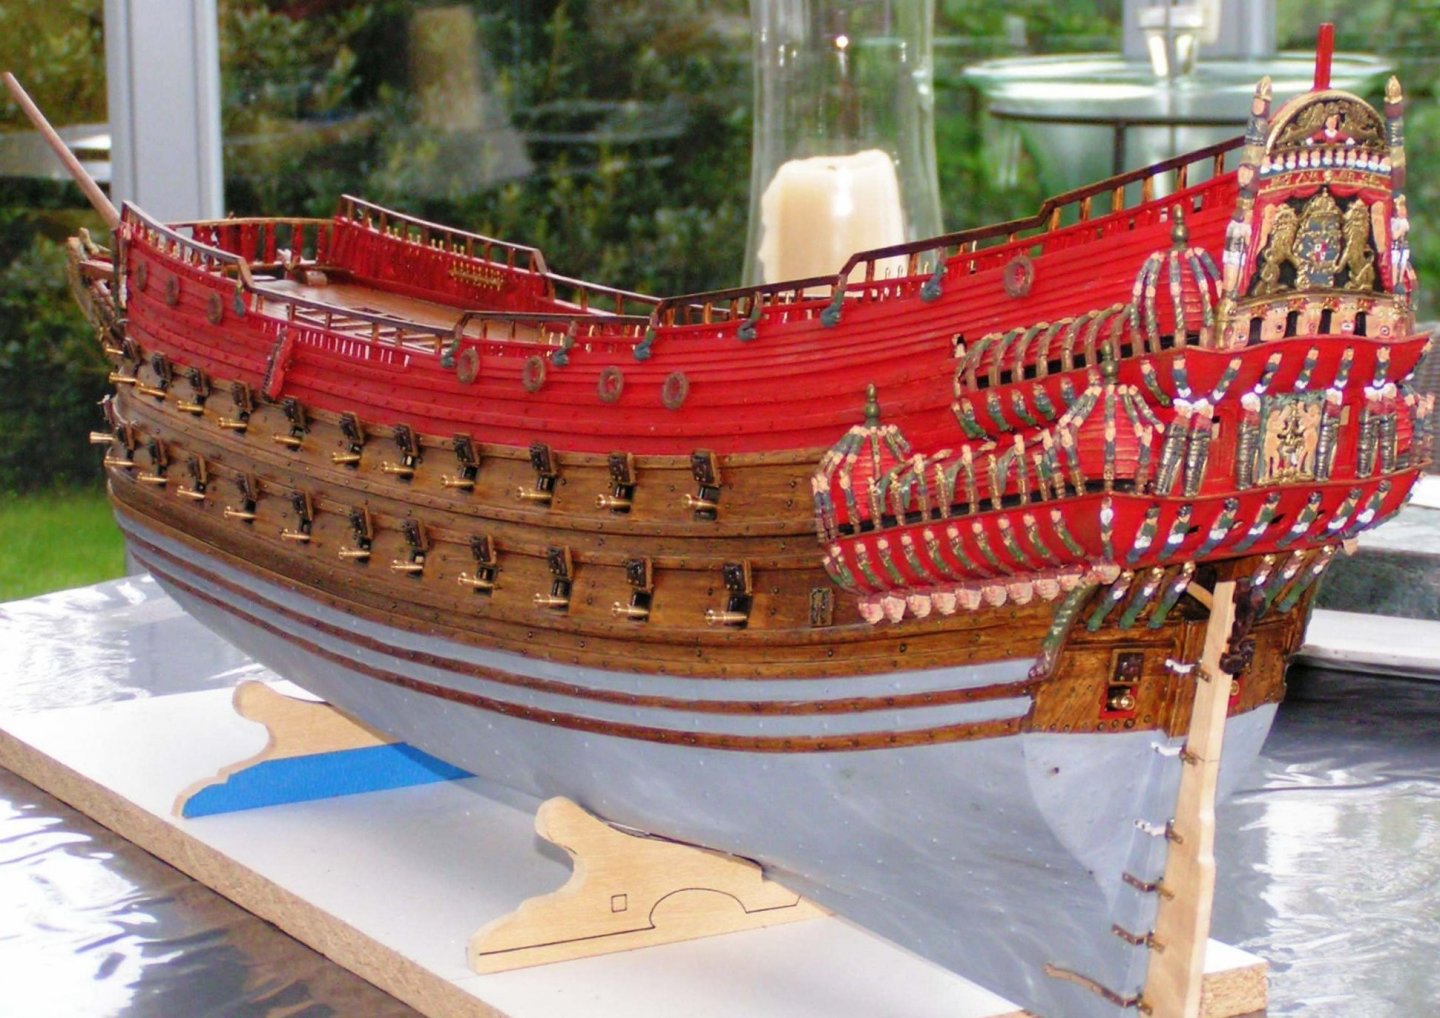
No, It's a pelican, with a Tudor rose on the balcony
- 135 replies
-
- 1
-
-
- billing boats
- half moon
- (and 1 more)
-
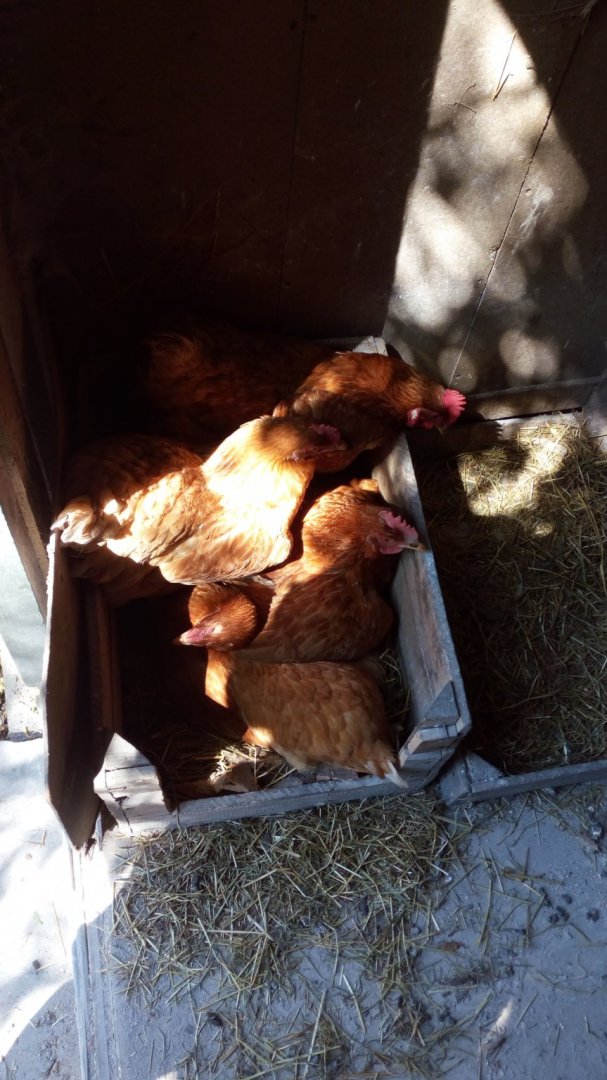
Nice model. The nickname with us is "geit" (goat). Have no idea why Can someone from Belgium also come along. Just ordered eggs from my chickens. .And I told them it is urgent 😂
-
Another beautiful model in the collection. Congrats 👍
-
Good luck with the Victory. Building your first wooden ship is the most difficult. All of the following ships are "a piece of cake" .