-
Posts
4,304 -
Joined
-
Last visited
Content Type
Profiles
Forums
Gallery
Events
Everything posted by Baker
-
Indeed. The Vasa model has found another home (sold). Maybe i make a "2nd edition Vasa" one day
- 756 replies
-
- galleon
- golden hind
-
(and 2 more)
Tagged with:
-
- 756 replies
-
- galleon
- golden hind
-
(and 2 more)
Tagged with:
-
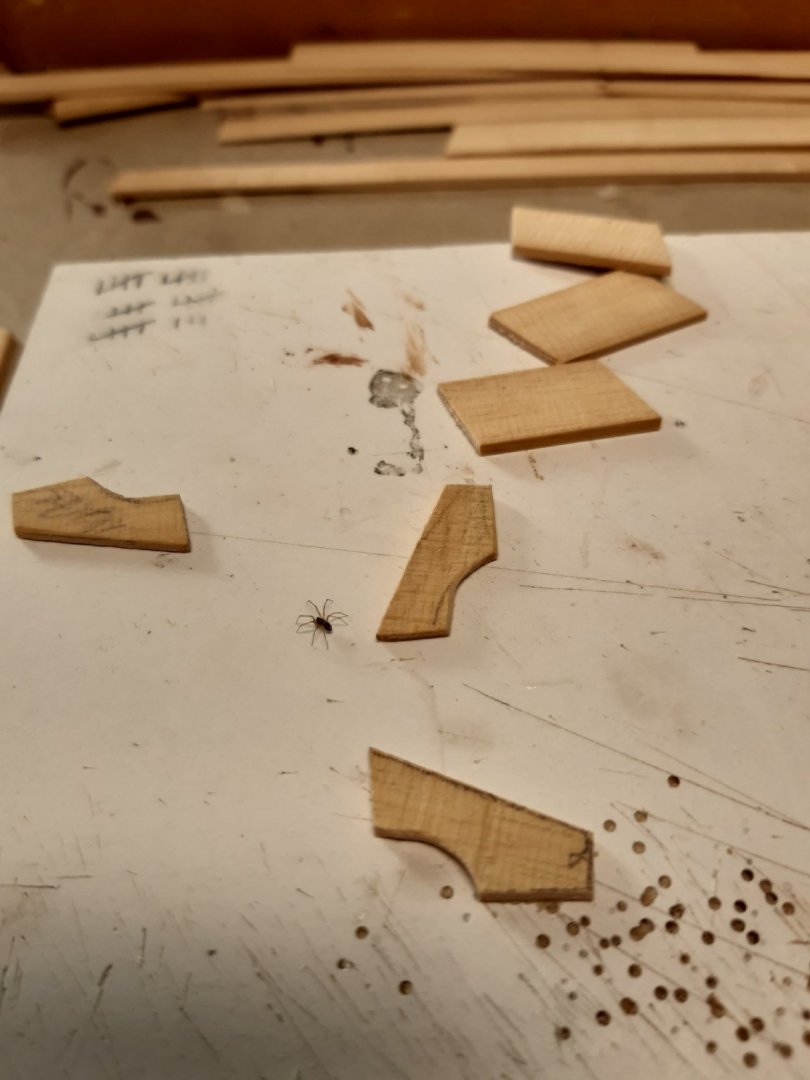
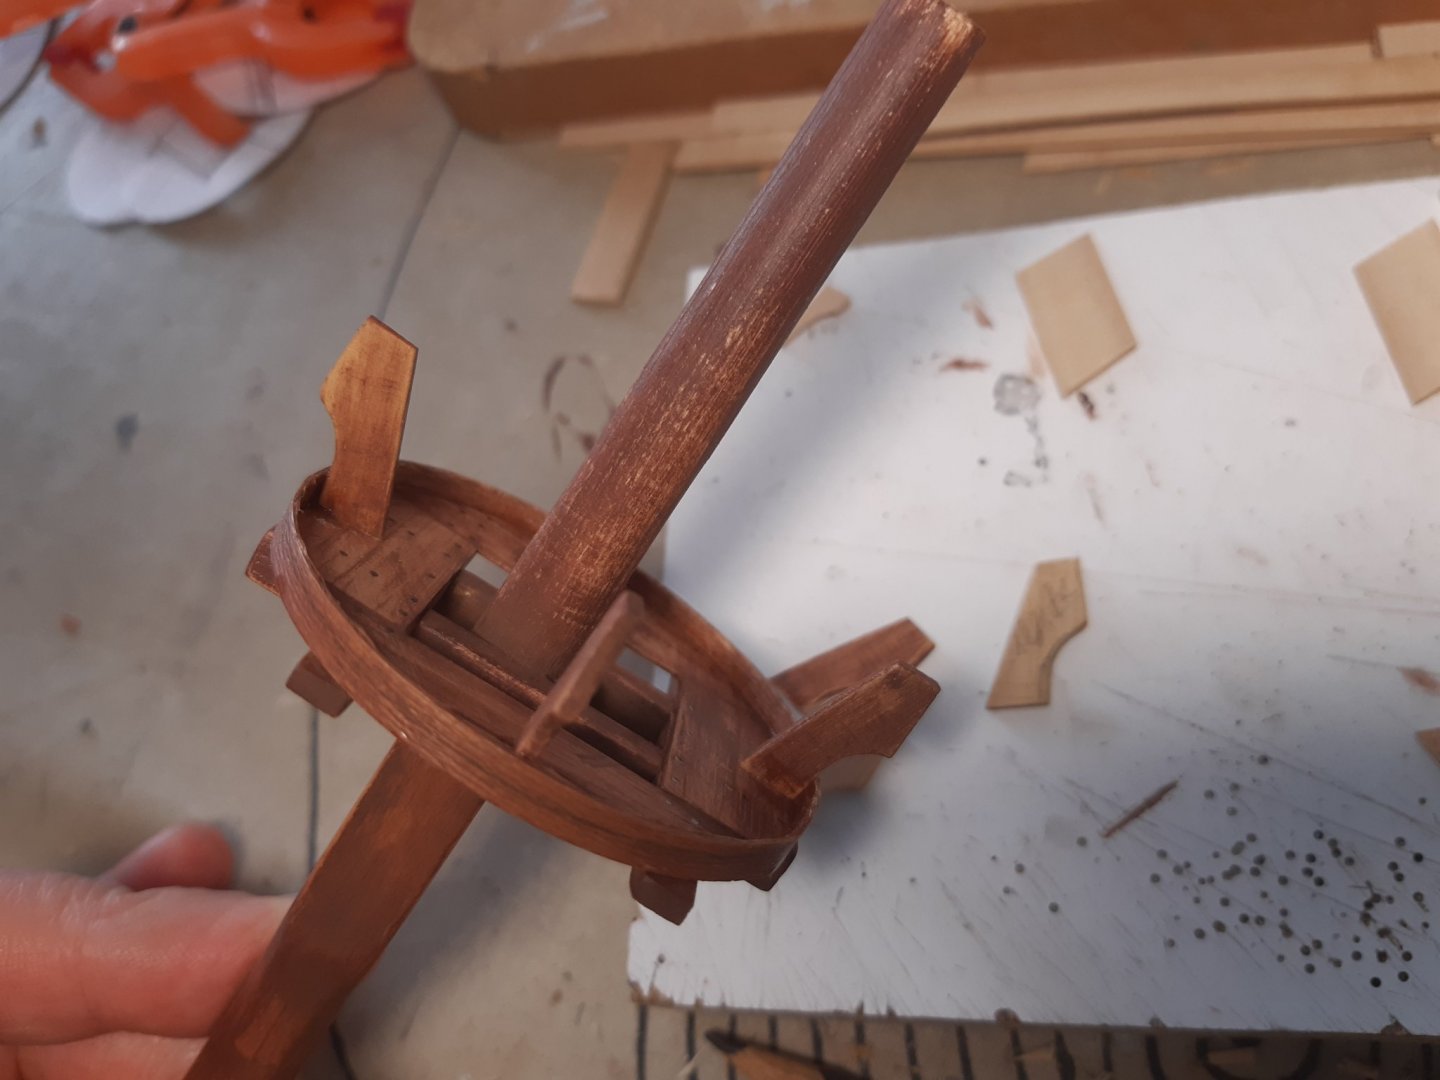
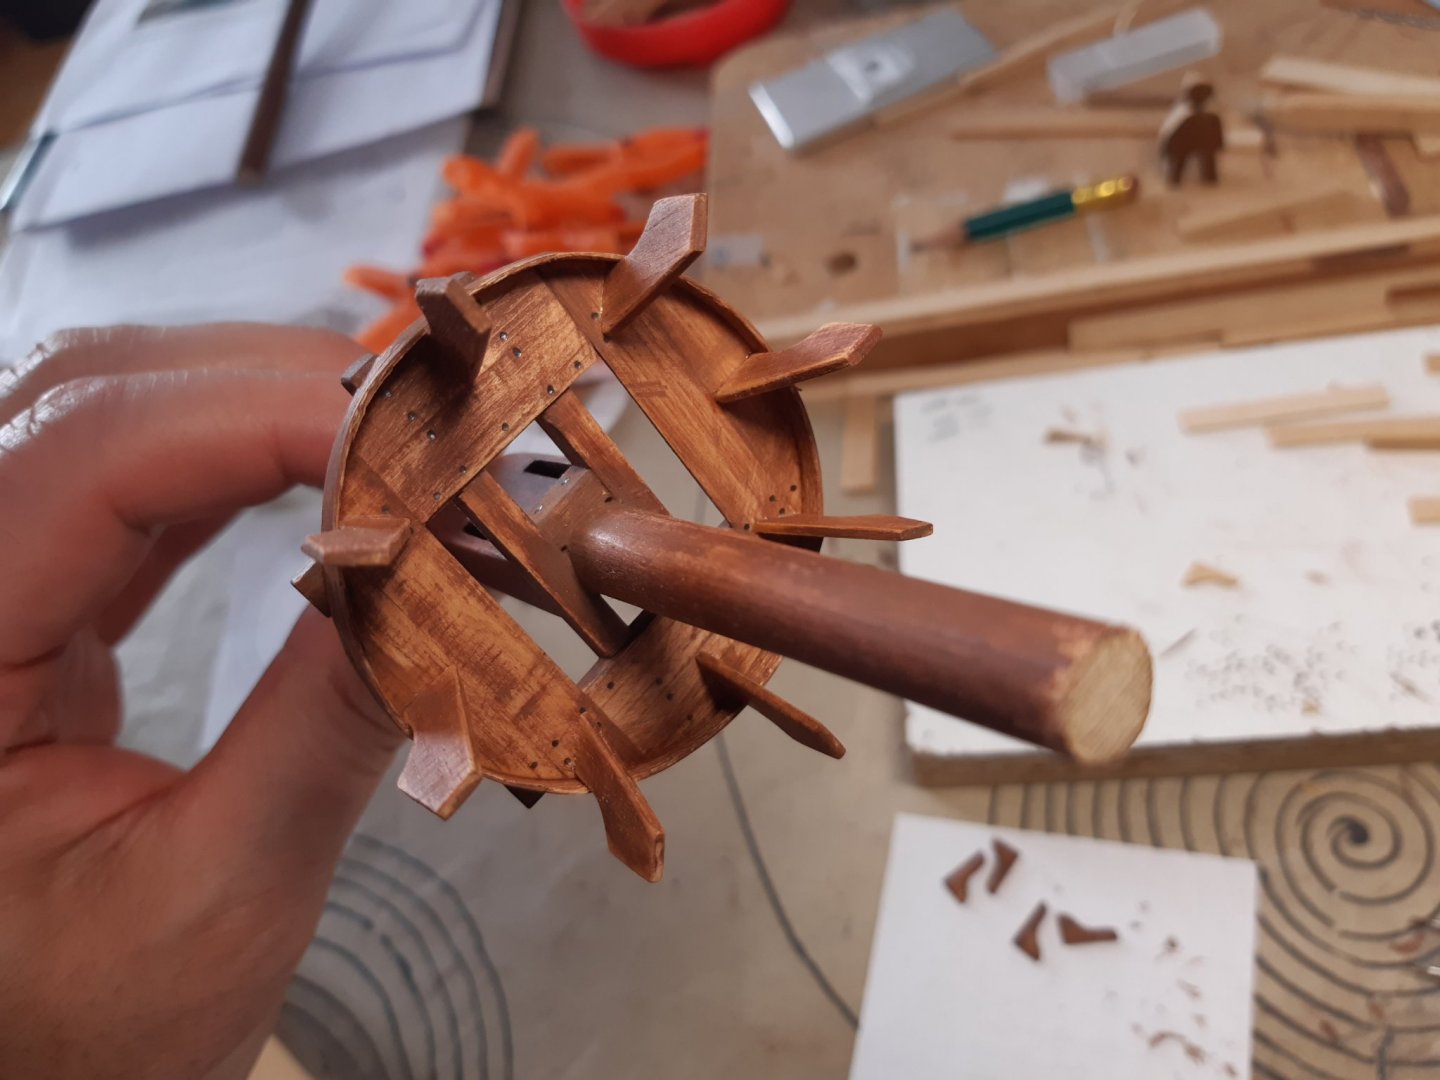
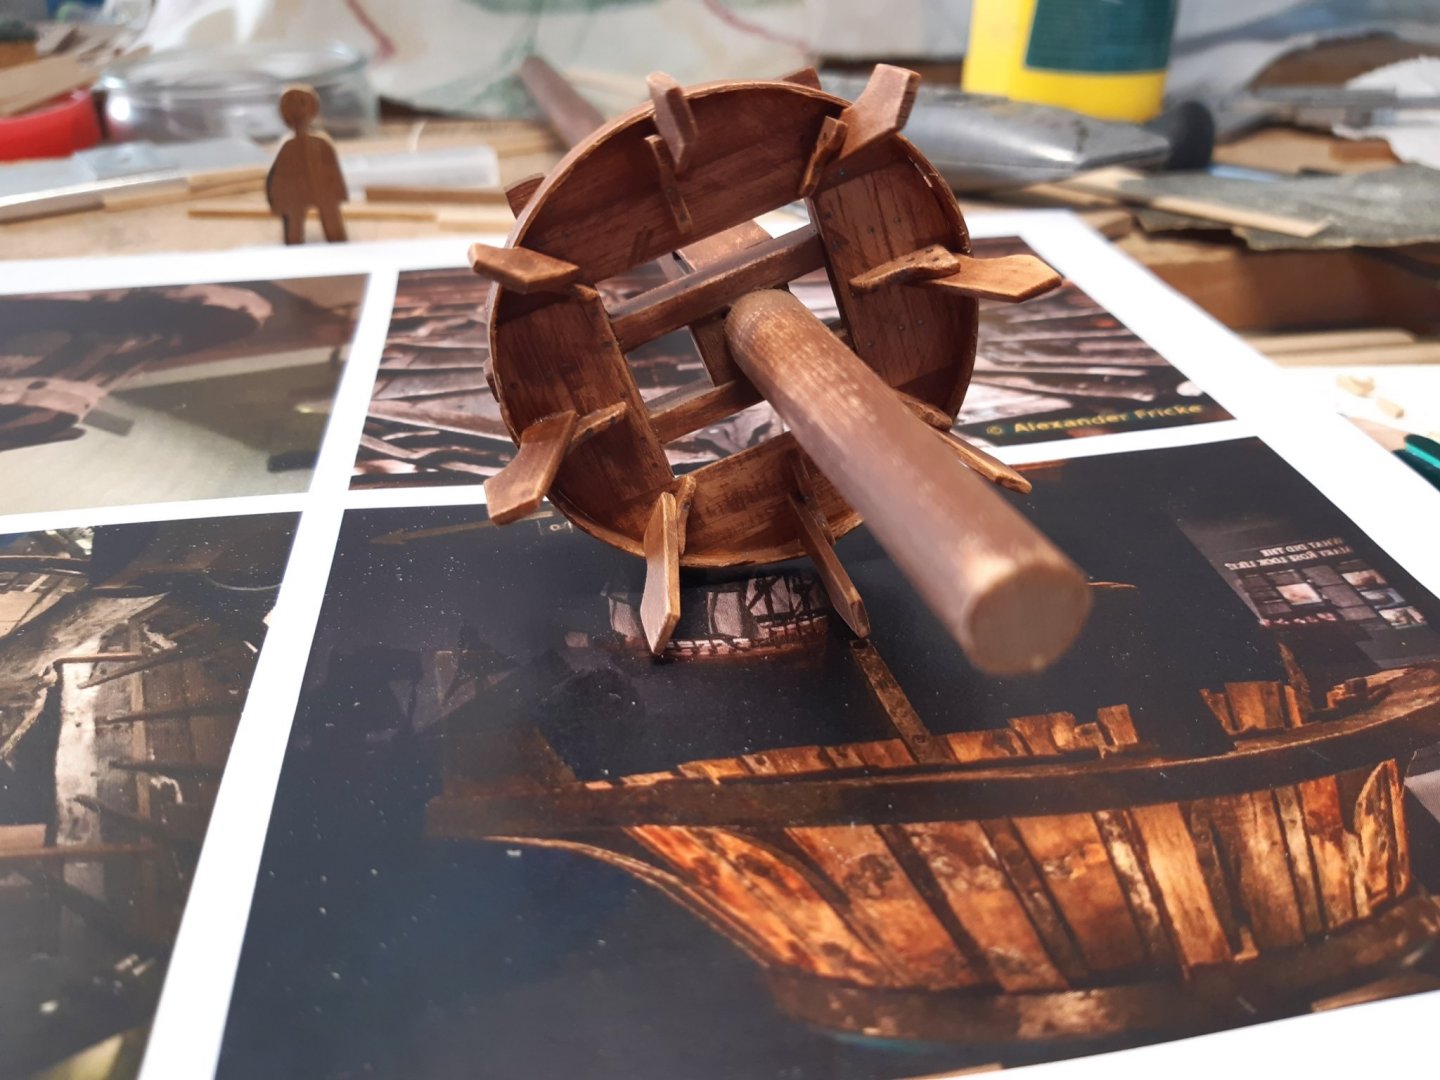
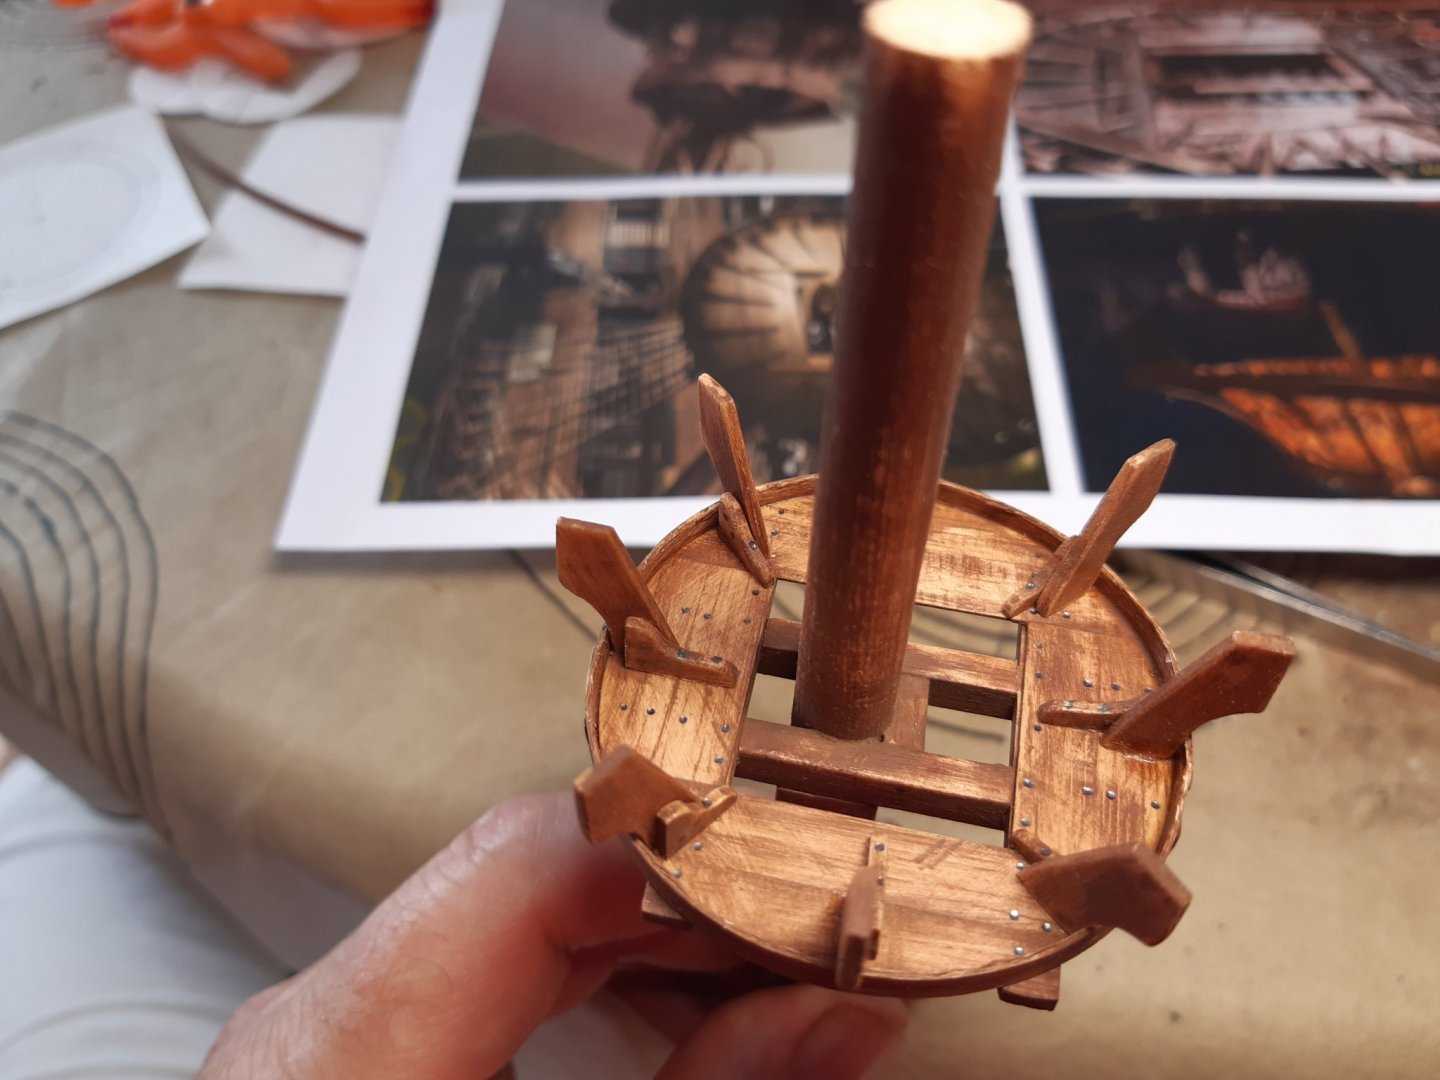
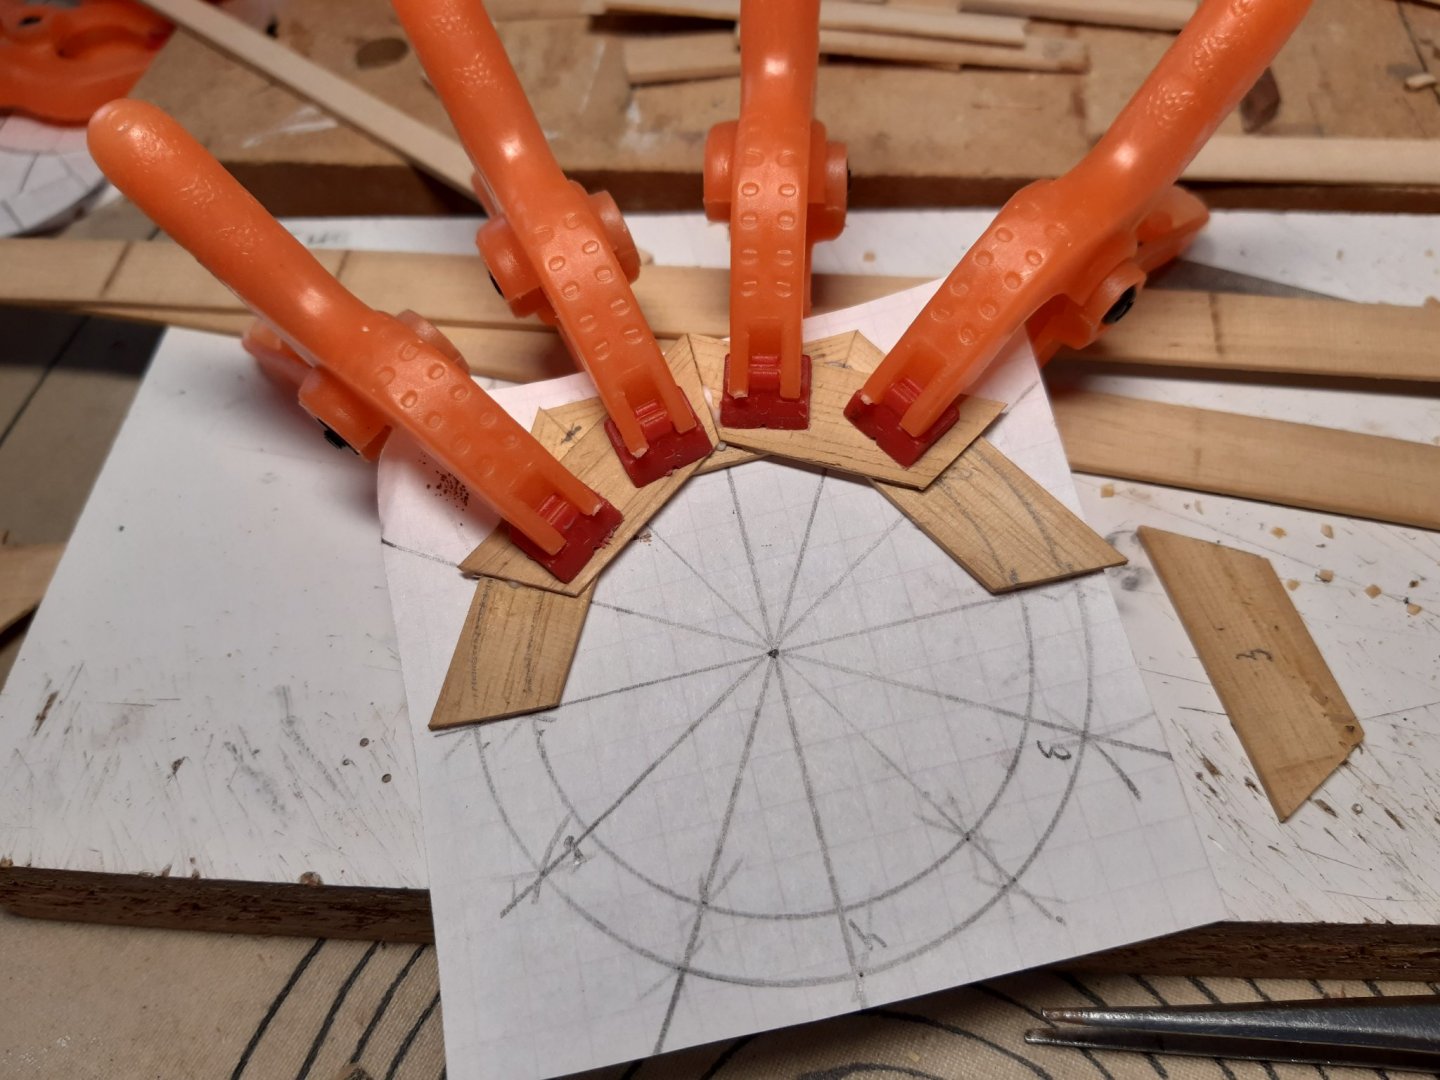
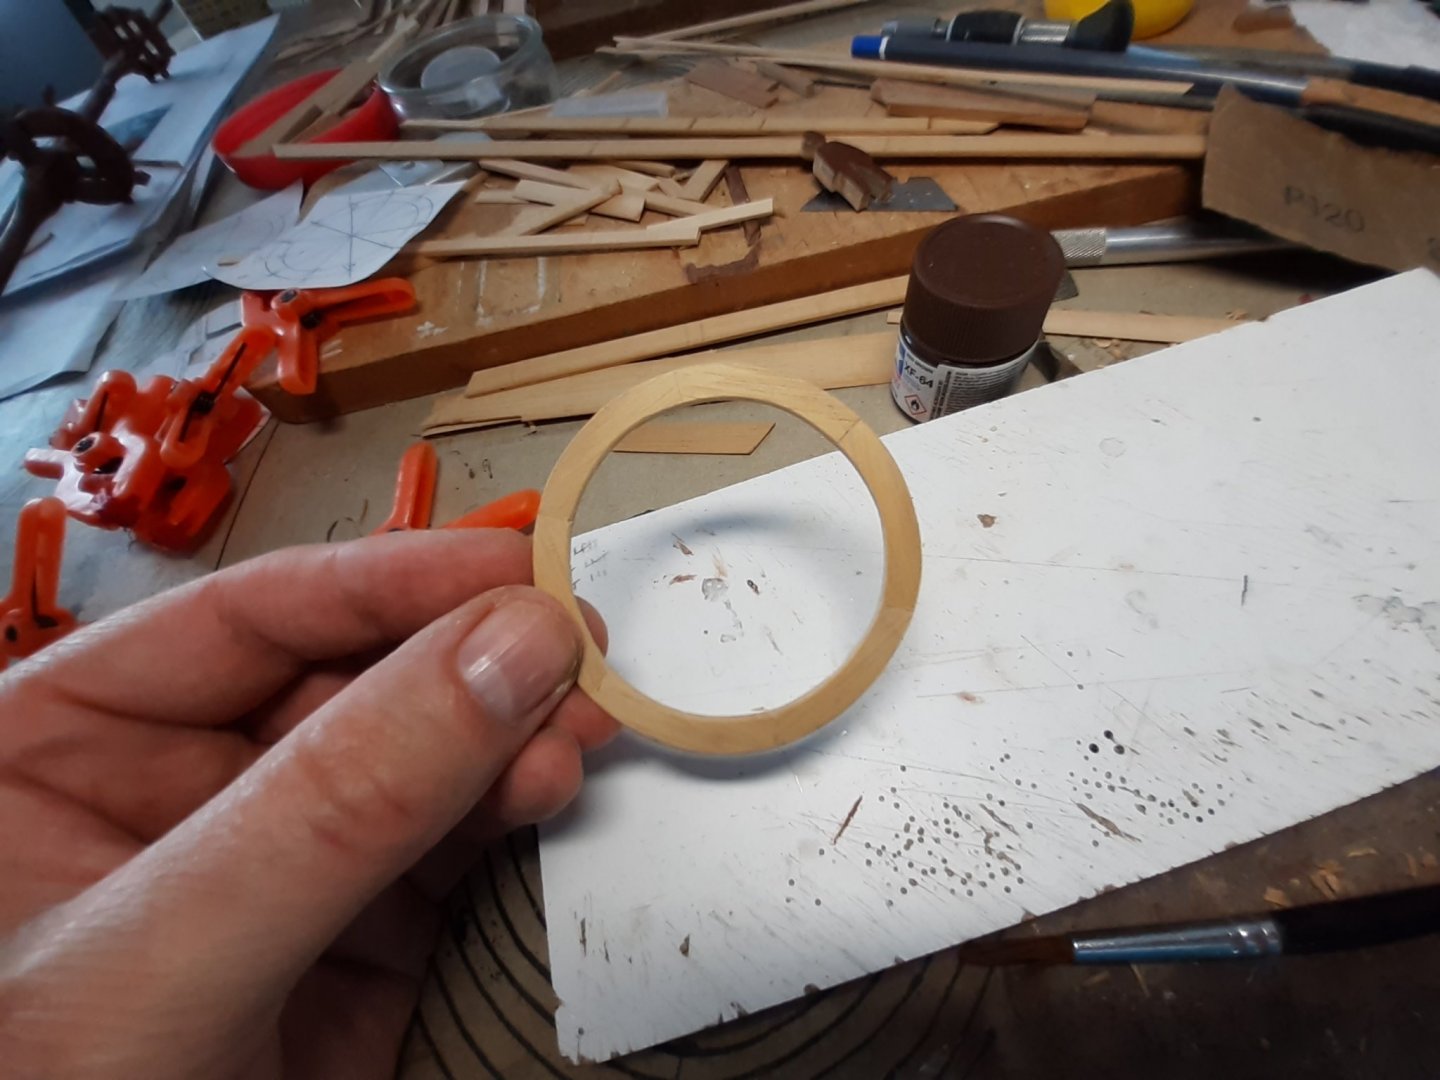
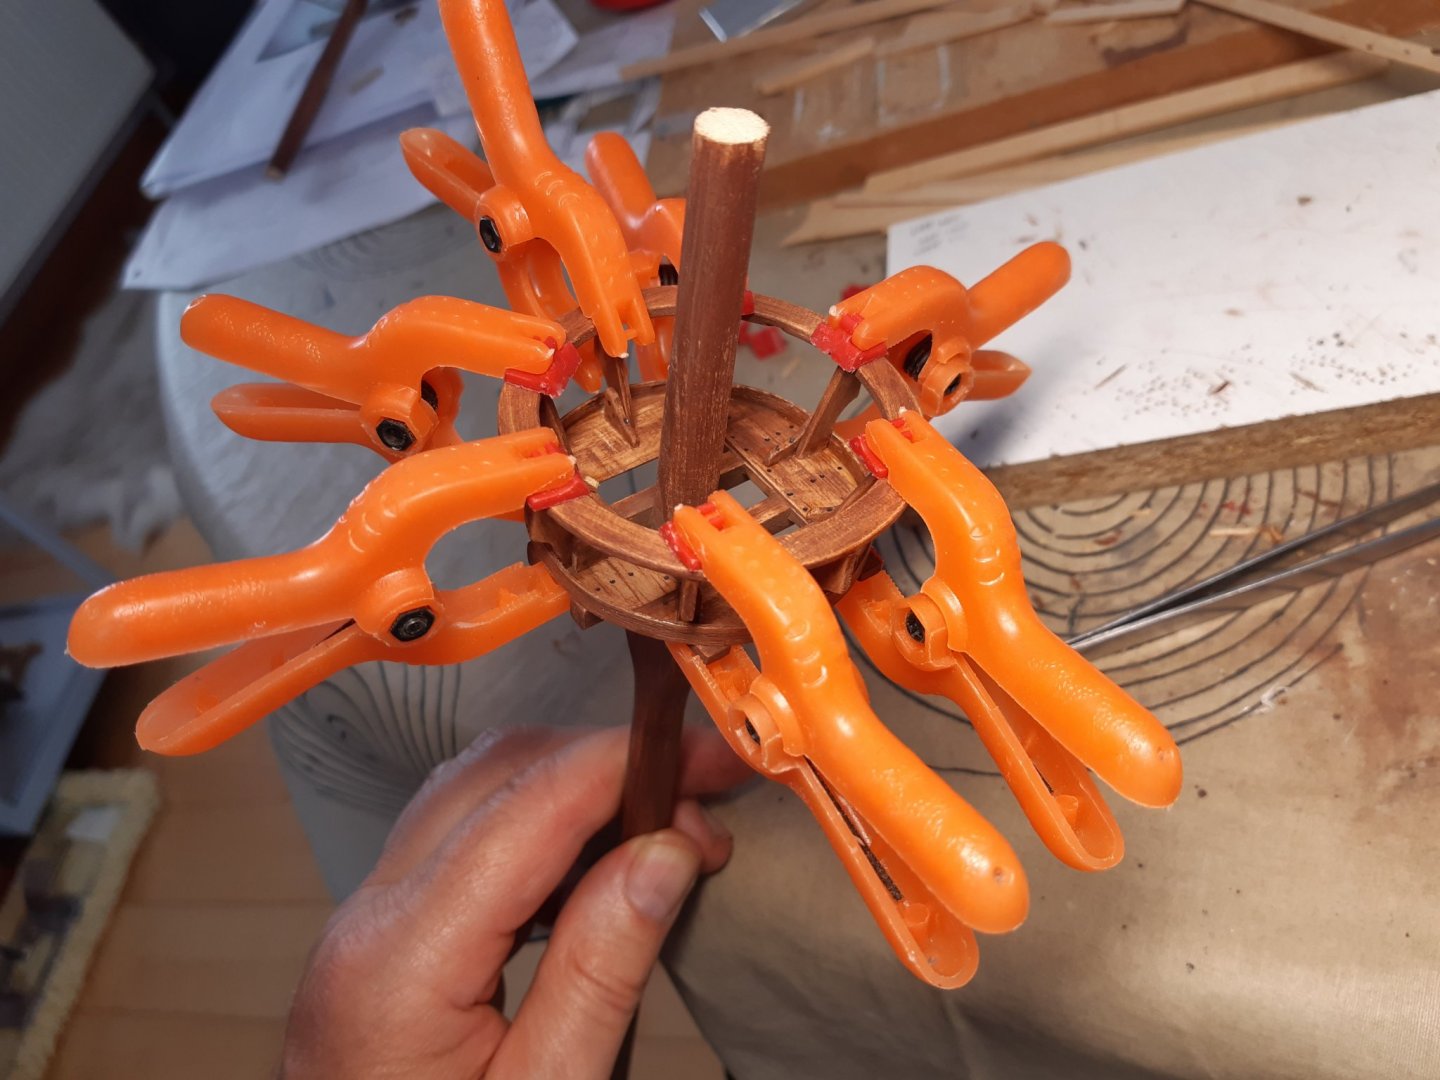
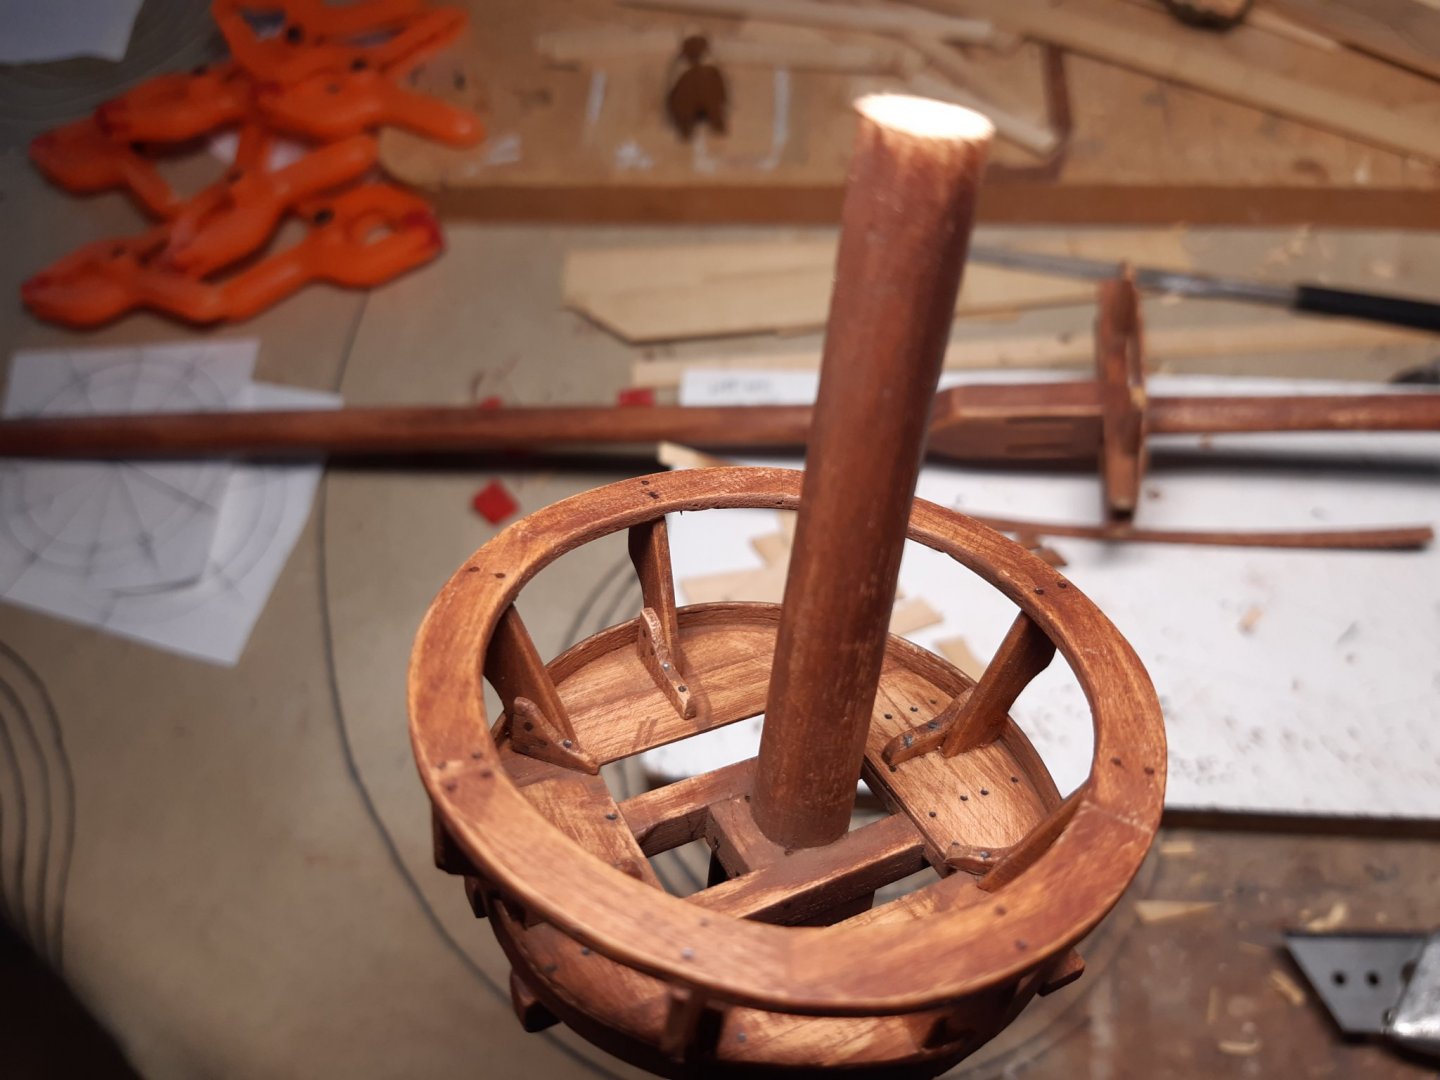
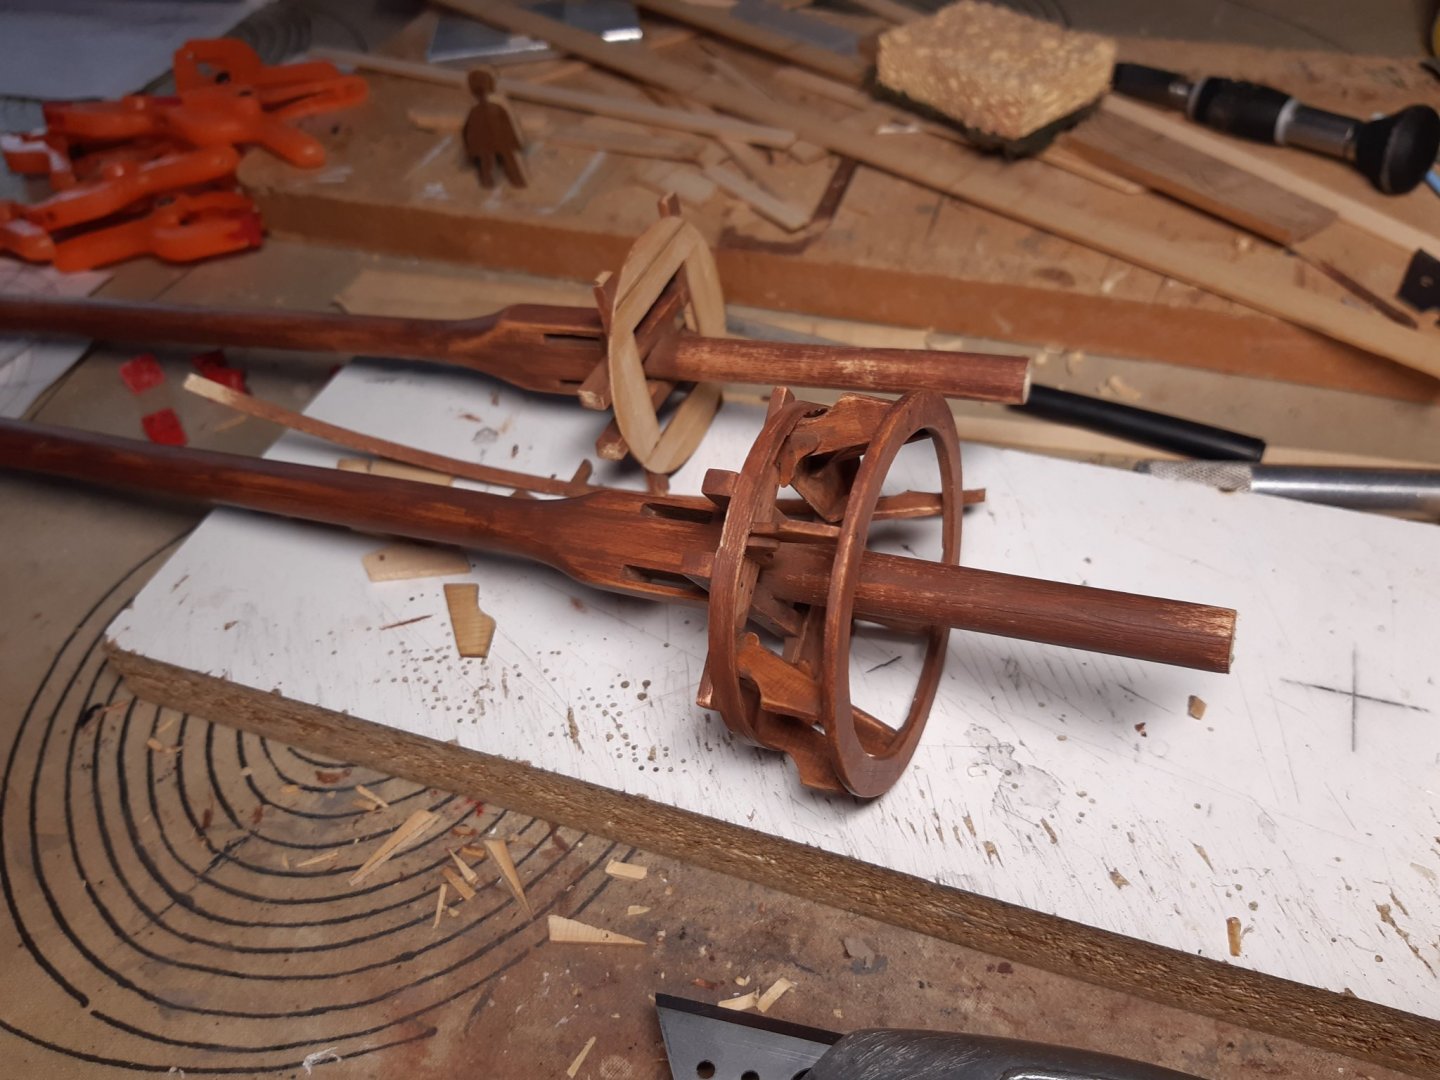
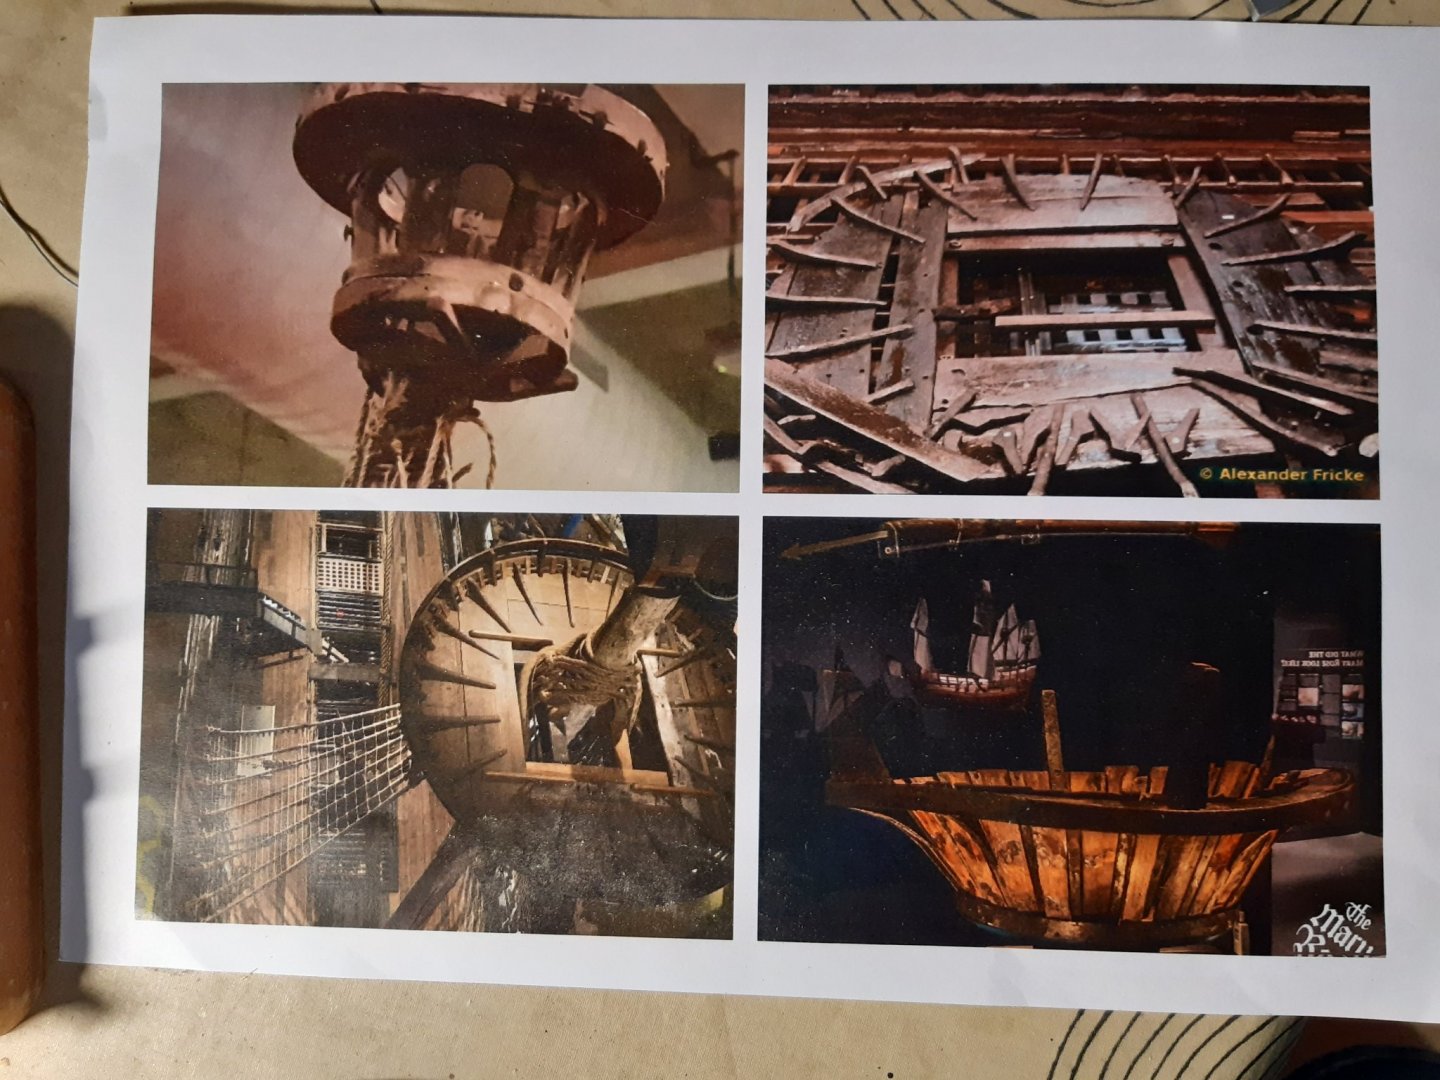
Continue with the construction of the mastops. This is more thinking time than construction time. The intention is to make something with these as examples. (Start at the top left clockwise Mataro model, Vasa, Mary Rose, Vasa) An uninvited guest at the shipyard ... Adding the main "supports" as on the Mary Rose. Making the "upper ring" from several planks Glue the ring to the supports. Still a lot to do Main mast top under construction, fore mast is following. Thanks for following.
- 756 replies
-
- galleon
- golden hind
-
(and 2 more)
Tagged with:
-
-
-
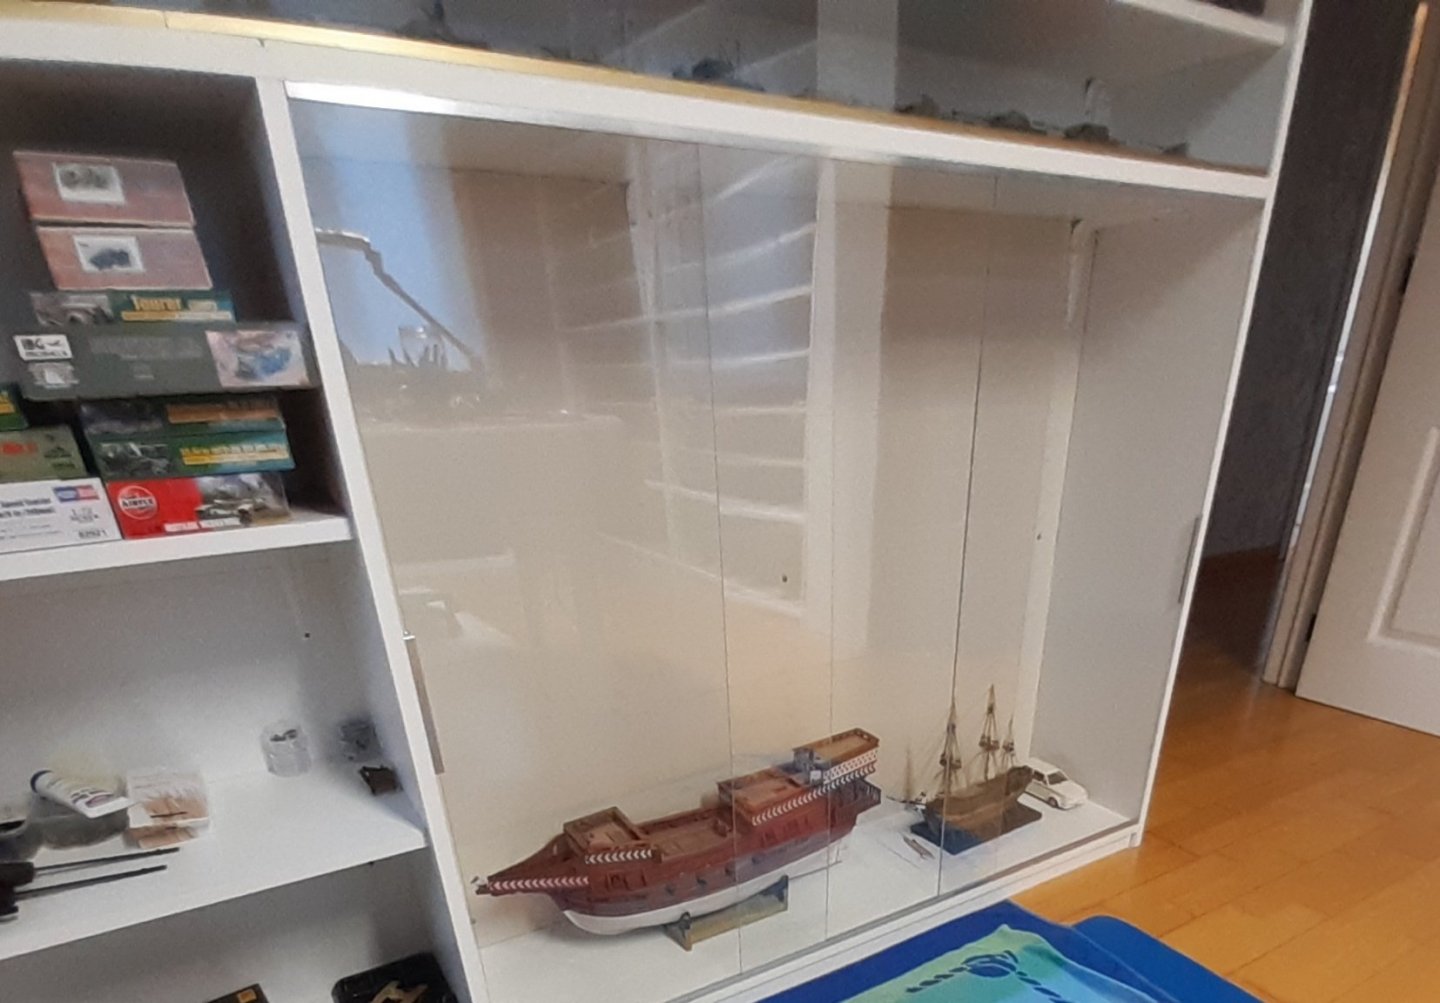
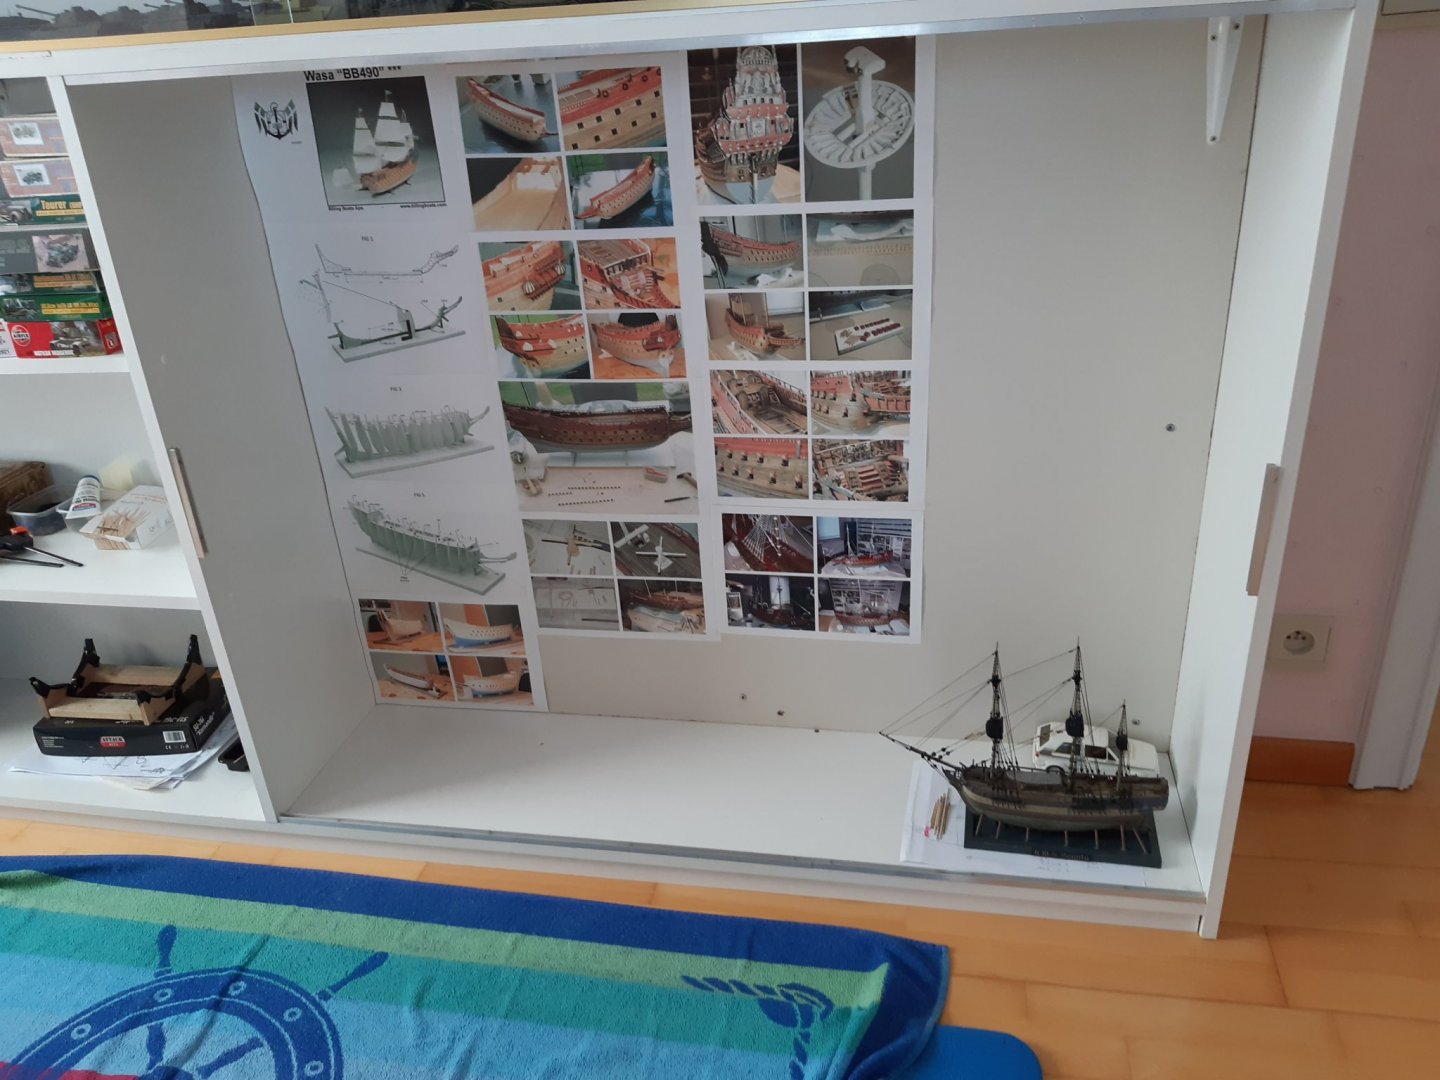
Today a major event. The very last update An empty space ?? Sold the Vasa model due to lack of space in the hobby room (And once a ship model is finished, I lose my interest in it) This model was a very educational experience. Had a lot of fun , and even made money on it. Maybe one day I'll build a second Vasa in scratch. Thanks for following this
- 63 replies
-
- vasa
- billing boats
-
(and 1 more)
Tagged with:
-
Nog eens welkom
-
Welcome to MSW, and good luck with the models
-
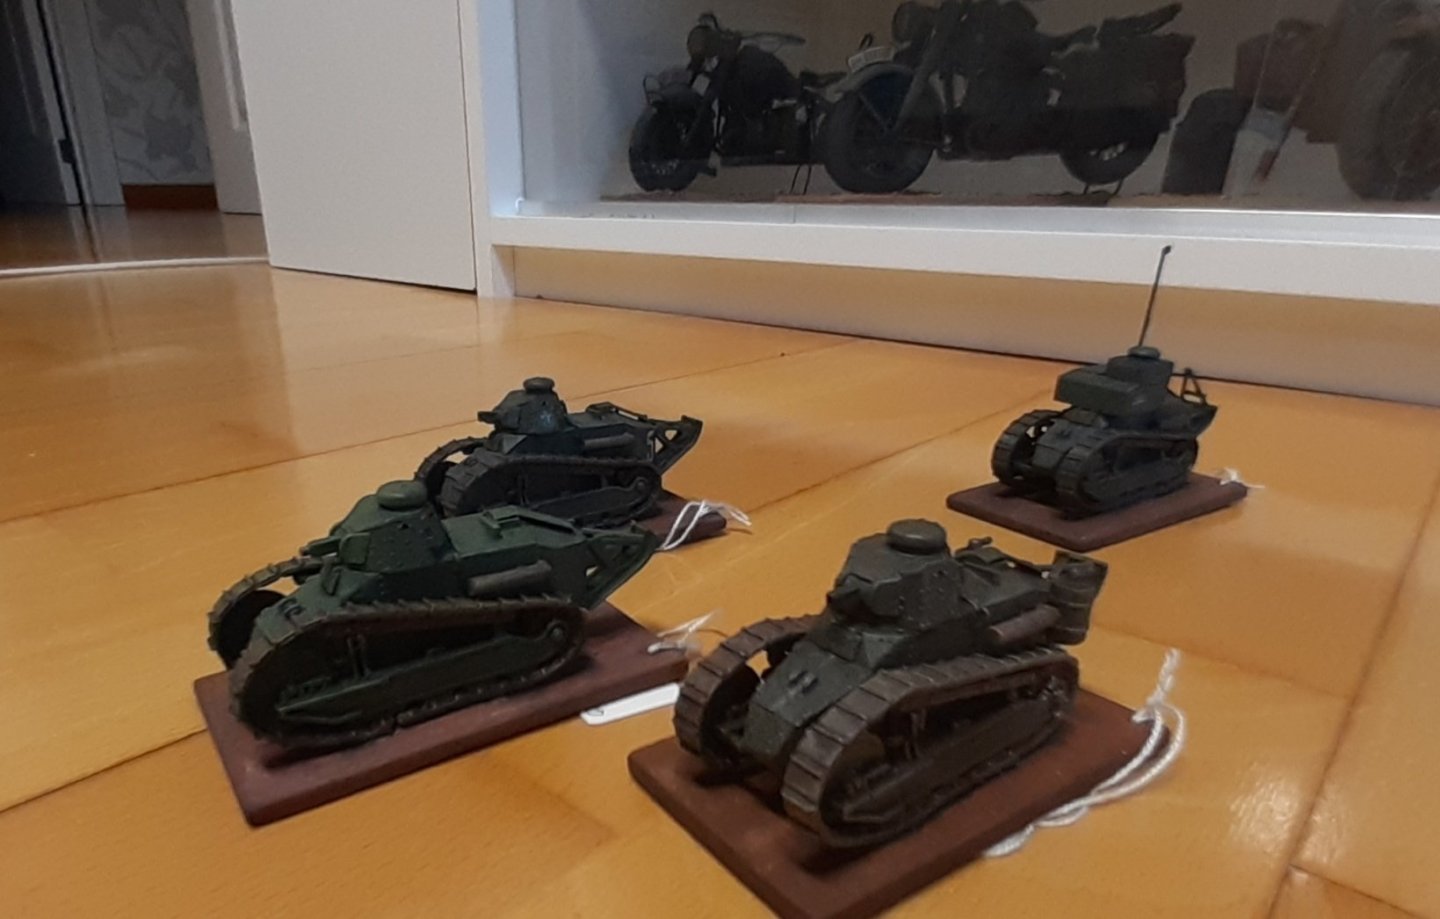
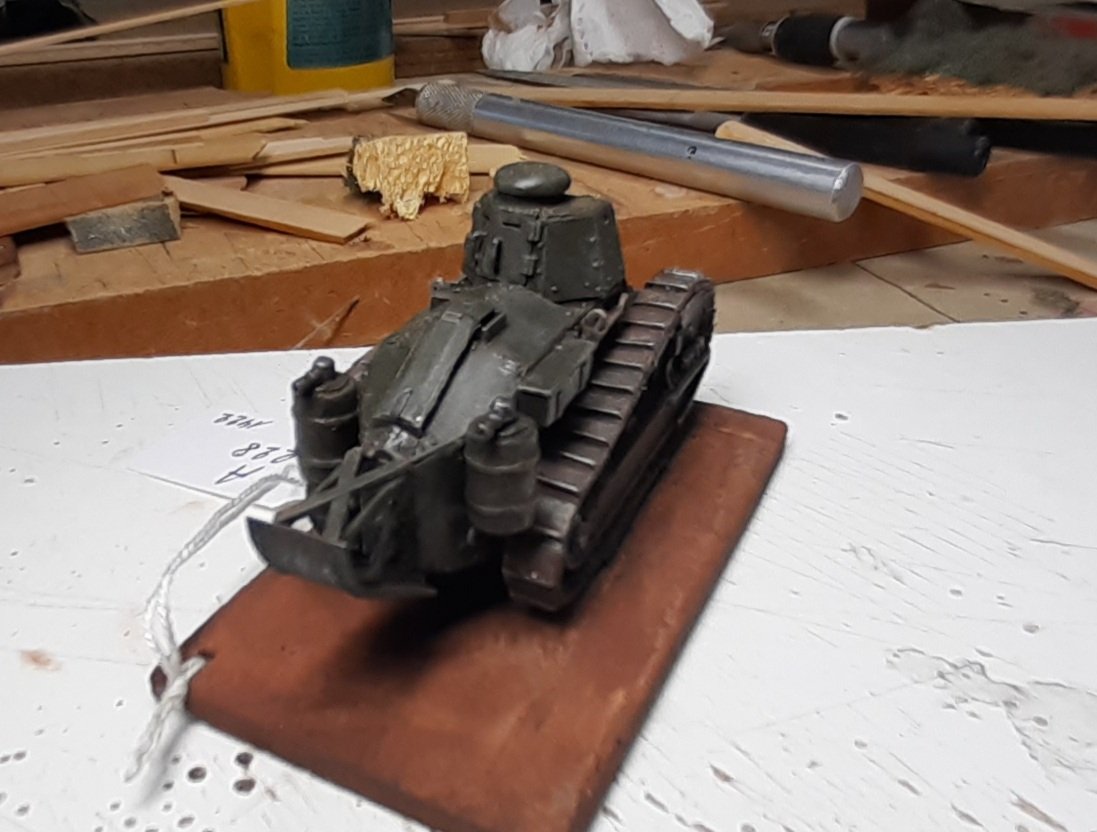
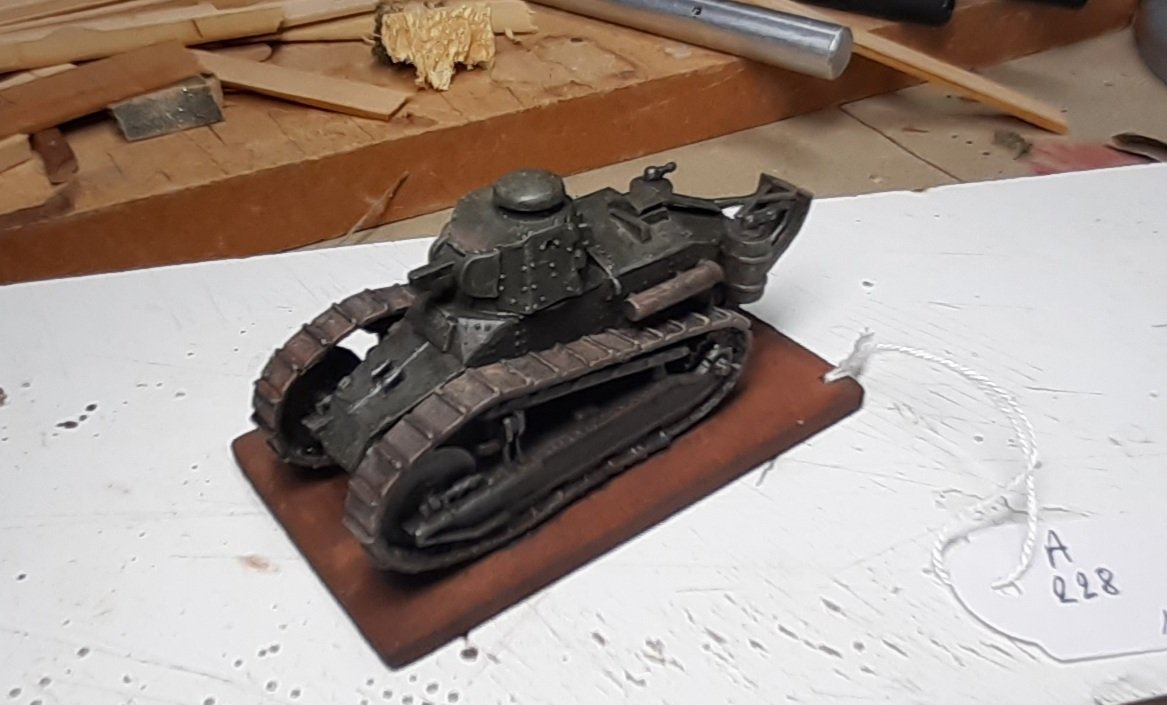
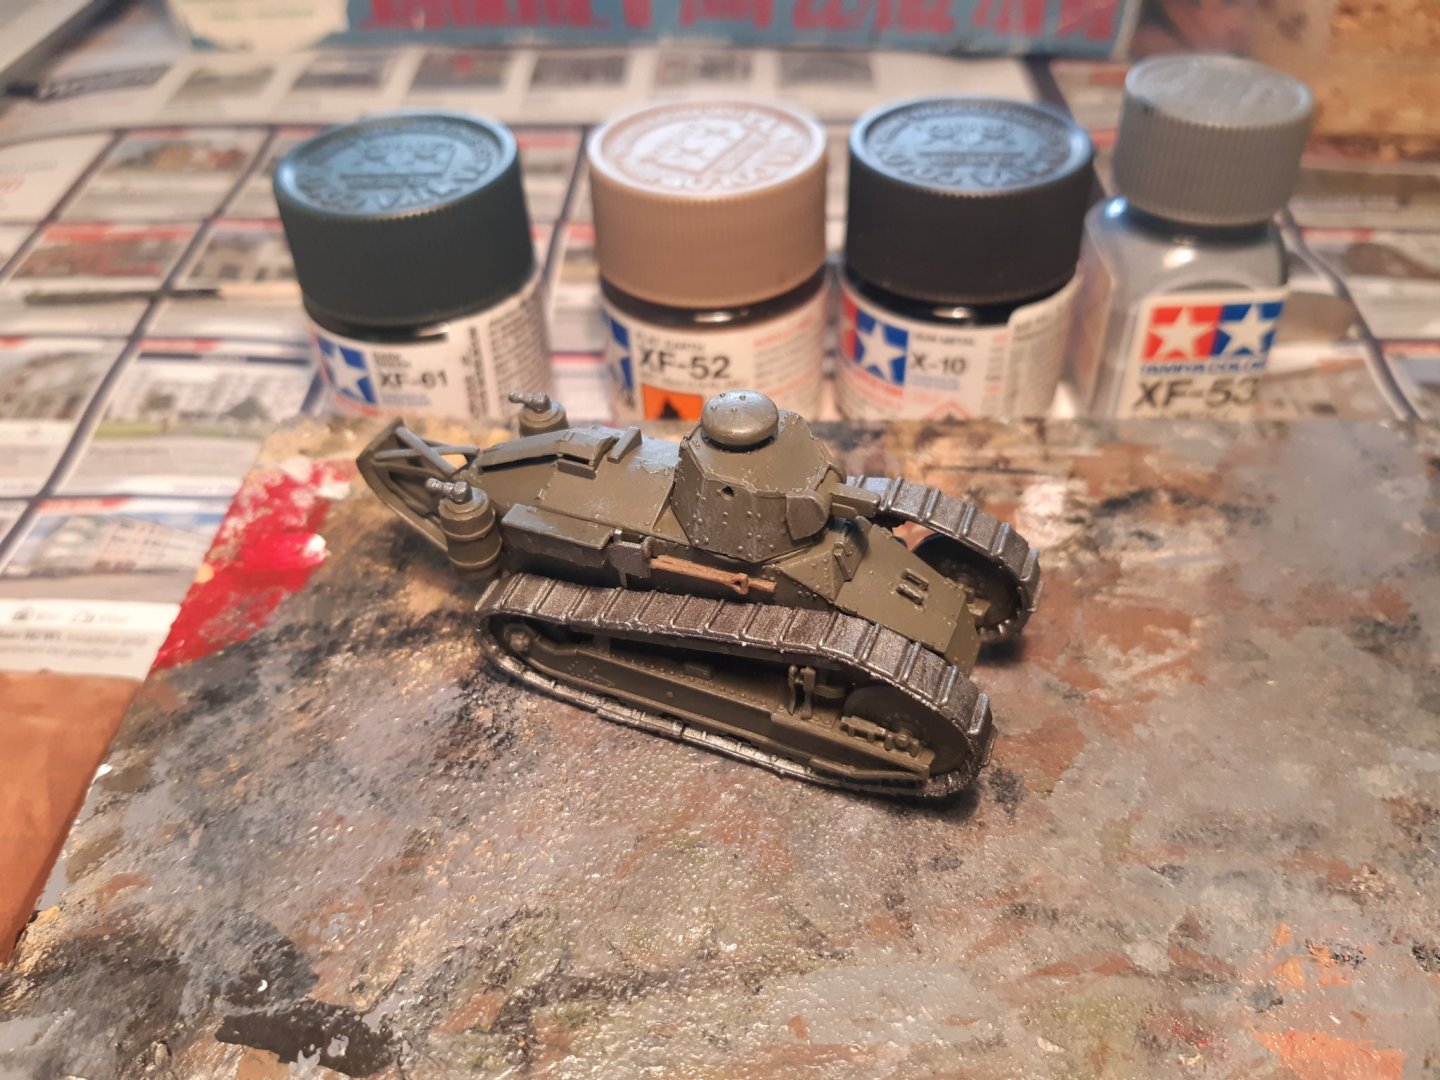
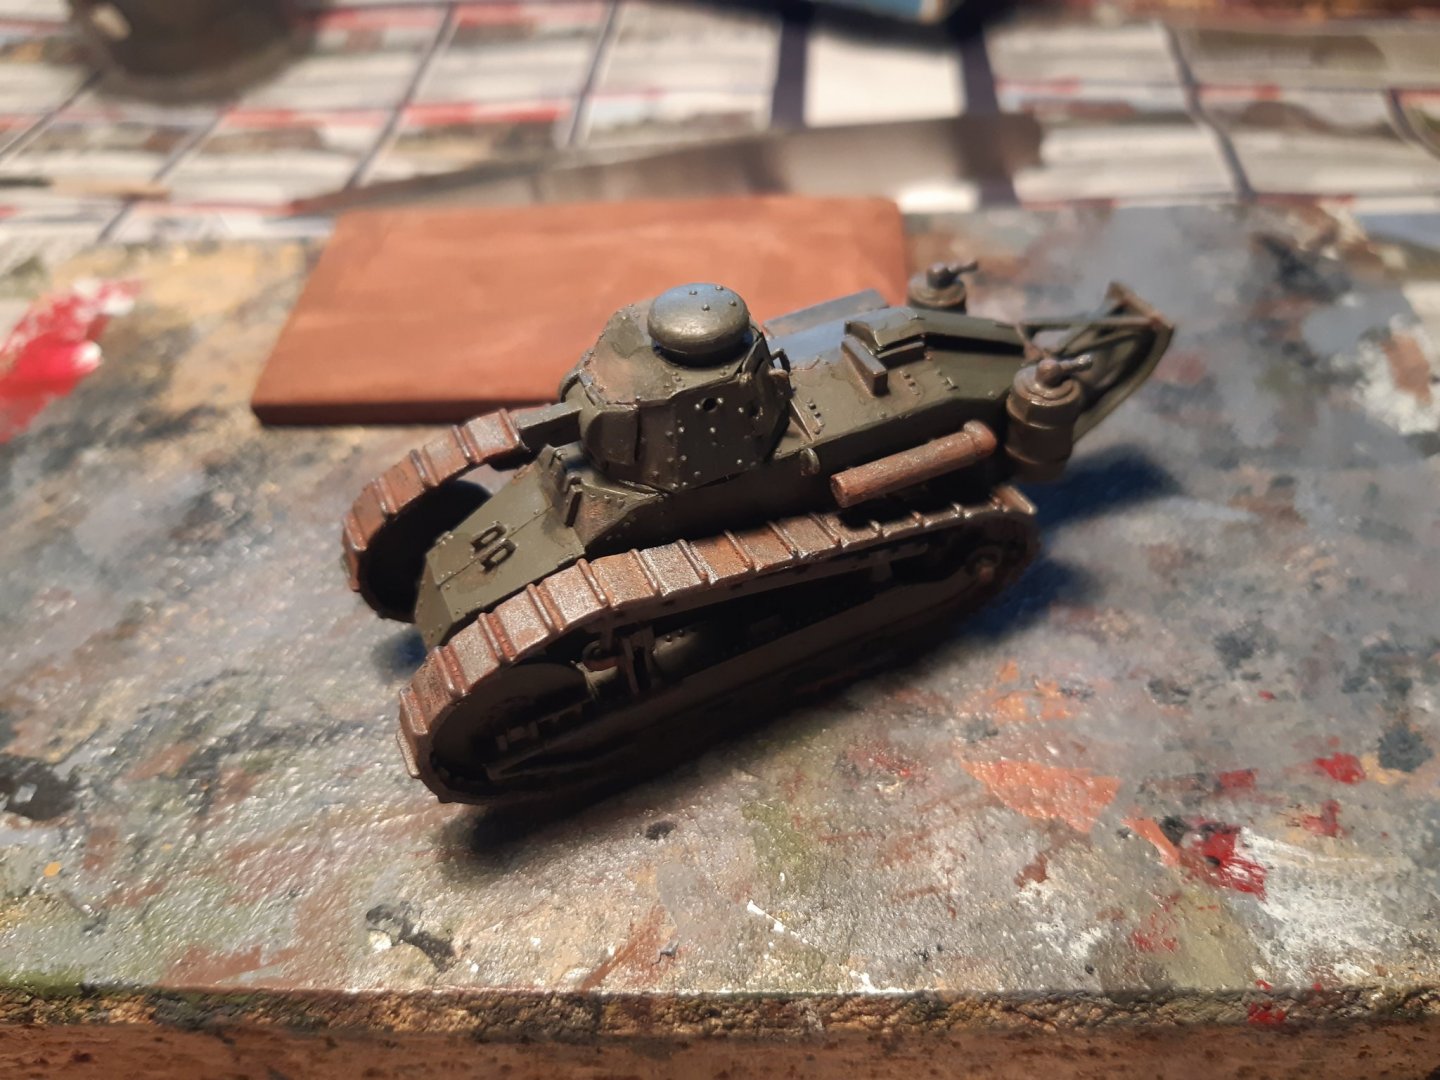
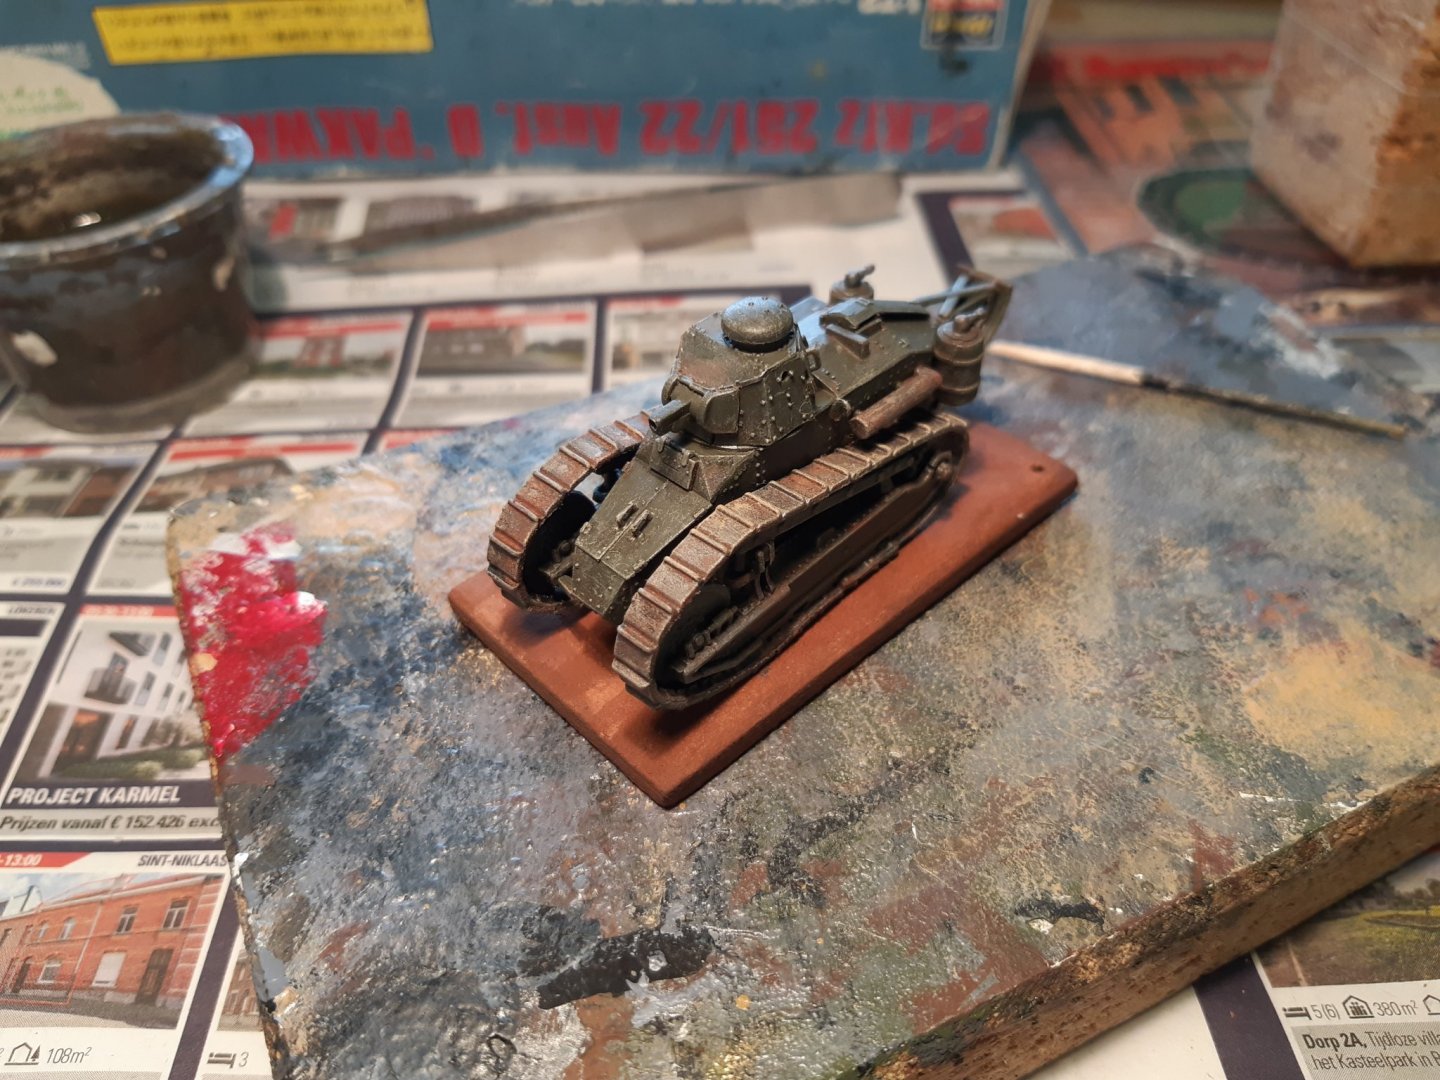
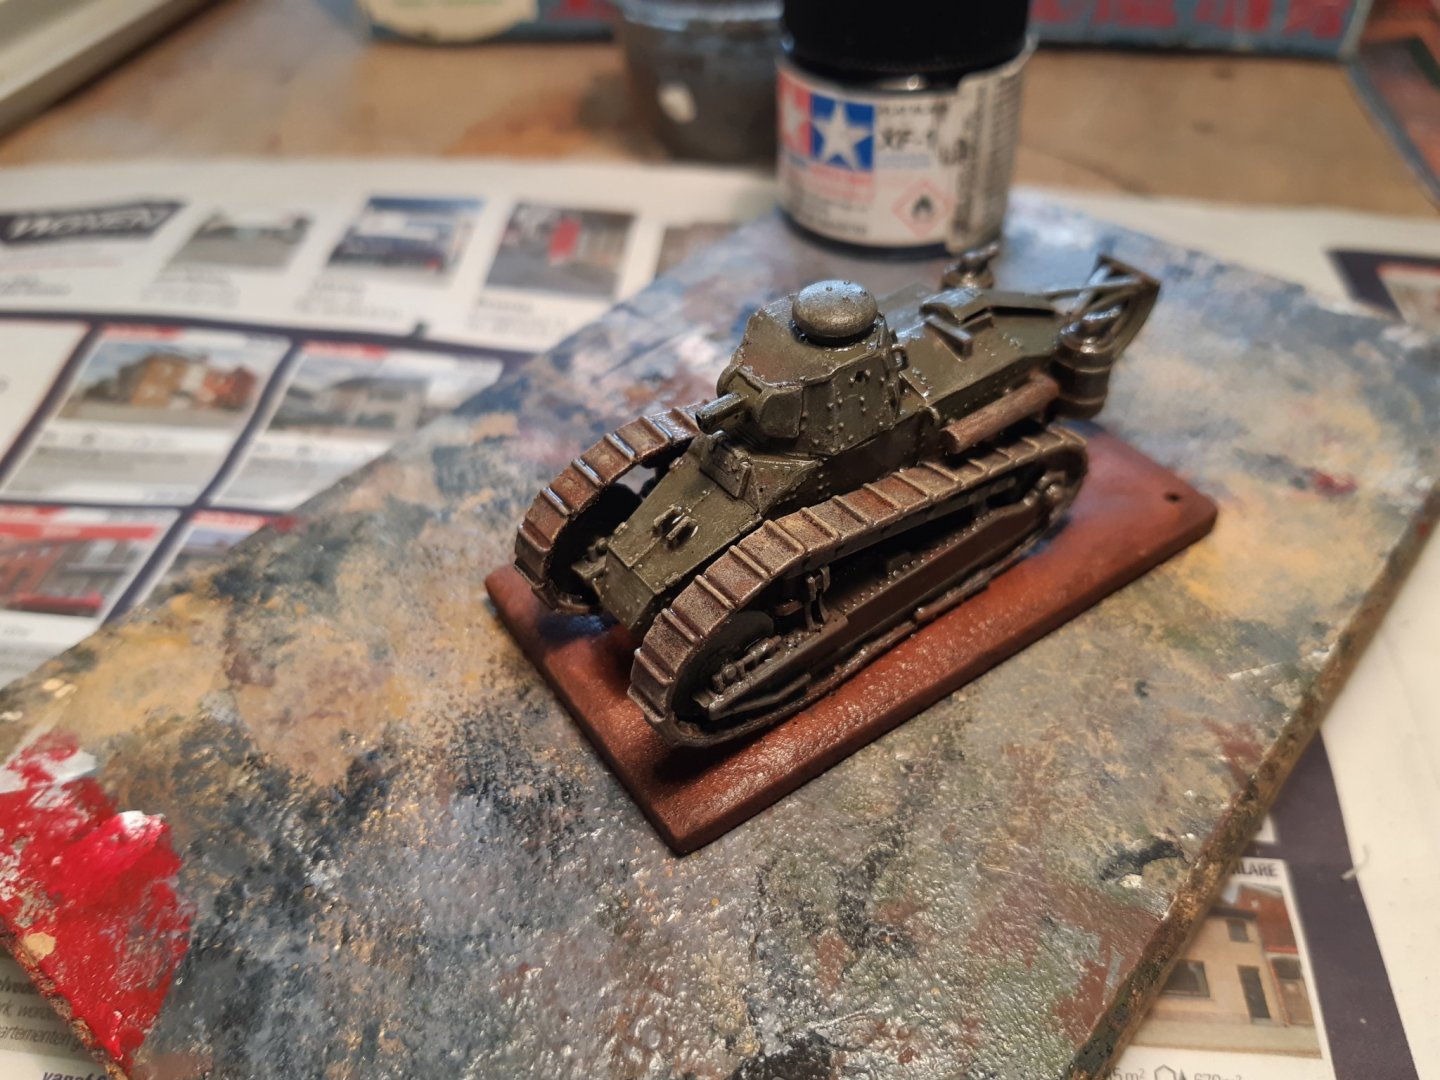
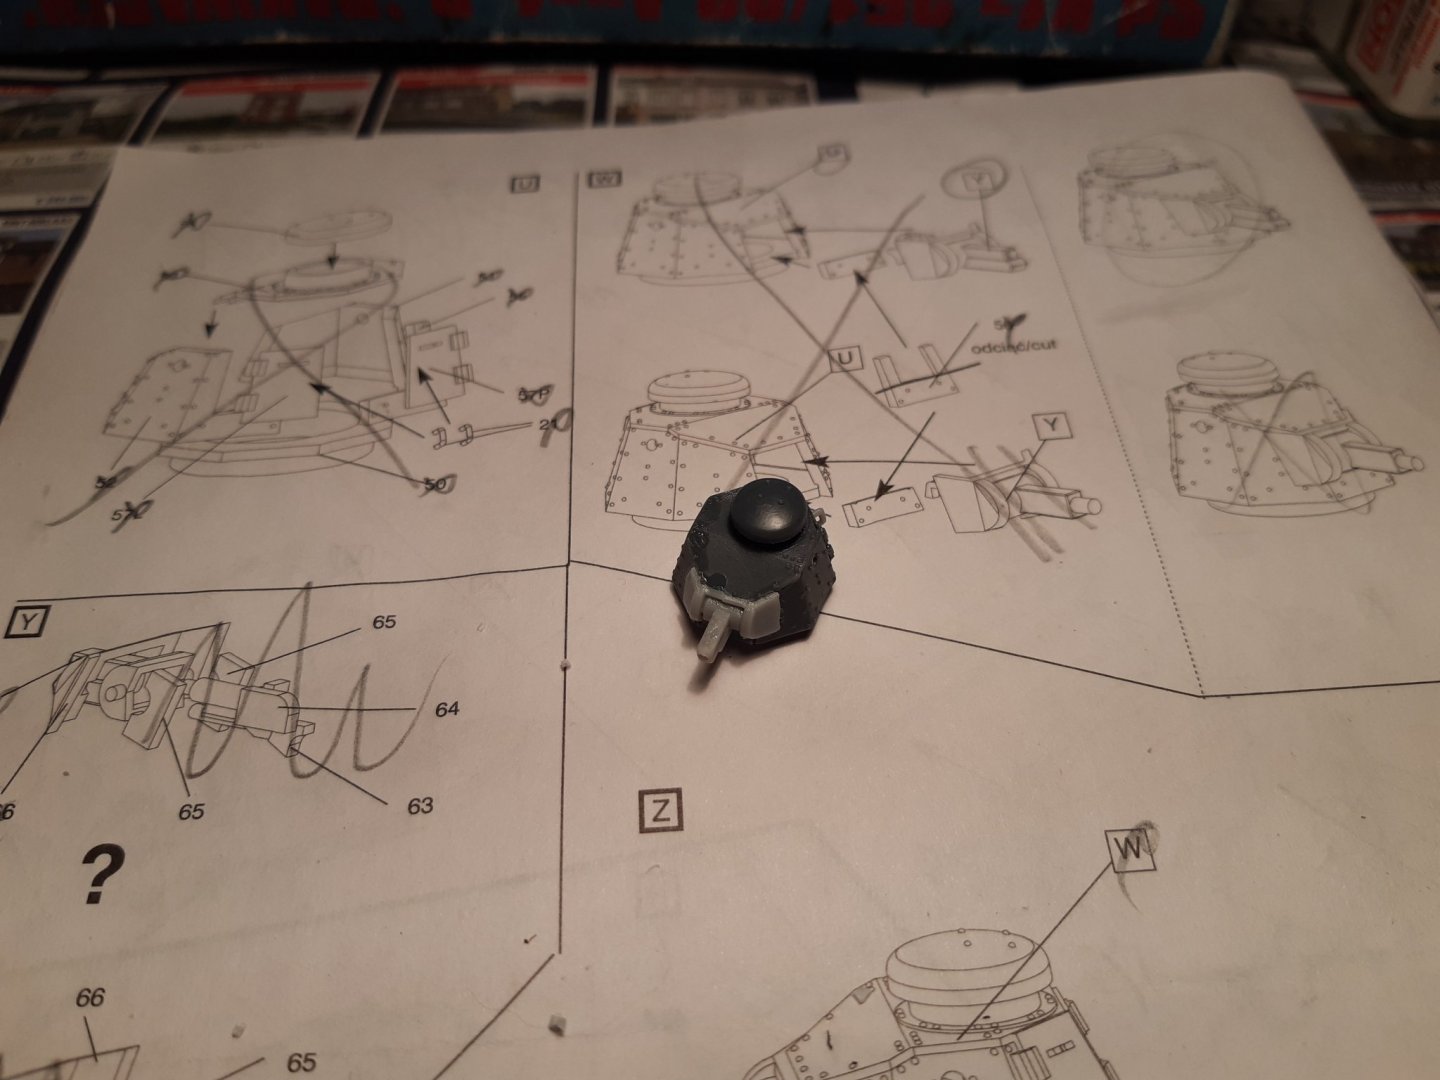
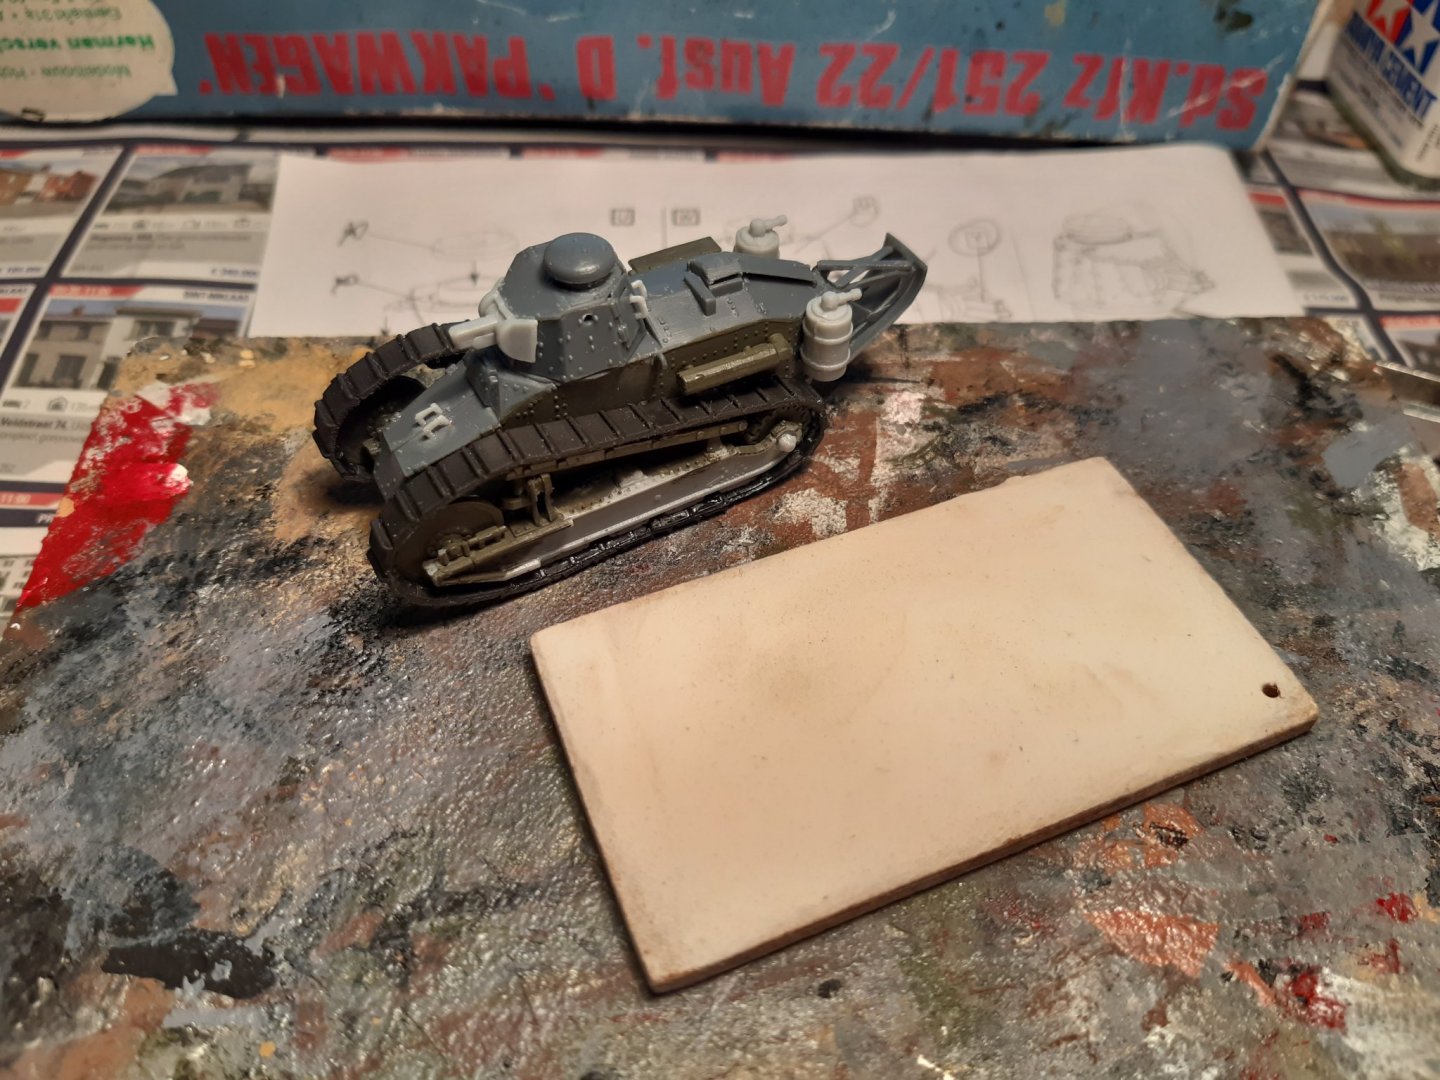
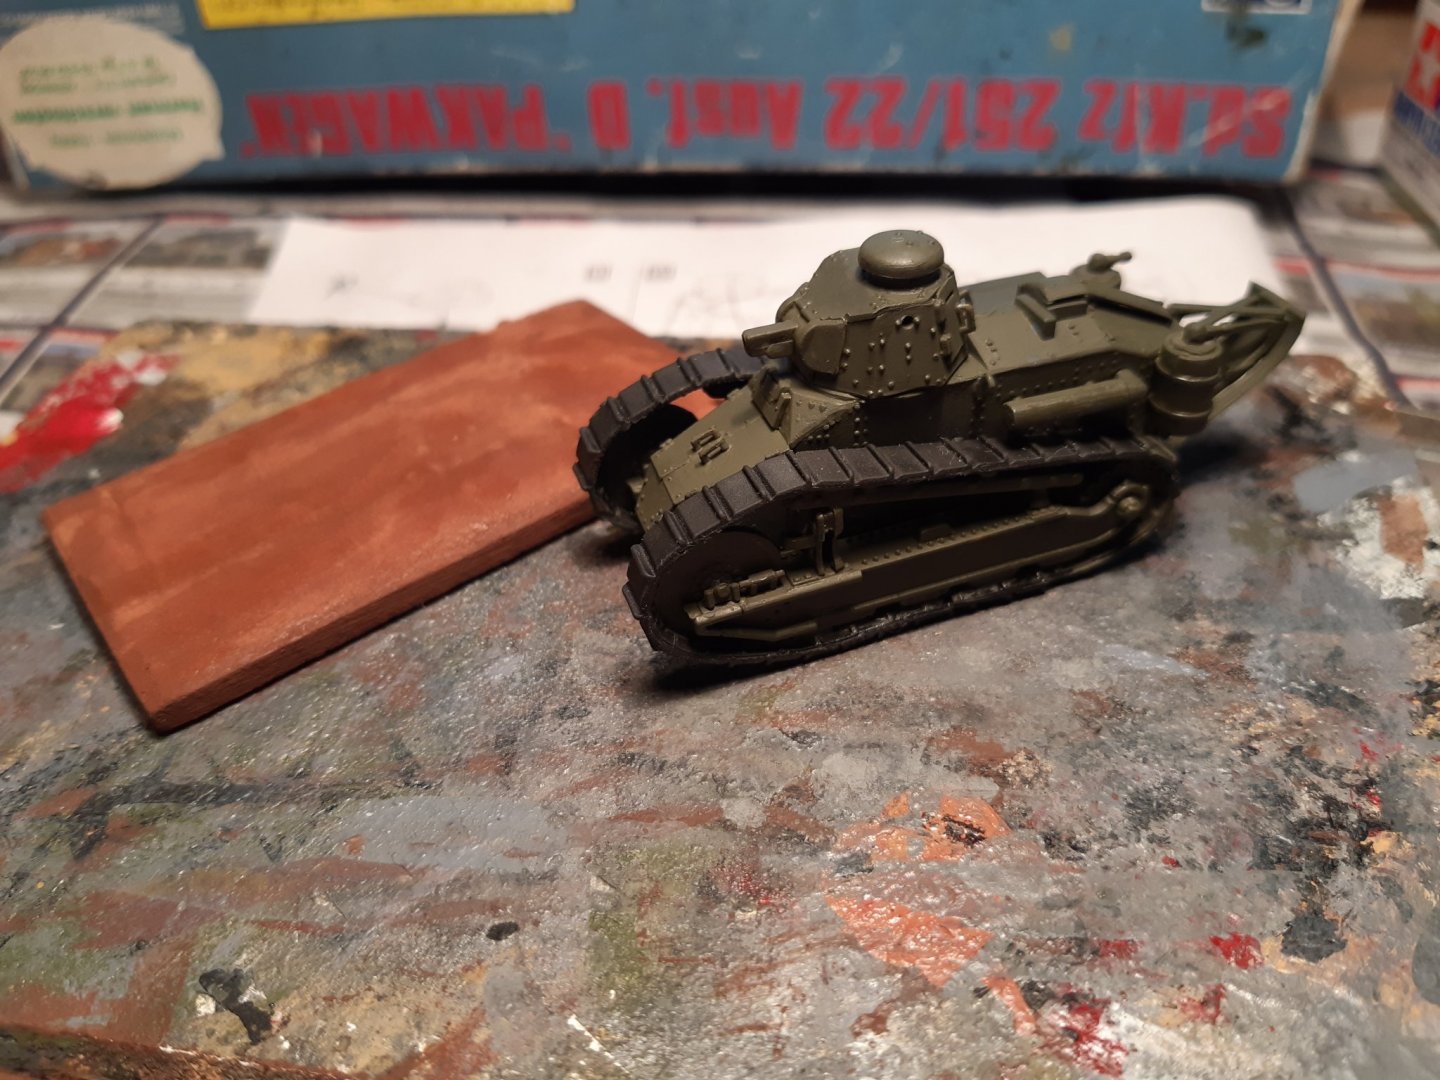
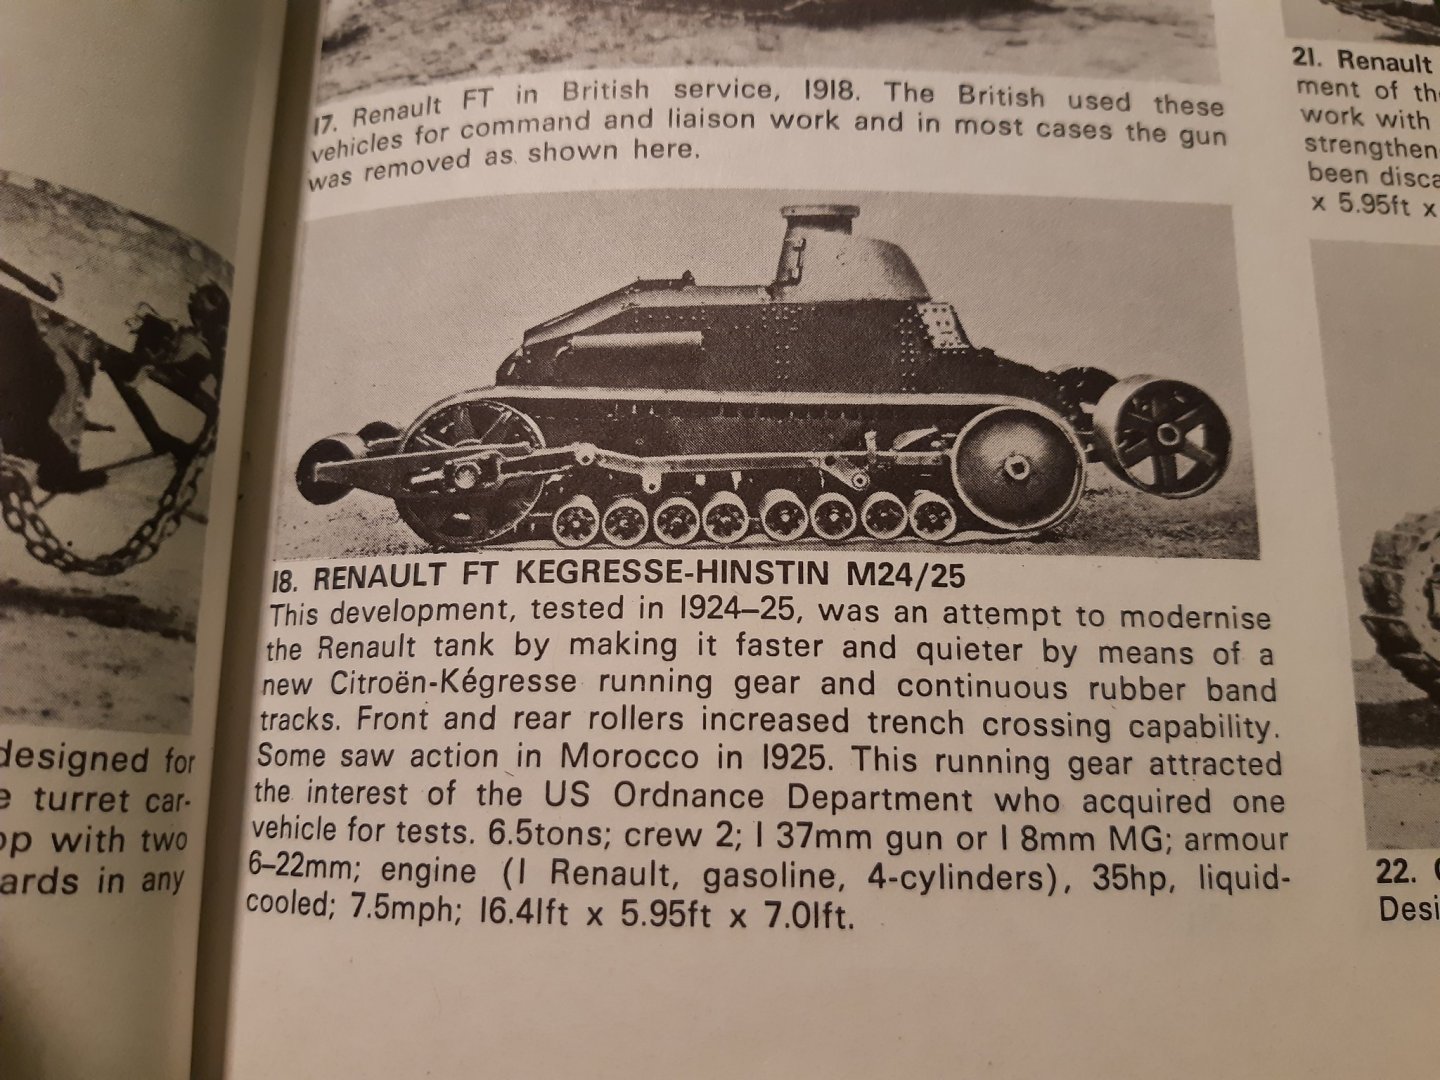
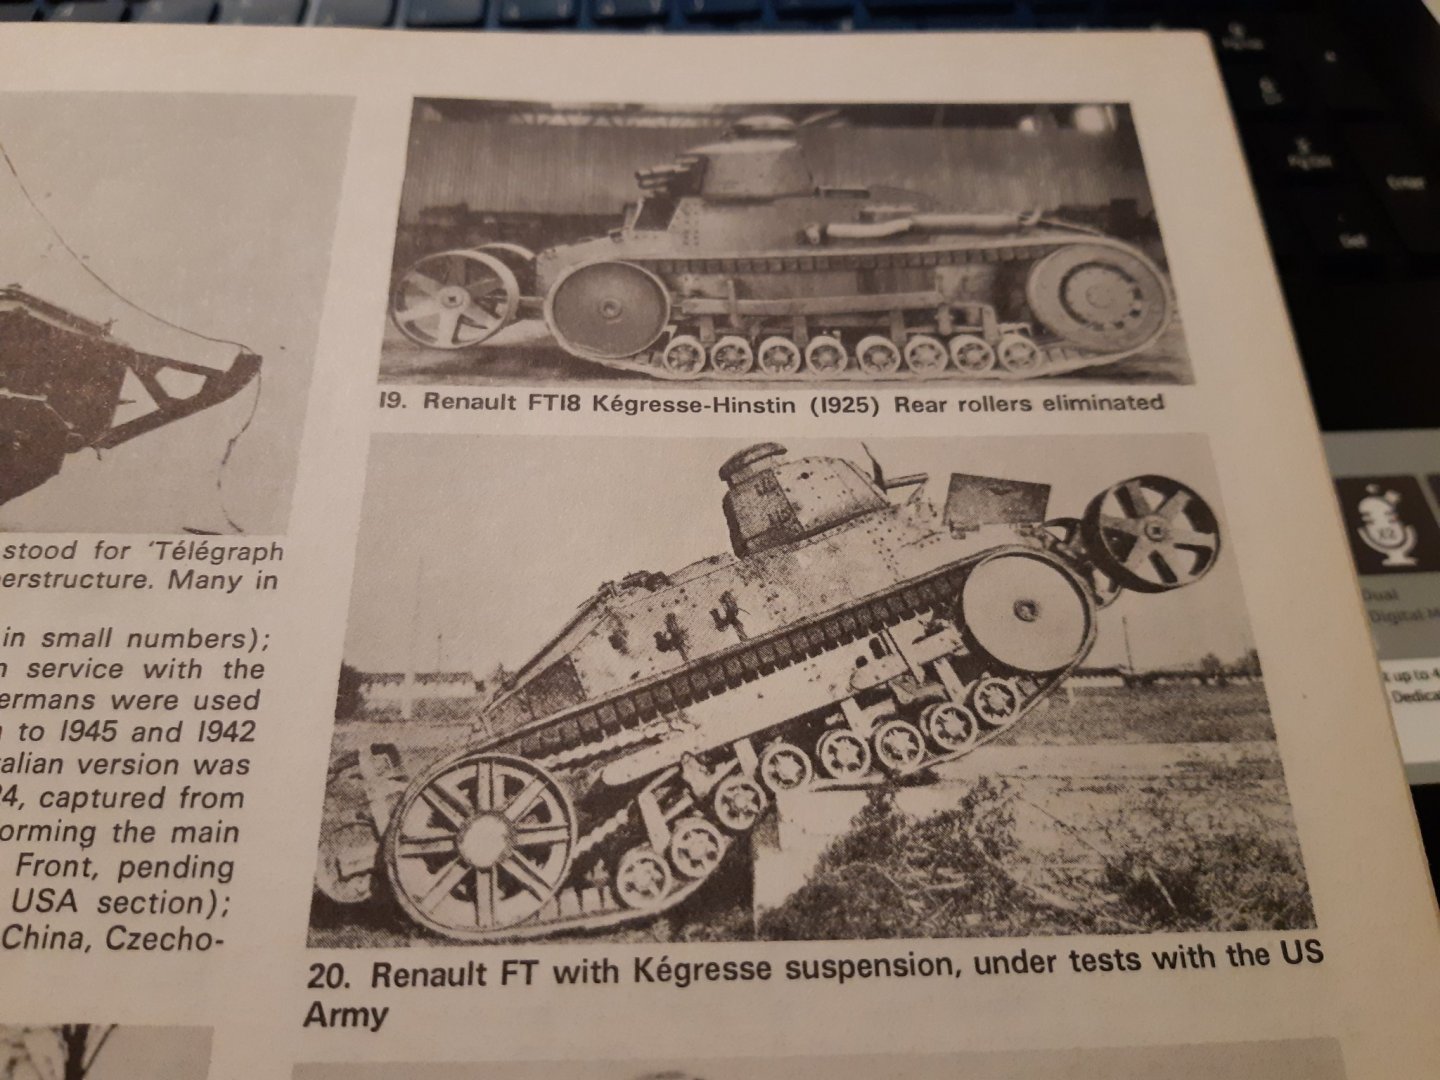
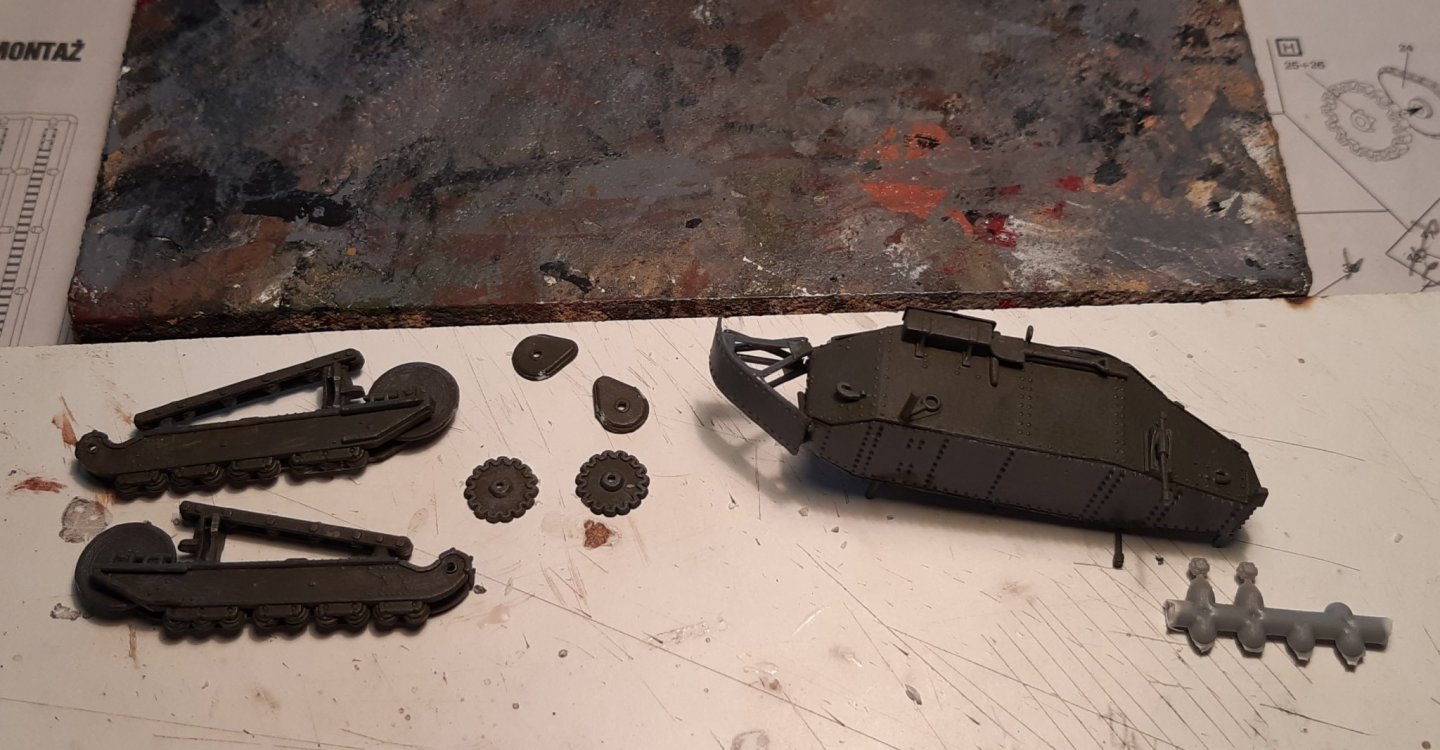
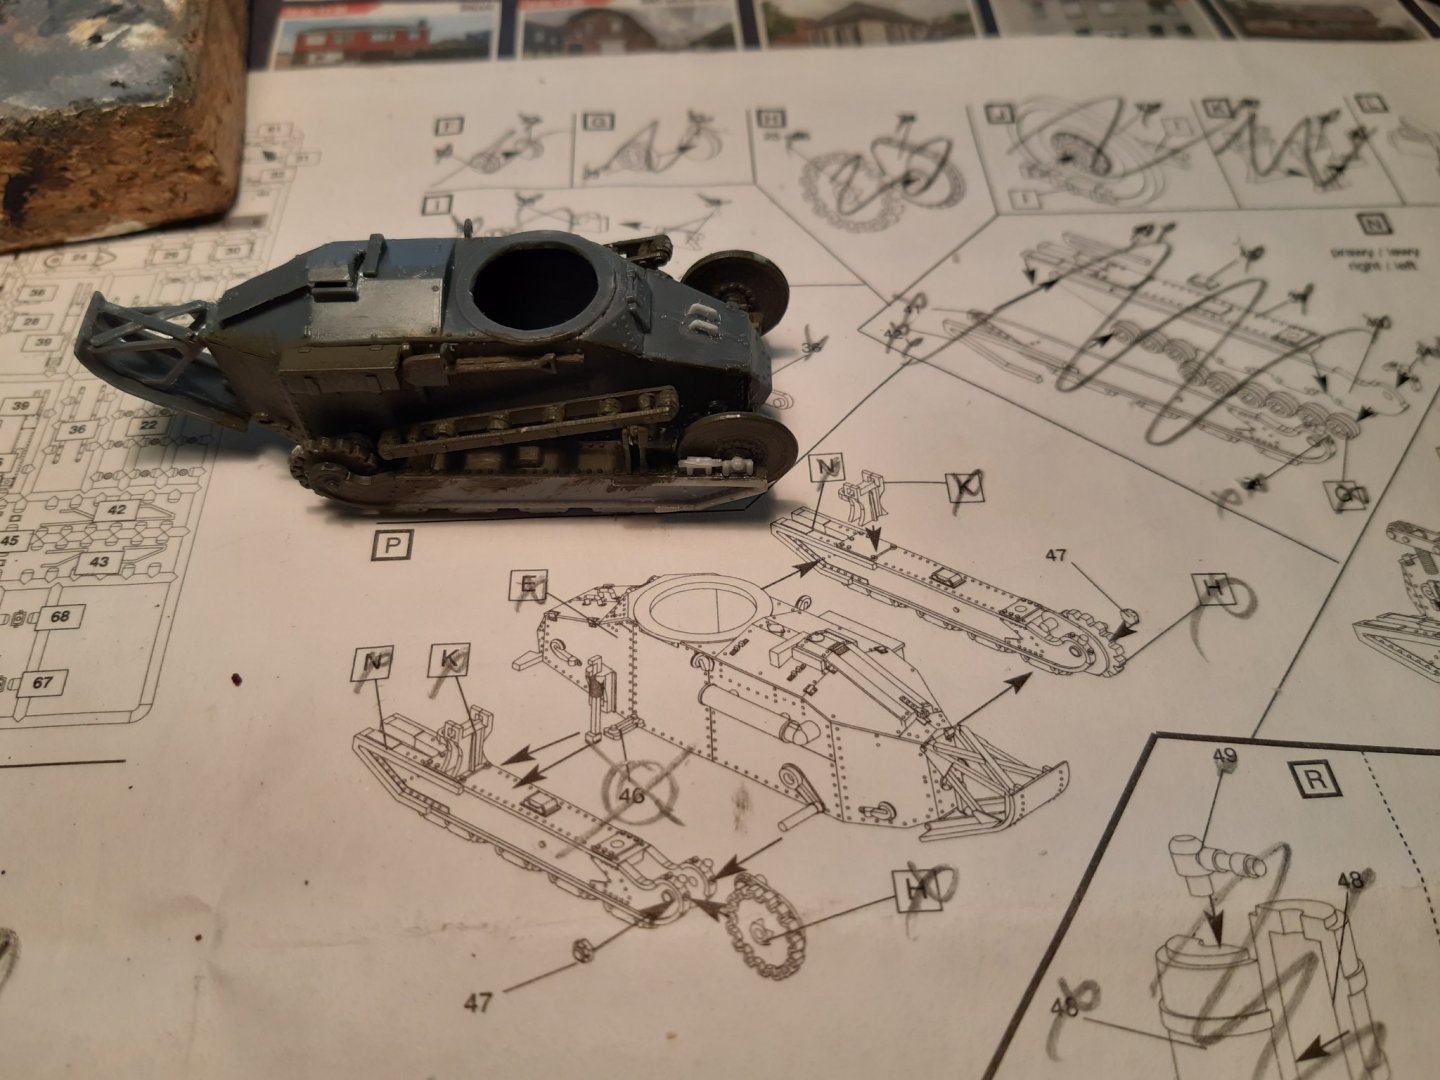
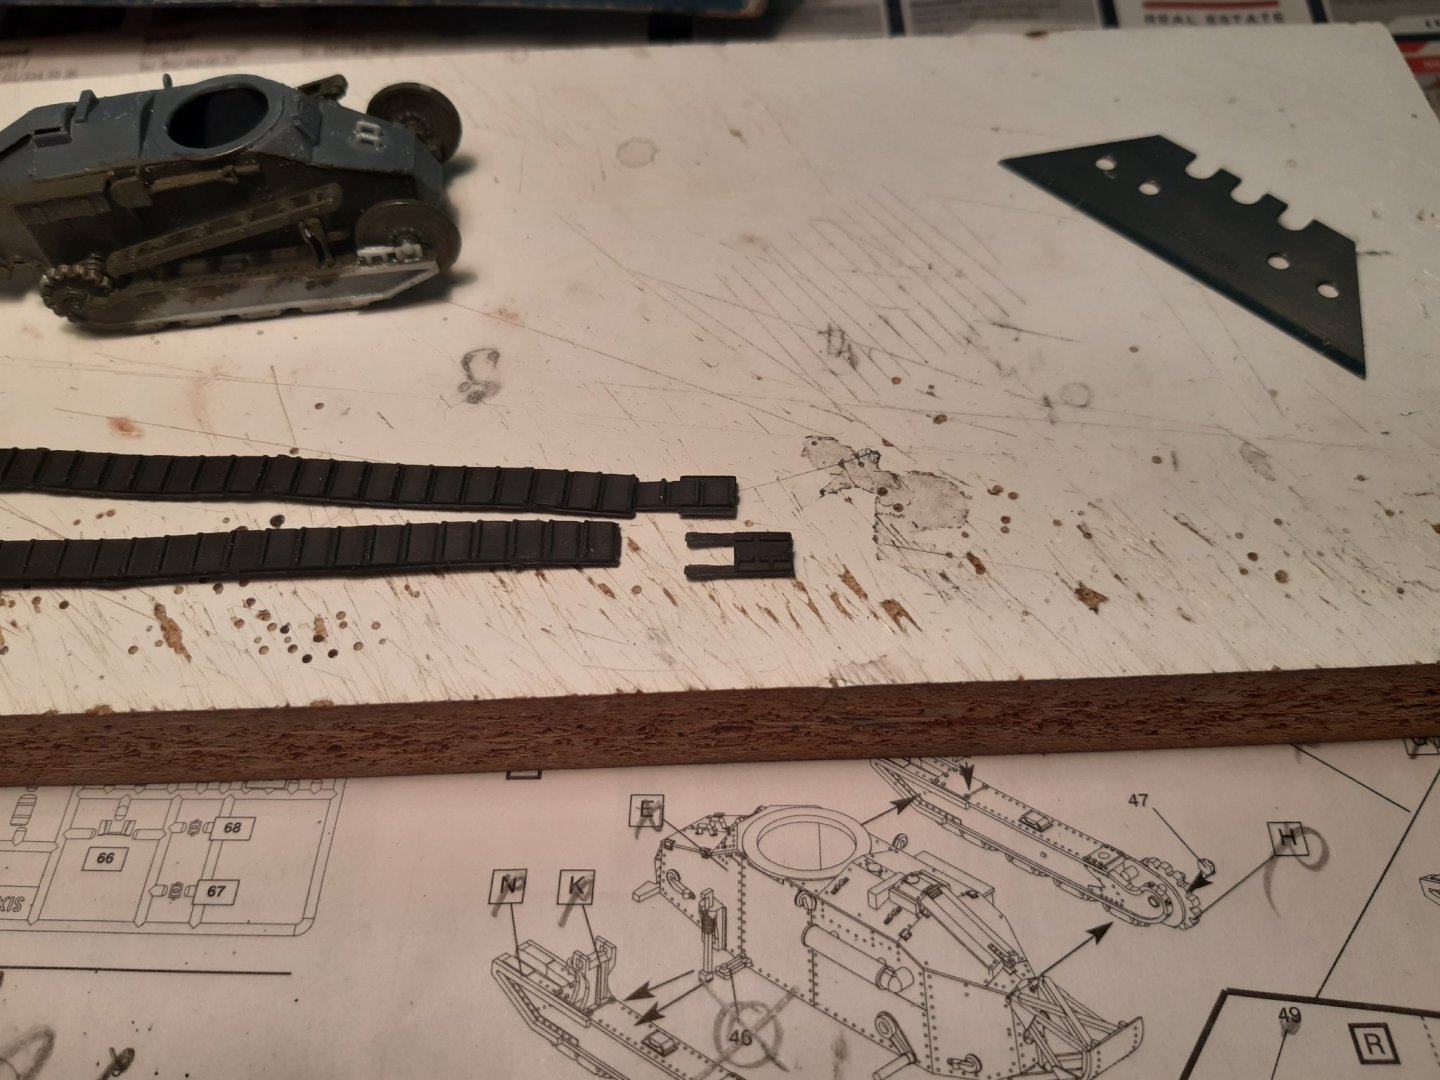
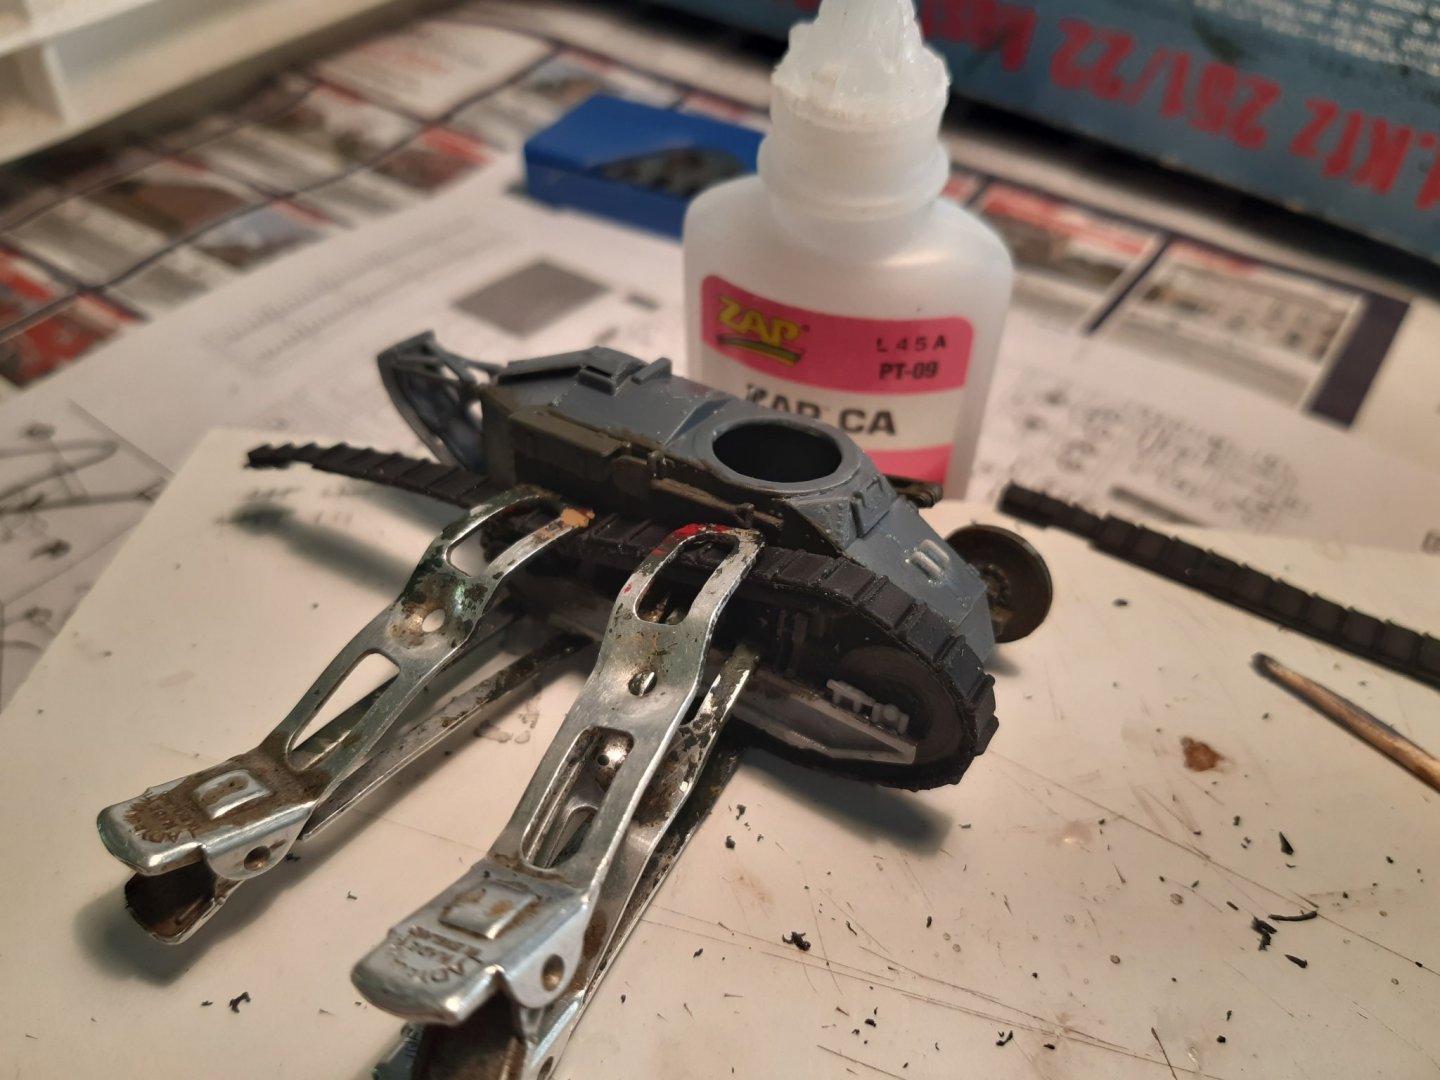
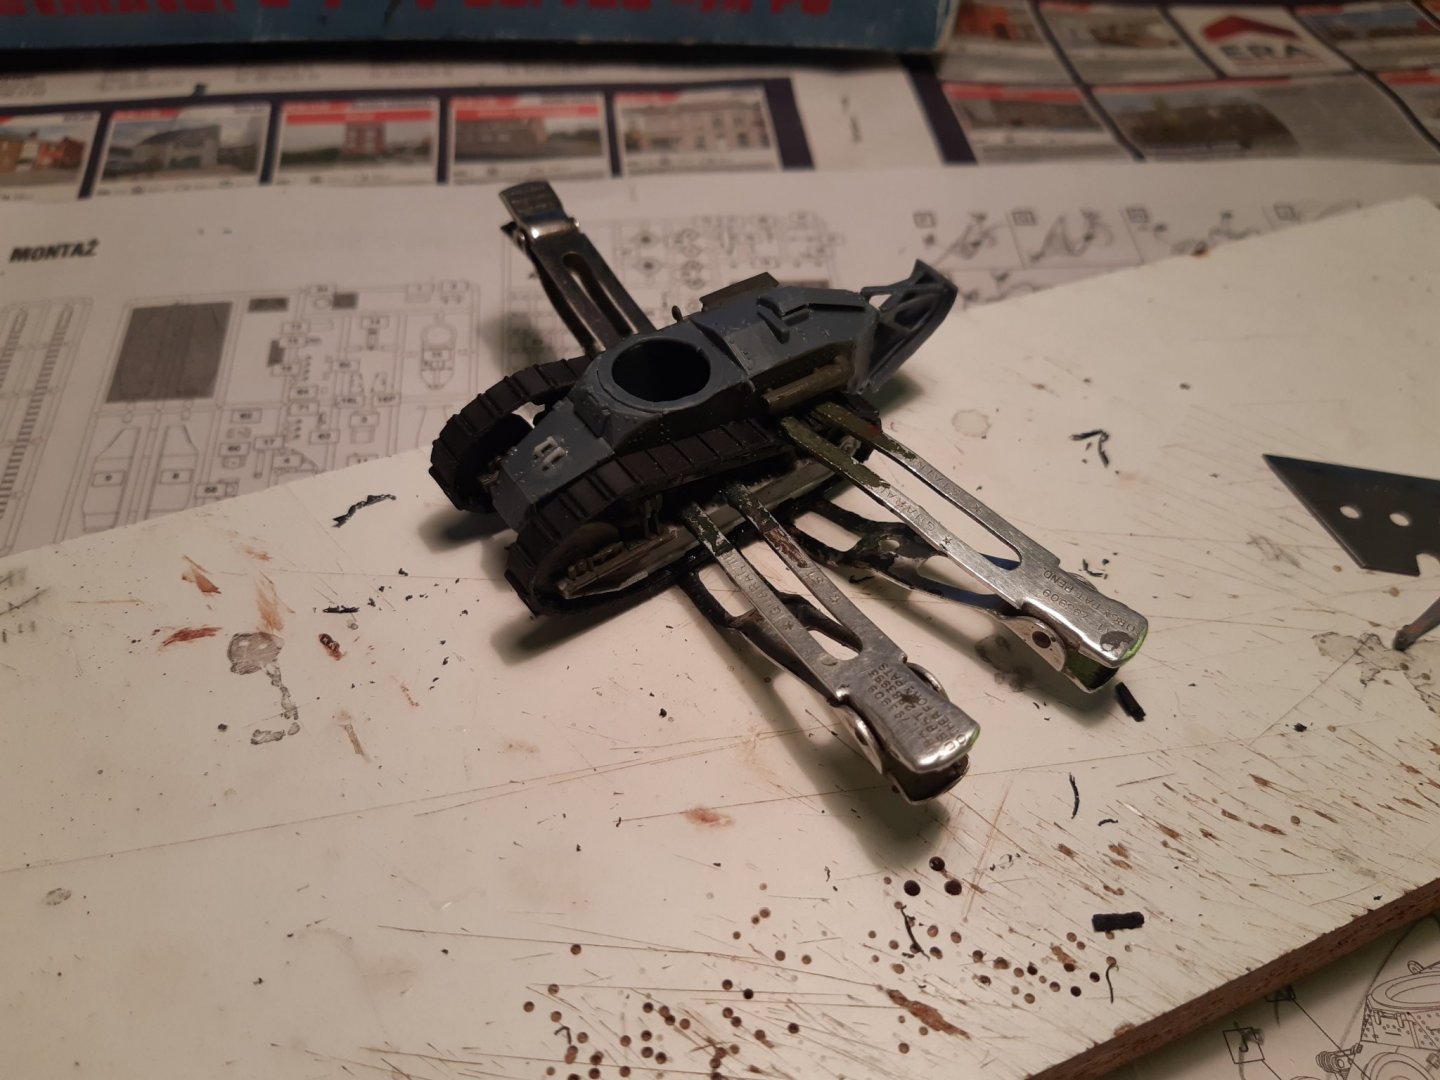
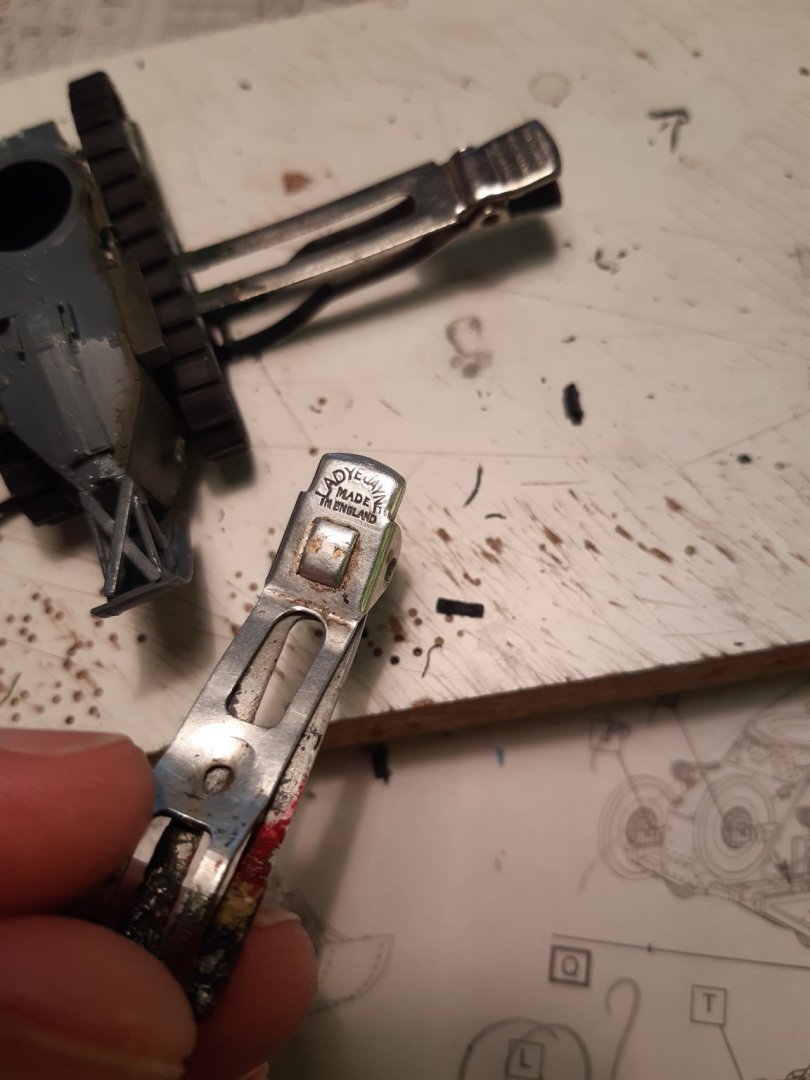
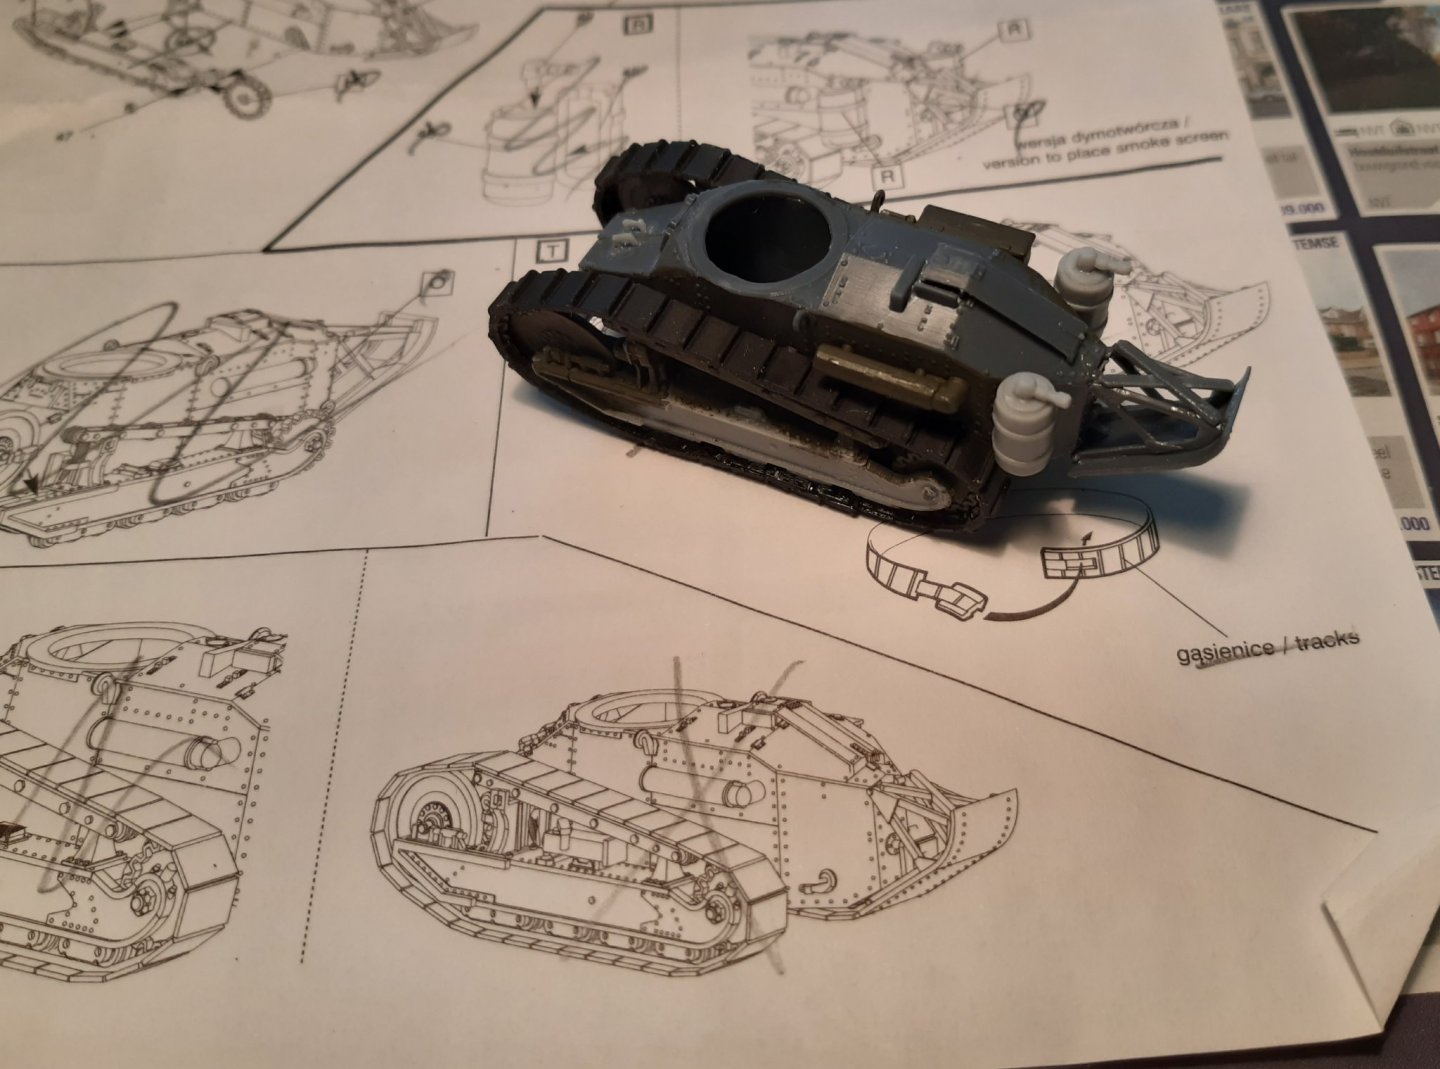
Hello, Apply the wheel assembly and the tracks The parts Glued in place Track trubbels in the tank factory... 🙊 The tracks are glued with CA Once, a long time ago my mother was missing several hairpins (and I had good clamps) Smoke equipment in place and chassis ready for painting Next the turret. Thanks for following
-
Will be great to follow your second build. (From the start of your second build , you are officially no longer a newby. haha 🤣)
About us
Modelshipworld - Advancing Ship Modeling through Research
SSL Secured
Your security is important for us so this Website is SSL-Secured
NRG Mailing Address
Nautical Research Guild
237 South Lincoln Street
Westmont IL, 60559-1917
Model Ship World ® and the MSW logo are Registered Trademarks, and belong to the Nautical Research Guild (United States Patent and Trademark Office: No. 6,929,264 & No. 6,929,274, registered Dec. 20, 2022)
Helpful Links
About the NRG
If you enjoy building ship models that are historically accurate as well as beautiful, then The Nautical Research Guild (NRG) is just right for you.
The Guild is a non-profit educational organization whose mission is to “Advance Ship Modeling Through Research”. We provide support to our members in their efforts to raise the quality of their model ships.
The Nautical Research Guild has published our world-renowned quarterly magazine, The Nautical Research Journal, since 1955. The pages of the Journal are full of articles by accomplished ship modelers who show you how they create those exquisite details on their models, and by maritime historians who show you the correct details to build. The Journal is available in both print and digital editions. Go to the NRG web site (www.thenrg.org) to download a complimentary digital copy of the Journal. The NRG also publishes plan sets, books and compilations of back issues of the Journal and the former Ships in Scale and Model Ship Builder magazines.


