


svein erik
-
Posts
610 -
Joined
-
Last visited
Content Type
Profiles
Forums
Gallery
Events
Posts posted by svein erik
-
-
thanks for coments and likes
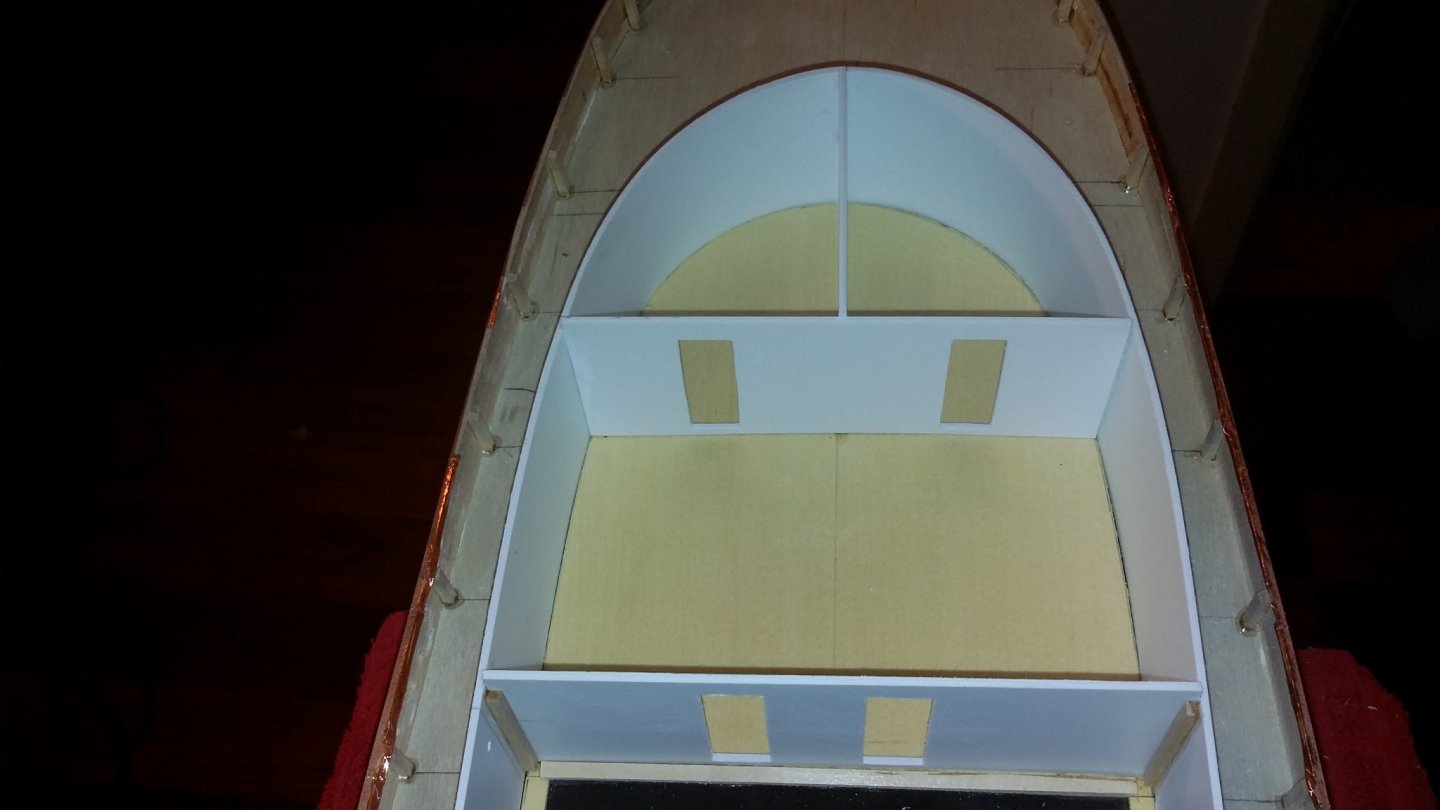
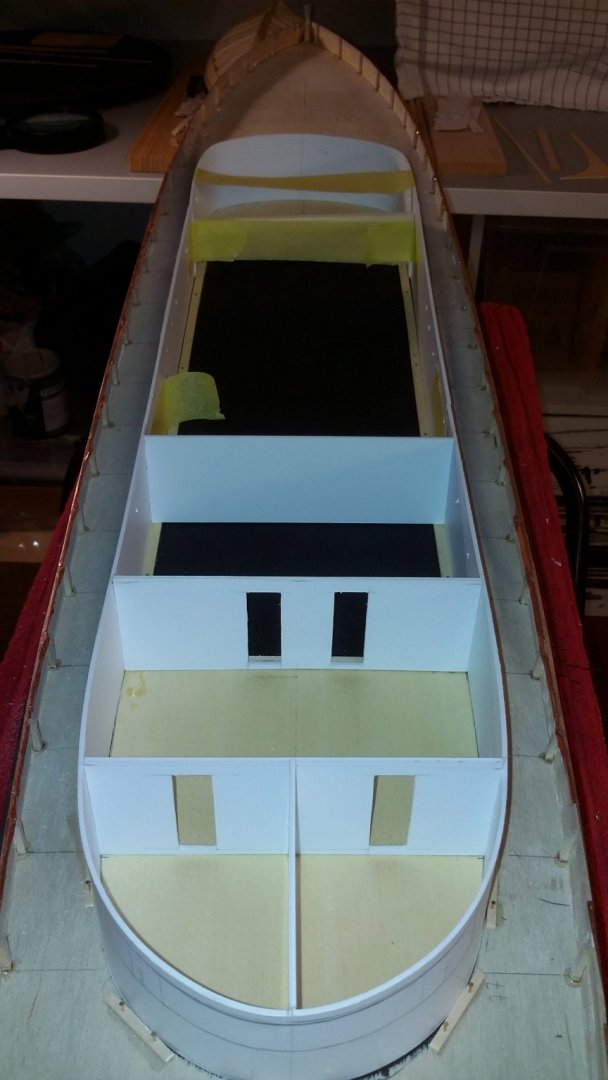
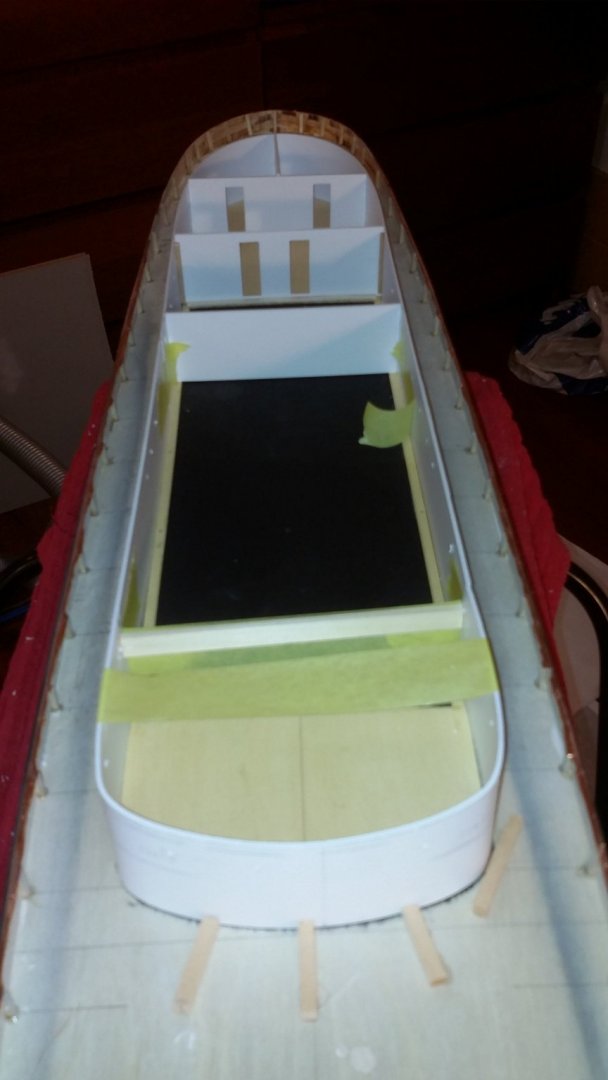
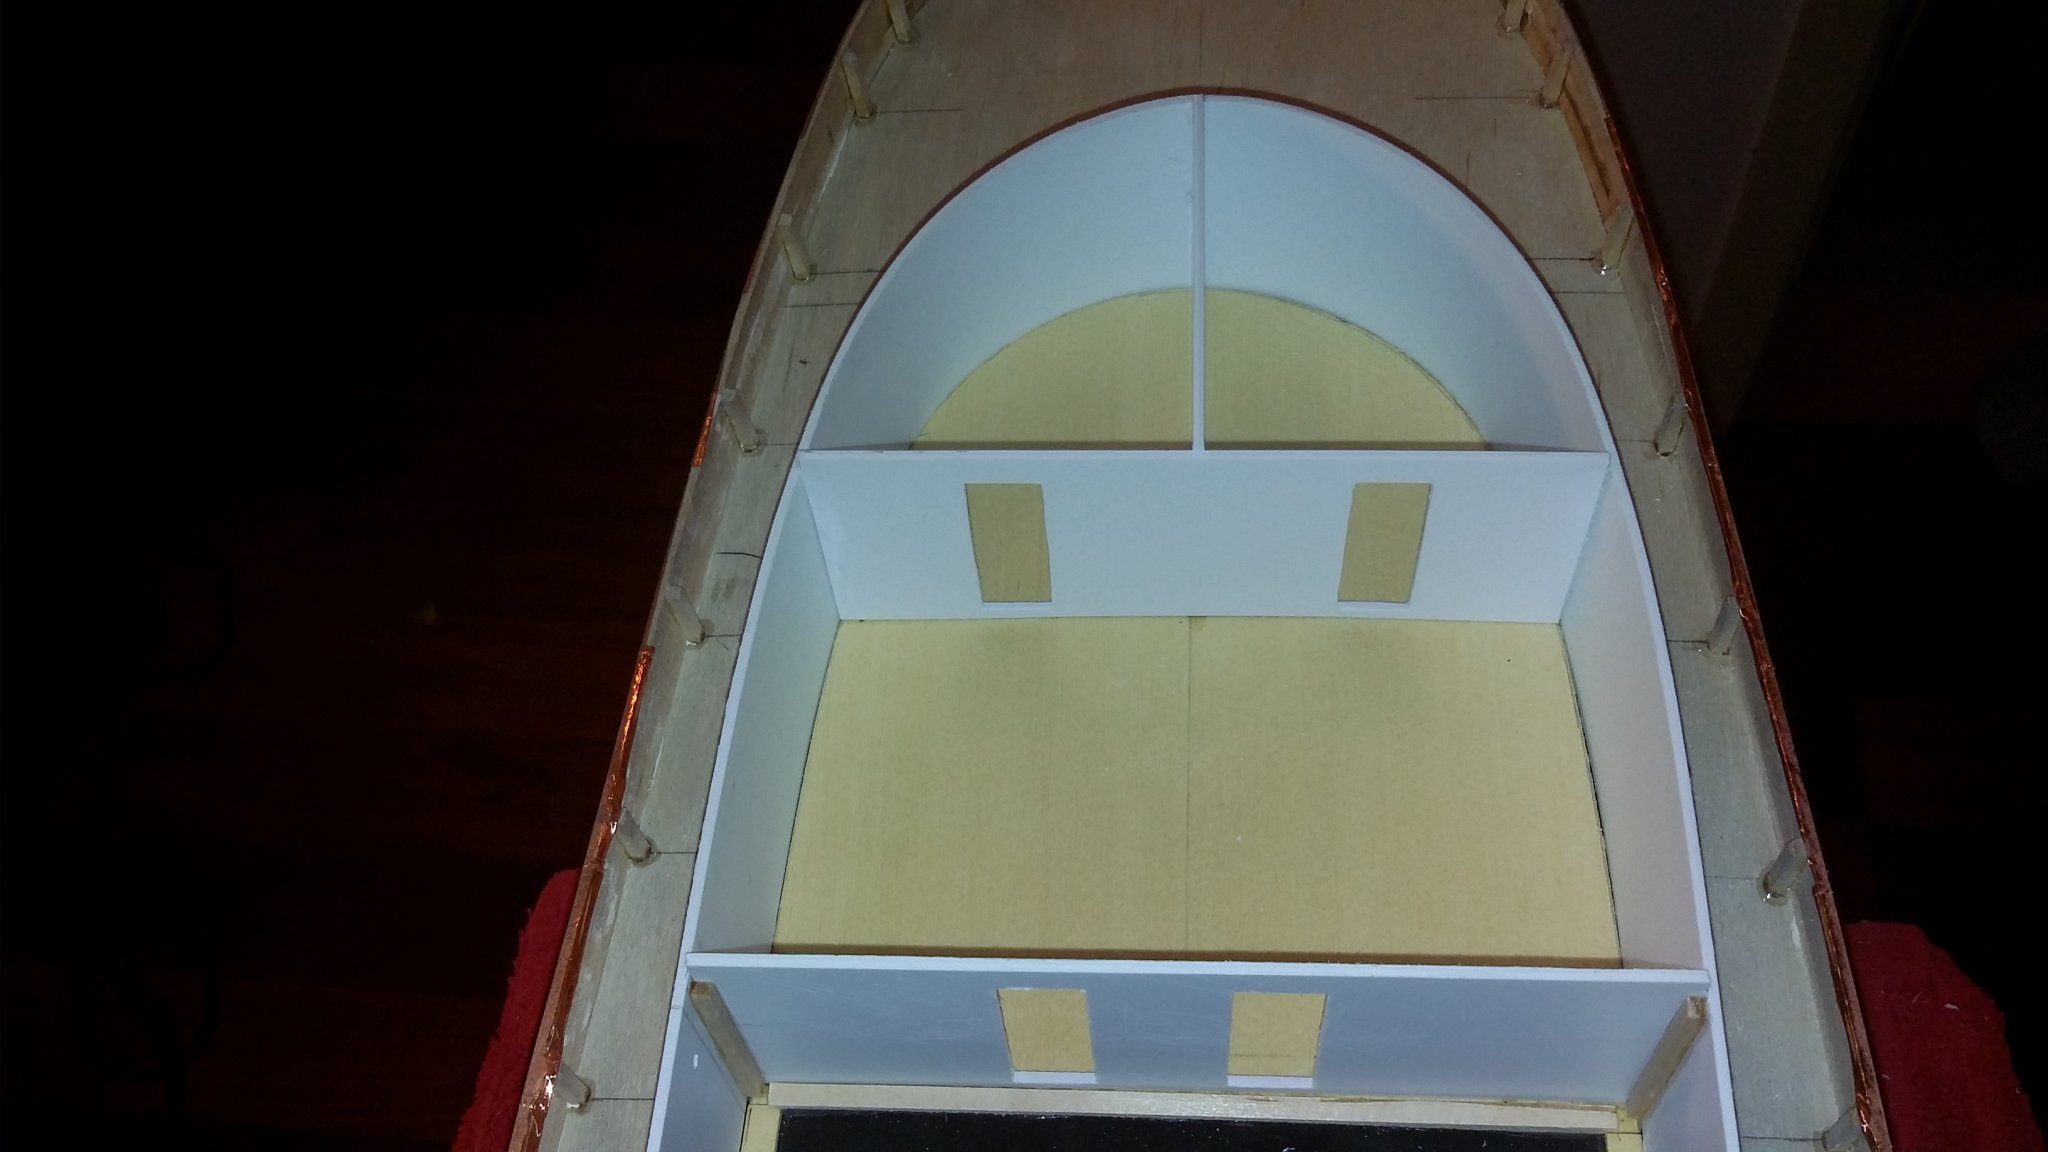
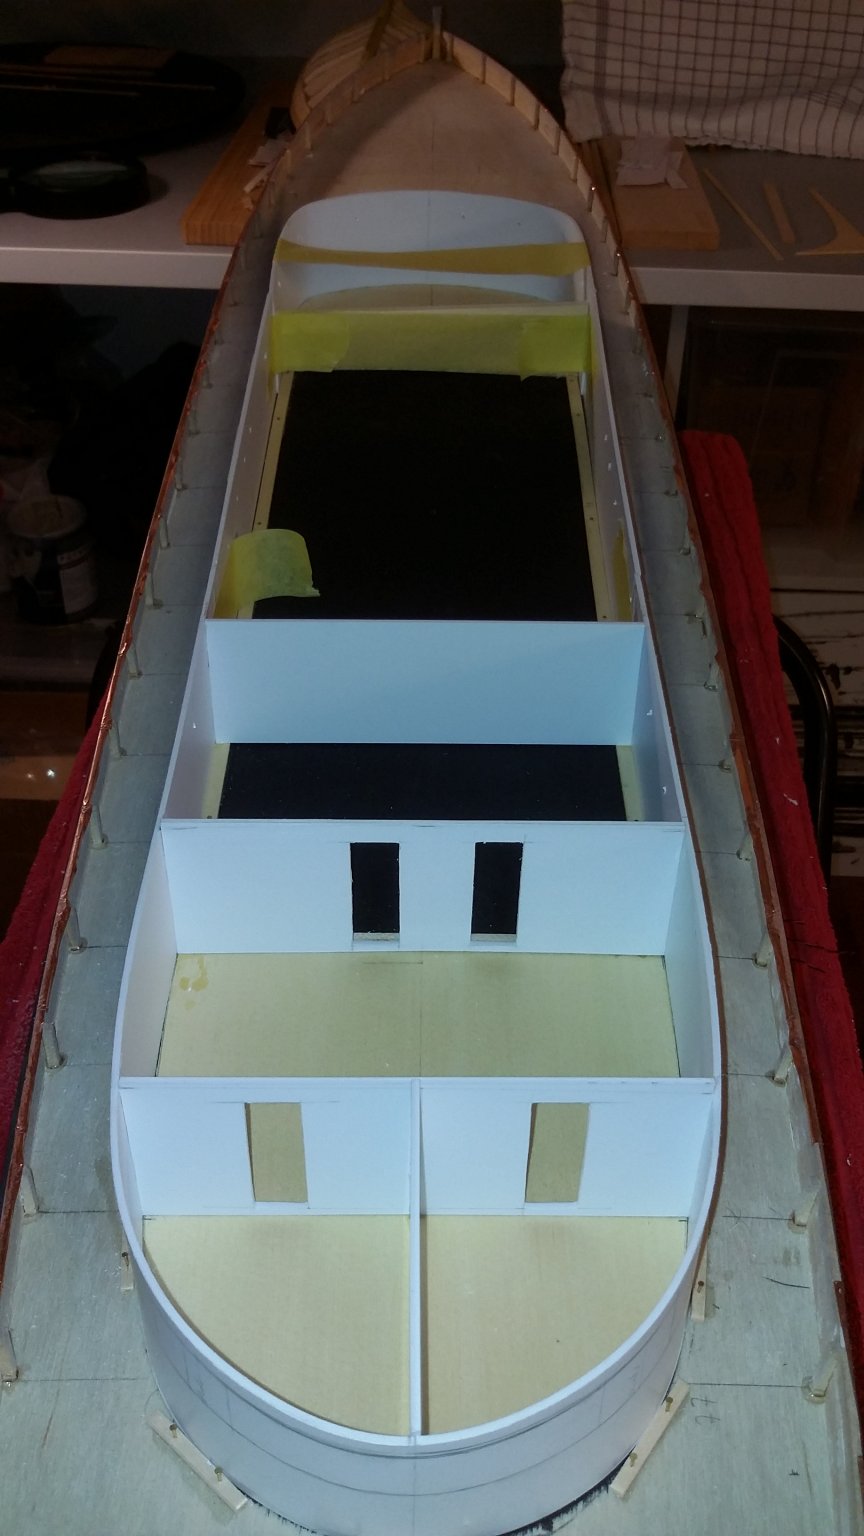
the construction of the main dekk cabin is on its way , for this i use evegreen styro yust the main dekk cabin,
wood vil be used for the topp dekk construction.
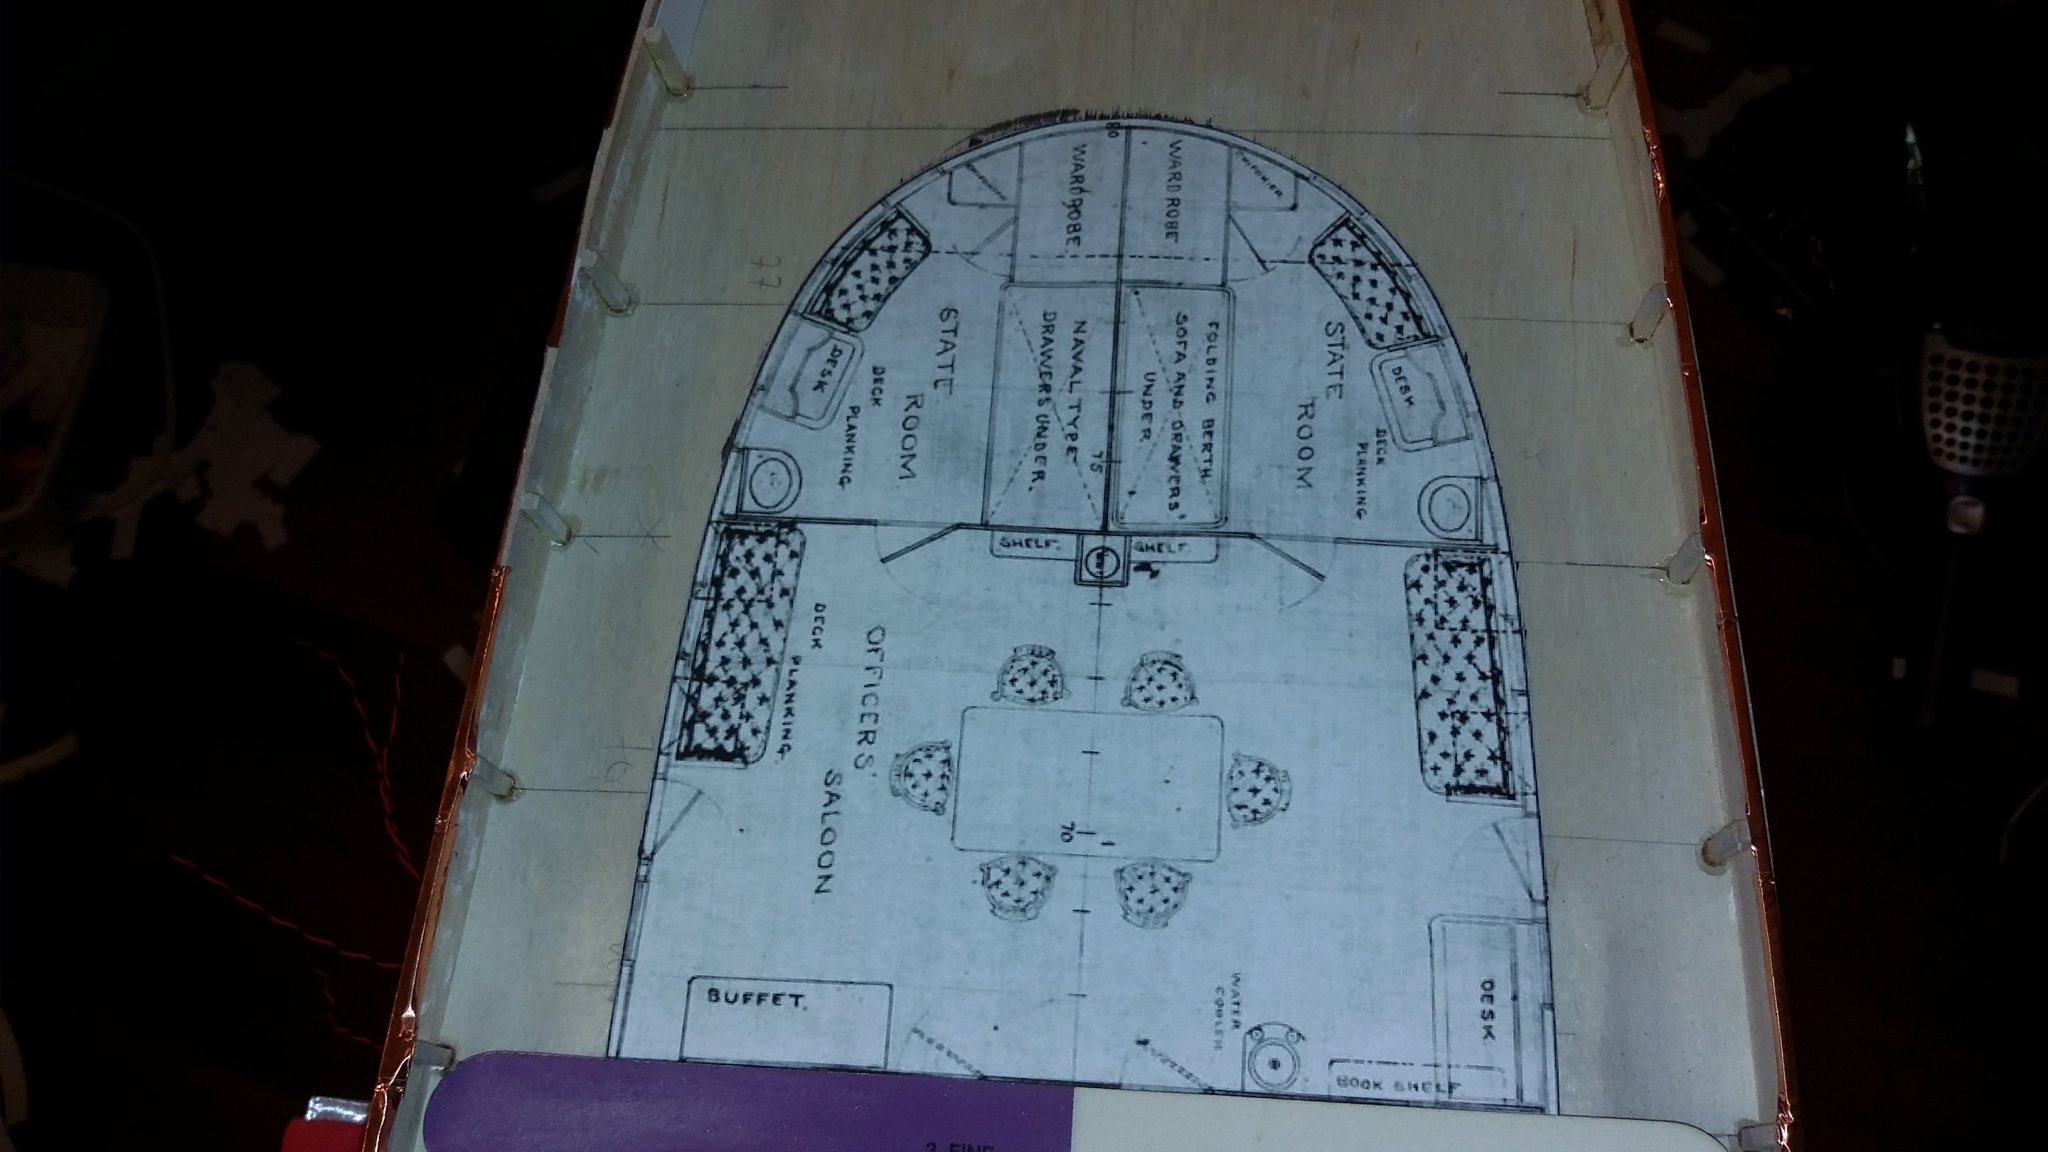
at the rear you can se the 2 sleeping quaters and a sallon and the doors opening .
later i wil glue some wood panels etc on the wall, beds ,table etc....
at the aft i wil do the same.
the hole construction is loos and not glued on the ship.
i markt the windows , doors etc so i need to take this out to.
the main dekk construction wil get simulated rivvits using the same metod i did with the hull (thats because this part was made of steel plates.
the topp dekk was wood.
svein erik

- tarbrush, GrandpaPhil, KeithAug and 7 others
-
 10
10
-
1 hour ago, Chuck said:
Ughh!!!! Long night
Bourbon Street at 5am. It aint pretty. But fun and now a bit fuzzy.

nice photo... and there is a lot of garbage😲 you need to take a new one
befor and aft photo😆
-
yes it do..
am using only thinn layers of paint , but 2- 3 layes needed for top coats later,
for that i need more paint .
so am working now with the dekk cabin and trying to deside if am going to
make some inventory at the aft cabin and also the steering house on top dekk.

-
thanks for likes and coments
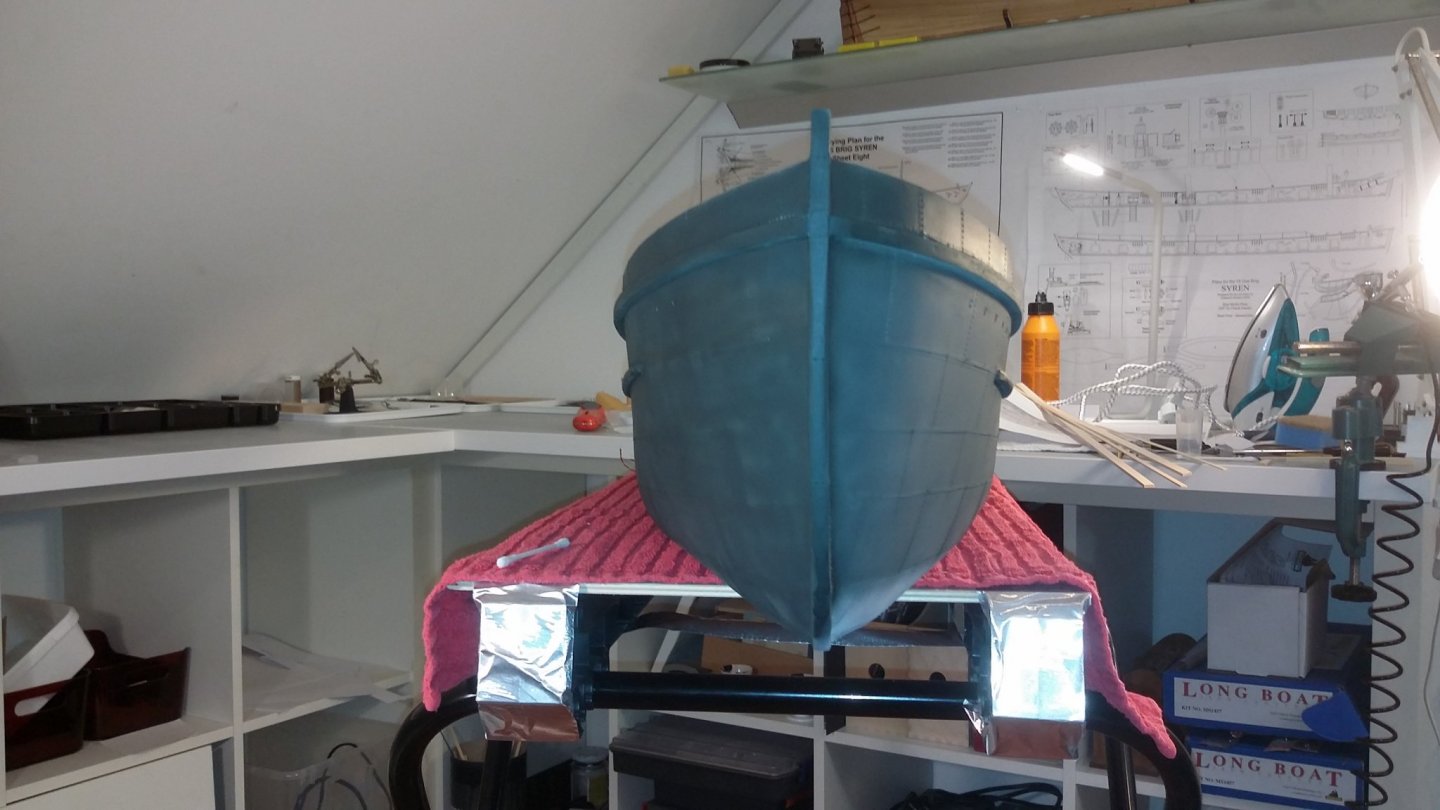
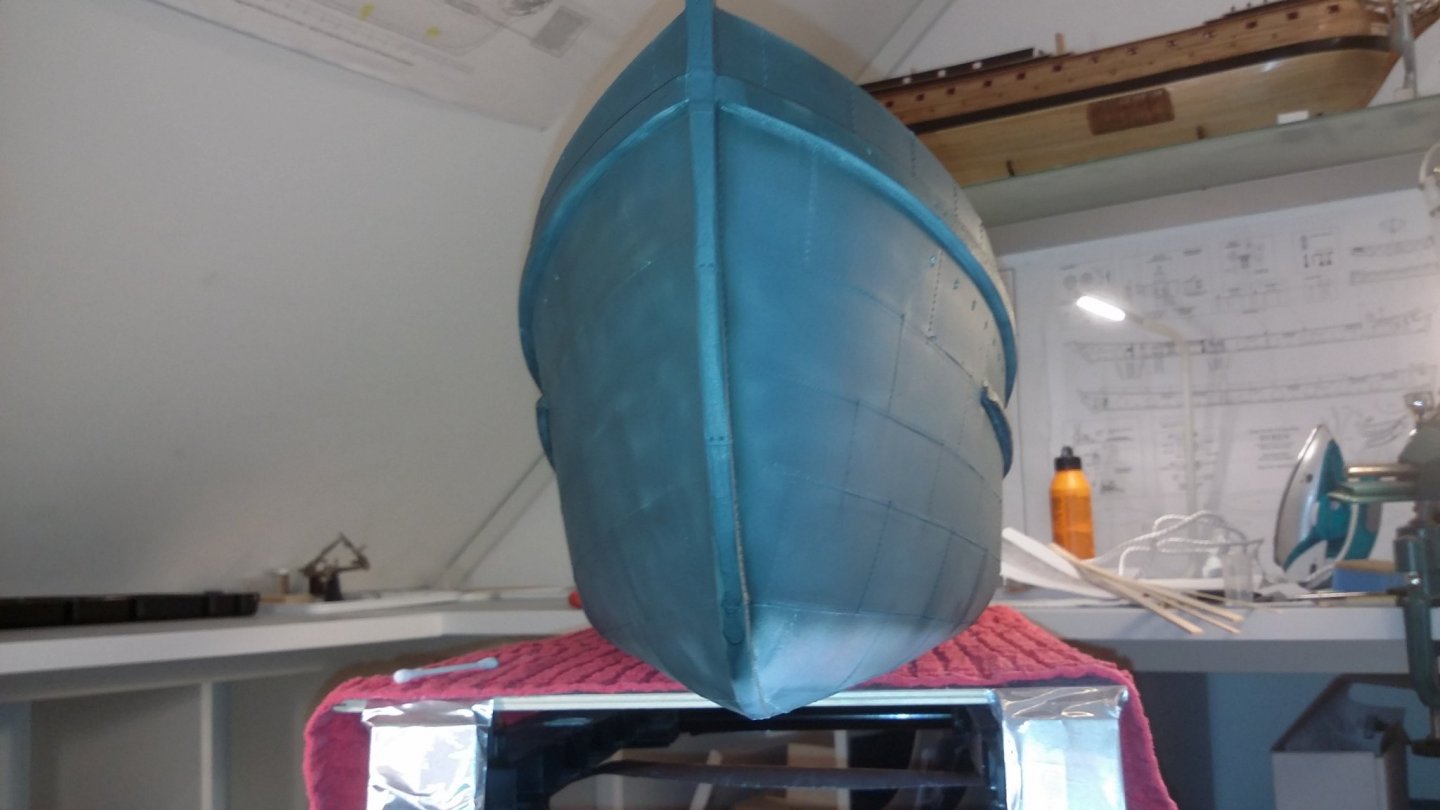
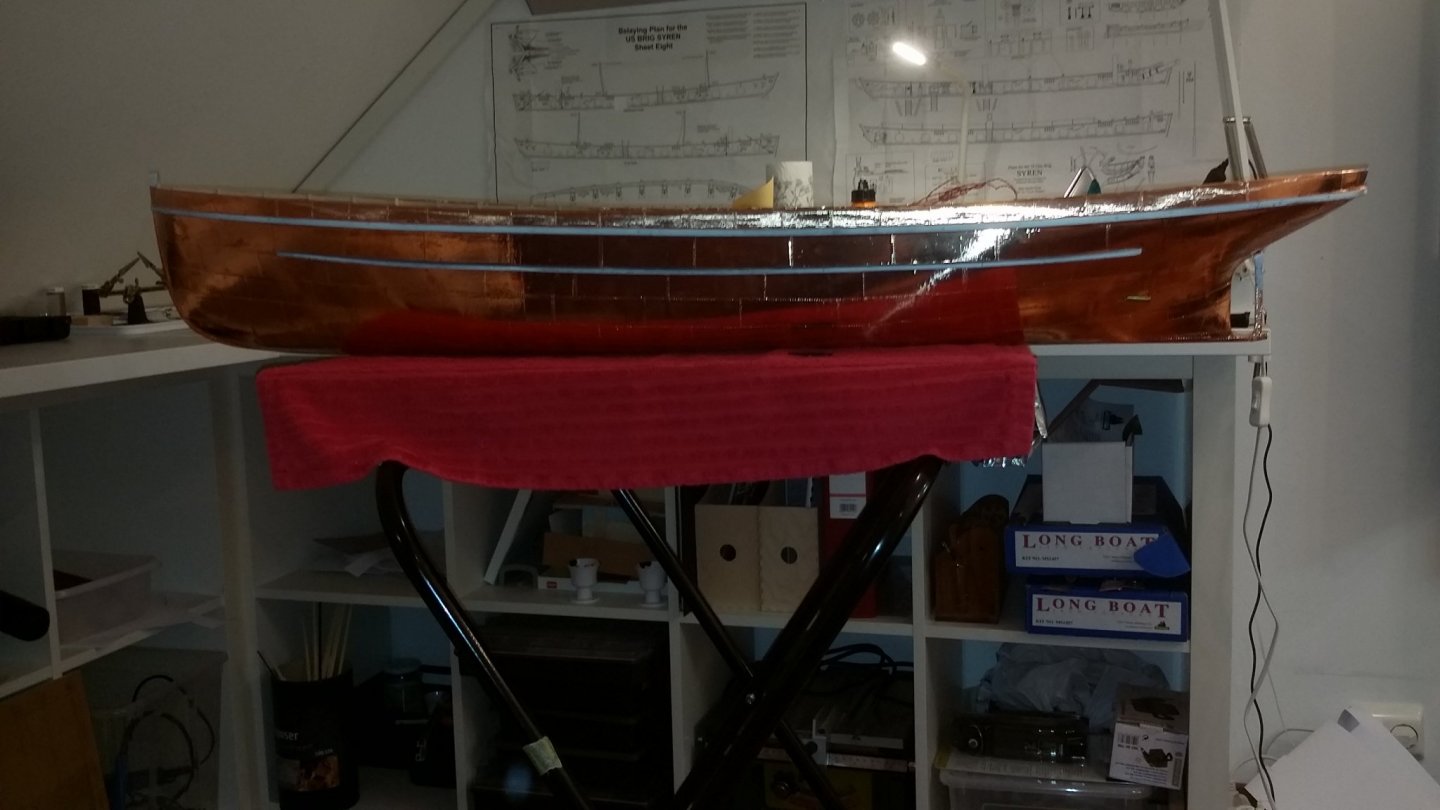
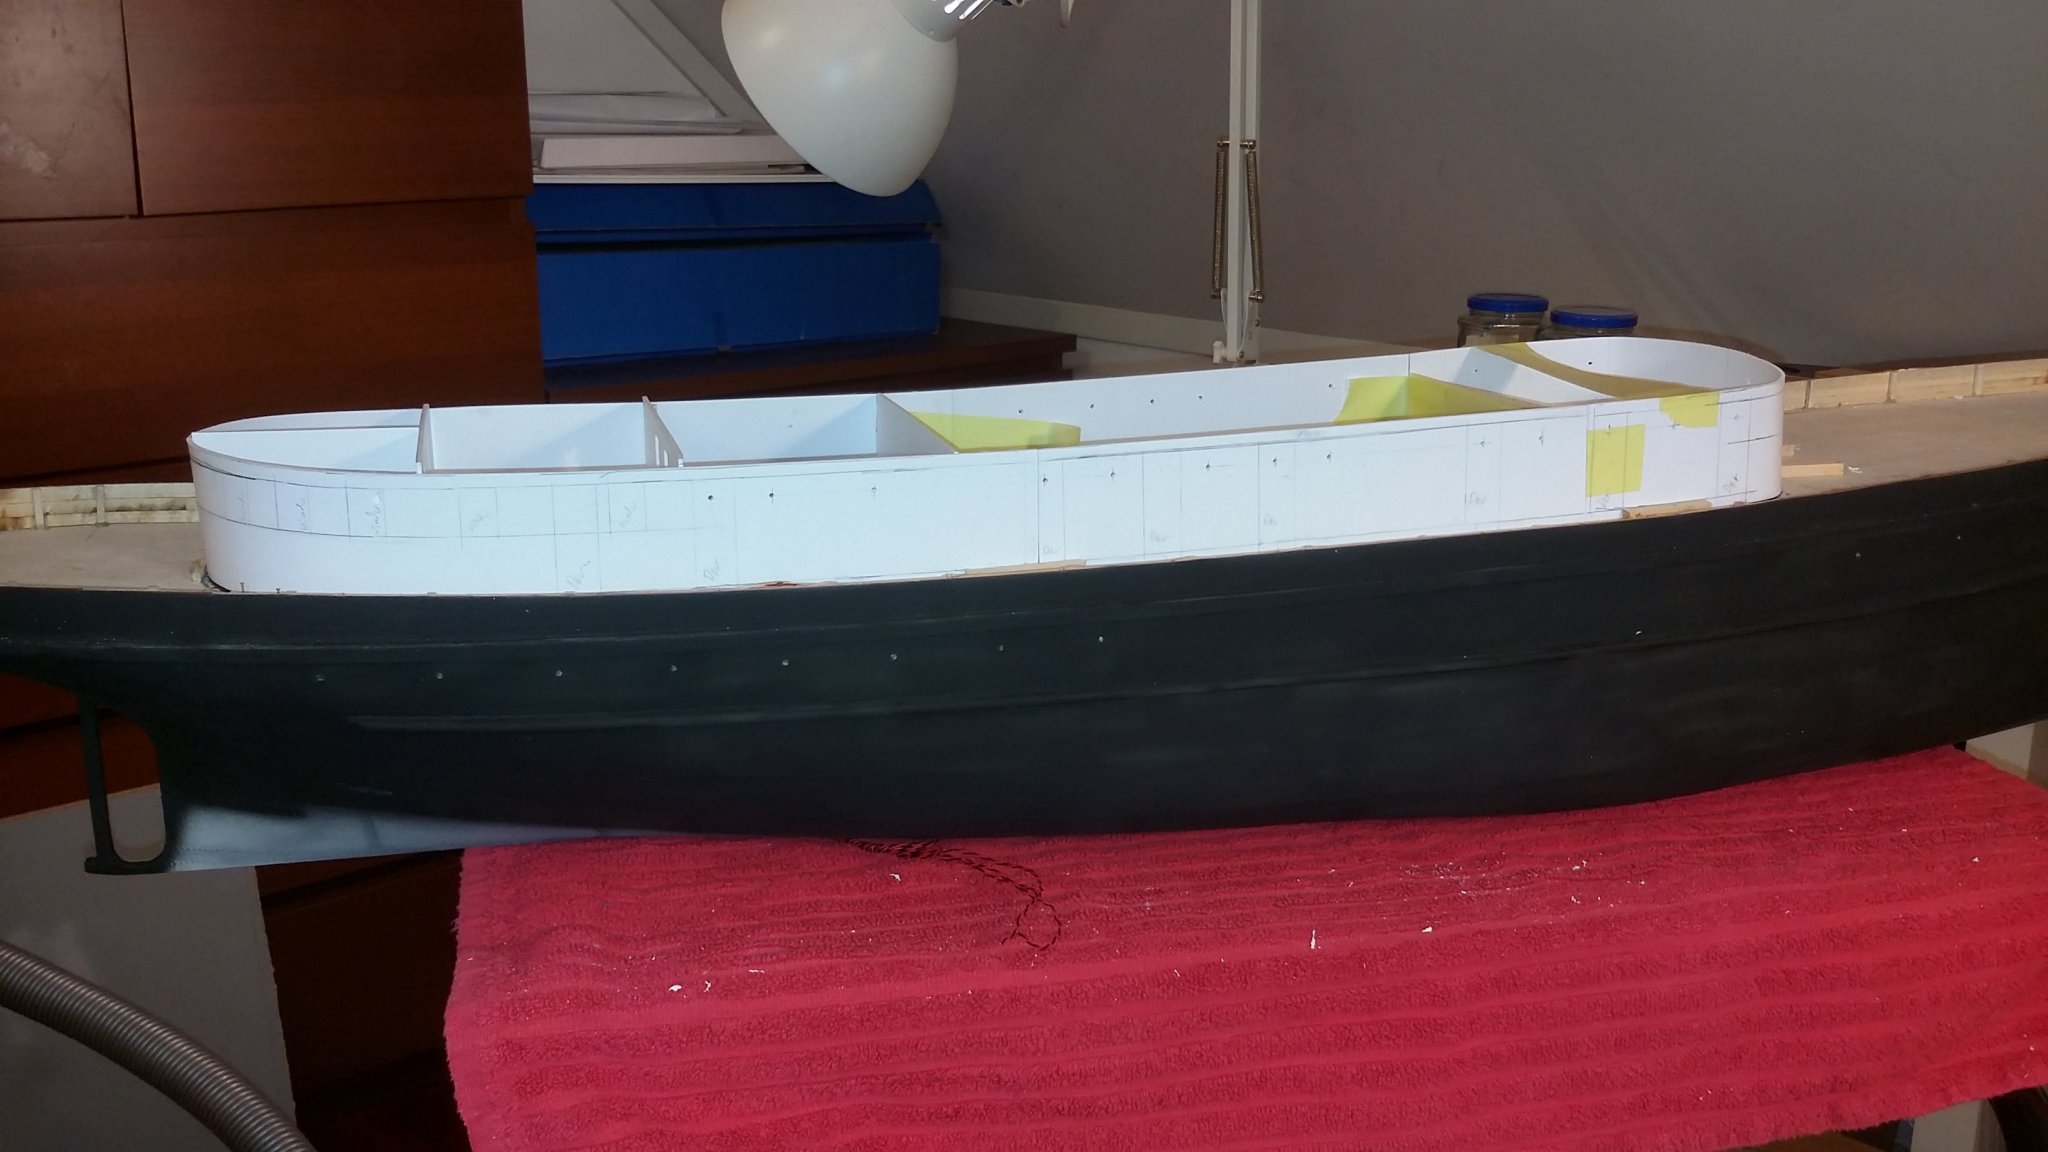
its no returns regarding painting the hull... its dunn😉 but not finish,
there are 2 cote of primer then i used 2 cote of nato black matt, as an under cote for the finish cote.
its going to be a little blacker and more glossy then it is now, am saving that for later,
i also pre drilled the hole for the portholes , it wil be larger then it is now (6mm when install)
svein erik
-
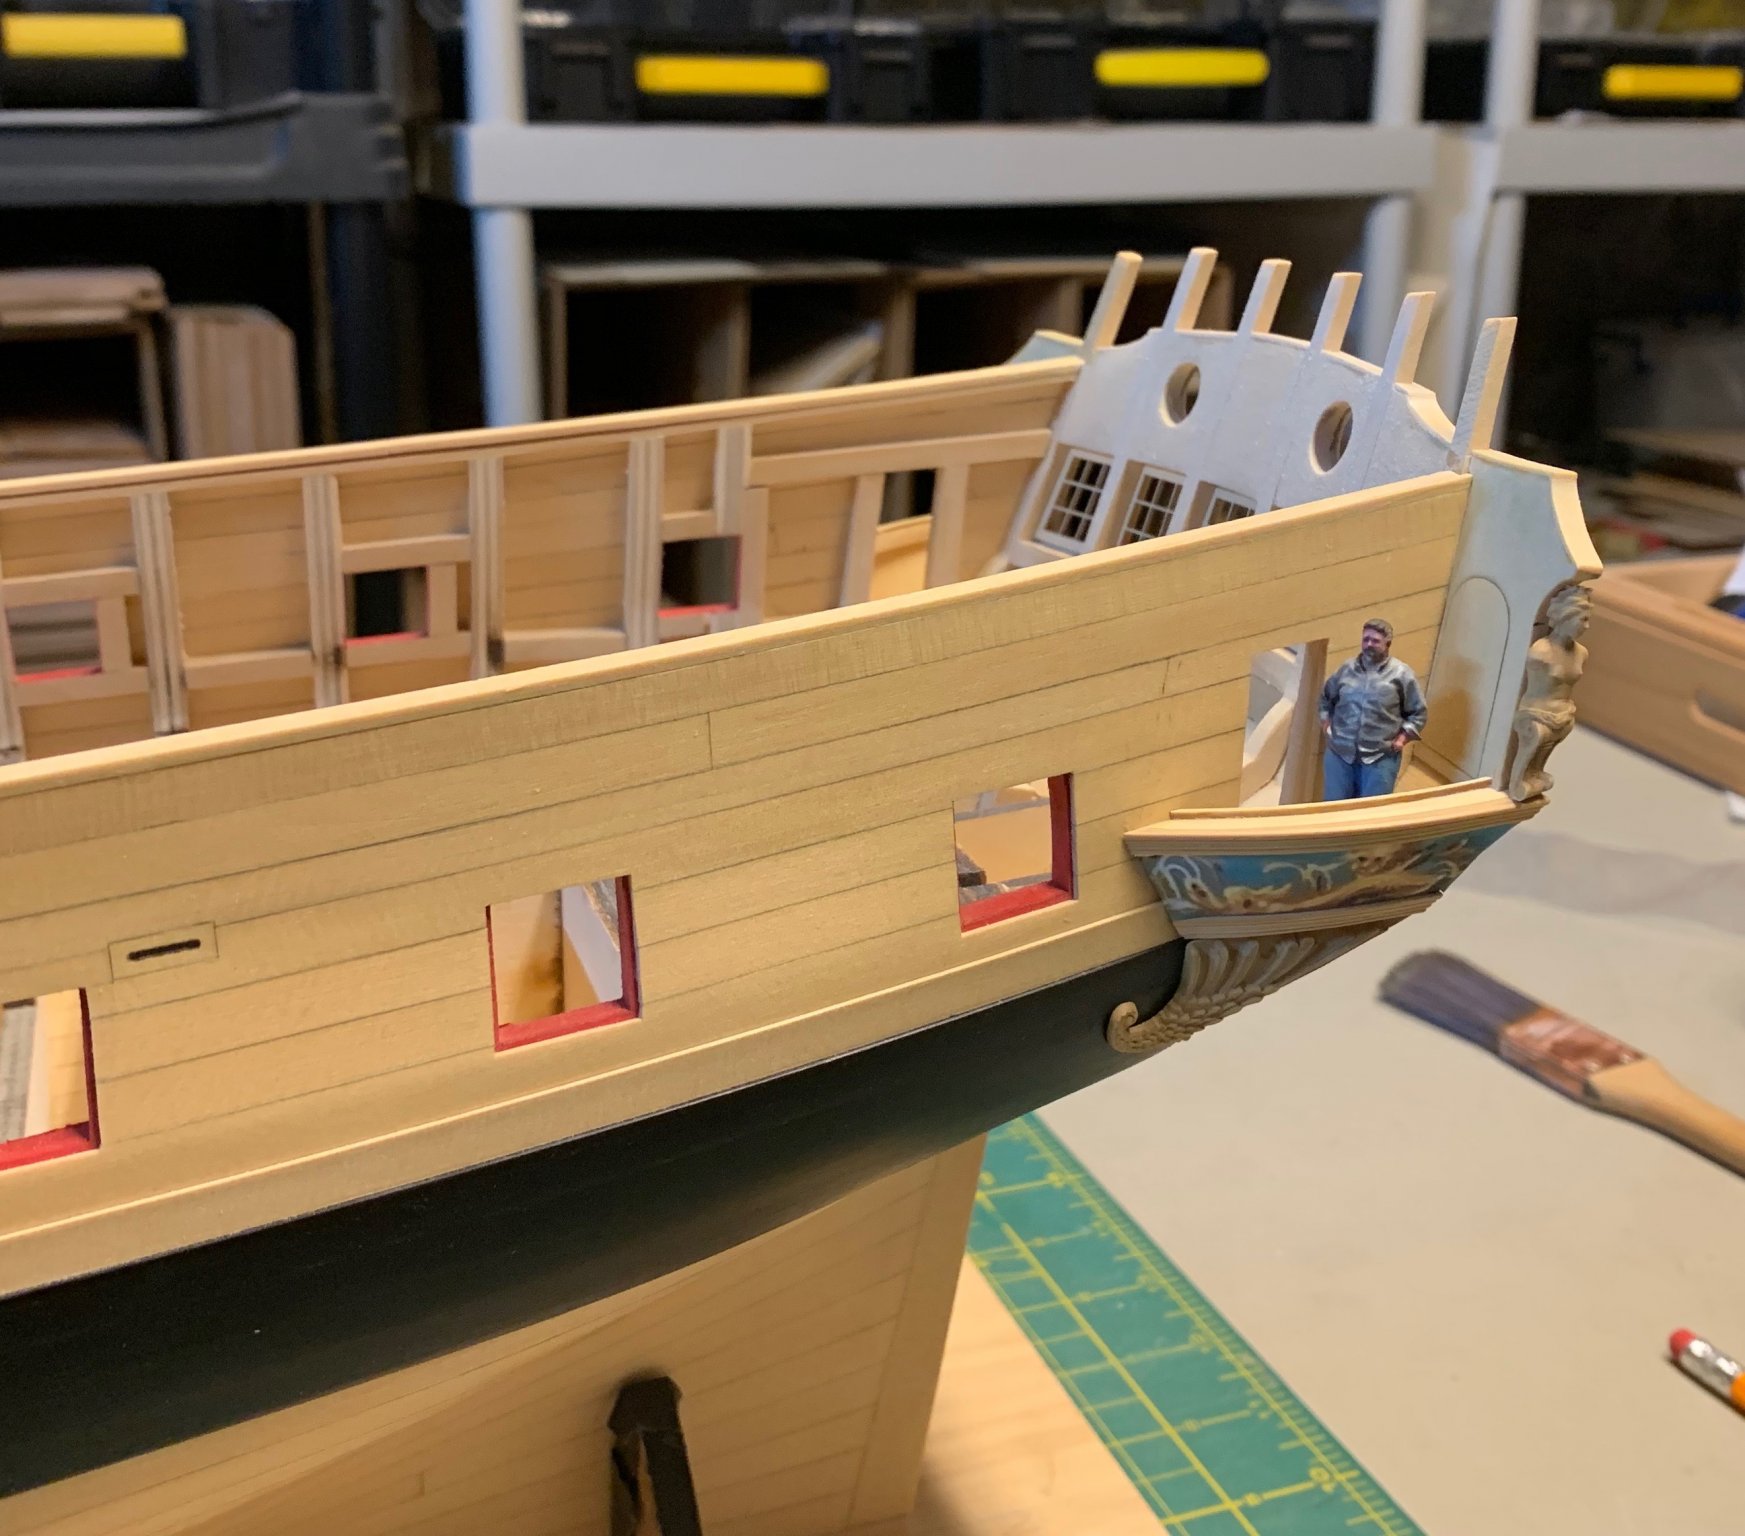
15 hours ago, Chuck said:
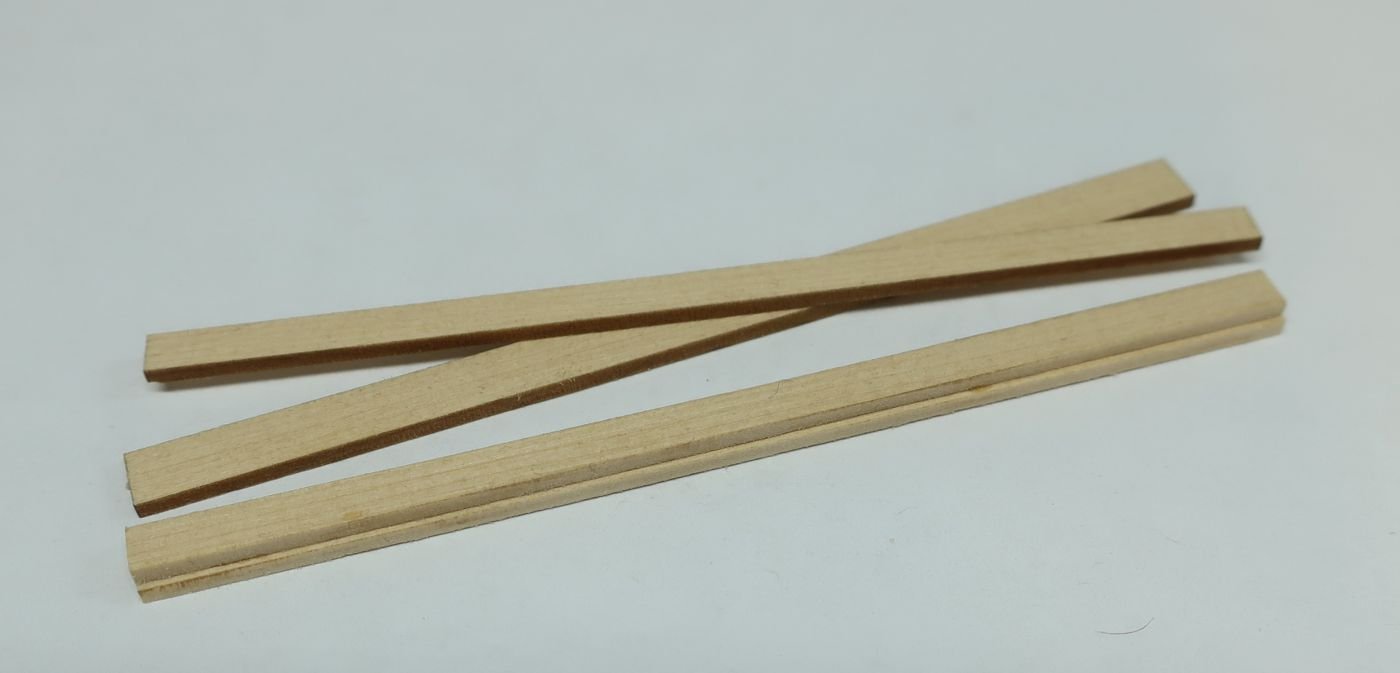
To close up the Qgalleries, I started by adding the top. This is laser cut (1/16" thick) It is important to create the same angle as the bottom. This was marked with the paper template earlier. You can see my tick marks in pencil. Getting this angle correct is crucial just like the bottom of the Qgalleries. Otherwise your windows wont fit well. The aft edge needs to be beveled to sit flush against the transom.
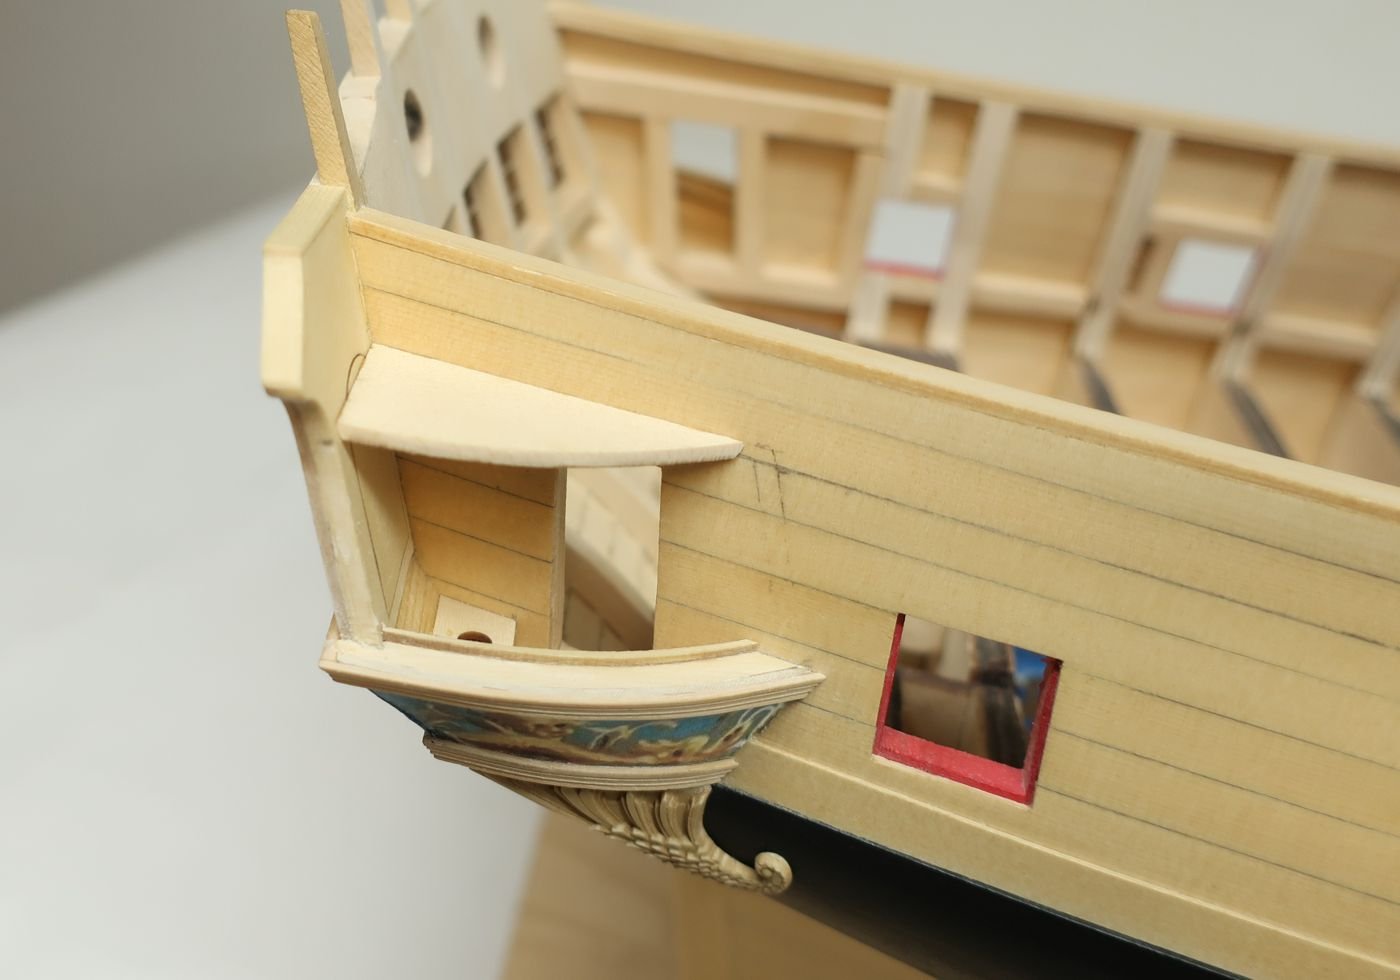
Next we need to put in the uprights between each window. These are two layers of 3/64" thick laser cut strips. One layer is slightly wider than the top layer. This forms a rabbet on both sides when glued together as shown below. You will need four of these on each side. Clean the laser char off each layer before you glue them together.
You should also paint the top face of these blue before you start shaping them. Yes you will need to touch these up later but this helps. I am using cerulean blue acrylic paint. It is a pretty good match to the friezes. You can see these four pieces glued into position below. One note.....the two outside pieces dont have a rabbet on the outside edges. They were sanded away. The rabbet is used to catch the windows when they are inserted later. In fact, how do you know where these should go so they are spaced the proper distance apart. Use the laser cut windows as a guide. I started by gluing the two outside pieces on first. Then I positioned a window temporarily so I knew where the next one went. Do this carefully so all your windows fit. Its good to do a dry fit first. Use rubber cement to temporary hold the uprights in position.
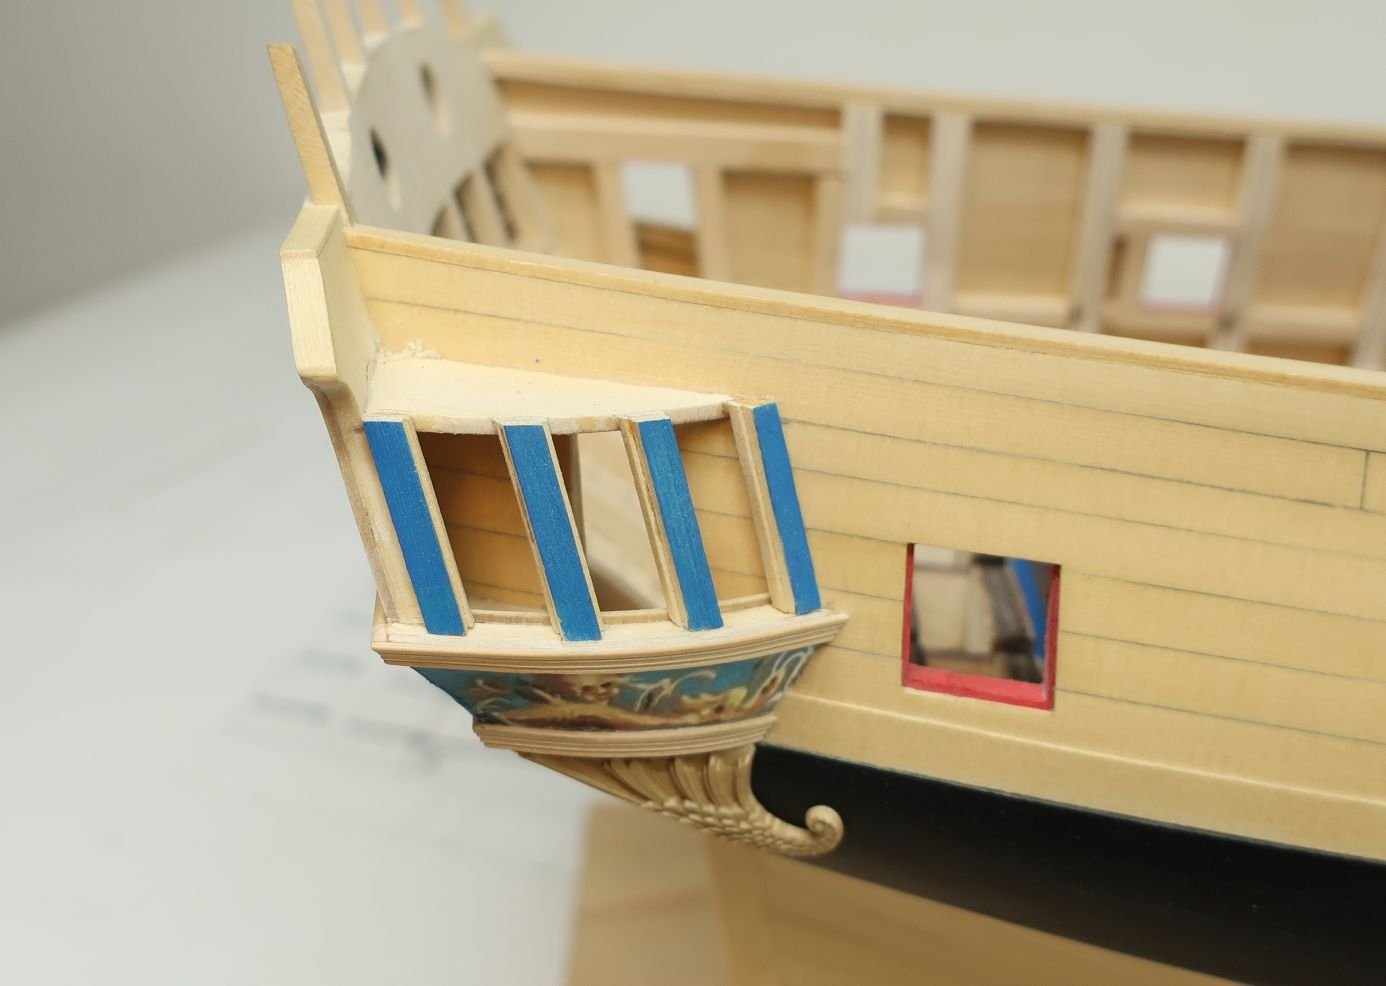
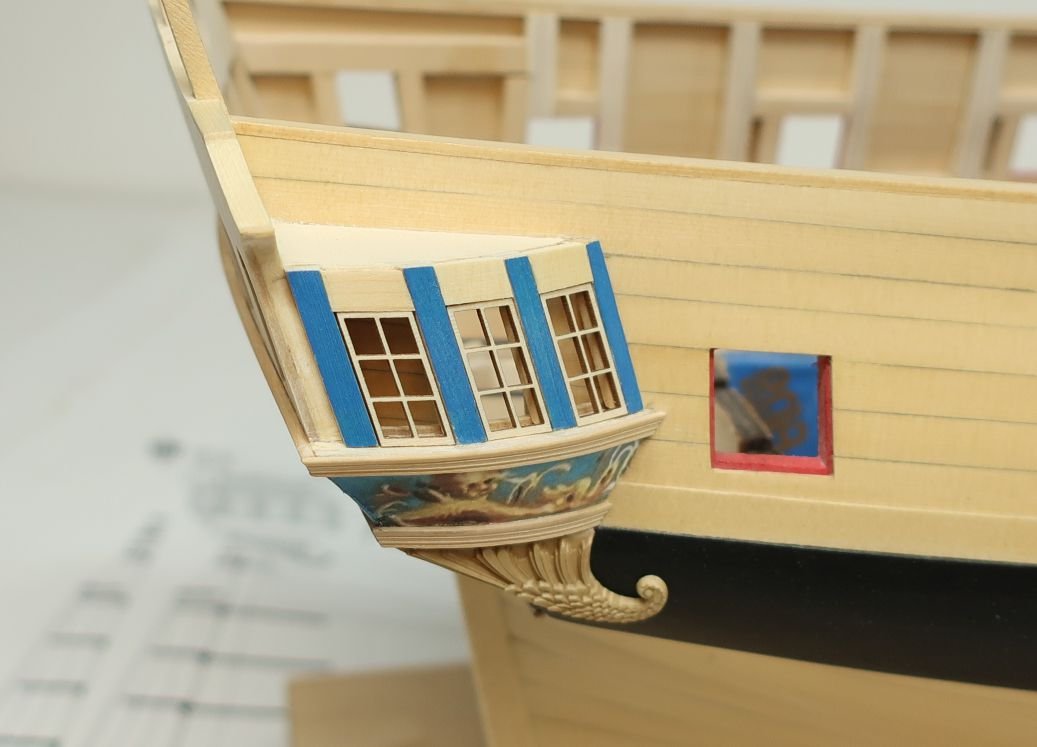
Another important note....the forward upright has a very drastic bevel on its forward edge so it fits snug against the planking. I also left each upright a bit longer and once glued in place, I sanded them flush with the top. It should look like this when you are done...but the windows are NOT glued in at this point. Dont do that yet....
You will also notice that these uprights stand proud of the transom edge....that is OK and by design. It should stand proud by one layer or 3/64" along the transom.
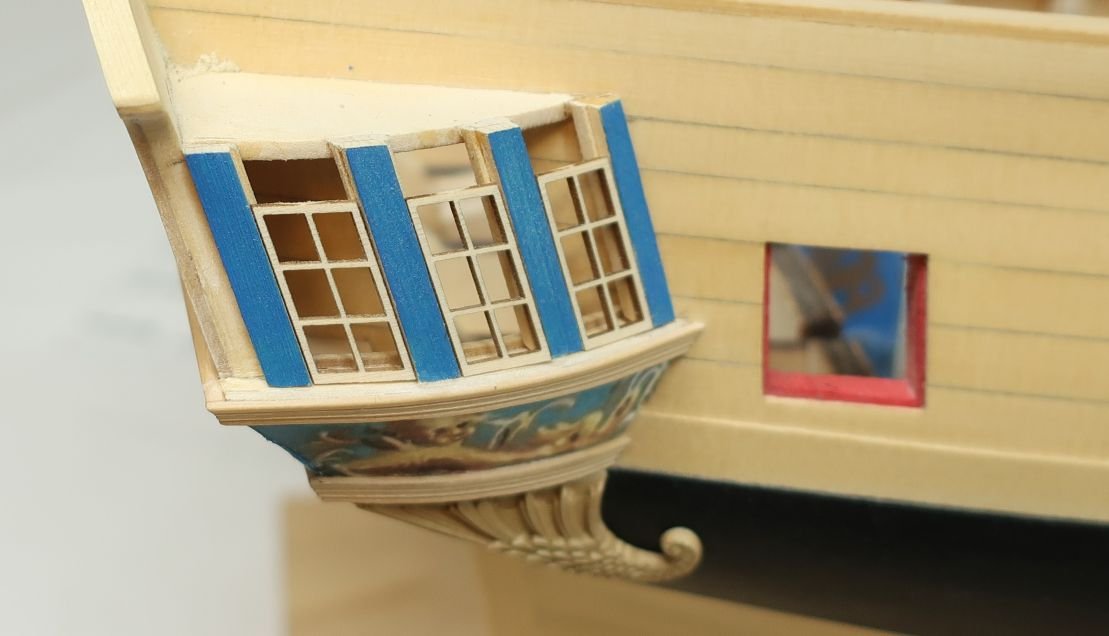
Then we had to insert the top above each window. There are two layer remember? But you seriously only need to put the outside layer on. Its OK to leave a gap because the roof (with its shingles) will cover those gaps. I used 7/32" wide x 3/64" thick strips. This is wider than you will need. But after getting the angles correct and they are glued in position, you can sand the tops down flush like the uprights.
Lastly....we need to add the fancy molding along the top edge of the Qgallery. It is scraped like the others and is also 1/8" wide and 3/64" thick.
You will need to bend this to get it to lay against the surface properly. I also had to file out the aft edge of the molding so the figure would fit. I used a sharp miniature chisel actually after the molding was glued into position. I think you can see what I did so the shoulder of the figure would fit.


To finish it up I will have to add the fancy fluted columns in between the windows next...but I ran out of steam and will do that during the week. 😊
beauteful... hats off☺
svein erik
- JeffT and FrankWouts
-
2
-
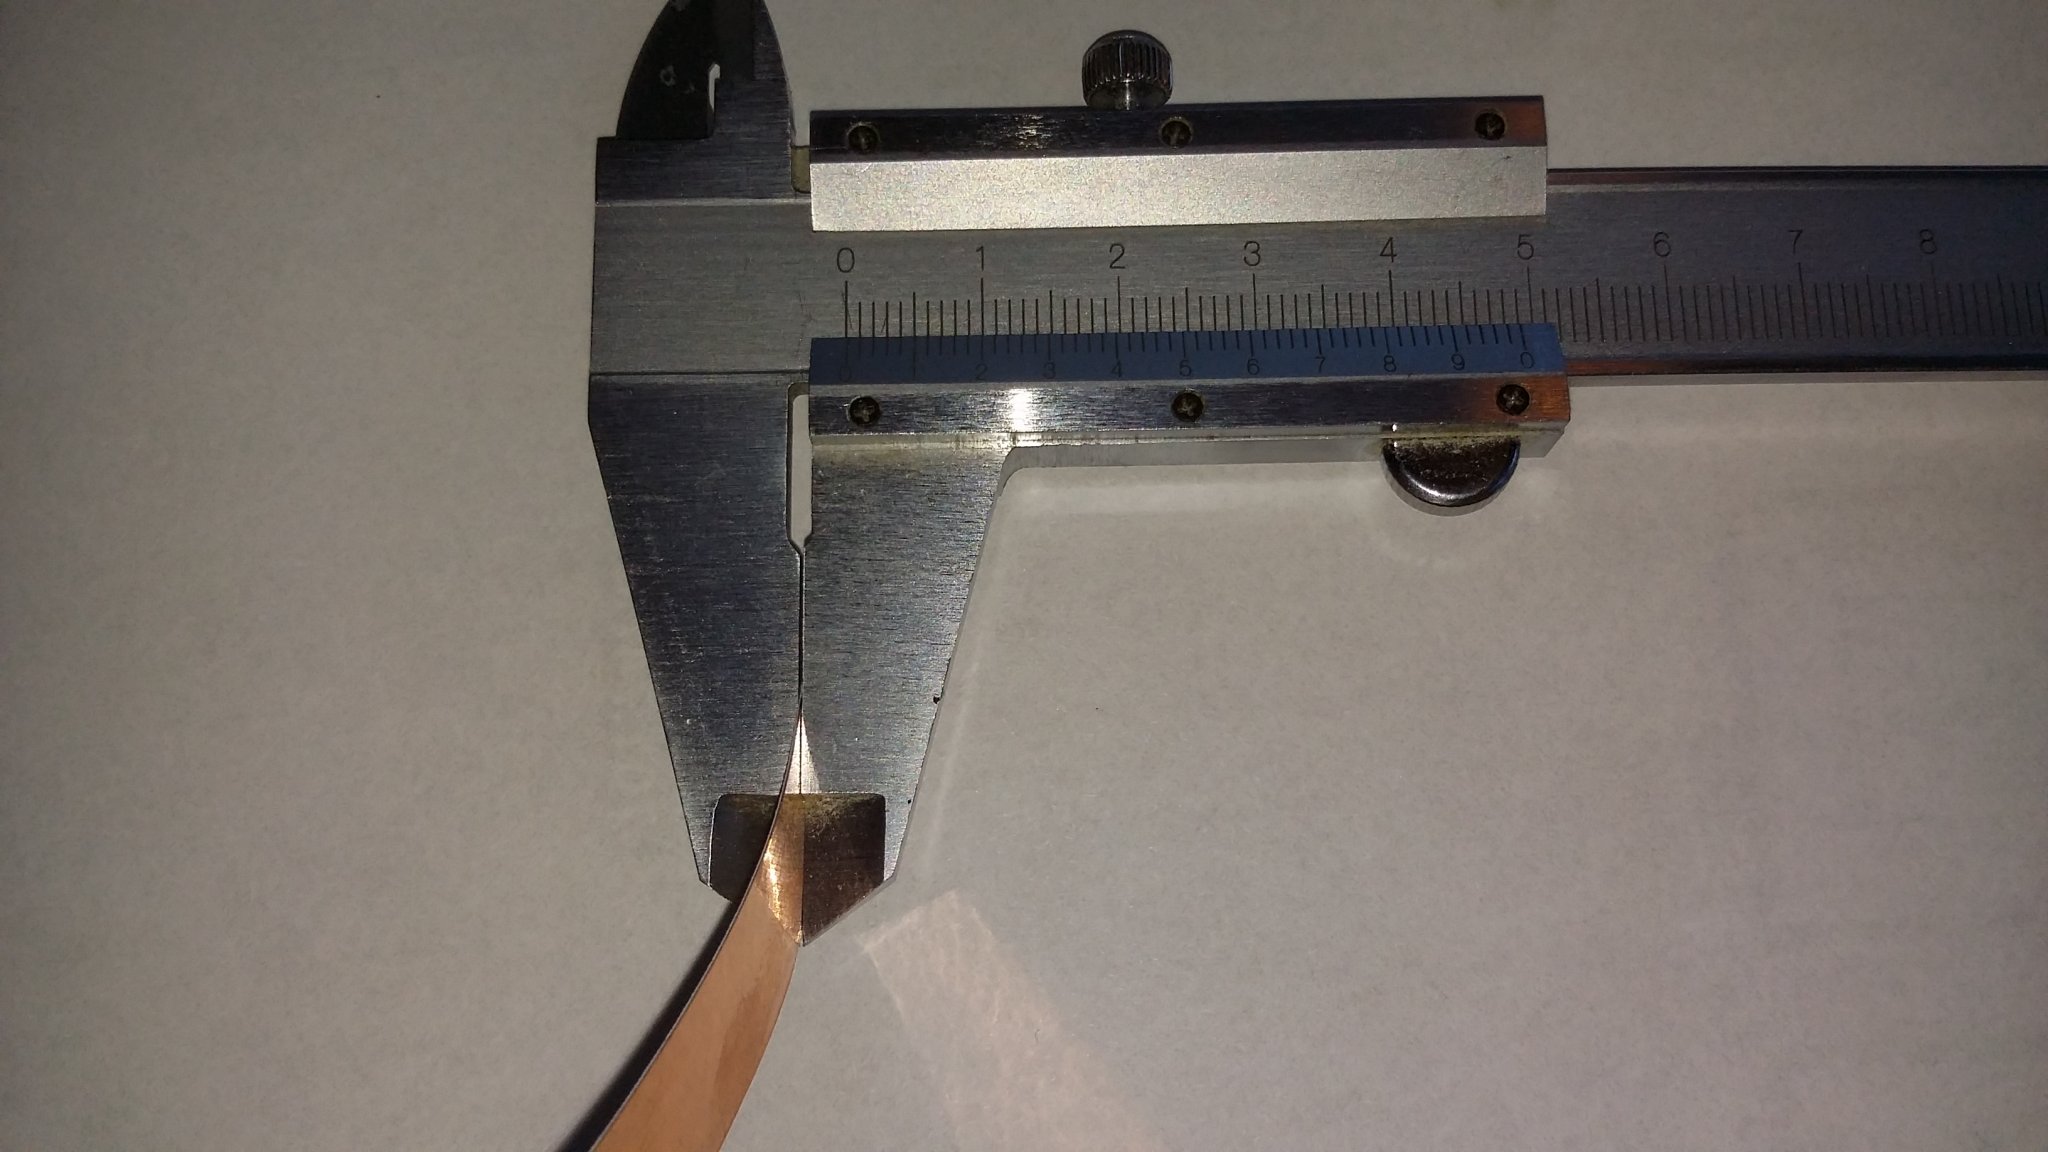
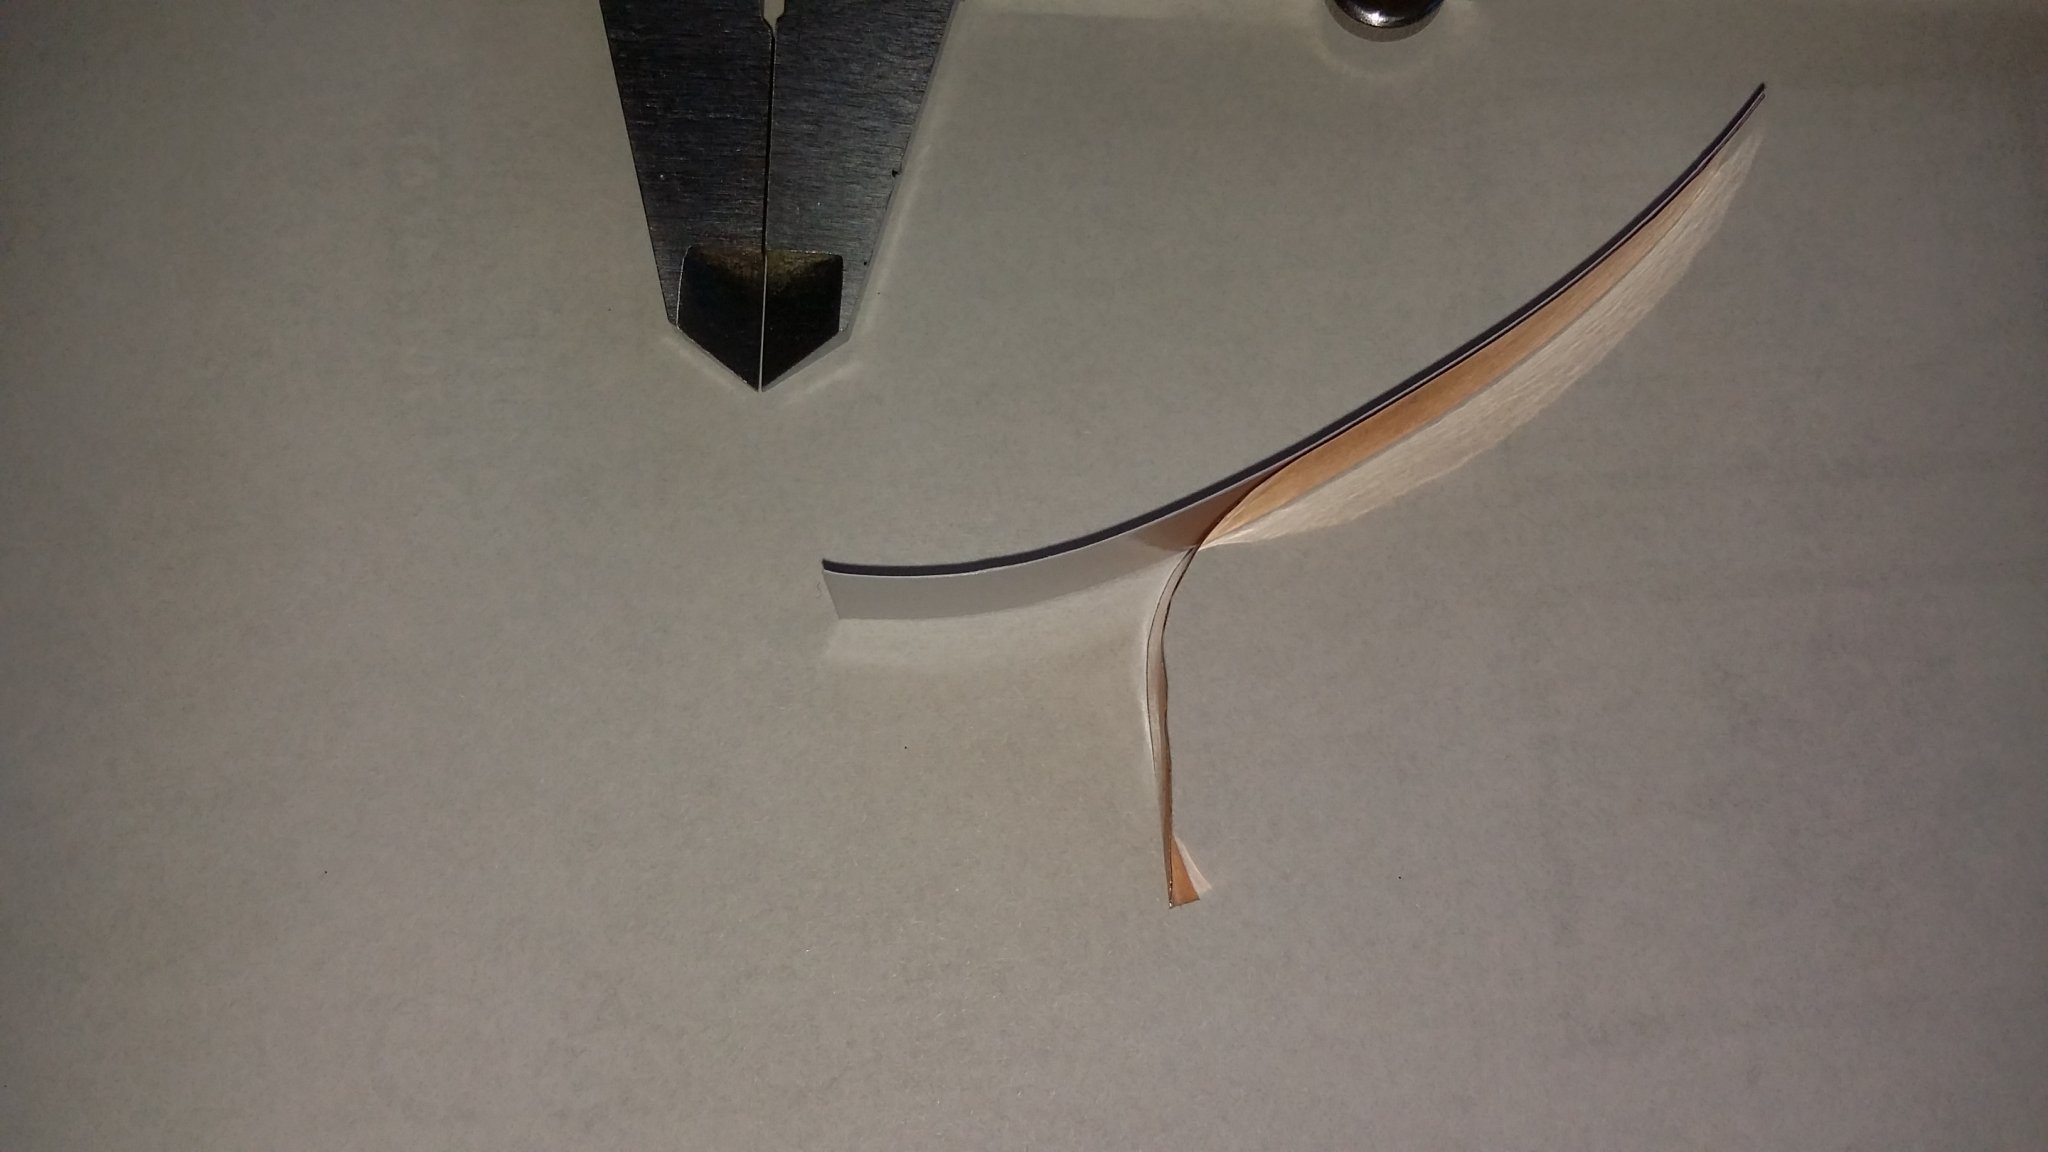
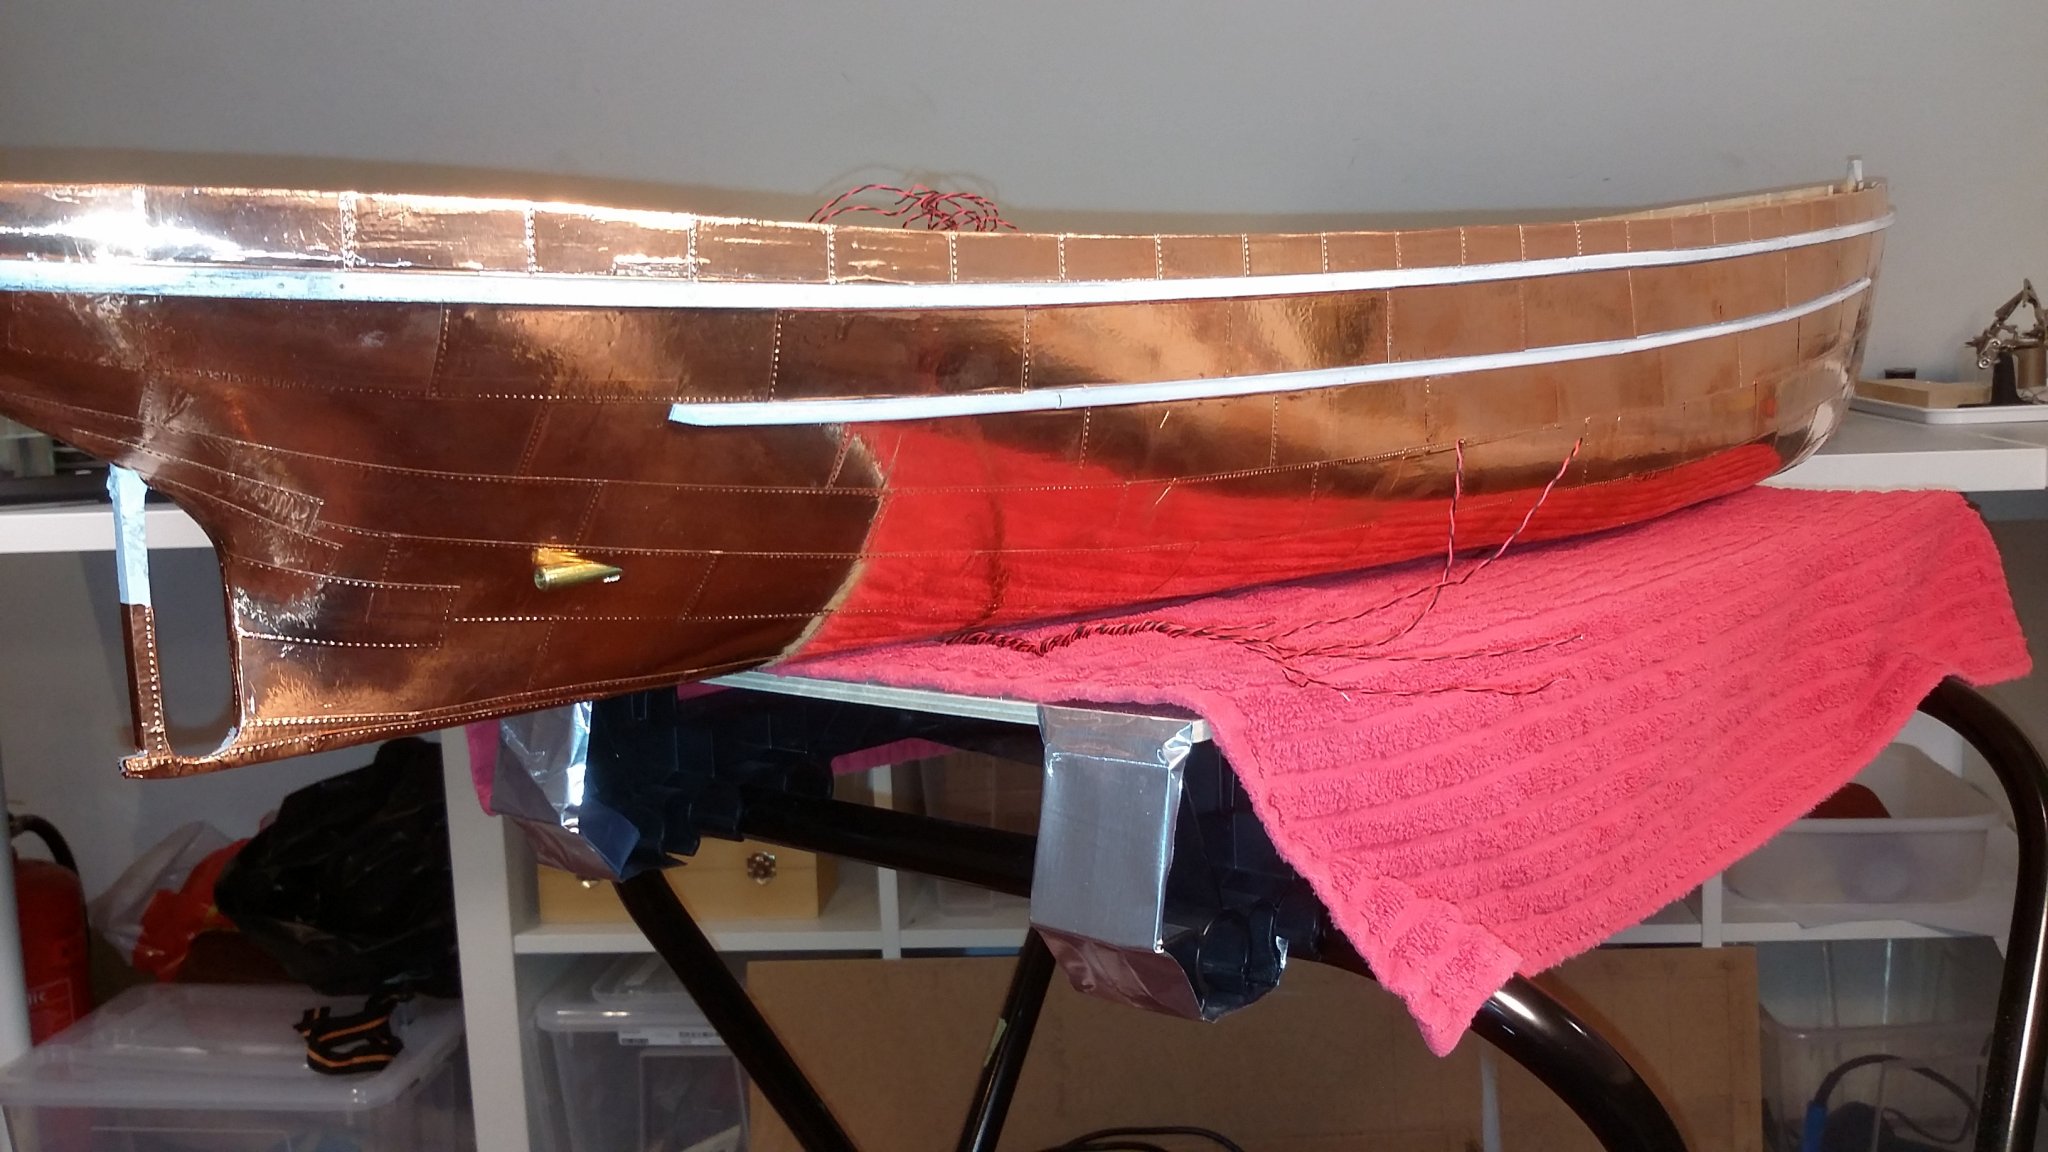
1 hour ago, Mirabell61 said:
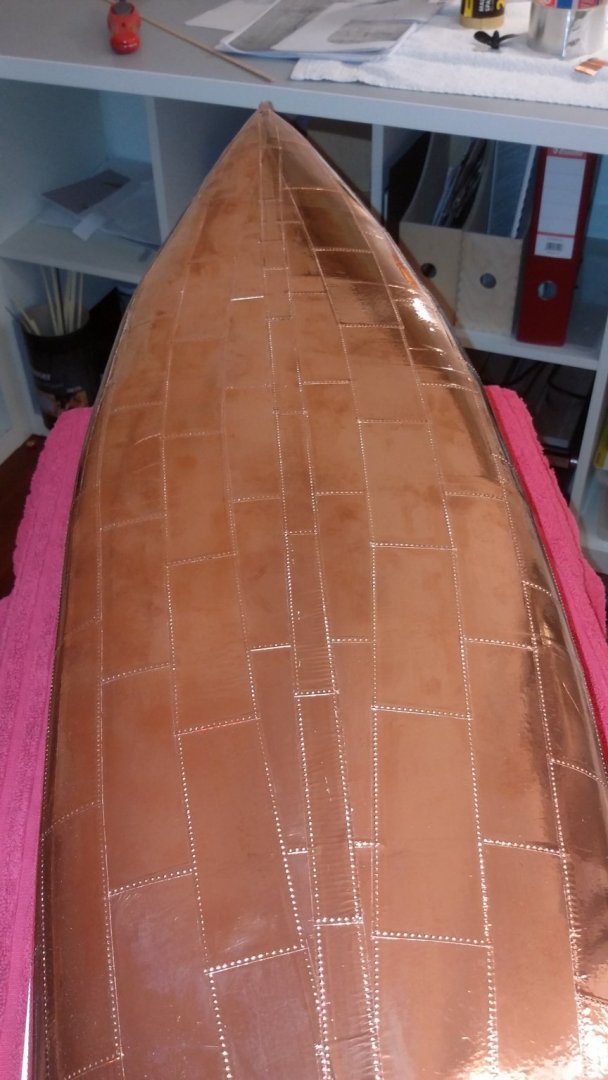
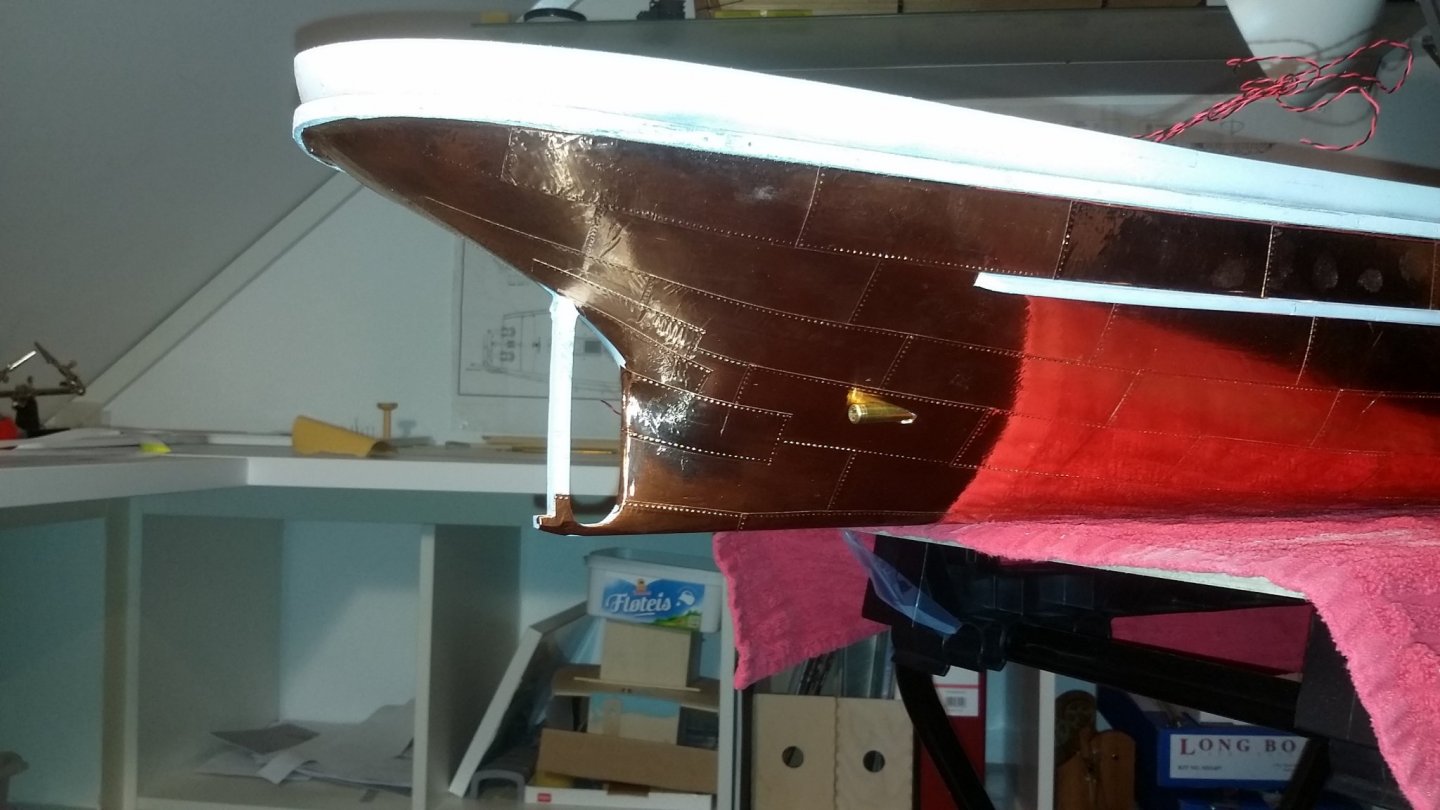
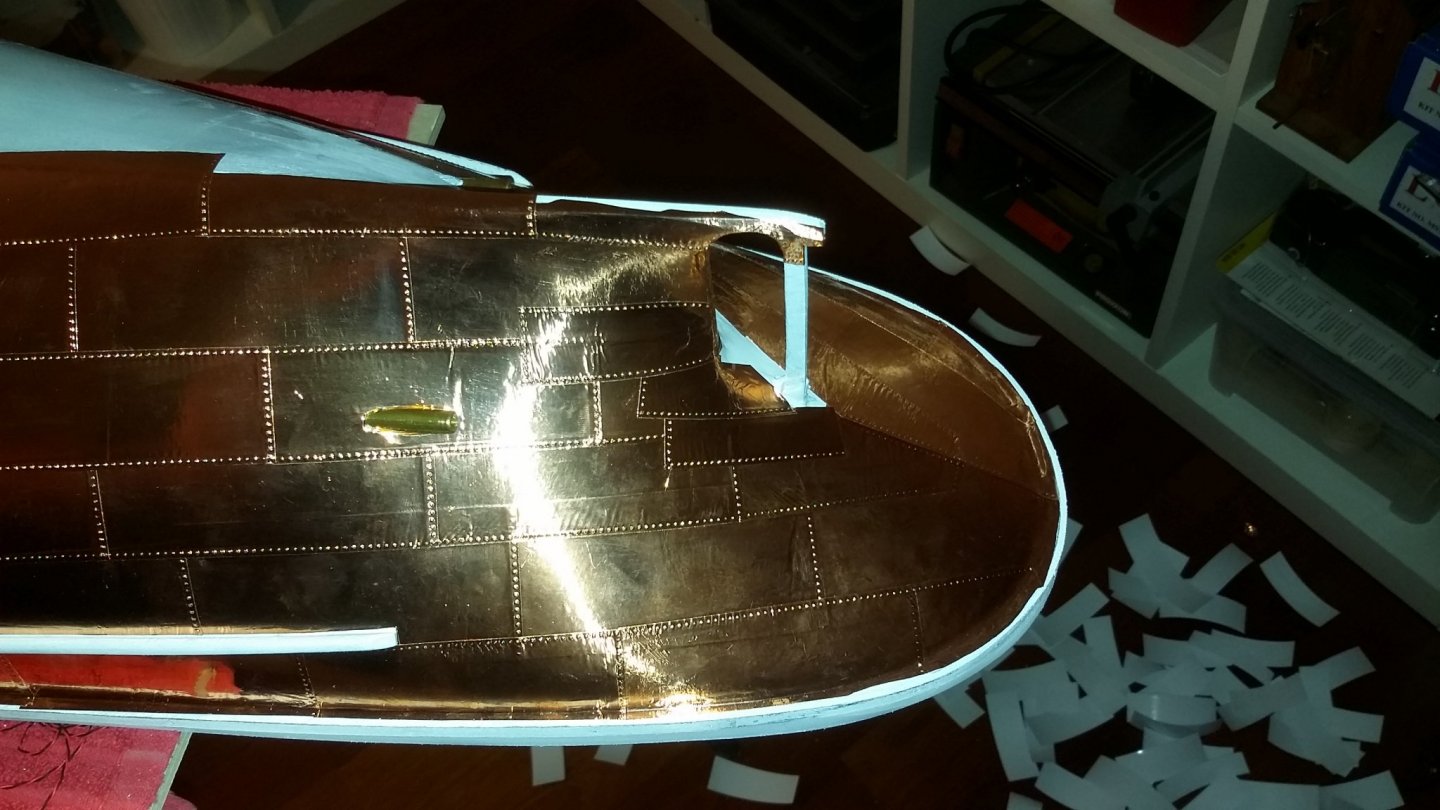
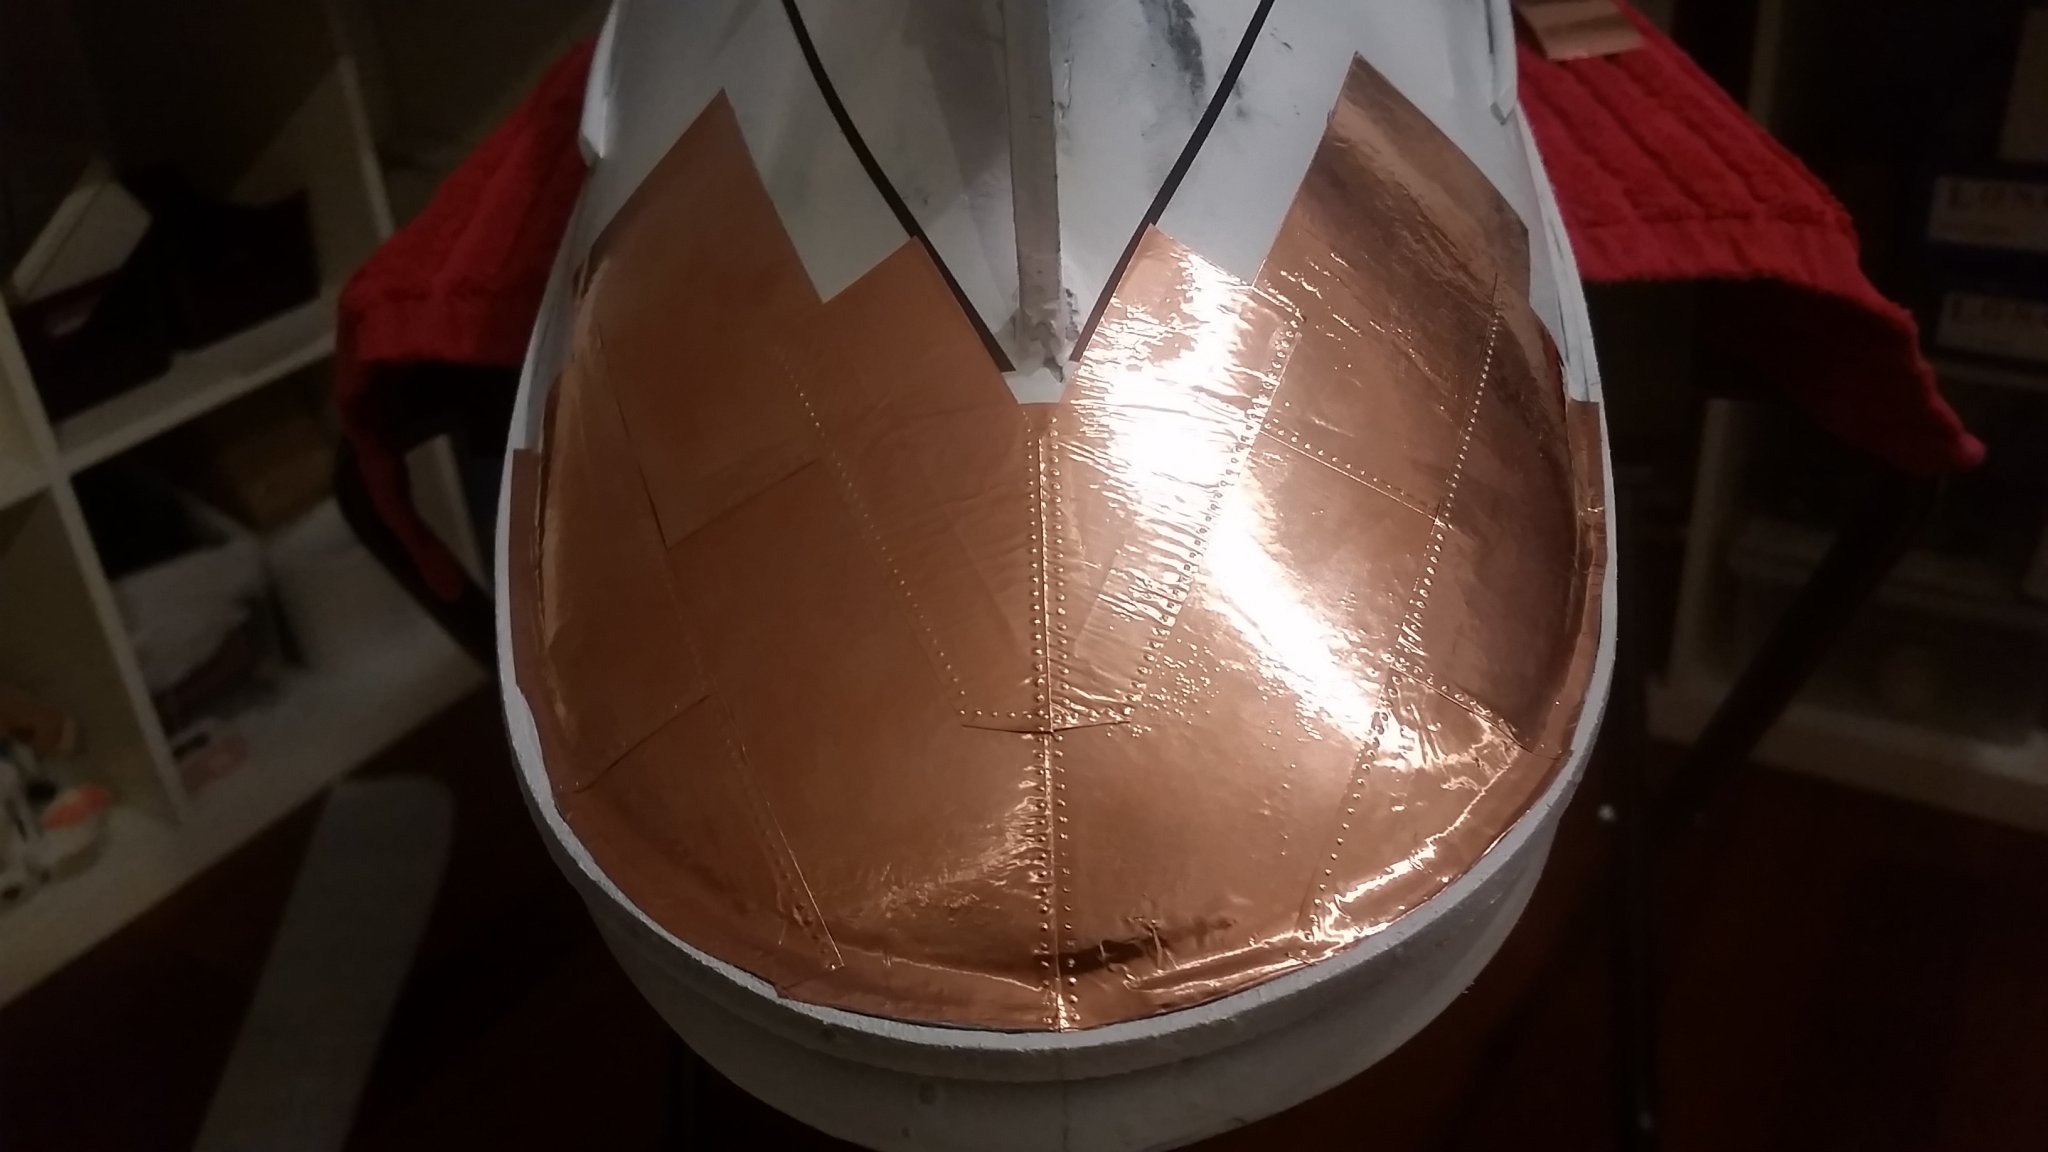
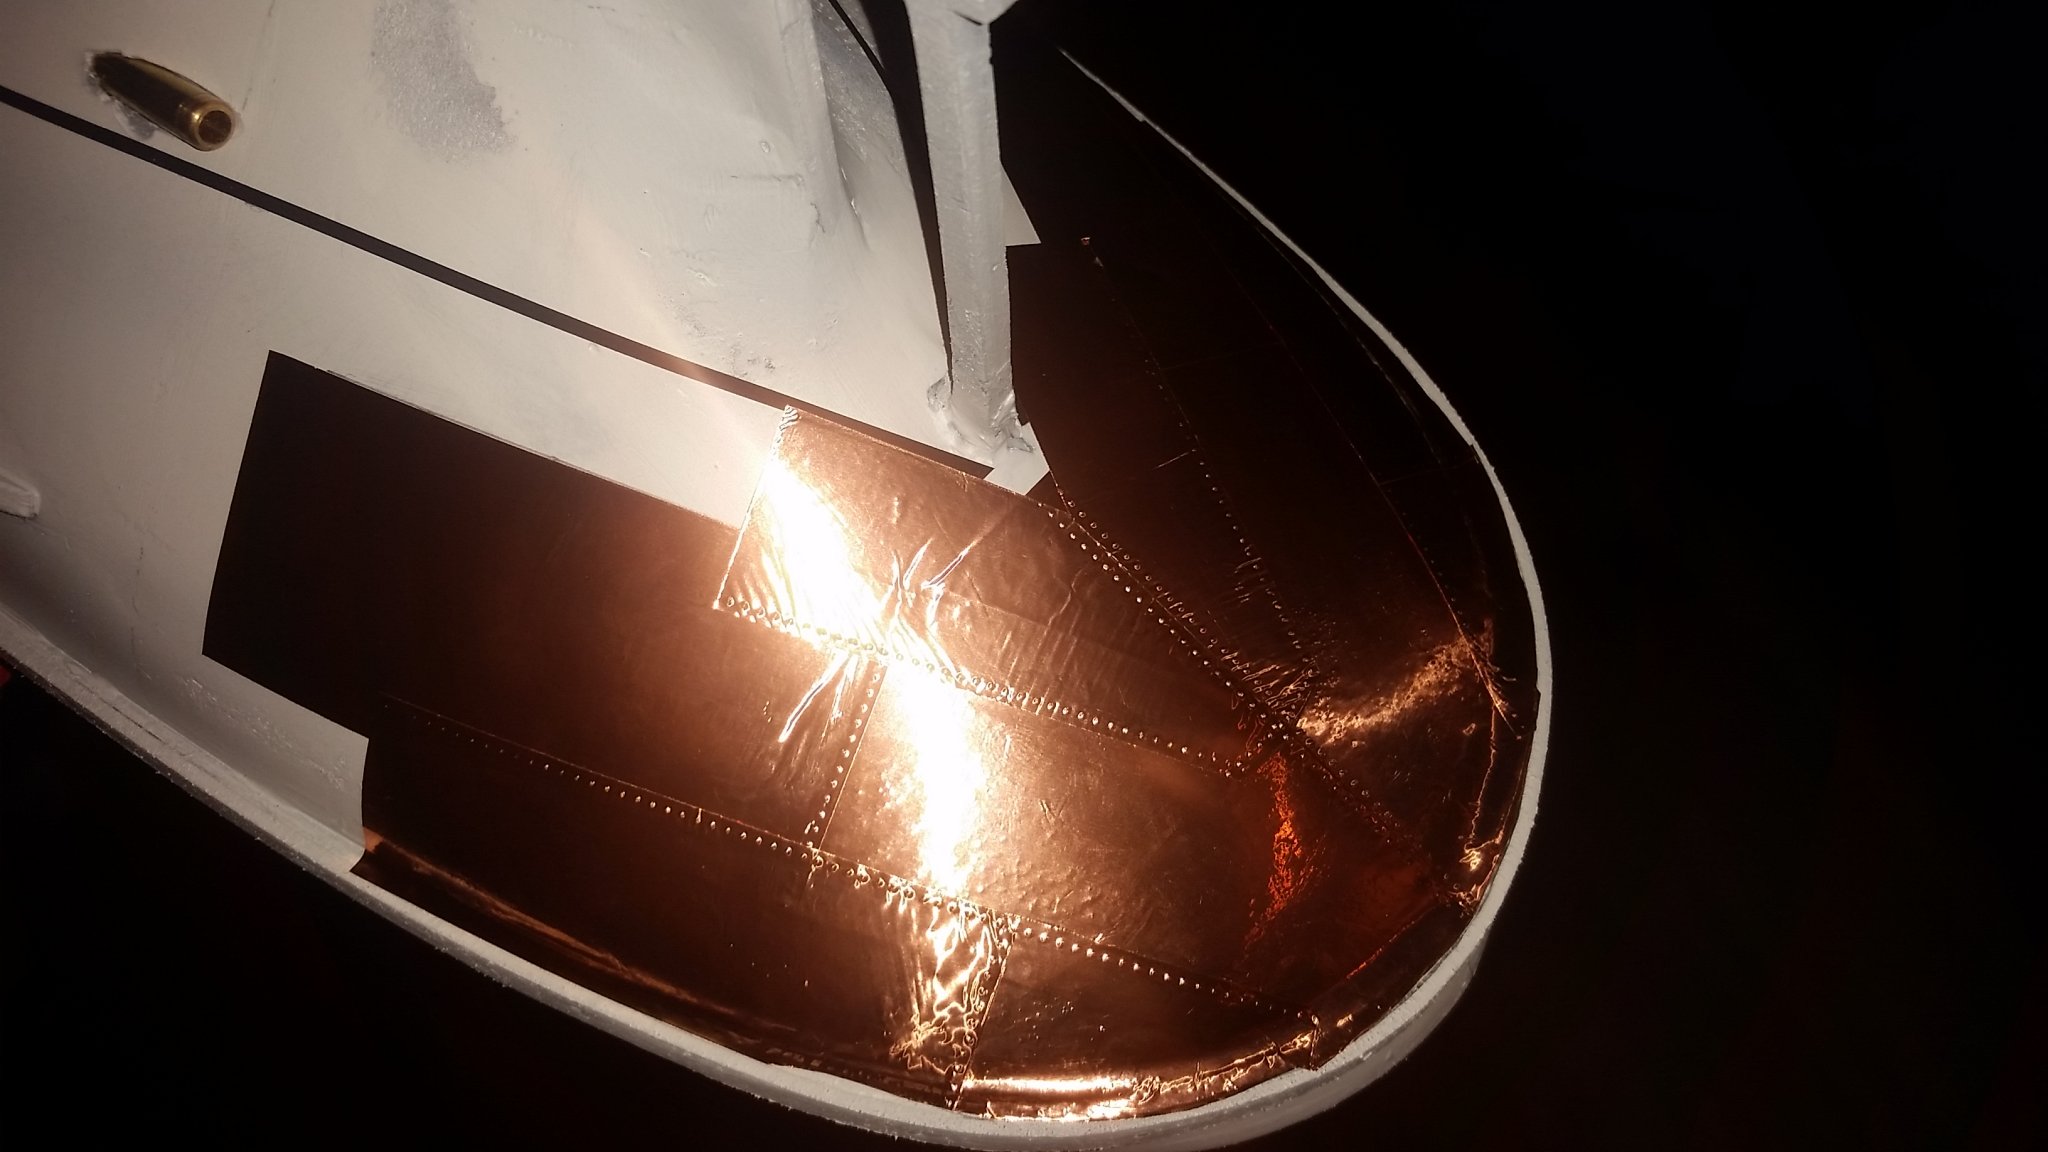
A very good looking plating job Svein Erik

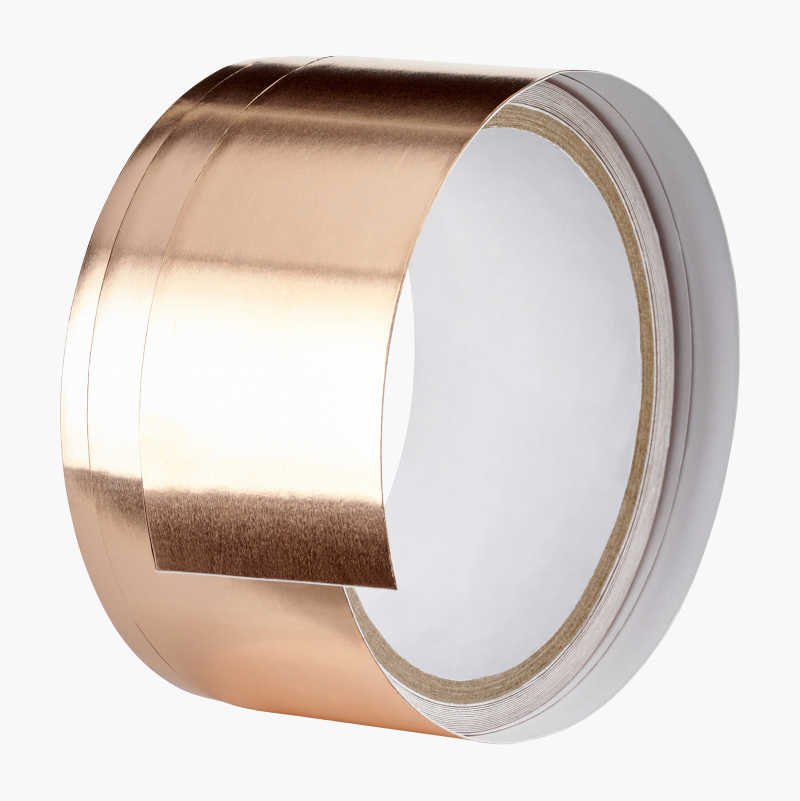
just a quetion, how thick is the carrier copper tape you have chosen ? (without paberback, without glue film)
Nils
hi Nils, thanks for coments,
the copper tape is wery thin, i cant get exackt mesure .
i took some photo hope that helps!
svein erik


- KeithAug, mtaylor, Mirabell61 and 2 others
-
5
-
thanks for the coments, yes its a pity to paint..... but thats the name of the game,
since this ship dont have copper hull ,i have to paint it
and i think its going to be nice with the paint also, thinn layers wil do the trick😊
svein erik
- FriedClams, Mirabell61, Nirvana and 1 other
-
4
-
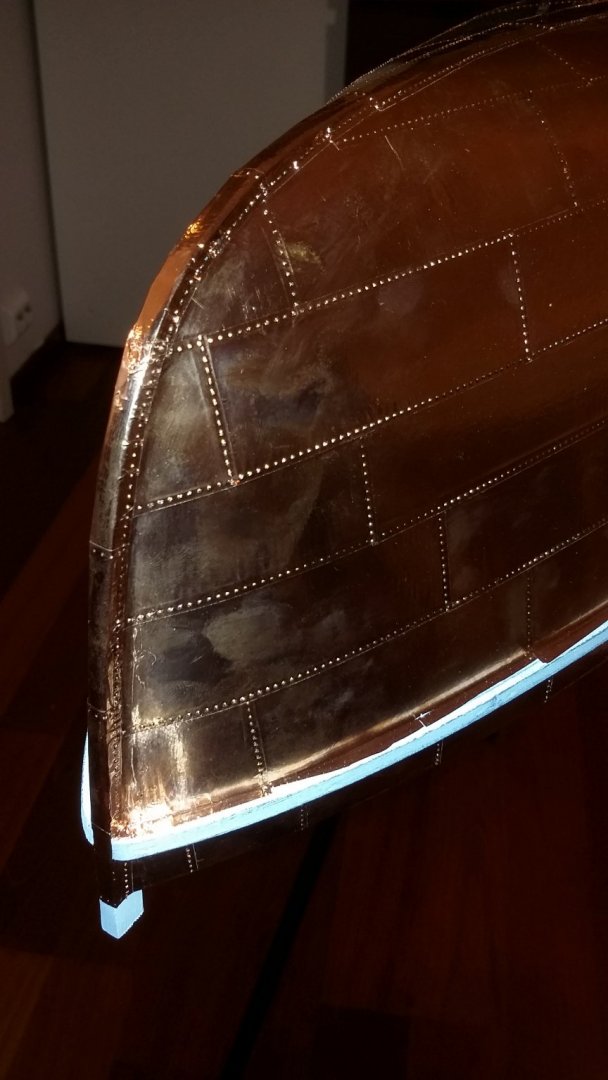
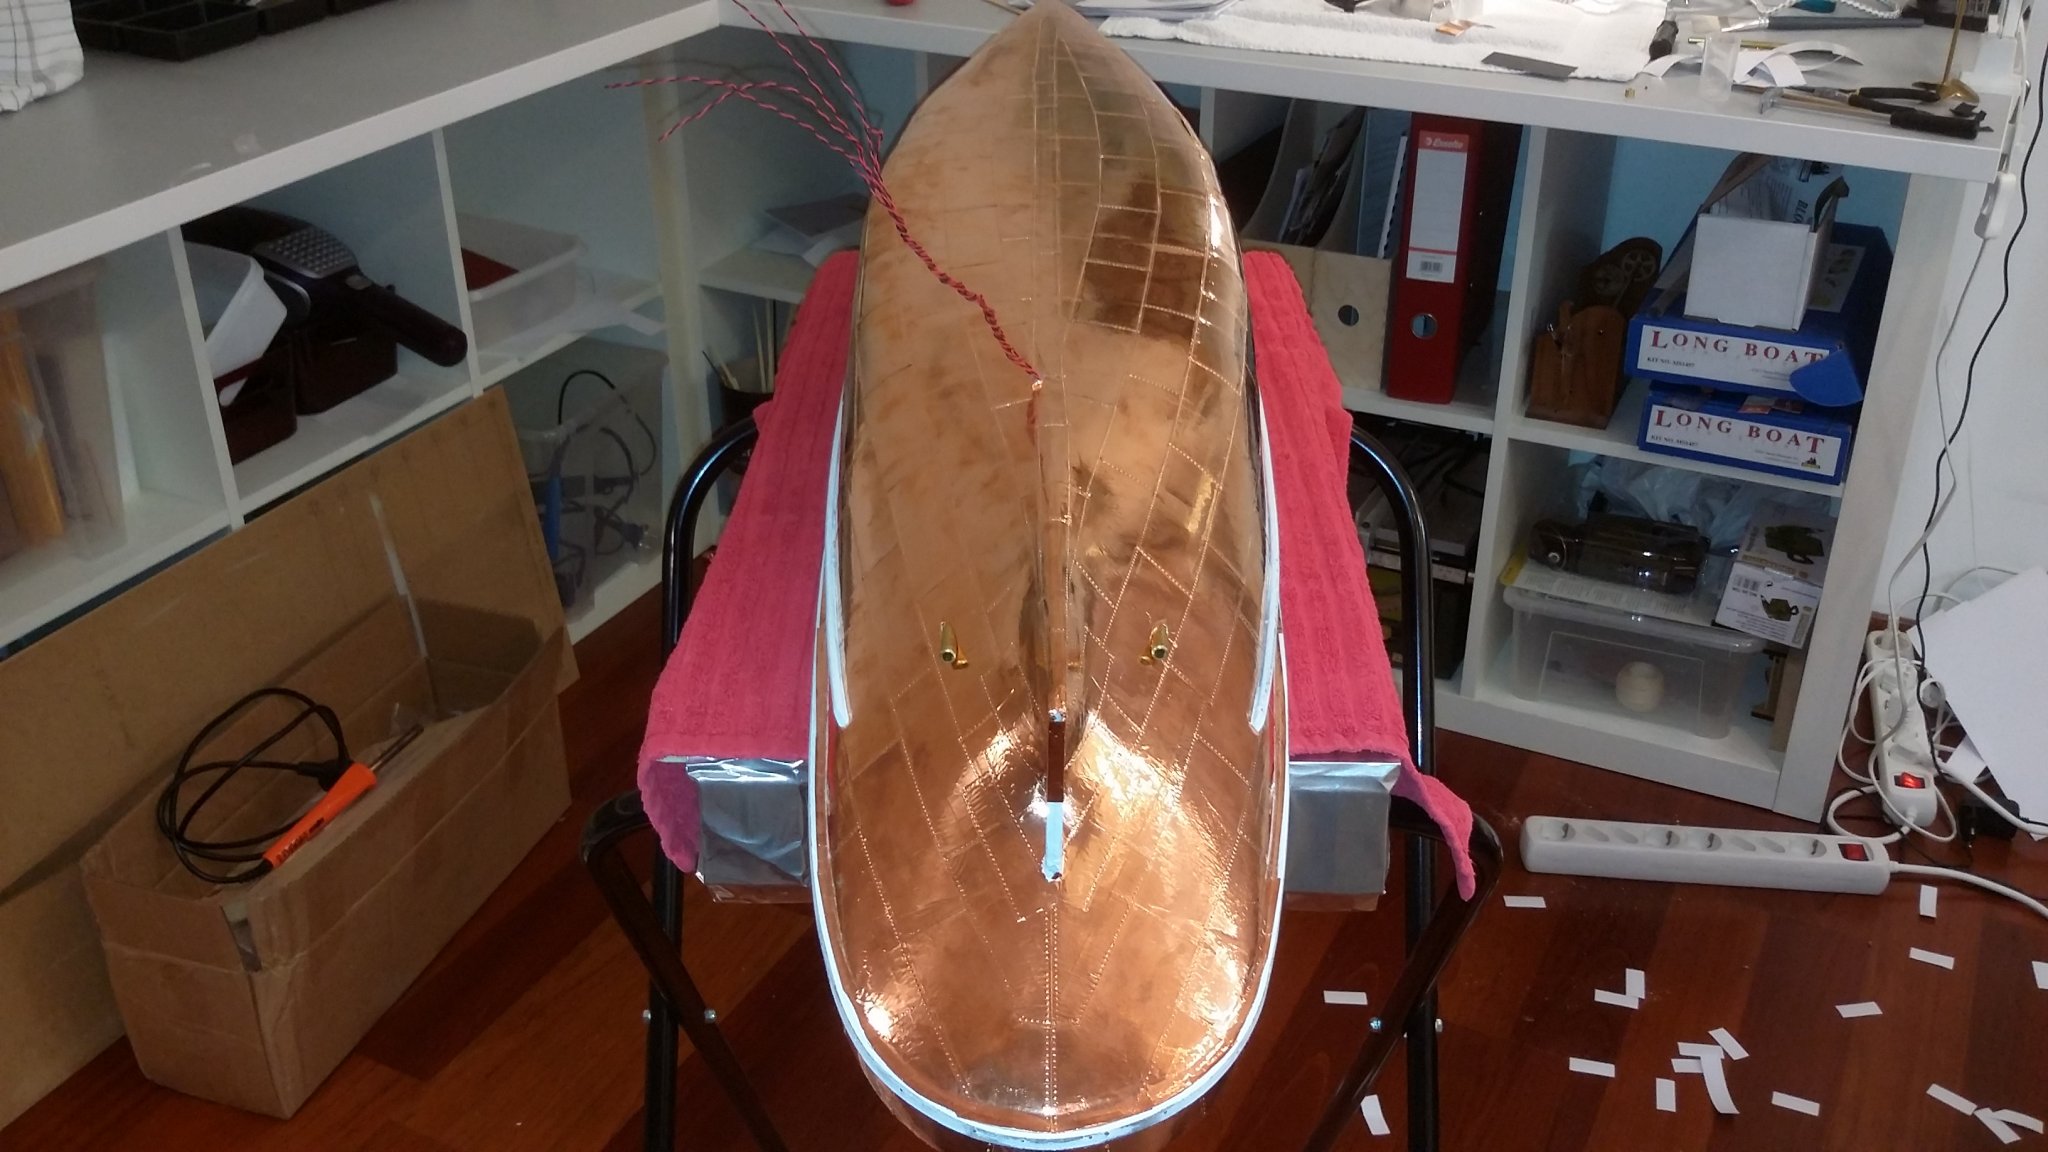
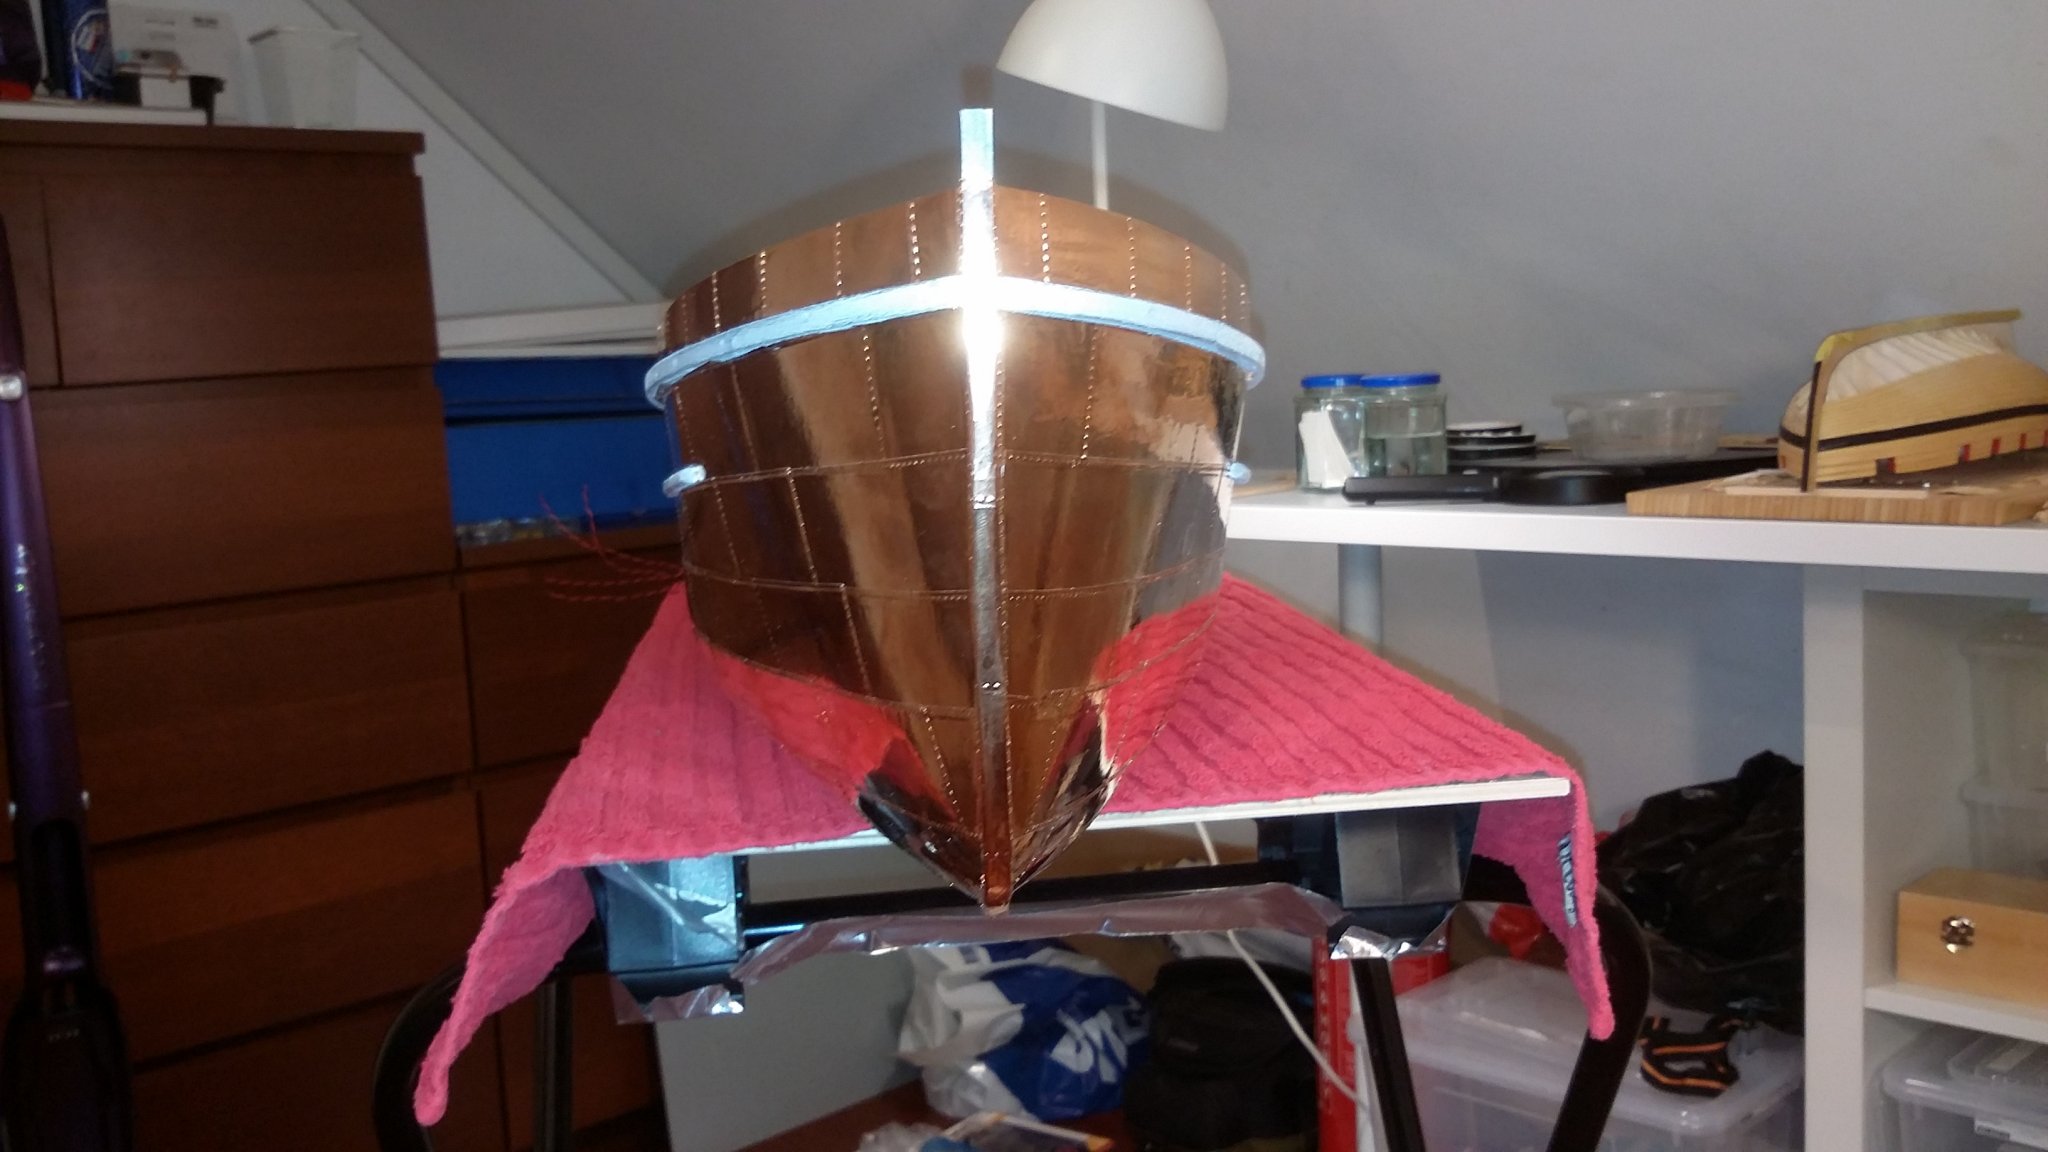
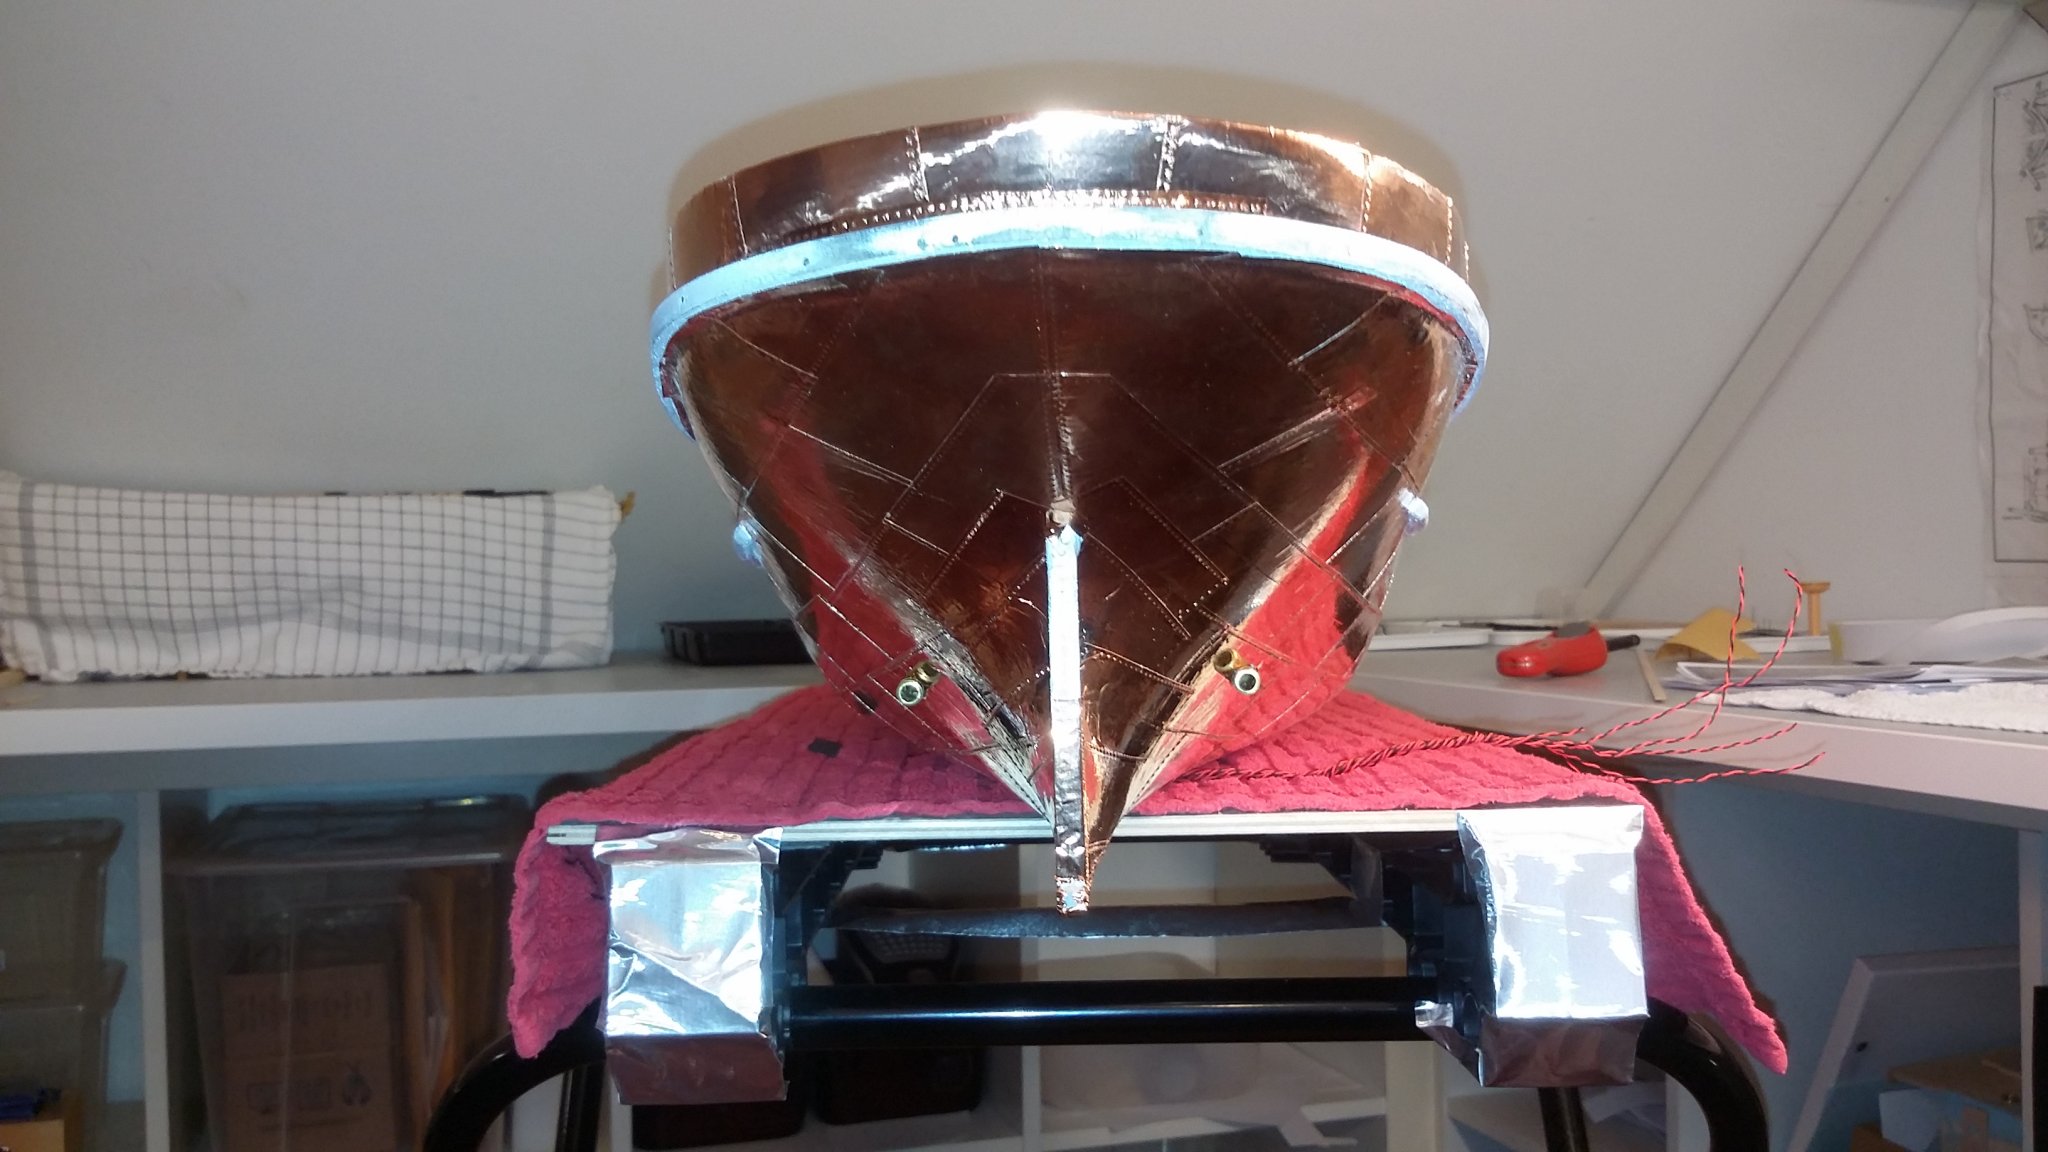
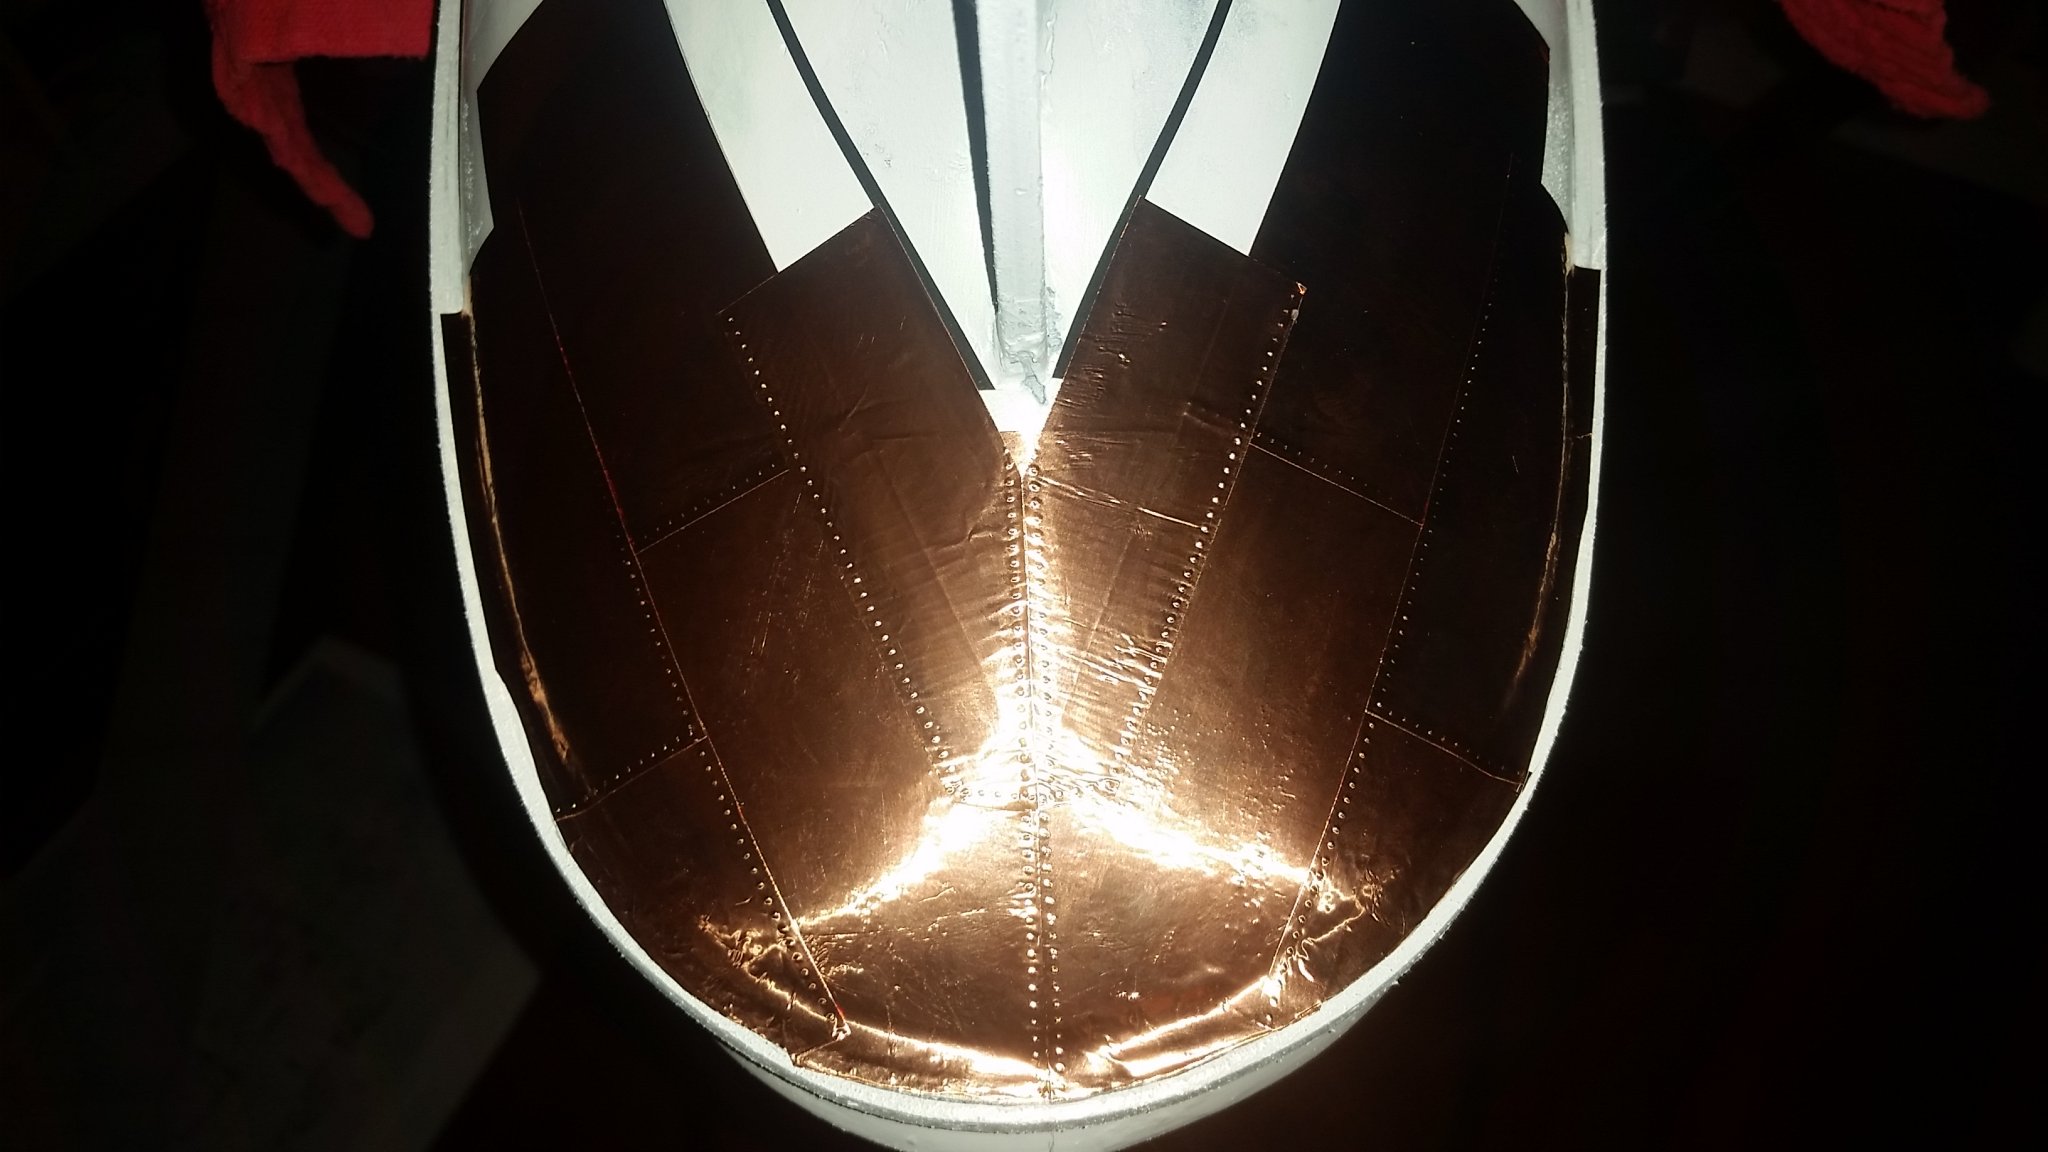
thanks for likes and coments!
the hull is nerly dunn , soon i can clean opp the copper plates and prime the hull
befor priming i use zappon coat to stopp the prosses of patina 😊
svein erik


- FriedClams, Dubz, steamschooner and 13 others
-
16
-
2 hours ago, Chuck said:
Happy thanksgiving guys!!!!
I woke up this morning and hit the head. Took a selfie with my phone. Then I started working on the model, Here I am inspecting the quarter galleries. The 1/4" scale figure was painted by a friend of mine in my local club. He made it look like me.

wonderful work and model..
and it looks like you on the galleri..LOL...😉
- FrankWouts and Zarkon
-
2
-
congrats on exellent build😊
svein.erik
-
hi, am now back....
i yust finish milling some planks for the nex 8 plank ( first belt) portside.
and also all the tick marks is dunn on the bulkheads, so am ready to get some planks on the hull!
svein-erik


- mtaylor, KARAVOKIRIS, mtbediz and 7 others
-
10
-
thats looking grait.... am also inn for the winni
i dont know when , so chuck have some parts stasj away 😉
svein-erik
-
-
26 minutes ago, ASAT said:
I was just jokin, Chuck.... I know mine get dirty cause I use cyano for planking and a graphite pencil for caulking.... when they both get on your fingers it’s a mess.... but I do the same as you Chuck..... 320 and WOP when I am done for the sitting.....
hi, i have discover that using graphite pensel for caulking on basswood its going to be dirty, but when i used on the yellow sedar
it dossent stick on the wood as basswood! The wood makes a different!
svein erik
-
16 hours ago, Roger Pellett said:
Stein,
Nice work!
What are you using to attach the copper to the hull ?
Roger
hi Roger
wel... i was back and farword of wat to use so i desided to use tape..
its a tape used for snails 😊
- FriedClams, Nirvana, Mirabell61 and 1 other
-
4
-
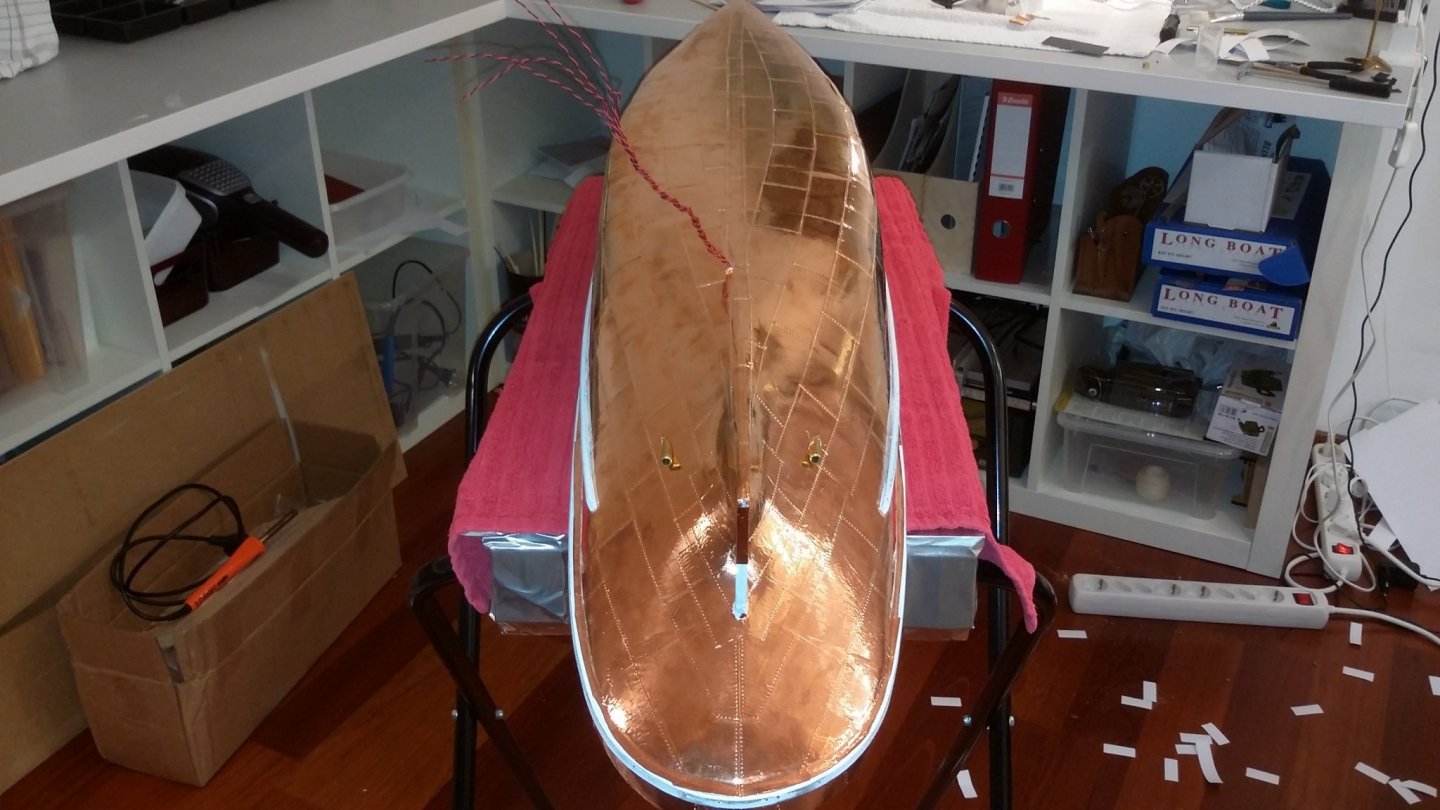
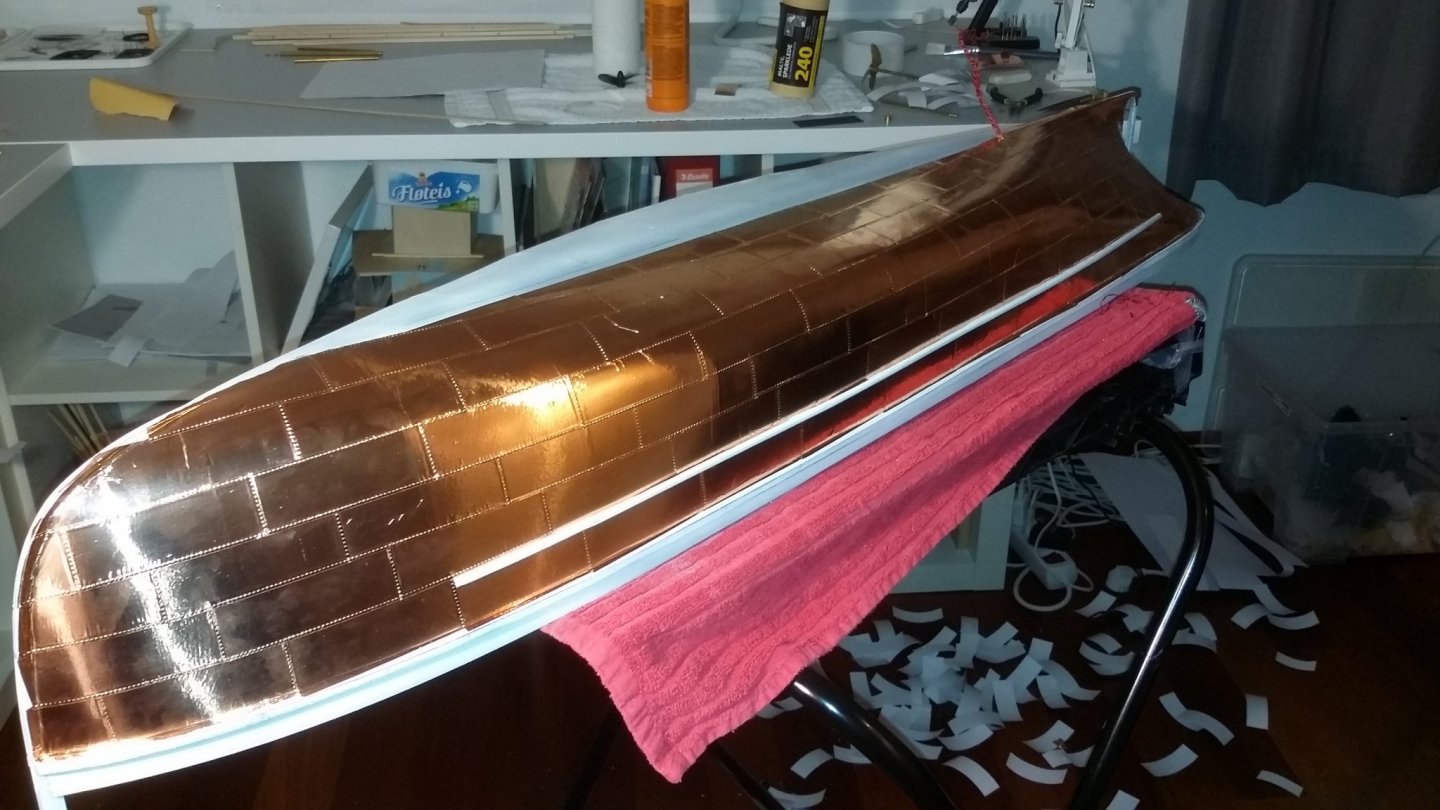
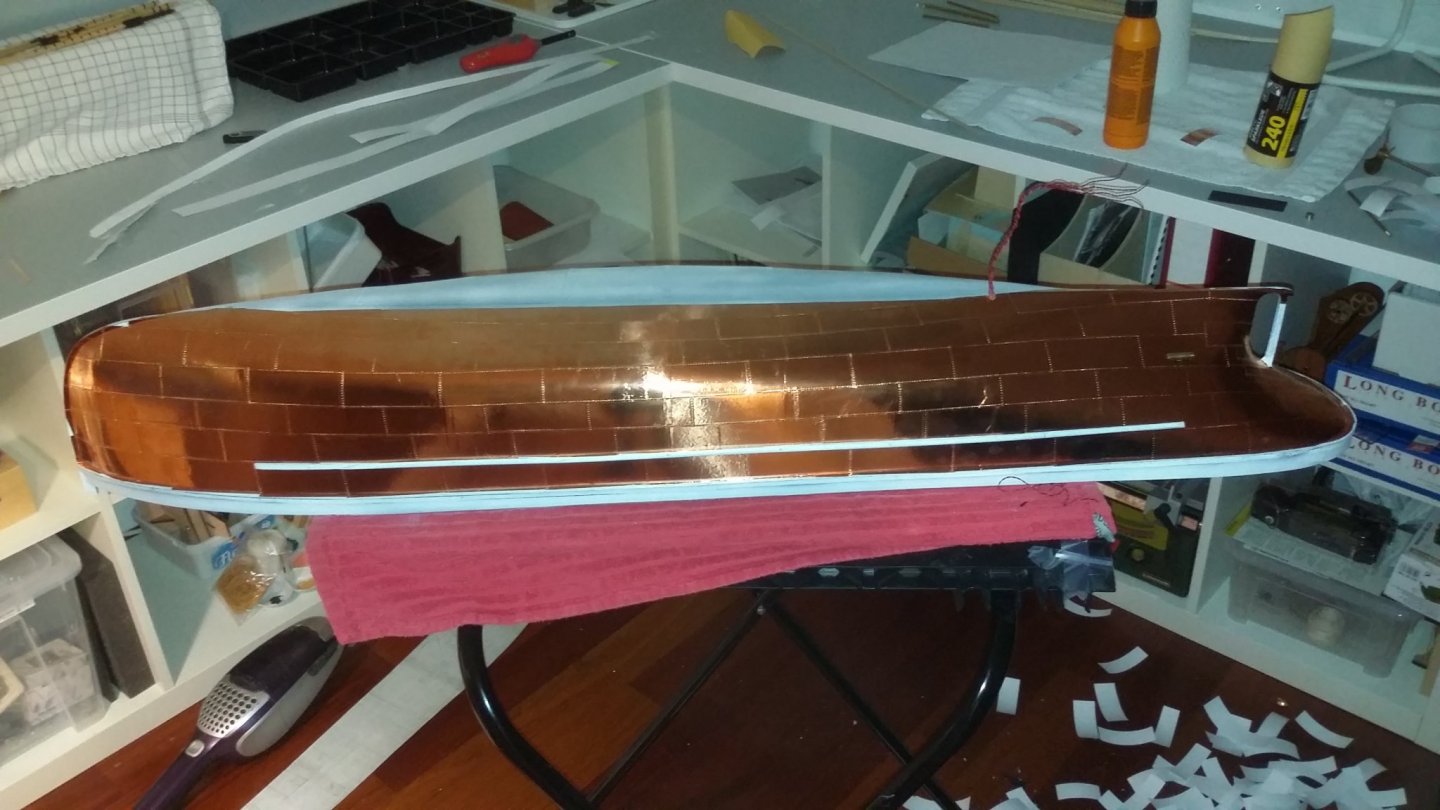
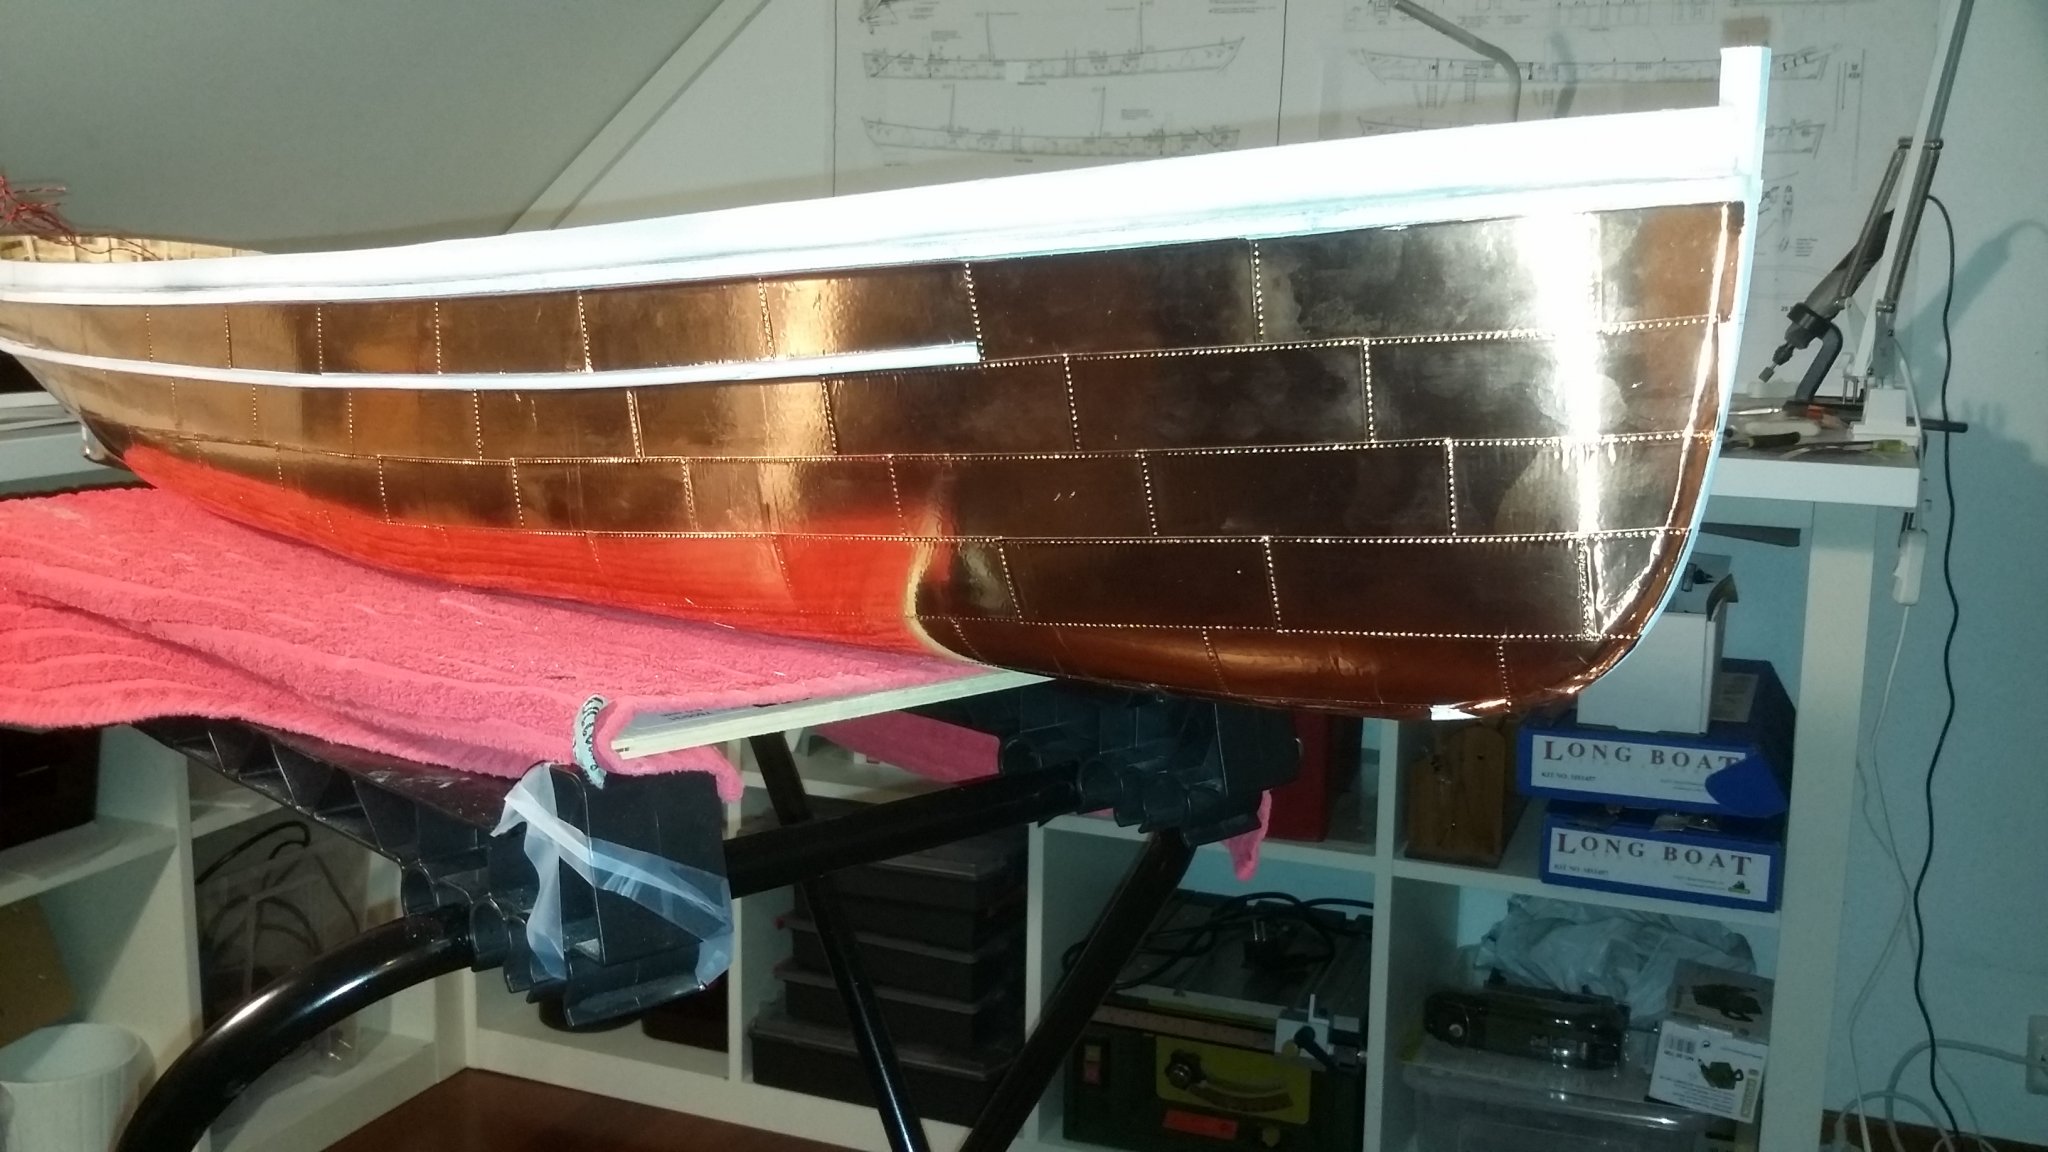
thanks for likes and coments.
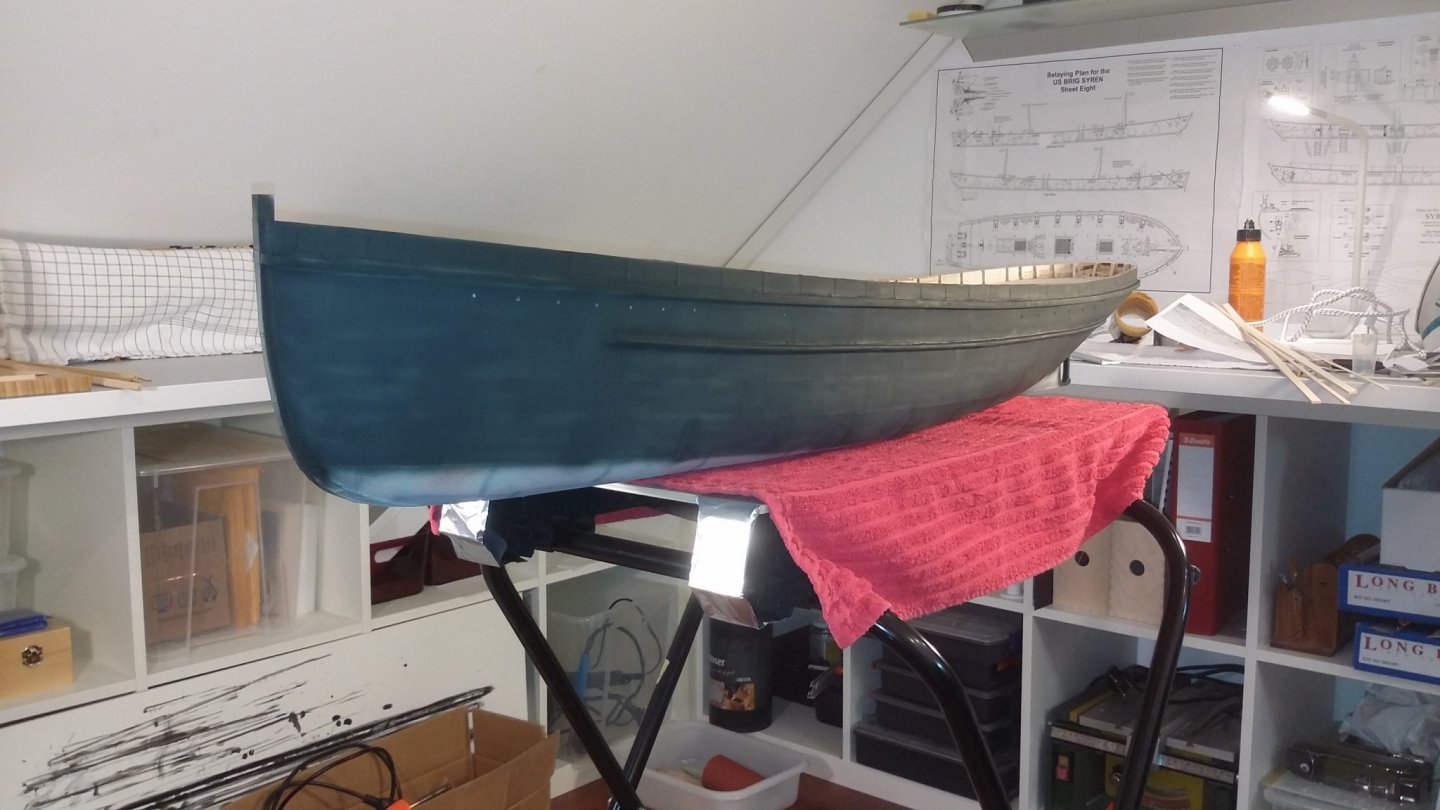
finish... most of one side of the hull (some more detalj needed later)
for now its a big bling bling but when the paint etc is coming on i think is going to be different😉
so thanks for now and here is some photos...
svein erik

-
-
tanks for likes!
and some more update ,
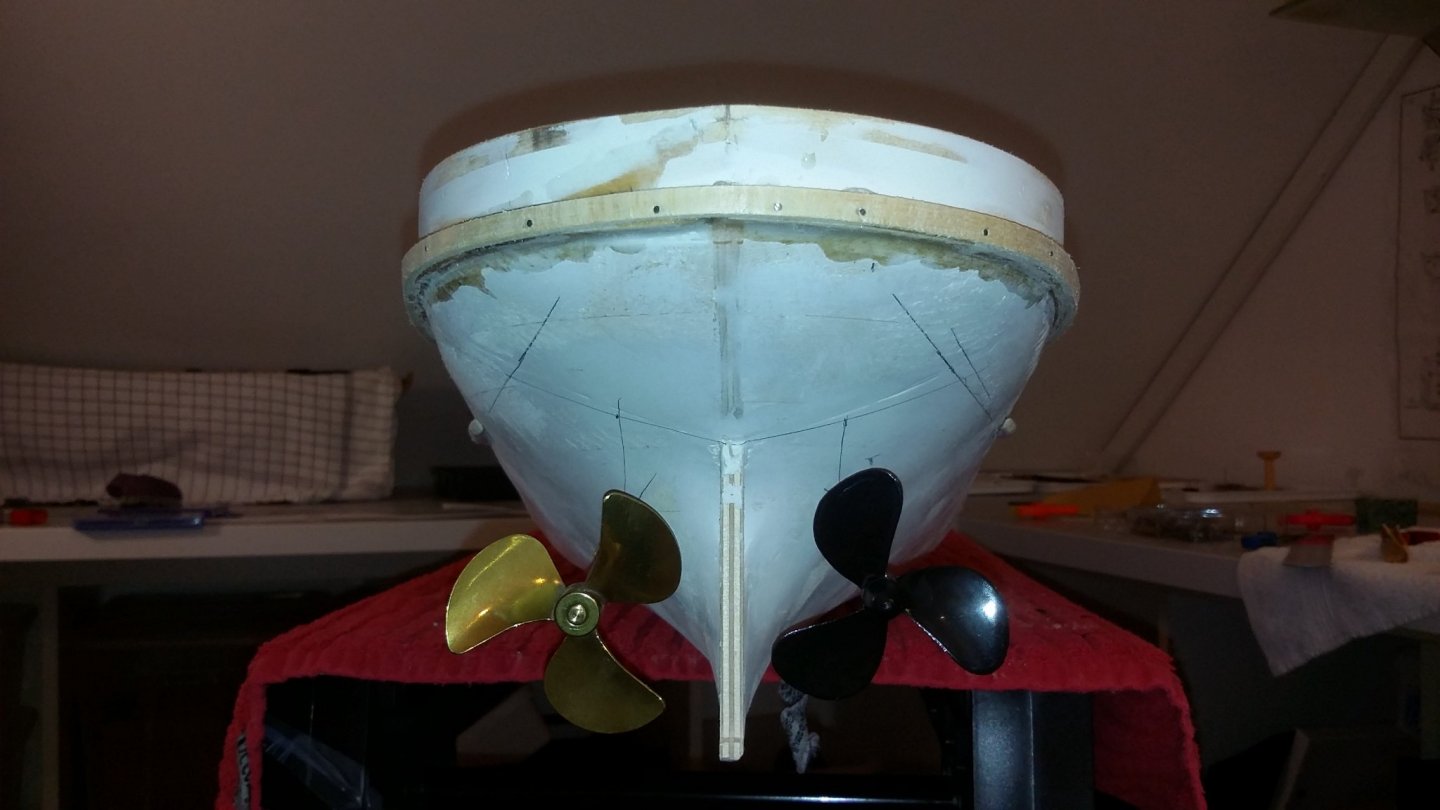
am about to get the hull over spryed with some paint before i get to the task of
the simulated hull plating. a
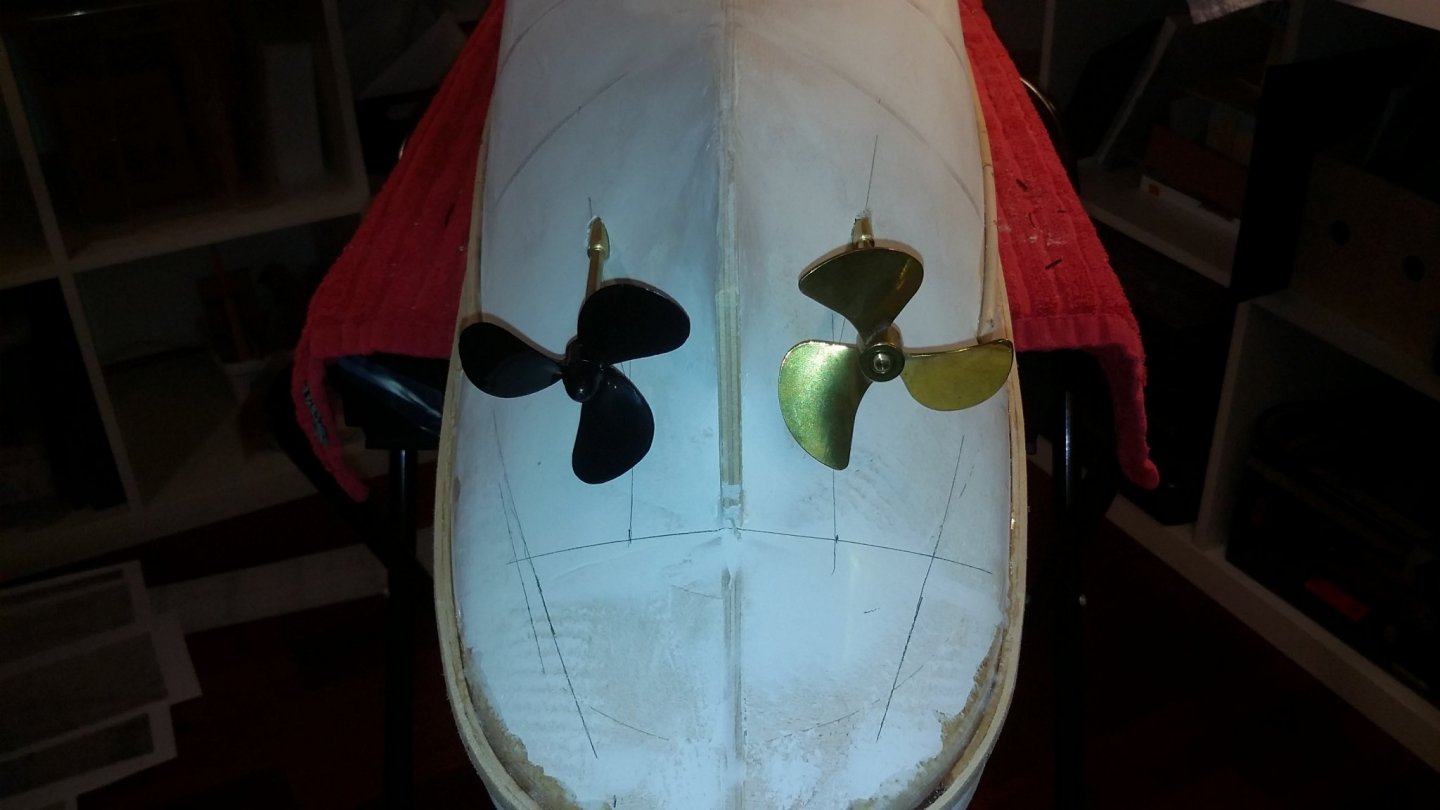
the model is beginning to look like a ship.. LOL😊( propell on the photo is not for this model..
am using smaller with 4 blades )
svein erik


-
1 hour ago, KeithAug said:
Svein. A very interesting subject which I will be pleased to follow. Just one observation - With the balsa being soft and easily damaged are you sure that copper wont get damaged (badly dented) during the construction process.
hi keith, wel.... i dont think so
the hull has some strength filler over the balsa, wen dunn it wil get some primer on to get more strenght before the copper,
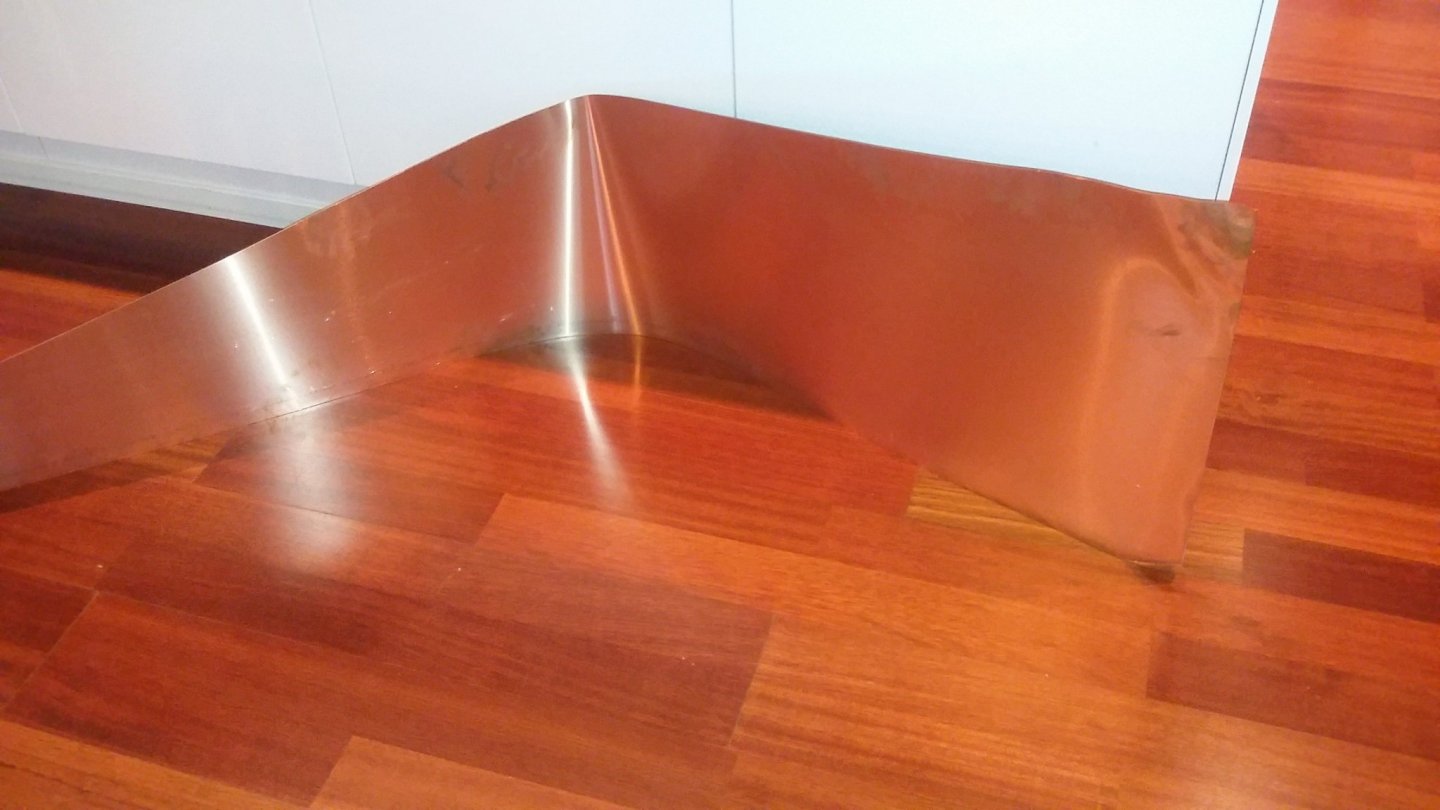
i have also tested the soft copper and the sheet i have is way to thick (007) it has to be thinner 002/003
so i may have to get back using tape.. (snaile tape ... its copper and its 4cm wide and 5 m long)
-
yust resive a test sheet of soft copper to make all the steel plates for the pequot hull,
am going to make some plates so i can see how it work with the rivitts and the thickness .
this sheet is 007 thick ....
this copper has been burned so it can be bendt in any way you want!
svein erik
- mtaylor, Mirabell61, Nirvana and 5 others
-
8
-
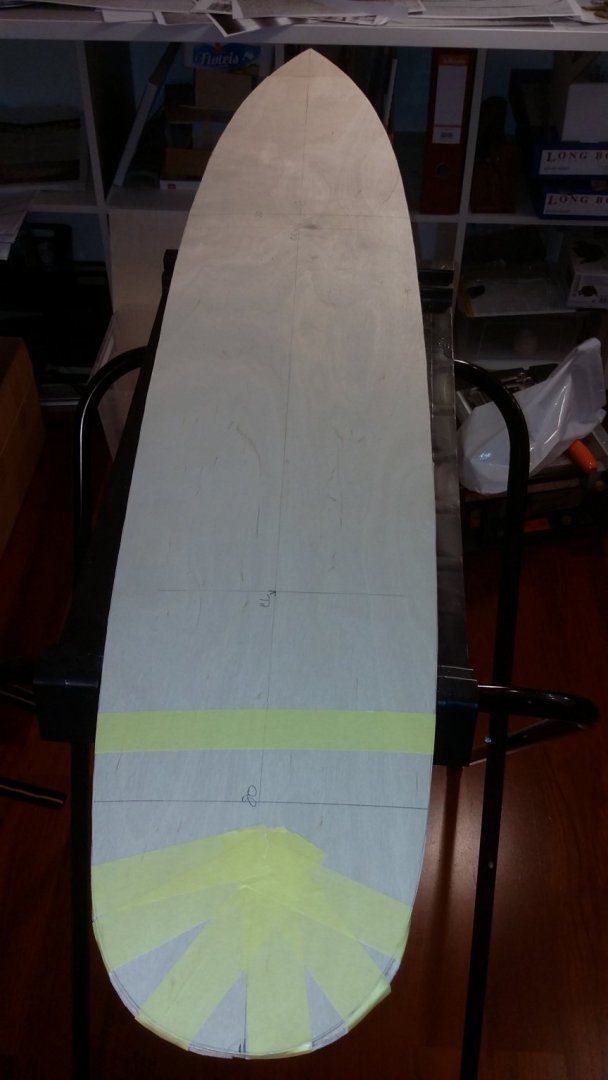
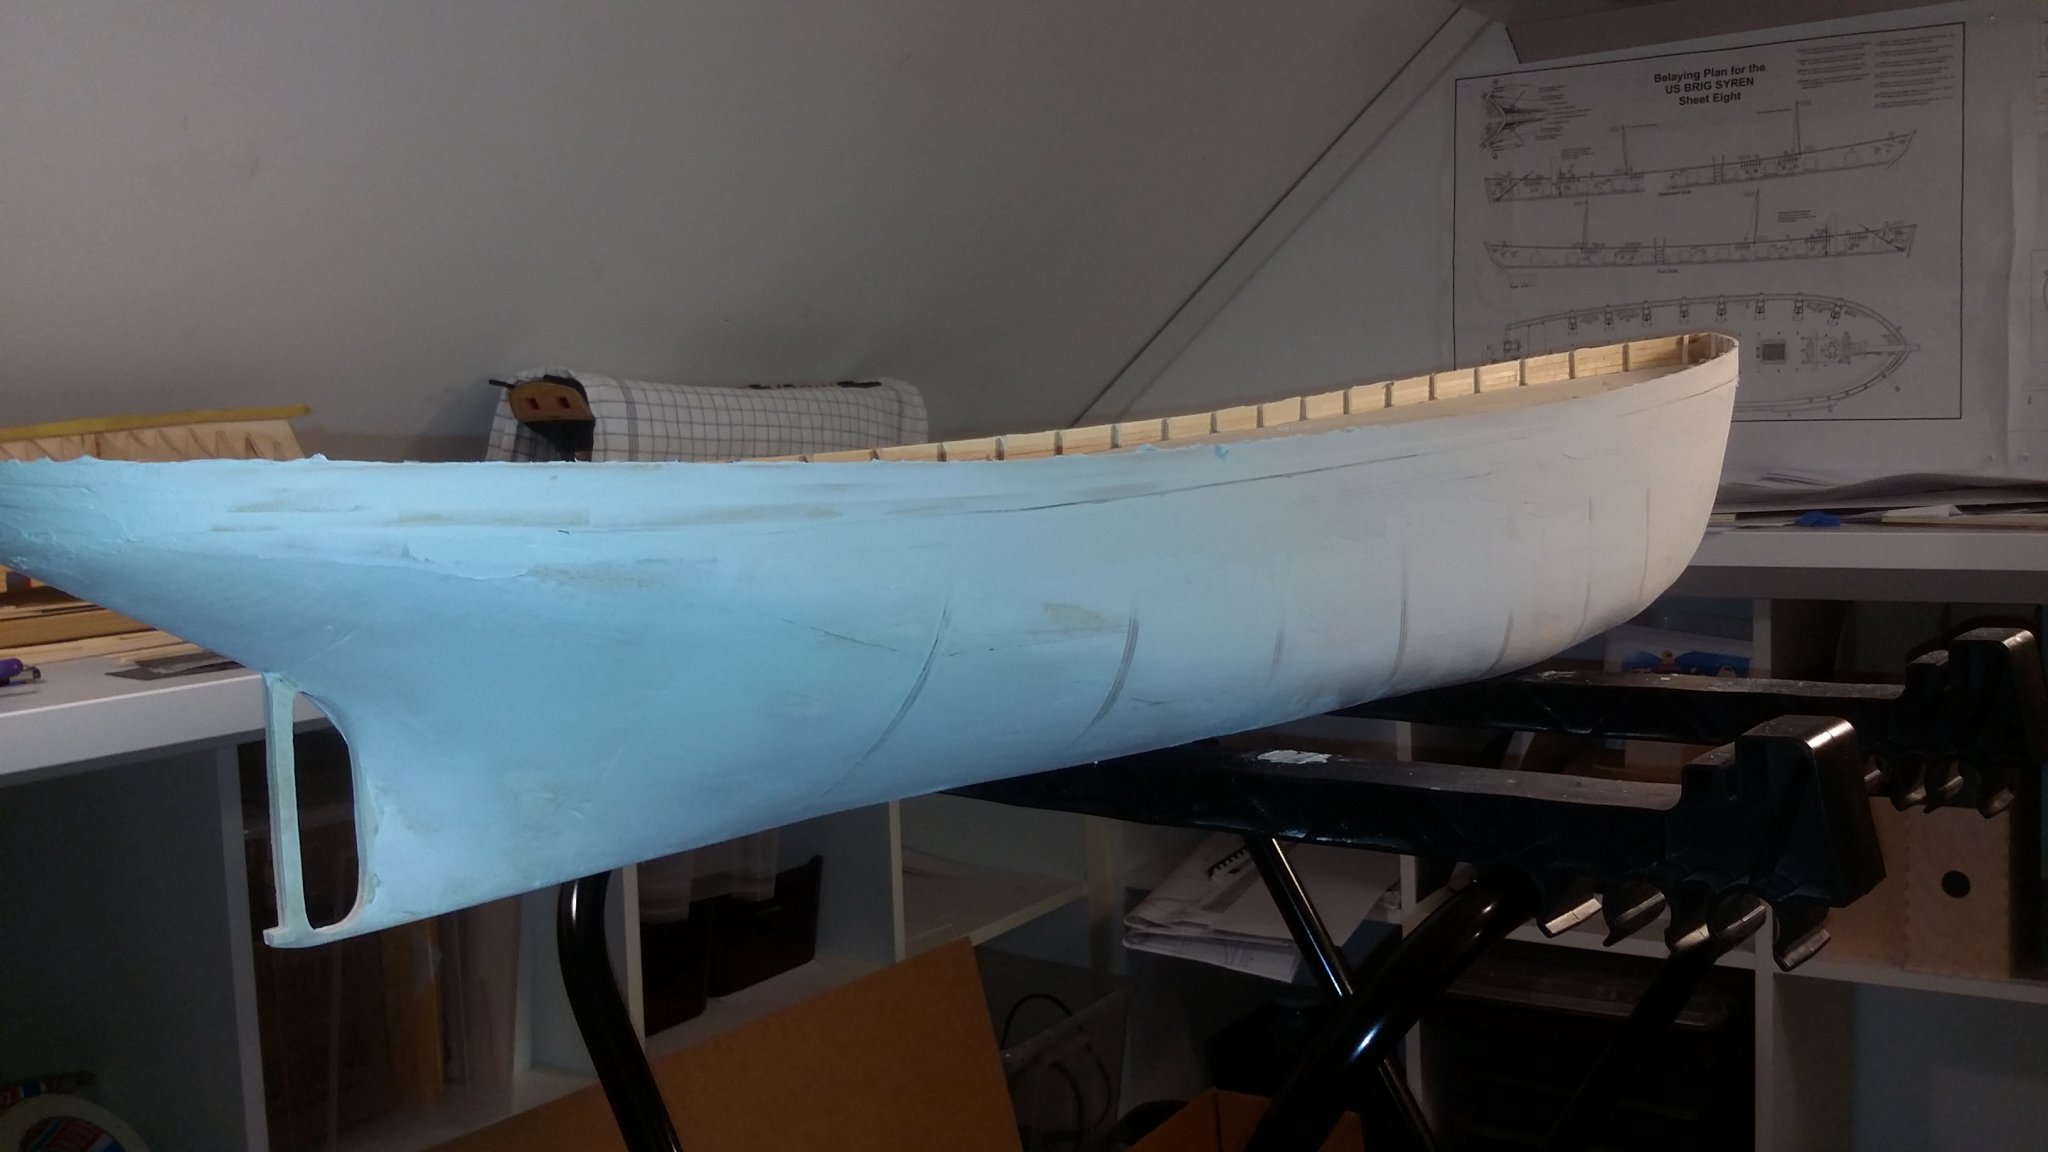
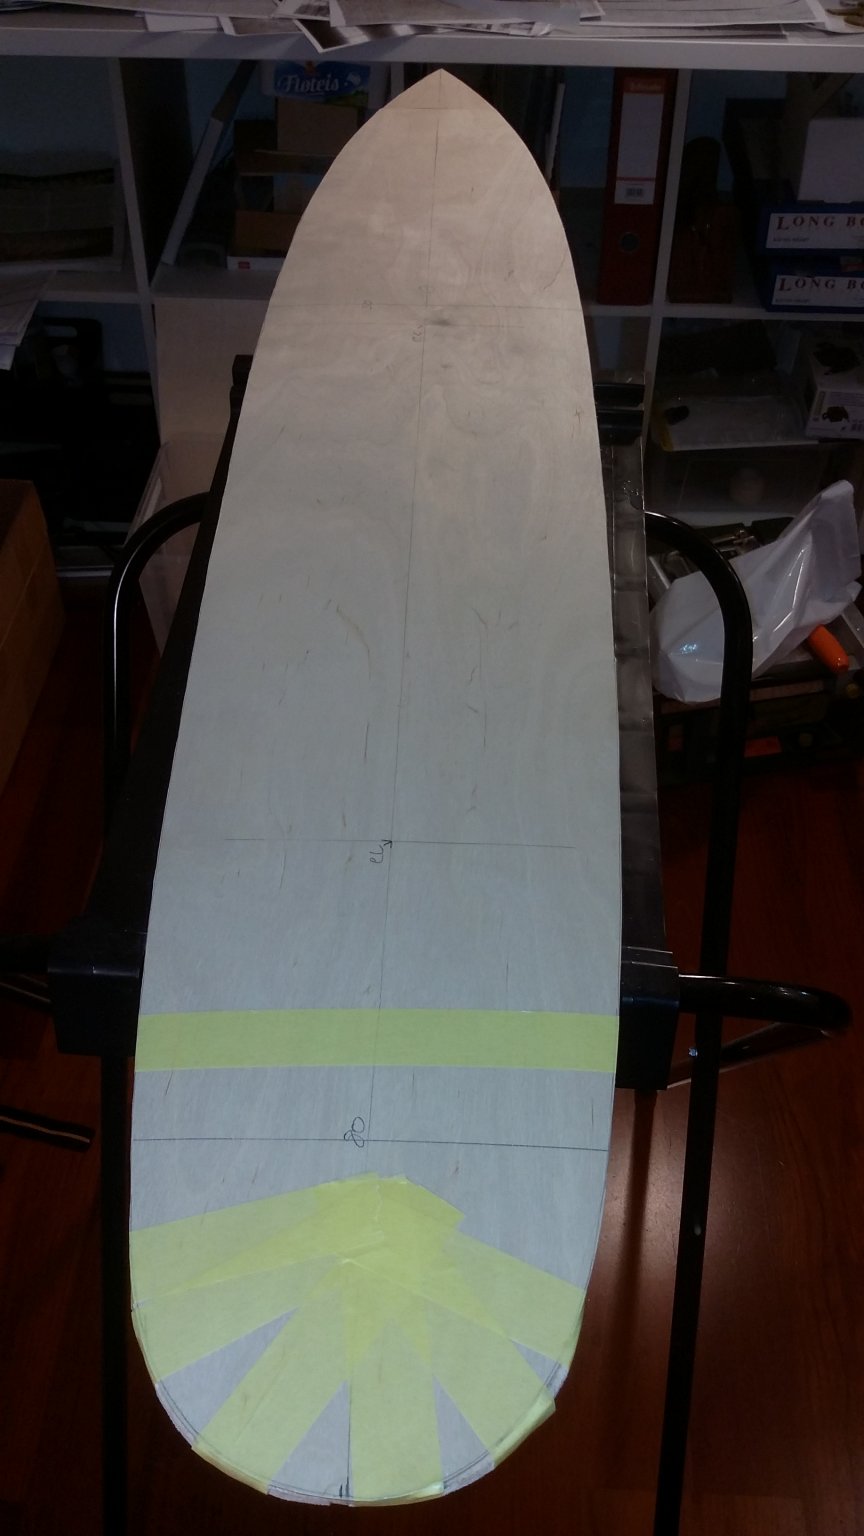
thanks for the likes
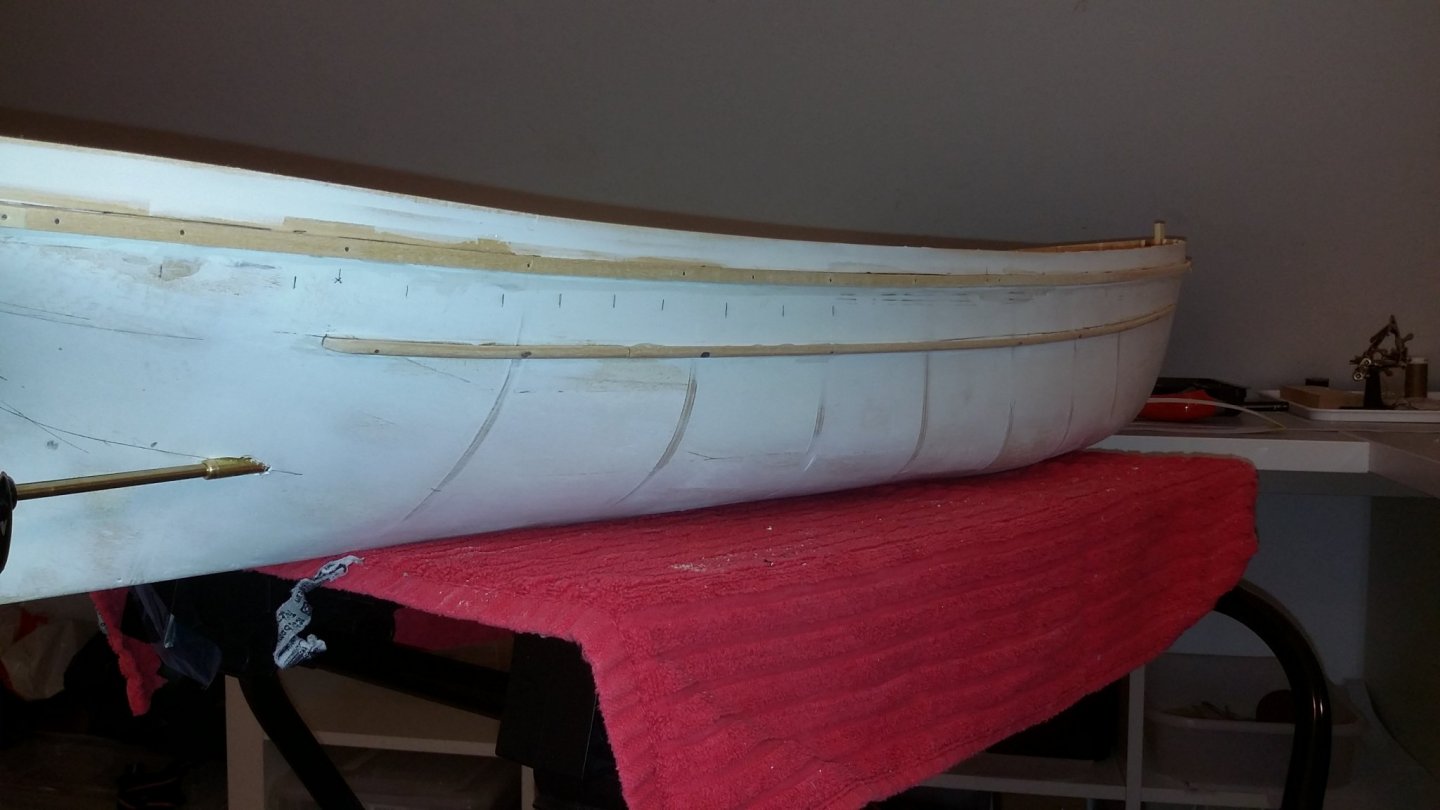
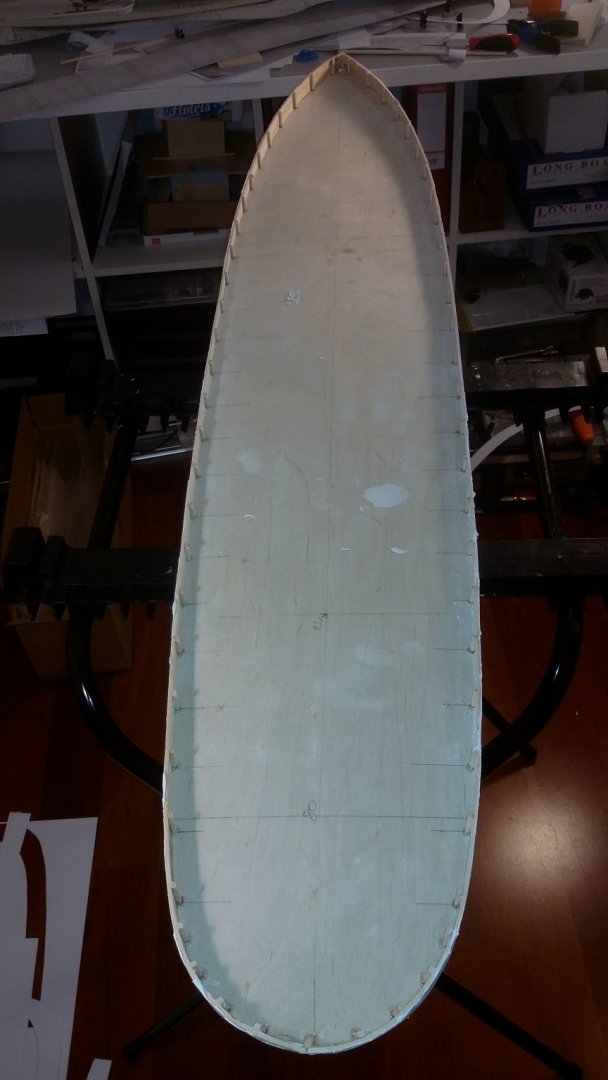
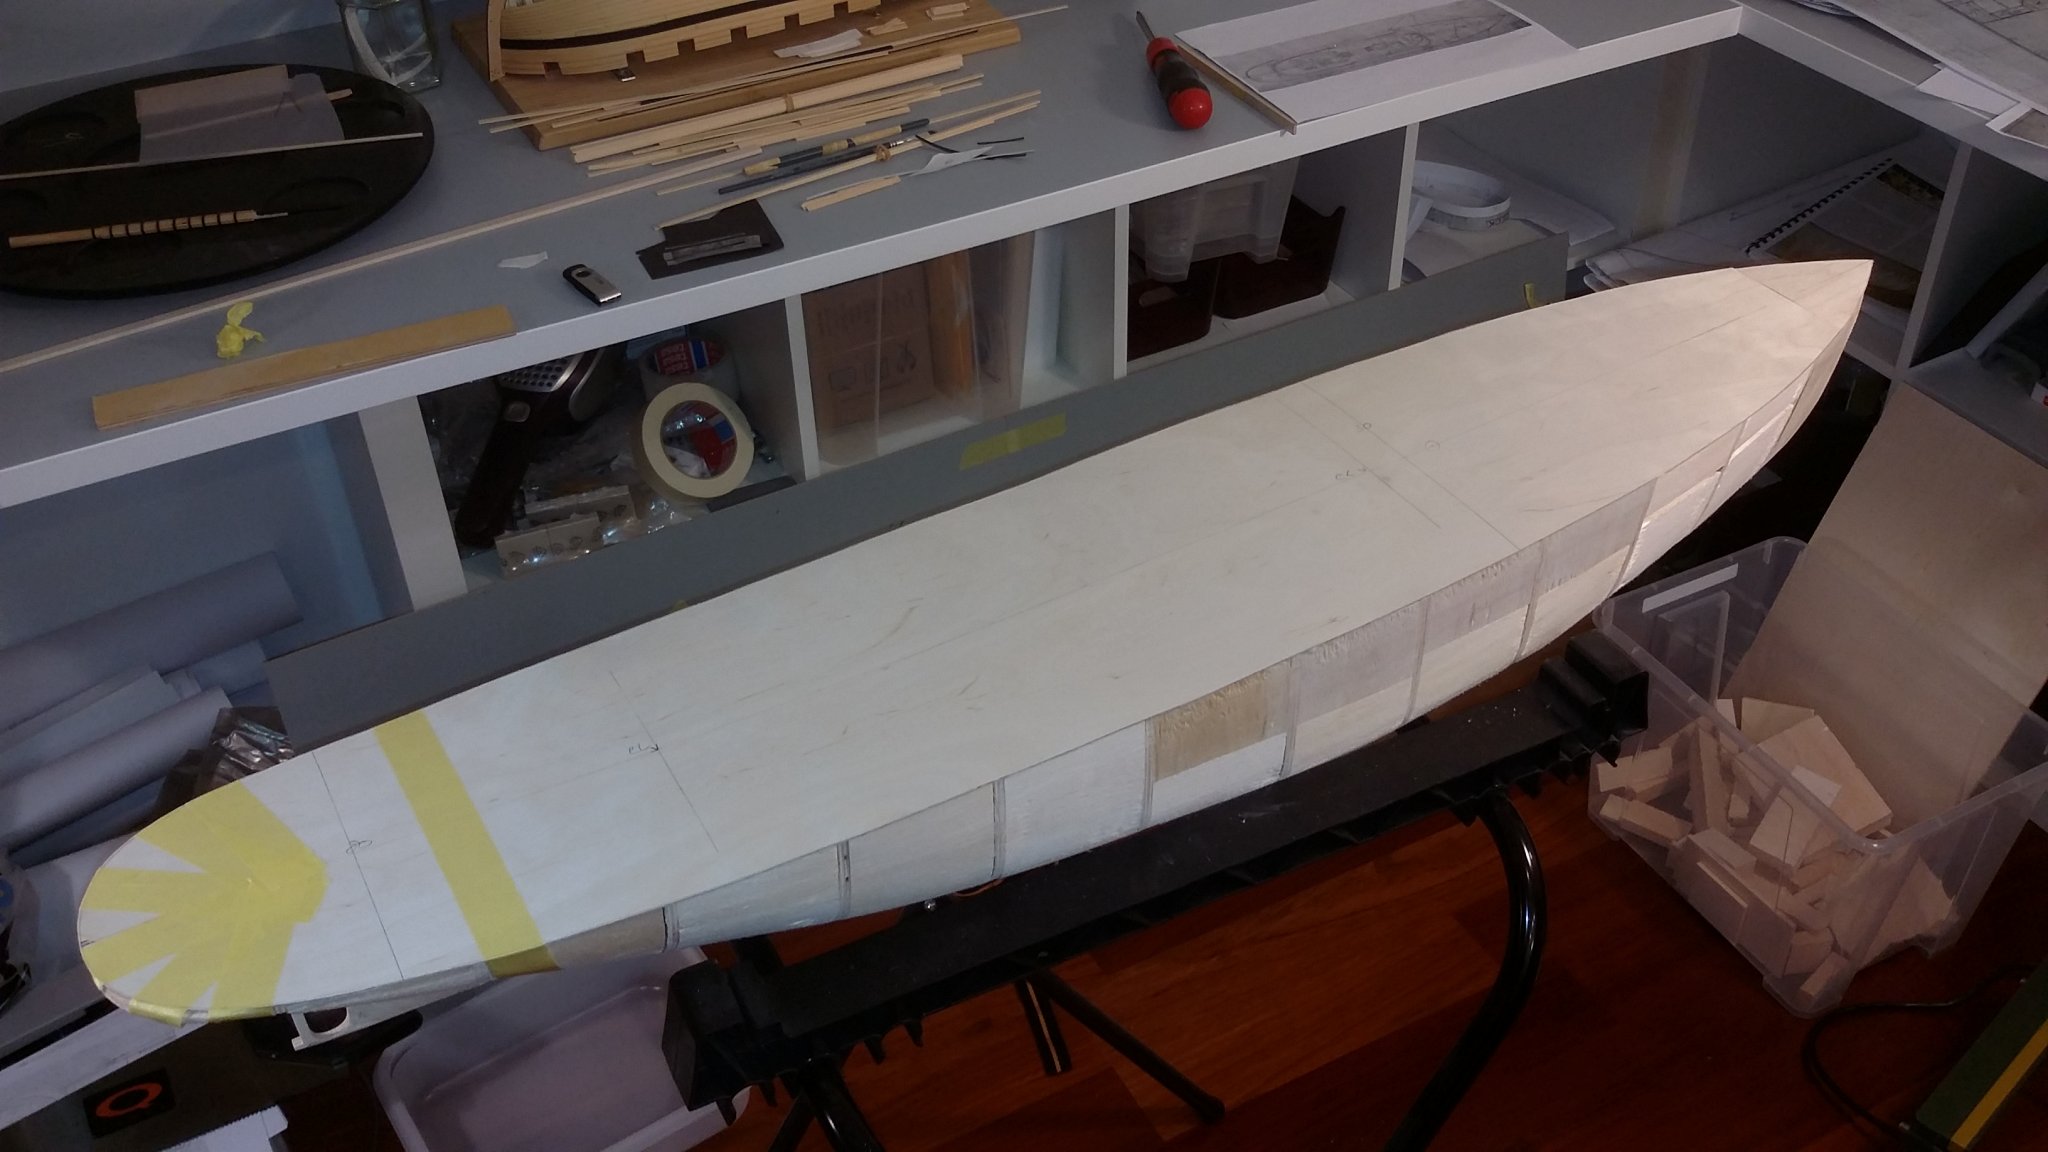
moving farword , the bulwalk is glued on and am now shaping the hull with some filler ,
when am happy with the result, i wil mark /lining off the hull for the steel plating of the hull.
the bow keel is my nex task ....
so next time i think the hull is ready for some plates...
svein erik

- Mirabell61, druxey, raven62 and 9 others
-
12
-
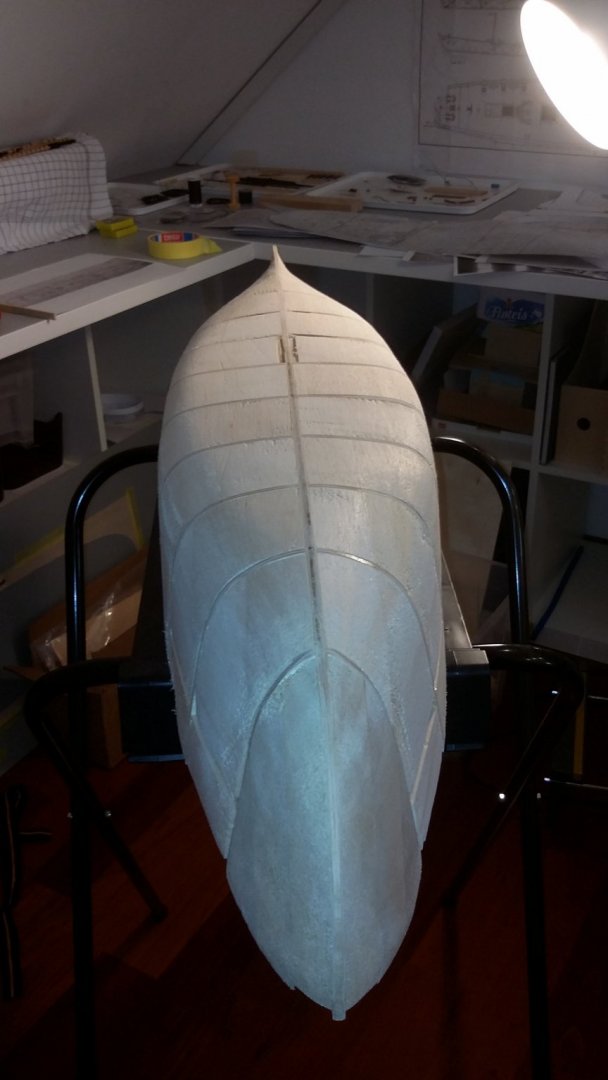
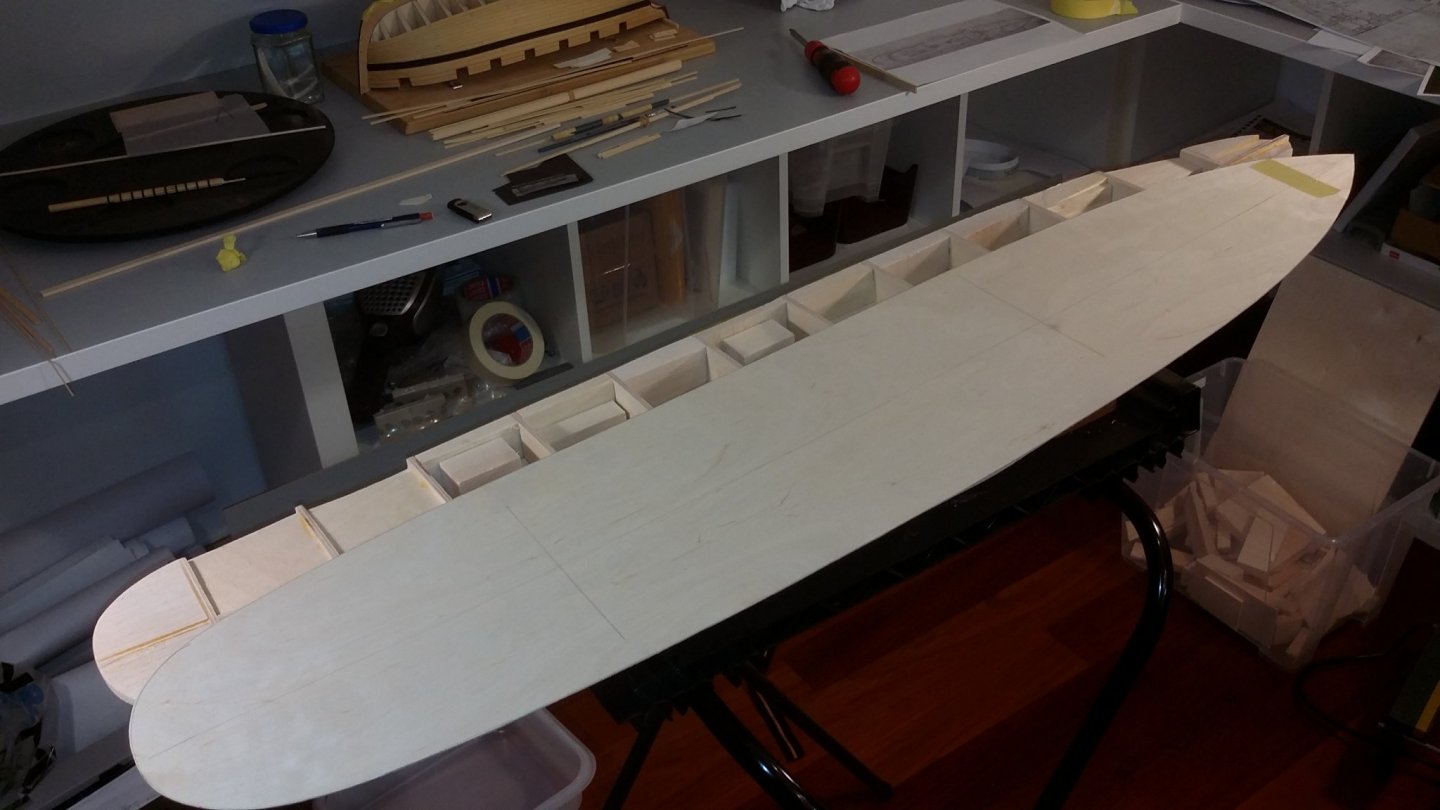
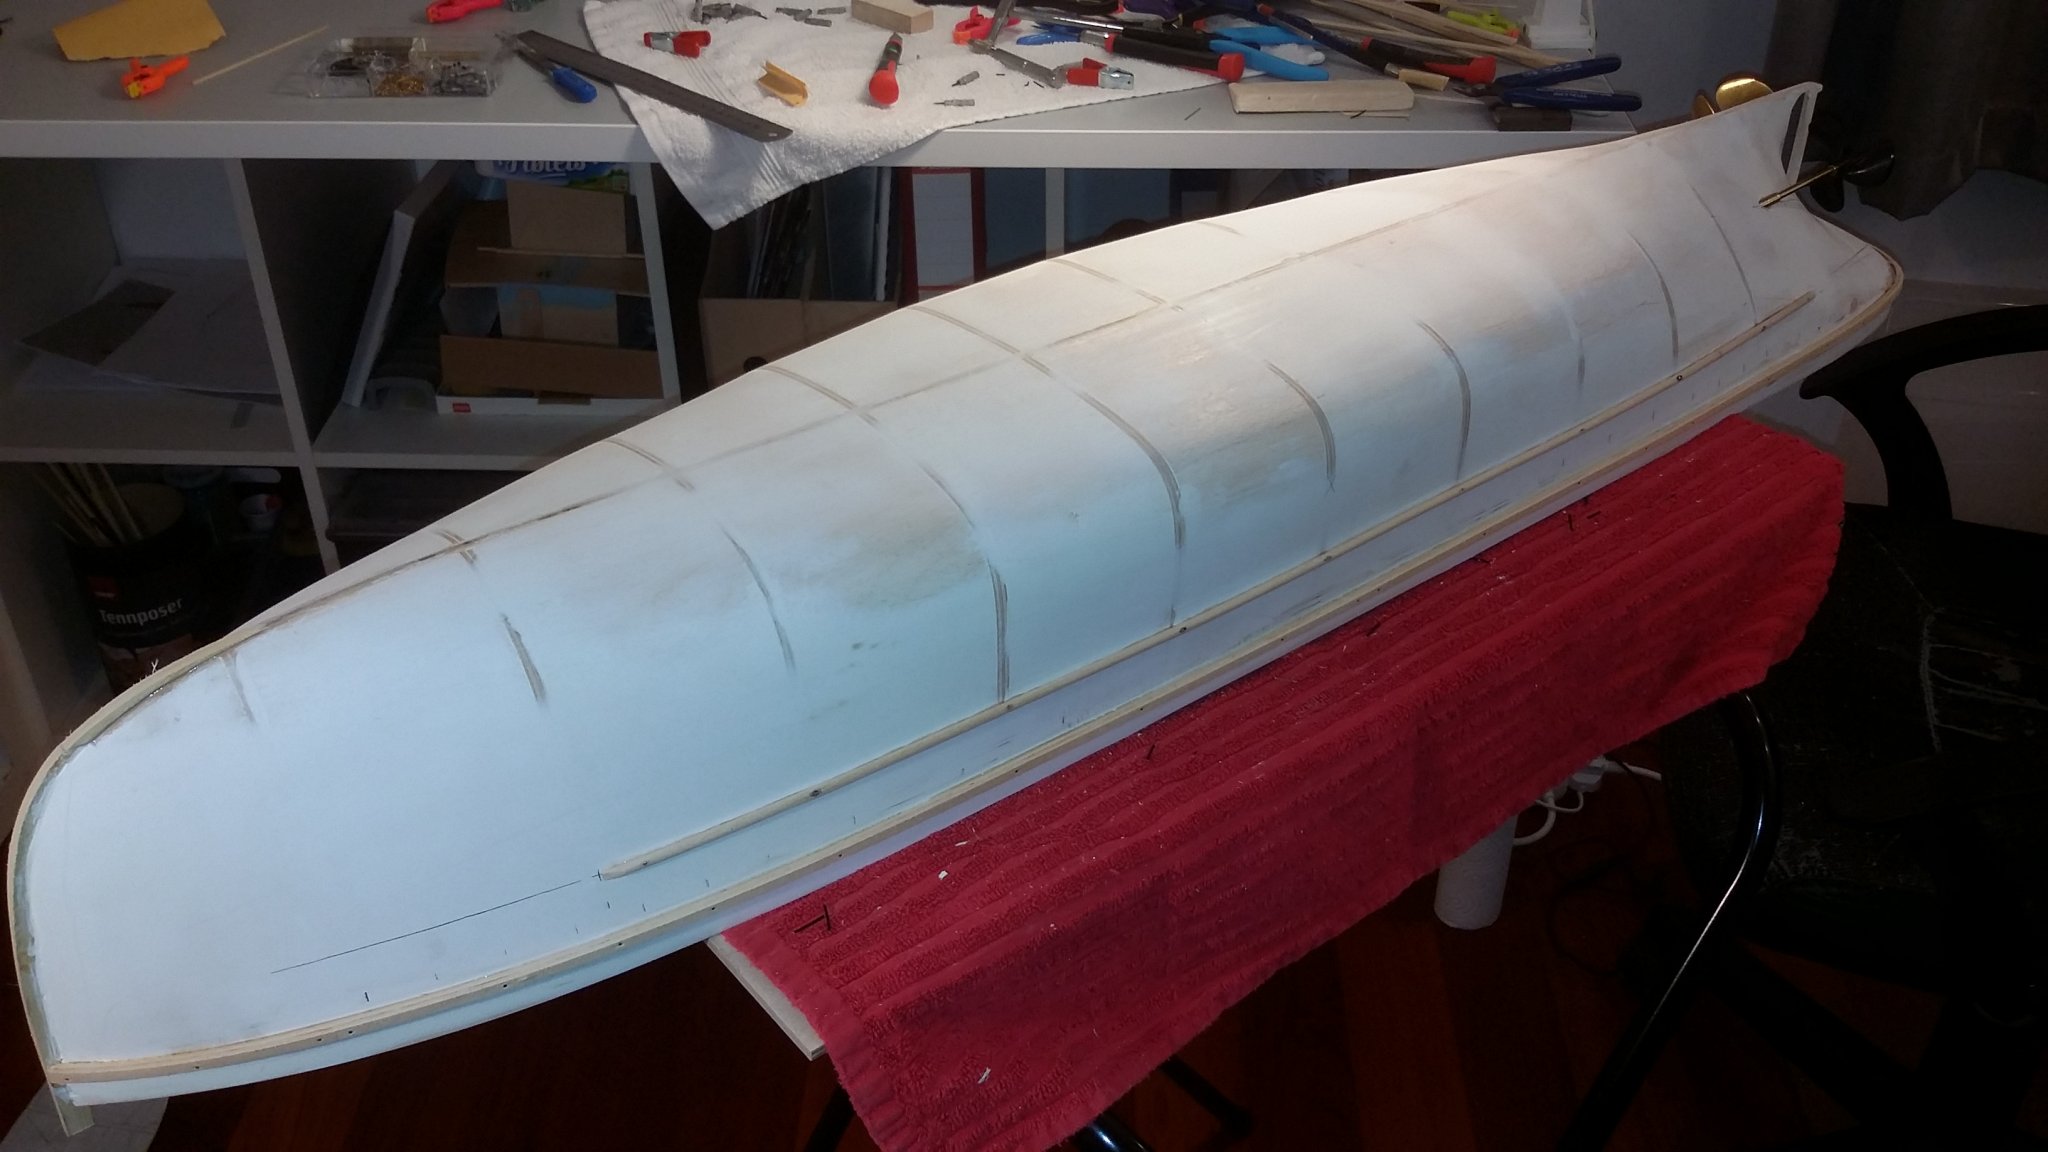
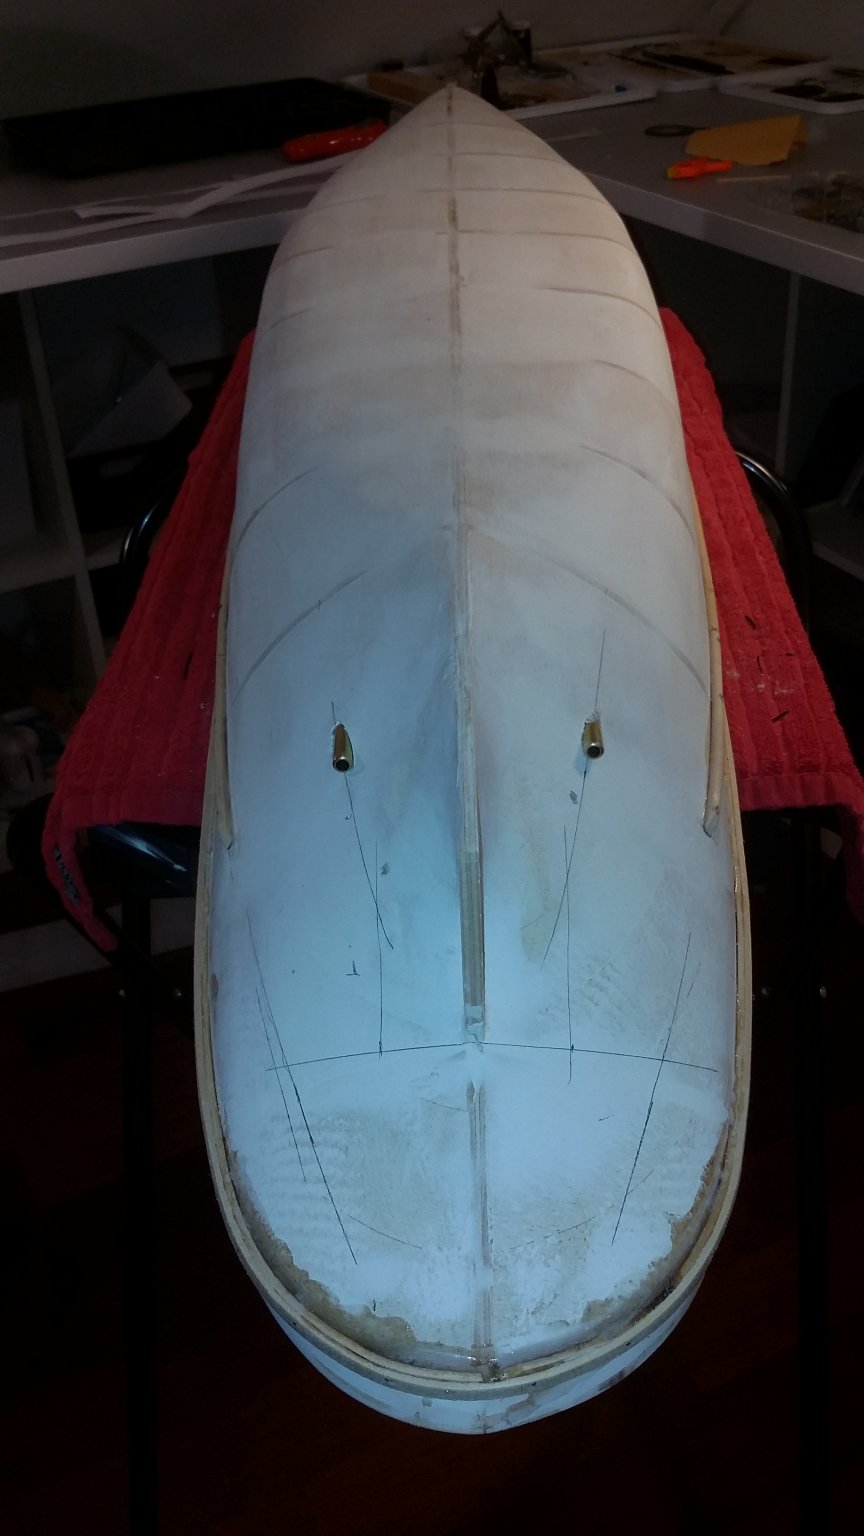
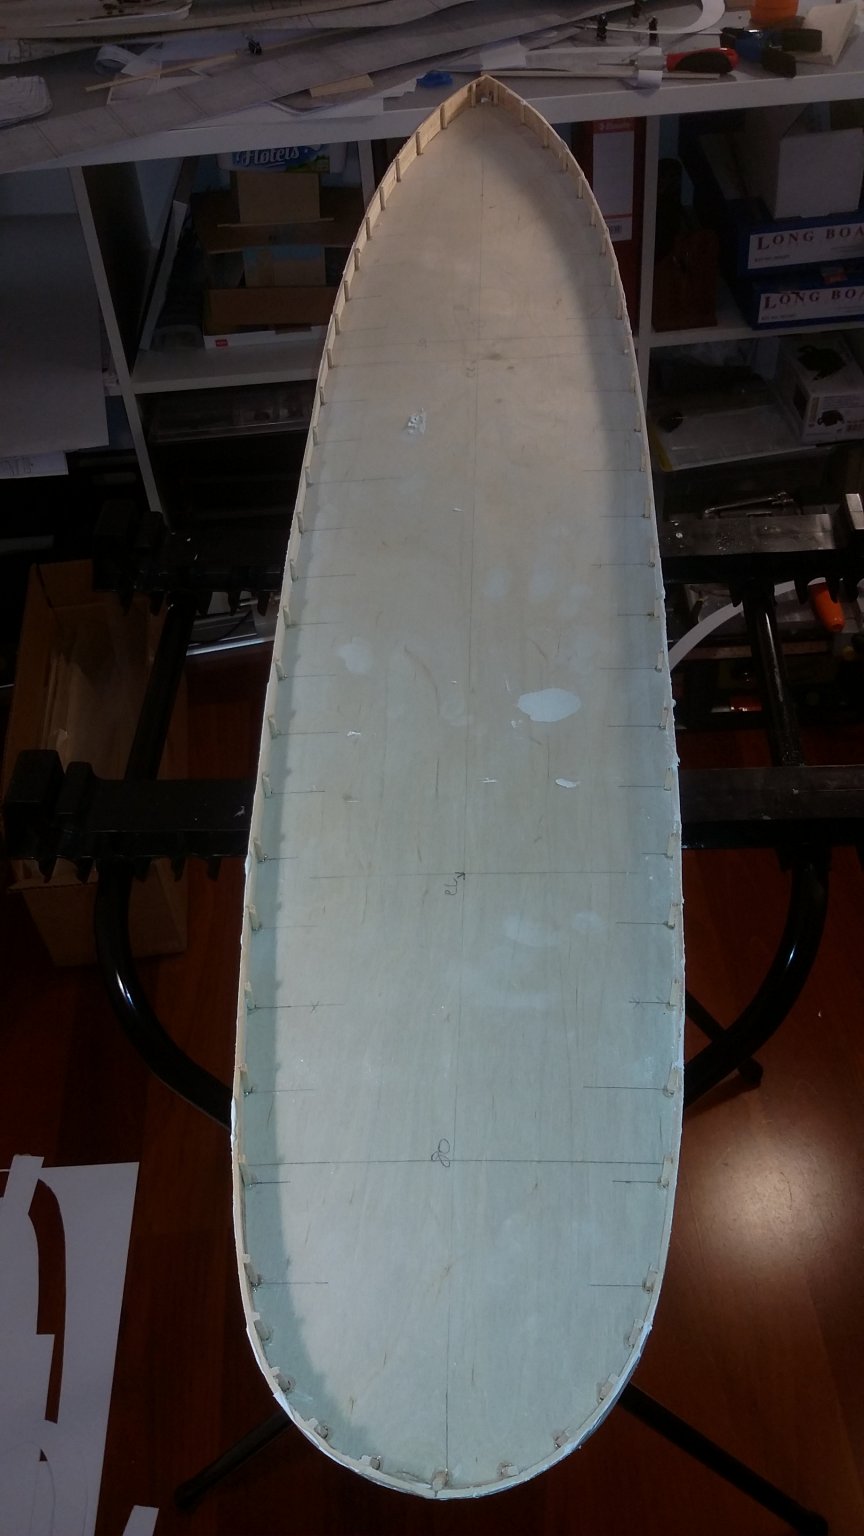
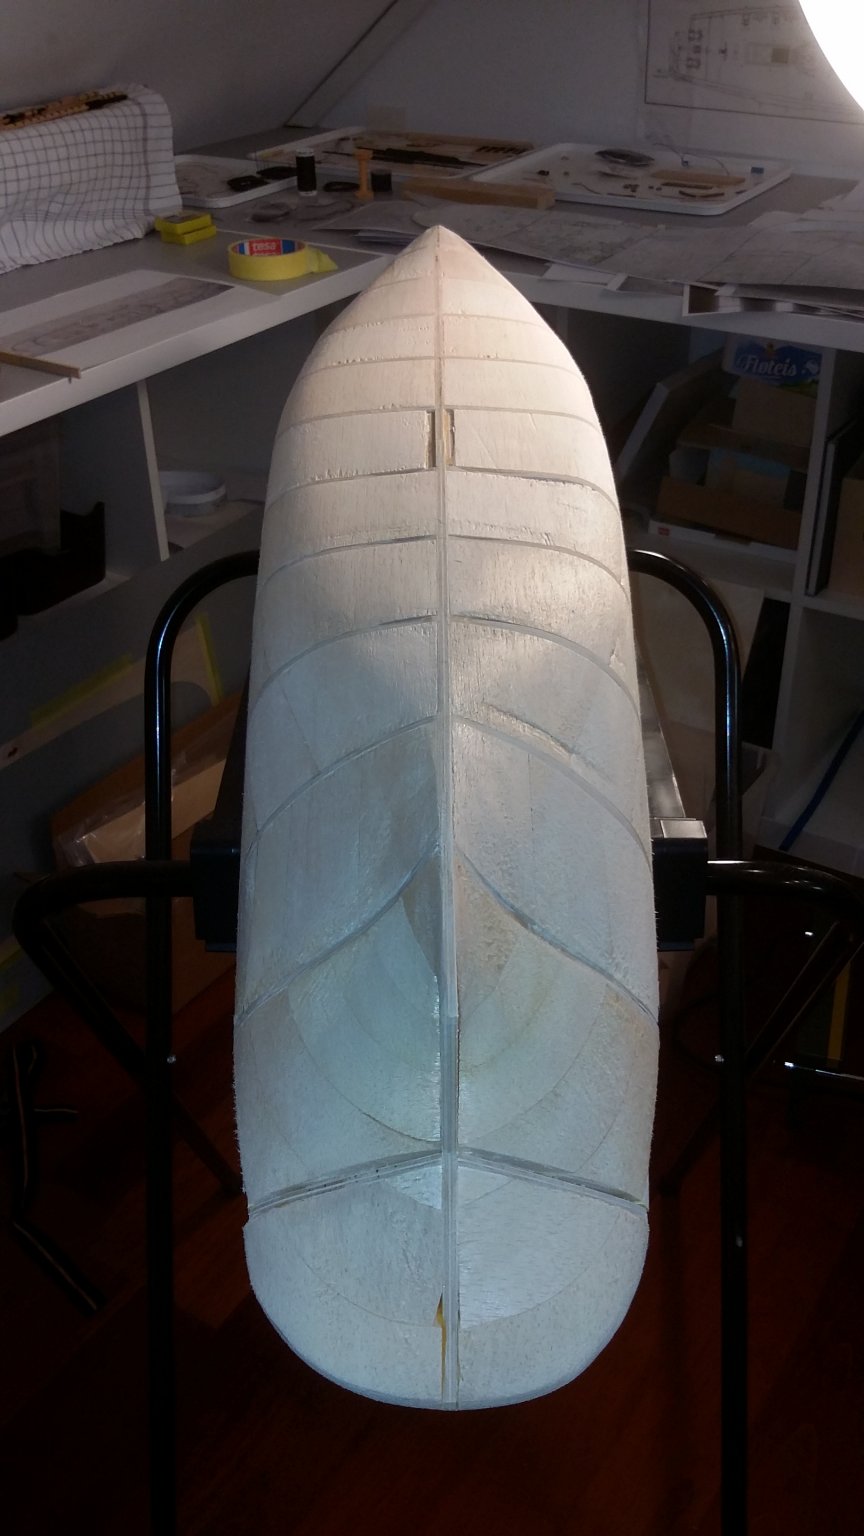
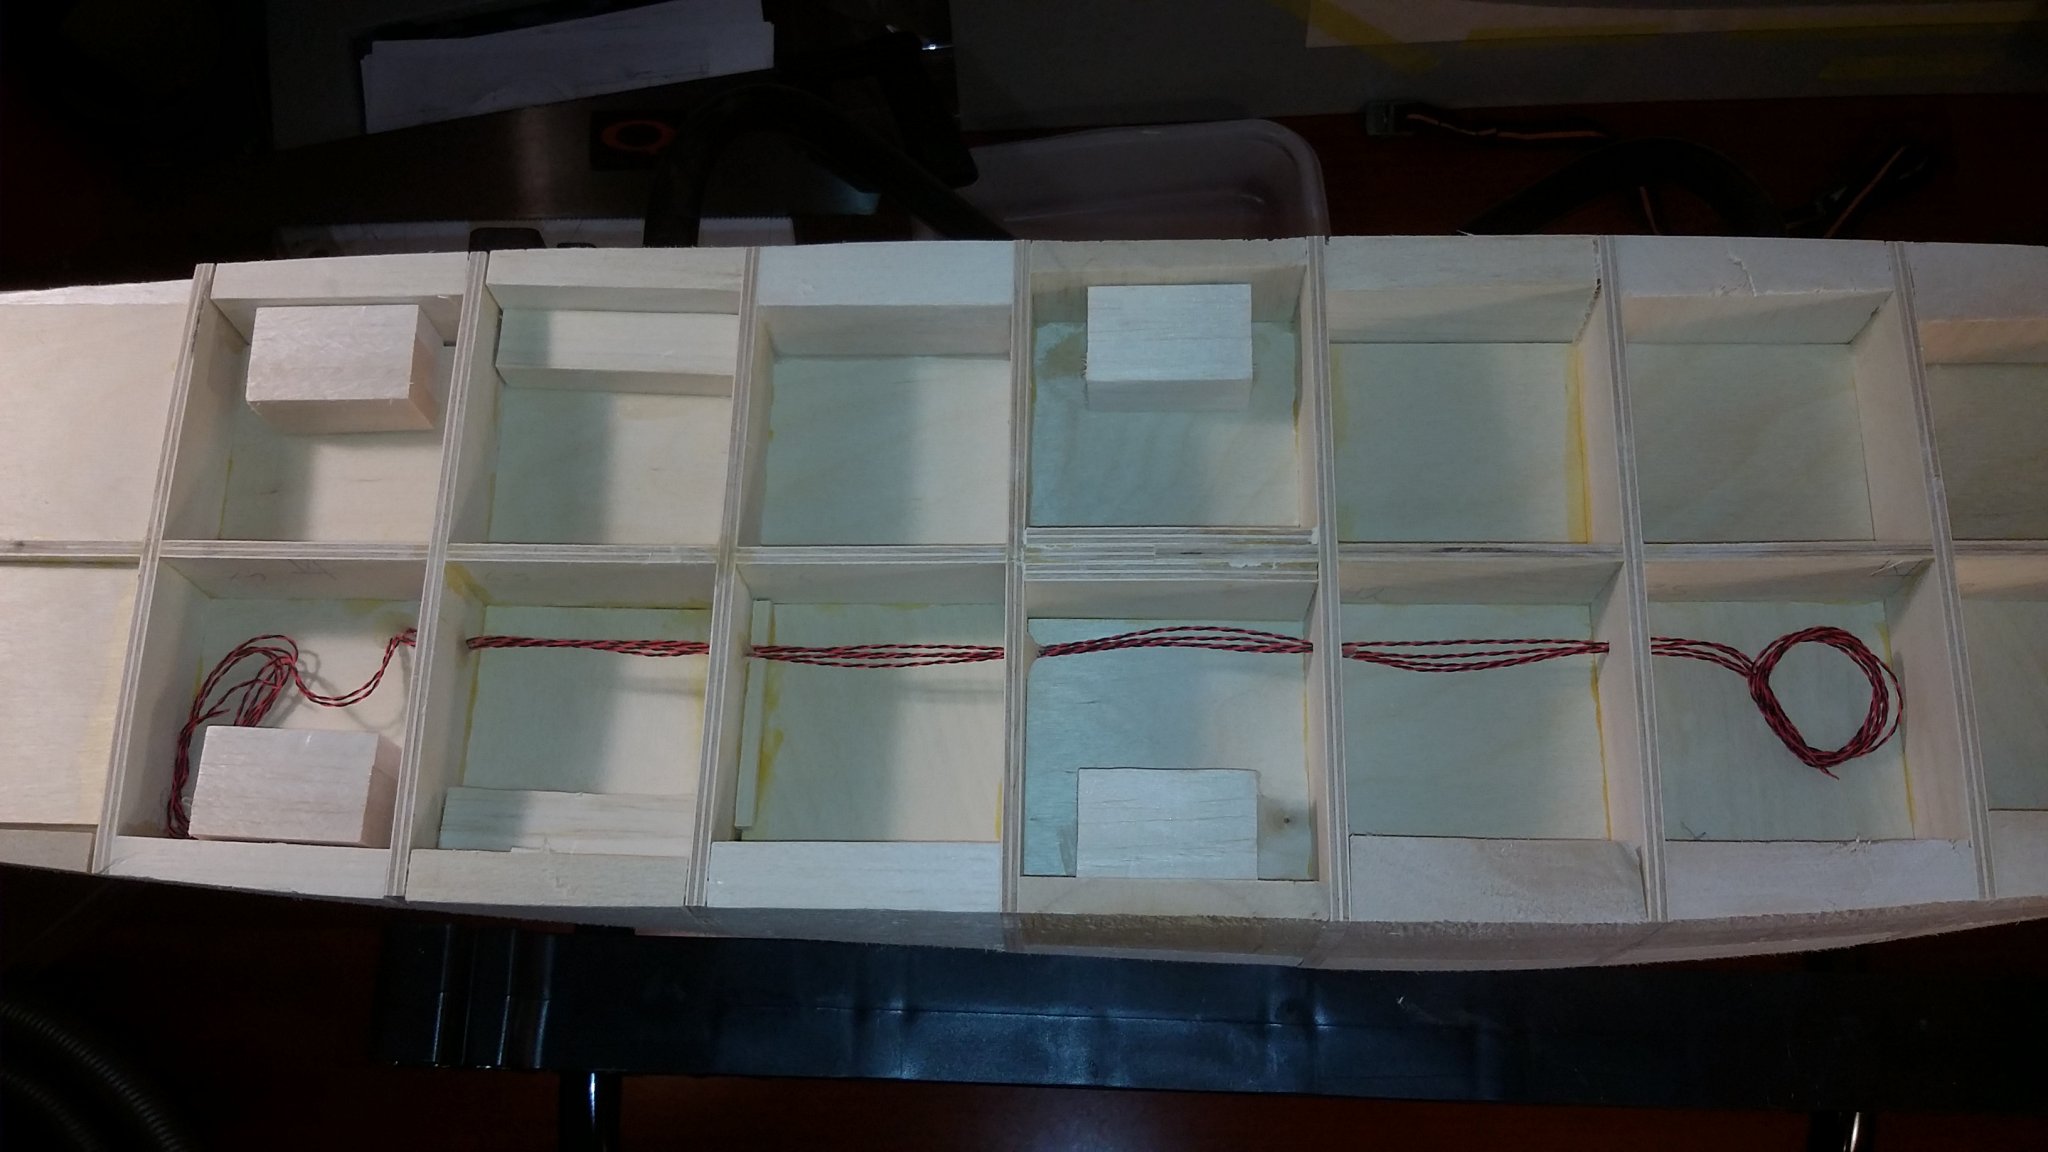
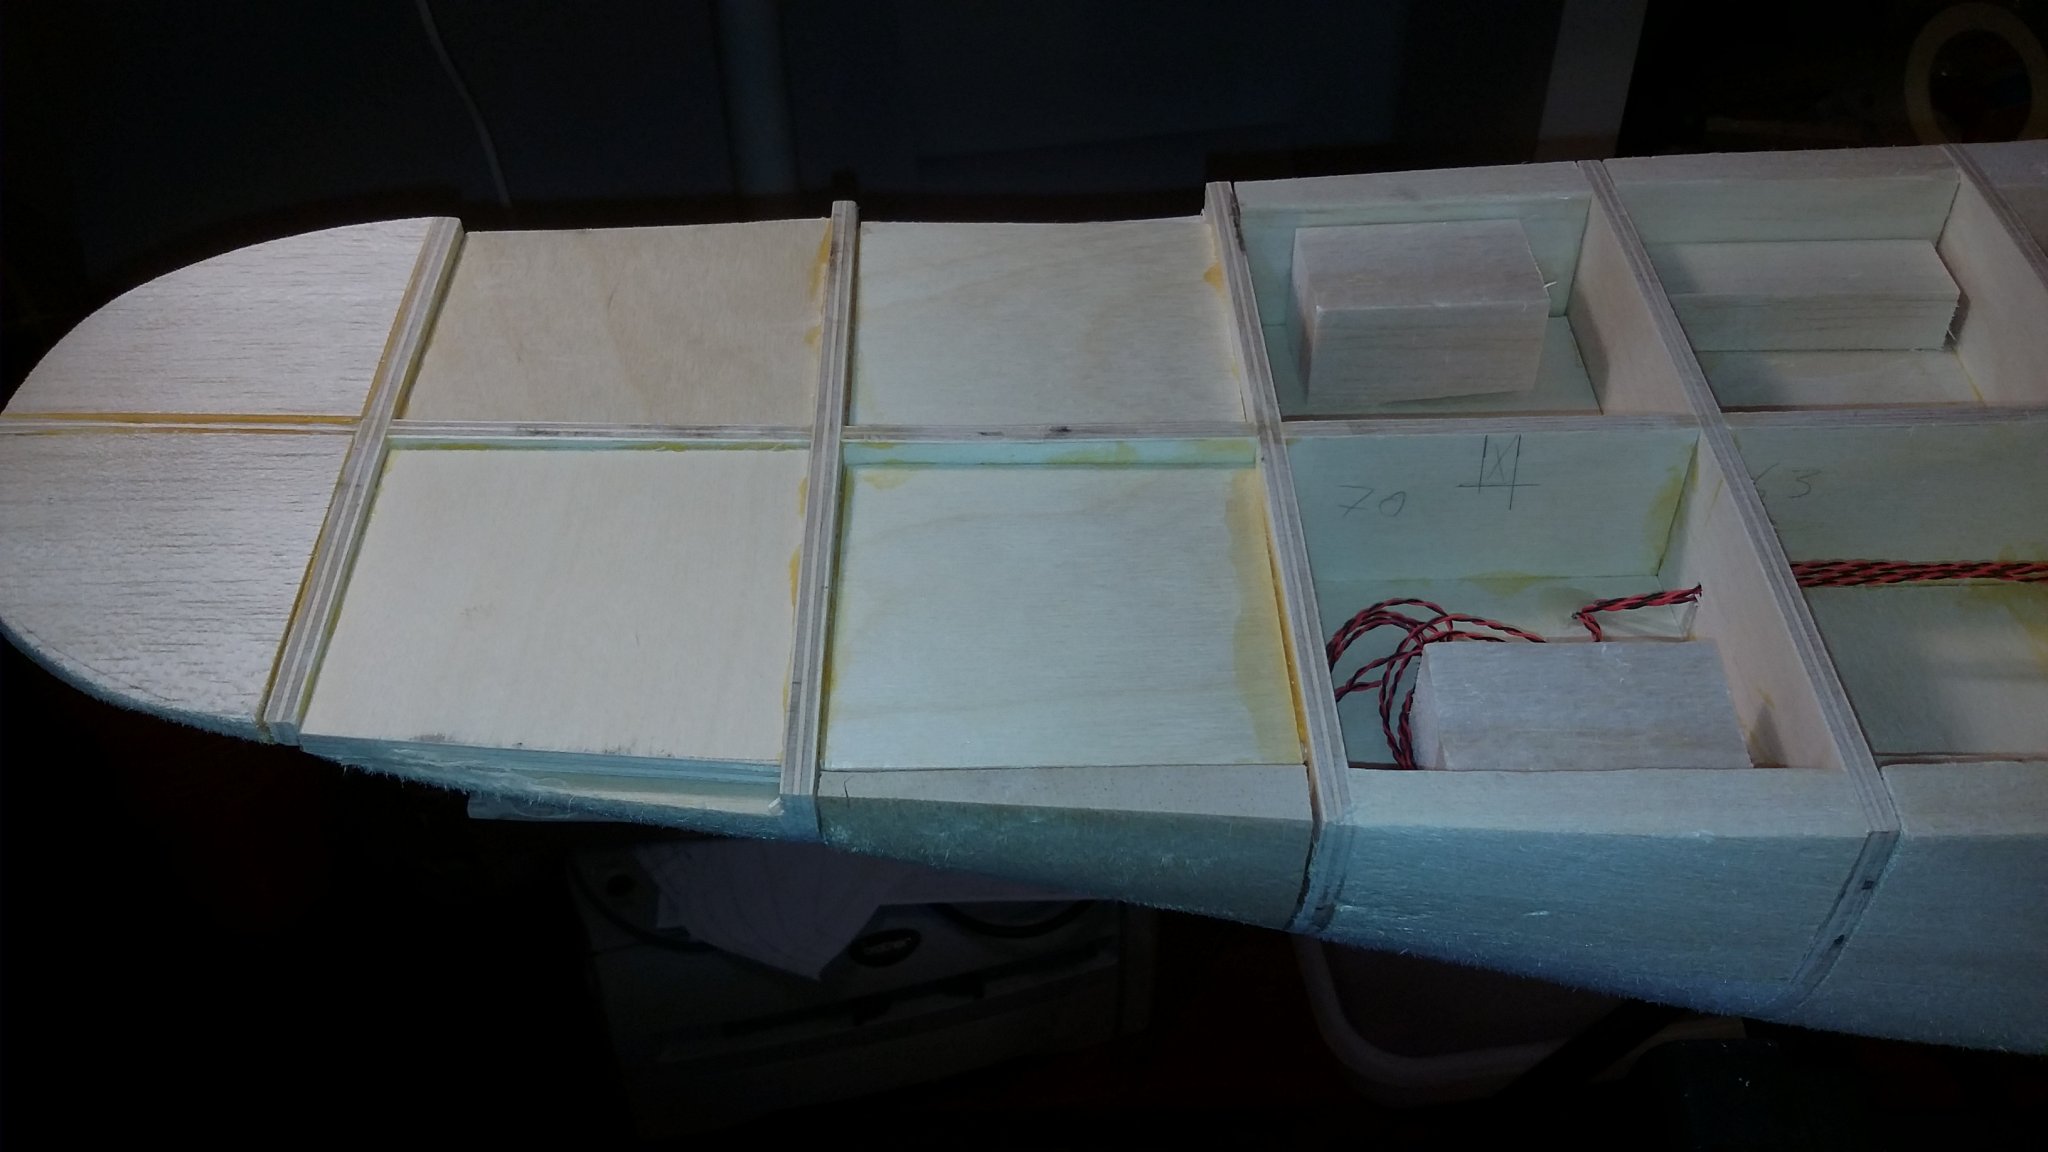
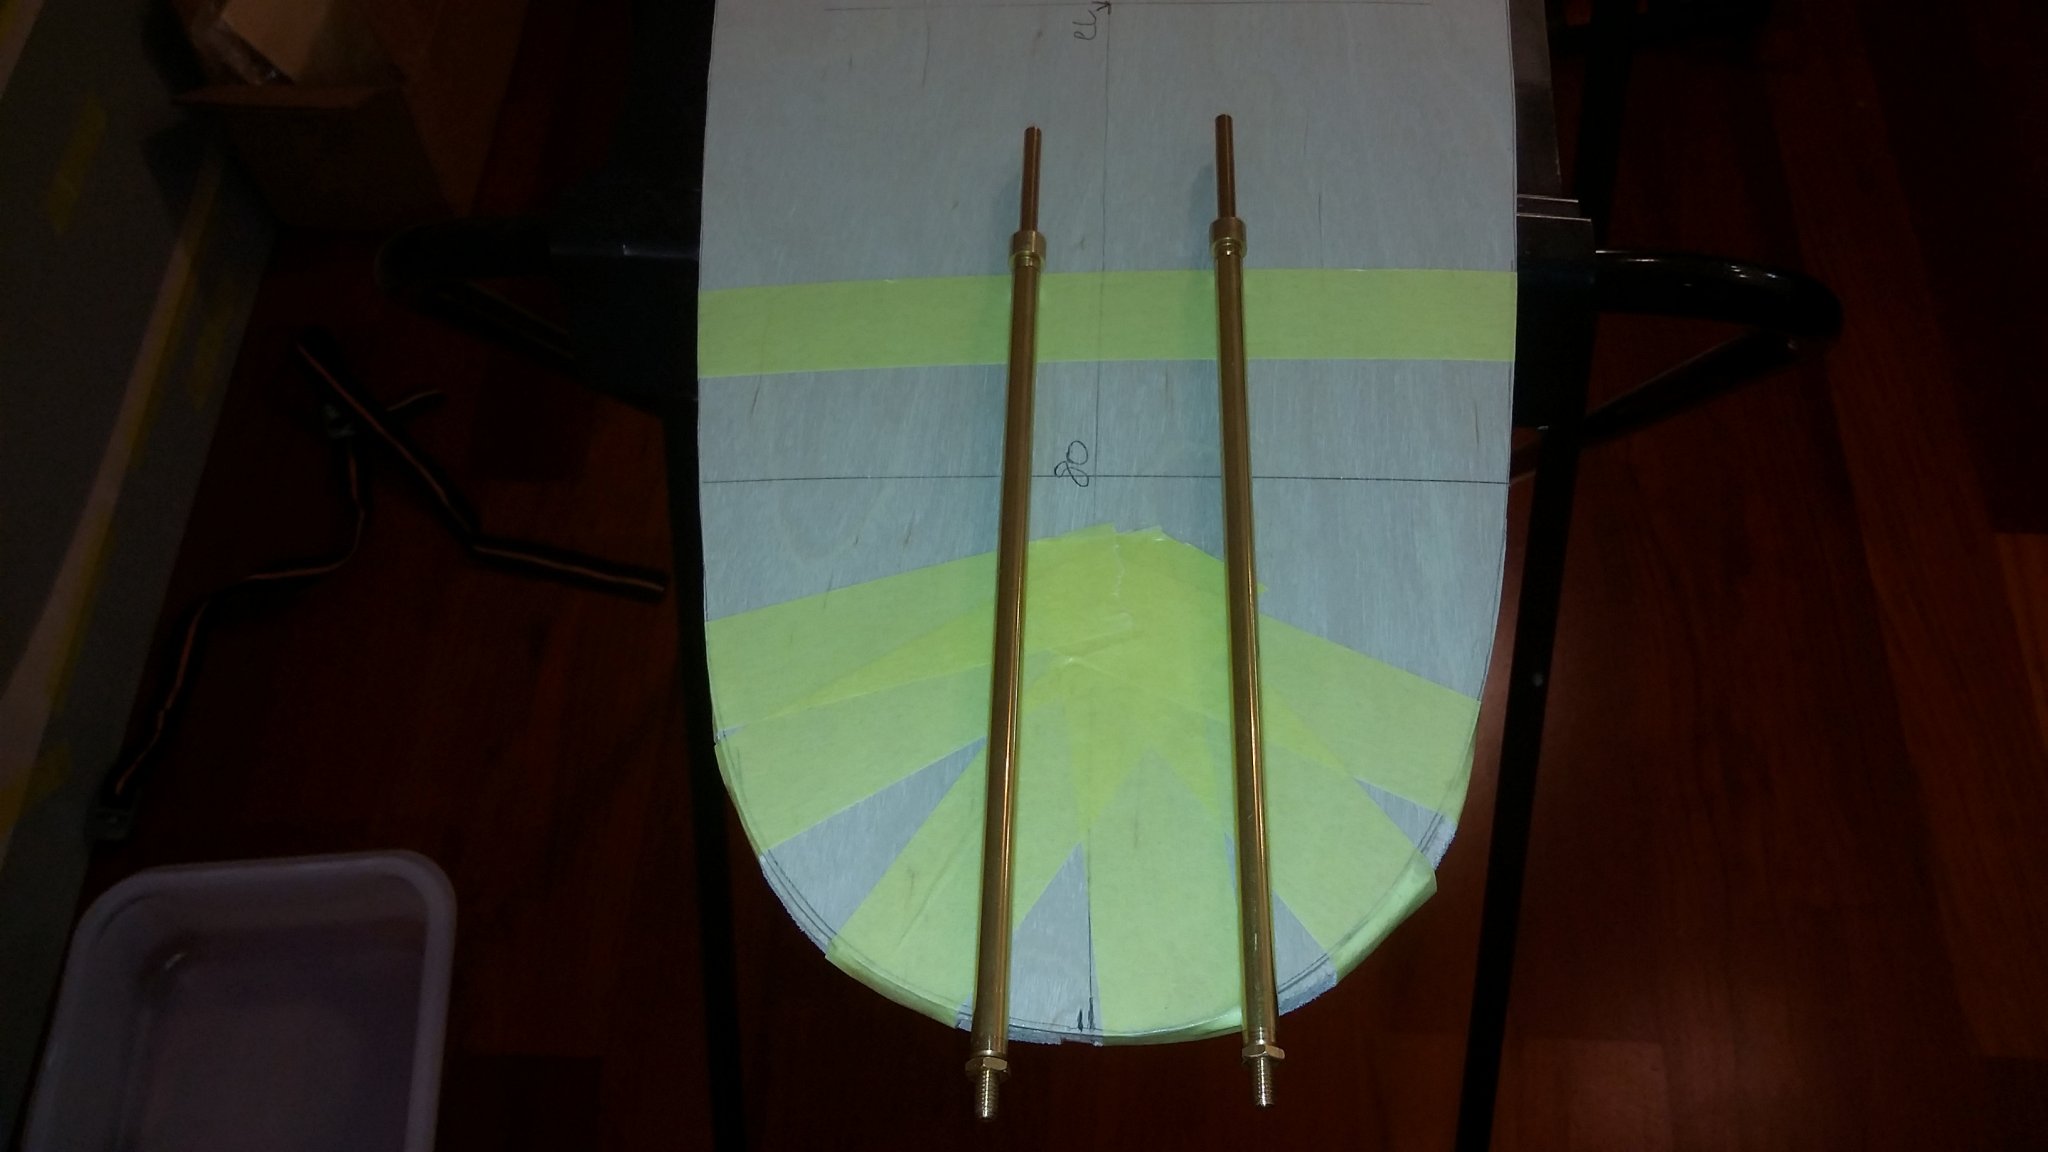
thanks for the coments and likes,
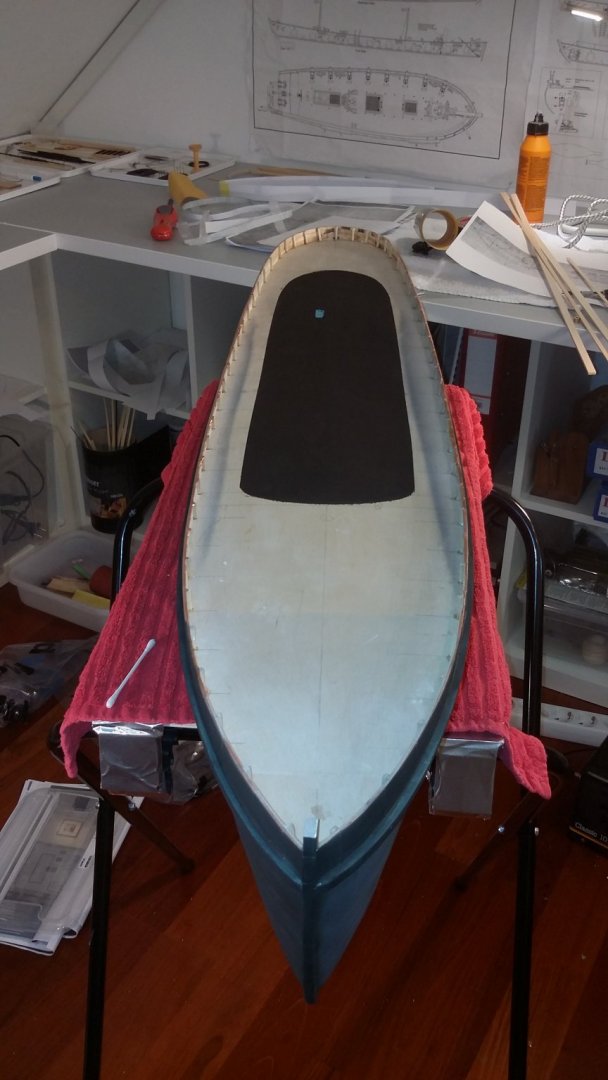
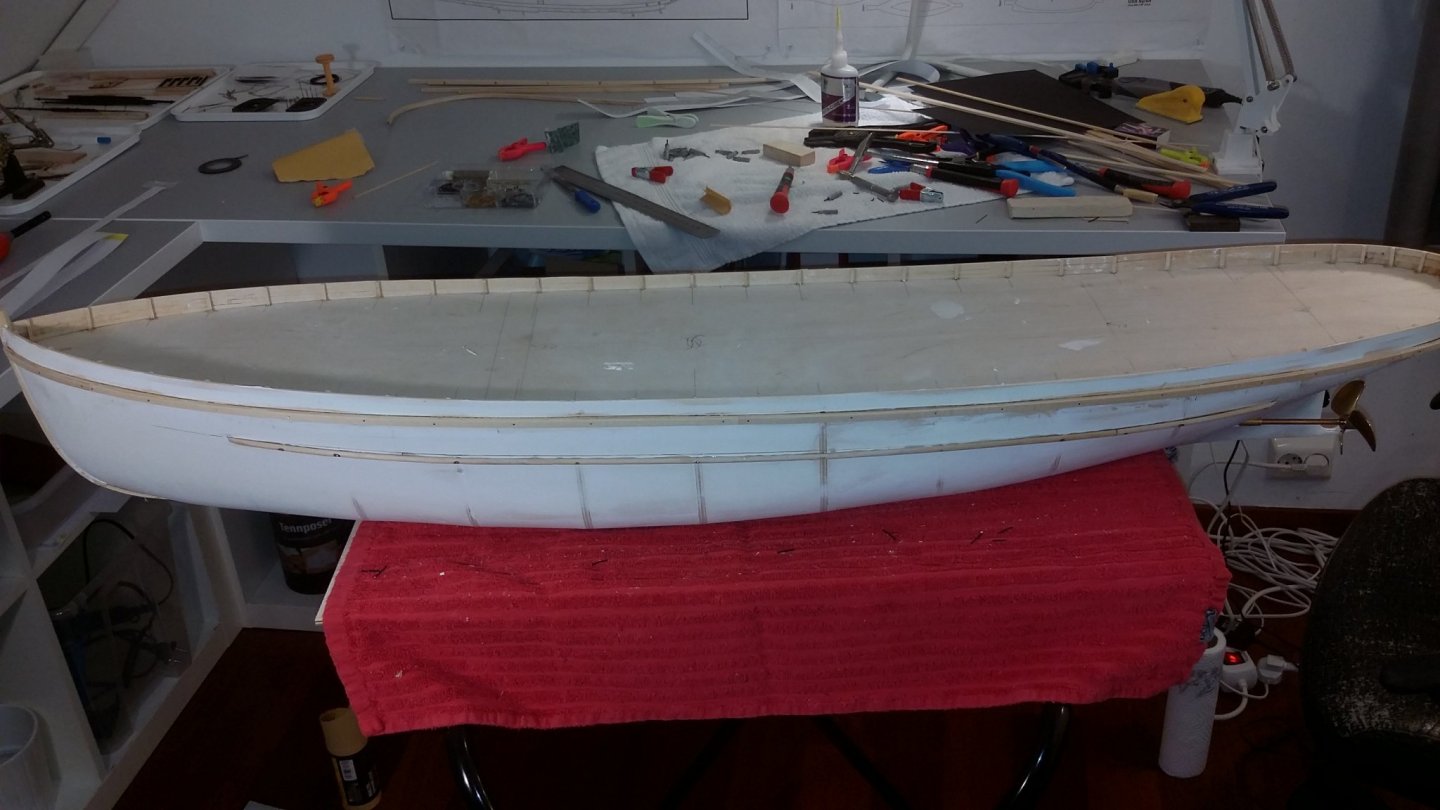
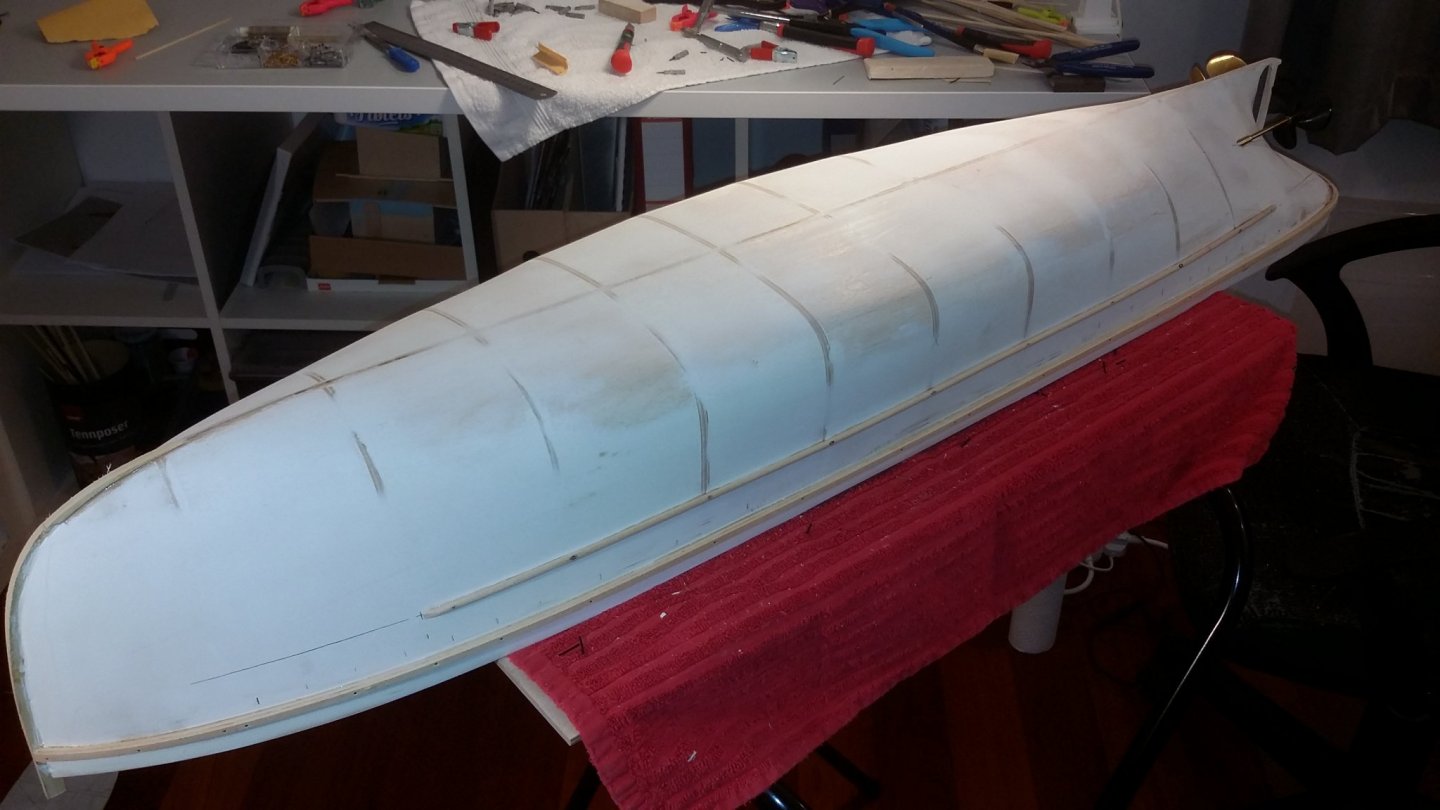
a bit more work has bin dunn, the wire for lightig is install,
i block up the hull and sanded it to shape/faired.... dusting... dusting...😲
The false dekk is glued on also but need to be sanded a bit on the edge around the hull.
propell shaft need to go in /the hole has to be drilled out .
the next task is to make the bulwark/rail, the keel has to get glued on, so after all this
the hull is going to have some layers of filler so it can be smoot before the steel plating task!
svein erik


- Blackreed, GrandpaPhil, Nirvana and 9 others
-
12
-
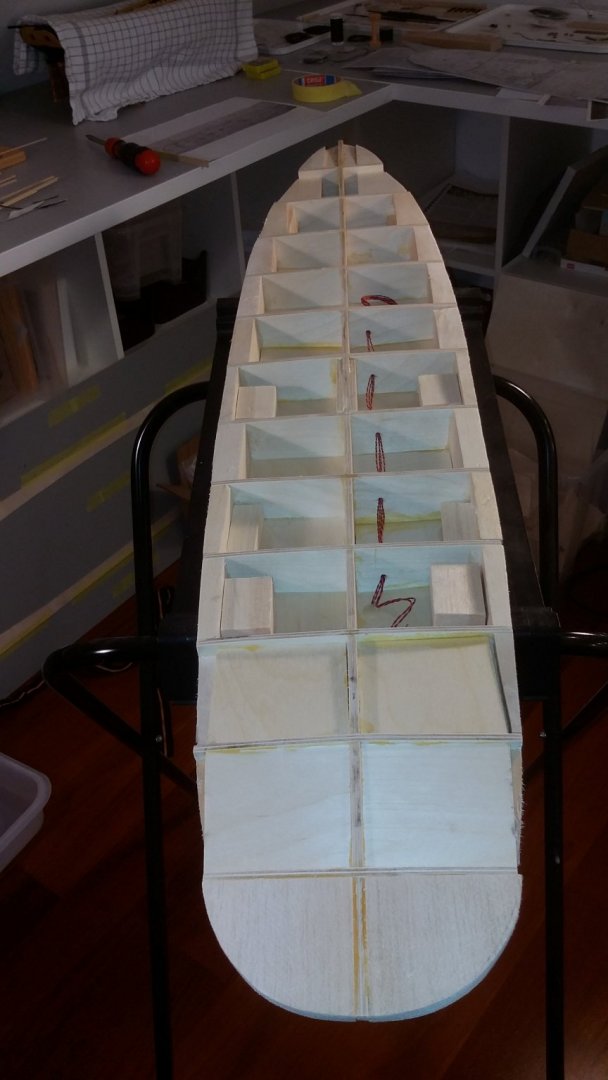
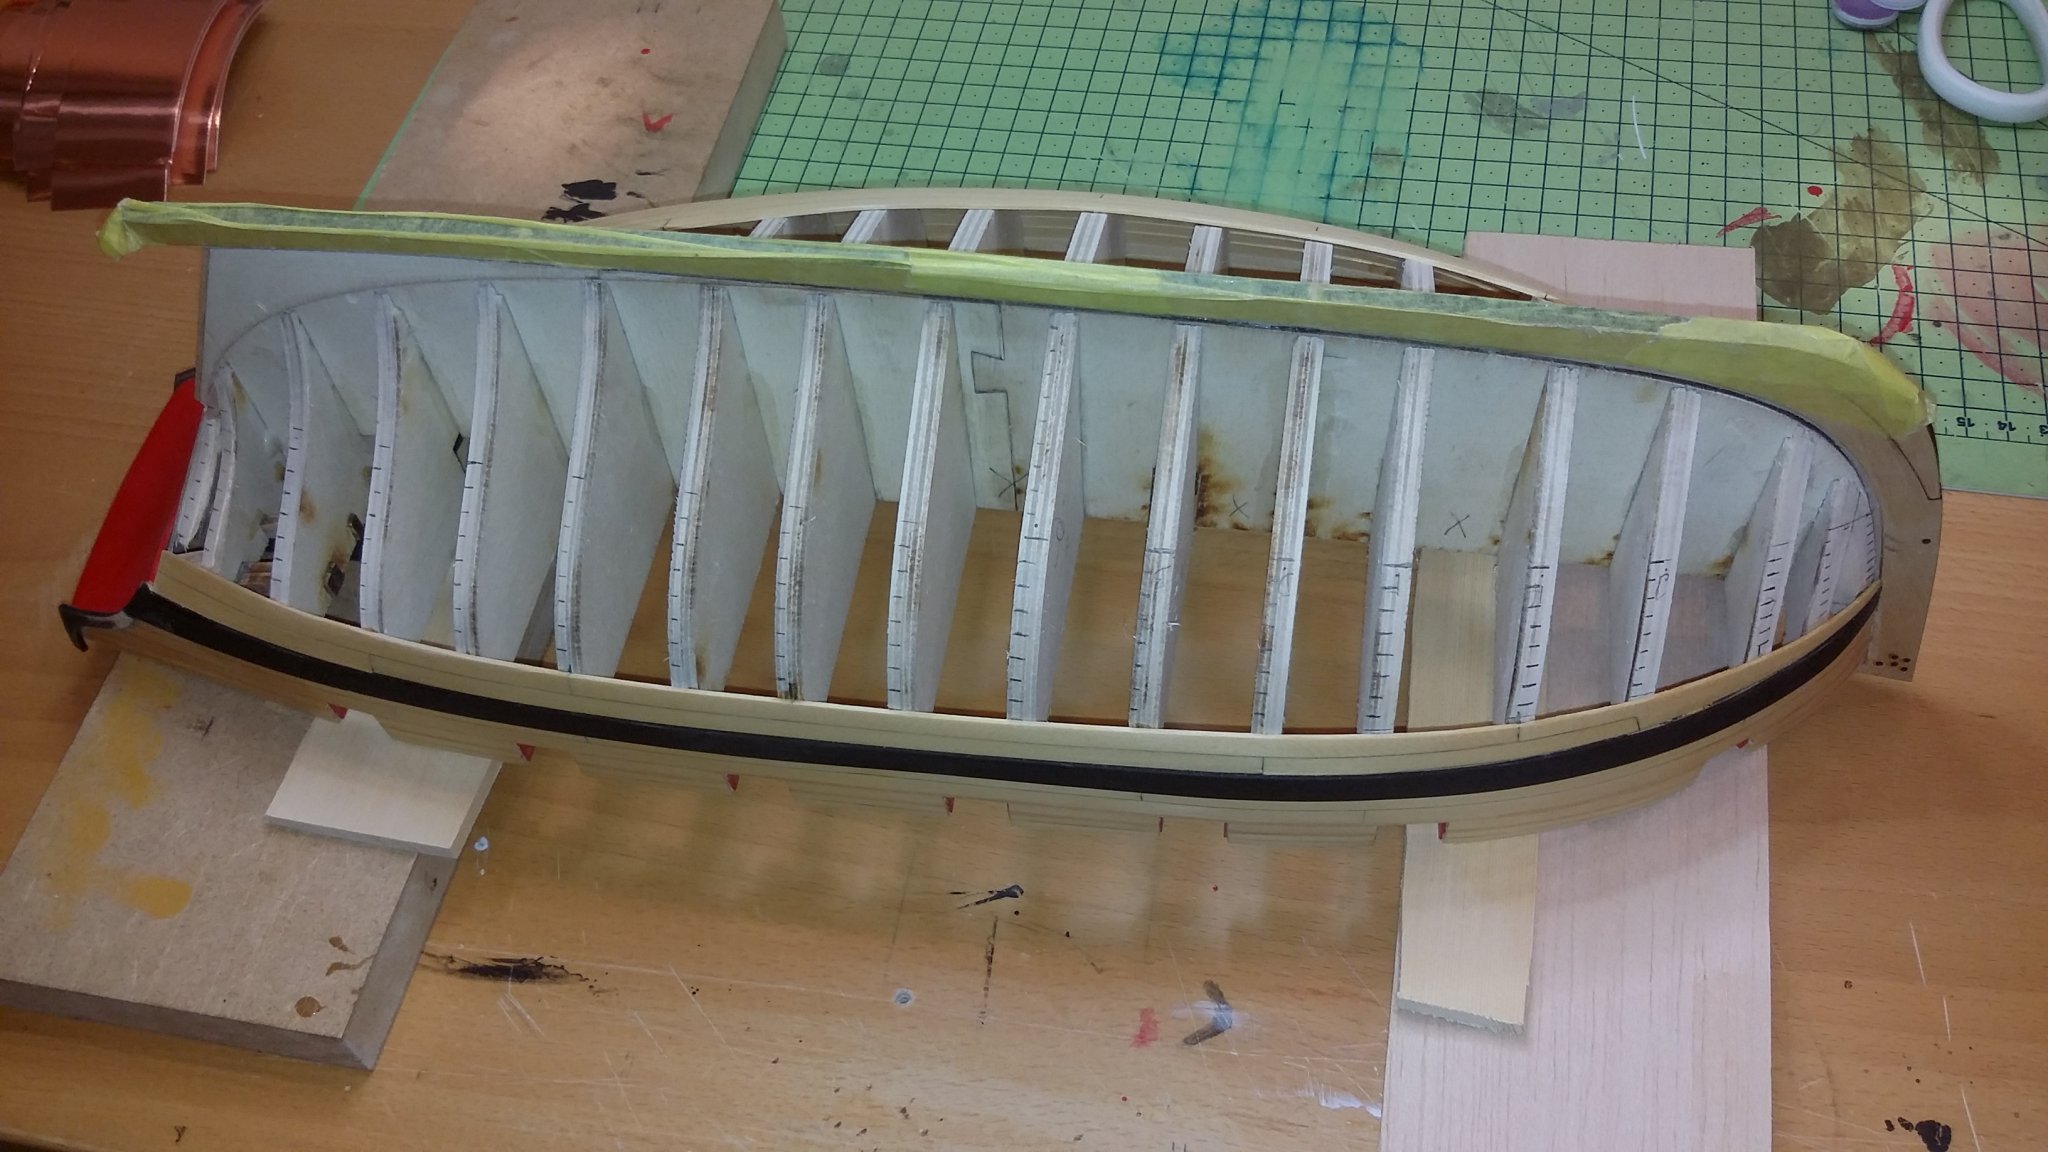
-
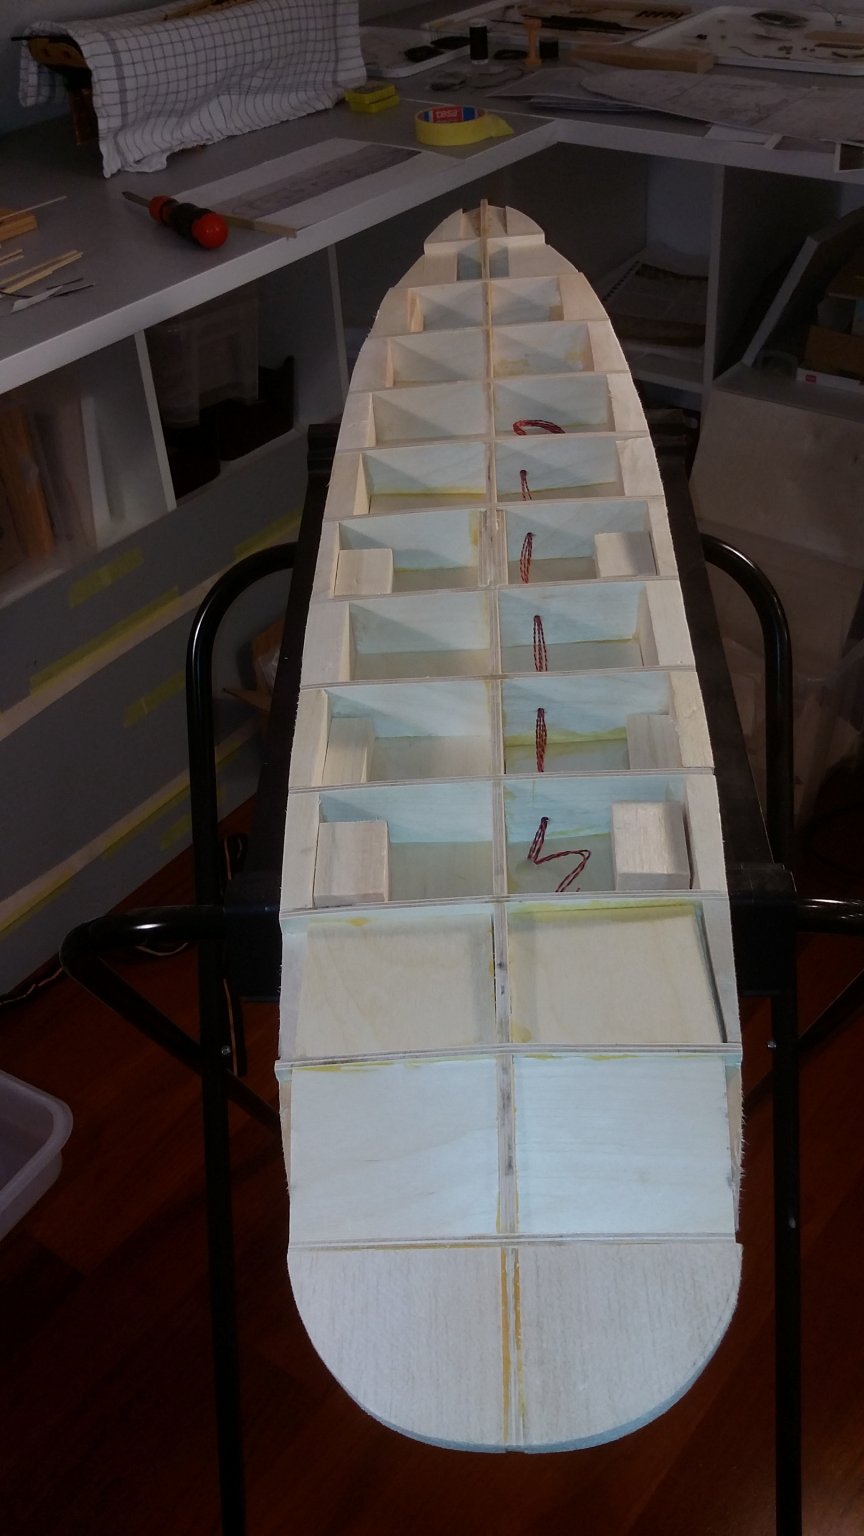
am thinking of using blocks on all the bulkheads, insted of wood planking,
i then wil cut out all the section for the steel plates using soft copper sheet , roll the rivitts on the back side then glue it on
the hull peace by peace .
i think this is going to be faster and more realistic when airbrushed,
i never try this metod and i do not know if anyone has?

- mtaylor, Mirabell61, coxswain and 6 others
-
9


HM Cutter Cheerful 1806 by oldmate - 1:48 scale - first scratch build
in - Build logs for subjects built 1801 - 1850
Posted
nicly dunn, you are on your way..
am still at planking the first belt !
svein erik