

svein erik
-
Posts
610 -
Joined
-
Last visited
Content Type
Profiles
Forums
Gallery
Events
Posts posted by svein erik
-
-
9 hours ago, Nirvana said:
Svein Erik,
Very nice build of yours, I might try the aluminium tape on my Danmark (Billings Boat), since it's will be painted white.
That hull looks amazing.
Then I have seen some other builds in the background. A Syren, 2 Longboats?, and an upcoming schnellboot Typ S-38.Are you to make the schnellboot as a remote controlled boat?
hi .... yes there are some builds in the background .... you diddent see the cheerful LOL,
thanks for the coments by the way, i have a build log for the schnellboot and this prodjekt was not to be a RC model
yust for the fun of it , but itsgoing to be a nice model ether way 😊
svein erik
- FriedClams and mtaylor
-
 2
2
-
-
On 7/7/2020 at 8:06 AM, G.L. said:
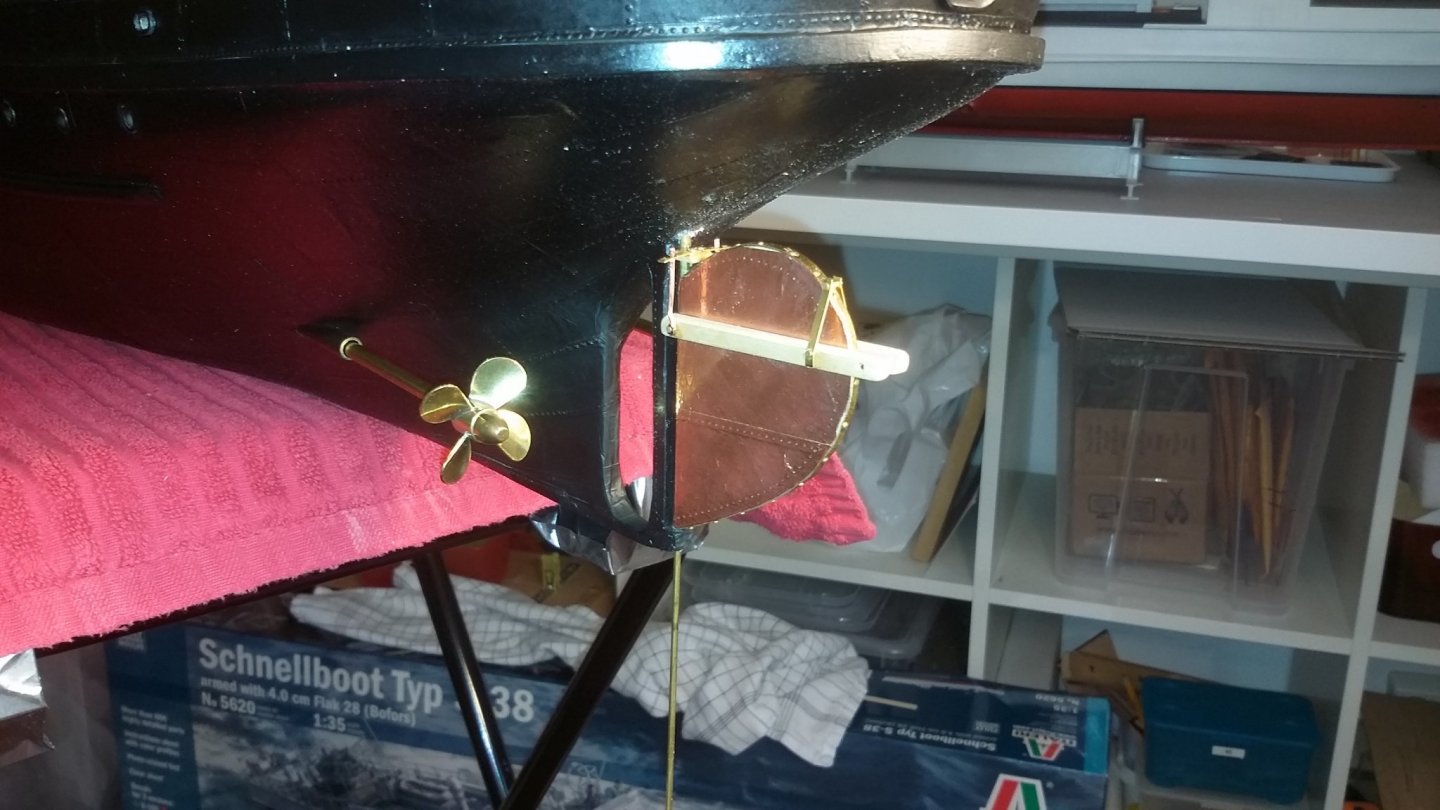
Very nice rudder, Erik. What is the function of the wooden beams at both sides of the rudder?
hi... wel... i mad the rudder from photo because there is not a plan for this ,
after i finish it i was in contakt with chip calamoaro from Arizona
the wood on the rudder is a little to short , i can see in the bad poto that this is fastend to the stem and used to secure the rudder when the ship was buidt.
so i can do it ether way yust for the detajl , i only have to make the wood longer so it can be fixt to the stem or re make it with out
this detajl . i yust find a photo of this to .
svein erik
-
thanks for the likes....
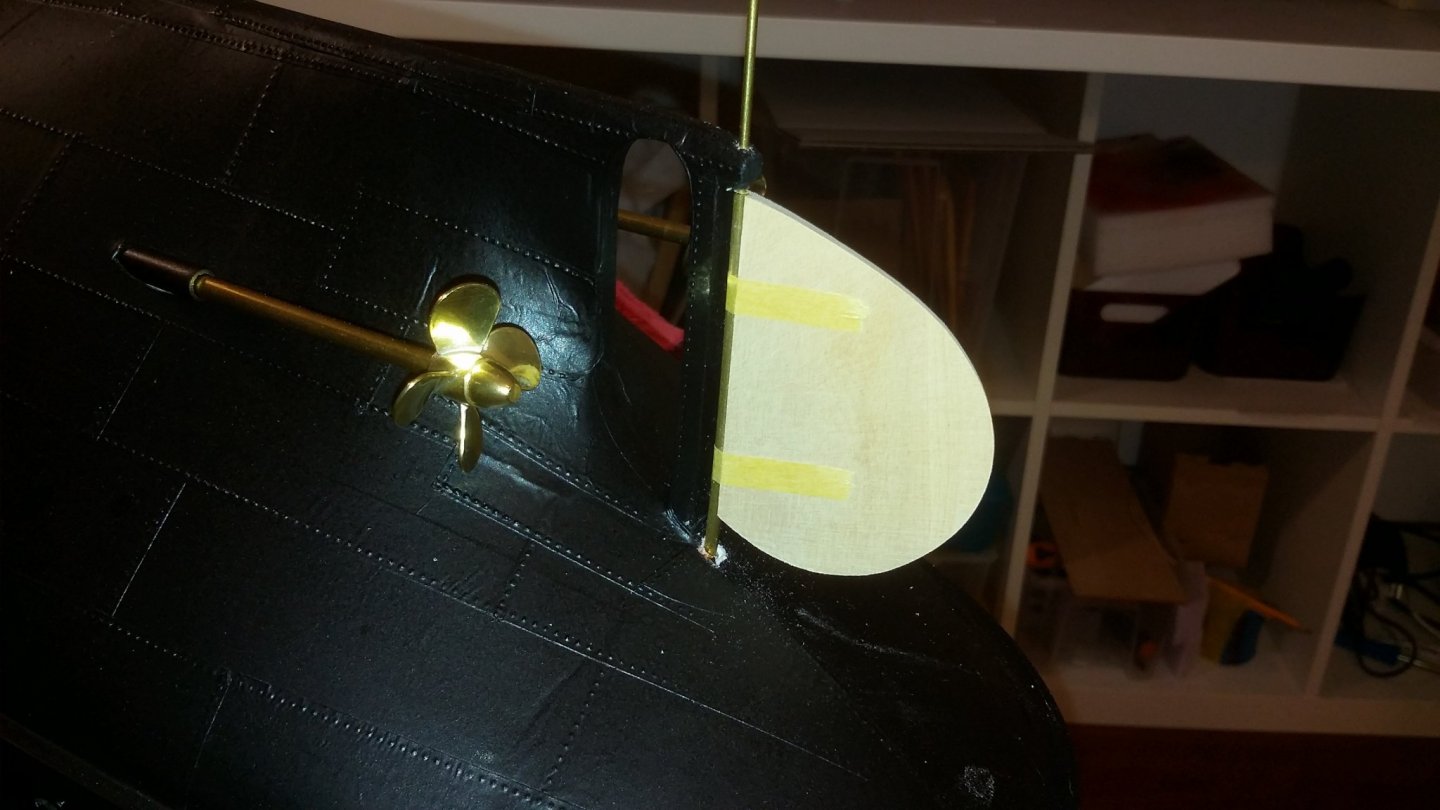
here is my versjon of the rudder, made using photo so it may not look like the orginal , but close as i can get it😊
the rudder is not paintet yet.
svein erik

- tarbrush, coxswain, Vladimir_Wairoa and 4 others
-
7
-
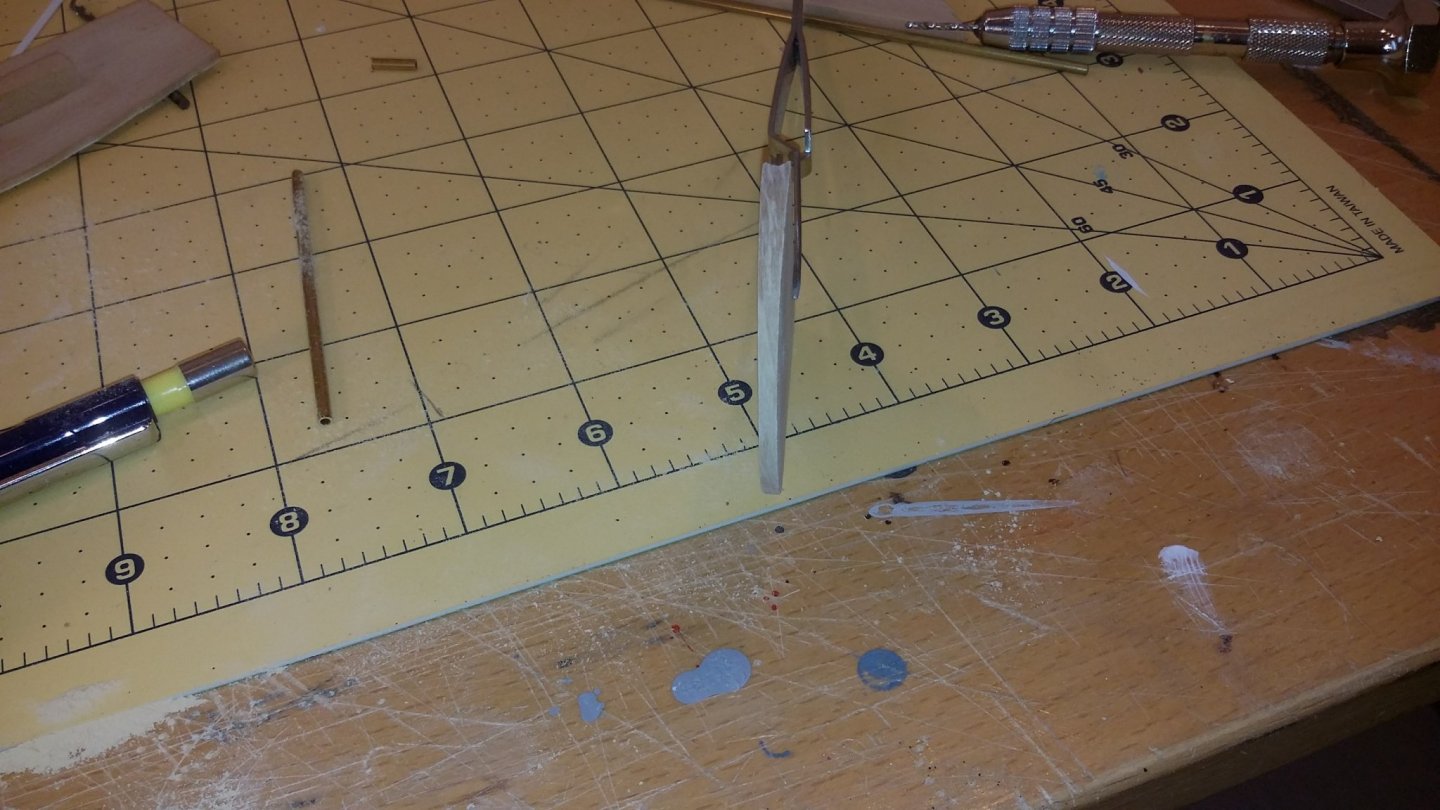
started making the rudder, the size i do have on drawings but thats it ,
so the rest i have to make using photo and my eys so it can get as cloes as the orginal .
its made og wood ( boxwood) whit some rod and it wil have some protected plates etc , this is yust the start!
svein erik


- FriedClams, mtaylor, KeithAug and 6 others
-
9
-
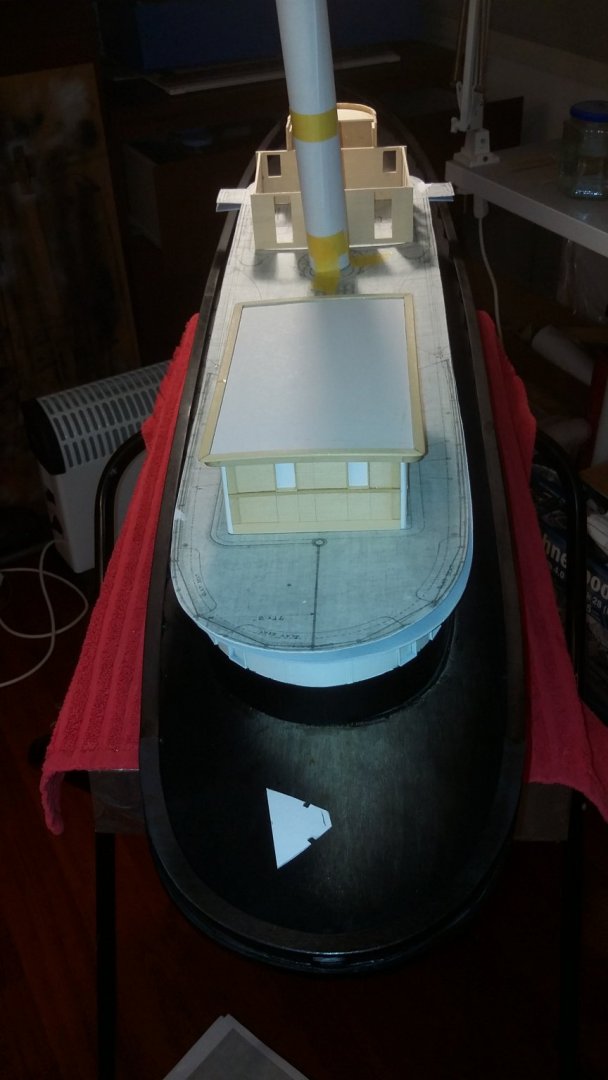
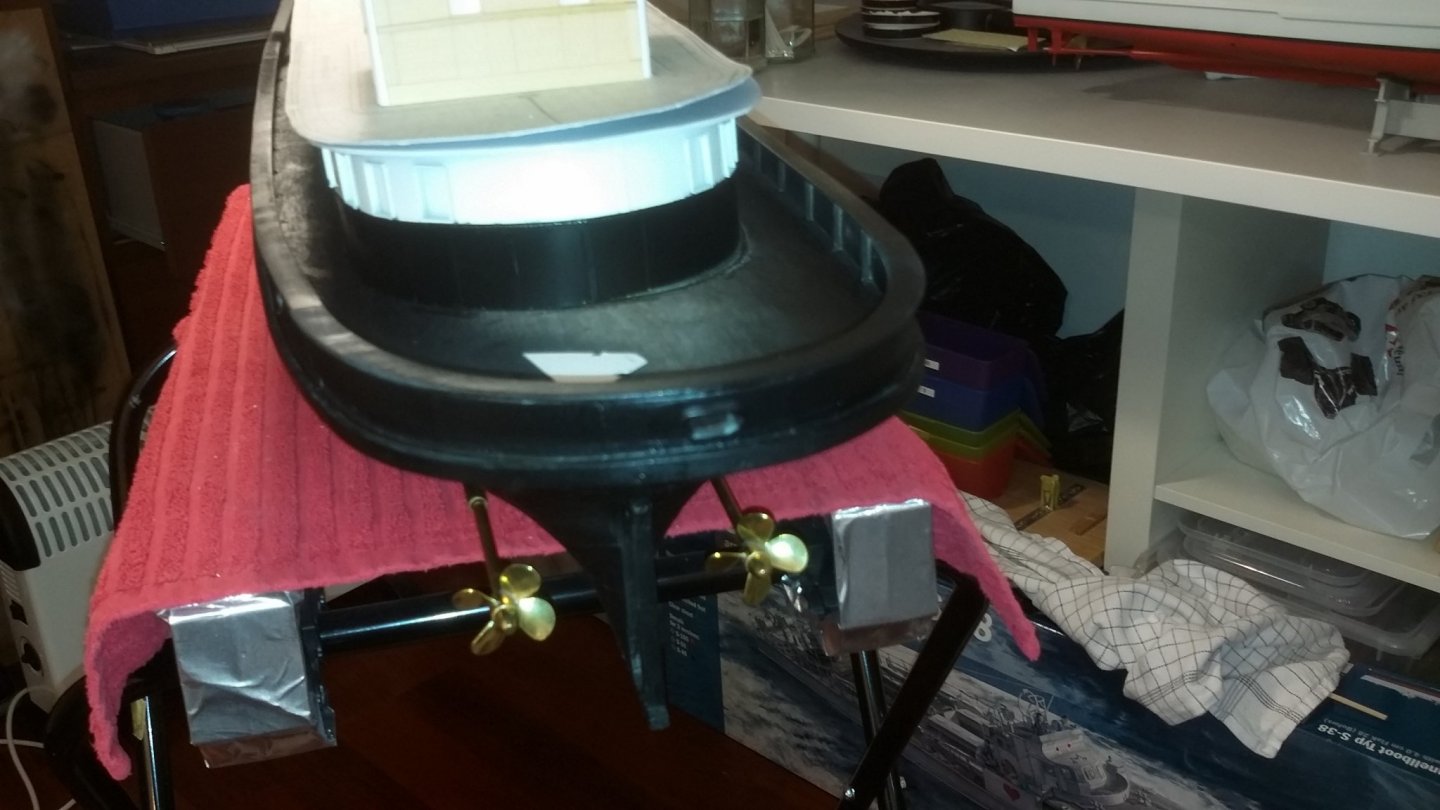
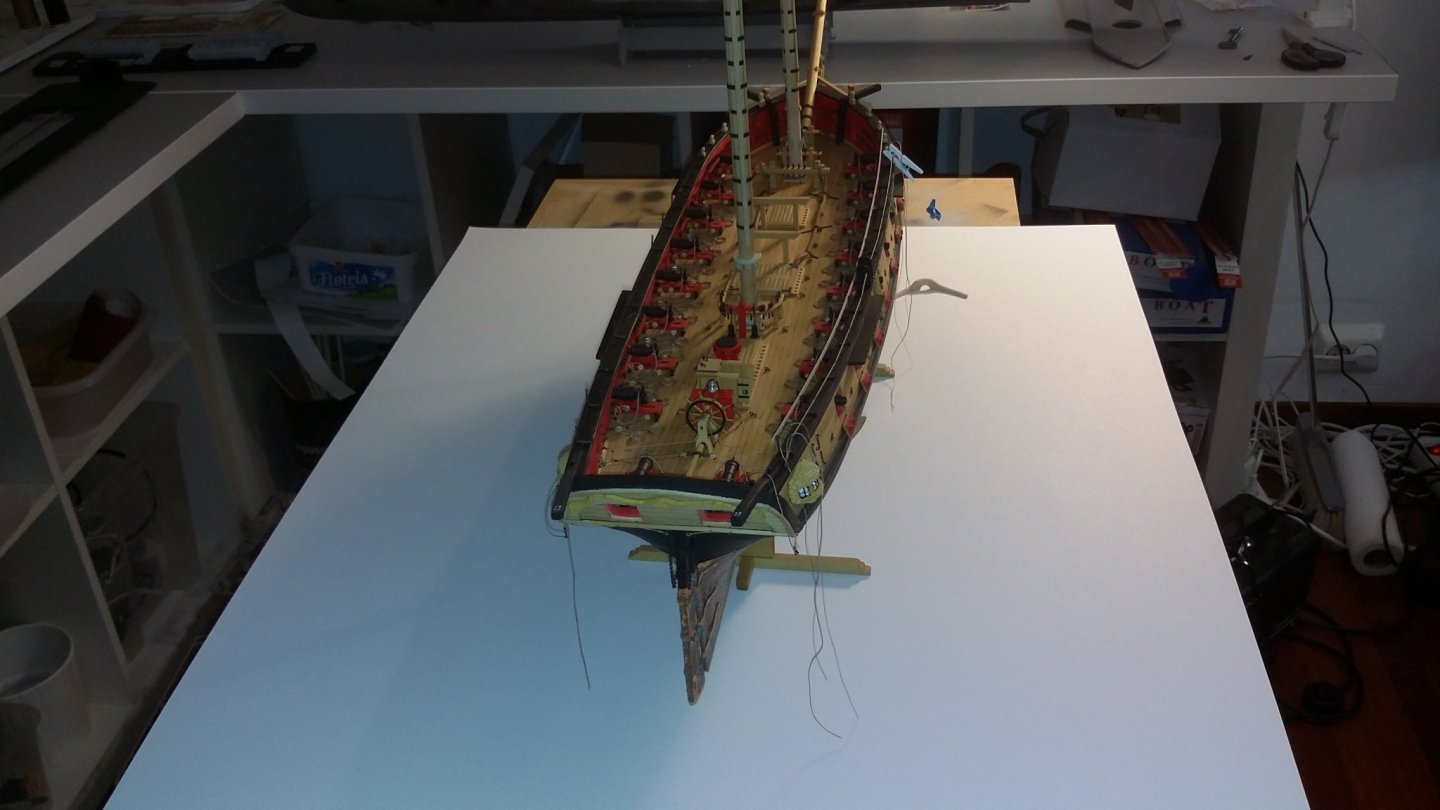
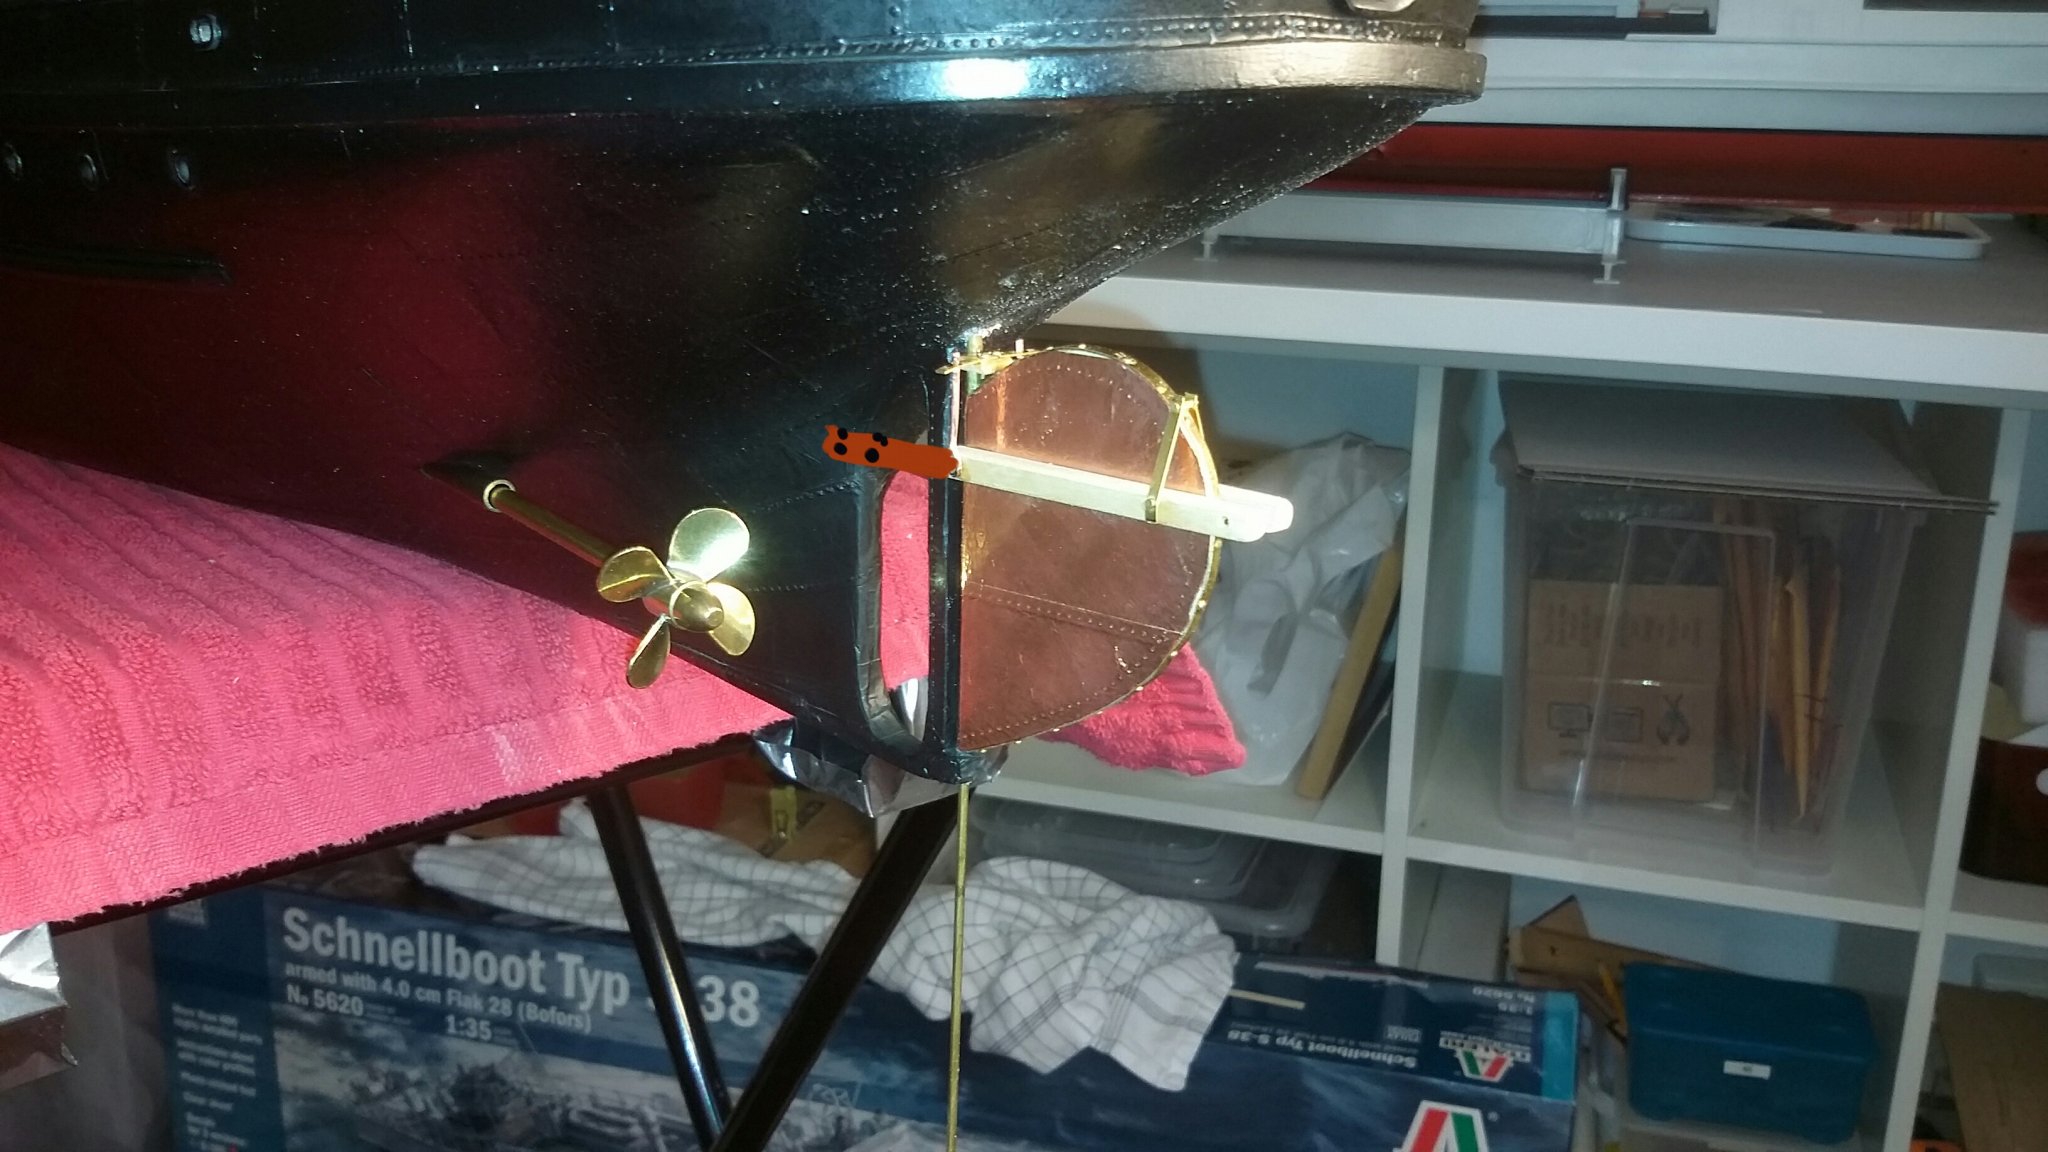
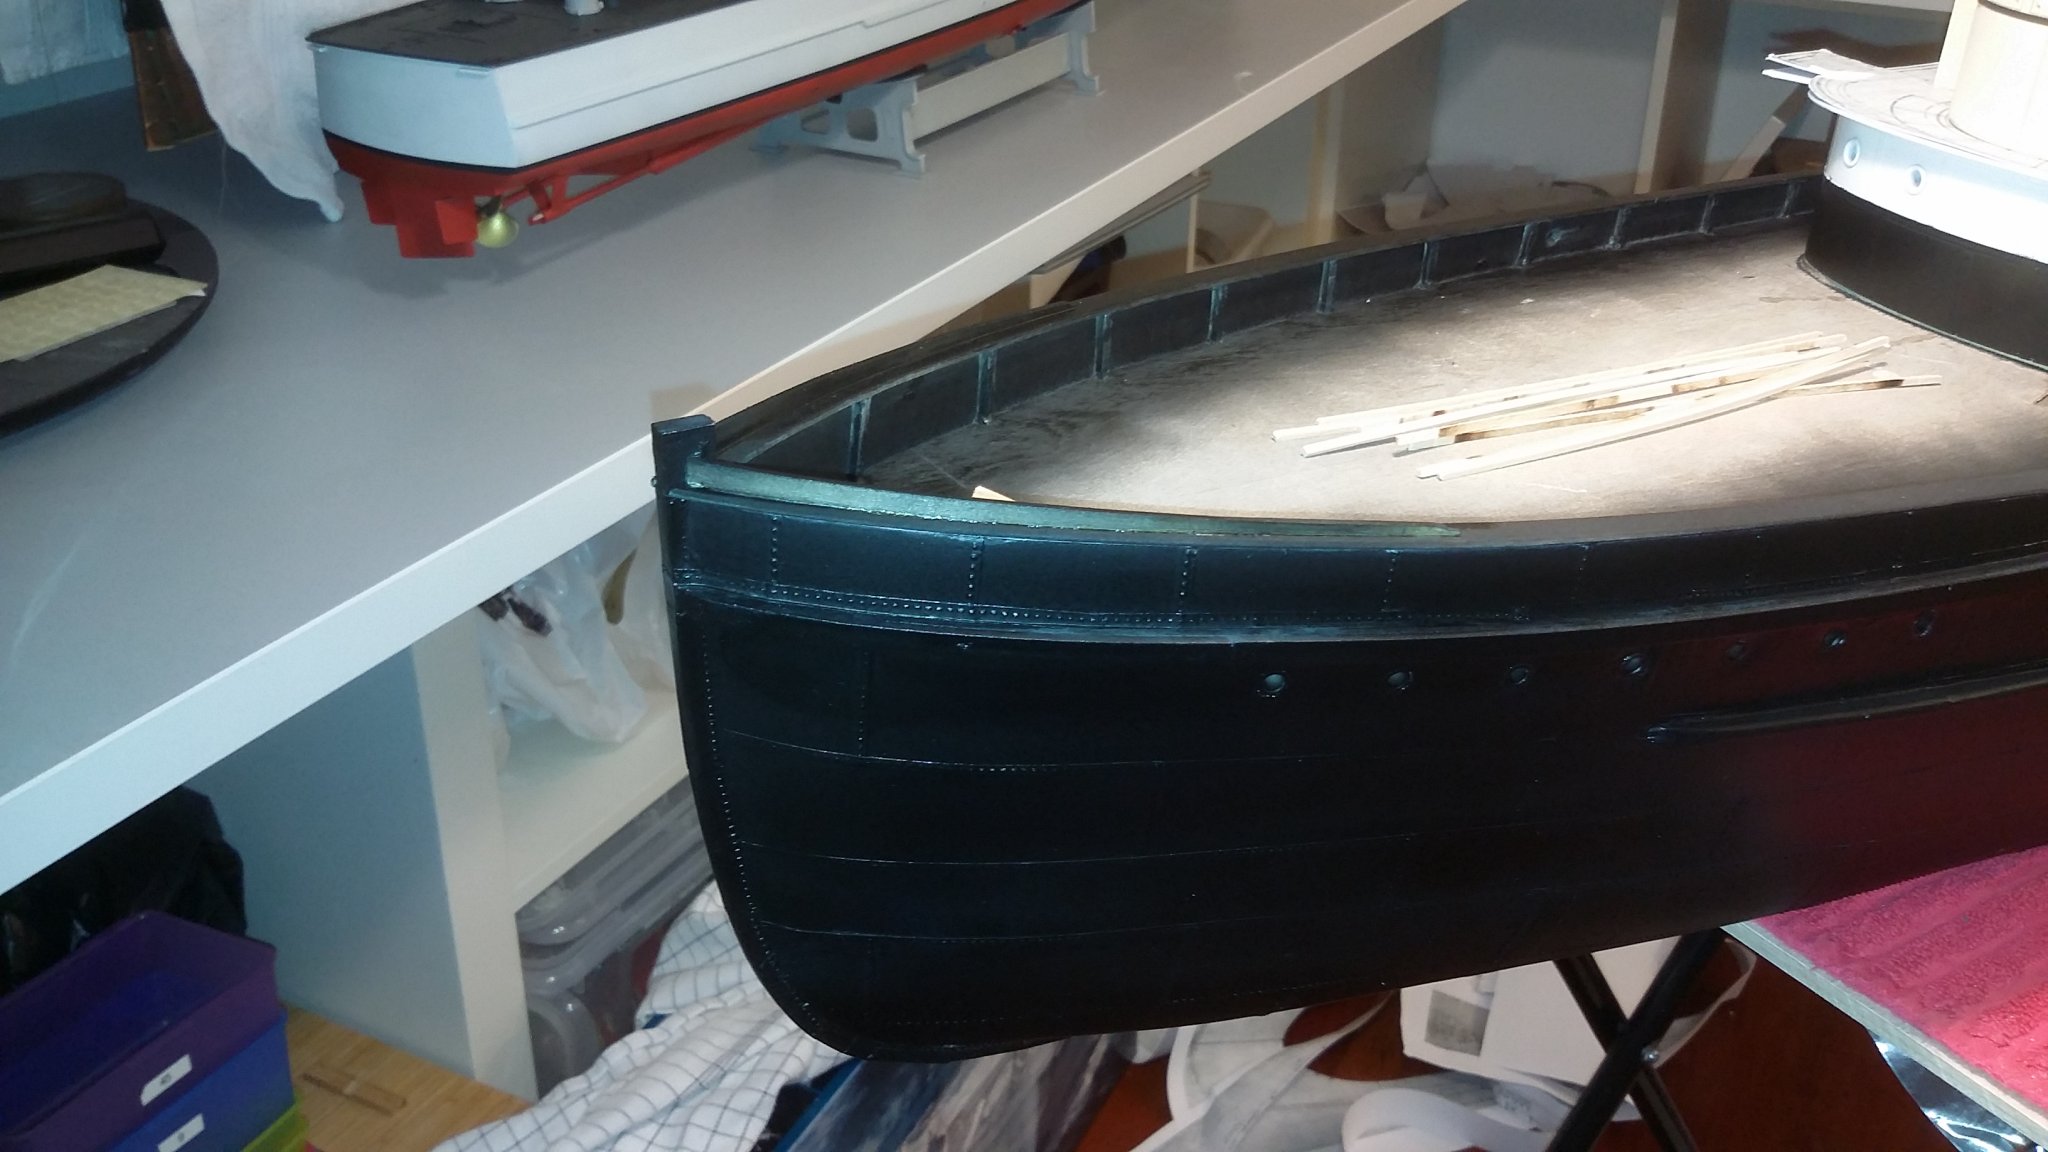
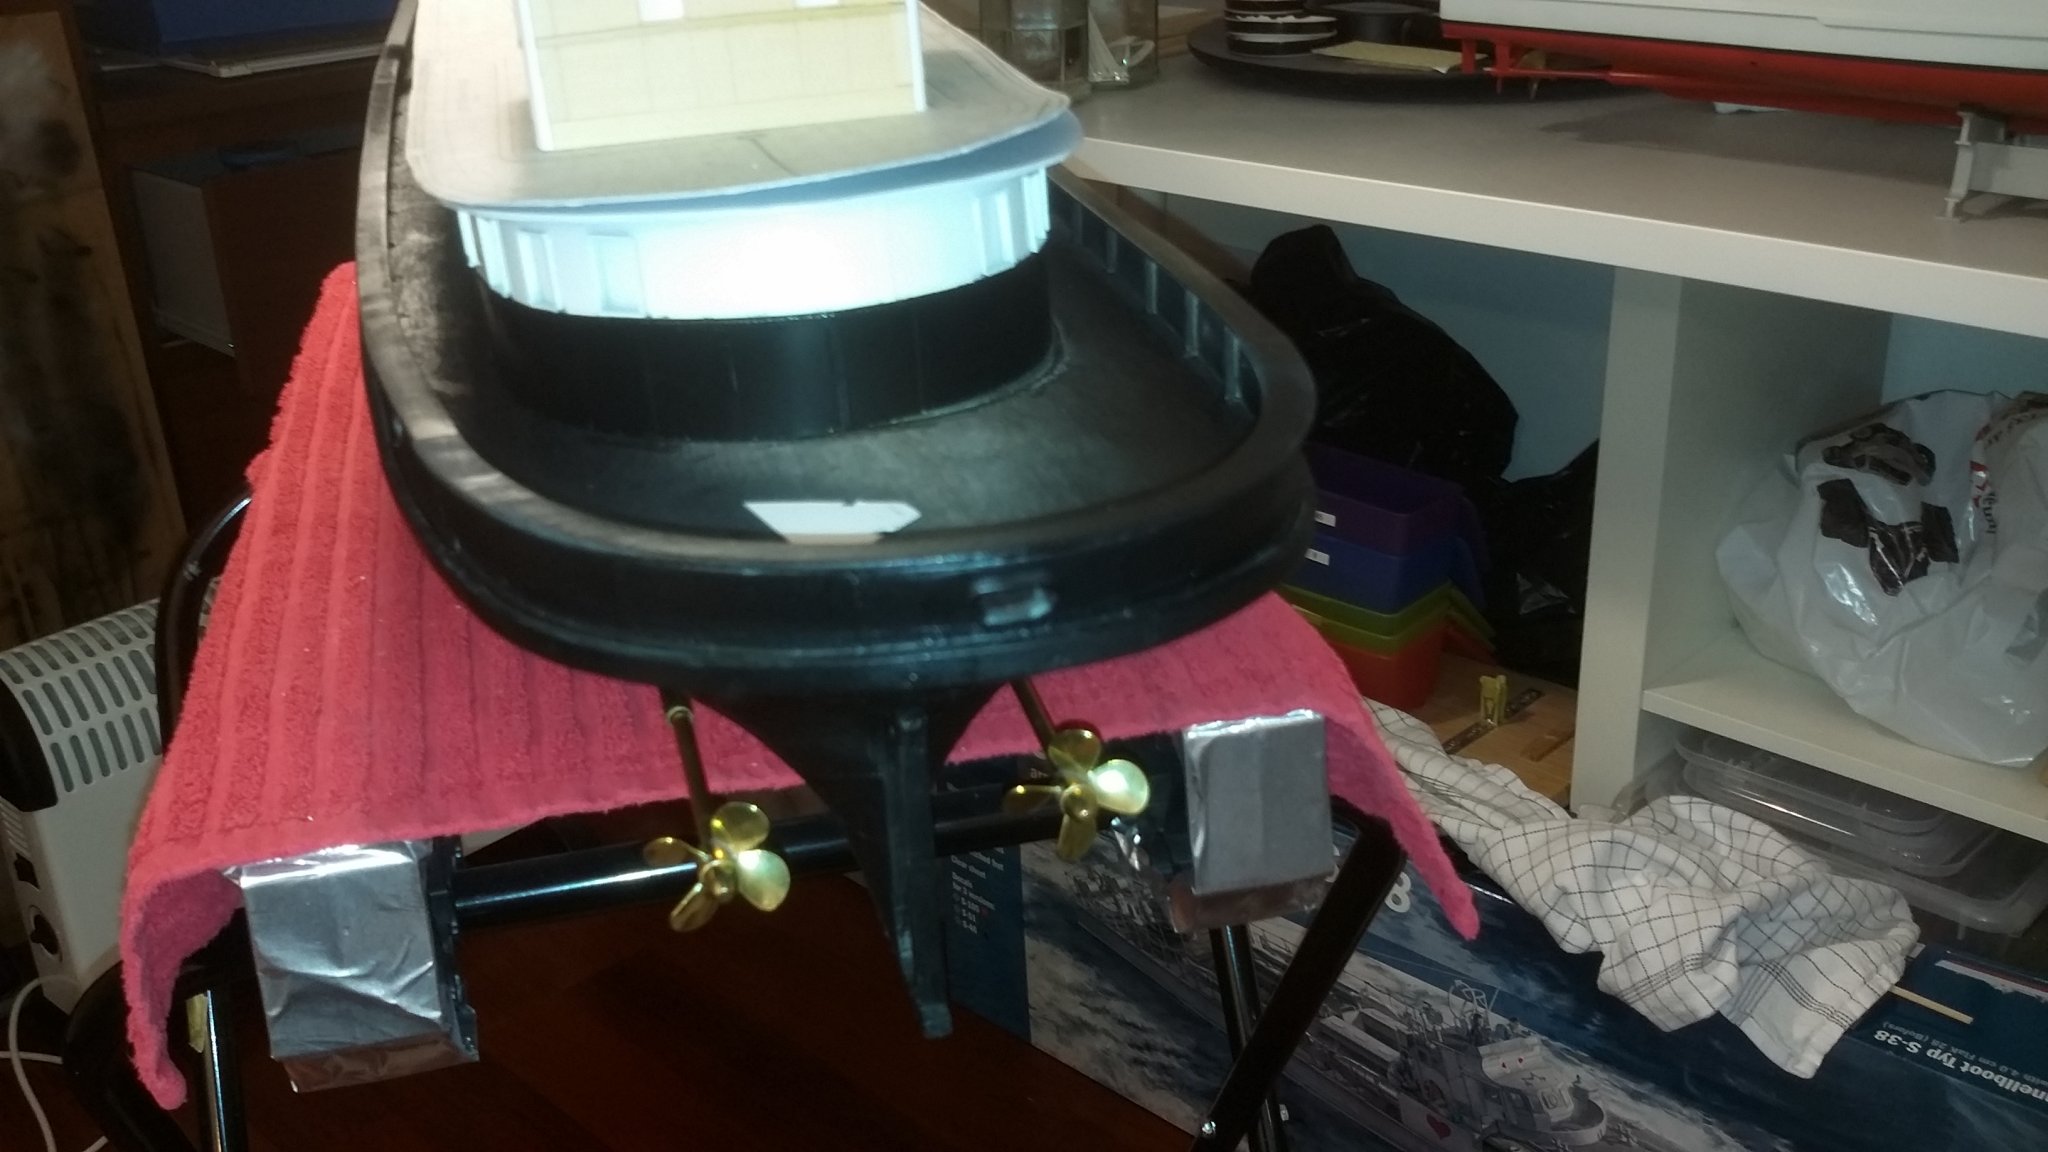
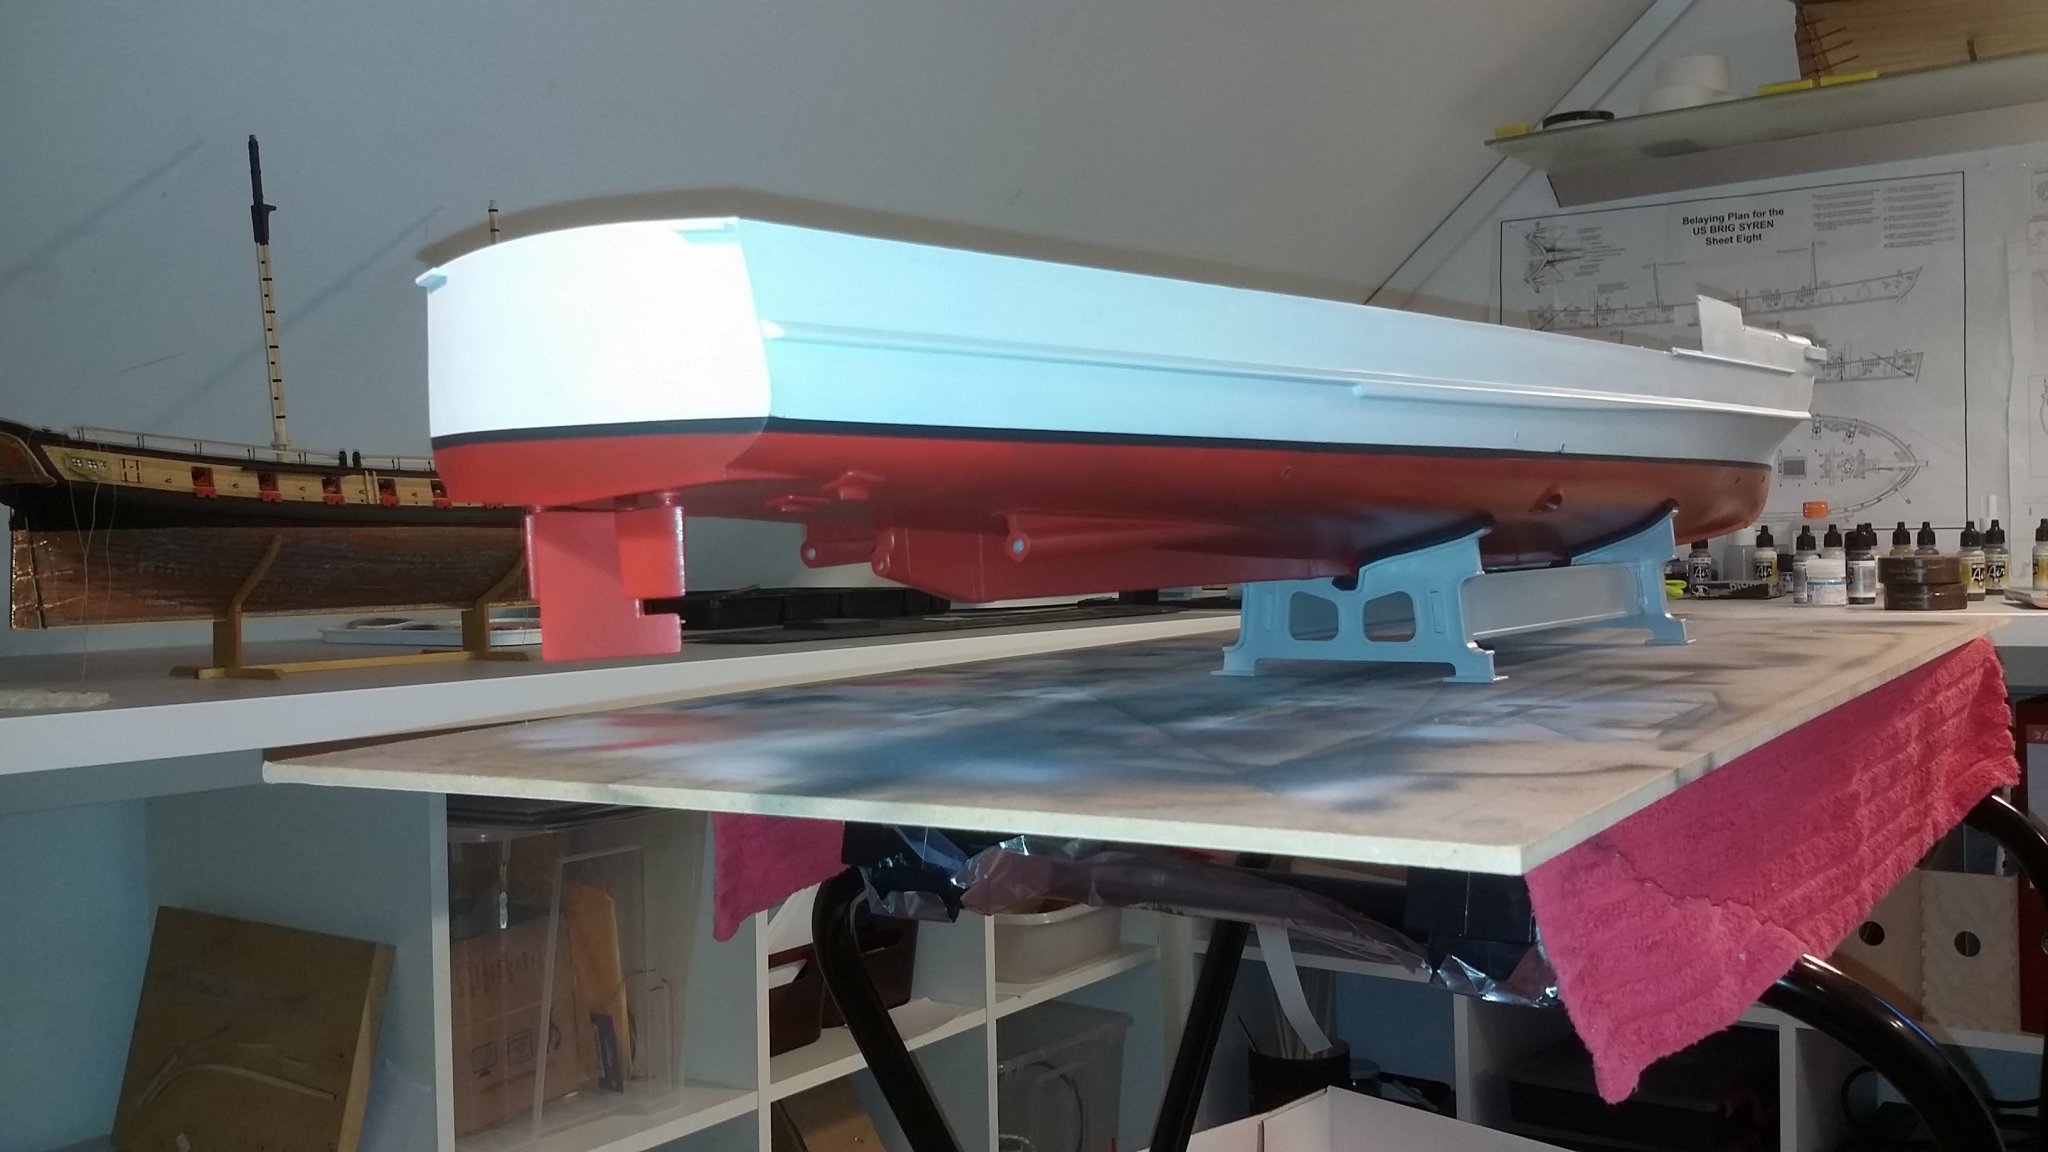
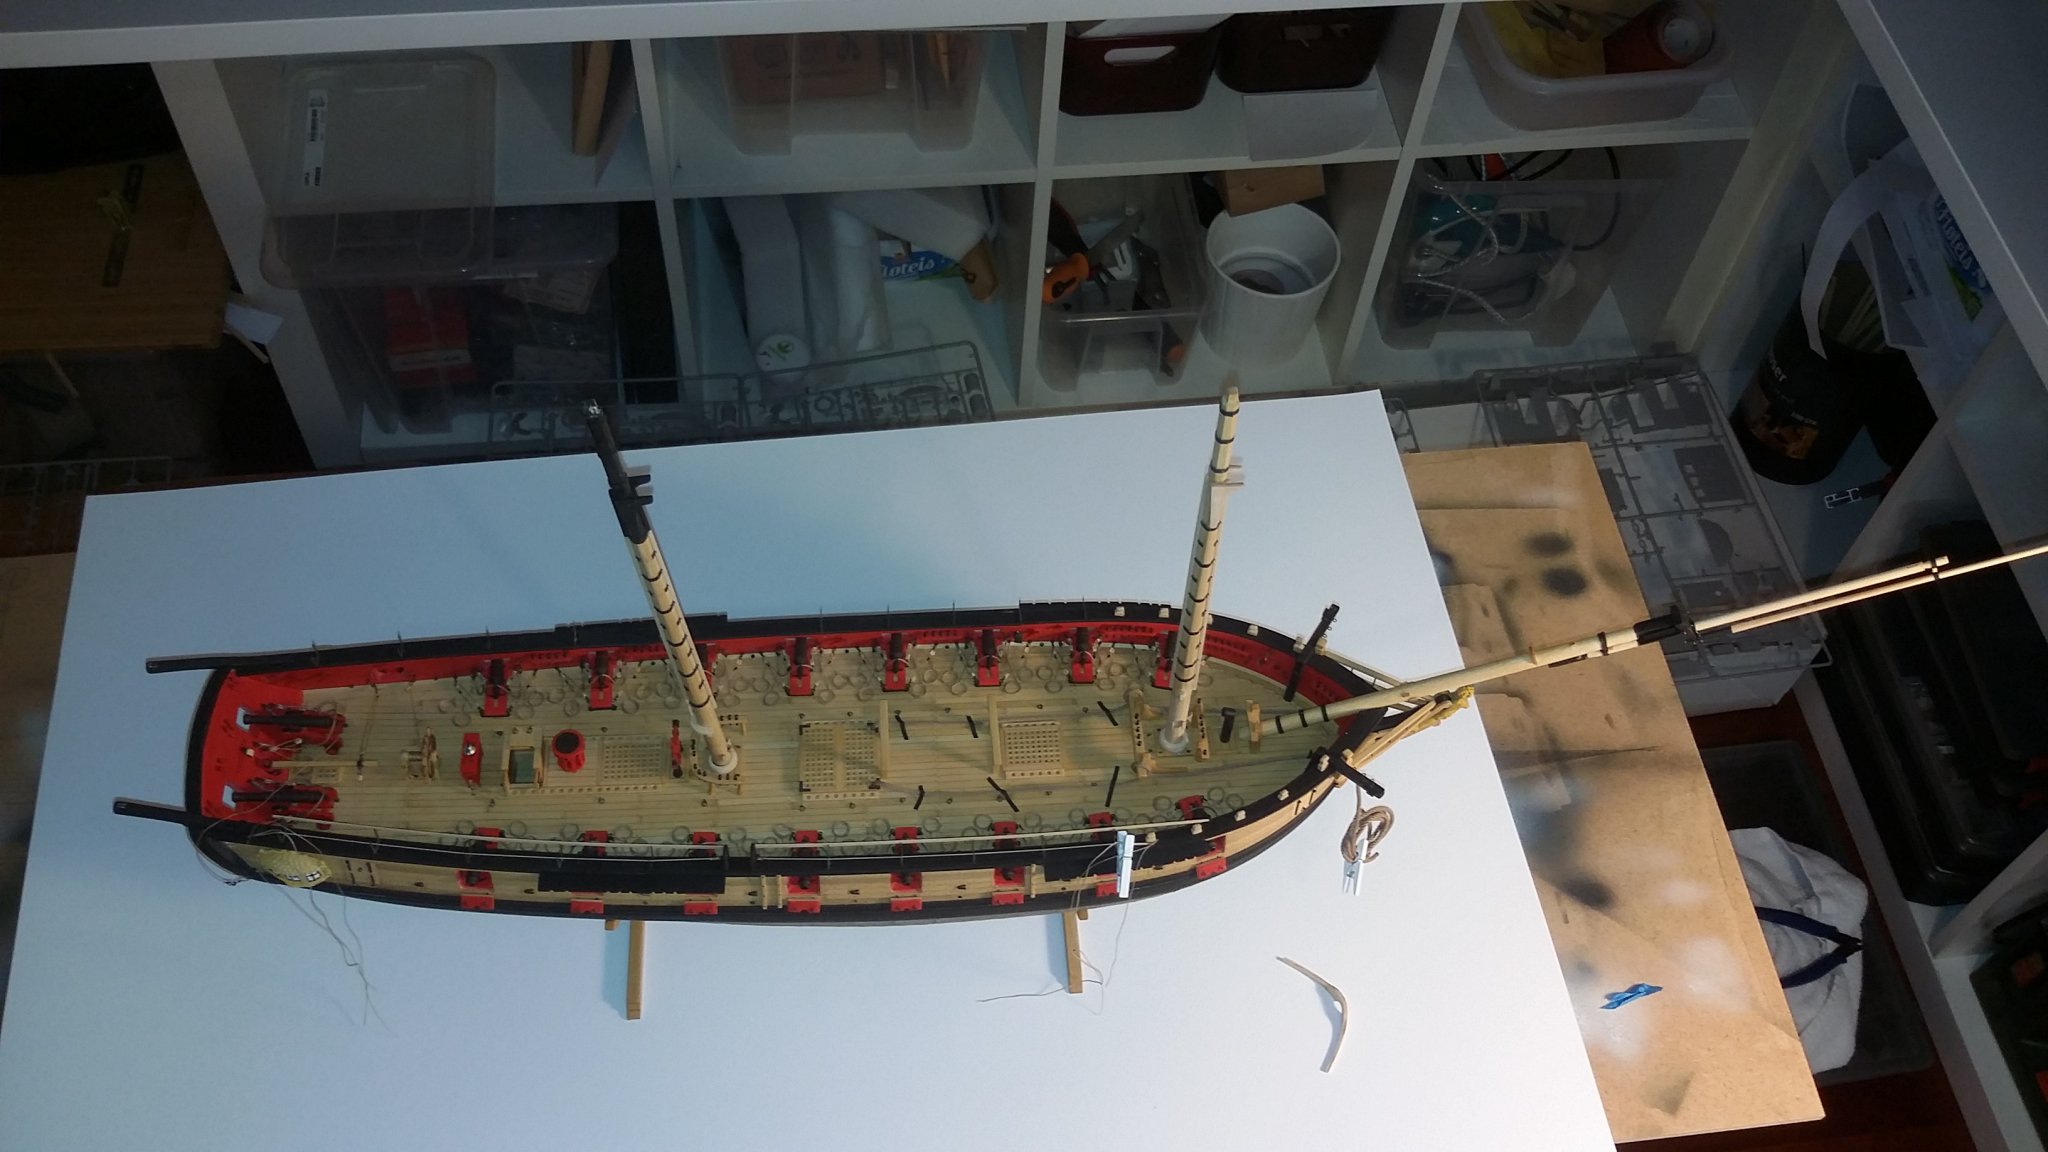
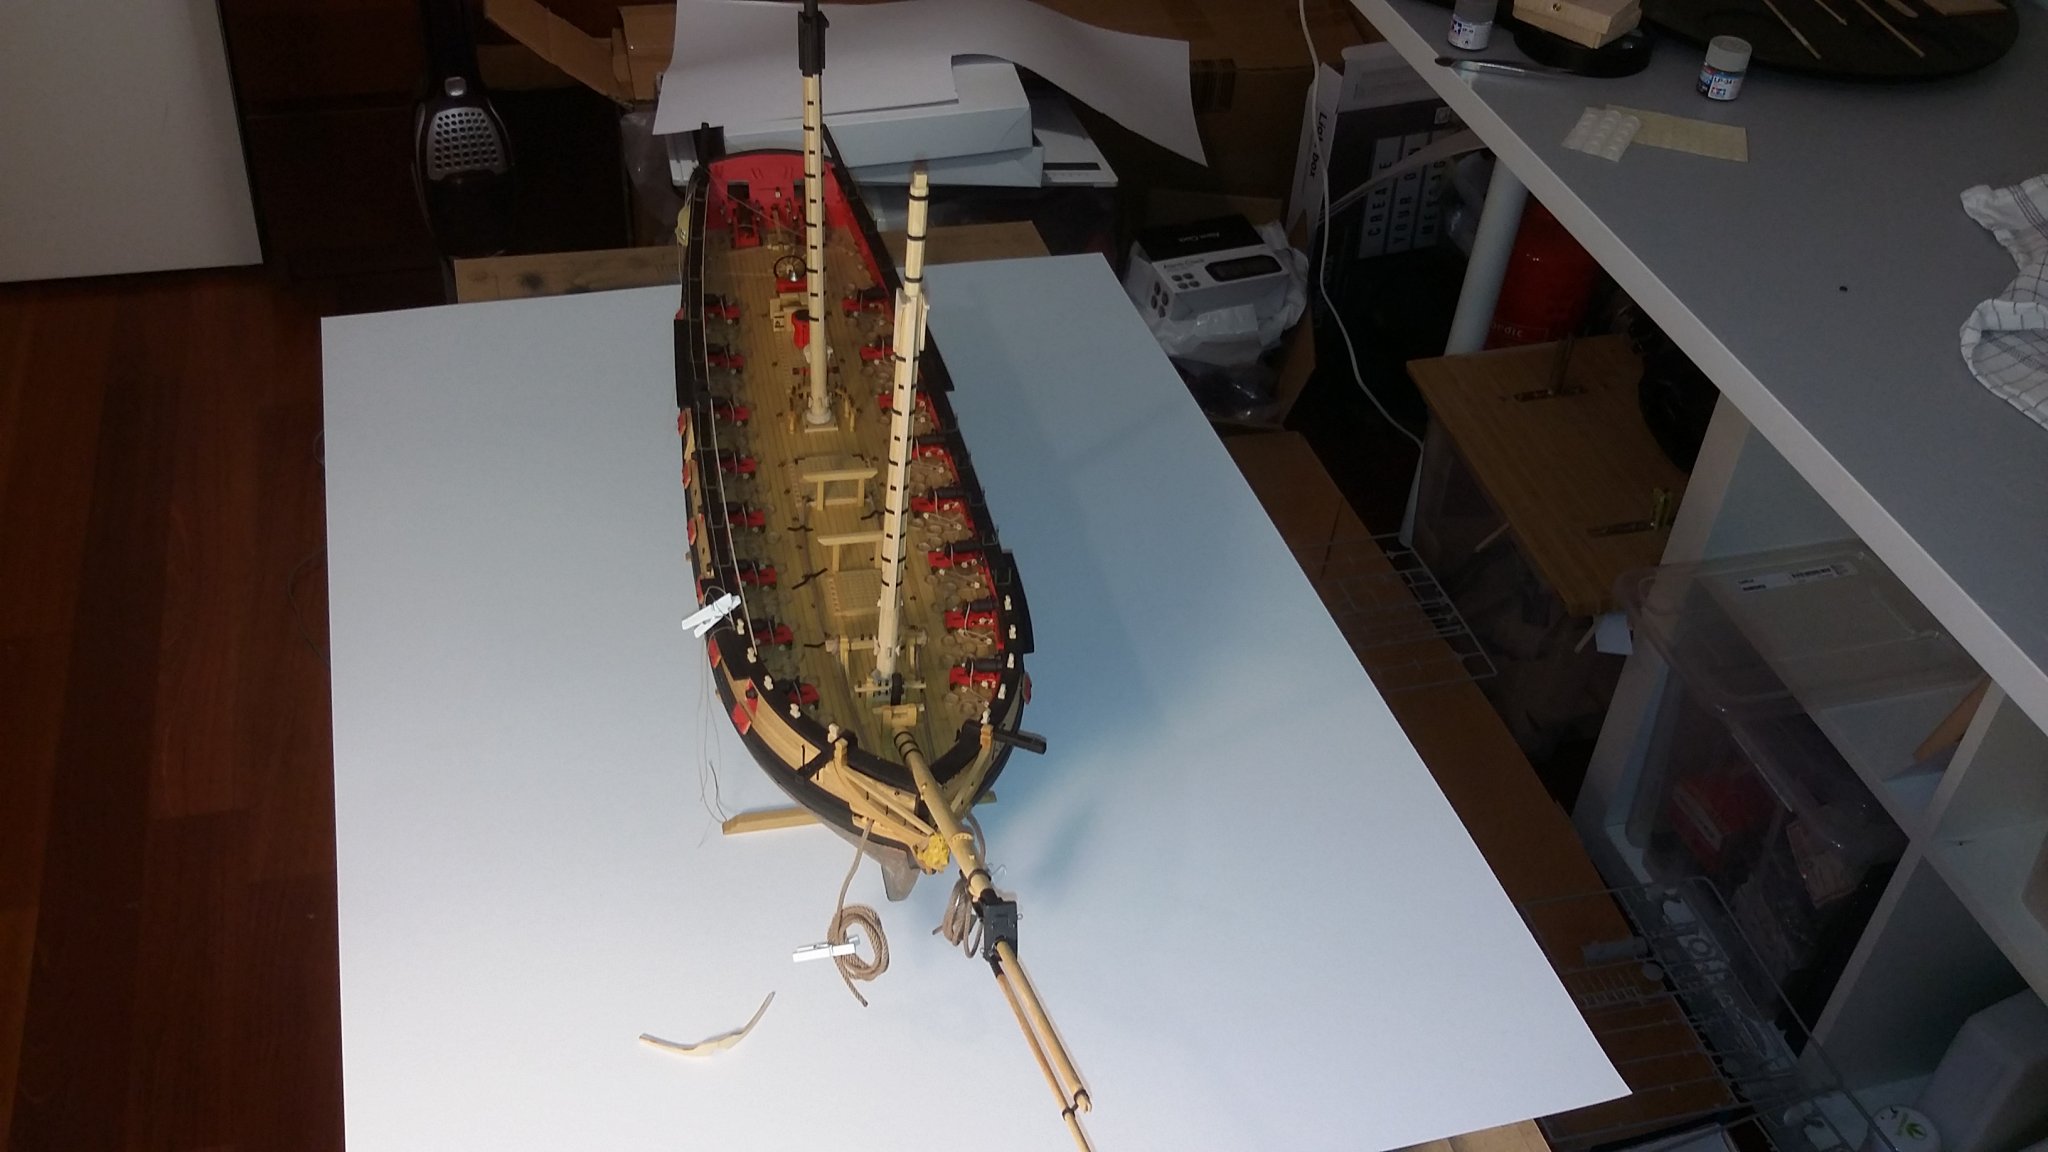
its a slow going job....
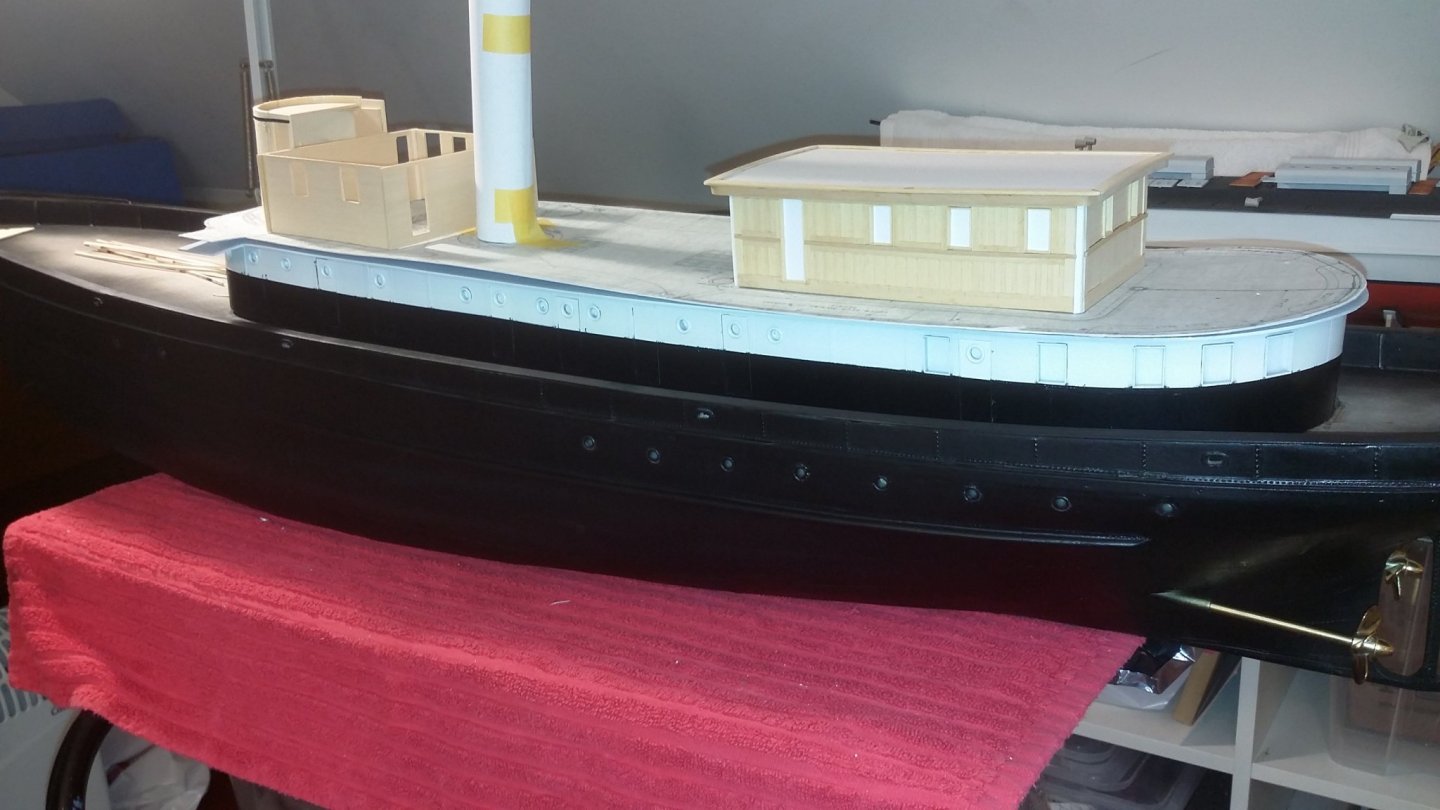
but the outlets are made, just need to get the anker howser on. The splash guard is also glued on.
the reilings are made and glued on and painted one time and need to be sanded and painted many more times,
i also painted the lower cabin black and white but i need to get som work dunn her due to some over spray 😲,wel there is so many crinkle here so i espect it to happens!
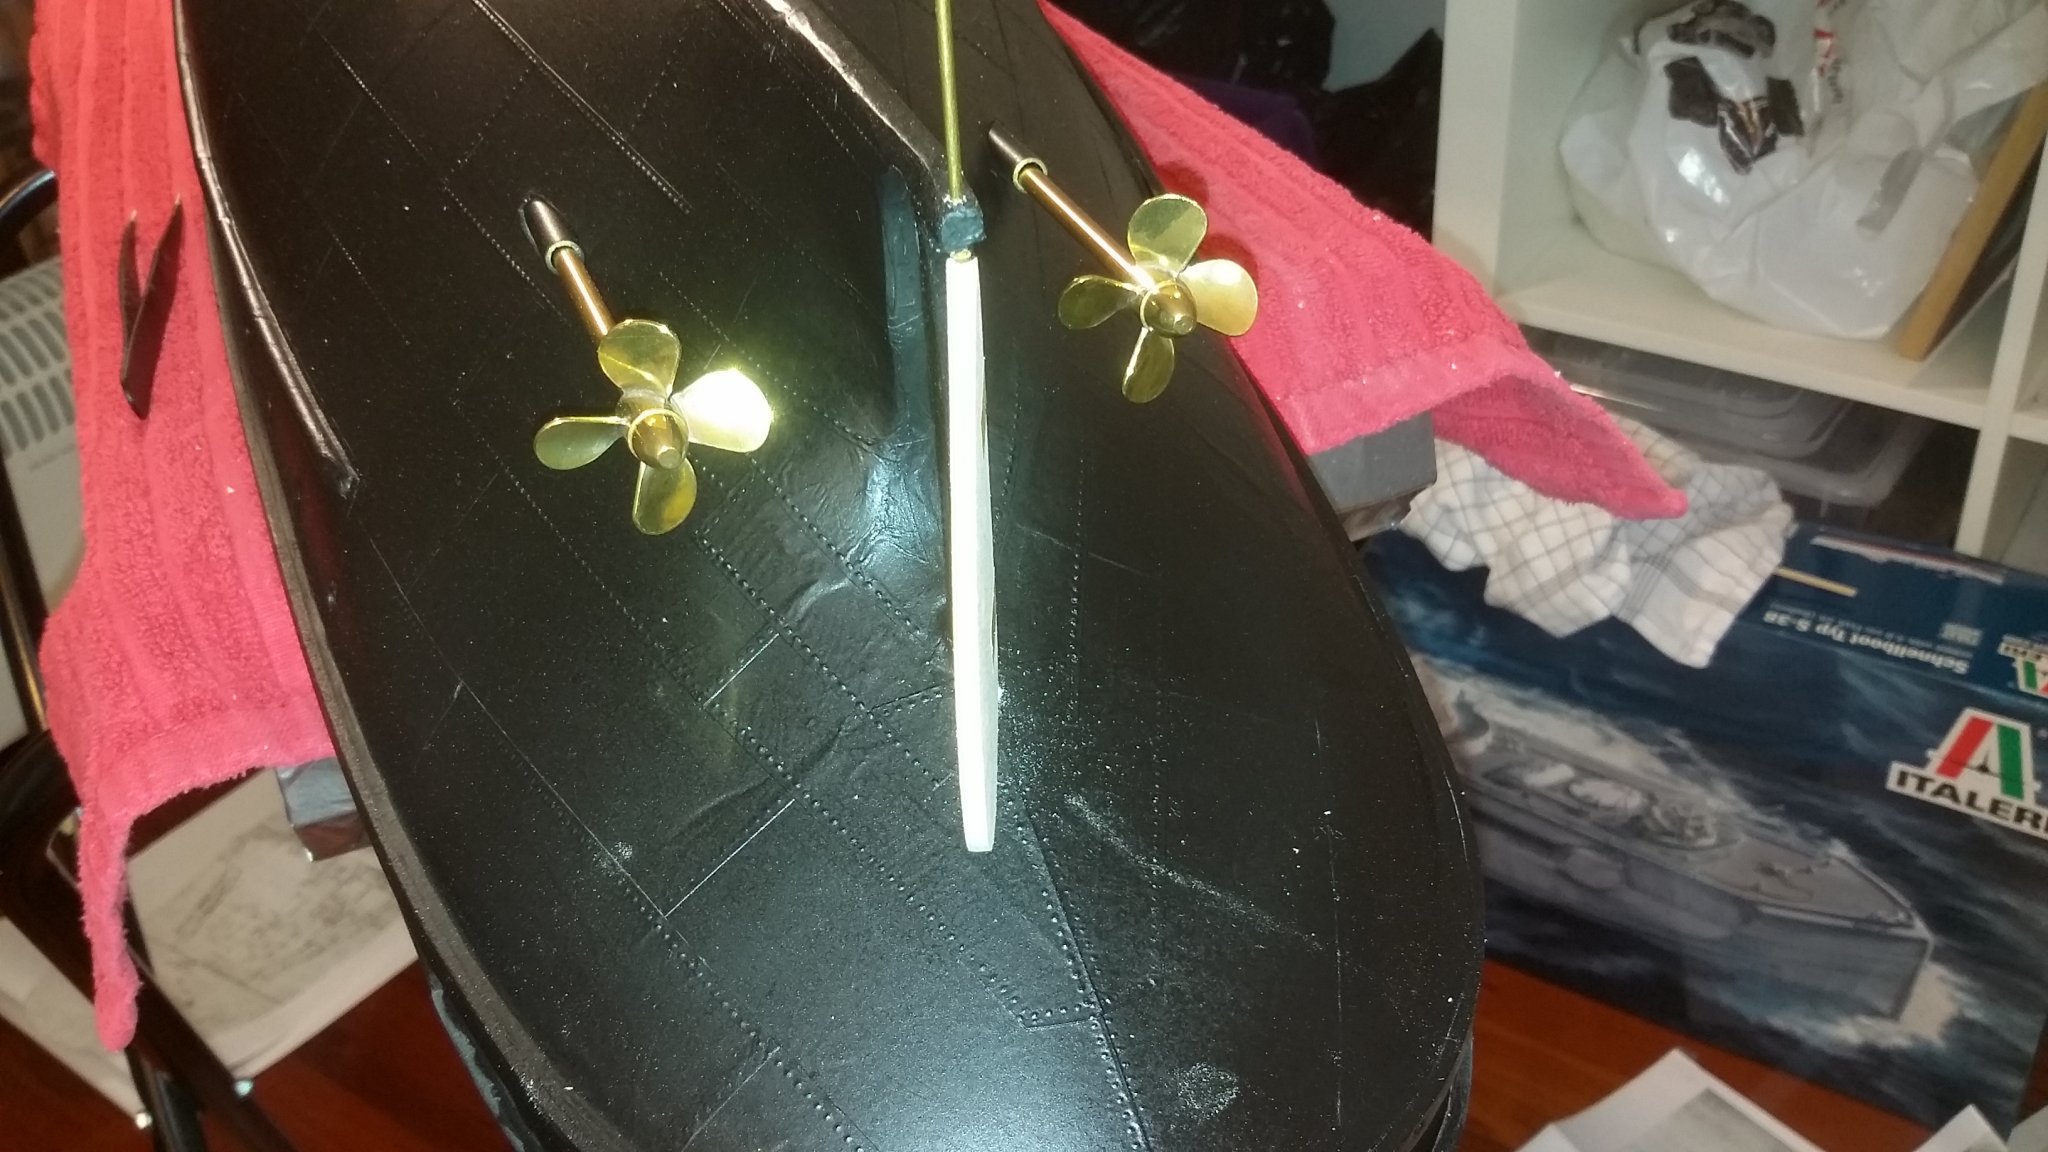
my next task will be the propell etc so i can turn it paint it and last paint the lower hull then maby i can turn it again for the last time😉
best regards
svein erik

- coxswain, GrandpaPhil, Nirvana and 8 others
-
11
-
hi, thanks for the comments Vlad and Brian☺
Vlad : am doing some work on it now and i yust get the propell for this so i wil soon get this onboard with some new update!
Brian : the wood filler i used is yust basswood but it is harder and then the light type,
i think its because it has been havest in a different way...
the light ome is very soft .
svein-erik
- Vladimir_Wairoa and mtaylor
-
2
-
20 minutes ago, NovaStorm said:
You are coming right along, I think the 5/32 plank was to be curved on the top edge to fit the curve on the port cover piece. Not sure tho as I did mine differently because I planked the transom.
yes you are right, the stern planks need to be curved to fit😊
svein erik
- NovaStorm, Retired guy and WalrusGuy
-
3
-
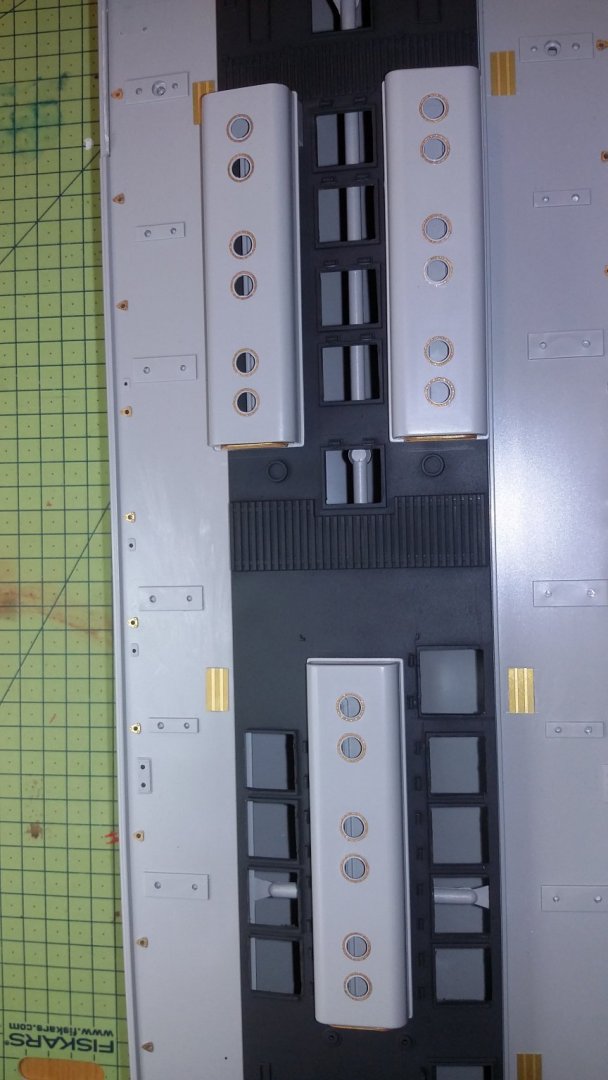
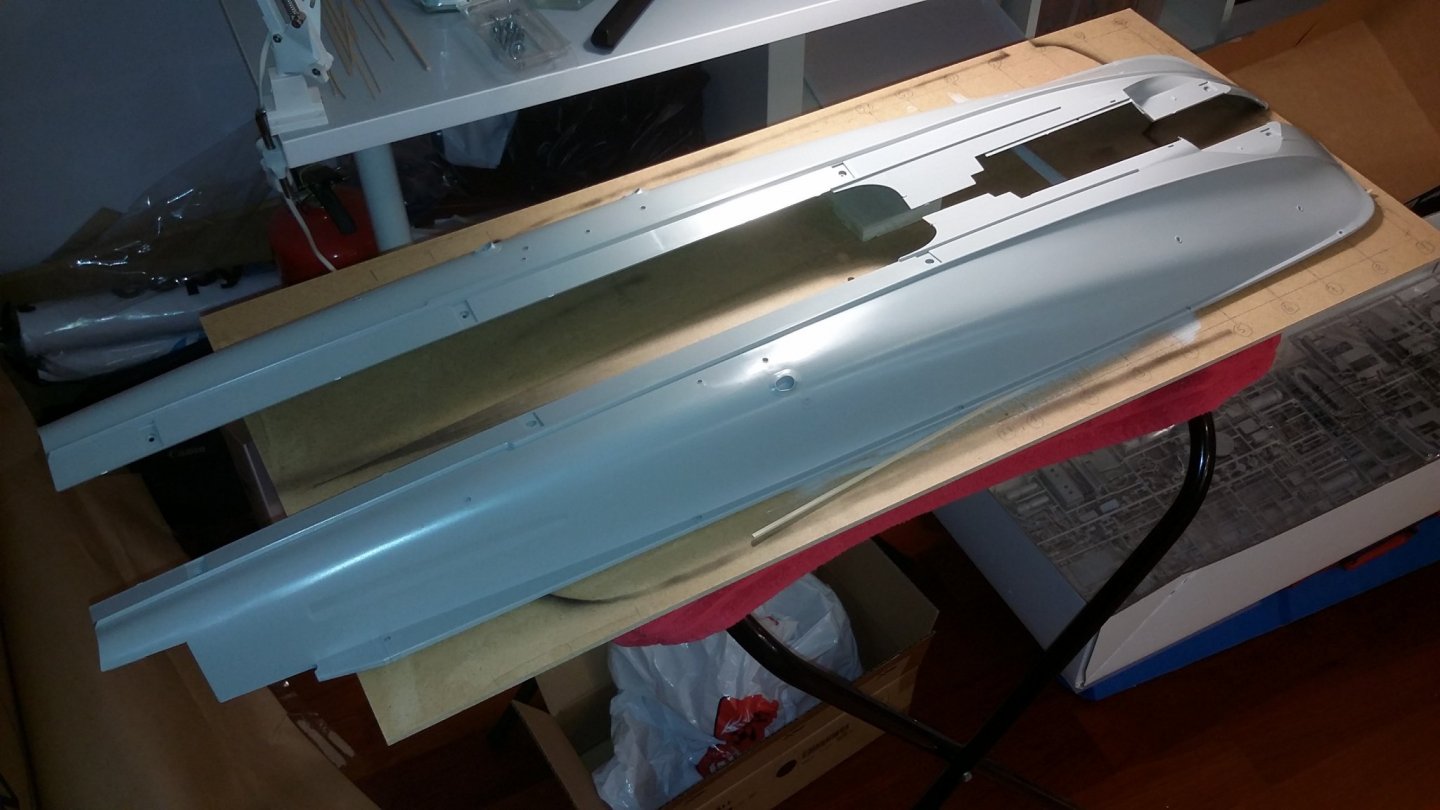
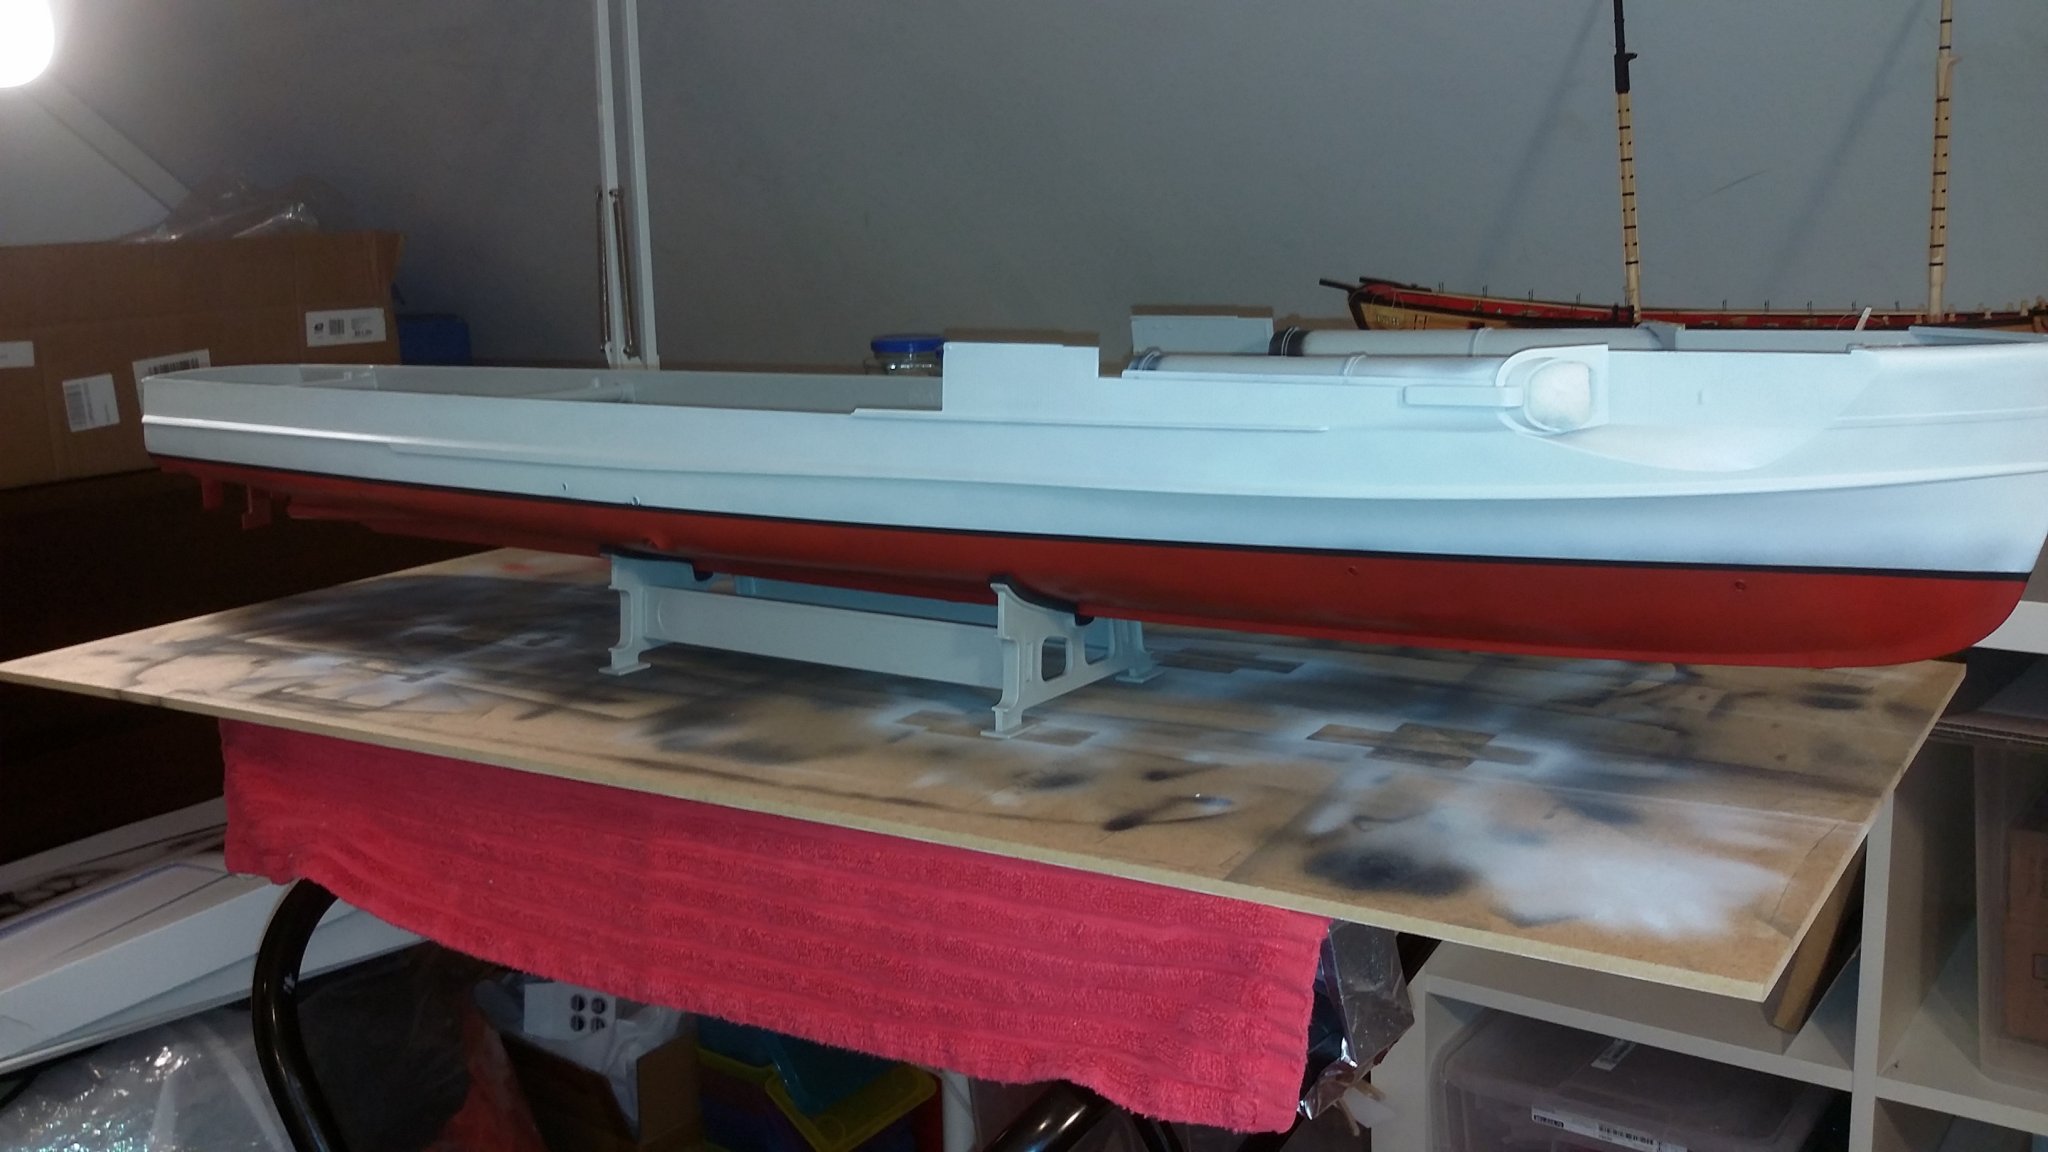
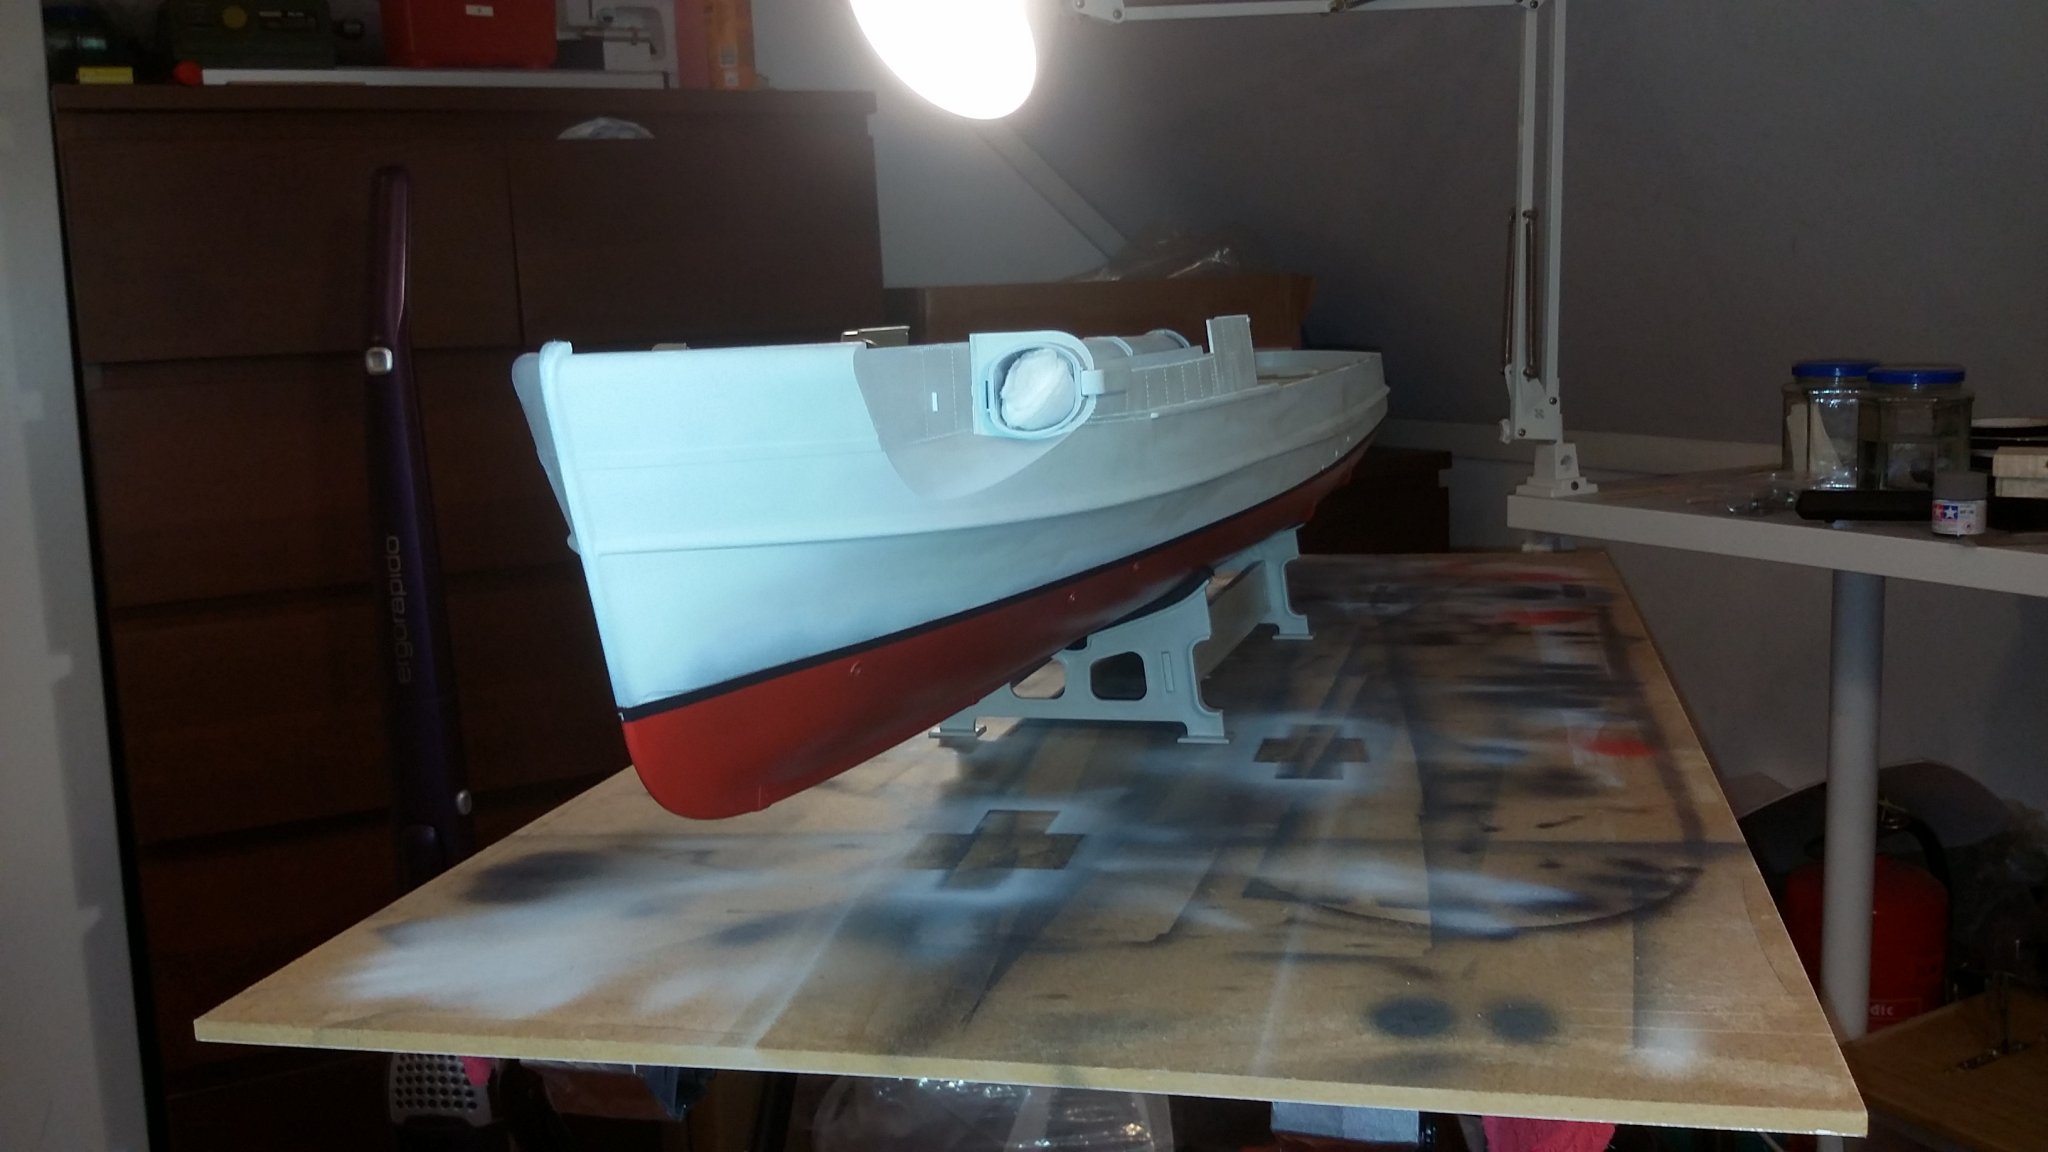
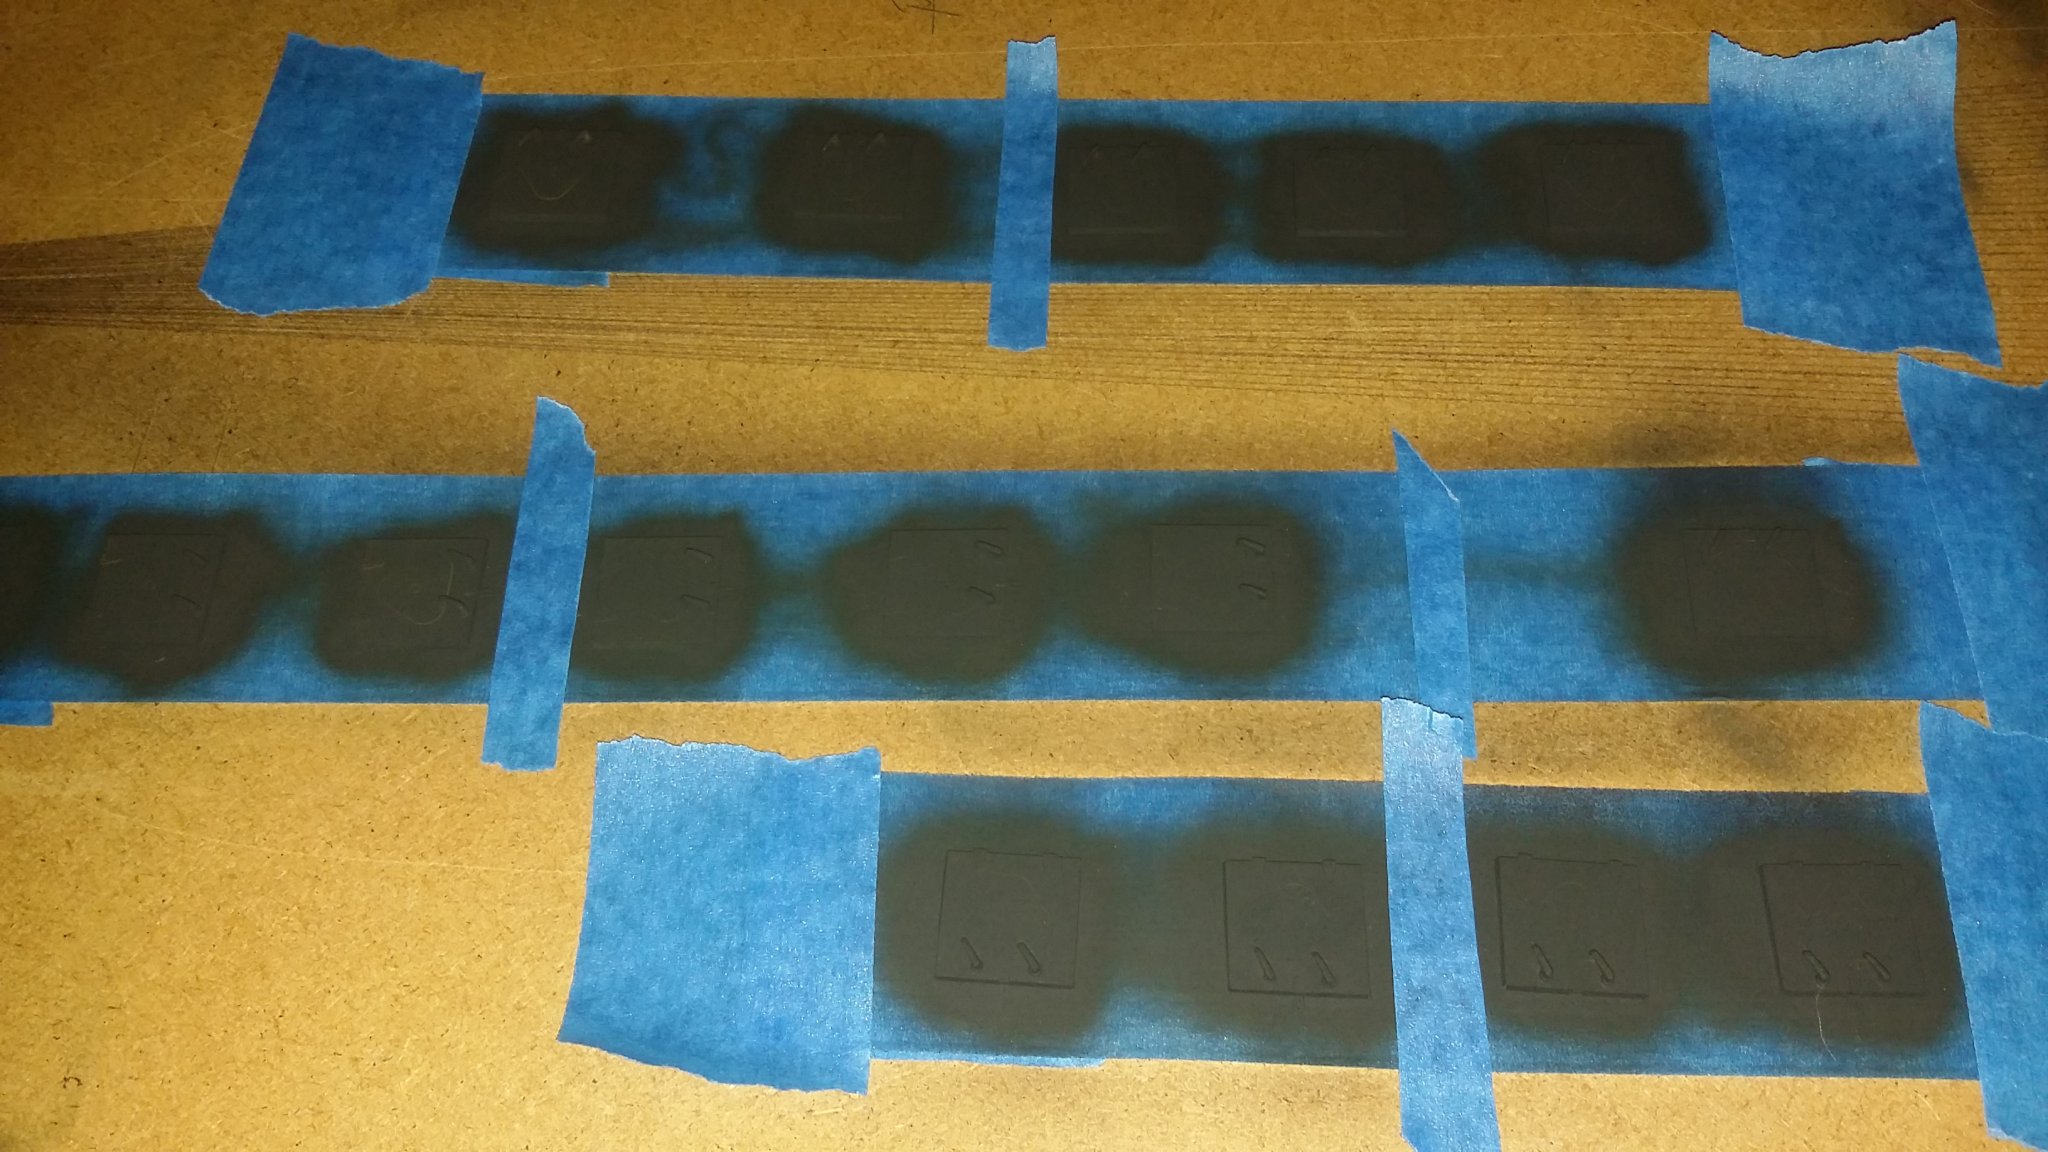
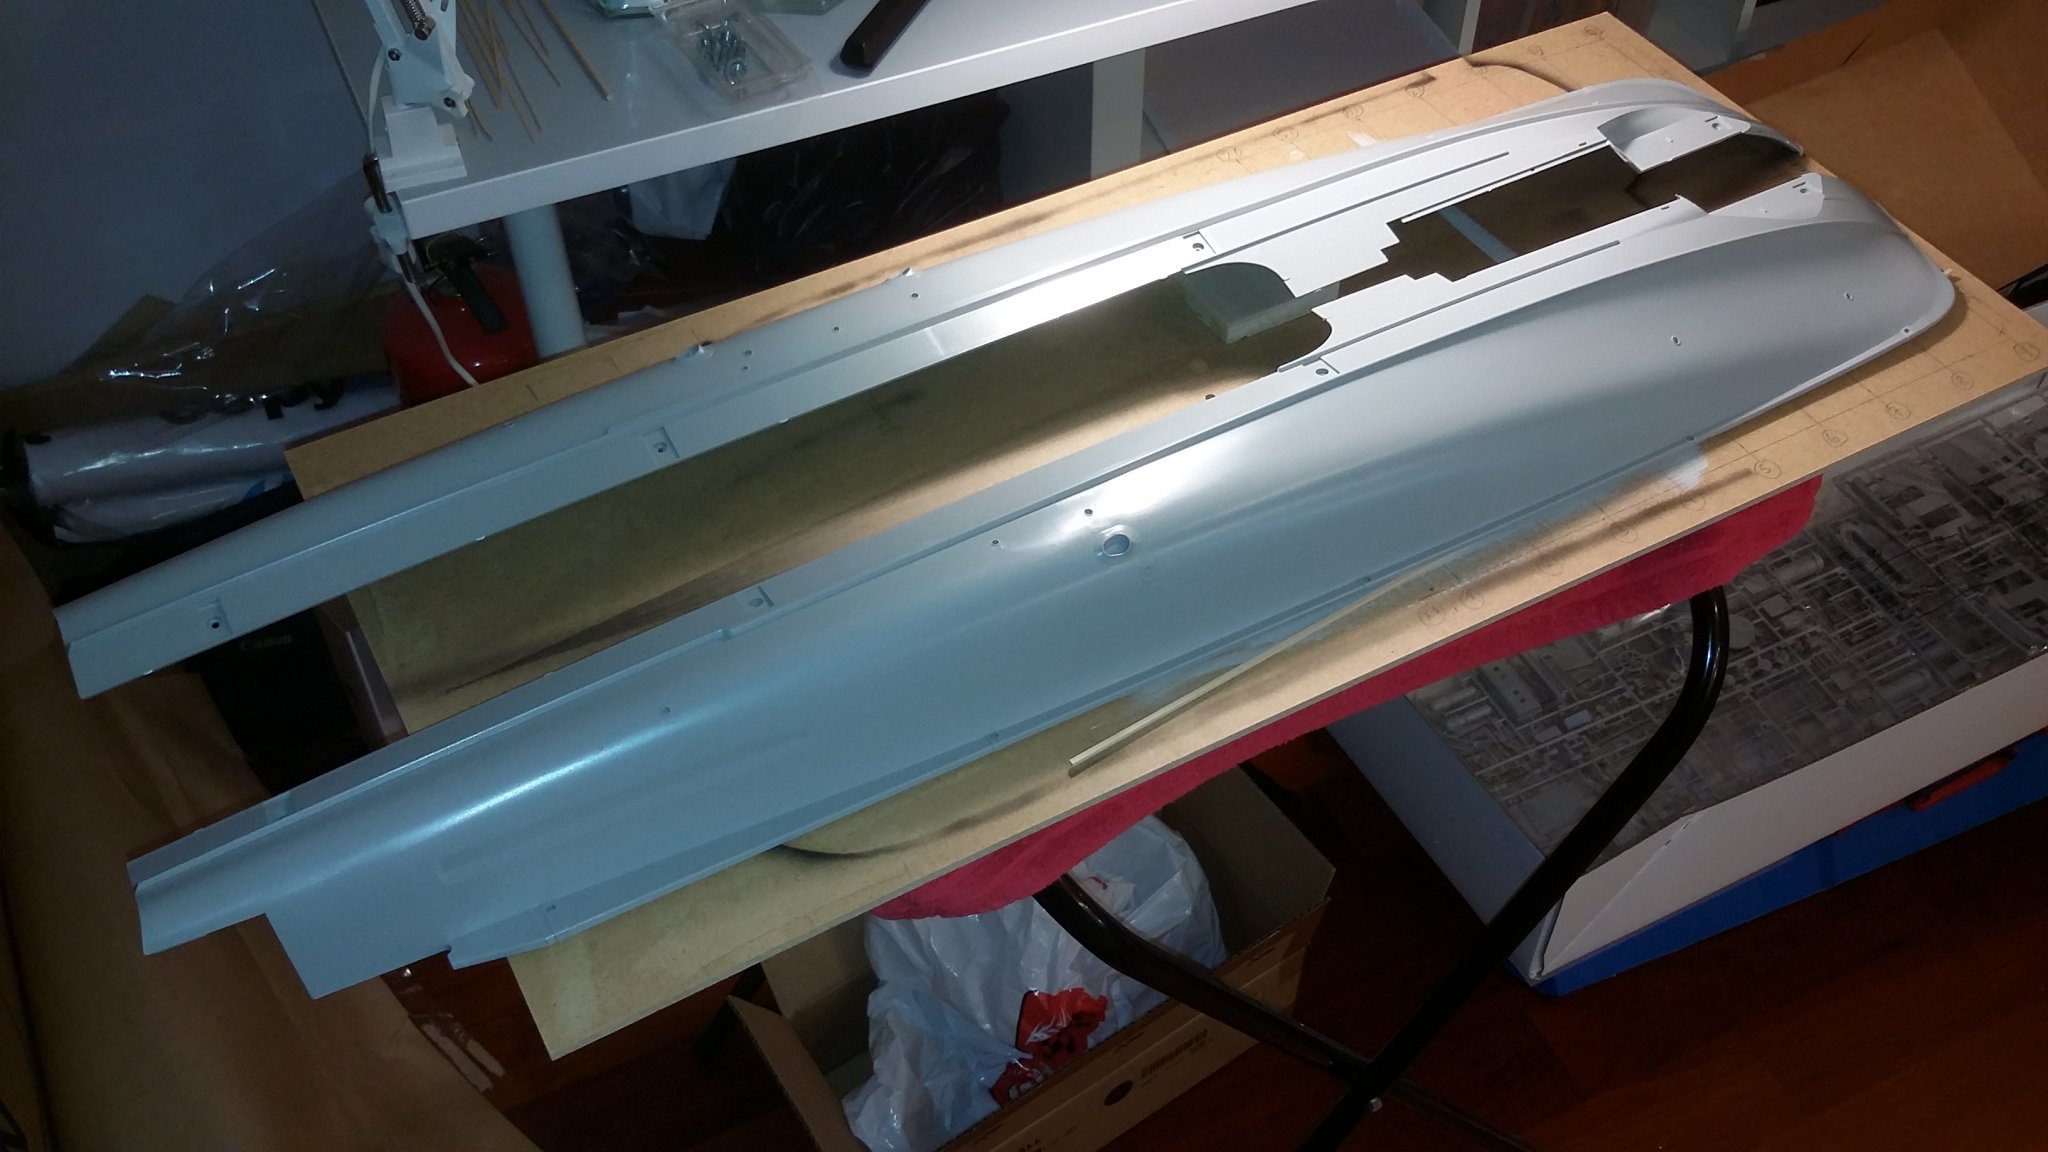
some update of the schnellboot s.38
the hull is now painted and my next step is to aply some washes and weahtering so
it looks used . befor that i need to do some clean up and add some paint here and there!
this is fore me the fun parts😉


- yvesvidal, ccoyle, GrandpaPhil and 9 others
-
12
-
36 minutes ago, Chuck said:
I do want to encourage everyone to take up the skill of making their own rope. Hopefully I will have more ropewalks in stock soon. I am biased but believe the type of manul ropewalk like I offer is the best and quickest way to make it. But whatever ropewalk you choose, I want to try and make it easier for folks.
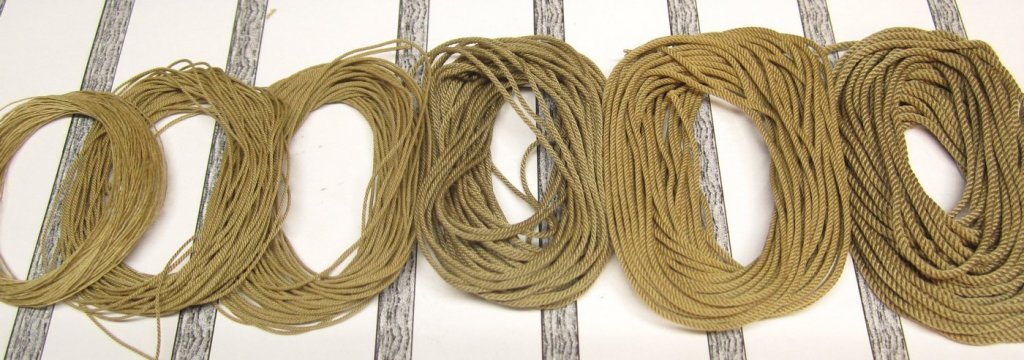
Since I have been making rope available for a few customers on a custom basis using Mara for several years now, I would like to share the recipe for making the various sizes I offer this material in to my clients. Now the sizes you end up with may vary a bit depending on your technique and how tightly or loosely you lay up the rope. But as you can see from above, a tightly laid up rope is much more realistic. So when using MARA try and give more twists to the initial strands than you think. And then you will be able to twist those strands together more tightly in the opposite direction to make better looking rope.
So here is my recipe using MARA for the sizes I offer.
TPS - threads per strand.
S - Number of strands ....or hooks on the ropewalk.
.008 rope......mara 120......1 TPS x 3S very tightly laid up
.012 rope.......mara 100.......1 TPS x 3S very tightly laid up
.018 rope......mara 100.........1 TPS x 4S
.025 rope......mara 70.........1 TPS x 4S
.035 rope......mara 30.........1 TPS x 4S
.045 rope......mara 30...........2 TPS x 3S
.055 rope......mara 30.........2 TPS x 4S
.065 rope......mara 30.........3 TPS x 4S
.080 rope......mara 30..........4 TPS x 4S
.095 rope.......mara 30.........5 TPS x 4S
Your results may vary as I said. BUT after you lay up your rope, make sure you tie a knot on each end. Poly wants to unravel. Remember Morope!!! Its crazy. Then get yourself a toaster oven....or use a real oven. Wind your rope around a metal sheave or pully. I have these!!!! Garage door pulleys. They work fantastic.
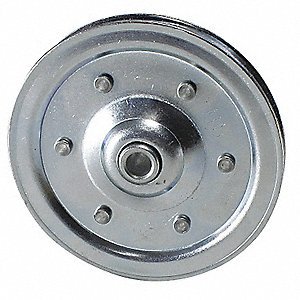
Then place these in your toaster oven at 350 degrees for no more than 5 minutes. If you approach 400 degrees yo will make a mess. The poly will melt. After much trial and error this is the best temperature......also, no longer than 5 minutes because it will also change the way the rope looks and feels. Let it cool off on a rack. Now you can cut the ends with a sharp blade without any worry that it will unravel. This recipe and process makes perfect rope out of 100% polyester like Guterman MARA.
The best place to buy it in the USA....is Waywak
https://www.wawak.com/Thread/Thread-By-Brand/Gutermann/
Gutermann also makes other sizes, like MARA 50. A great size for making rope. But this must be bought from the MFG in large amounts. I have a bunch of this and it changes the recipe above. But the regular stuff you guys can get from Waywak use the recipe I have given.
Hope this helps.........start making your own rope. Its rewarding and FUN!!!!!! Untill you have to make 1000 feet per day for seven days every week.
Hi Chuck
this is grait info... can this be also in pdf file so this info can be downlode?
svein erik
-
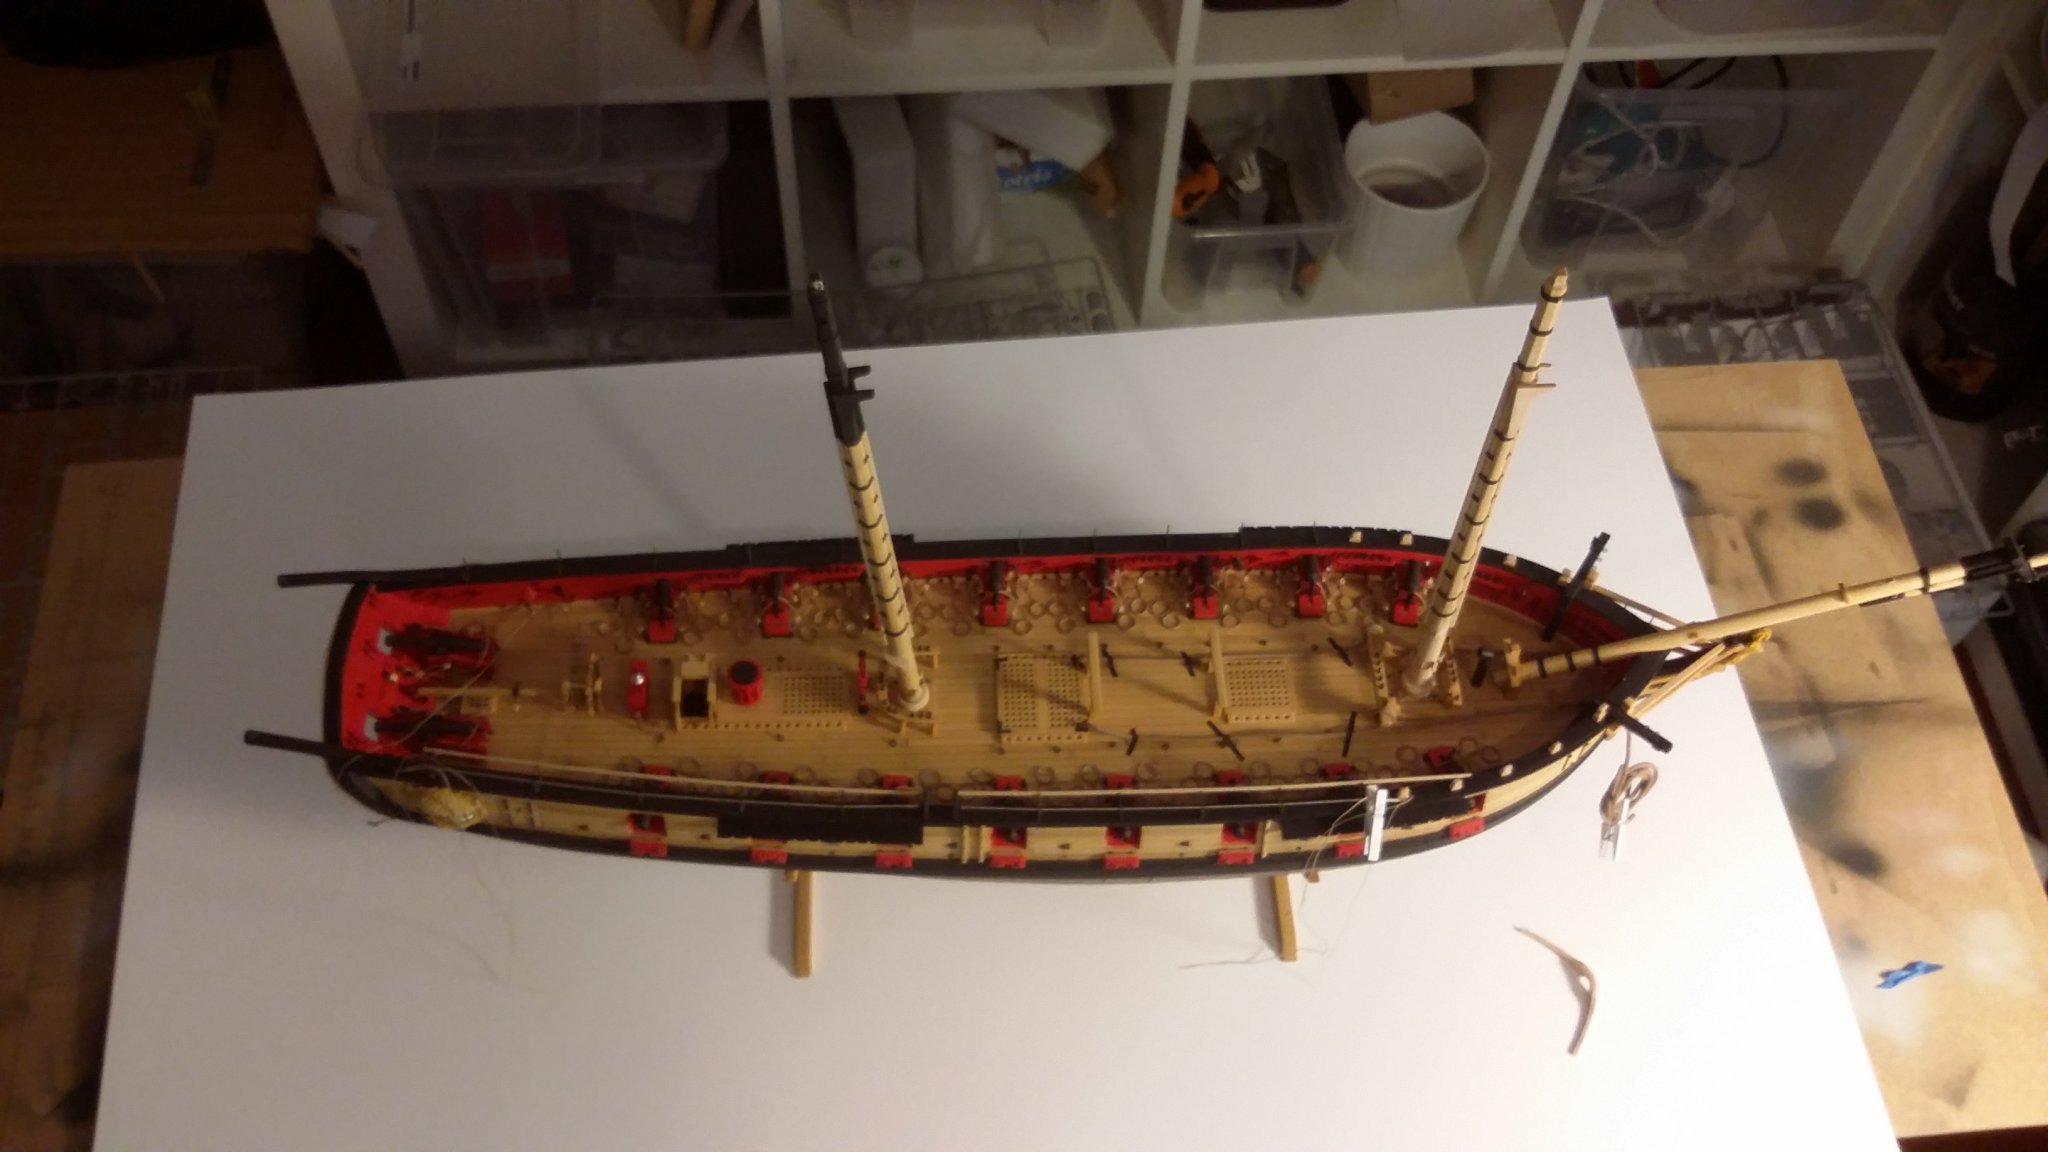
Hi😊
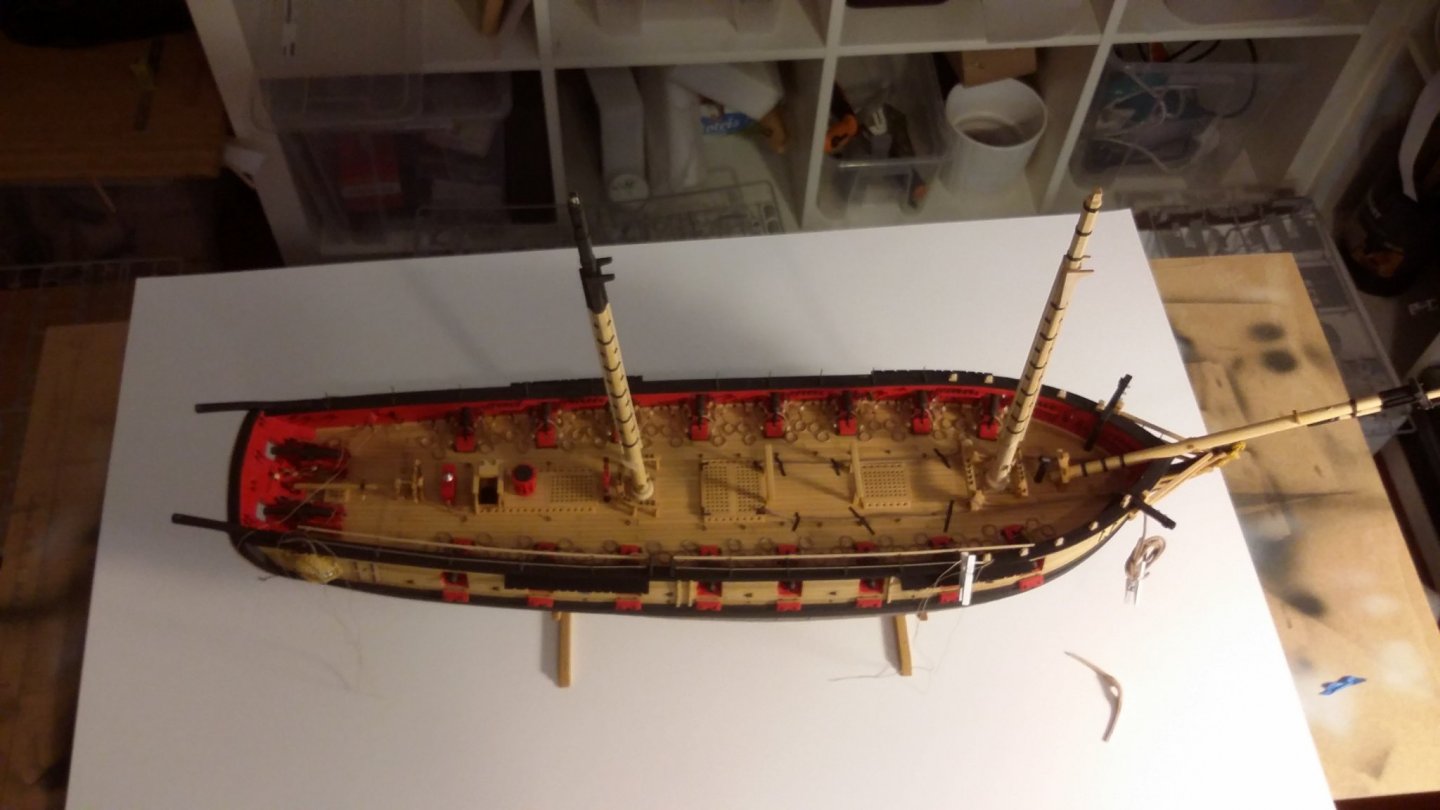
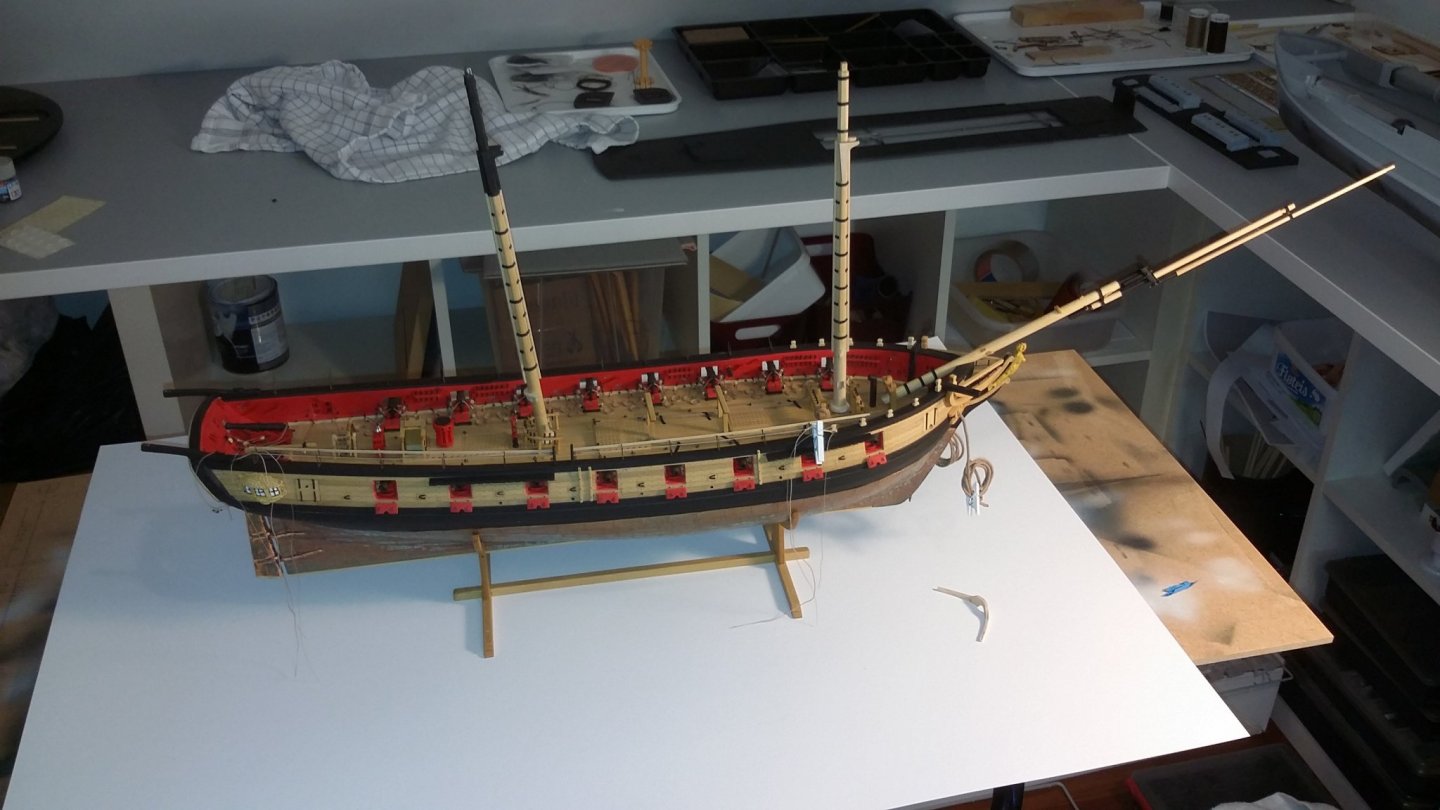
am yust looking at the syren , it has bin stored away for some time , so i had to take it out and lookat it😃
an i hope i can start on it again soon😉


-
thats a fantastic model !!
when am looking at it i can feel the passaro vibe all over it😊
svein-erik
-
-
hi folks... still here but am offline in building at the moment...
am working my butt of during the covid-19 and Norway is praktical in shutdown
but i wil be here looking at the amacing build log when i have time 😊
stay healty all of you and stay home if you can !!!
svein erik
- egkb and Ryland Craze
-
2
-
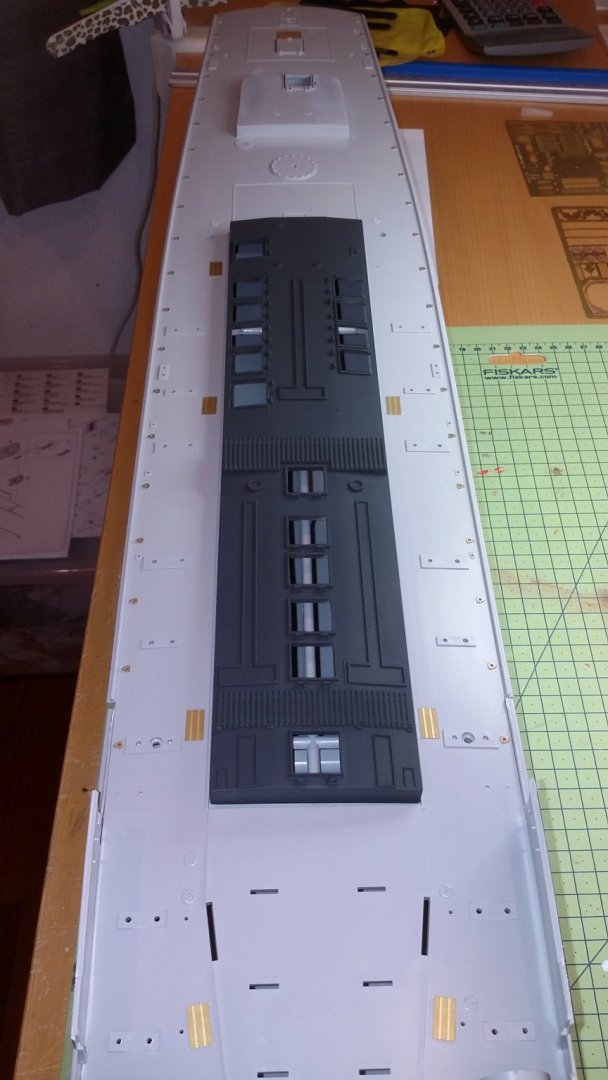
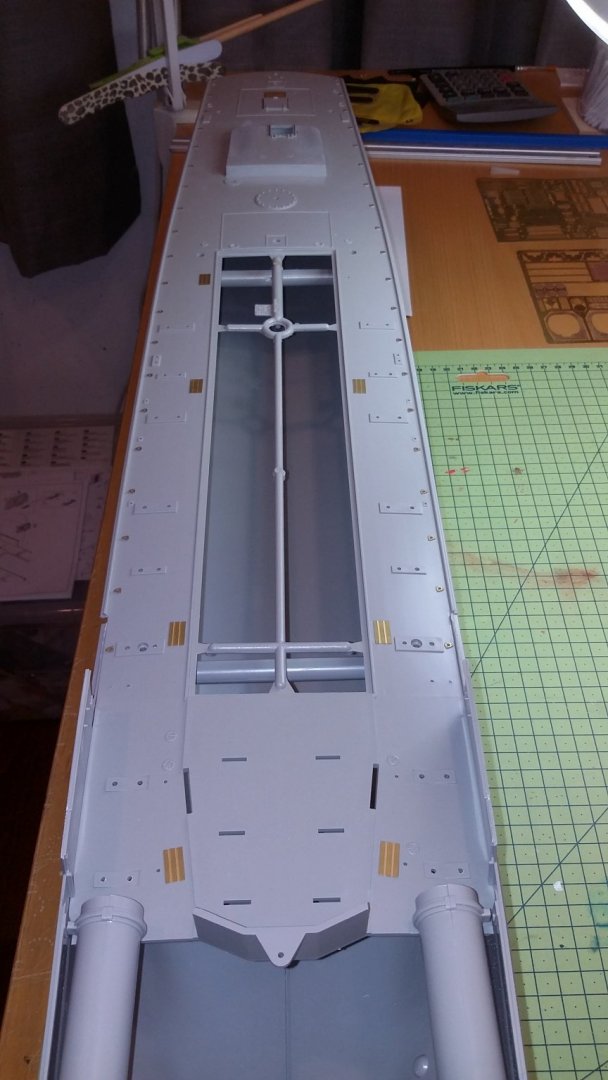
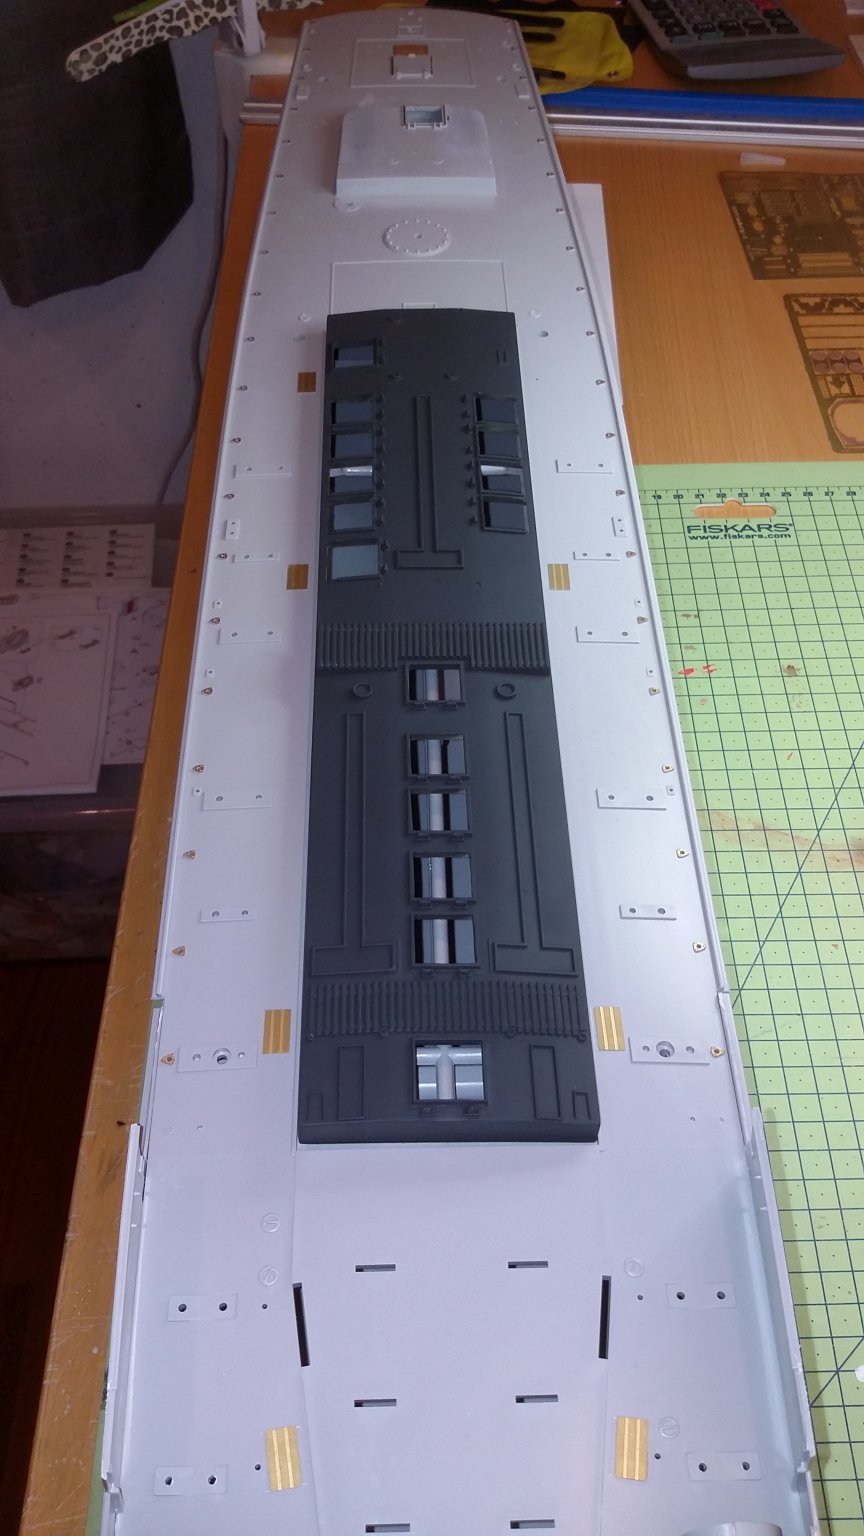
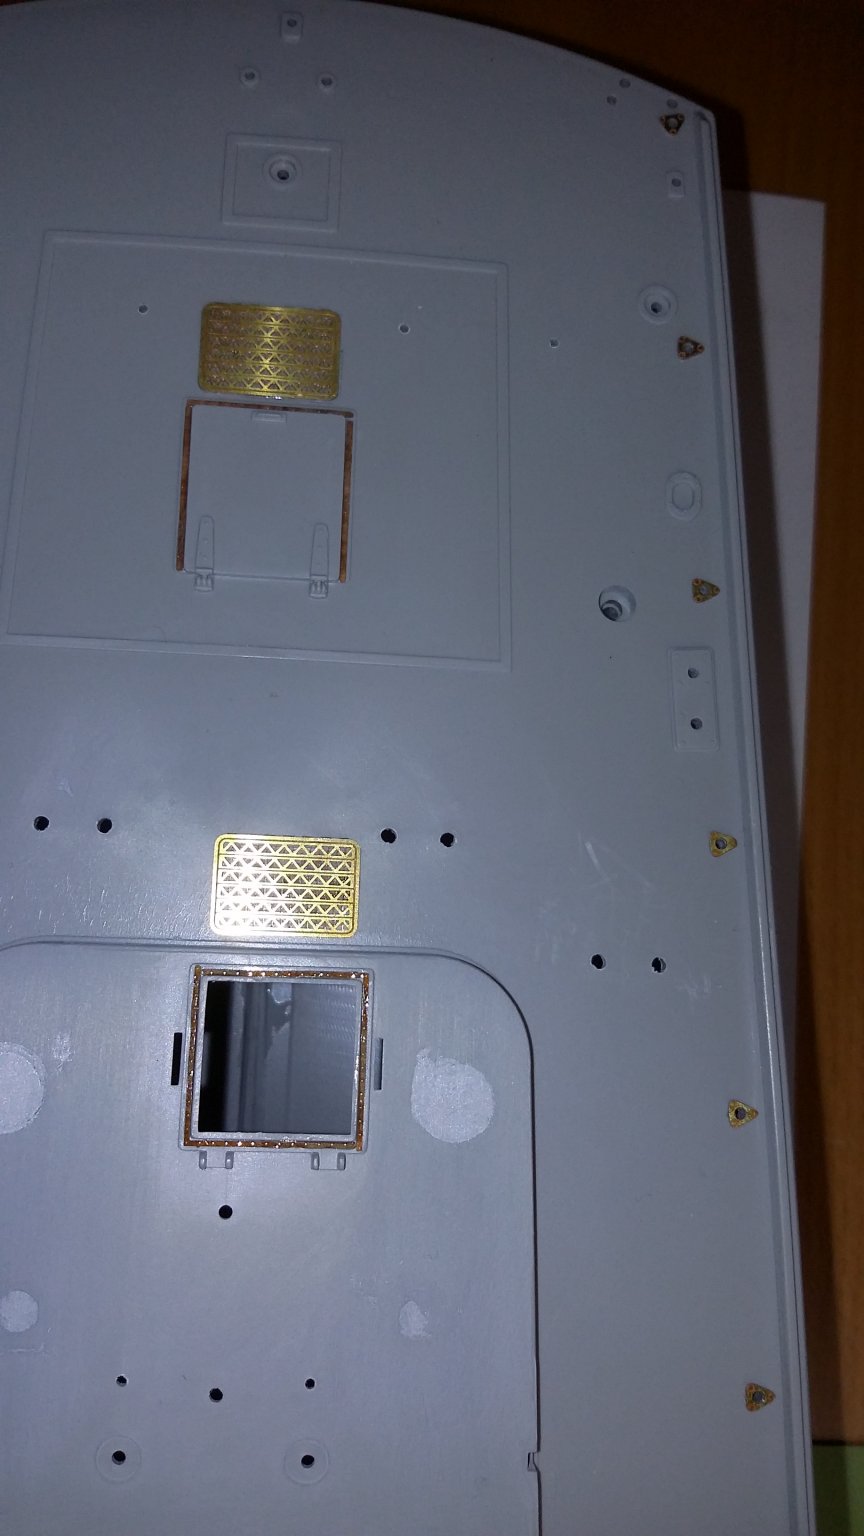
some update on the schnellboot S.38
am working on the hull filling etc so it going to take some time to get the hull ready for paint, but
am also working to get the dekk ready for paint,
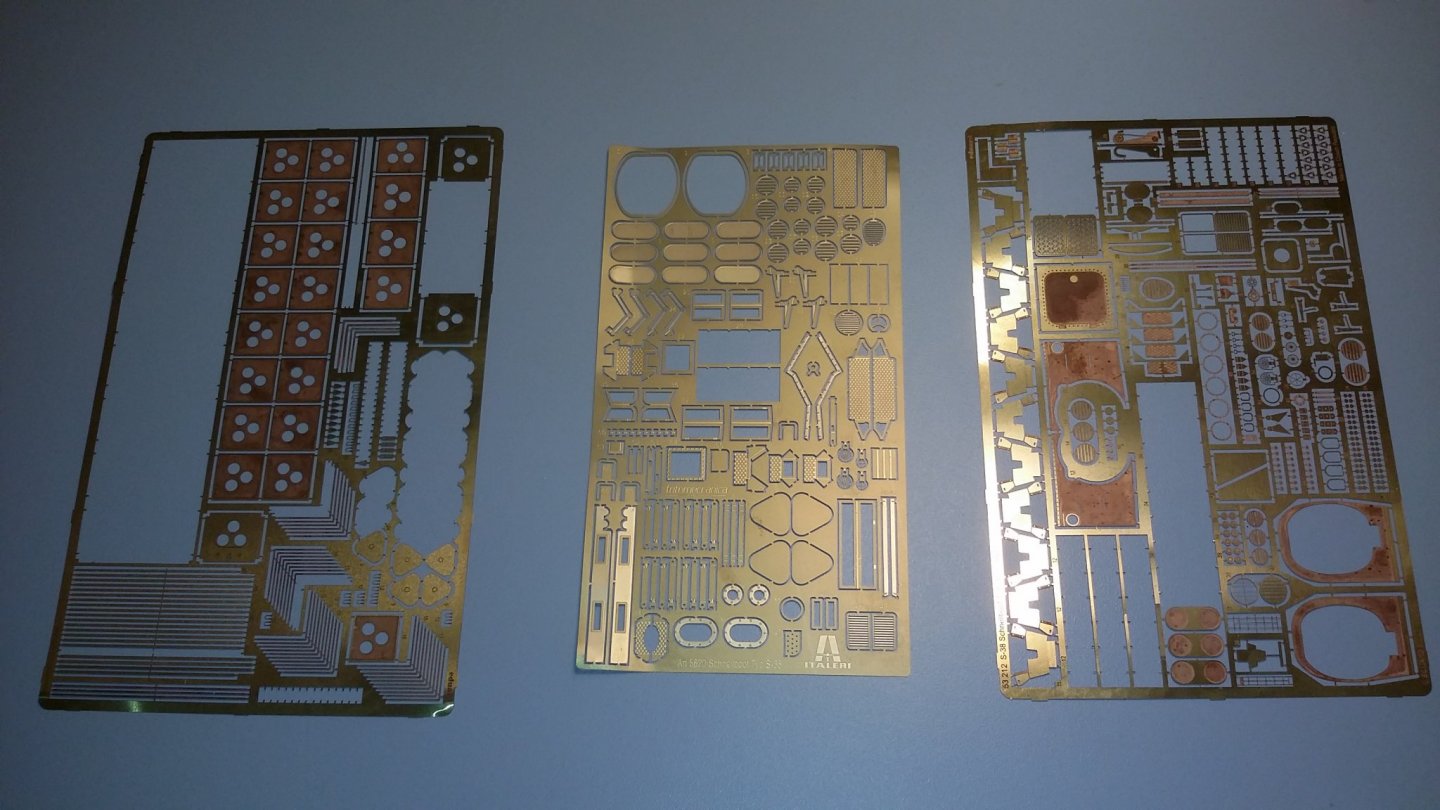
i used Eduard PE for the hatches and also PE detail sheet for S.38 with the sheet from Italeri.
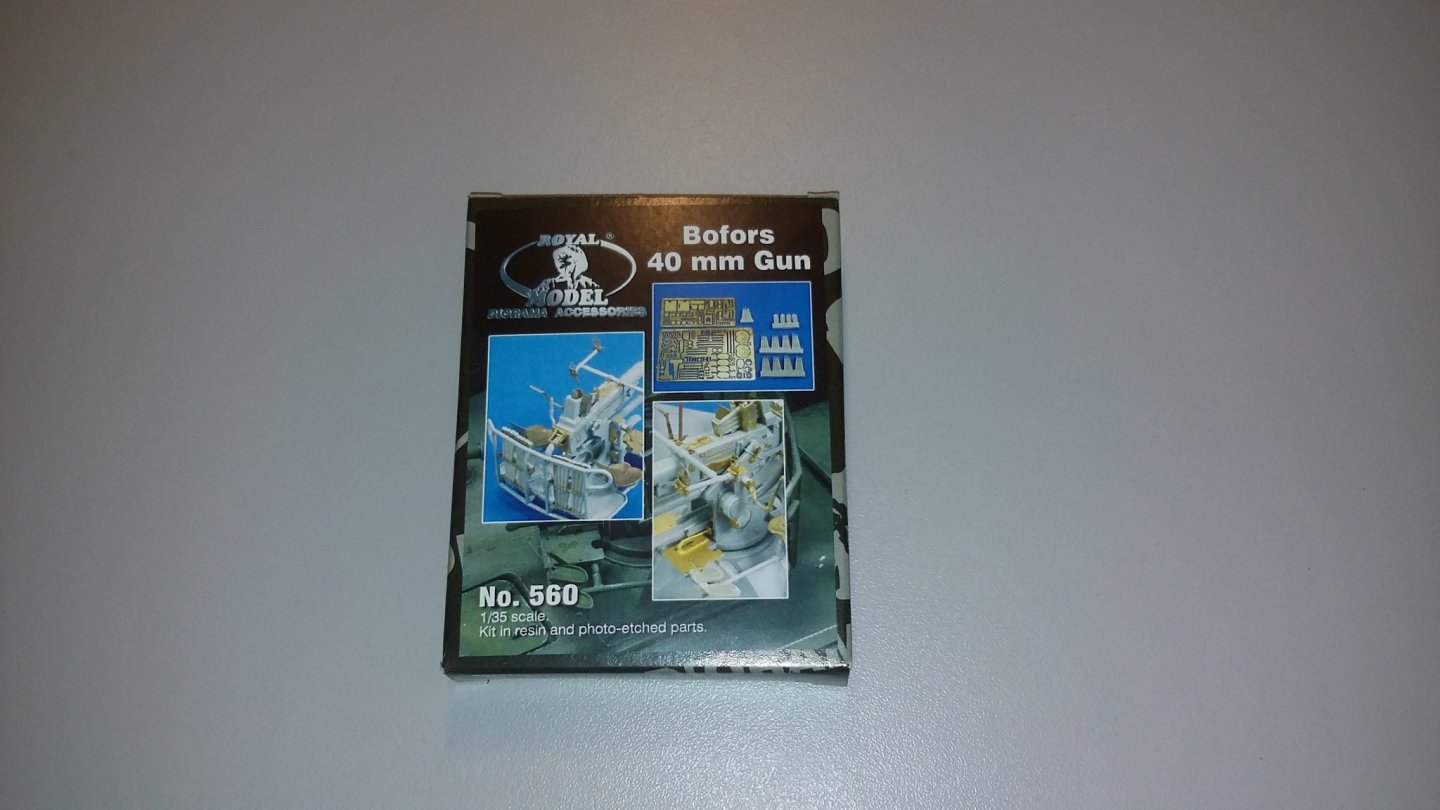
some gunn barrels and some Bofors pe sheet for more detail.
the paint am using is from Vallejo .
svein erik


-
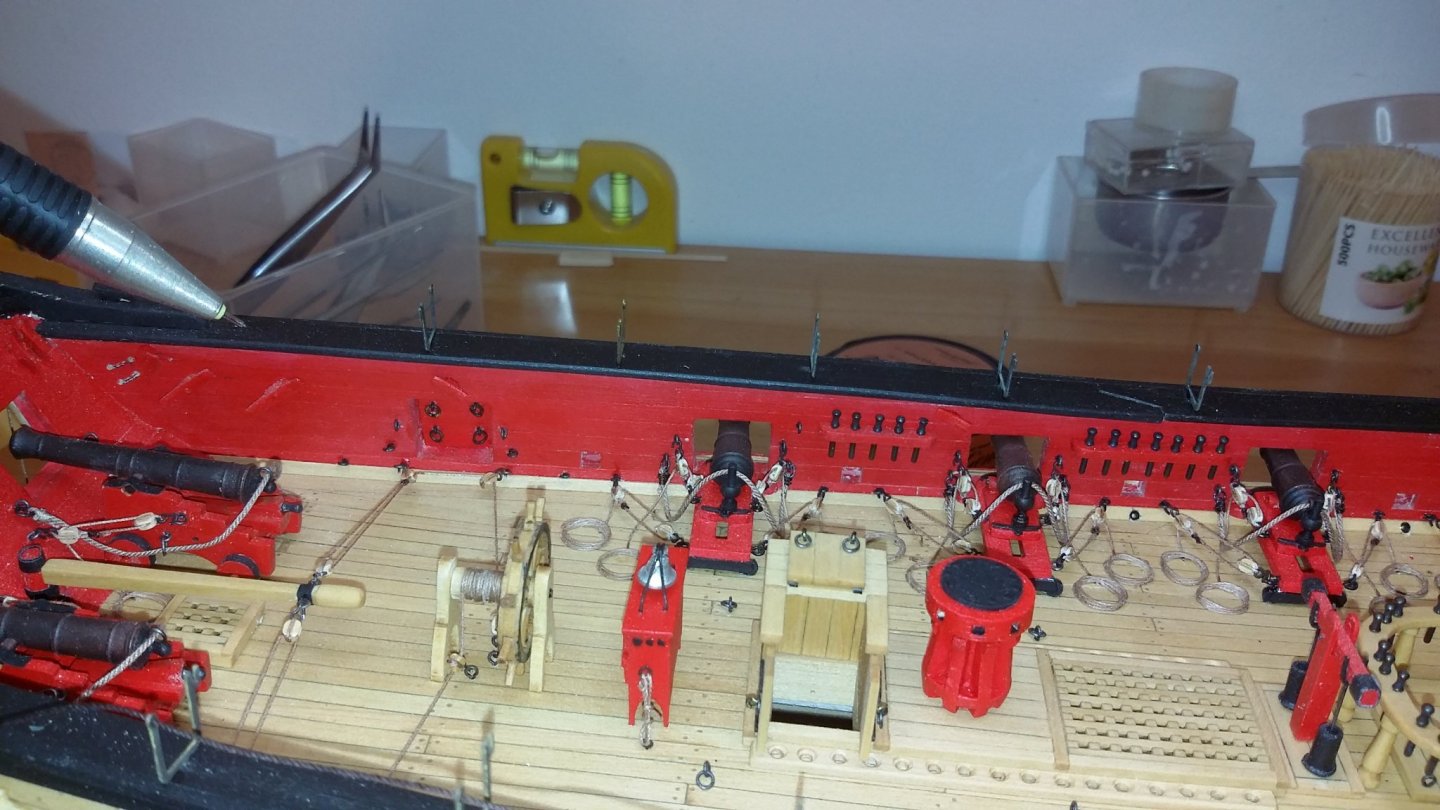
nicly dunn Peter...
maby i have to do the conf. again later😲 i have all the guns and etc with rigging
i only have to get then off the first and then re rigg them ...
i have to many mistake on mine ...
svein erik
-
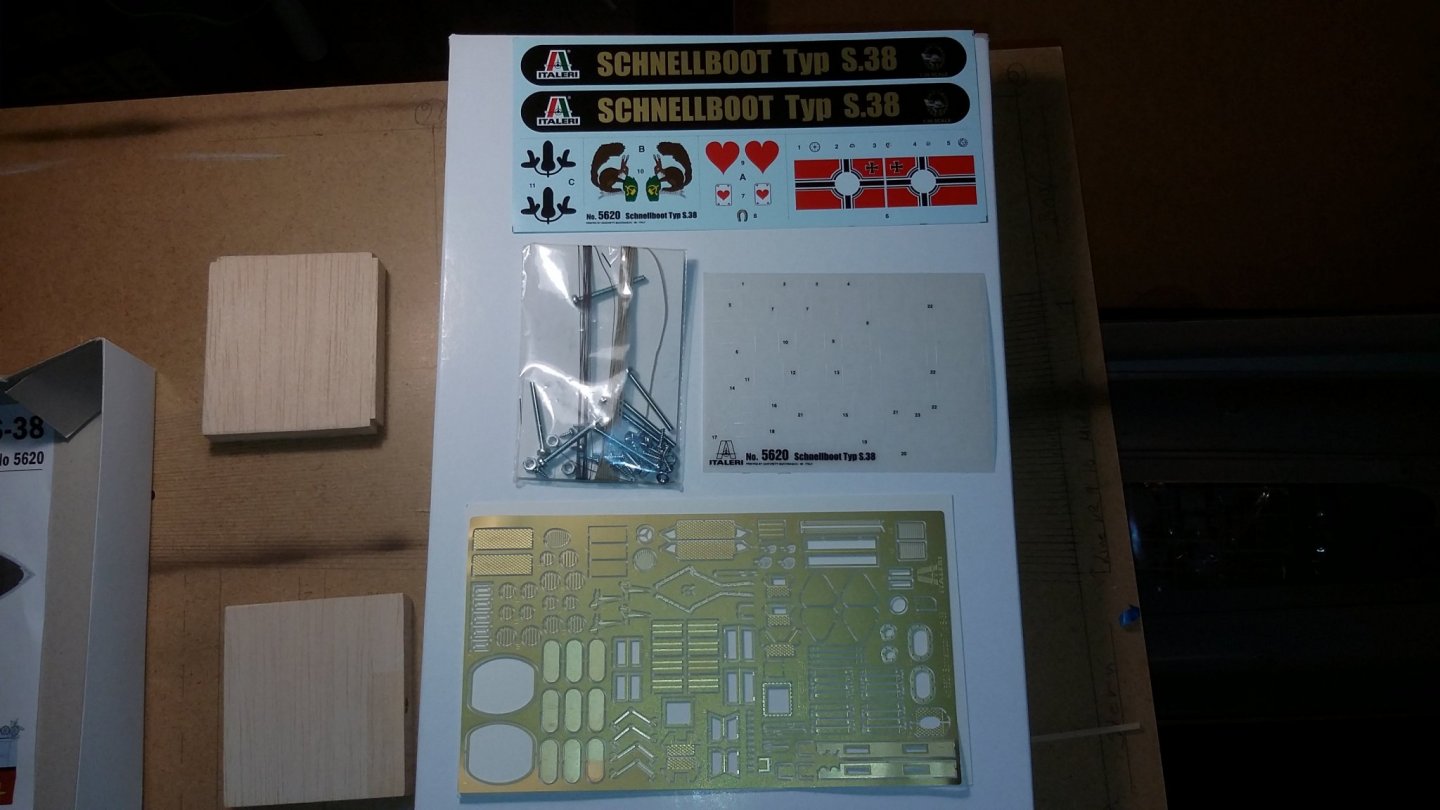
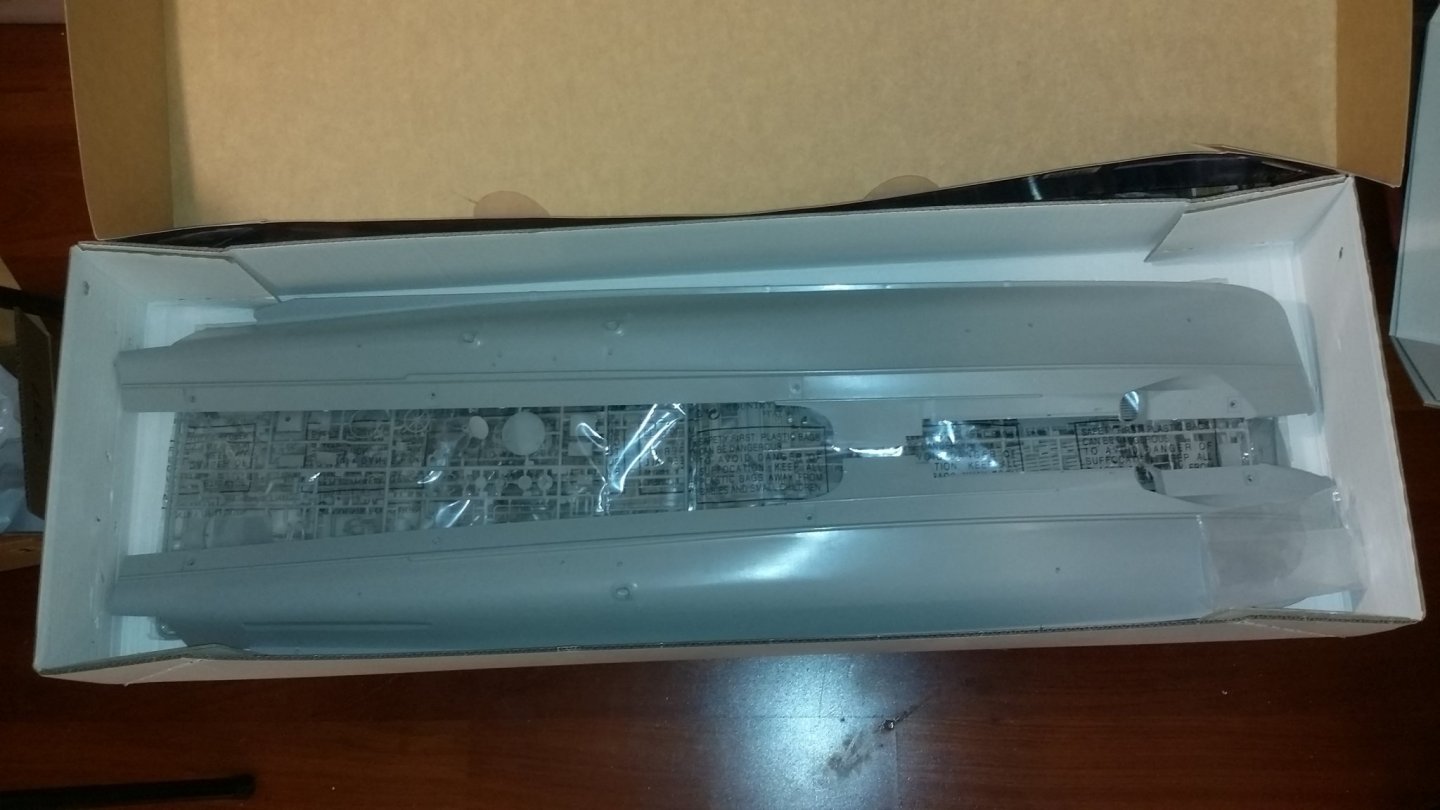
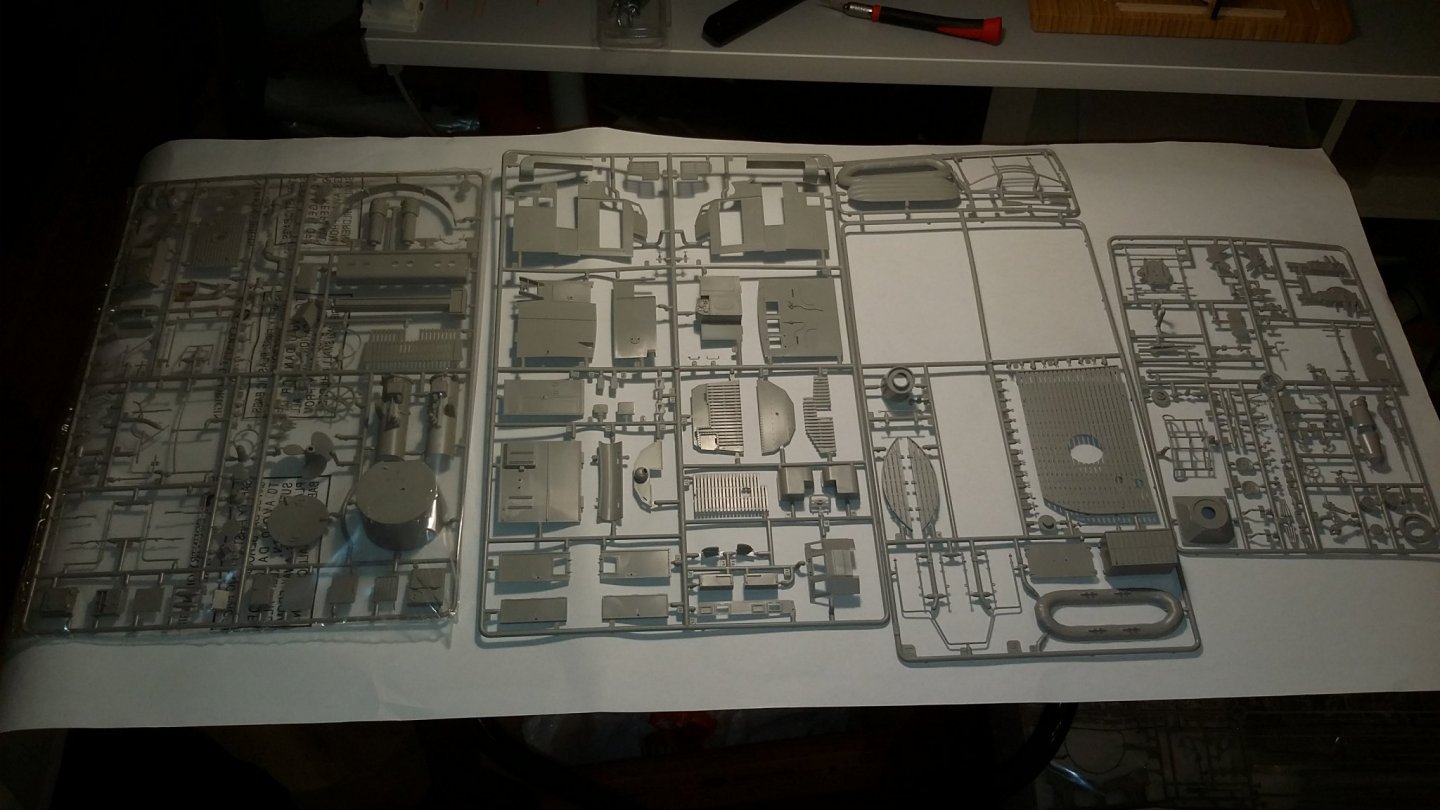
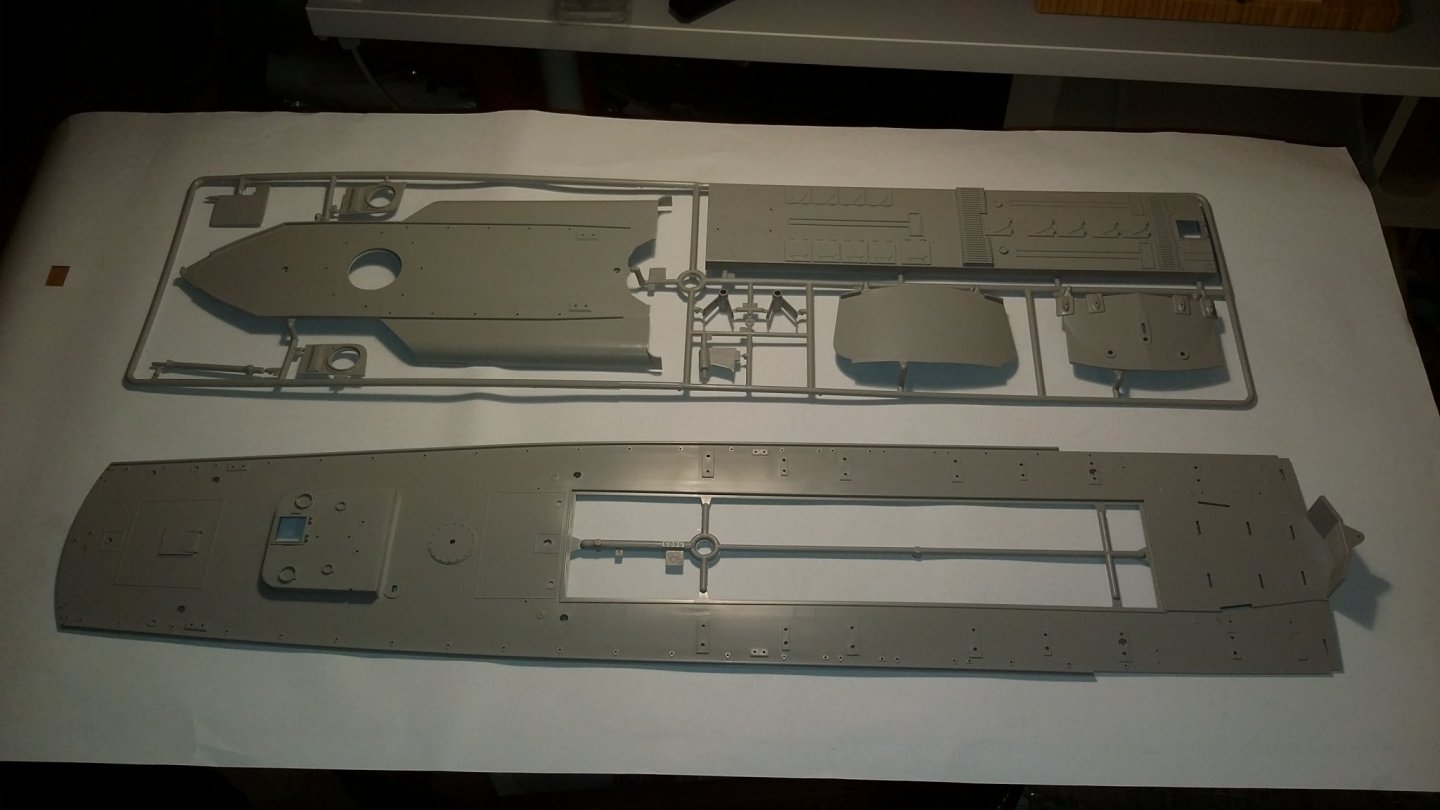
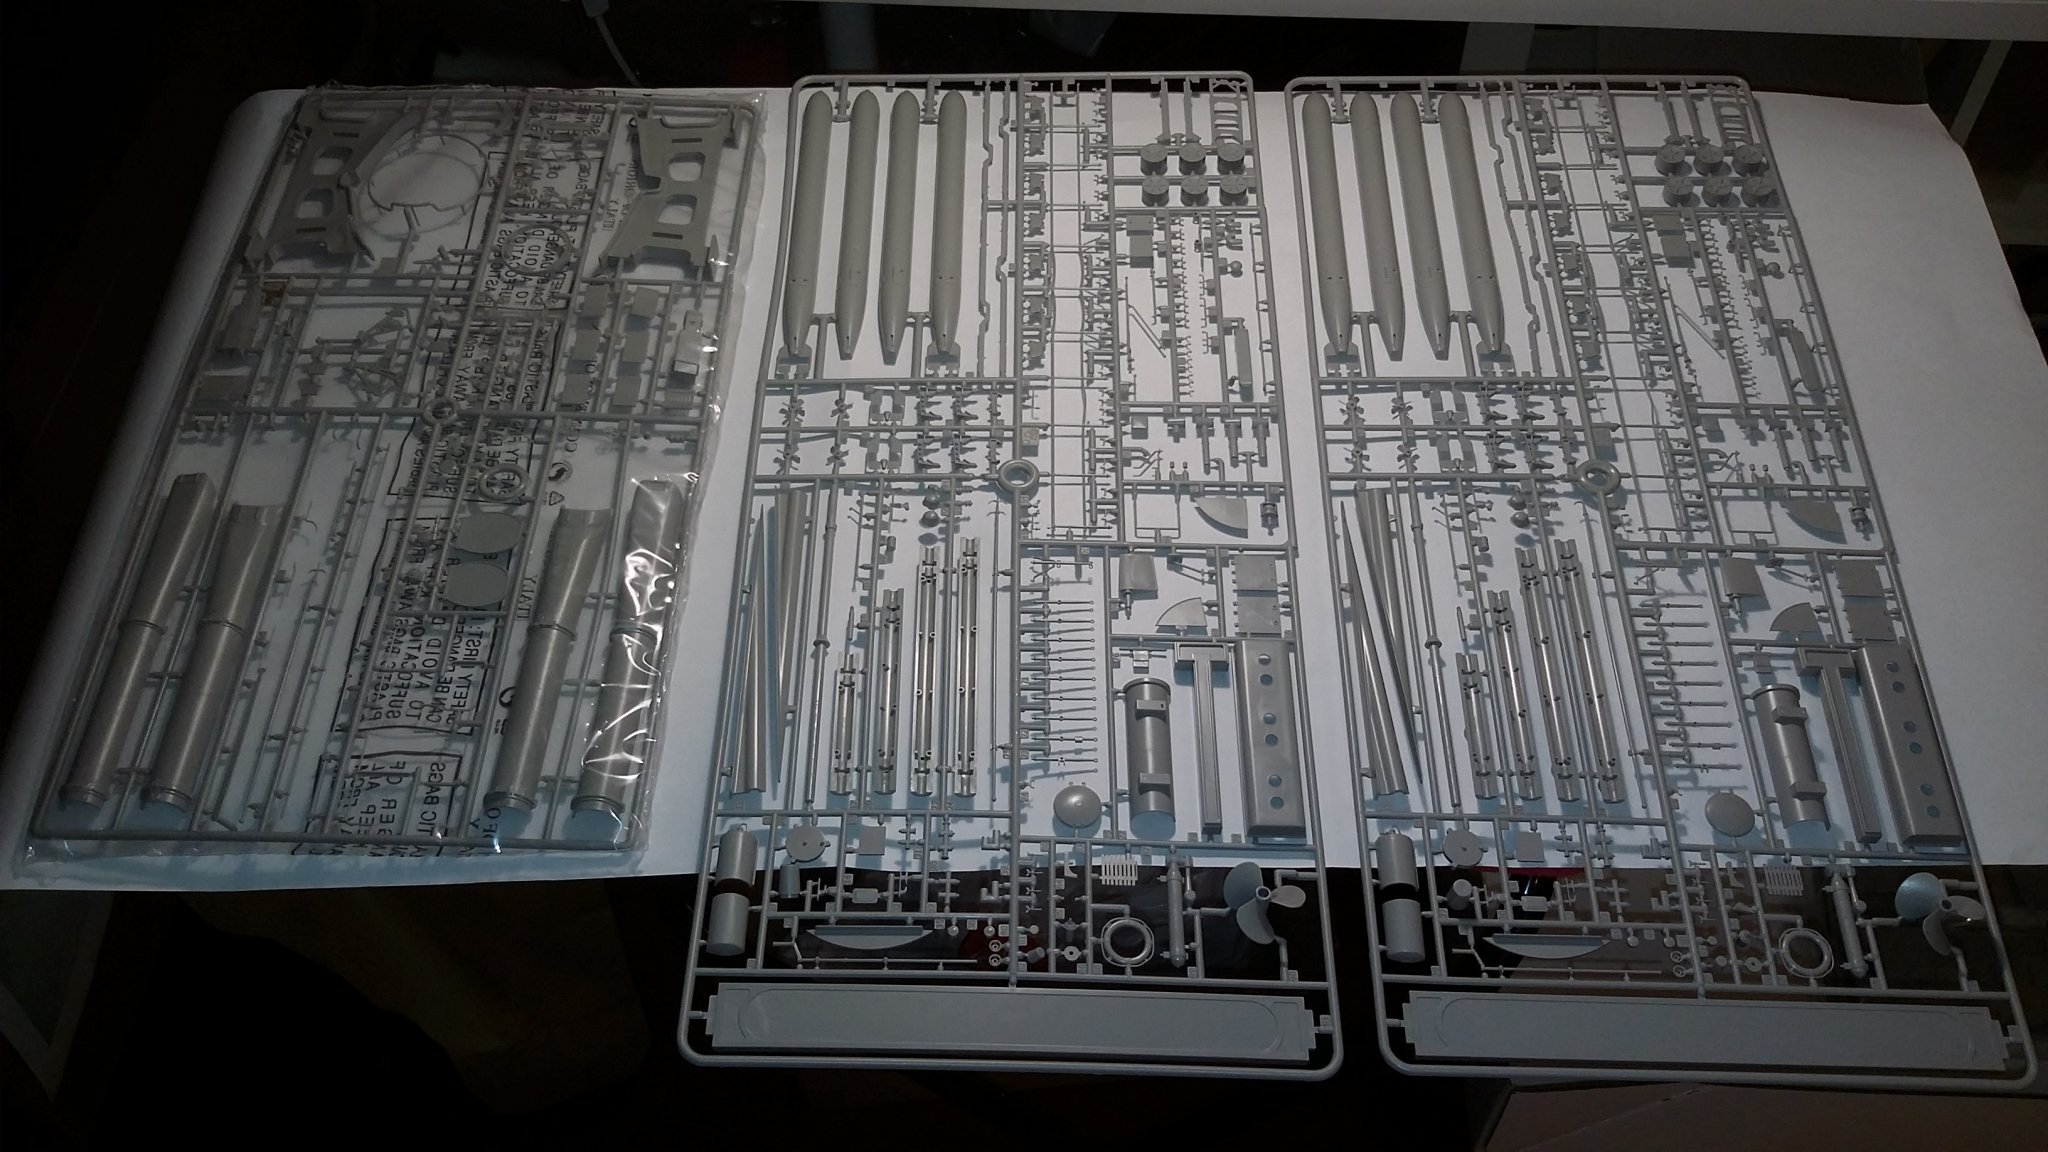
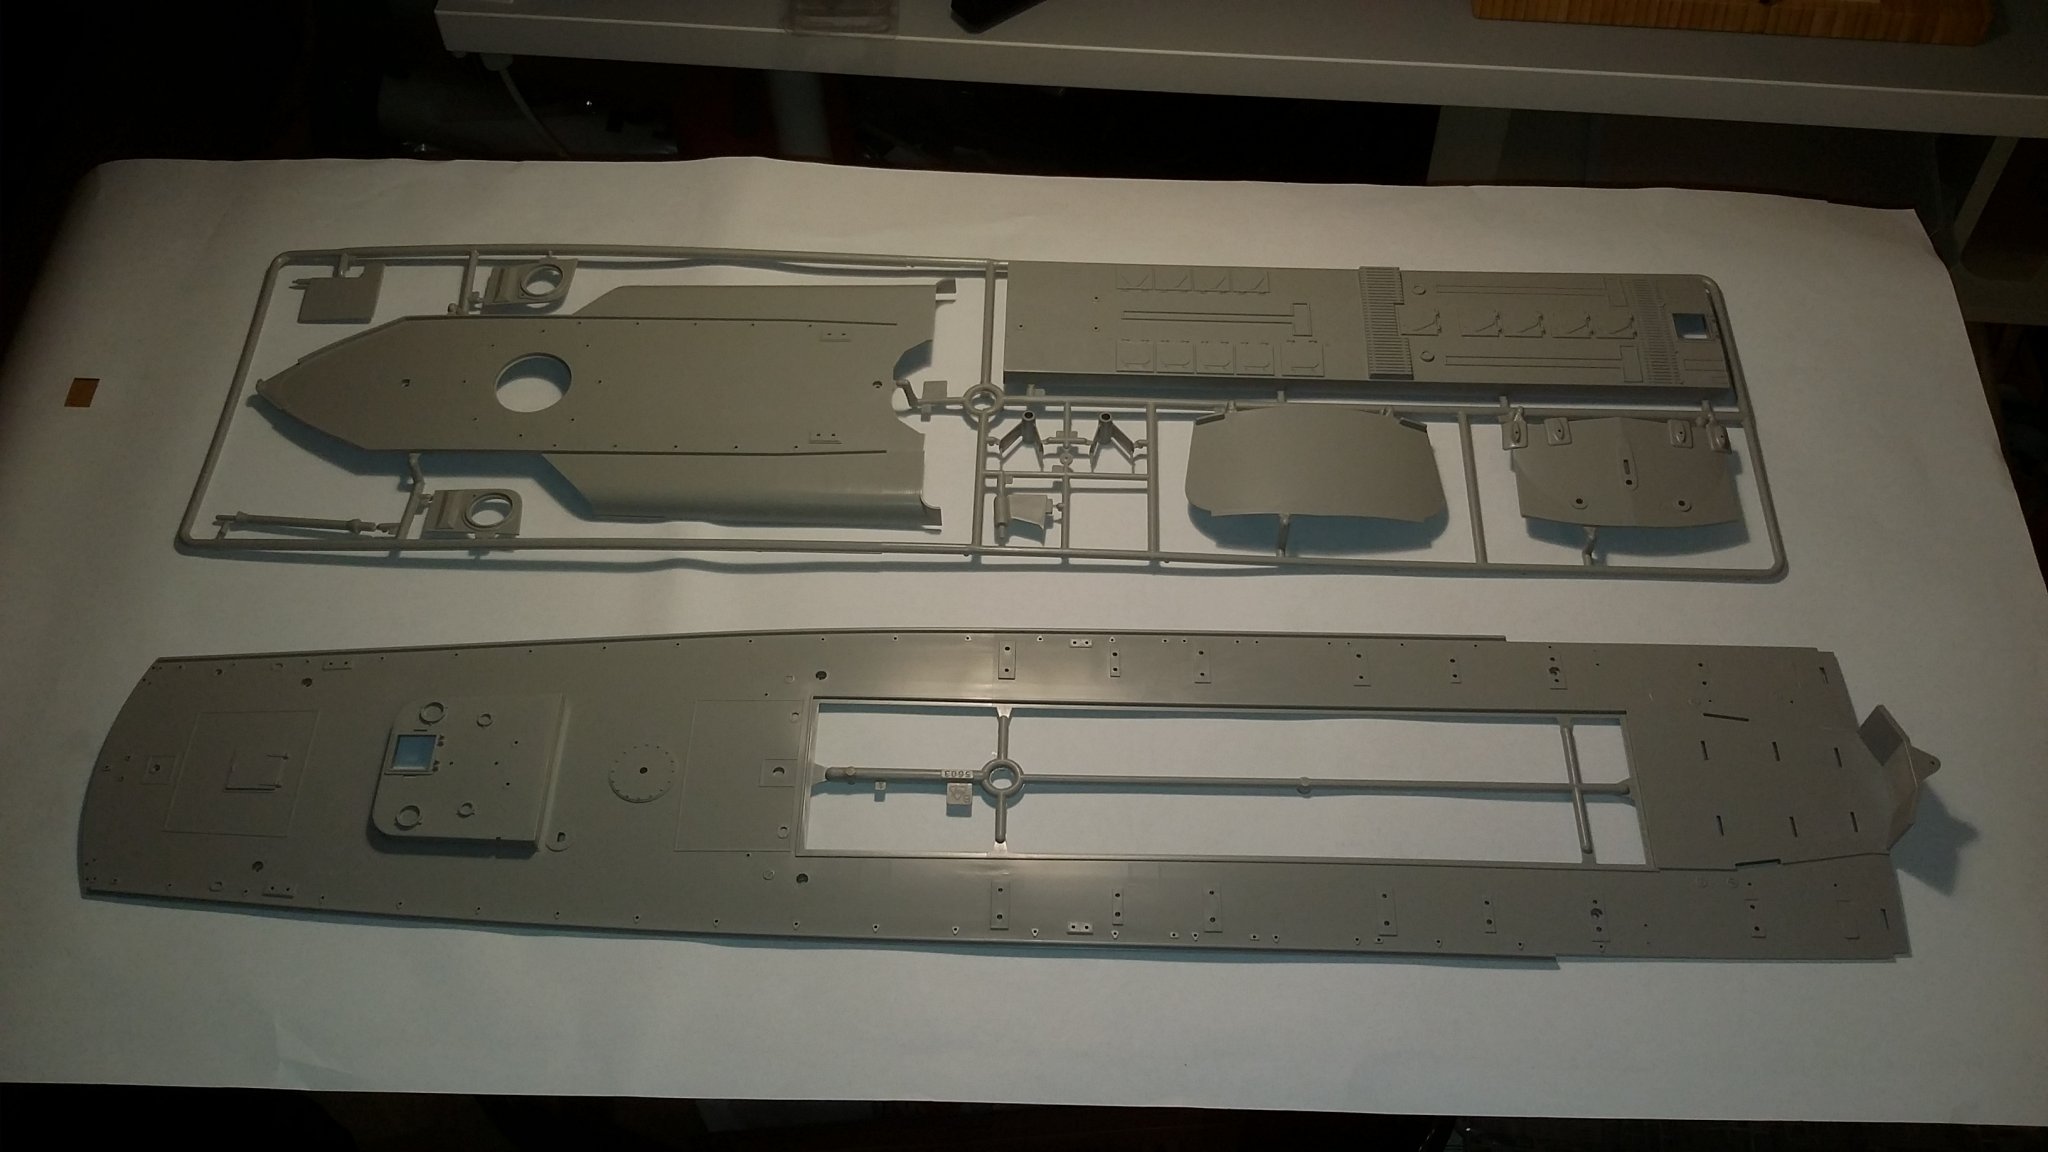
am starting a build log for the S- boat / Schnellboat Type 38
the scale is 1/35 from Italeri and its big.... 99.9 cm long and there is 600 parts on this!
its going to be a bracke projeckt from wood ships ( yust a wile) i have muth to do and a little time for wood building right now ,
on this model, everything is made for you😇......
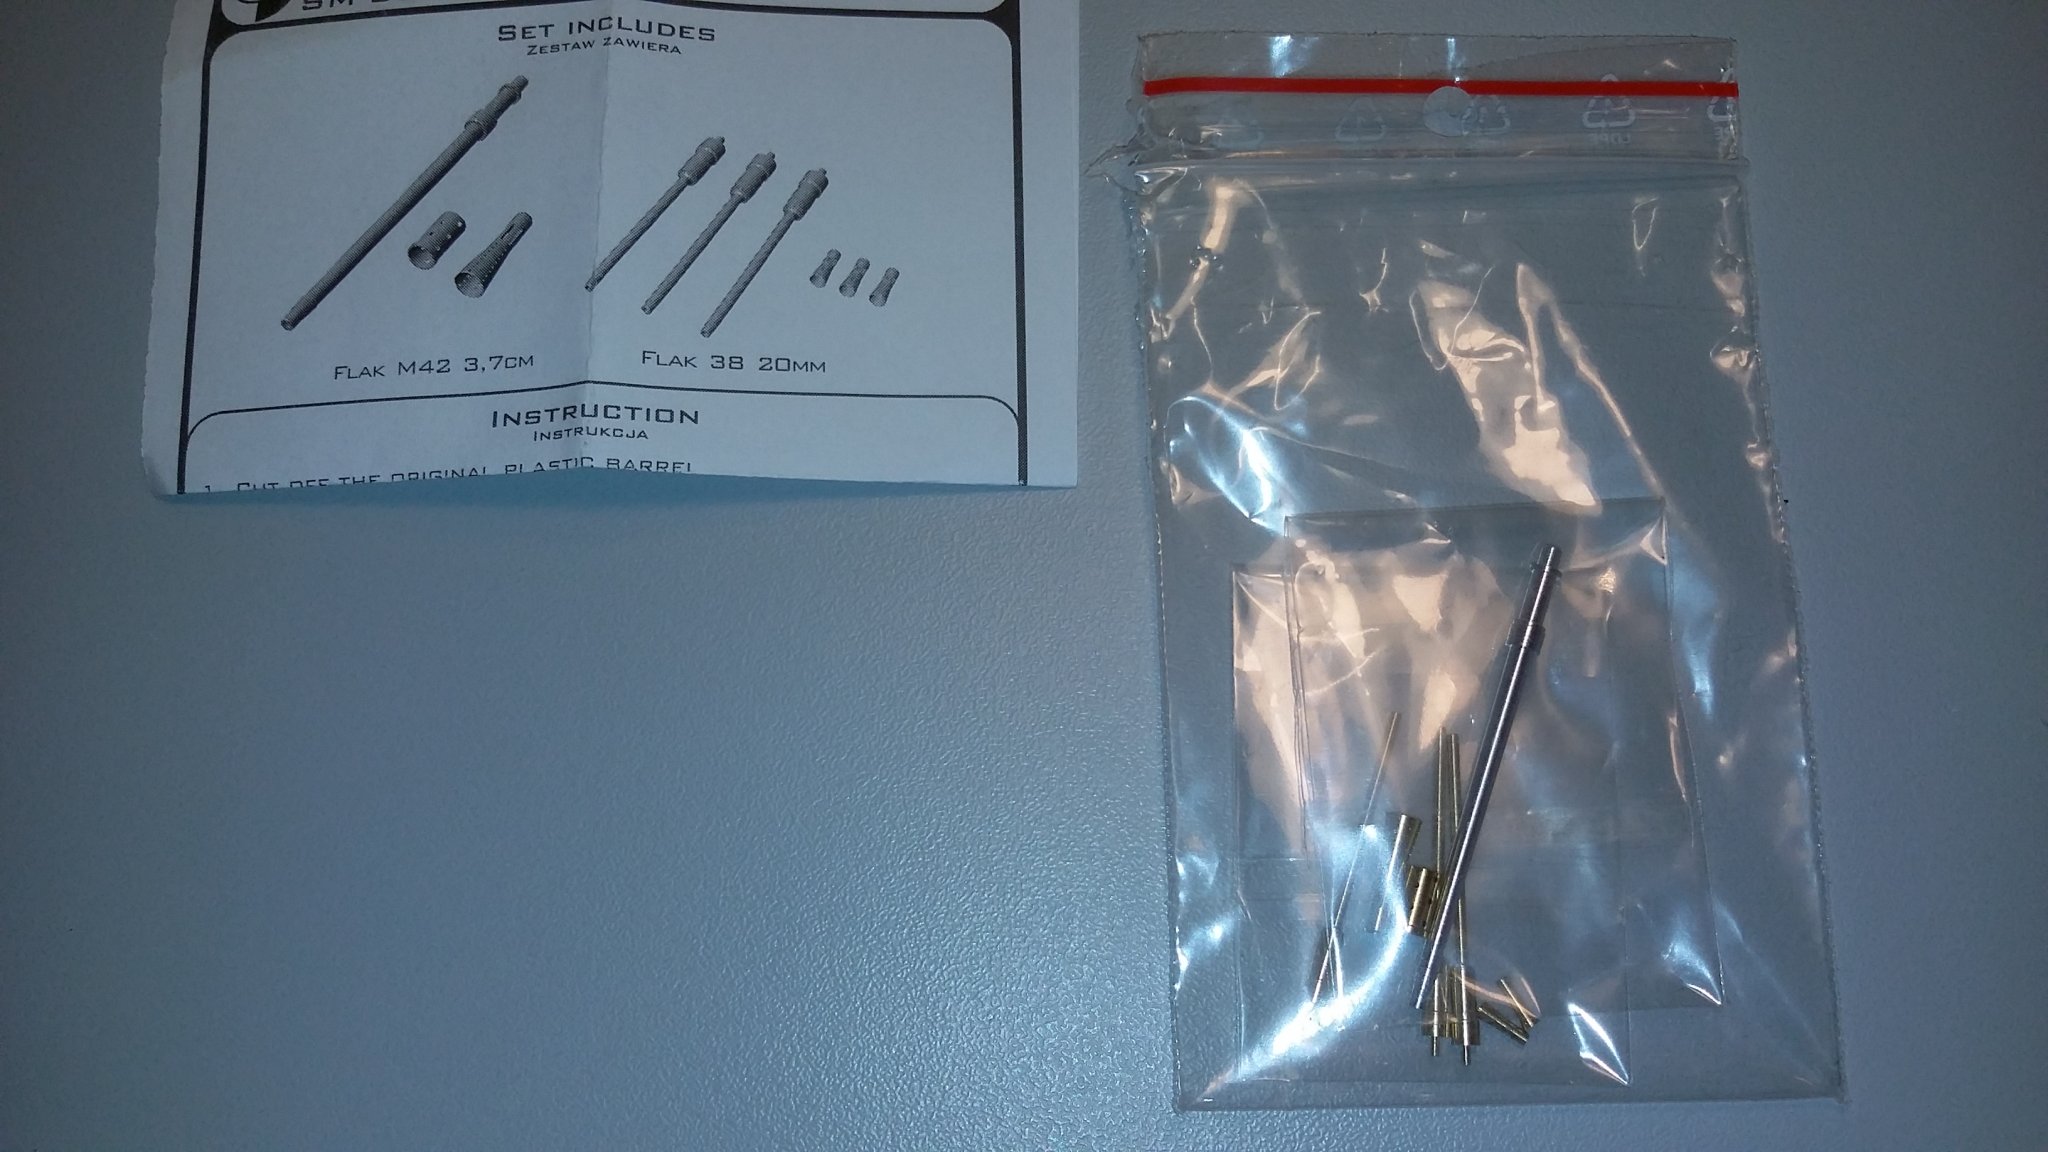
so i got the big items today , well not all , i have orded the photo etch from Eduard for the P 38, also etch for the Bofors gun from Royale models,
Gun barrels from Master model and on hold is items from Shapeways and some mines ,
i wil get som more photo when i start building but for now here is the kit!
svein erik

-
am planing to build the german ww2 E-boat/ schnellboot P38 from Italeri , its big ..... 99.9 cm long
i havent resive the kit yet but its here in 2-3 days.
i also orded the photo etch from Eduard for the P 38, photo etch for the Bofors from Royale models,
the nex to order is some barrels , maby some mines ...
i need also 3D parts from shapeways (Torpedotubends,weelhouse sett etc, maby dekkplanking/sterndekk suport/torpedo rack etc ,
paint for the kit comes from Model missjon .
there wil be a build log later for this prodjekt ,but in 2-3 mnd .... i need to get all the parts i need first!
svein-erik
.thumb.jpg.f598191cbe1a36f178ed87d69eb8773e.jpg)
- GrandpaPhil, reilly, lmagna and 1 other
-
4
-
OMG.....
after some time off building the syren i notis some error 😲
the hammock cranes is plased with to nerrow space , so i can do this 2 ways ,
try to take off the 4 of them and get more space so the wil get more aft or get 1 more on at the aft ...
but in the plans there is 5 here , so if i get one mor here there wil be 6 of them , maby it dosent matter or not😲
svein erik
-
ok... hi again😲
i think is time to get some more work dunn on the syren and am sending the Pequot on a hollyday😉
i wil get some photo out soon!
svein erik
-
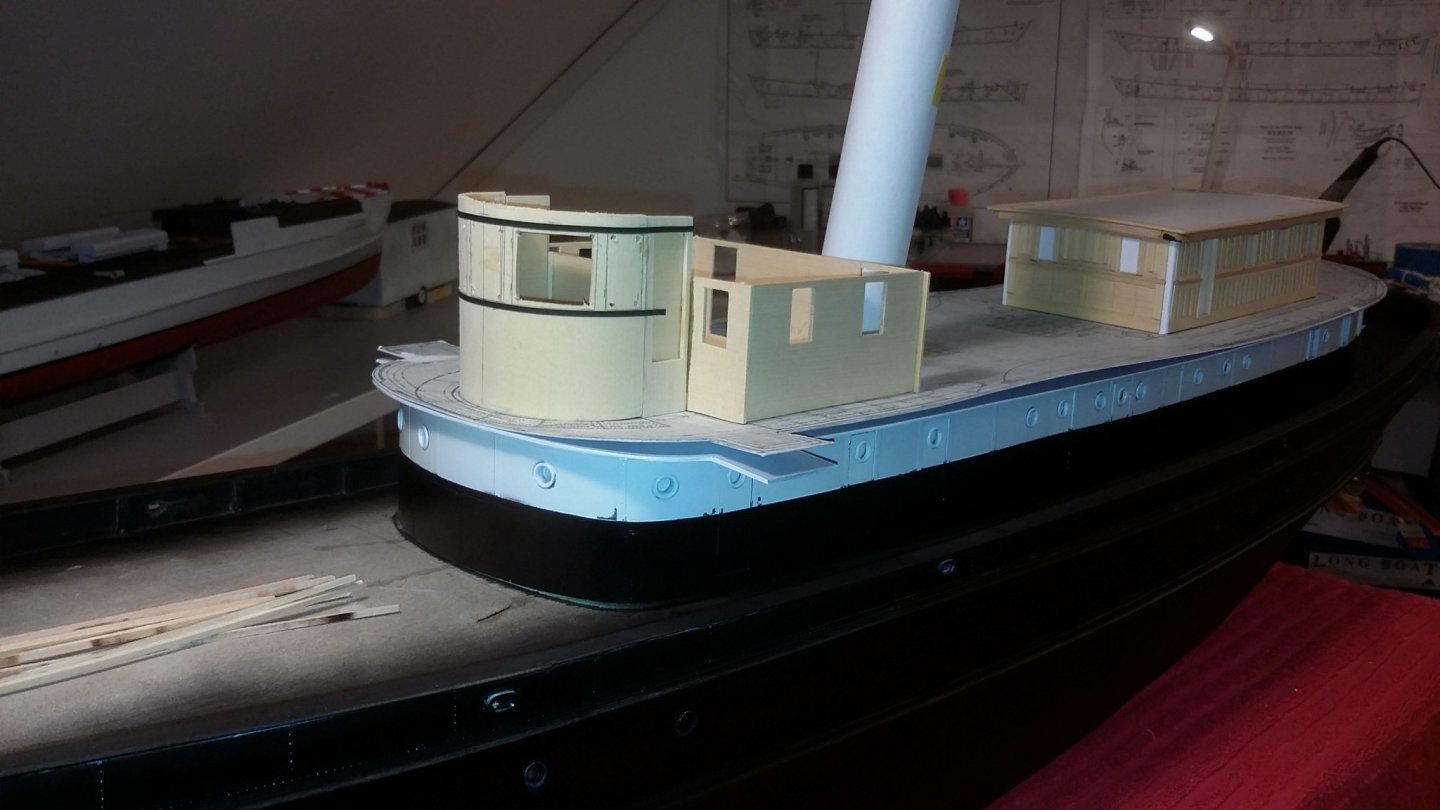
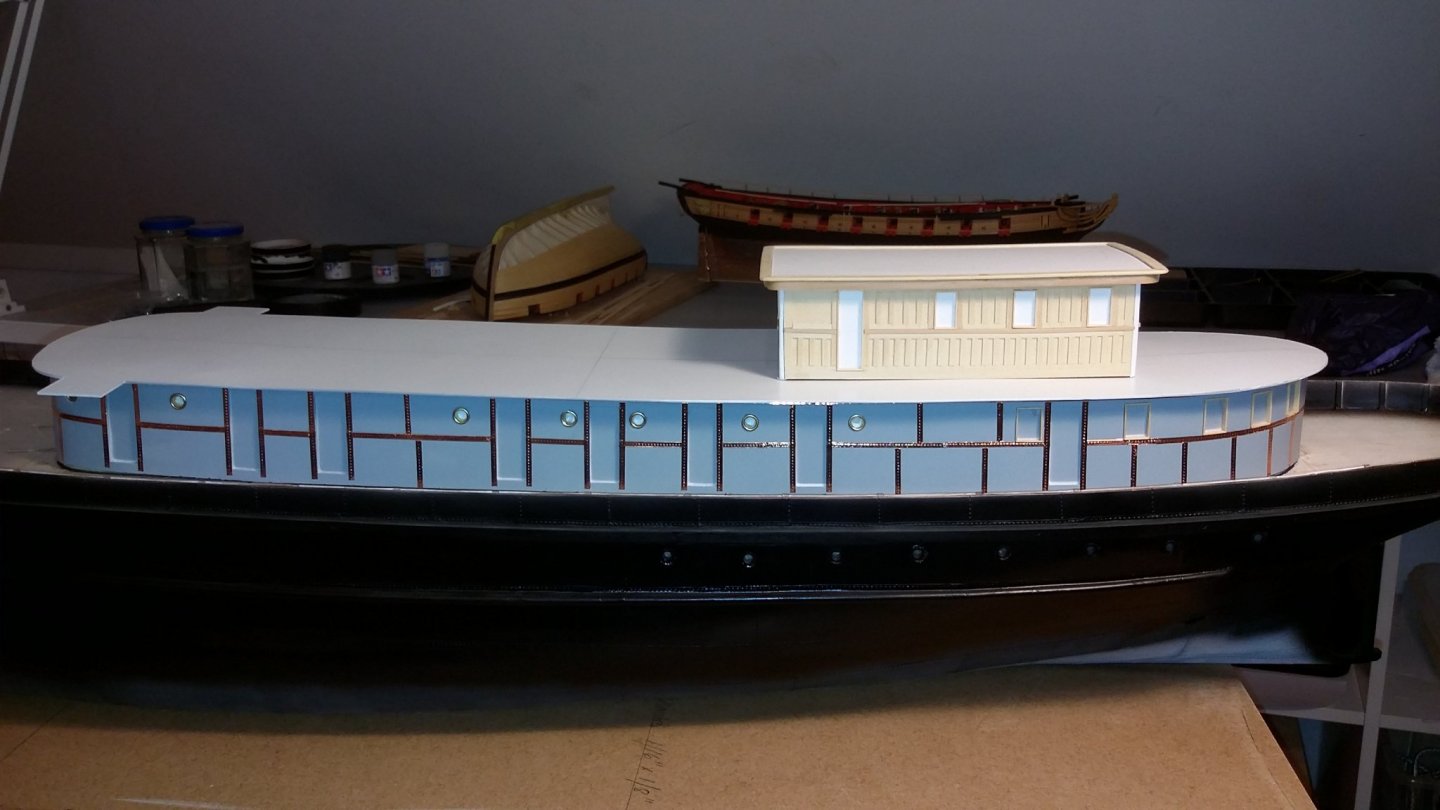
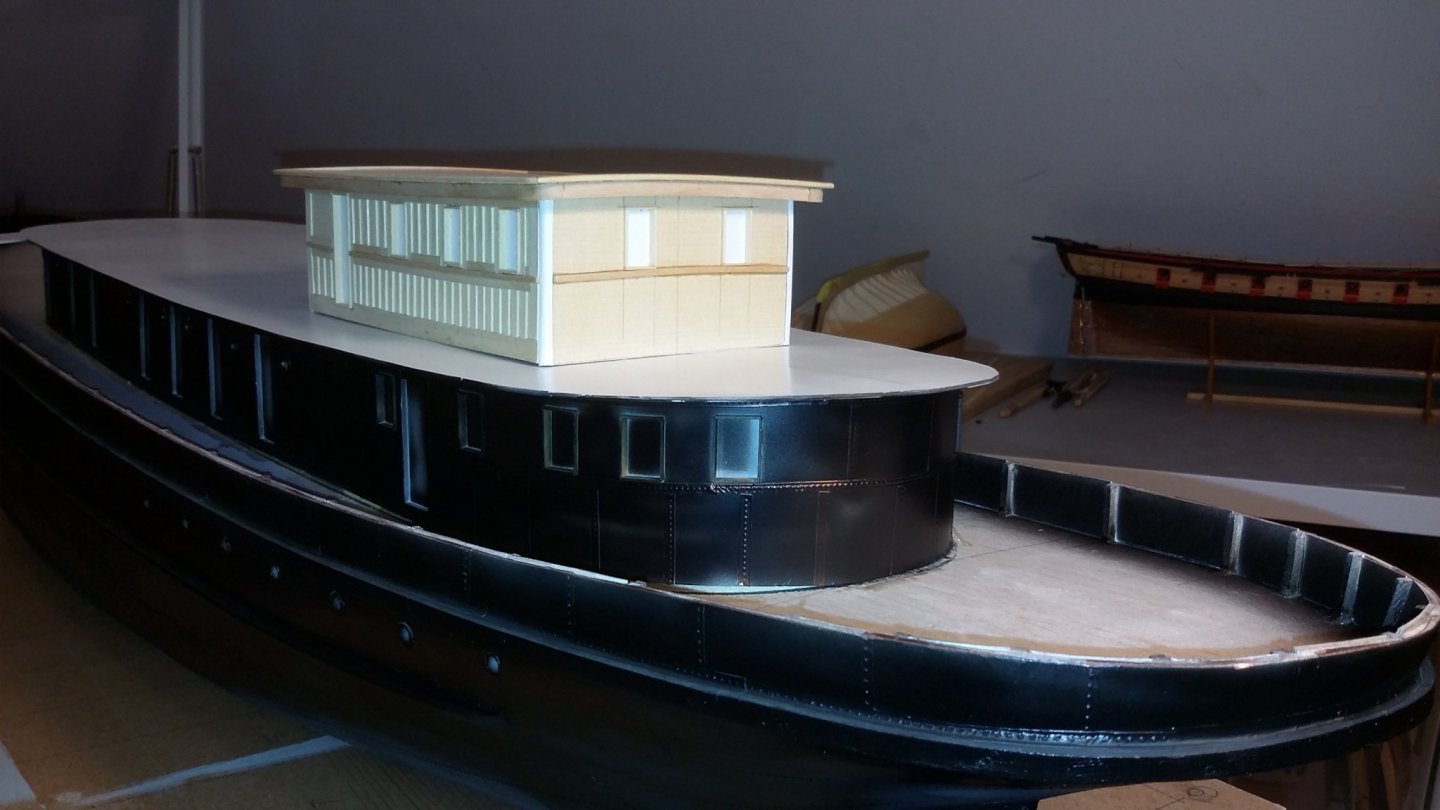
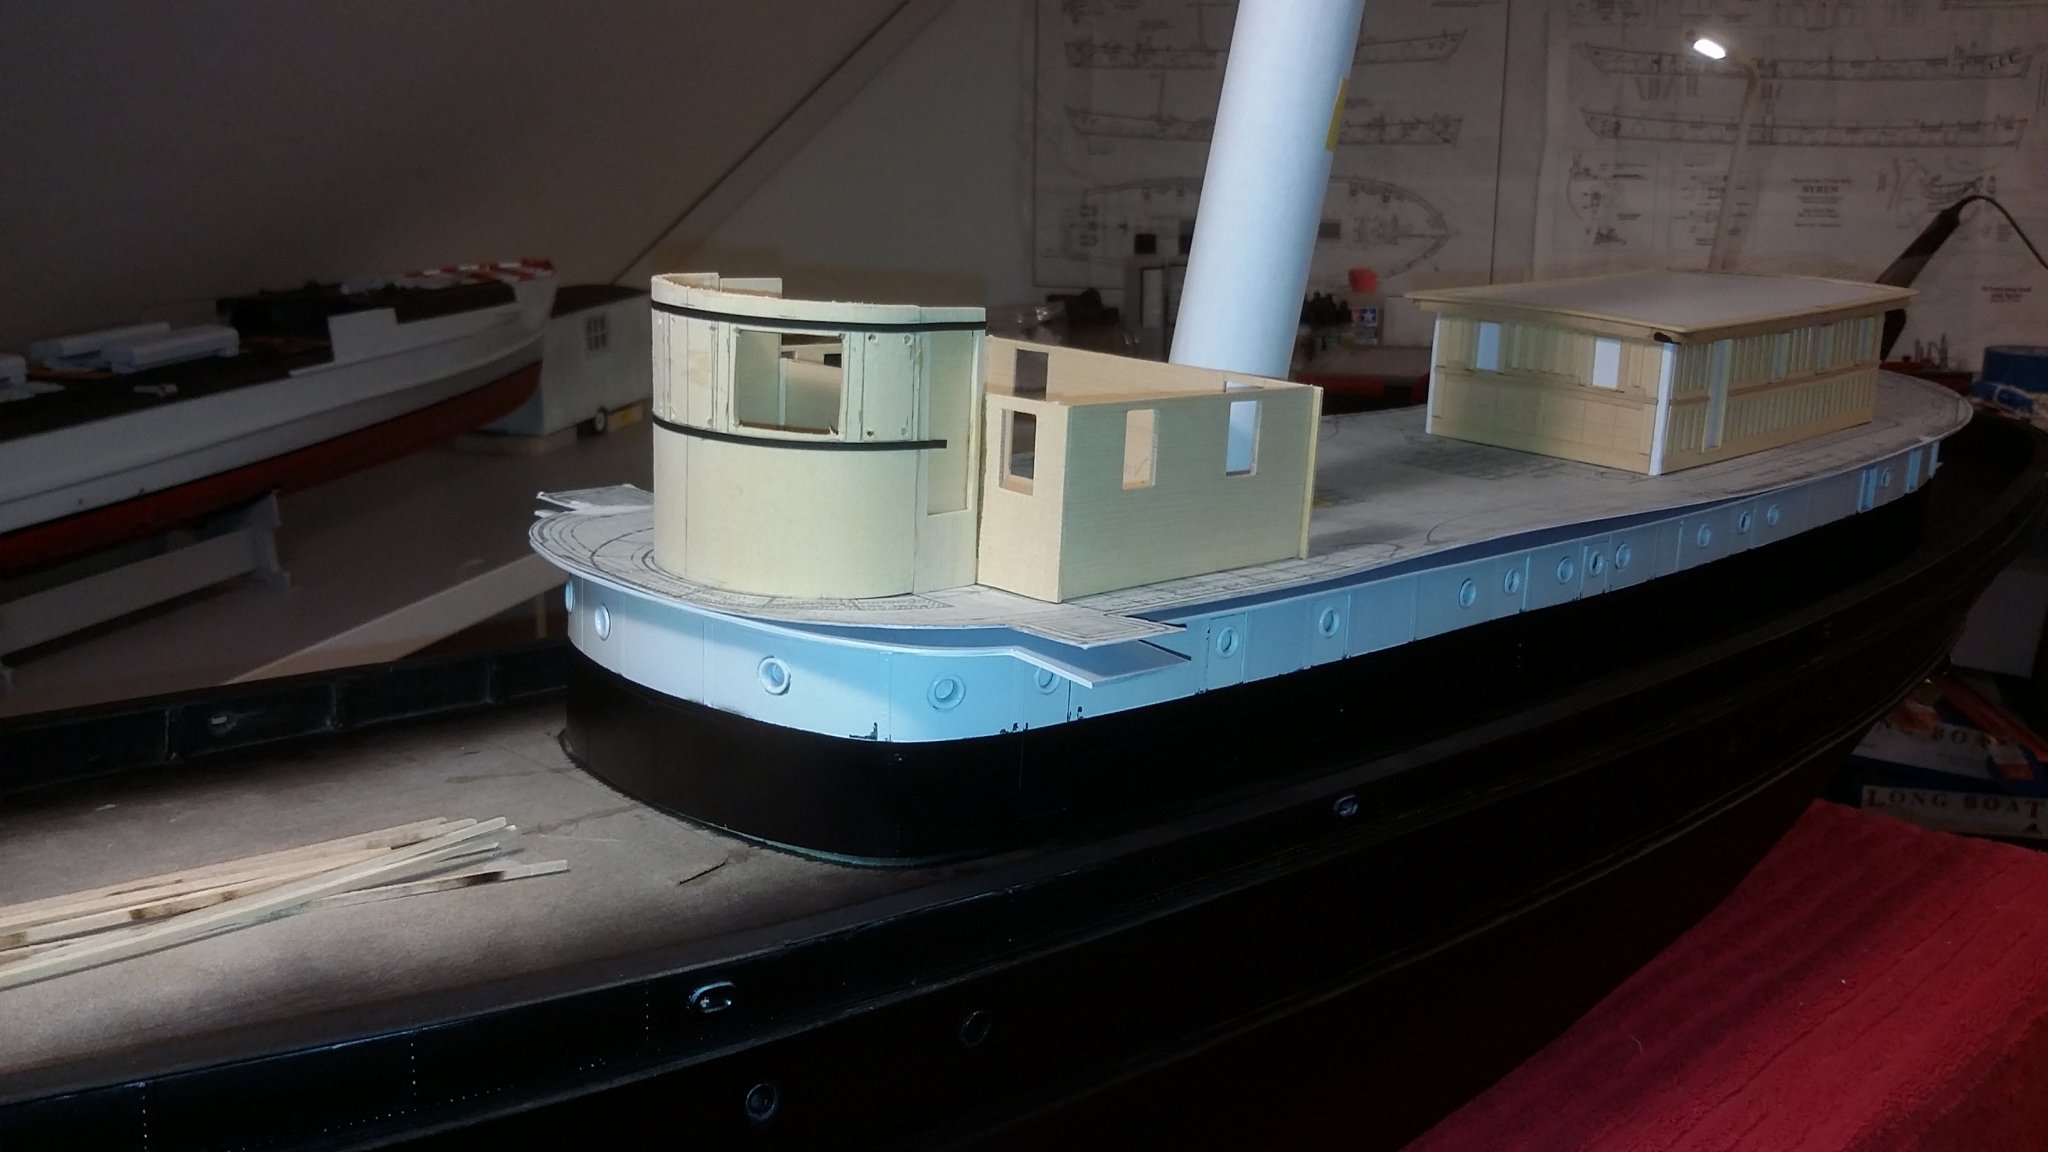
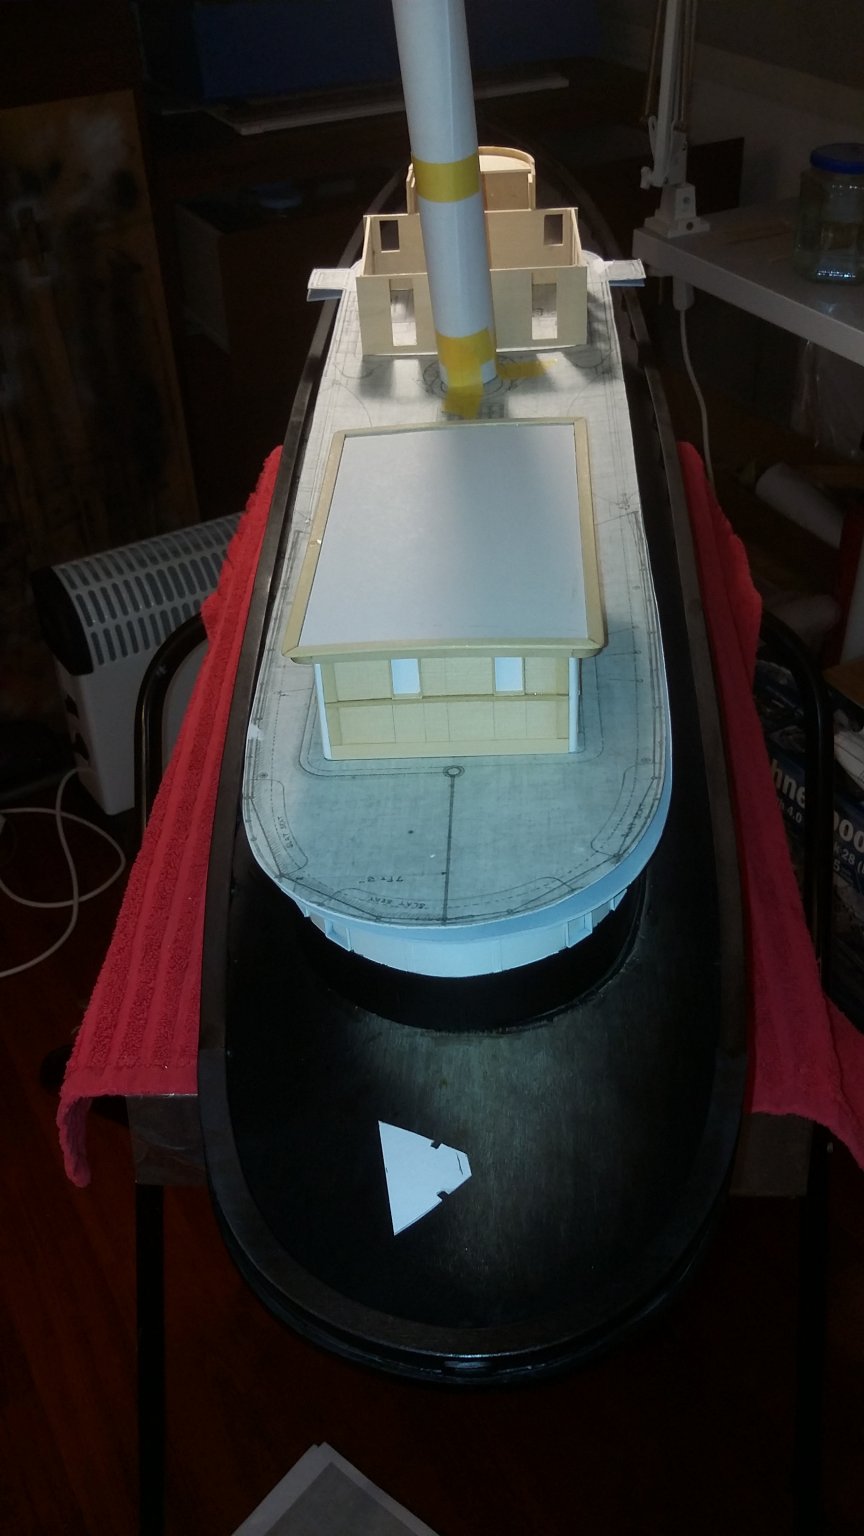
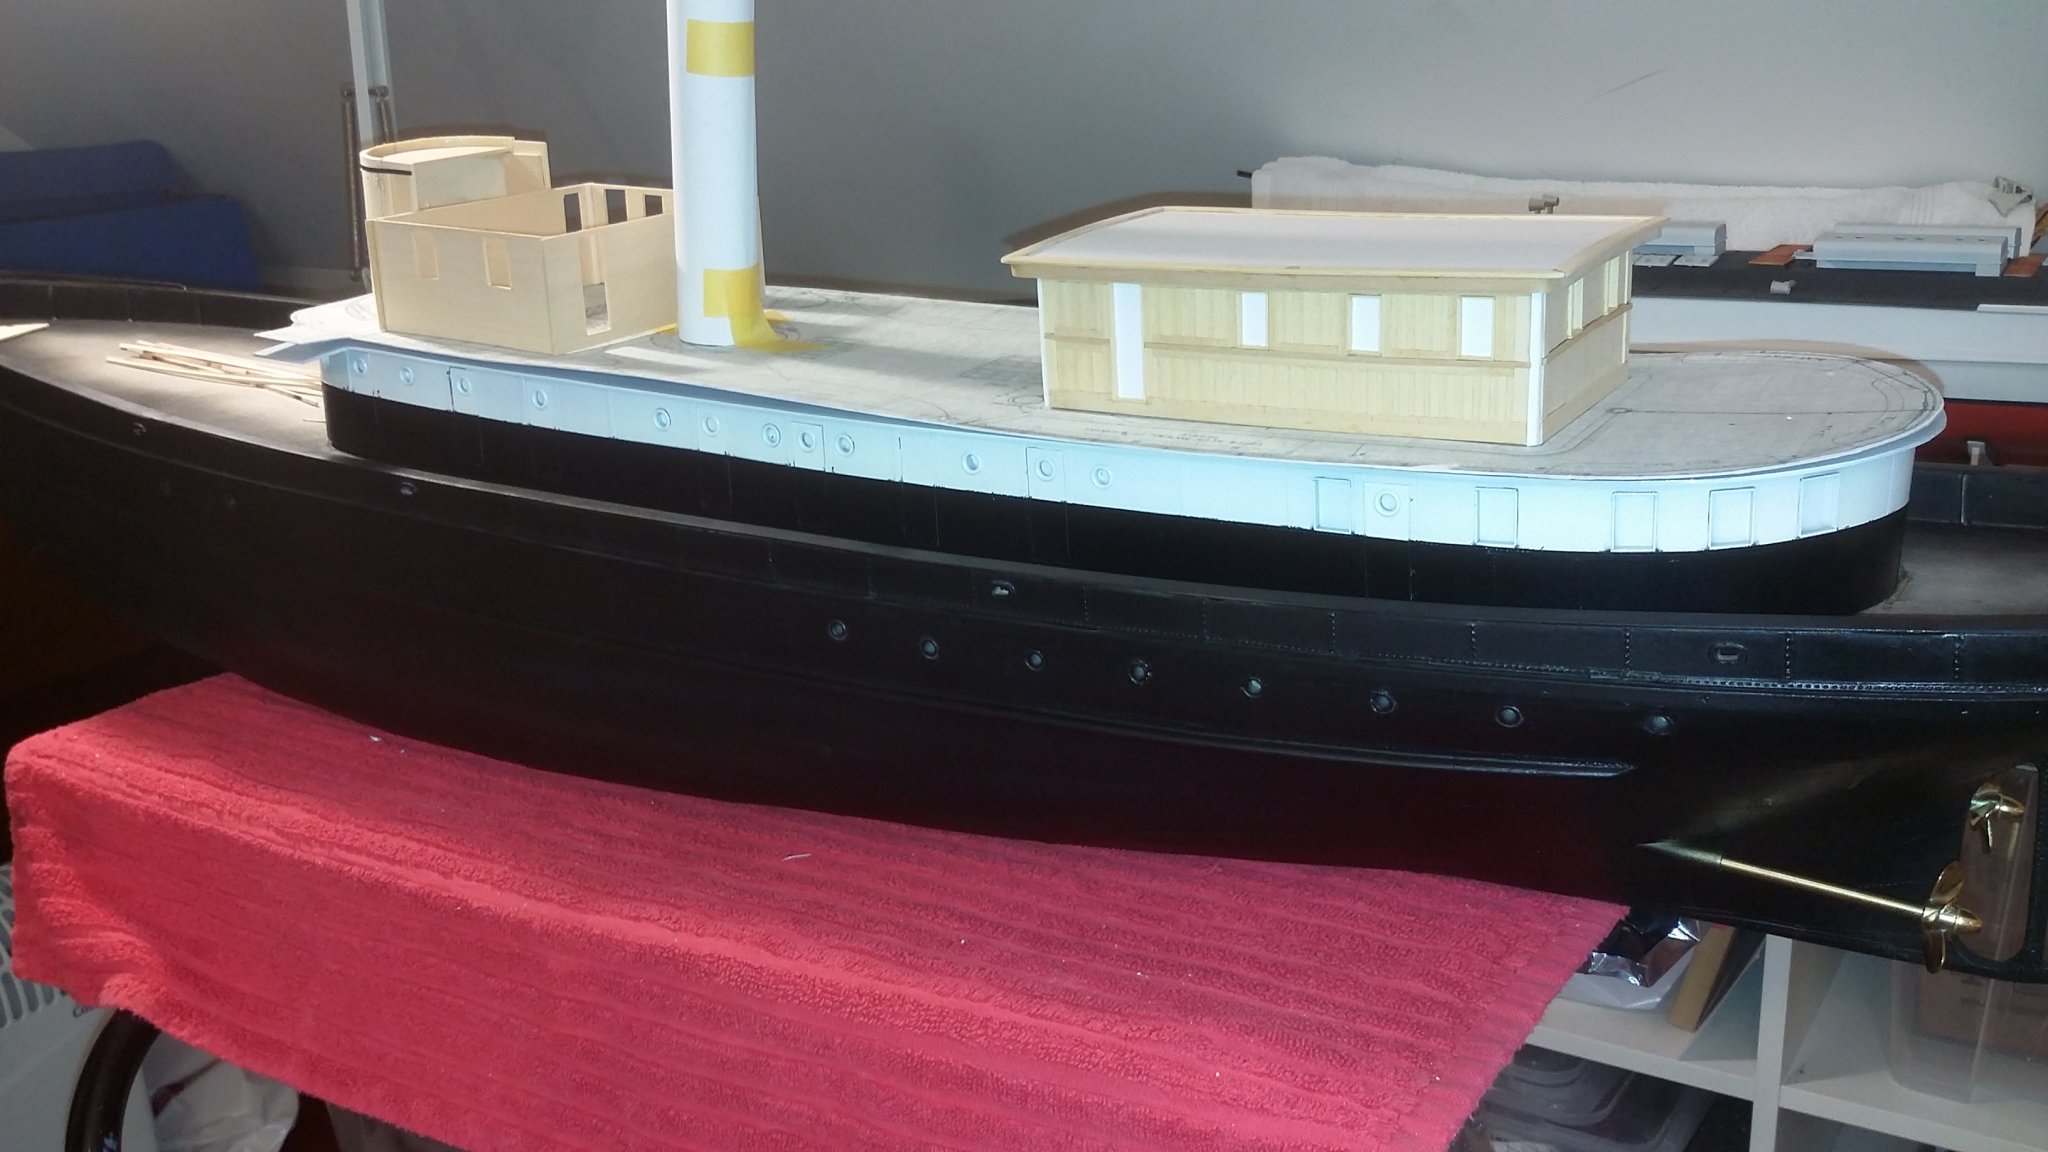
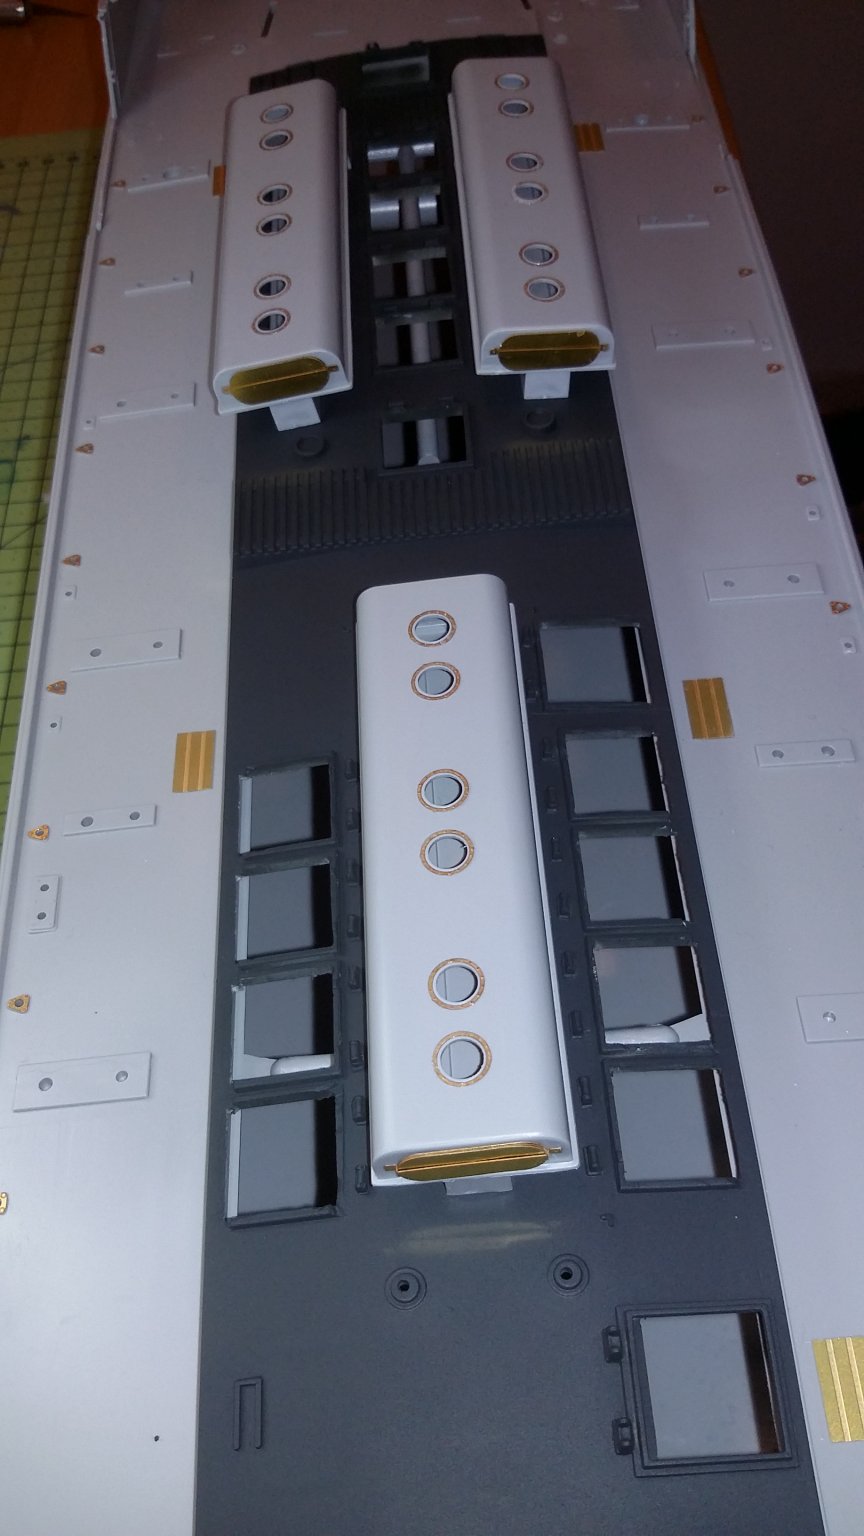
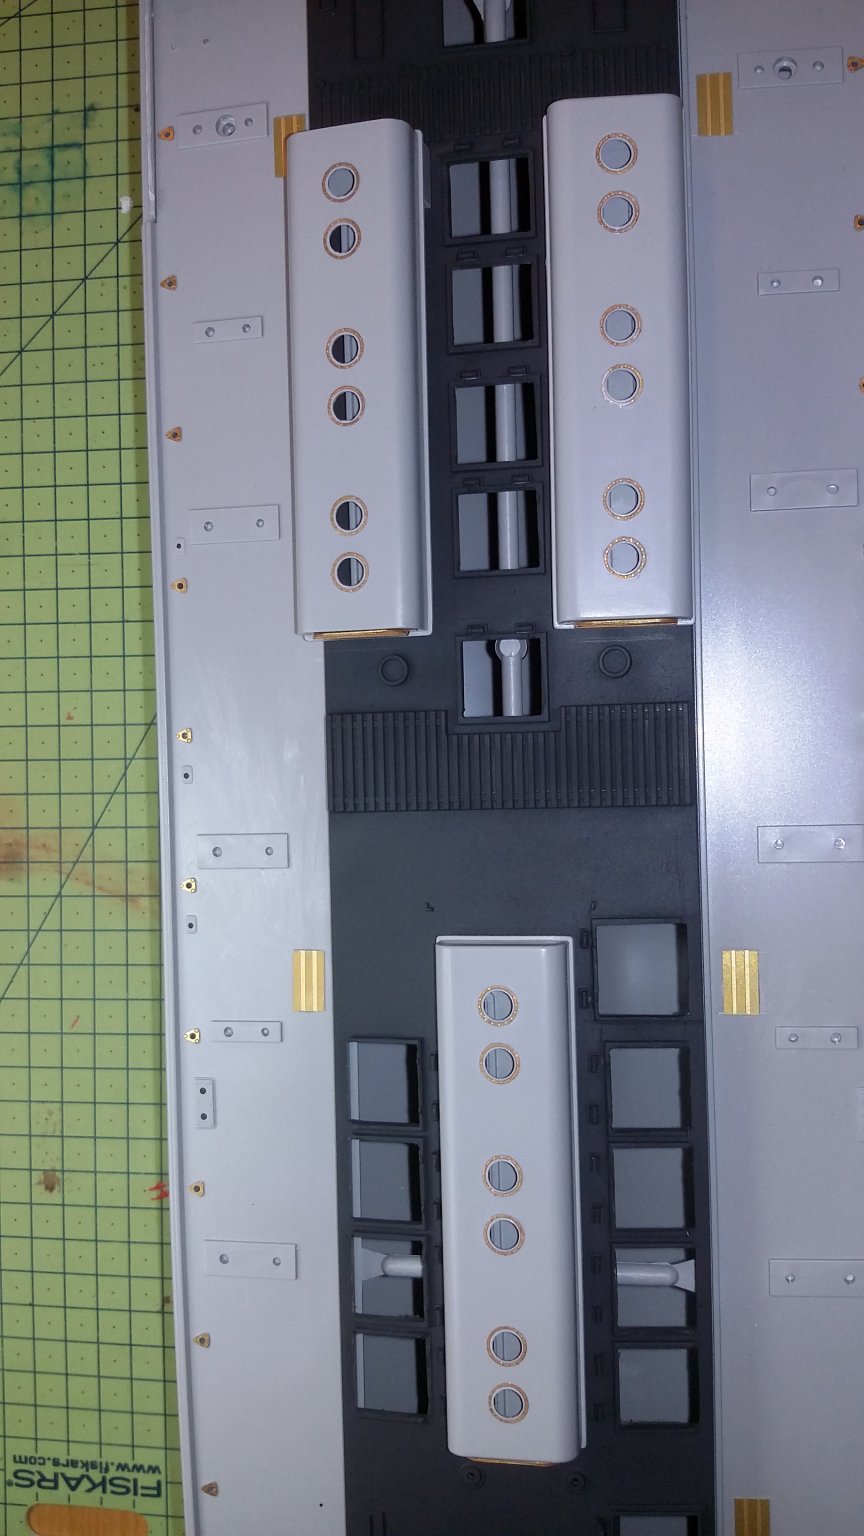
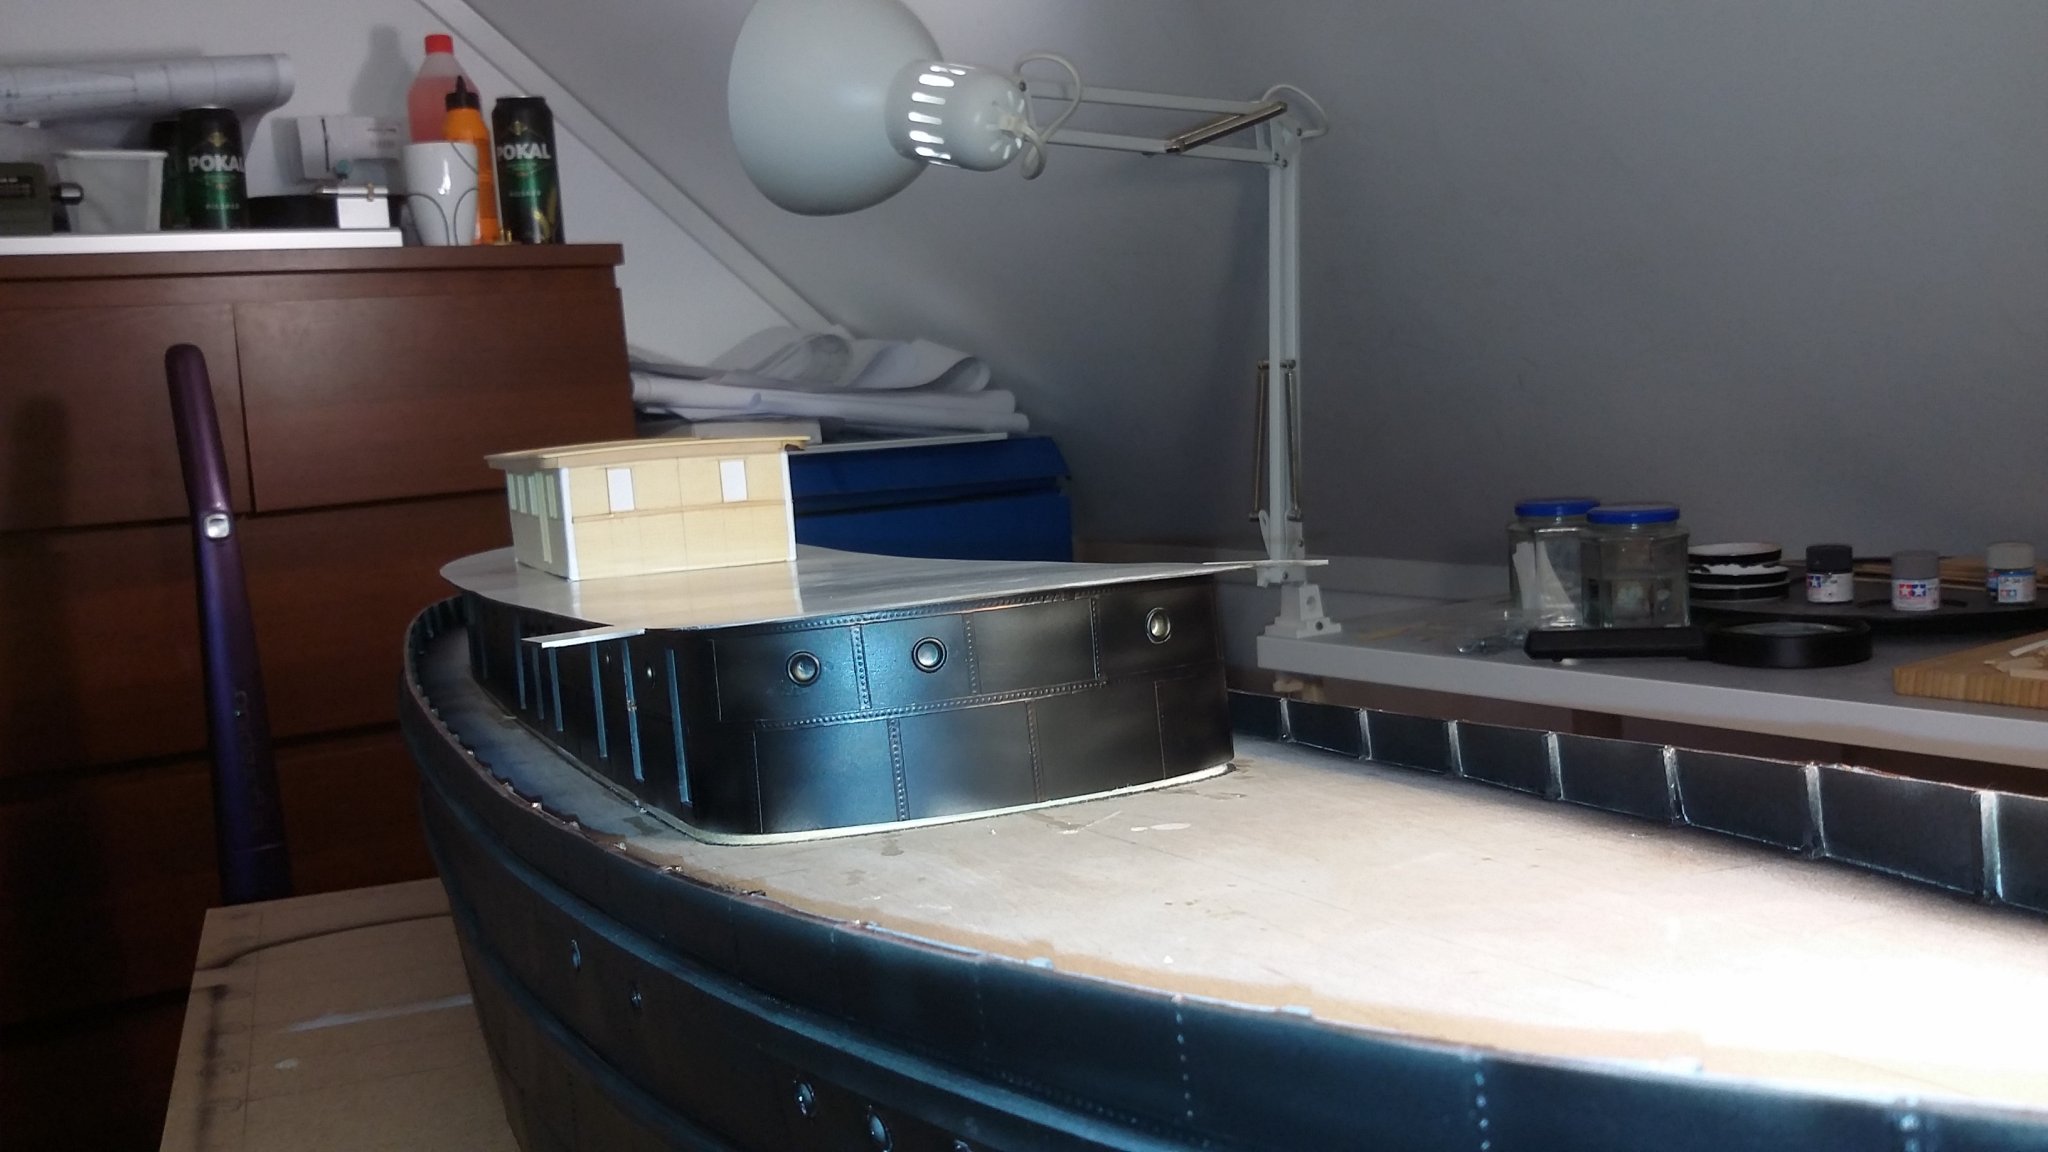
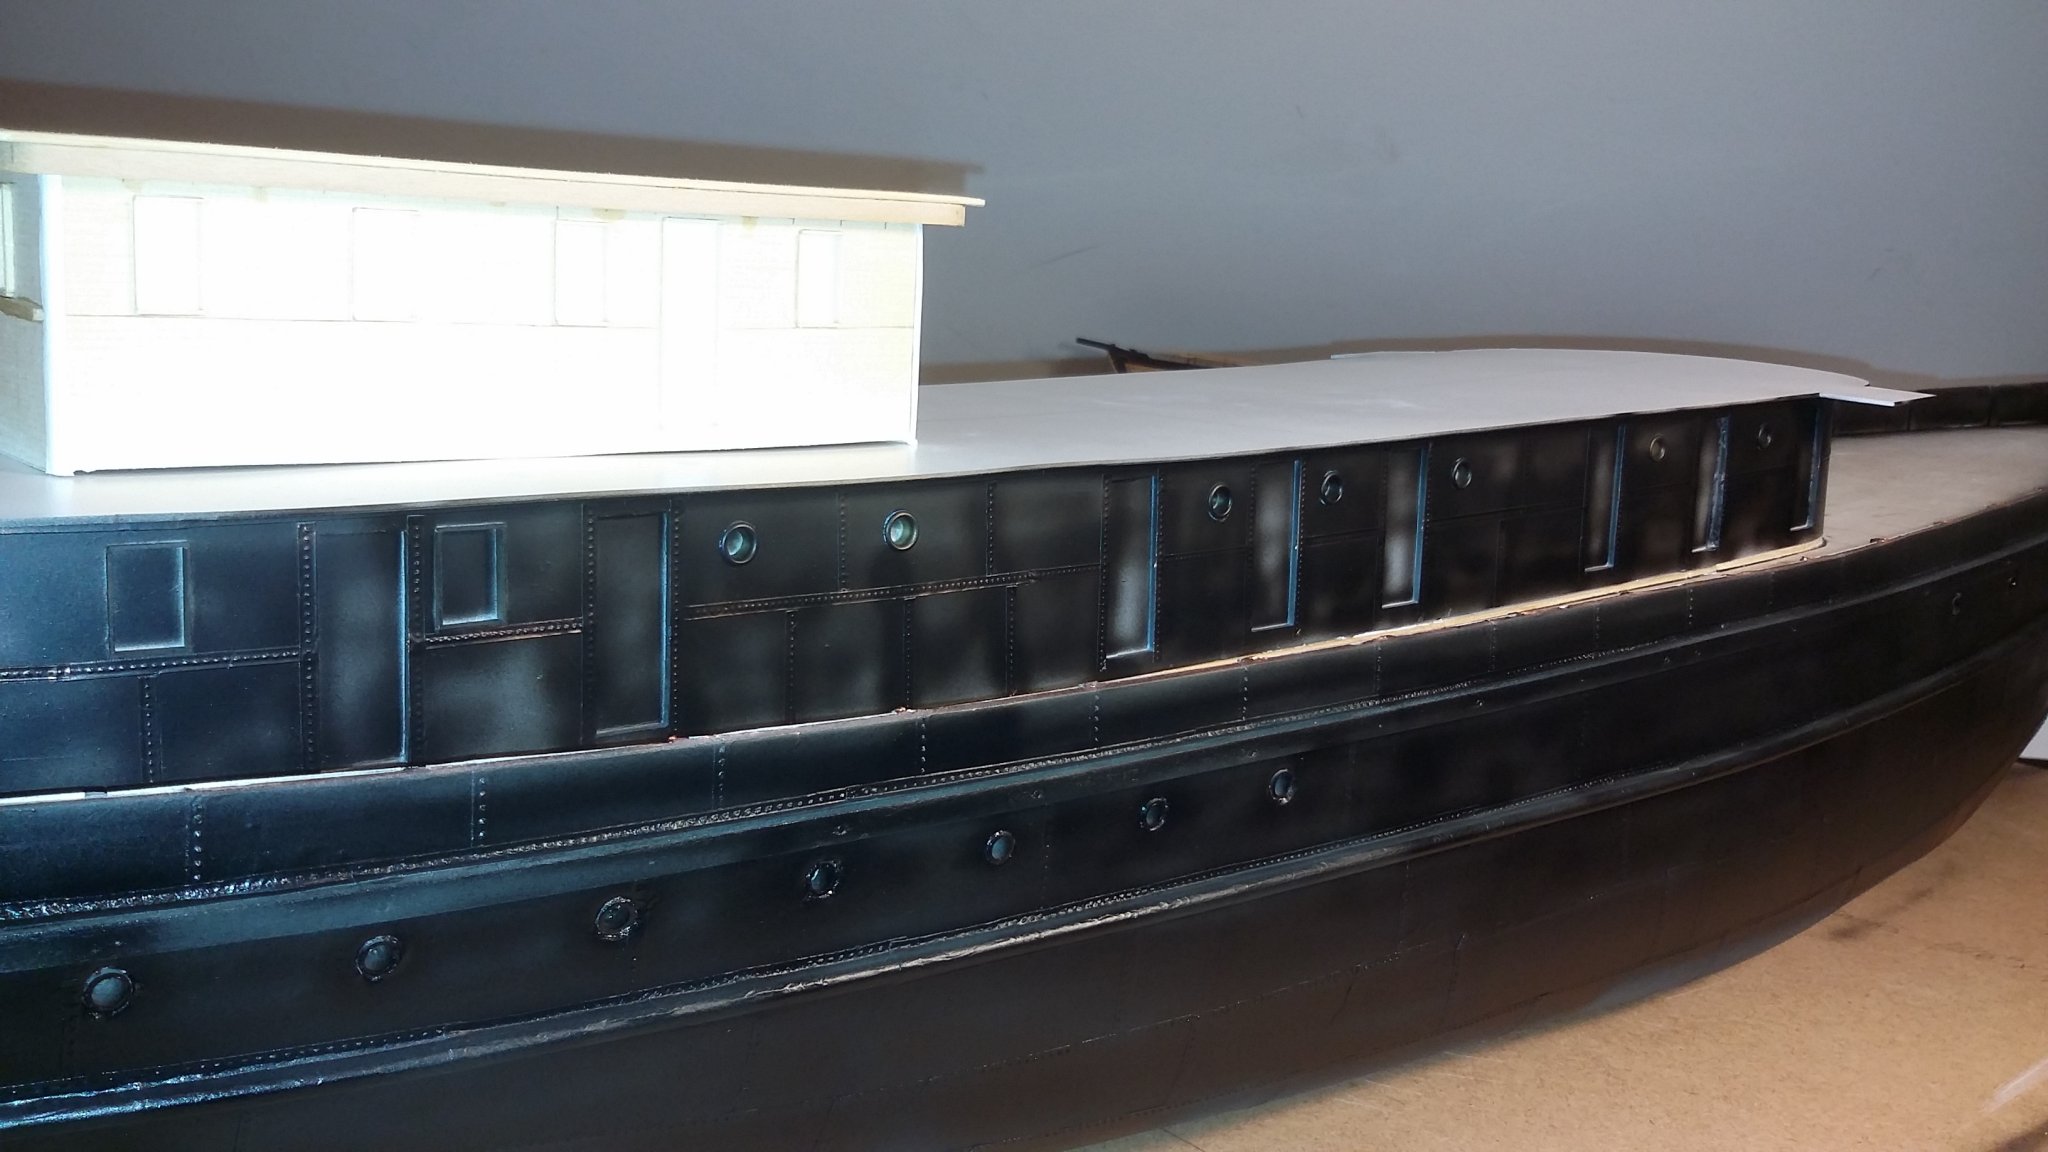
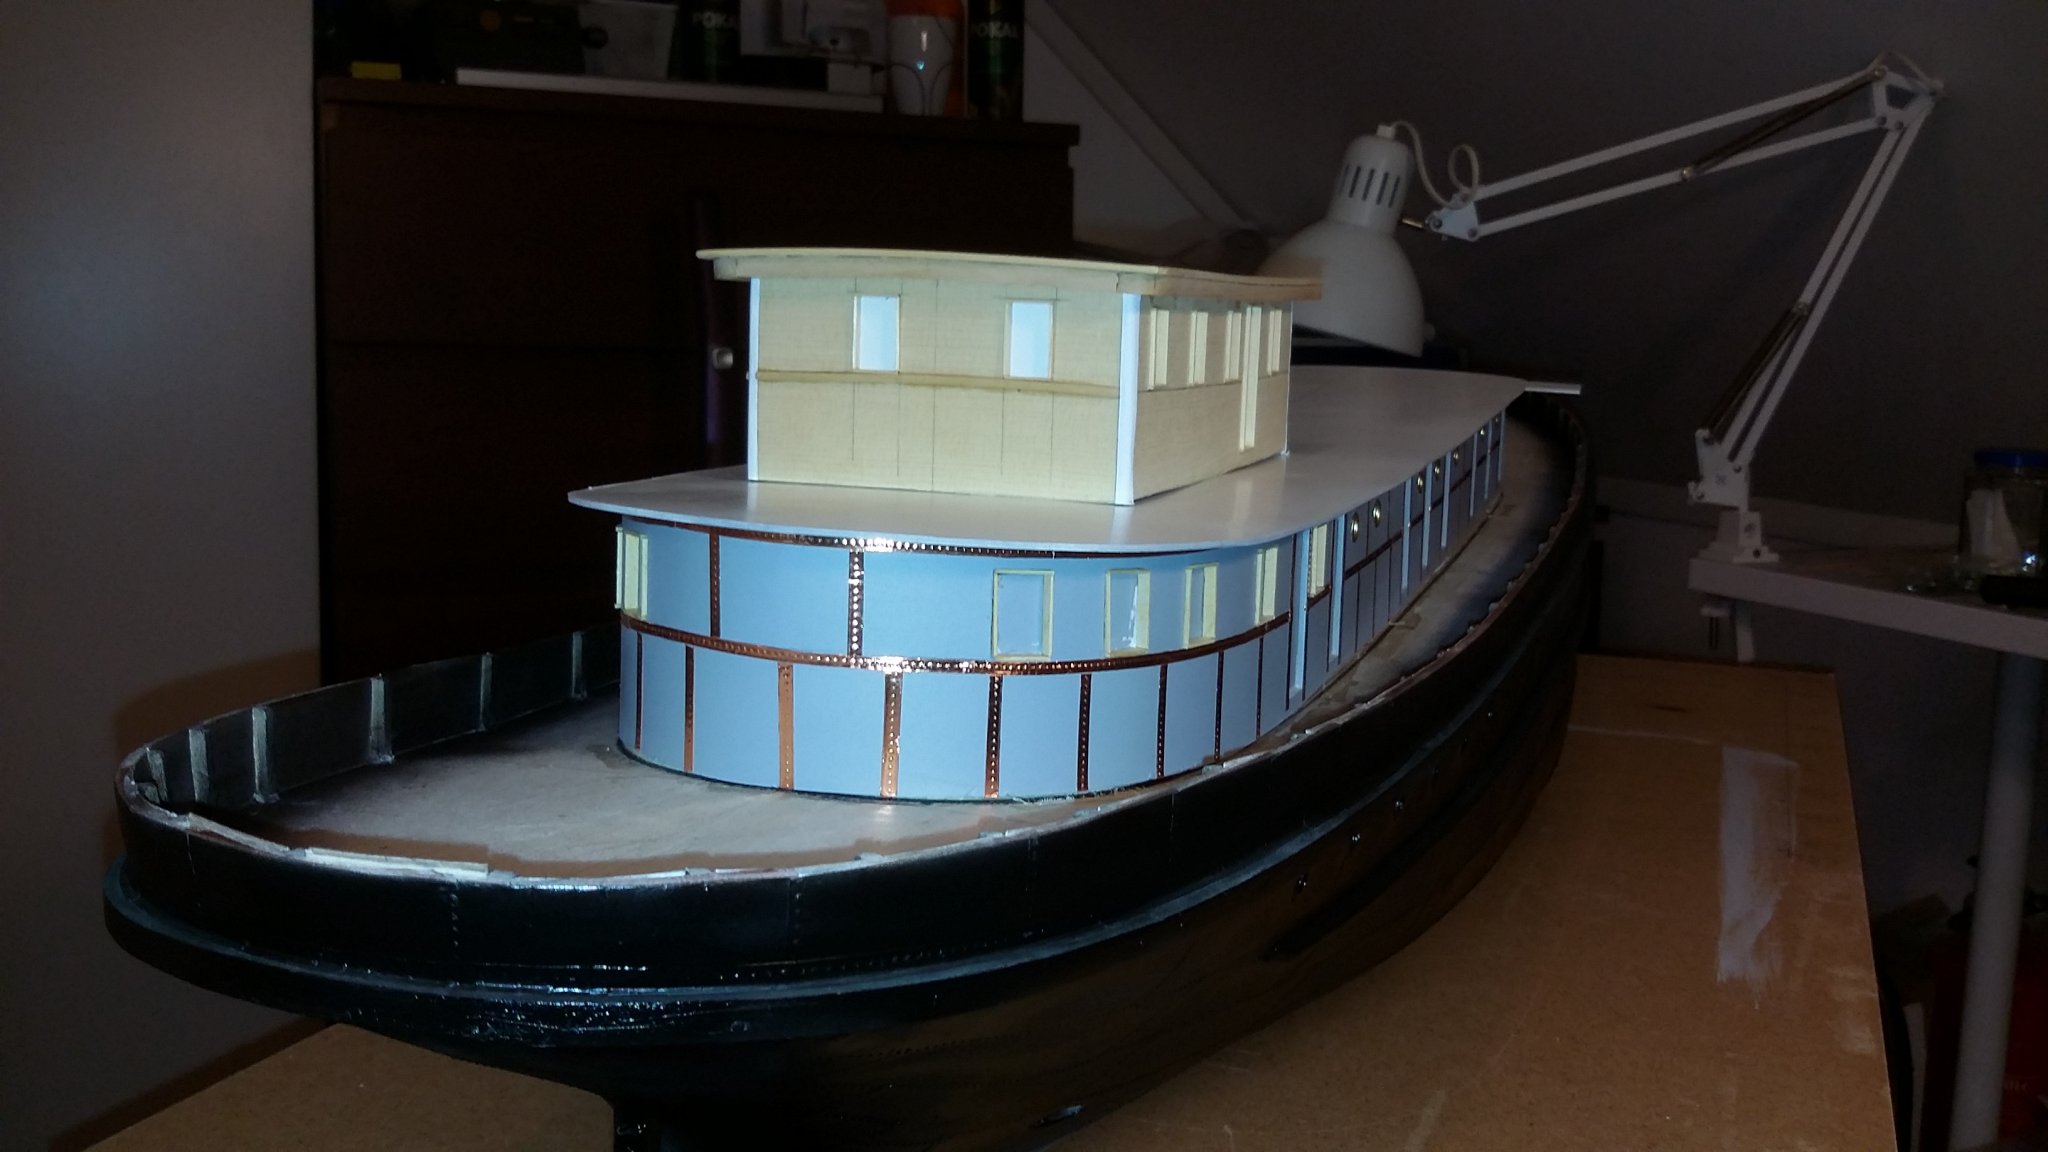
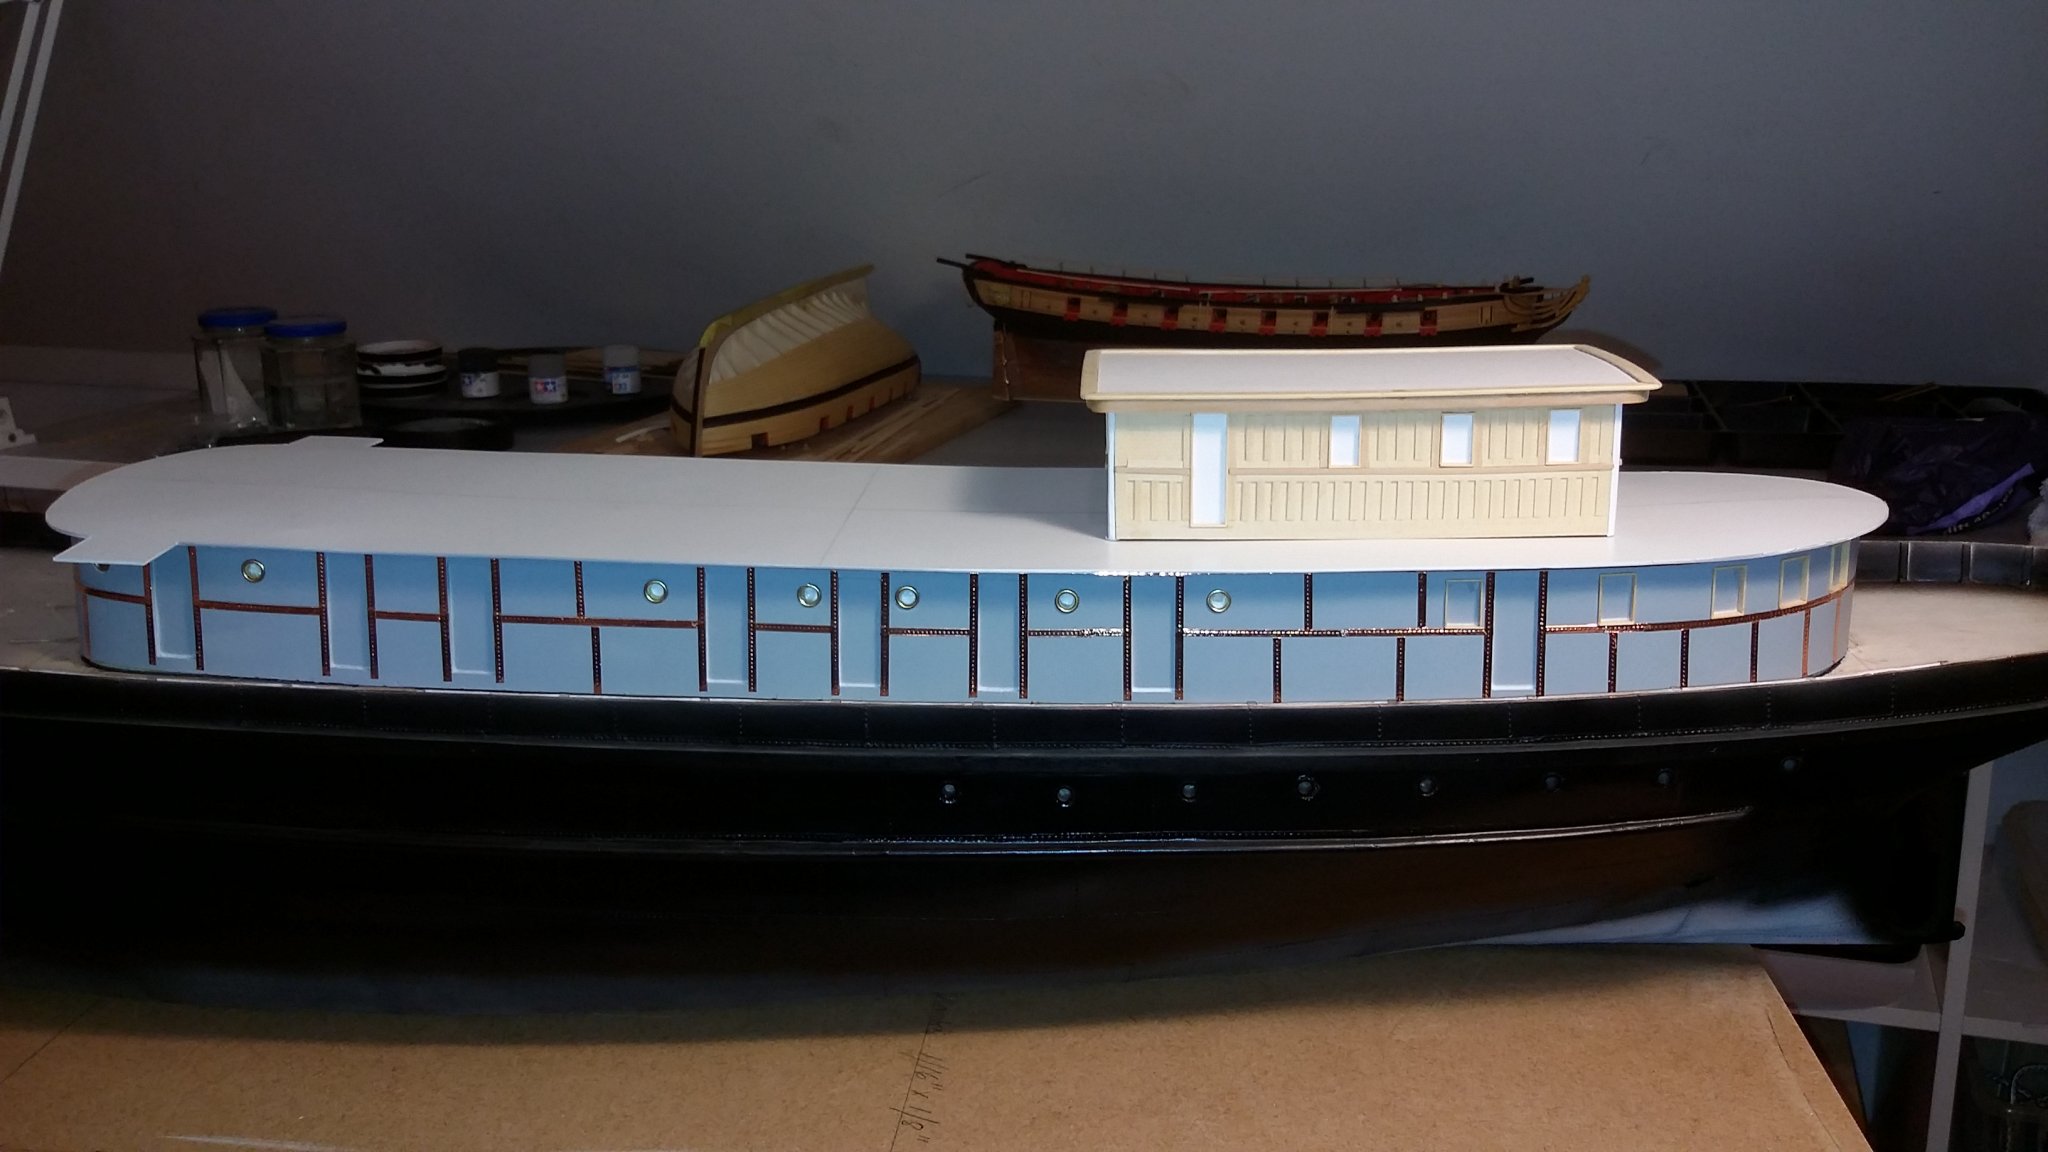
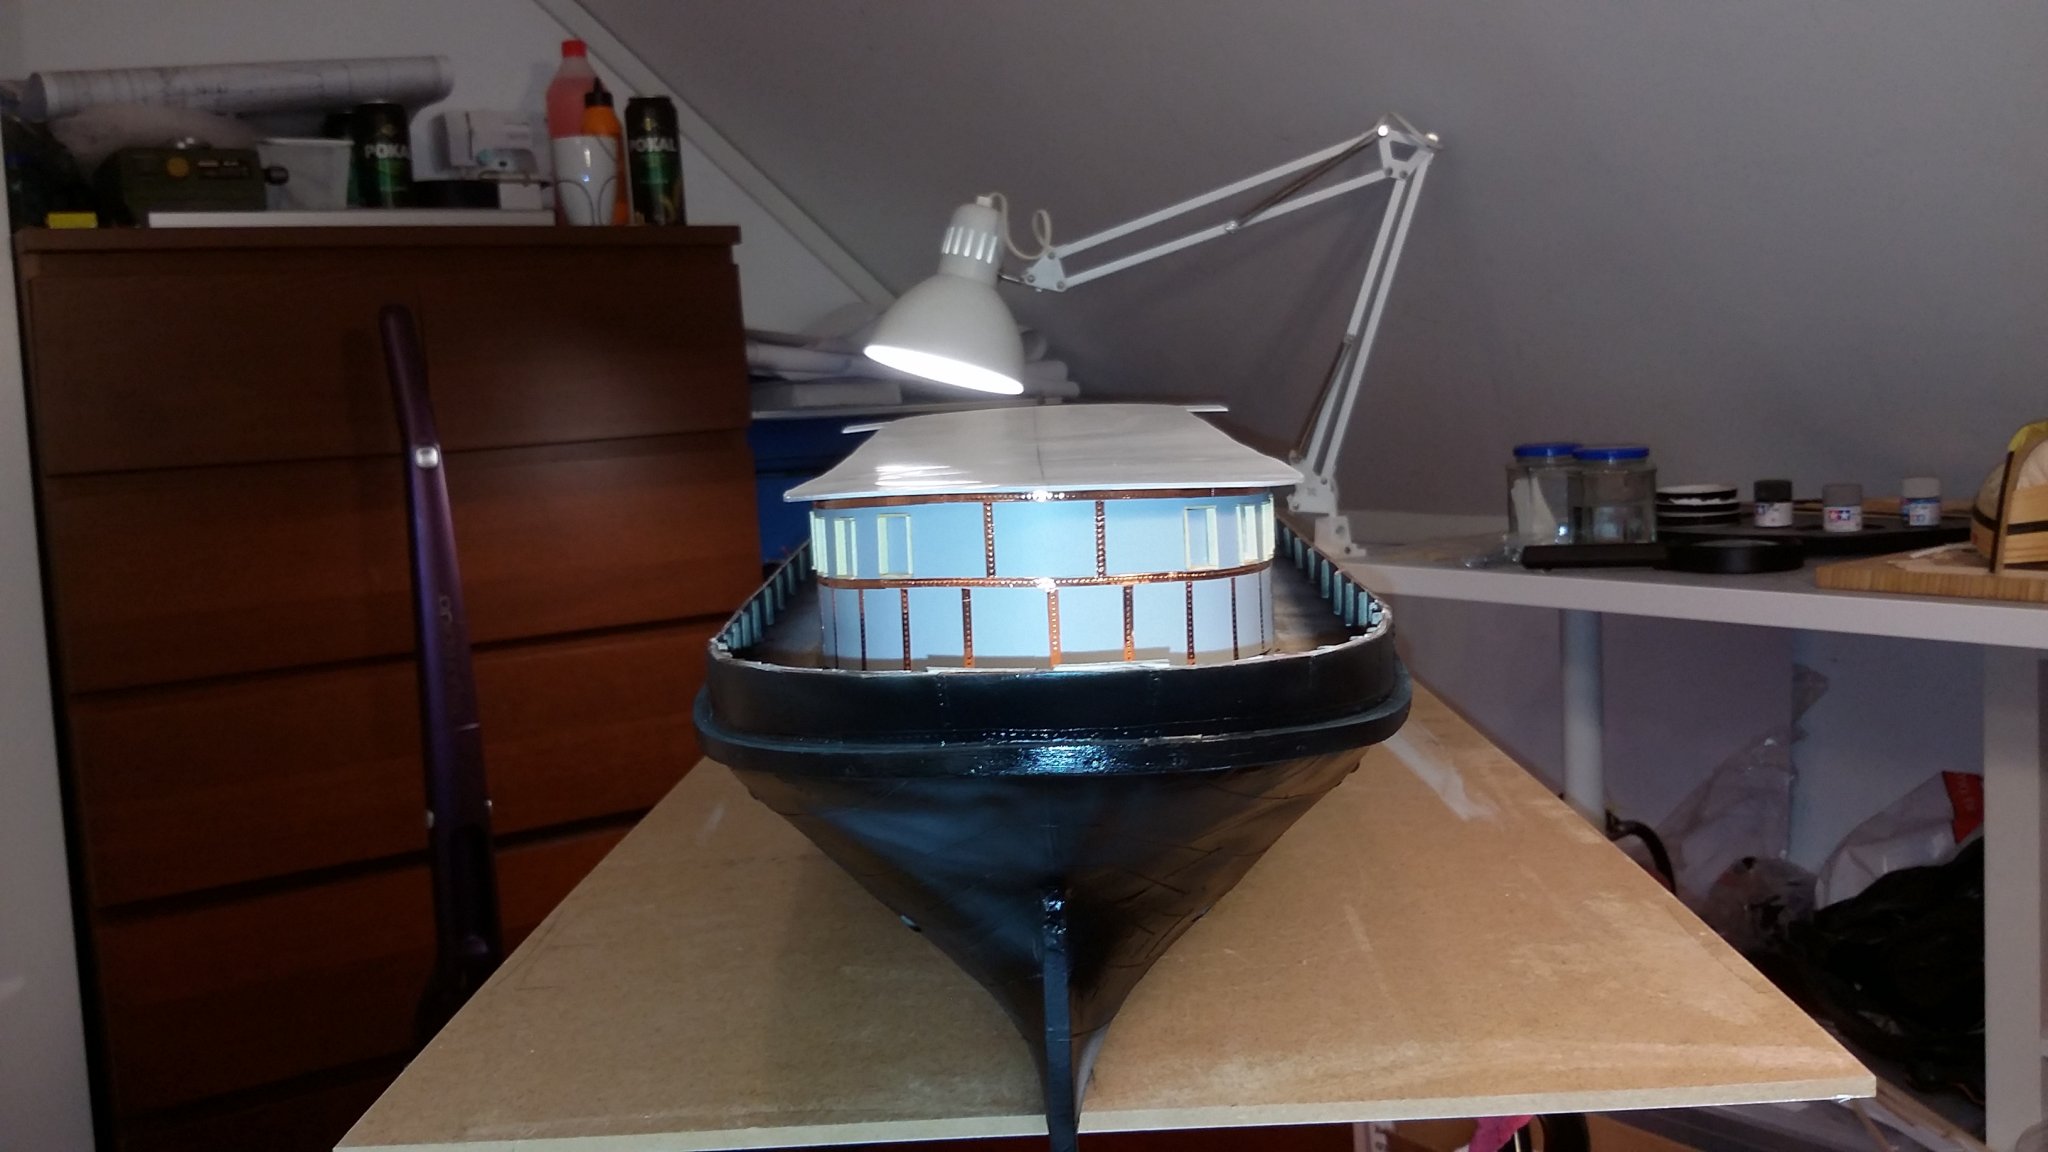
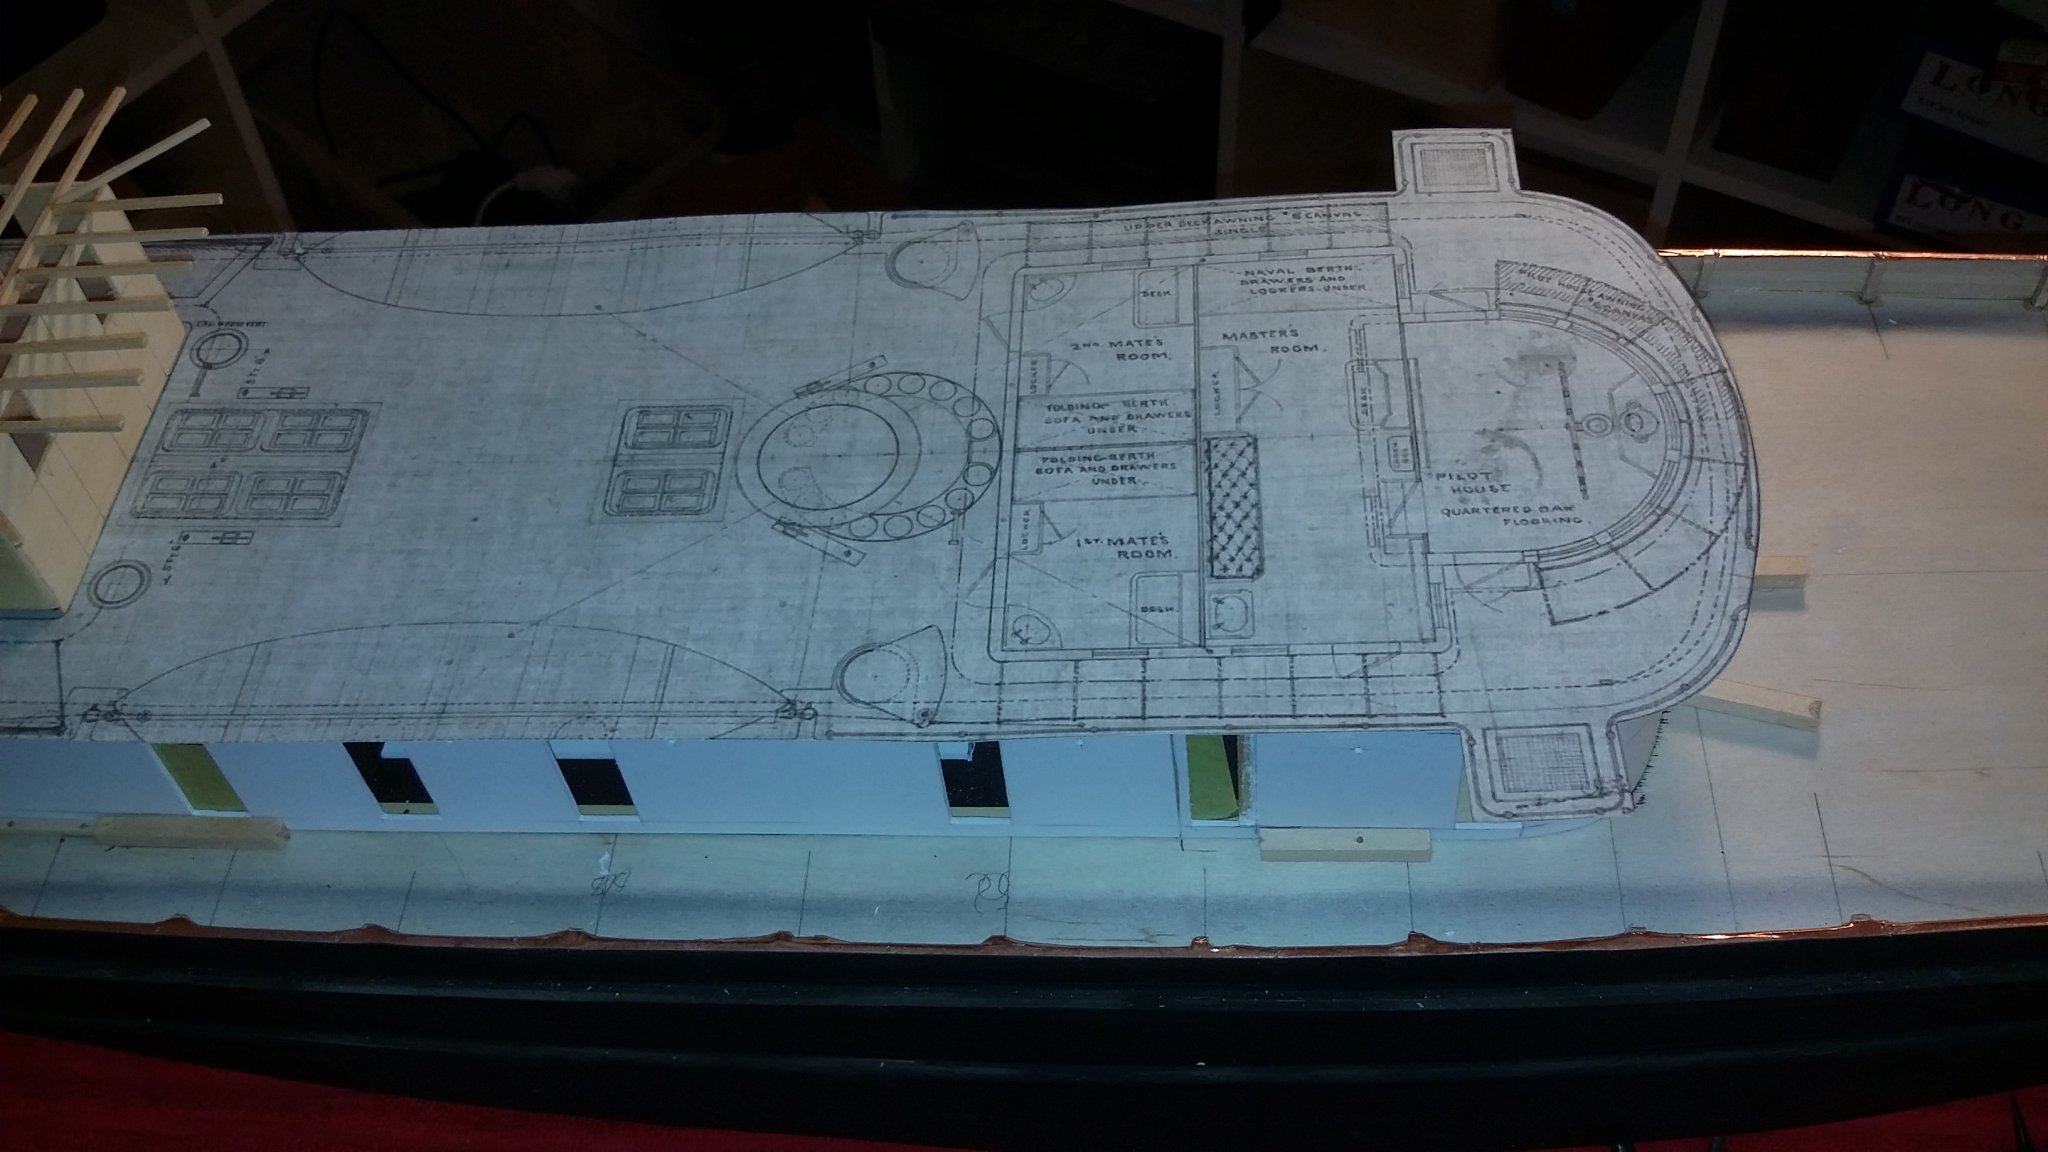
hi again..
its now time to get some photo out again,
i have get the portholes on ,the first layer of the top coat on the hull is on ,
i also painted the main dekk cabin( yust the first layer) and also the rivitts bands ,
the windowns frames is install .
am working also with upper rear dekk cabin and when this is finish i wil get to work on the front cabin.
svein erik


- dvm27, FriedClams, Nirvana and 12 others
-
15
-
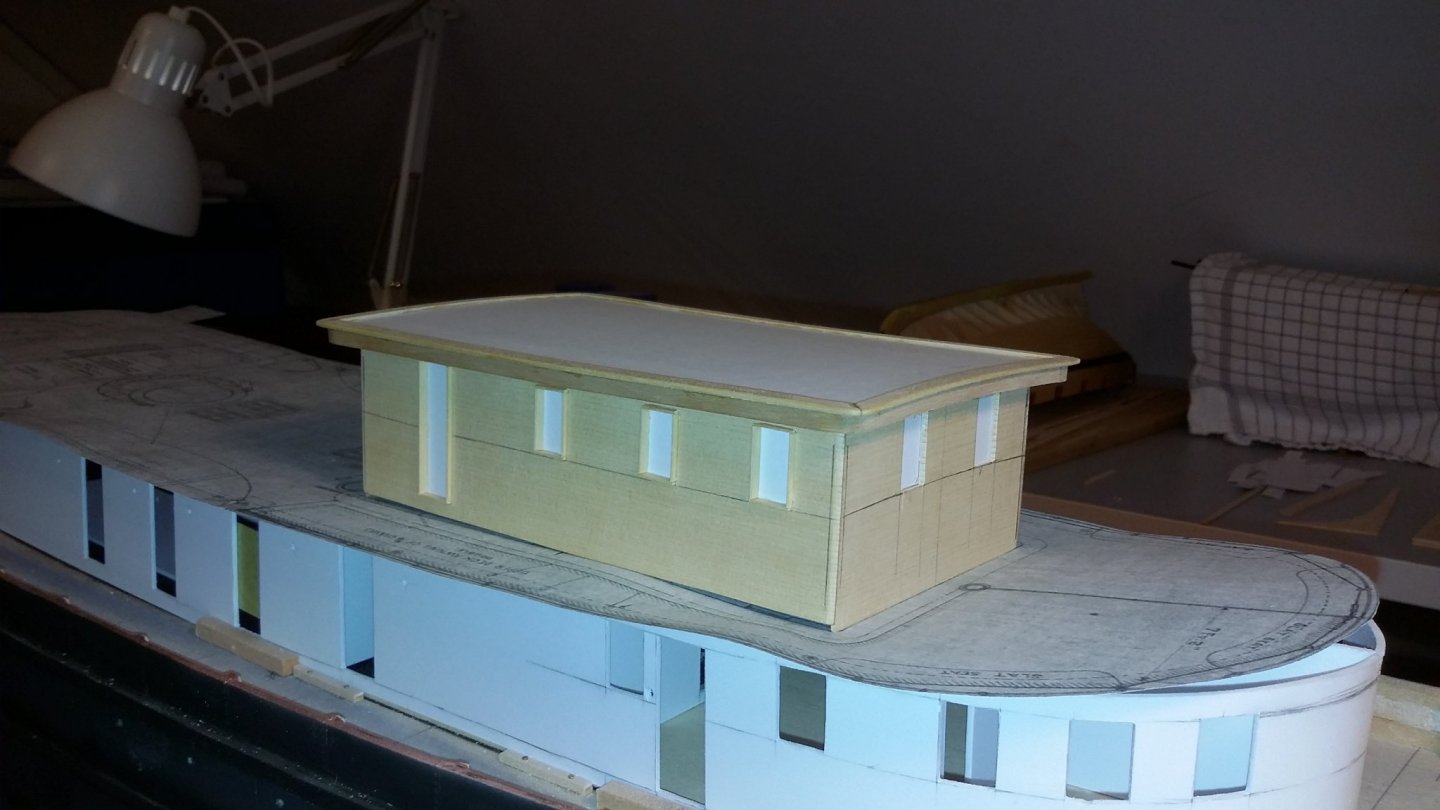
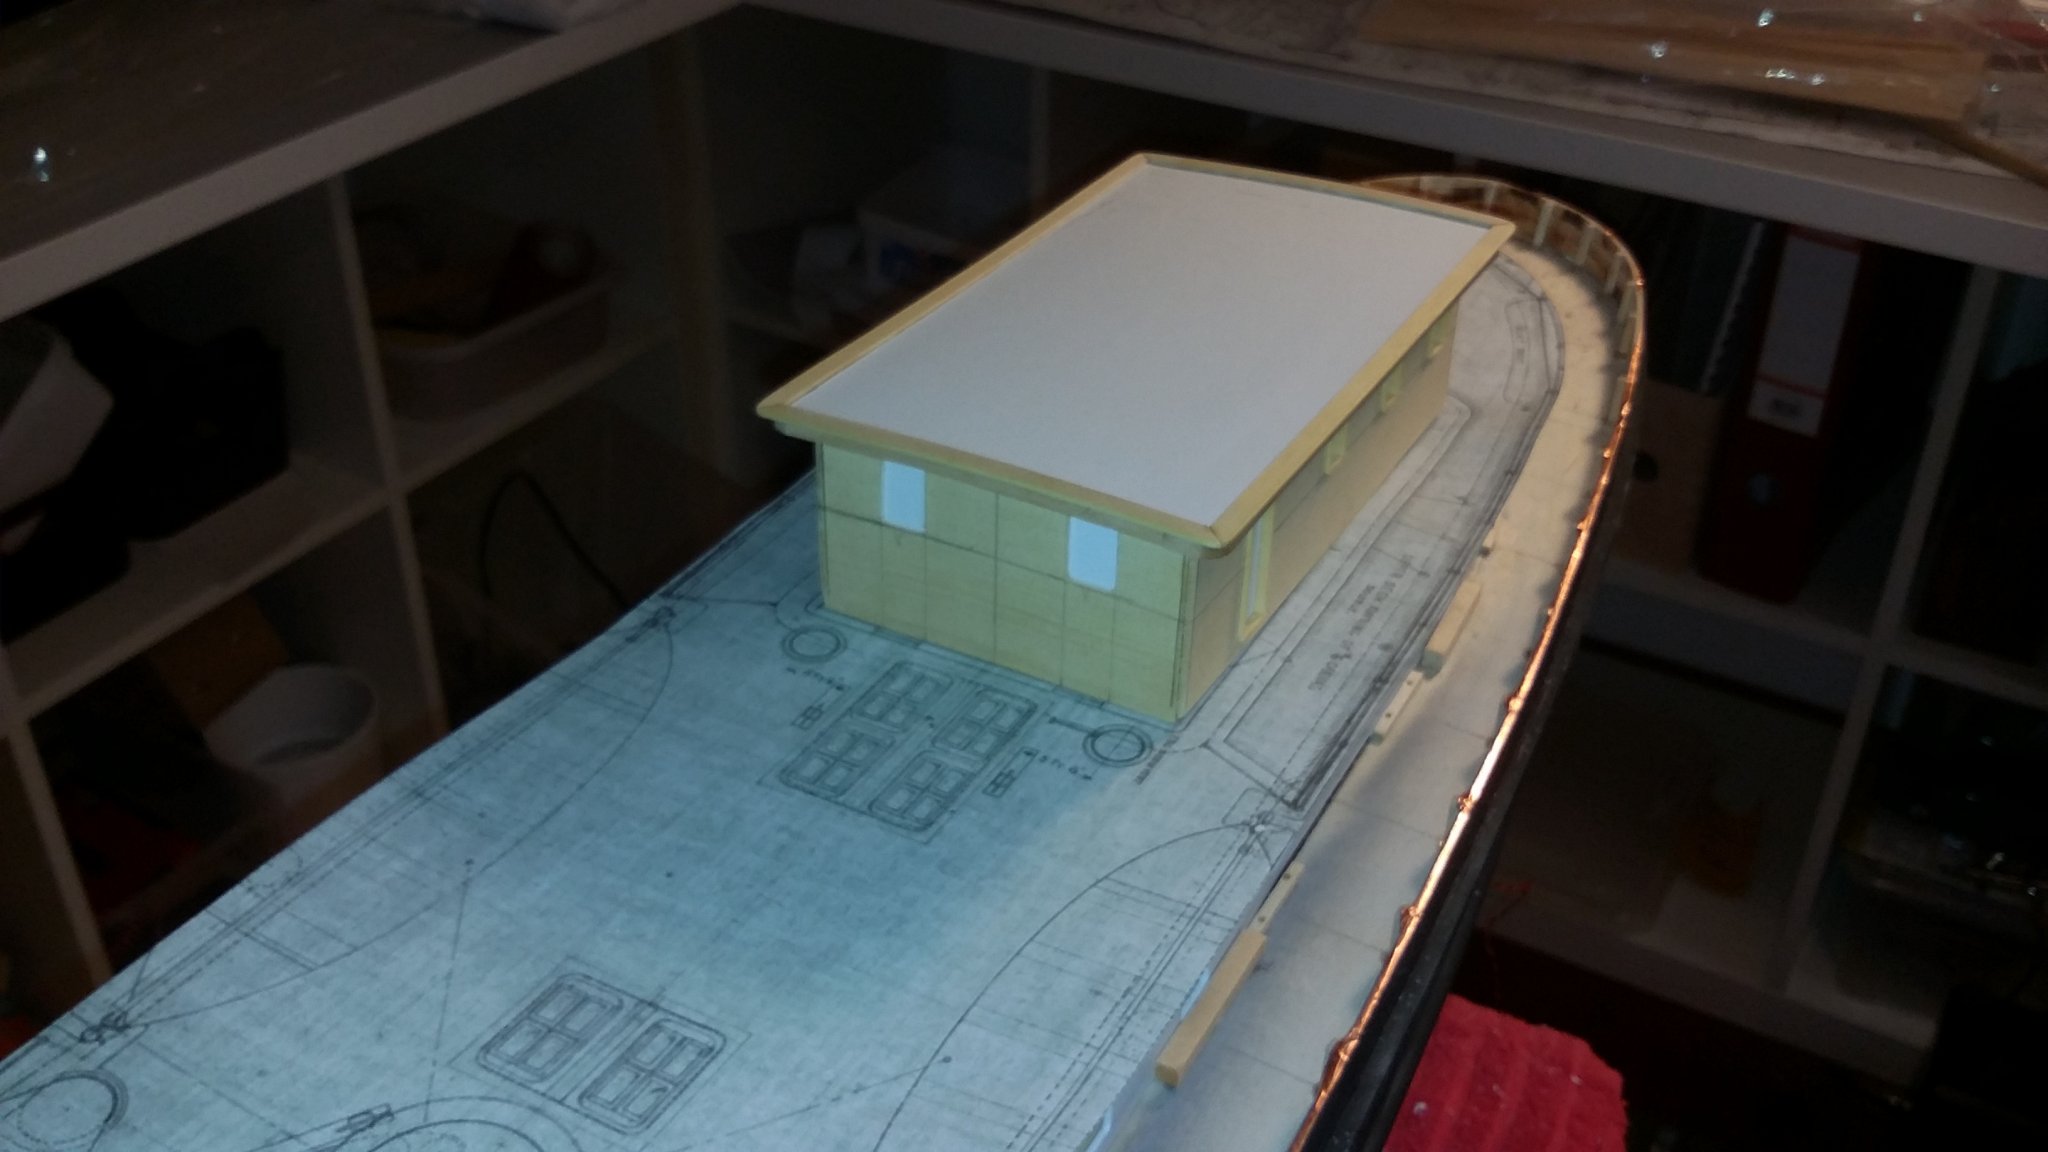
thanks for the likes,
now the fun starts....😉 the roof is on and am now moving on to do the windows frames befor i do the many other details..
svein erik

- G.L., coxswain, GrandpaPhil and 5 others
-
8
-
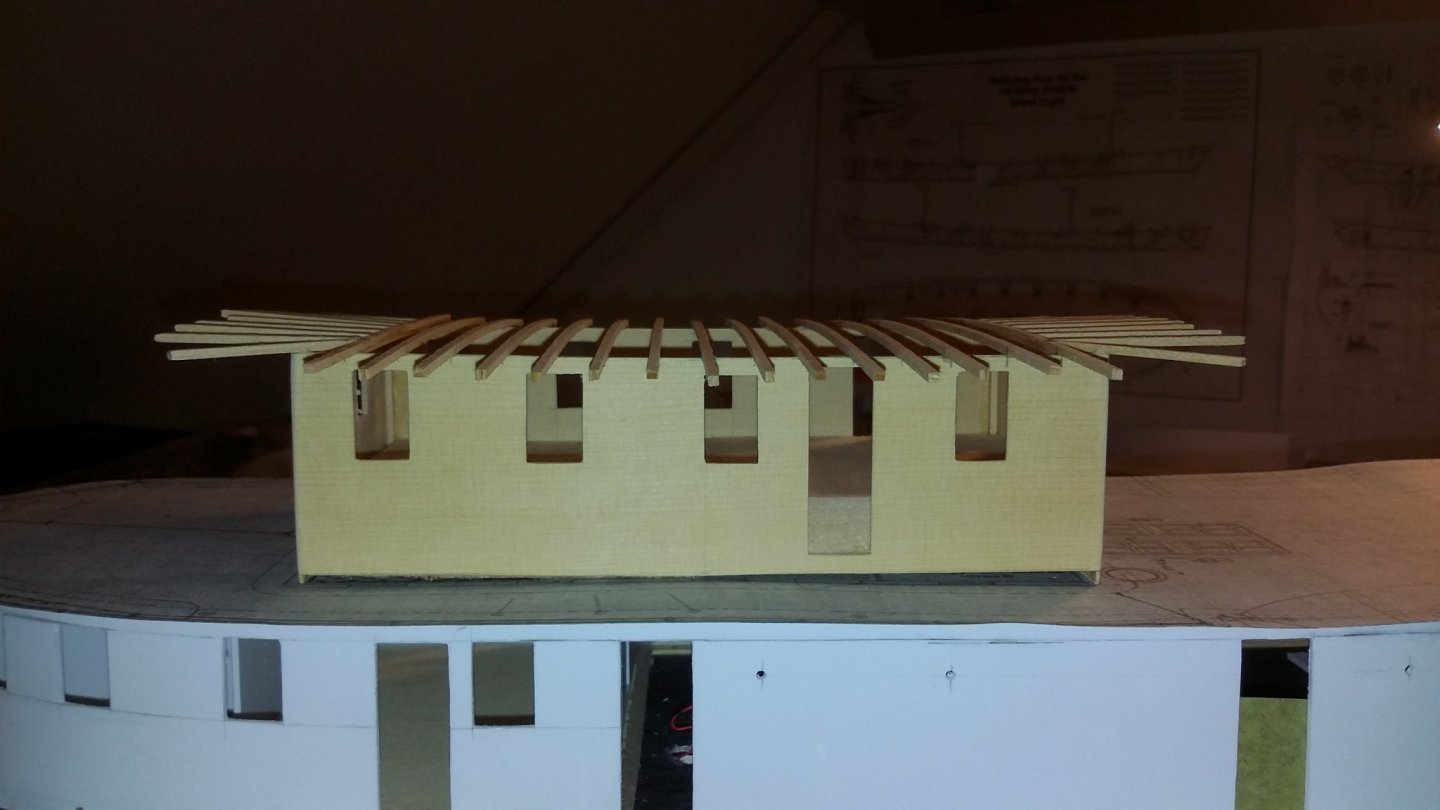
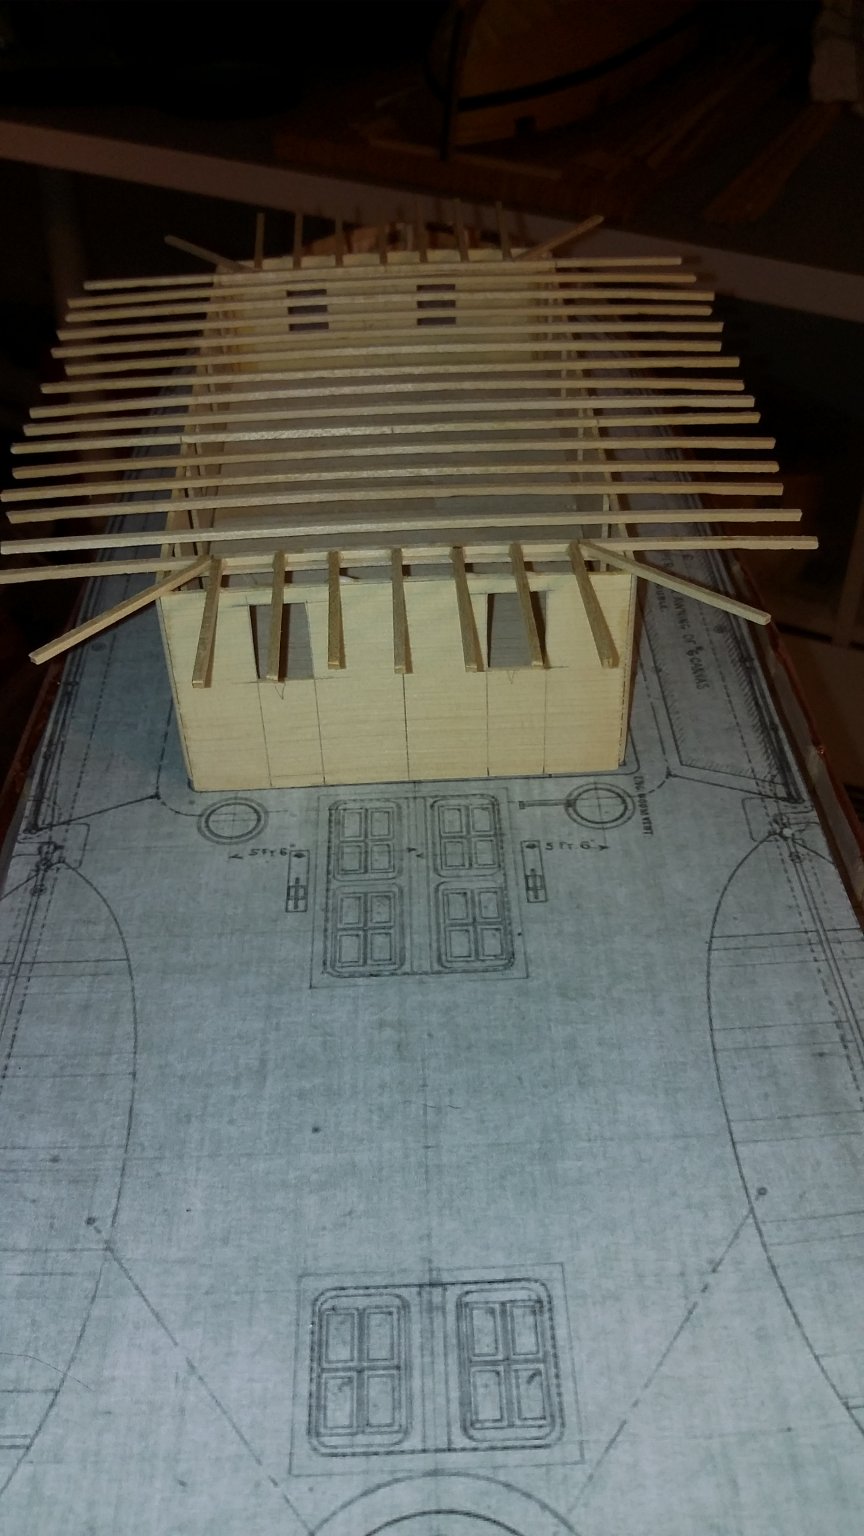
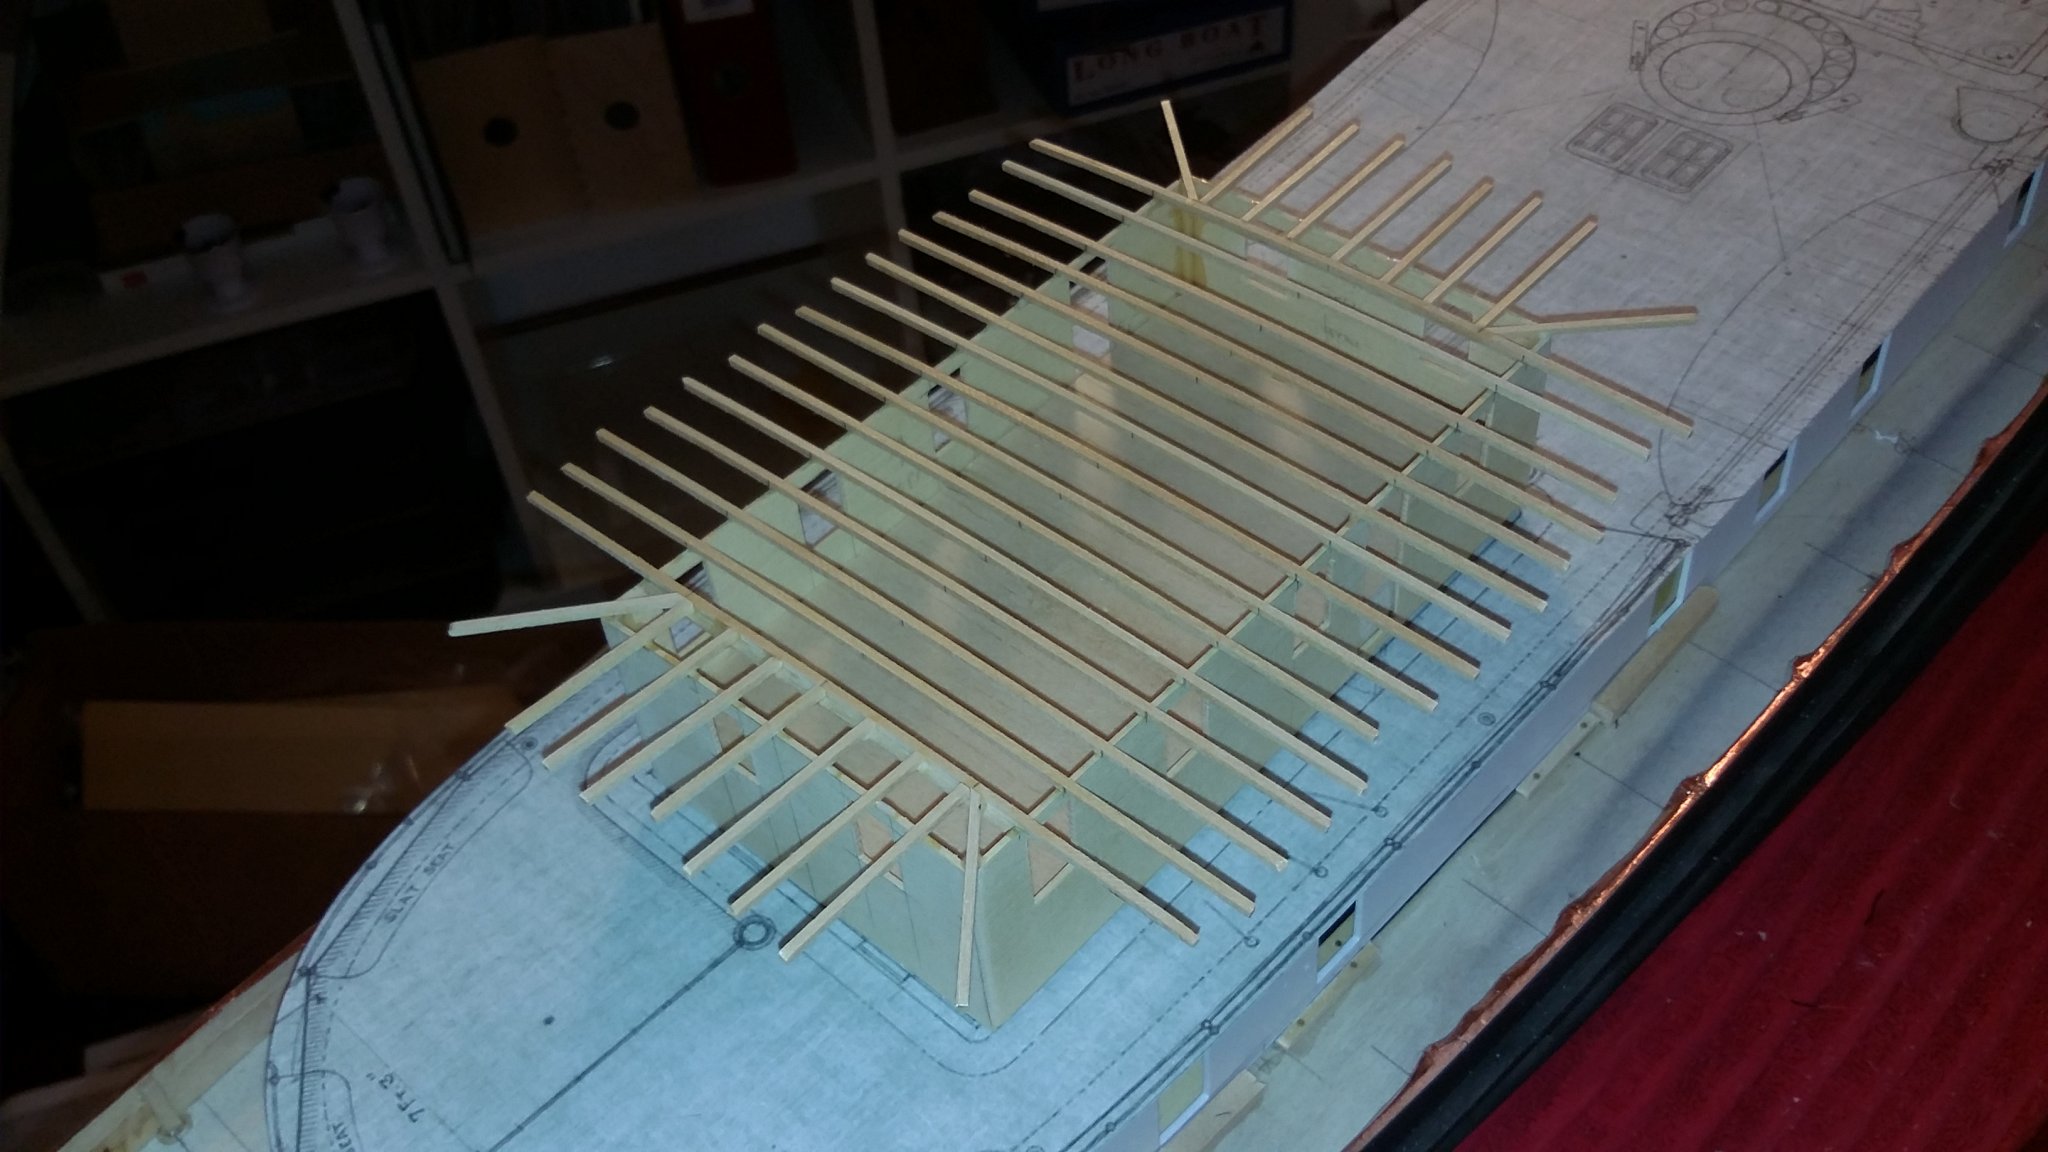
Happy new year!
i have bin working on the upper dekk cabin ,
am using cedar for this, only the beems are basswood.
am doing the roof construktion at this time and moving on to the windows / outdoor panels etc.
svein erik


- michael mott, KeithAug, TOM G and 7 others
-
10
-
like chuck told.... now the fun part start, and yes its fun...
nice build and looks good😊
i also have the syren and am working on the mast and rigging , but its om hold at the moment!
have a grait new year☺
svein erik


.jpg.1889e496d4dc5b77a74075c09a3c832b.jpg)


USF Confederacy 1778 by Peter Bloemendaal - Model Shipways - Scale 1:64
in - Kit build logs for subjects built from 1751 - 1800
Posted
hi Peter, the model is nice and you doing a wondeful job as always😊
svein erik