

svein erik
-
Posts
610 -
Joined
-
Last visited
Content Type
Profiles
Forums
Gallery
Events
Posts posted by svein erik
-
-
thanks for likes and coments☺
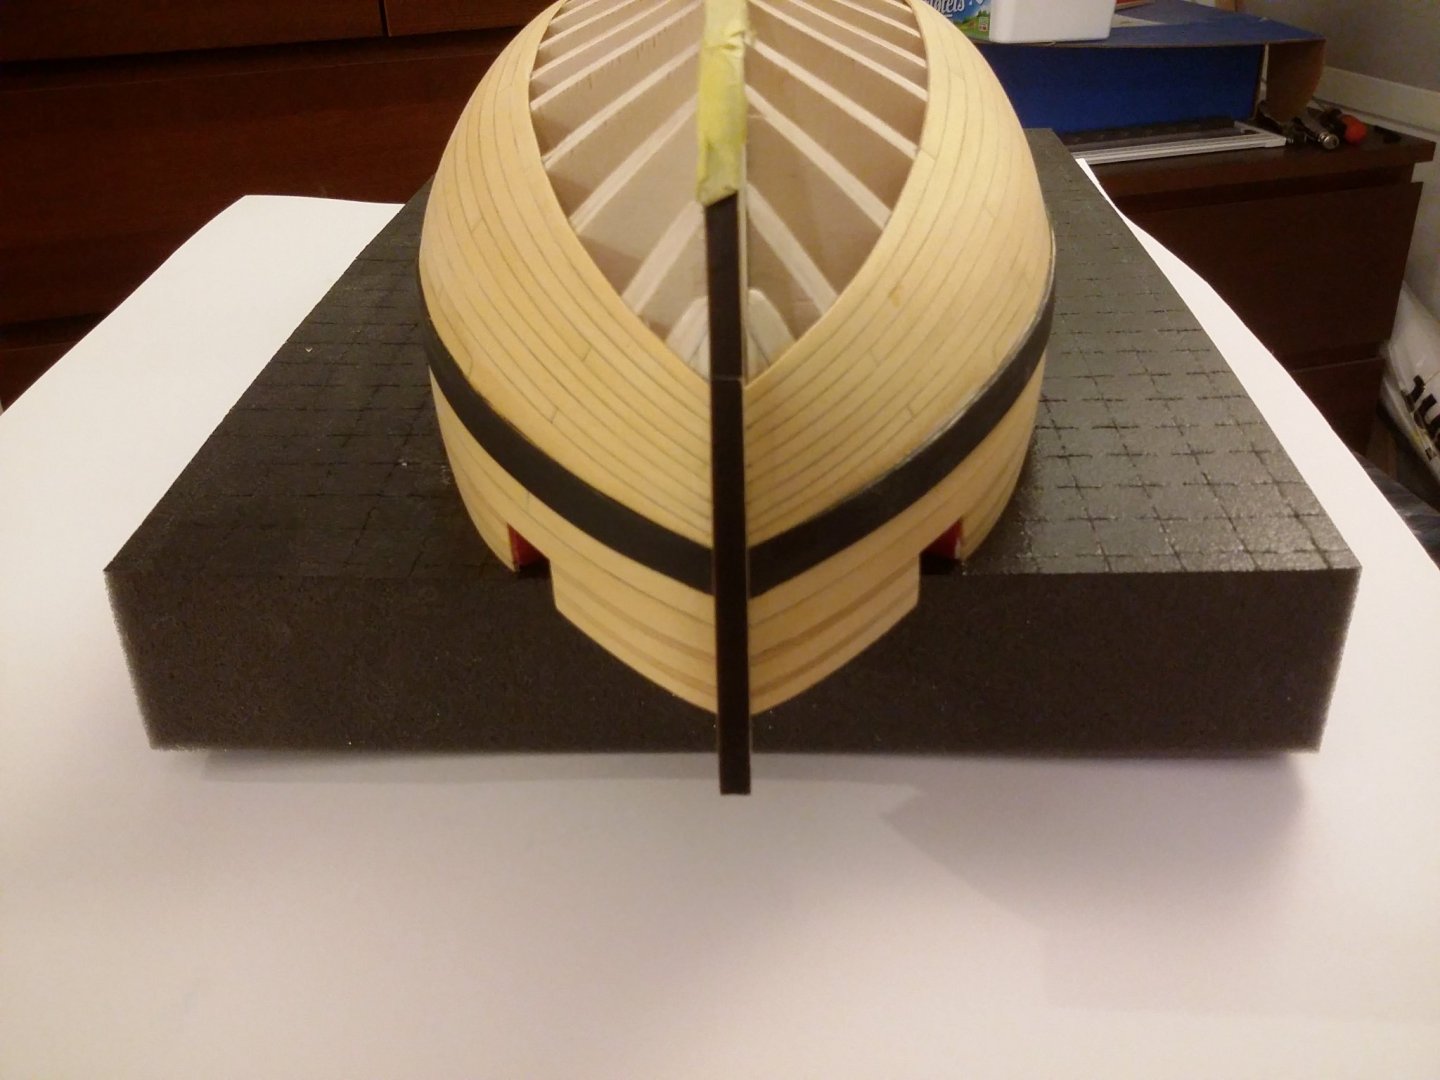
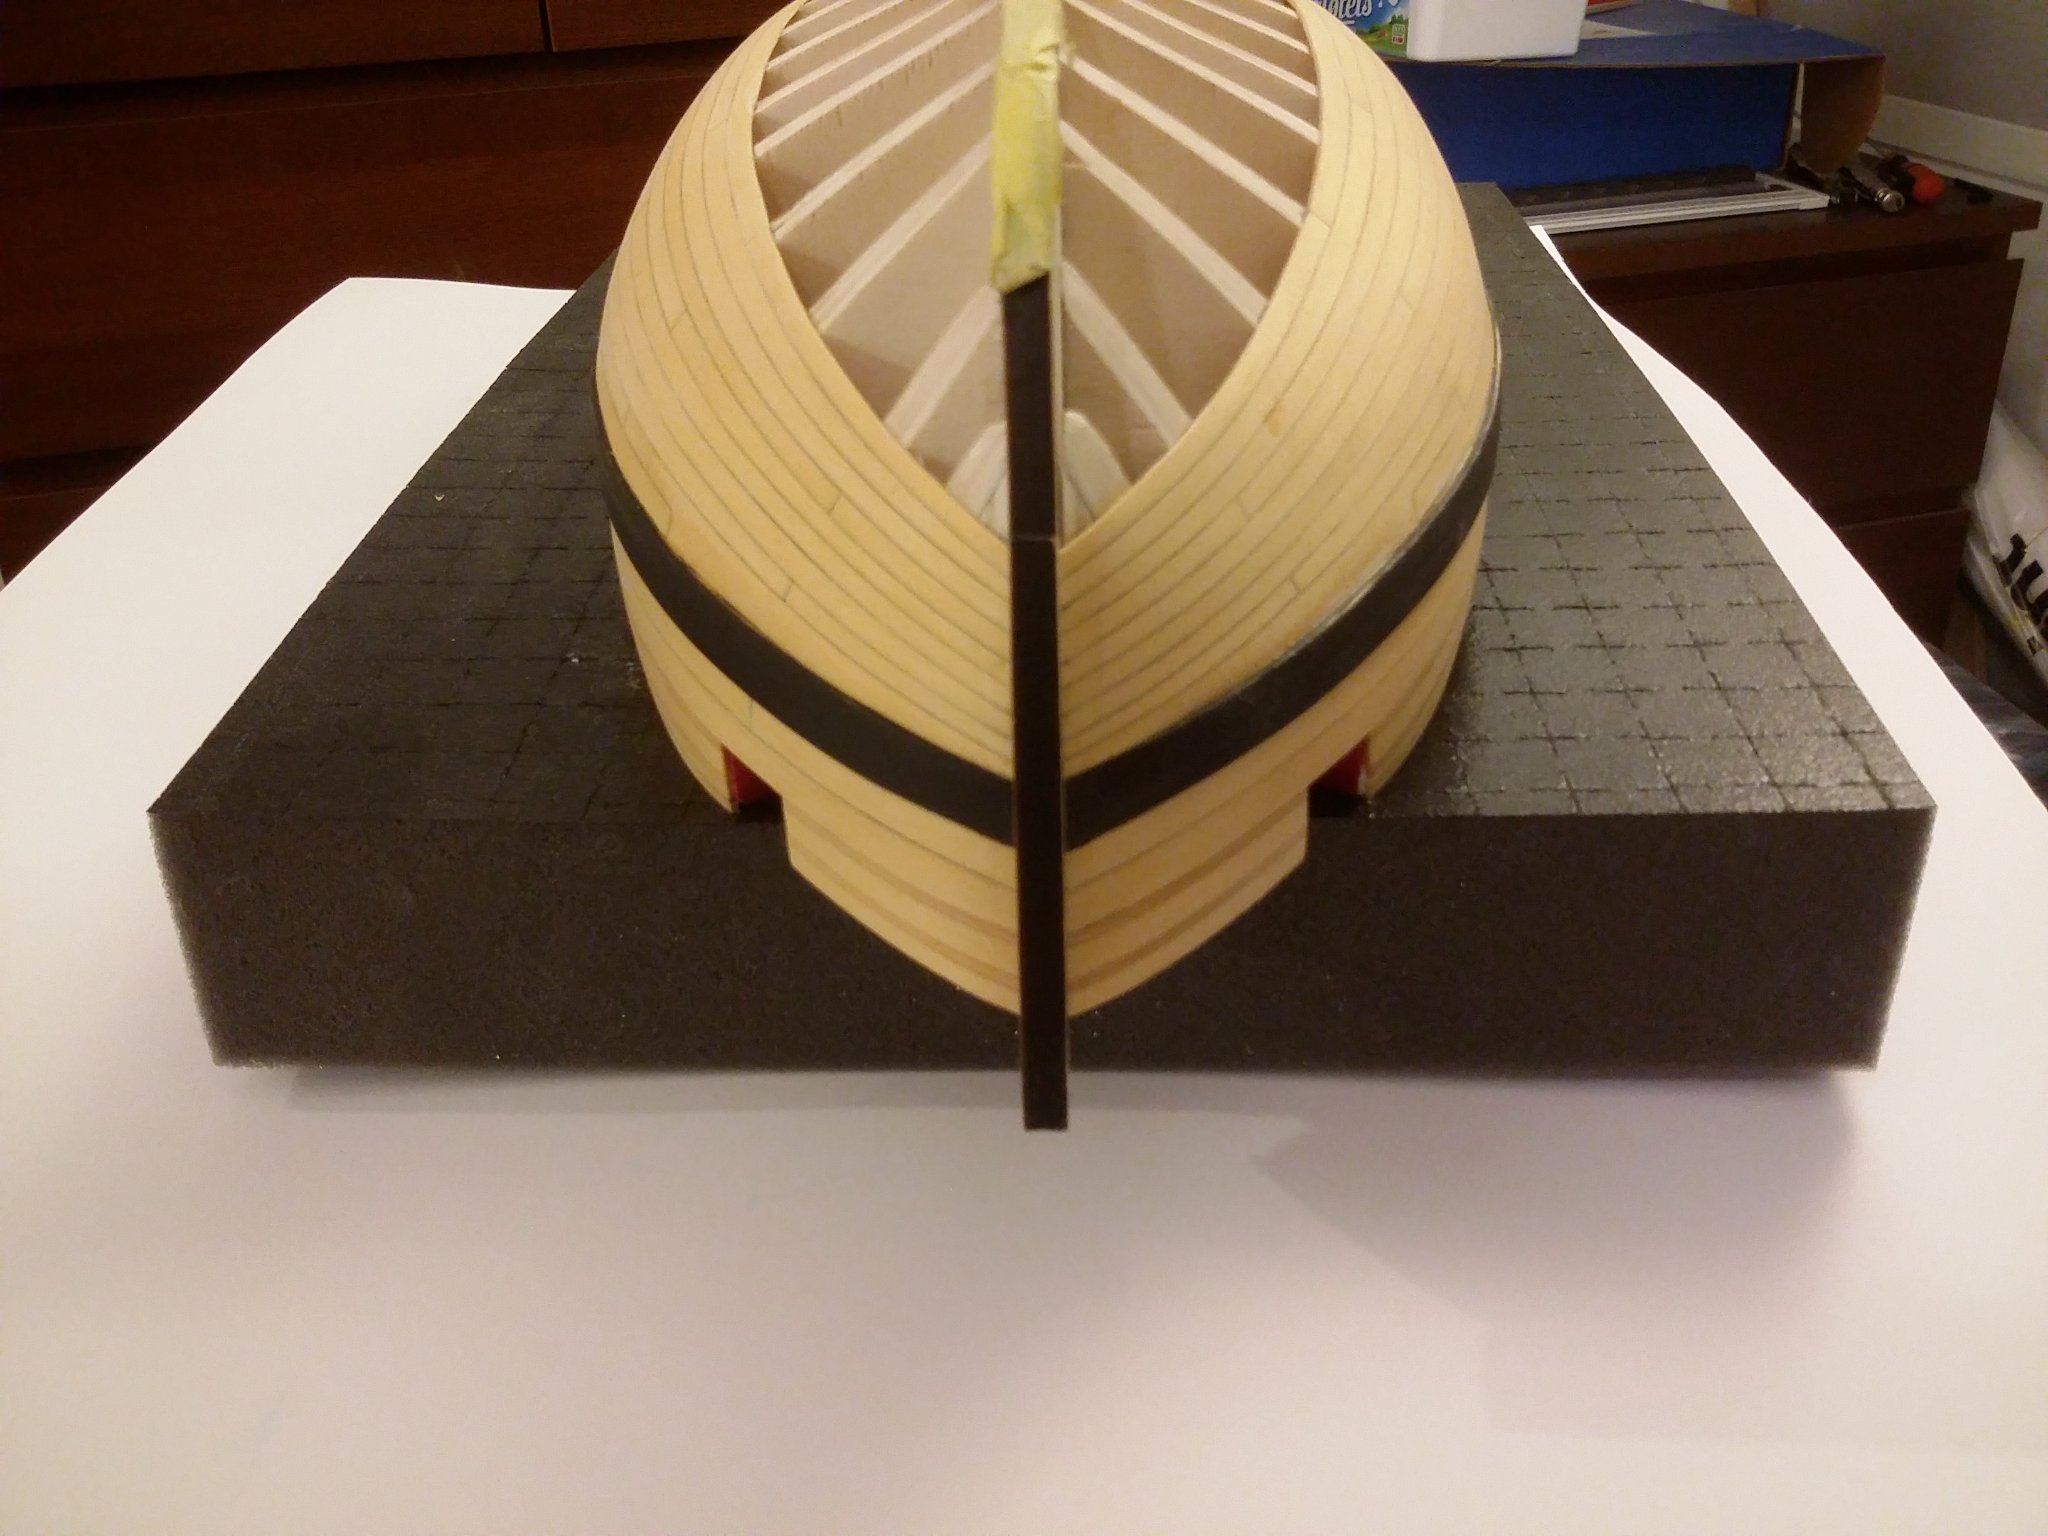
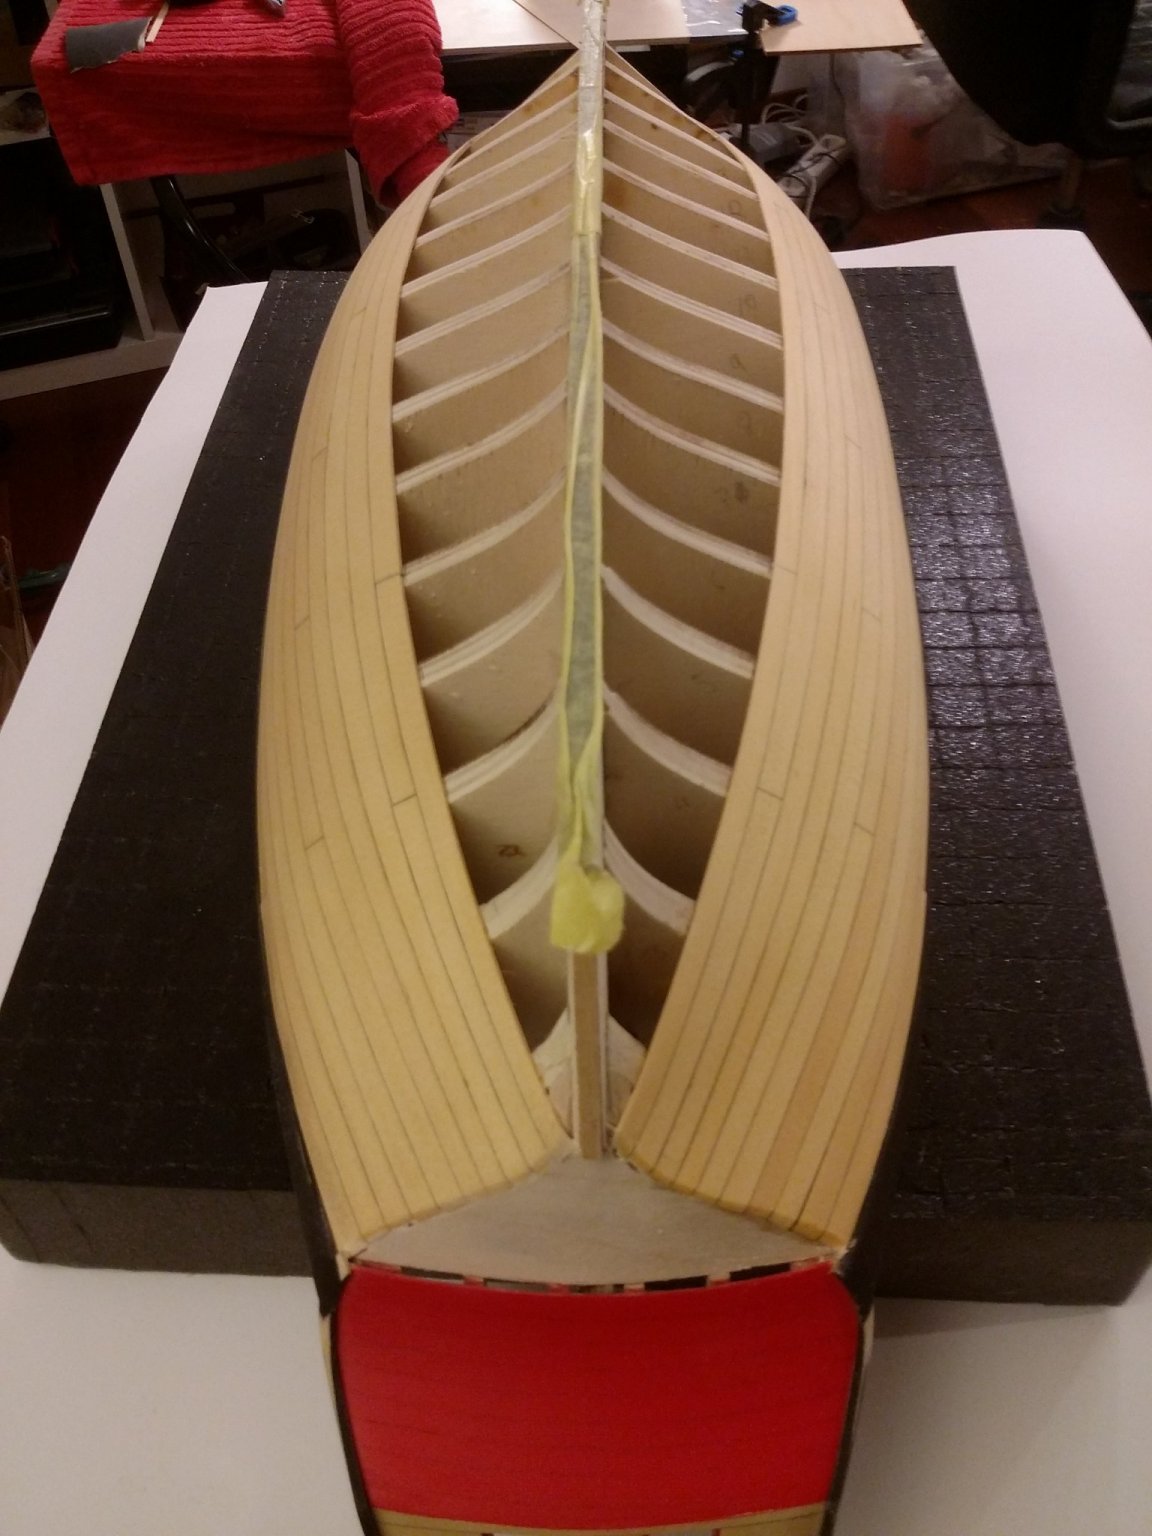
i yust finish the last planks for the first belt , so know am moving along to the sqare tuck
before the rest of planing begins again😊

- MEDDO, Gregory, Ryland Craze and 8 others
-
 11
11
-
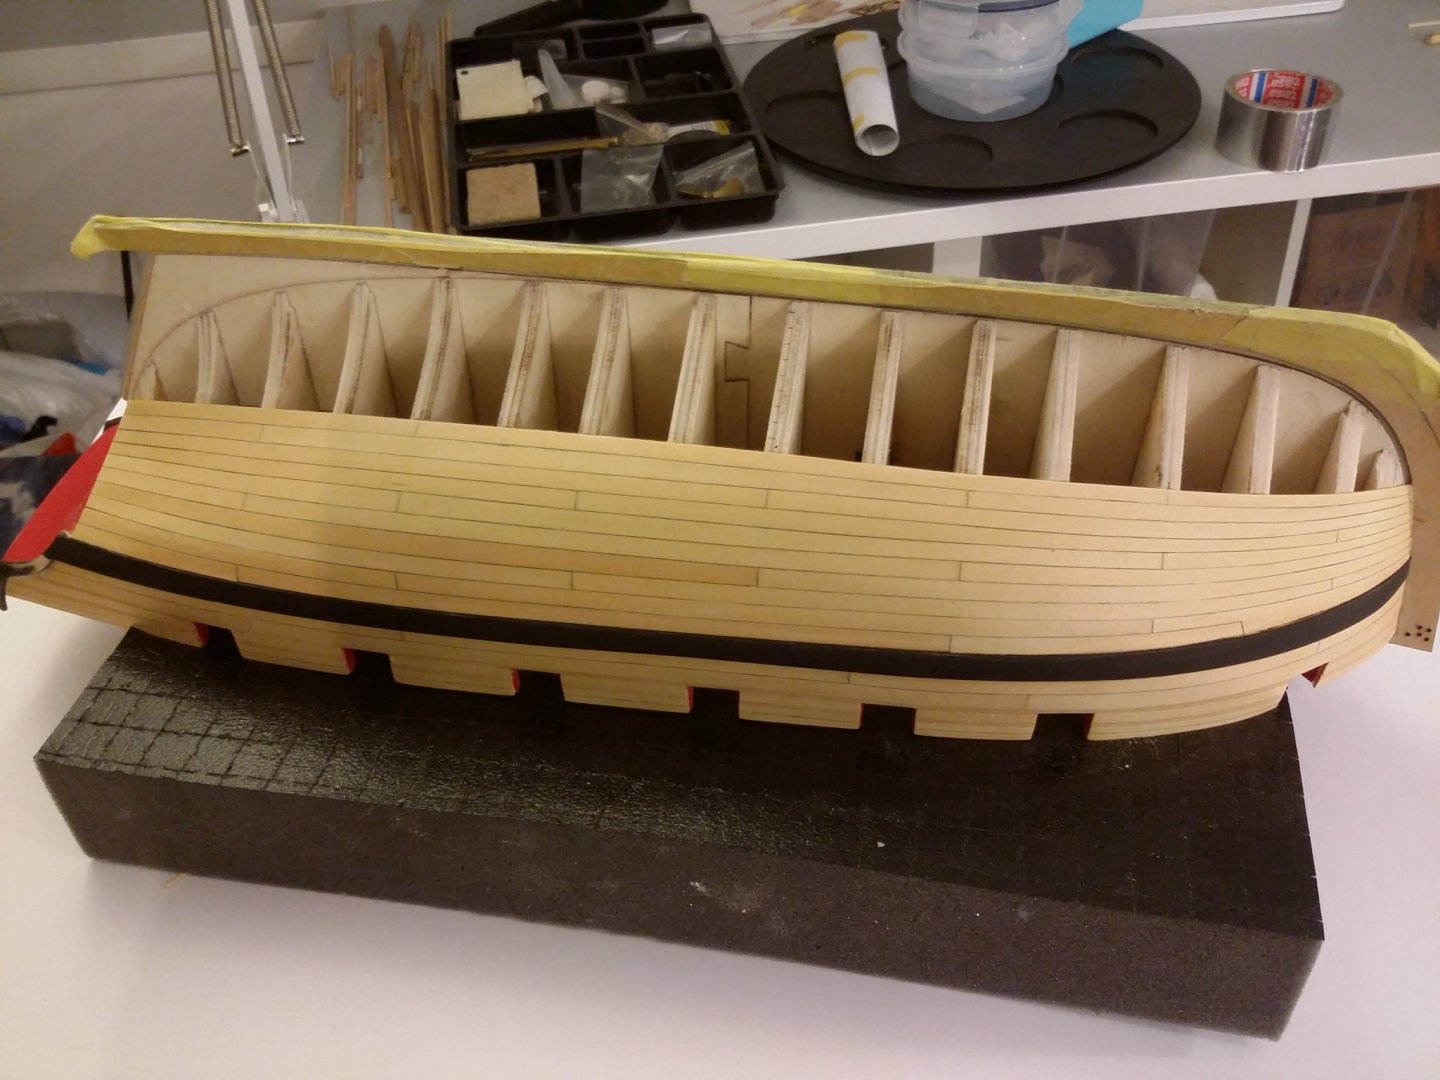
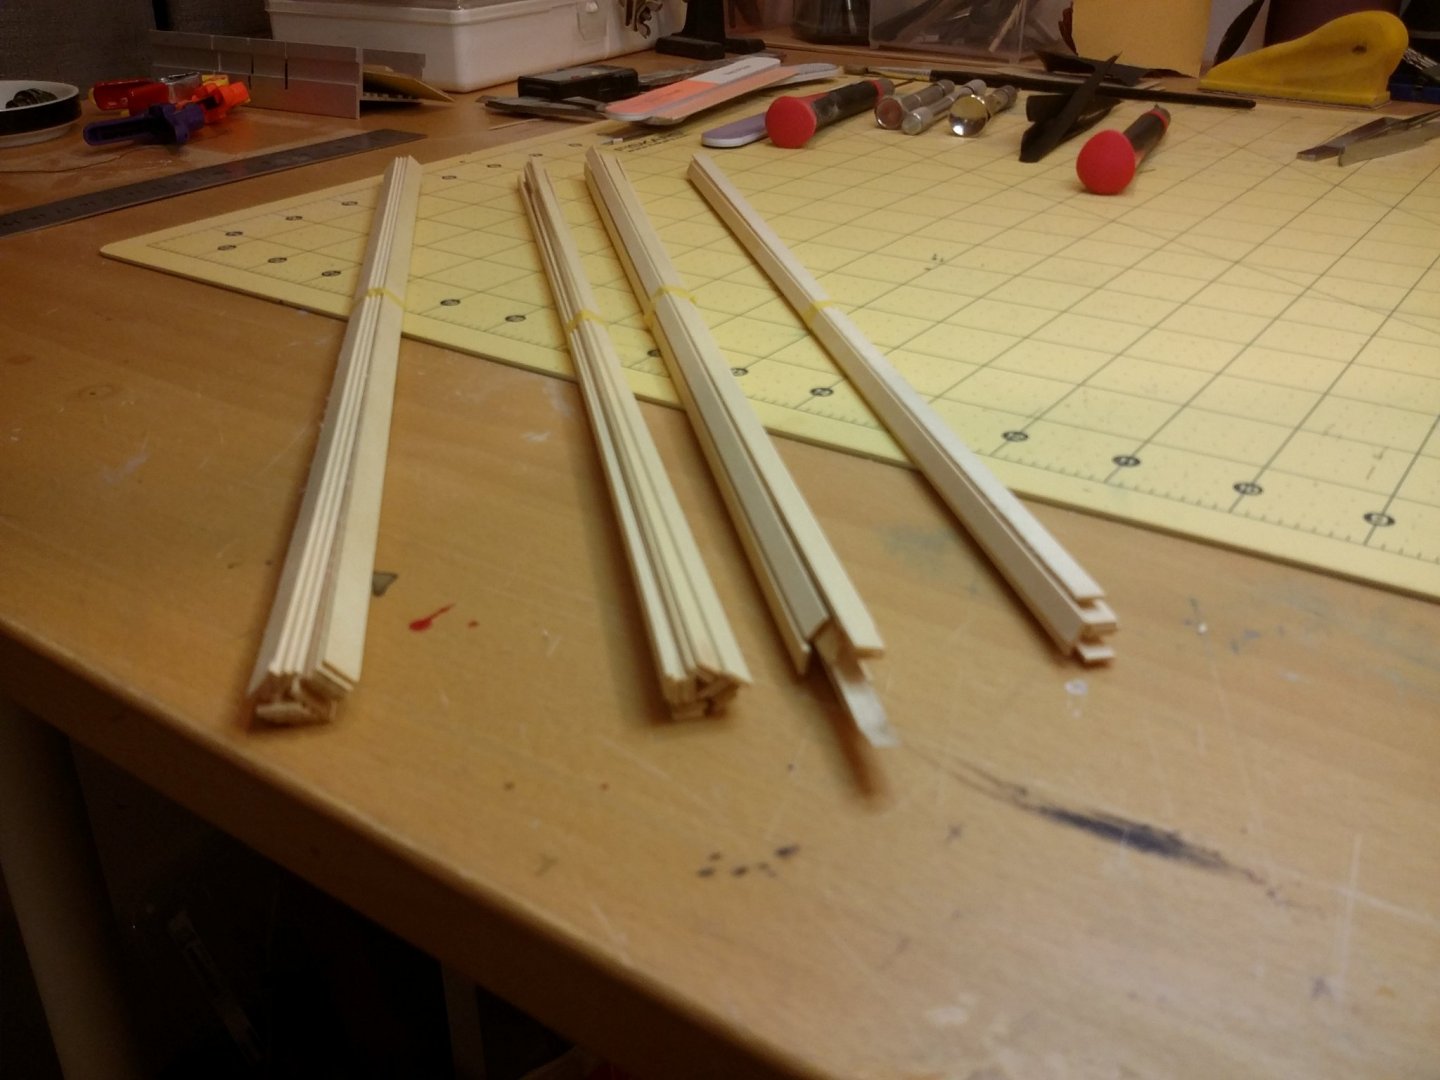
Am on my way... i have ripping planks for the hull and my first task is to plank the last 6 planks on the portside ,
then i wil finish the square tuck and planks.

- GrandpaPhil, Chuck, WalrusGuy and 8 others
-
11
-
-
-
3 hours ago, Chuck said:
Kids are al busy....taking MCATs or exams or working. Its just one of those things....we have all been there. Cant wait till its all done though.
wel am also to far away😲 so i cant help out.... my work is to restore/rebuilds old houses in Norway, good luck and stay safe😊
-
-
hi... so am thinking of making some folded sails for the syren and there is not a template for this ship
but i think i can get away with it if i fold it... or not😉
am using silk paper and paint to look used. I have never dunn this befor ... but i think this wil be my first try...
Before i jump on it is there something i need to think of do to rigging the mast etc ??
svein erik

- Ryland Craze and WalrusGuy
-
2
-
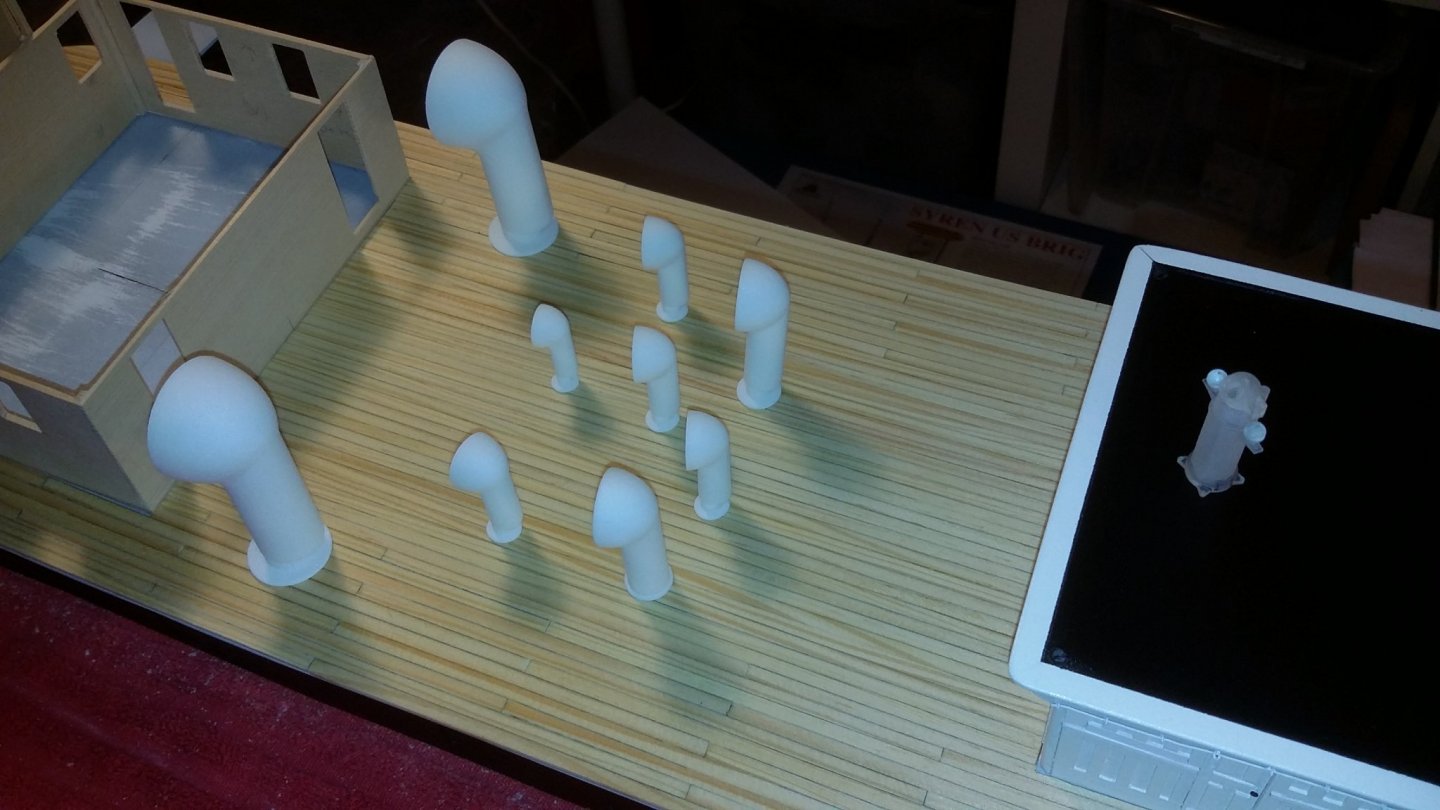
thanks for the coments and likes,
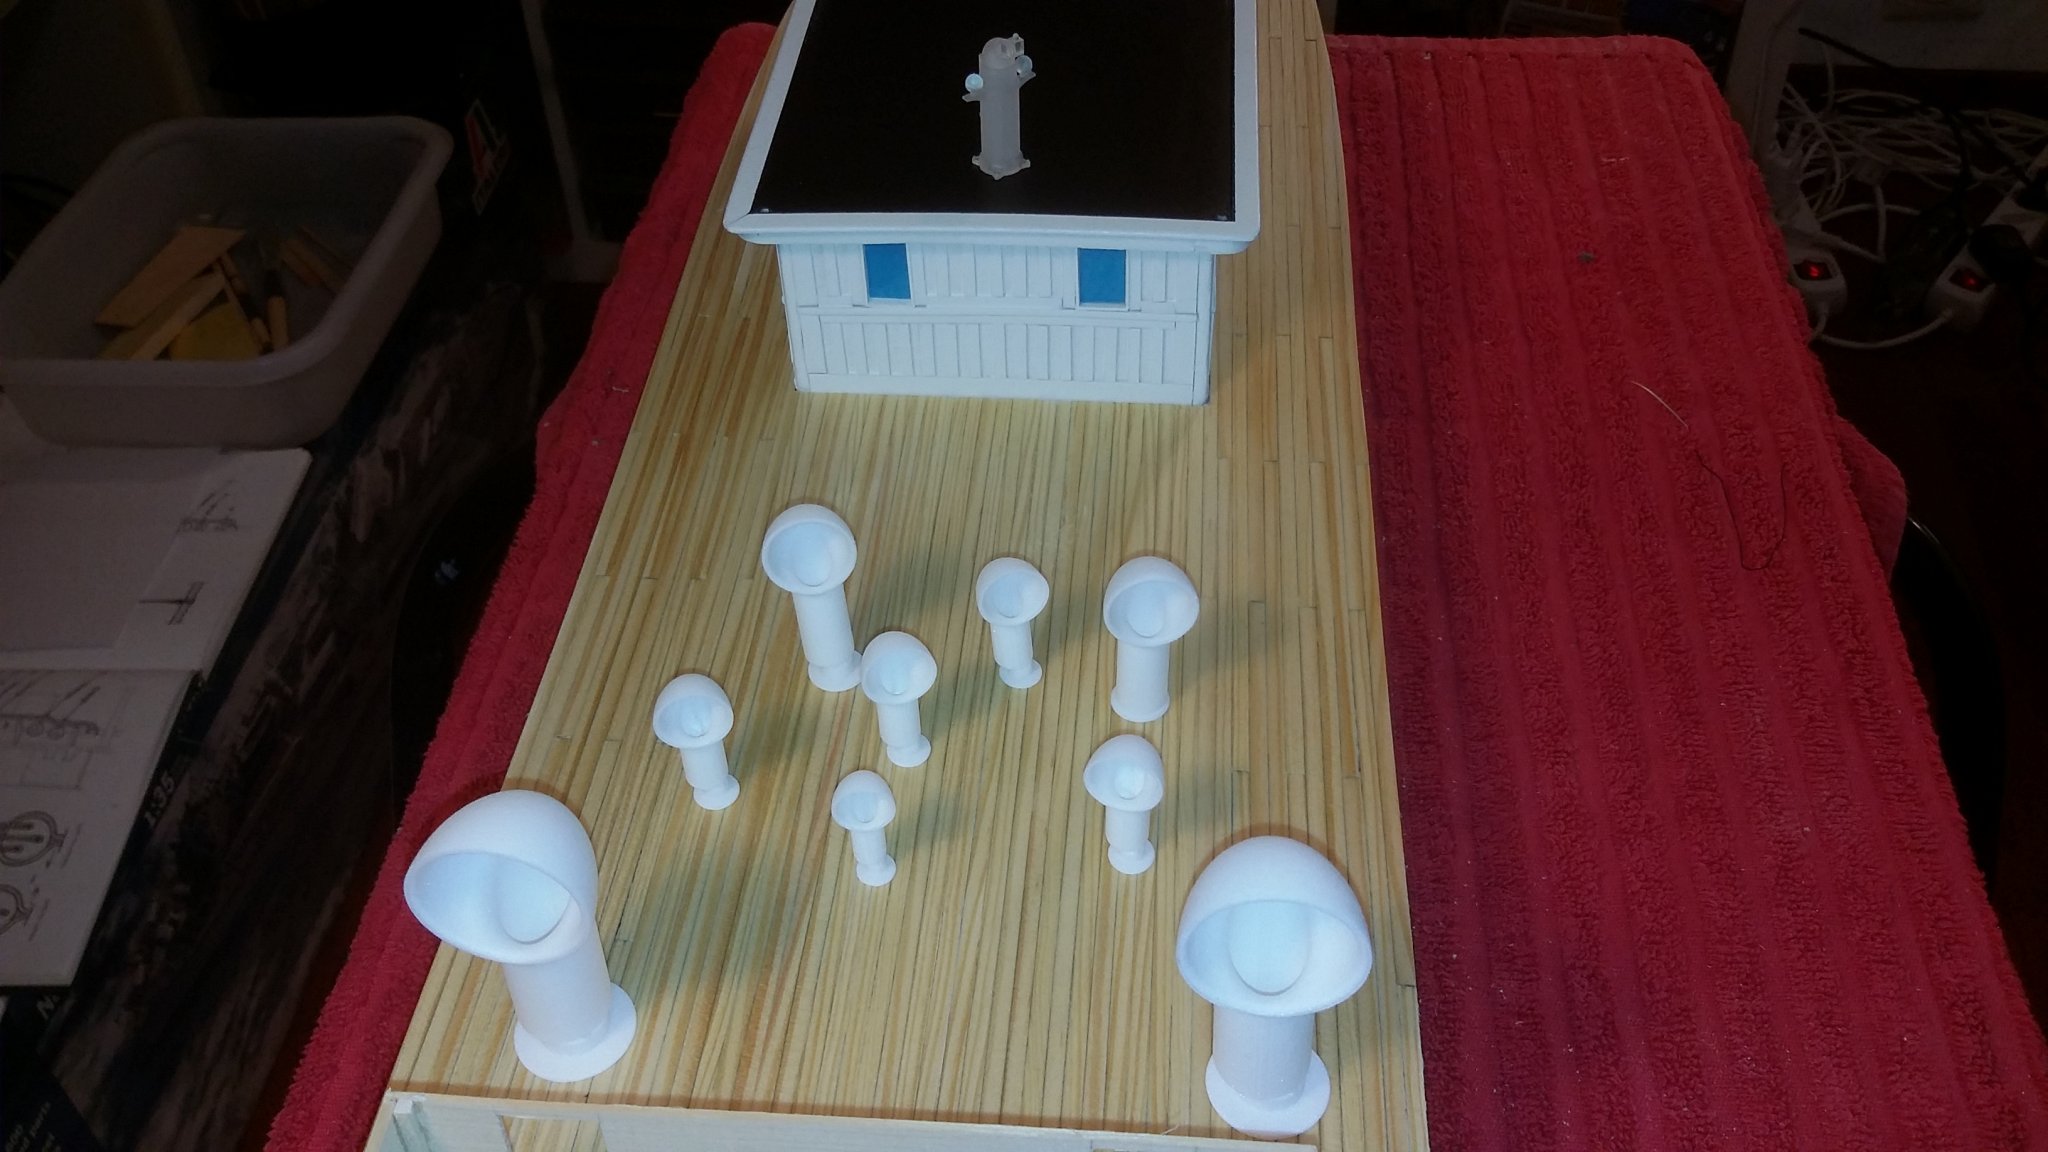
i recive the vents today , its 3D printet (shapeways) am lazy .. LOL
it need some work ... its going to be longer and when painted i think it wil turn out grait! ... i hope😊
svein erik

-
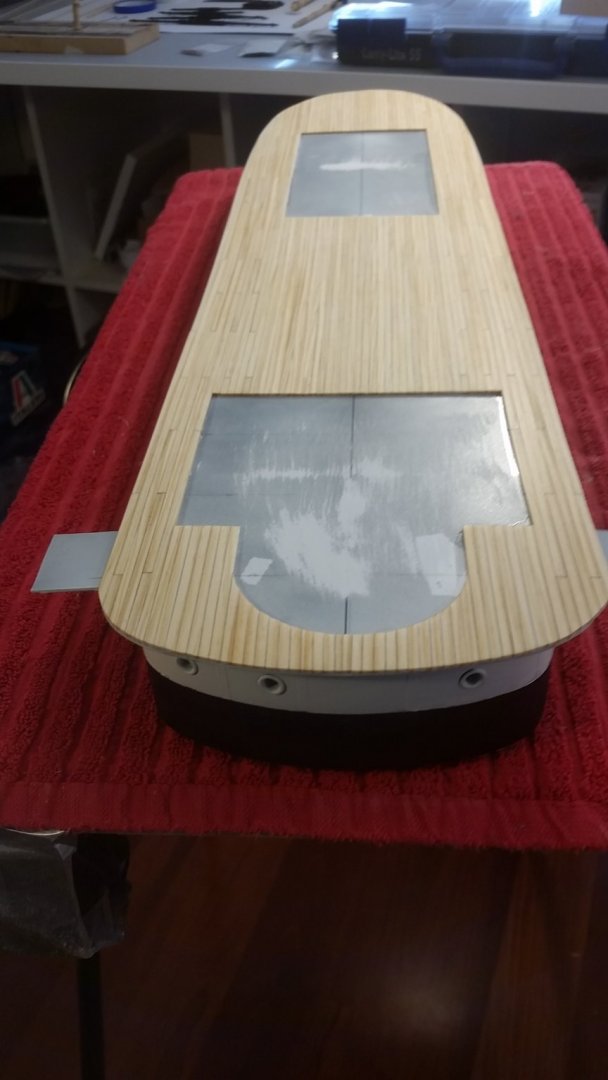
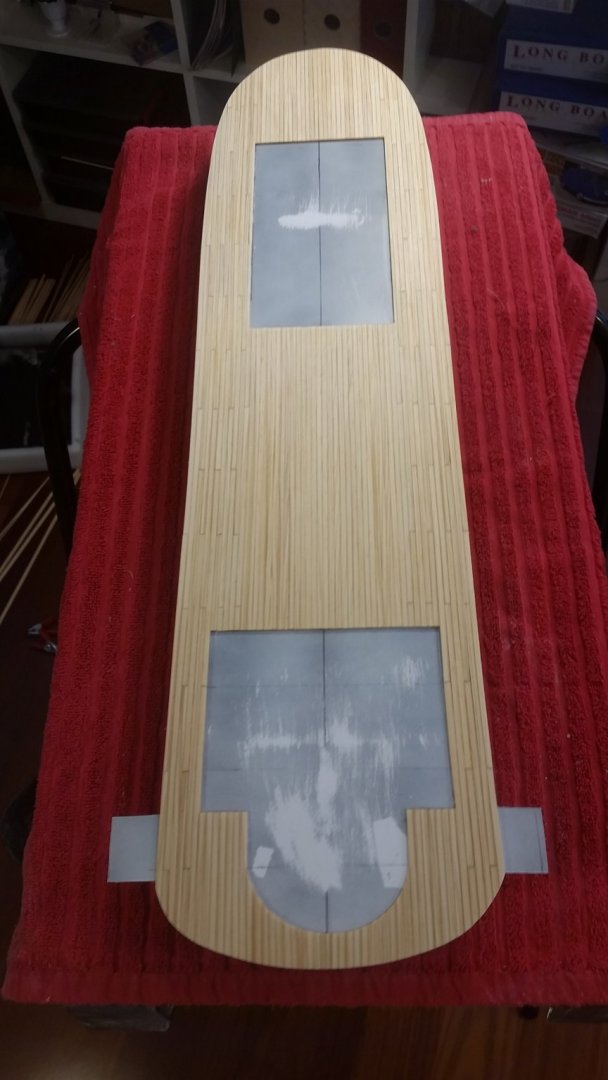
thanks for the likes.
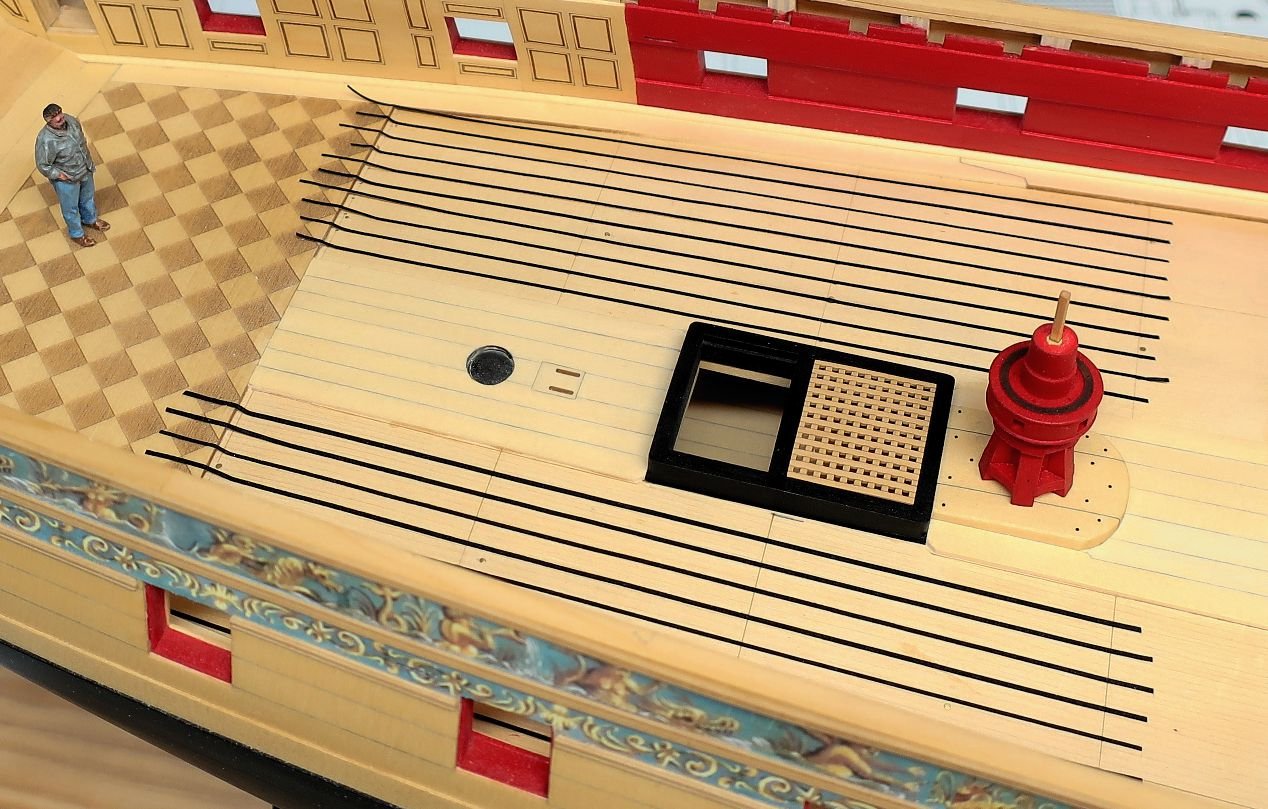
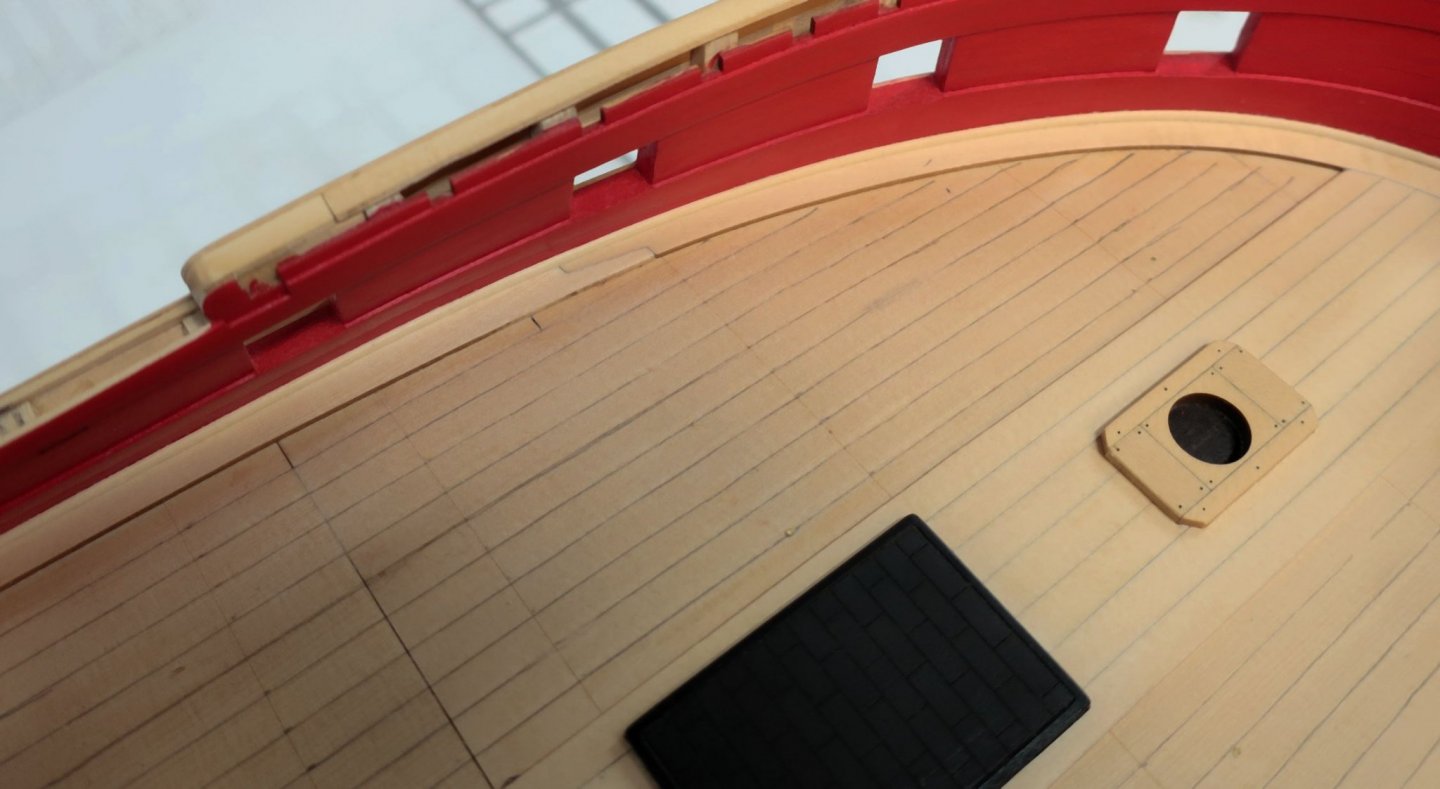
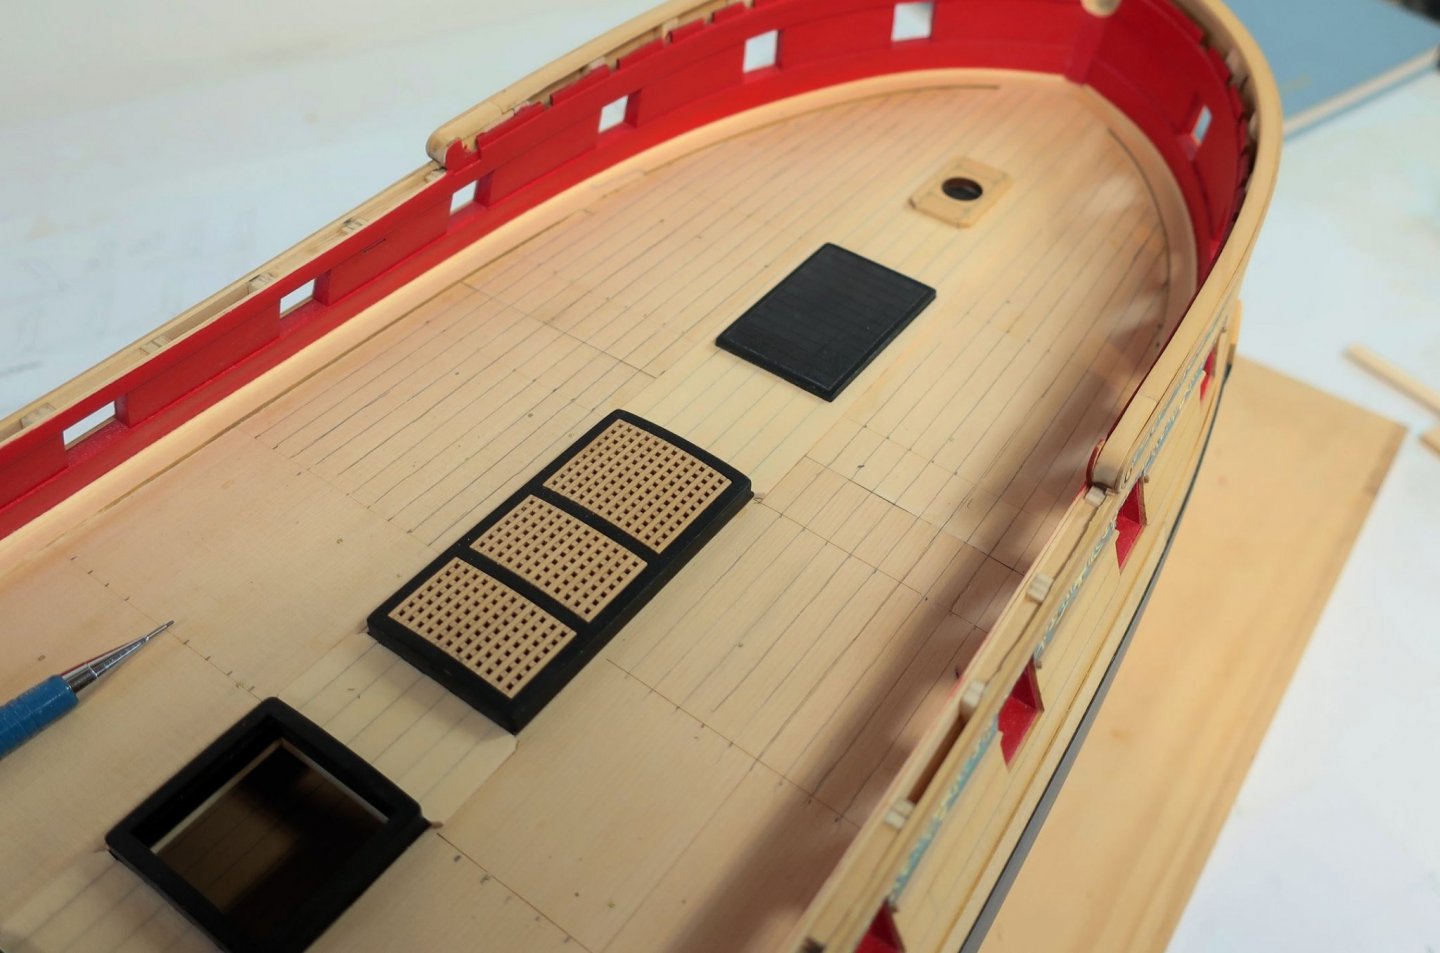
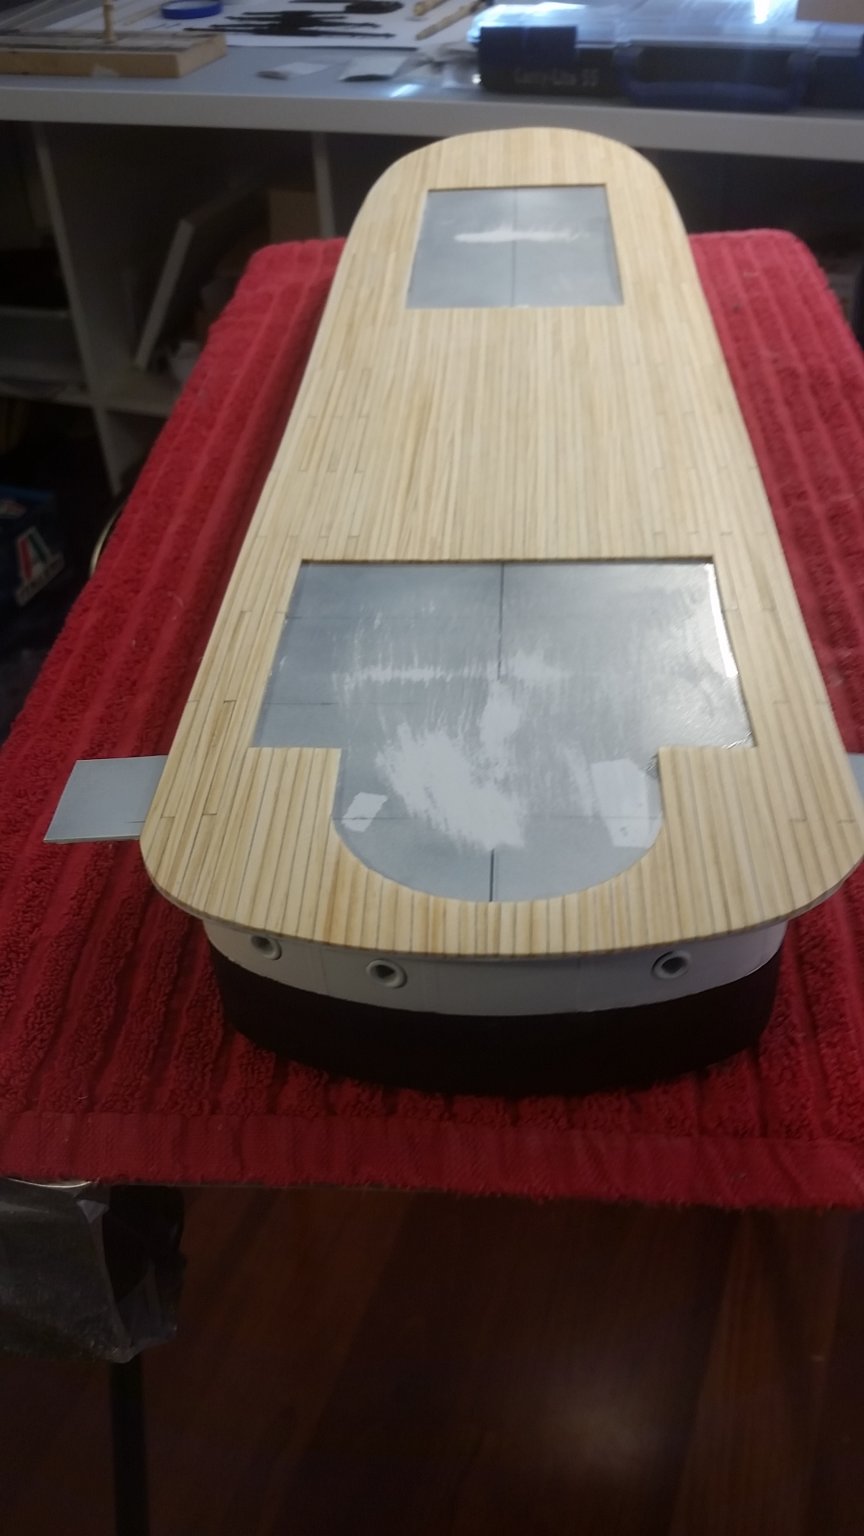
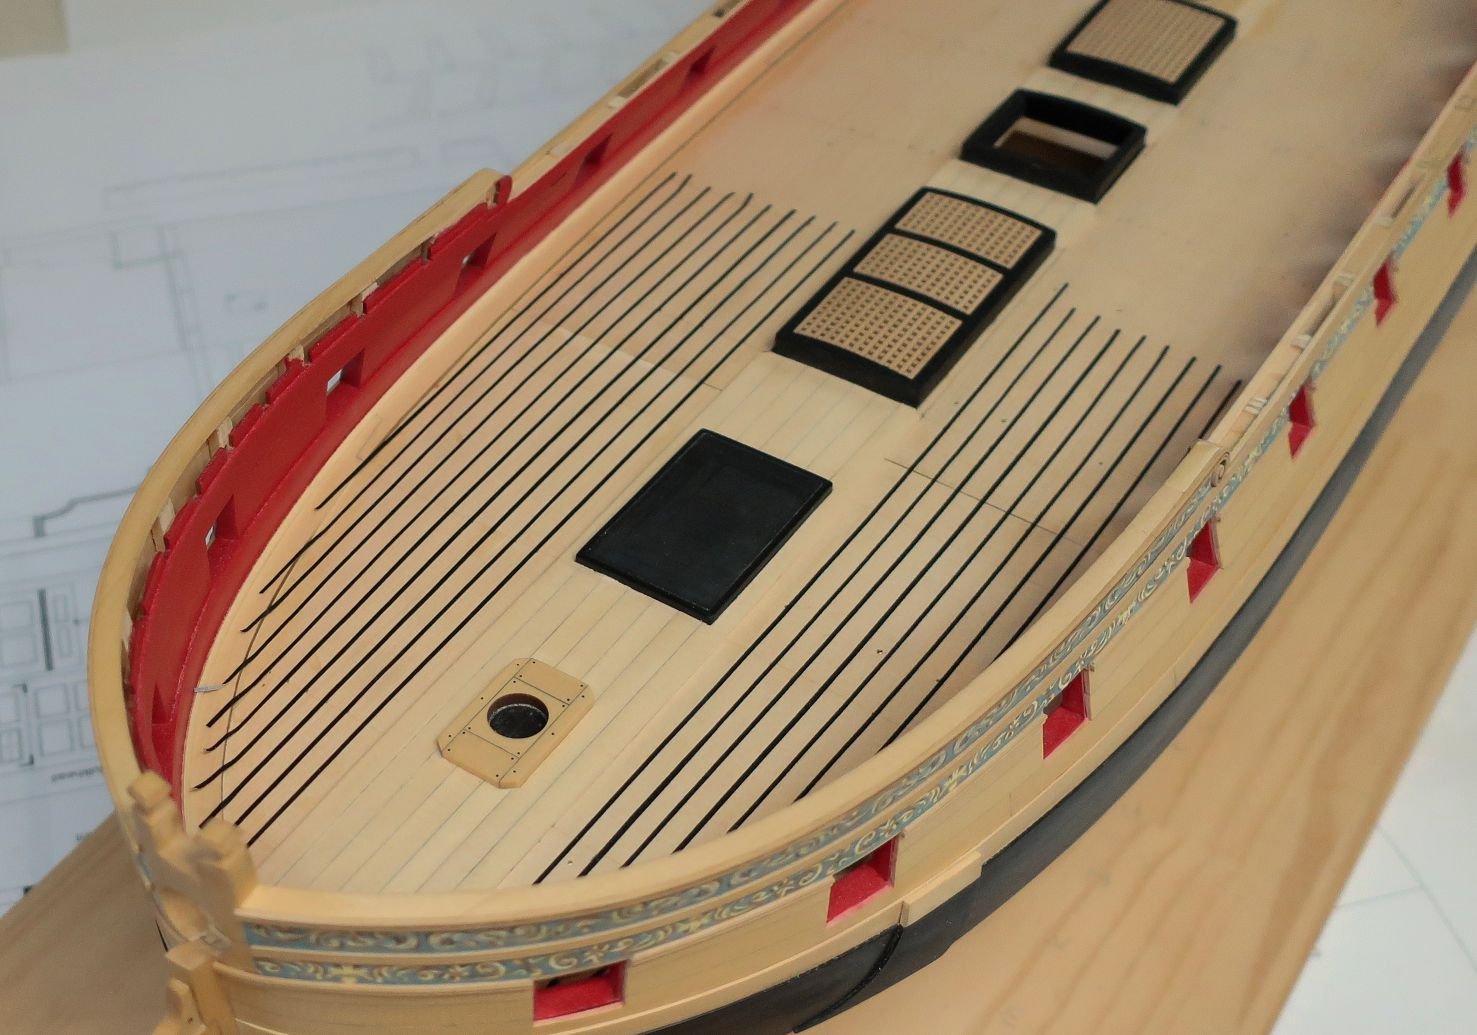
my nex task was to finish the dekk planking , so i did .
the plank is about 3mm × 1.5 mm wood from pine and after gluing it as bin sanded down and for the finish i used
oil, on this model i wil keep it like new .
and here are som photo of the dekk☺
svein erik.


-
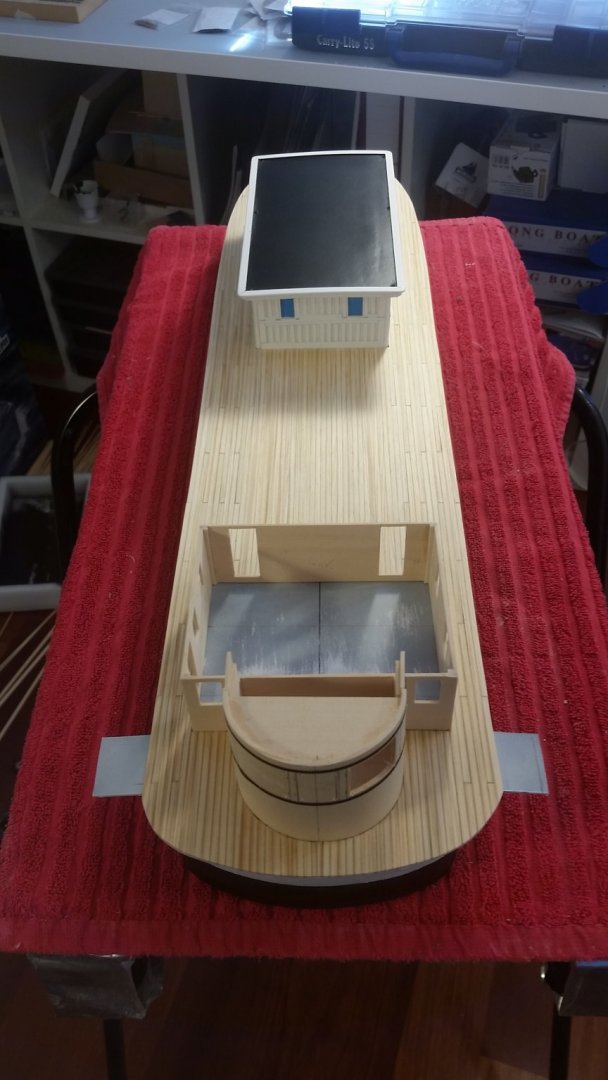
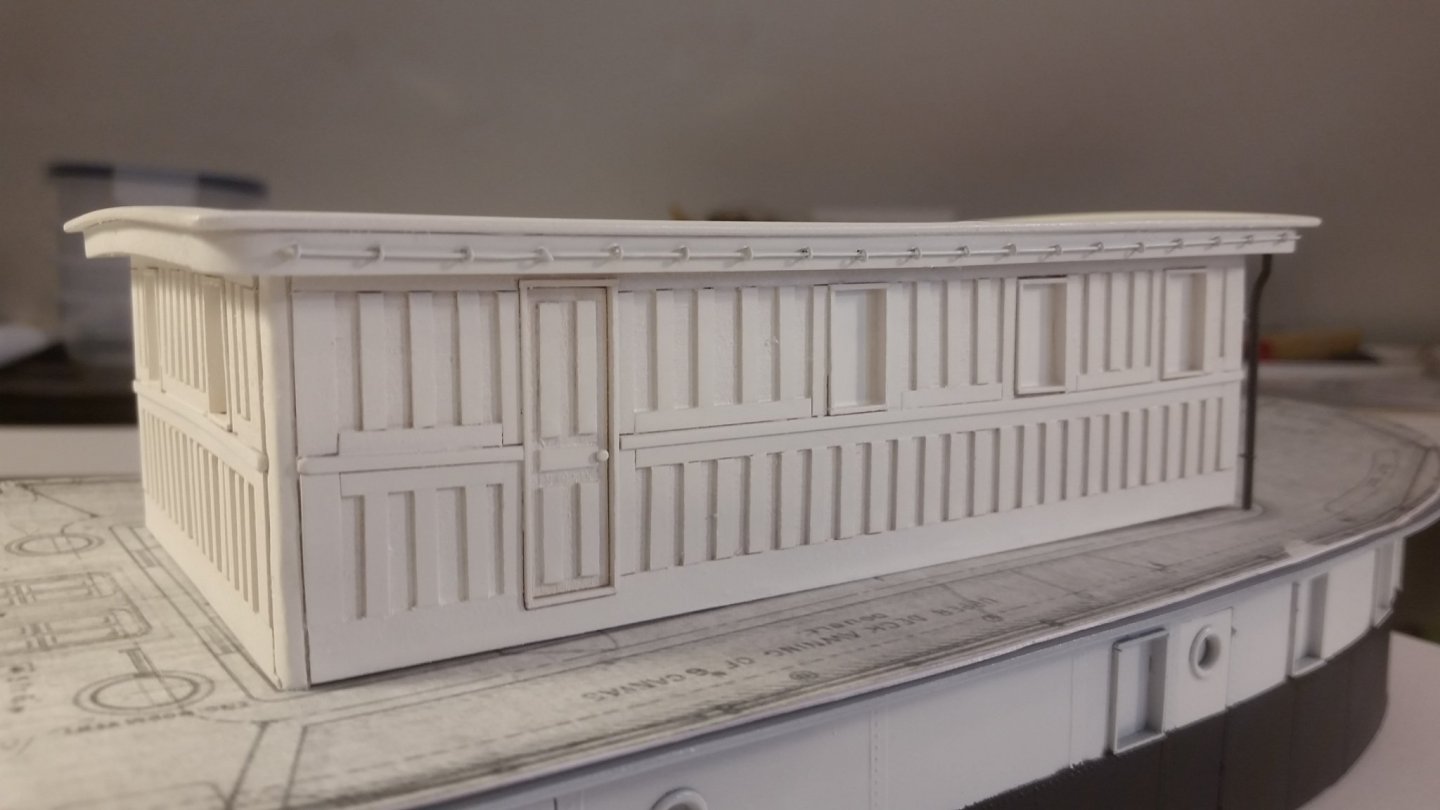
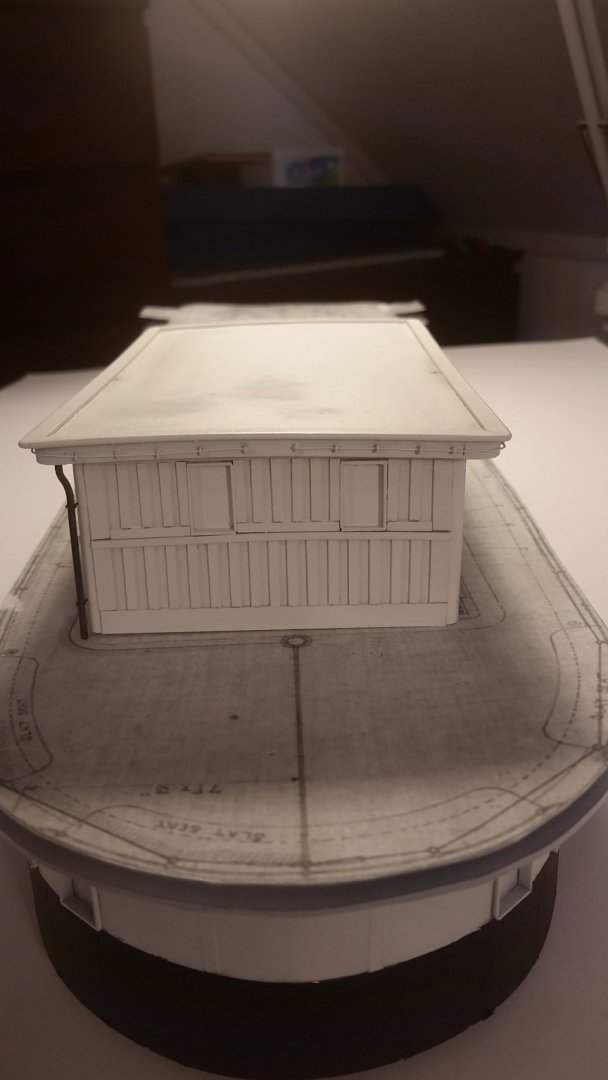
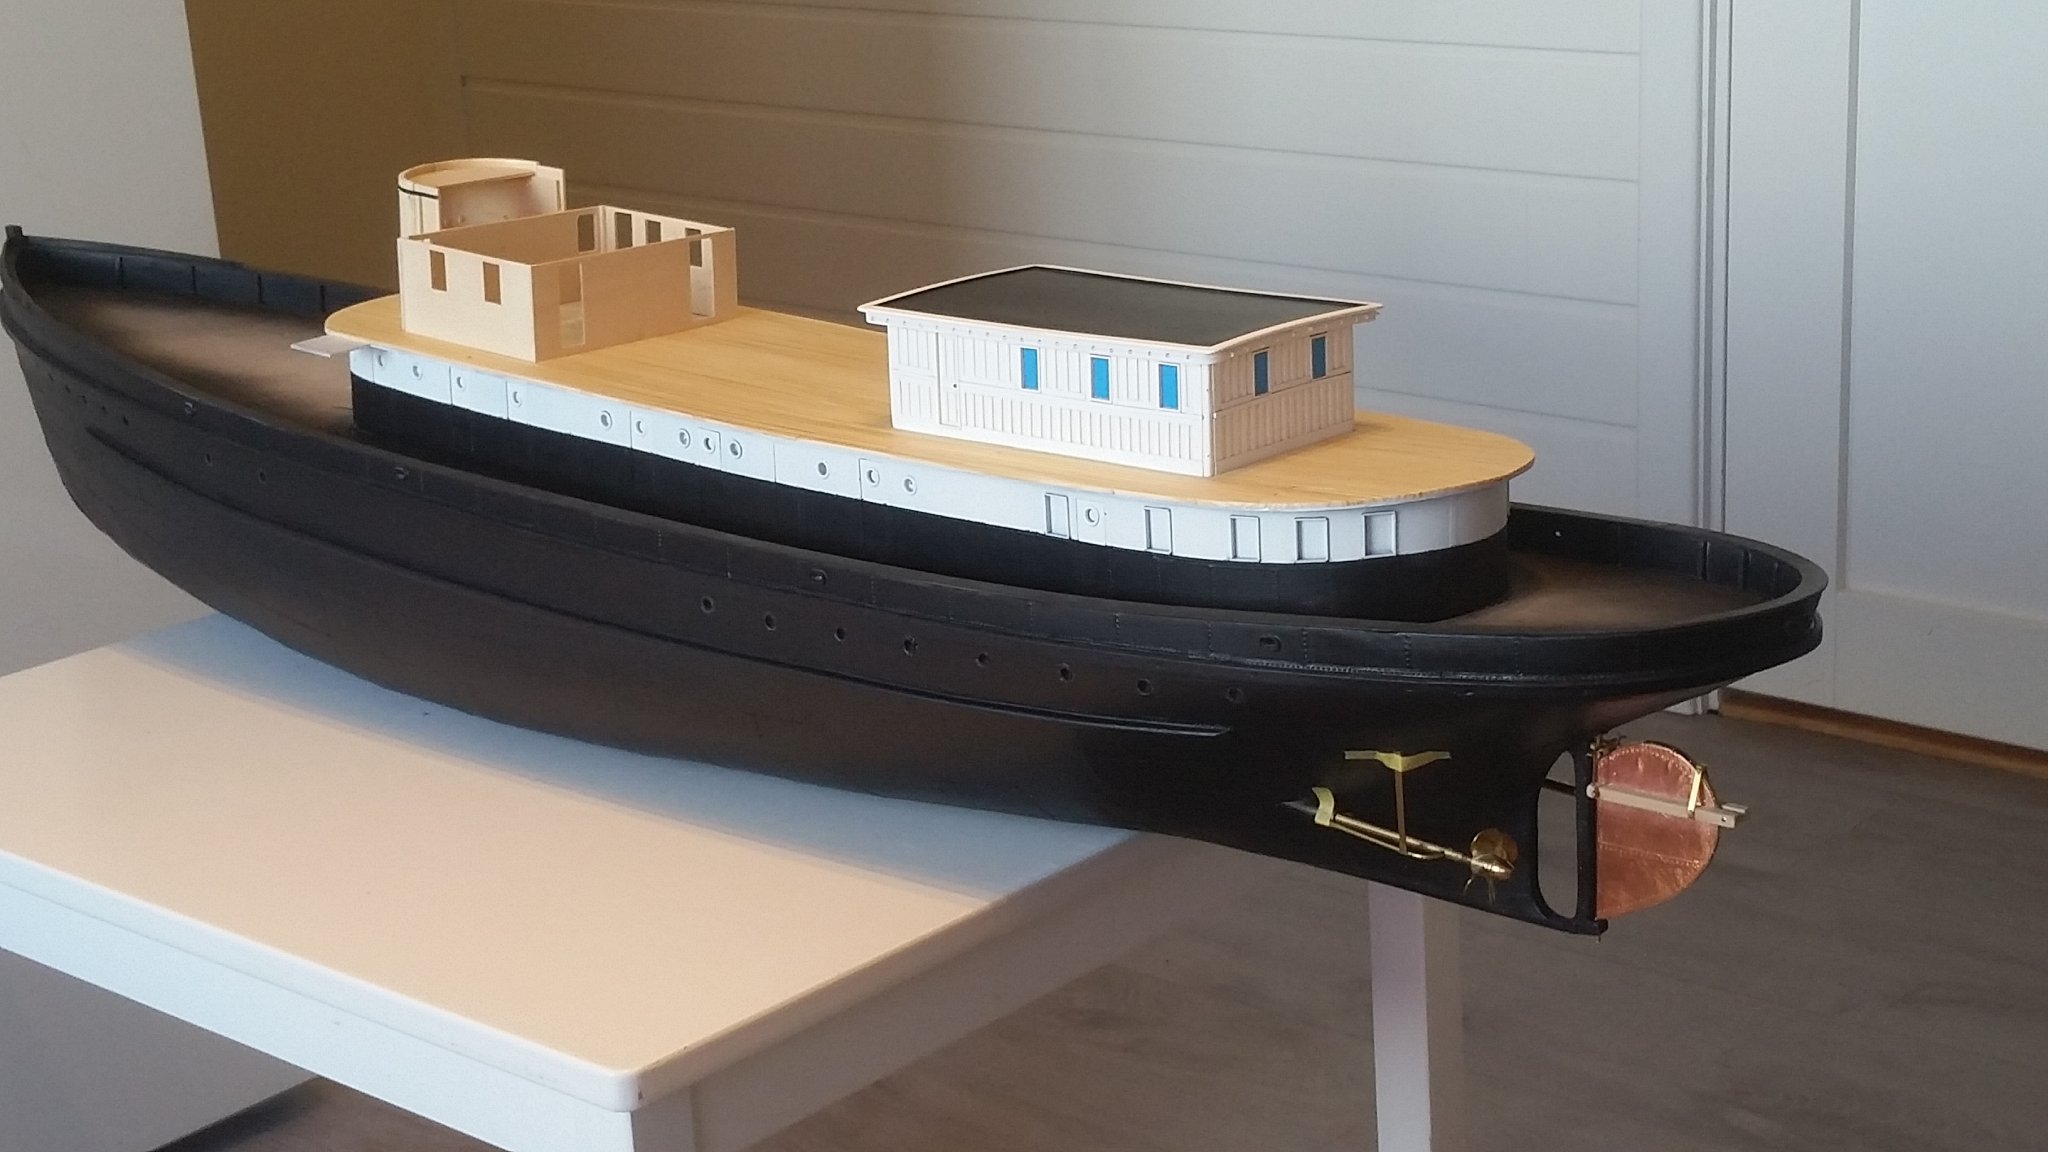
thanks for the likes!
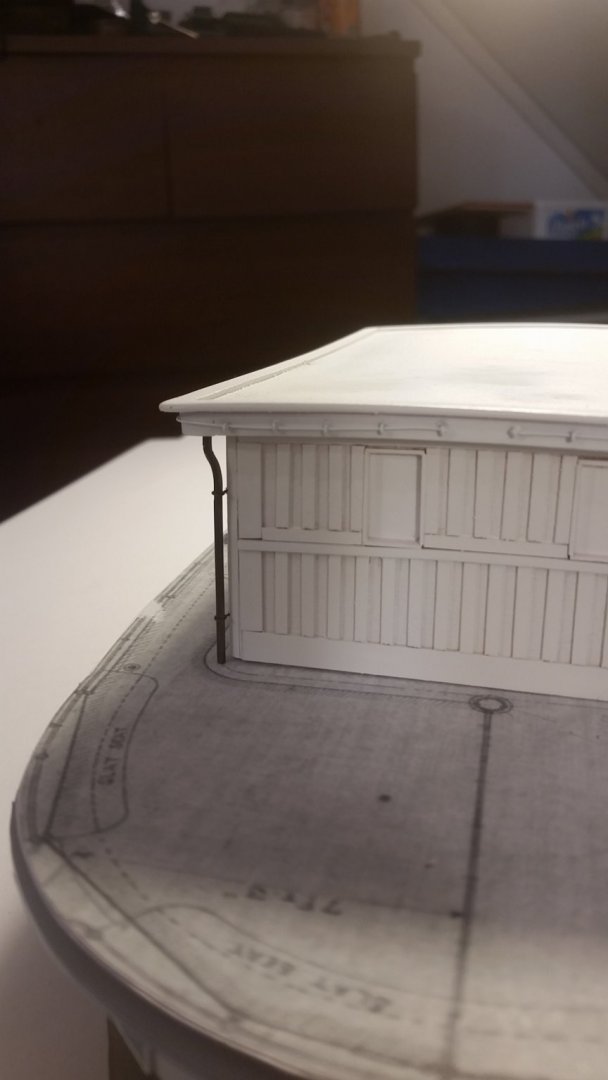
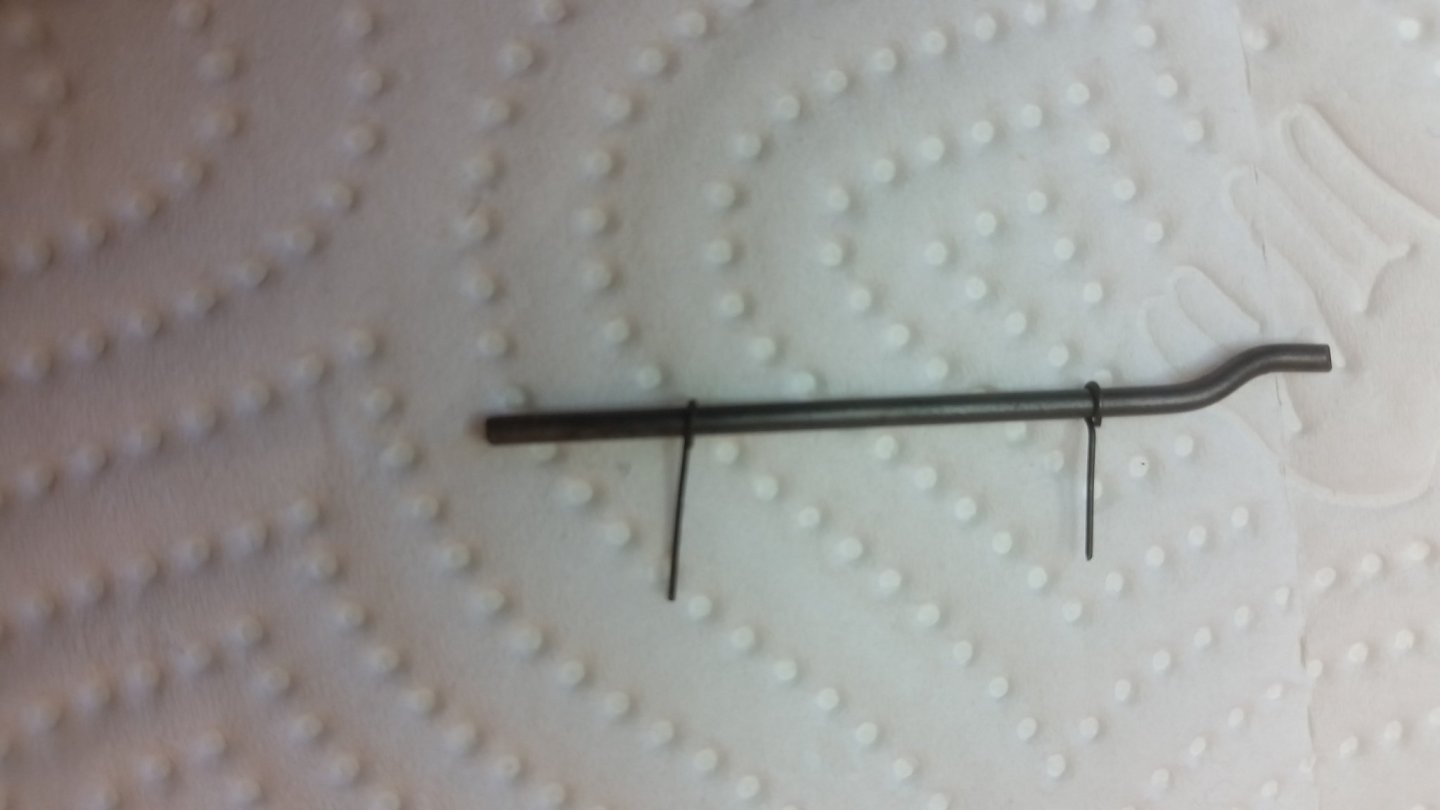
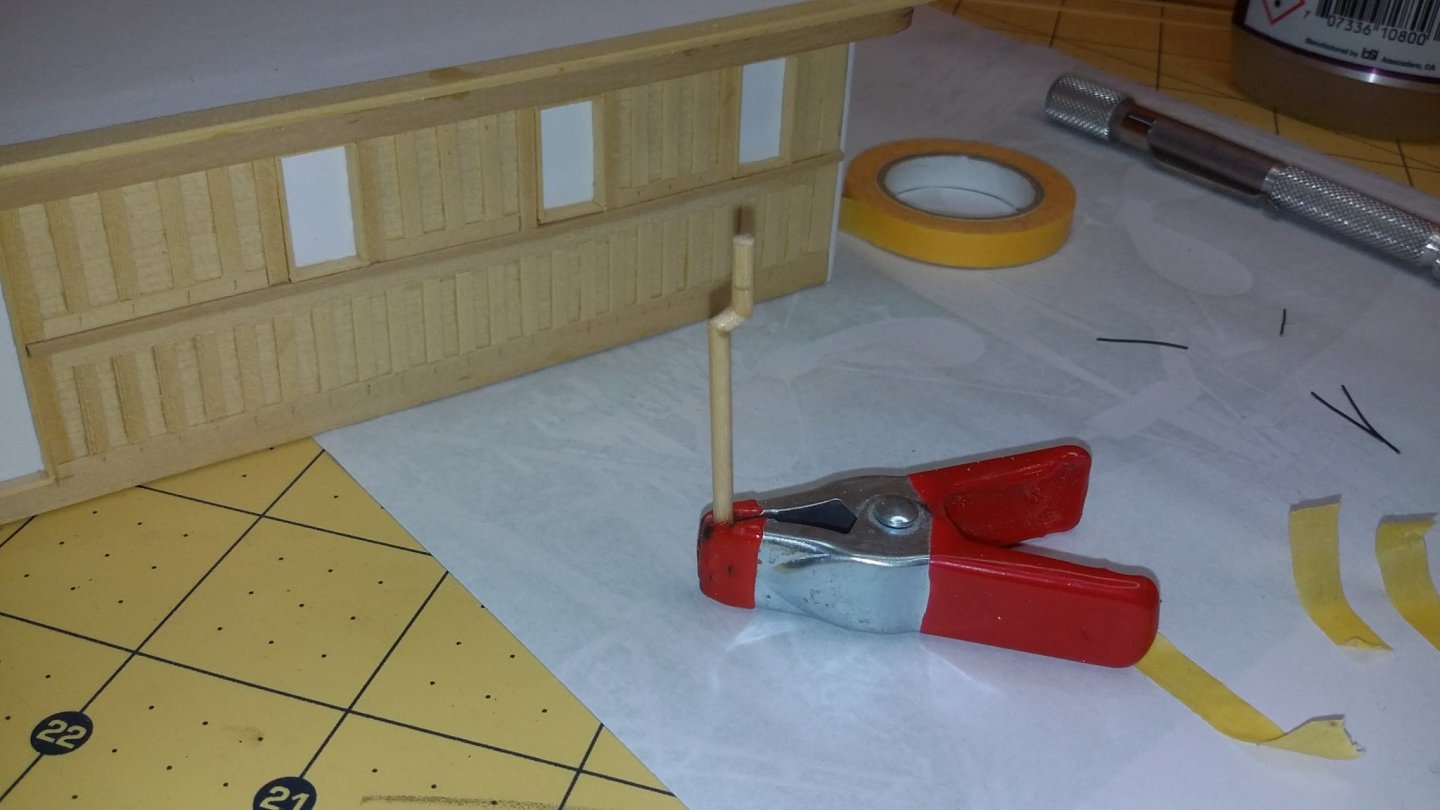
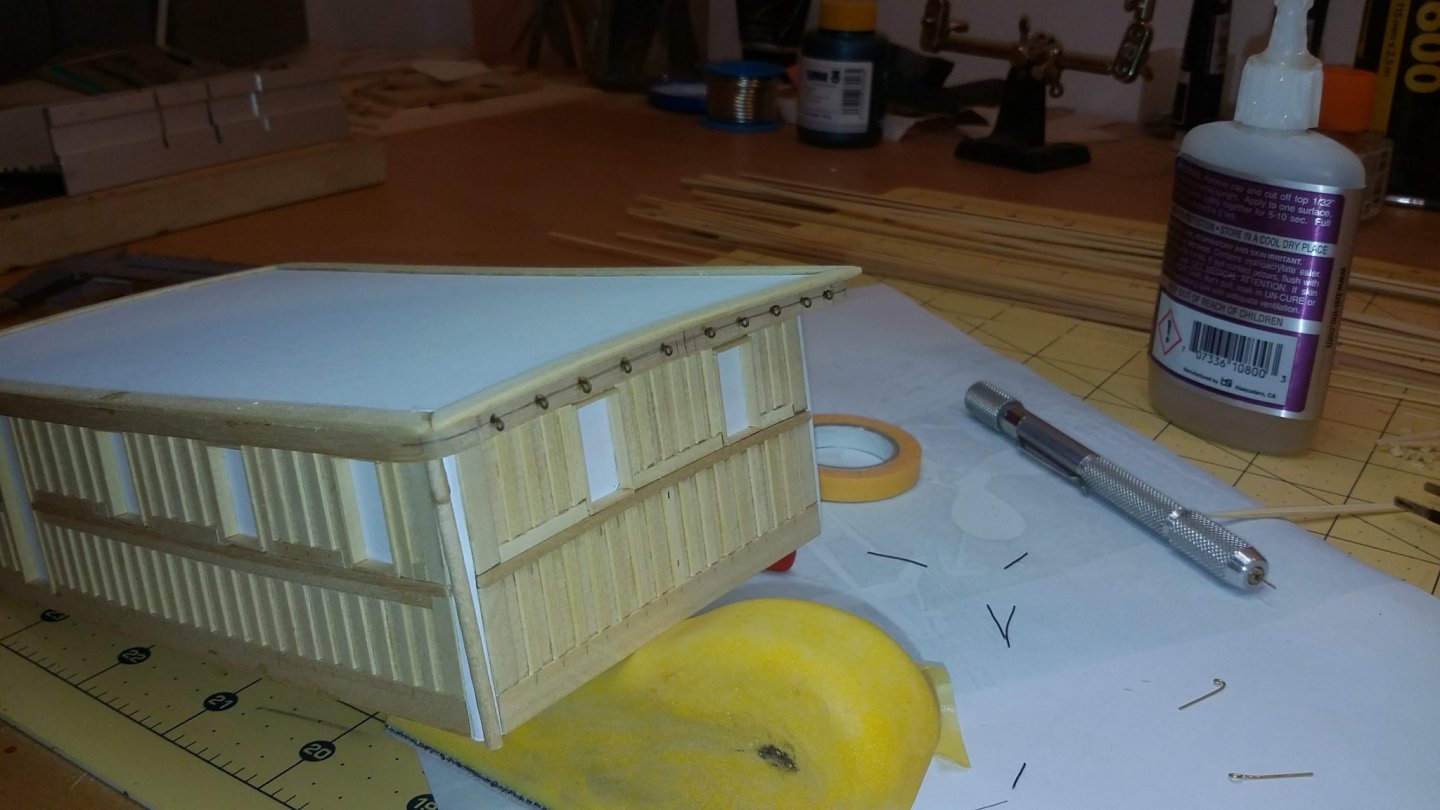
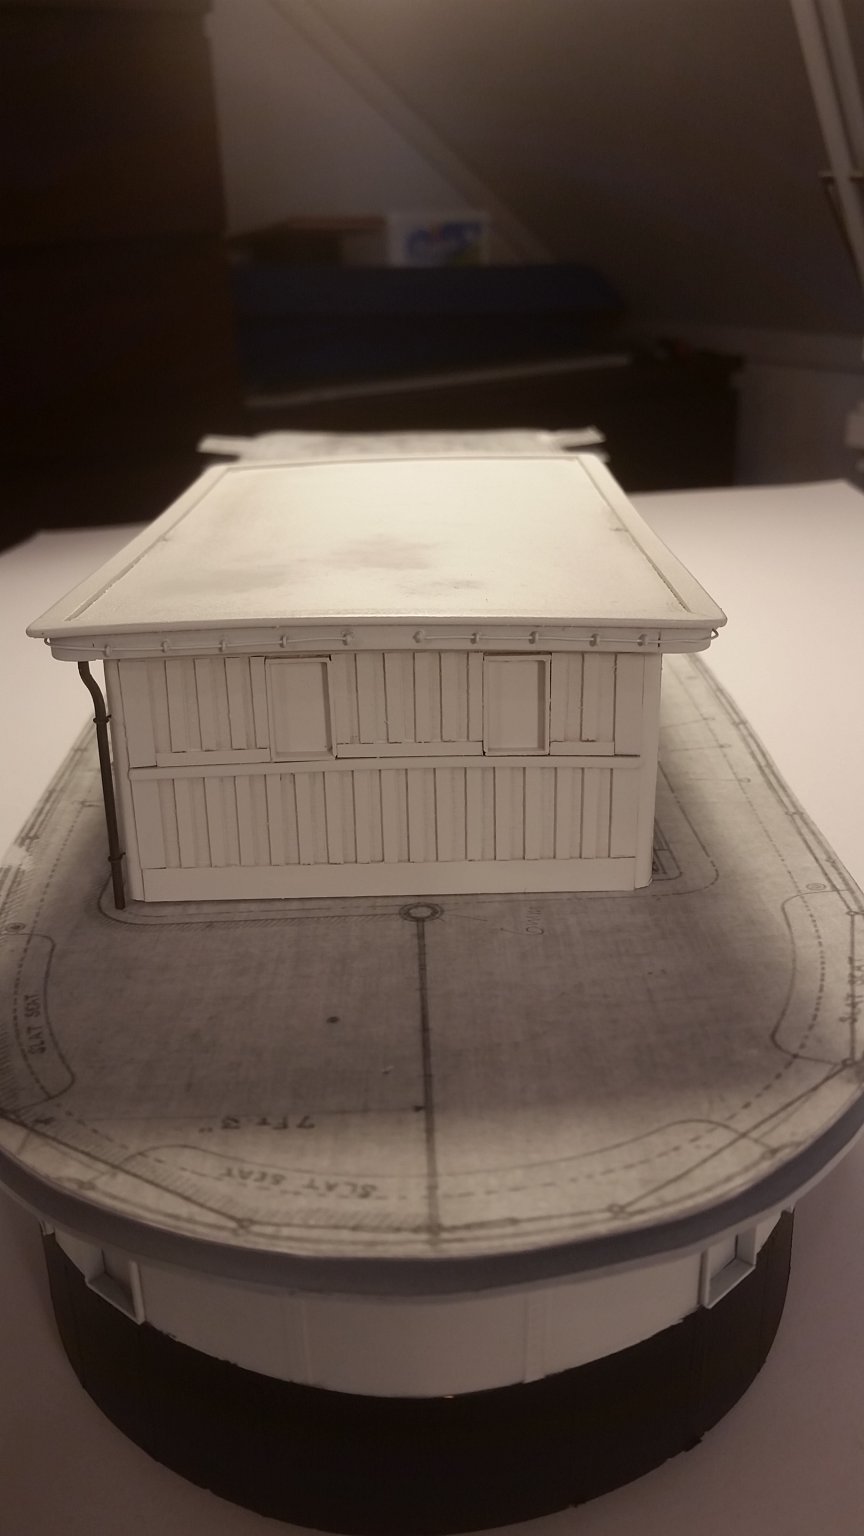
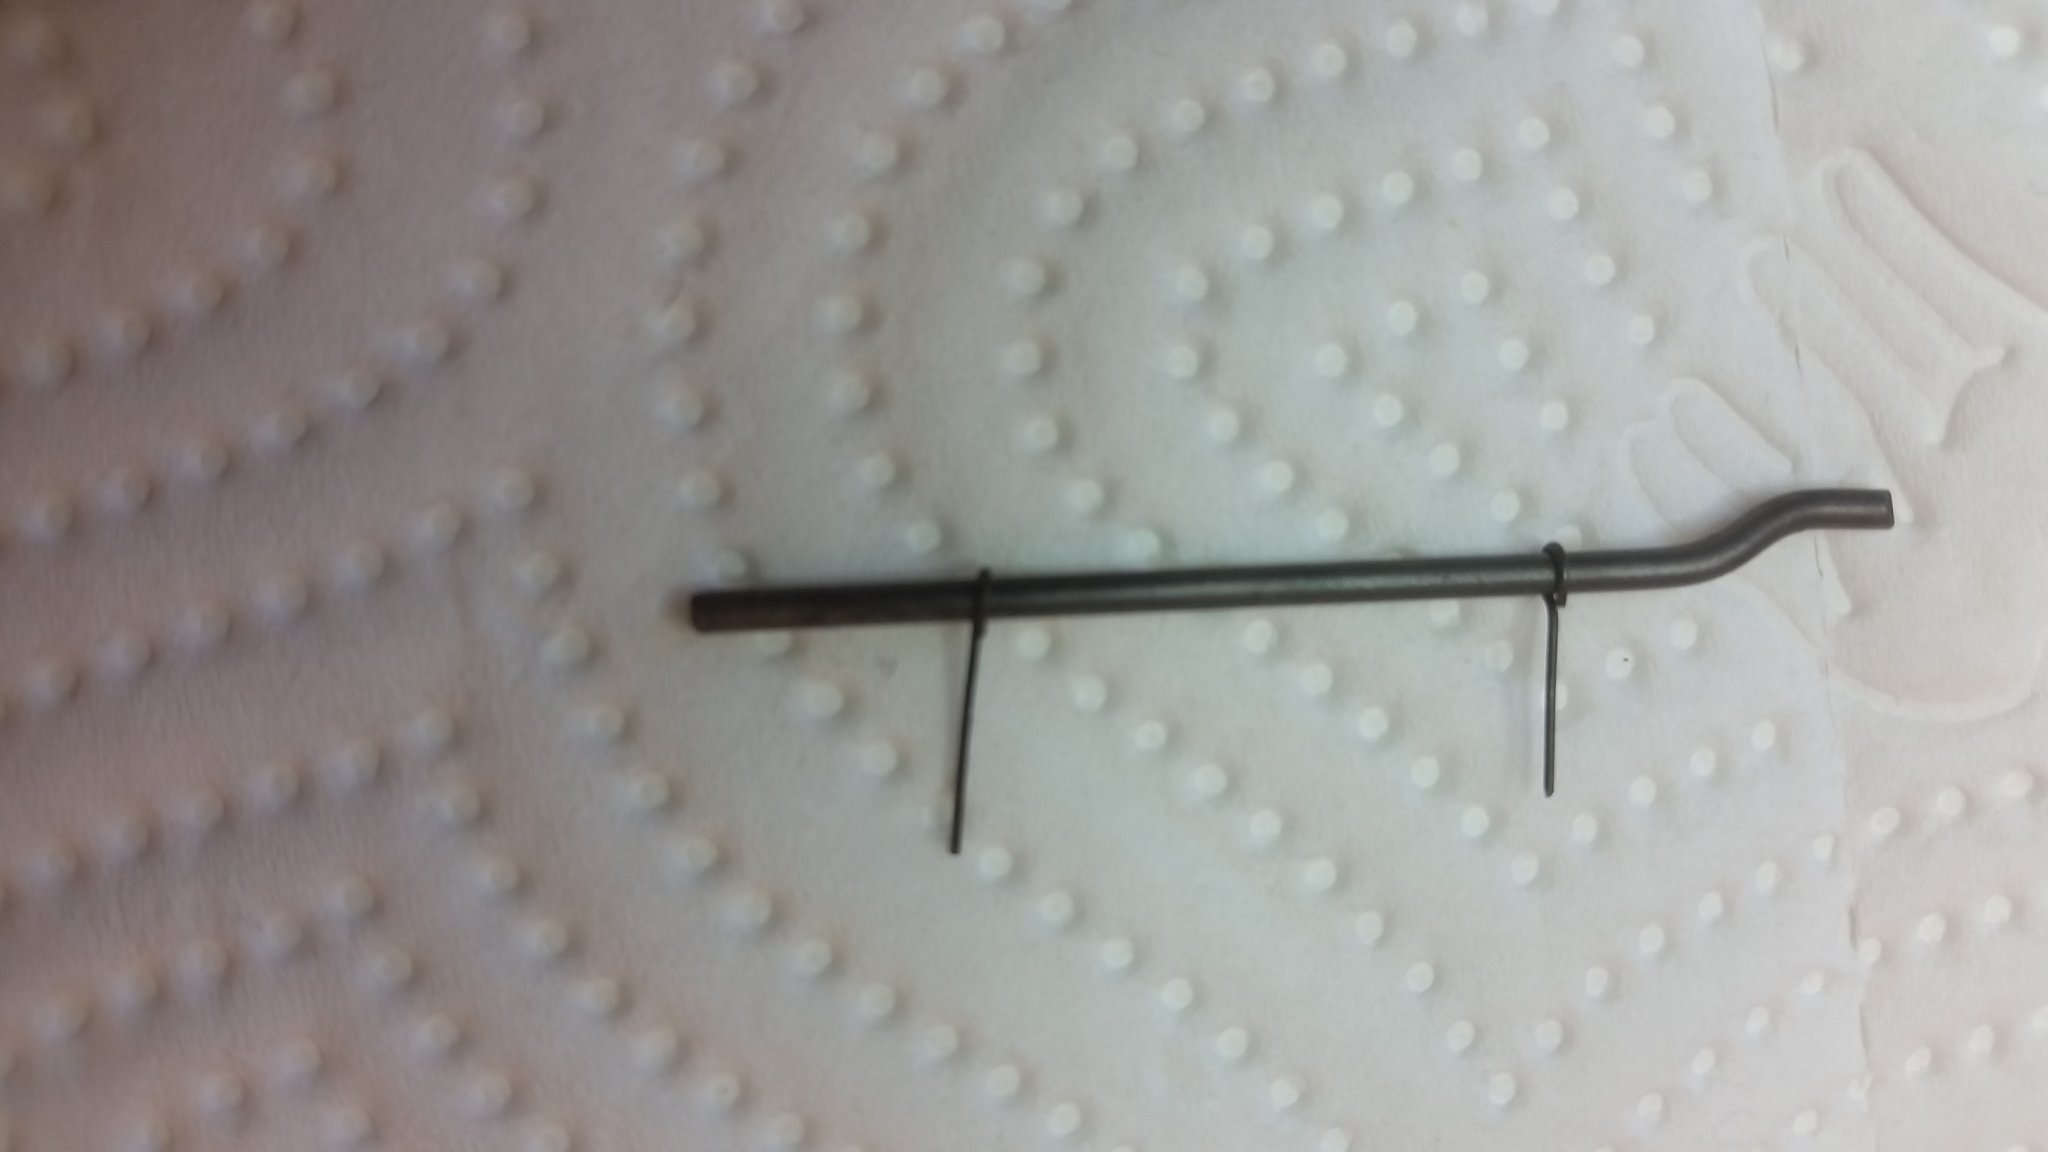
a little update... i have painted the cabin and also made the draining system from brass tube , to hold it in place i made eyebolts from wire.
the roof wil be paintet black and i have to paint the windows then i can make the glass simulating 😊
svein erik

- gieb8688, FriedClams, GrandpaPhil and 6 others
-
9
-
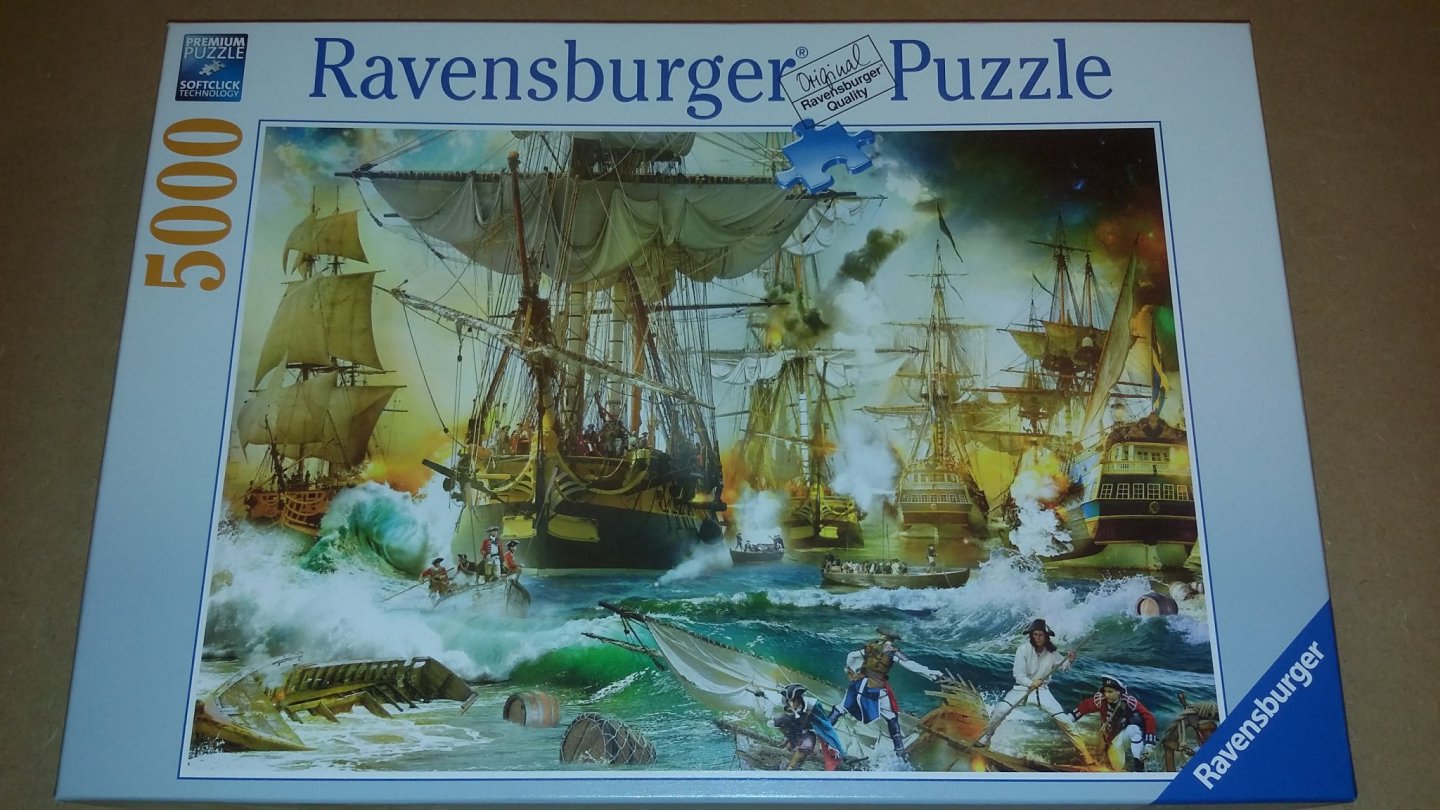
By the way .... the puzzel was finish a week ago i wil take som photo soon😉
i did one 🙊 my wife did 4999 LOL....
svein erik
- BobG, Canute, popeye the sailor and 4 others
-
7
-
On 7/19/2020 at 1:32 AM, Chuck said:
No laser cutting....this is the perfect hull and deck to learn this technique. You wont really even have to bend them with heat. But you could if you wanted to....these planks should bend fine when you glue them on as the curve isnt very severe at all. I was very conservative with it. I saw how folks had a hard time with the hooked scarphs on the Cheerful so I made it so there were just four of them. This meant less curve to the deck planks.
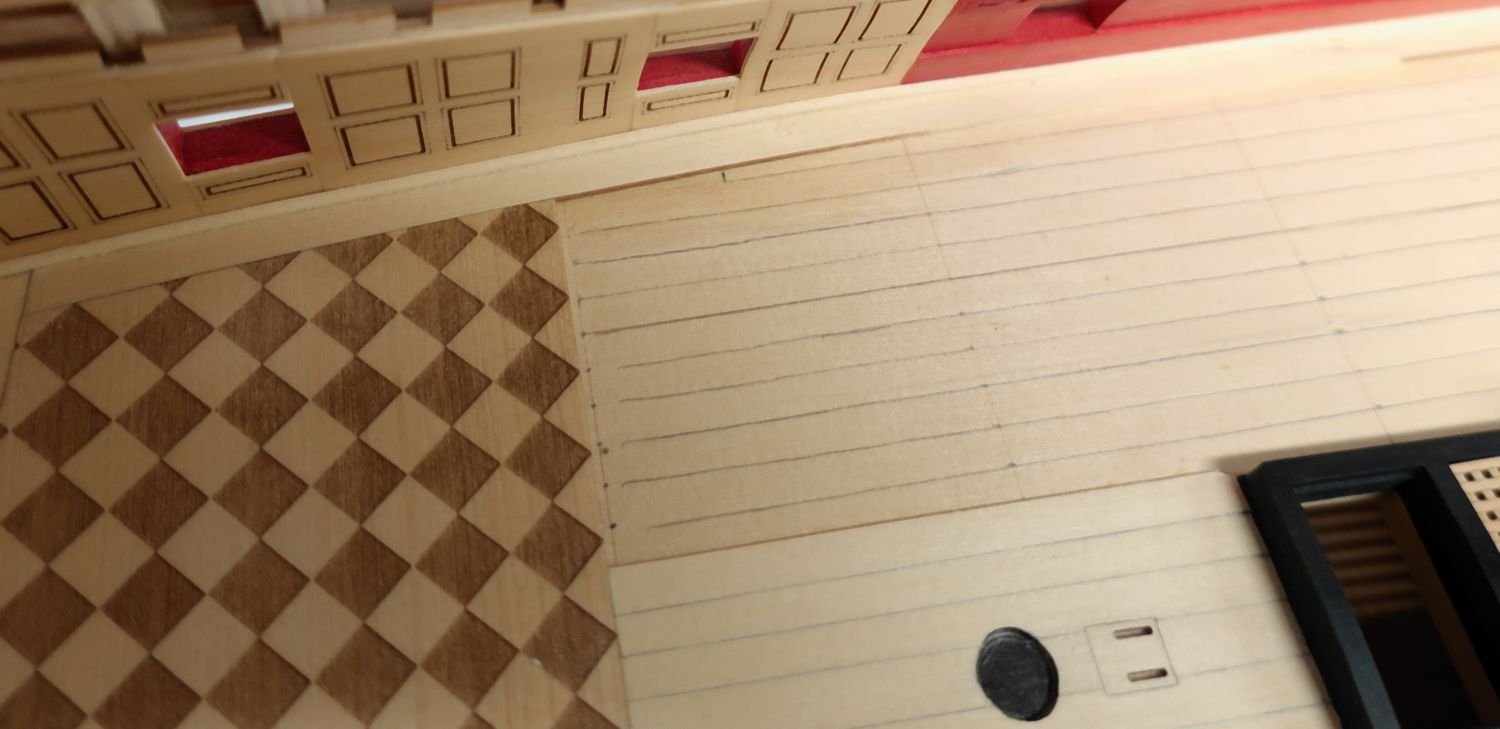
Below you can see that the center belt has been planked. I simulated the seams with pencil like I did with the hull planking. There are never any butt joints in this center belt between coamings and partners. This is yet another common mistake seen on models and kits including on kits that provide laser etched planks. The distance was short enough that it was always one length used between the hatches and partners. It was stronger this way. So no need to follow the butt joint pattern you will be developing when we line off the hull on either side of the center belt.

You will also notice in that picture above and below that on either side of the center belt I have lined off the deck using thin strips of black masking tape. Looks familiar right? The thin strips follow tick marks I made for the remaining belts. I made them the same way as I did for the center belt. Use your tick strips and planking fan. Use the laser etched lines that represent the deck beams as you repeat this process until you have tick marks on both sides of the deck for all of the remaining belts. The tape runs along my tick marks. You will no doubt have to make adjustments with your tape. Just run it off the deck and onto the margin planks as shown.
To finish it up.....use a mechanical pencil with a sharp point to run a pencil line down the "good side" of you tape that follow your tick marks.......then remove your tape.
When you remove the tape it will look like this......you can do this down the entire deck but I often do just the bow area and the stern where there is a taper and we need to create the hooked scarphs along the margin planks. Do you see where I created the hooked scarph in the outside deck plank???? I just erased some of the line that followed the tape and added a new short line to create the shape. On this hull there will be just one along the margin plank at the bow and one more aft........by the checkered floor for the great cabin. In addition you can mark all of the butt joints on the deck using the typical 4 butt shift pattern. Use the laser etched reference lines for the deck beams for this and examine the plans for their locations.

Now I am ready to plank the remaining two belts on each side of the center belt to finish off the deck planking. I will taper the planks as need to match my lining off just like we did for our external hull planking.
You will need just 1/4" x 3/64" strips to plank the deck and a handful of wider 5/16" strips for the planks around the coamings where you need to shape them around the tabbed areas.
I feel compelled to mention that you guys could absolutely change the deck planking to a more severe curve at the bow if you want to. Just adjust the bands before you line off.
Almost no kits or even most scratch builders fail to curve the deck planks like this. Its very different than what many of you are probably used to seeing. So I split the difference between the drastic curve at the bow and straight planking to show a more conservative curve so it wouldnt seem so drastic to all of you. This is something you guys should play with depending on your preference as the contemporary model for Winnie shows the most severe curve I have ever seen on a deck. Here is a look at the contemporary model of Minerva in the Rogers collection and it shows about the same amount of curvature that I am using on the Winnie. Much less than the contemporary model for Winnie. This also shows two hooked scarphs instead of one. So you can get creative here.
wonderful work as always, is it going to be rigged ? if not wil there be plans for that?
maby i have to jump inn 😲
svein erik
- Dwight, Gahm, CaptMorgan and 1 other
-
4
-
-
-
-
oki... another thing on my mind is , am thinking on doing some sail on this model (folded) of silke spann
but there are no templates for brig syren (i mail chuck and ask him )
but he did say i have to look up the book Brig of war (irene)
i never have dunn this but .....😉 i wil go in the box on this!
svein erik
-
thanks for te coments and likes .....
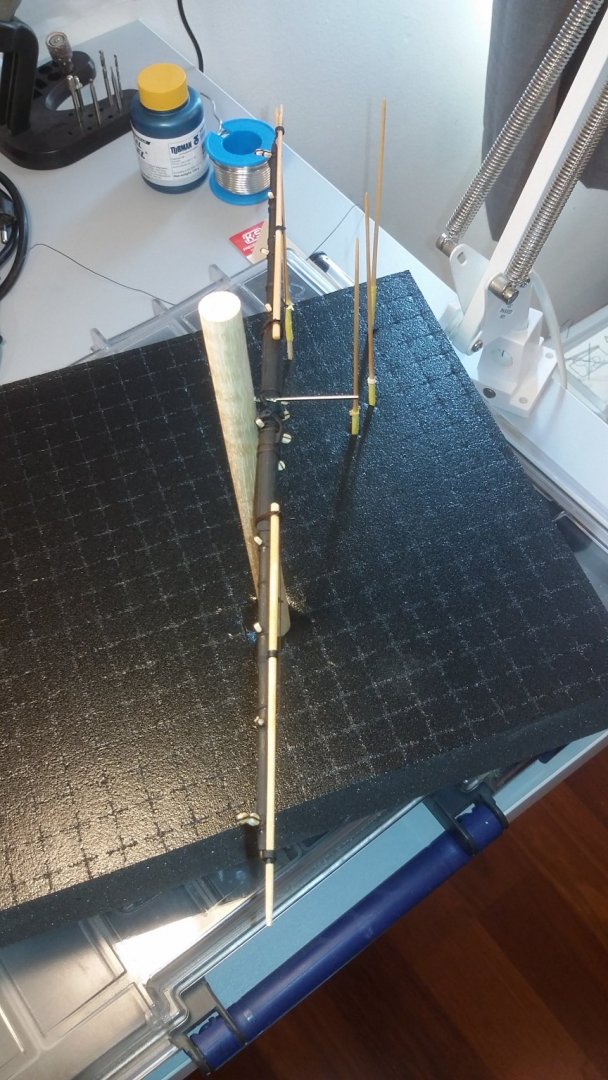
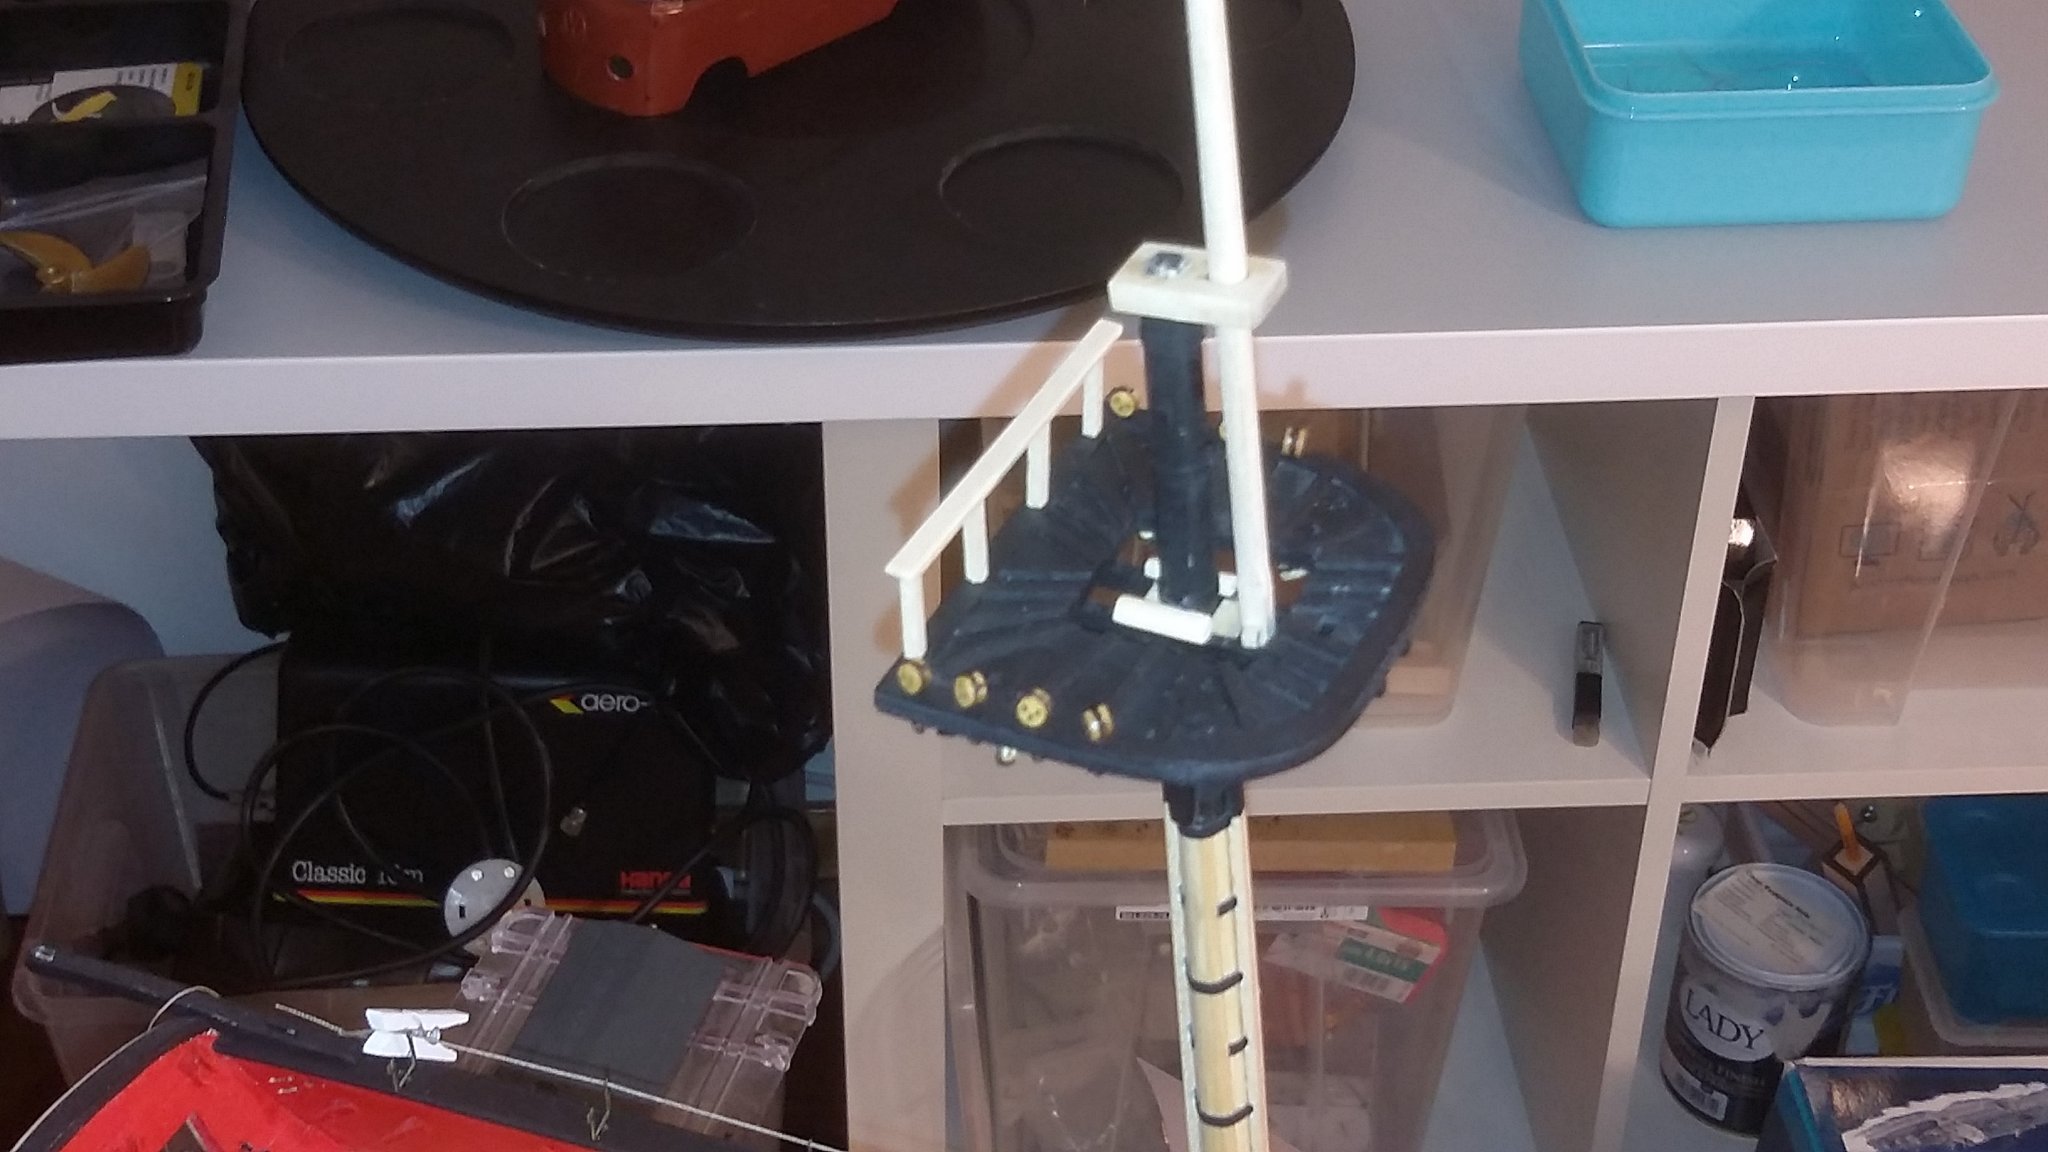
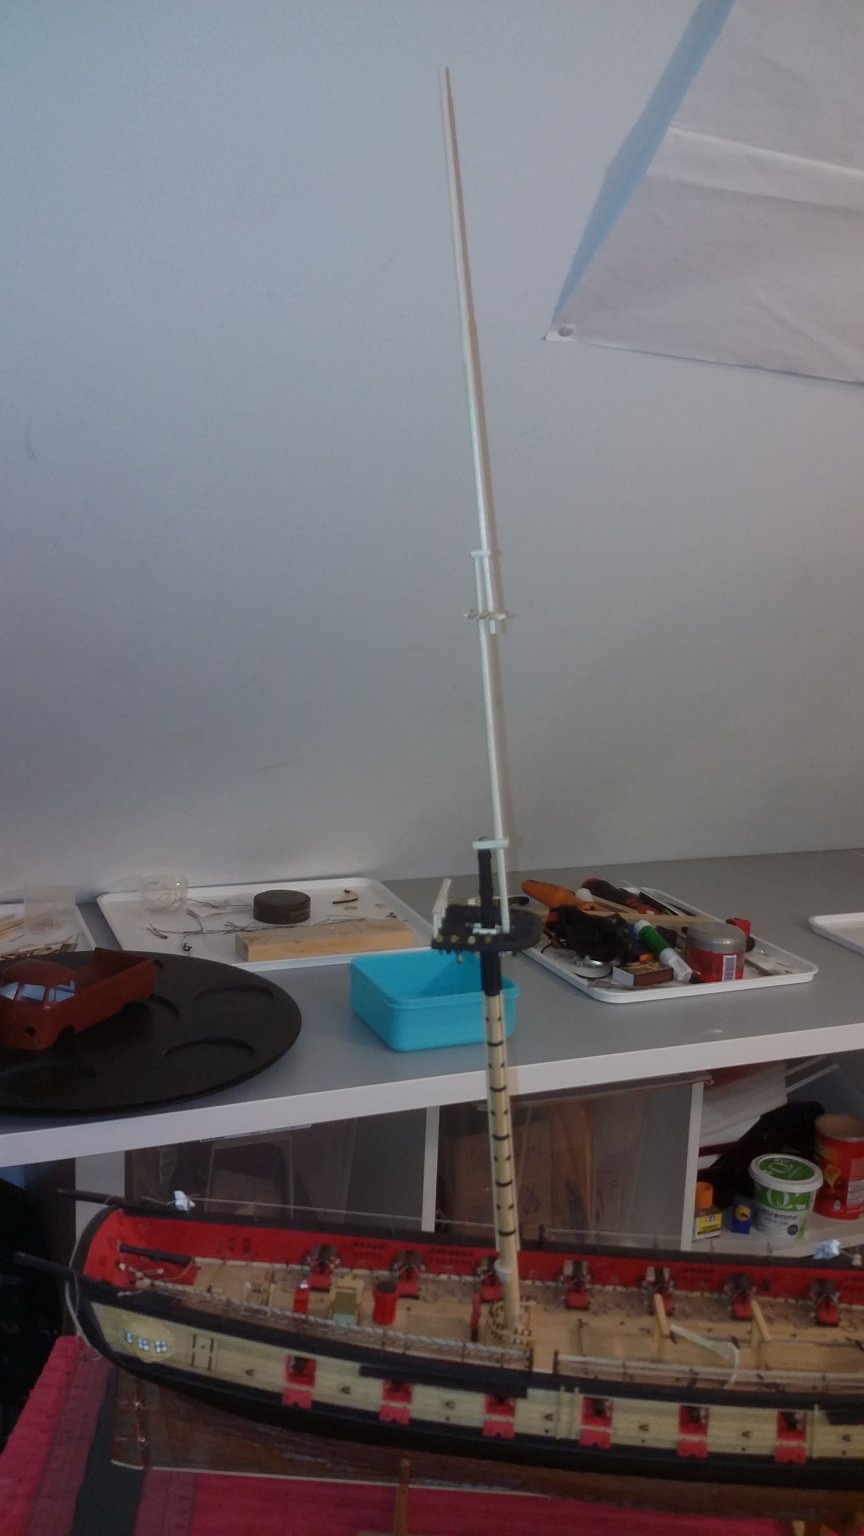
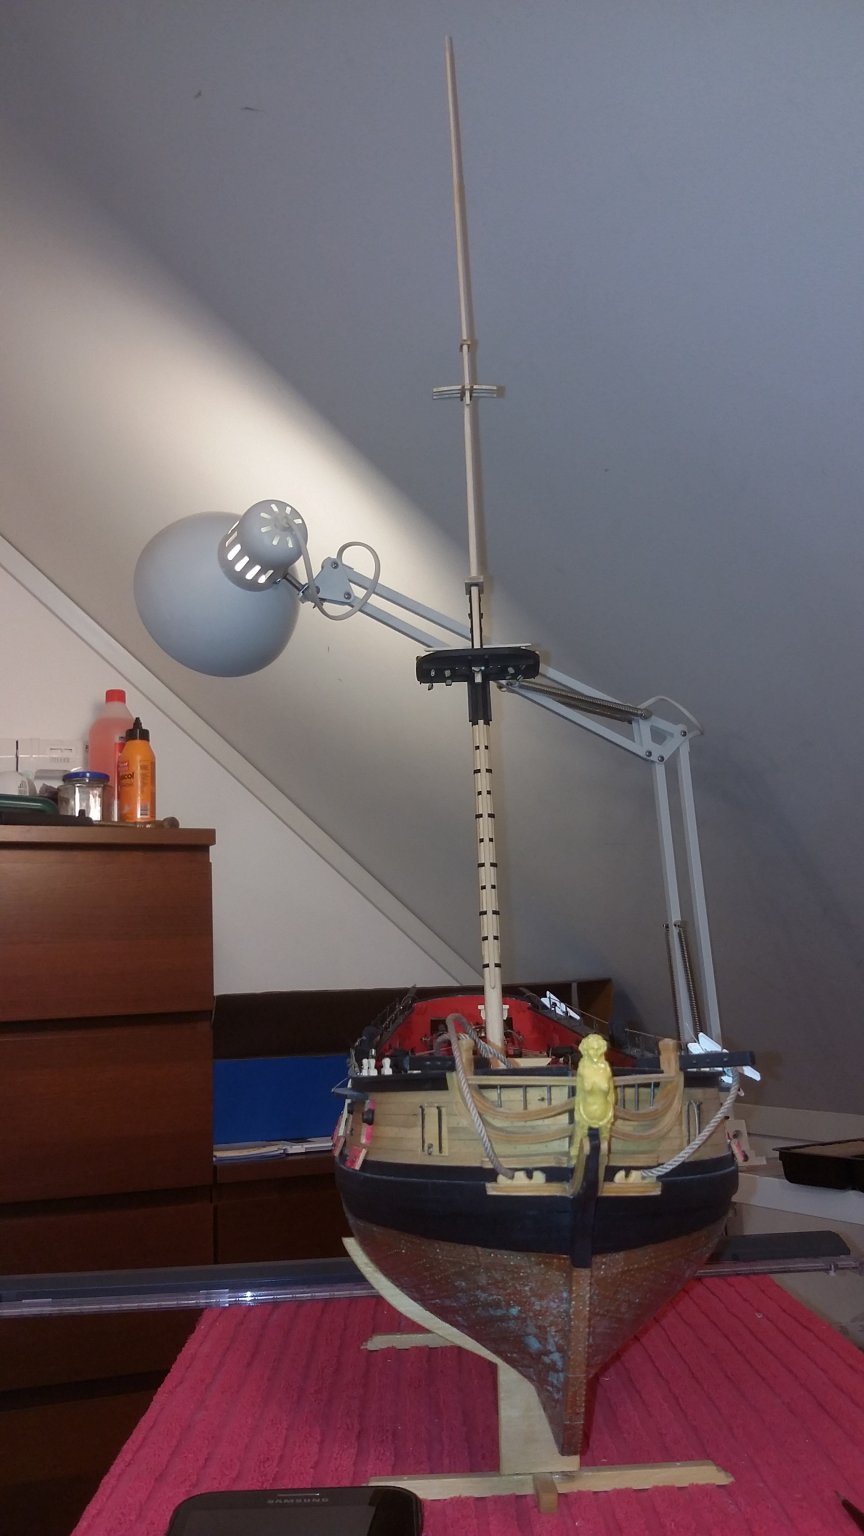
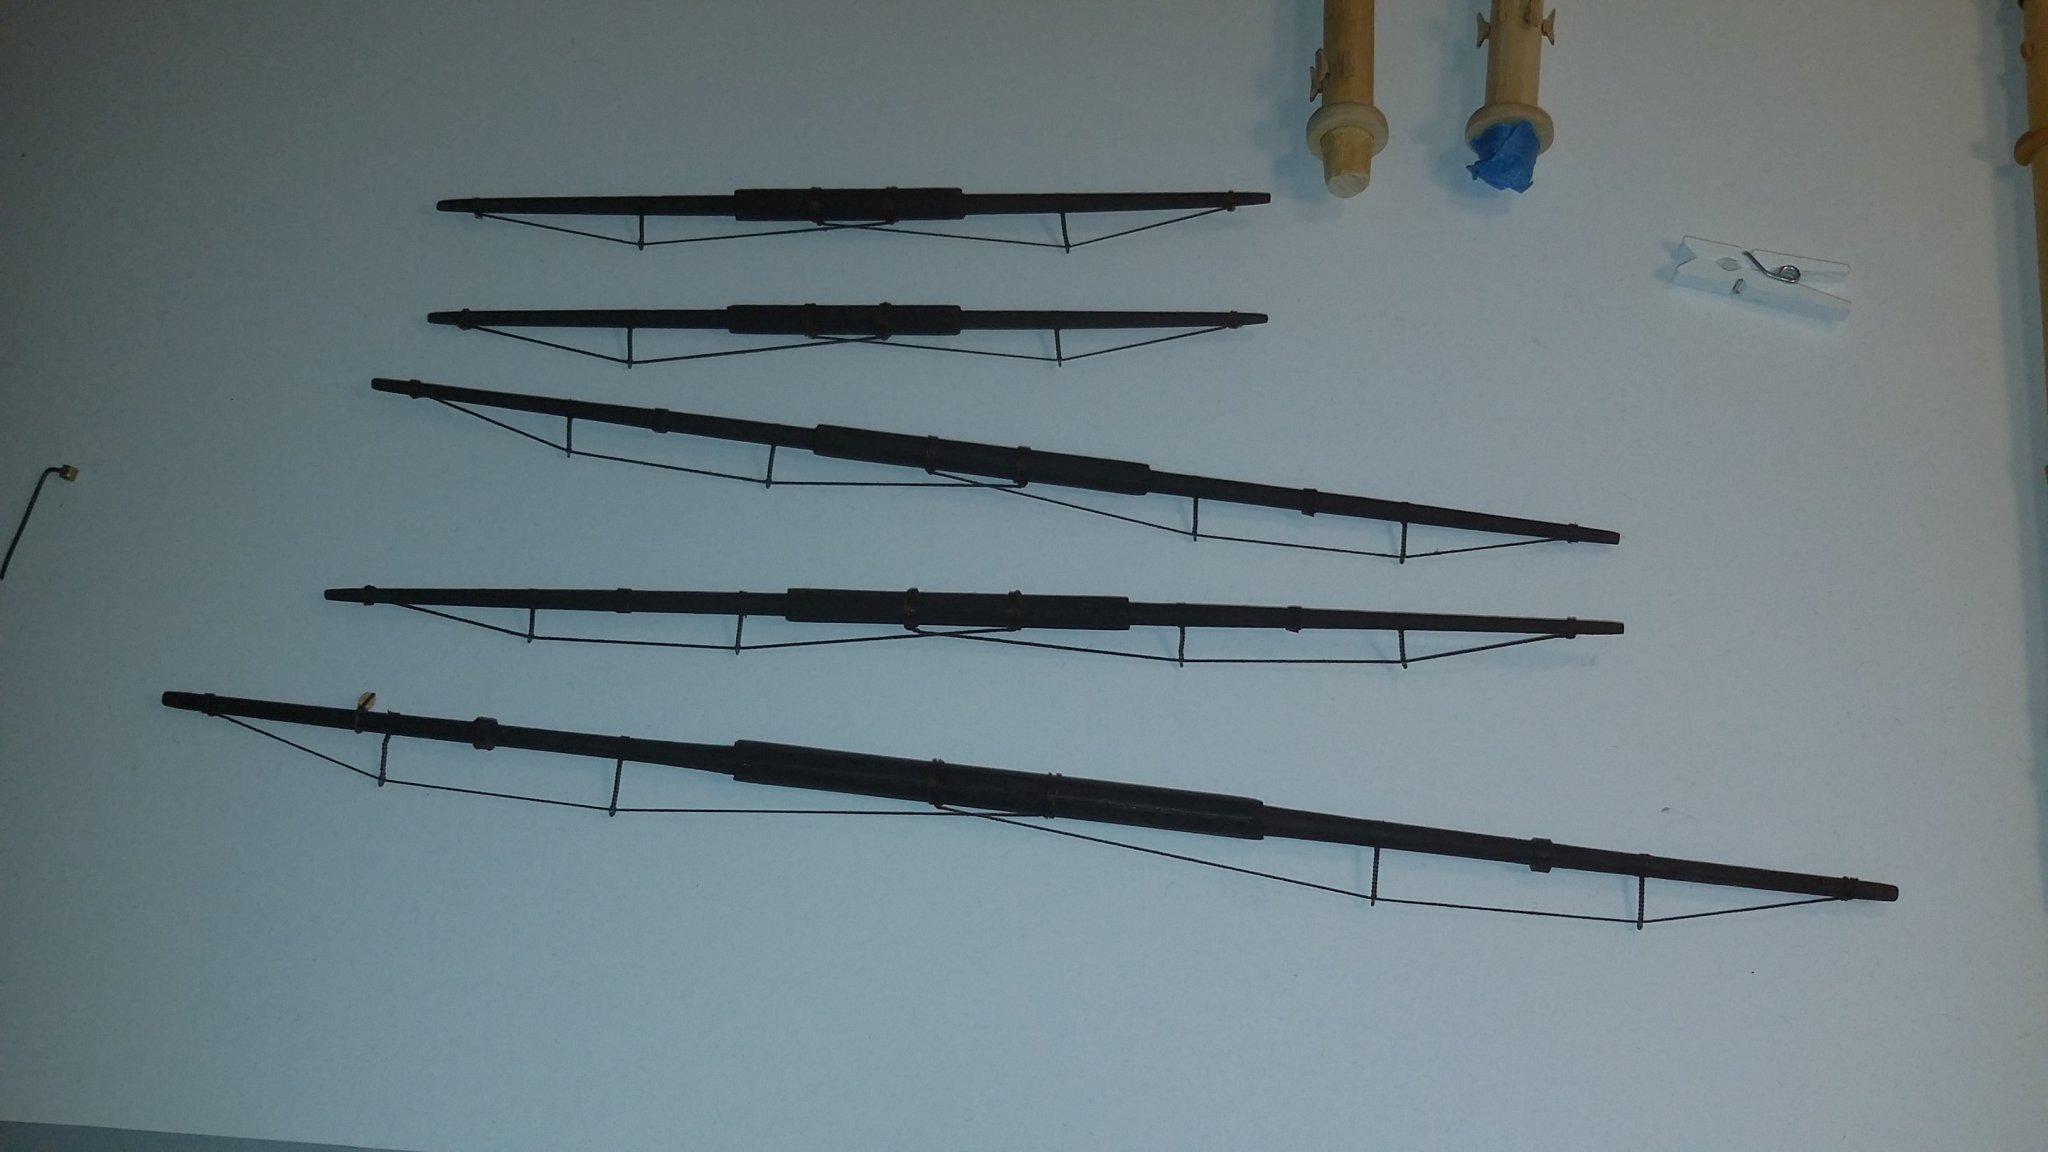
i got all the footropes dunn using rope , but its need to be stretch so it can get the natural curve .
i did try it out and it works but not finish in these photos.
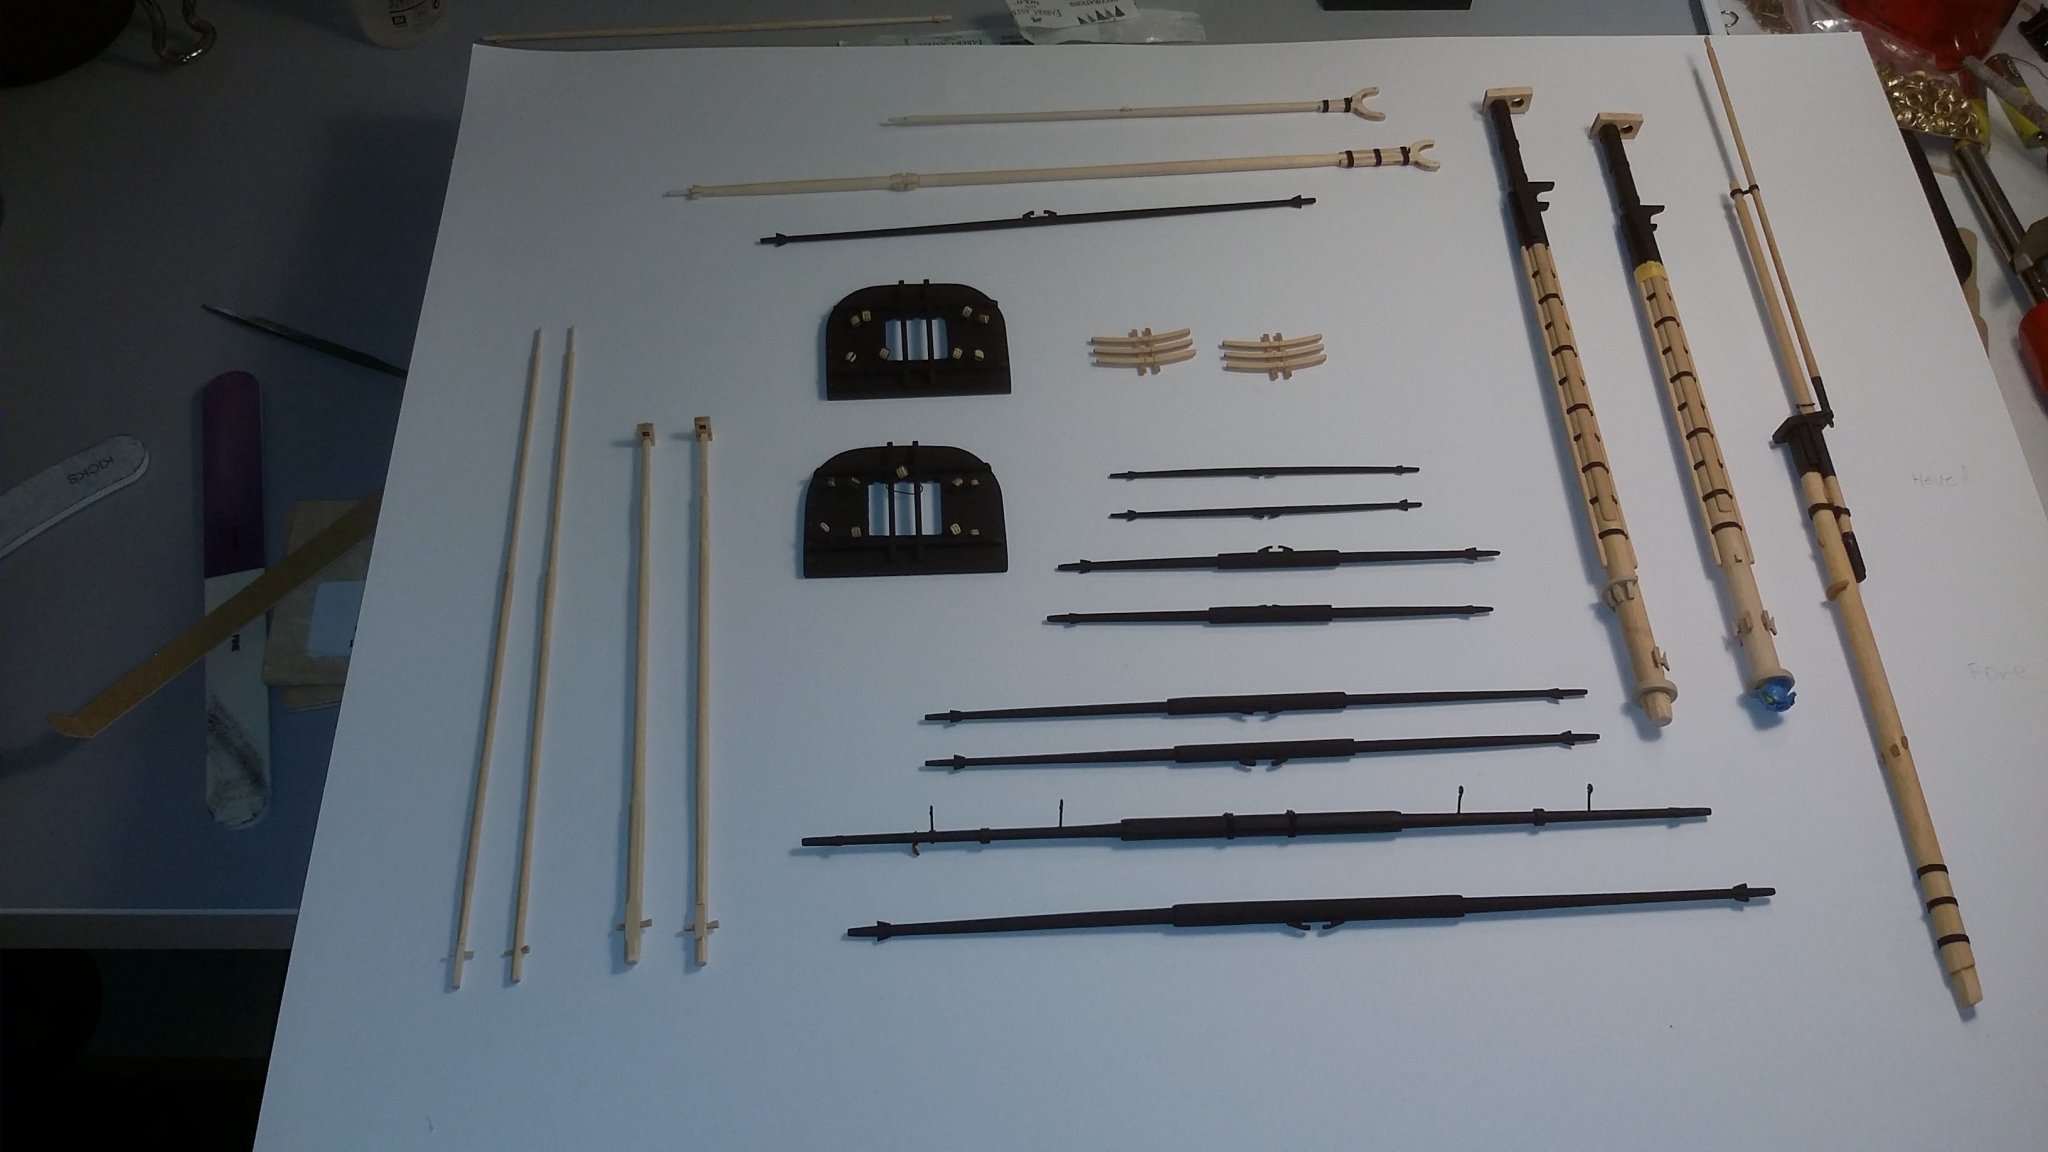
and i also finish my first mast speer ever😇 ... its not perfeckt and i think i need some 10 years of training to get there.. LOL😉
am still lerning as i go..
svein erik


- egkb, Peter Bloemendaal and Gahm
-
3
-
2 minutes ago, Old Collingwood said:
You will need to attache the table to the wall when its done - looks very interesting.
OC.
lol...😂 hope not... it wil be glued after finish using a spesial glue you just spray on the top then it vil be secure on a frame.
for now am using 2, 12mm mdf on the table so i can take one on top so i dont need to remove it until its finish,
and my kids wil live it alone😉
-
Ahoy ....
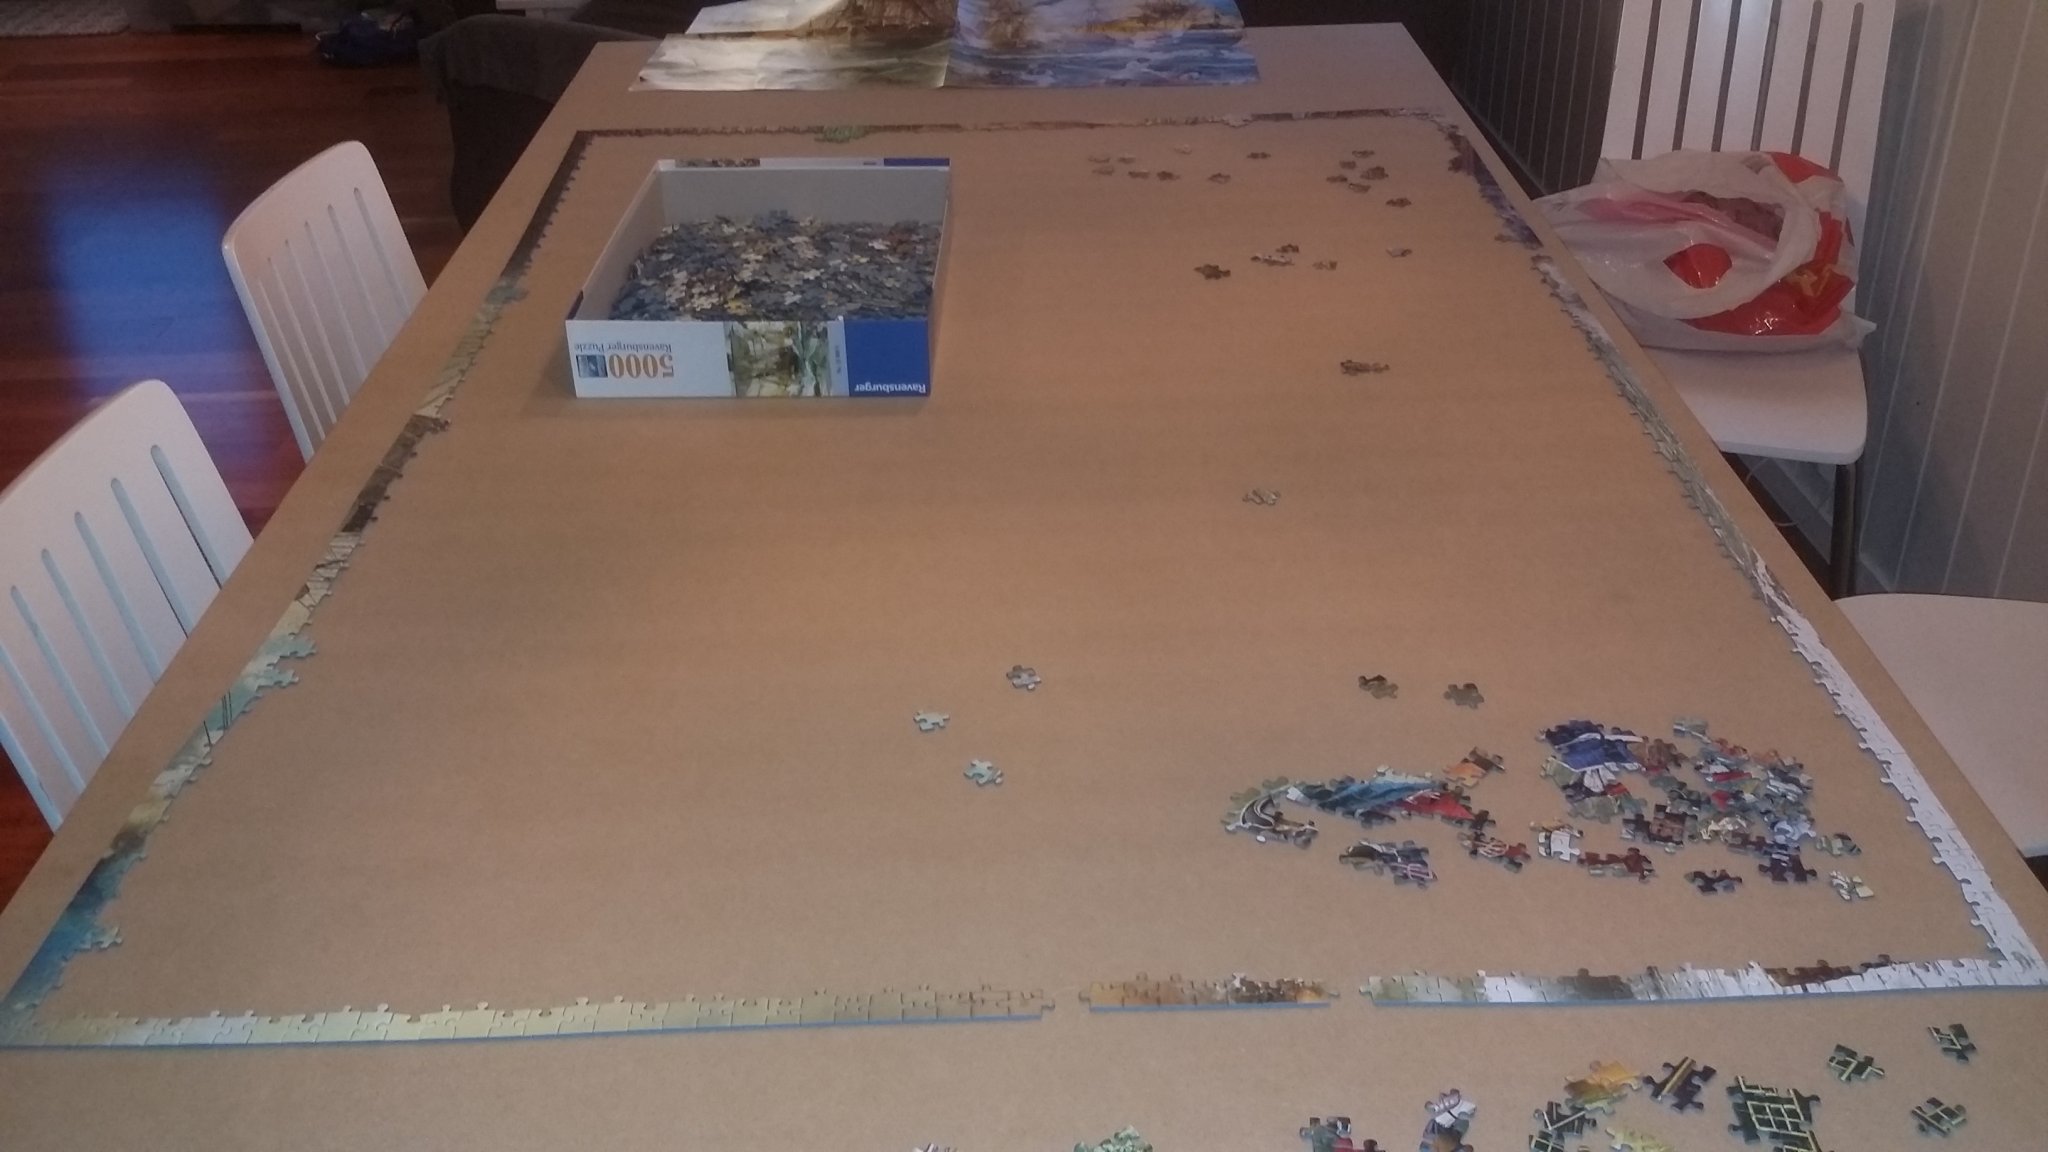
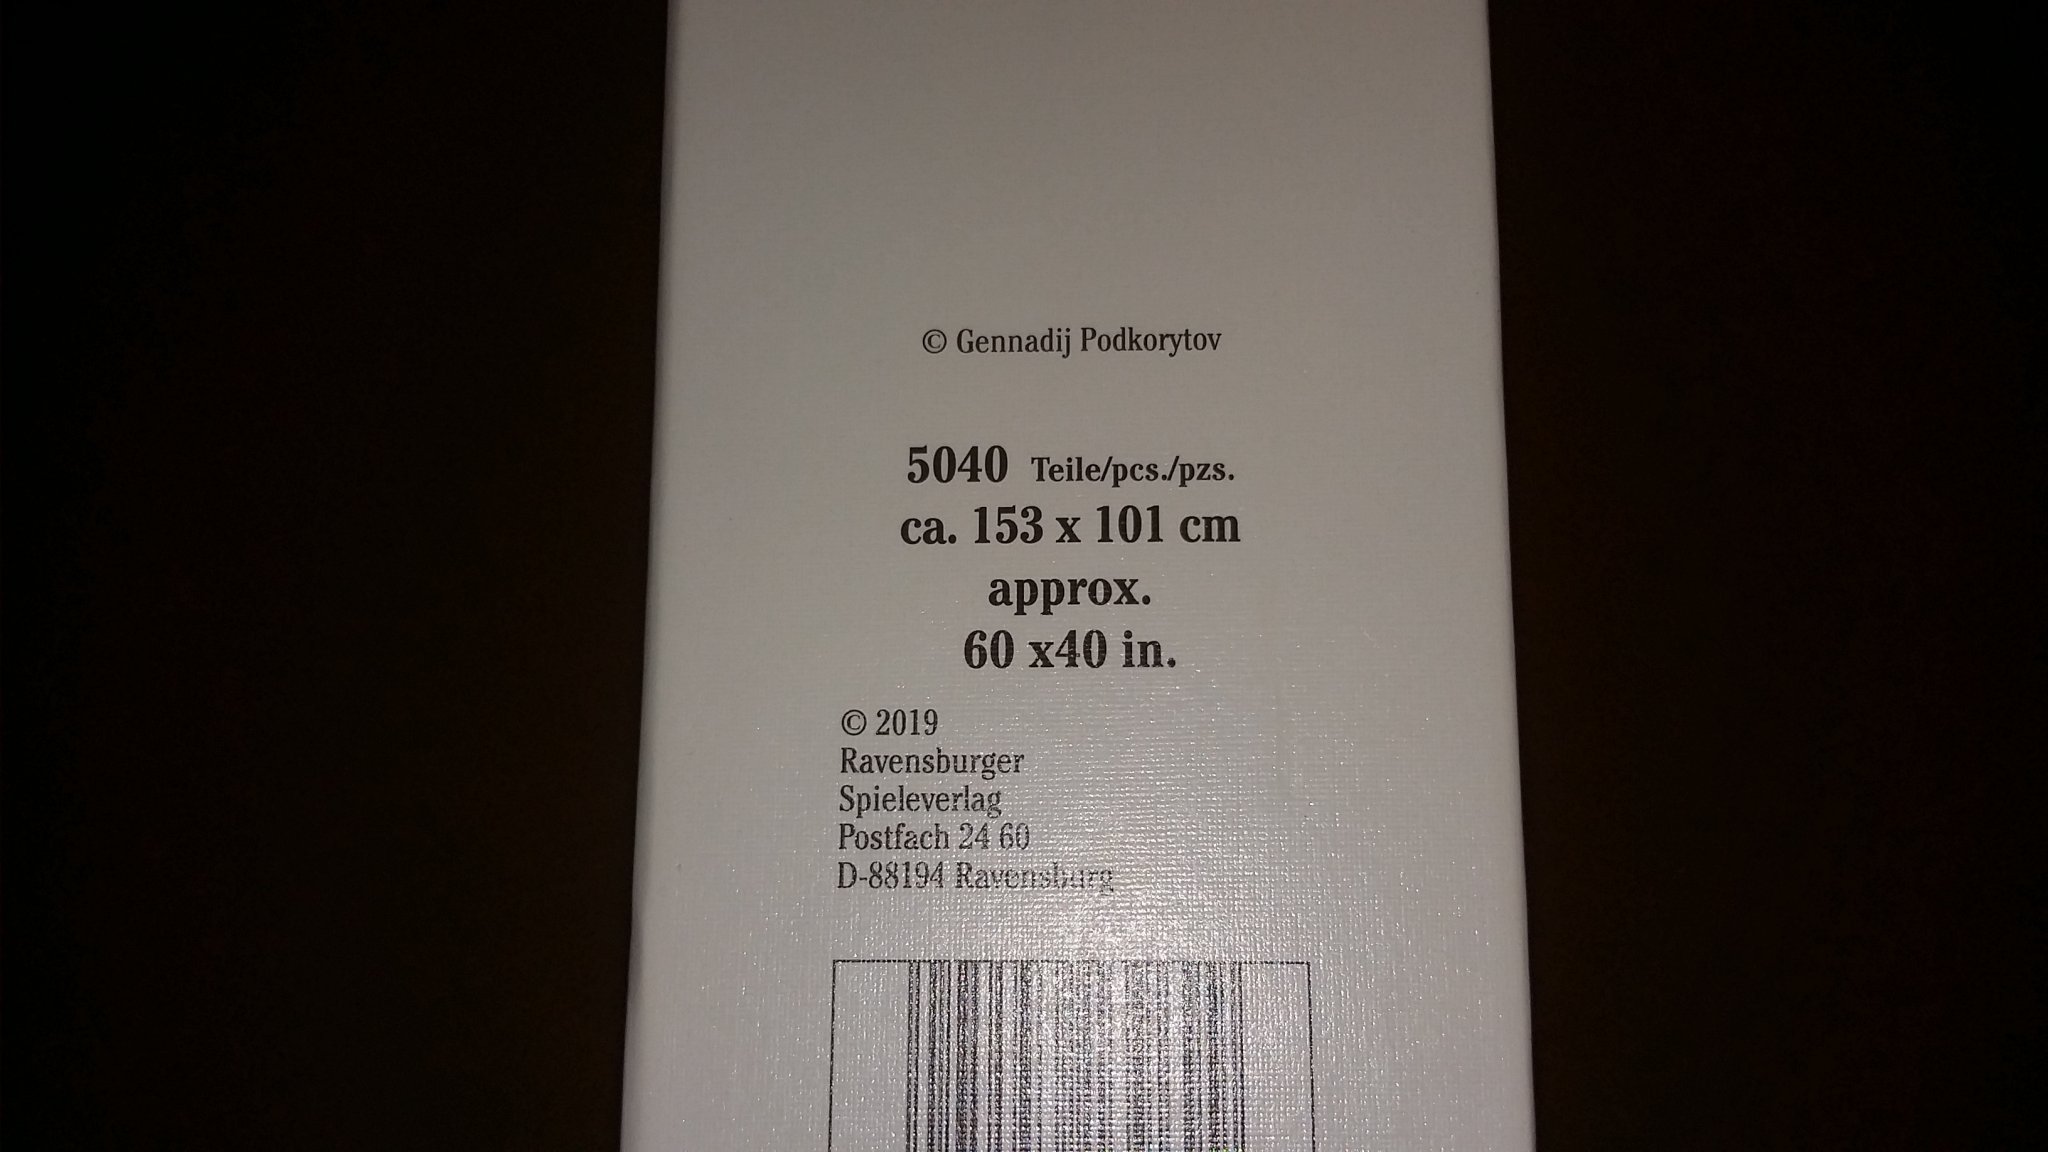
finaly my wife started the puzzle i have for some time,
its big 😲 about 60x40 inch and 5000 pieces so am going to wish my wife good luck... LOL.
svein erik


-
-
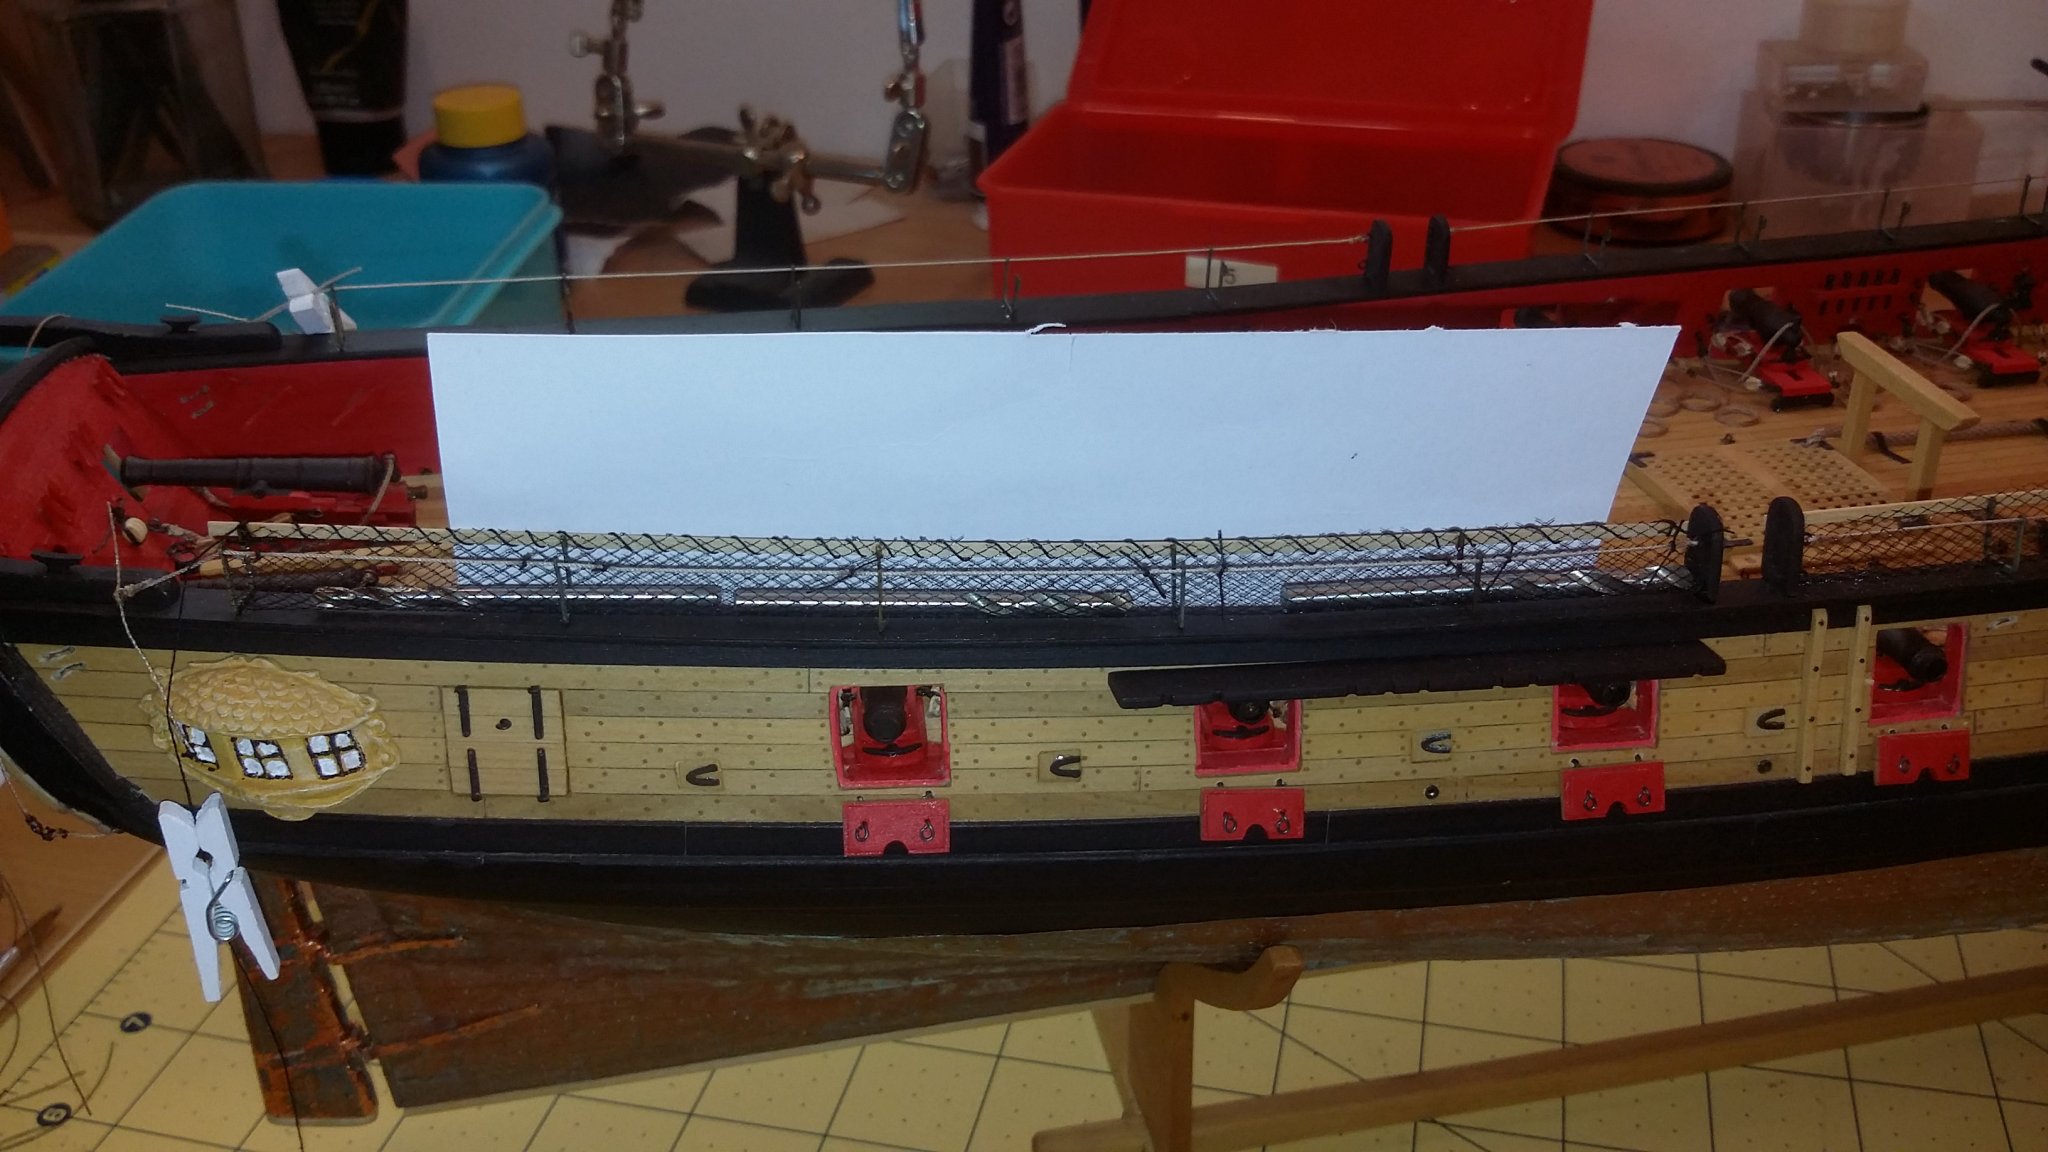
thanks for the likes,
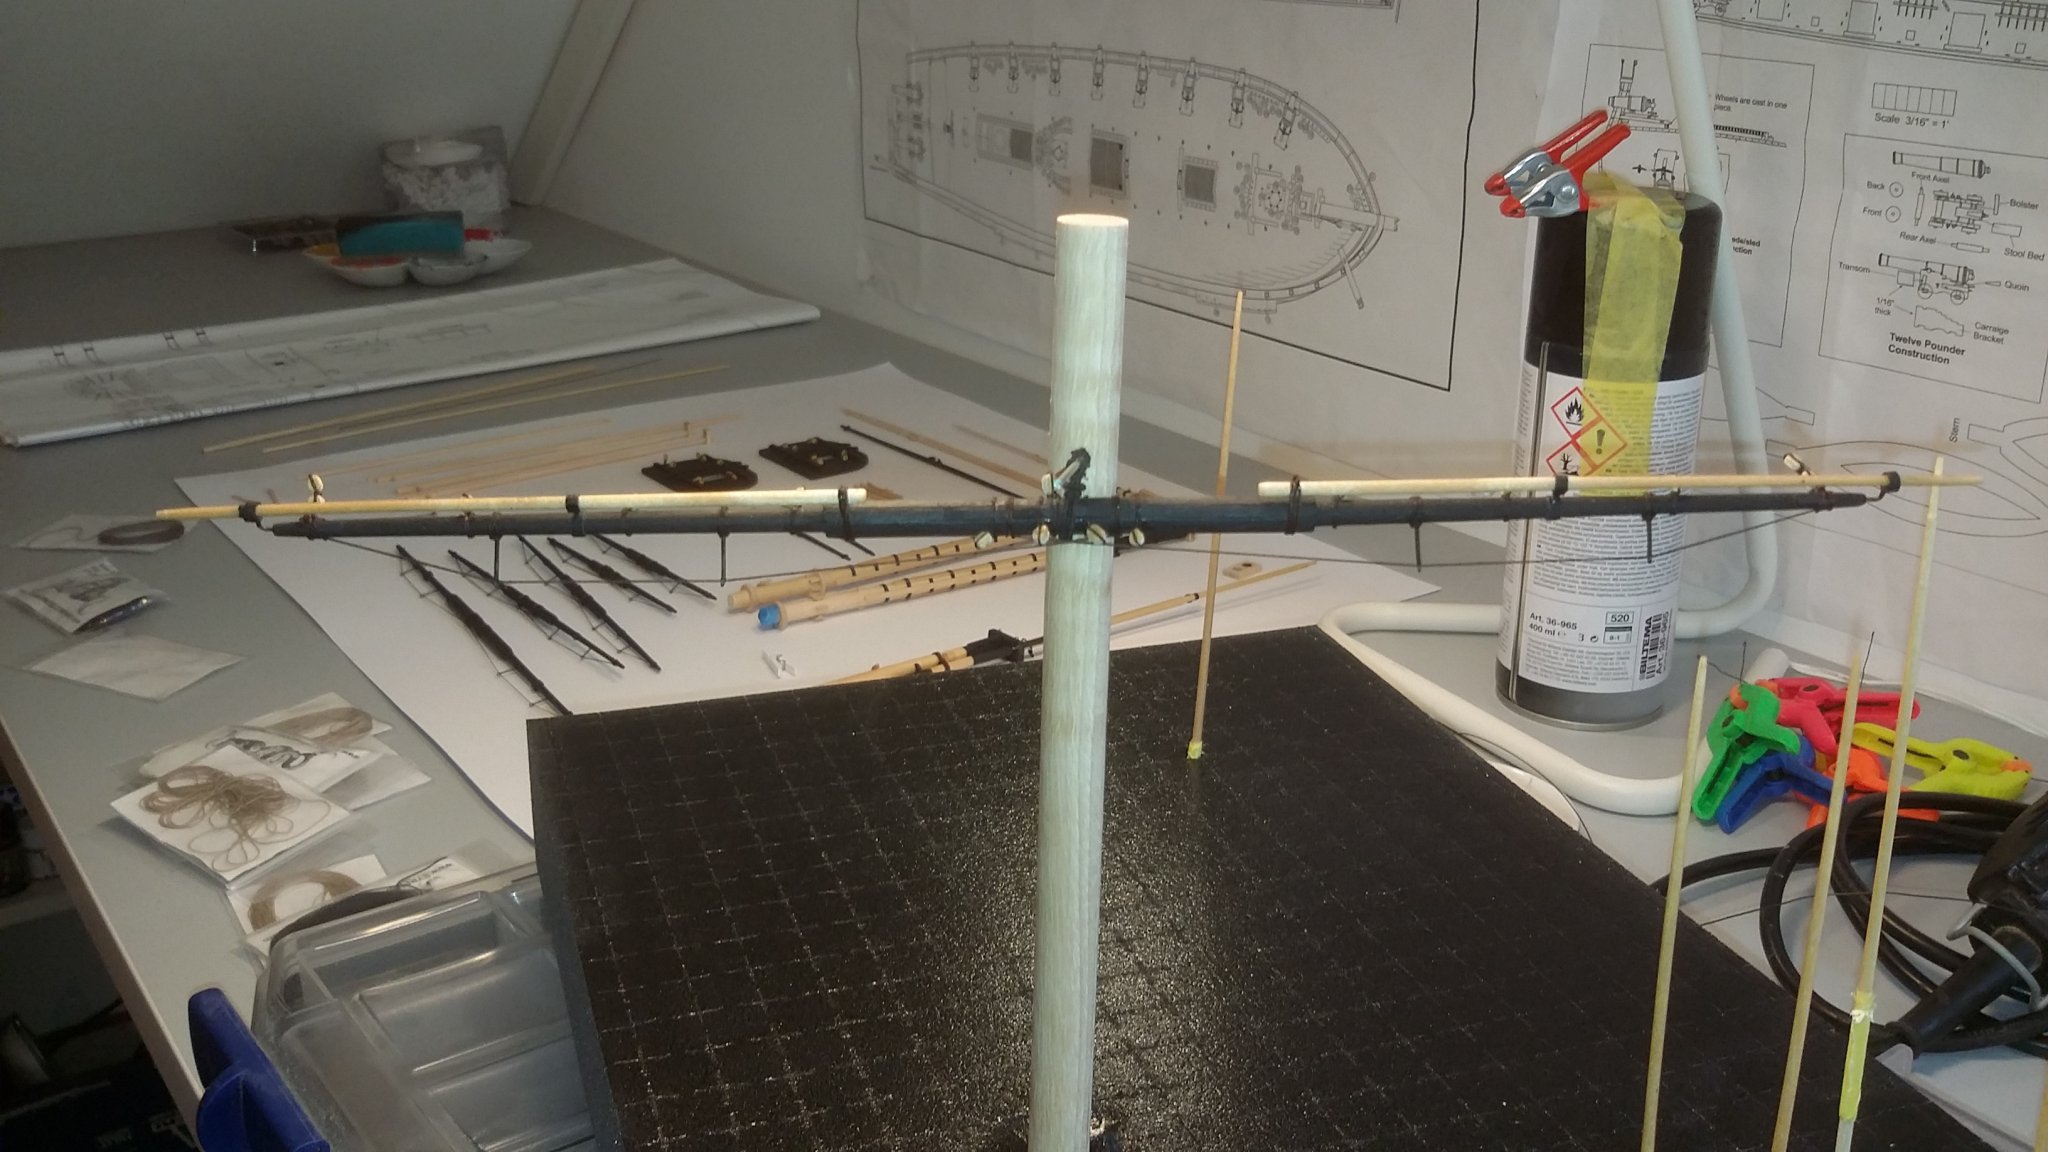
am working on the netting and omg .... its small to work with😅,
but its coming along.
am tying a rope around railing and i ty some knots around the rope on the outside yust to hold it ,
then am tying a rope yust like i did on the railing ( the knots wil be remove after )
so i yust have 3 more to go.....😲
svein erik

- JpR62, Overworked724, egkb and 4 others
-
7
-
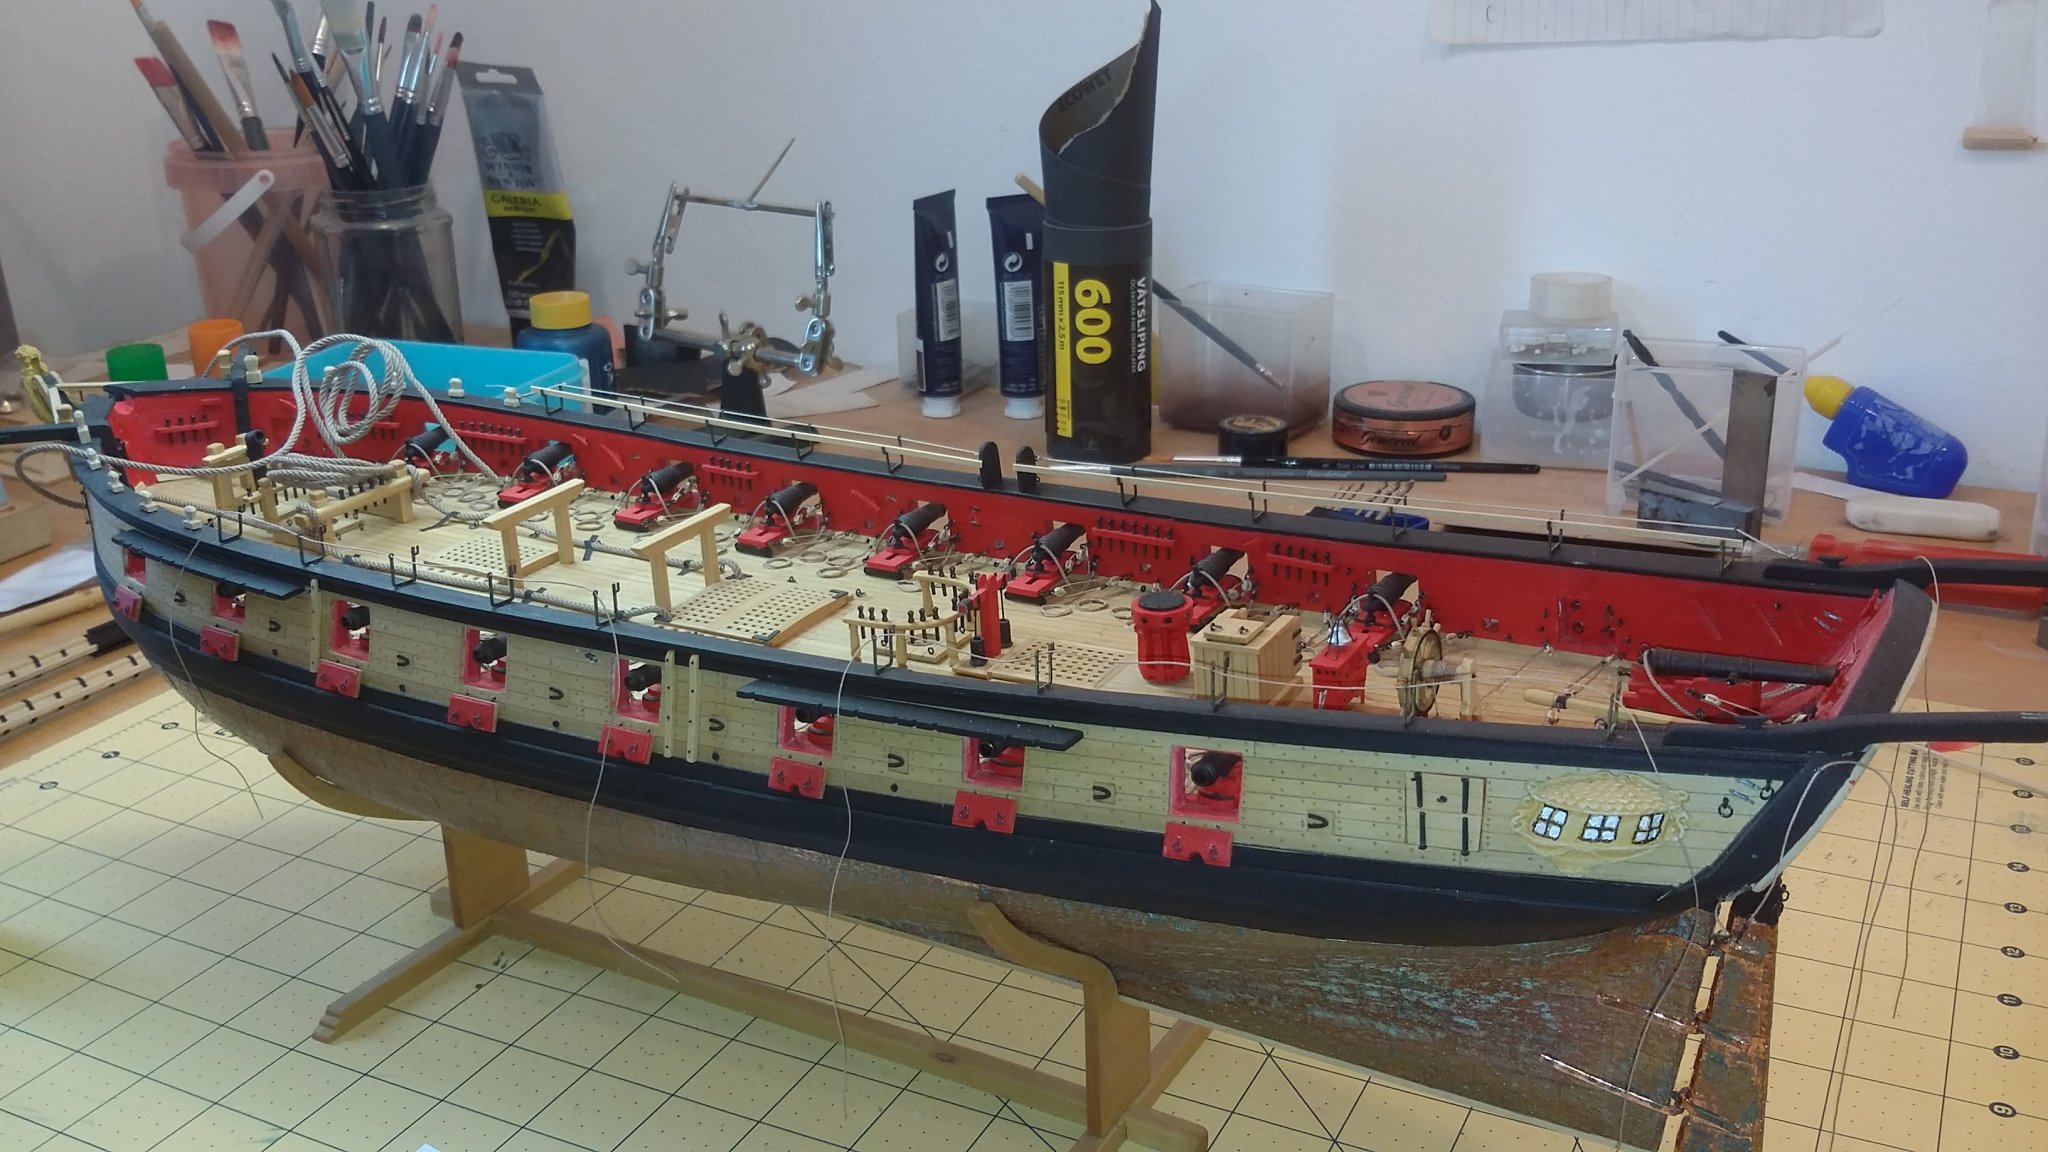
thanks for all the coments and likes,
i did find out that i still have a syren ...LOL.
so i took it to the wook stasjon and so am finish up the hammock cranes,
so i can get farwood on this build
but am not an expert on riggin knots etc so am trying to do my best on this😉
svein erik

- BenD, Overworked724, Gahm and 5 others
-
8
-
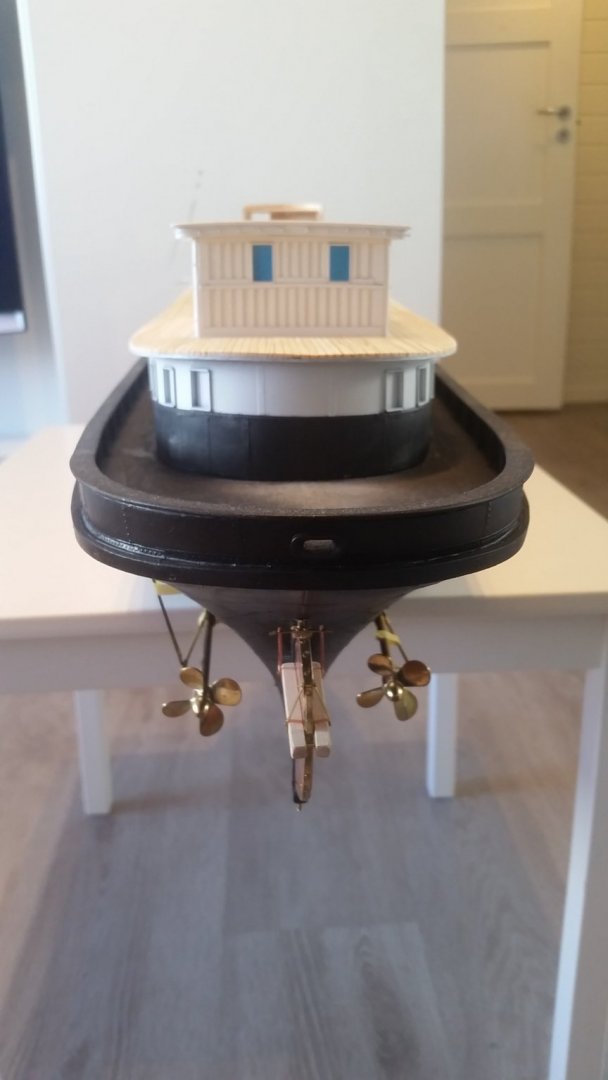
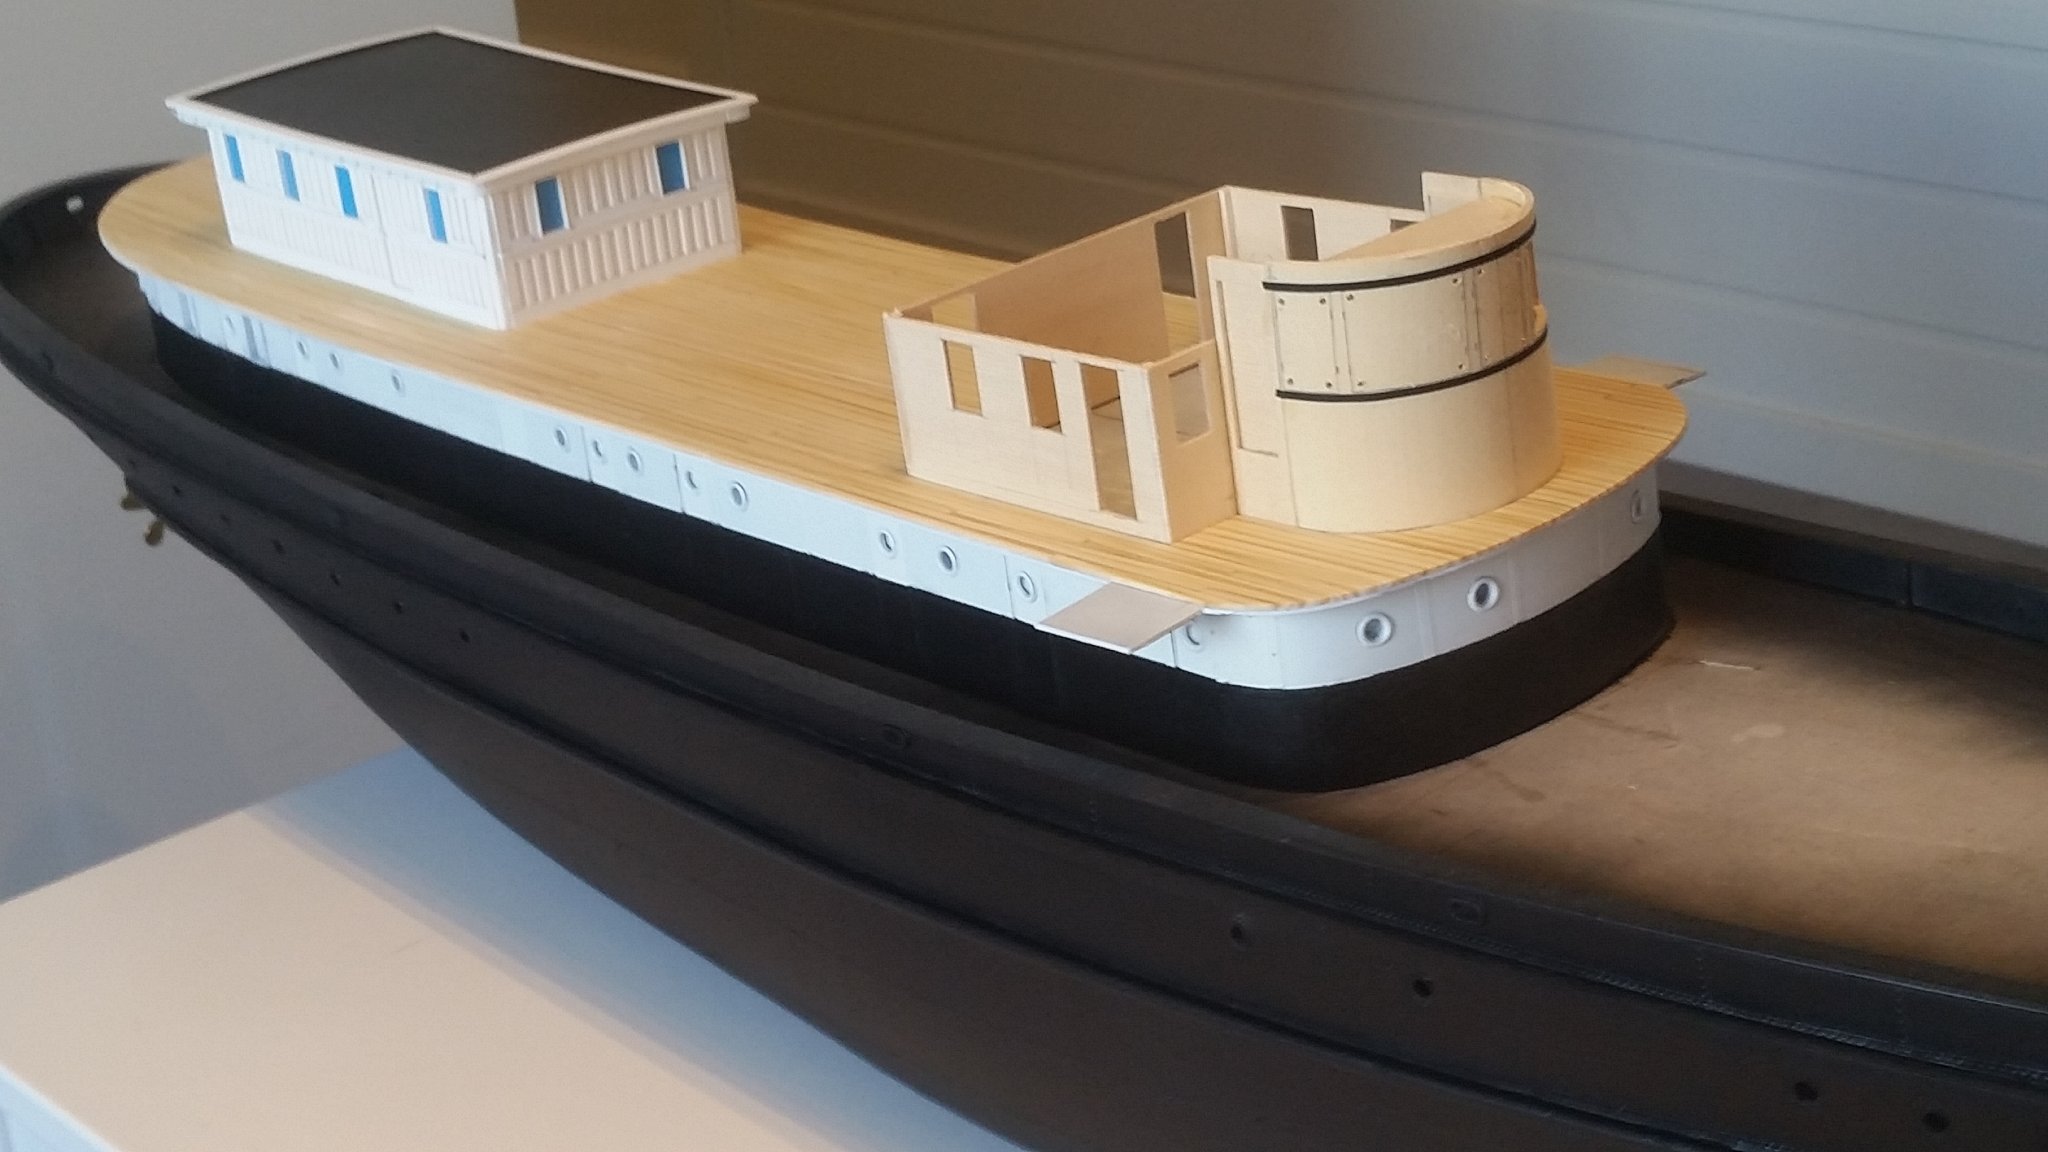
a bettr photo of the drein system😉
-
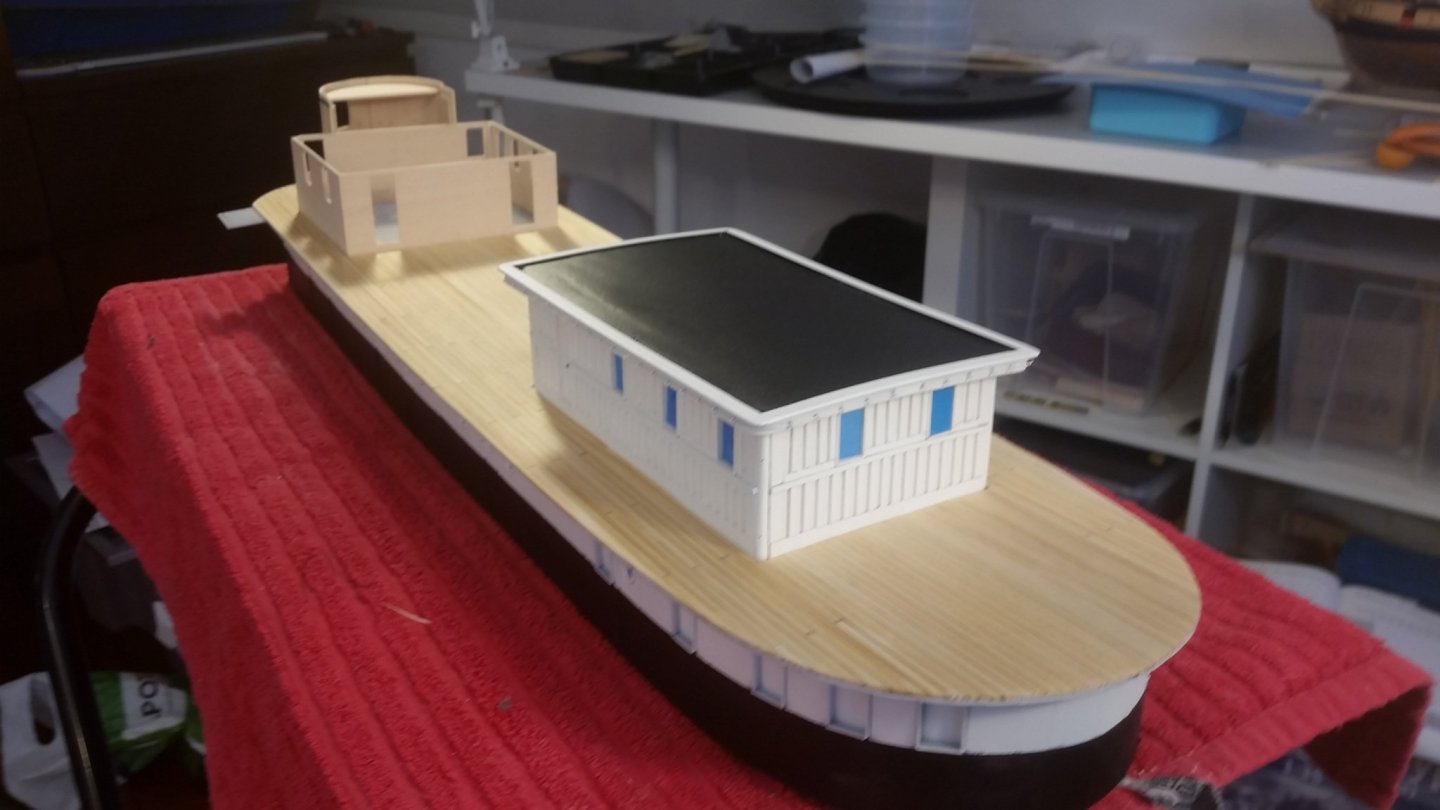
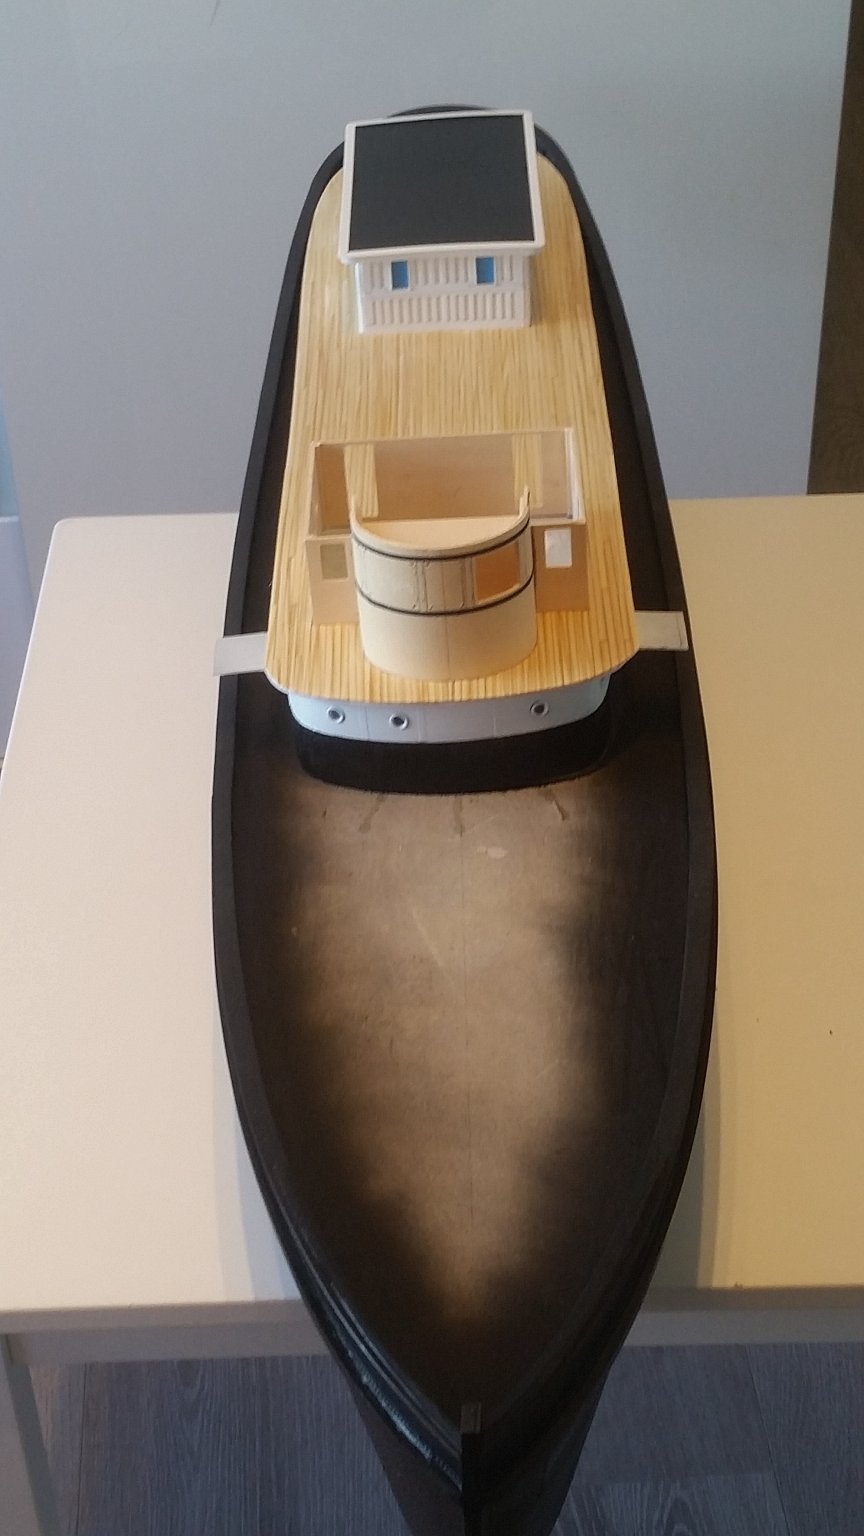
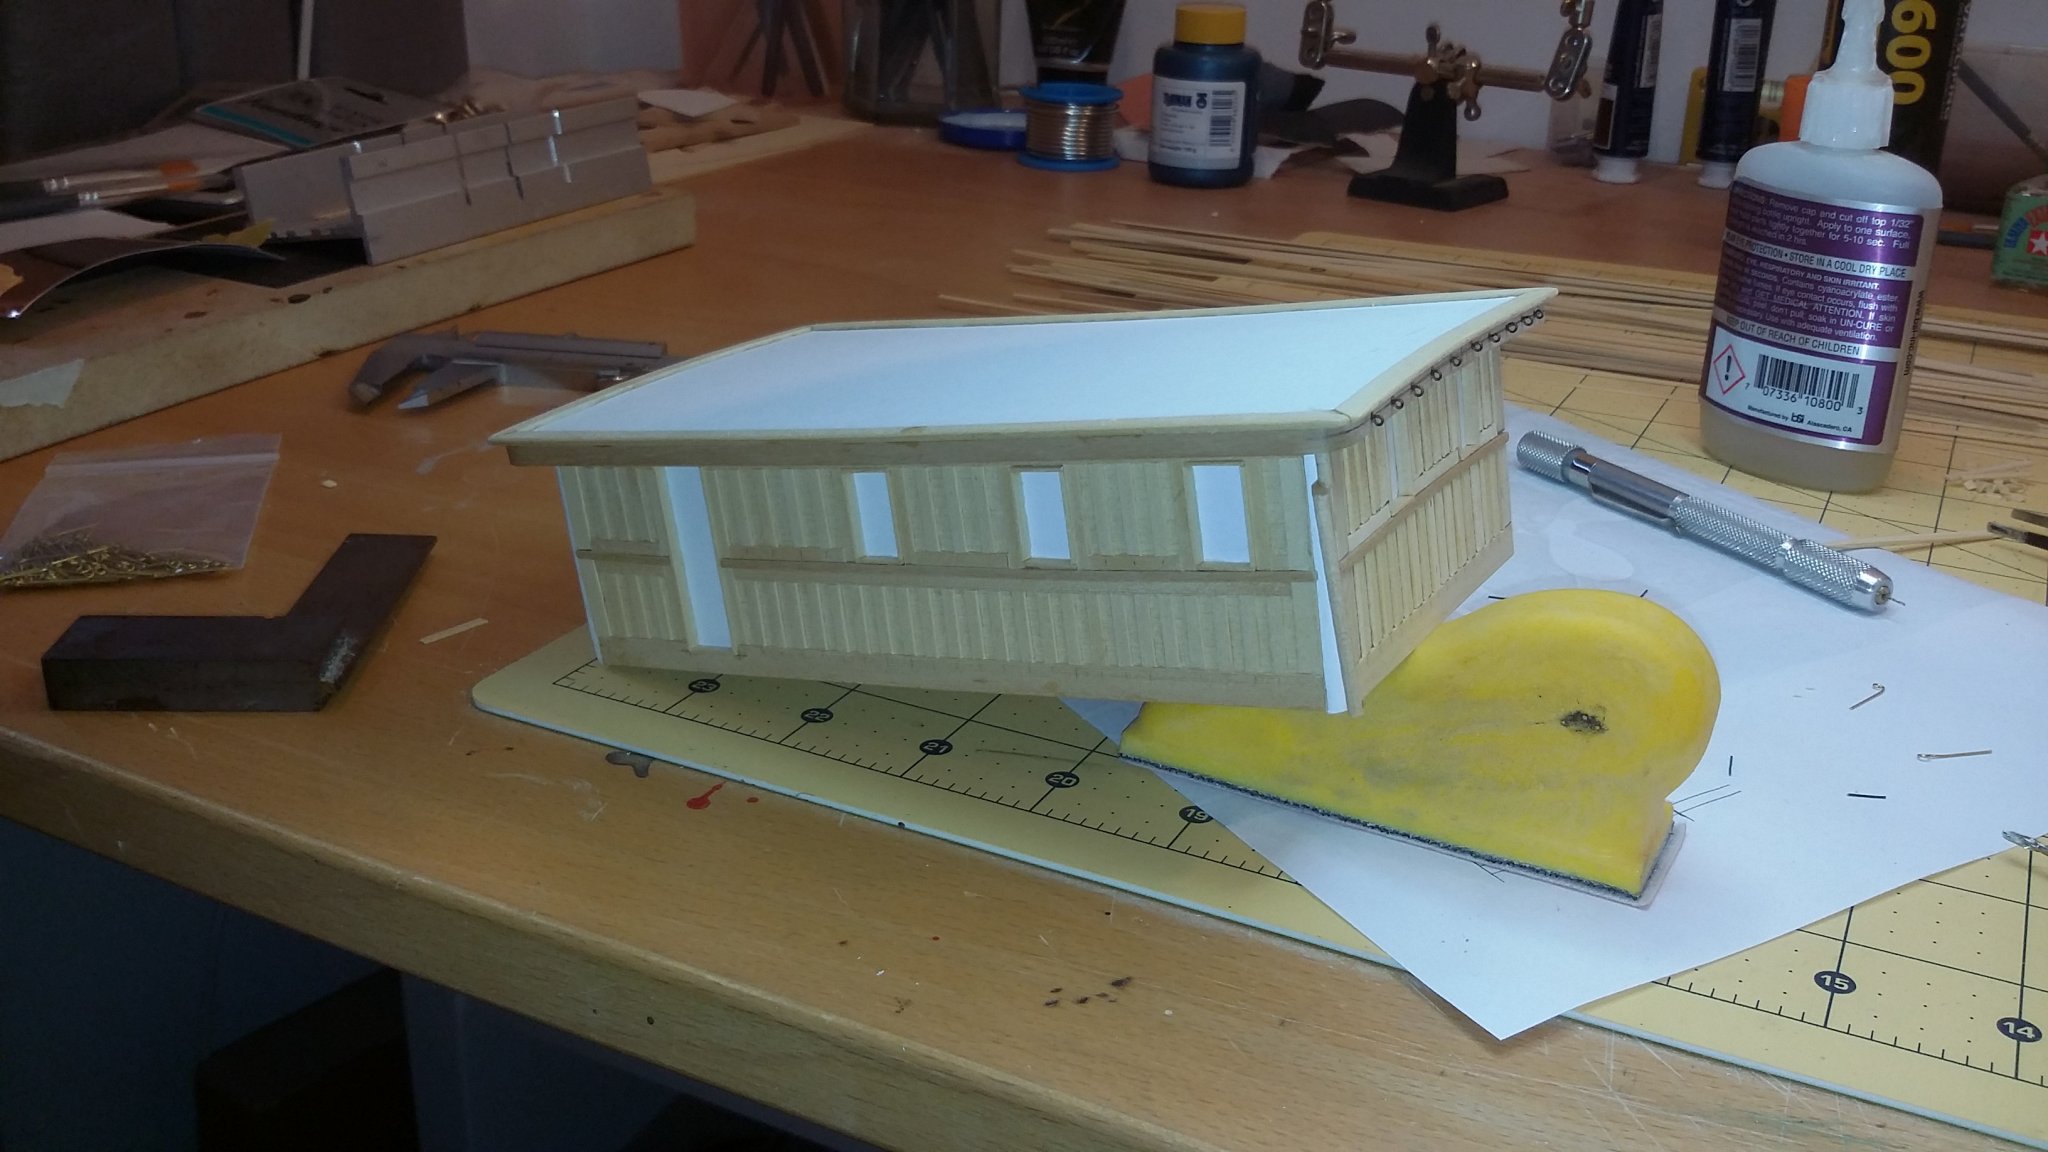
tanks for the likes .
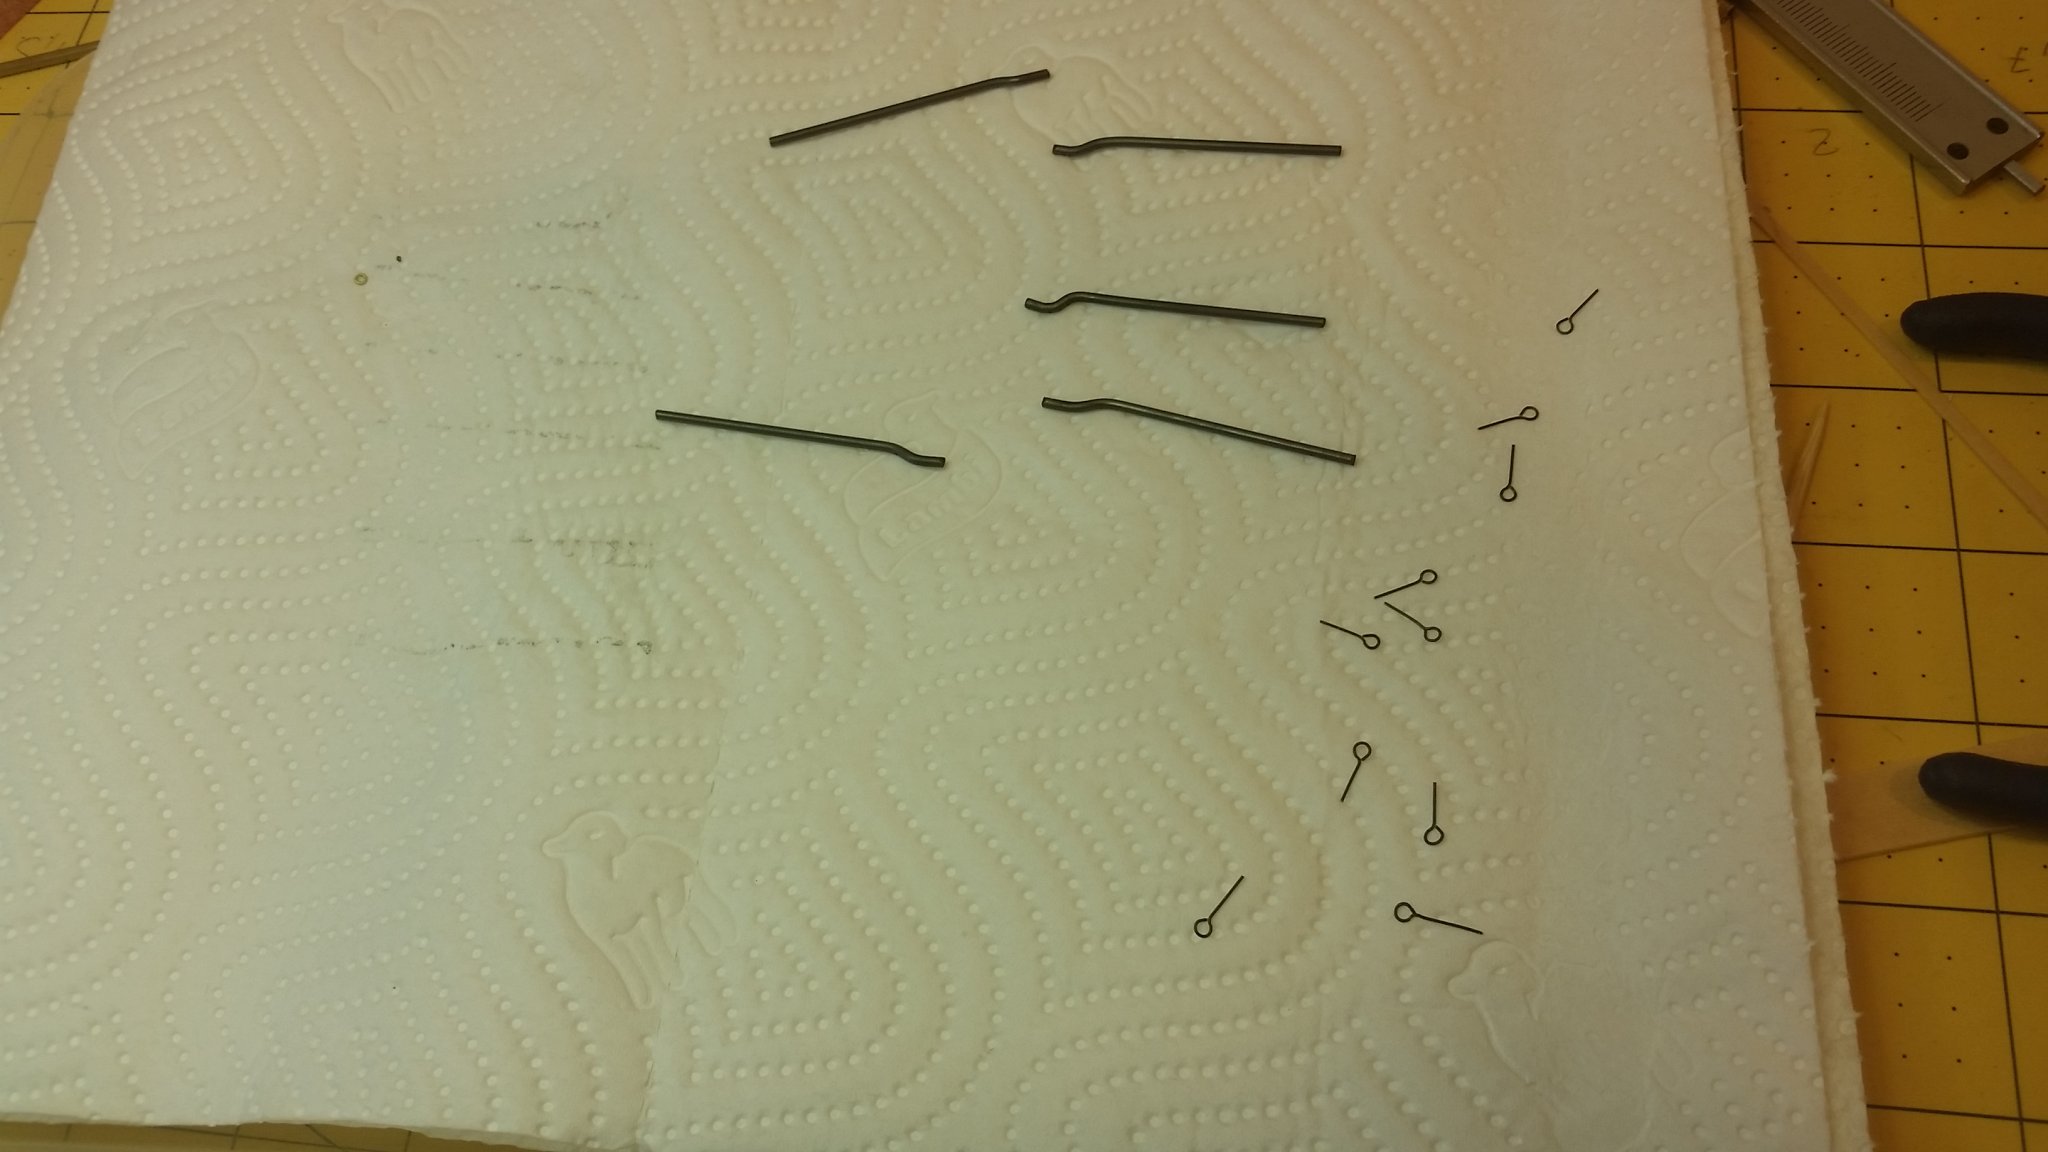
i yust finish the upper rear cabin and my nex task is to make all the bolts for the sun sail, and
am making the roof drein system , this cabin has 6 😊
svein erik


- gieb8688, mtaylor, FriedClams and 5 others
-
8


HM Cutter Cheerful 1806 by svein erik - 1:48 scale
in - Build logs for subjects built 1801 - 1850
Posted
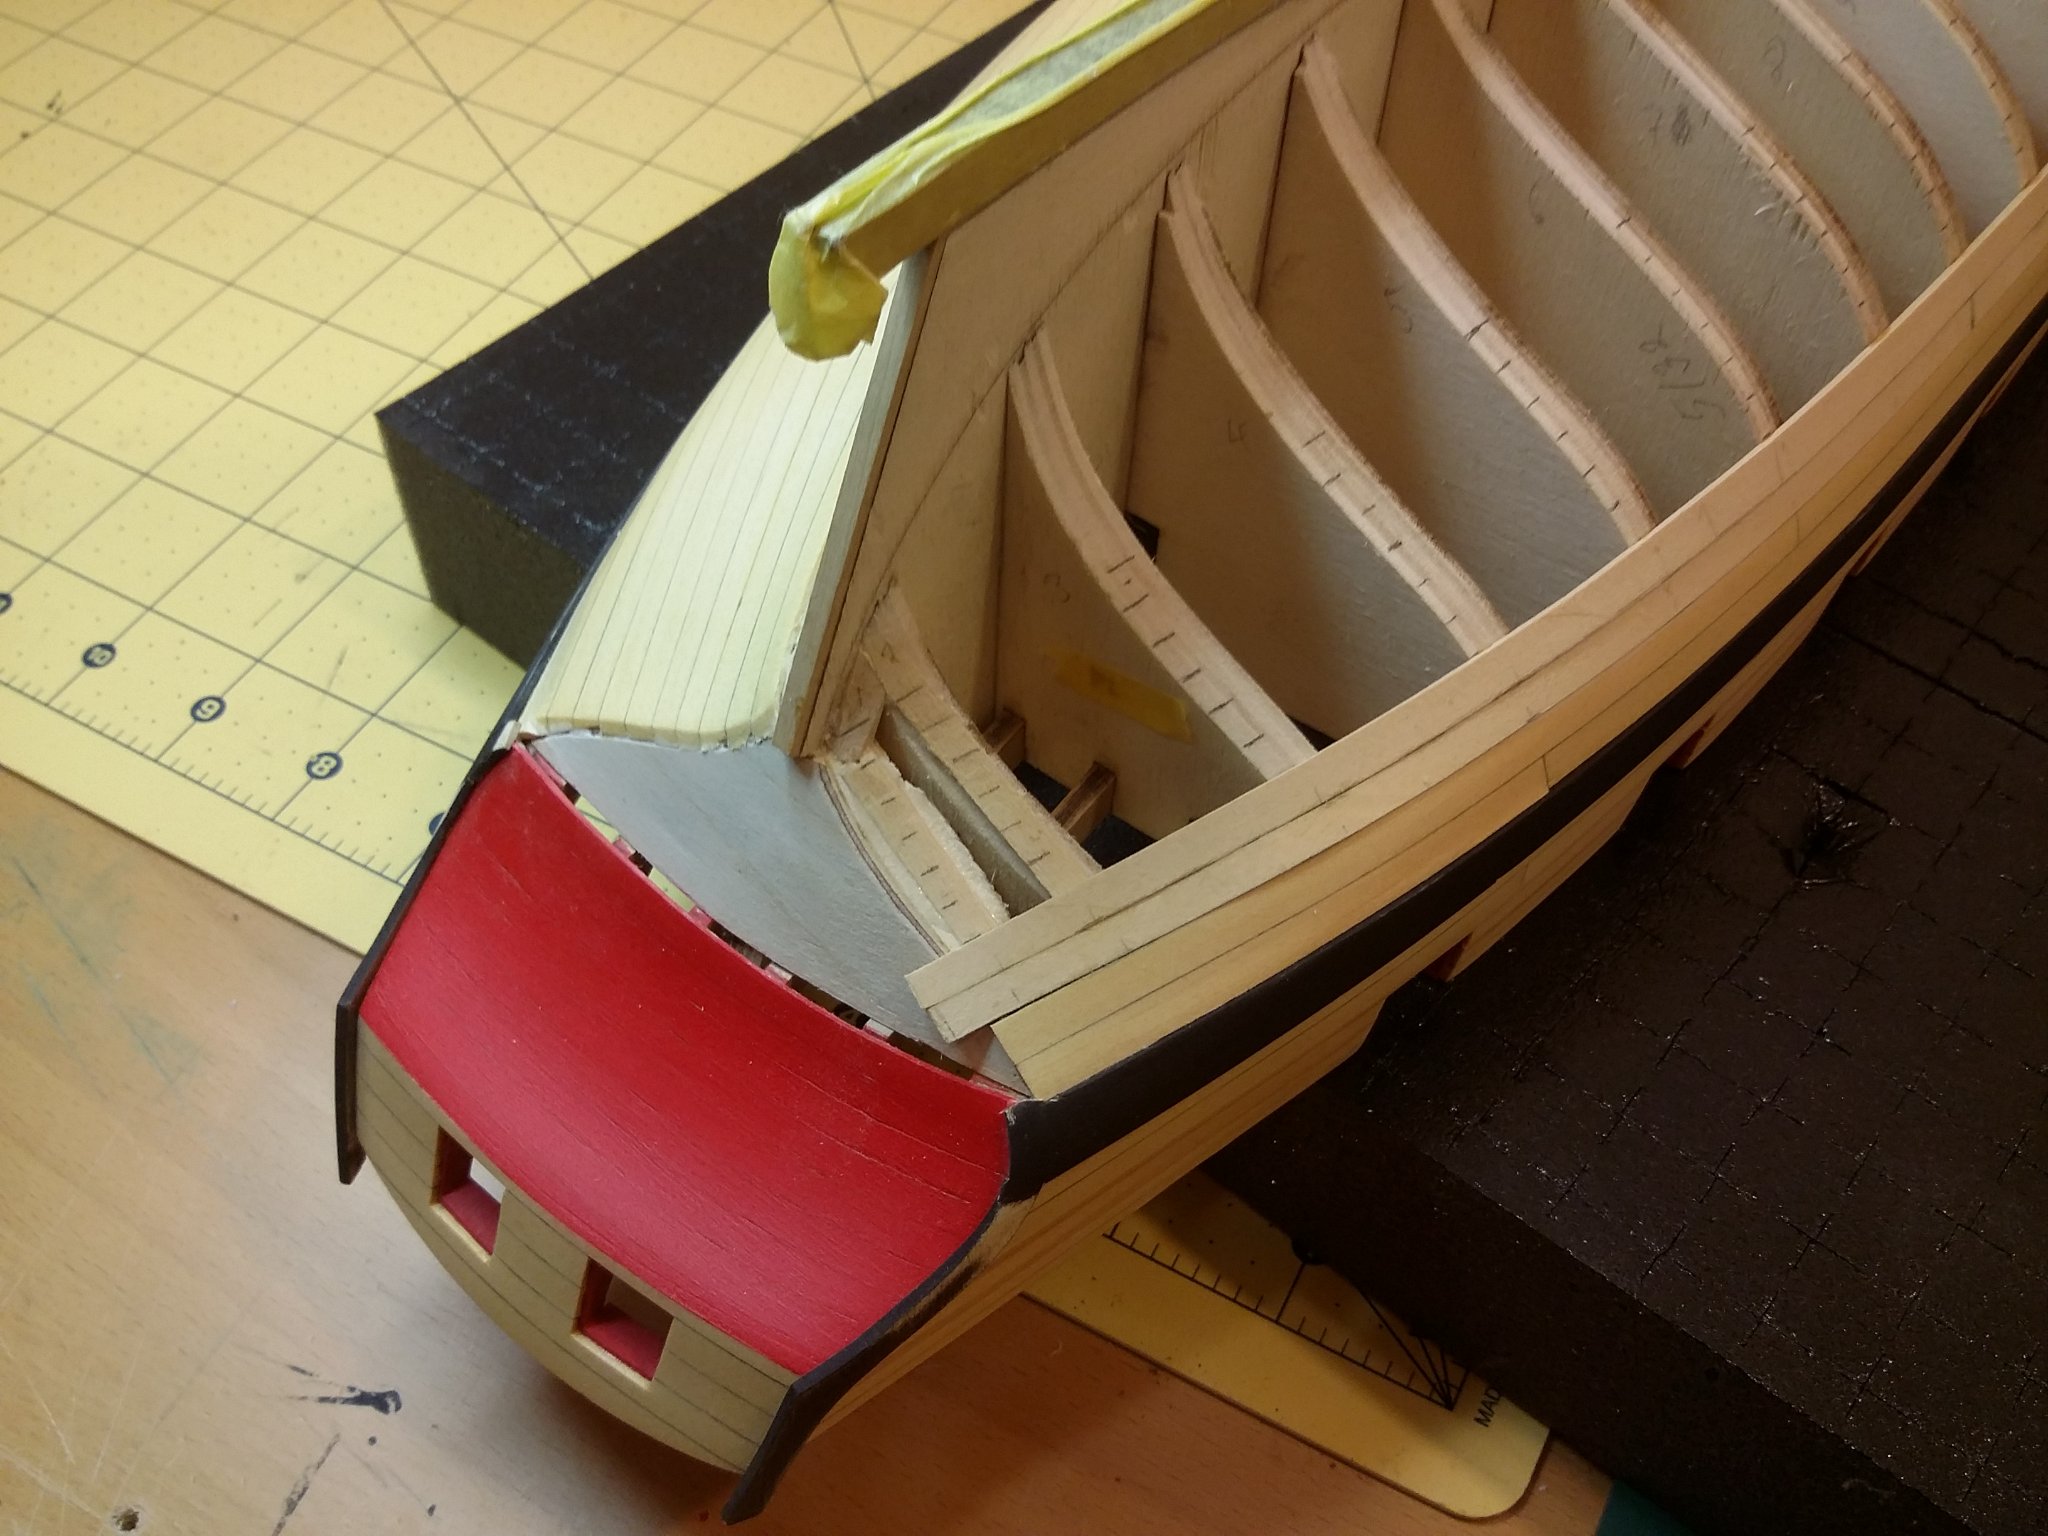
thanks for the coments and likes😊
am now ready with my sqare tuck and planks, am not like chuck... but it turn up nice ....
svein.erik