


svein erik
-
Posts
611 -
Joined
-
Last visited
Content Type
Profiles
Forums
Gallery
Events
Posts posted by svein erik
-
-
wat a model , you make it look so easy😊
svein erik
- FrankWouts and Chuck
-
 2
2
-
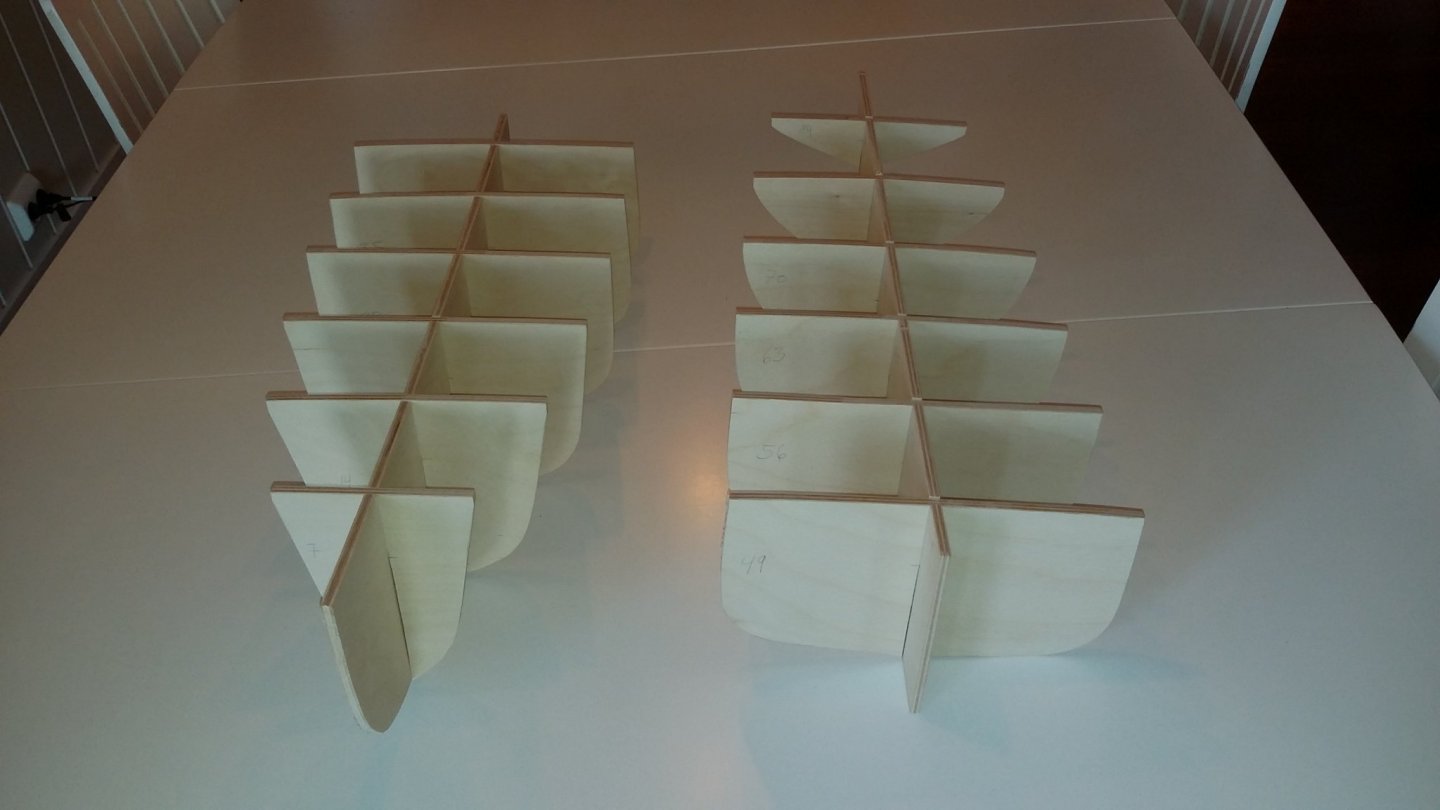
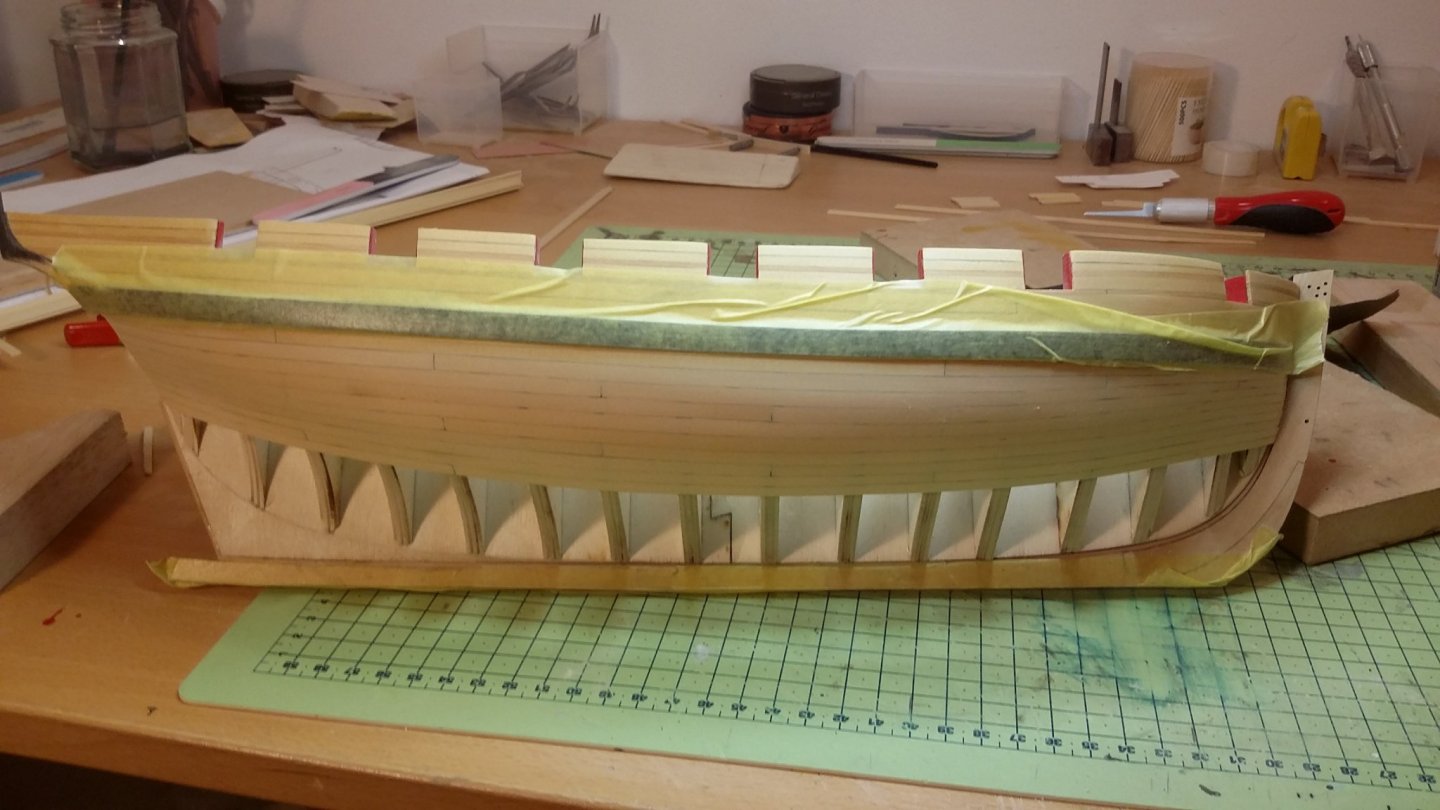
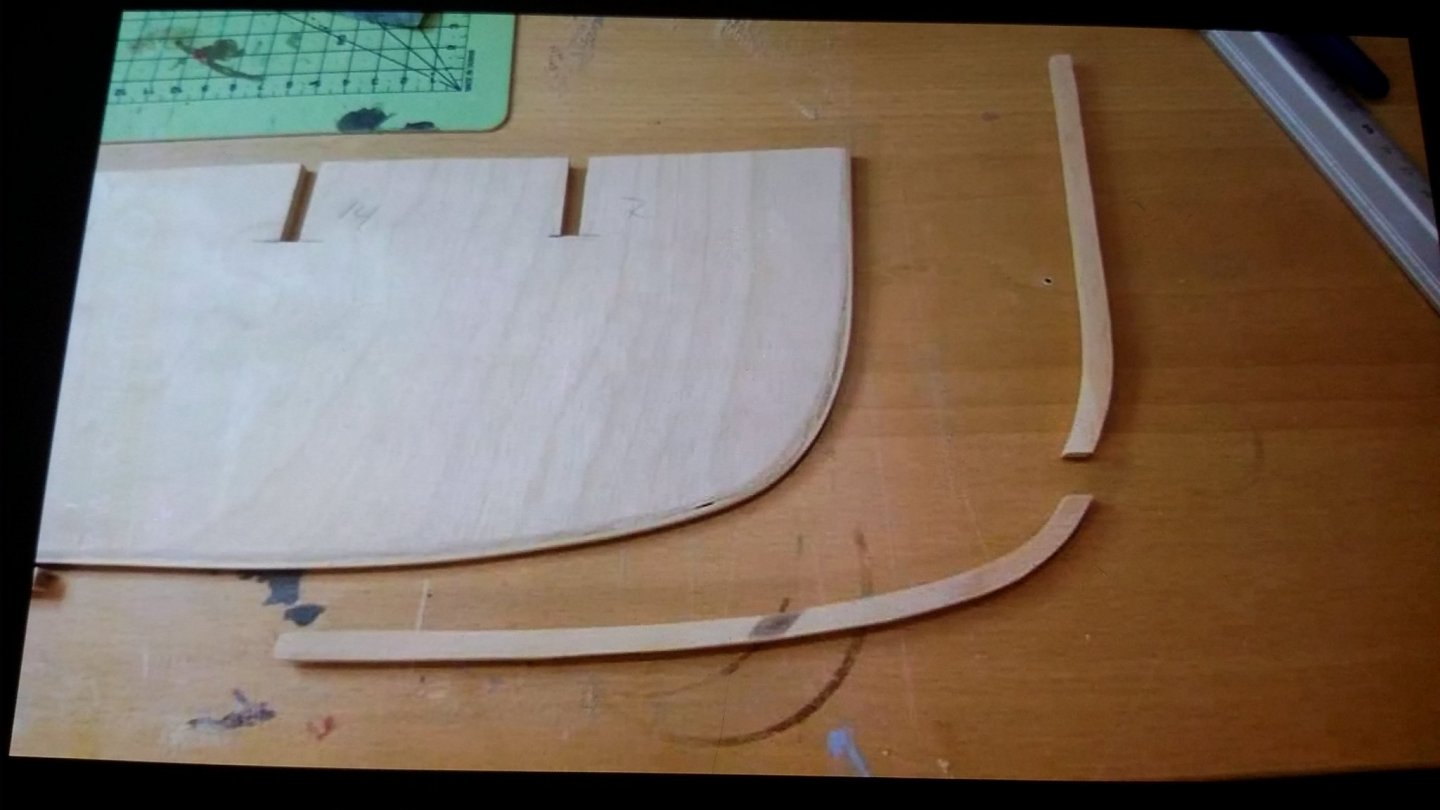
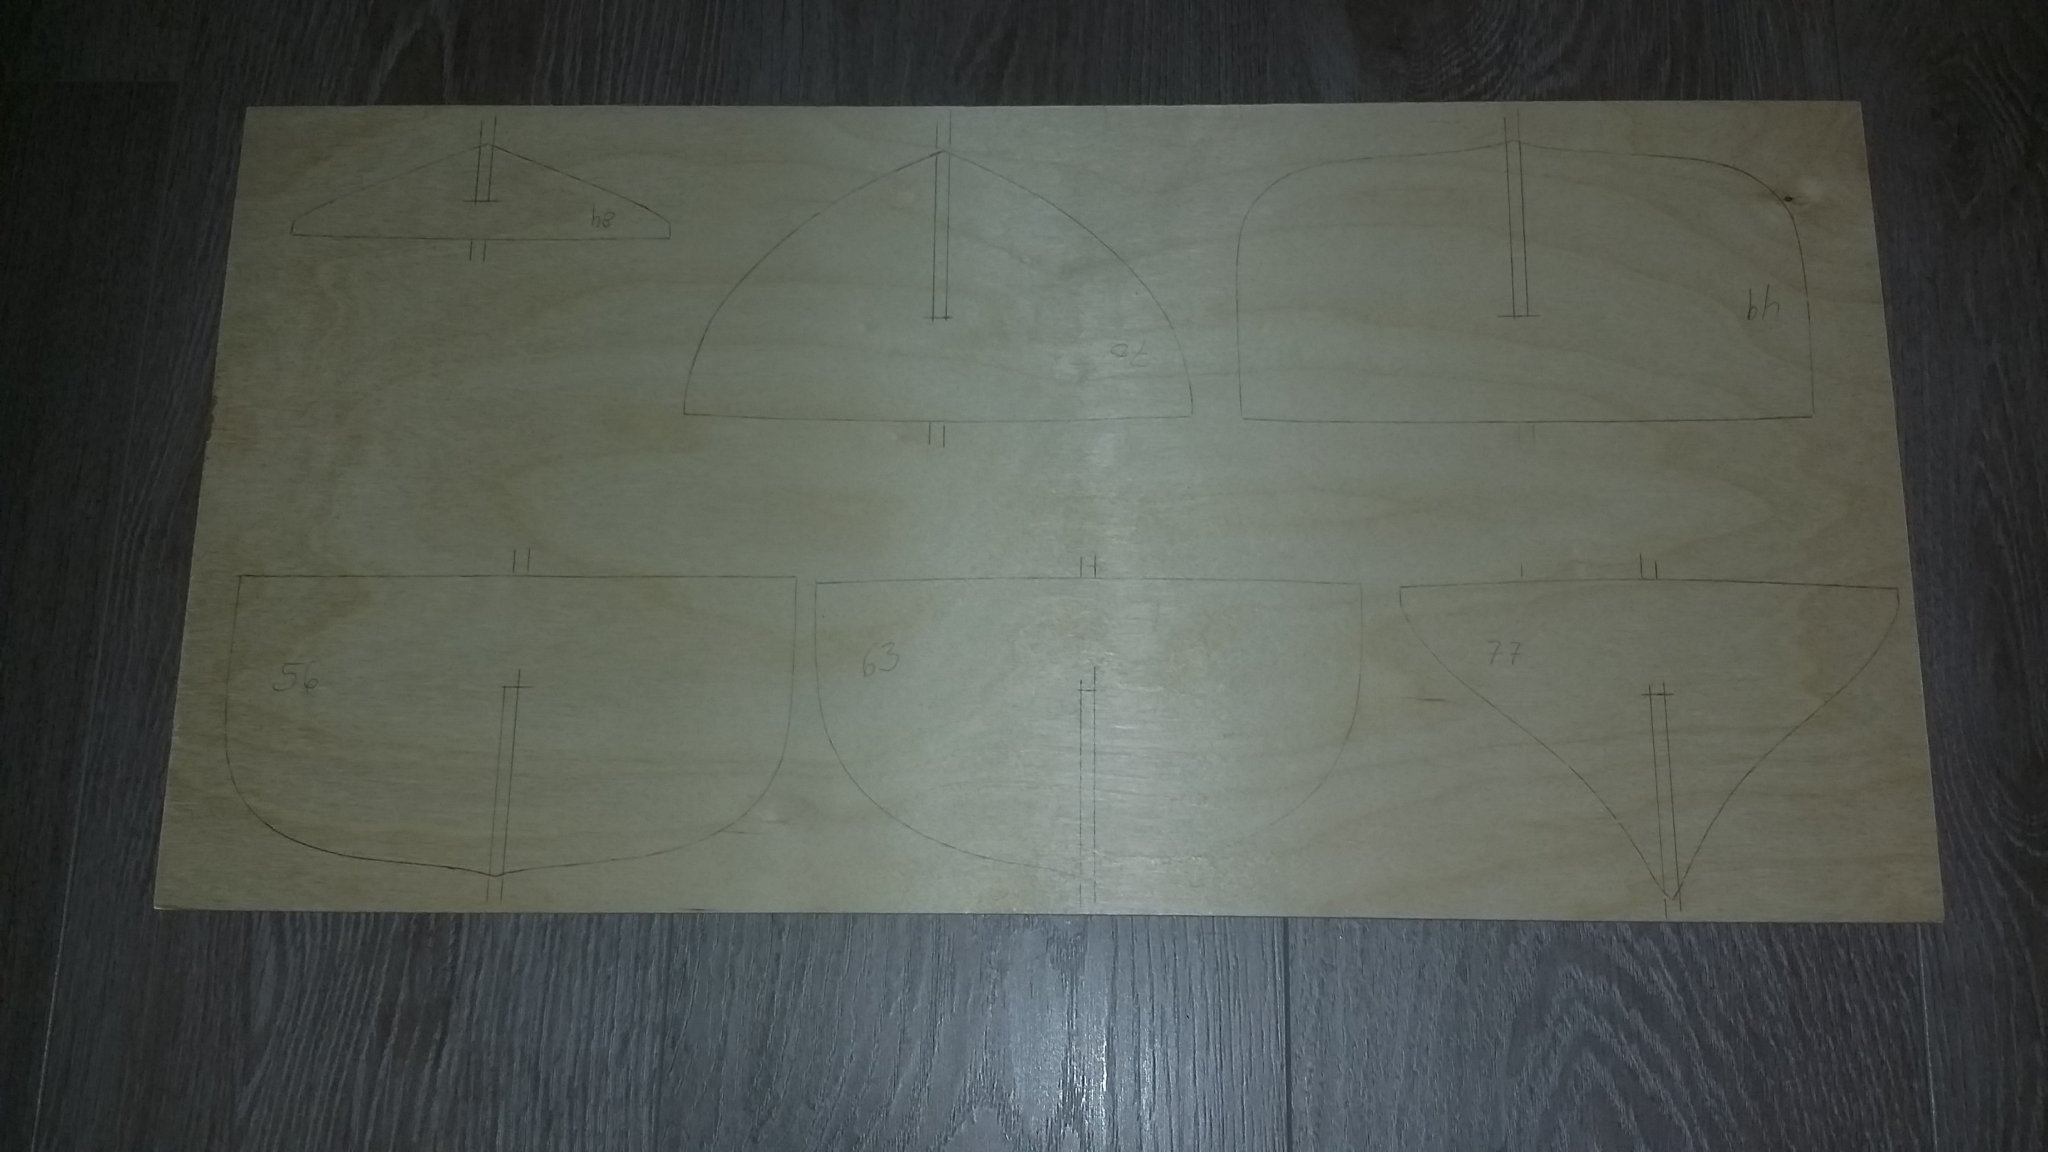
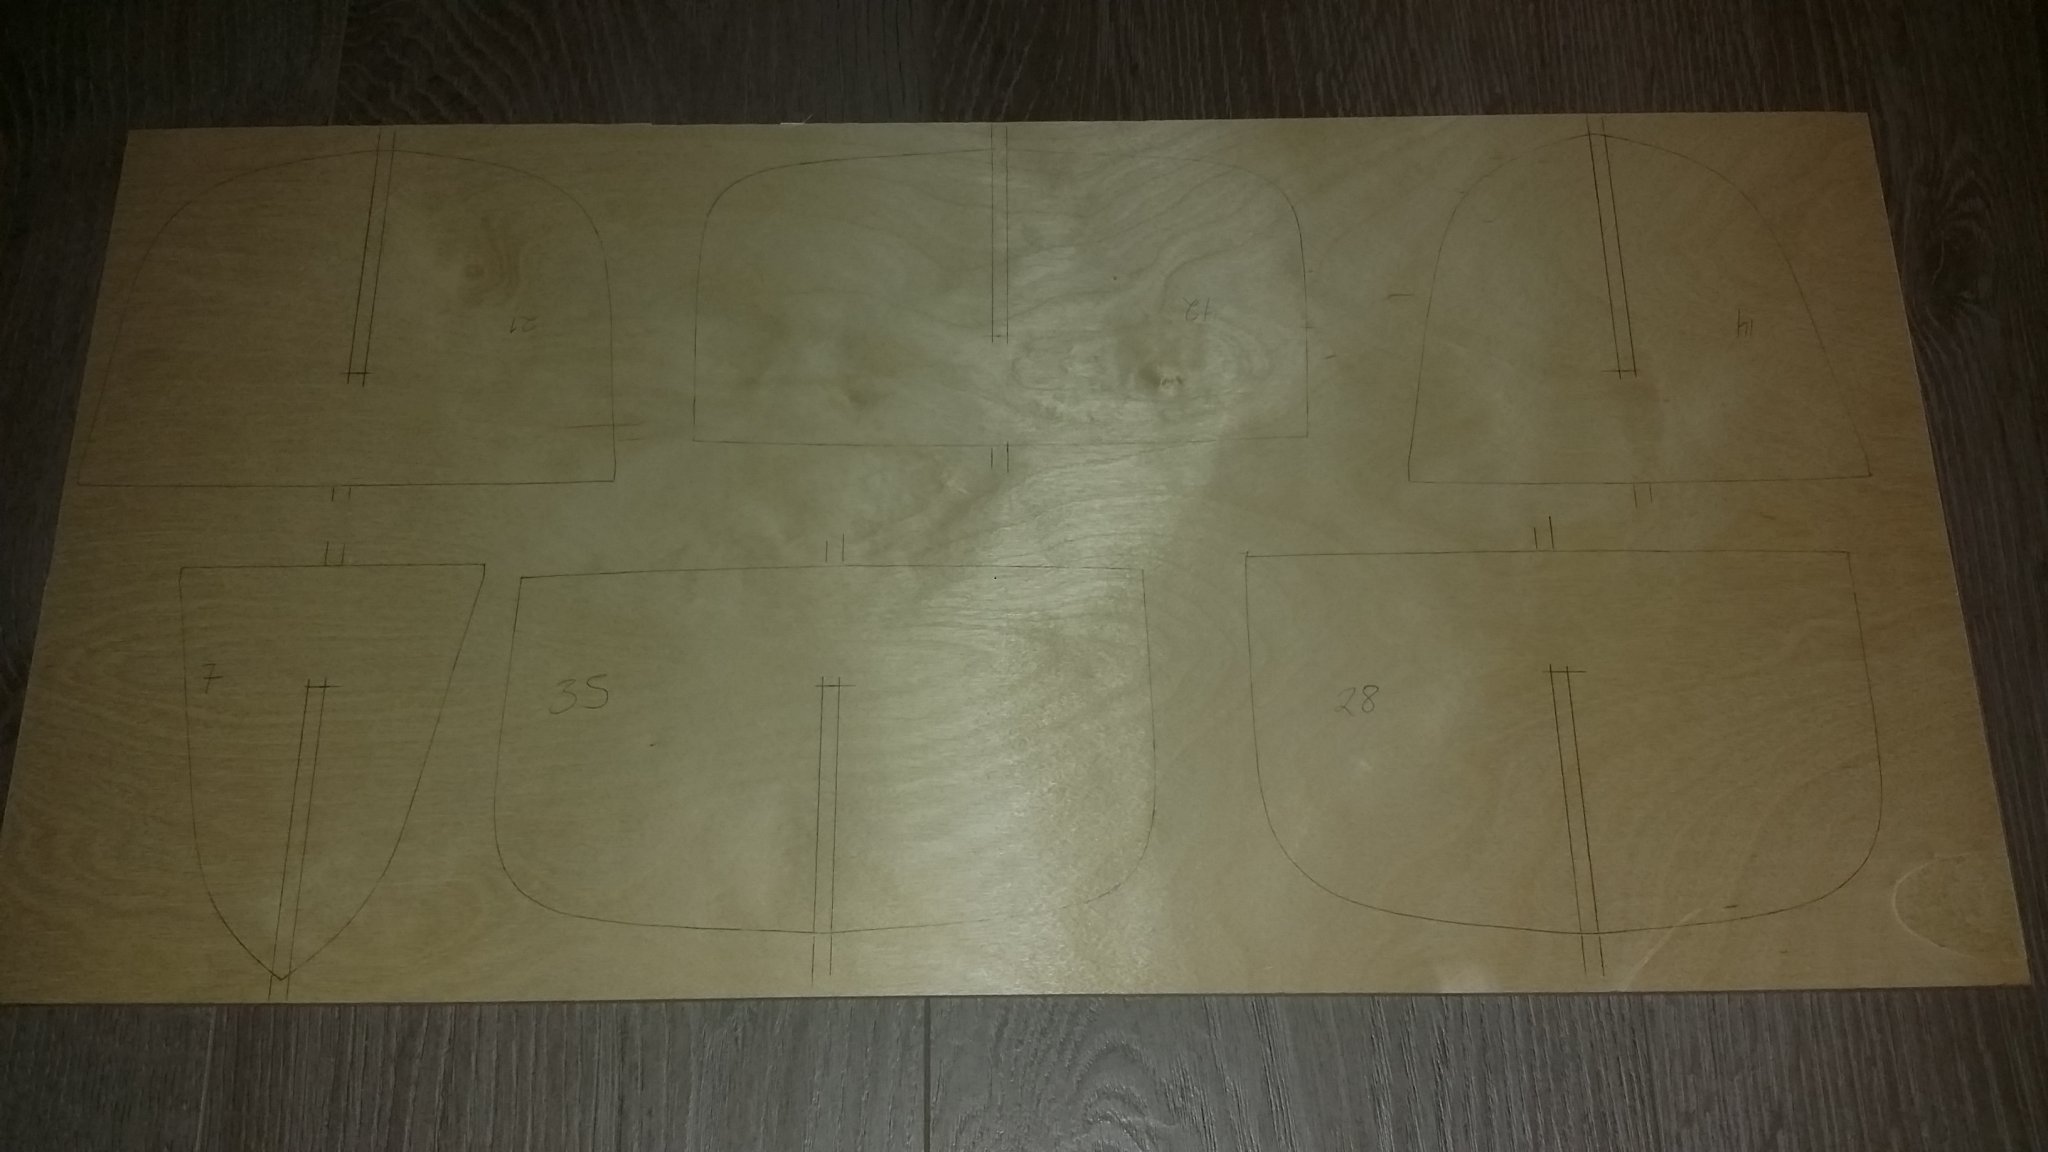
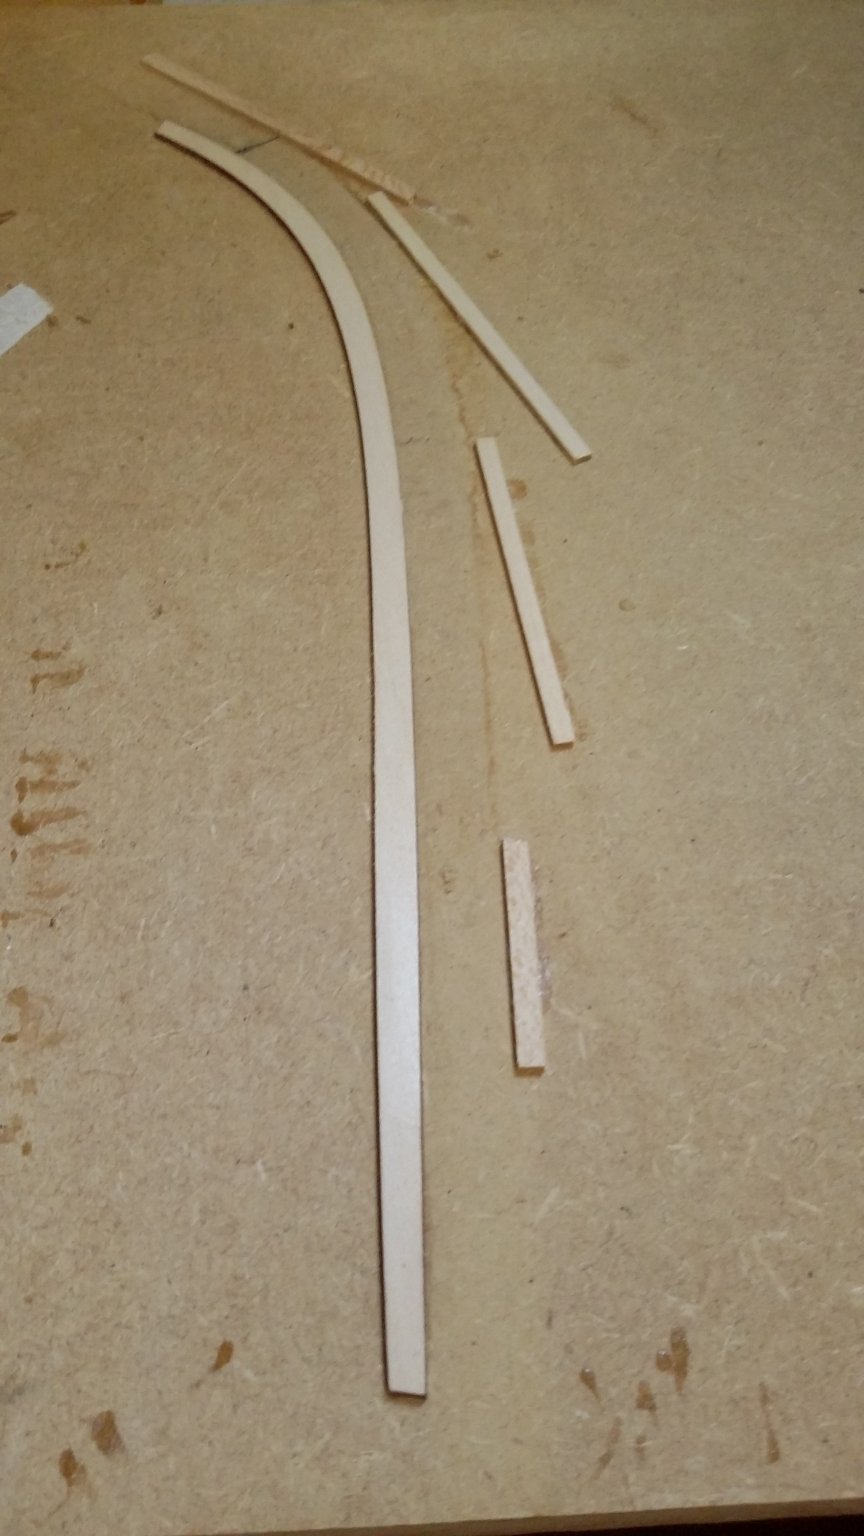
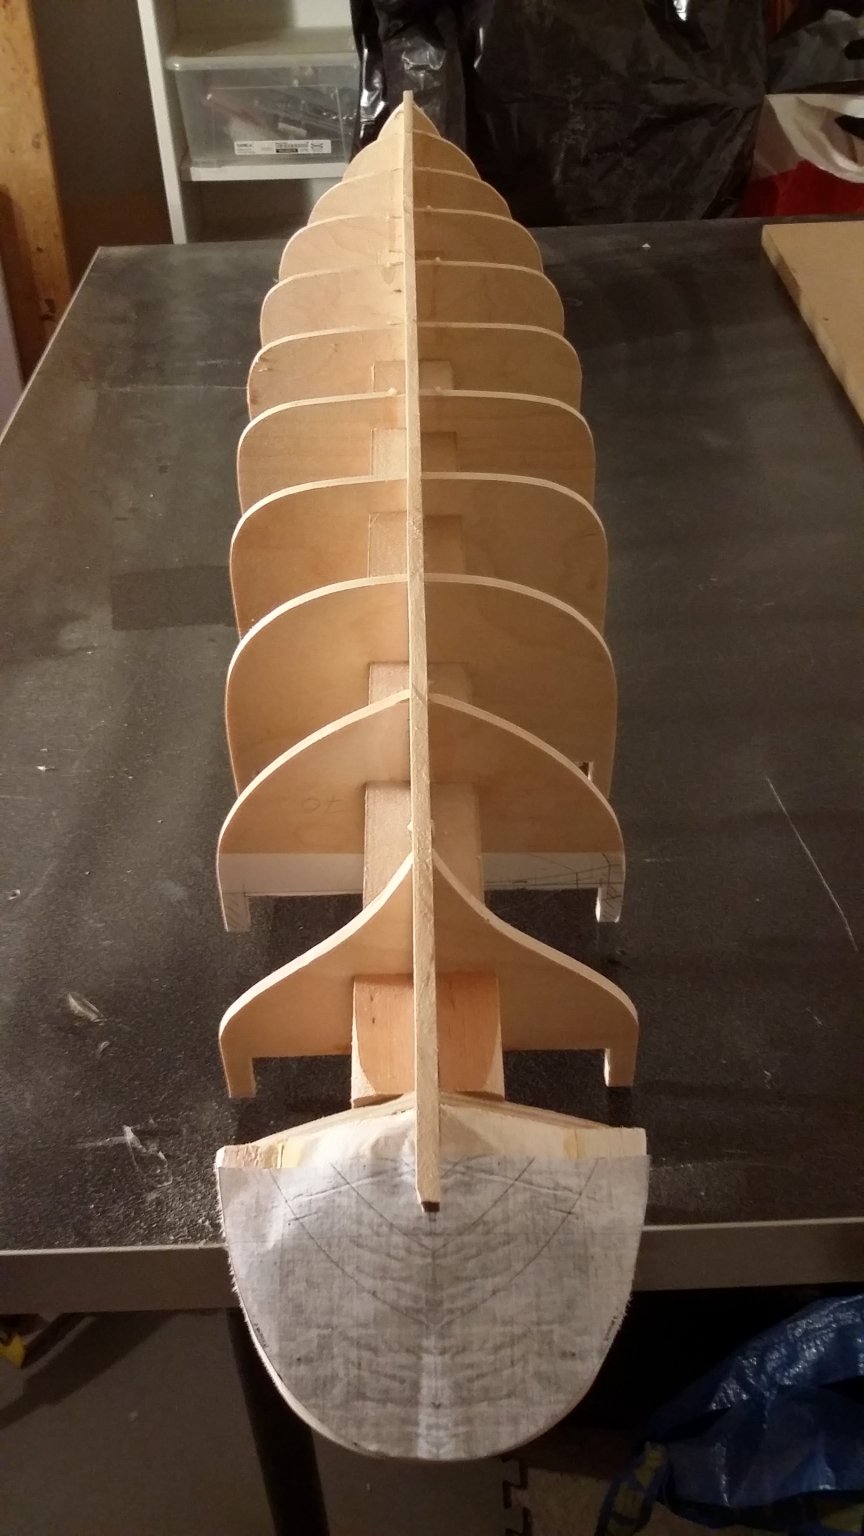
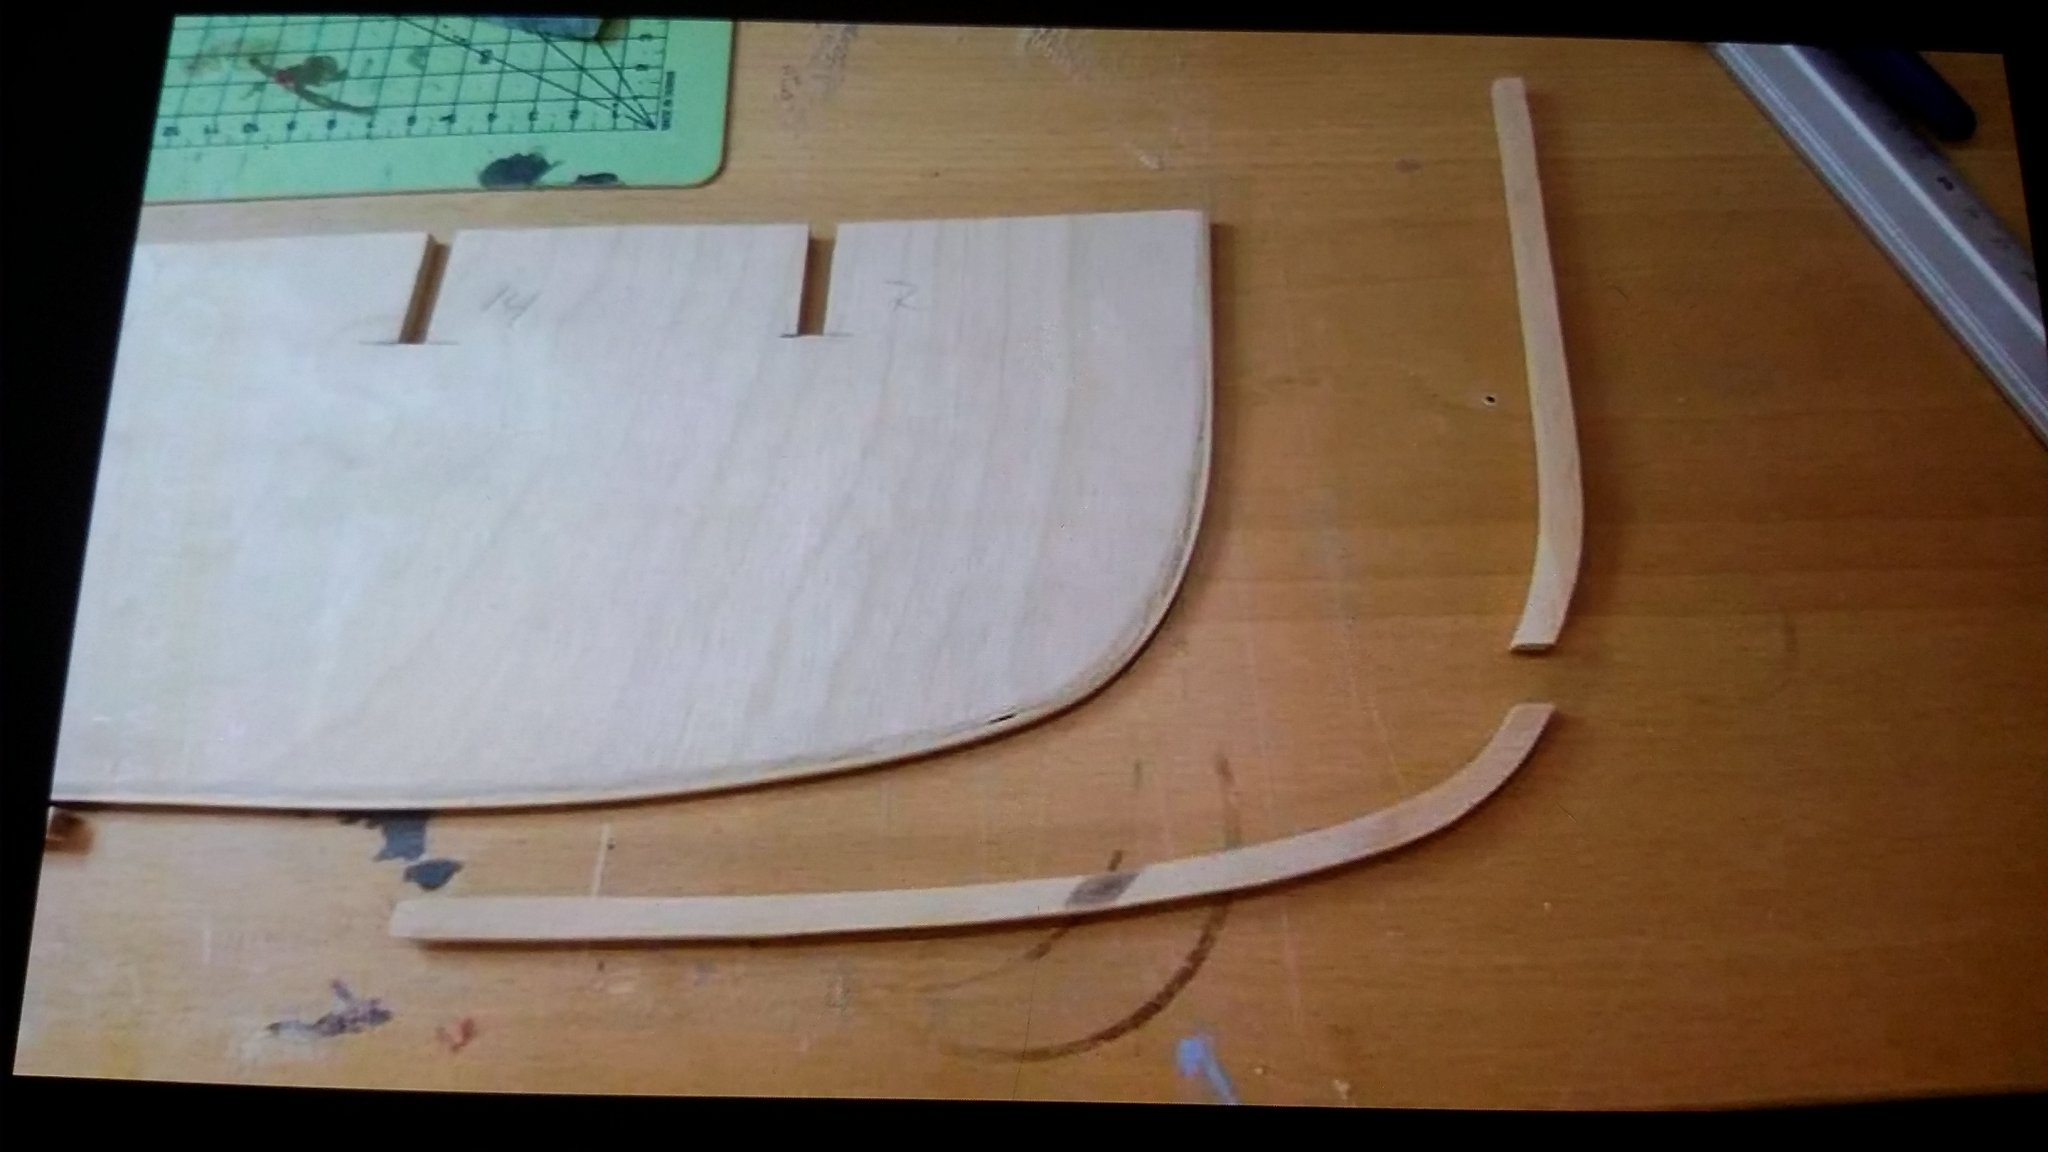
finish cutting out bulkhead former and bulkheads and for now its yust
dryfitted , next is to trim the BF a little and chek it against the plans .......... Then glue it together😉
when all the stern/bow filler are glued on am at the stagde where i was on the first hull!!
am back on track😊
svein erik

- FriedClams, GrandpaPhil, G.L. and 9 others
-
12
-
dont feel bad! i did the same mistake on my scratch build Pequot , so i have to cut everything out again....😲
as Chuck say .... it comes out better the 2 time😆 good luck with the winni build😊
svein erik
- FrankWouts and Matt D
-
2
-
thanks for the likes
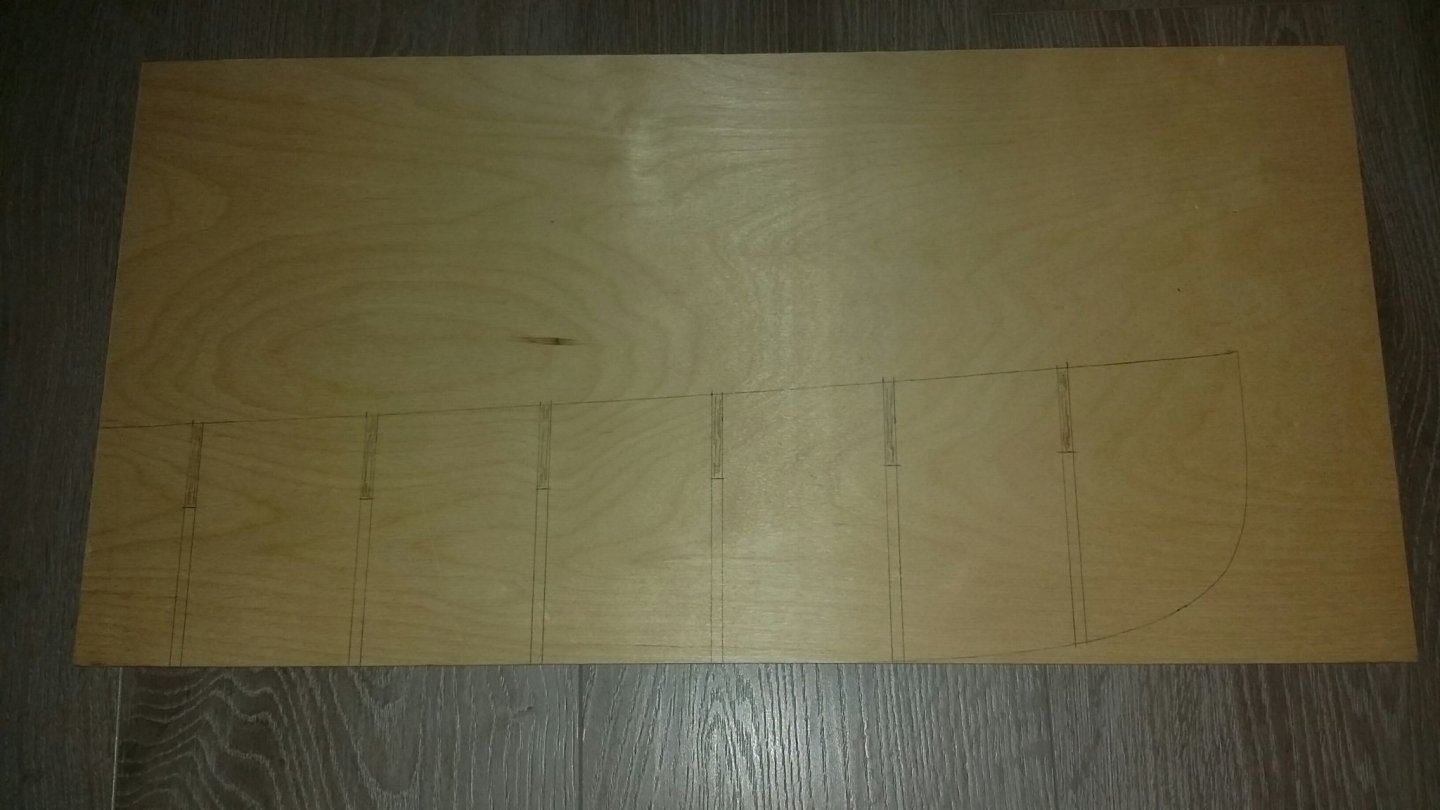
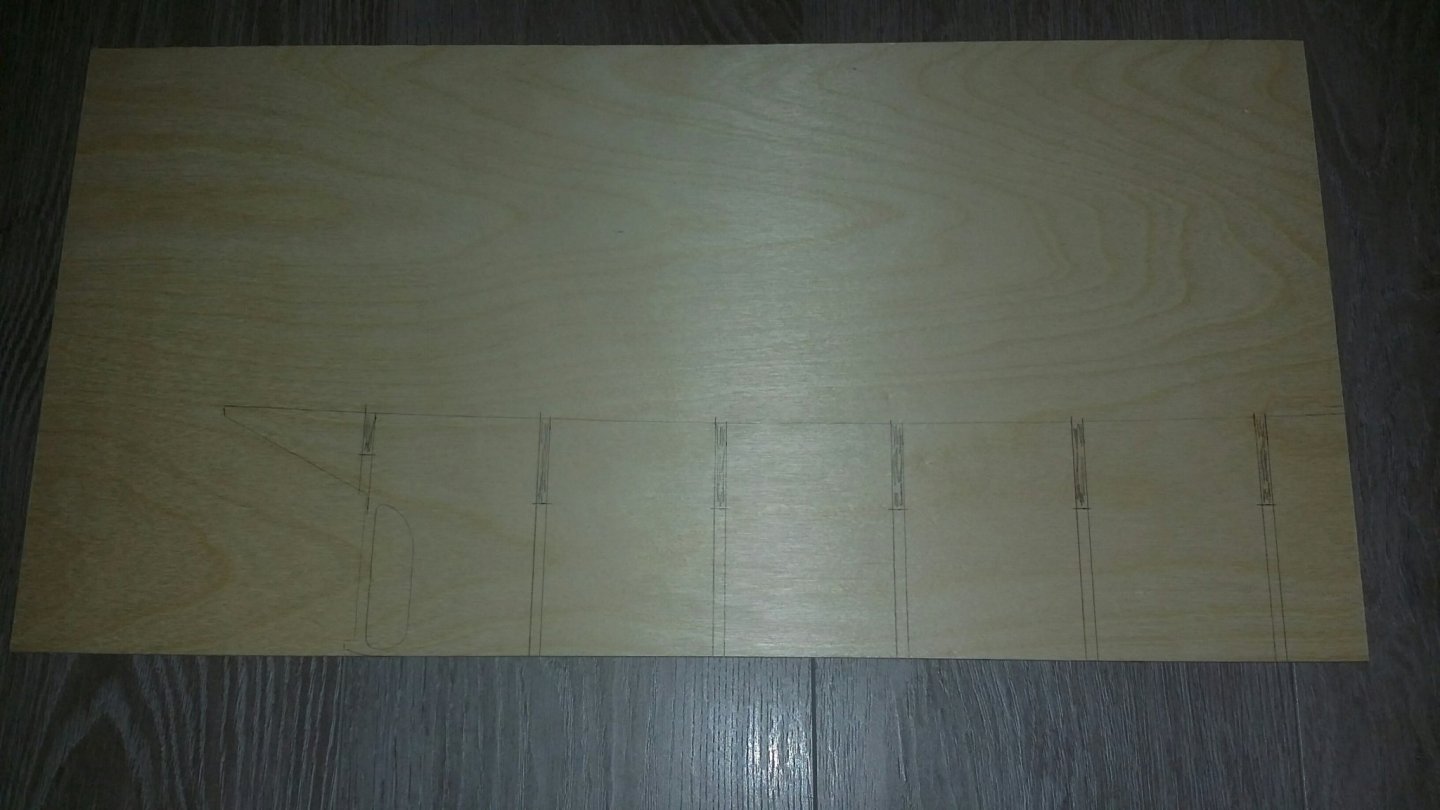
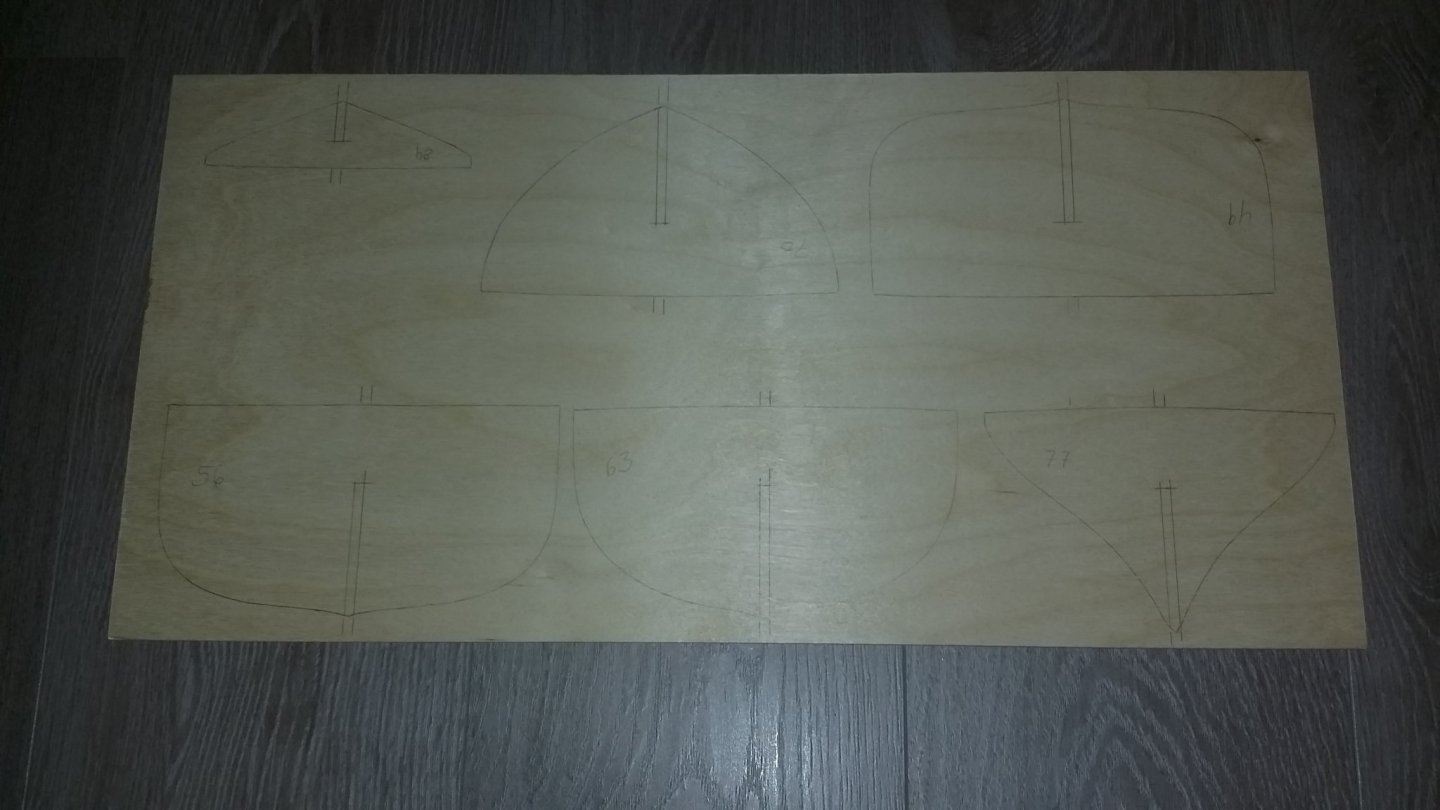
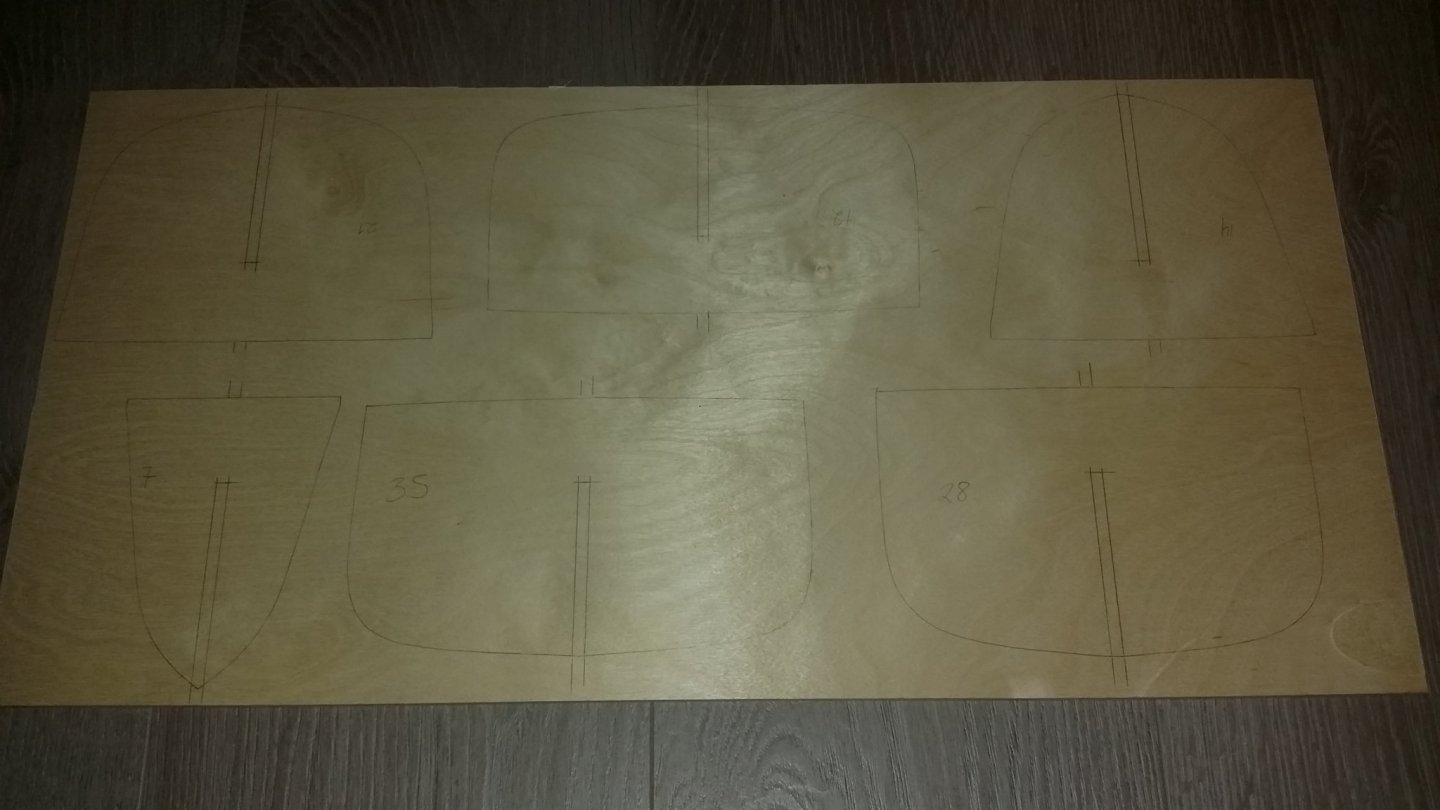
am now finish with the templates and its been drawn to the sheet ready to cut out,
this time i dont have all the bulwark extension, this wil be made later!
also the bulkhead former is ready to be cut out.
after my mistake with the first hull i did learn a hole lot and the 2 hull is going to be a better one😊
(learning by doing, its yust wood )LOL....
svein erik
- GrandpaPhil, Dubz, Nirvana and 4 others
-
7
-
-
-
thanks for the likes!
am back in shop....
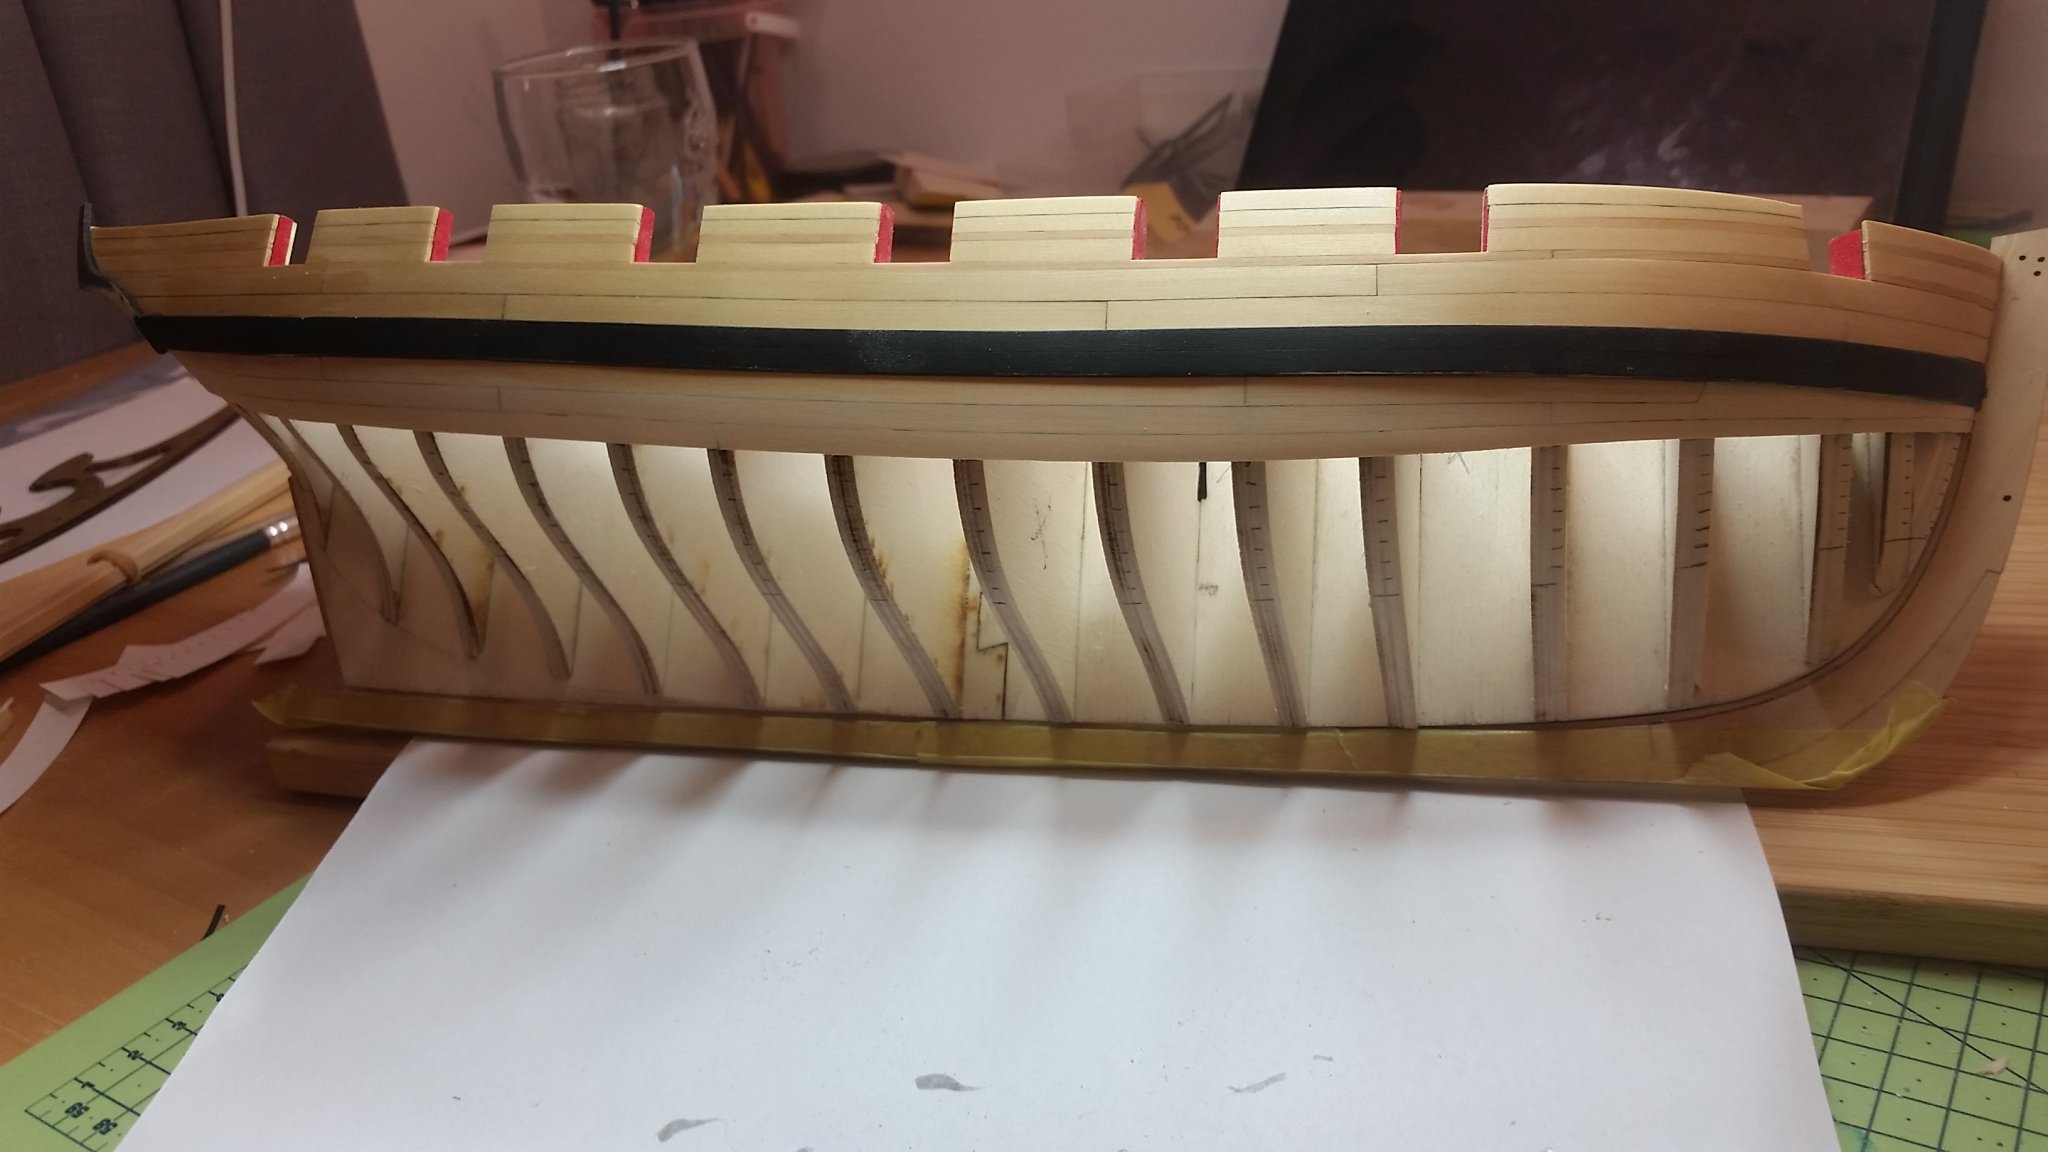
the first belt of planks are now finish, need some more sanding and the wales need some paint too(later)
i wil start the next thing to do is to start with the square tuck.... see you!
svein erik


- Ryland Craze, Maury S, mtaylor and 15 others
-
18
-
1 hour ago, Y.T. said:
This saw pictured above is only for crude work to my opinion. Look at the size of teeth on the blade. Hopefully this would not matter much if you work on ships at very large scale.
am trying it out, i yust got one today, and the teeth is small also😊

- Edwardkenway, mtaylor and Canute
-
3
-
On 9/5/2019 at 2:35 AM, mtaylor said:
Don't feel bad. It is easy to mix up plans and cause yourself confusion. Hopefully you can save and use some of the parts you have cut.
Mark
i do not feel bad , so am now good to go.....
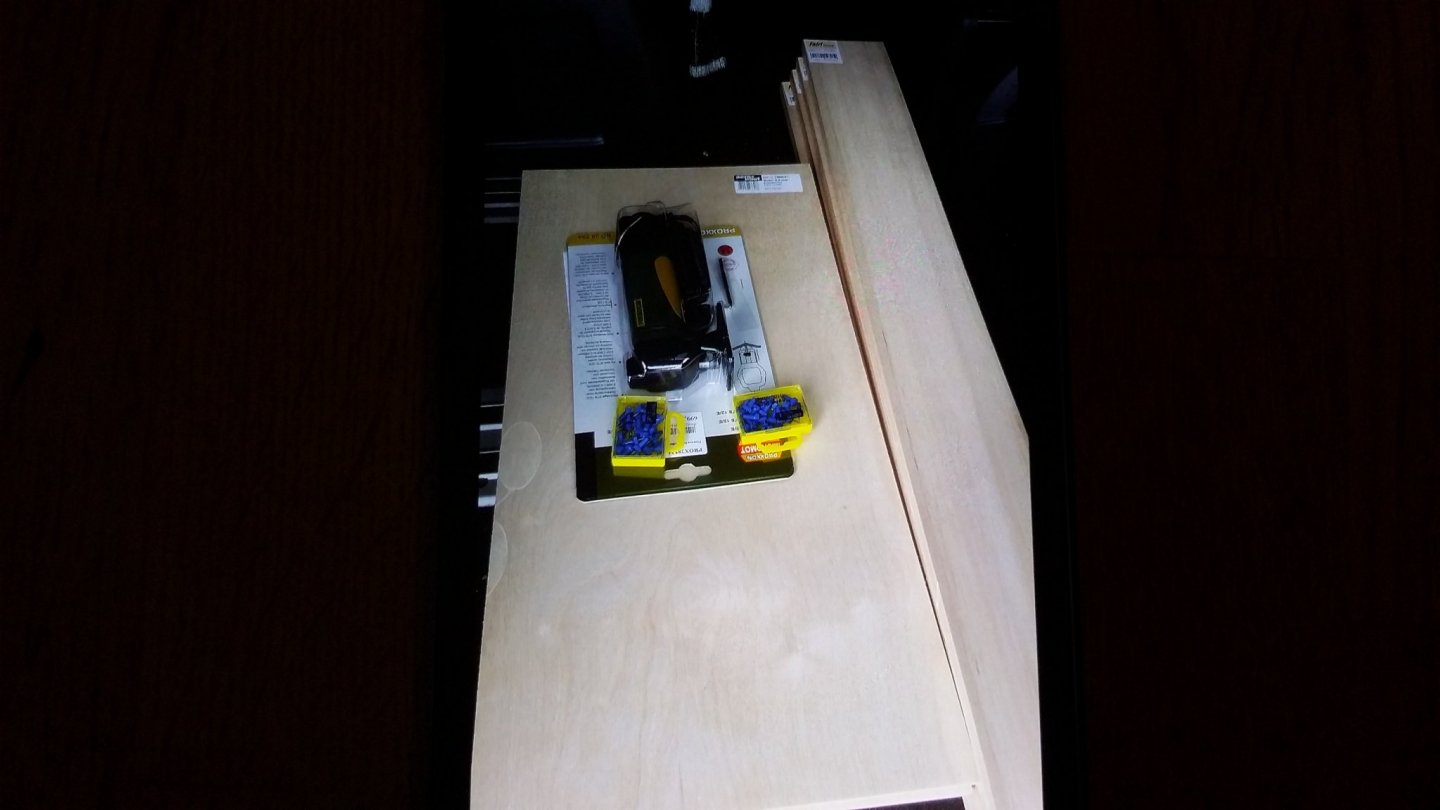
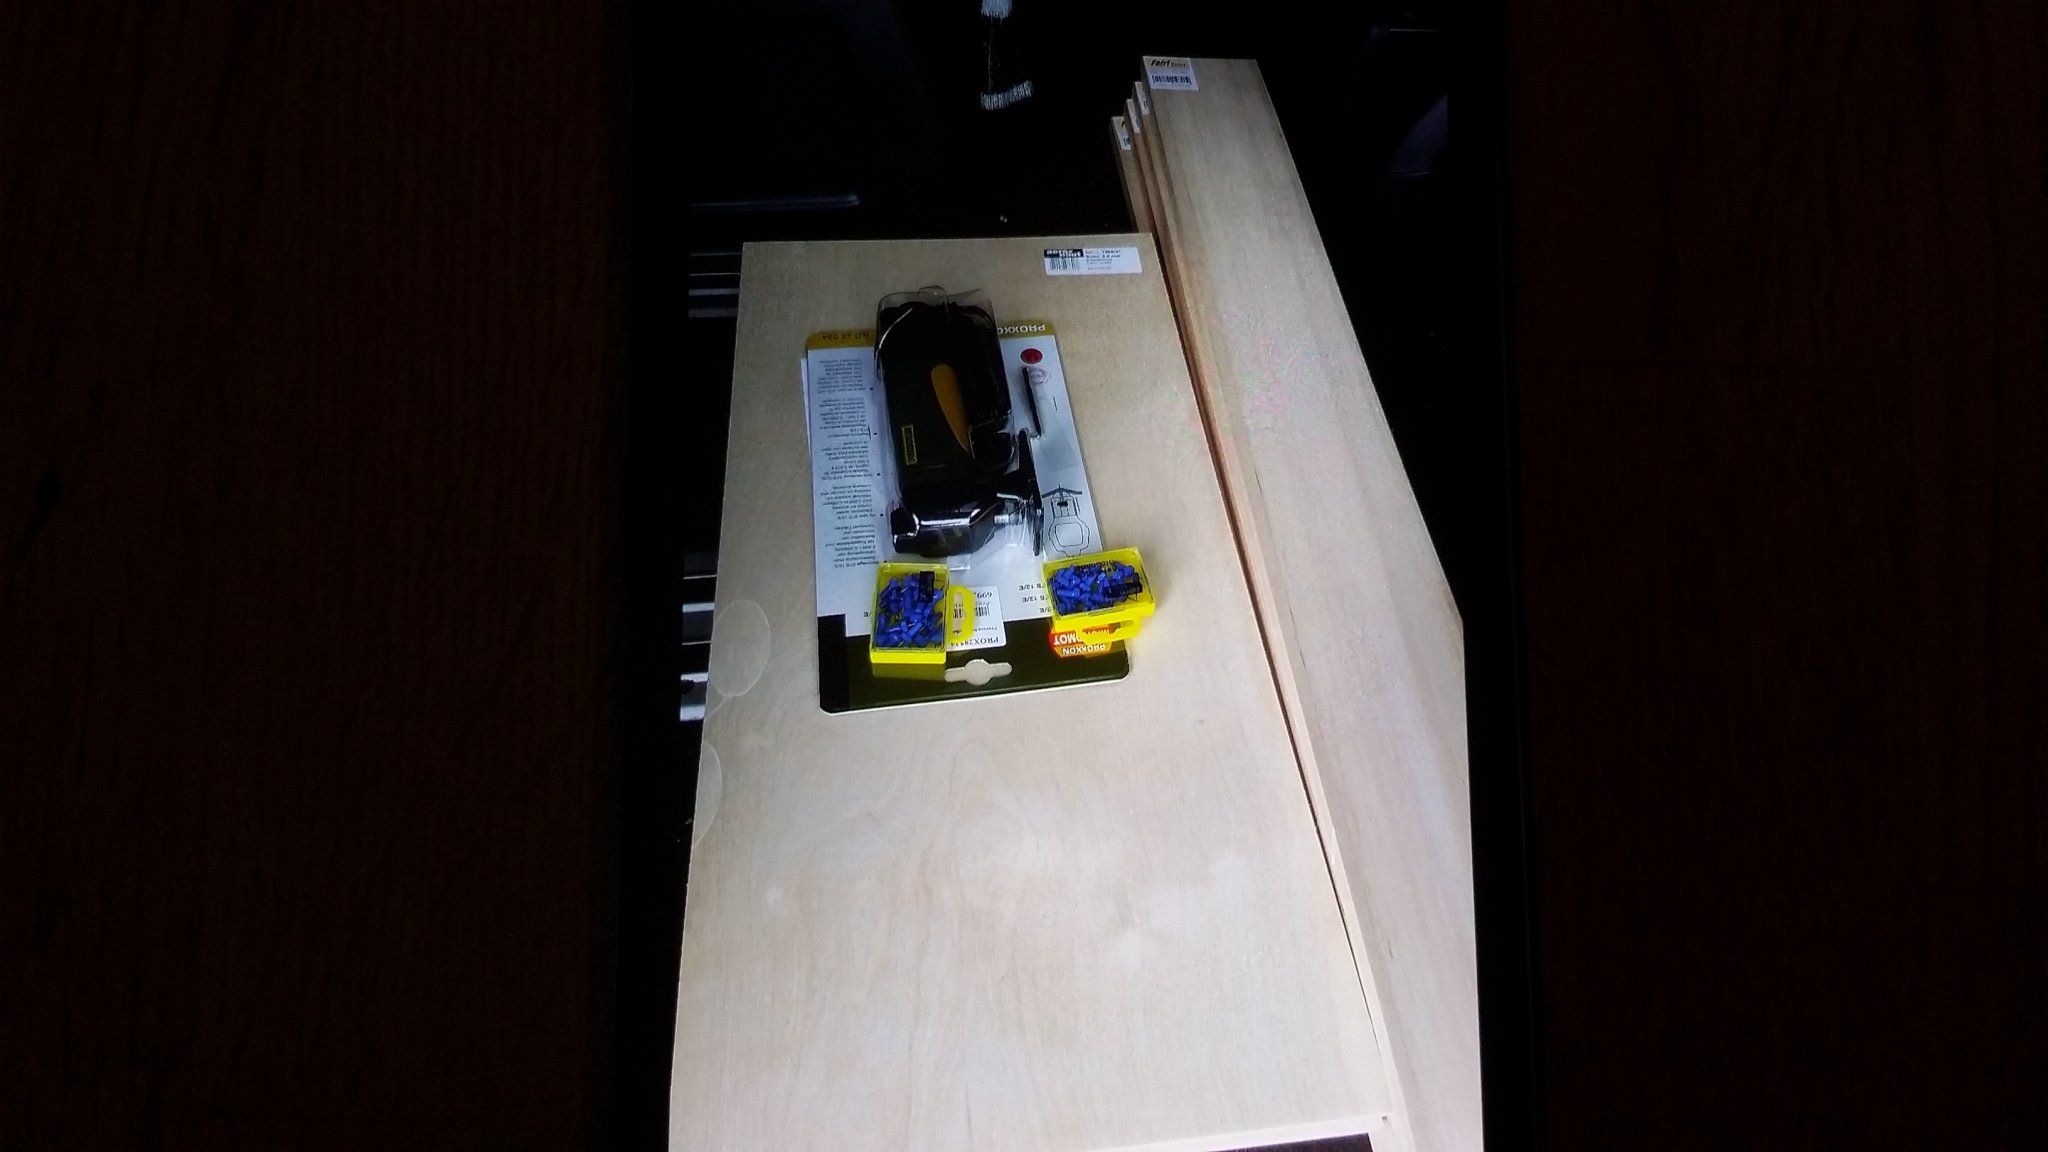
i got some new ply 5mm (ligt ply) 8 sheets . 33cm×66cm and a new tool 😲 proxxon
so am starting to make a new frame😊
svein erik

-
thanks for te likes and coments...
am in my cabin and doing some planing for the pequot prodjekt in the rain!! (am inside.. 😉)
so how do i say it😲......
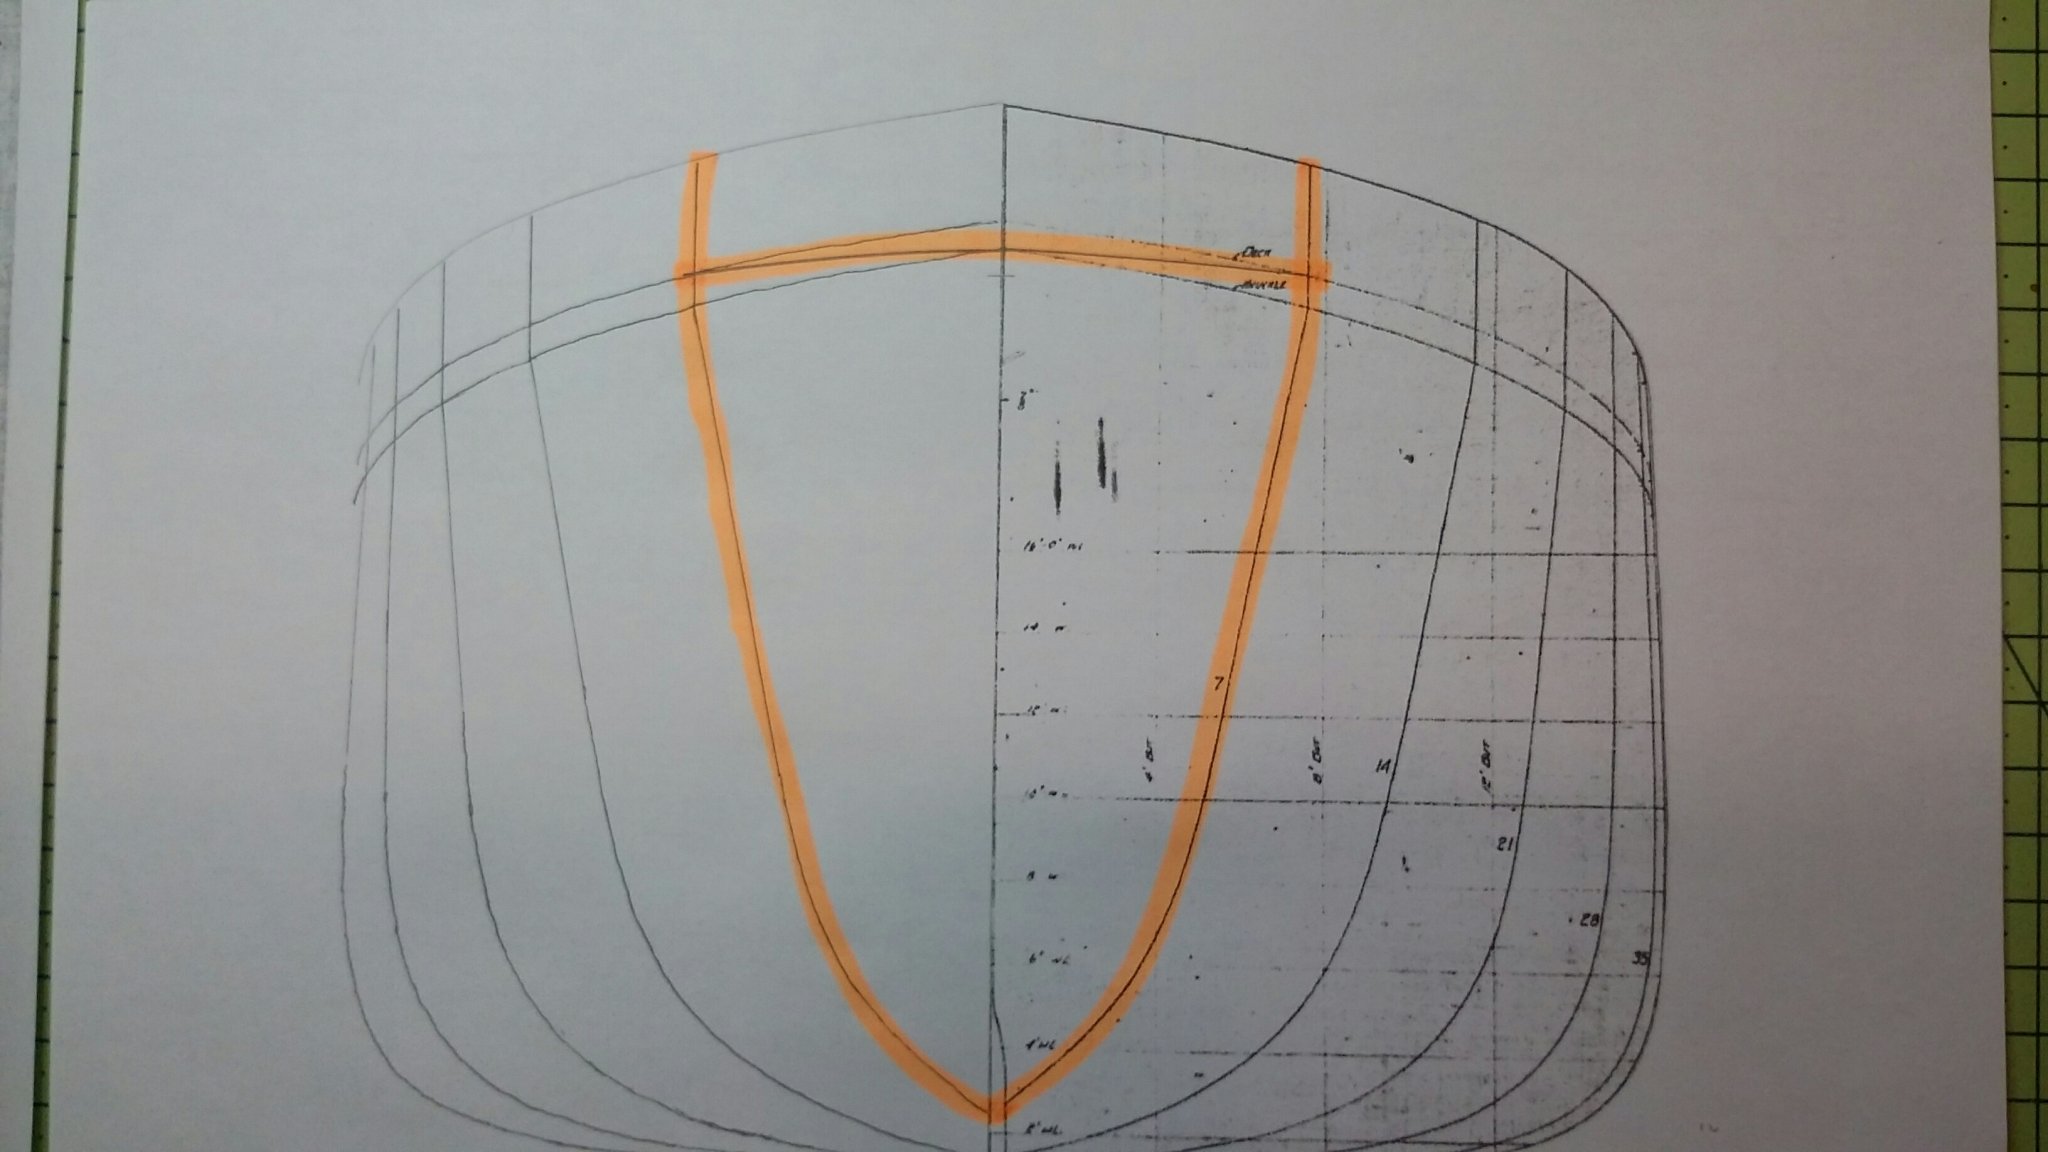
i just descover that am are a knokelhead , i think i have to re do the hole frame work and start all over ,
how did it happen! i have so many plans that i have some wrong plans inside some of the right one
it dident get in the trash 😖 so i did some re masuremant and come up with ,
the bulkhead frames are in 1:50 the backbone is in 1:45 (this is buildt)
the righte scale is 1:48 , i have the plans for this scale (OMG, how stuped i am)
when am home again a have to look at this more, now am yust mad at my self...
but the prodjekt is on hold not stoped, it just going to take more time .
need to order some ply for new frame😨
svein-erik
-
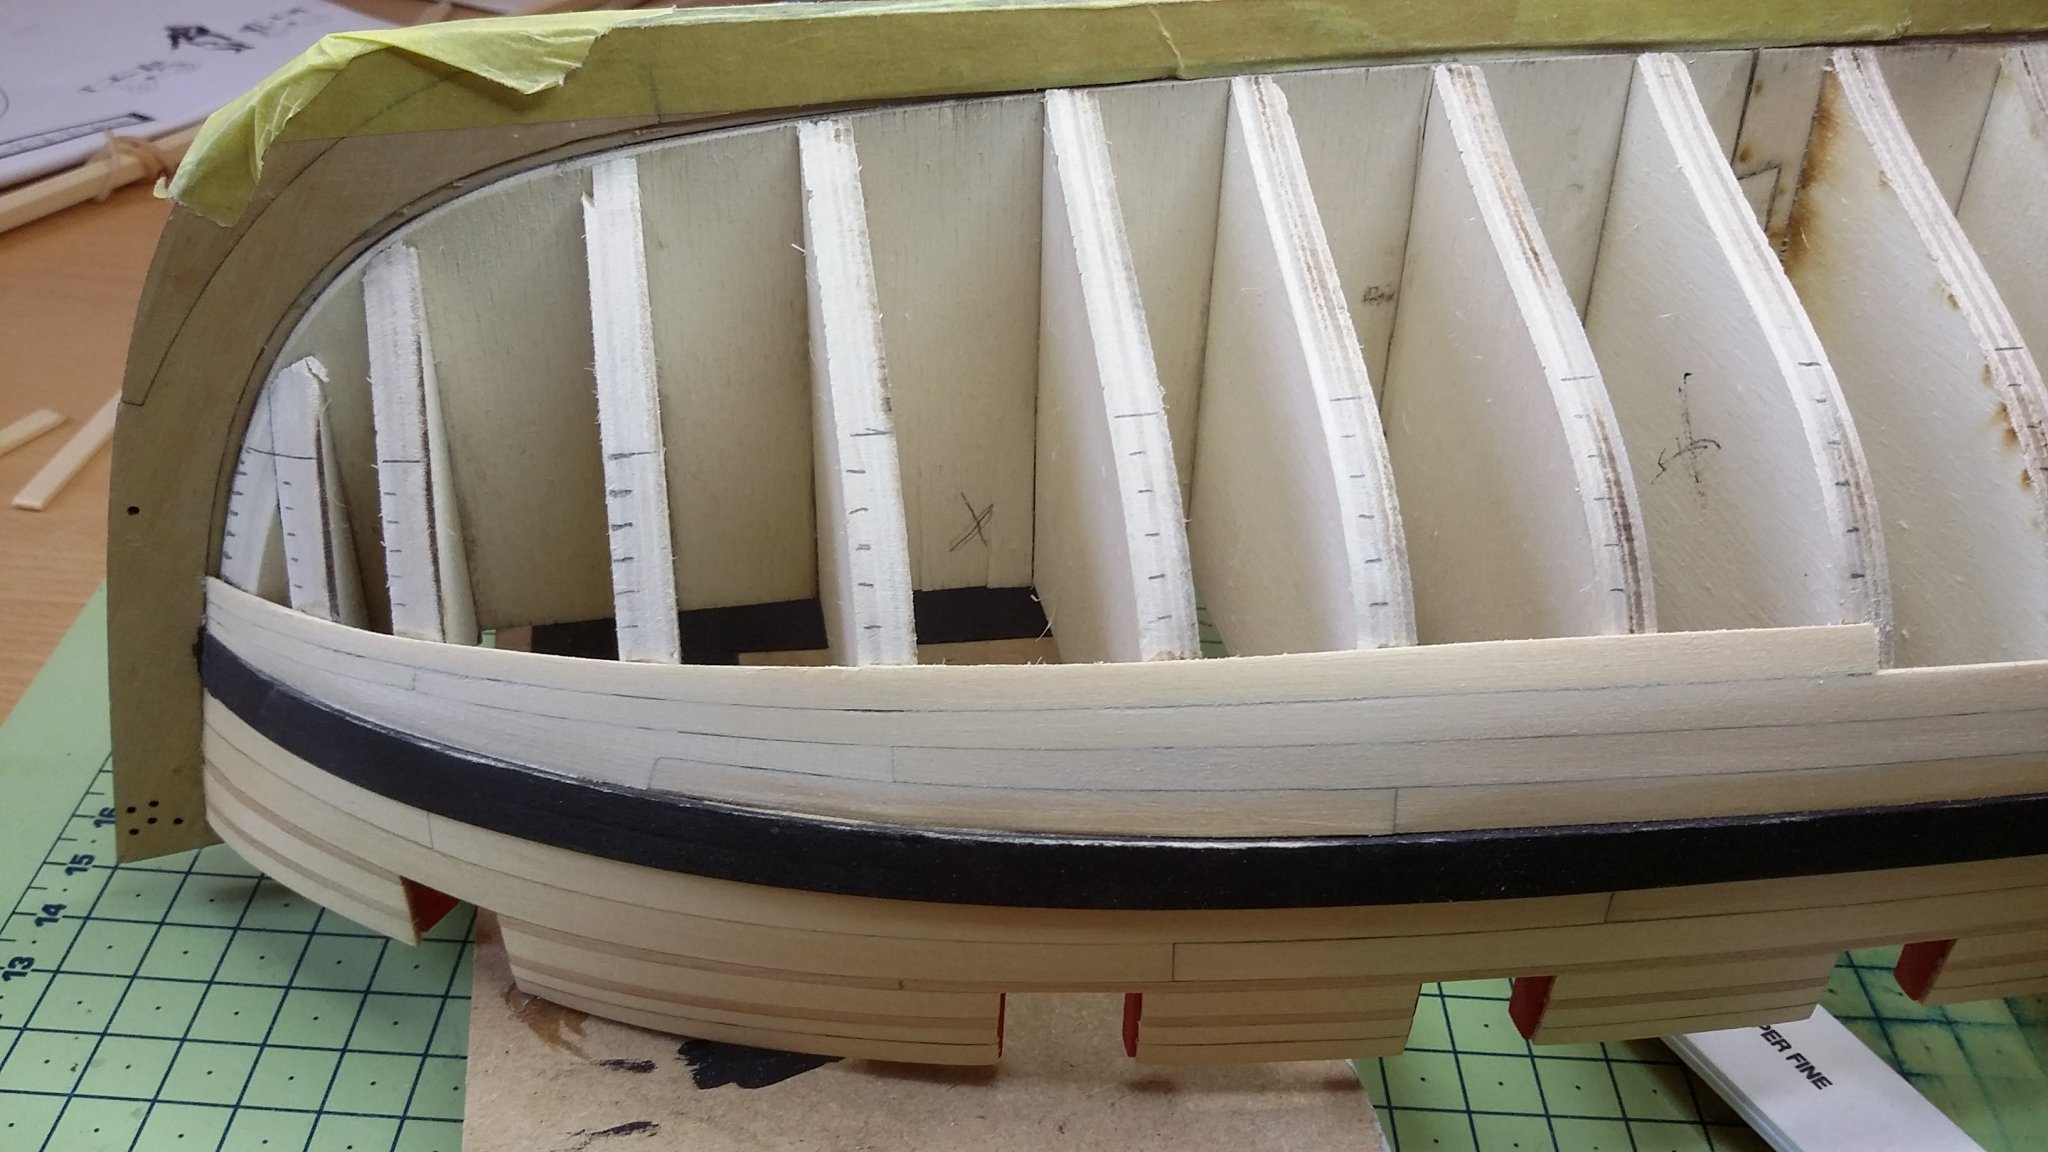
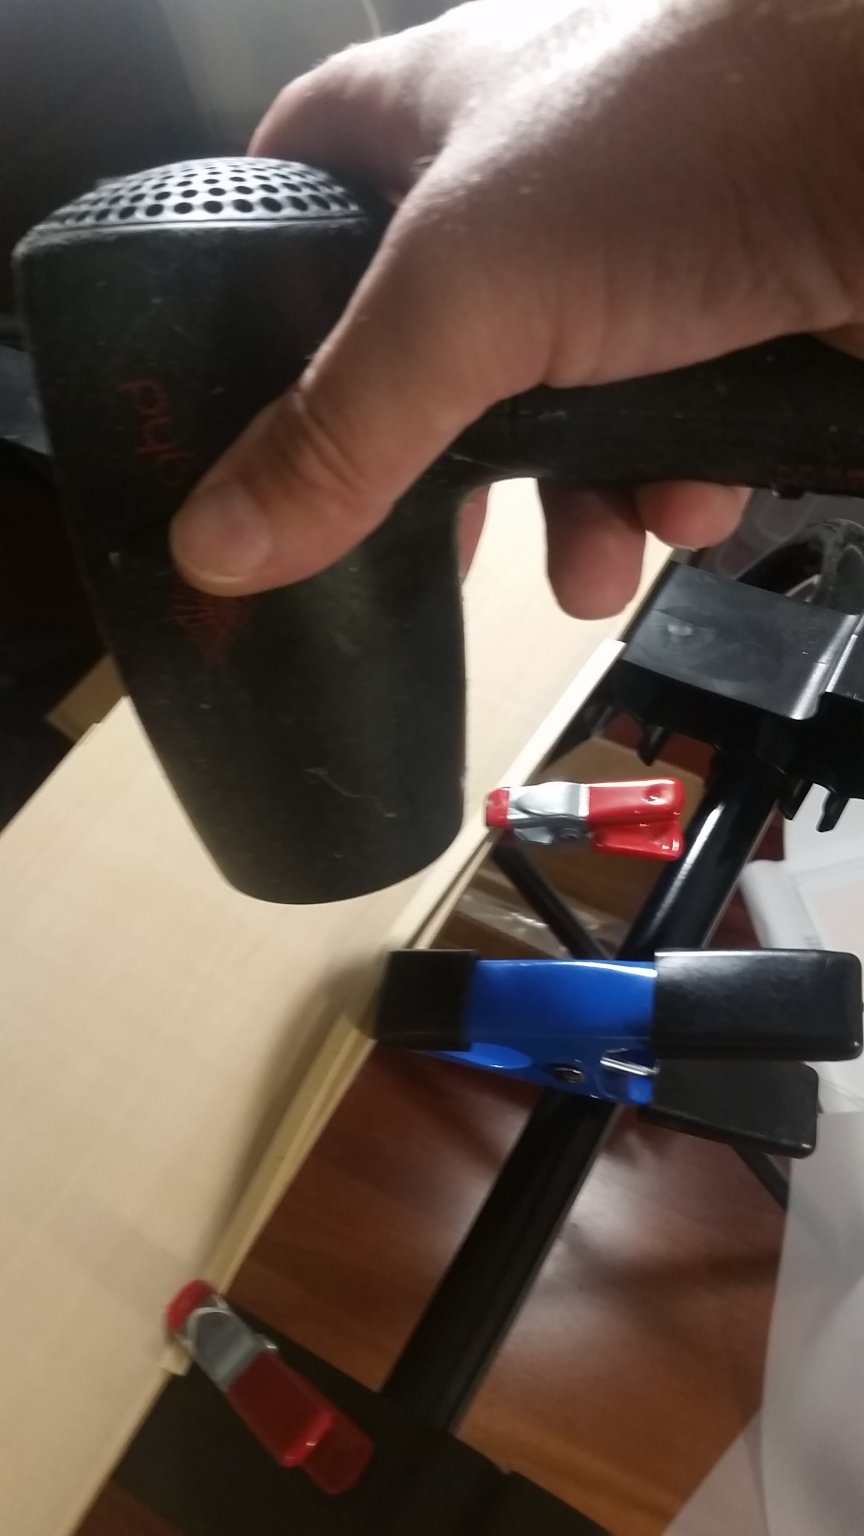
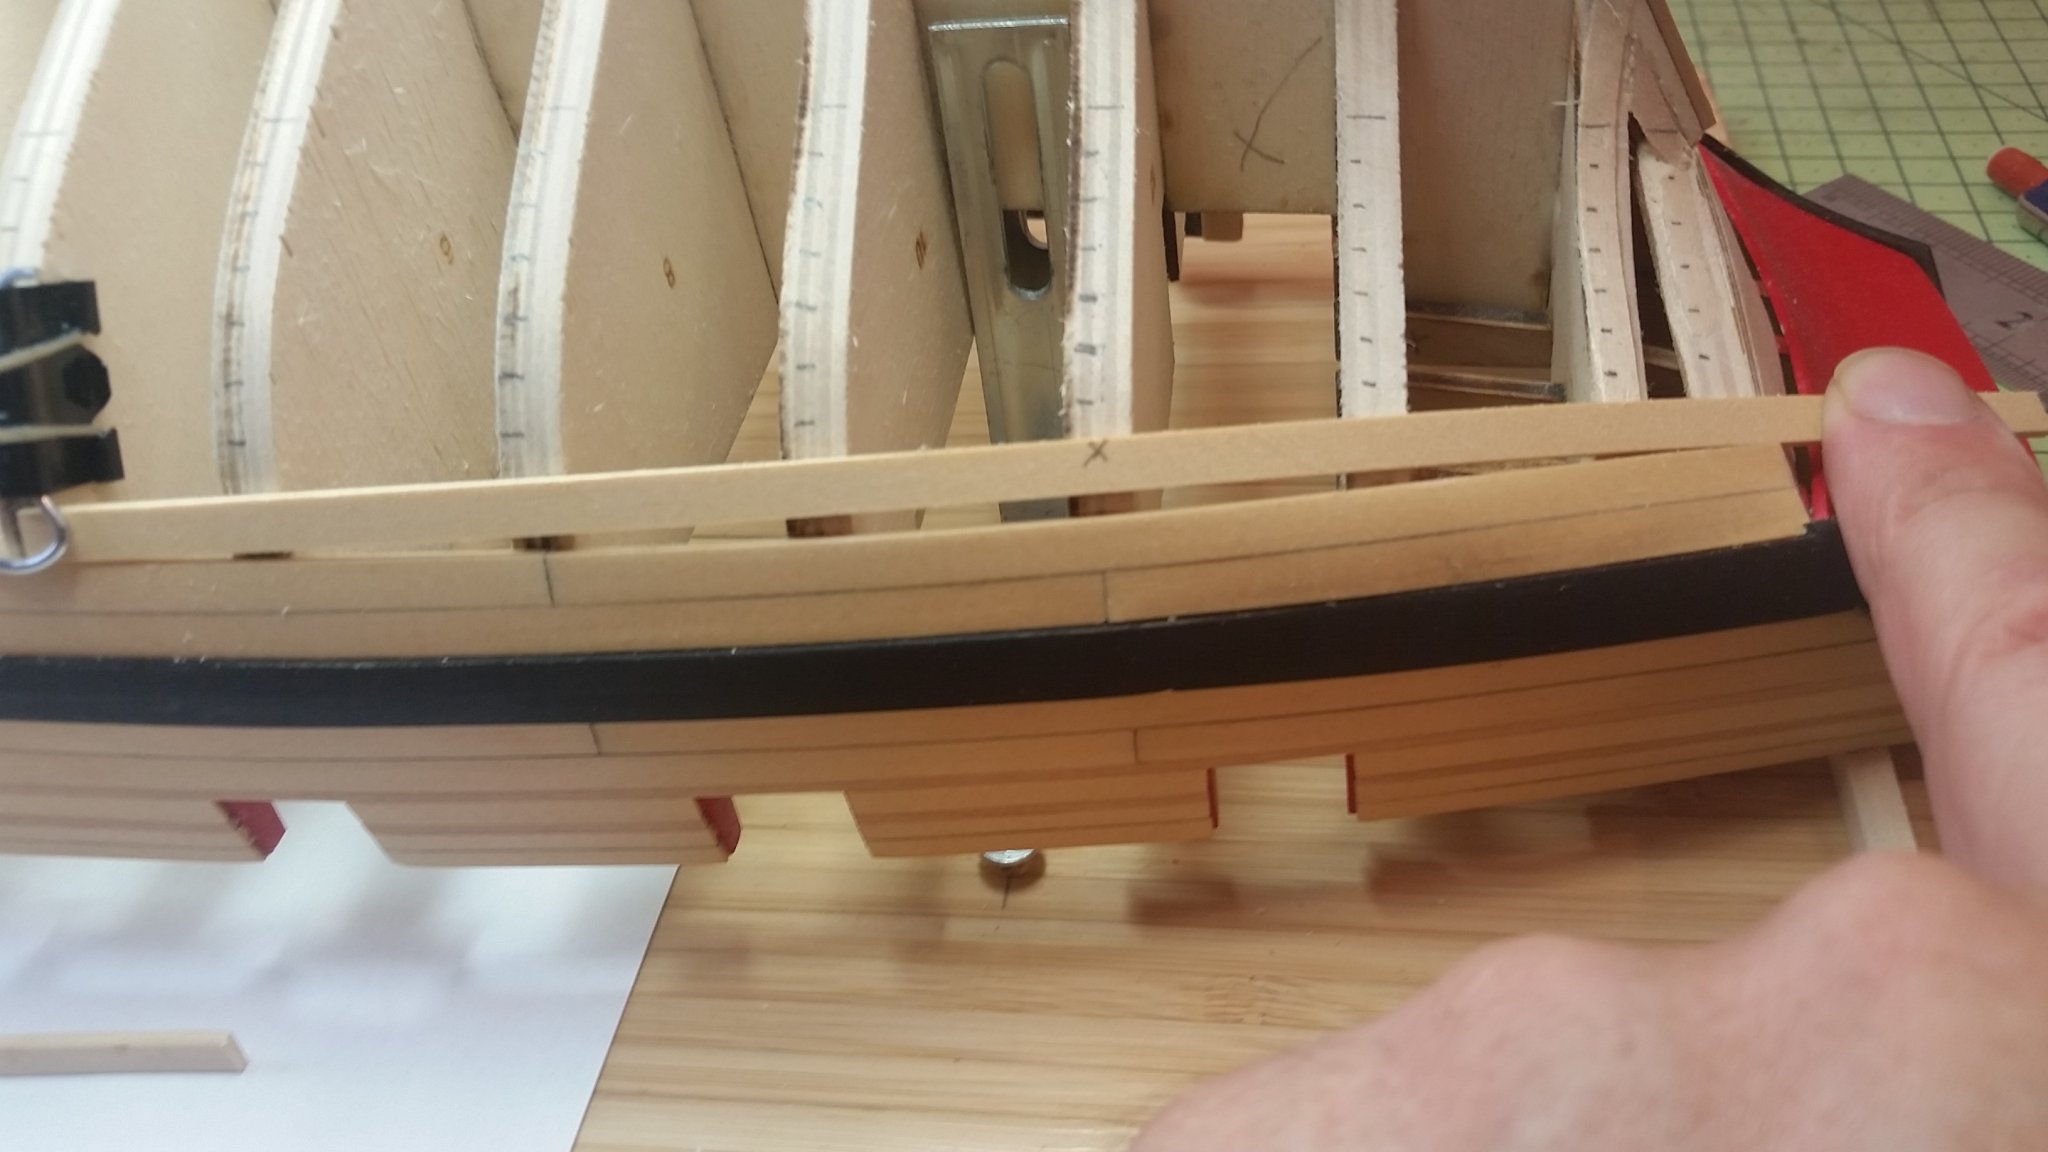
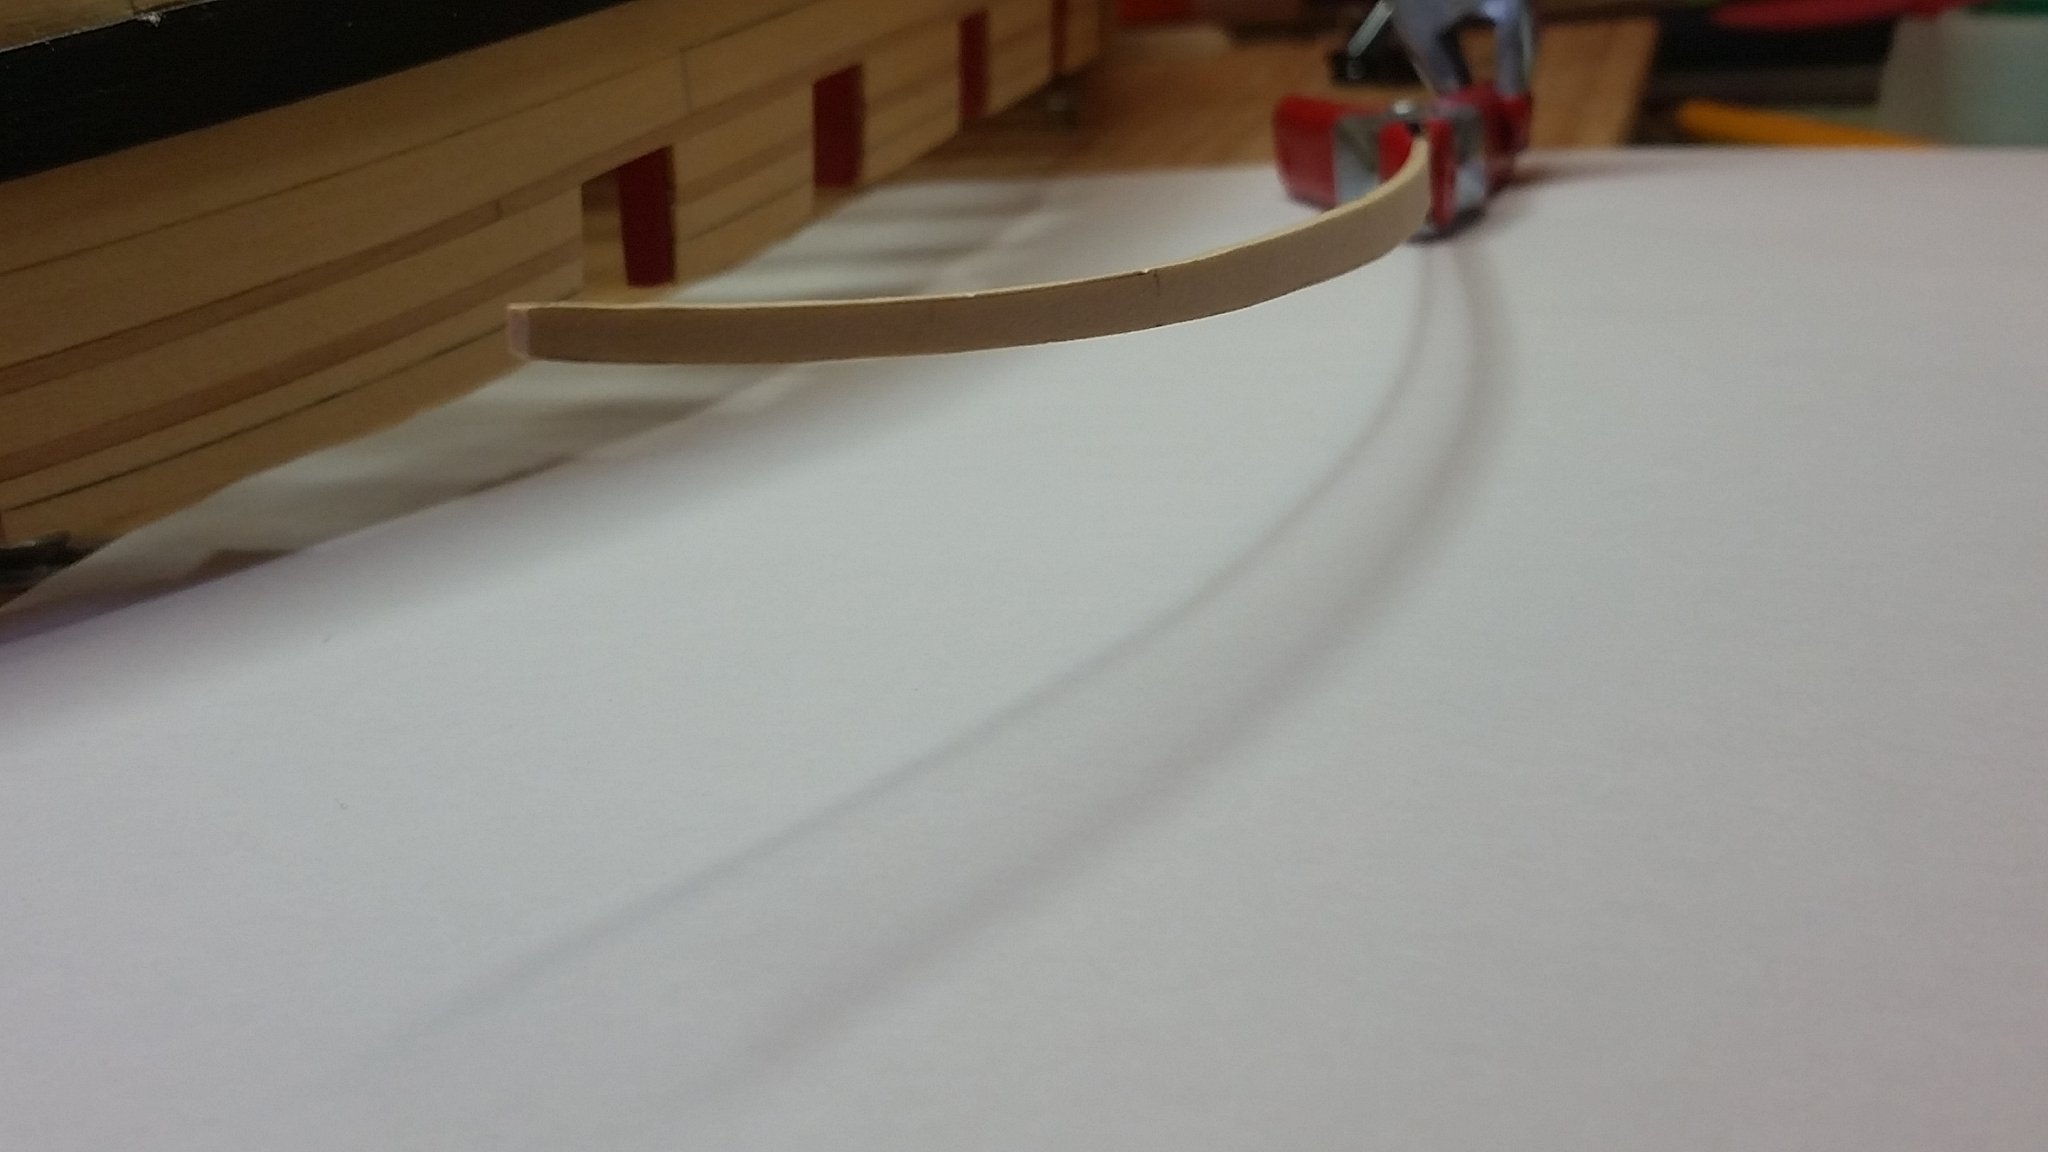
Am now using chuck metod of planking with edge bending ( am also use my wife's iron to heat it)
and i think /i know for me this was the best metod and easy to do!
Chuck describe it in the winni log☺
am also sad to say i cant do any building on any of my models fore a week.....
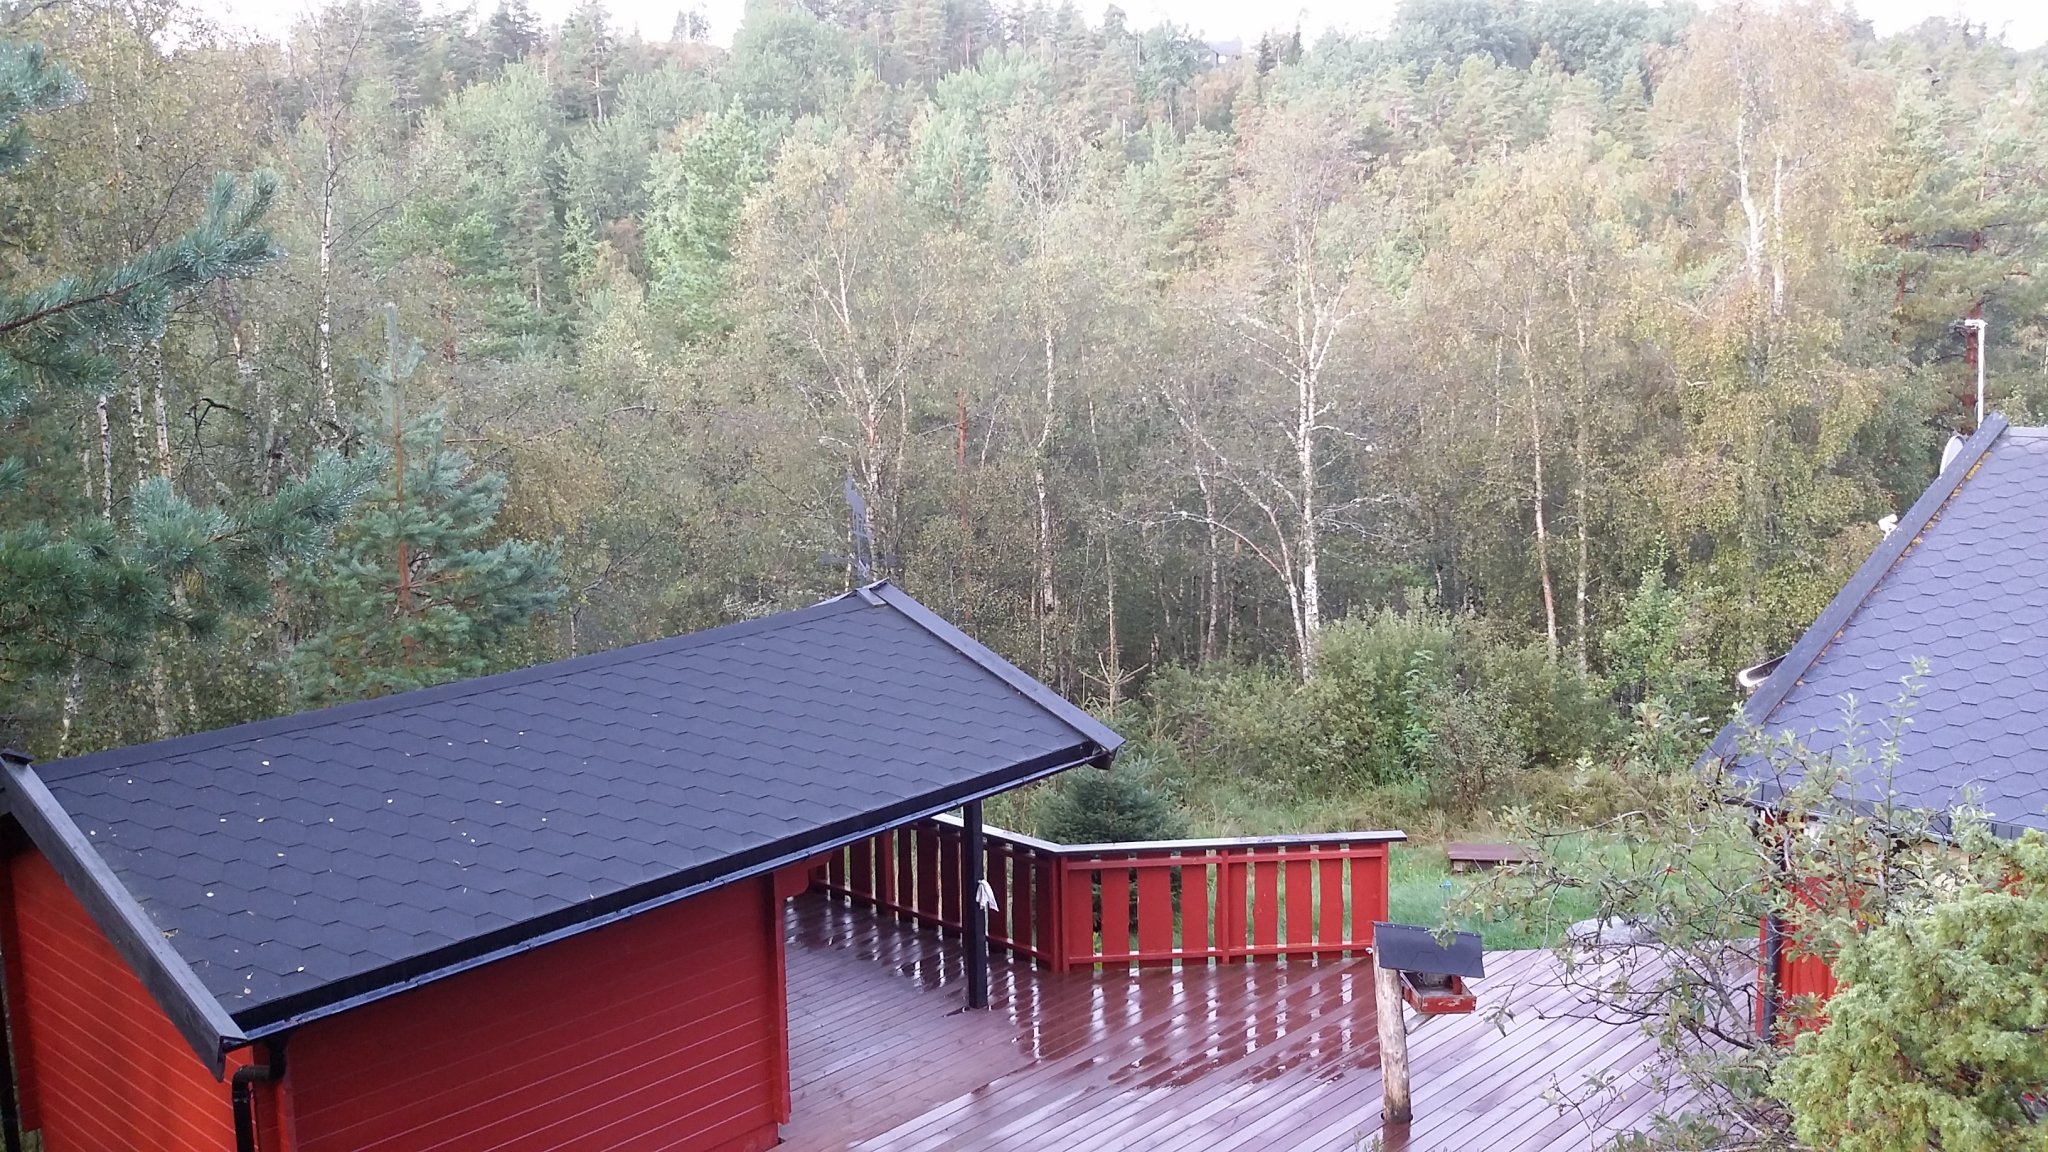
am curently in the mountains in our cabin...
because of our daughter's disease we staying here..
its a scool camp thing so the rest of the class staying a place not far from us!
but i did take with me some plans for the Pequot ,so if i get time i do that..LOL😊
some morning photo of the mountains , wel it yust a small peace...
and some photo of the edge bending plank!
svein-erik


- mtbediz, BLACK VIKING, druxey and 6 others
-
9
-
-
-
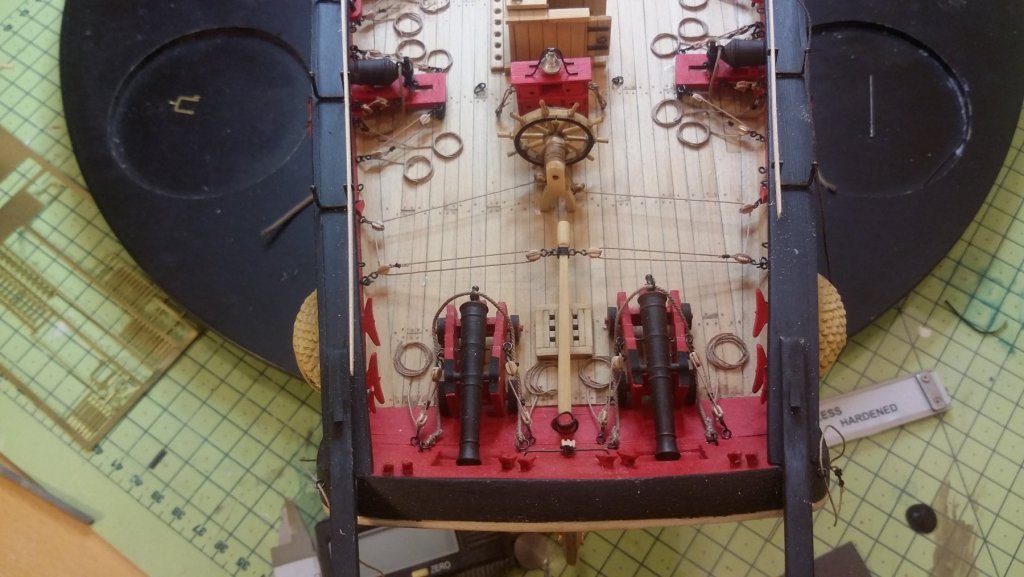
here is a photo of the guns☺ corronadas 18lb
svei erik

- NovaStorm and Ryland Craze
-
2
-
-
19 minutes ago, Chuck said:
it works like a charm......its my method of choice.....well done!!! Its a very quick method to use.
") It requires few tools.....you could always use any old full sized iron. But having the smaller one is much better. You also wont get in trouble from the admiral, LOL.
It requires few tools.....you could always use any old full sized iron. But having the smaller one is much better. You also wont get in trouble from the admiral, LOL.
ups🙊 i have the iron and i diddent tell my wife😲😉
-
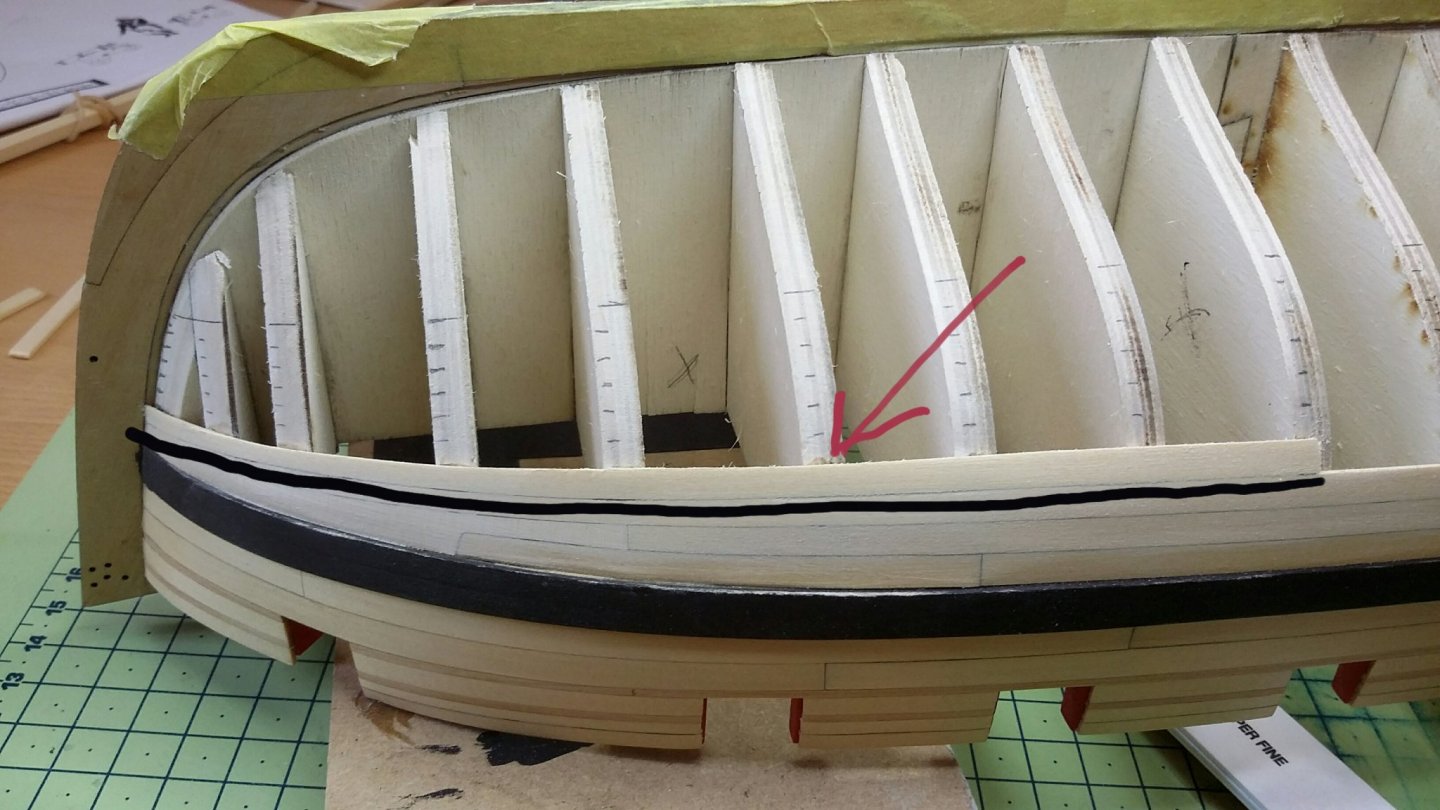
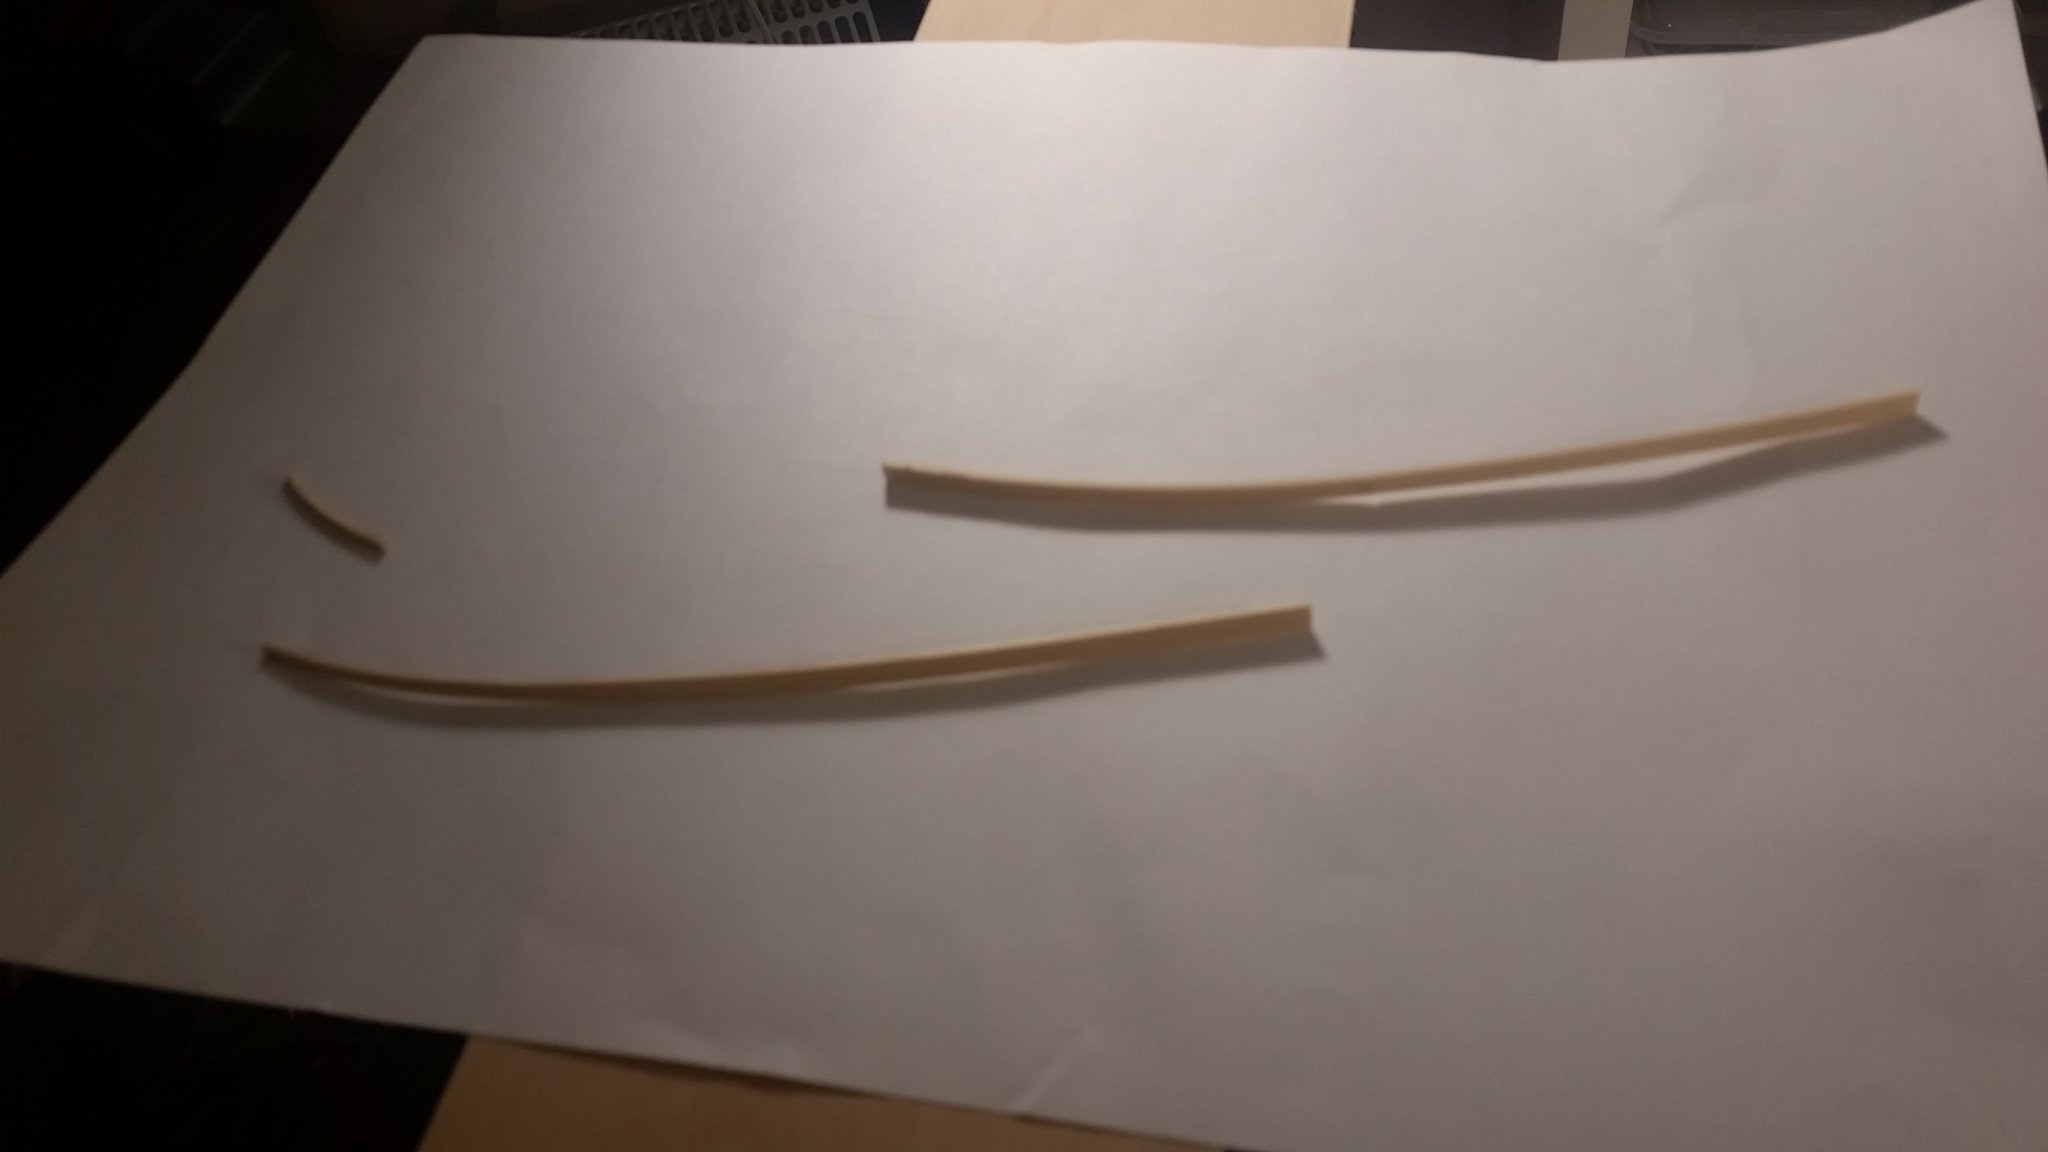
i did try out chuks metod he write about not spilling yust edge bending etc,
and am supriced how akkur it is ( after the 3 time is on the hull...😉 but on the cheerful)
i also used the iron to heat the plank, i was happy to use the template edge bending plank that was in the box for the confederacy.
it was so muth better this metod its now my favorite😆
svein-erik


- Rustyj, Gregory, bdgiantman2 and 2 others
-
5
-
so i gess i can do this metod on the cheerful without the spilling 😊
am looking farword to the video of planking☺ a grait looking model!!
svein erik
-
thanks for the likes and coments😊
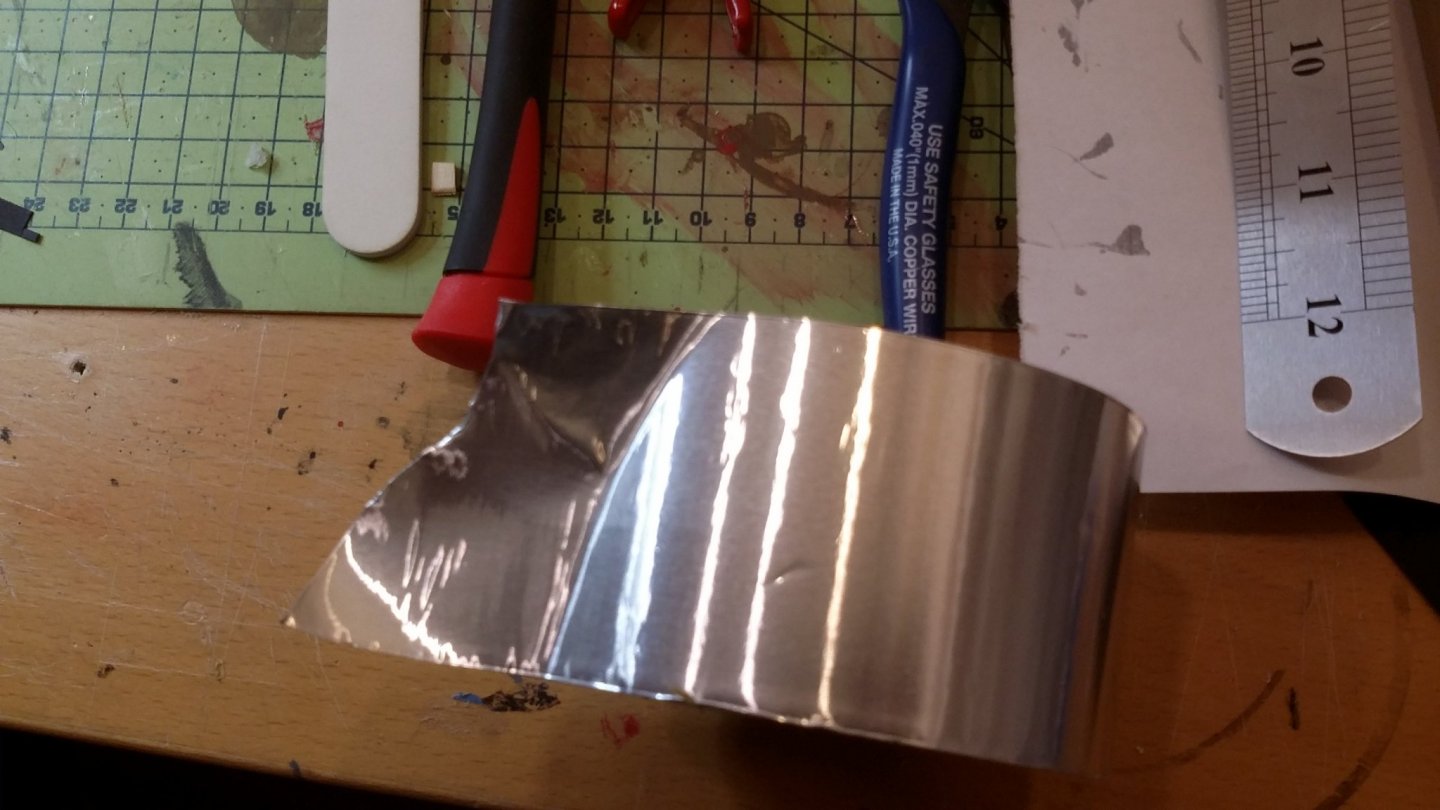
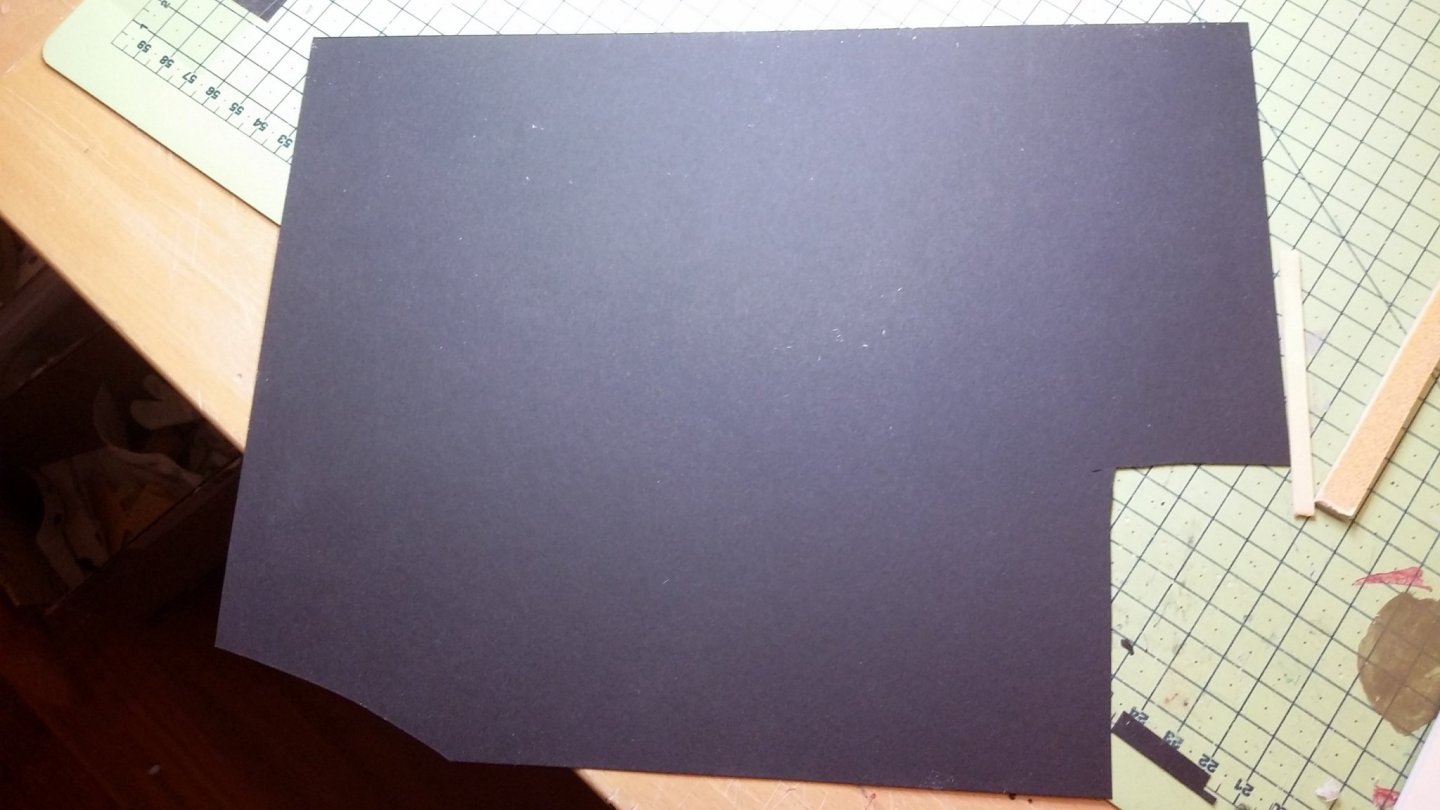
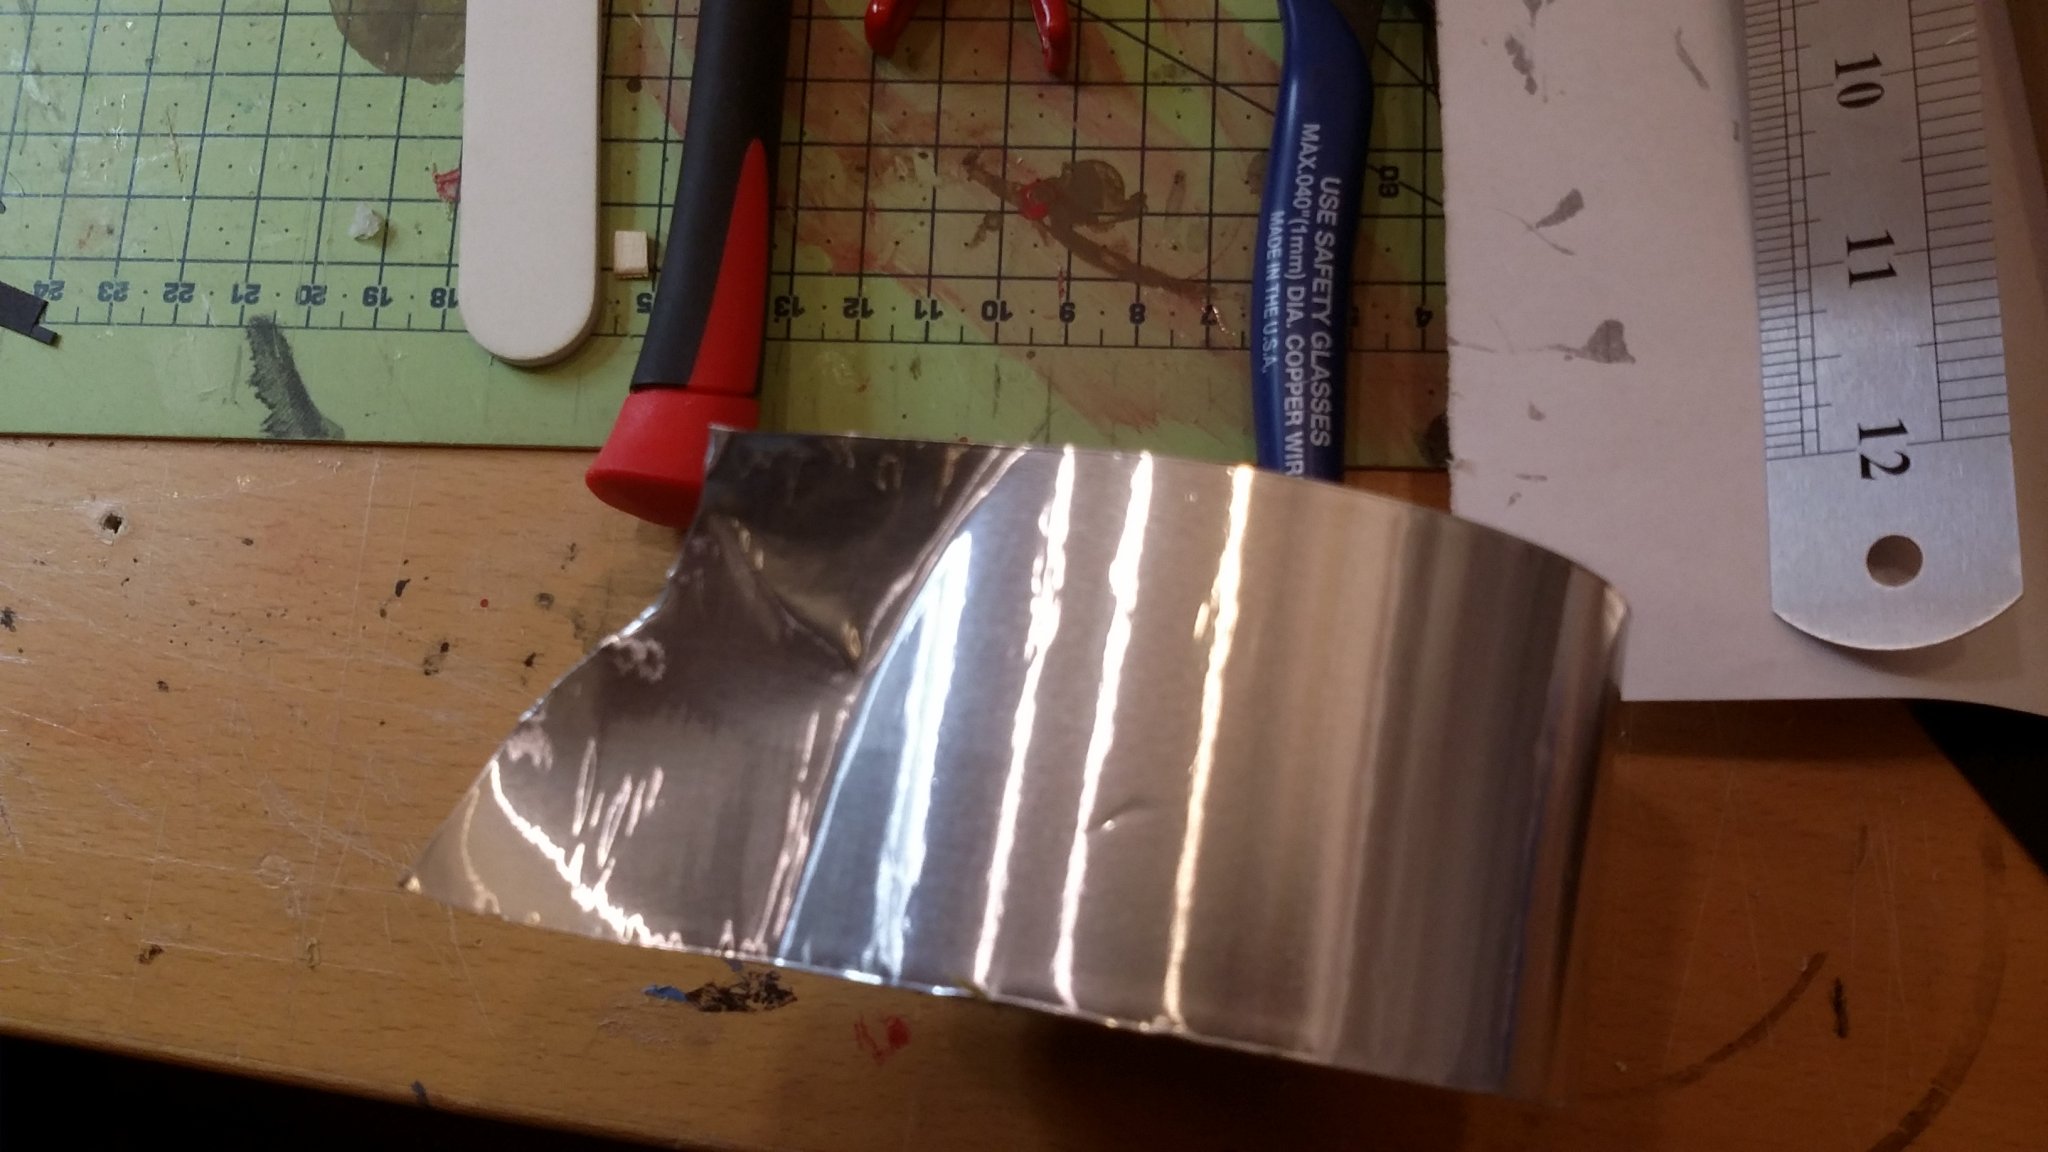
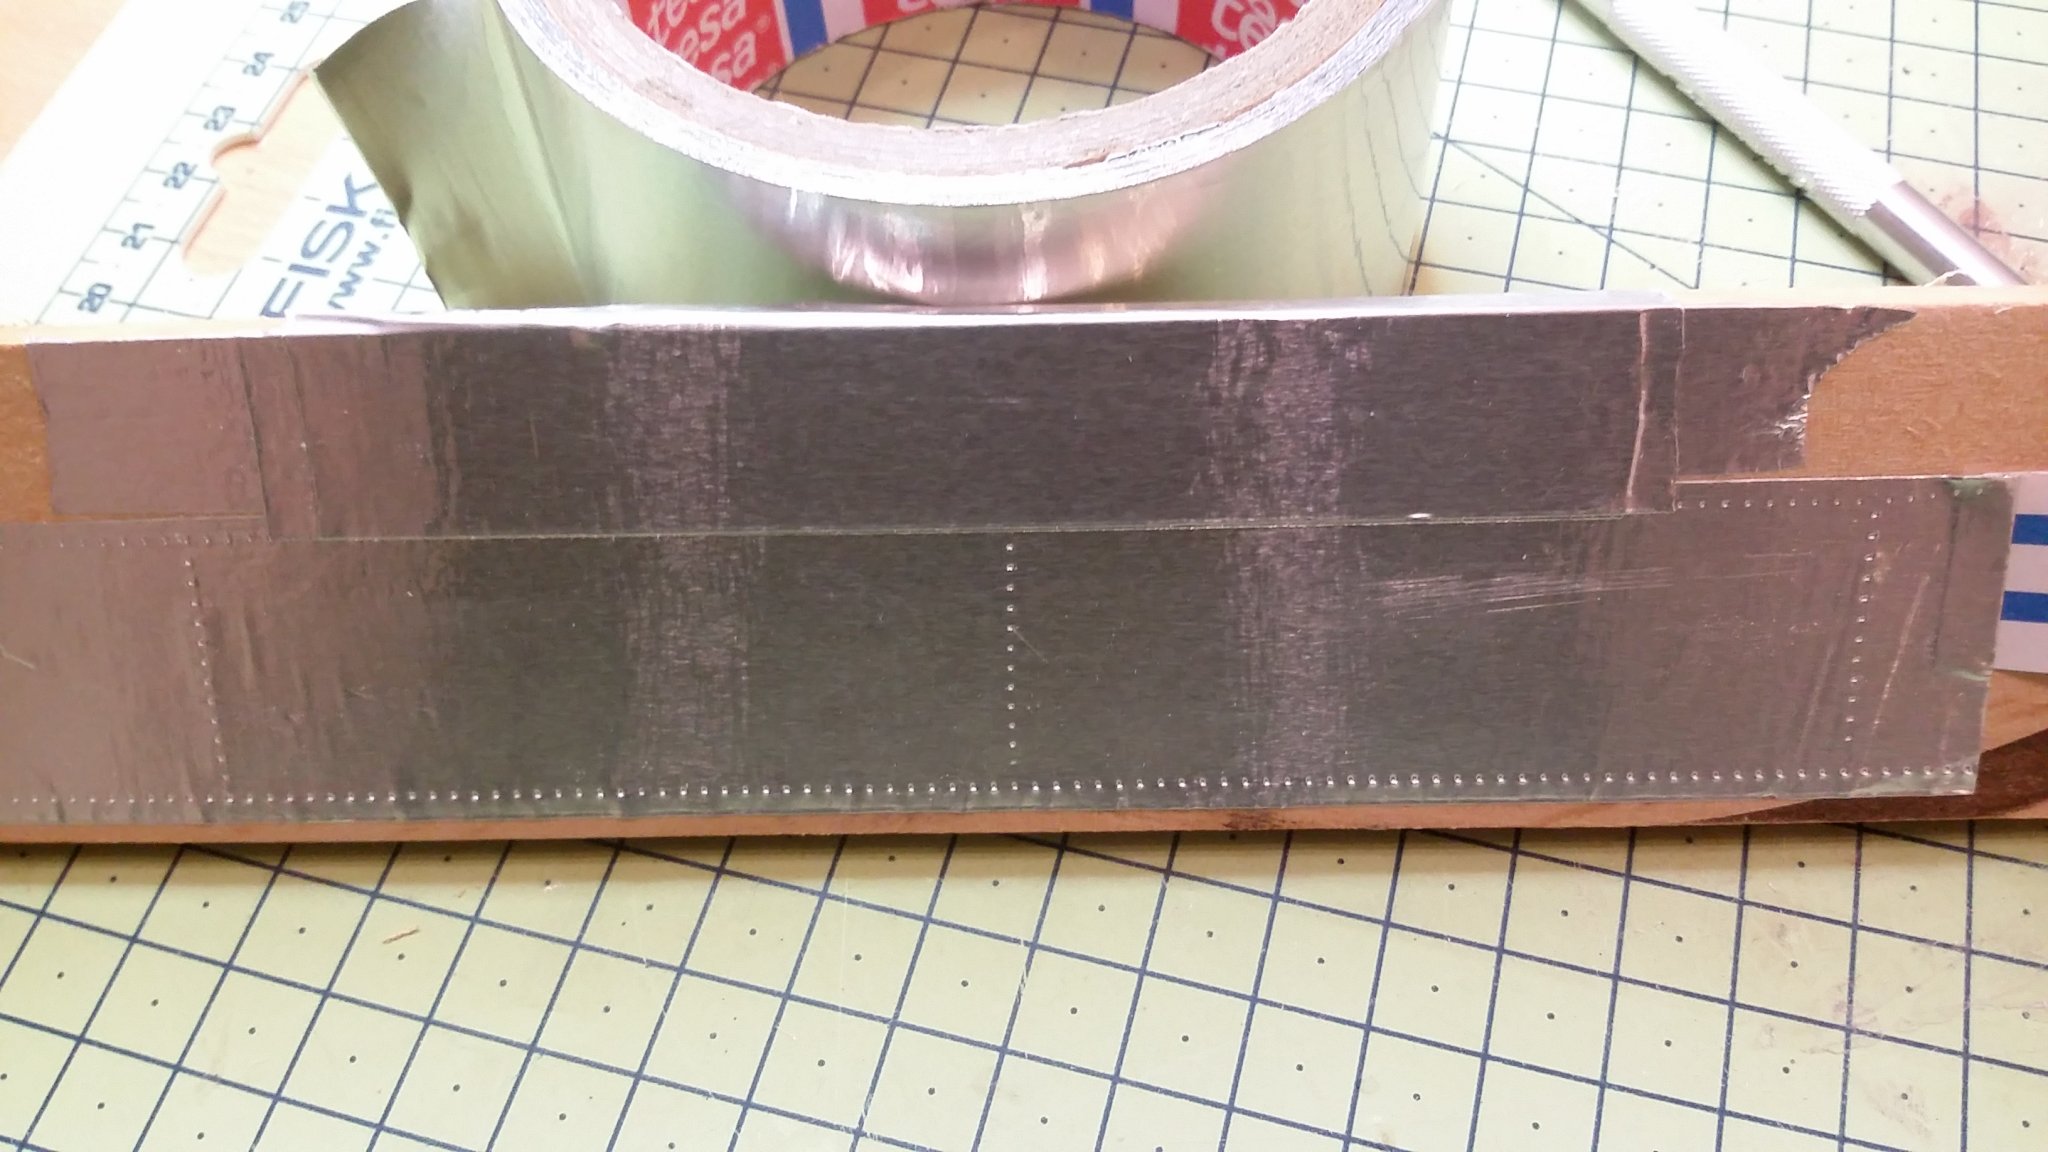
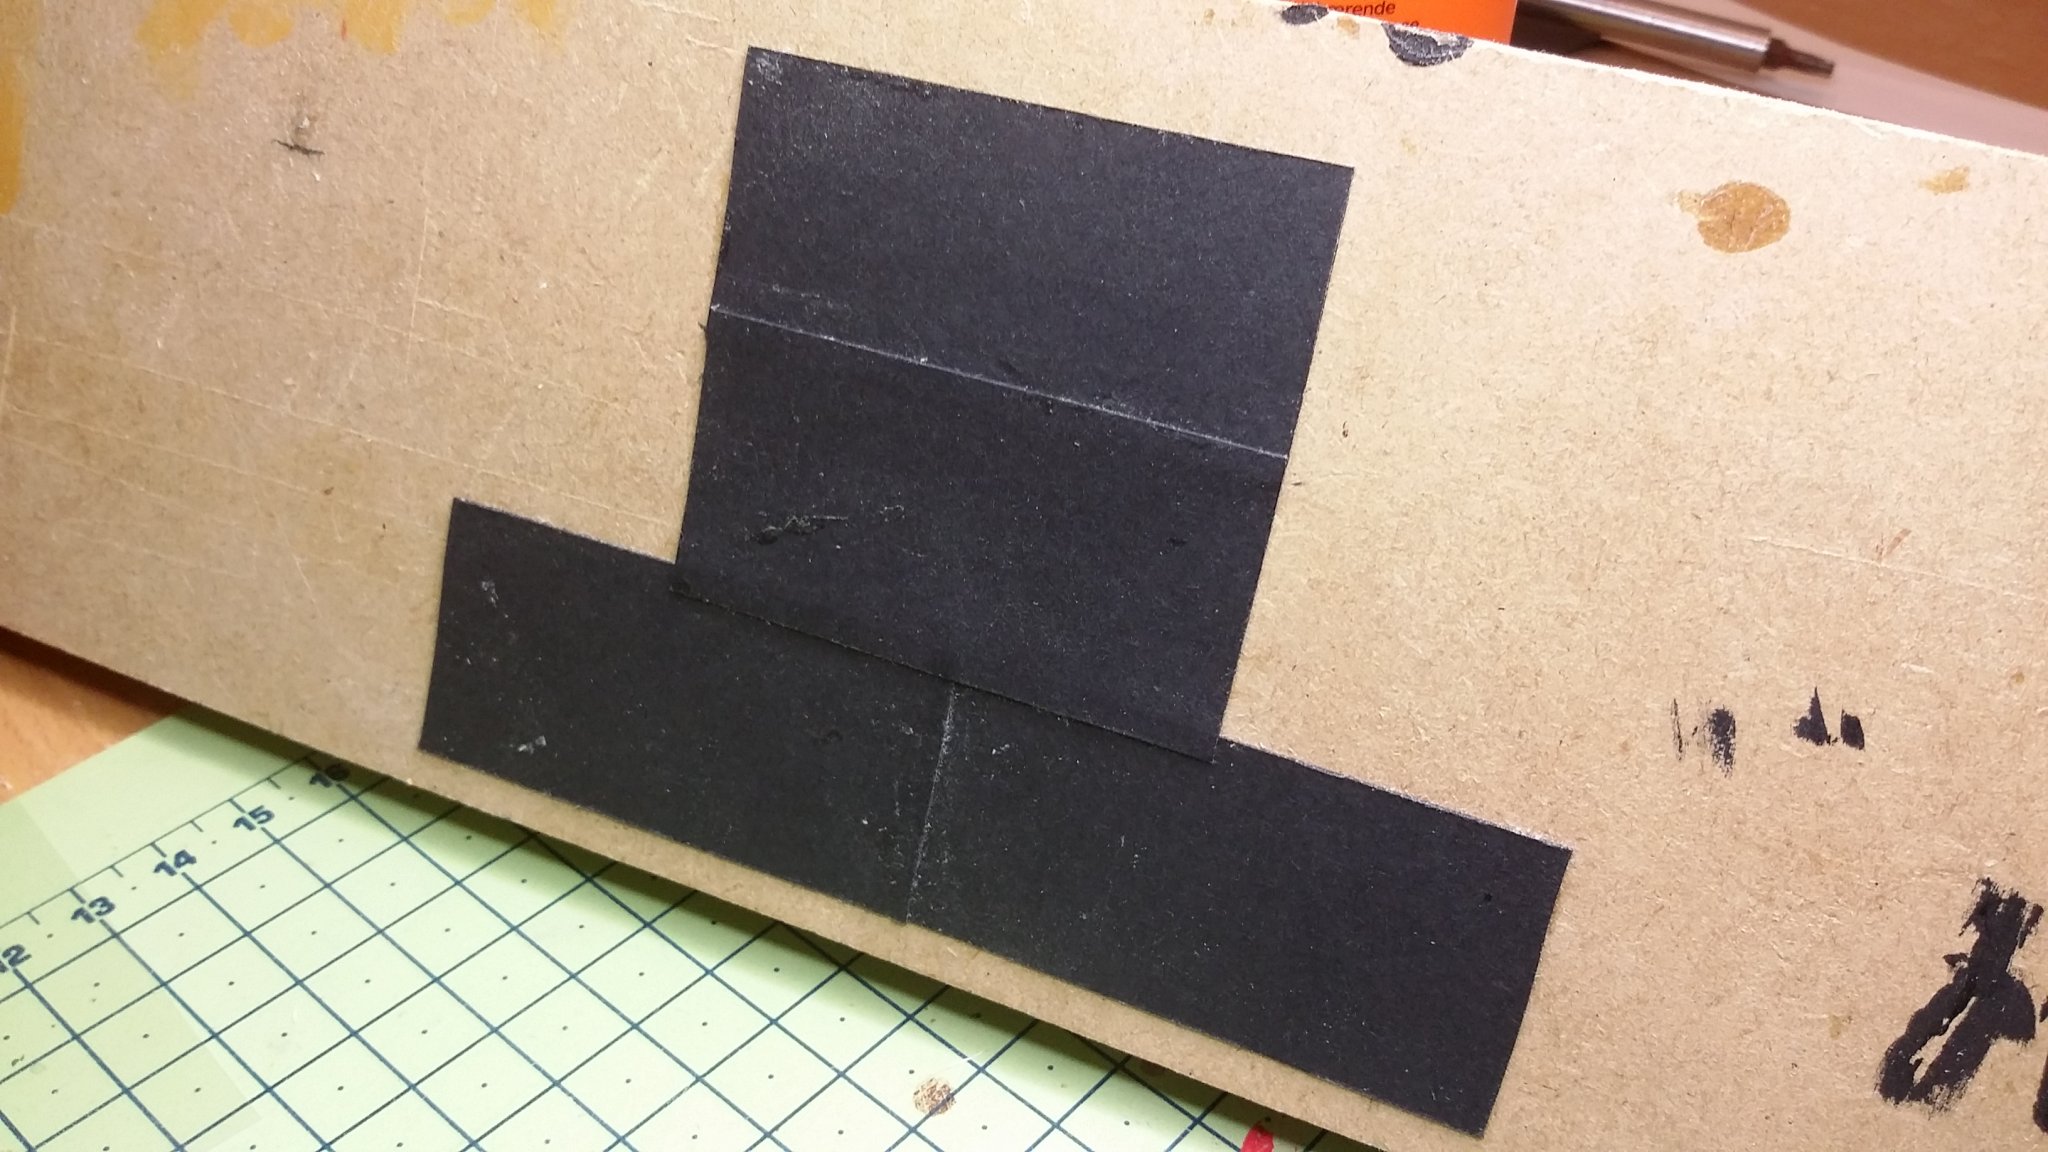
i have bin testing som material for the simulated steel plates .
i first used some alu foil , but i think te seem was not thick for the scale, so i have to go and think out some thing again🔧🔩🔨🚀.....
i did find some card stock , cutting it in some peases (not in scale yust randum) used some pva glue om the back and glue it
to some wood , i think this is it!! nice seems and teksture . Is low cost and i can cutt it in any way i want!
the test is not painted yet, but after this is glue on the hull and painted i thing this is going to be very nice😊
svein erik


-
this is a grait tool, i have bin looking for some like this😊 its on my favorites too!
svein erik
- thibaultron, Canute, mtaylor and 2 others
-
5
-
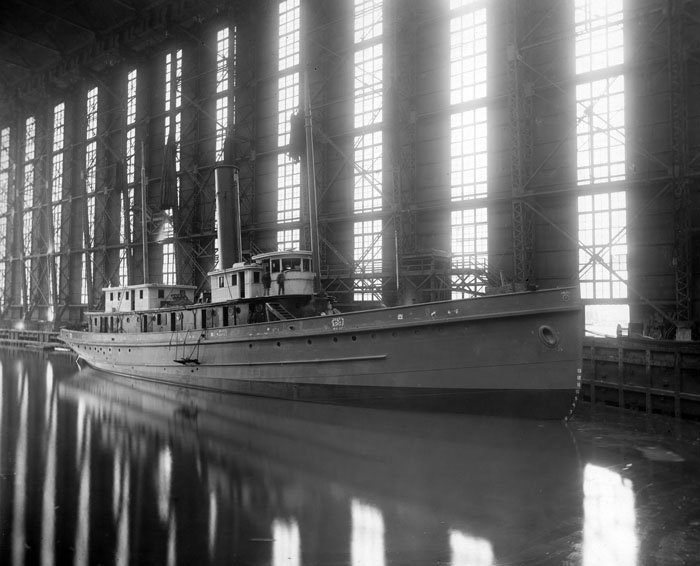
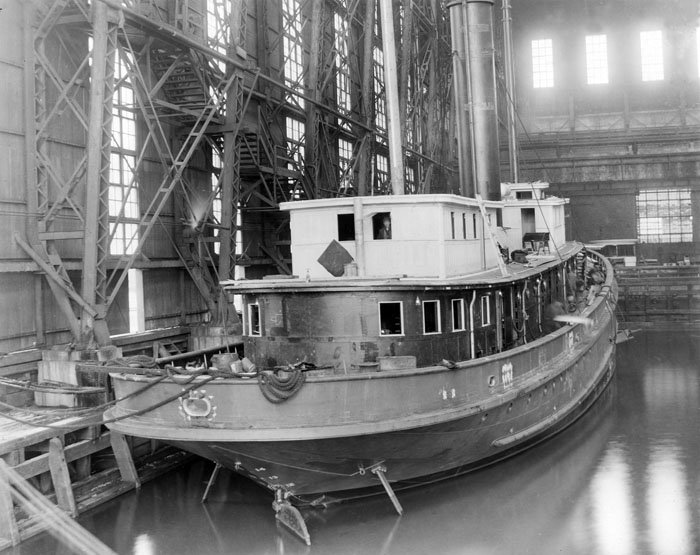
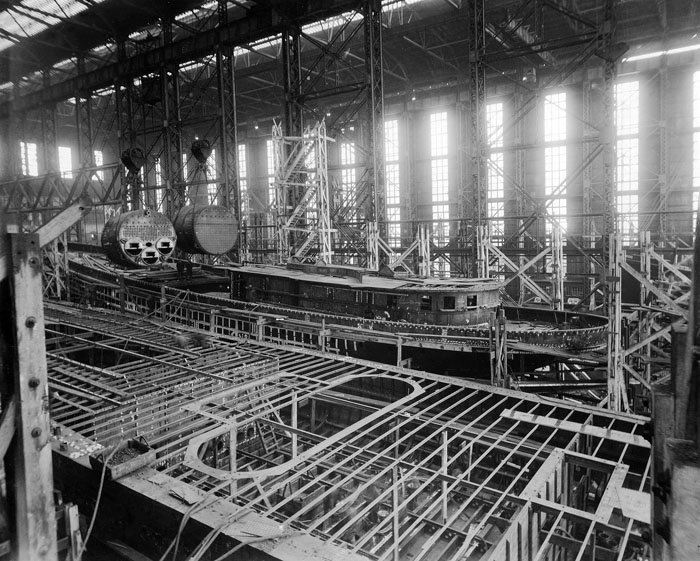
The pequot was built in 1909 by the New York Shipsbuilding company in Camden, New Jersey with the name
General Samuel M.Mills and first commissioned as an Army mine layer.
She was driven by two compound- expansion 2 cylinder coal fired steam reciprocal engines which generated 900 horsepower.
the length was 166' and beam of 32' with a draft of 13' she displaced 1106 tons.
October 12, 1908 the keels for the Mills and Schofield where laid on the same day,
My build wil be based on the Mills/ later Pequot from 1908/1909 and the hull is constructed of wood
with wood planking, later i wil make simulated steel plates with the bolts etc ( hull)
the main deck cabins wil also have simulates steel plates , but the upper cabins wil be in wood as constructed in 1909.
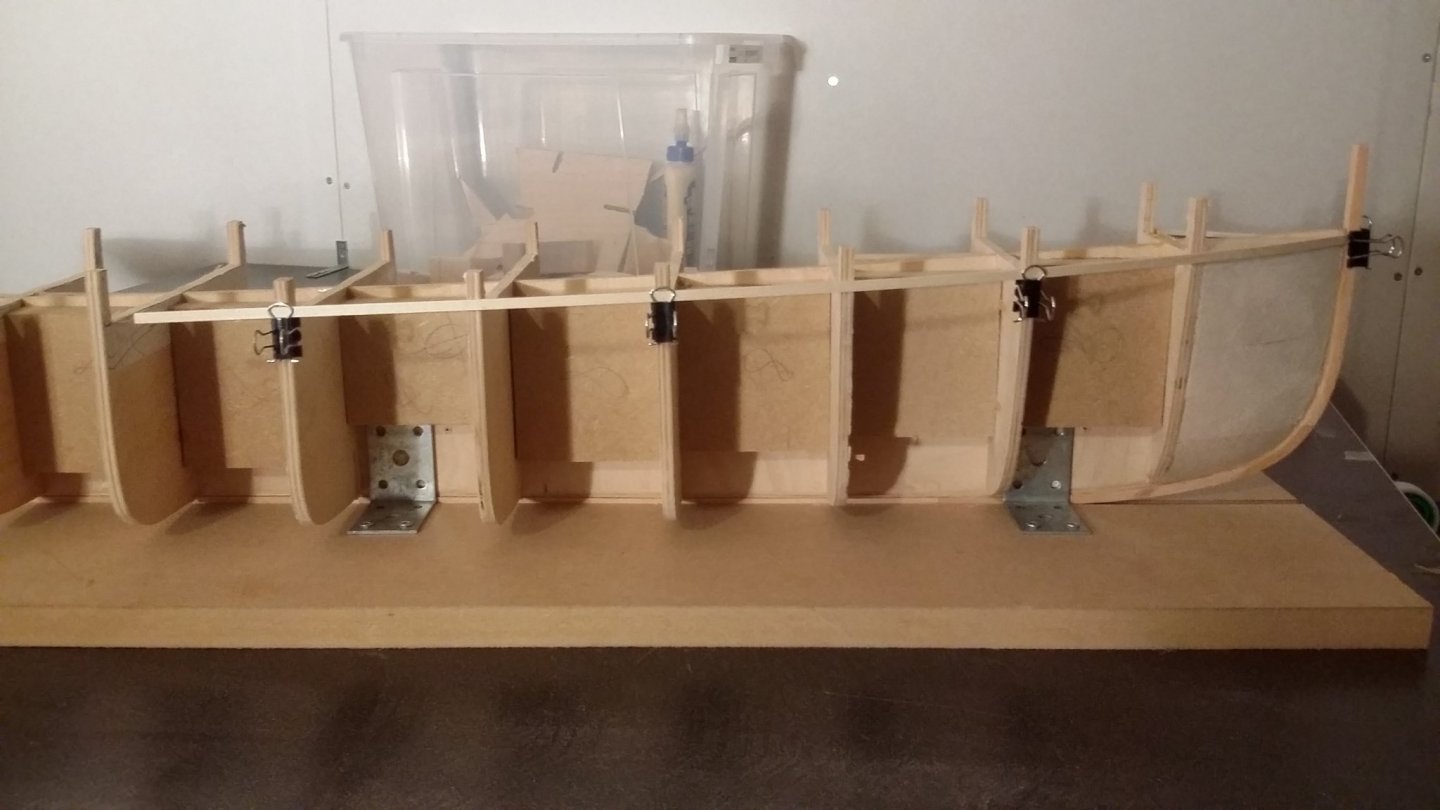
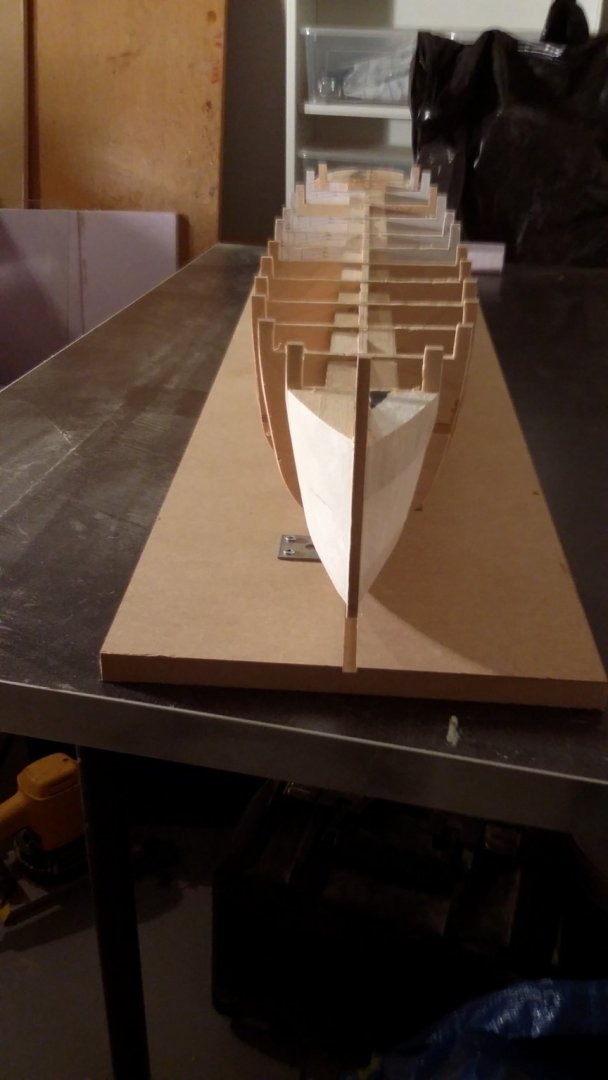
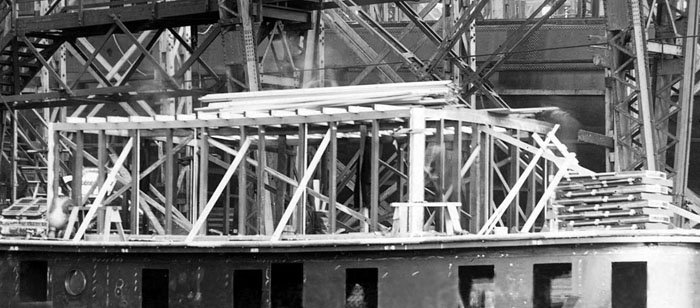
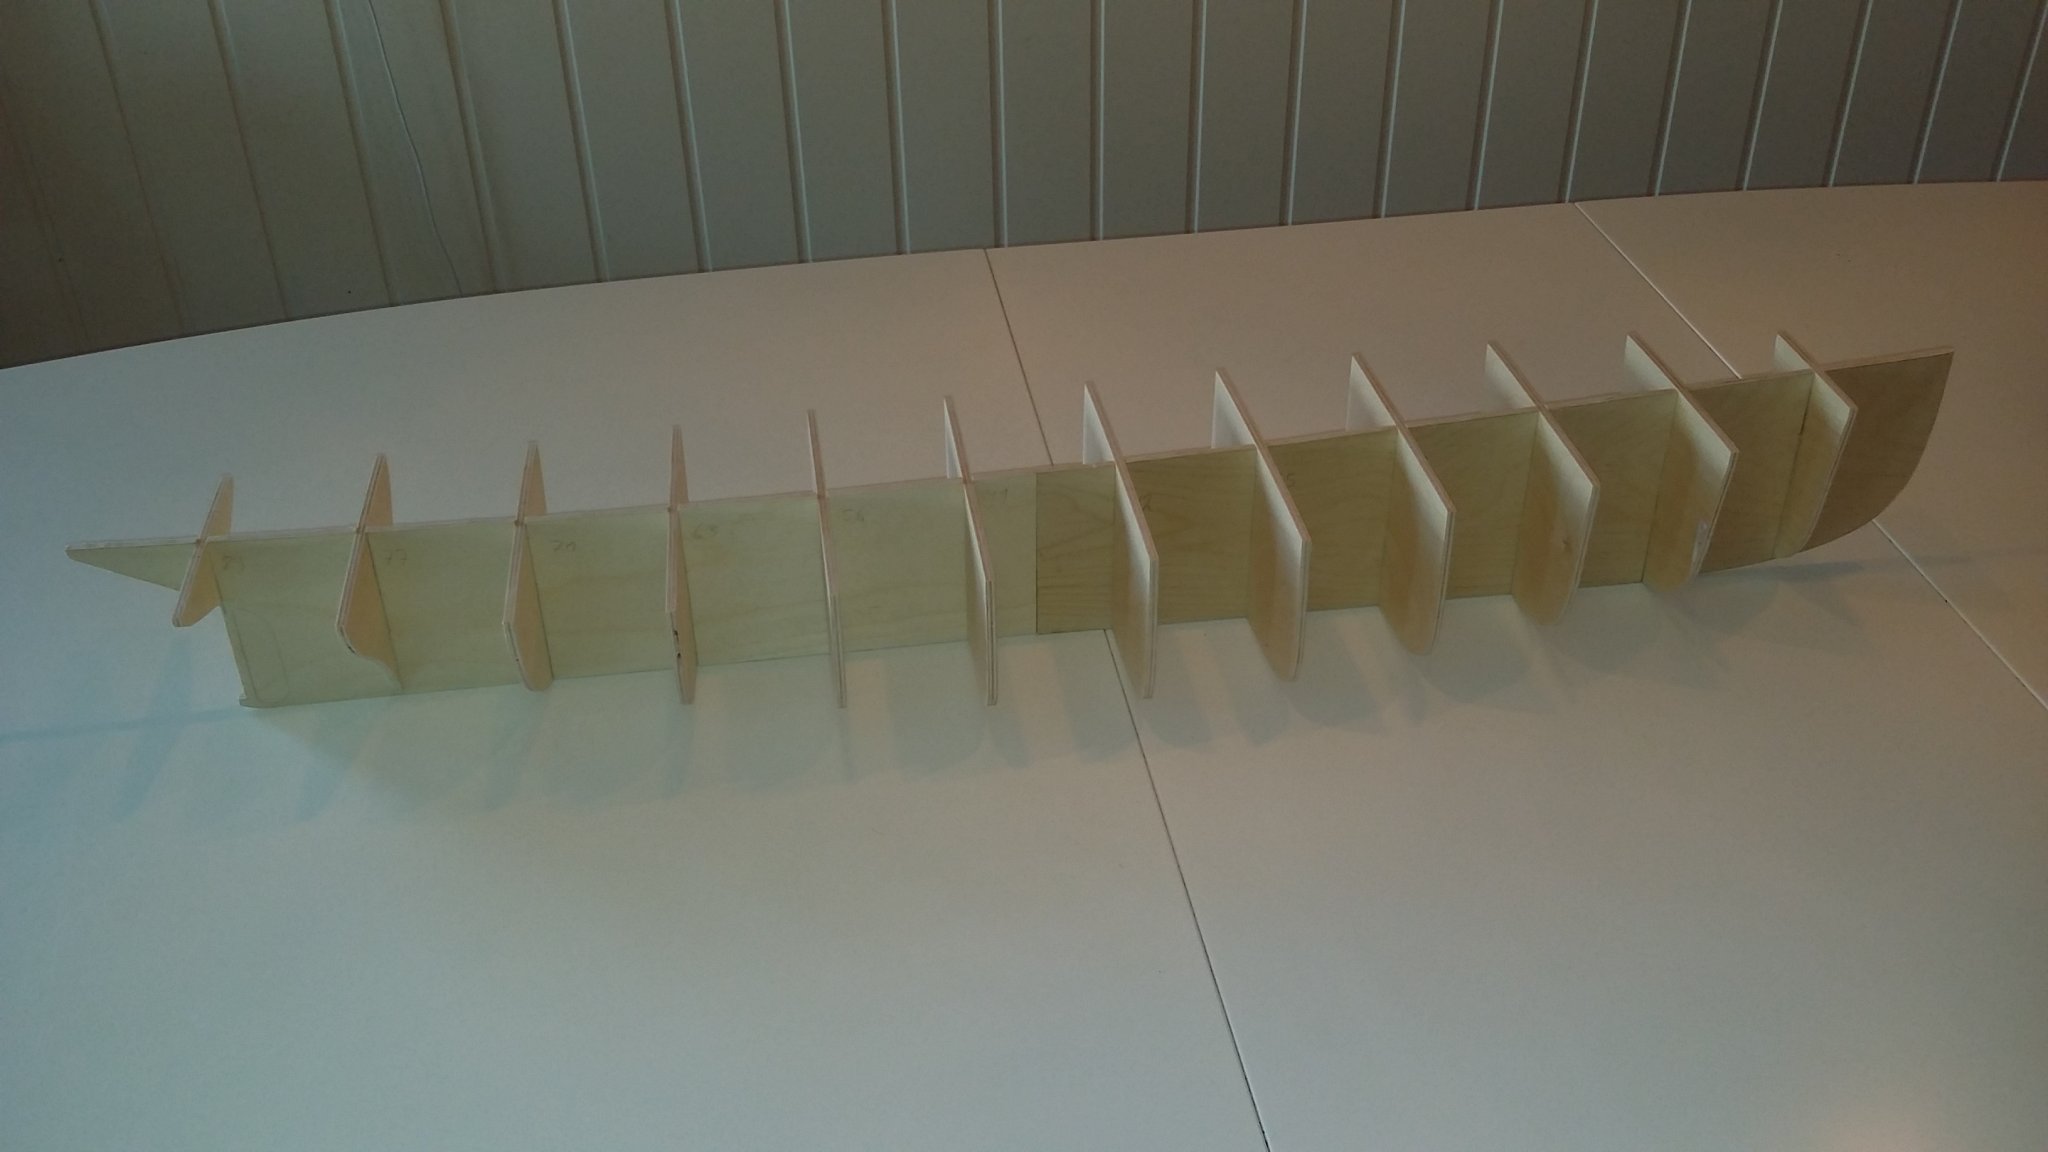
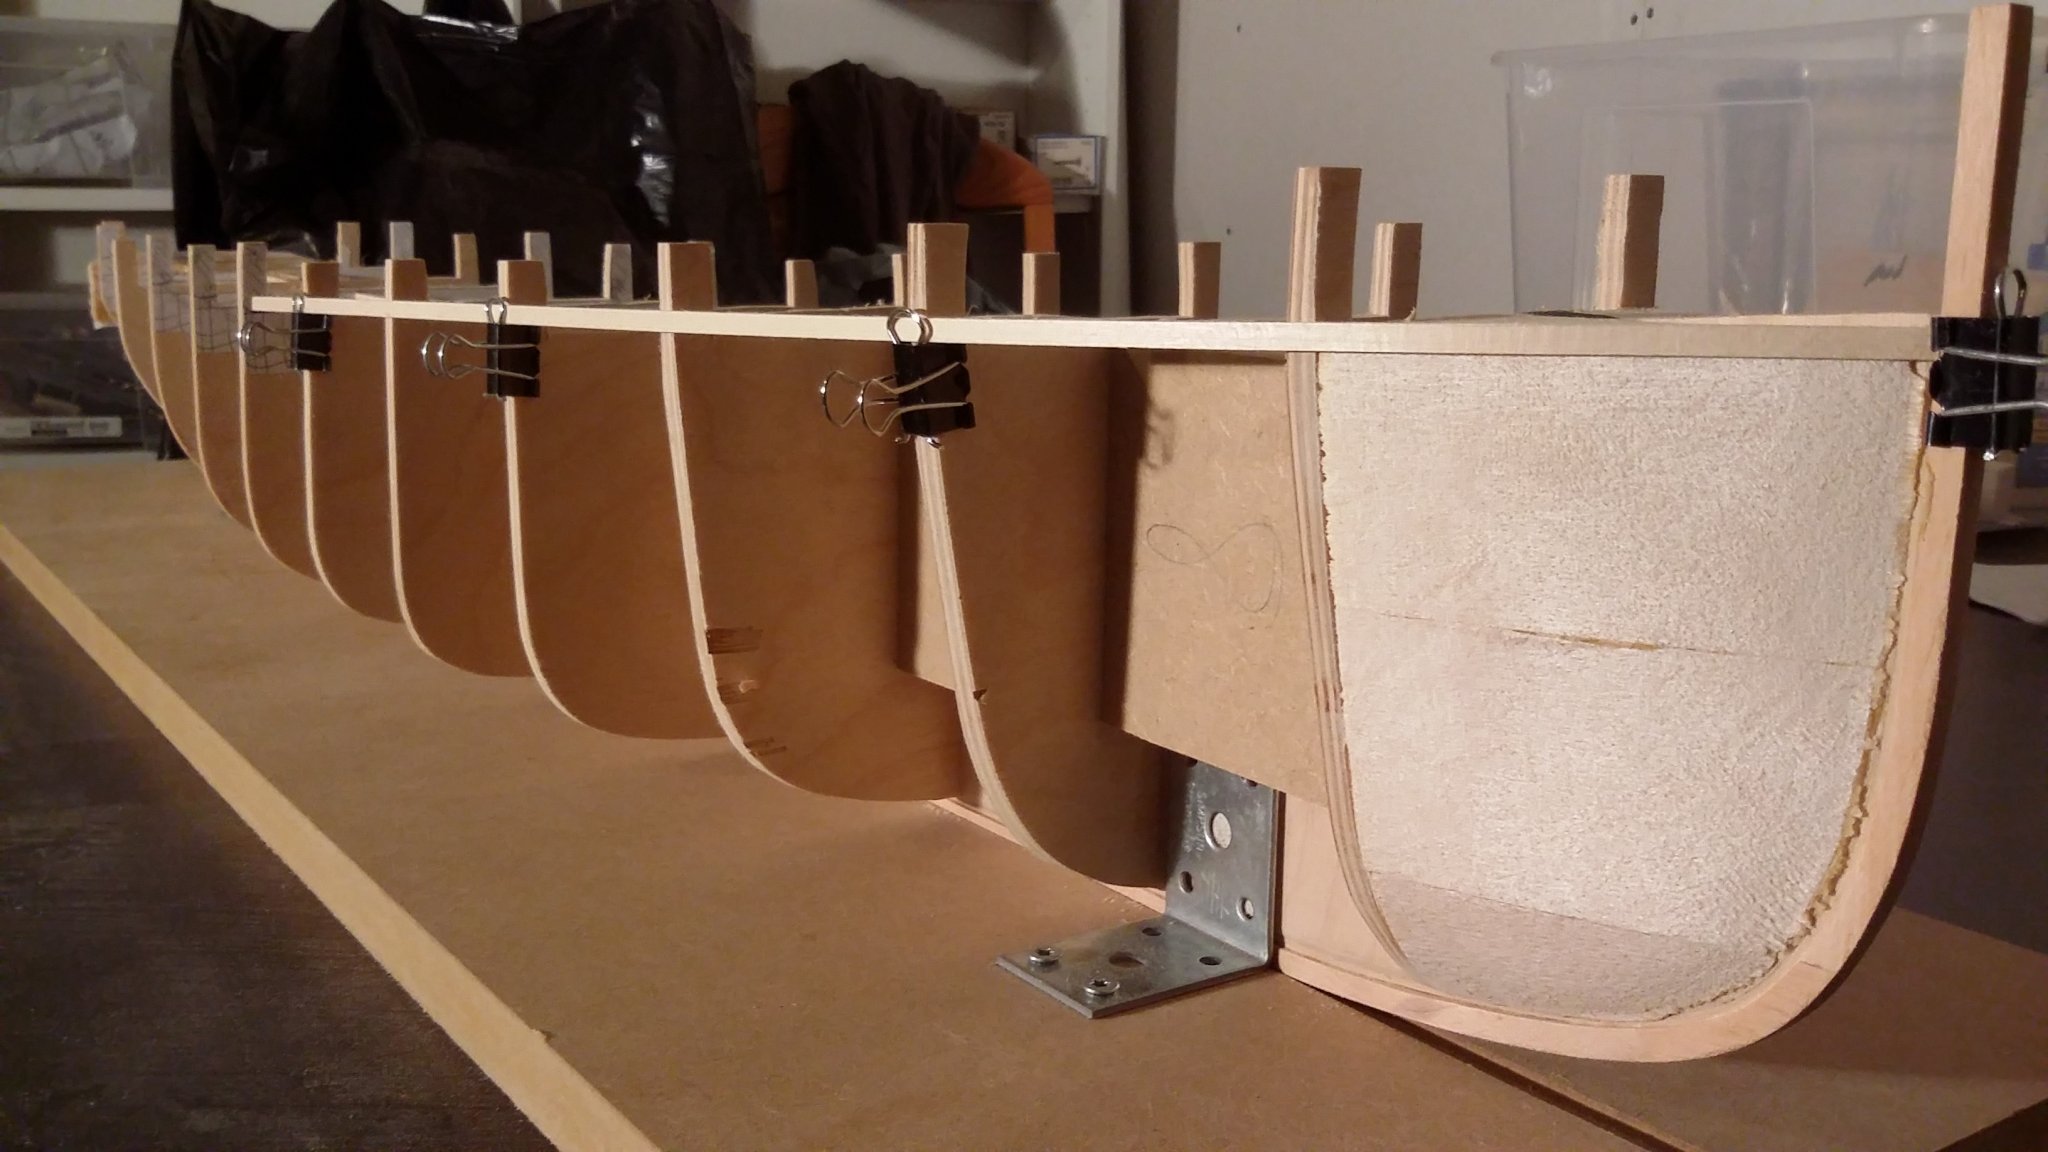
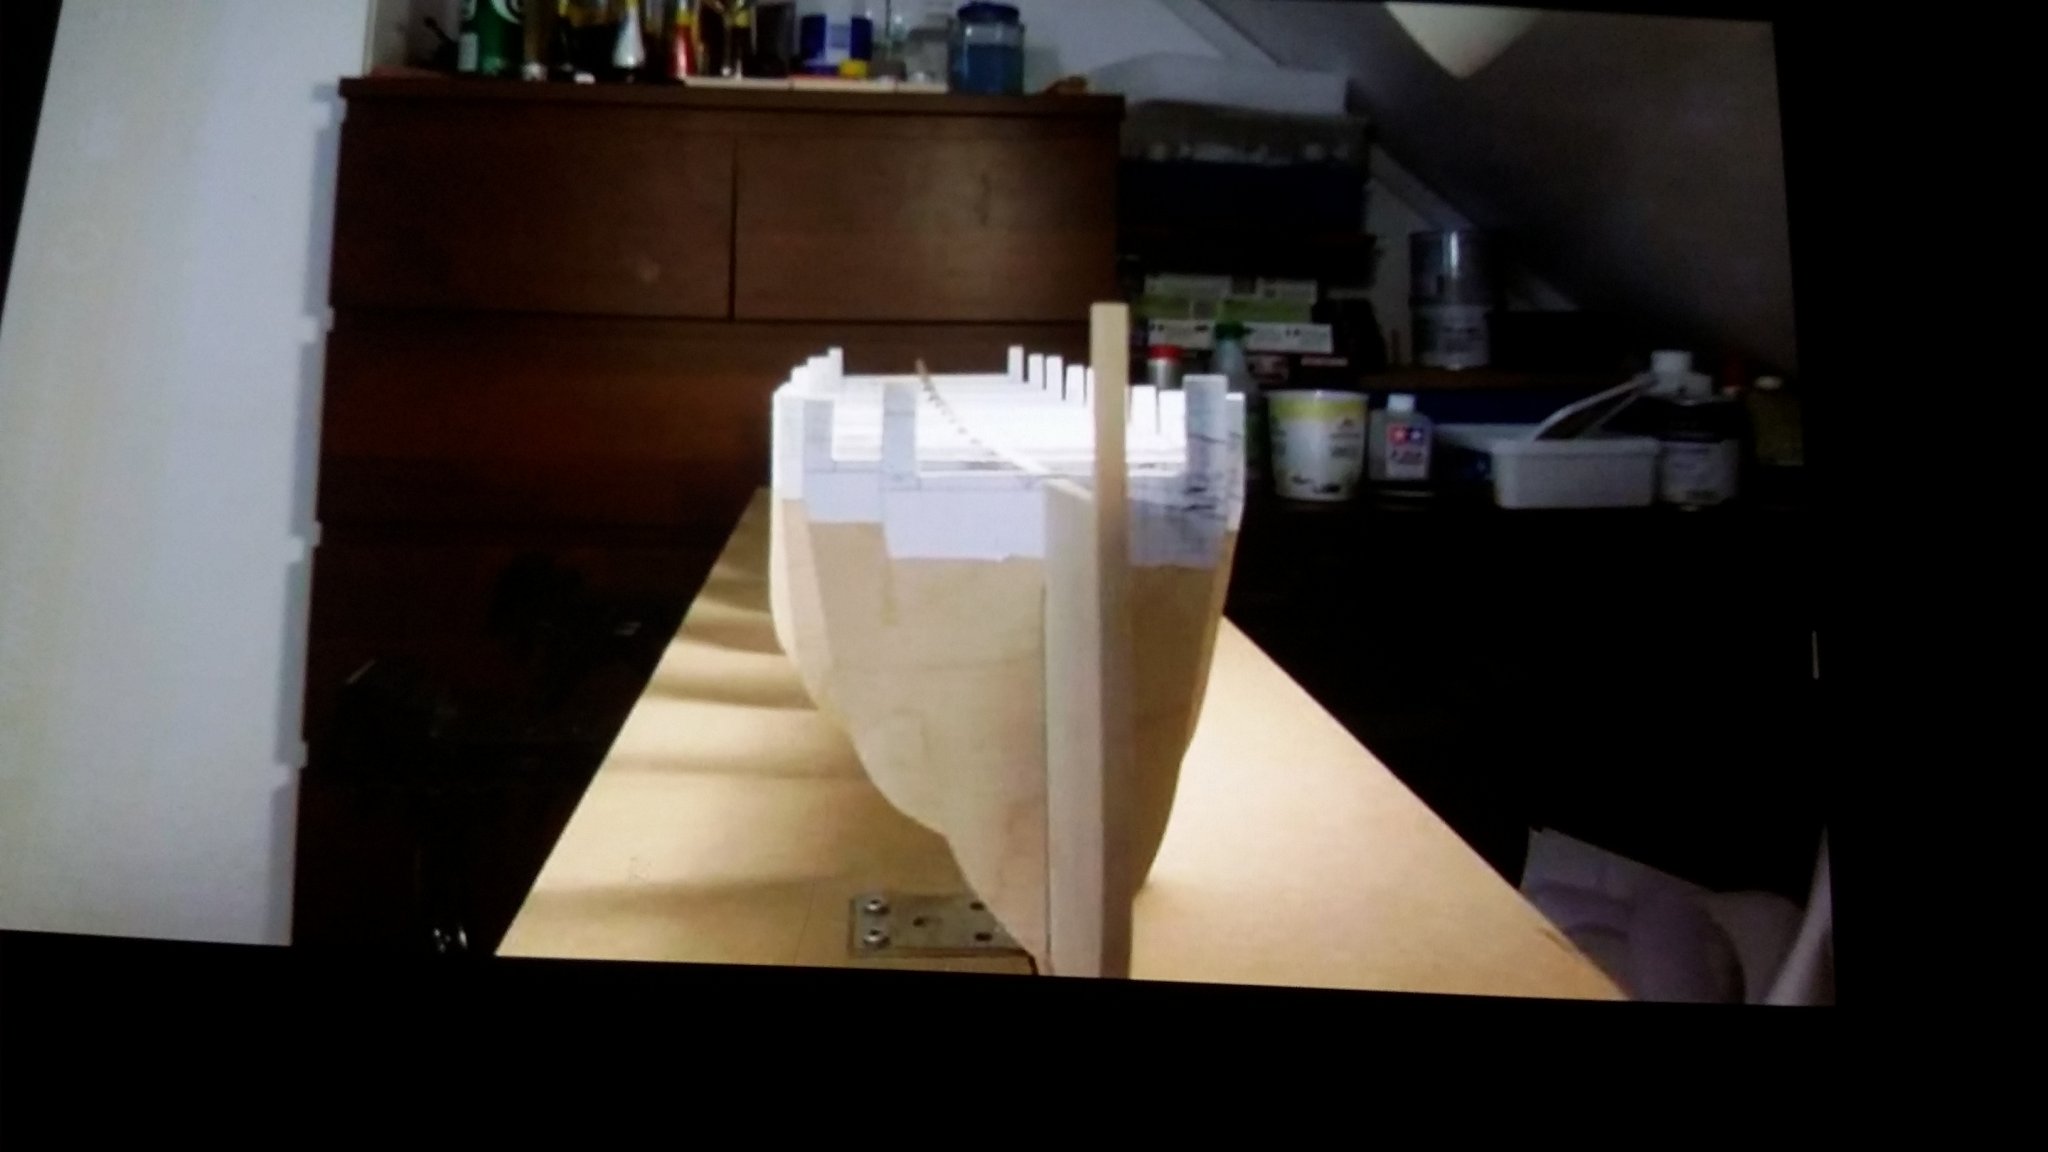
some photo of the building of the Mills /Pequot, and my frame work as it are now .
i need more wood filling at the stern an some more fairing of the hull befor planking.
svein erik.


- Mirabell61, coxswain, GrandpaPhil and 12 others
-
15
-
-
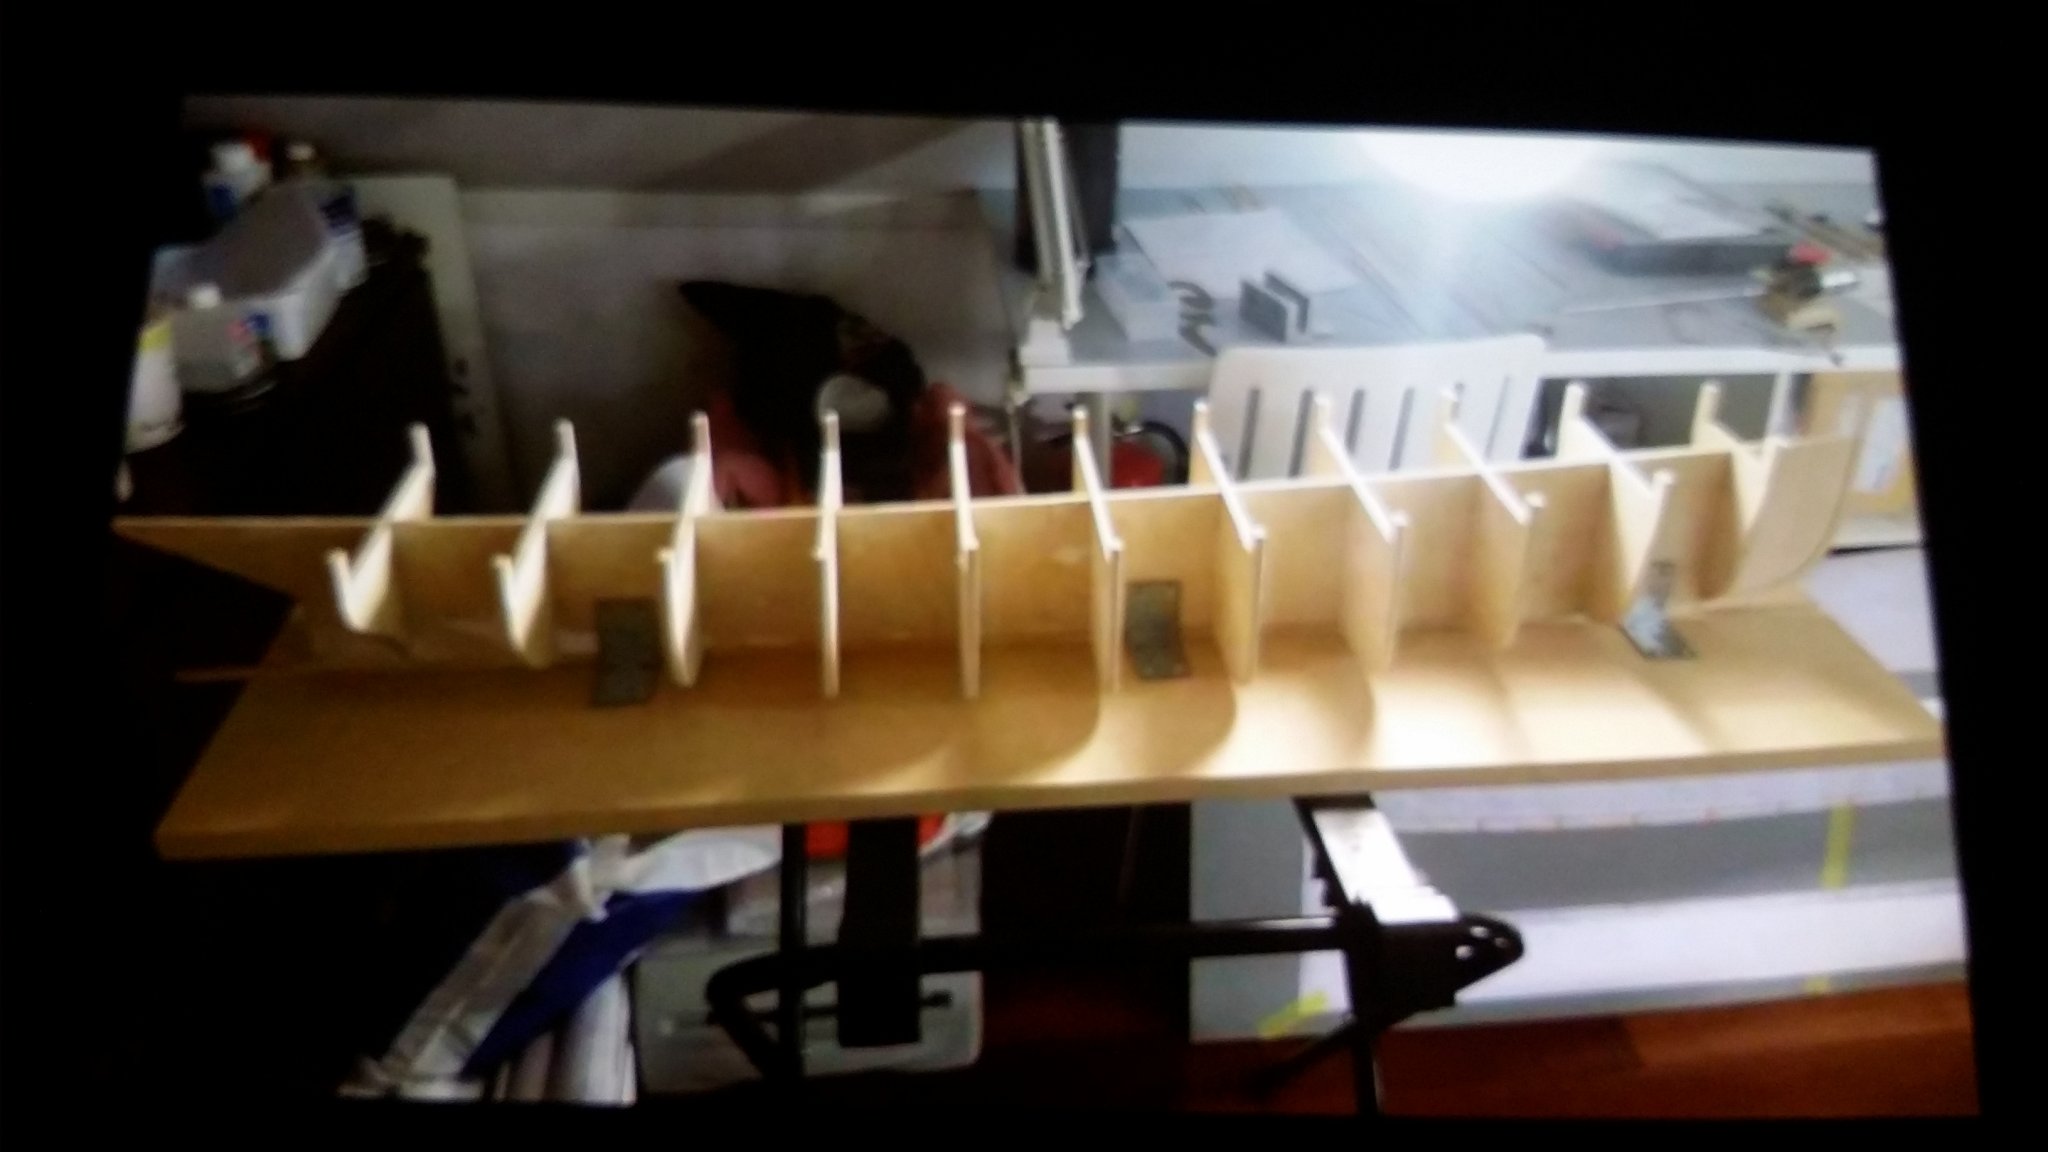
hi . its now time to start the build log for the us coast guard cable steam boat.
a wil write more soon how its going to be built !
here ate some photos of the frame for now!
svein erik


- lmagna, Vladimir_Wairoa, hexnut and 9 others
-
12
-
thanks for coments and likes,
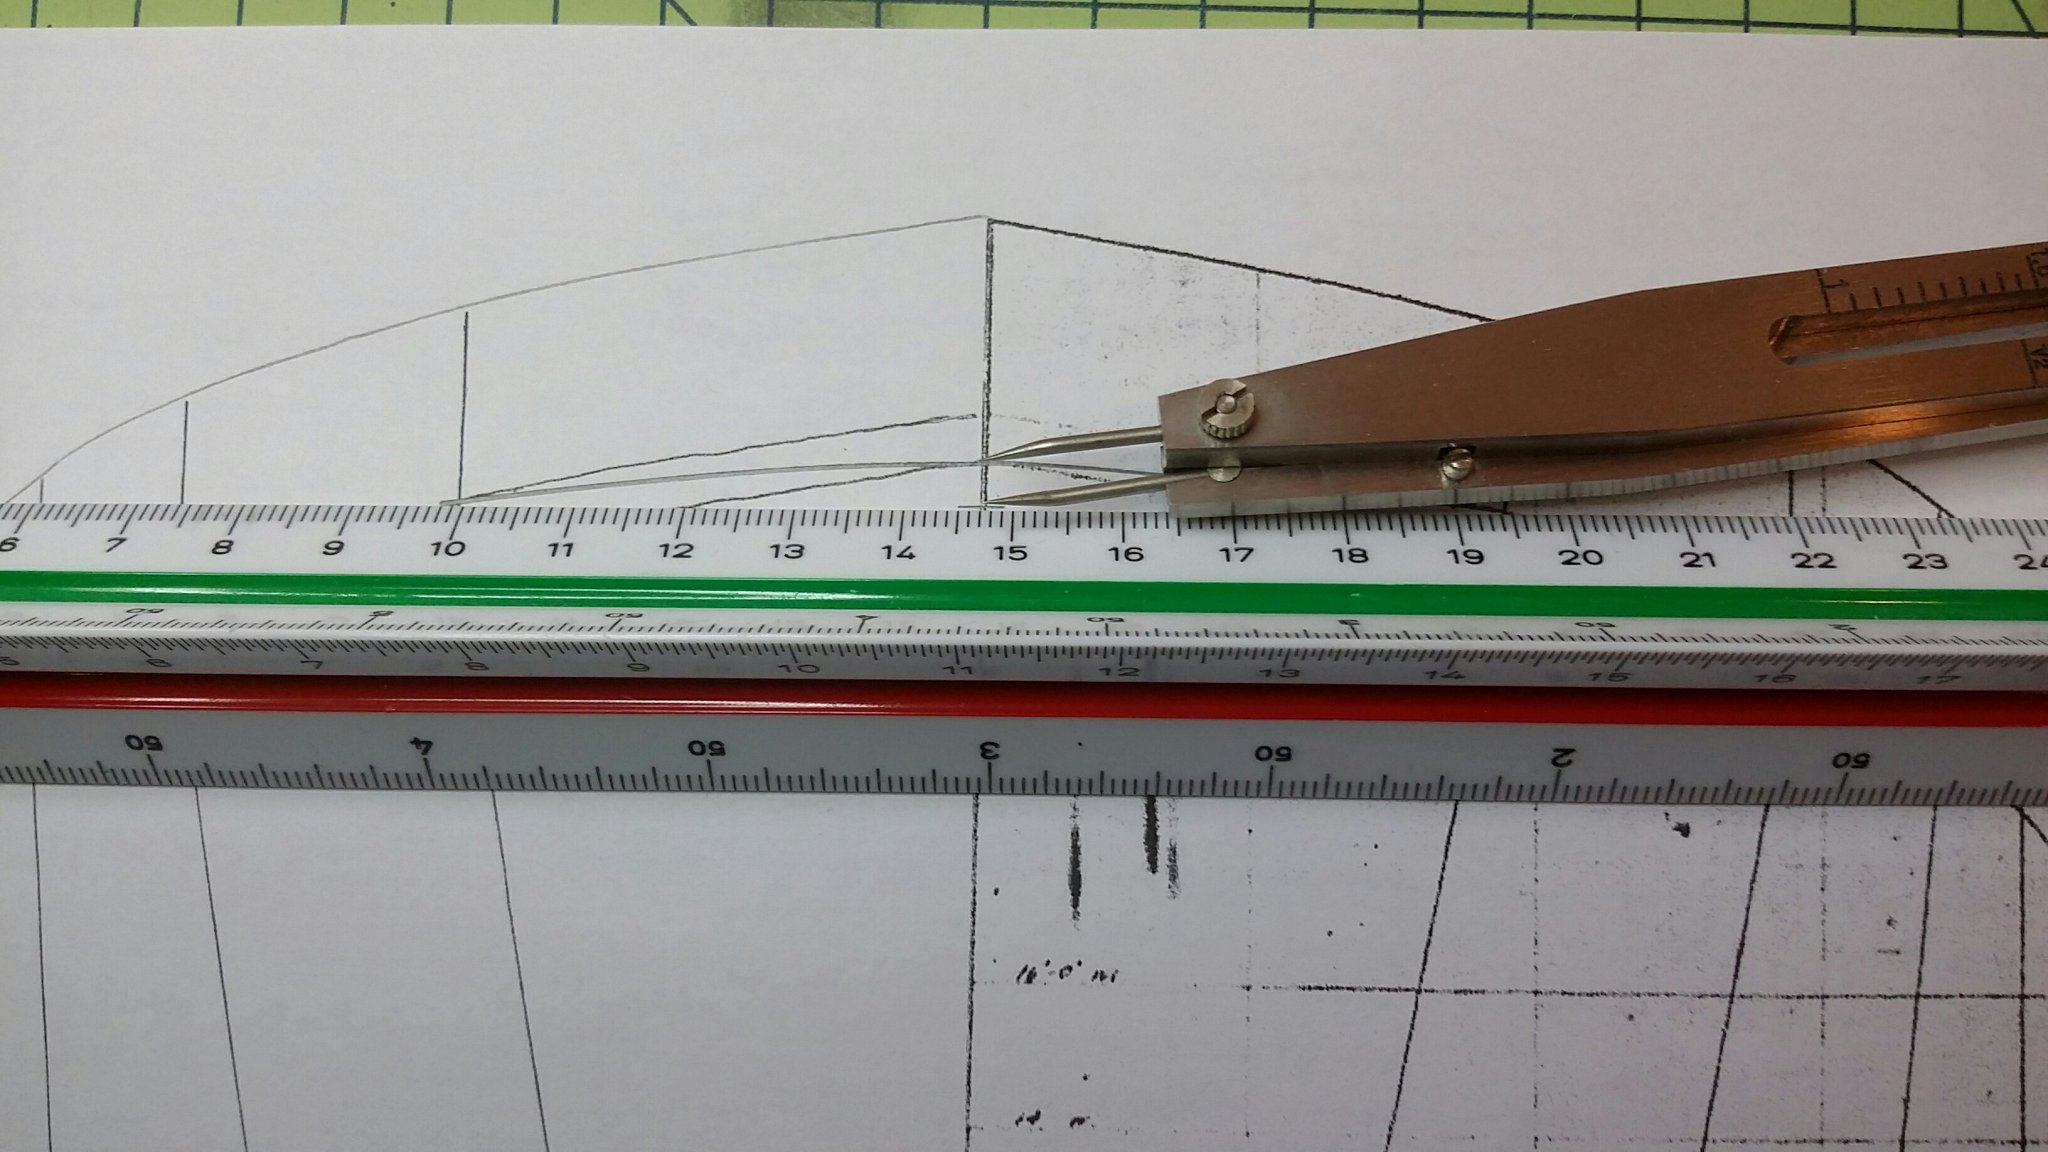
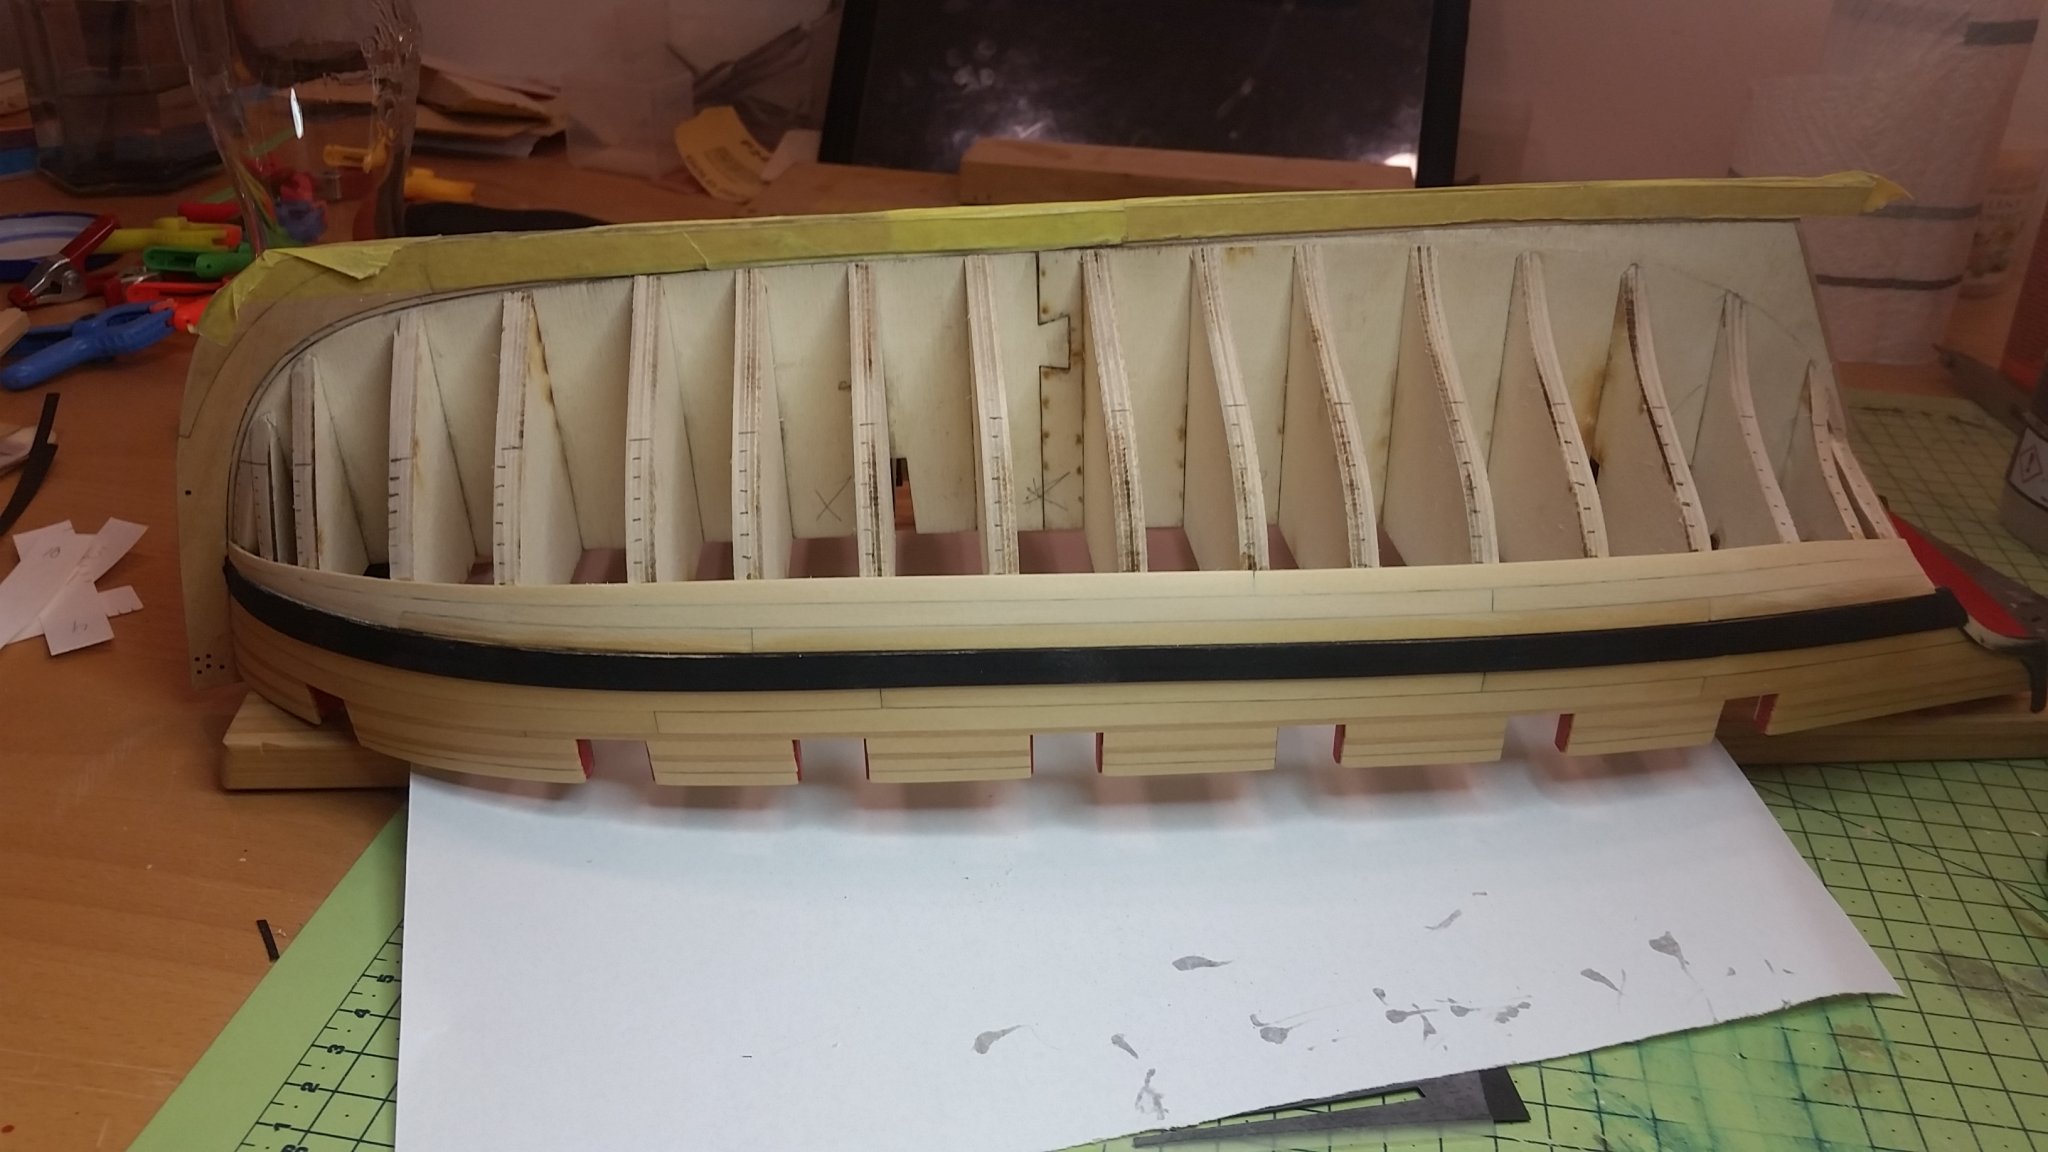
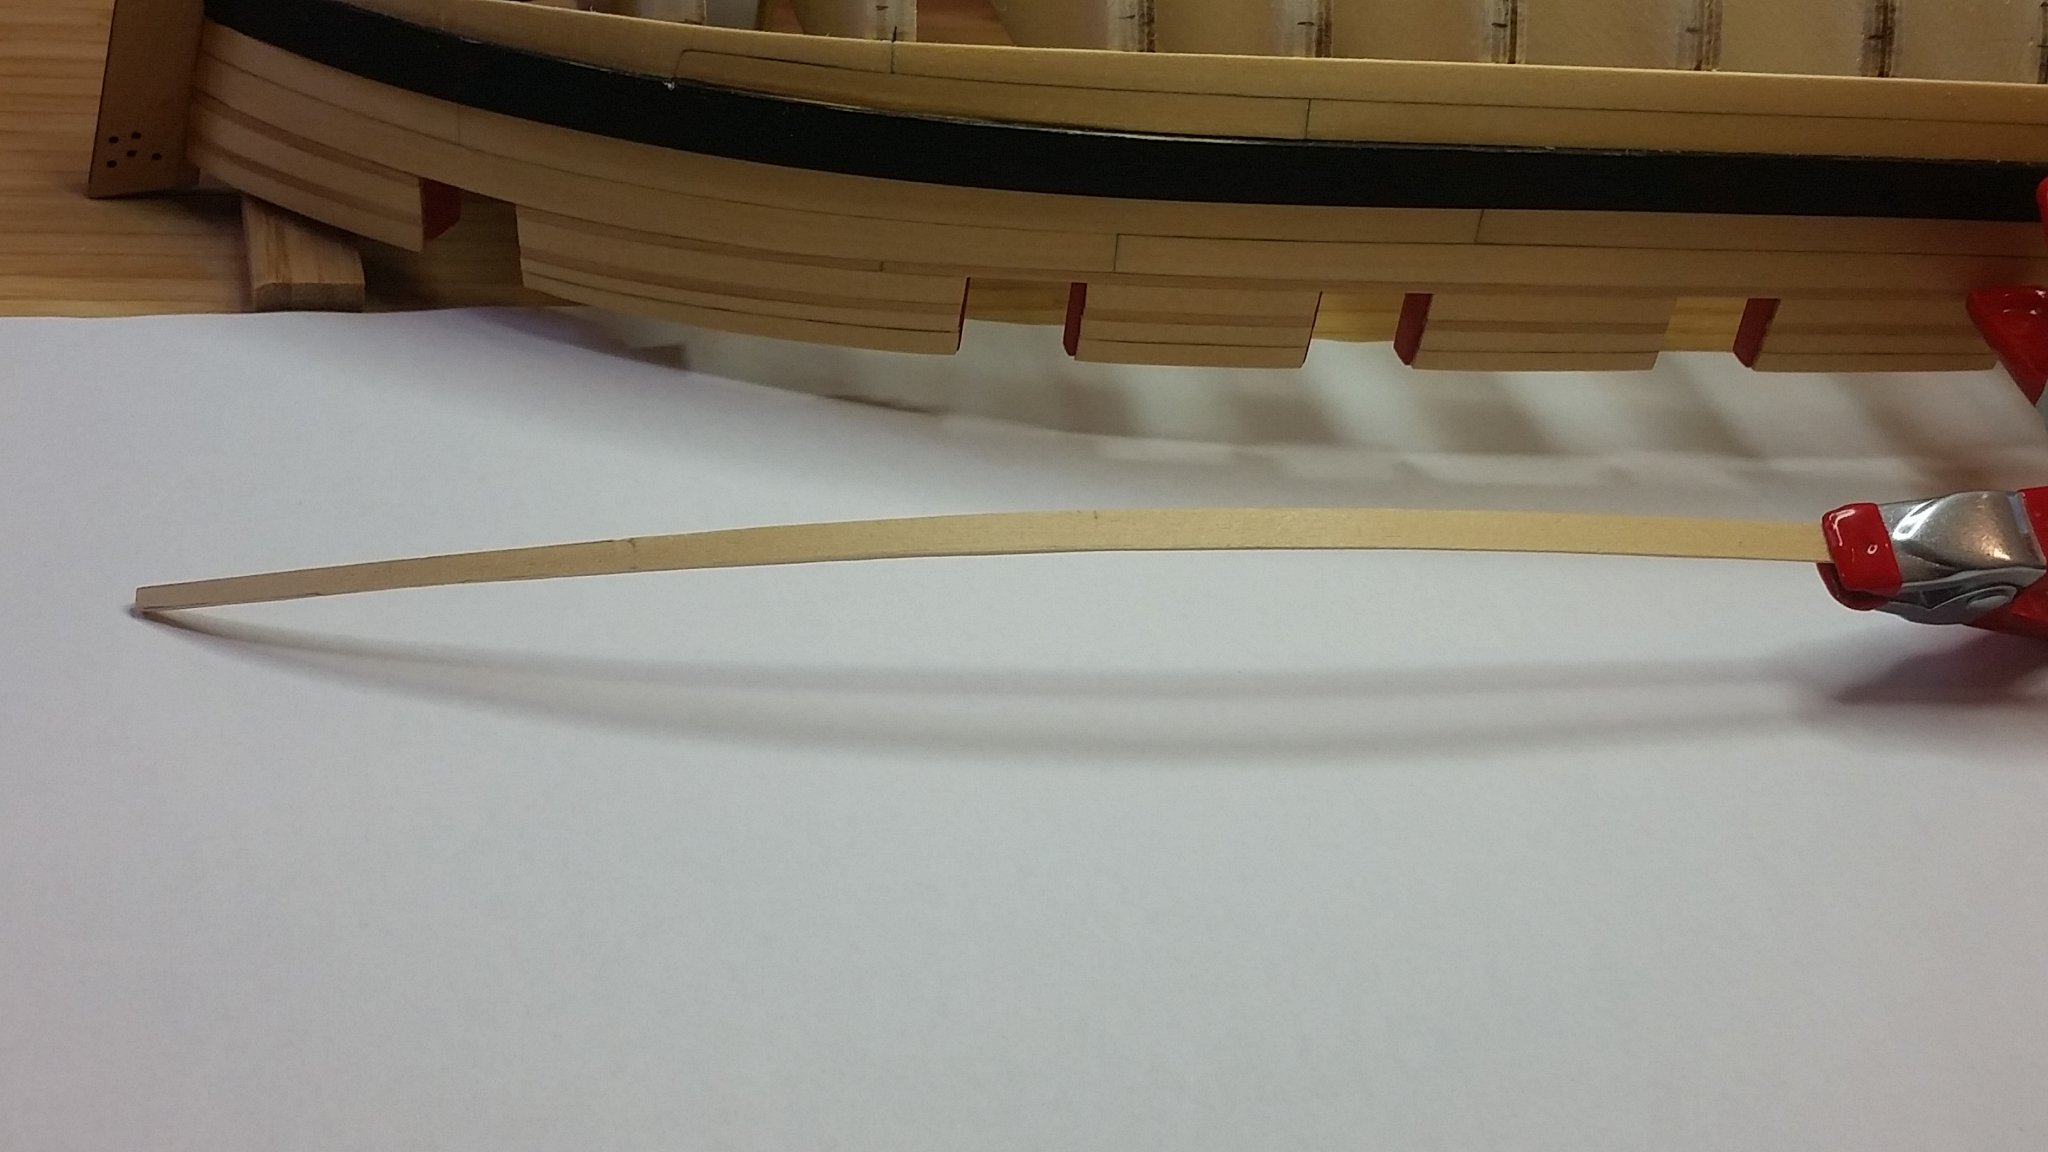
over to the fun parts......... lining of the hull using chucks metod..... or am learnig it😉
svein erik


Pequot 1908 by svein erik - FINISHED - 1/48 scale - Coast Guard Cutter
in - Build logs for subjects built 1901 - Present Day
Posted
thanks for the likes,
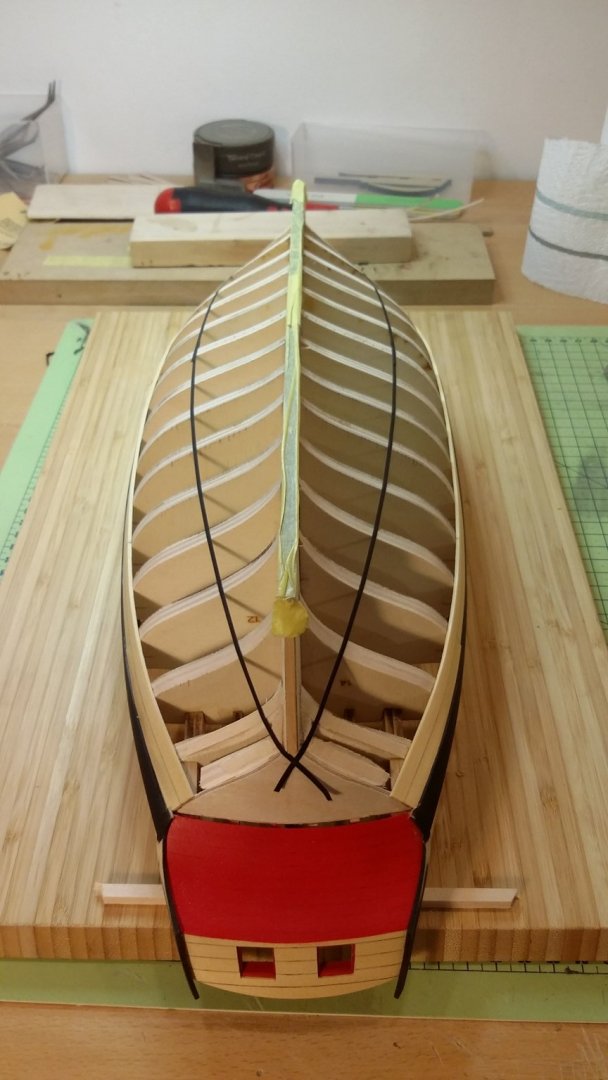
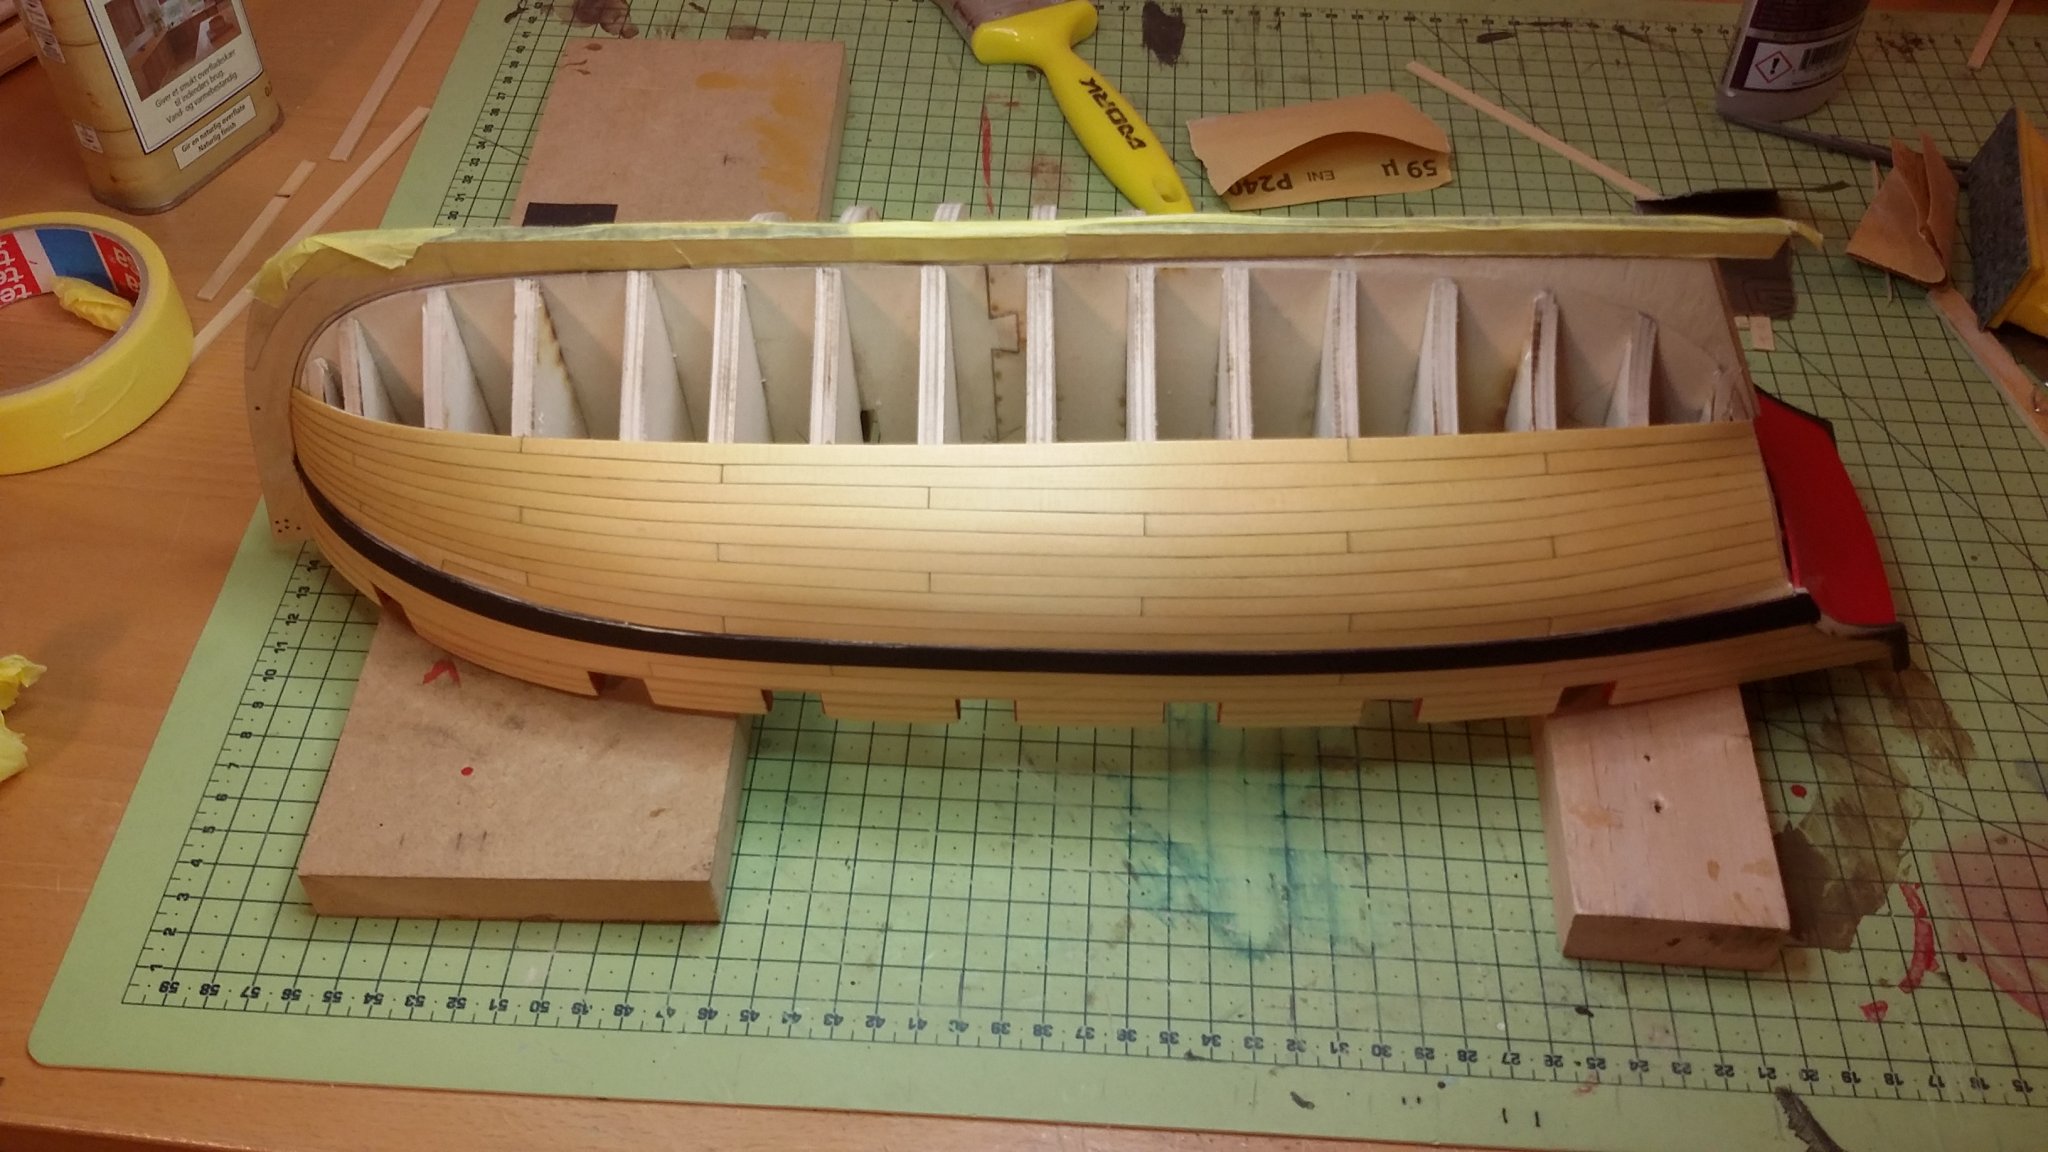
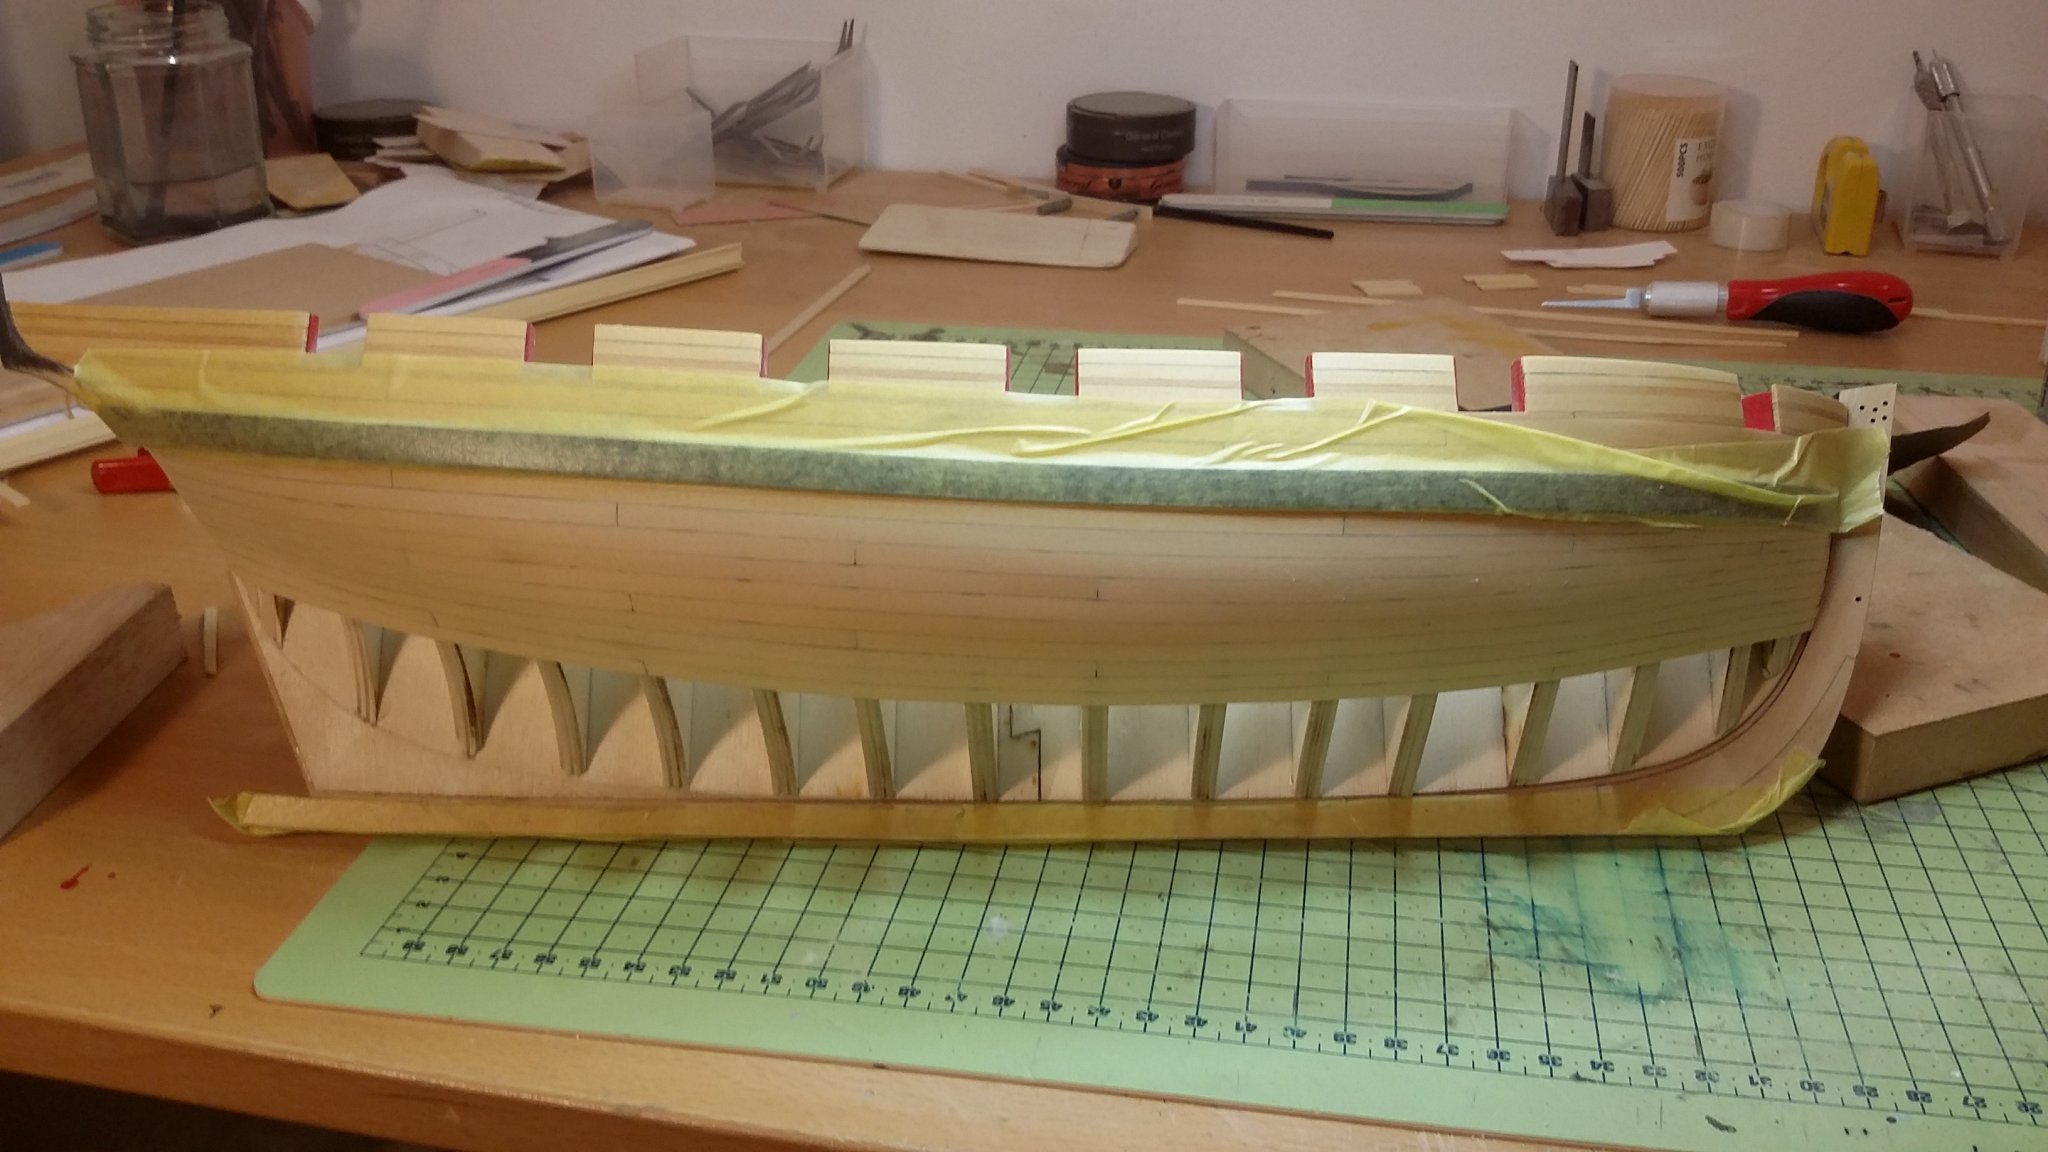
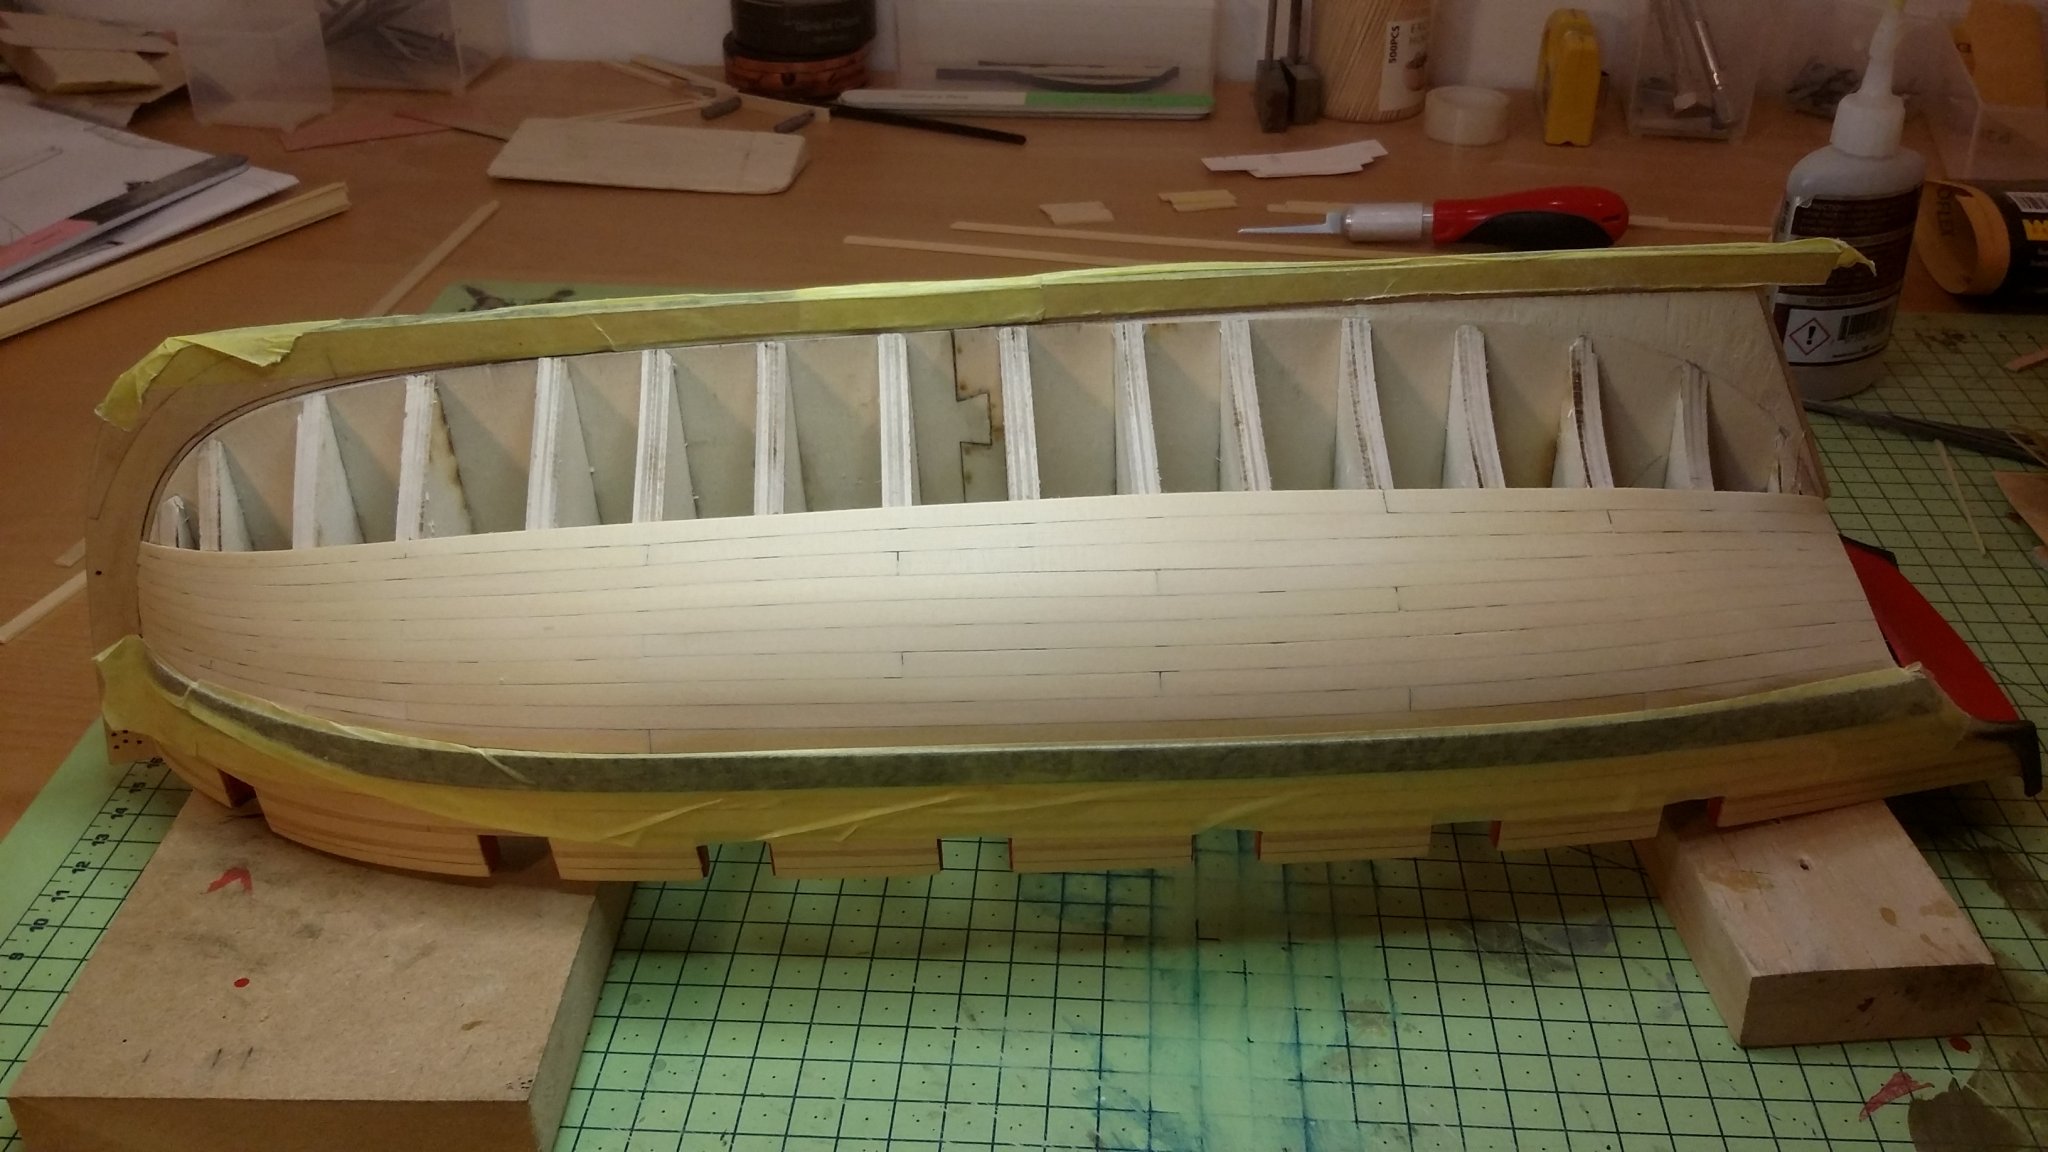
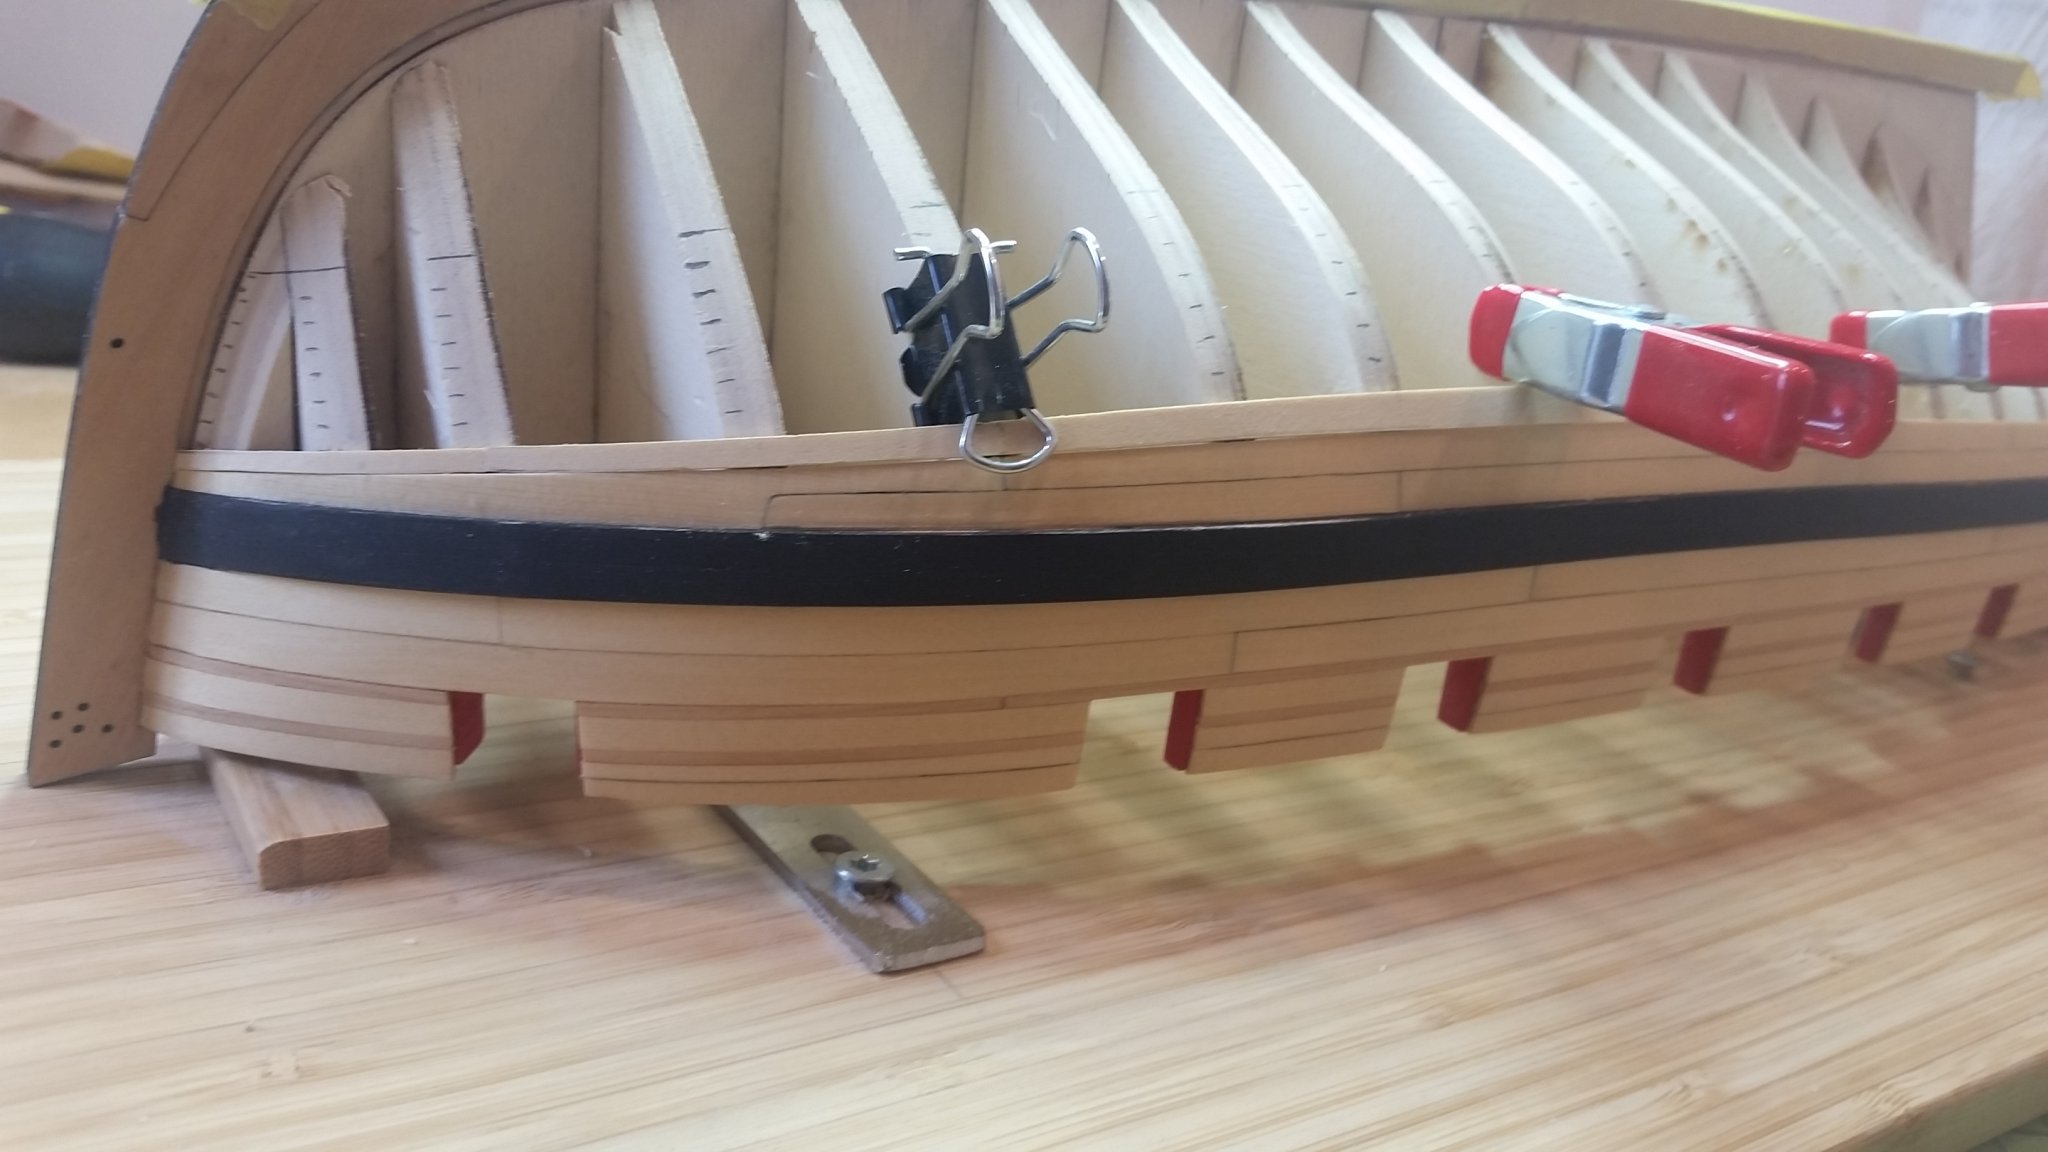
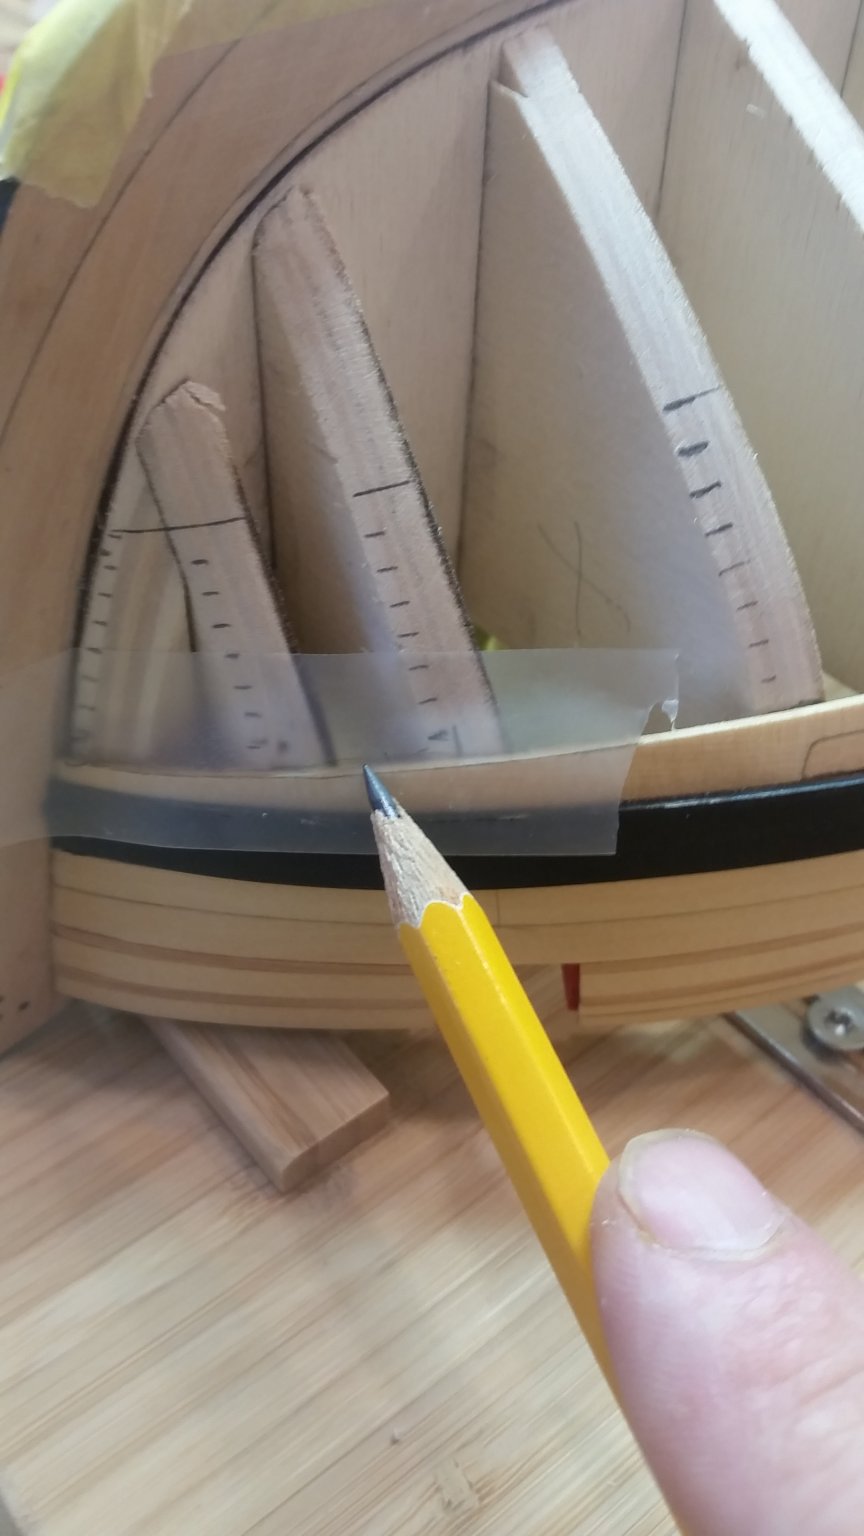
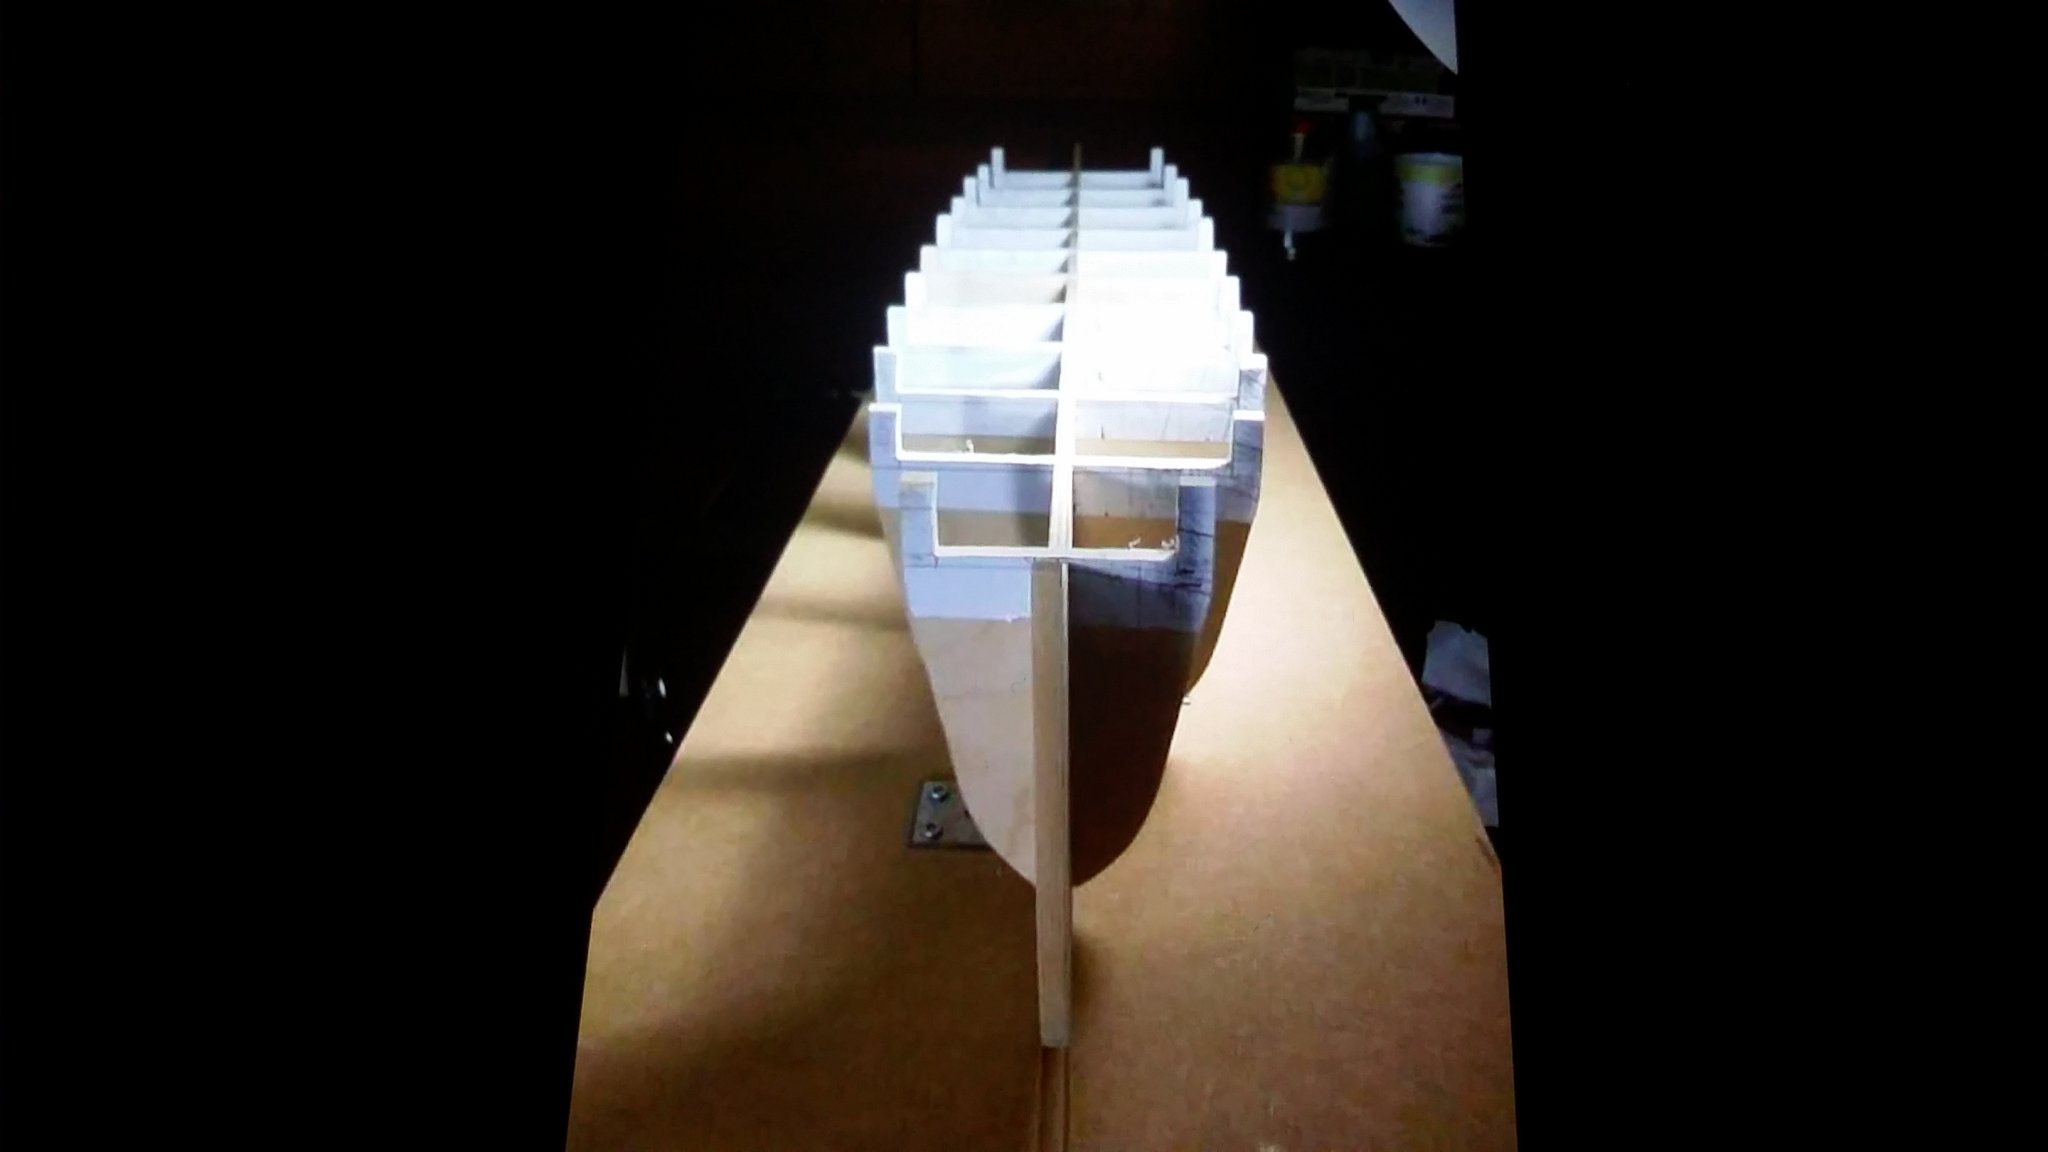
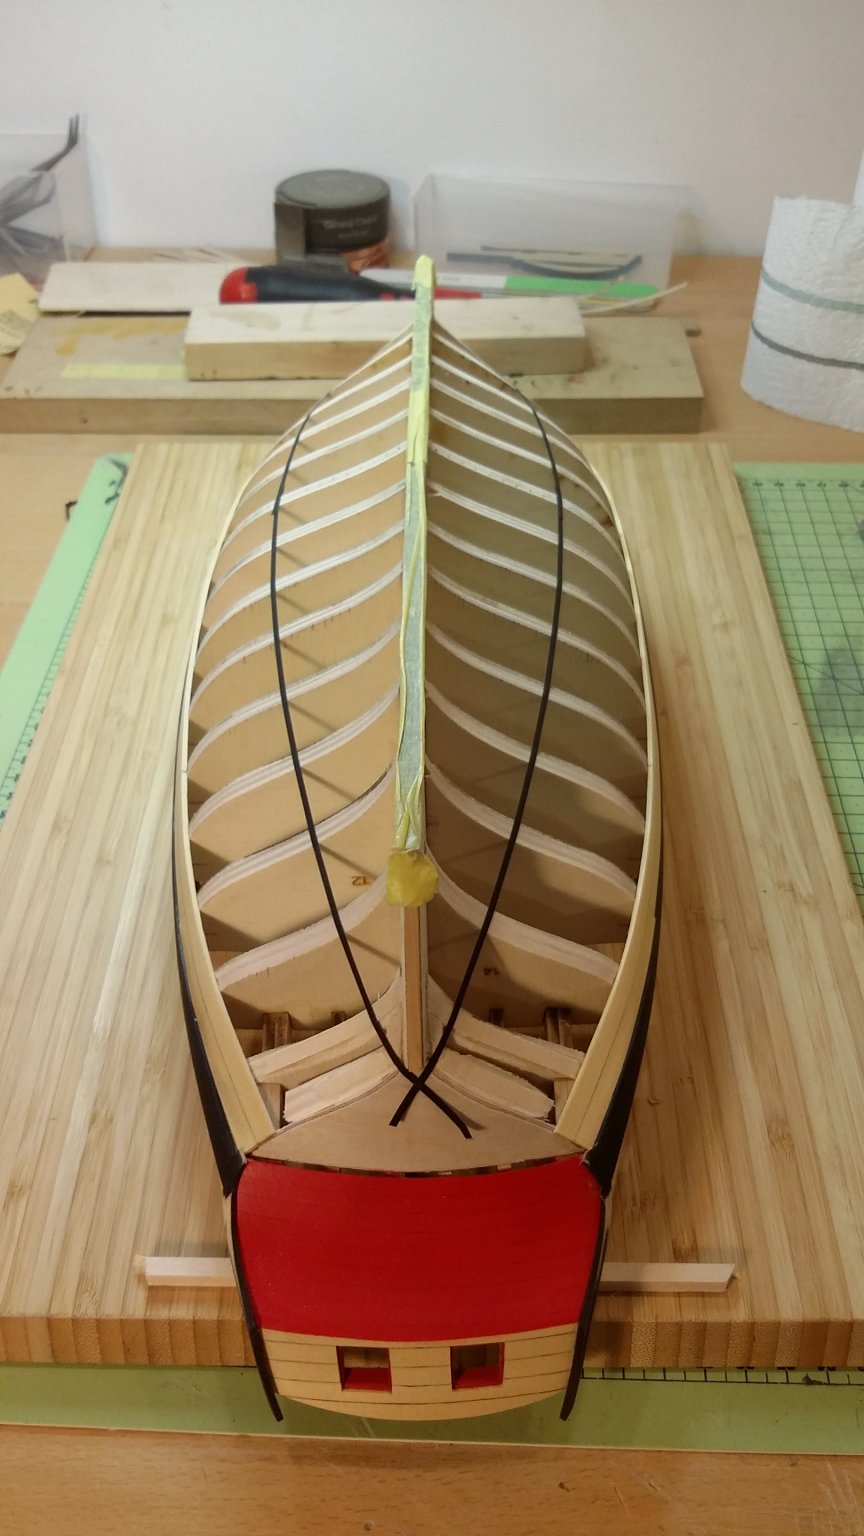
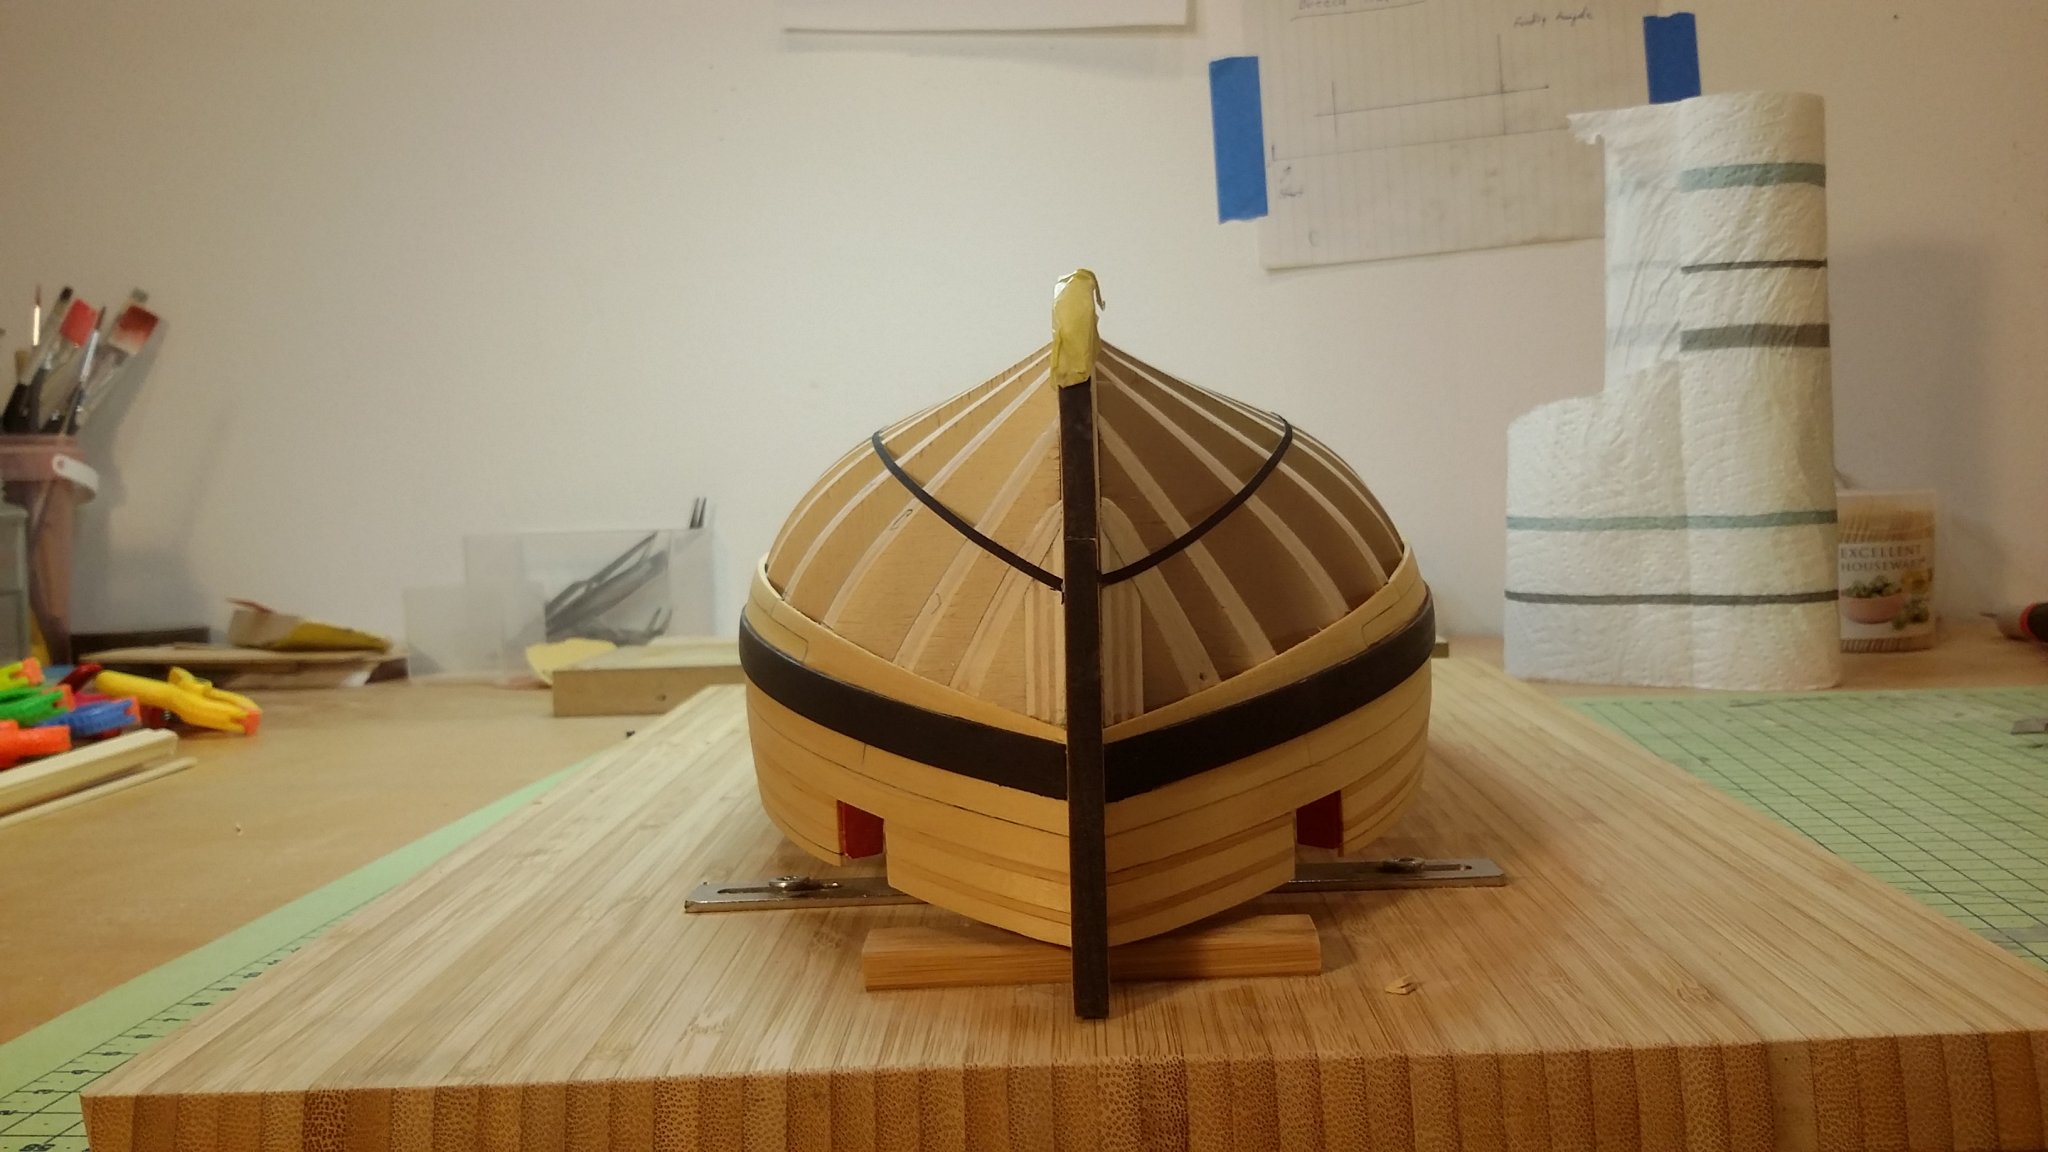
i have glued everything together and started to shape the hull / fairing the hull
the stern is going to take some time because of the round shape that needed from the dekk to the keel ....
i think its going to be fun to see the lines and compare it to the plans ....
svein erik