JpR62
-
Posts
699 -
Joined
-
Last visited
Content Type
Profiles
Forums
Gallery
Events
Everything posted by JpR62
-
 Wonderful job ! Having read the log again, I was wondering about the species of wood used for the deck planking: I suppose pear but for the lighter wood ? Mapple ? Are the moldings done manually using the scrapper technique or were they made using the mill ? The model is really beautiful. Thank you for sharing your great work.
- 589 replies
-
- 2
-

-
- le gros ventre
- cargo
- (and 1 more)
-
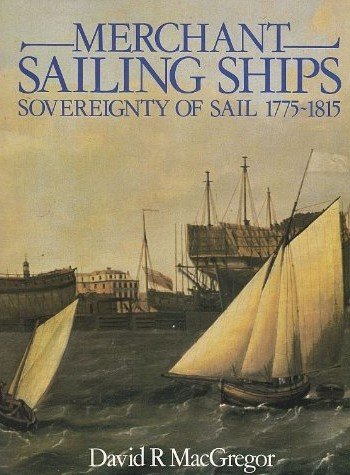
Great book for a wonderful serie ! I can confirm that, in the last revisited edition, the small volume on 'Sail making' is included.
-
Thank you for your answer. I will follow your build with great interest !
-
Thank you for sharing this beautiful build. I really love the red color that you are using. You mentioned the term 'Red oxide primer'. Can you give me more information about the brand and your painting method ? This red is really perfect !
- 109 replies
-
- 1
-
-
- Vanguard Models
- Flirt
- (and 1 more)
-
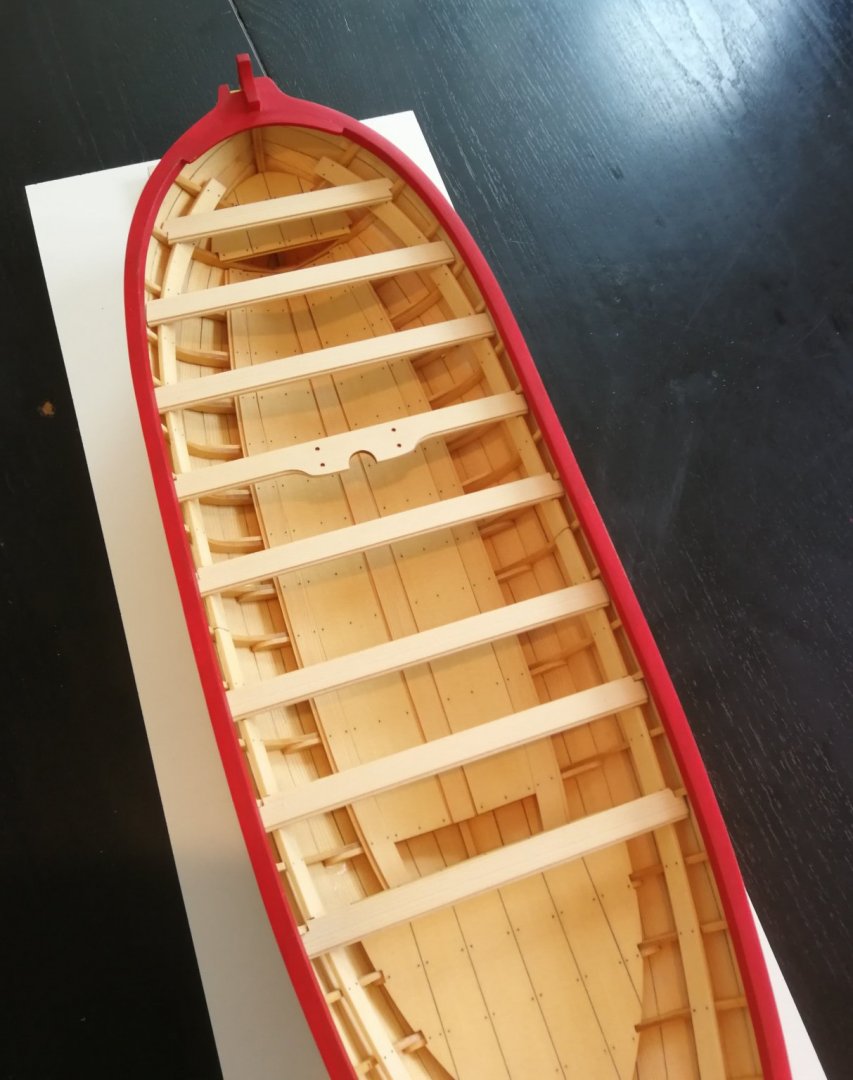
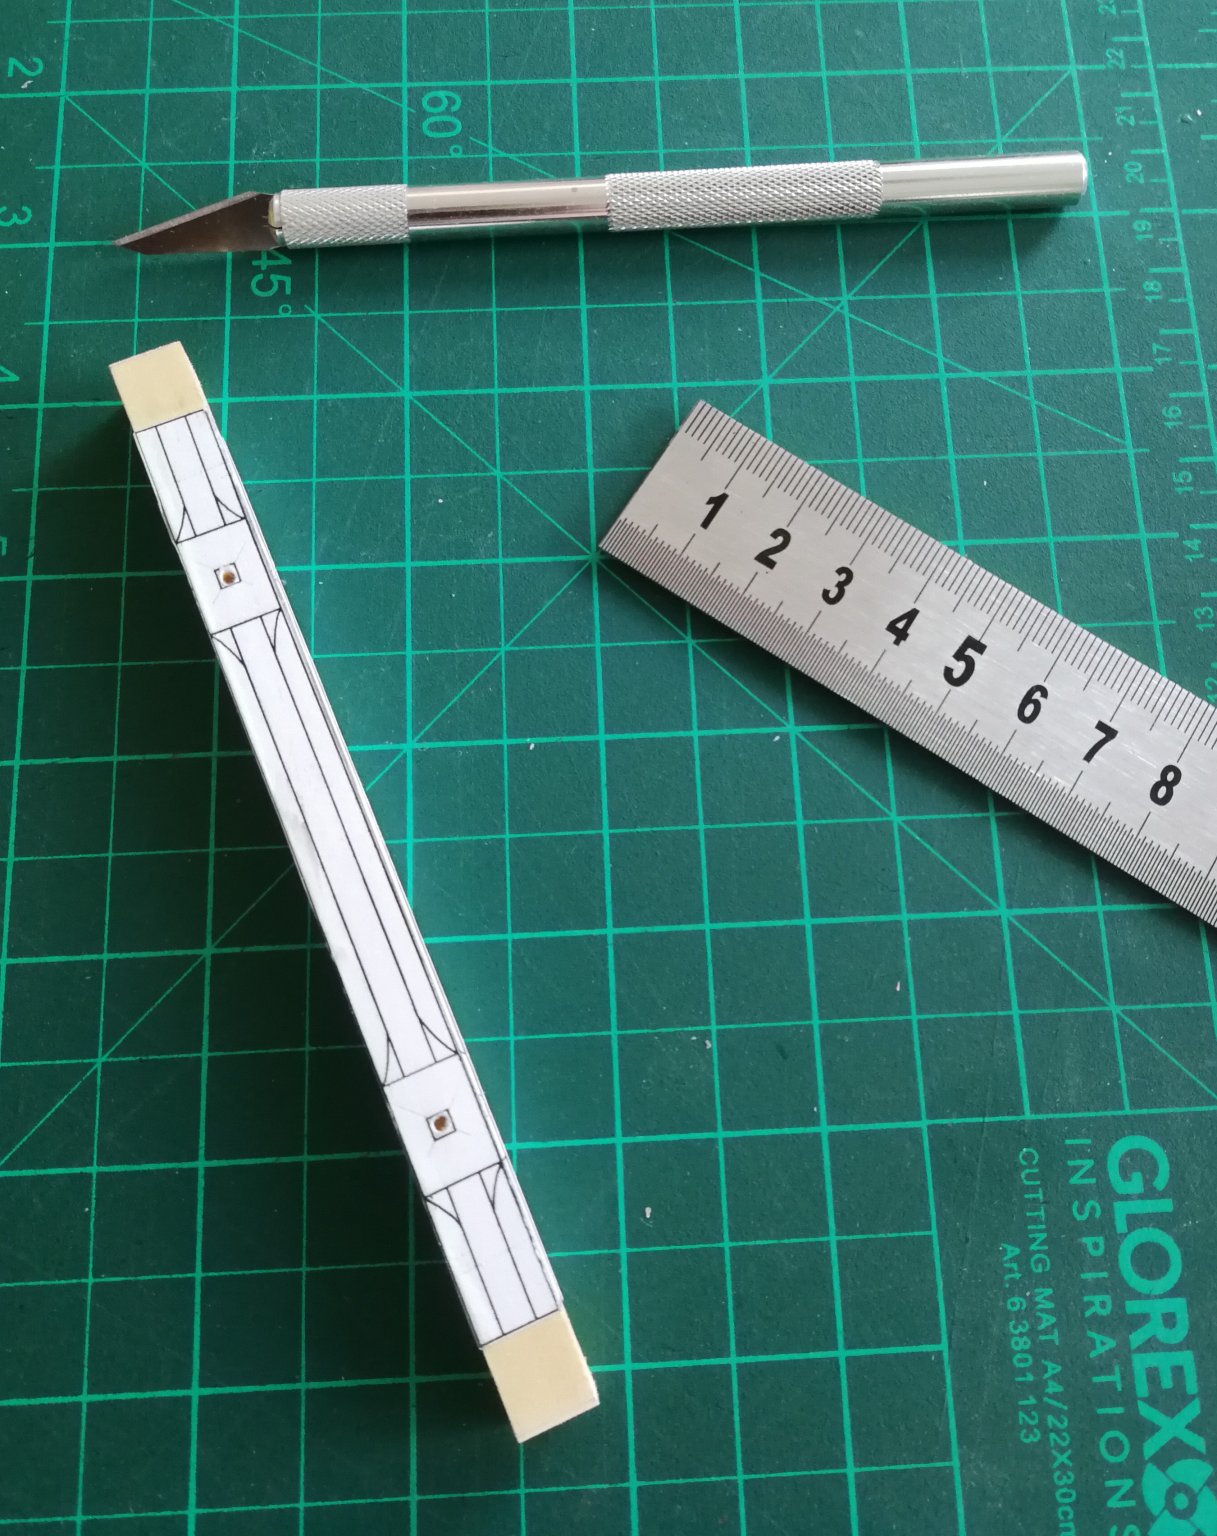
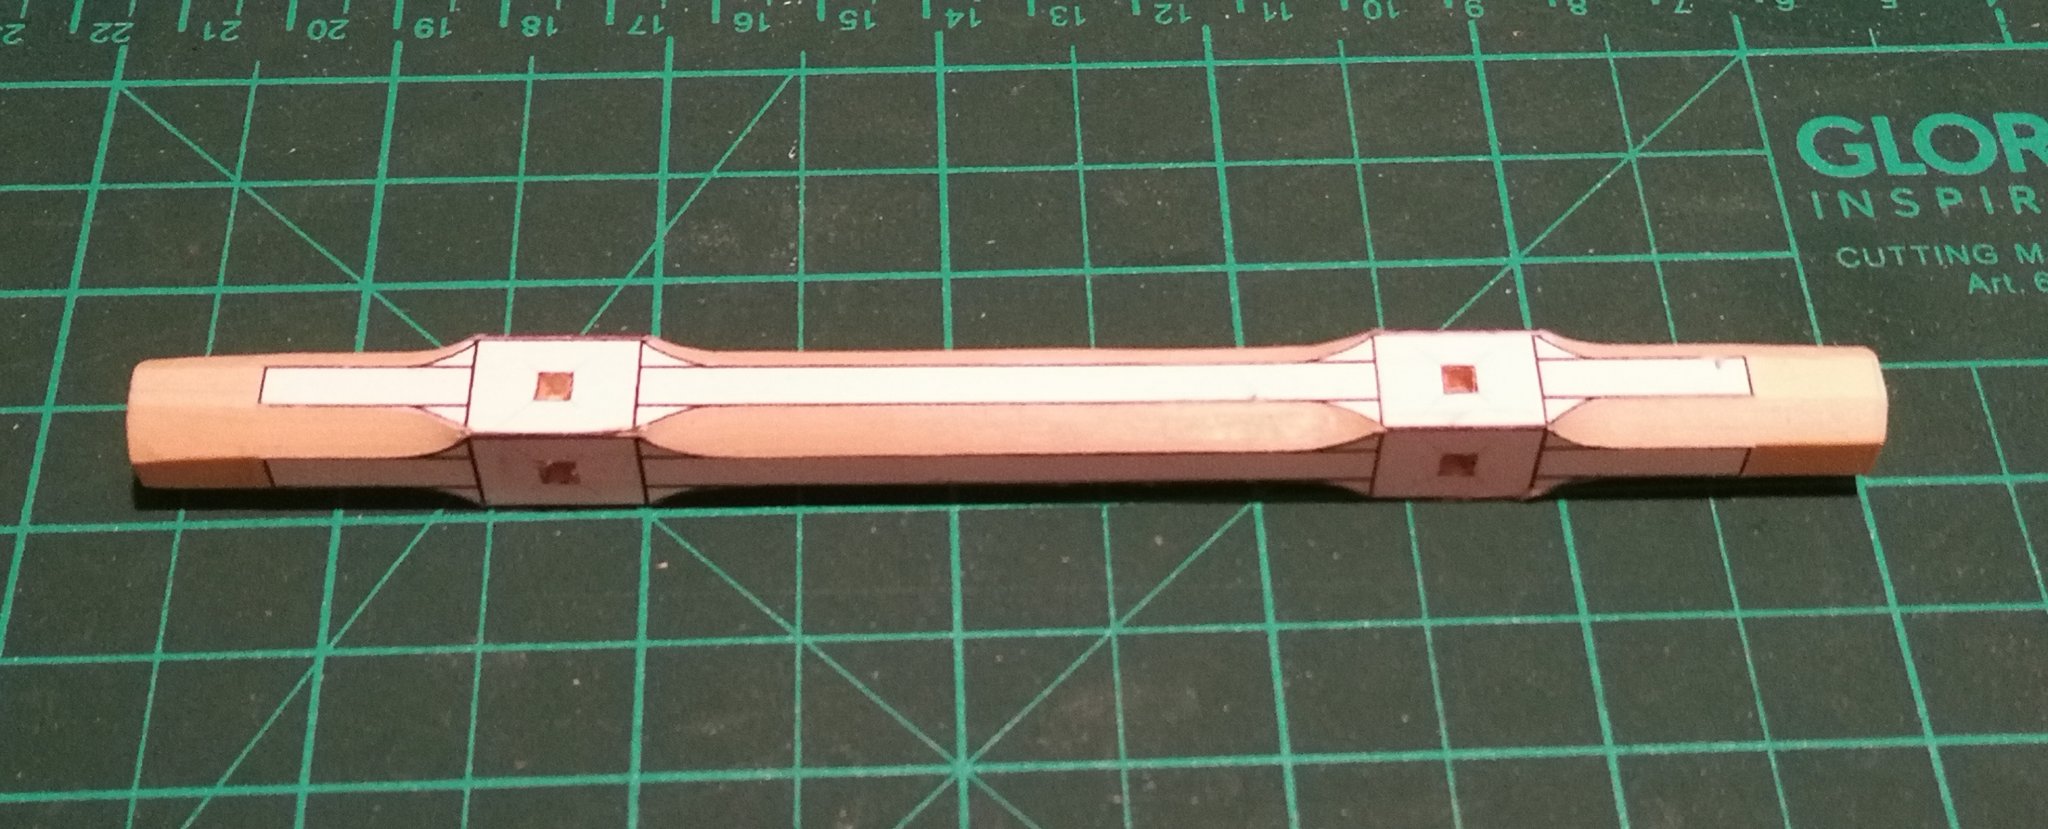
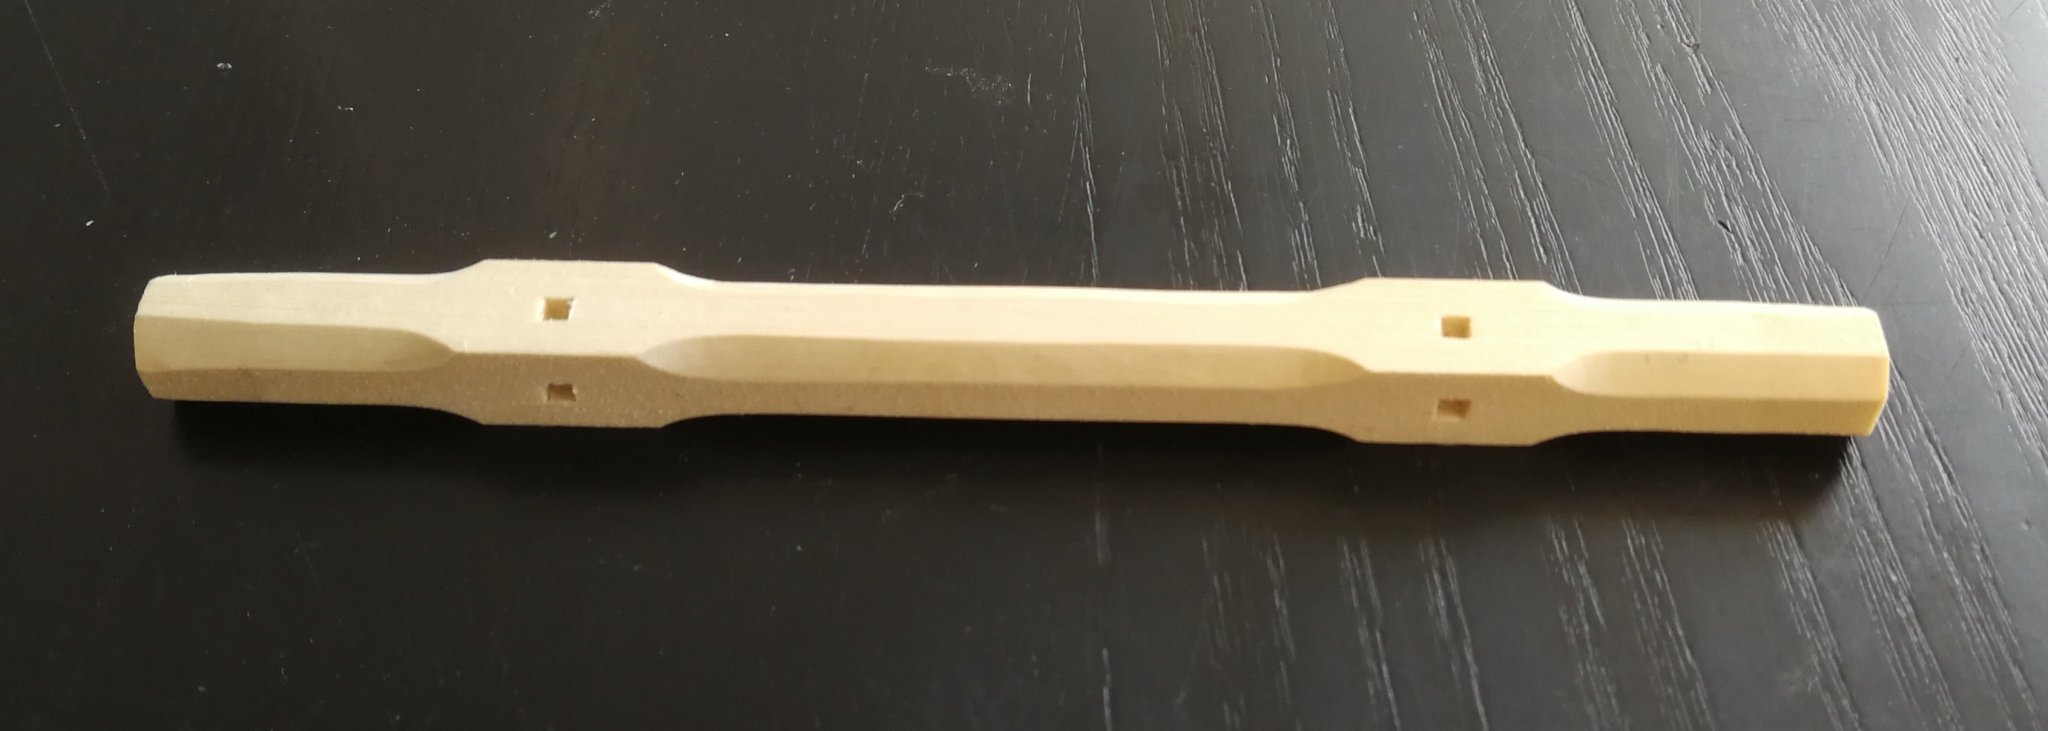
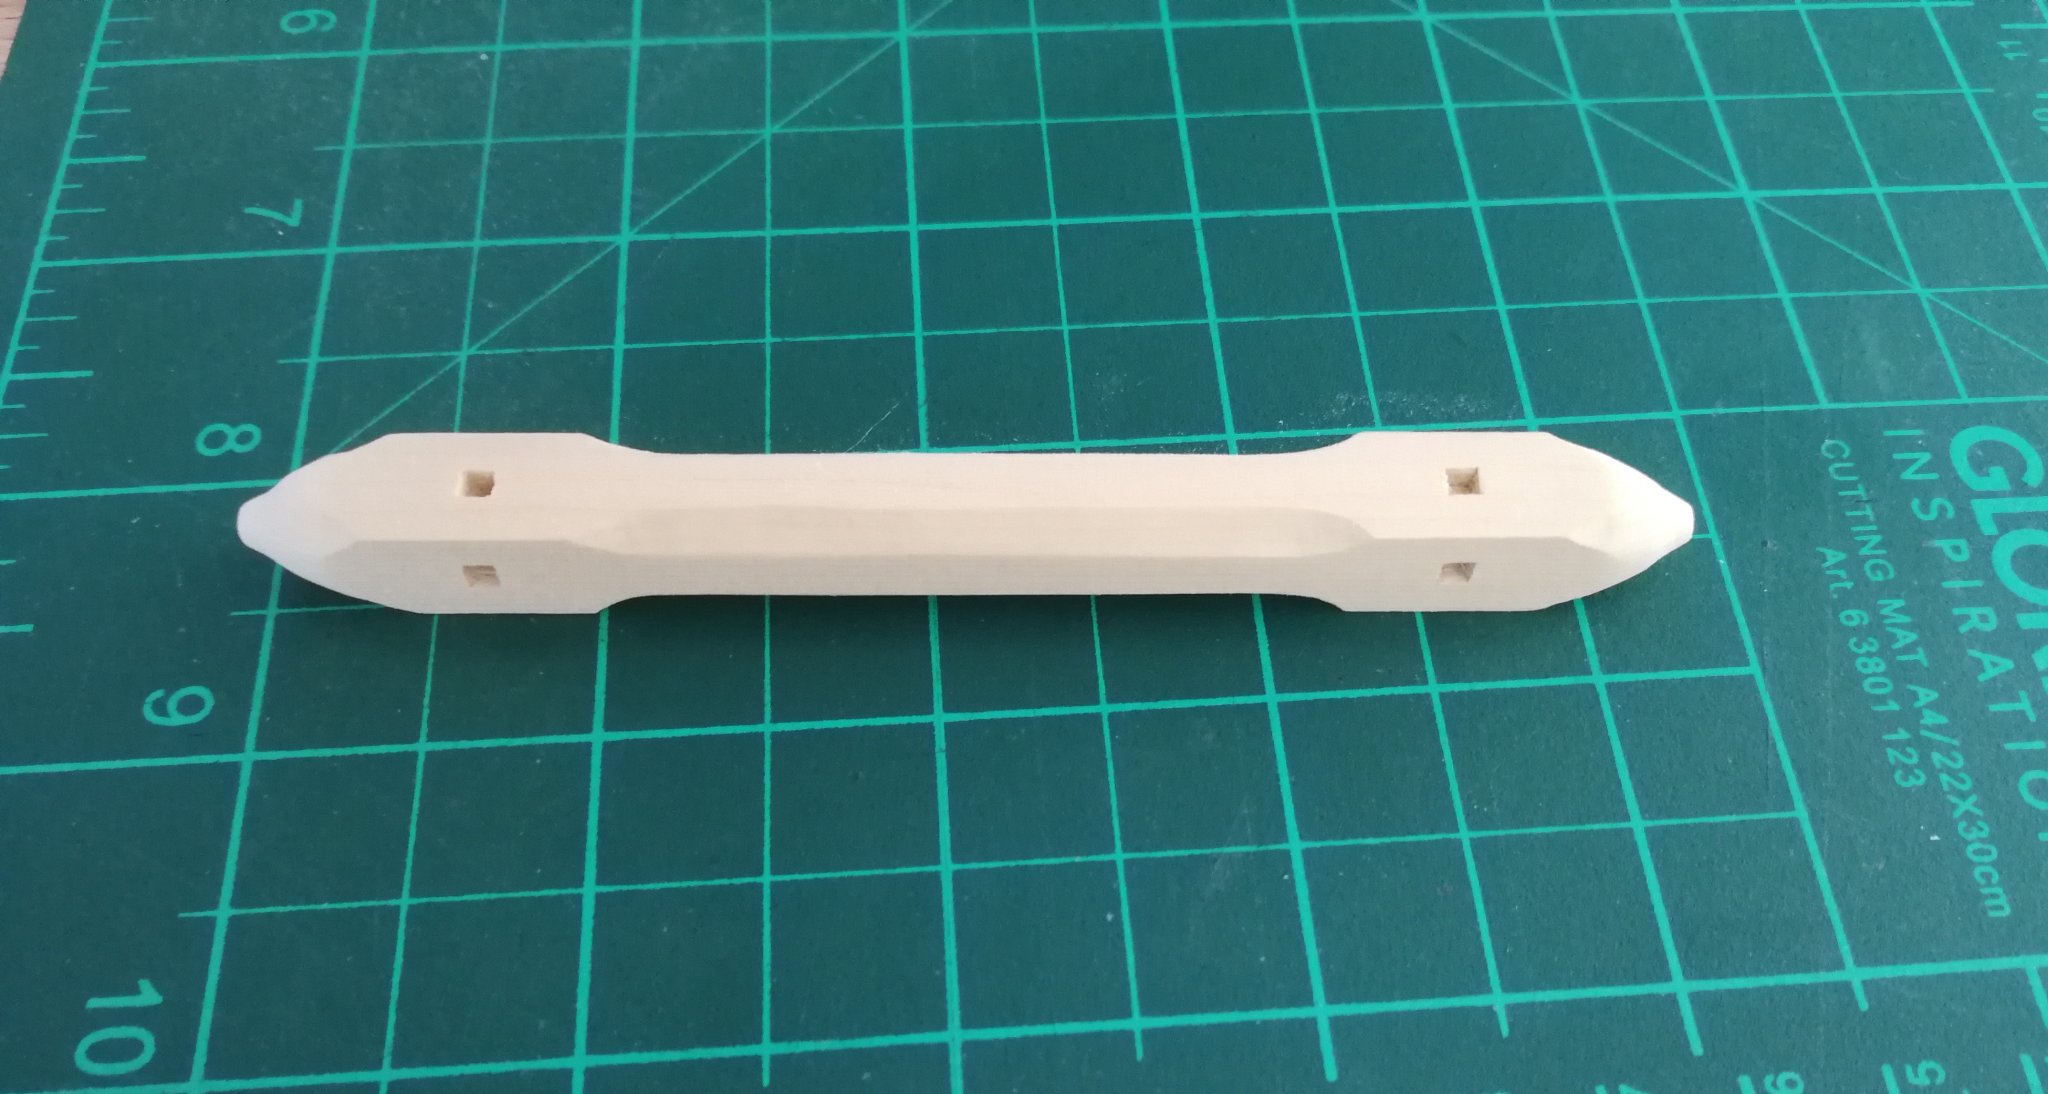
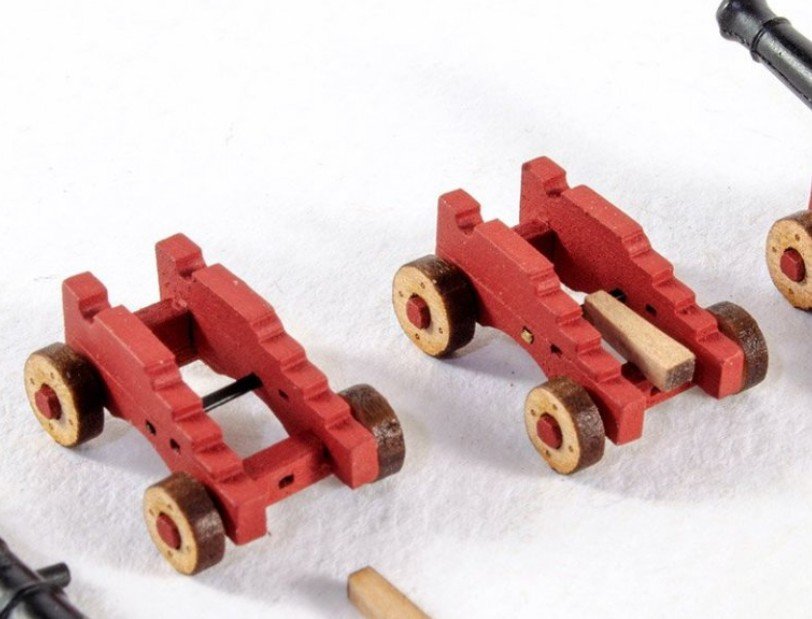
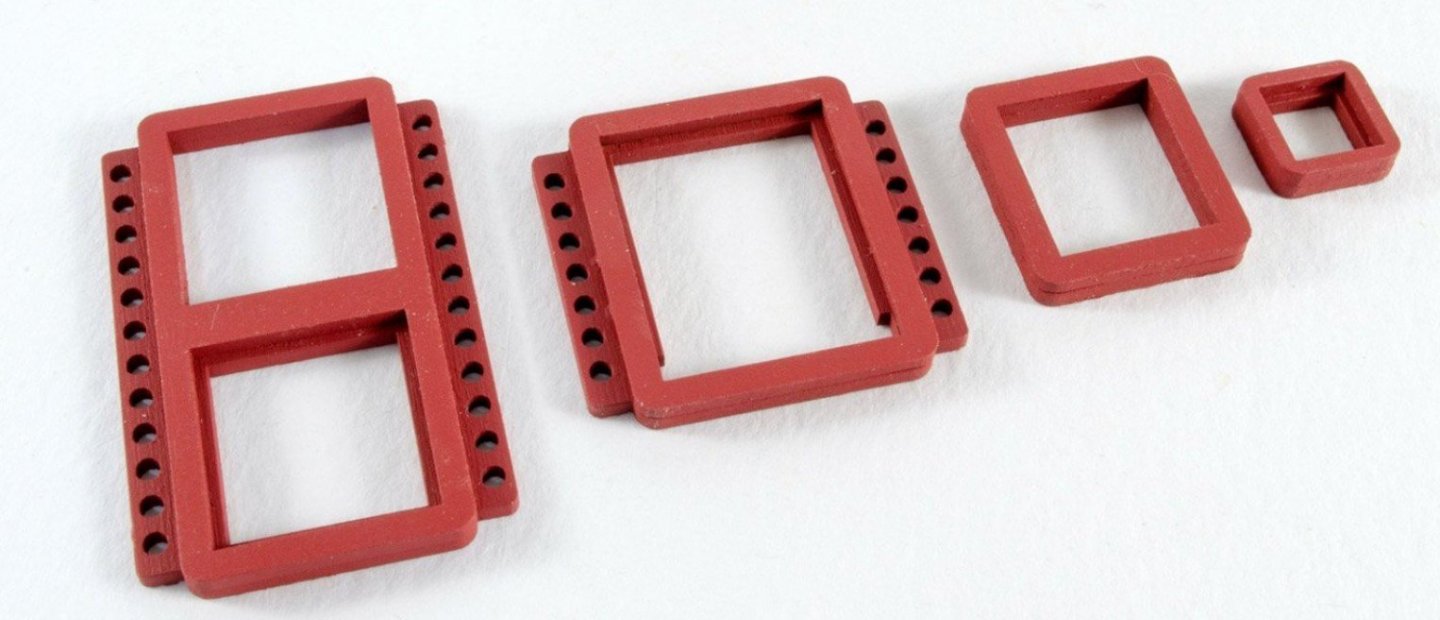
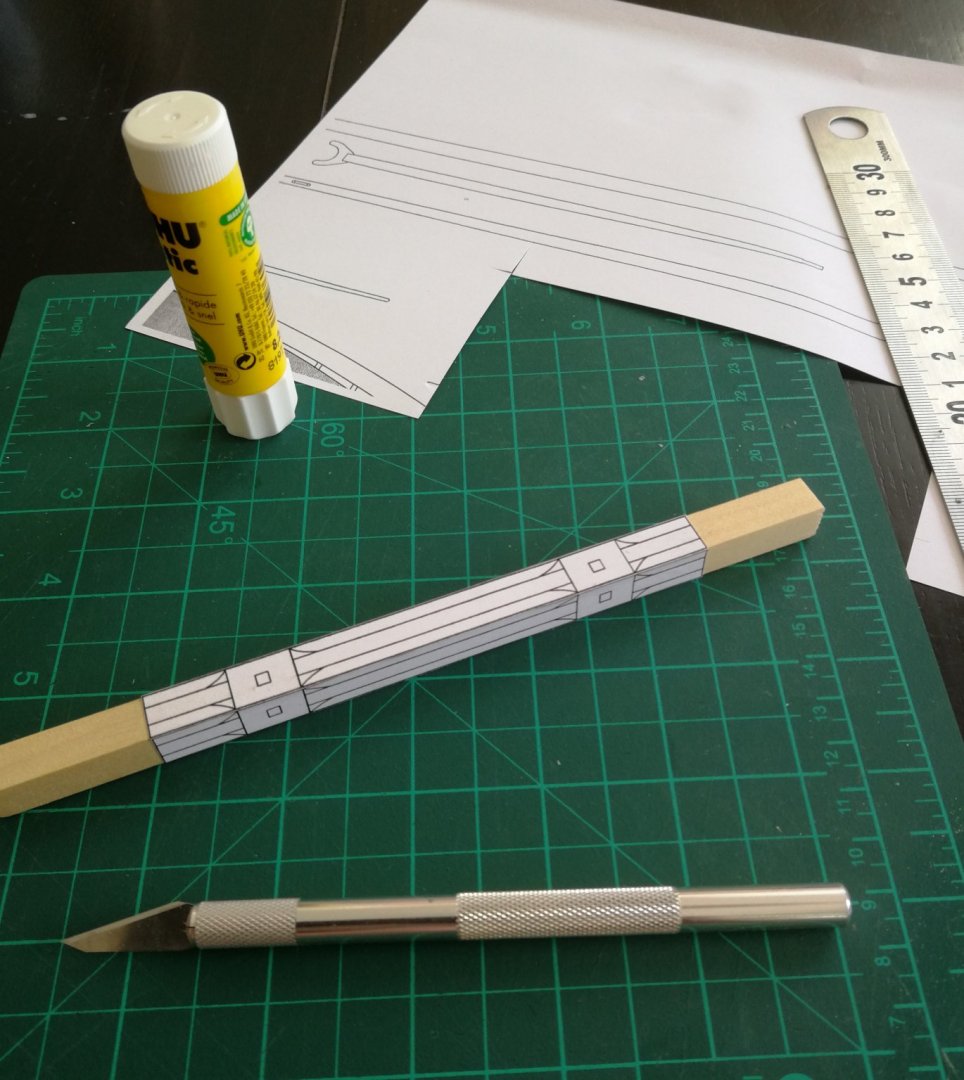
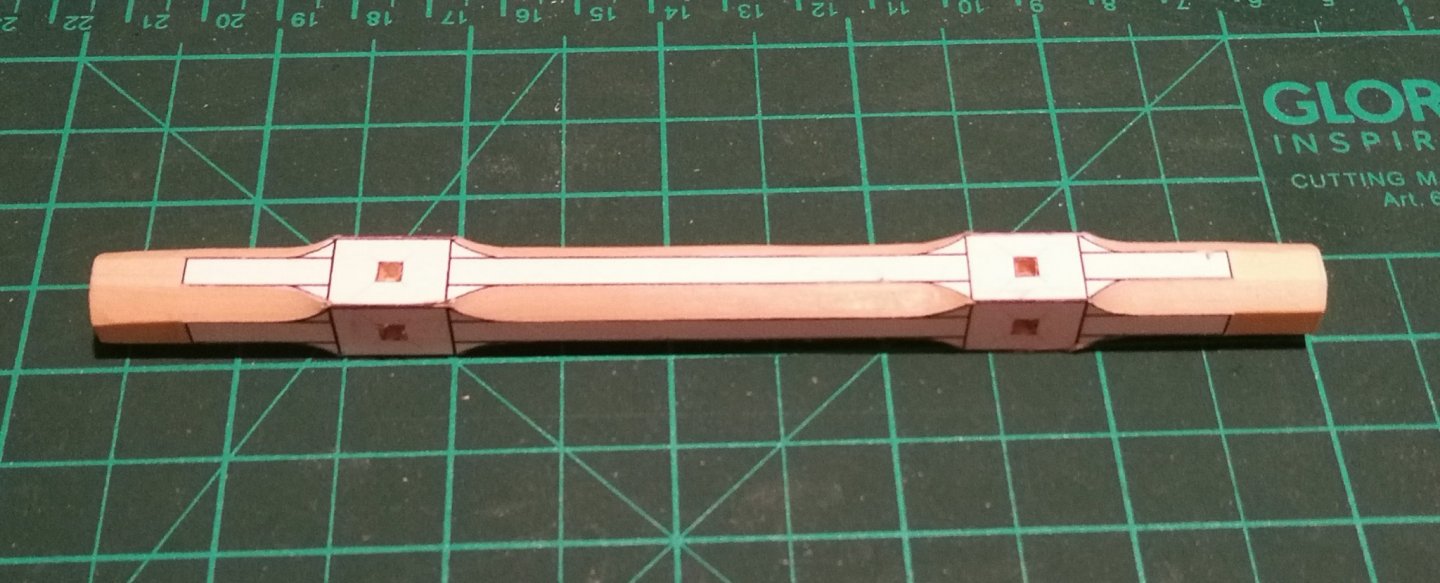
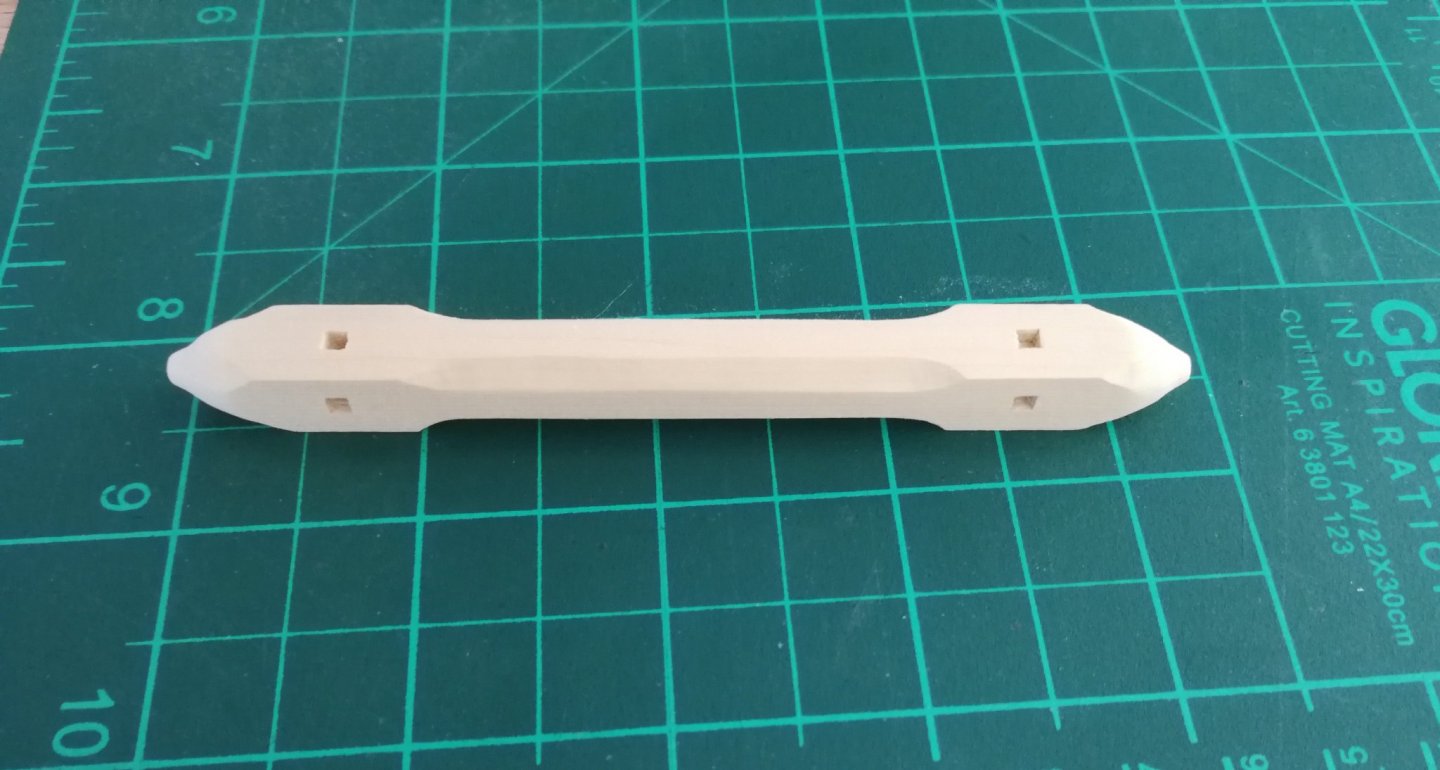
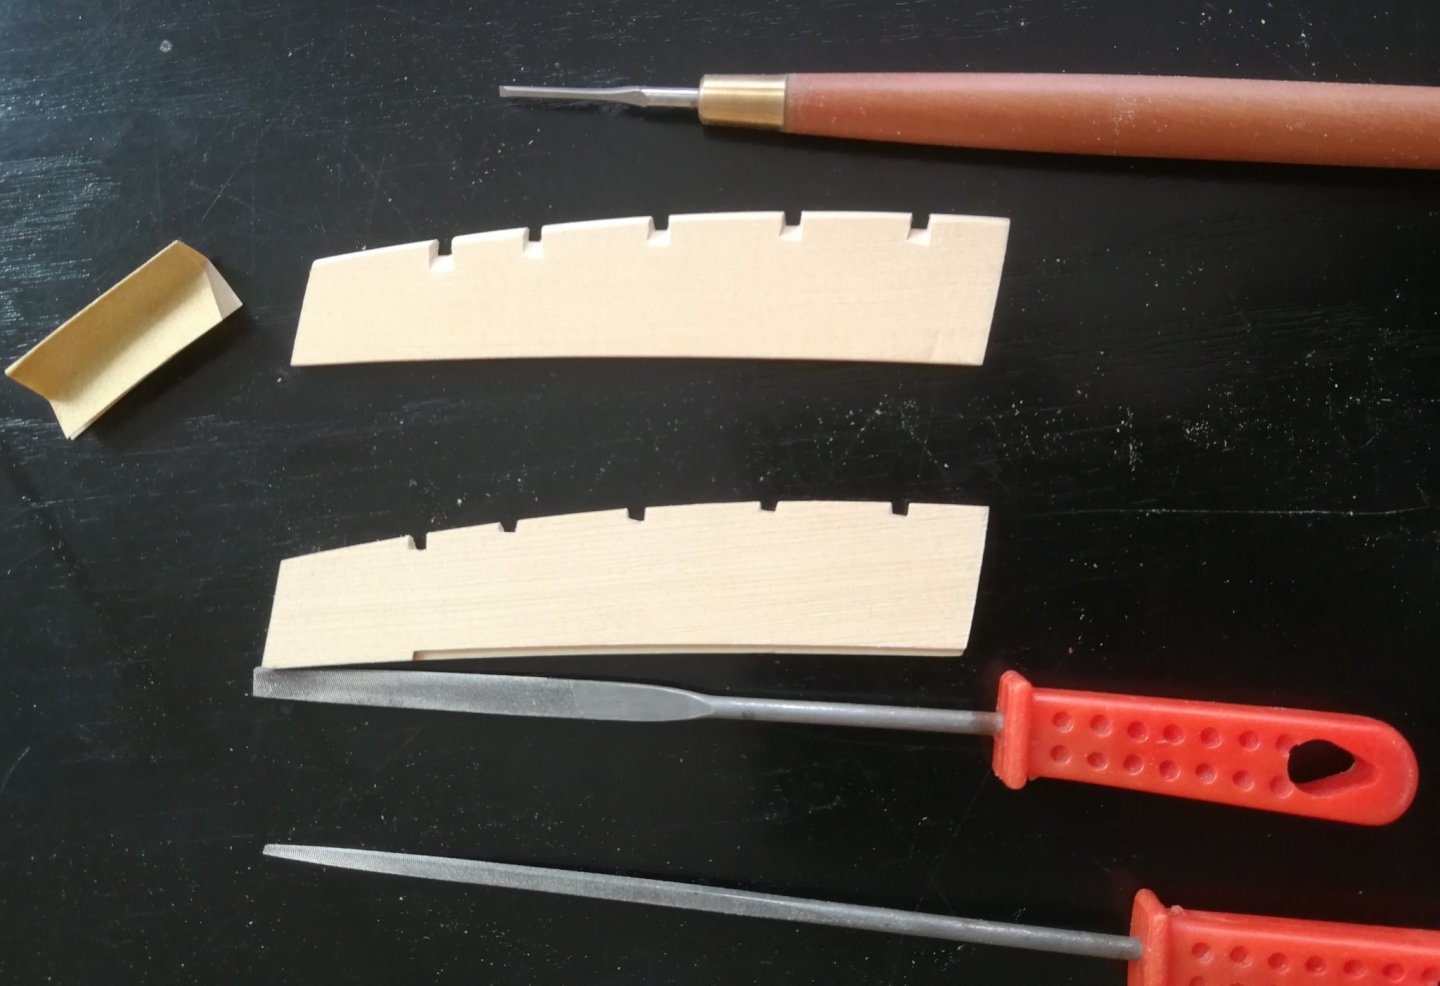
Thank you Rusty and Captain Hook for your kind comments and thank you to all the 'Likes'. The coloring work continues slowly. In parallel, I made progress on the installation of the windlass. Just follow the steps described in the instruction manual. The windlass templates are glued on the 4 sides of the cedar stick. I took advantage of having a perfectly horizontal seat to drill the 8 holes provided for the windlass bars. The superfluous wood is removed using a cutter then the whole is refined with sandpaper The angles of the 8 holes were squared using a mini chisel. The paper is moistened and easily removed. Finally the ends are gradually shaped and the right length for inserting the windlass in the brackets is reached. The windlass temporarily positioned.


-
Superb work. A big milestone with a wonderful result !
- 137 replies
-
- 1
-
-
- winchelsea
- Syren Ship Model Company
- (and 1 more)
-
US Brig Syren by Gahm - Model Shipways
JpR62 replied to Gahm's topic in - Kit build logs for subjects built from 1801 - 1850
Fantastic ! A little gem ! Thank you for sharing the steps of the build. -
Superb ! Thank you for sharing your method. Very informative step by step. It will be of great help !
-
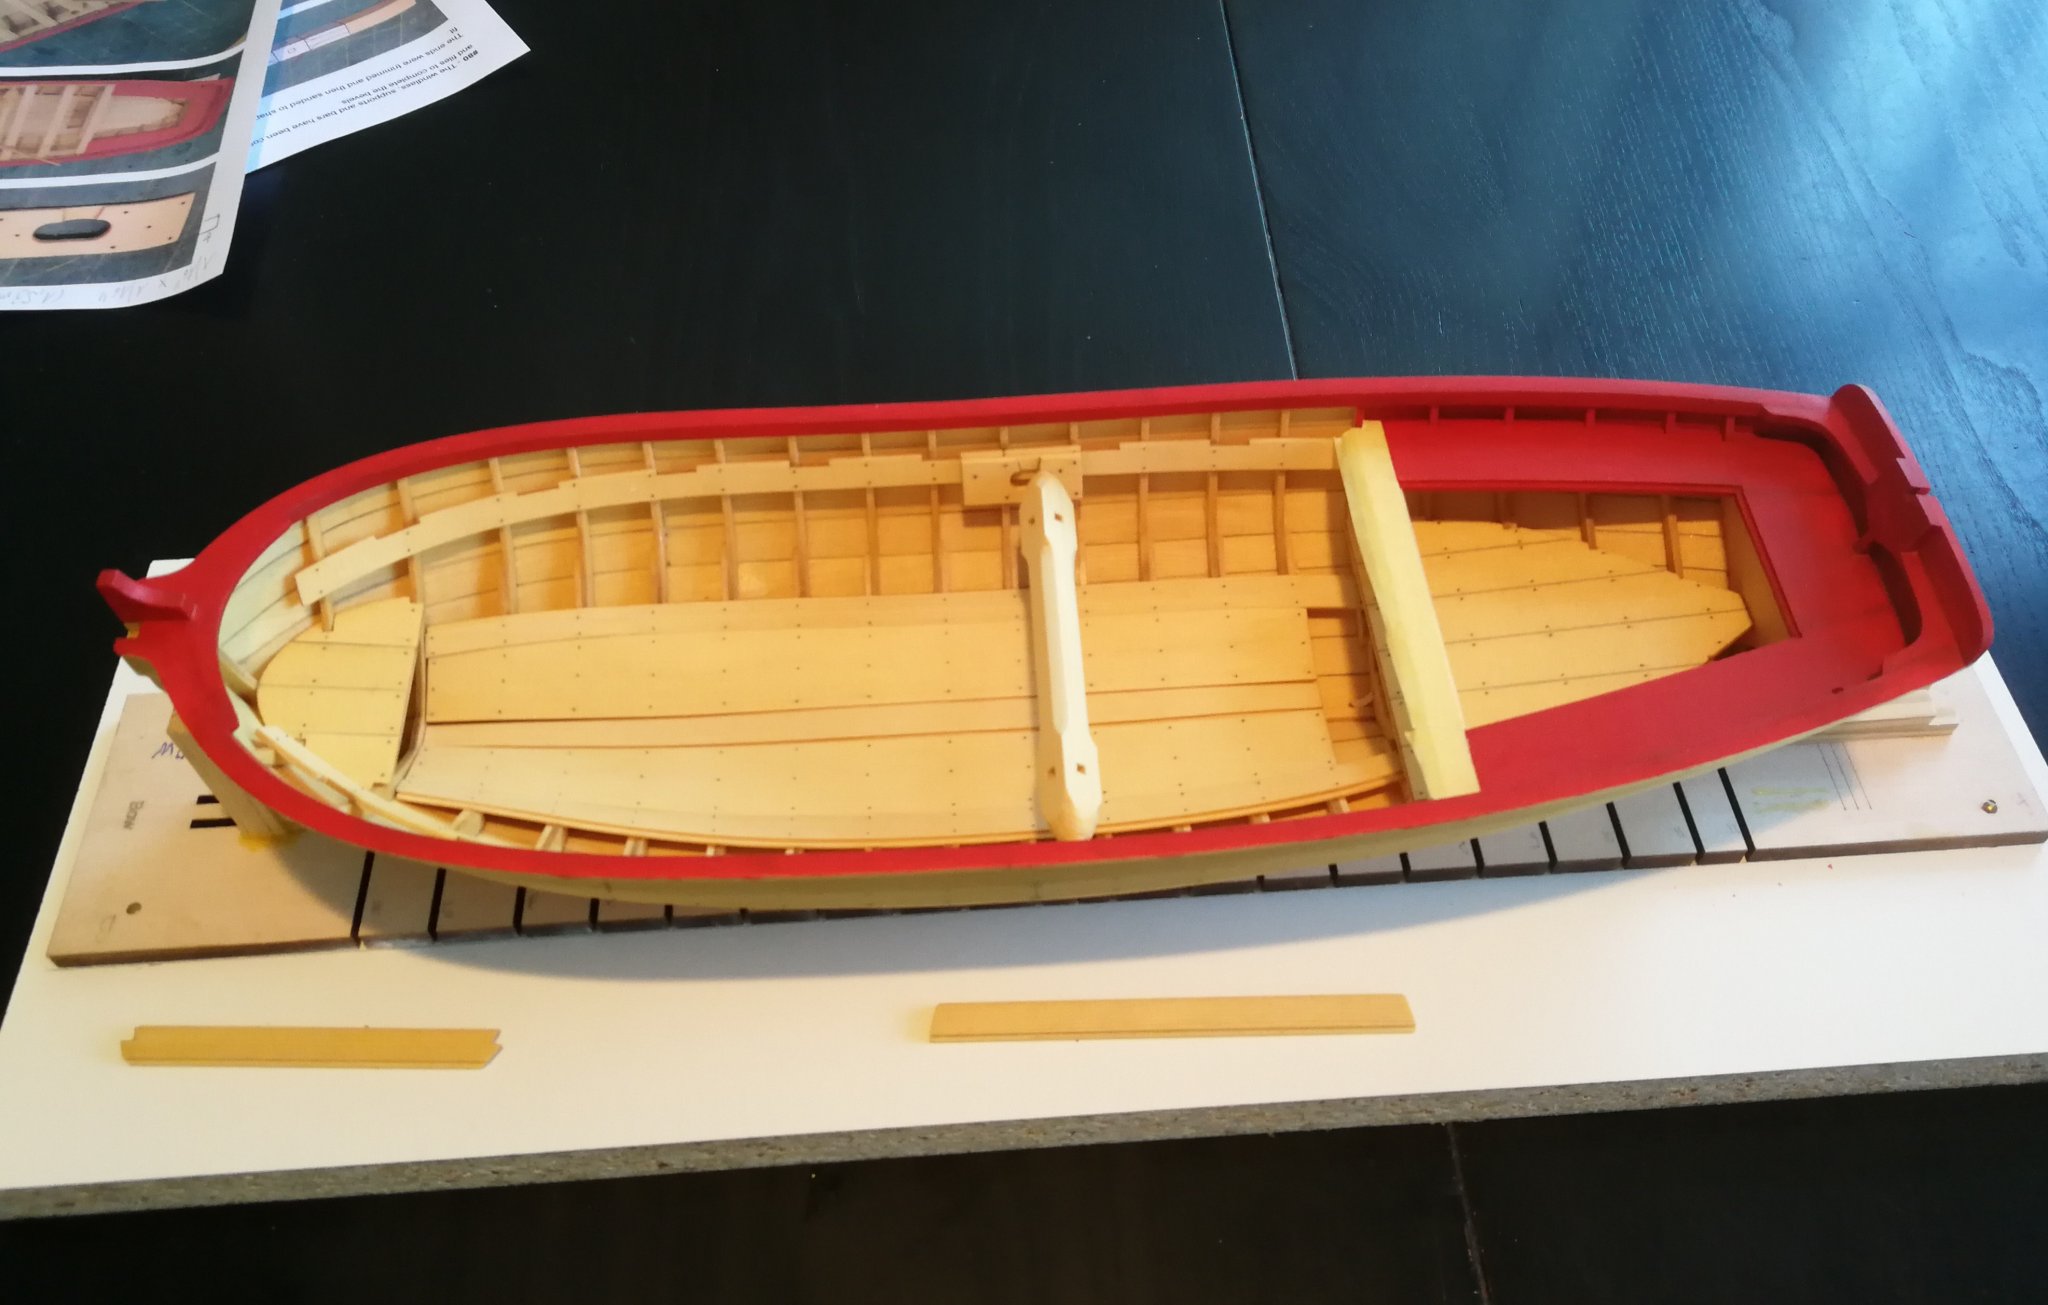
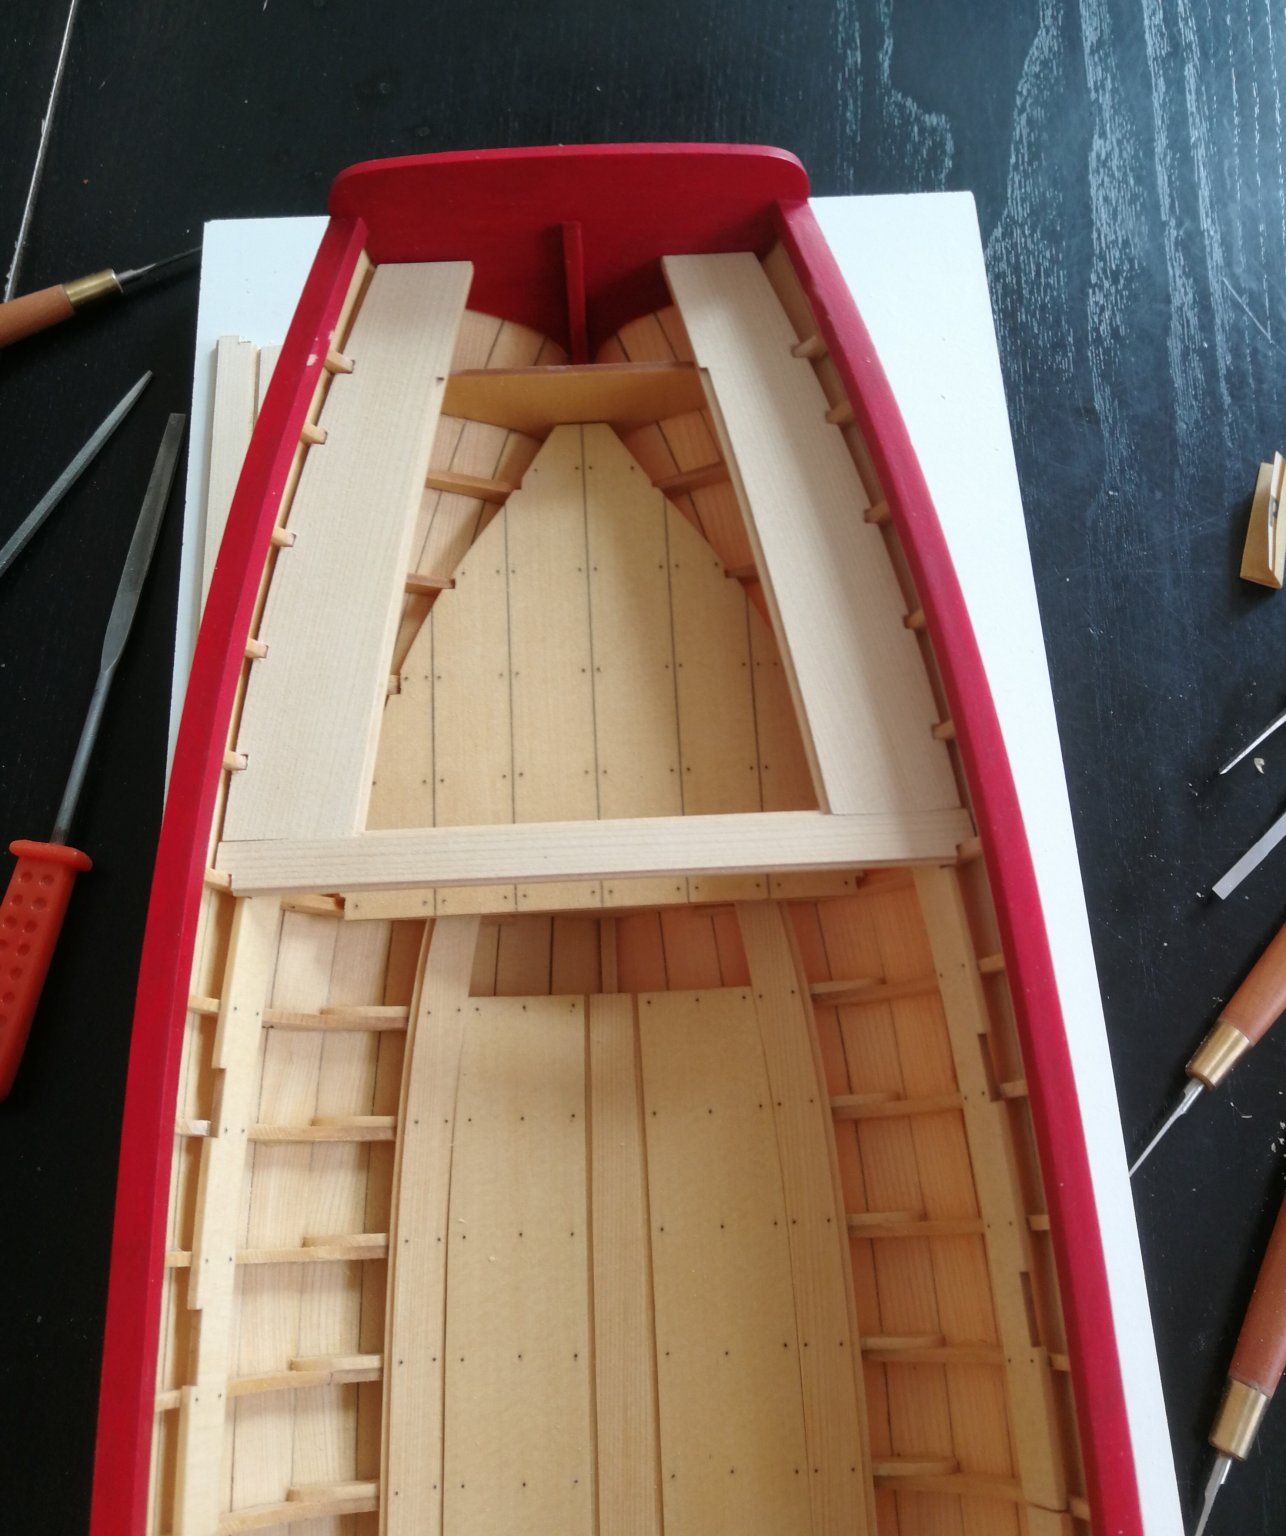
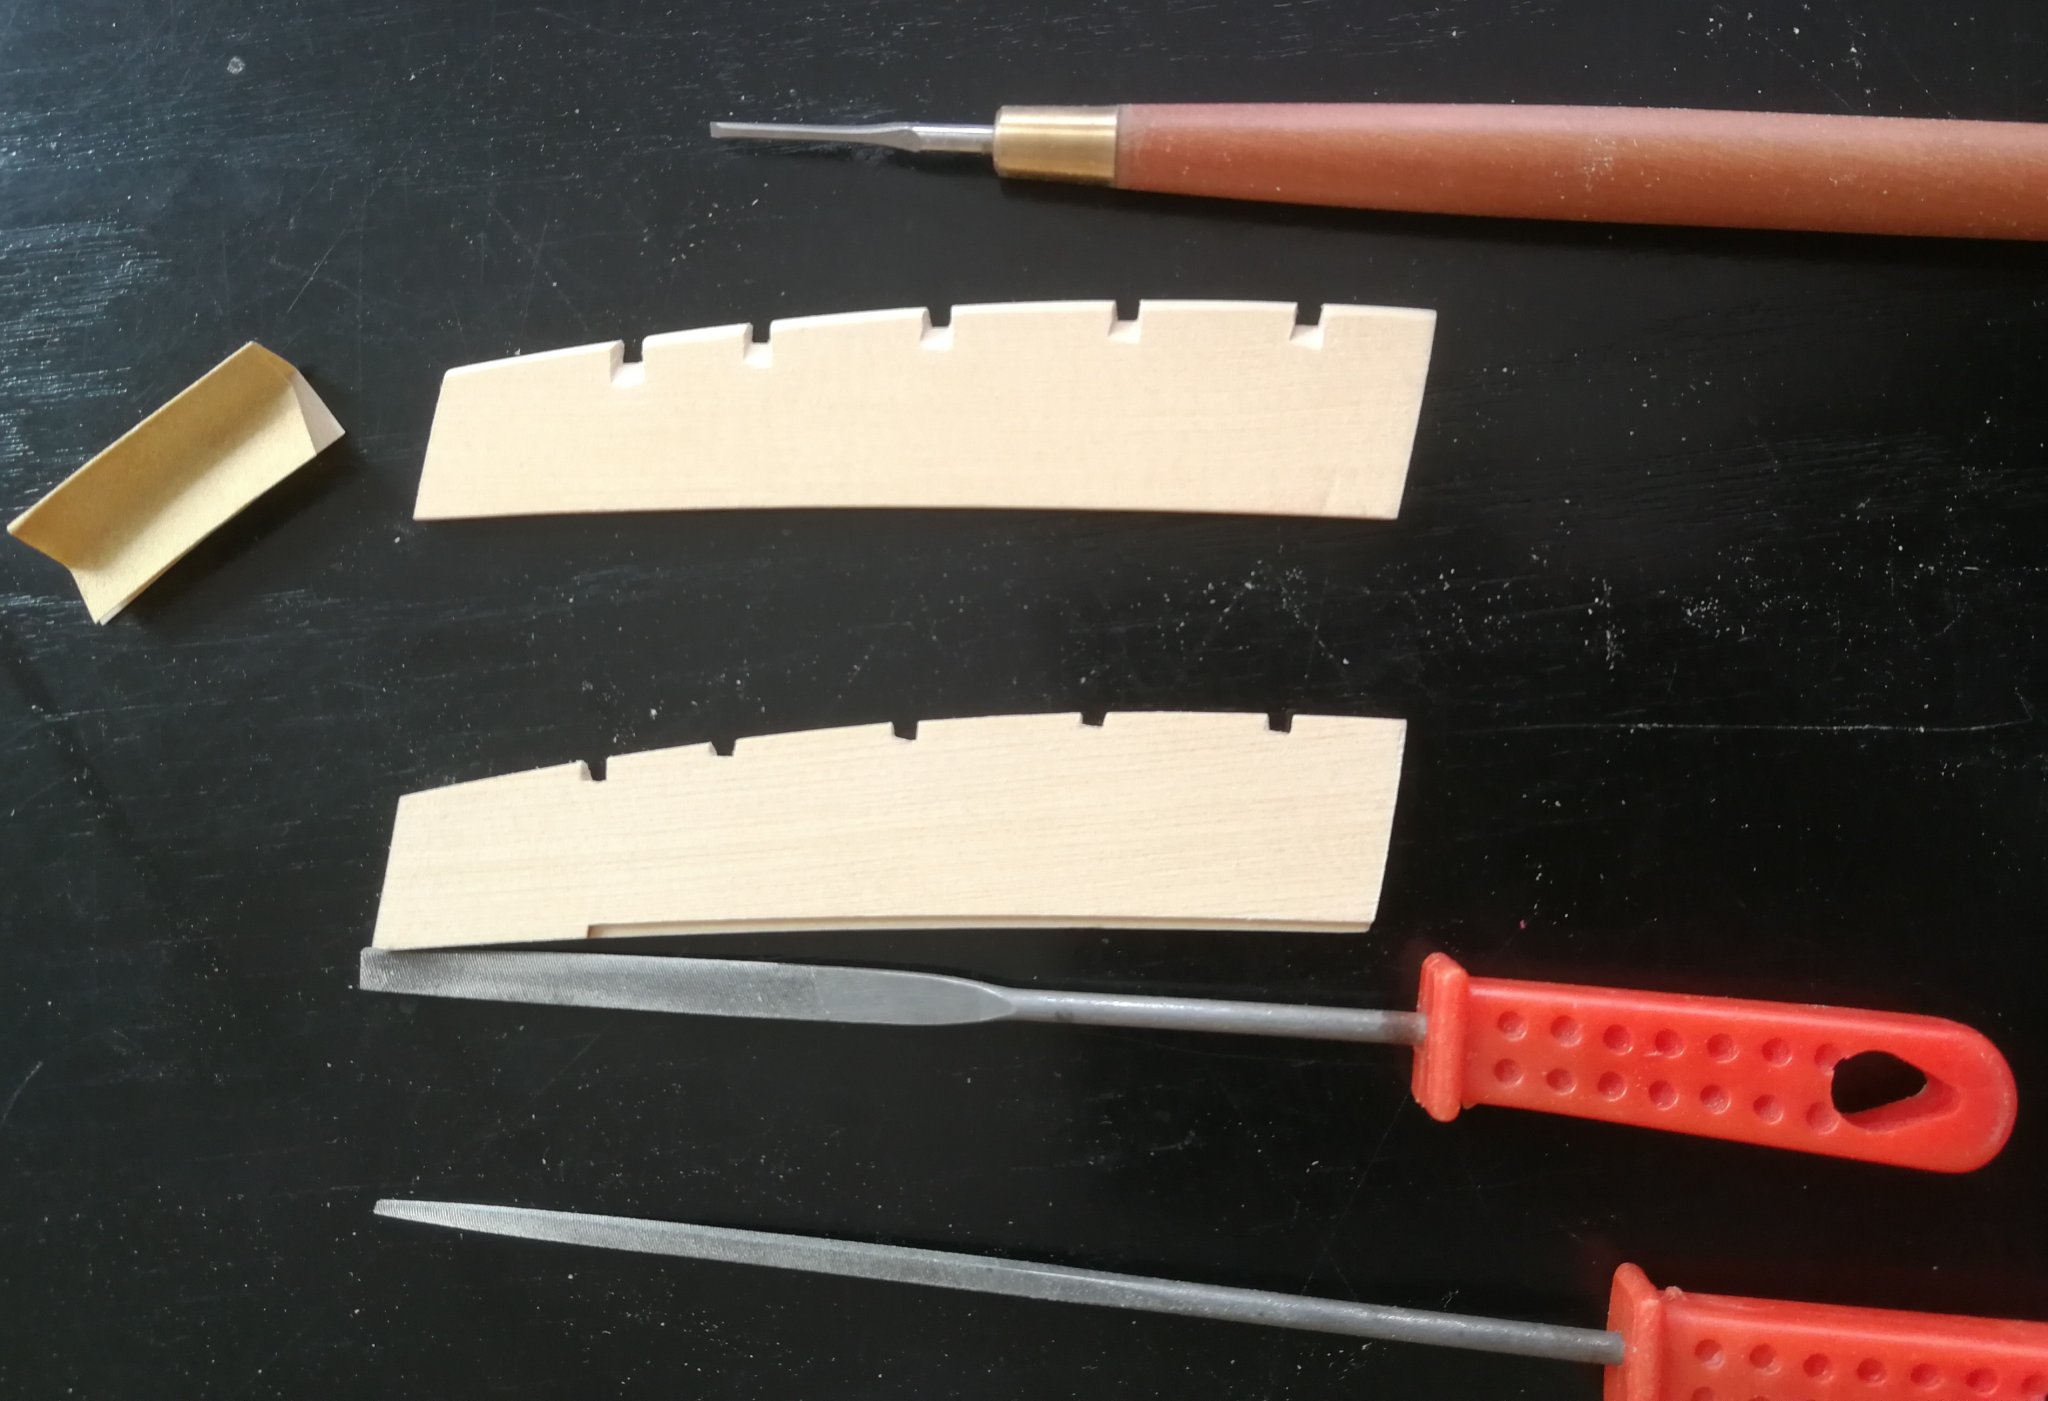
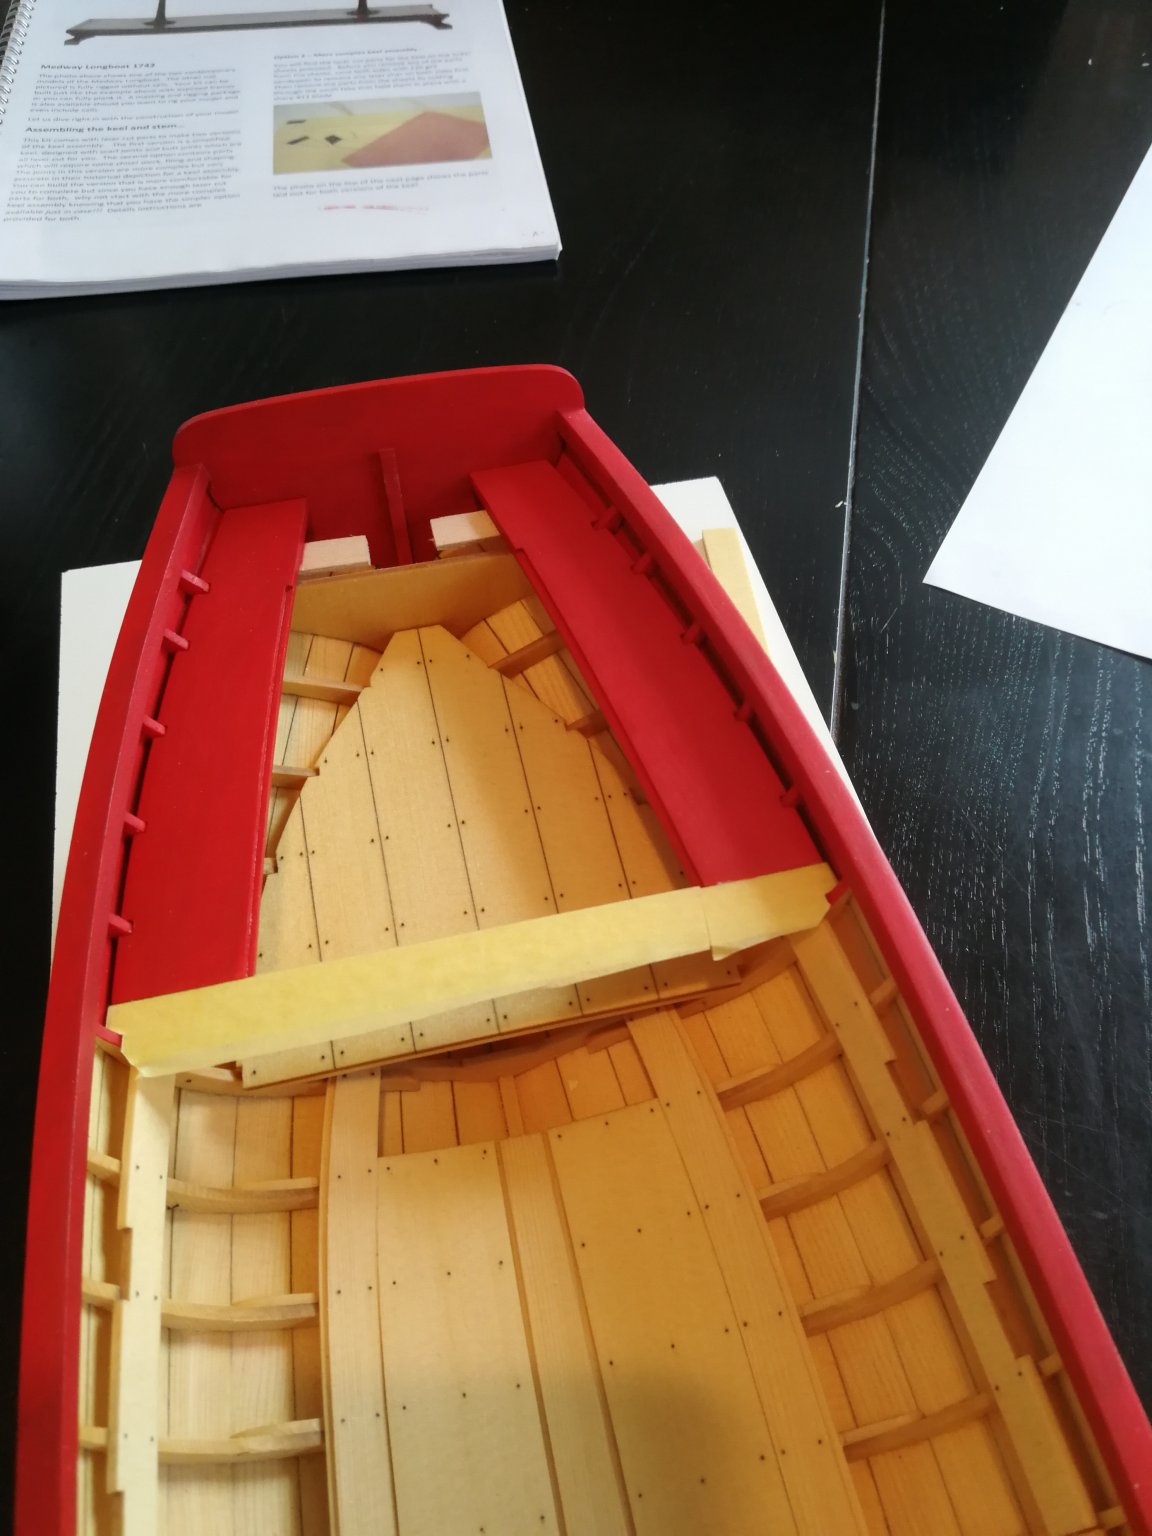
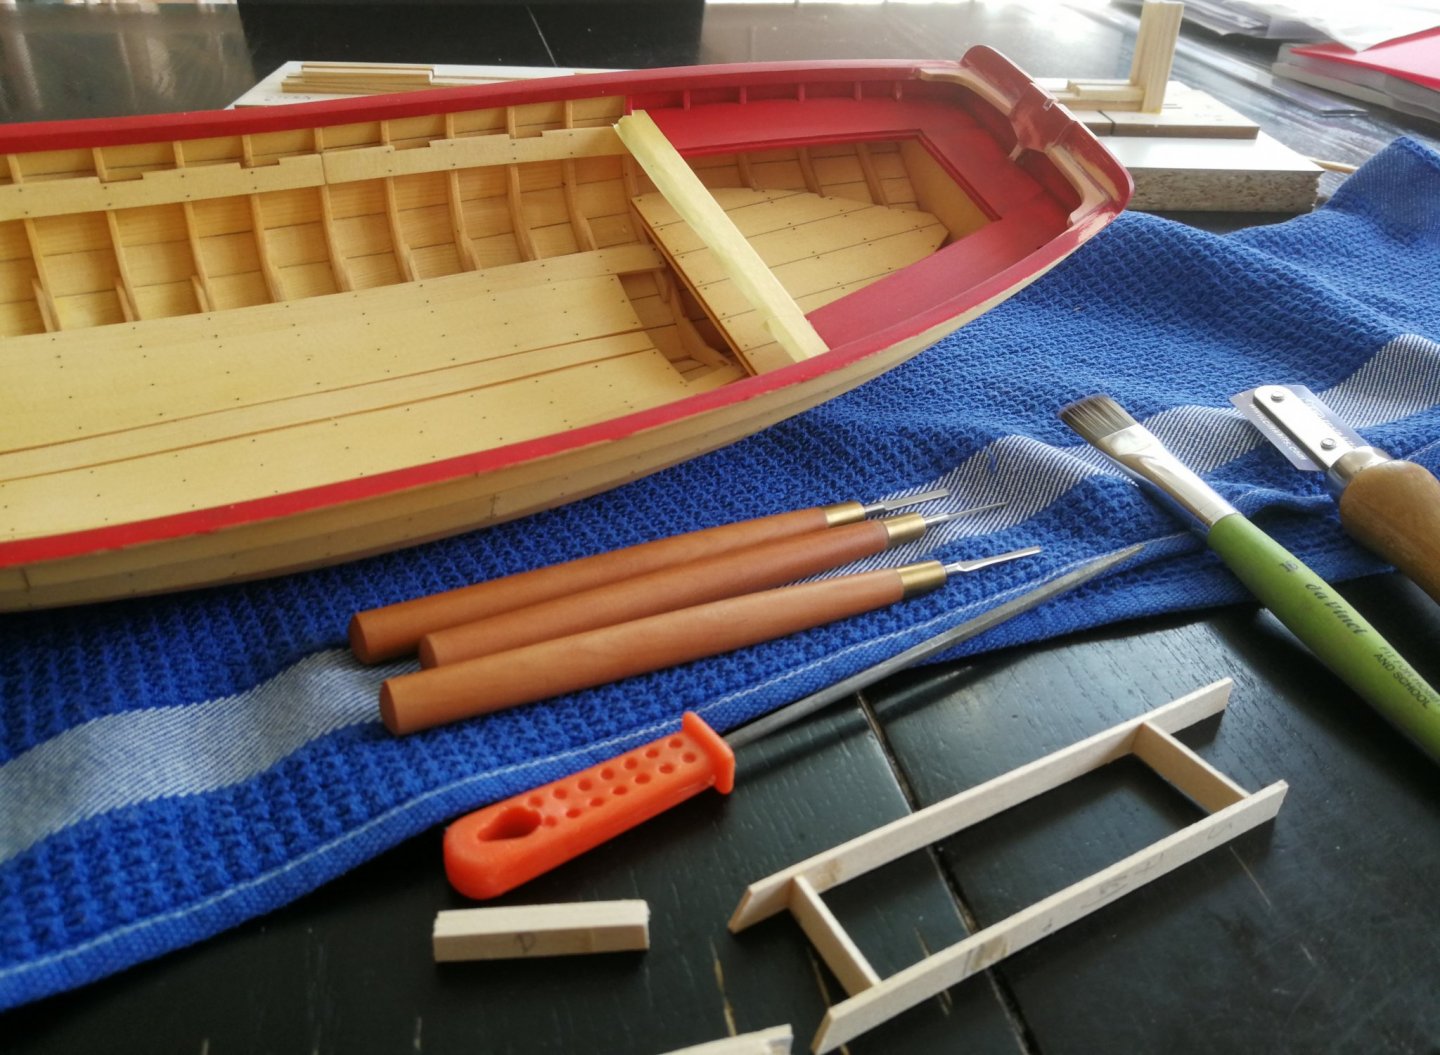
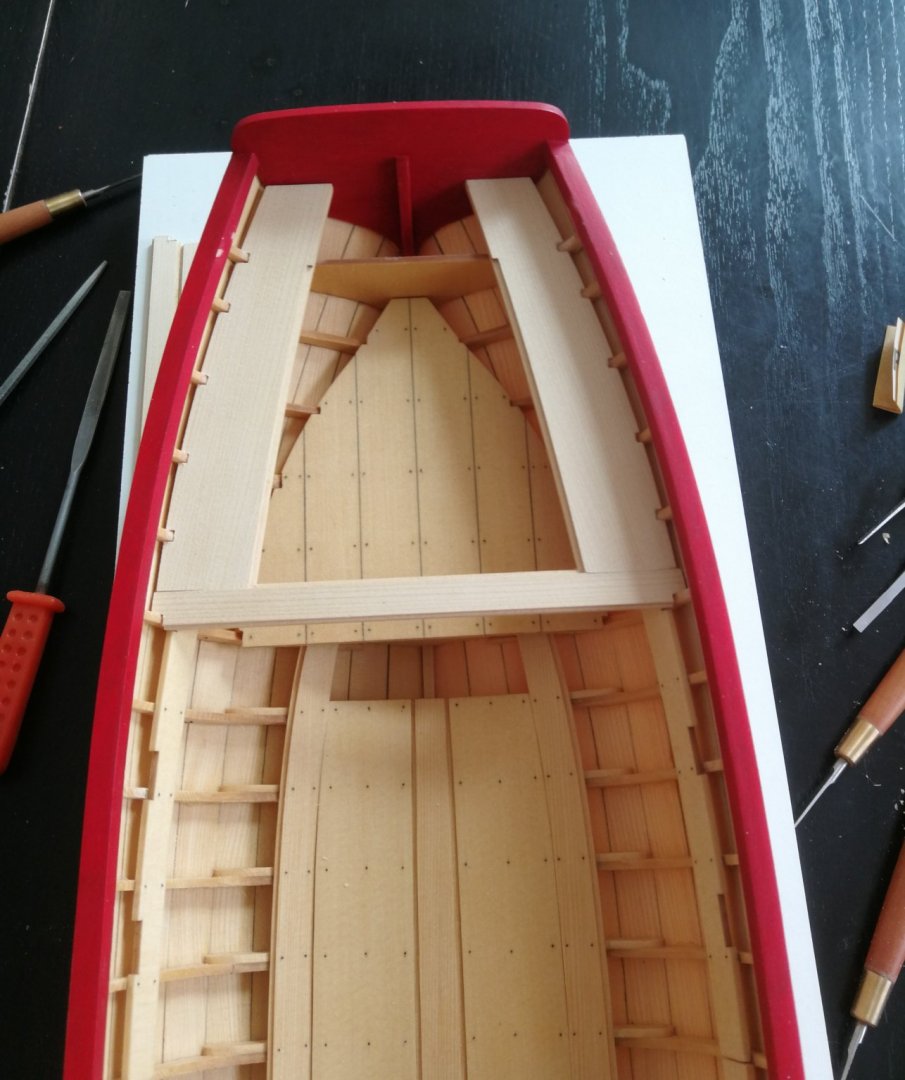
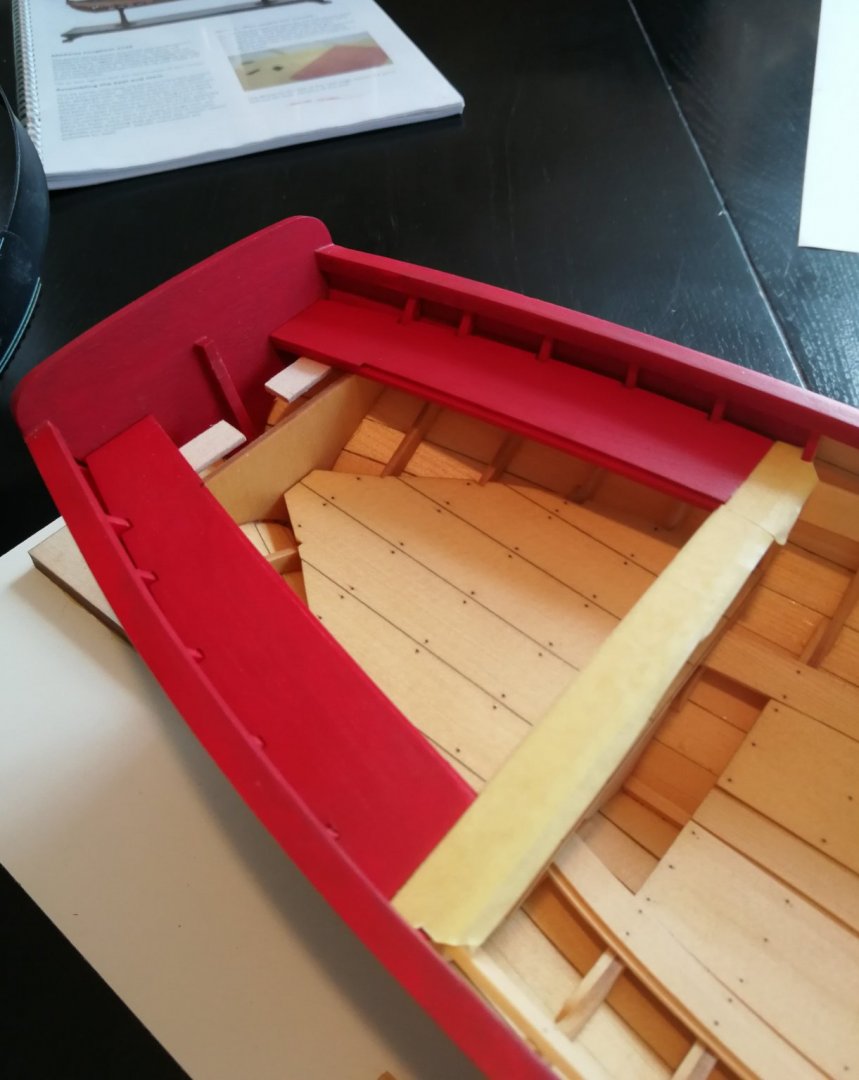
The work on the cockpit seats continues. The center bracket on the transom has been added. To make it easier to put the knees on each side, I used a small structure created from some scraps. Wood filler is then used to seal the inevitable small interstices. It's time to get my brush back...


-
Very good news. I am in possession of the magnificent volume 1 and I look forward to the second part. The Speedwell is really a great project.
-
Thank you Michael and Bob for your kind words and thank you to all the 'Likes'. Bob, I'm just trying to give back a little bit of everything I get from this forum 😉 The central seat is ready. But first I'm going to give it few coats of paint.

-
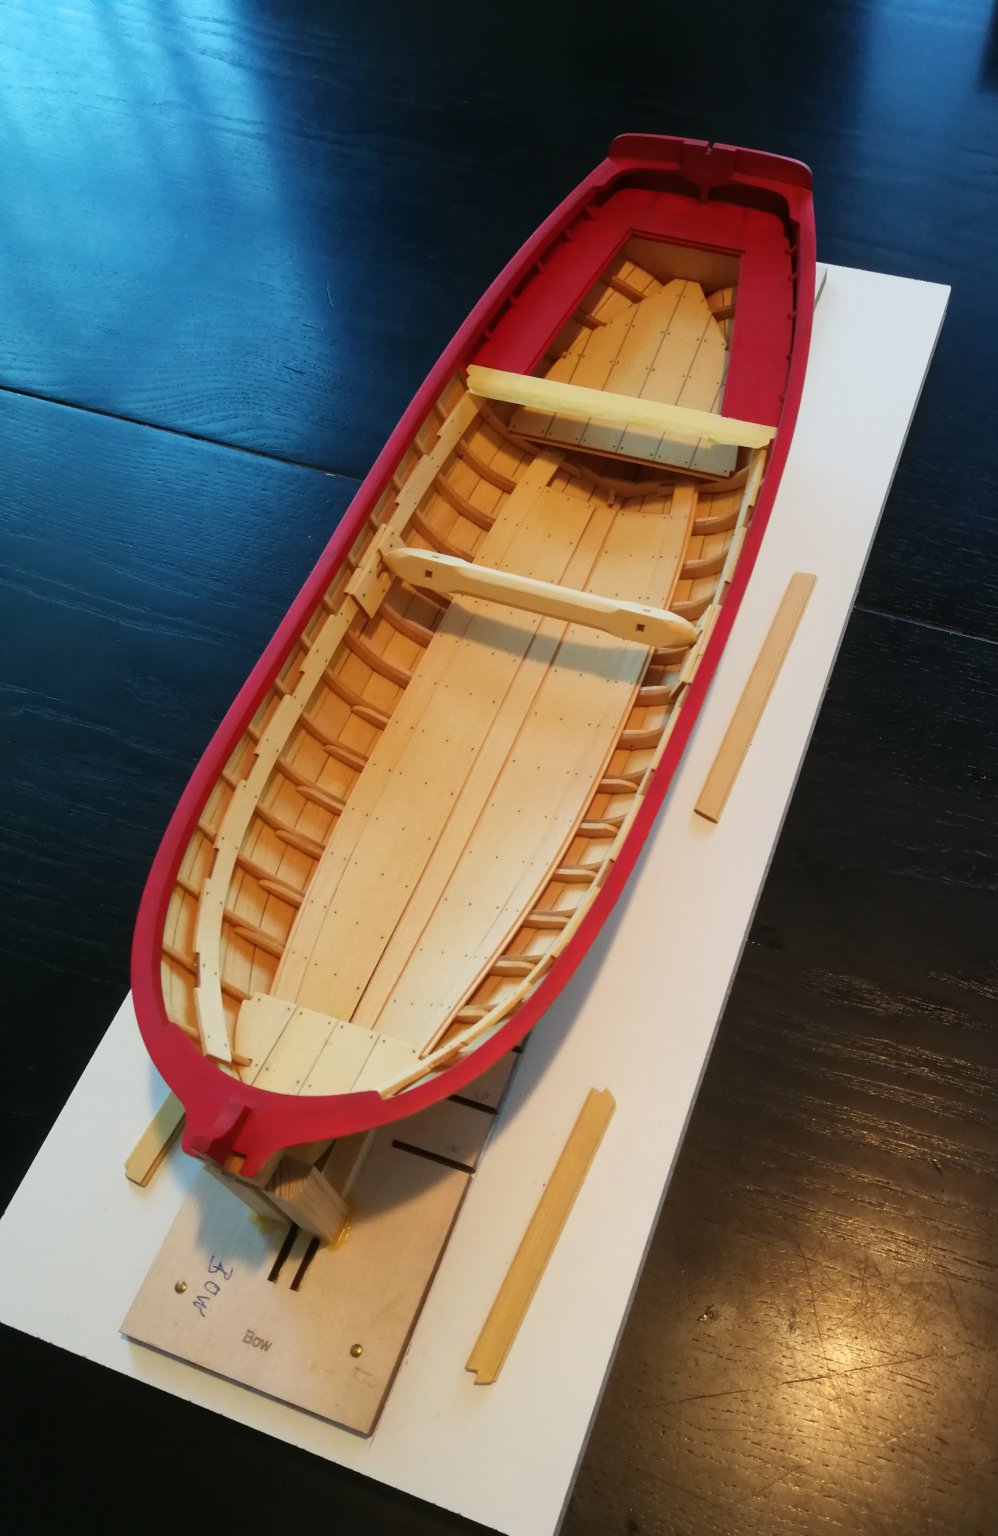
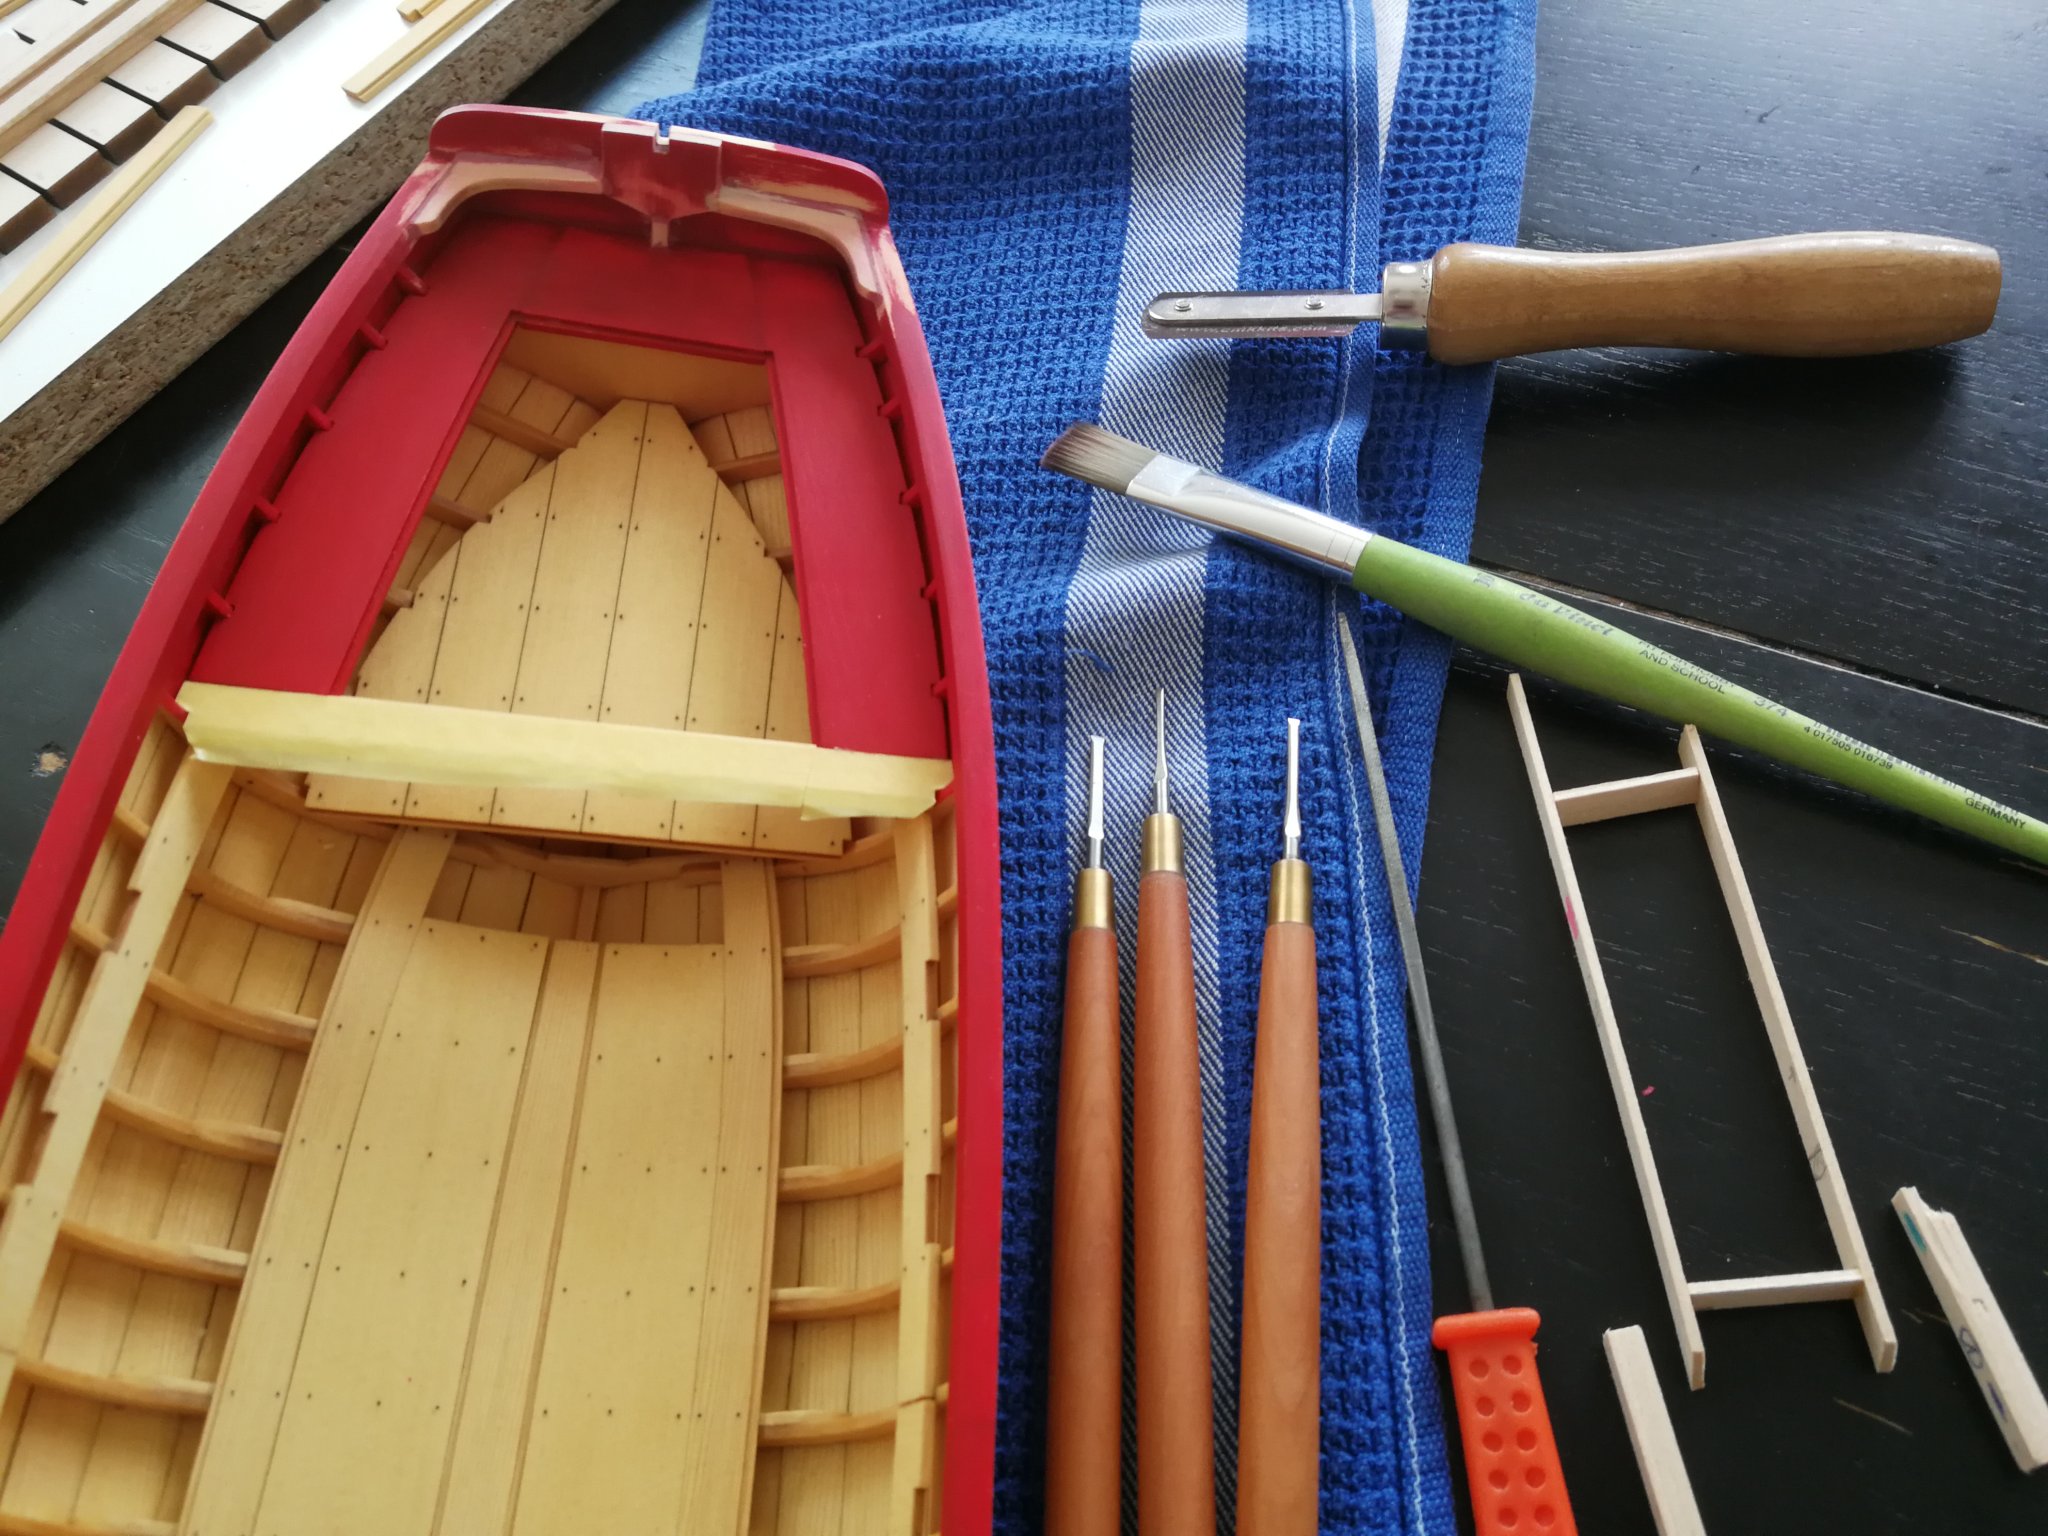
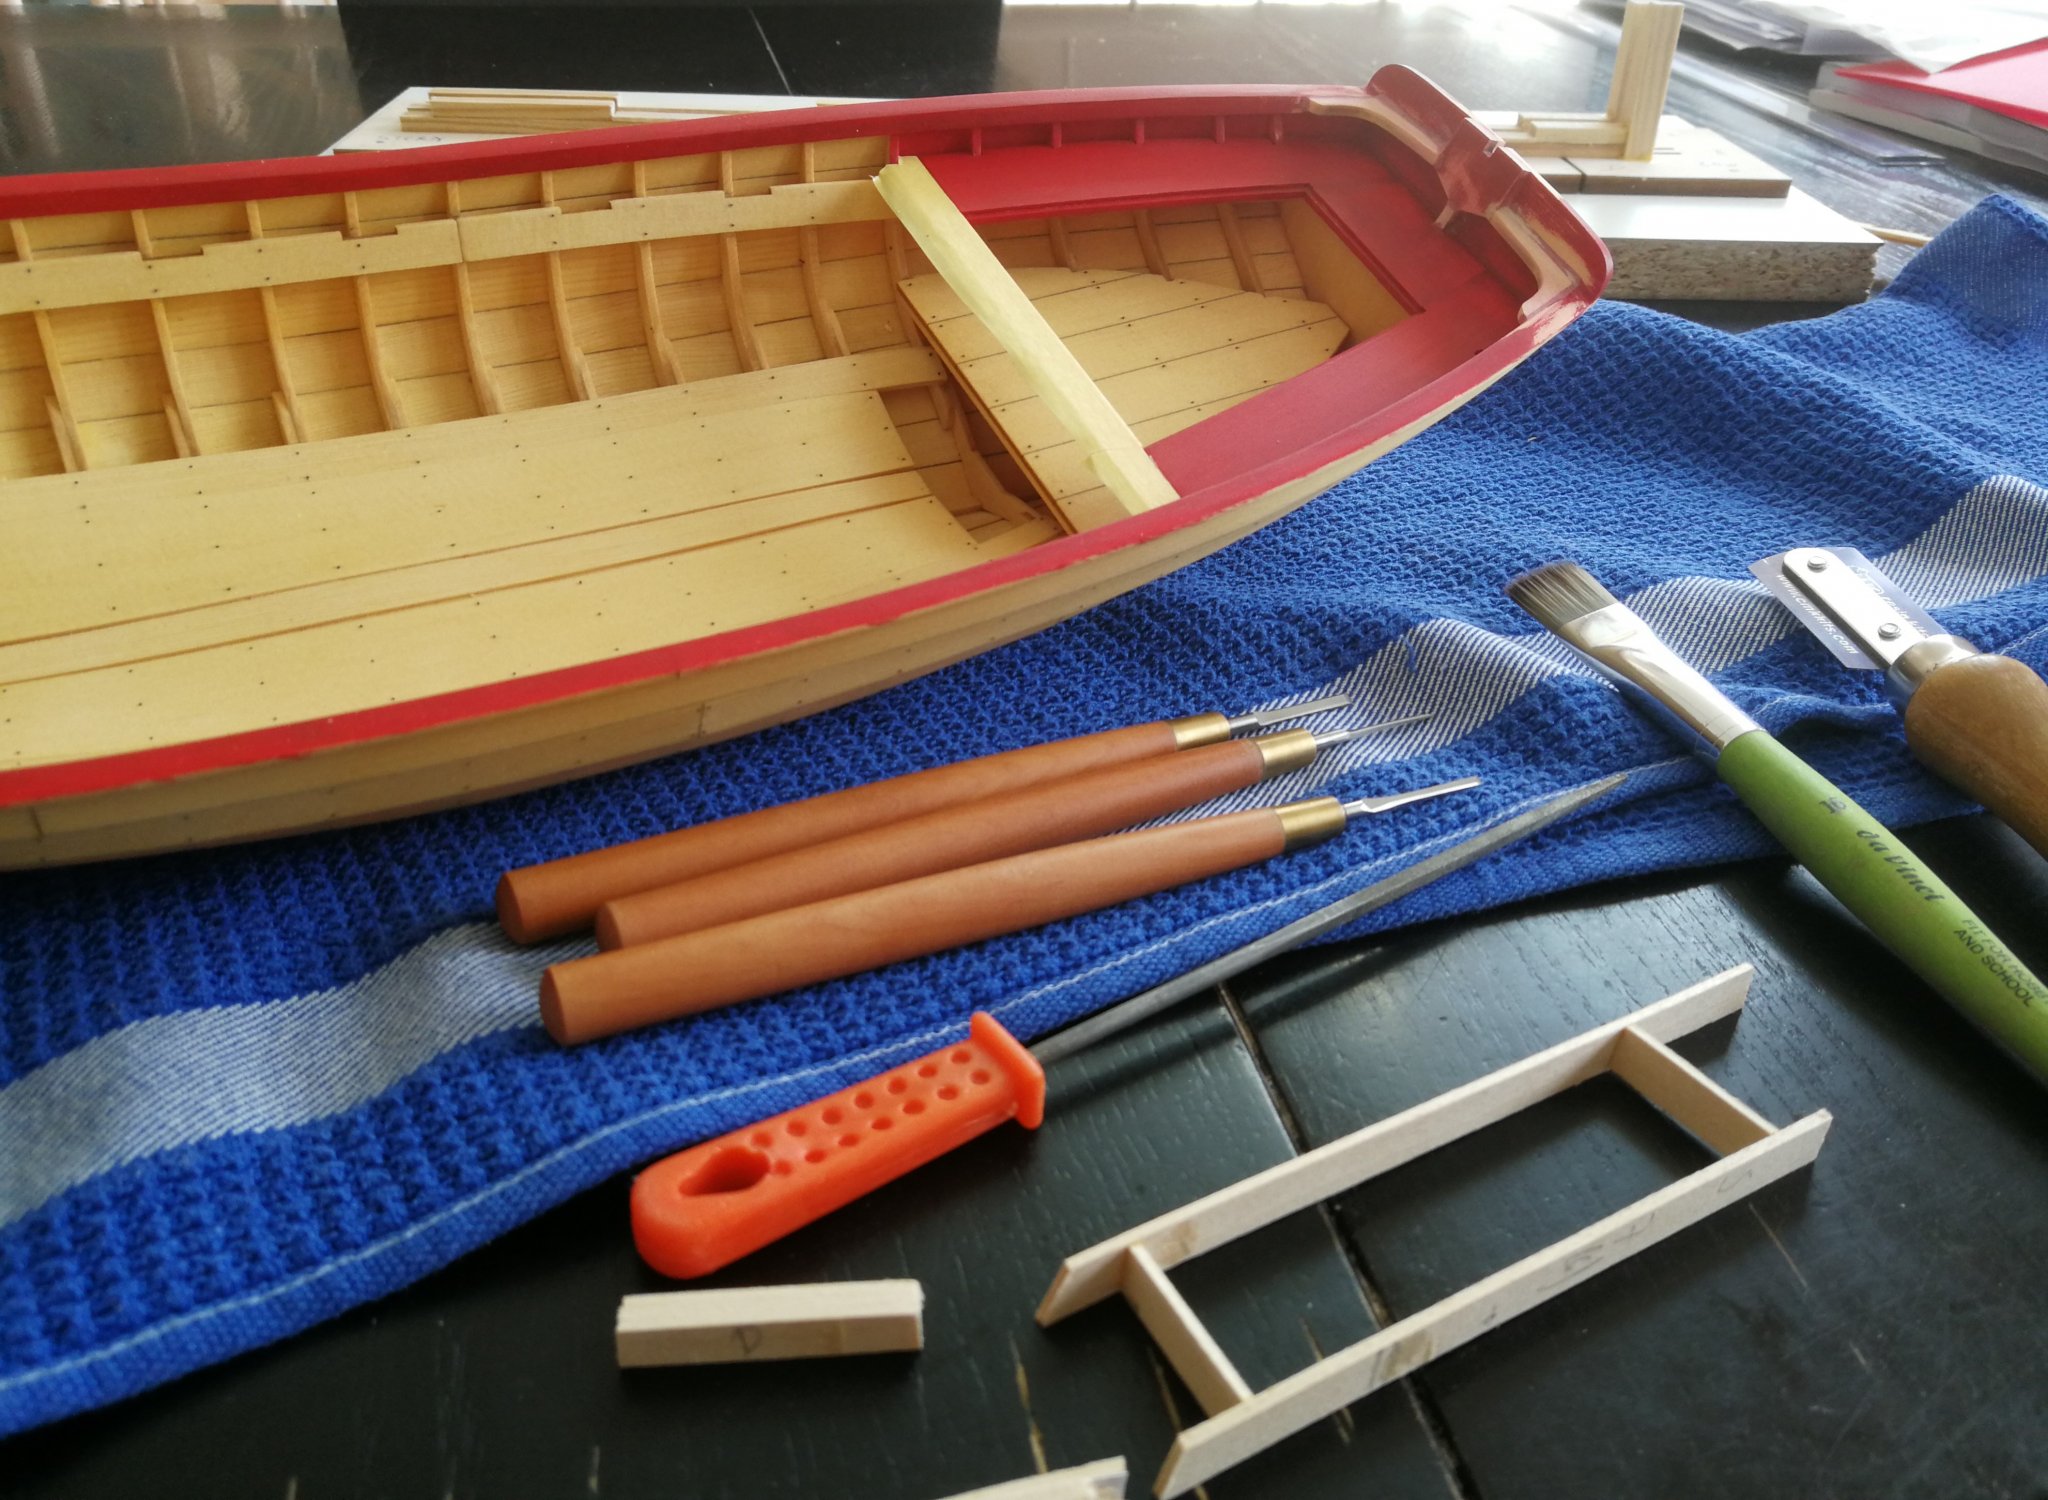
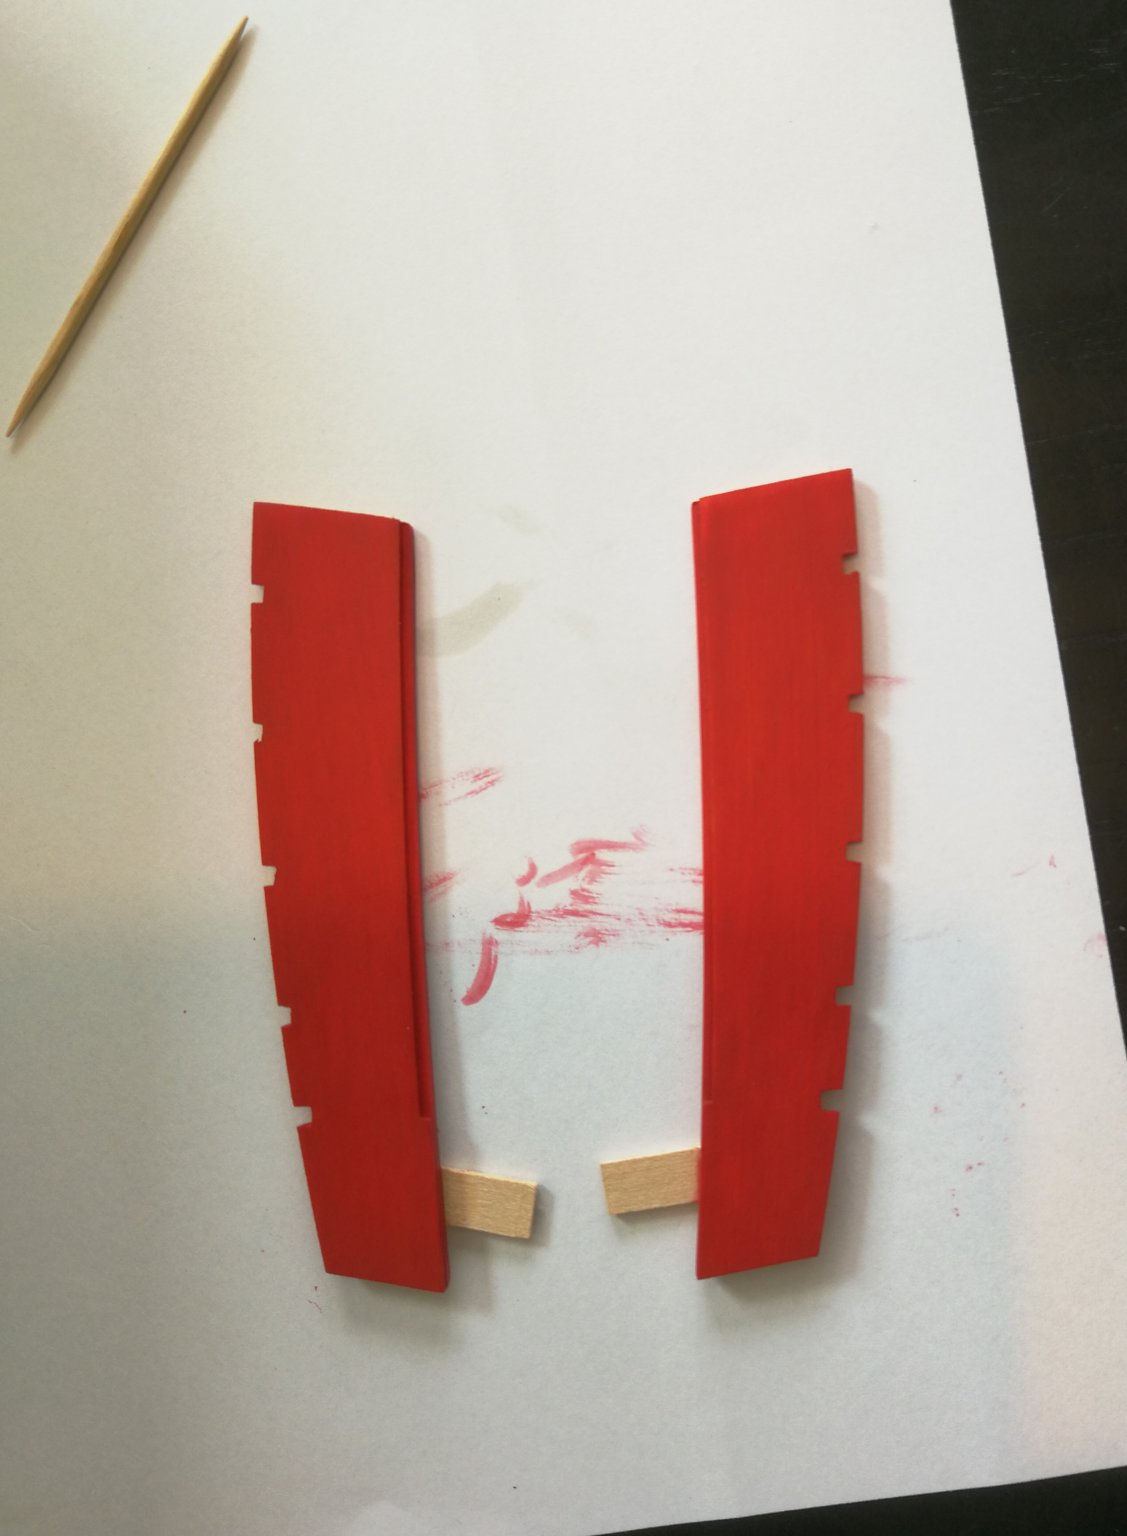
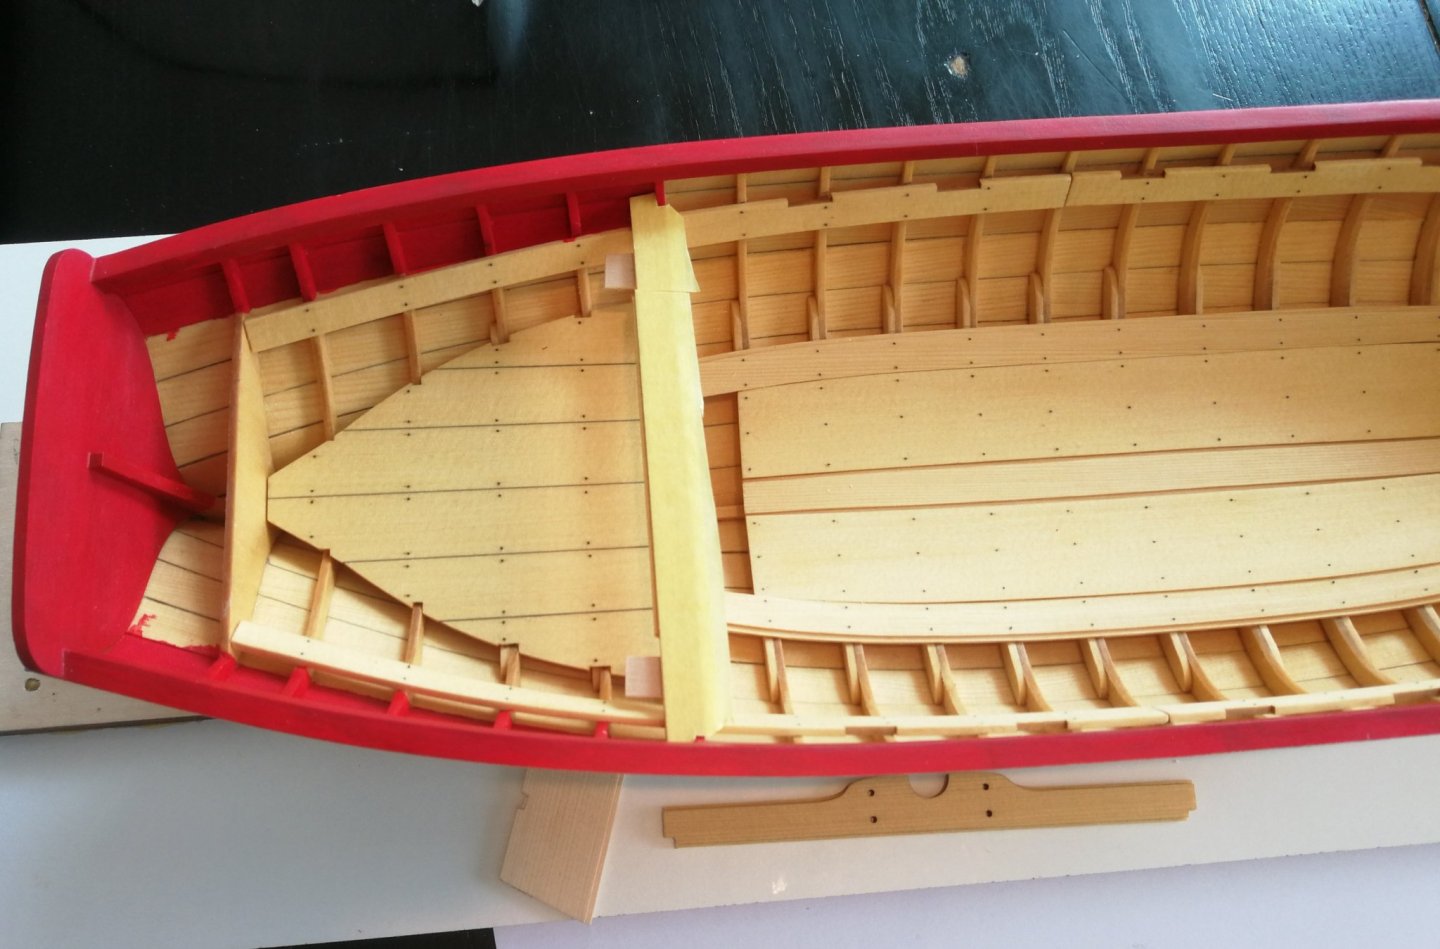
Thank you Jeff and Bob for your comments. And thank you to all the ‘Likes’. Bob, I am fortunate to have been able to build the Queen's Anne barge and many of the processes are similar which makes it easier. What helps me are the following: 1. Read, read and re-read the instruction manual. Before each step, I read 2 to 3 times the part that explains it. The instruction manuals written by Chuck are a model of the genre and all the answers are there. 2. Refer to the work of others. We are fortunate to have on this forum extraordinary modelers who share their work. There too, before each step I go through the other build logs again to get inspiration from their beautiful work. 3. Take your time and never hurry. Note that I too am rarely happy with my work and each time I tell myself that I could have done better. It is also a goal: to think that the next model will be better. That said, every moment spent on this longboat is a moment of happiness because Chuck has concocted a jewel for us. I was able to advance on the installation of the cockpit seats. Do not be afraid to accentuate the cutting angle on the back of the seat. The rear thwart was glued and protected with some tape. Note the small tabs placed on the bottom of the thwart to facilitate the installation of the 2 cockpit seats. Thank you Ryland for the tip ! I already pass several layers on the seats before gluing them. And finally they are glued. Also inspired by Ryland's work, I glued 2 small tabs to facilitate the installation of the central seat.


-
Always a real pleasure to follow this wonderful build. Thank you Chuck !
- 1,784 replies
-
- 2
-
-
- winchelsea
- Syren Ship Model Company
- (and 1 more)
-
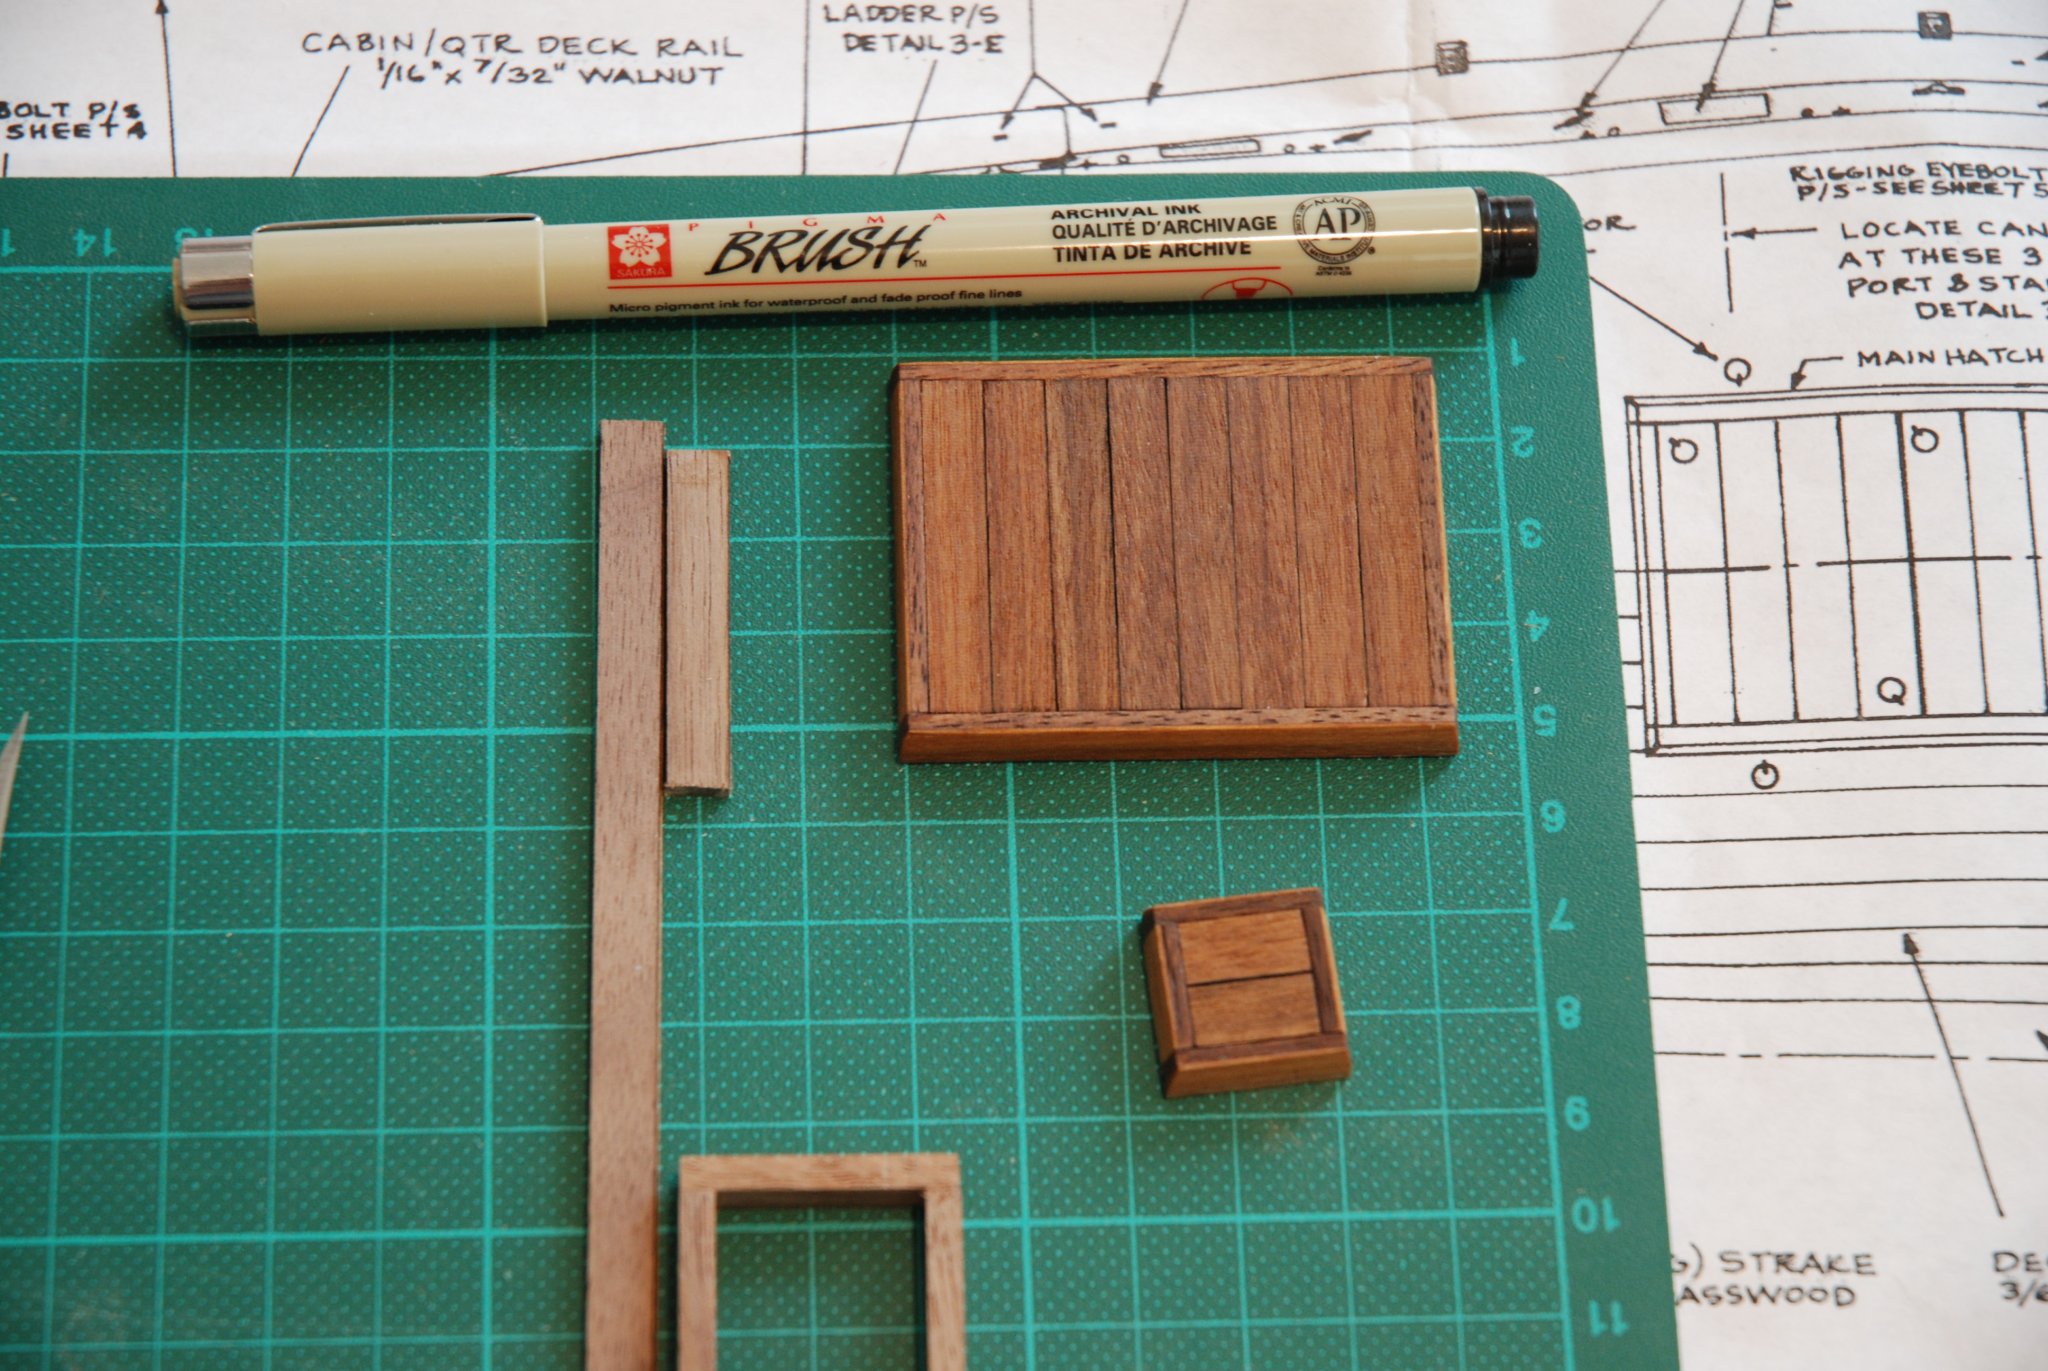
For my Armed Virginia Sloop hull which was planked with walnut, I used a black pen (archival ink) I only apply it on one side.

-
The excellent work continues. Thank you for the many details on the different steps. Very informative and motivating. A pleasure to follow !
- 778 replies
-
- 3
-
-
- cheerful
- Syren Ship Model Company
- (and 1 more)
-
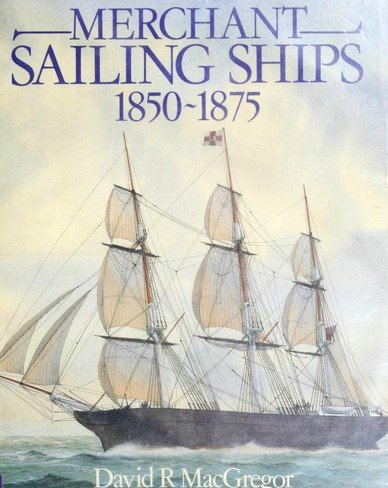
Thank you all for your advice. Thank you Tony for the url of the Brunel Institute in Bristol. The site is very interesting and above all allowed me to discover a next destination to visit during my next visit to England. I have already visited Portsmouth but I had never heard of Brunel's SS Great Britain. It seems to be a very good place. For the book, I will probably acquire the first in the series and then gradually complete it.
-
While browsing the web, I came across this series of publications by author David MacGregor on the merchant sailing. Any advice on these books ? He has also published other books like 'Fast Sailing Ships' or 'The Tea Clippers'. What about this author and his publications ? Than you in advance for your advice.


-
Superb ! I really love this build ! Very refreshing. Kisscool effect !
-
Superb job Bob. She is a little beauty ! Congratulations for this beautiful model.
- 170 replies
-
- 1
-
-
- medway longboat
- Syren Ship Model Company
- (and 1 more)
-
Superb work ! All is exactly as it should be !
-
Superb work on this "cooking stove". Ready for a "grillade-party" 😀 I really love the paint job and the result is really great !
- 756 replies
-
- 3
-
-
- galleon
- golden hind
- (and 2 more)
-
Nice start. I will follow this build with great interest because the Cheerful will be one of my next ship model. I really love this cutter and we have so many great completed versions !
- 778 replies
-
- 4
-
-
- cheerful
- Syren Ship Model Company
- (and 1 more)
-
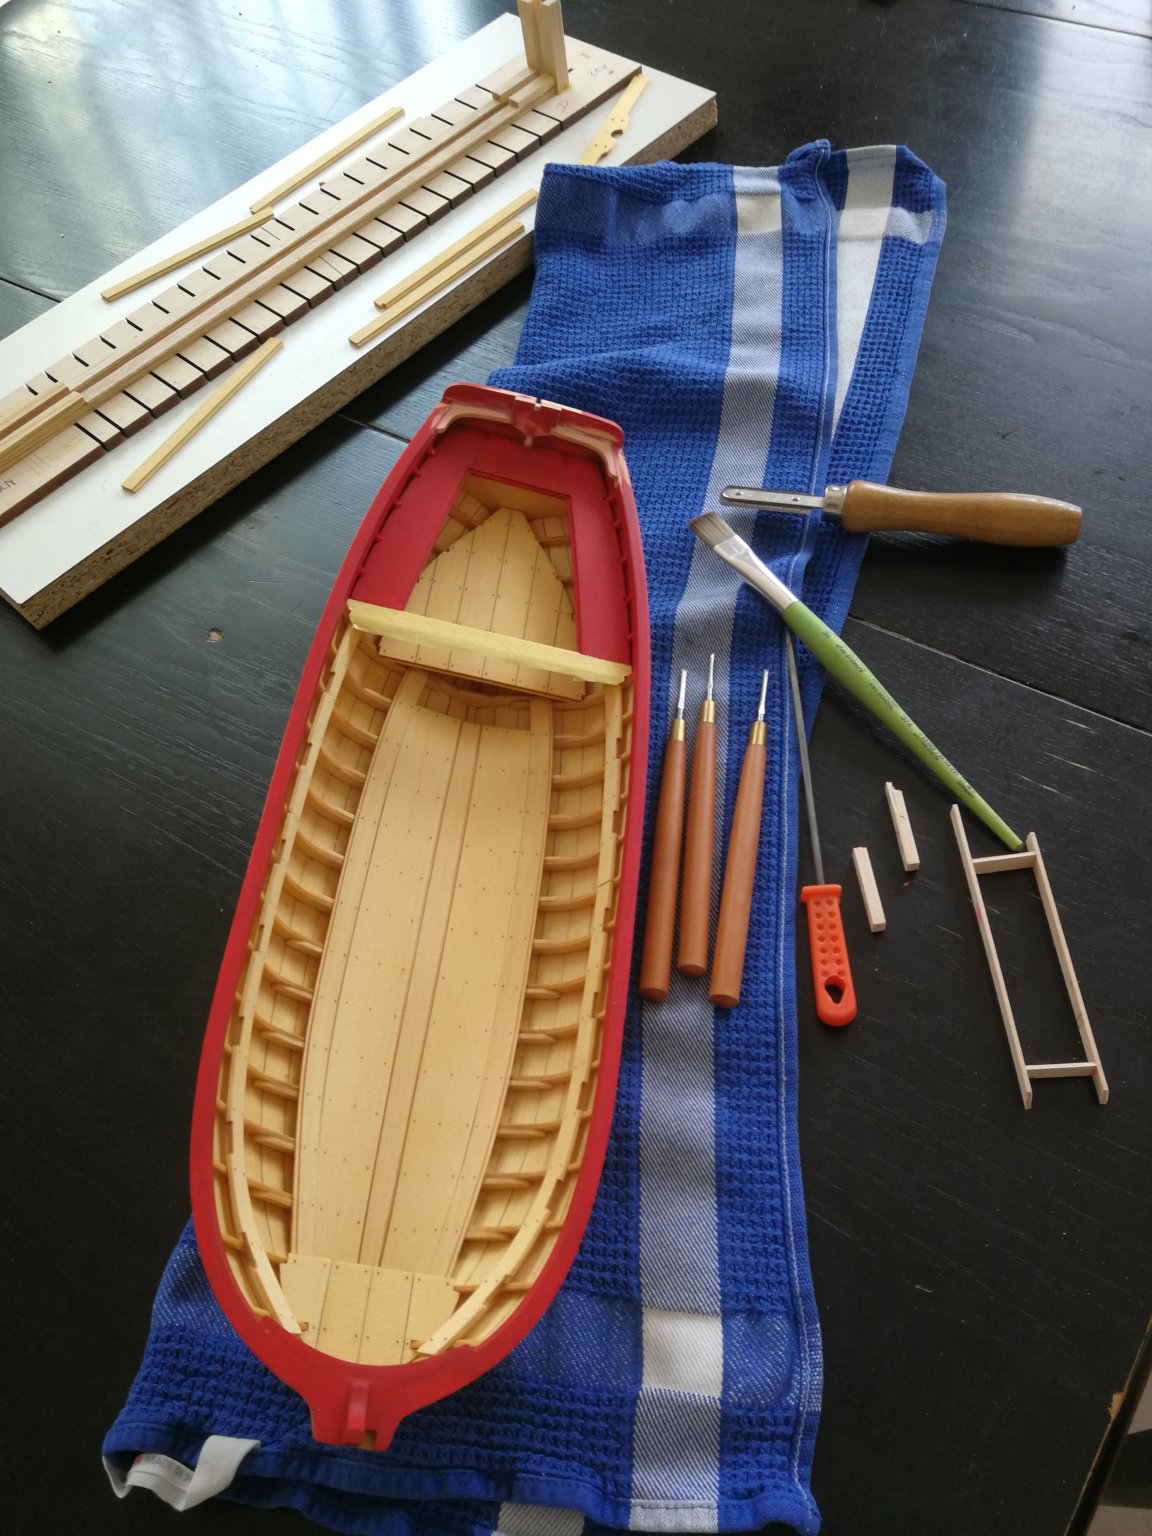
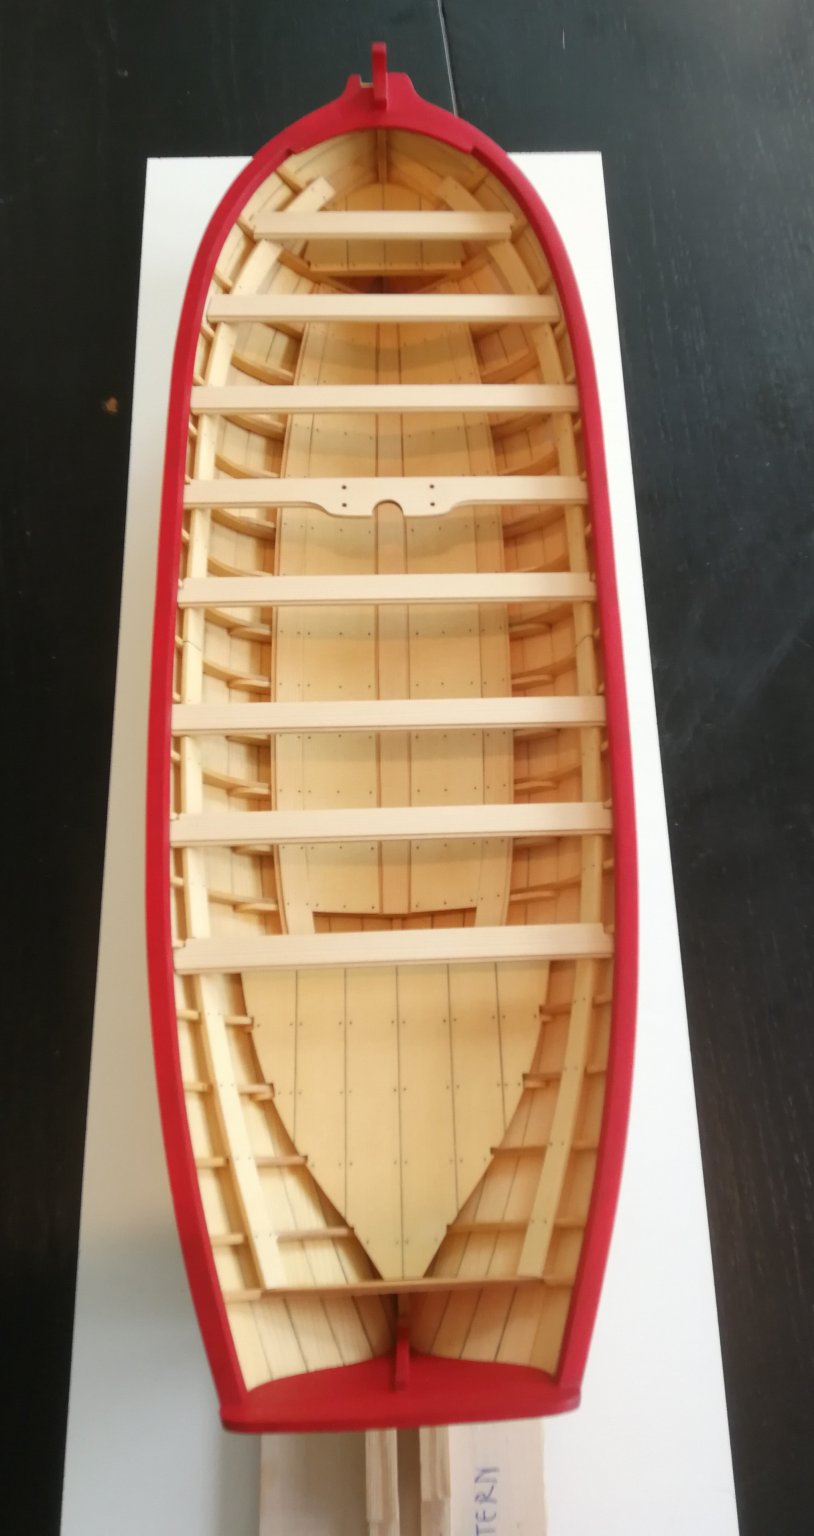
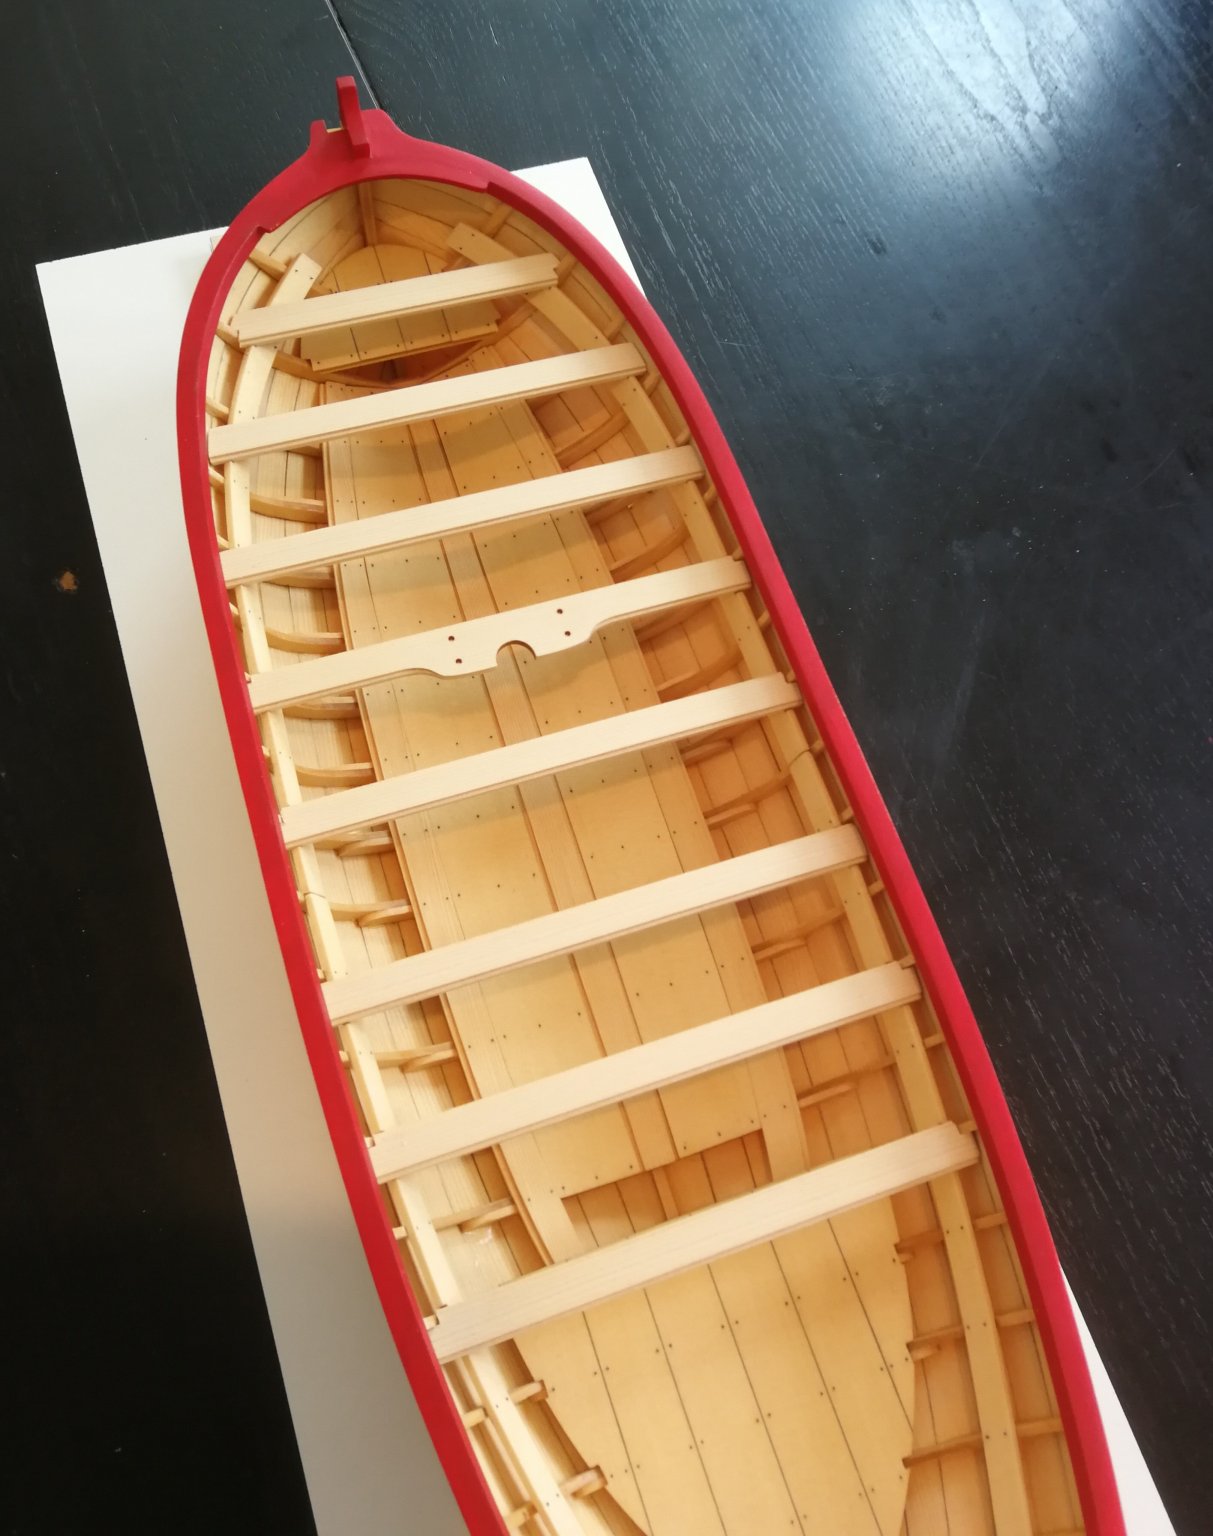
Thank you to all the 'Likes'. The thwarts are provisionally in place. These are not yet glued. I have to finish the cockpit seats before.