GrandpaPhil
NRG Member-
Posts
6,161 -
Joined
-
Last visited
Content Type
Profiles
Forums
Gallery
Events
Everything posted by GrandpaPhil
-
Thanks, OC! The hardest part for me is always setting up the shrouds and getting the spacing right for the dead-eyes. I’m pretty much cloning the stays and backstays from the Sultana, but factoring that in with the rigging plan from The Colonial Schooner. Sultana had a much more complicated rig so I am adapting for the differences.
-
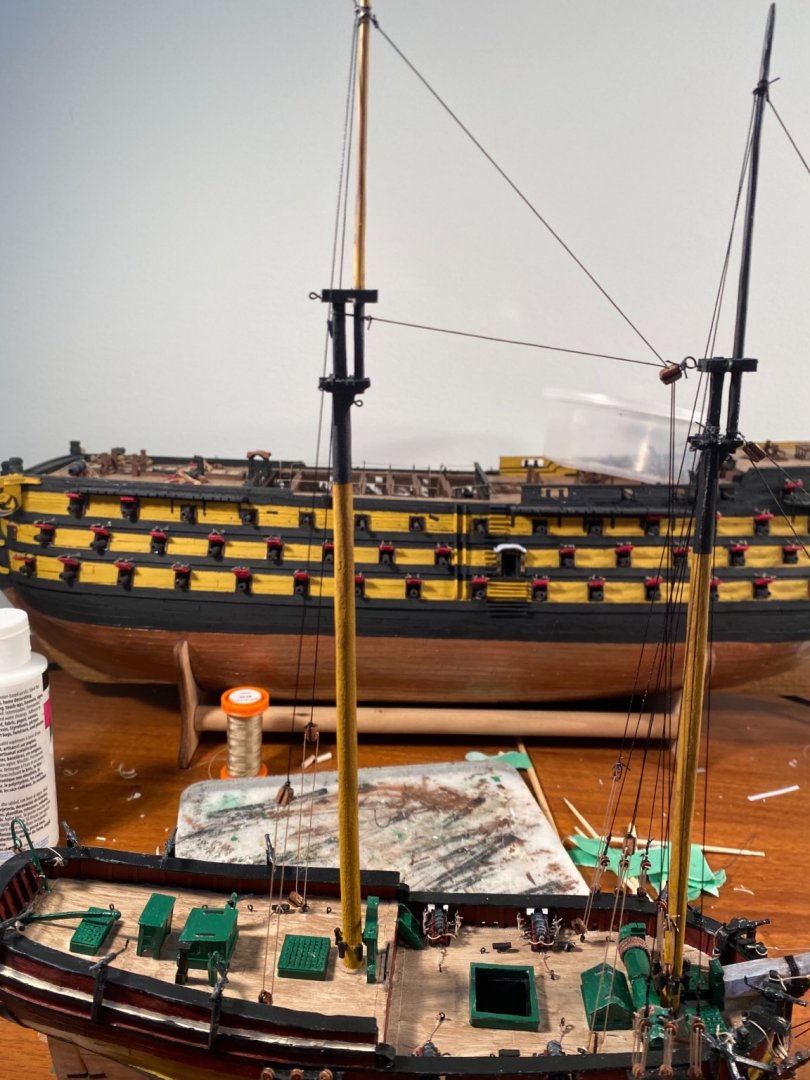
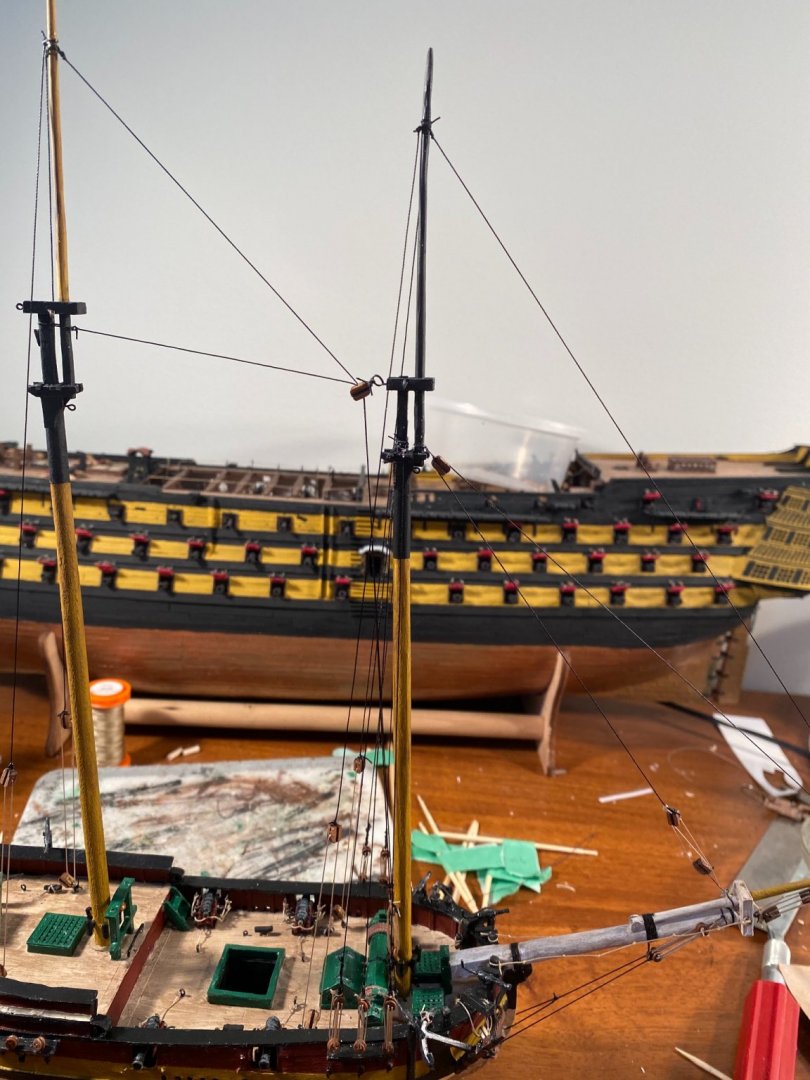
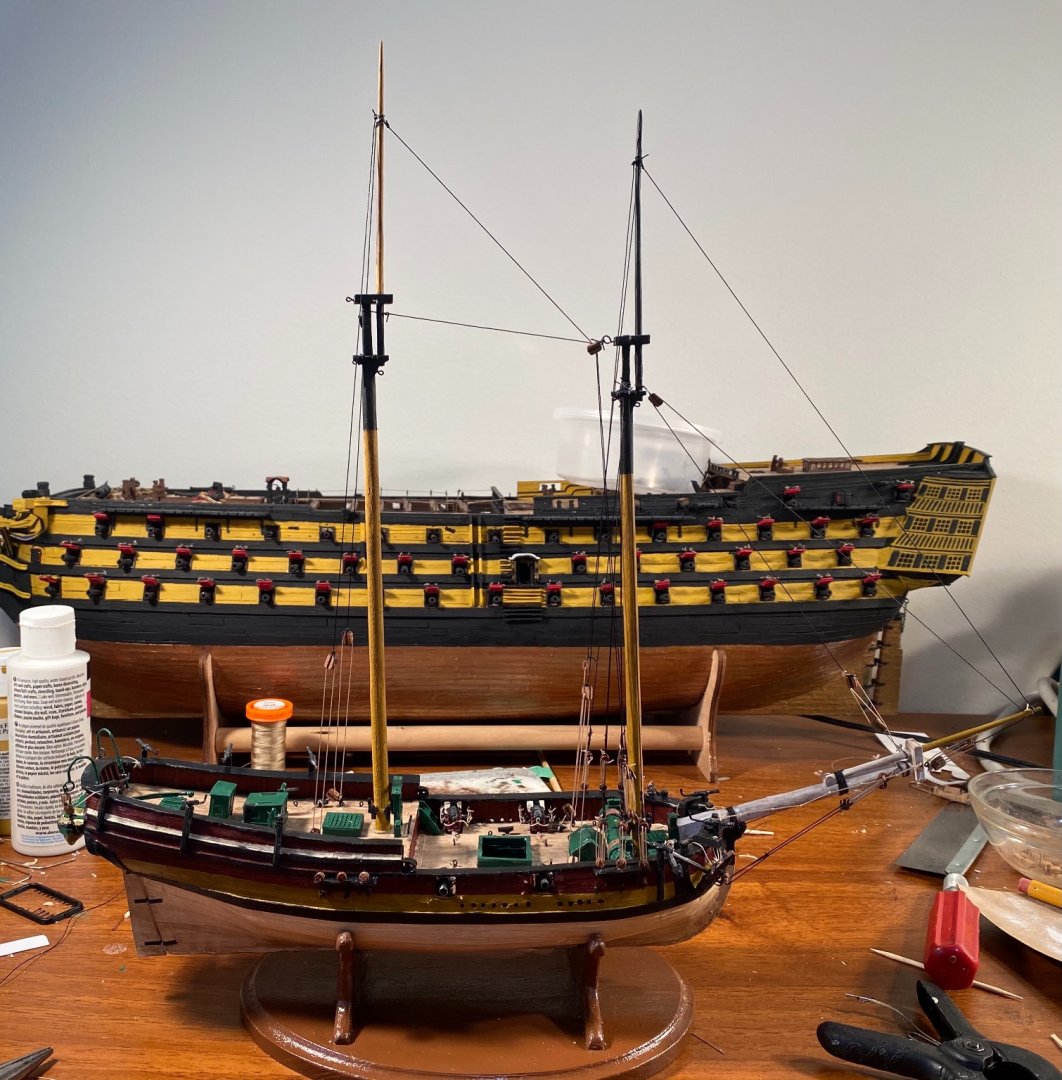
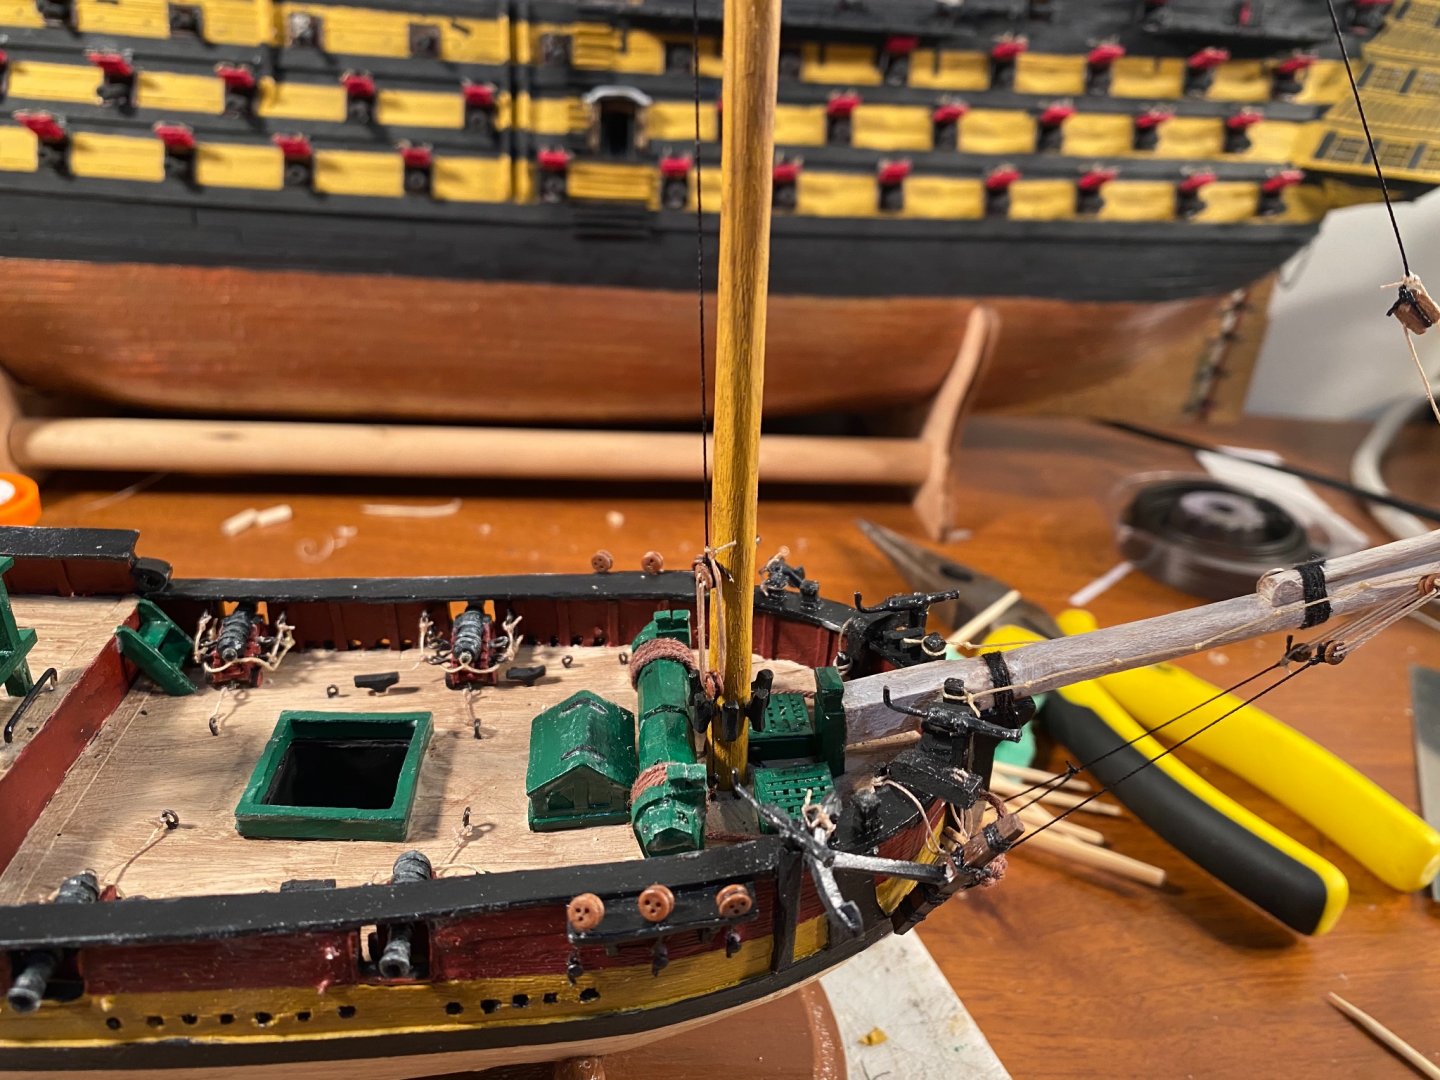
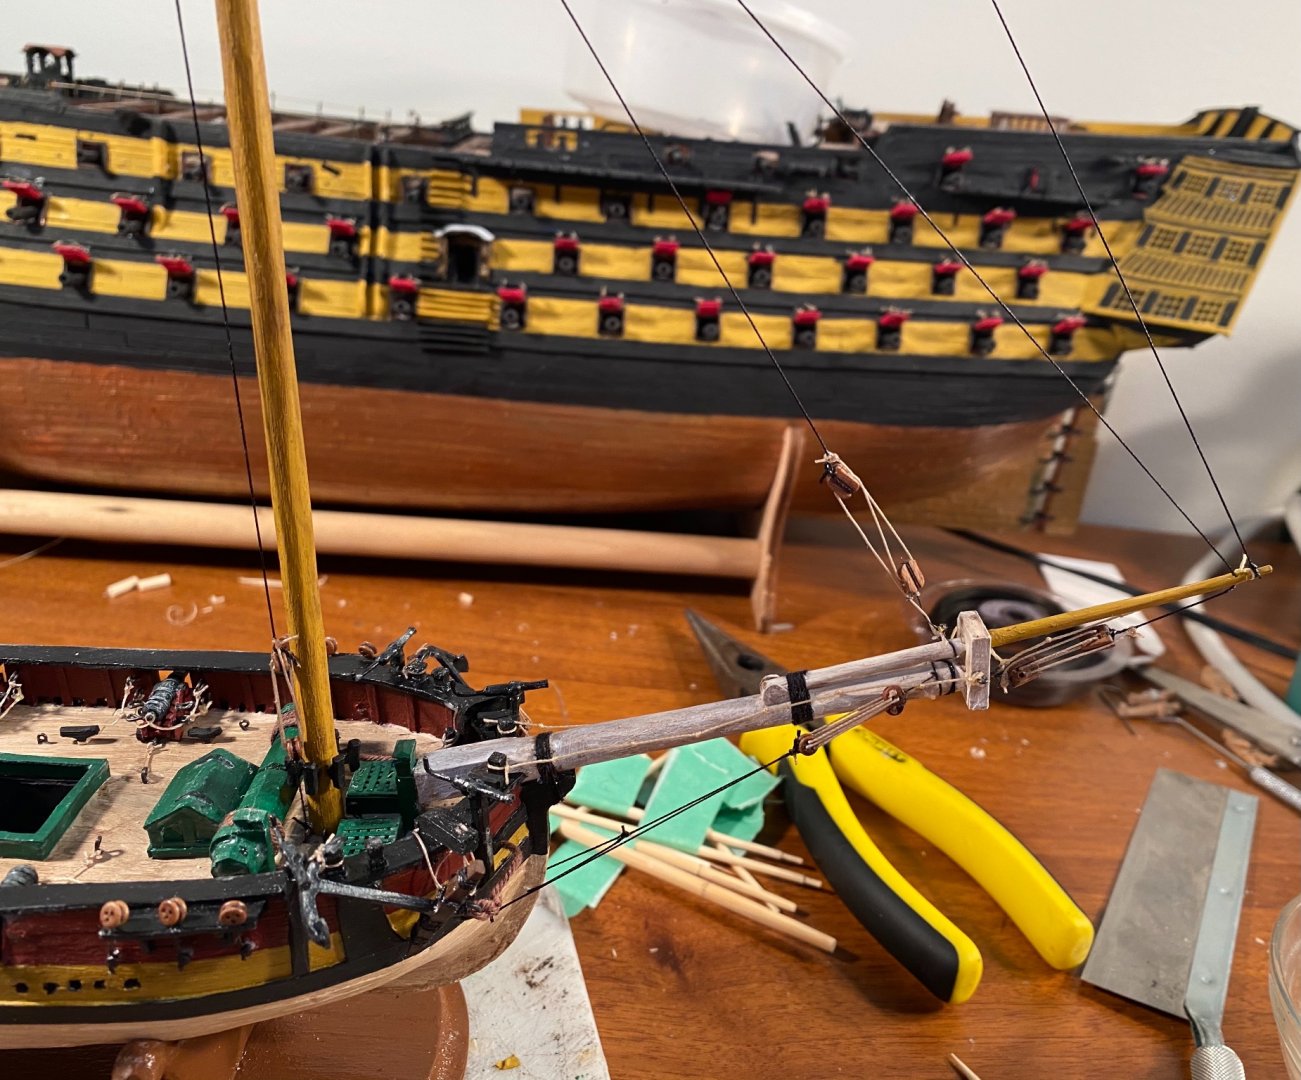
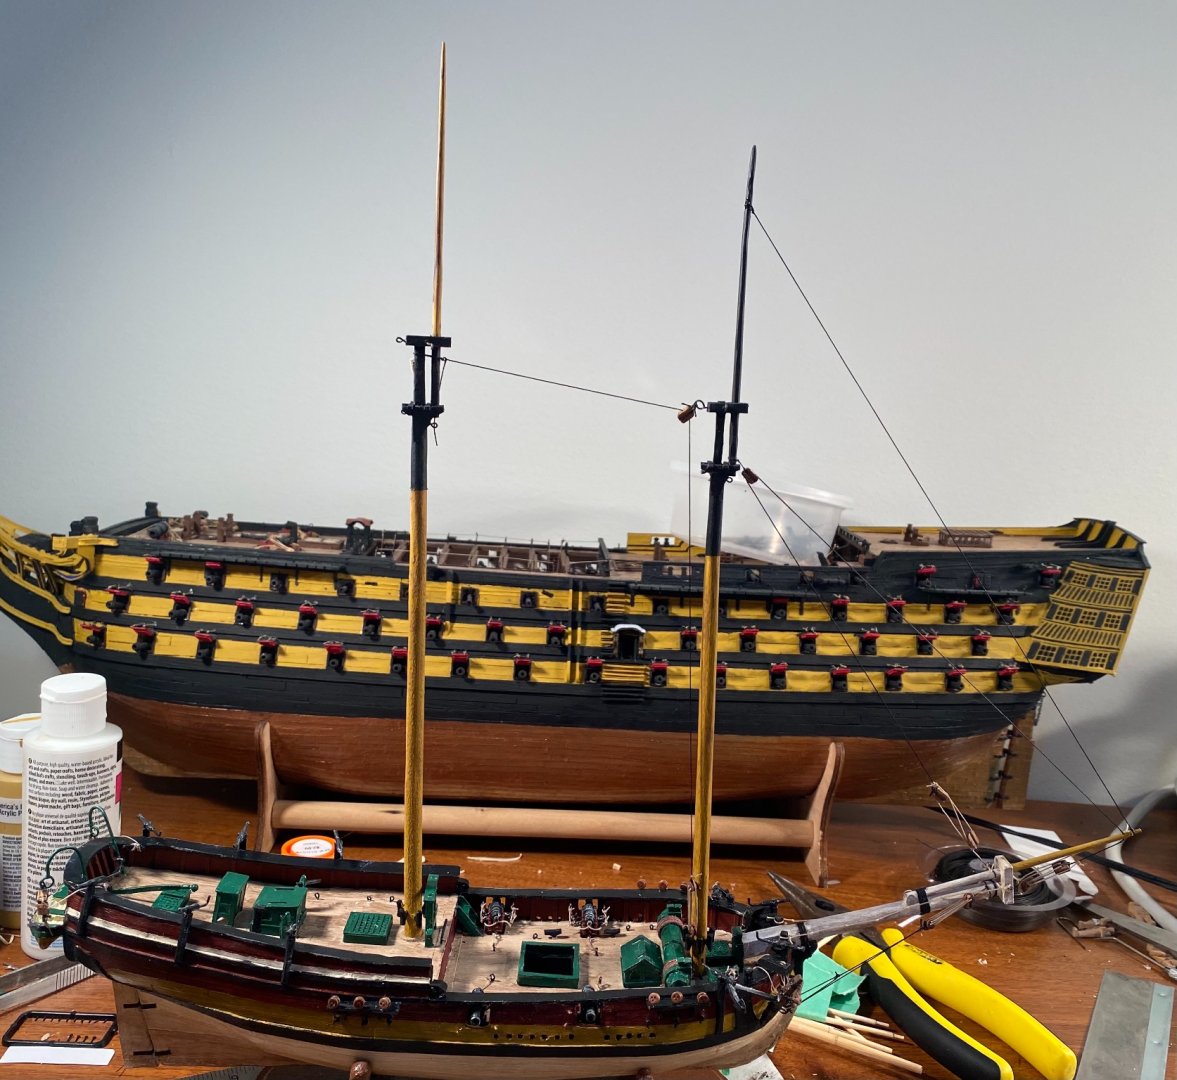
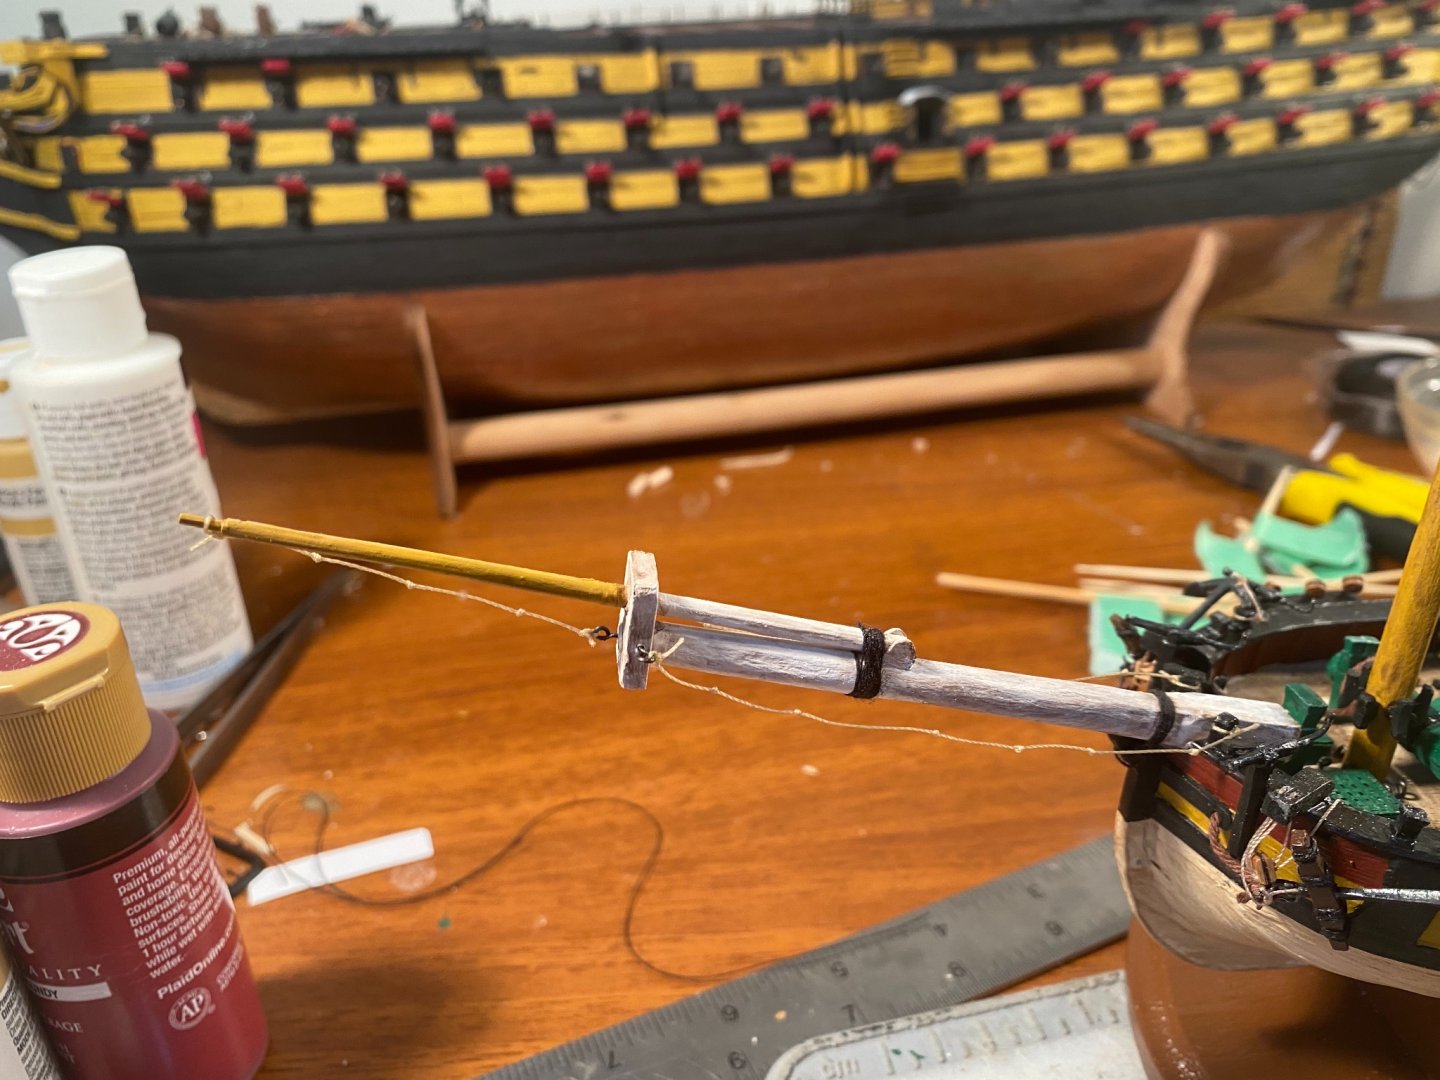
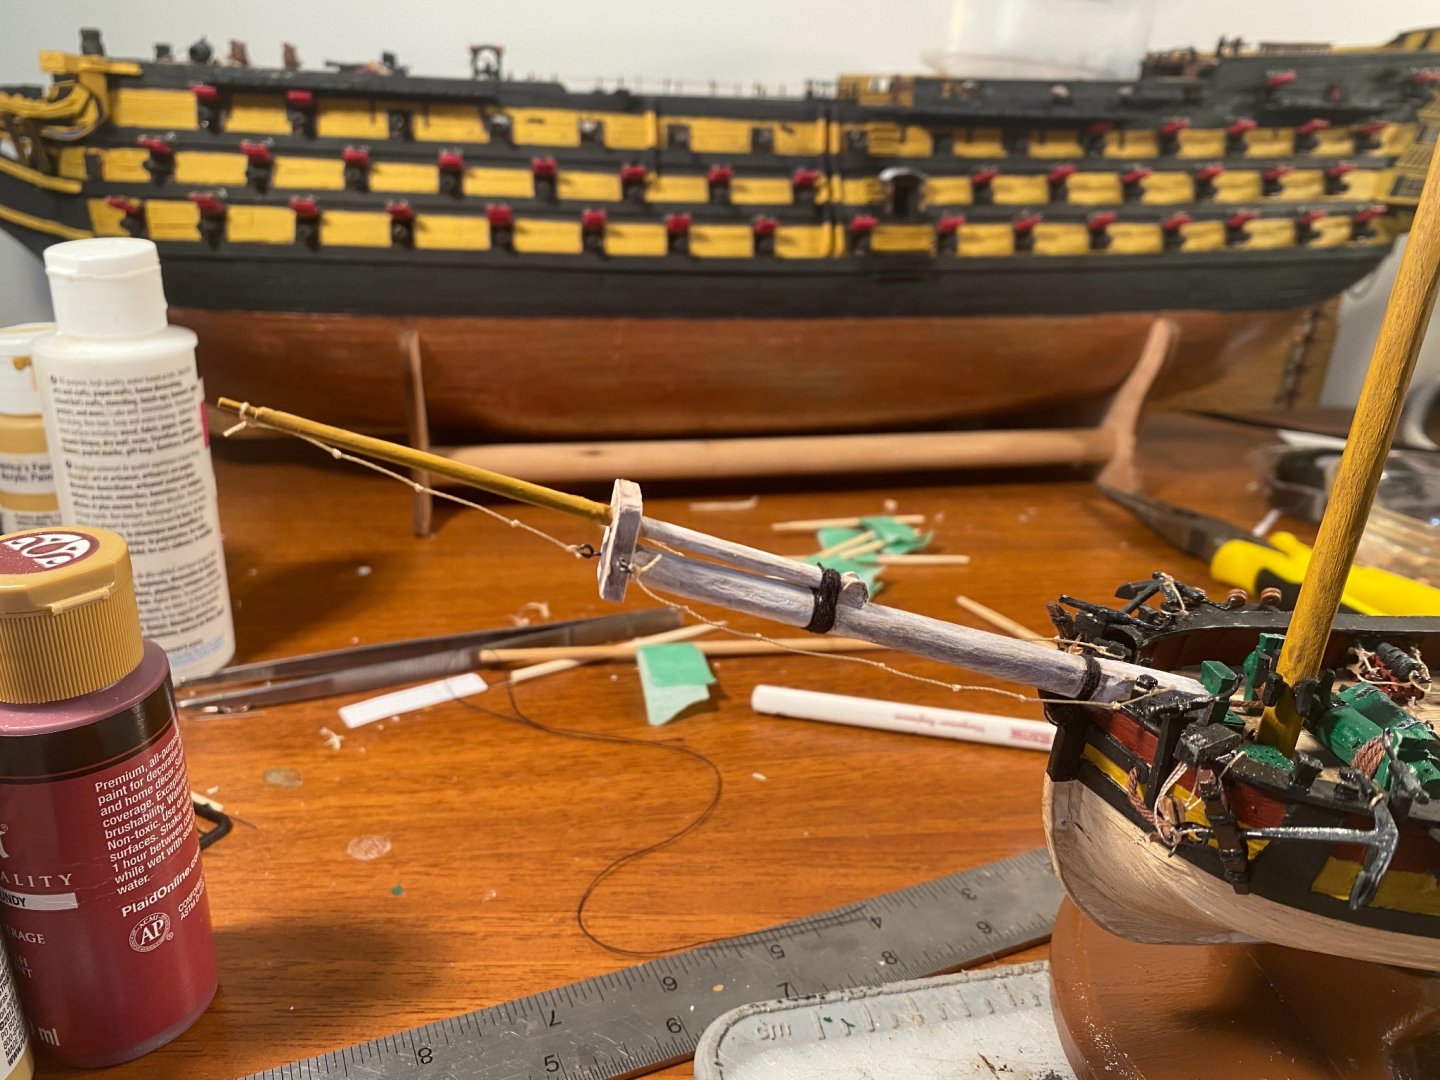
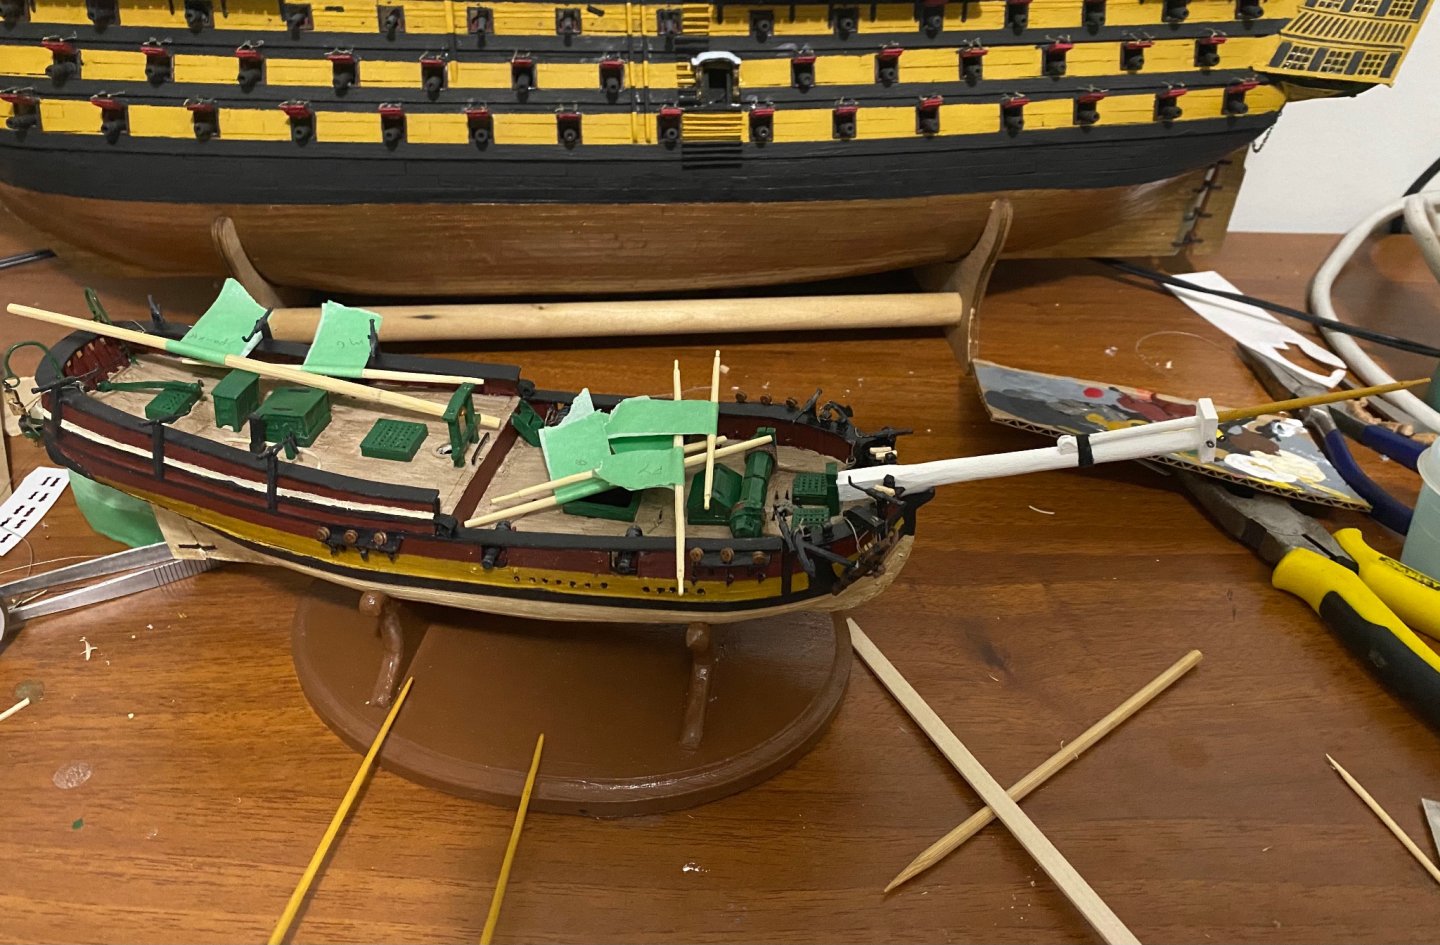
I made the foot ropes for the bowsprit. The stays are going up and the bowsprit is rigged (standing rigging). The fore top mast isn’t actually bent forward as bad as it looks like in the picture.
-
I had to add some more rigging fittings from following Sultana, which isn’t entirely unsurprising. I really need to learn more about rigging.
-
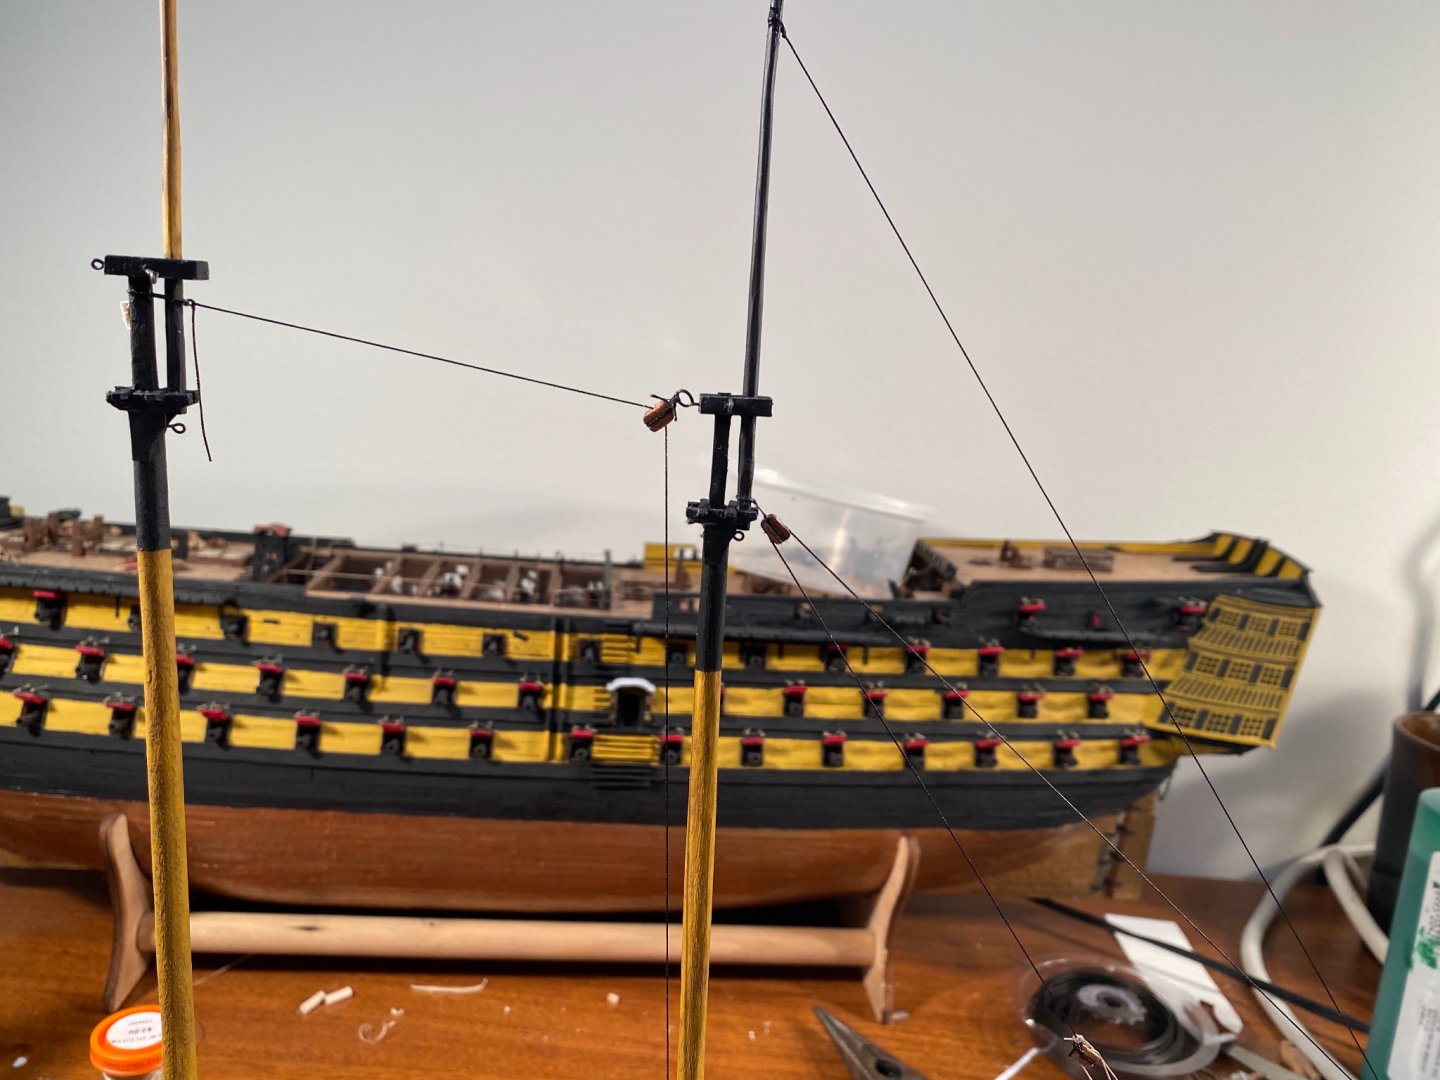
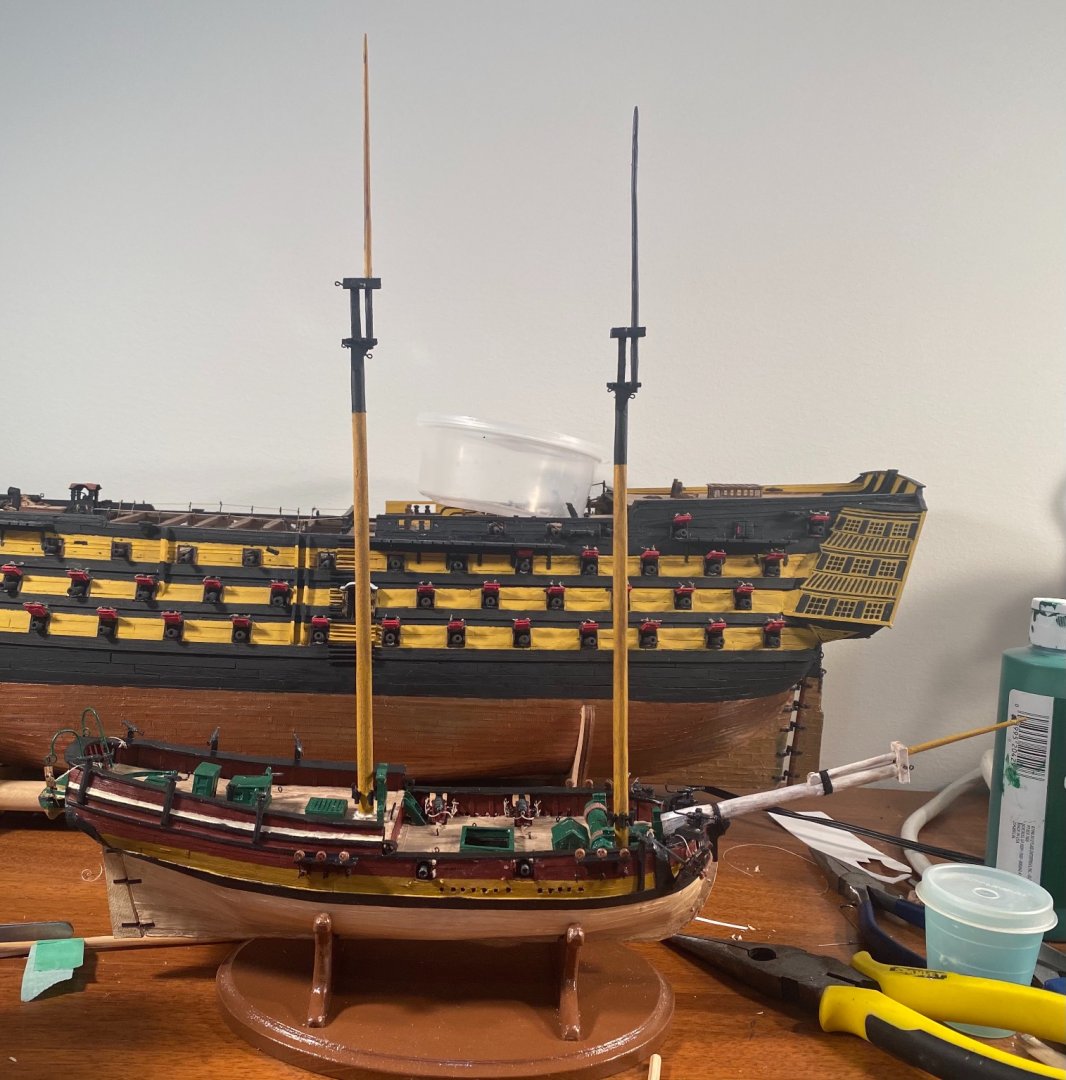
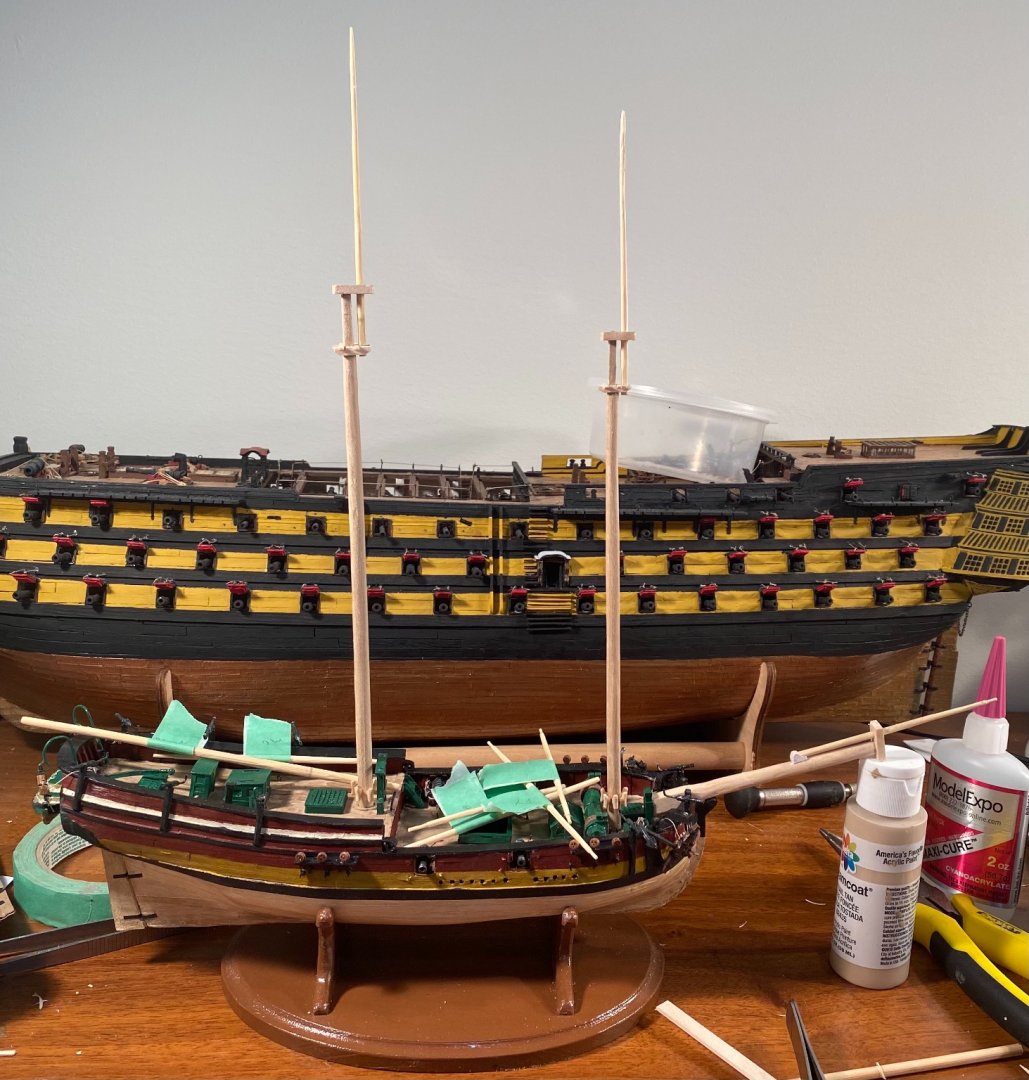
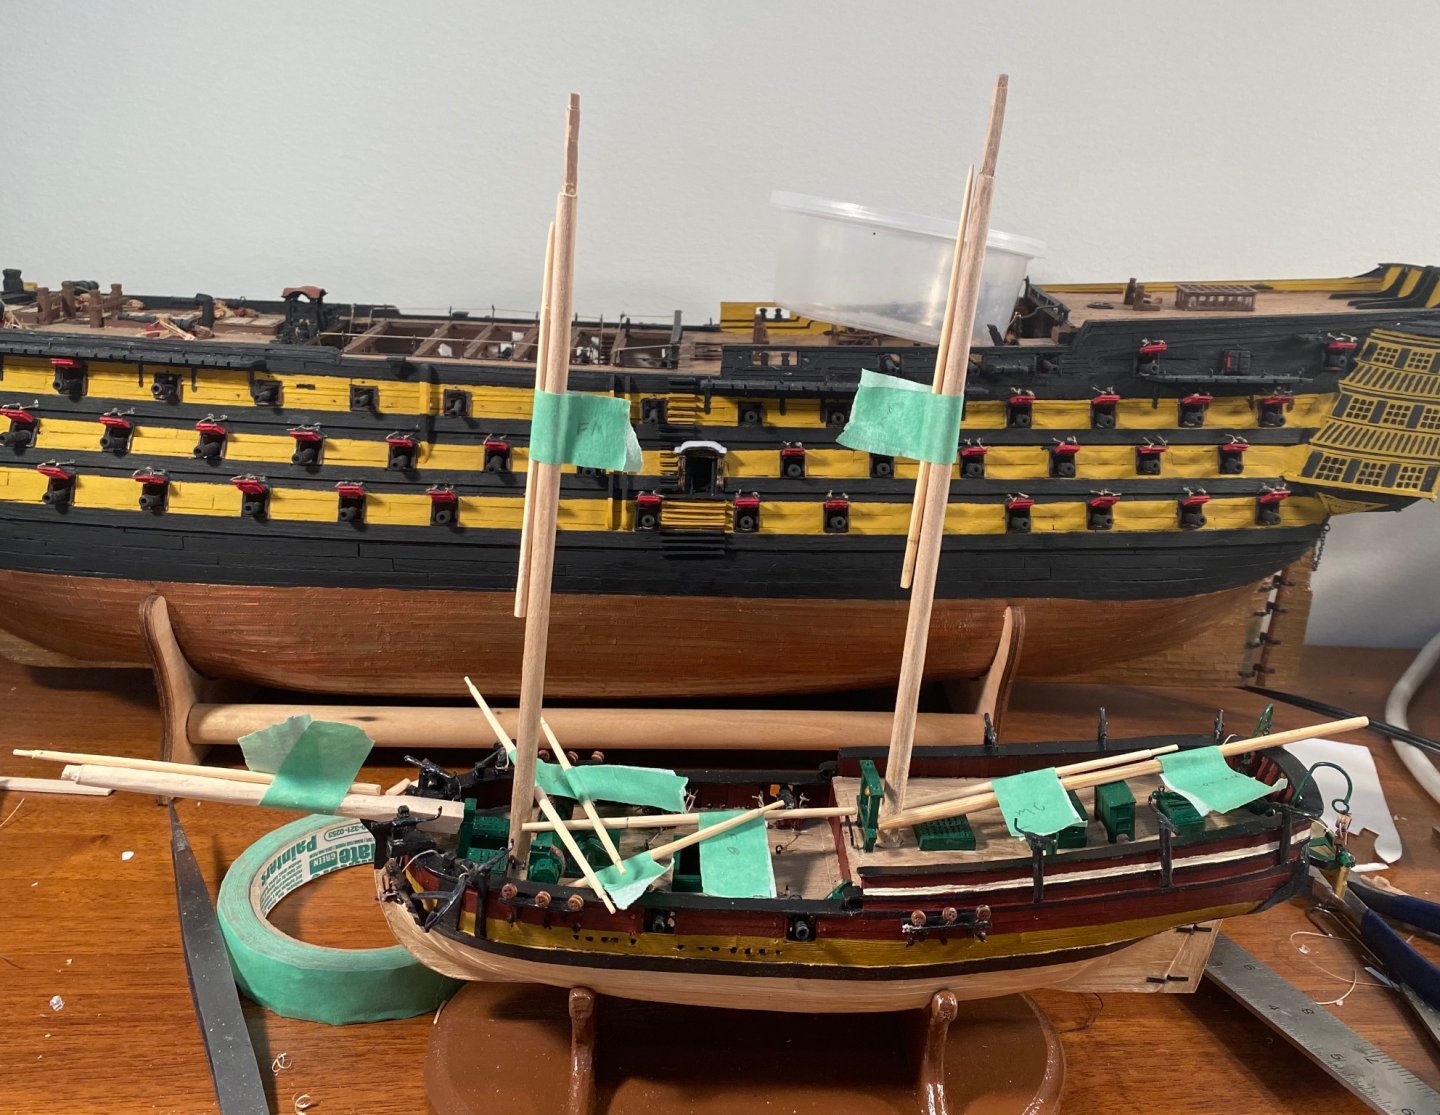
Thank you very much! The masts are painted and glued in place. Initial weathering is done too. The model still needs a highlight coat.
-
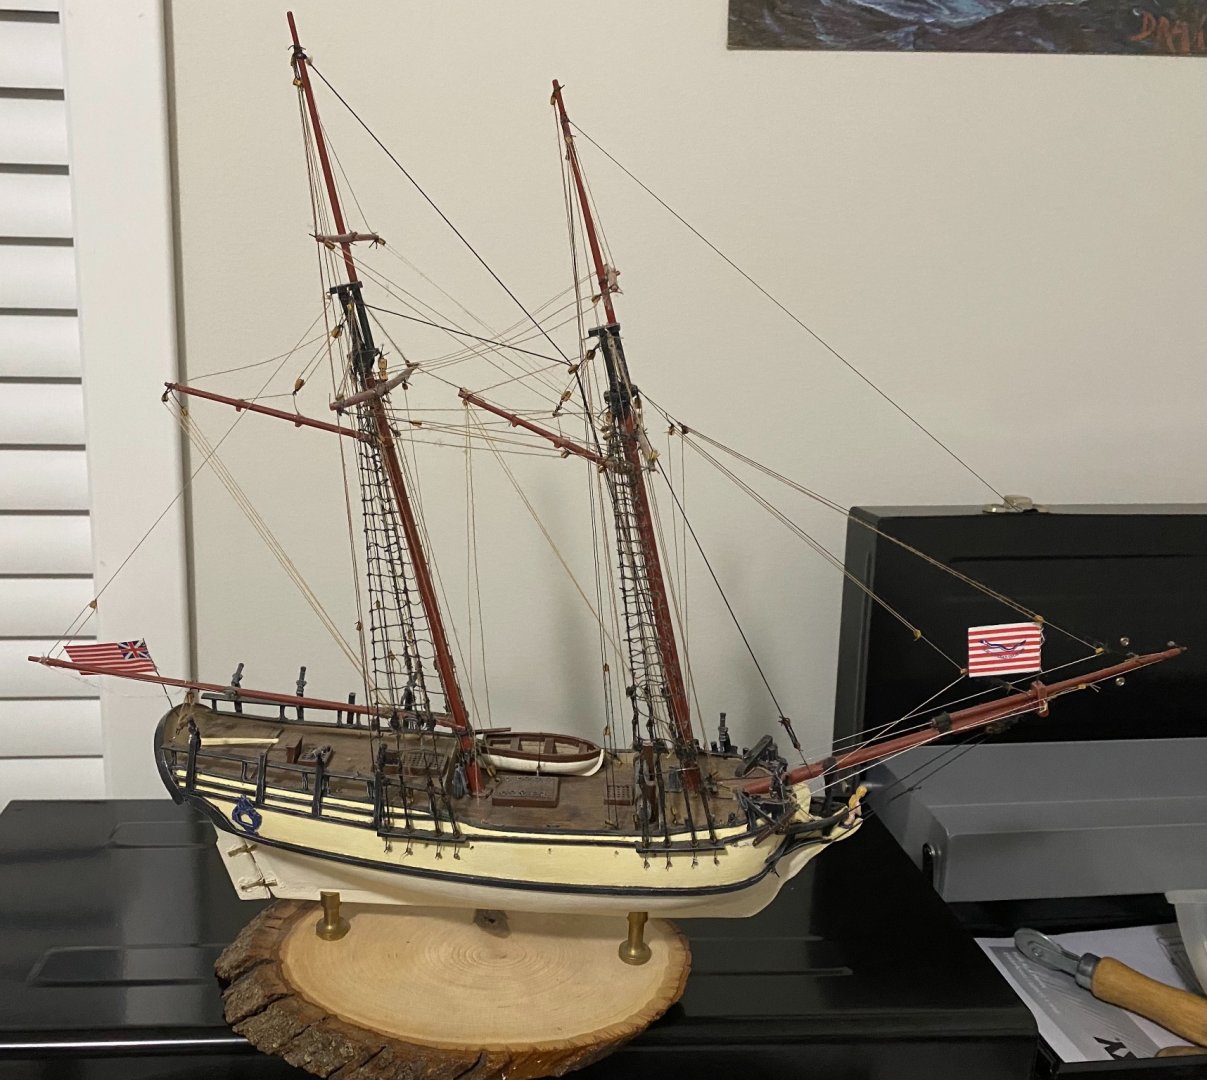
I took my Sultana (Model Shipways) out of the case to use as a reference for the rigging, and specifically the belaying of the Hannah, due to similarities in the rigging. The Sultana was my first ever real ship model. The masts are assembled and in the process of being painted. The bowsprit is complete and installed.
-
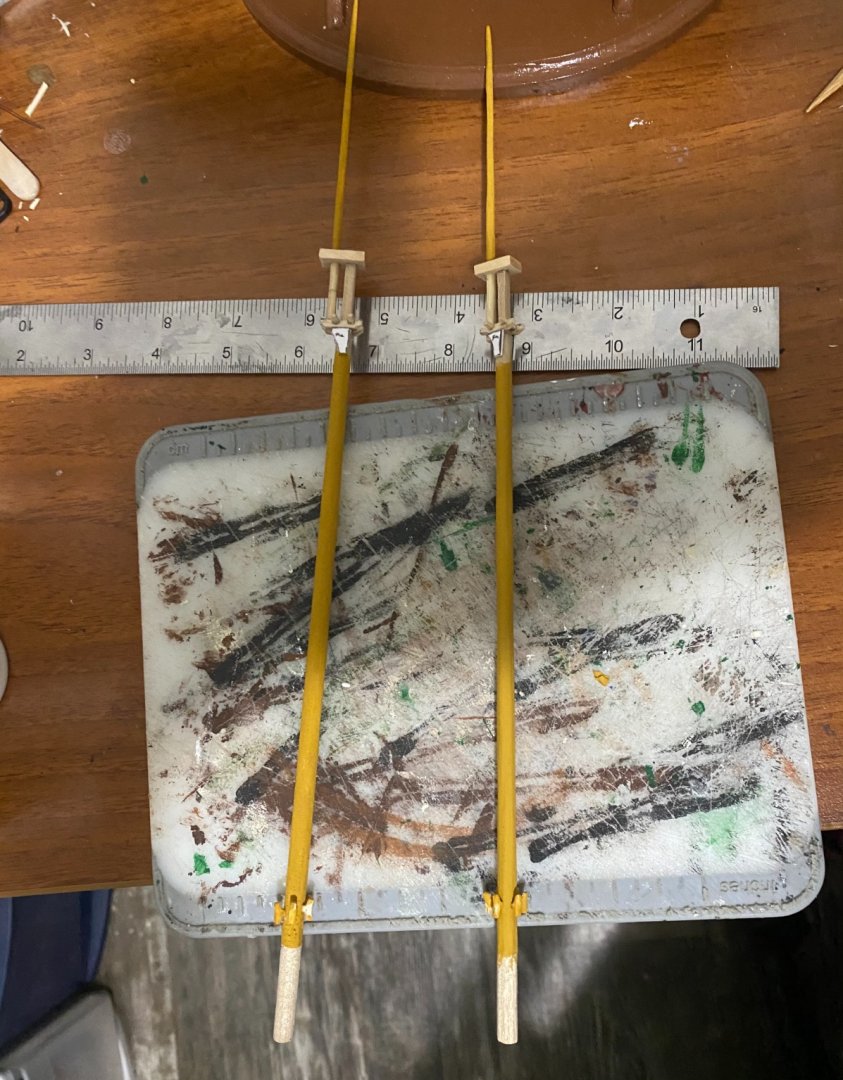
The masts are almost ready to paint: The mast tops still need bibbs. The bowsprit is ready to paint.
-
All masts, yards, booms and gaffs are now roughed out: I’ll make the various pieces that attach to them tomorrow, along with the various caps and mast tops.
-
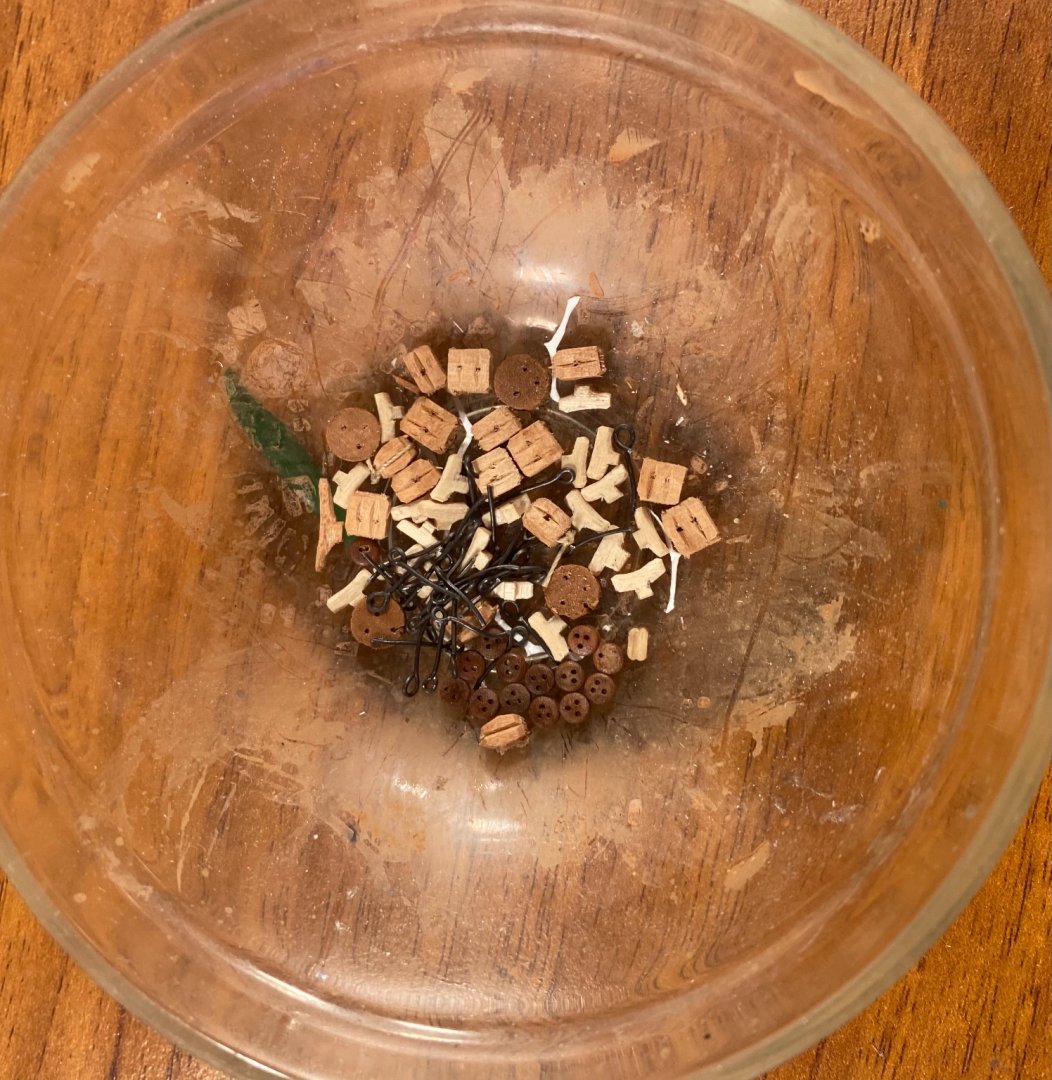
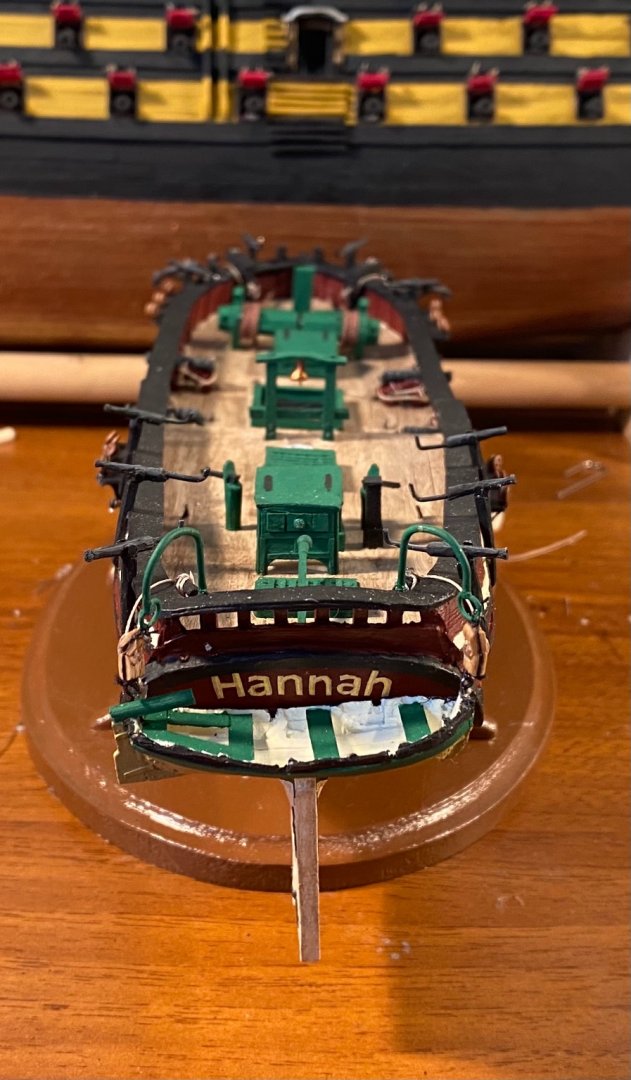
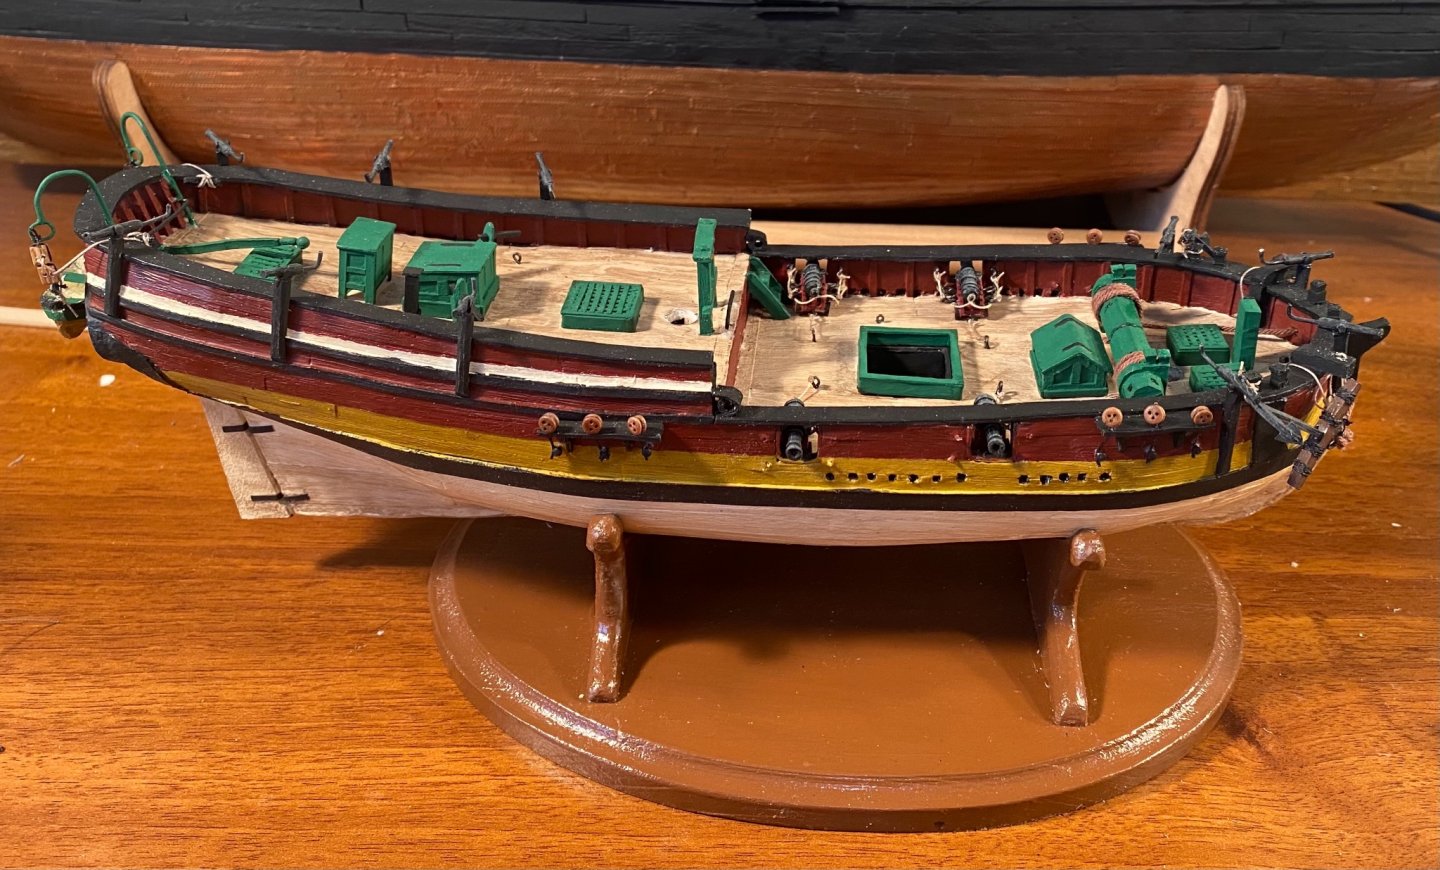
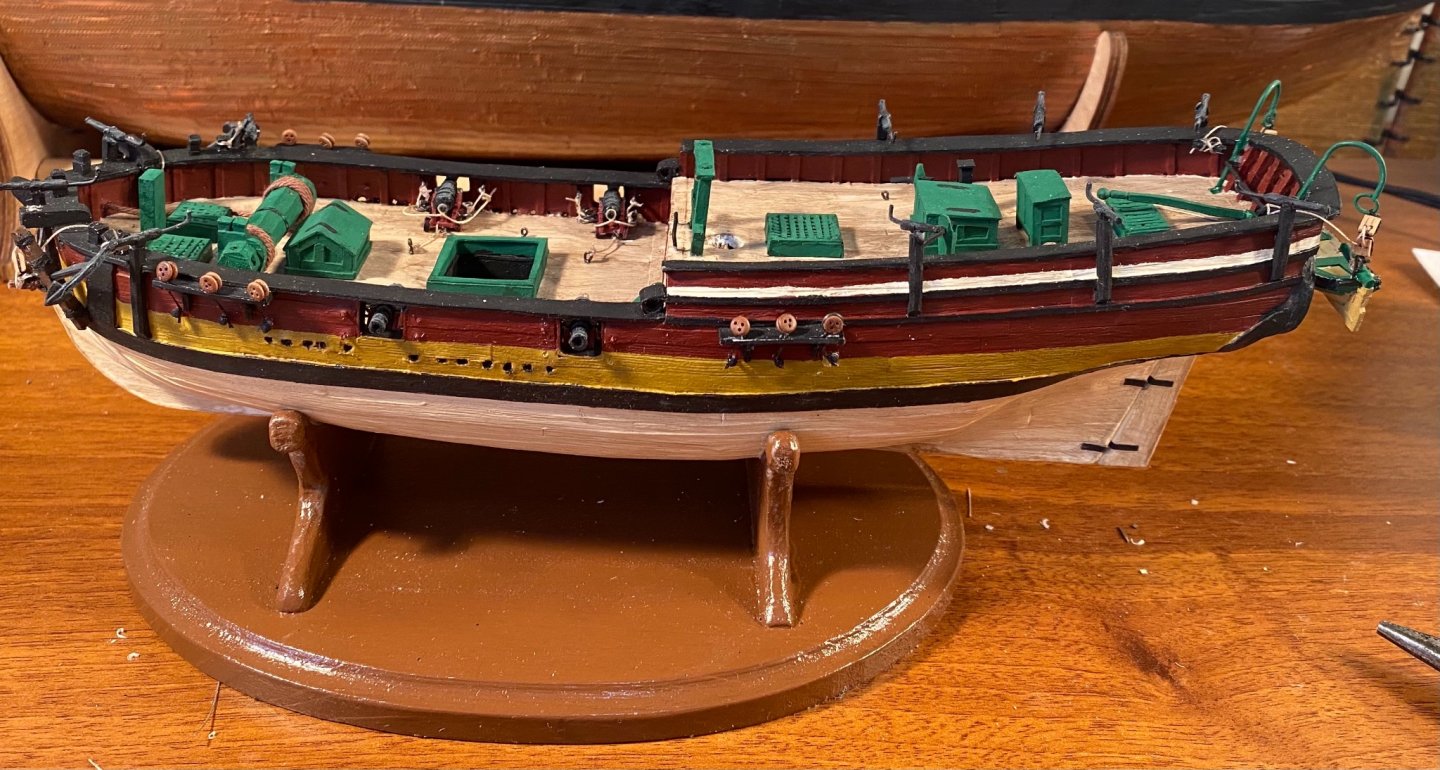
Hannah is ready for masts: To the end of making masts, I made 22 cleats for the masts, booms, and gaffs. I may need more. I also made a bunch of eyebolts.
-
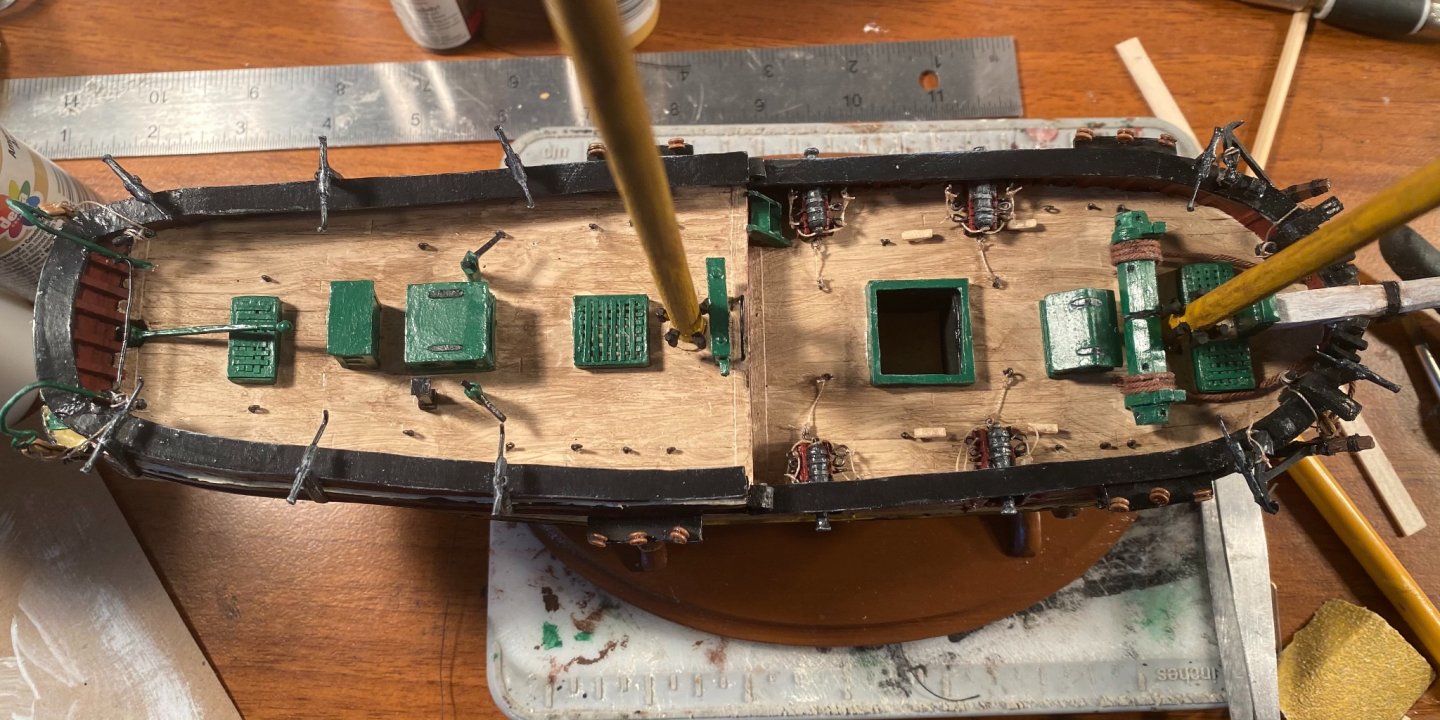
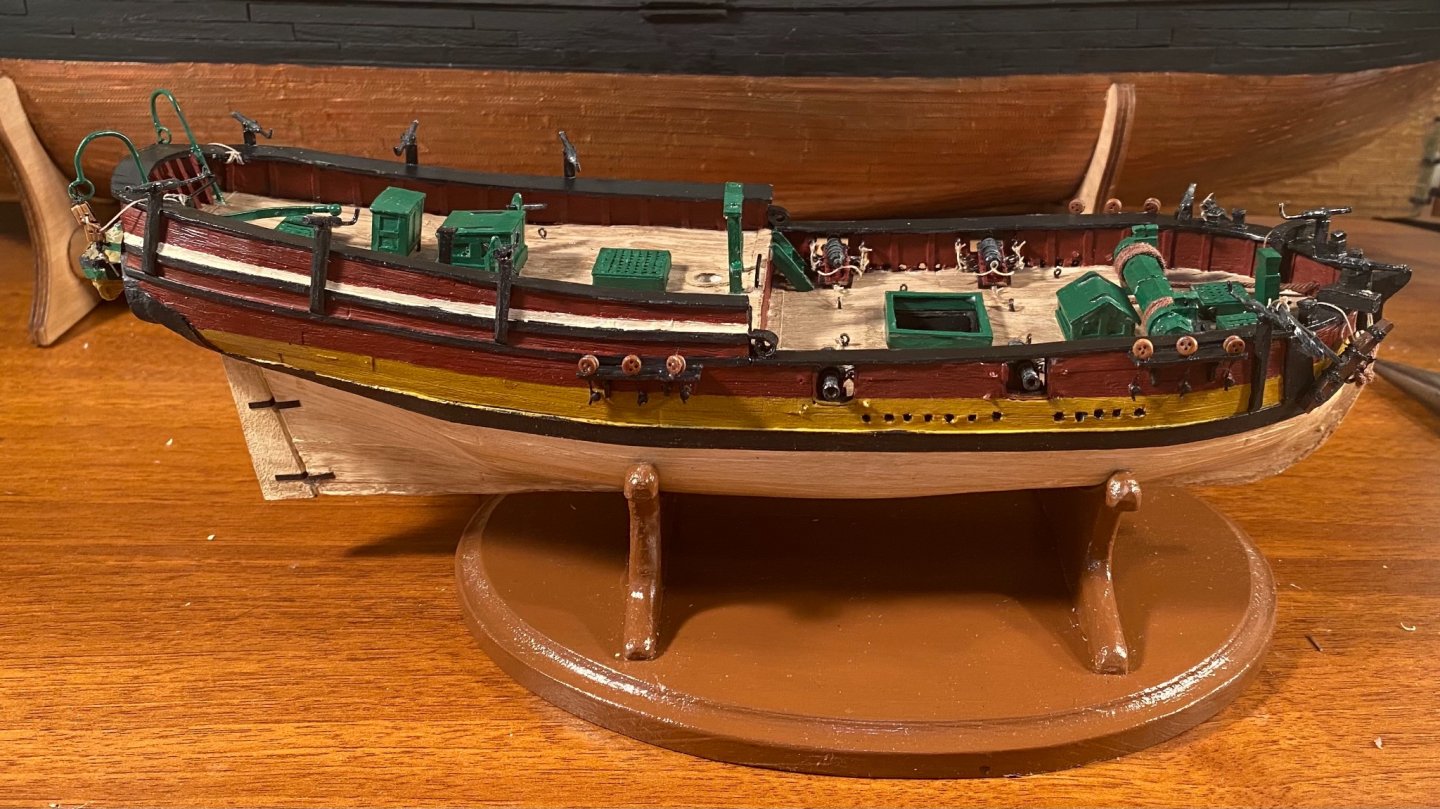
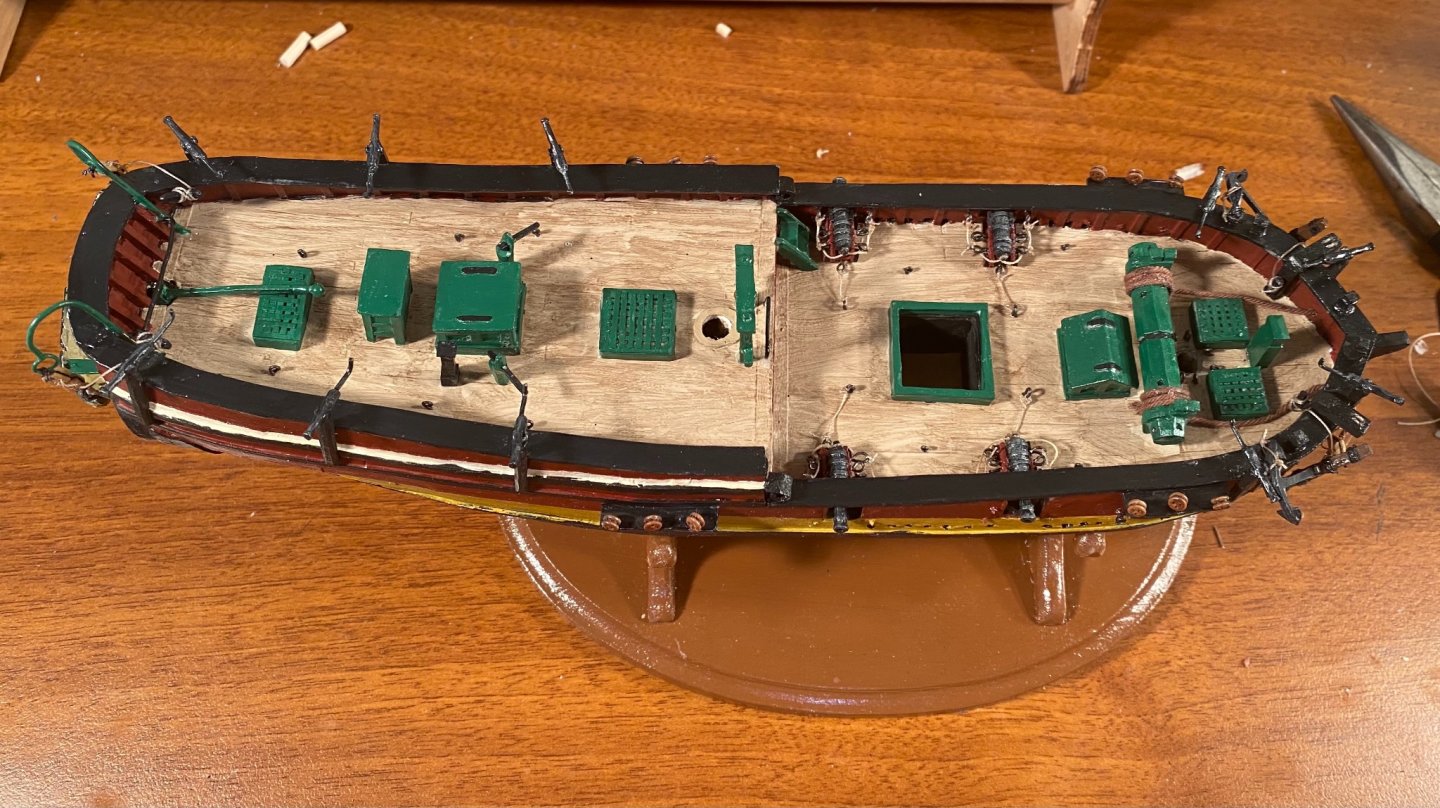
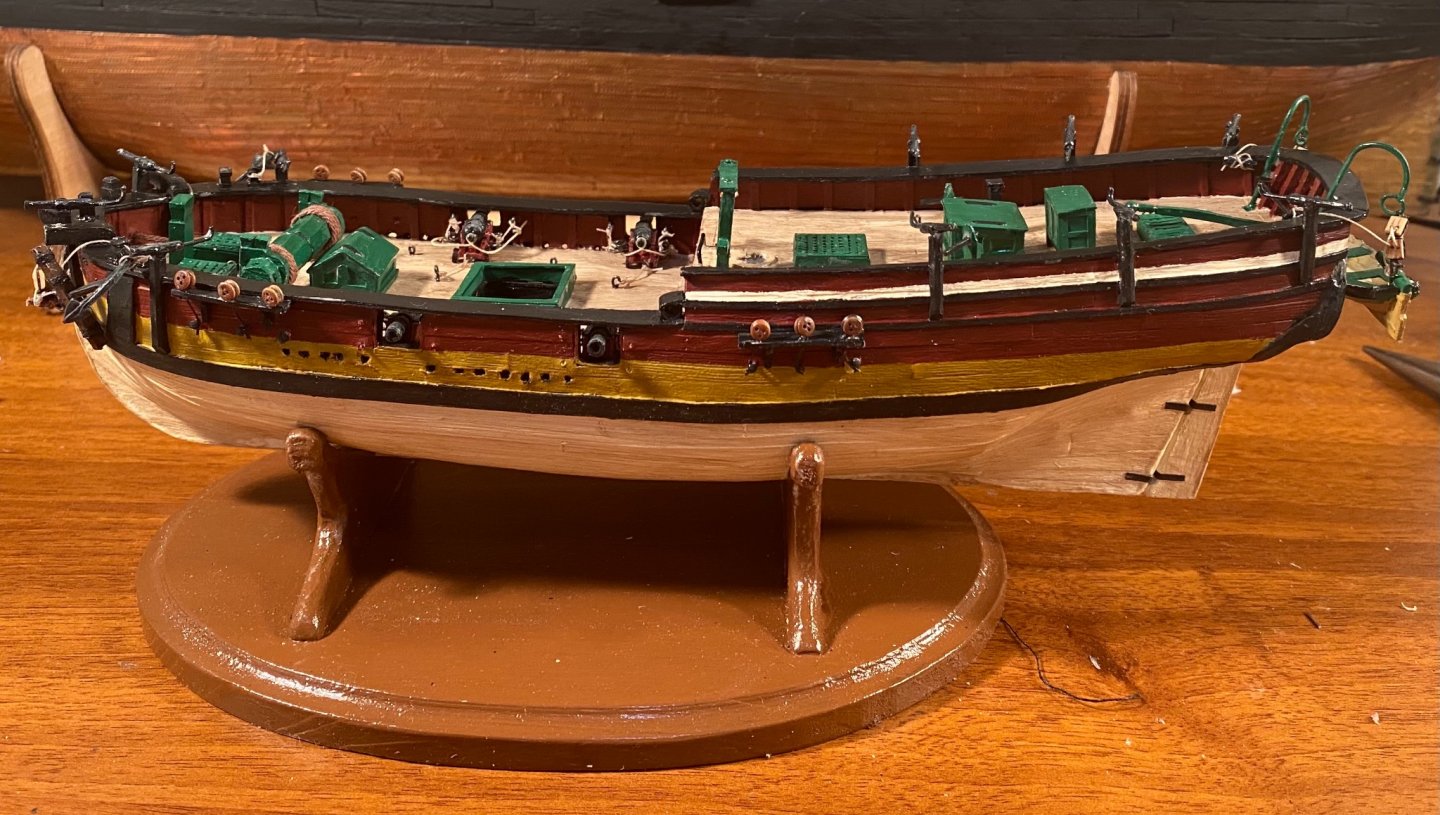
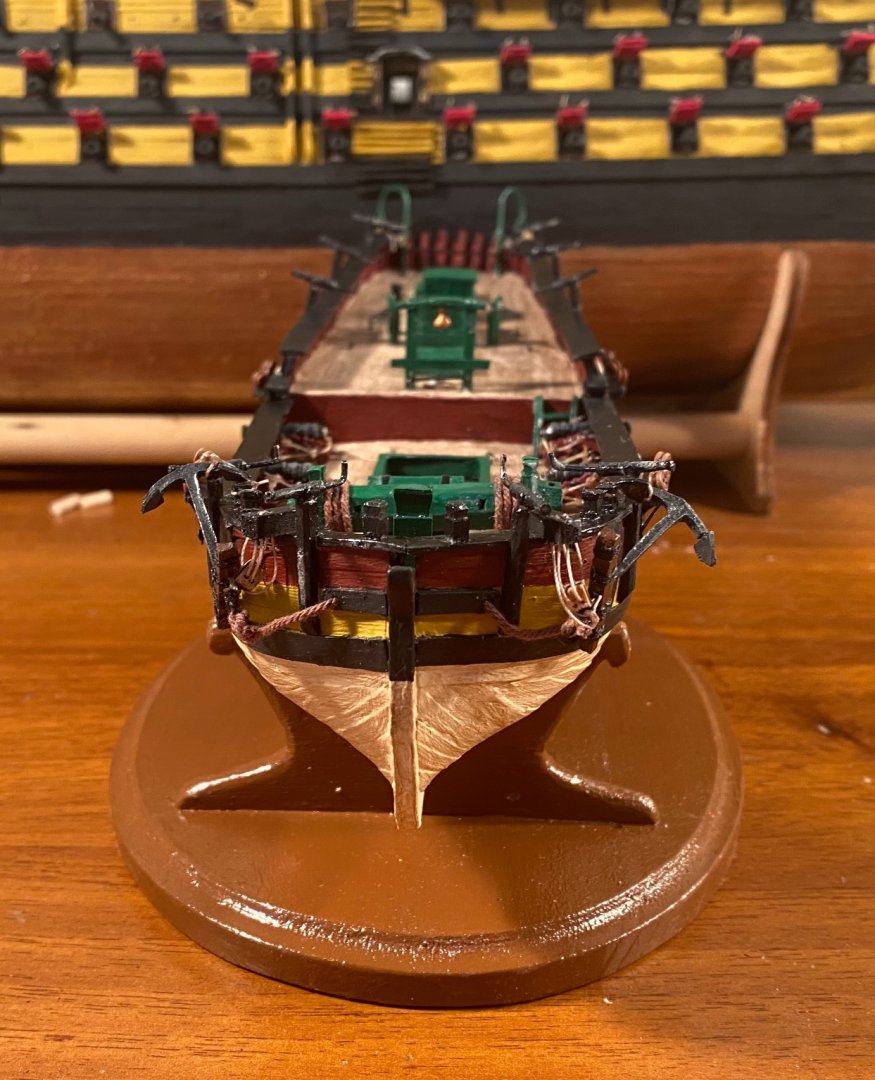
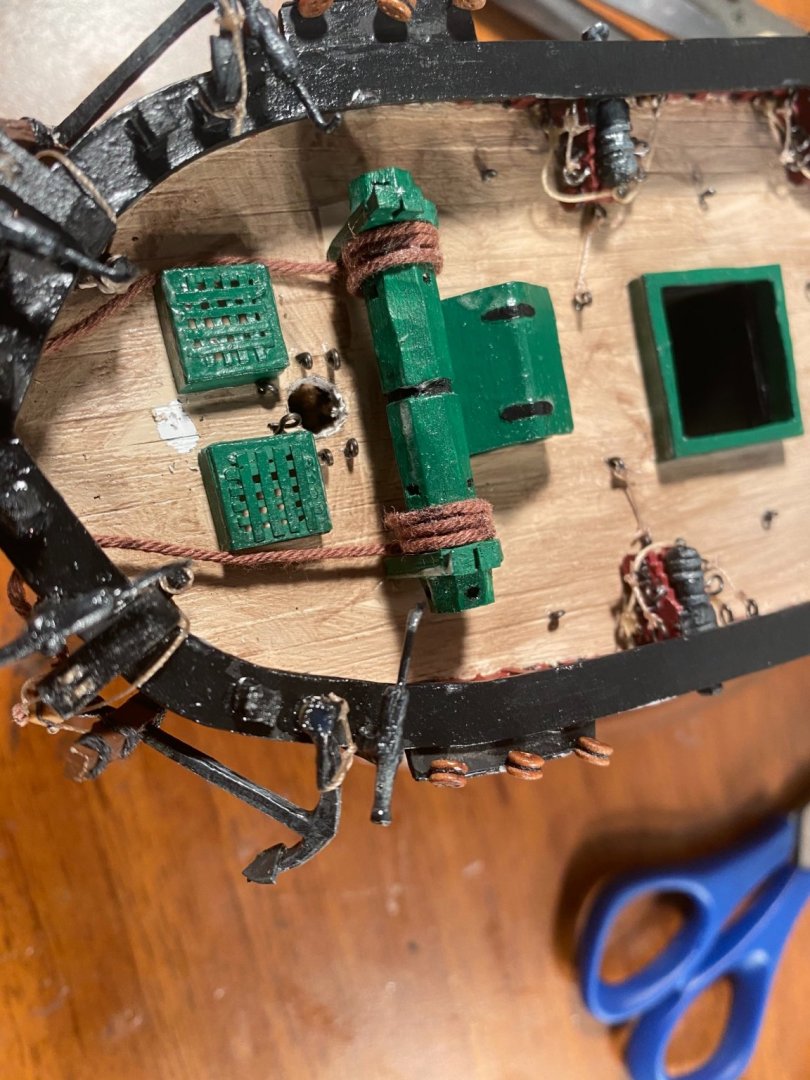
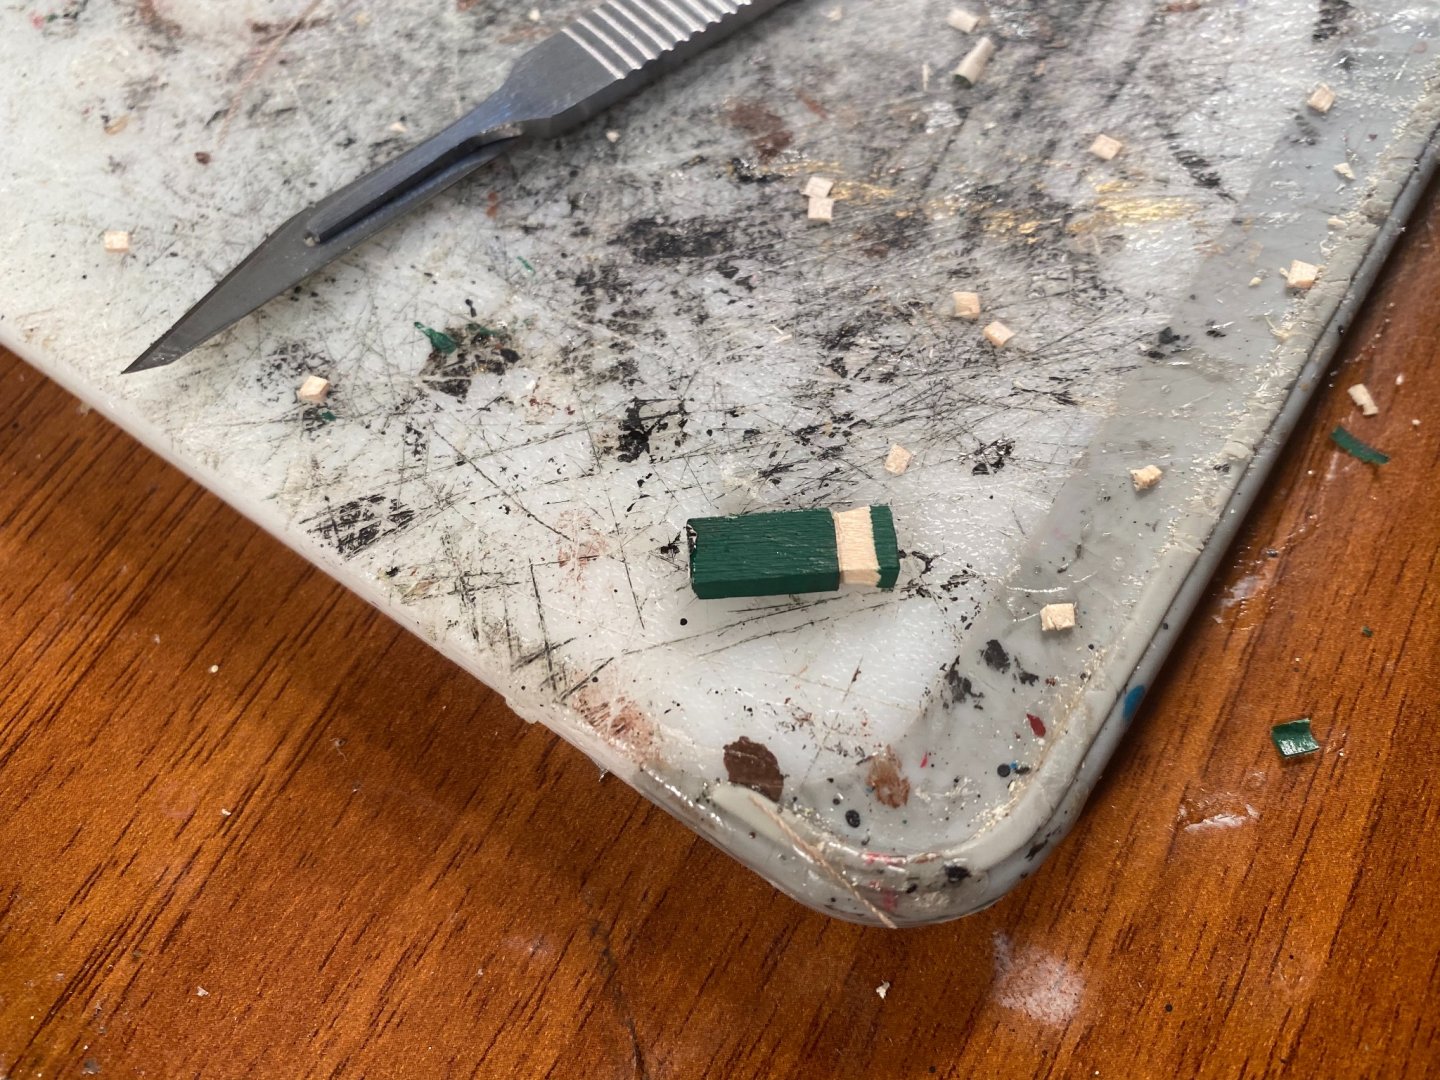
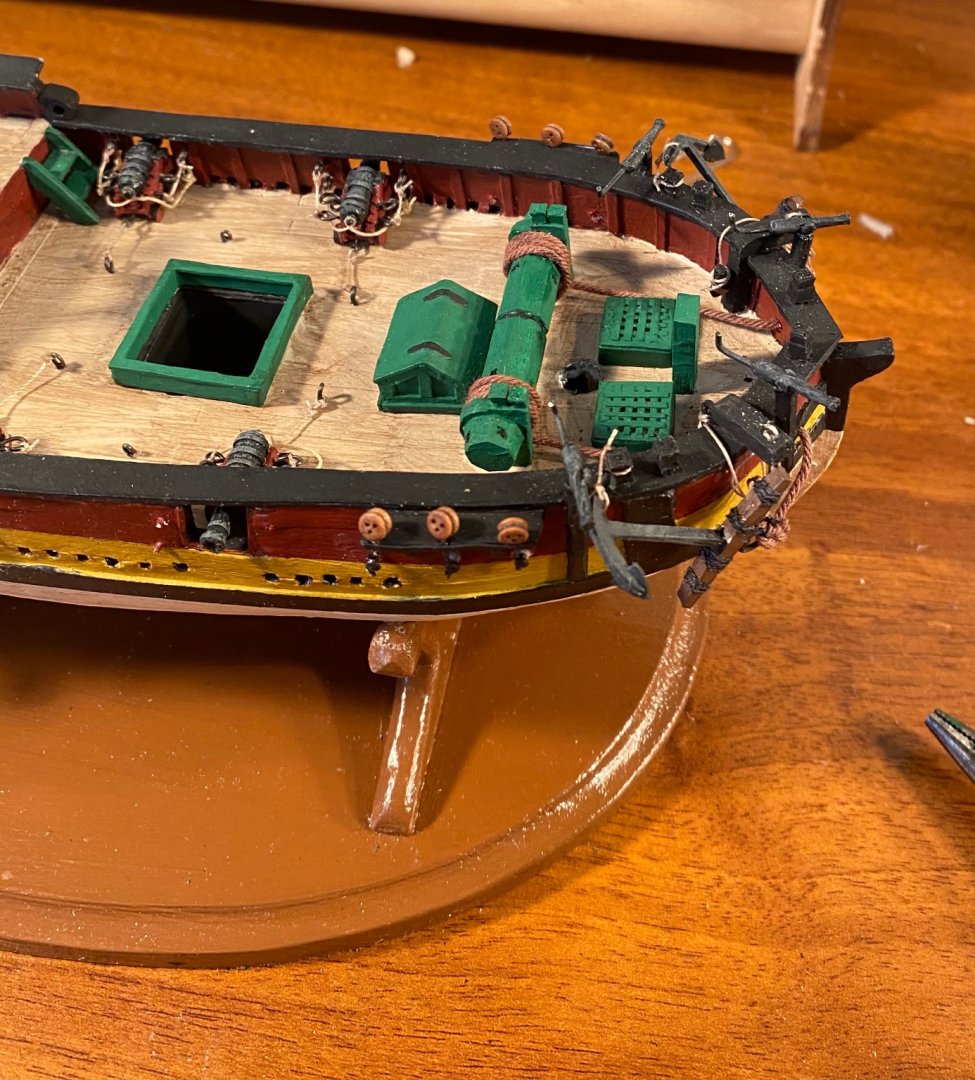
Thank you for all the likes and for stopping by. I need to start off by saying that this forum is great inspiration to me. Whenever I get stuck or don’t want to make something correctly, looking at what some of you are building puts me right back on track. Tonight, I had another case of this. The bitt that the bowspirt sits against on the front of Hannah is represented as a rectangular block on the plan. In pictures in the rest of the book, of the model in the Navy Museum, you can see that is shaped like a normal bitt. Tonight I tore it off the model and fixed it. Once I repaint it, I will reinstall it and finish sealing Hannah. At that point, she will be ready for masts. I have the main mast and main top mast already carved out. I have the foremast cut to length, I just need to carve it to shape. I have been making cleats, too. I also need to make some shroud cleats. All of these are being made from craft sticks (popsicle sticks).
-
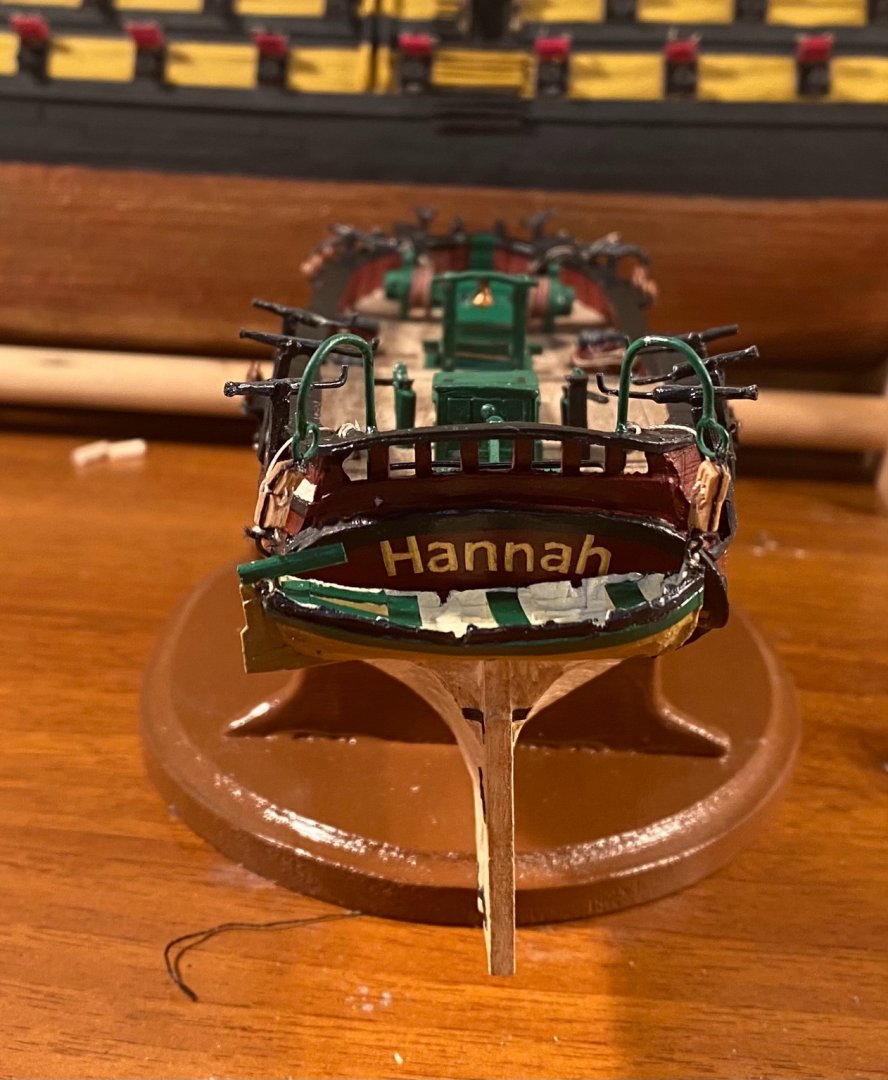
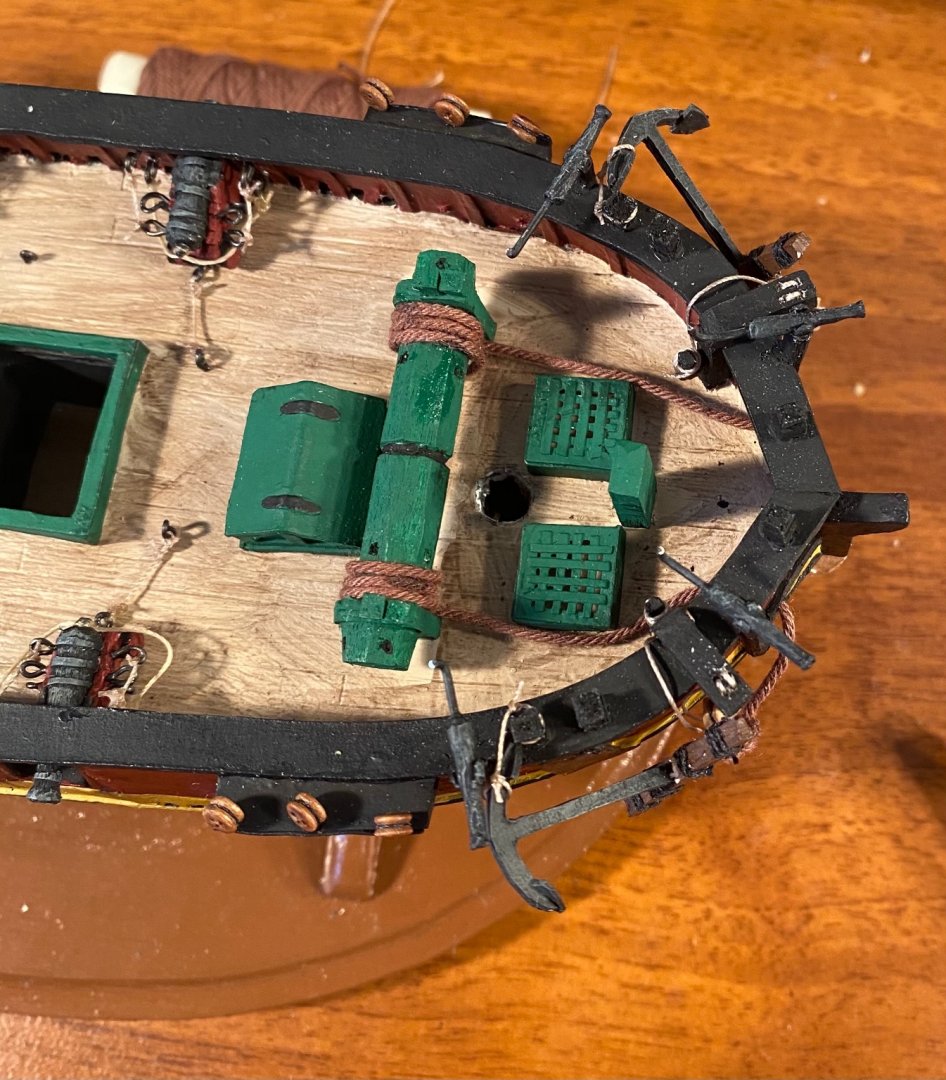
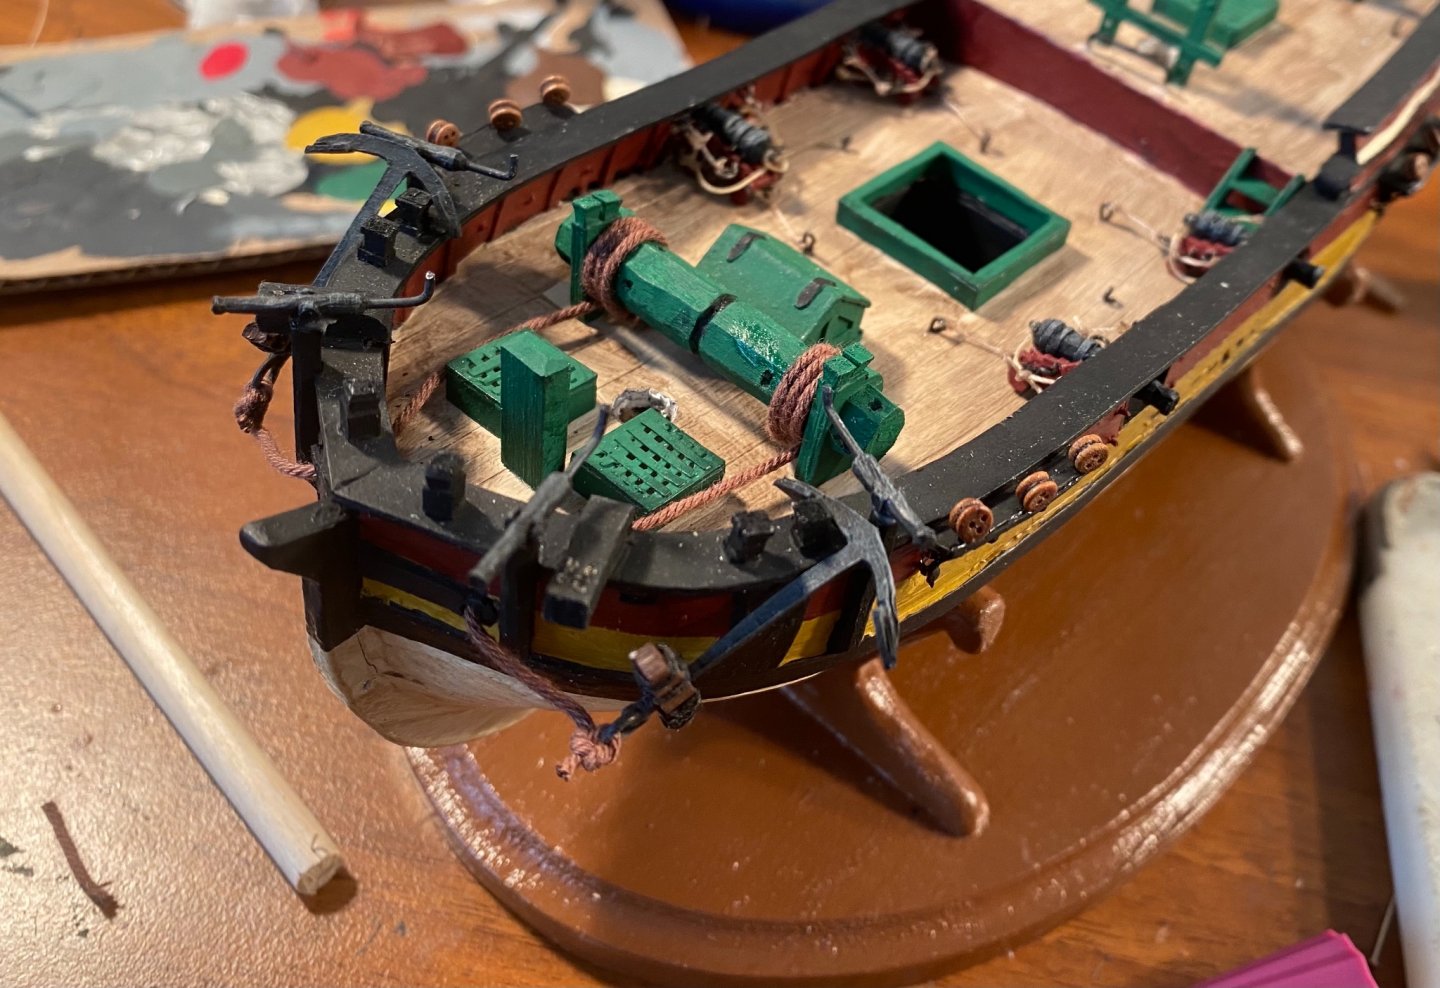
The anchors are rigged and the hull is almost ready for masts. The rigging fittings still need finalized and I need to final touchup the paint on the hull and deck/fittings and then seal all of my work.
-
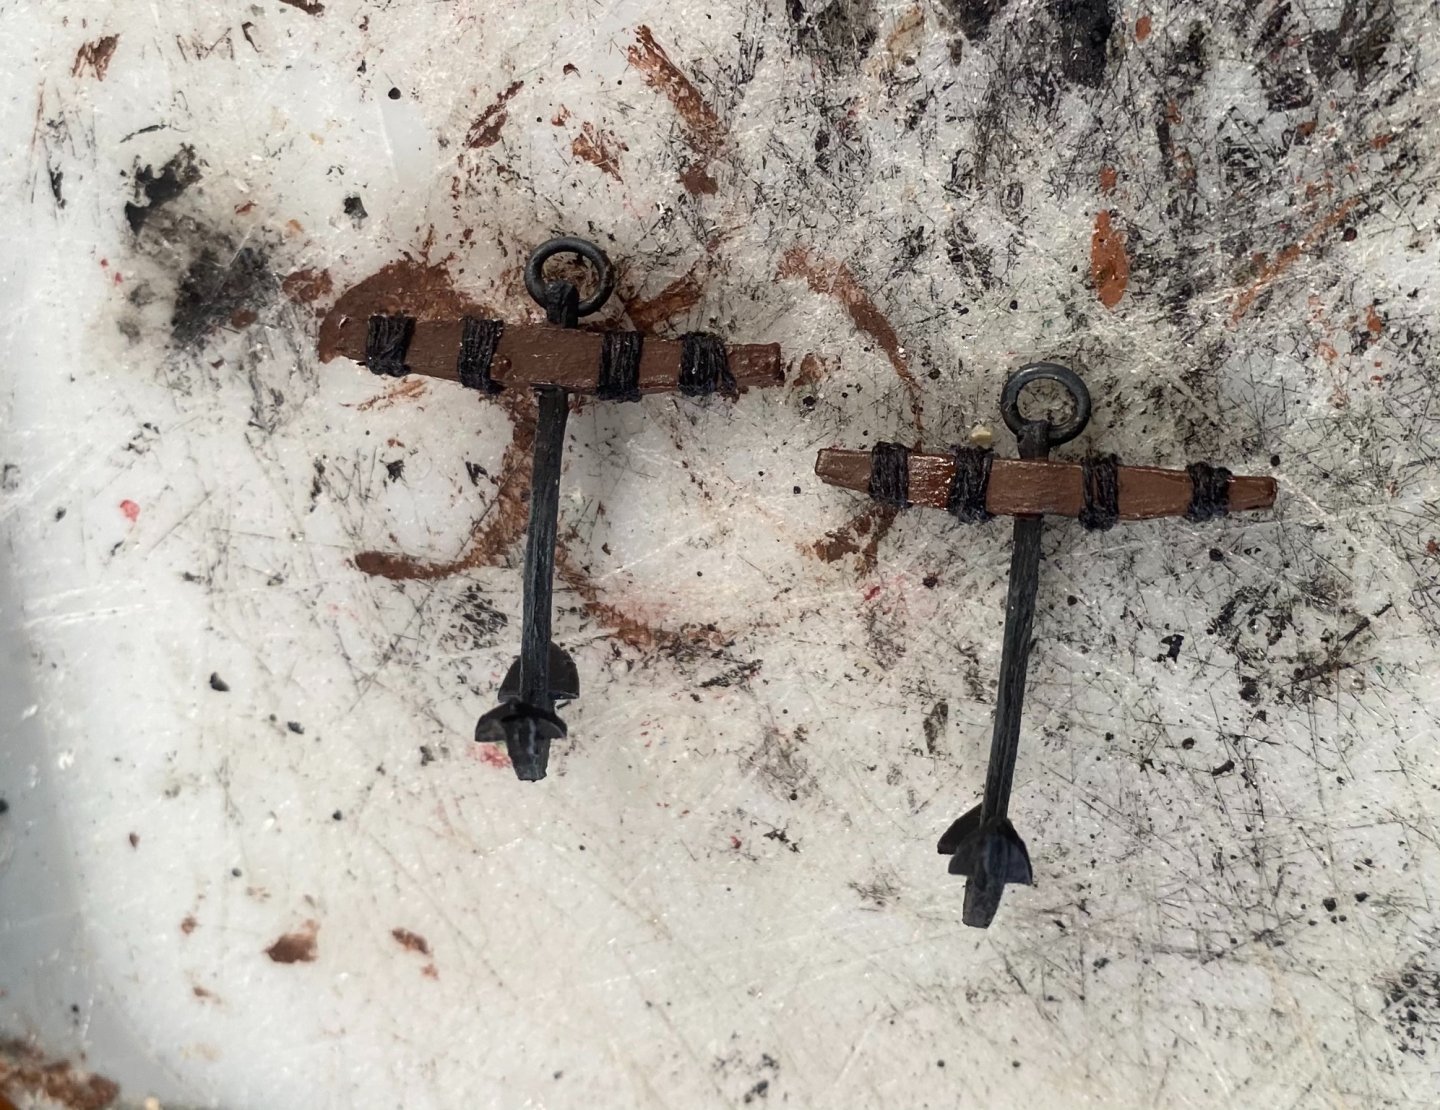
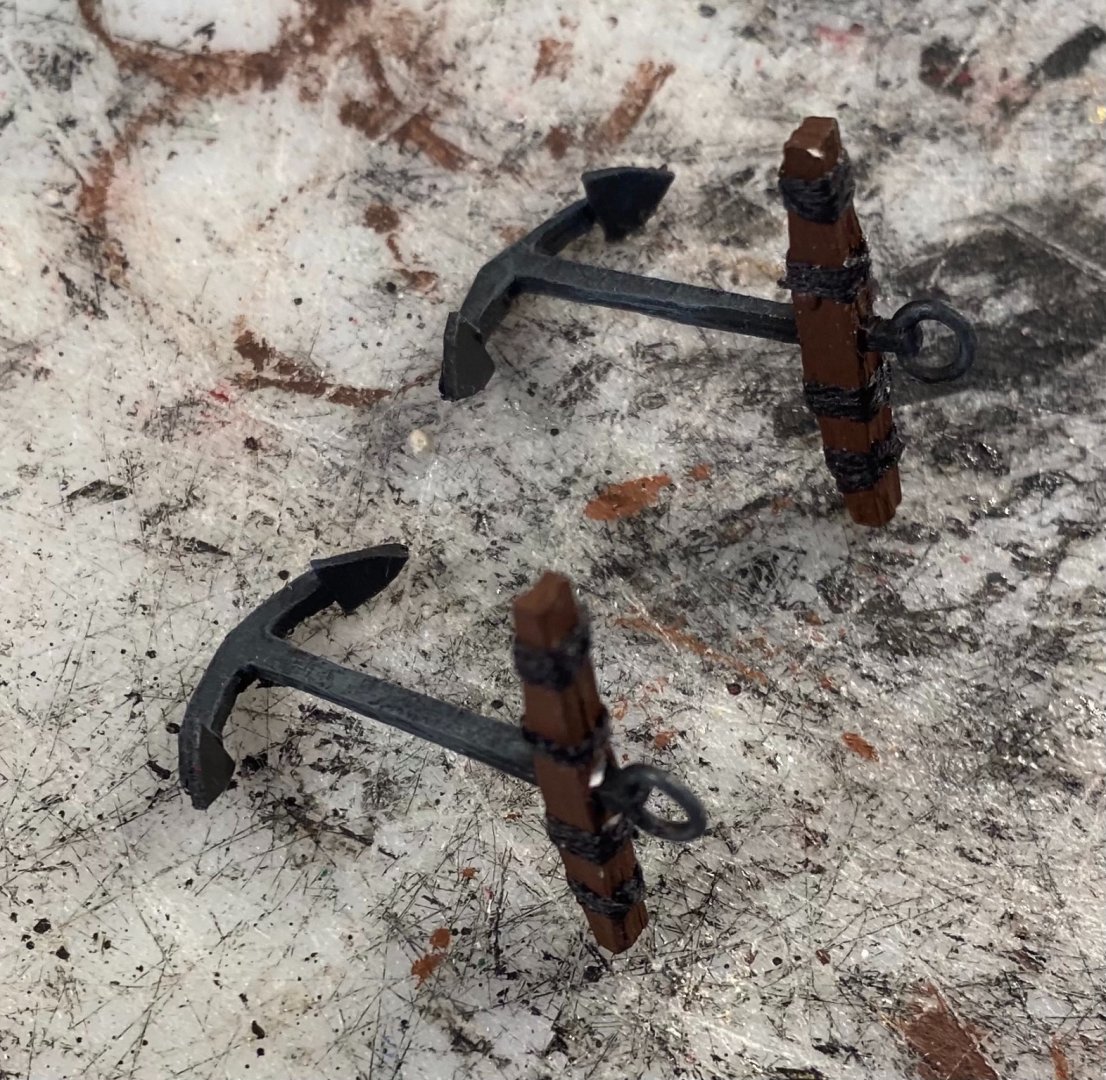
The anchors are finished: While installing, I realized that I need some cleats to tie them off to, and I need some cleats to tie off to on both masts, so I am going to be making a bunch of cleats.
-
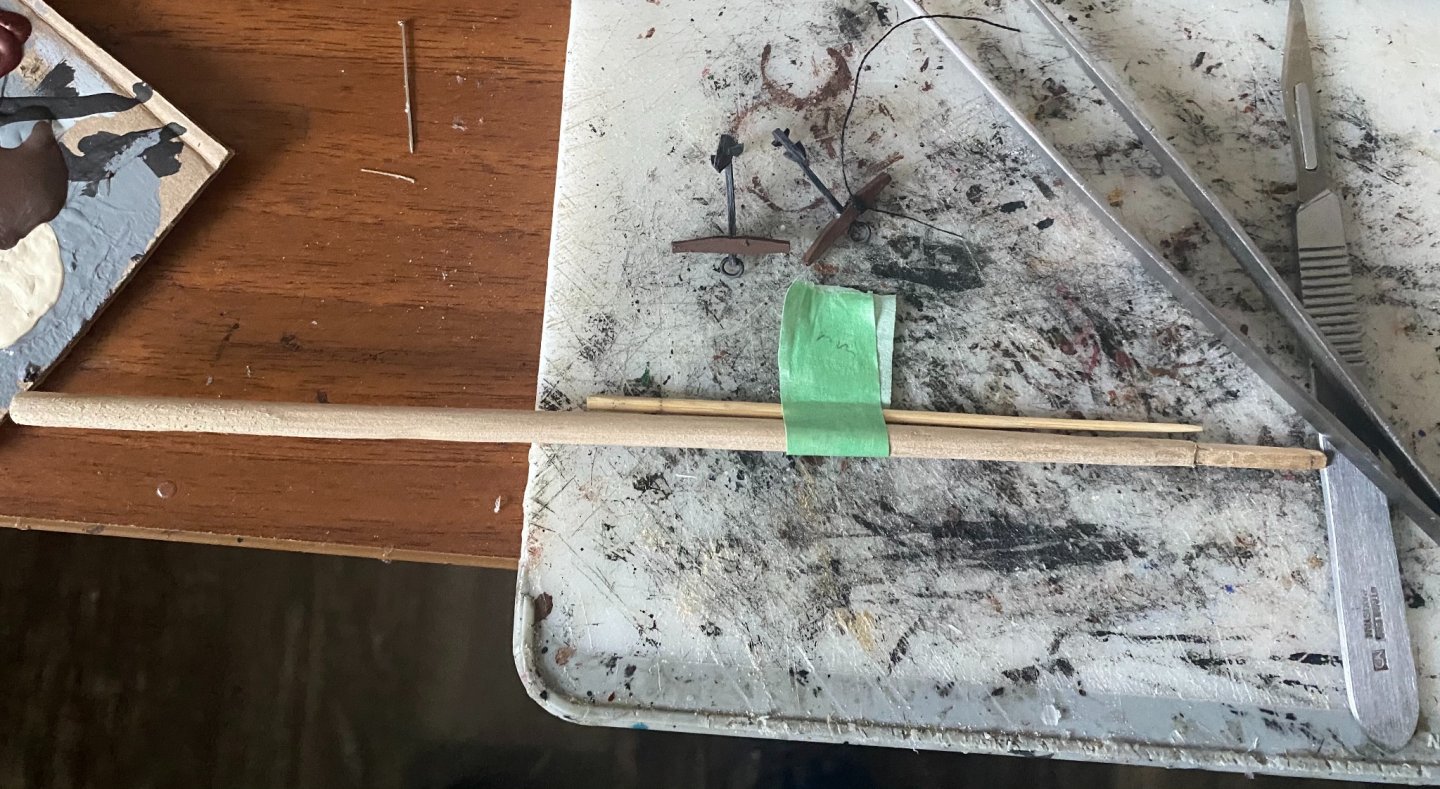
It’s that time of the model where we make the mast and work on finalizing the hull and any remaining fittings. Quick note to all, bamboo kitchen skewers work beautifully for making masts and yards. It is a hard wood, and has been carving better than the dowel rods I had been using.
-
I have built one of the Dragon Arleigh Burkes. I enjoyed it and it came out well.
About us
Modelshipworld - Advancing Ship Modeling through Research
SSL Secured
Your security is important for us so this Website is SSL-Secured
NRG Mailing Address
Nautical Research Guild
237 South Lincoln Street
Westmont IL, 60559-1917
Model Ship World ® and the MSW logo are Registered Trademarks, and belong to the Nautical Research Guild (United States Patent and Trademark Office: No. 6,929,264 & No. 6,929,274, registered Dec. 20, 2022)
Helpful Links
About the NRG
If you enjoy building ship models that are historically accurate as well as beautiful, then The Nautical Research Guild (NRG) is just right for you.
The Guild is a non-profit educational organization whose mission is to “Advance Ship Modeling Through Research”. We provide support to our members in their efforts to raise the quality of their model ships.
The Nautical Research Guild has published our world-renowned quarterly magazine, The Nautical Research Journal, since 1955. The pages of the Journal are full of articles by accomplished ship modelers who show you how they create those exquisite details on their models, and by maritime historians who show you the correct details to build. The Journal is available in both print and digital editions. Go to the NRG web site (www.thenrg.org) to download a complimentary digital copy of the Journal. The NRG also publishes plan sets, books and compilations of back issues of the Journal and the former Ships in Scale and Model Ship Builder magazines.


