GrandpaPhil
-
Posts
6,167 -
Joined
-
Last visited
Content Type
Profiles
Forums
Gallery
Events
Everything posted by GrandpaPhil
-
Very cool project! Nicely done!
-
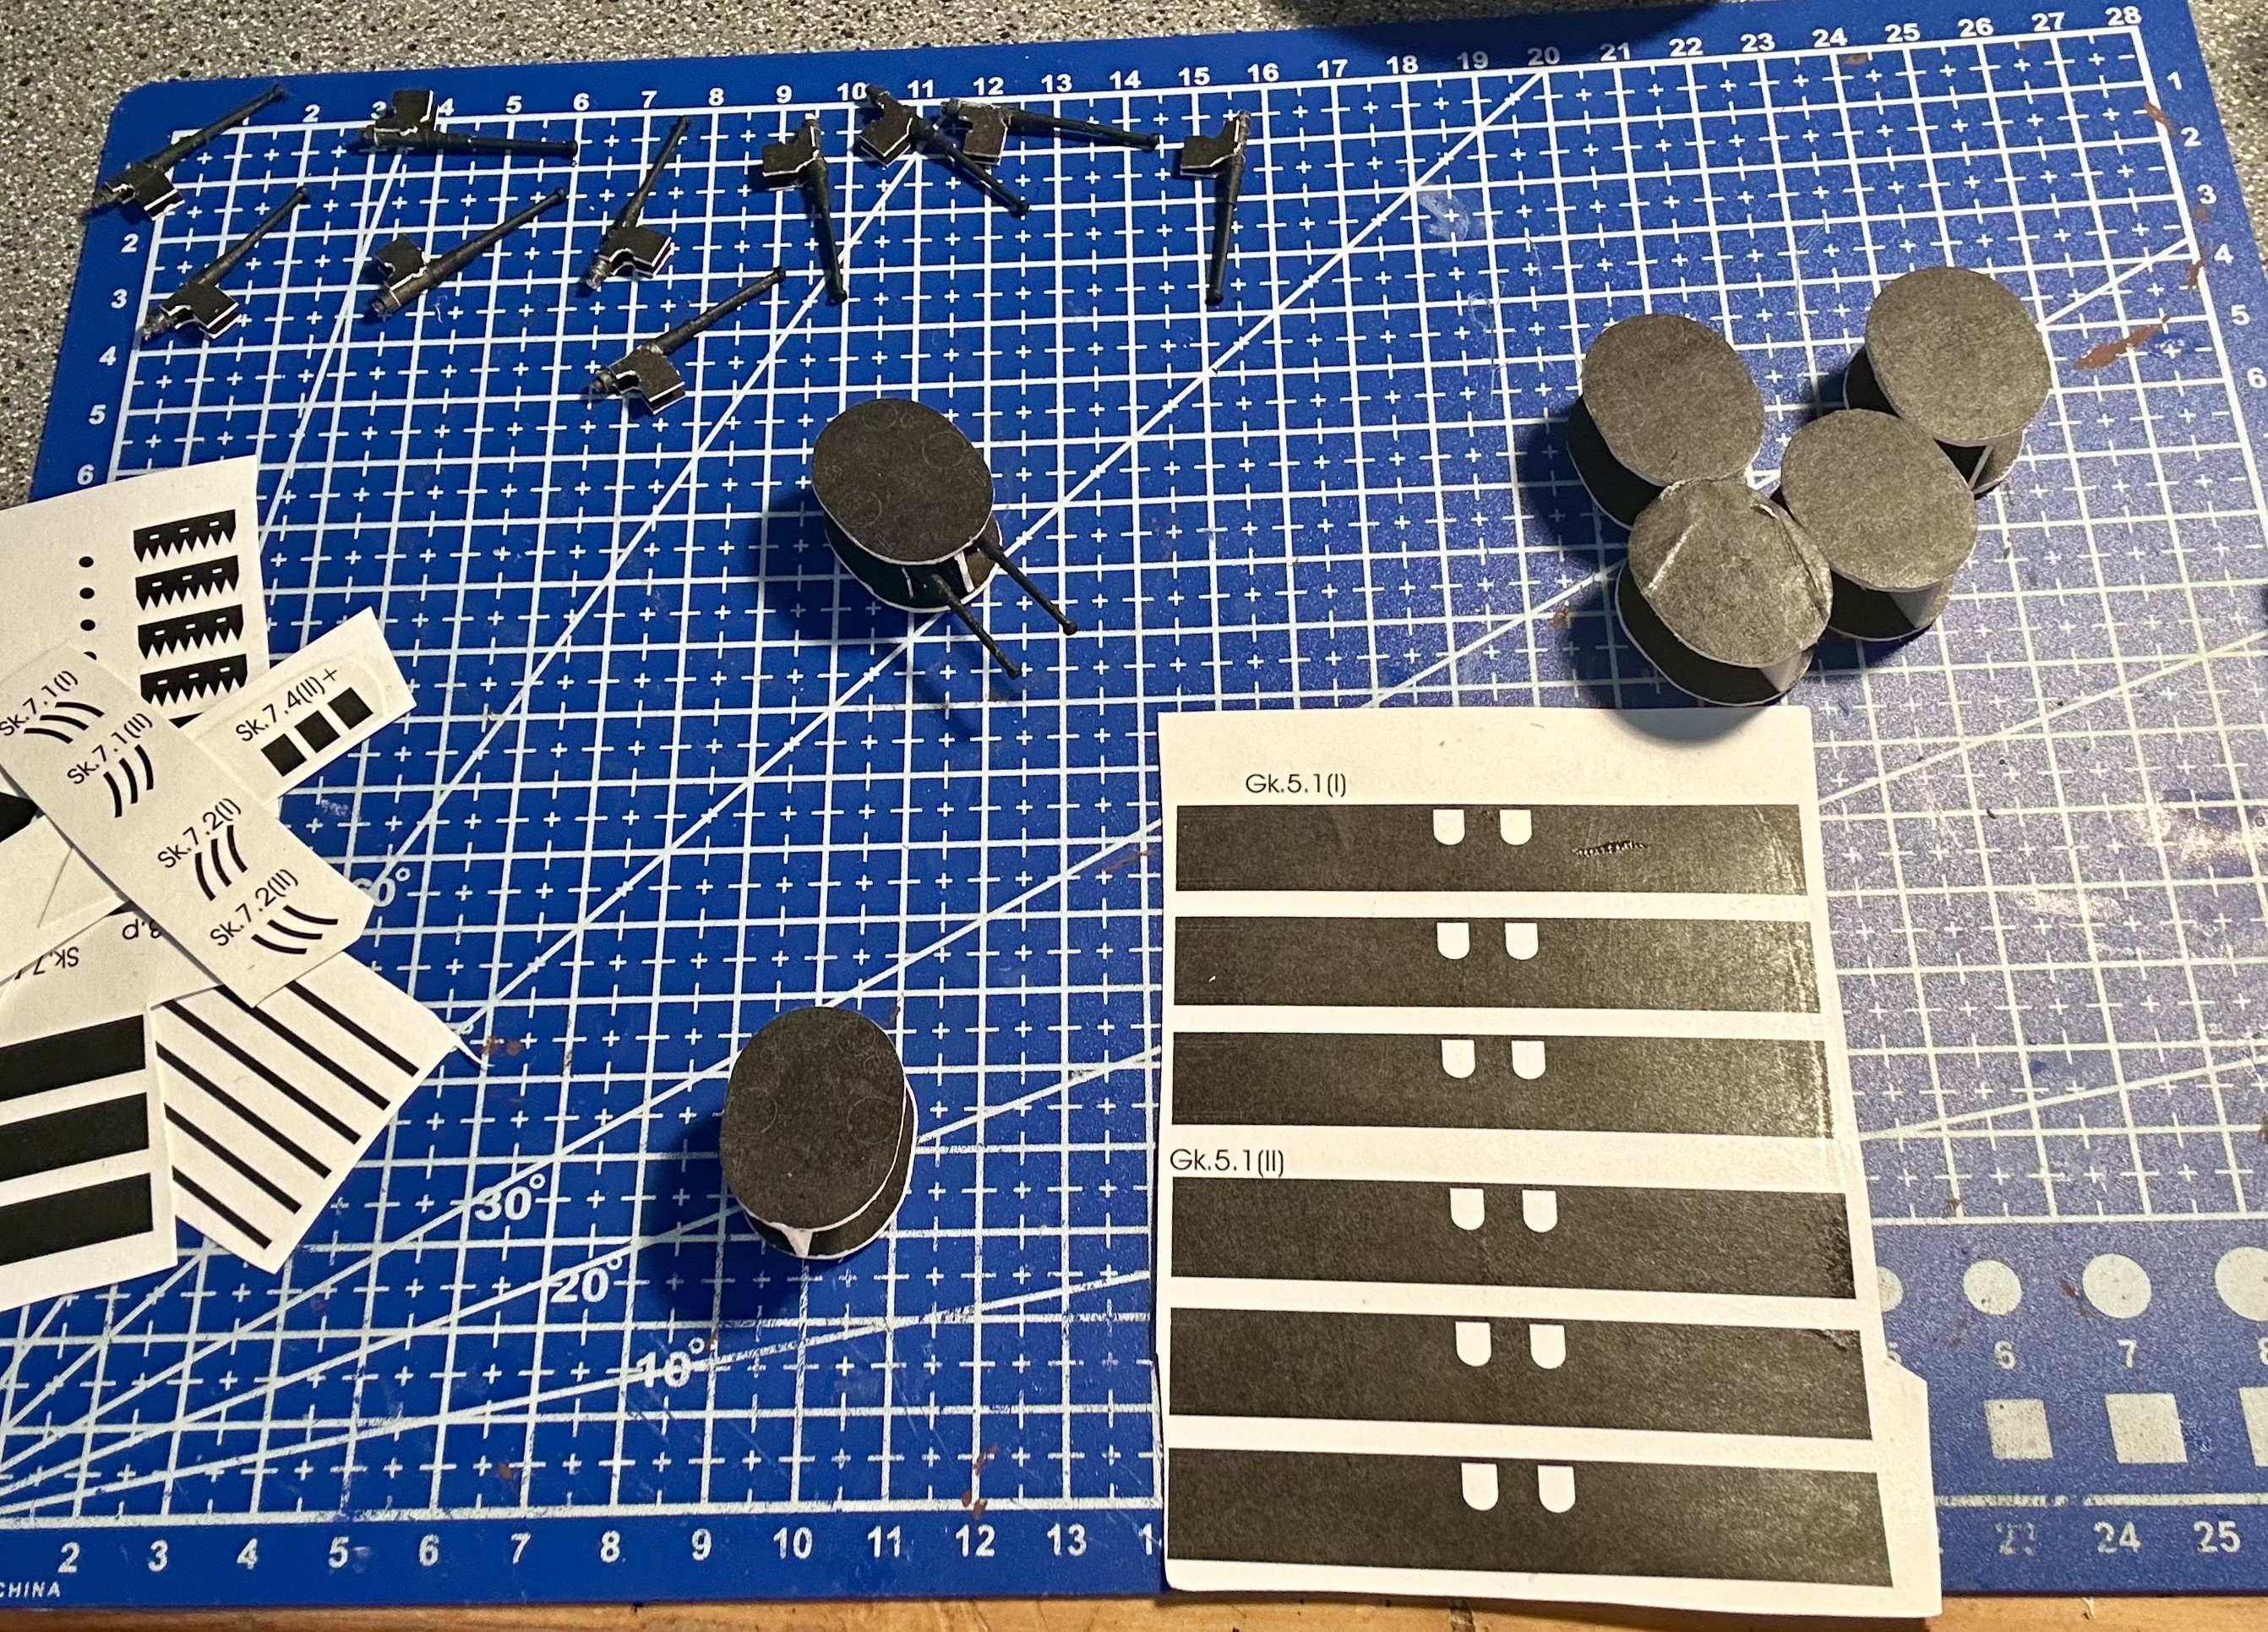
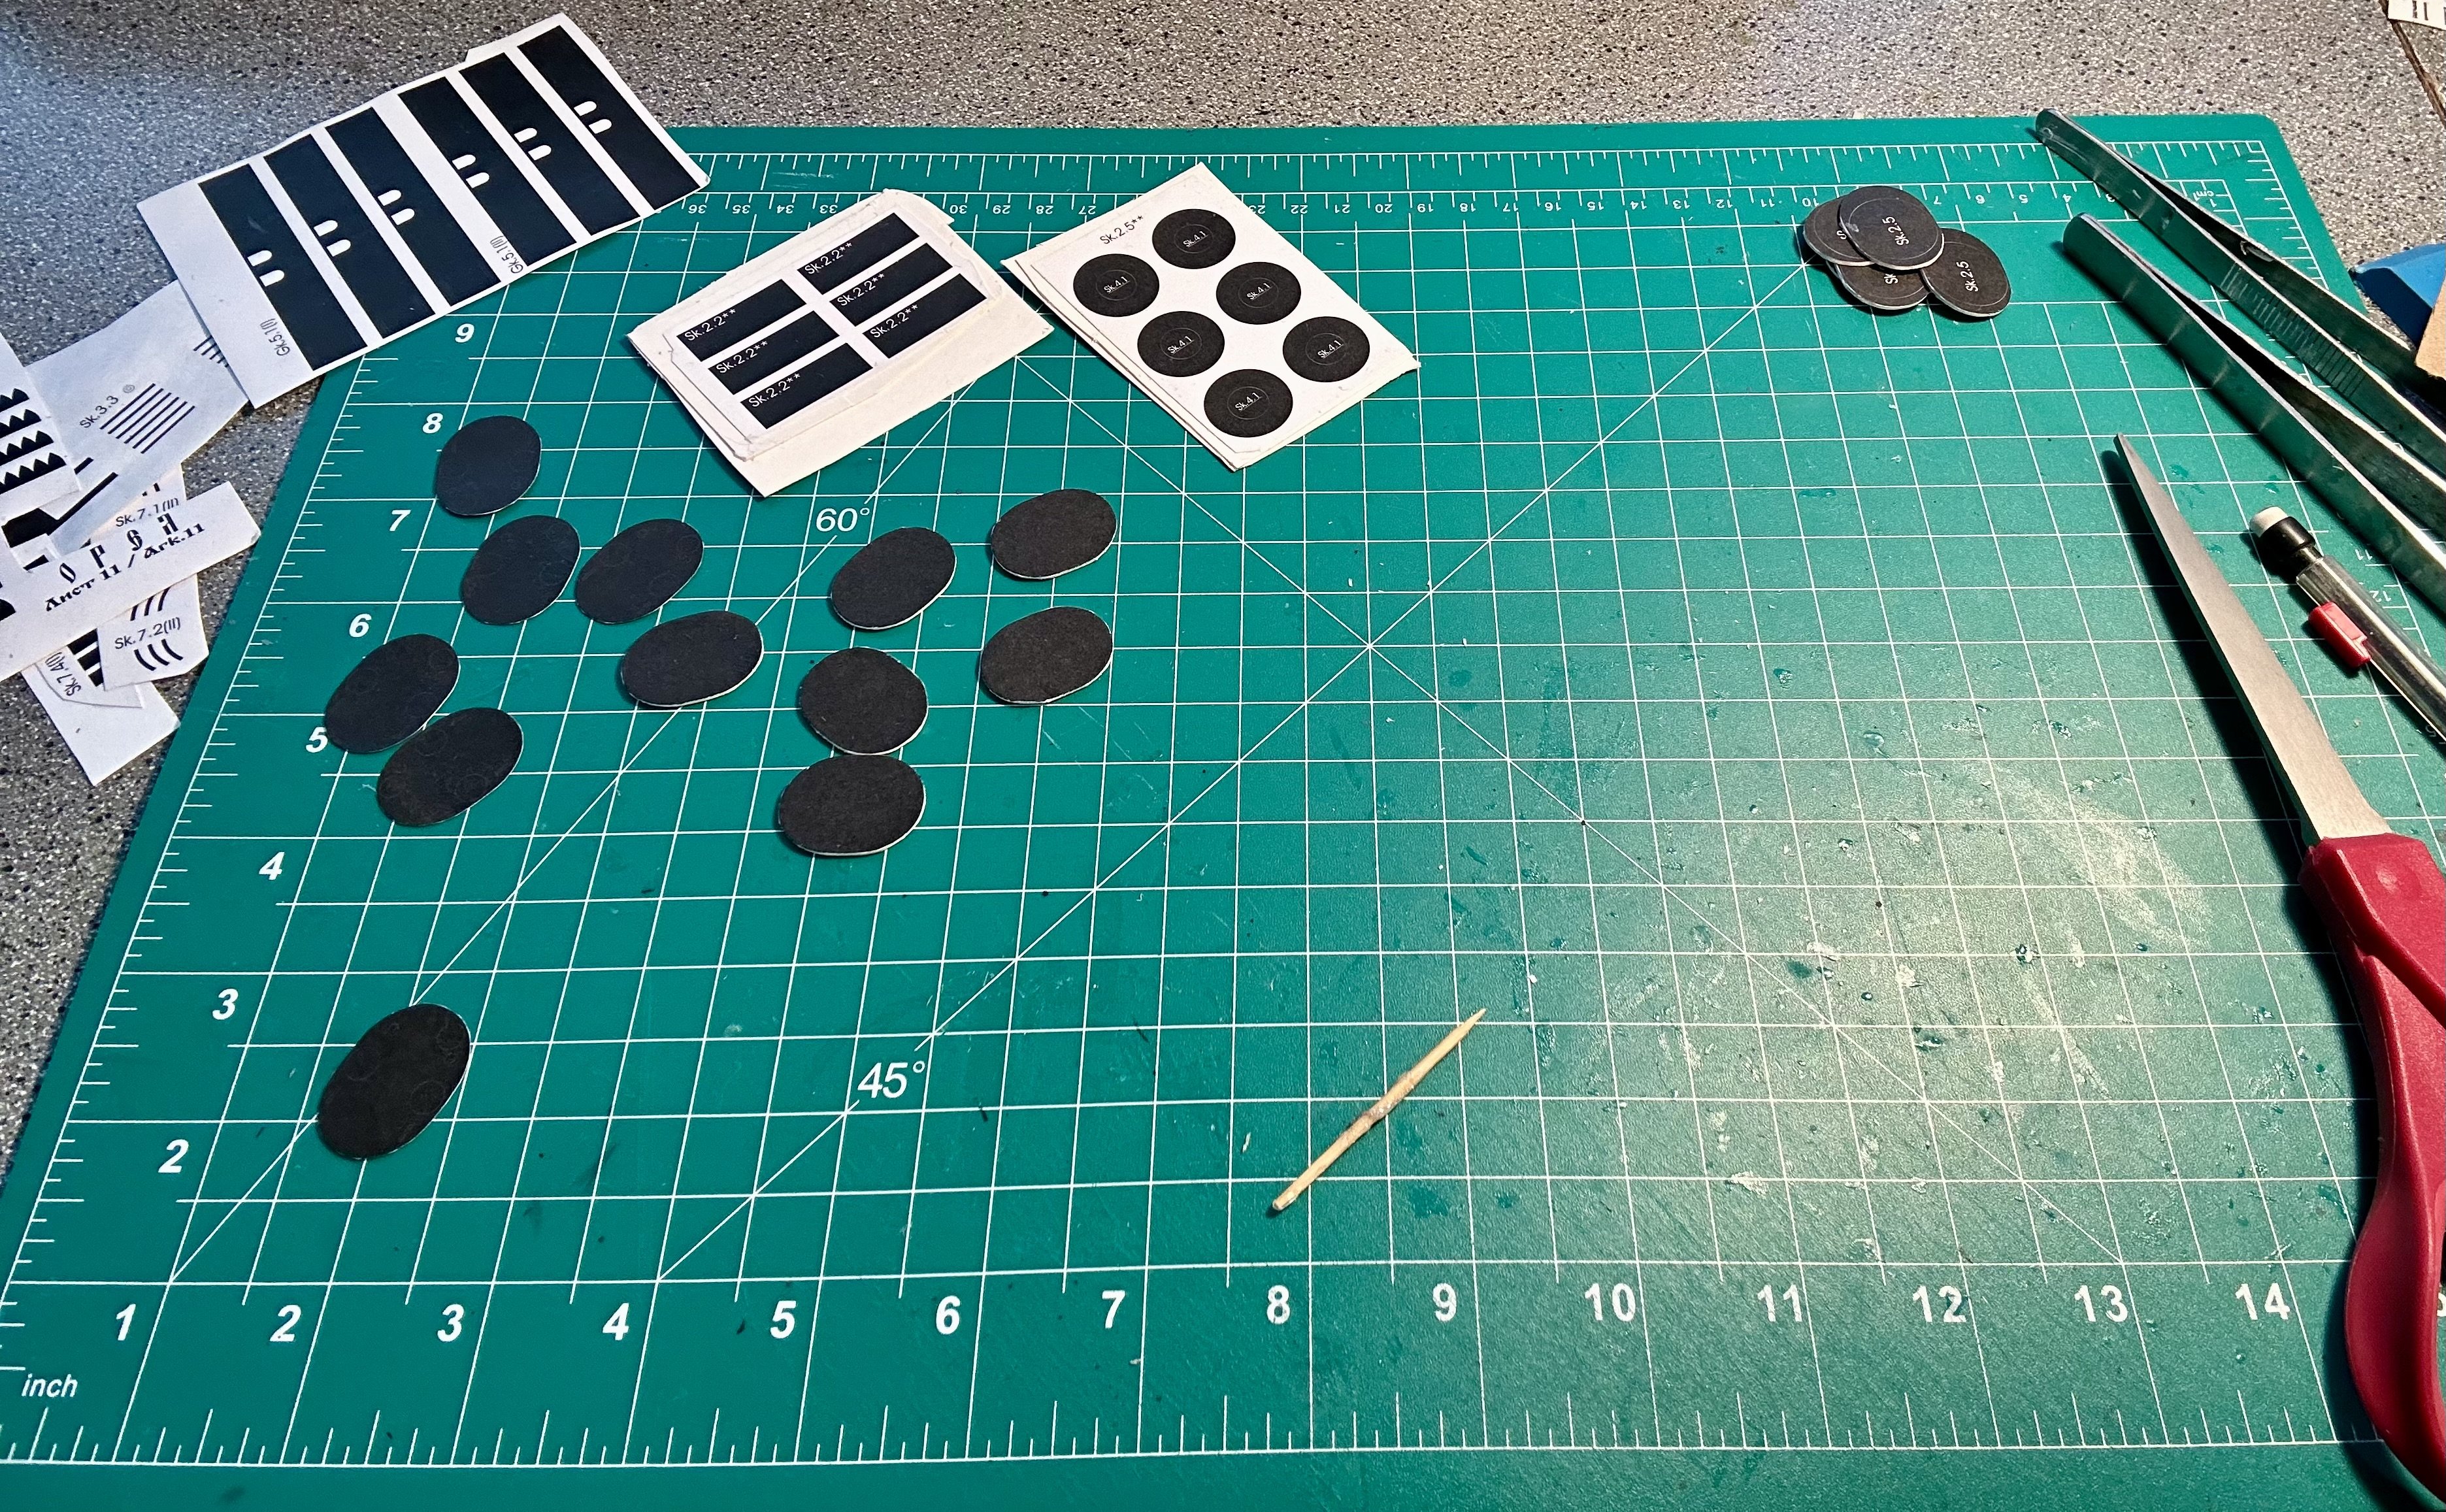
Still working on the secondary battery: Making progress!

- 288 replies
-
- 15
-

-

-
- Card
- Pre-Dreadnought
- (and 3 more)
-
Very nicely done!
-
Glen, I personally like the stone base. I believe it offsets the bonsai base.
- 106 replies
-
- 3
-
-

-
- Kentoshi-Sen
- bottle
- (and 1 more)
-
Welcome!
-
Kurt, What is the deadline for entries?
-
Welcome!
-
Welcome!
-
Alan, Thank you very much! I am very happy with how they turned out! Mark, Thank you very much! The Oryol is going to make an impressive addition to my display case! The secondary battery is going together quite nicely: Using a mousepad for rolling gun barrels is definitely paying off.
- 288 replies
-
- 13
-
-
-
- Card
- Pre-Dreadnought
- (and 3 more)
-
I decided to build the Mercury as the HMS Nemesis, built a year later in the same series of ships. The Nemesis served in the Royal Navy up until 1814. I am using the rest of the kit, but altering the carvings and decorations to match a hypothetical Nemesis (of which there are very few records, leaving a lot of room for interpretation based on British shipbuilding practices).
-
Very nicely done!
-
Spindle chair by kgstakes - FINISHED - 1/12th scale
GrandpaPhil replied to kgstakes's topic in Non-ship/categorised builds
Very nicely done! -
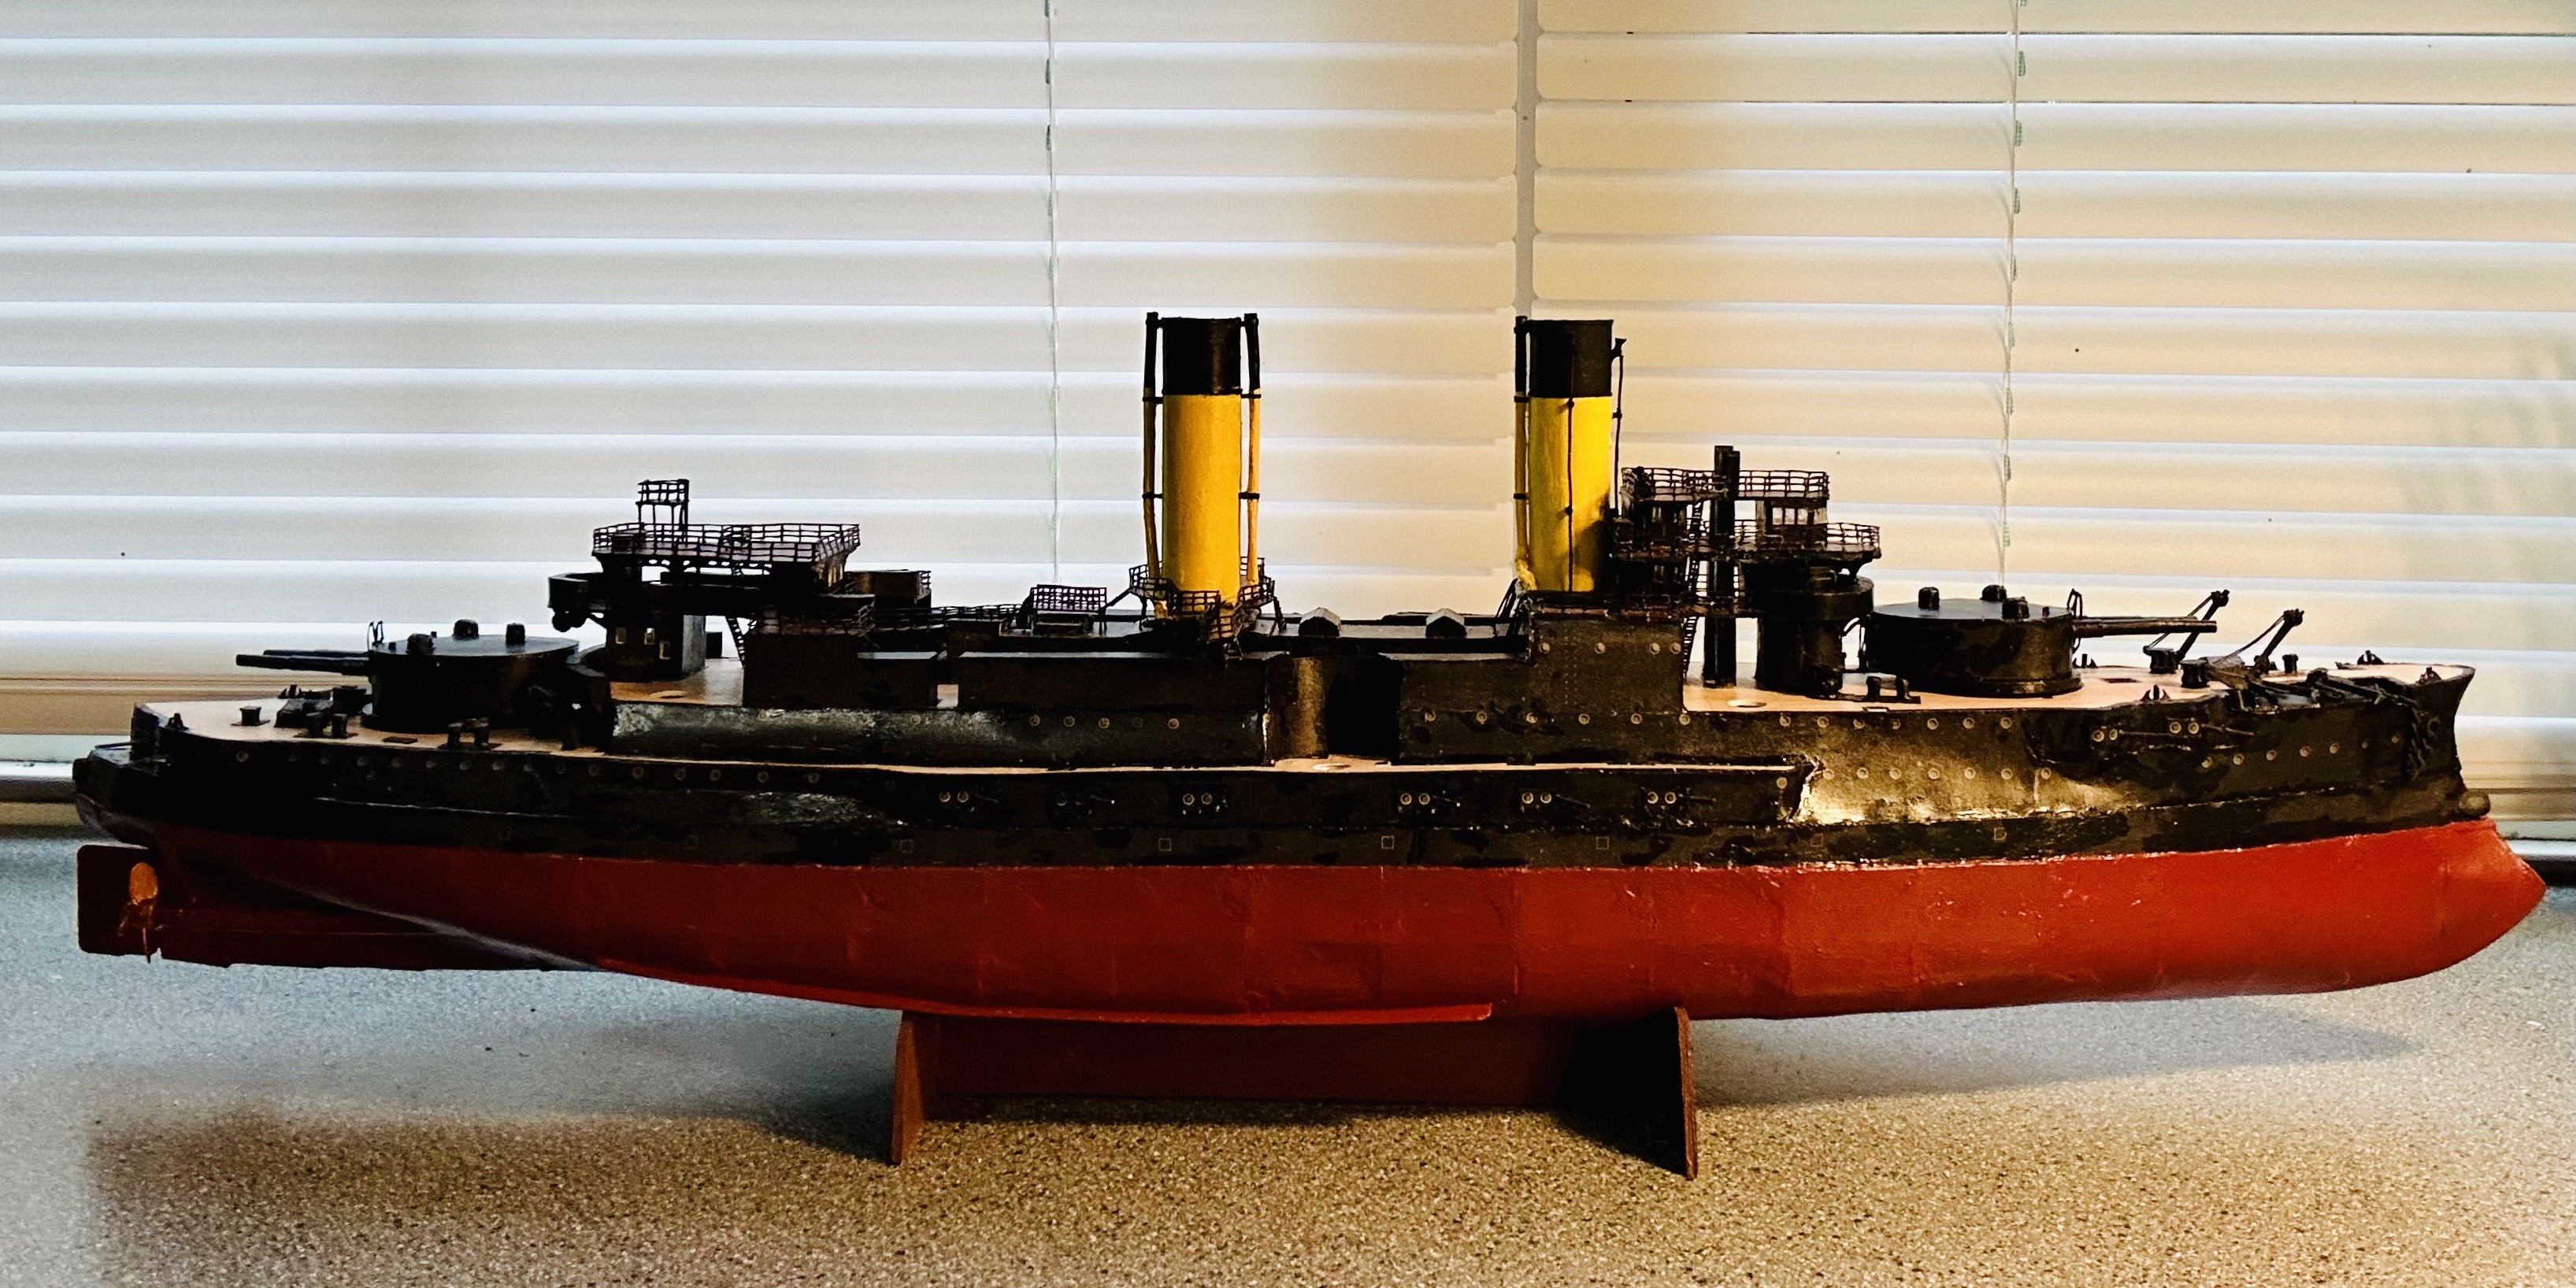
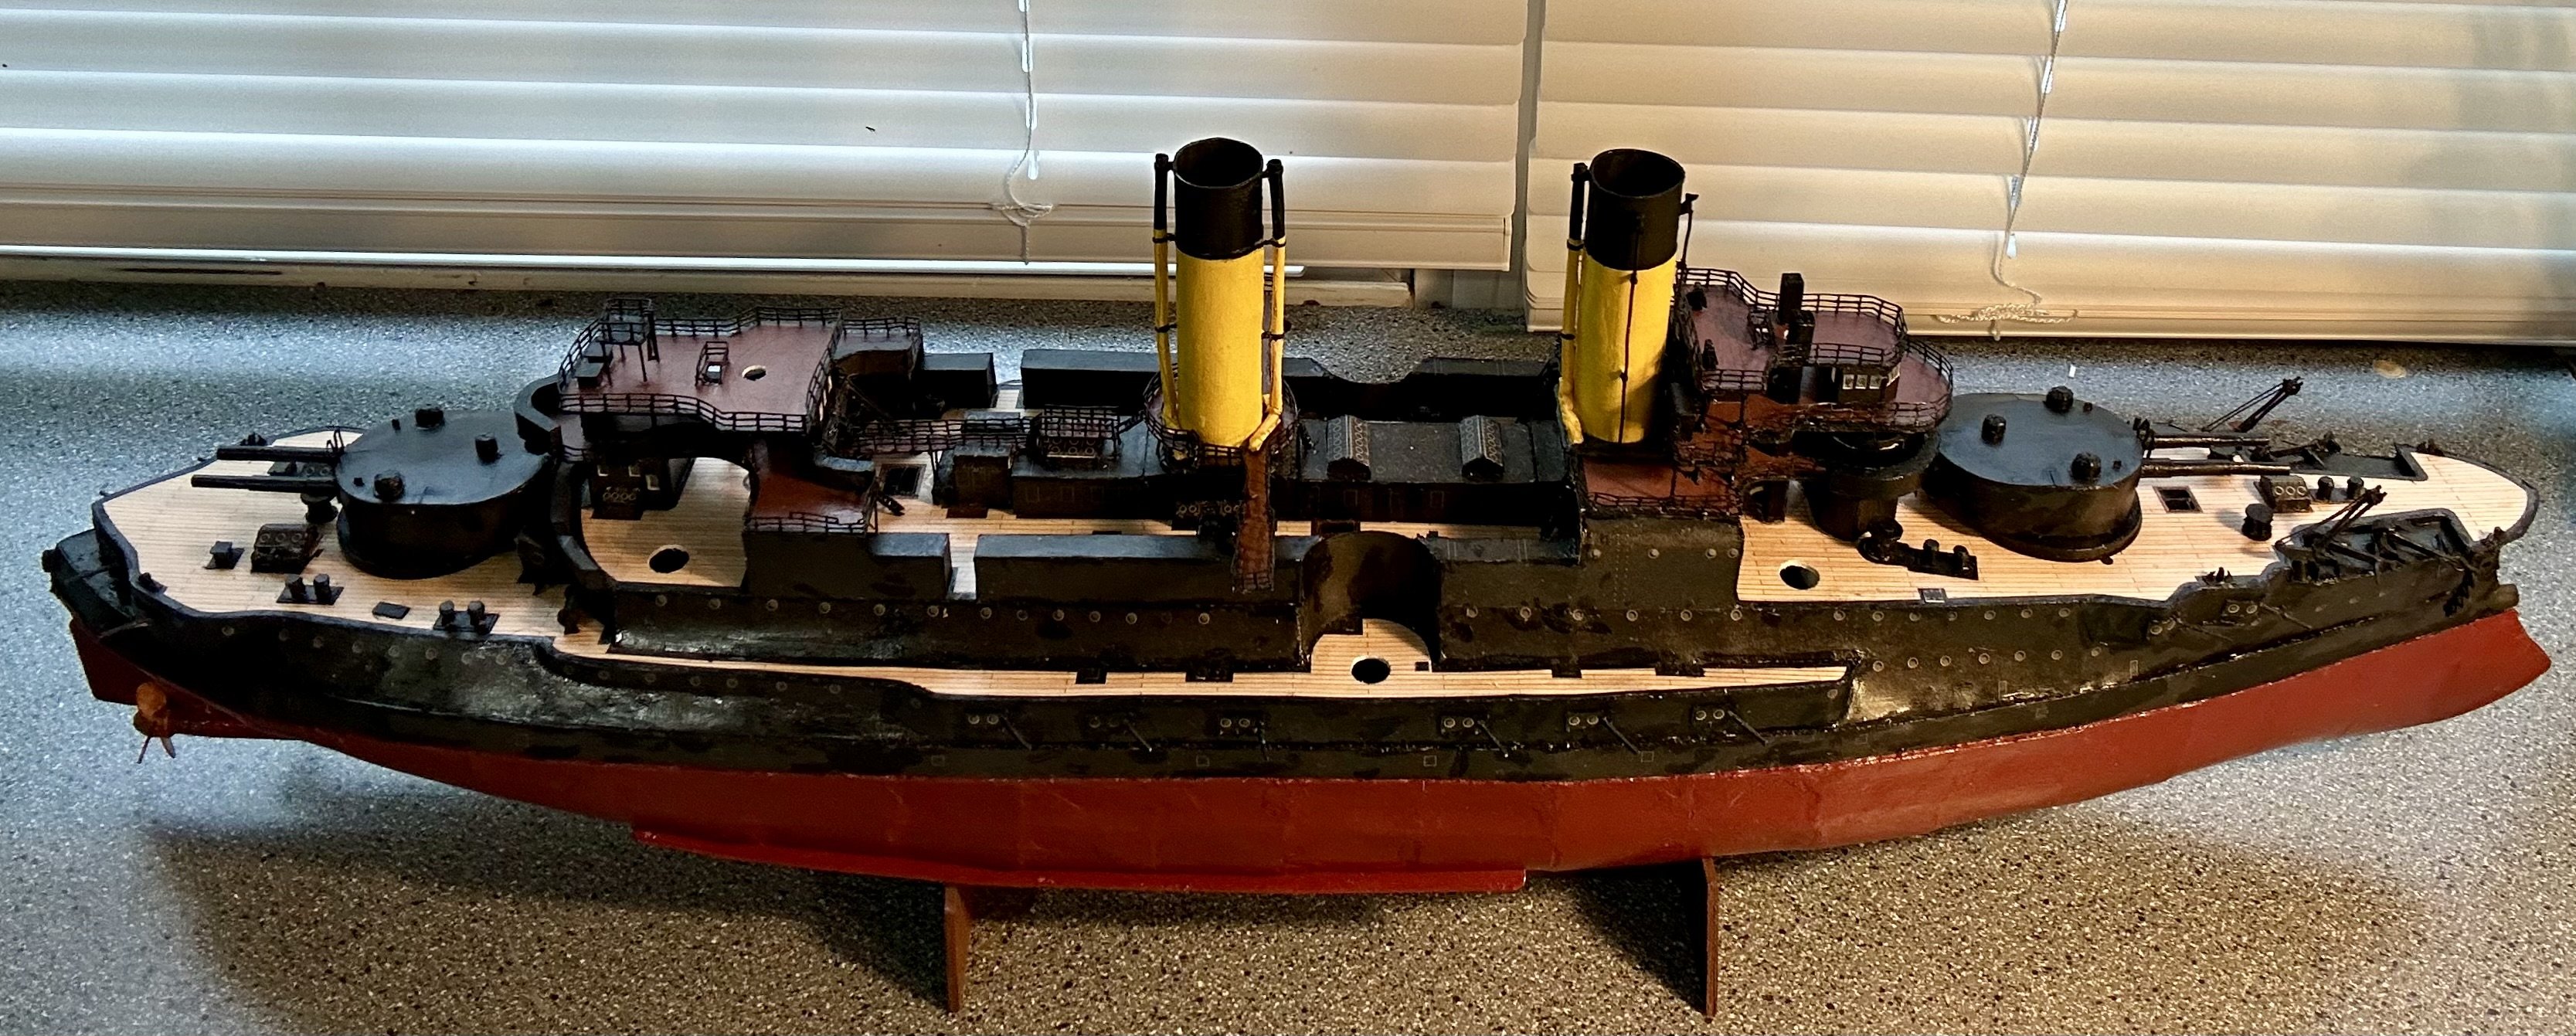
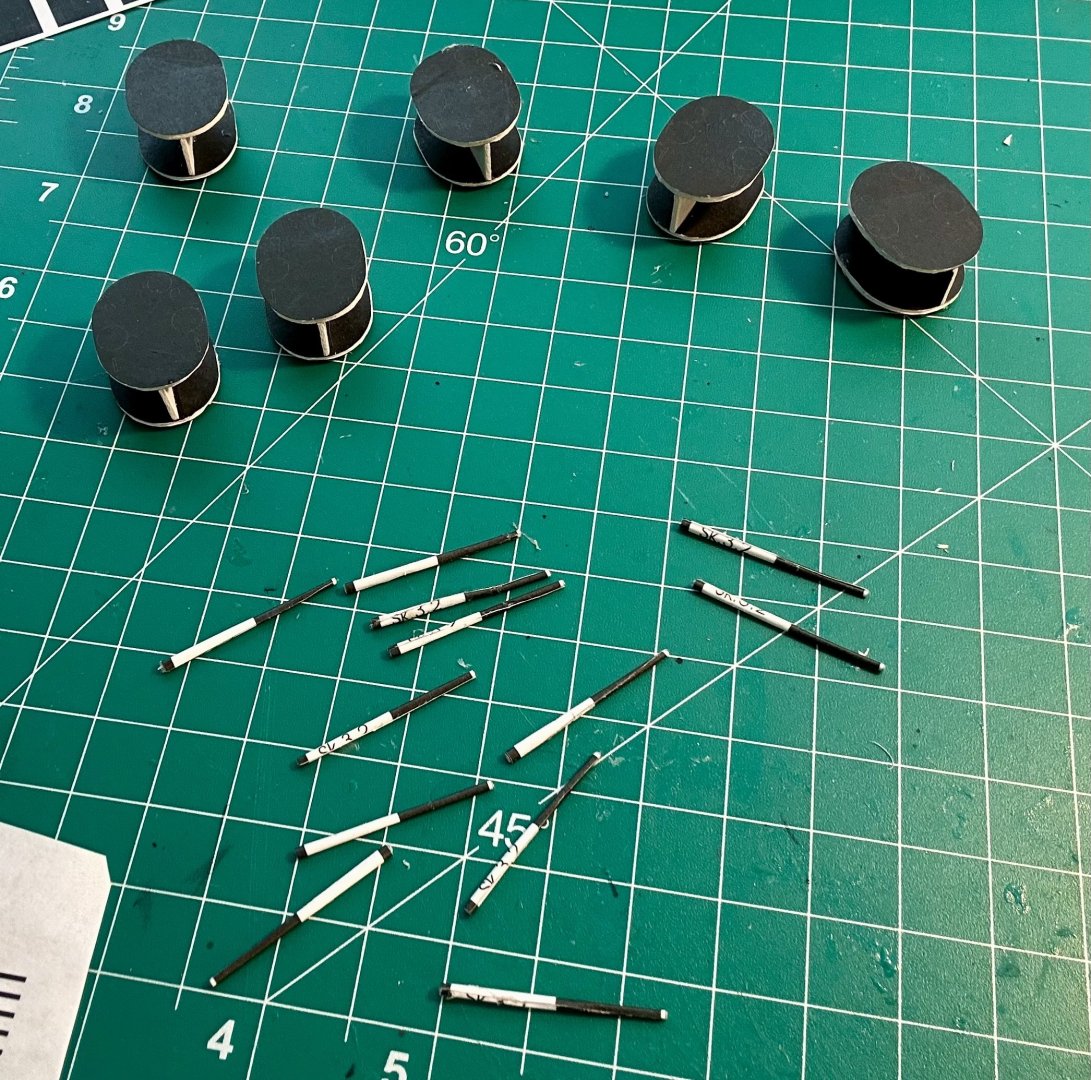
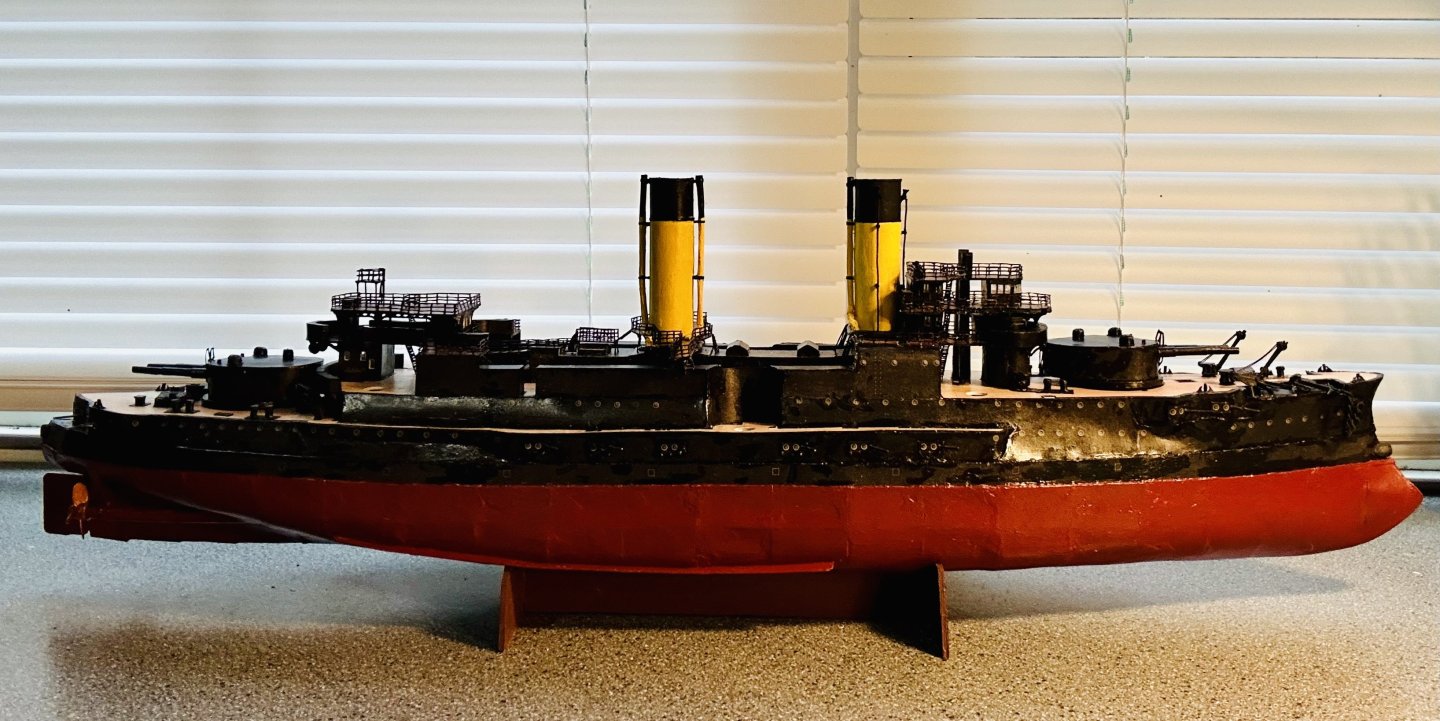
Steve, Thank you very much! She looks really good with her primary turrets installed! Keith, Thank you very much! Card has become my favorite medium to build in. Don’t sell yourself short, your steamers and work boats are incredible! The primary battery turrets are installed: She looks like a battleship now! I’m working on the six turrets of the secondary battery now: Once those are done and installed, it will be time for masts and rigging!

- 288 replies
-
- 11
-
-
-
- Card
- Pre-Dreadnought
- (and 3 more)
-
Very nicely done!
-
Mark, I used the Folk Art clear coat. It works quite well. Lol! I’m glad you like the stands! I learned about using Legos here. They’re like a model making cheat code. They have made my life much easier when it comes to setting stuff up to dry, or making a quick ship cradle for before a model is fully planked!
- 288 replies
-
- 6
-
-
- Card
- Pre-Dreadnought
- (and 3 more)
-
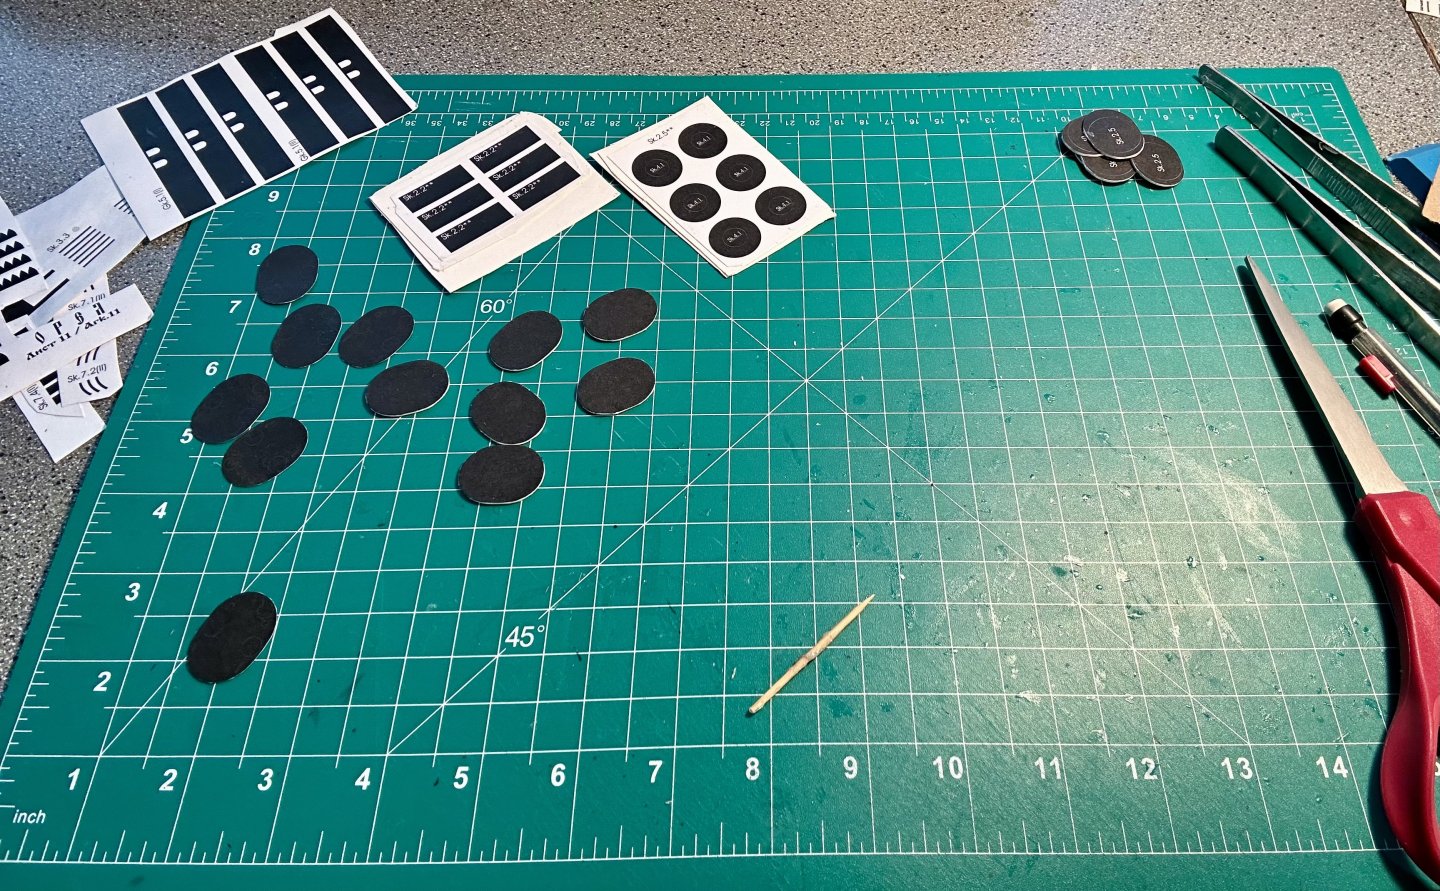
Thank you all very much for the likes and for stopping by! The bases of the turrets are finished and in place: The turrets themselves are detailed out and awaiting painting/sealing: I made some jigs/work stands from Legos.


- 288 replies
-
- 13
-
-
- Card
- Pre-Dreadnought
- (and 3 more)
-
Congratulations! Very nicely done!