GrandpaPhil
-
Posts
6,157 -
Joined
-
Last visited
Content Type
Profiles
Forums
Gallery
Events
Everything posted by GrandpaPhil
-
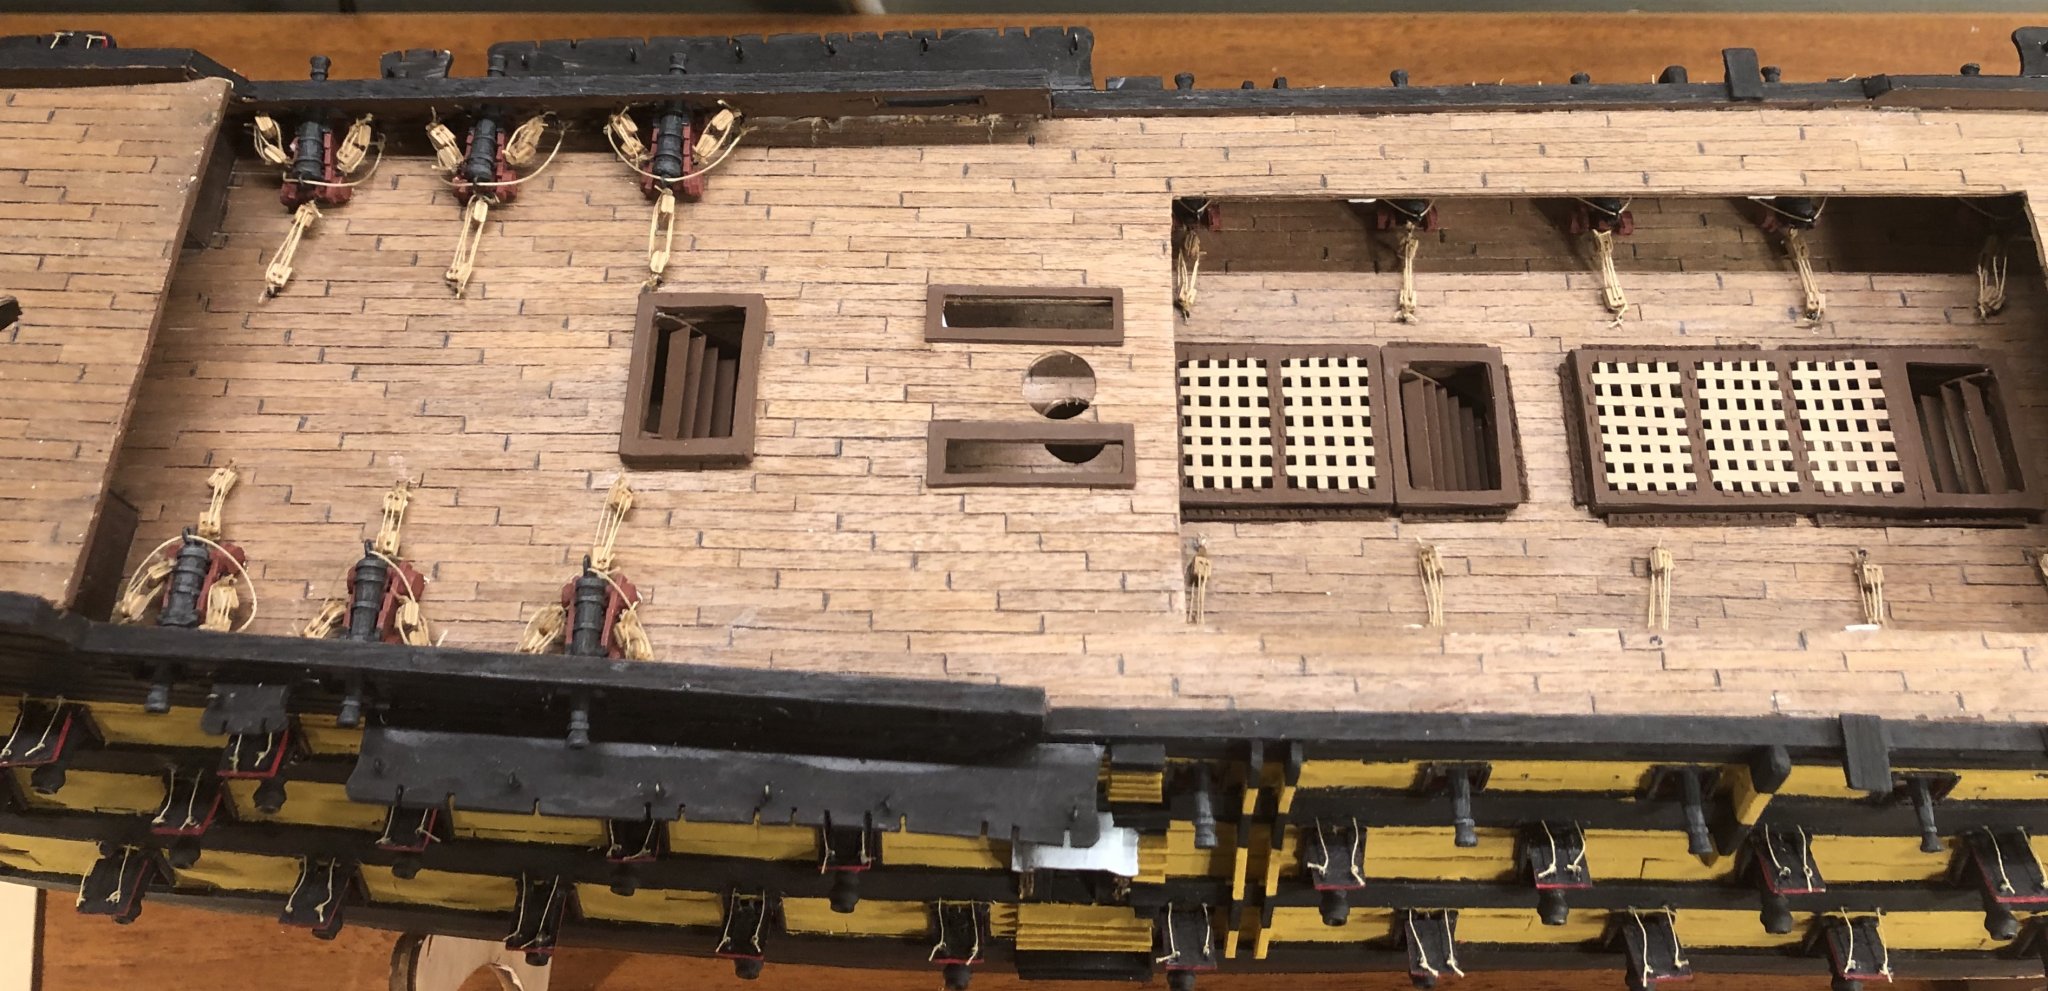
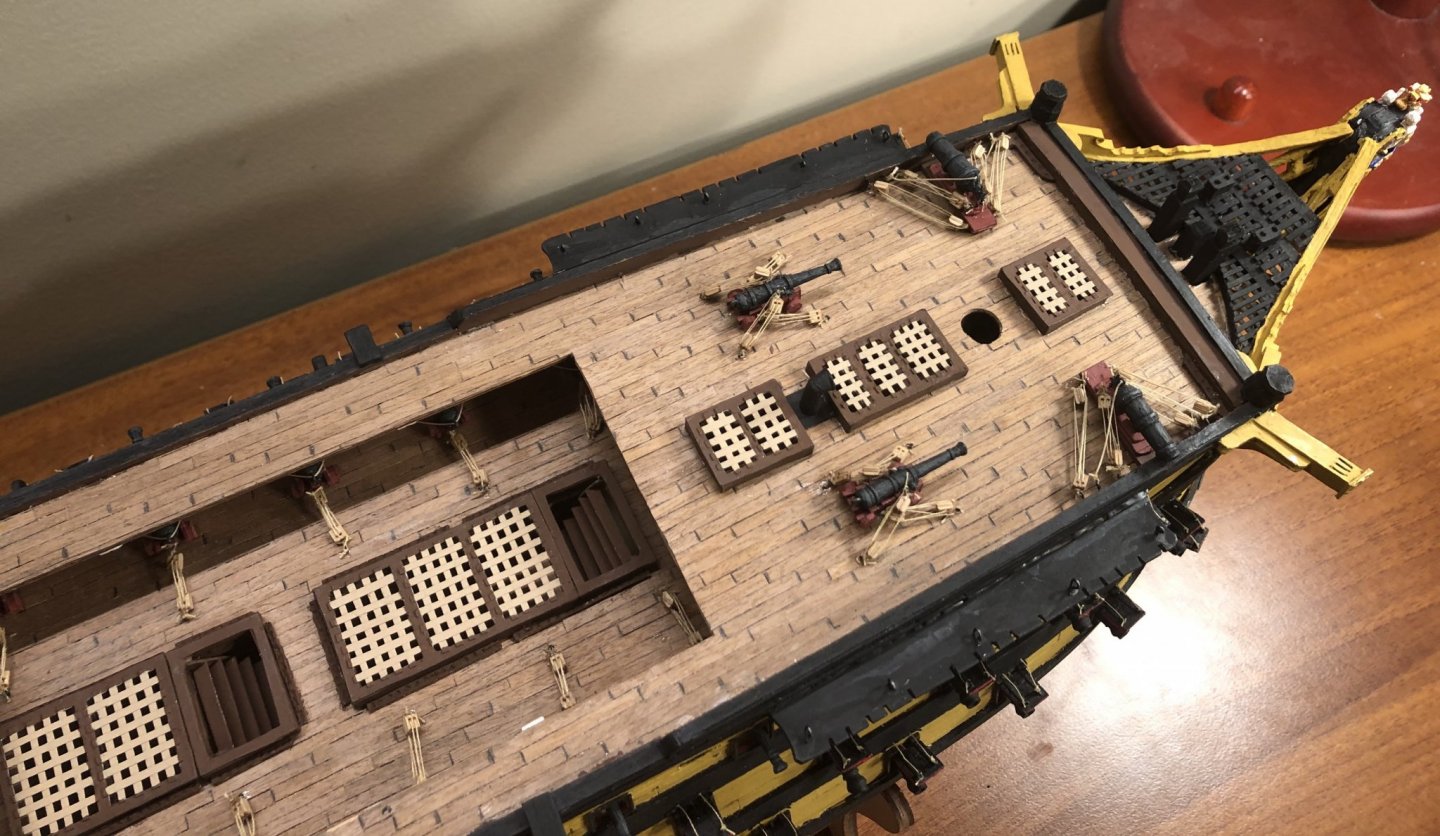
Thank you very much, Mark and Richard! Thank you everyone for all the likes! Except for some touch up paint work, some hand rails and a final highlight coat, the Upper Gundeck is mostly done and ready to be closed in (I know that I need to make four ladders, too, but I’ll make those when I make the railings that go around the split beams). Speaking of split beams, those will be made from single pieces of 1/8” basswood. I’ll carve the line for the joints into the beams. Everyone stay healthy!


-
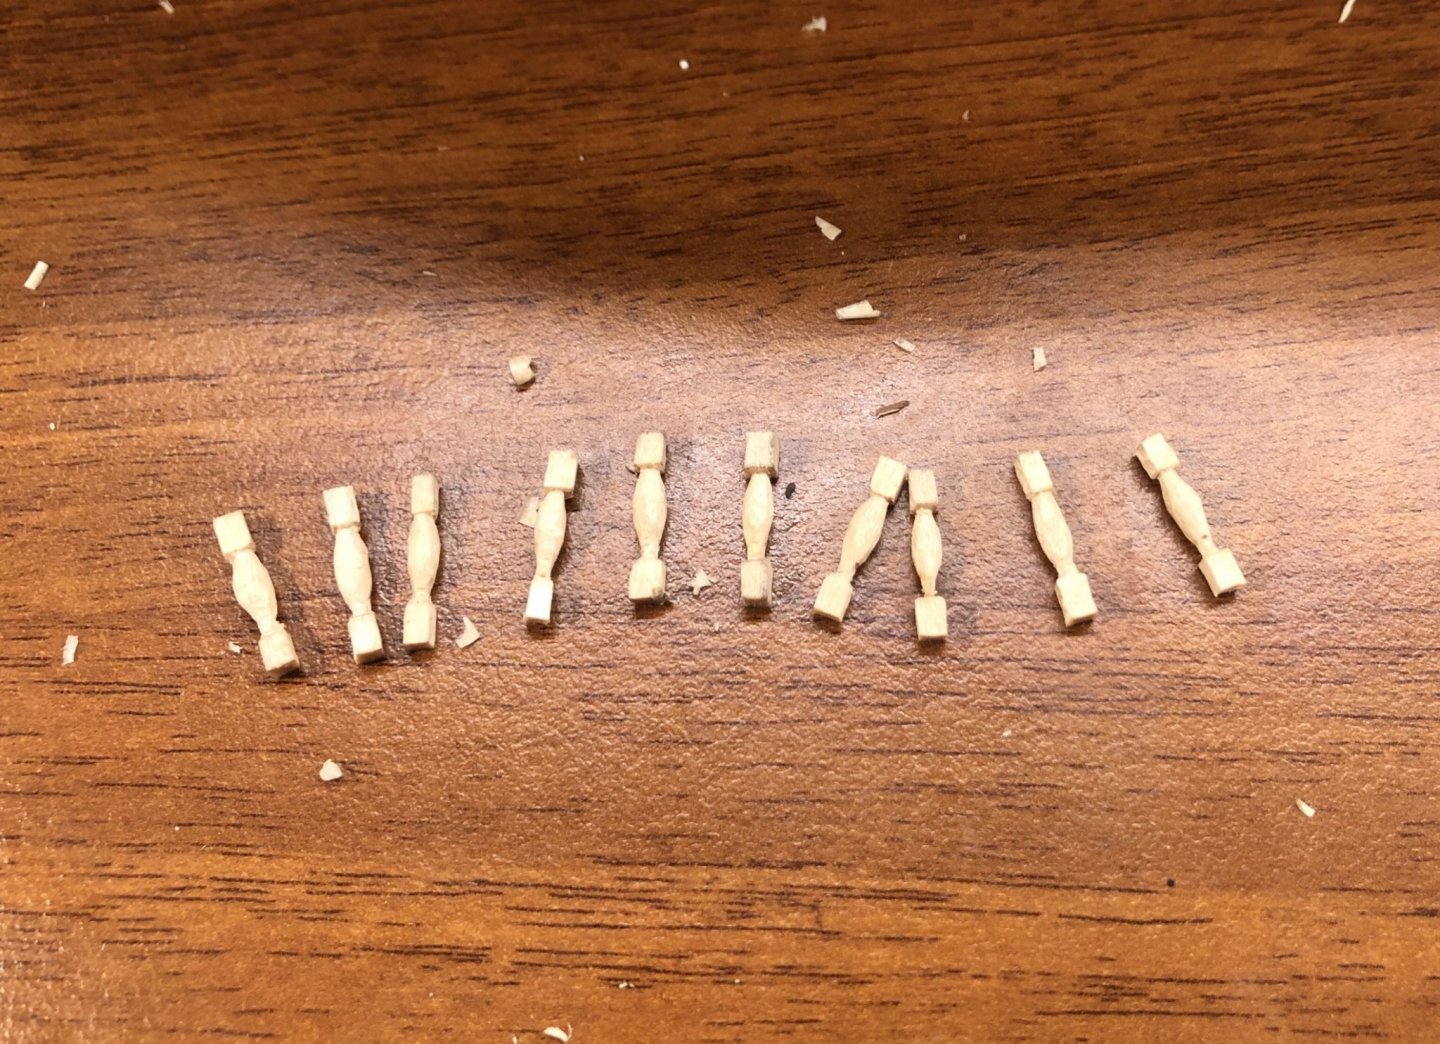
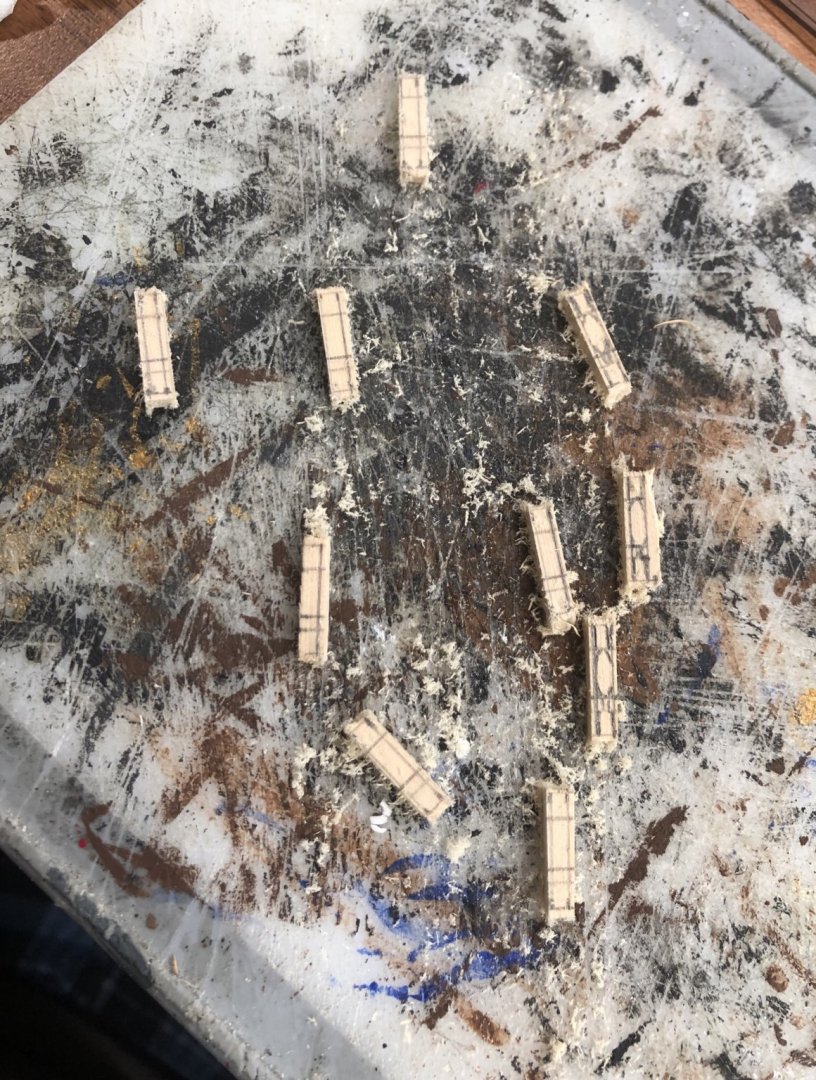
And then there were ten:
-
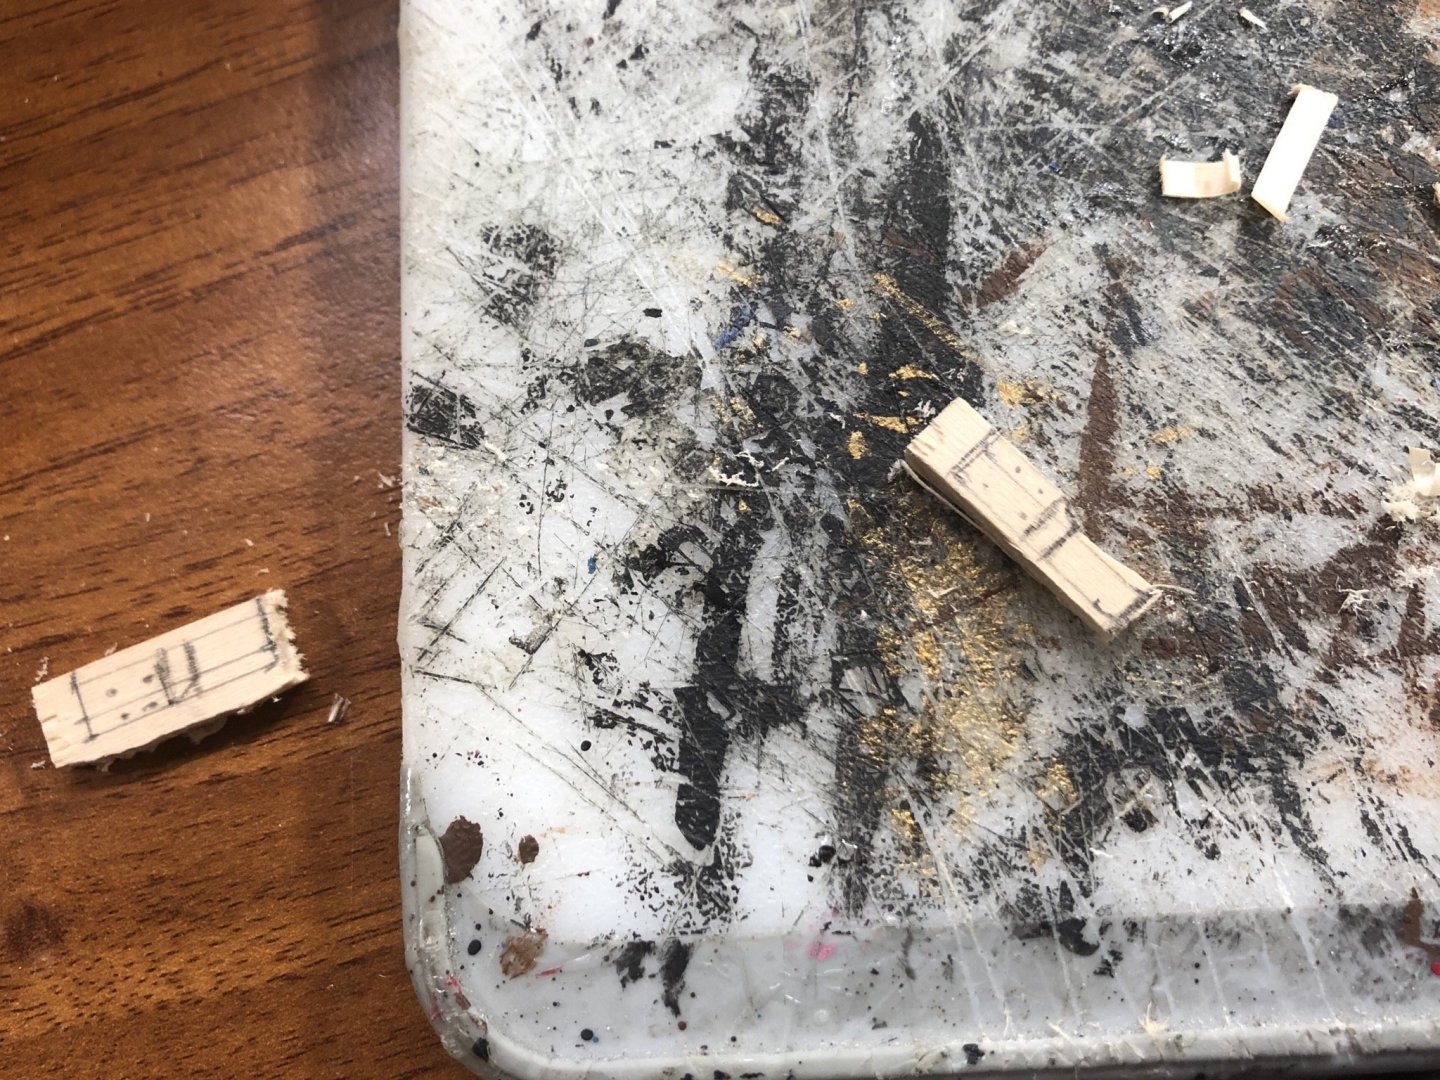
I have six now: The test fit of the bitts is successful:

-
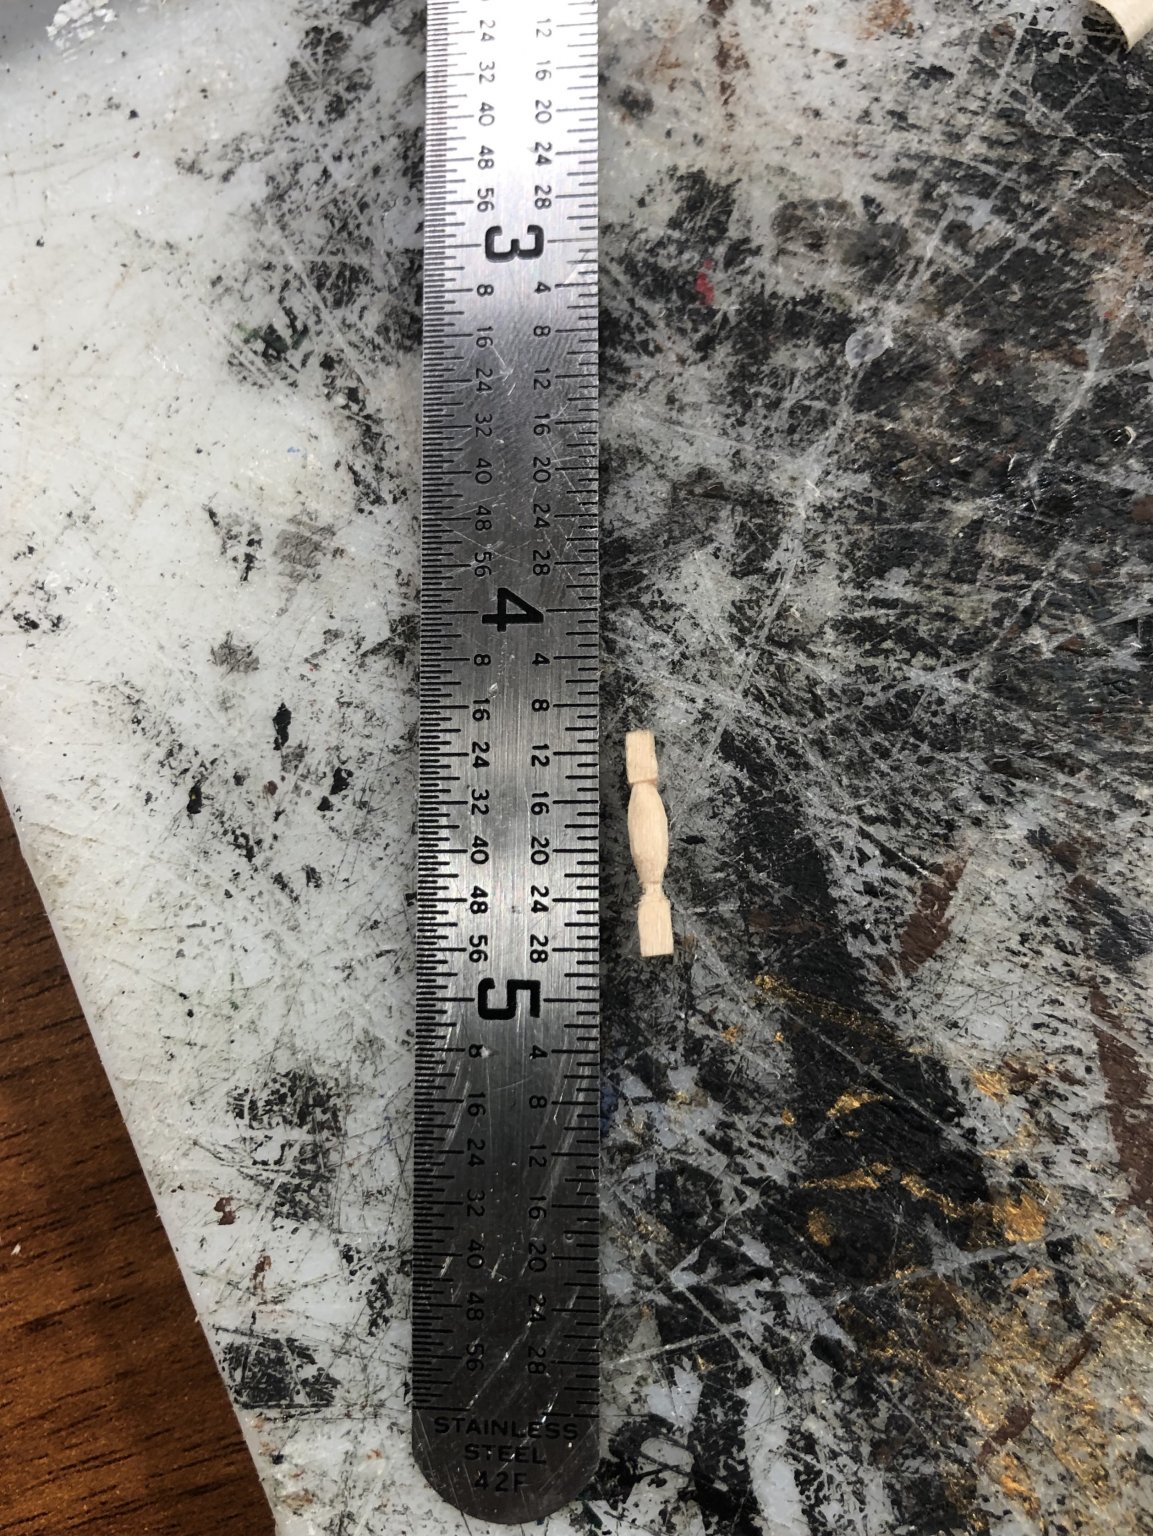
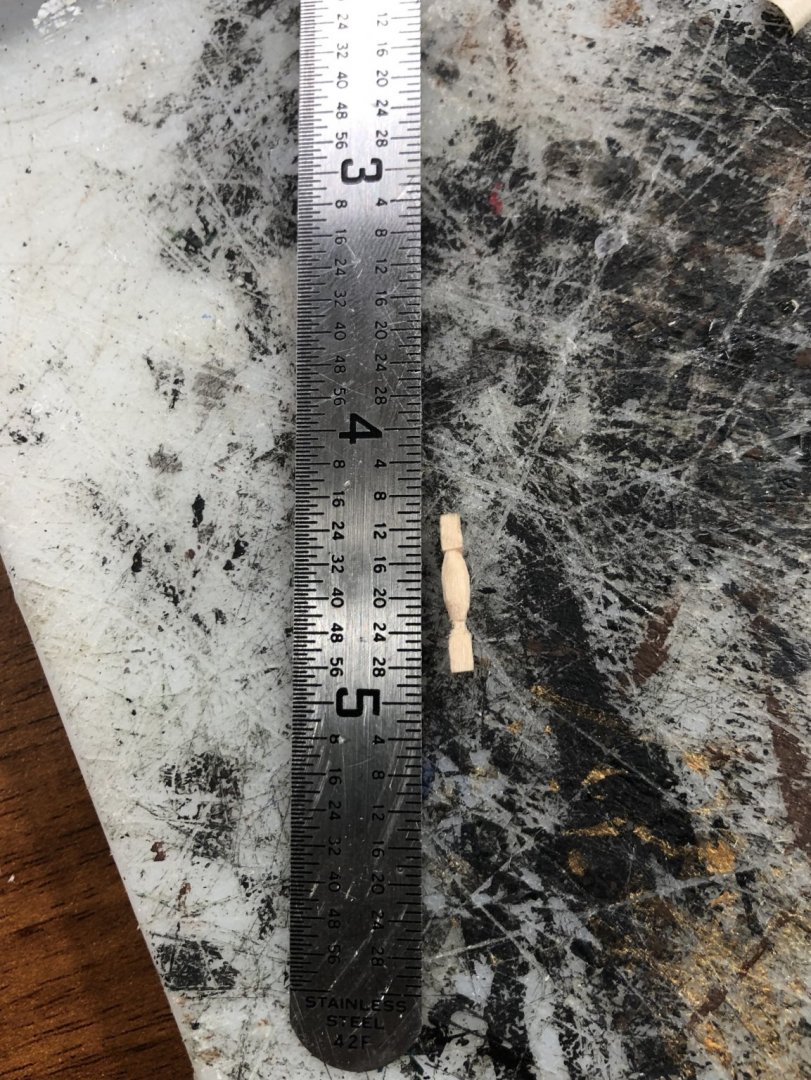
Prototype pillar:
-
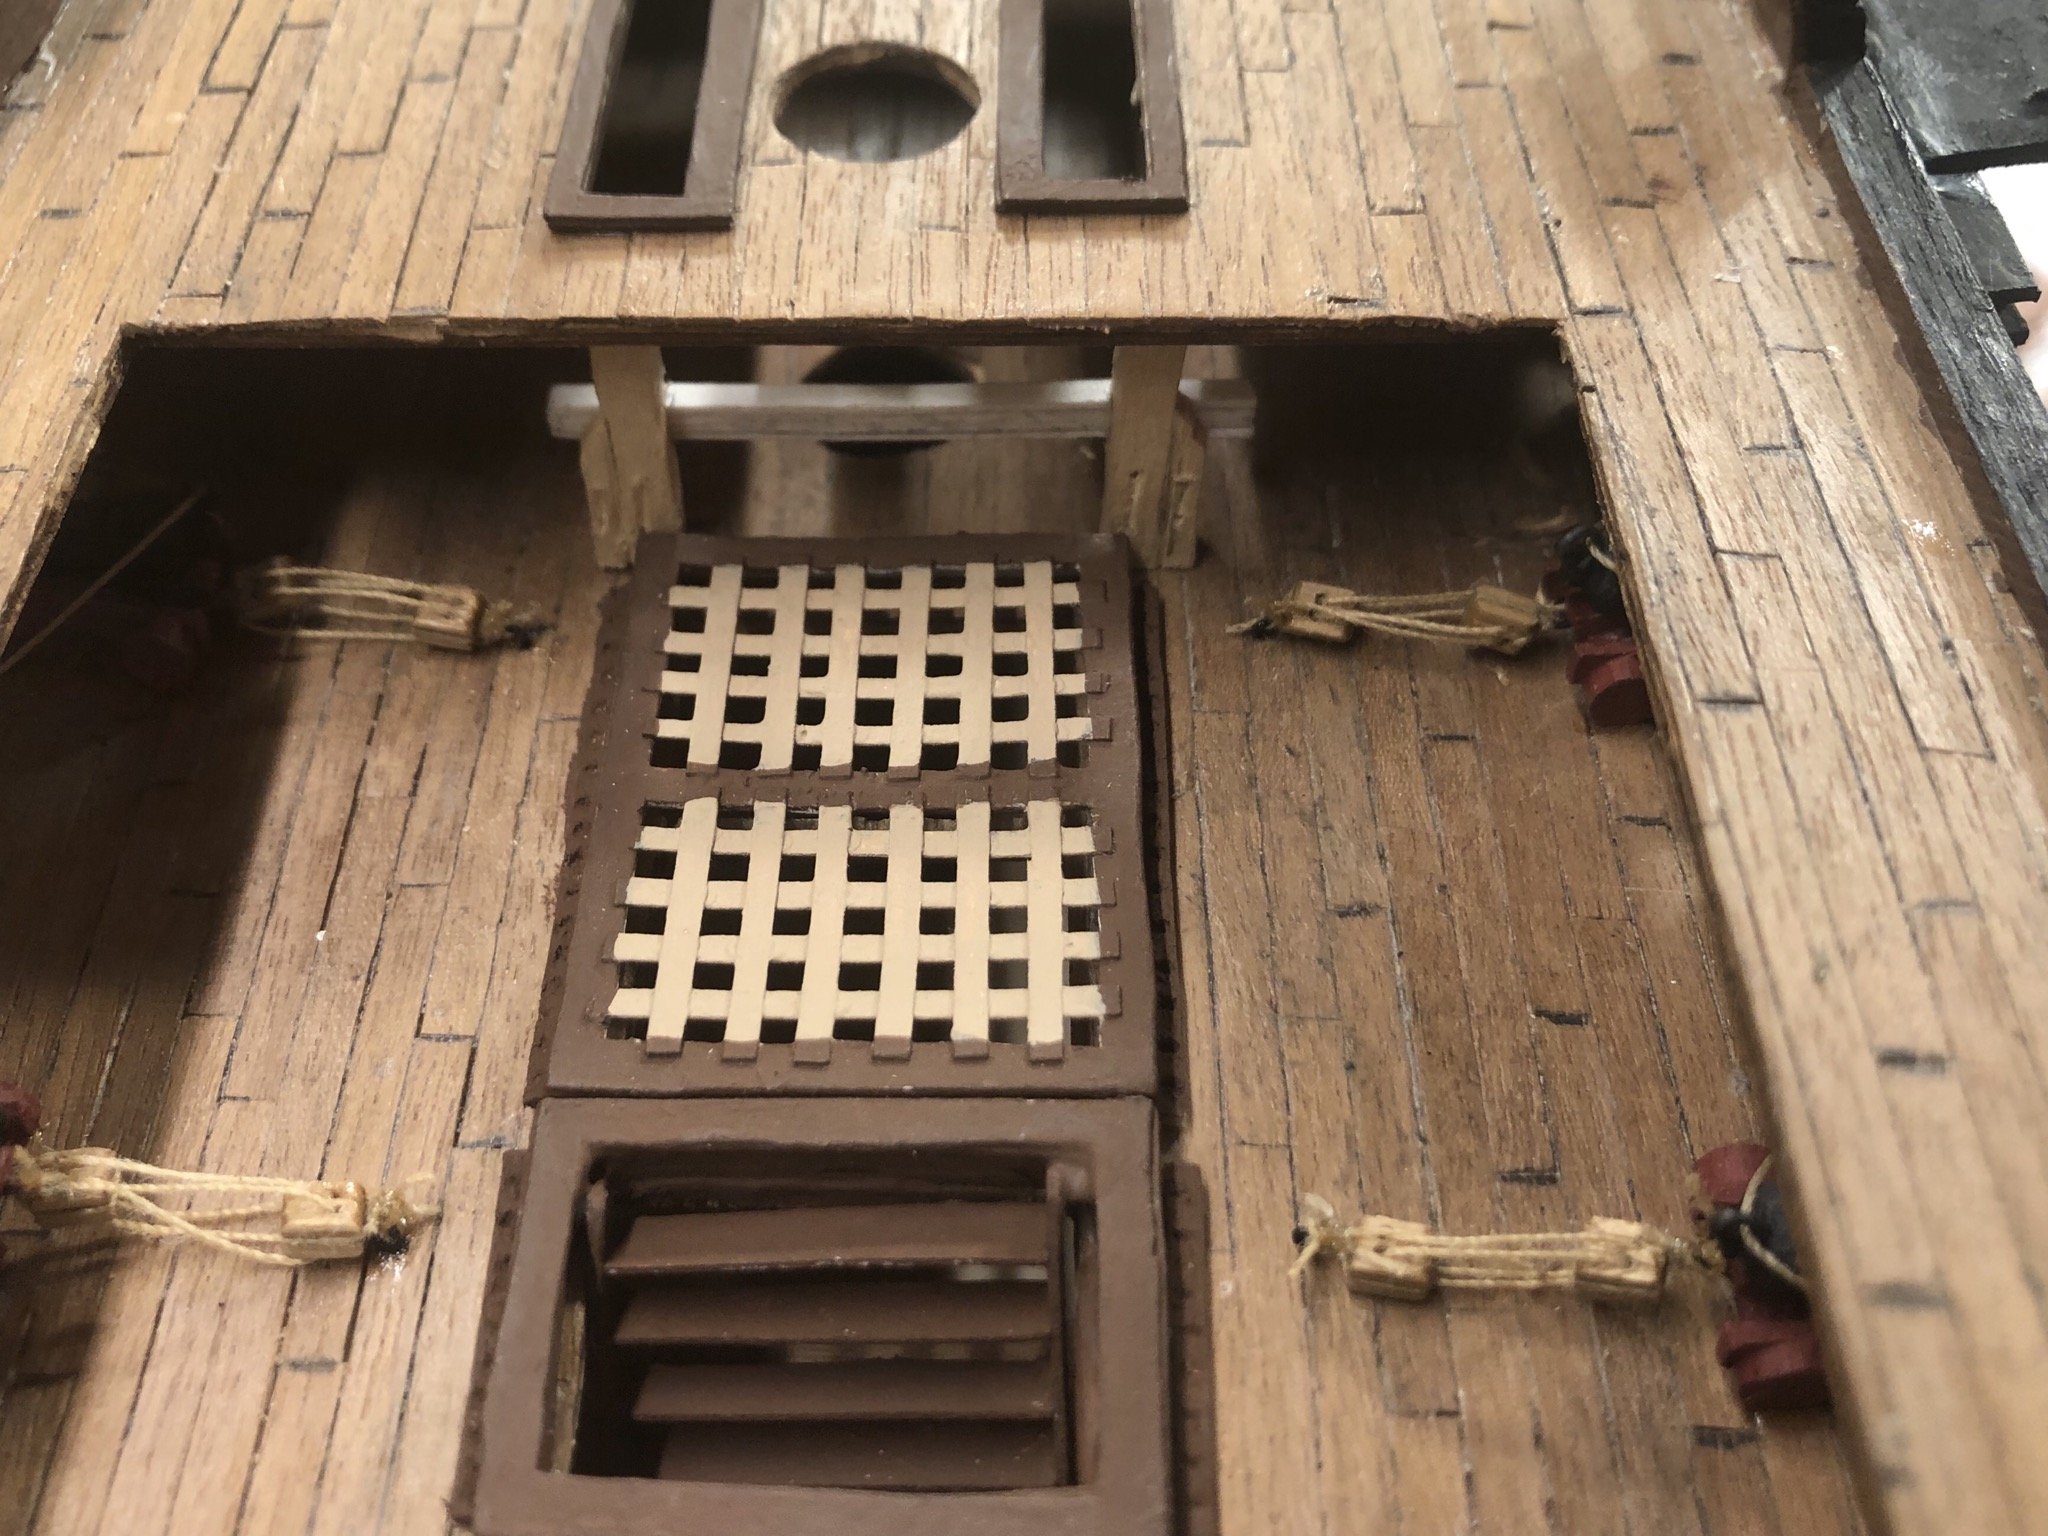
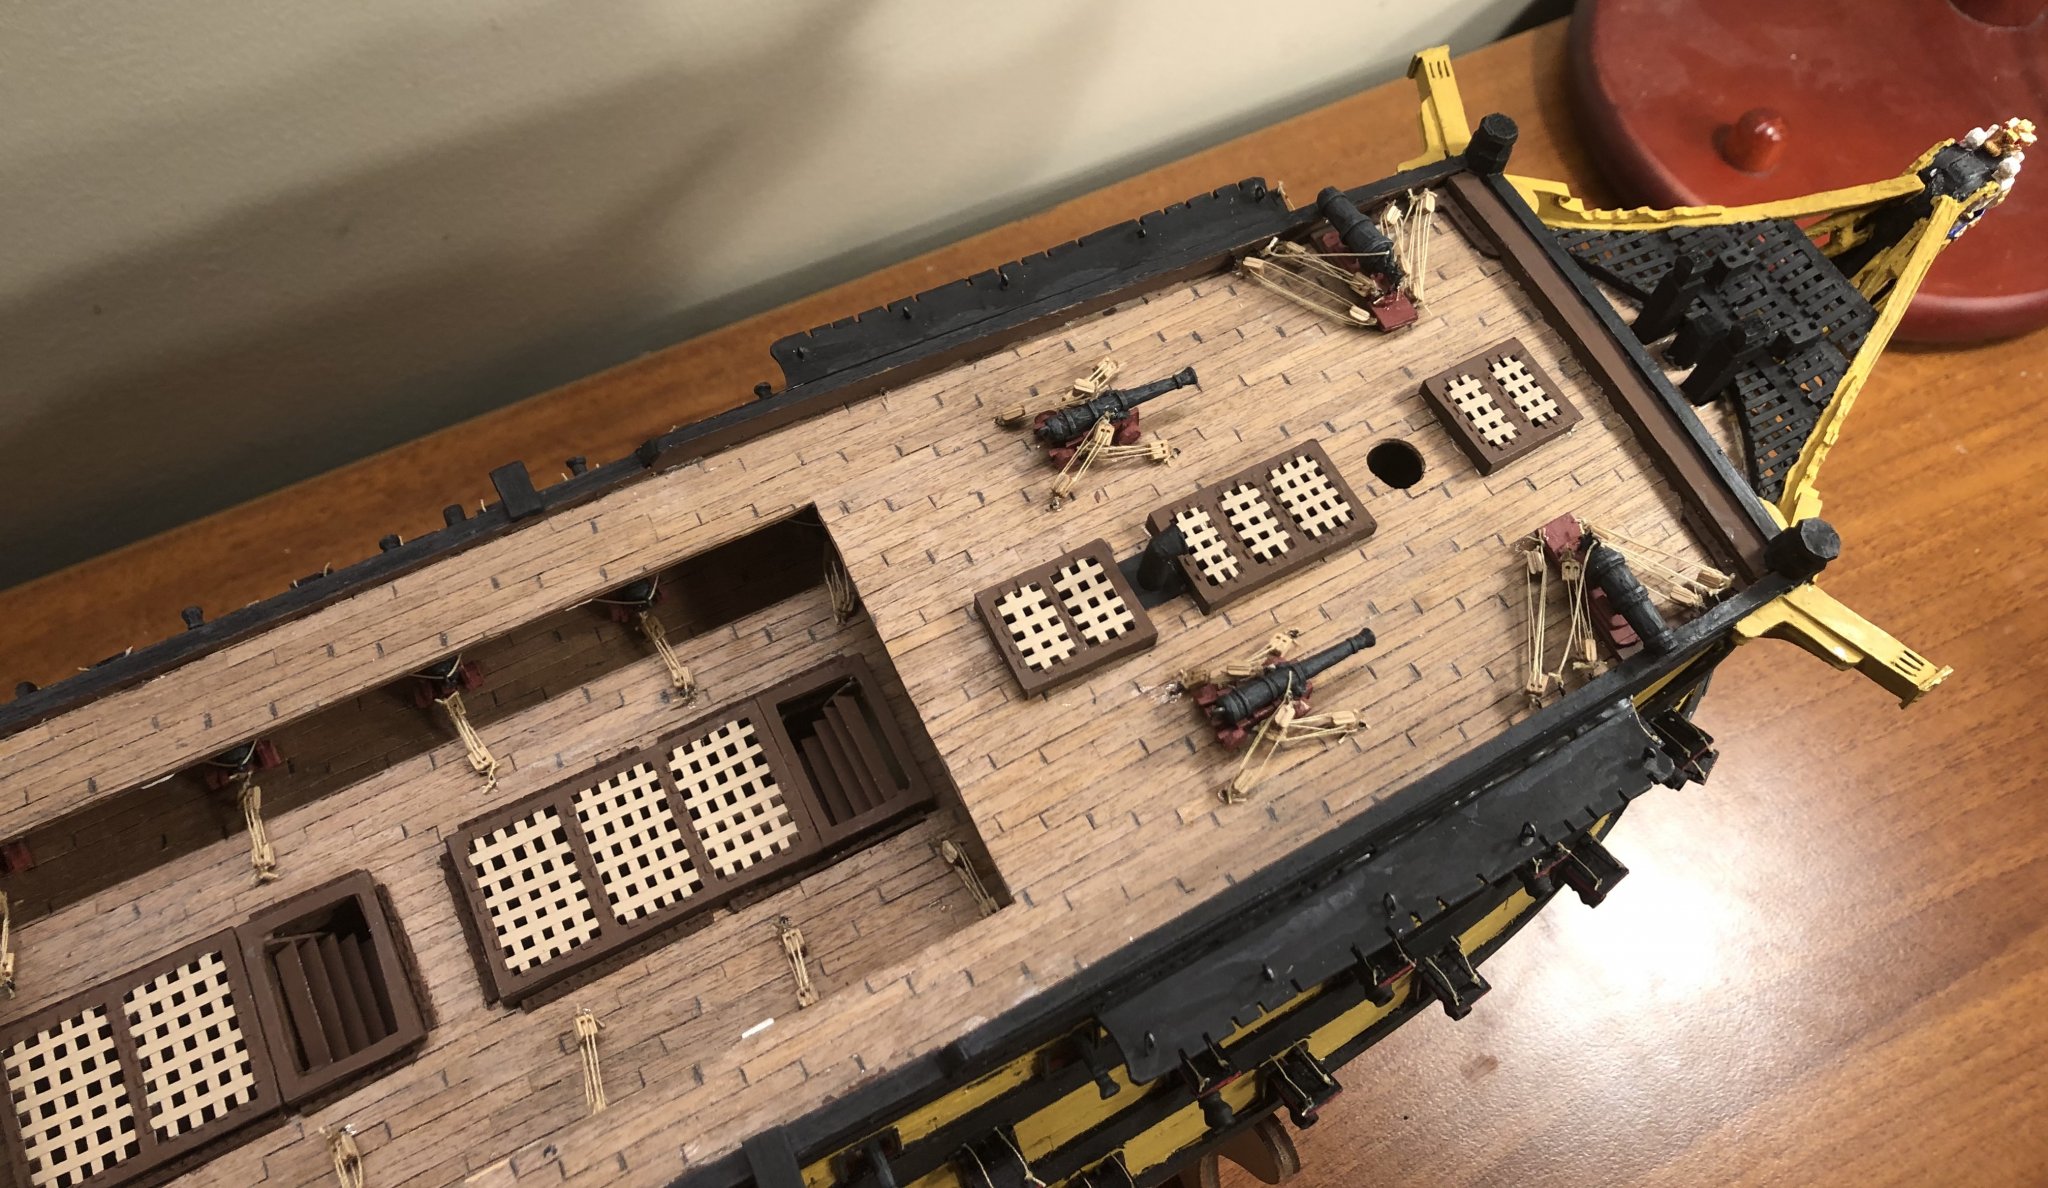
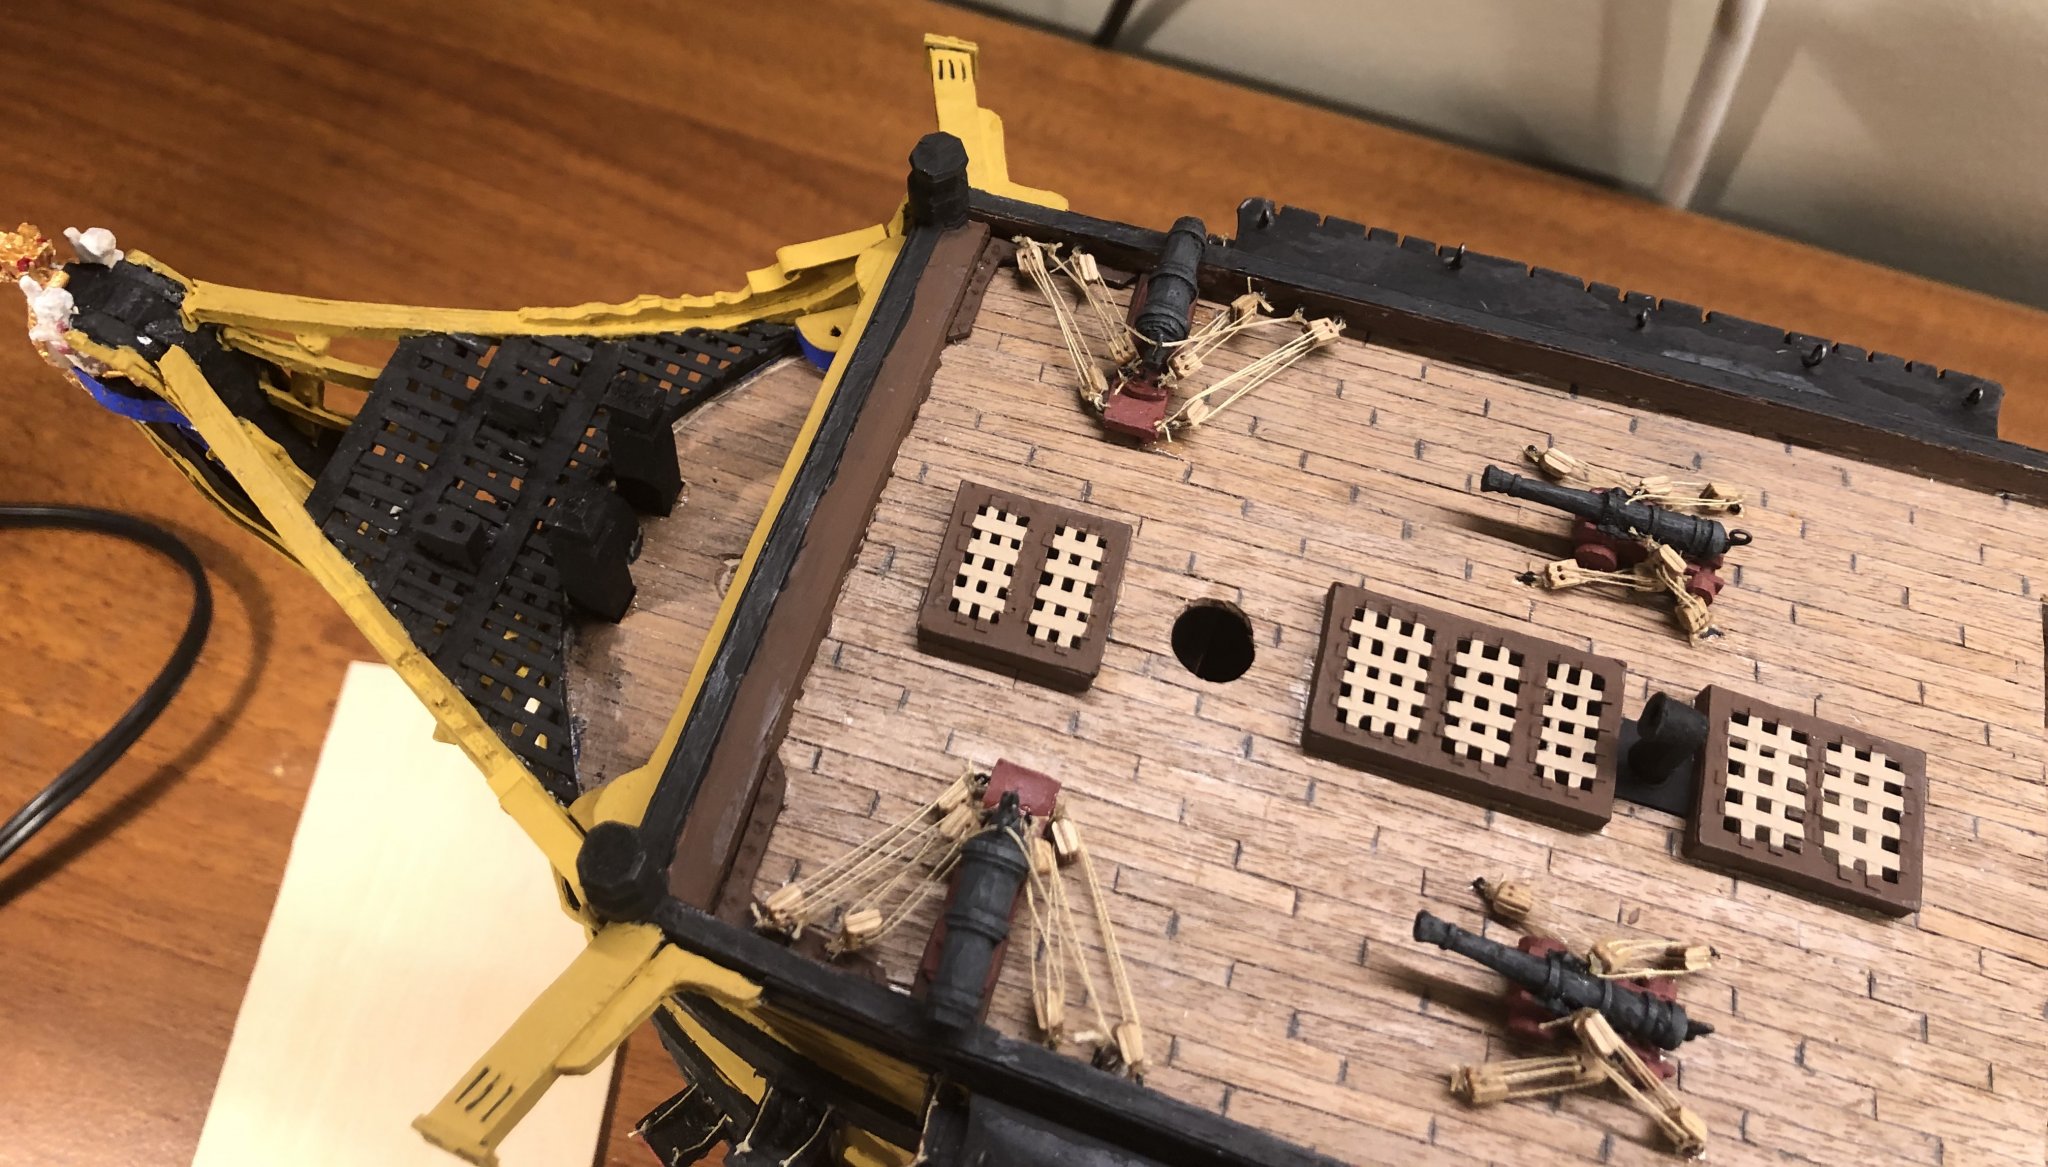
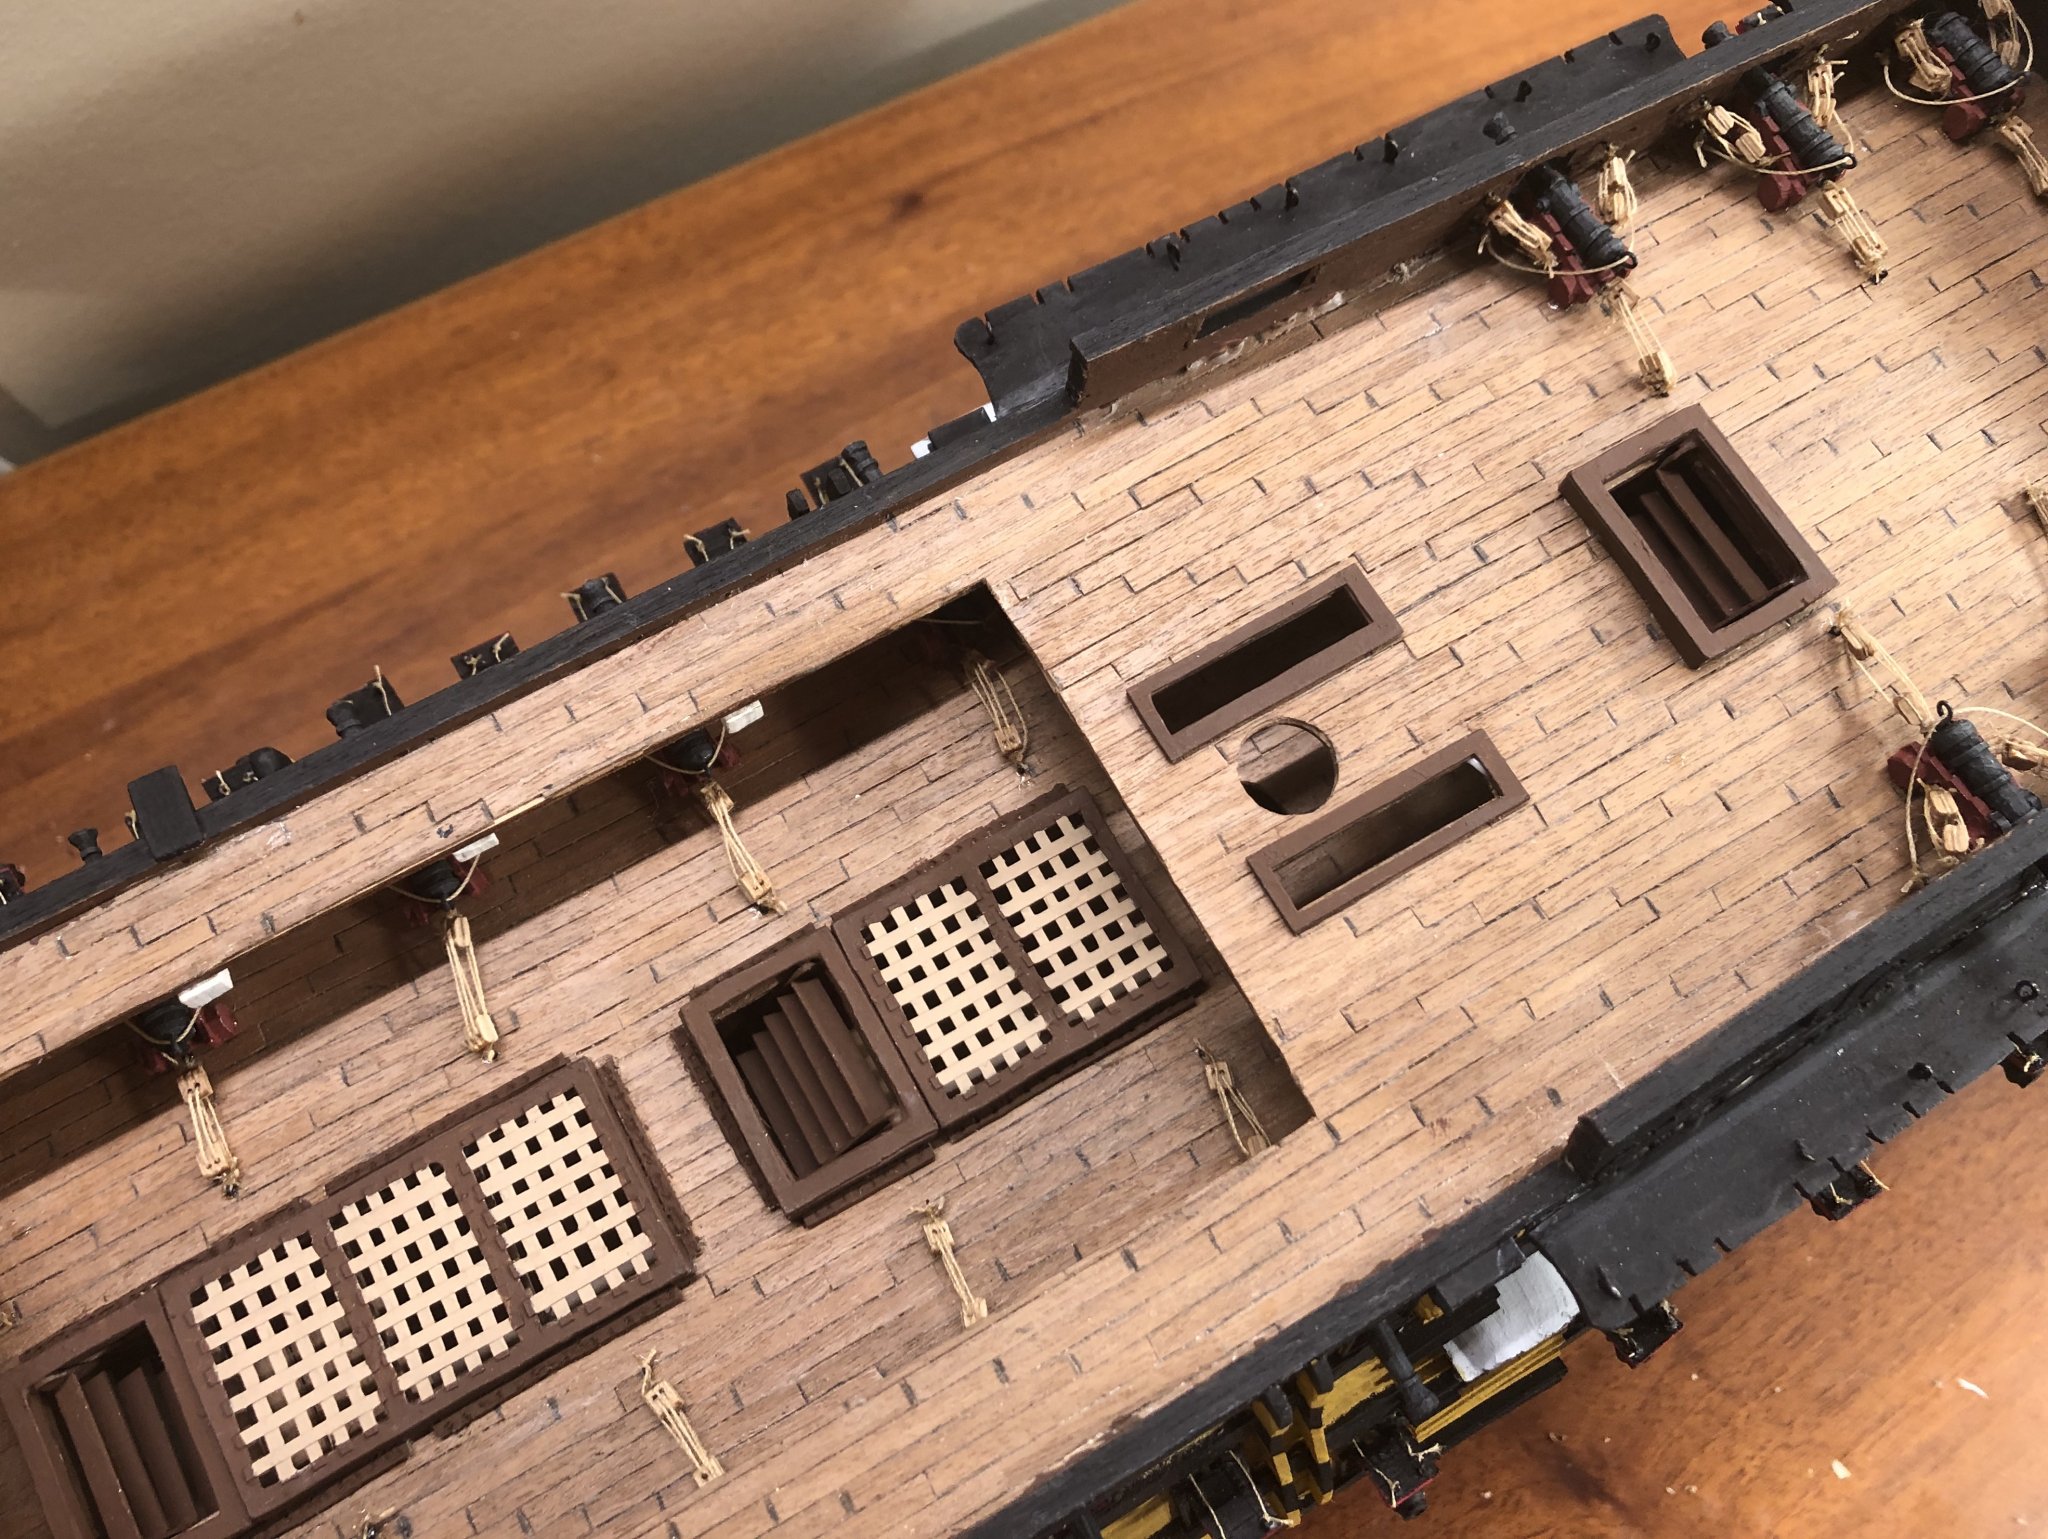
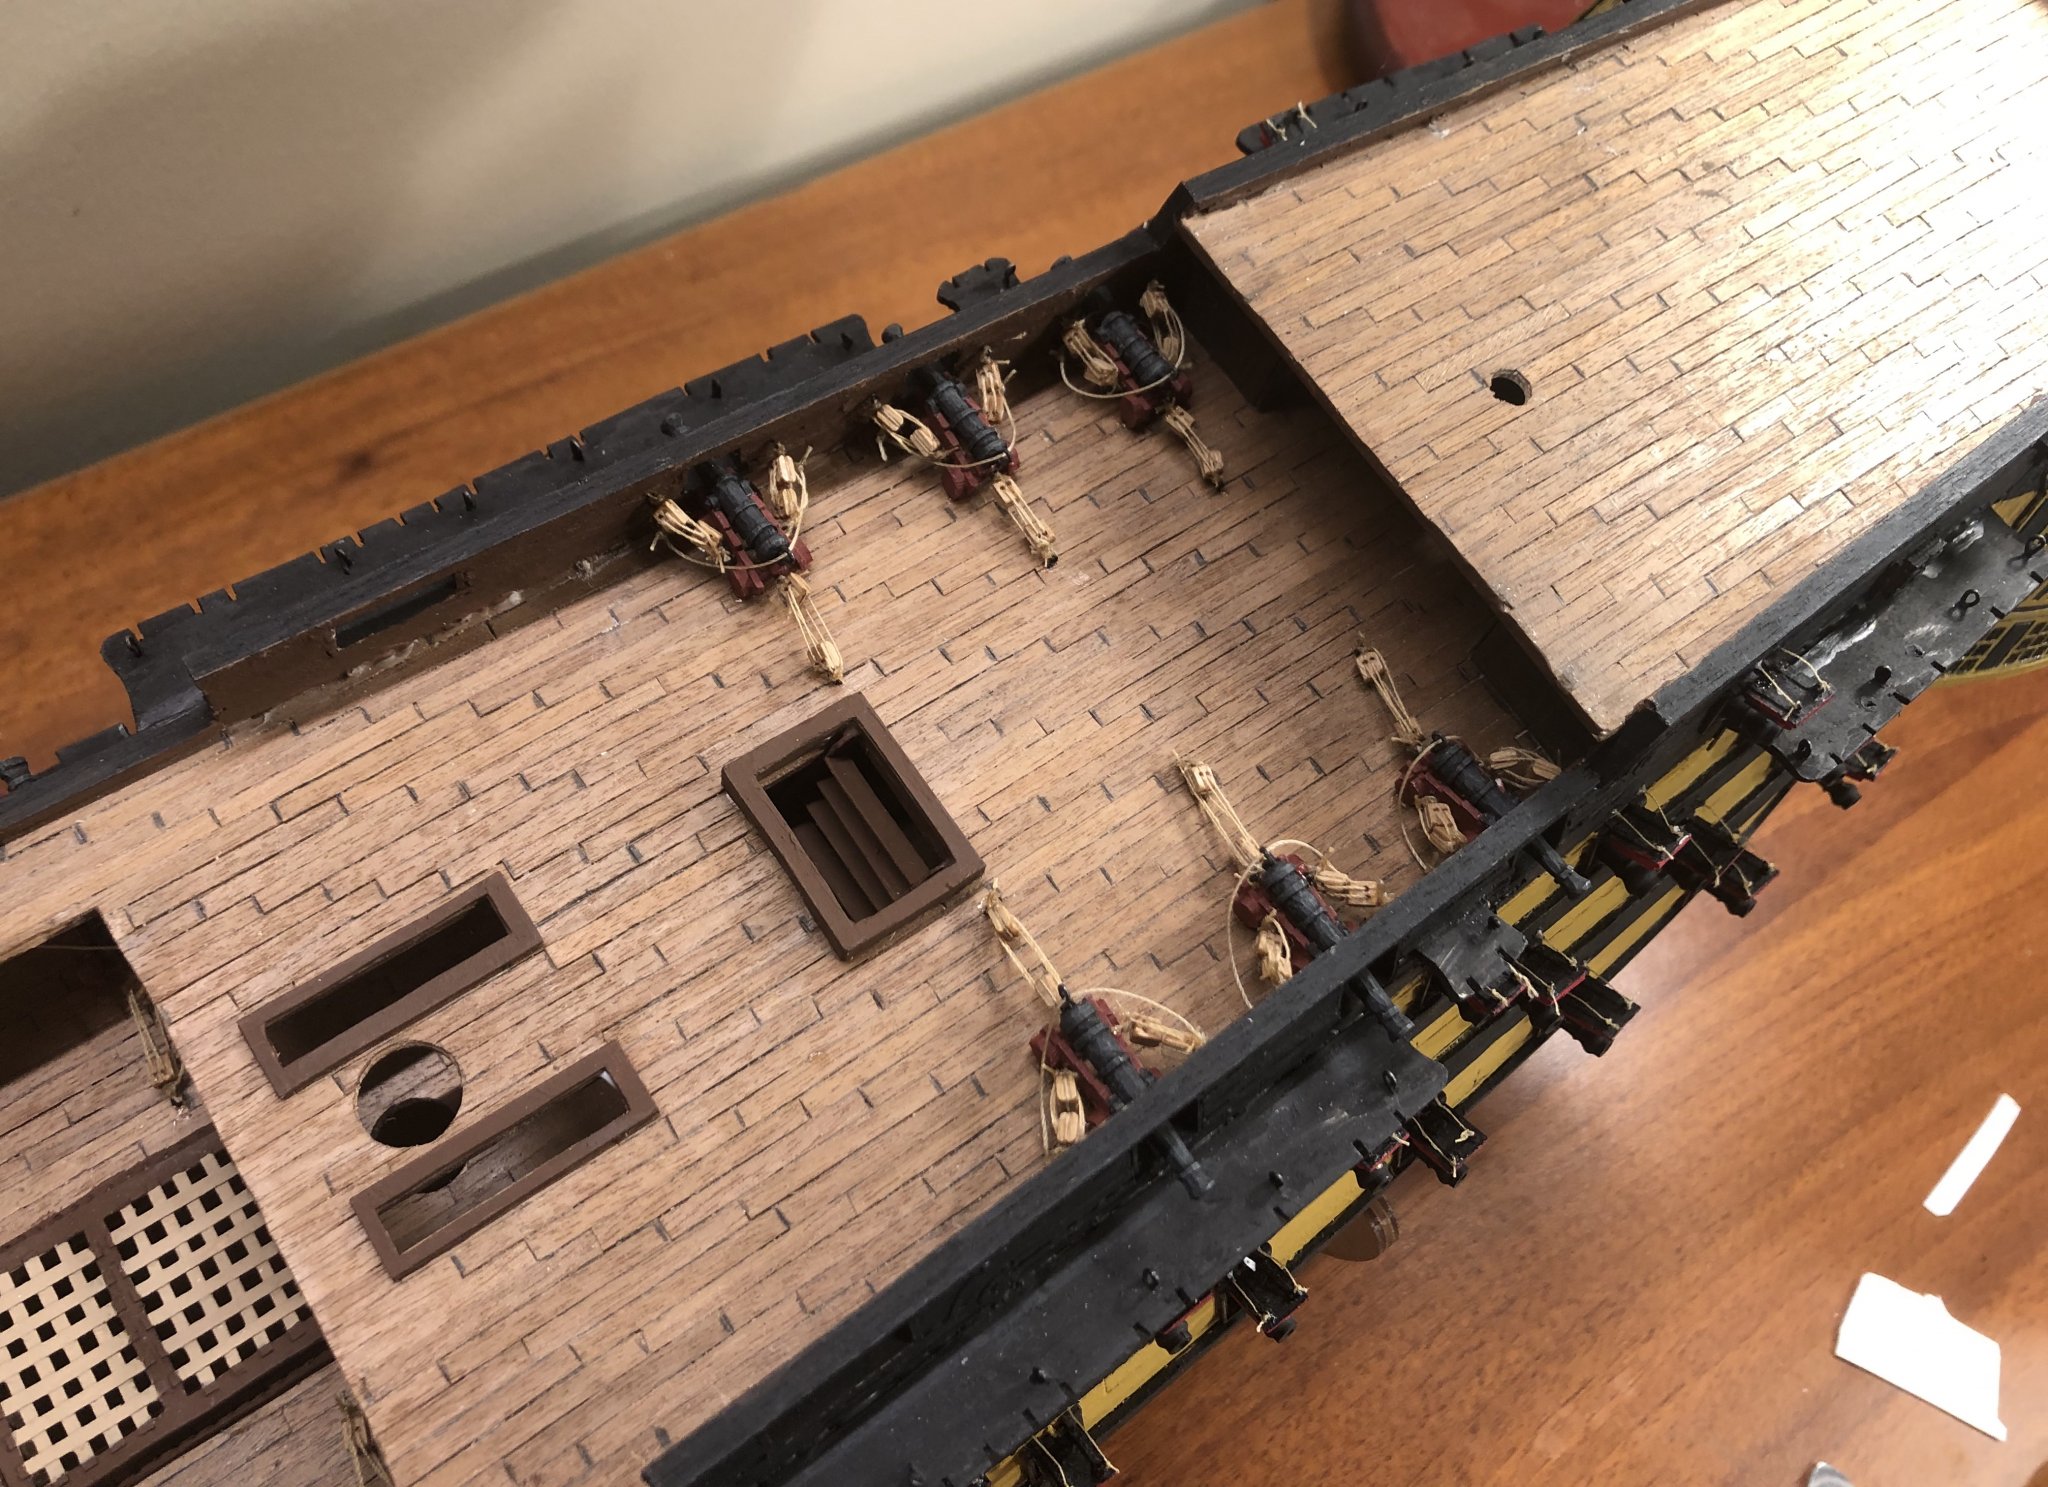
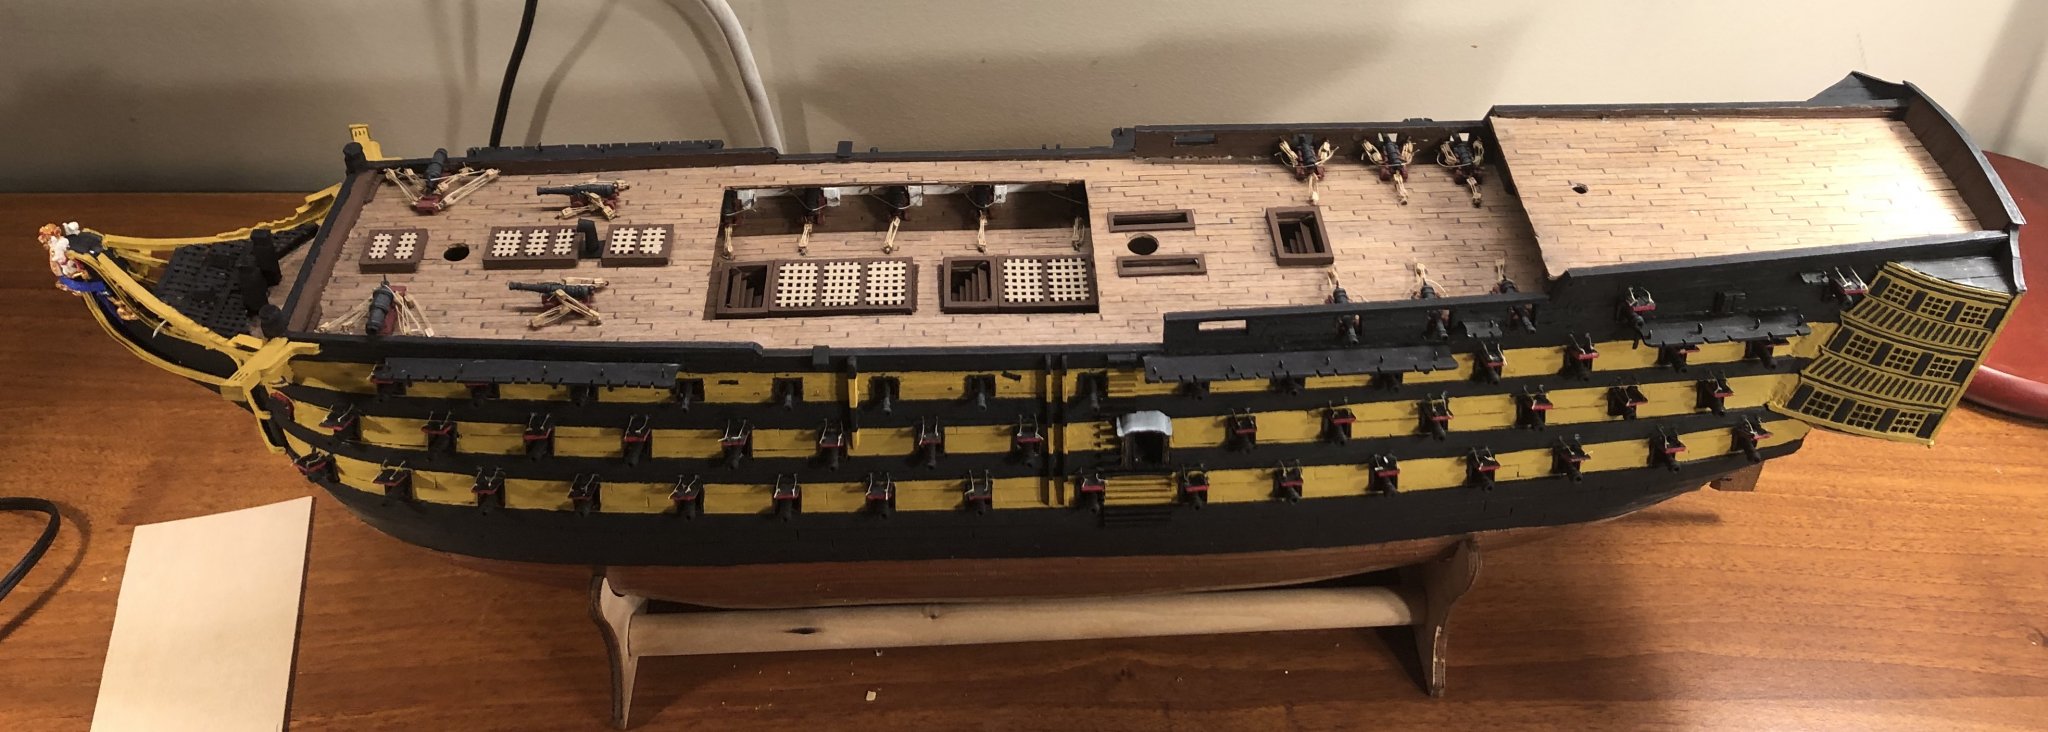
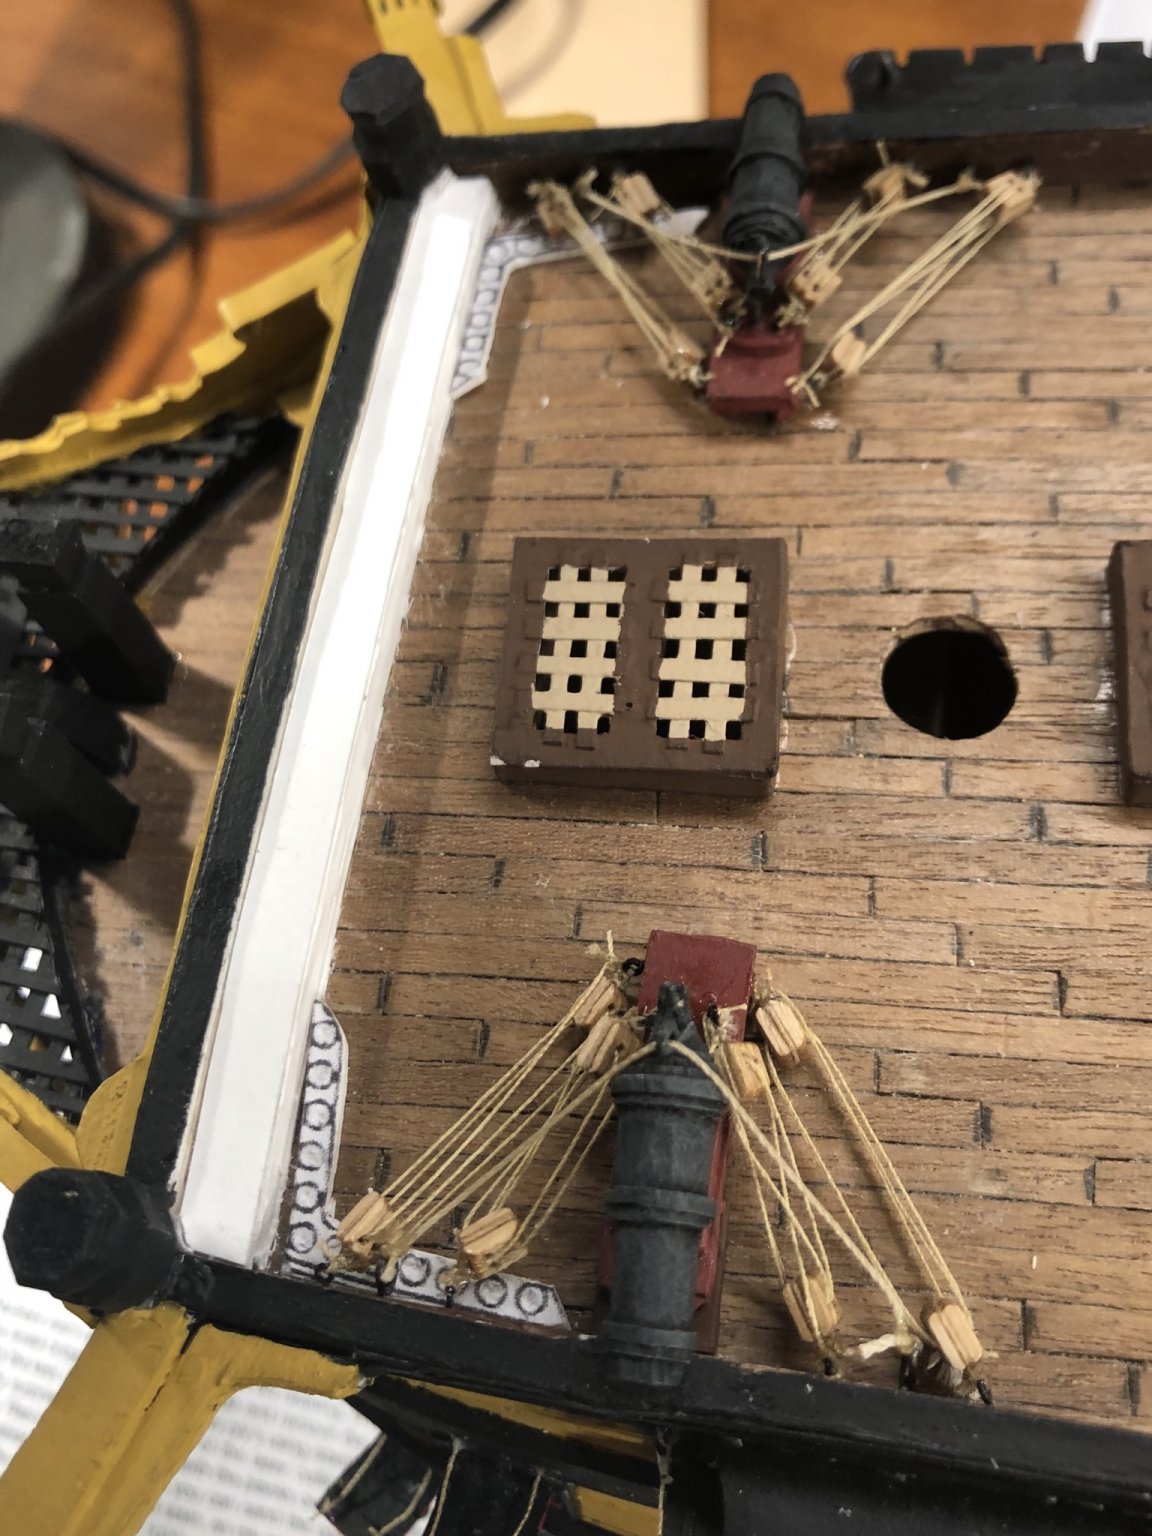
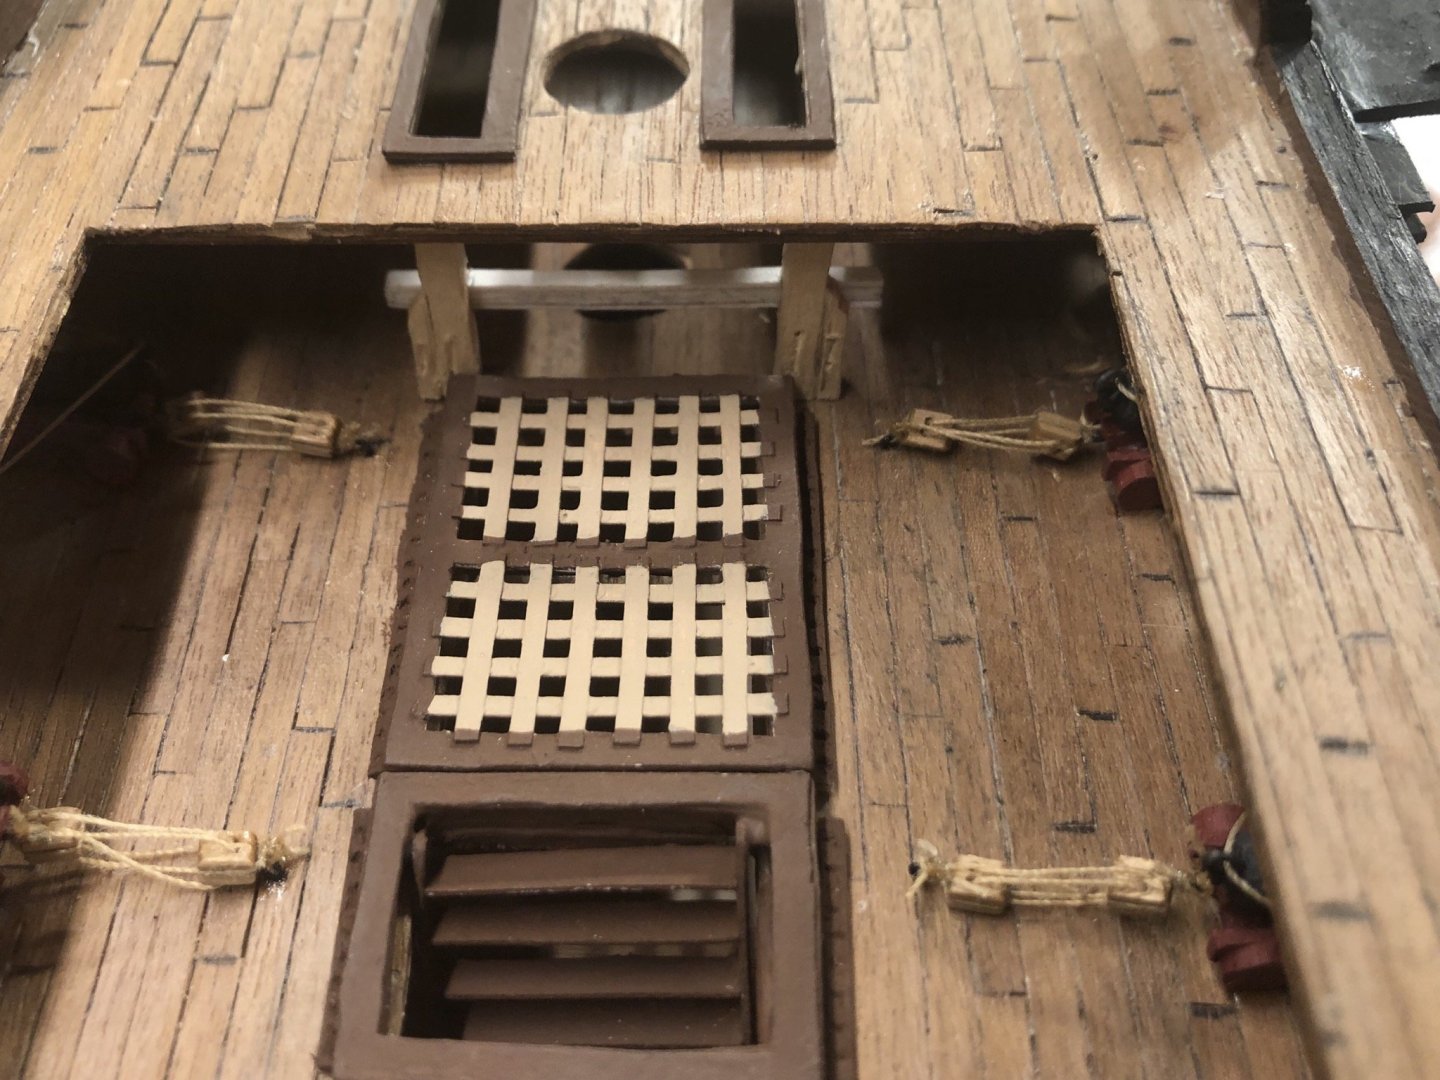
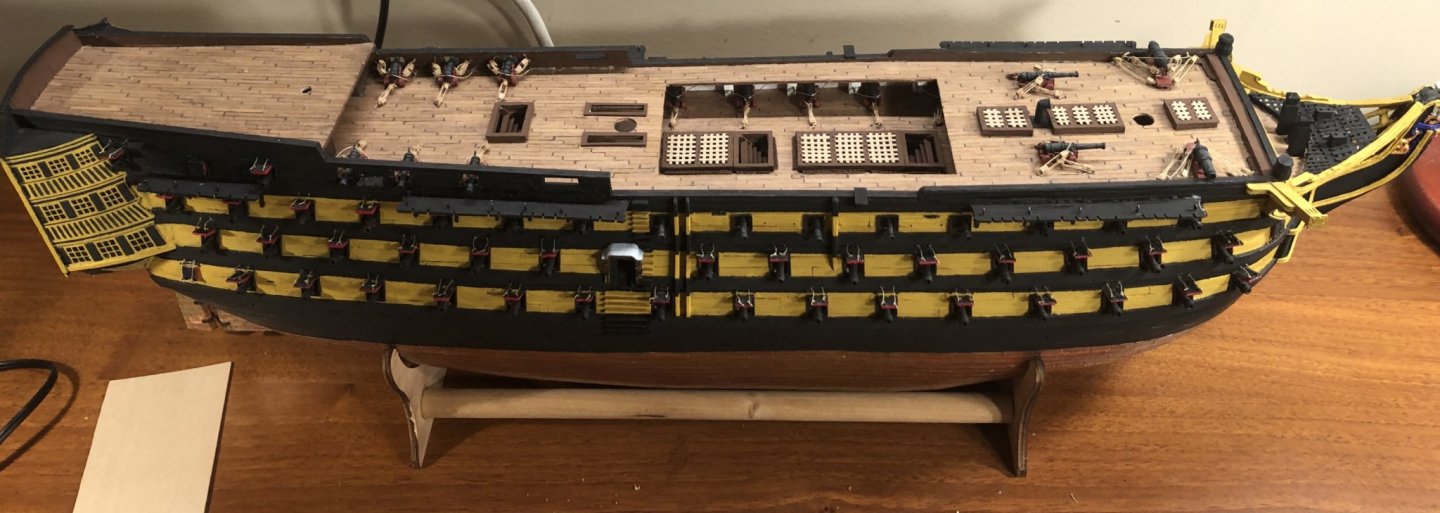
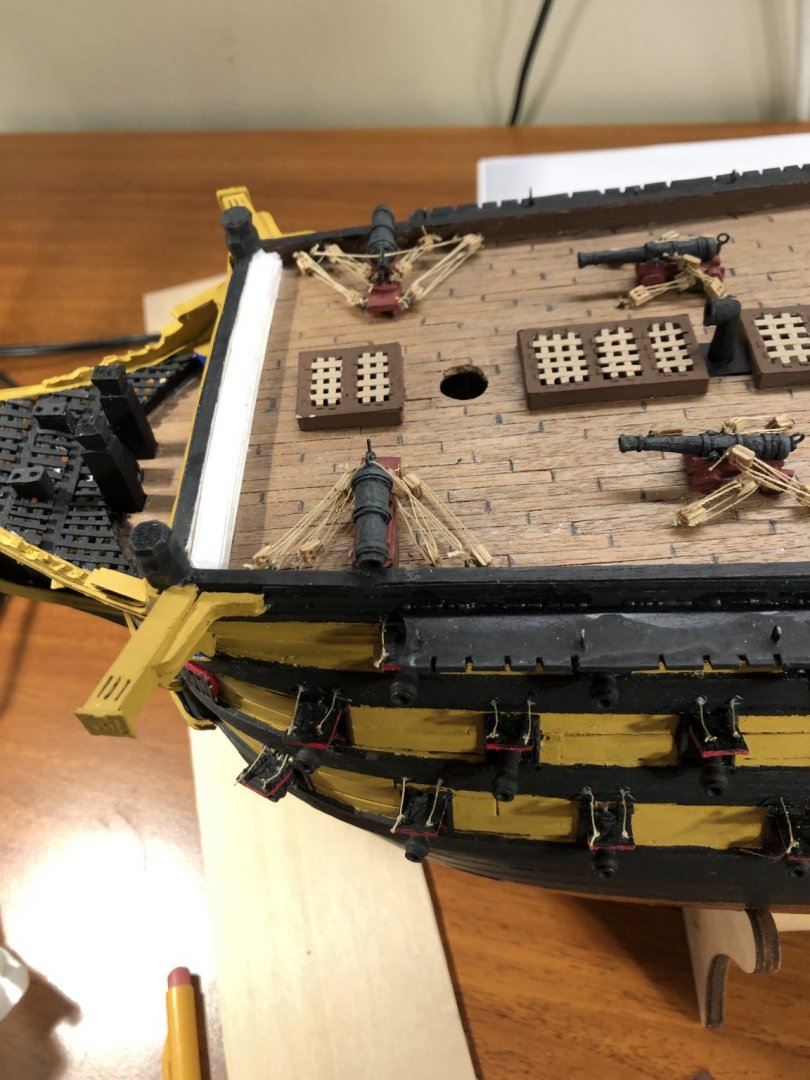
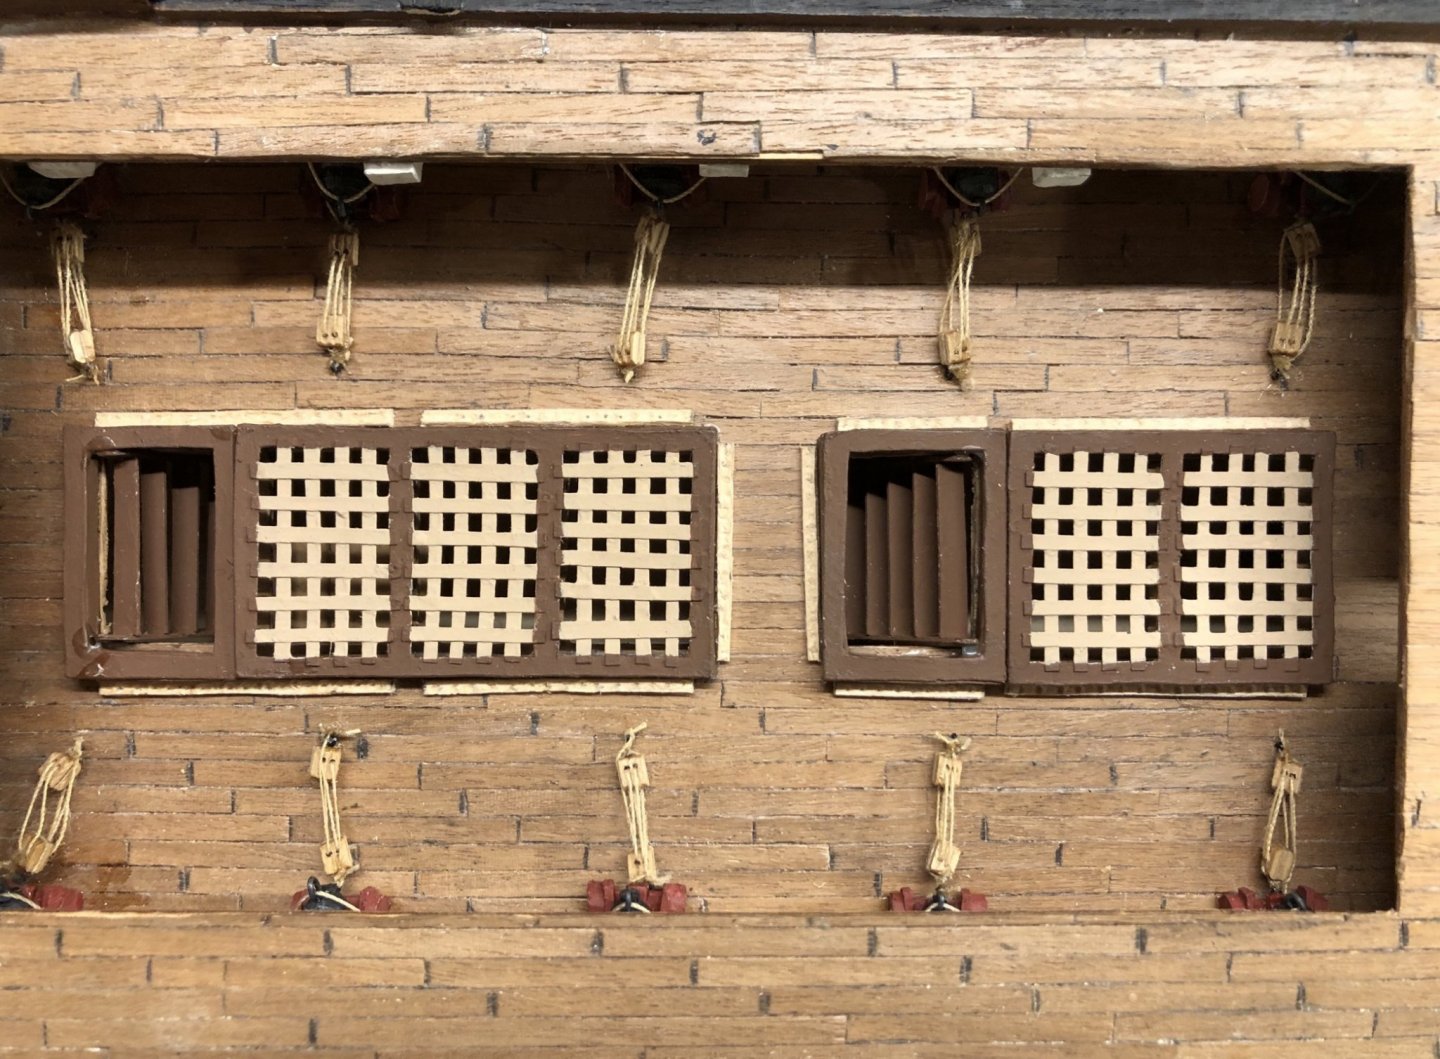
I made the bitts that sit on the Upper Gundeck. I cleaned up the paint on the Victory as a whole and glued down the shot garlands and the framing around the open hatches by the main mast. I have ten pillars which will hold up the cross-spars of the spar deck, some shaping required.


-
Welcome!
-
Richard, Very nicely done on the deck furniture!
-
Congratulations! Well done!
-
If you wish to try it, the carvings on Victory aren’t that bad to make from scratch, and 1/78 is easier to work at than 1/98. The figurehead for mine was only the second one I had ever done. It took me about thirty hours to make. I made it in several pieces but it looks much better than the one that came in the kit.
-
Thank you both for the comments and thank you everyone who has hit the “like” button. I enjoy scratch building very much. I accidentally made that discovery with my Prince de Neufchatel. I ended up having the most fun that I had ever had building a model. Truth be told, I never expected to finish the Prince de Neufchatel. I thought it would end up in the trash. Then I had a hull. Once I had a hull, I figured I’d try to carve a figurehead and make some fittings. Then I decided to make some cannons and some rigging fittings, just to see if I could. The next thing I knew, all I lacked were the ship’s boats. I gave them a try and ended up with a set of them. After that all I had left was the masting, rigging and sails. I did the full rigging, with the studding sails. It was genuinely a lot of fun. There were several times that the Admiral pulled me out of the shipyard after I had been in there for 15 hours and didn’t realize it, because I got lost in the model. I had so much fun that I decided to bash the rest of the Victory. I don’t like Mantua kits. I’ll never buy another. However, it is serving as a good base to work from. Enough rambling. I am in the process of making the bitts and the pin rails for the main mast. I am working on closing up the Upper Gundeck.

-
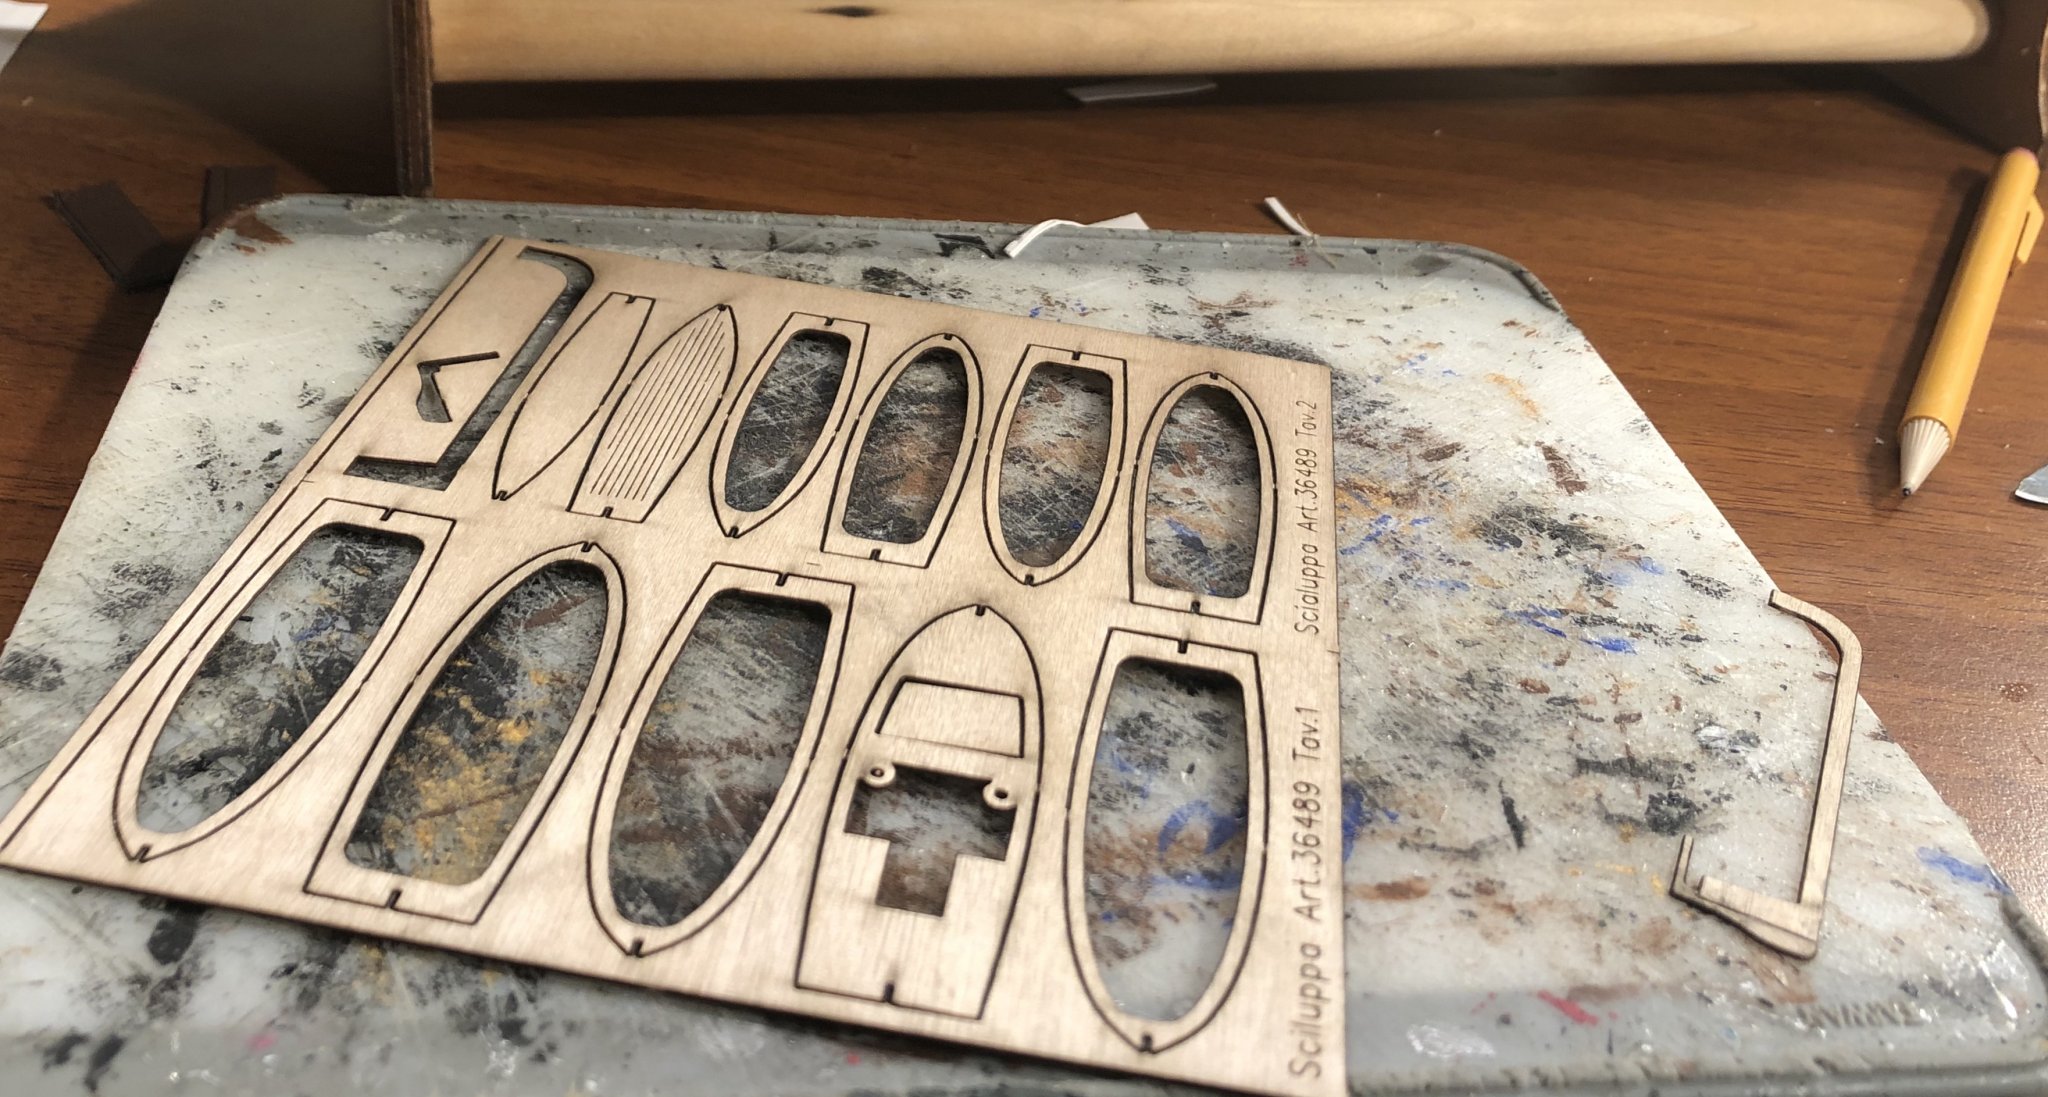
Thank you very much, OC! I realized today that the ship’s boats by Mantua are horribly out of scale and inaccurate, so I will scratch build my own.
-
Thank you very much!
-
Did the Nelson Era Royal Navy have any set color scheme for ship’s boats (HMS Victory in particular)? The picture on the cover of the AOTS appears to show white with blue trim.
-
Mantua Sovereign of the Seas kit 1:78
GrandpaPhil replied to mfrazier's topic in Wood ship model kits
I am building the 1:98 Victory by Mantua. I strongly recommend getting the 100 Gun Ship Victory by John McKay (Anatomy of the Ship). It has been very useful for me.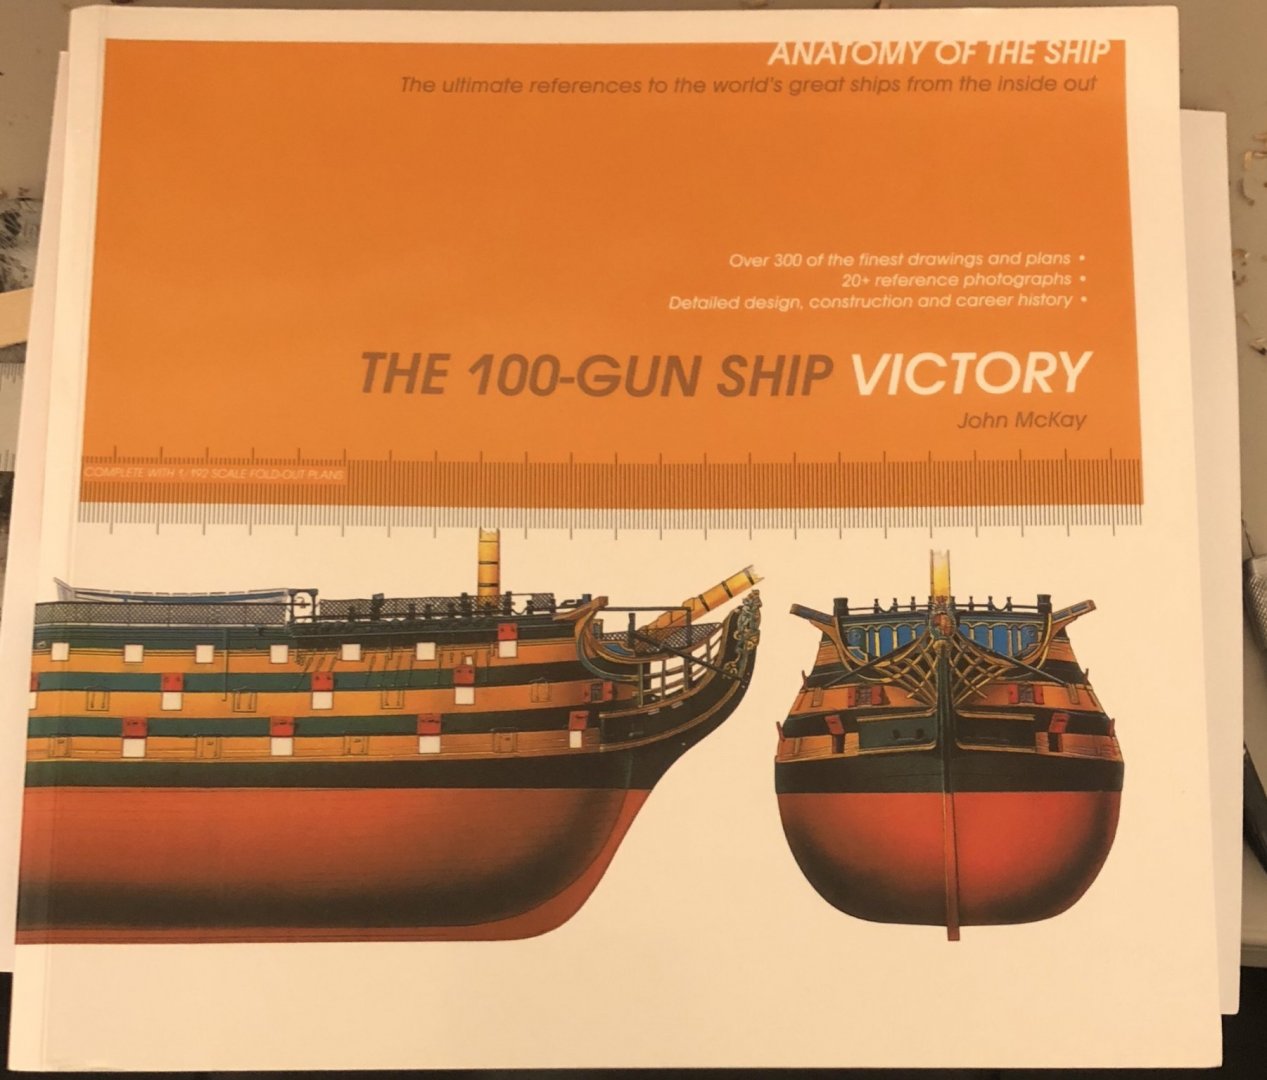
-
Welcome!
-
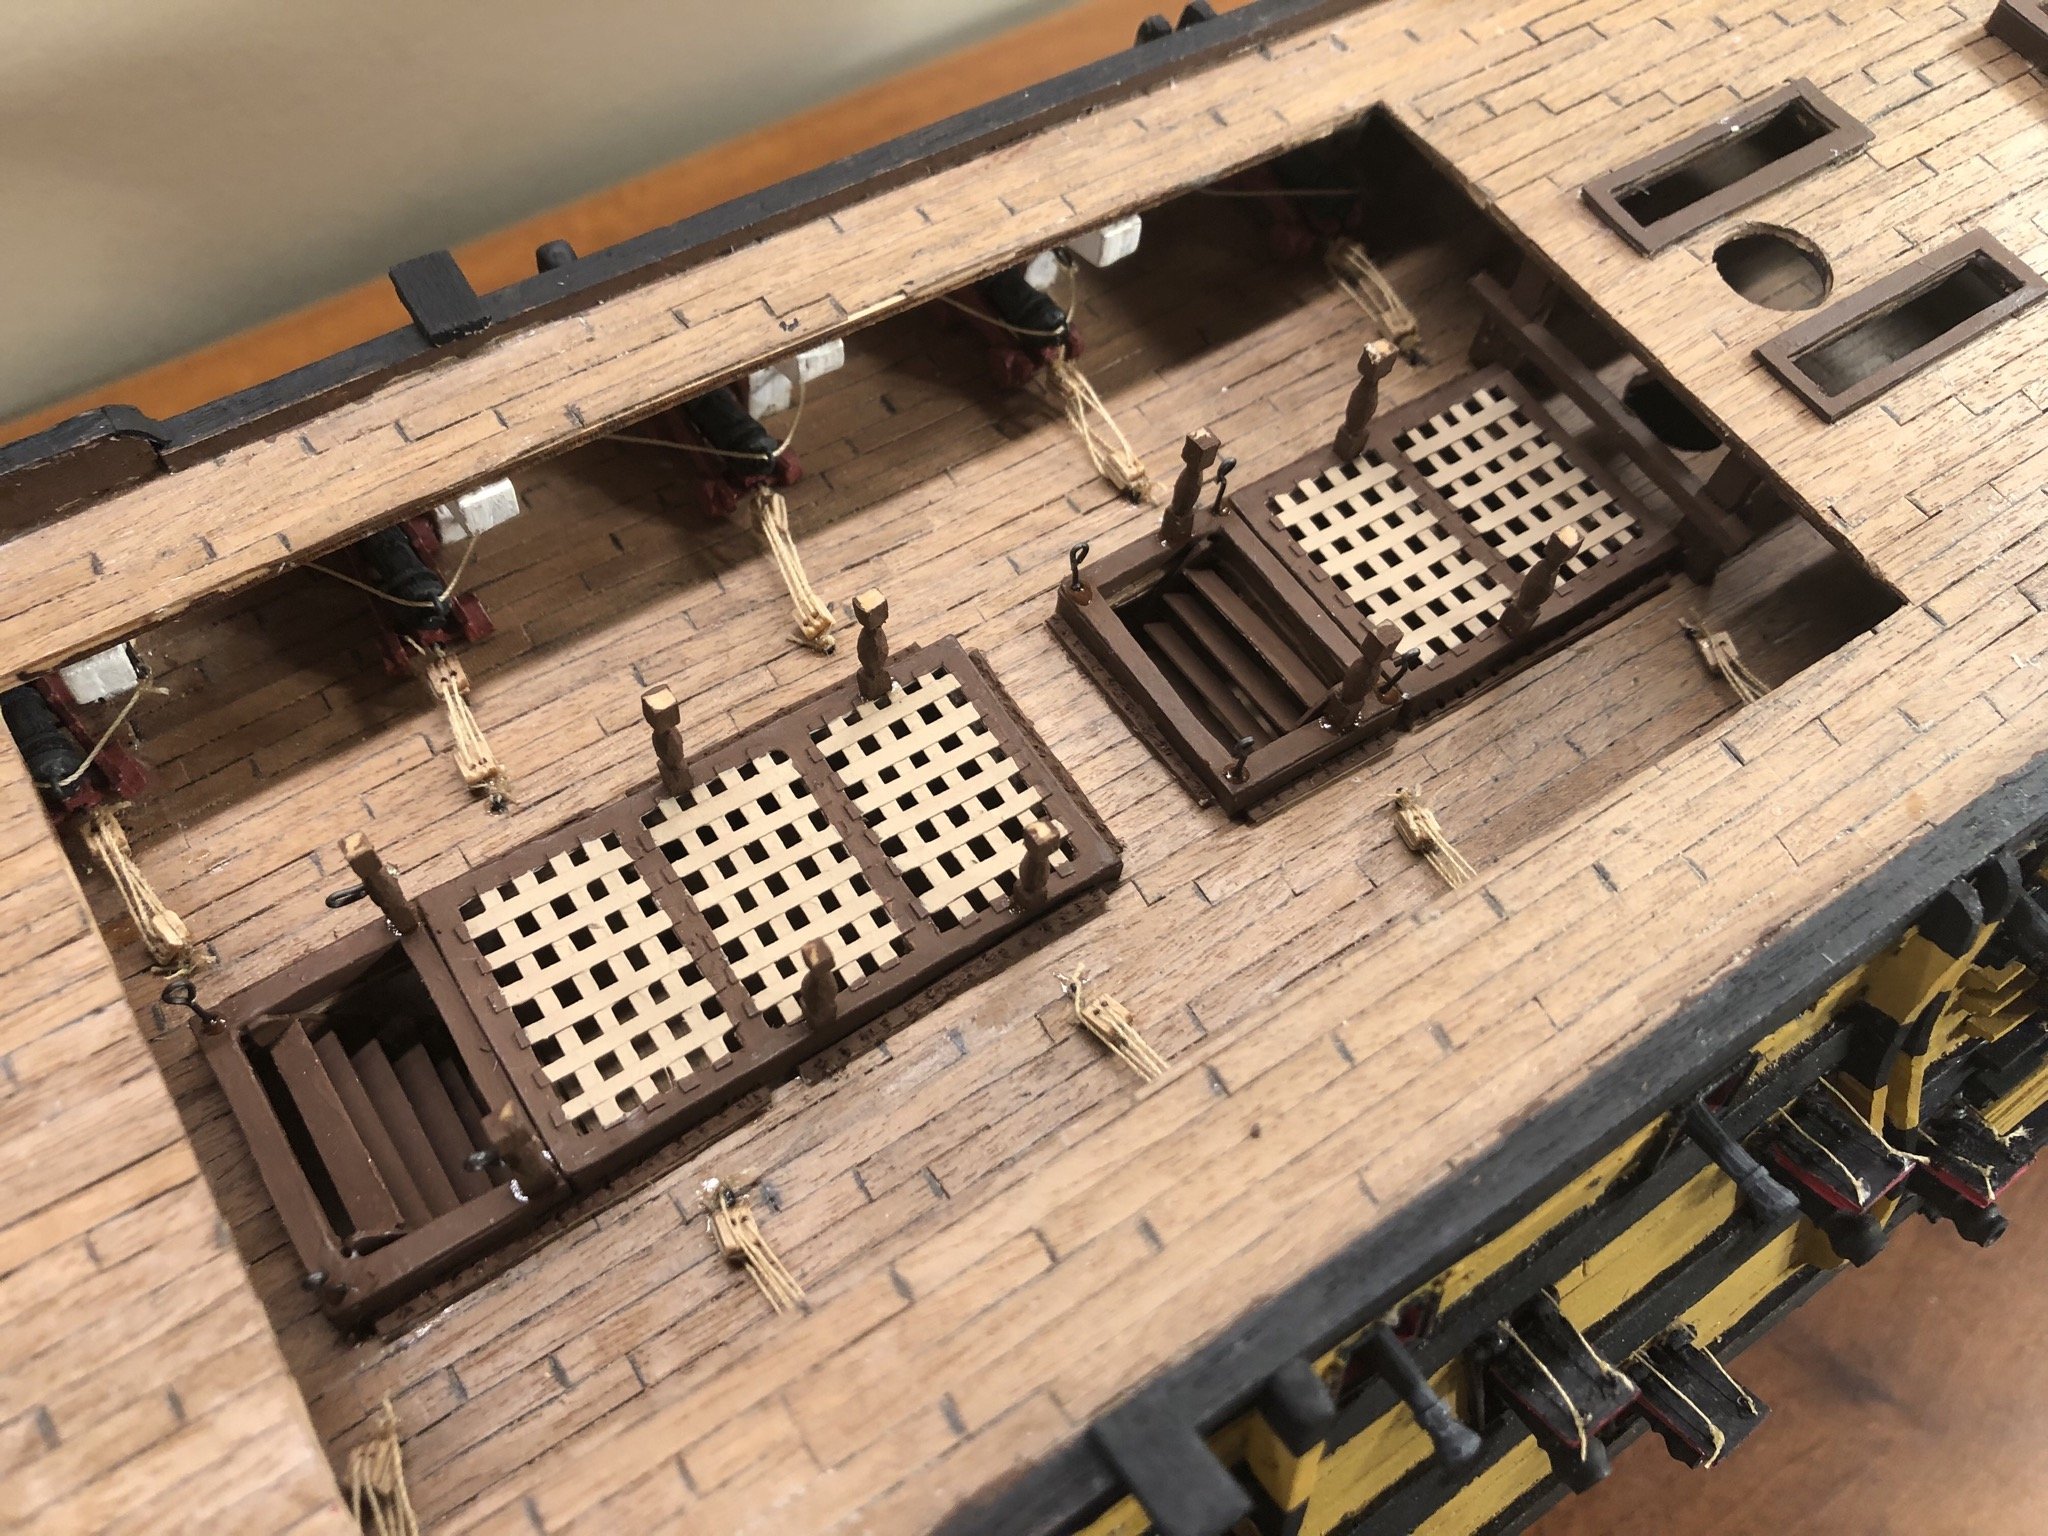
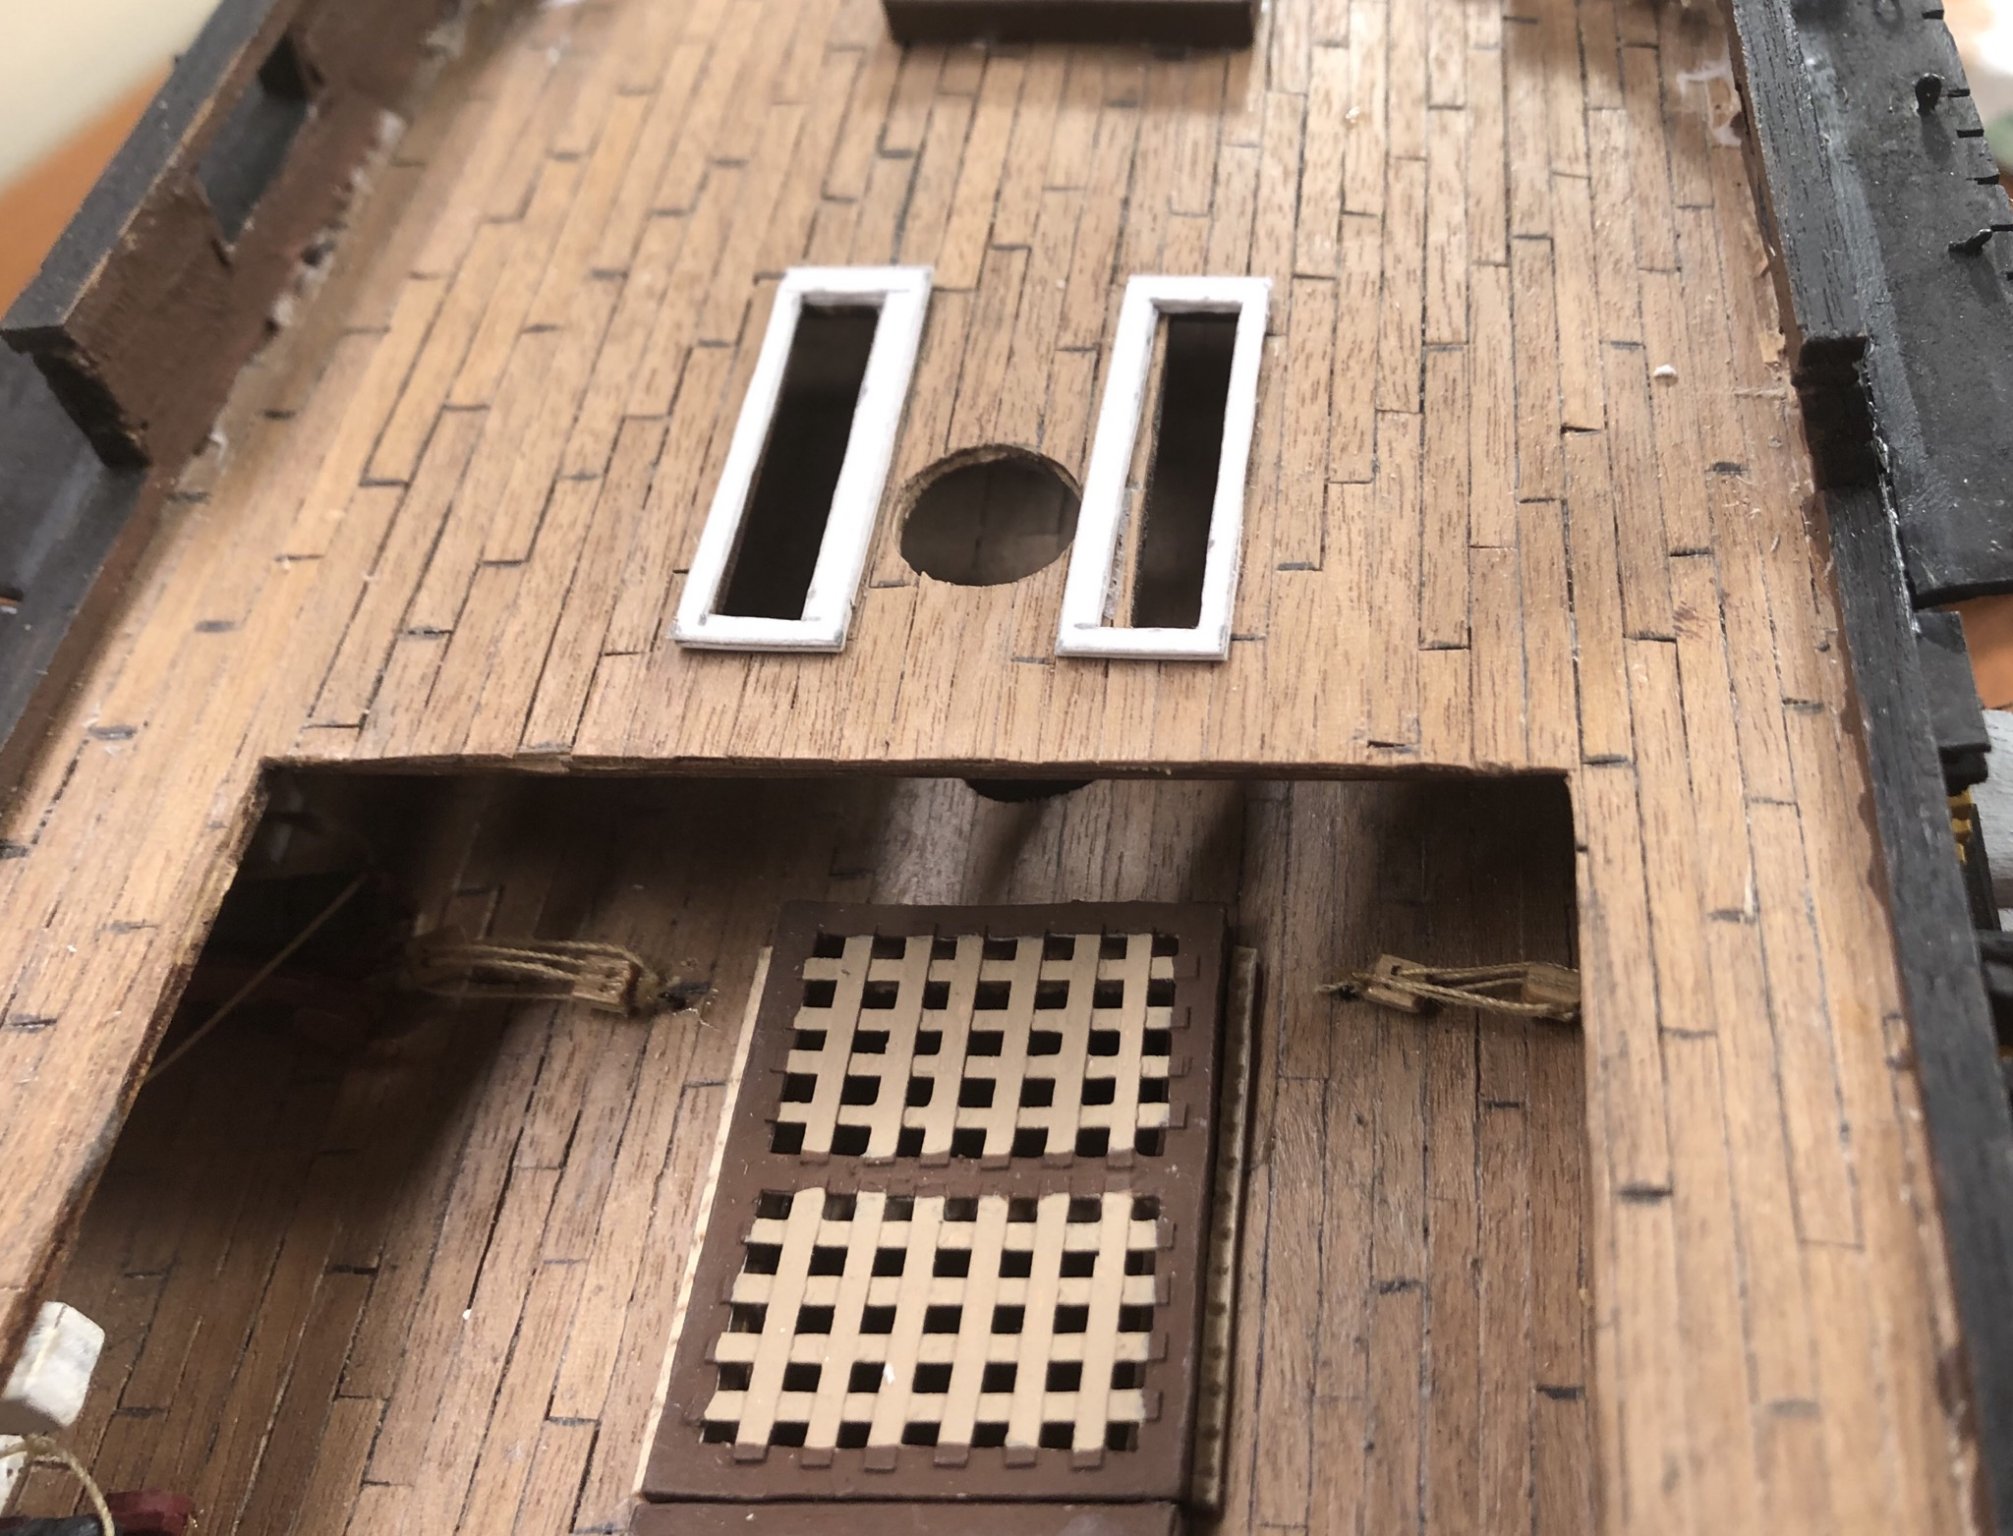
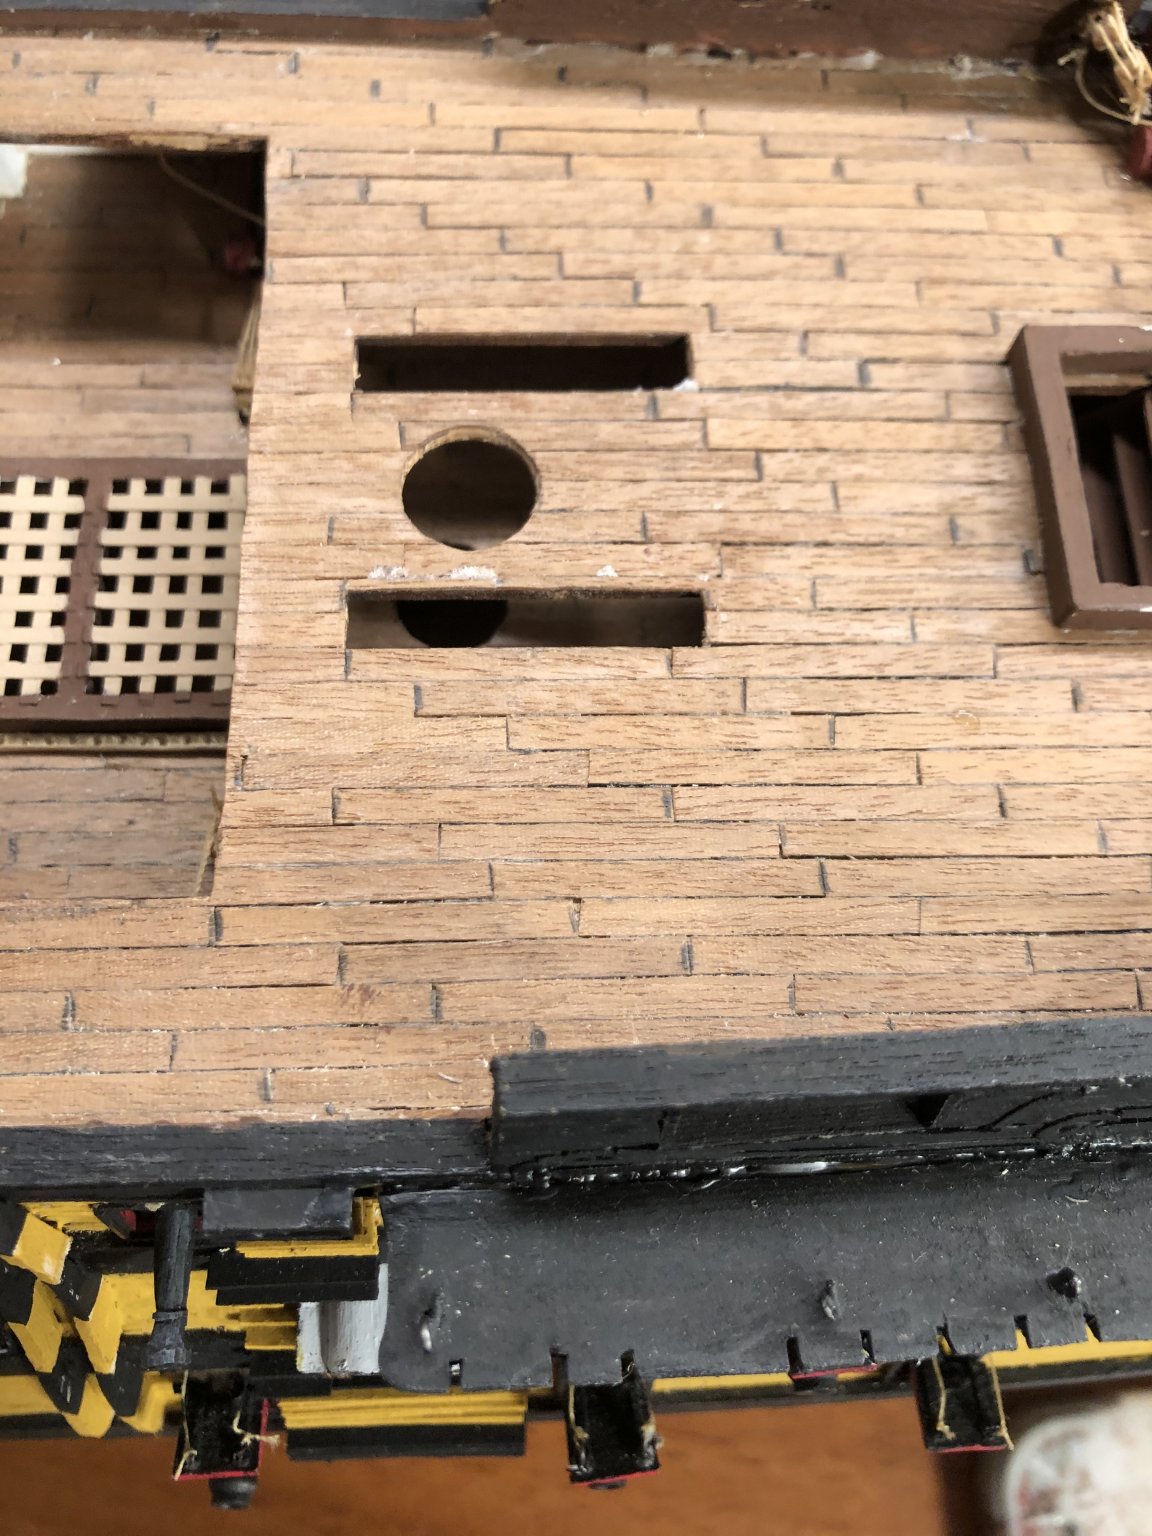
Thank you very much, Edward! Thank you everyone for all the likes! Ended up making the cat tail from laminated card. I trimmed it with a #10 scalpel blade. I made the shot garlands for the carronades (not glued down, they still need painted). I discovered that I had misinterpreted the plans earlier (I’m still learning) and ripped up hatch covers by the main mast so I could make the bitts properly, which run down to the upper gun deck. I started making the ship’s boats because the first set of them will be needed soon. I am using the ones that the Admiral bought me for Christmas two and a half years ago.


-
Congratulations! Well done!
-
Congratulations! Well done!
-
Thank you all for the comments and the likes! Currently working on the shot garlands. The big picture is that I am working on finishing the Upper Gun Deck. However, I am doing the same as before and since I need shot garlands on the spar/quarter decks, I am going to make those too. Thanks for stopping by and stay healthy.
-
Congratulations! Well done!
-
New member from Ithaca, New York
GrandpaPhil replied to ss hooker's topic in New member Introductions
Welcome!