


GrandpaPhil
-
Posts
5,720 -
Joined
-
Last visited
Content Type
Profiles
Forums
Gallery
Events
Posts posted by GrandpaPhil
-
-
16 minutes ago, David56 said:
Ship looks great. Question for you. When you painted galley did you have to remove any of the black paint or coating on yours and if so how did you do it. Mine is covered with a black coating and other paints do not show through. If i rub the black with my finger it smudges. Any advice will be appreciated
Are you talking about the brass pieces for the stern?
I tried to sand the top coating off. It didn’t look right so I hit them with acetone to strip their coat of covering off (an old toothbrush works great for that). Then I sealed it with Mod Podge to give the paint something to adhere to. I let it dry for 24 hours and then painted.
I didn’t like the initial blue that I painted the stern windows so I painted them black and gloss coated to make them look like glass.
-
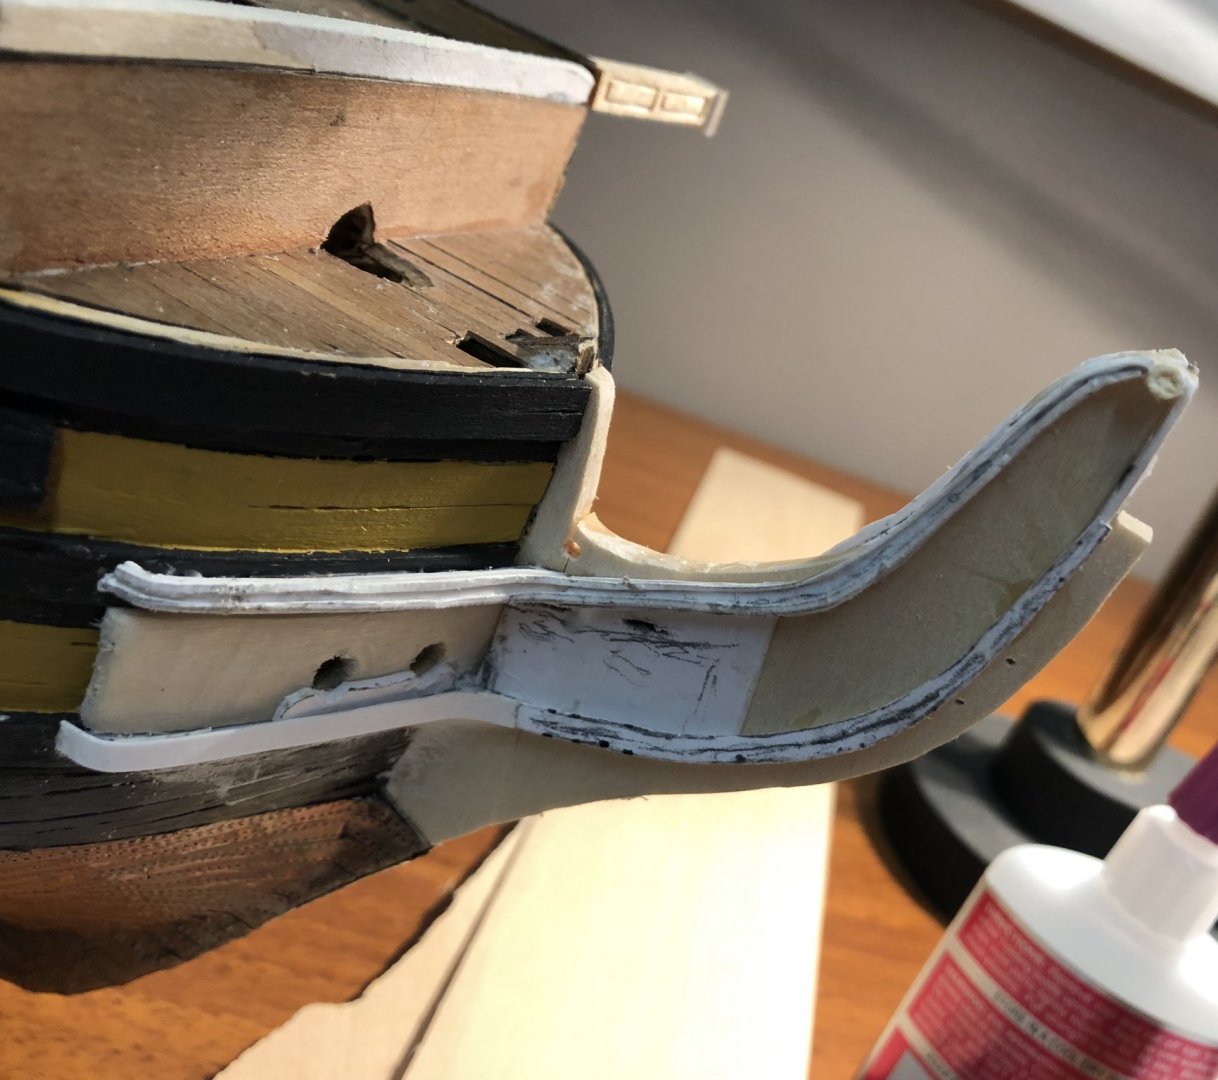
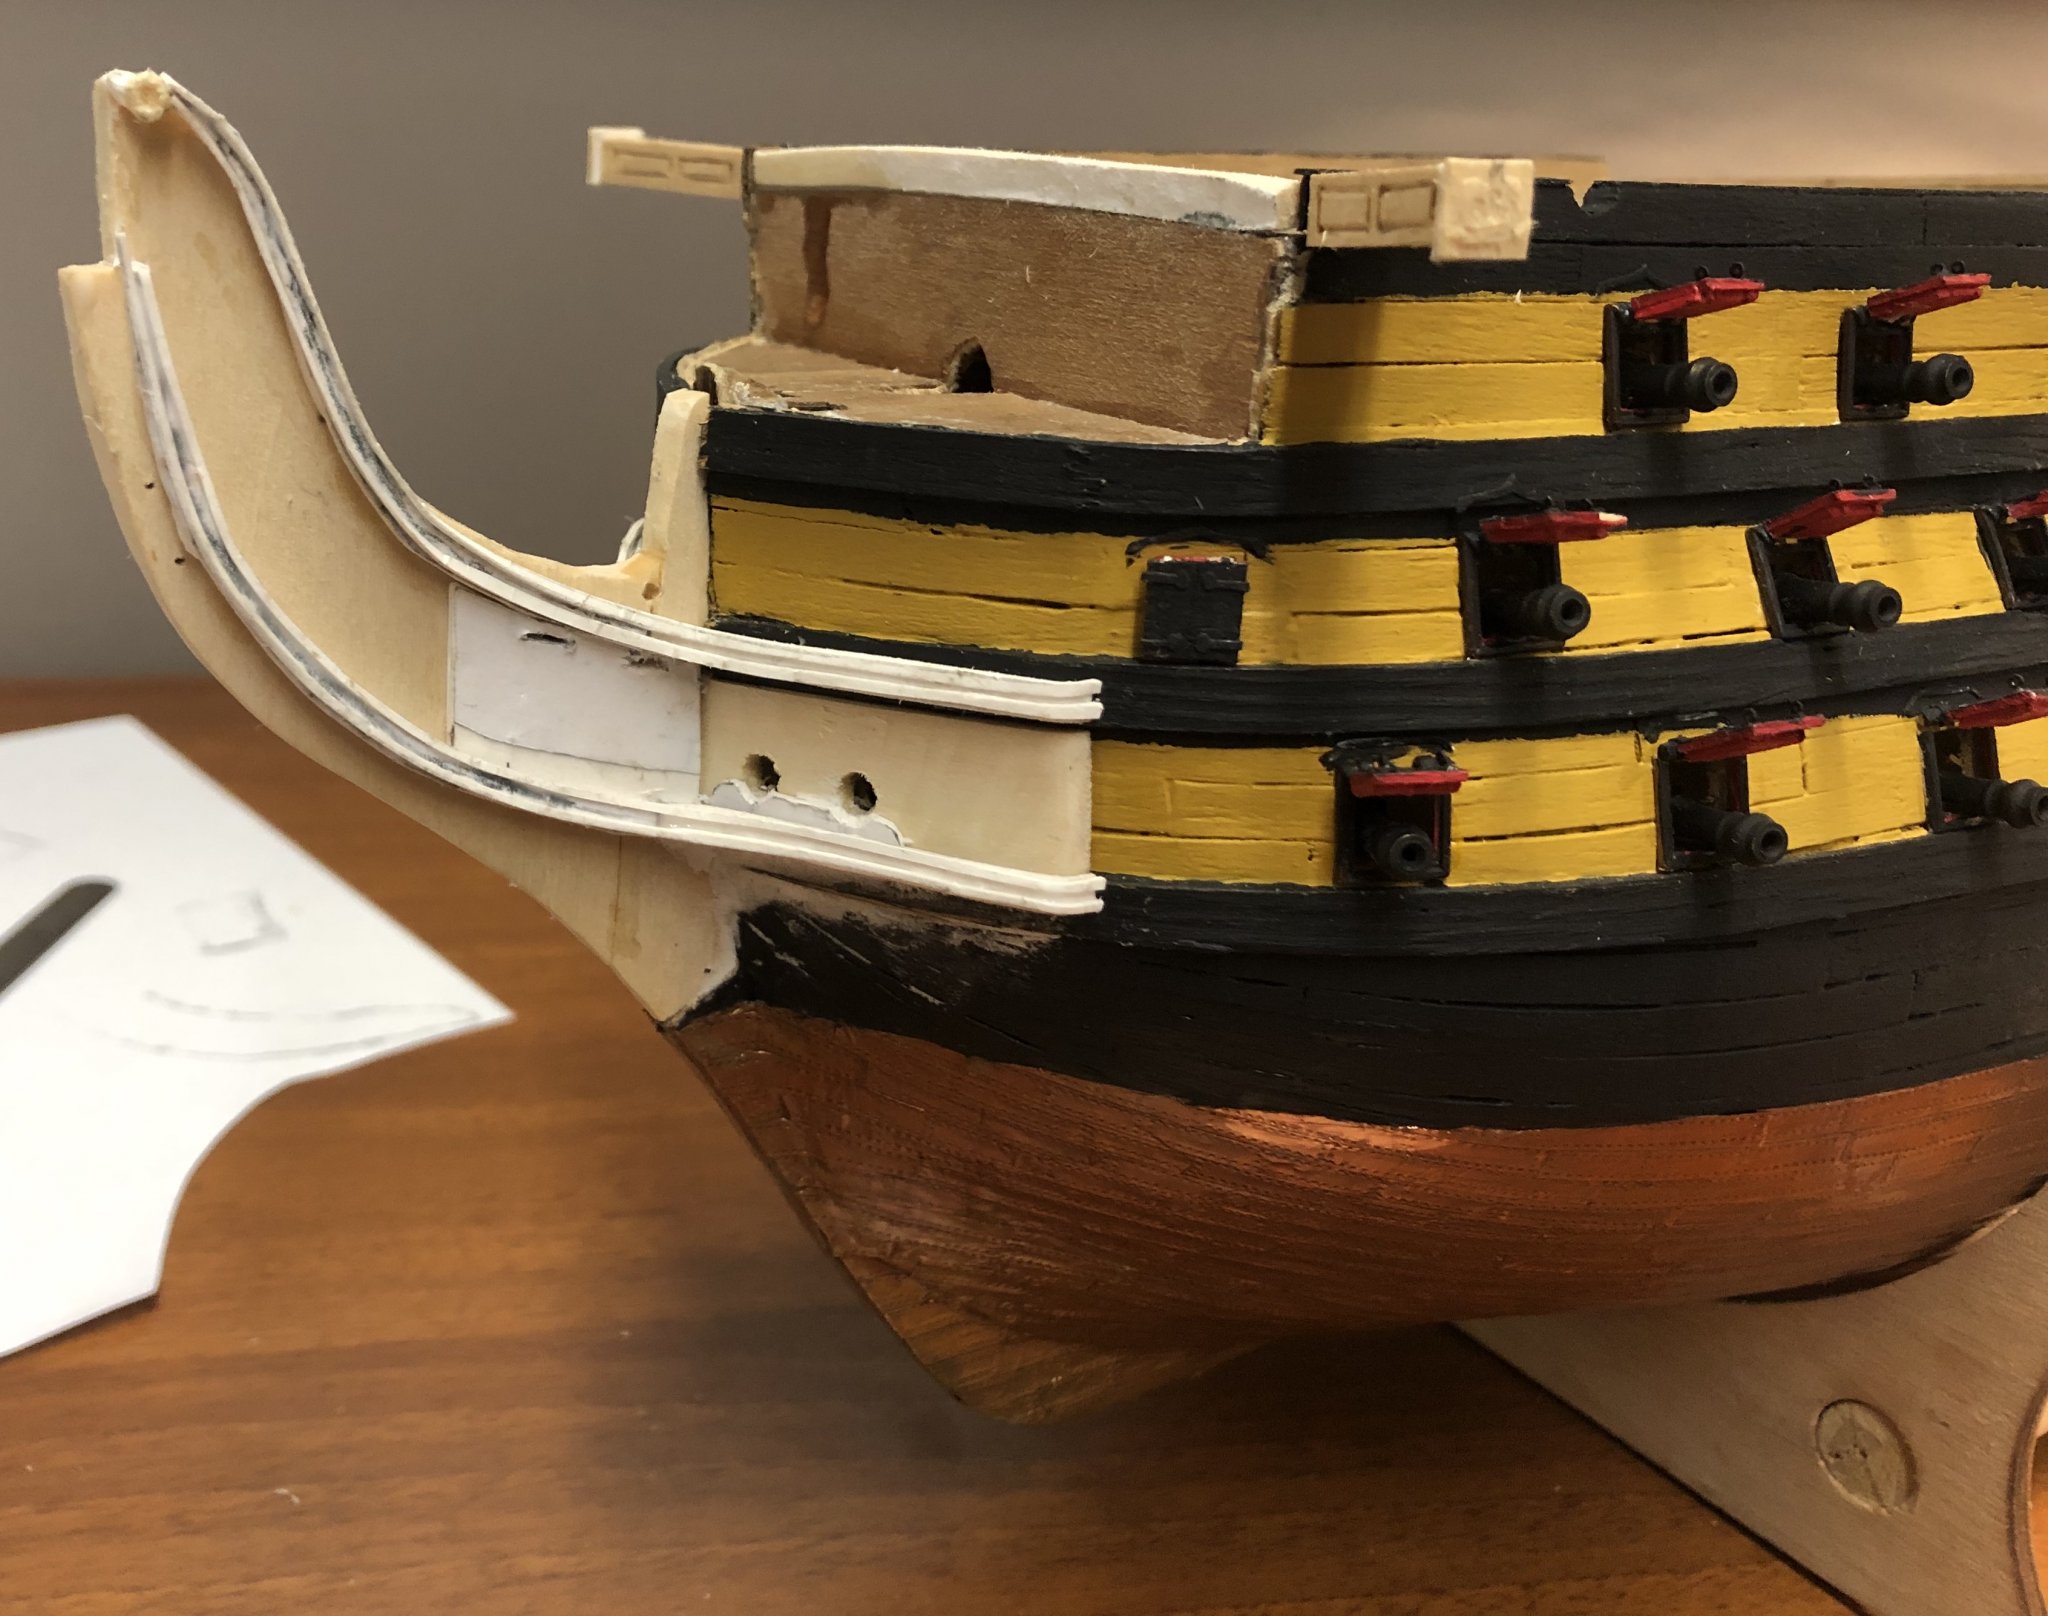
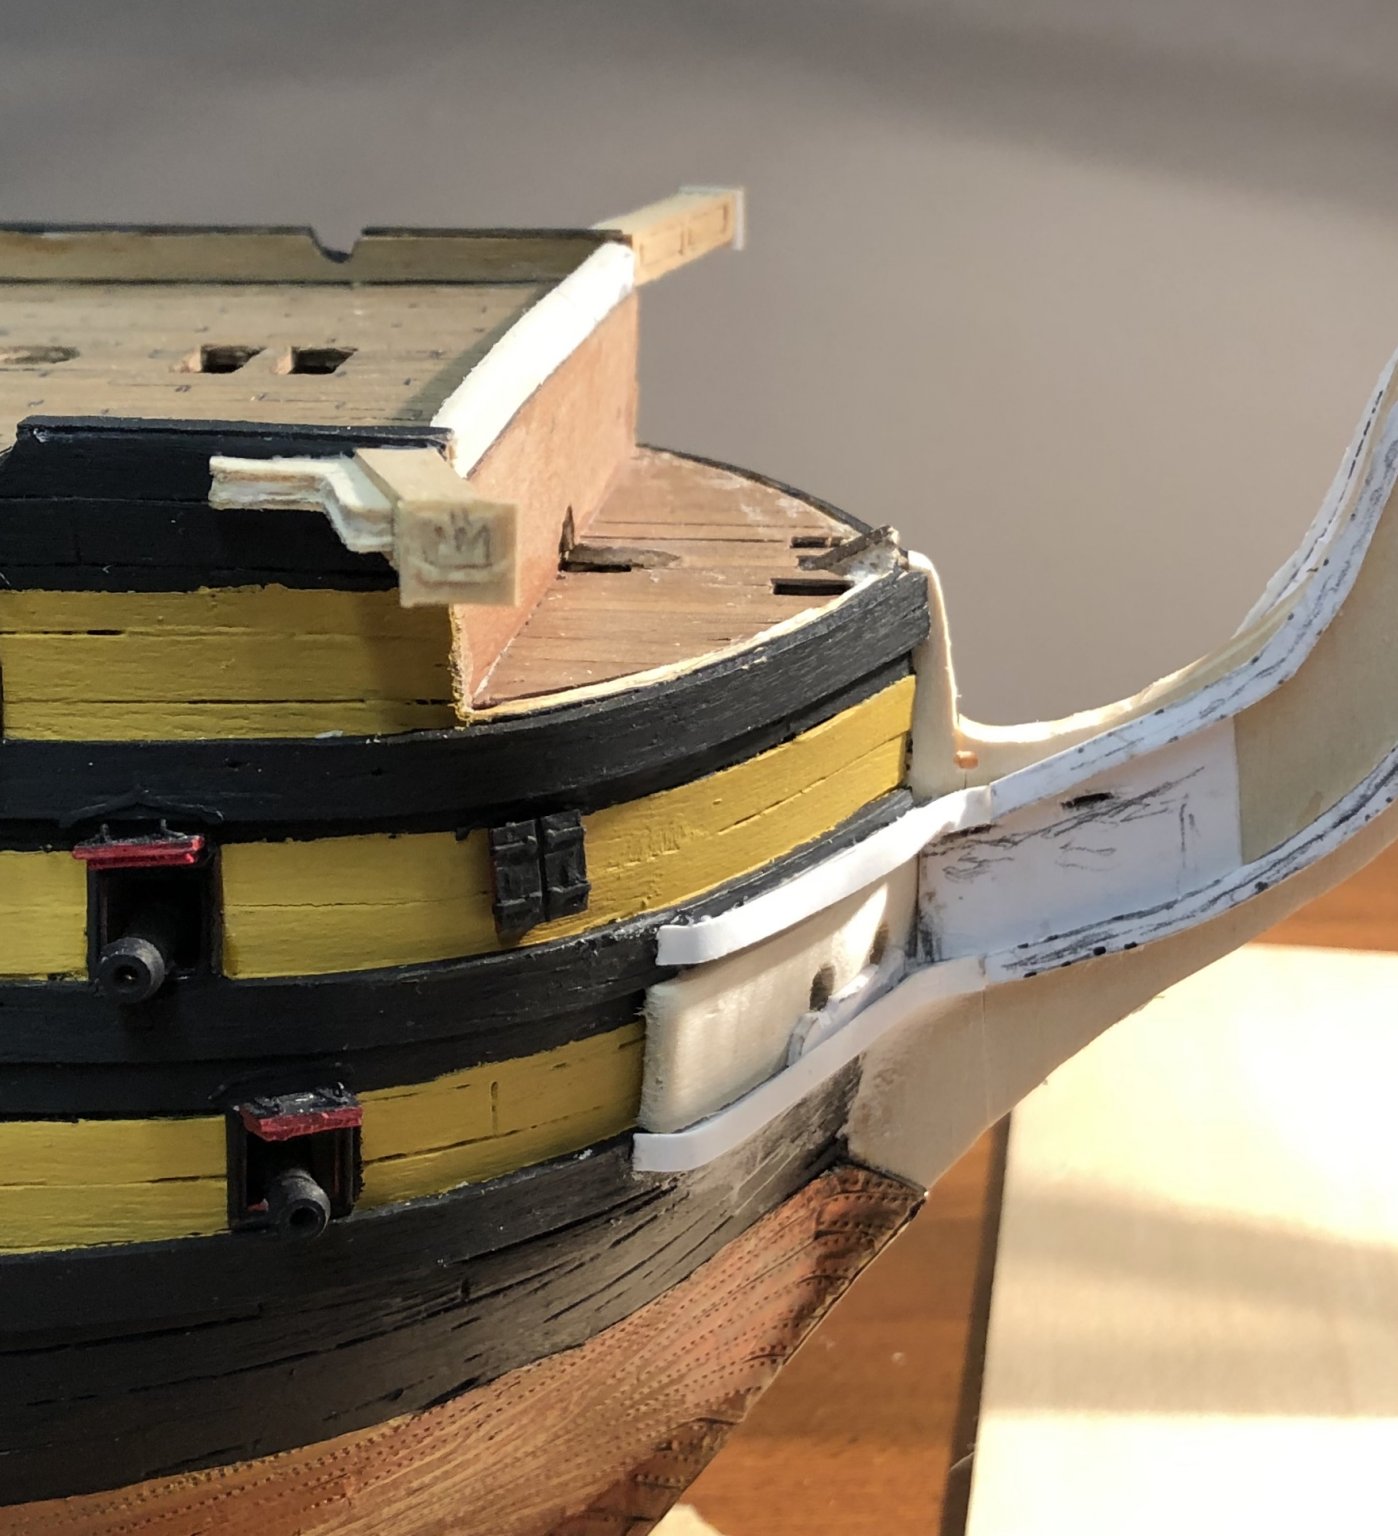
The port side cheek mouldings are on and the prow is clear for the figurehead.
I will make the figurehead after I finish roughing out the head with the frames and the rails.

- Edwardkenway, Ronald-V, Retired guy and 3 others
-
 6
6
-
Thank you very much!
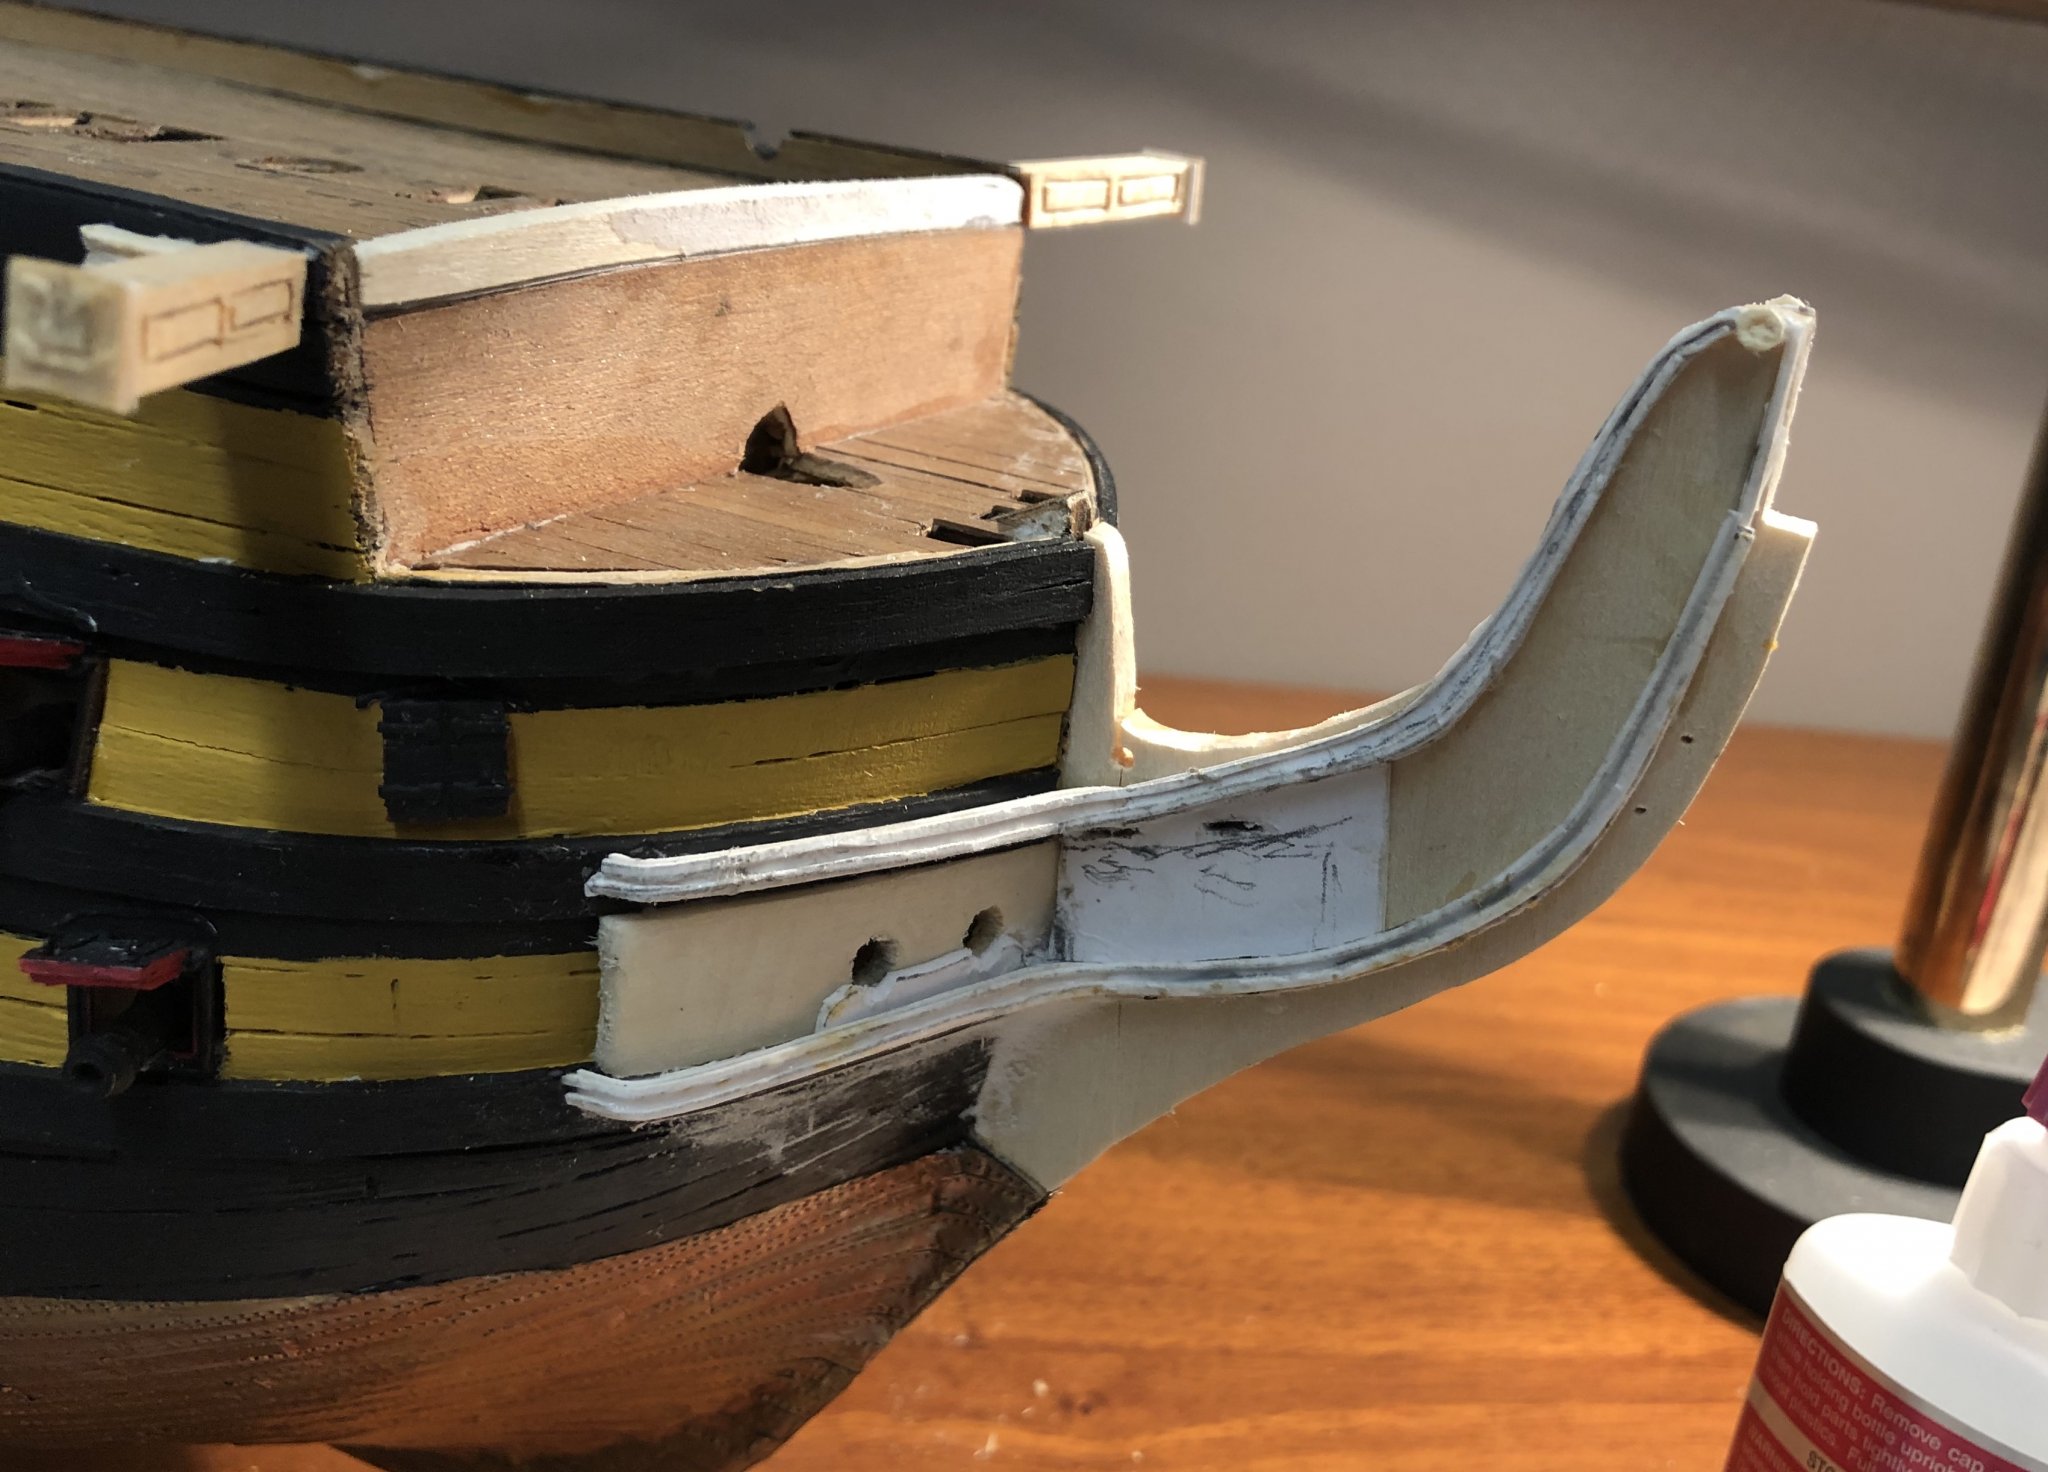
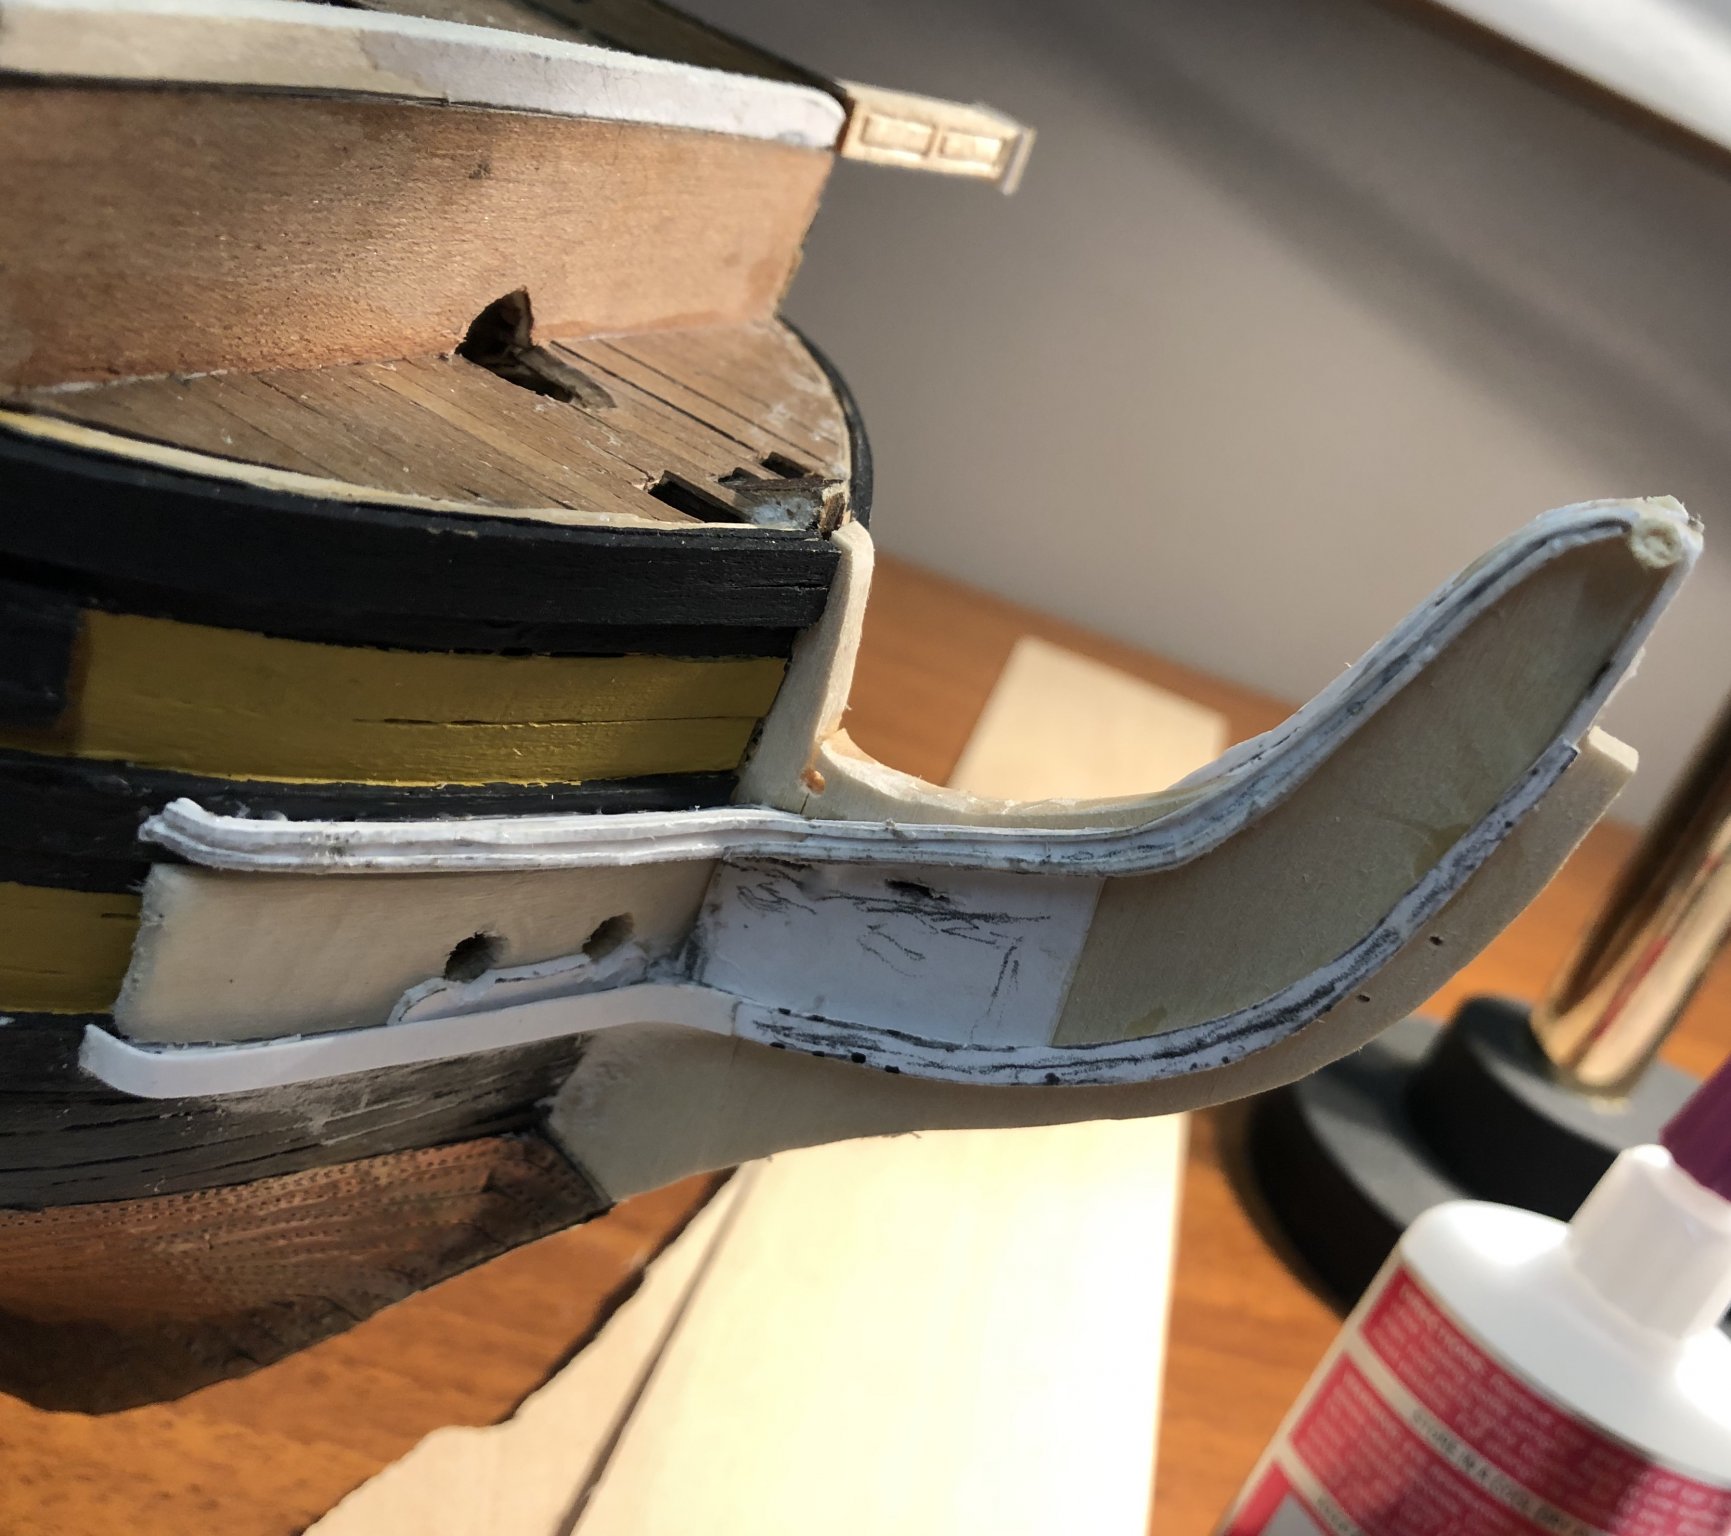
Starboard cheeks now have mouldings.
I also cleared the slots for the bow gammoning.

- J11, Ronald-V, Retired guy and 2 others
-
5
-
Thank you very much for the likes and the comments!
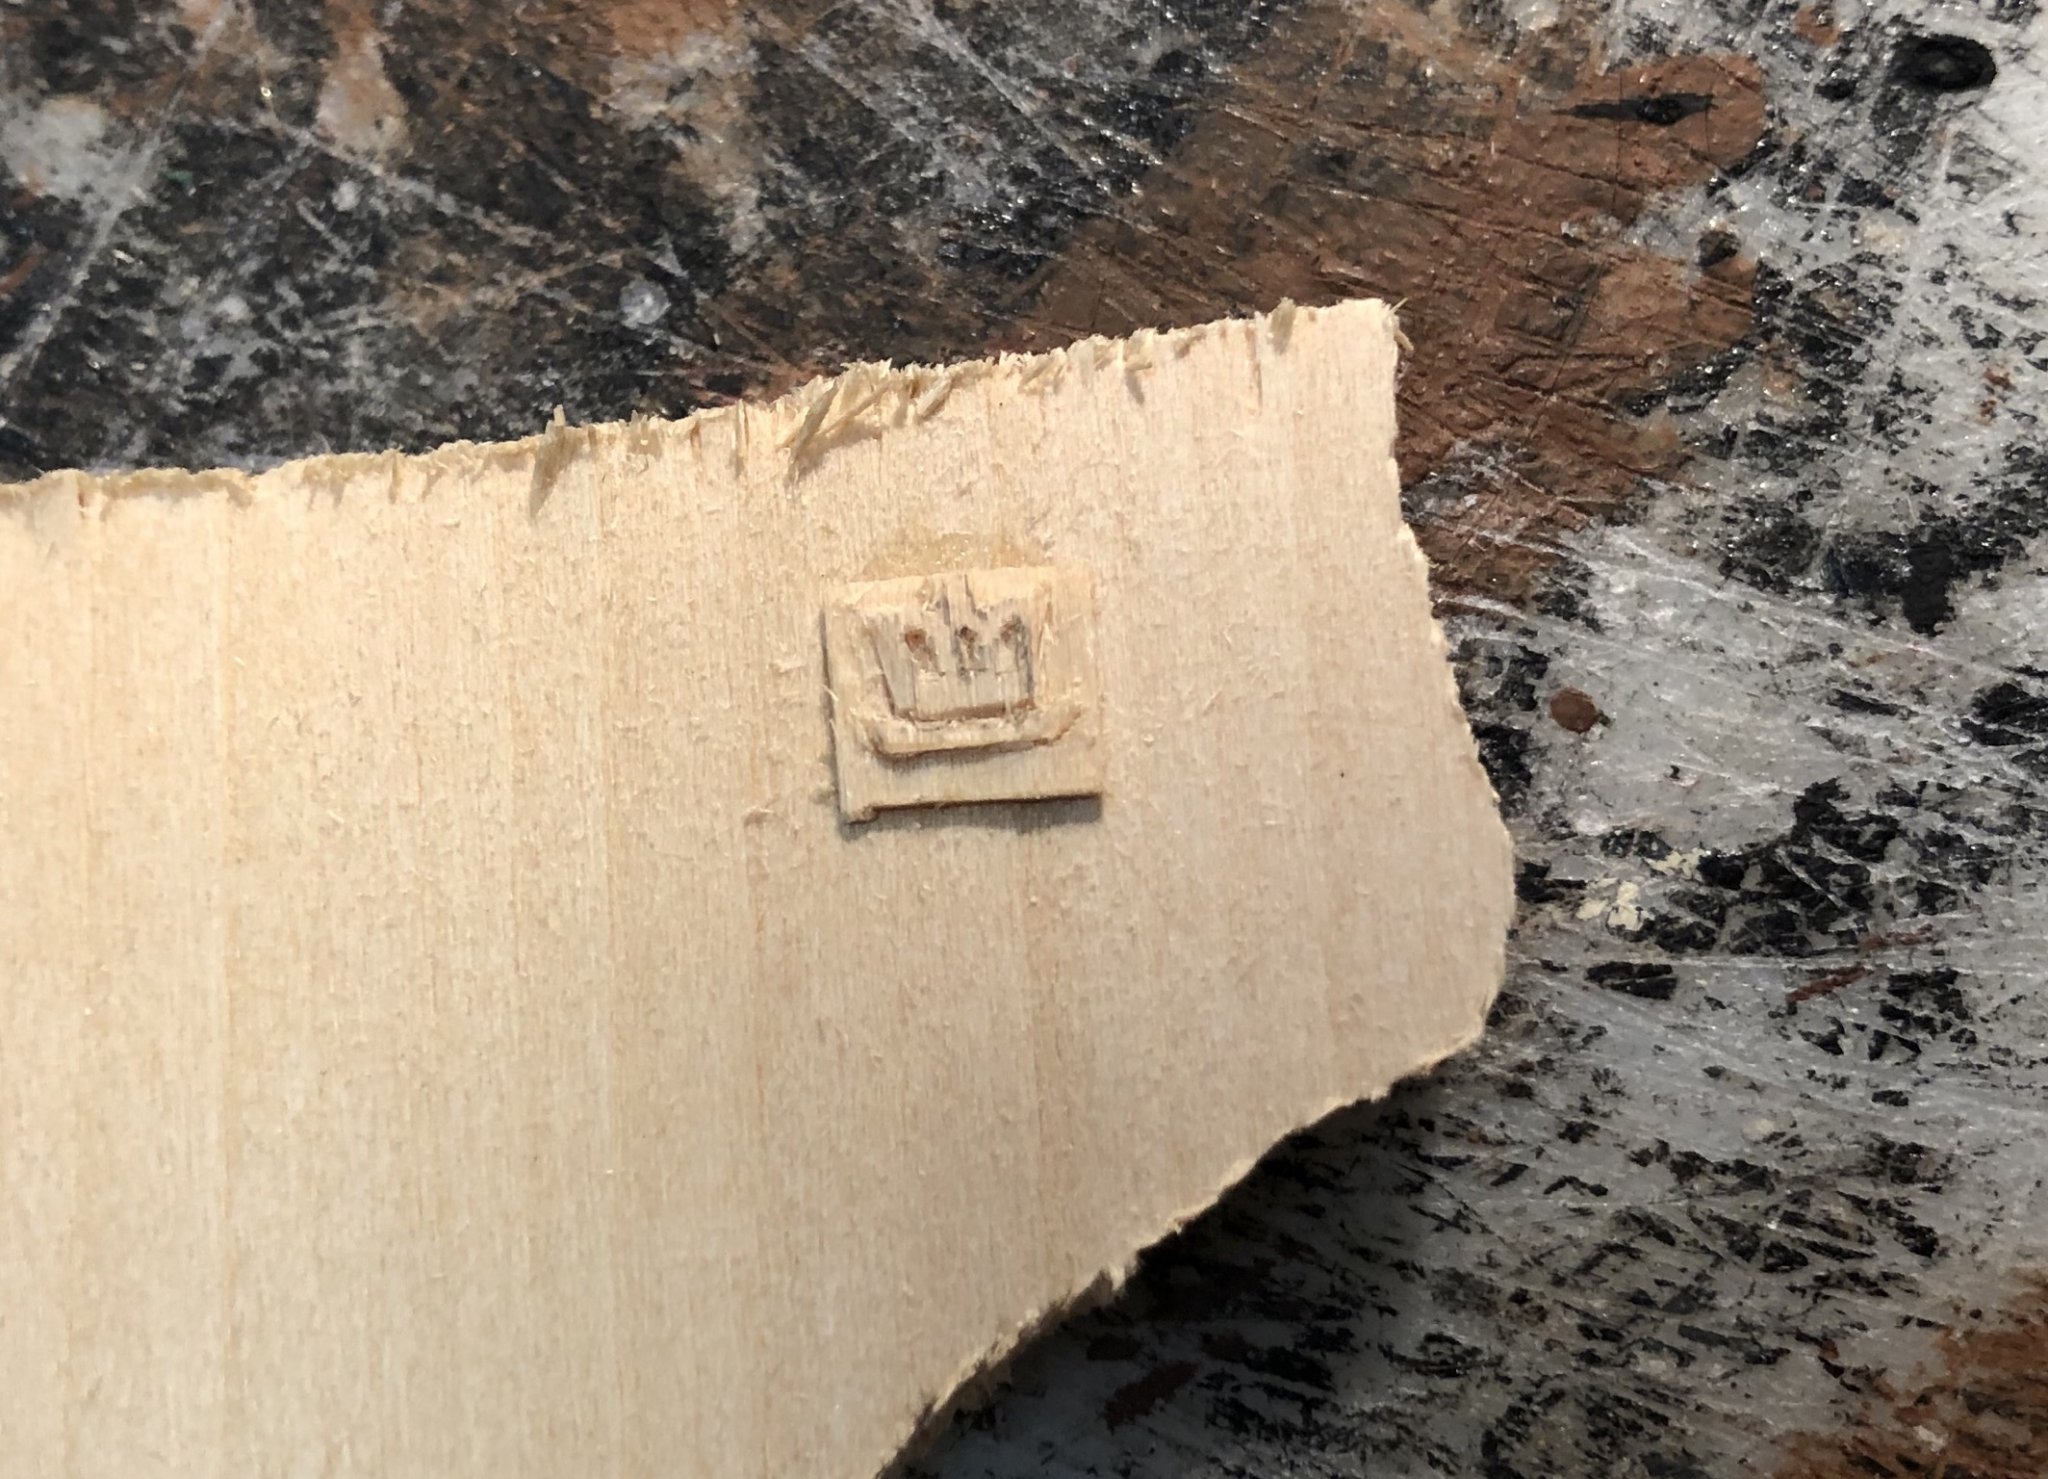
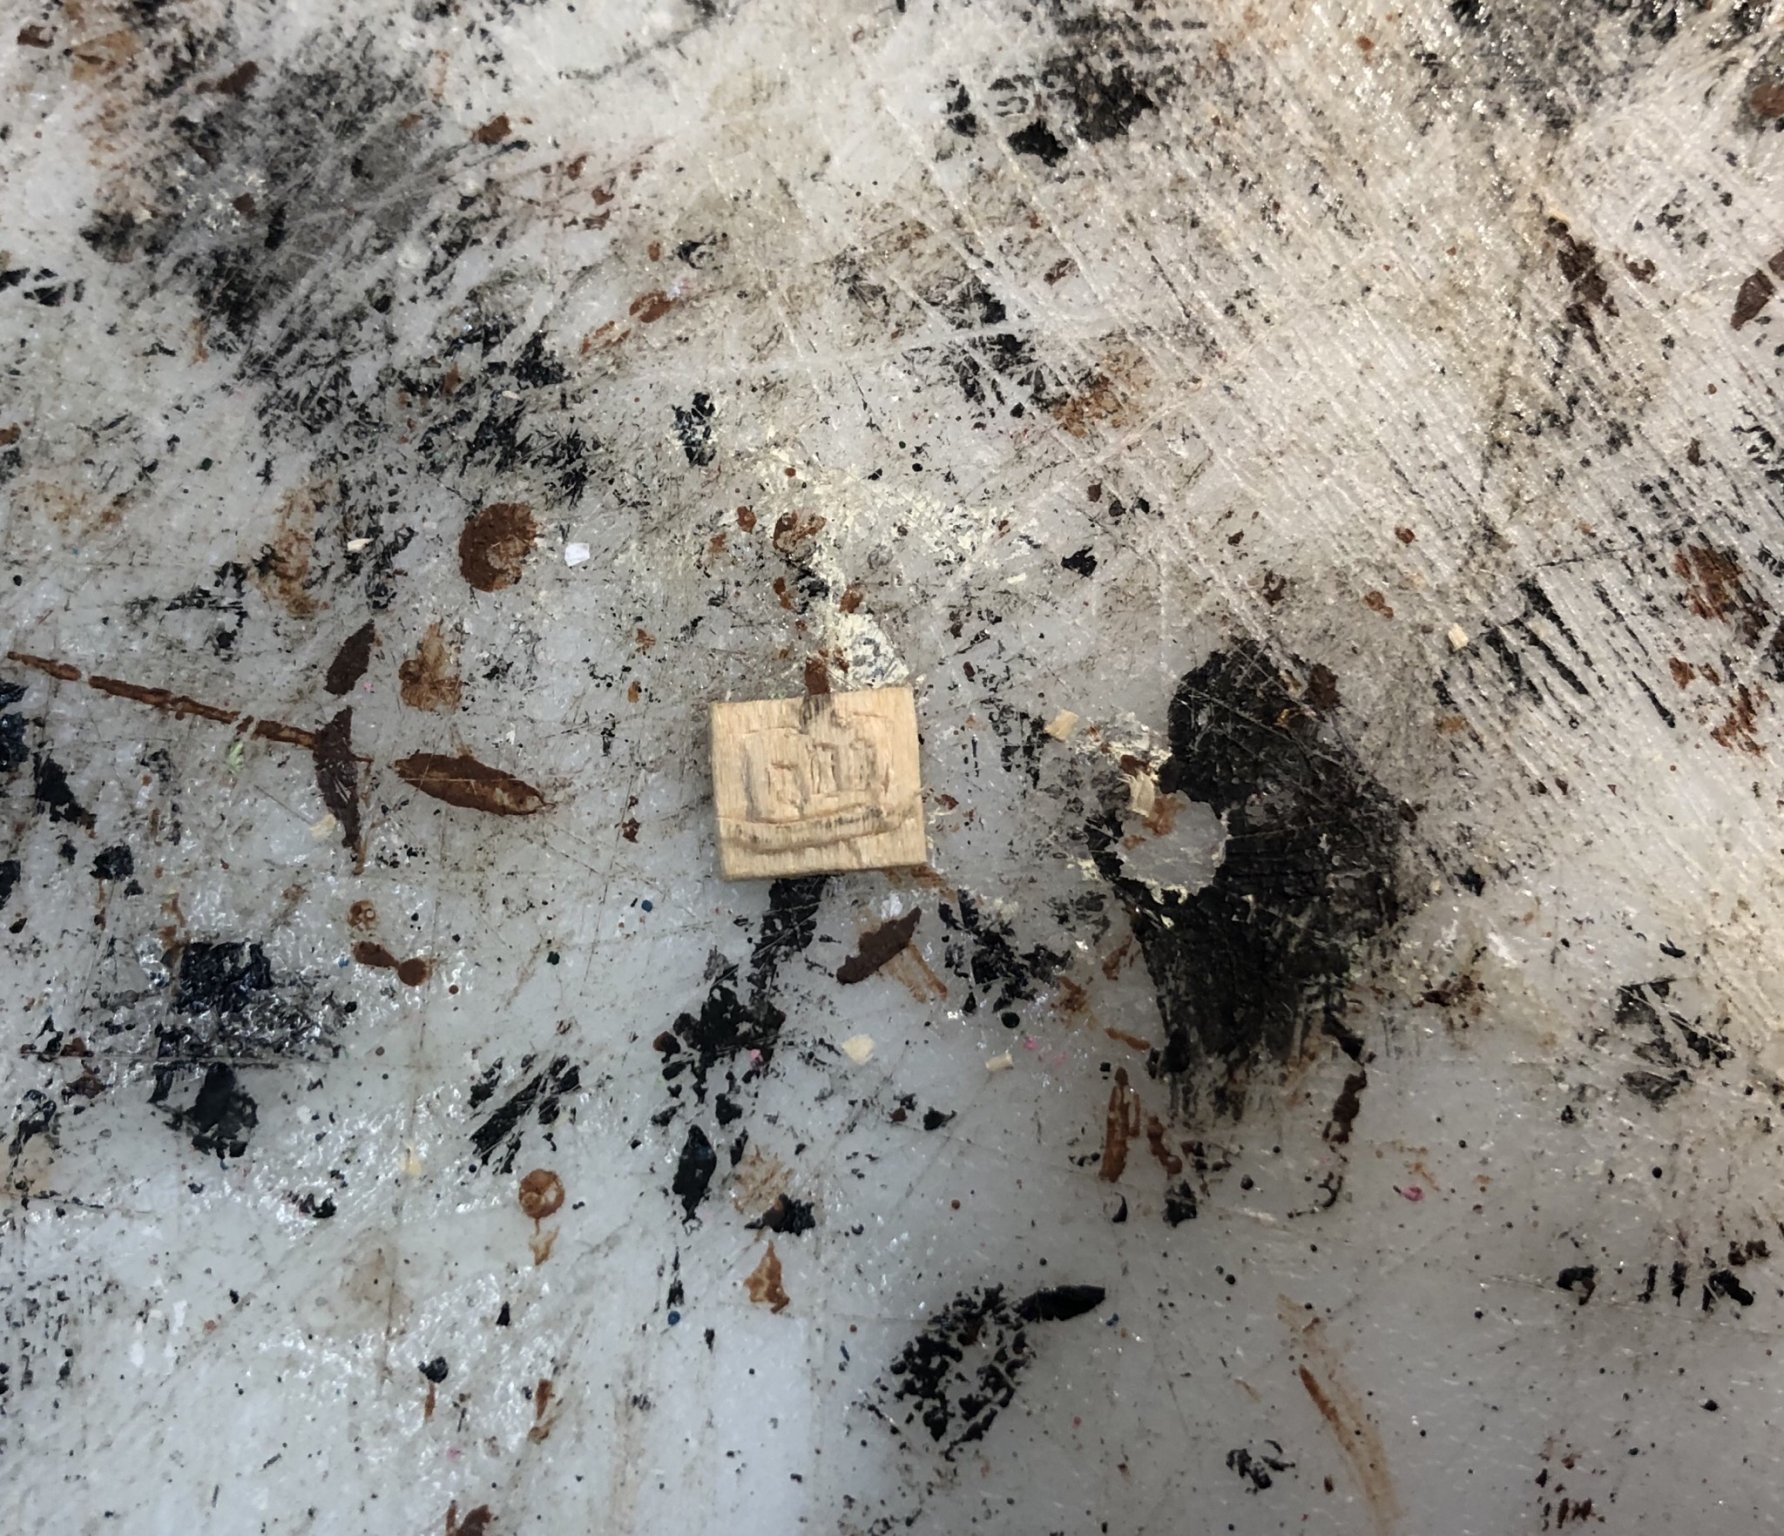
I made the other badge for the starboard cathead and started the mouldings for the cheeks of the head.
I’m using very thin strips of poster board to make them.
Quick note for the other beginning carvers out there, gluing the piece down helps a lot. I just learned that.


- VTHokiEE, Retired guy, Henke and 2 others
-
5
-
A schooner (or Baltimore clipper) is a nice compromise between a boat and one of the larger ships, and they make a beautiful model.
-
-
-
-
-
-
-
-
Thank you very much!
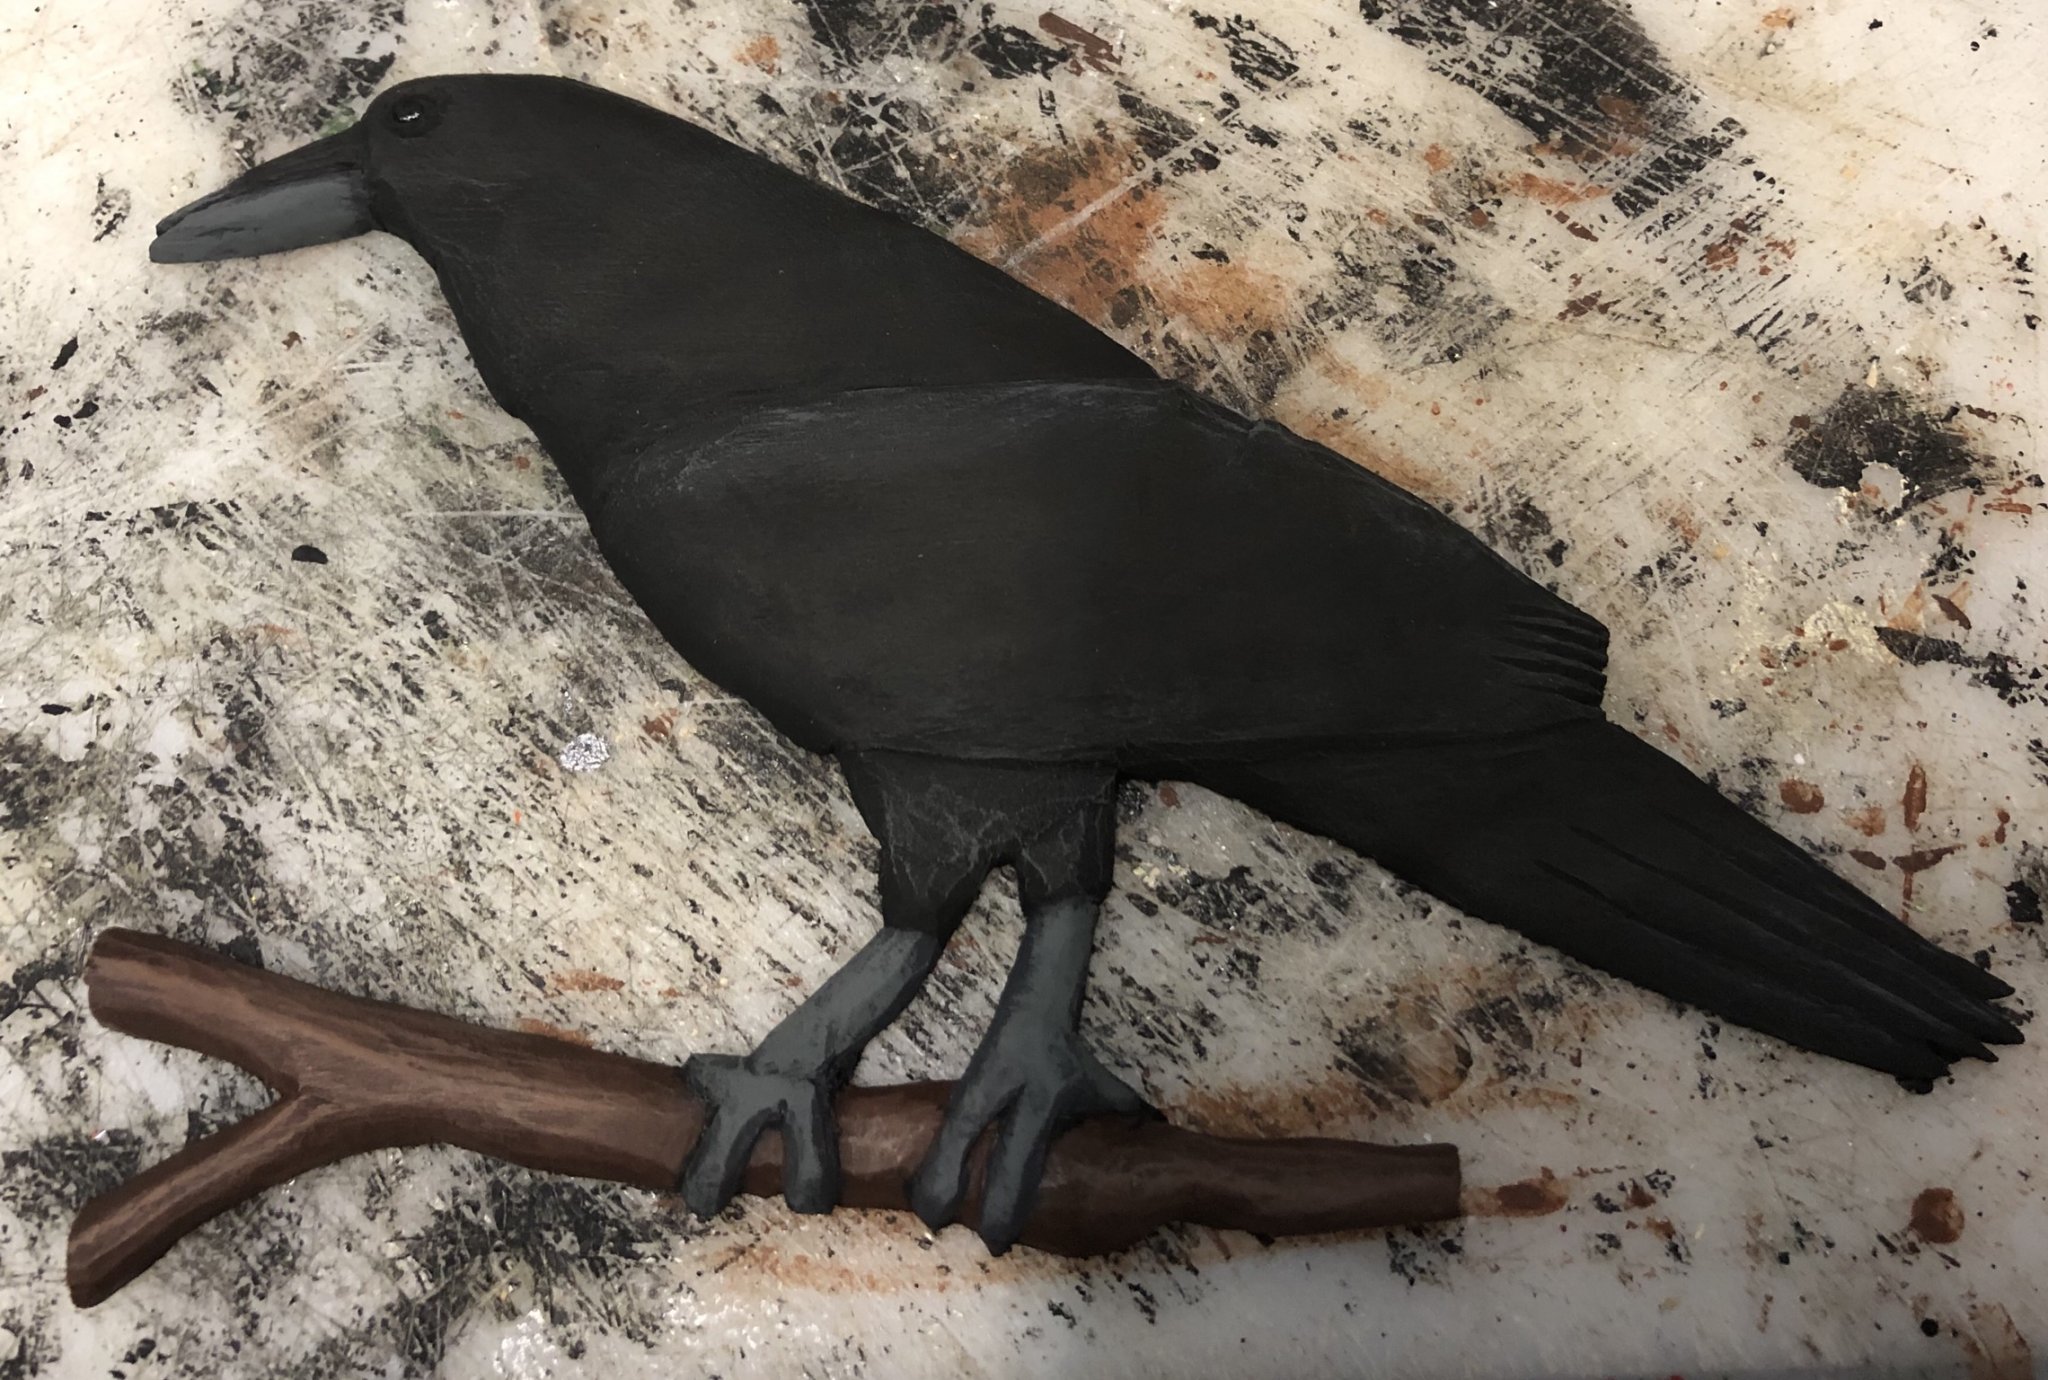
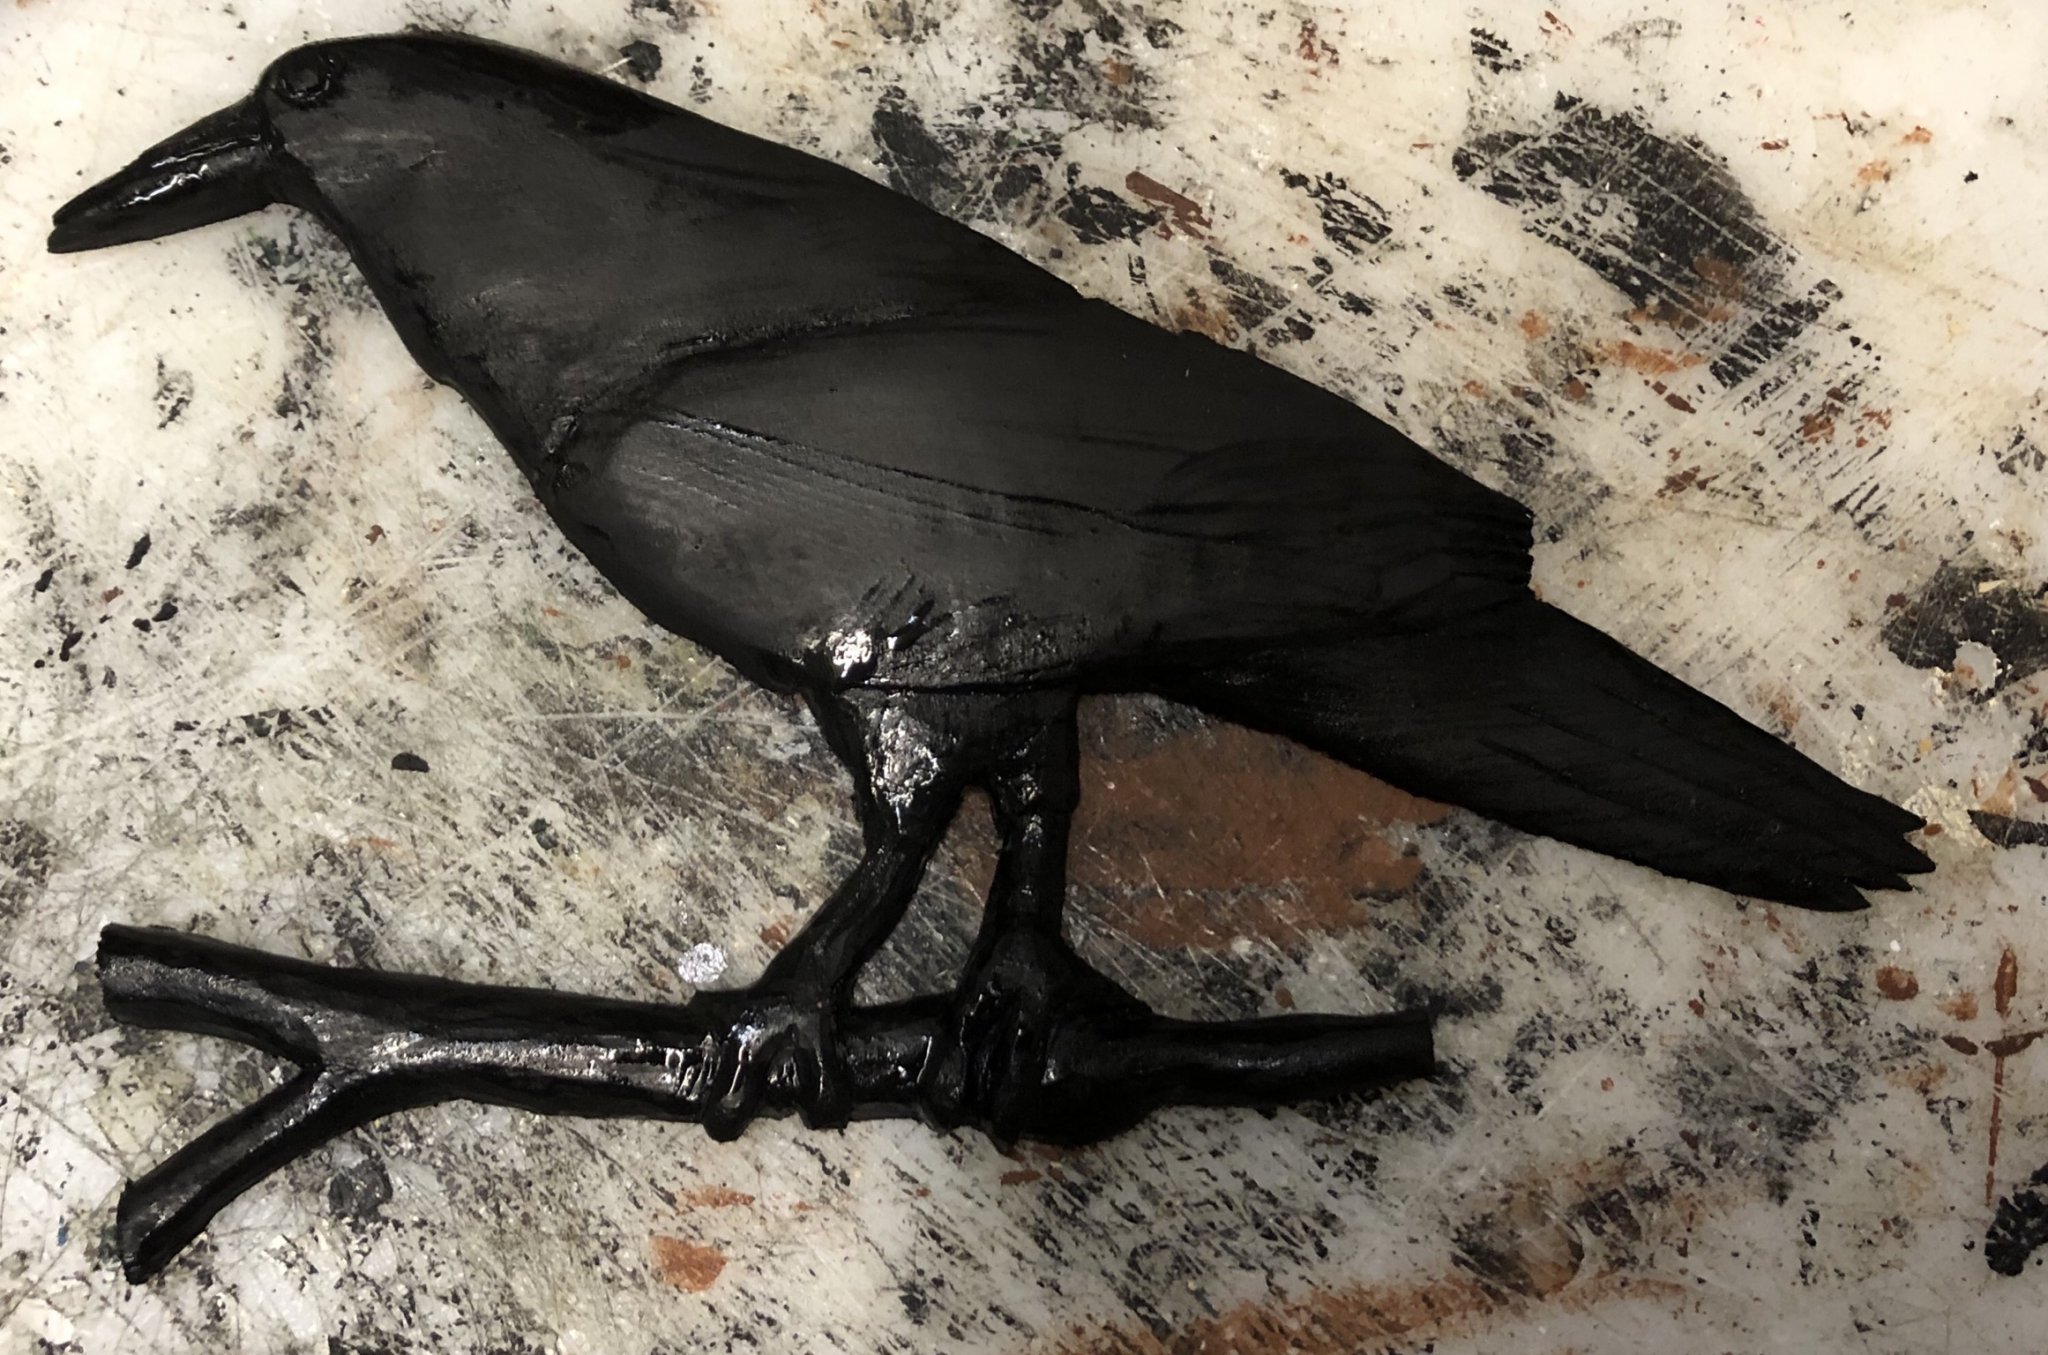
Here is the Admiral’s finished raven:
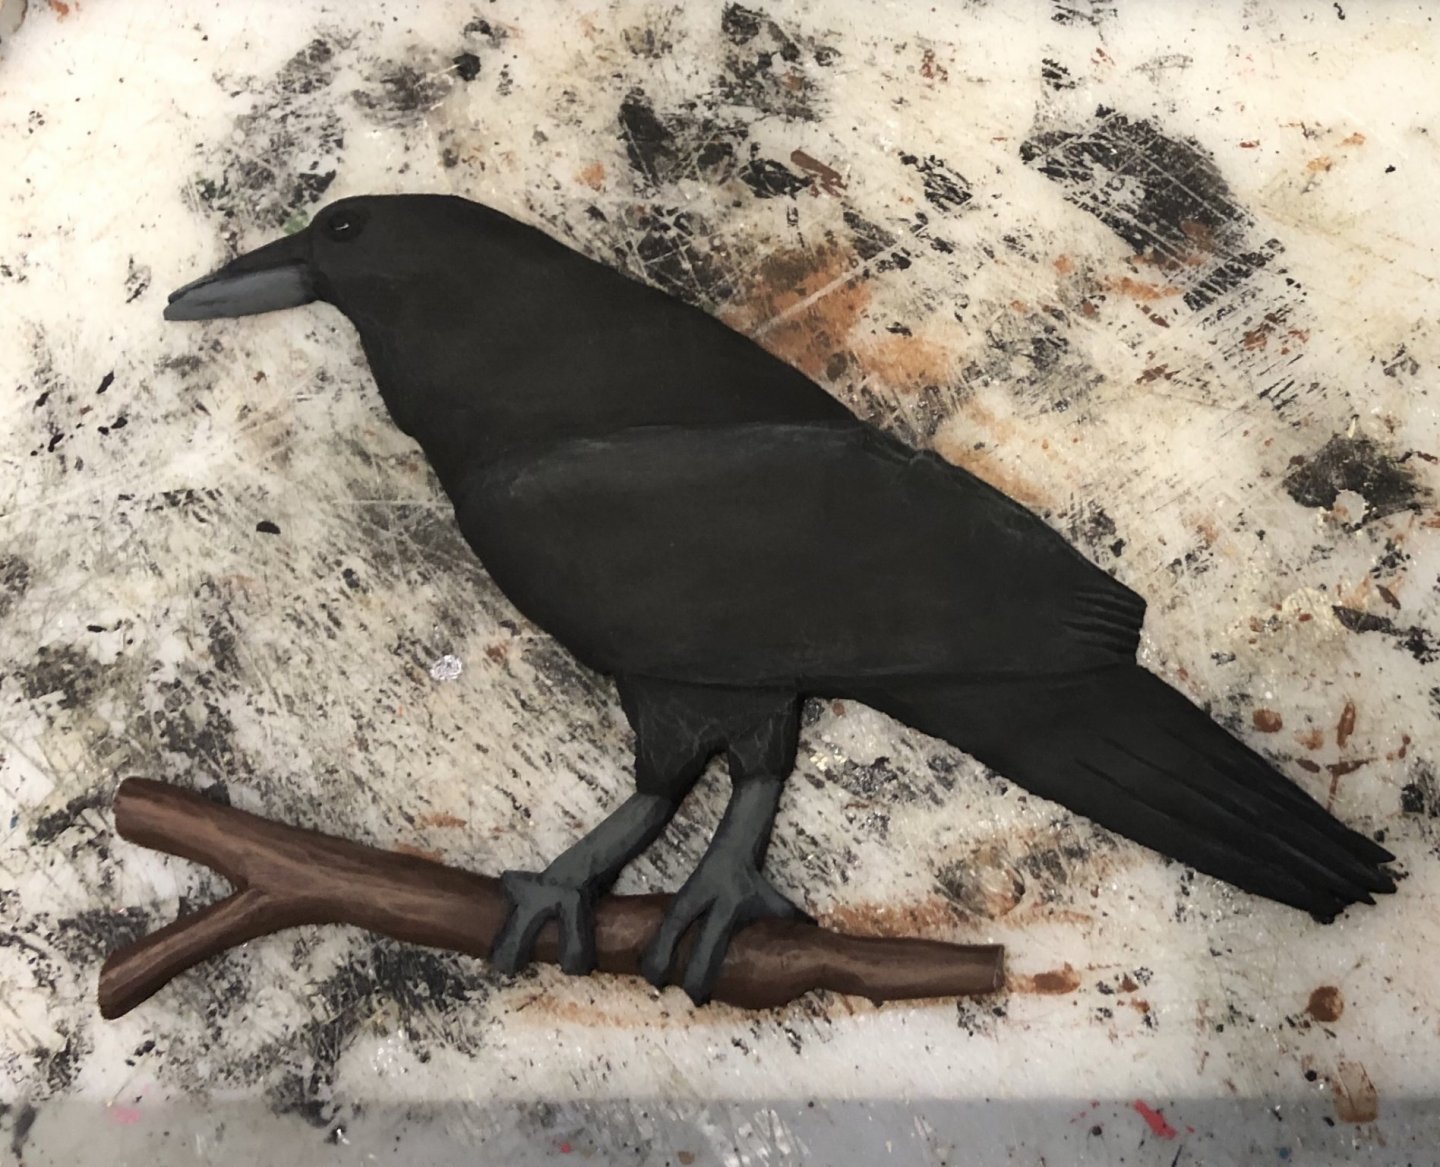
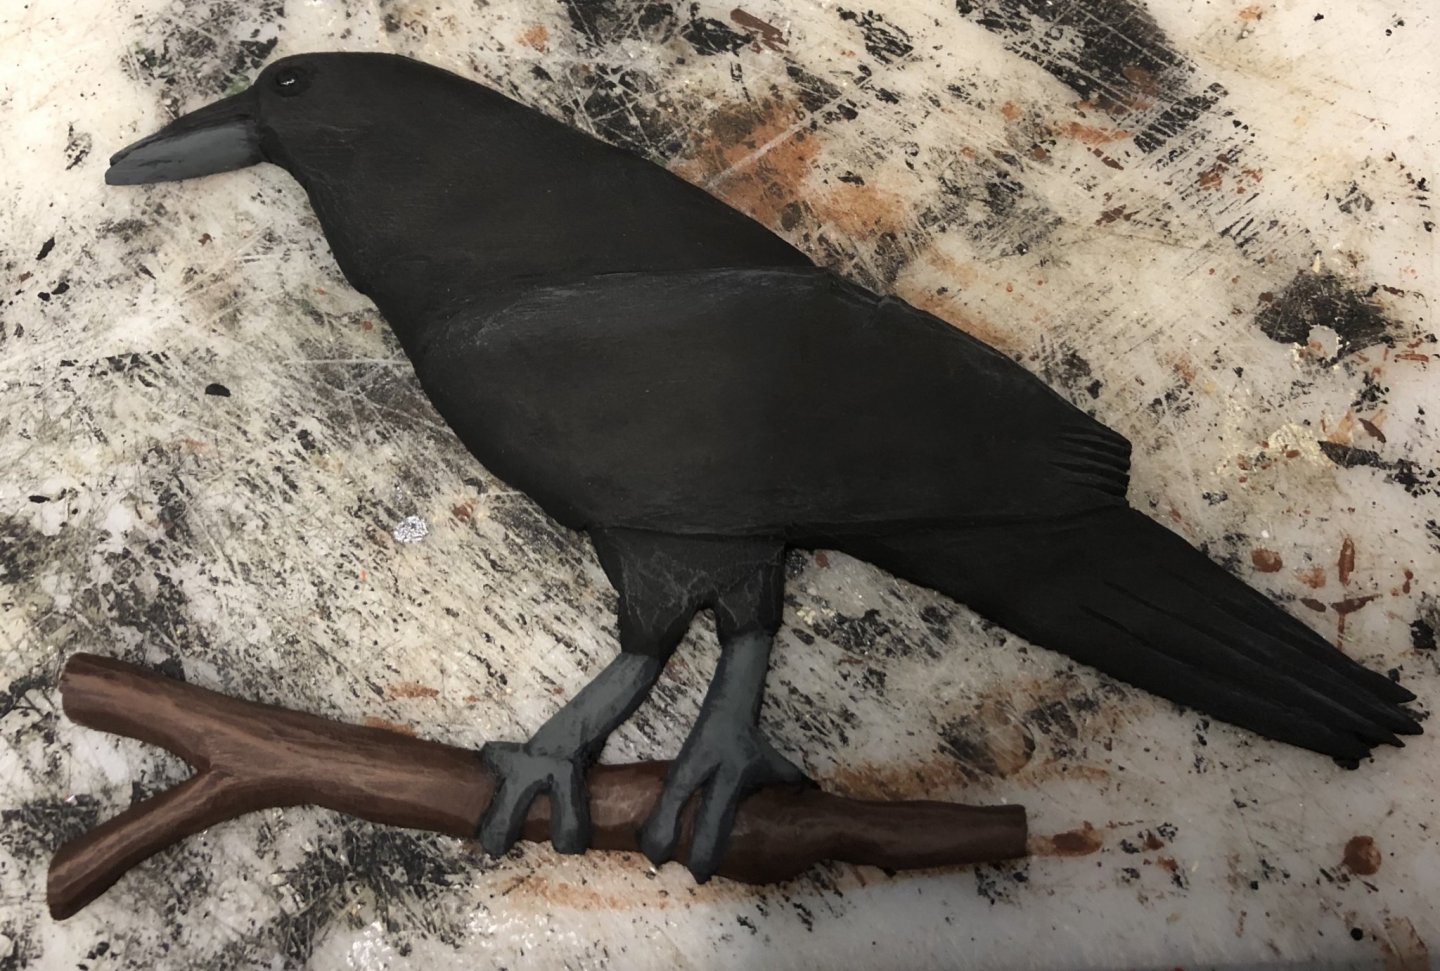
She loved it.
- KeithAug, paulsutcliffe, Tom E and 6 others
-
9
-
Looking good! Keep at it!
- mtaylor, Alex Parker, Canute and 2 others
-
5
-
-
Yet very impressive that it survived.
- lmagna and thibaultron
-
2
-
-
If you’re looking for Royal Navy vessels from 1750-1815, check out the Triton and the Winchelsea group builds.
The plans are in pdf format (which makes them easy to rescale) and all major parts (and most of the minor parts for the Winchelsea) are predrawn. This makes it so you can print, glue the plans down and cut.
Chuck did an awesome job of planning out the Winchelsea. It’s also designed to be a hull model, so you wouldn’t have to deal with the rigging, unless you wanted to (When I get to it, I plan to modify the plans to allow for masts and rigging, but I really enjoy the process of rigging).
-
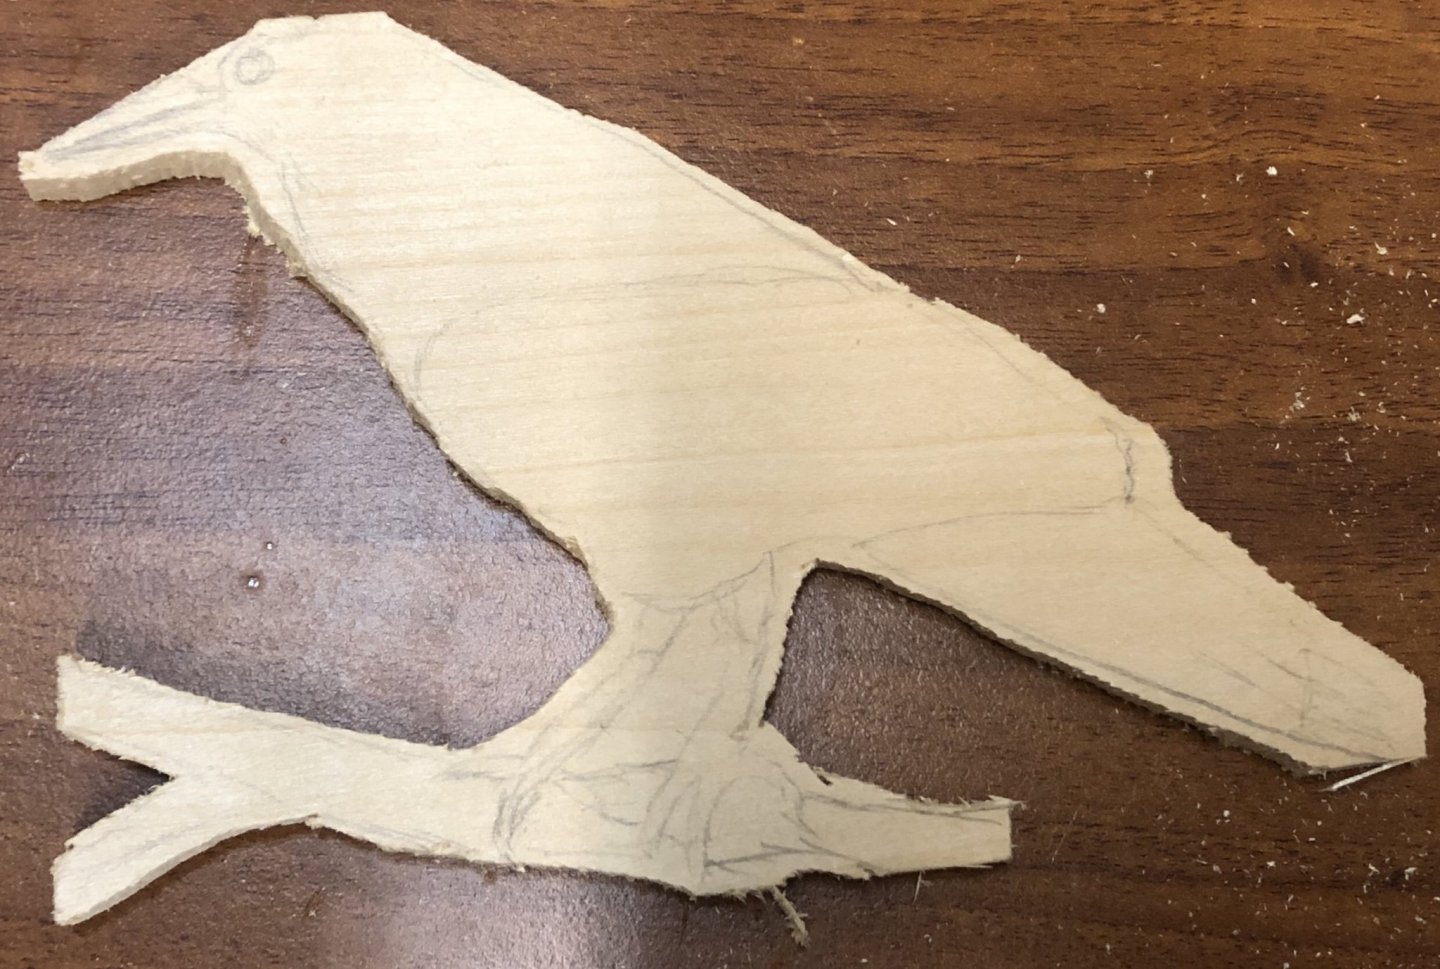
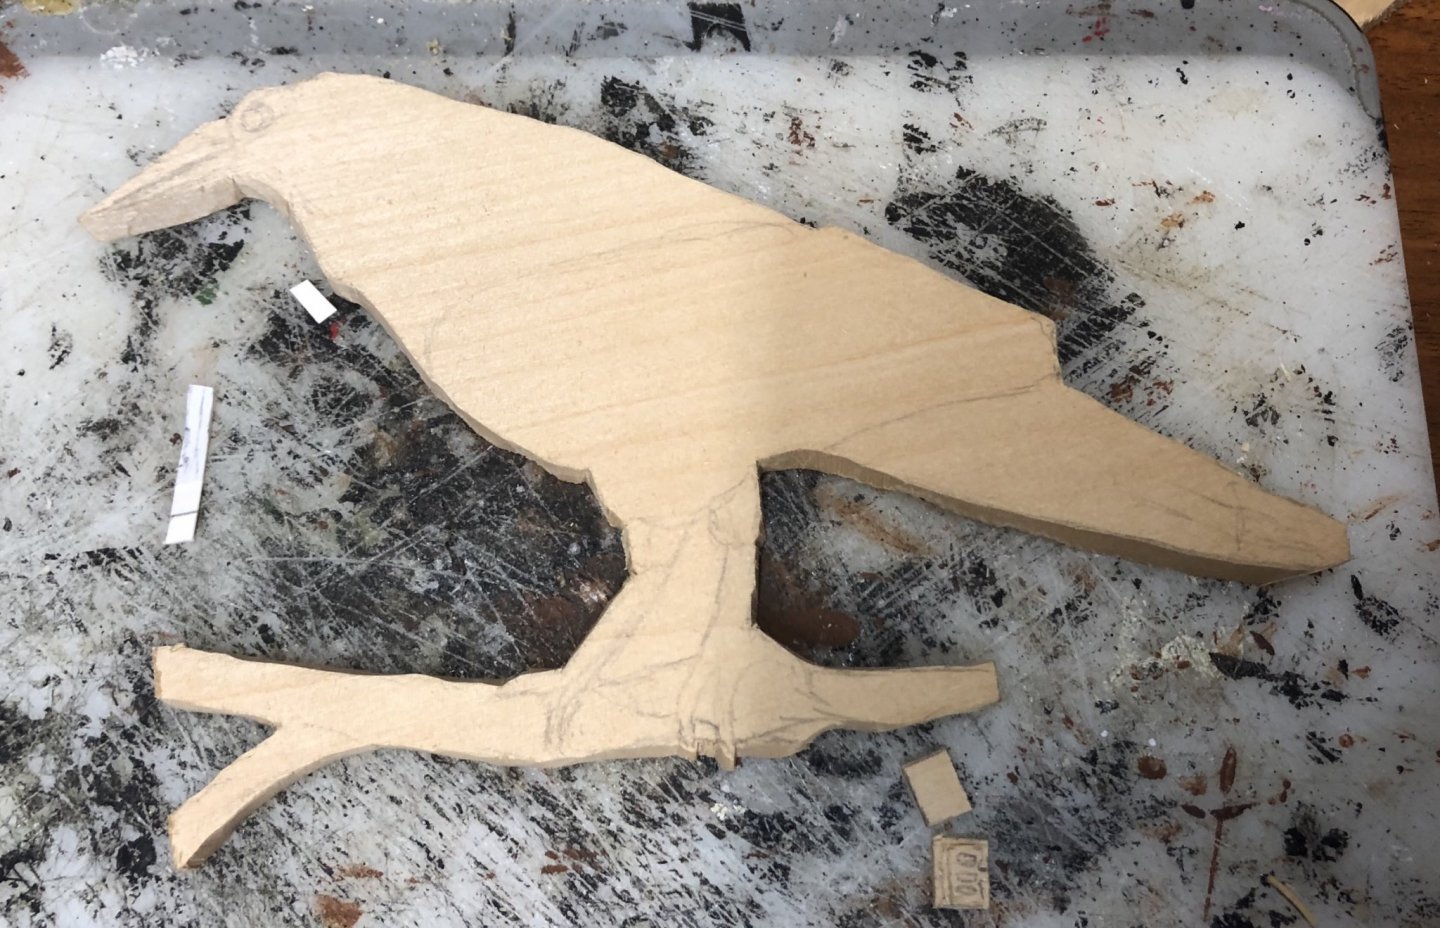
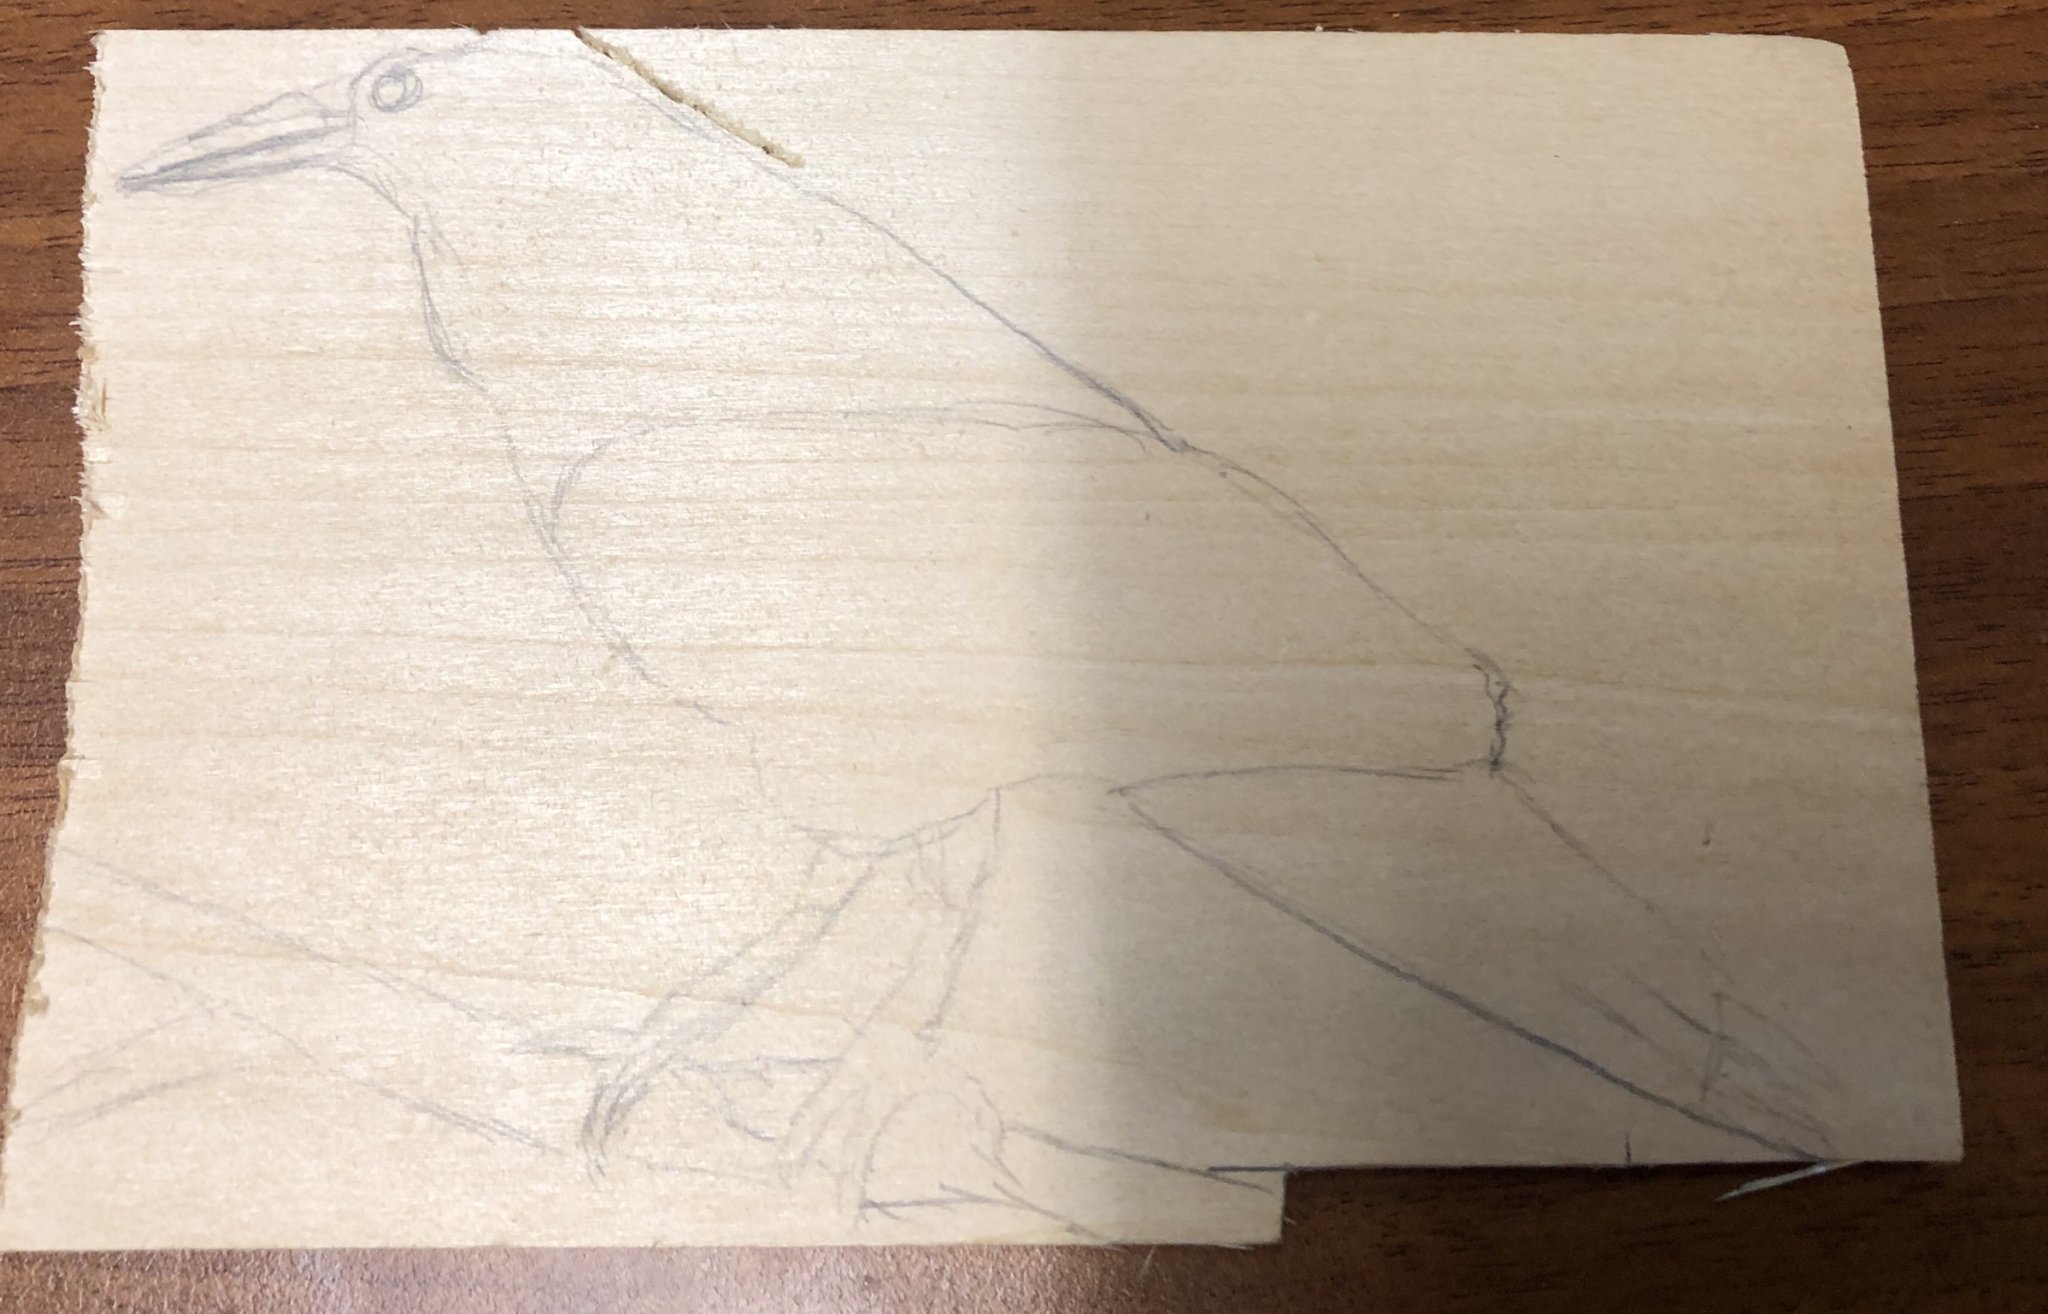
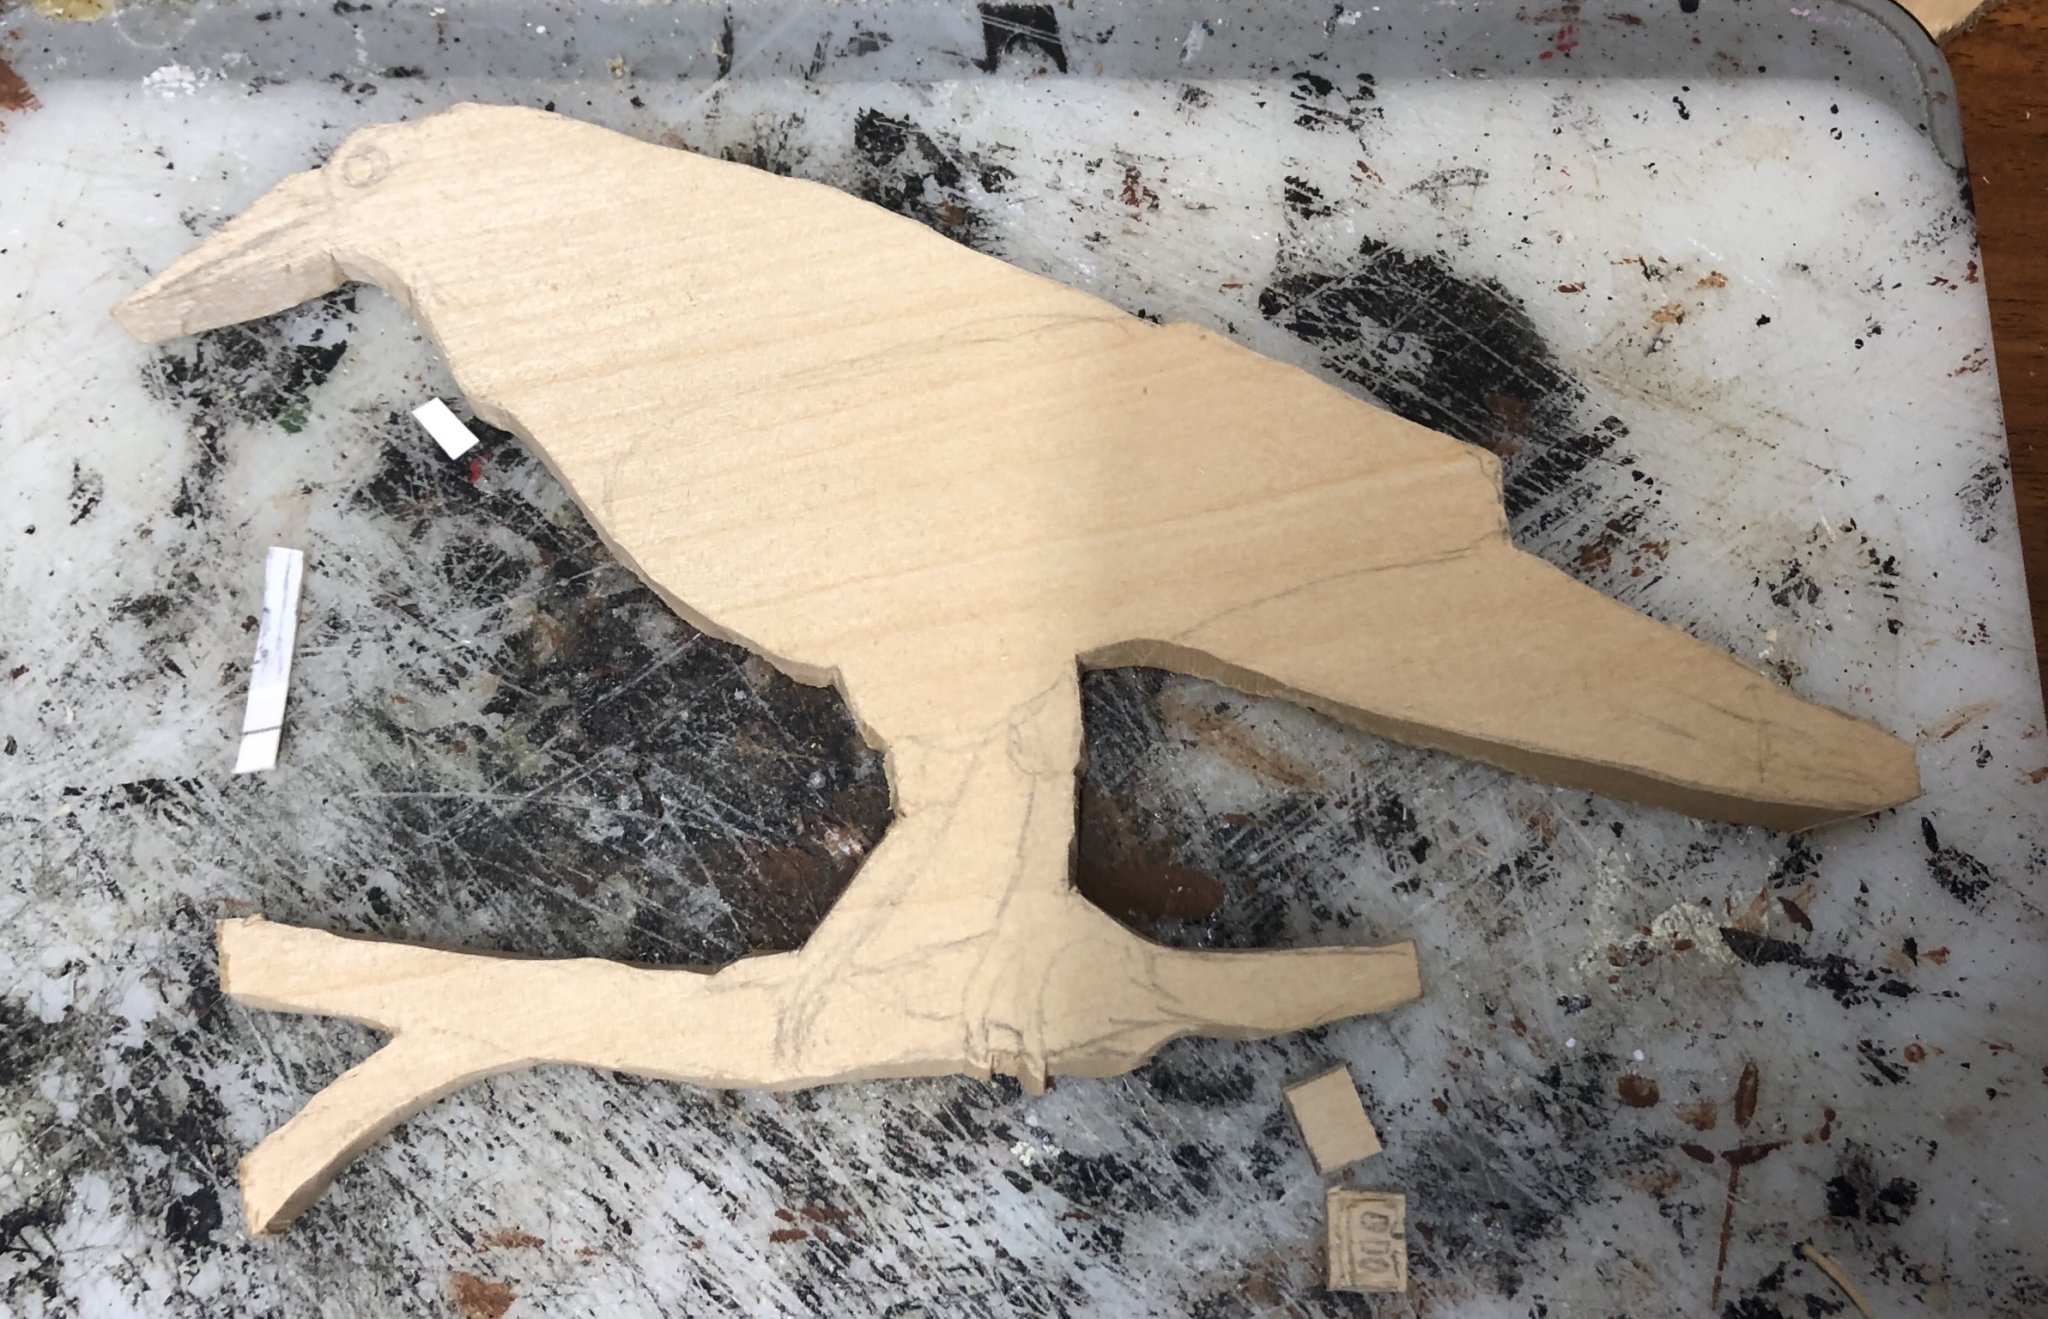
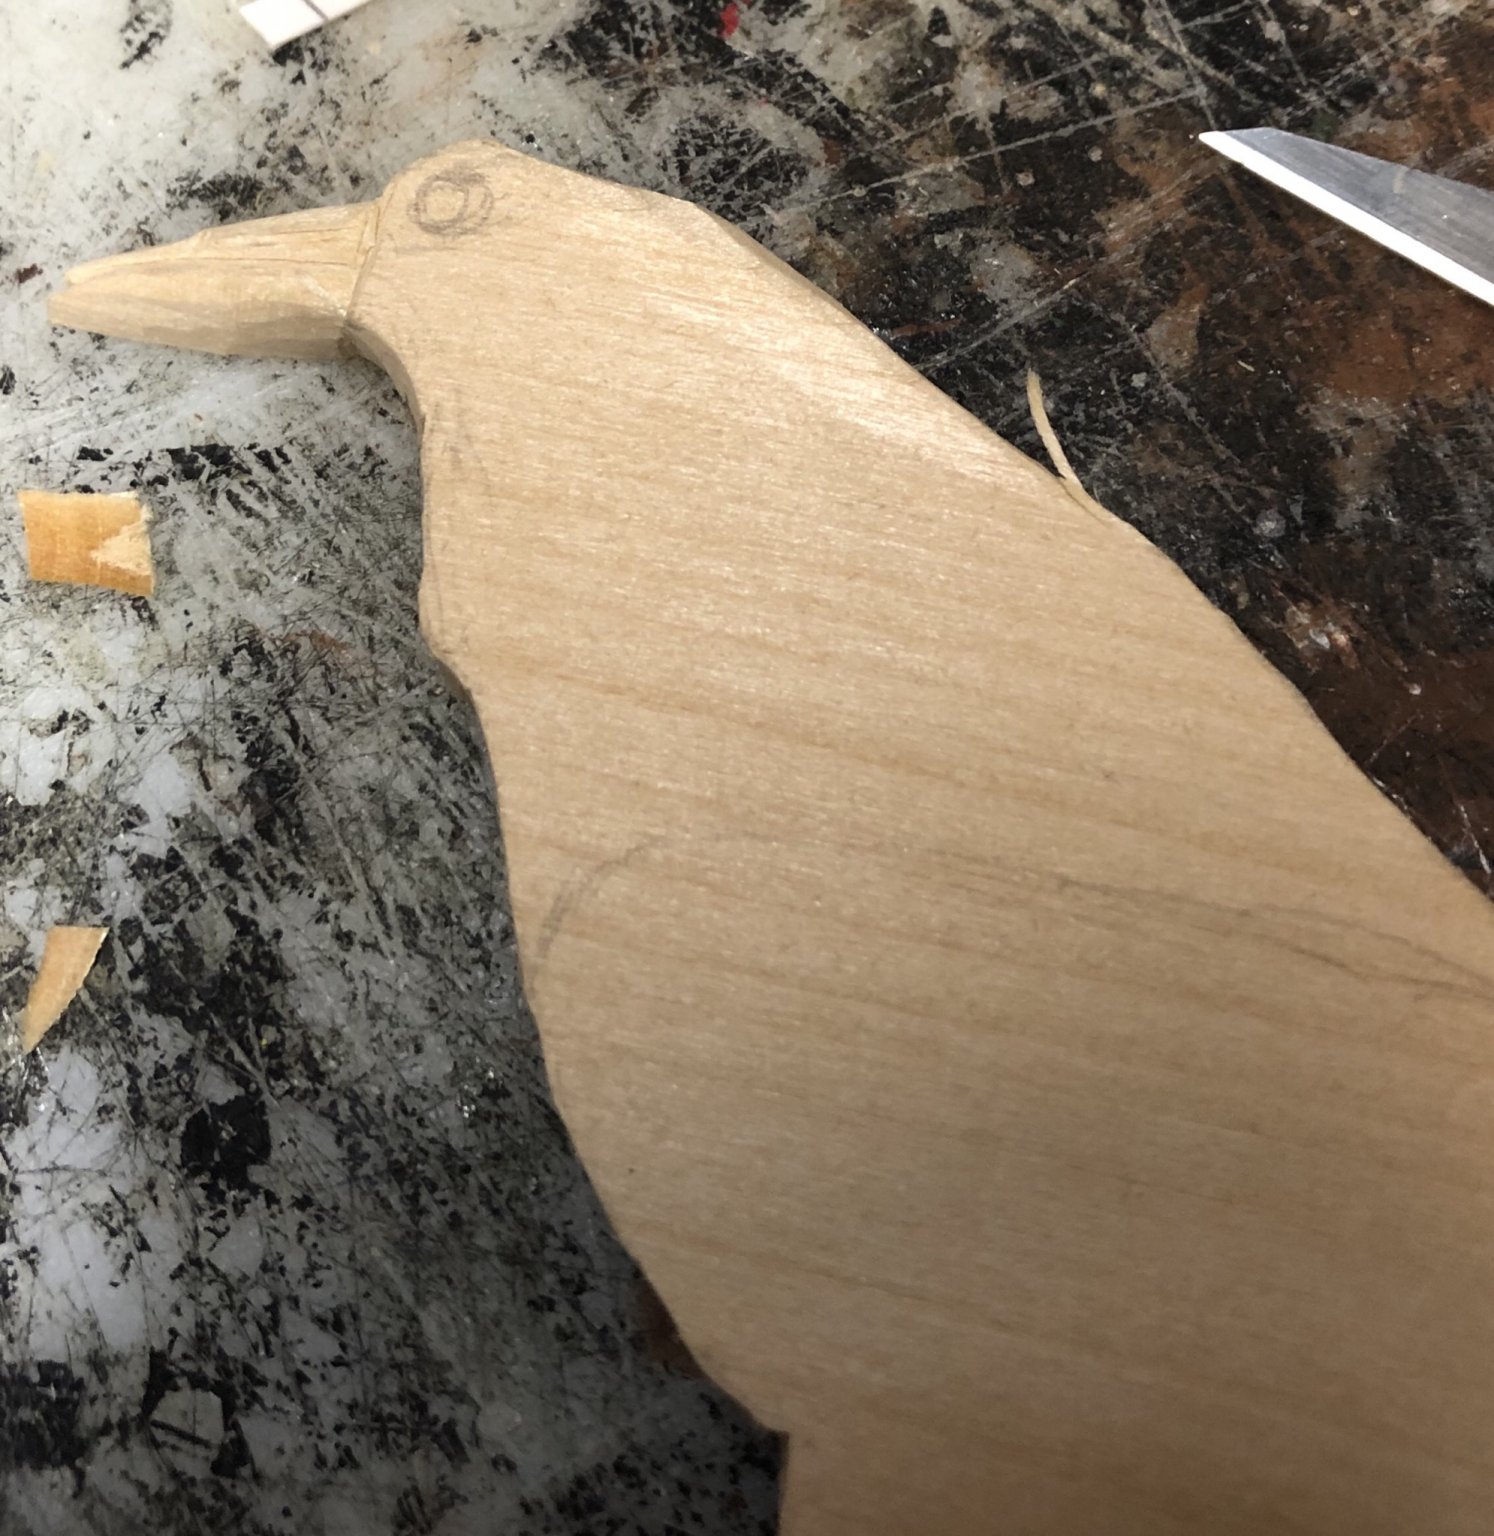
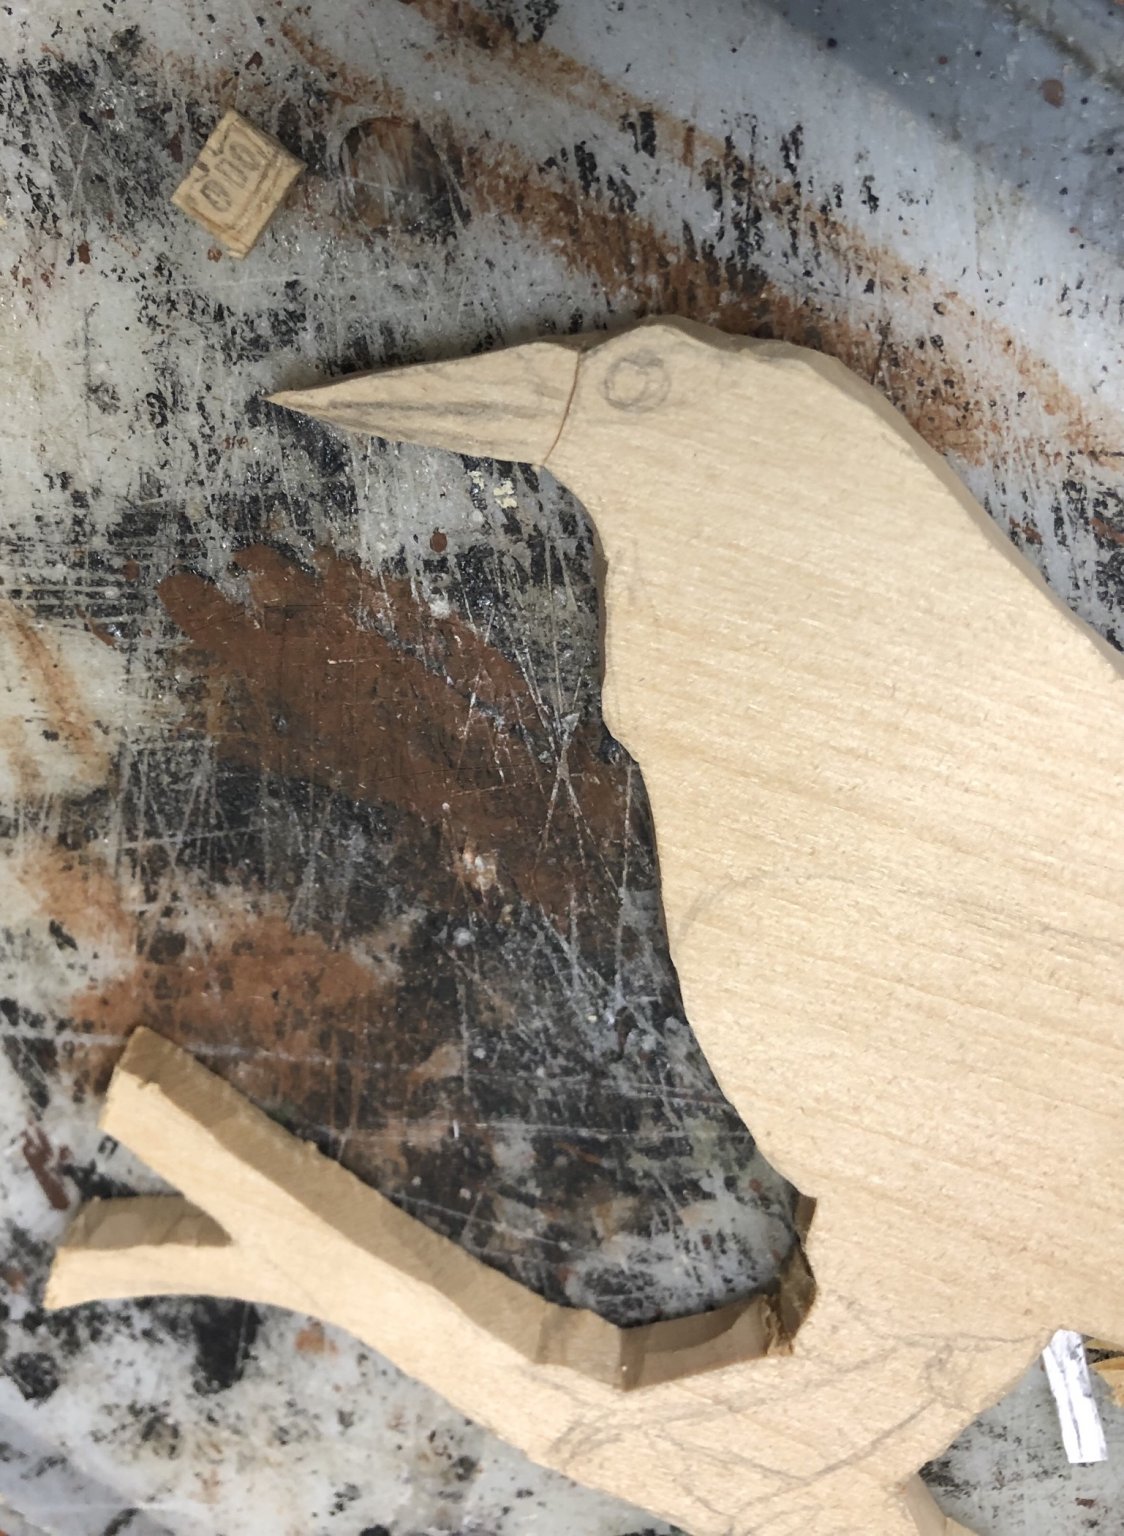
Quick intermission.
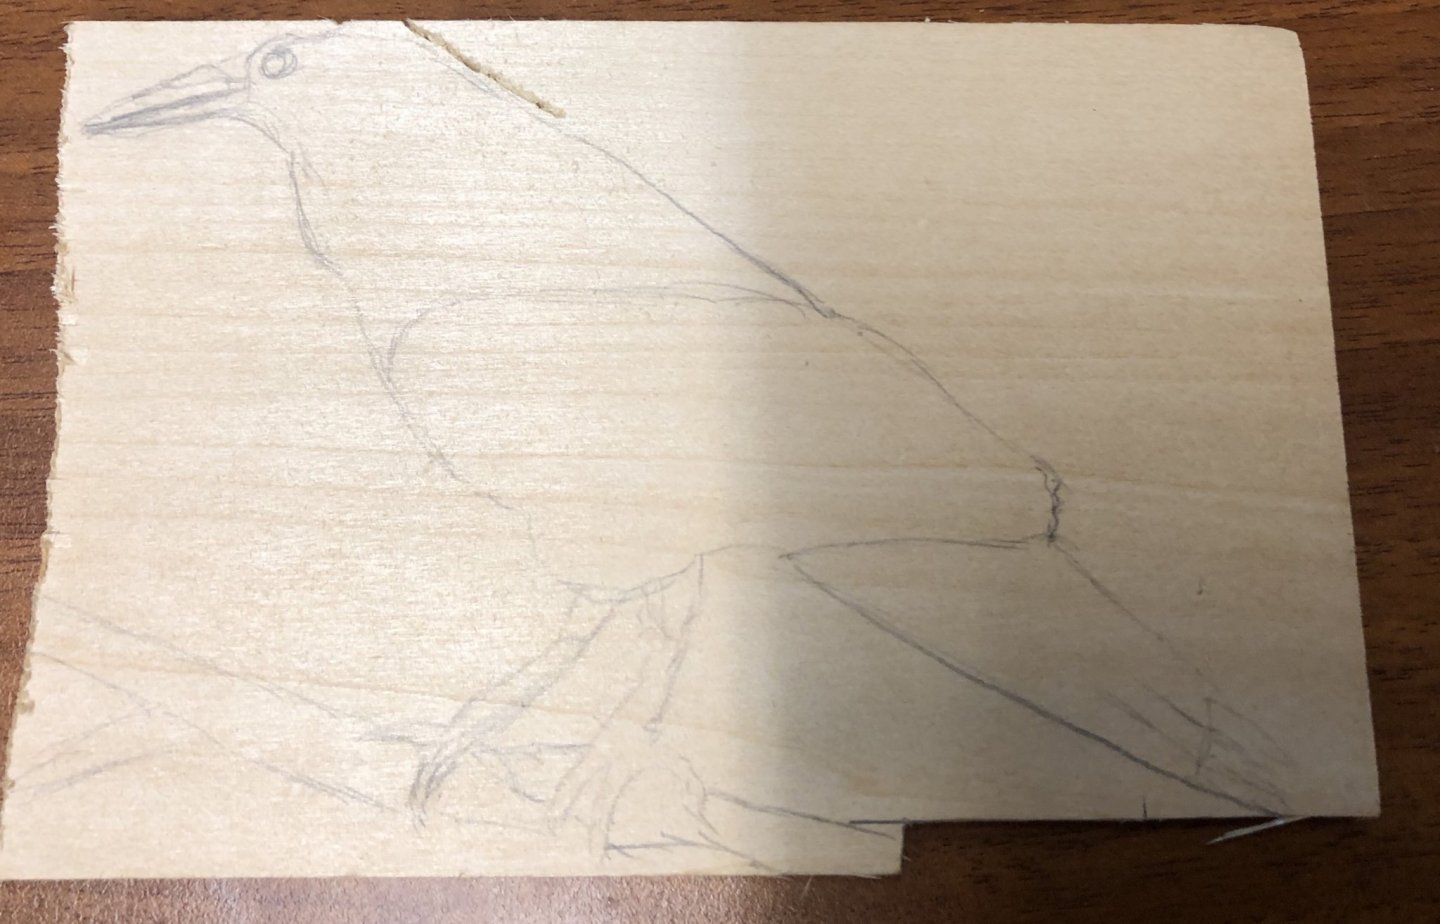
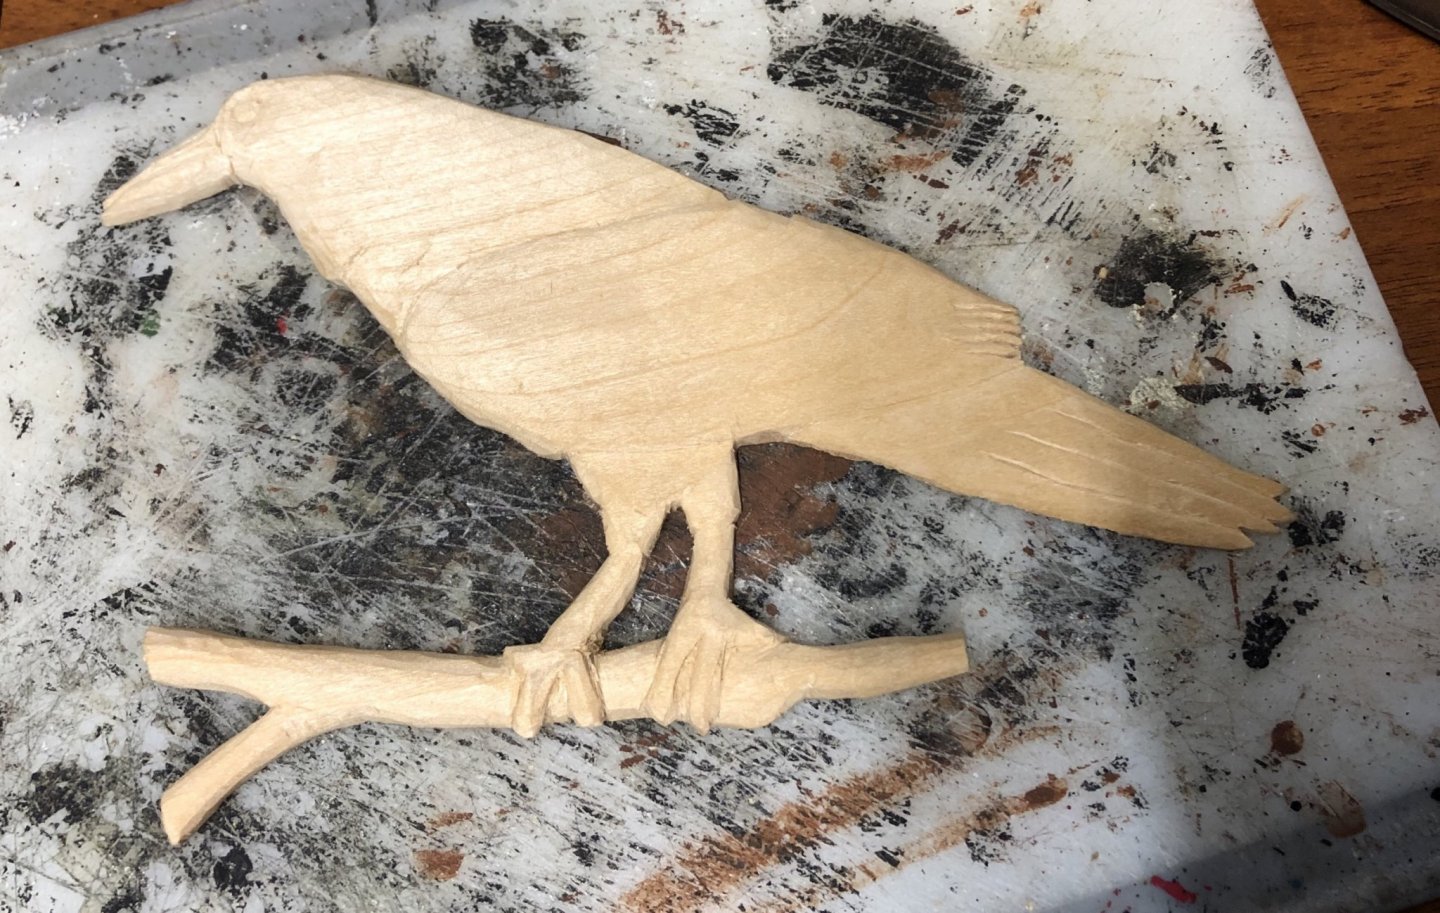
The Admiral loves ravens and crows. I carved one in bas relief for her over the weekend. It’s only primed right now.
I made it from 1/4” basswood. I roughed it out with my trusty coping saw and did the carving with my trusty scalpels. The #11 blade is a great all purpose blade and the #10 blade works great for altering thicknesses (like slimming down the neck and the wings).
I sanded it twice with 220 grit, once before the first coat of black and once after.


- VTHokiEE, Edwardkenway, Retired guy and 3 others
-
6
-
-
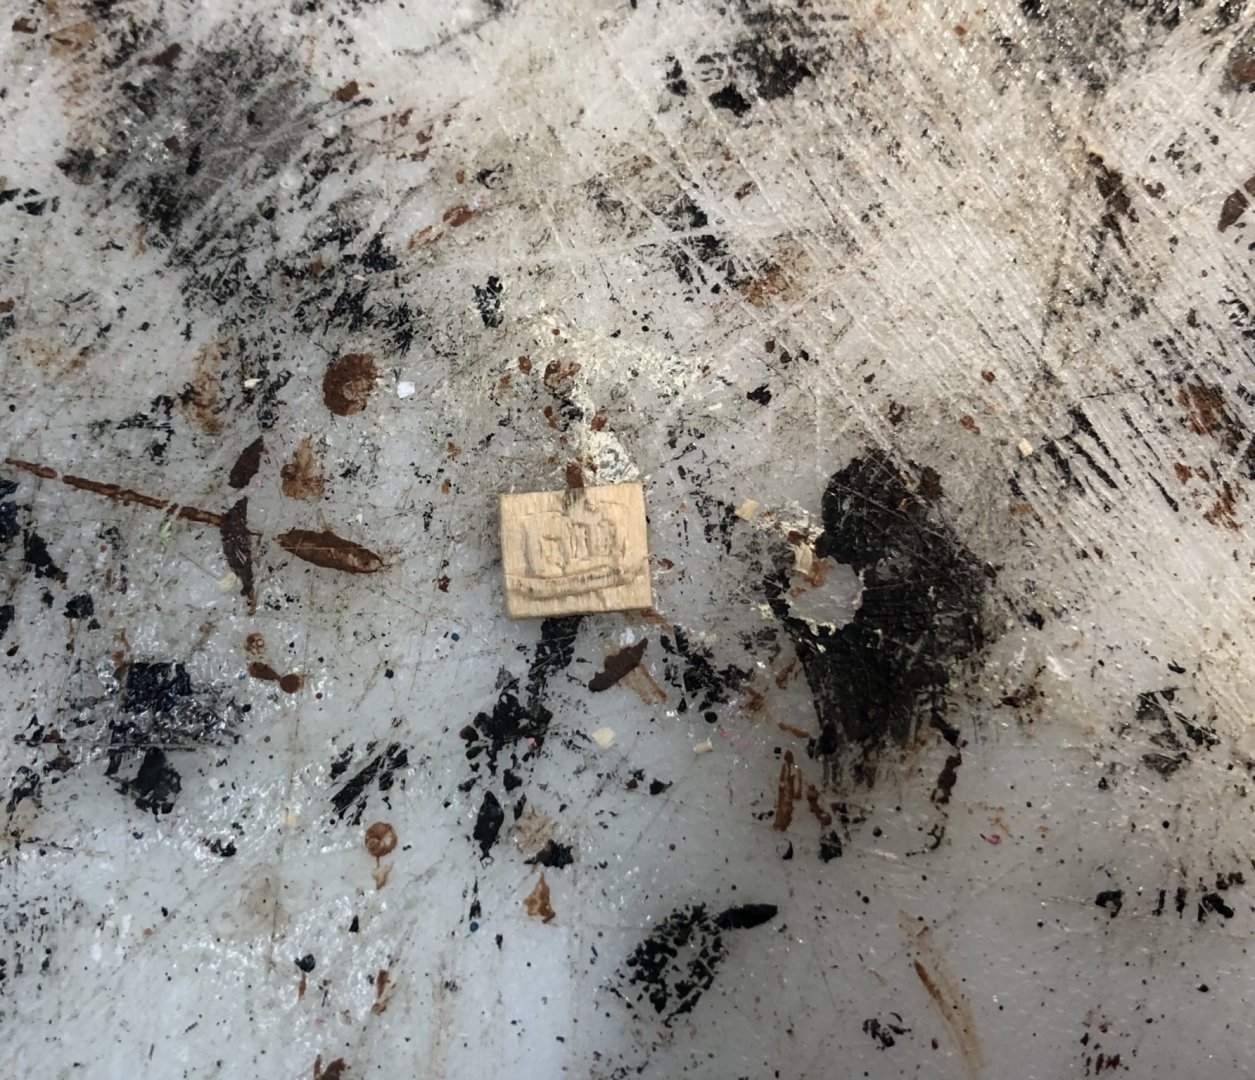
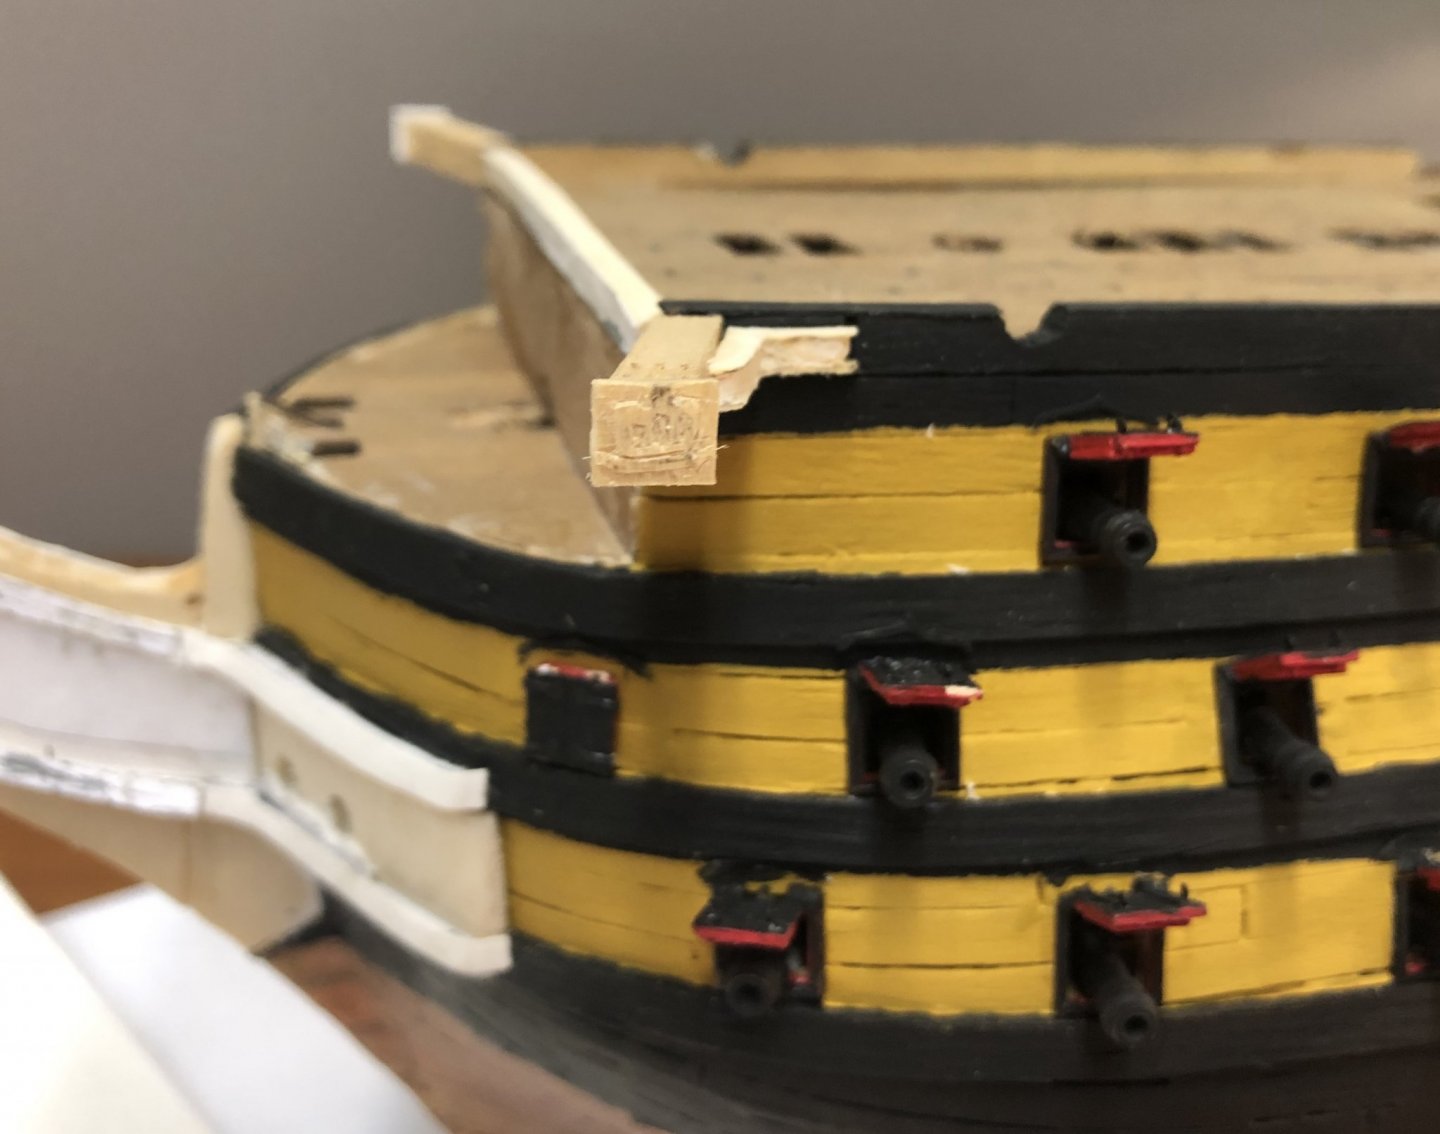
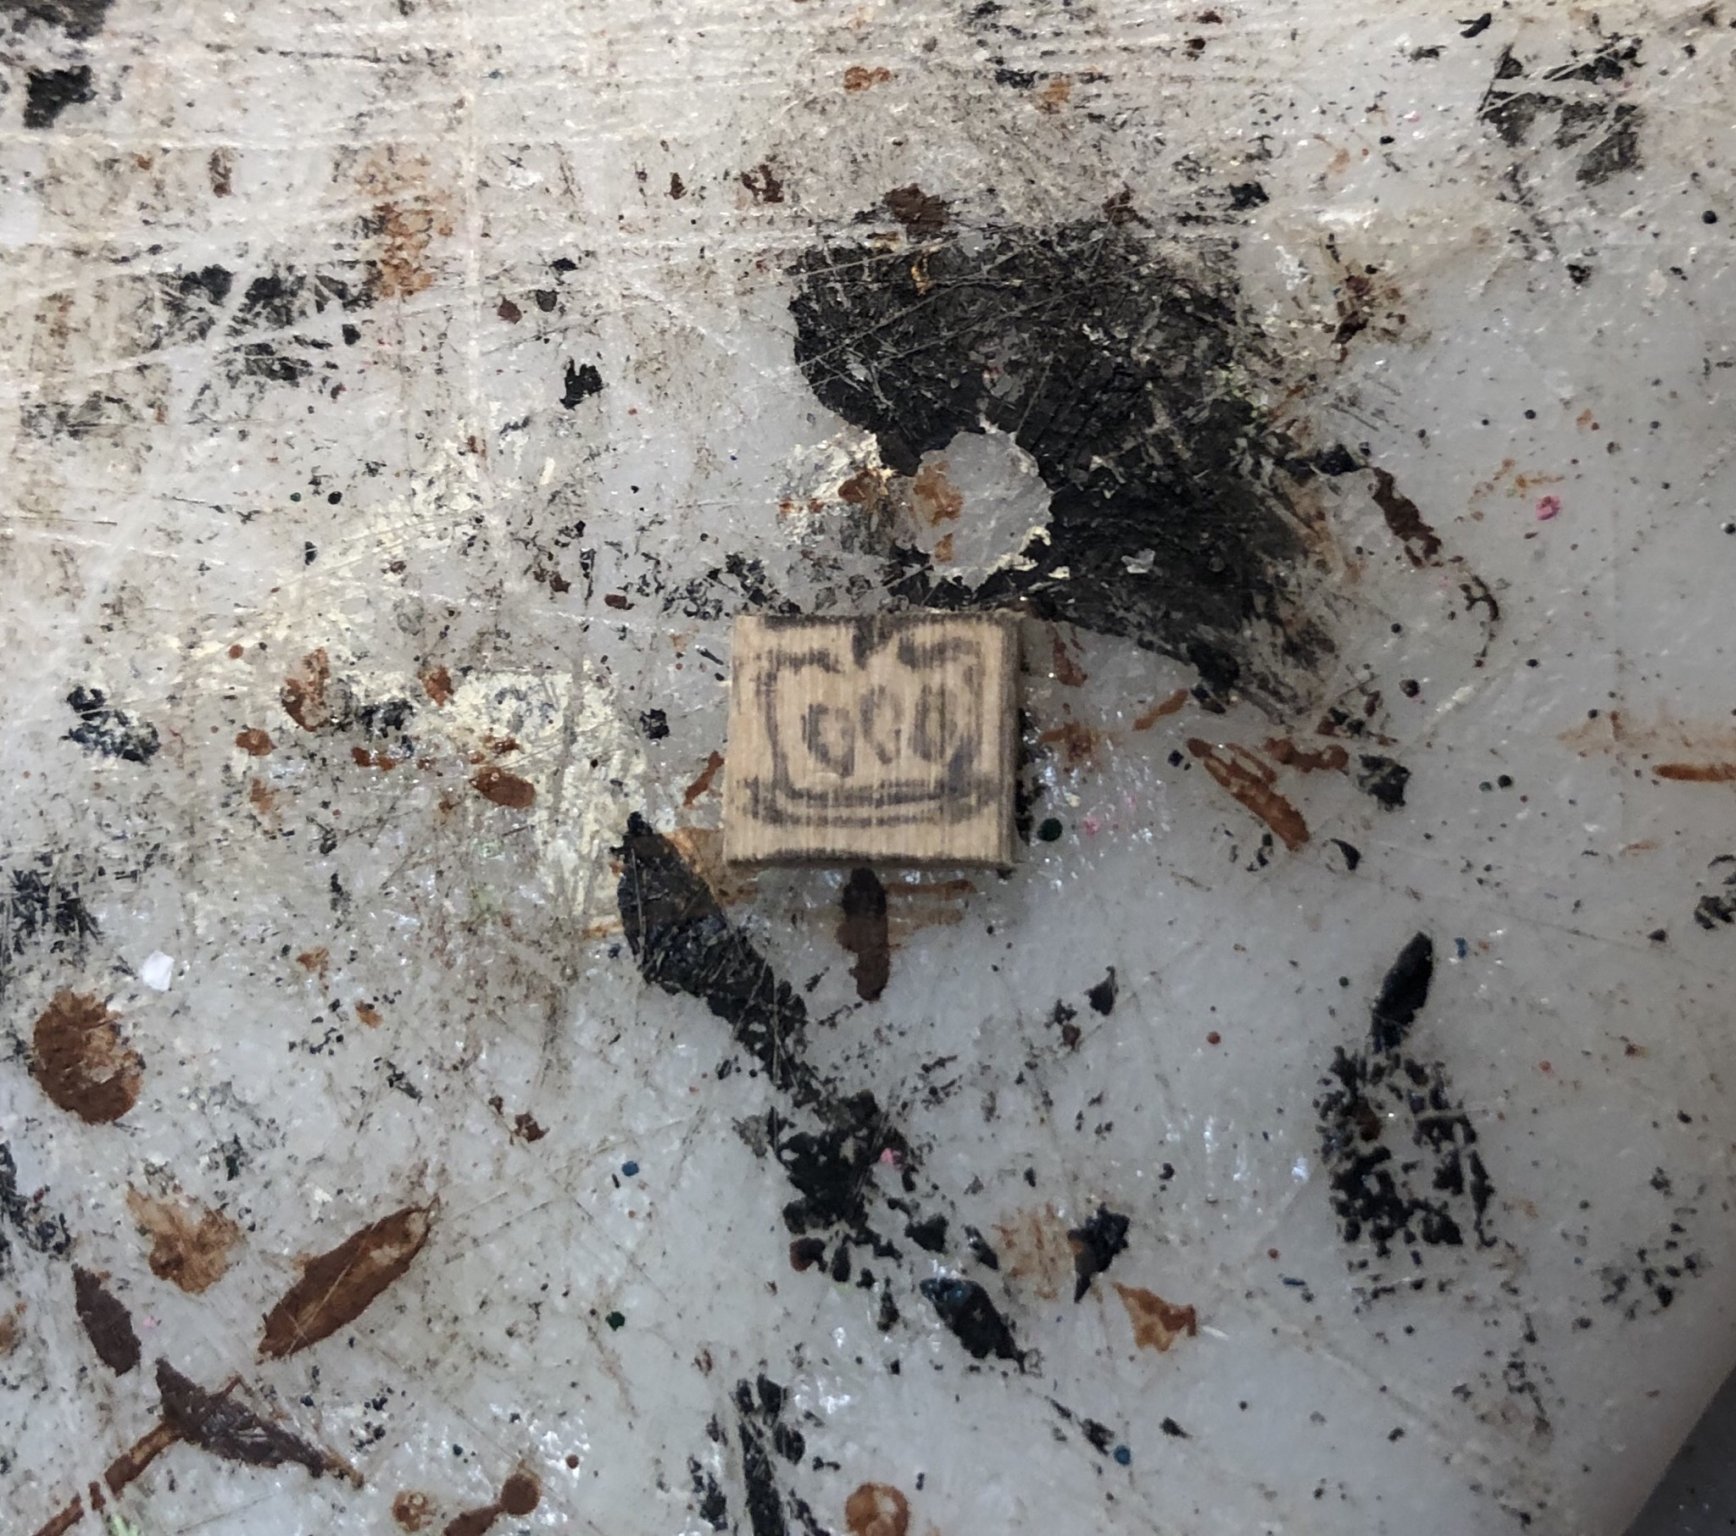
I saw a badge on the end of the catheads on the outboard profile. It looked like a crown, so I made one for the port side and glued it to the end of the cathead.
I’m not the greatest at drawing, but I think it came out okay:

- Zarkon, Edwardkenway, Retired guy and 2 others
-
5
-
Excellent! Sapphire is looking good!
- bdgiantman2, mtaylor and Piet
-
3
-
I originally started scratch building just to see if I could. I didn’t think that my first scratch building project, the Prince de Neufchatel, would get finished.
I had a blast building the Prince de Neufchatel. It was the most fun that I have ever had building a model.
I’ve been finishing my Mantua Victory from the AOTS plans, so it will be about half scratch by the time it’s done.
The only power tool that I really use is a drill.
My coping saw, my scalpels, a couple of machinist scales and my pin vise are my work horses, so the cost of tools wasn’t really an issue for me.
-
Congratulations! Well done!


Rebuild a ship model kit?
in Building, Framing, Planking and plating a ships hull and deck
Posted
I also nitpick my own work heavily.
I have learned over the years that dismantling a model and rebuilding it usually doesn’t have a happy ending.
If you want the same vessel, you would likely be better off buying a second kit.
I typically add mistakes to my lessons learned file and apply those lessons to my next build.