
GrandpaPhil
-
Posts
4,933 -
Joined
-
Last visited
Content Type
Profiles
Forums
Gallery
Events
Posts posted by GrandpaPhil
-
-
Good start! Take it slow and have fun!
-
-
-
I will have to try this when I get around to installing my masts. Thank you.
-
I usually lay the model on its side when planking.
I just put it on the building board so that the board supports the model and use a tack hammer to drive in pins, or nails, if they are needed.
I would read some of the planking tutorials on the site. Chuck, one of the admins, and an expert model builder, pre-bends the planks and uses CA to attach to the model. He doesn’t even use pins or nails.
- BETAQDAVE, Jim Rogers and John Allen
-
 3
3
-
4 hours ago, Glenns_TX said:
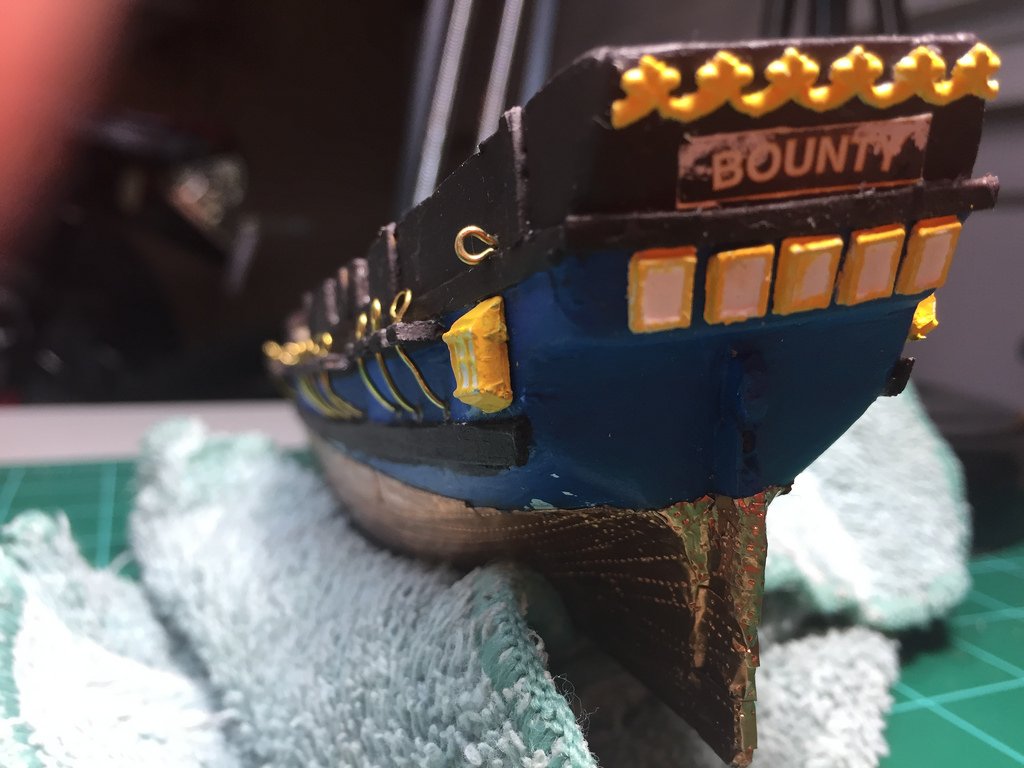
This is getting frustrating. I glued on her stern windows. Then her name. Followed by the decoration above. Well I used padded alligator clamps to hold that on. And look what happened to her name when I removed them.
Not to mention her stern windows. The center one appears centered over the keel. And the others are more or less evenly spaced from it. And yet there is still extra space on her port.
Microsoft word works wonders for printing out new labels and nameplates.
If you’re not happy with the windows, just pop them off and reglue them.
You’re doing great! Keep at it!
Take your time and enjoy.
-
Still working on the entry ports.
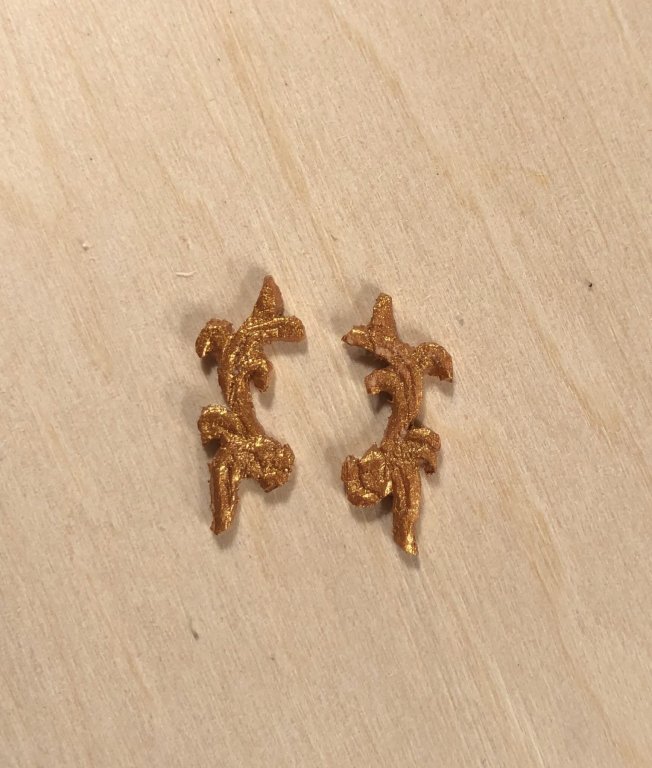
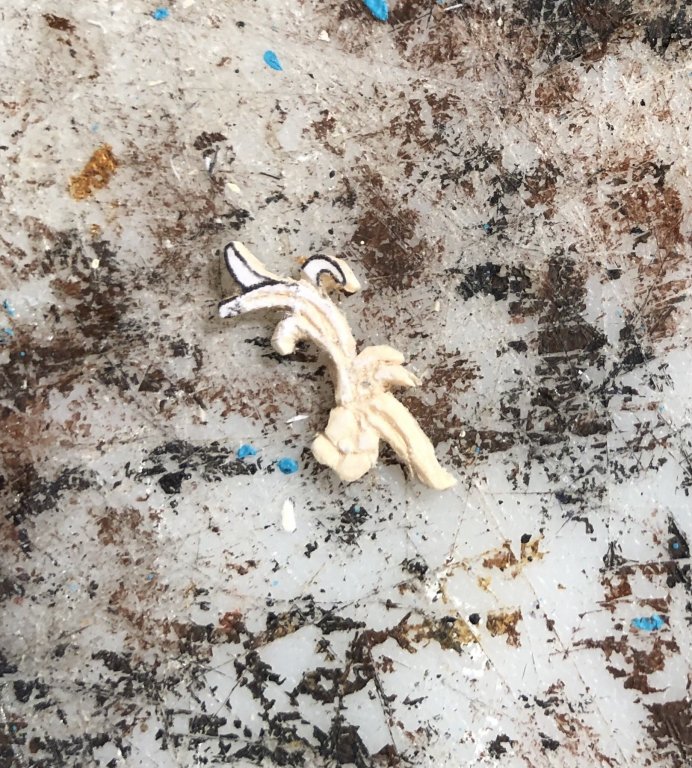
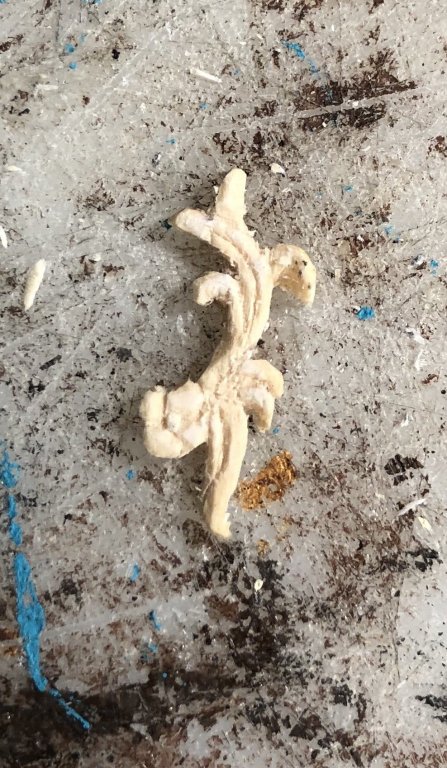
After one massive failure, I realized that I needed to develop my carving skills, and buy some better quality wood to make my carvings from.
Basswood doesn’t hold tiny details very well.
However, I ran through the carving tutorials in the group project, which were very helpful, and I’m going to press on with the entry port carvings.
-
Looking good! I’m building the same kit and I’m about a year and a half into it.
-
-
-
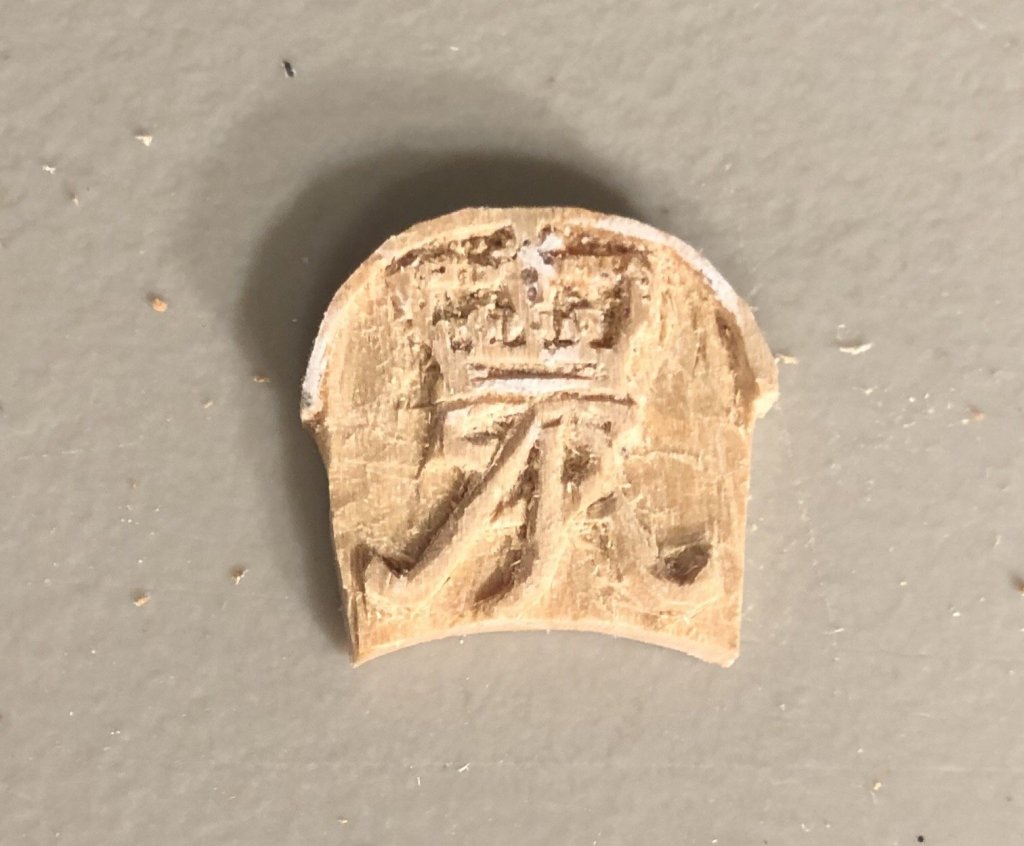
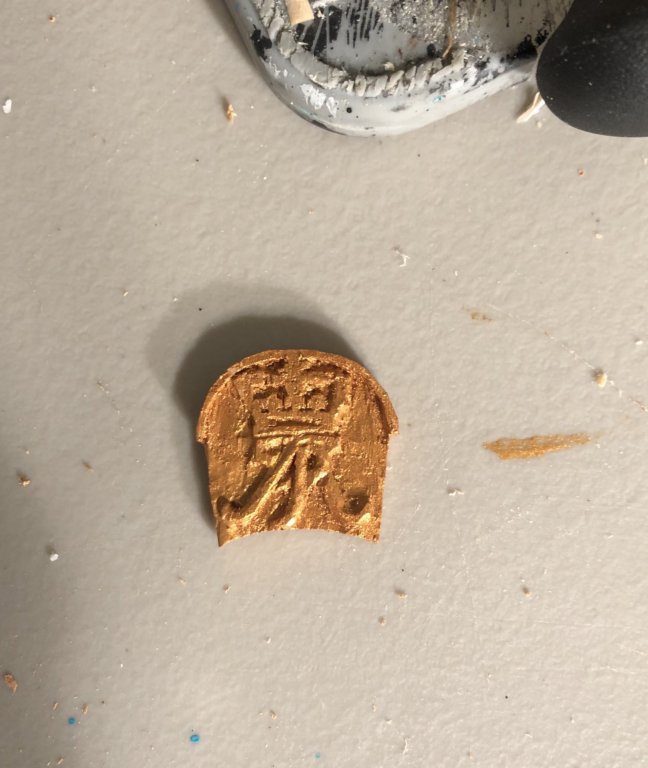
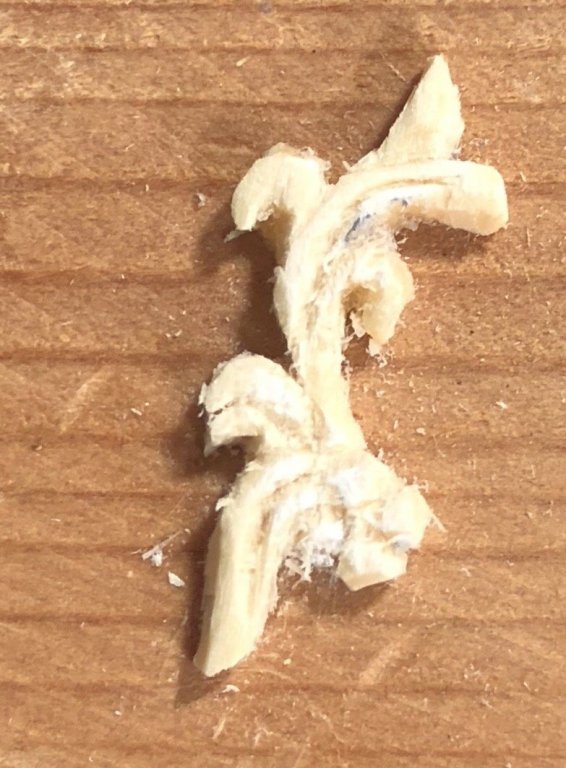
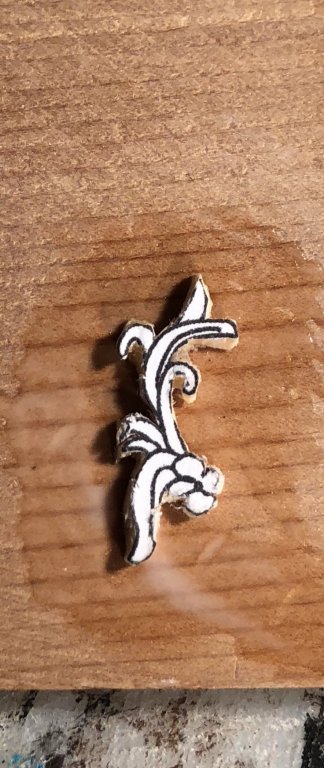
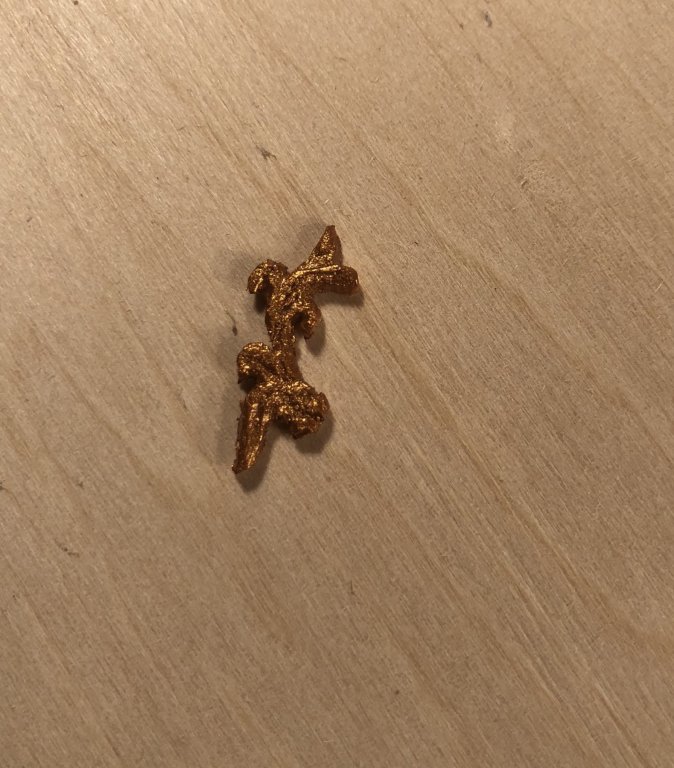
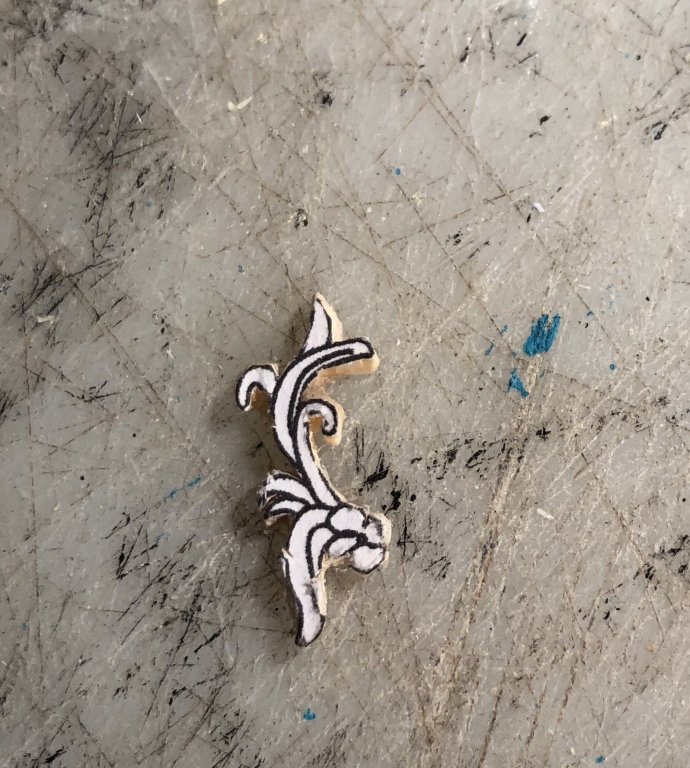
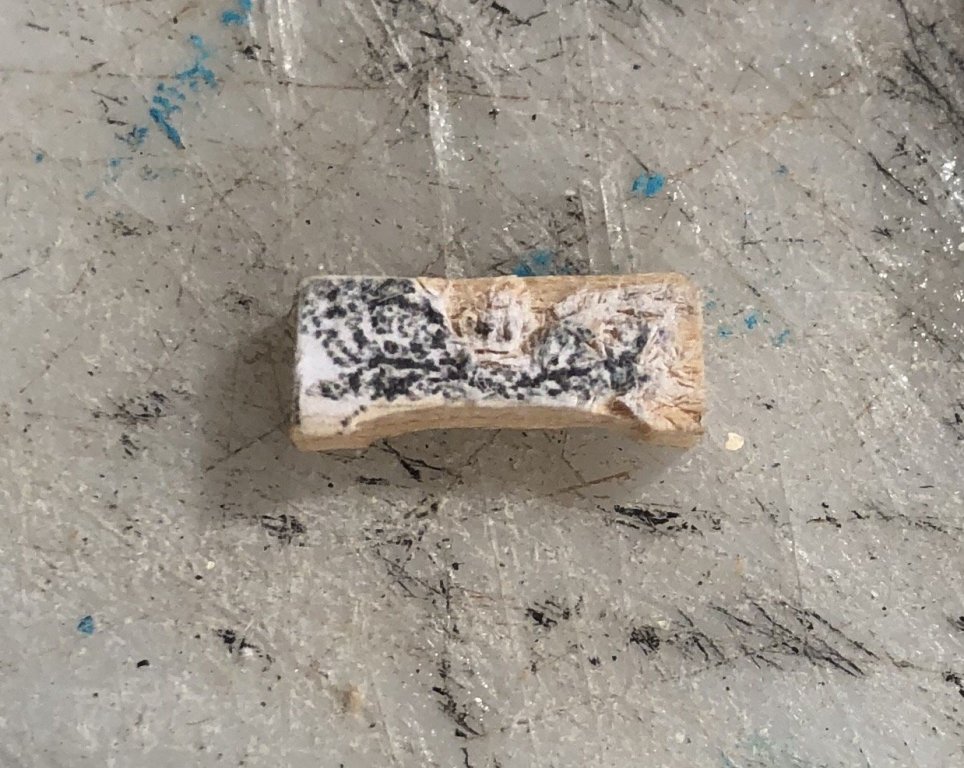
I made the crown cipher on my third attempt. I bas reliefed it into 3/16” basswood. It’s not perfect but it’ll do for now. I made it with a #11 x-acto blade.
Among my lessons learned is that basswood is not really effective for miniature carving (which I already knew, but I wanted to try it anyway, because I have a lot of it, lol).
I also learned that I am going to have to buy some pear or boxwood for the carvings on the Victory, because these are giant in comparison.
- CaptainSteve, Keith Black, mtaylor and 2 others
-
 5
5
-
-
-
Thank you
- thibaultron and mtaylor
-
 2
2
-
- mtaylor, thibaultron, Canute and 2 others
-
 5
5
-
- popash42, Tom E, CaptainSteve and 5 others
-
 8
8
-
-
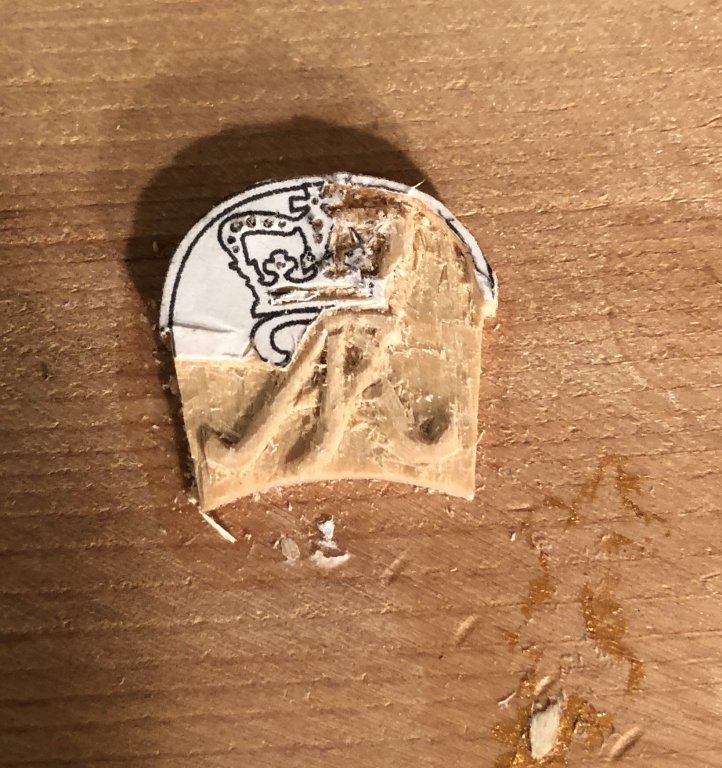
I’m currently trying to carve my entry ports for my model of the Victory. It’s a steep learning curve, which is a nice way of saying that it’s not going well.
I have carved a bas relief before, but at much larger scale.
I am going to give these carvings a try.
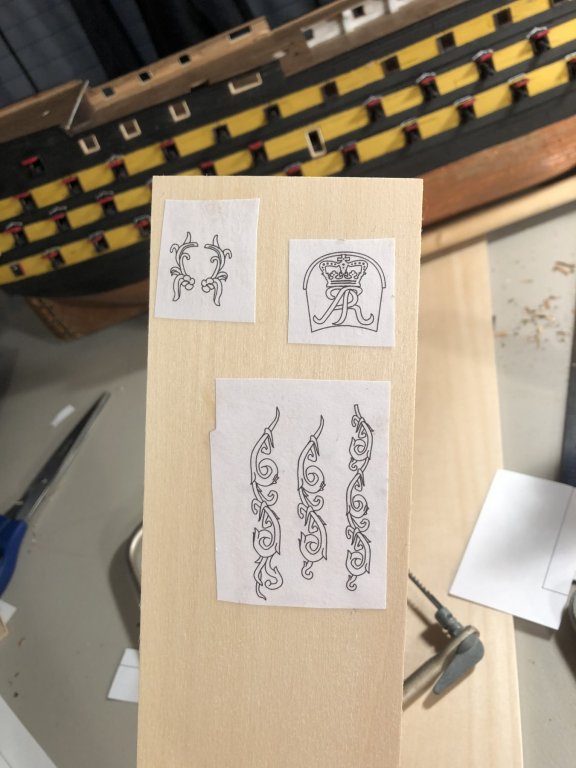
I printed the patterns out and pasted them down to the board. I’ll let y’all know how it goes.
- thibaultron, mtaylor, Canute and 2 others
-
 5
5
-
-
Thank you!
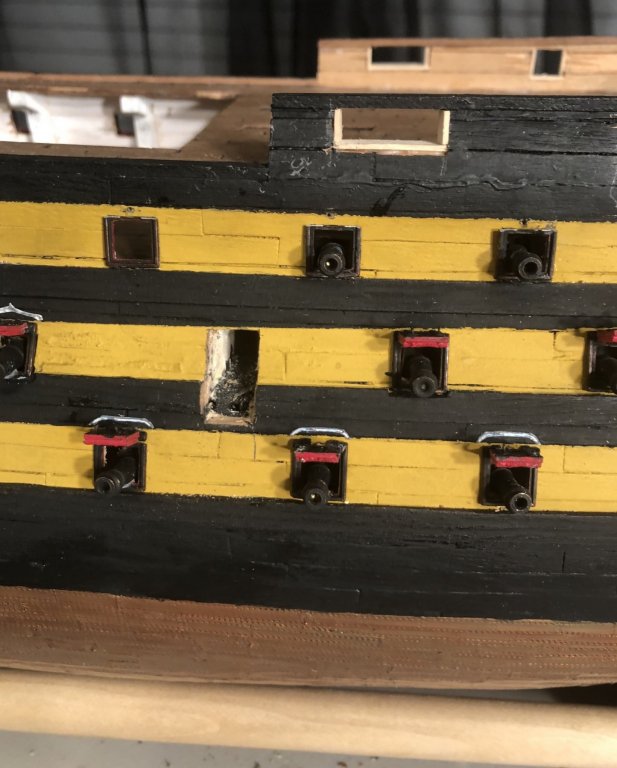
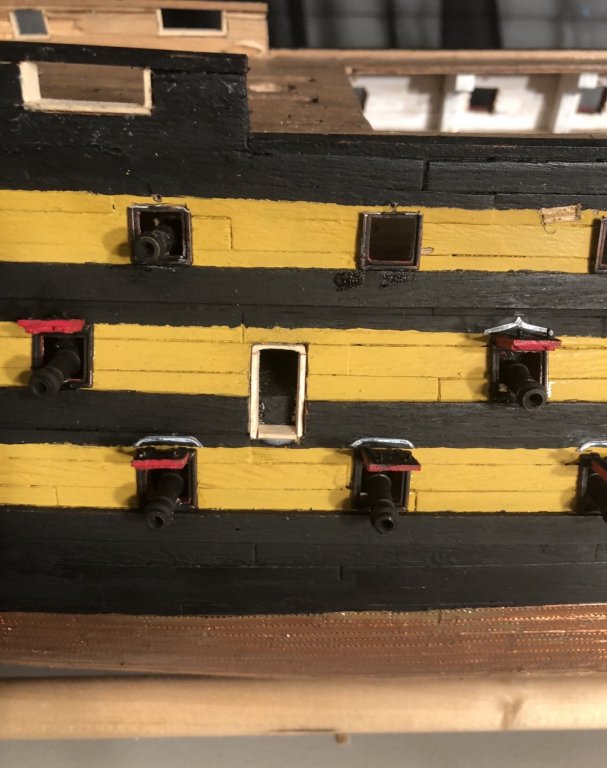
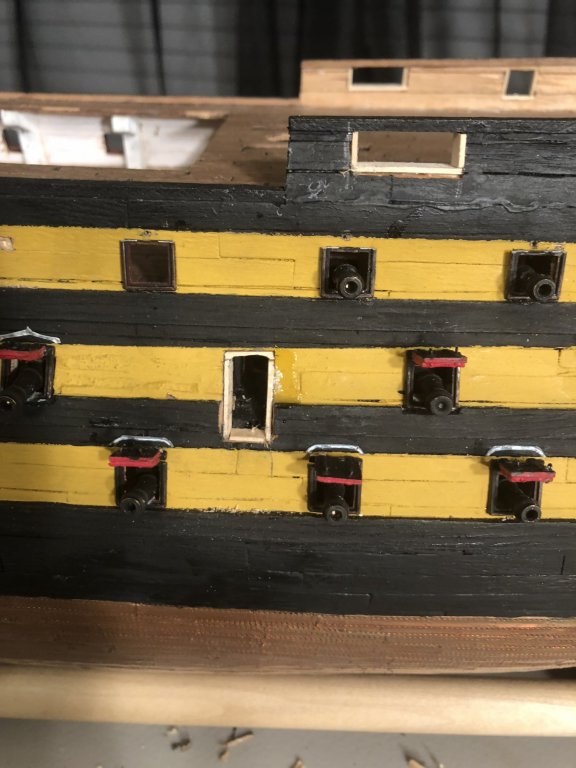
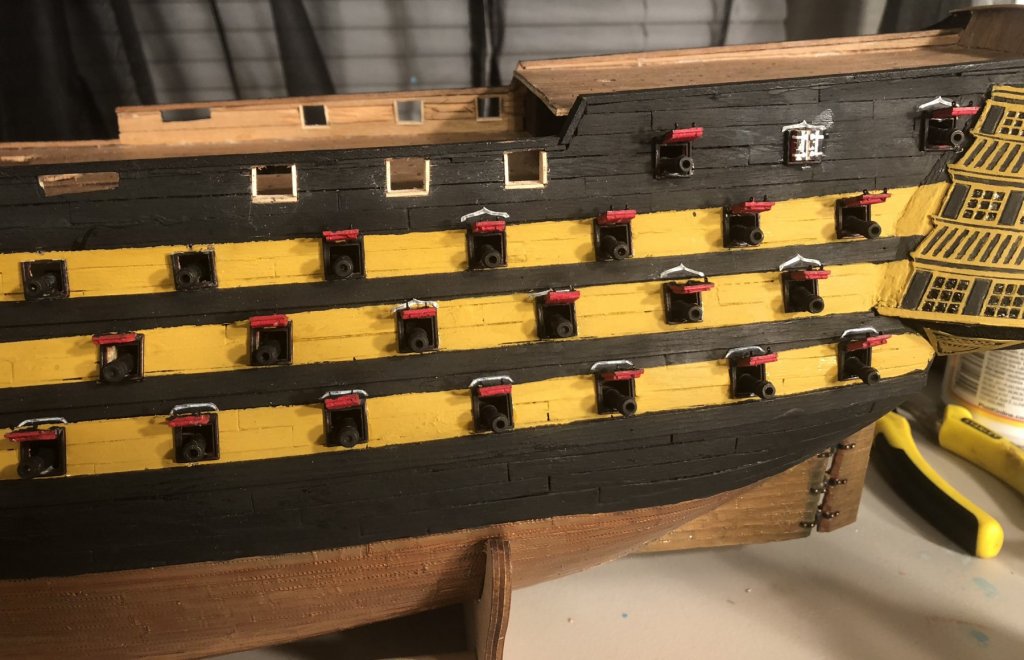
I made some adjustments to my bulwarks and opened up the entry ports. I have one framed.
I will be making the canopies after I frame up the other one.
I’ve never done this level of model building before. So, I am developing much of my woodworking skills on the fly, lol.
I’m having fun with it and learning a lot, which is the whole point of this project.
-
- Old Collingwood, Retired guy and CDW
-
 3
3
-
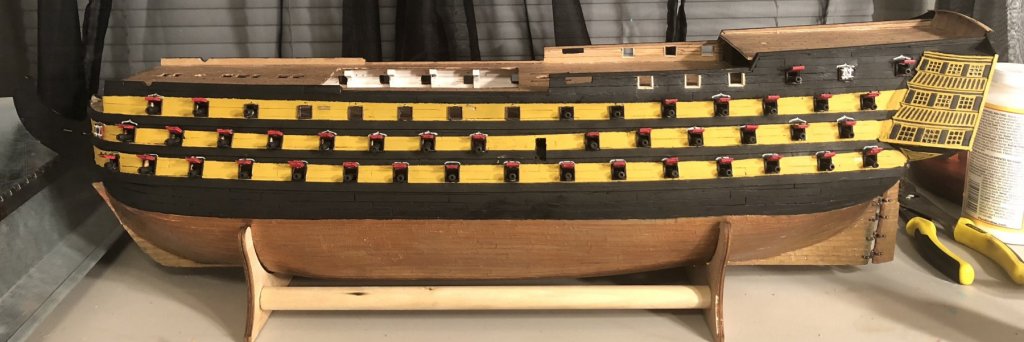
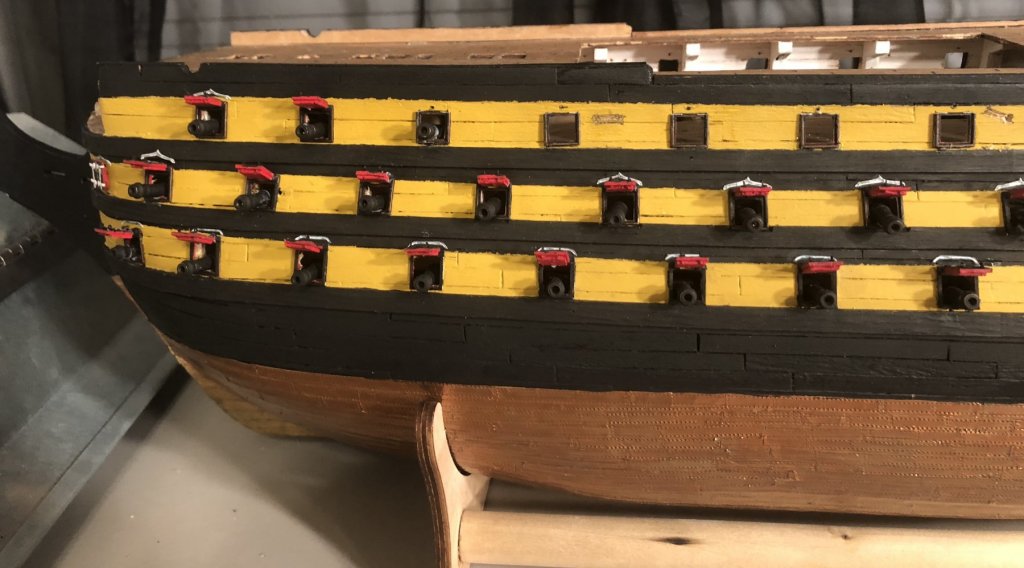
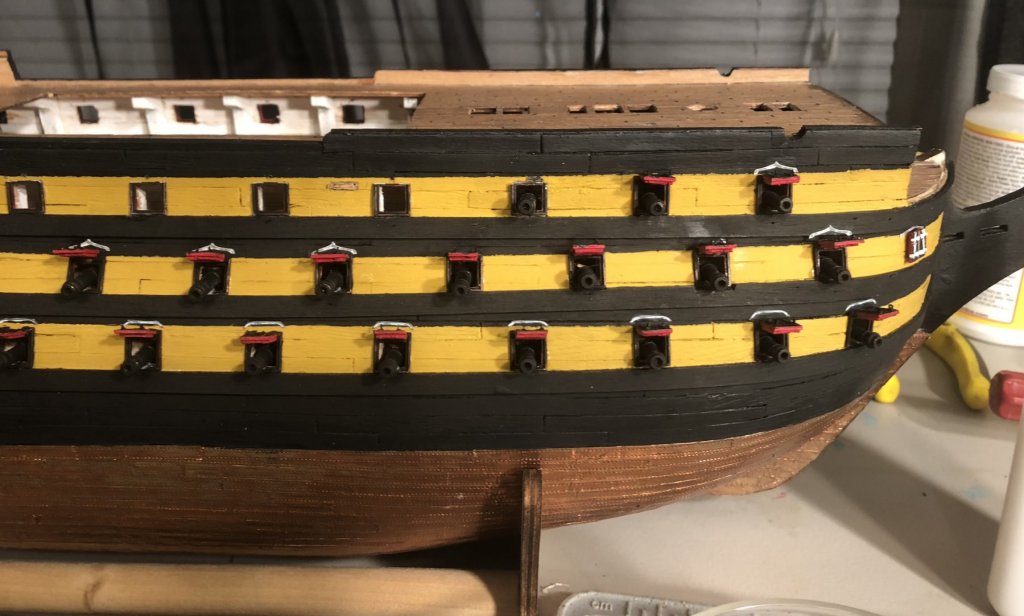
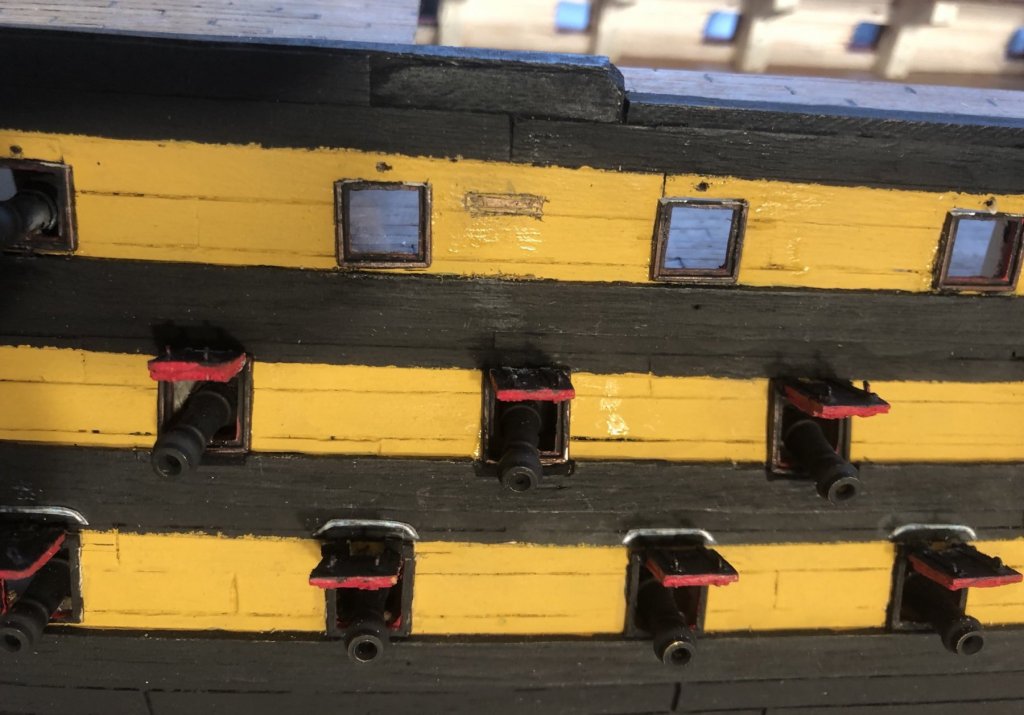
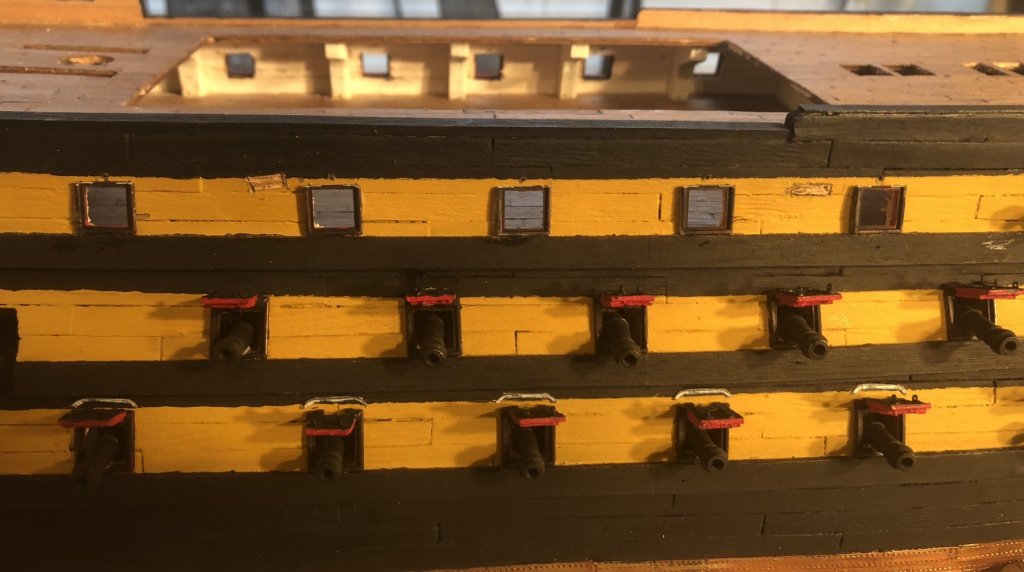
The drip shields divert rain and spray running down the hull away from the gunports, which aren’t sealed. They’re for housekeeping purposes.
-
Looking good! Keep at it!
- Canute, CDW, popeye the sailor and 2 others
-
 5
5
-
- Old Collingwood and CDW
-
 2
2

Scottish Maid by mispeltyoof - FINISHED - Artesania Latina - scale 1:50 - Rod Buckle
in - Kit build logs for subjects built from 1801 - 1850
Posted
I used a hand plane on my last planking when it looked that rough. It worked wonders. Trim off the excess carefully and then sand it good to see how much filling you actually need to do. Remember, slow is fast.