

Sea Hoss
-
Posts
420 -
Joined
-
Last visited
Content Type
Profiles
Forums
Gallery
Events
Posts posted by Sea Hoss
-
-
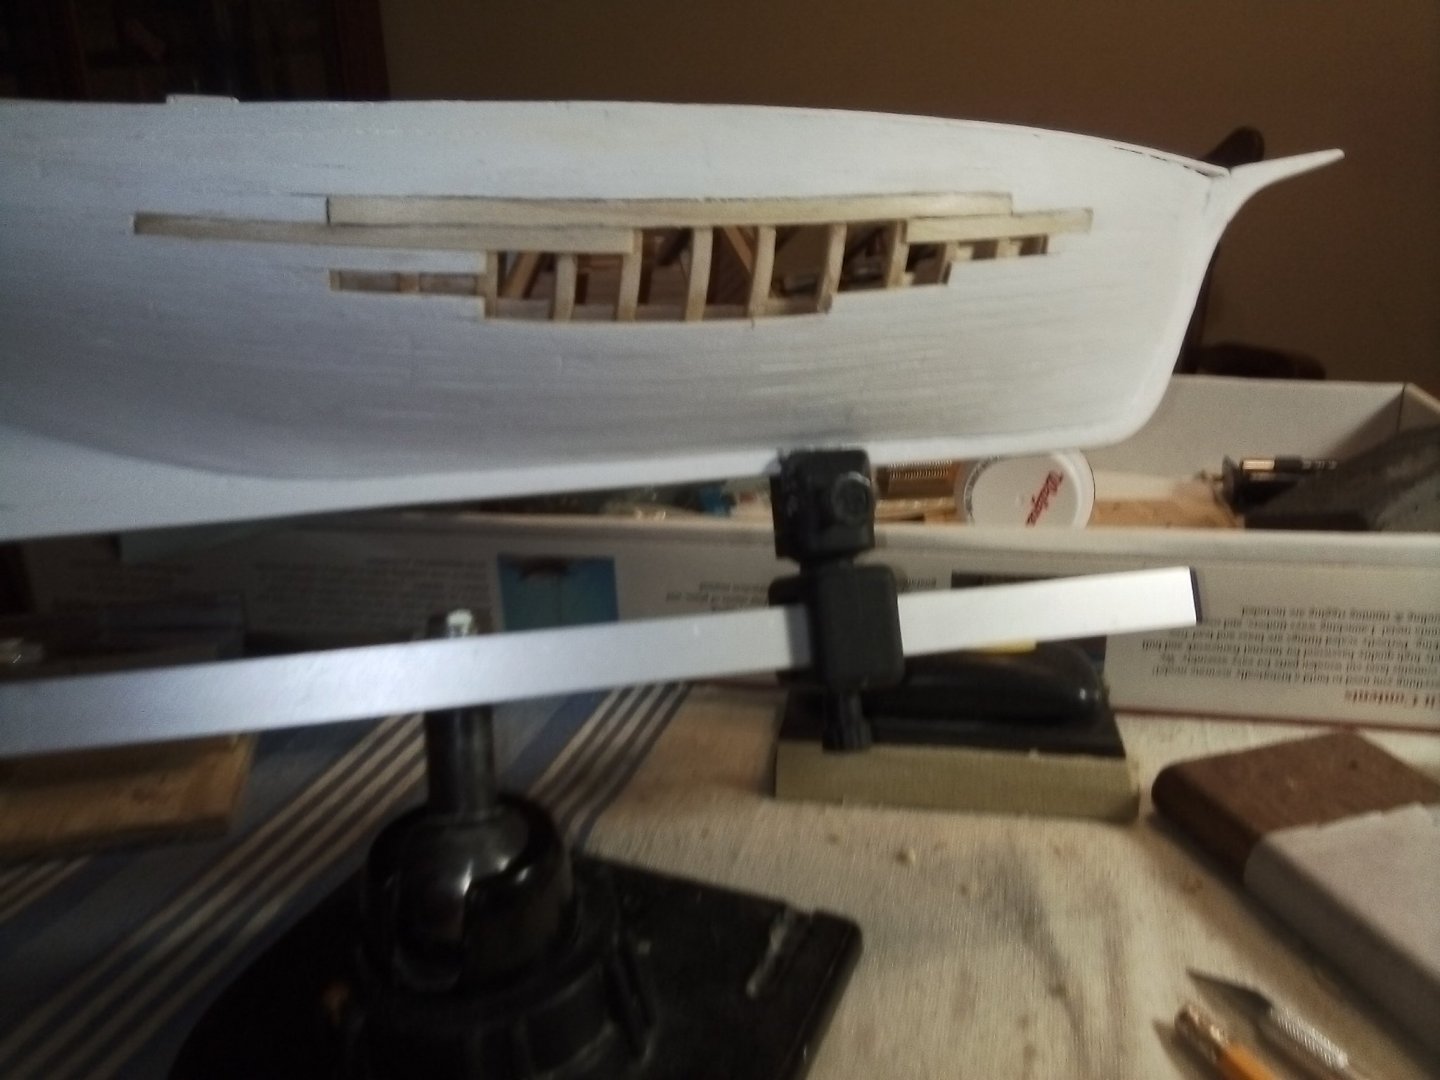
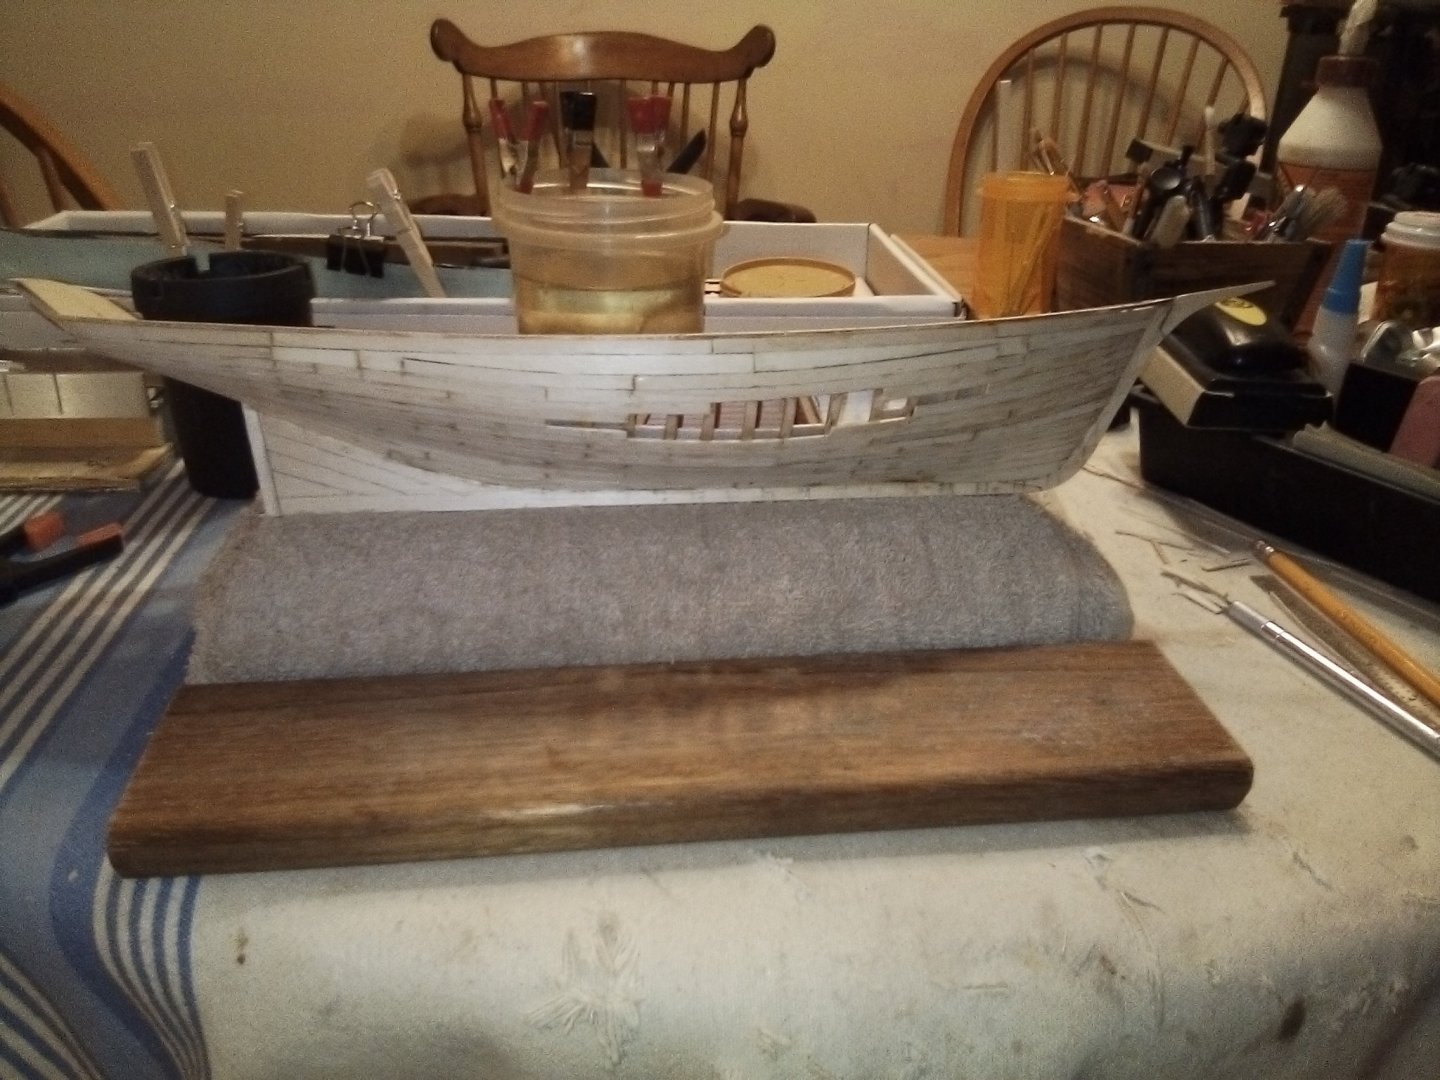
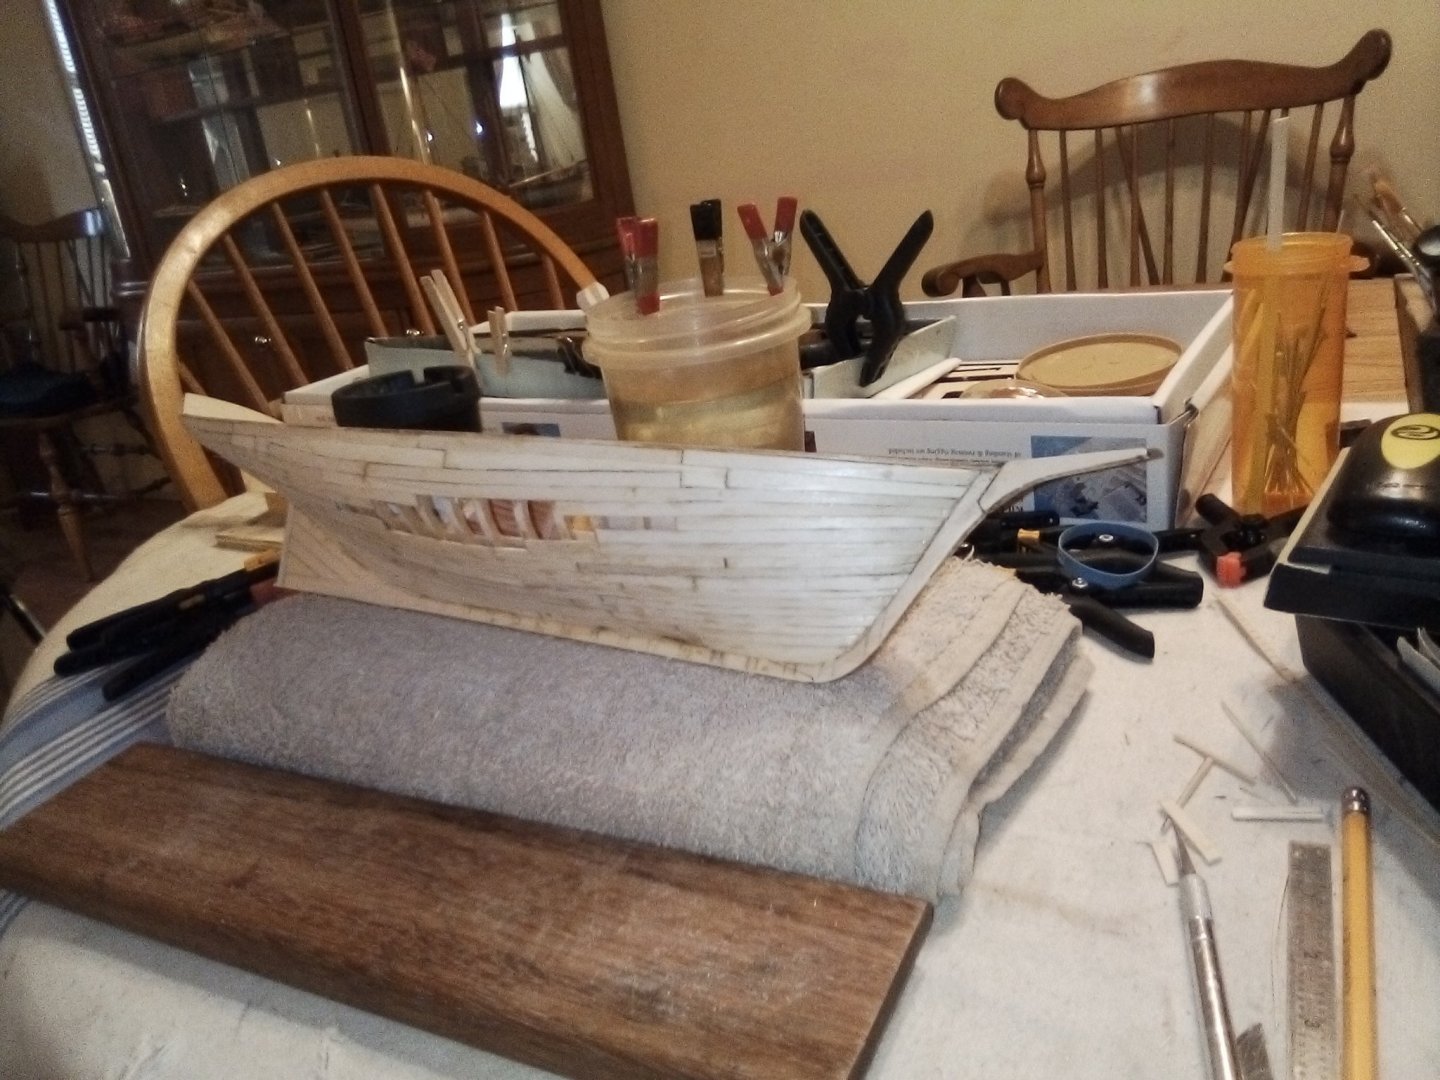
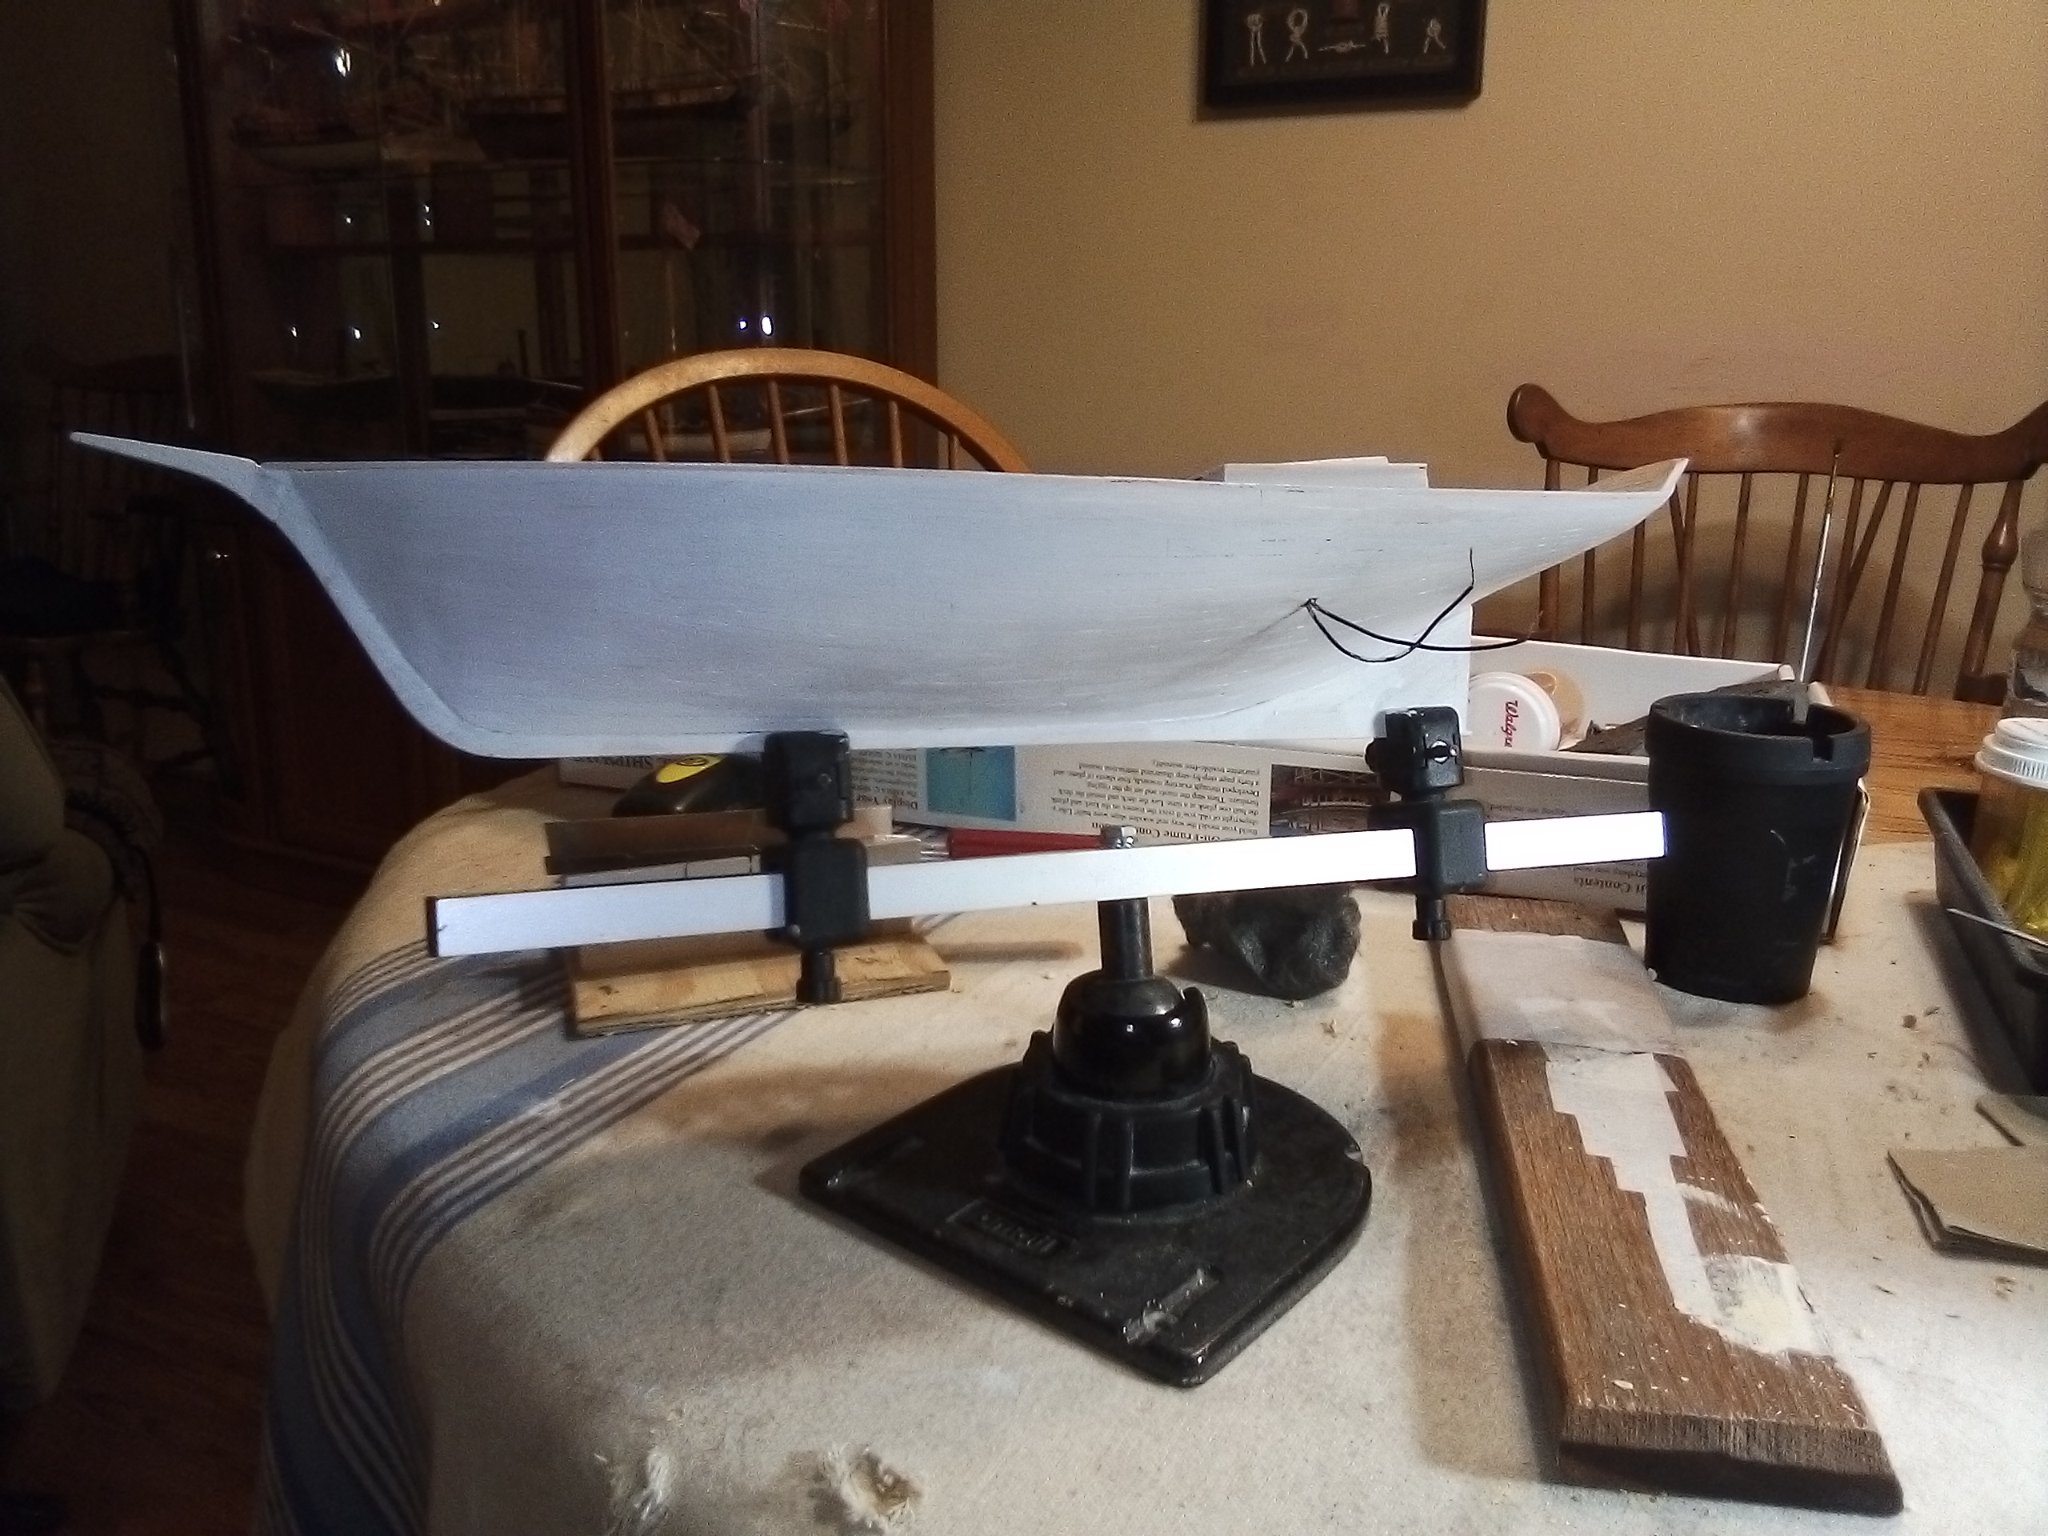
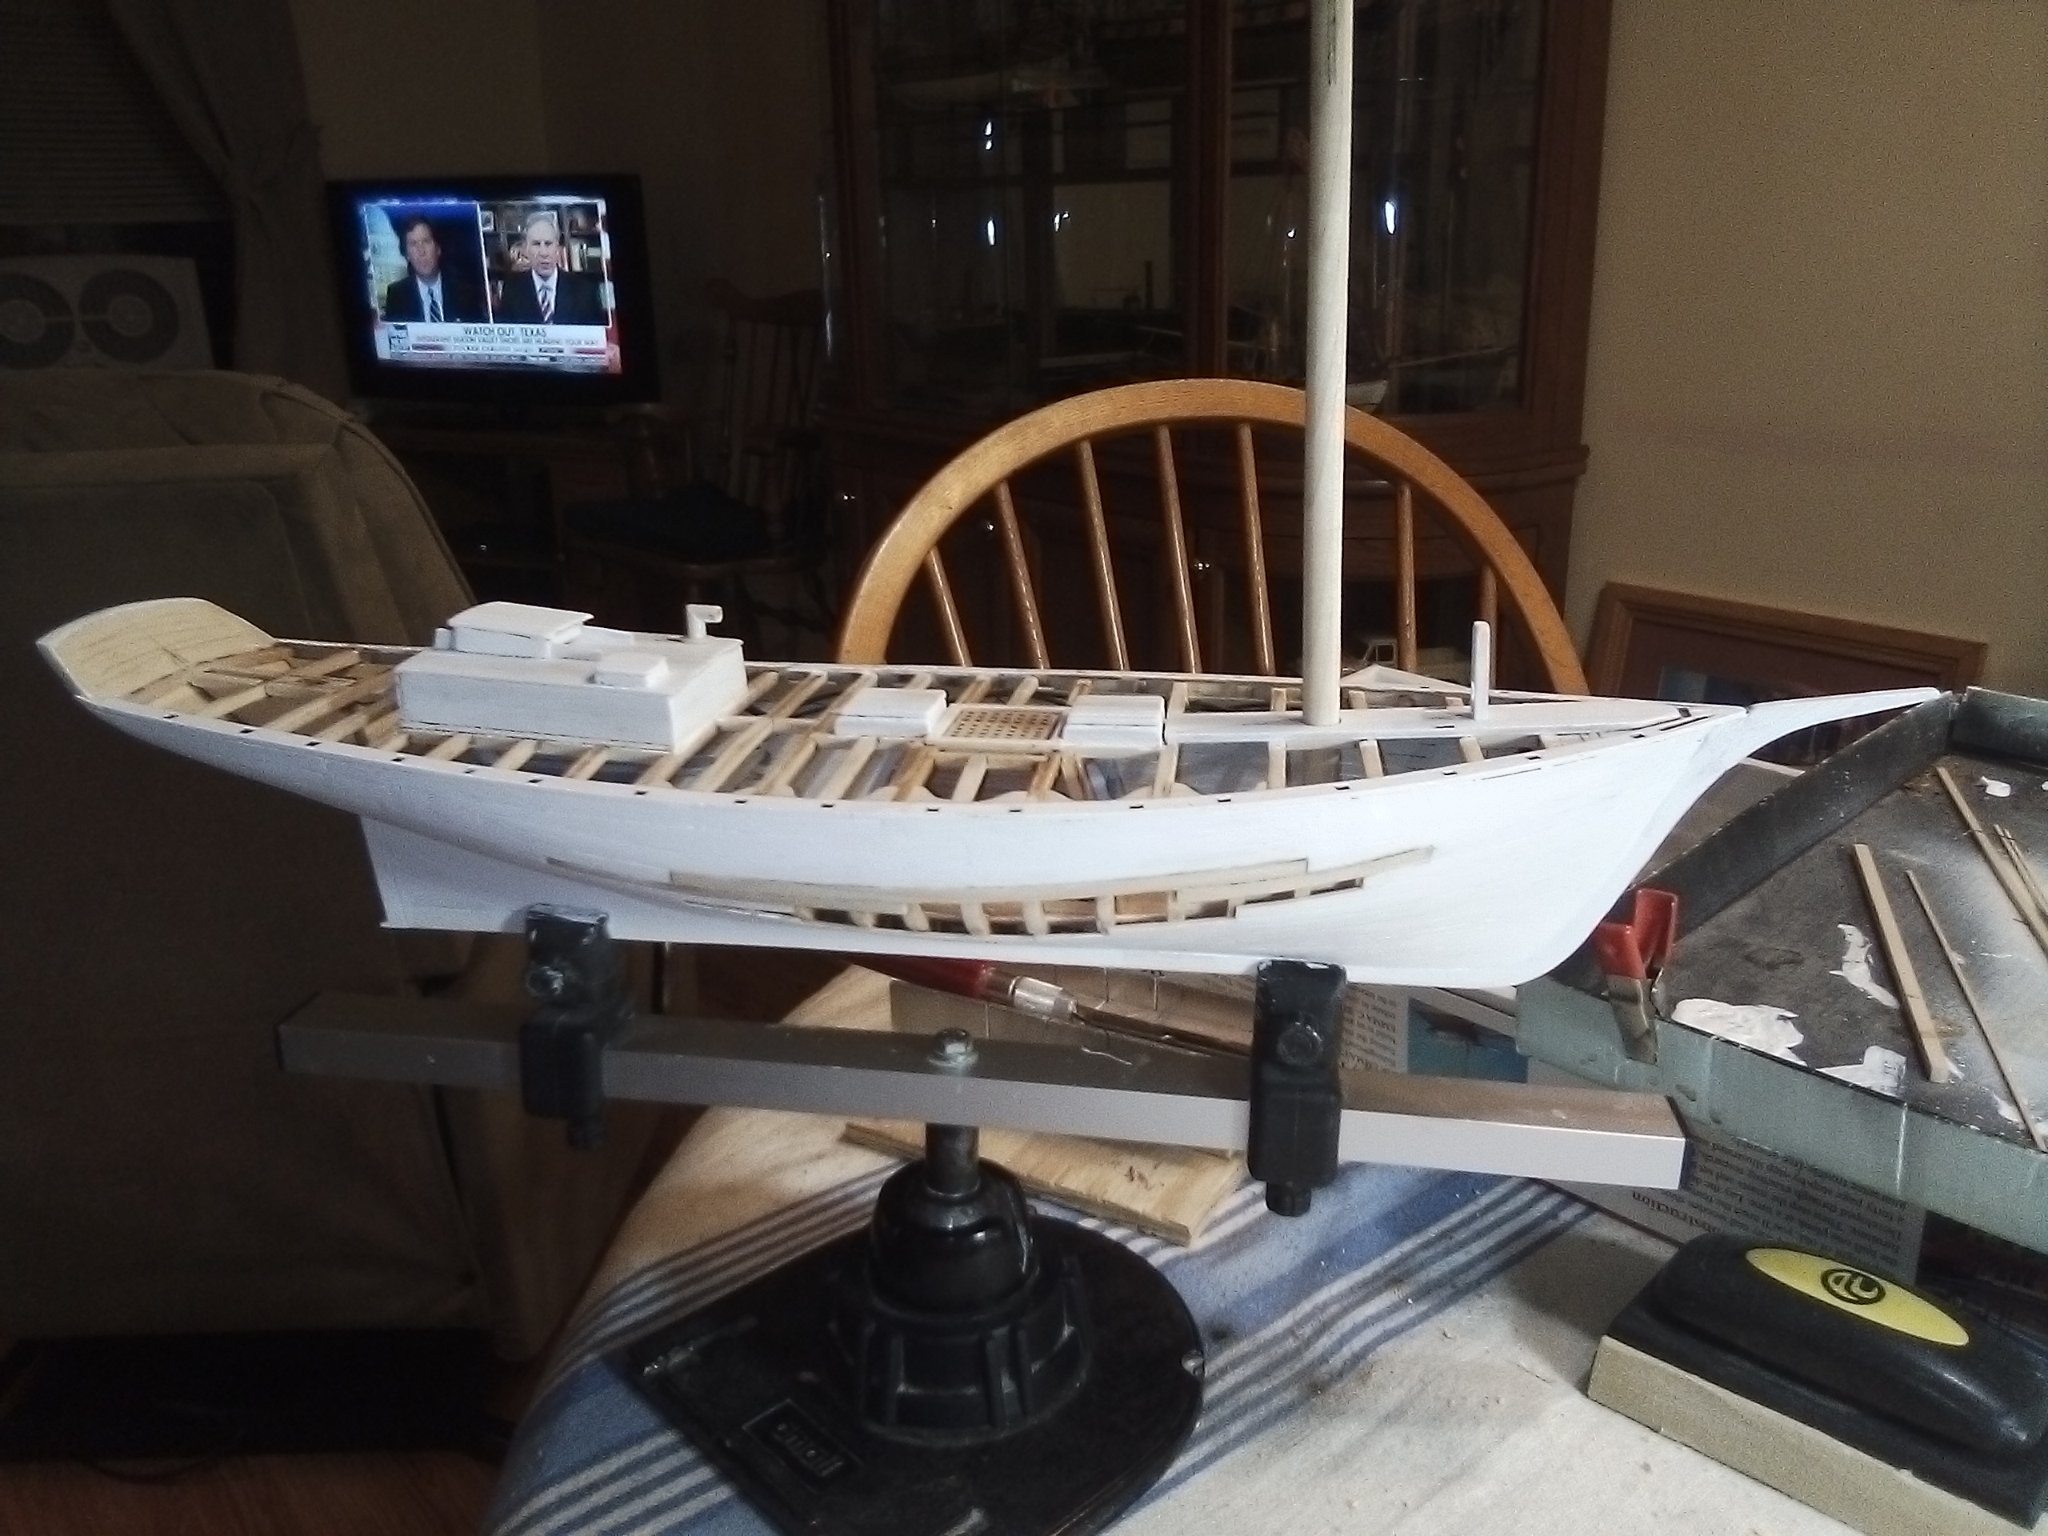
New update on the Emma, work on the cabin and companionway, hatches, bowsprit pall bit. Then I began sanding and filling defects in the hull. Put on primer, sanded and more primer. Then smoothed with 00 steel wool. I didn't want to over do it with the filling and smoothing so it looks like fiberglass rather than an old fishing vessel with it's dents and defects. Now I should look for and correct any funky mistakes before moving on. I'm not sure if I should construct the bulwarks next or plank the deck, I'll have to mull that over. She's beginning to take on a beautiful look to me now!


- mek, Moltinmark, Duanelaker and 6 others
-
 9
9
-
Very admirable job, I enjoy watching your builds develop. Happy new year!
- Martin W and Beef Wellington
-
2
-
-
-
-
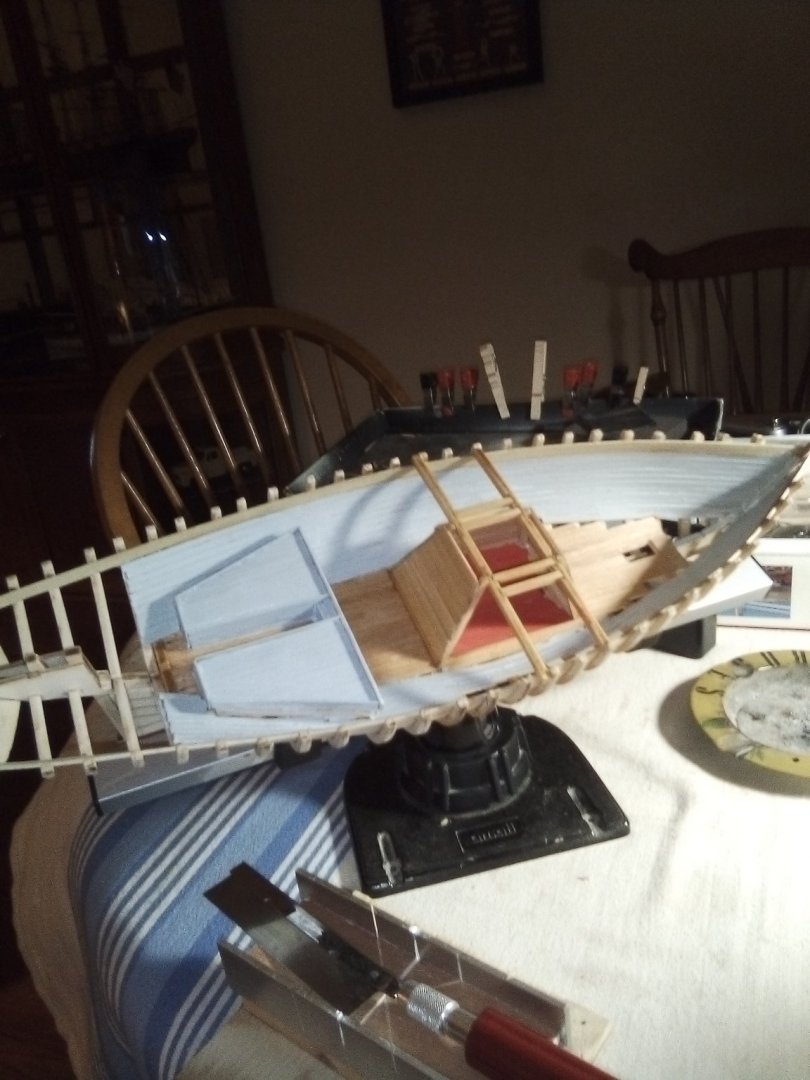
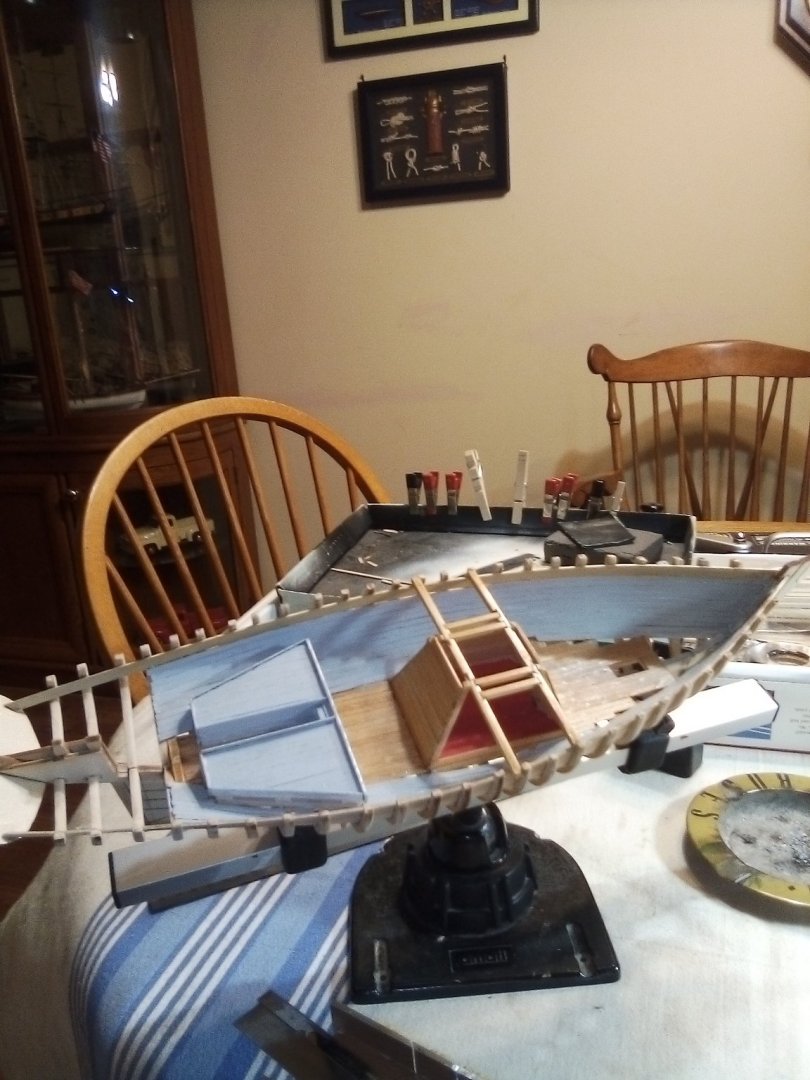
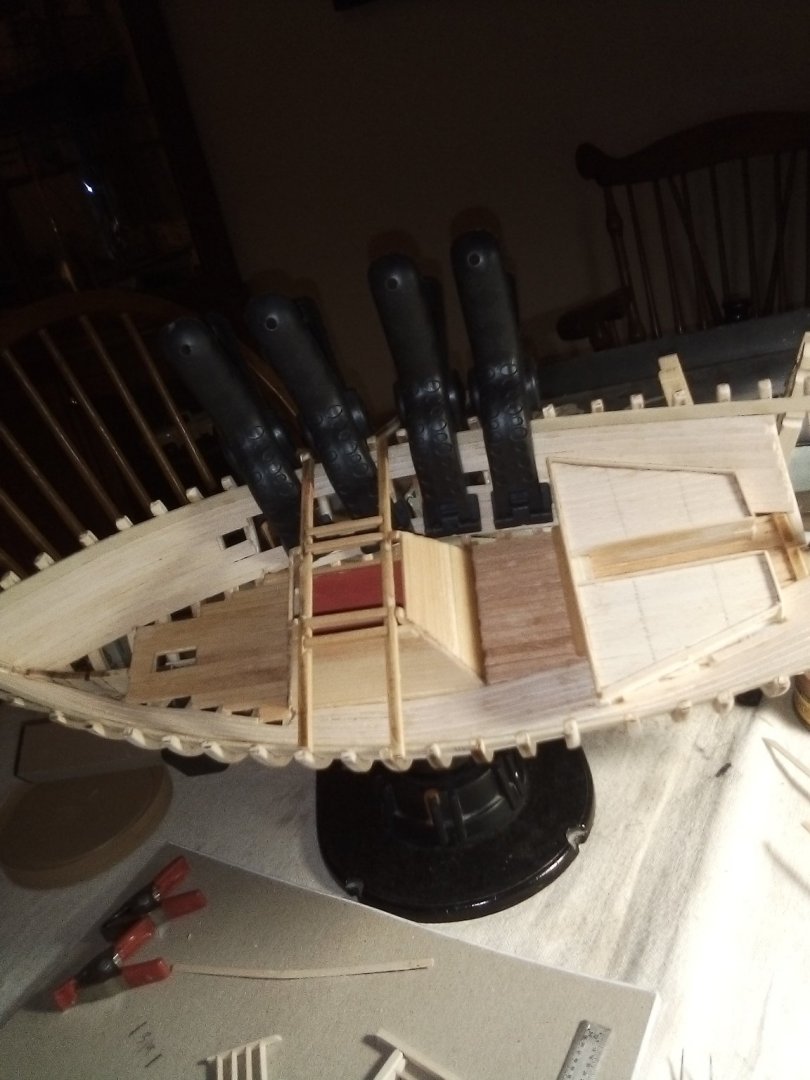
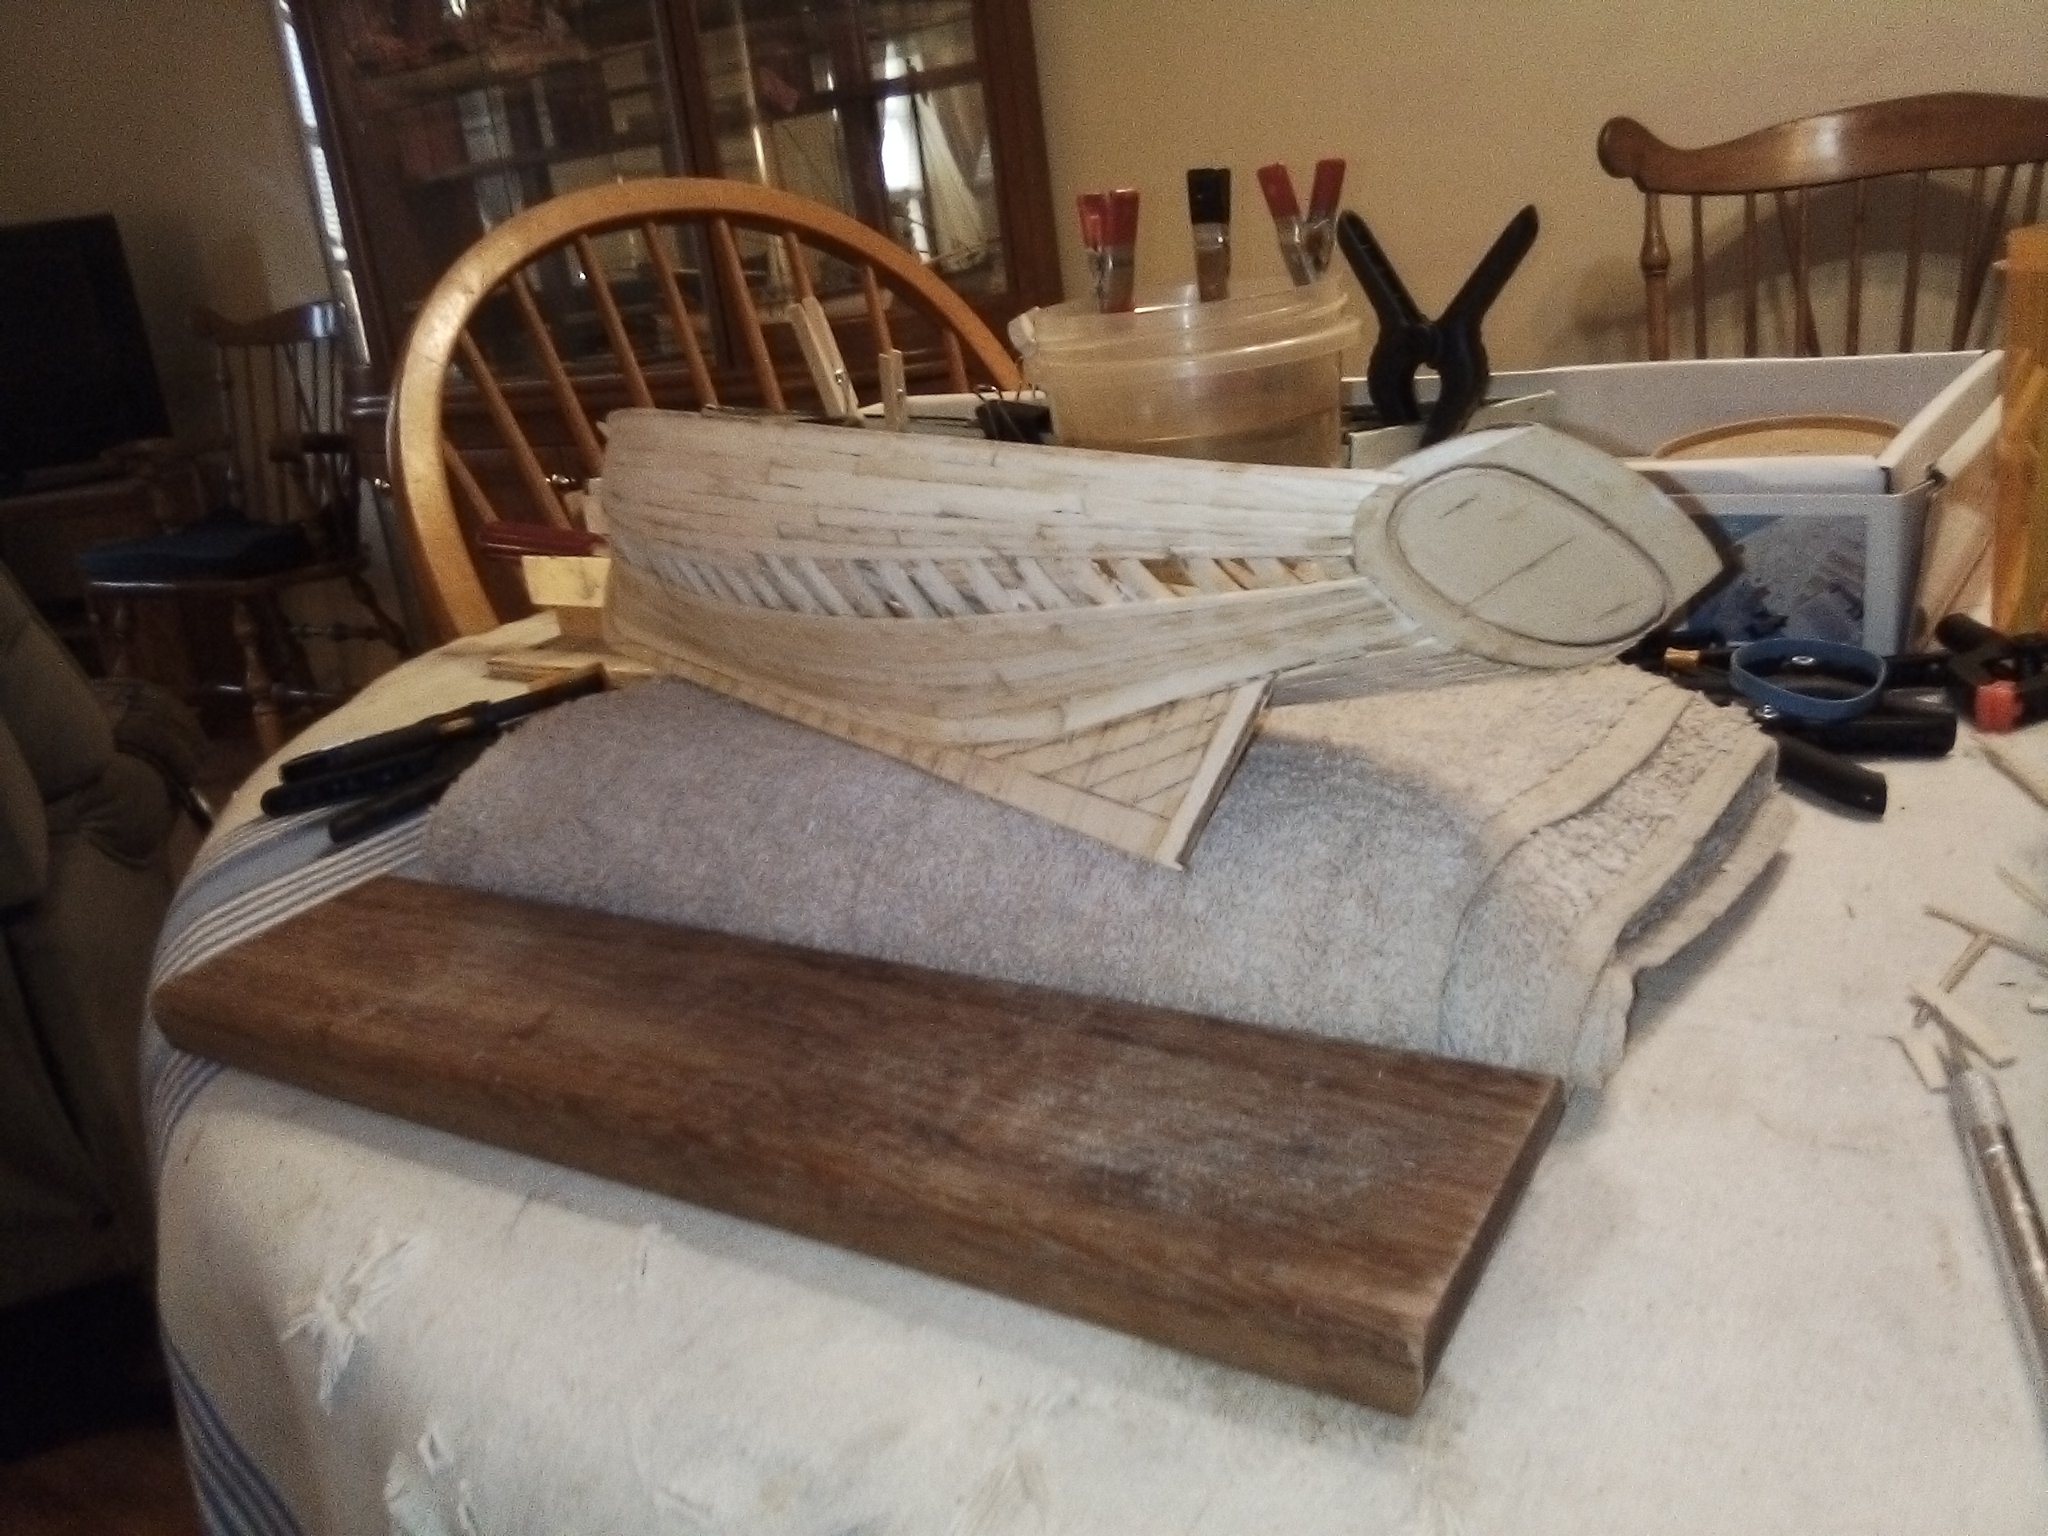
Hello All, still banging away on Emma. (that doesn't sound right). Got the hull planking finished. Still need finish sanding though. Got the coamings, grating and hatches done. Working on the cabin top, companion way and trimming are next. I plan on doing all I can before deck planking. I installed a few LED's inside at the bow, behind the wet well and in the cabin to show some detail better. They seem to be too bright though. They glow through the basswood. I think they'll glow through even after painting. I'll figure out how to tone them down a bit. Well, that's all for now, happy modelling!


-
Ya, I just think the wooden masts etc. are something that cannot be captured in plastic. Just my opinion. I'll be watching your progress.
-
Immaculate work! it looks perfect.
- mort stoll and Heinz6672
-
2
-
Welcome to MSW... your Sea Witch is looking nice so far. I think it would be awesome if you did most of the remaining build using wooden parts. I built a USS Constitution several years ago (Revell- plastic) and wish I would have done the masts and deck things in wood. Just an idea.
-
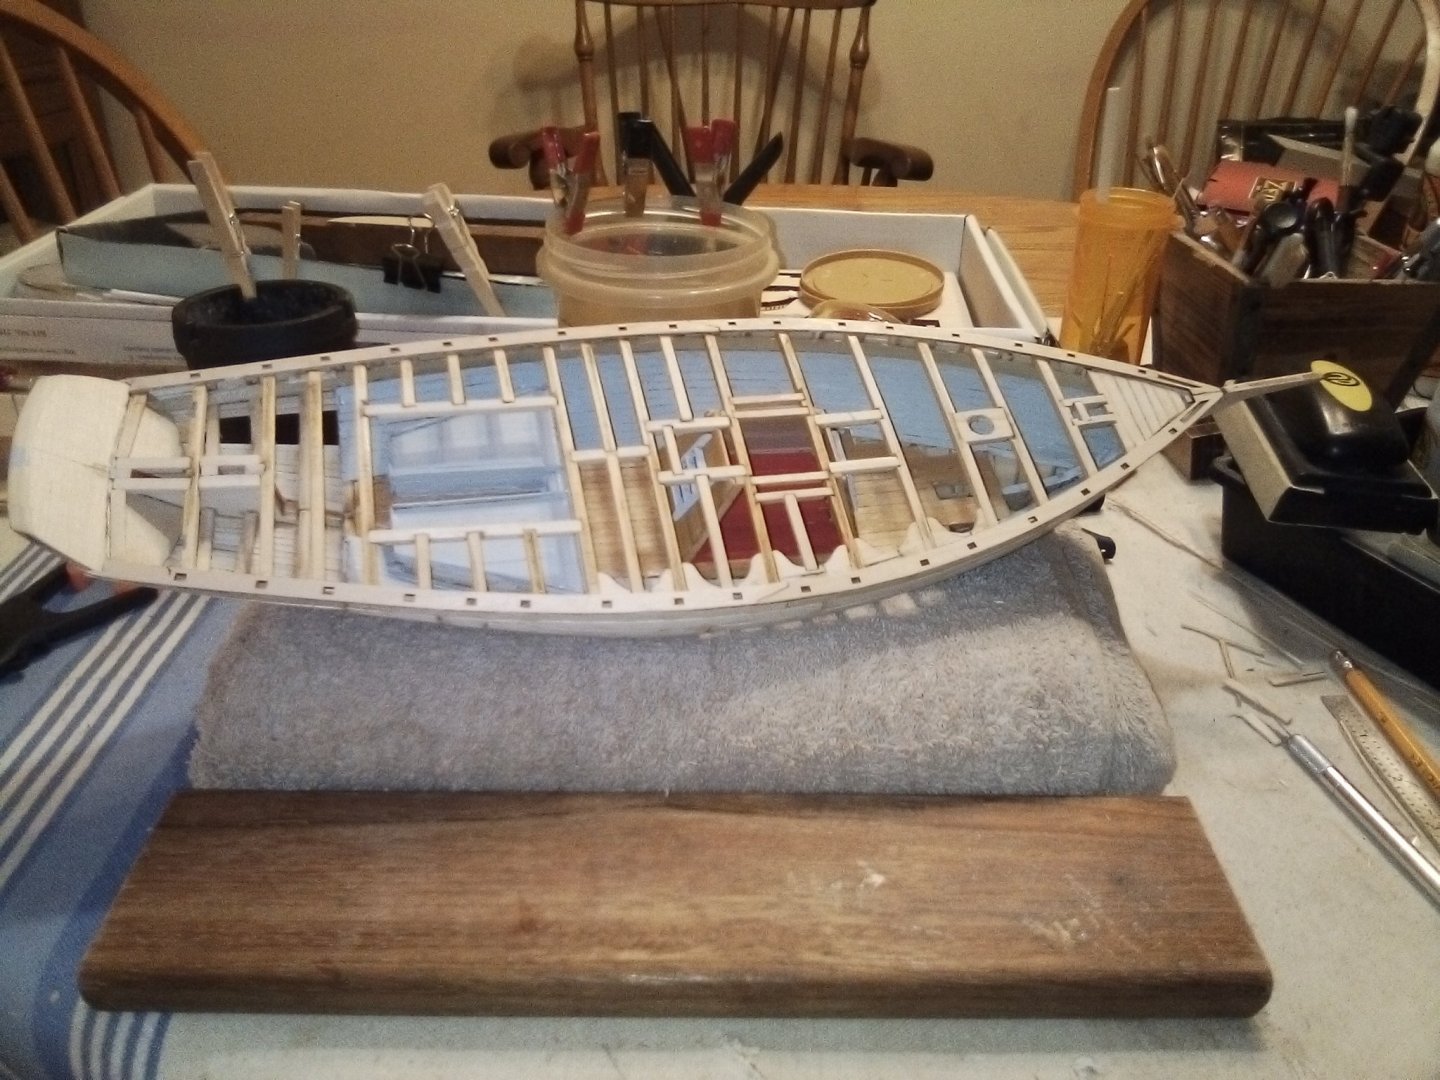
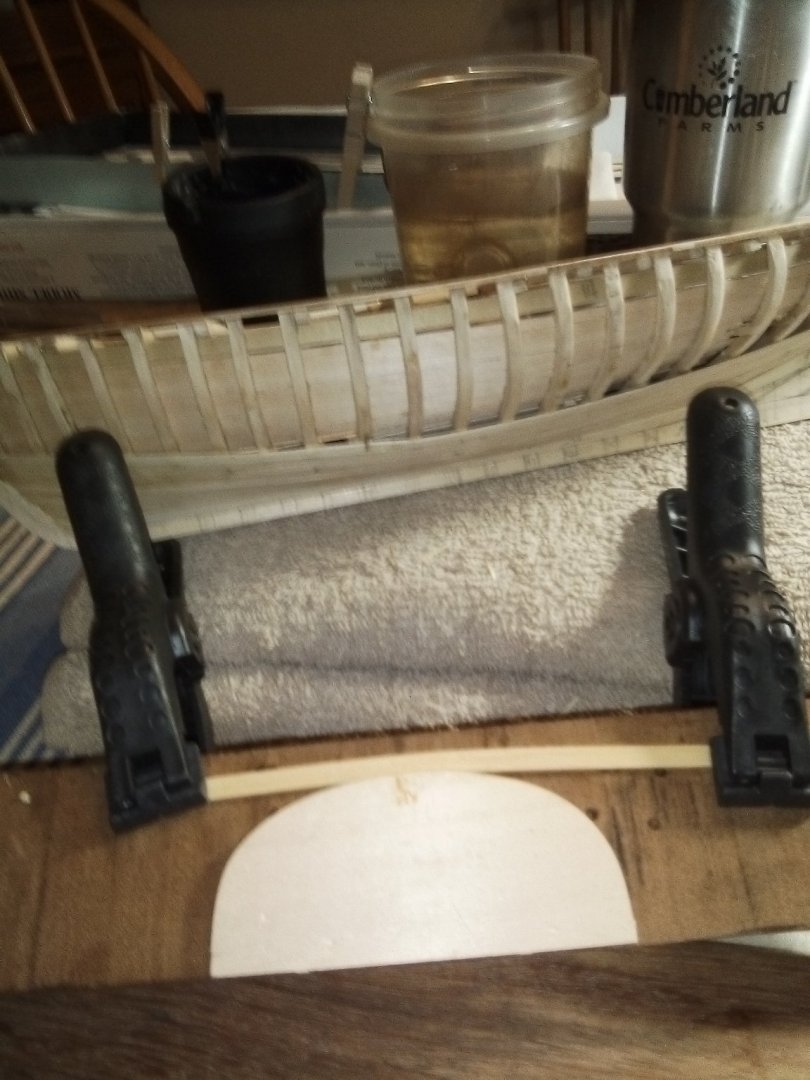
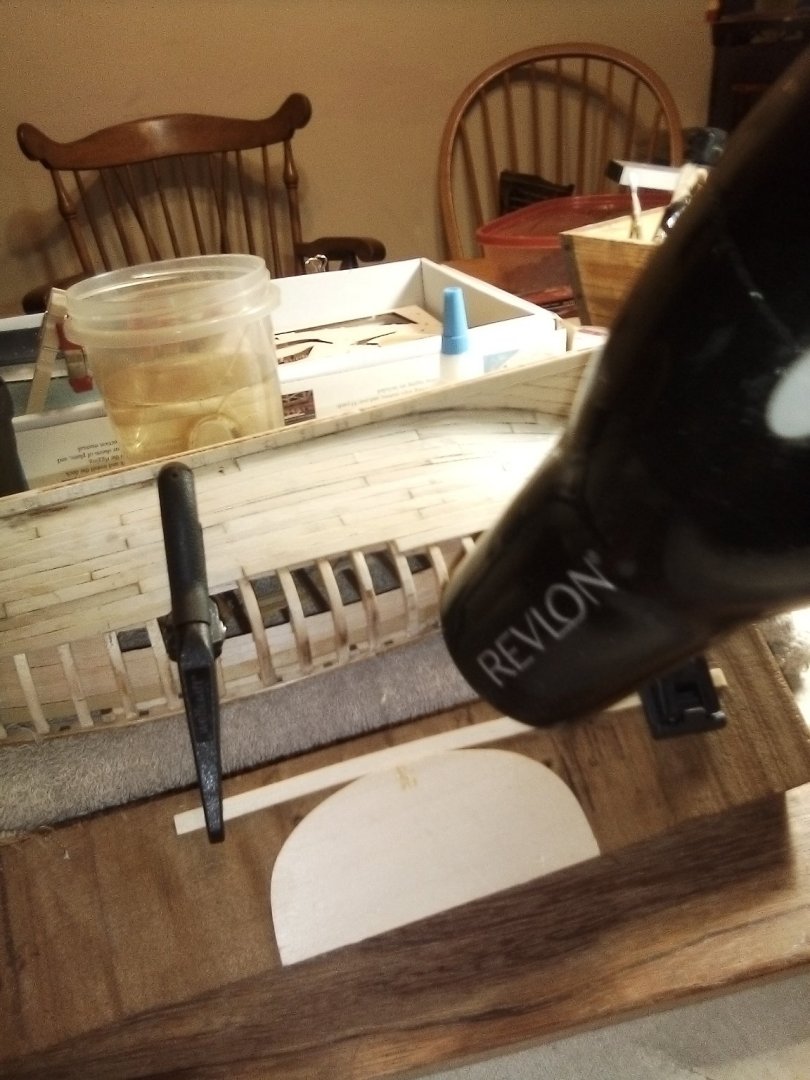
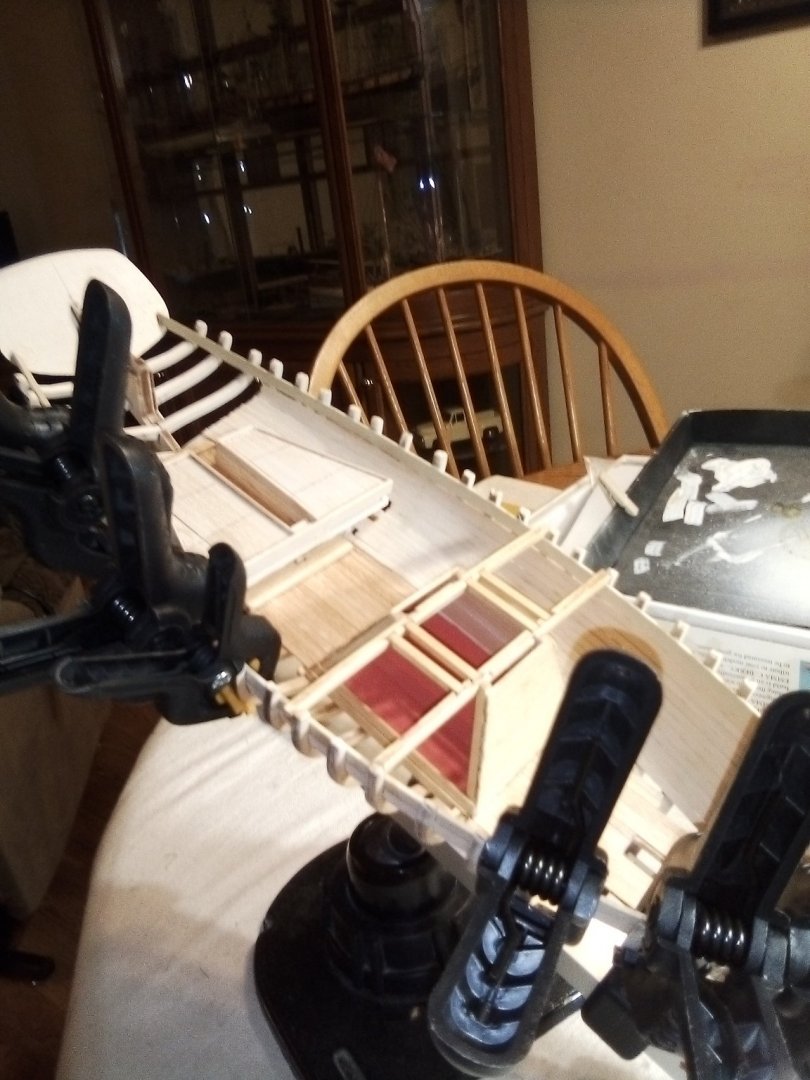
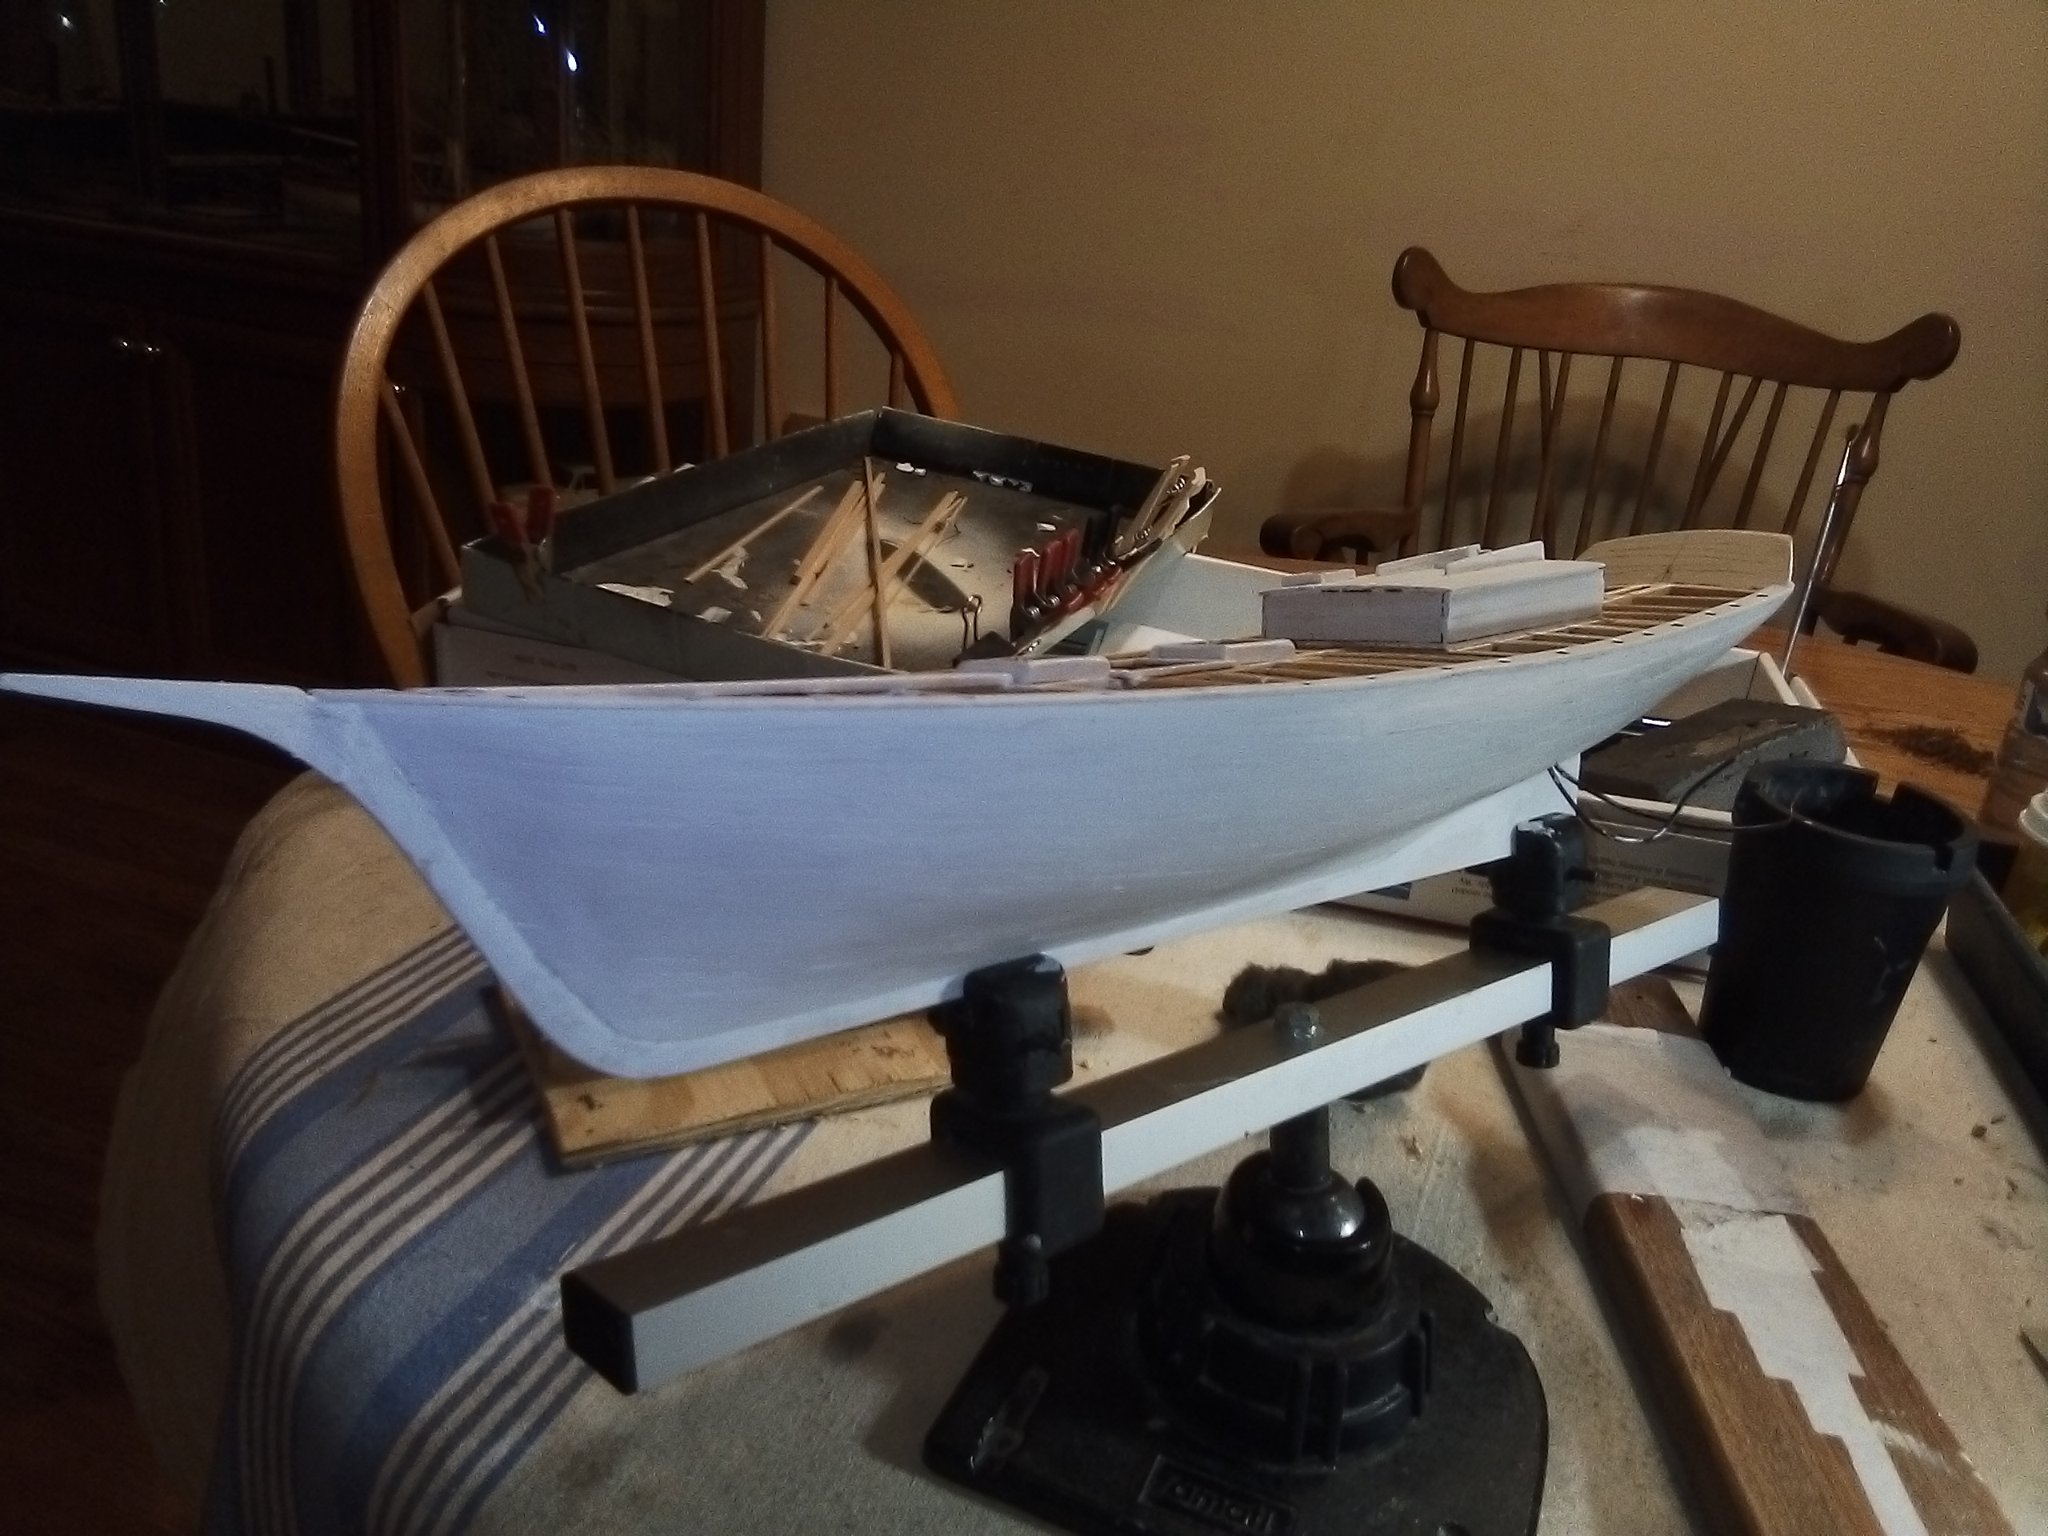
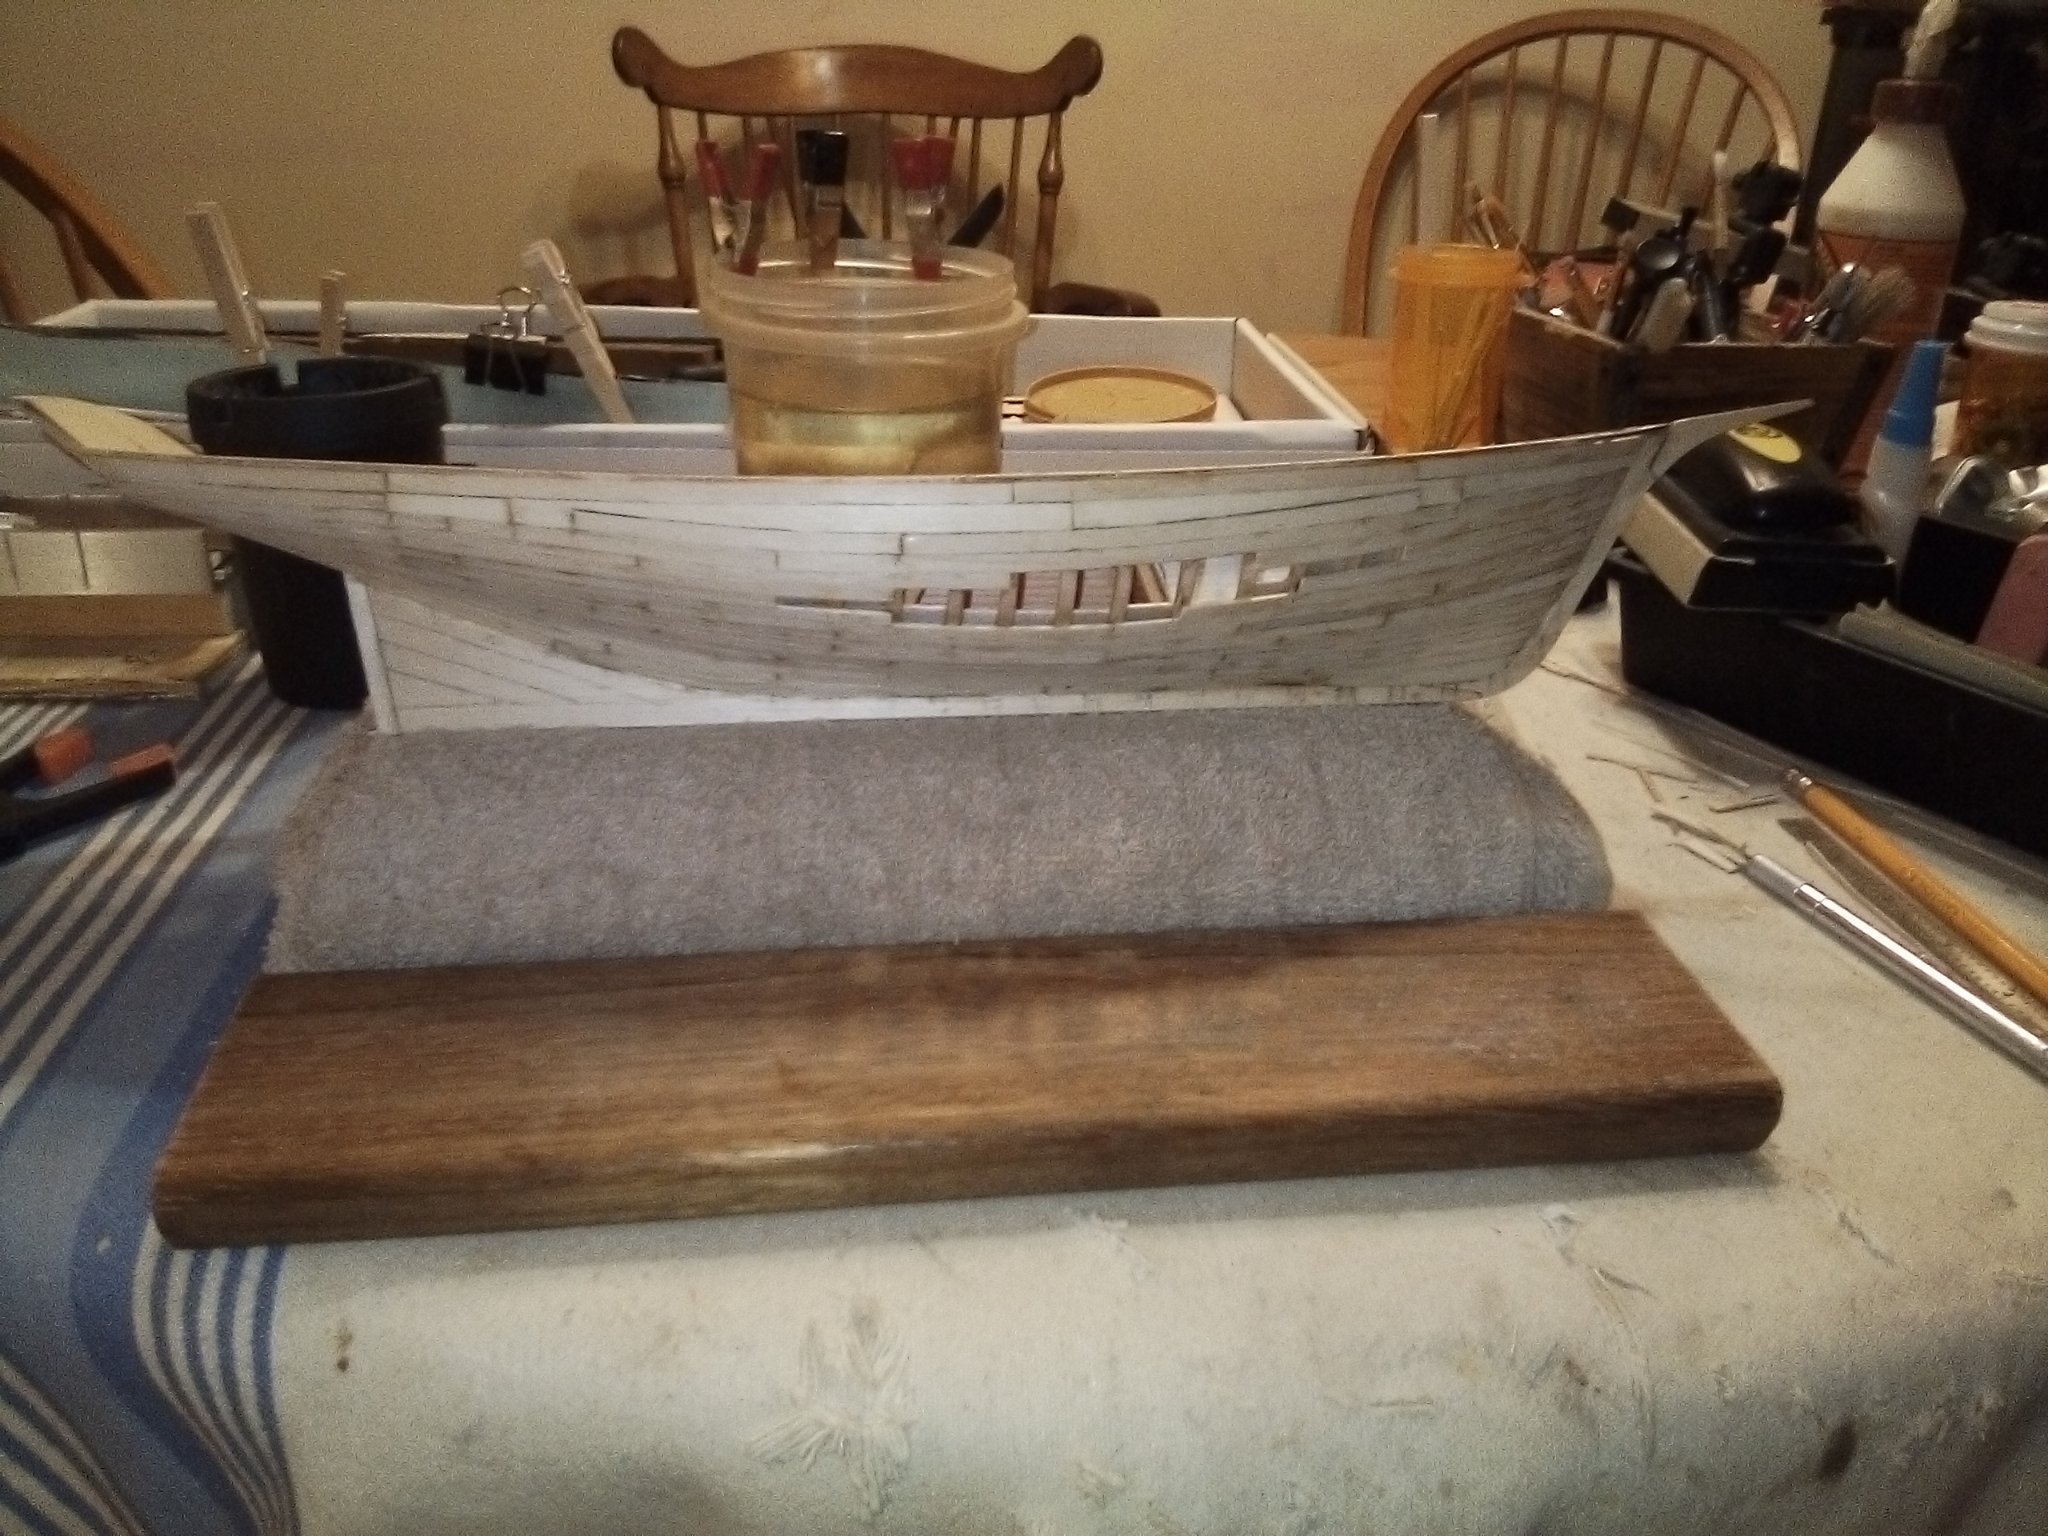
Still planking the hull. Working on the central band on the port side, almost finished. Then I will probably go back and forth from sanding and filling the hull and working on the deck. The clamping jig and hair dryer method works well for edge bending. Had to do some imaginative planking on the starboard side. It's ok since all will be sanded and filled before painting. Maybe adding a couple LED lights inside for effect. All in all, I am really enjoying building the ECB. I think she shall be a beautiful model. I would like to try carving the decorative parts on the trail boards but they are so small, I don't know? we'll see. Getting close to the fun stuff!


-
-
Beautiful workmanship! Yes, windy and wet here in the northeast.
- Keith Black, bruce d, Siggi52 and 1 other
-
4
-
Been watching along since the beginning, you're an artist and a genius replicating this boat's parts!
- druxey, mtaylor, Keith Black and 1 other
-
4
-
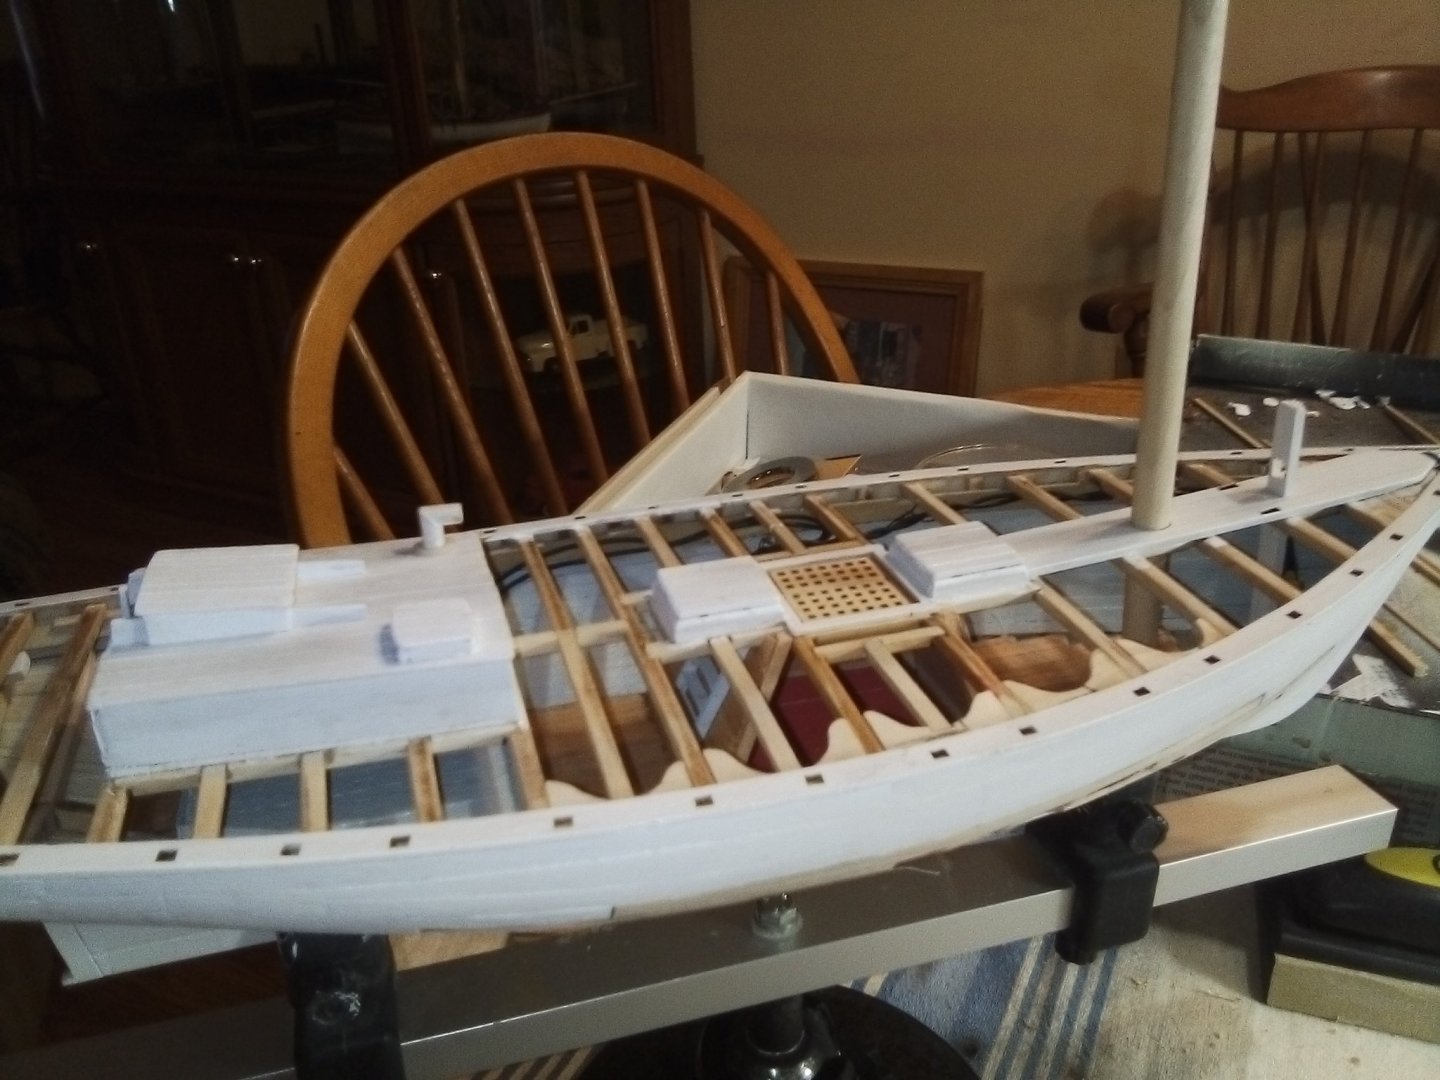
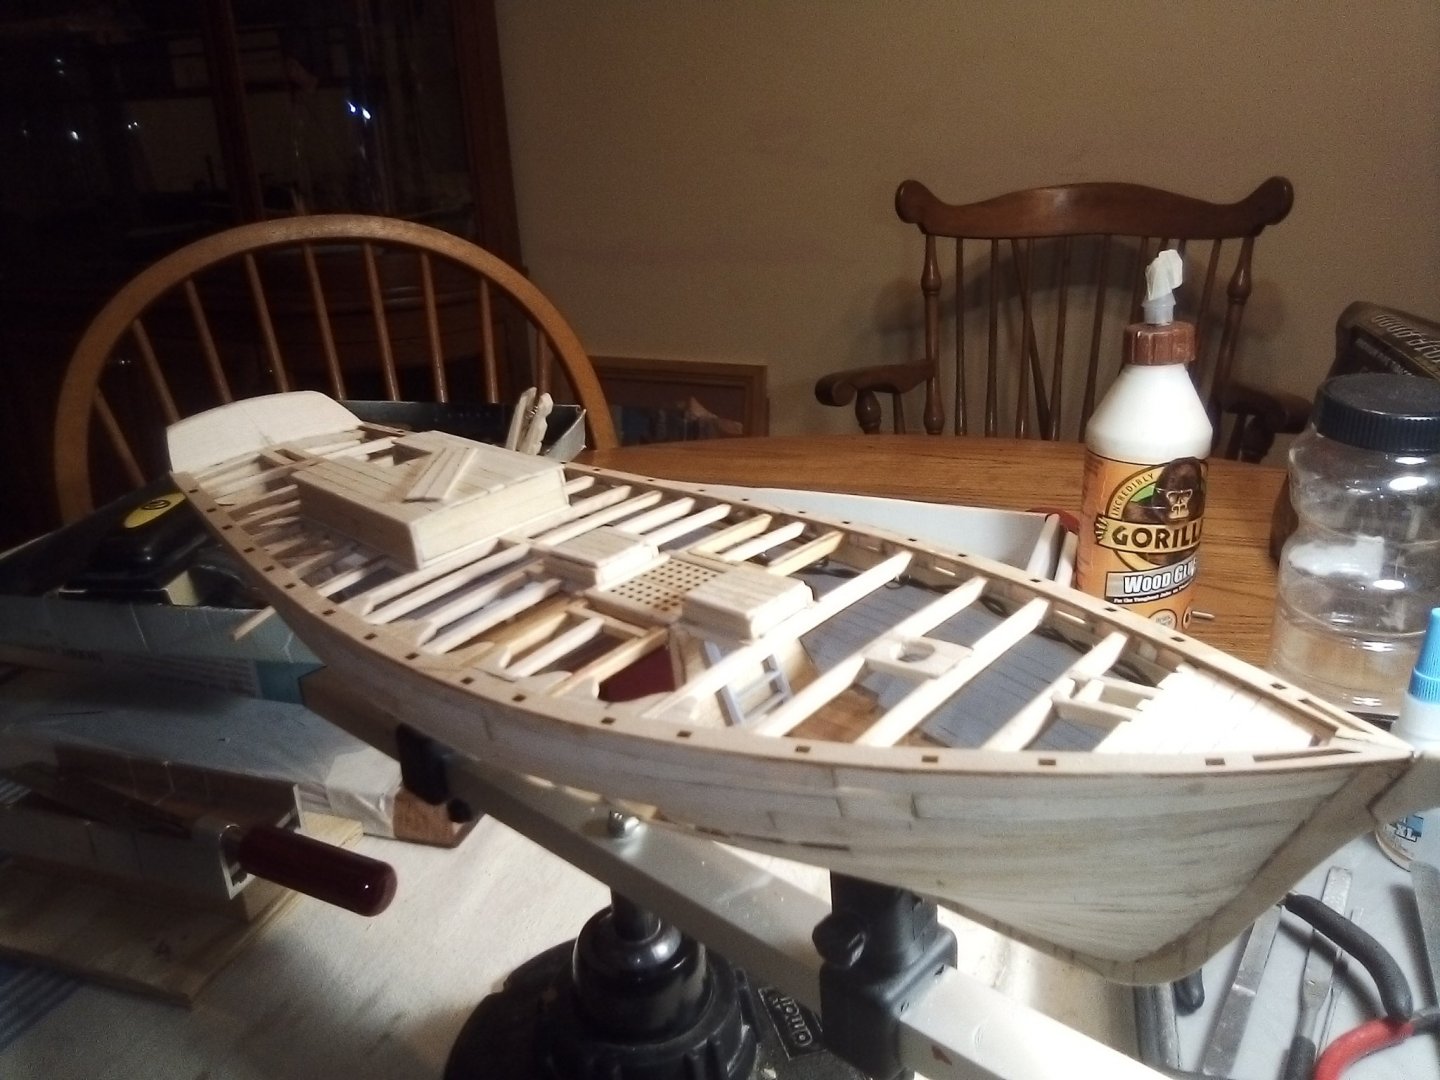
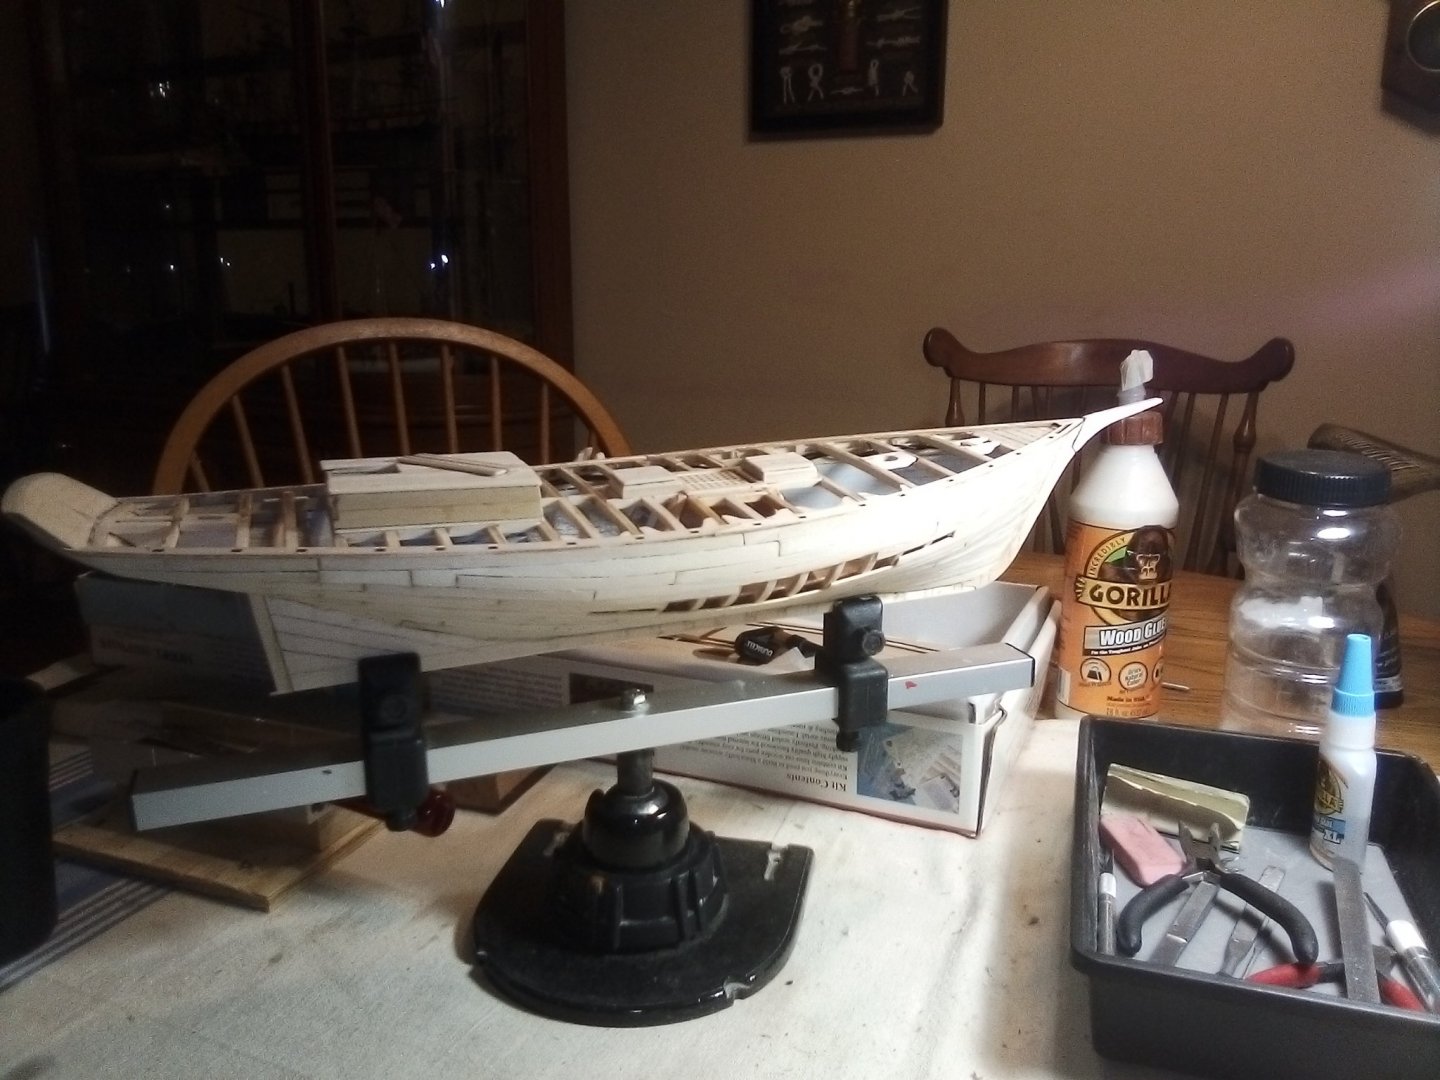
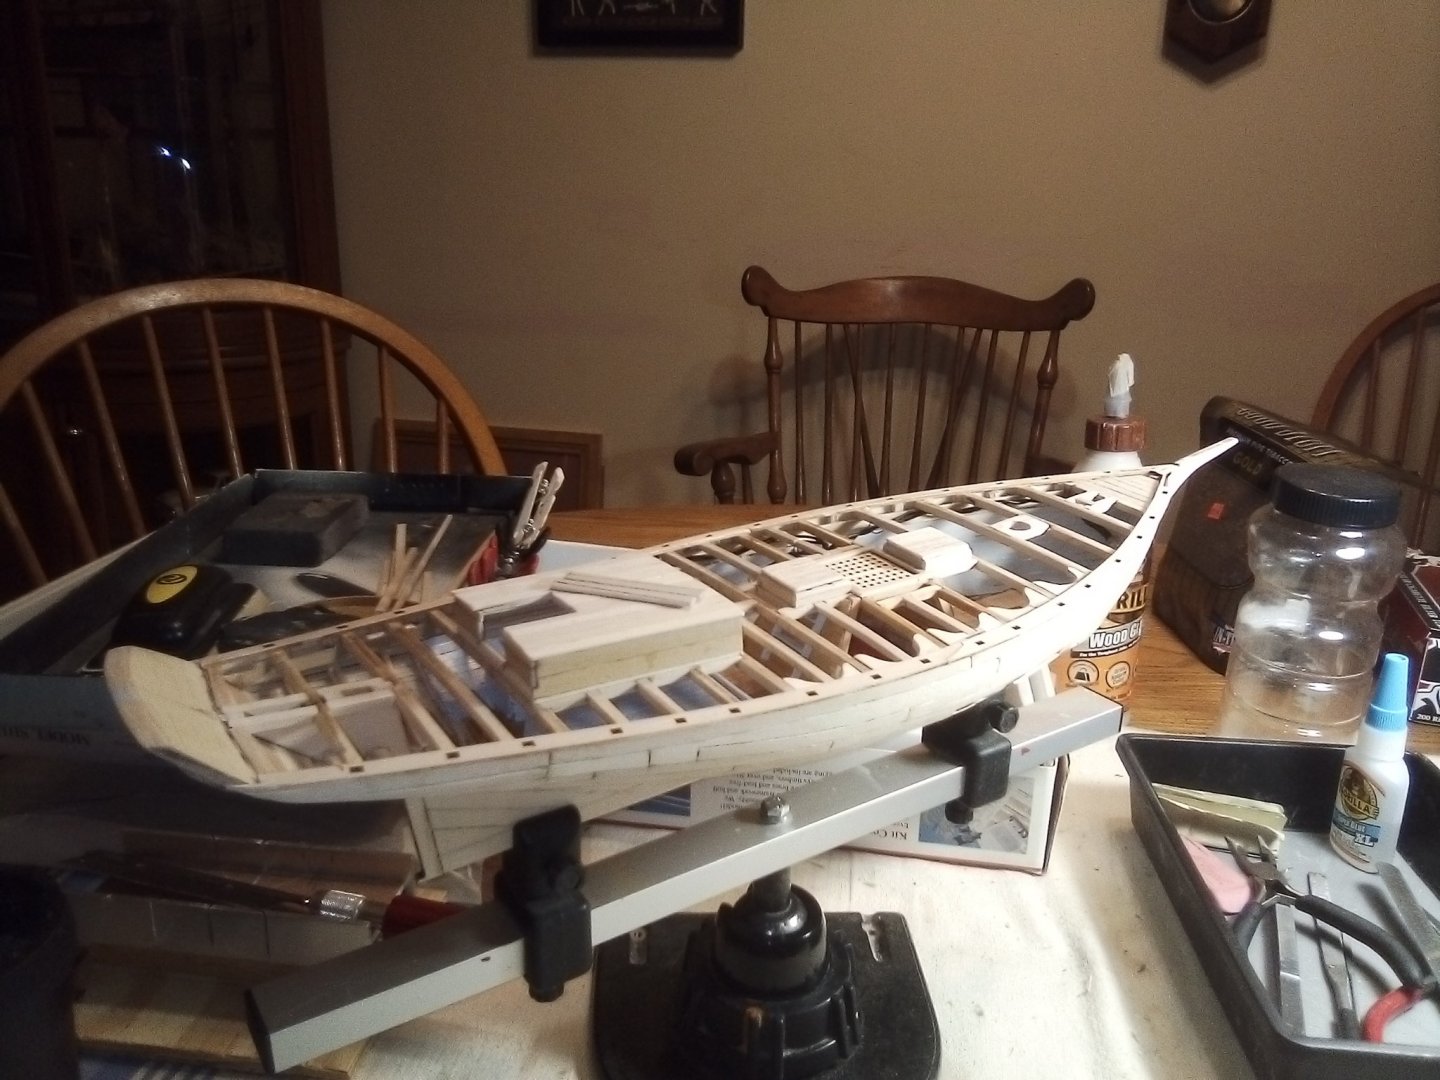
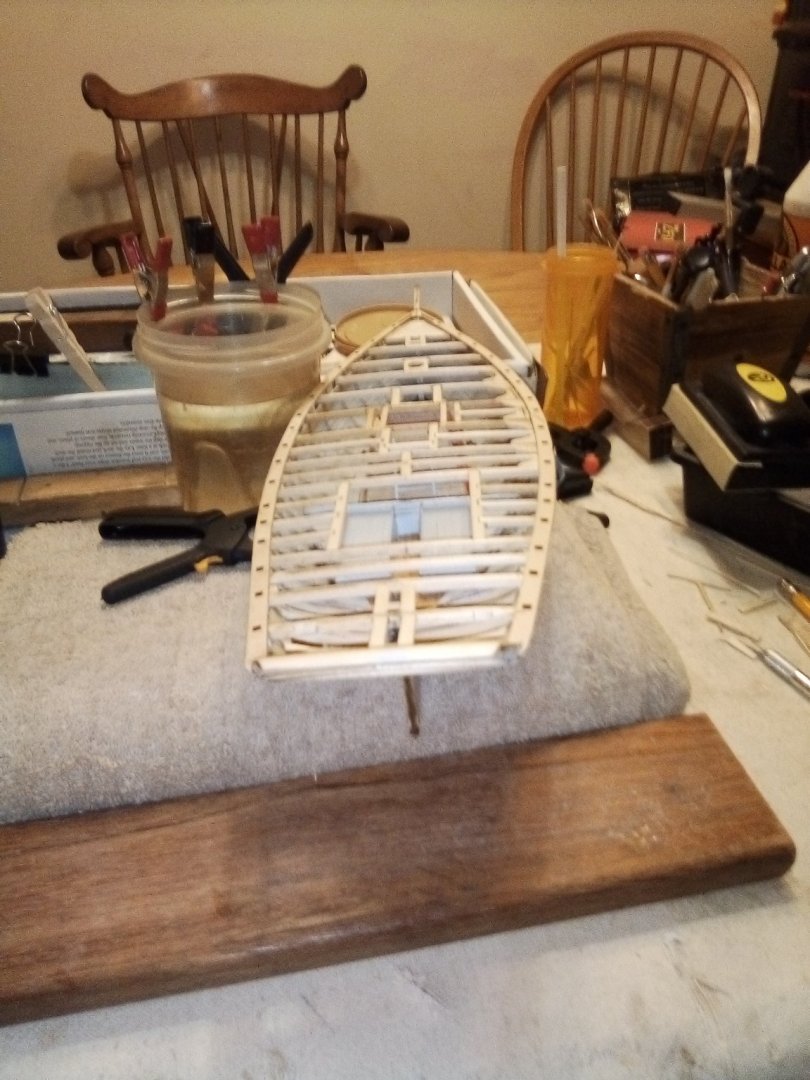
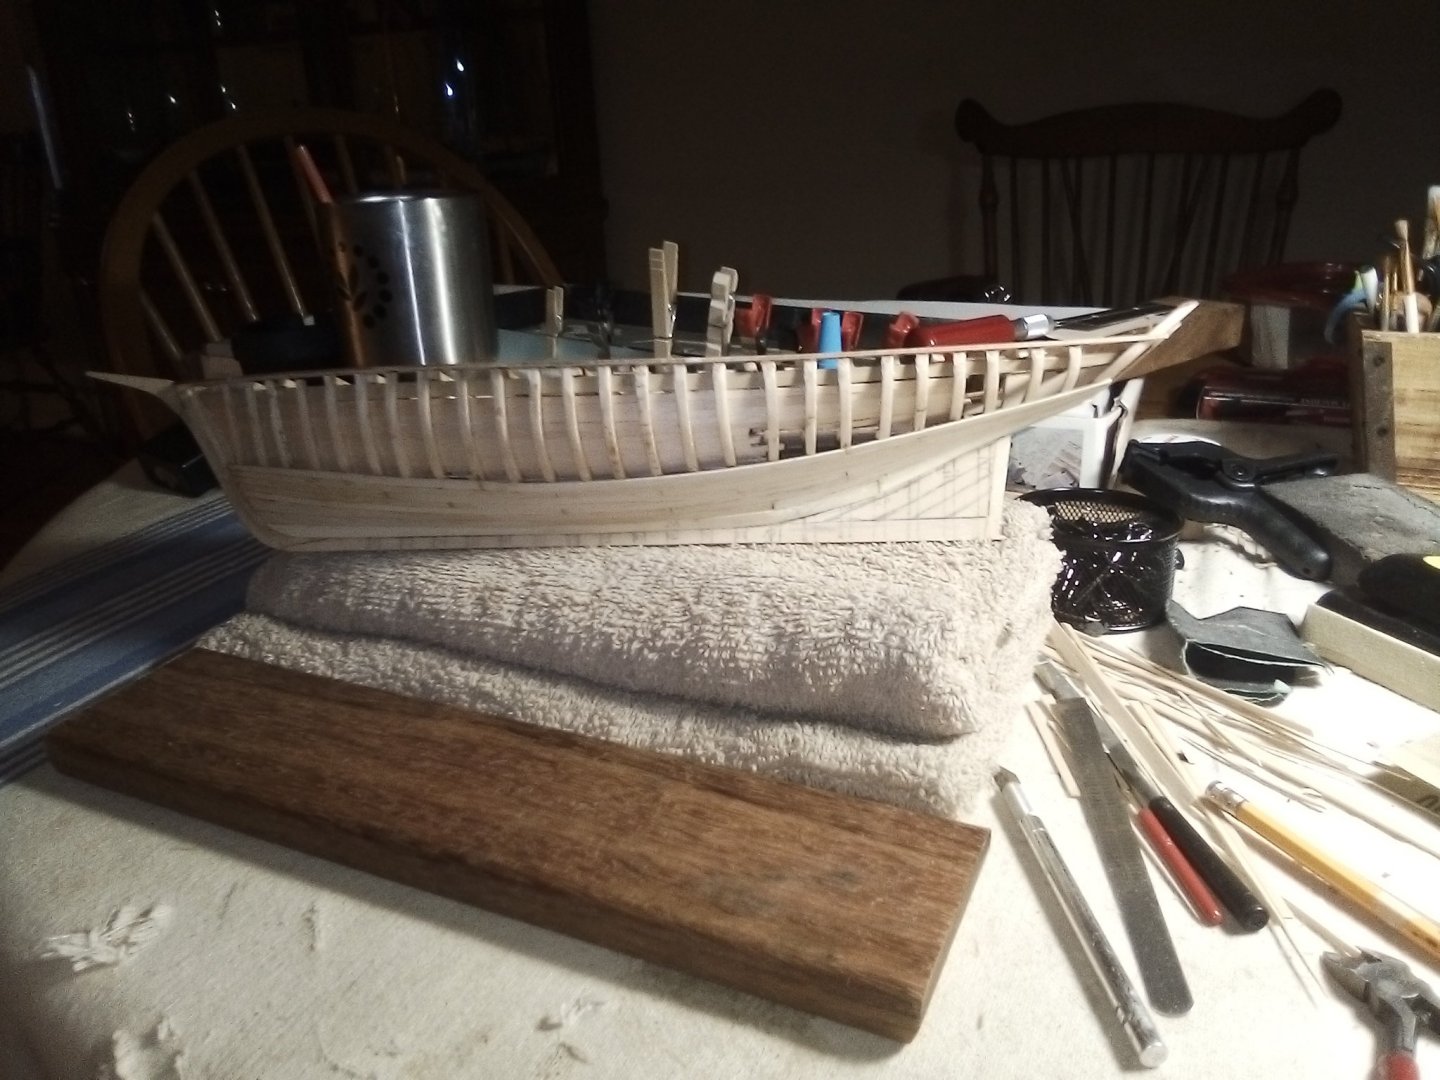
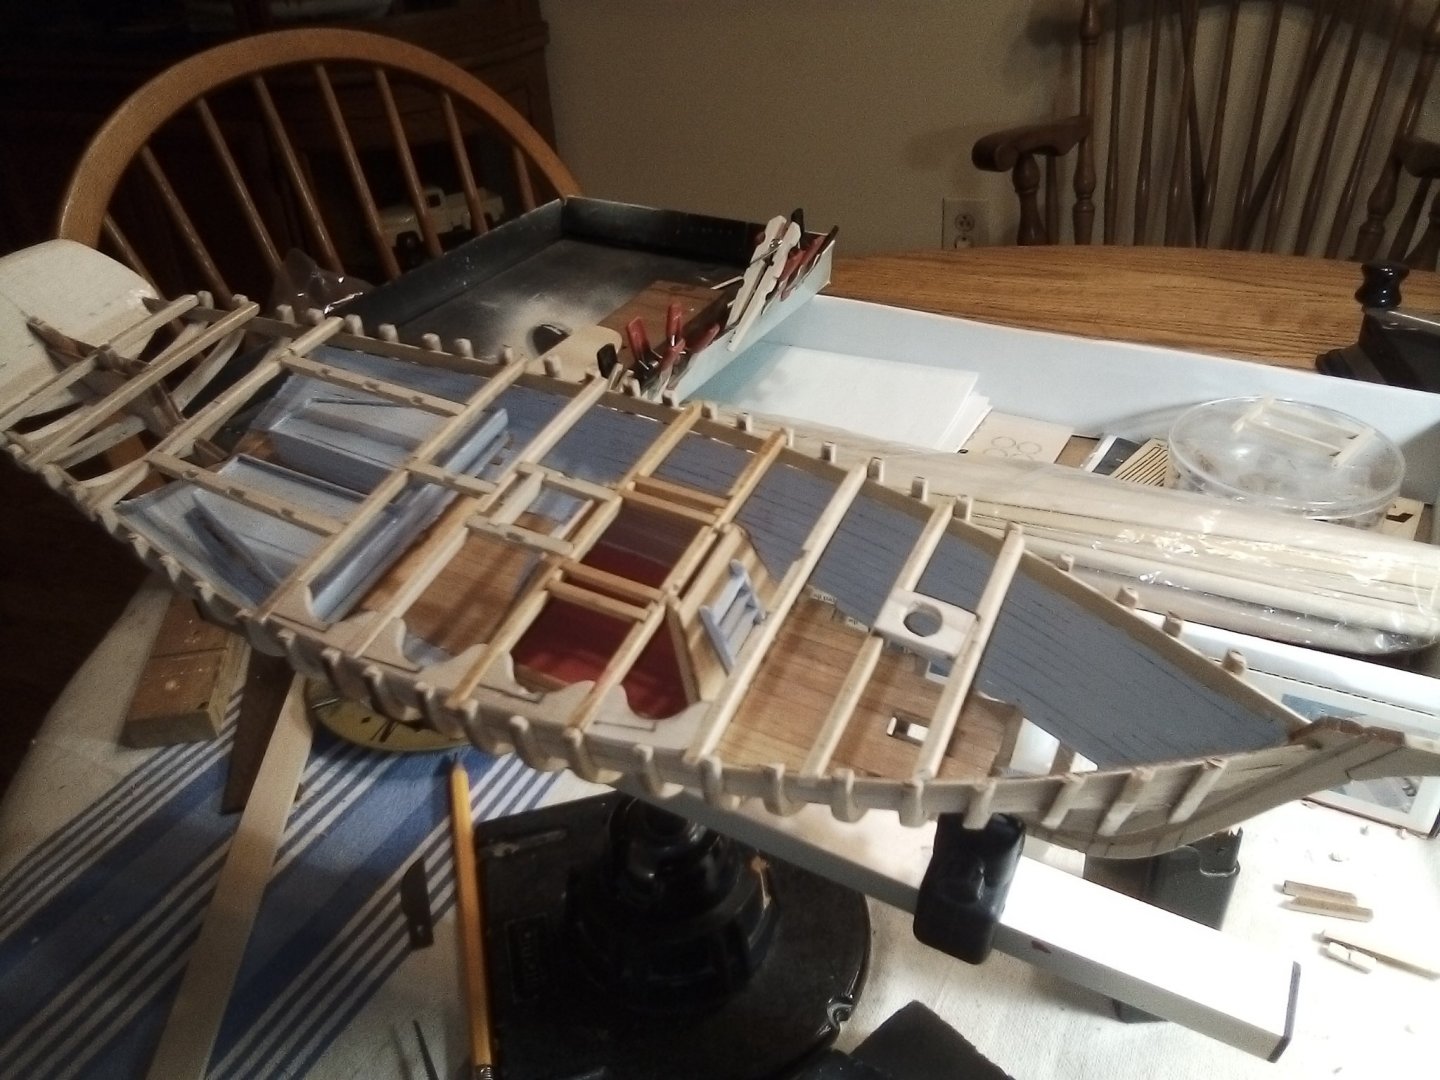
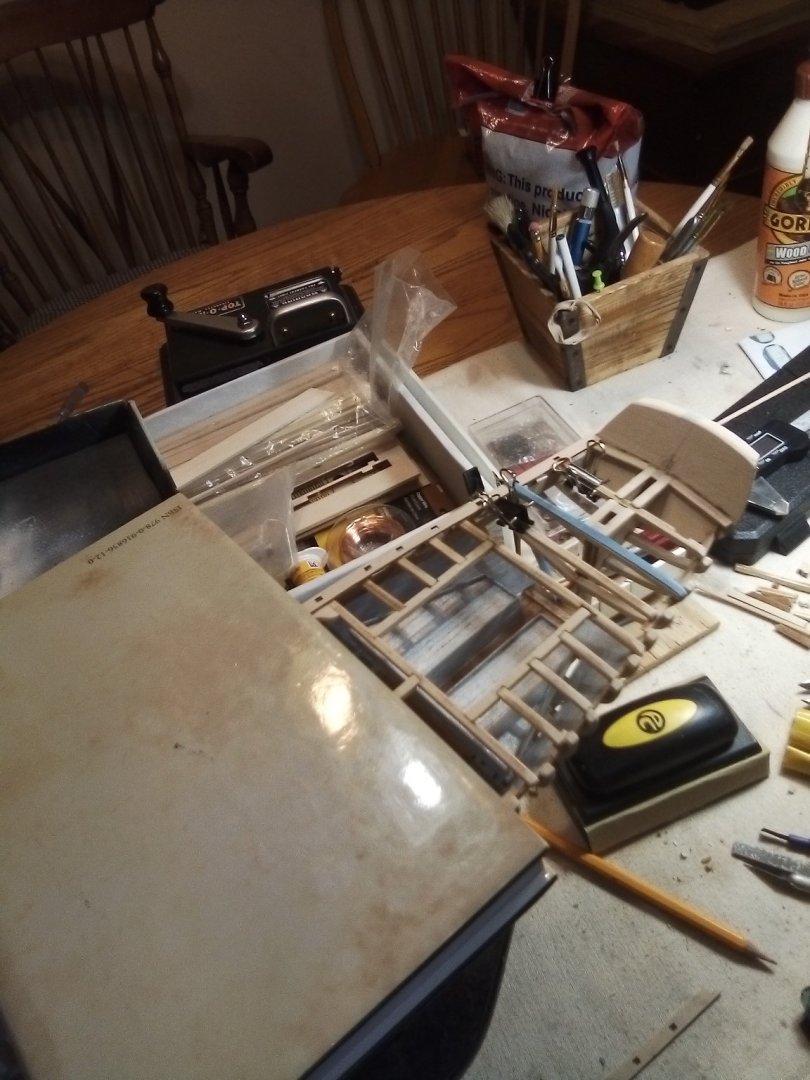
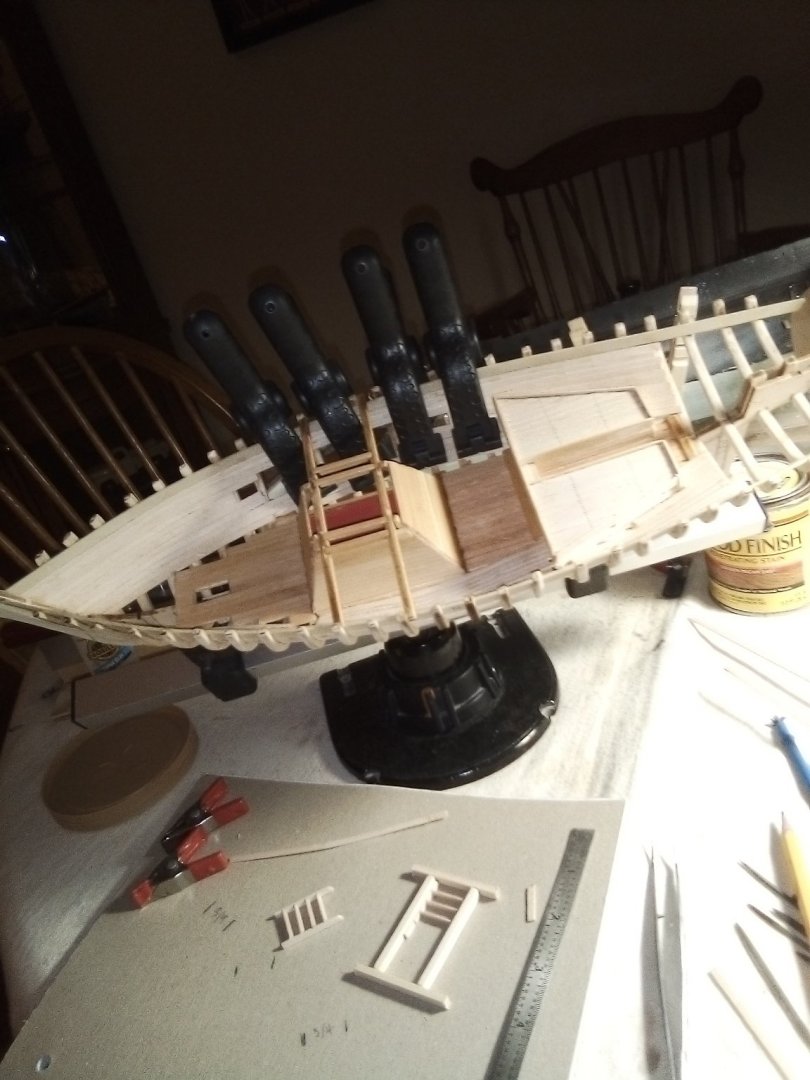
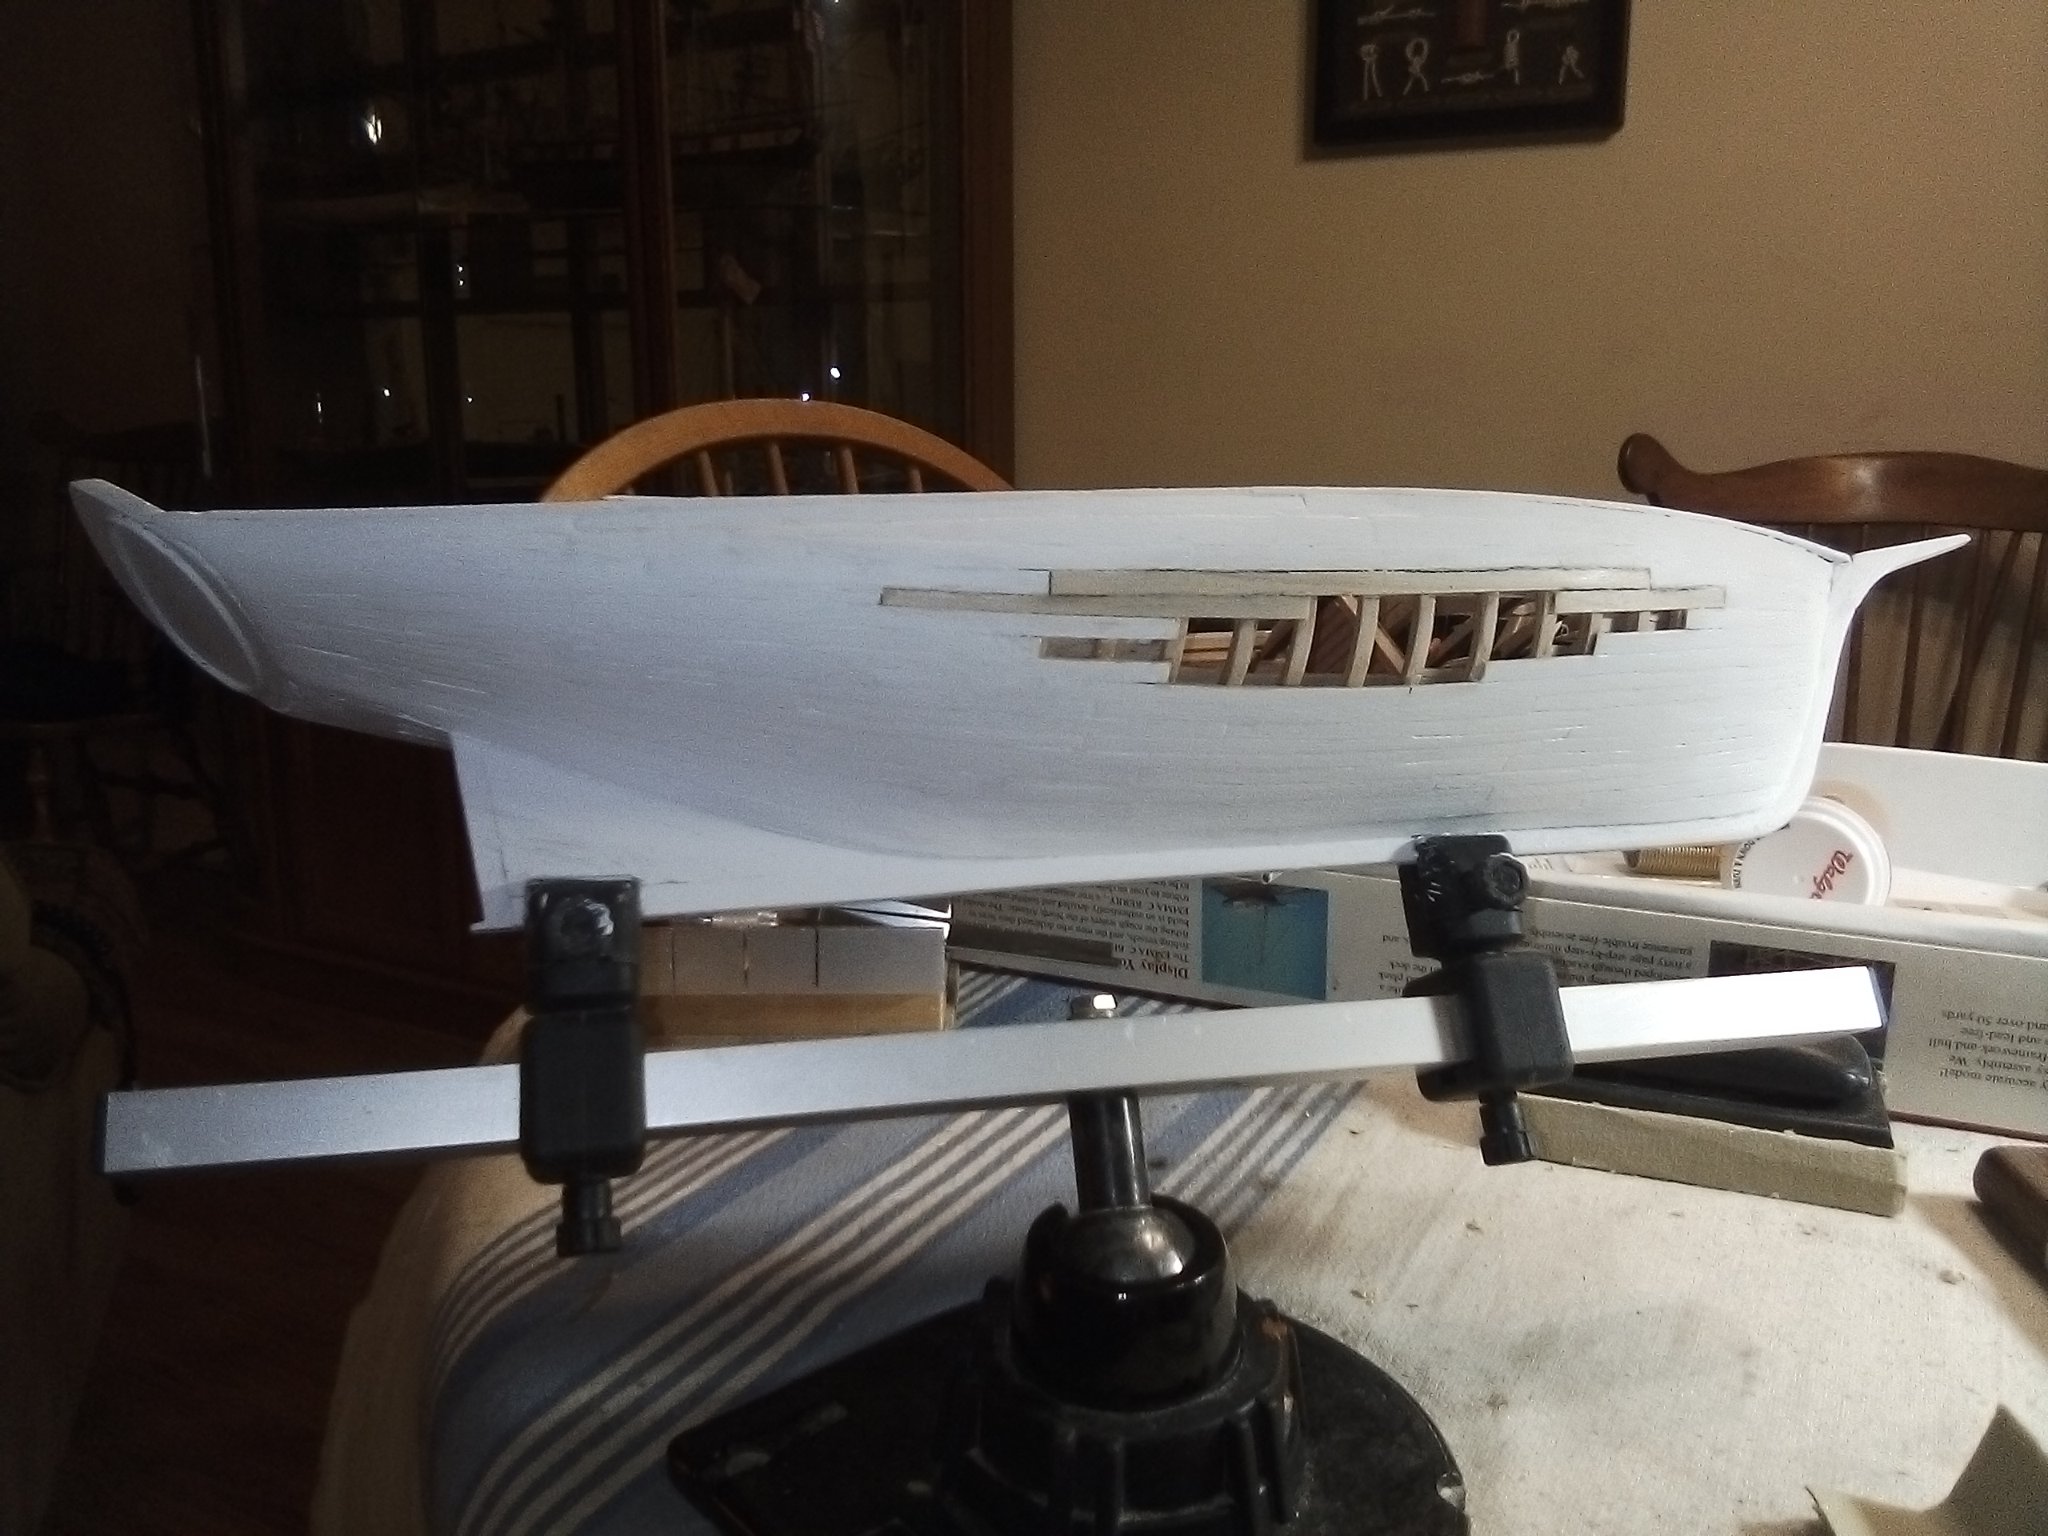
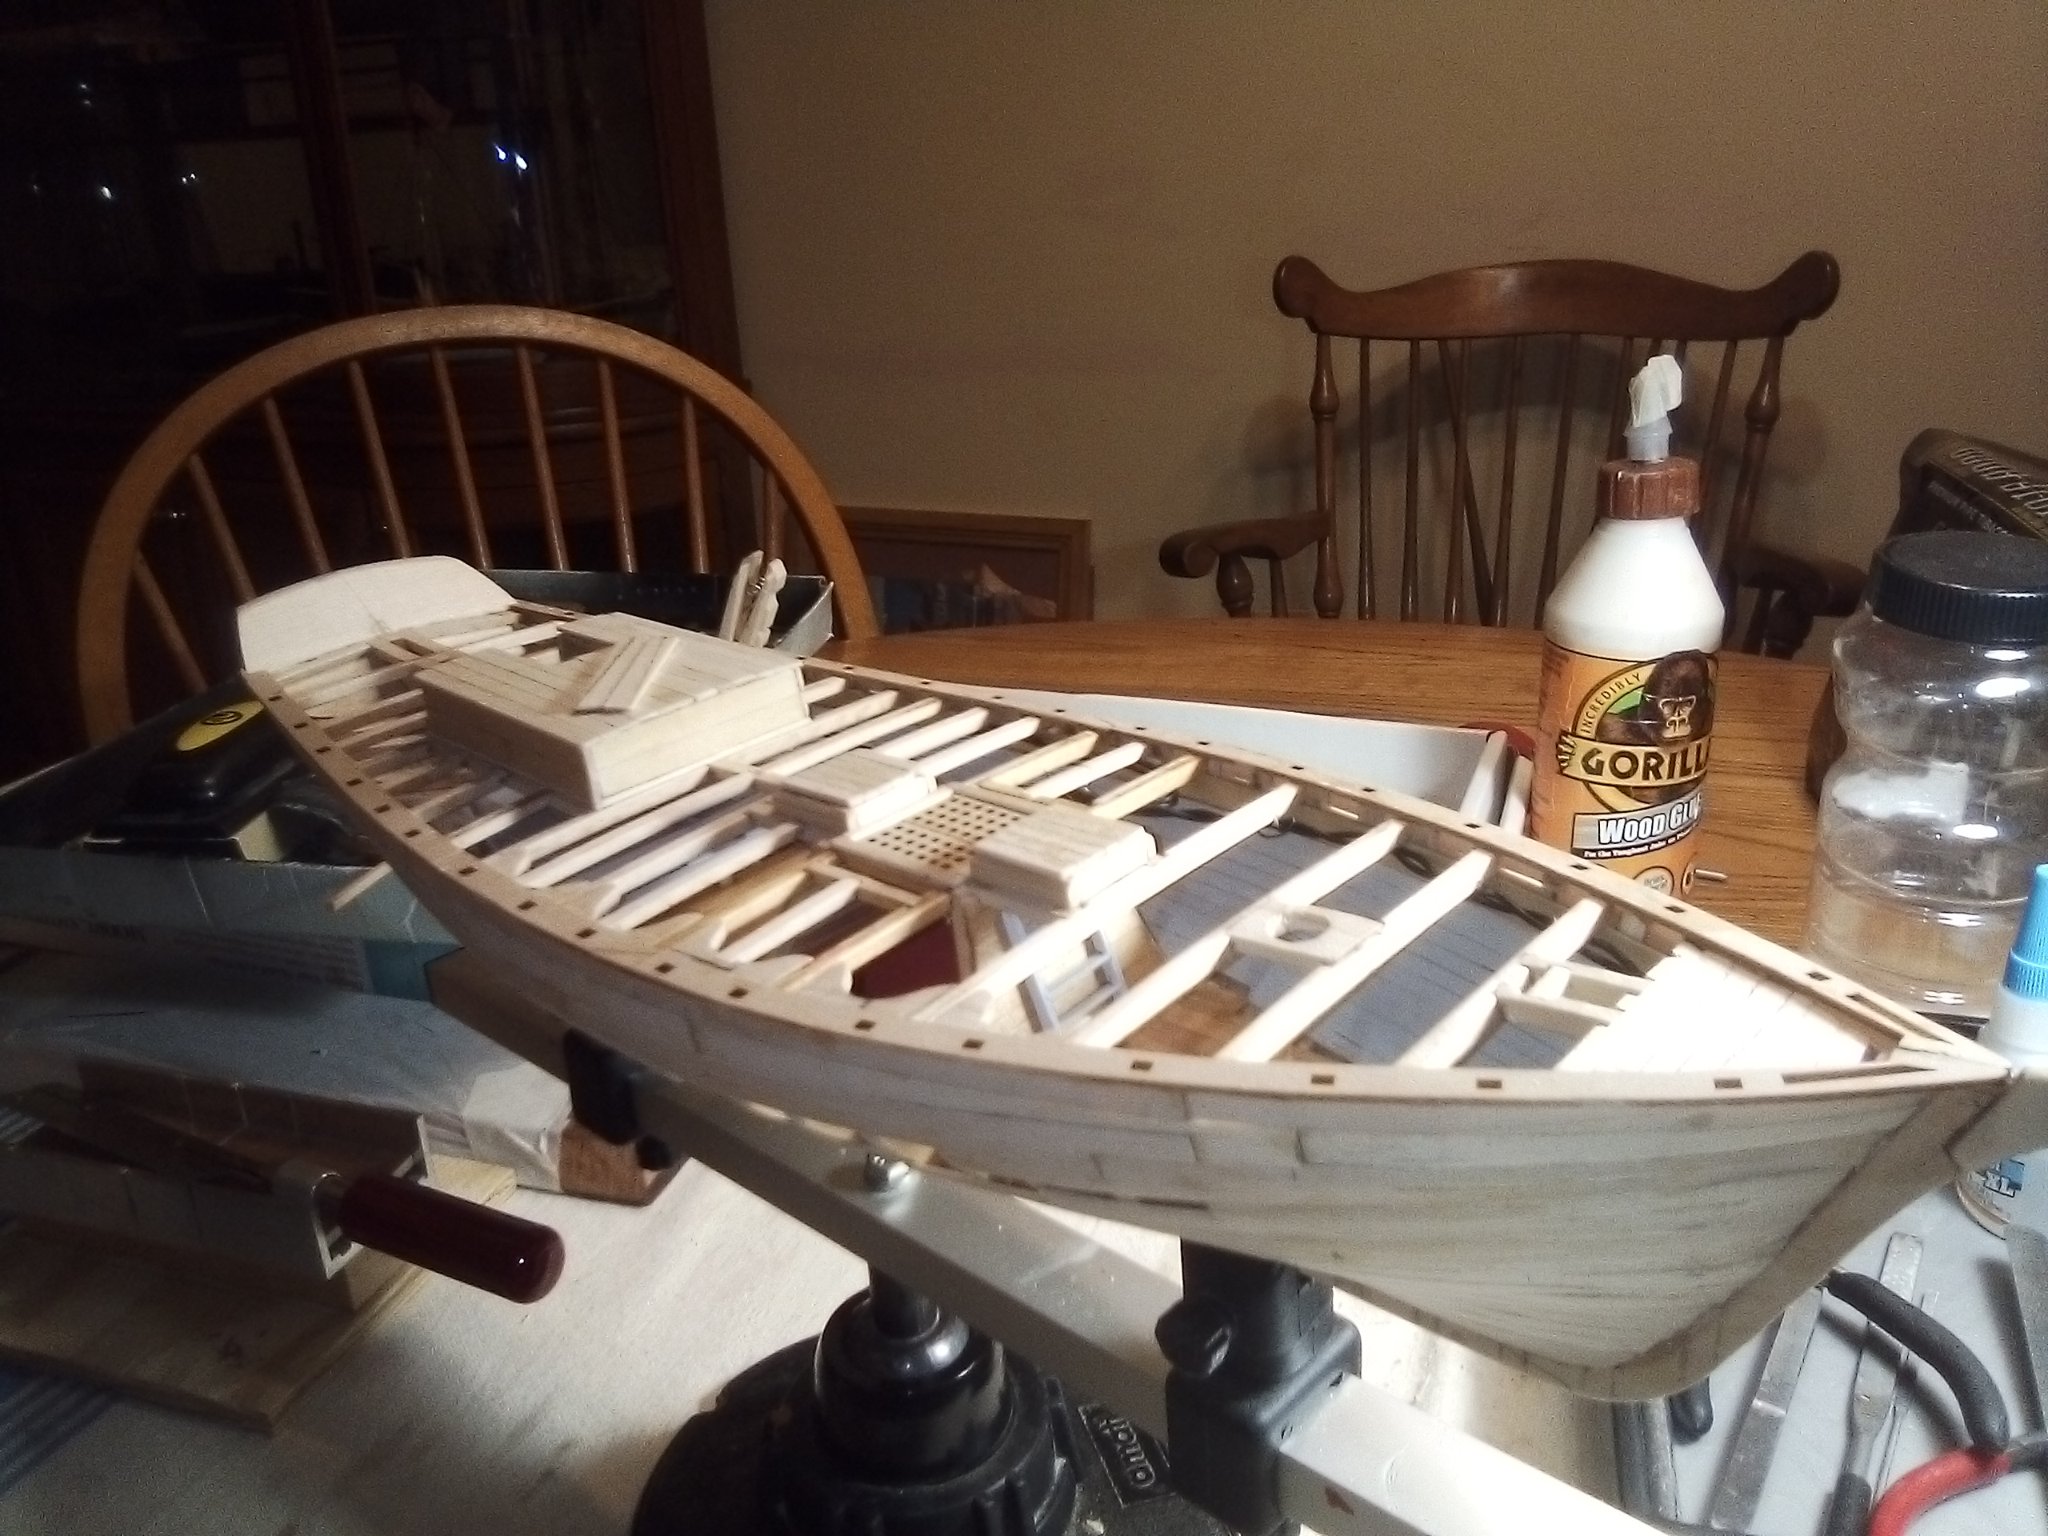
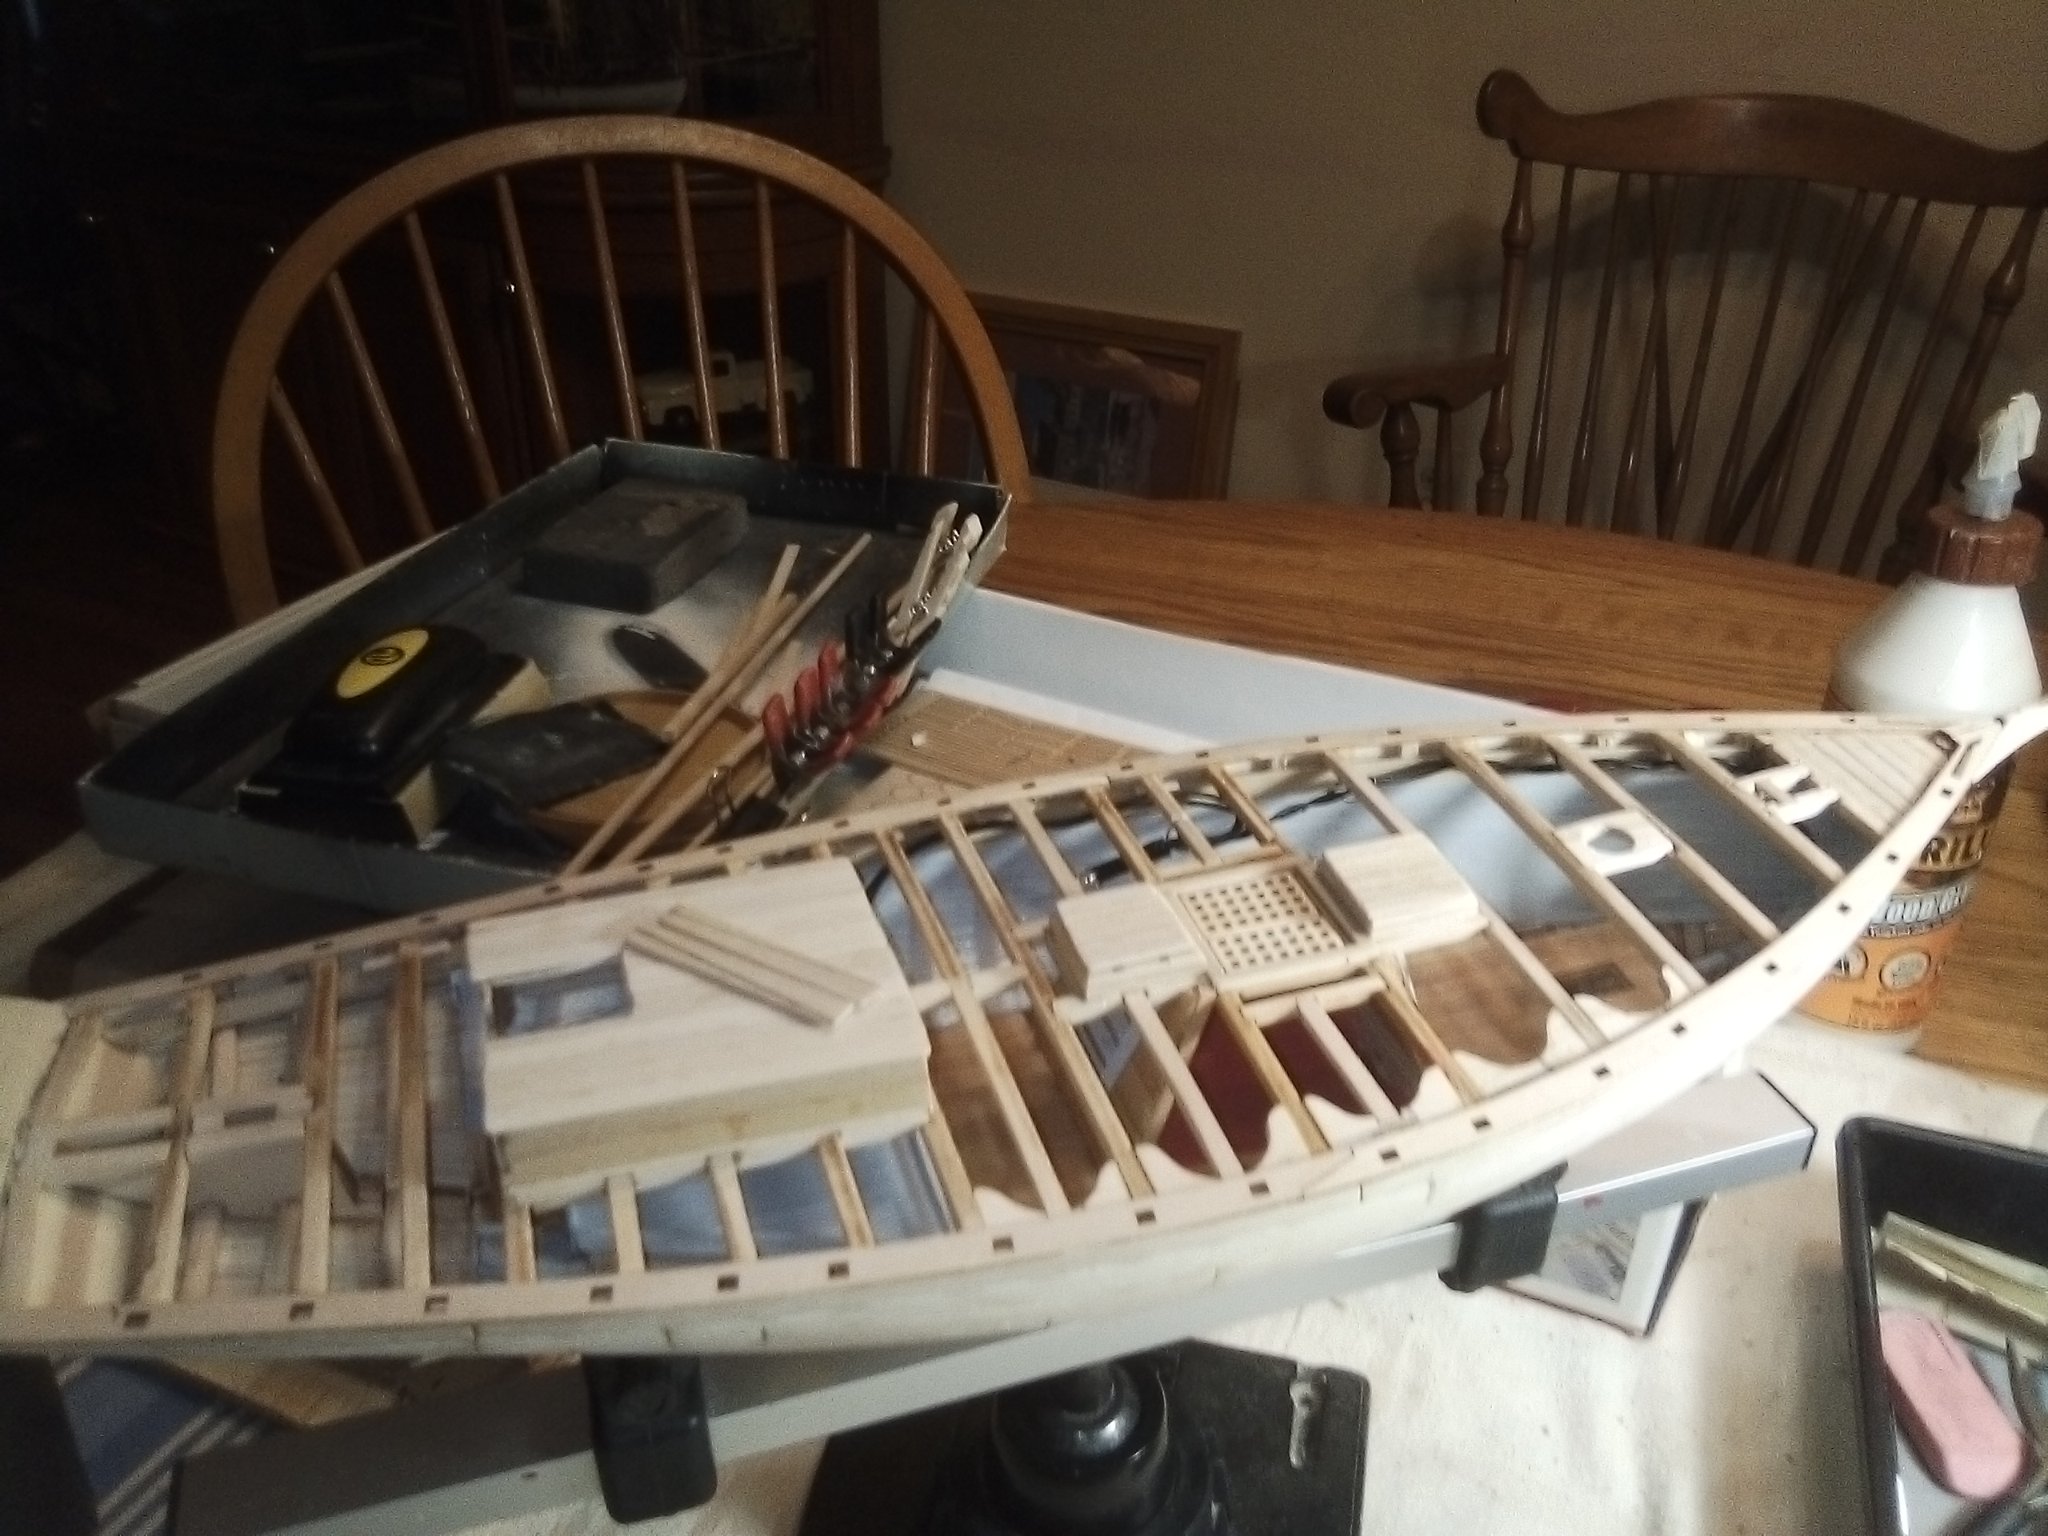
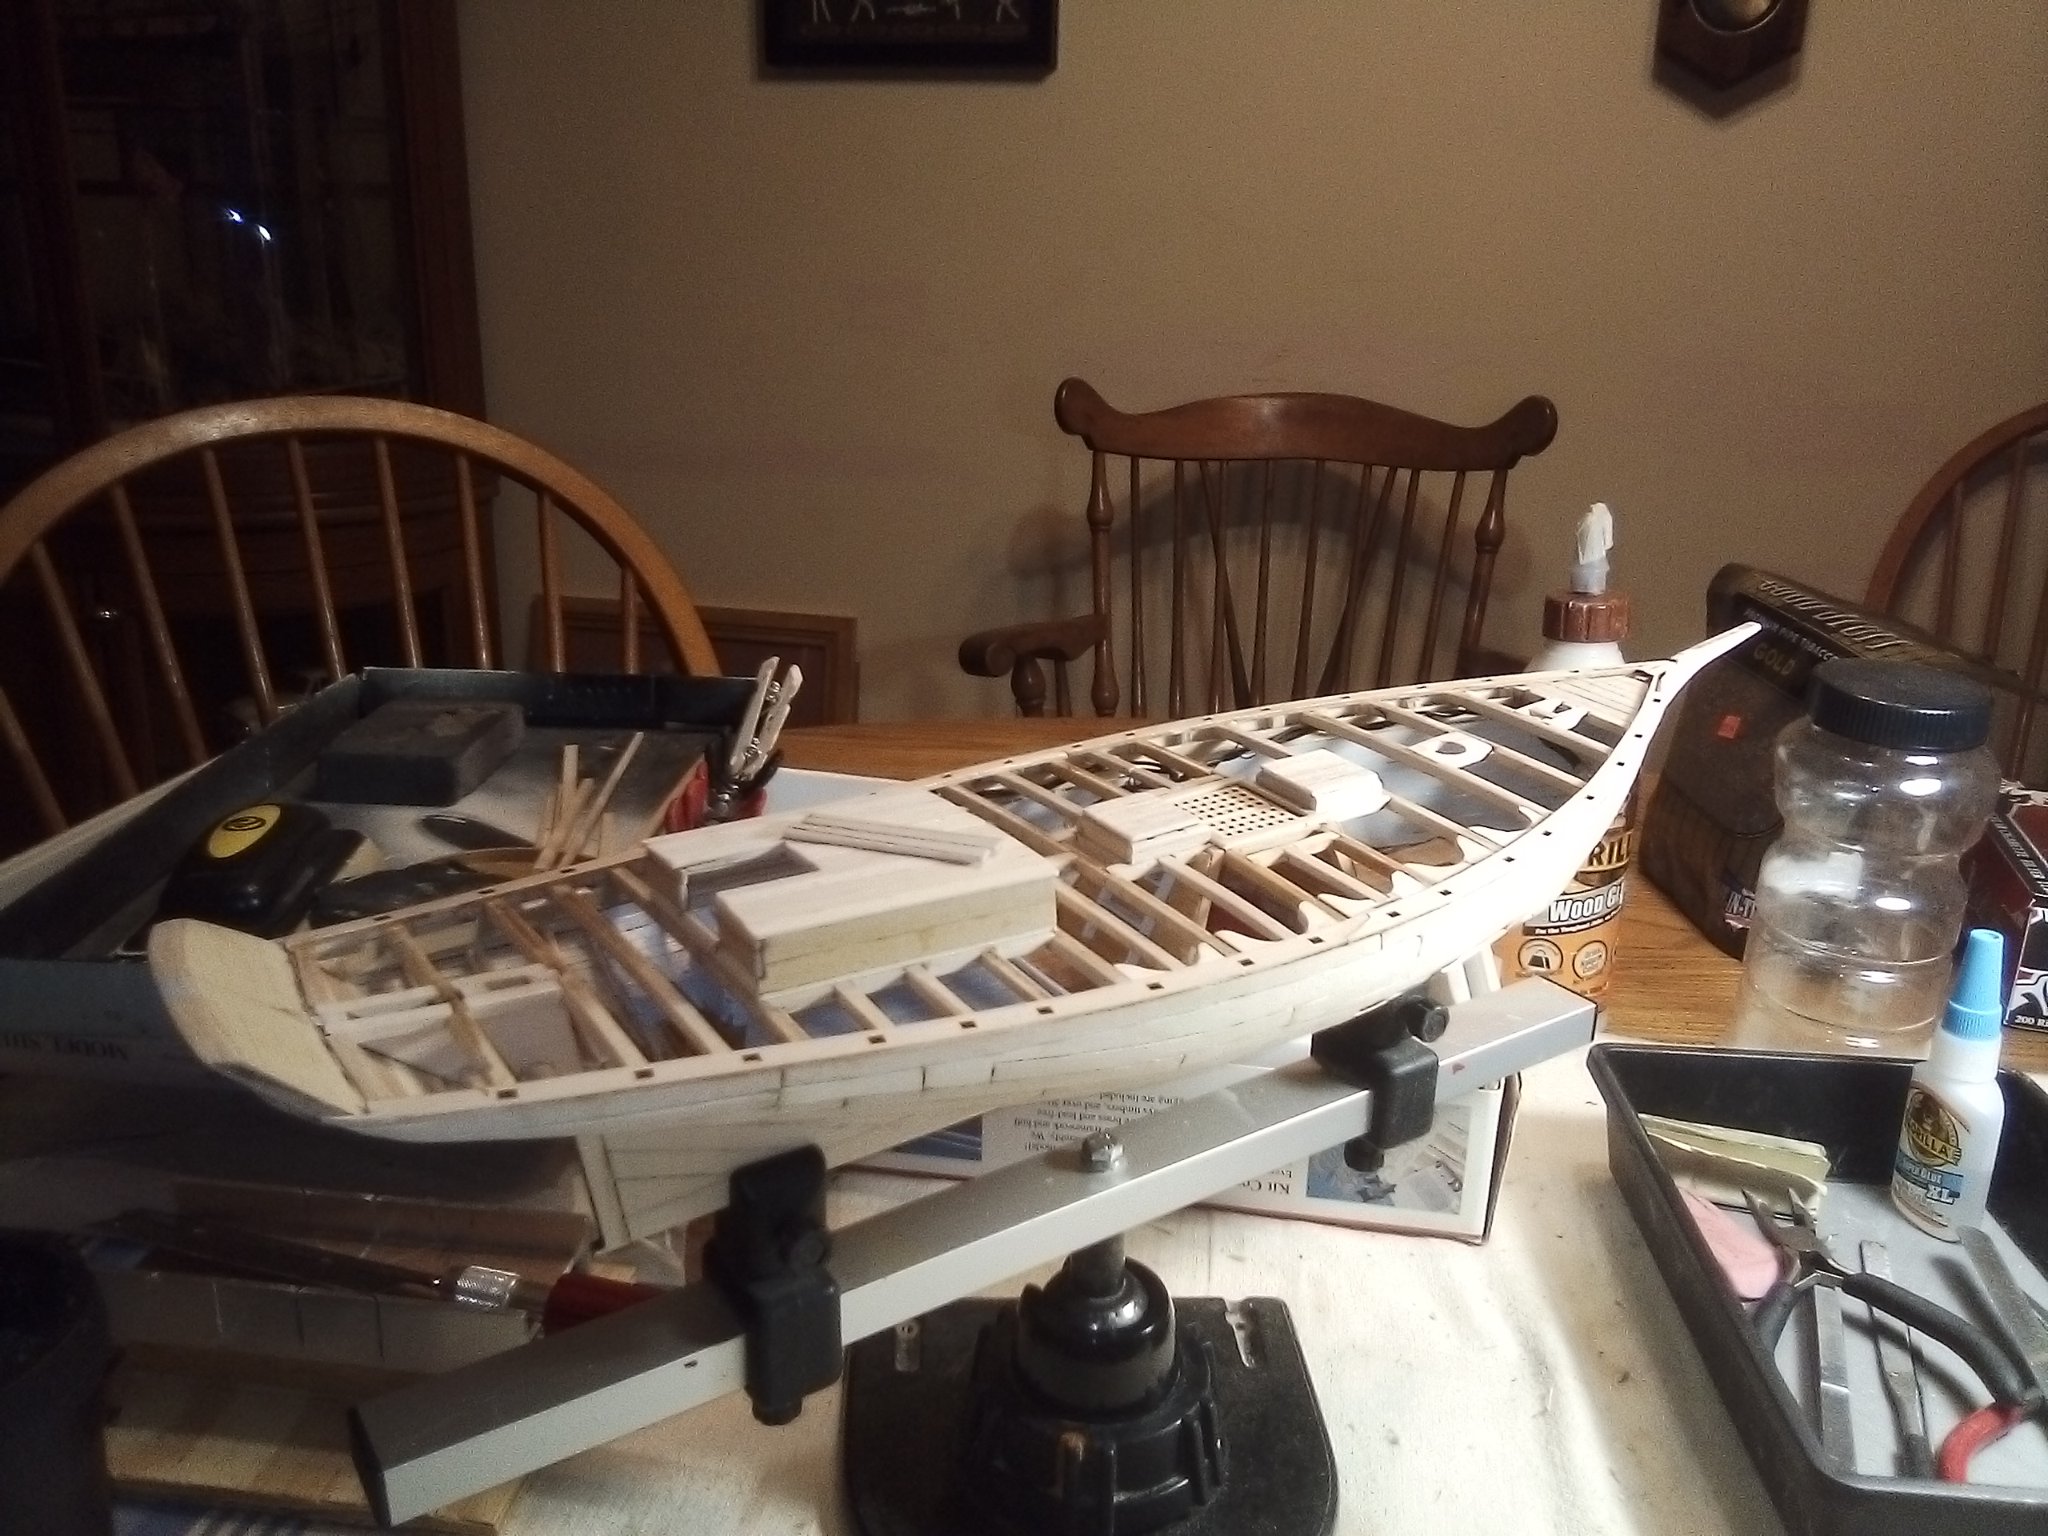
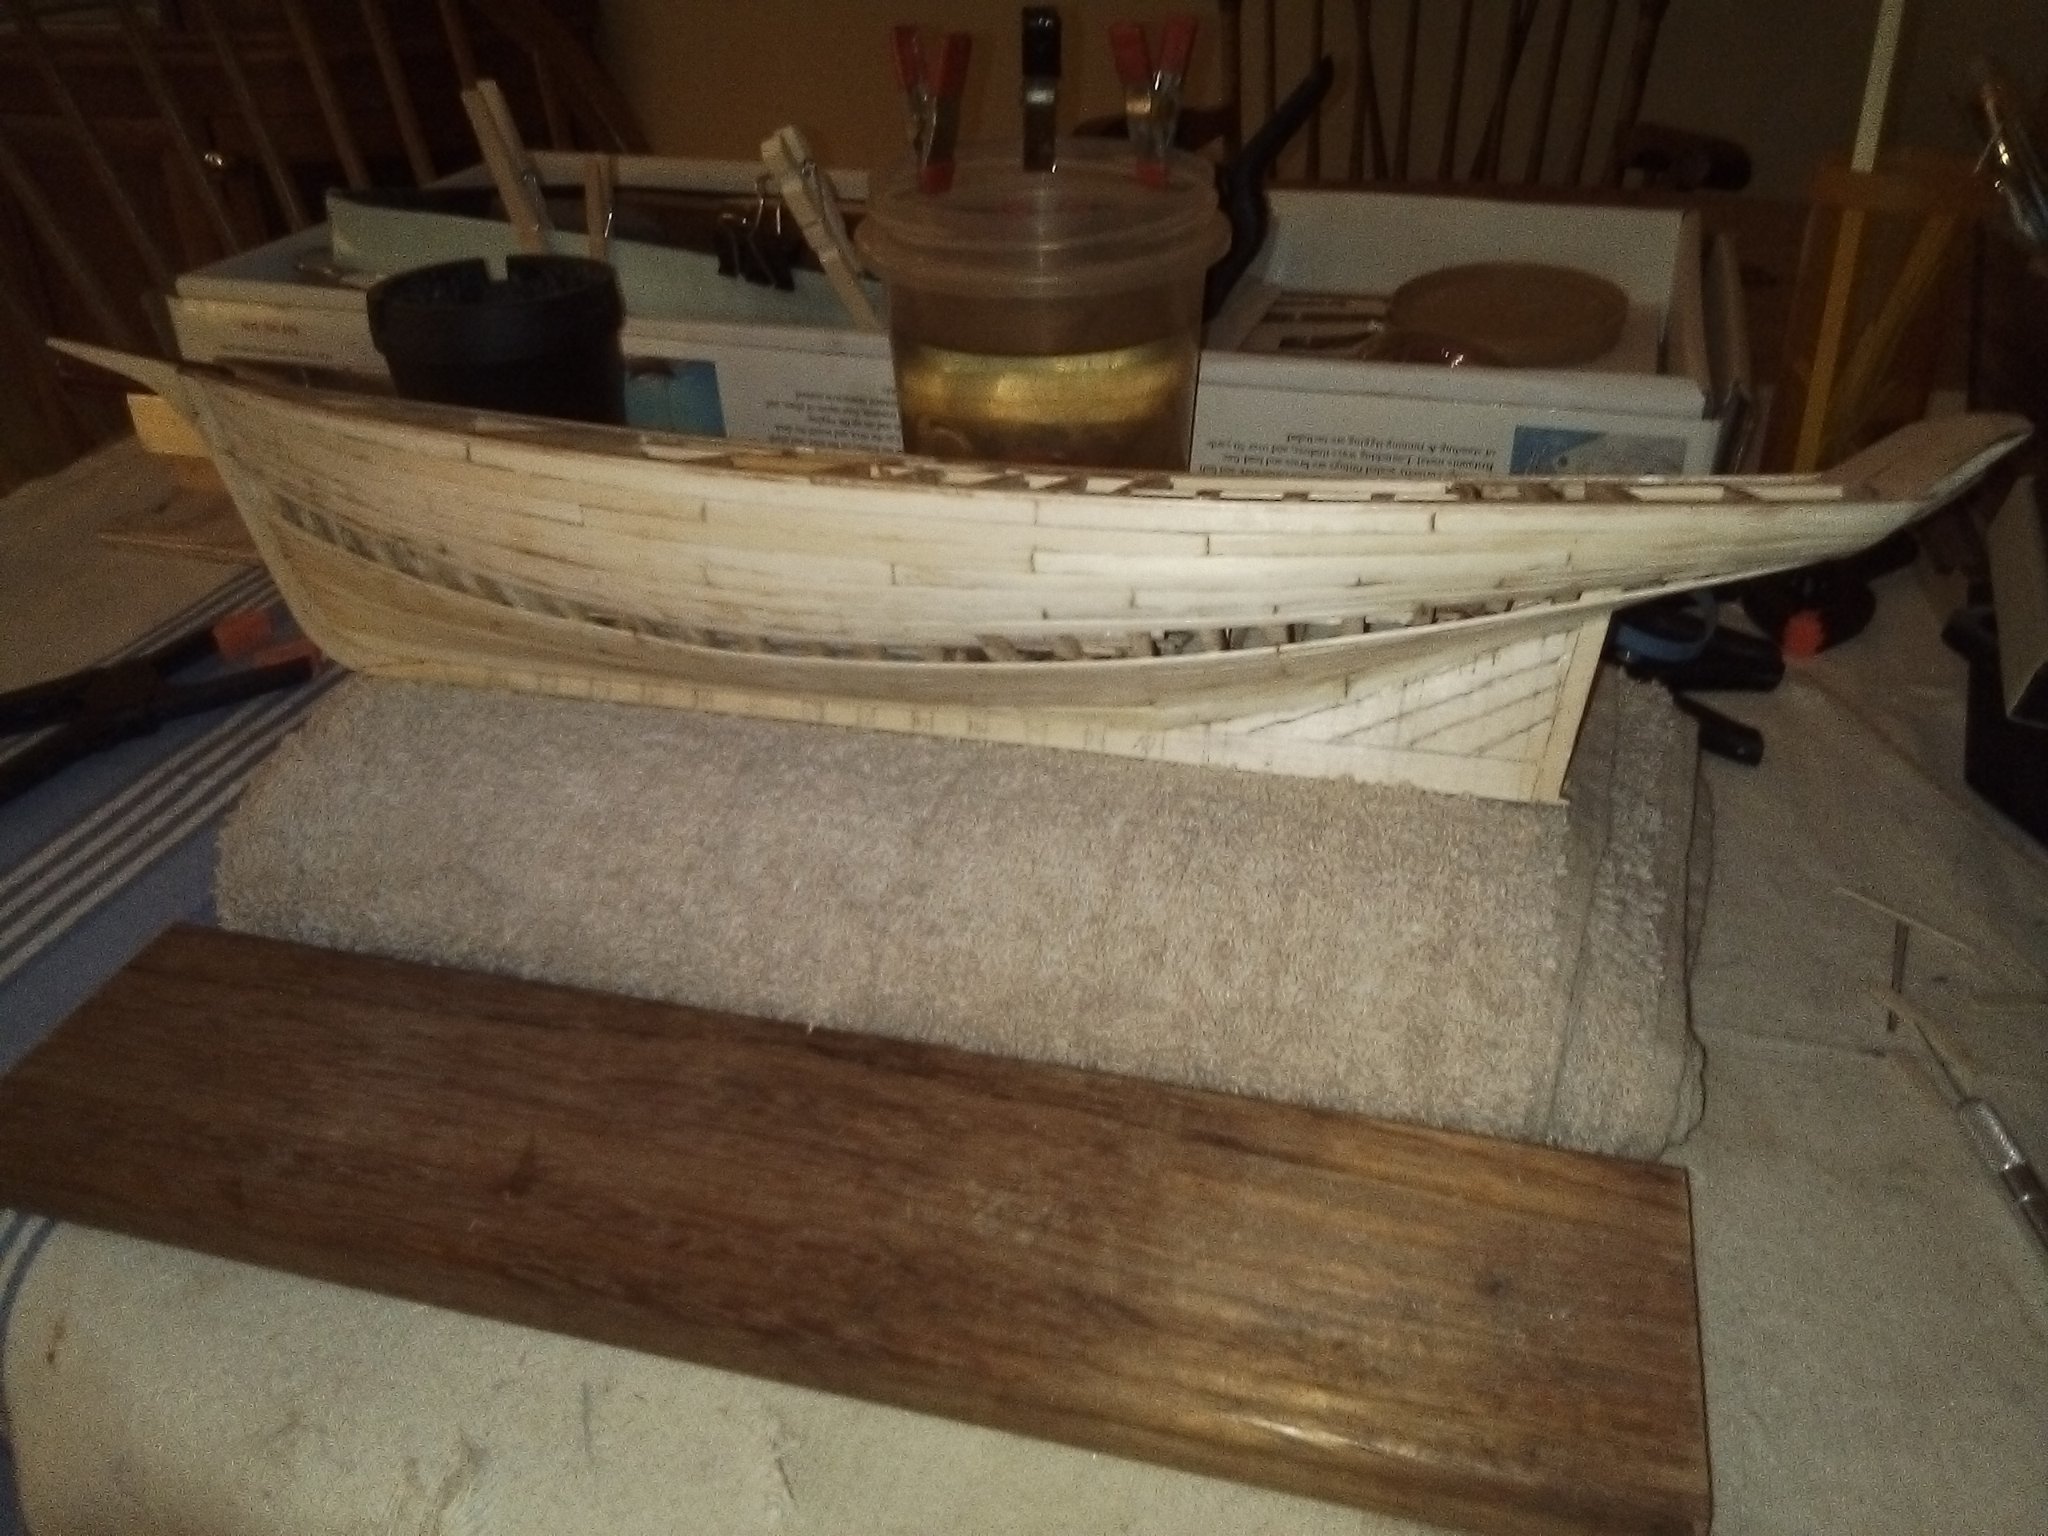
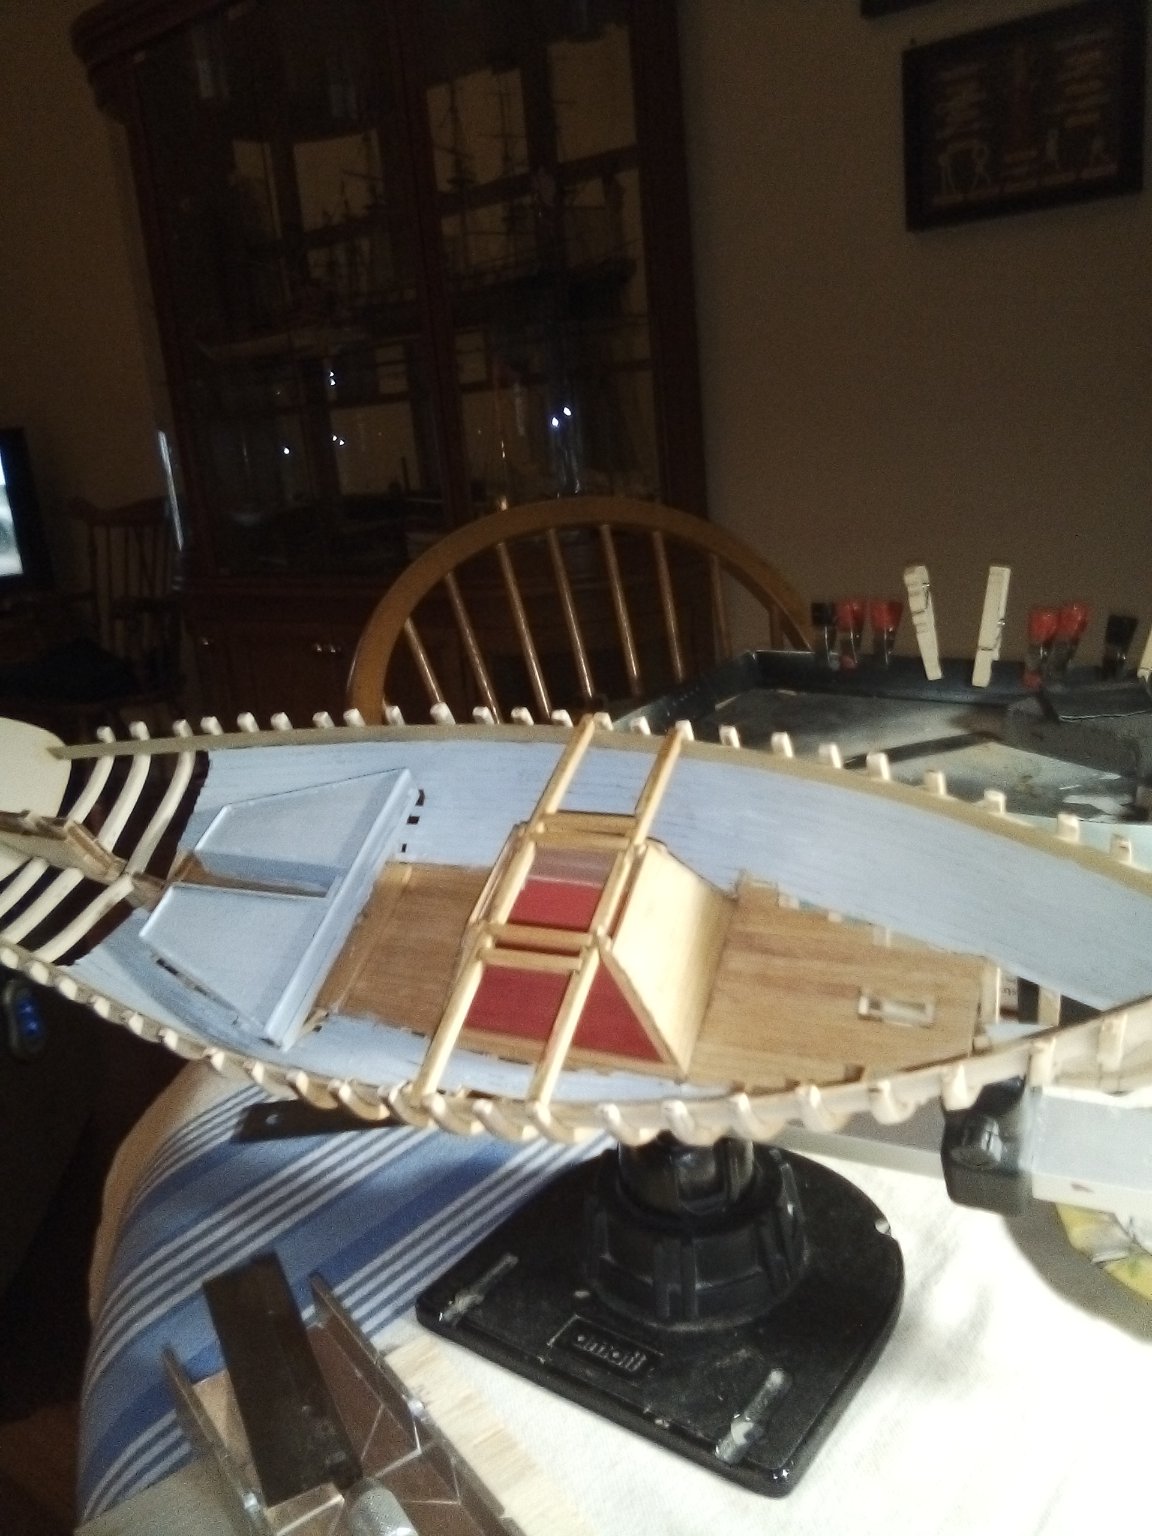
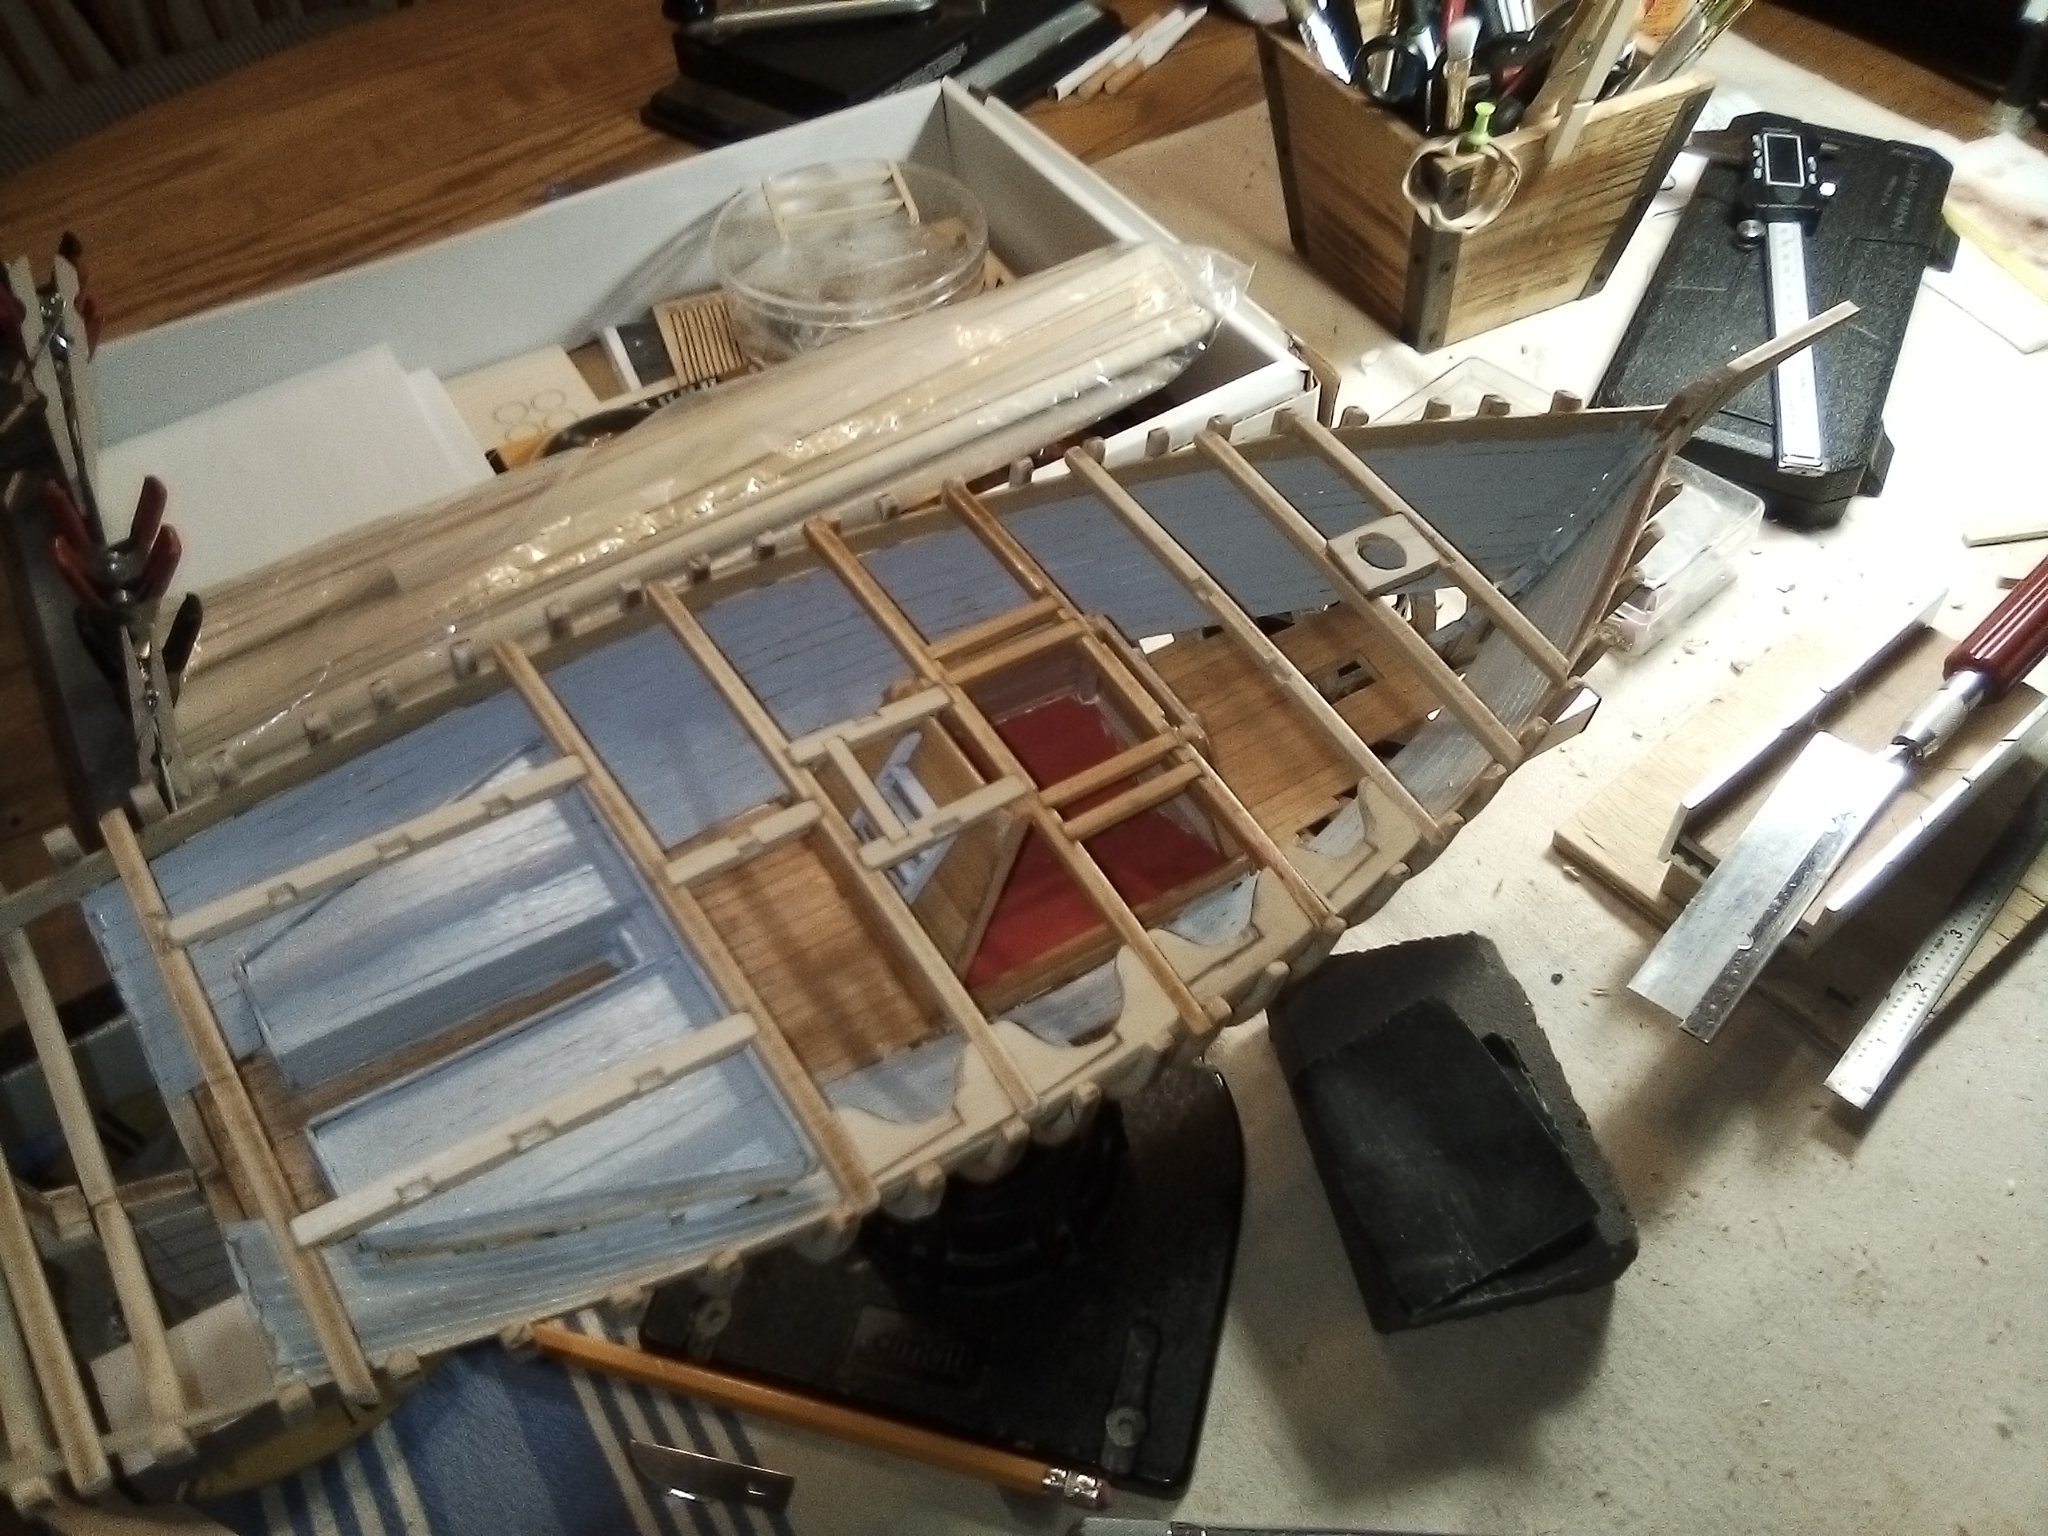
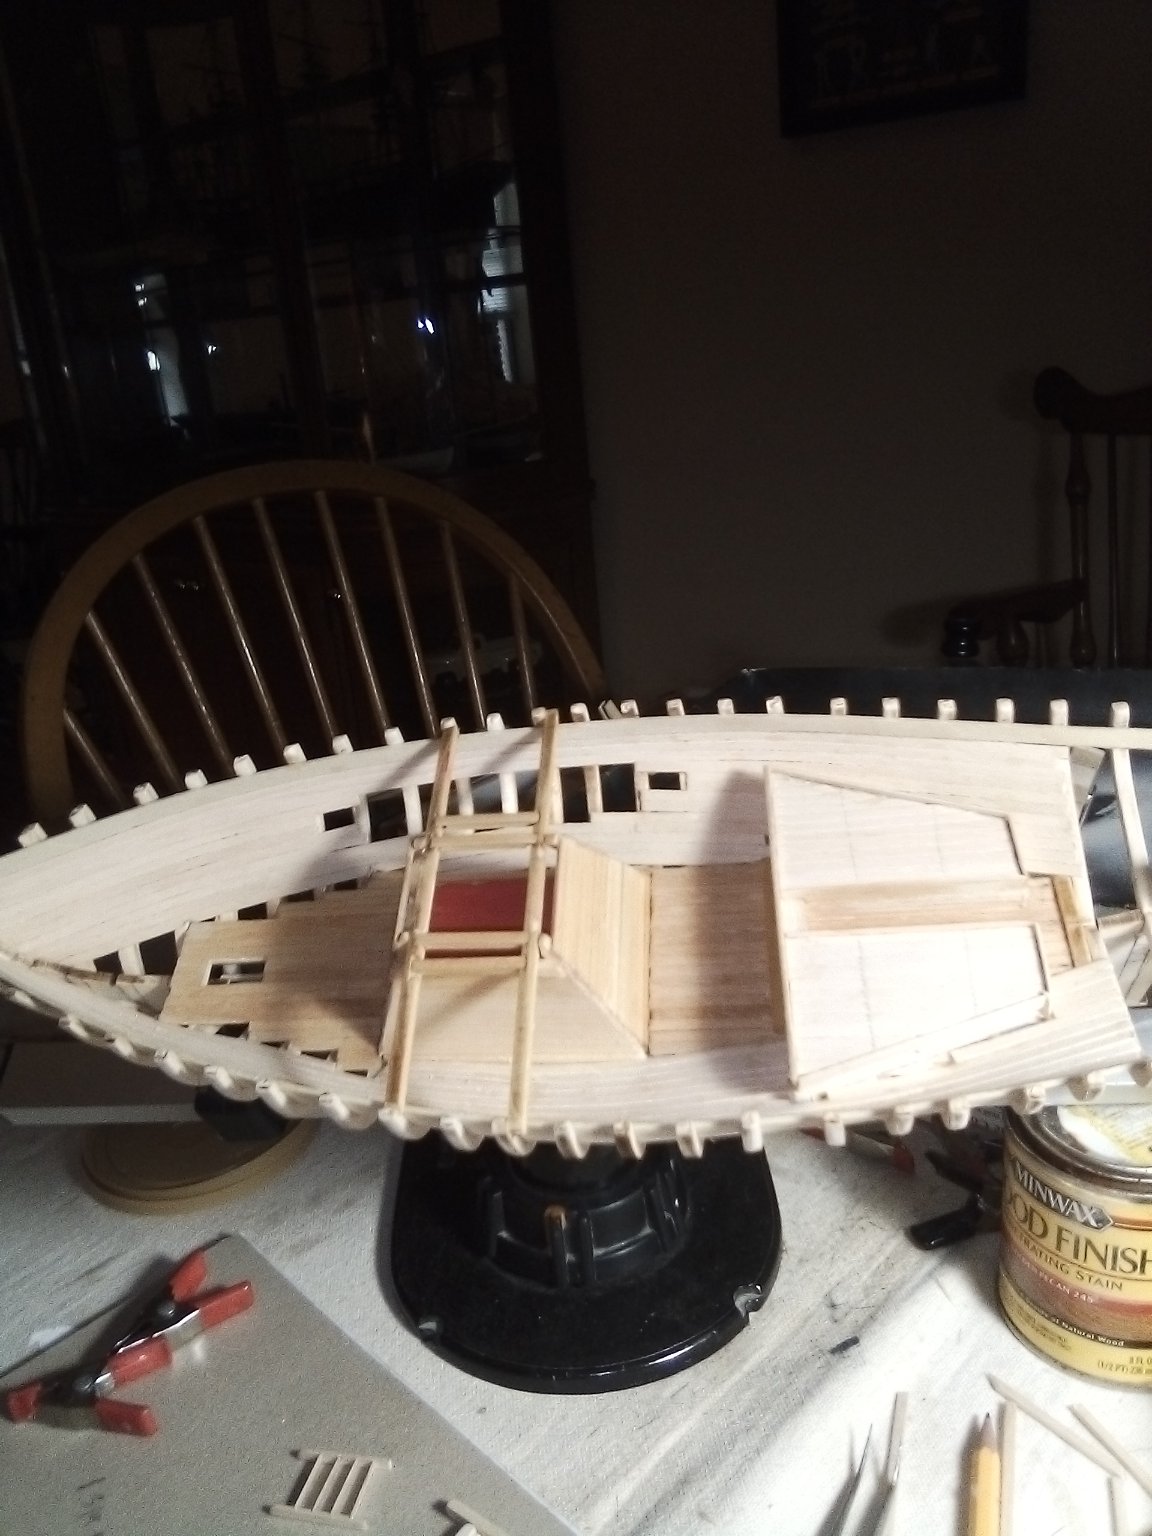
Progressing along on the ECB... Deck framing is done. The plans called for lodging knees all around, I cheated a bit. I wrestled with making all of them when most would be covered with planking. I intend to leave off some deck planking to expose the framing and to let light into the wet well area. I don't have the proper tools to create all those knees. So then began with the garboard strakes and the hull planking. i included some pics of the edge bending process, I use my jig and a hair dryer, works well with bass wood. for all the negatives of bass wood, it is easy to sha pe and bend.

-
-
-
In the above post, I wrote that the next step was deck planking. Actually, it calls for hull planking.
-
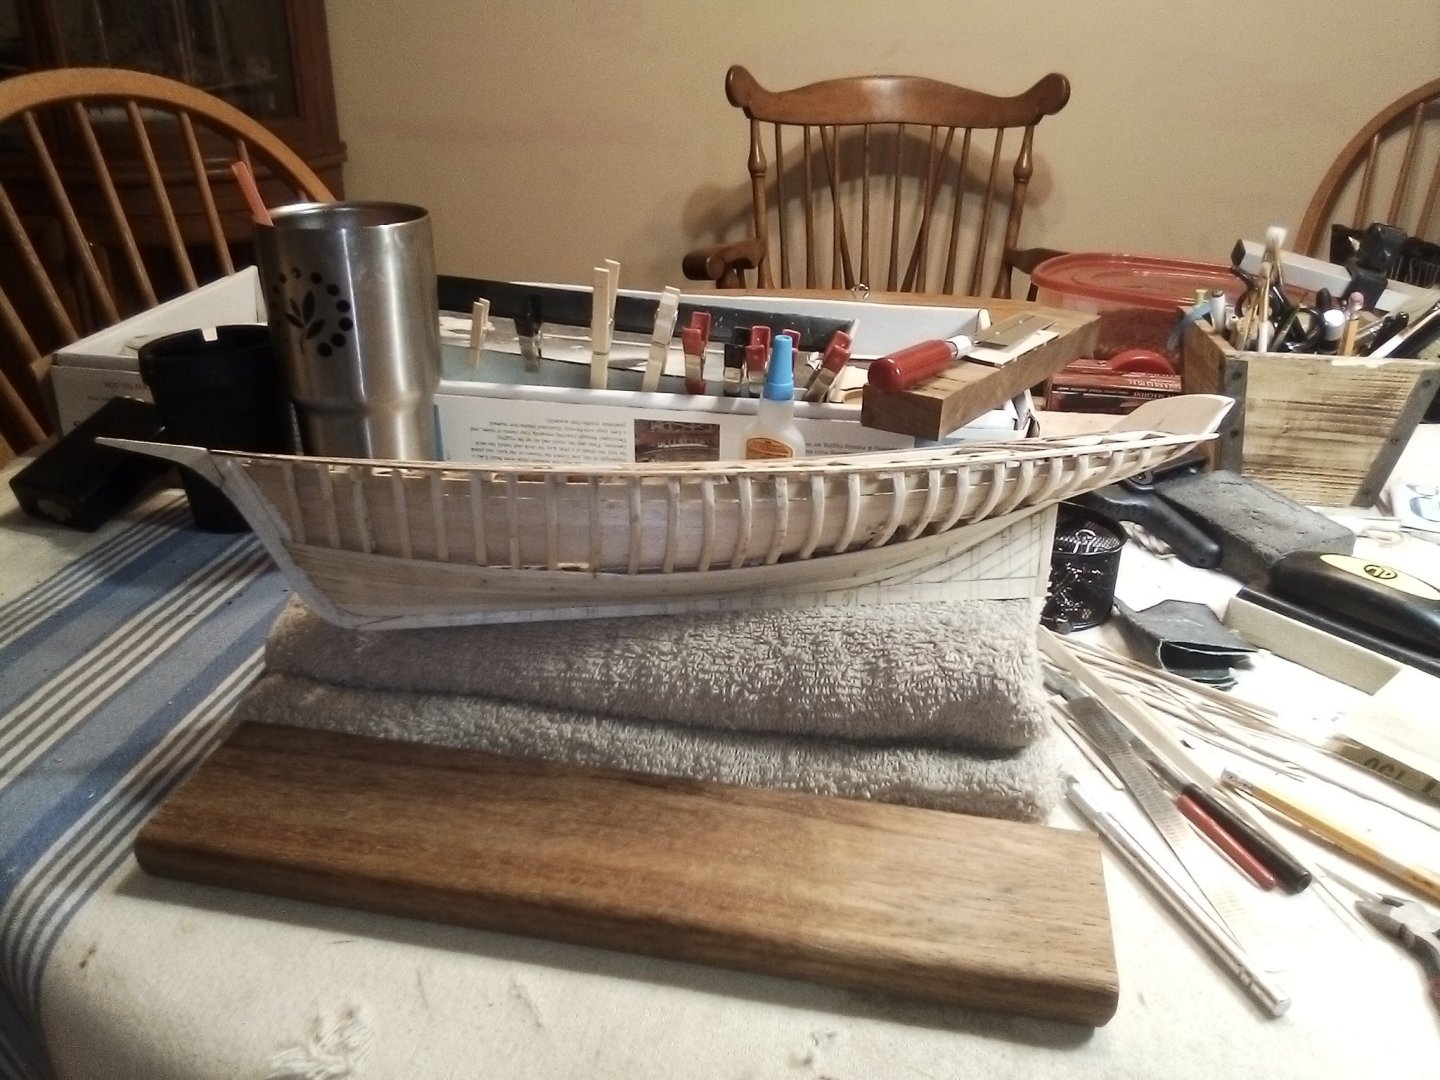
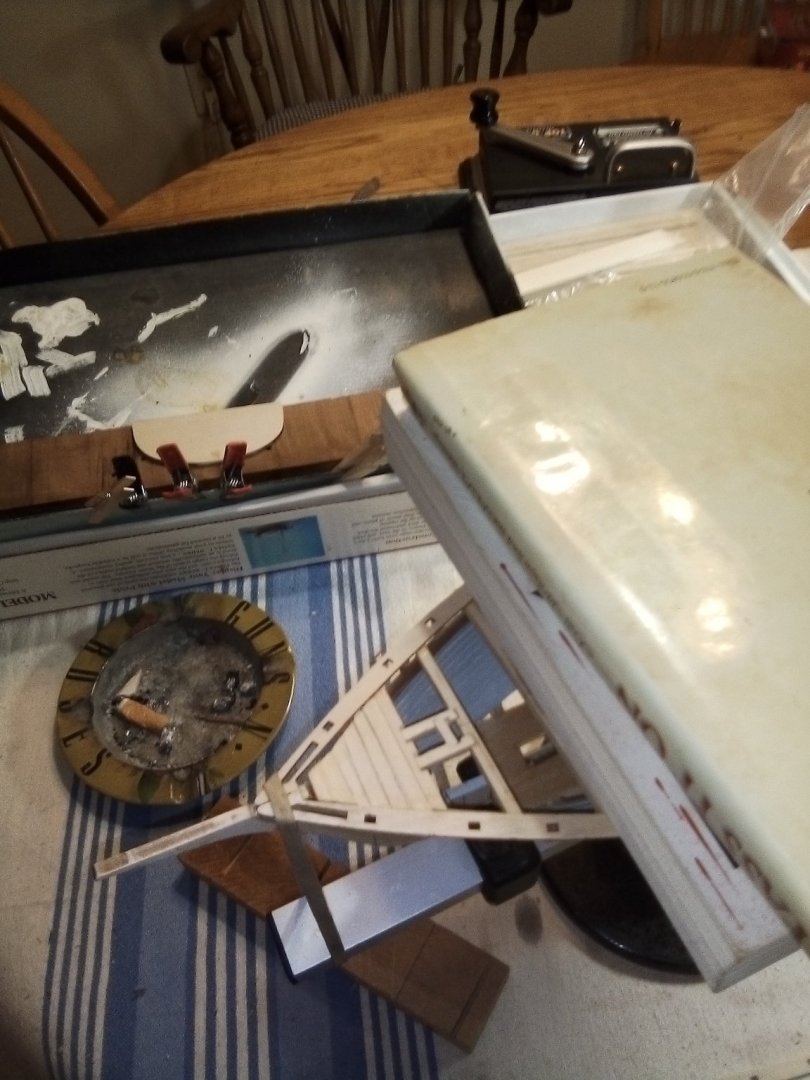
Got an update; banged some more out... Painted the interior areas called for, installed access ladders for the wet well hatches. Finished deck framing, installed some lodging knees, sanded flush the deck beams and carlings. Then began the covering boards. Next, the instructions call for the planking of the deck, nice! I went through some other members build logs, very helpful. It was funny though that many have observed the same shortfalls in this kits instructions and plans. Should you pick up this one, be prepared to navigate by the plans. The instructions are sparse! I guess I'm used to more modern "Chuck P" type instructions. The plans also ca n be ambiguous in some aspects, well, you'll see!


-
Thanks Paul, good to hear from you... Your Whale Boat came out fantastic by the way! Hope to see more of your work.
-
For the netting, you might want to check a craft store like Michael's. Nice work so far.
-
Thanks for the kind words of encouragement, much appreciated. I need to figure out how to put the text in more rationally!
-
-
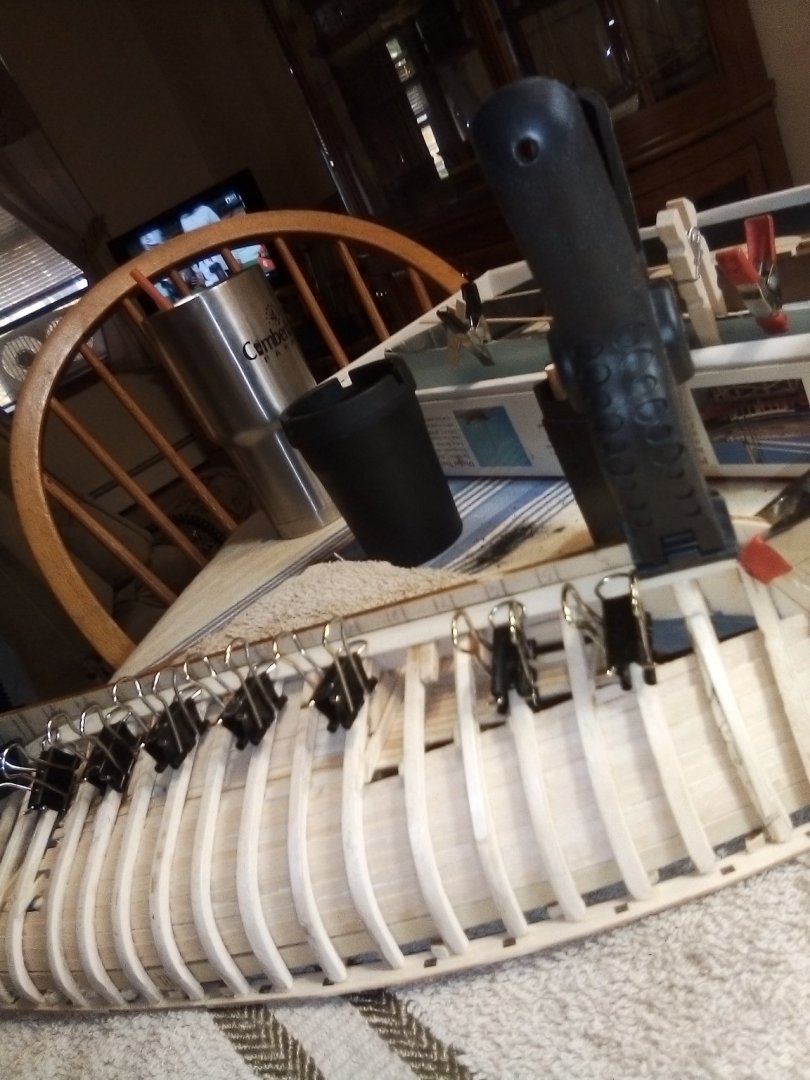
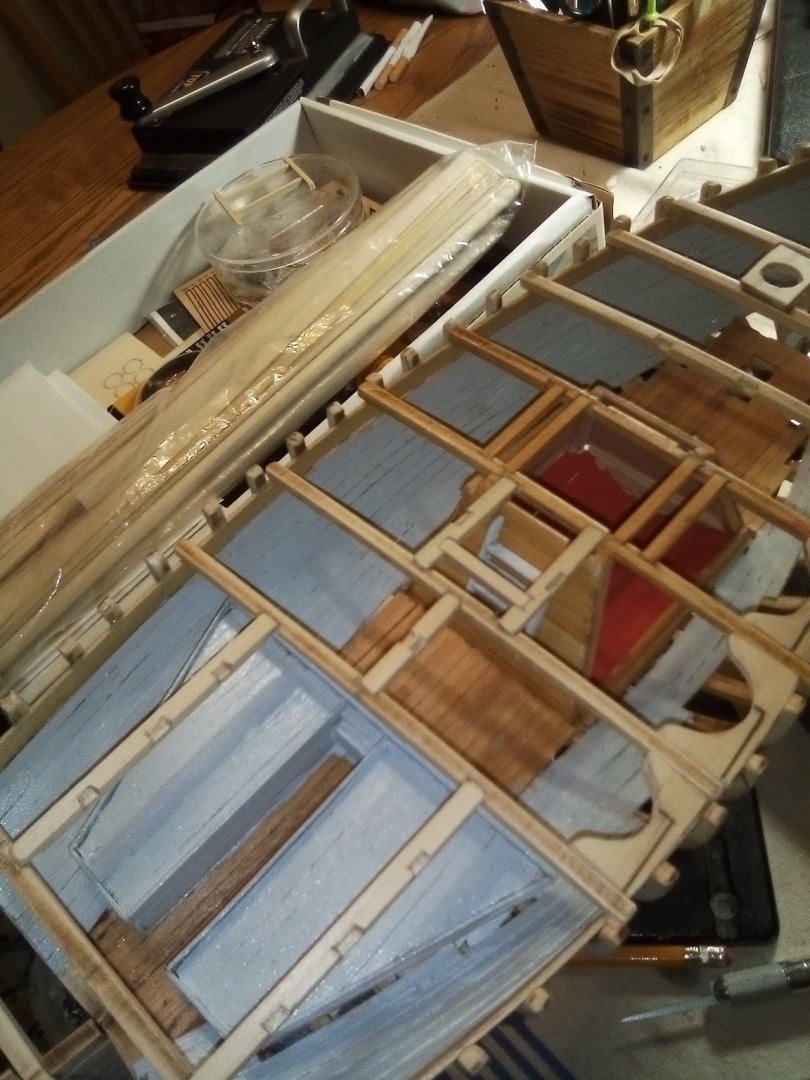
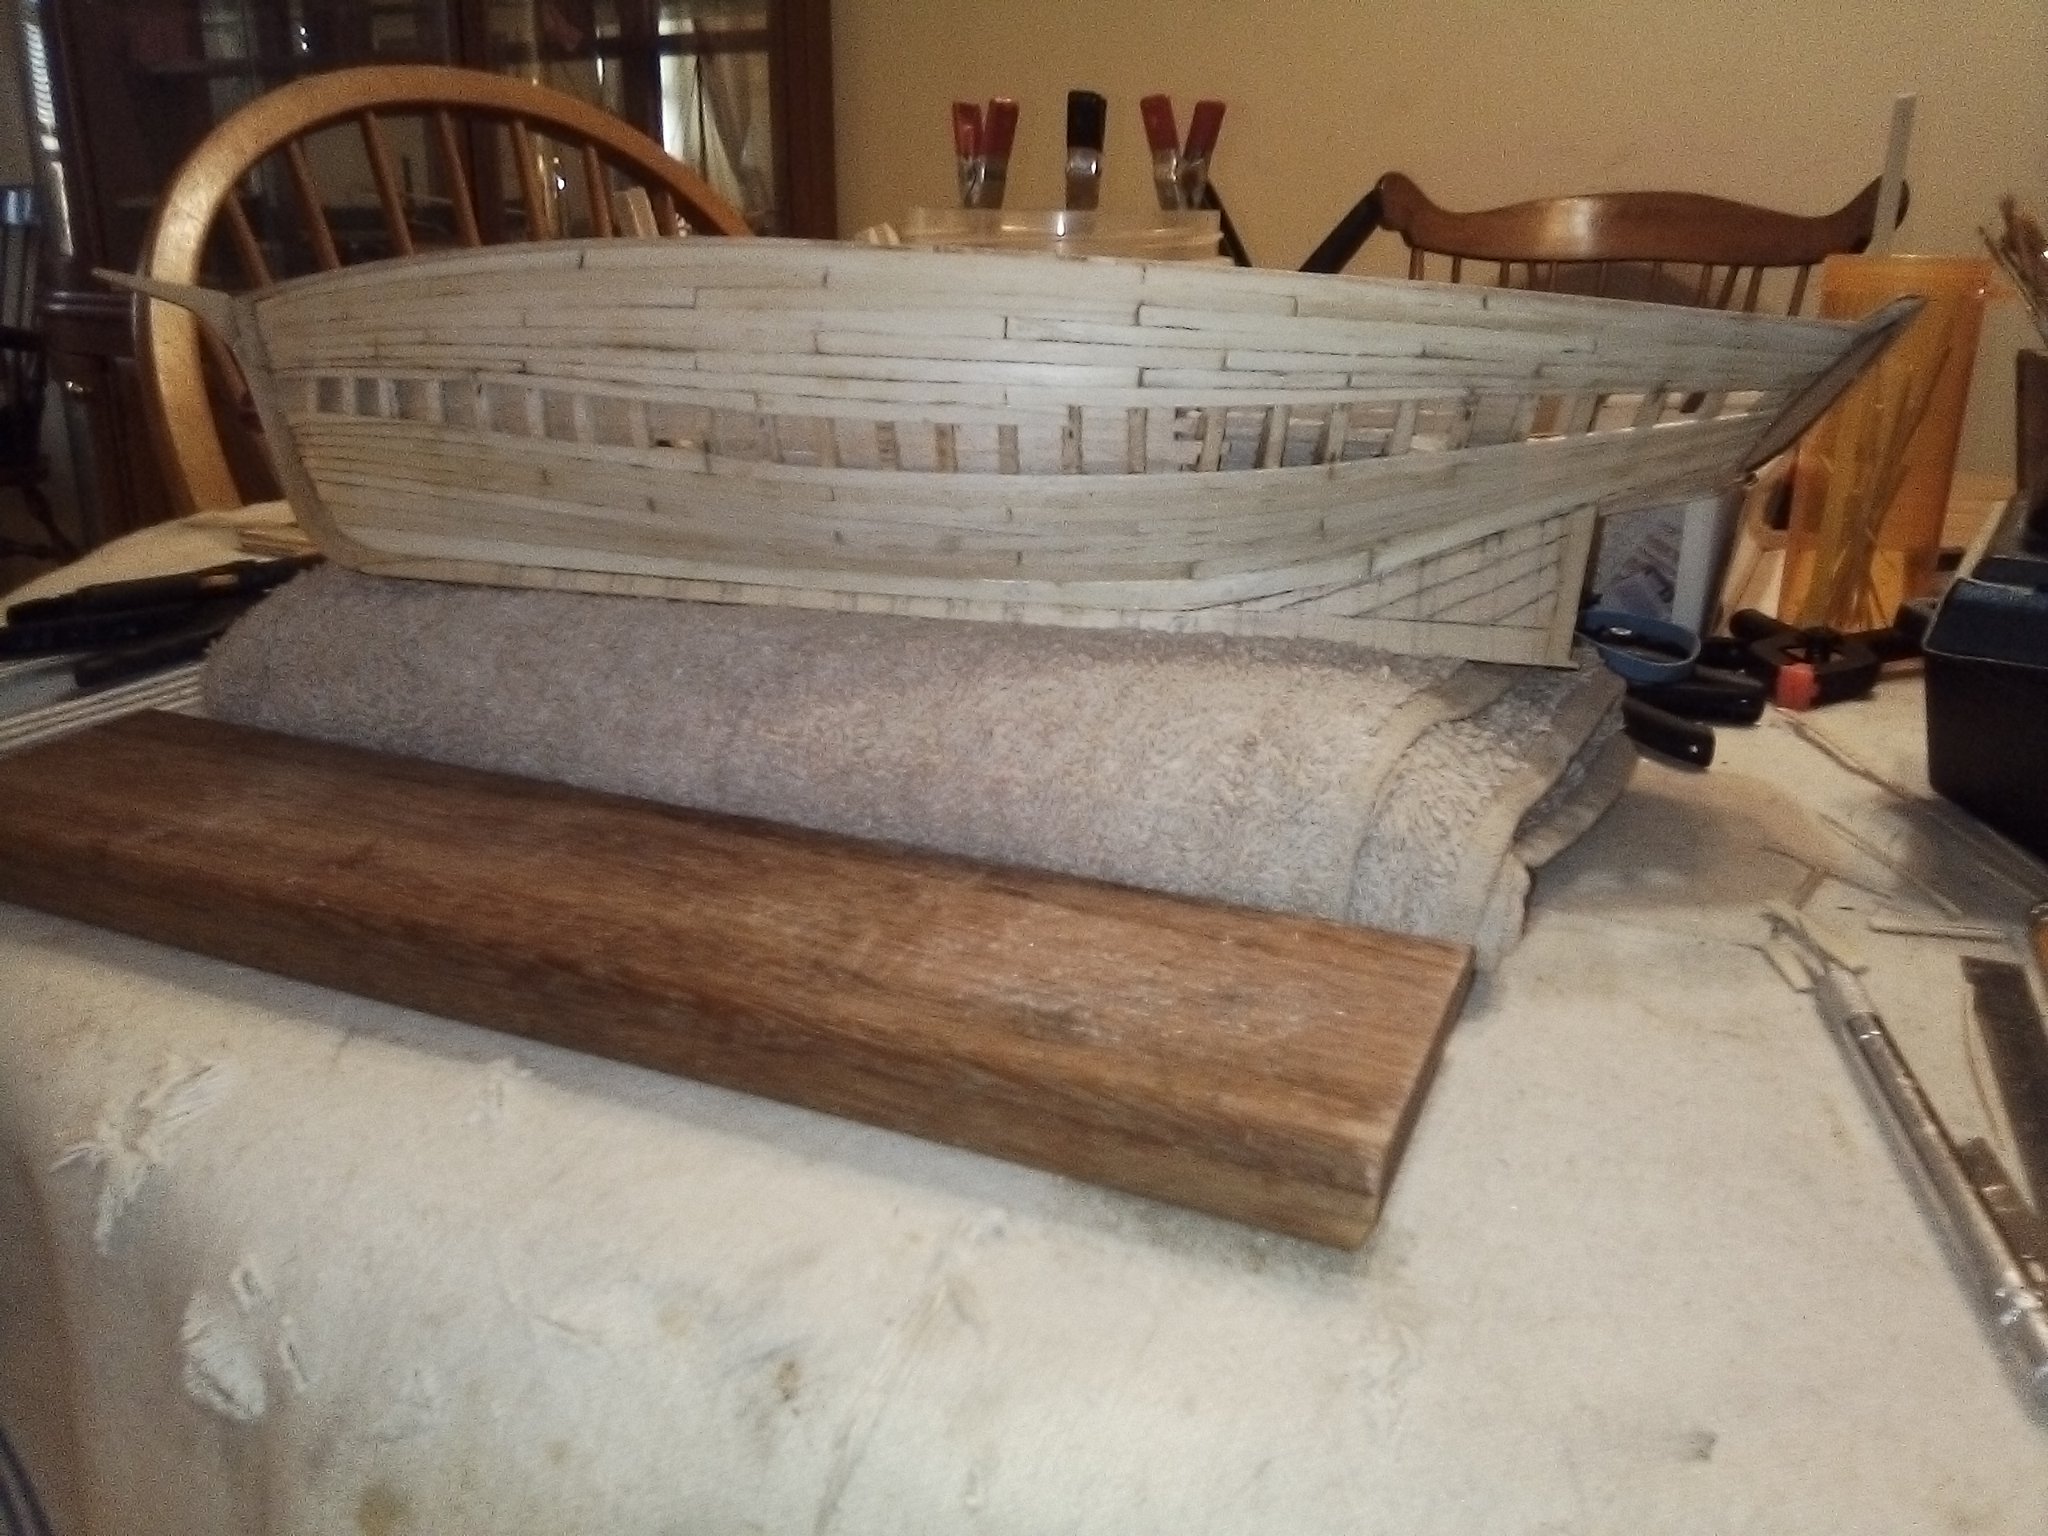
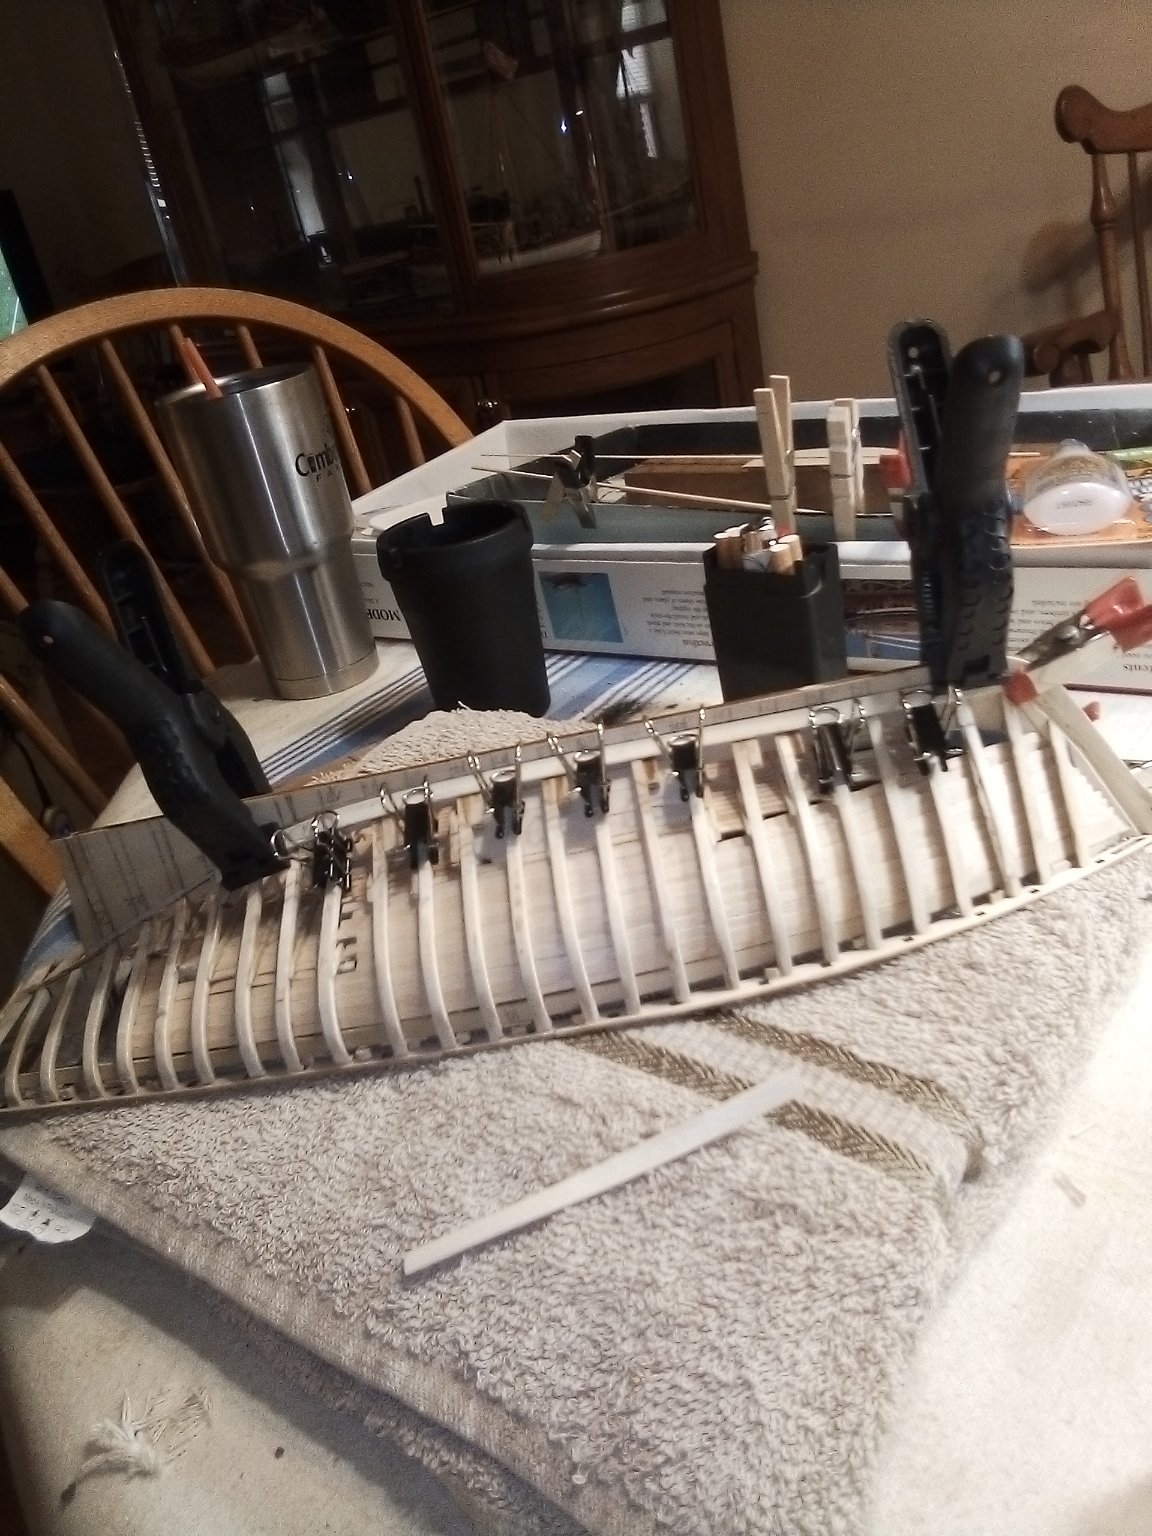
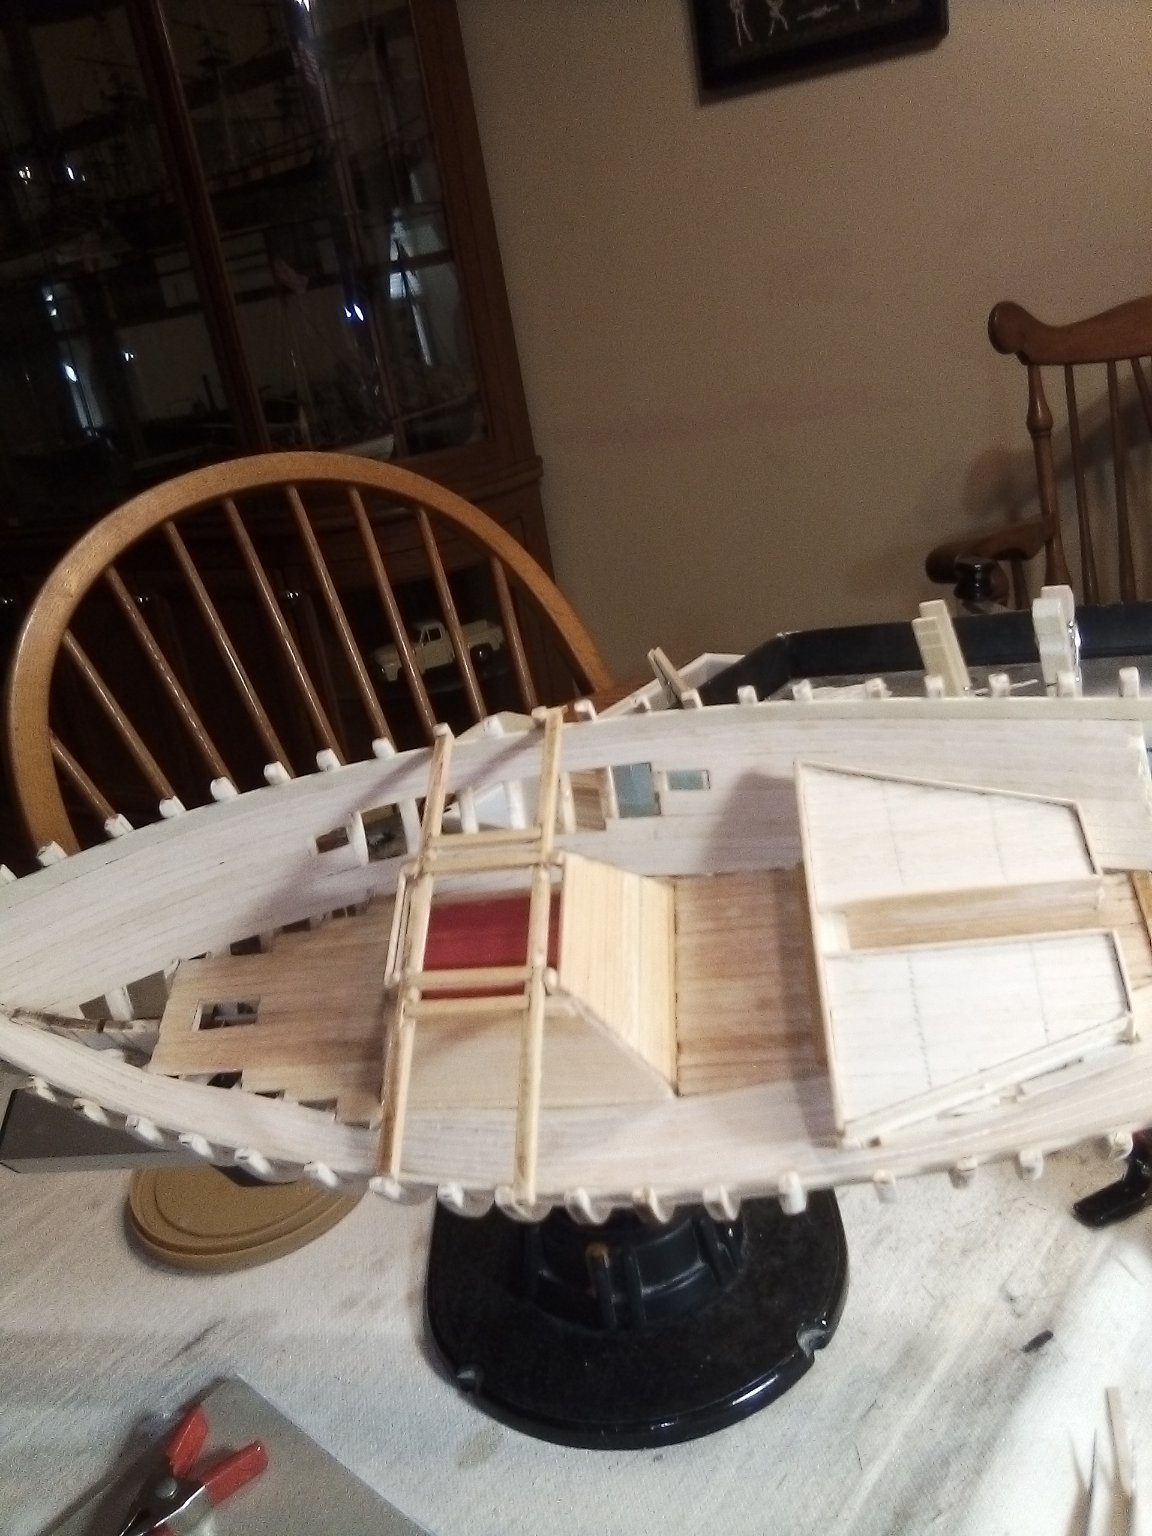
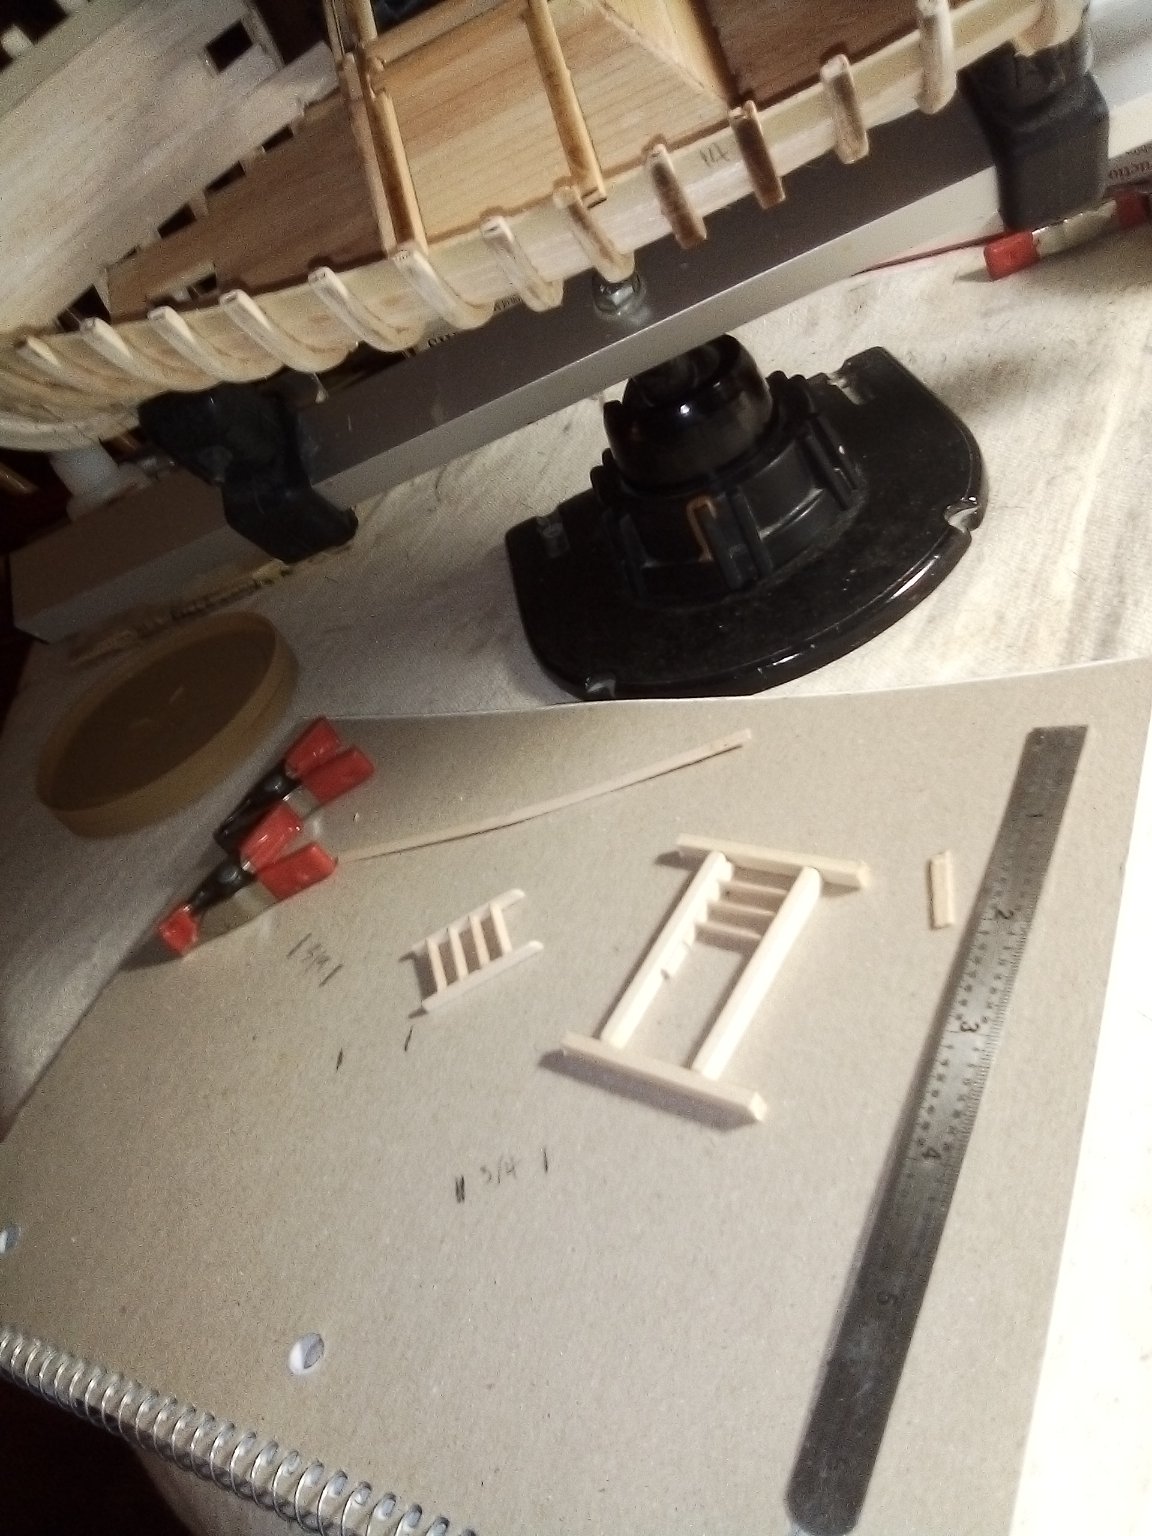
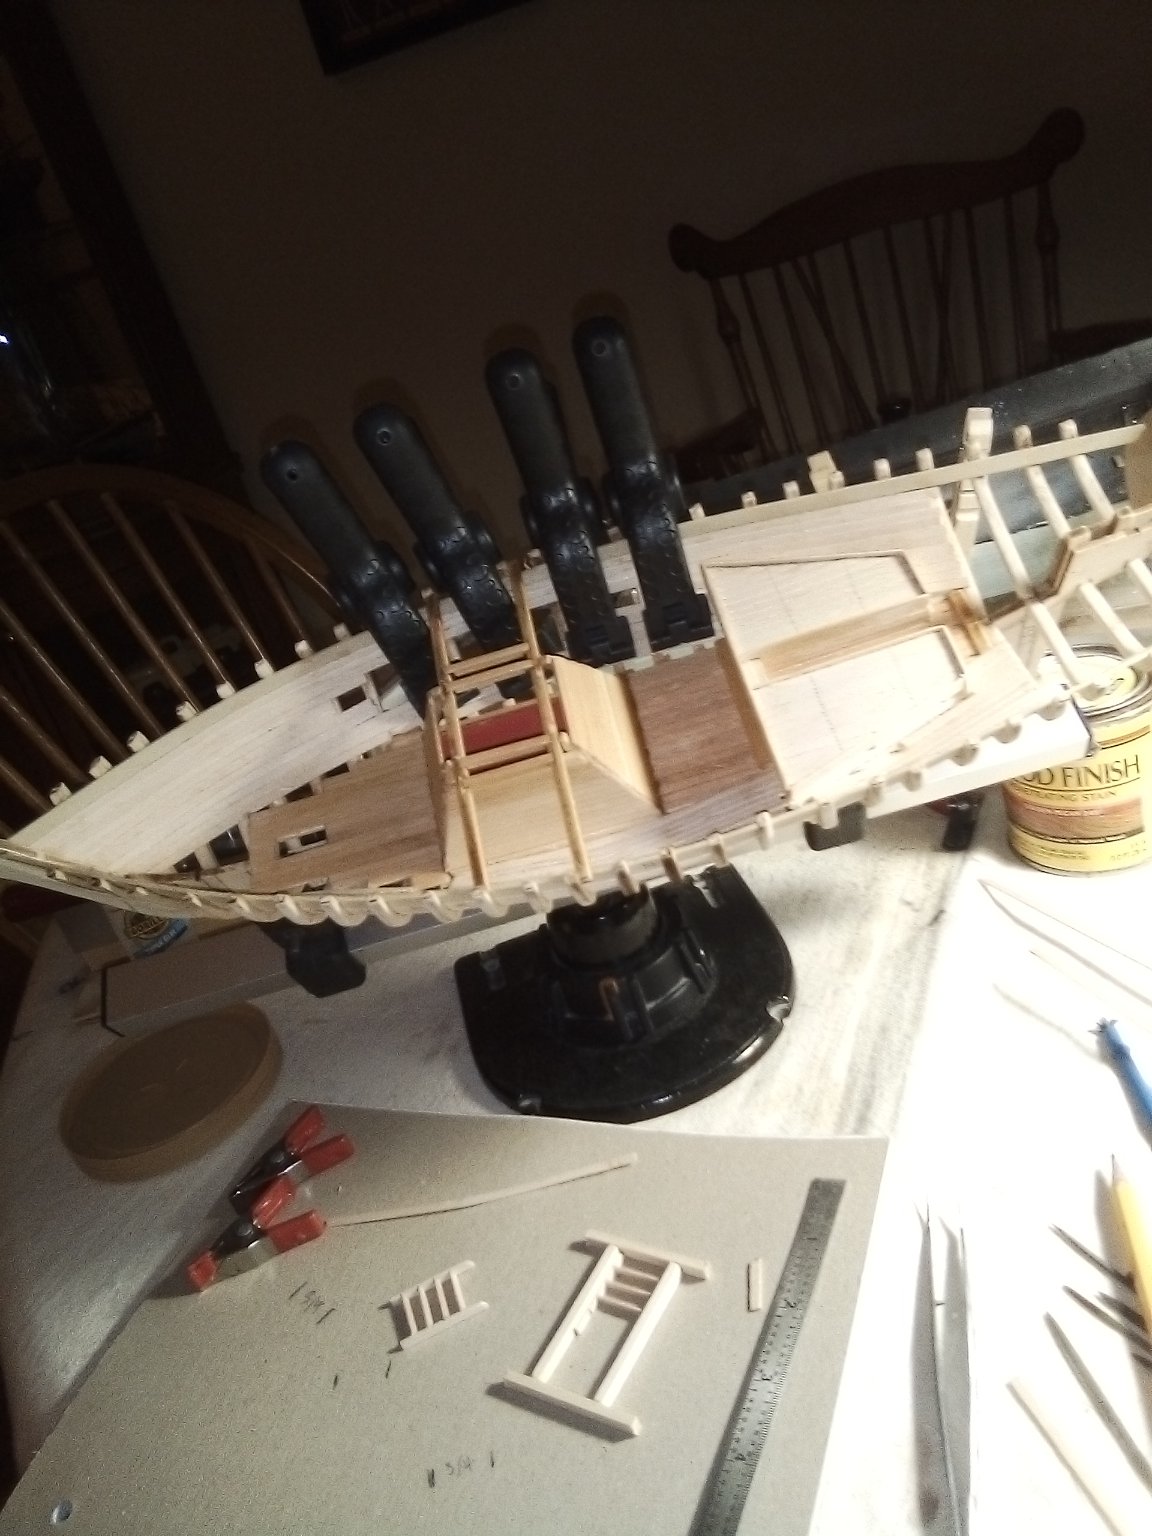
Finishing up starboard side ceiling, omitting some planks to allow "look through" into the inner hull. While waiting for the last of the planks to set, started on the three ladders that are
 required.
-
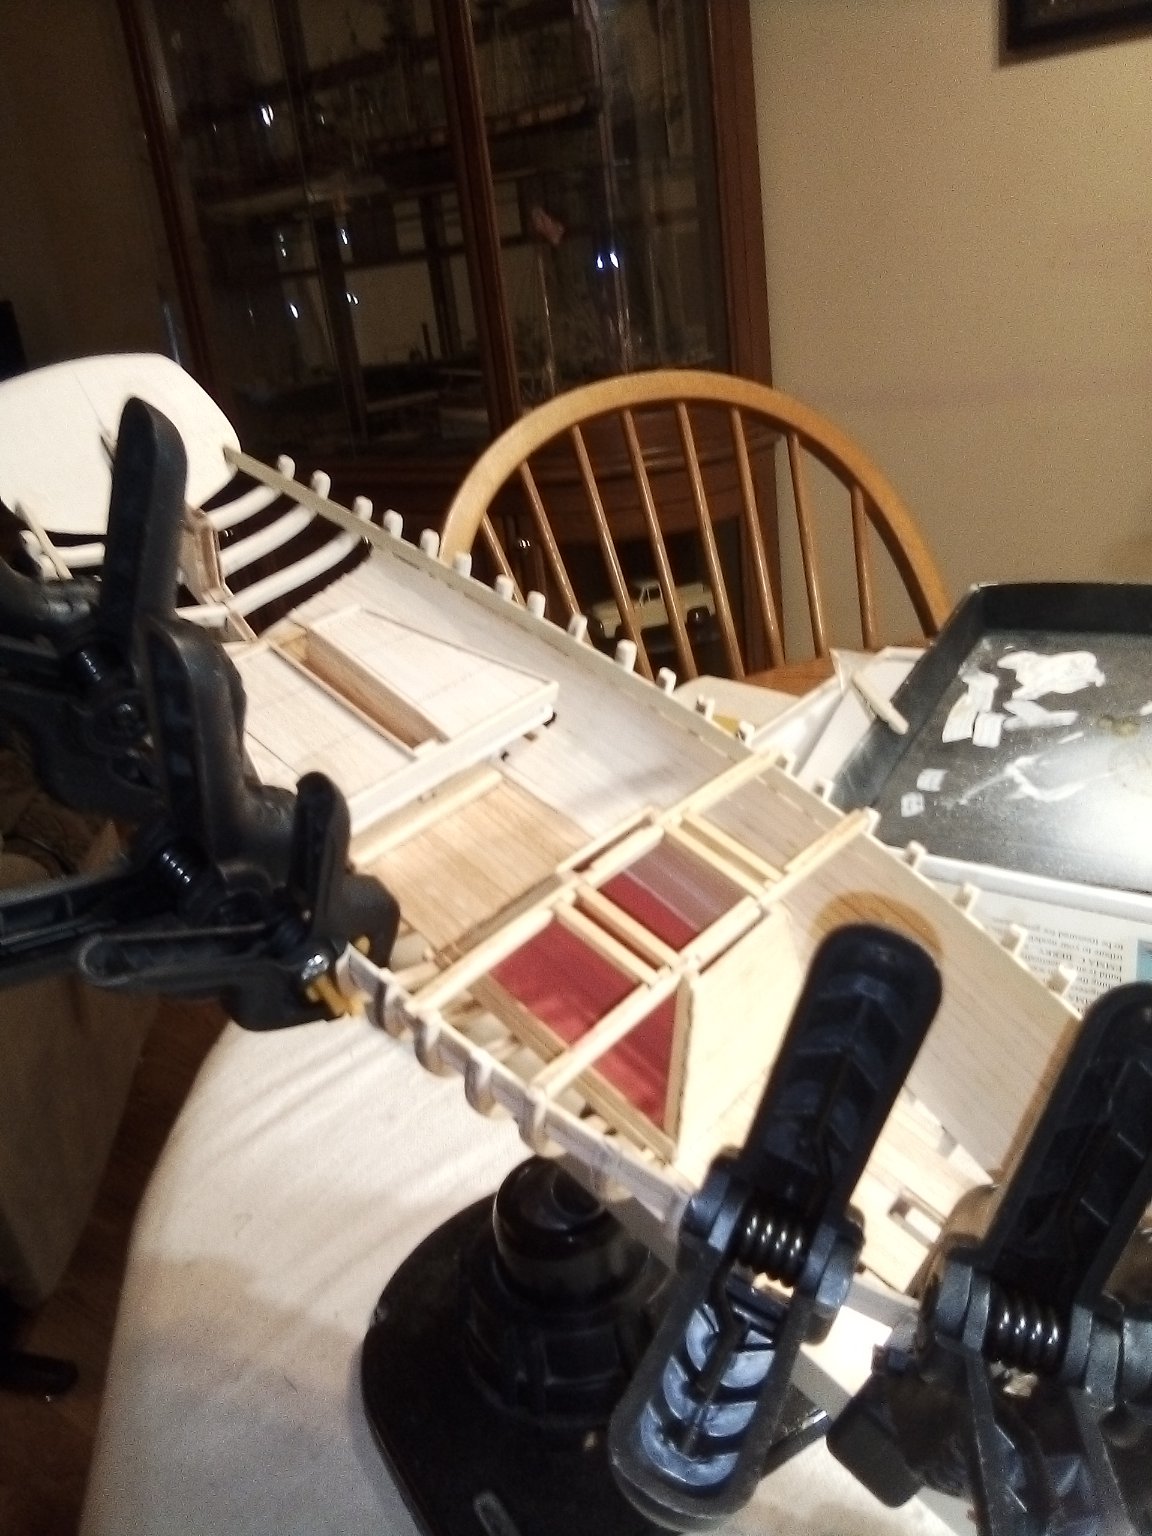
Port side ceiling completed, be
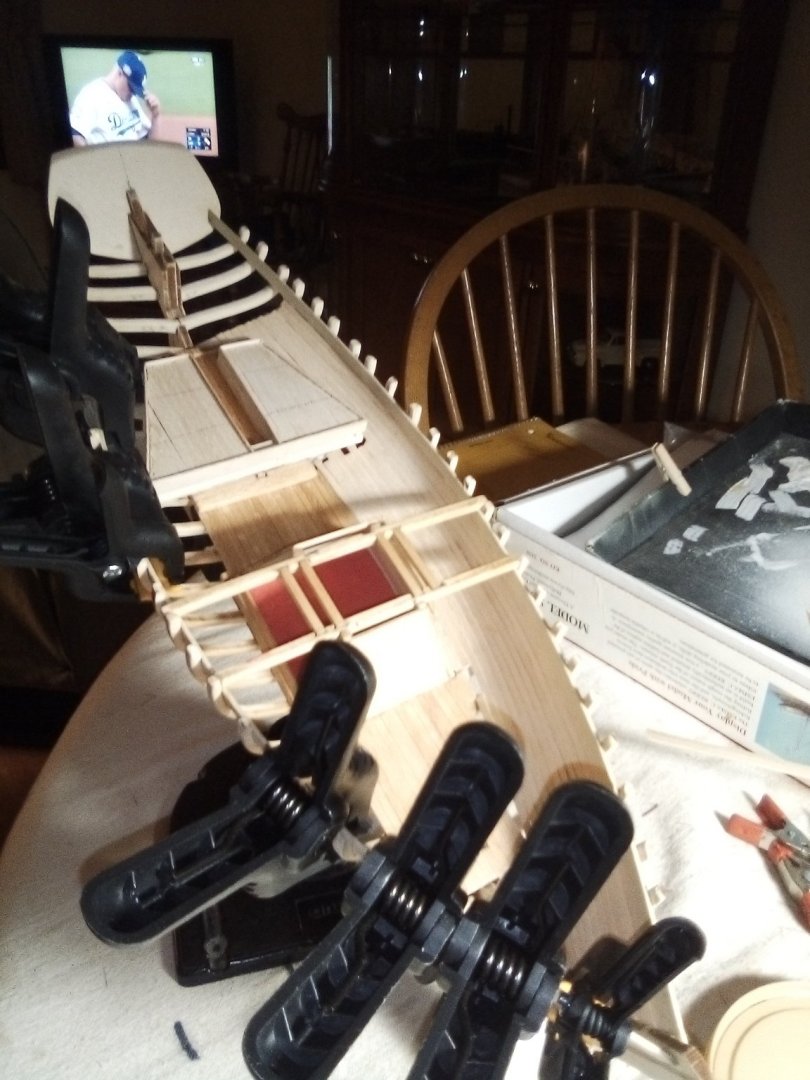 ginning starboard side.


Emma C Berry 1866 by Sea Hoss - FINISHED - Model Shipways
in - Kit build logs for subjects built from 1851 - 1900
Posted
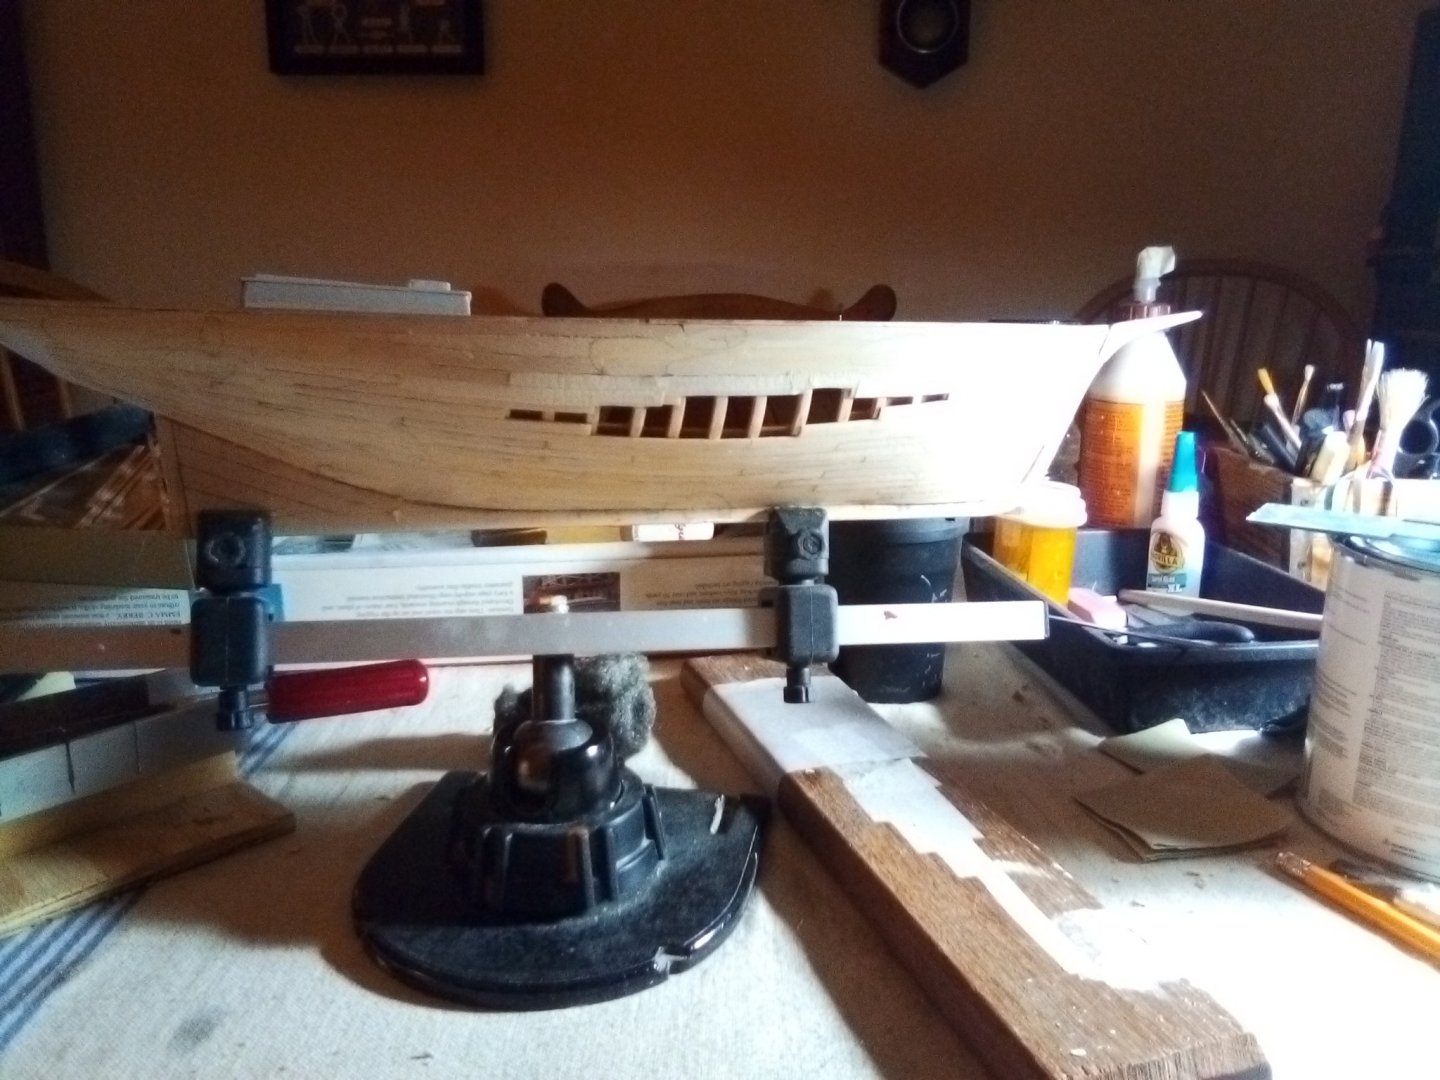
I have reached a point in ECB's progress to post some. Got the bulwark stanchions, scupper planks, upper bulwark planks, cap rails, stern rail, mooring chock blocks and mooring bitts completed! That's a mouthful! There is still some additional goodies that I will create and install. I applied some primer to the finished sections, in addition to priming for paint, it shows where I need to correct any imperfections. Still using my crappy phone camera so the pics are not so great..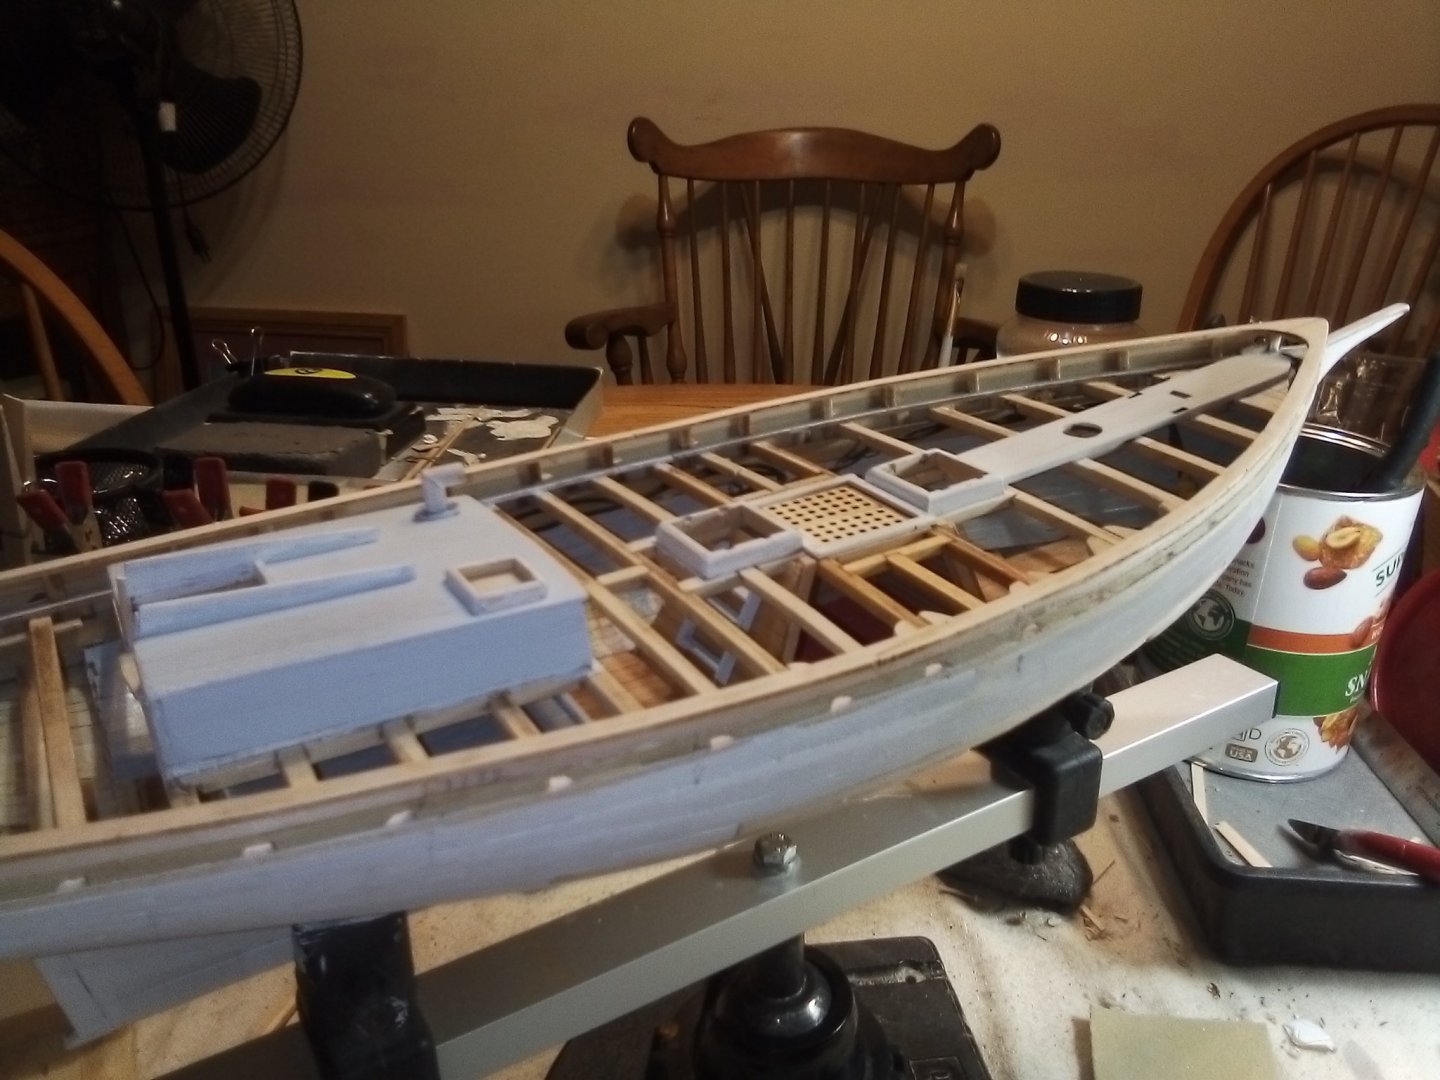 . sorry.