

.JPG.57a378a2fb5032f11af5def7ae16c0b2.JPG)
Retired guy
-
Posts
561 -
Joined
-
Last visited
Content Type
Profiles
Forums
Gallery
Events
Posts posted by Retired guy
-
-
Absolutely brilliant Keith 👍
Regards
Richard
- Keith Black, FriedClams, WalrusGuy and 2 others
-
 5
5
-
I had a lot to catch up,
 the machine work and how you orchestrate your pieces through them is just brilliant Keith, learning another level or two 👍
Regards
Richard
- mtaylor, KeithAug, FriedClams and 2 others
-
5
-
Just catching up with your WIP Dave wow, well done on the brake beam and pumps 100% better than the supplied pieces and I know how small these are

Regards
Richard
-
-
2 hours ago, CPDDET said:
Fine work as always, Richard. I just posted yesterday on my windlass and still have to fashion the bilge pumps. Then it's on to the chain plates. I'll be sure to check your previous posts as I proceed.
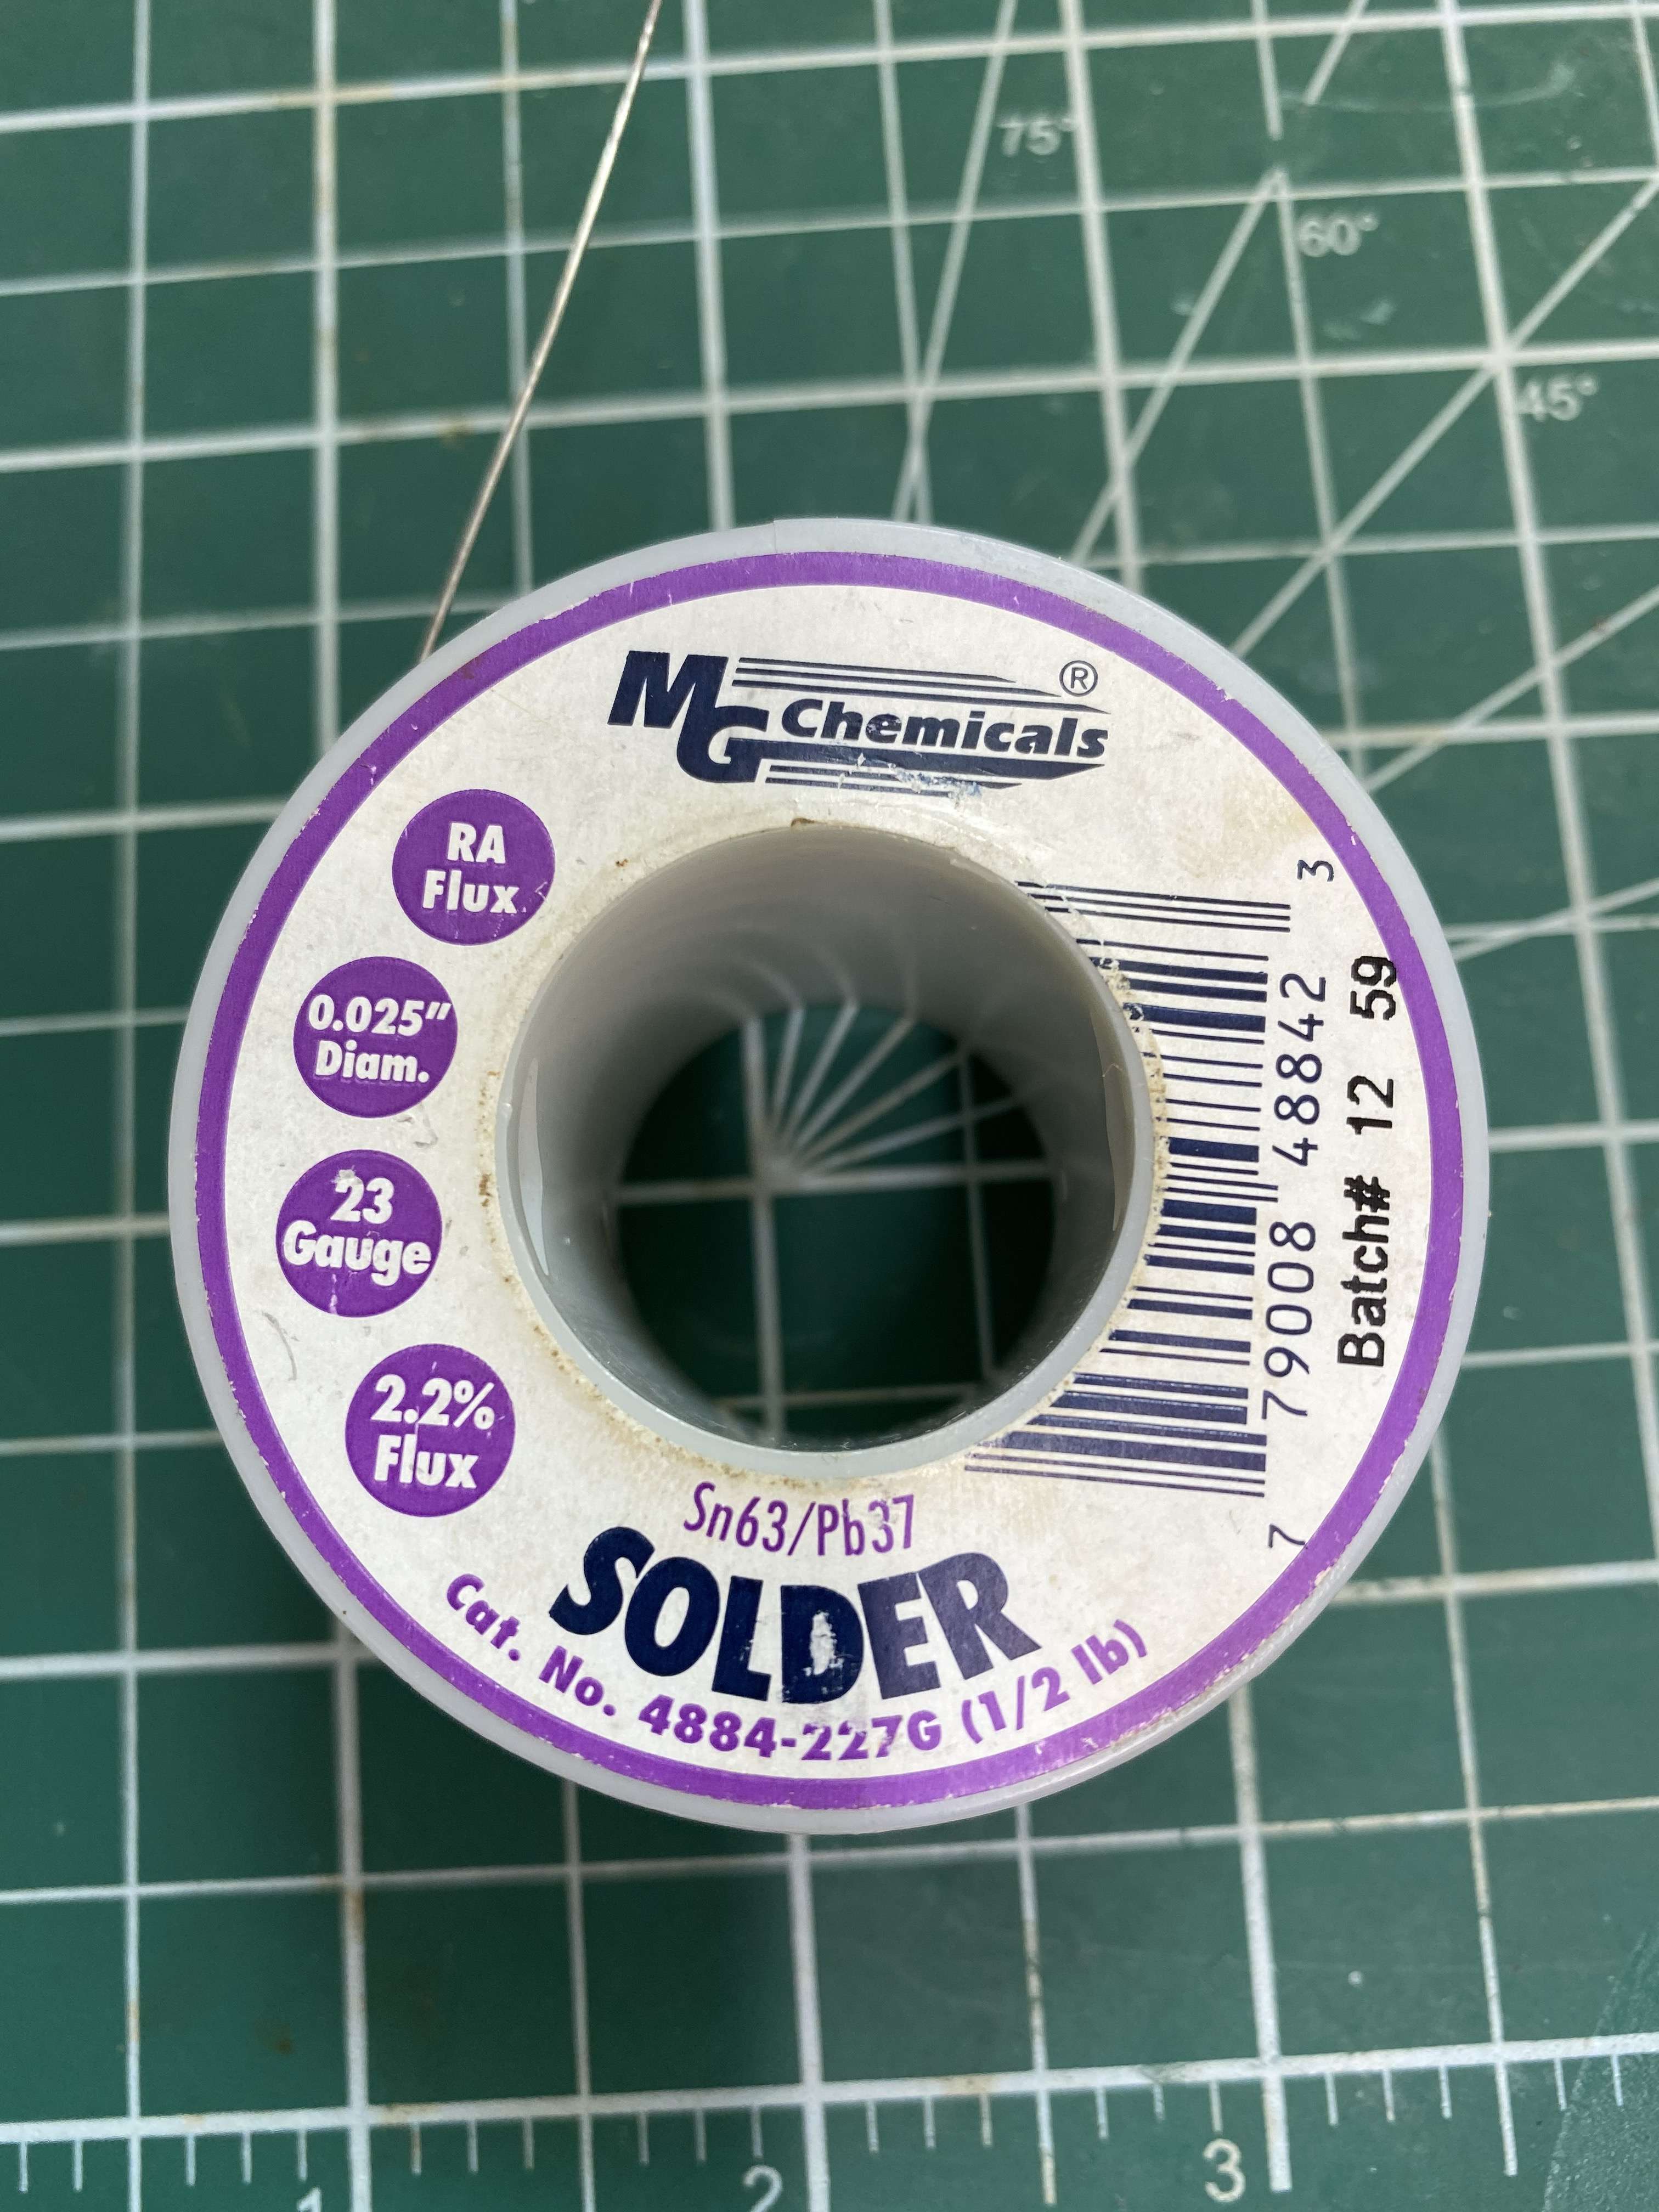
By the way, what type of solder are you using?
Dave
Thanks Dave the solder I use is this one
Regards
Richard
-
-
On 2/25/2021 at 7:58 PM, FriedClams said:
Nice to see you back with an update on your Bluenose Richard. Great work on the chainplates, eyebolts and such. Really like those clamps too.
Gary
On 2/25/2021 at 7:58 PM, FriedClams said:Nice to see you back with an update on your Bluenose Richard. Great work on the chainplates, eyebolts and such. Really like those clamps too.
Gary
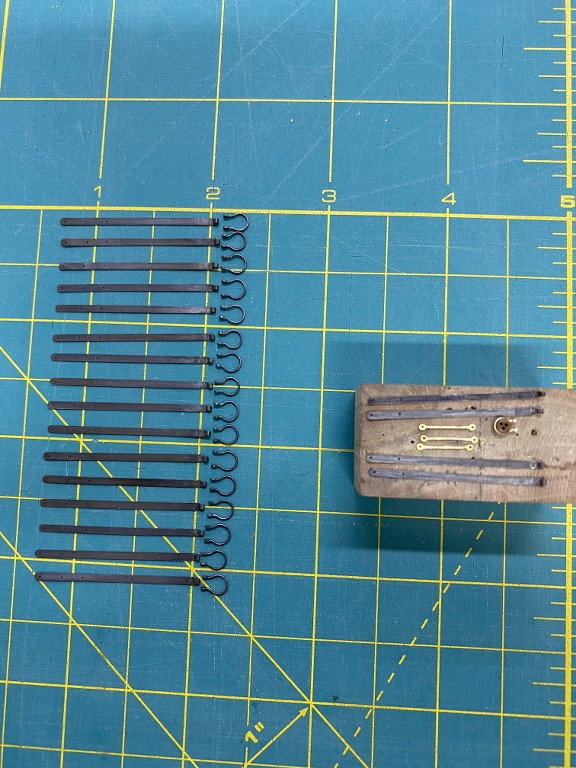
Thanks Gary it was a small update but time consuming but I do like how they came out just way better than my first attempt, see right of picture
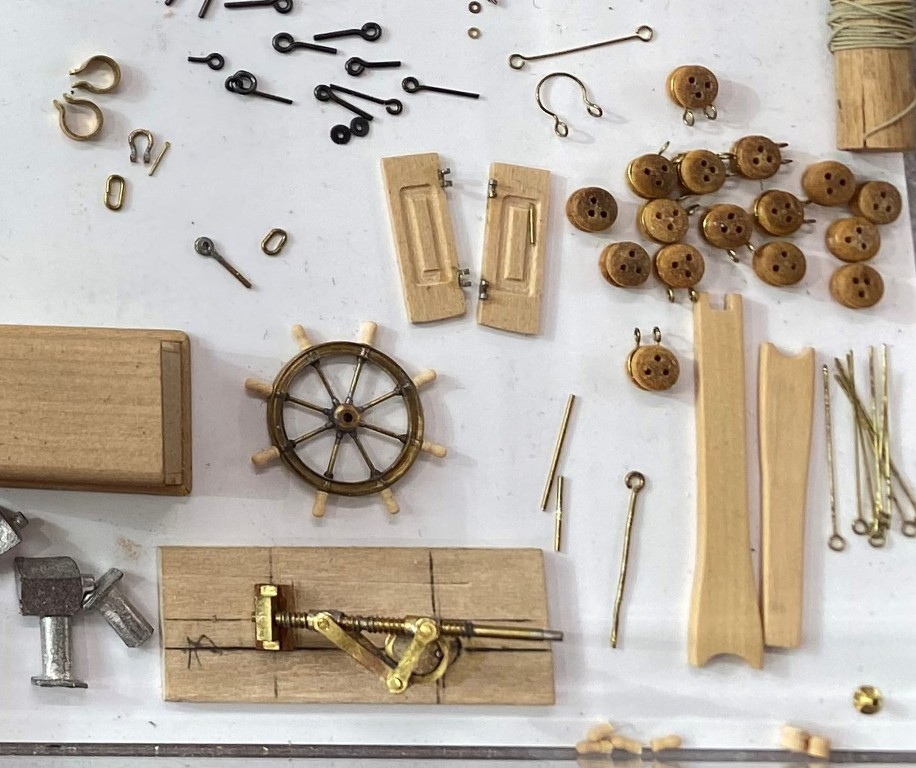
Yea the clamps work great for handling small stuff got many of her small tools which again use a lot
 On 2/25/2021 at 8:48 PM, Nirvana said:
Richard, beautiful work with the chainplates .... and more.
Make me considering going back to the drawing (build) board and re-do mine.Thanks Per as you see from the pic above the re-do was needed, you should try it, was a lot of fun but it was also a lot of filing
On 3/11/2021 at 1:35 PM, KeithAug said:Not sure why you started with a kit Richard. You seem to reject and remake most of the detailed stuff - excellent as usual.
Hi Keith thanks for your kind comment, I have been told this before on other sites, and I am not quite sure why! did follow the instruction in the manual, used the supplied brass flat bar and then miss interpreted how the chain plate should look, and then I look at a lot of pictures, so it needed to get reworked will look like the picture now
Thanks again for all the comments and also for all the likes
Regards
Richard
-
On 2/24/2021 at 12:37 PM, Nirvana said:
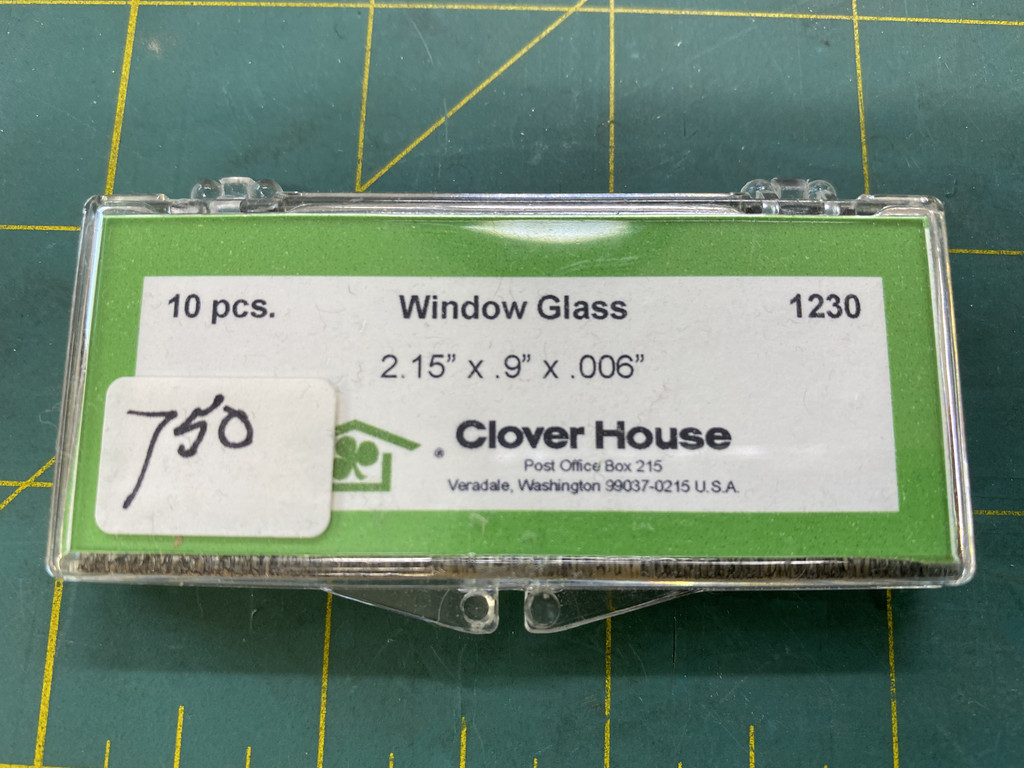
John, I found a company making microscope cover on their website I they listed
Microscope Cover Glass - 24mm x 40mm x 0.14mm Thick (Number 1 Thickness)This was the thinnest they had available.
One package of 82 each would cost you 36 dollars! phwee.....
Hi Per you could but this .006" glass from Clover House for a lot less.
Regards
Richard
-
-
Thanks Mark, Wally, Joe and Dave for your kind remarks and all for the likes.
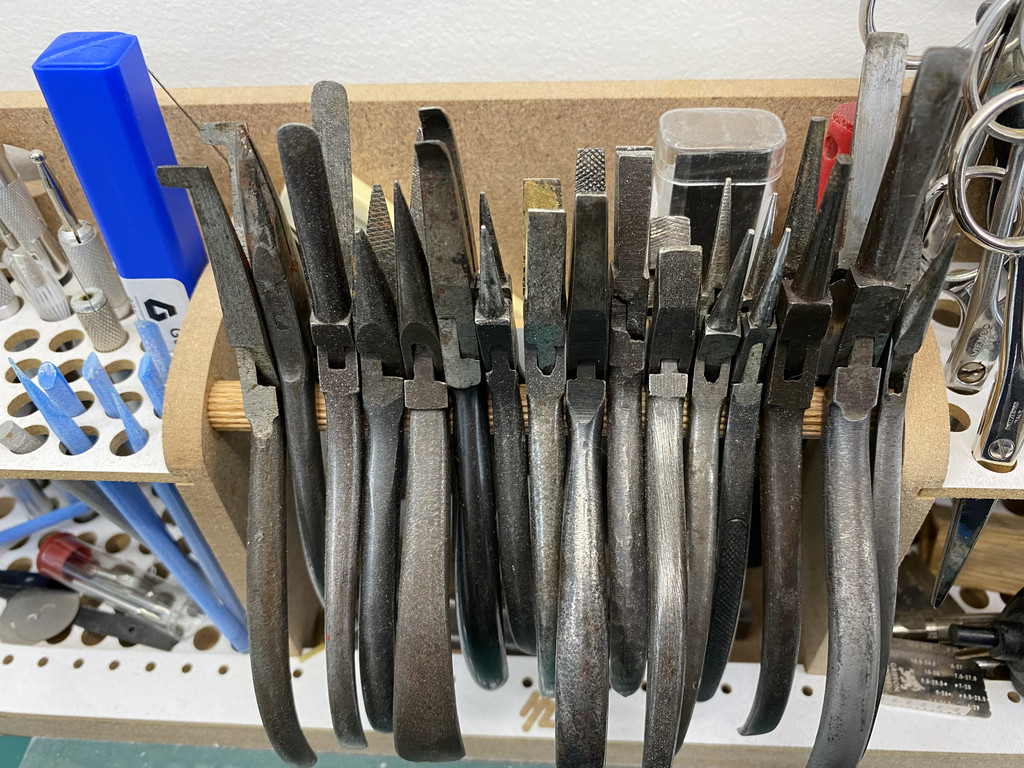
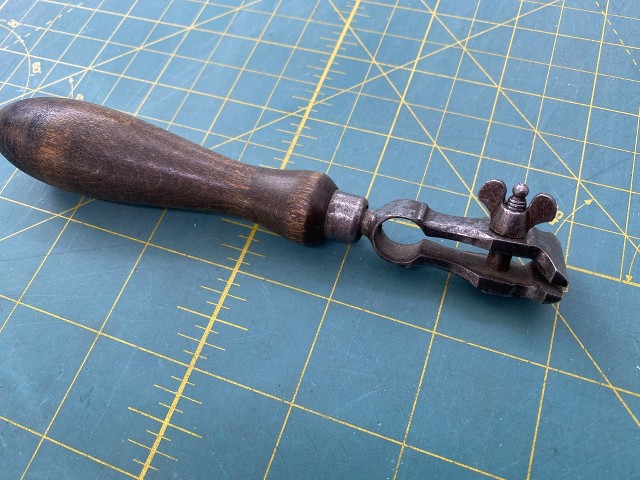
Dave the clamp was not made by me, but by Eclipse N0 10, made in Sheffield England. got quite a few tools from my Gran who was a jeweller
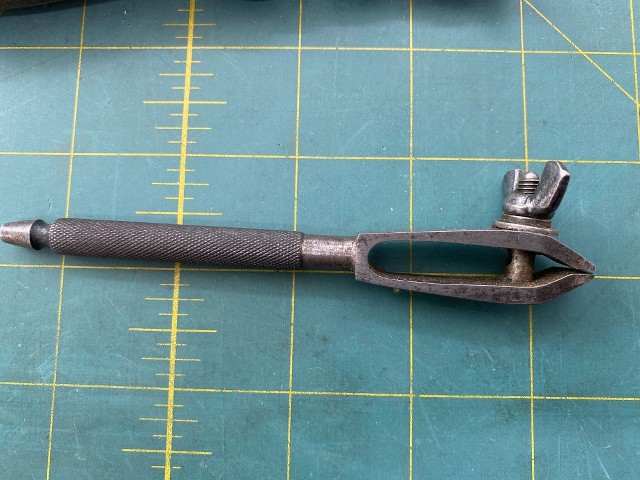
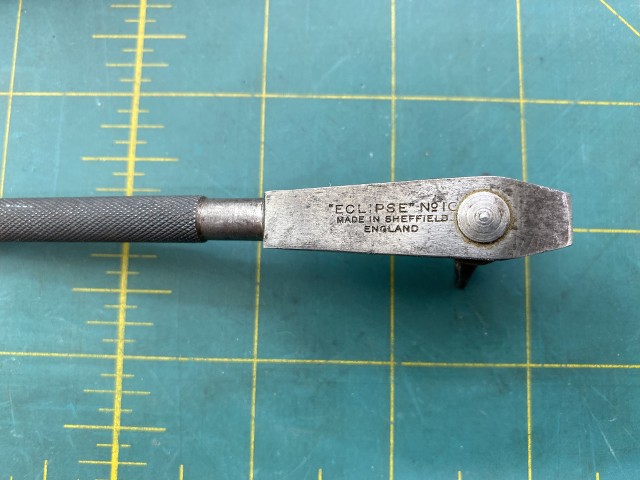
Also have this hand clamp as well from her use both of these a lot
Regards
Richard
- Rik Thistle, KeithAug, bhermann and 6 others
-
9
-
-
Hi Eric, bit late with the reply but thanks for looking in and your kind comment do apricate it.
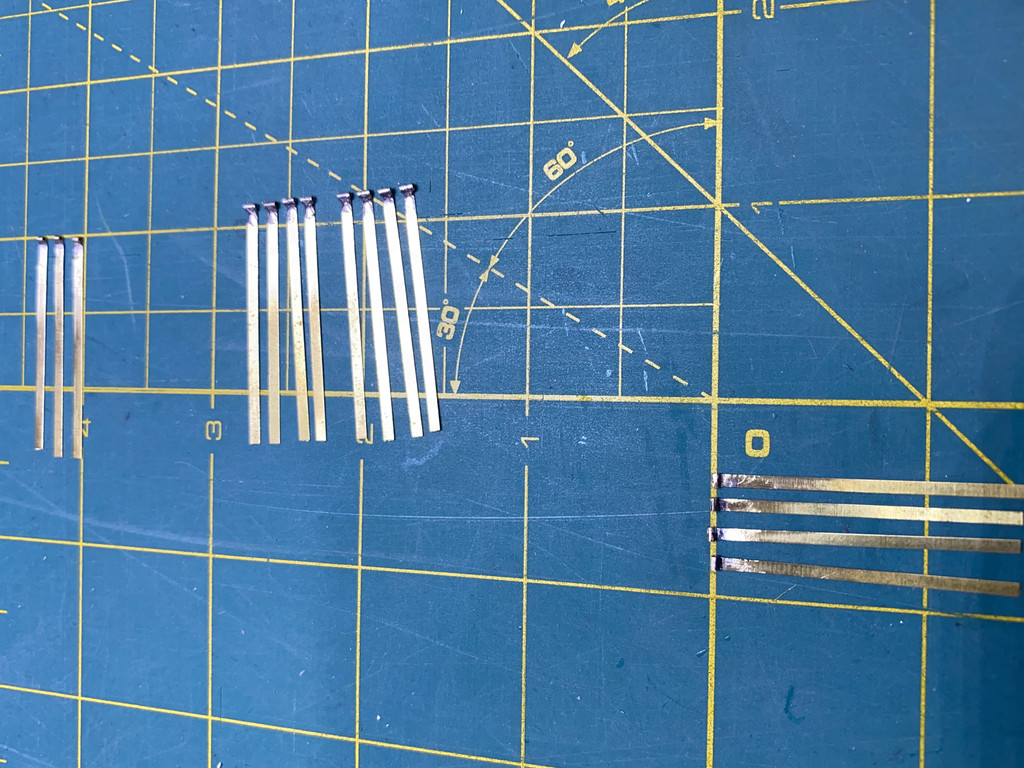
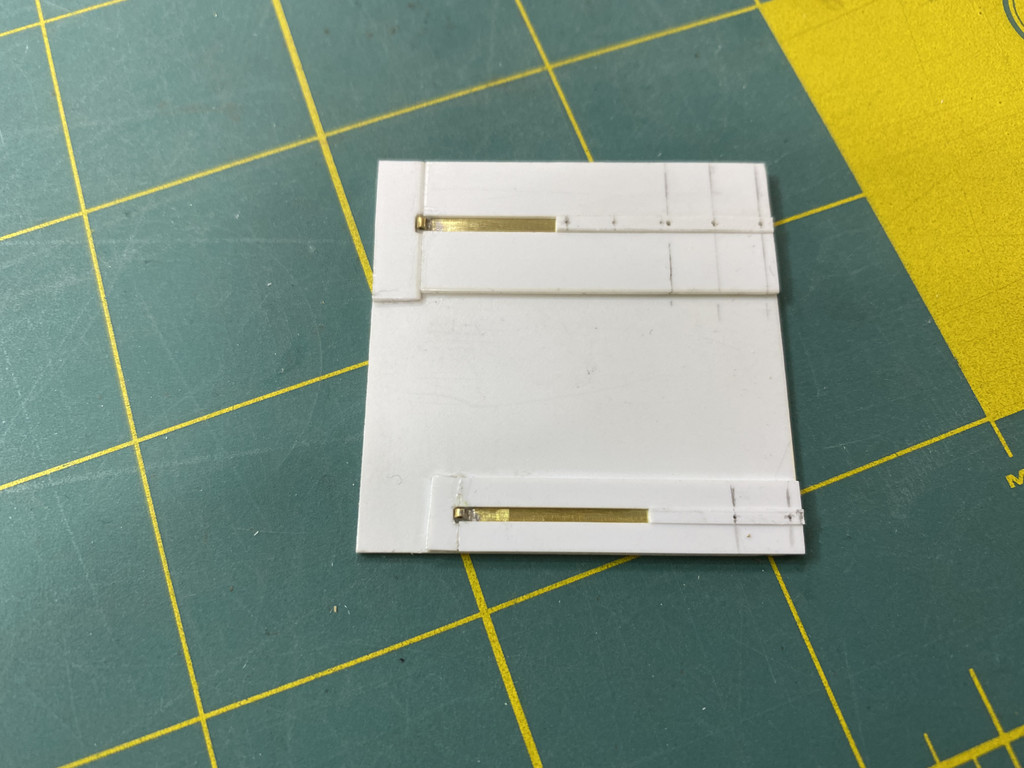
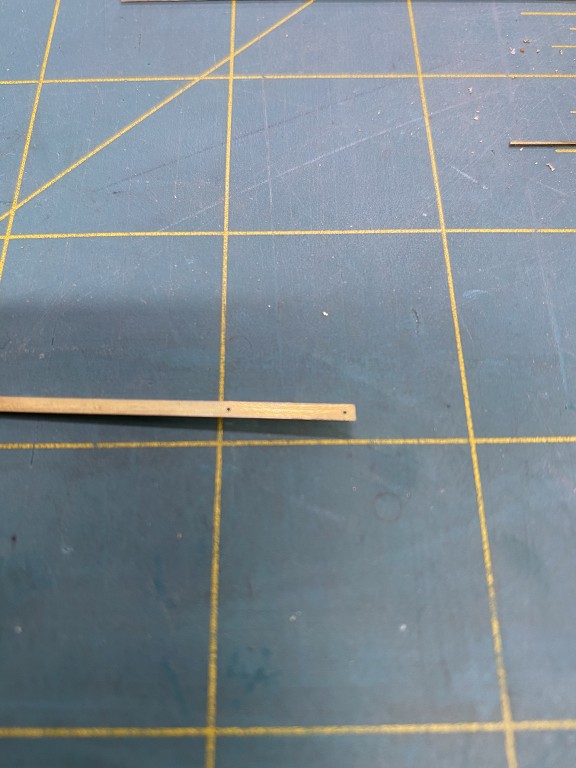
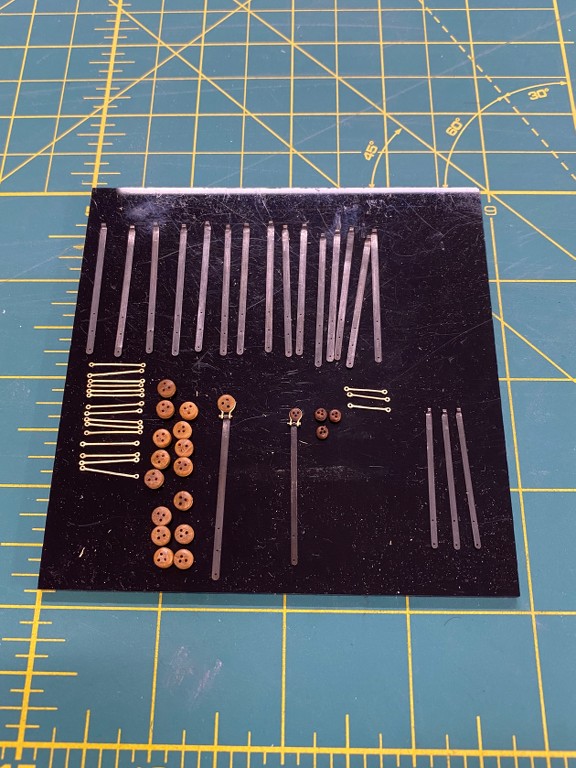
So have done a little more to her but not so much in making but redoing, it started with the lower chain plates, which I had made from the brass strips .016" thick supplied with the kit found this out once I removed them, thought I had used some .010" brass sheet.
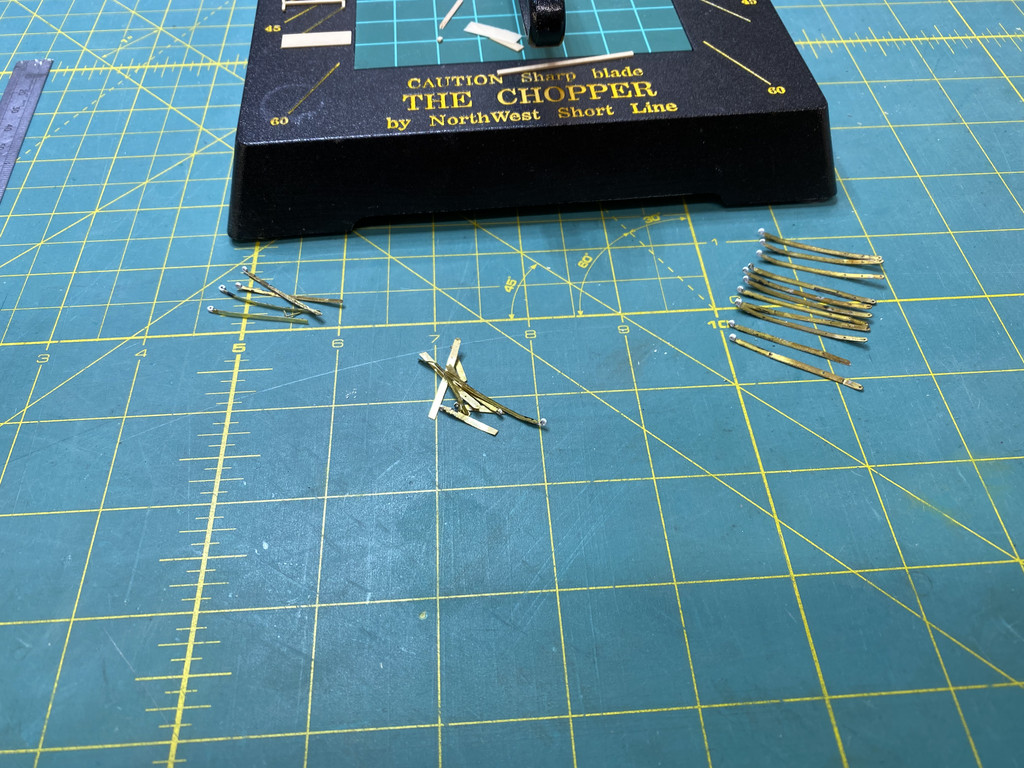
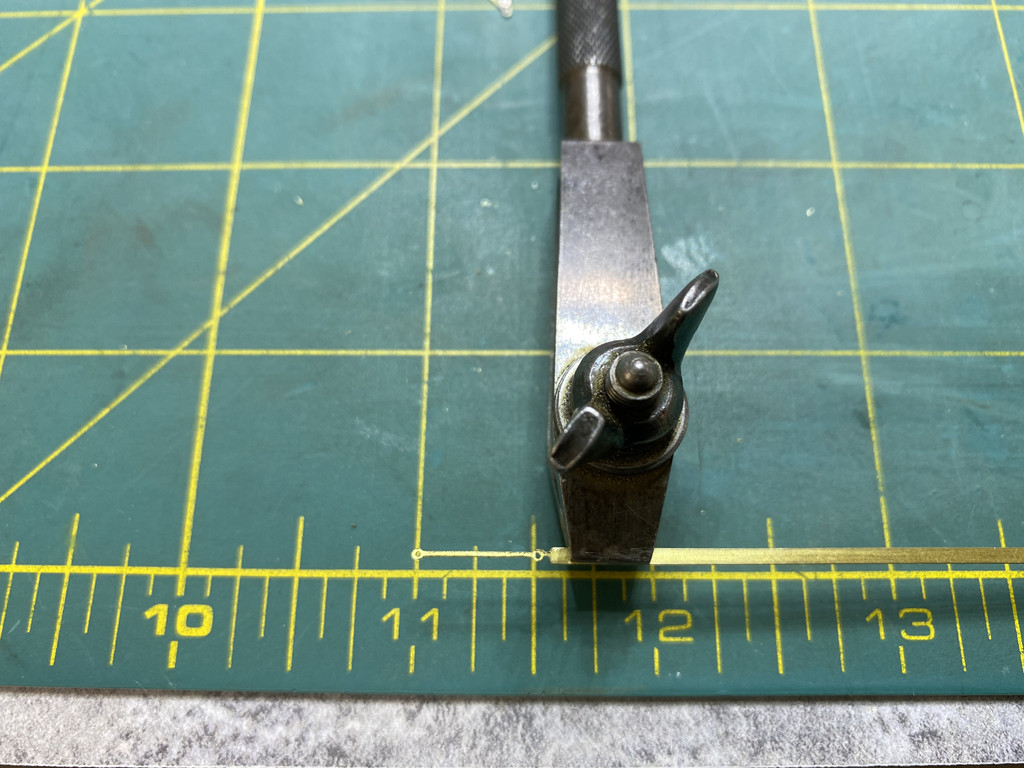
So now I remade them out of .005" solder small tube to the ends then made a jig to drill the mounting holes and now have the lower chain plates more to scale.
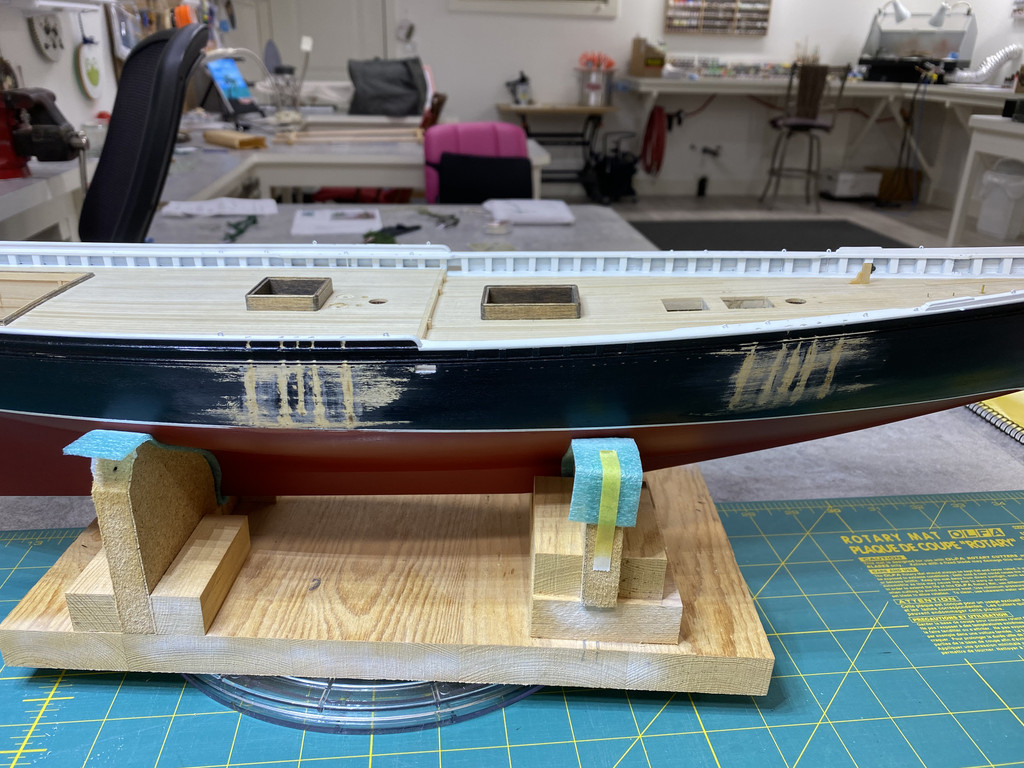
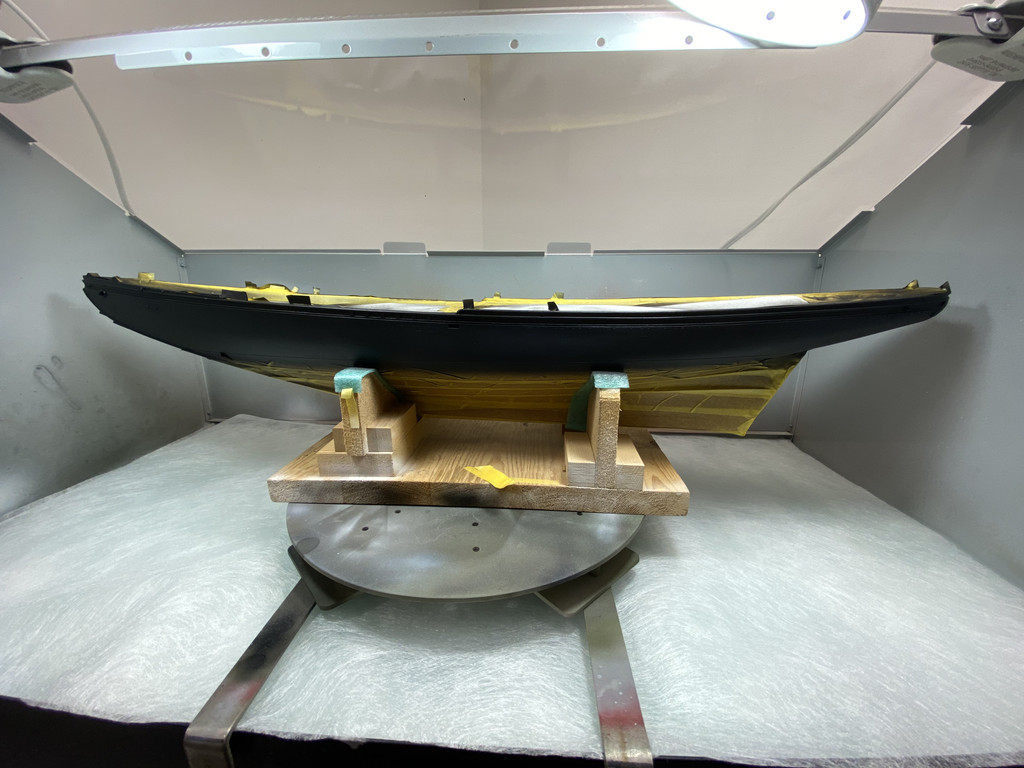
Then was not to happy with the black paint job so sanded that down and as per Robin letting me know that I had not painted the sides right I masked the hull up to include black up the sides of the main rail and Monkey rail, board and buffalo rail.
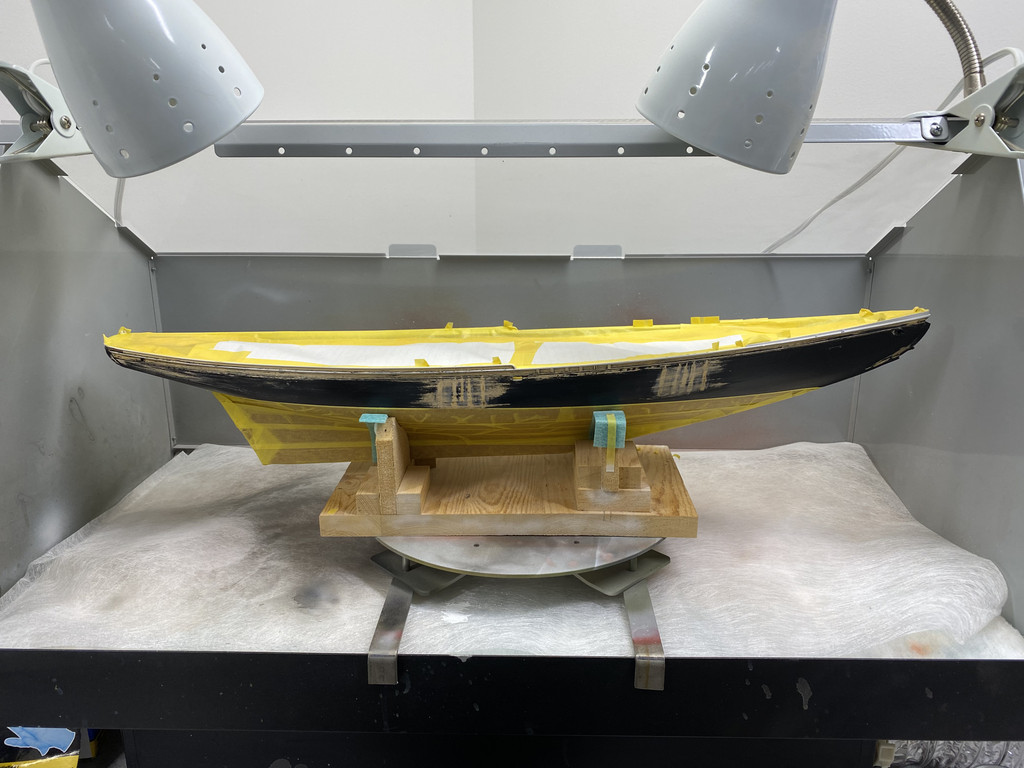
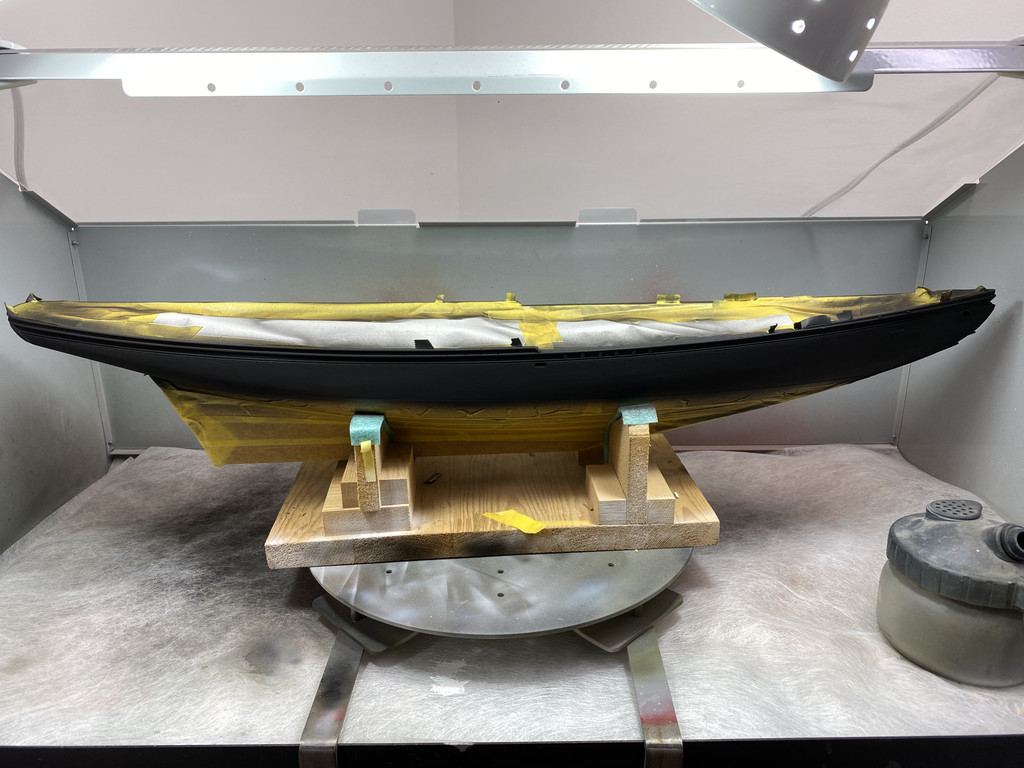
Put some semi gloss on
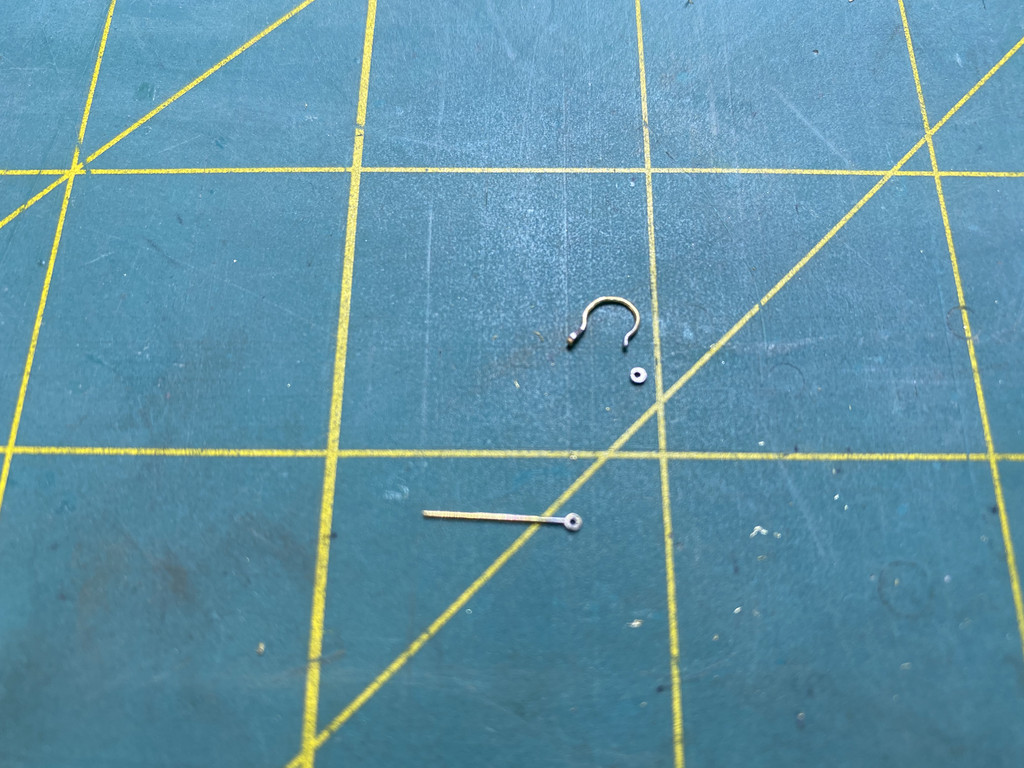
Next up was to remake the eye bolts for the deadeye strops which I had made from wire and did not look to good, tried by making out of thicker wire and then soldering a small tube to the ends, but this did not work to well when I went to bend them to go around deadeye 🤔
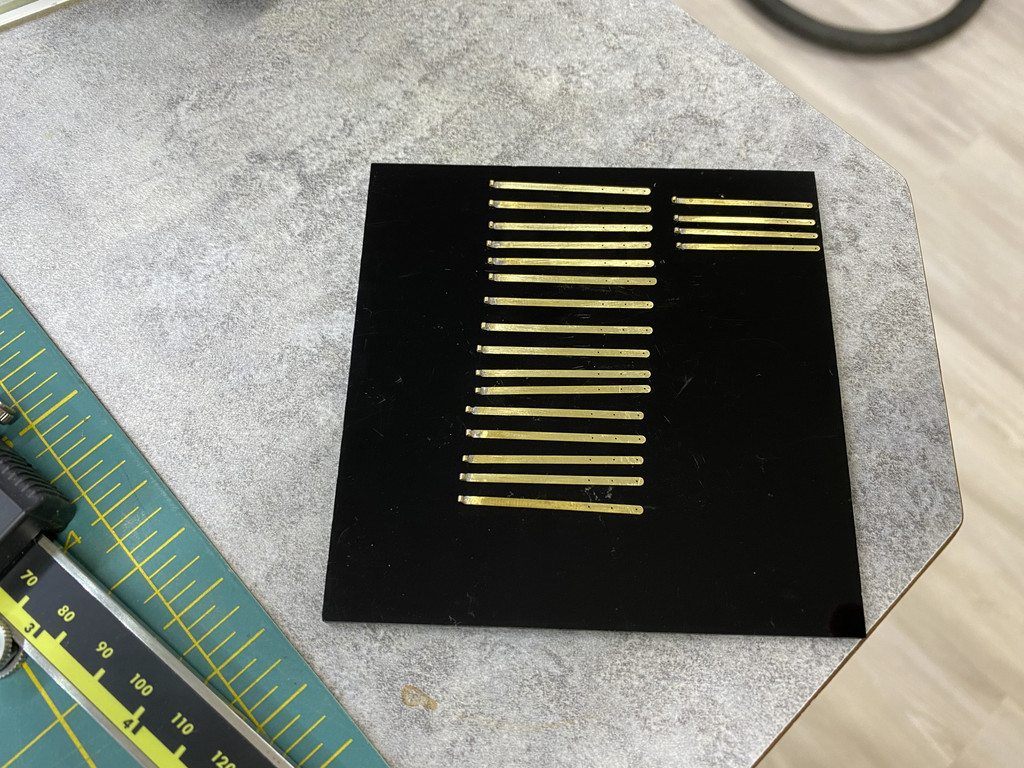
So decided to use .016" brass flat bar worked out where I needed the holes, drill them first then filed to shape then bent to shape, came out way better than my first try.
Casey blacked all parts and will use a small bolt and nut
Well not much to show these past few months have to figure what I am going to do with the scroll around the hawse holes then paint the cove, then the name plates.
Thanks again for all who have looked in and commenting on my on going build.
Regards
Richard
- egkb, Rudolf, marktiedens and 13 others
-
16
-
I am also catching up on your brilliant project Keith and wow what eye candy that was just love the detail you add 👍
Regards
Richard
- FriedClams, Keith Black, mtaylor and 1 other
-
4
-
Just to let you know I followed the instruction manual starting on page 10 and 11 Fig 1-3 and Fig 1-4 regarding bulkhead stanchions, I beveled and cut the stanchions as it says to do and then once I had the waterways installed made up the main rail and used fig 1-14 to install fake bulwarks stanchions, these I made with inboard bevel were needed to suit the shape of hull, not sure why you would need to cut them off 🤔
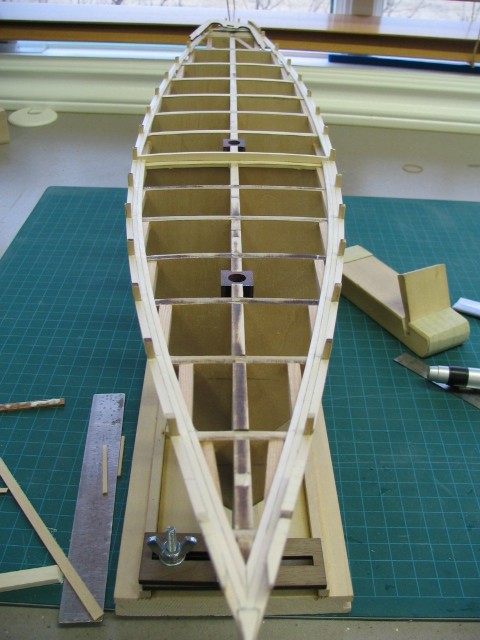
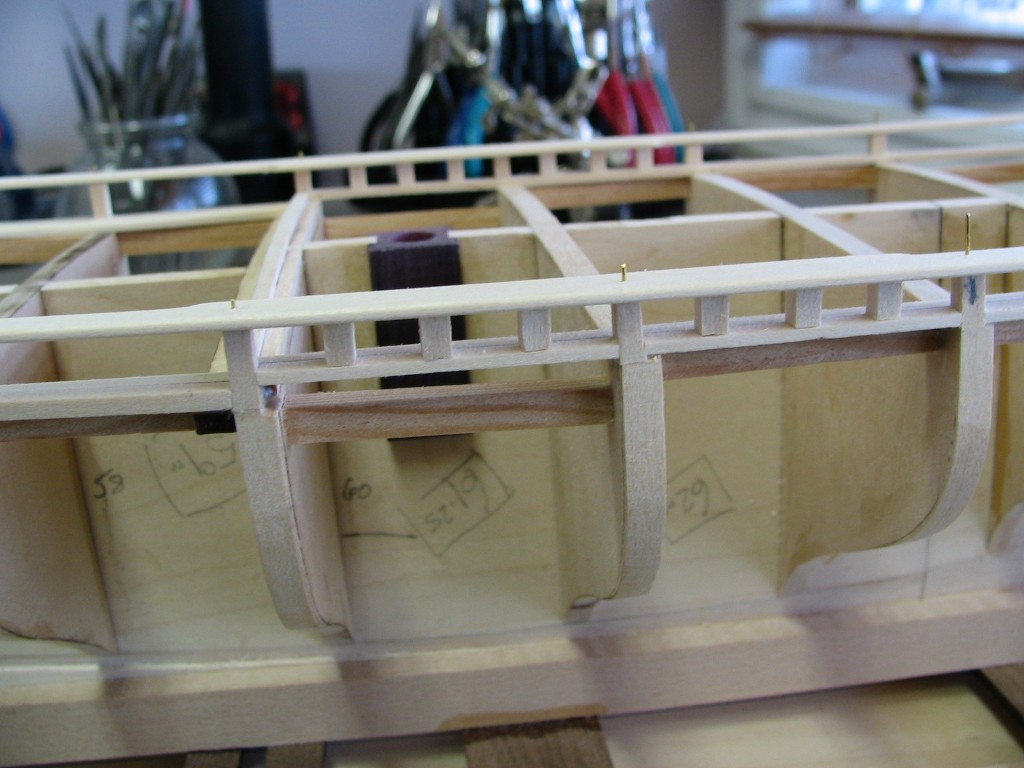
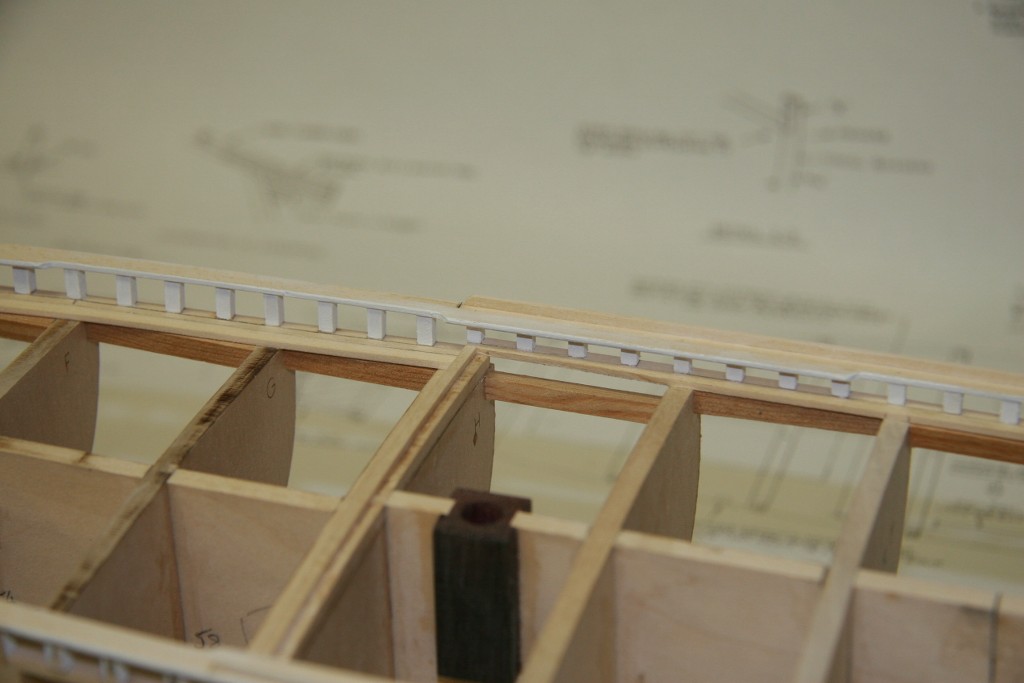
These bulkheads are not plywood so they do blend in well with the fake stanchions and also they help a lot when time to start planking.
Hope this helps
Regards
Richard
-
Just caught up with your build Dave all looking very nice great job, you have come along way 👍 and I am glad you have taken to the machines, and each piece you make will just get better once you learn the skills, as my Dad always said to me Rome wasn't built in a day 🙂
Regards
Richard
-
-
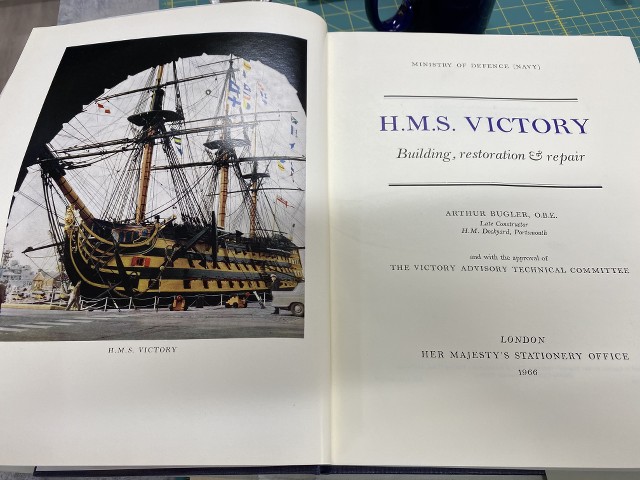
Just looked in the book I have by Arthur Bugler O.B.E and he has the drawings of 12 pounder Short 8'-2", 12 pounder Medium 9'-2" and 12 pounder Long 9'-8" 24 pounder 10'-3 1/2" and 32 pounder 10'-3 1/2"
32 & 24 pounder gun carriage 6'-2 1/2" long, and both the same width, 12 pounder gun carriage long and medium are the same at 5'-6 1/4" and short 5'-0 1/4" all the same width
12 pounder (long) 30 in number upper deck
12 pounder (medium) 2 in number forecastle deck
12 pounder (short) 12 in number quarter deck
24 pounder 28 in number middle deck
32 pounder 30 in number lower deck
I also have a drawing from the book on the 68 pounder Carronade and the carriage
This would be as the refit of 1805 (Trafalgar condition)
If you would like anymore info send me a pm
I am no expert on this subject just giving you some dimension from another books information.
Regards
Richard
- Larry Cowden, allanyed and mtaylor
-
3
-
On 12/14/2020 at 12:18 PM, KeithAug said:
How are you doing Richard. I hope your distractions from model making are all pleasant ones?
On 12/14/2020 at 12:22 PM, NovaStorm said:Yes hope all is good with you and yours Richard. Have a great Christmas
")
Thanks for dropping by Keith and Robin have had a few distraction, remaking, but all is good and do hope you had a good as can be Christmas, in the next few days will catch up on all of your builds
Regards
Richard
-
It has all blended in perfectly Keith well done 👍
Regards
Richard
- Keith Black, FriedClams, mtaylor and 1 other
-
4
-
On 11/1/2020 at 1:12 PM, KeithAug said:
Richard - pumps very nicely made, excellent machining of such small parts.
20 hours ago, jwvolz said:Very, very nice Richard.
Thanks a lot Keith and Joe I've had a blast making all these parts made most as per the scaled drawings provided with the kit.
Regards
Richard
- popeye the sailor, KeithAug, egkb and 1 other
-
4
-
-
-
Hi Denis you say "since this is a fictitious ship, I guess I can do a few things" I like your thinking, nice cabin and deck 👍
Regards
Richard
-

Germania Nova 1911 by KeithAug - FINISHED - Scale 1:36 - replica of schooner Germania 1908
in - Build logs for subjects built 1901 - Present Day
Posted
Hi Keith all is well and staying safe, I know Bluenose is sitting there waiting for me to re-hire Mo & Jo they quit on me saying I was not paying them enough though the pandemic !!
!!
See you are giving us more eye candy with your latest pic's, your daughter is going to have one very special keep sake when you give it to her")
Regards
Richard