

Gregory
-
Posts
3,076 -
Joined
-
Last visited
Content Type
Profiles
Forums
Gallery
Events
Posts posted by Gregory
-
-
Without sails, I think braces and lifts make for a clean look.
- Keith Black and mtaylor
-
 2
2
-
On 6/11/2021 at 9:49 AM, tlevine said:
All that is left to make is the capstan bars and brakes.
Looking for an opinion..
Chuck had posted a picture of this contemporary model in another topic..
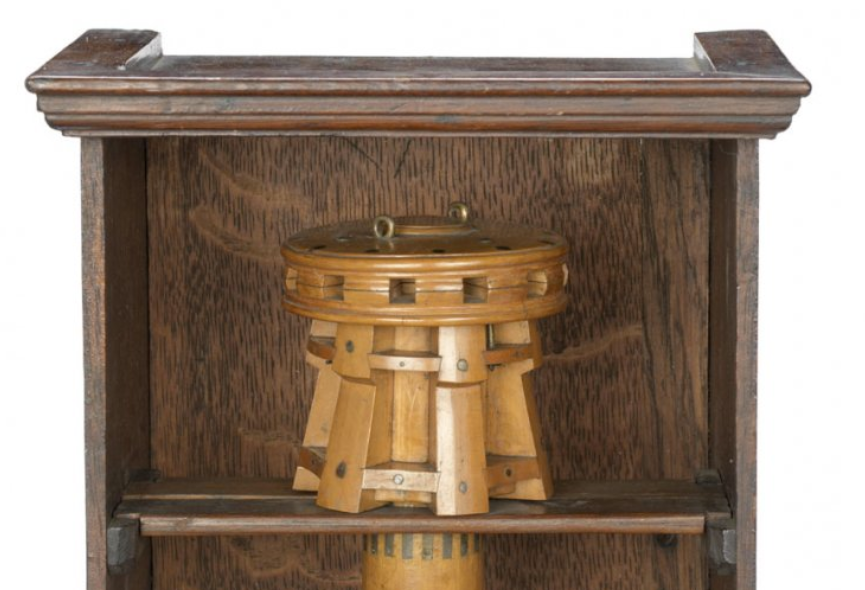
I had asked about the eyebolts but no one responded.
There are only two, and they look a little heavy for the bar retention pins as shown on your model.
After seeing your model, I thought maybe they might put several pins on one eyebolt.
Another thought was, did they sometimes move the upper capstan out of the way? In which case the eyebolts might be for attaching tackle.
- mtaylor, Ryland Craze, Cathead and 2 others
-
5
-
Thanks for all the info...
-
Sorry I'm late to this discussion, but when I see the pictures of this ship, and consider it is a "medium " clipper, what is an example of a " large " clipper?
-
4 hours ago, allanyed said:
...absolutely gorgeous even though it is soft by comparison (580 lb ft).
... which is really important to keep in mind. It has been mentioned before that it is easy to make visible dents with your fingernails.
- mtaylor and thibaultron
-
1
-
 1
1
-
Really looking good..
-
11 minutes ago, Charles Green said:
- ..look at what the modelers of antiquity accomplished without them!
I'm confident if the modelers of antiquity could have got there hands on a laser cutter or a Byrnes saw they wouldn't have hesitated to use it..😁
It also makes a difference if it's a full time, paying job.
-
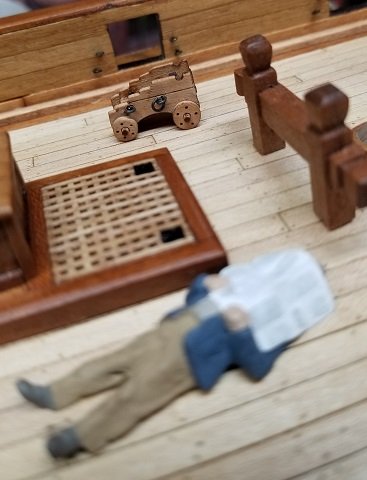
A few more details..
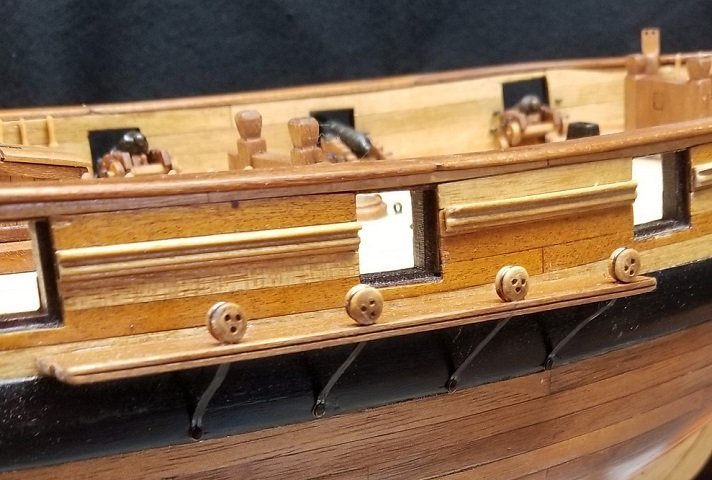
I added the channels . ( Ignore the topsy turvy cannon in the background.. The armorers are still mucking about..)
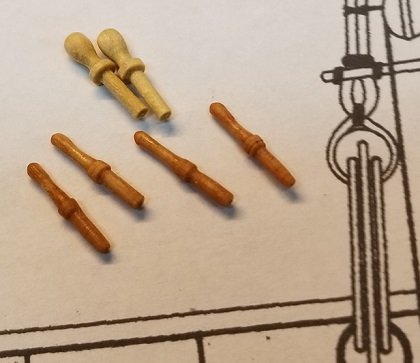
I turned some typical commercial belaying pins into something a little more presentable..
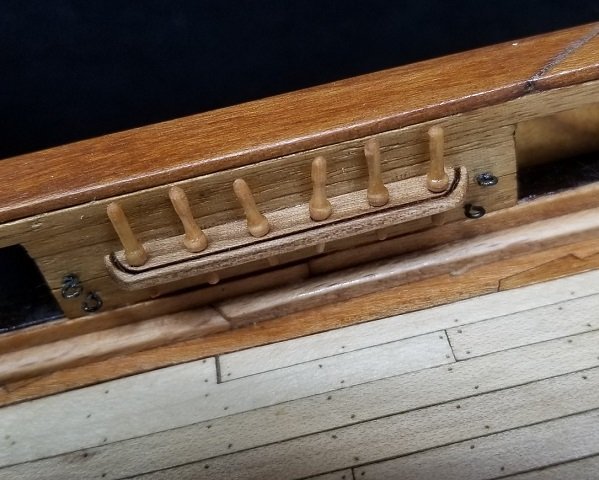
Added the main pin rails.
Some pin rails in the bow.
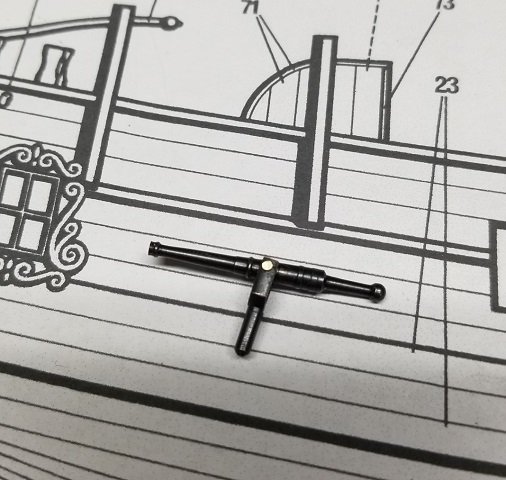
The kit provided swivel guns are not bad, The mounts shown on the plans are fairly benign, and not much more than strip wood.
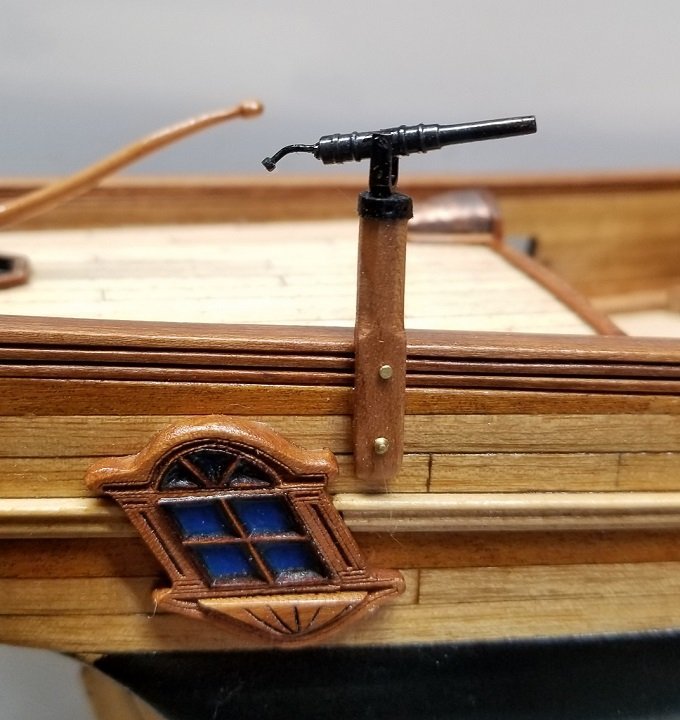
I proceeded to jazz them up a bit, and drew upon the look of various swivel mounts seen here at MSW.
There are going to be 16 total, but I am going to hold off mounting them until most of the rigging is done.
My main go to pic was from a build of HMS Fly by Bill Maxwell over at Admiralty Models
Thats it for now..
- Edwardkenway, GrandpaPhil, Chuck and 4 others
-
7
-
Fiddle and Faddle.. Who are those guys, anyway?
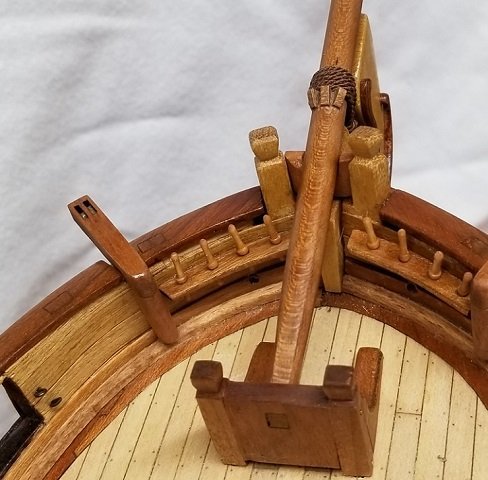
Capstan revisited.
This is my earlier capstan which I think could have done well in this model, with the final effort in mind being a deco piece..
However, as I go along I'm finding this project to be so many mini-projects.
Learning how to use my laser; 2d and 3d software, and making something I can feel satisfied with.
There is also the issue of so many challenging efforts here at MSW and all the " OMG! I wish I had thought of that ! " moments.
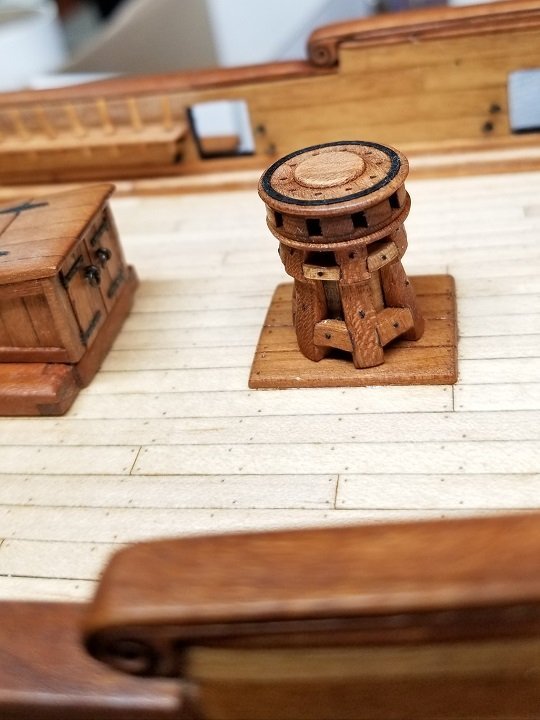
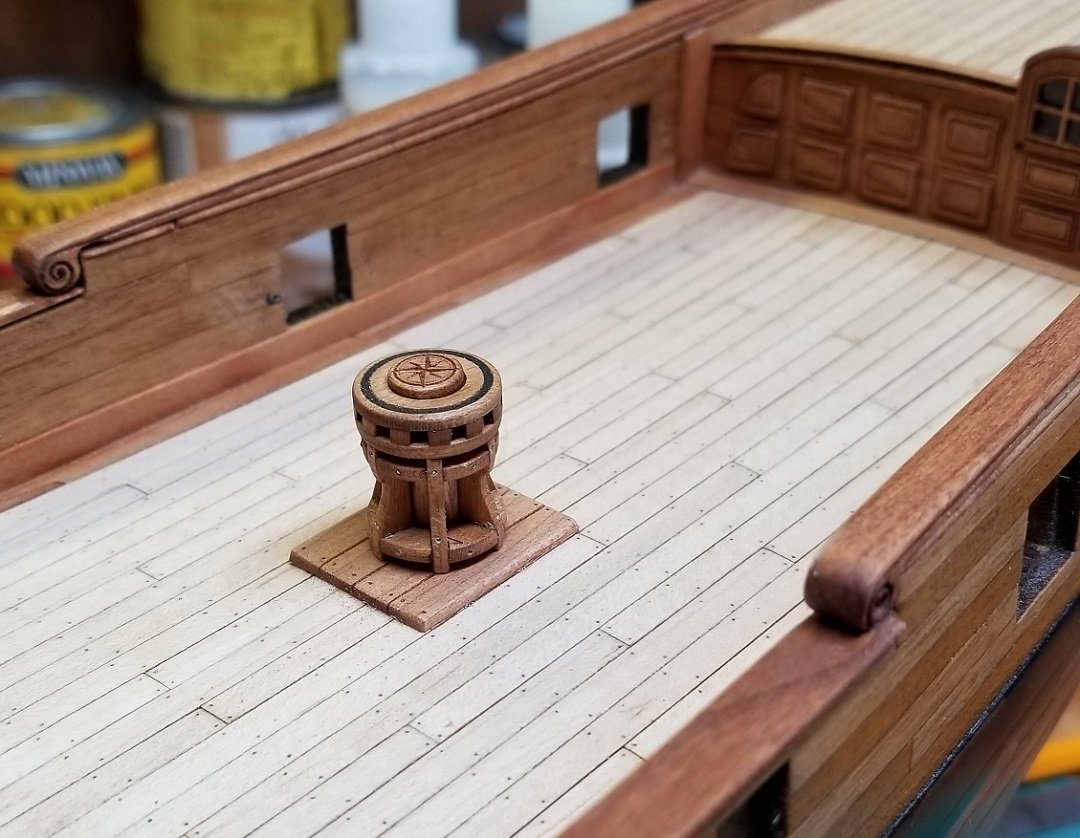
Anyway, I made a new capstan. This is a modified capstan kit from the Winchelsea project..
More fiddle and faddle coming up...
- Edwardkenway, gieb8688, GrandpaPhil and 2 others
-
5
-
-
10 hours ago, Jim Lad said:
Gregory, doors everywhere on a boat/ship!!
John
I suppose you were never in the US Navy or Marines..
Wish I had a nickel for every push-up I did for calling a companionway or hatch a door...😁
- mtaylor and Bill Hudson
-
2
-
-
8 hours ago, Rick01 said:
Actually if you check the Gallery for contemporary models you'll find a number of variations for naval cutters, mainly in the deck furnishings, with one or two around the windlass. 😉
Rick
Yes, but I don't think you will find any with the hawse holes as far back as the reversal of those pieces would put them..😁
-
I felt vossiewulf's Lady Nelson, though not finished, had some interesting twists and turns..
I hope he is doing well.. He hasn't visited MSW in over a year.
-
You tackled the turn of the counter very well..
-
-
Yes, I do make a lot of parts with the laser... If you look back through the log, you can see where I have used the laser.
Everything from the stem, keel, masting and fine parts like window frames.
I bought a relatively cheap ' K40 ' a couple of years ago .. Similar to this: K40 Laser
I have spent more than the original cost on upgrades and software, and it does very well for a hobby machine.
I was fortunate that it worked pretty good out of the box, but the upgrades make it a pretty worthwhile machine.
It would never be adequate for any type of volume production. which would cost several thousand dollars..
Thanks for looking in..
- egkb and captain_hook
-
1
-
1
-
-
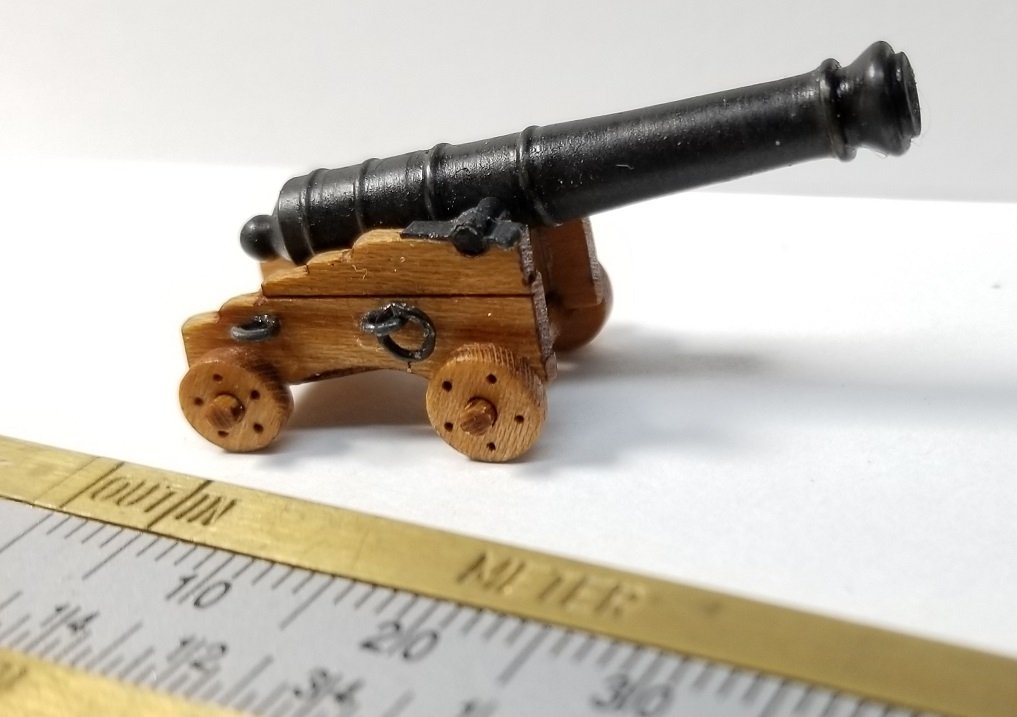
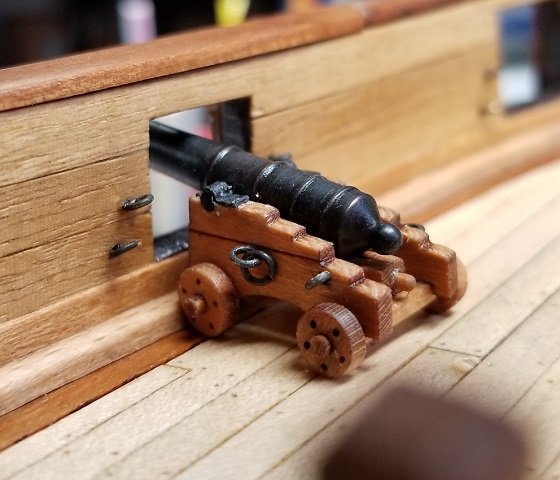
Guns all done.
I'm leaning toward not rigging the guns.. Still have time to decide.. I went ahead with the eyebolts. I needed the practice.
- egkb, chris watton, Edwardkenway and 6 others
-
9
-
-
-
One has to wonder, how many ships were rigged and fitted according to Lees vs how much of Lees was compiled from data of ships having already been rigged and fitted by the craftsman of the time?
In other words, Lees merely documented " .. how it should be done, because this is how it is/was done. "..
Not unlike Petersson documenting how a particular model was rigged..
-
A plastic that is soluble in water?
This could be more far reaching than it seems at first glance..
- mtaylor, Canute and thibaultron
-
3
-
Rigging without sails for a kit that has them - what to keep or remove?
in Masting, rigging and sails
Posted · Edited by Gregory
There are the trees, and there is the forest..
While the rigging in many ways defines these ships and their models, what the modeler hopes to achieve is worth consideration..
If you are going to model without sails, I feel a lot of the sail handling rigging would detract from what you have in the absence of sails..