

Gregory
-
Posts
2,737 -
Joined
-
Last visited
Content Type
Profiles
Forums
Gallery
Events
Posts posted by Gregory
-
-
Another tip regarding turning on a lathe or similar device..
This method tends to leave circular marks around the piece, which you may or may not want to see.. I make sure I do some length-wise sanding after turning.
On the other hand, I suppose sufficiently fine grit will minimize this effect..
- Rik Thistle, Canute, mtaylor and 2 others
-
 5
5
-
11 hours ago, SpyGlass said:
.....the bit that has been gripped and the "free" end gets rounded so you have to lose that too.
You might consider making spars, at least the larger ones in two halves, then joining them in the center.
It's easy to hide the joint with battens or a sling.
- Canute, mtaylor and thibaultron
-
3
-
The lanyard rope really looks good.. Are you making your own rope?
( P.S. ) Just noticed upthread that you are making your own rope.. Looks really good.
-
I would be curious how that gap is overcome for smaller stock..
Here is a video about a jig for adjusting the angle. A tilting table angle adjuster
Pretty simple.. Interesting that the builder did not show any results from using the jig.
-
-
I'm pretty sure he is building a kit, probably the Amati.
Nice build here.
J Class Endeavour by KeithAug -
Fairly standard double plank with simulated rabbet.
-
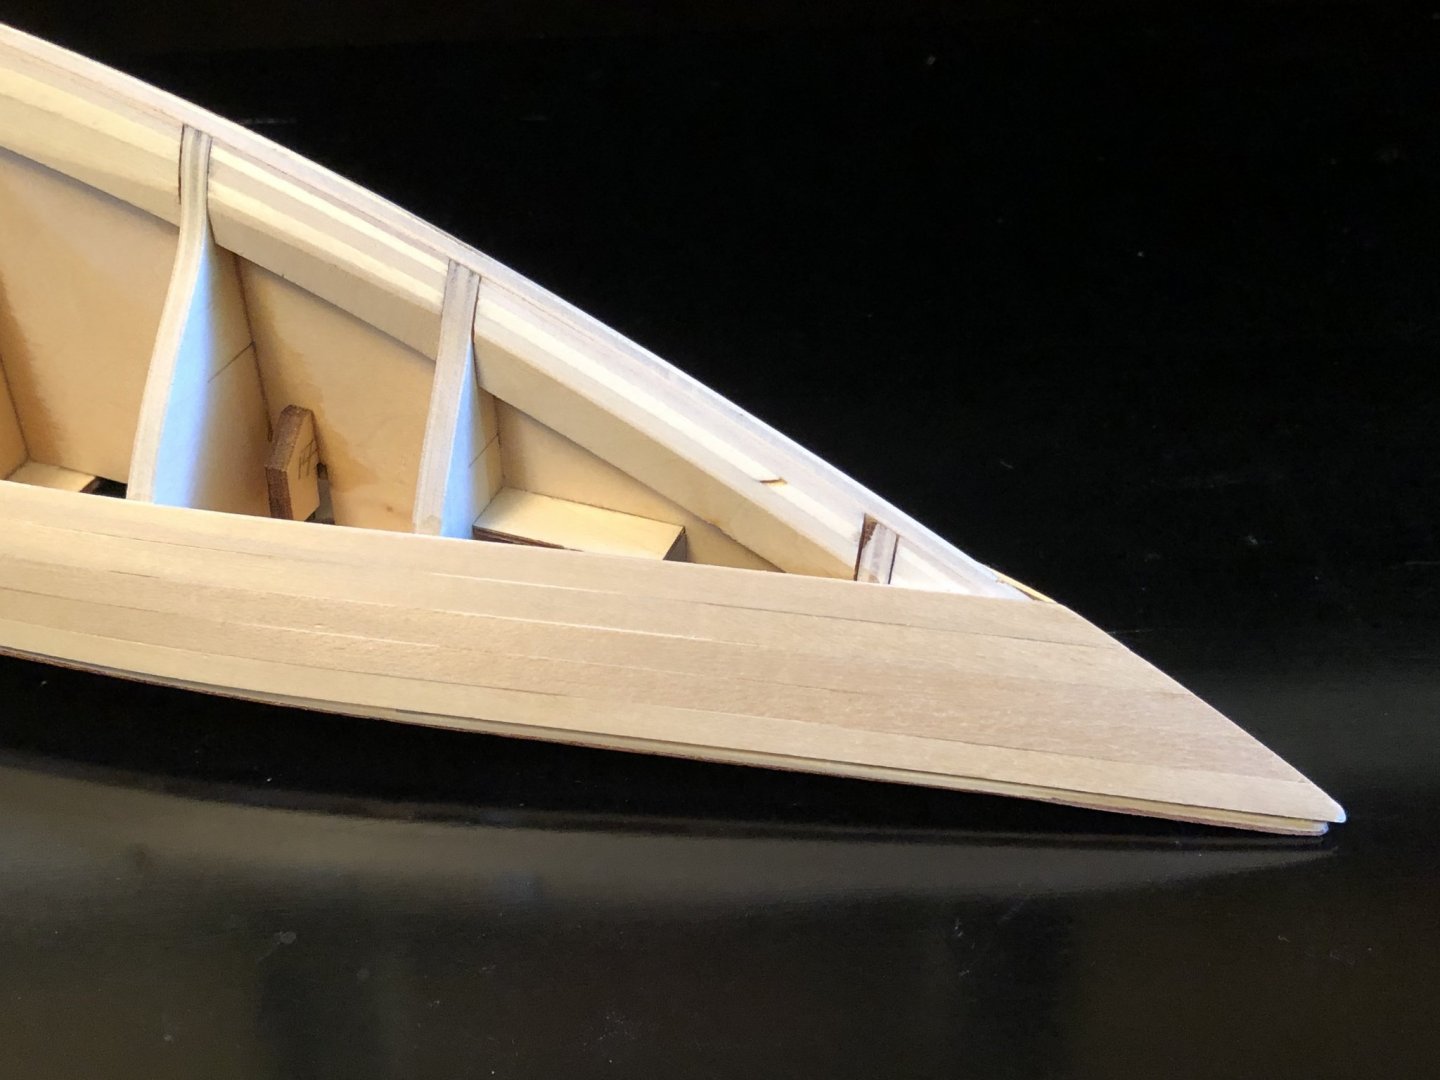
As David says, your hull is quite sharp.
Not sure from your picture how you feel you went wrong. I'm not really sure which picture is yours.
Here is a picture from BobG's Pen Duick which is a similar type bow.
-
-
I don't know if this helps, or even if it is correct, so other jump in/on if I am giving bad advice..
To determine my plank lengths at bow and stern, I start with full length at whatever scale ( 20 ft or so ) plank amidships following my butt pattern working toward the keel. Then I determine the bow and stern lengths as the runs play out. If the distance is short by a scale foot or so, I just use a longer plank, or a little shorter as the case may be..
-
The measurement made by Thunder of the Caldercraft plans doesn't help?
-
1 hour ago, VTHokiEE said:
Awesome, thank you!
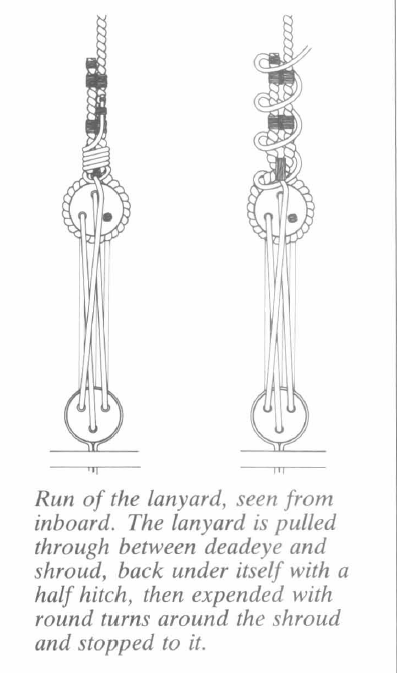
Make sure you note, the example is looking from inboard.. This stuff can get complicated..
- VTHokiEE and Old Collingwood
-
2
-
Looks really good so far.
From Mondfeld. This seems to be pretty typical of examples I have seen..
- Edwardkenway, BobG, Old Collingwood and 1 other
-
4
-
-
1 hour ago, Bluto 1790 said:
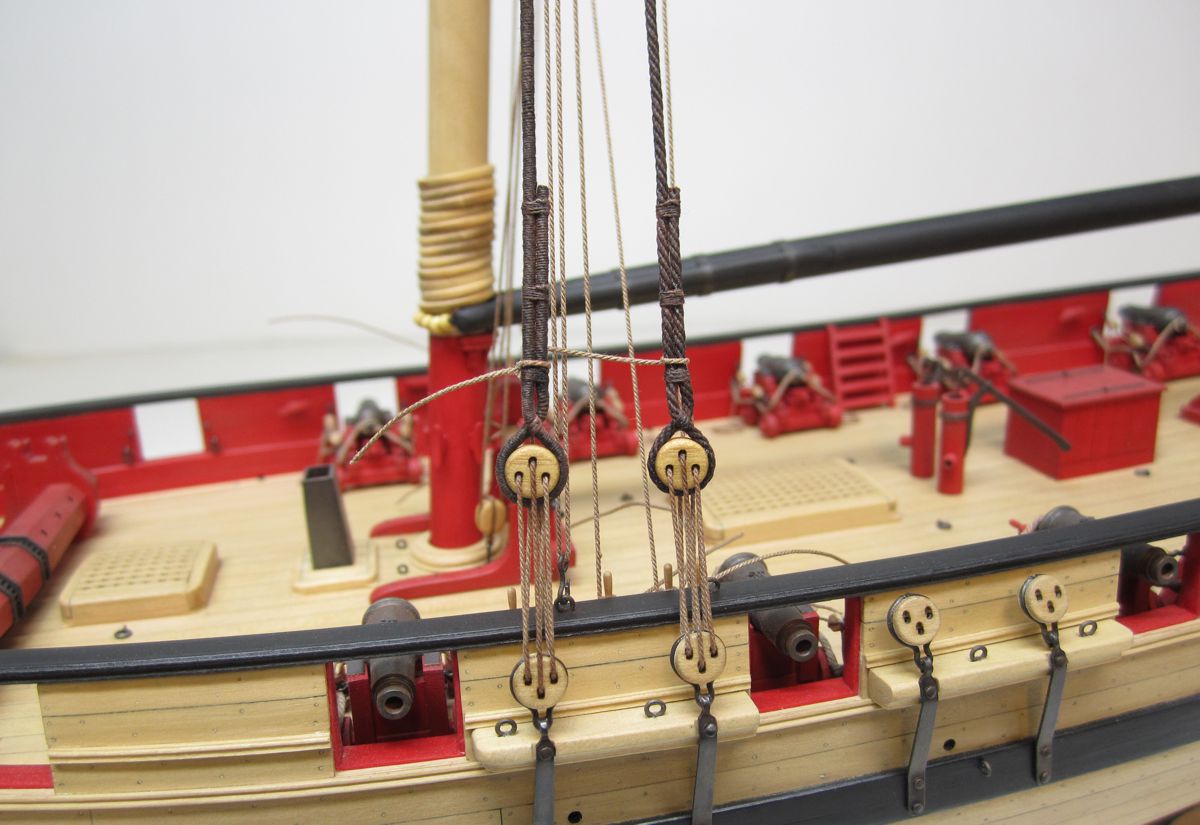
I would expect a pulley to have been fitted with a rolling sheave but this item appears as a flat circular piece of wood with just a round hole at its centre
The lack of any finishing or beveling of the wood, makes me wonder if it was something contrived by a previous owner, i.e., someone replaced a missing deadeye with a piece of wood.
-
Yes, that ' replica ' is way off..
I overlaid the AOTS drawing on the NMM drawing and couldn't get a match by almost a foot; the NMM being slightly longer.
It may be the shortcoming of my software, or an error in the book.
However, note that the bowsprit with it's steeve, only adds about 27' to the overall length.
Caldercraft probably measures from the back of the lantern to the tip of the bowsprit.
- mtaylor and peterbrowne
-
2
-
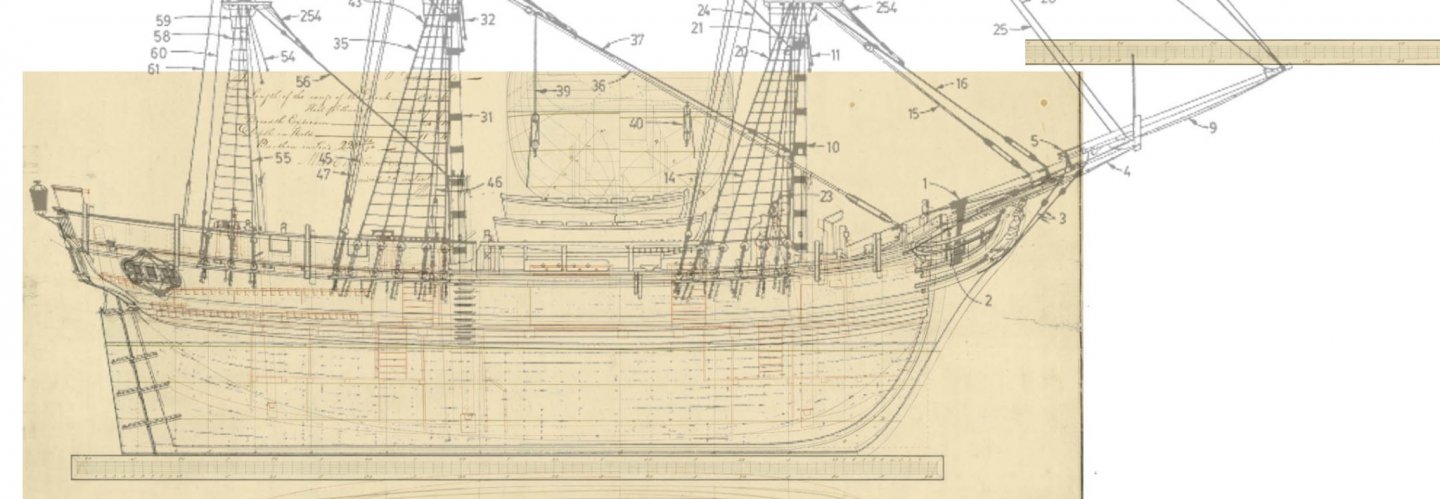
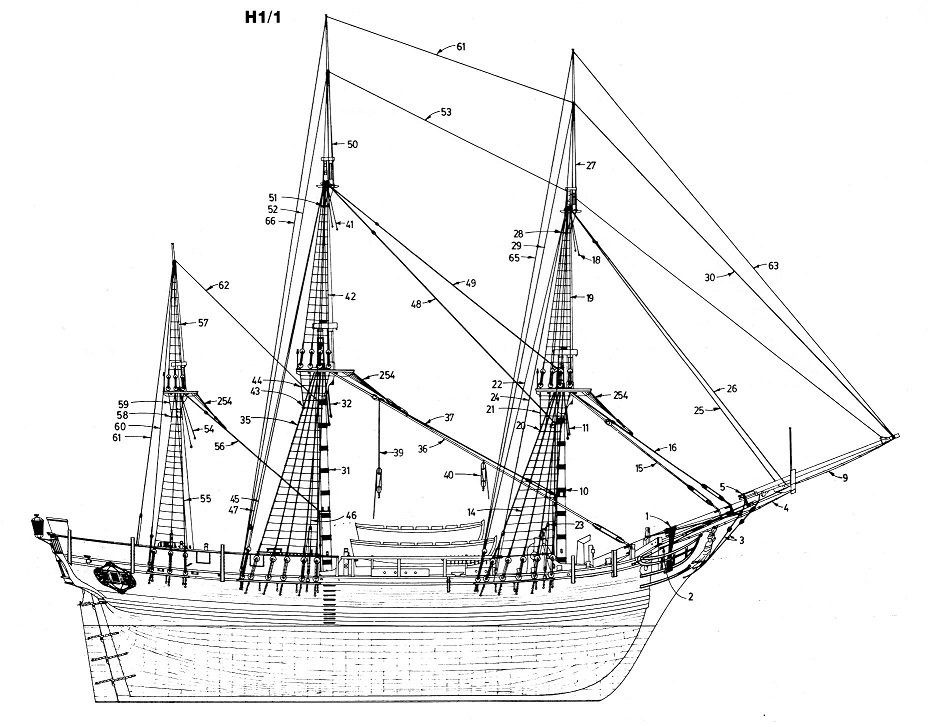
A drawing from " The Anatomy of the Ship " shows the bowsprit to be 35 ft.
It looks like forum member/Moderator Matrim , finished that kit.
You might ask him how the plans compare to the draught from NMM.
- peterbrowne and mtaylor
-
2
-
I think the seams look good.. Very subtle..
- Rik Thistle and Edwardkenway
-
2
-
No.
It is approx 1.5875 x 6.35 mm.
The extra thickness would give you more sanding room..
To get mm dimensions you would have to look at an EU source.
-
I think some may go for contrast, while others think in terms of the siezings having been tarred along with the shrouds.
You will see a lot of variation on contemporary models as well.
It's a matter of preference..
-
Really looking nice.
Chuck is my go to for how things should look, but unlike his planking info, he doesn't go into a lot of detail about how he does rigging.
He does provide a lot of good images about how it should look.
Something to strive for..
- BobG, Old Collingwood, WalrusGuy and 6 others
-
9
-
-
-
On 11/3/2020 at 3:56 PM, Edwardkenway said:
I'm leaning more towards a windlass.
You might take a look at Chuck's 1:48 windlass kit for Cheerful ( instructions )
Even if you don't use the kit, it may be useful as a design idea..
( The store is closed right now, but here are the details in the prototype build log..)
- FrankWouts, Sceatha, mtaylor and 4 others
-
7
-

Stitching sails with sewing machine
in Masting, rigging and sails
Posted
FWIW, while I agree for the most part with the no-sewing camp, similar to what Wefalck is suggesting; with my Mary, I printed out my sail plans on thin paper , over-layed it on my cloth, and just started sewing.
While it leaves a lot to be desired in the accuracy department, I felt like the result was satisfactory for a mantlepiece..