


Rustyj
-
Posts
2,516 -
Joined
-
Last visited
Content Type
Profiles
Forums
Gallery
Events
Posts posted by Rustyj
-
-
-
-
I start out with a clean desk, lots of room. Then hour by hour, day by day the area that I can work
in gets smaller and smaller. Eventually (usually within a week or two) the space is so small I'm
setting the model on top of the clutter.
Then it's clean it up, put everything where it belongs and within thirty minutes it all starts over again.
Even adding a second then a third bench didn't help. In the long run it just ment I had more to clean up.

- GLakie, Ponto, CaptainSteve and 4 others
-
 7
7
-
-
-
-
Hi All,
We've had some really cold weather here. -25F last night. That means lots of
time in the workshop.
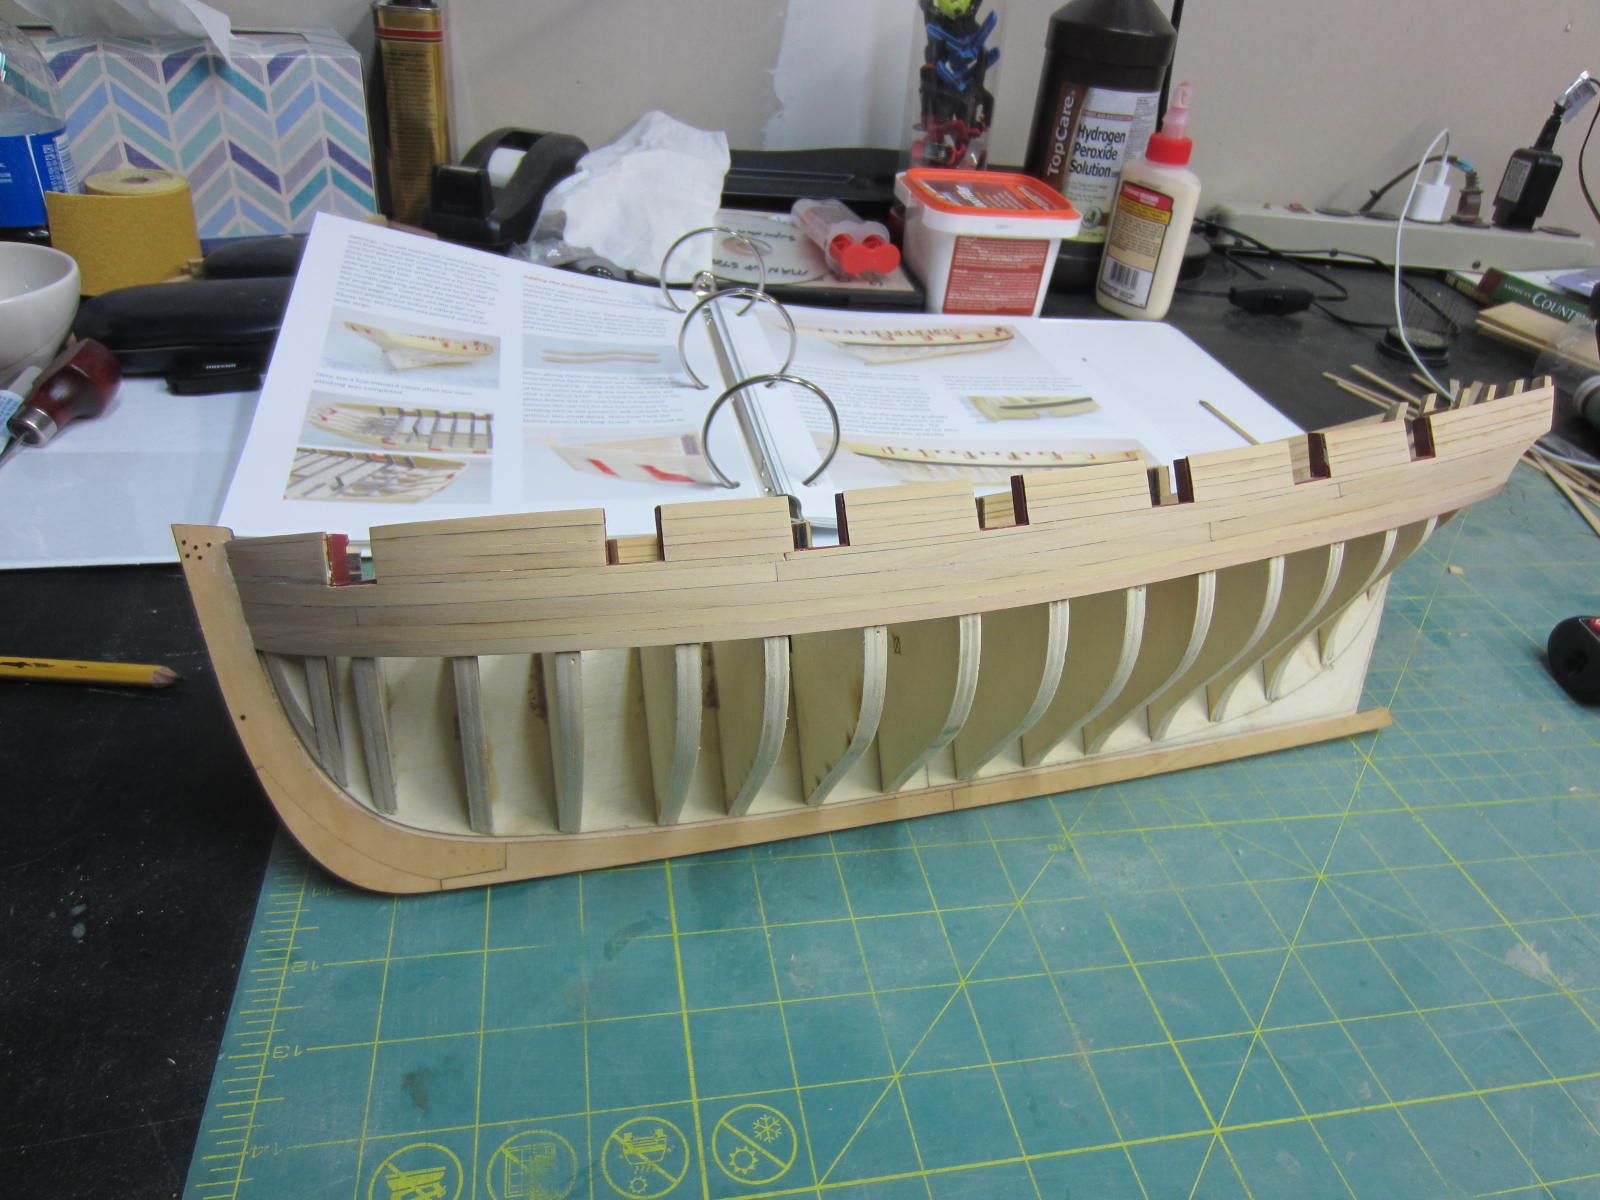
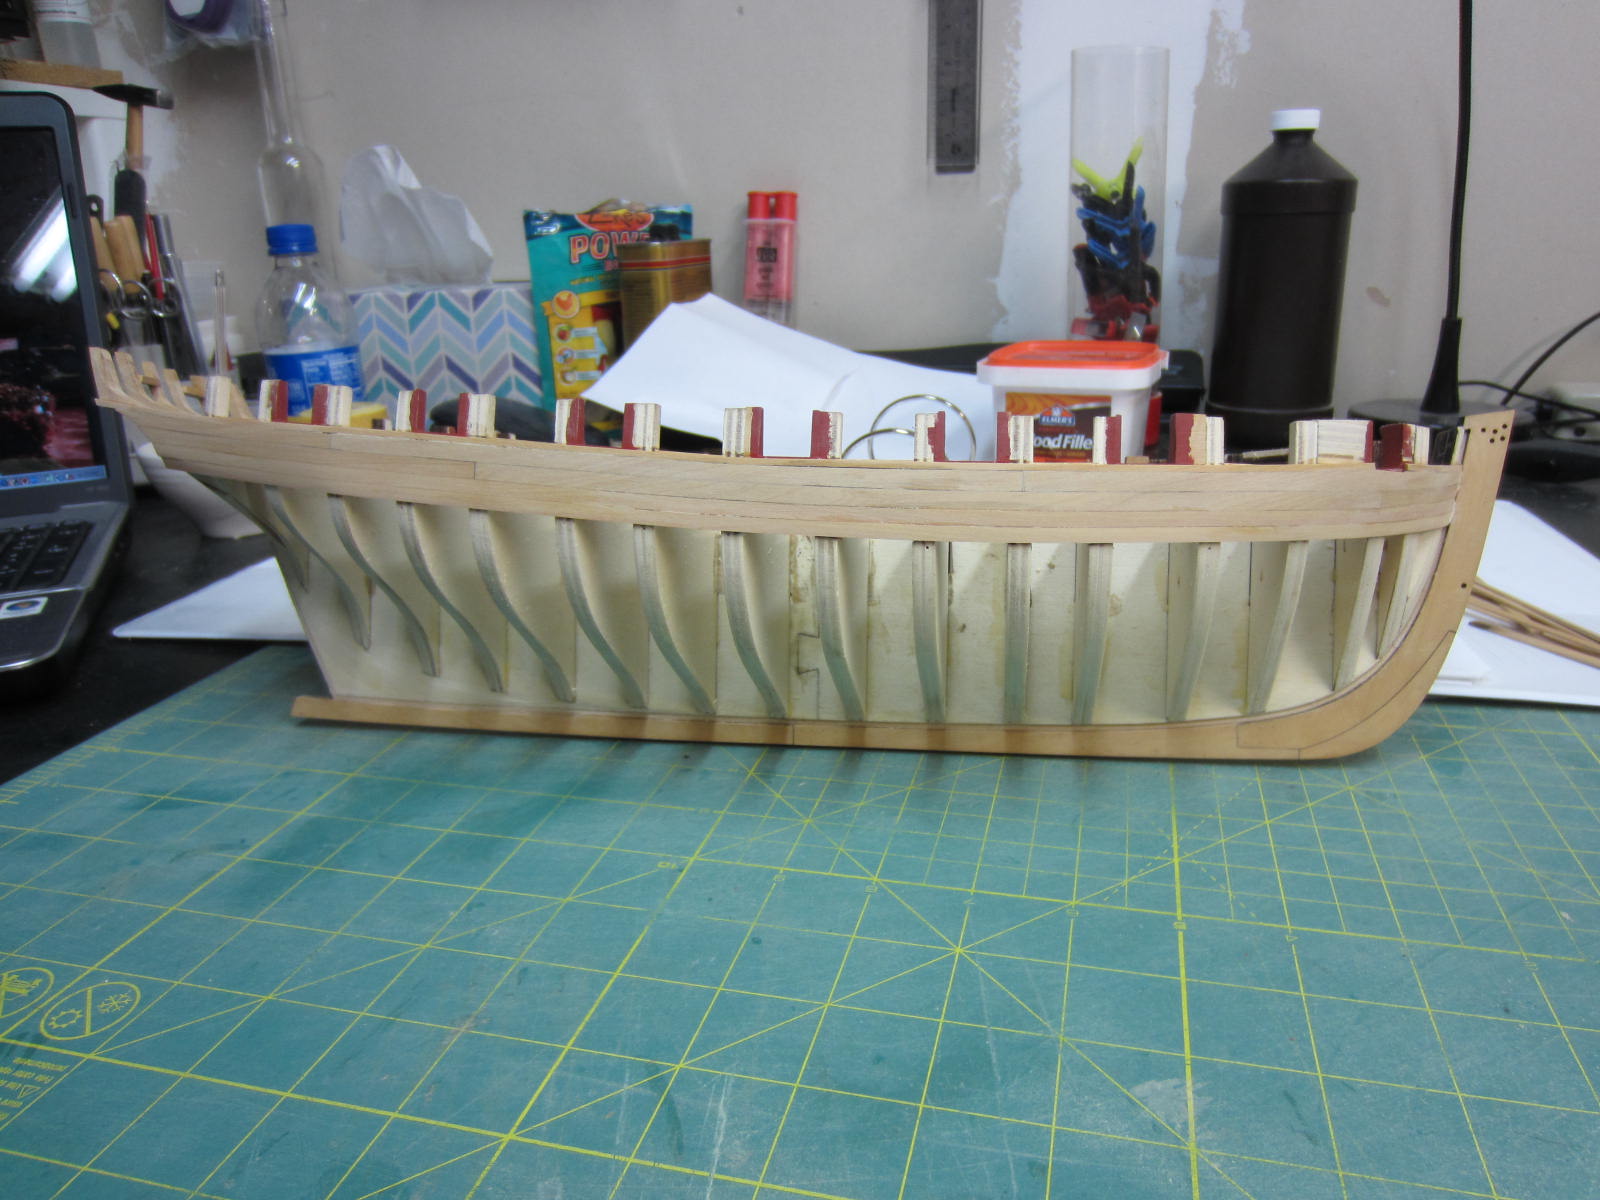
 I've started the outboard planking from the wales upwards.
Here is the batten strip placed to set the run of the wales.

The first layer of the wales have been added as well as a thin strip added bellow
the gunports. This serves a location for the molding to be placed in a second layer
as well insuring the run is smooth.
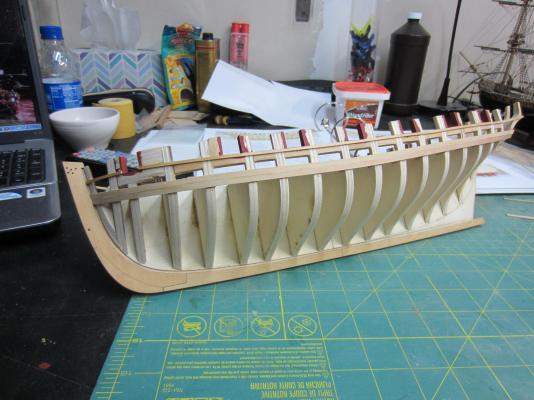
Then the planks were added between the wales and the molding strip.

She looks a little sloppy now but once I finish the planking between the gunports
I'll give it a quick sanding to clean it up.
-
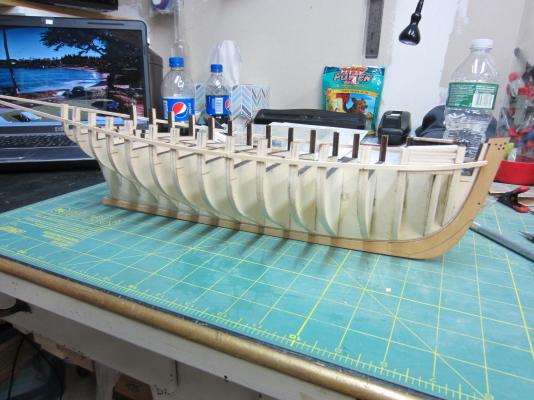
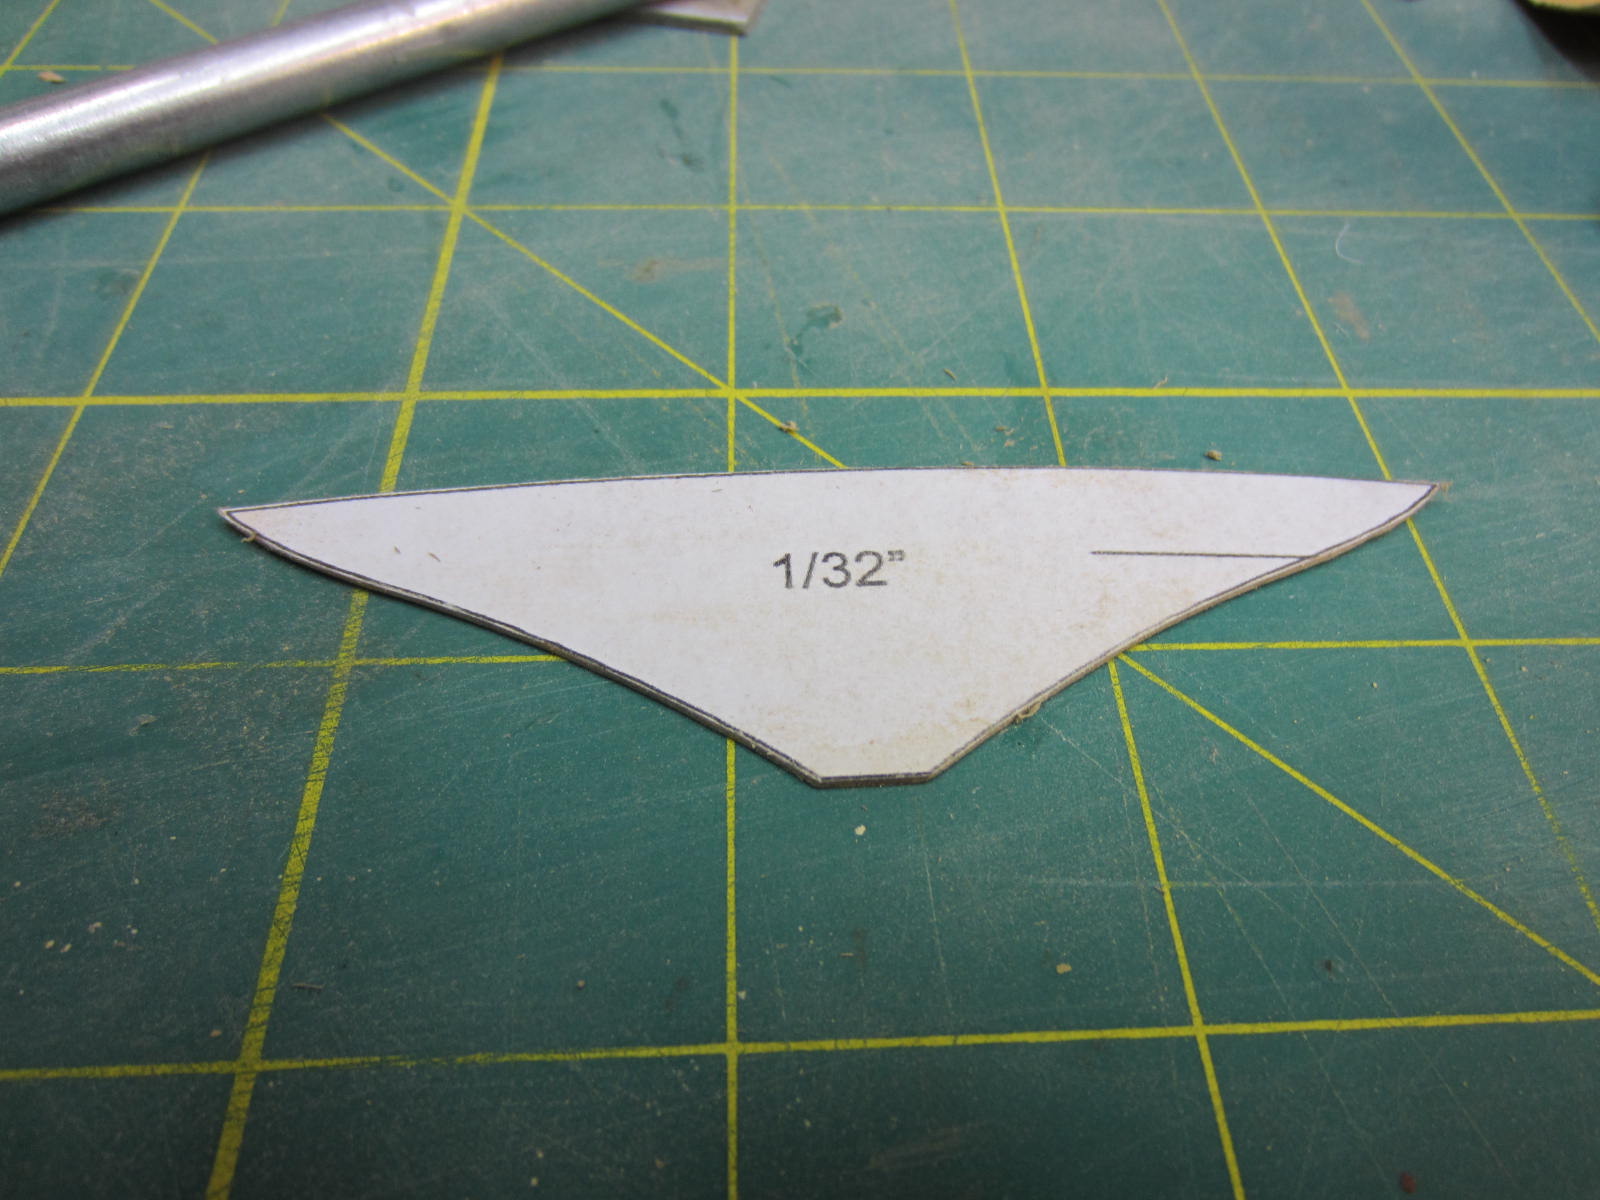
The remaining stern frames were glued into position and the sills and lintels
added for the stern ports. Then the start of the square was made with the
placement of a piece cut from some 1/32" sheet.

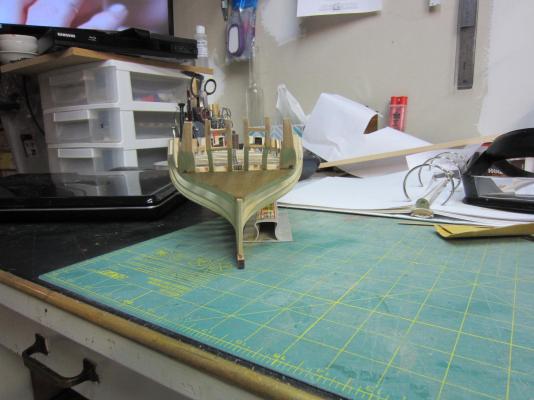
You also can see the preliminary fairing of the outboard edge of the stern frames.
Next up will be the start of the hull planking. I'm off to start cutting the strips of boxwood.
-
Well done mate! She looks as good as I thought she would when you started this build and thanks
for the kind words. It was my pleasure. The only thing I wish is that I could have built mine alone with
you and Mobbsie. It would have improved mine considerably and been a lot of fun.
Enjoy that Chris-Craft and I look forward to seeing some more of that great work you do.

-
-
-
-
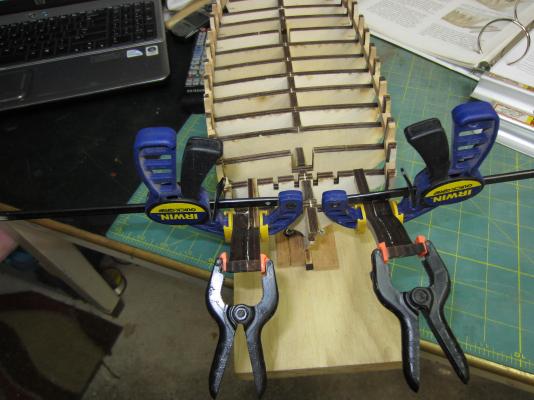
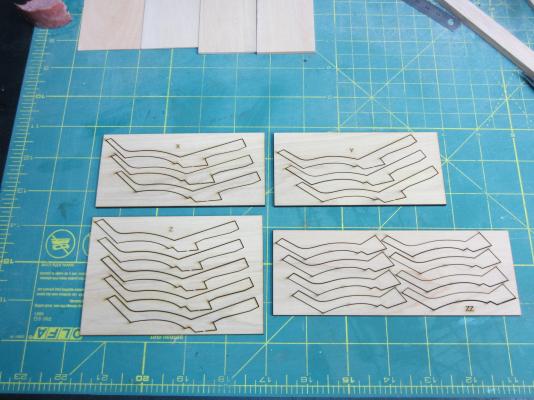
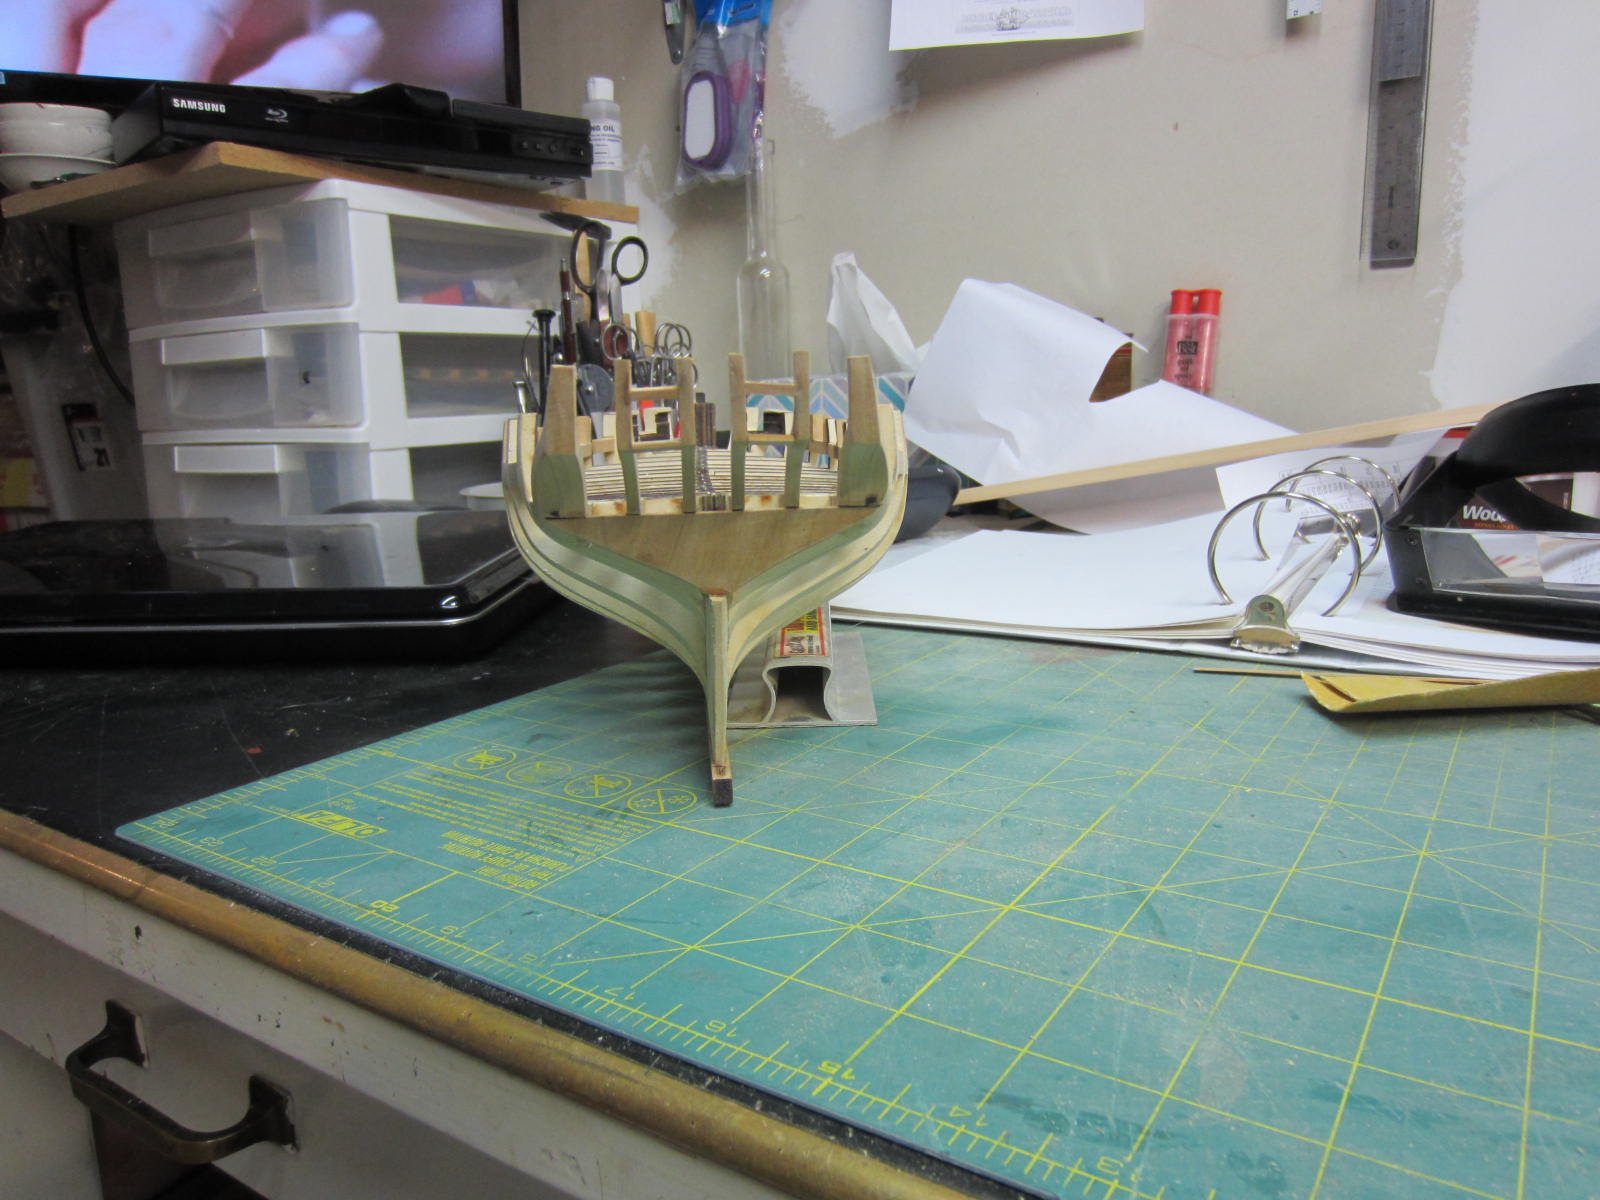
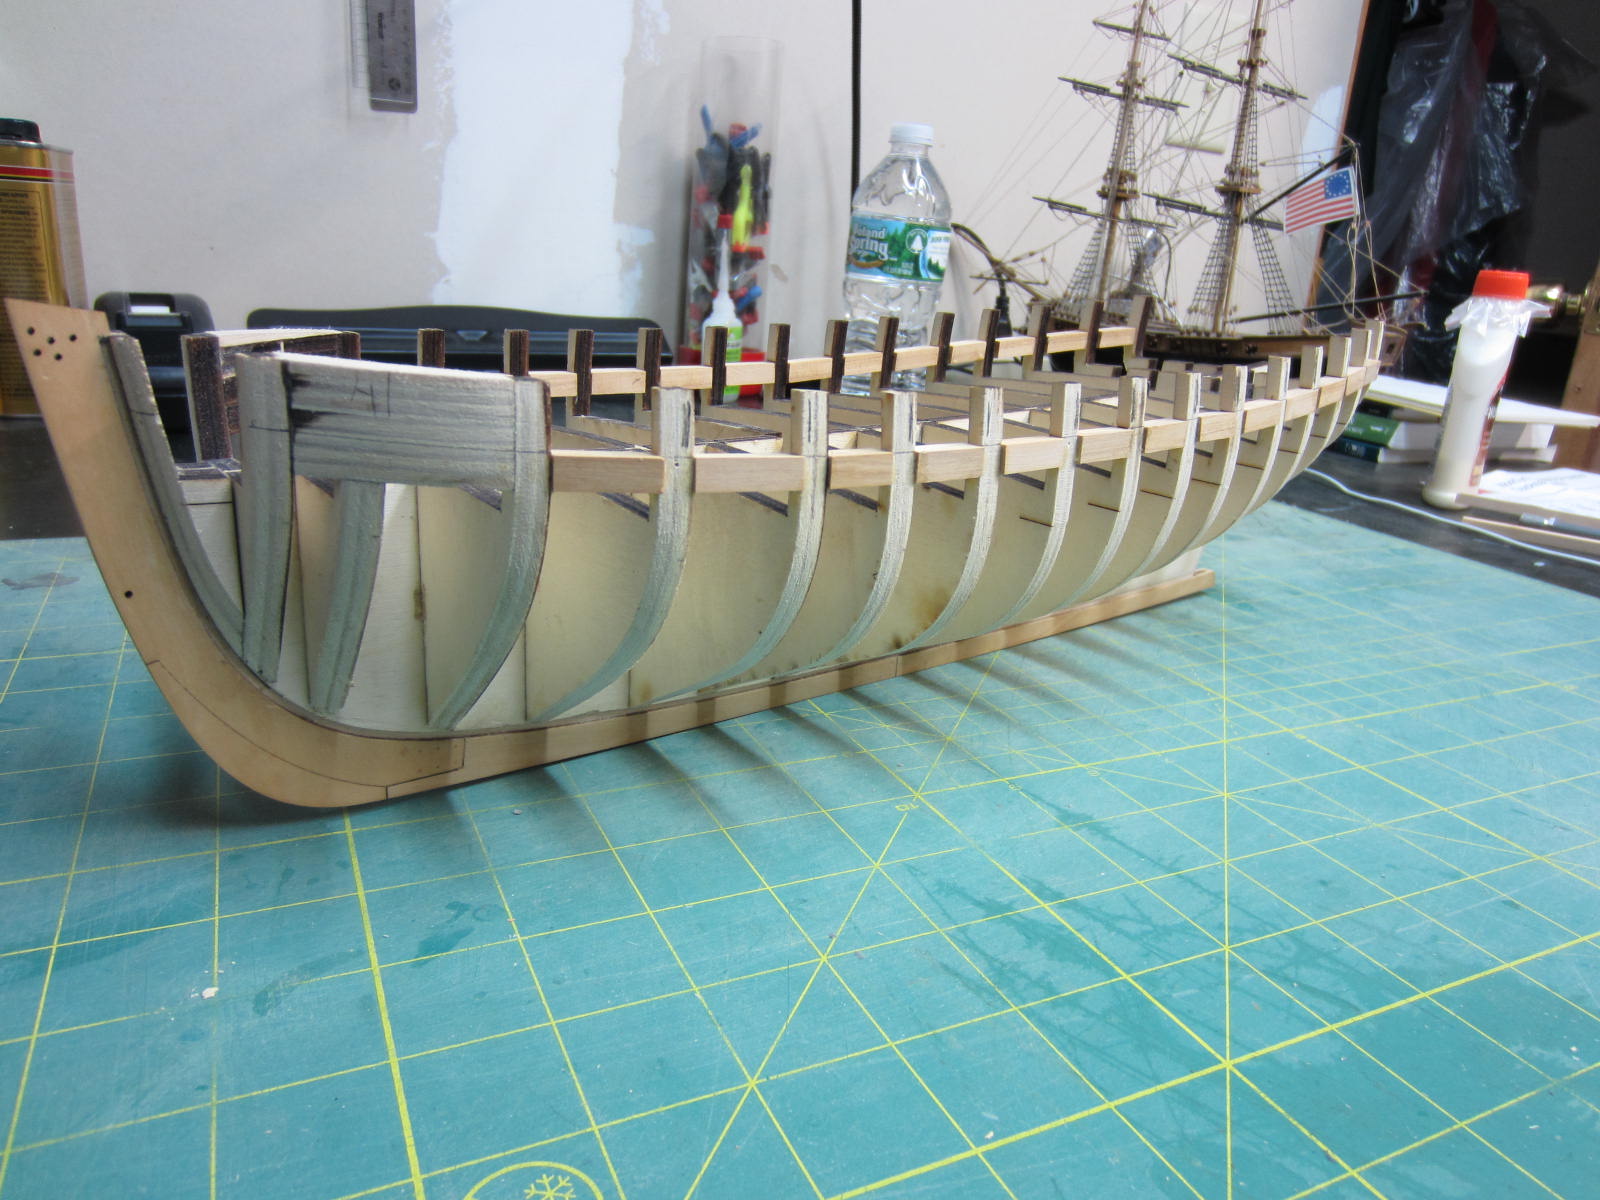
To start assembling the laser cut stern frames I first had to glue the two outer
frames for each side together. They were then placed in the corresponding slots
on the stern. Then three more frames were glued to these. In all 5 layers were
assembled on each side.
Here they are all glued and clamped to dry.
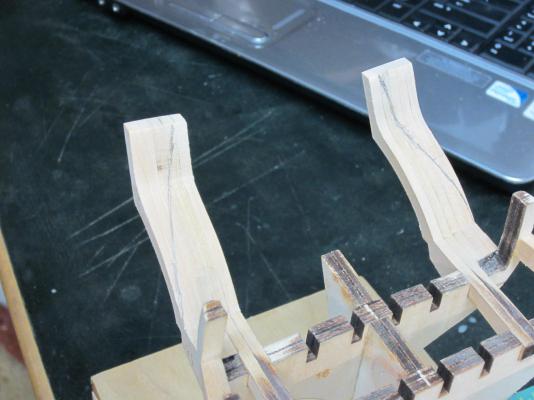
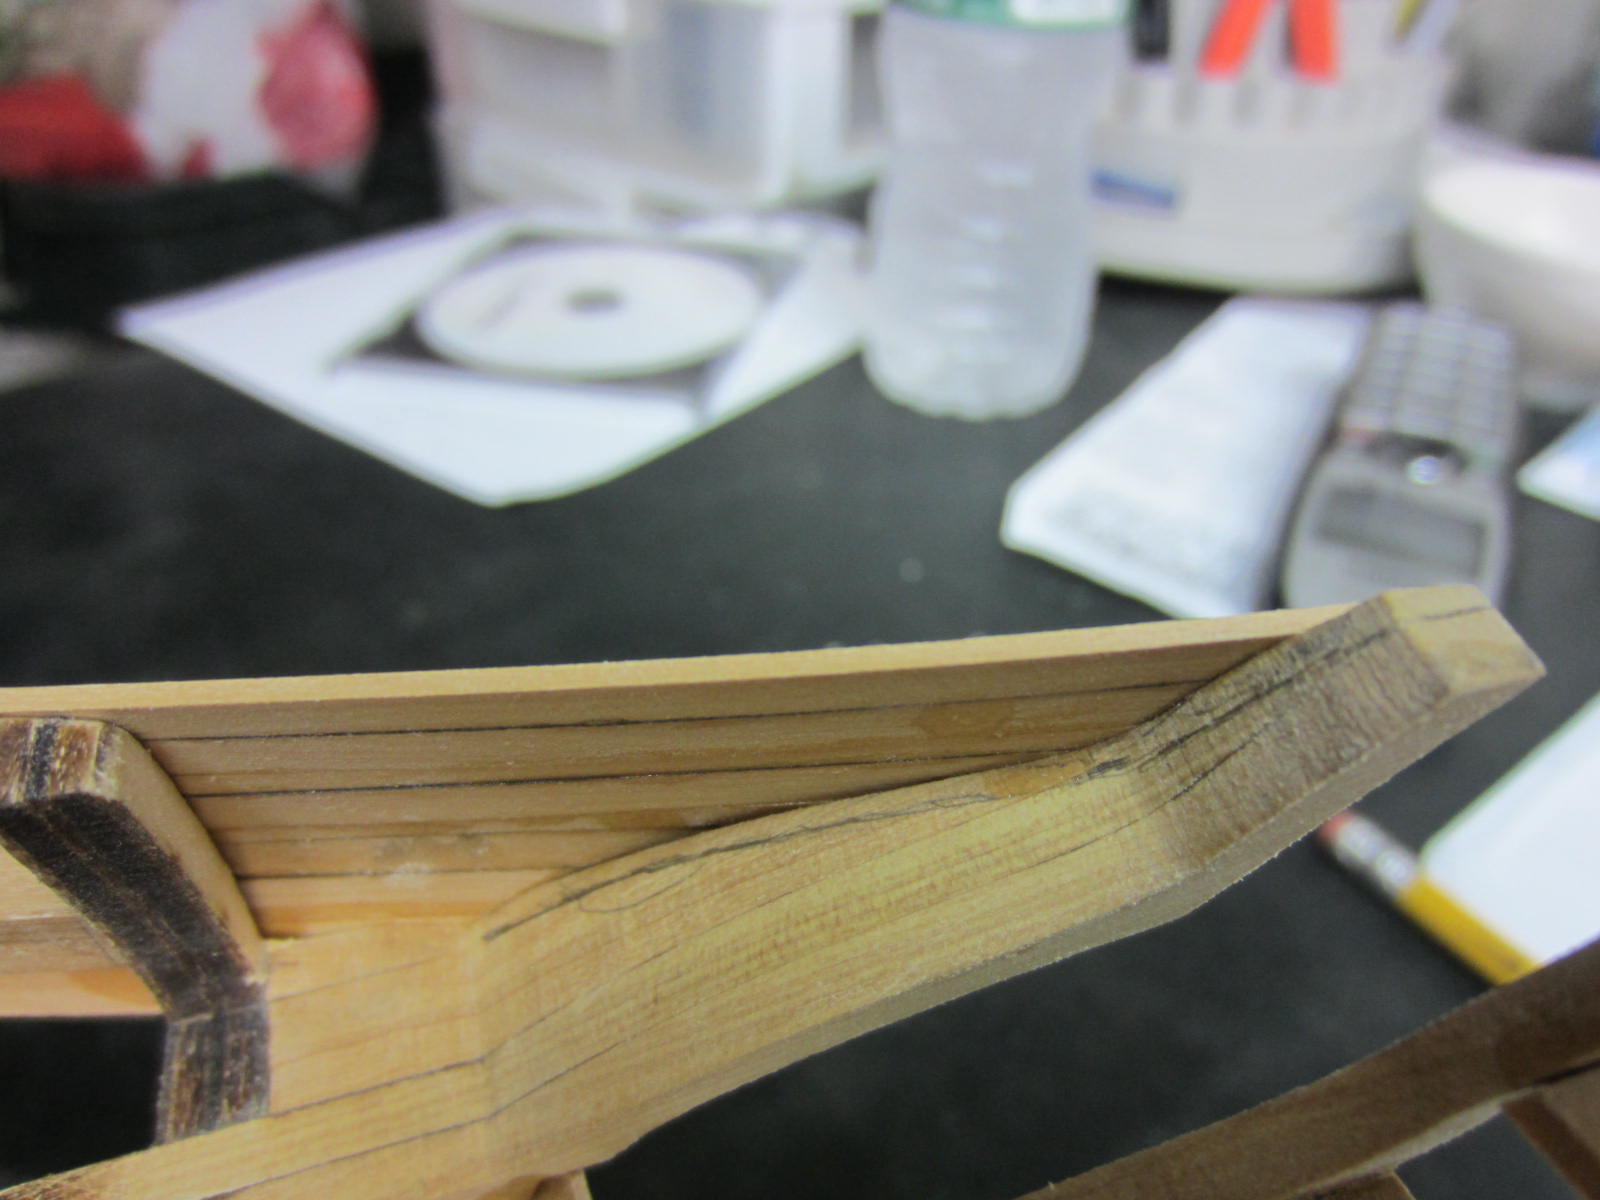
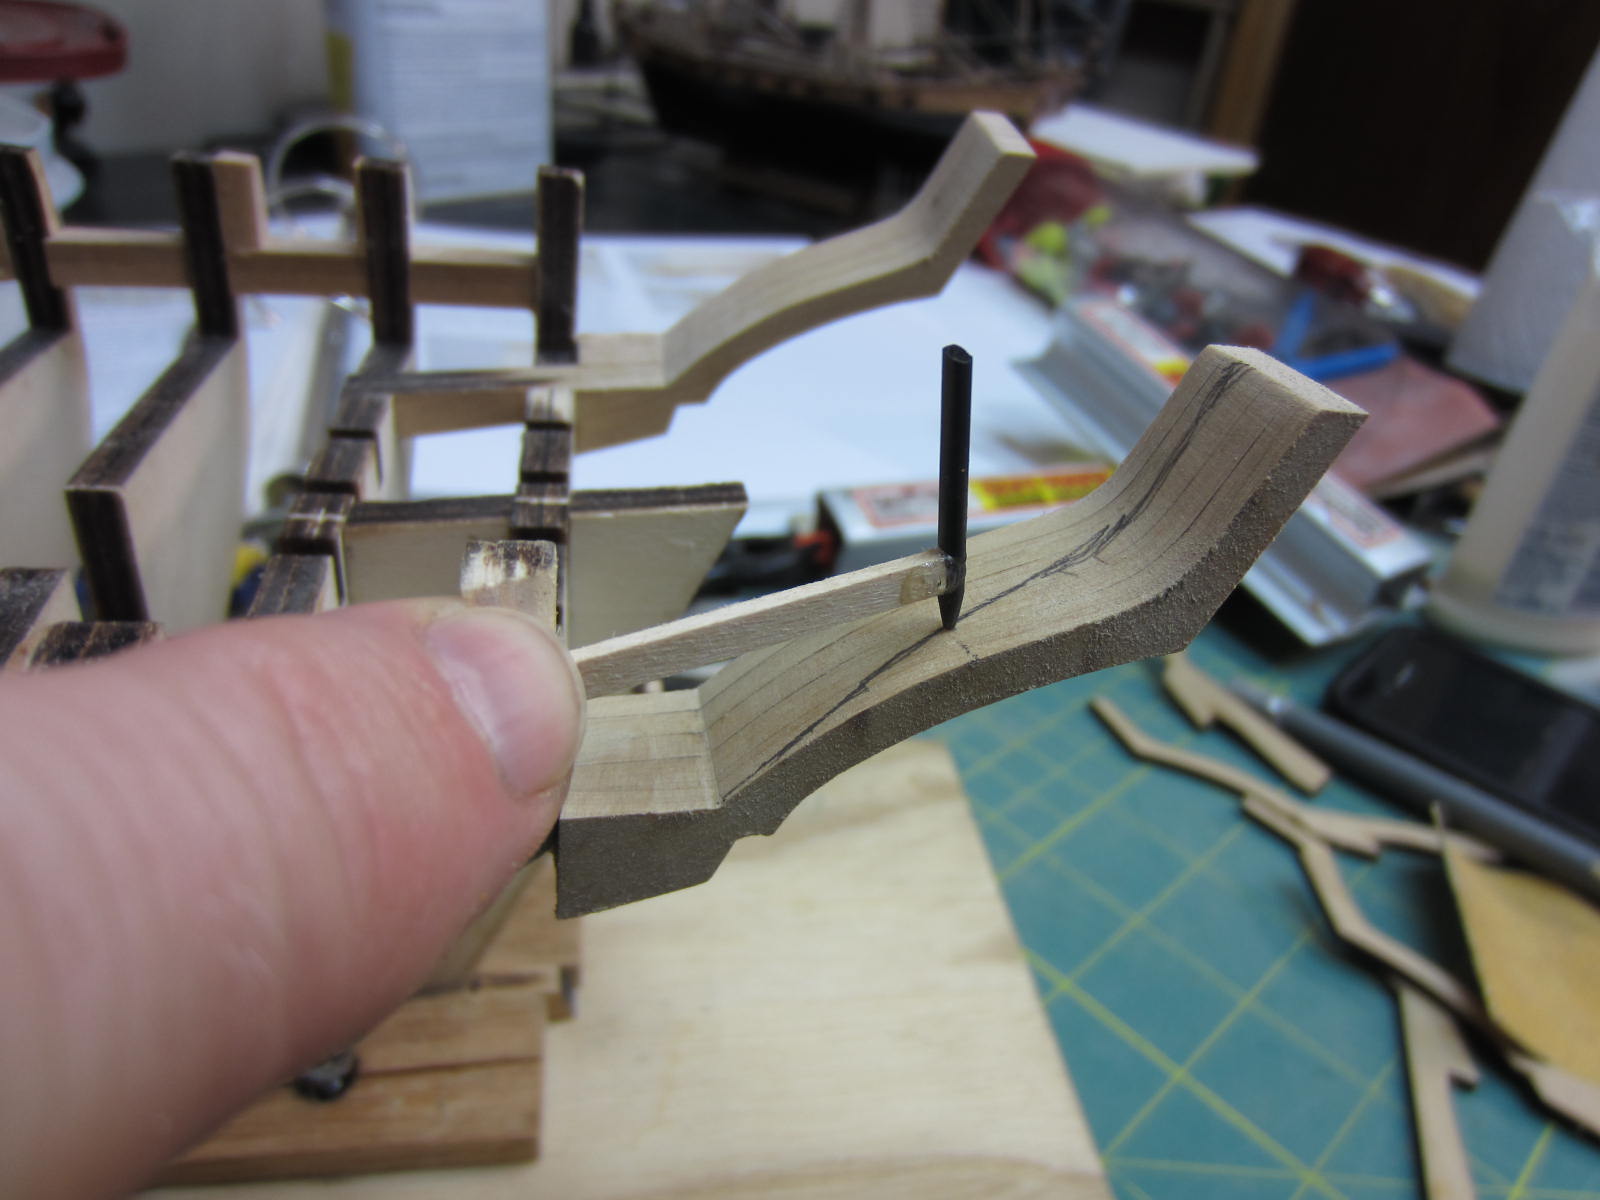
Once dry the laser char was removed. A reference line needed to be marked on
the frames. To do this I glued a piece of pencil lead to the end. Holding the strip
wood against the hull I traced the reference line. The wood will be removed so it
is close to the hull fairing.

- mobbsie, Ryland Craze, Dubz and 15 others
-
18
-
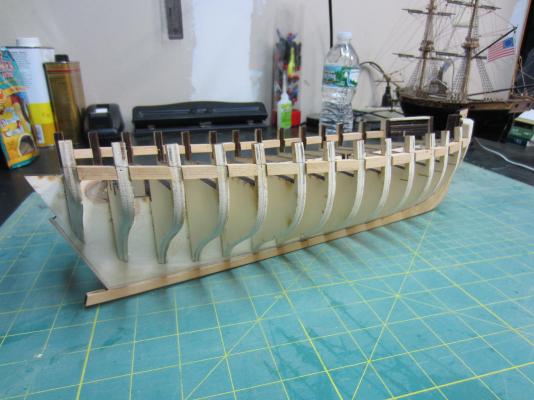
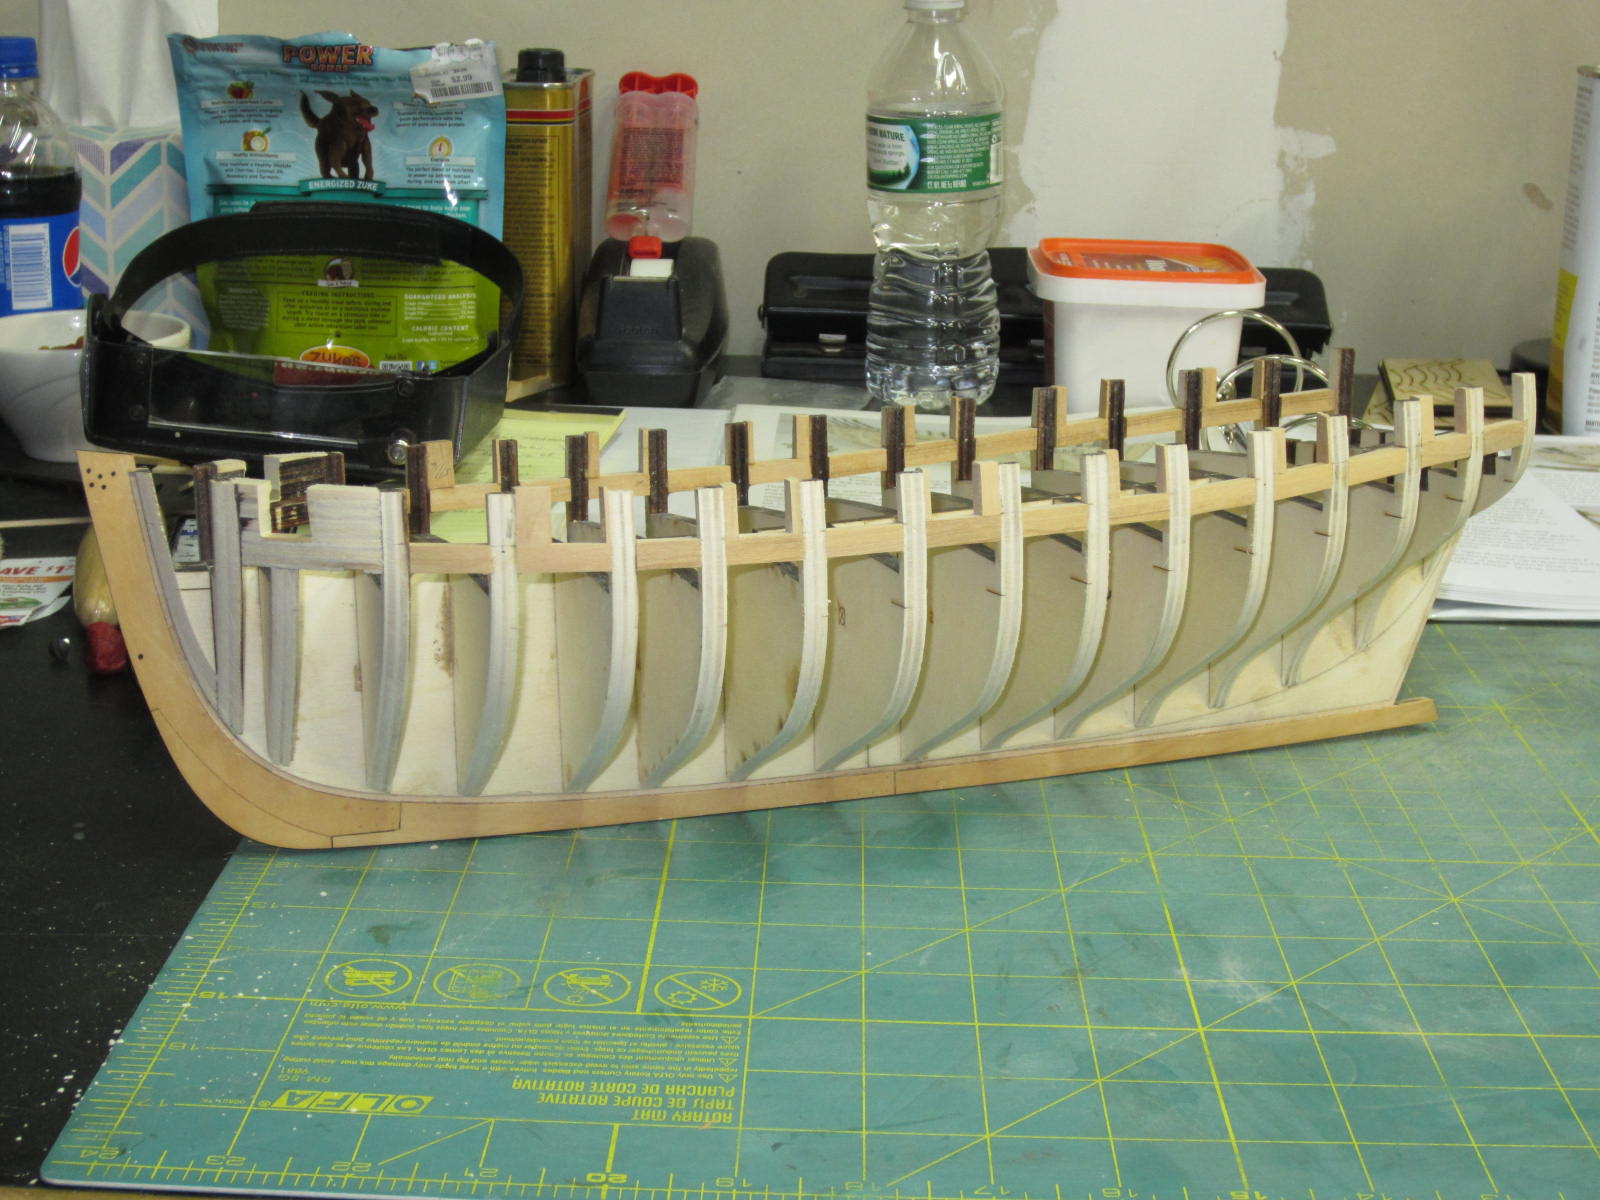
Hi all,
Well all of the uprights have been added and the first round of sanding completed.
Adding the extra bracing worked well for me as I didn’t snap anything off……yet!

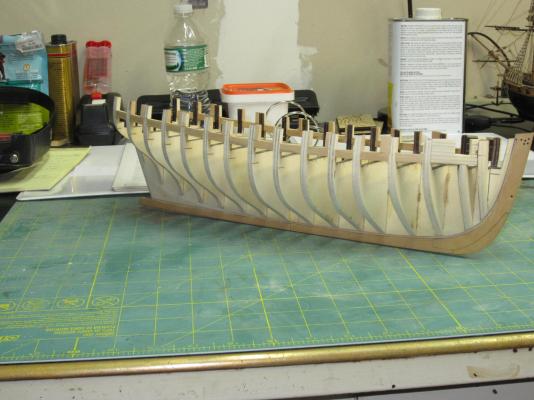

Though this is listed as a scratch build I will from time to time (read every chance I get)
use Chuck’s laser cut products. Purely for research purposes mind you.
Next I'll start framing the stern. One of many ah....cheats I will be doing. I ordered the
boxwood frames from Chuck and they are perfect.
-
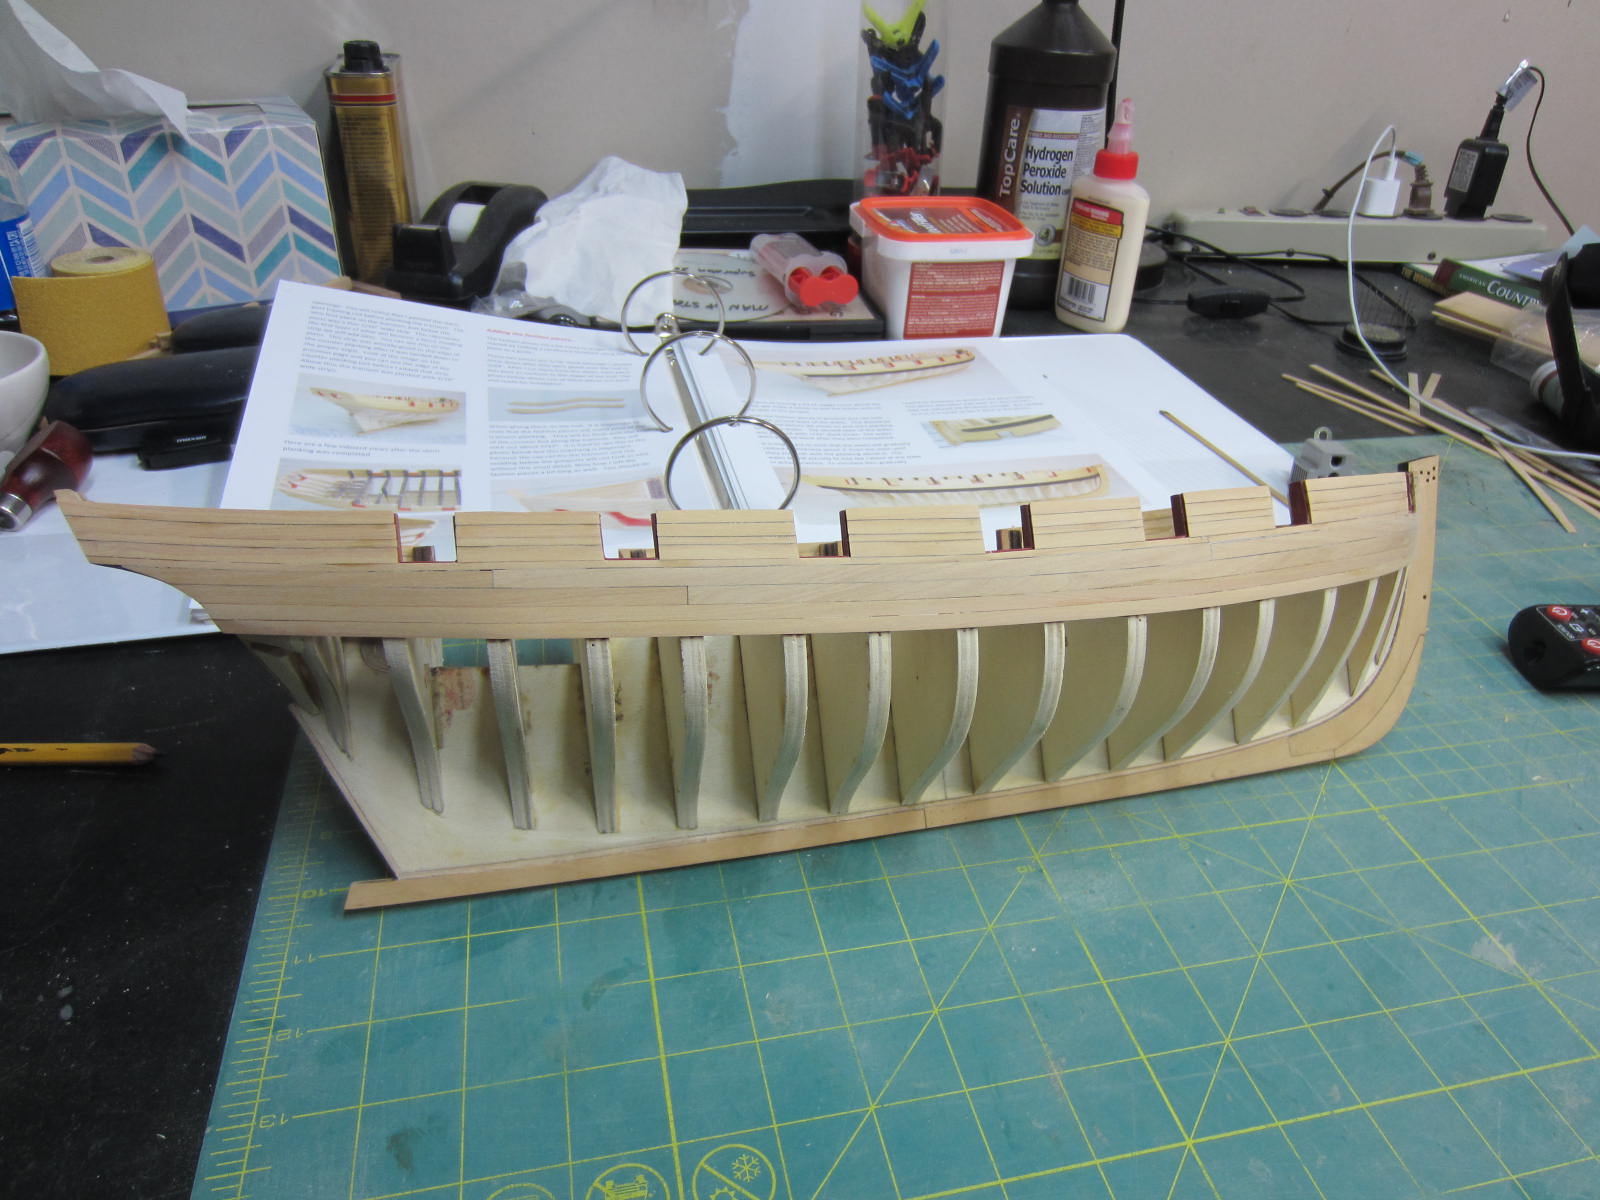
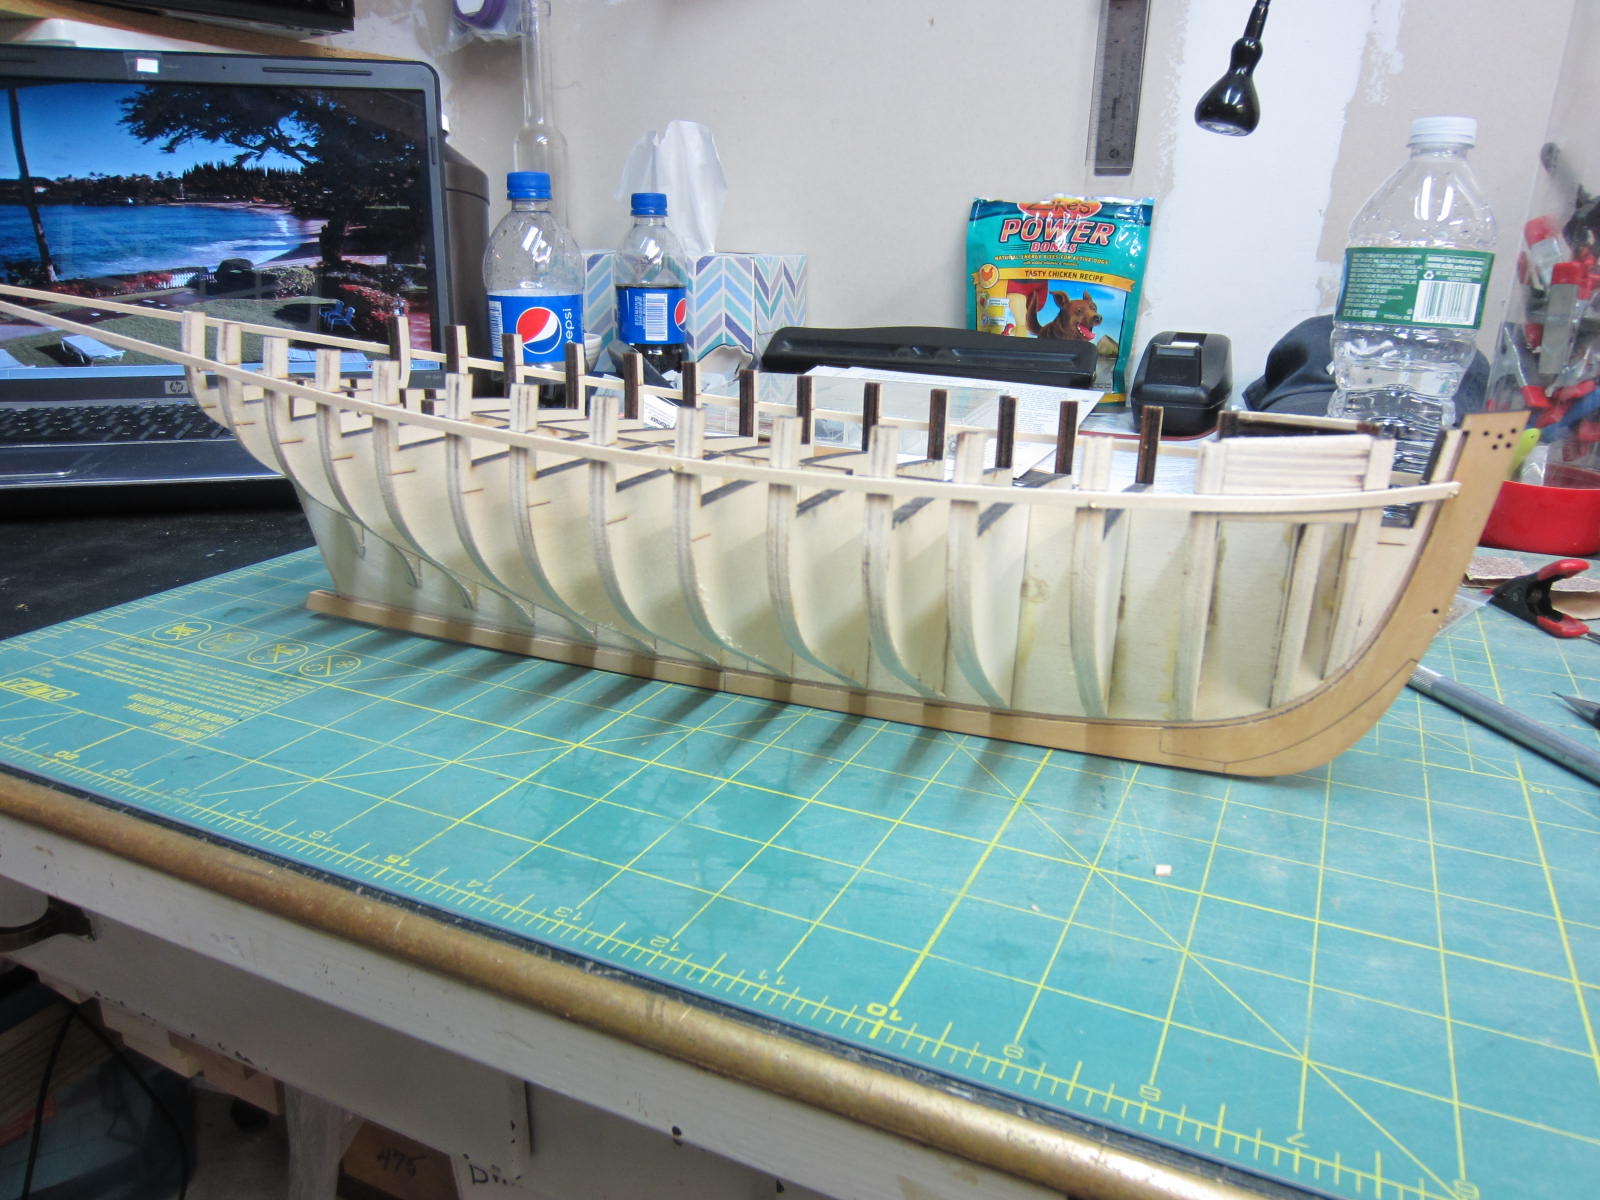
After the preliminary fairing of the hull I used batten strips to mark the gun port sills.
I pinned it to several bulkheads and used rubber cement on the bulkheads that were not
pinned. I was able to make some subtle adjustments to get what looked like a smooth run.
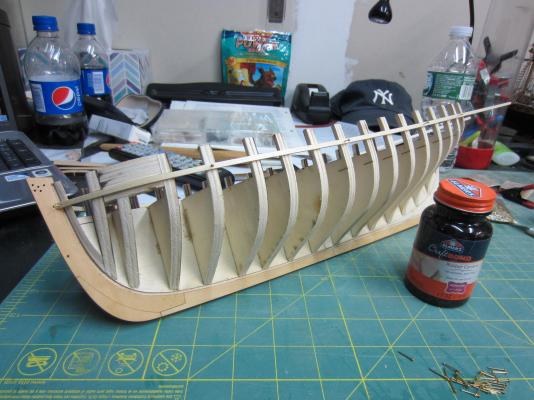
After marking the sill’s location I cut them out of boxwood. I choose to install them between
every bulk head for added stability for the final fairing.

Now it’s time for more for more sanding. Oh such fun.
-
-
Hi Eric.
First off ebony dust is toxic. That's bad enough but to add to that the dust is very fine and gets into every nook and cranny staining adjoining wood. Then it's hard. I mean really hard. It dulls blades and is tough to bend.
I've used it on a few builds and once my supply was used up I've stopped using it.
Hehe Mark an I were posting at the same time.
-
-
Ben, I'm glad to hear you're getting closer to having your shop completed. I'm lucky there's
no demo for me to contend with. The entire basement is unfinished. Half will be a rec room
and bathroom, 1/4 for my shop and the last 1/4 has the utilites and storage.
-
-
Oh it's a real long distance move Ben.
All of three miles away from my current house. At least I’ll save on fuel!

Same area just a different house. Oh and it has space for a 10'x20' workshop
in the basement. Gonna have to build it though.
- Canute, Ryland Craze, gjdale and 2 others
-
5
-
Hi Boyd,
Grants right about Jeff's blade selection article. It's a great resourse.
When doing cutting like you are doing I like to use the I-292 .30 blade.
- mtaylor, GLakie and thomaslambo
-
3
-
Hi Ben,
I'm gonna know how you feel in a bit. I'll be packing in as much work/fun as I can over the next two months.
Then it's pack up the house, move, unpack and then build a new work shop just like you're doing.
So much fun, so little time.

- Canute, mtaylor and Ryland Craze
-
3
-


HMS Pegasus 1776 by Trussben - 1:48 - Swan-class sloop based on TFFM
in - Build logs for subjects built 1751 - 1800
Posted
Wow Ben. Sorry to see that your having expansion problems. Hopefully getting the humidity
stabilized will keep it from happening again. On the good side that's a great looking workshop
you've got going there. Good luck.