


marktiedens
-
Posts
1,737 -
Joined
-
Last visited
Content Type
Profiles
Forums
Gallery
Events
Posts posted by marktiedens
-
-
-
-
Nothing serious at the moment - just getting it taken care of before it is. Thank you all for your thoughts
 .
.
Mark
-
Thank you very much
") . I will be back to it after I have a medical issue sorted out.
. I will be back to it after I have a medical issue sorted out.
Mark
-
Thanks Frank - I actually "borrowed" the idea from someone else`s log (can`t remember who)
 . Meanwhile, another little problem has cropped up - I will explain later...........
Mark
- mtbediz, FrankWouts, Edwardkenway and 3 others
-
 4
4
-
 2
2
-
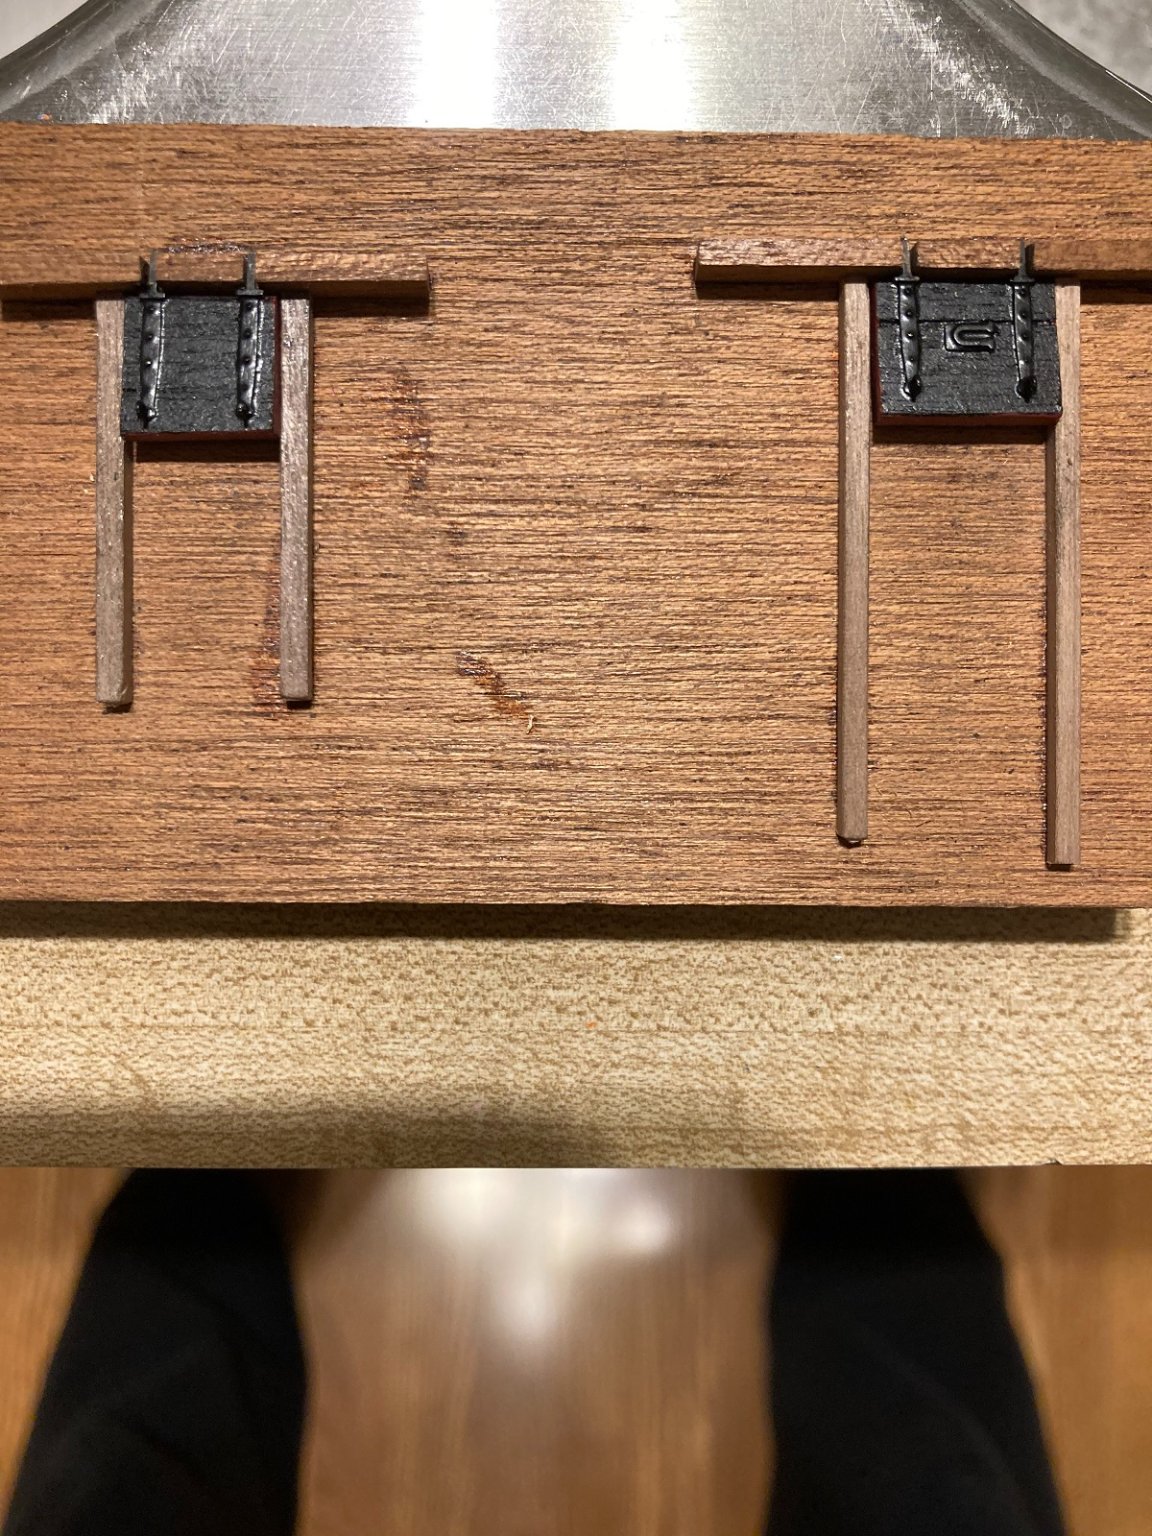
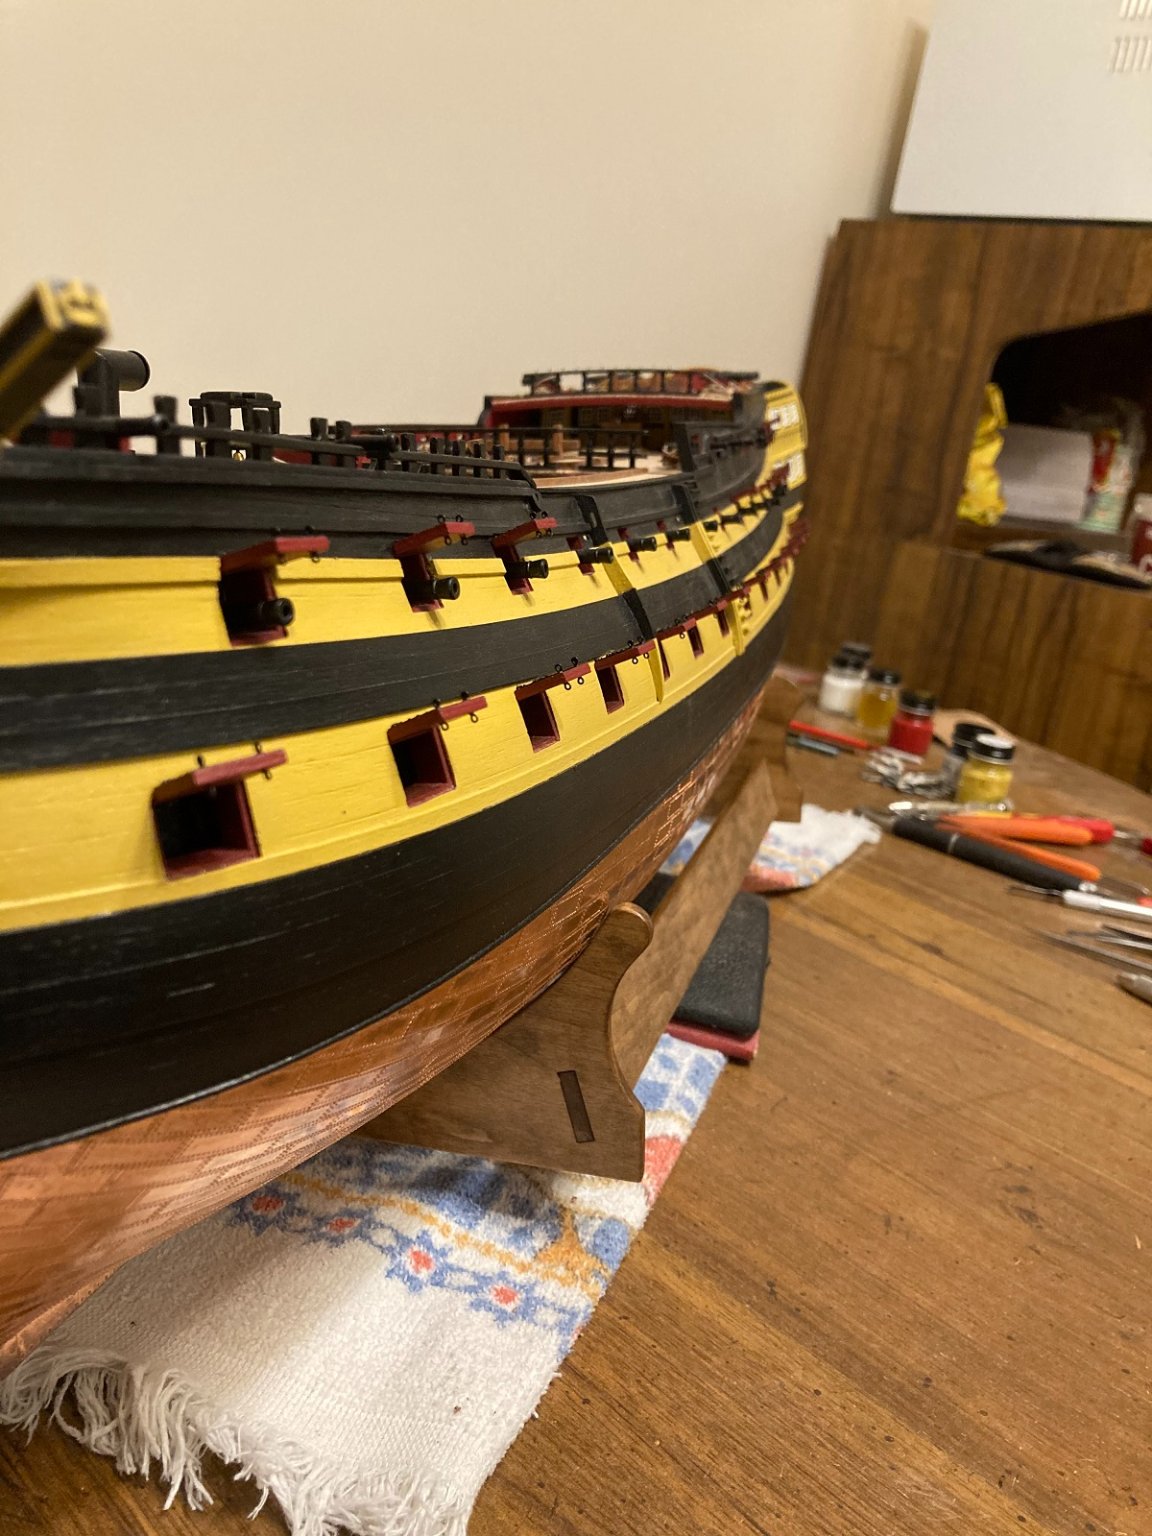
Minor update - I thought it would be a good time to work on the gunport lids before tackling the chain wales. First thing was to make a couple of jigs so the hinges would be equally spaced on all the lids. After adding the scuttles & eyebolts, they were painted - 2 coats of black on the outside & 3 coats of red on the inside. Finally, all the holes for the hinges were drilled & the lids were temporarily put in place to make sure they lined up - some of the mouldings had to be chiseled out a little for the lids to fit against the hull. Still need to drill holes for the lid opening ropes. I will probably leave the ropes for closing the lids off. Thanks for looking in
.


Mark
-
Looks wonderful - display it proudly👍.
Mark
- popeye the sailor and dragzz
-
2
-
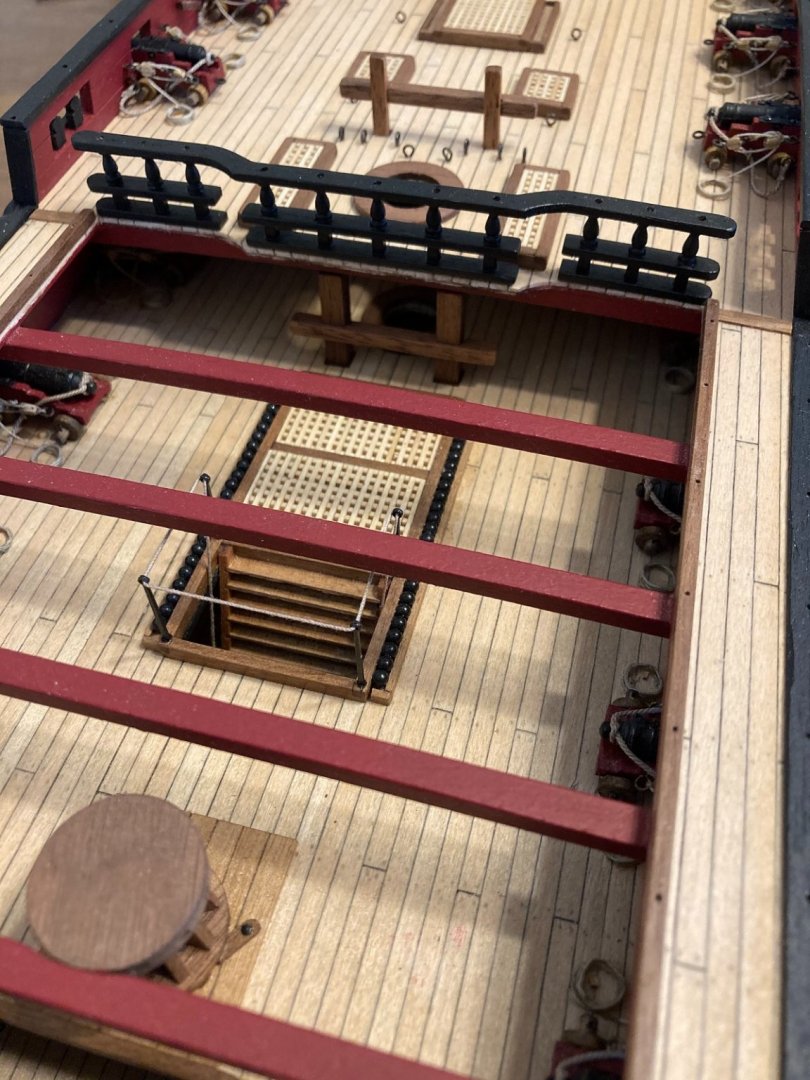
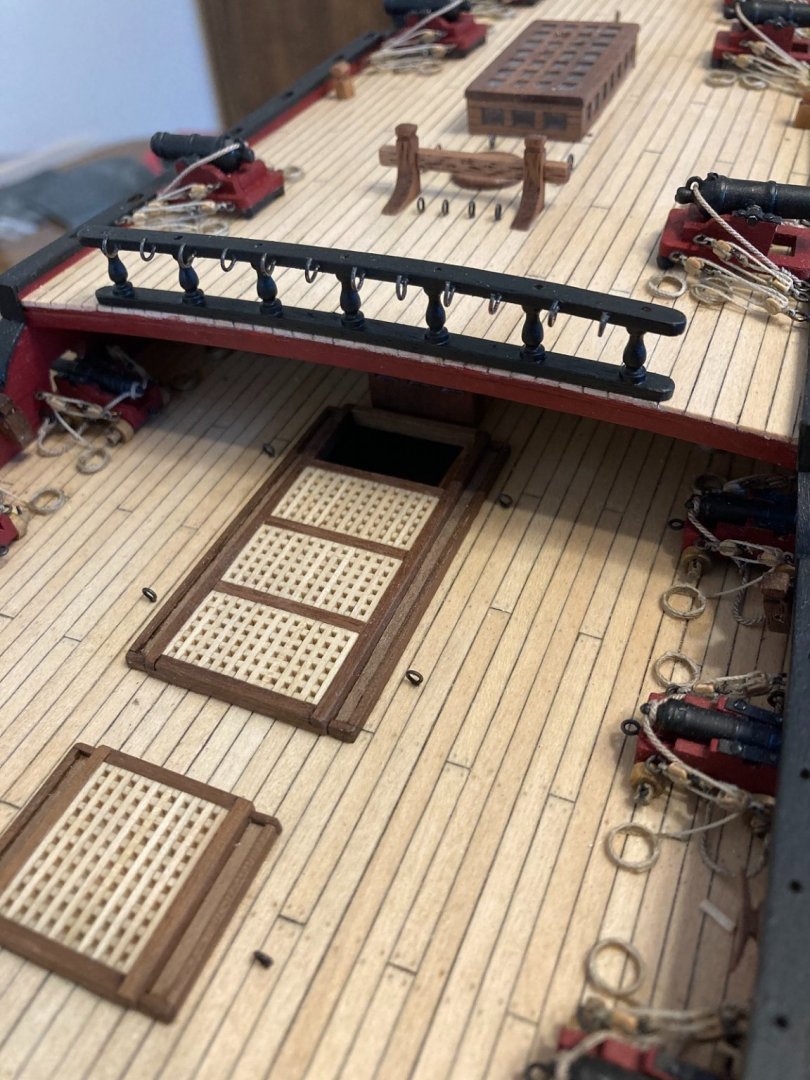
Hi - another small update. The 3 deck railings were assembled & painted along with the belfry. Pretty straightforward, as all parts were laser cut. They were all glued down to the edges of the decks. The poop deck railing will get some hammock cranes & sand buckets, which will be added later. The quarter deck railing will also get some cranes added later.
Mark
-
-
Thanks zappto
. Most of the time I do, but I do just wing it sometimes. The kit design makes it pretty easy in most areas - the devil is in the details.
Mark
-
Thanks Denis
.
Meanwhile, I got the catheads done - just had to chisel a little of the mouldings away so they would fit flat against the hull. I added some trim strips to them as was suggested in the instructions & finished the head rail to the bottom of the cathead bracket. Also added the bolsters to the hawse hole openings - they were not shown on the plans, but were provided in the kit & were shown in the instructions
 .
.

Mark
-
Thank you very much
.
Mark
-
Thanks Peter - much appreciated!
Mark
-
-
Thanks Mike - just don`t look TOO close.....................
Mark
-
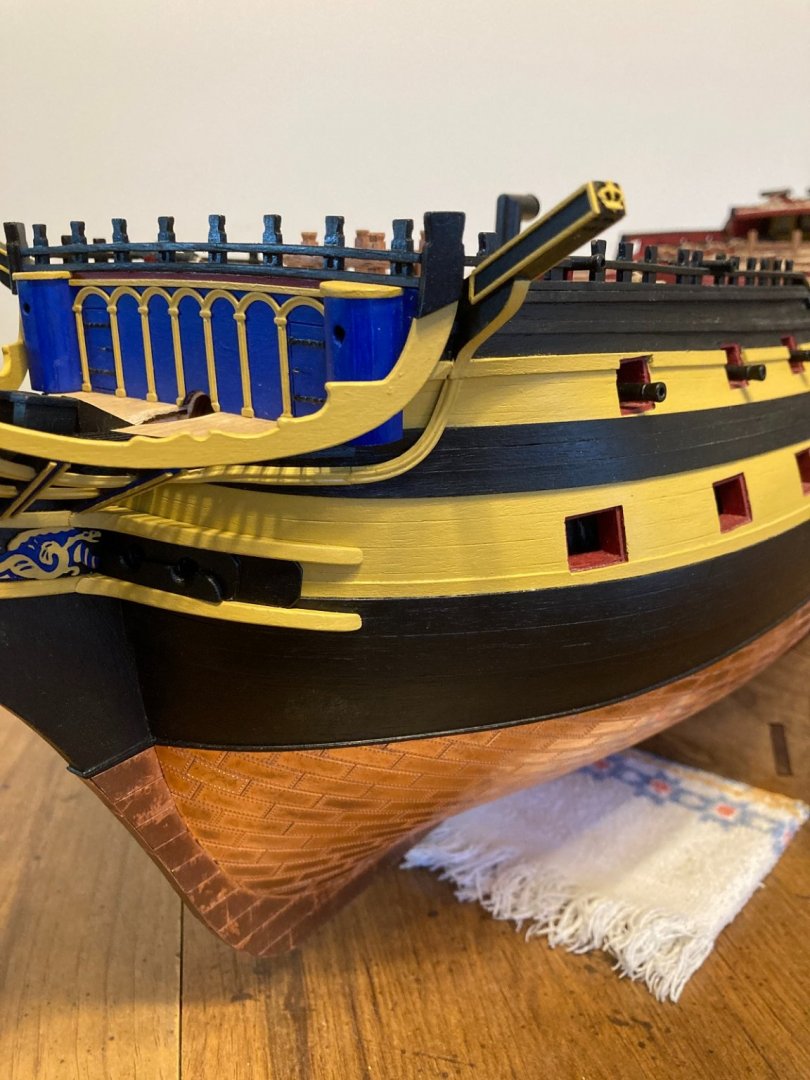
Hi all - got the other side done
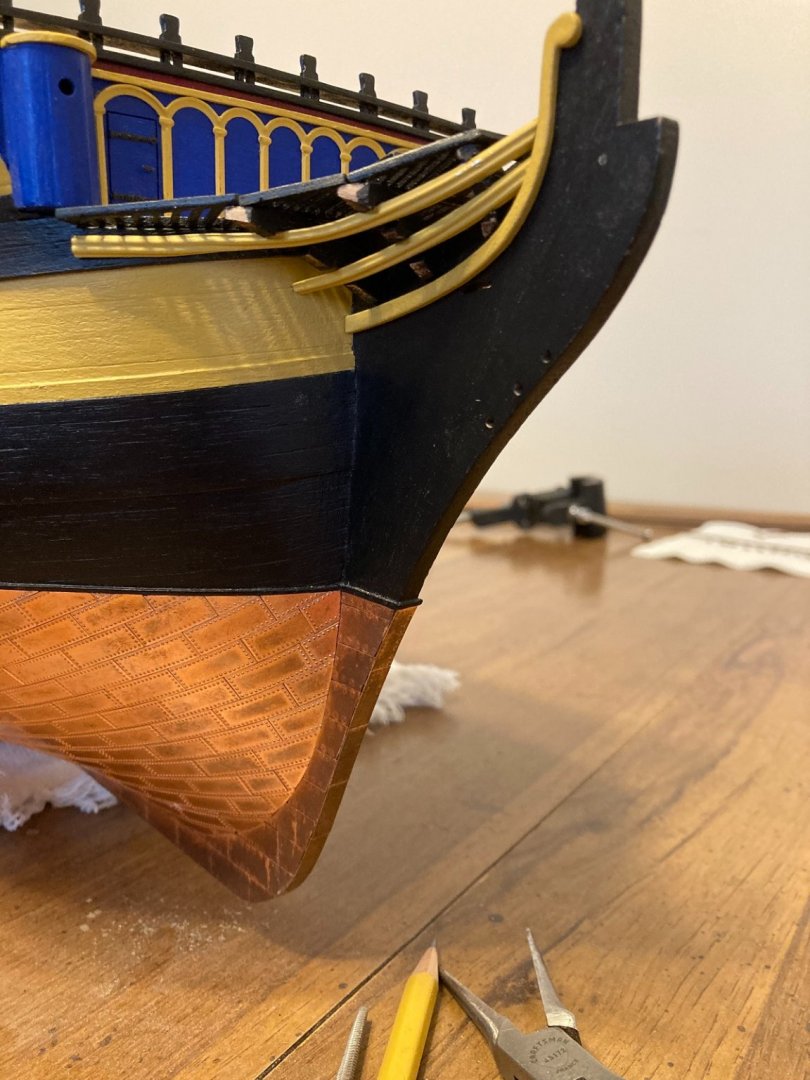
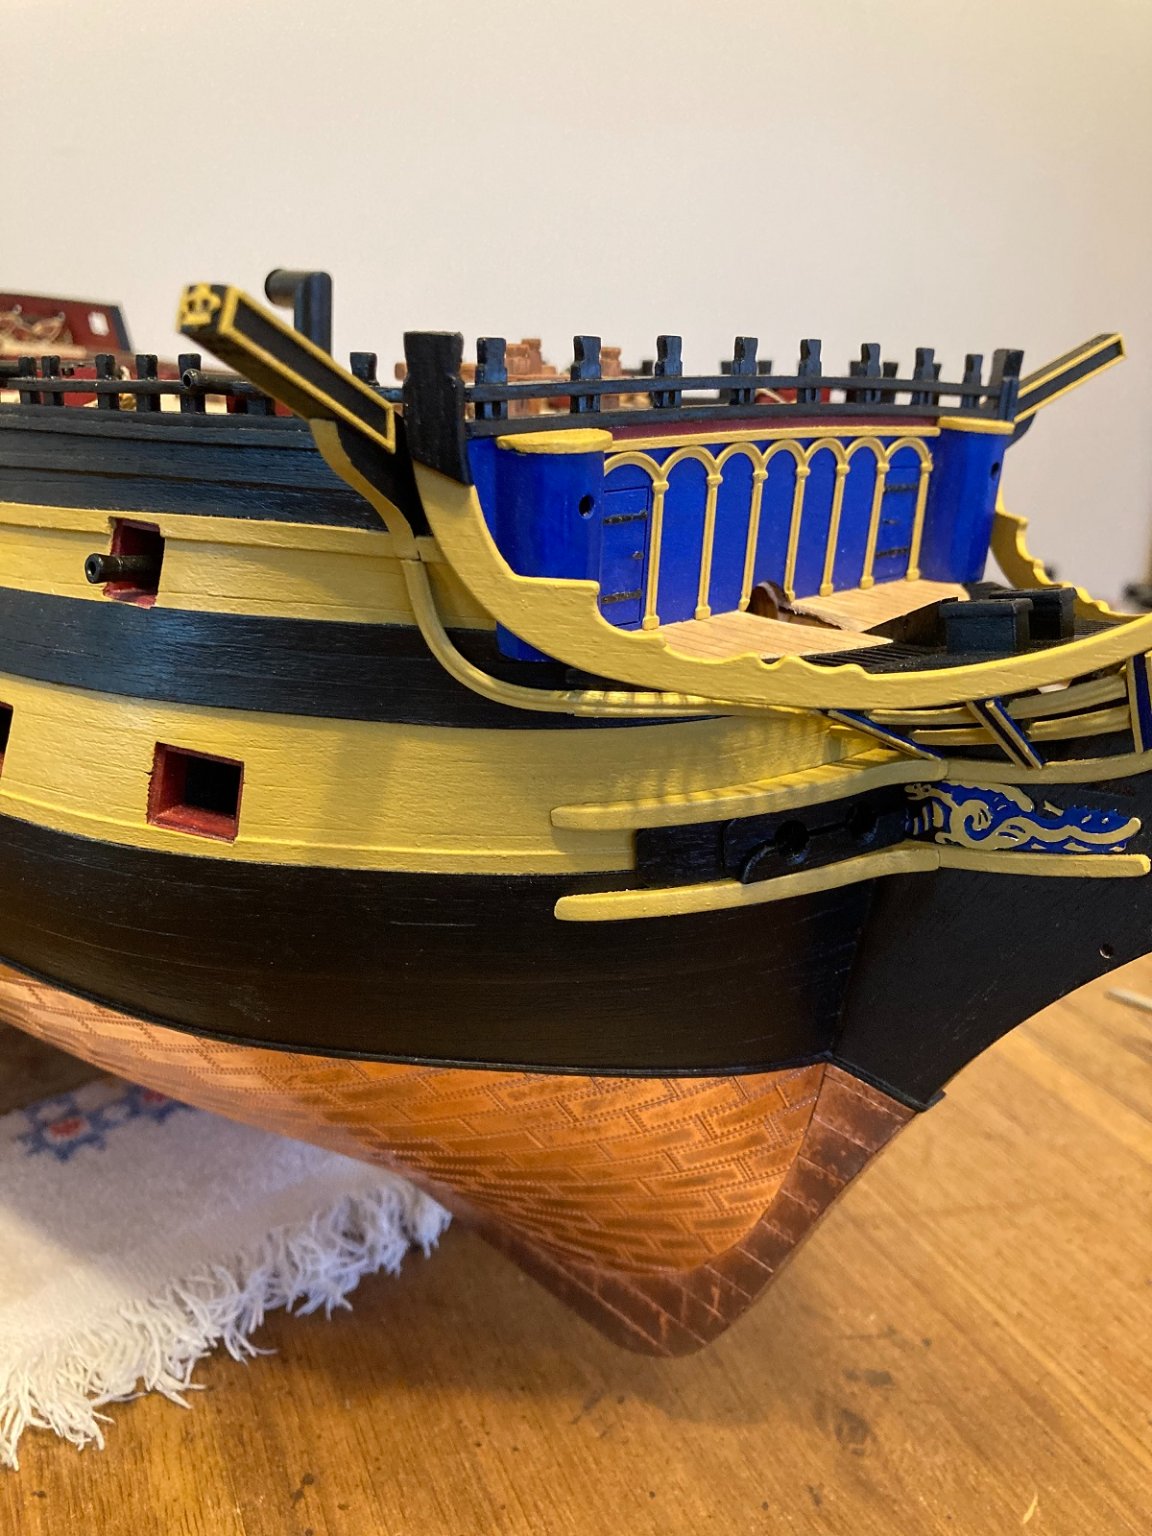
. Went much quicker after all the fiddling on the other side. I also added the PE pieces between the cheeks. Not sure exactly what they are supposed to represent, but look like some sort of serpent. The detail was kind of lost when painting them the same color overall, so I painted the recessed areas French blue & the raised areas yellow ochre. The blue is not nearly as bright in person (or the yellow) - don`t know if it`s the lighting or just the way my phone processes photos

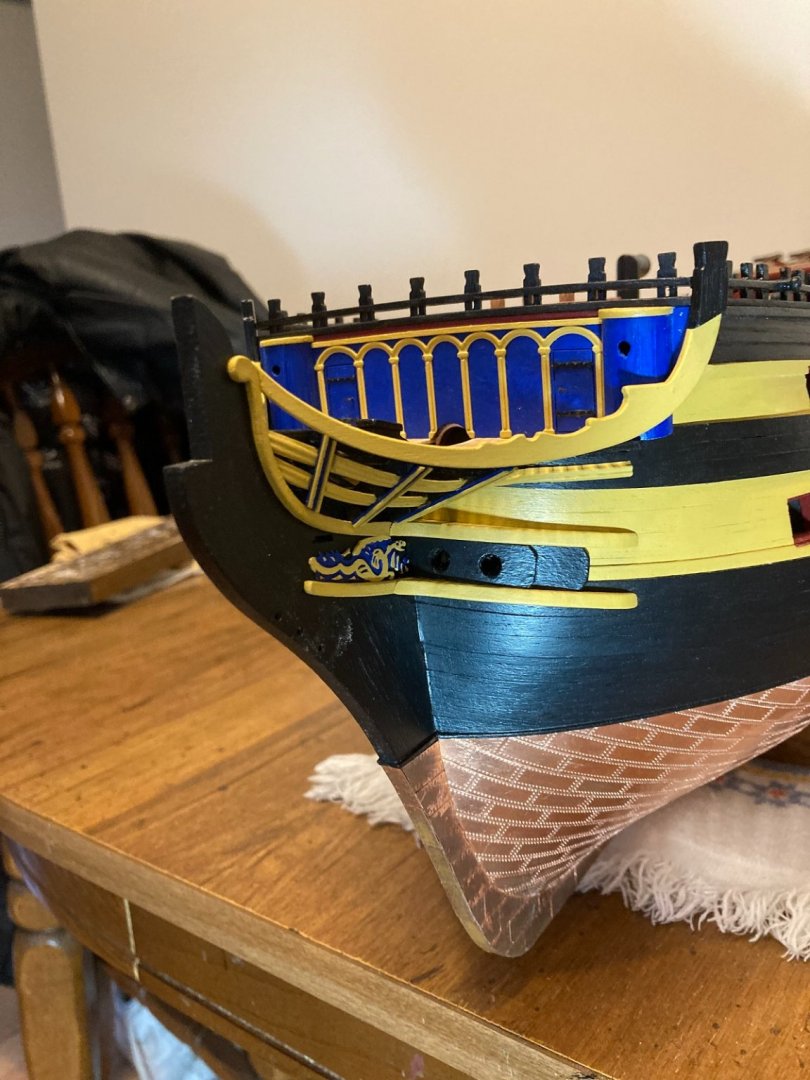
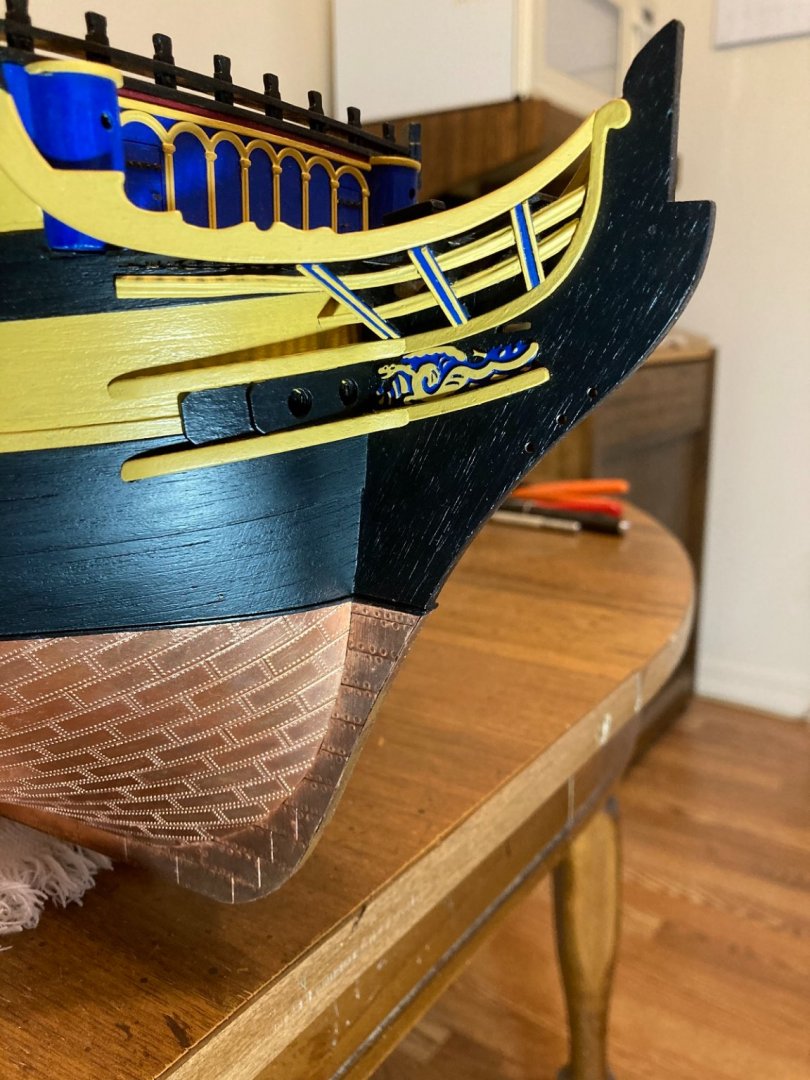
Thanks for looking in-
Mark
-
Nice work - those close-ups look like a real tank👍.
Mark
-
Thanks guys
. Your ship looks pretty good, Ian 👍 - do you have a build log on it? Wait until you get to the head rails - they are a real PITA to get shaped just right  .
.
Mark
-
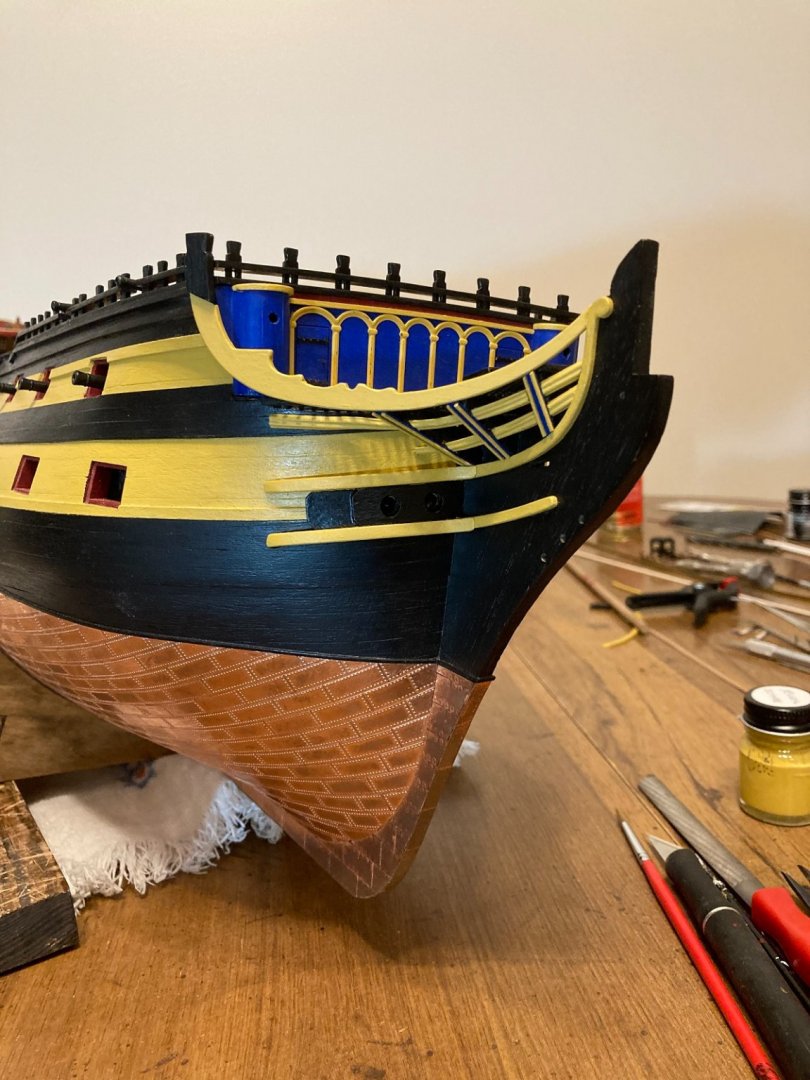
Well,1 step forward & 2 steps back. While working on the bow, I managed to break a few strips of the bow grating
 . I managed to splice in some small HO scale strips & after some paint touch up it looks ok at arm`s length.


Continuing on, I finished up one side of the head rails. I had to cut a groove in the rails for the covering strips to lay flat, but other than that it was just a lot of filing & sanding to get everything lined up. Now I have to do it all over again on the other side
.
Mark
- KurtH, chris watton, rafine and 10 others
-
13
-
Thanks Sjors - at the rate I`m building you will have all your present builds done & will have started a few more before I get to the masting & rigging
 .
.
Mark
- popeye the sailor and Sjors
-
2
-
Thanks zappto
. Meanwhile,I have managed to damage the grating at the bow ,so will need to sort that out.
Mark
-
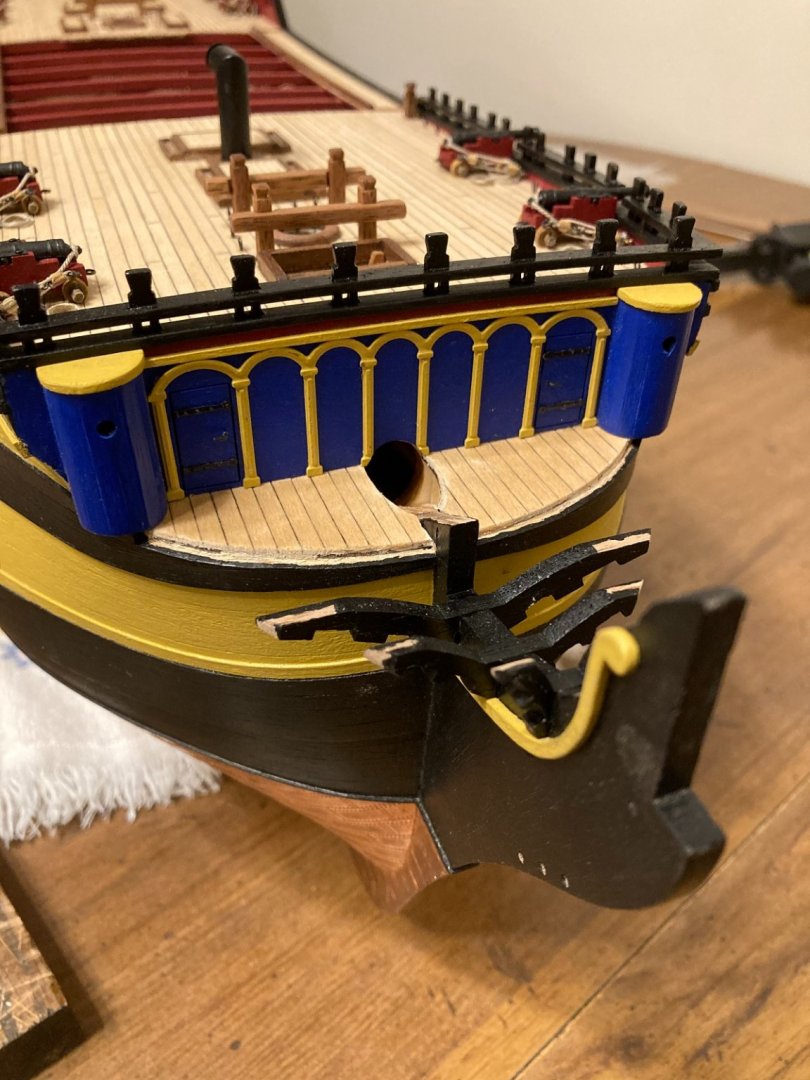
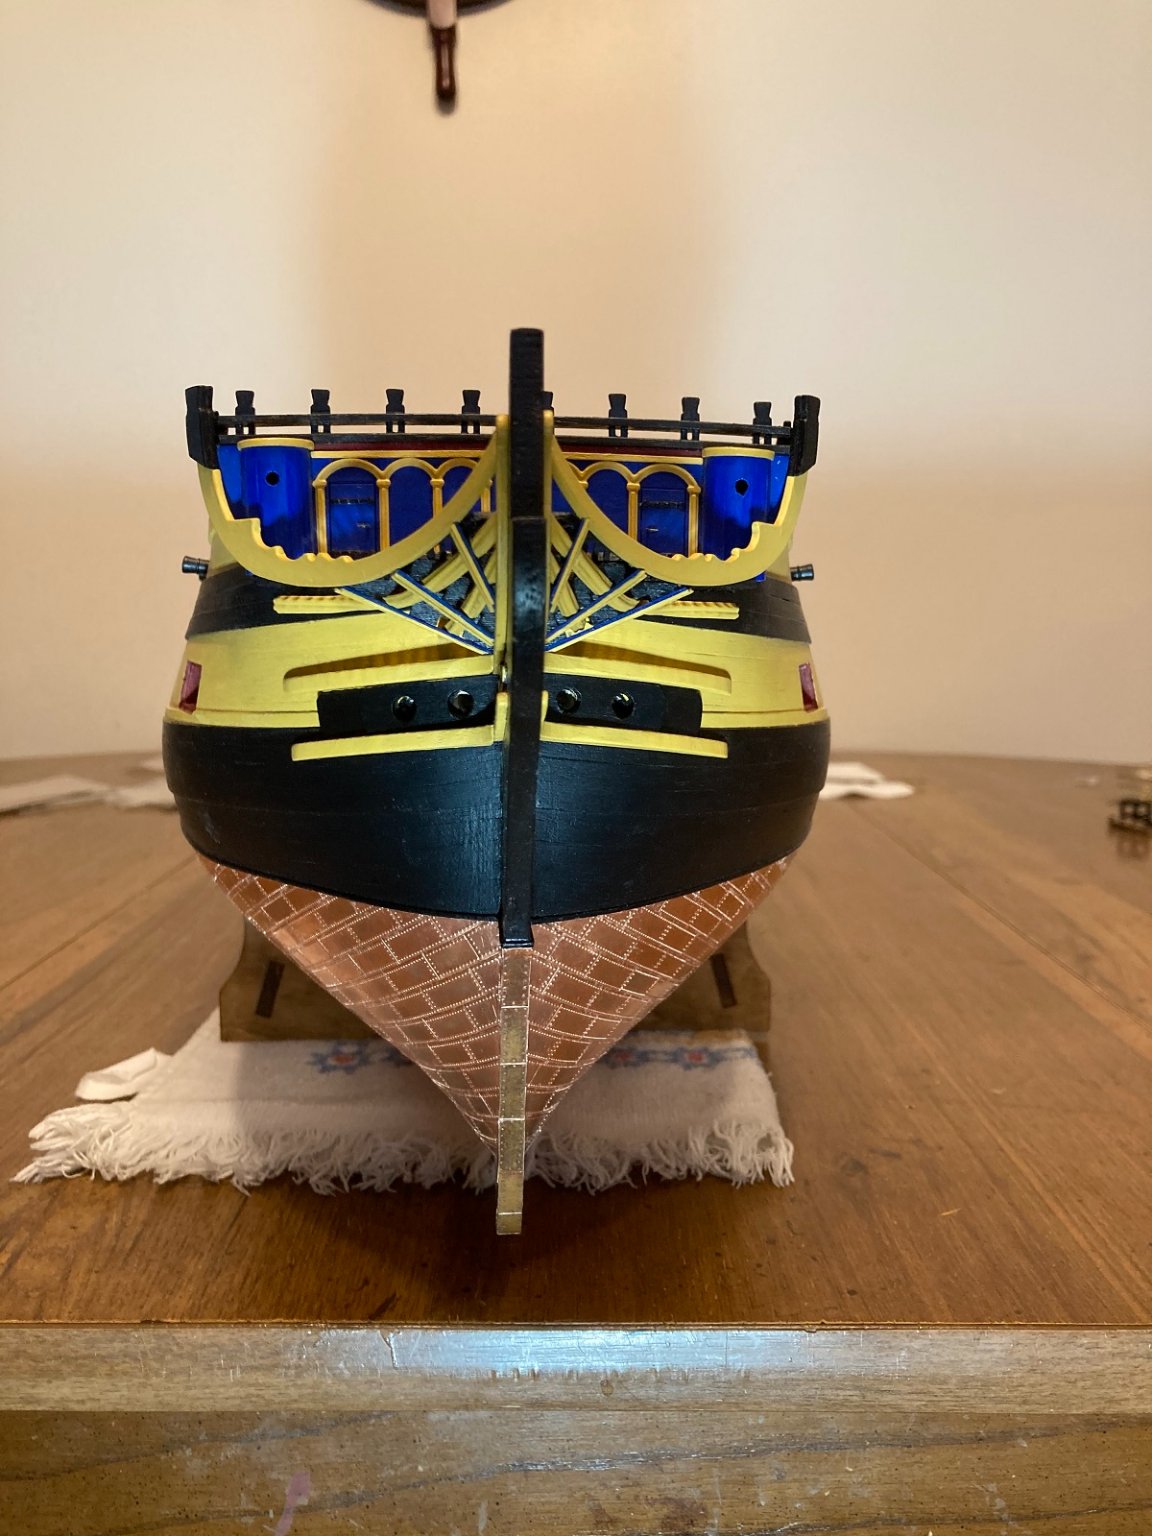
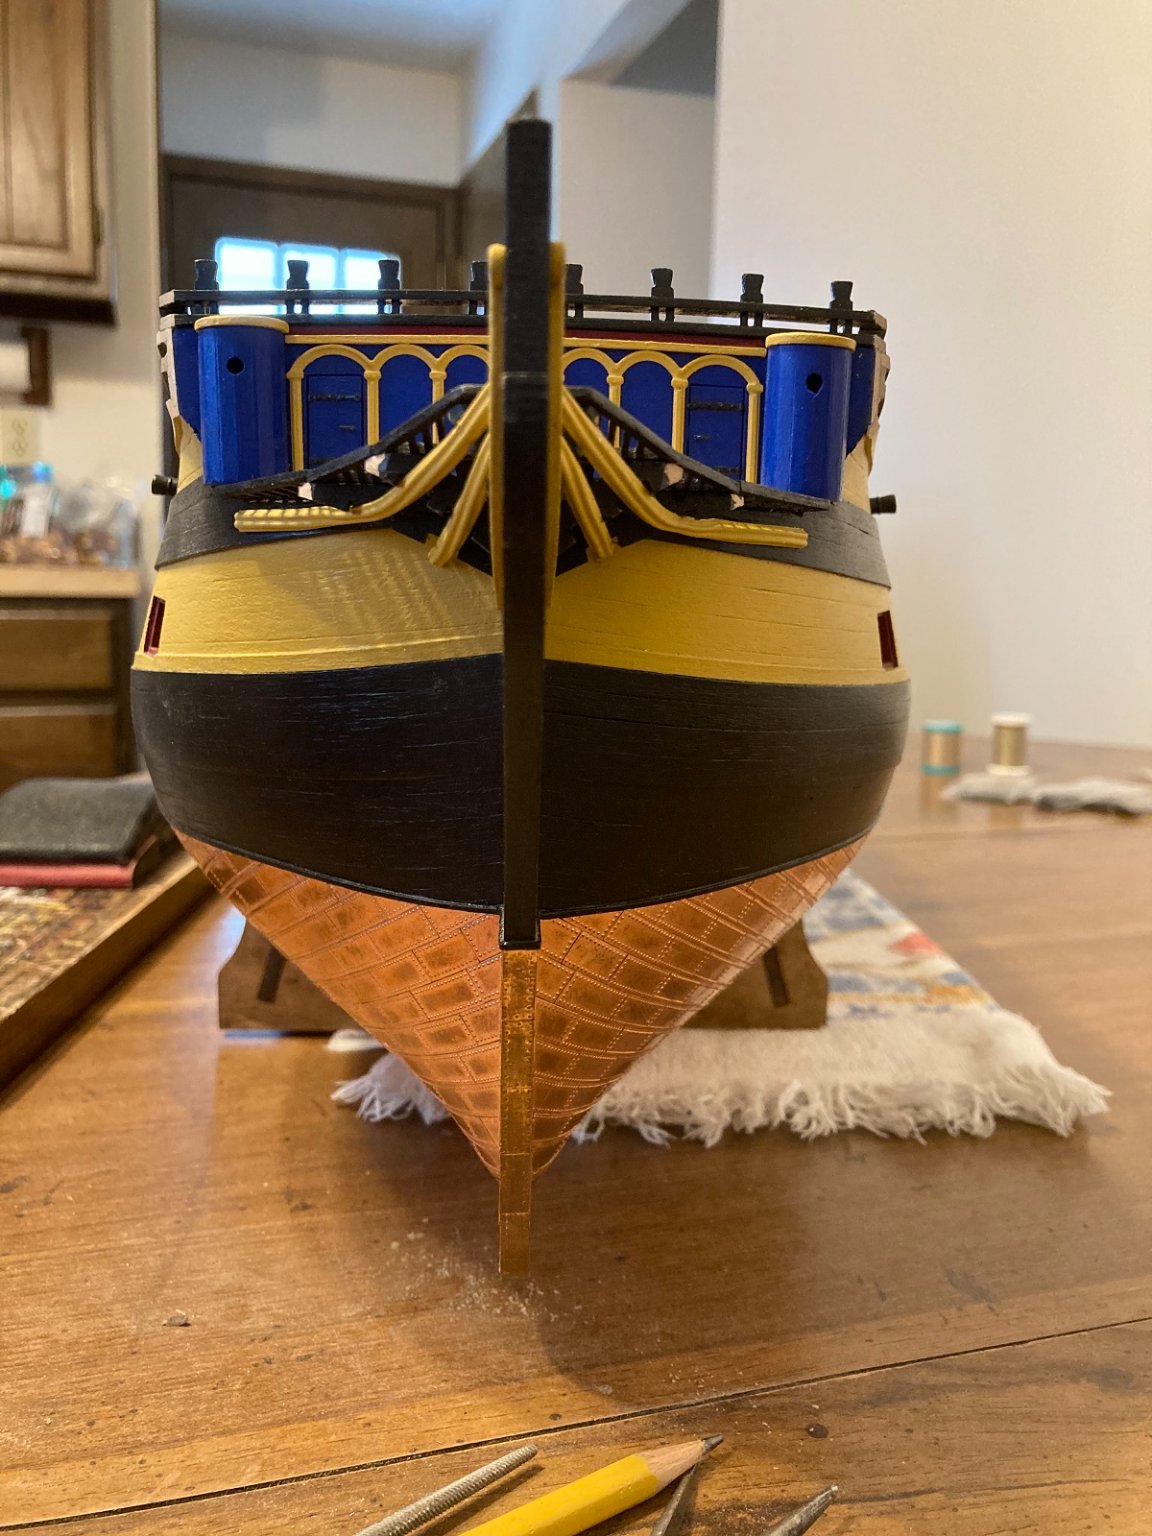
Sam, you are doing a fine job! One of the biggest problems I found was that the arch of the stern windows didn`t match the plan - the camber of the deck behind the railing didn`t match the curve of the windows, which made it a bear to fit the side galleries properly. I had to fudge things a bit to get the galleries done & look just halfway decent. Hang in there!
Mark
-
Hey Denis - got my second shot yesterday - no issues,feel fine
 .
.
Mark
- lmagna and popeye the sailor
-
2
-
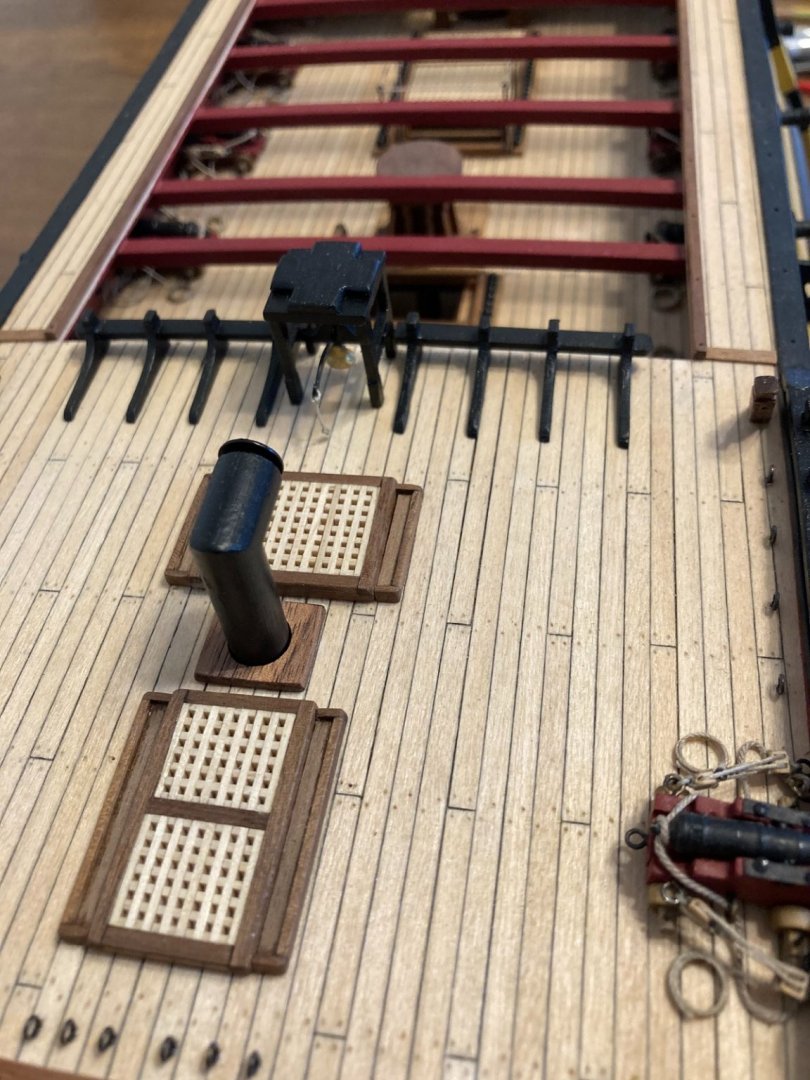
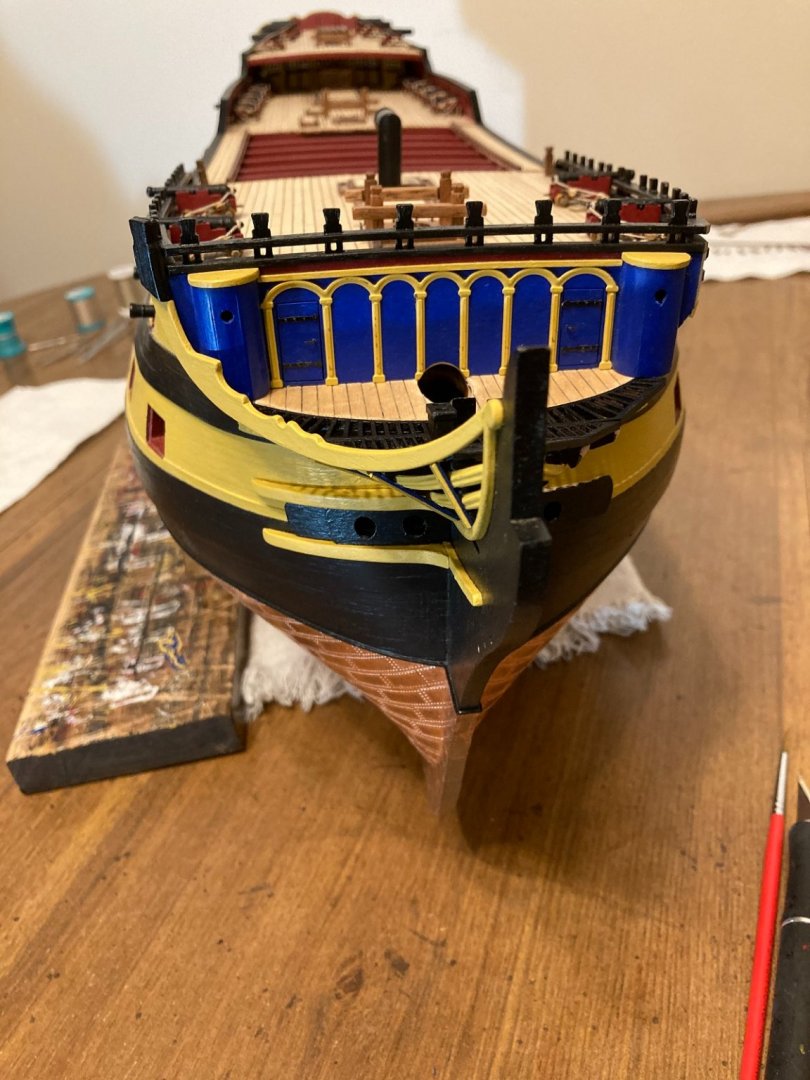
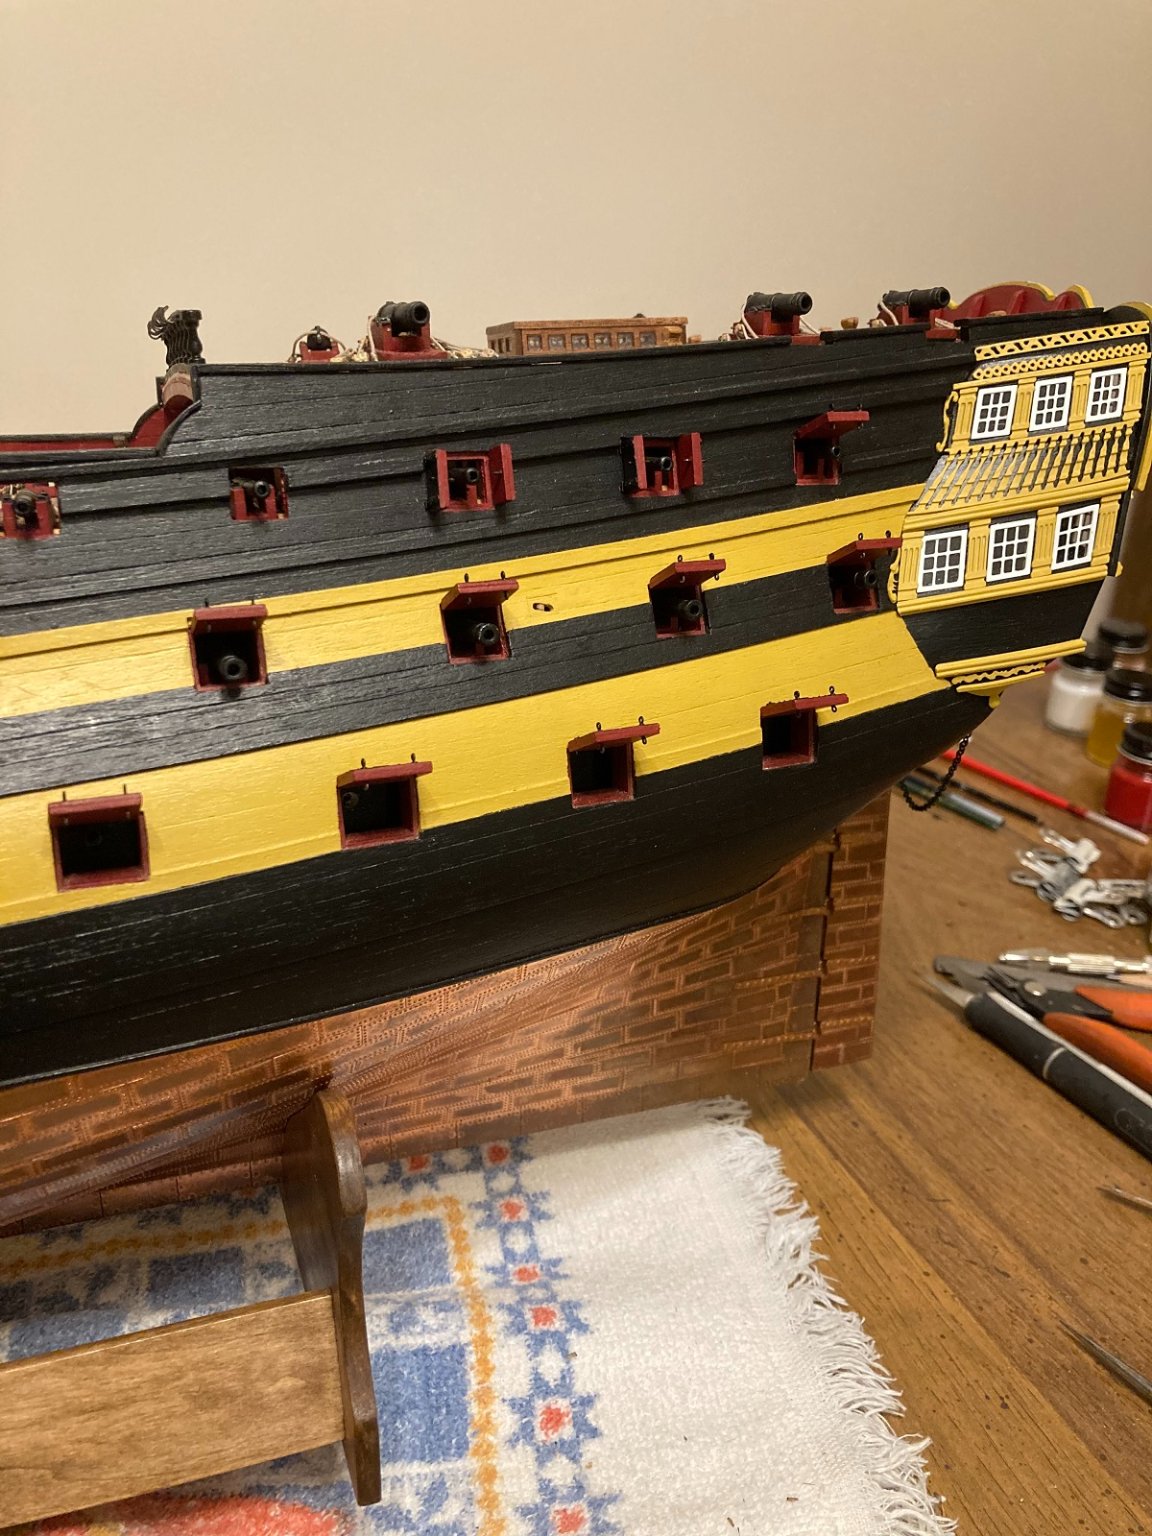
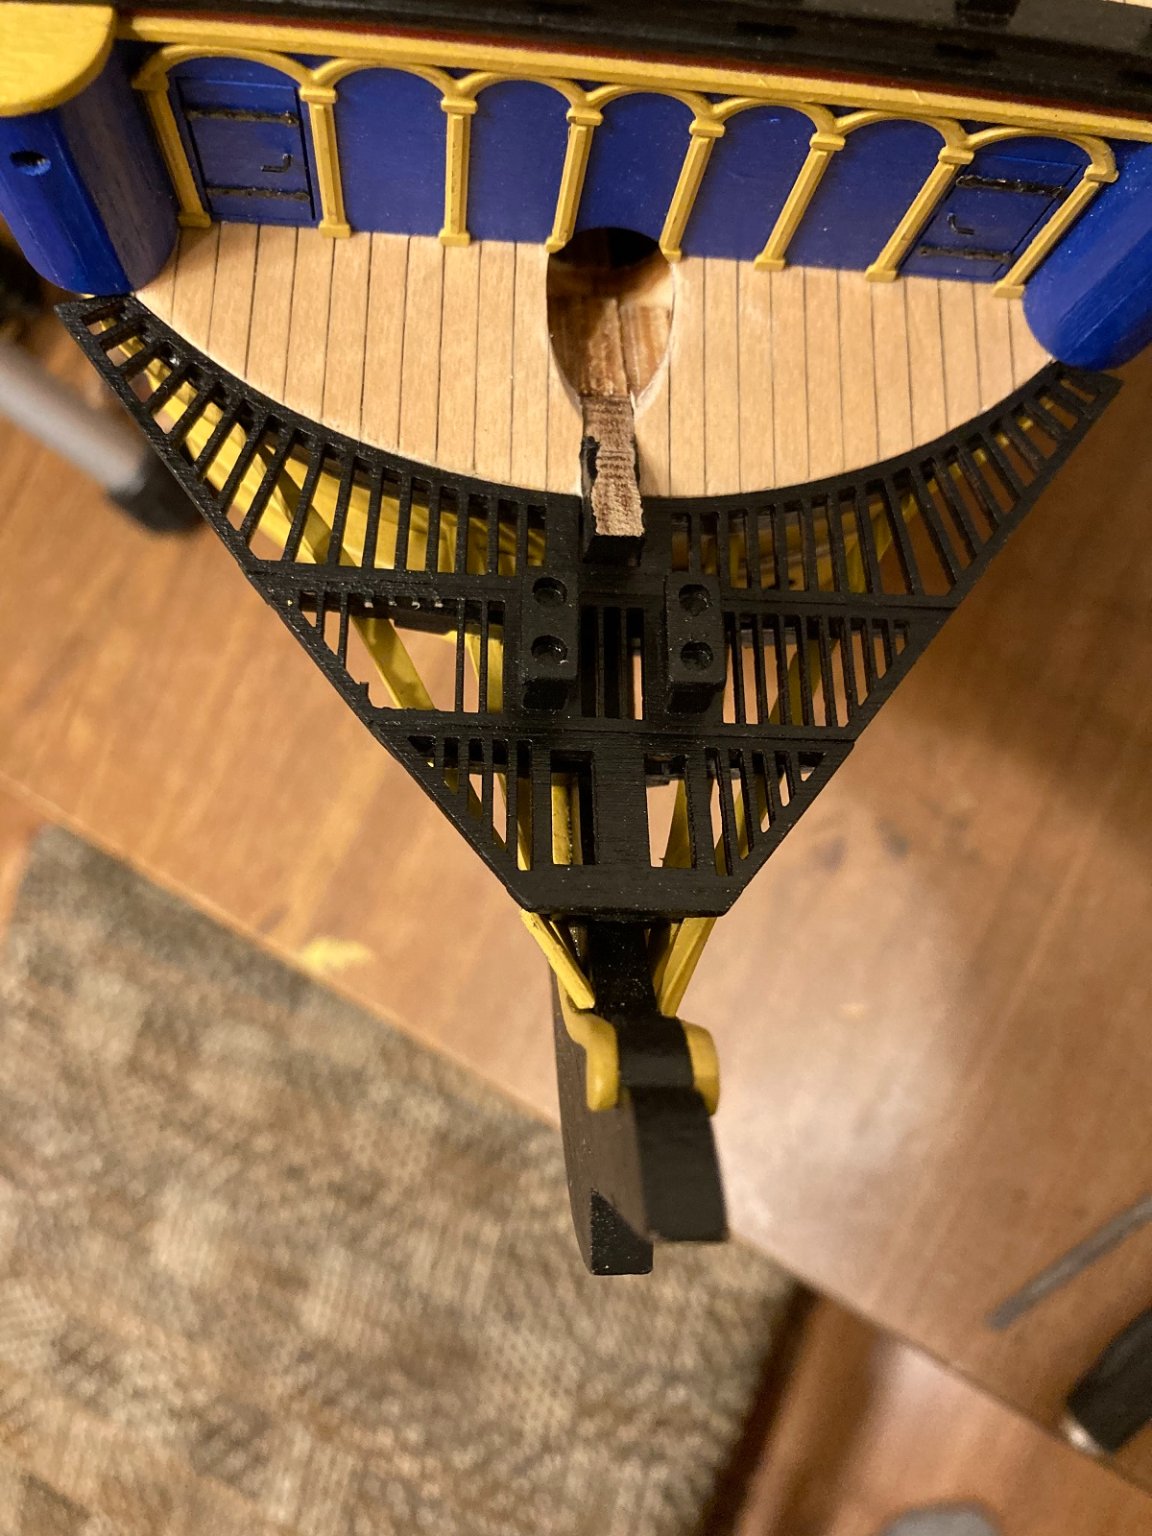
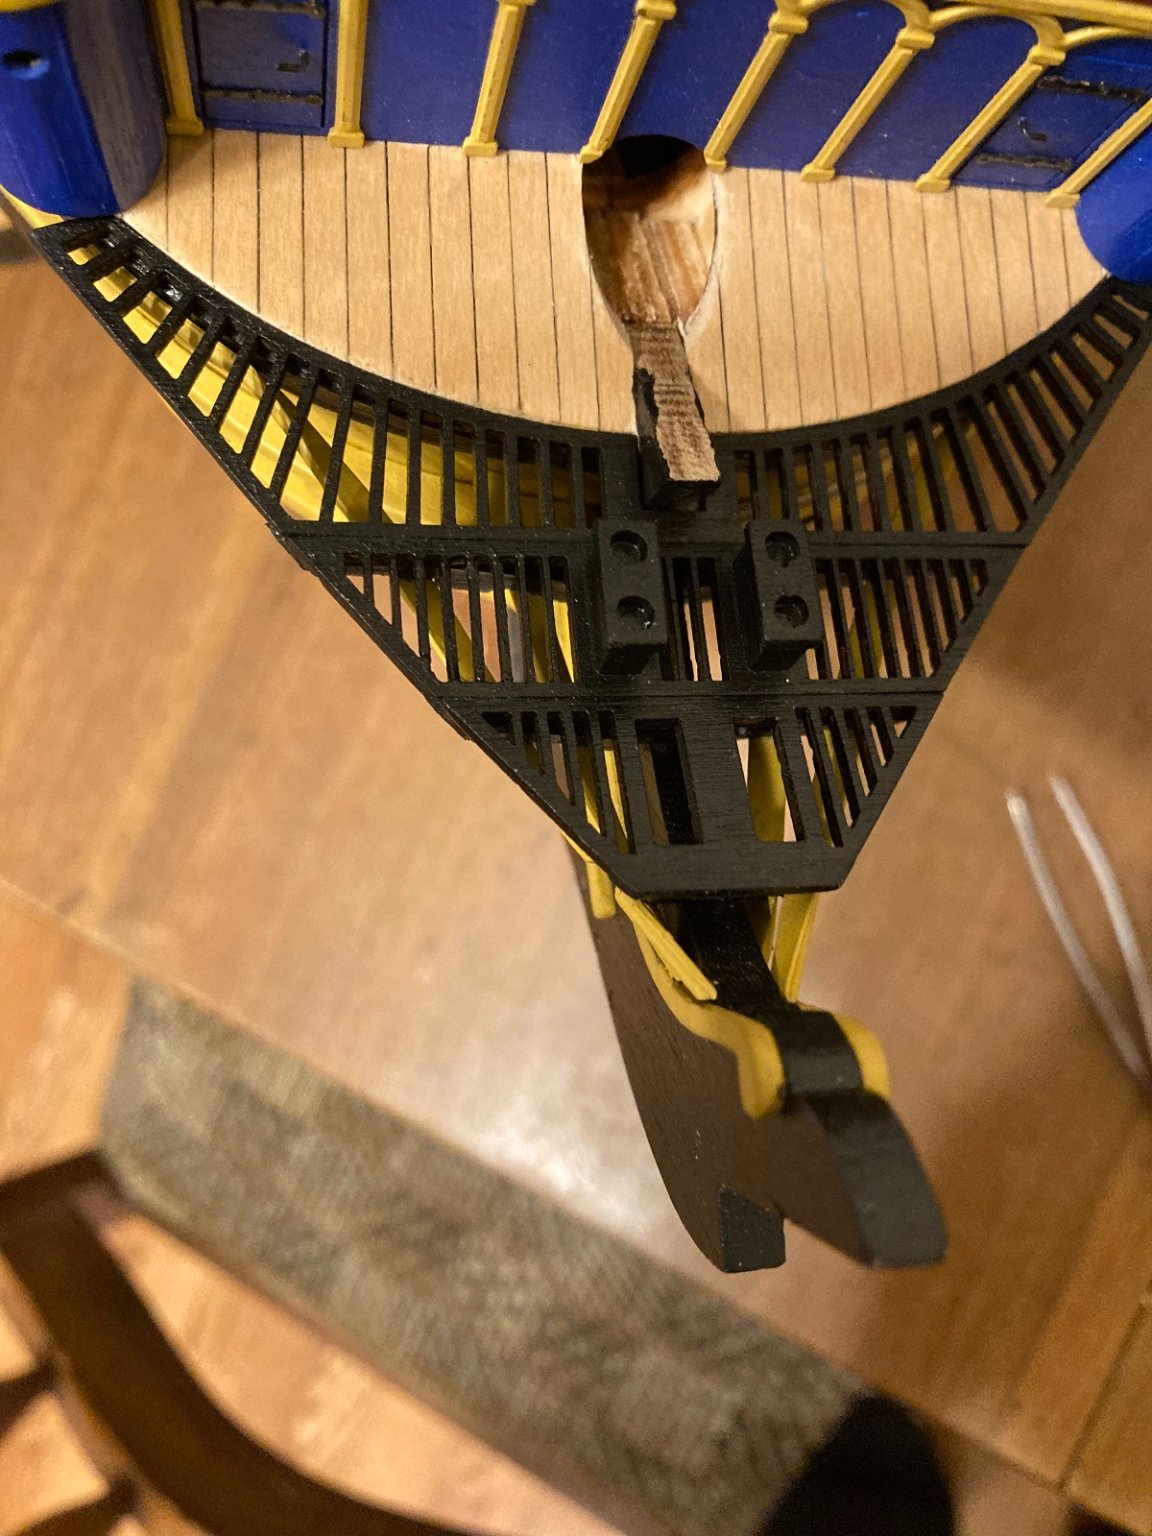
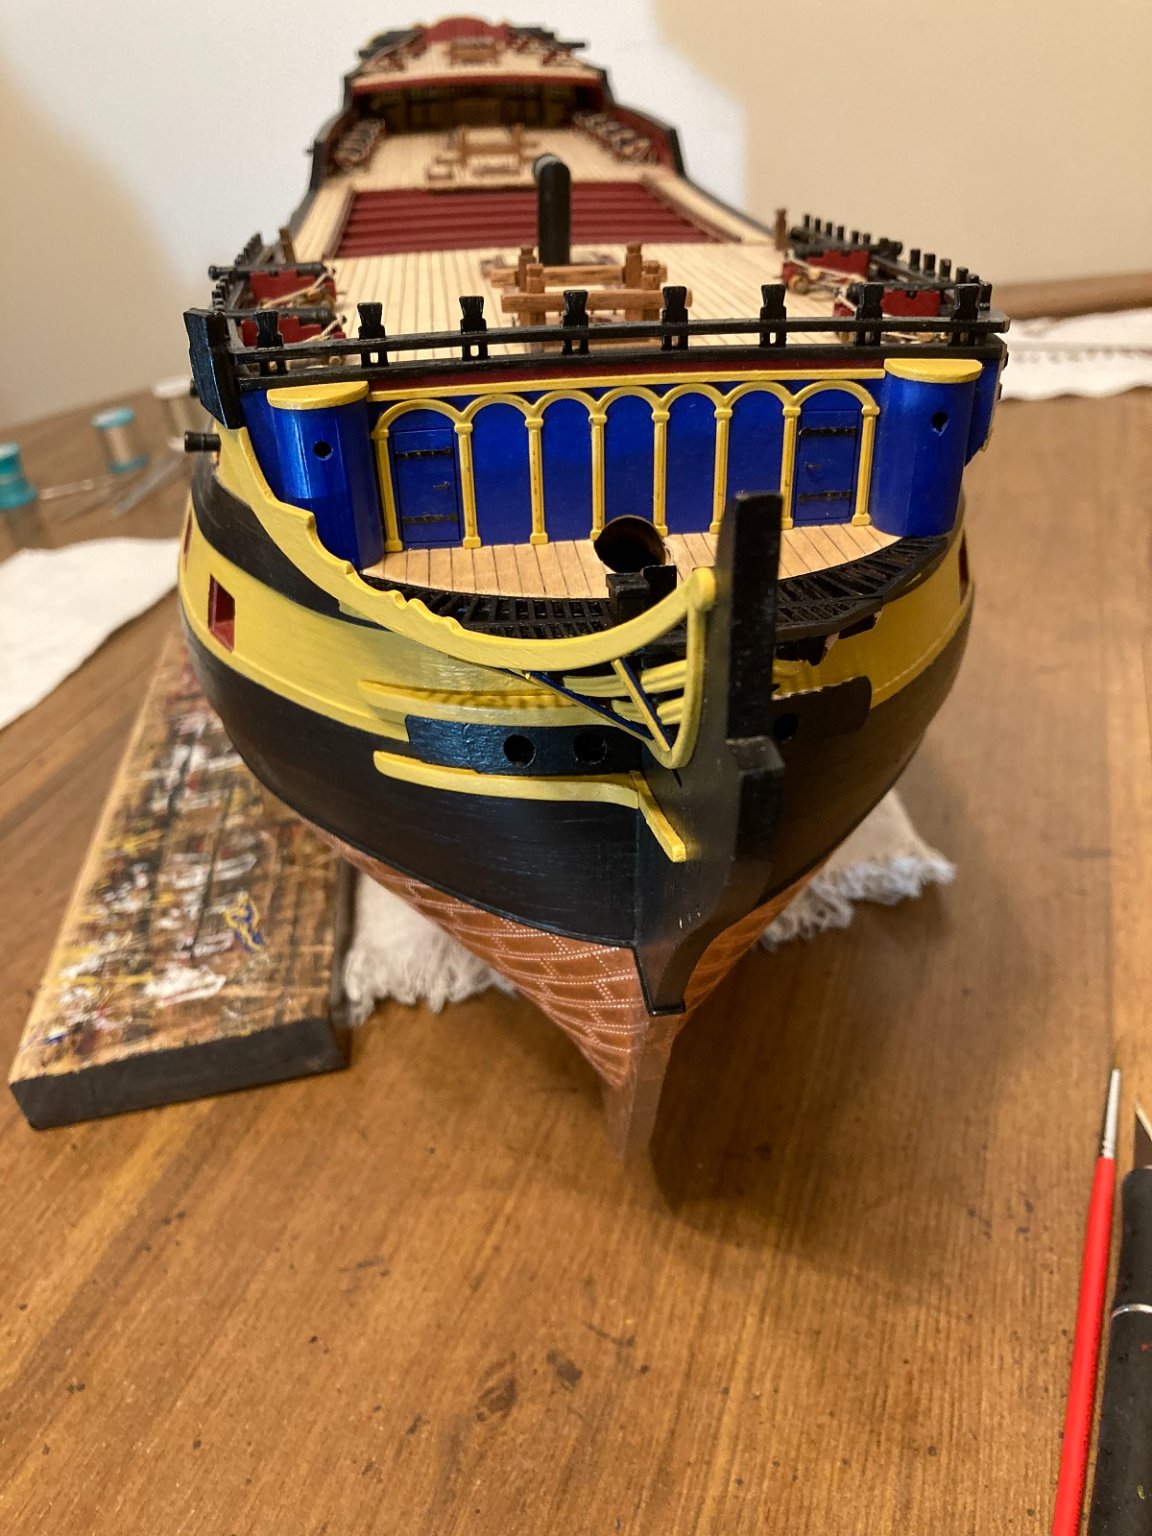
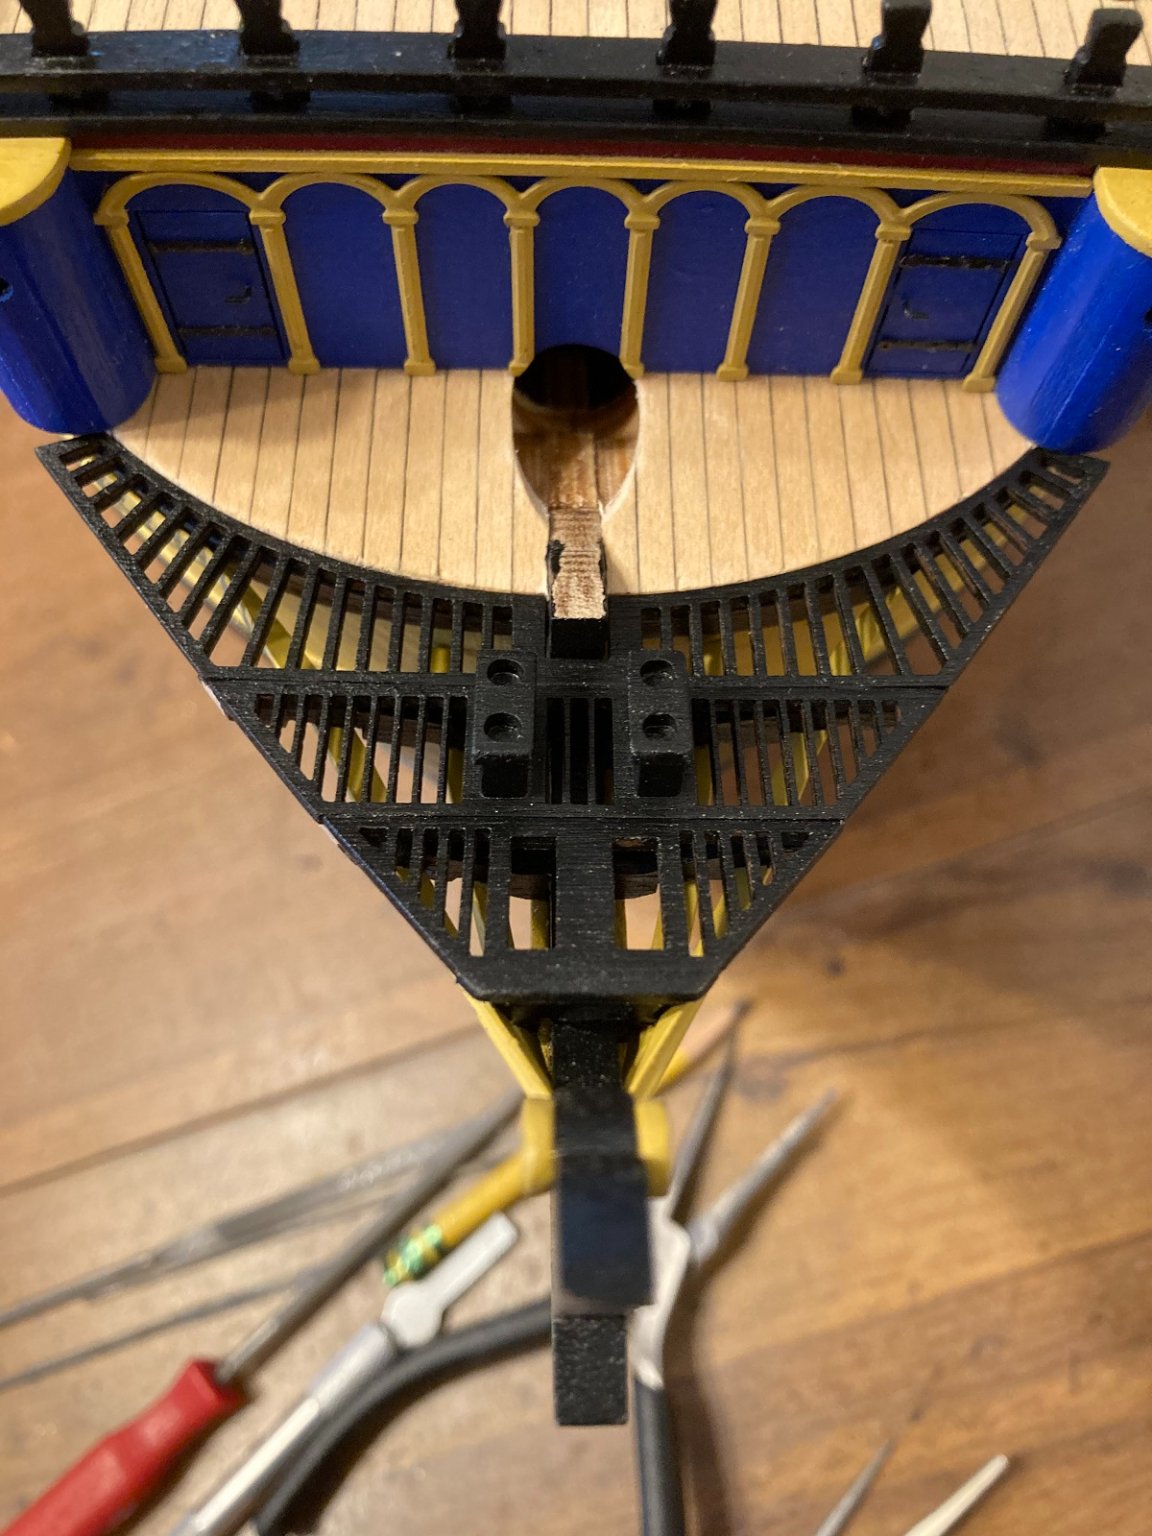
Hi - added the rest of the cannons to the deck plus the chimney & gratings.
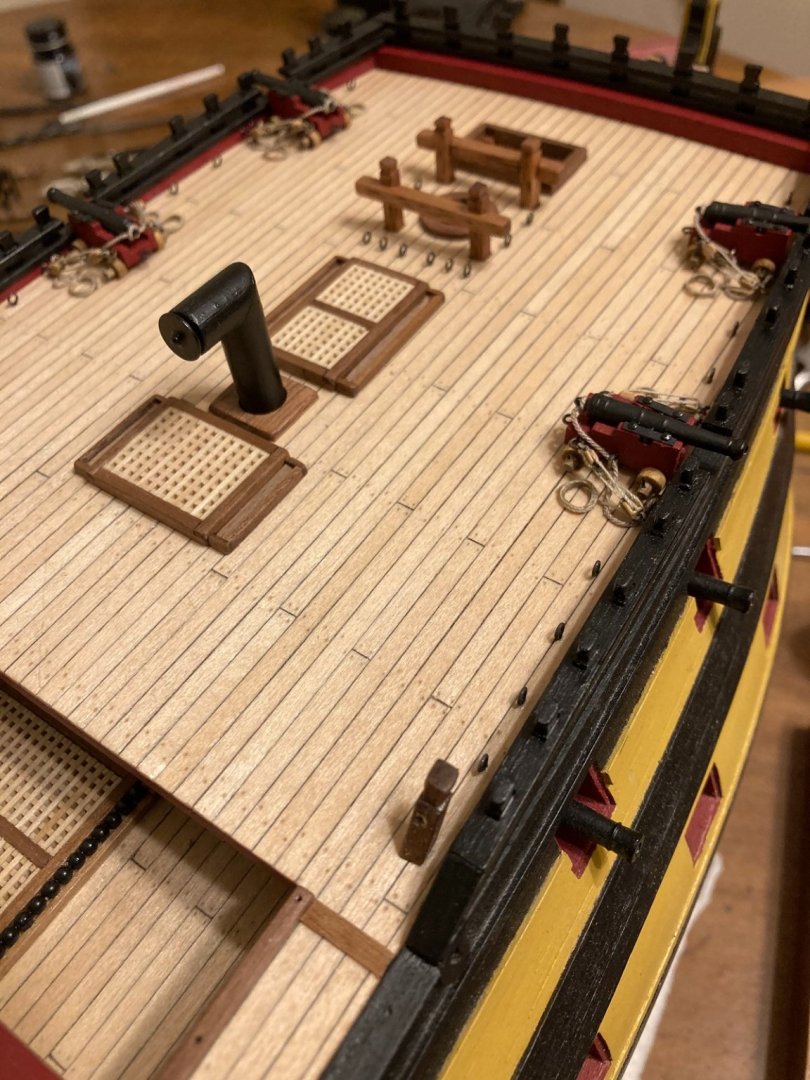
Before finishing off this area, I thought I would move to the bow deck area & work on the head rails. First thing I had to do was chisel out the top of the wales so the gratings would sit on the supports properly. after a lot of filing to the head rail slots in the supports, they were glued in place along with the upper cheek rail.
Then, the middle & lower head rails were shaped & glued in place - this took almost a whole day to get them even on both sides
. Finally, the gratings were added. Got a bunch more to do yet in that area.


Mark


Battle of Waterloo Attack on La Haye Sainte Farm 1/56 28mm
in Non-ship/categorised builds
Posted
Some kind of bunker that they could close down?
Mark