


yvesvidal
-
Posts
3,526 -
Joined
-
Last visited
Content Type
Profiles
Forums
Gallery
Events
Posts posted by yvesvidal
-
-
Ras, this is superb and so realistic. Please paint the crew when you get a minute or two.
I love the distressed look of the hull, it is perfect.
Yves
-
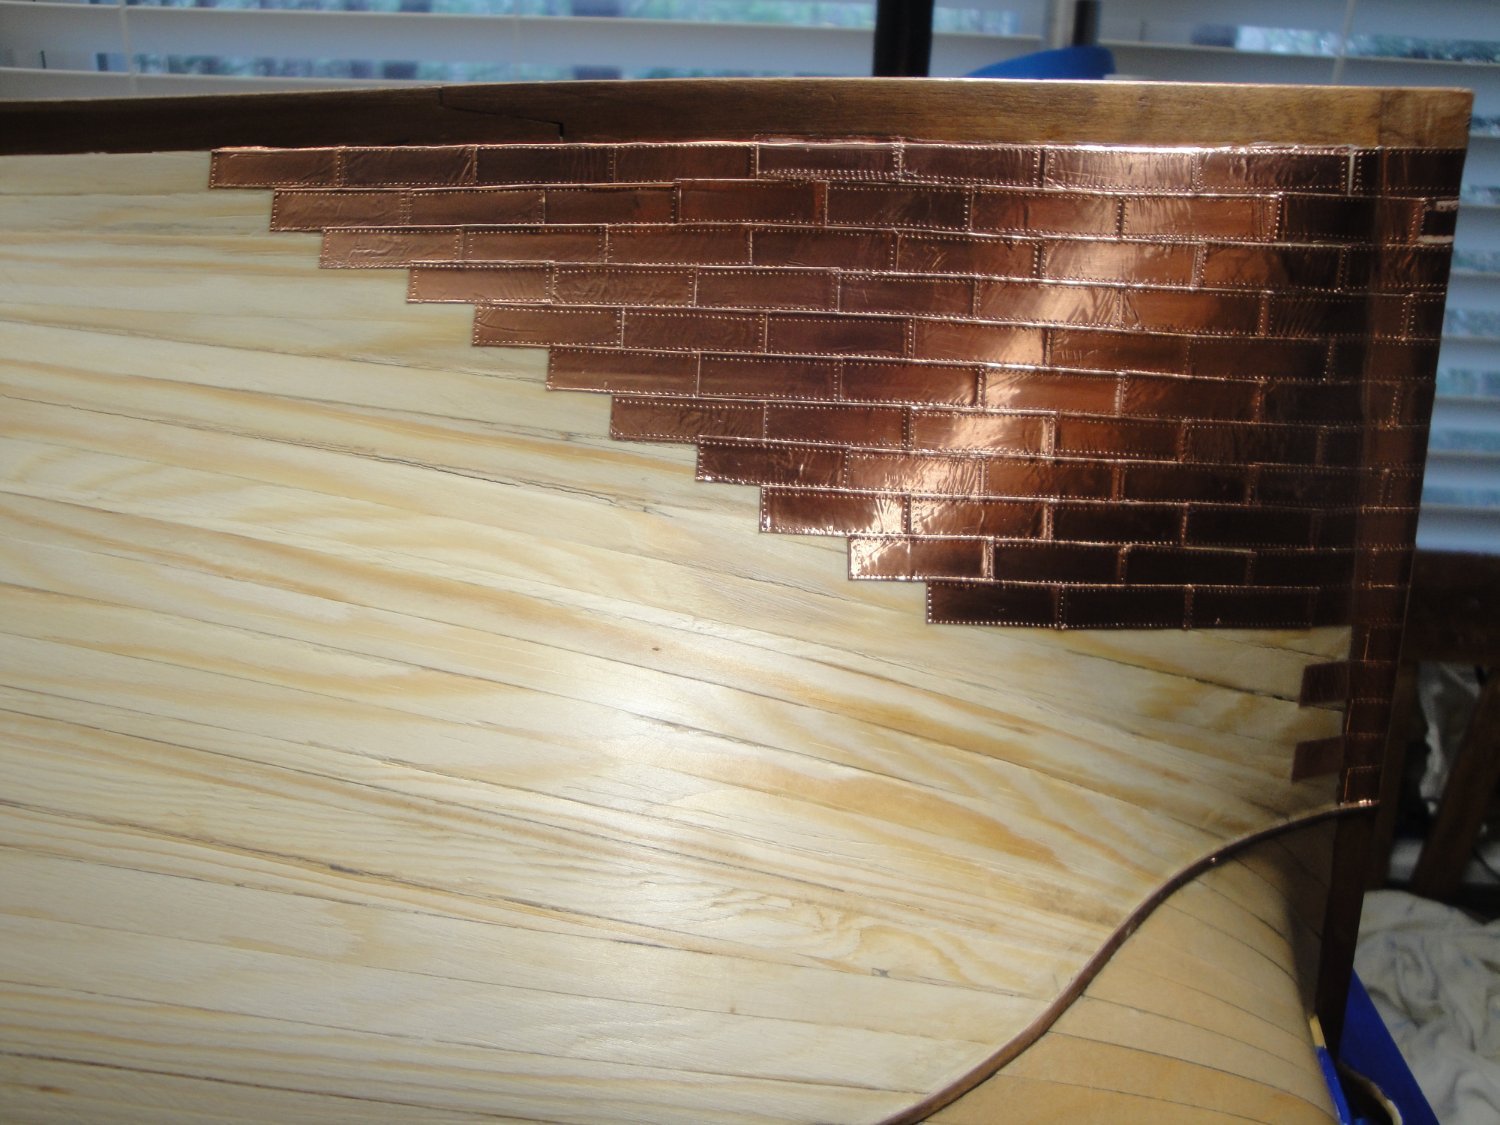
I just started on the coppering..... The beginning is not too tedious, but I am sure it will not be the same in a few days....
The tiles are made one by one, using the chopper tool:

I am using 3M adhesive tape and that helps a lot as the tiles are easy to install, do not require any glue and can be burnished in position for a nice fit.
As mentioned before, the copper tiles provided by CAF are not of the right size and require the use of CA glue. Below you can see the difference in size between the CAF tiles and the ones I am building:
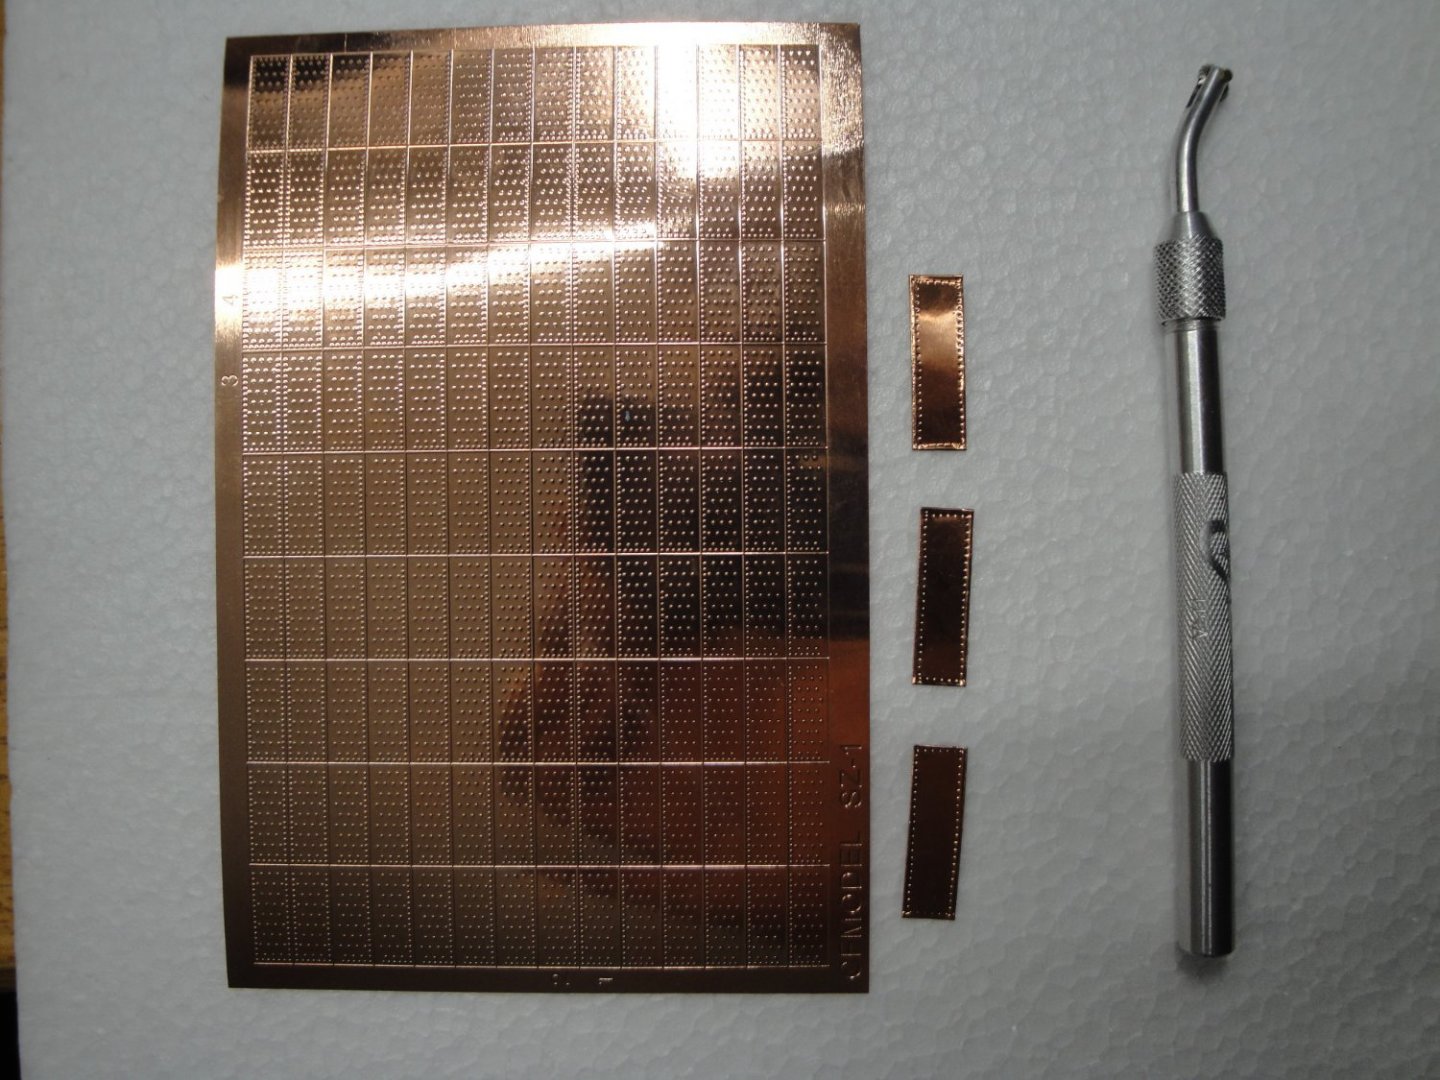
The CAF tiles are rather expensive (I think the set for Bellona is about $500 plus shipping) and the 3M tape is a lot more affordable. The real tiles were 4 feet long by 15 inches wide. At the scale of 1/48th, it means a tile of 2.5 cm (1 inch) by 8 mm. The 3M tape is 7.98 mm wide which is perfect for this use.
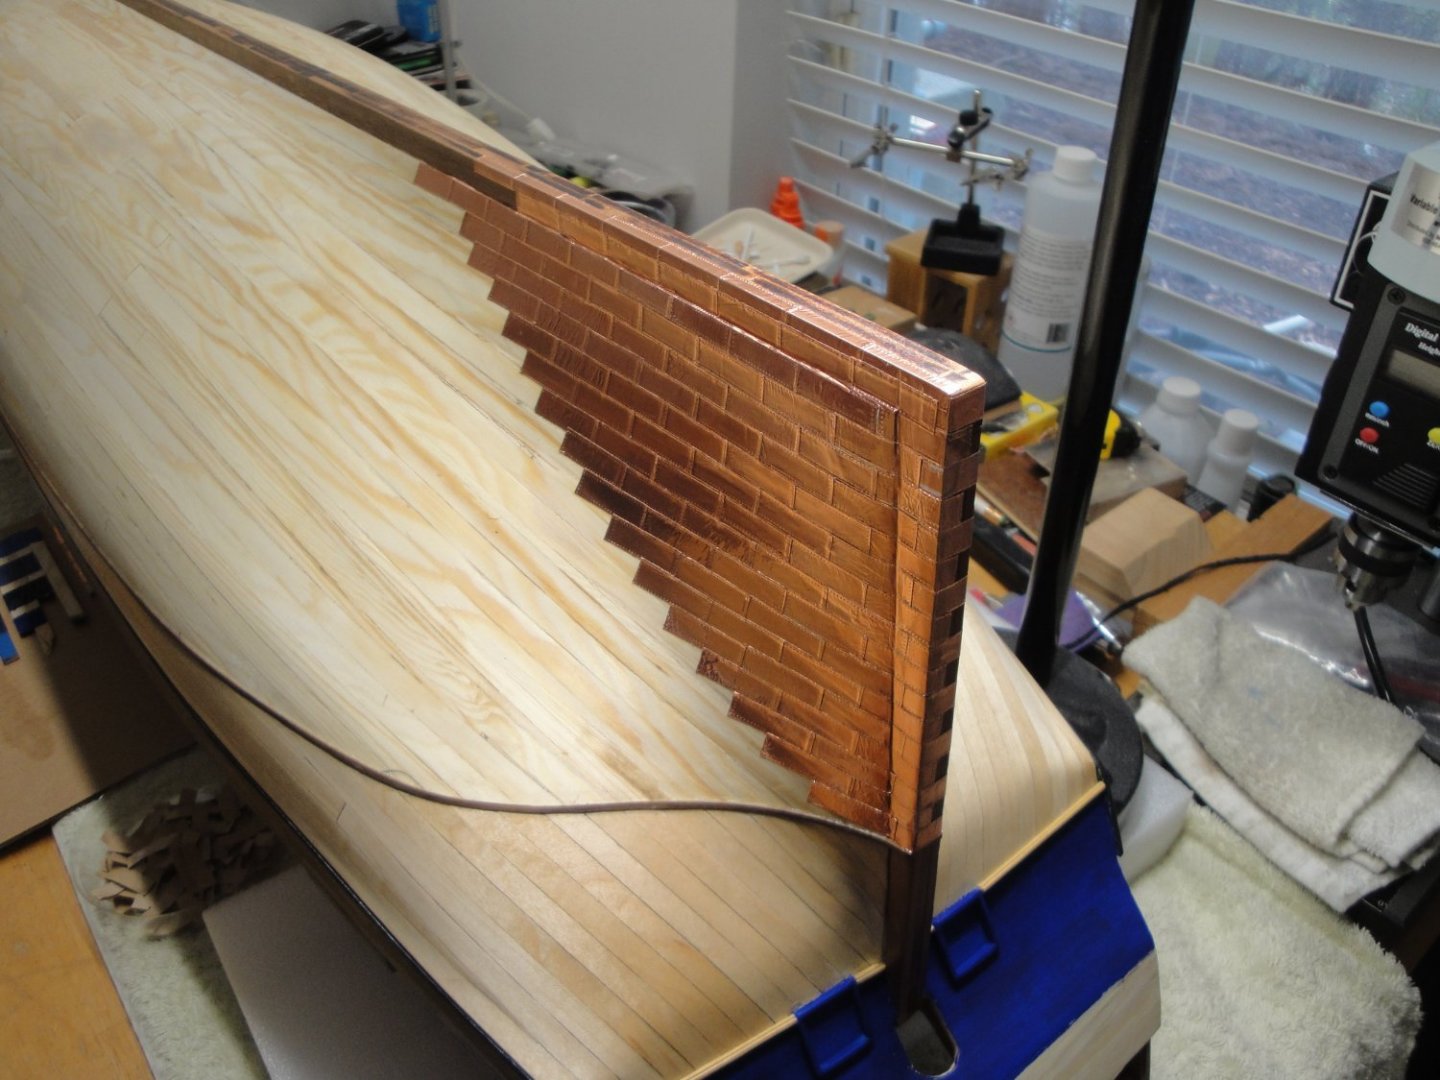
I am using a wheel to mark a line of nails all around the tile. In my humble opinion, it looks more realistic than the traditional porcupine tiles provided by kit makers. Also, the holes are indented into the tiles instead of protruding out, which is contrary to the real way this was done. Copper nails were hammered into the tiles and there were no bumps visible.
The real ship required 2741 tiles and about 2.5 tons of copper nails (according to the Anatomy of the Ship book). The overlap was about 1 inch and a half, which is close to 1 mm at 1/48th scale. I am setting the tiles starting from the keel and from the stern, and overlapping them, until I reach the flotation line and the bow.

Yves
-
That was quite funny" The cruel Seas from 1962.....
Yves
- lmagna, mtaylor and Old Collingwood
-
 3
3
-
-
-
Thank you guys for the encouragements and praises. I will try to get a friend who has some professional cameras to take a few more pictures.
Yves
- mtaylor, Jack12477, Old Collingwood and 2 others
-
5
-
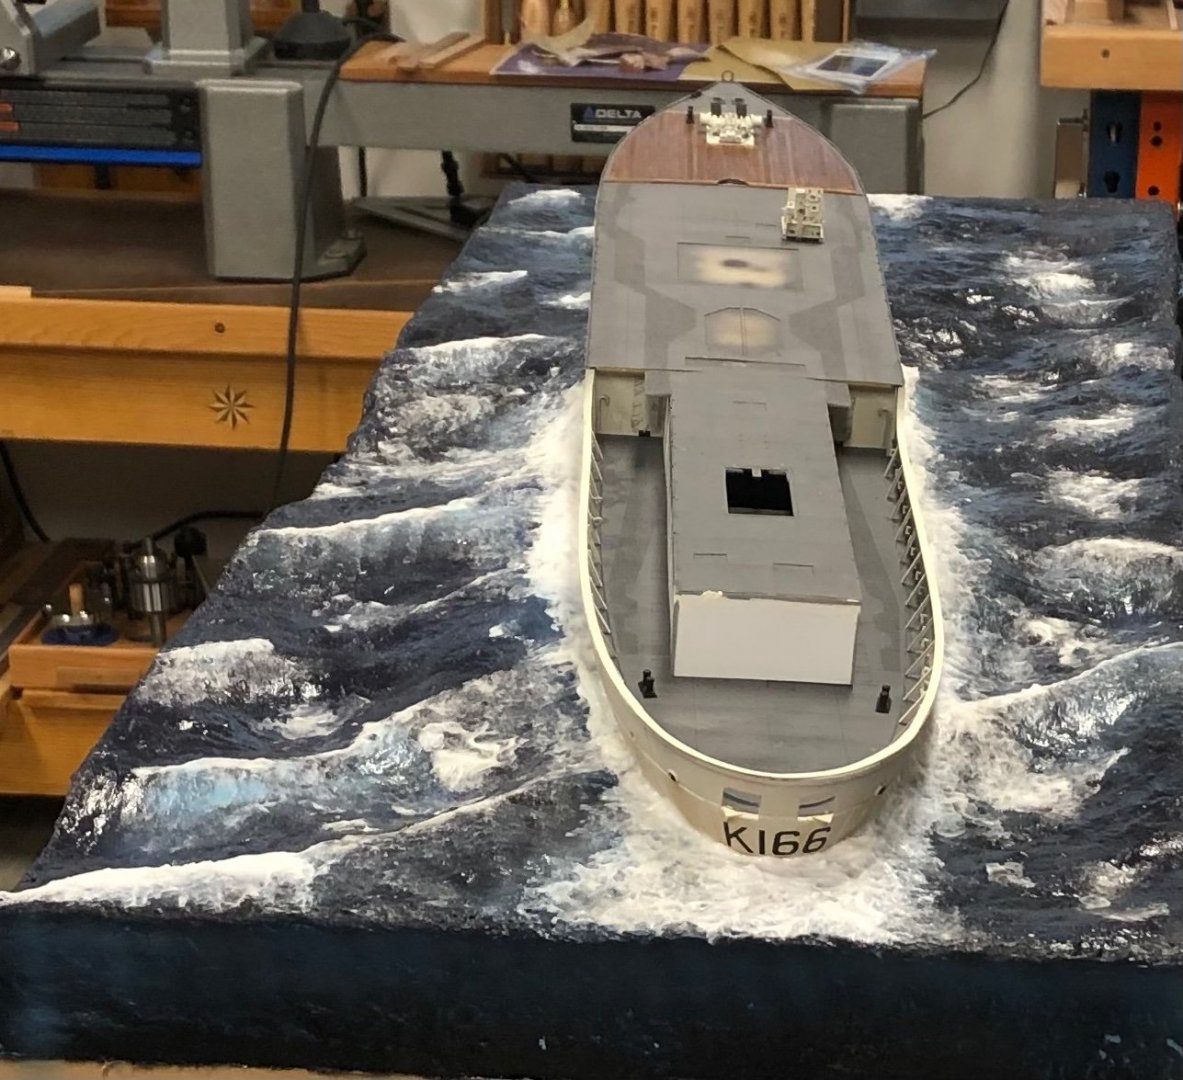
Finally, an Australian vessel for your collection....
Yves
- popeye the sailor, Canute, mtaylor and 1 other
-
4
-
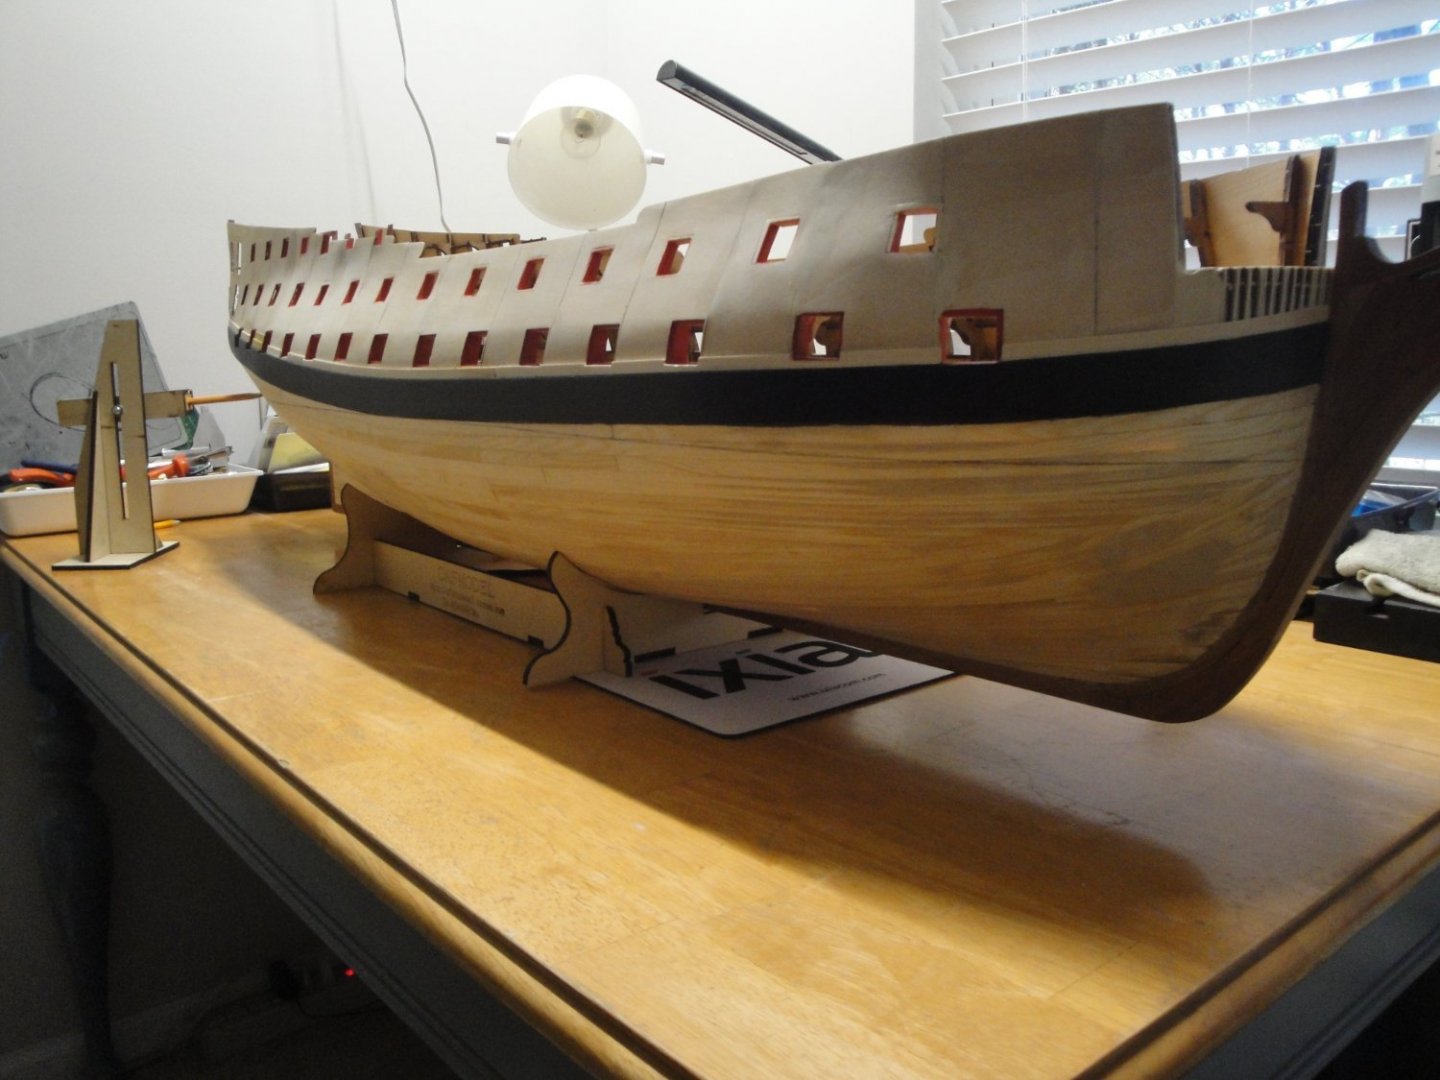
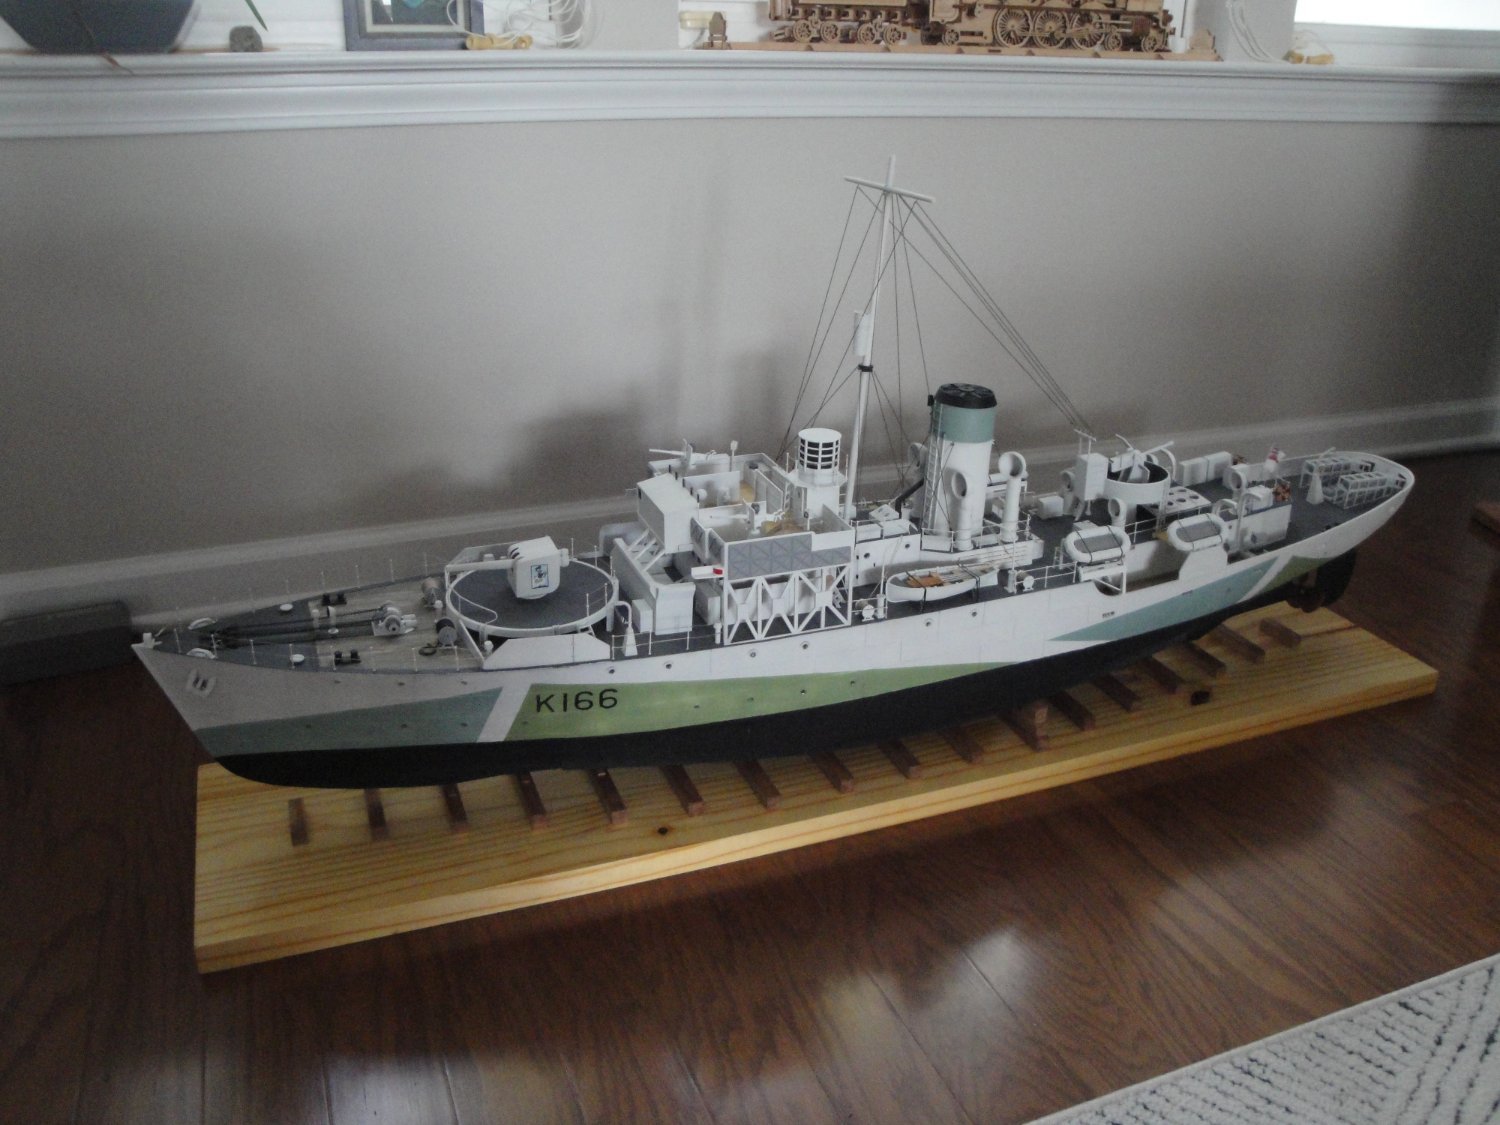
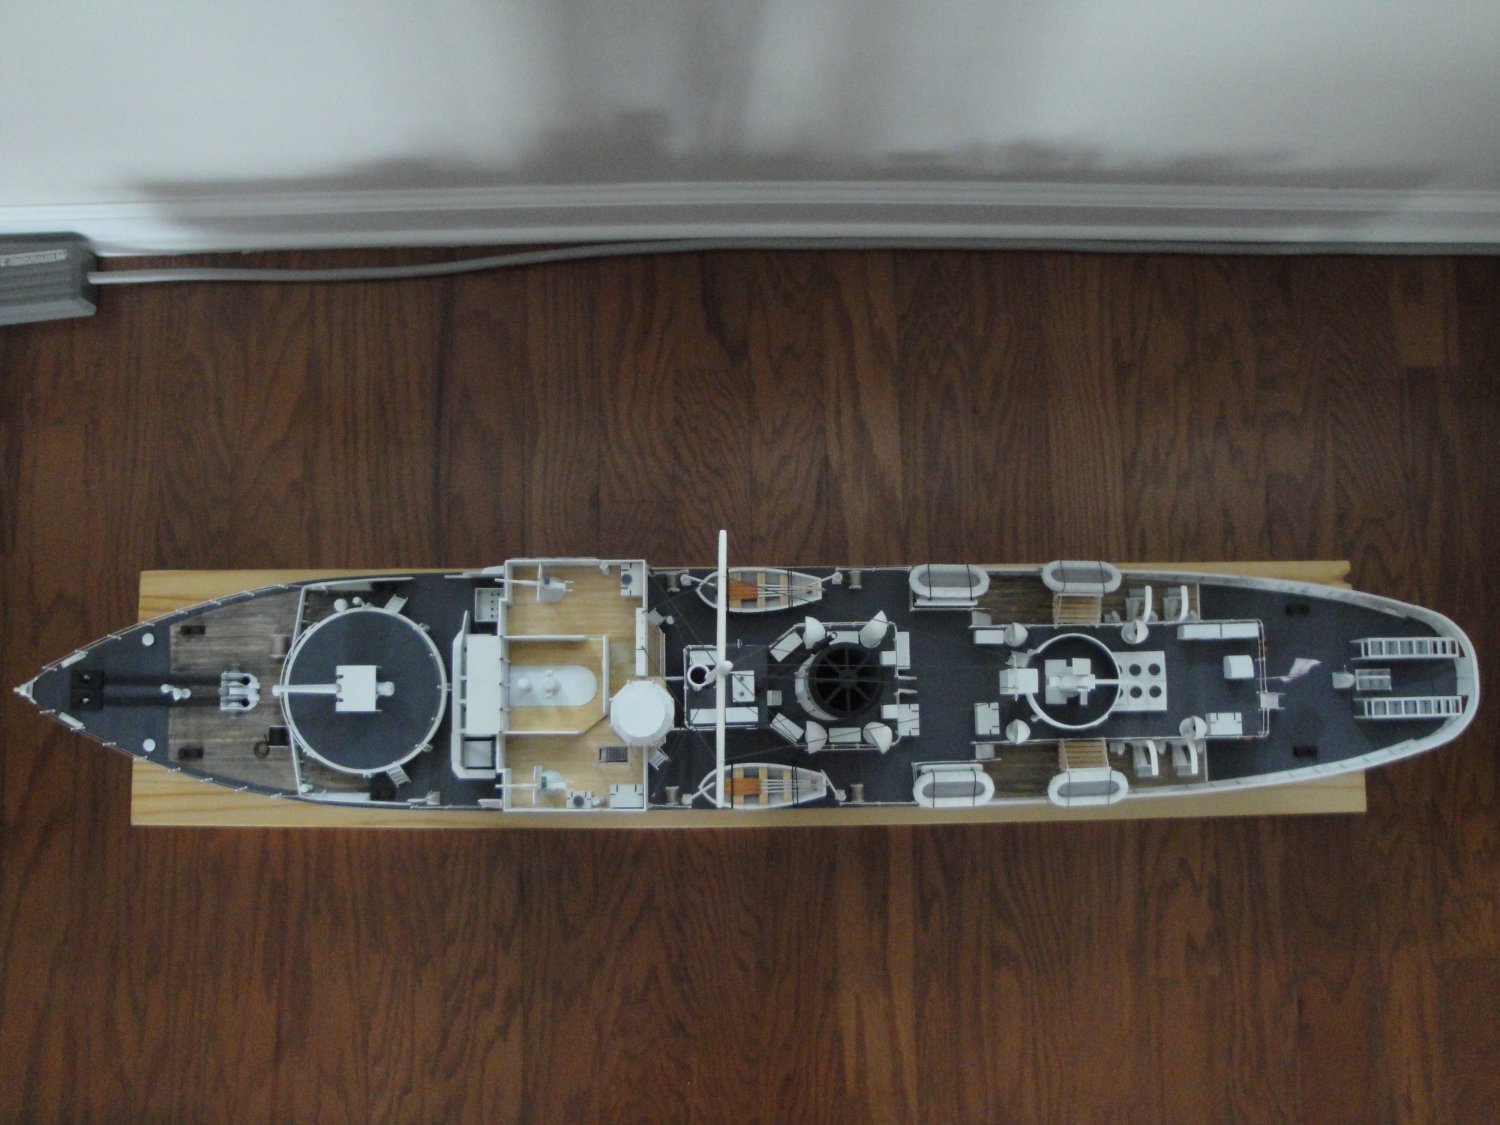
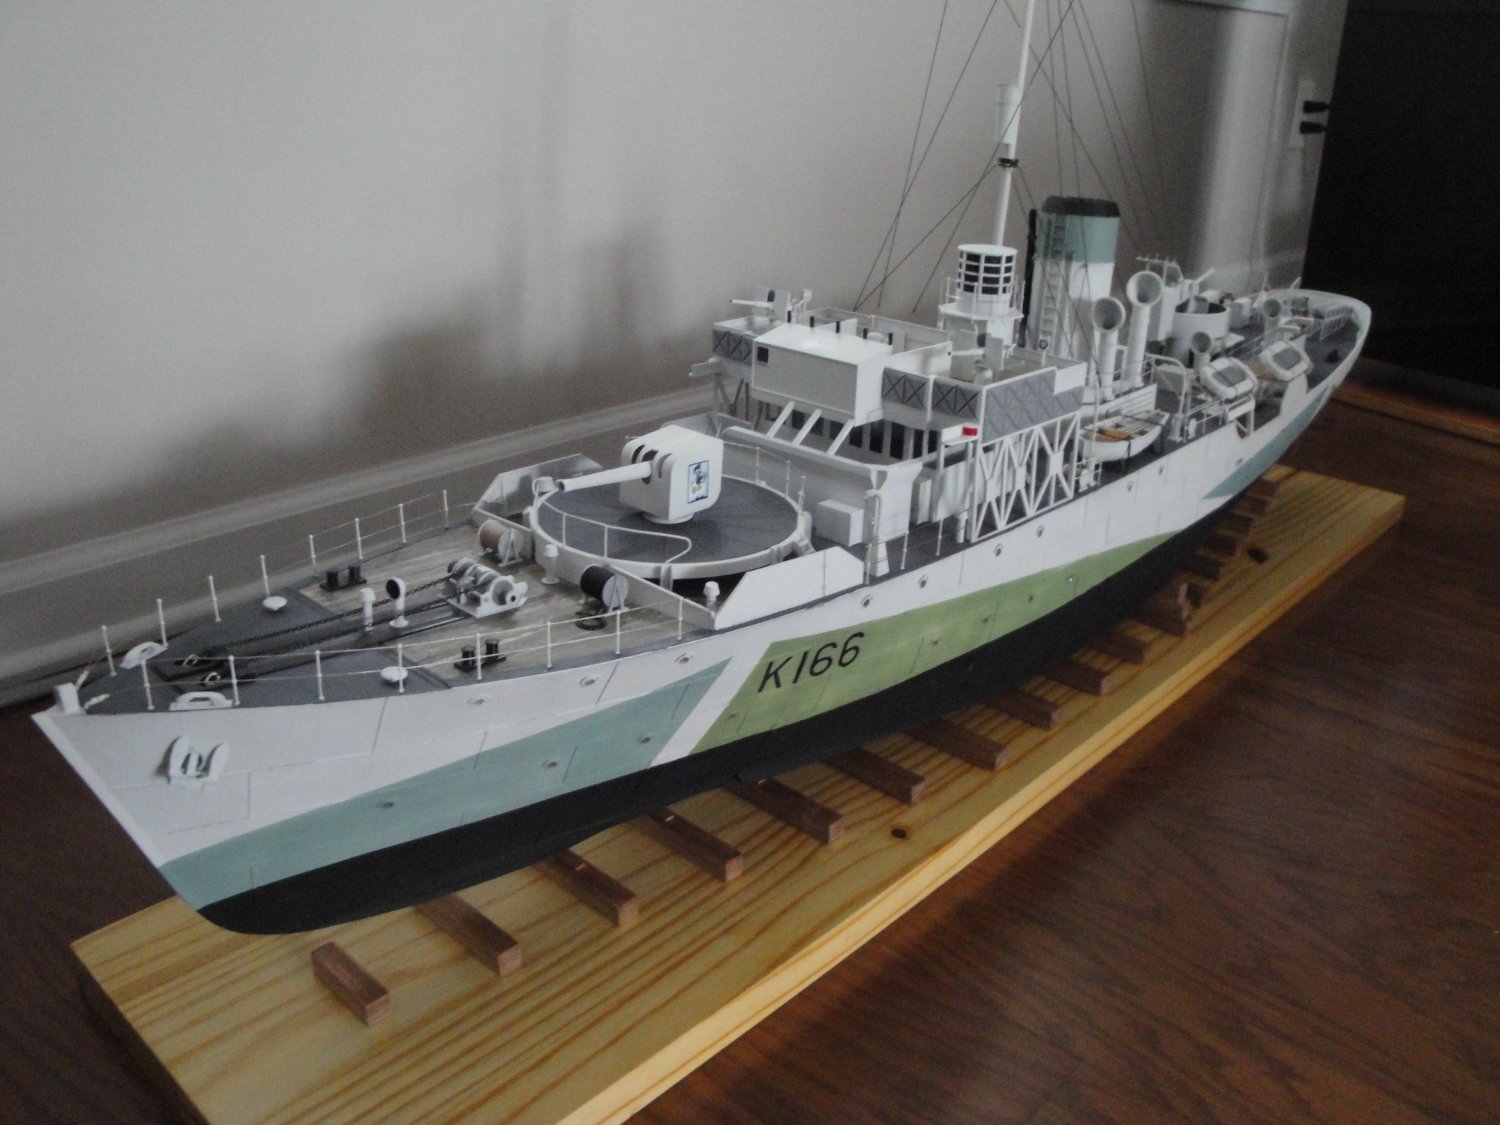
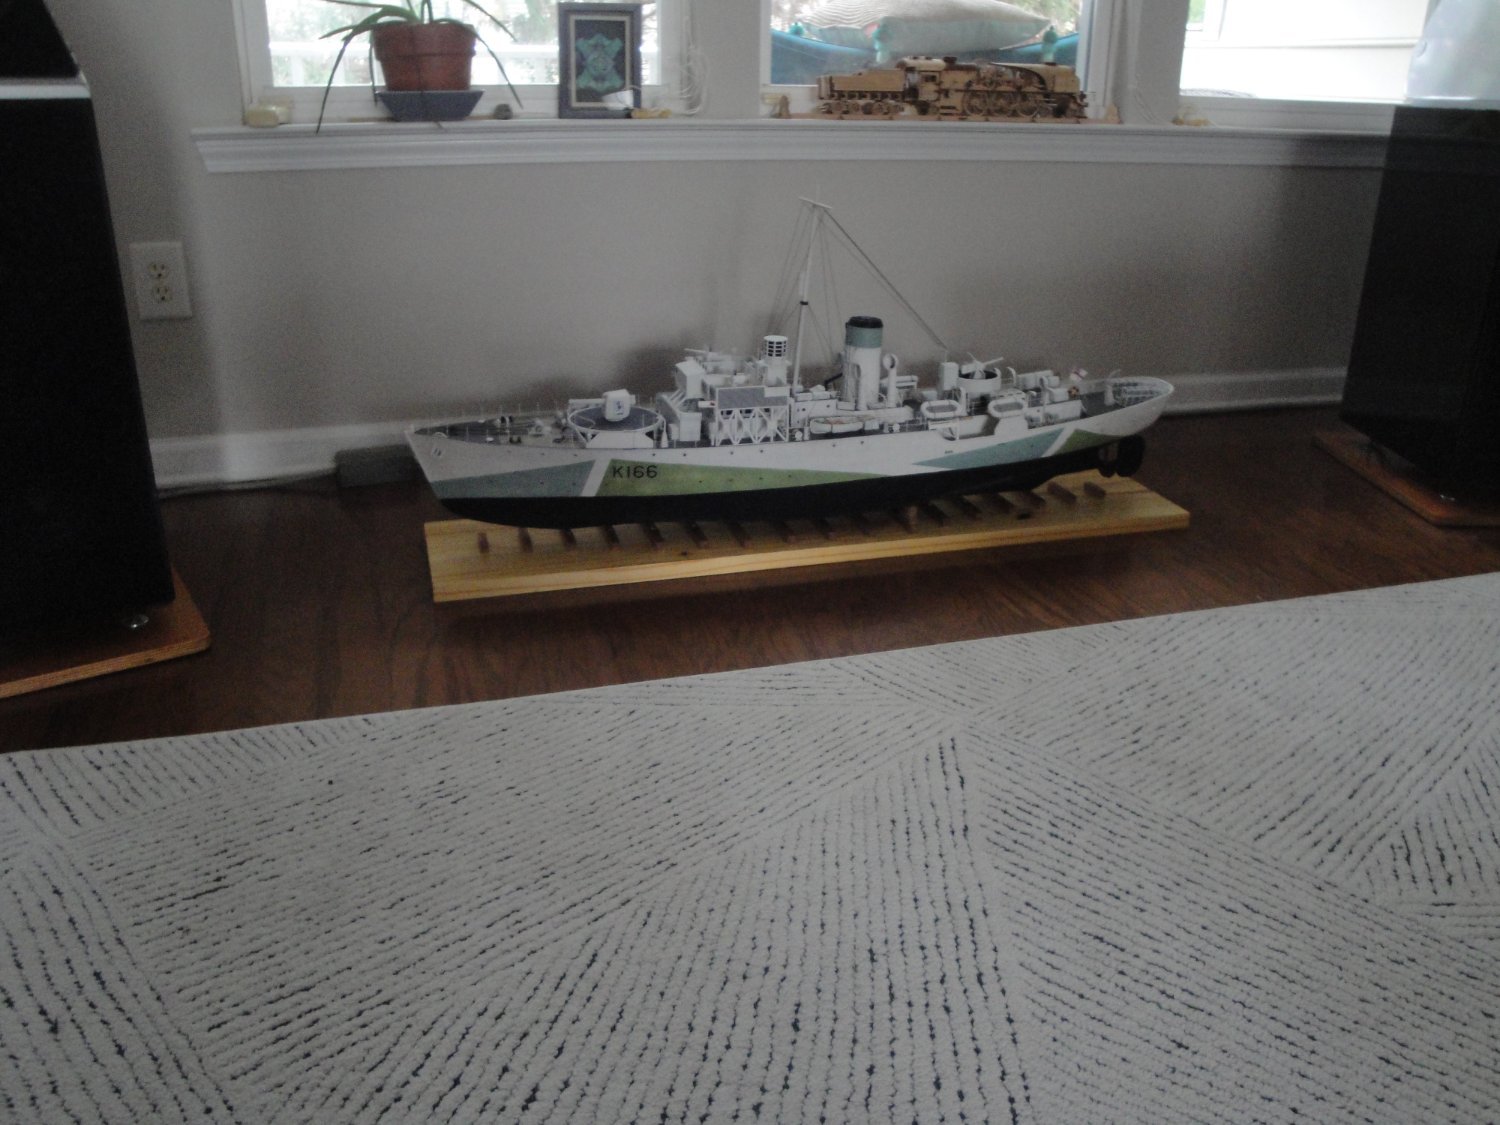
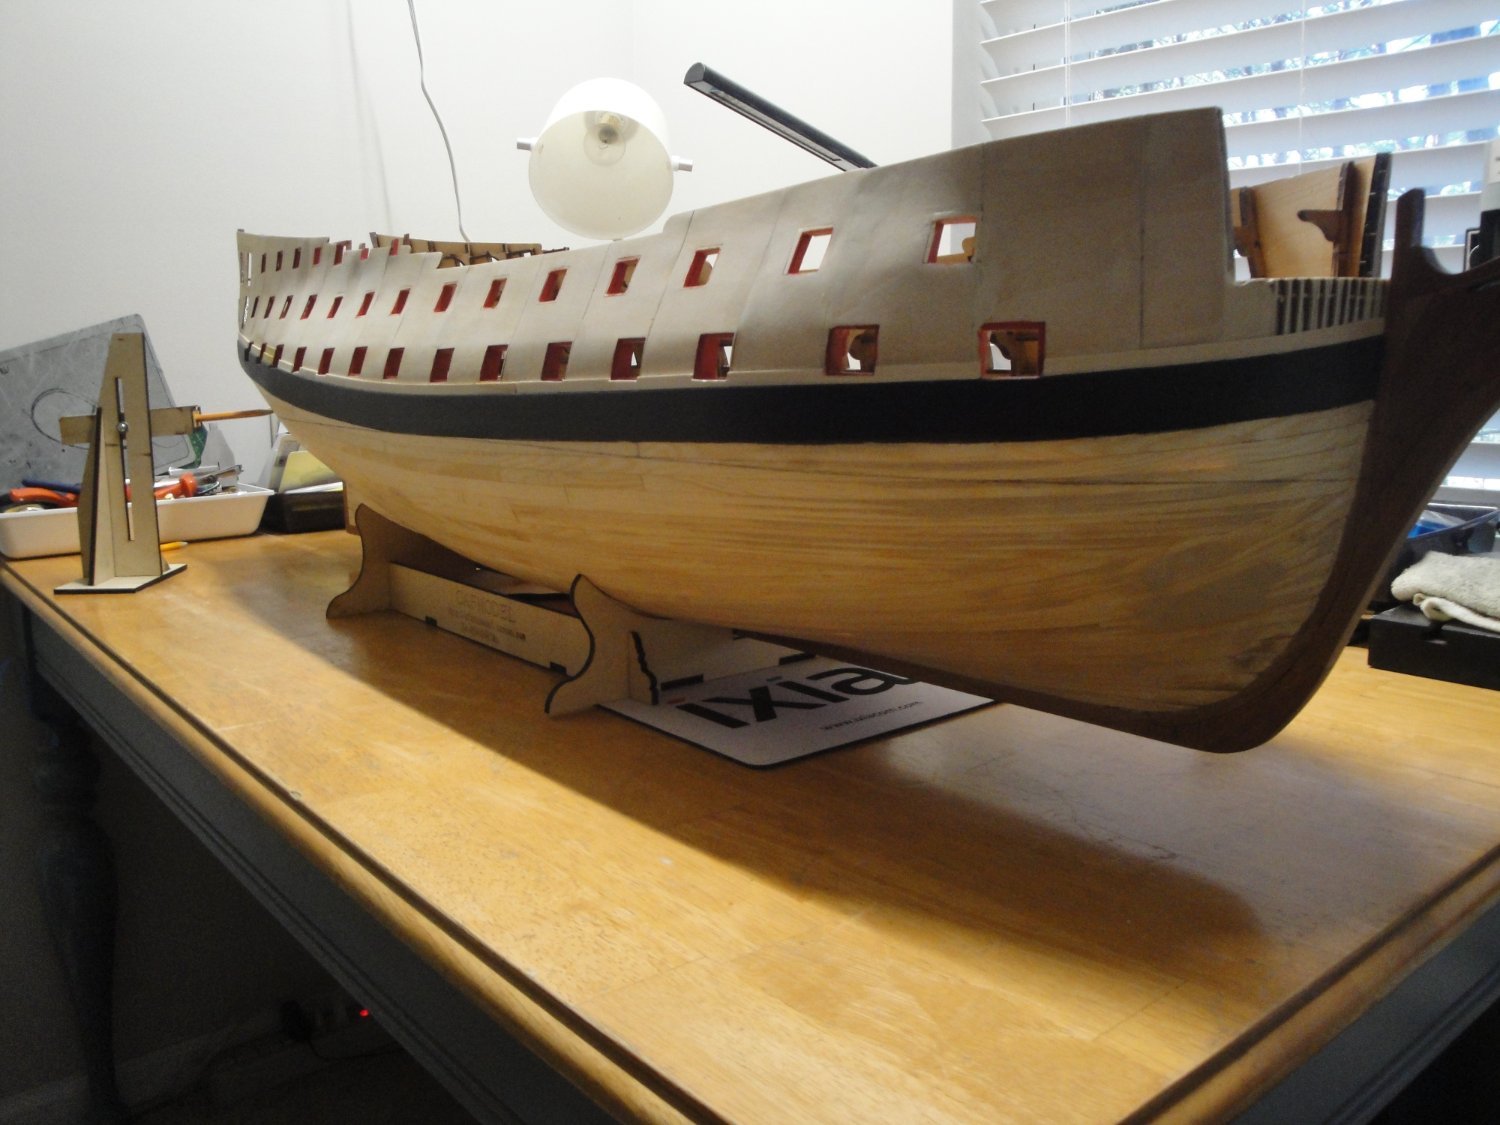
A few pictures of the model on its display stand:
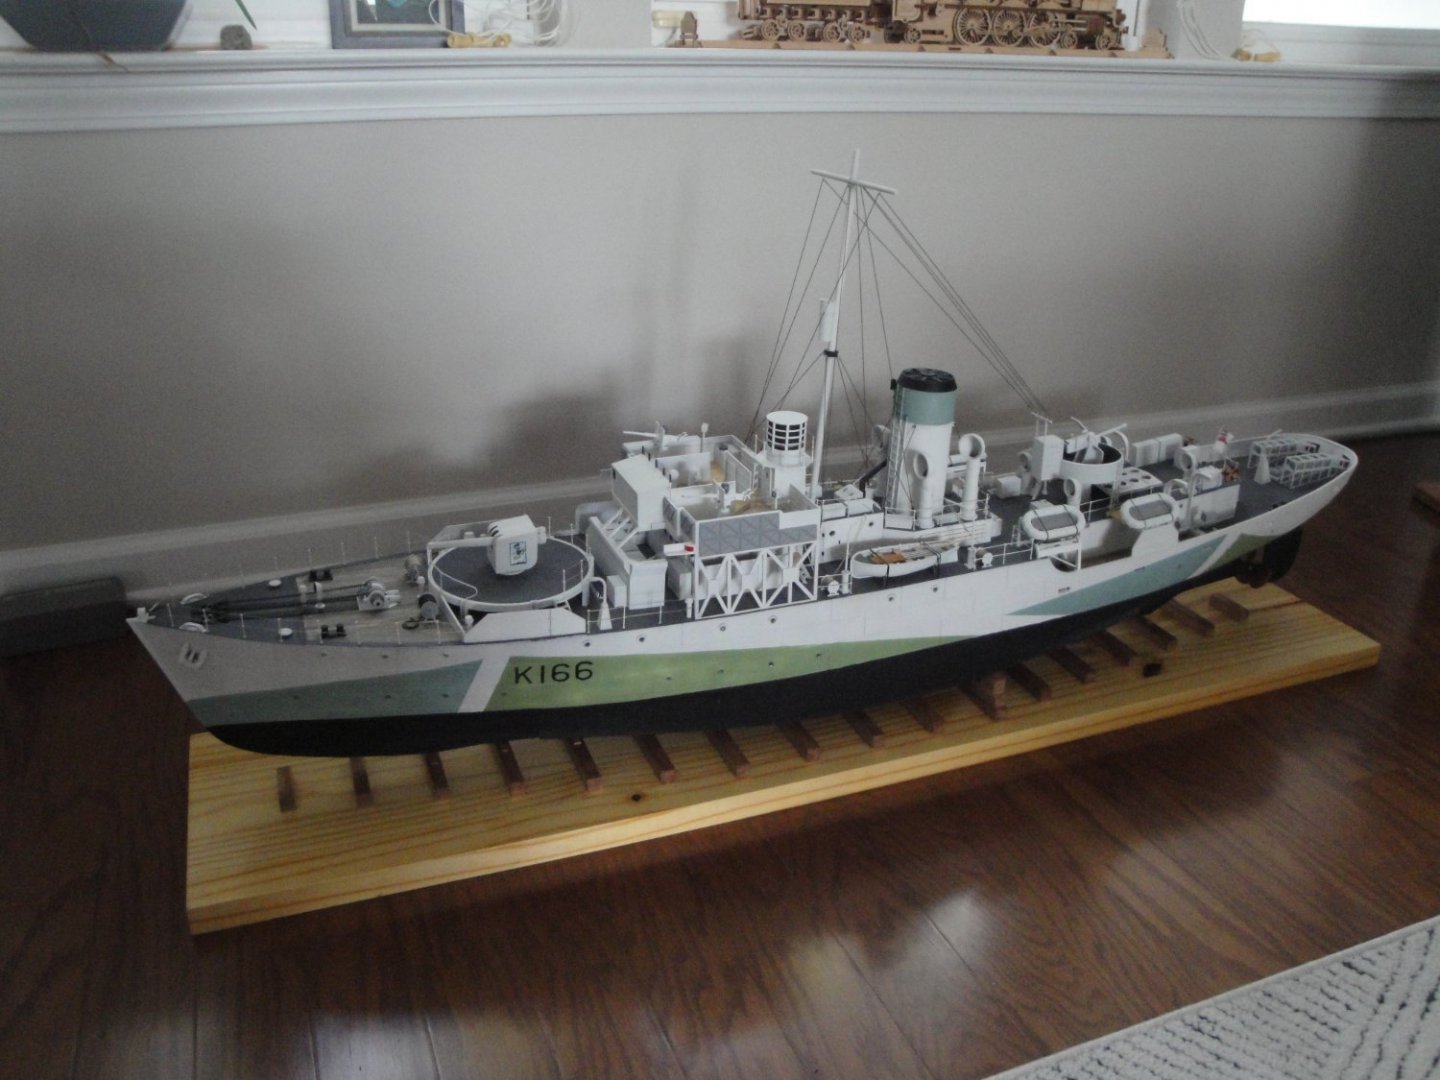

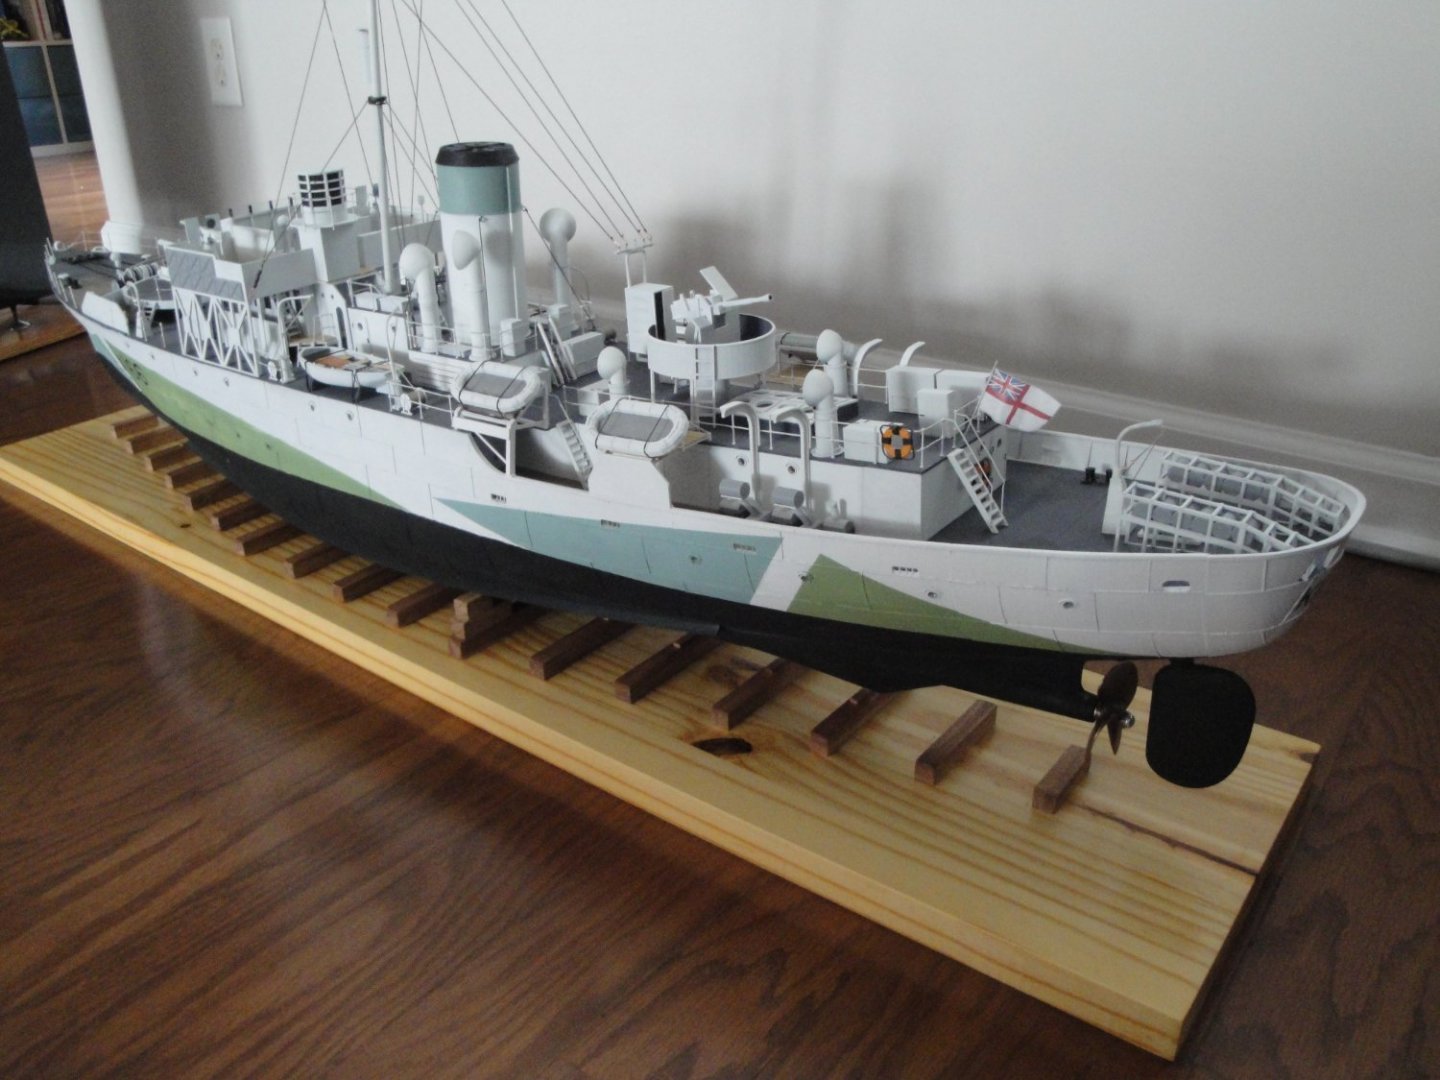

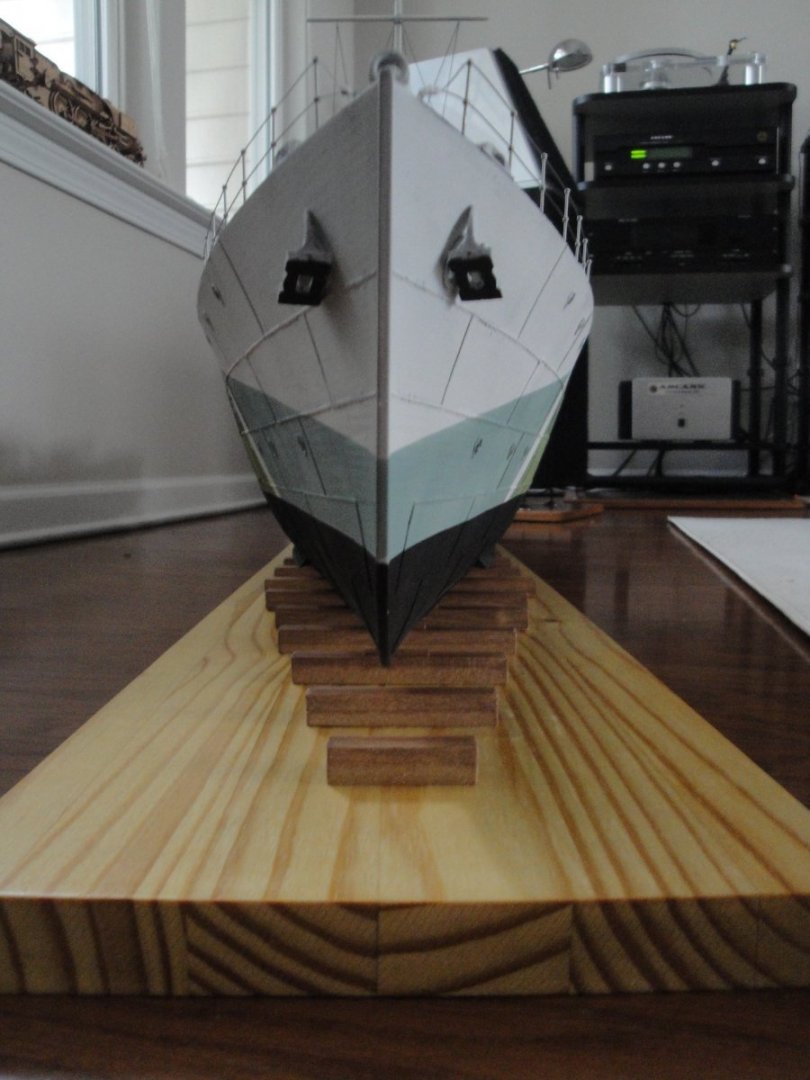
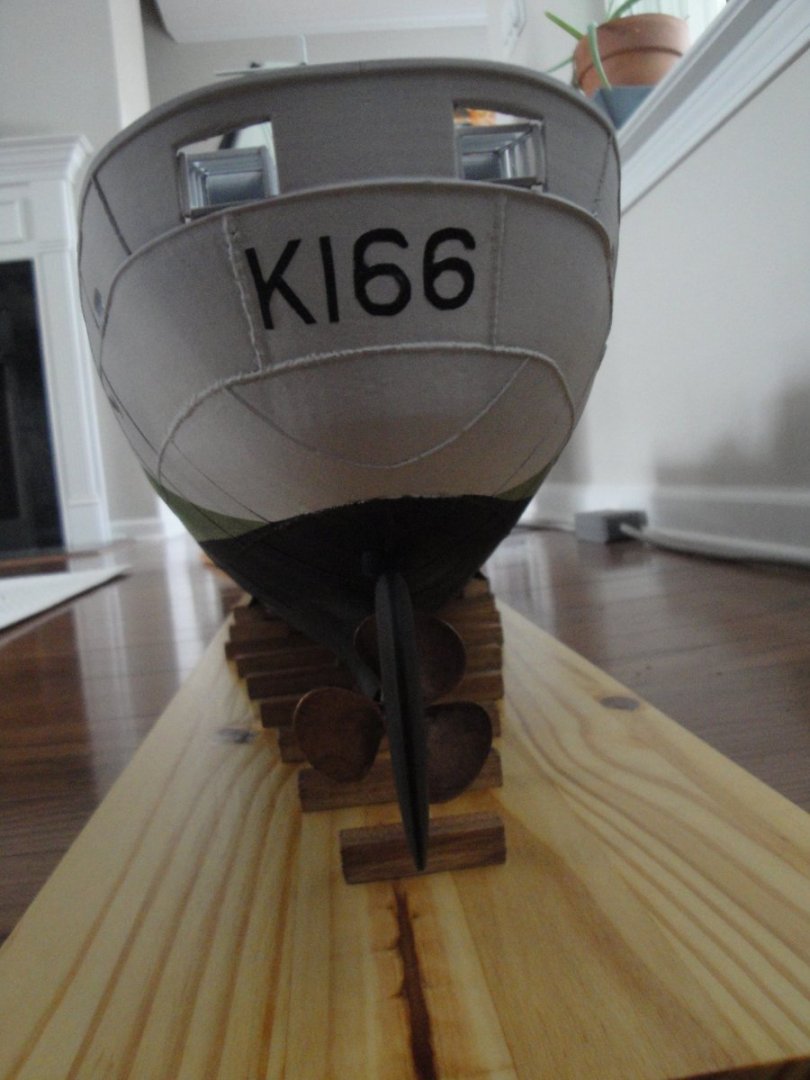
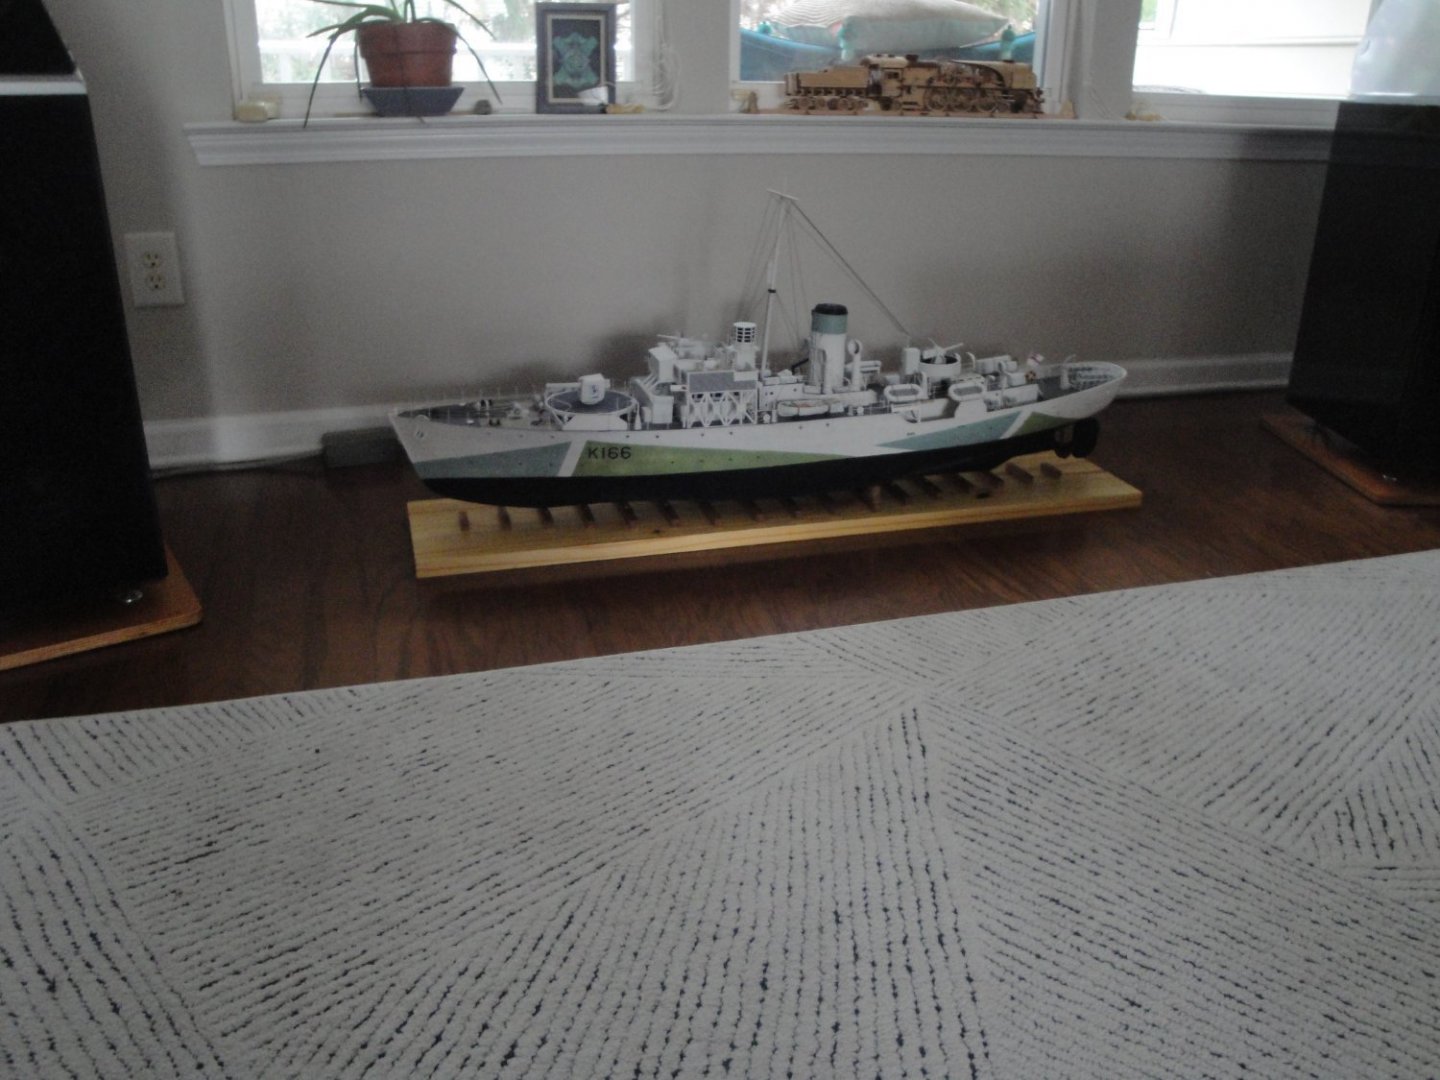
It has some majesty and fills up the place quite well.
Yves
-
-
-
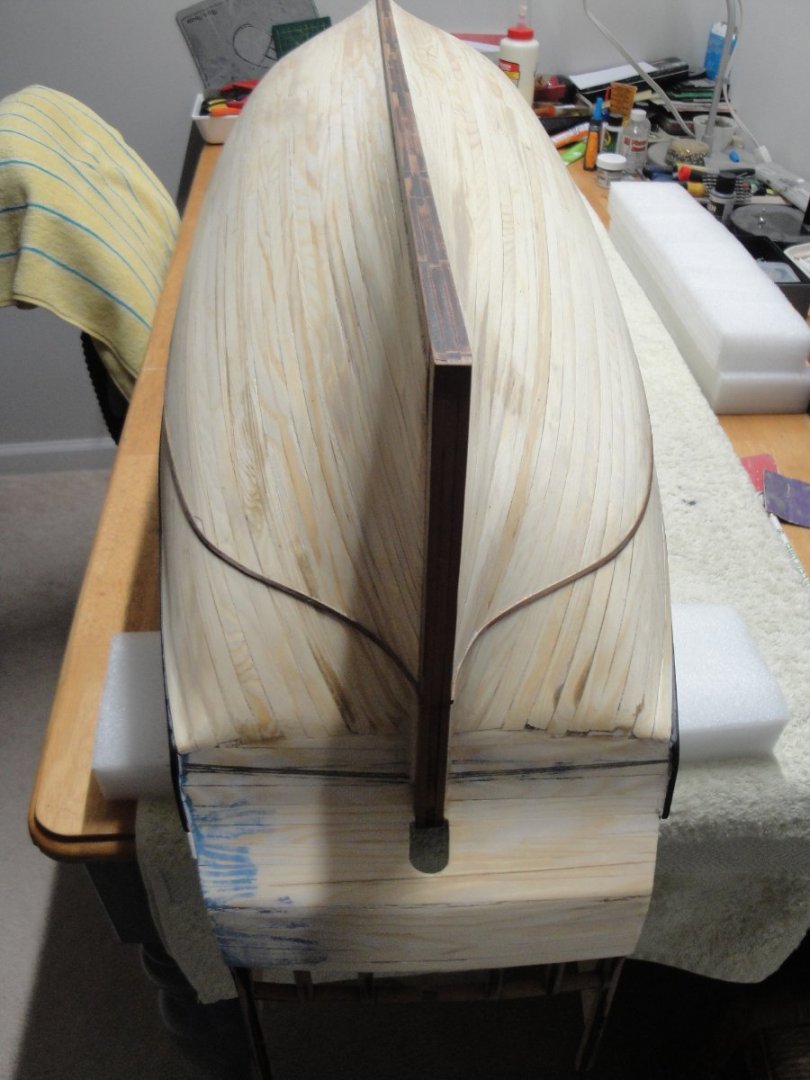
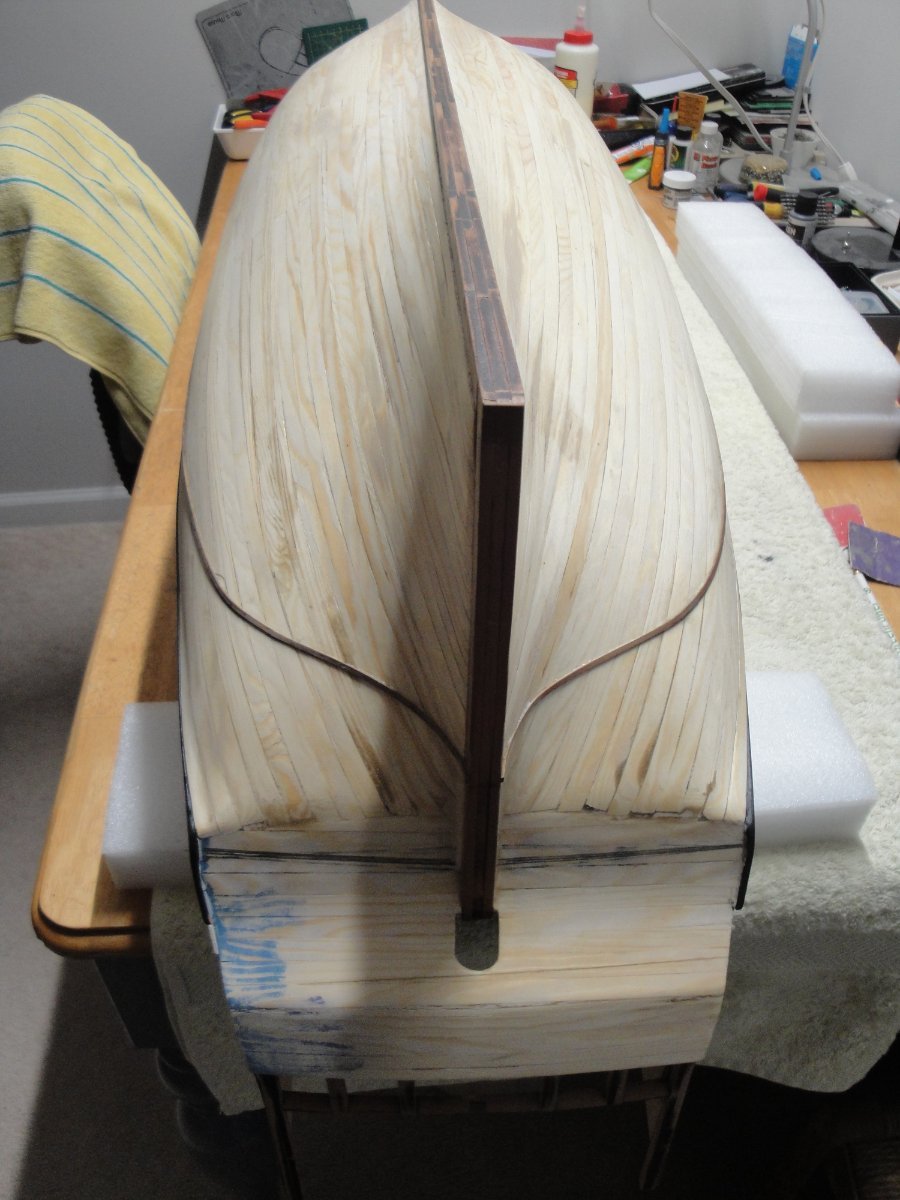
The stern planking has been completed:

Now, it is time to move to the copper tiles... I am quite apprehensive about it.
Yves
- chris watton, BobG, mort stoll and 9 others
-
12
-
I am very glad to see another 3D printed project. Your models look wonderful.
Yves
- lmagna, mtaylor, thibaultron and 2 others
-
5
-
-
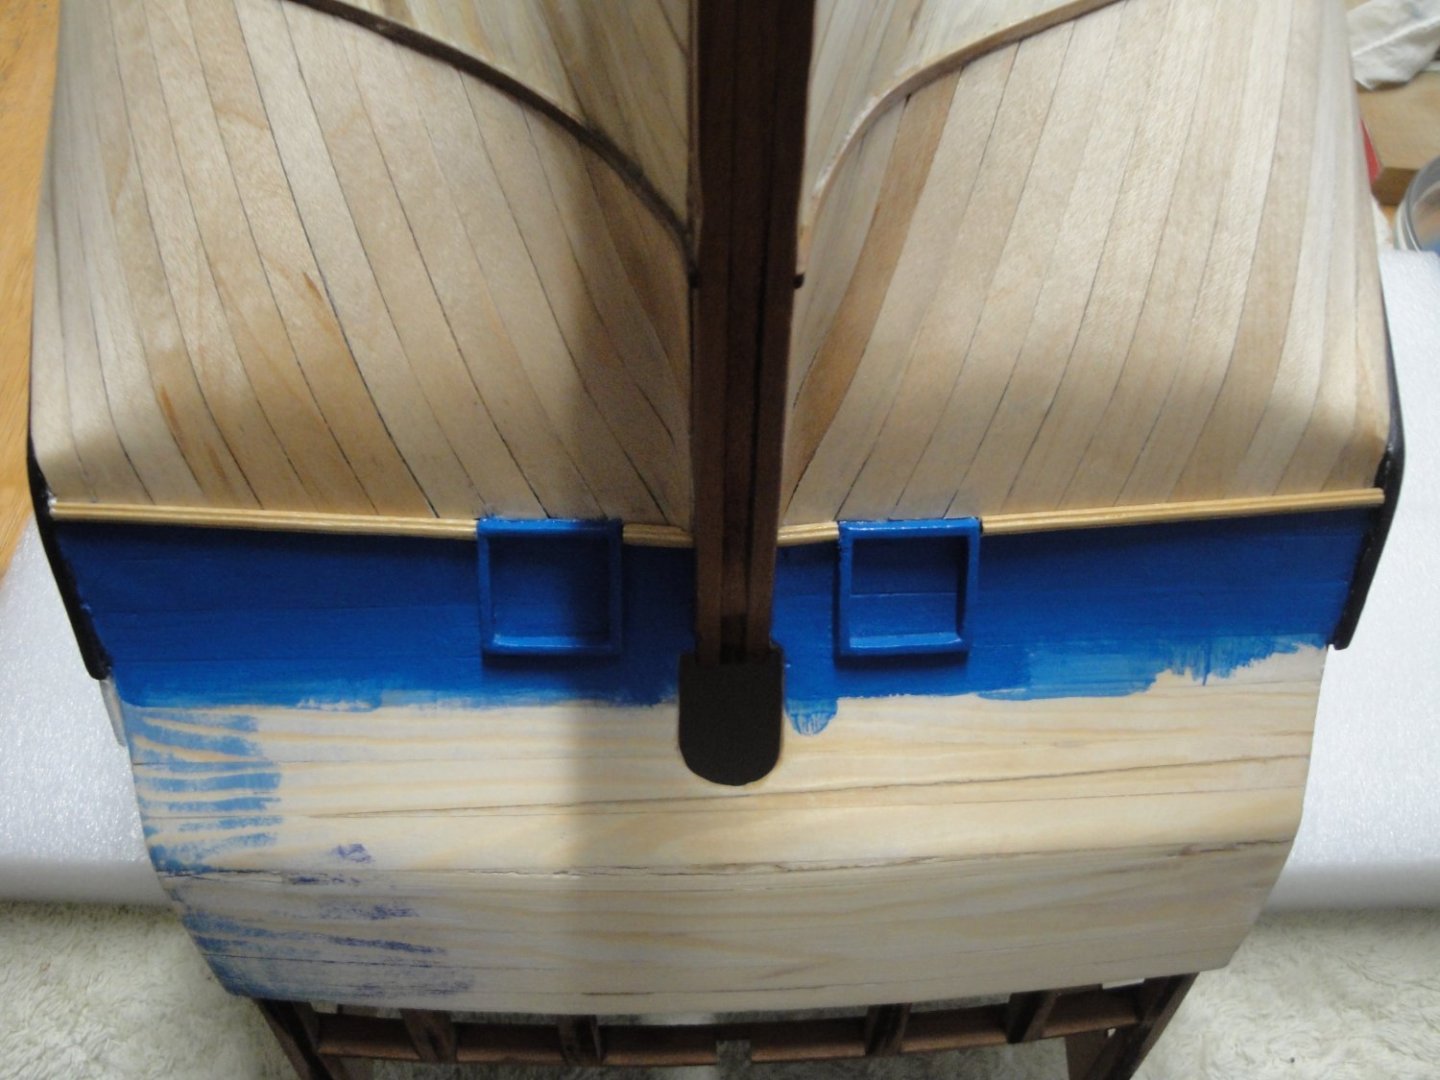
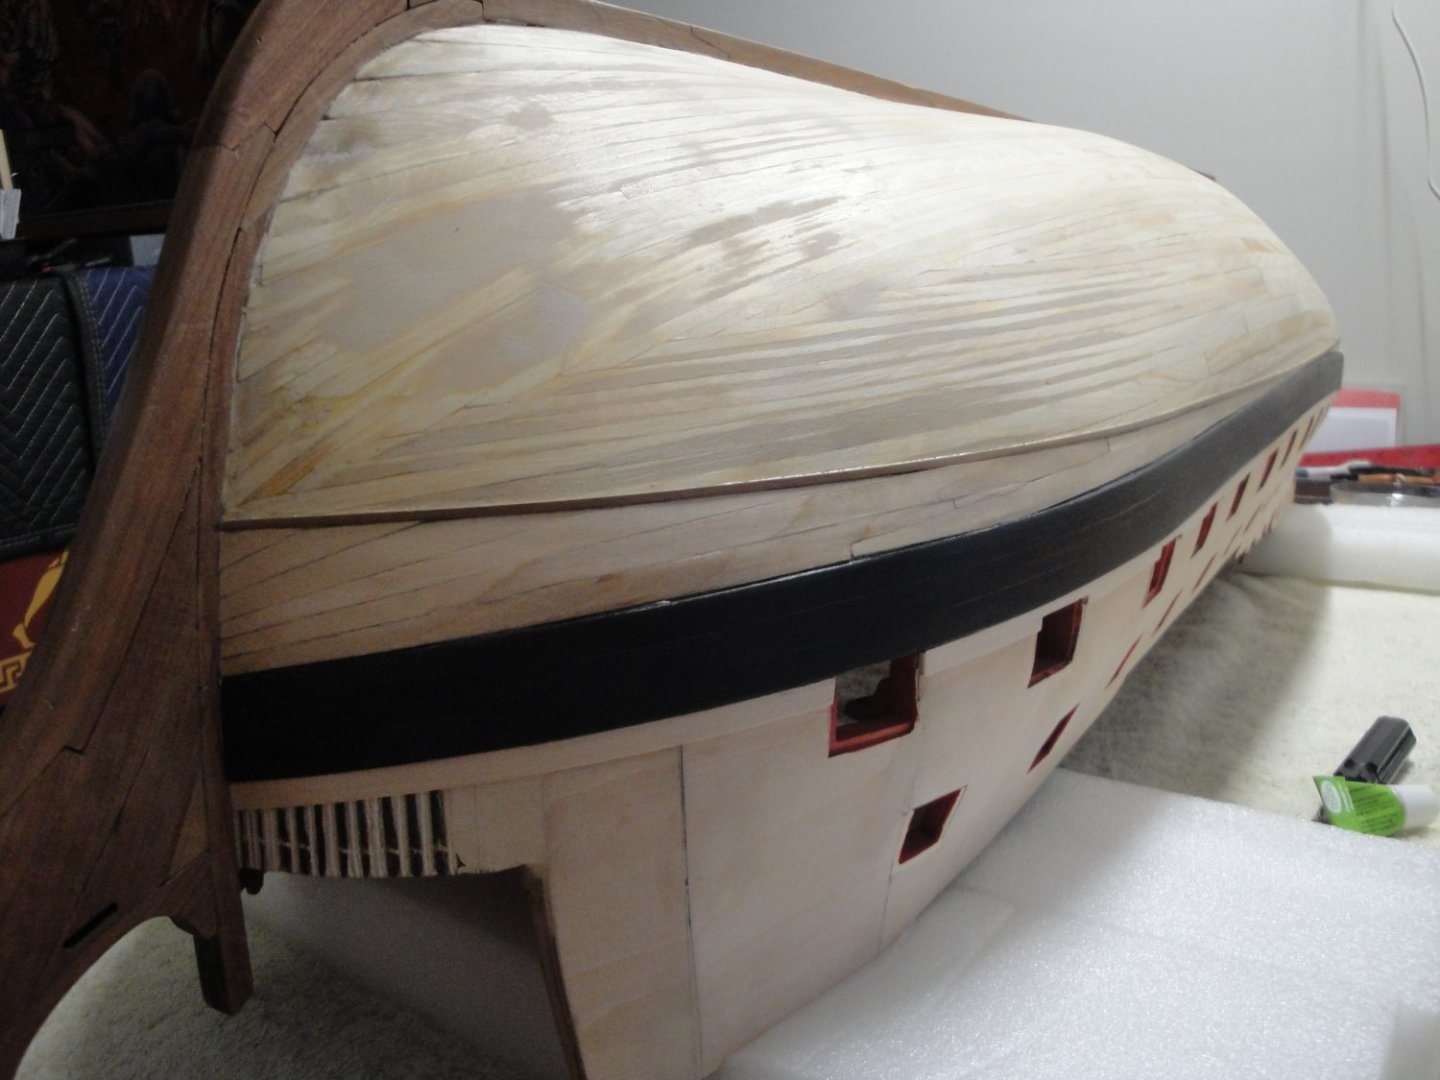
Third quadrant, at the stern:
These maple wood strips are interesting. They are extremely flexible, allowing you to espouse pretty much all shapes, which comes handy at the stern.
In addition, after gluing them, especially when using Titebond Quick glue, the wood need to be "burnished" to embrace the exact shapes of the support. It is like burnishing a thin sheet of copper and is very unusual in the way it reacts. I am using an ice cream stick to do all the burnishing. The wood of the stick is hard and smooth and does not damage the thin planking.
Multiple coats of Wipe-On-Poly have been applied and the stern is now hard and extremely smooth to the touch. The blue color is Cerulean Blue by Liquitex (Acrylic) and that is the color I like the most after trying about 4 other Royal blues, and other blues from Model Shipways and Tamiya. I find the traditional Royal blues way too dark for my taste. On top of that blue, various decals will be applied, since the freezes on these vessels were painted and not carved.
Yves
- rvchima, Beef Wellington, mtaylor and 10 others
-
13
-
4 minutes ago, Hsae said:
Thanks Yves, I Hope it will be a great diorama. I only wish I had made it a little bit longer … oh well!
You could add two small bands of sea at each end and try to blend the seams with your existing piece of ocean.
Yves
- Old Collingwood, mtaylor and Canute
-
3
-
-
Beautiful. Without the cloth pin, it would be almost impossible to tell it is not a real lamp.
Yves
- Norwegian Plastic and ccoyle
-
1
-
 1
1
-
On 2/8/2022 at 12:45 PM, LFNokia said:
That ship is so tall...it looks like a floating skyscraper. Wasn't it the tallest and most armed period vessel ever built?
Yves
-
On 2/13/2022 at 8:59 AM, Hsae said:
Superb rendering of the North Atlantic sea.... This is going to be a great diorama.
Yves
-
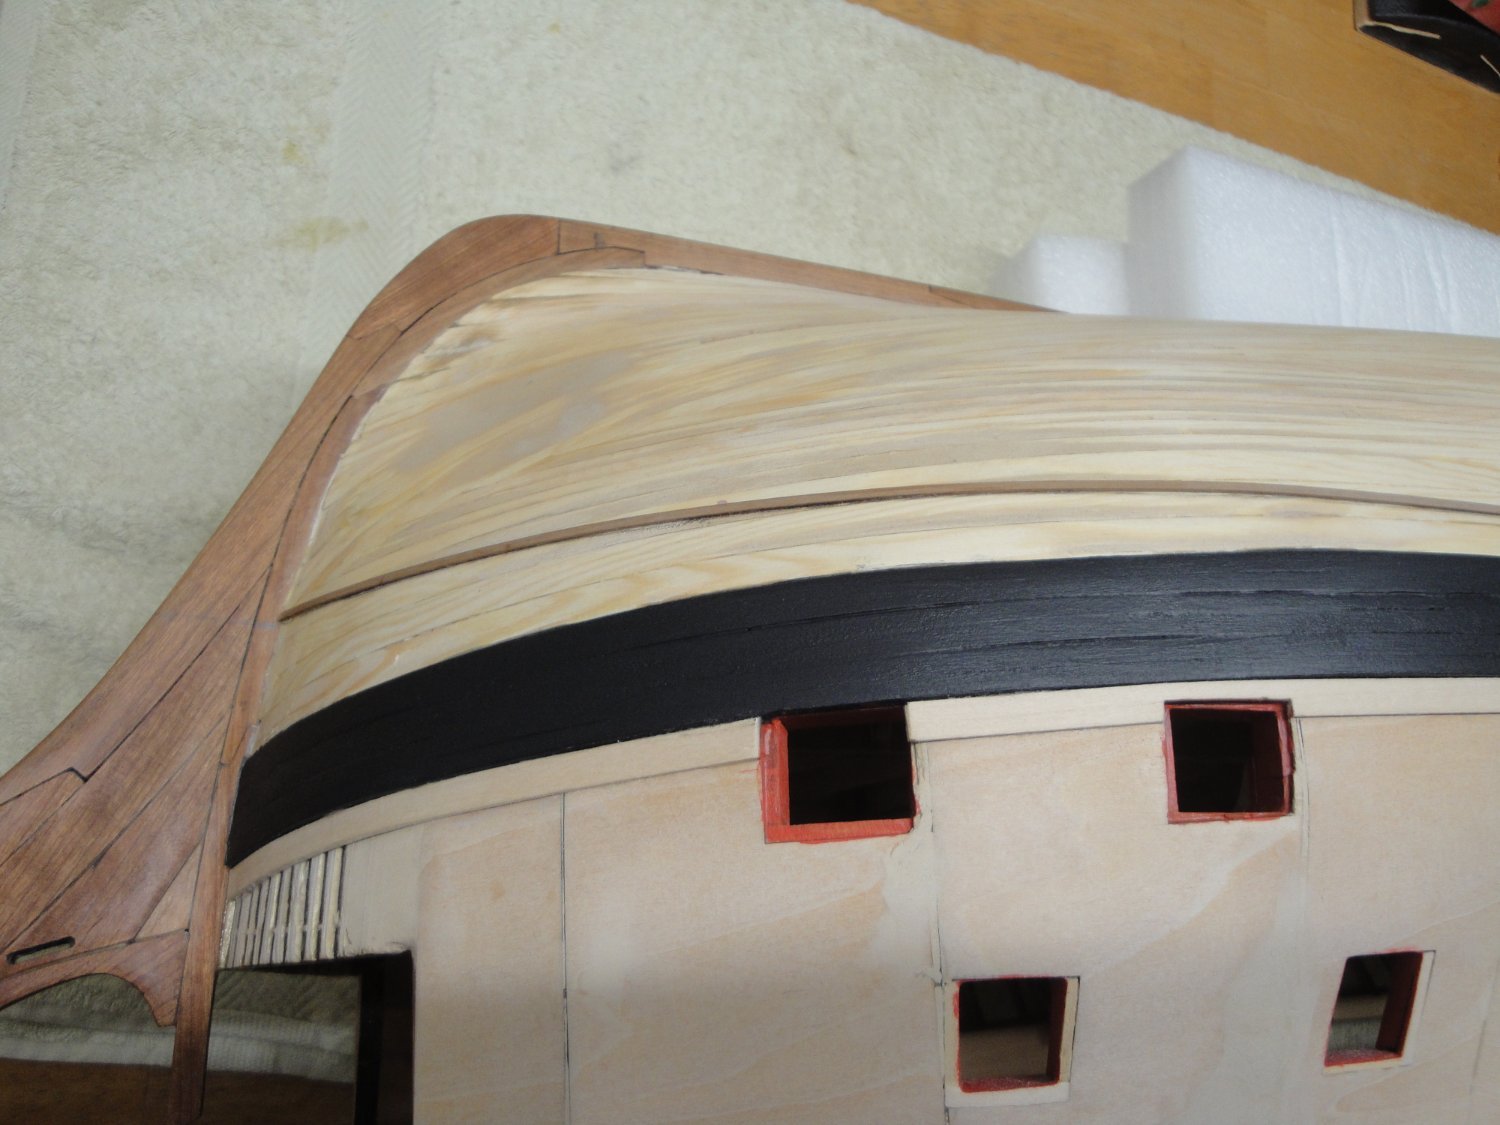
And thus, we are starting the delicate (for me) double planking task. I am doing one quadrant at a time and started by the easier (relatively speaking) bow.
Before:

And after:
This is not perfect and will probably ruffle the feathers of the experts, but it does look good to me after a nice coat of Wipe-On-Poly on top.
Yves
- mtaylor, KARAVOKIRIS, Fernando E and 9 others
-
12
-
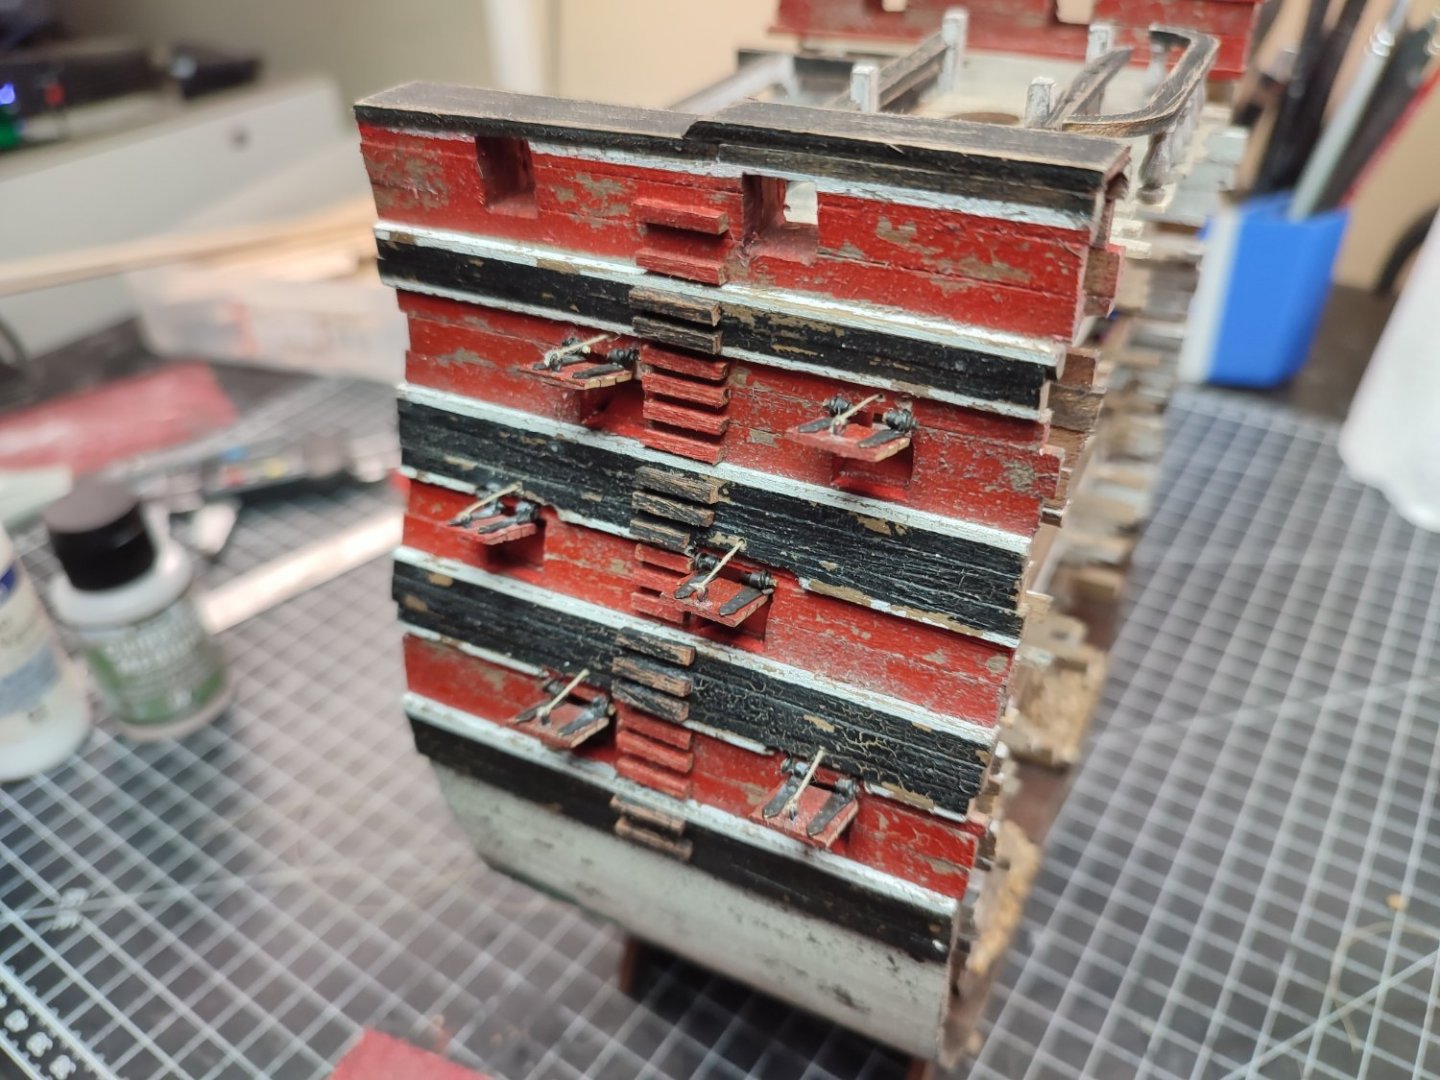
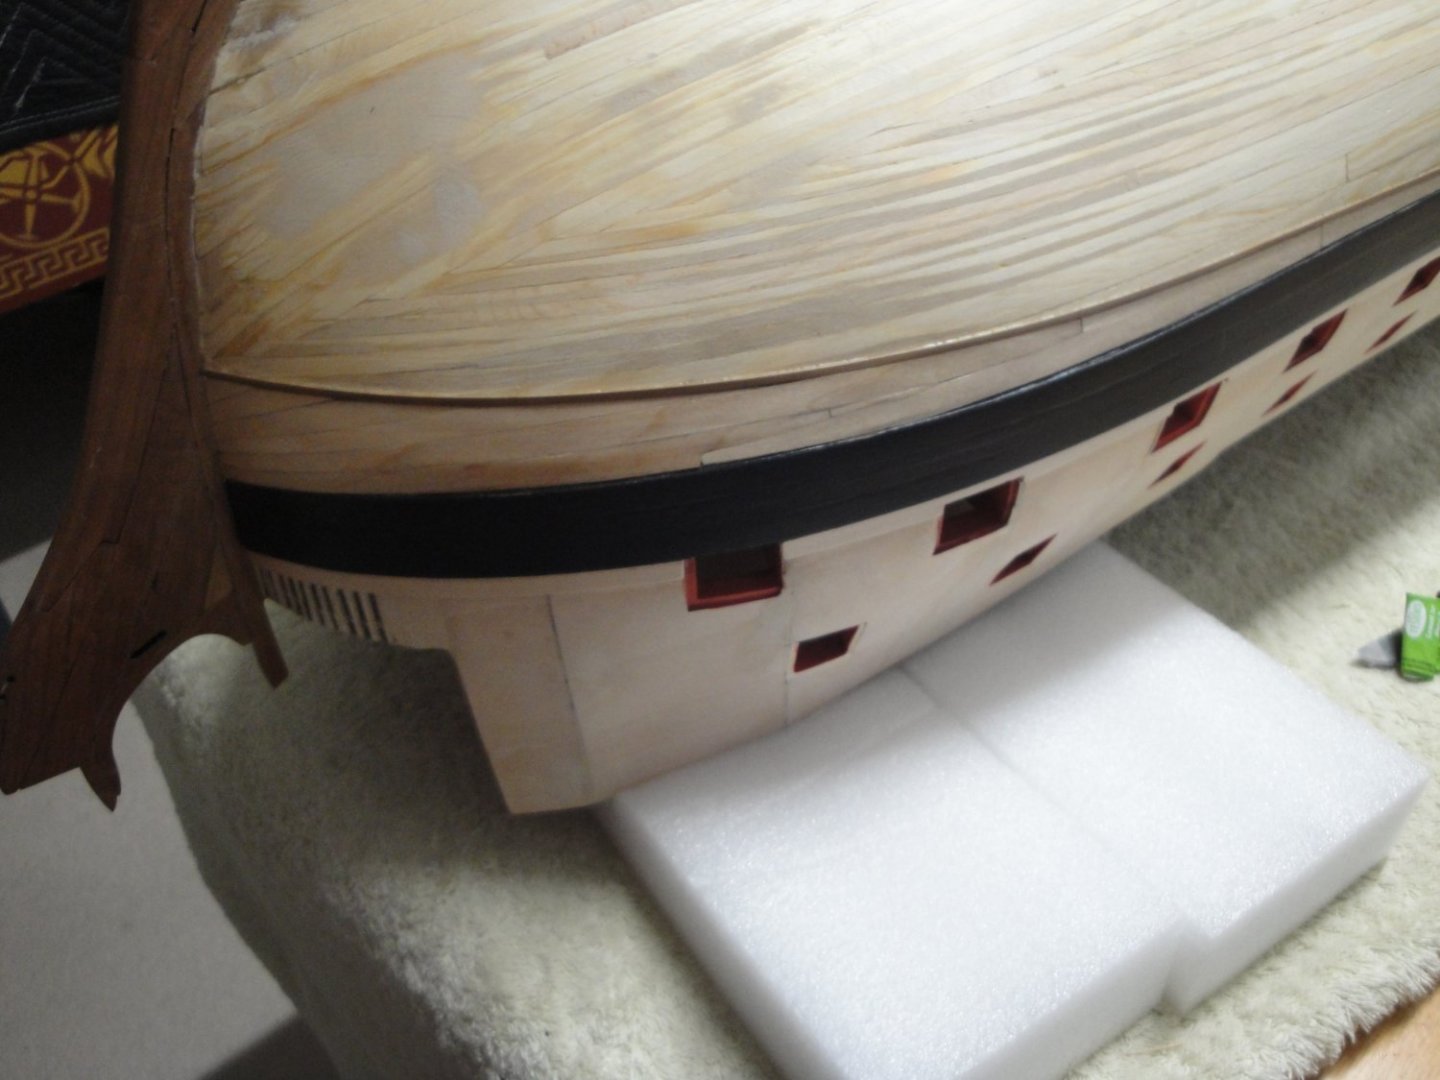
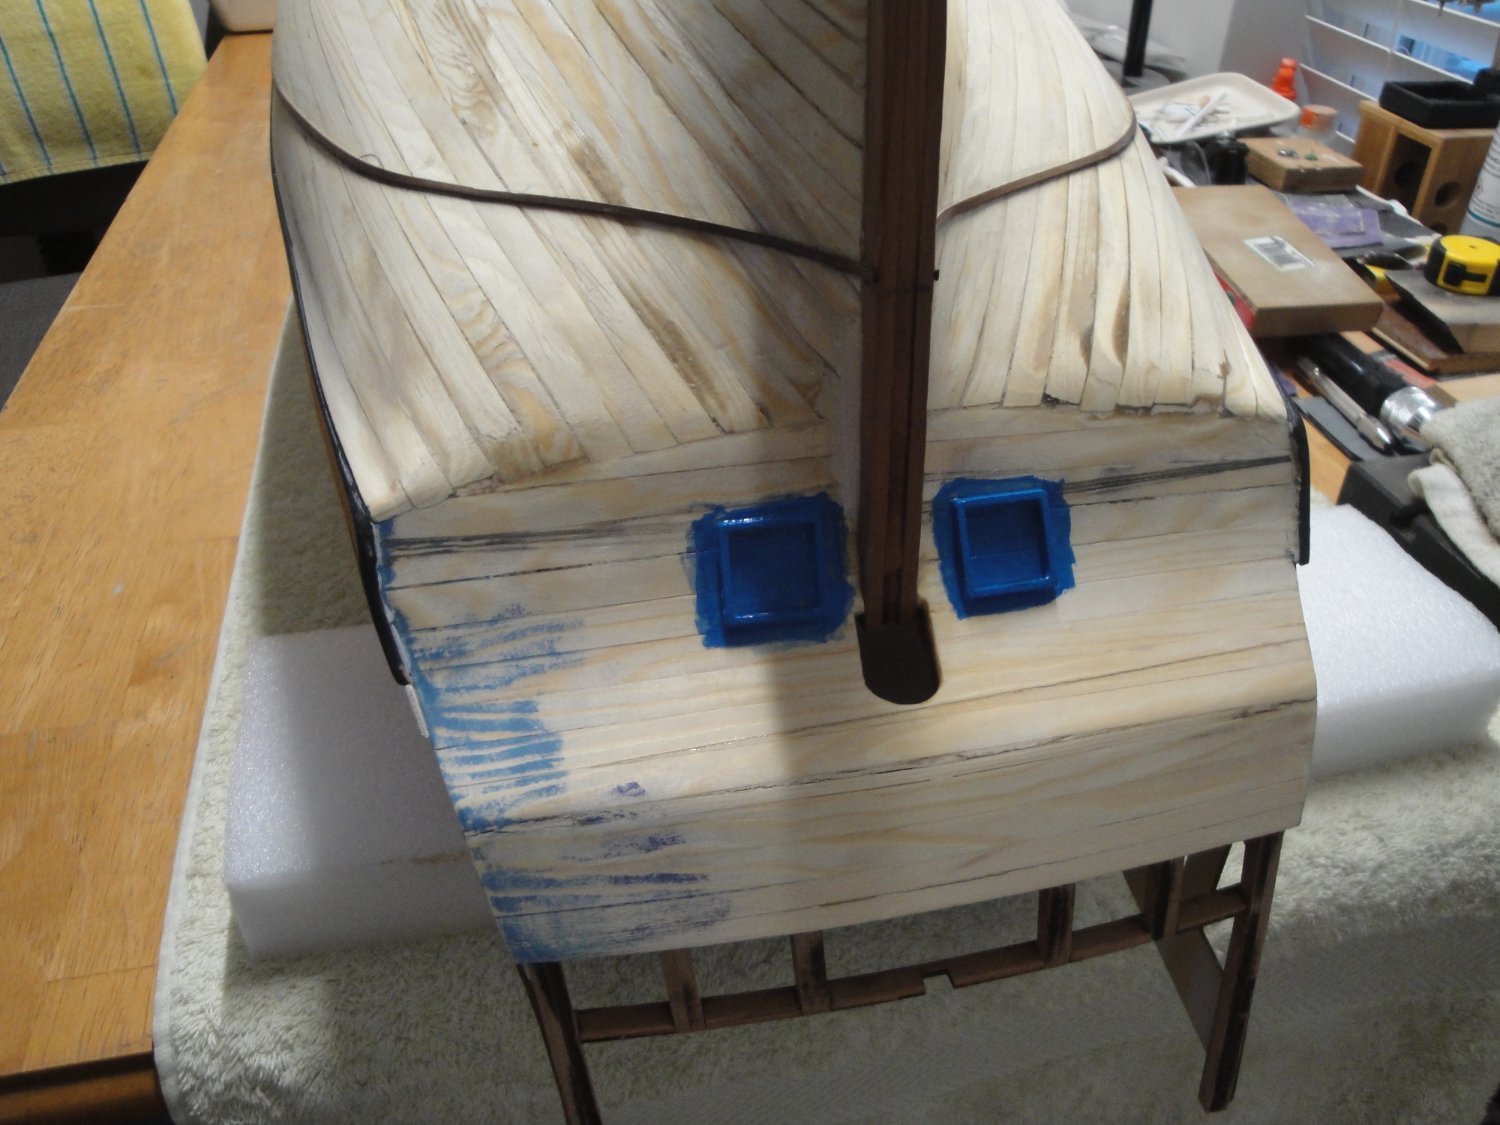
Another steps that I am adding and which is not described in the CAF kit, is the building of the gun ports, on the stern.

You need to place these before attempting to double plank the stern. The planks will butt against the lower frame of the gun ports. The gun port lids are only provided in Session #5 and for those who do not have this Session yet, you should build gun ports of 18 x 18 mm for the lids to fit exactly.
It is also not possible to open these rear gun ports, as Bulkhead #18 is right behind them. They will be represented closed on the model.
Yves
- mtaylor, BobG, Fernando E and 1 other
-
4
-
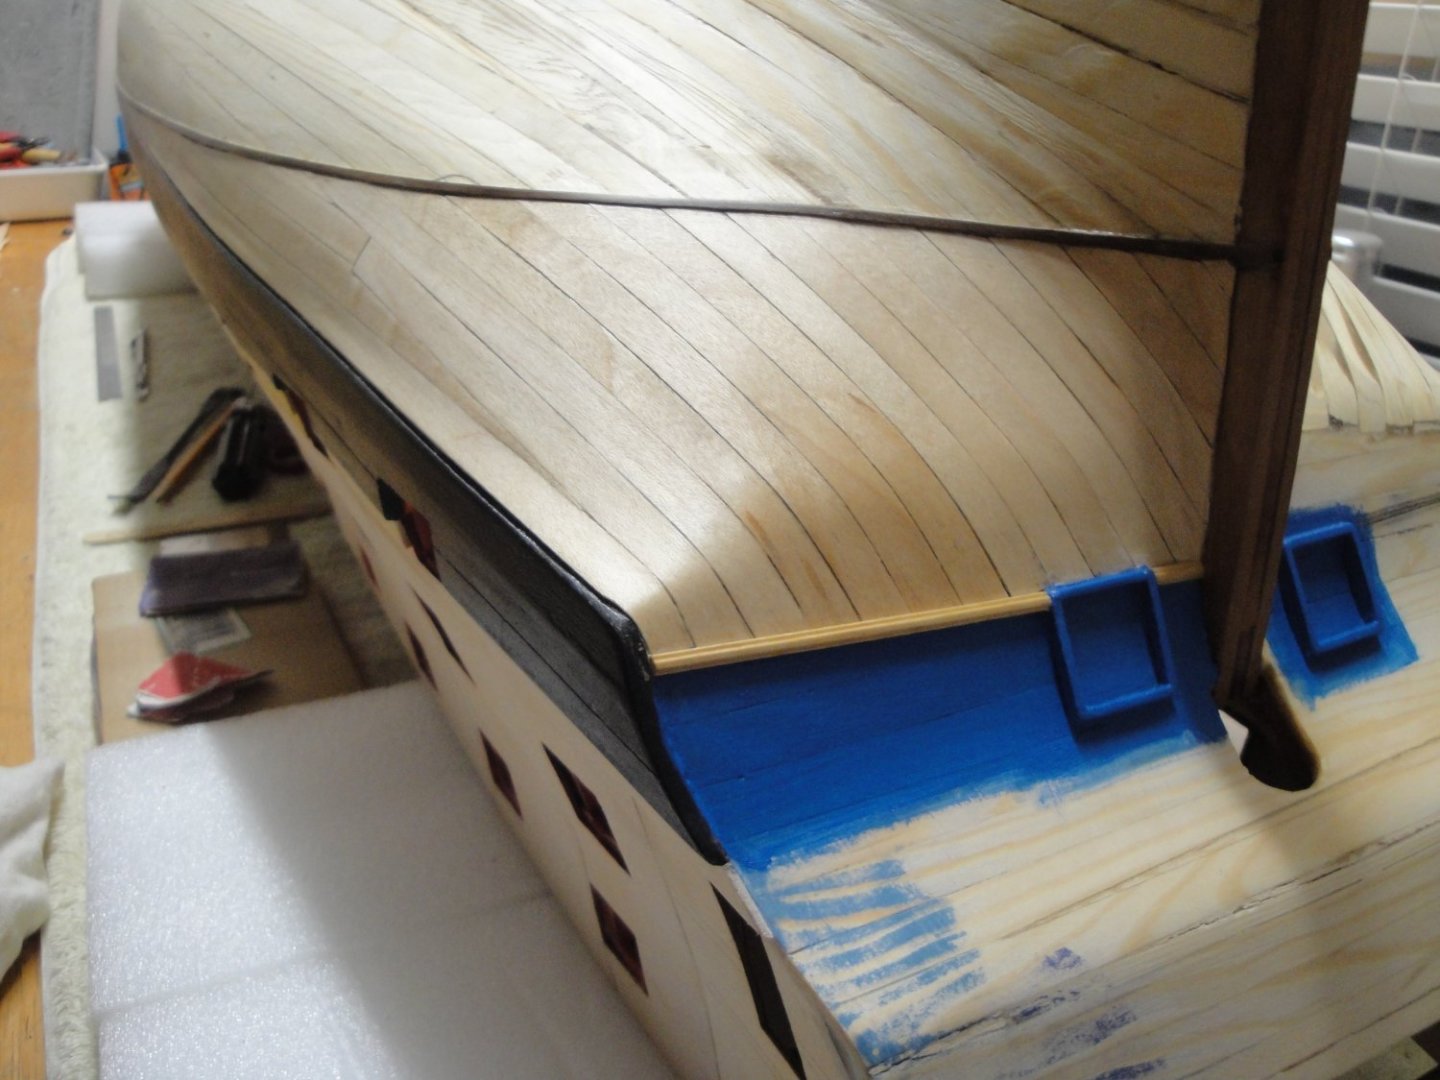
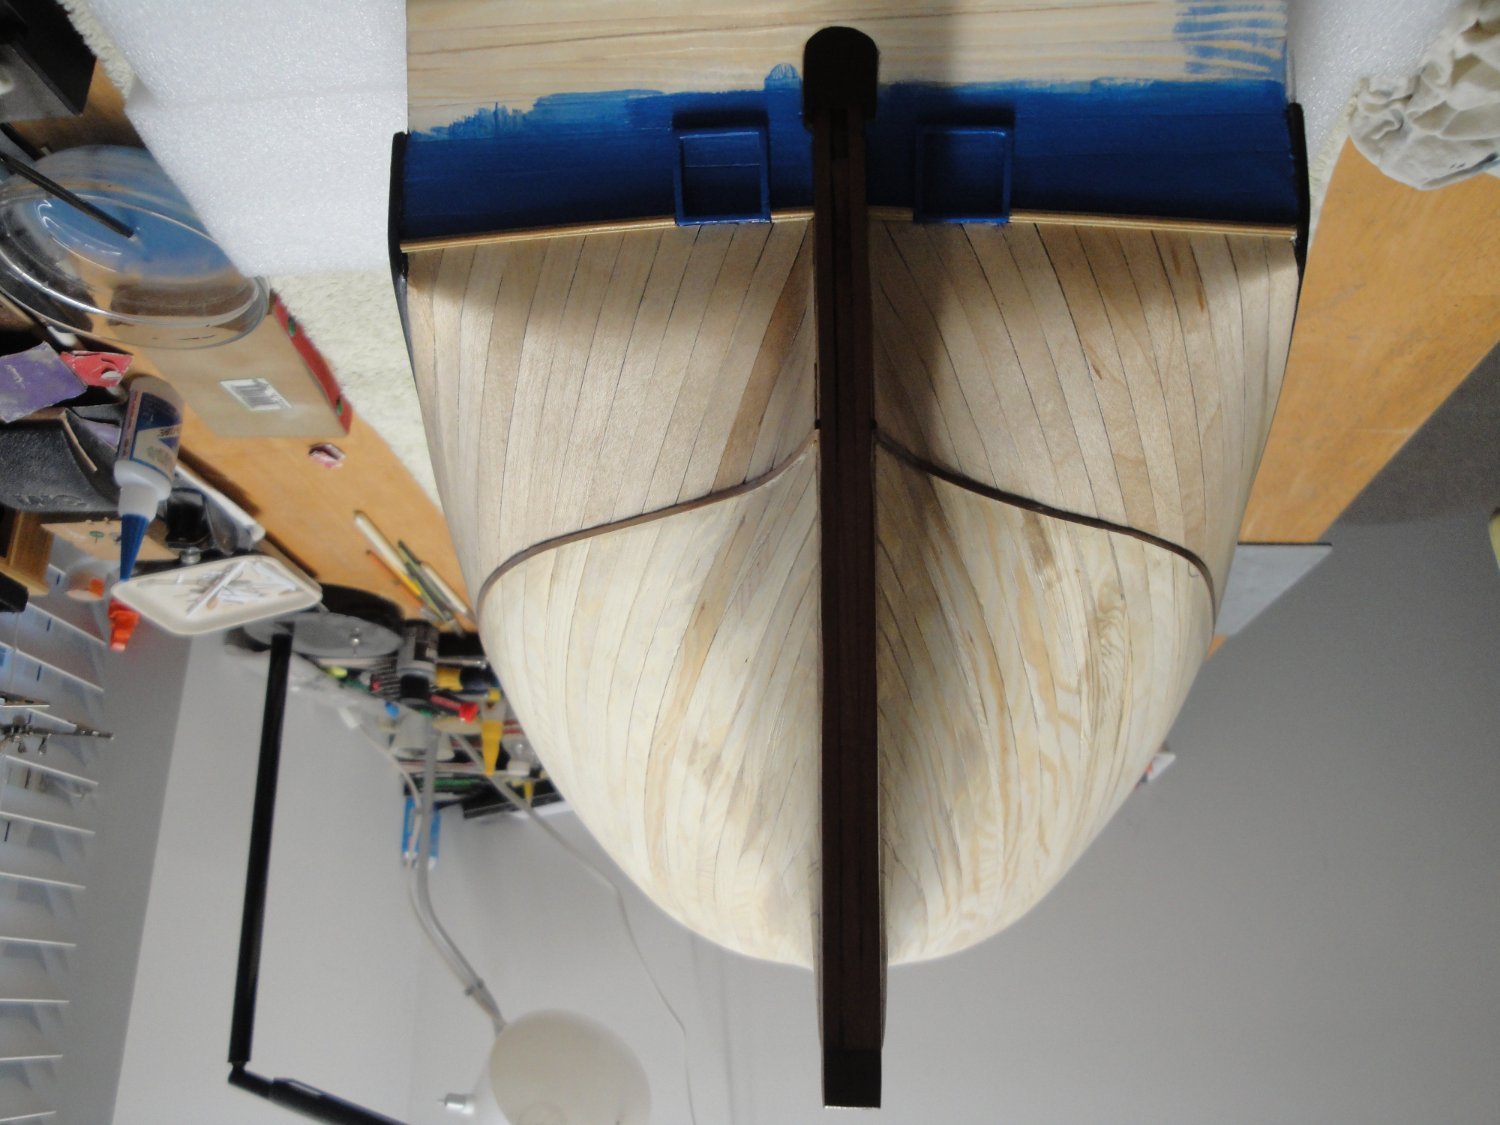
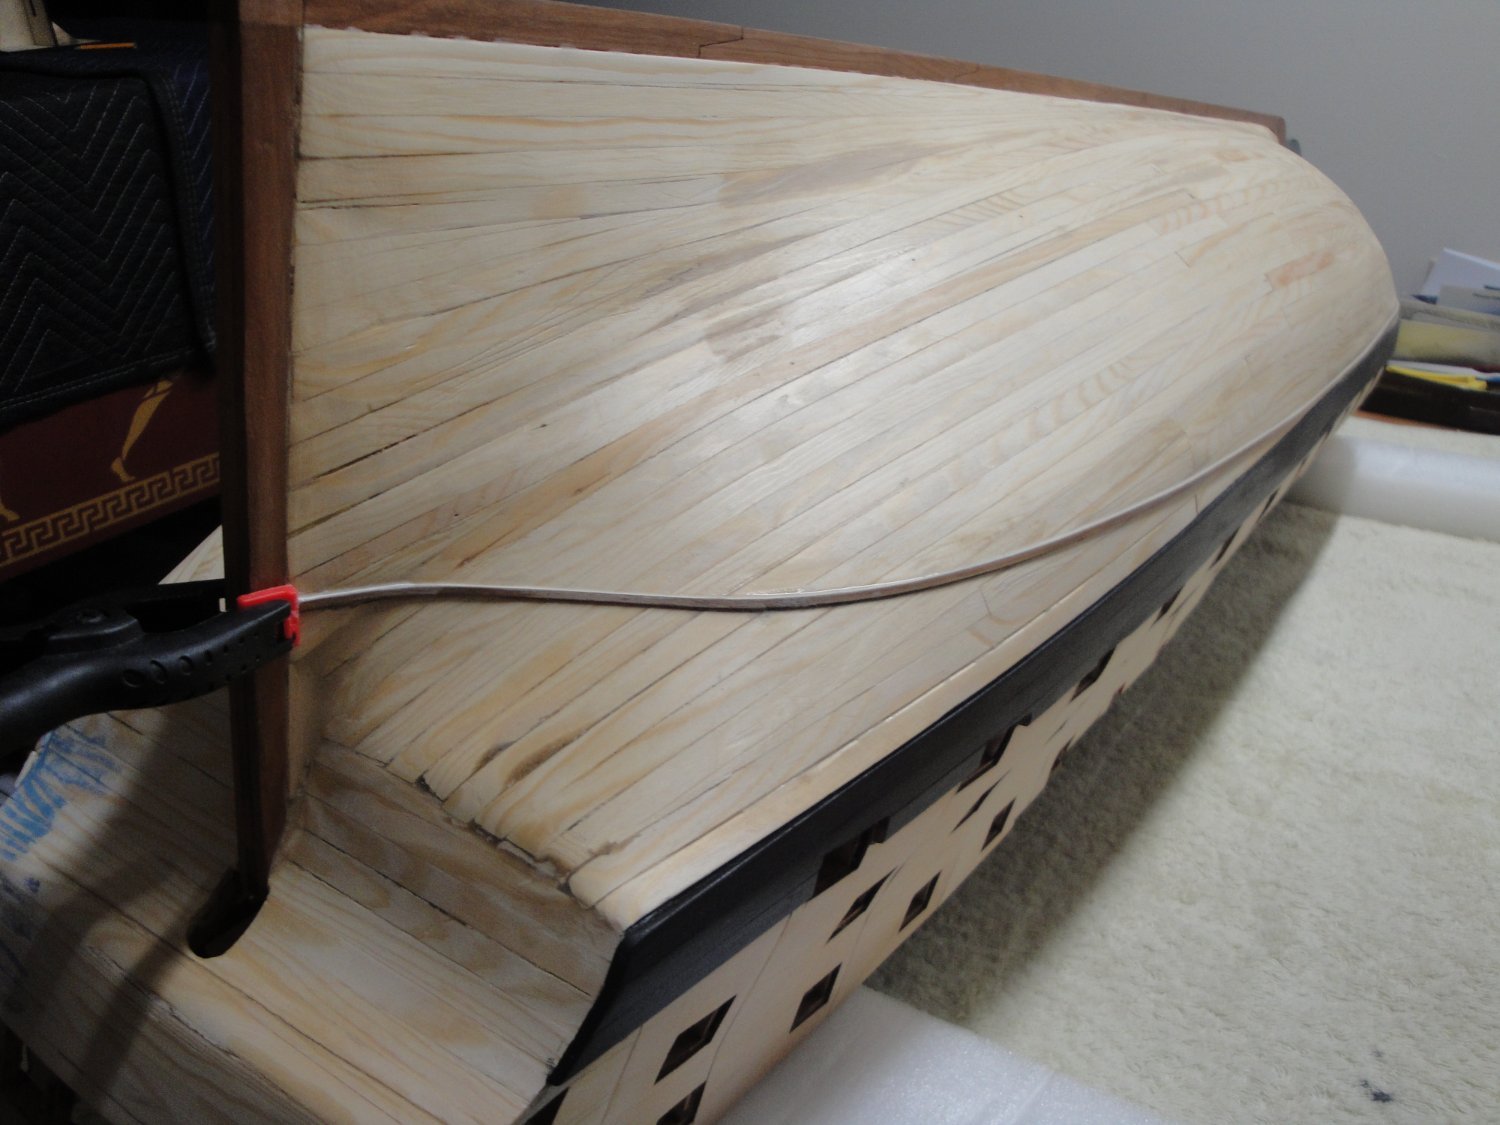
The delicate and crucial phase of marking the waterline is done, after careful measurements on the plan and according to pictures:
I am using the little Model Shipways kit, which works relatively well, as long as you use a flat surface all around the ship.
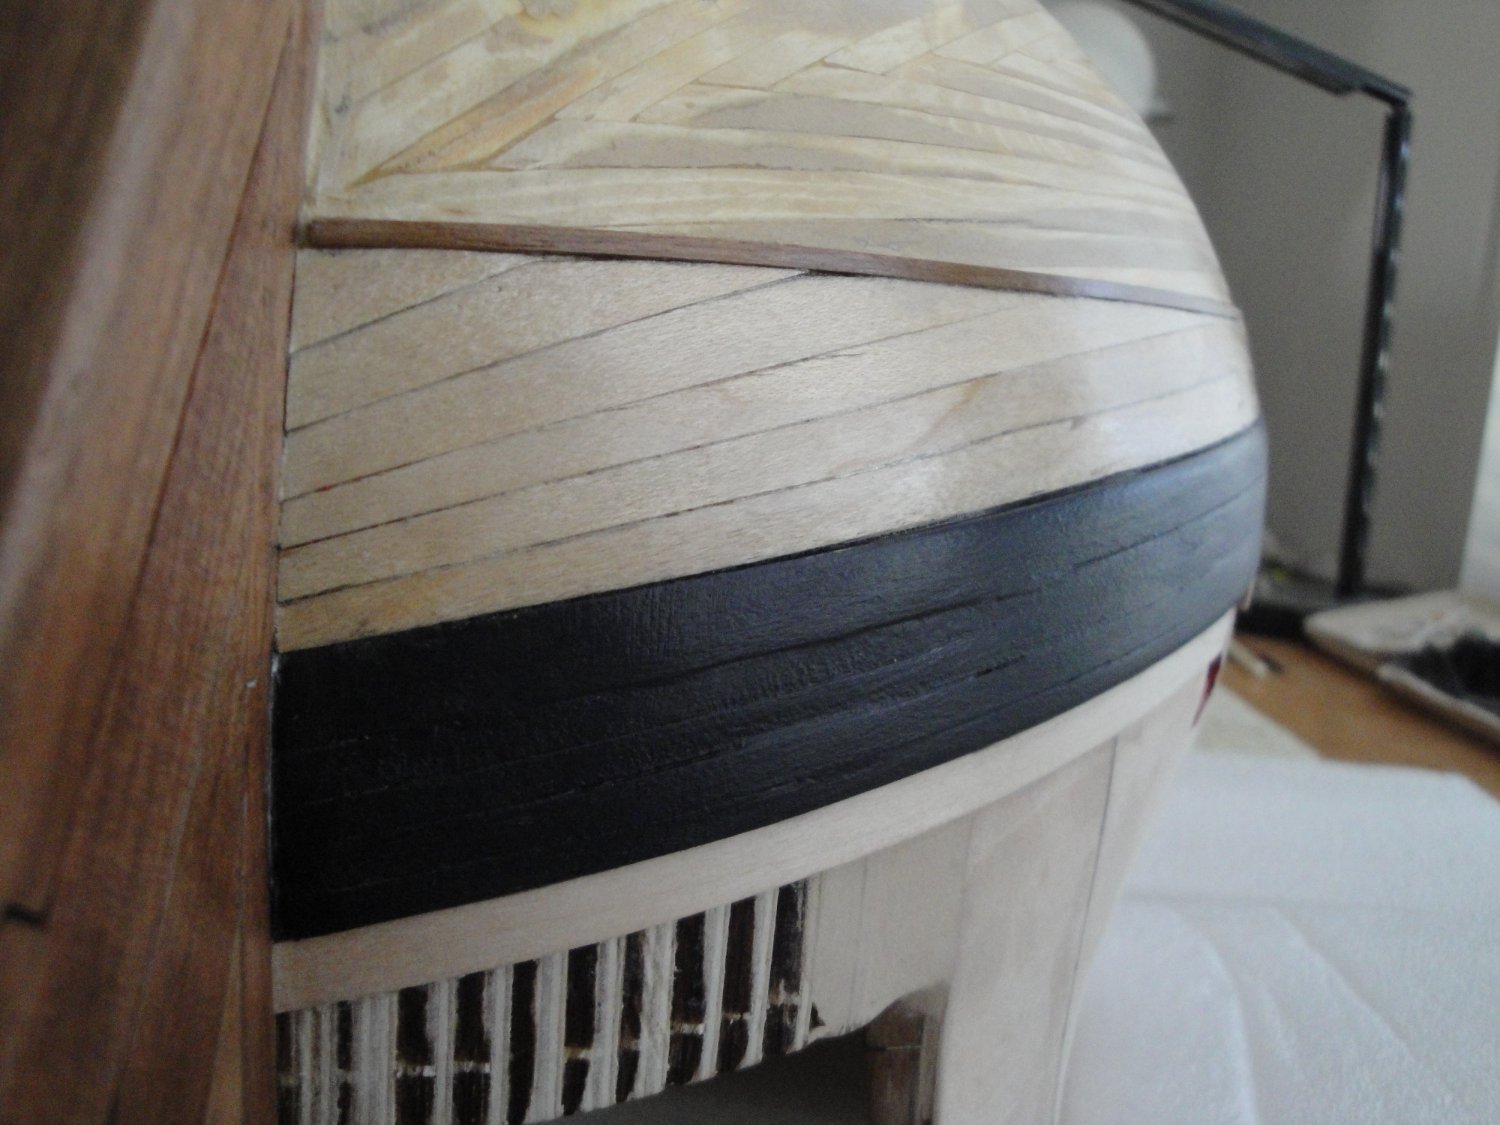
The hull will be copper tiled under the flotation line and double-planked over it. Following some exquisite models found in Museums and Art galleries, I have decided to glue a tiny separation all over the flotation line. This is done with a 1 x 2 mm mahogany wood strip, carefully glued with CA glue. The strip is flexible enough to marry perfectly the curves of the hull. This approach is not described in the CAF kit nor are the mahogany wood strips provided.

With that nice separation in place, I can now move to the upper parts second planking, using the 0.4 mm x 8 mm maple strips, provided abundantly in the kit.
Yves
-
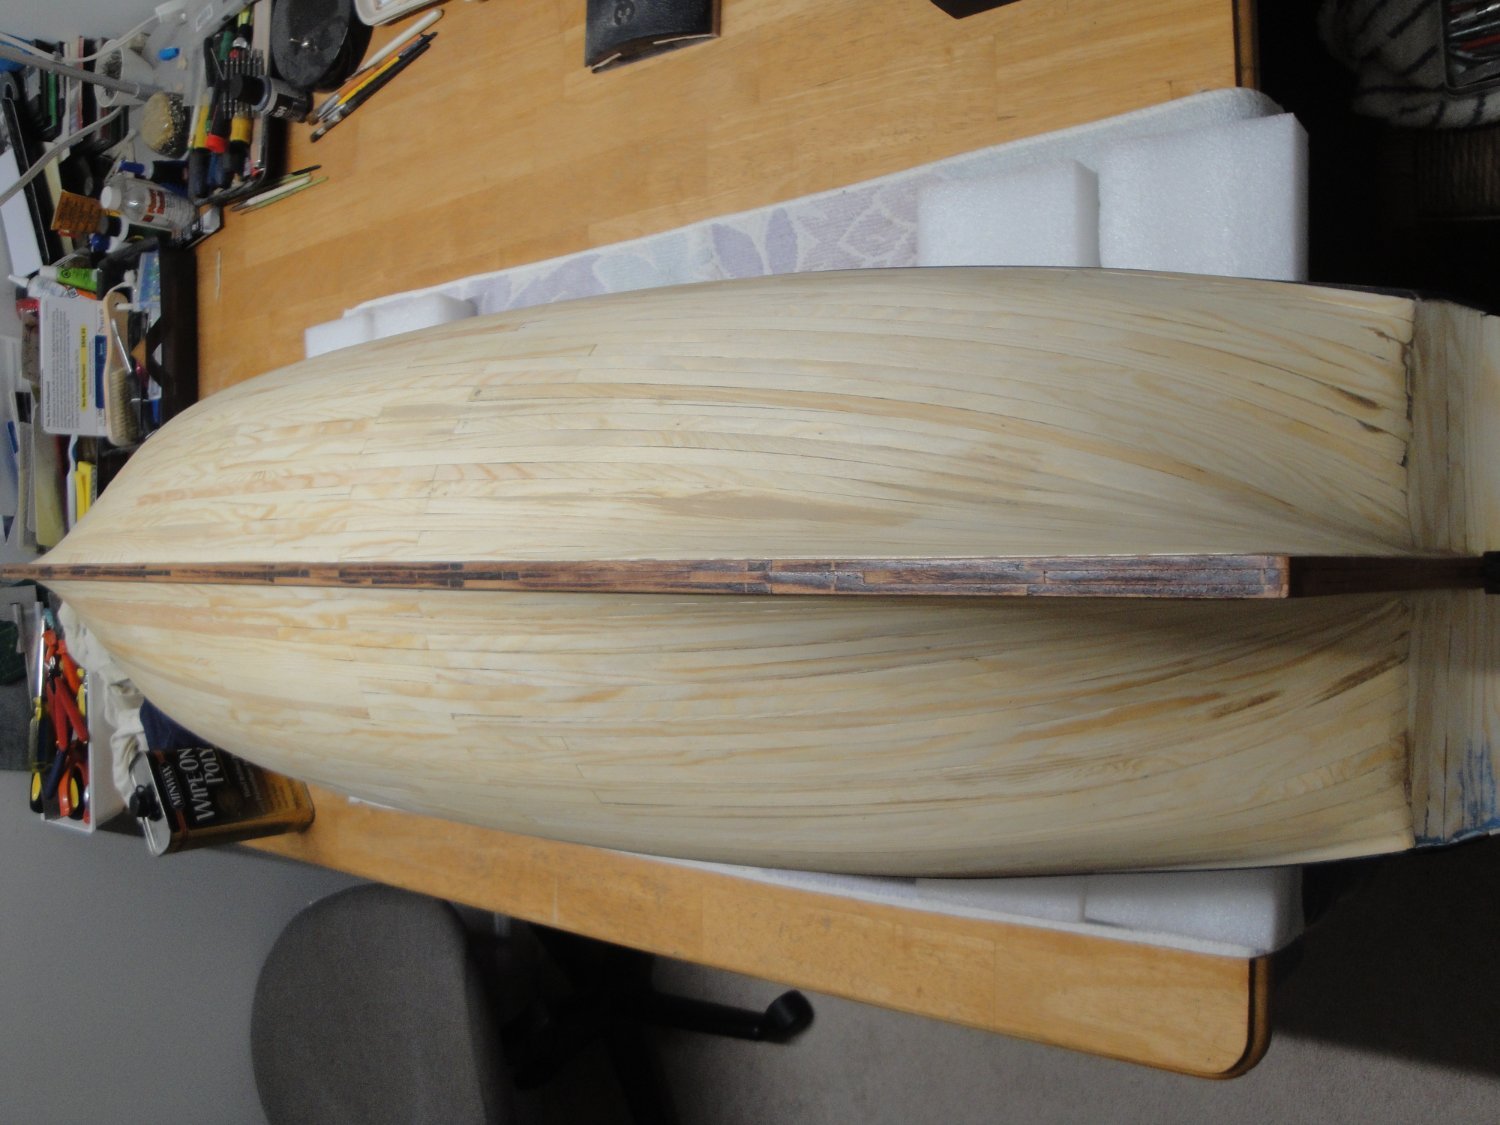
After finishing the 3D printed Corvette, it is now time to get back to the Bellona and breathe some wood dust, again.
The hull has been carefully sanded and wiped with Wipe-on-Poly, the preferred wood treatment around this forum:

I have also brushed an nth coat of black acrylic paint (Model Shipways) on the wales. I am sure there will be more touch-ups to be done, by the time the hull is finished.

The hull is now ready for marking the waterline.
Yves
- mtaylor, BobG, Fernando E and 6 others
-
9
-


I need instruction booklet for Trumpeter Kit 06801 1/48 DKM U-Boat Type VIIC U-552
in Plastic model kits
Posted
Please, send me your address and I will ship you my manual and the Paint Reference booklet.
Yves