yvesvidal
-
Posts
3,624 -
Joined
-
Last visited
Content Type
Profiles
Forums
Gallery
Events
Everything posted by yvesvidal
-
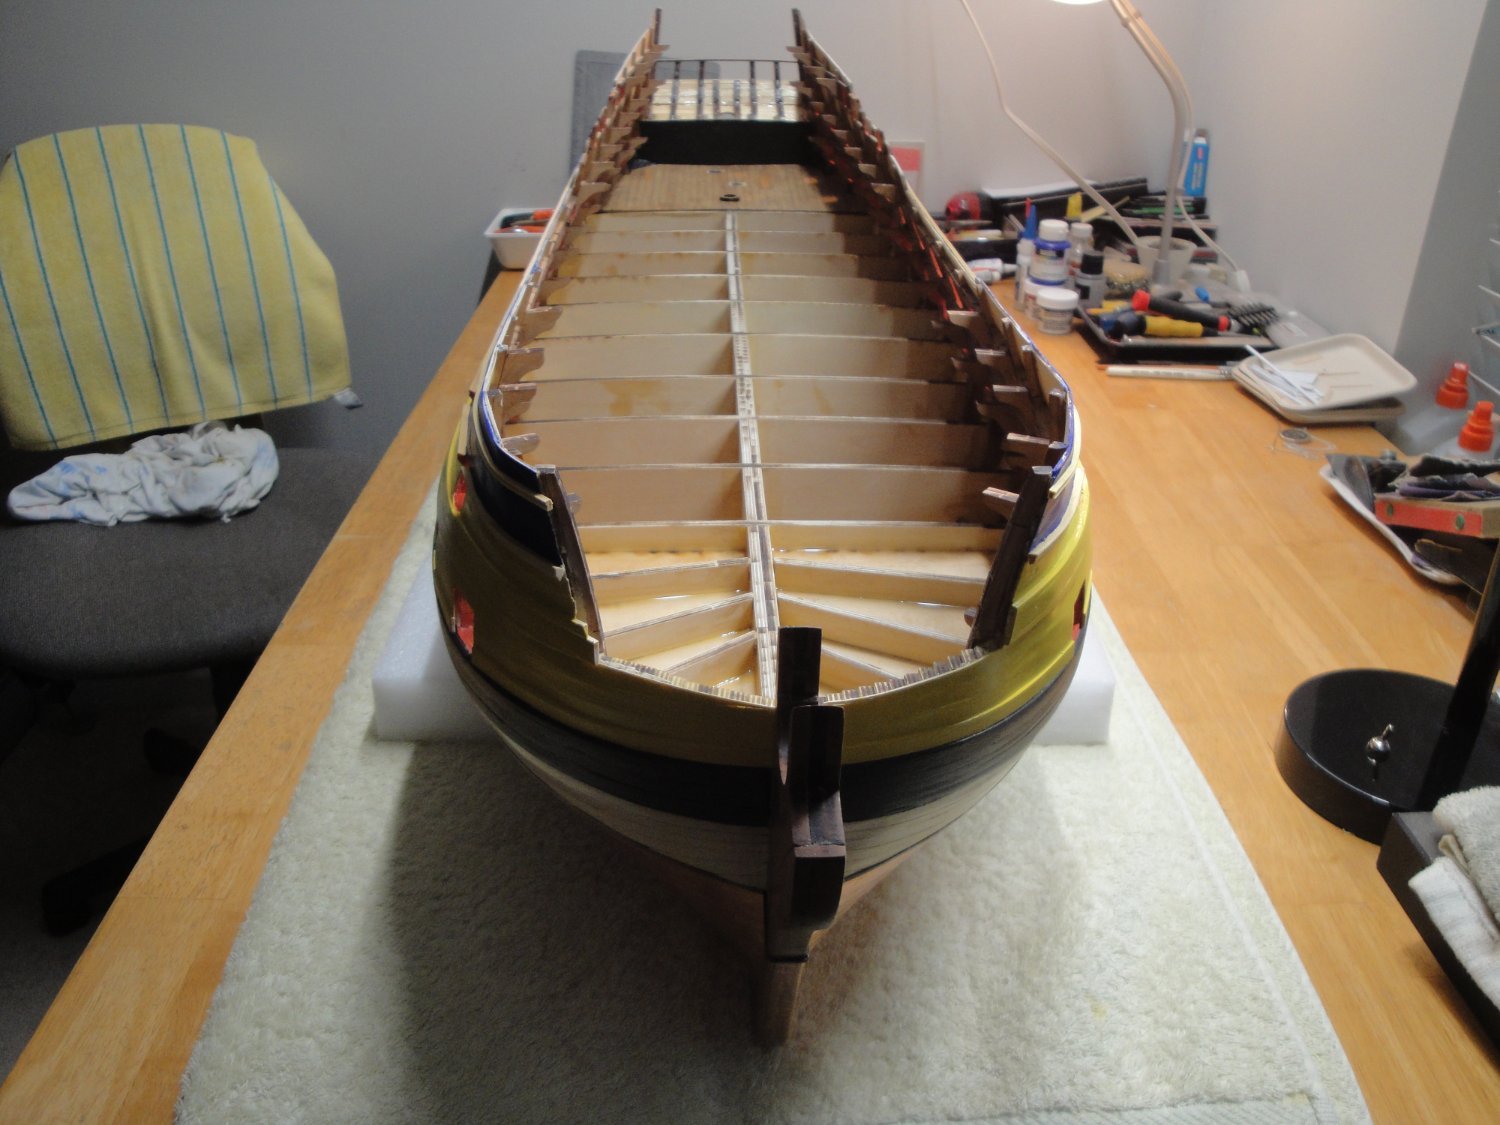
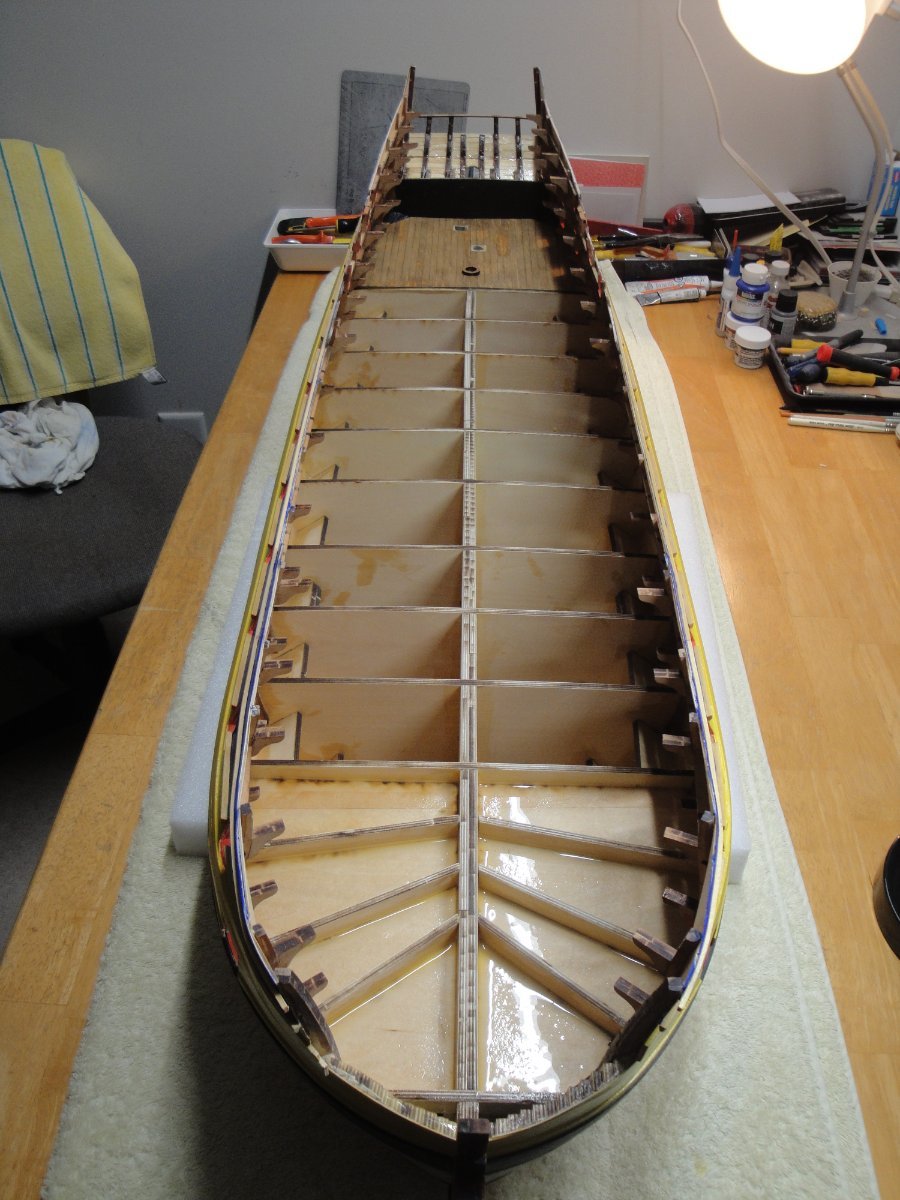
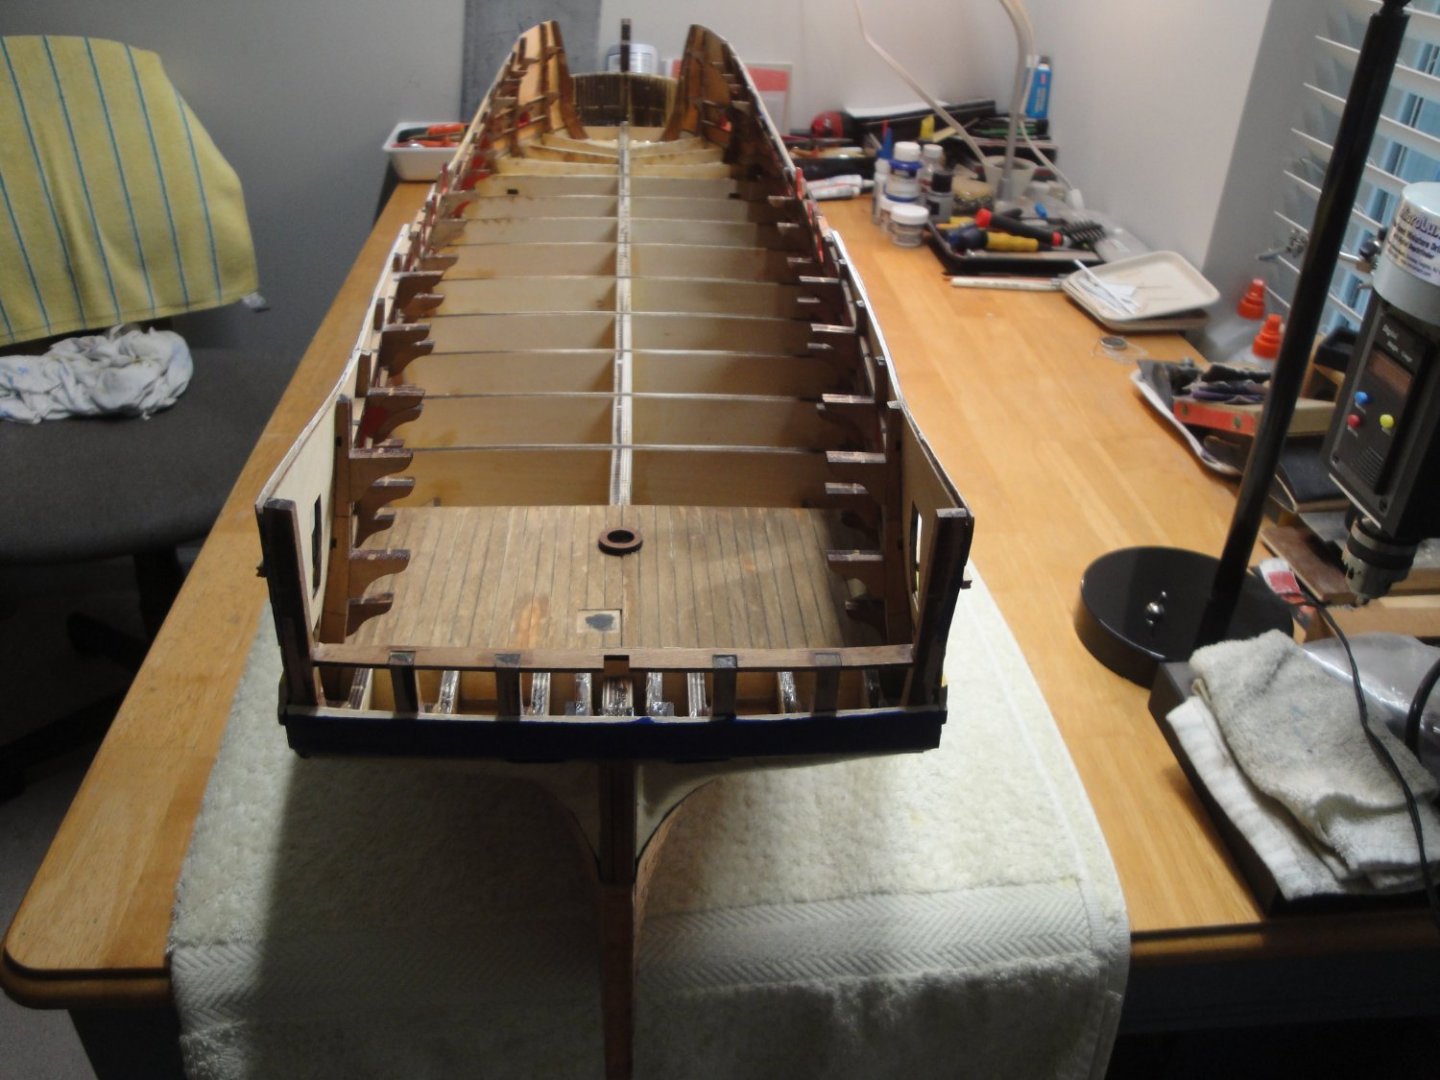
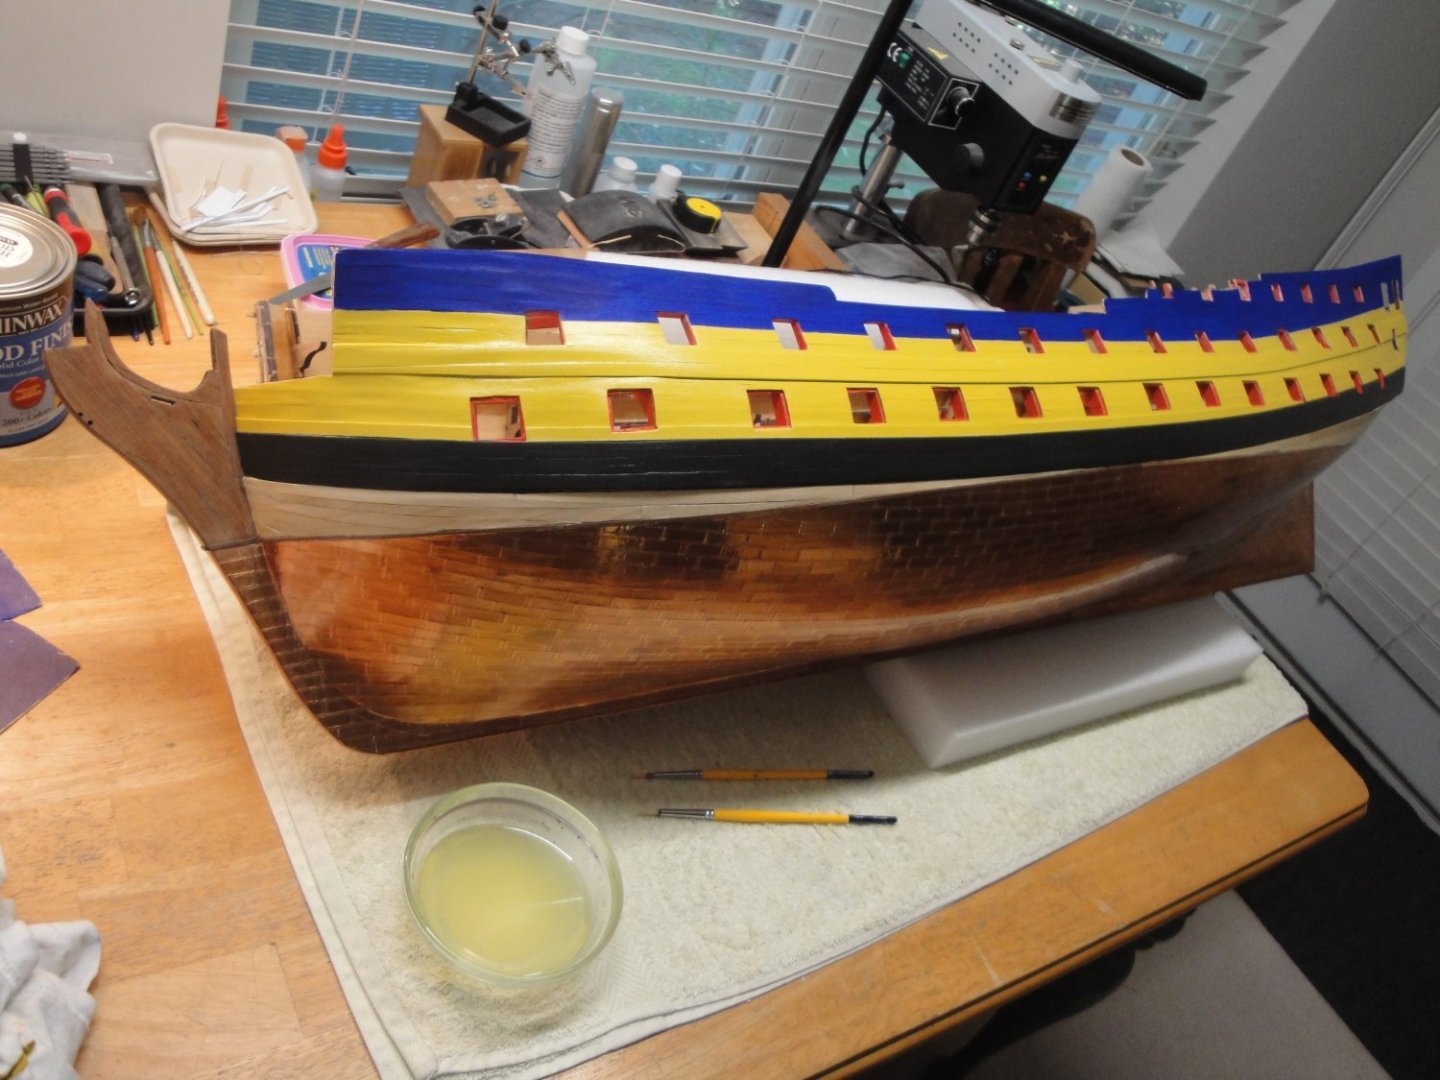
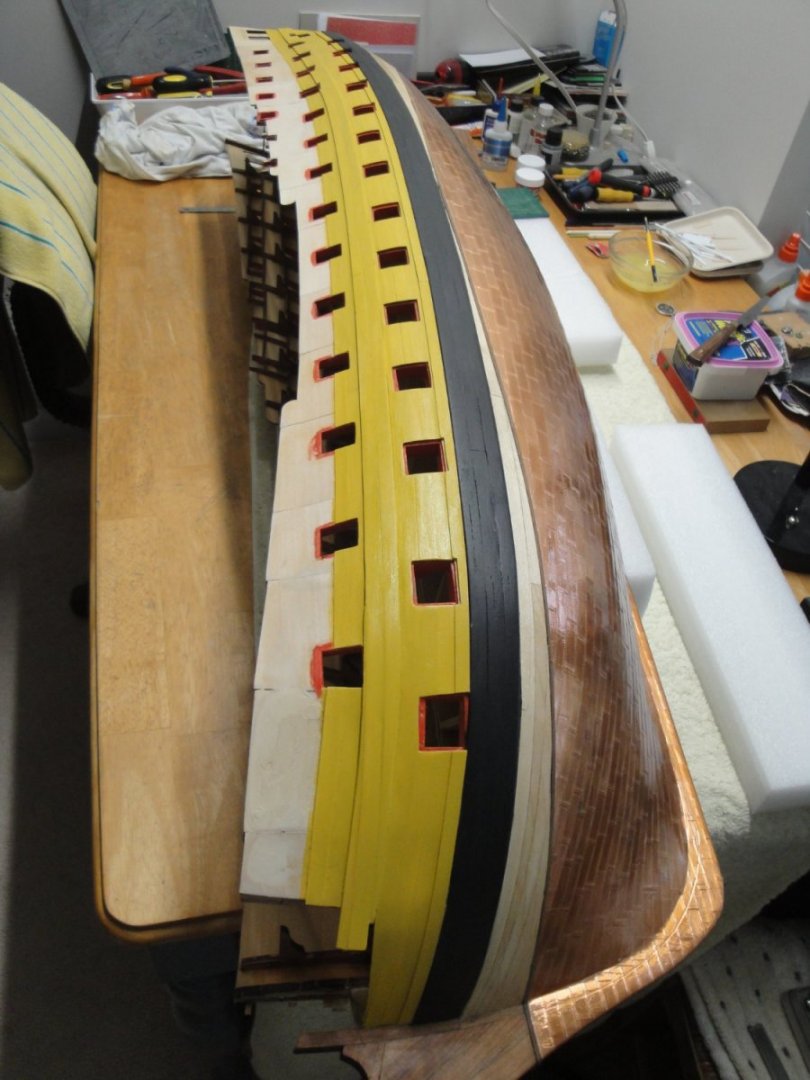
 The port side is almost completed. I still have to paint the gun ports, carefully.....and endlessly. The stern is wide open and I am skipping the installation of the window frame as it would result in a broken part (8 windows wide): Same for the bow, which si coming in Session #4, after the installation of the main deck: The next big task of that endless SESSION #2, is the building of the gun deck: Overall view of the beast: It is starting to get heavy..... Yves
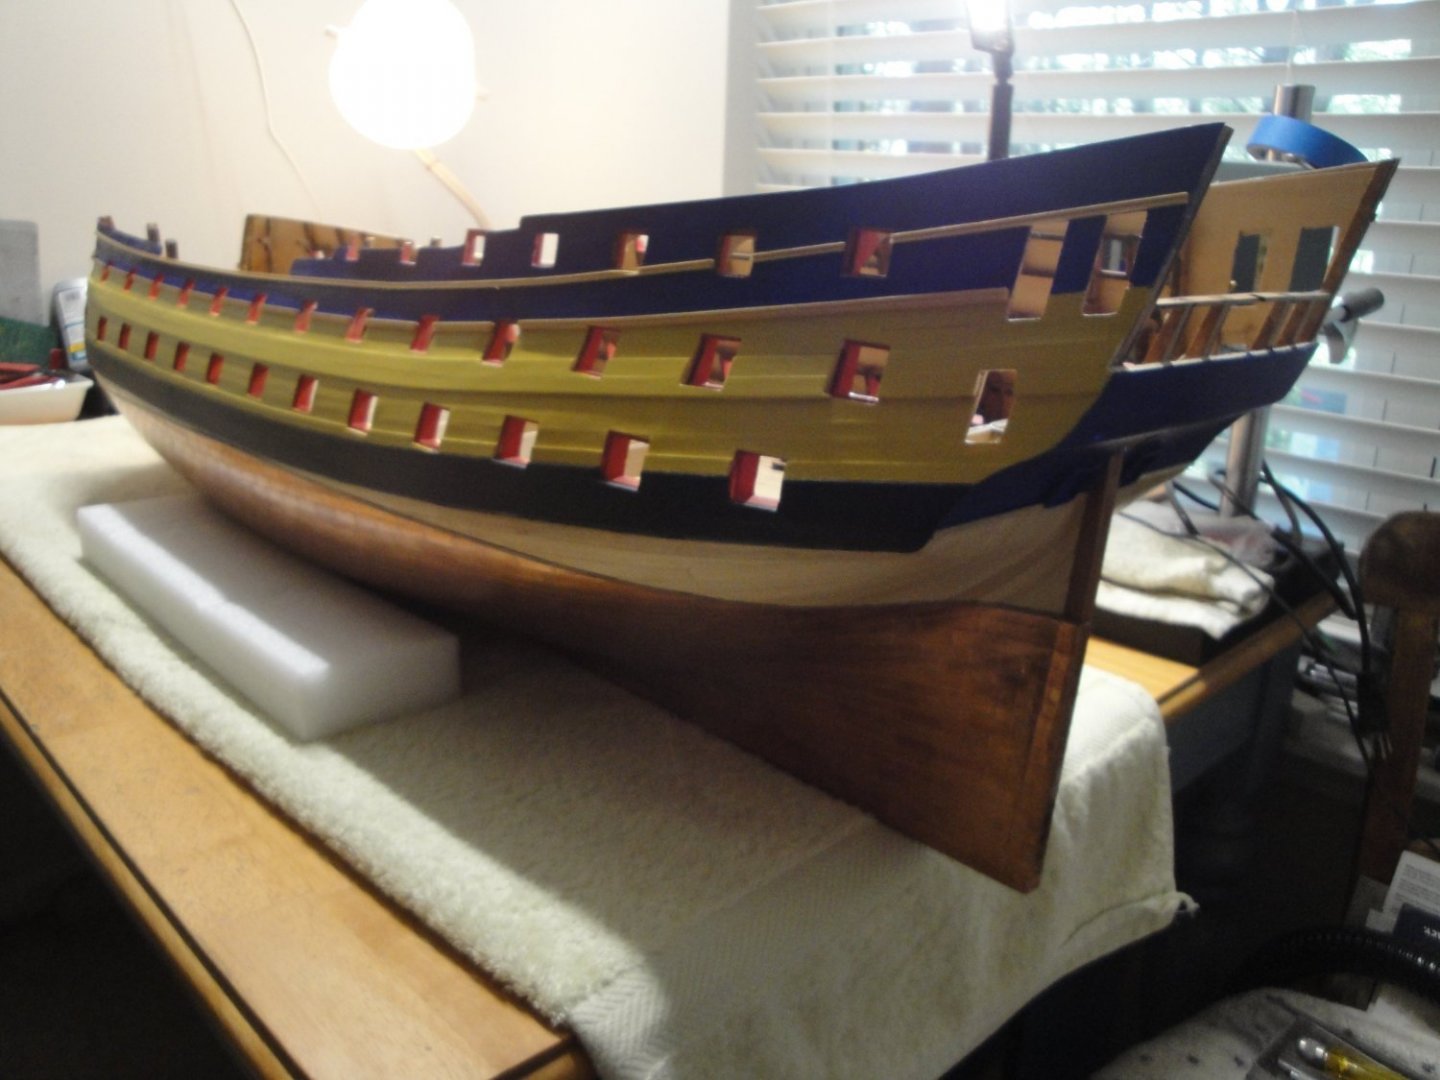


- 507 replies
-
- 16
-

-

-
Beautiful model. So elegant on the water. Yves
-
Having a little diorama immediately changes the appearance of the model. Very well done Alan. Yves
-
F-86F-30 Sabre by Egilman - Kinetic - 1/32nd scale
yvesvidal replied to Egilman's topic in Non-ship/categorised builds
Egilman, I think there is a kit of the Sabre at 1/18 scale by Hobby Boss. I am quite certain that that kit could benefit from your scale up jet engine, once you manage to print it. I see a lot of potential, scaling up or down such a lovely engine. Yves -
Alan, for some of the parts, I had a friend print them with a resin printer. The PLA just doesn't cut it. You may try at very slow speed (40% or 20 mm per second) to improve the quality. Yves
- 460 replies
-
- 3
-
-
- Finished
- Flower-class
- (and 1 more)
-
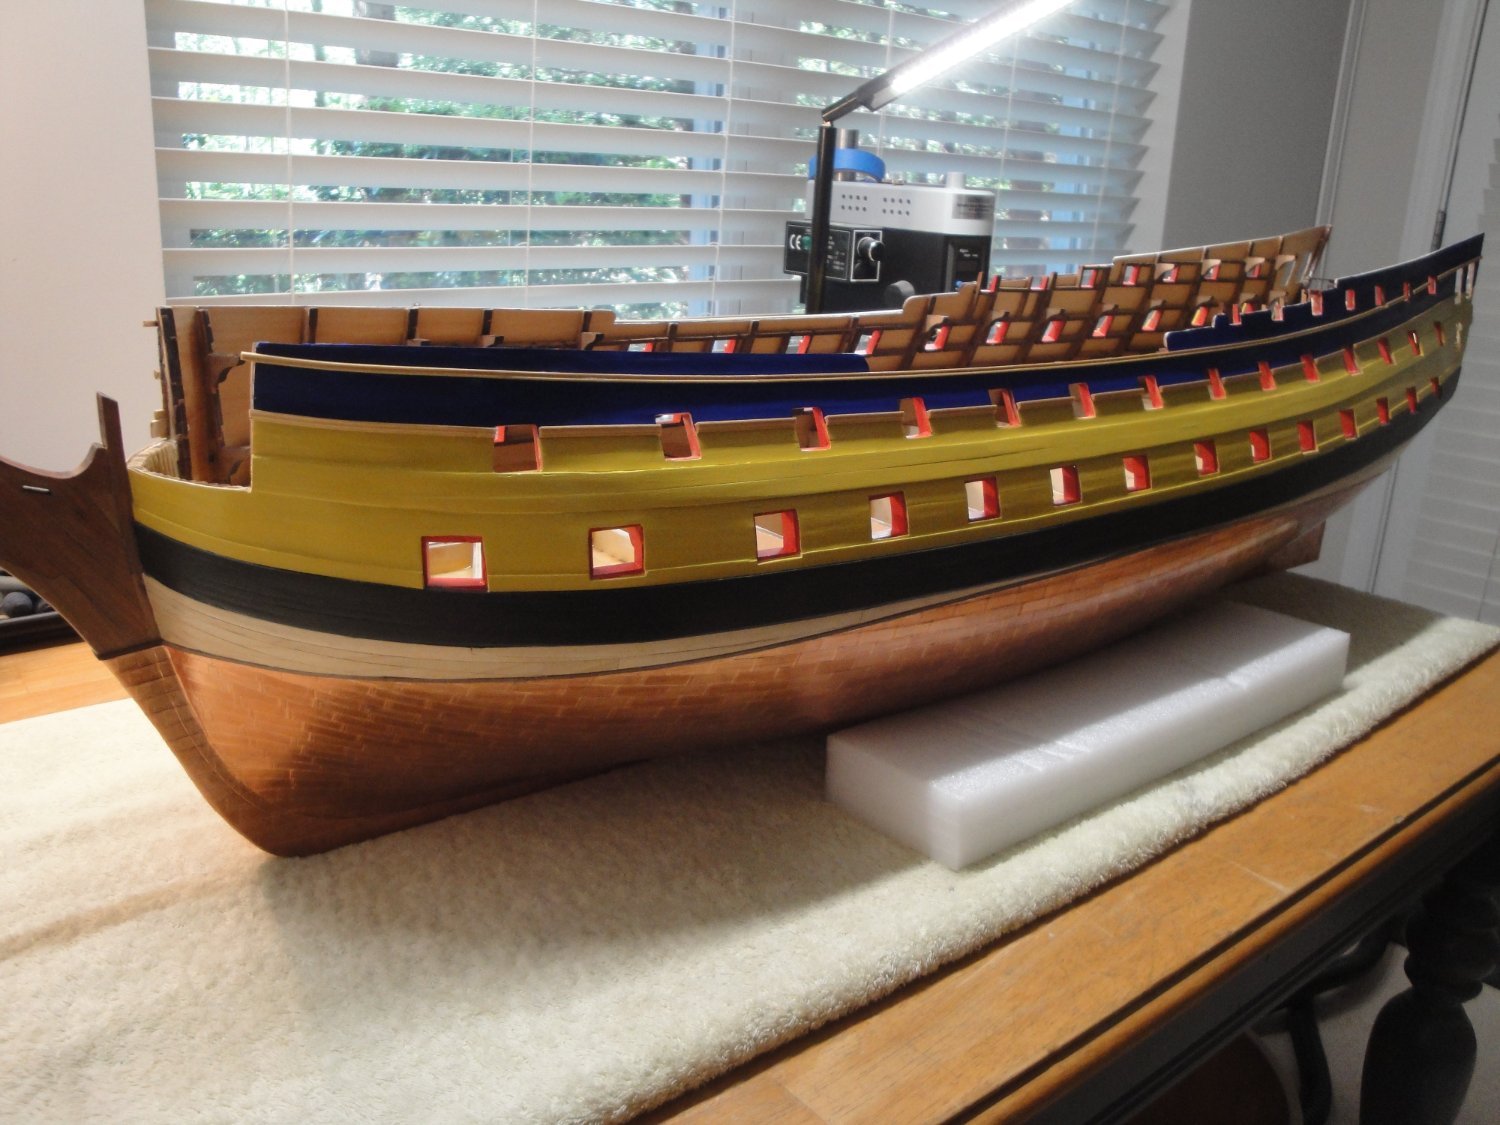
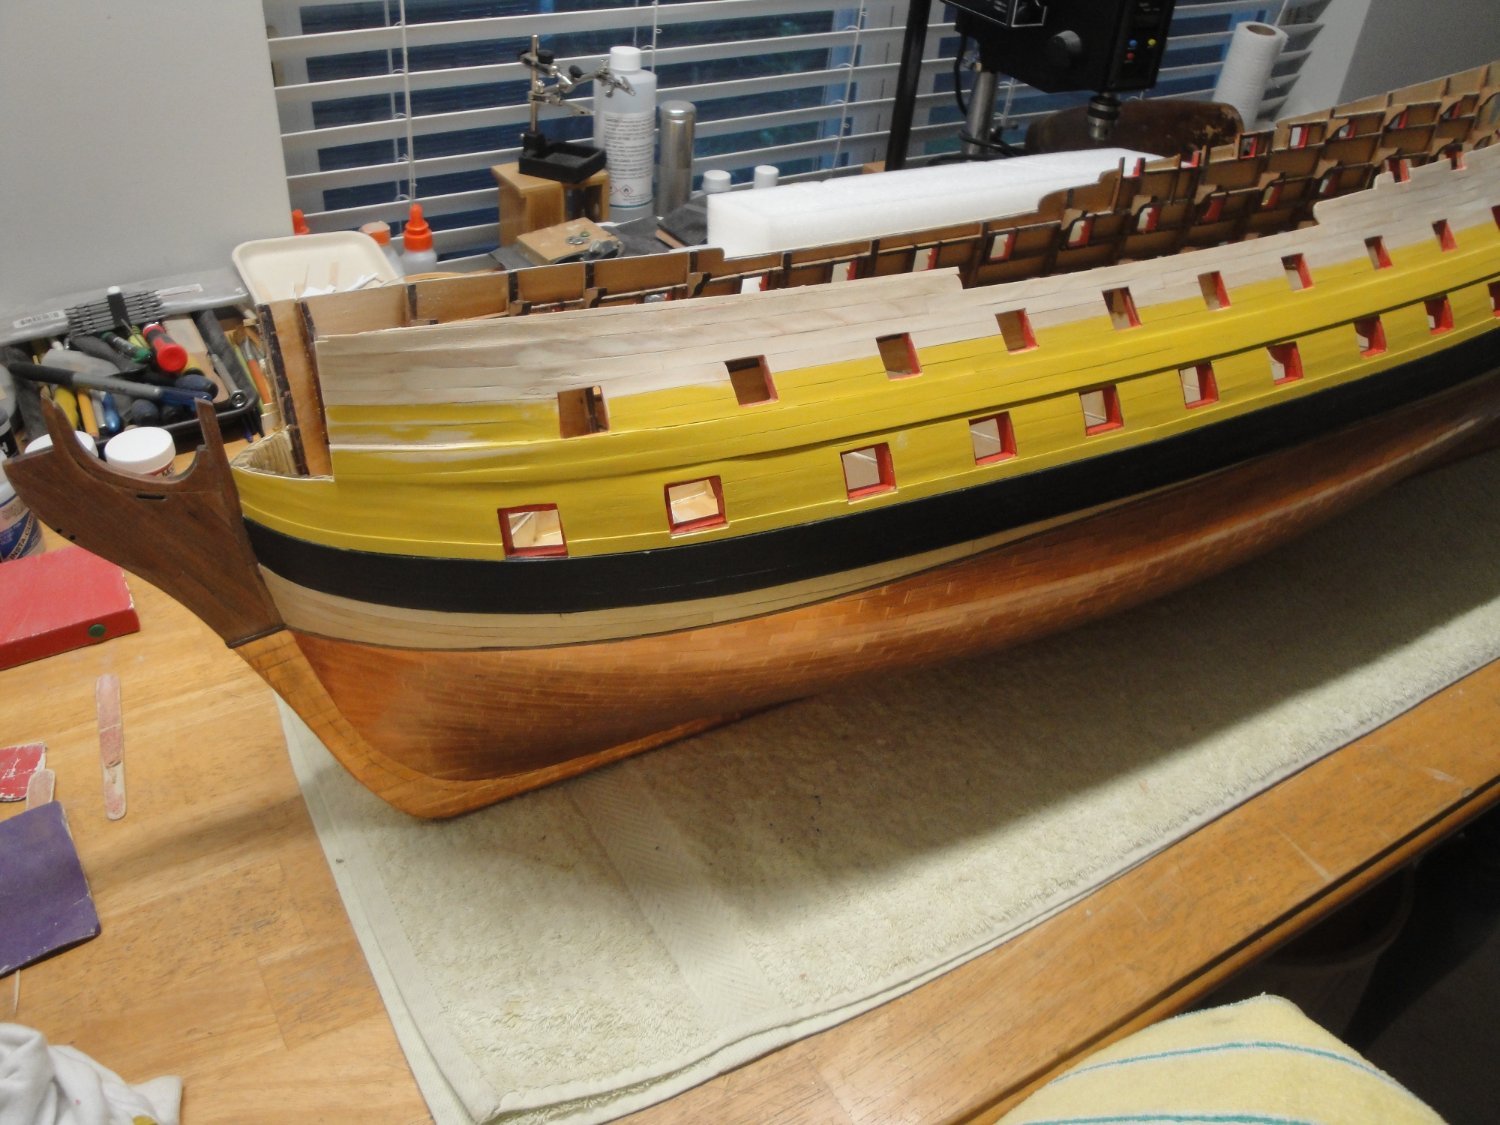
Four or five coats later (I lost track of them), I think I have the colors pretty much laid out nicely: Of course, the red delicate touch-ups on the gun ports, remain to be brushed. I will now move to the rails ("D" and "E") to match the other side of the hull. Thank you for the Likes and encouragements. Yves
- 507 replies
-
- 18
-
-
-
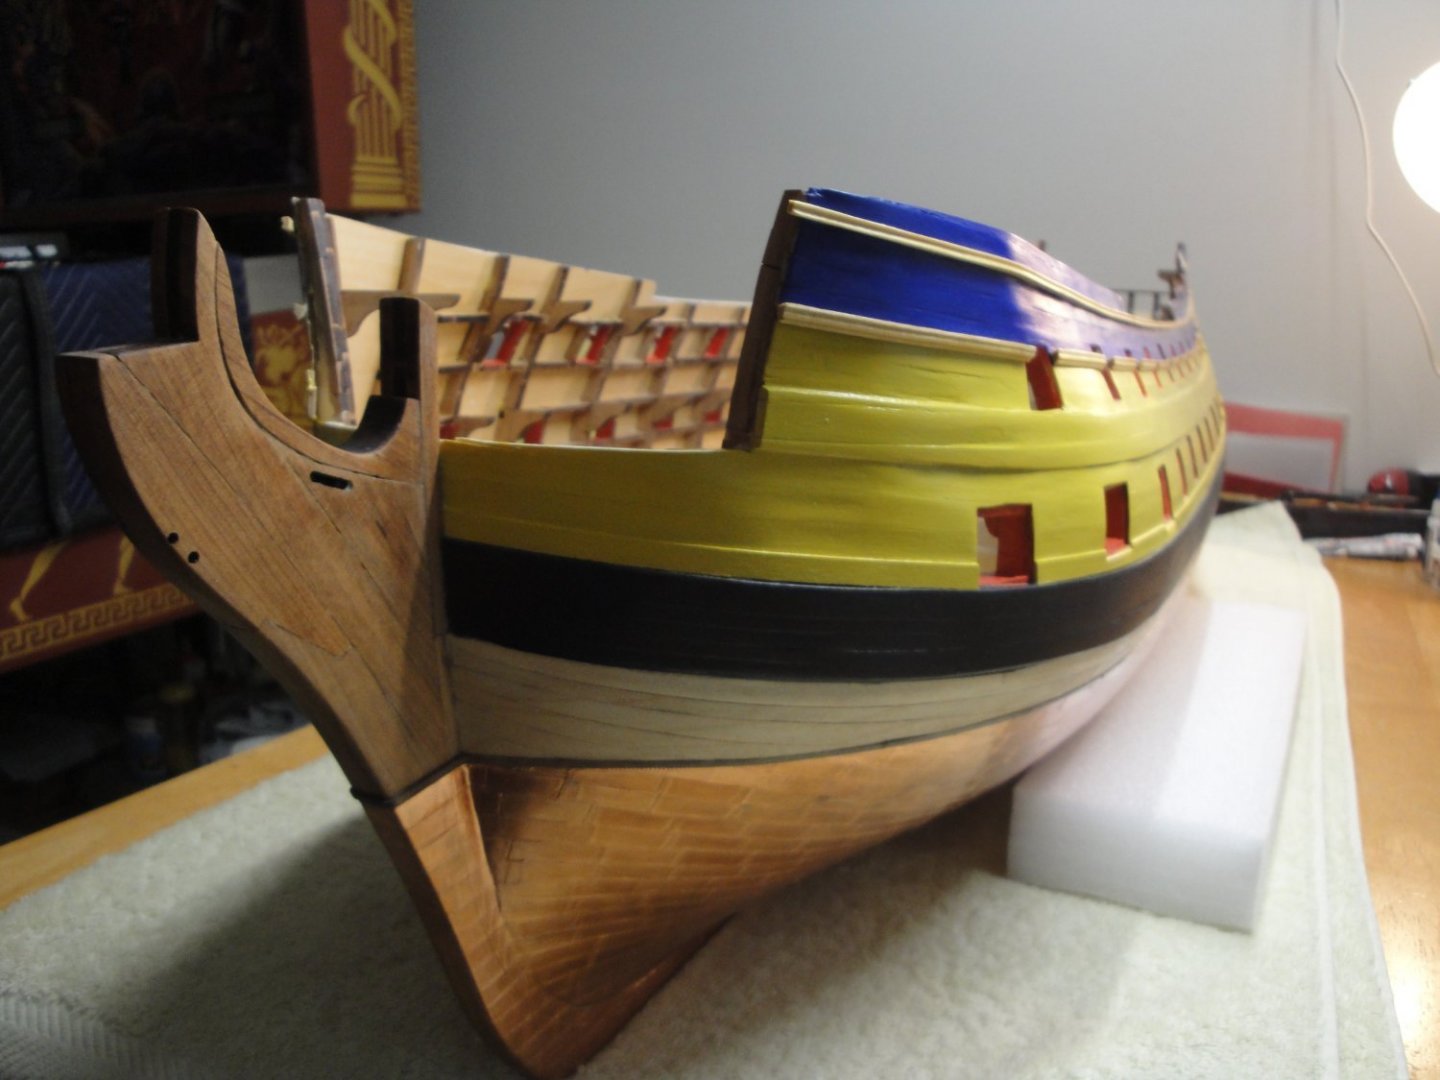
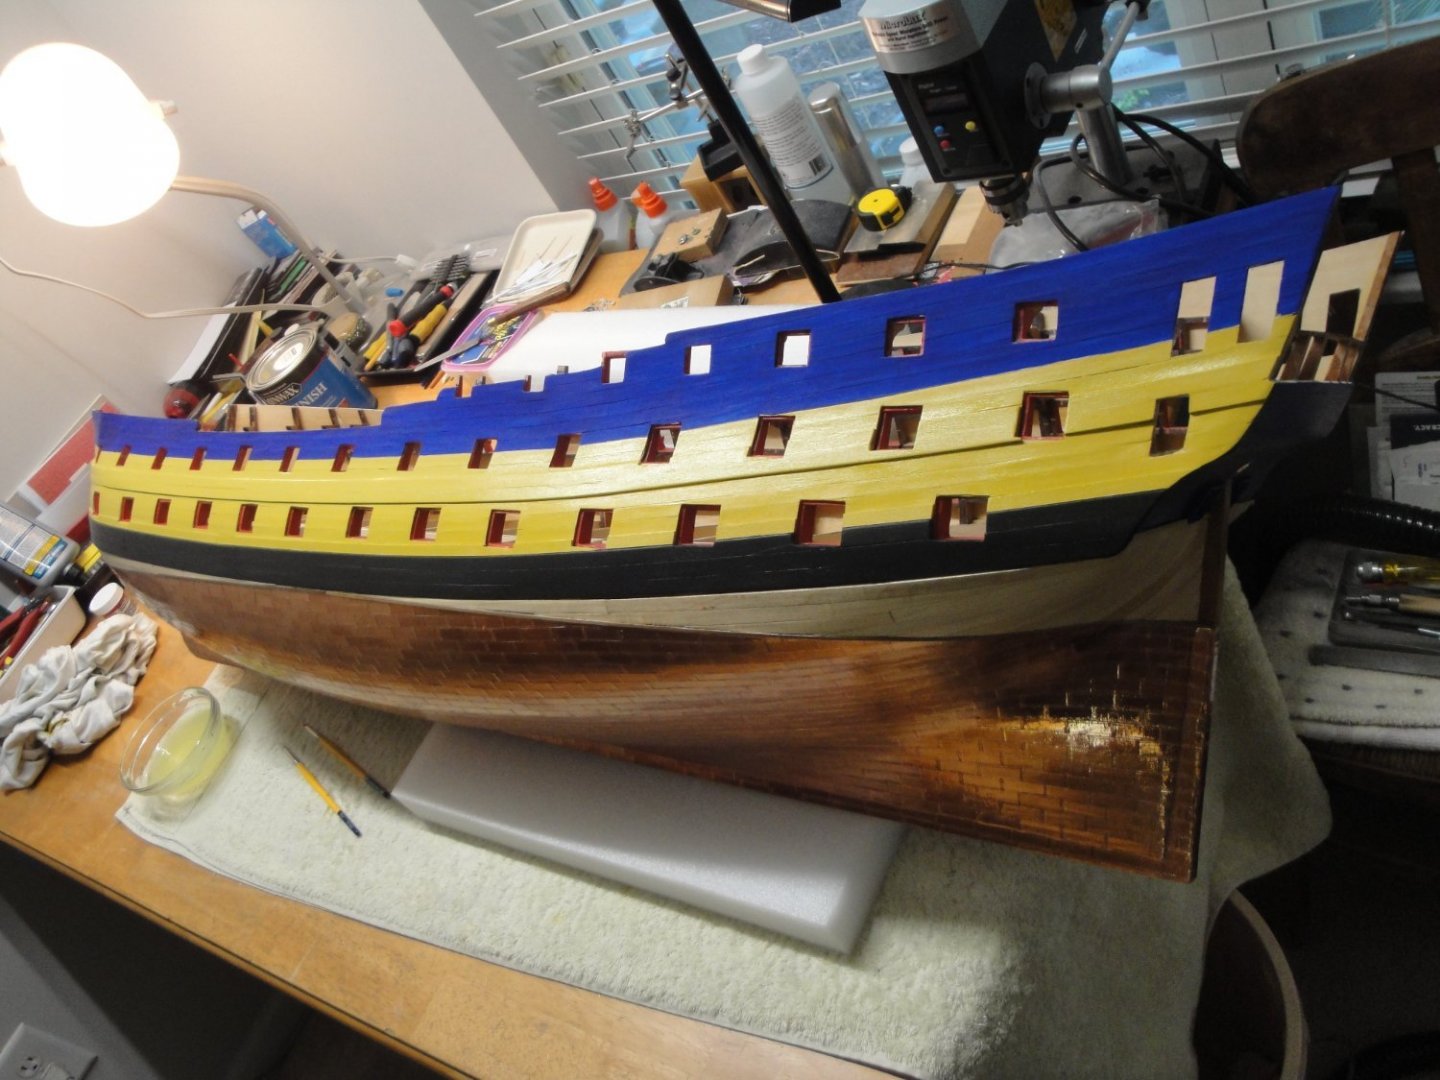
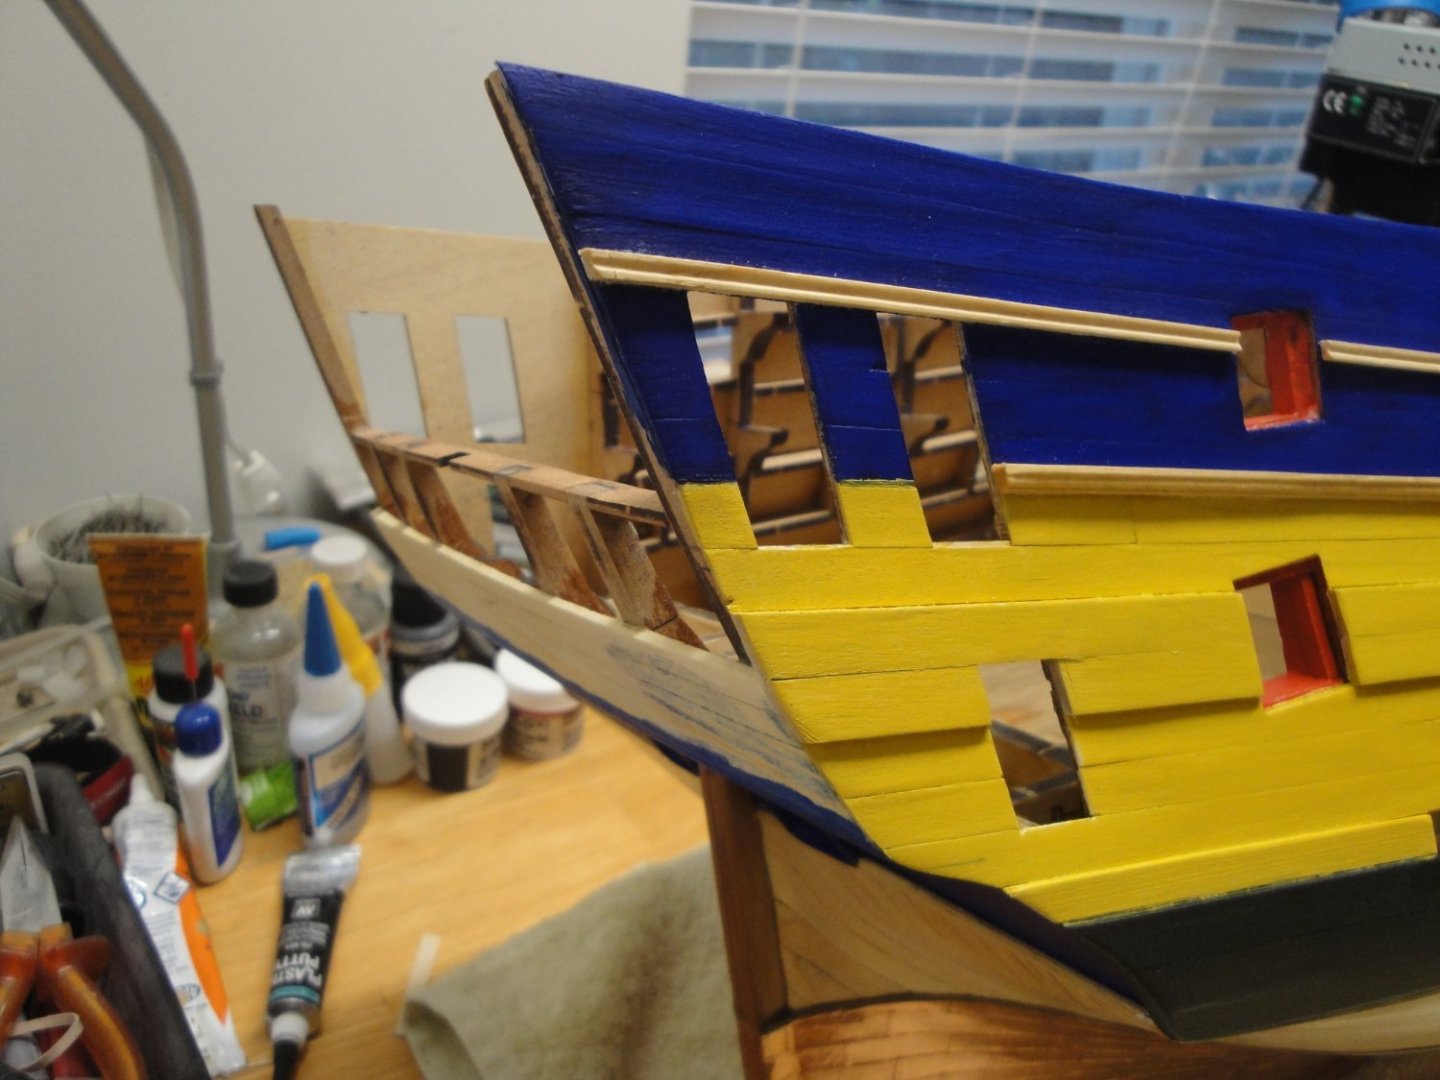
The upper hull on the port side, has been planked and is now ready for its first coat of ultramarine blue: This will allow me to better see the numerous small imperfections that are always present on a model of such size. Yes, there will be two to three more coats of yellow, with some sanding in between. And of course, the fine detailing with a red brush.... After that, I will install the rails and we will be able to transition to the main gun deck. Overall, I am glad I did not finish the gun deck and broke free from the sequence of instructions. Not having the deck in place, allows you to grab the hull using the bulkheads. Yves


- 507 replies
-
- 16
-
-
F-86F-30 Sabre by Egilman - Kinetic - 1/32nd scale
yvesvidal replied to Egilman's topic in Non-ship/categorised builds
Egilman, Will you be offering a commercial version of your incredible 3D printed jet engine for that kit? Yves -
There are quite a few Emma C Berry being built on this forum or in other places. Your jig simplify greatly the delicate assembly process of the frames. You should offer a rental service of this "jig tool" to all potential Emma Berry kit builders. I have seen this done with special tool for cars or other hobbies and it usually works rather well. Yves
-
I am glad you decided to glue the main cabin to the deck. Yves
- 58 replies
-
- 1
-
-
- Calypso
- Billing Boats
- (and 1 more)
-
Thank you for the compliments. No, I am not open to any printing for multiple reasons: - It takes too much time. - You need to get a printer and jump in with the rest of the crowd. You will not regret it. - The printing learning curve is not that bad at all. It is a great skill to have. - You may find a 3D printing club near where you live and they may help you at the beginning. - I am just too busy..... Yves
- 321 replies
-
- 4
-
-
- Finished
- Flower-class
- (and 1 more)
-
Fantastic model and incredible weathering. You truly improved the original kit ..... For having built the model straight from the kit, I can appreciate the extent of what you did. It is truly amazing. Only critics, I wish you had left some space (Line) between the pictures. Yves
- 22 replies
-
- 1
-
-
- Calypso
- Billing Boats
- (and 1 more)
-
Giampiero, You were definitely a ship builder in a past life. There is no doubt about it. Yves
-
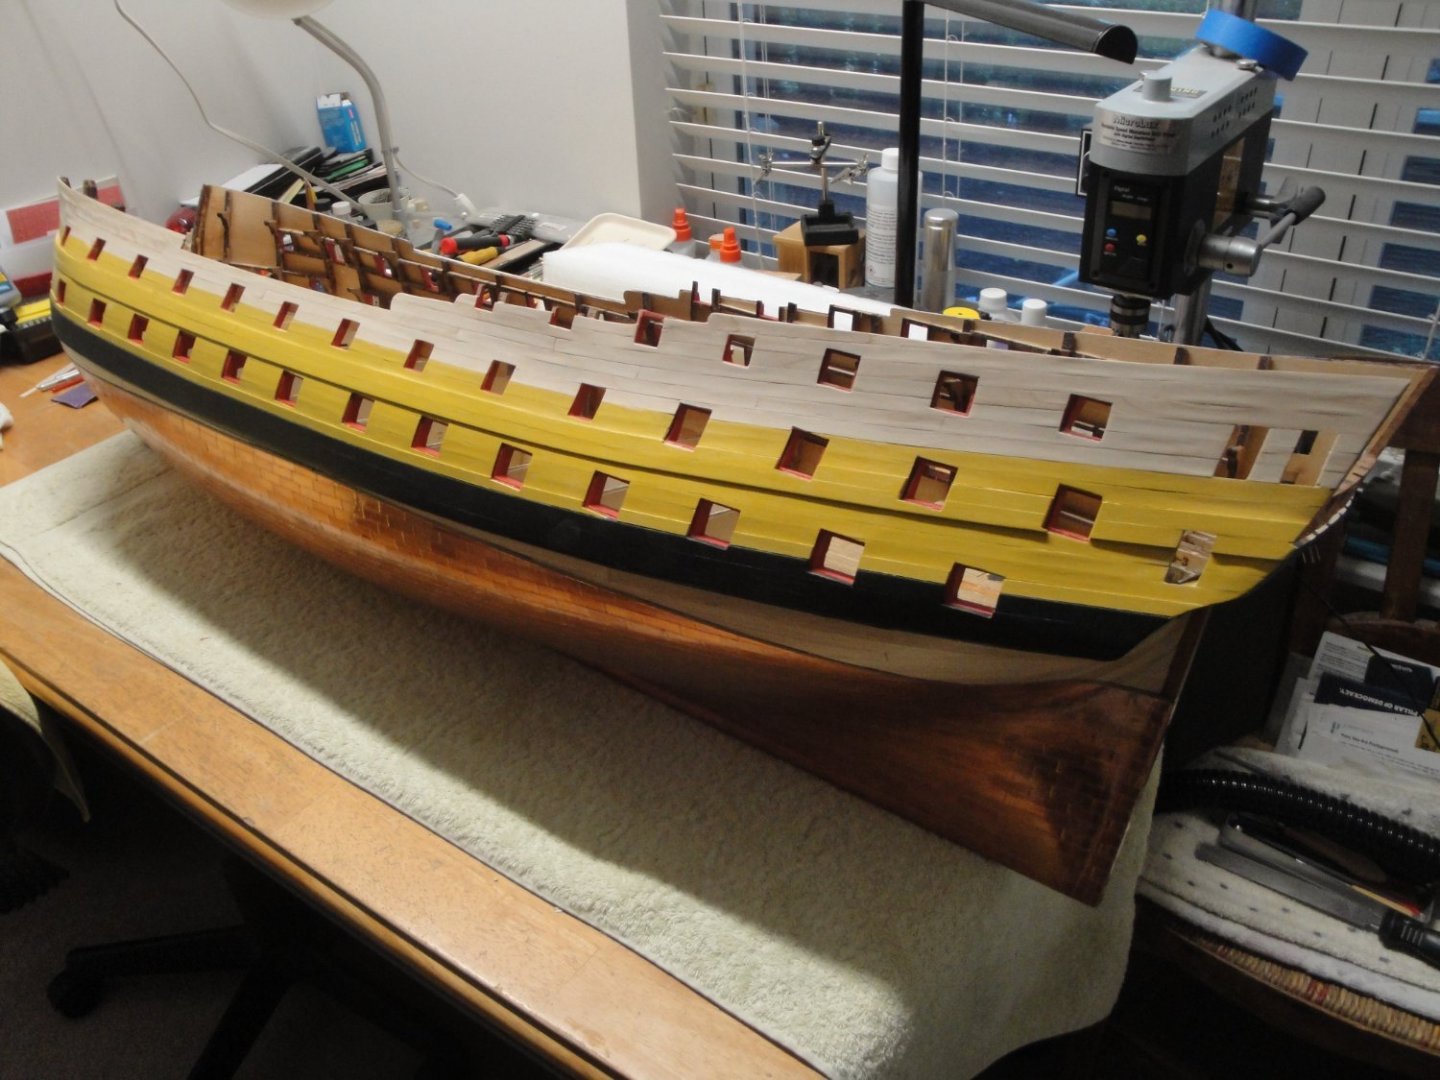
Two light coats of yellow, before planking the upper side: Then more yellow and a lot of blue.... At least 5 coats since the Ultramarine Blue is very transparent. Yves
- 507 replies
-
- 13
-
-
The deck will probably lighten up with time. Yves
-
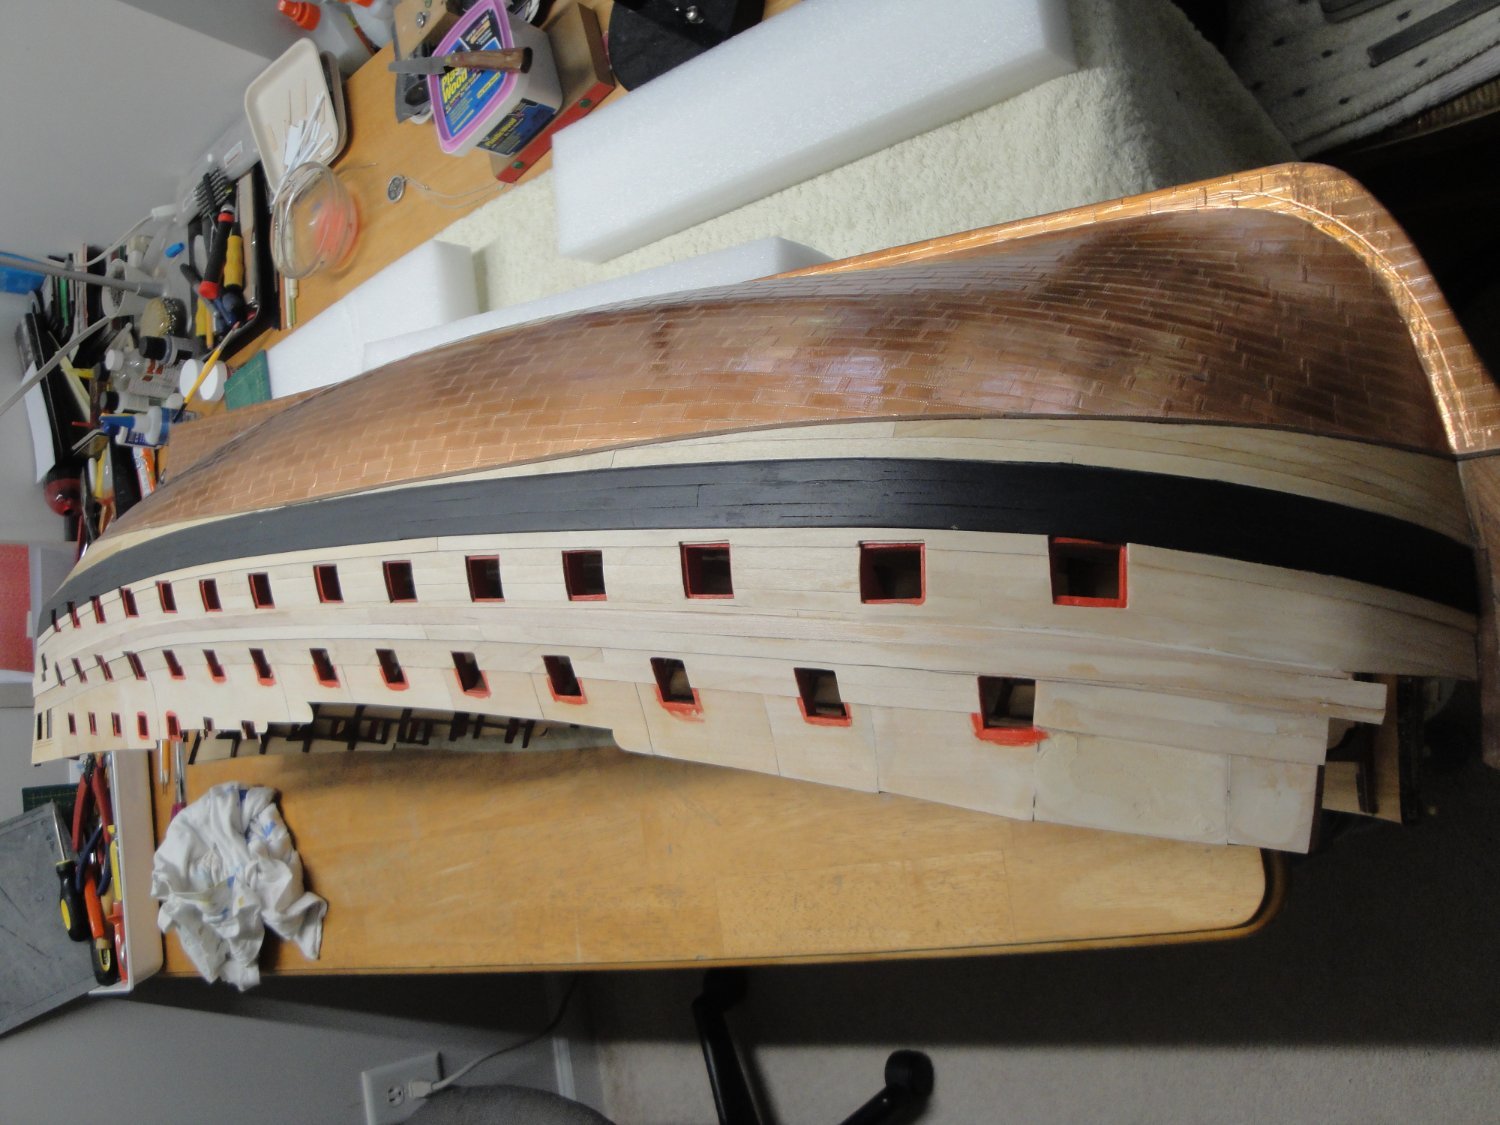
A quick update: the planking above the channels and below the main rail has been completed: Now, I will brush a first coat of yellow and then continue with the upper planking and the rails. I usually place 5 coats of yellow and blue, with fine sanding in between. It takes time to make it look nice. Yves

- 507 replies
-
- 12
-
-
Theme display
yvesvidal replied to Blue Ensign's topic in Using the MSW forum - **NO MODELING CONTENT IN THIS SUB-FORUM**
I do NOT like the new look. Yves -
You use optic fibers. A central source provided by an LED and a set of small fiber strips funneled to the source LED. Then each strand of fiber can be routed to whatever location you want. Yves
-
Terrible tragedy....and also a convenient way to start a short war with Spain! Lots of strange stories going around that ship. Could it be another false flag event our USA Corporation government is so fond of? Yves
-
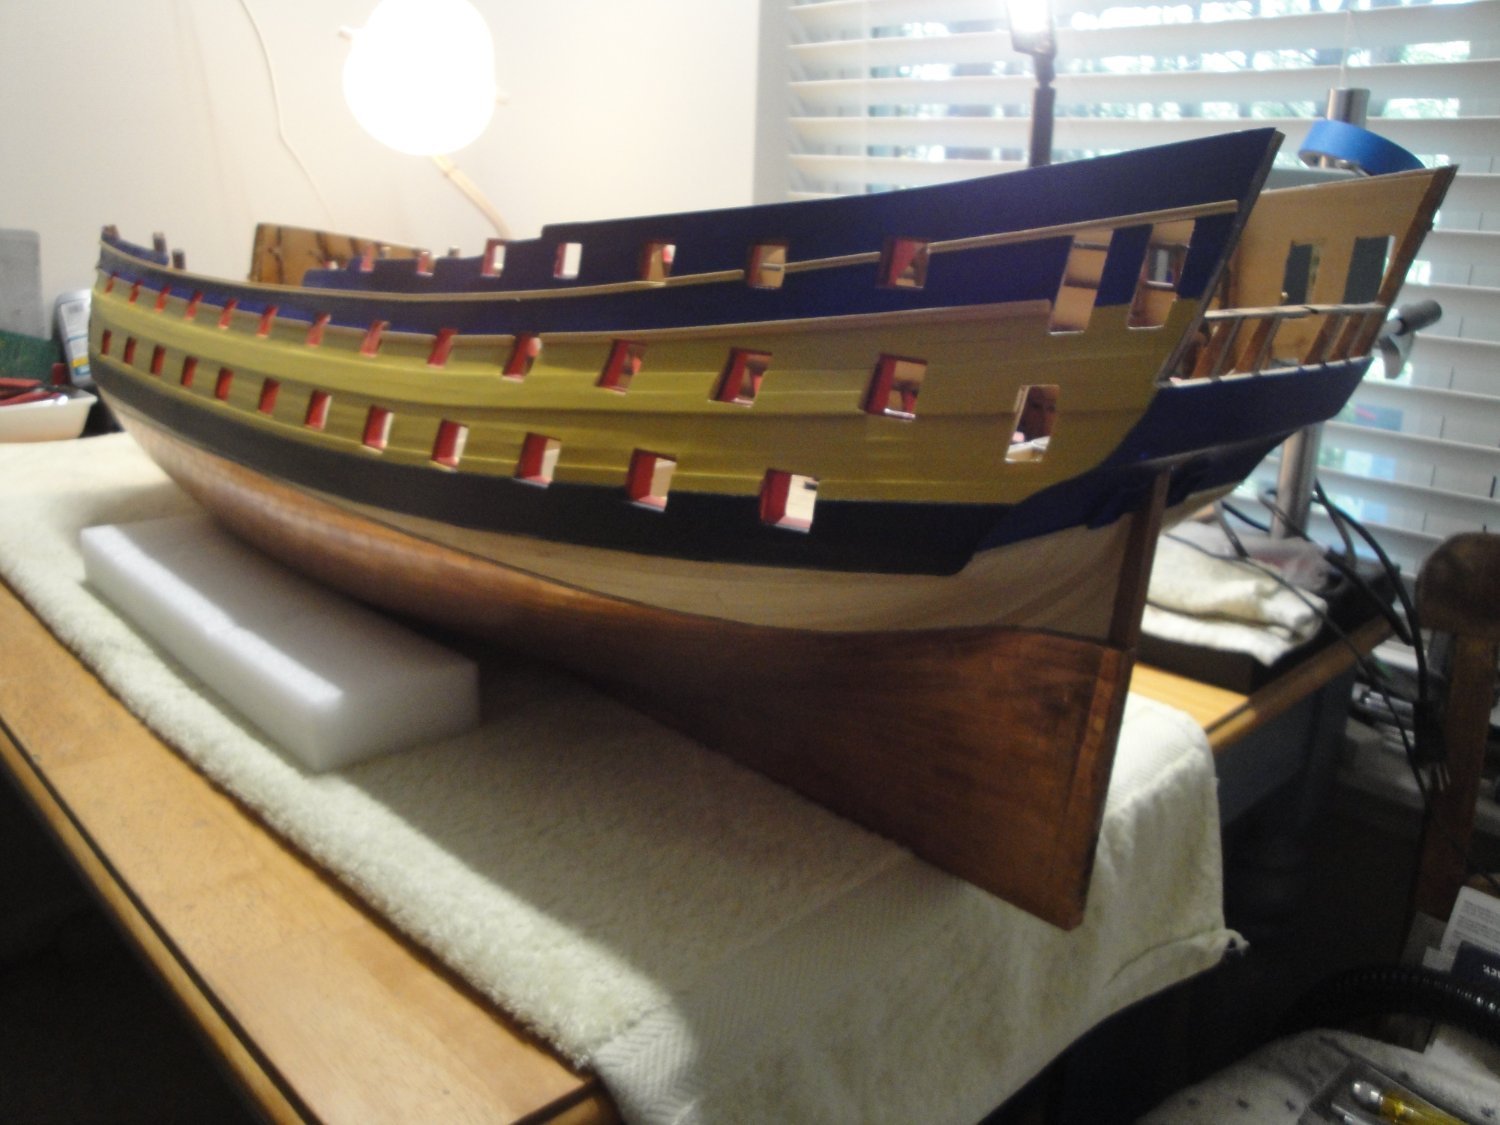
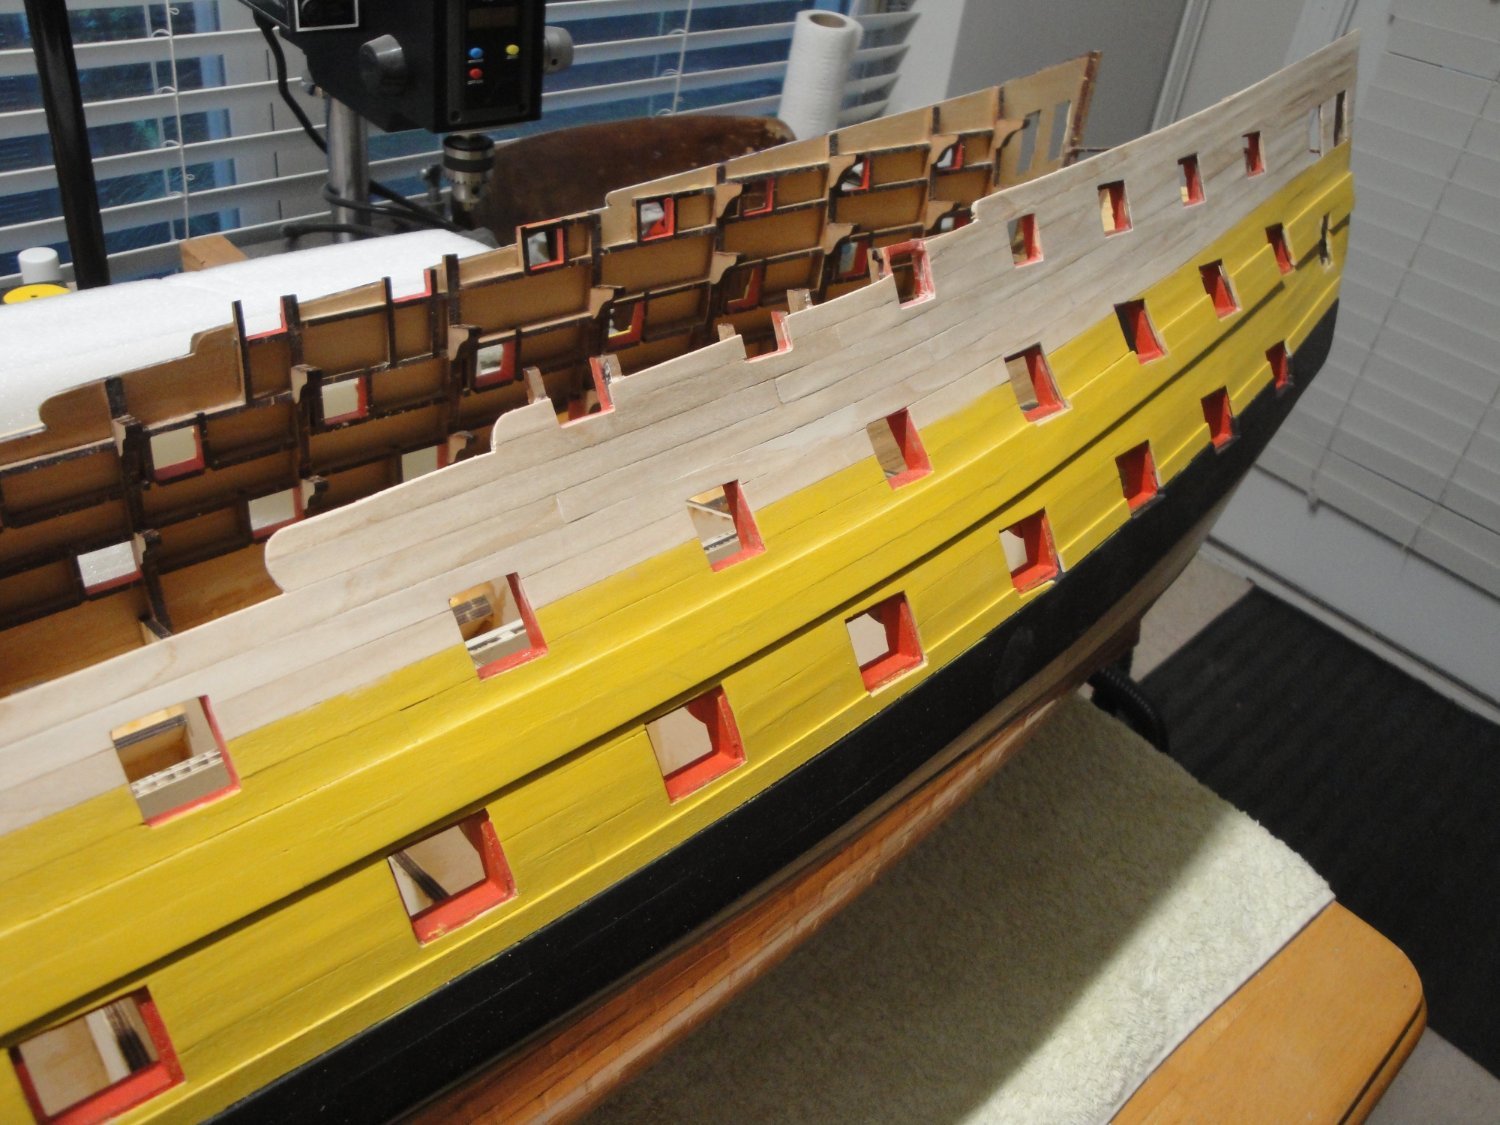
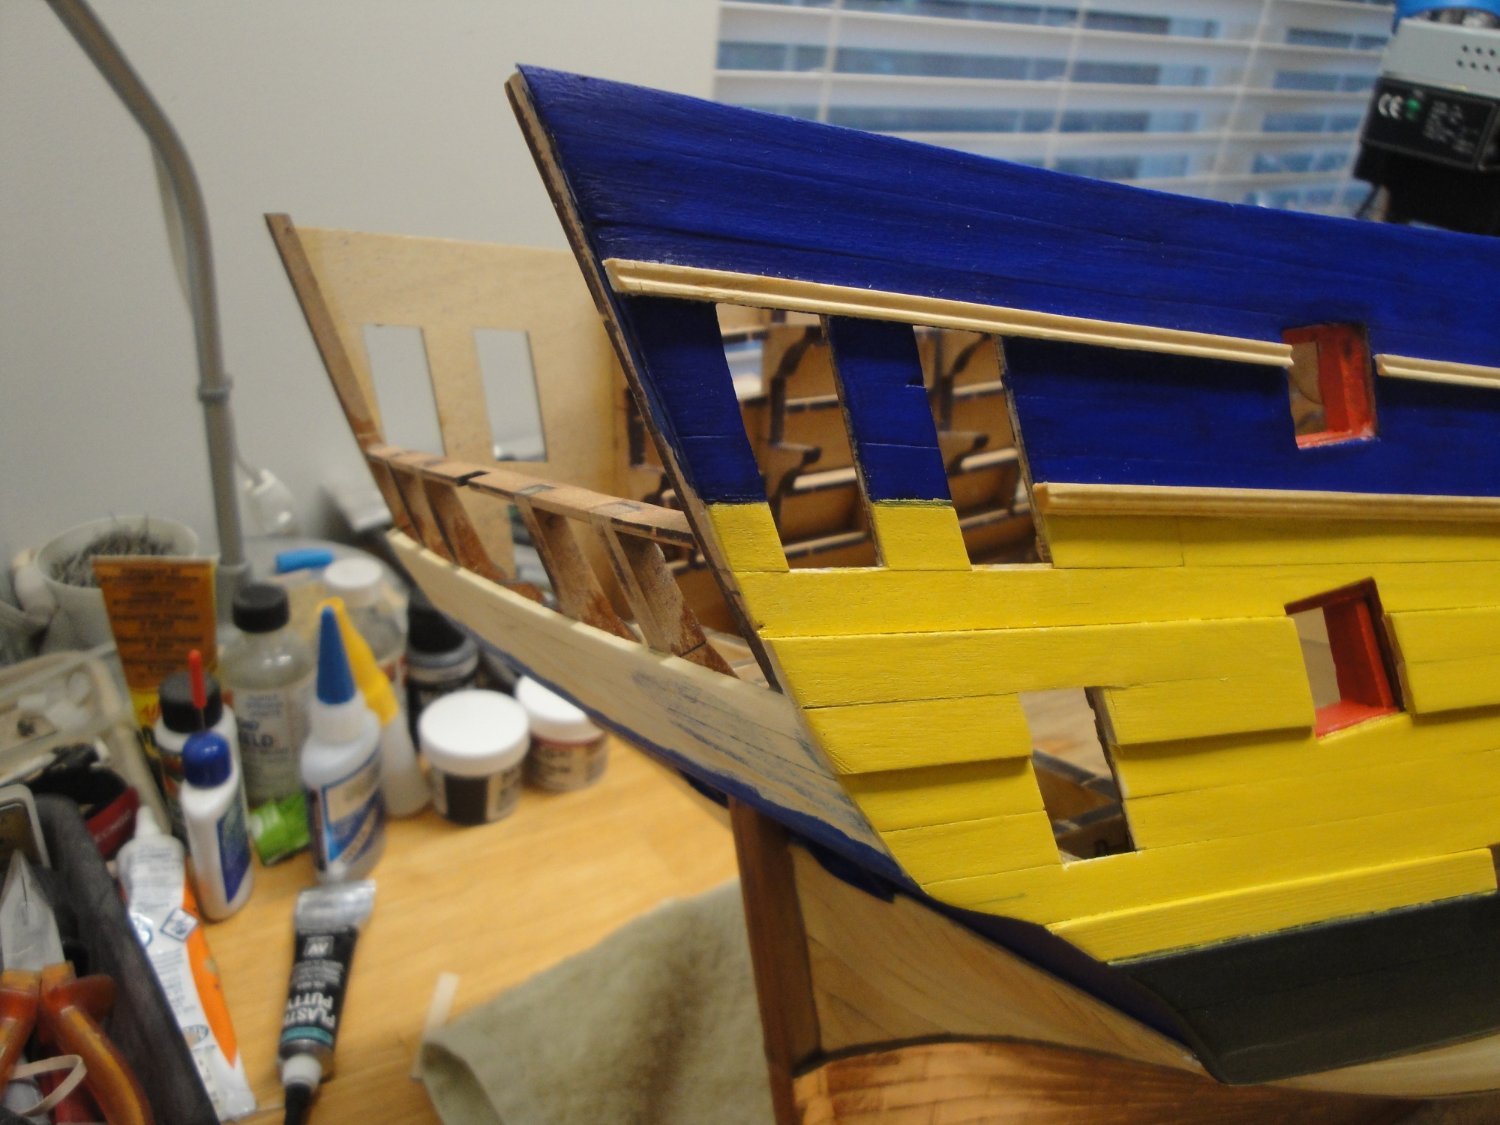
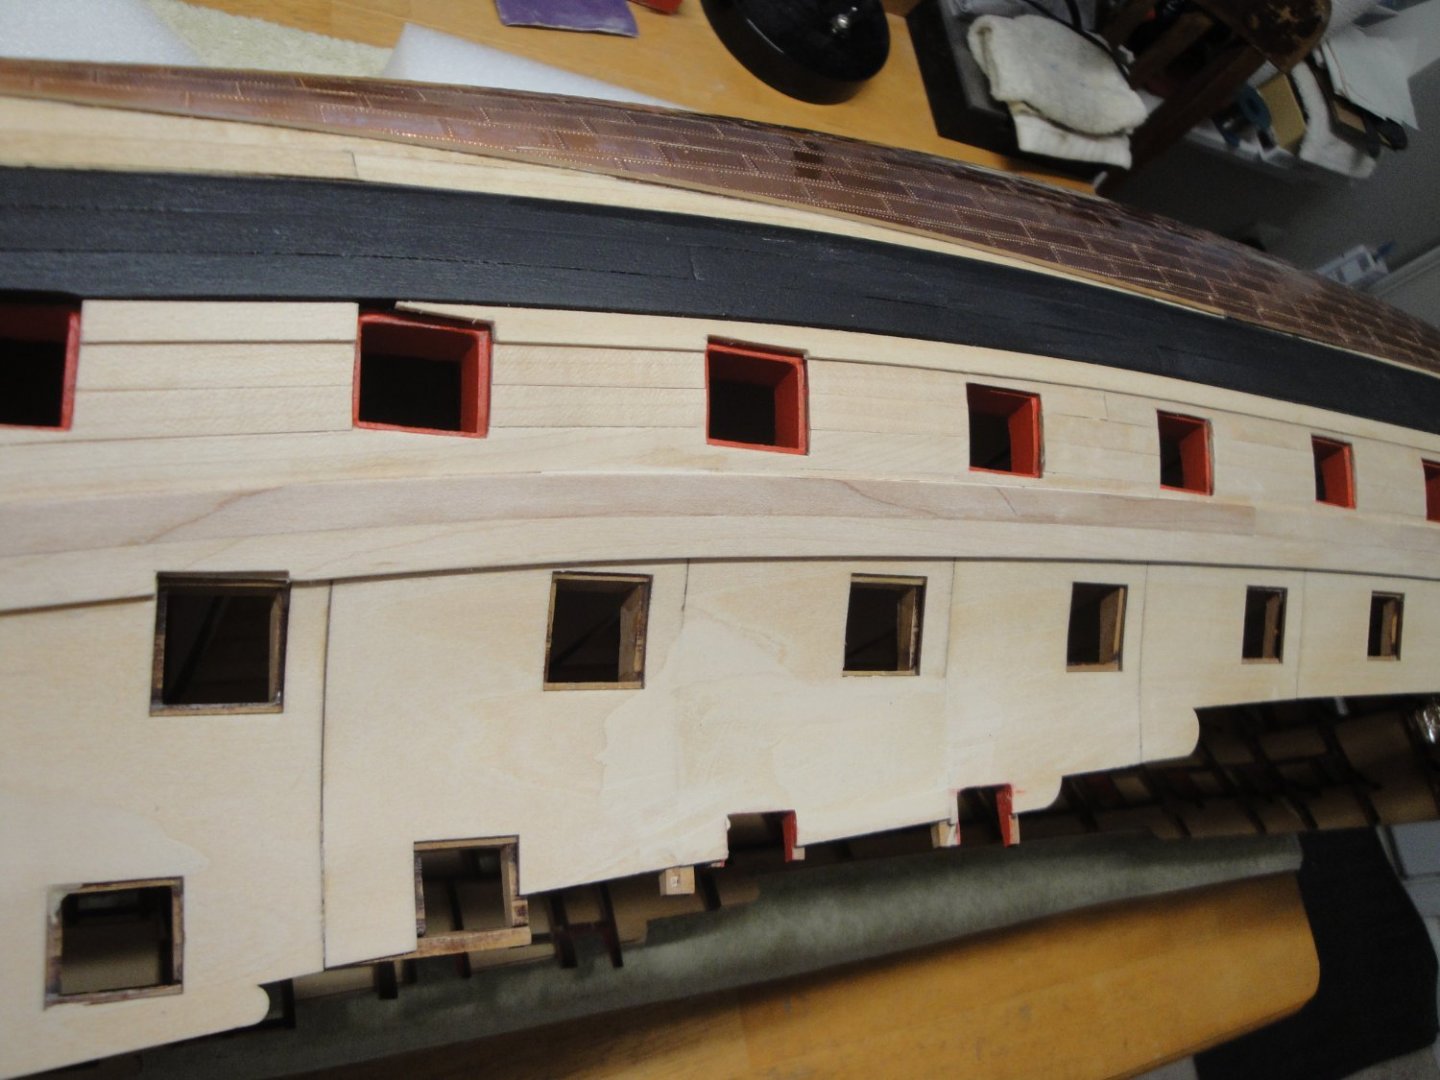
I am now working on the upper planking of the Port side of the vessel: The channels have been installed and glued, following the curves of the wales. Next, I have to rework all the gun ports which do not have a lid. They have to be flush with the plywood of the upper hull. When that is done, I will plank the upper hull and install the wood strips (D) and (E). YVes


- 507 replies
-
- 14
-
-
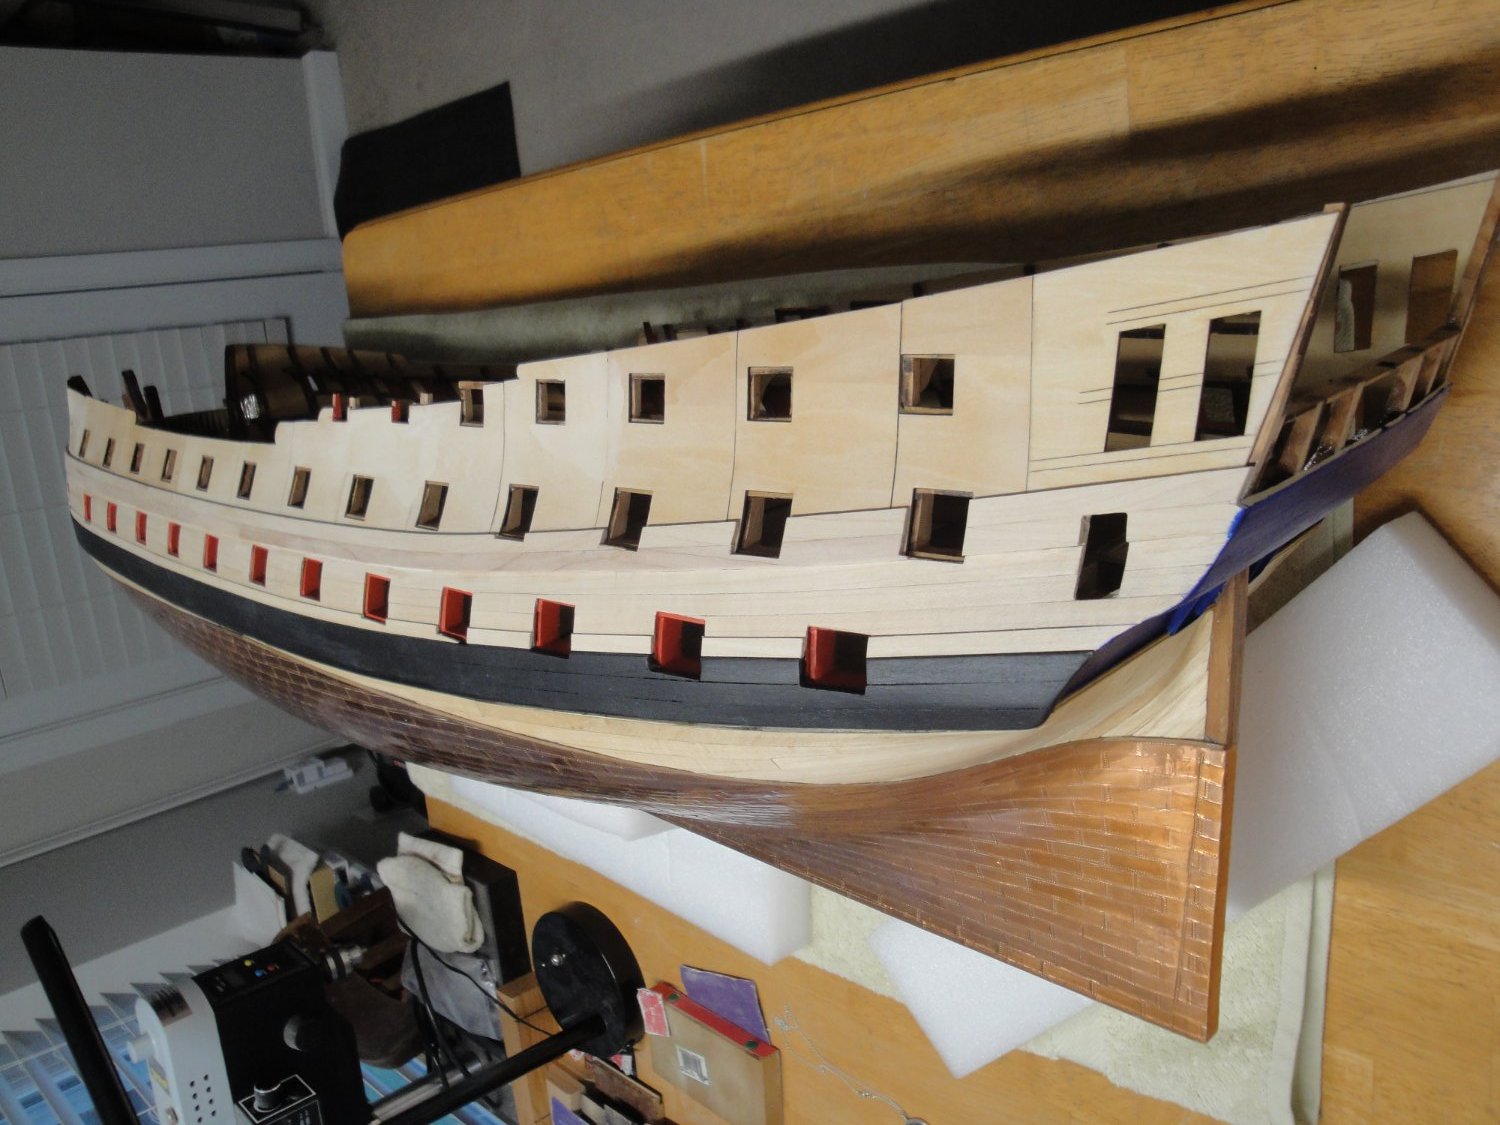
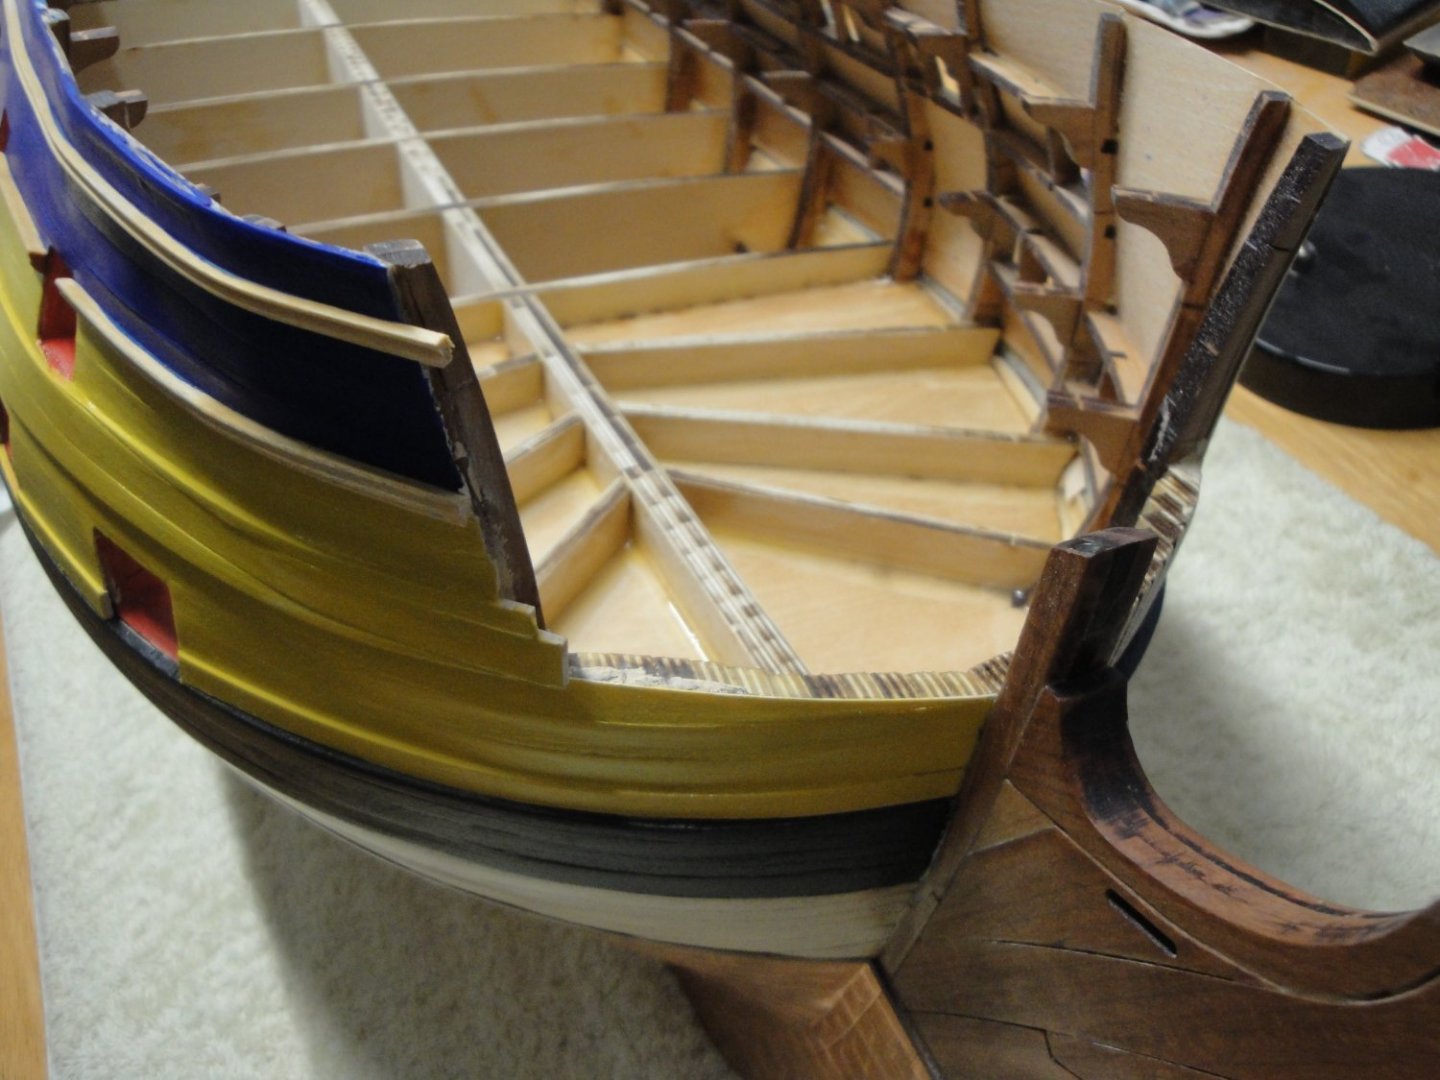
Still following Session #2, it is kind of difficult to figure out how the Stern and bow will be built. Therefore, I am leaving them unfinished for now: Yves
- 507 replies
-
- 12
-
-
What a little marvel. That Version 2 is just stupendous. Yves
- 476 replies
-
- 3
-

-
-
- sphinx
- vanguard models
- (and 1 more)
-
That is a lovely boat. I will be watching your progress. Yves
- 15 replies
-
- 1
-
-
- Artesania Latina
- Marie Jeanne
- (and 1 more)
-
Very nice and promising work. This is going to be a masterpiece ! If I may suggest a few things: Make sure that you install at least 4 white/yellowish LEDs per compartment. This is required to bring enough light to see all the details of the assembly. The front module is very long and a ceiling light near the torpedo access hatch is a must. You placed a light on the bulkhead, which is a very good thing. Be careful with the wiring. Your modules may not fit into the hull if you have too many wires or too thick of a harness. Since you are using the Eduard PE set, you do not have to cut the deck, which make it easier for you to hide the wiring. Otherwise, it will be visible from the outside. Finally, make sure that the light does not leak outside of the module, especially from the top. Again, not so much of a problem since you are going with Eduard PE set. Yves