yvesvidal
-
Posts
3,634 -
Joined
-
Last visited
Content Type
Profiles
Forums
Gallery
Events
Everything posted by yvesvidal
-
 I see the Italeri FIAT 806 that you described in another thread. It feels lonely.... Yves
 -
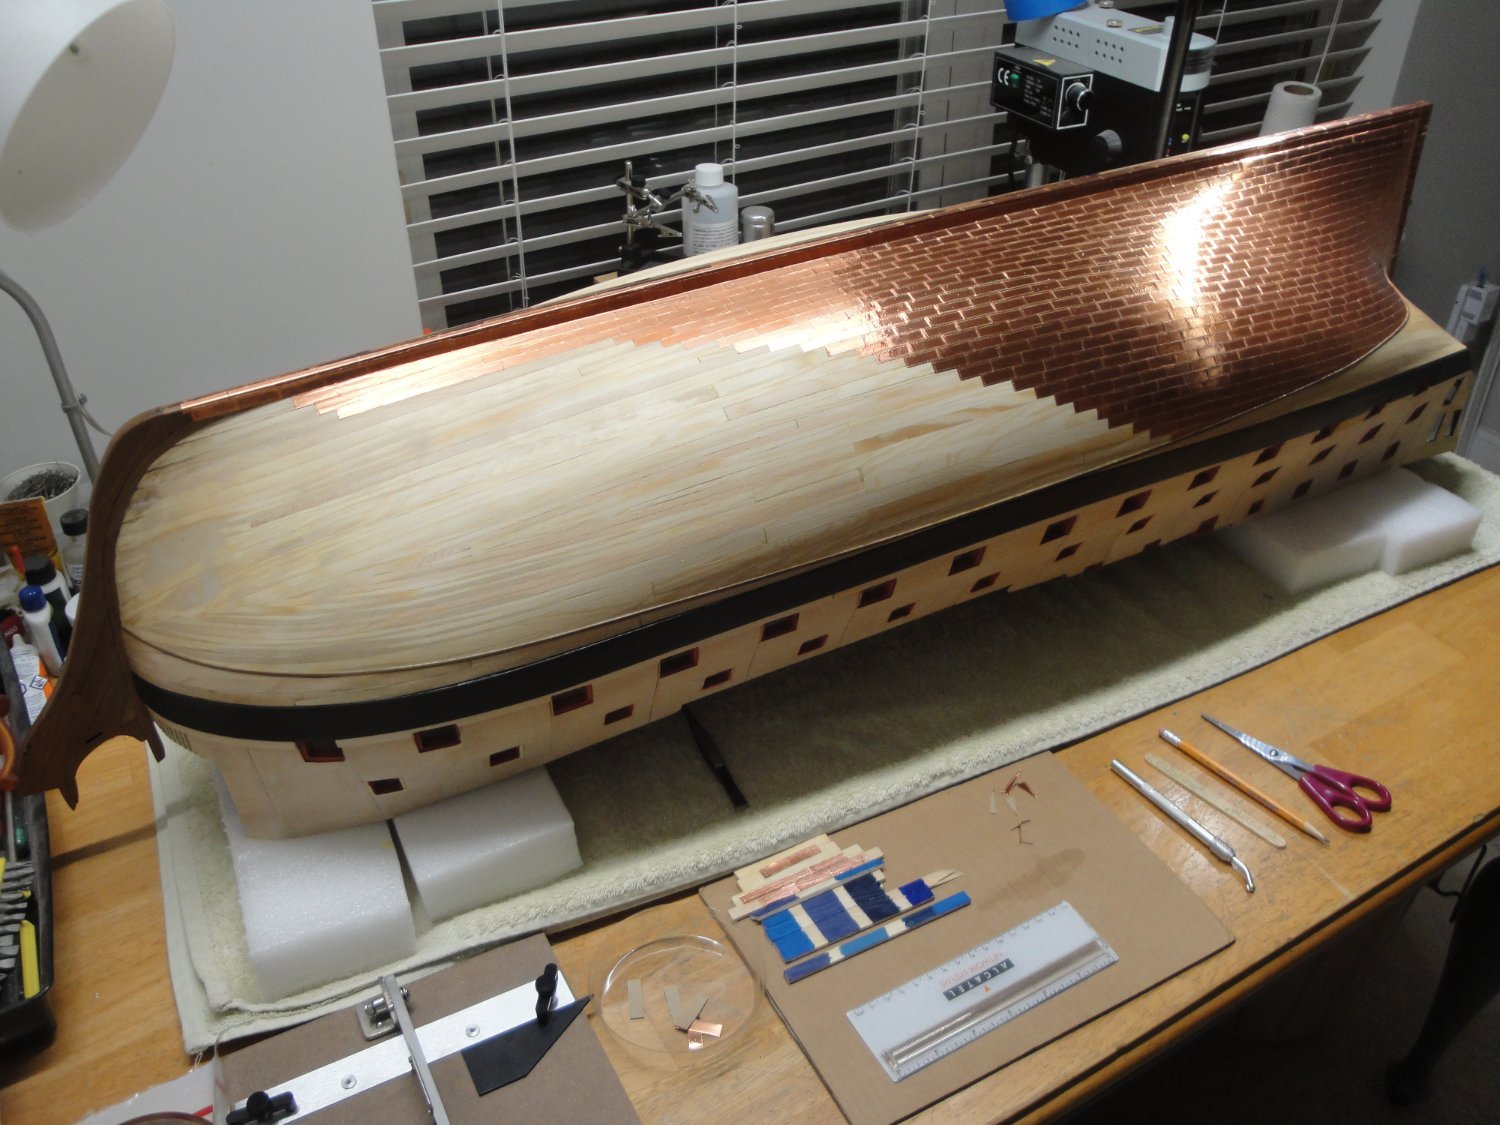
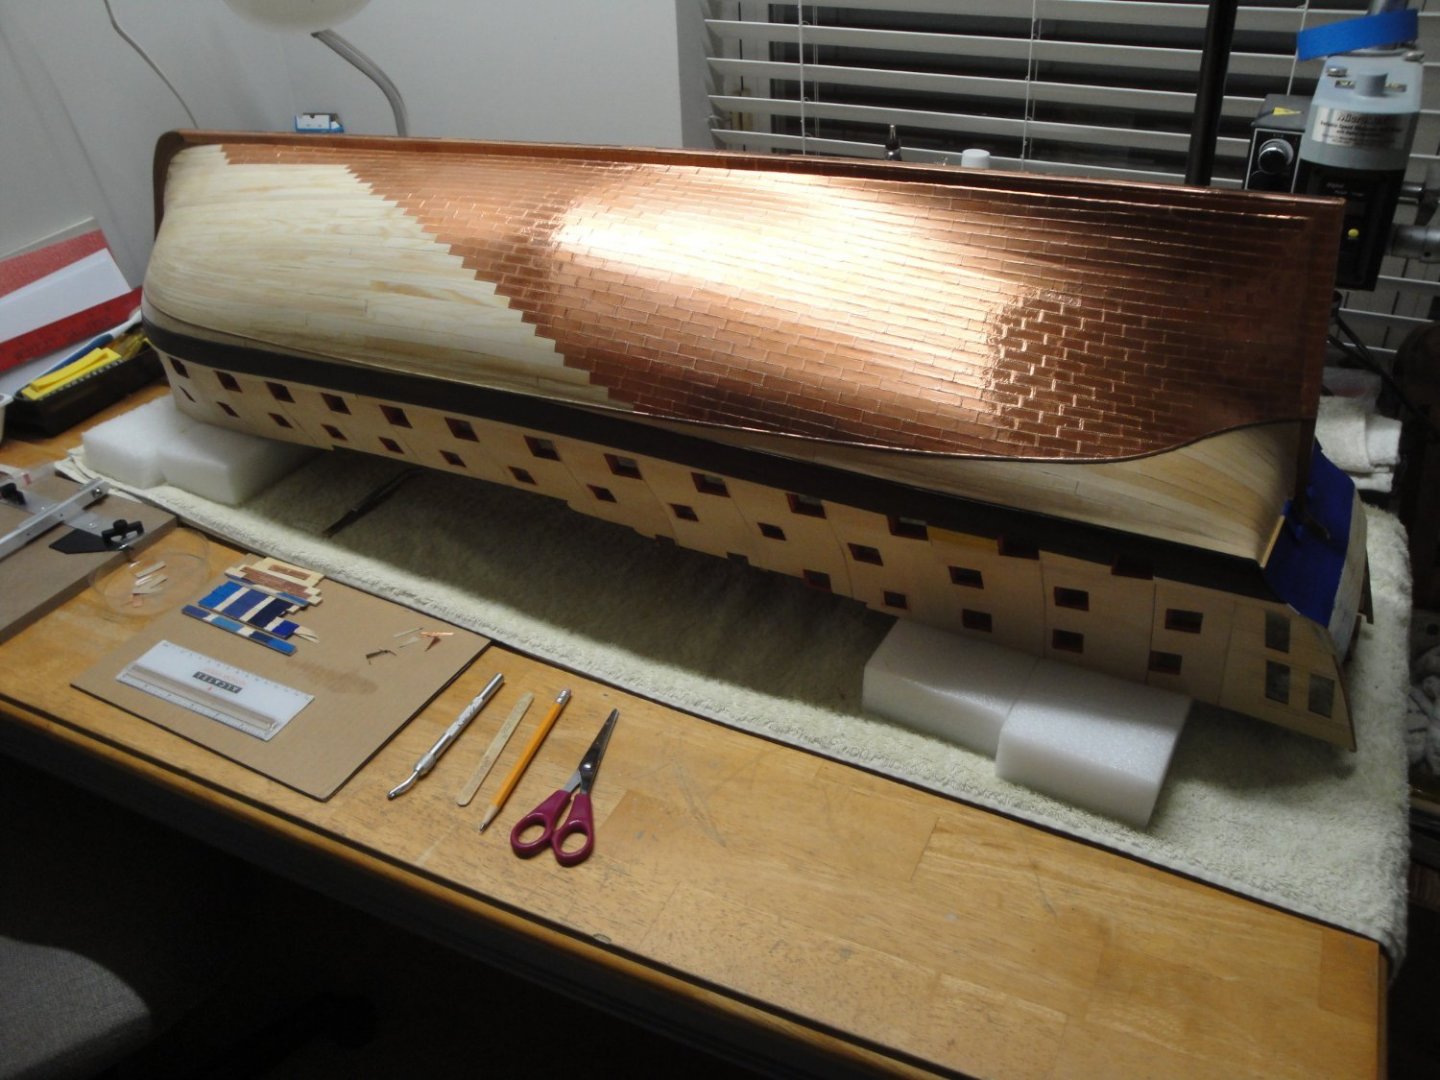
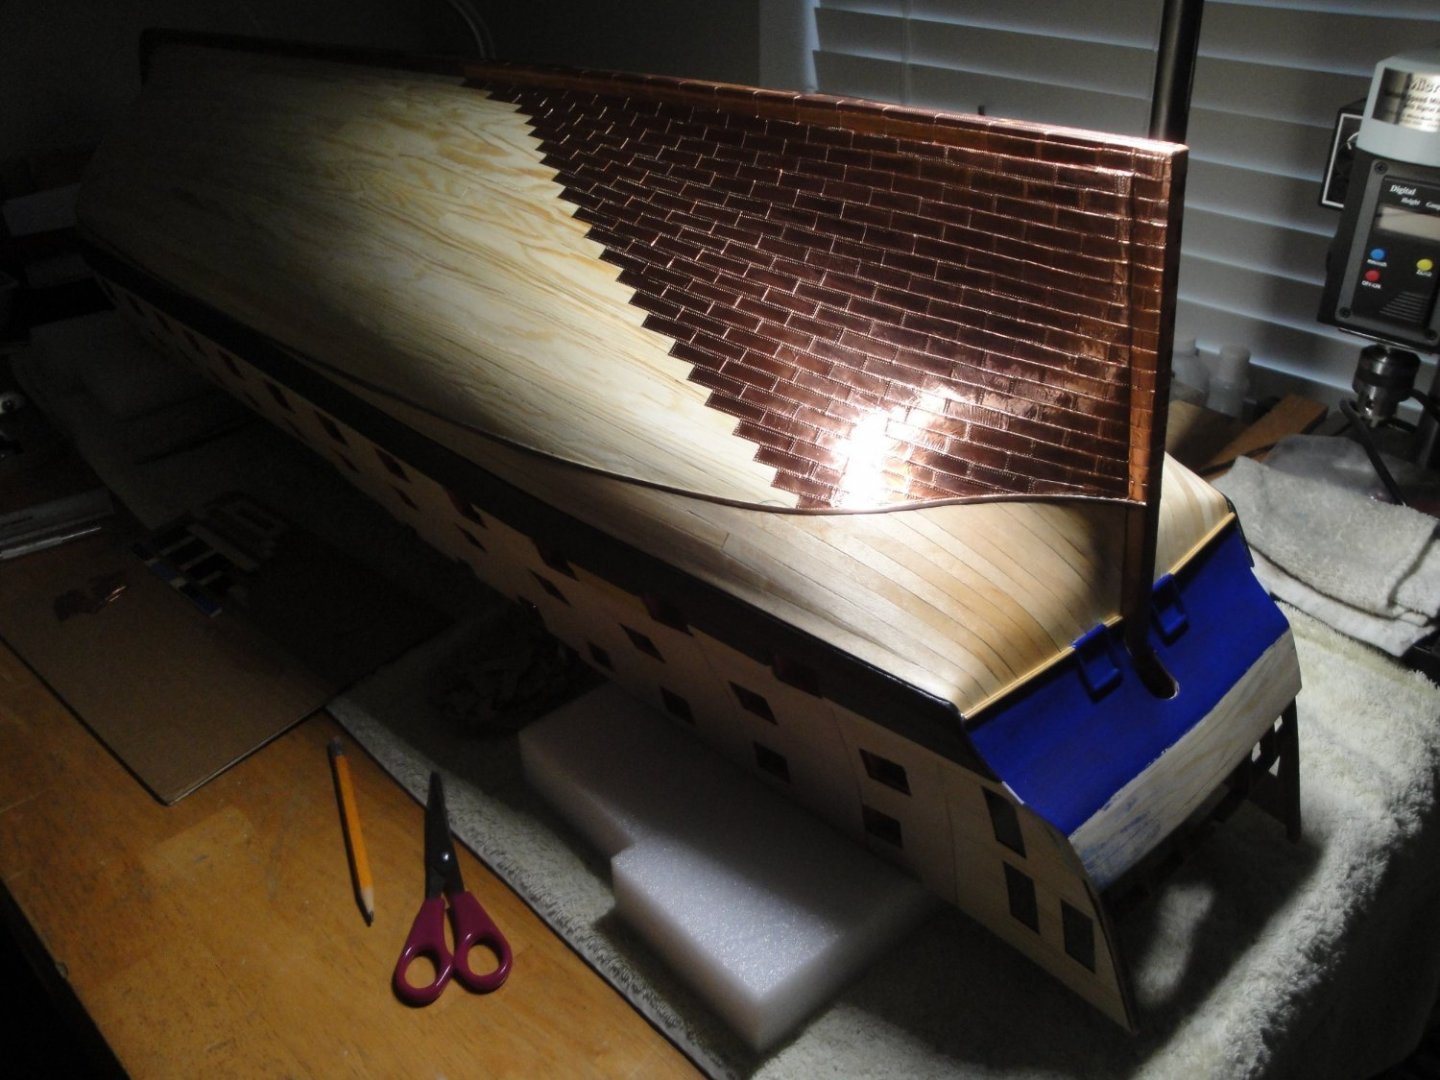
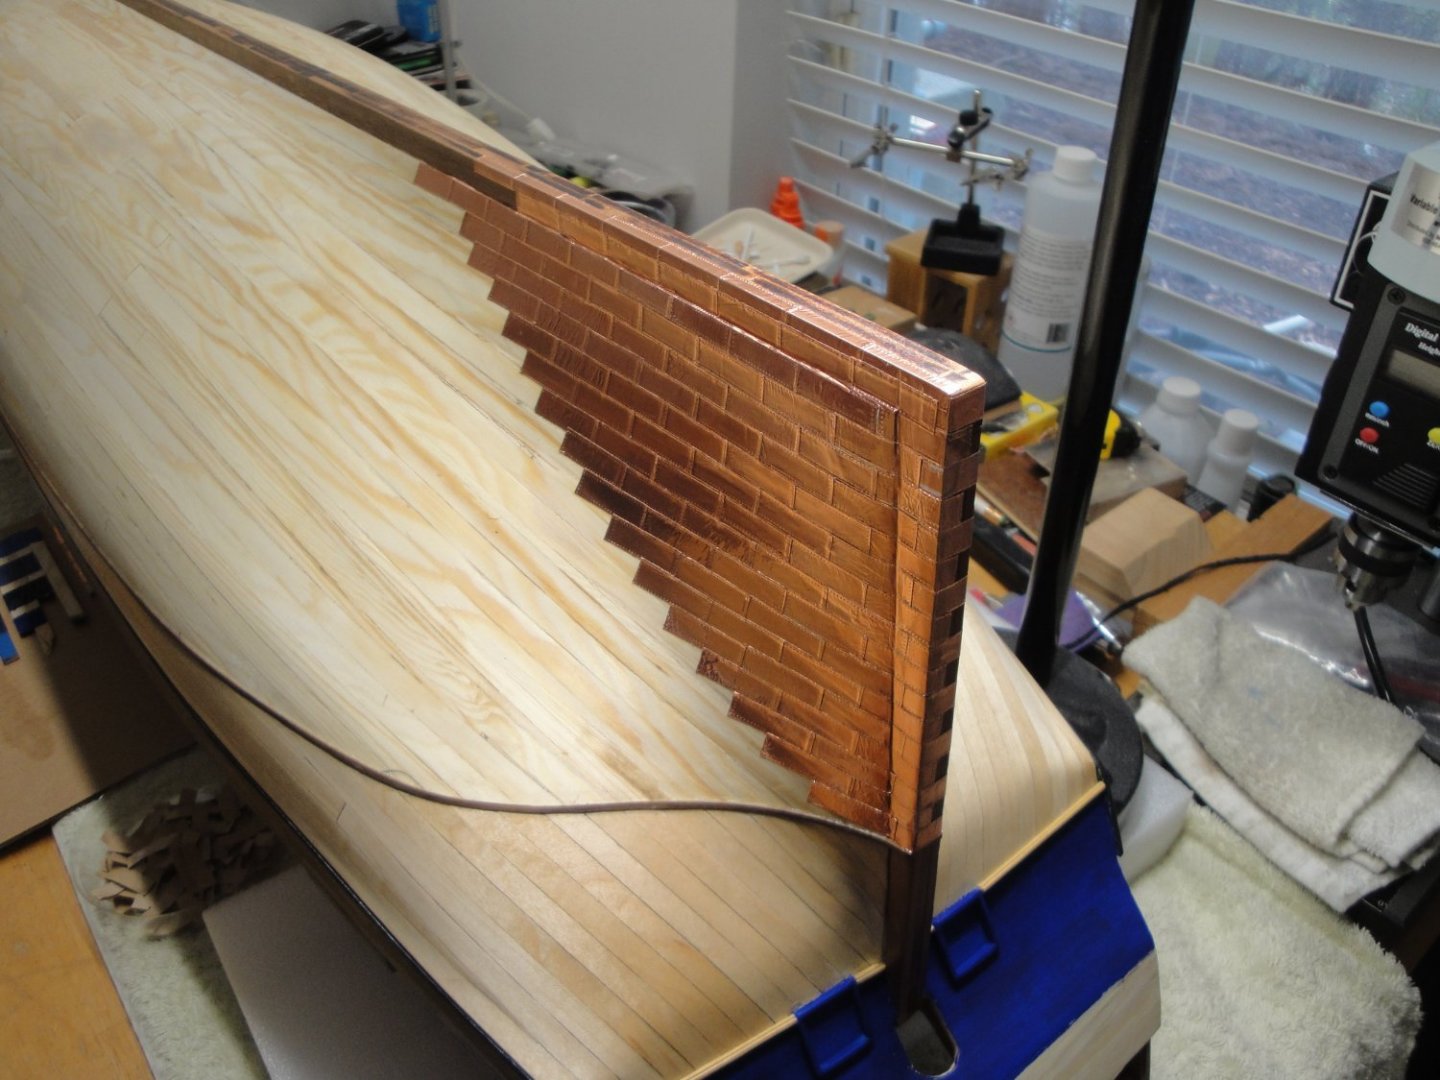
Allan, thank you for the compliments. To be completely honest and precise, the Copper tiles set from CAF is $328 plus shipping (not $500 as I had said before). They basically send you 50 sheets of copper, pre-printed and pre-stamped. You still have to cut them one by one and glue them. I never purchased the whole copper set and only asked them to send me a sample of the tiles when i purchased the Session #2, before committing to the copper purchase. I am glad I did that, as the size was not what it needed to be. CAF offered to print larger tiles for me and that may have entailed an additional cost. In the end, I decided to go with the copper tape, and I am glad I did as the installation is a lot easier and the hull will not look like it has chicken pox. I have tiled close to a quarter of the hull, as shown below: Each roll of copper tape is 33 meters long by 7.98 mm wide. That is equivalent to 1320 tiles of 25 mm long each. With this calculation, I should be able to tile half of the hull with one spool of copper tape, since the original vessel required about 2400 tiles to cover the entire hull. We will see how it goes. I have a second spool on hand for the other side. Yves


- 507 replies
-
- 16
-

-

-
Superb copper tiling! I am in the process of doing this on my large Bellona model. Yves
-
One of my favorite boats.... What a superb model! Yves
-
What a beautiful Sphinx. Your model is becoming a reference for enthusiasts and I will certainly use some of your ideas on my ship. Yves
- 857 replies
-
- 4
-
-

-
- Sphinx
- Vanguard Models
- (and 1 more)
-
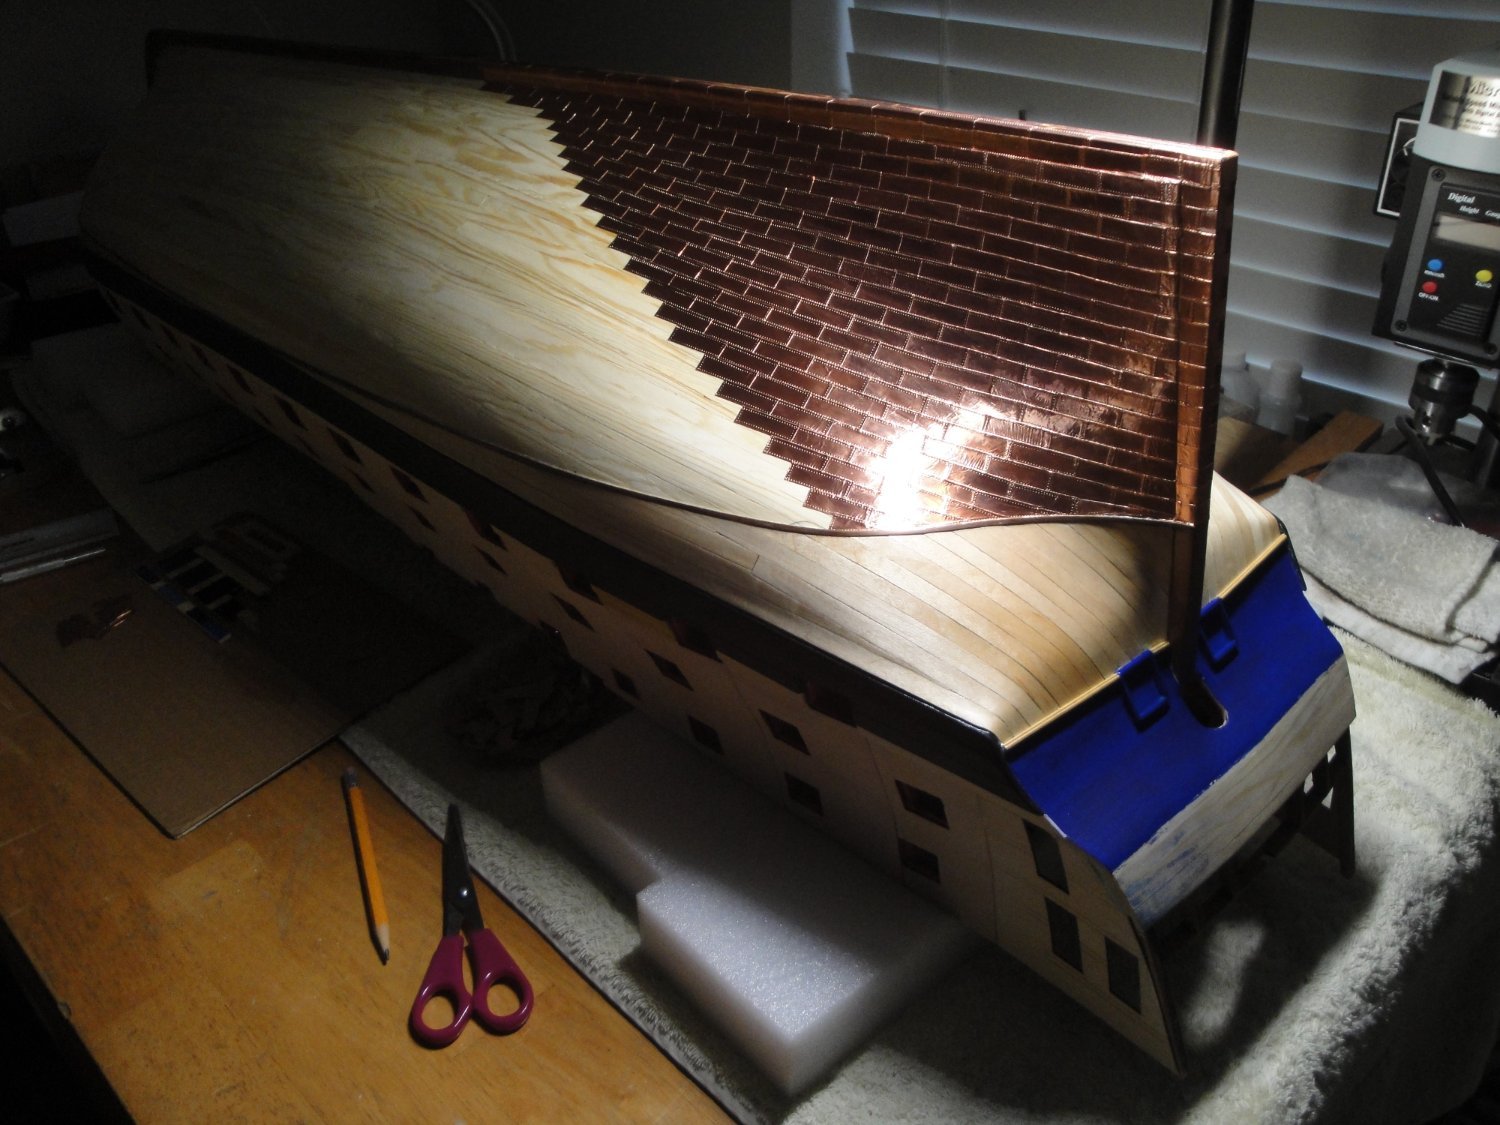
I am having some success with the copper tape from 3M. I like it a lot better than gluing with CA (fumes...and fingers) pre-fabricated tiles. These massive vessels require a lot of tiles. Yves
-
Updates will be coming very slowly, from now on, until I can finish at least one side of the hull coppering. Each tile is cut, embossed and placed by hand. There is a slight overlap in both dimensions (flotation line overlapping keel tiles and bow overlapping stern tiles). A labor of love and infinite patience, but so beautiful under a dimmed light. Yves
- 507 replies
-
- 17
-
-
-
Glen, it is coming along very nicely. Congratulations. Yves
- 476 replies
-
- 3
-
-
-
- sphinx
- vanguard models
- (and 1 more)
-
Please, send me your address and I will ship you my manual and the Paint Reference booklet. Yves
-
Ras, this is superb and so realistic. Please paint the crew when you get a minute or two. I love the distressed look of the hull, it is perfect. Yves
-
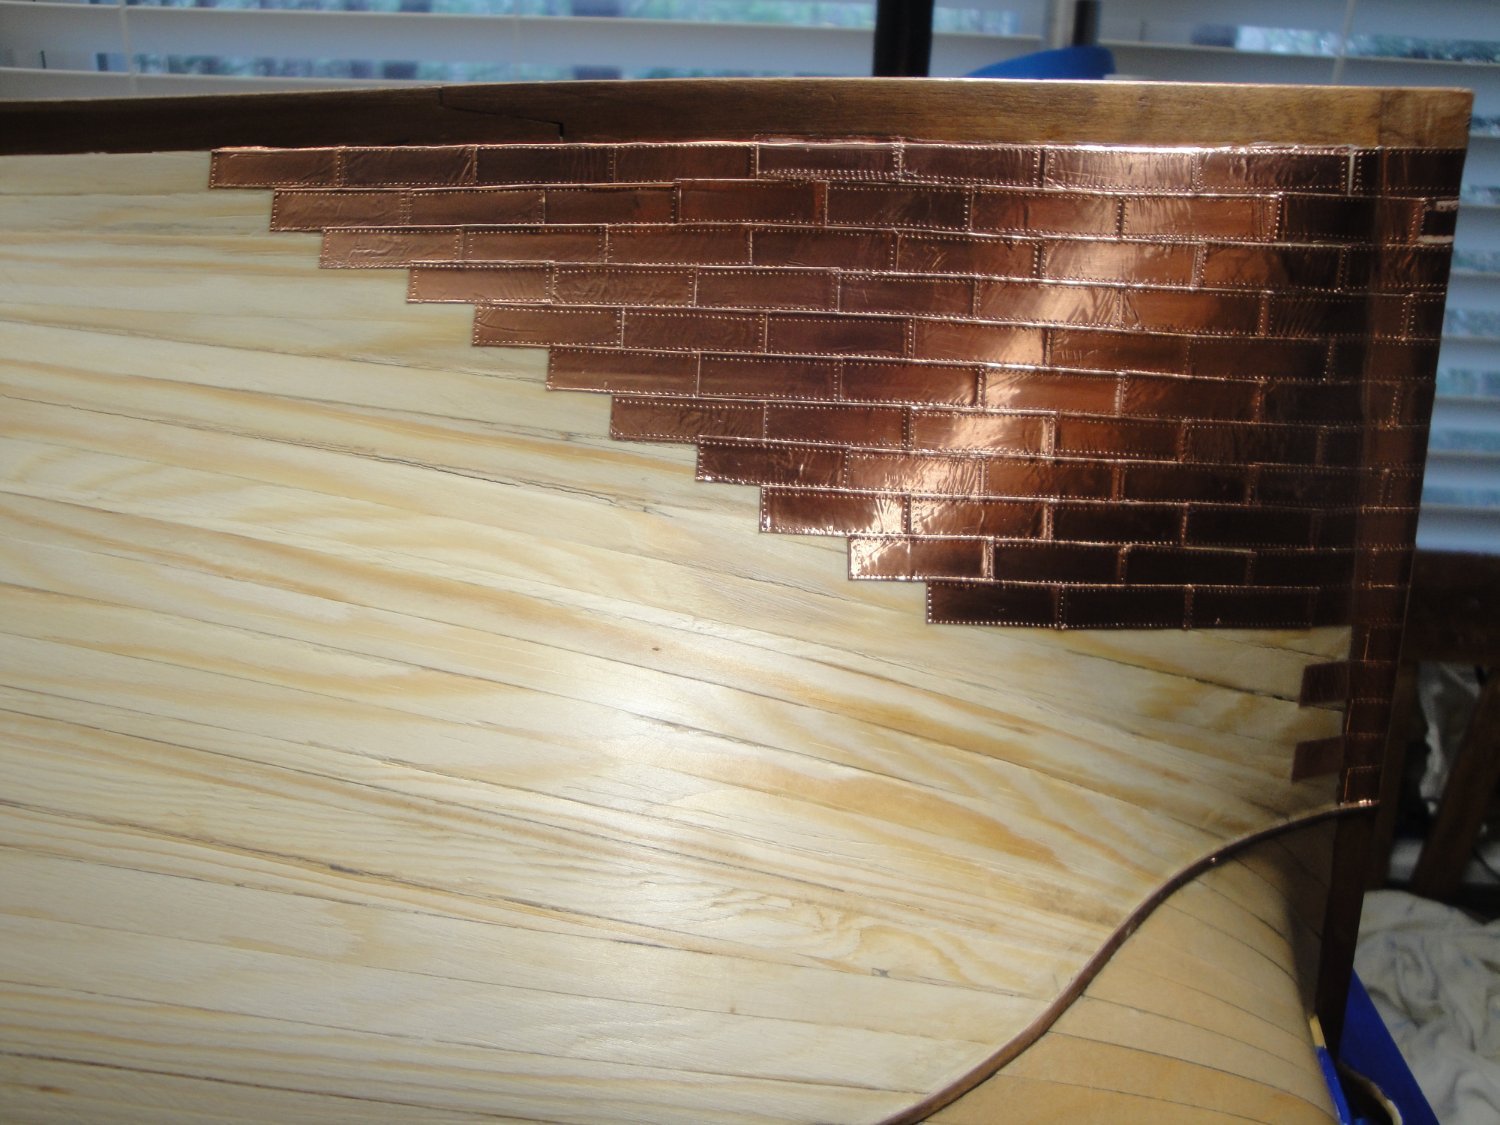
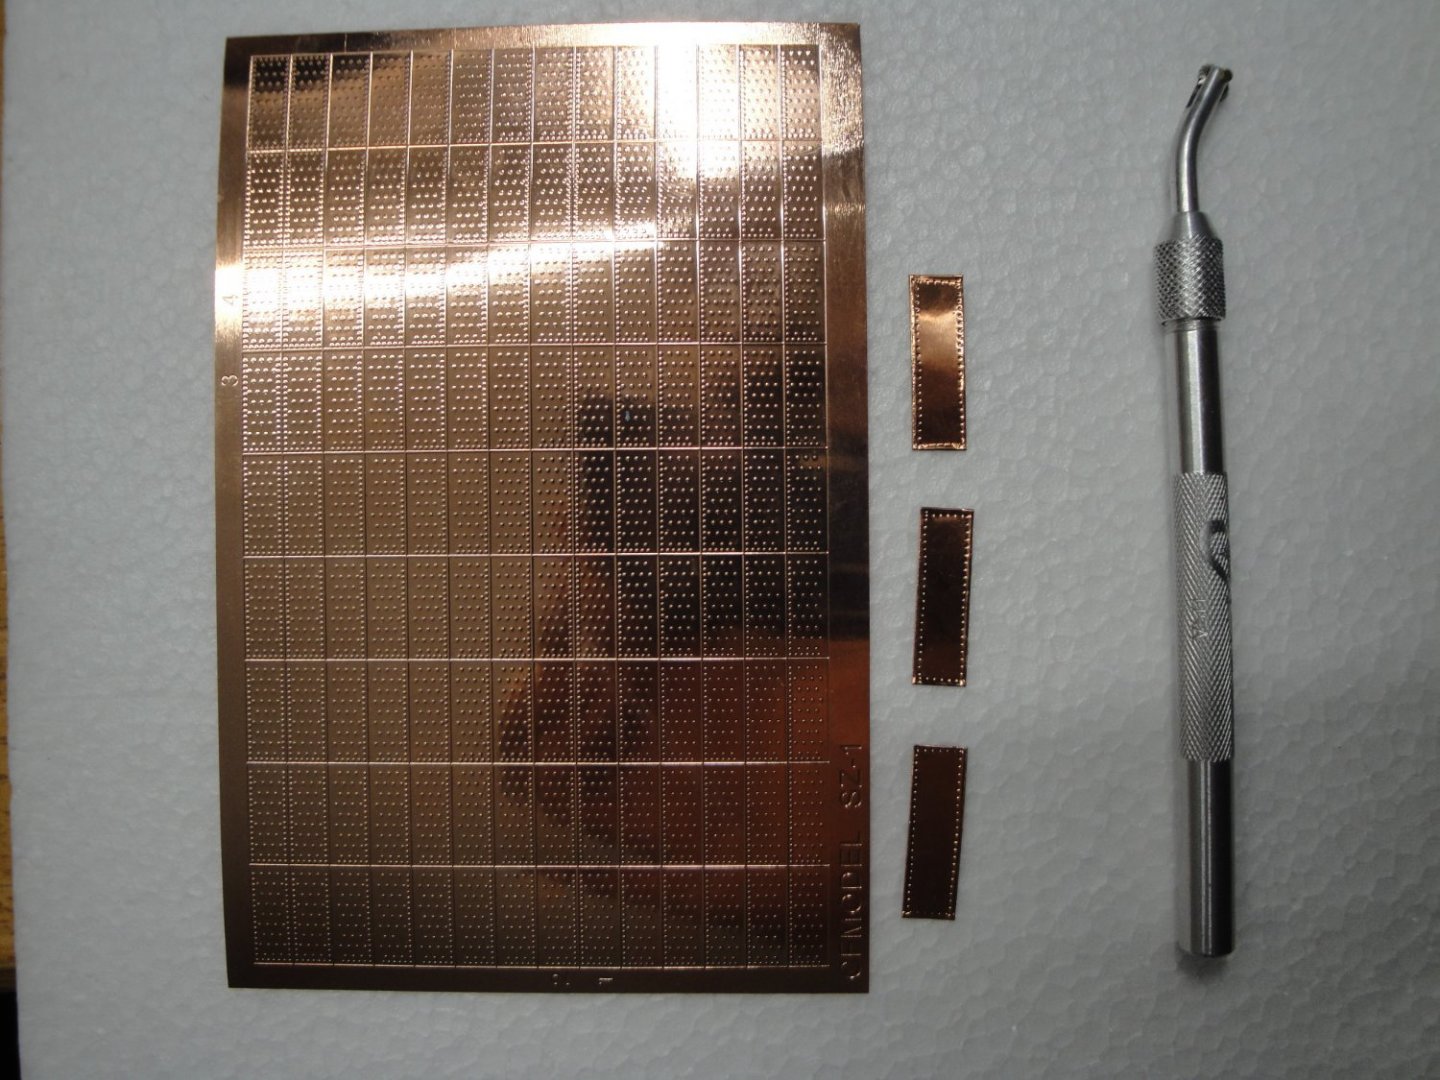
I just started on the coppering..... The beginning is not too tedious, but I am sure it will not be the same in a few days.... The tiles are made one by one, using the chopper tool: I am using 3M adhesive tape and that helps a lot as the tiles are easy to install, do not require any glue and can be burnished in position for a nice fit. As mentioned before, the copper tiles provided by CAF are not of the right size and require the use of CA glue. Below you can see the difference in size between the CAF tiles and the ones I am building: The CAF tiles are rather expensive (I think the set for Bellona is about $500 plus shipping) and the 3M tape is a lot more affordable. The real tiles were 4 feet long by 15 inches wide. At the scale of 1/48th, it means a tile of 2.5 cm (1 inch) by 8 mm. The 3M tape is 7.98 mm wide which is perfect for this use. I am using a wheel to mark a line of nails all around the tile. In my humble opinion, it looks more realistic than the traditional porcupine tiles provided by kit makers. Also, the holes are indented into the tiles instead of protruding out, which is contrary to the real way this was done. Copper nails were hammered into the tiles and there were no bumps visible. The real ship required 2741 tiles and about 2.5 tons of copper nails (according to the Anatomy of the Ship book). The overlap was about 1 inch and a half, which is close to 1 mm at 1/48th scale. I am setting the tiles starting from the keel and from the stern, and overlapping them, until I reach the flotation line and the bow. Yves


- 507 replies
-
- 18
-
-
-
That was quite funny" The cruel Seas from 1962..... Yves
- 321 replies
-
- 3
-
-
- Finished
- Flower-class
- (and 1 more)
-
Absolutely superb and bellissimo. What would have been the use of such drawer? Yves
-
Now,I understand the choice of the tiny mine sweeper..... Yves
- 126 replies
-
- 4
-
-
- Thetis Bay
- Finished
- (and 4 more)
-
Thank you guys for the encouragements and praises. I will try to get a friend who has some professional cameras to take a few more pictures. Yves
- 321 replies
-
- 5
-
-
- Finished
- Flower-class
- (and 1 more)
-
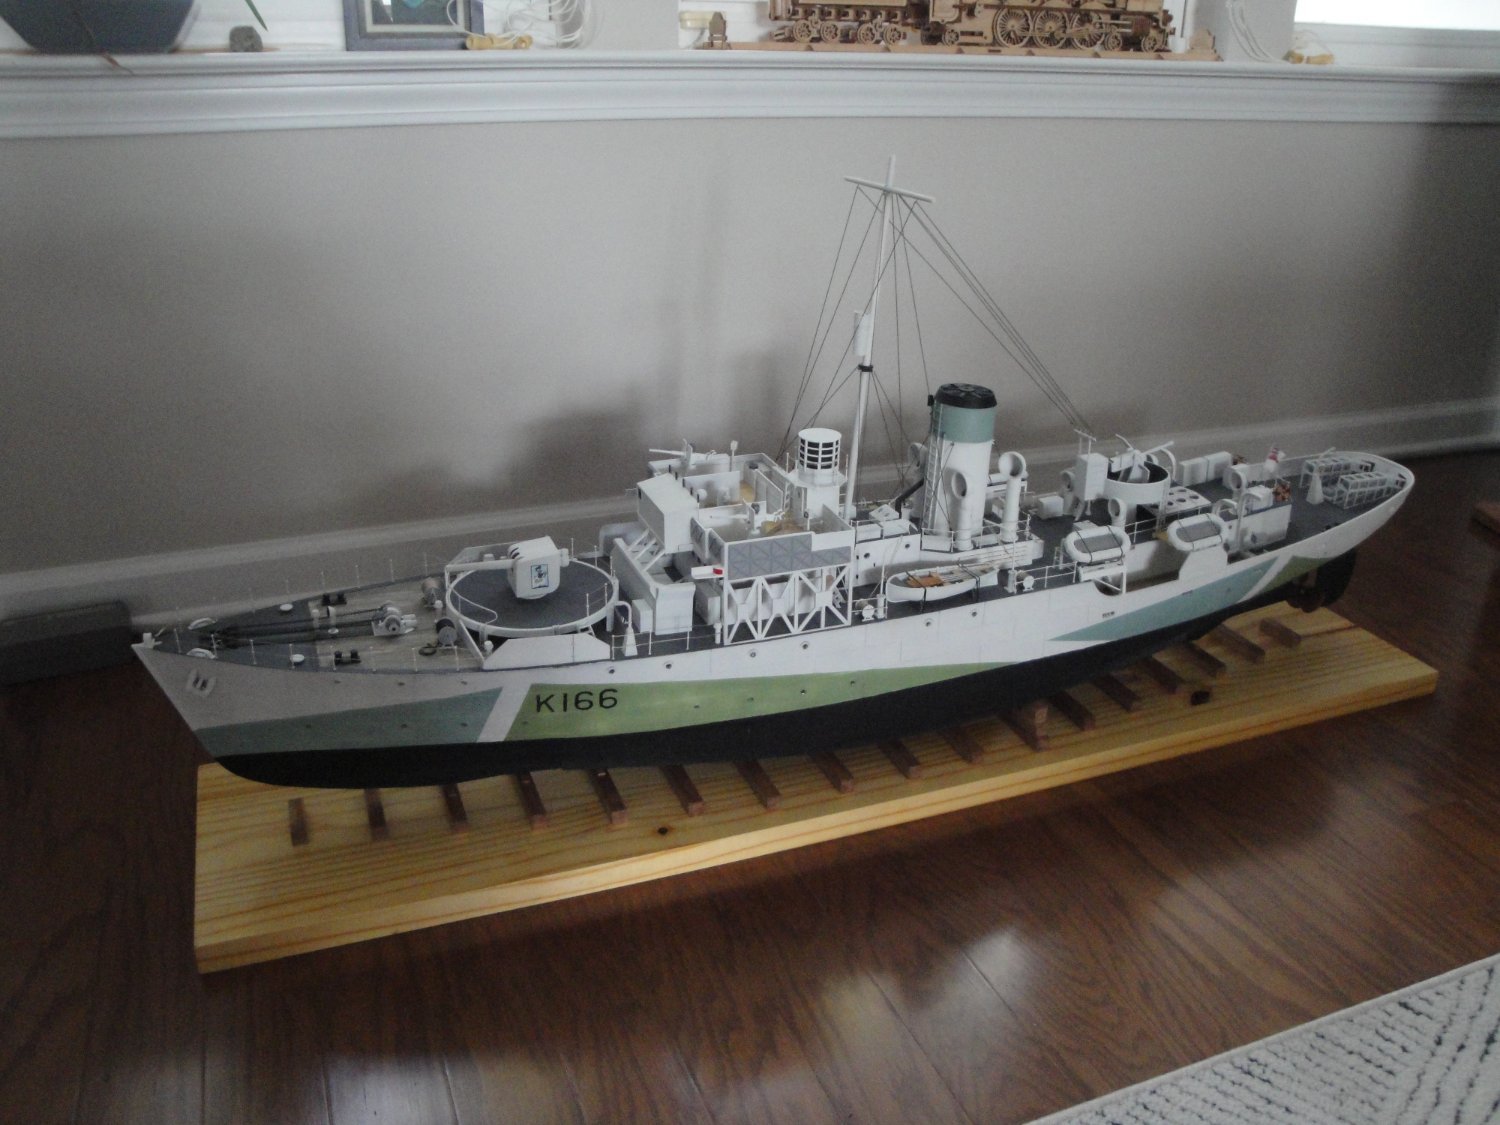
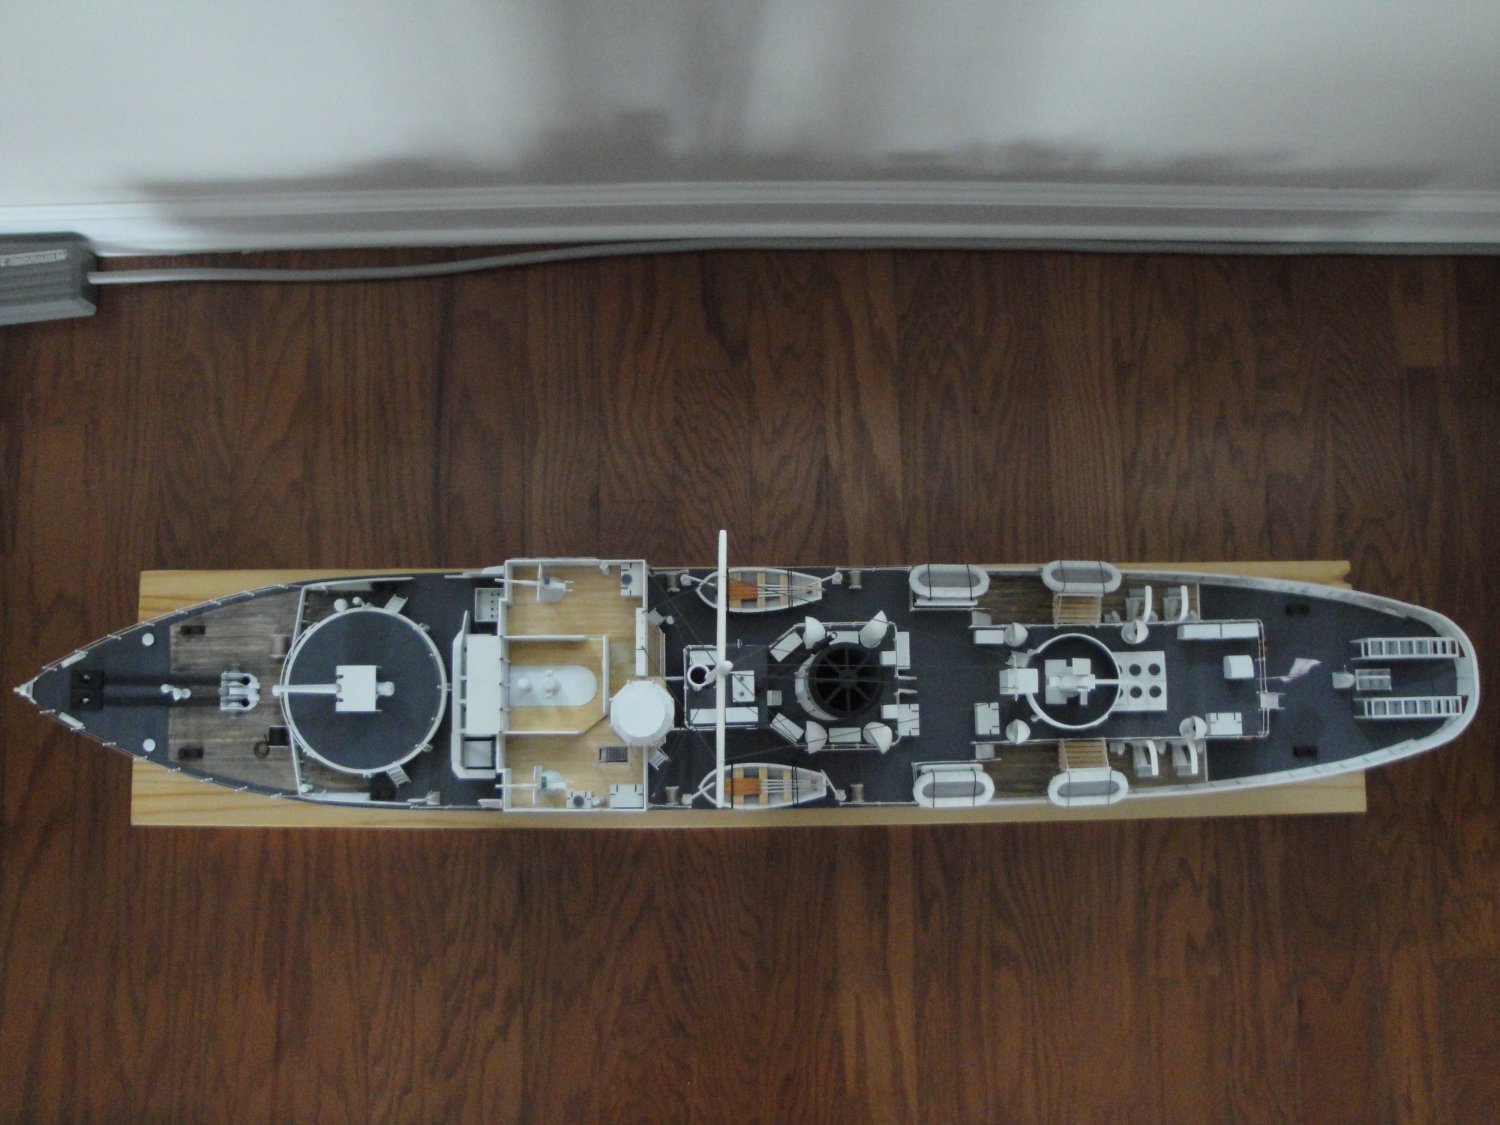
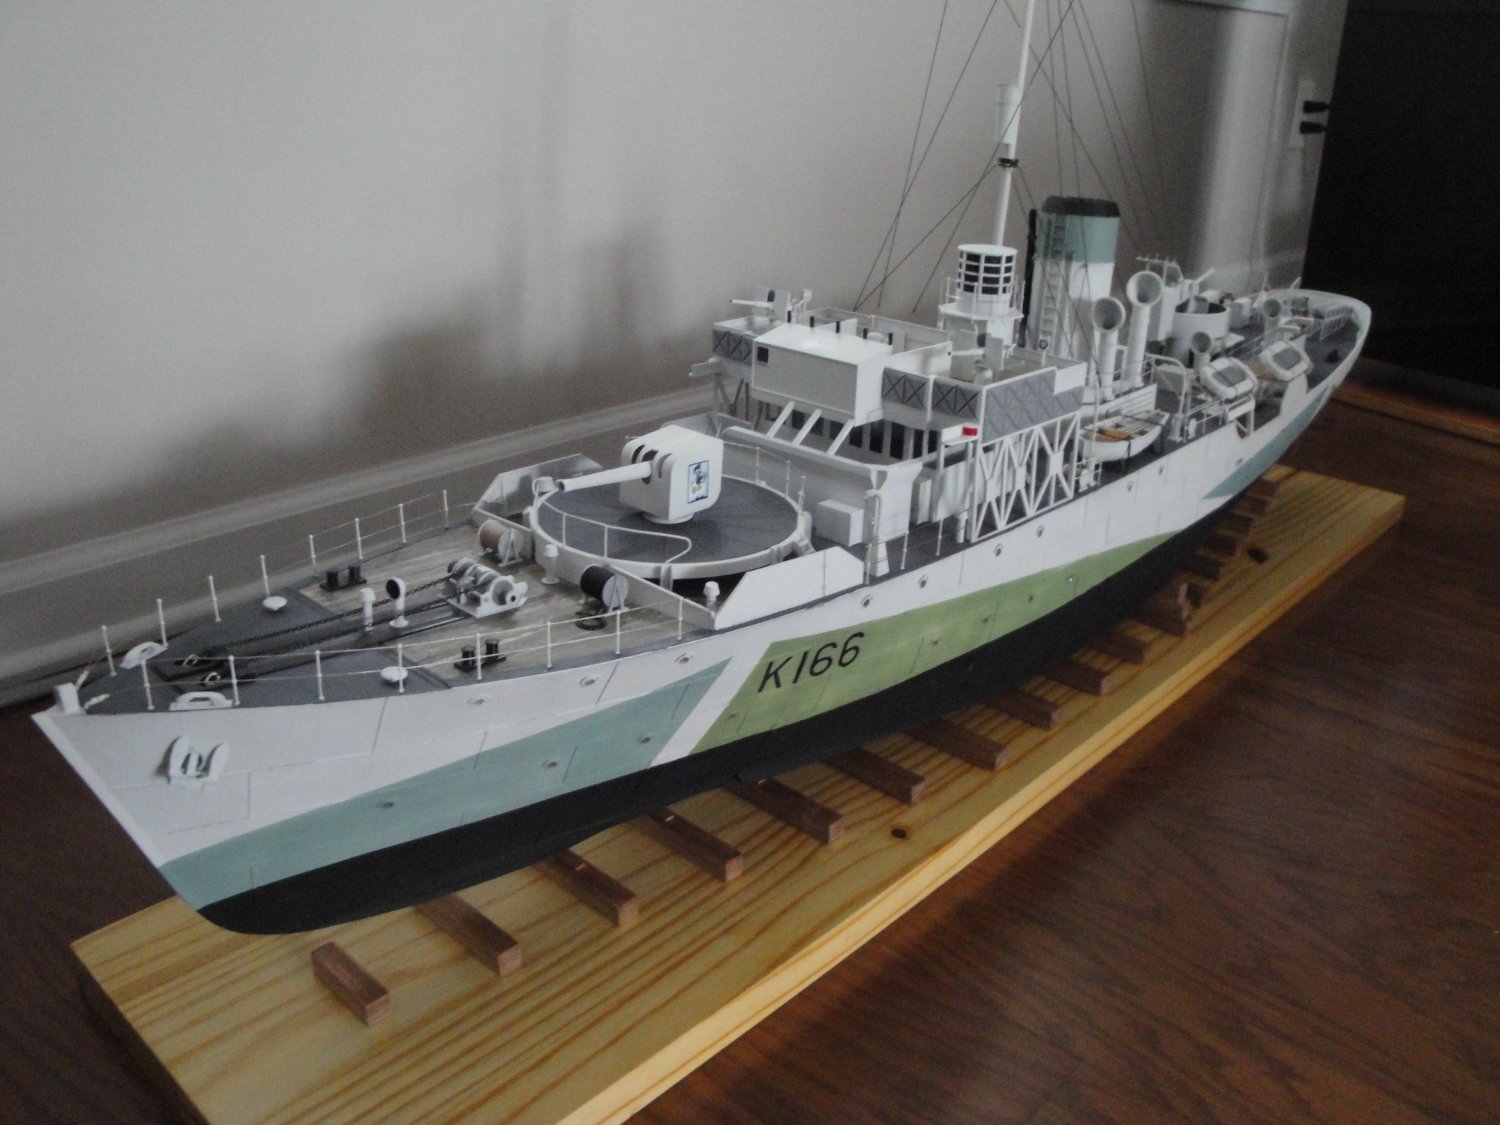
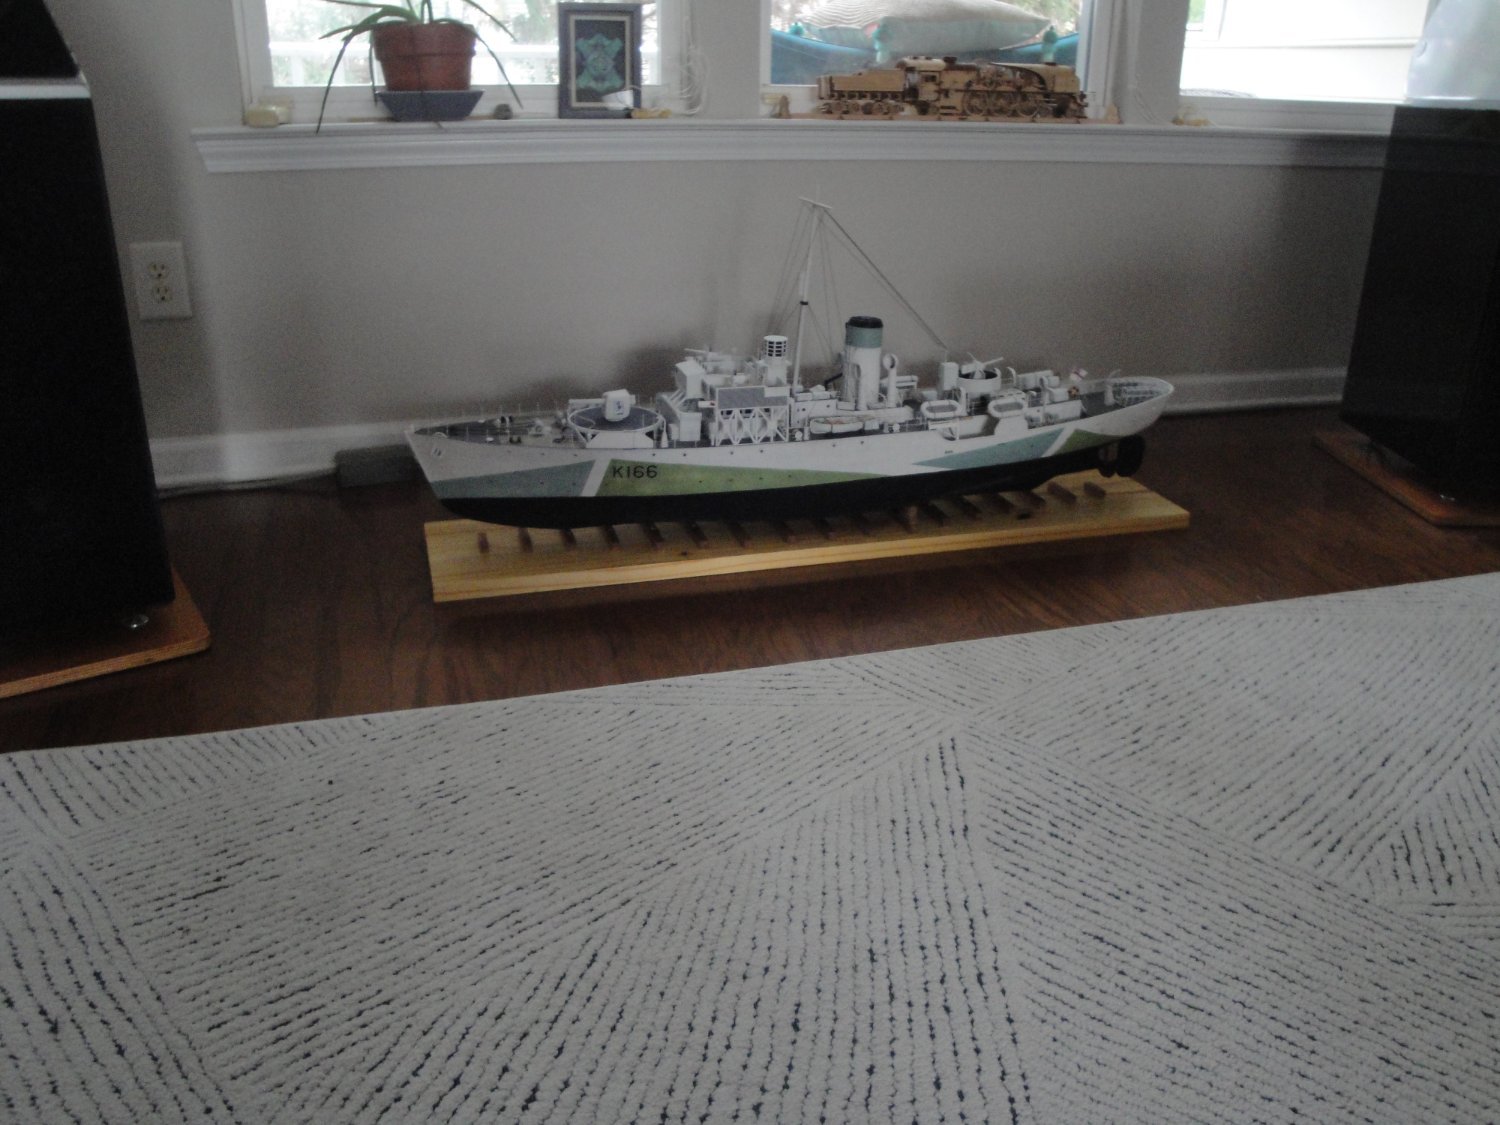
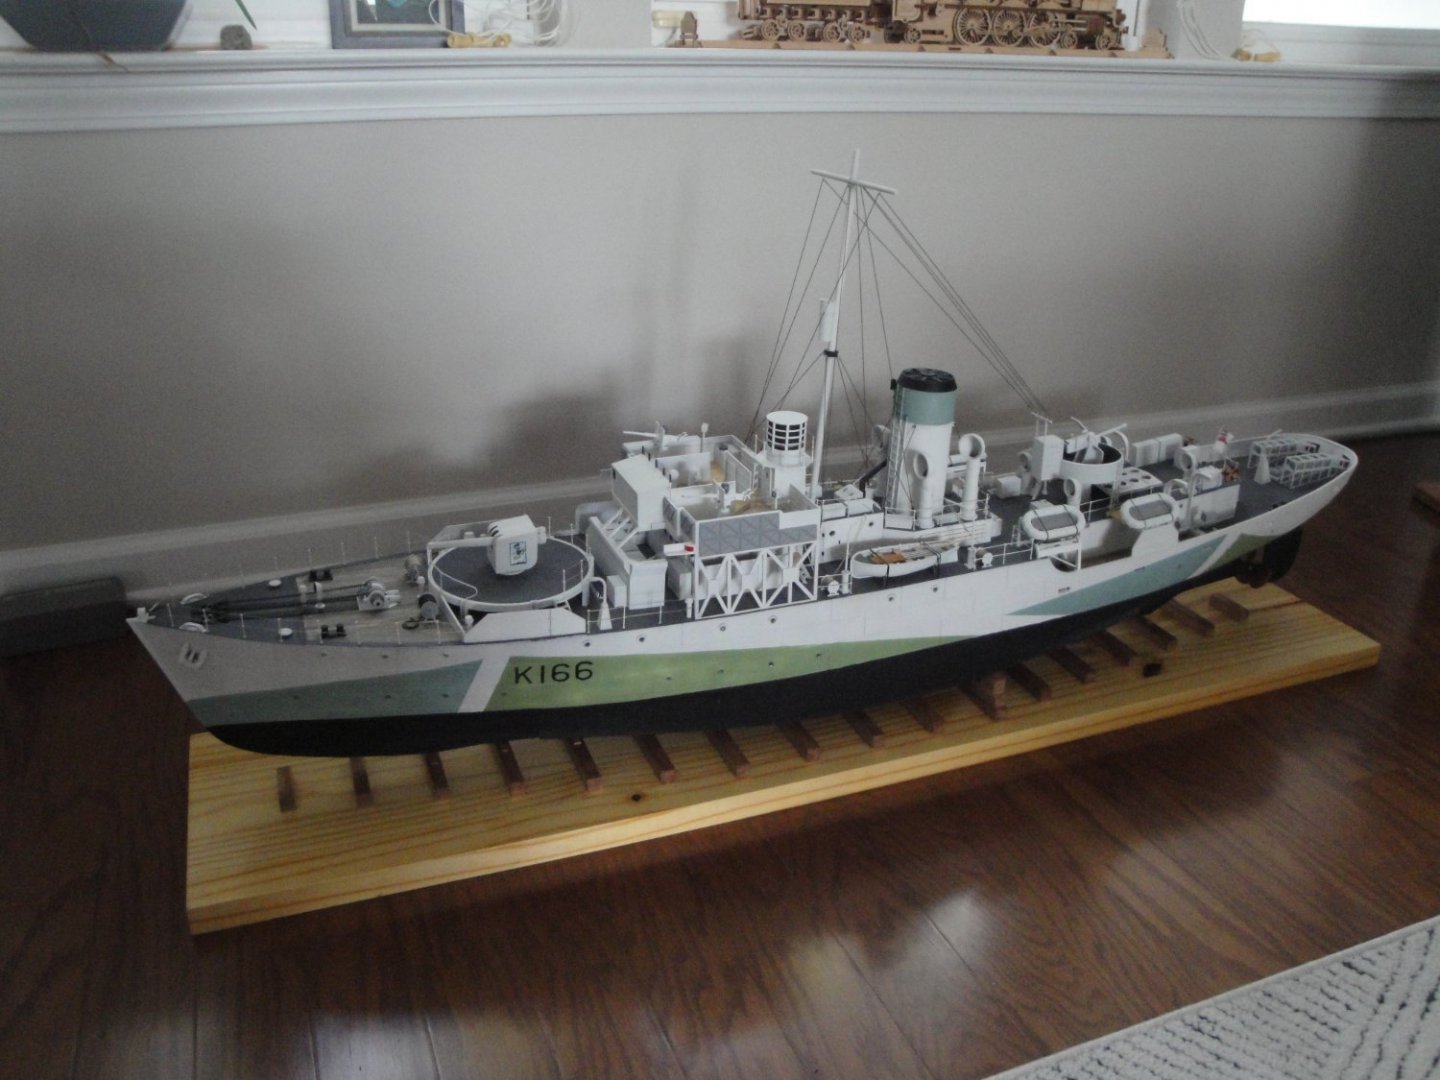
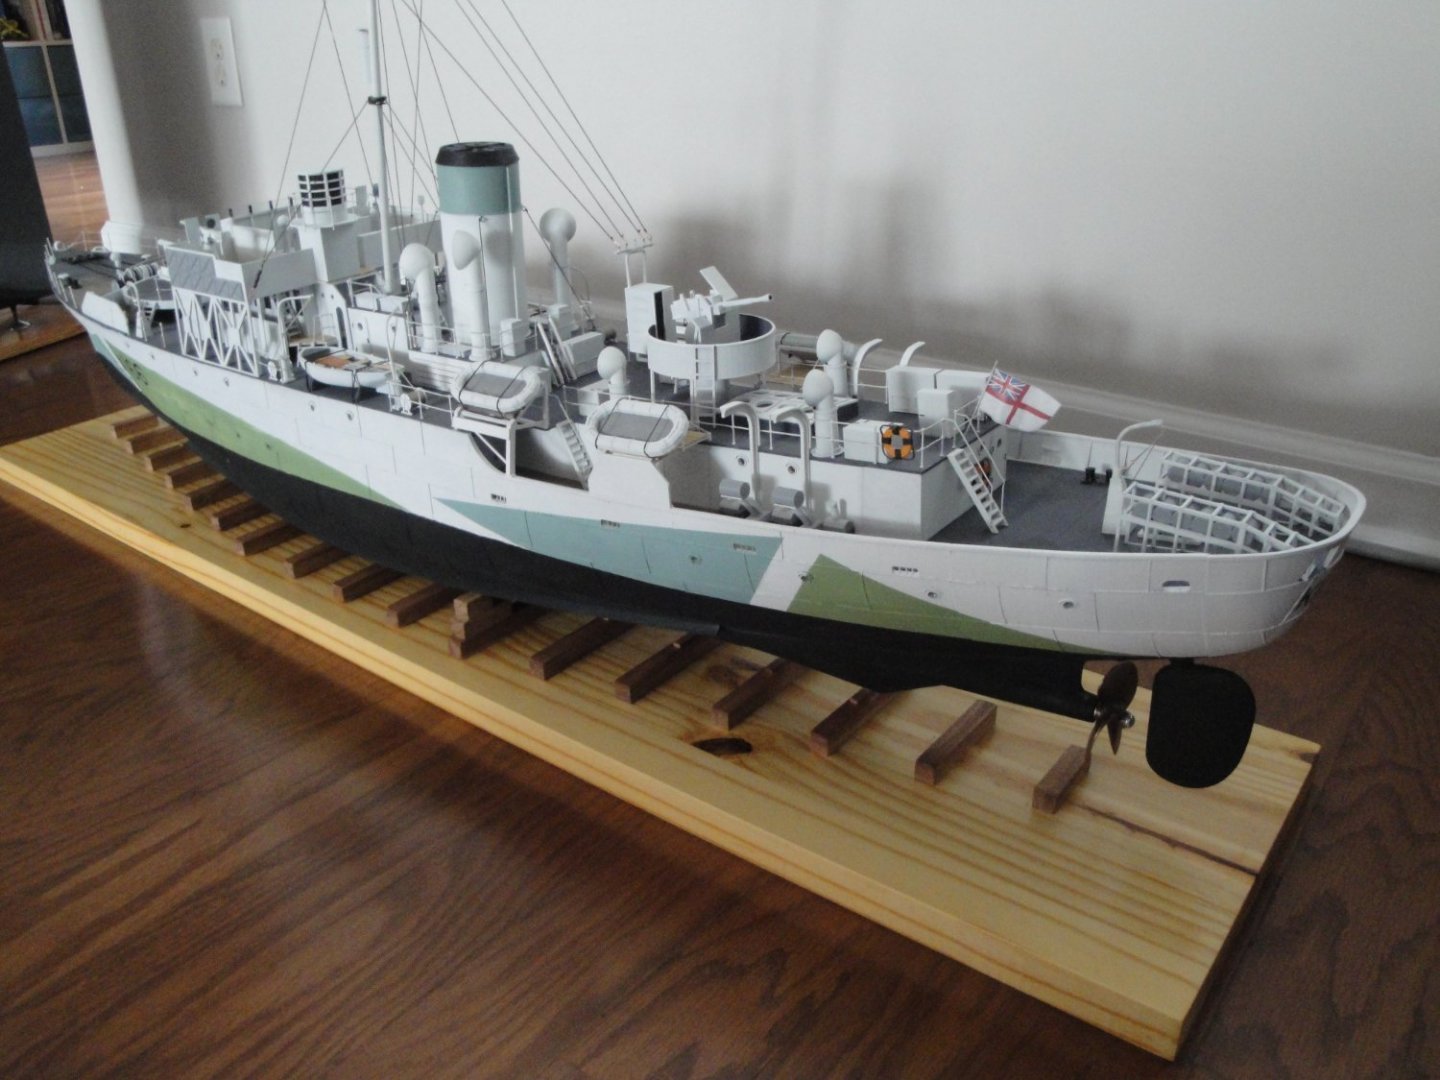
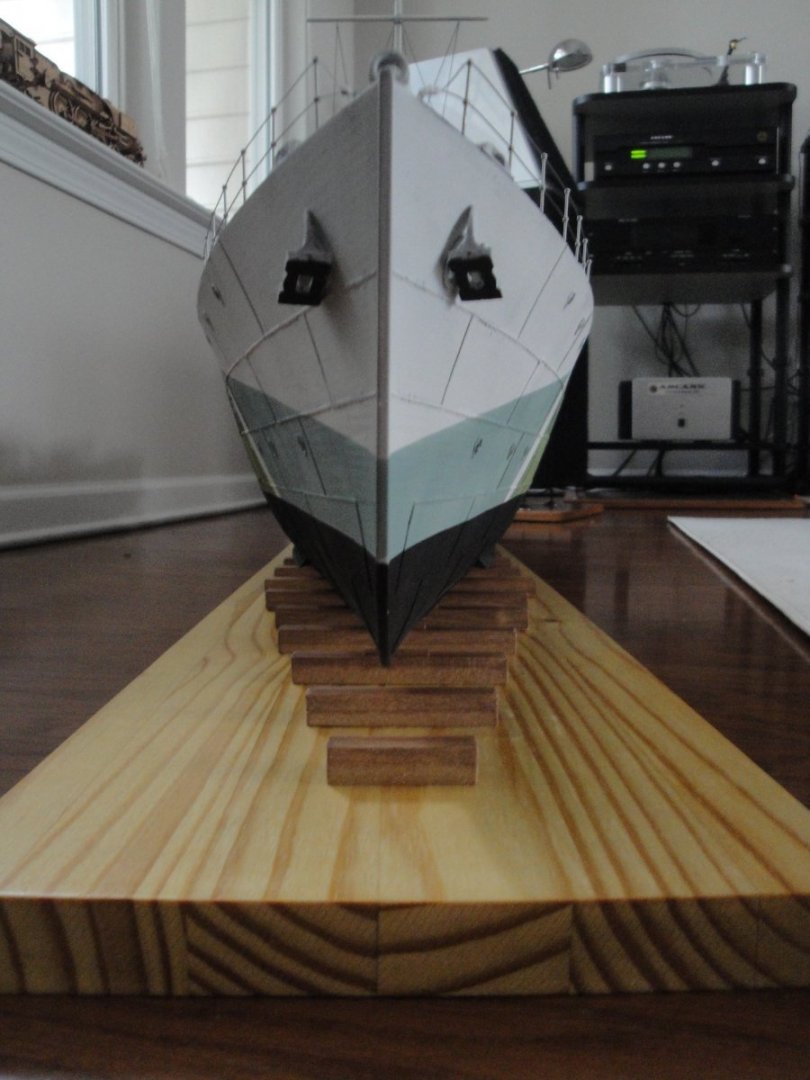
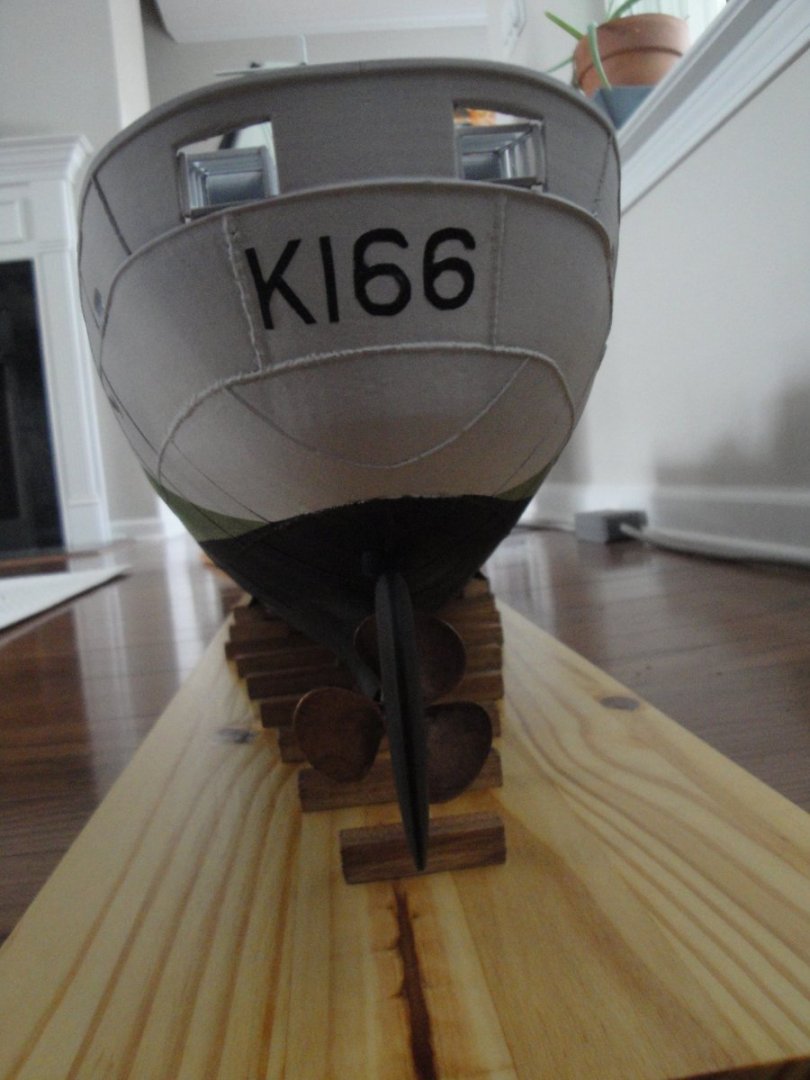
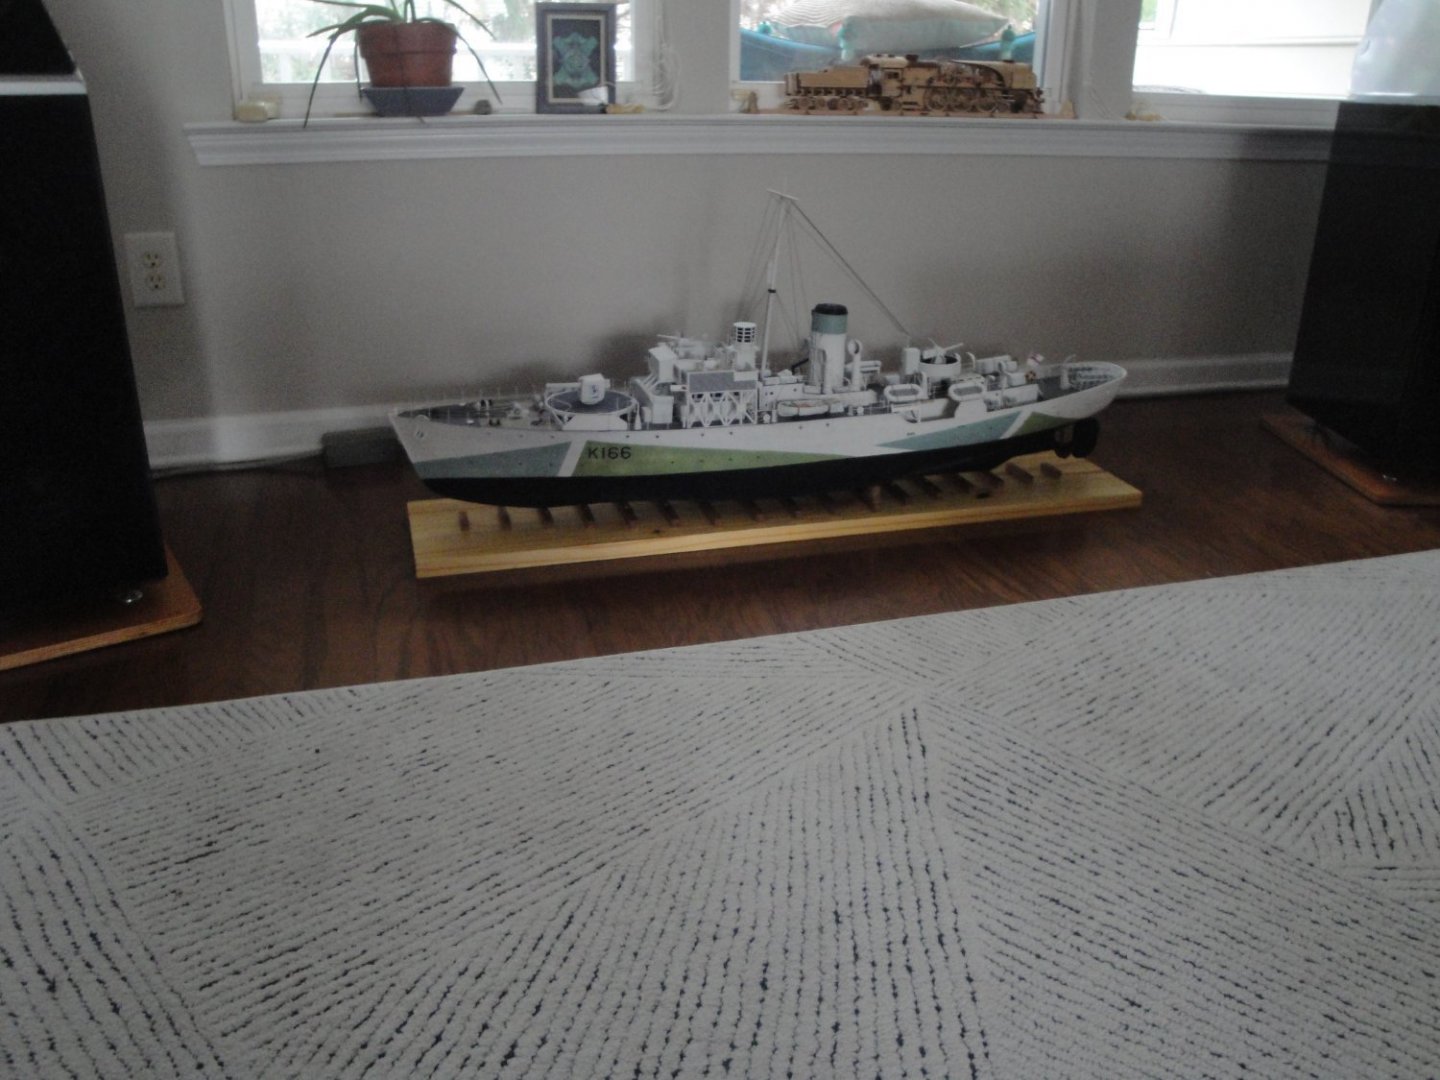
A few pictures of the model on its display stand: It has some majesty and fills up the place quite well. Yves


- 321 replies
-
- 20
-
-
-
- Finished
- Flower-class
- (and 1 more)
-
Yes, being artistic and loving beauty is in their DNA. Yves
-
Will you be showing the meshed nets to protect the hull from torpedoes, deployed? What kind of Pontos PE kit did you get? Yves
-
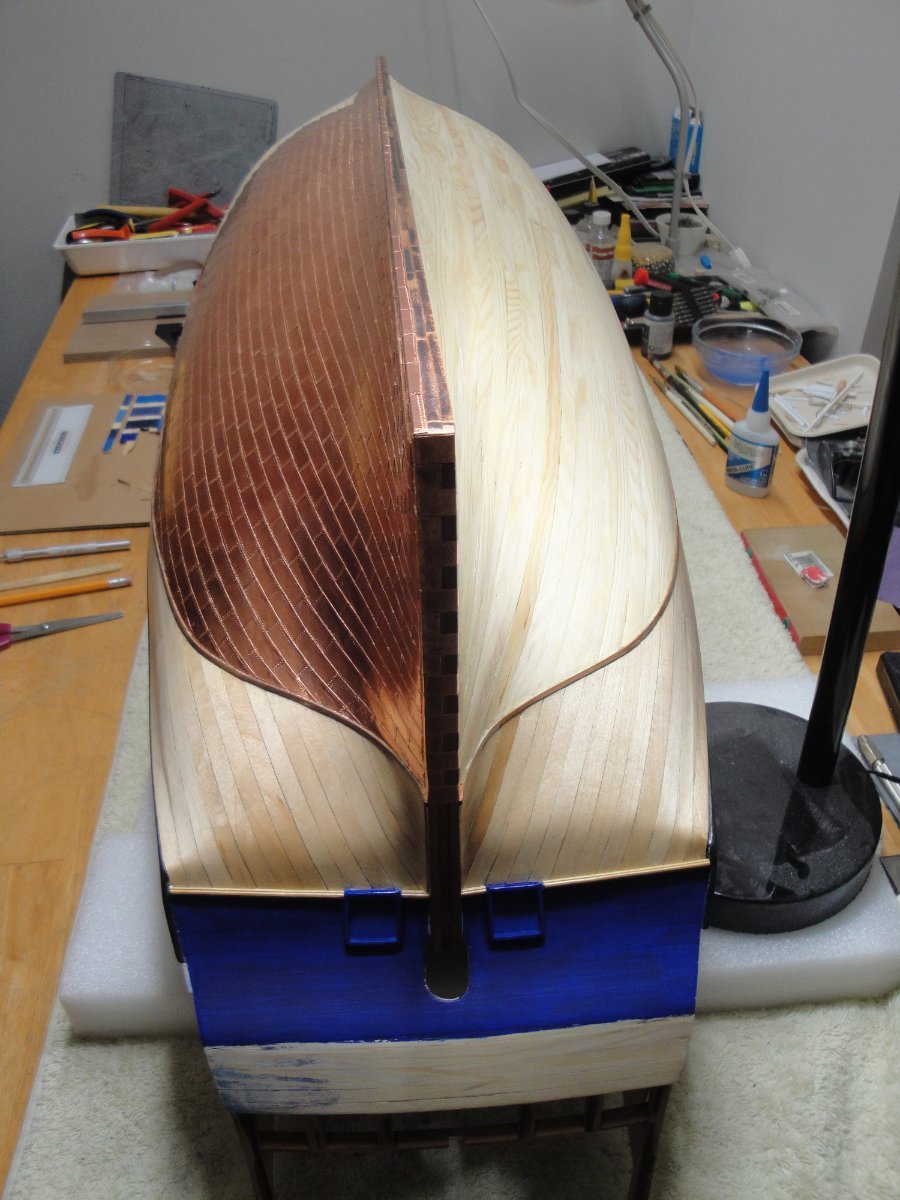
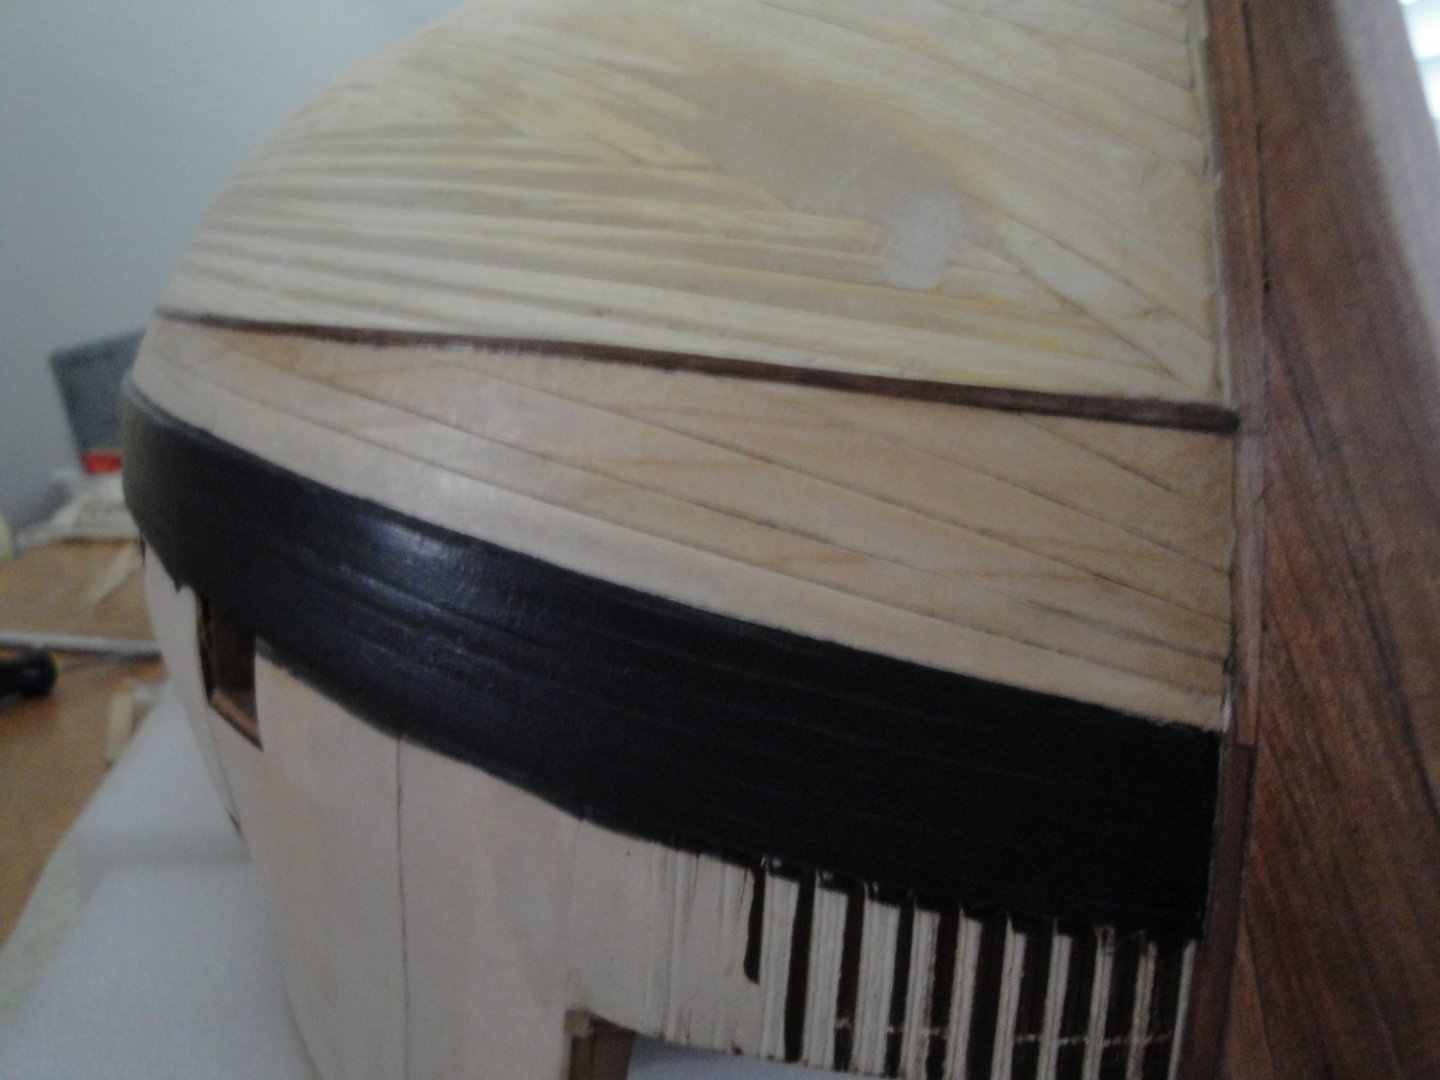
The stern planking has been completed: Now, it is time to move to the copper tiles... I am quite apprehensive about it. Yves

- 507 replies
-
- 12
-
-
These maple strips are 0.4 mm thick x 8 mm wide. You cut them like paper with a pair of scissors. Yves
-
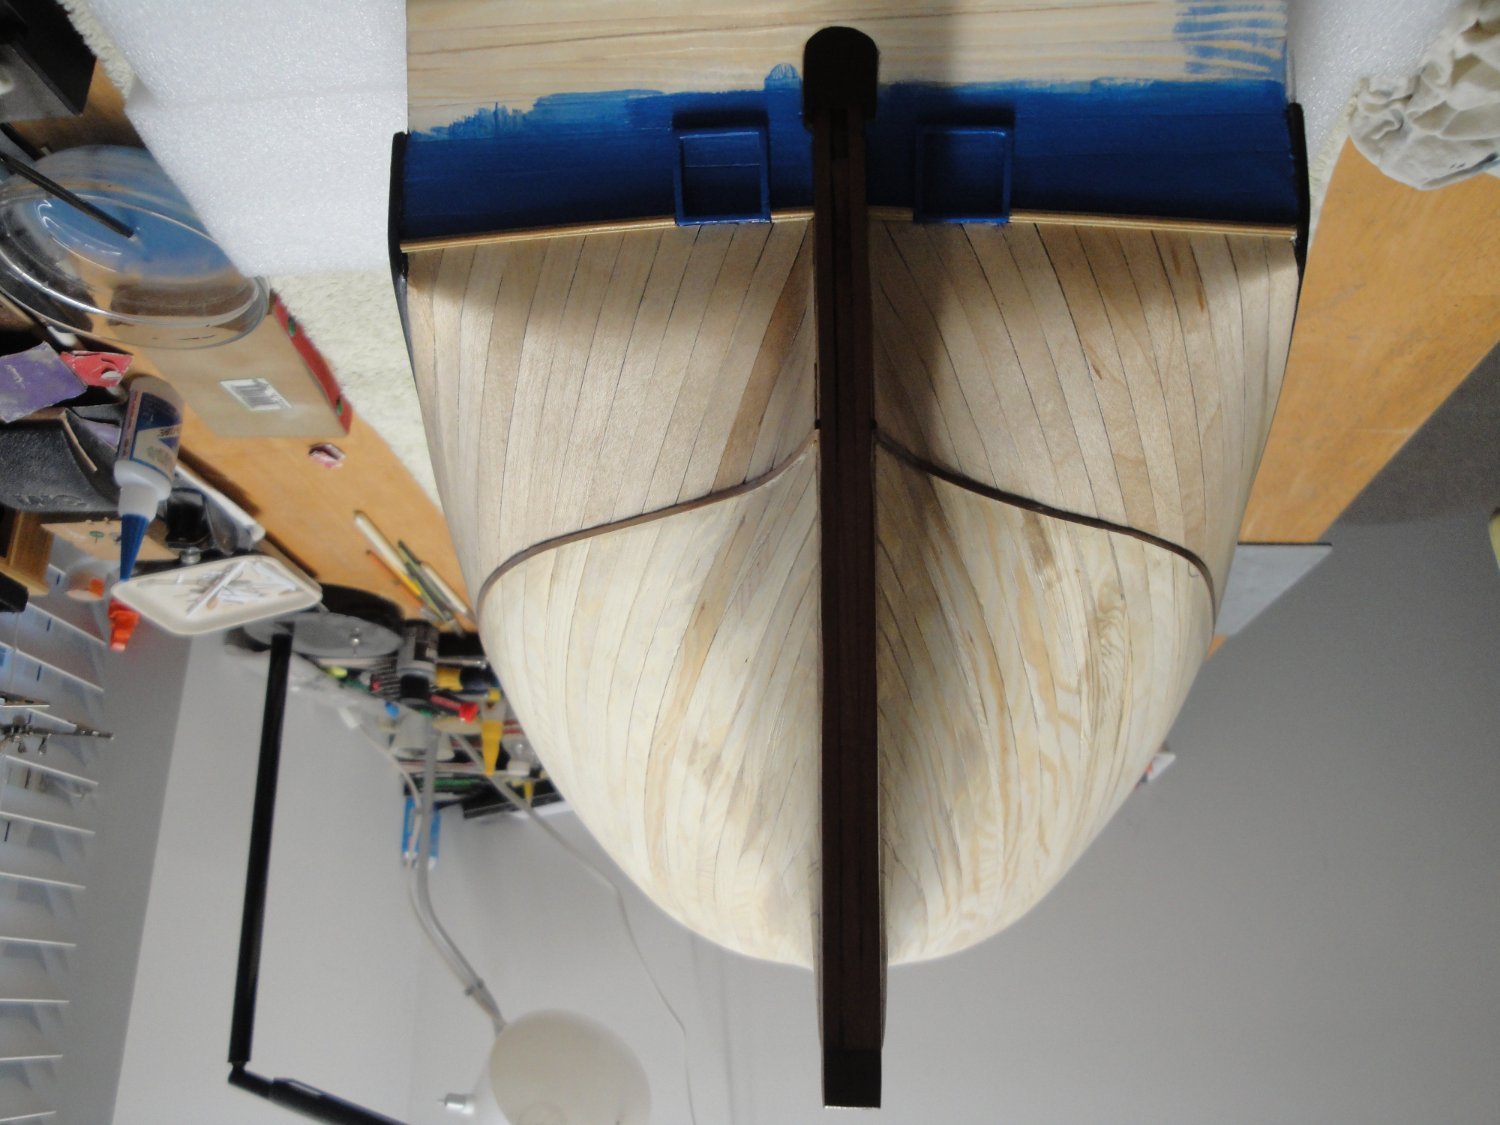
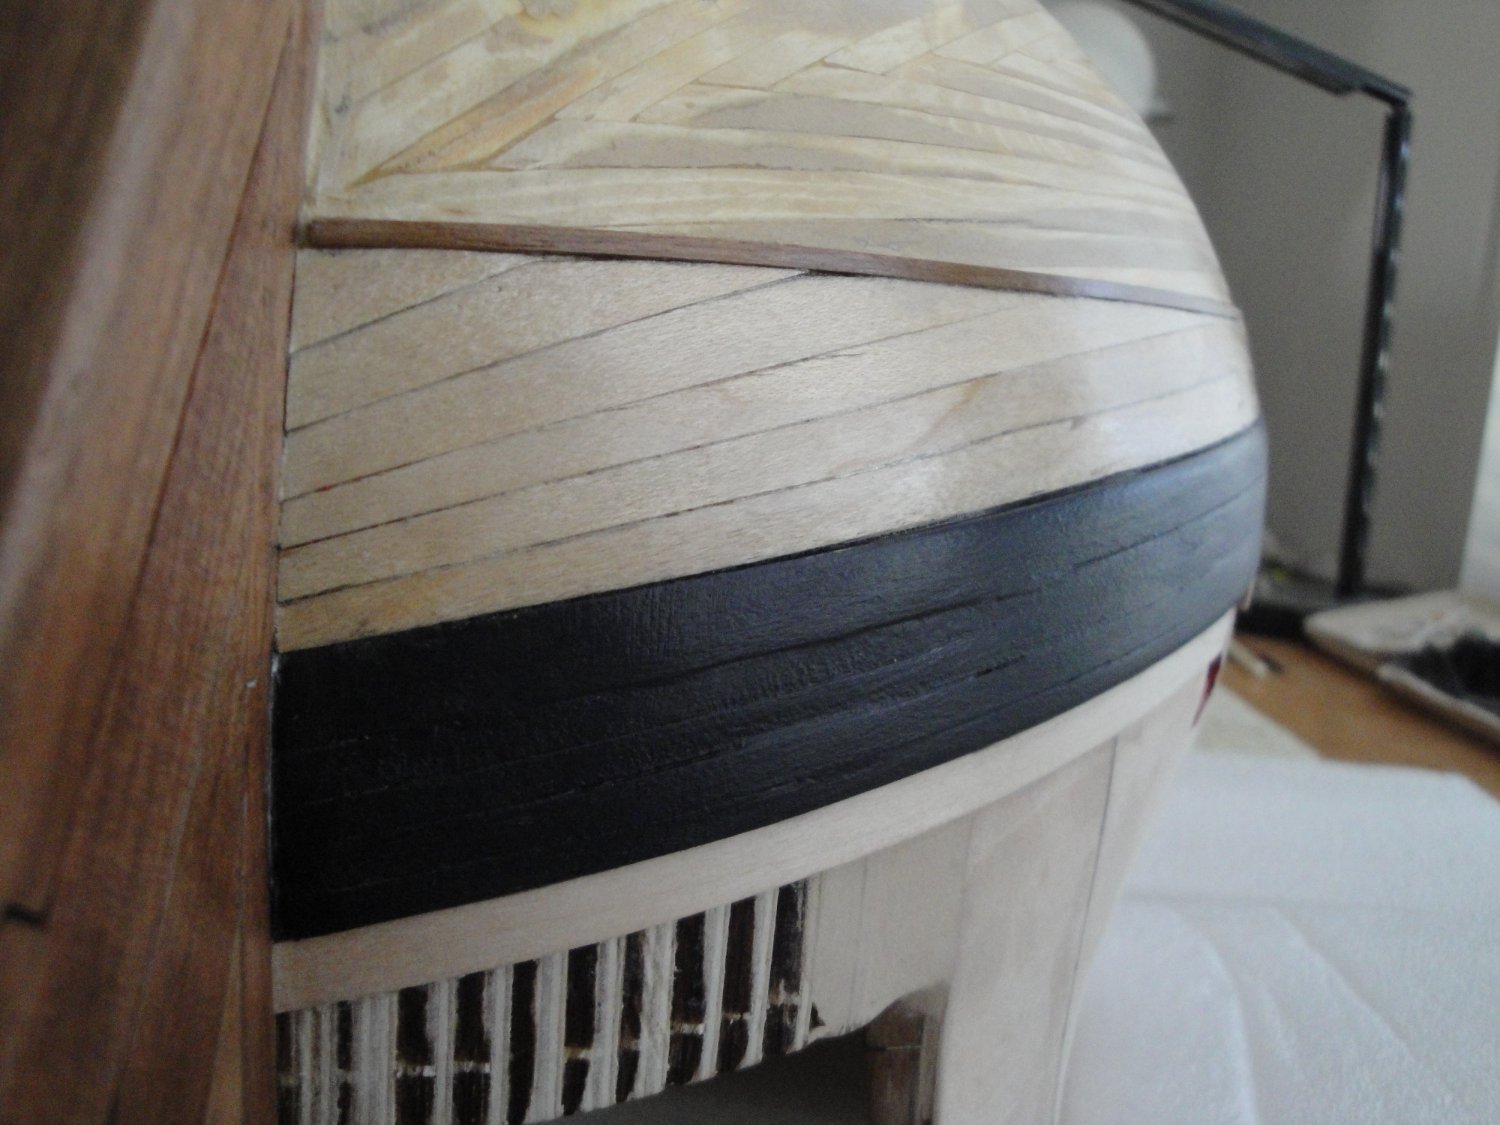
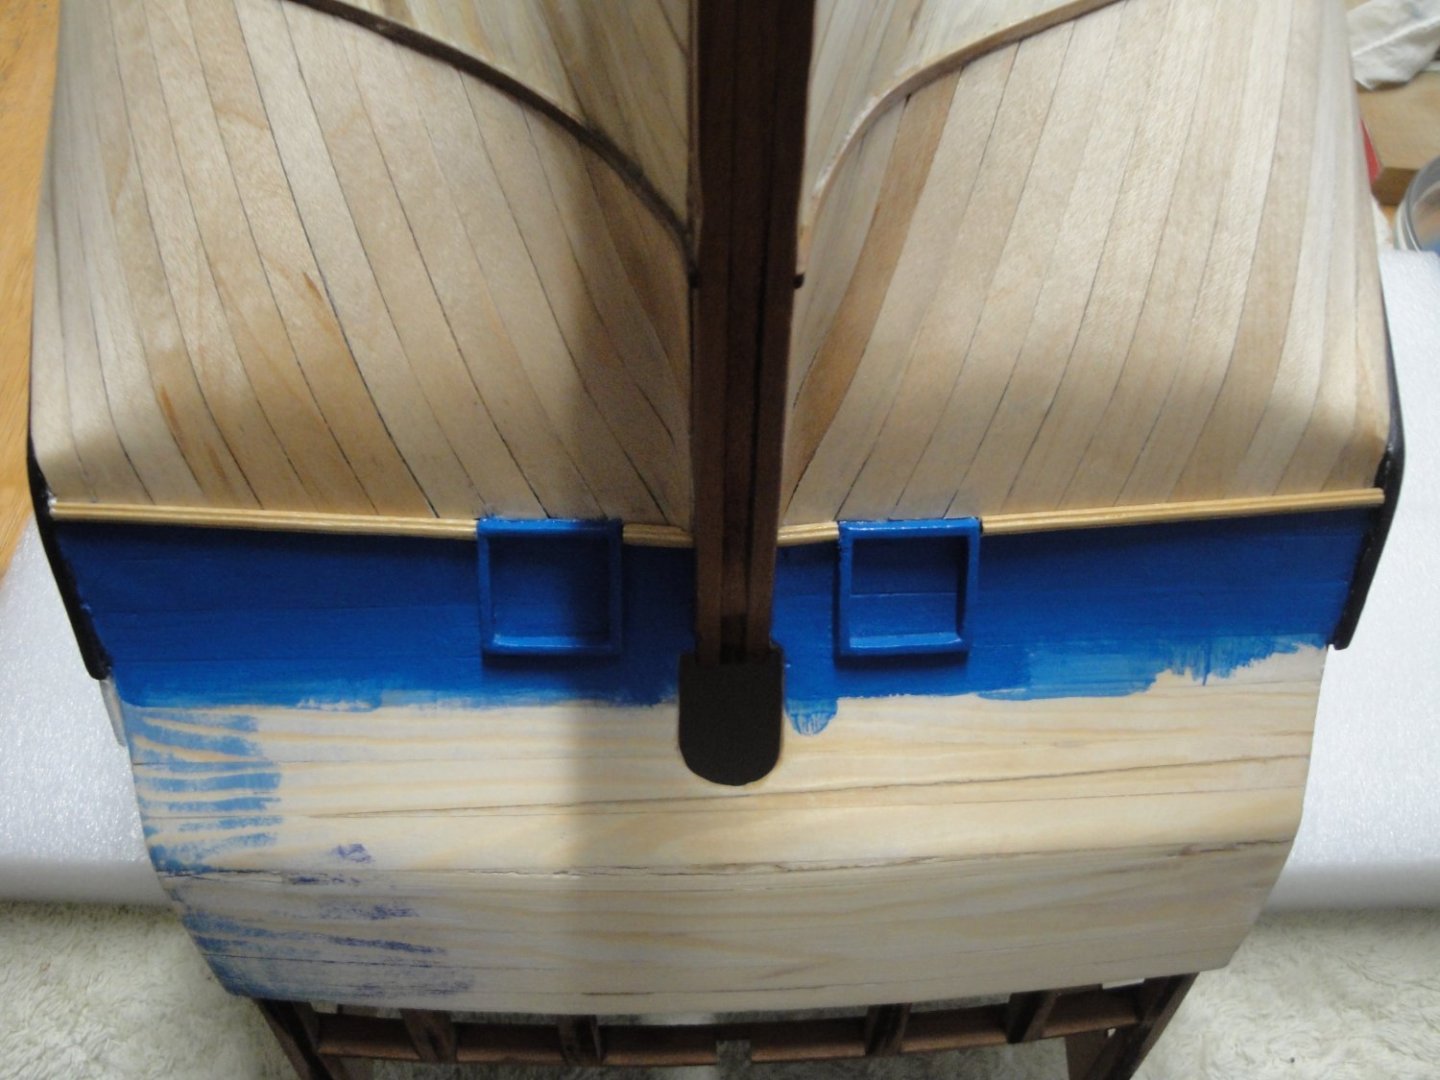
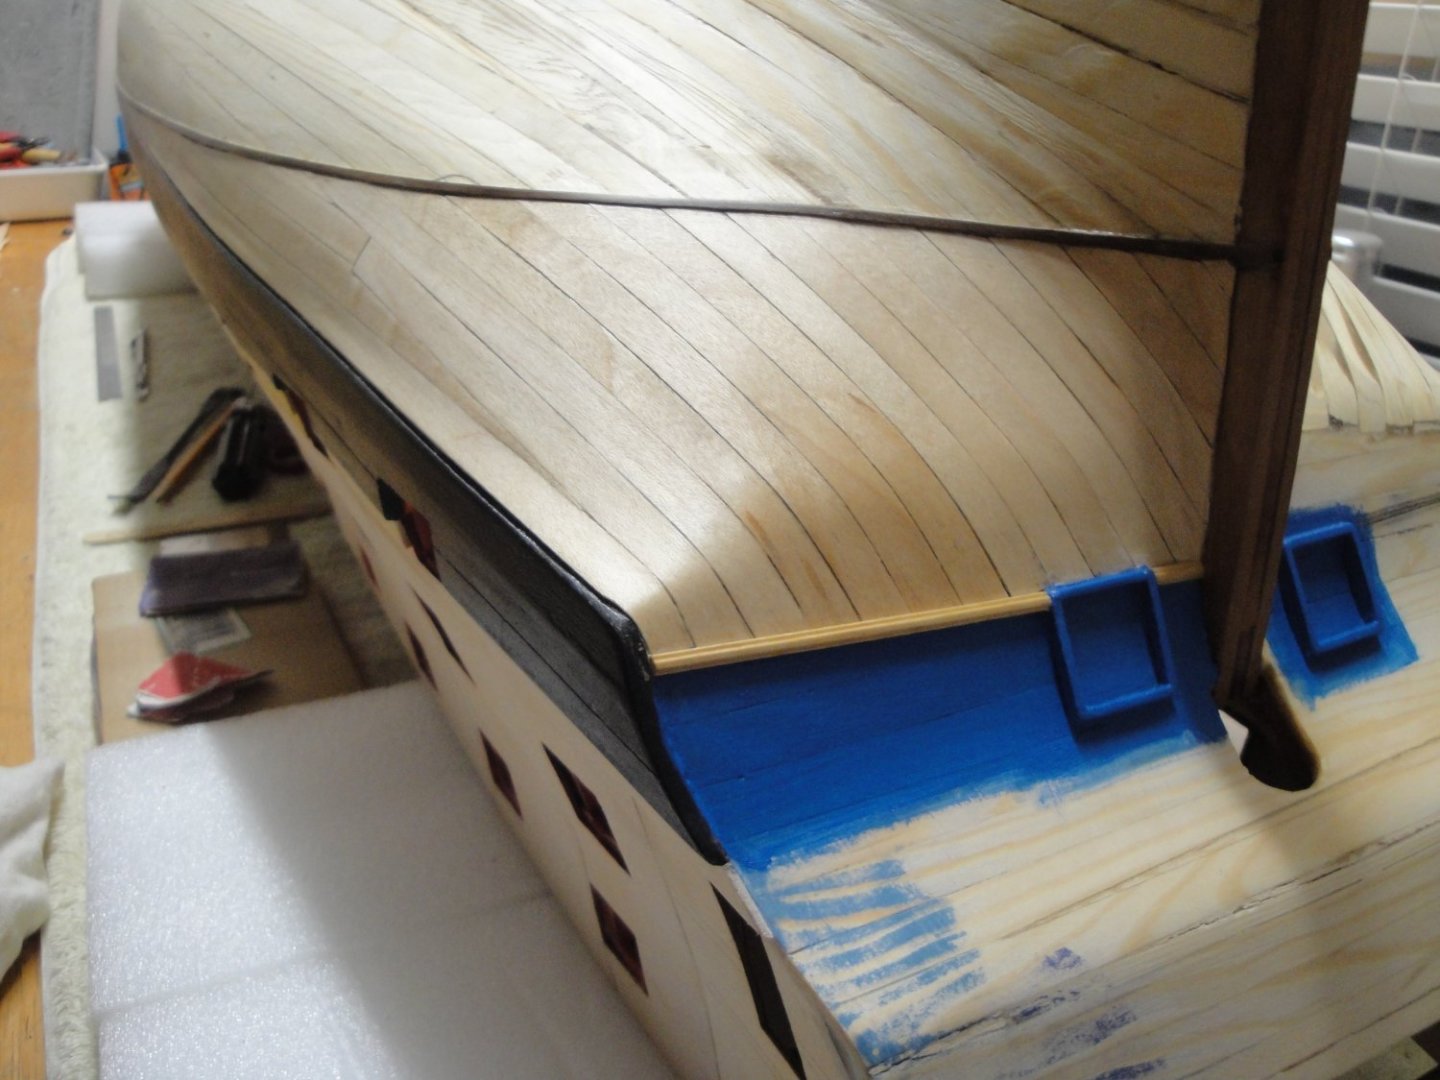
Third quadrant, at the stern: These maple wood strips are interesting. They are extremely flexible, allowing you to espouse pretty much all shapes, which comes handy at the stern. In addition, after gluing them, especially when using Titebond Quick glue, the wood need to be "burnished" to embrace the exact shapes of the support. It is like burnishing a thin sheet of copper and is very unusual in the way it reacts. I am using an ice cream stick to do all the burnishing. The wood of the stick is hard and smooth and does not damage the thin planking. Multiple coats of Wipe-On-Poly have been applied and the stern is now hard and extremely smooth to the touch. The blue color is Cerulean Blue by Liquitex (Acrylic) and that is the color I like the most after trying about 4 other Royal blues, and other blues from Model Shipways and Tamiya. I find the traditional Royal blues way too dark for my taste. On top of that blue, various decals will be applied, since the freezes on these vessels were painted and not carved. Yves
- 507 replies
-
- 13
-
-
You could add two small bands of sea at each end and try to blend the seams with your existing piece of ocean. Yves
-
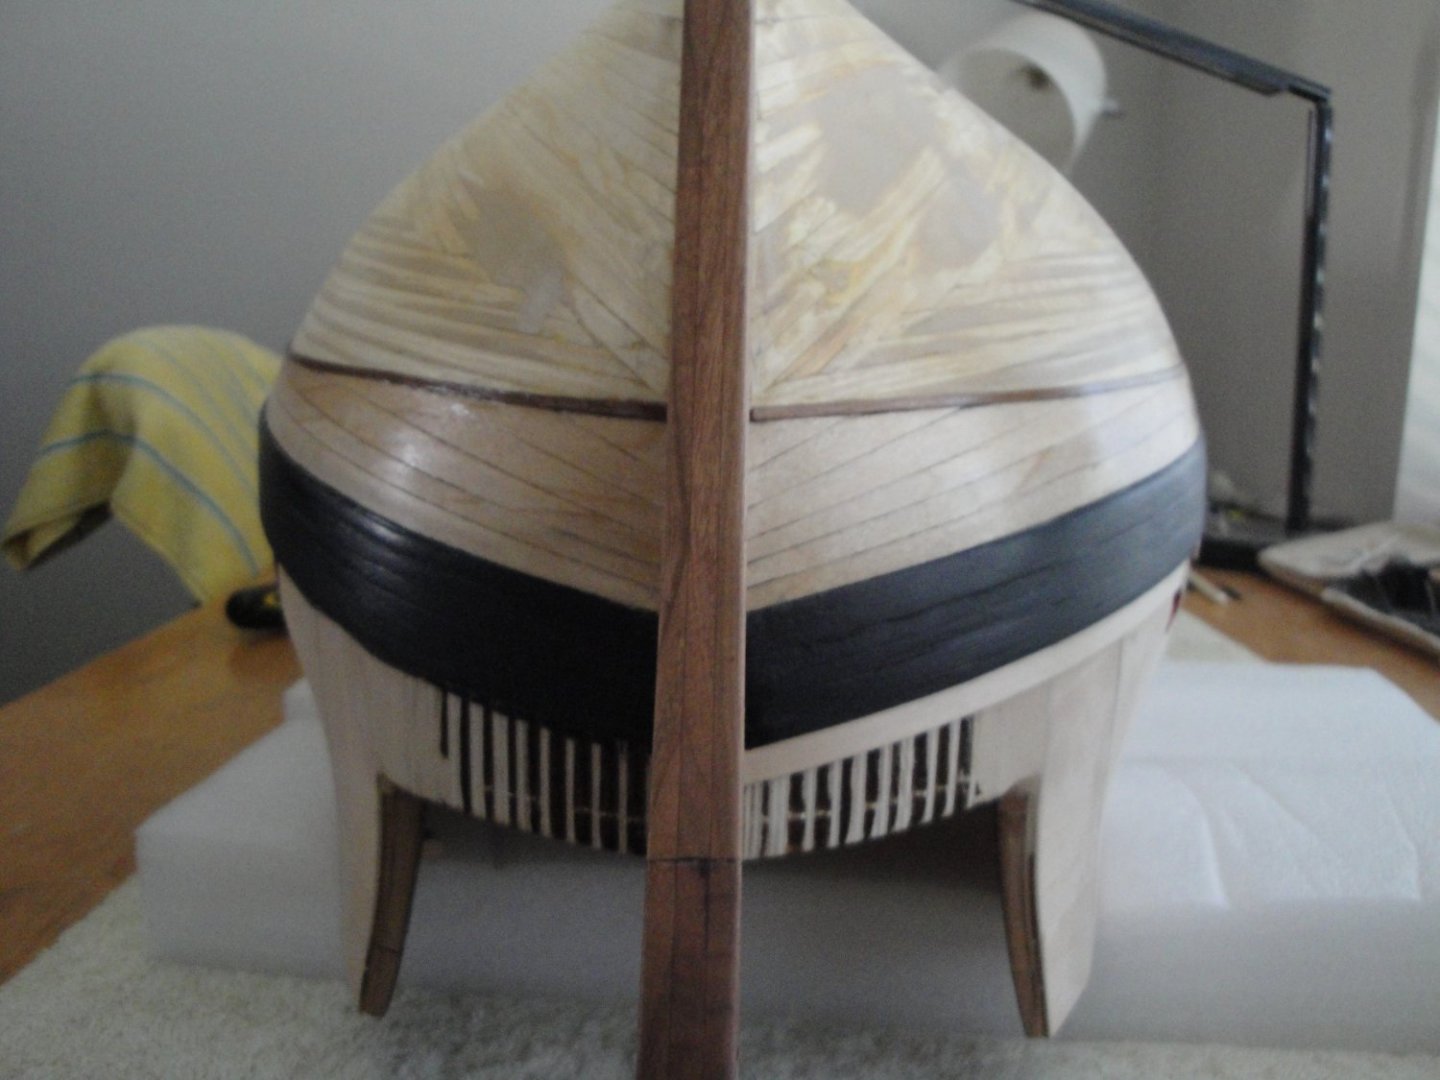
The second Planking of the bow is now completed. The wood has been covered with multiple coats of Wipe-On-Poly and is hard and smooth to the touch. Now, to the stern..... It will not be so easy.... Yves

- 507 replies
-
- 17
-