Mike Y
-
Posts
1,543 -
Joined
-
Last visited
Content Type
Profiles
Forums
Gallery
Events
Everything posted by Mike Y
-
 Very neat solution!
 -
Hoorray, another Hahn build, this time from giampieroricci! I like the transformation of a rough hull to a smooth one after fairing, very satisfying! More progress pictures, please!
-
ancre La Belle 1684 by Nenseth - 1:36 scale
Mike Y replied to Nenseth's topic in - Build logs for subjects built 1501 - 1750
You need quite some rigidity when sanding, to achieve it and prevent misalignment when humidity changes - you need temporary spacers between frames anyway. Hard to imagine how that can be done with a non-temporary joints. Replacing a frame or two is doable by just dissolving PVA as described above, but getting them all in and out? -
YTL-45 Taiwanese Navy tugboat by Erik W - FINISHED - 1/350 scale
Mike Y replied to Erik W's topic in Plastic model kits
Wow, that is quite an impressive weathering (not overdone) and quality of details on this scale! -
Yay, another Hahn build! Like your surface sanding jig, very neat!
- 50 replies
-
- 1
-

-
- rattlesnake
- brig
- (and 1 more)
-
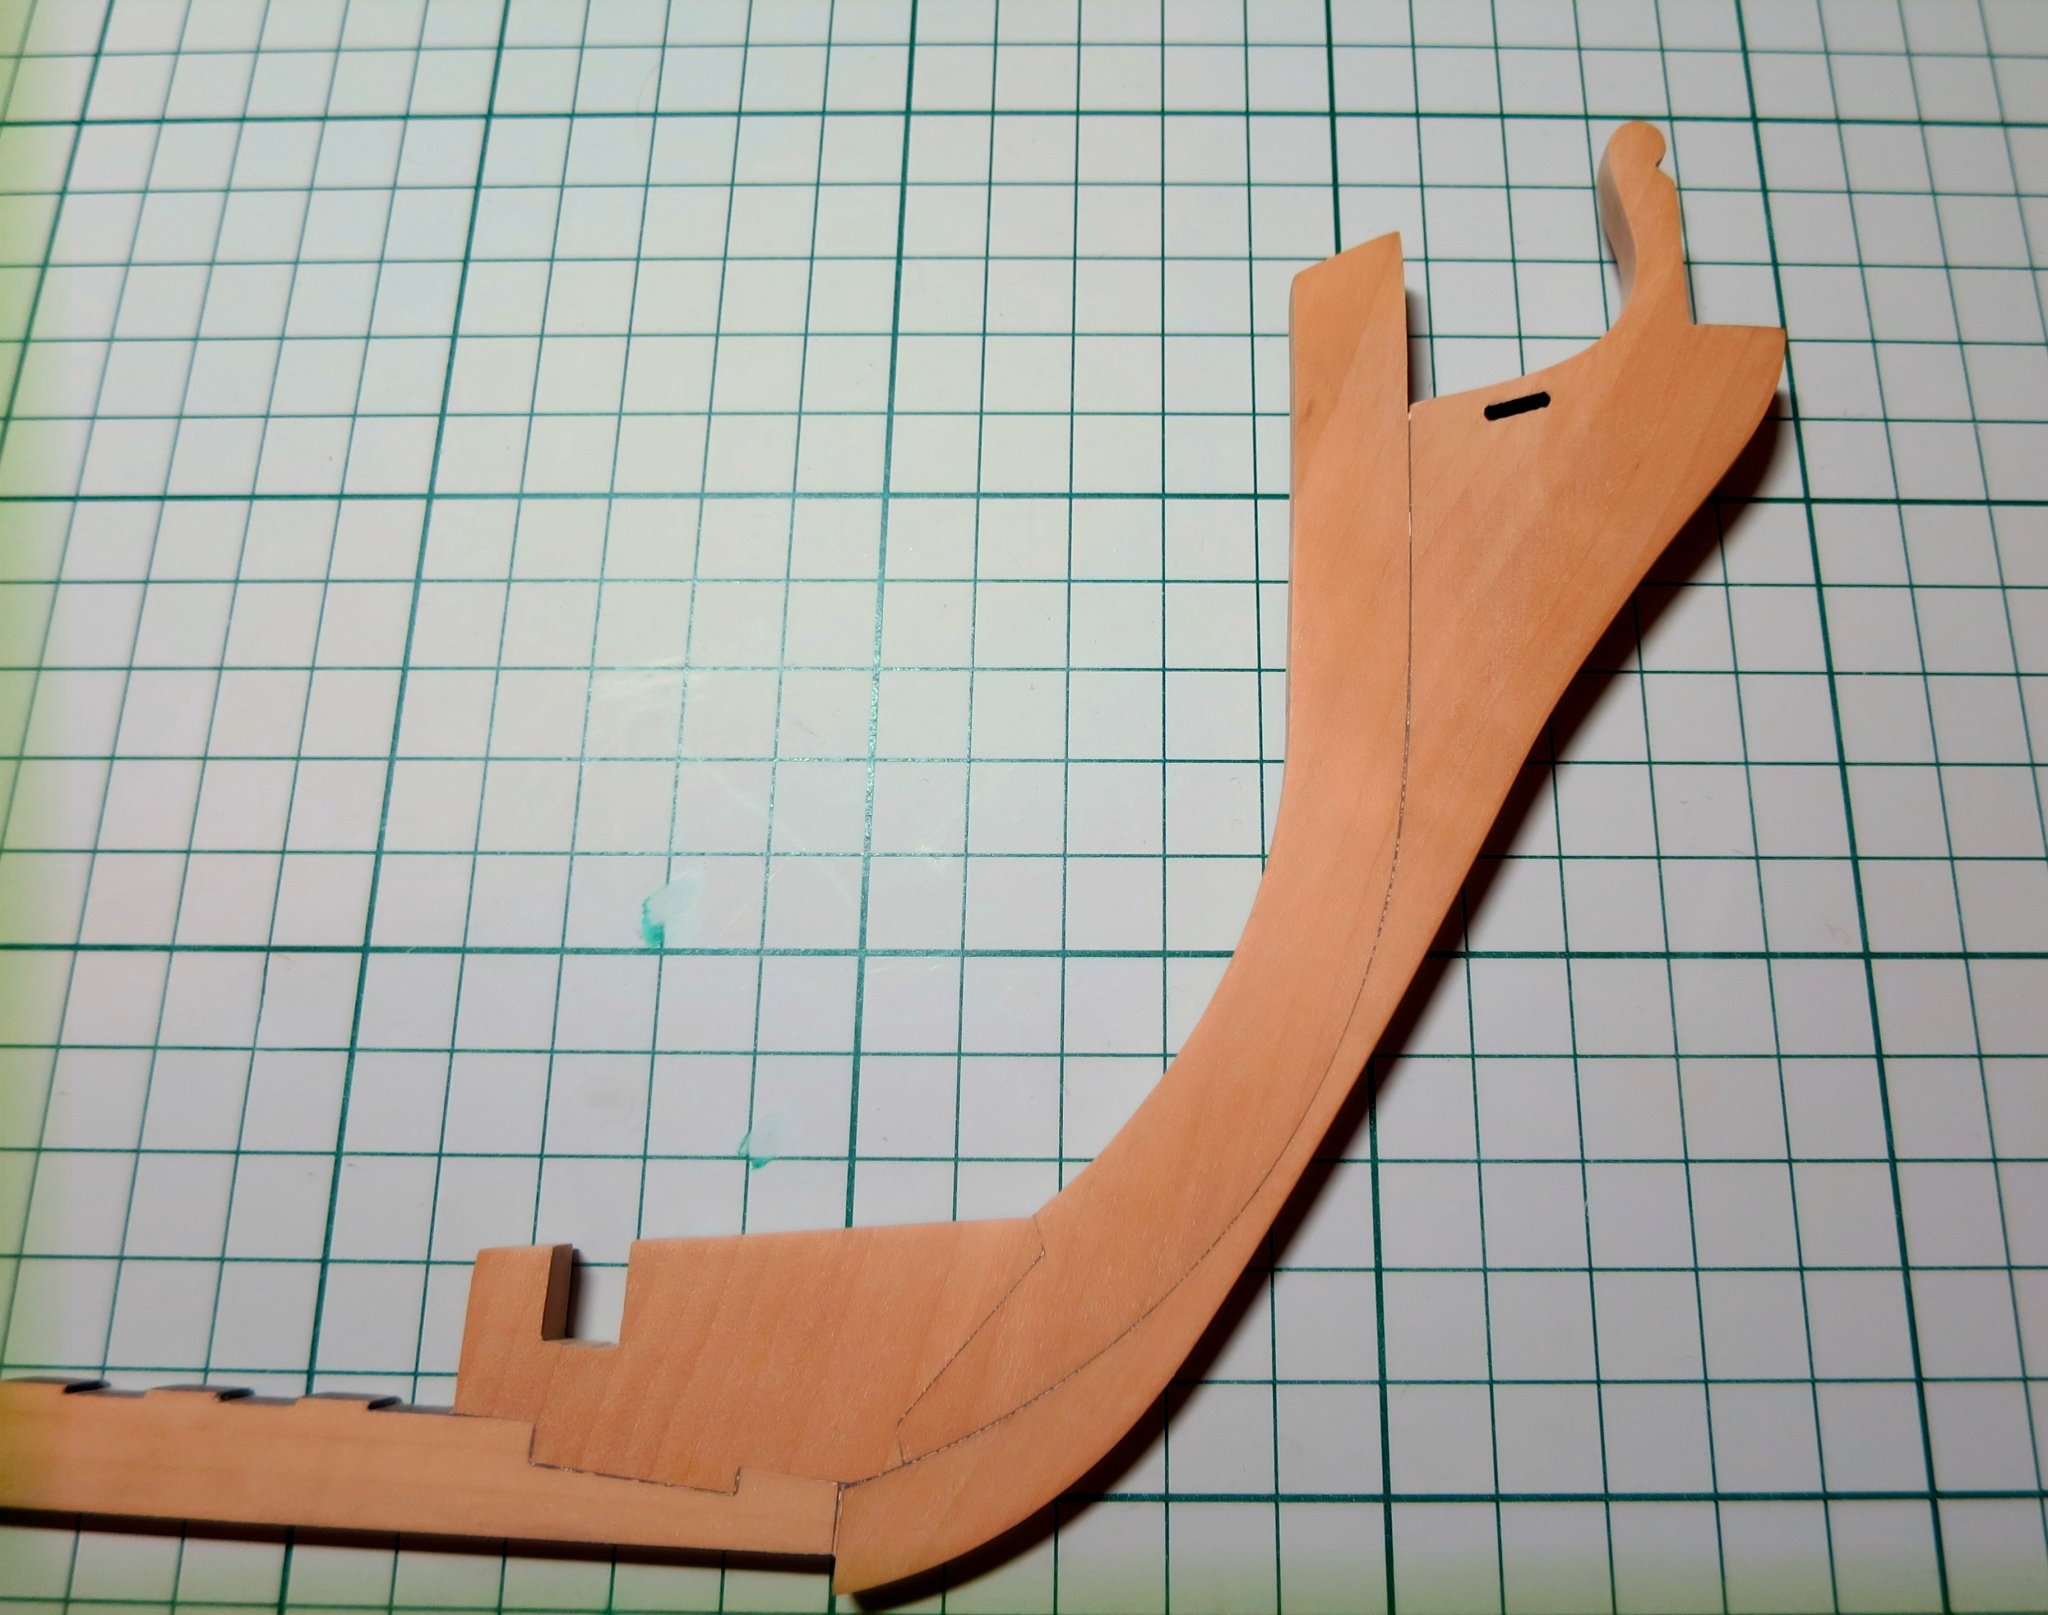
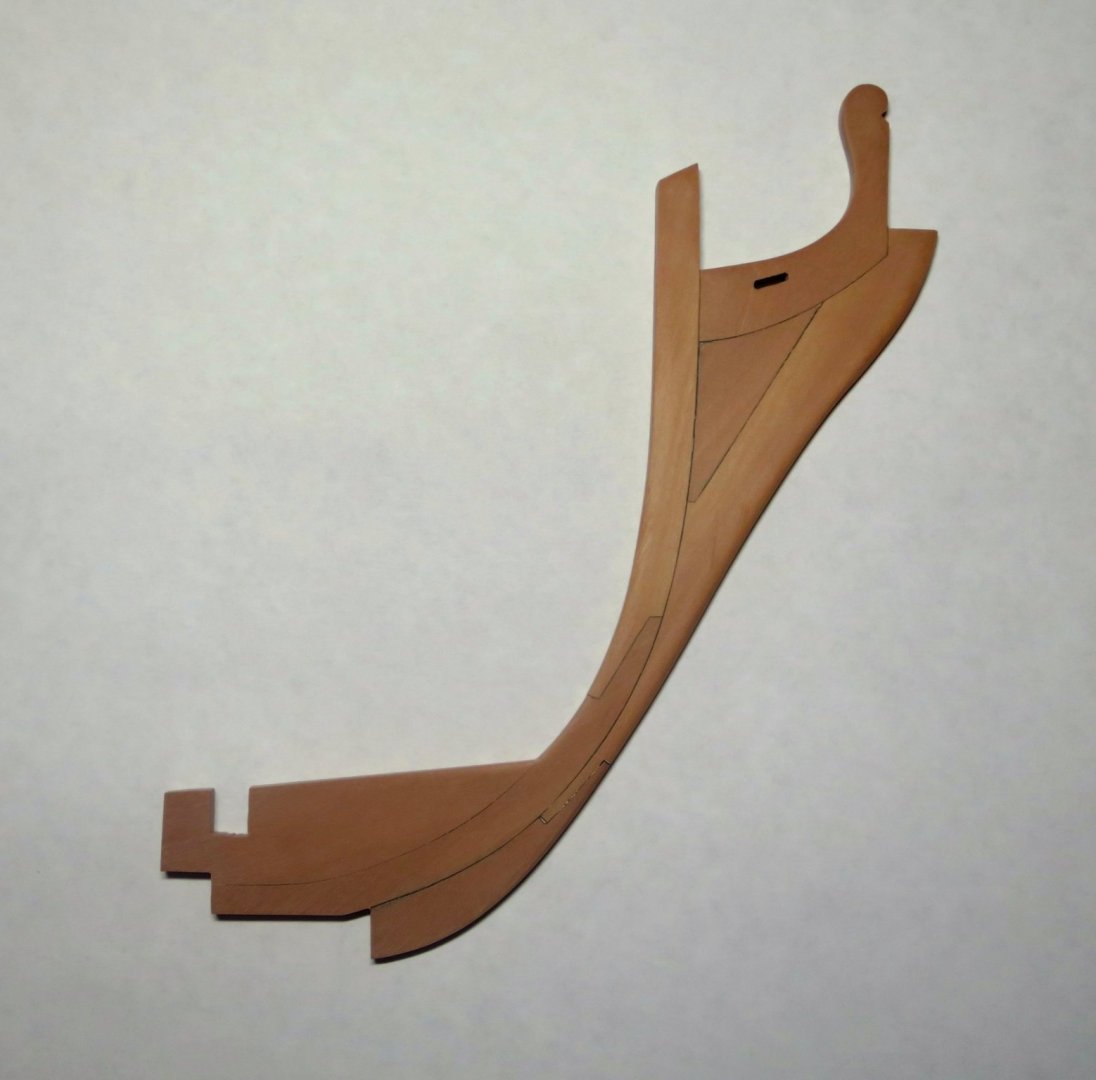
Great start! Hahn simplifies a lot of details in his drawings, you will find plenty of "giant pieces" that were built out of multiple pieces in reality. Just use more detailed sources if you want to build it in a more realistic way. For example, the stem is likely made out of more pieces, etc etc. They are quite visible on a model, and actually look way nicer in a detailed form, to my taste... On my model, Hahn version looks like this: Looks too crude, so I scrapped it and re-made in a bit more detailed way, based on other drawings and books. Note that this is not a full level of details, for example that triangle in the middle should have been broken down as well, etc etc. But still looks a bit better.

- 45 replies
-
- 16
-
-
Very neat rudder!
-
This is something else, but there is more than one "correct one". Try it, shake it, make sure it is not too flimsy, check the max height if you are tall
-
Hof van St Janskerke by niels wilhelm
Mike Y replied to niels wilhelm's topic in - Build logs for subjects built 1501 - 1750
You have one of the most unusual workshops! Nice build! -
Välkommen!
-
Hi Andre, They are fairly common in modern offices, and allow to work while standing. Height is adjusted smoothly and continuously with two buttons under the table, no tools required and it takes a few seconds. It is not a fixed set of positions, you can move it like you move your car window. I move it up and down all the time, depending on the work being done. They used to be expensive, but then IKEA released a very decent version for half the price (model name BEKANT). You can buy the ready-made office table, or just a frame separately. Screw any tabletop on it and you have your custom made electrical table. It is nice to have a solid wood instead of an office fiber board, so you can add a vice and clamp things without damaging the top. They exist in different sizes, colors and even corner versions are available: https://www.ikea.com/us/en/search/products/?q=bekant frame stand The only downside - it is a table for light work, not a replacement for workbench, since legs have motors and screw rods embedded into them. So I would not recommend chiseling a tenon an mortise joints for your furniture projects on such table... Otherwise it is great There are a few topics on this forum where this was discussed in details, with photos, etc.
-
Thanks, Michael! Your words mean a lot to me Getting second thoughts about some distant plans on making a 1:96 model, too fiddly indeed. At least planking at my scale is easier than with 1:24, I guess!
- 967 replies
-
- 3
-
-
- hahn
- oliver cromwell
- (and 1 more)
-
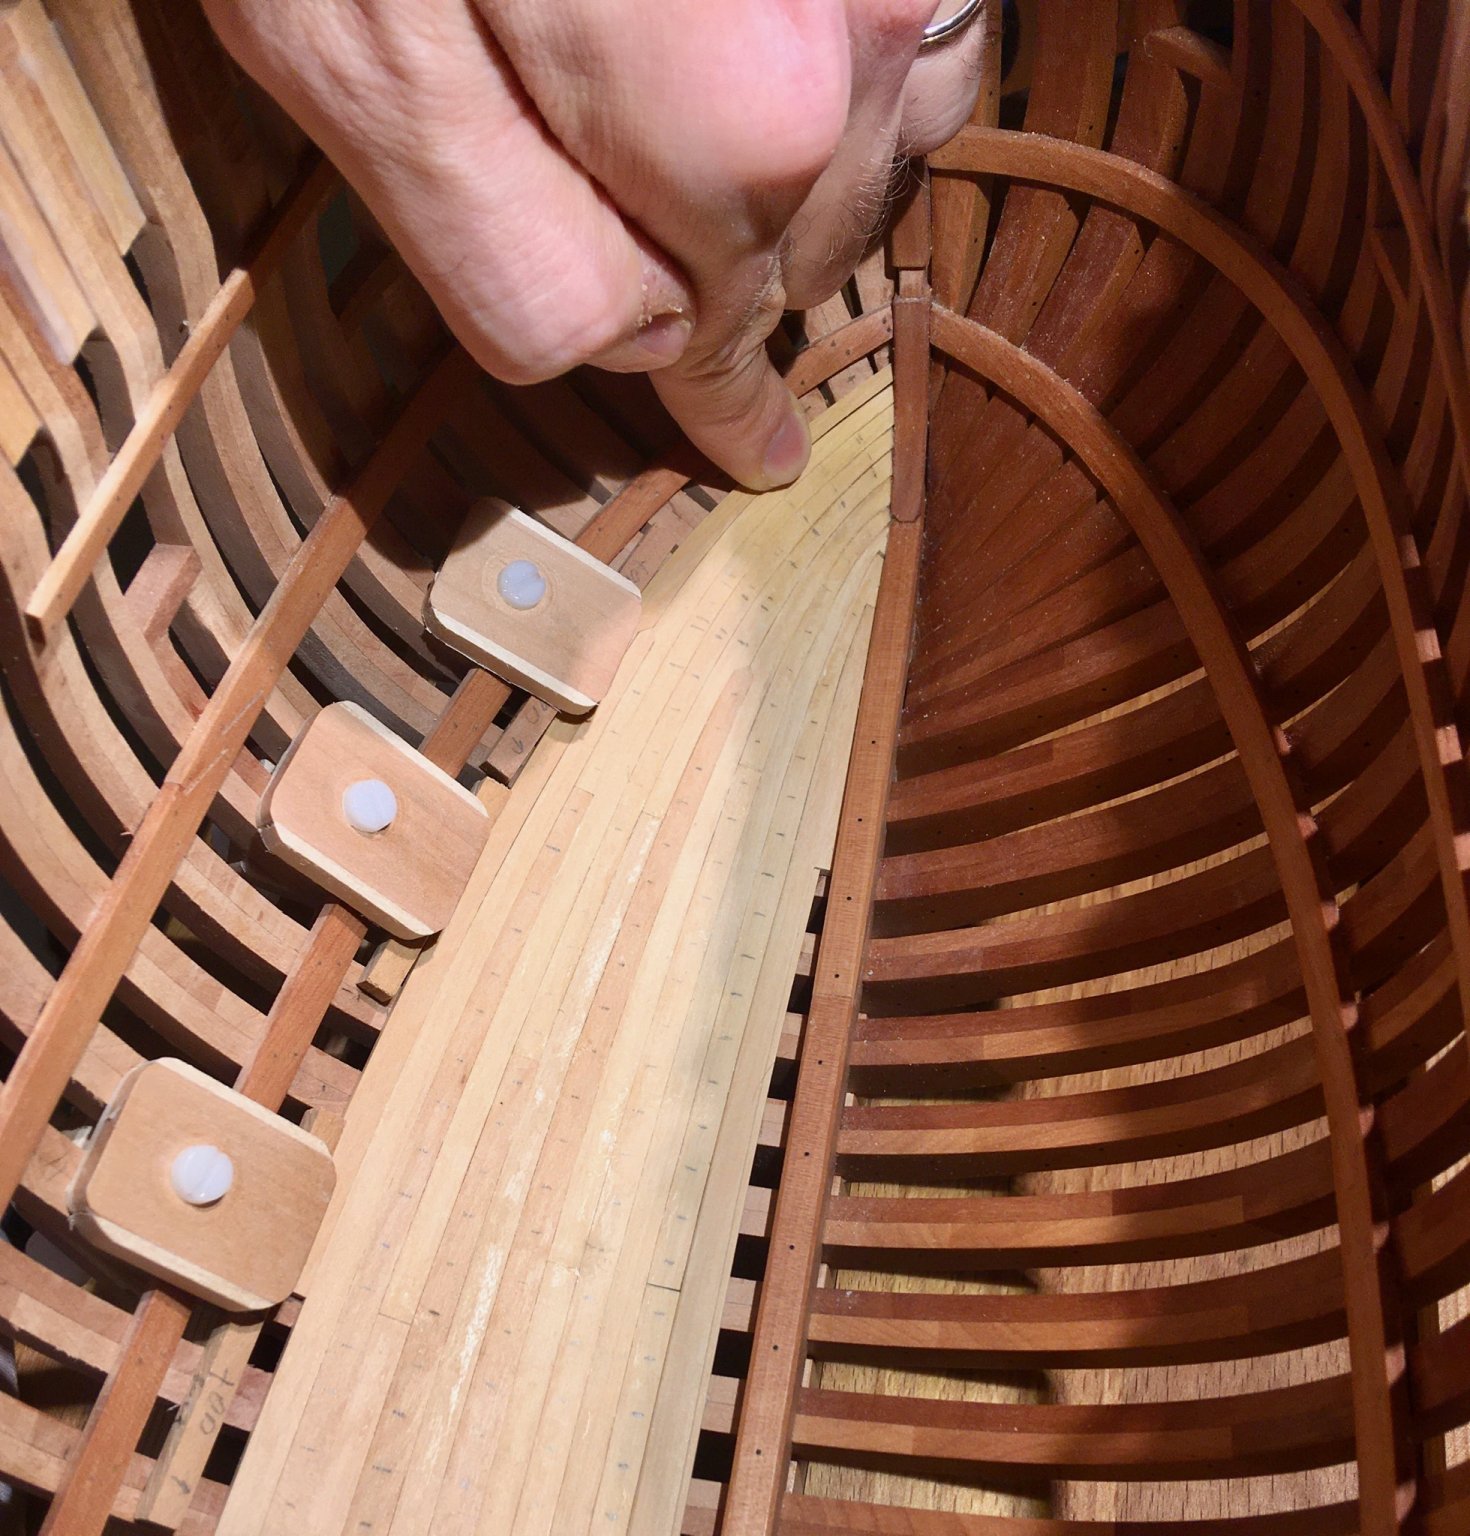
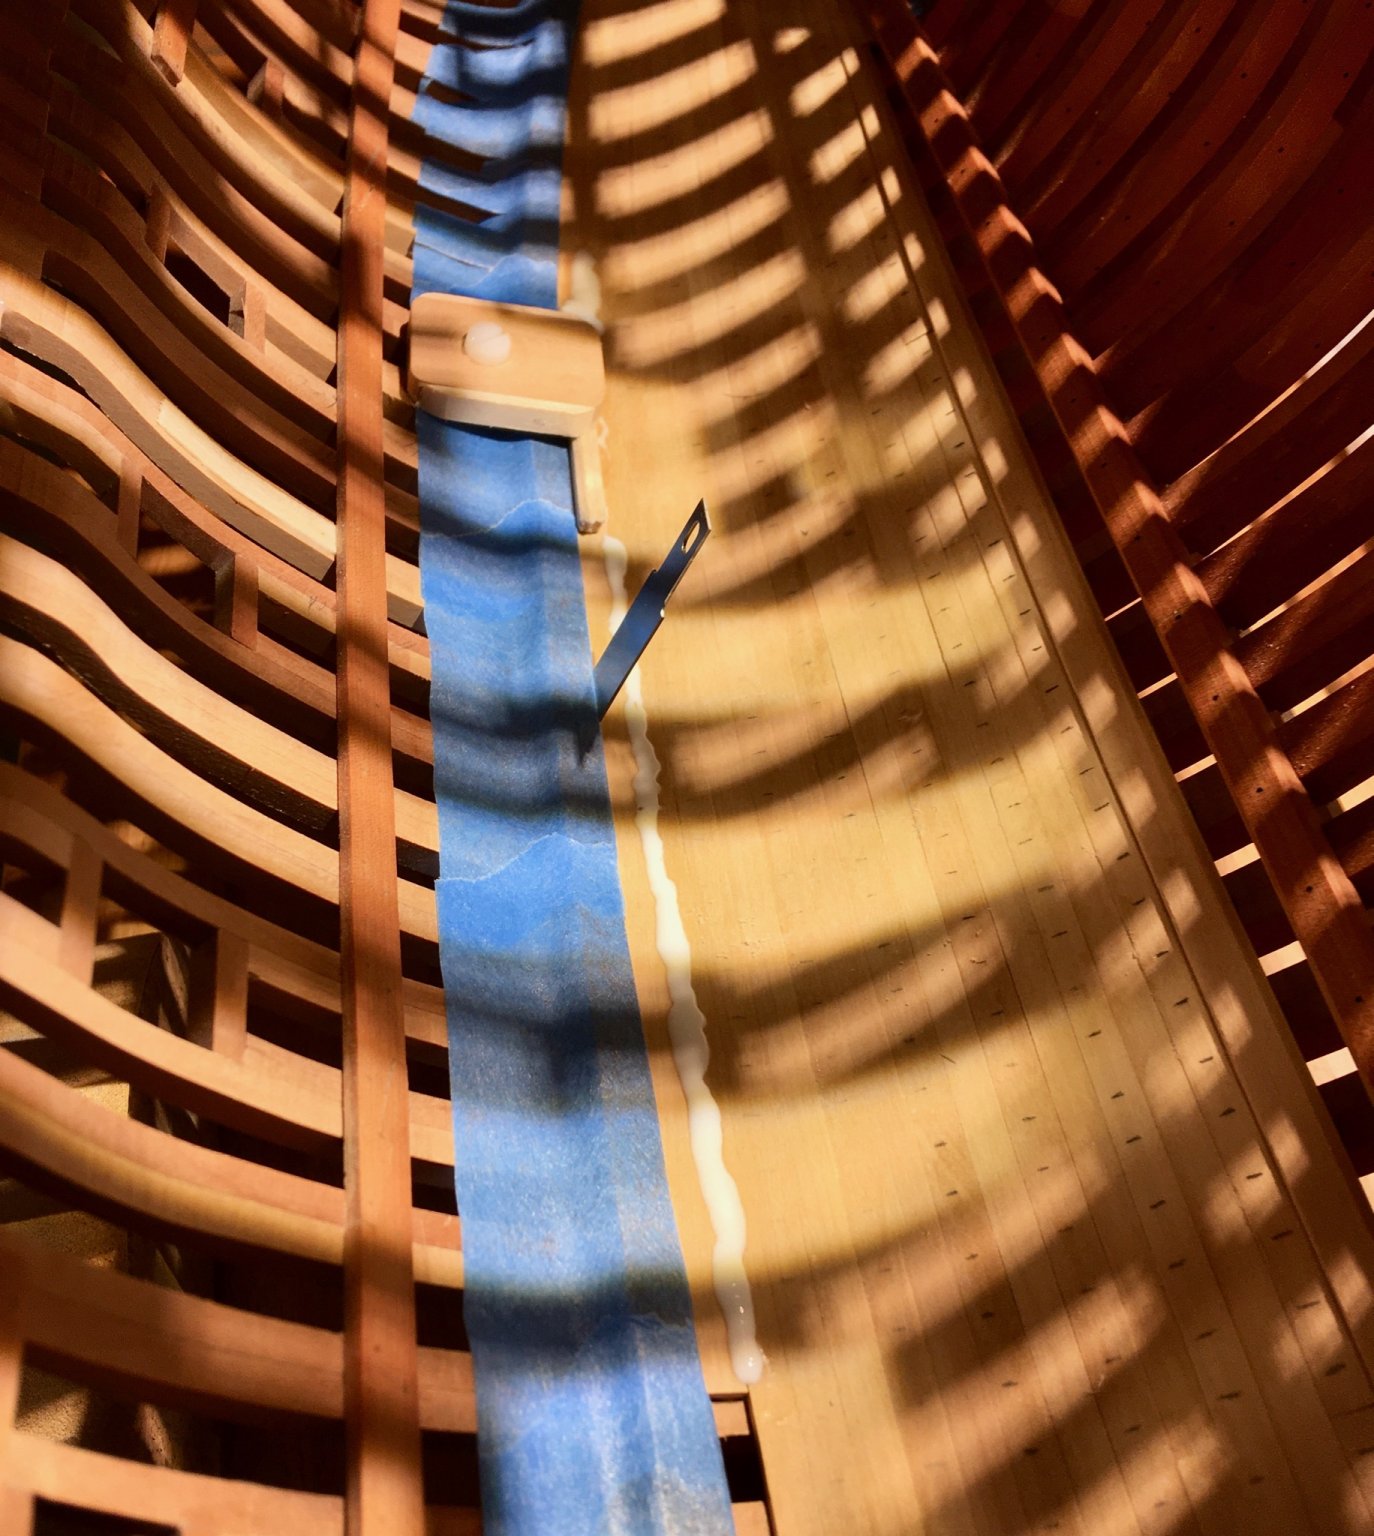
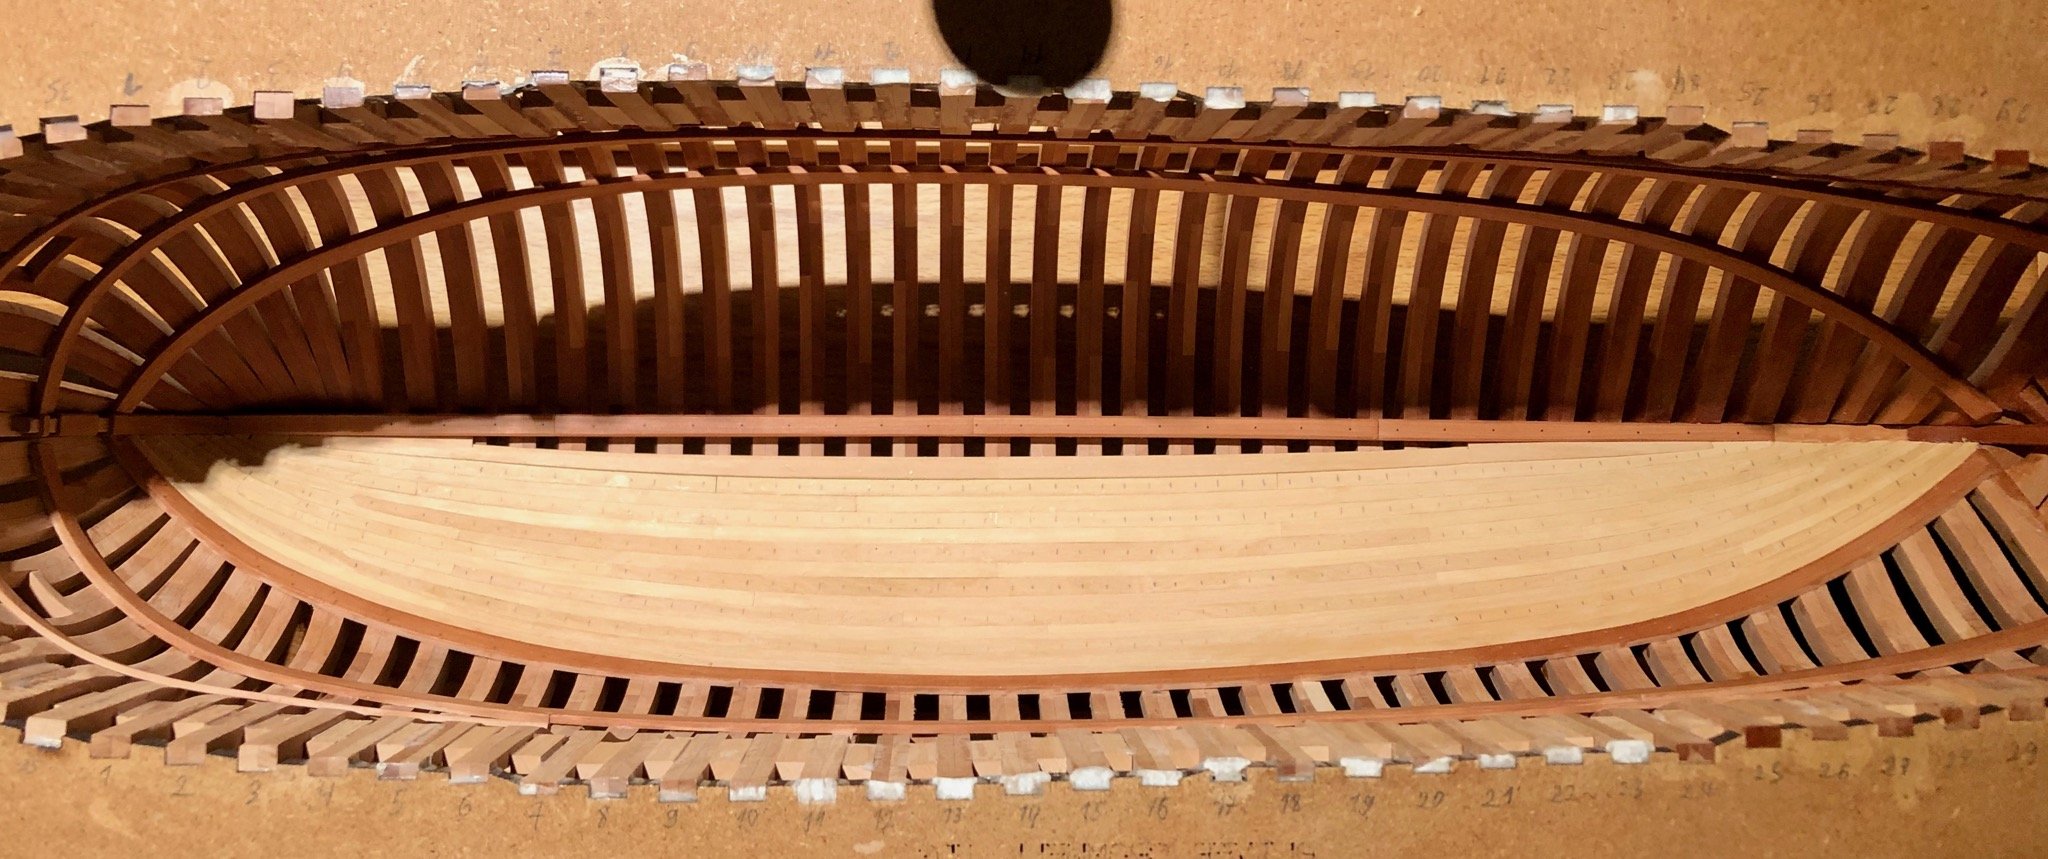
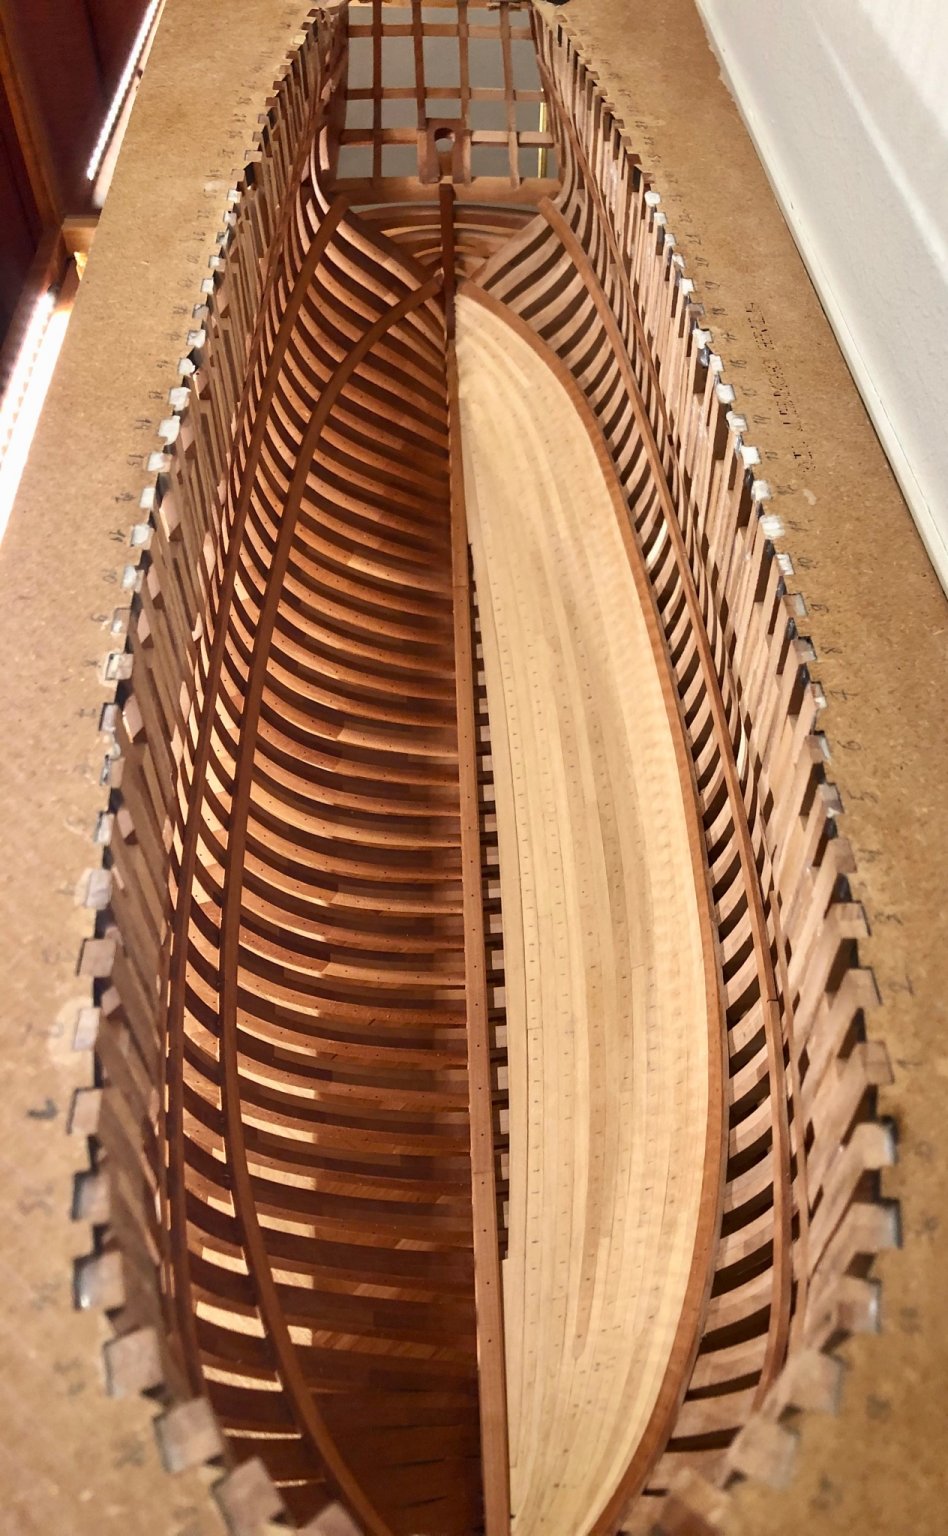
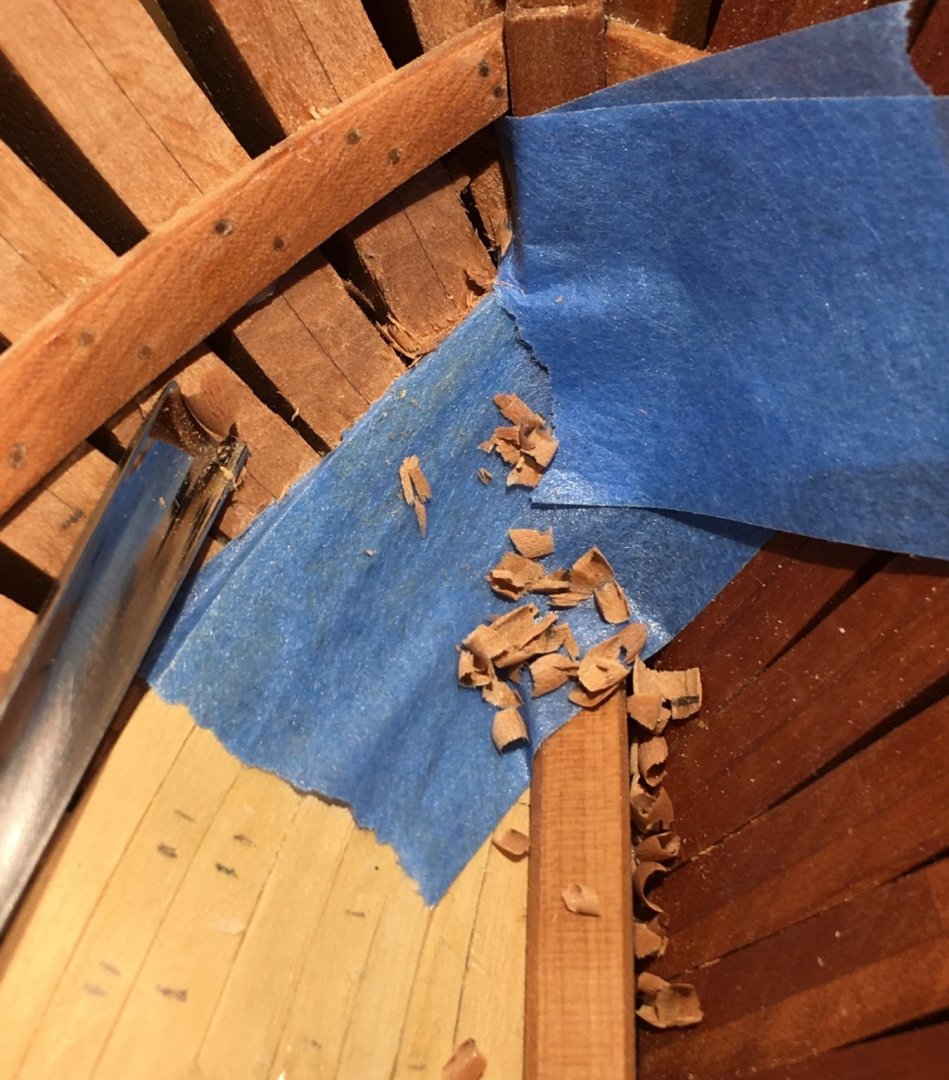
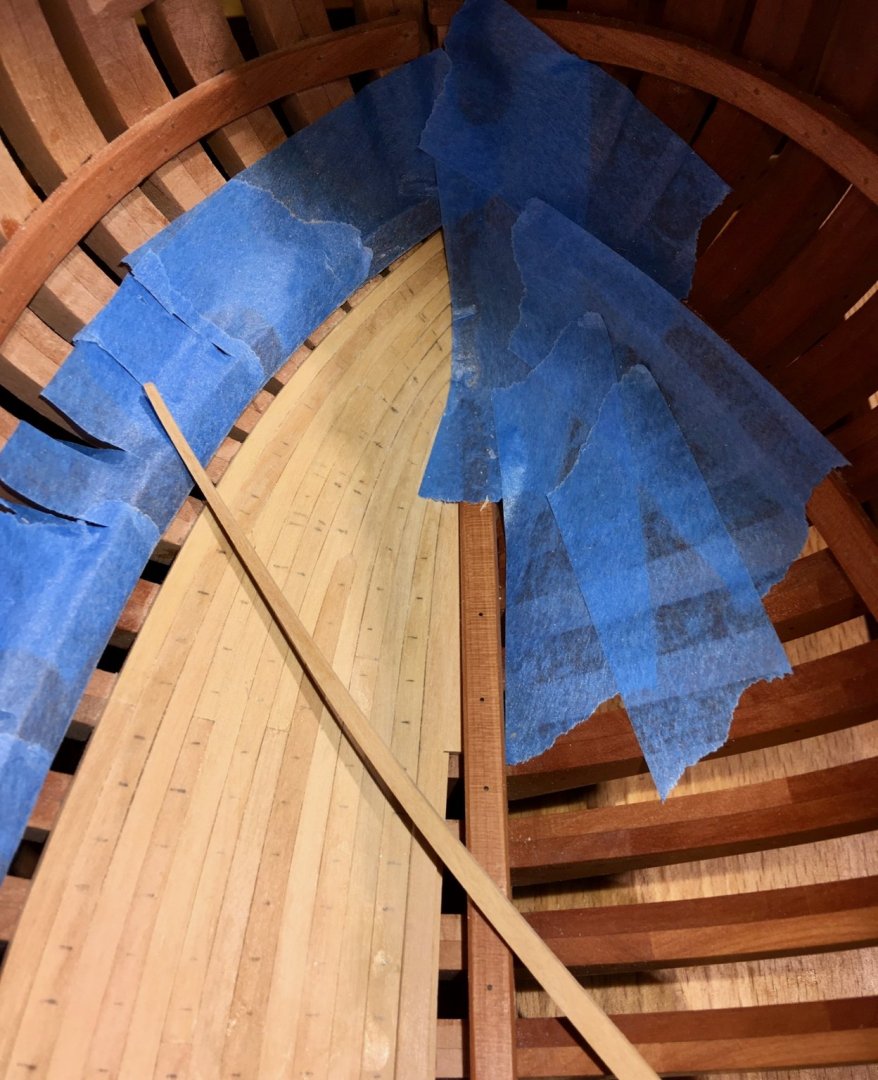
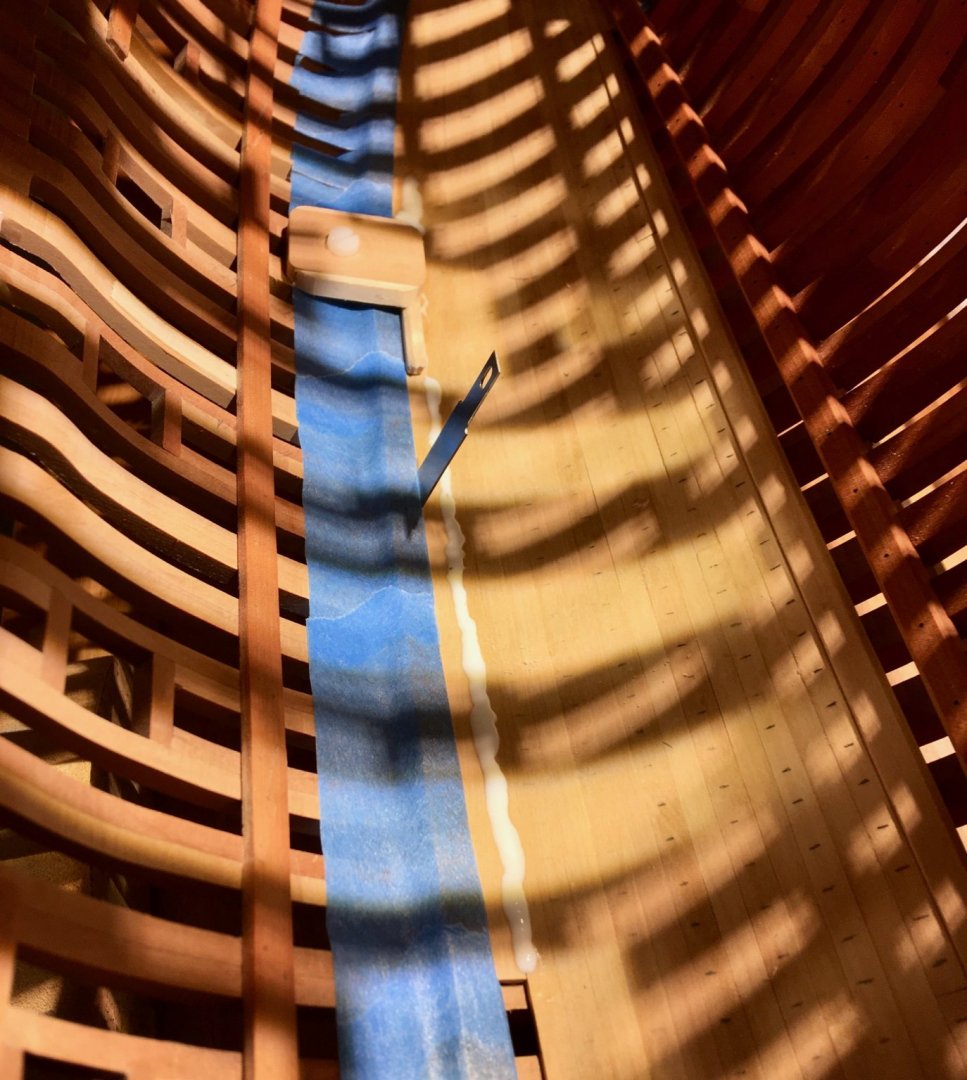
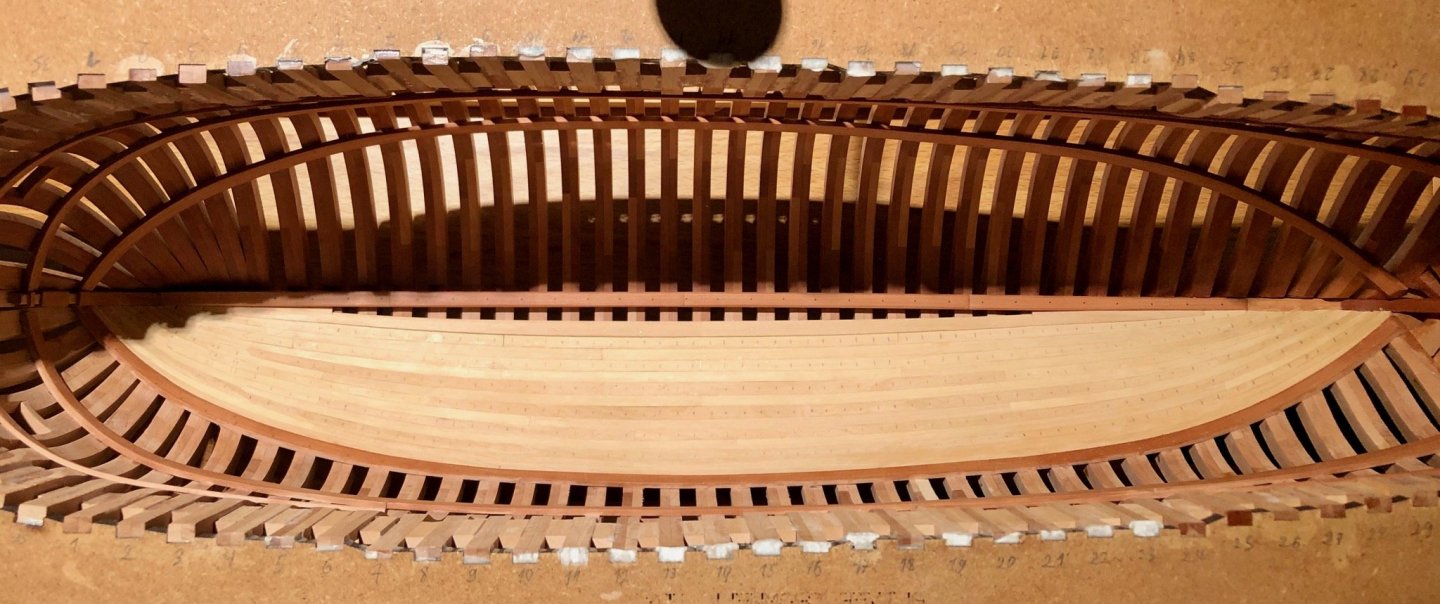
This was an interesting part of the build, though pretty repetitive. I am glad that I took internal planking first, it would be barely visible, and a good practice before doing an external planking. One more time thanks to Chuck for showing how to edge bend. Got the hang of it, no more broken planks, and I get quite close to desired shape from first or sometimes second attempt: Got more Pfeil chisels, this time to simplify in-situ fairing. Works like a charm! Closer to deck clamps it became harder to clamp, so some awkward arrangements were used: The last streak was difficult. Even though I used tick marks, the last forward plank ended up a bit too narrow. Will be careful next time, does not worth re-doing this time. A blade is used as a wedge to press planks into each other in the areas of some gaps. More glue to soak into the gap. It is cheating, I know During the last few months I was sneaking to my modelling corner regularly (which is a challenge with a newborn), and managed to install all planks before the end of the year! Yay! I did not expect it to take this long though - with an average of 4-5 hours per streak and 14 streaks it sums up to 60-ish hours. So here is how it looks today, before treenailing / fairing / smoothing / trimming. When in display case, light coming from the bottom of the case goes through frames and makes an interesting pattern on the planks: There is plenty of dust over the model, that I will need to carefully remove after sanding. Hope to finish it in a near future and get to less repetitive parts (breast hooks, mast steps, deck structures, etc etc). But before that I need to decide on a finish to use (or maybe no finish at all), will make some test pieces and try all the sanding sealers that I bought last year. Also I got a surprising color deviation in planks, even though they are all cut from a few sheets of castello box, and sheets had no obvious discoloration. Maybe it is a side effect of heat bending, may go away after final sanding. Anyway it is not so bad, shows individual planks. A bit of deviation is good!


- 967 replies
-
- 28
-
-
- hahn
- oliver cromwell
- (and 1 more)
-
Very nice start!
-
Can i live without a BYRNES TABLE SAW
Mike Y replied to shihawk's topic in Modeling tools and Workshop Equipment
Not for modelling purposes, but as soon as you start making small woodworking projects, or even a display case for the model... -
Great layout! Hope it would work great for you. I would recommend to put a disk sander closer to your working area. It is by far the most used power tool when you make small things, once you are used to it.. Like who needs a table saw for cutting planks into proper lengths, where you can just cut rough dimensions using some wire cutters or any other simple tool, and then fine fit using a disk sander? Combined with some small household vaccuum to catch airborne dust - it is handy to have it close by. P.S.: consider an electric lifting table, it is actually the most used "tool" in my shop overall
-
Your workshop is very cosy!
-
Thanks Kris! This is very useful!
-
Make sawdust out of the wood you use for planking, mix it generously with a pva-based wood glue that dries clear-ish (not yellow) - that would give you a custom made filler for your wood
-
I was fooled by these renders as well, thought they were photos! Incredible! But what was a hint is the same look & feel for side grain and end grain. Frames will definitely look different comparing to deck planks. Any plans to build this beauty in wood?
-
Just noticed how beefy the deck beams are! Also you make a really nice cutouts!
- 589 replies
-
- 3
-
-
- le gros ventre
- cargo
- (and 1 more)