
HOLIDAY DONATION DRIVE - SUPPORT MSW - DO YOUR PART TO KEEP THIS GREAT FORUM GOING! (Only 13 donations so far - C'mon guys!)
×


popeye the sailor
-
Posts
16,007 -
Joined
-
Last visited
Content Type
Profiles
Forums
Gallery
Events
Everything posted by popeye the sailor
-
 what....you can't just sling it over your shoulder?!?!?! just kidding now for the bit and pieces......really nice!
 -
you learn your lessons well......everything you learn here will enhance your next one your doing a spot on job!
-
no flame here good sir, I've seen many variants of this kit. the hull color was the one I read of most. hello Ed....thanks for the good word. sorry I haven't gotten back to you.......I hope your admiral is feeling better
-
looks good ! nuth'in wrong with that
-
fantastic model Chris......good luck with the house affairs I hope you've incorporated a very nice work shop in the plans.
-
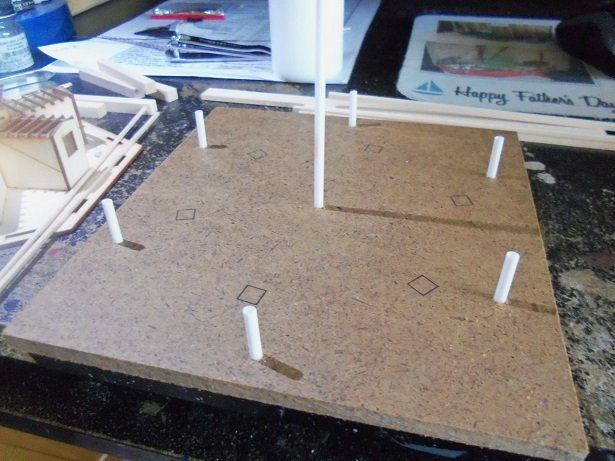
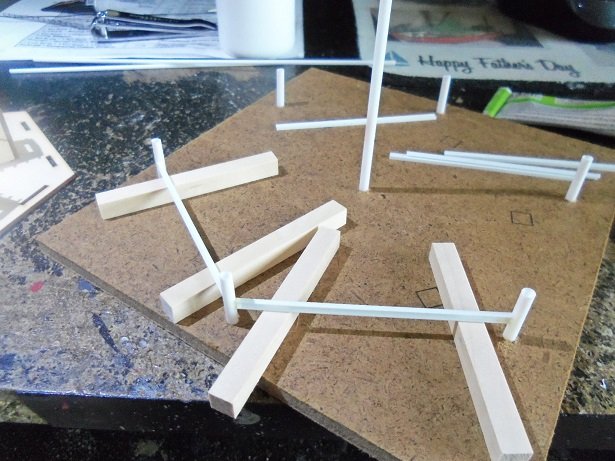
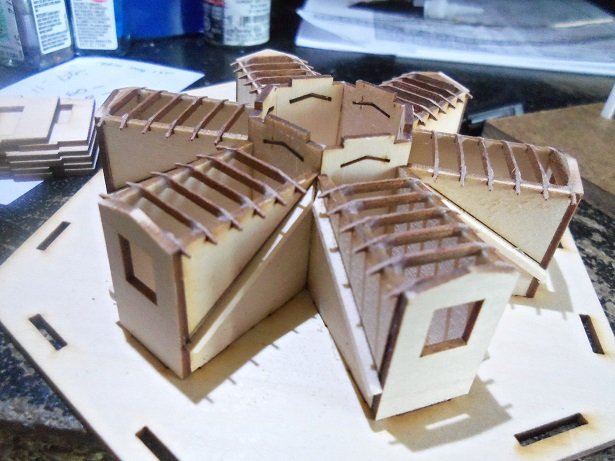
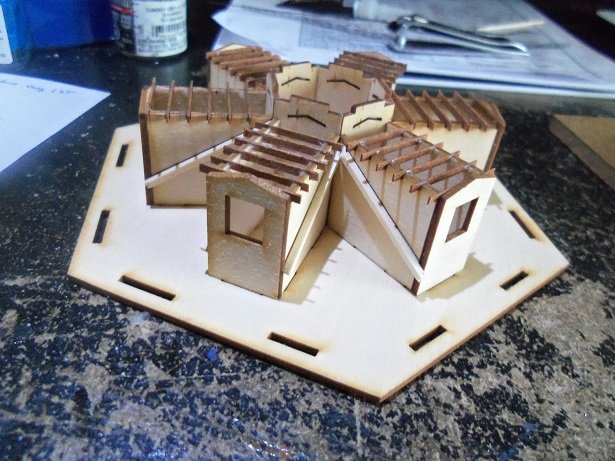
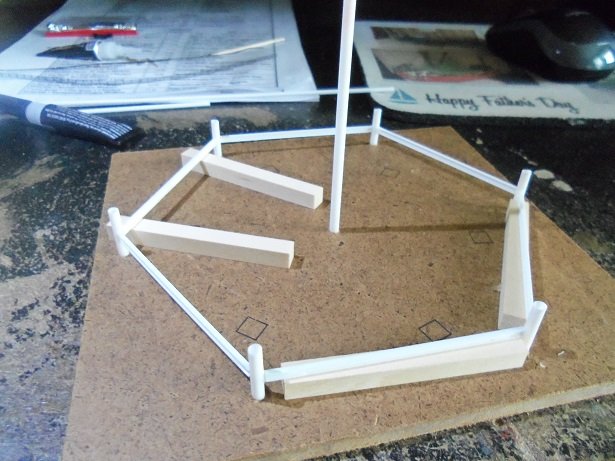
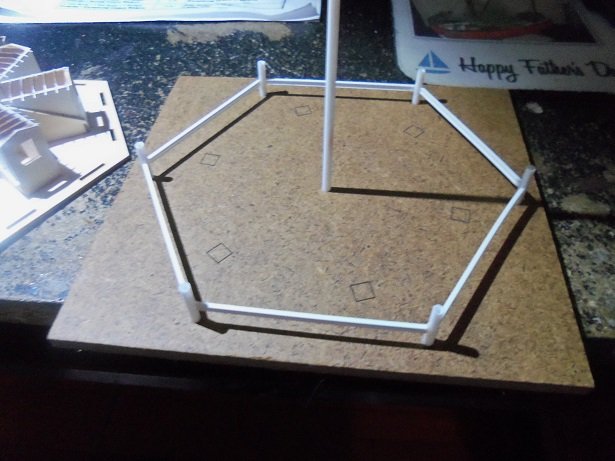
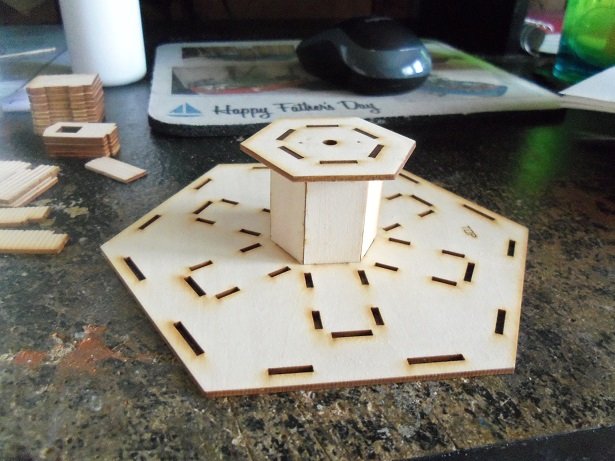
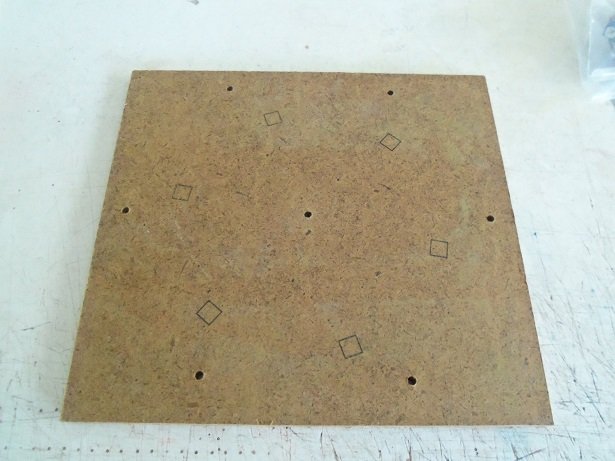
thanks Lou and Jack for the kind comments. it's a reminder that i have pictures in the camera I haven't looked at the electronics yet....surprising, since when installed, I'm going to have to adjust the beacon light......it blinks! I read about the tours through the Thomas lighthouse.......the interior looks quite comfy. must be neat living in one. I did a dry fit to see how much of the rafter slots could be seen........too much I'm afraid. so, I'm have to do something about it. looking in my inventory of wood, I got some thin strip mahogany. 2 mm will have to do......I cut 36 pieces for what I have in mind. putting a Testor's tip on the white glue bottle, I was able to dab them as I went along. now they need to dry. I figured I'd start on the screw pile. since I want to use the jig as the base, I adjusted the length of the supports. they instruct you to raise the jig 1/4 off the table and push them in place, so they rest on the table. I won't need to do this. they fit in the holes really tight.......I even drilled them out a little. the squares are for spacer pieces supplied in the kit.......I hate to think I'd have to cement them in place and mar the surface. I will come up with a different way to accomplish this. I started the assembly using Testor's green tube cement. these are plastic "I" beams. in between these drying, the roof parts were painted, so they would be ready when the roof and dormers are completed. these are the six sides that will make up the main roof...the ones above make up the dormers, outhouse, and shed, back at the main roof, the main roof supports were cemented on the sides of the dormer walls once dry, they were sanded flush to the front wall. this probably wouldn't matter, since they will be covered by the roof parts. at this point, I took my convex toe nail clippers and cut the excess off at the angle of the eaves ans did a bit of sanding. next, was to paint the exposed parts of the dormers. then came another zinger........the glue wasn't holding the 'I' beams for the screw pile. the one nice thing about it, was I could remove the dried glue without damaging the parts. I changed over to Ca to start over. there were a couple of joints that didn't want to take, but another dab of Ca seemed to have done the trick. the first step of the screw pile is done.

- 97 replies
-
- 15
-

-
looks great!
-
Fender Guitar by Dan Vadas - FINISHED - CARD
popeye the sailor replied to Dan Vadas's topic in Non-ship/categorised builds
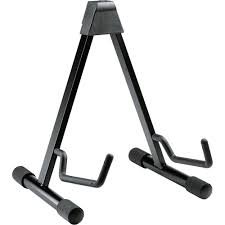
super looking guitar Danny. will you be making a stand for it? wire frame and black tubing should do the trick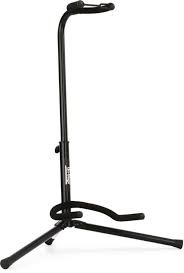
-
well then.....I guess Revell needs to worry...........they skipped a period. won't be the first time that a typo has been found in a set of instructions. gotta remember folks.......this is an older kit. it hasn't even seen a retool since the re-release. it one of those 'it is what it is' kits. there is a limited amount of upgrades for this kit. yes, I painted turret #3.........didn't figure one more inconsistency would make a difference.
-
not according to the instructions..........the guns on the main deck {the round ones} are 5 inch guns {part #9}. the first pair of guns on the gun deck {from the bow} are 5 inch AA guns {part #11}. the five guns further stern {the ones your referring to} are 11 inch AA guns {part #12}. there is another pair of 5 inch AA guns on the stern deck. this is the way the part's list reads........Sigep Ziggy has a set of the instructions too. I'm sure he can confirm it,...... scout's honor it is looking better than I thought it would..........I thought I killed it!
-
another way to make the cap rails is to trace the shape of the hull {bulwark lip} on a piece of paper. then outline outward from the tracing the same shape, keeping with the same width {I go by 4 mm...but 5 mm id good too}. cut out the tracings { do both sides, or flip the tracing over to do the other side} transfer the tracing on a sheet of 1/8 basswood or suitable sheet wood. cut them out and shape to taste if needed, notch where they meet the bow and stern stem, so they will mate up snugly. wood can be difficult to bend, especially if the grain is running against the bend.
-
sometimes cutting across the grain can be helpful. it makes the bulwark post {what you were making} flexible, and will behave better if there are anomalies in the bulwarks. the end grains can be sealed before painting, so they will not soak up the paint, being unsightly. I've done this a lot when I need the extra flexibility. for bulwark post though, it might not be a good idea, since it won't strengthen the bulwarks. coamings and bollards look super
-
thanks Michael...welcome to the log as well as those who are look'in in. I've always wanted to try one of these kits........so far so good in spite of this small hiccup. I have a satisfactory solution in the works at the moment for the rafters, and once I can dry fit a roof, I'll know then if I'm on the right track. ran into an issue with glue.......but I'll get to that in the update. welcome to the log........I hope you enjoy
-
very nice start.........I never thought to drill out the holes in the bulkheads! definitely will keep that in mind !
-
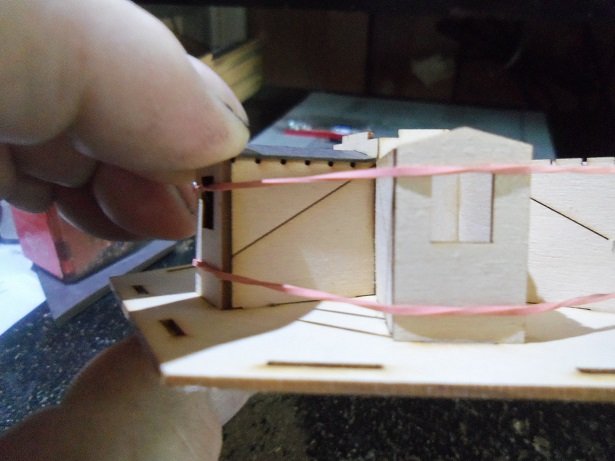
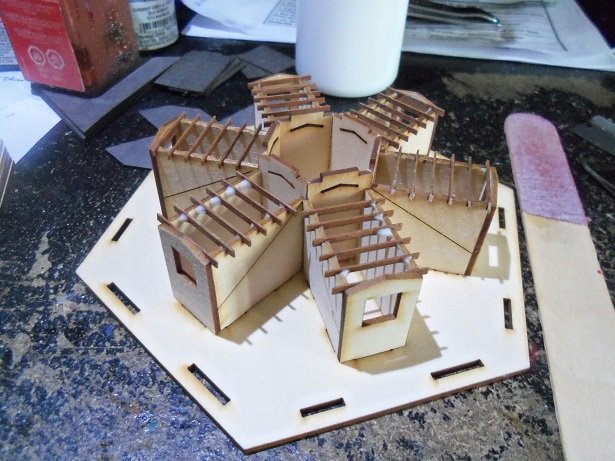
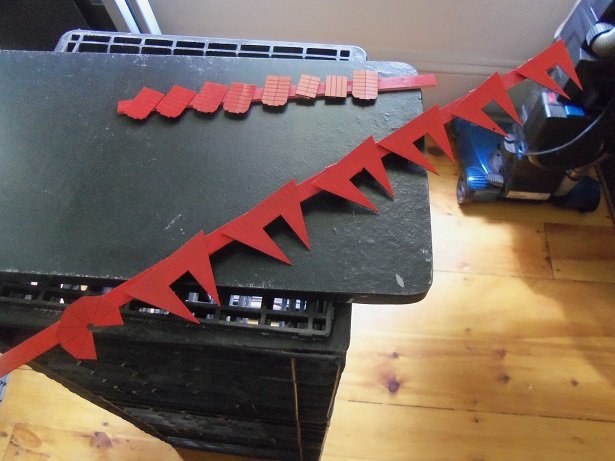
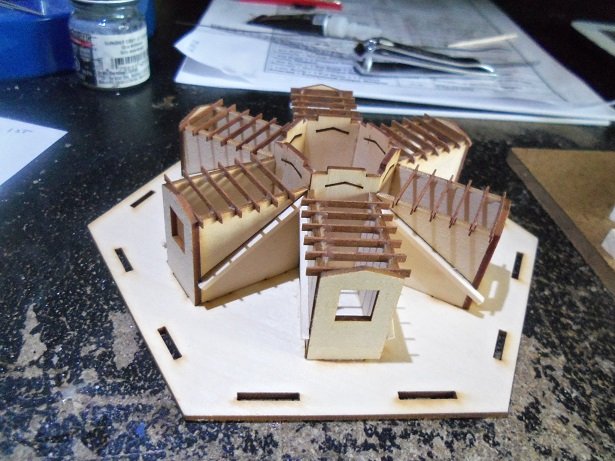
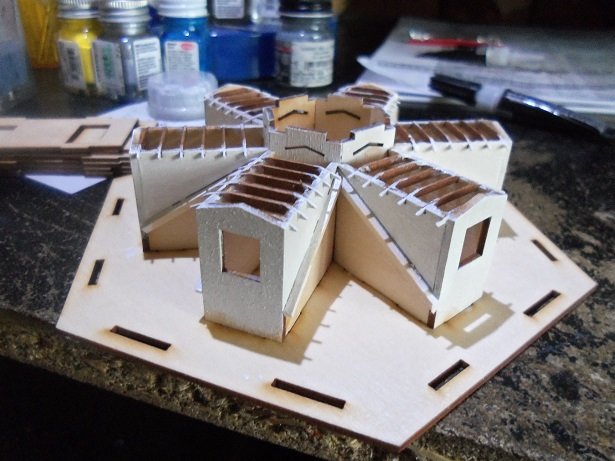
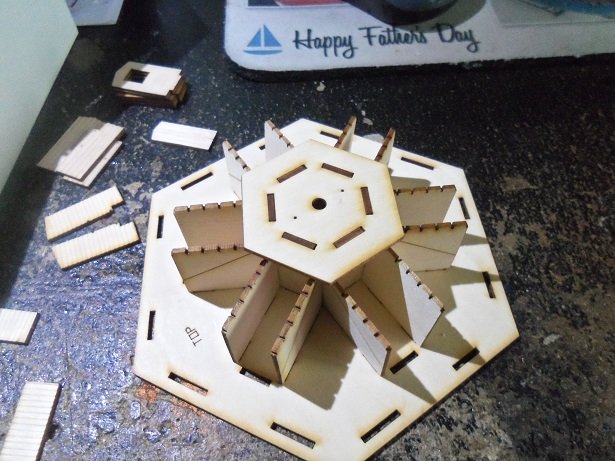
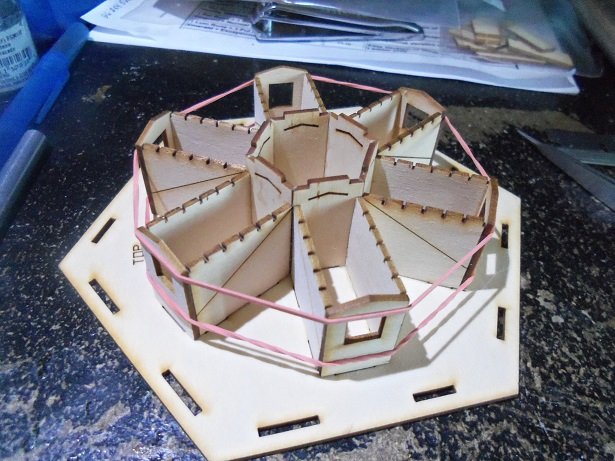
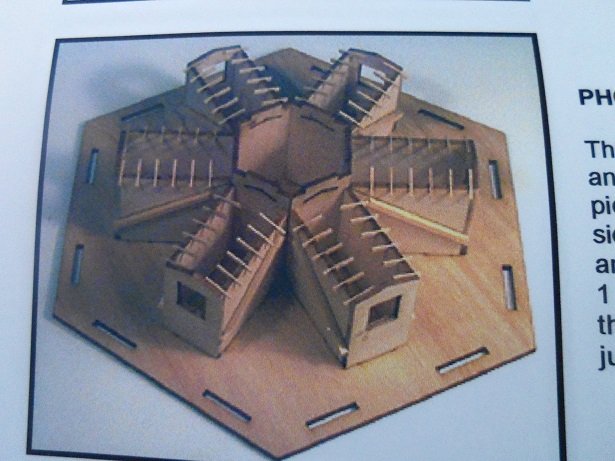
it starts off with the roof and dormers. the center is made up of six walls, the side edges beveled to mate one another. the lantern deck is dry fitted in place to help with the alignment. the dormer sides and fronts are stacked up in the background. once the center hexagon is dry, the dormer sides were dry fitted in place, to check for any gaps. moving them around, their best positions were decided on. the lines on the outside are guides for the roof locator tabs, strips of thin wood for the roof panels to be cemented to. the fronts were put in place next for the same evaluation. when all this is done, the sides and fronts were cemented in place. rubber bands will keep the pressure on till they dry........also, adjustments were made to insure the sides were flush with the edges of the fronts. now comes the first problem........the dormer roof rafters. these are tiny laser cut parts.....the rafter framing is not a complete assembly......the only real purpose I can see, is that they stick out 1/16 along the roof edges. with this in mind, there should be 60 of these parts.........I only got 18 of them. there are five notches on each dormer wall side....there is a sixth at the mating with the dormer front, but I'm not concerned with them. should I have the need to get rid of them, I can simply fill in the tiny slot. the roof panel for the dormers fit into a slot in the center hexagon, which will give the roof it's pitch {they can be seen in the pictures}. cementing it to the front's eve's should give the roof sufficient strength........these rafters can be fudged away and won't be missed in the assembly. the concern is along the sides where the slots are.......I think these will be visible. more on this soon
- 97 replies
-
- 13
-
-
I read that Chris......I merely mentioned that these kits exist and that they are sold separately
-
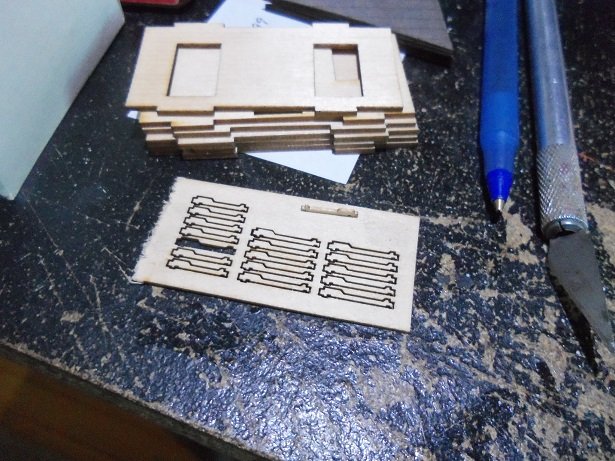
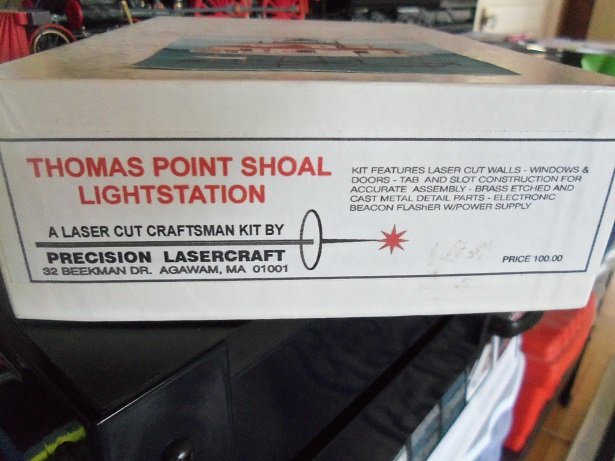
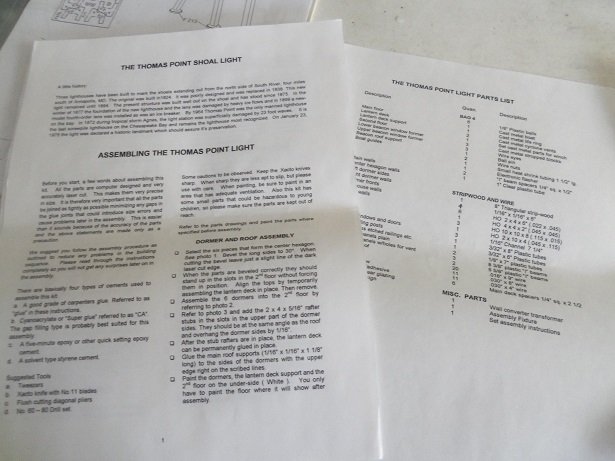
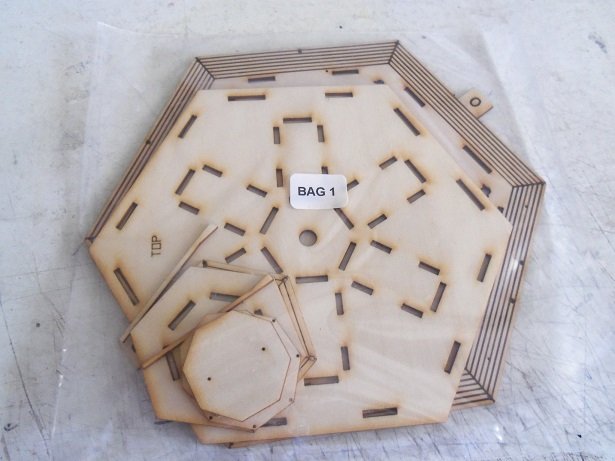
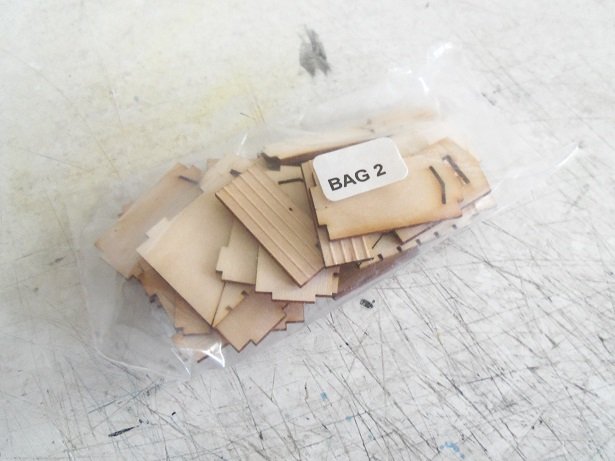
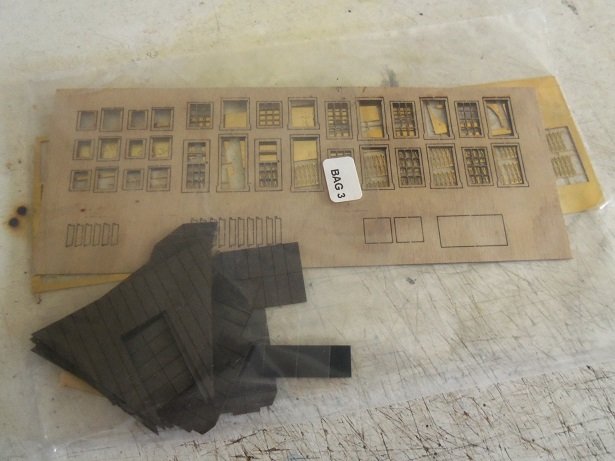
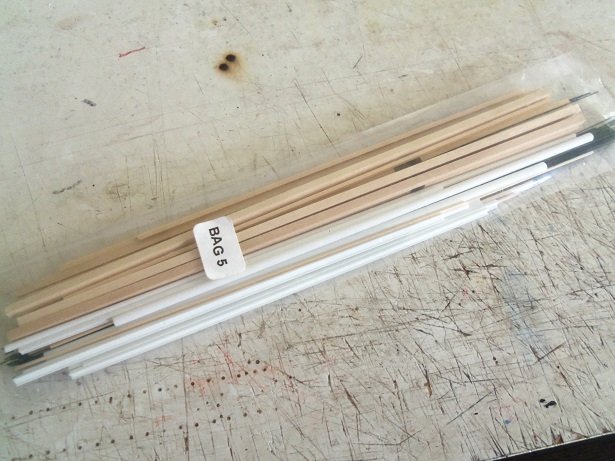
I have been lax in doing a kit contents for a few of my projects. looking at the way this kit is packed, I'd be foolish not to! it comes in a very sturdy box......fairly heavy cardboard. another baffling piece to the puzzle, is that Precision Lasercraft is located in Agawam, Mass........I have no idea of the production date of the kit. BEST Models, I was surprised to find, is located in Belmont N.H. in some of the pictures I've seen, there is a shelf of sorts built into the screw pile pillars. I'm guessing that these pictures were taken, when the lighthouse was being repaired, and they devised the 'shelf' to store the wood they were using to repair it. in others, it can be seen to have been built on a rocky shelf, only seen probably at low tide. most of these were 'nick nack' souvenirs though.......a nice touch to show a bit of detail. there is a four page set of instructions and an exploded parts sheet. ....followed by another four pages of parts diagrams and three pages of full color step diagram pictures bag #1 has the floor panels and flat roof panels bag #2 has all the structure side panels bag #3 has the roof parts and window & door framing, PE and glazings bag #4 is the beacon and wiring, along with the cast metal parts. it also has the AC adapter. bag #5 has all the wood stock and plastic trim parts it also comes with a jig to assemble the screw pile. I will more than likely use it as the base since this will be the first model of it's type that I've built, it won't be a good idea to go bee bopp'in all over the instructions. it will be one step at a time


- 97 replies
-
- 14
-
-
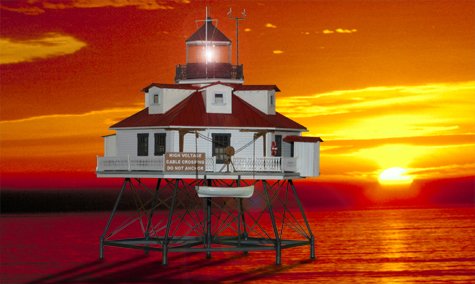
seeing Dan building these card lighthouses has been fun to watch. it happens that besides ceramic and plaster churches, I {as well as the admiral} have a fancy for lighthouses too. in browsing around on the net, I've seen a few really neat kits.........but never pulled the trigger on one. I was looking through oldmodelkits the beginning of August, when I saw this one........really caught my eye the Thomas Point Shoals lighthouse is located in the shoals, to the north of the South River, near Annapolis, MD. this is what it looks like since 1875.........it has been rebuilt about three times, damaged in various degrees by bad weather. by 1964, it was the only manned lighthouse on the bay. damaged again in 1972 by tropical storm Agnes...surprisingly only sustaining superficial damage, even though some of the storm waves reached 23 feet! it's the last screwpile lighthouse on the Chesapeake Bay, and remains there today, since attaining historic landmark preservation status since 1975. I got worried there for a bit......usually when a kit in in the process of purchase, it remains in the listings, but with 'email for availability' label under it. I didn't know, but they were on vacation, and likely had their system set up to remove it while they were away. around the 15th, I got an email stating that it would be shipped within the week......I was at ease I was going to wait to do some research, but in the pictures I saw of the kit, I had enough to go on, so I began. Precision Lasercraft had me baffled........the site I found only does laser engraving on tumblers and cups.......no model kits were listed. digging deeper, I found this: Precision Lasercraft History - Bollinger Edgerly Scale Trains - About B.E.S.T. this was the beginning of Precision Lasercraft.........started by Bruce Sparrow in his basement in 1994. he mentions that he supplied Micro Mark with kits to sell. I looked around, but I guess I'd have to have old catalogs to see the selection. all Micro Mark carries now, is Scientific, Walther's, Banta, Woodland Scenic, and a few other brands. A few years later, Precision Lasercraft was sold to BEST model. Brian Bollanger and David Edgerly were partners of New England G scale Trains.......likely after that the name change occurred.......B.E.S.T. Bollinger Edgerly Scale Trains - Welcome! I probably don't have all the timeline straight, but it was fun tracing this one. if you read the short bio from Bruce, it's pretty interesting what he used for a laser cutter. it might also be of interest that BEST Models also sells parts for their structure models......so far all I've seen is shingles, but digging deeper might uncover more that they sell.......scribed wood too perhaps. much like Northeastern Scale Lumber, which used to be Ambroid, structure kits and accessories can be purchased. when I read about this kit, I read where the doors and windows may have been painted on..........hell no! I found that Micro Mark carries window and door frame assortments in HO and N scale....other scale too, I think. I was ready to order them if this was the case {I still need to order that brass assortment 'bag' that they offer.....I can make good use of it on the Progress project}. I've been wanting to try one of these structures........I see them in the catalog, and they look really neat. if all goes well, perhaps I can get a couple to fill out that B&M snow plow diorama I have in the closet. one never knows here is one site where I have found BEST kits Valley Model Trains -HO- Precision Lasercraft Northeastern Scale Lumber Co. for those who don't have this site book marked, here it is
-
I believe Model Expo sells these two separately.........interesting to see them hooked together. it makes a lot of sense very nice looking model!